BANANA & CHOCOLATE BUNS

BANANA & CHOCOLATE BUNS
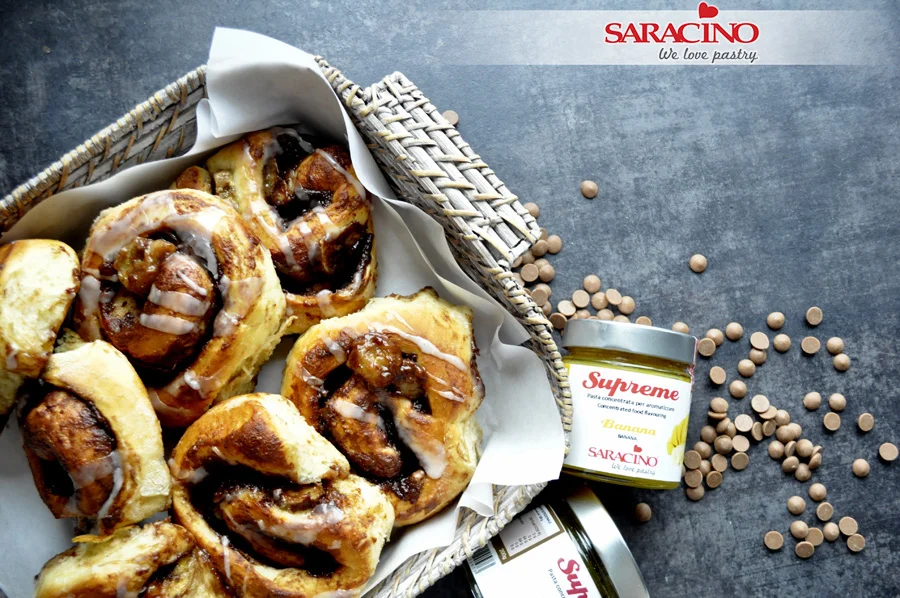
Author: Justyna Kowal

Skill level: BEGINNERS 

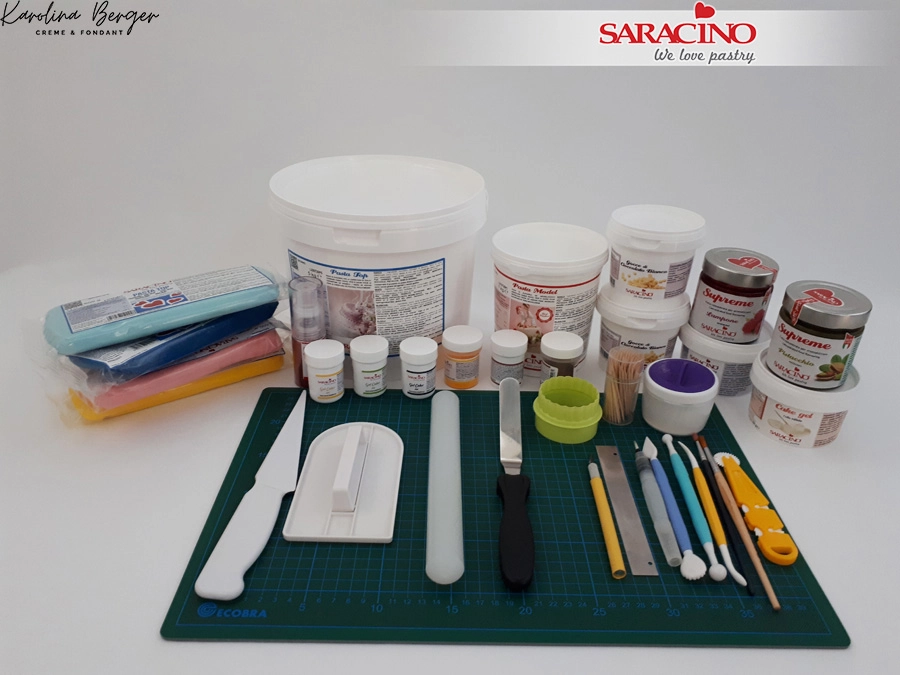
You will need:

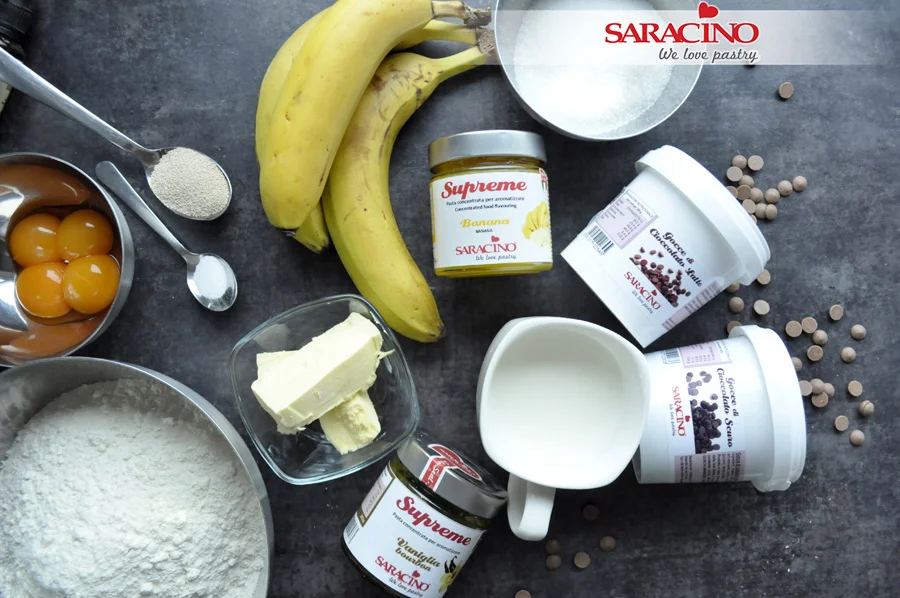
For dough: 

  • 600g plain flour
  • 15g dry yeast
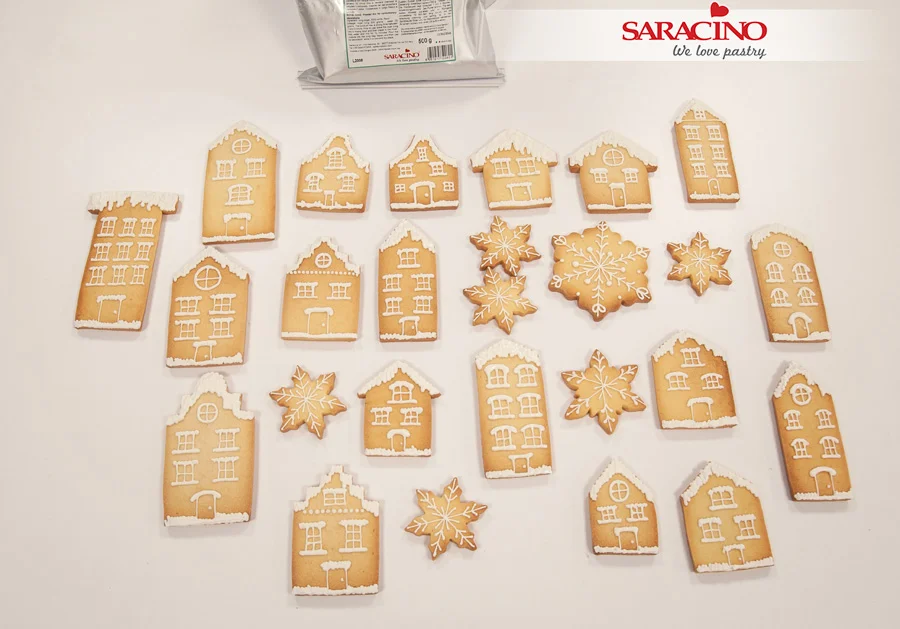
  • 60g sugar
  • 80g butter
  • 4 egg yolks
  • 270g milk
  • pinch of salt
  • 2 tsp of Saracino Le Supreme Vanilla food flavouring

For filling: 

  • 4 large well ripened bananas
  • 120g butter
  • 90g sugar
  • 130g Saracino milk chocolate drops
  • 130g Saracino dark chocolate drops
  • 2 tsp of Saracino Le Supreme Banana food flavouring

For icing: 

  • 200g icing sugar
  • 30g water

Step 1

Prepare all your ingredients. Make sure they are all at room temperature.  
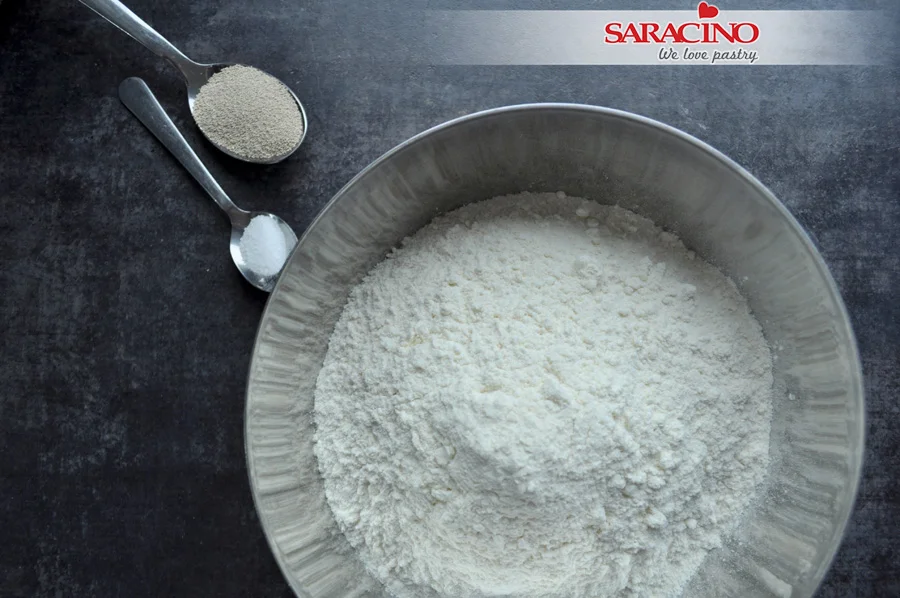
Step 2

Pour flour to a big bowl
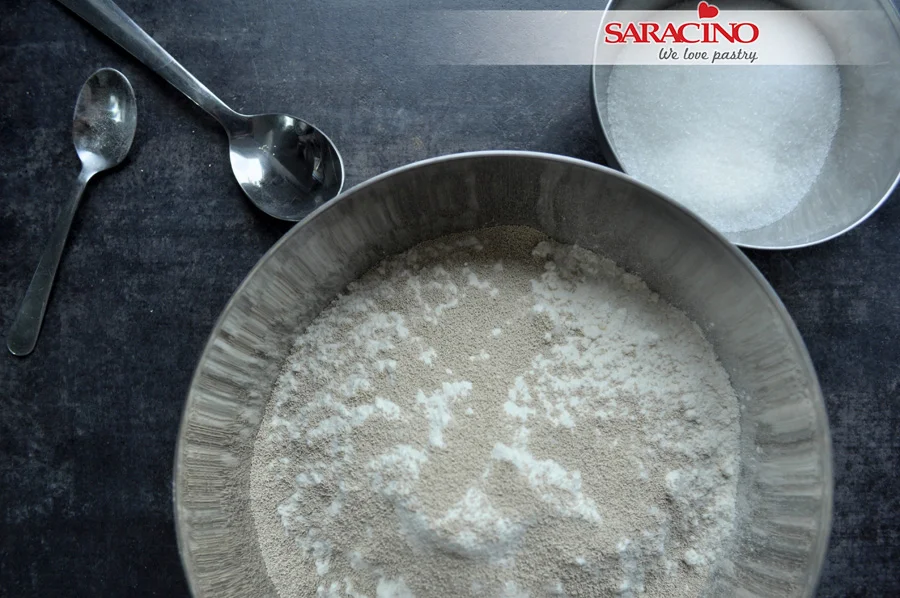
Step 3

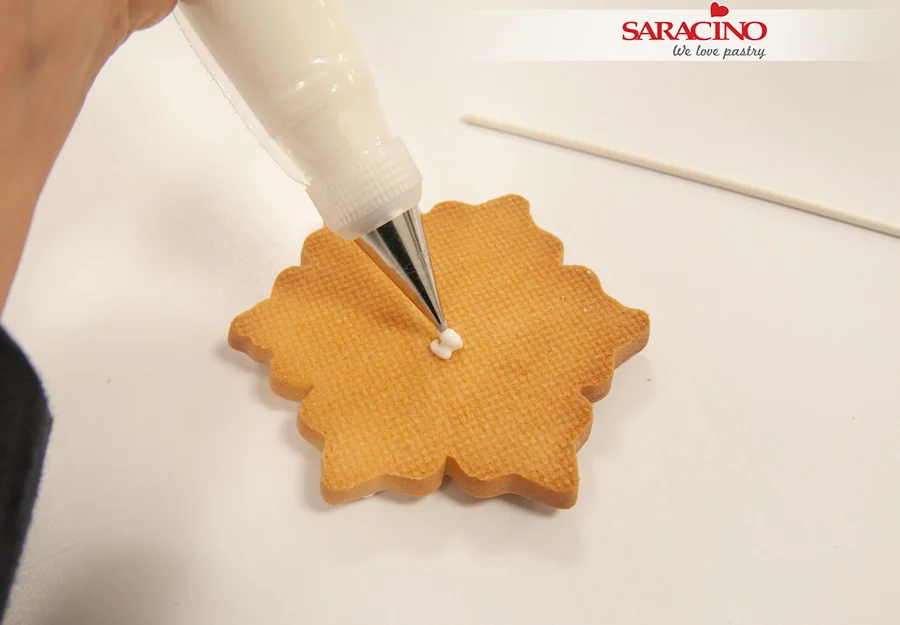
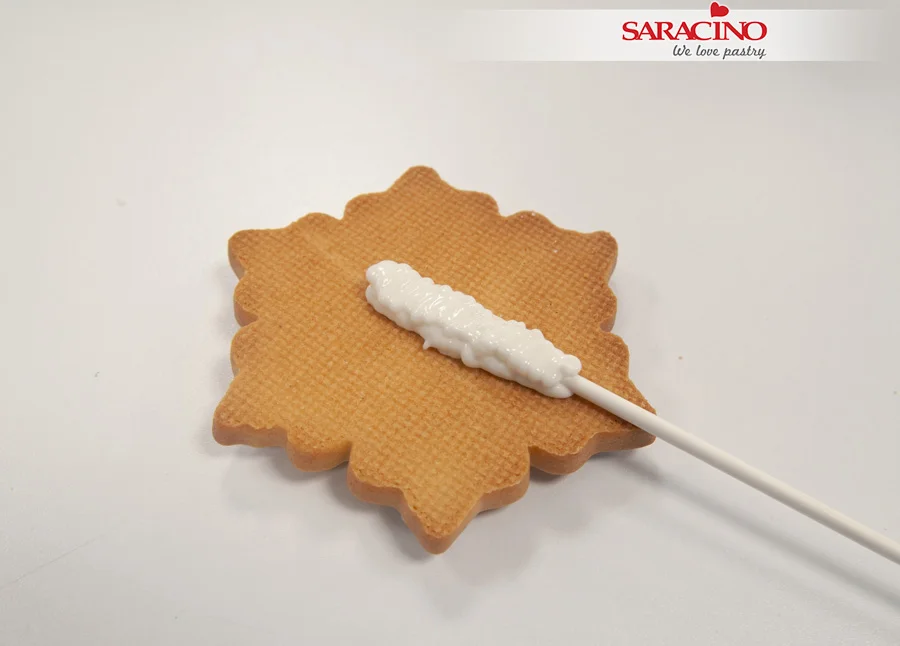
Add yeast and salt
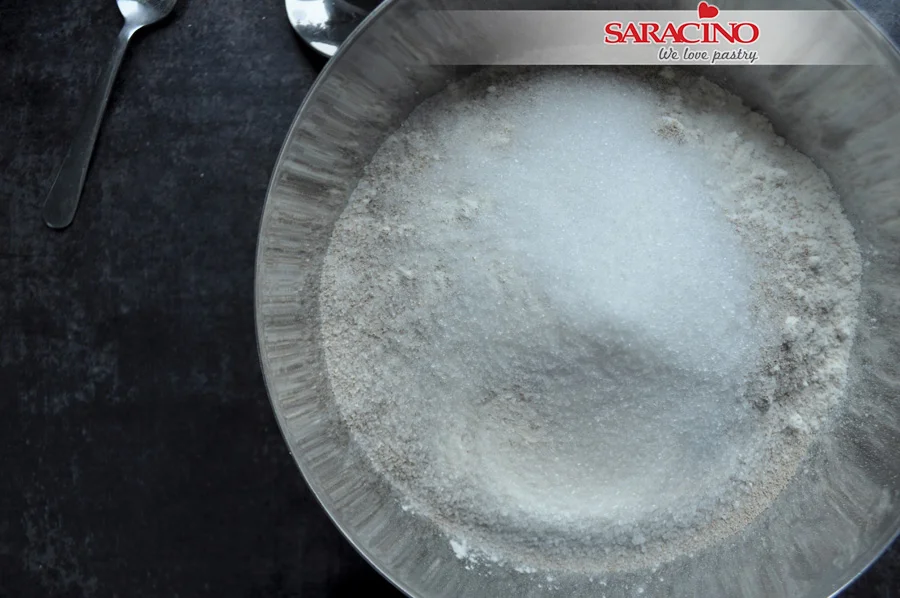
Step 4

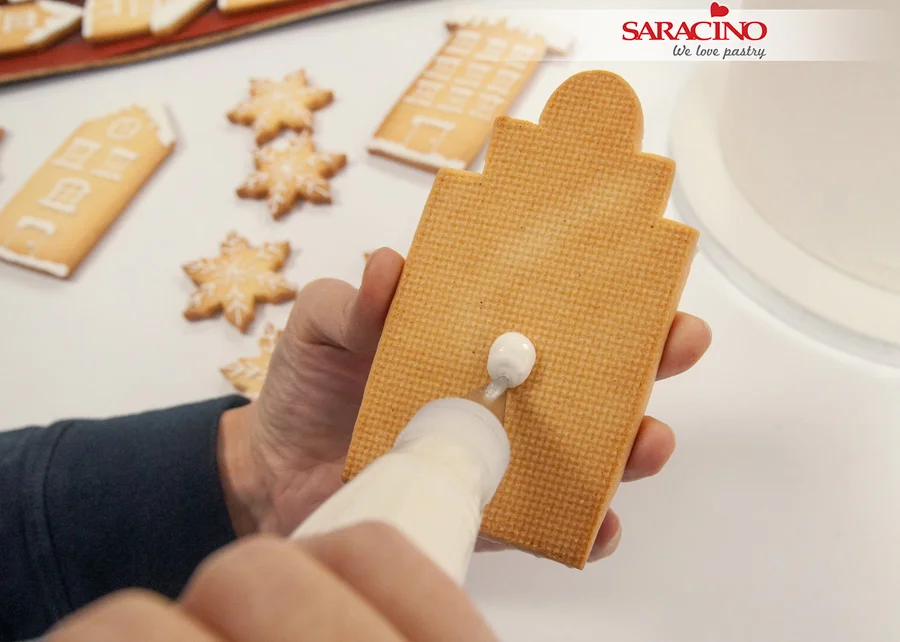
Add sugar
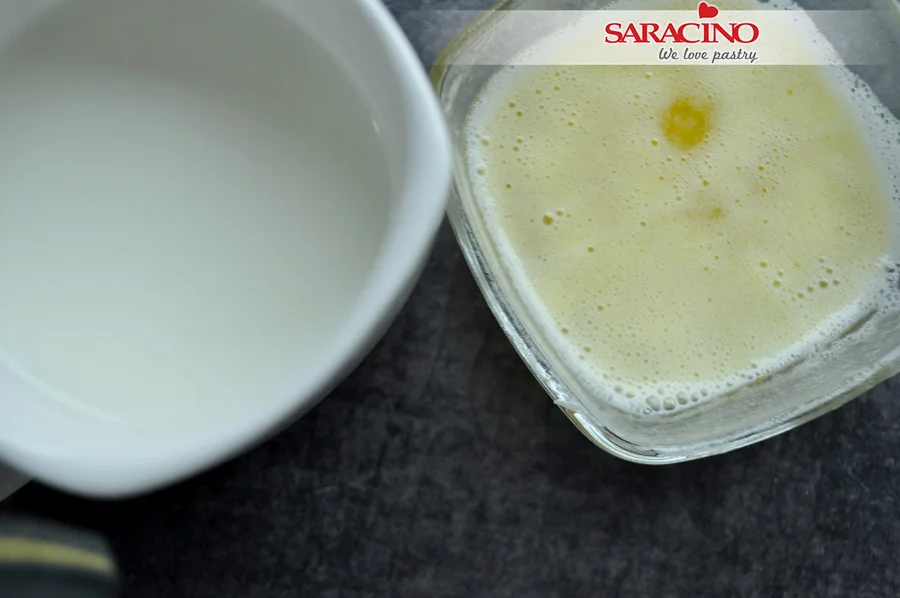
Step 5

Melt butter and let it cool down. Warm your milk but don’t boil it.
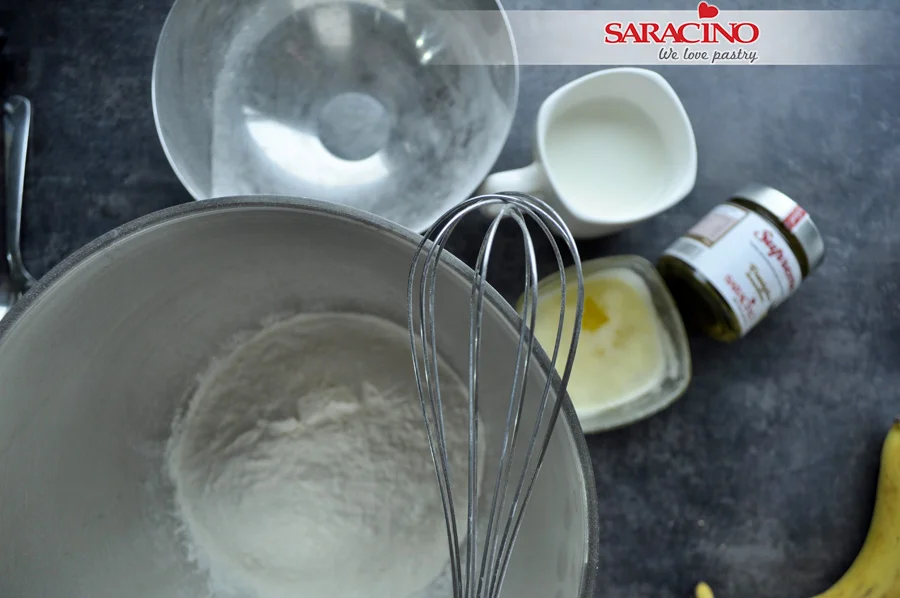
Step 6

Add all the dry ingredients to your food mixer bowl and combine. 
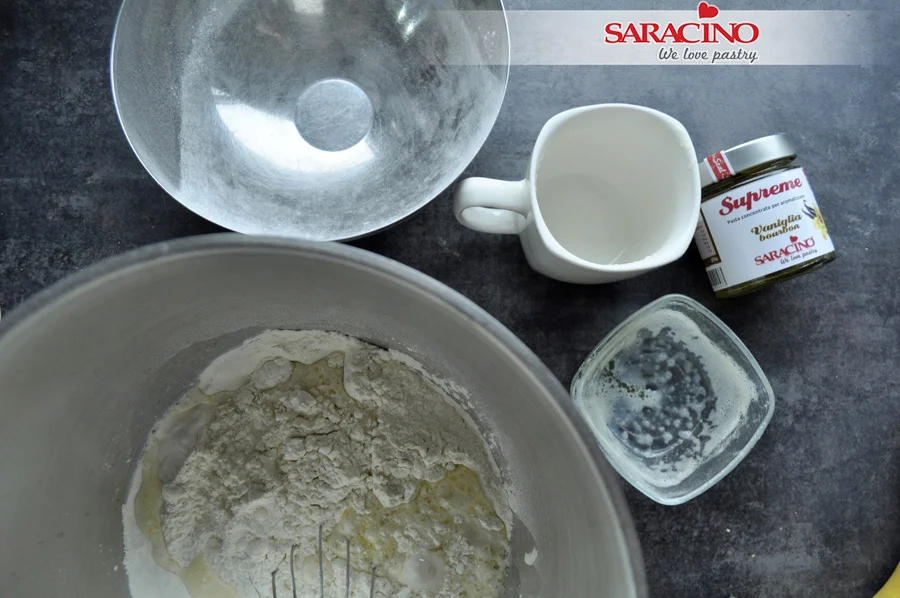
Step 7

Add milk and melted butter
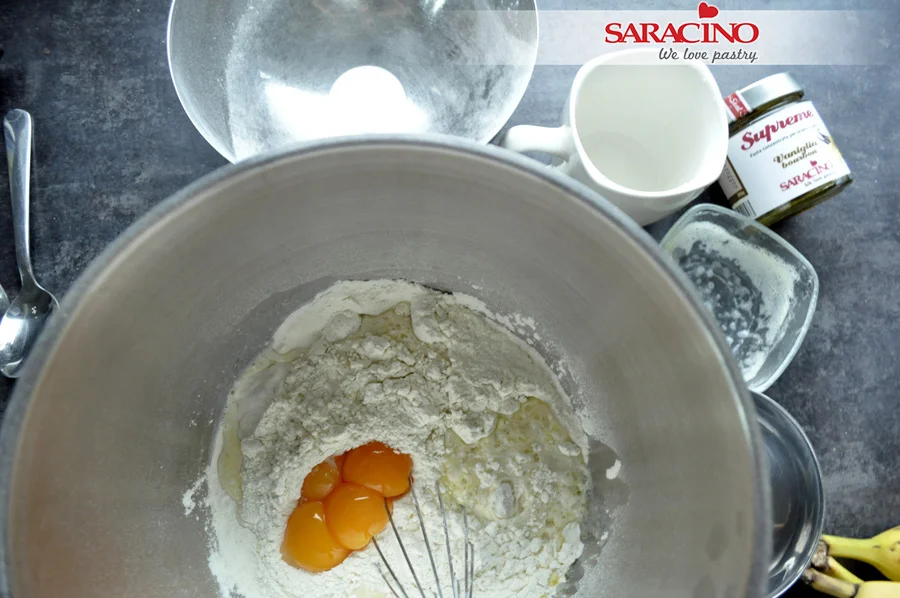
Step 8

Add egg yolks
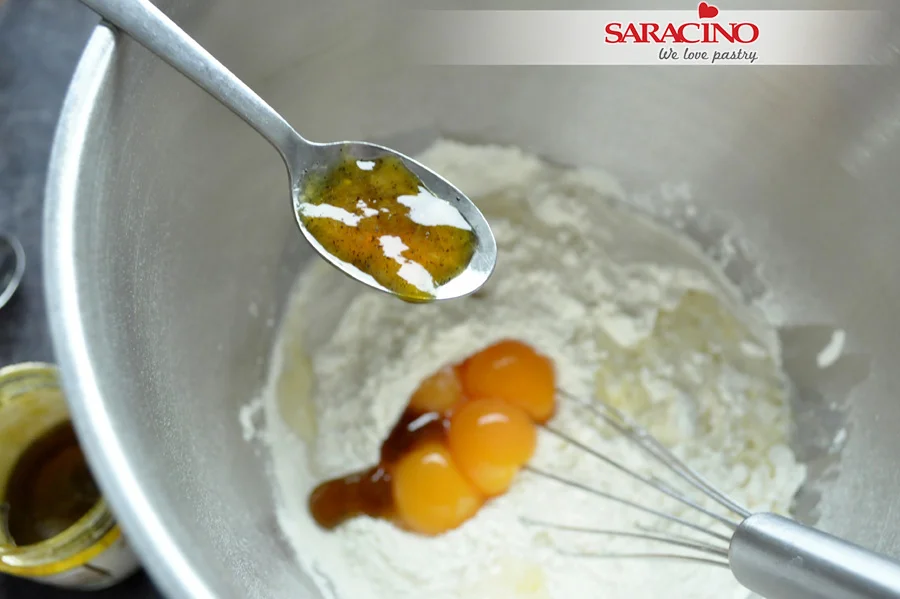
Step 9

Add two spoons of vanilla food flavouring Le Supreme 
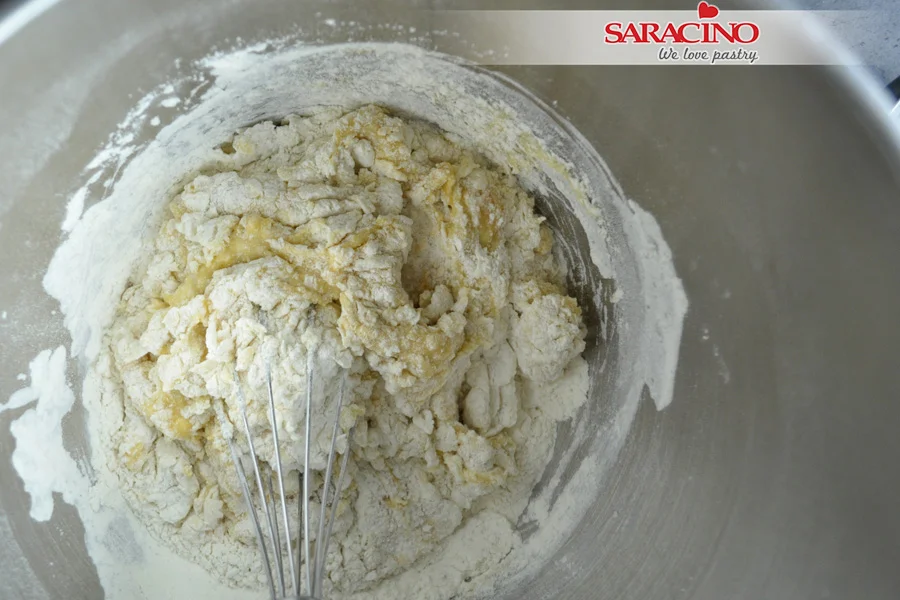
Step 10

Mix all the ingredients for around 10 minutes until well combined 
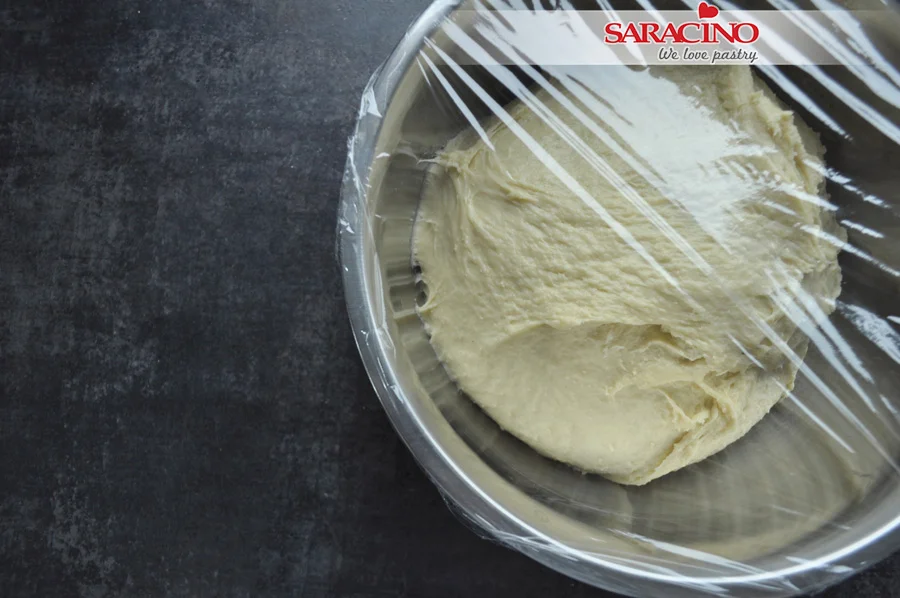
Step 11

Dust a bowl with flour and add the dough. Cover with cling film. Leave it in a warm place until it doubles in size. 
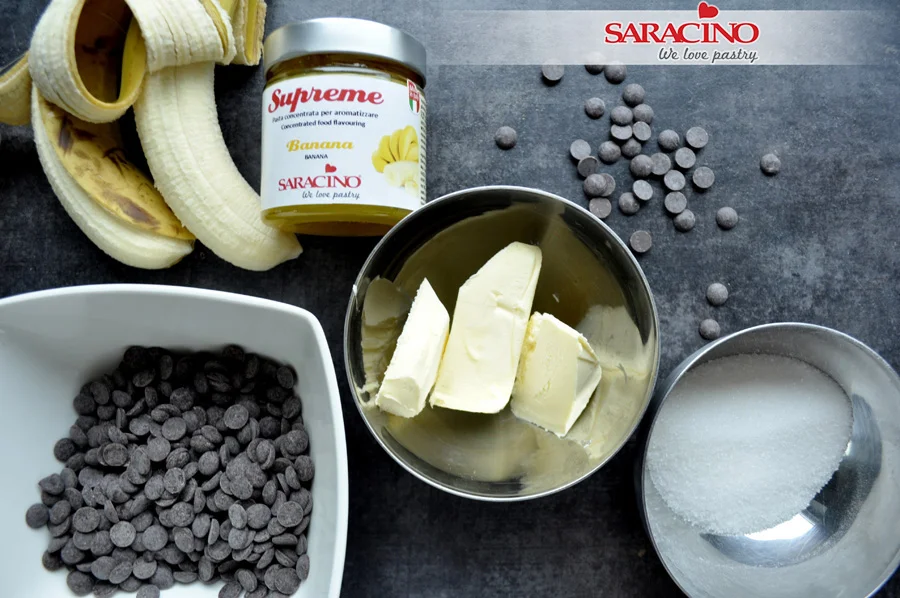
Step 12

Prepare all your ingredients for the filling
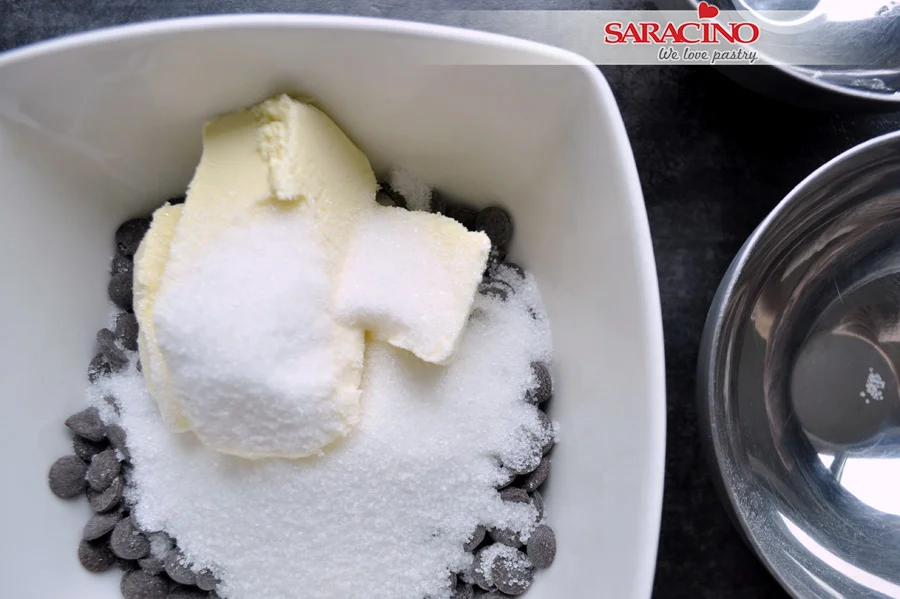
Step 13

To a ceramic or glass bowl add chocolate drops, butter and sugar. Melt everything in the microwave or over a pan of boiling water. Let it cool down
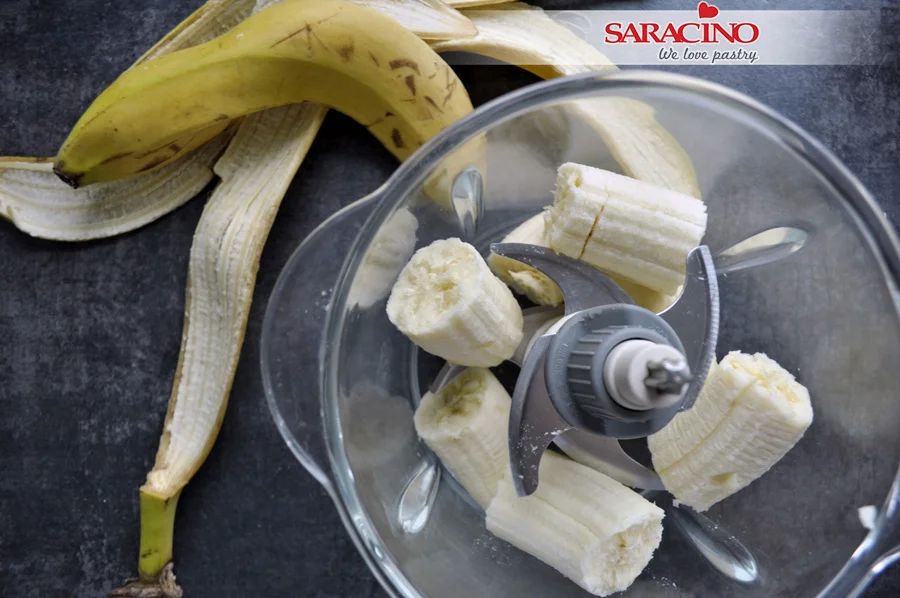
Step 14

Add bananas to your blender
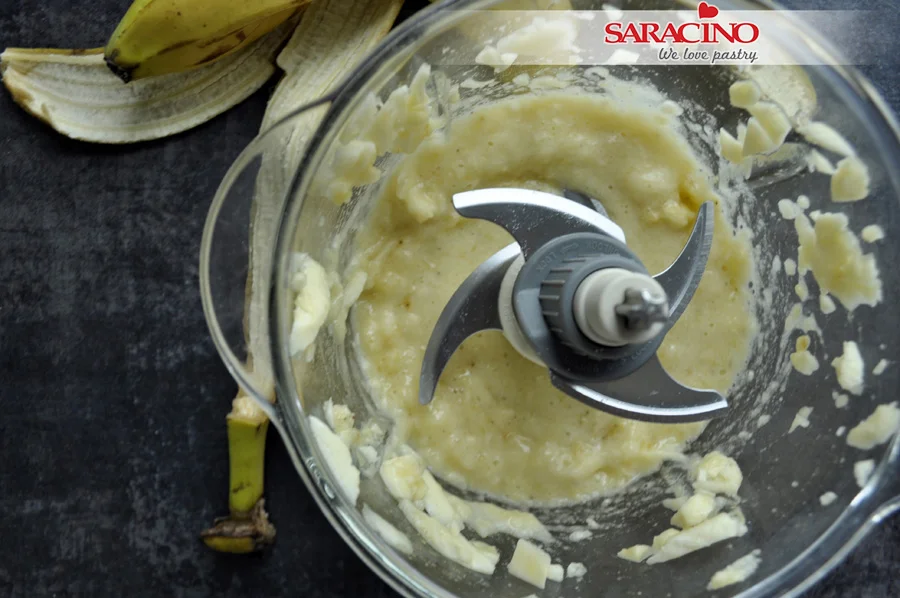
Step 15

Blend until smooth
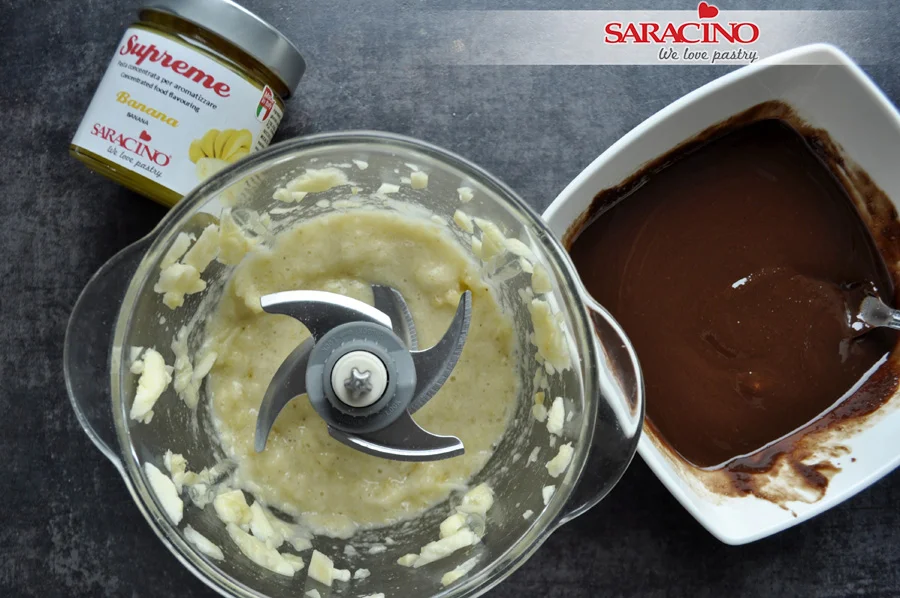
Step 16

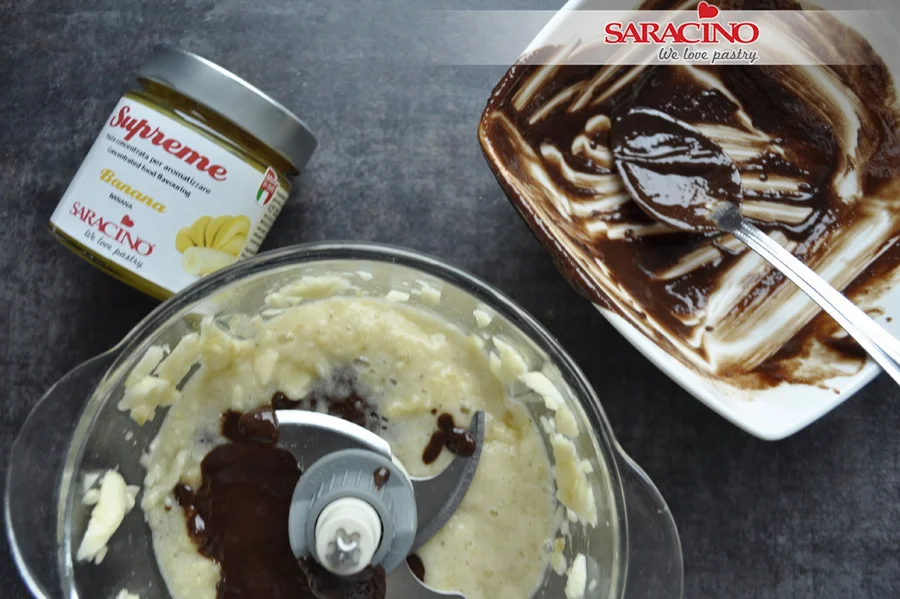
Get your chocolate mix ready and Saracino Le Supreme banana food flavouring 
Step 17

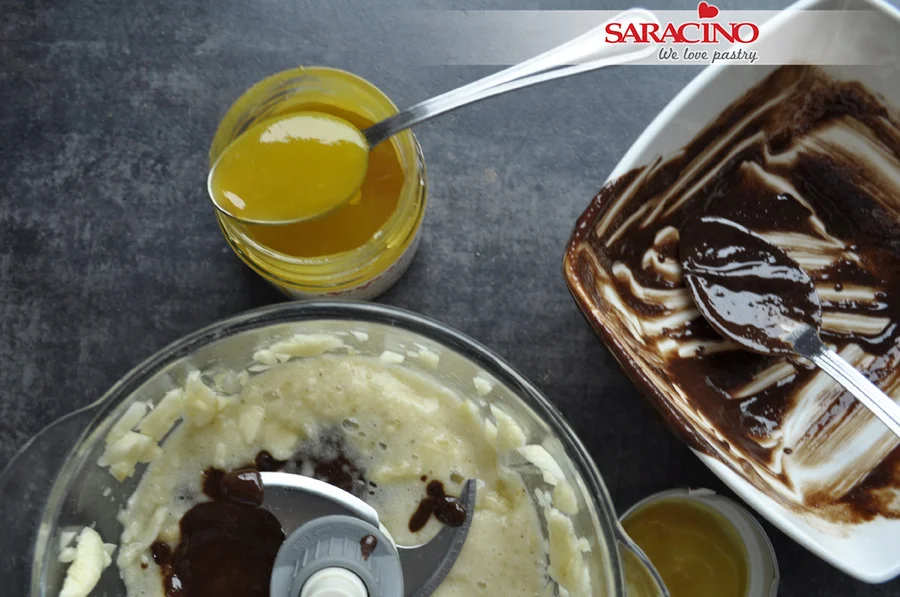
Add the chocolate to the blended bananas
Step 18

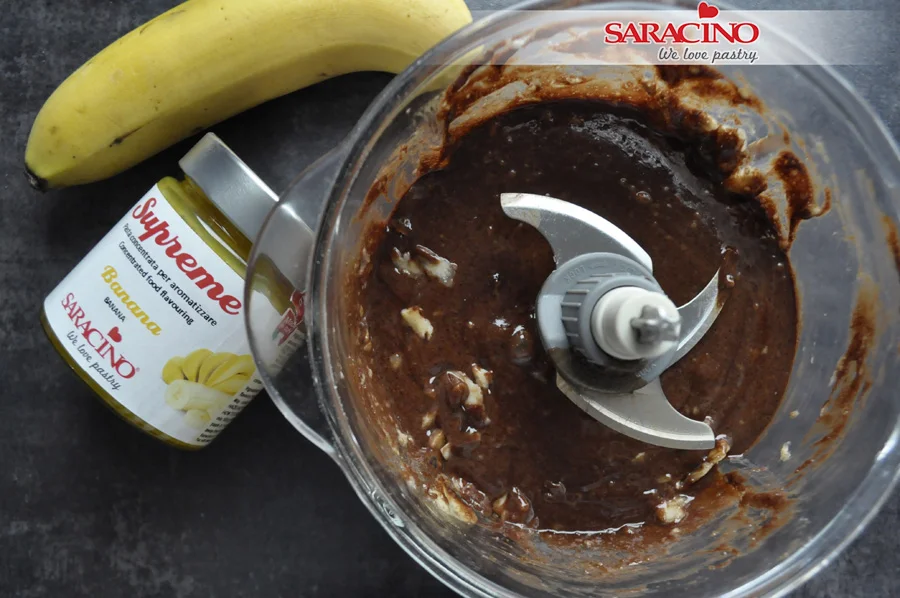
Add 2 tsp of banana food flavouring.
Step 19

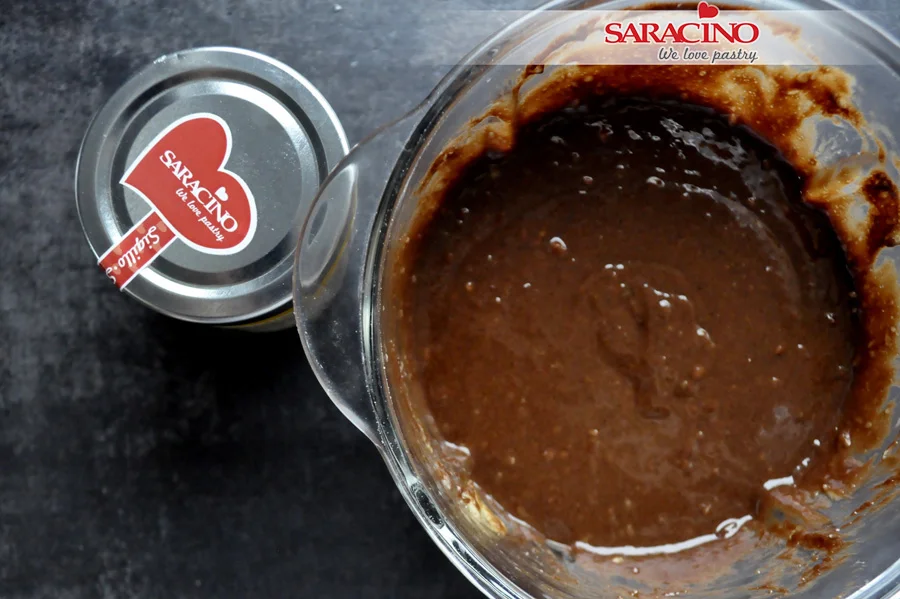
Blend all together 
Step 20

Leave it aside and allow it to thicken
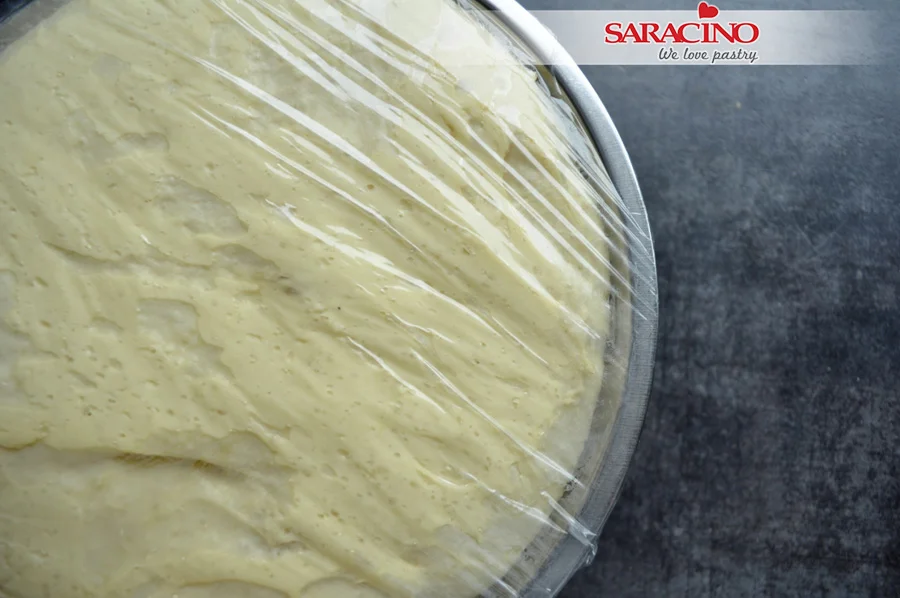
Step 21

Remove the film from the bowl and place the dough on a floured surface
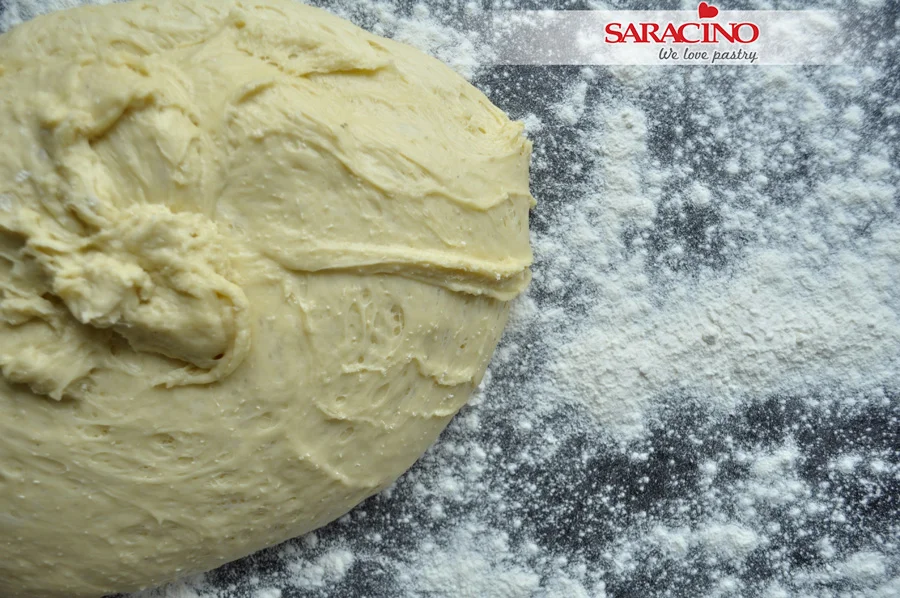
Step 22

Knead it but not for long
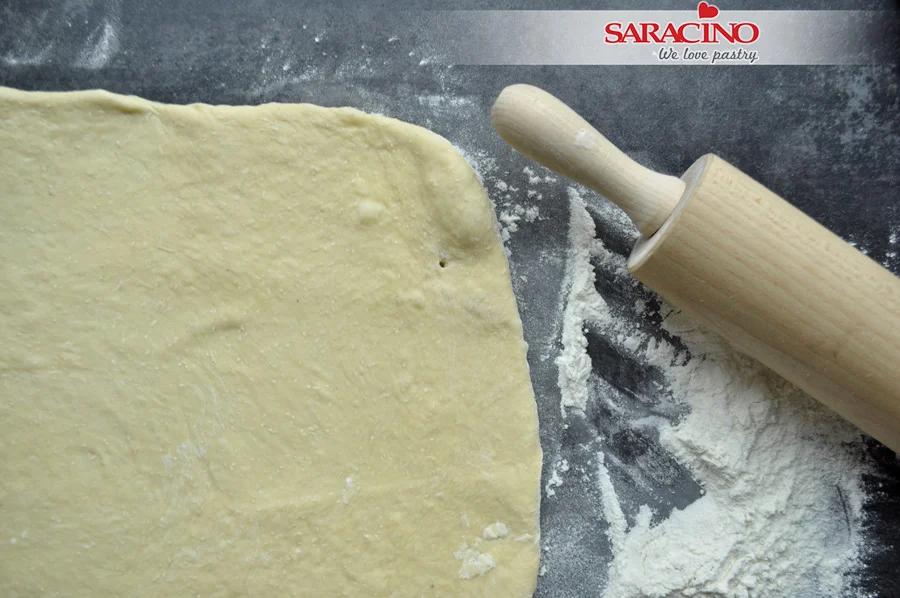
Step 23

Roll it to a rectangle so the length is double the width.
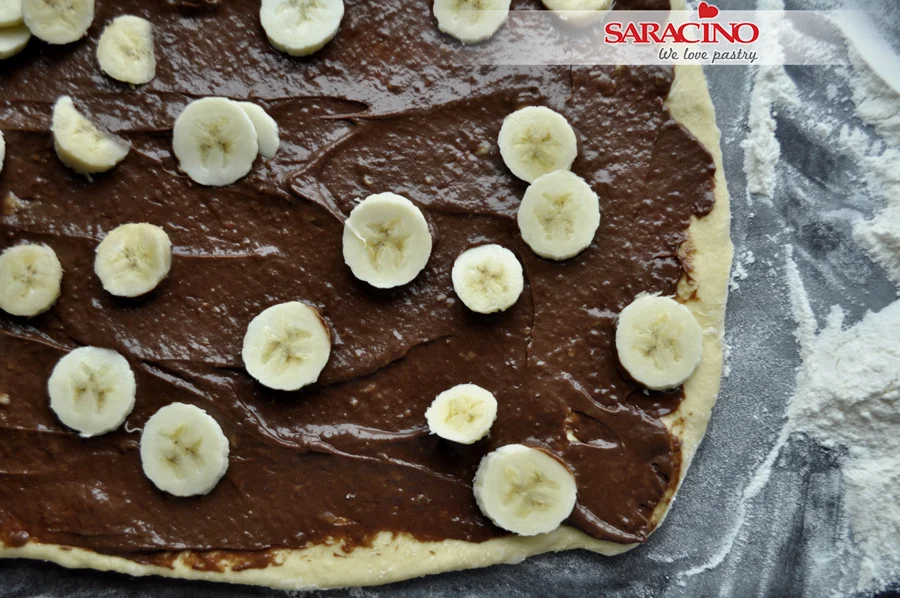
Step 24

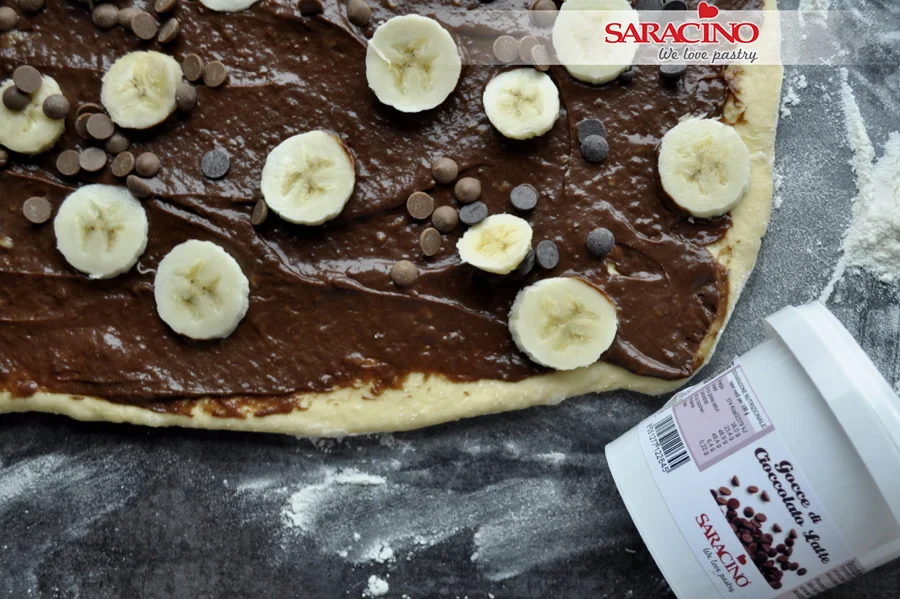
Spread a layer of the chocolate mixture and add slices of fresh banana
Step 25

Add milk and dark Saracino chocolate drops 
Step 26

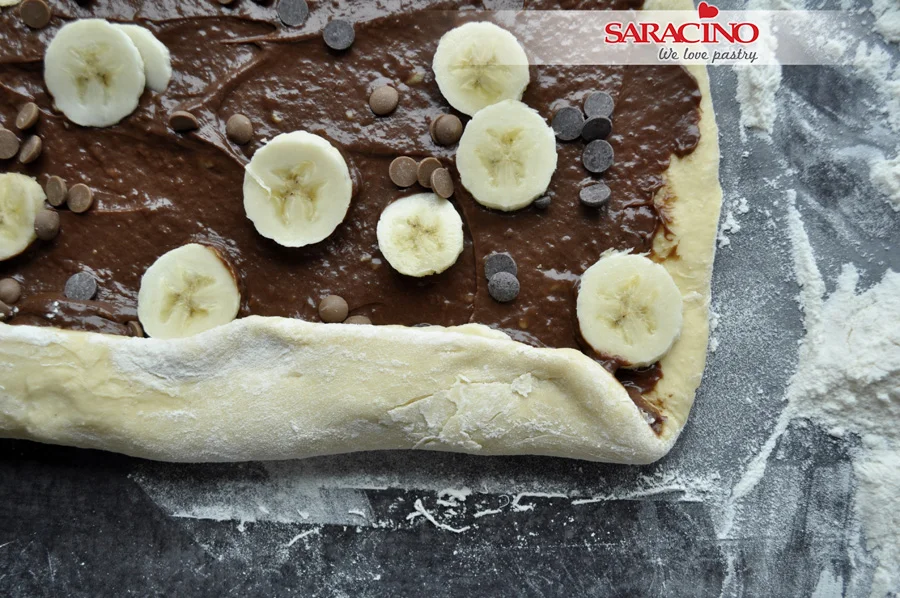
Roll the dough starting from the shorter side. Be careful not to rip the dough
Step 27

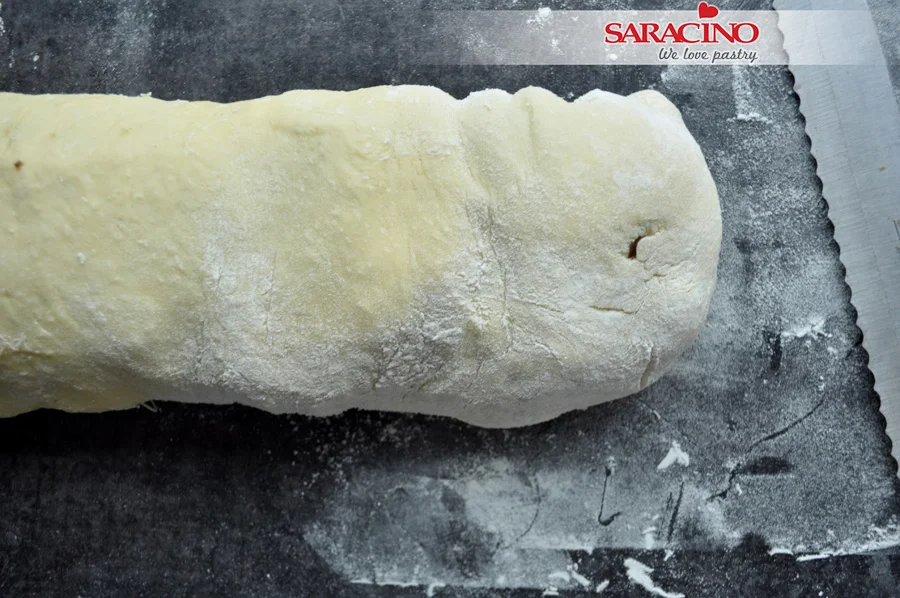
Keep rolling until fully rolled with the joint at the bottom.
Step 28

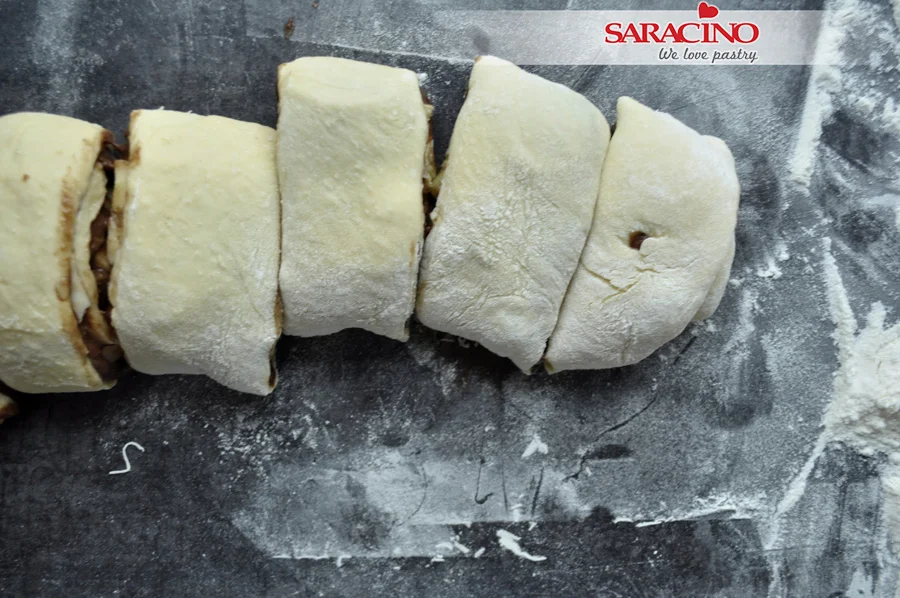
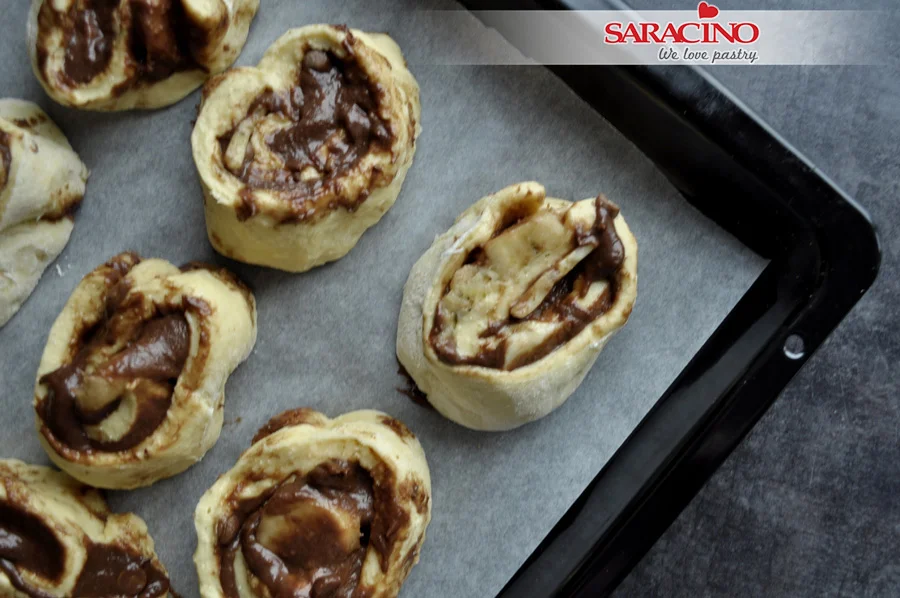
With the knife cut slices around 3cm thick
Step 29

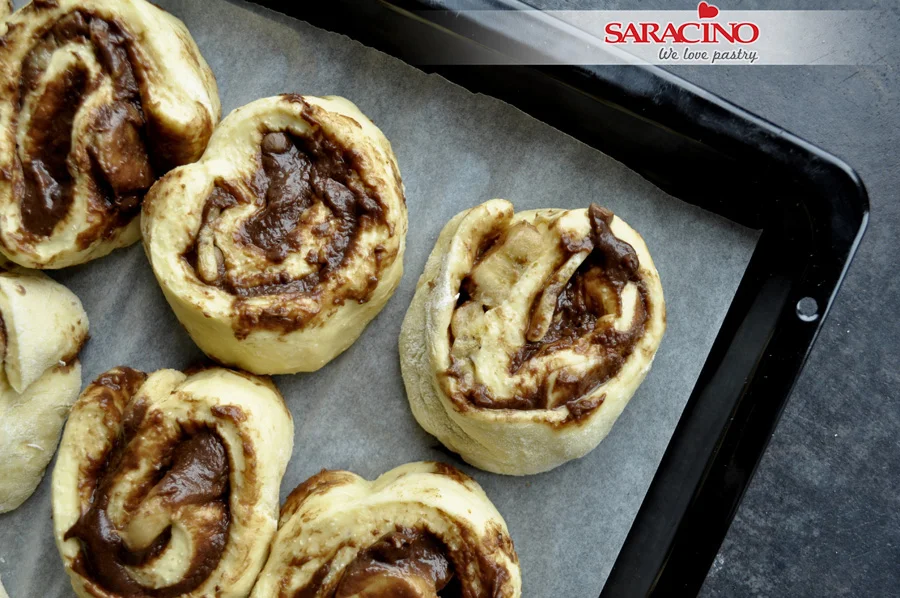
Put baking paper on your baking tray. Place the buns remembering to leave sufficient space between them as they will increase in size. Apply cling film over the top (don’t press) and leave it for 30 minutes in a warm place
Step 30

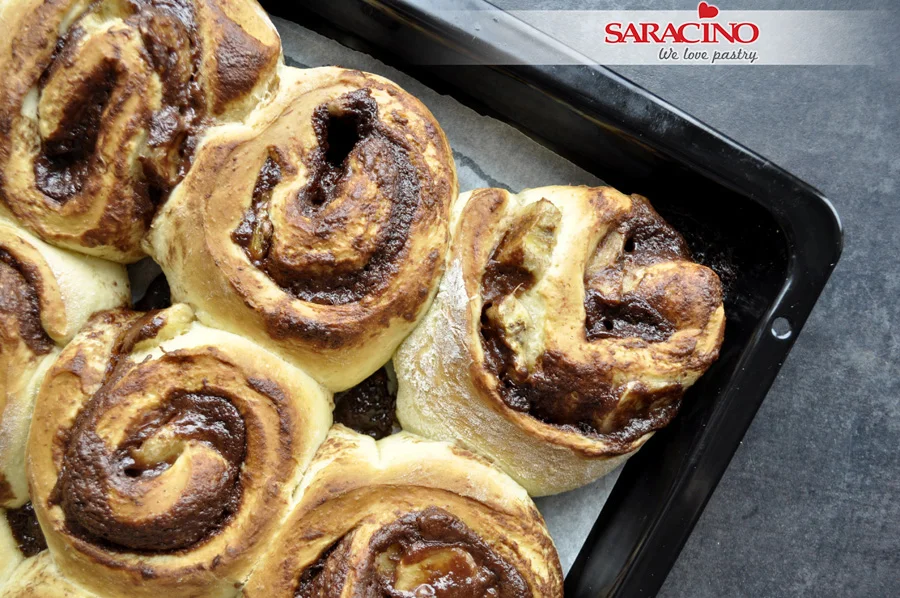
Remove the film. Place them in a pre warmed oven at 190C and bake for 25 minutes
Step 31

They should be baked until a golden colour
Step 32

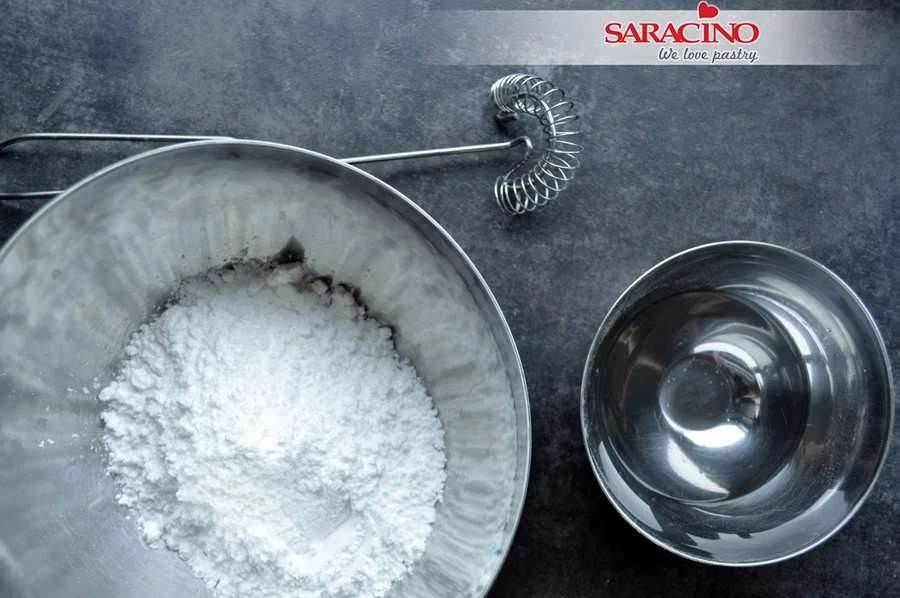
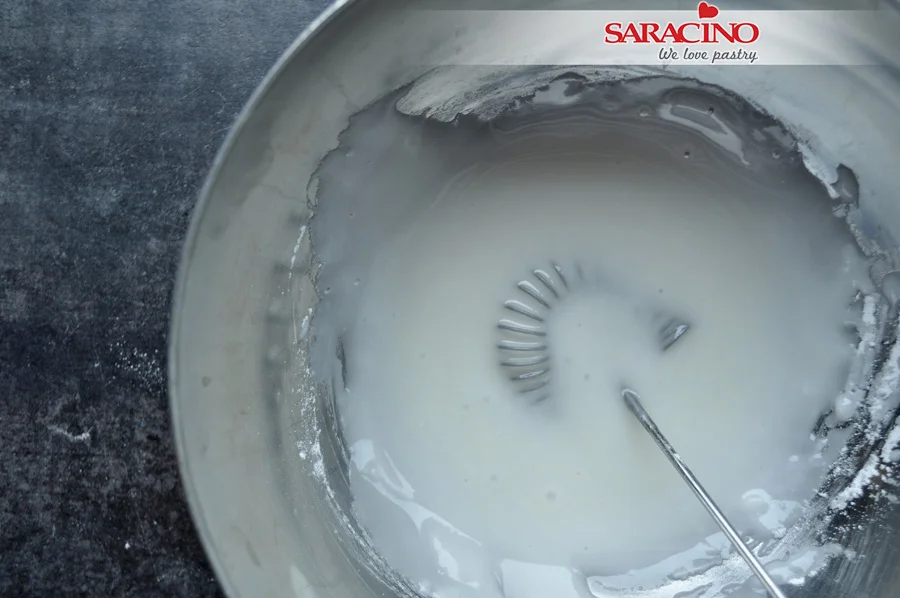
Prepare icing sugar and water
Step 33

Mix until a medium consistency is achieved. If it is too runny add some more icing, if it is too thick add a drop of water
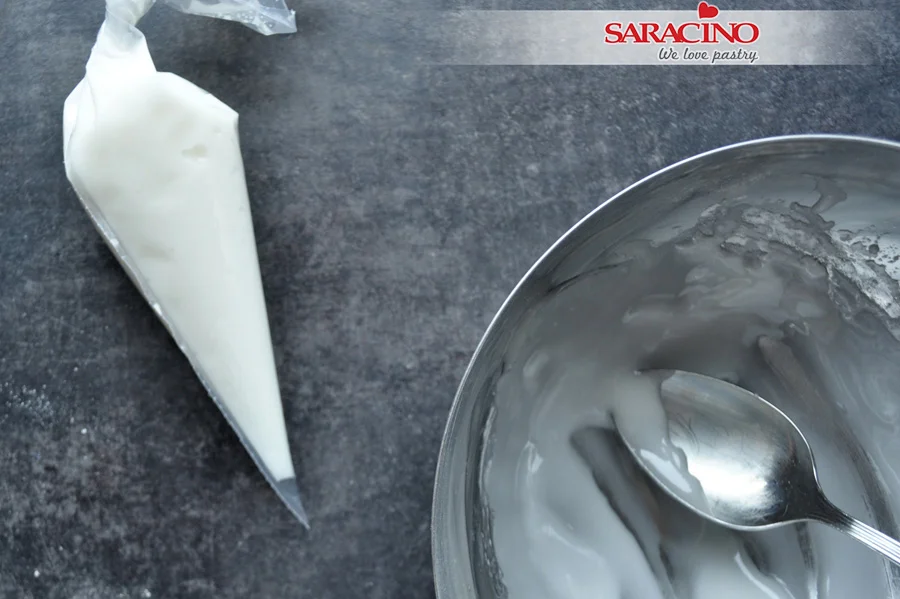
Step 34

Add to the piping bag and cut the end
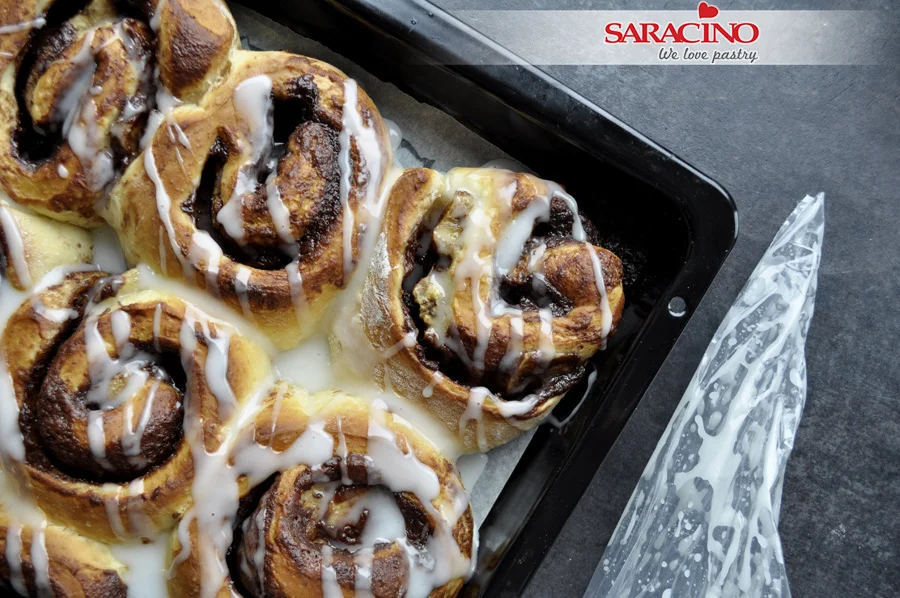
Step 35

Pipe the icing over the top of the buns

Step 36

Voila they are ready!

SUEDE EFFECT VALENTINE CAKE TUTORIAL

SUEDE EFFECT VALENTINE CAKE TUTORIAL

You will need:

Chocolate cake 

  • 130g plain flour
  • 150g caster sugar
  • 65 g cocoa powder
  • 1/2 tsp of baking powder
  • 1/2 tsp of soda powder
  • pinch of salt
  • 100g buttermilk
  • 50ml vegetable oil
  • 1tsp Saracino Vanilla food flavouring
  • 1 large egg
  • 2 tsp of instant coffee diluted in 250ml boiled water

Jelly

  • 250g cherry puree
  • 6g gelatine
  • 20g cold water 

Crunchy base

  • 100g milk chocolate with nuts 
  • 60g Feuilletine
  • 30g Saracino hazelnut and chocolate food flavouring
  • 30g Saracino peanut food flavouring 

Tiramisu mousse with coffee

  • 8g gelatine 
  • 20g water
  • 3g instant coffee
  • 50g icing sugar
  • 60g Saracino tiramisu food flavouring 
  • 500ml double cream 

Suede effect 

  • 150g Saracino cocoa butter melted with 150g Saracino white chocolate drops
  • 0.5g Saracino red powder colour 

Equipment

  • food safe paint spray
  • bowls
  • whisk
  • 7′ cake tins
  • spoons
  • baking paper
  • confectionery mould with a diameter of 12-13 cm
  • heart silicone mould
  • blender 

Step 1

For the chocolate cake. Sift the dry ingredients into one bowl (flour, sugar, cocoa, powder with soda and salt). In the second bowl, add the wet ingredients (oil, egg, buttermilk)

Step 2

Add the dry ingredients to the wet ingredients and mix briefly. Get your hot coffee and a whisk ready.

Step 3

With a slow stream, pour the coffee and mix it together.

Step 4

Pour the mixture into two low 7-inch cake tins, lined with paper for baking.

Step 5

Place in an oven preheated to 160 ° (fan oven). Bake for 25 minutes.

Step 6

After baking, cool the cakes on a wire rack.

Step 7

Now for the jelly get all your ingredients ready.

Step 8

Heat the fruit purée to about 50°C, mix the gelatine with water. Prepare a 7 inch shallow dish and cover it with cling film. Heat the gelatine mix in the microwave and add it to the puree. Combine the ingredients.

Step 9

Pour into the dish and put it in the freezer for a minimum of 6 hours.

Step 10

Prepare your ingredients for the crunchy base.

Step 11

Melt the chocolate over a water bath or in a microwave oven. Add both flavour pastes and the Feuilletine. Mix to combine the ingredients.

Step 12

We prepare a circular confectionery mould with a diameter of 12-13 cm, baking paper and a baking tray.

Step 13

Line the bottom with baking paper, then transfer the mixture. Put in the freezer for a minimum of 8 hours.

Step 14

 Get all your ingredients ready for the mousse.

Step 15

Mix gelatine with water and set aside. Measure 100ml of cream and heat it with chocolate and coffee. Stir until dissolved and combined.

Step 16

Heat the gelatine in a microwave and add to the finished chocolate and coffee mixture and combine.

Step 17

In a mixing bowl, beat the remaining cream with icing sugar and Tiramisu flavouring paste to a semi-stiff consistency.

Step 18

Then, in a slow stream, add the previously prepared chocolate-coffee mixture and gently combine with the cream.


Step 19

Now for stacking the cake. Pour the mousse mixture into a jug. Prepare a heart shaped silicone form, your frozen jelly, crisp base, cake and baking paper.

Step 20

Cut out a heart shape from the paper that matches the size of our mould. Place the template and cut out the heart shape in our cake and jelly.

Step 21

To assemble the cake. Place the silicone mould on a rigid base or board. Now prepare the cut jelly, cake and crispy base. Pour a little mousse into the bottom of the mould.

Step 22

First we place the frozen jelly.

Step 23

Cover the jelly with a little mousse and place the crispy base over.

Step 24

Add more mousse and place the cakes. Gently press them down and remove any excess mousse.

Step 25

Cover the finished cake with cling film and put it in the freezer for a minimum of 12 hours.

Step 26

To make a suede effect we measure out all the necessary ingredients.


Step 27

Melt the cocoa butter, put the chocolate in a tall dish

Step 28

Pour hot cocoa butter over the chocolate.

Step 29

Blend until combined.

Step 30

Add the red powder colour and combine with a blender.

Step 31

We are preparing our Spray Gun. Hire one from Andy. He has everything.

Step 32

Check the temperature of the mixture (it needs to be between 40-50°C).

Step 33

Take the frozen cake out of the mould.

Step 34

Pour the mixture into the tank of the spray gun.

Step 35

Spray from a distance of about 10-15 cm.

Step 36

Your cake is ready, you can also add edible gold if you want to give a different effect.

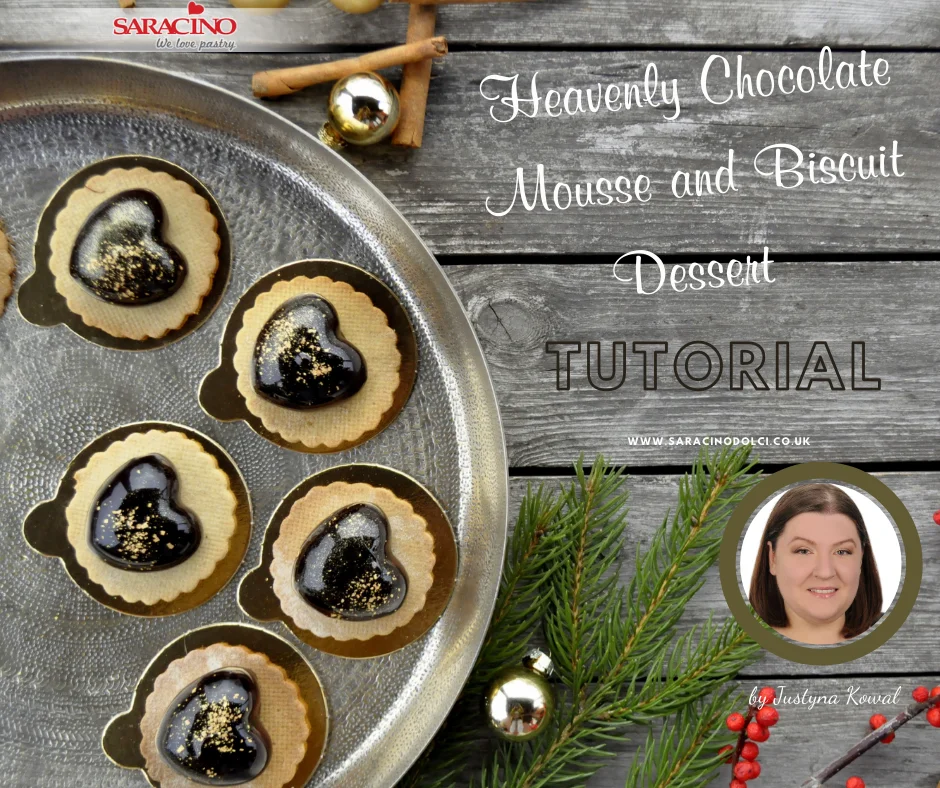
CHOCOLATE MOUSSE AND BISCUIT DESSERT

CHOCOLATE MOUSSE AND BISCUIT DESSERT

Author: Justyna Kowal

Skill level: BEGINNERS 

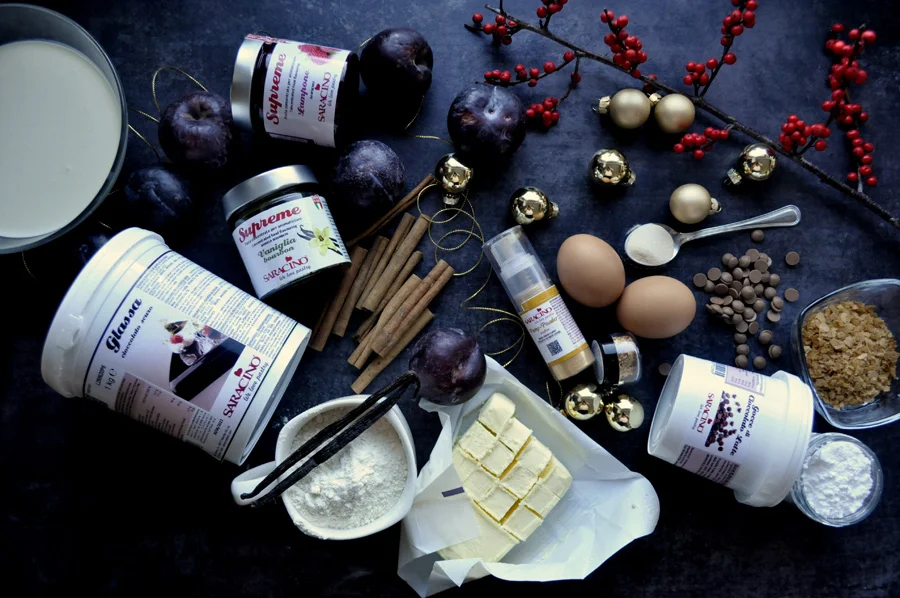
You will need:

  • Saracino raspberry food flavouring La Supreme
  • Saracino vanilla food flavouring La Supreme
  • Saracino milk chocolate drops
  • Saracino dark chocolate mirror glaze
  • Saracino gold push pump powder
  • Saracino gold glitter
  • butter
  • icing sugar
  • sugar
  • cinnamon
  • egg
  • plain flour
  • double cream
  • gelatine
  • Rice Krispies
  • plums
  • pectin (jam sugar)
 

Step 1

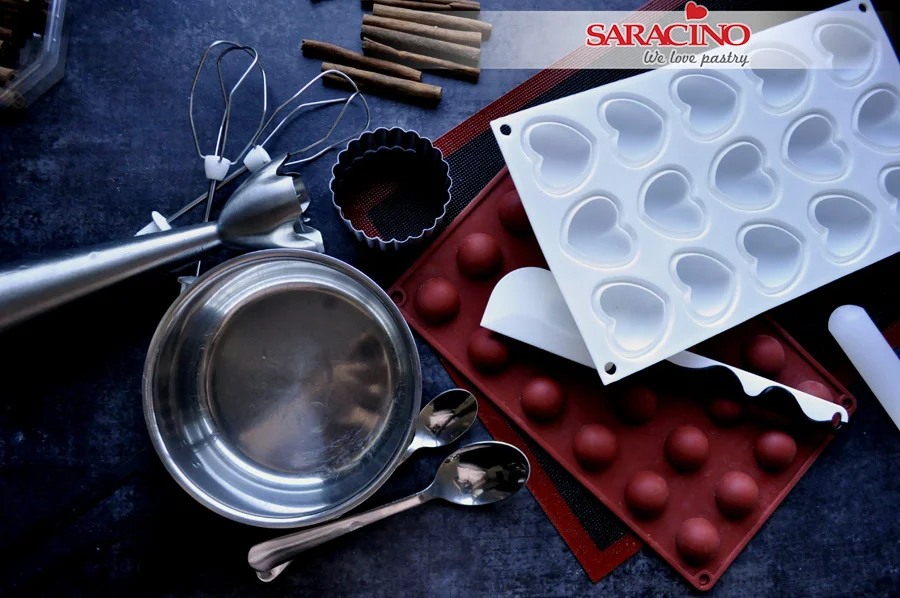
Prepare all your ingredients. Make sure they are all at room temperature. For the equipment you will need a small pan, spoons, 2 silicone moulds (one for the centre and one for the heart mousse), baking paper, food mixer, blender, circular cookie cutter, silicone spatula, piping bag, rolling pin, cup, sugar thermometer, wood skewers, sieve and a kitchen scale.  

Step 2

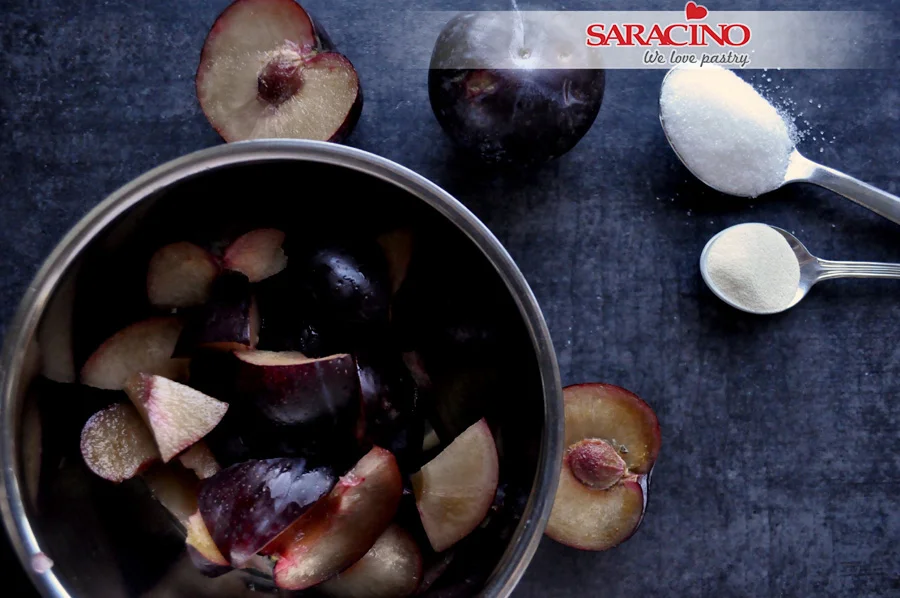
Add 250g plums to the pan.

Step 3

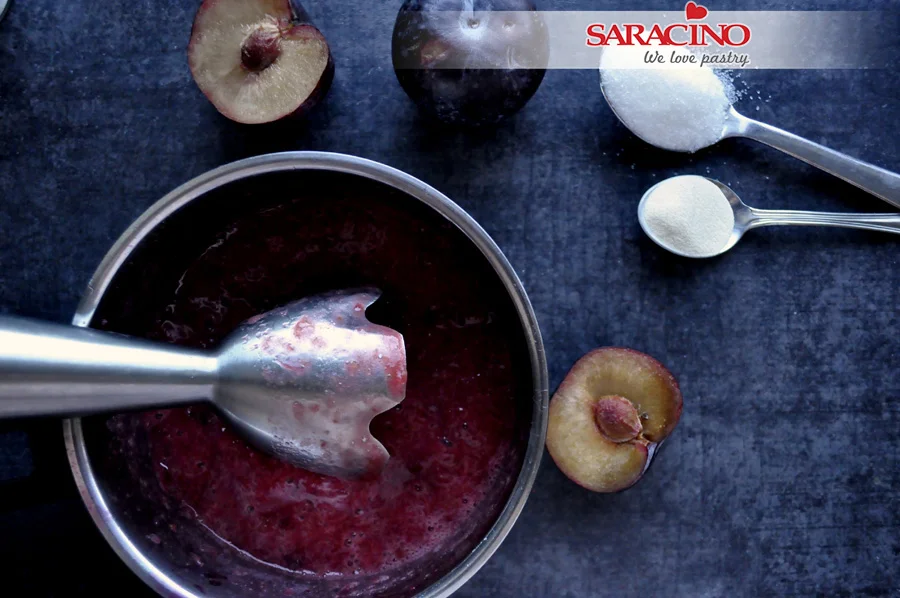
Cook and blend plums until a smooth consistency is achieved. 

Step 4

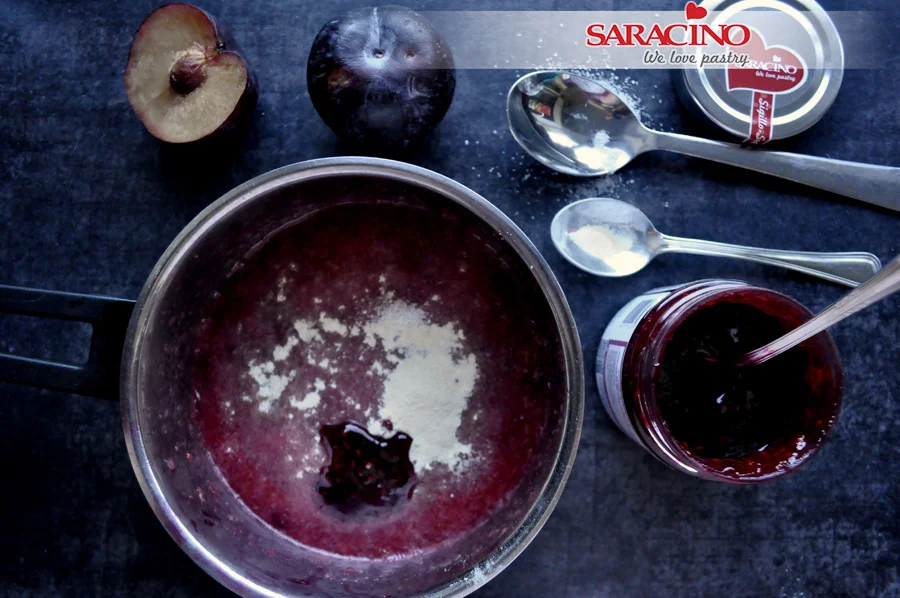
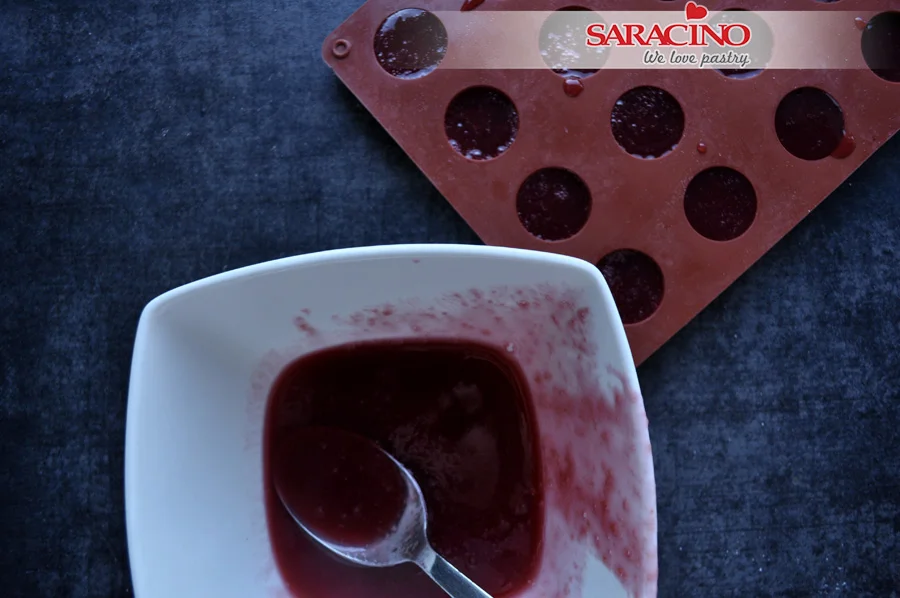
Add a table spoon of sugar, a tea spoon of pectin and a tea spoon of La Supreme vanilla flavouring. Bring to the boil for a few minutes stirring the mixture so it does not burn.  

Step 5

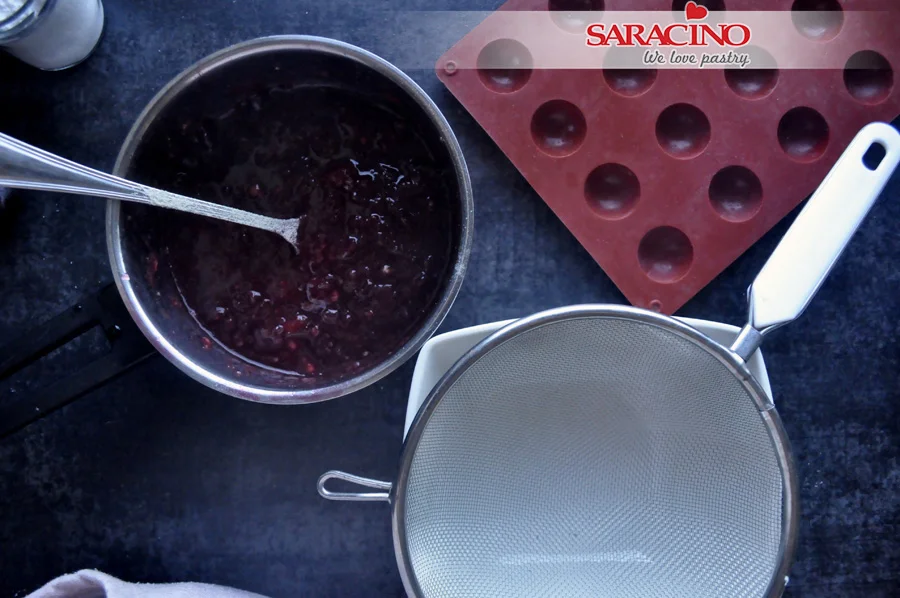
Pass the cooked mixture through the sieve to remove any lumps and plum skin.

Step 6

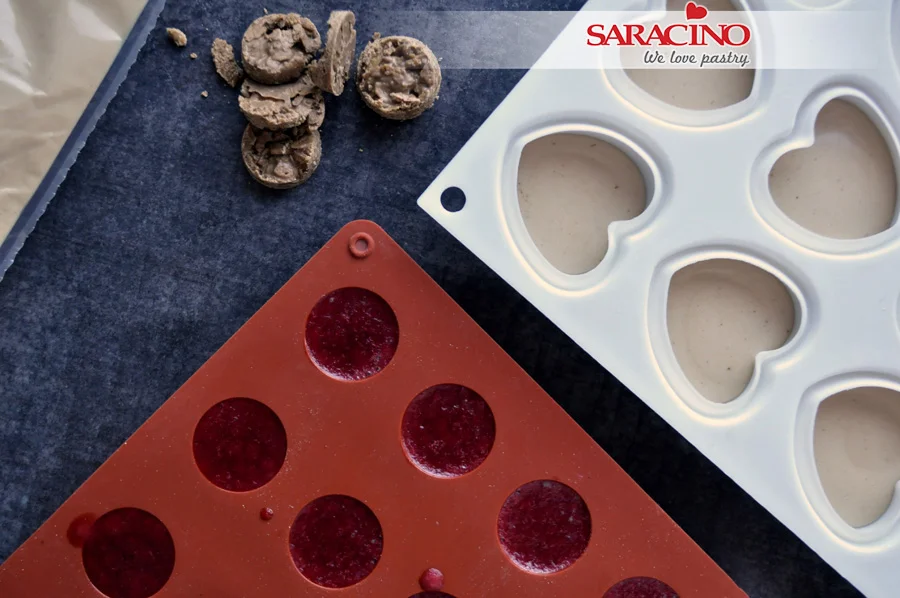
We will be using this mixture for the centre part. Fill the small mould and freeze. 

Step 7

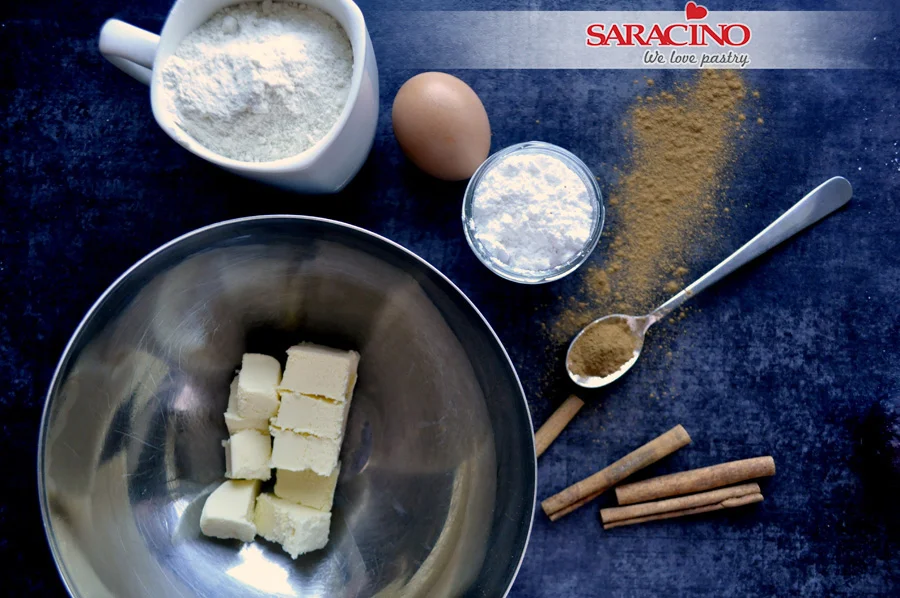
For the cookies (base) prepare 170g plain flour, 20g icing sugar, tea spoon of cinnamon, 1 egg, 100g soft butter. Put the oven on to 190C

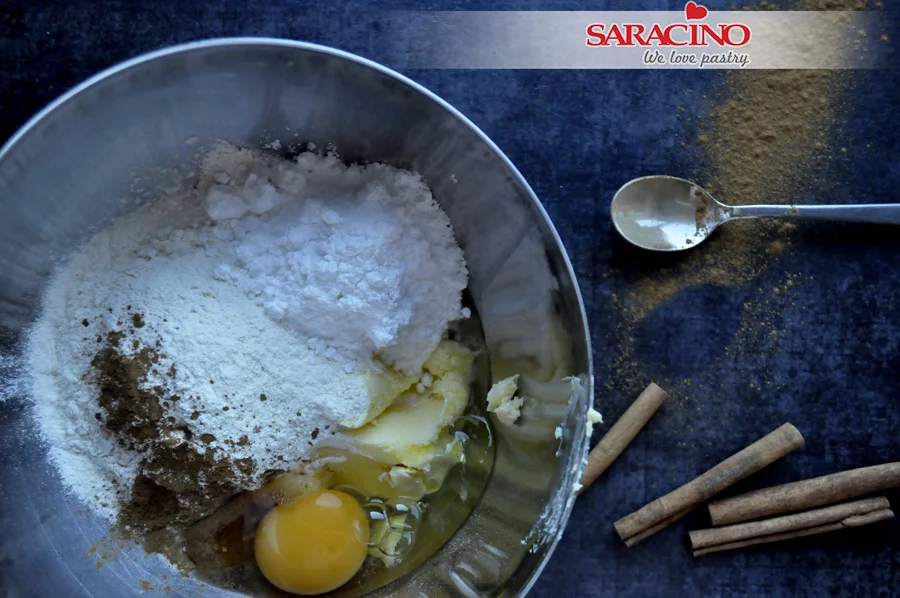
Step 8

Place all the ingredients in the bowl

Step 9

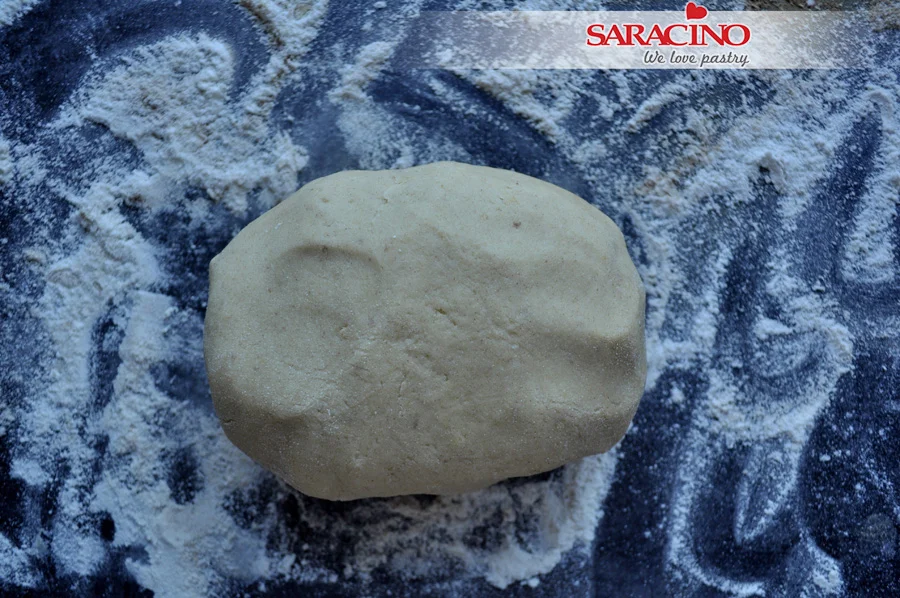
It is important not to over knead mix. The ingredients just need to be combined.

Step 10

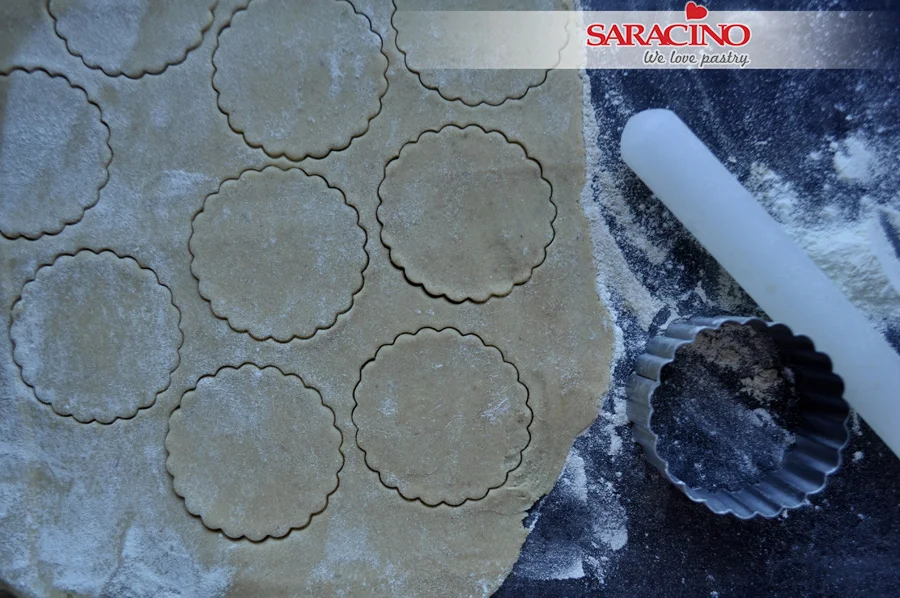
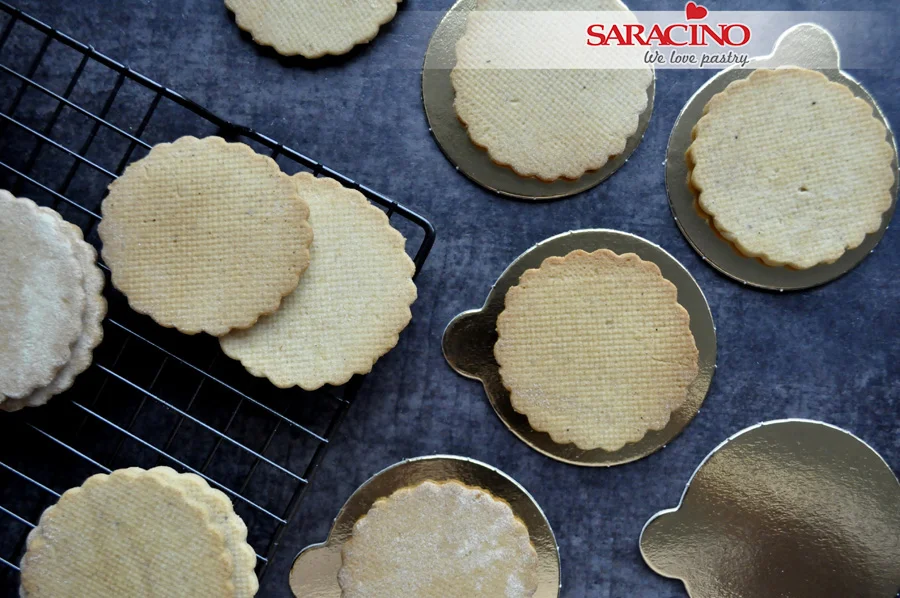
Roll the dough and cut the circles using your cookie cutter

Step 11

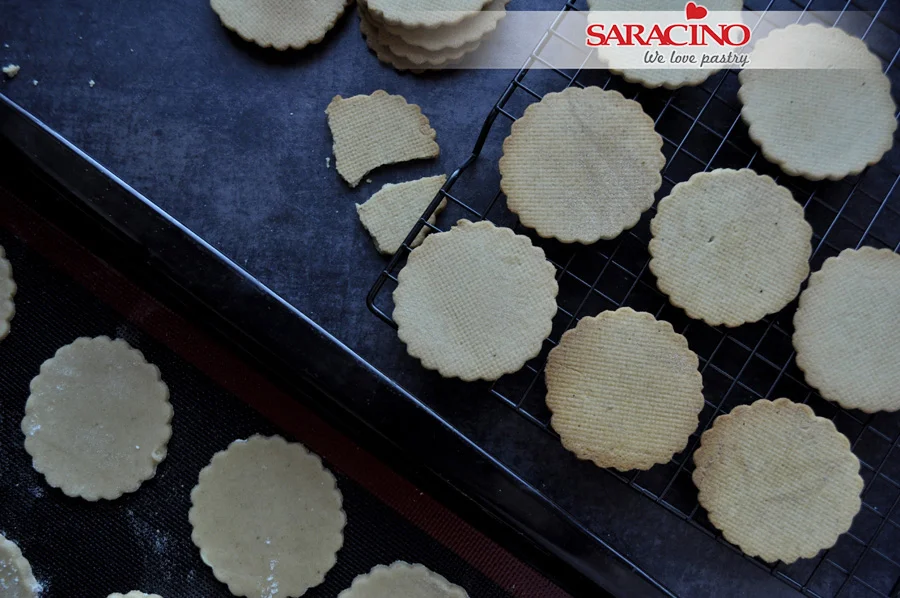
Bake at 190C for about 10-12 minutes until a gold colour is achieved. Cool them on a rack.

Step 12

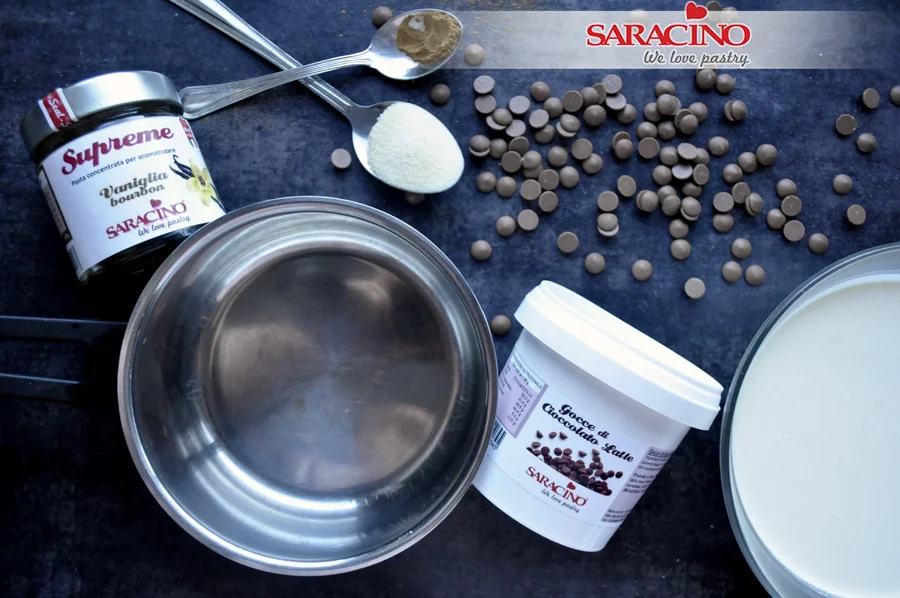
Now to get the ingredients ready to make the mousse. You will need 150g milk chocolate drops, 2 tea spoons of gelatine, 700g double cream, half a tea spoon of cinnamon, Vanilla food flavouring La Supreme. 

Step 13

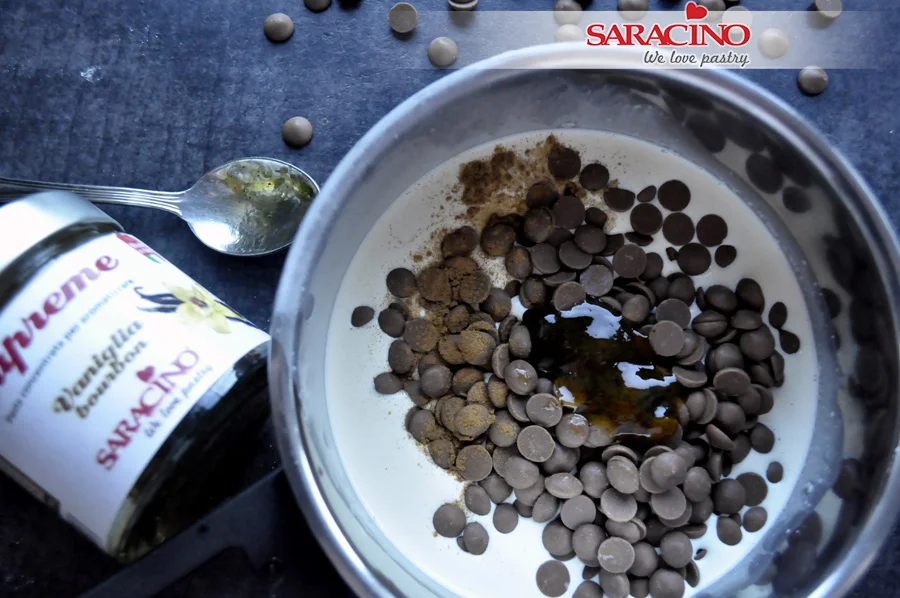
Pour 200g of cream into a pan, add chocolate drops, cinnamon, and a tea spoon of vanilla food flavouring. Heat and stir until the chocolate is fully melted. 

Step 14

Add 2 tea spoons of gelatine to a bowl and add 2 table spoons of cold water. 

Step 15

Add the melted gelatine to the pan with the chocolate. Stir and let it cool down. 

Step 16

For the base of our mousse prepare 150g of milk chocolate drops and 20g of cornflakes 

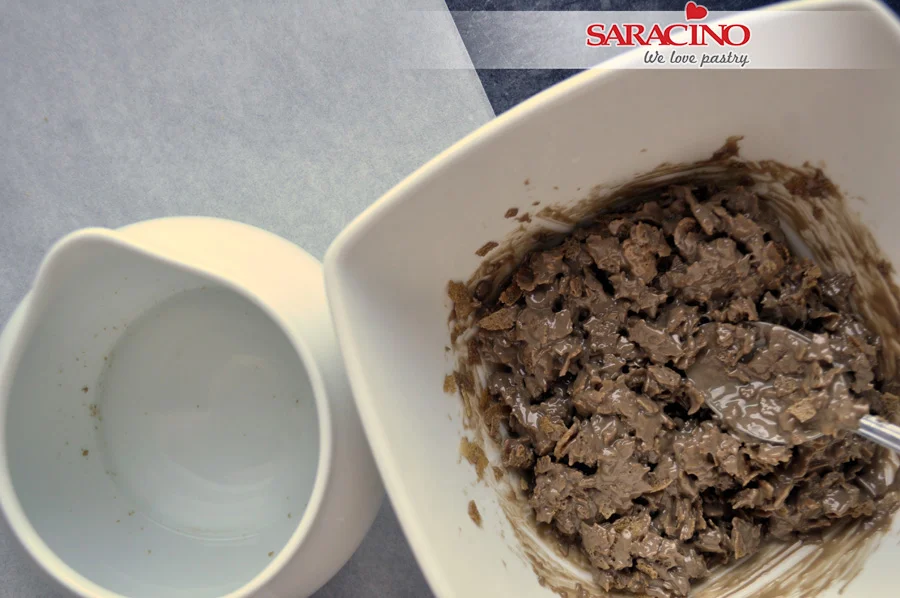
Step 17

Melt the chocolate in the microwave or over a water bath and allow to cool down. 

Step 18

Add cornflakes and stir quickly. 

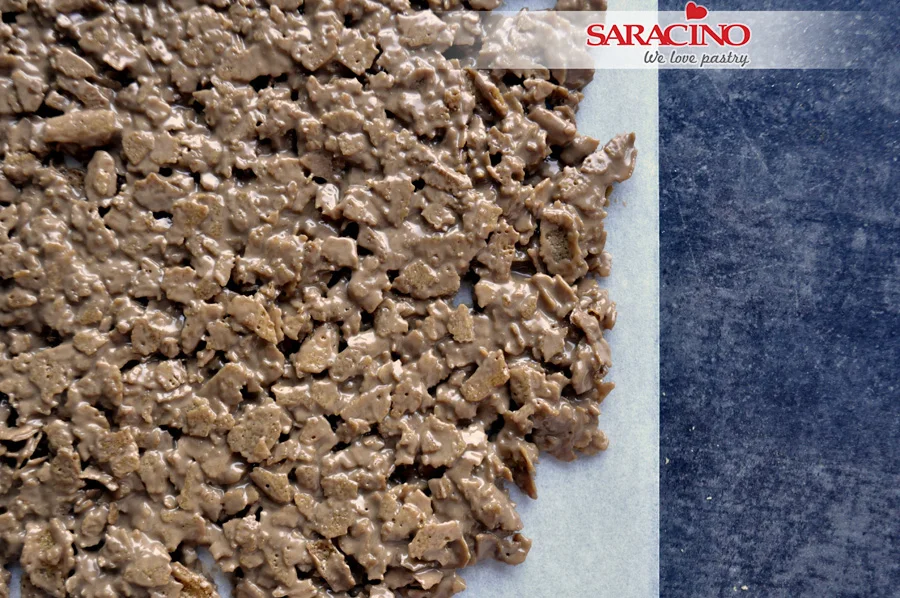
Step 19

Pour the mixture on to a sheet of baking paper, flatten and put into the fridge. 

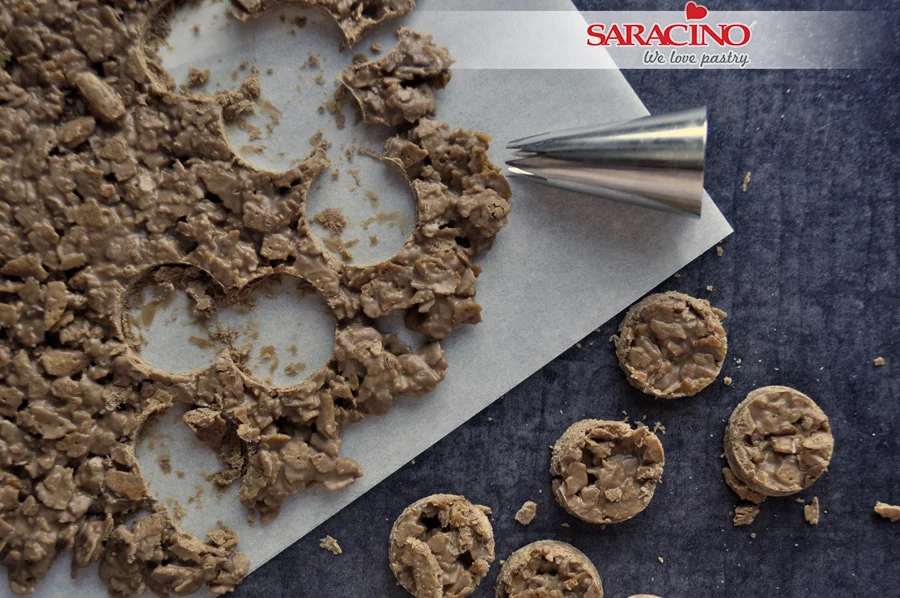
Step 20

Allow to set and then remove from the fridge to cut circle bases. You want the base to be slightly smaller than plum mixture circle. 

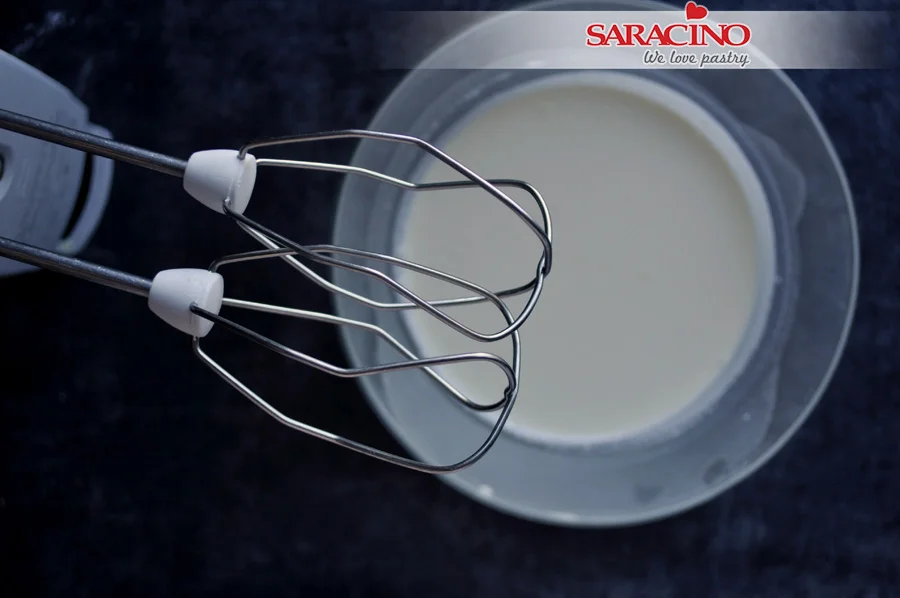
Step 21

For the mousse pour 500g of double cream into a bowl and mix until it has thickened.

Step 22

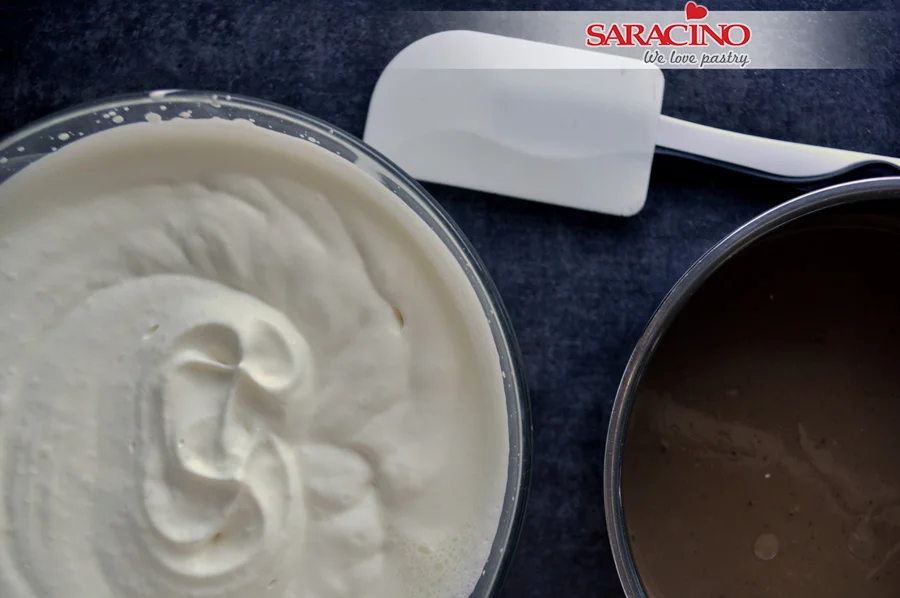
Get the chocolate and spatula ready 

Step 23

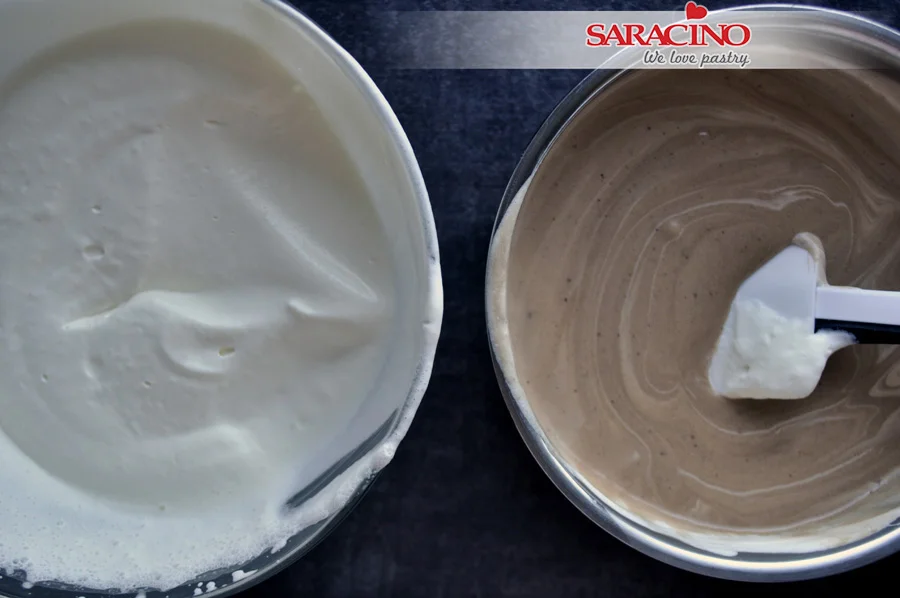
Add half of the cream into your chocolate and using your spatula stir. 

Step 24

Add the other half of the mixture and stir

Step 25

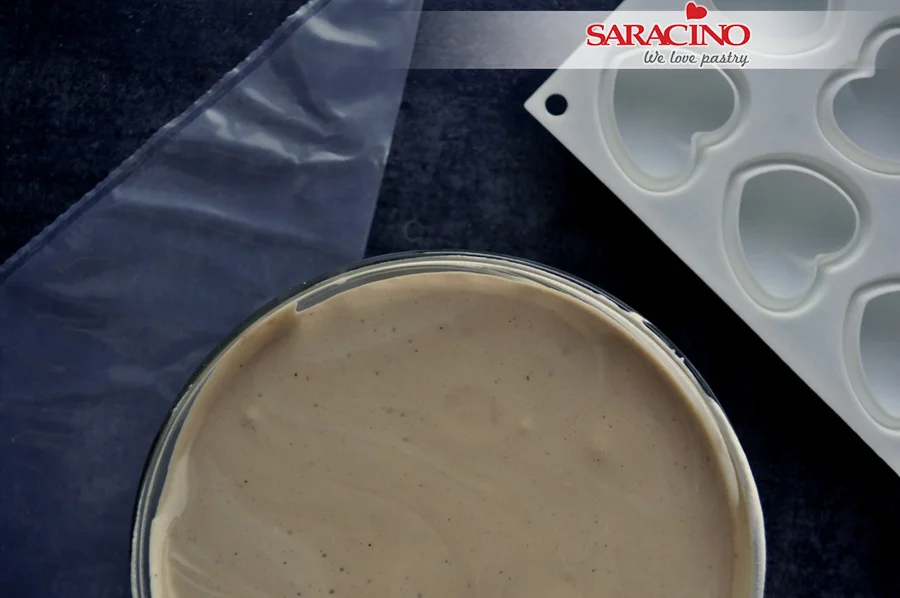
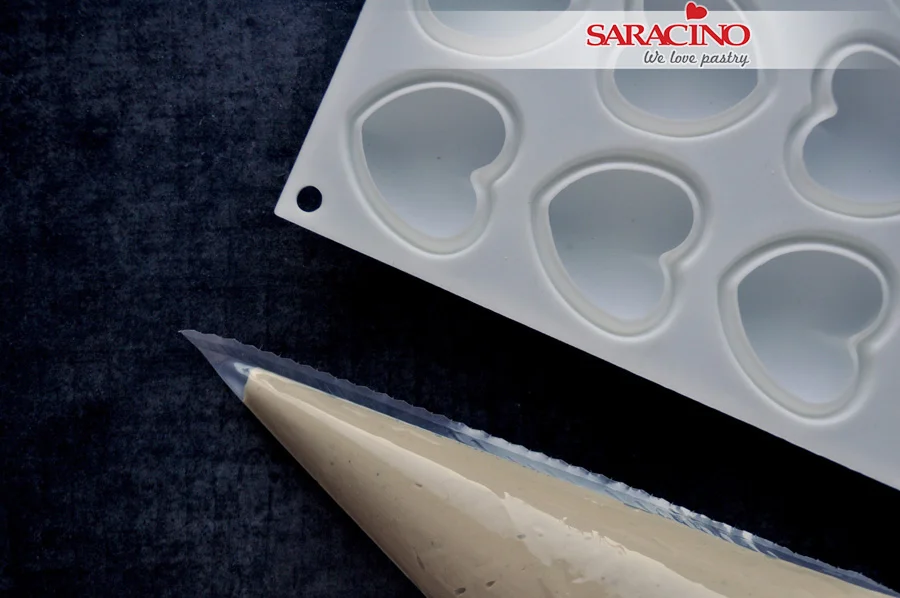
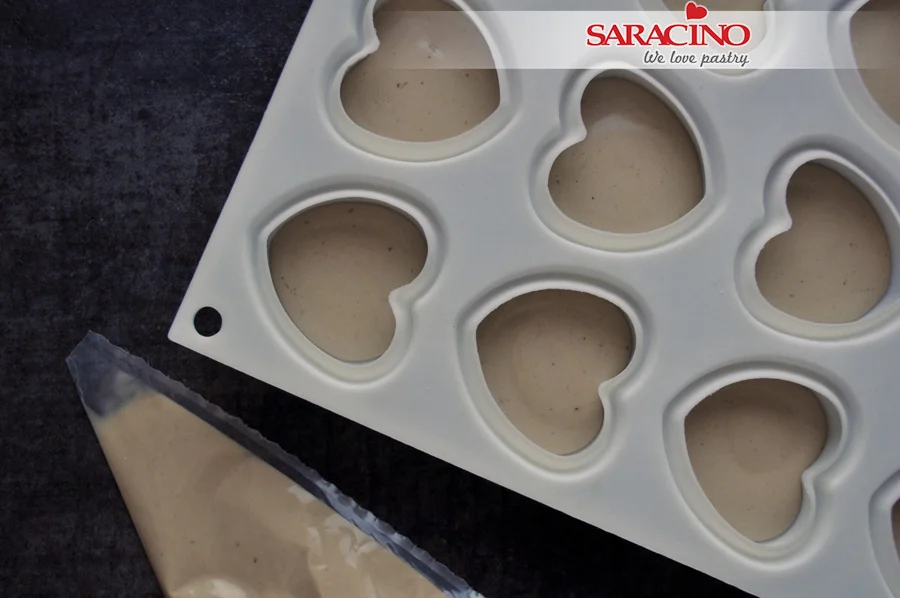
Pour the mixture into the piping bag

Step 26

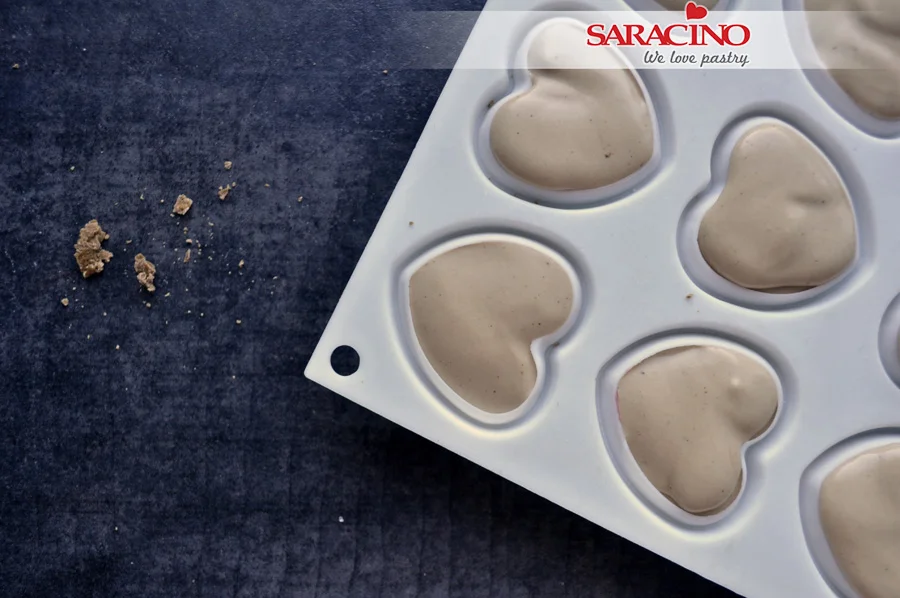
Add to the heart shaped moulds up to two thirds height in the mould. 

Step 27

Remove your frozen plum mixture and get the crunchy bases ready. 

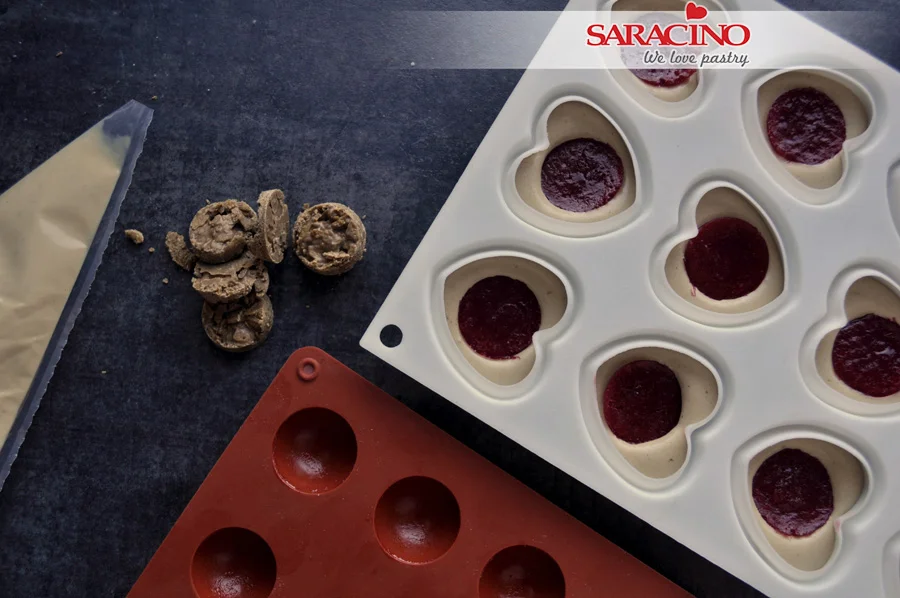
Step 28

Add the frozen plum mixture to the mousse. 

Step 29

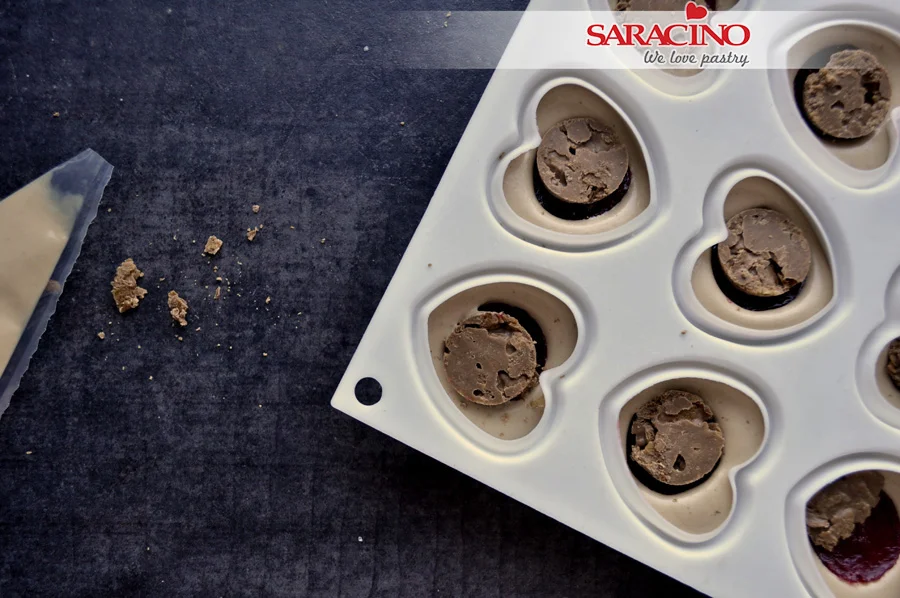
Add the crunchy base over the plum mixture and gently press. 

Step 30

Pipe more mousse mixture to fill each mould. Place in the freezer.

Step 31

Place your cookies on the mini cake boards. You can add a bit of jam at the bottom to stop them moving. 

Step 32

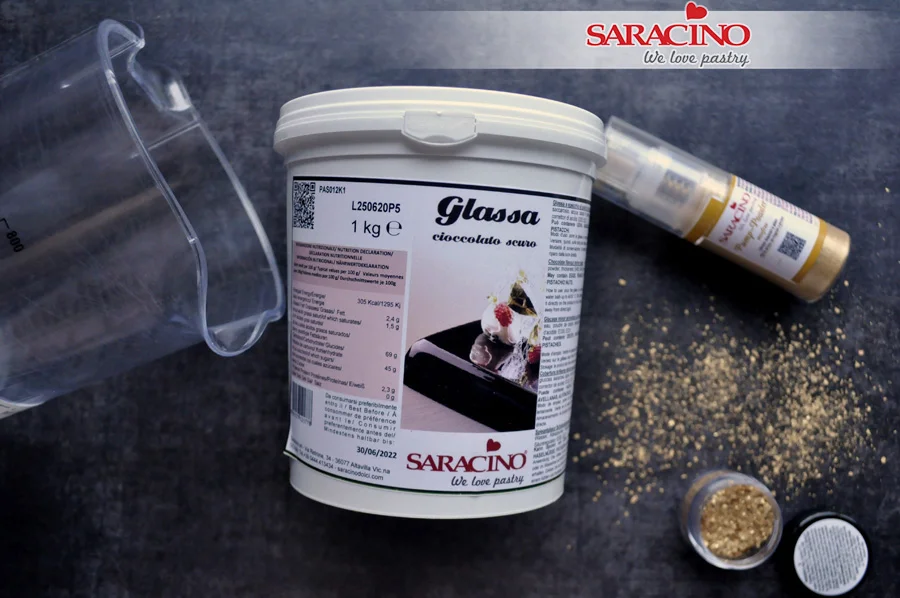
Prepare your mirror glaze, gold pump spray and glitter.

Step 33

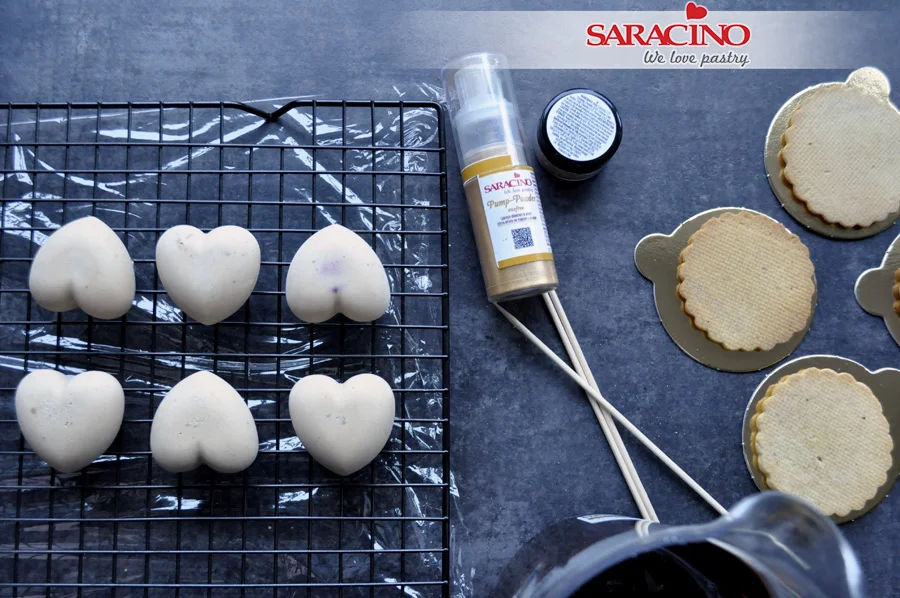
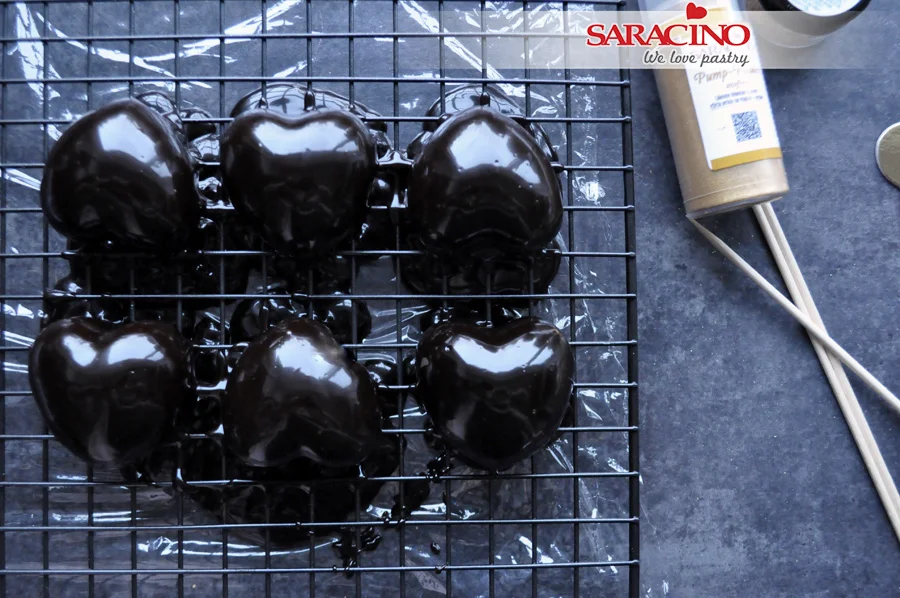
Place a sheet of foil on your table and position your cooling rack over. Place the frozen hearts on the rack. 

Step 34

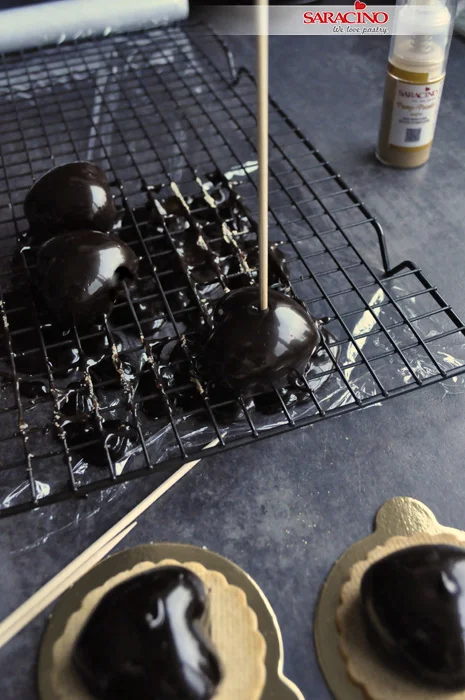
Heat the mirror glaze to a temperature of 40C. Heating slowly. Pour heated mirror glaze over each heart making sure they are fully covered. 

Step 35

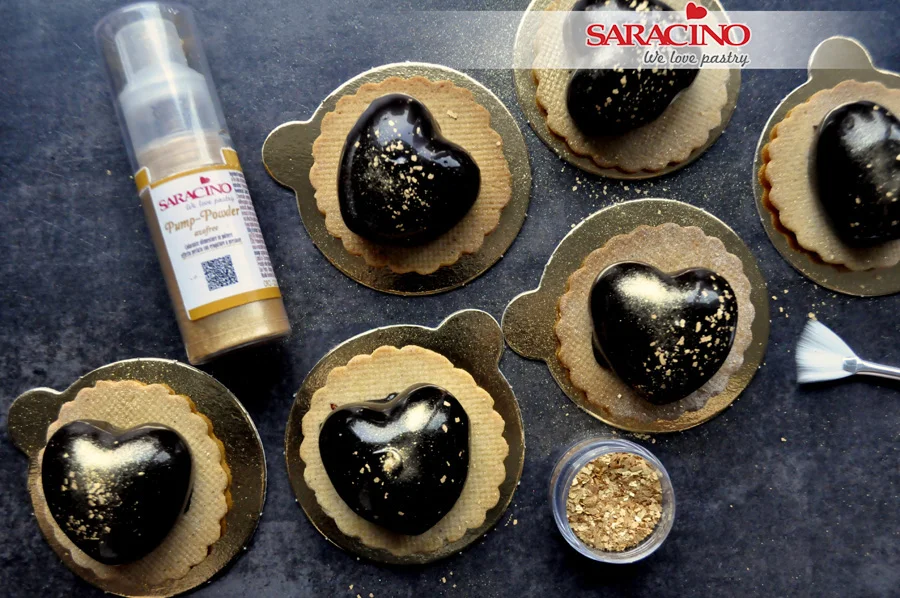
Using your wood skewer keep moving the hearts over the rack to remove any excess mirror glaze. Then place each heart on a cookie. 

Step 36

Decorate using Saracino gold pump spray and gold glitter  

CHRISTMAS SURPRISE  BOX

CHRISTMAS SURPRISE BOX

Skill level: BEGINNERS

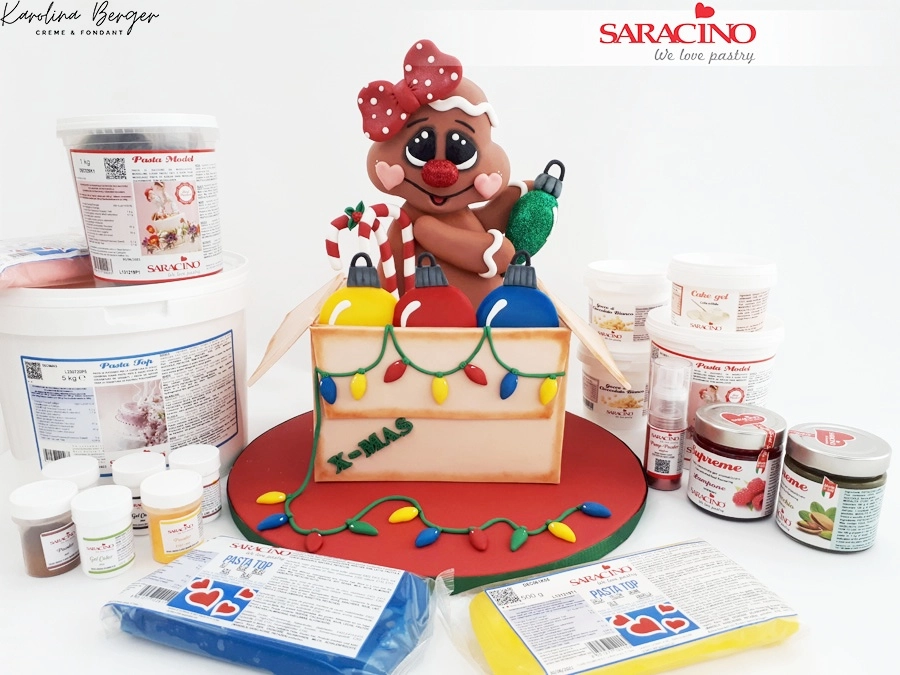
You will need:

  • Cake or dummy 20x20cm

  • Saracino white chocolate drops 

  • Cream for ganache
  • Saracino white Pasta Top (sugarpaste/fondant for cake covering)

  • Saracino CMC

  • Saracino Cake Gel Glue

  • Saracino concentrated colour gel green, red, brown, yellow and black

  • Saracino Push pump glitter dust red

  • Saracino powder food colouring brown,pink and yelow

  • Cake drum

  • Soft brushes

  • Cocktail sticks

  • Modelling tools

  • Ruler

  • Fondant knife

  • Set of round cutters

  • Smoother

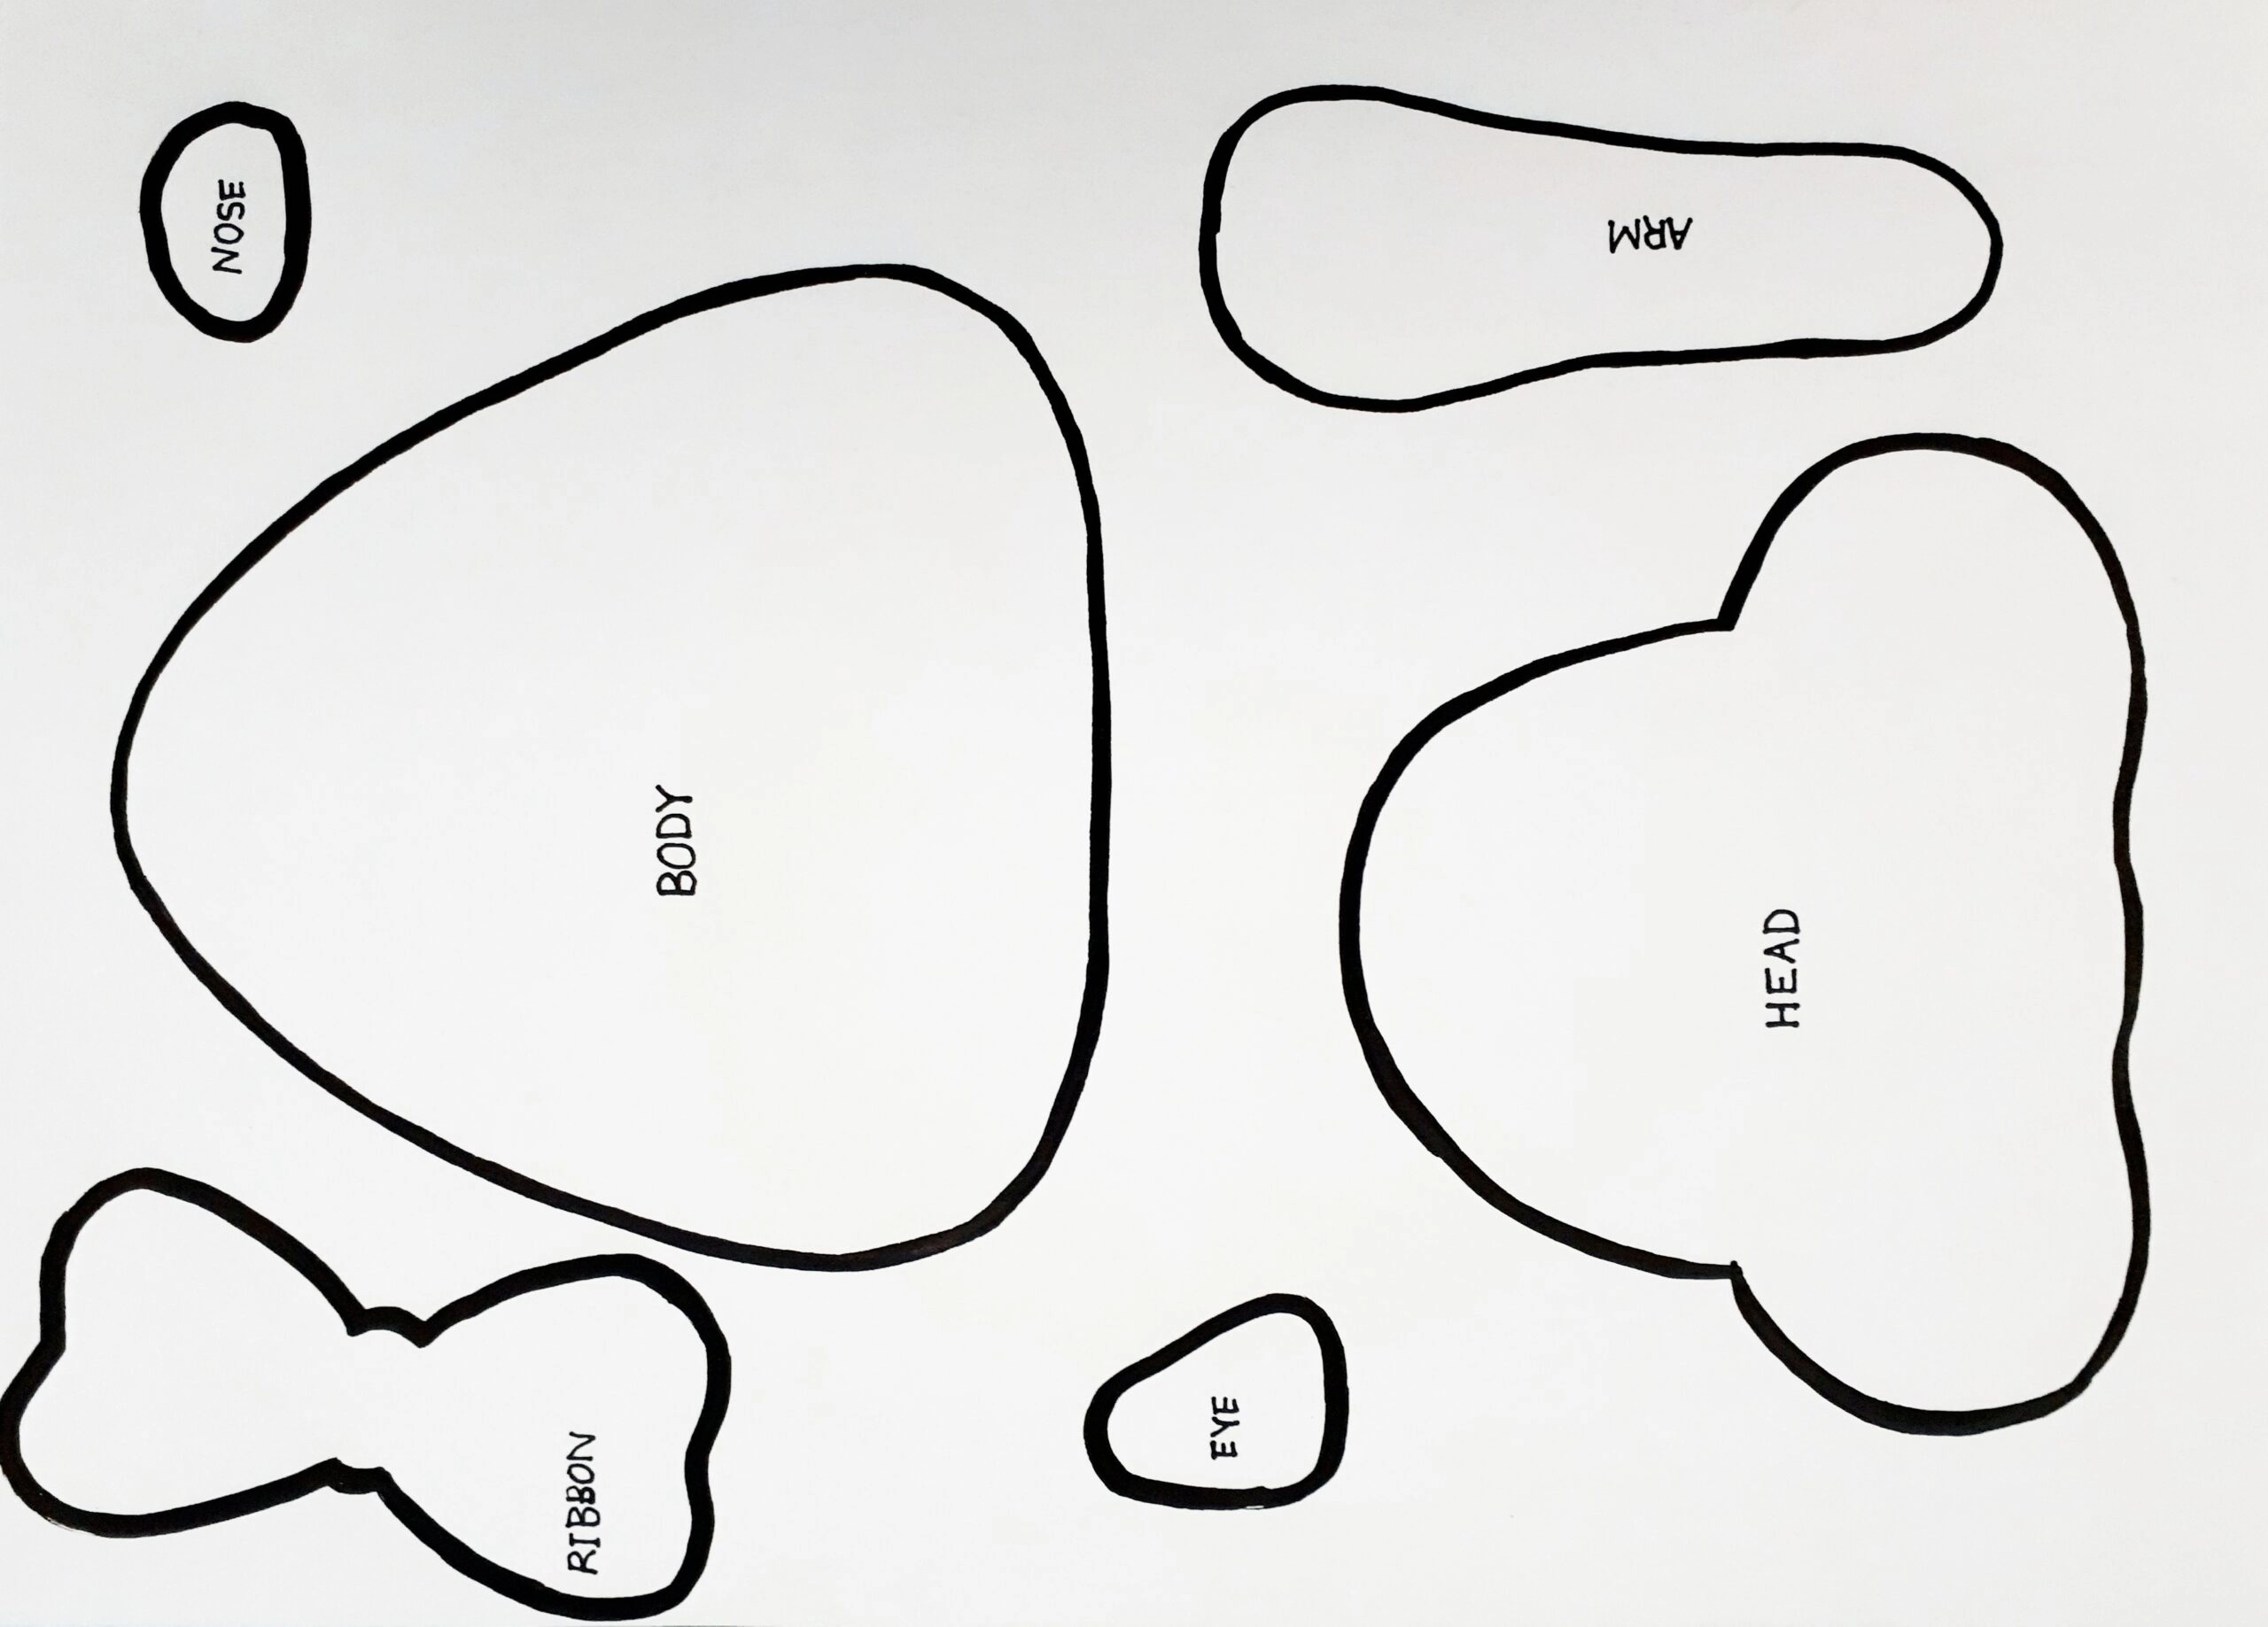
  • To download the template click on the picture below

Step 1

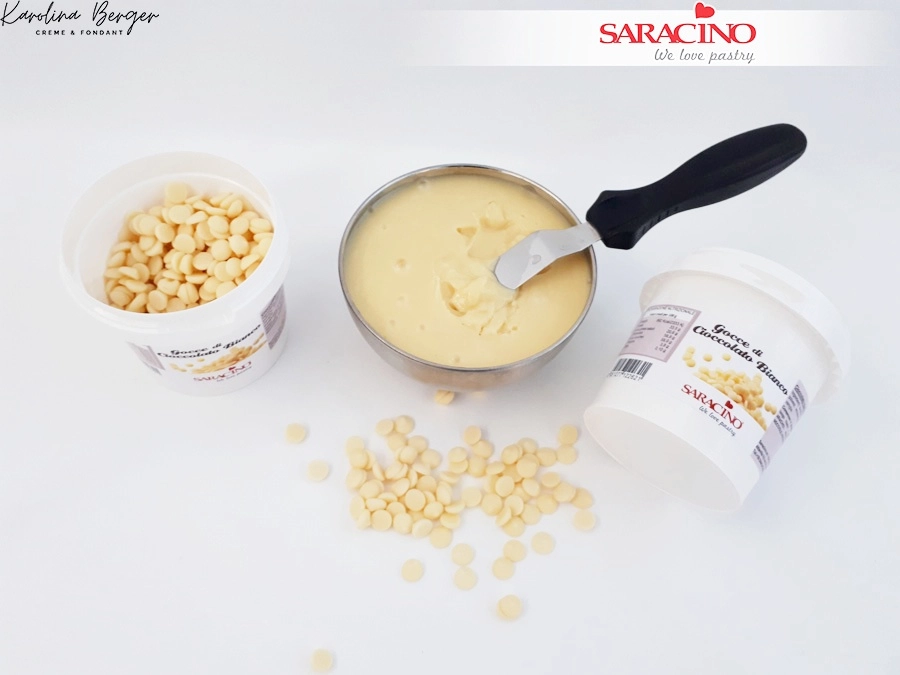
Cover cake with ganache made using Saracino white chocolate drops and cream


Step 2

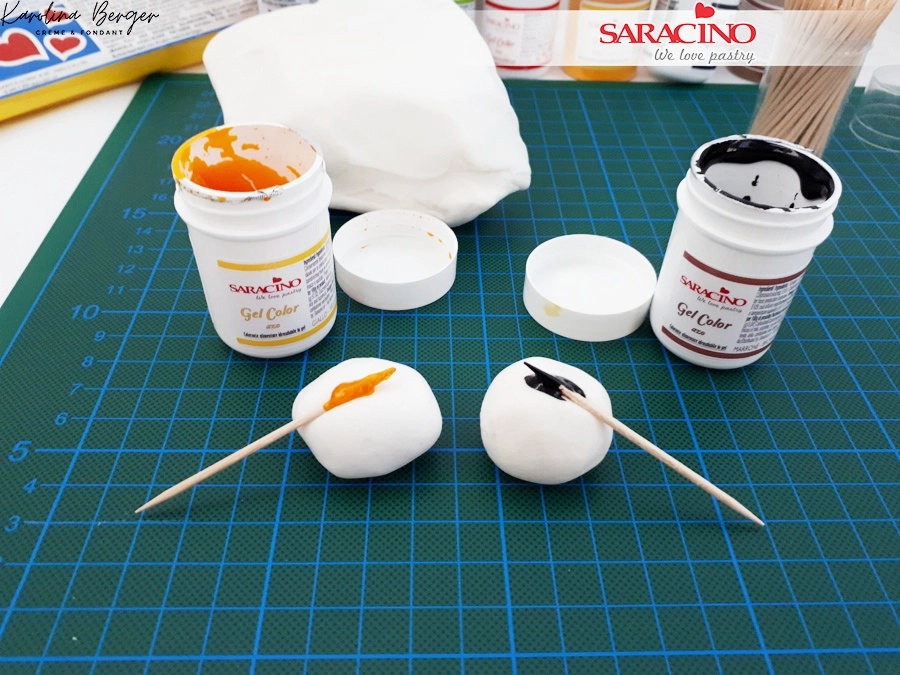
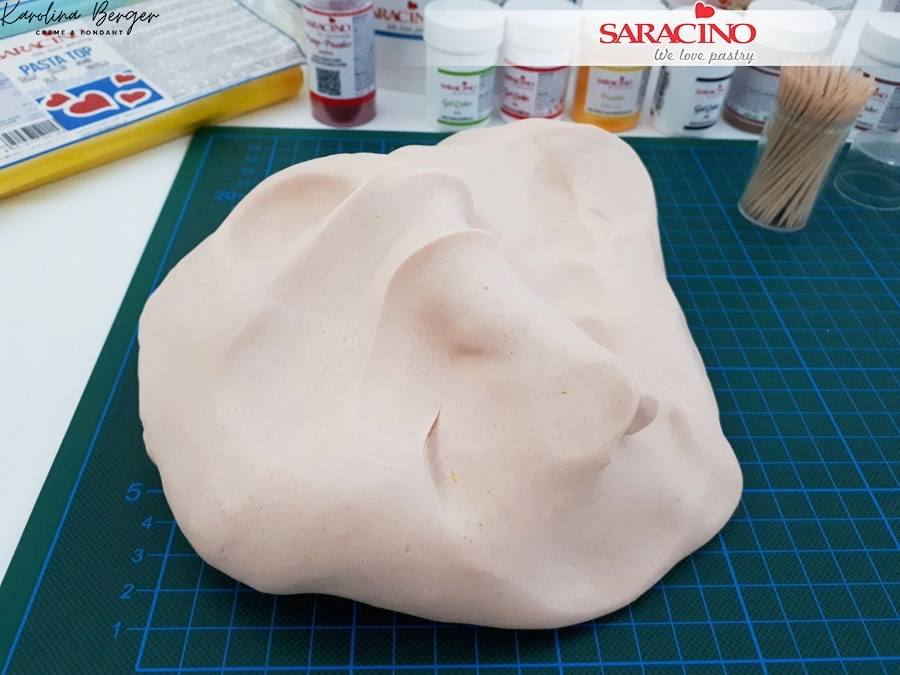
To achieve the colour we need for the cake covering mix Pasta Top sugarpaste with yellow and brown gel colour. 

Step 3

Keep adding the yellow and brown gel colours to achieve beige colour. Always start with a small amount of gel colour. It easy to add more if you need but more difficult to take off 

Step 4

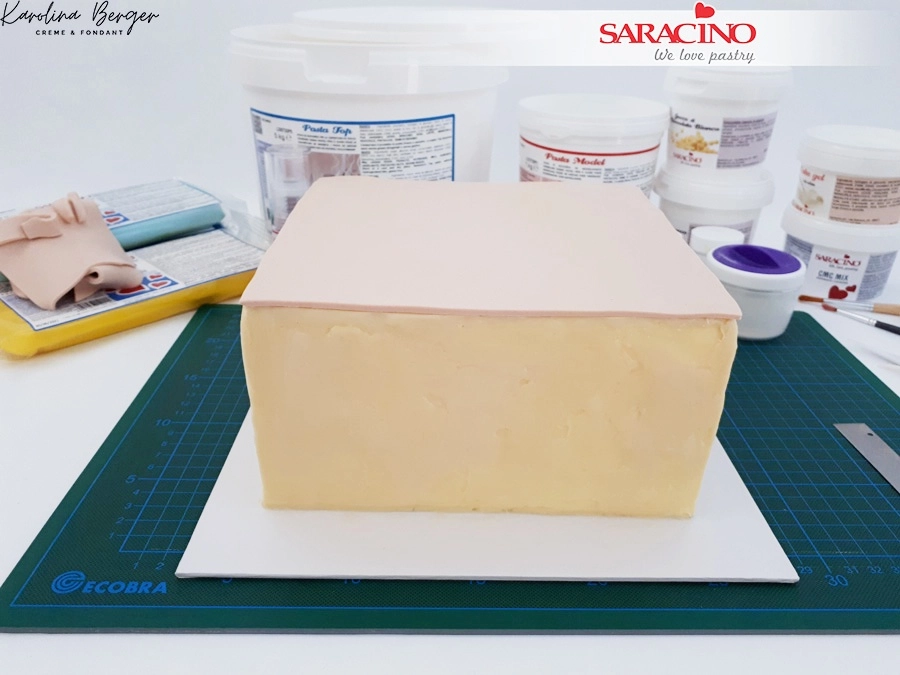
To cover the top of the cake roll out Pasta Top sugarpaste/fondant and cut out a square the same size as your cake. Place on top of the cake.

Step 5

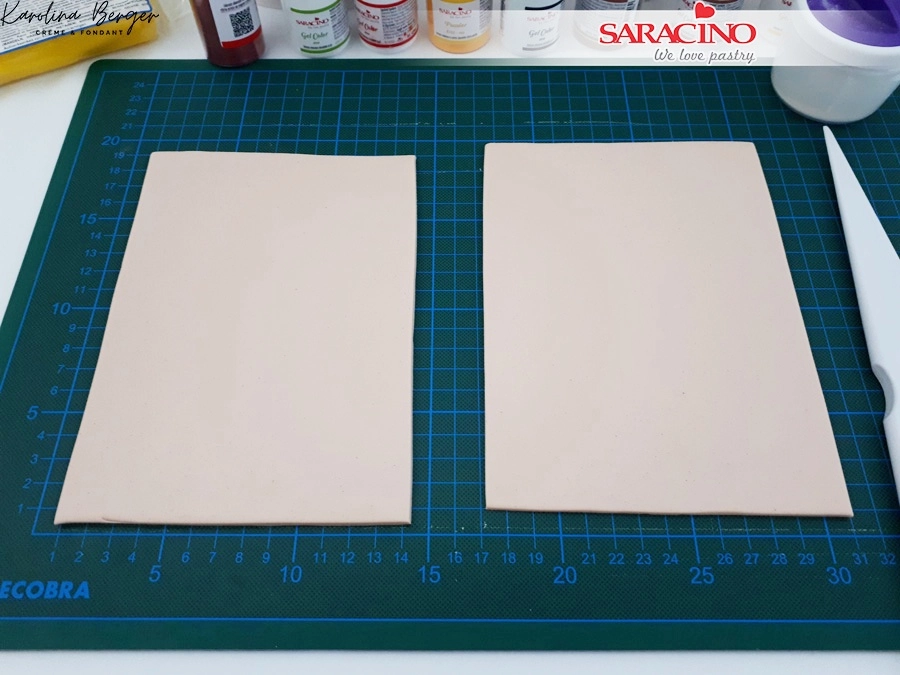
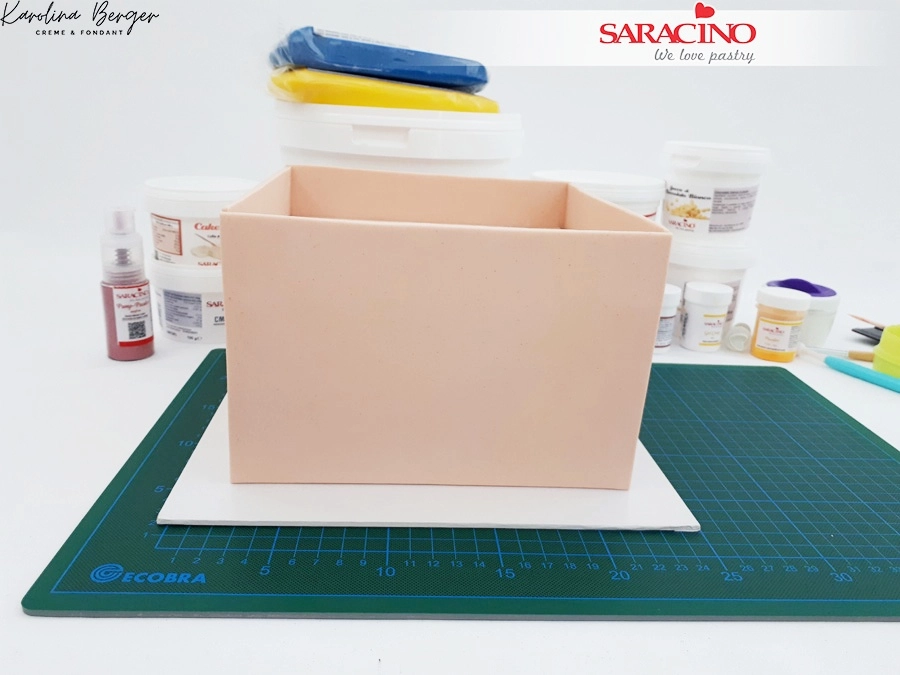
For the sides of the cake roll out Pasta Top sugarpaste and cut out 4 pieces to the size needed for your sides. You will need to make each side higher than your cake to form an open box look.

Step 6

Cover each side with sugarpaste. 

Step 7

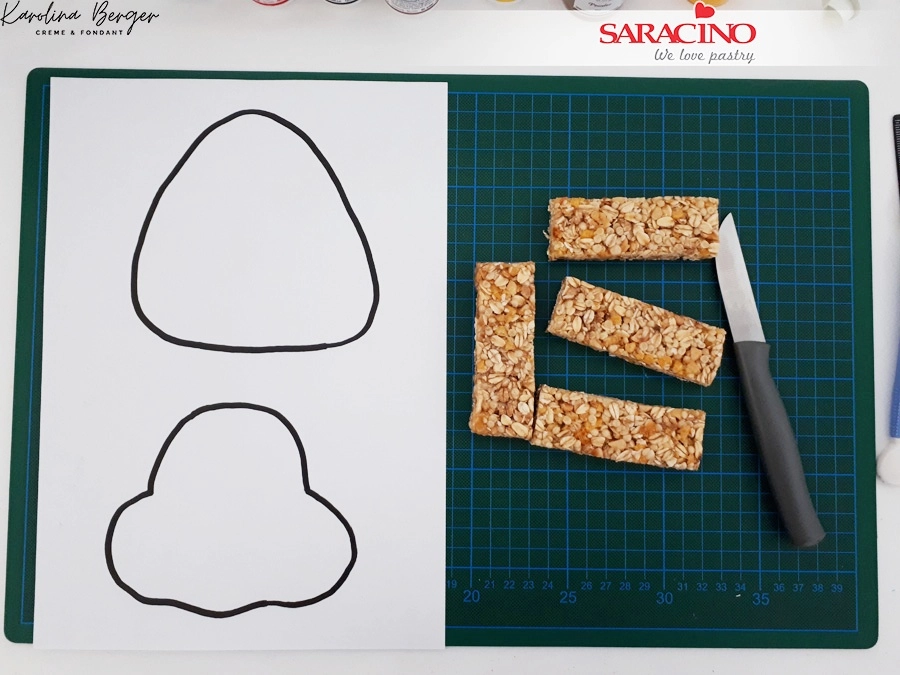
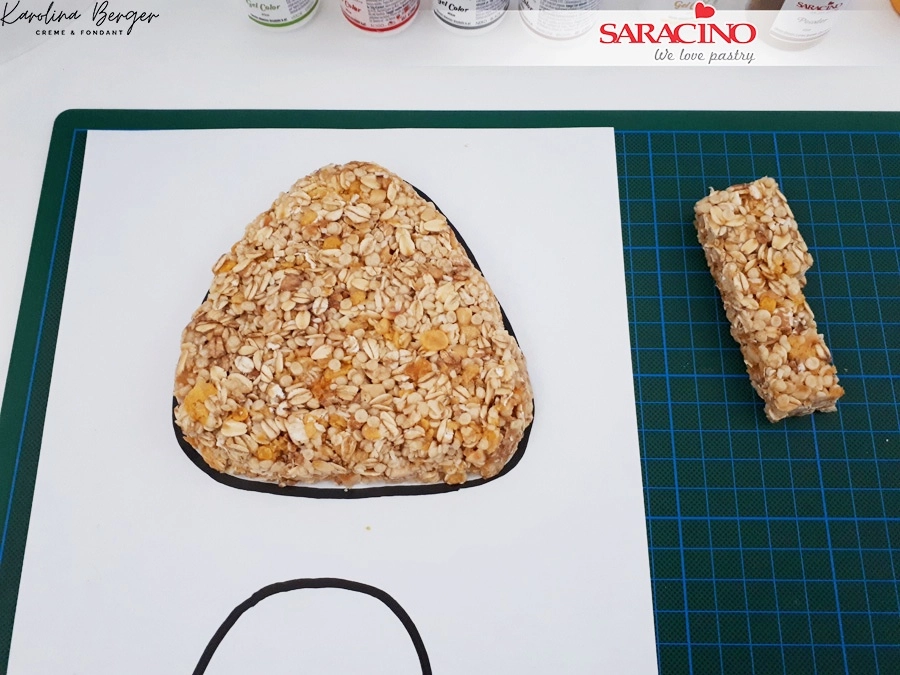
Using muesli or rice krispies melt in the microwave with marshmallow to make a modelling material. Careful not to put the marshmallow in the microwave for too long as it will burn easily. Print off your template.

Step 8

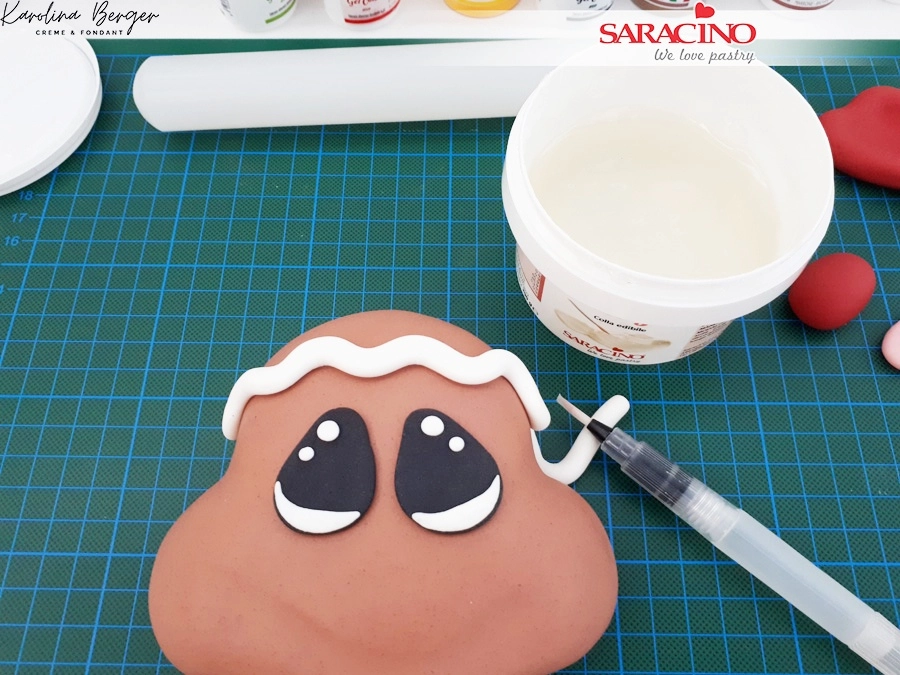
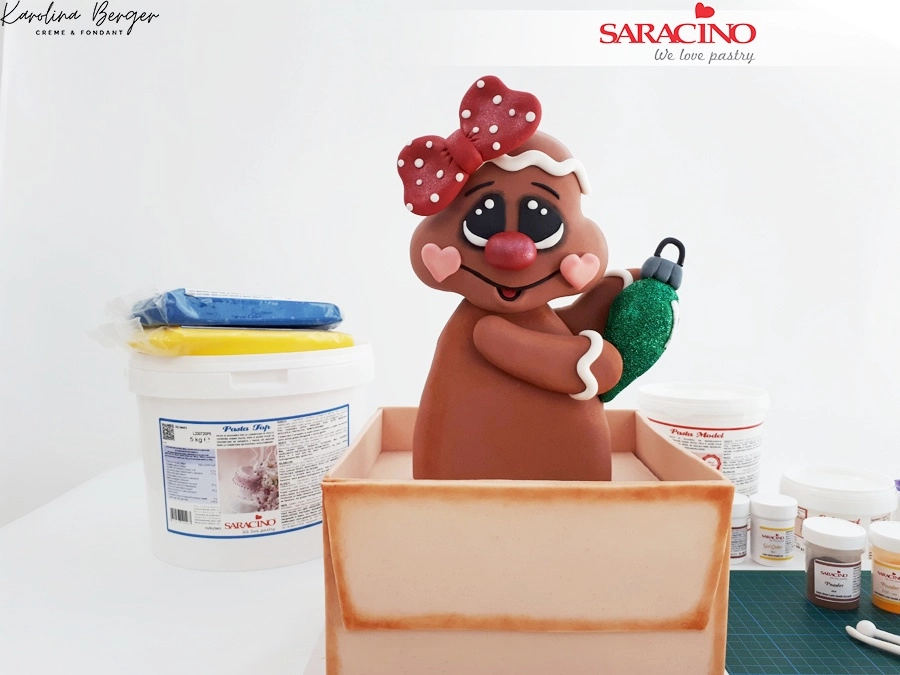
Using the template form the body of the gingerbread man 

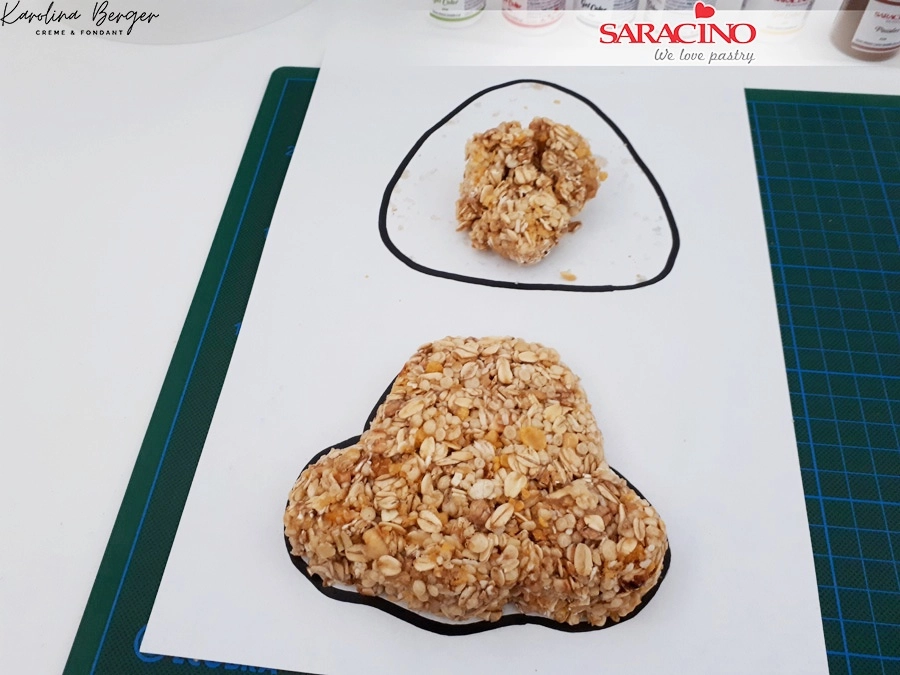
Step 9

Follow the same steps to form the head

Step 10

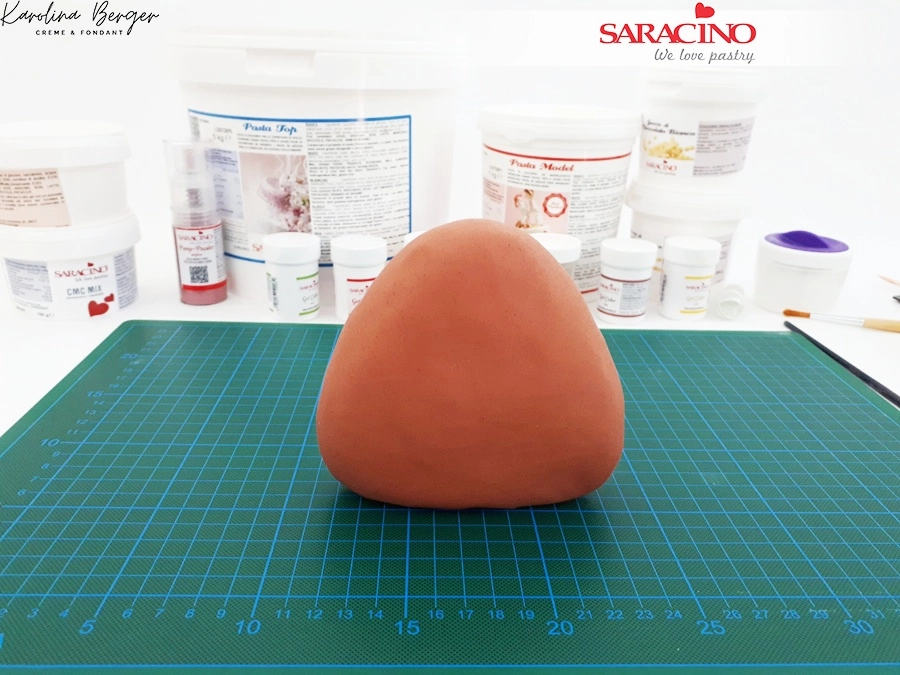
Ganache the body and head. Colour the sugarpaste with brown and roll it thinly. Cover the body.

Step 11

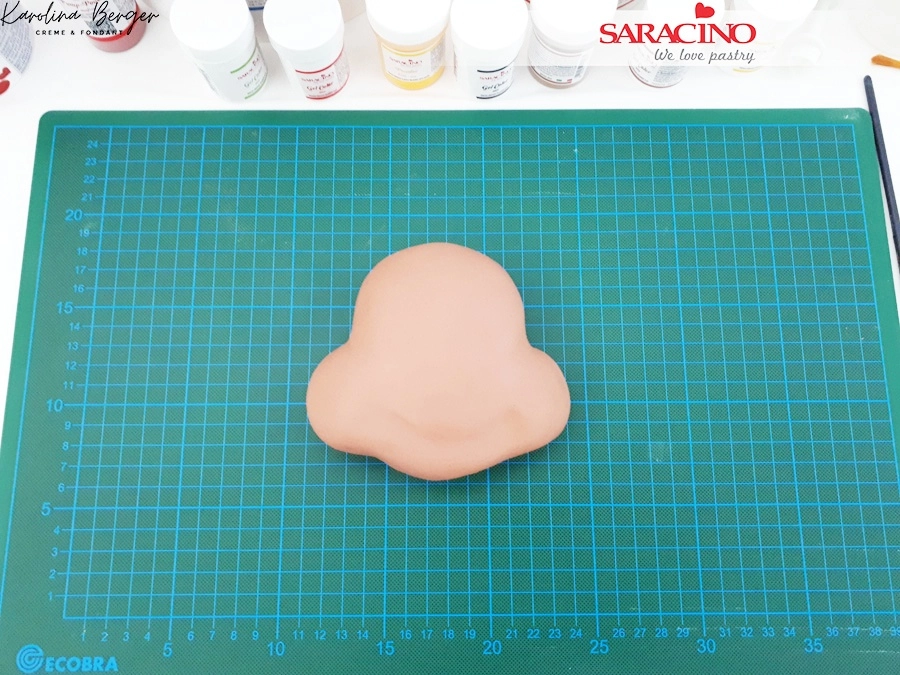
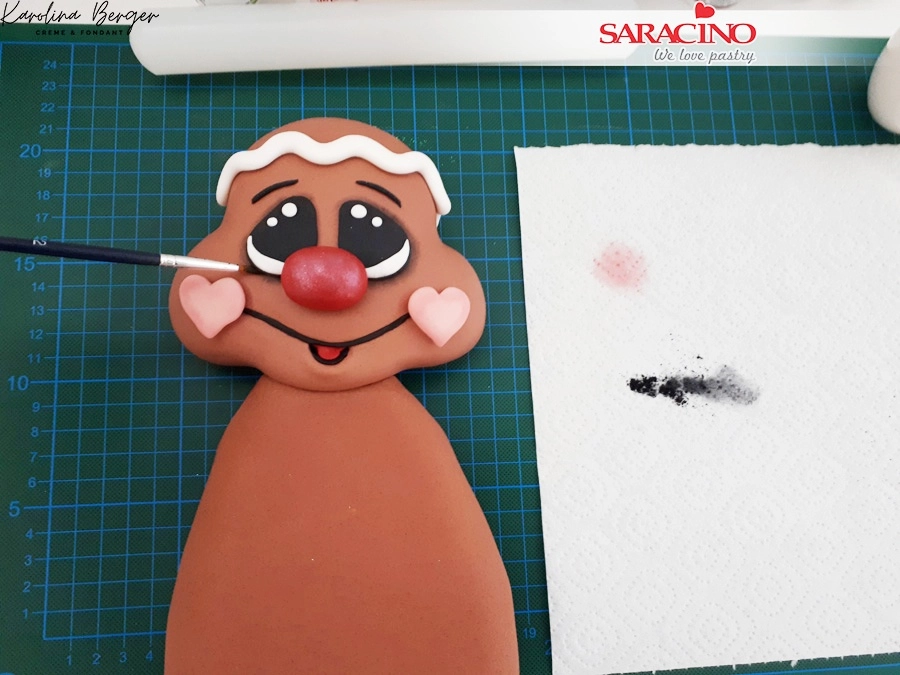
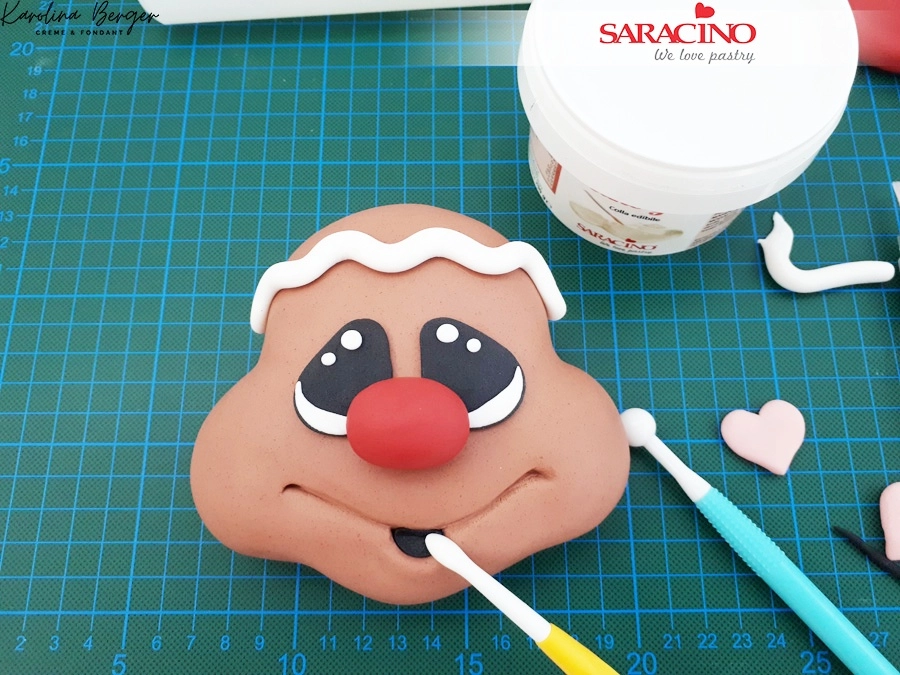
Cover the head with the same brown paste. It may look lighter in this picture but that is just due to camera and lighting angles. Using your modelling tools form the smiling mouth.

Step 12

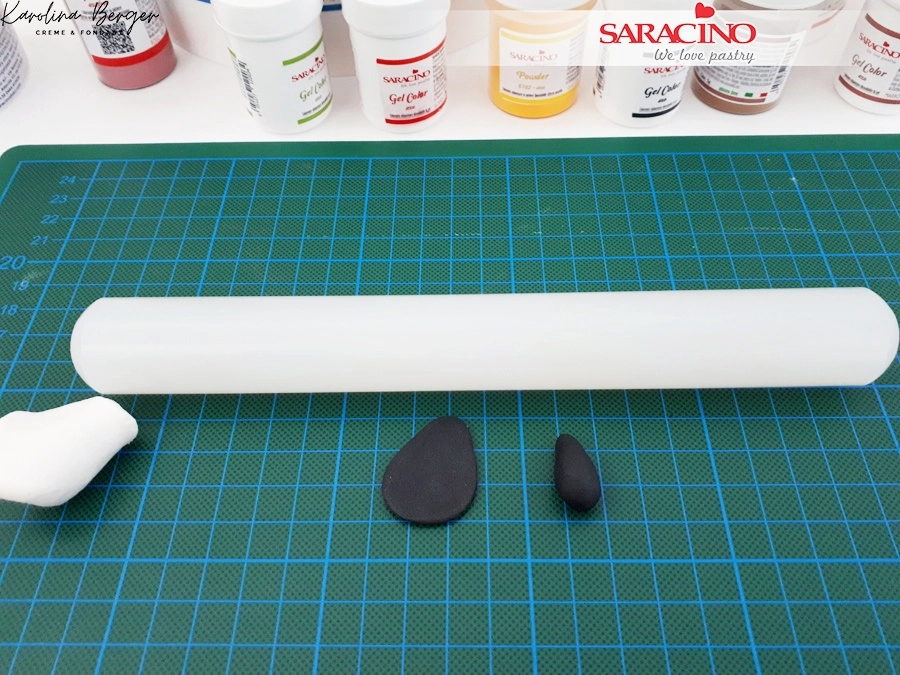
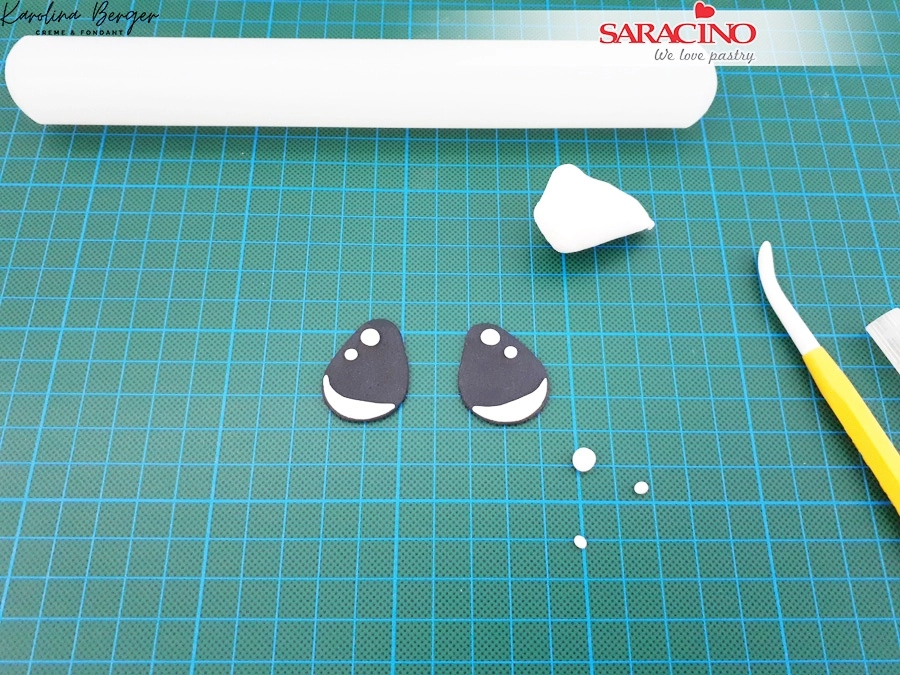
For eyes shape black sugarpaste into teardrop shapes. Roll them to achieve the shape on your printed template. 

Step 13

Using white sugarpaste add a bit of effect as shown.

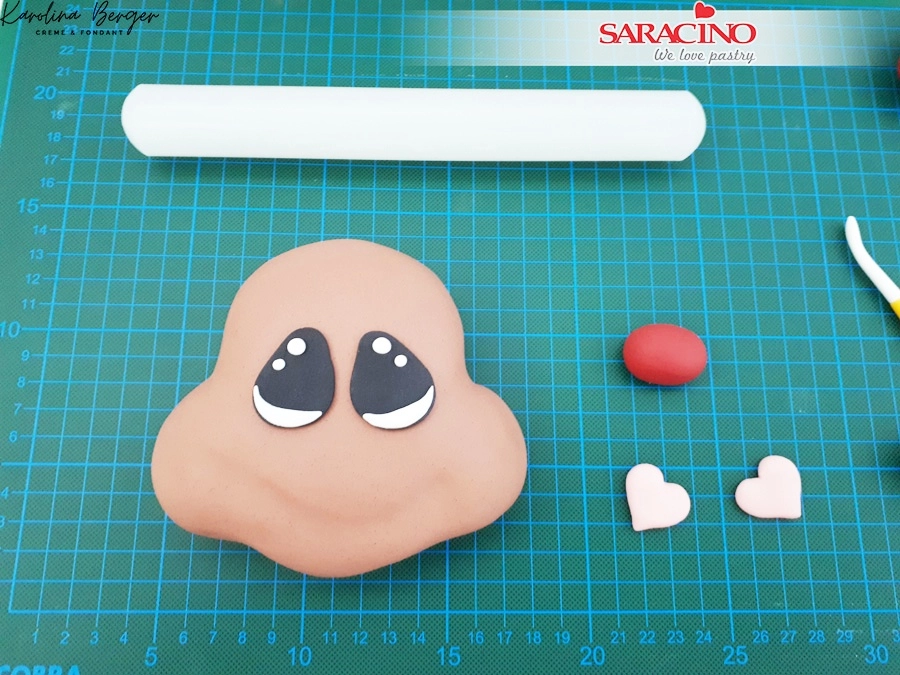
Step 14

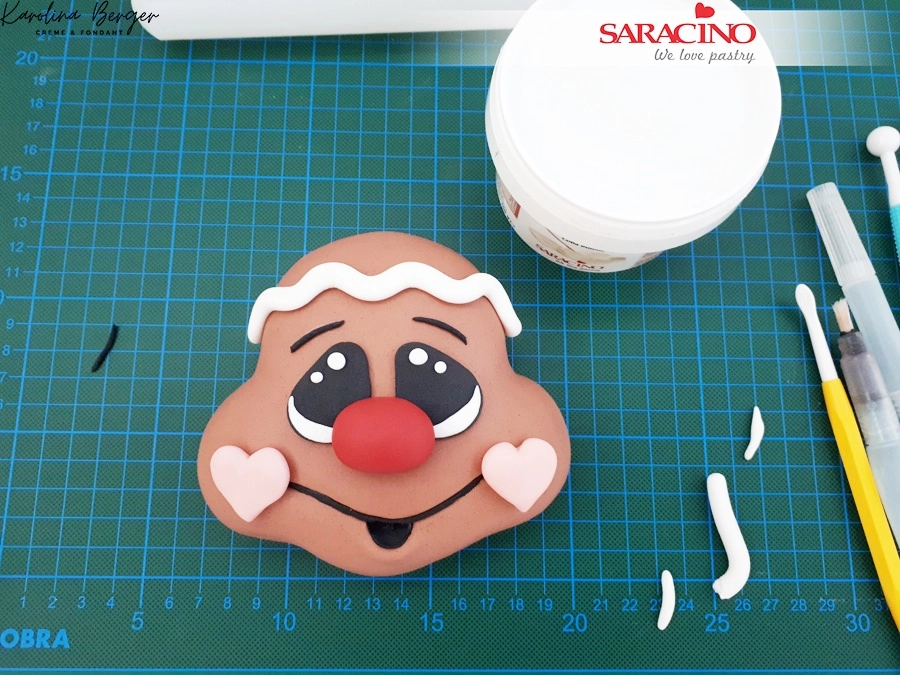
Fix eyes to the face. Make a nose using red fondant. For the cheeks shape two hearts using pink fondant.

Step 15

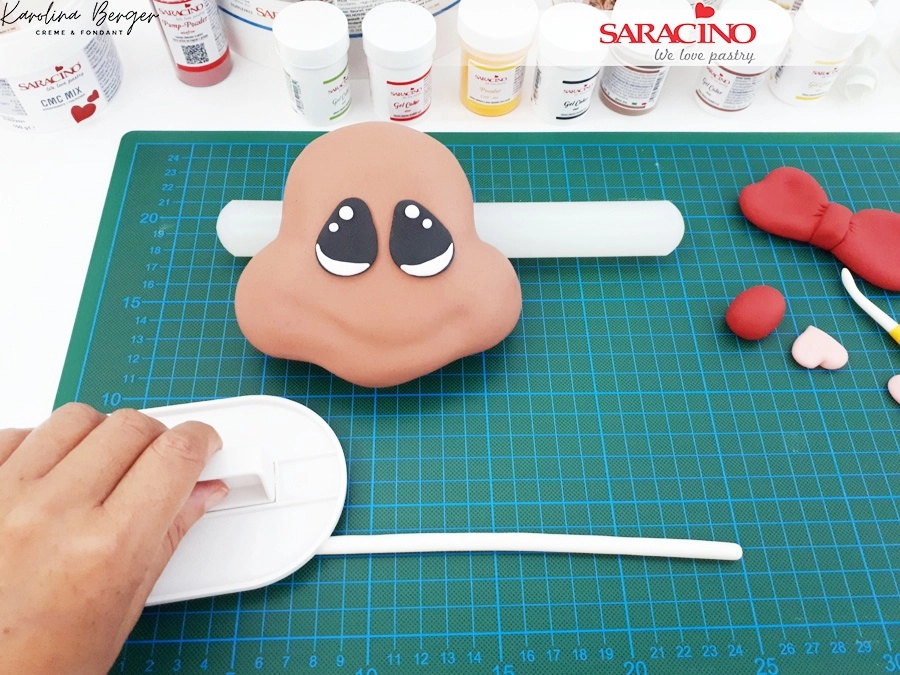
Using a cake smoother roll out a thin sausage with white sugarpaste

Step 16

Attach it to the top of the head creating a wave of snow

Step 17

Using your modelling tools create a deeper smile. Fix the black tongue. Position your nose on the face to see if it the correct proportion. Do not fix yet!

Step 18

Roll out black to a thin sausage shape and insert to define the mouth and eyebrows. Fix the cheeks.

Step 19

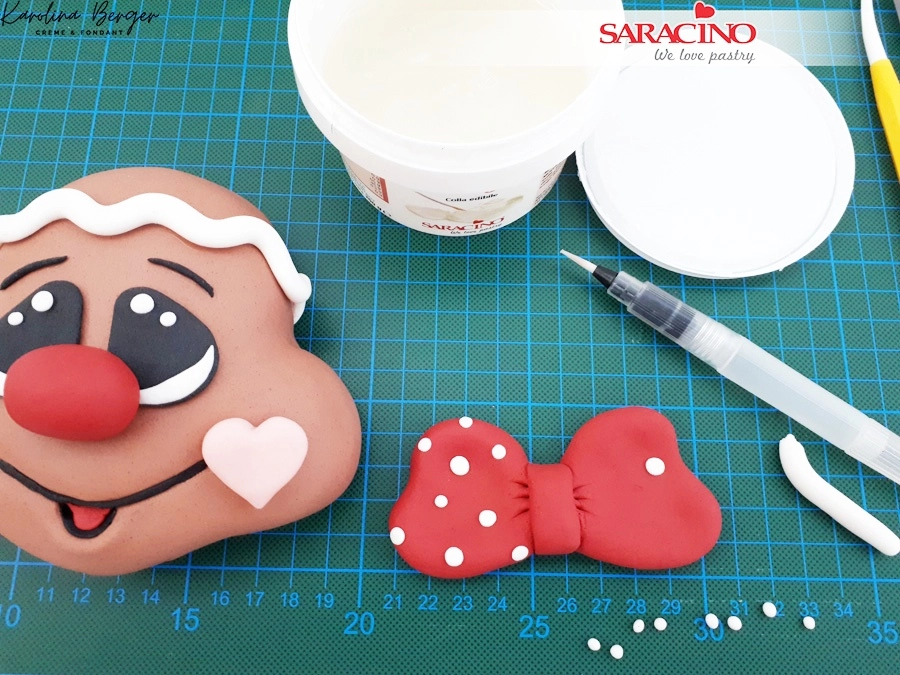
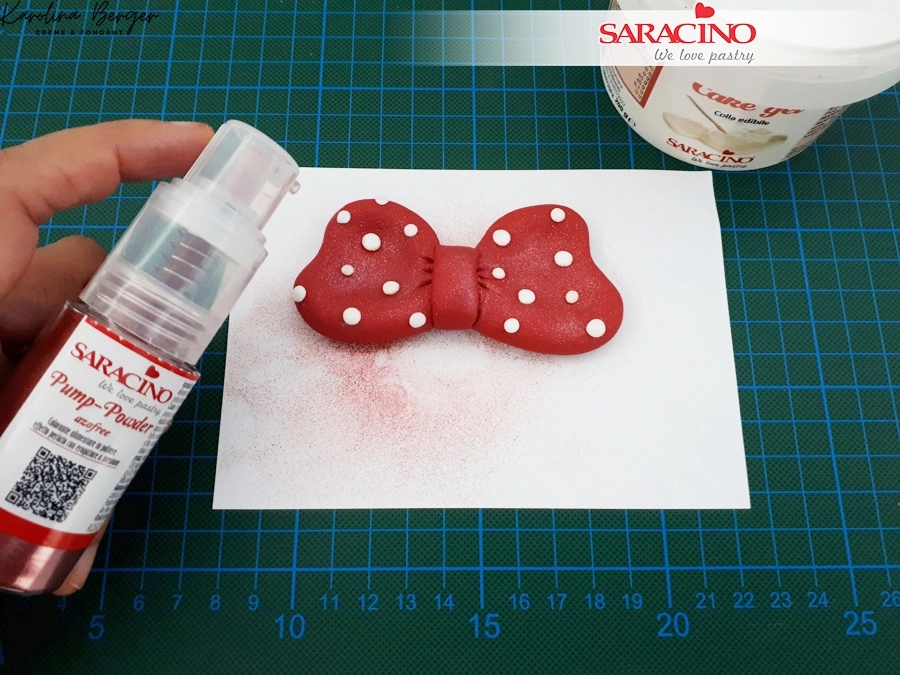
Make a bow with red fondant and decorate with white dots. Use your template to achieve the bow size and shape. Use a small amount of red paste to colour the tongue.

Step 20

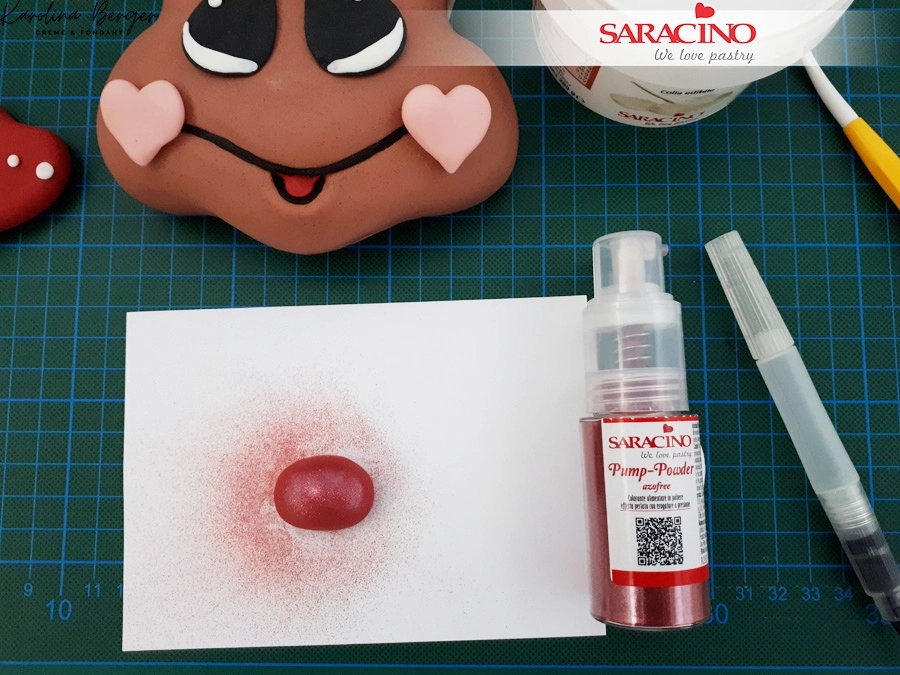
Remove the nose from the face and spray with Saracino pump-up red glitter 

Step 21

Also spray the bow and put aside

Step 22

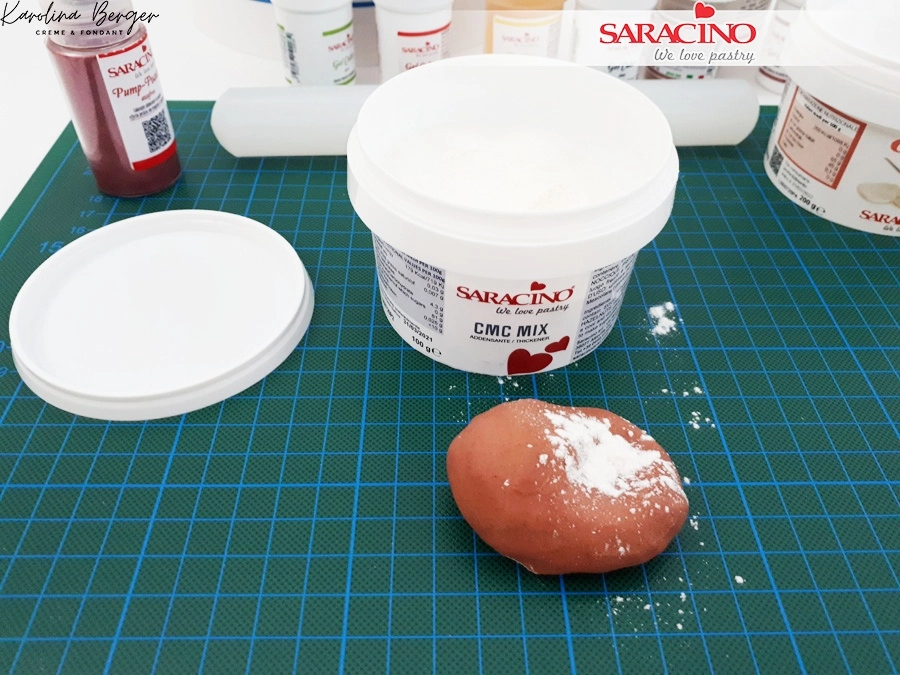
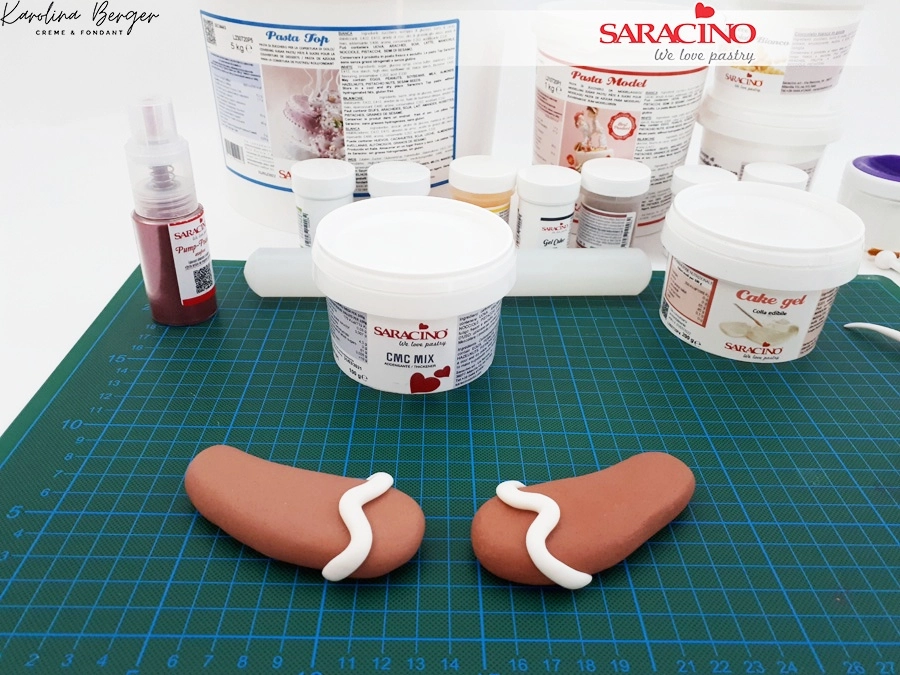
For the gingerbread man arms add cmc to a small amount of brown sugarpaste. Shape to the arm size on your template. 

Step 23

Roll thin sausage using white sugarpaste and create waves on the ends

Step 24

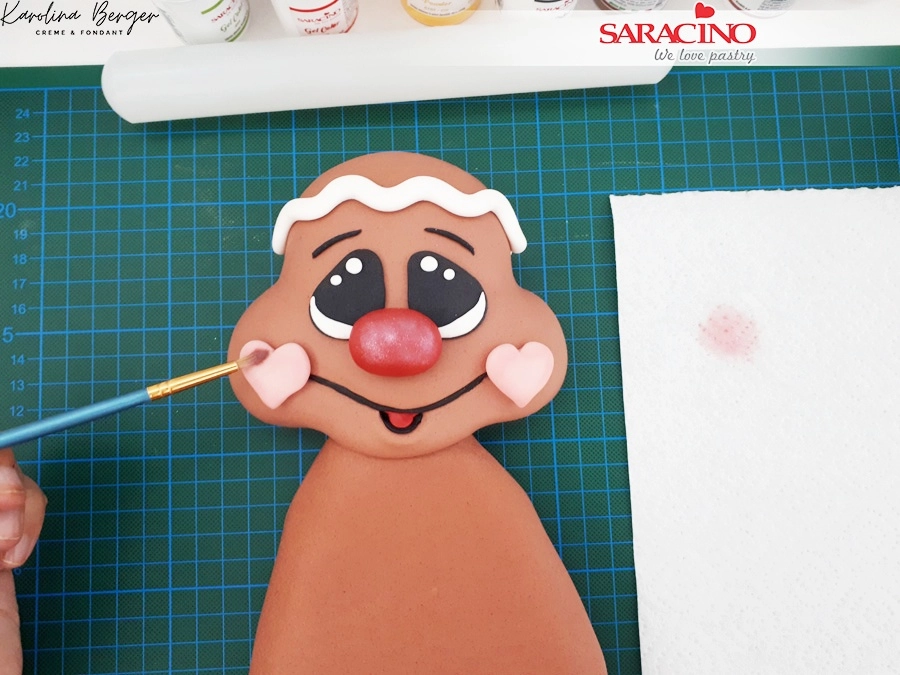
Attach the nose and dust the cheeks with pink powder colour. Fix the head to the body using edible glue and cocktail sticks.

Step 25

Using black powder colour shade the eyes

Step 26

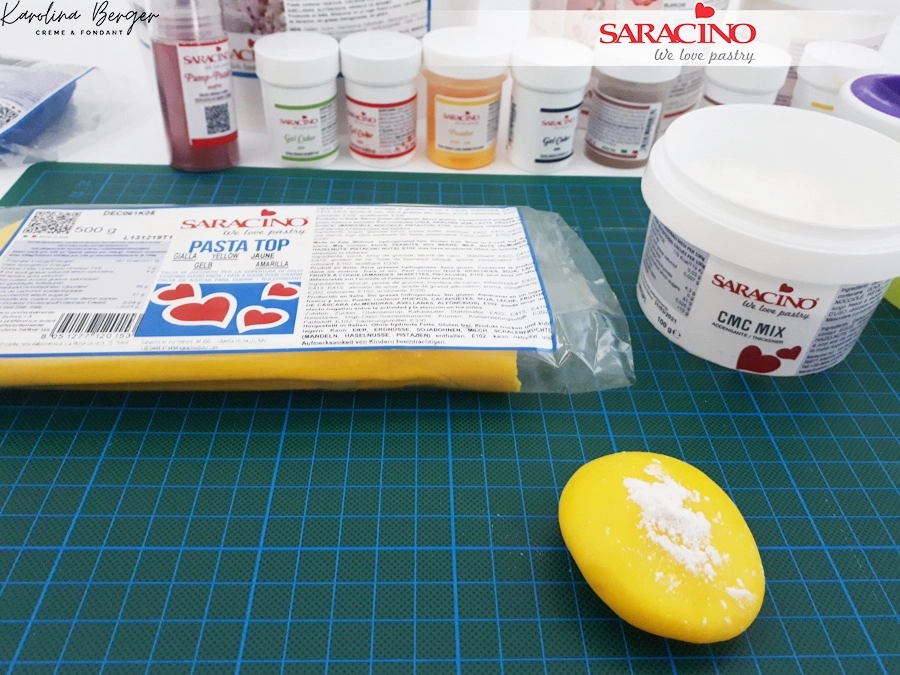
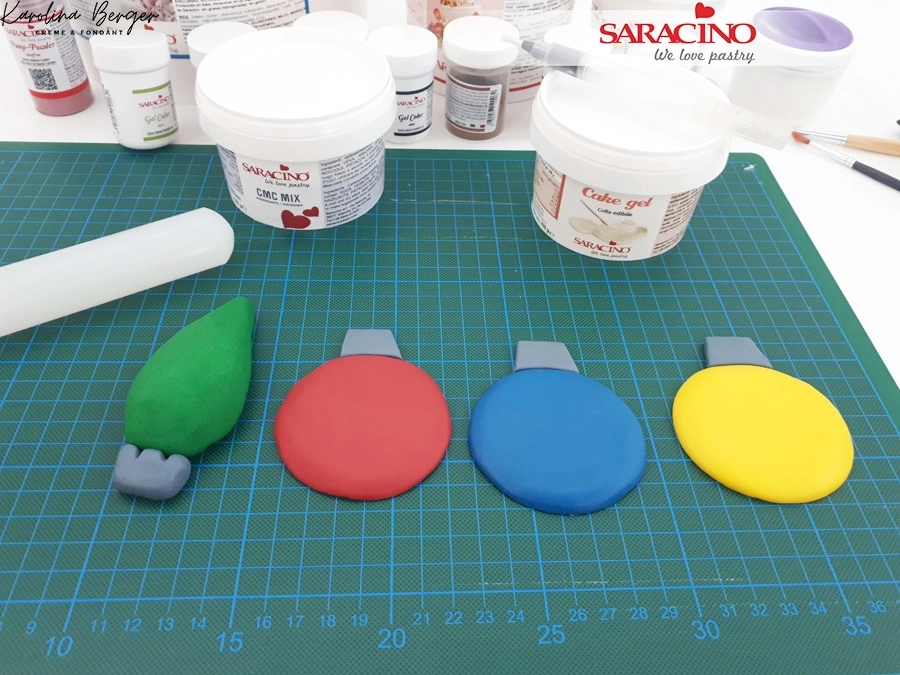
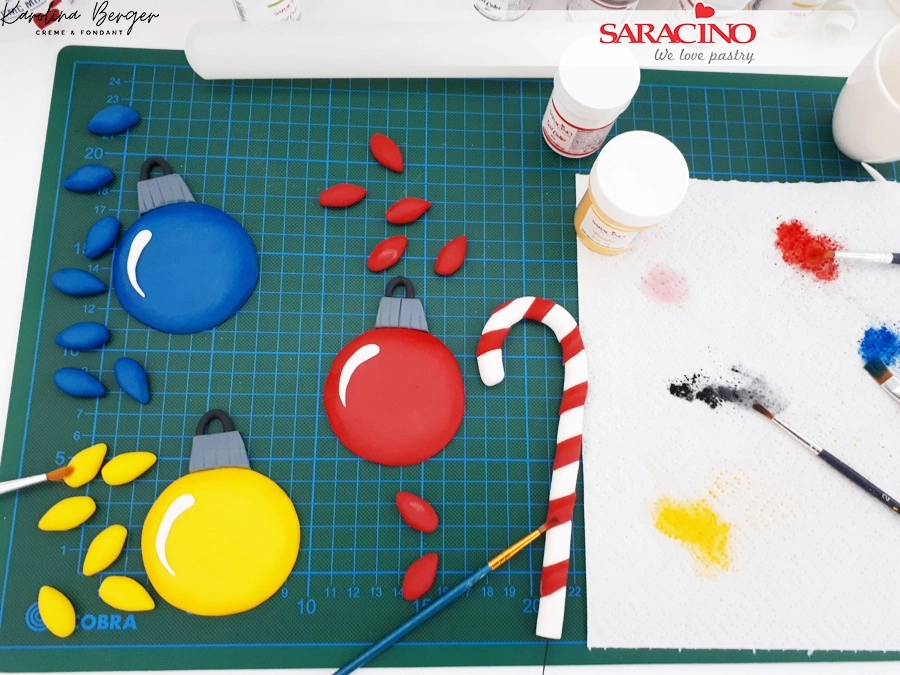
You will now need yellow, blue and red baubles. You can use pre-coloured paste or add gel colours. When you are ready add a little CMC to each colour.

Step 27

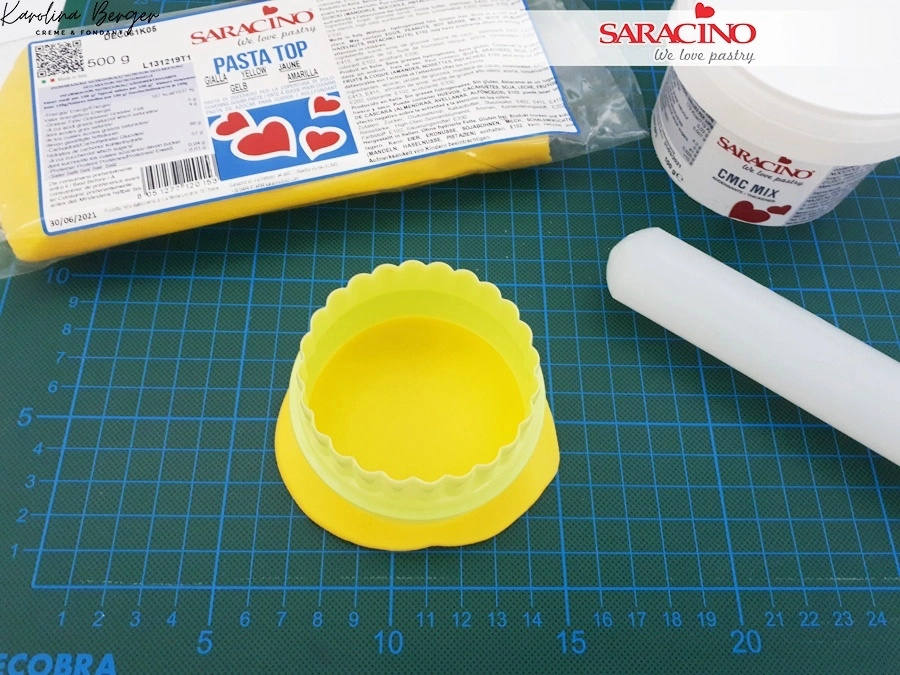
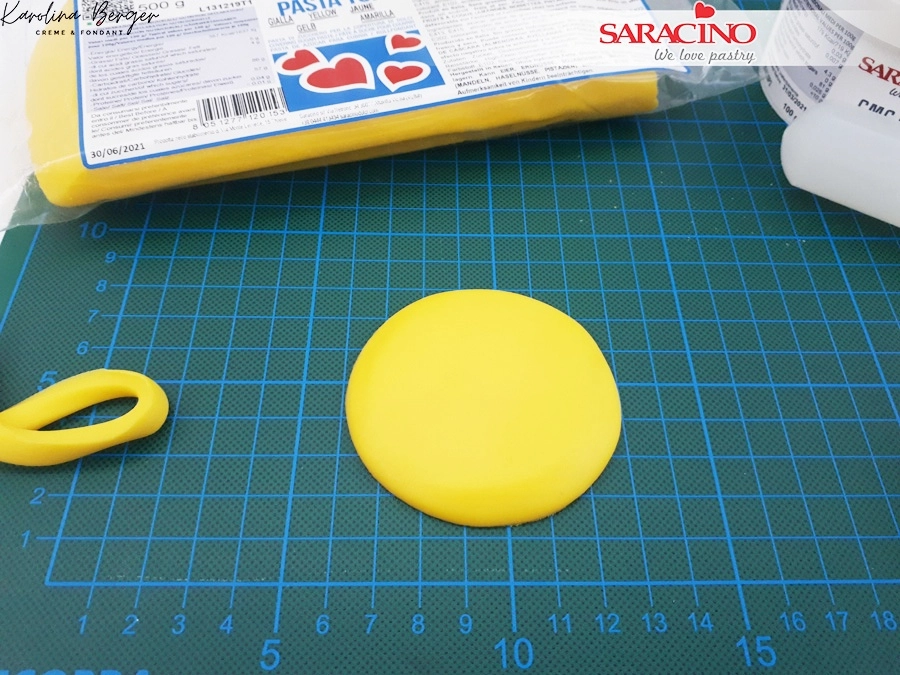
Roll out the sugarpaste and cut a circle 

Step 28

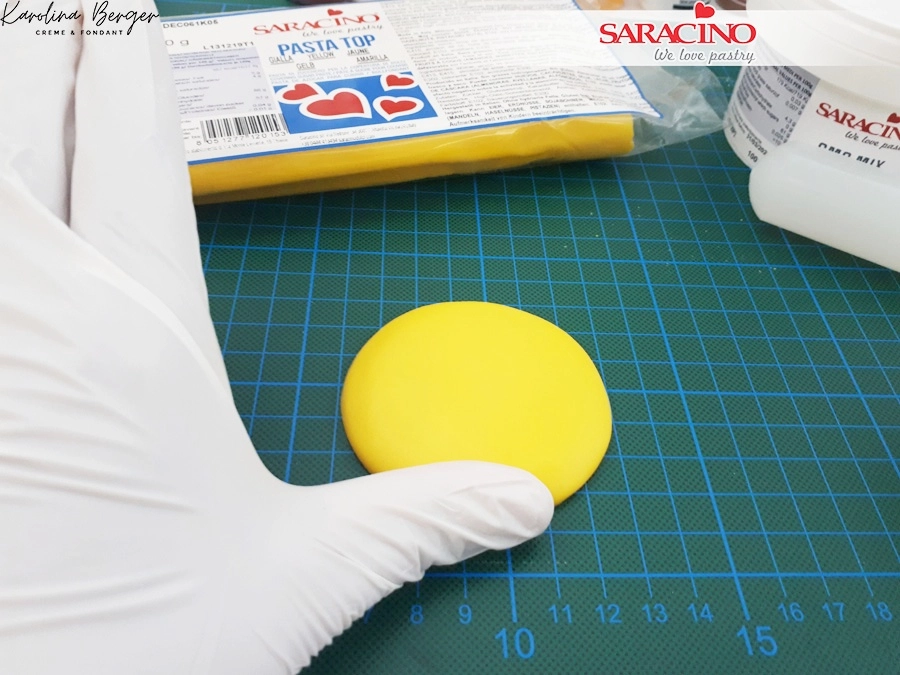
Using your finger or thumb smooth the edges of the circle 

Step 29

Keep it nice and circular as shown. Now repeat for the blue and red.

Step 30

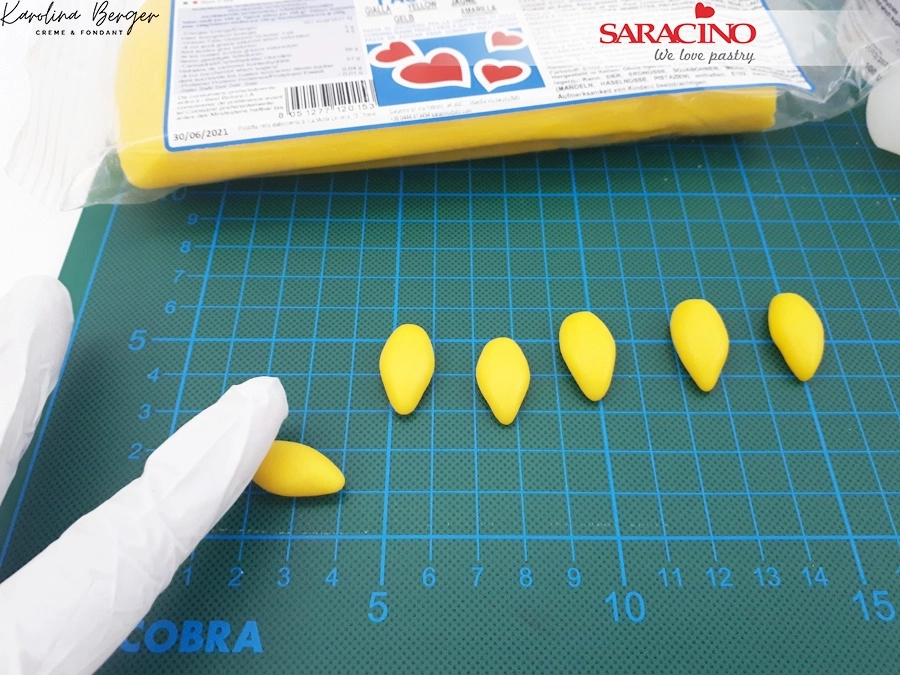
For the Christmas lights add CMC to yellow sugarpaste and roll teardrop shapes. 

Step 31

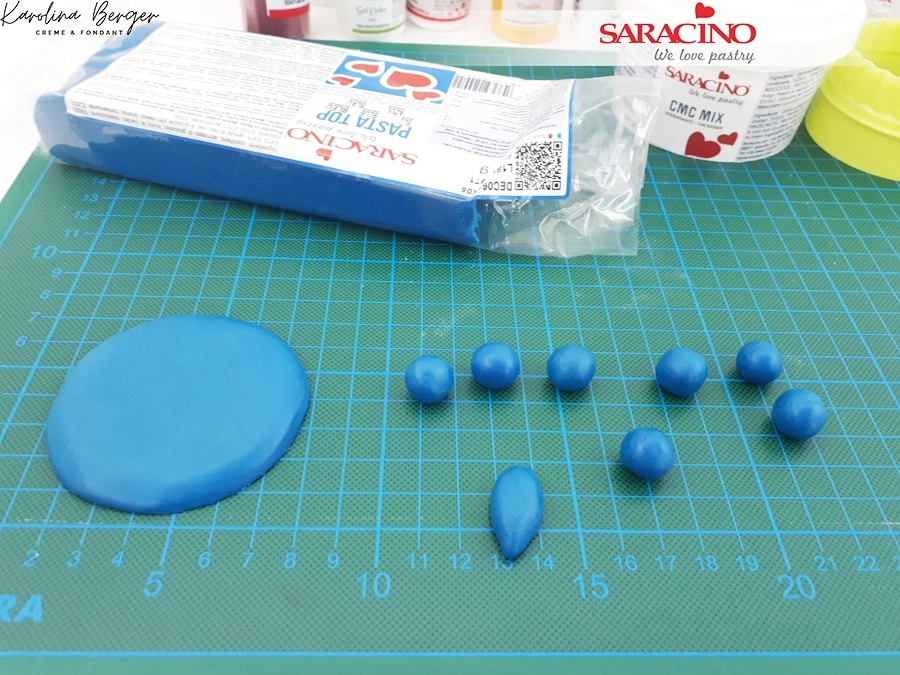
Repeat for blue and red lights. You will need a few of each colour. You can decide how many lights you would like.

Step 32

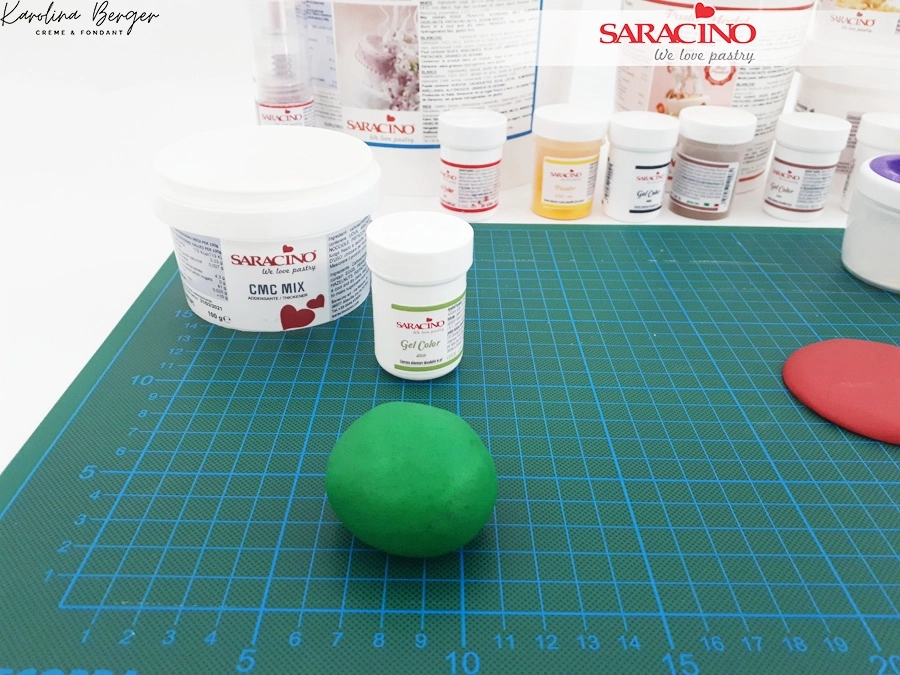
For one bigger Christmas bauble roll green paste into a ball

Step 33

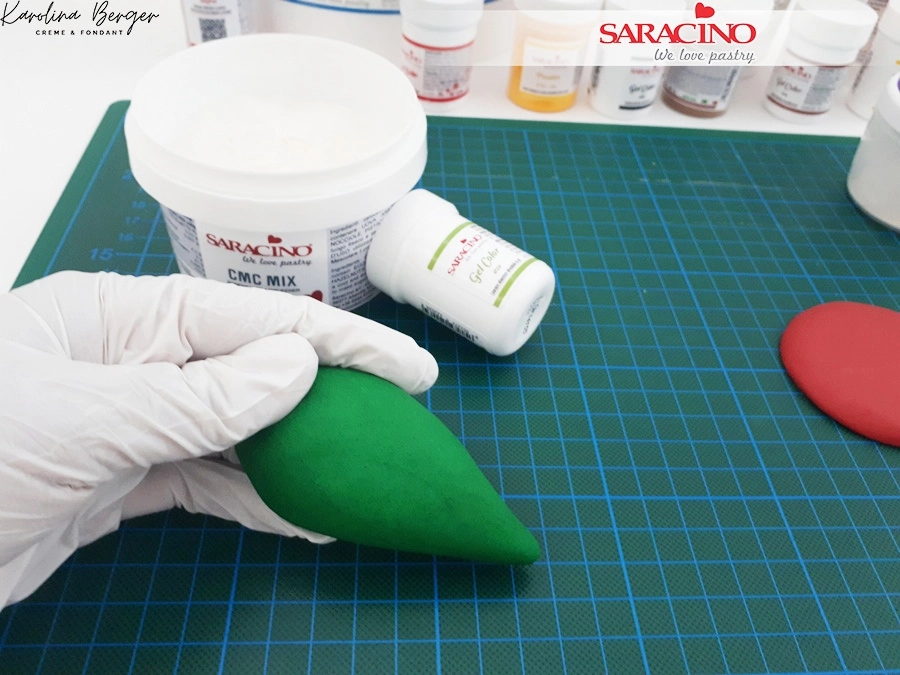
Shape it into a cone

Step 34

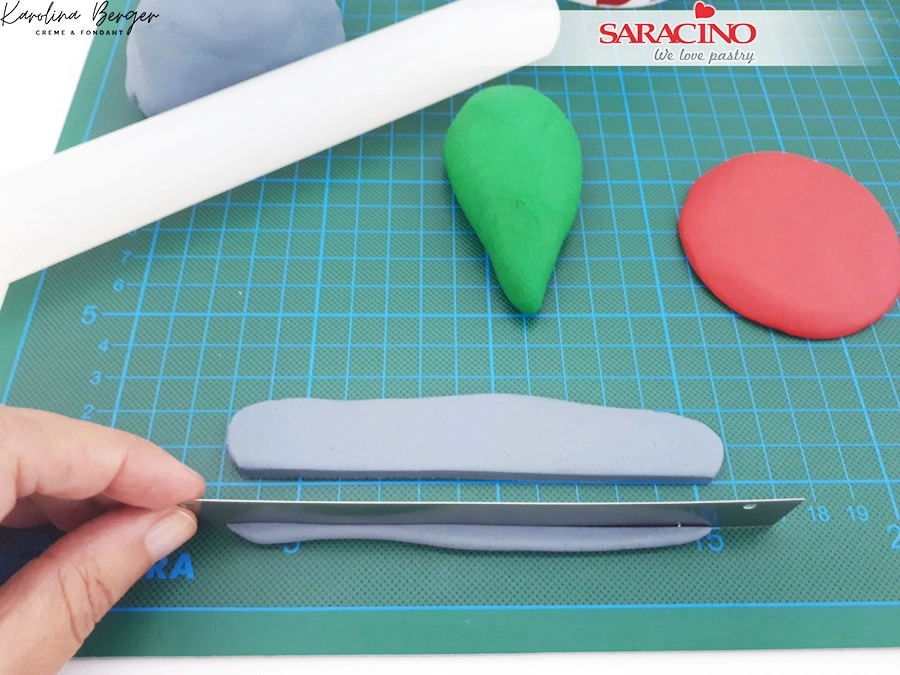
For the upper part of the Christmas bauble mix white sugarpaste with black gel colour to achieve light grey. Then roll it and cut a strip.

Step 35

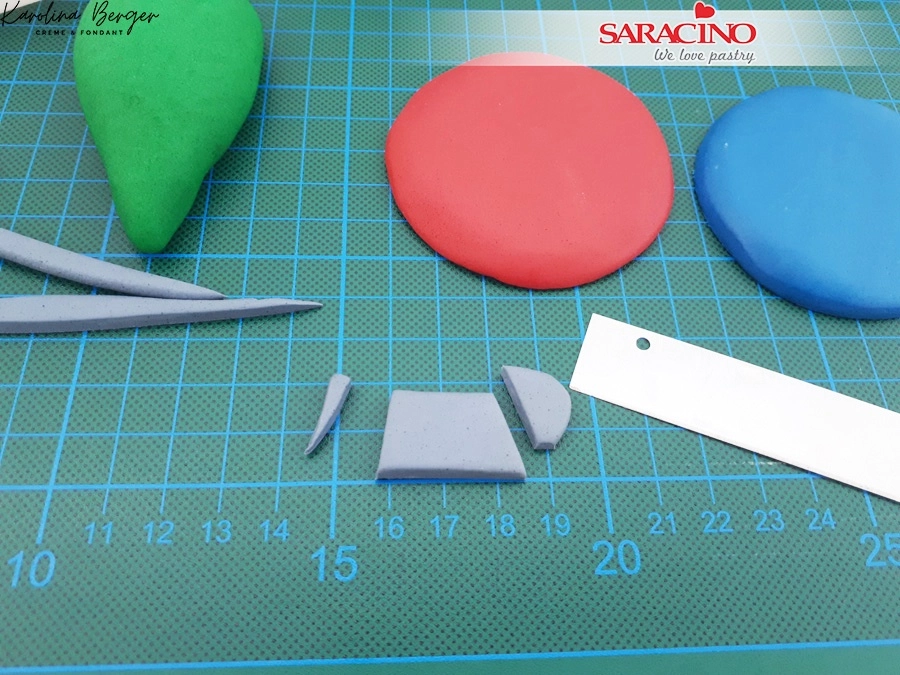
Cut out the shape shown for the top of all the baubles

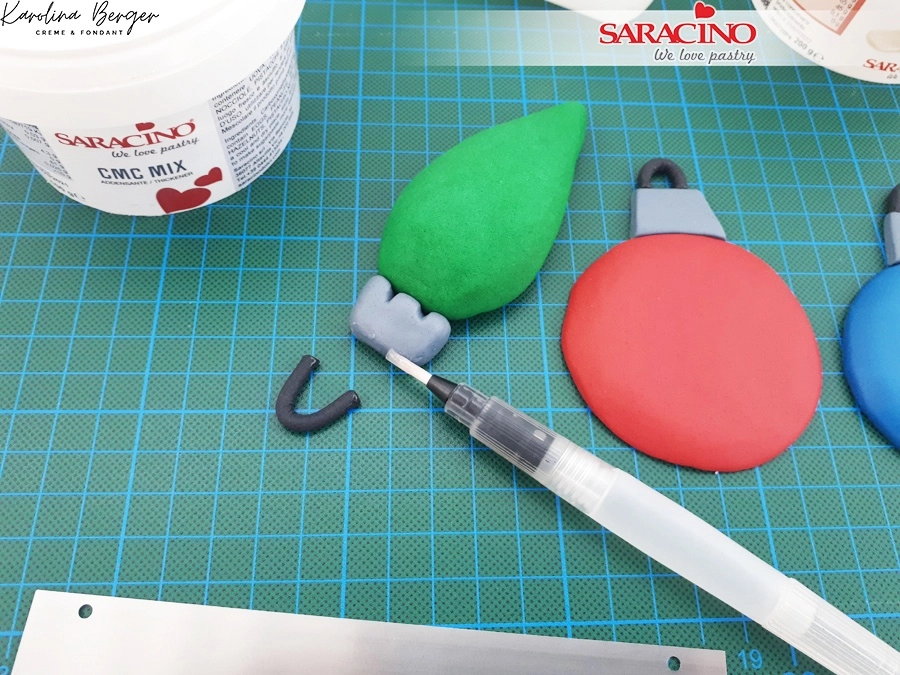
Step 36

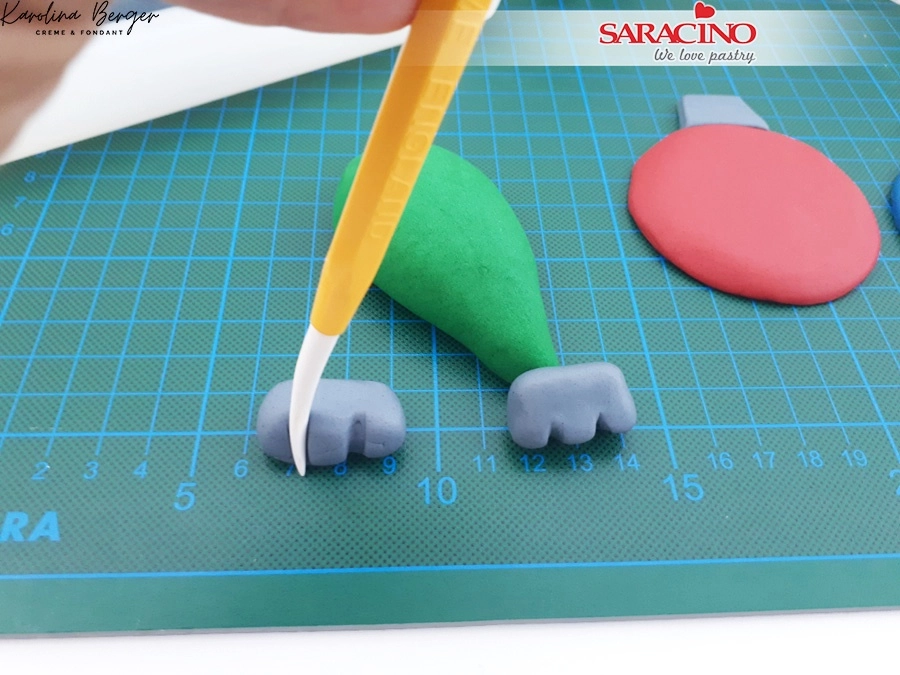
For upper part of larger Christmas bauble knead some grey paste with cmc and create a ball. Flatten it with your fingers and make two groves with modelling tools. 

Step 37

Fix them to the top of each bauble using a little edible glue. This is how they should look

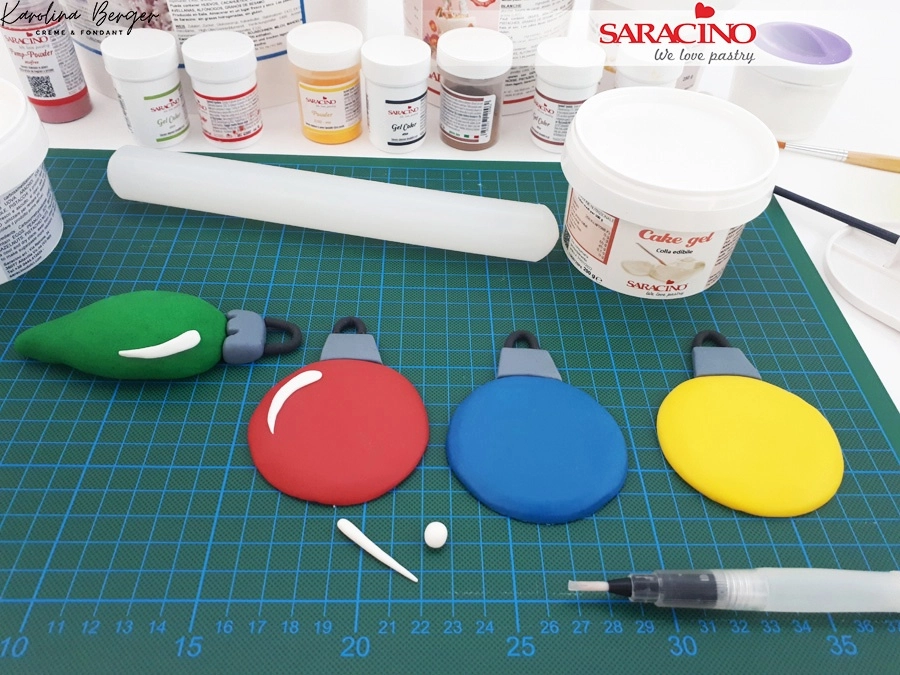
Step 38

To make little hangers roll out black paste into a thin sausage and fix to the upper part of the Christmas baubles.

Step 39

Using white fondant roll some lines and add to the baubles 

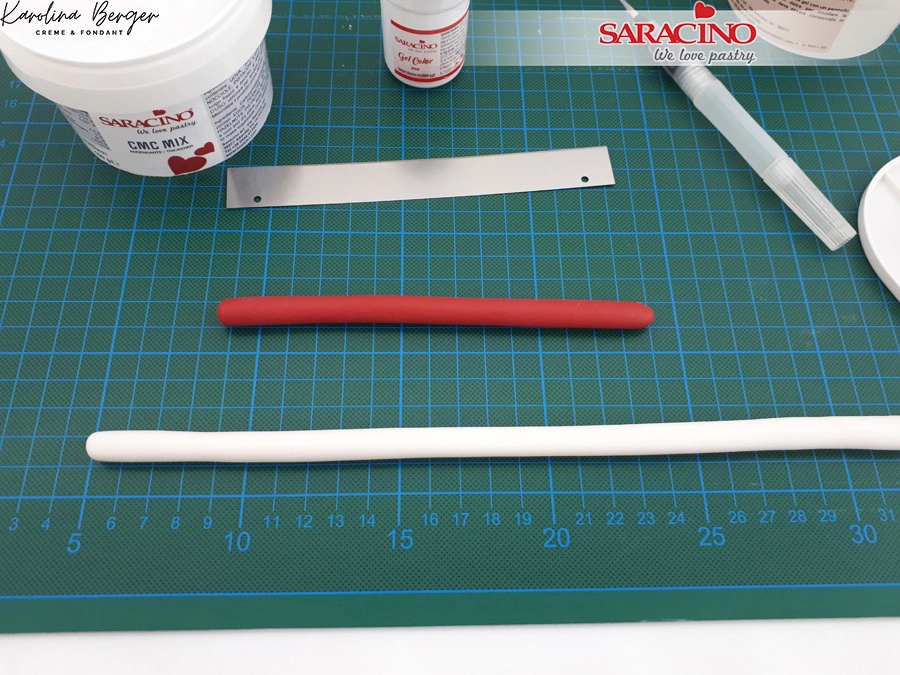
Step 40

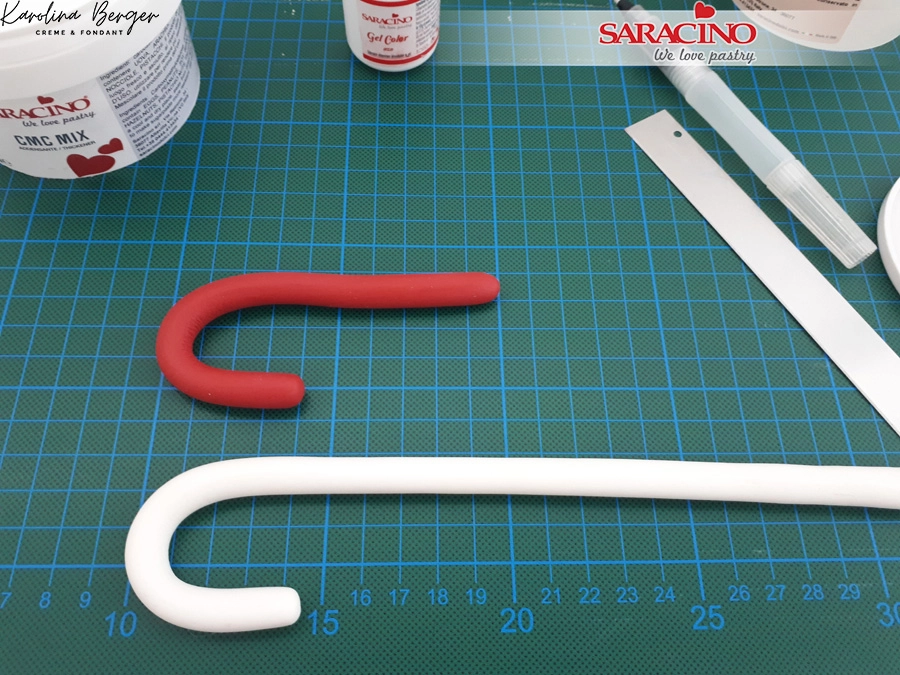
To make the candy canes roll a thin sausage shape using white and red paste. Both sausages need to be the same diameter.

Step 41

Create a hook shape at the top of each cane.

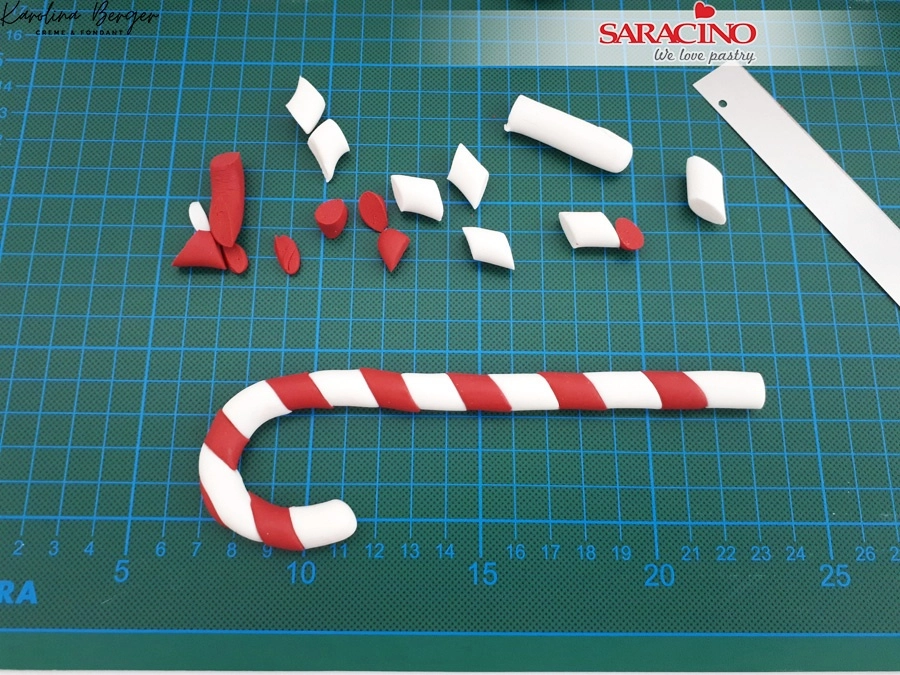
Step 42

Using a sharp blade cut both in small diagonal regular pieces. Connect together using small amount of cake gel or a little water. You need to alternate the red and white to form the candy stripe as shown.

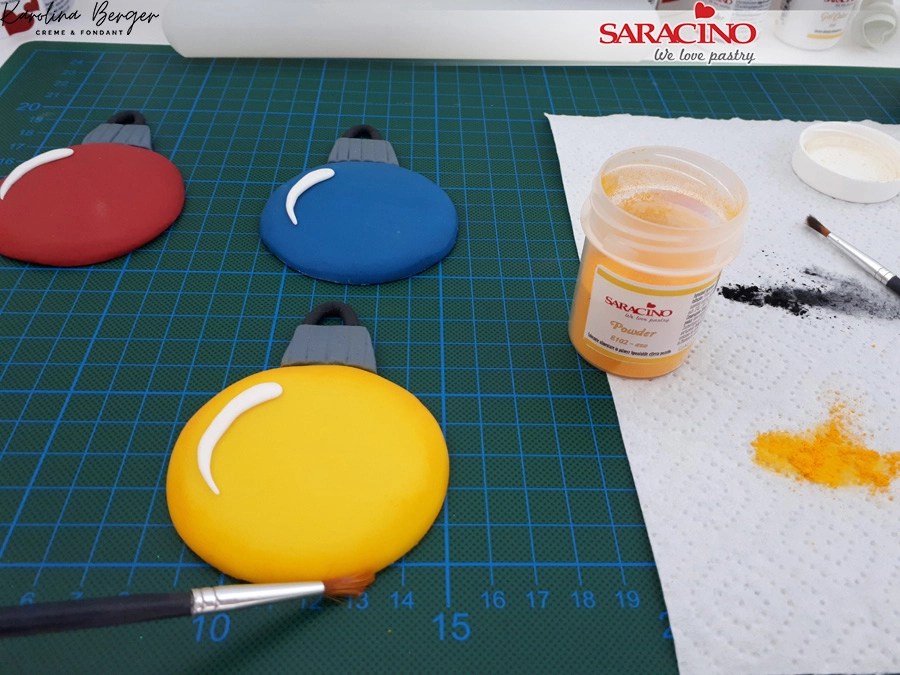
Step 43

Using yellow powder colour shade the edges of the yellow bauble. Use a modelling tool to form lines in the top grey piece of each bauble.

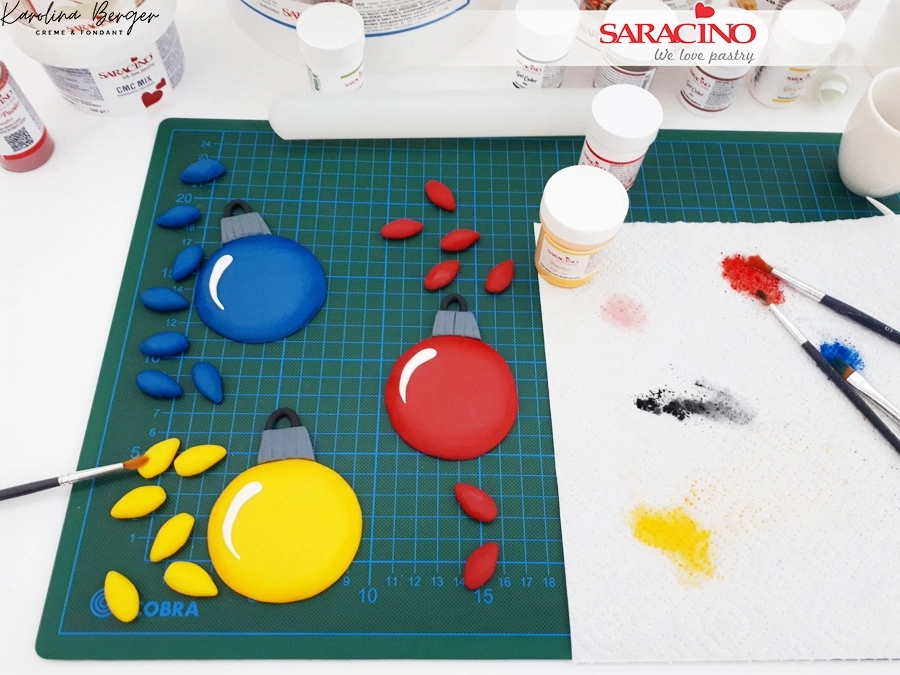
Step 44

Repeat with other baubles and Christmas lights

Step 45

Using red powder colour add some shading to candy cane 

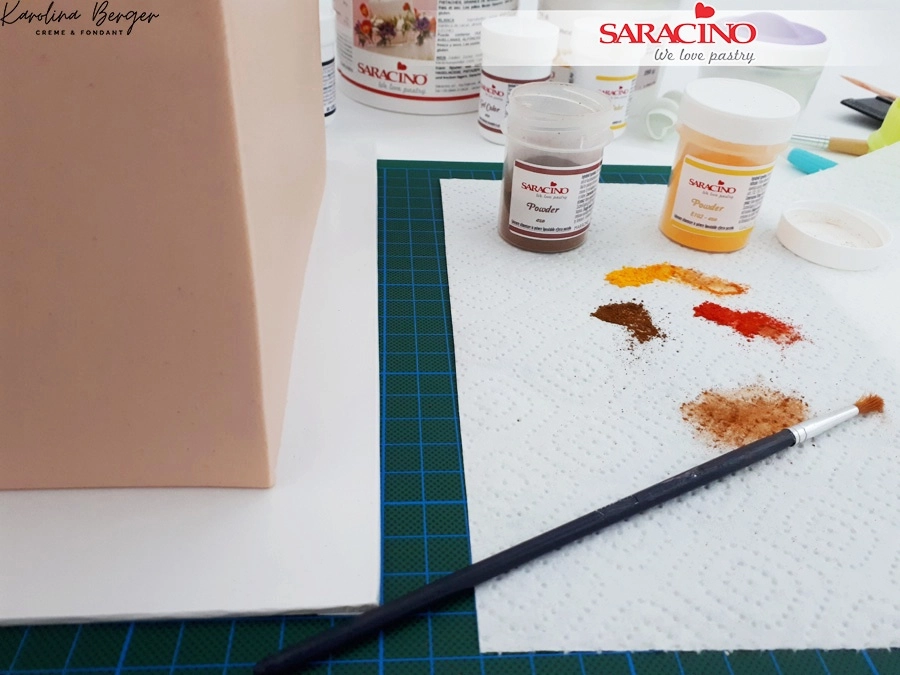
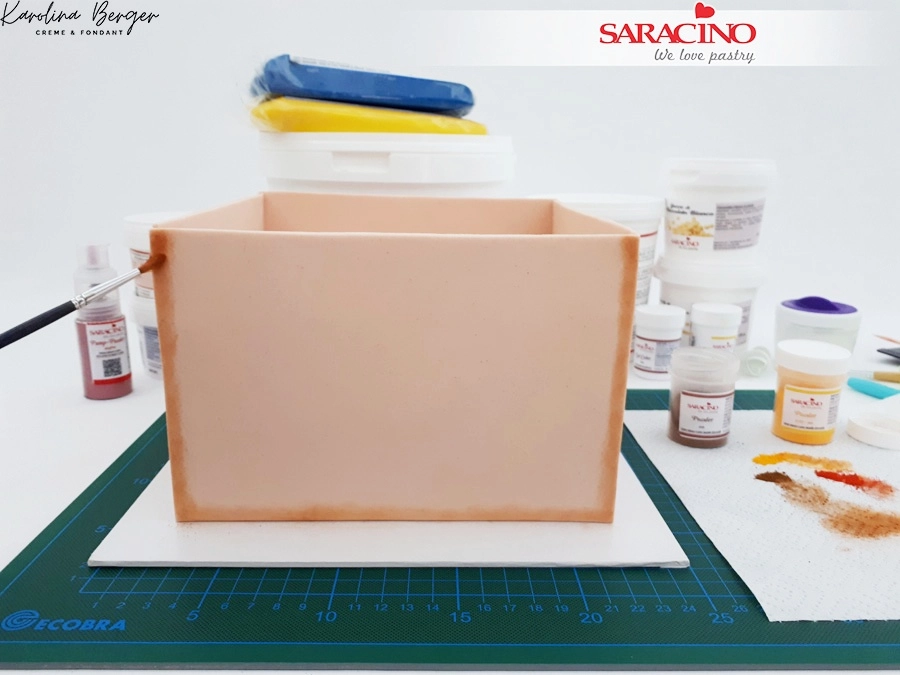
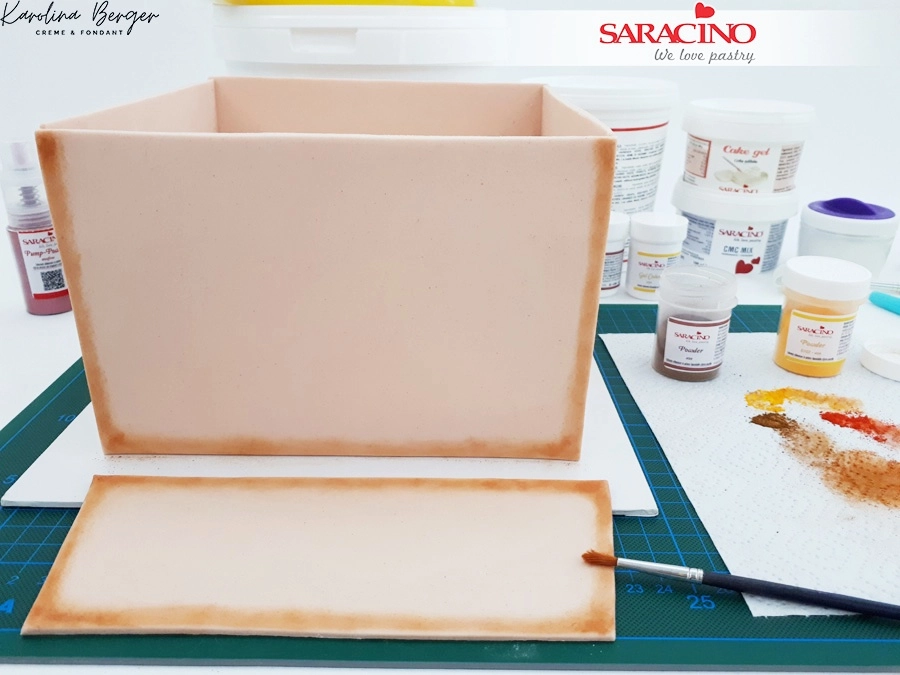
Step 46

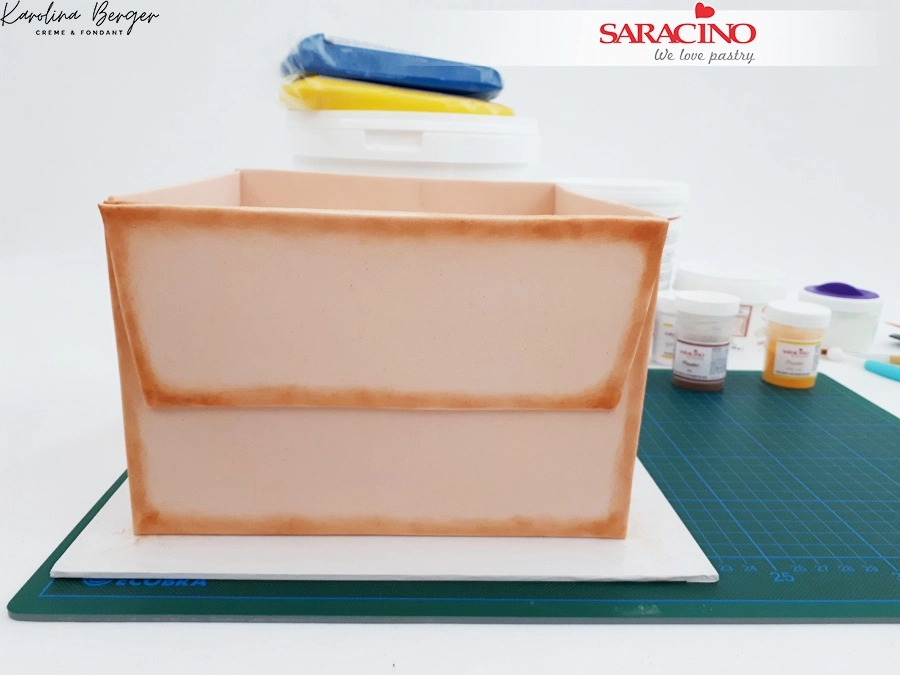
Mix brown, yellow and orange powder to dust the box corners.

Step 47

Your box should look like this.

Step 48

Now for the open lid of the box. Using the same sugarpaste used to cover the box, roll it and cut a smaller rectangle with the width matching the front of the cake. Shade the edges and fix to the cake to make the ‘open box’ effect

Step 49

So it looks like this when fixed. Repeat for the three other flaps of the box. Allow to go hard the CMC will help this. 

Step 50

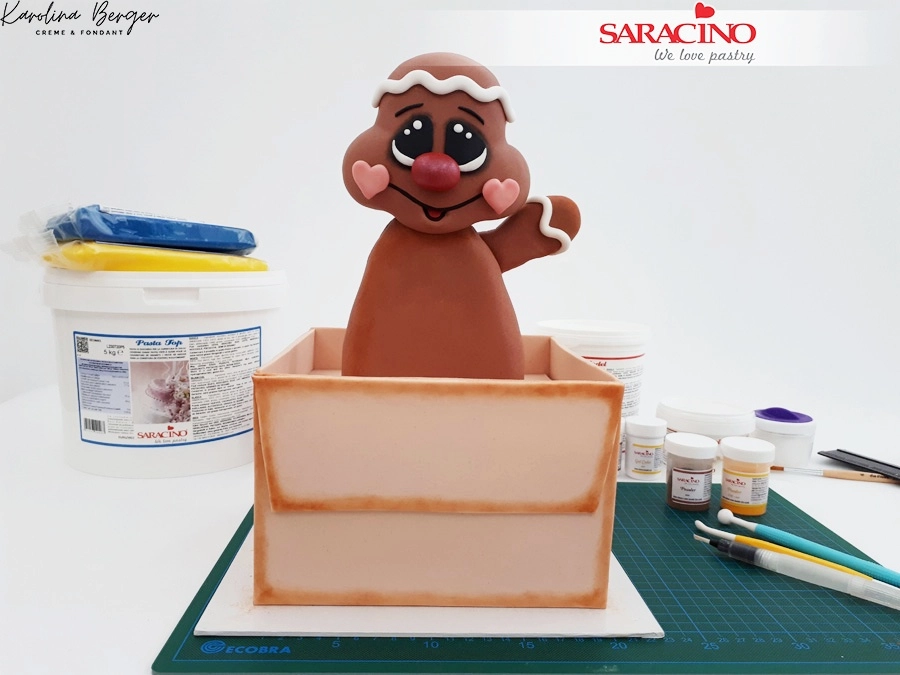
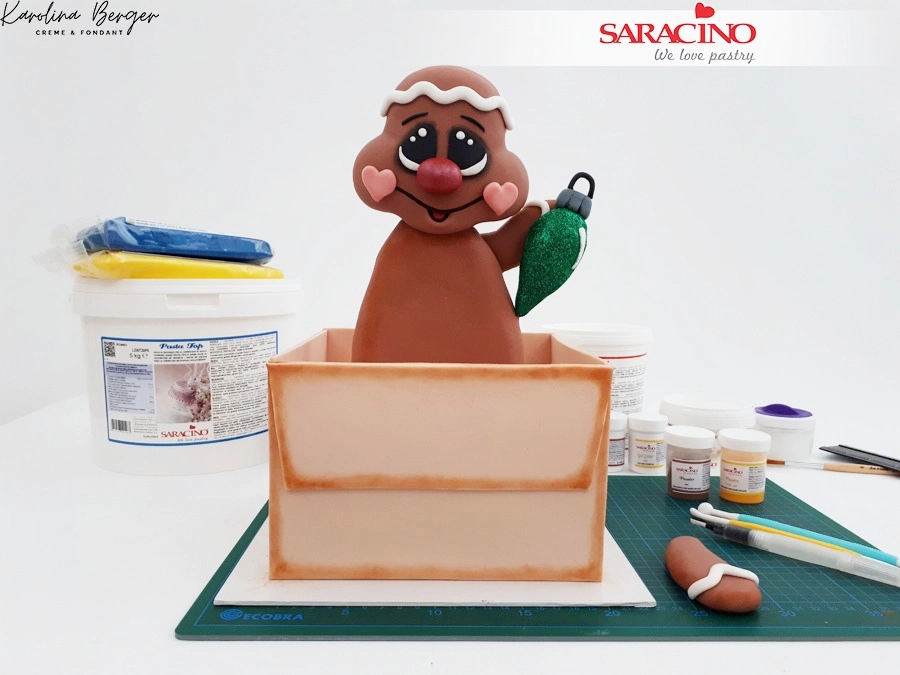
Position and fix your gingerbread man to the top of the box. Now fix one arm. You can use edible glue and if needed a cocktail stick.

Step 51

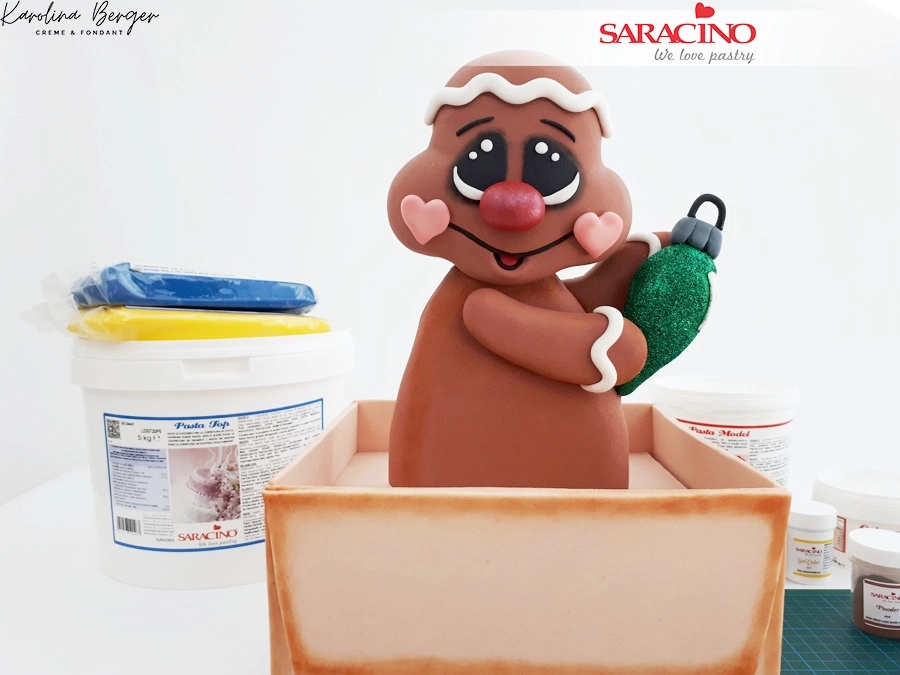
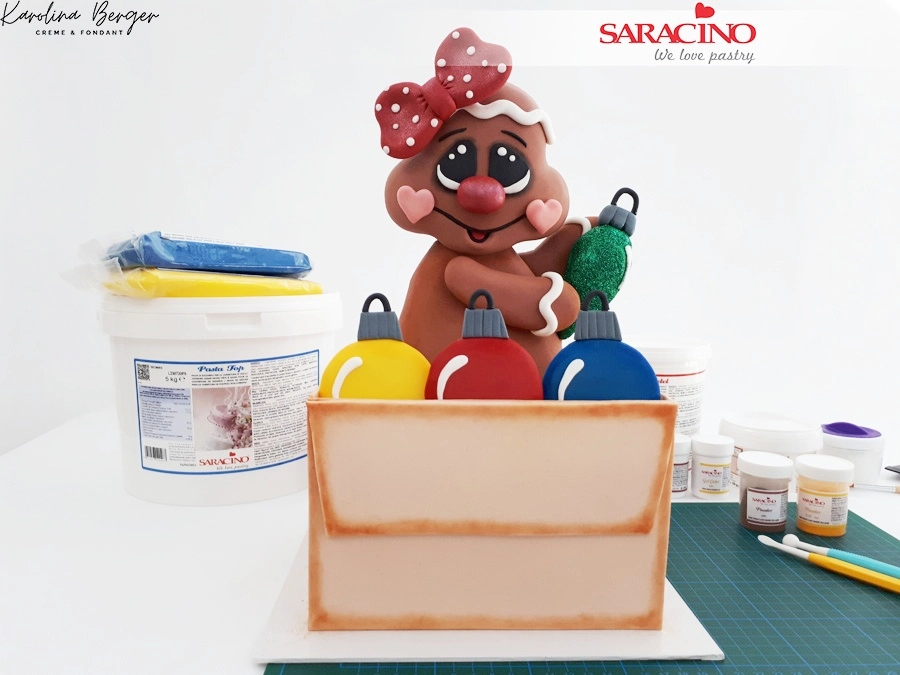
Colour the Christmas bauble with green glitter and add a line of white sugarpaste. Fix the green bauble to the arm and body.

Step 52

Fix the other arm so it is in a position where it looks like it is holding the large green bauble.

Step 53

Fix the bow to the top of the head.

Step 54

Add the Christmas baubles inside the cake 

Step 55

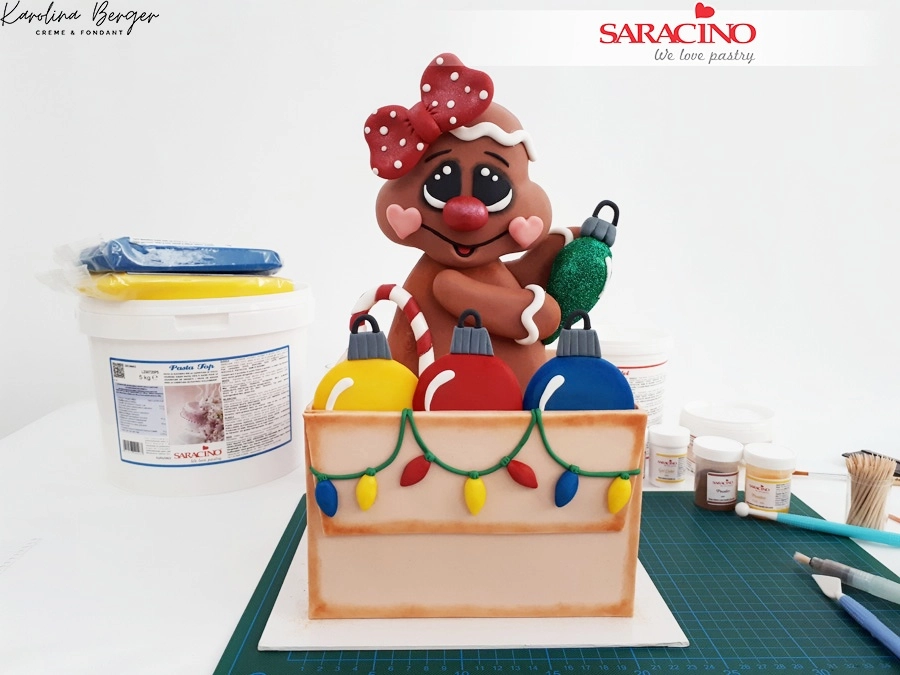
Roll a thin green line and create the light cable. Fix on the cake as shown. 

Step 56

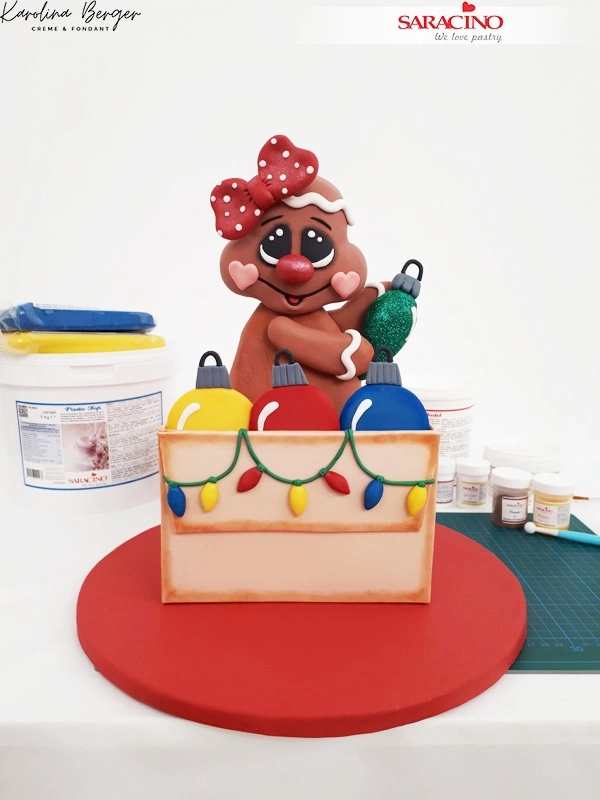
Cover the cake board with red sugarpaste and sit the cake on the board  

Step 57

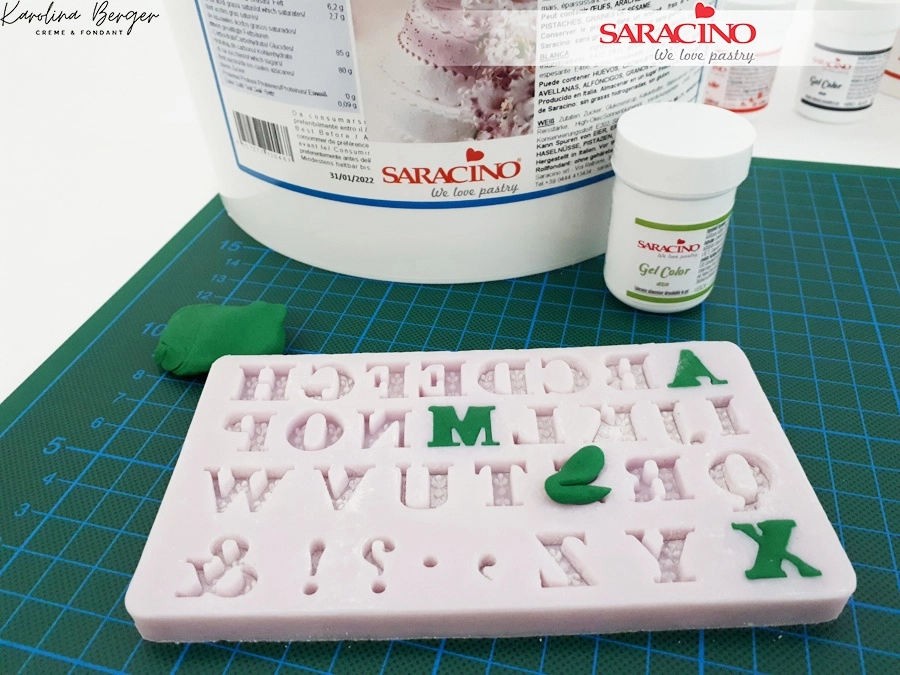
We have used a mould with green fondant to create the greeting. Fix to the side of the cake.

Step 58

Add the candy canes. The canes can be decorated with holly if you want to add more detail. Extend your Christmas lights onto the board as shown.

Once the sides of the box have set fix them to the top of the open box. You may need to support the flaps temporarily whilst they dry into an open position as shown.

Step 59

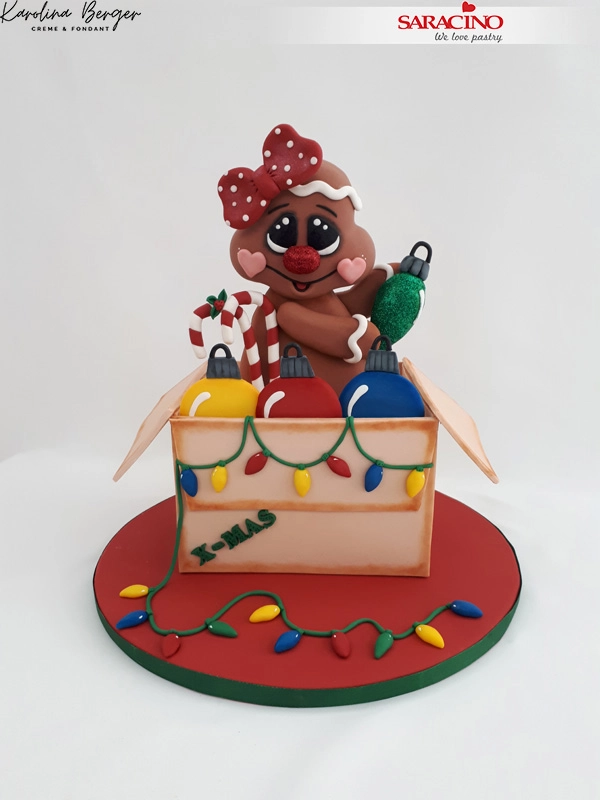
Your cake is ready!

CHRISTMAS COOKIES CAKE

CHRISTMAS COOKIES CAKE

Skill level: INTERMEDIATE

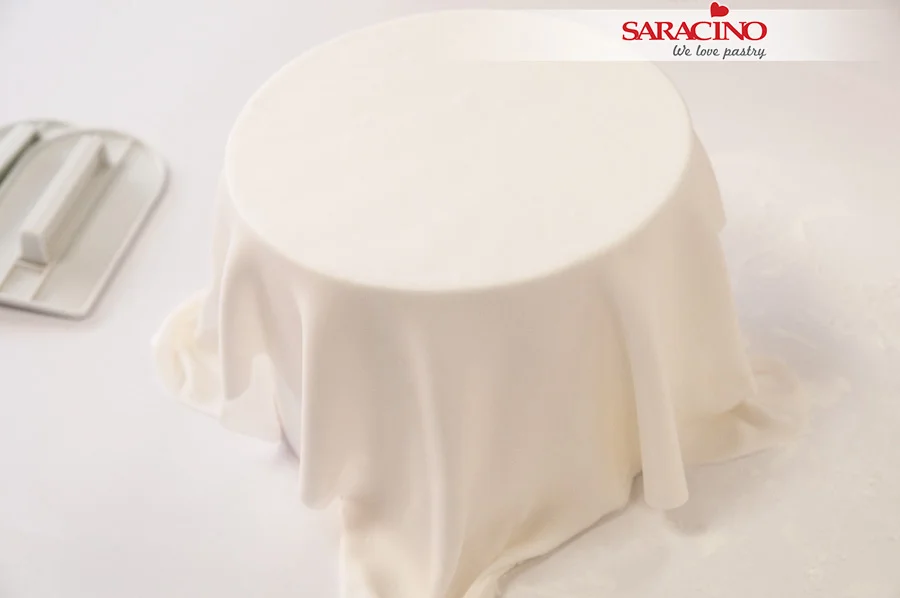
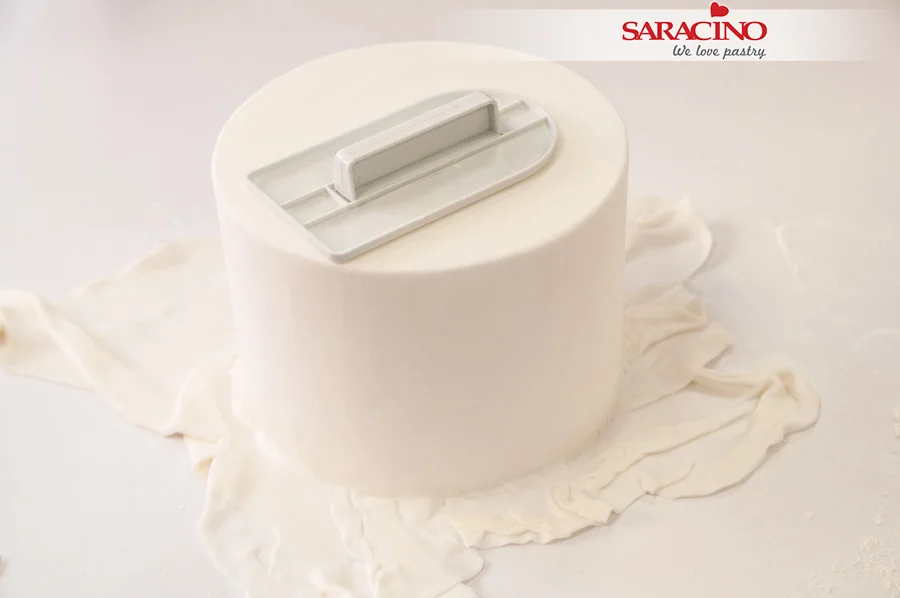
TIP – You can cover your two tiers with Saracino Pasta Top. To learn how to cover your cakes and create sharp edges follow the link

HERE – for picture tutorial 

HERE – for video tutorial 

You will need:

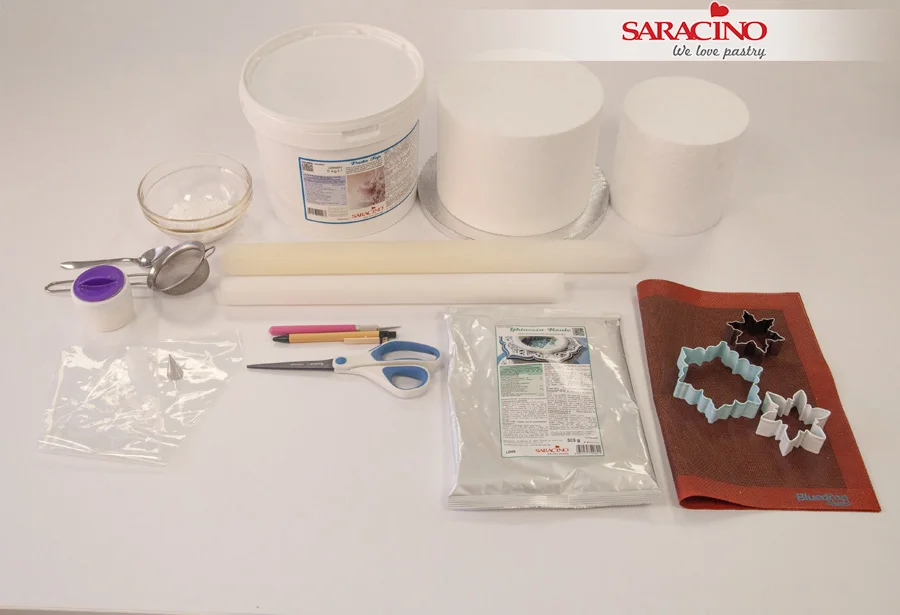
  • 2 dummies of 15 and 20cm or 2 cakes (you can make a cake decorated with cookies or simply present the cookies in a more original way, on the dummies instead of on a classic tray)

  • Cake drum

  • Saracino fondant Pasta top to cover dummies or cakes

  • Saracino Royal Icing Mix

  • Sieve

  • Corn starch

  • Rolling pin

  • Baking paper

  • Piping bag

  • Number 1 piping nozzle

  • Scissors

  • Pencil

  • Micro-perforated mat

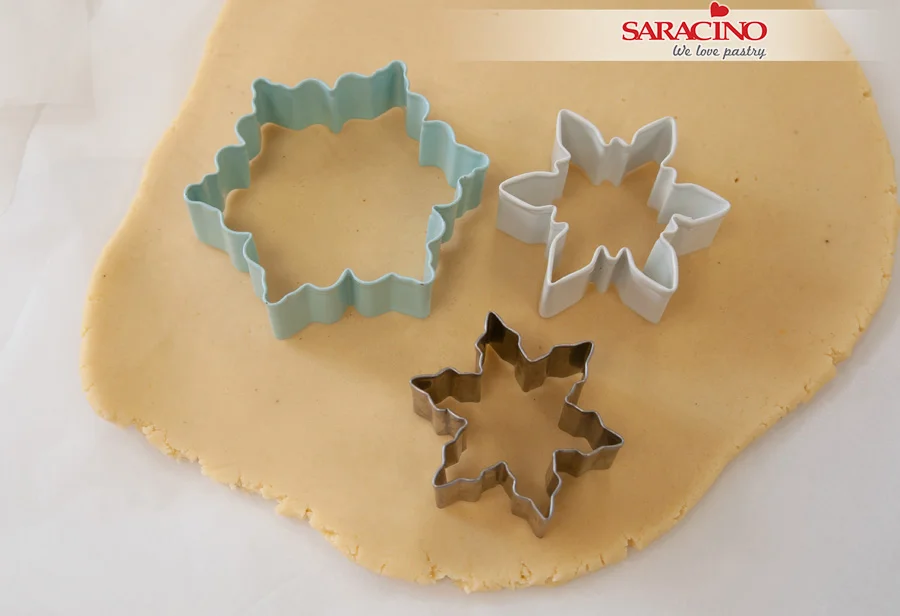
  • Snowflake cutters

Step 1

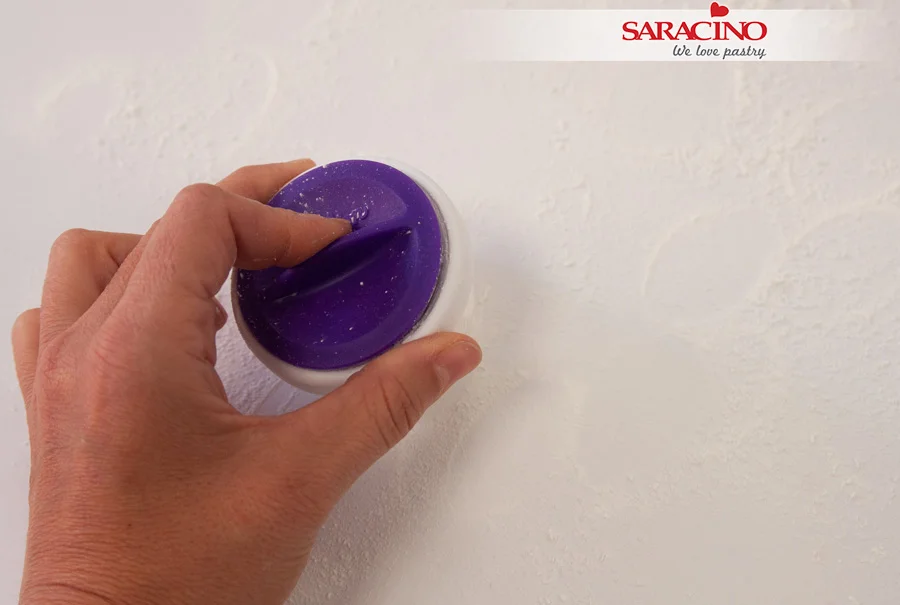
Sprinkle the work surface with corn starch to roll the fondant and keep it from sticking.

Step 2

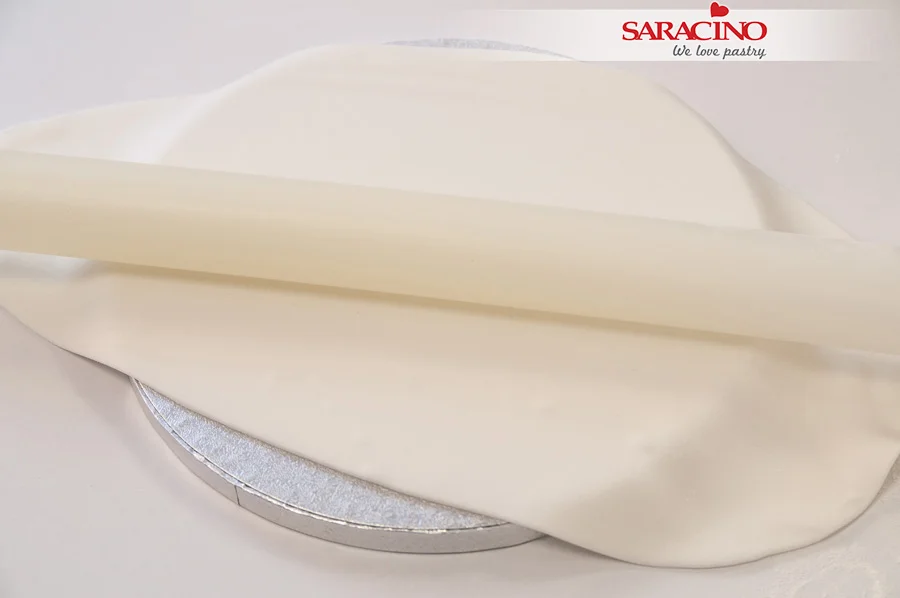
Place the layer of fondant on a cake drum that has a small amount of water so that it sticks.

Step 3

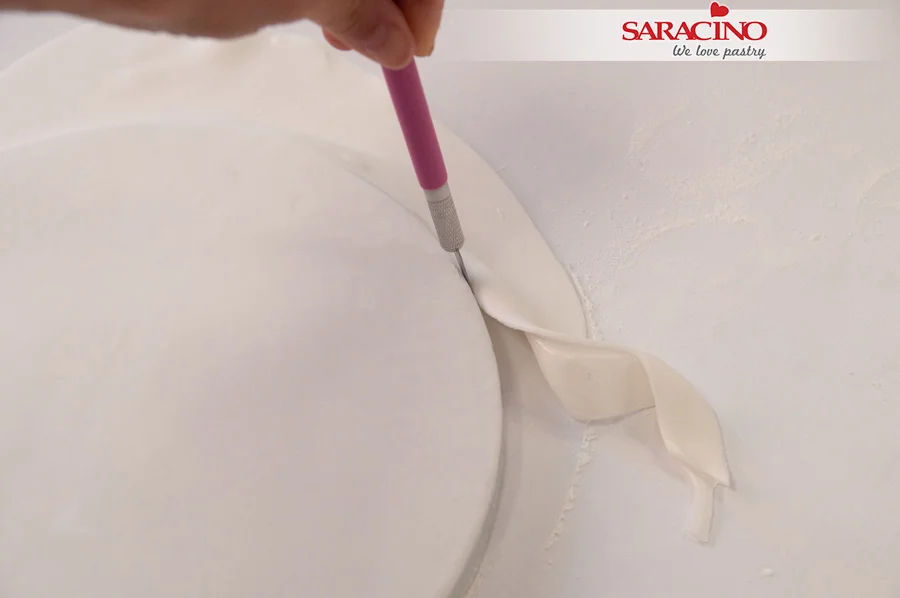
Trim excess edge.

Step 4

Roll out more Saracino Pasta Top and cover the dummies or cakes. Remember to always sprinkle the work surface before rolling the fondant so that it does not stick. Remember to also moisten the dummies or cake so that the fondant sticks. No need to over wet it, just moisten it lightly.

Step 5

Smooth and apply the fondant to the surface of the dummy or cake using cake smoothers. Trim off the excess from around the bottom.

Step 6

Don’t worry if the surface isn’t perfect. The imperfections will be covered for the most part by the decoration that we will make with the cookies.

Step 7

Place one tier on top of the other. If you have used dummies, just stick them together with a little corn syrup (you can include a cocktail stick or dowel to fix it better). If you are using real cakes, remember to place a cake board beneath the top tier and use dowels for support.

Step 8

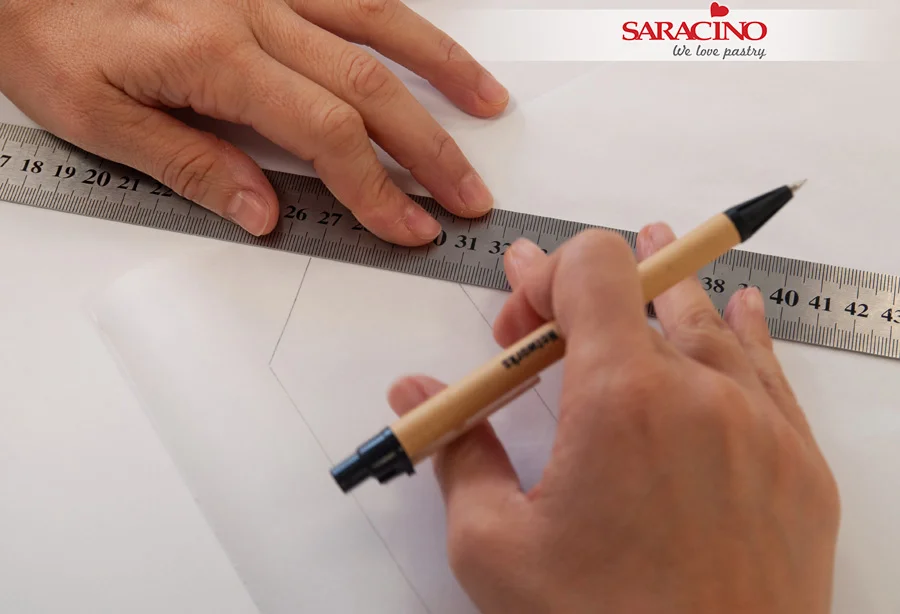
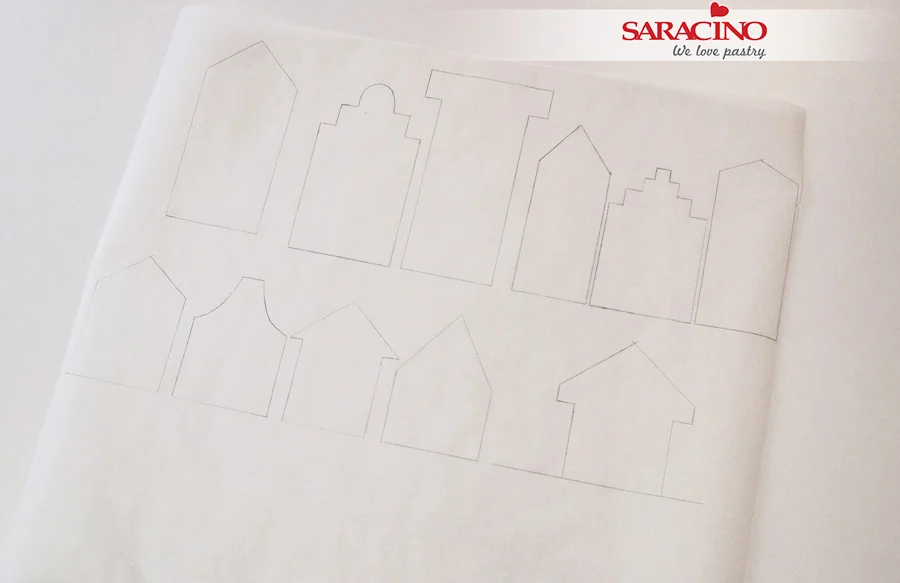
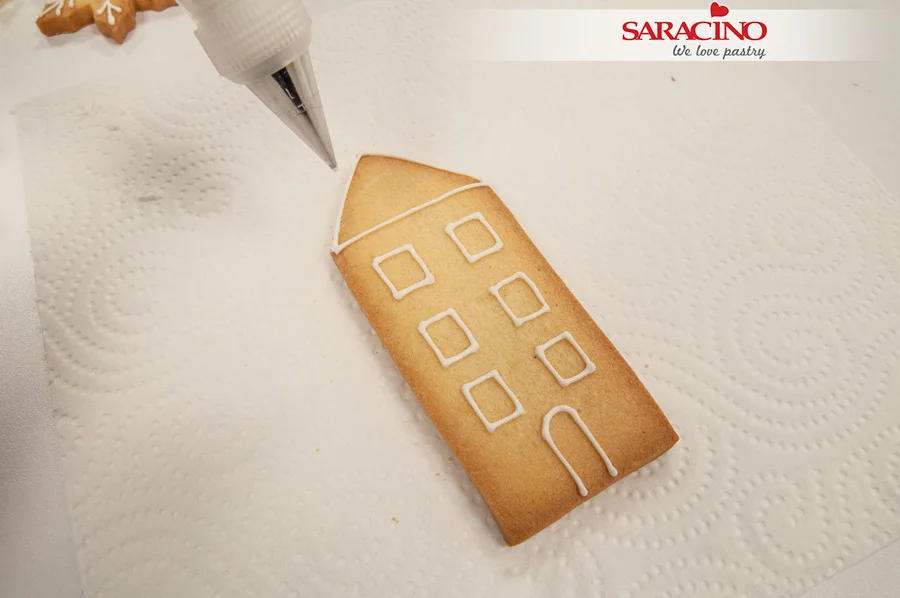
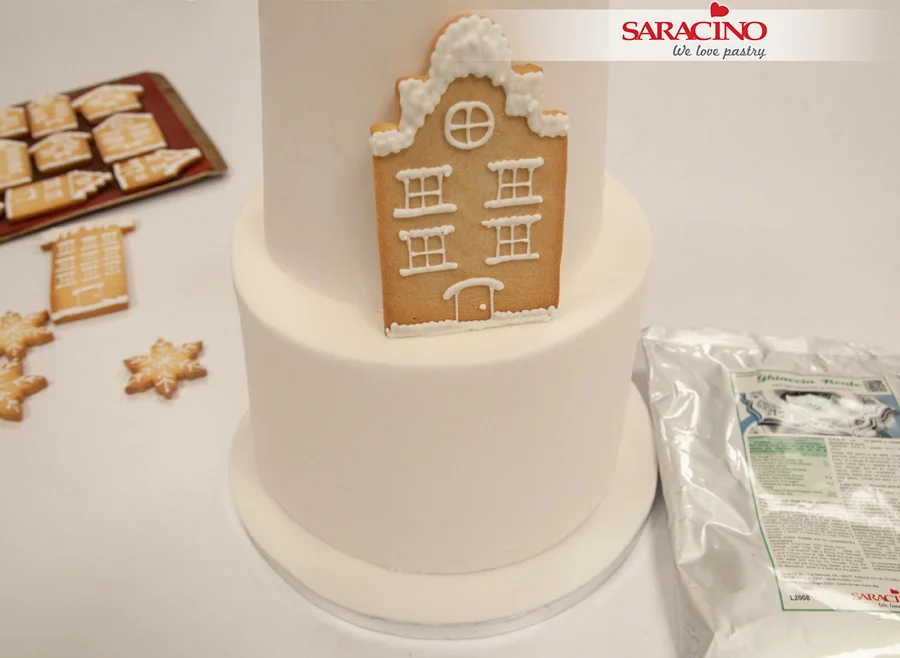
Draw little houses on the baking paper. Bear in mind the height of your tiers and decide on the sizes you would like.

Step 9

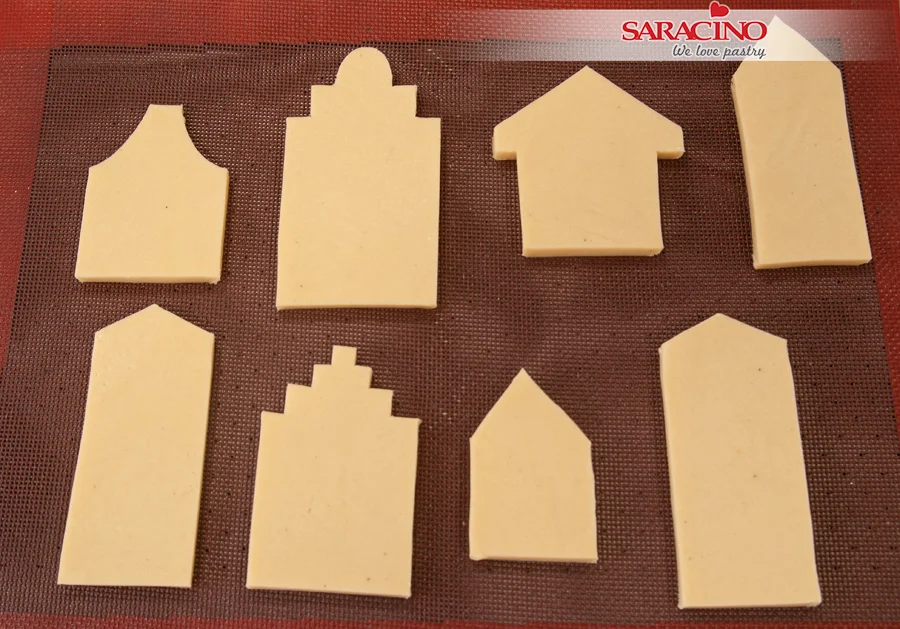
You can make as many shapes and sizes as you want but remember that you can repeat patterns (otherwise you will spend a lot of time cutting out shapes). You must bear in mind that you should not make them excessively wide so that they adapt better to the curvature of the cake.

Step 10

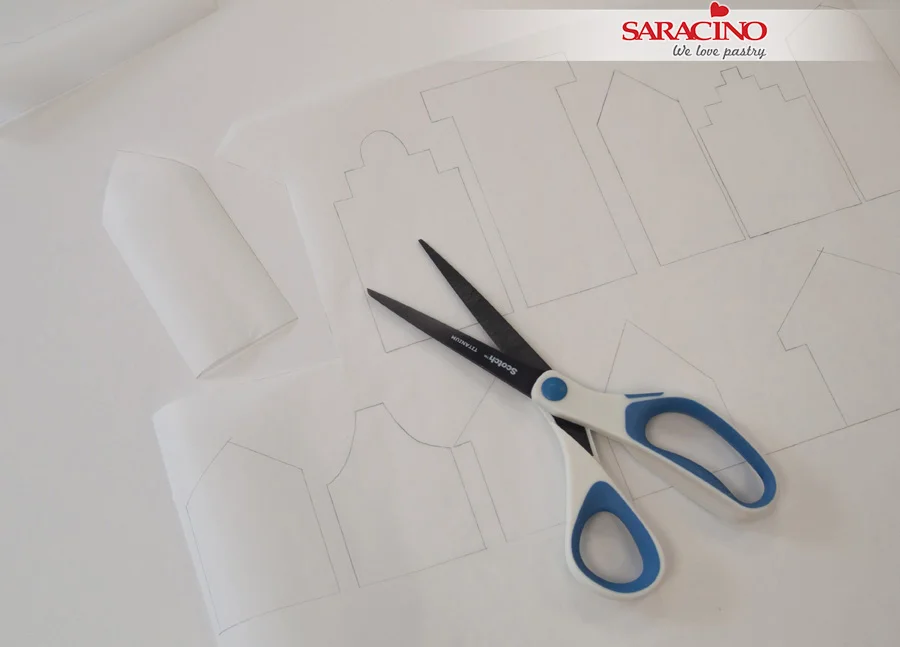
Cut out the little houses that you have drawn

Step 11

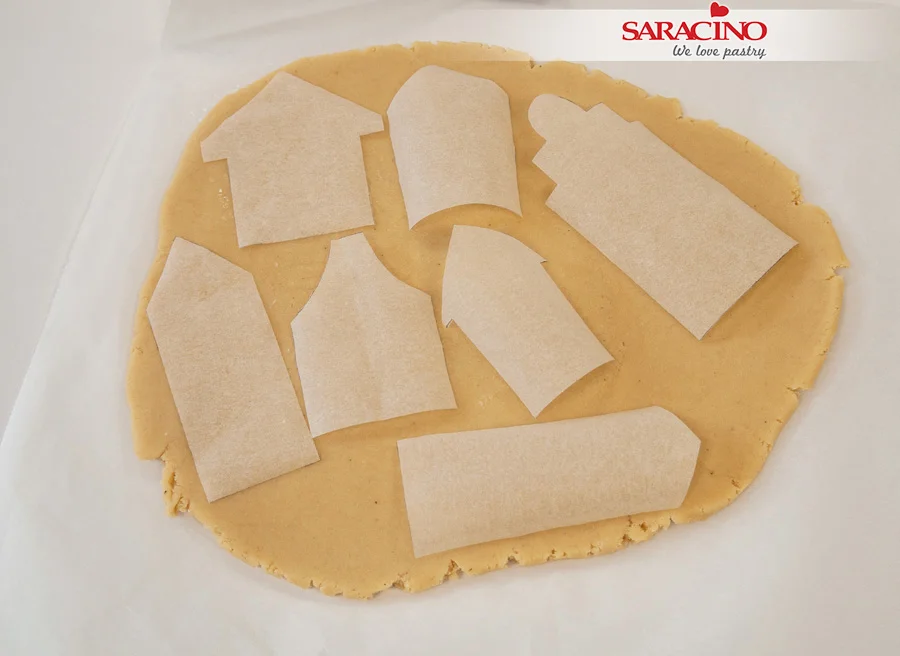
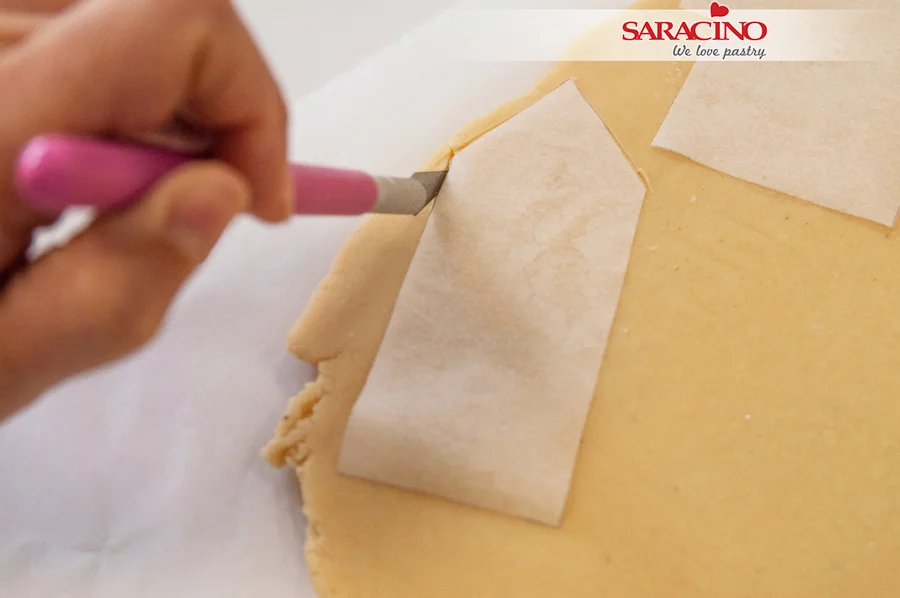
Roll out the cookie dough to an even thickness (5mm thick). Place the shapes you have cut out on the cookie dough. You can use the classic shortbread dough, gingerbread cookie dough, honey cookie dough … But don’t forget that the dough must always be very cold to handle.

Step 12

Cut the houses using a sharp blade.

Step 13

Place the cut cookies on a cookie sheet with a micro-perforated mat and put them in the freezer for 5-10 minutes. This will prevent them from losing their shape during baking. Meanwhile, preheat the oven to 180ºC (356 ° F).

Step 14

Also cut some snowflakes and do the same, put them in the freezer for a few minutes.

Step 15

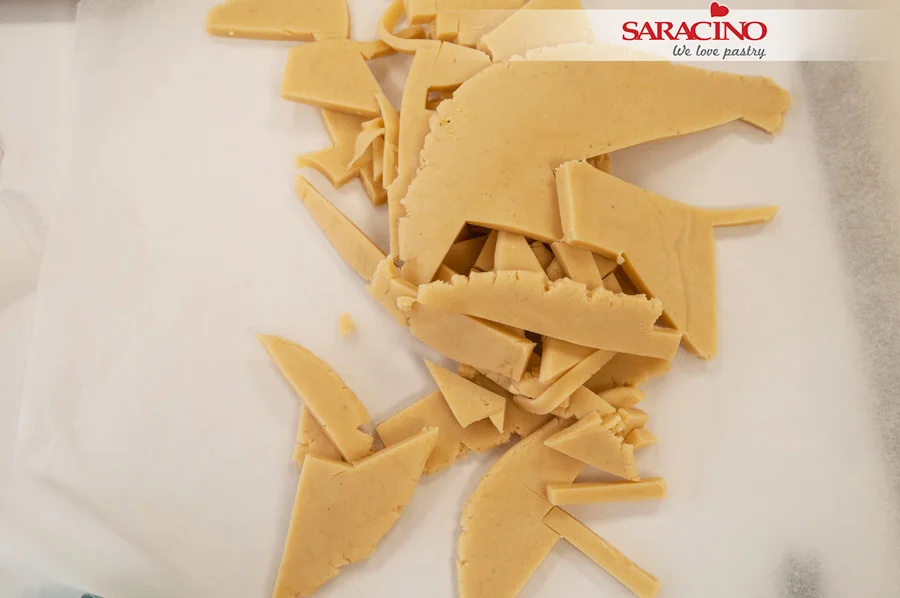
Don’t throw out the dough scraps! Knead them again (not too much so that the gluten does not develop and the cookies are puffed in the oven) and roll them again. Remember to cool the dough very well before using it.

Step 16

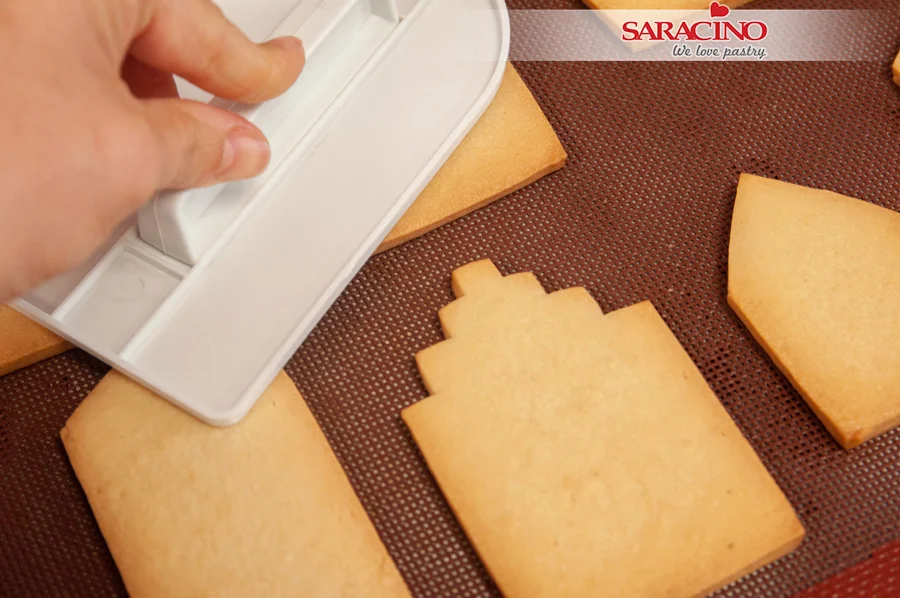
Bake the cookies at 180ºC (356 F). Baking time depends on the size of the cookies. It usually ranges between 10 and 15 min. It depends on how dark and crisp you like them. When you take them out of the oven, flatten them with a smoother. You must do it as soon as you remove them, before they harden completely.

Step 17

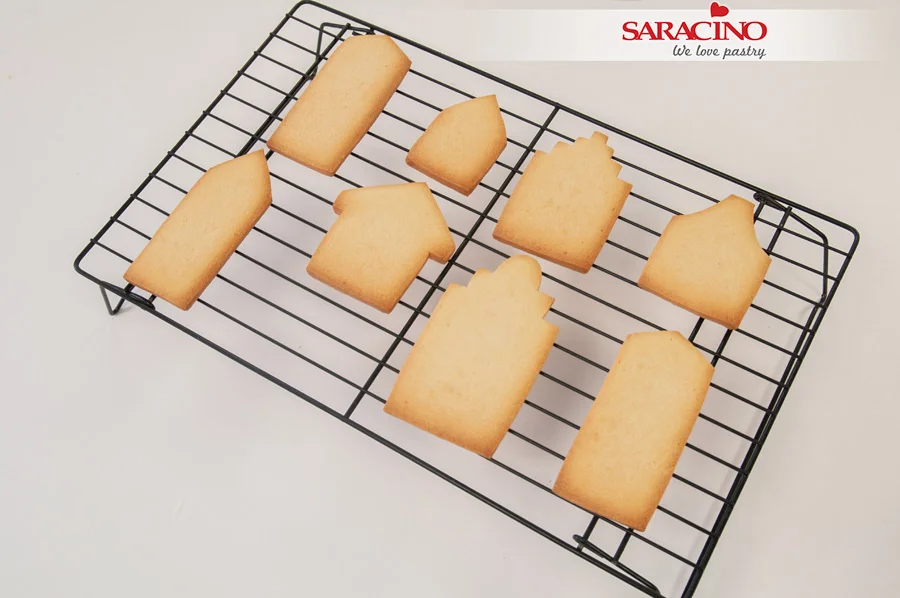
Transfer the cookies to a cooling rack and wait until they are completely cool before decorating.

Step 18

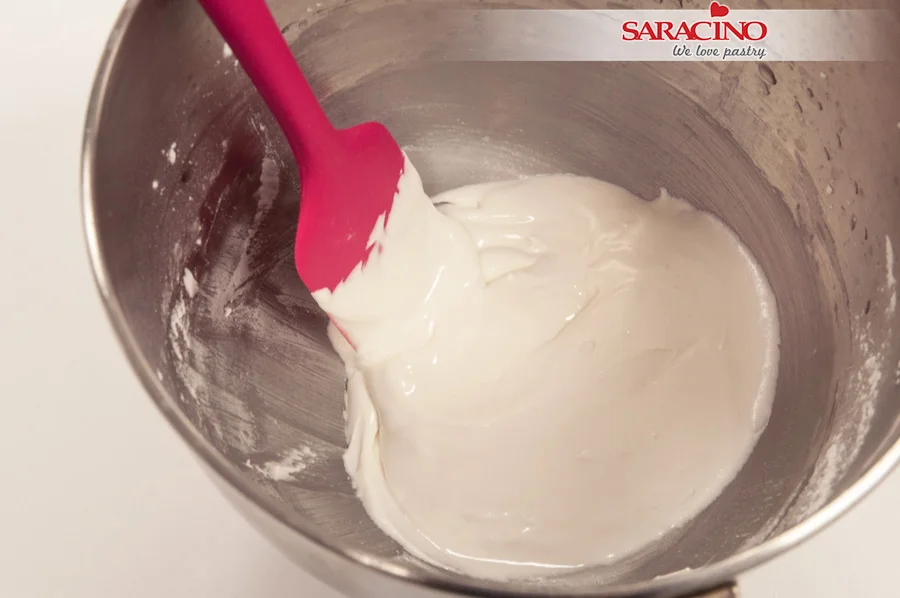
Make the royal icing. Follow the instructions on the package (we must make a rather firm royal icing so that it does not flow when piped). It is not necessary to add flavors as it is delicious as is.

Step 19

Beat with the paddle at low speed so that it does not air too much and check that it is well uniform, white and shiny.

Step 20

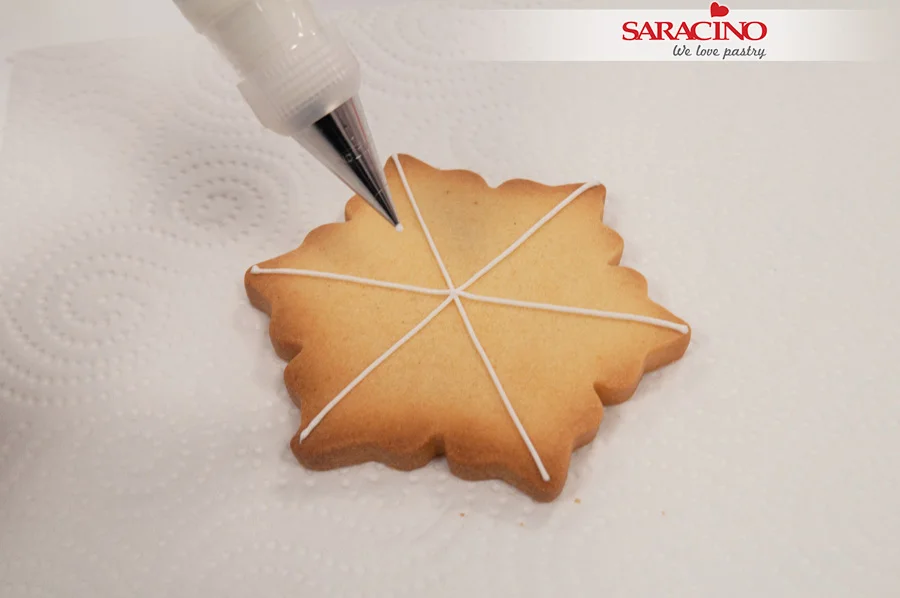
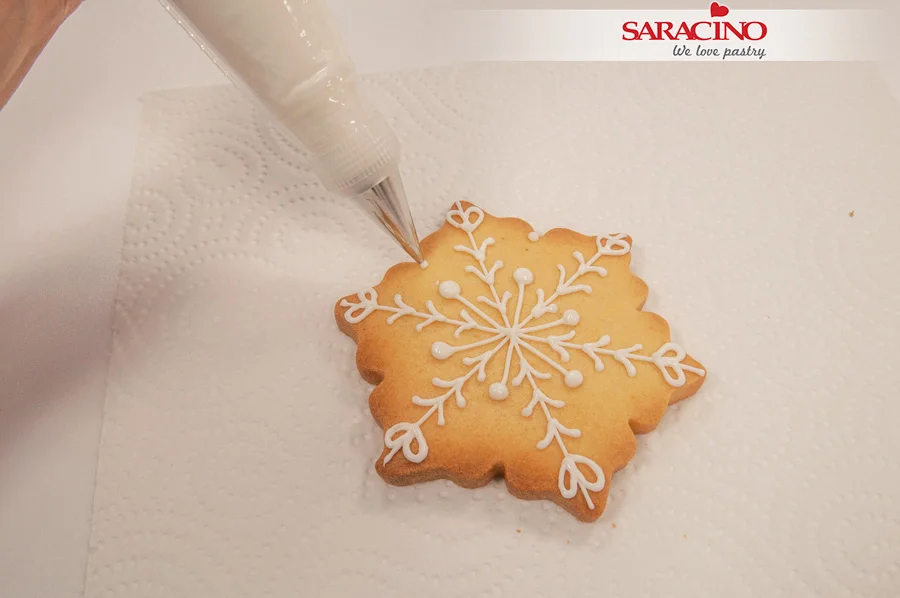
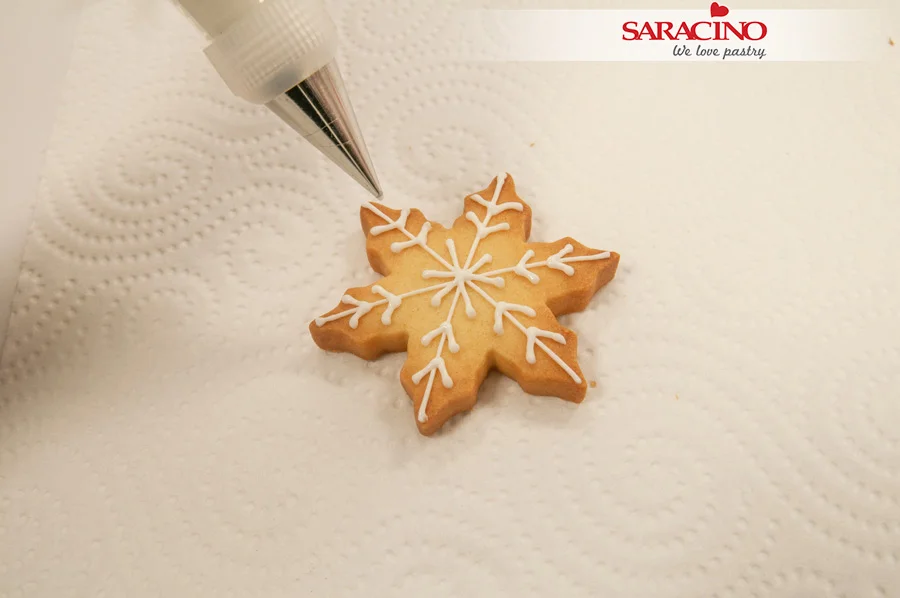
Place the nozzle in the piping bag and fill with the royal icing. Start decorating the cookies. Make a large snowflake to place on top. Let yourself go with imagination! Make the shapes and decorations that you like the most on the cookie.
Step 21

You can make lines, dots … but for that shape to be maintained remember that it is important to have a good piping consistency with your royal icing. We dont want it too runny so it runs.

Step 22

Make other sizes of snowflakes, some smaller to fit in the spaces between houses

Step 23

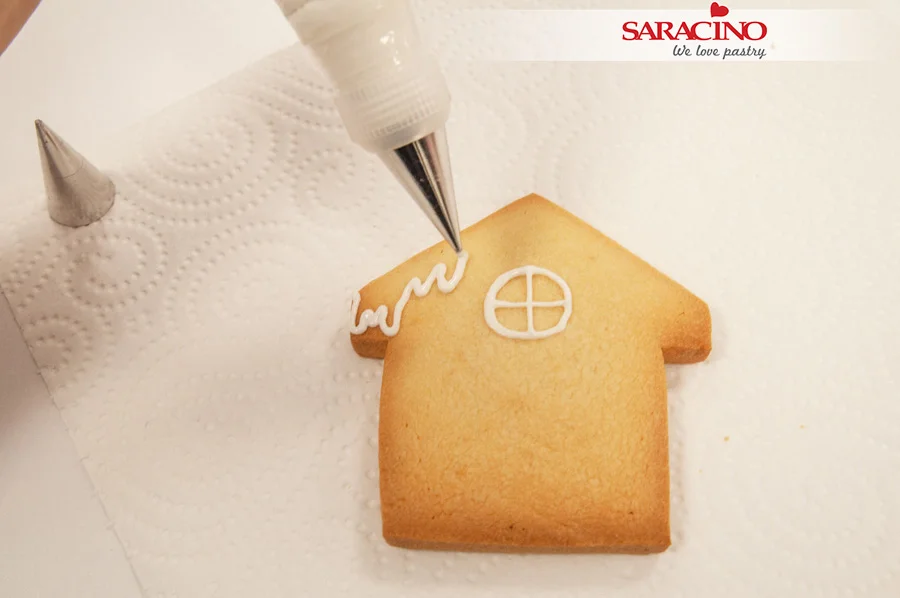
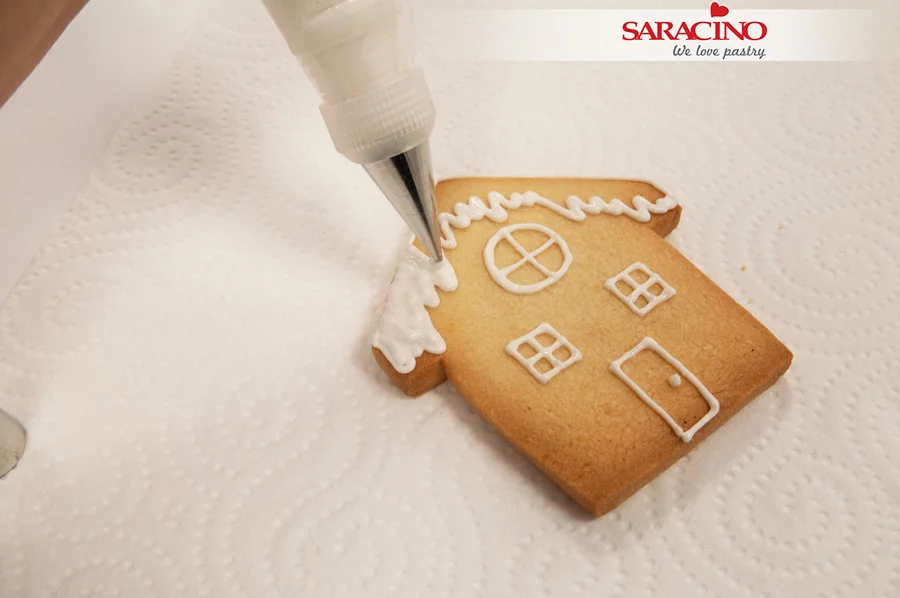
Decorate the houses. Outline the area of the roof to later fill and simulate snow.

Step 24

Fill in the roof and make windows and a door

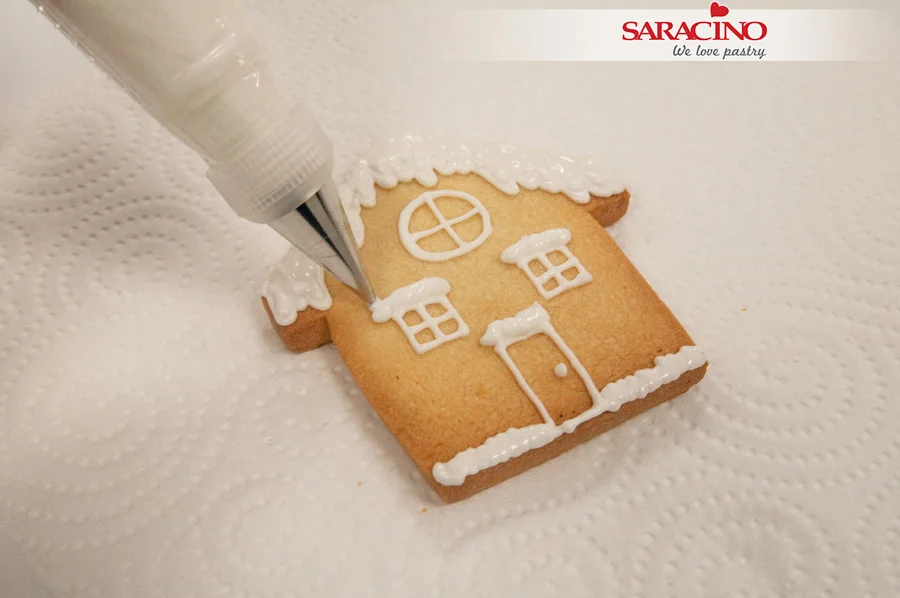
Step 25

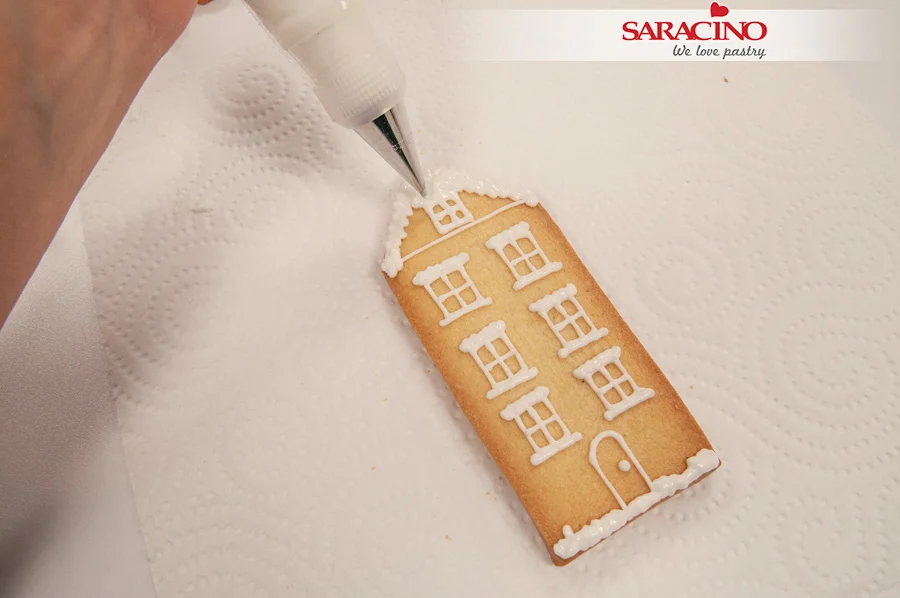
Put some royal icing on the windows, it will give more winter and Christmas feeling.

Step 26

Do the same with the other houses. Make up different decorations!

Step 27

You can also add royal icing to the base of the cookie, it will look like the ground is snowy when you place them on the cake.

Step 28

Let the royal icing dry well before placing the cookies on the cake.

Step 29

As the large snowflake will be placed on top of the cake, we must fix a wooden skewer to the back of the cookie. We will stick it with icing. We put a little on the back of the cookie.

Step 30

Then we will place the top of the skewer onto the cookie and finish covering it with more royal icing. Let it dry very well before using it so that it does not come off.

Step 31

To stick the cookies to the cake, we will put a little royal icing on the back of each one. It will be enough to keep it glued but remember that you must let it dry so that it does not fall off.

Step 32

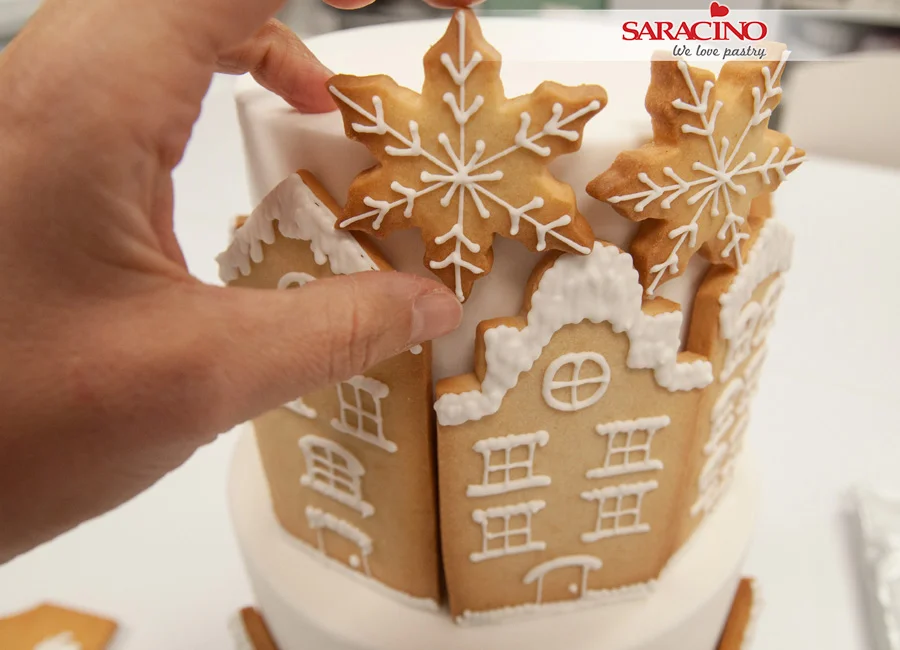
Place the first cookie and press lightly to set it.

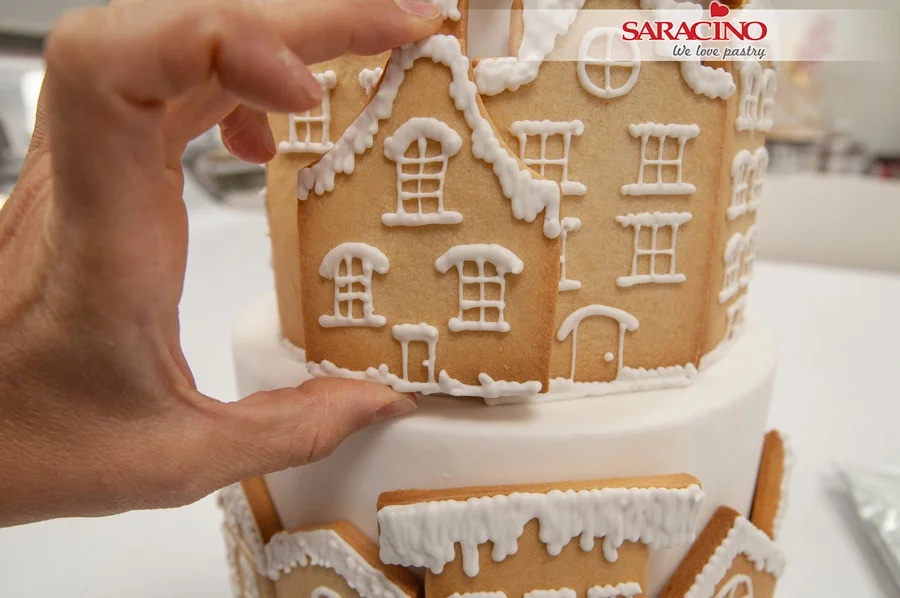
Step 33

Continue placing the other houses, as well as the snowflakes. Keep the flakes pressed for a few seconds since they are not supported on the base of each tier, they could slip.

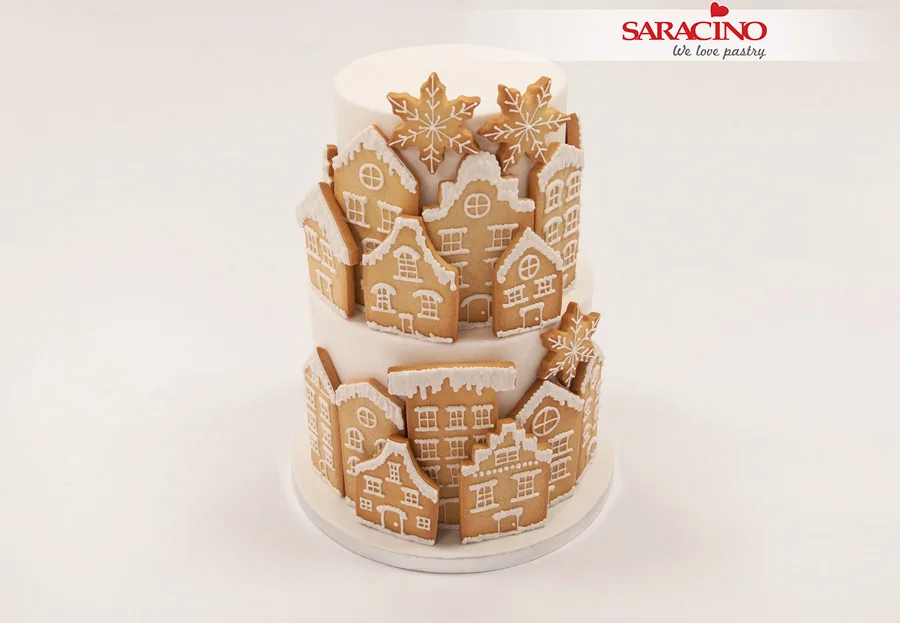
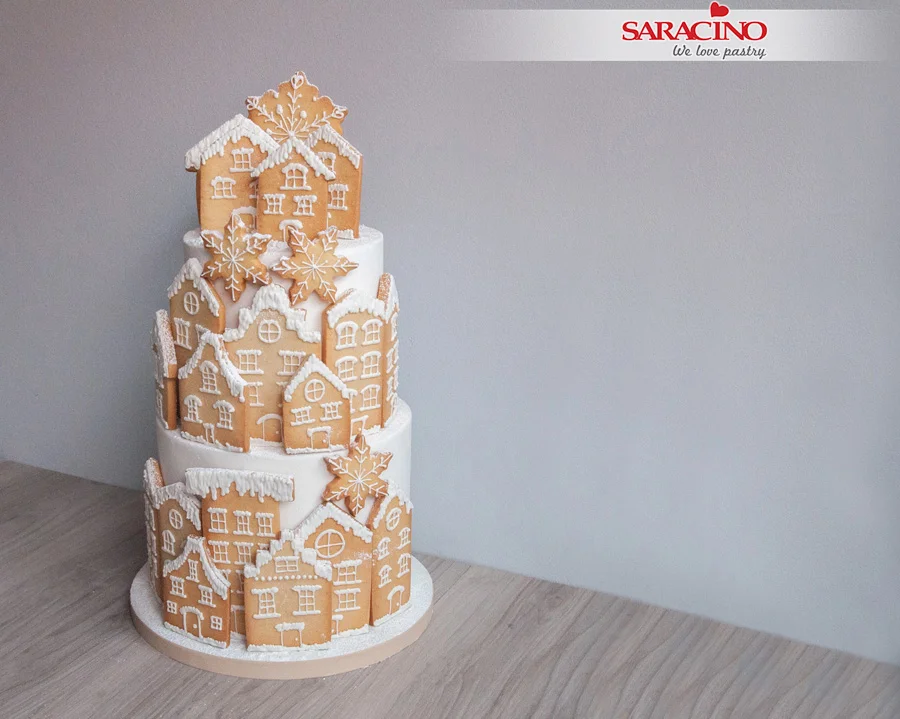
Step 34

To give a volume effect, place some lower houses in front of the tall ones.

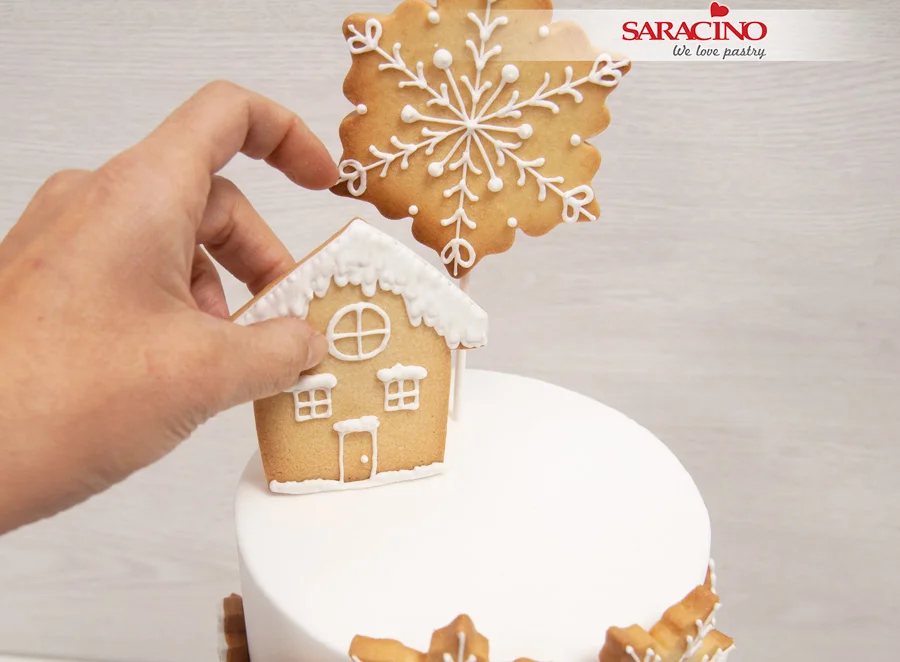
Step 35

Let dry so that they do not fall when moving the whole set.

Step 36

Insert the large snowflake and place the houses on the top. You can put skewers on the back of the houses in the same way you did with the large snowflake. This will make it easier for you to keep them standing.

Step 37

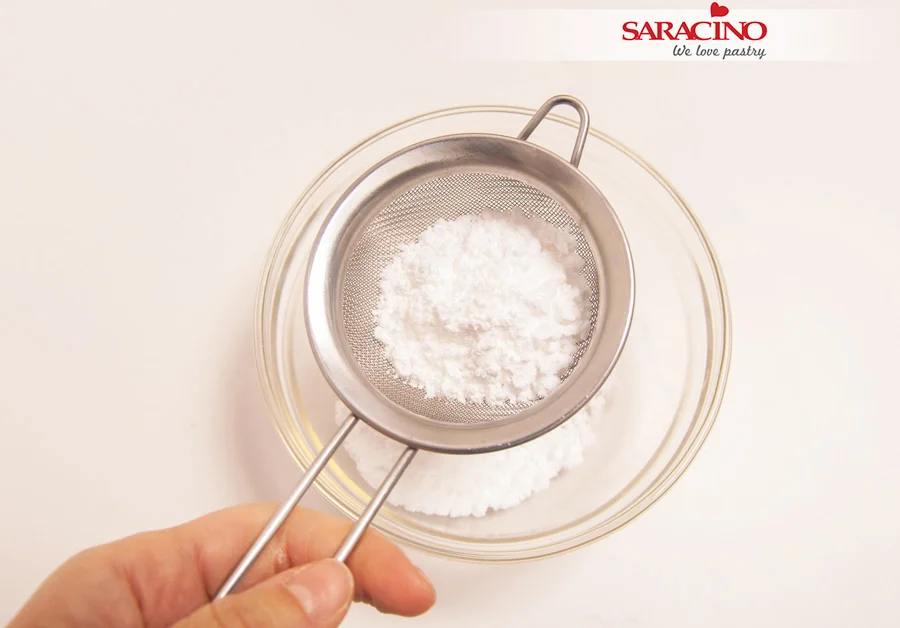
Put some royal icing on a sieve

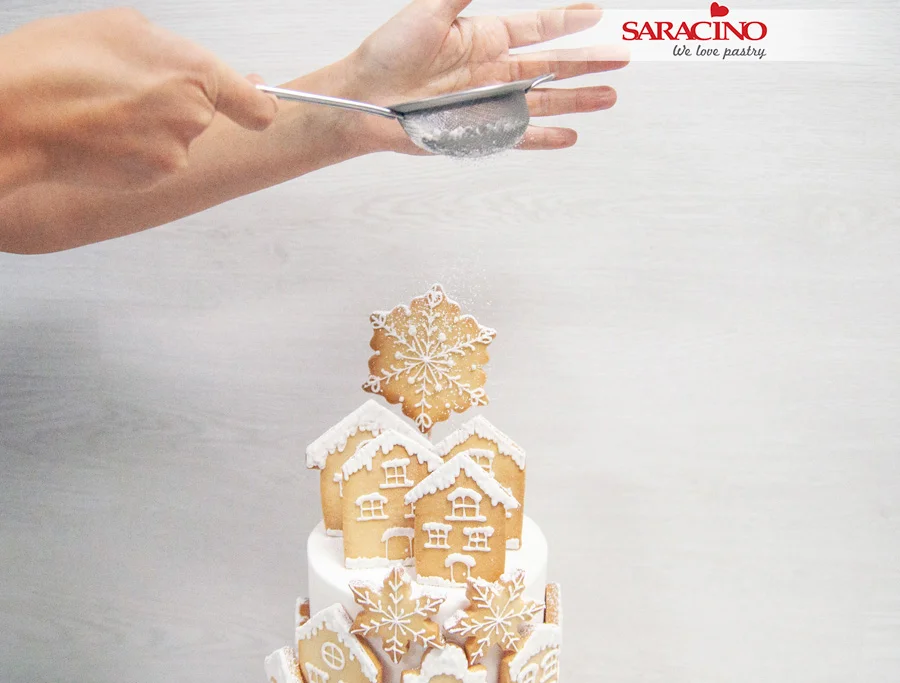
Step 38

Do your Christmas magic! Sprinkle on the cake and contemplate the beautiful effect you get!

Step 39

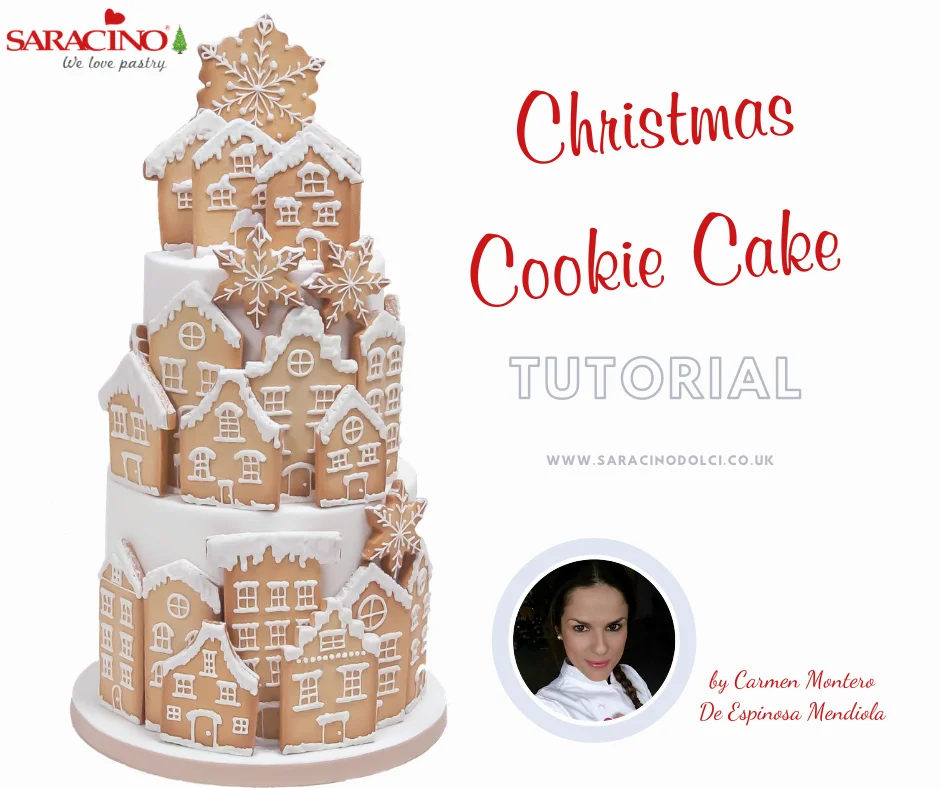
Your cake is ready to be served. Enjoy and Merry Christmas!