YOGA GIRL MODELLING TUTORIAL

You will need:
- Dresden tool
- A thin brush
- A large brush
- Exacto knife
- Rolling pin
- A small silicone brush
- A blade
- Metallic spatula
- Saracino modelling paste skin color
- Saracino modelling paste tiffany color
- Saracino modelling paste light green color
- Saracino modelling paste brown color
- Edible glue
- Wooden skewer
- Saracino dust colors red, white, green and brown
- Clear alcohol
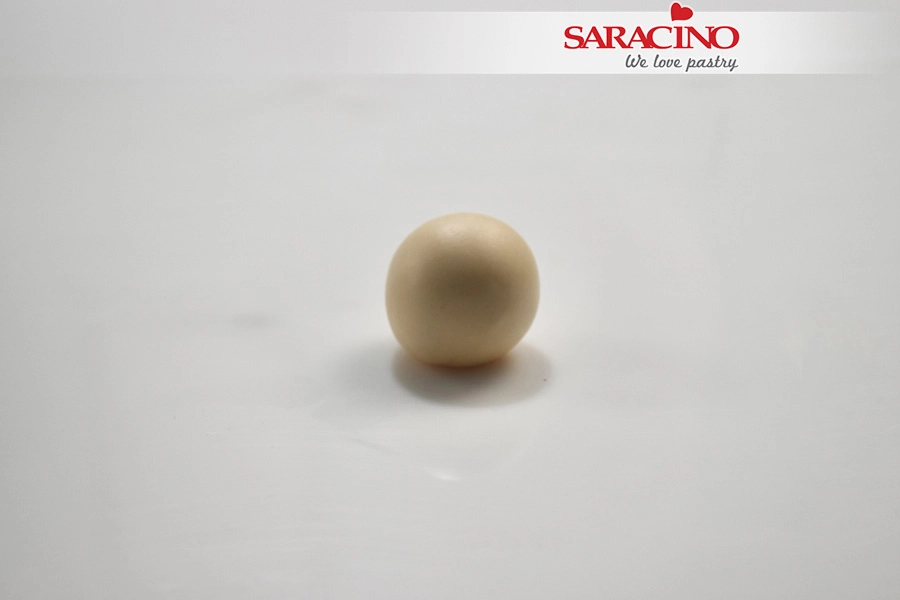
Step 1
Take 35g of skin tone Saracino modelling paste and roll it to a nice even ball shape
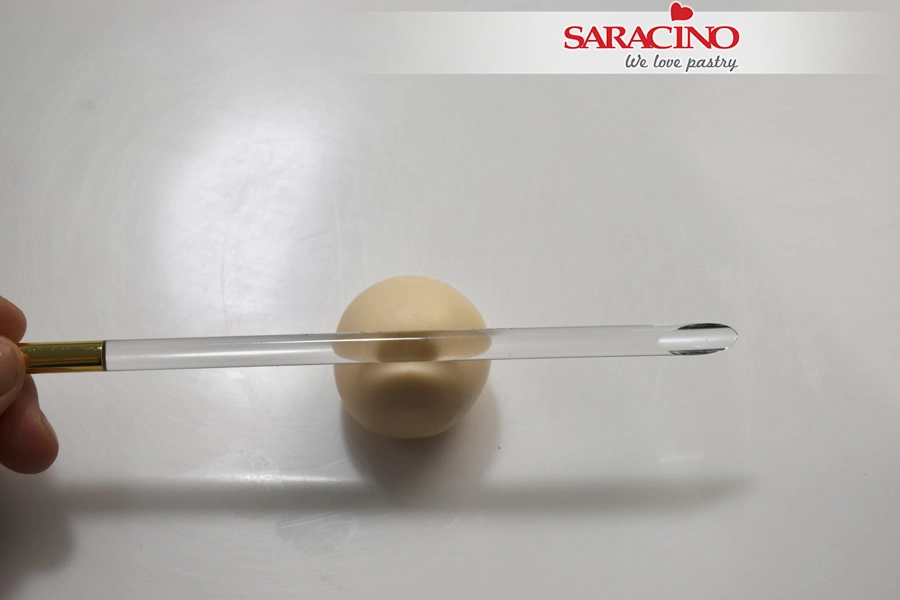
Step 2
Use the back side of your brush to create a dent in the middle of the ball.
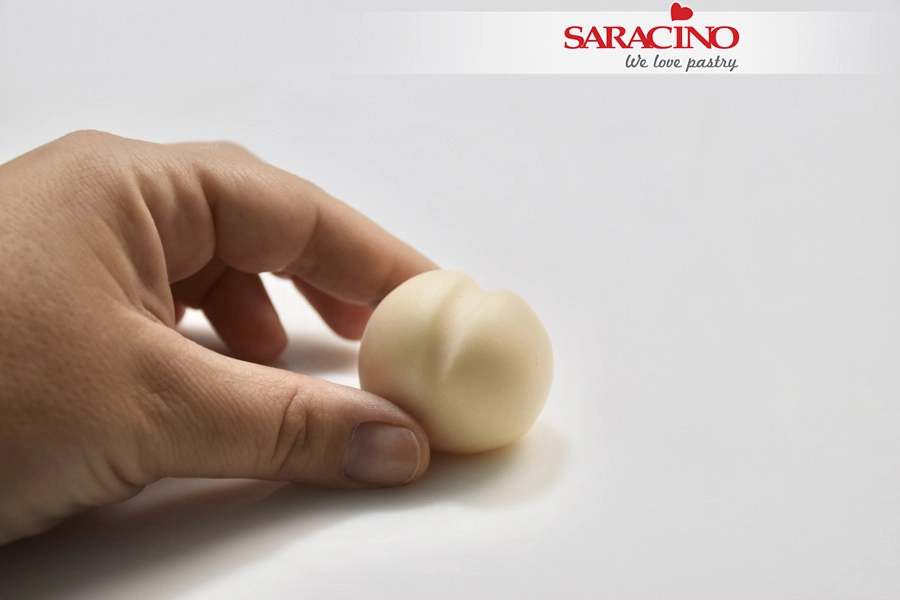
Step 3
Don’t push too much or too little. You should end up with a result like seen in the picture
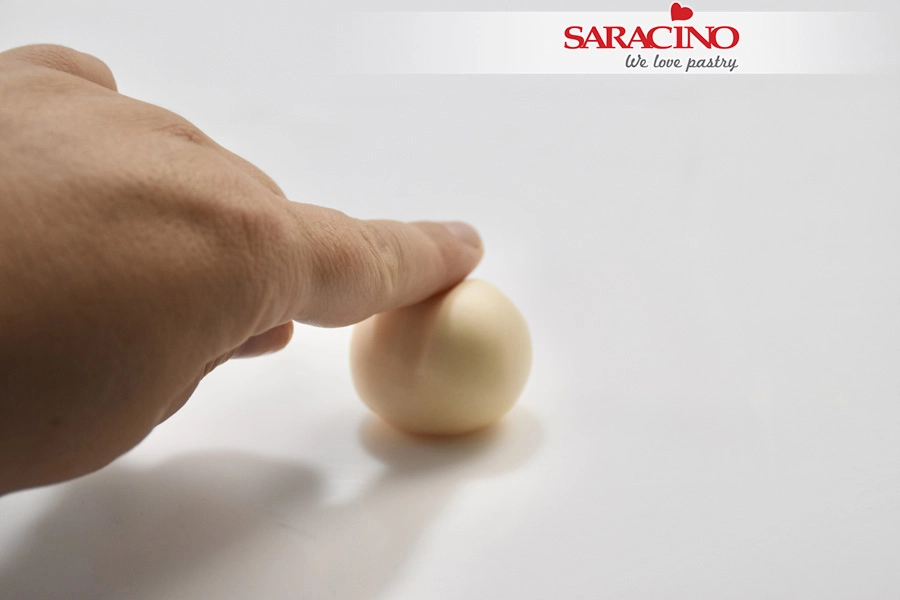
Step 4
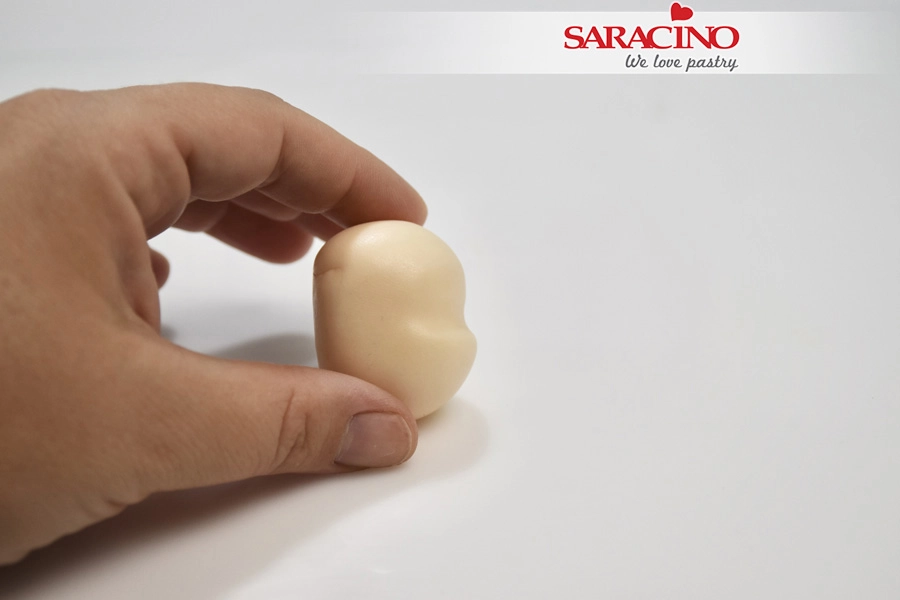
Use your finger to flatten the upper part of the ball
Step 5
You should end up with a result like seen in the picture
Step 6
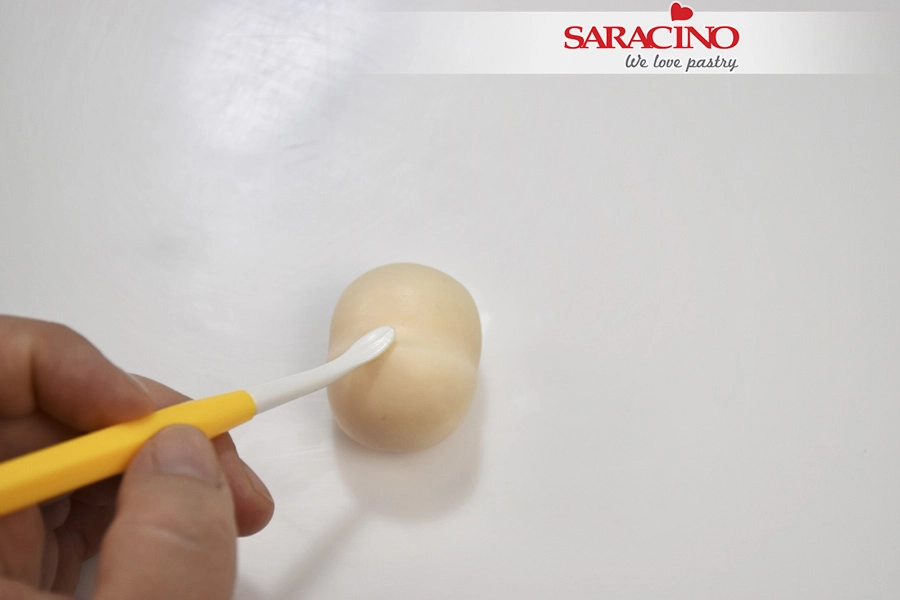
Use your dresden tool to shape the nose
Step 7
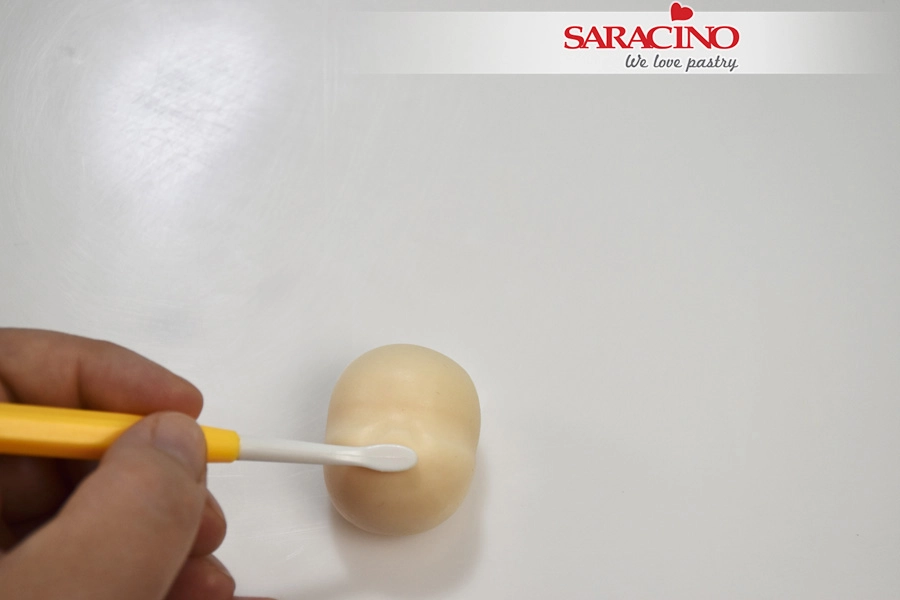
The nose should be a triangle shape
Step 8
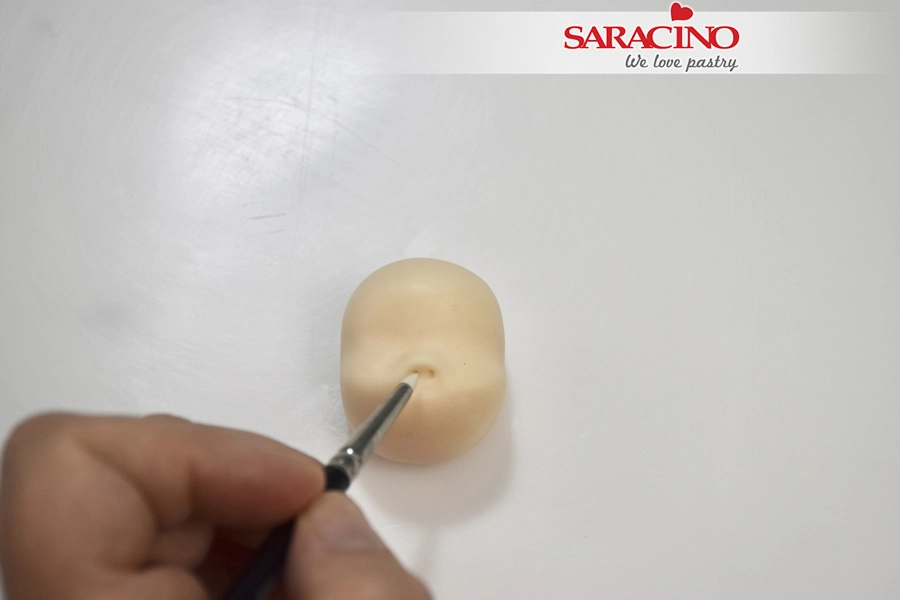
With a small silicone brush define the nostrils
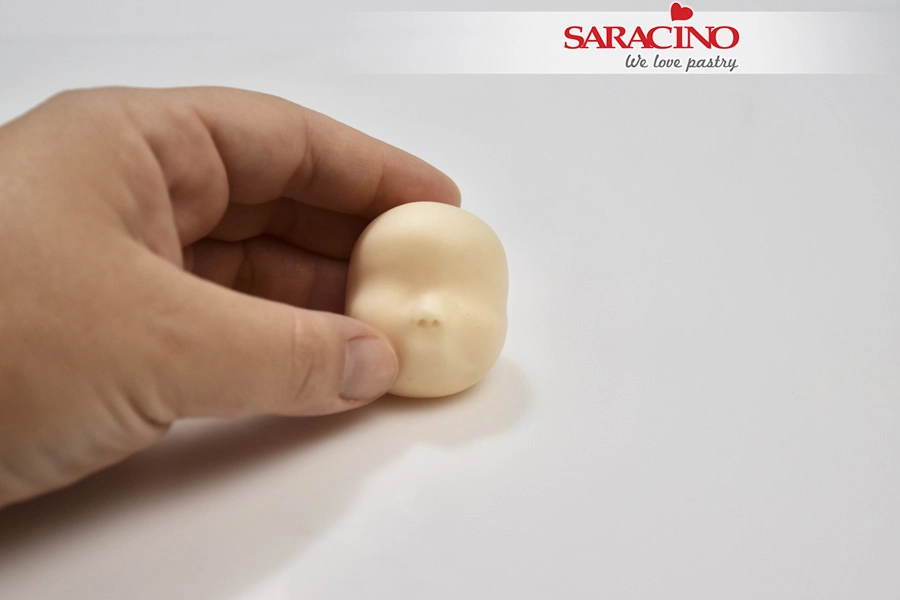
Step 9
Using your finger pressure shape the cheeks
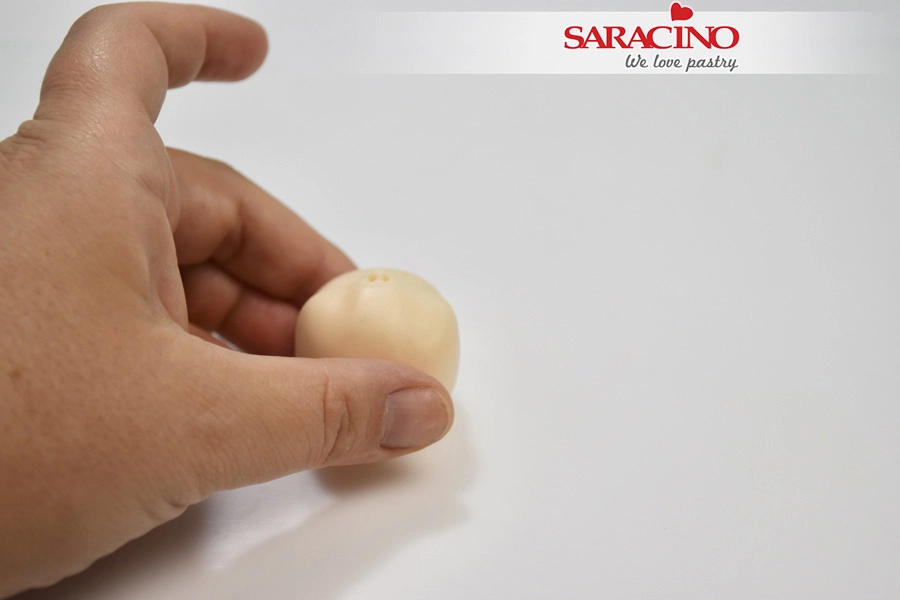
Step 10
Make 2 dots to mark the corners of the mouth
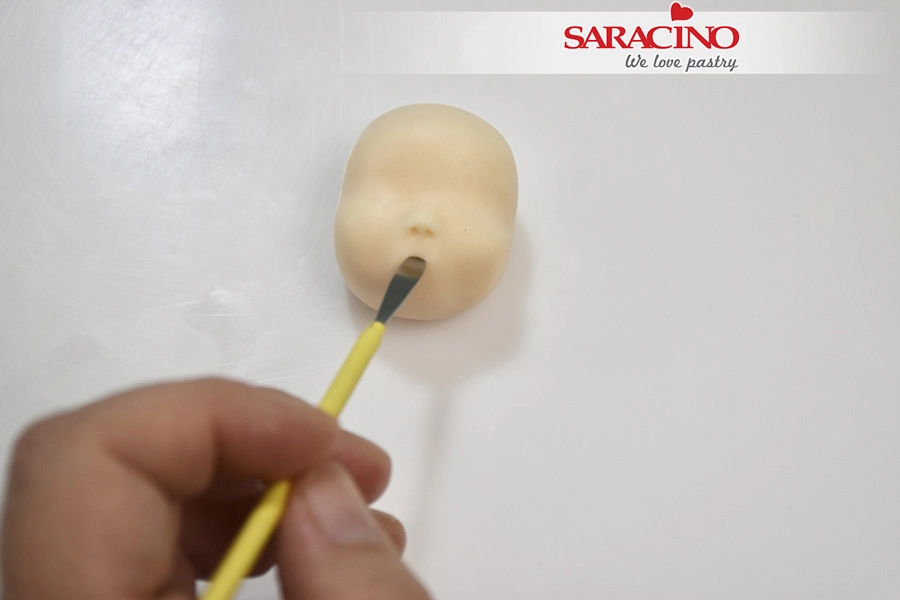
Step 11
Use a metallic spatula to cut the mouth
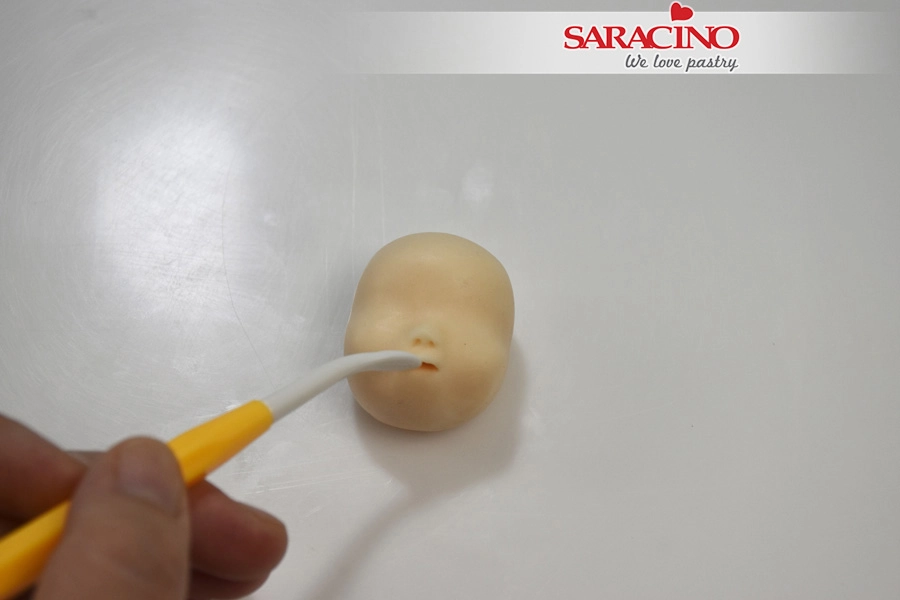
Step 12
Using the dresden tool shape the upper lip
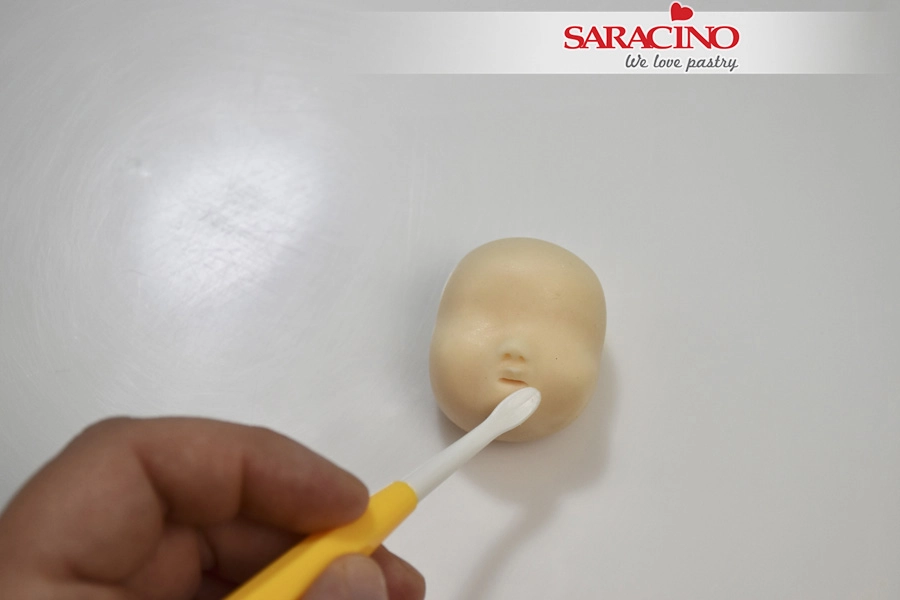
Step 13
Using the dresden tool shape the lower lip
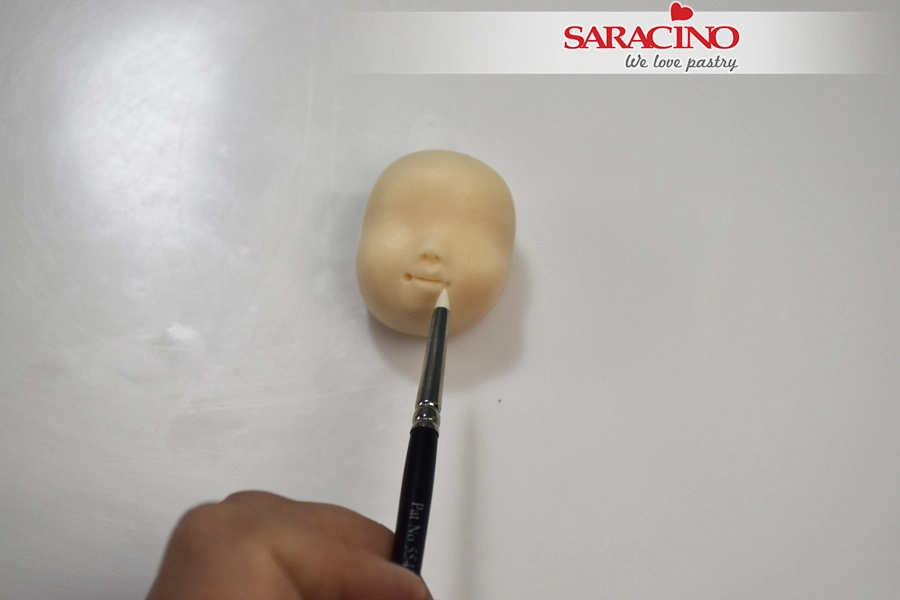
Step 14
Use the small silicone brush to make 2 small indents at the edge of the mouth
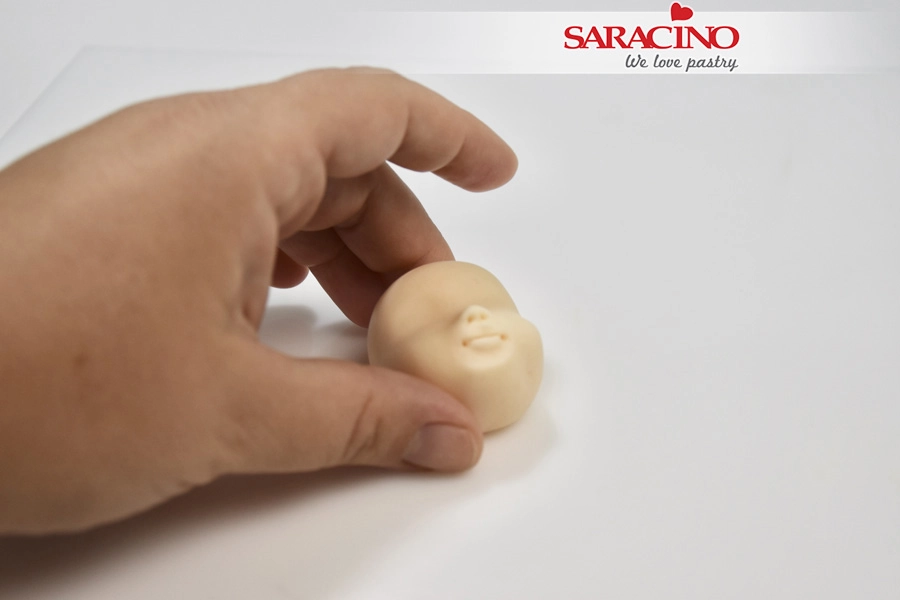
Step 15
The mouth should look like the picture
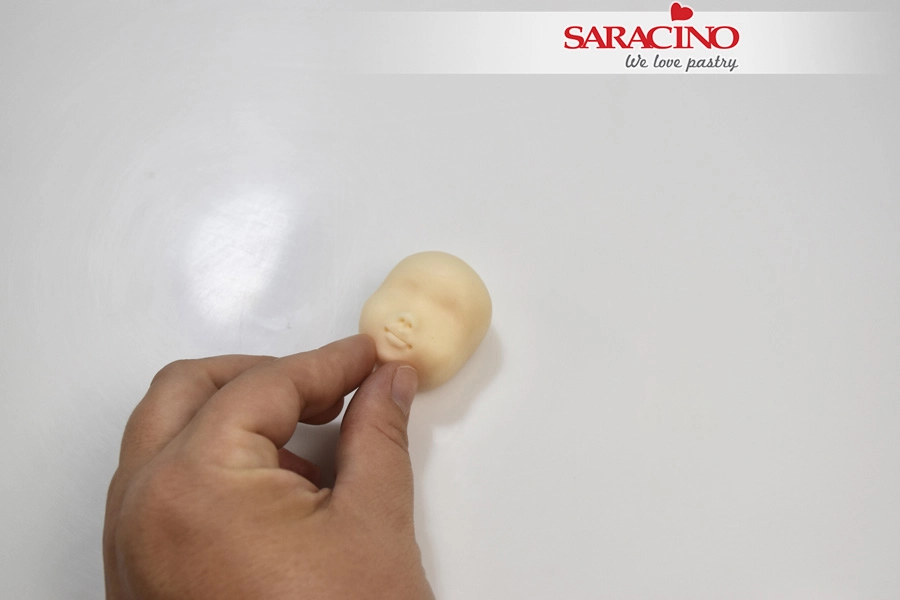
Step 16
Use your fingers to shape the chin
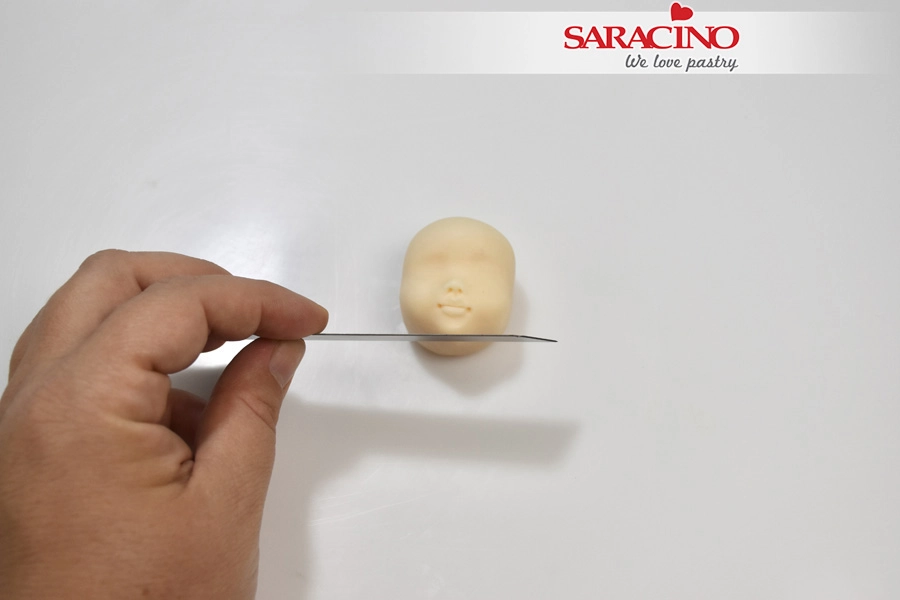
Step 17
Take a blade and cut off the excess paste
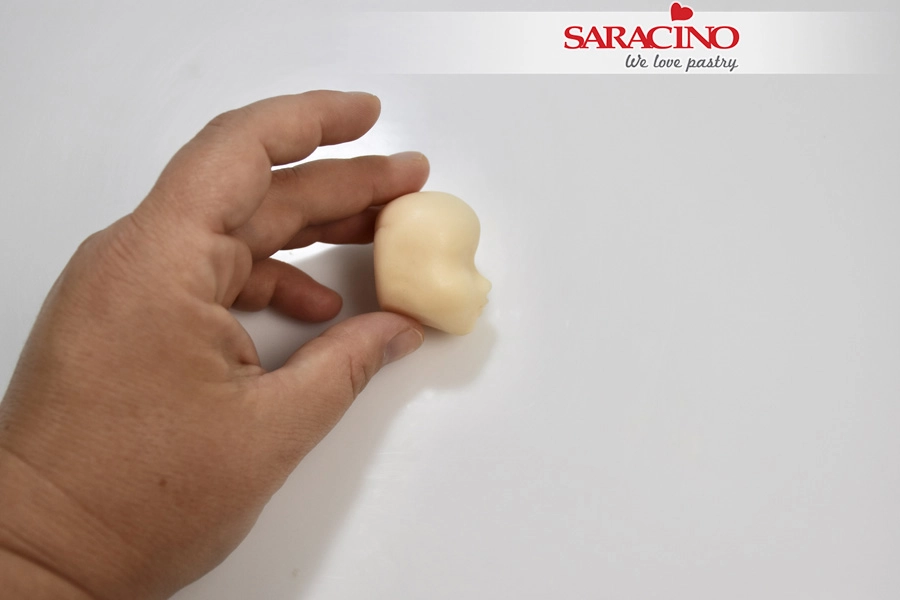
Step 18
The profile of the face should look as seen in the picture
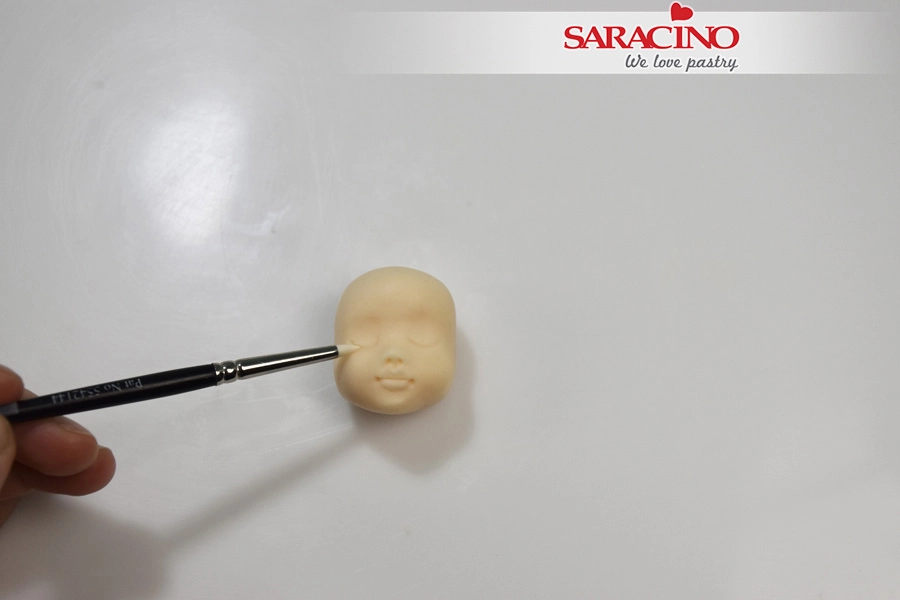
Step 19
Our girls eyes are closed so we need to define the eyelids with a small silicone brush.
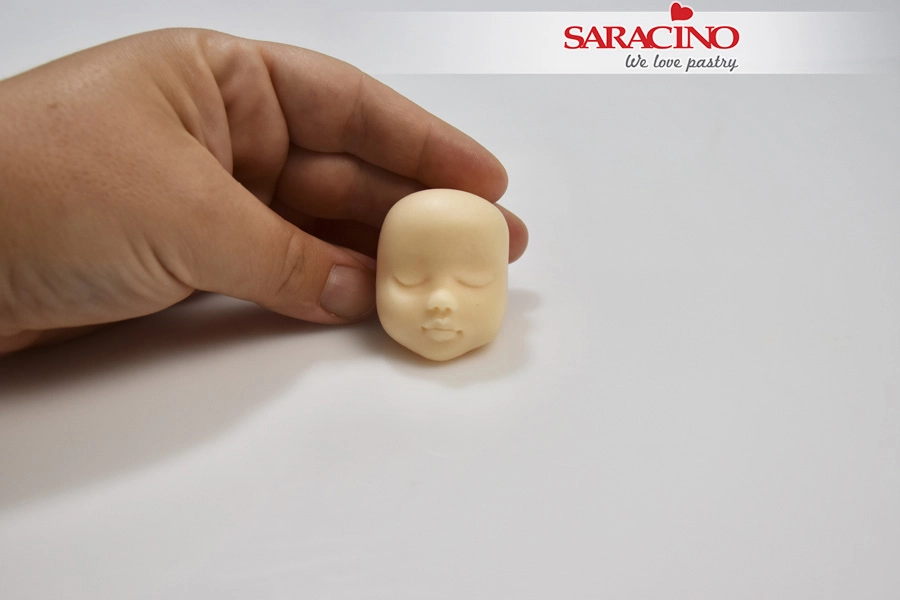
Step 20
The face is ready
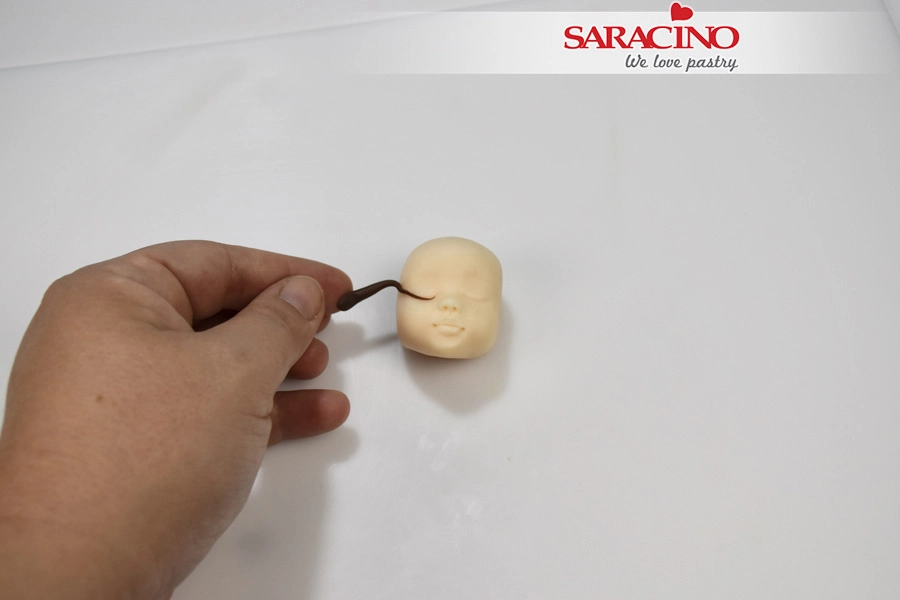
Step 21
Roll a small piece of brown modelling paste very thinly to make the eyelashes
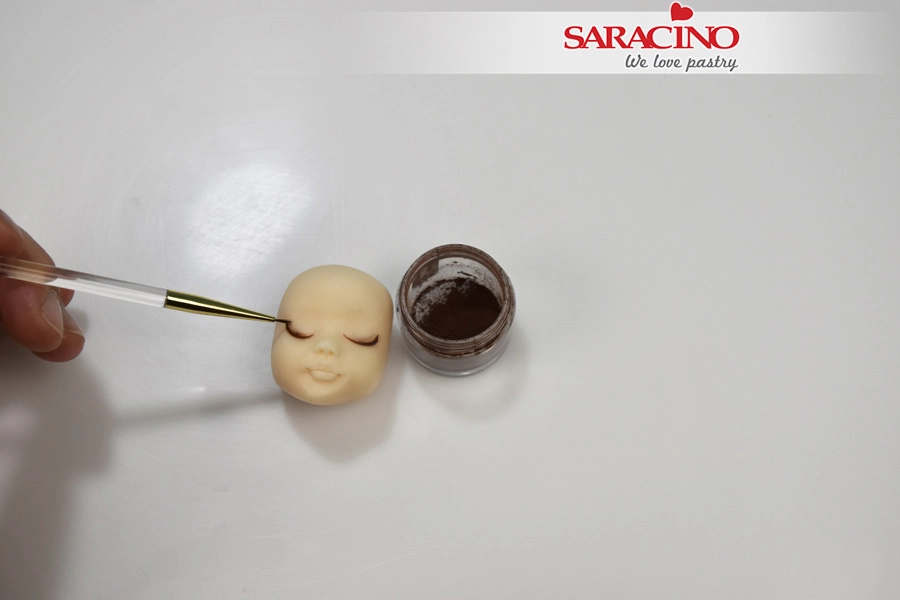
Step 22
Using a soft brush dust lightly brown color on the eyelids
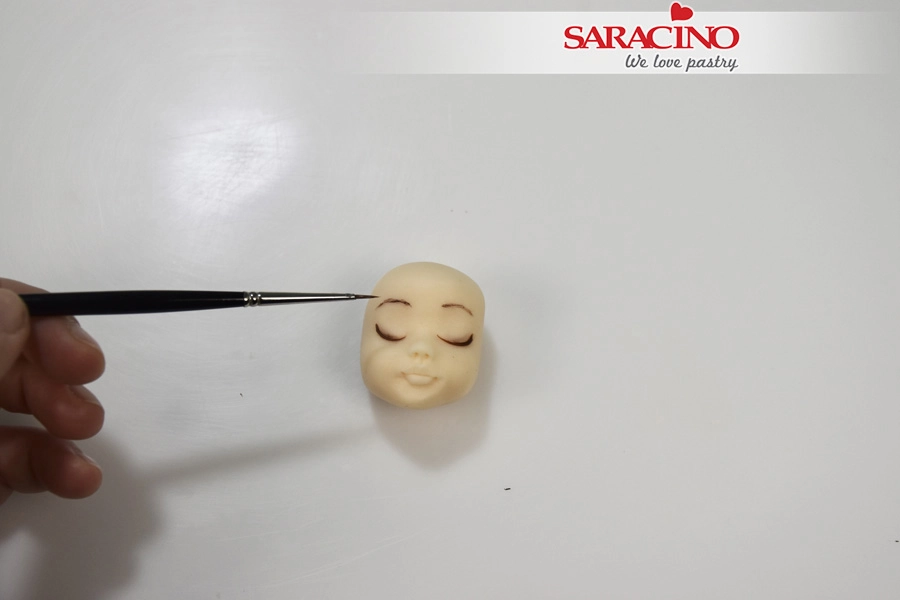
Step 23
Paint the eyebrows with brown dust mixed with alcohol
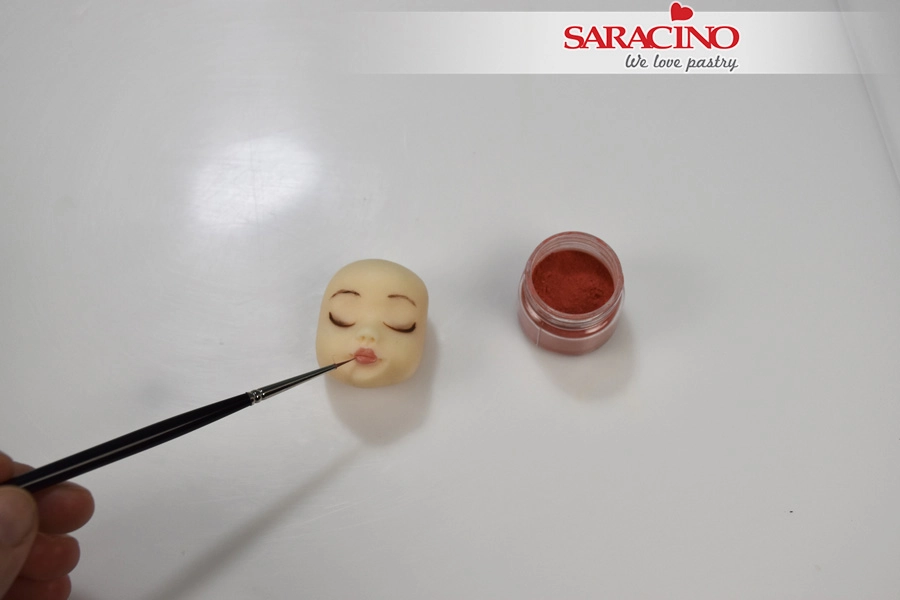
Step 24
Paint the lips with red dust mixed with alcohol
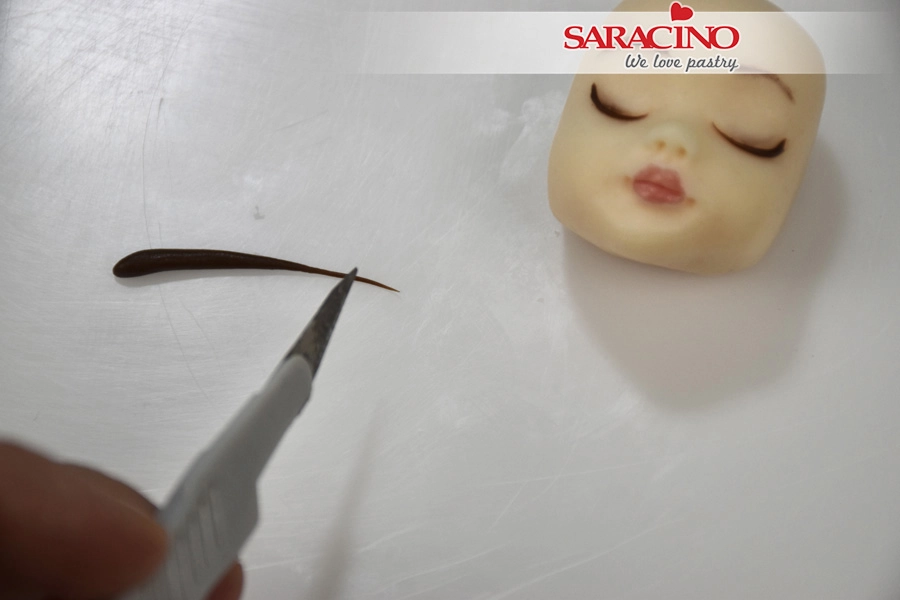
Step 25
Roll a small piece of brown modelling paste and cut the edge
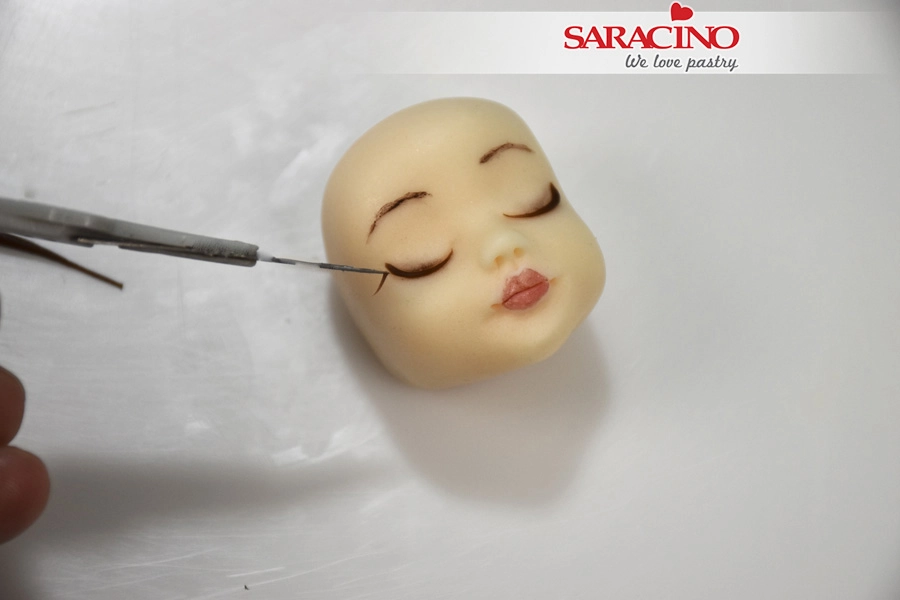
Step 26
With the help of the exact knife place the pieces on the eyelids
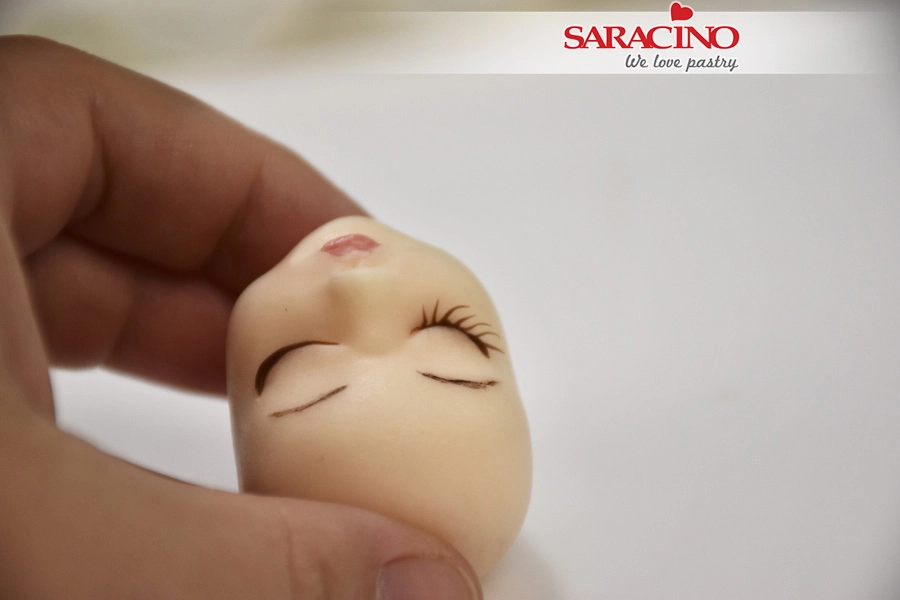
Step 27
Continue this for all eyelashes until you have a result as seen in the picture
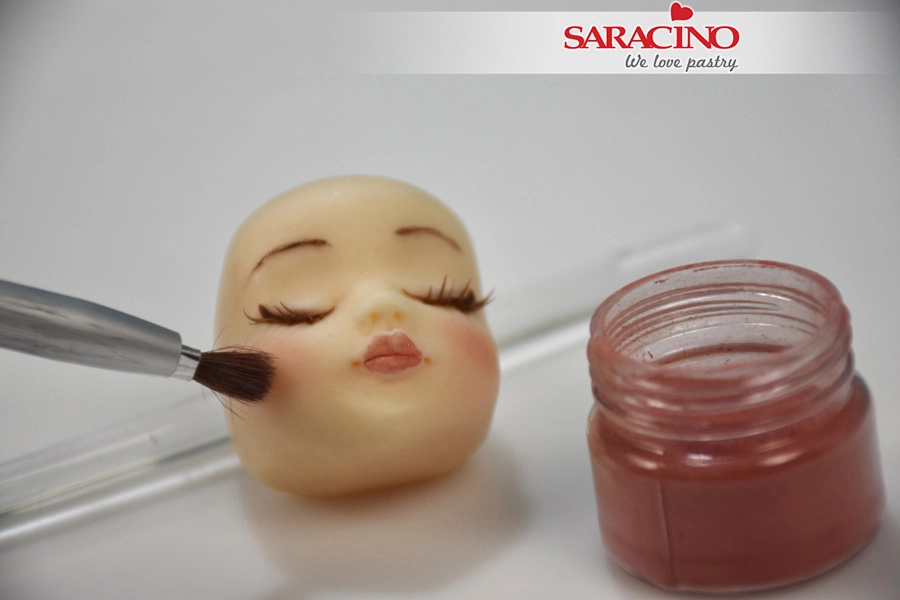
Step 28
Using a soft brush and red dust lightly brush the cheeks
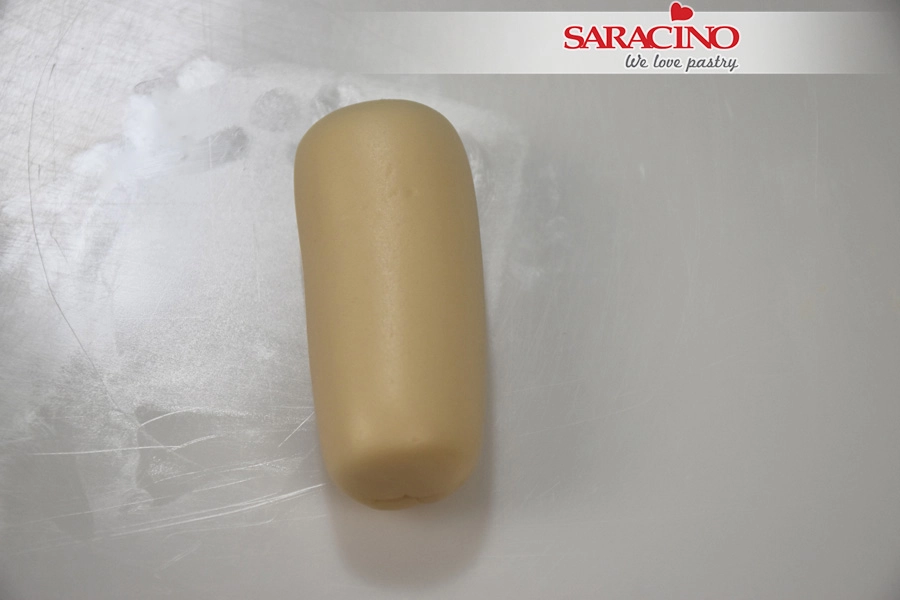
Step 29
For the body take 45g of skin color modelling paste and roll it into a sausage shape
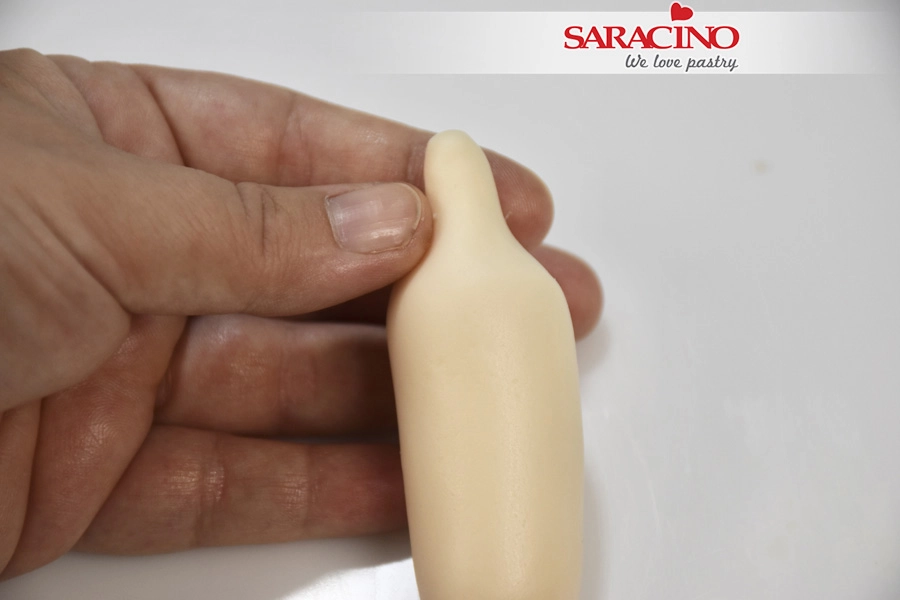
Step 30
Use your fingers to shape the neck
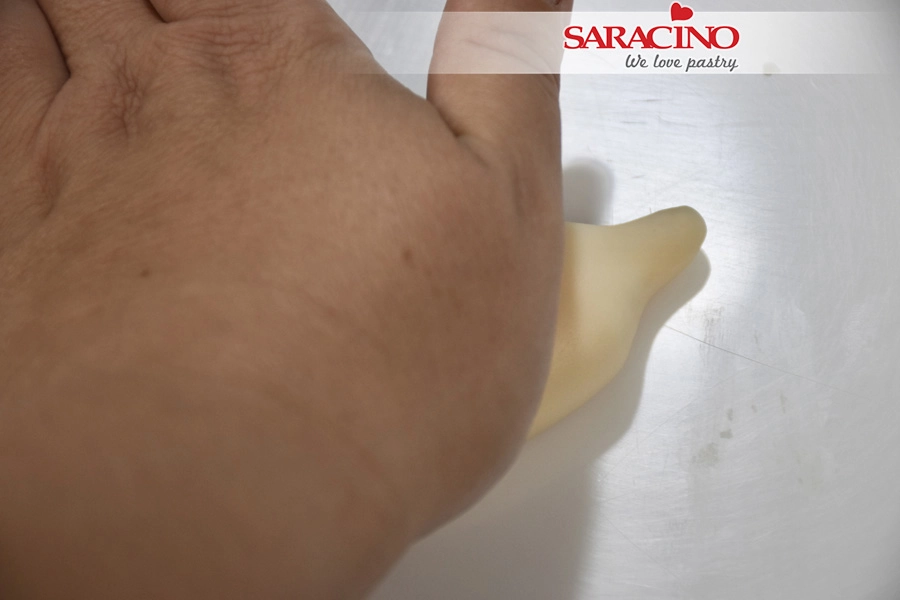
Step 31
Press with your palm gently to flatten slightly
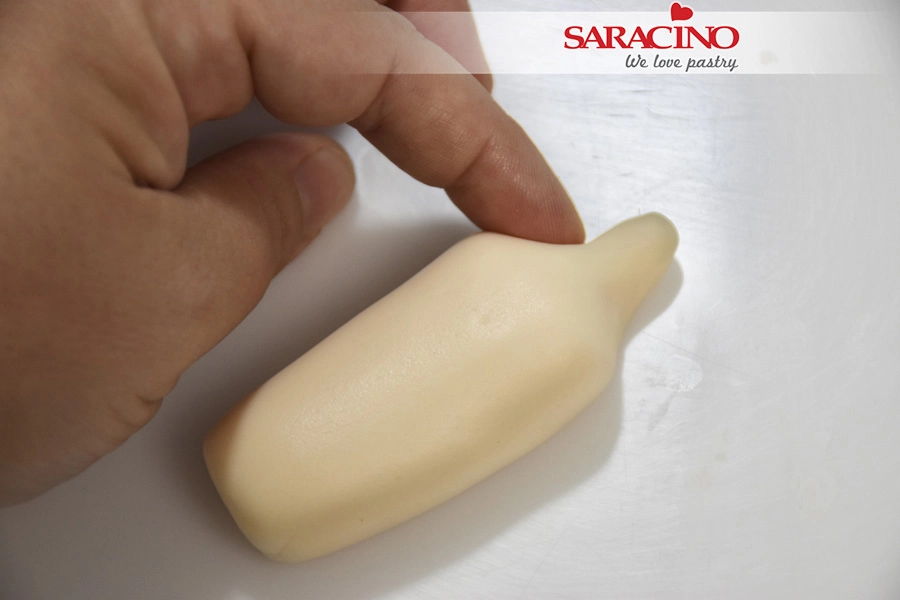
Step 32
Use your finger to shape the shoulders
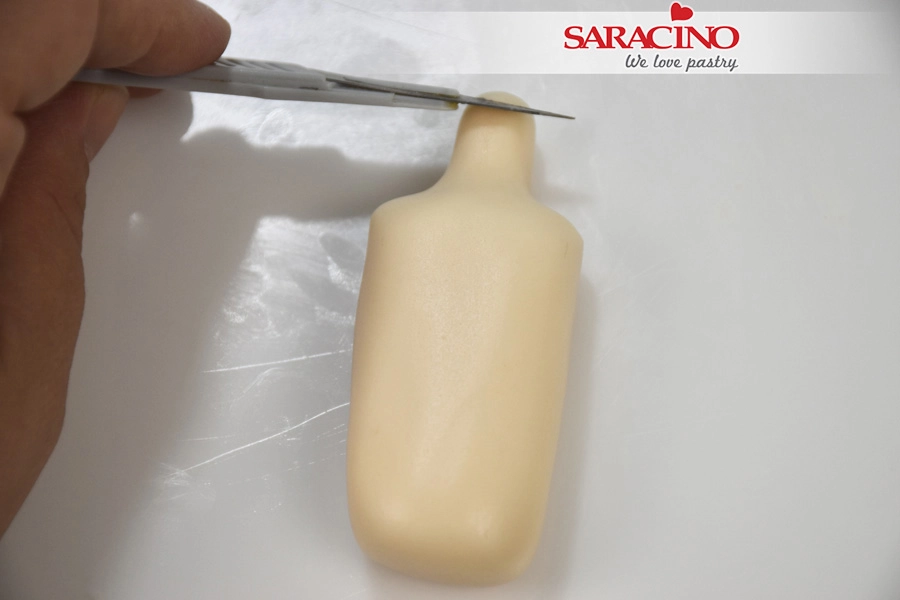
Step 33
Cut the top of the neck to give your required length
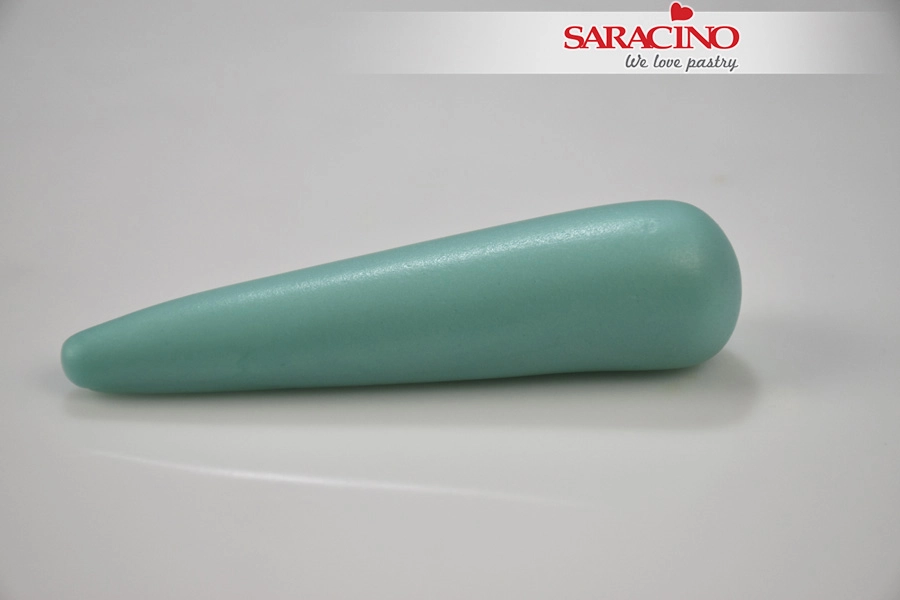
Step 34
For the leggings roll 35g of Tiffany colour modelling paste into a carrot shape
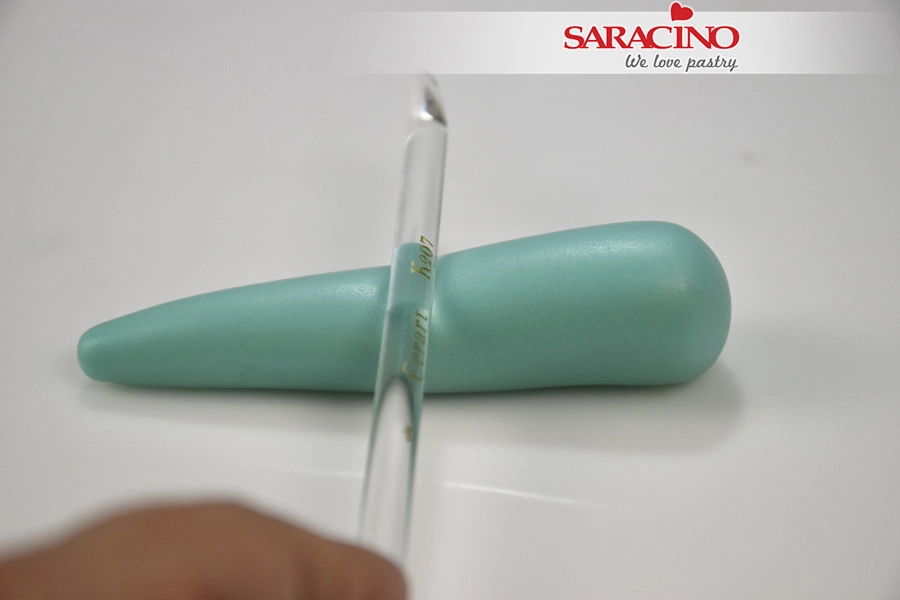
Step 35
Use the back side of your brush to create a mark on the leg for the back of the knee.
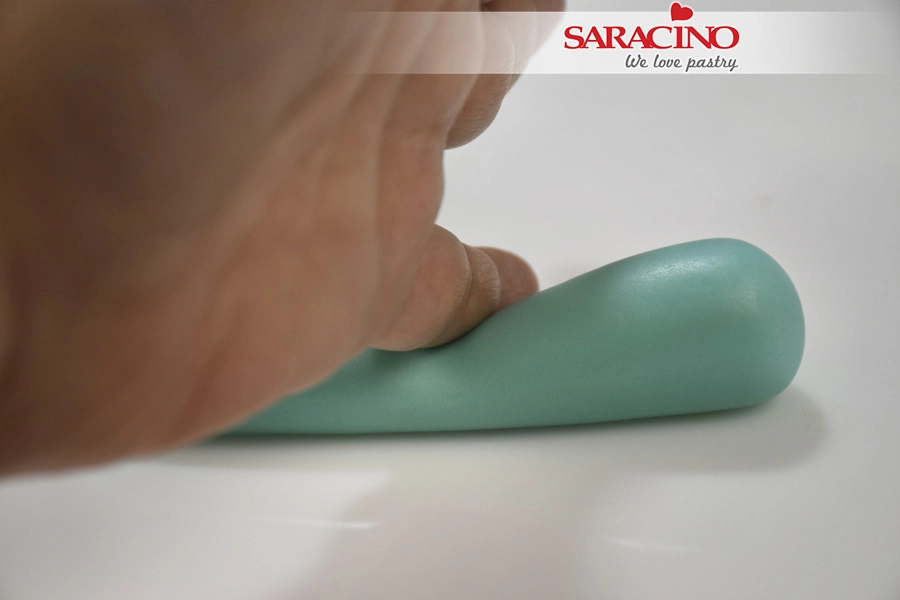
Step 36
Roll again using your finger to form the shape of the leg
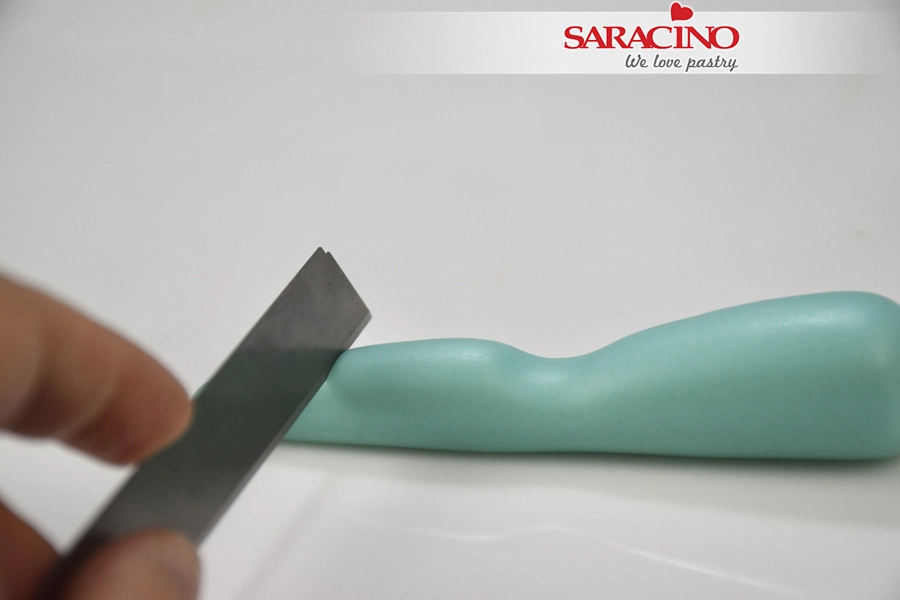
Step 37
With a blade cut the lower part of the leg
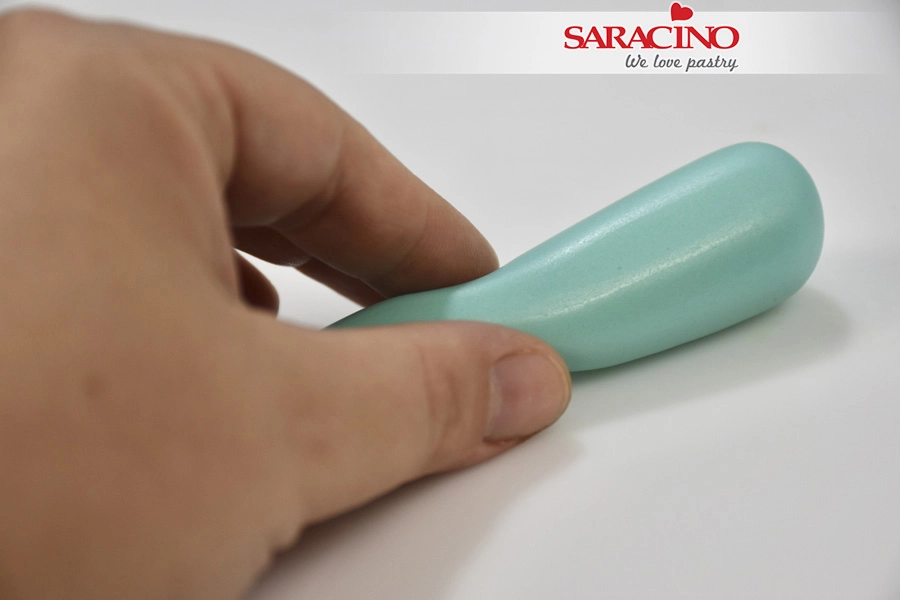
Step 38
Use your fingers to pinch the paste and define the knee
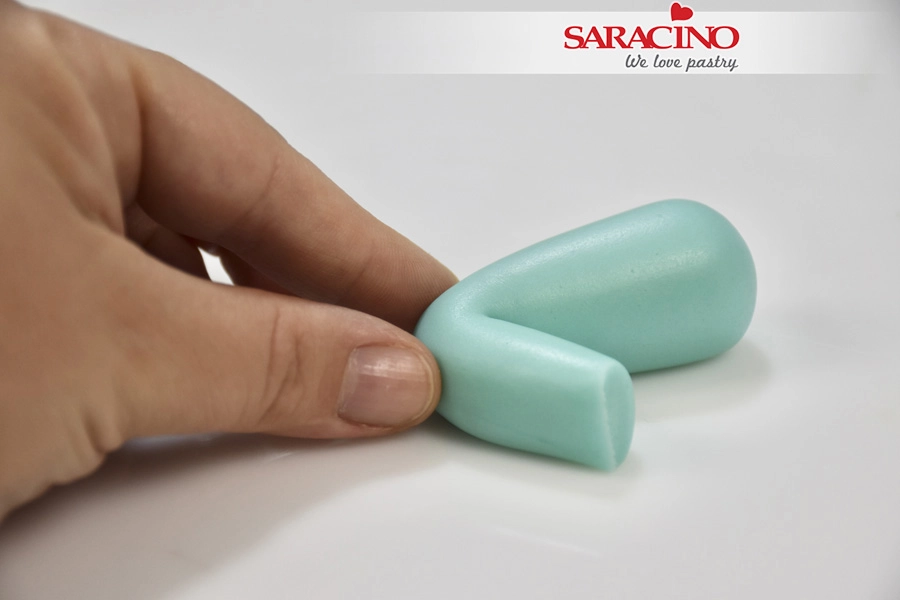
Step 39
Bend the leg and shape the knee
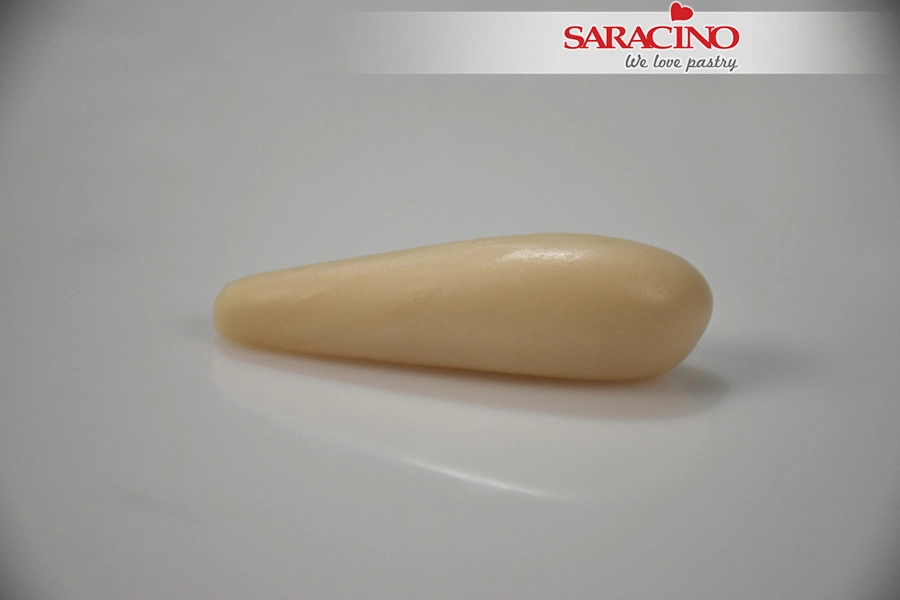
Step 40
For the lower leg and foot roll 8g of modelling paste into a carrot shape
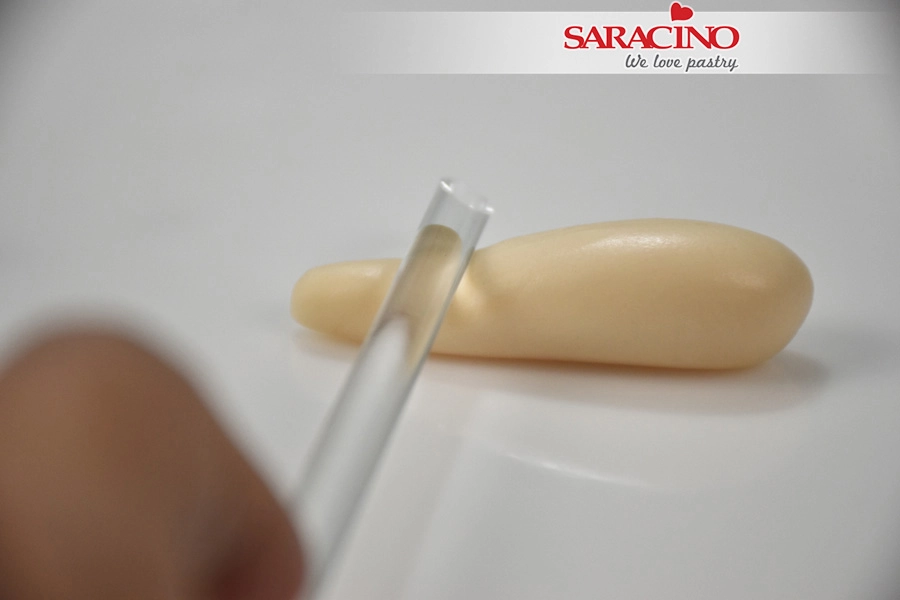
Step 41
Use the back side of your brush to create a mark on the back of the leg for the foot
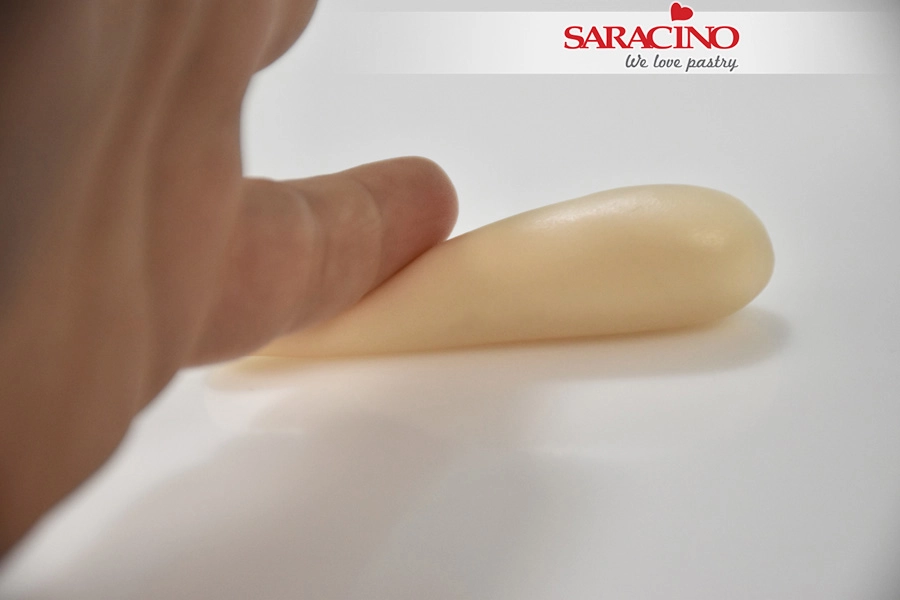
Step 42
Roll again using your finger to make it like a carrot shape.
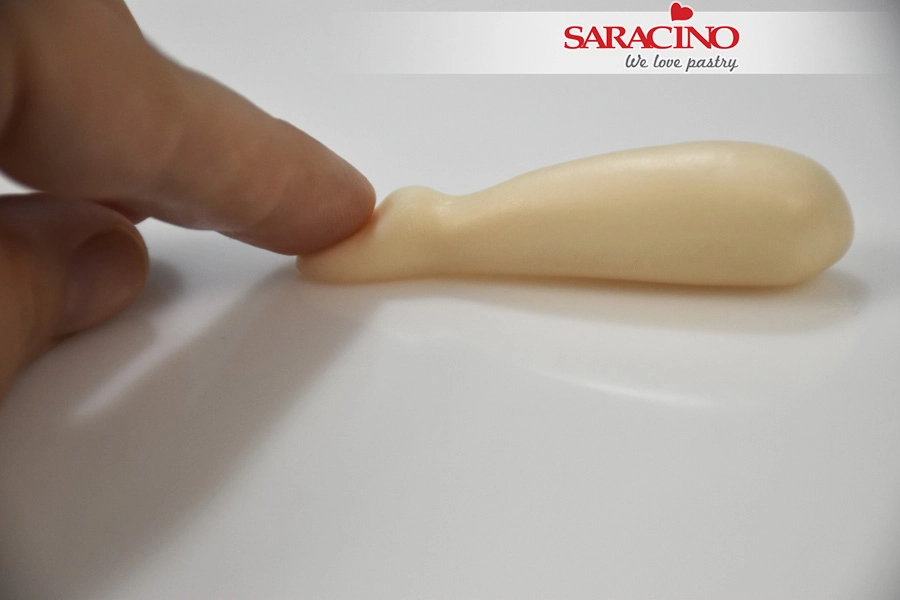
Step 43
Press with your finger to create the foot and the heel
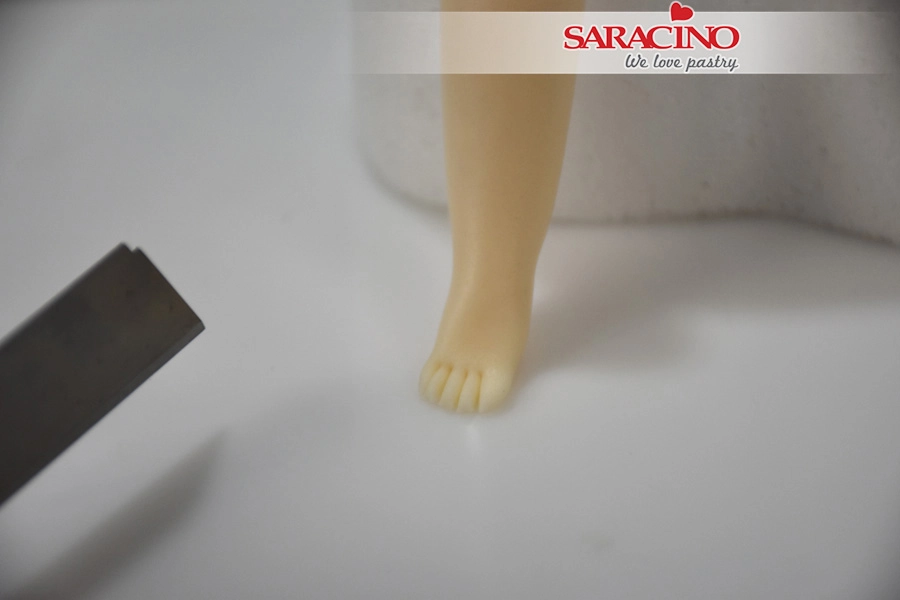
Step 44
Use a blade to form the toes
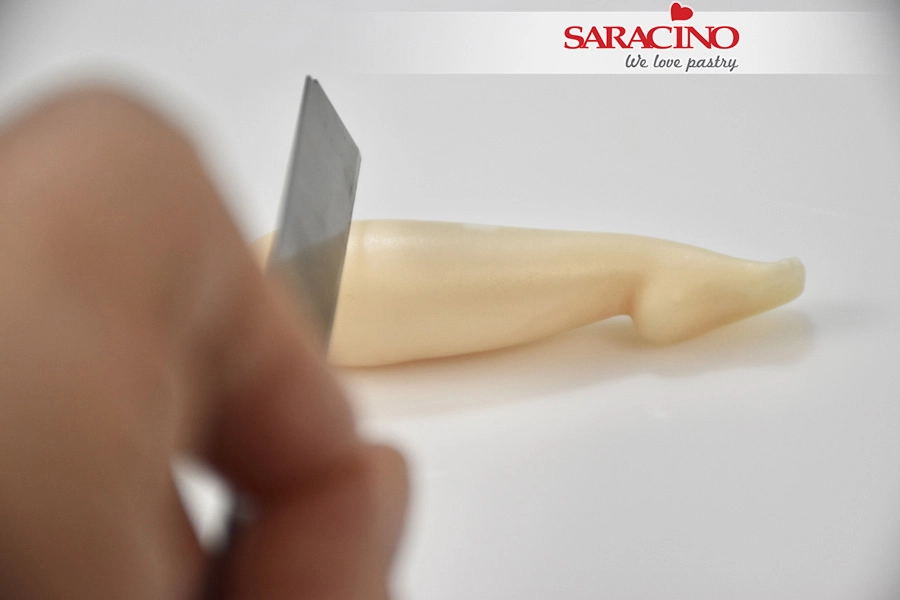
Step 45
With a blade cut the top of the leg to the required length
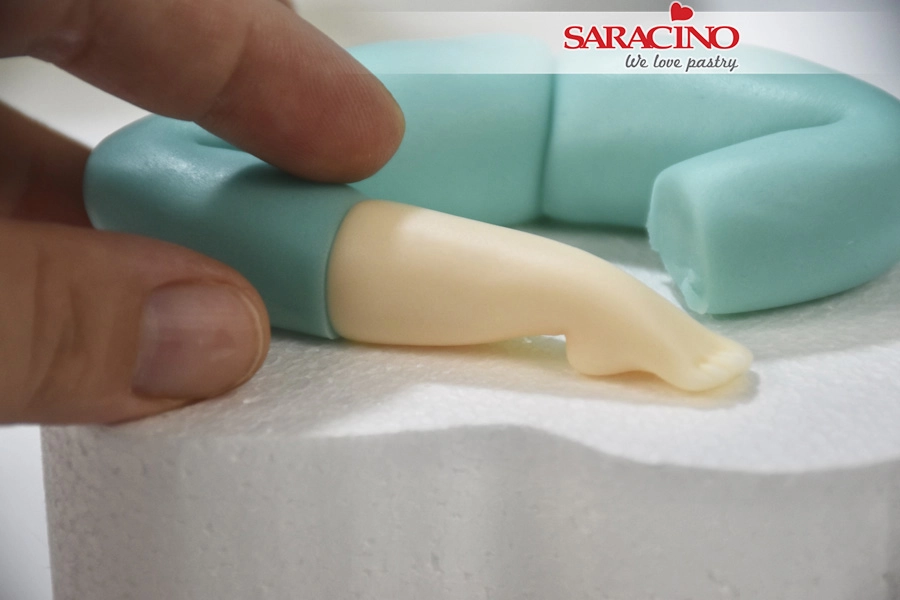
Step 46
Form the pieces of the legs as seen in the picture. Repeat to make the other leg.
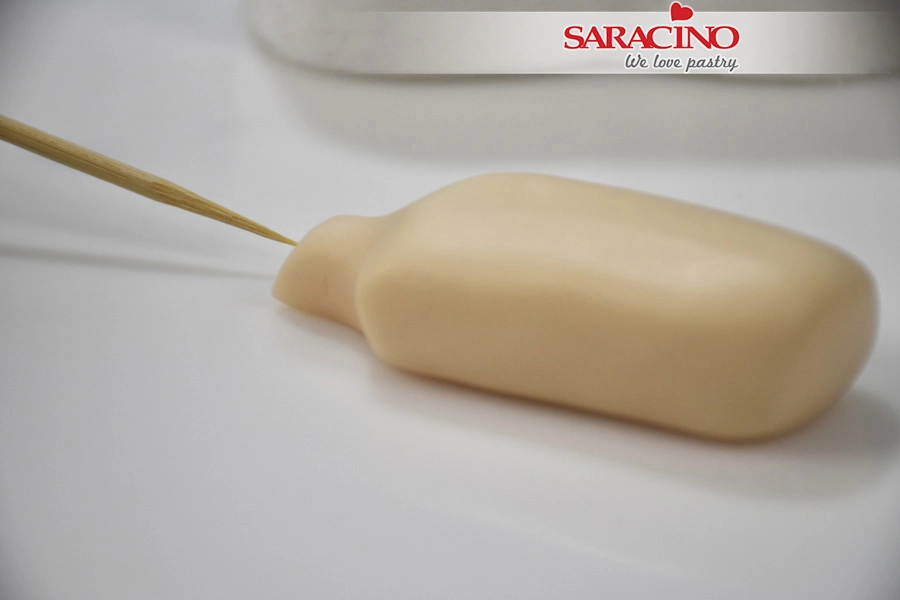
Step 47
Take a wooden skewer and insert through the body from the neck and out through the lower end
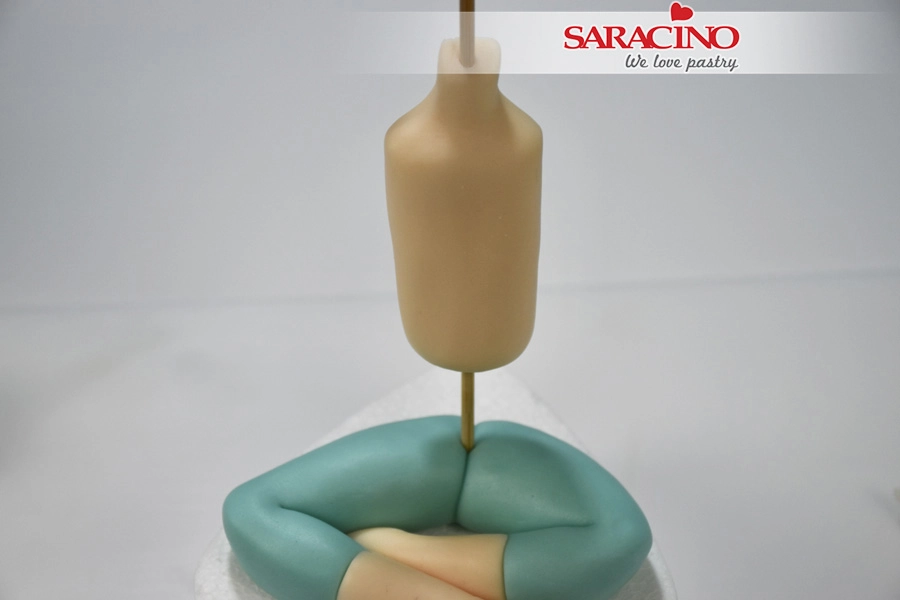
Step 48
Place the body on top of the legs exactly in the middle
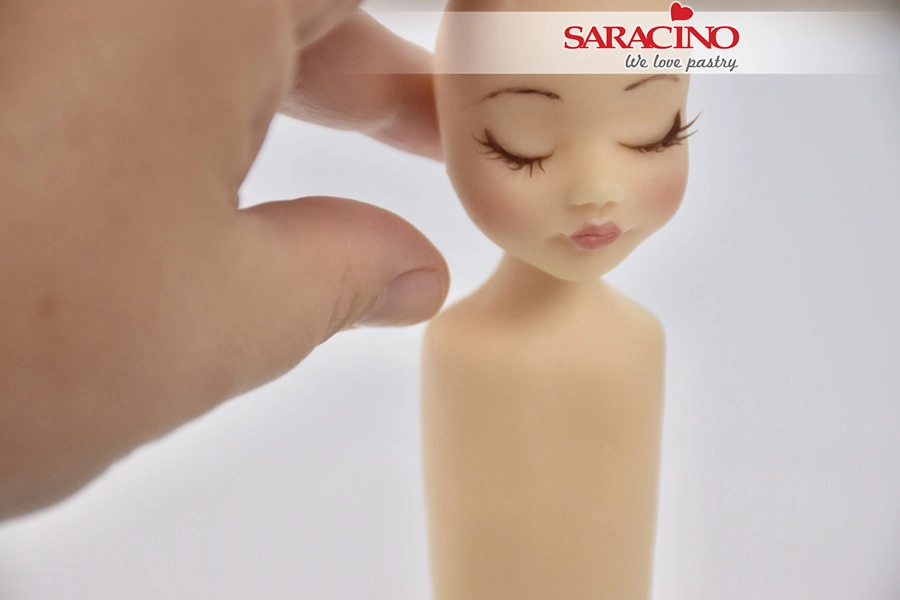
Step 49
Place the head on the skewer
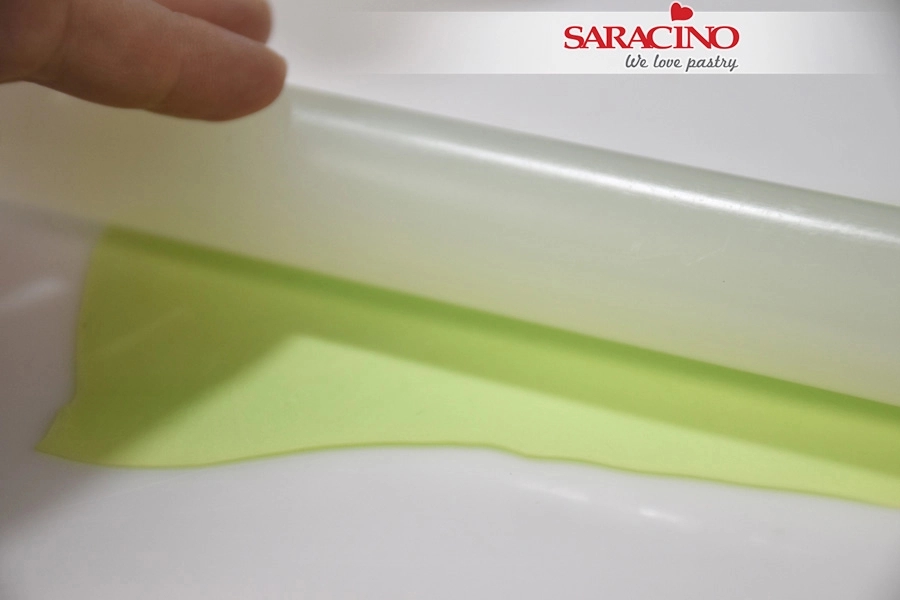
Step 50
For the T shirt roll a piece of light green modelling paste
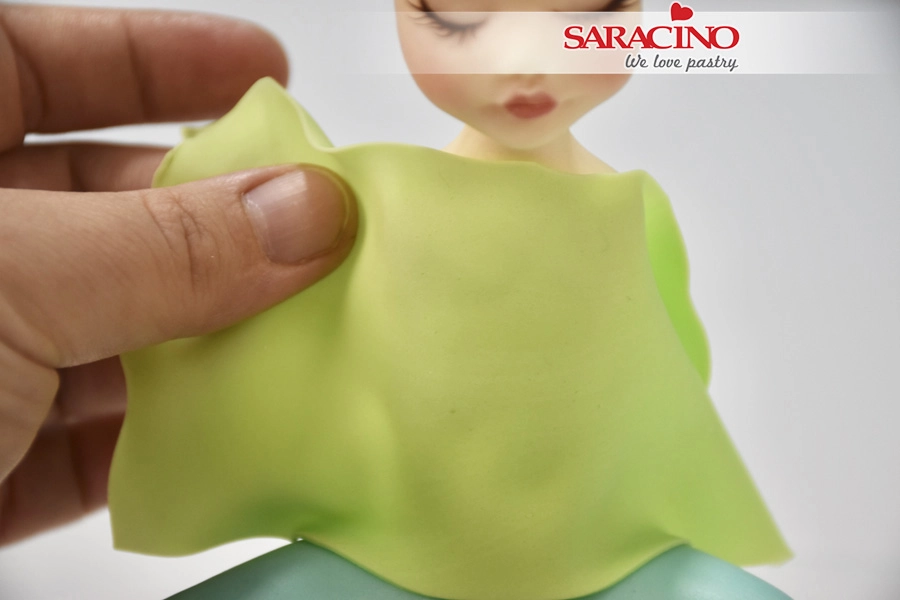
Step 51
Wrap the body with the paste
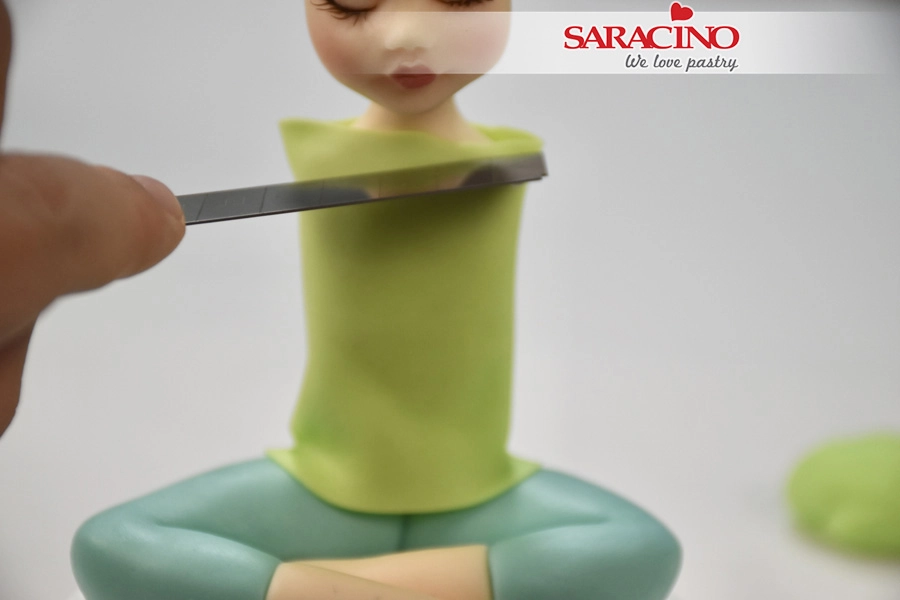
Step 52
Cut any excess paste with a sharp blade
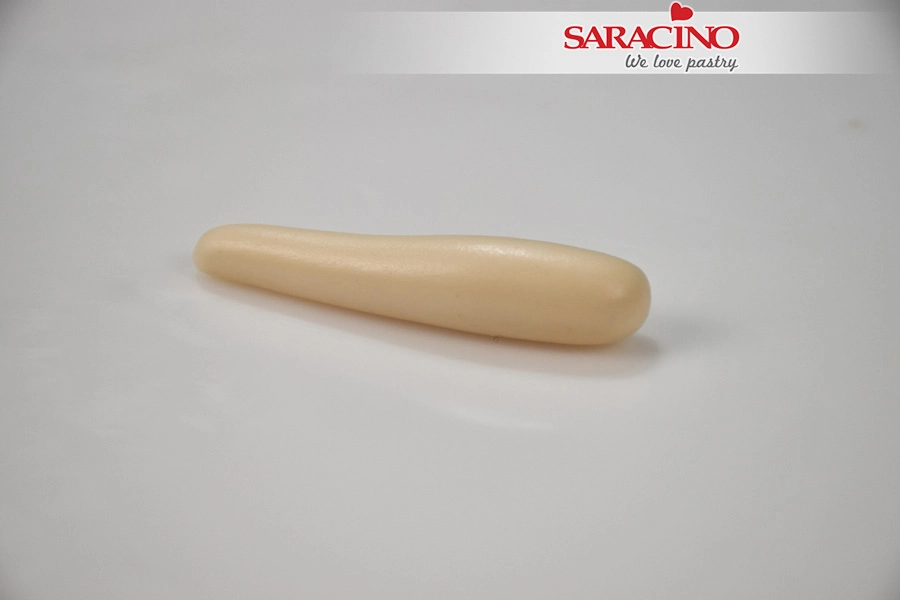
Step 53
For the arms roll 8g of sugar paste into a carrot shape
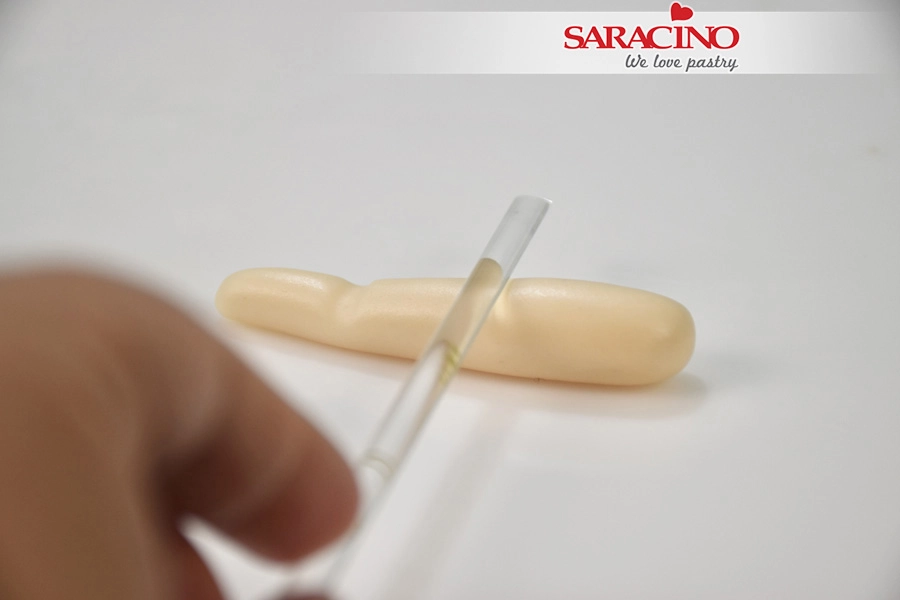
Step 54
Use your brush to create a mark for the wrist and elbow joints
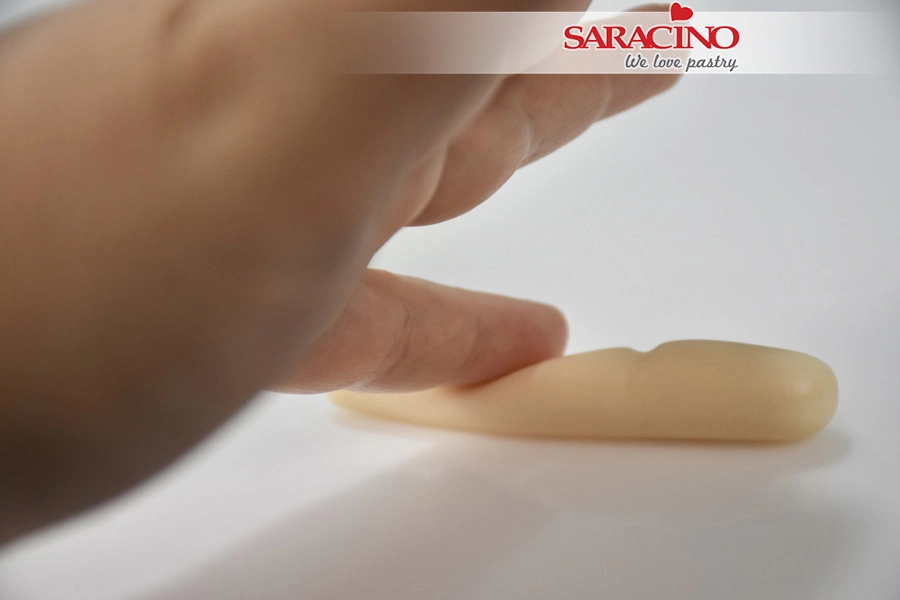
Step 55
Roll again using your fingers to make each part a carrot shape
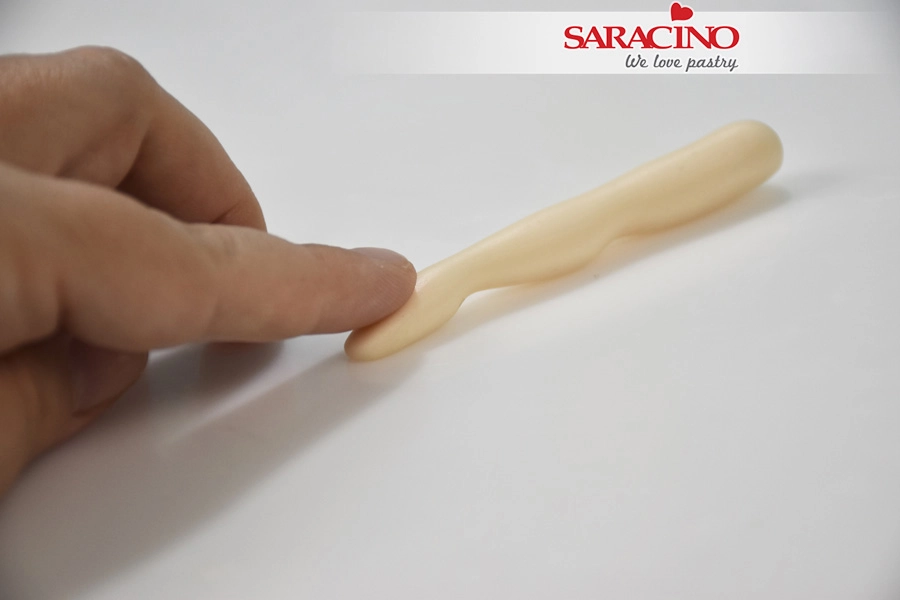
Step 56
Turn the arm upside down and press with your finger to shape the palm
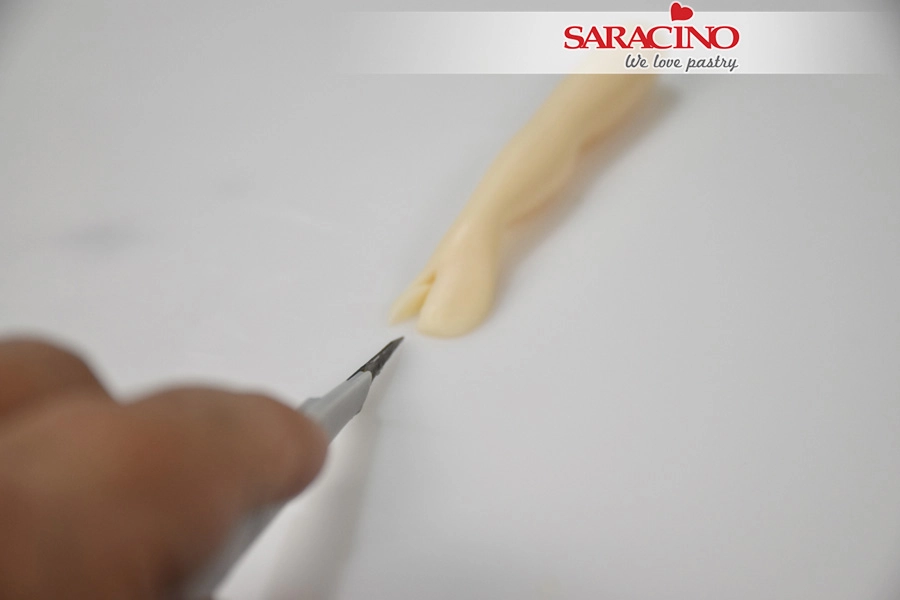
Step 57
Use your exacto knife to cut the thumb as seen in the picture
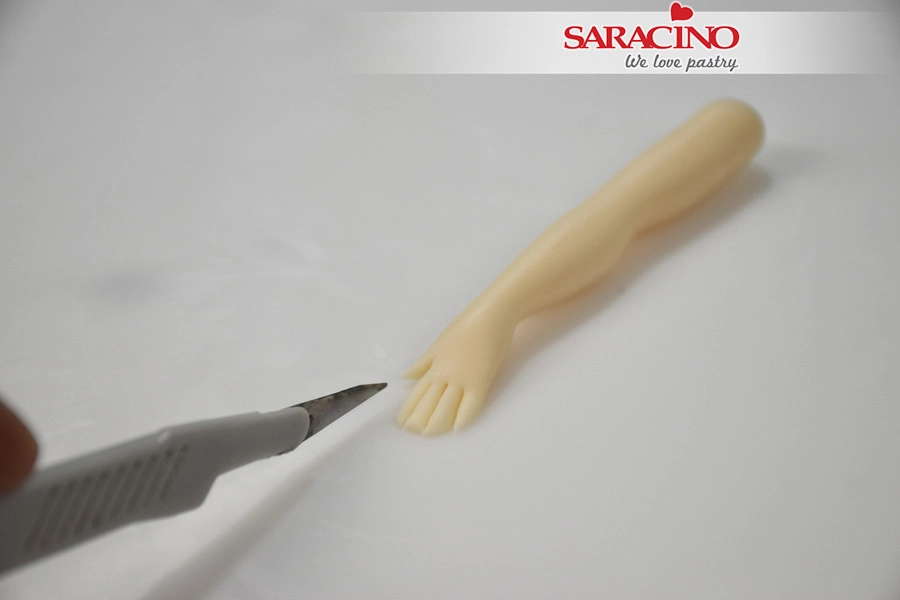
Step 58
Repeat for the fingers by first cutting in the middle and then each part again in the middle. This way you will end up with 4 equal fingers
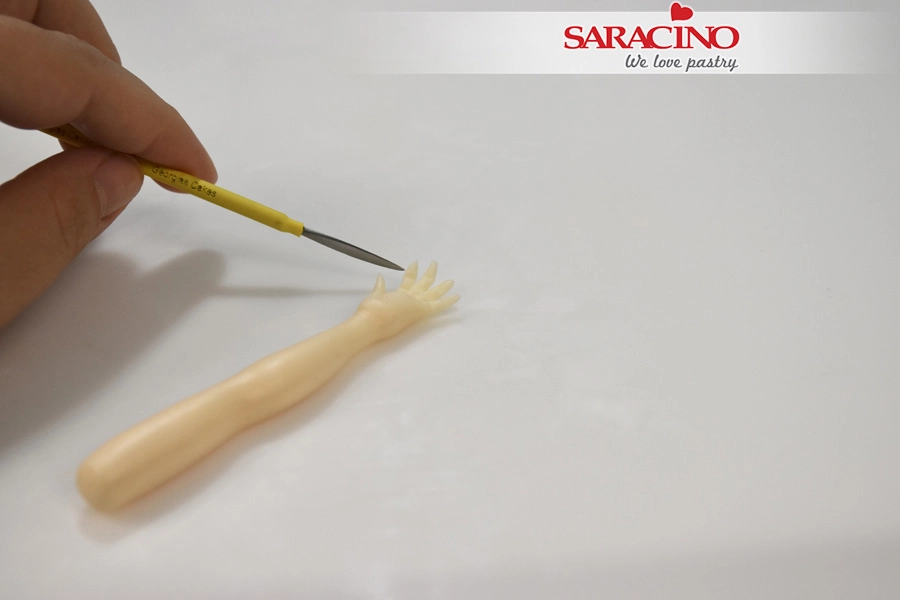
Step 59
Use a metalic spatula to add details in the fingers
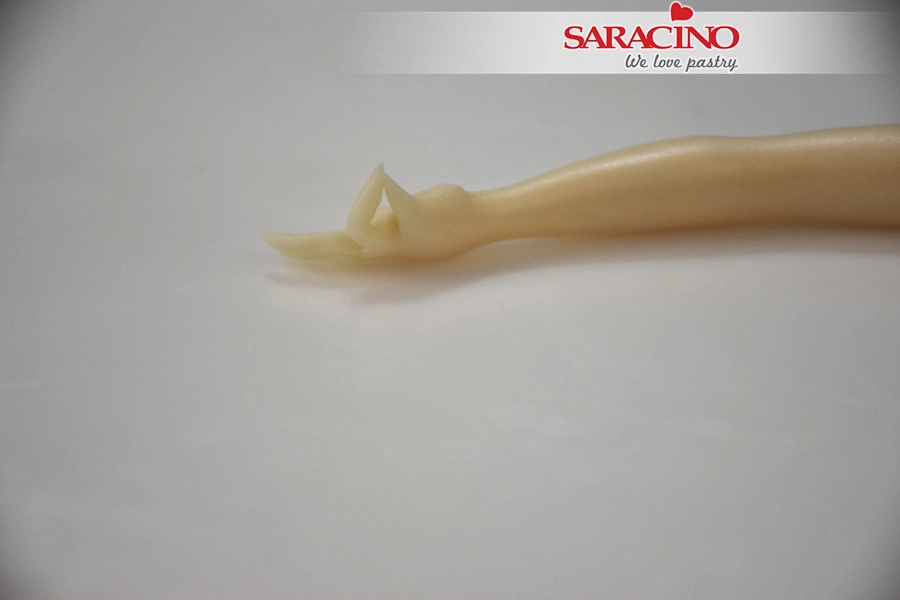
Step 60
Bend the thumb and index finger
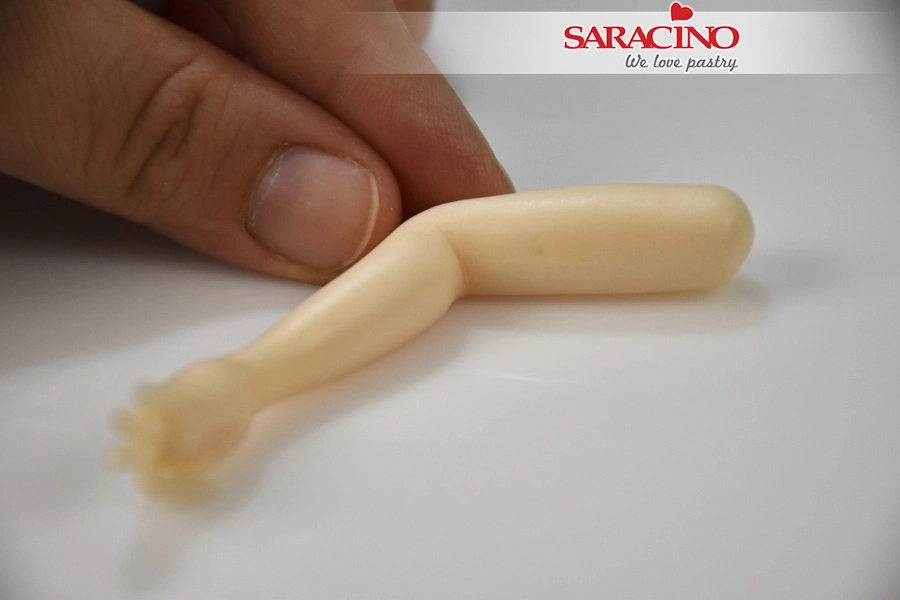
Step 61
With your fingers shape the elbow. Repeat the previous steps to make another arm.
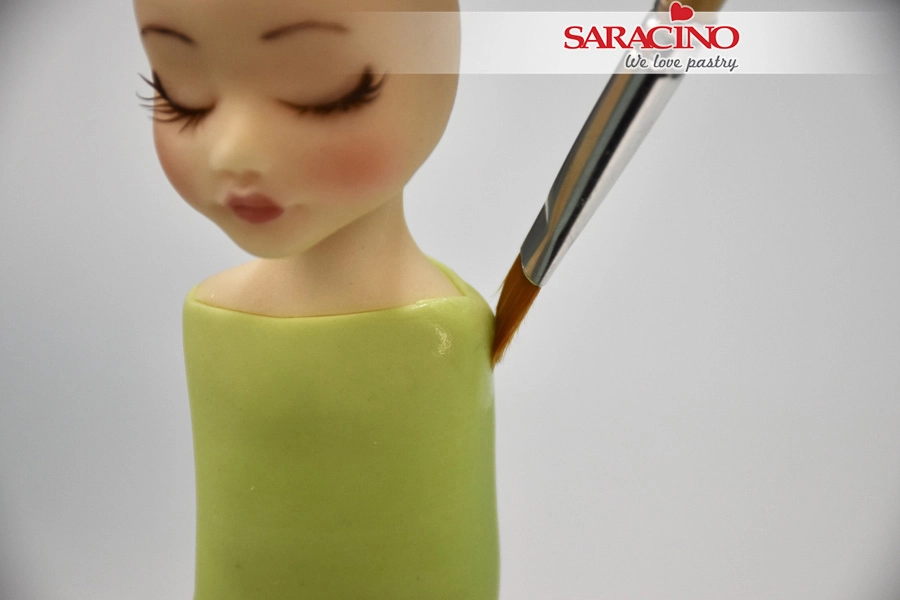
Step 62
Add some edible glue on the shoulders
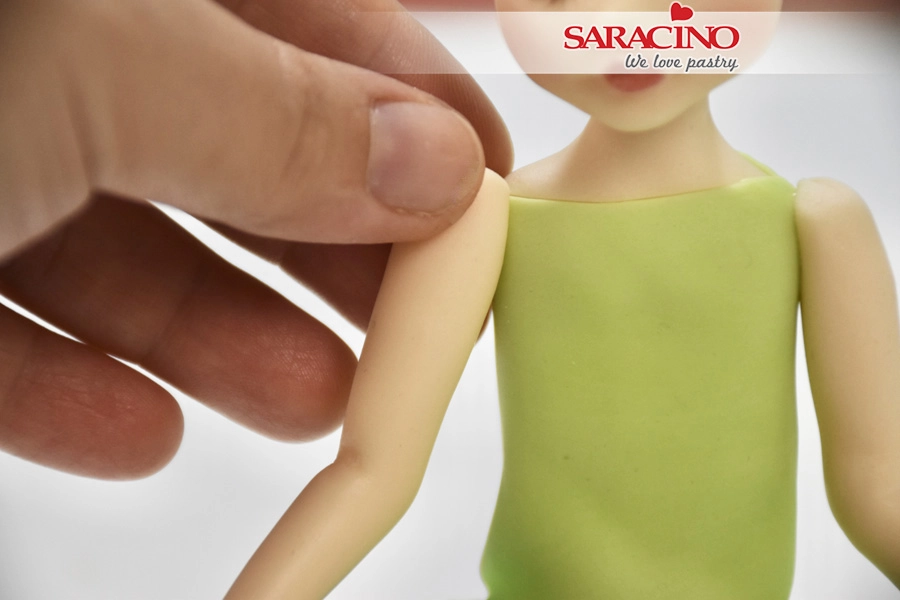
Step 63
Glue the arms to the body
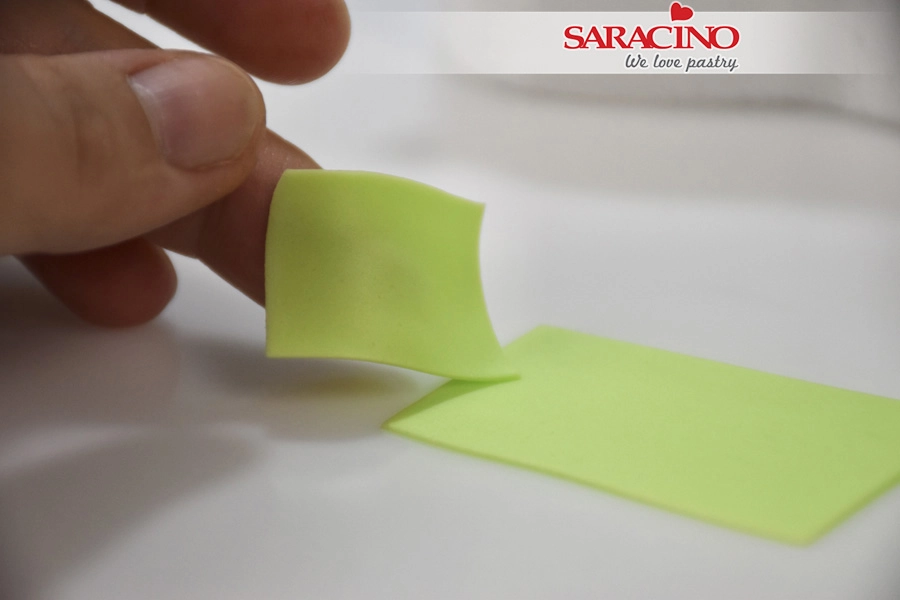
Step 64
To make the sleeves of the T shirt cut a small piece of rolled paste
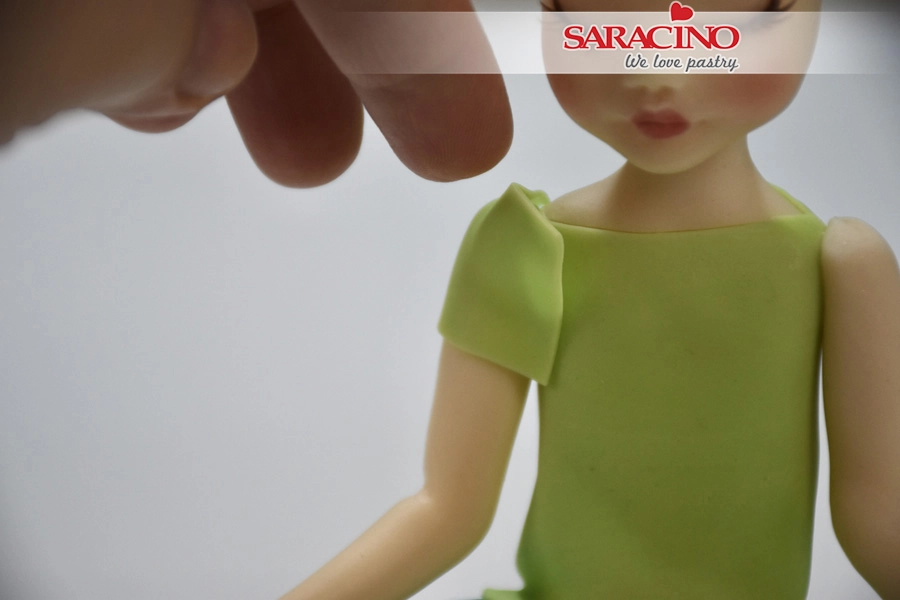
Step 65
Place the piece on the shoulders to make the sleeves
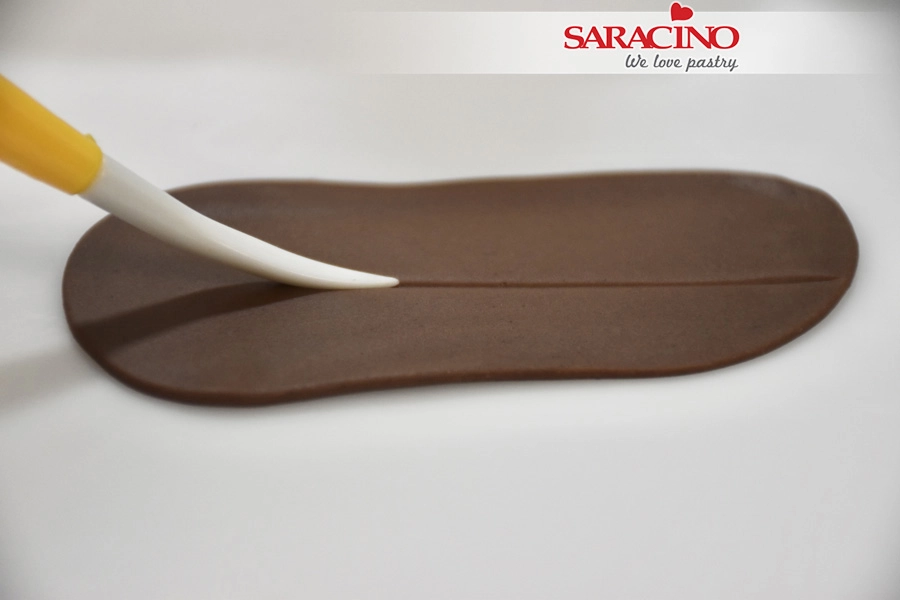
Step 66
For the hair roll brown modelling paste and use the dresden tool to make lines
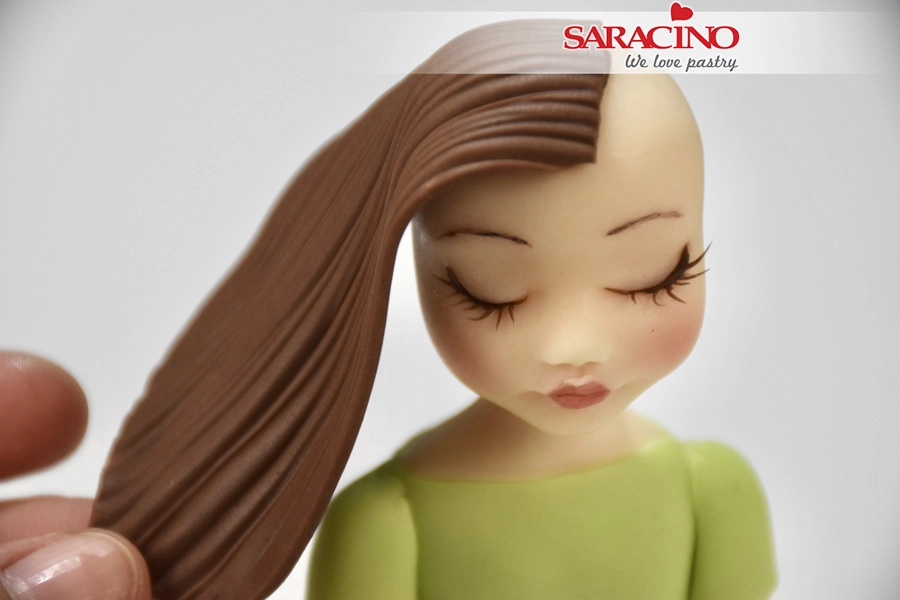
Step 67
Cut a straight line at one end for the hair parting. Fix the paste on the head with a little glue to create the hair
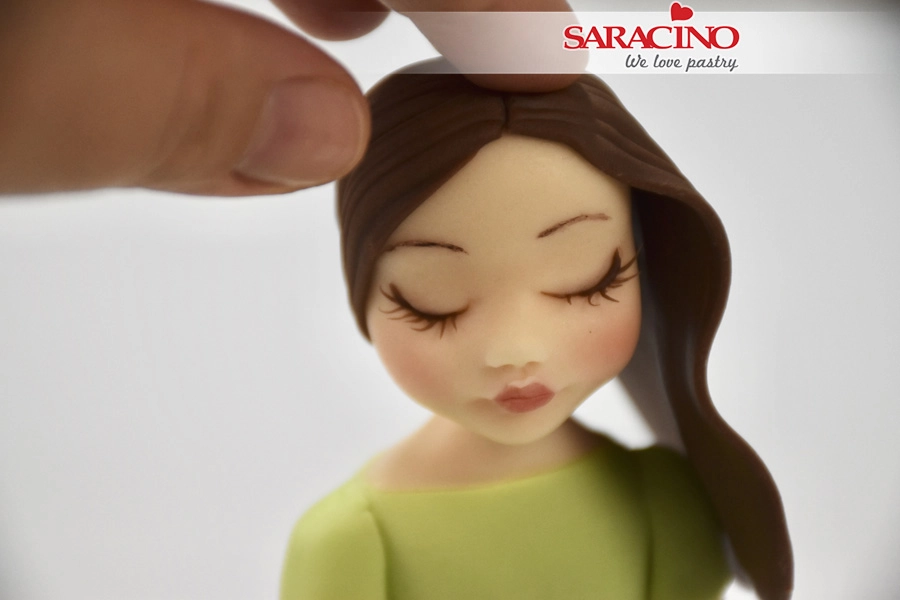
Step 68
Repeat the same to the other side of the head
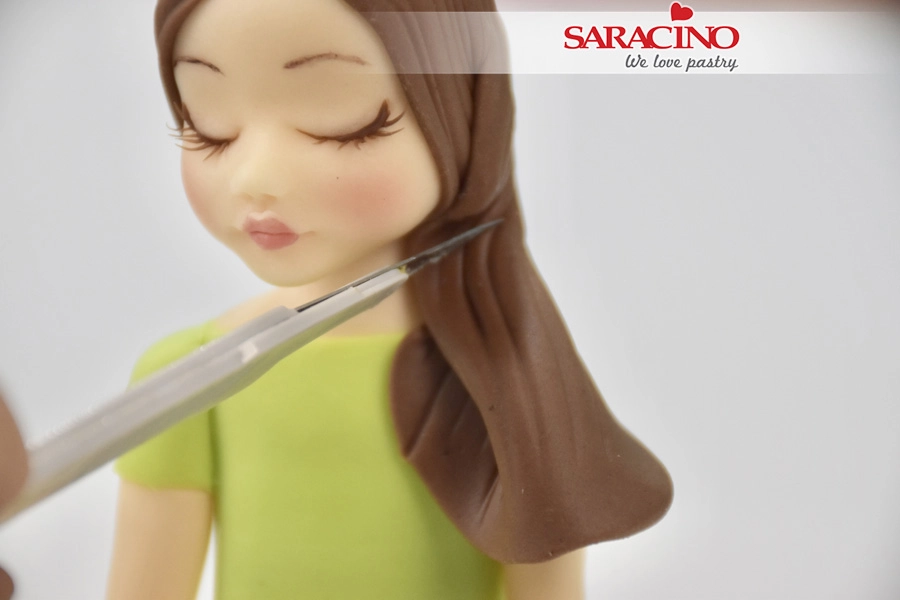
Step 69
Cut any excess
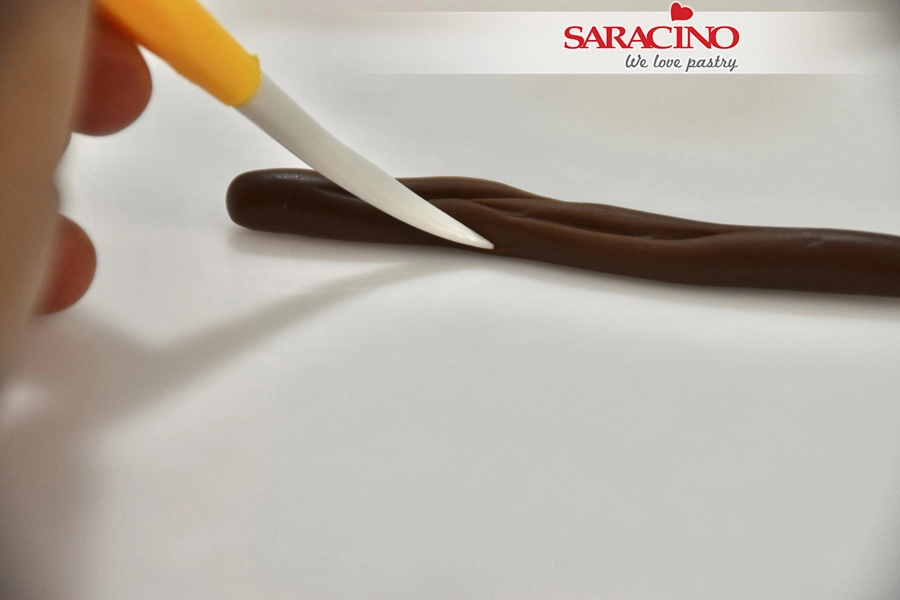
Step 70
For the hair bun roll brown paste and use the dresden tool to make lines
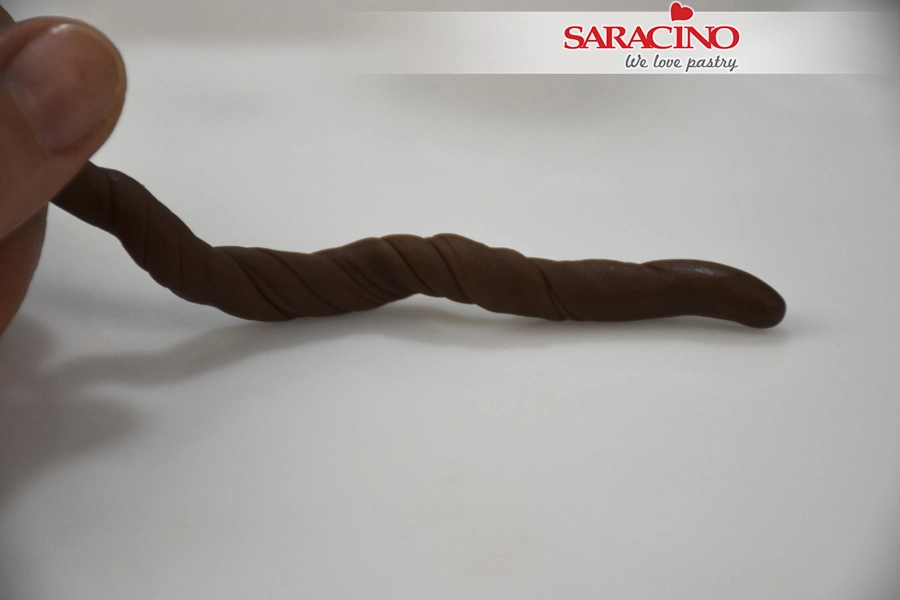
Step 71
Twist the paste as seen in the picture
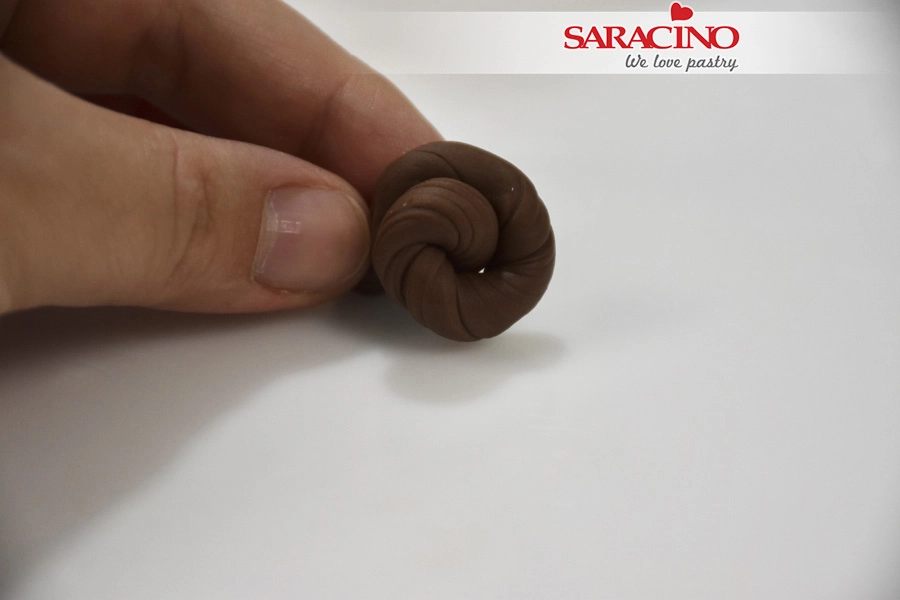
Step 72
Roll to shape a bun
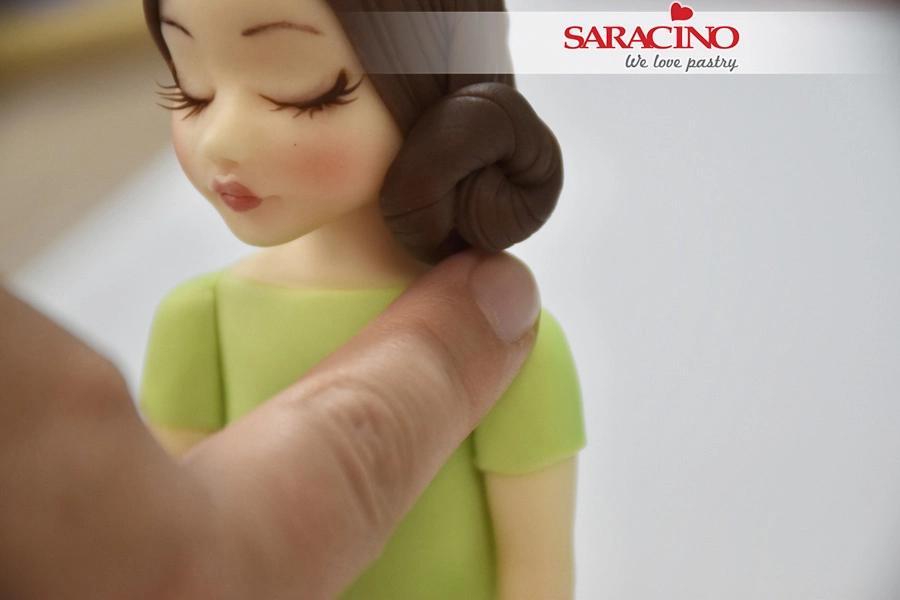
Step 73
Fix the bun on the head with a little glue
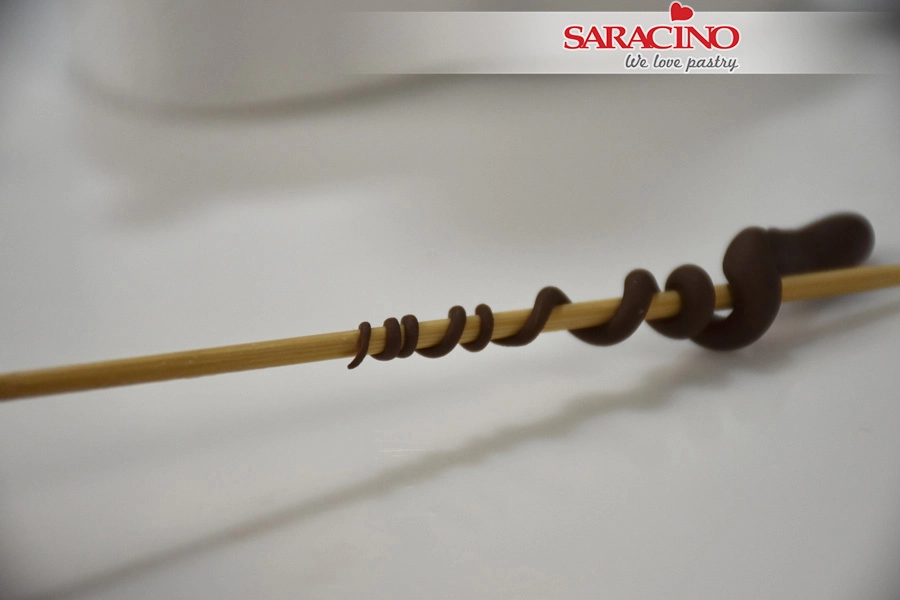
Step 74
To create the curls roll a tiny piece of brown paste to a carrot shape and twist it on a toothpick
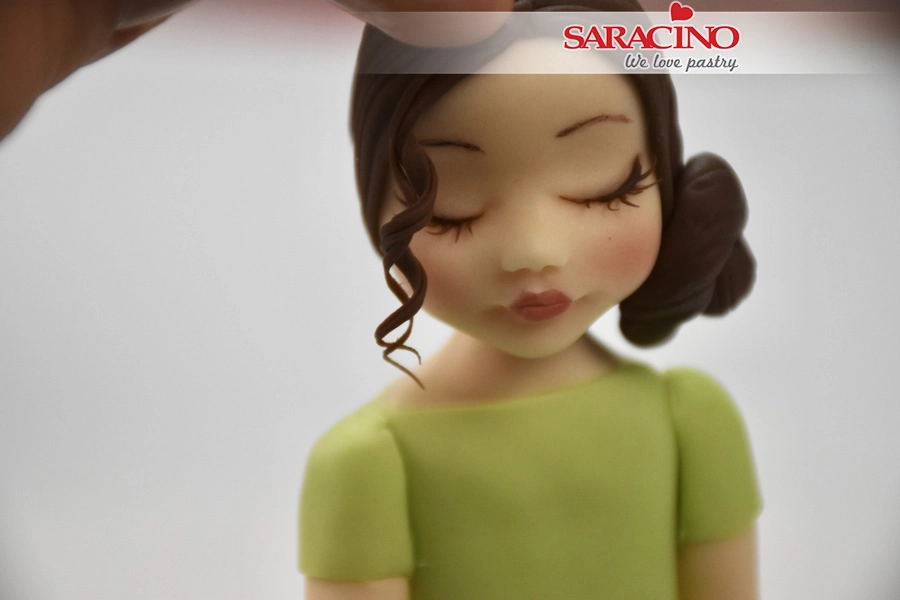
Step 75
Fix the curls on the head
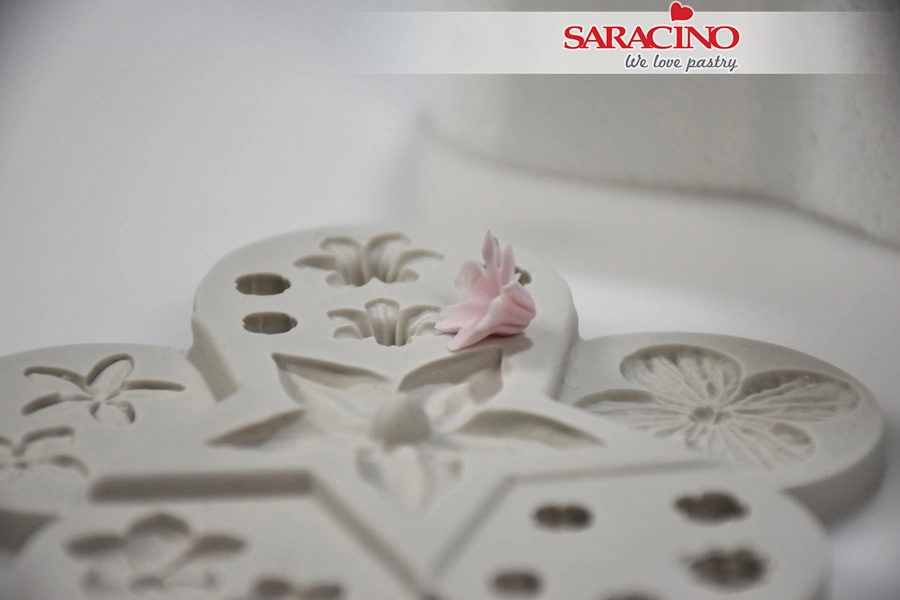
Step 76
Use a silicone mould to make some flowers for fixing in the girls hair
Step 77
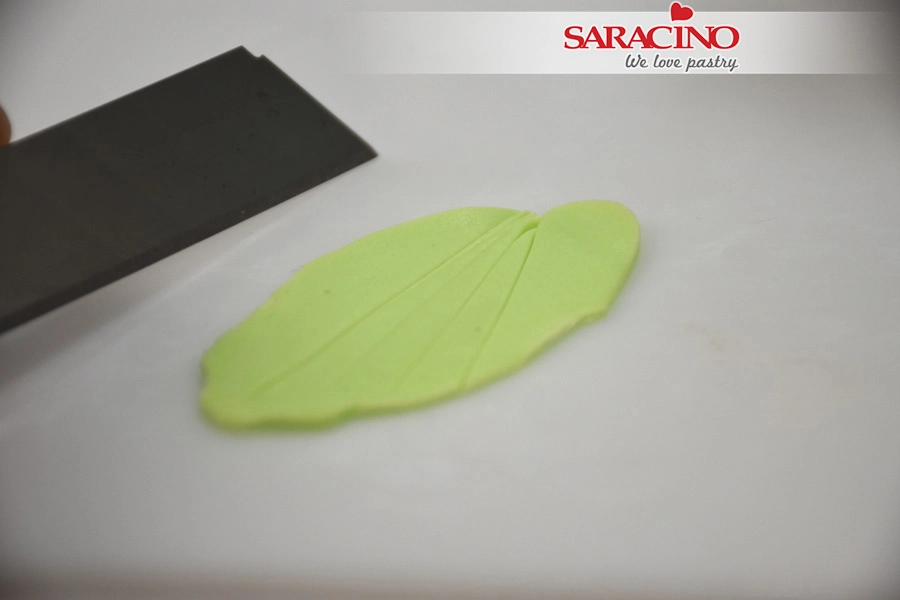
For some small leaves roll and cut some strips of green modelling paste. Fix them on the head with the flower
Step 78
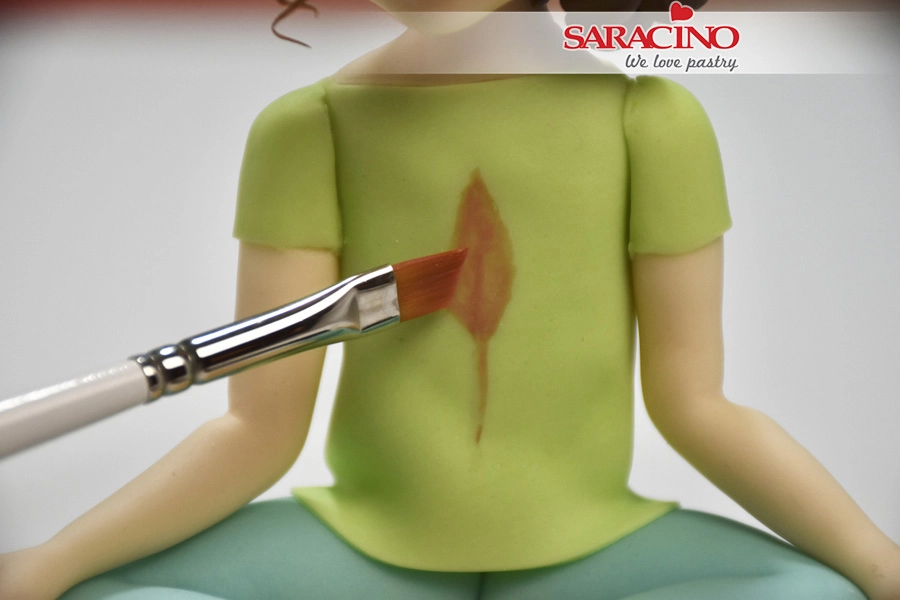
Draw a feather with red color dust mixed with alcohol
Step 79
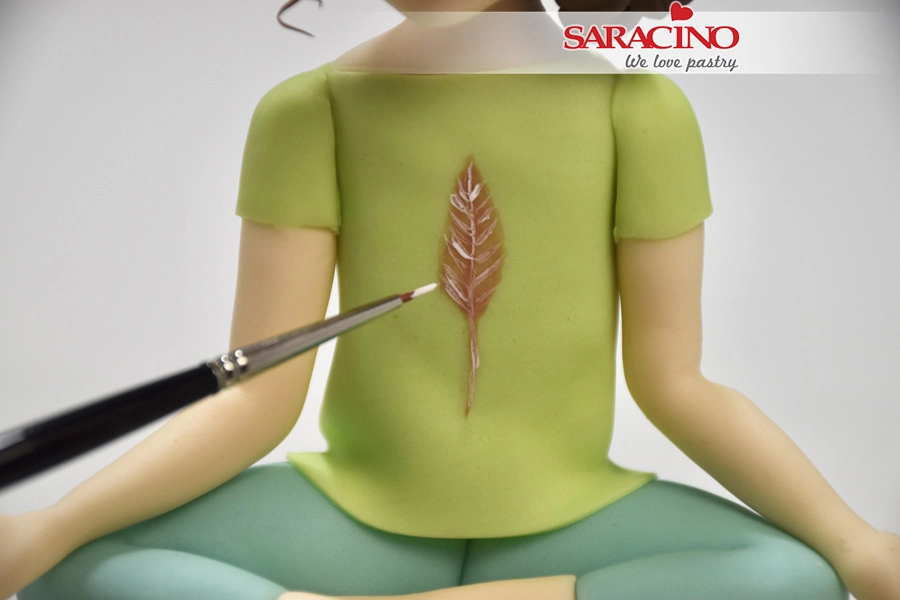
Draw some extra lines with extra white color
Step 80
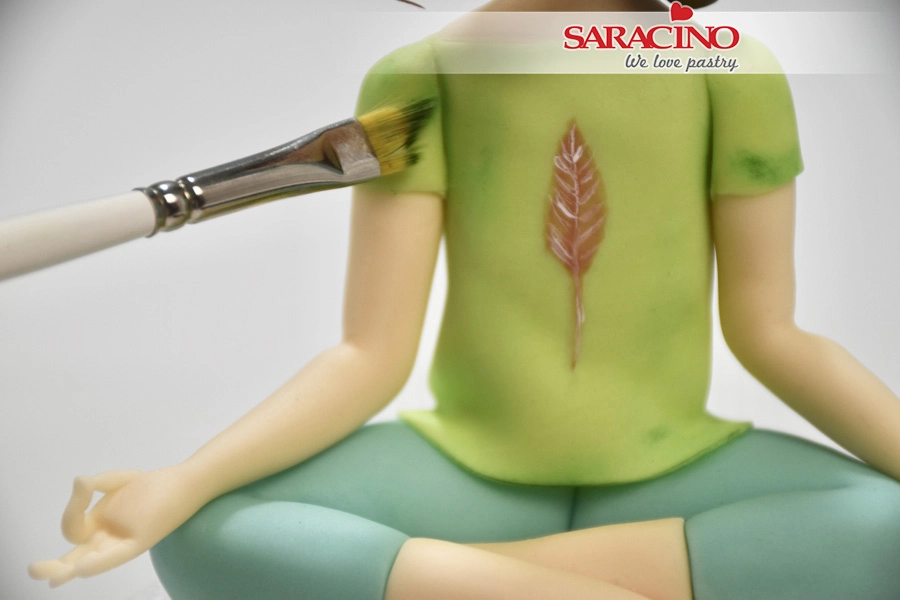
Add some shadows with green dust
Step 81
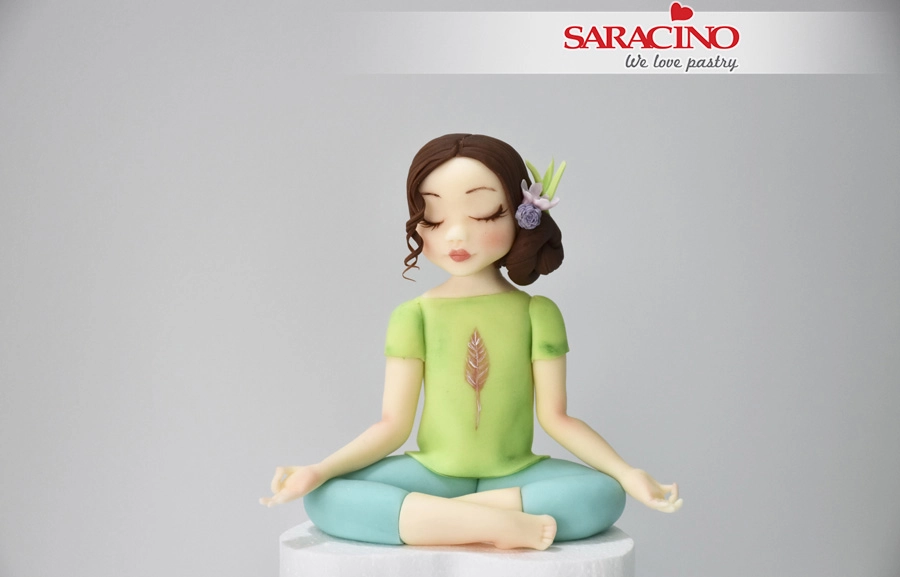
Your figurine is ready