BEAUTIFUL WEDDING CAKE TUTORIAL

BEAUTIFUL WEDDING CAKE TUTORIAL
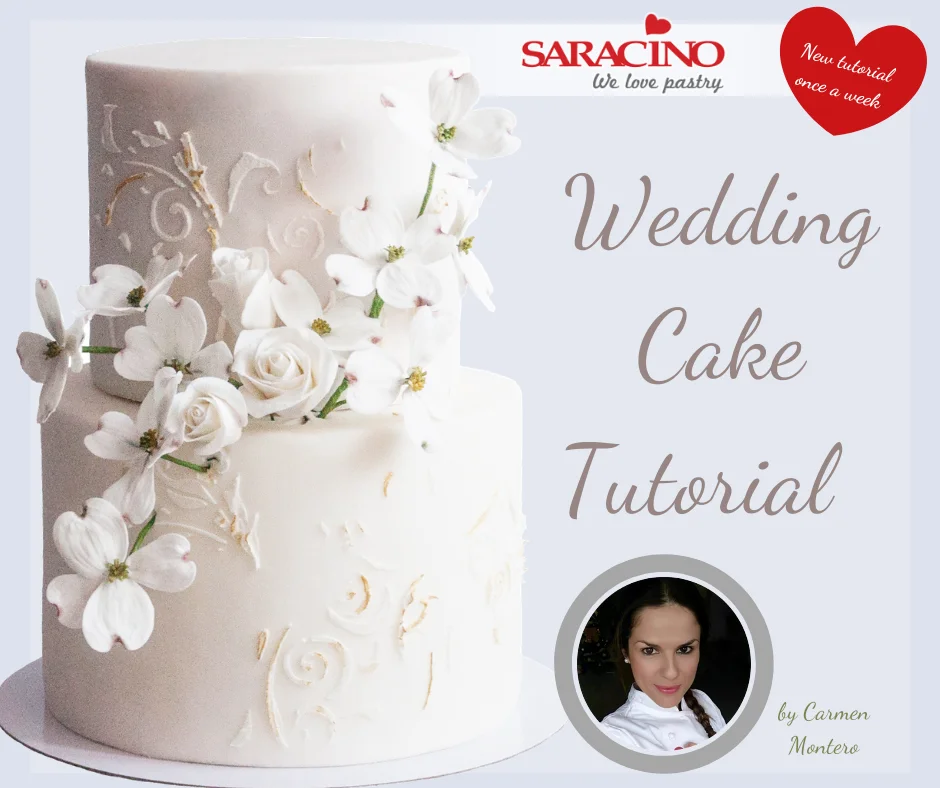
Author:Ā Carmen Montero

Skill level: INTERMEDIATE

TIP – You can cover your two tiers with Saracino Pasta Top. To learn how to cover your cakes and create sharp edges follow the link

HERE – for picture tutorialĀ 

HERE – for video tutorialĀ 

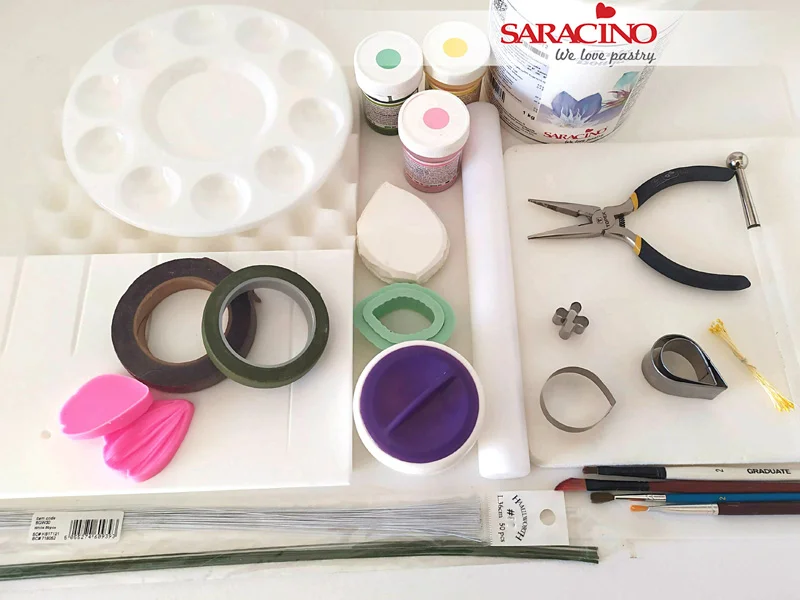
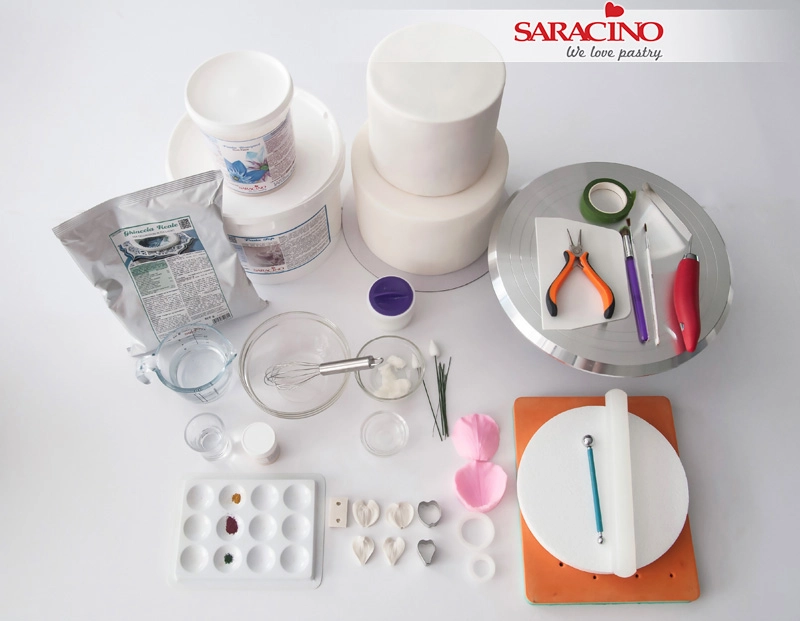
You will need:

  • Saracino Royal IcingĀ 

  • Saracino white flower paste – Pasta Bouquet

  • Saracino sugar paste/fondant – Pasta Top

  • 2 dummies of 15 and 20cm or a cake of 2 tiers

  • Rotating base

  • Scraper

  • Floral ribbon

  • Pliers

  • Brushes

  • Spatula

  • Water

  • Bowl and whisk

  • Cornstarch

  • Vegetable fat

  • 18 or 20 gauge floral wire

  • 30 gauge floral wire

  • Edible glue

  • Clear alcohol

  • Powder colours: gold, yellow, green and dark pinkĀ 

  • Dogwood cutters set

  • Set of dogwood veiners

  • Set of rose cutters

  • Rose texturizer

  • Foam pad

  • Porexpam to puncture the flowers

  • Ball tool

  • Rolling pin

  • Cake stencil with a pattern of your choice
Step 1

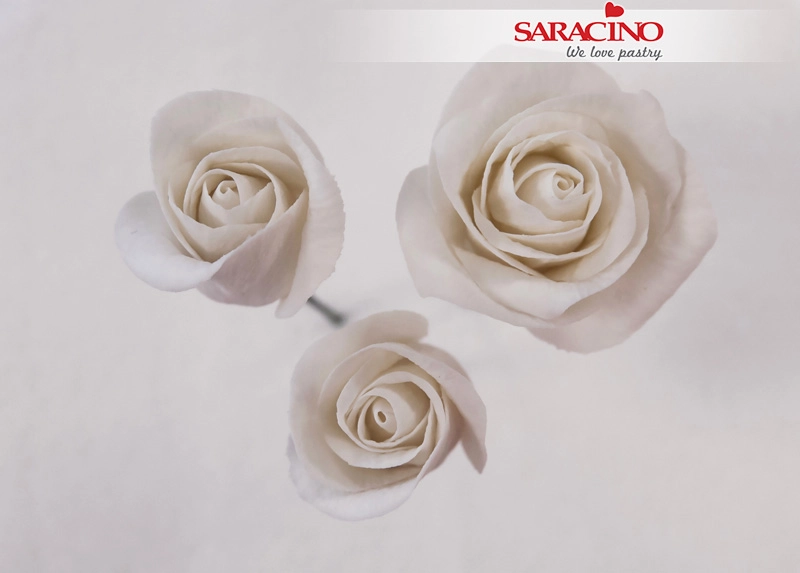
To make the roses, start by rolling a piece of Pasta Bouquet to cover the center we are going to use. It does not need to be too thin.
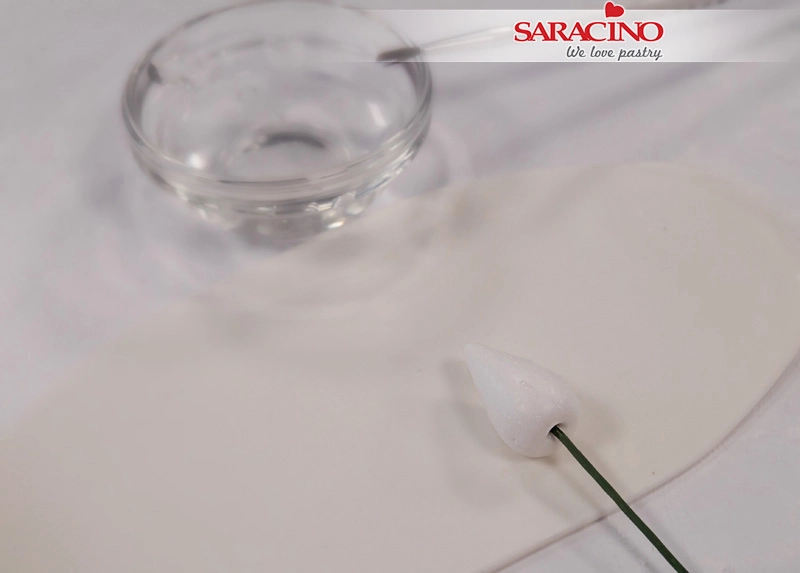
Step 2

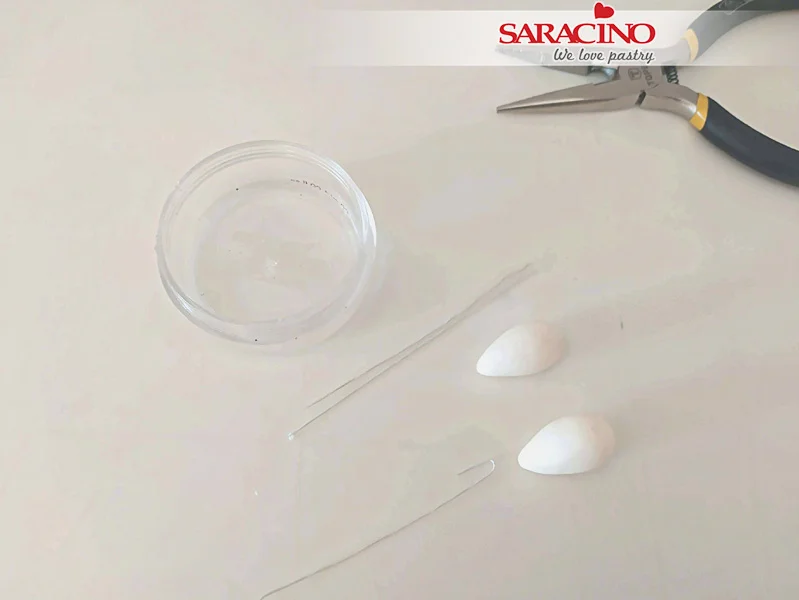
Insert a 18 or 20 gauge floral wire into a center for roses (a porexpam cone can be used) and coat it with a little edible glue.
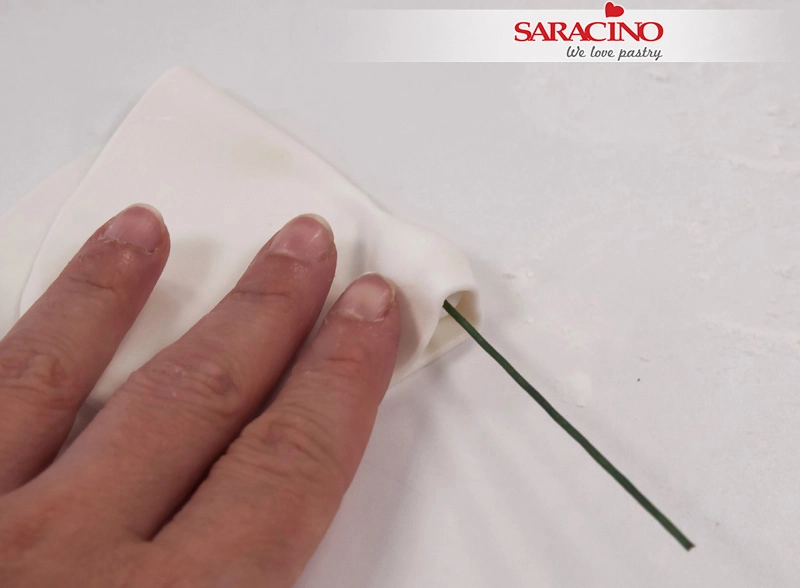
Step 3

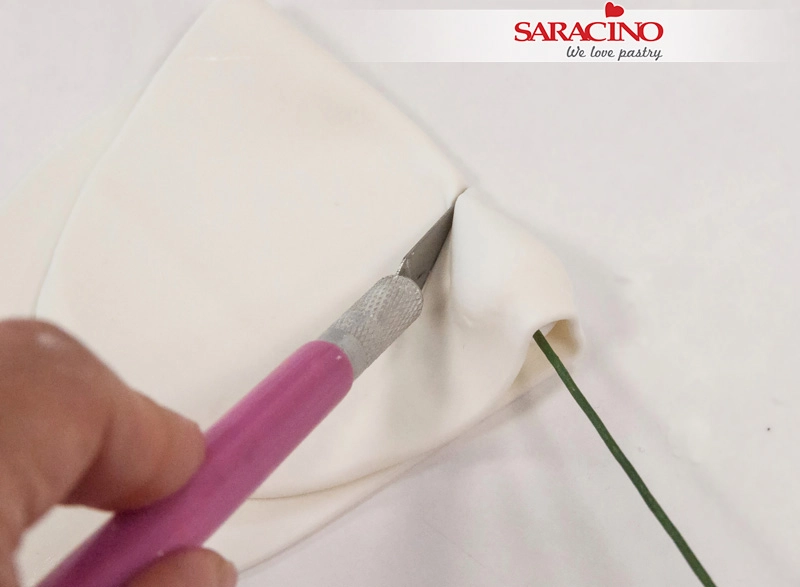
Cover the rose centre with the rolled out Pasta Bouquet as shown
Step 4

Cut off the excess and adjust well.
Step 5

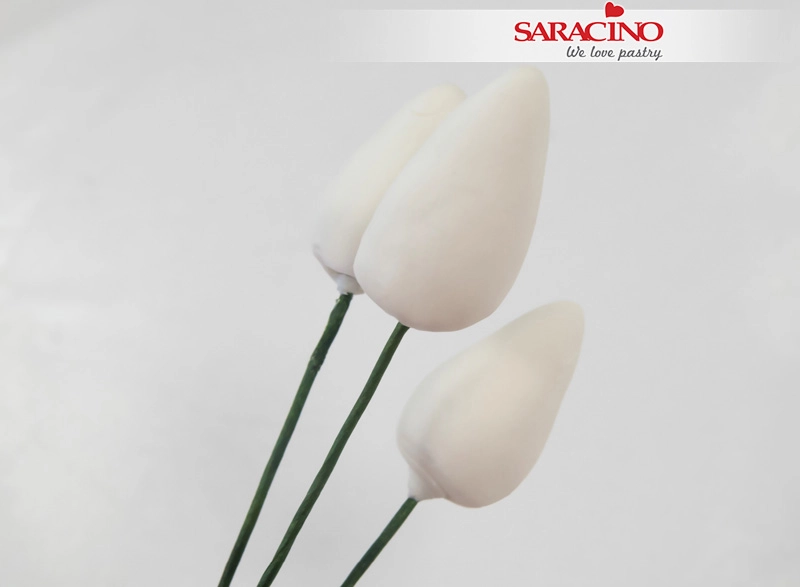
We will need 3 centres.
Step 6

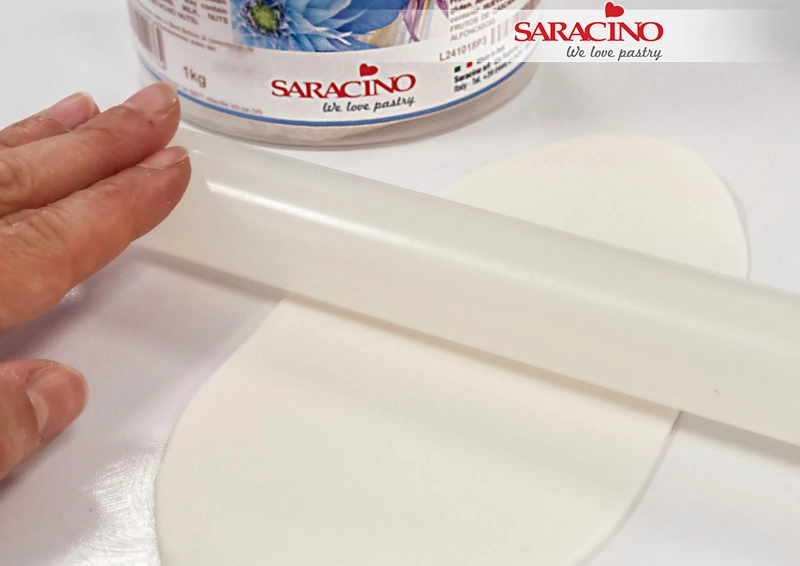
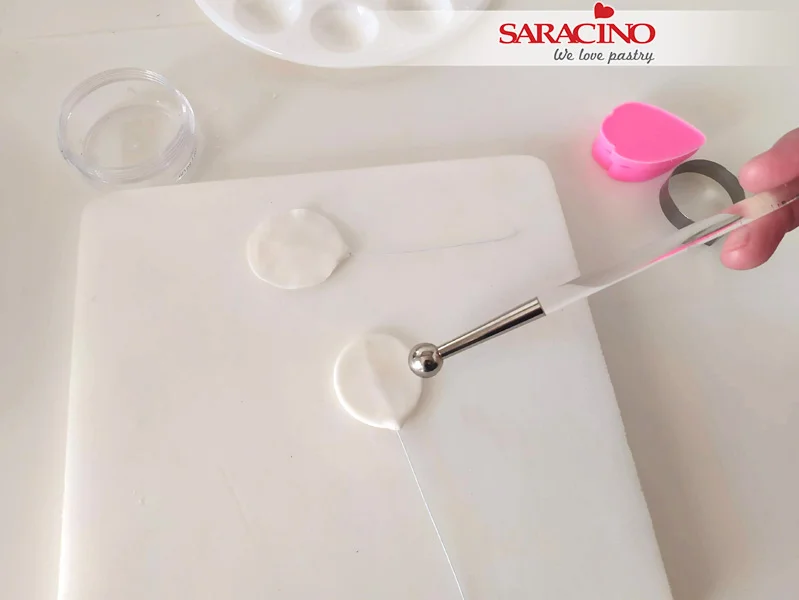
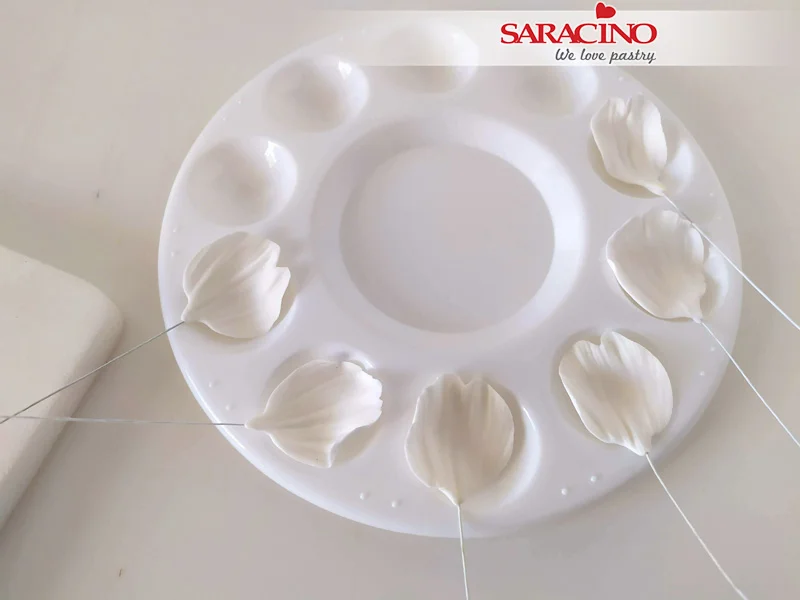
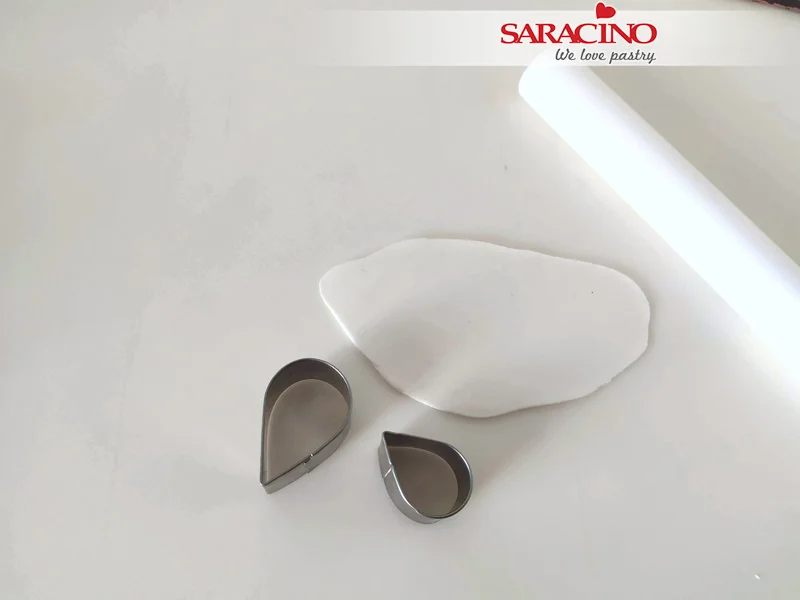
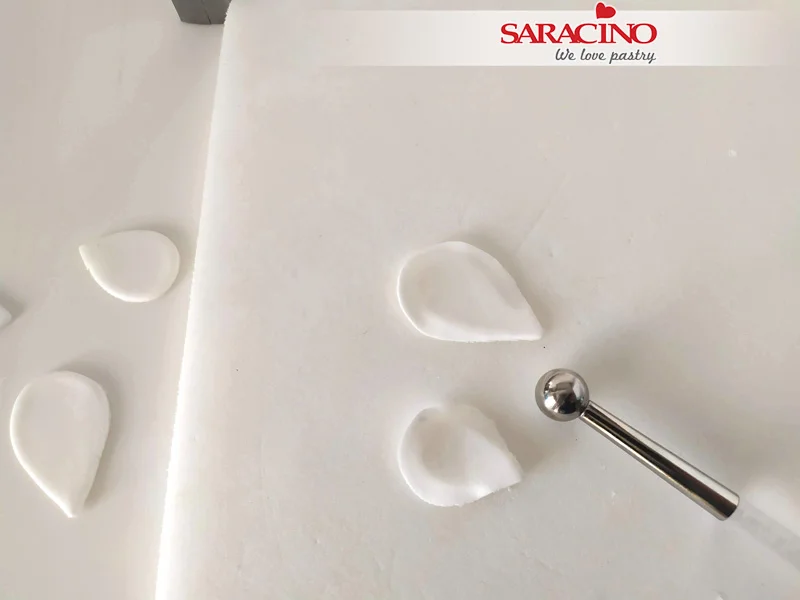
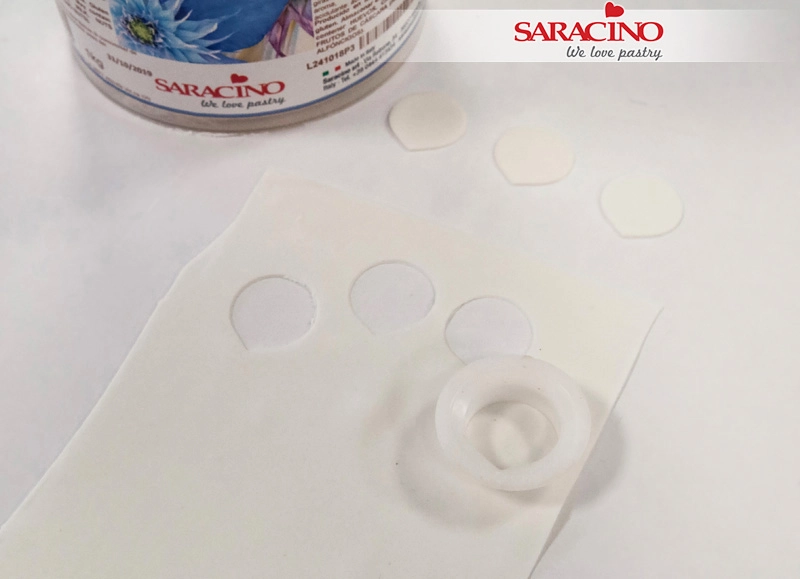
Roll a little Pasta Bouquet with a rolling pin until it is very thin (it needs to be as thin as possible so that the petals turn out to be realistic). We will need to cut out 9 small petals.
Step 7

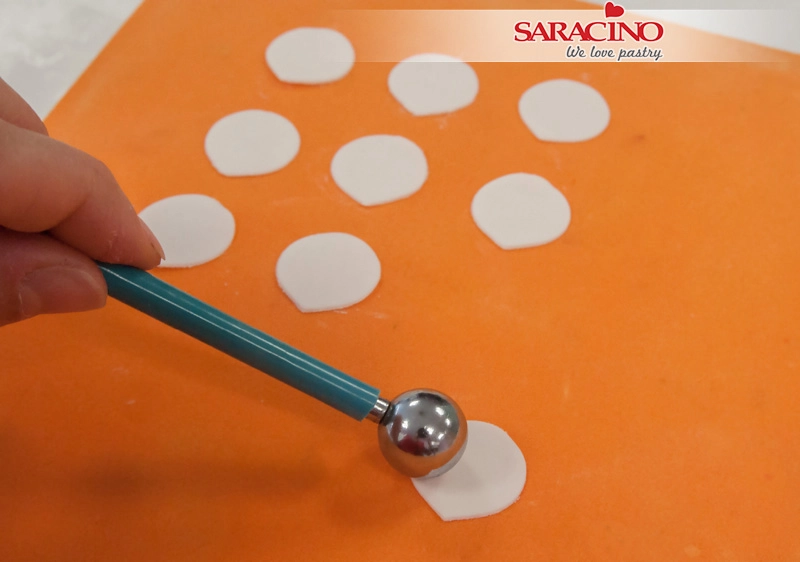
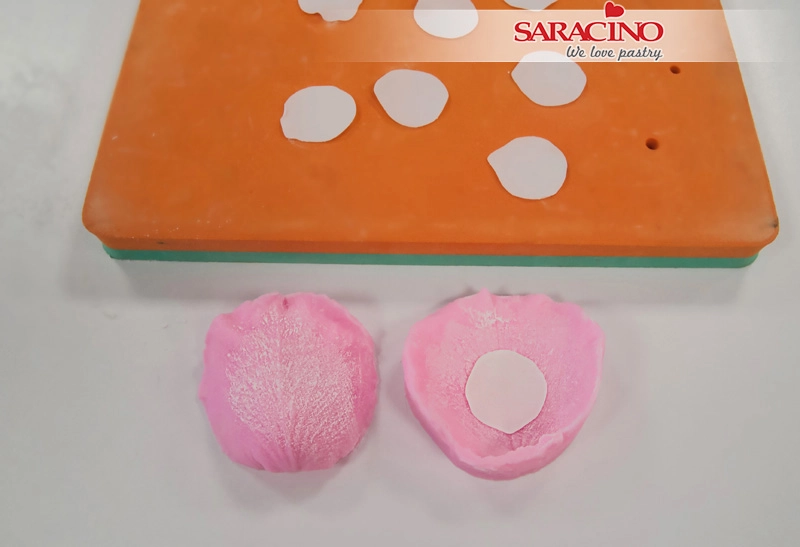
Place the petals on your foam pad and using a ball tool thin the edges
Step 8

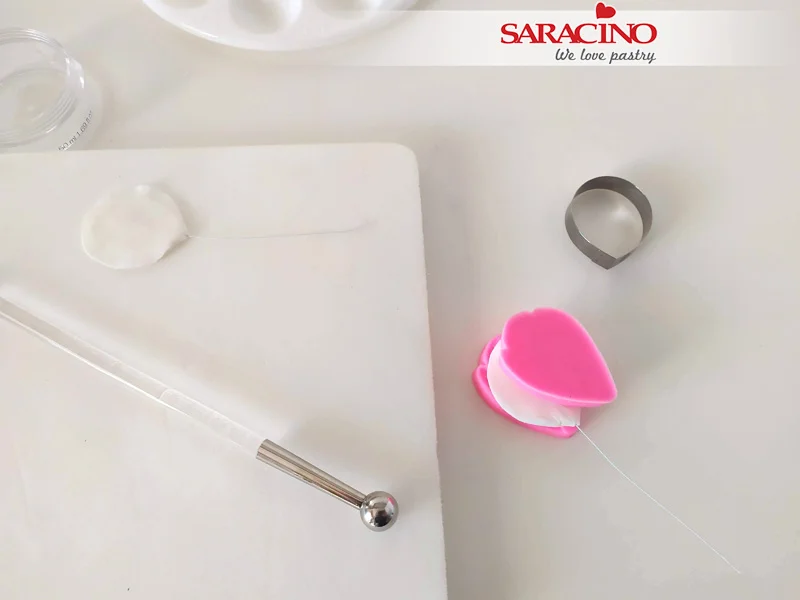
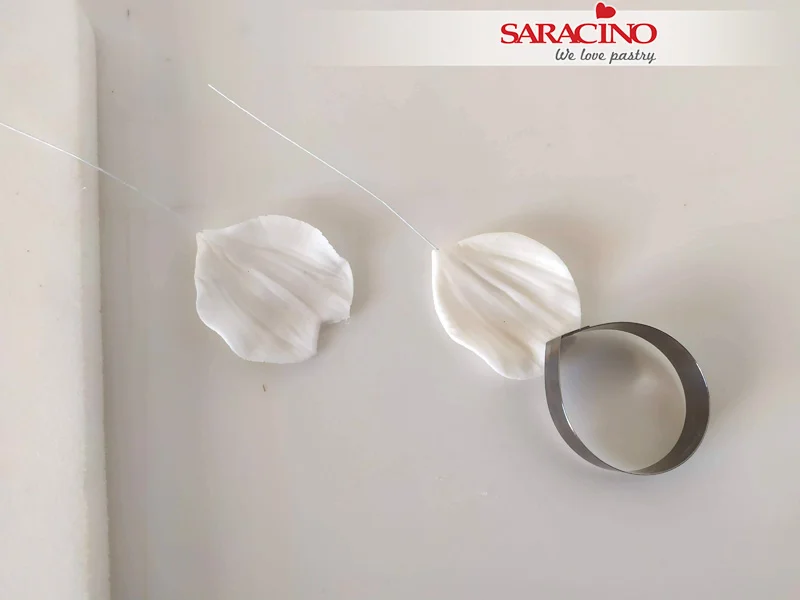
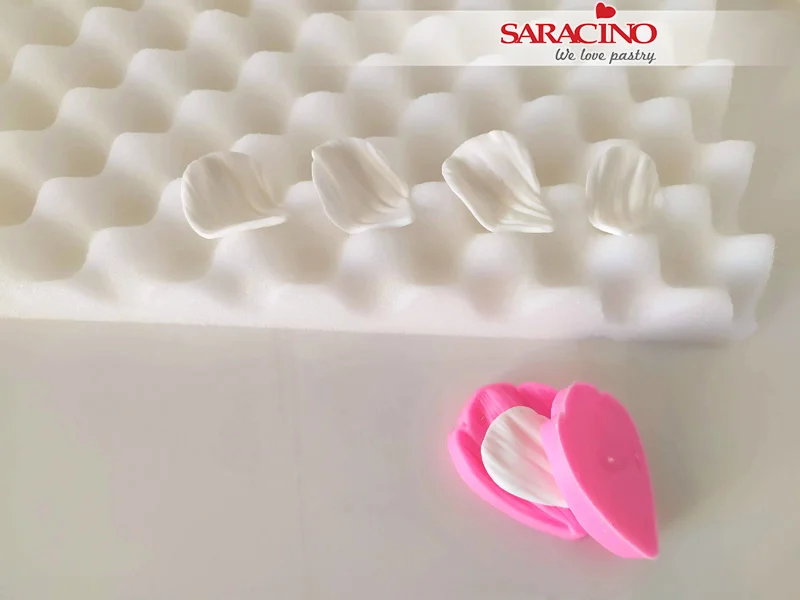
Add texture to the petals using a veining mould. Sprinkle a little cornflour on the veiner’s before use to stop the petals sticking.
Step 9

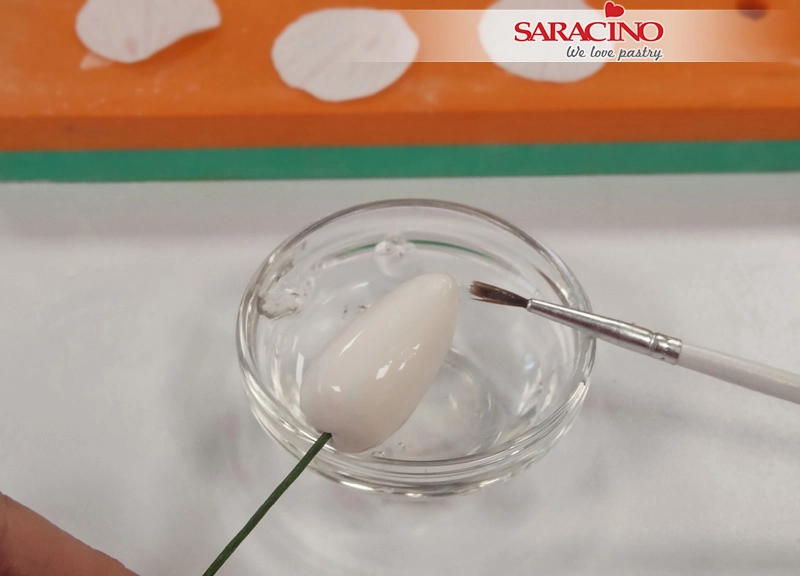
Cover the rose bud with edible glue
Step 10

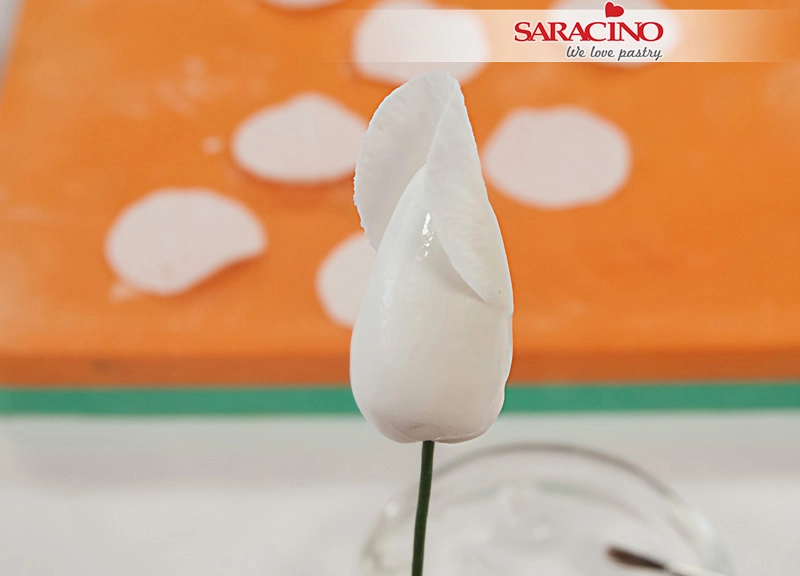
Place the first petal, leaving a little height over the center.
Step 11

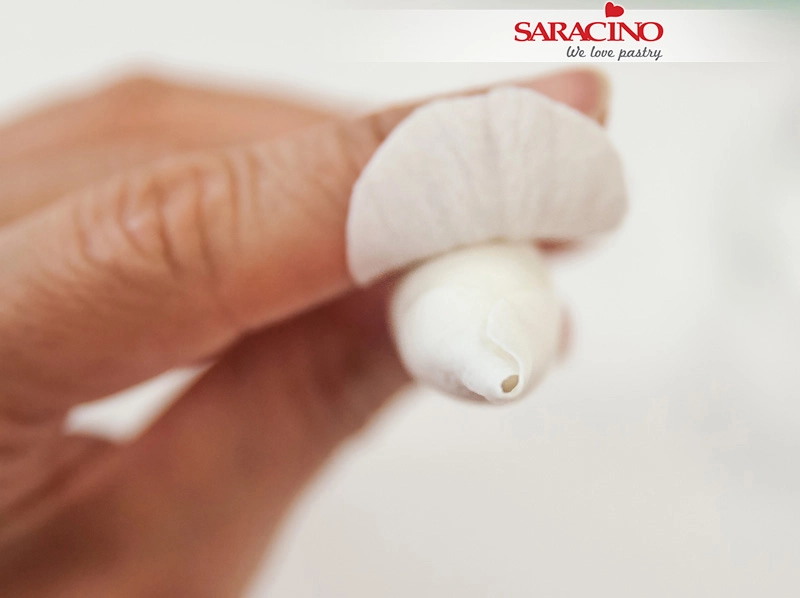
Wrap the petal around the bud so it is tightly closed like the centre in the picture
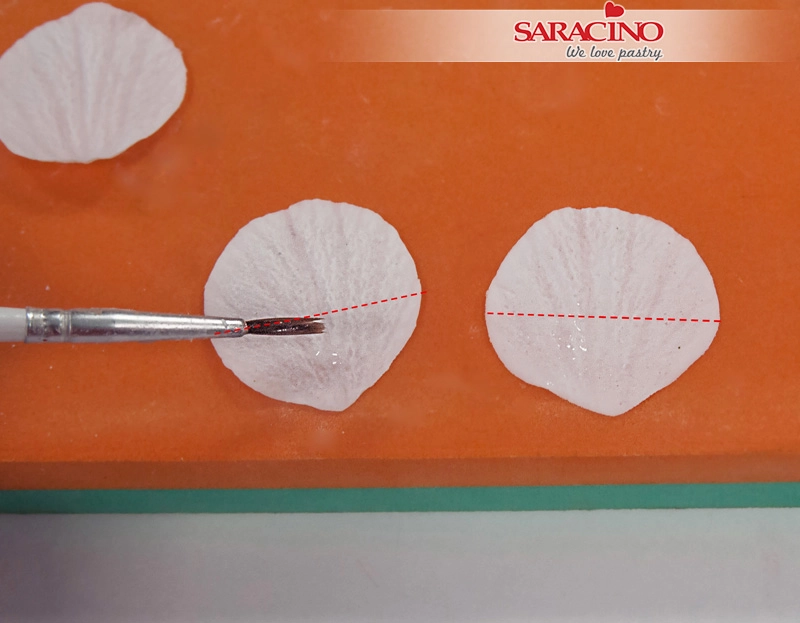
Step 12

Apply a little glue to the lower half of 2 petals.

Step 13

Place the first of those 2 petals over the fold of the centre petal and at the same height.
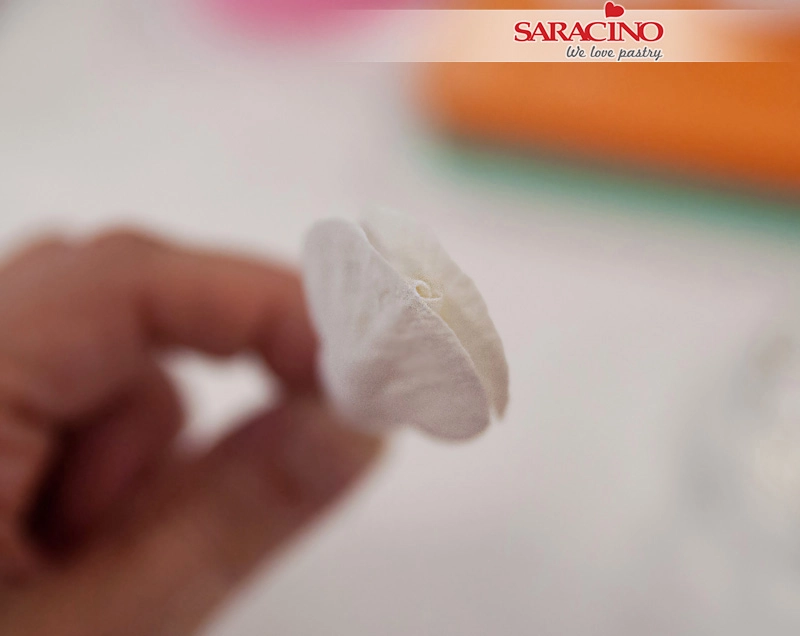
Step 14

Fix the second petal directly opposite
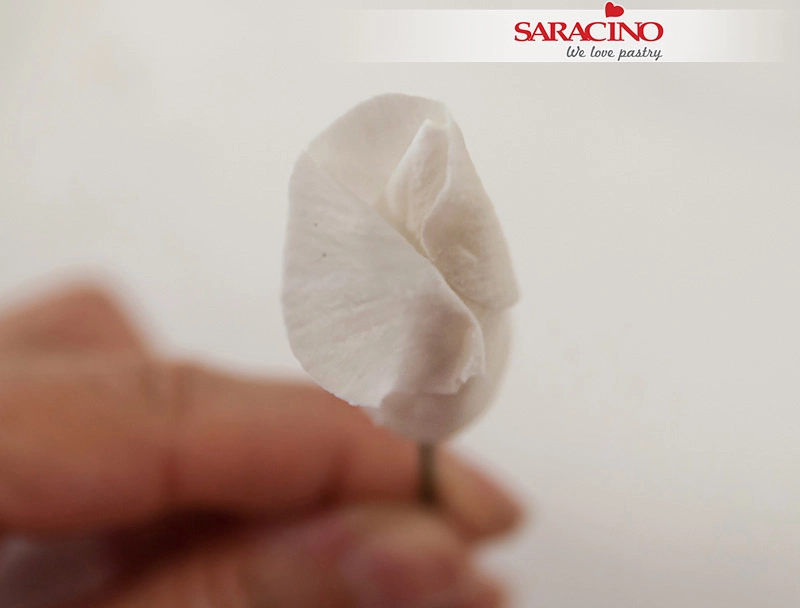
Step 15

Pull one edge away from the bud. Insert the opposite petal below and fix to the bud.
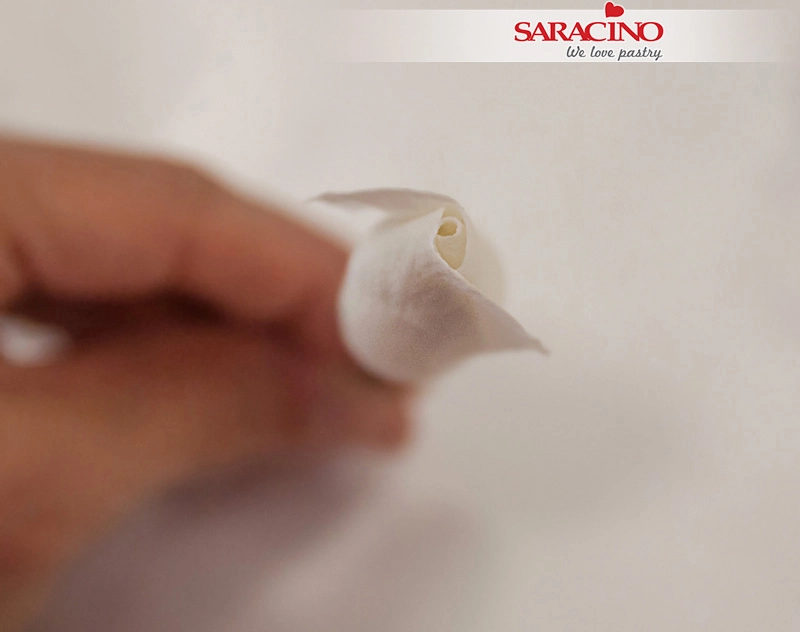
Step 16

Turn the flower around and repeat so the two petals are overlapping and look as shown
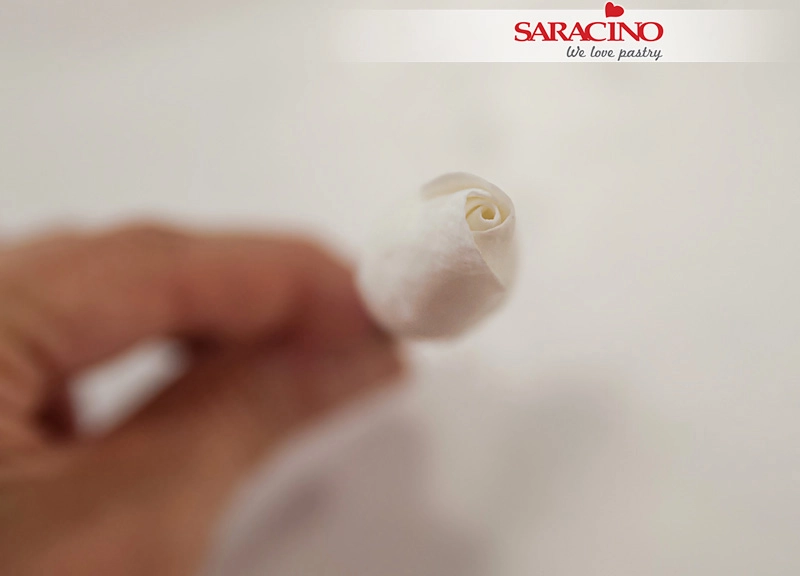
Step 17

Adjust the sides well so that it is closed.
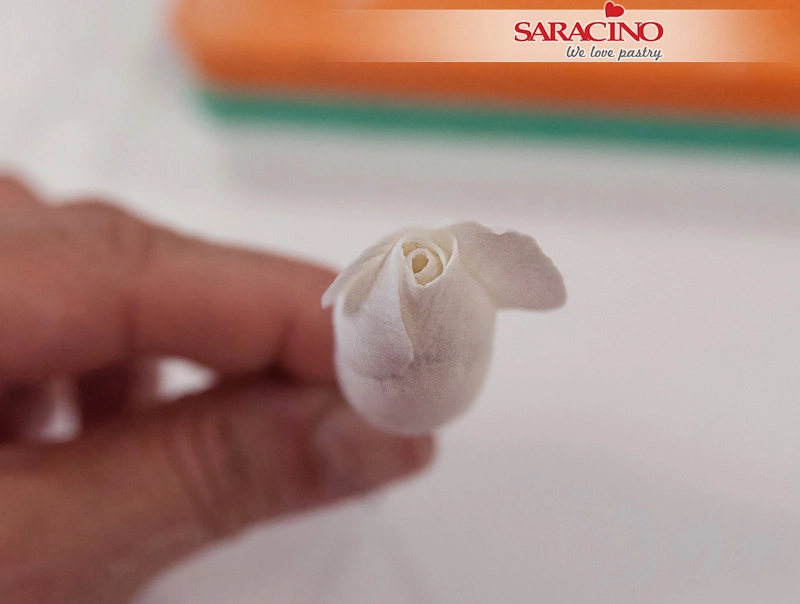
Step 18

Now we start fixing the next row of petals. We take the first one and place it over the joint of the previous 2 and at the same height as these.
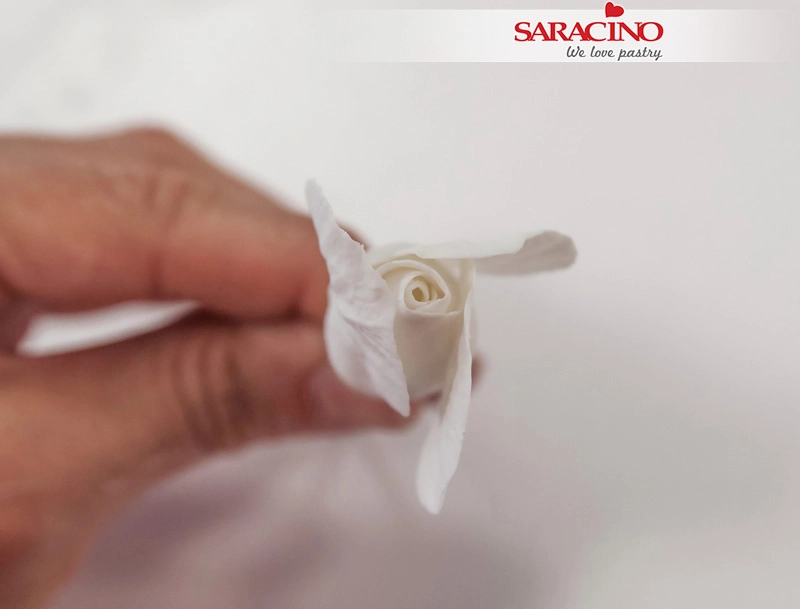
Step 19

From the middle of the petal fix another petal perpendicular to it, then fix the third petal.
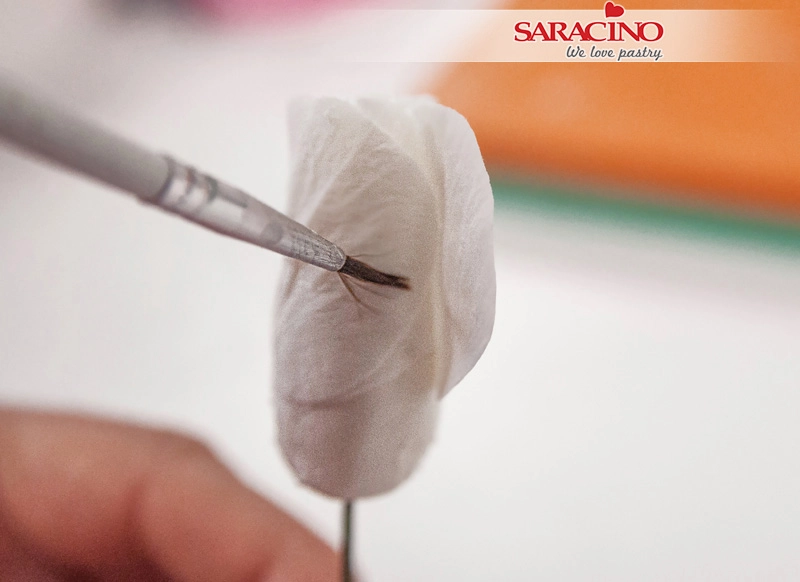
Step 20

Put a little edible glue on the side that remains free.
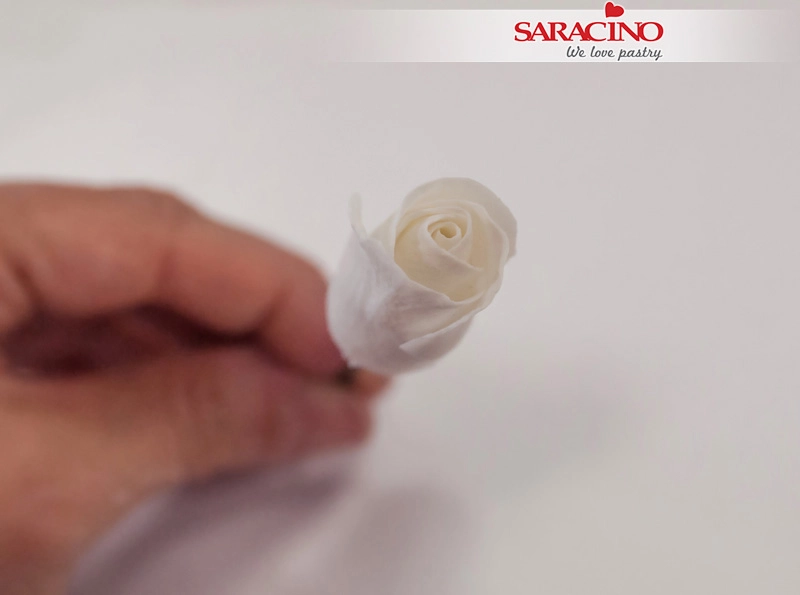
Step 21

Adjust to close over the center but without squeezing too much, so that it gets volume.
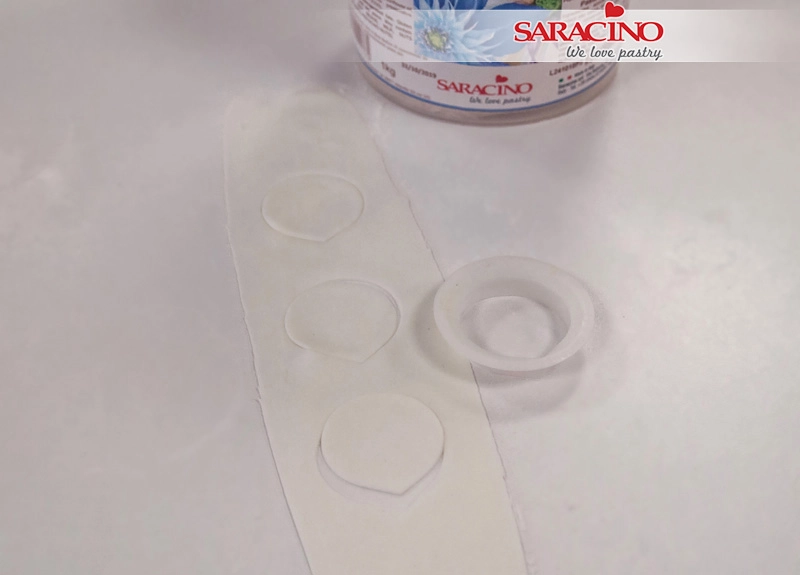
Step 22

Cut 3 petals of the largest size and perform the same operation as with the previous ones. We texture and thin the edges with a ball tool as previous petals.
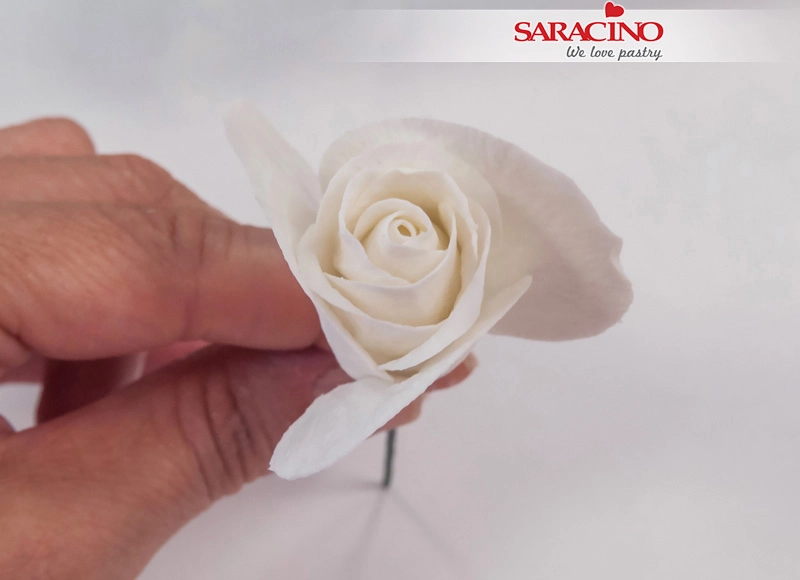
Step 23

Fix this layer of petals as with the previous layer
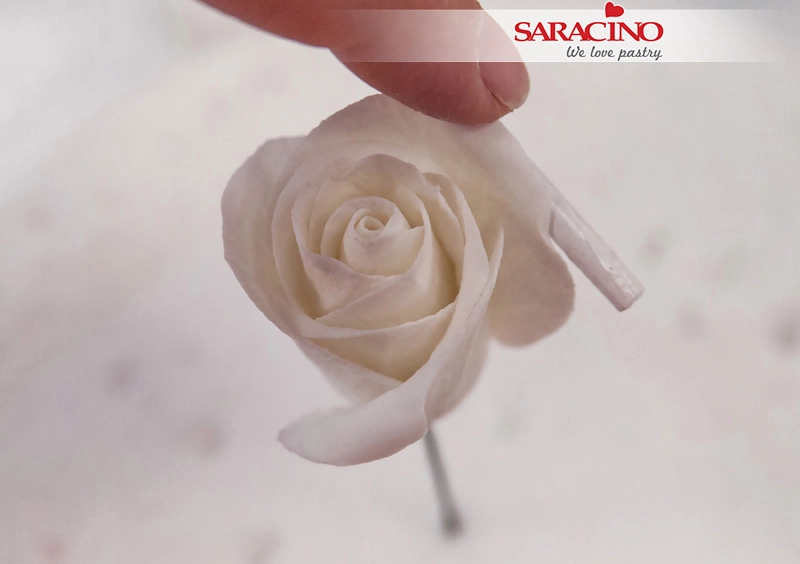
Step 24

Apply a little glue on the free side and tighten over the center, closing each petal less and less. Curl the top using the handle of a brush to give it movement.Ā 

Step 25

Make as many rounds of petals as you want, depending on whether you want a more open or more closed flower.Ā 

Step 26

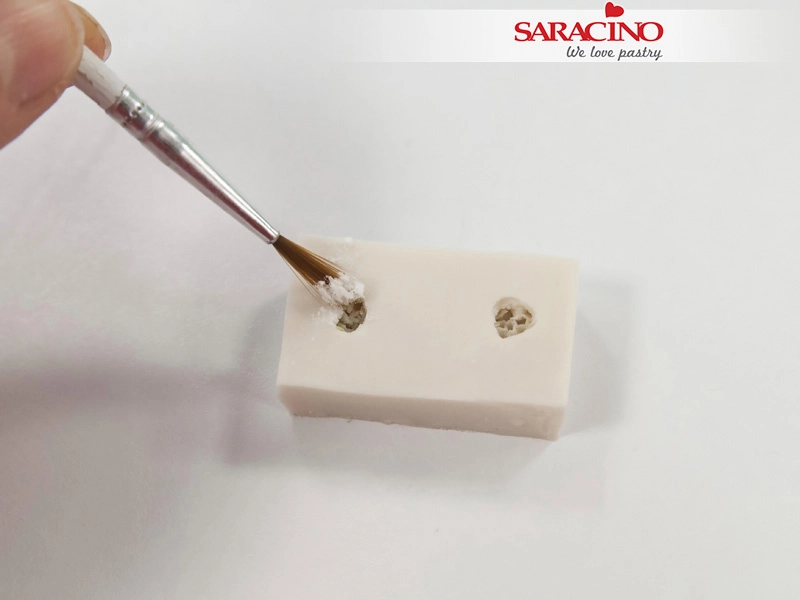
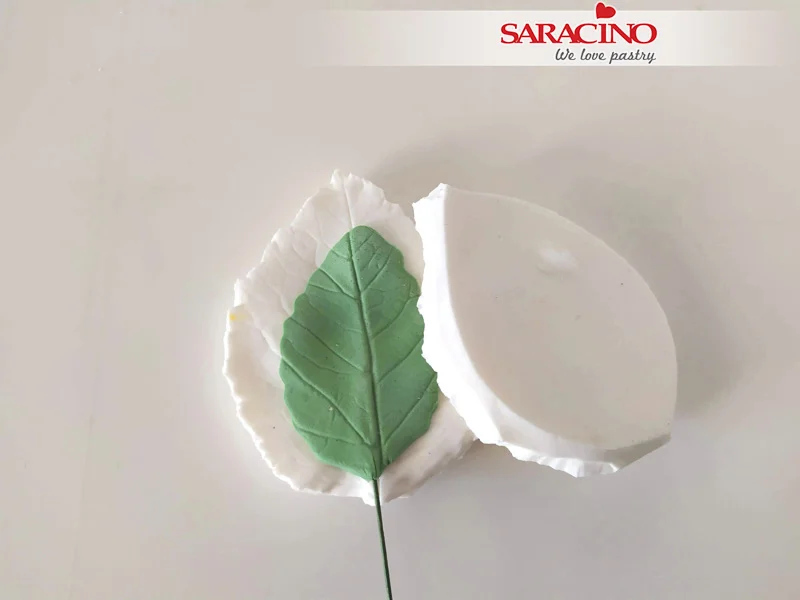
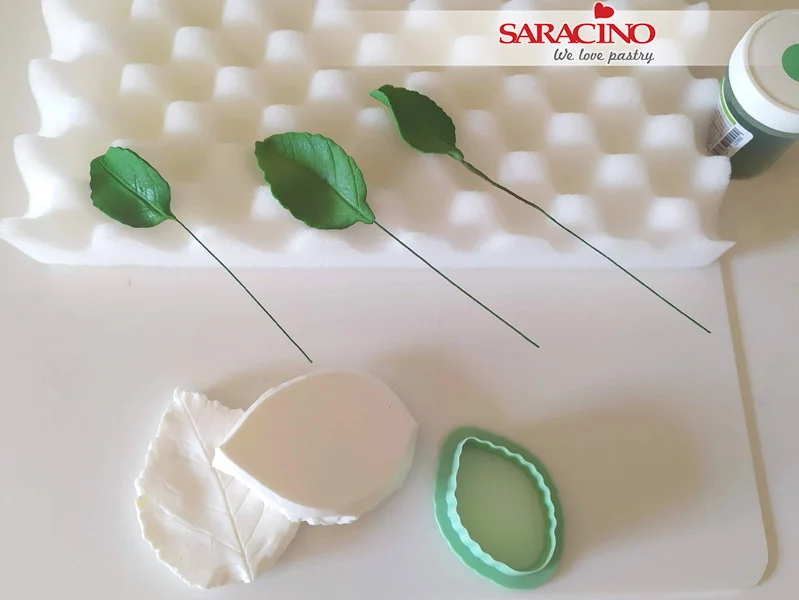
Using a brush put a little cornflour in the dogwood mould so that the Pasta Bouquet does not stick and we can remove it easily.
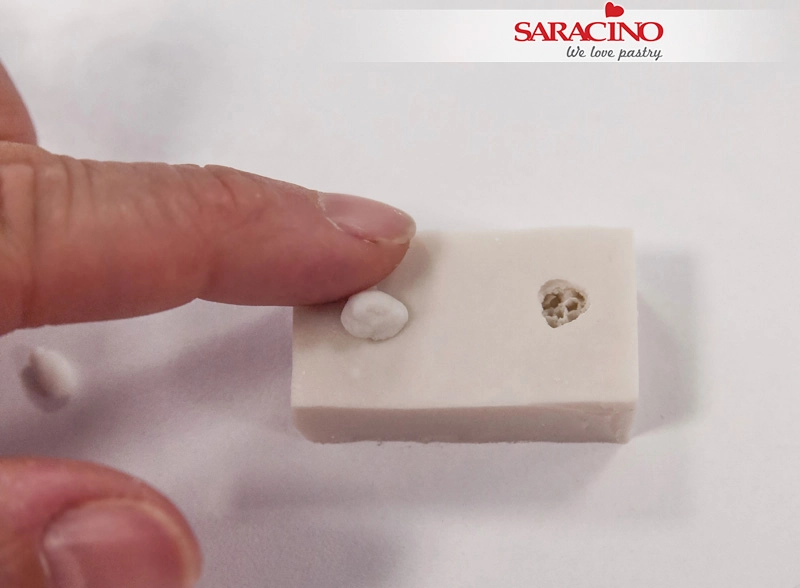
Step 27

Press a small ball of Pasta Bouquet into the moulds
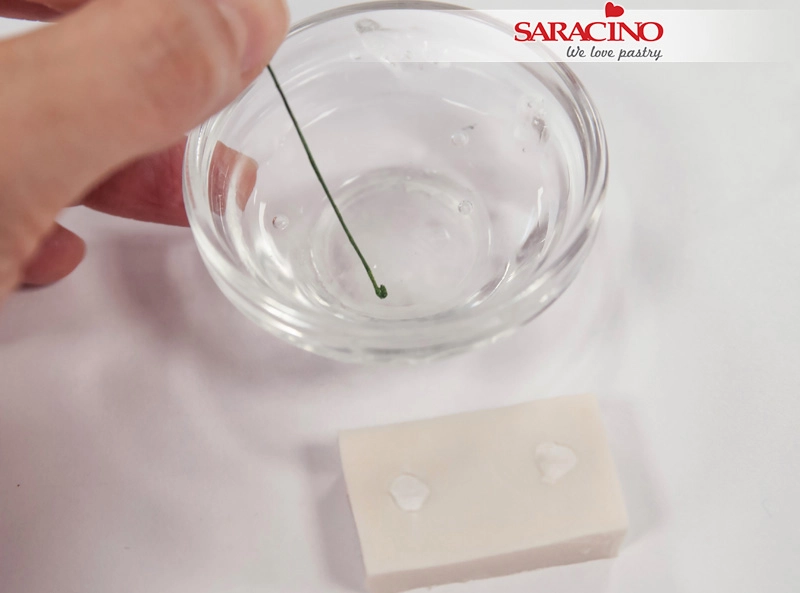
Step 28

Dip the end of a 26 gauge floral wire into edible glue.
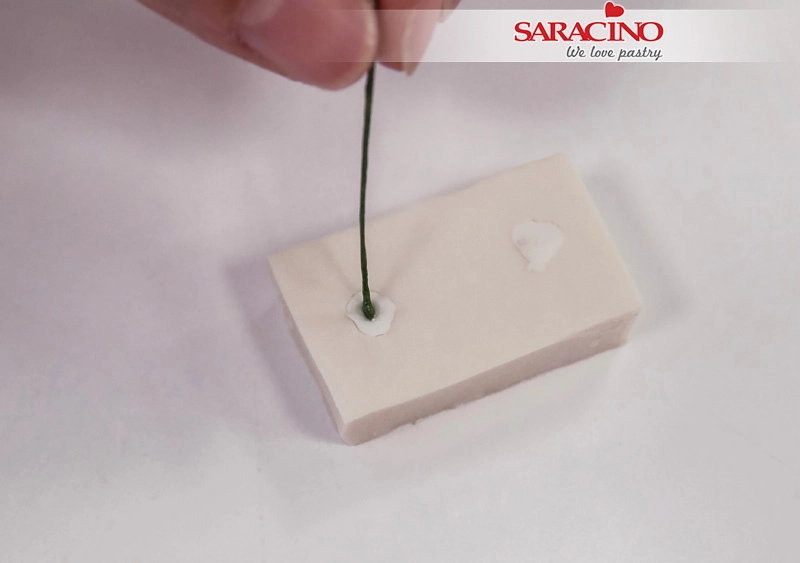
Step 29

Insert the wire into the center of the dogwood.
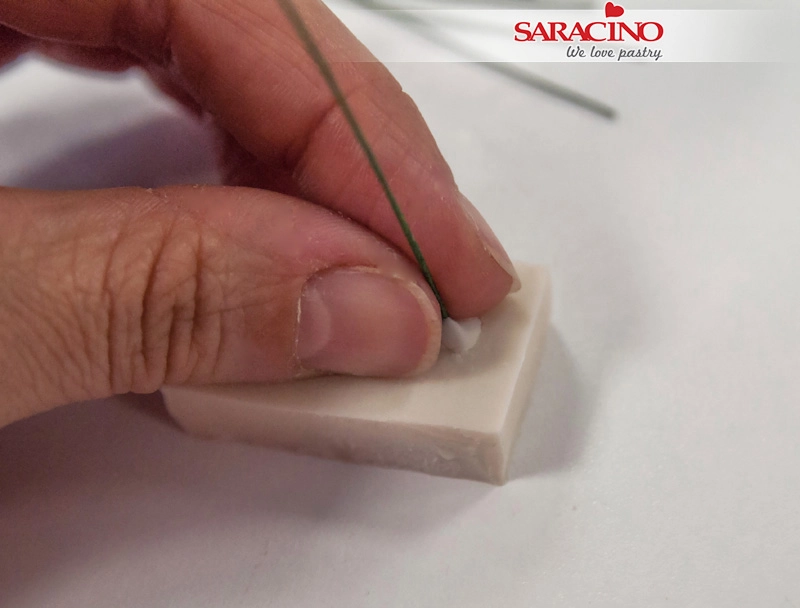
Step 30

Press the base of the wire so that the center is well attached before removing it from the mould.
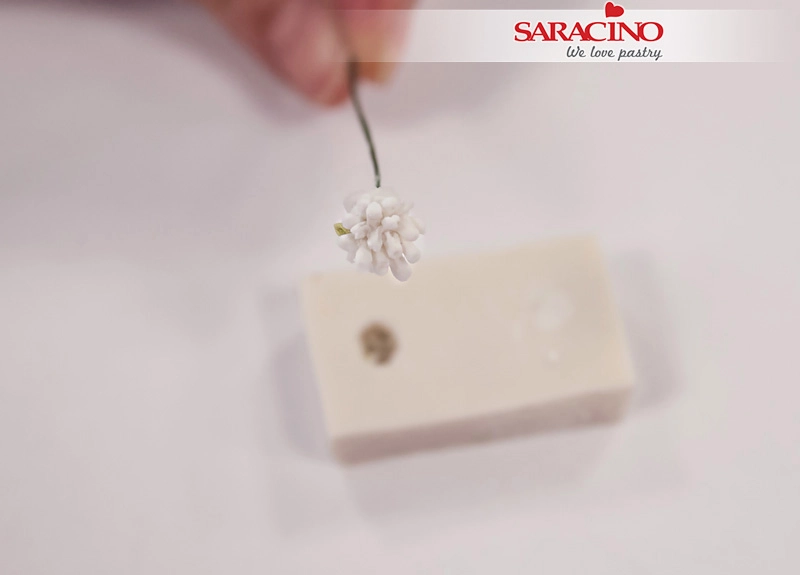
Step 31

Carefully, we extract the center. Let’s do about 10 centers to have 10 flowers.
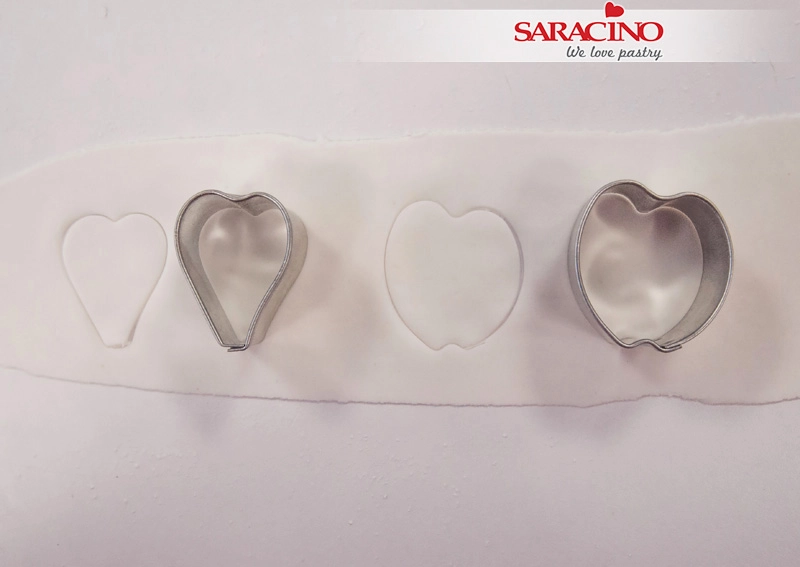
Step 32

Roll out some Pasta Bouquet and cut 2 wide and 2 narrow petals for our dogwood flower.
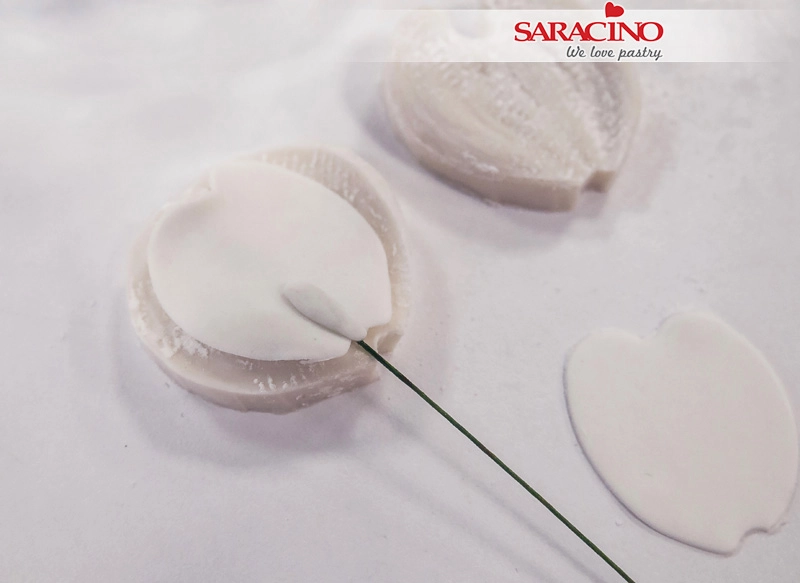
Step 33

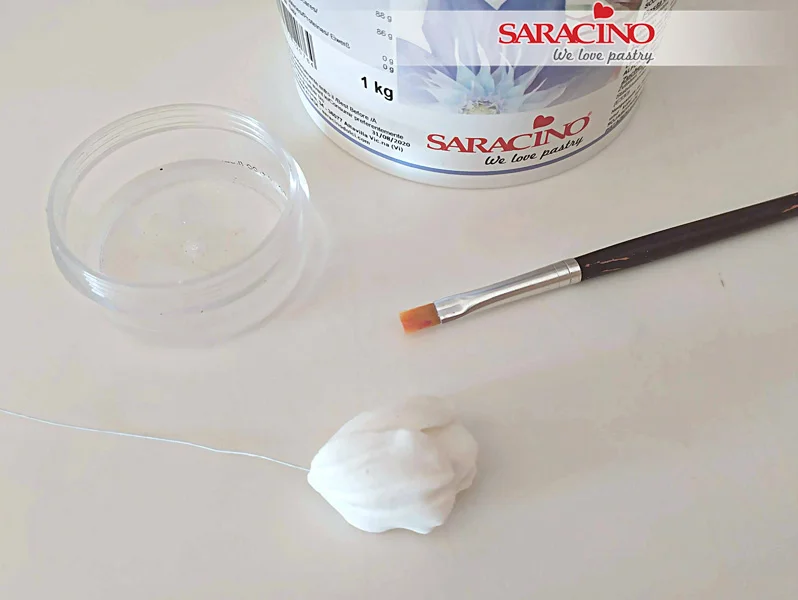
We now need to wire the petals. Place a petal in the veiner, dip the end of a 30 gauge floral wire in edible glue and cover it with a small piece of pasta bouquet to fix it to the petal.
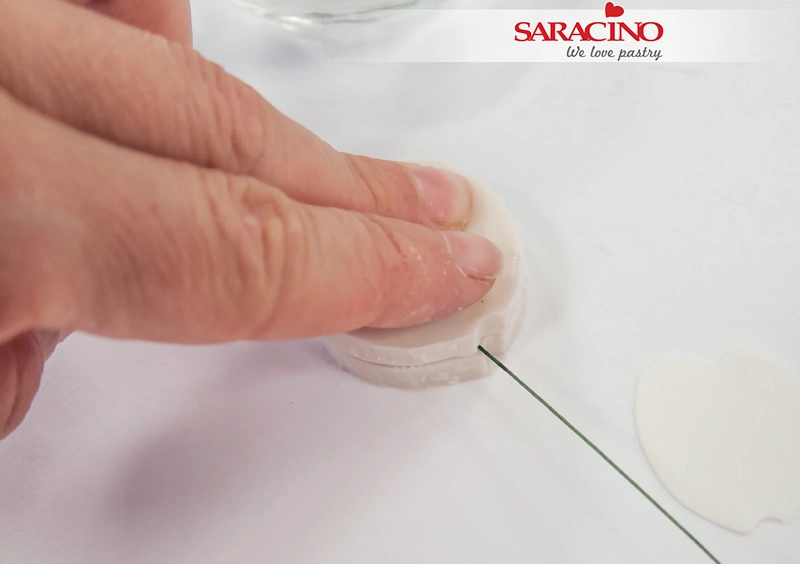
Step 34

Press with the other side of the veiner
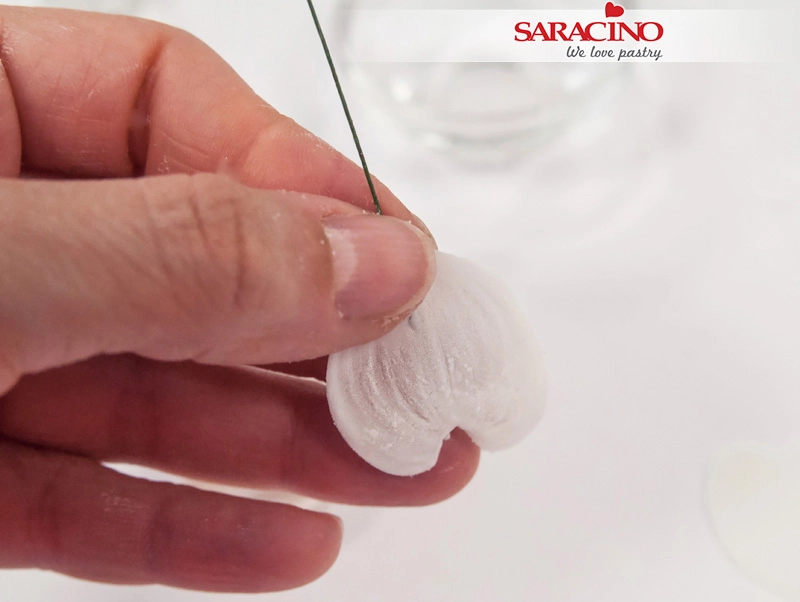
Step 35

Press well on the base to fix the petal to the wire and secure it well.
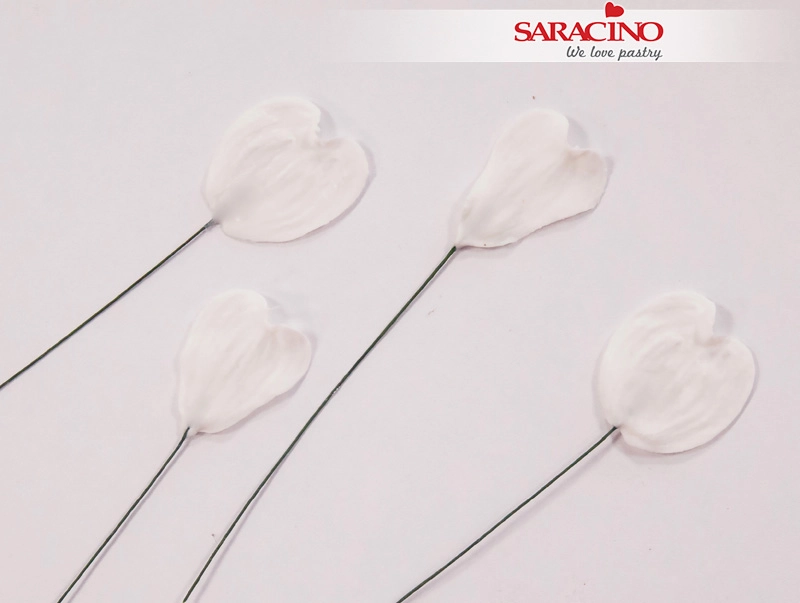
Step 36

Perform the same operation with all the petals.
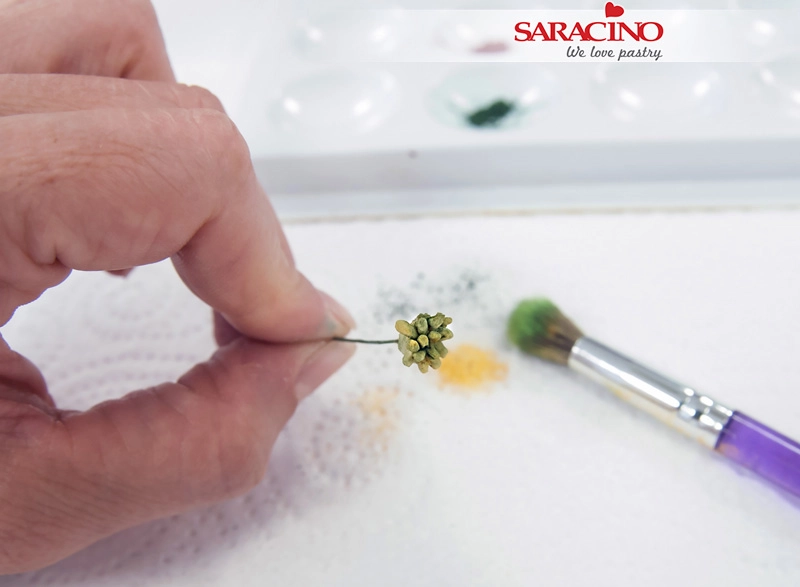
Step 37

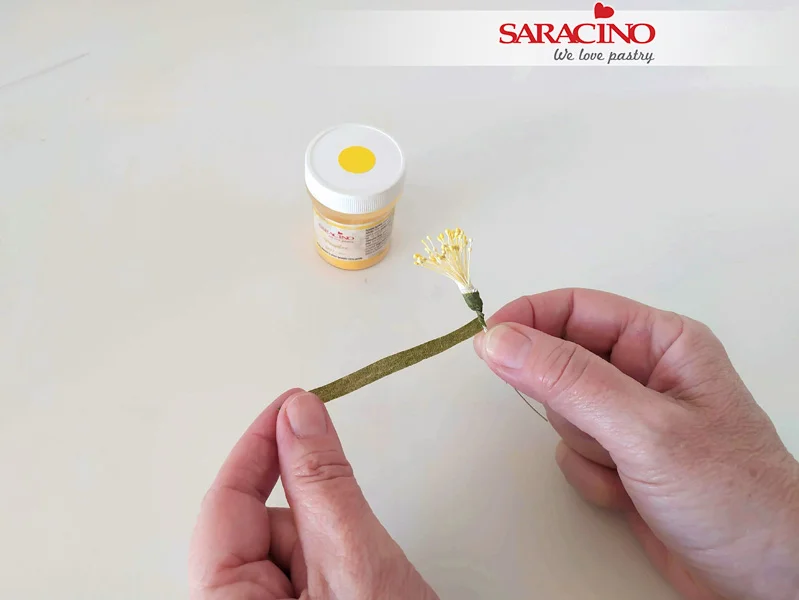
Using a soft brush dust the flower centre with yellow powder. Then using the same brush dust with green powder
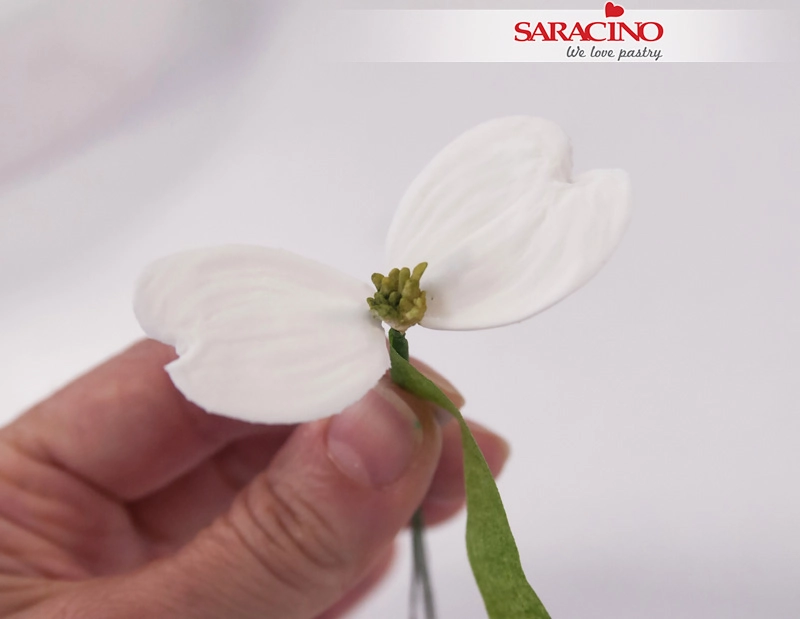
Step 38

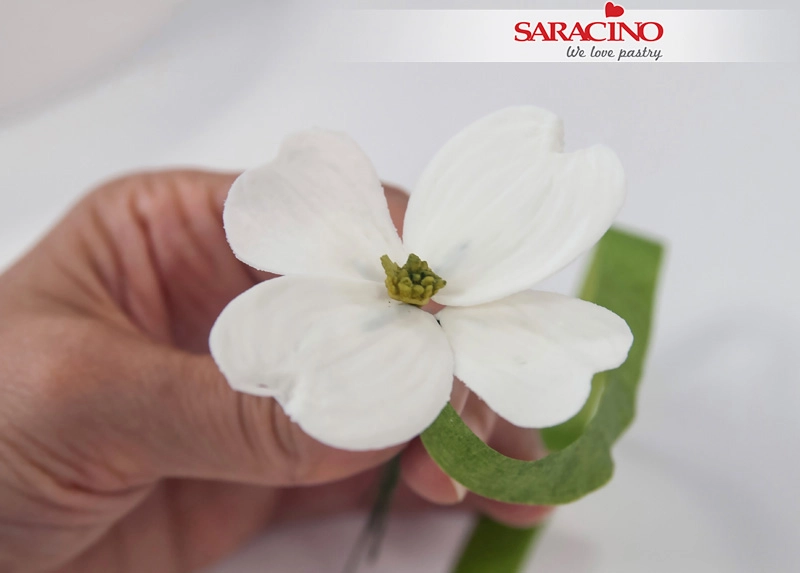
Attach the first 2 petals of the same size to the centre using floral tape. The petals should be directly opposite each other.
Step 39

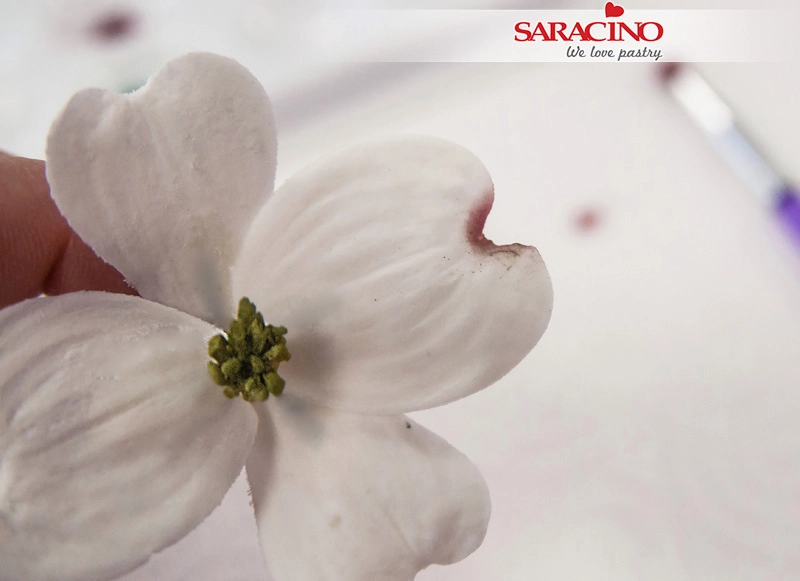
Attach the other 2 petals so they are directly opposite each other.
Step 40

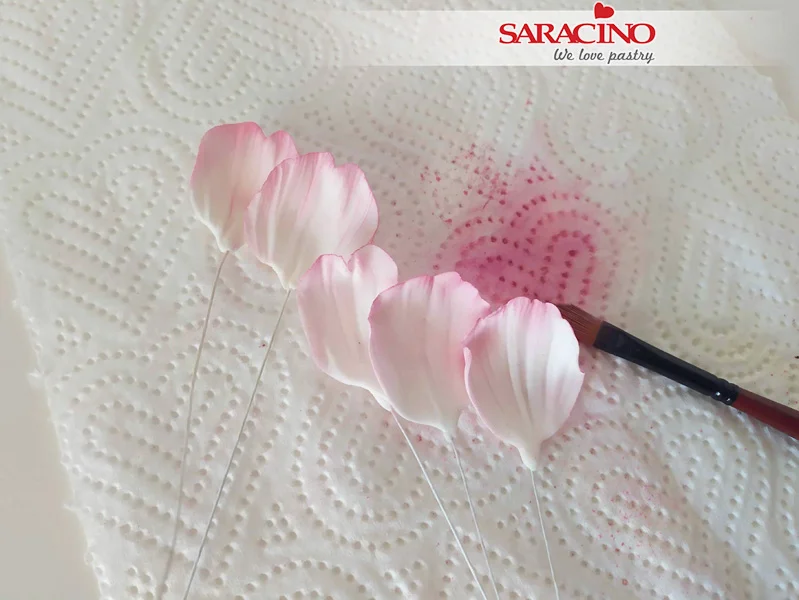
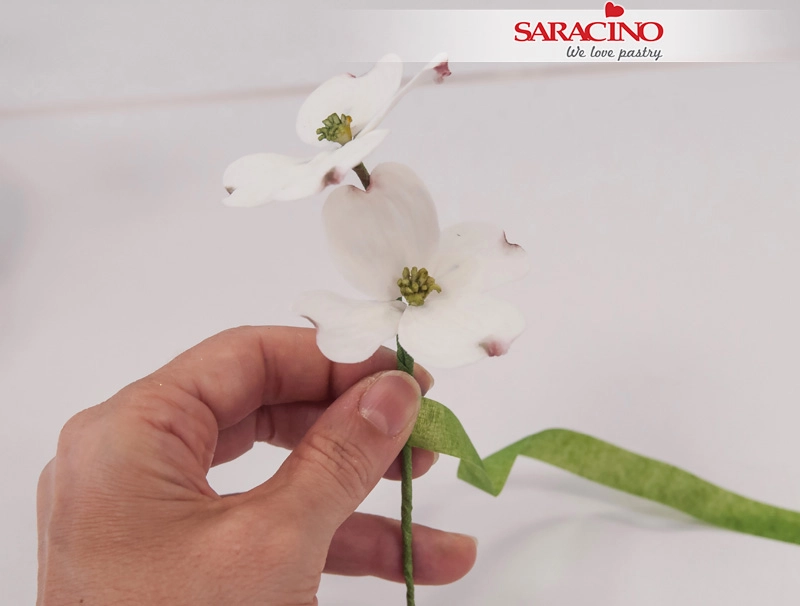
Dust the upper end of each petal with dark pink powder colour and then with a little green.
Step 41

Fix the flowers to each other using florist tape
Step 42

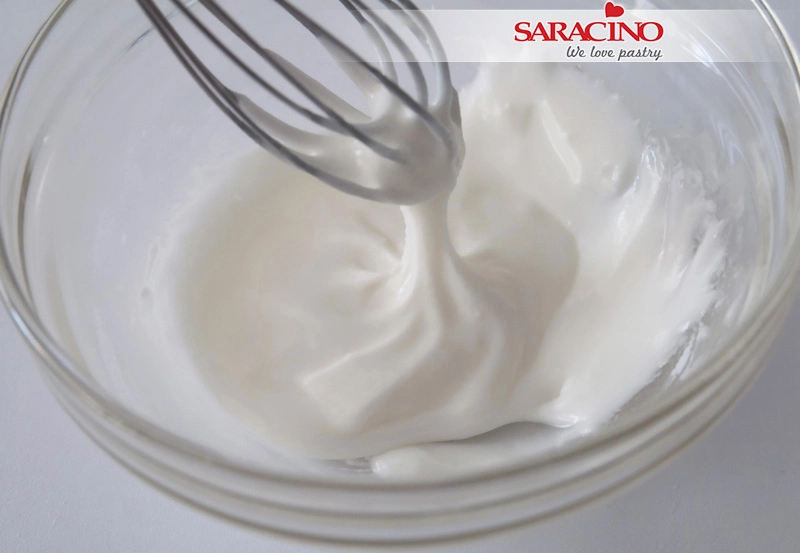
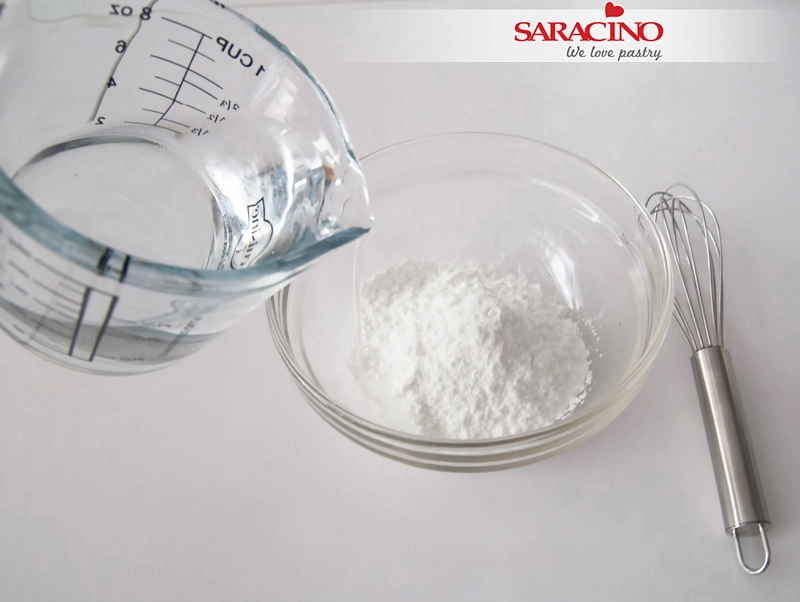
Prepare the royal icing (follow the instructions on the package)Ā 

Step 43

You will need a consistency that is slightly runnier than the texture of toothpaste.
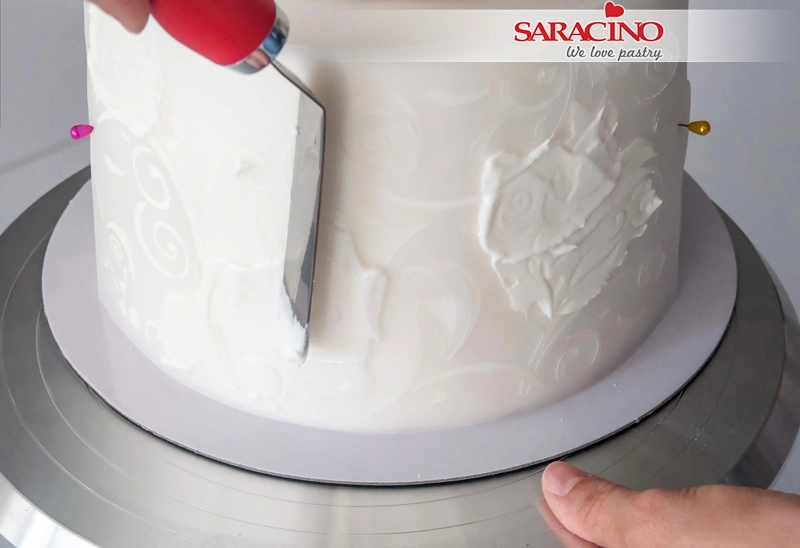
Step 44

Fix the chosen stencil on the cake and spread the royal icing with a spatula
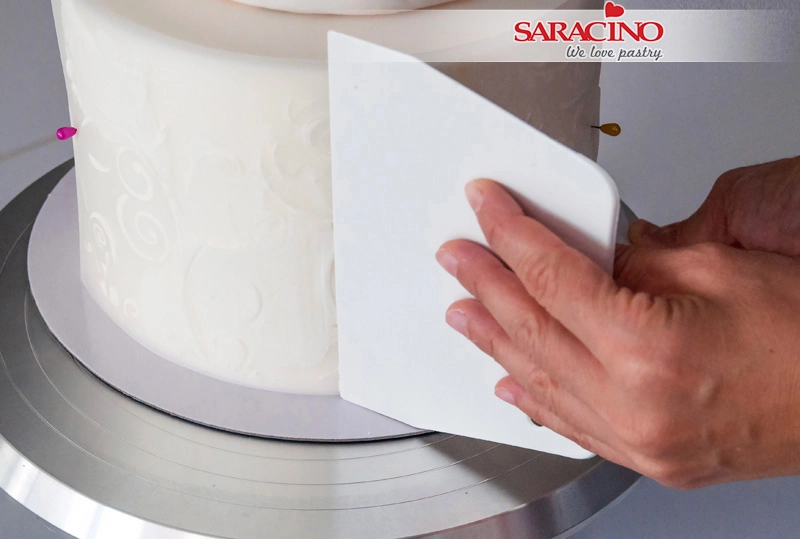
Step 45

Remove the excess with a scraper.
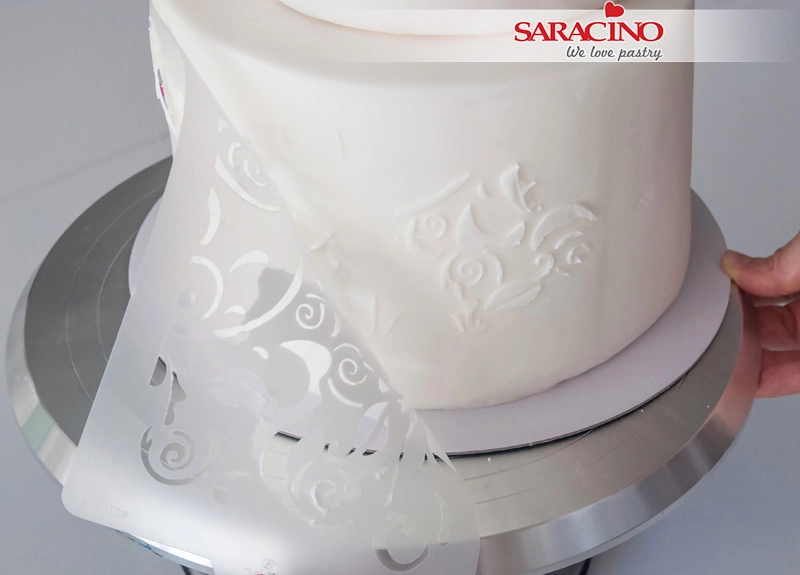
Step 46

Carefully remove the stencil. Let the royal icing dry
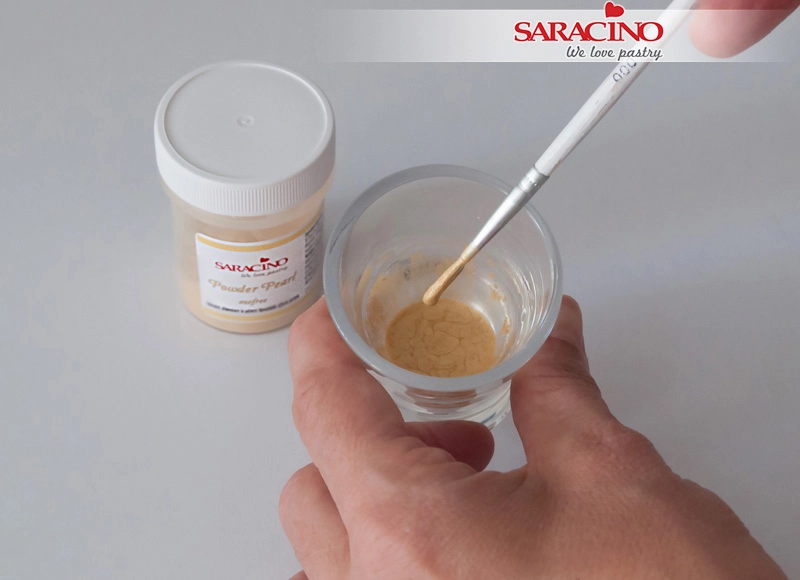
Step 47

Prepare a small amount of gold paint by mixing the gold powder colour with a few drops of clear alcohol.
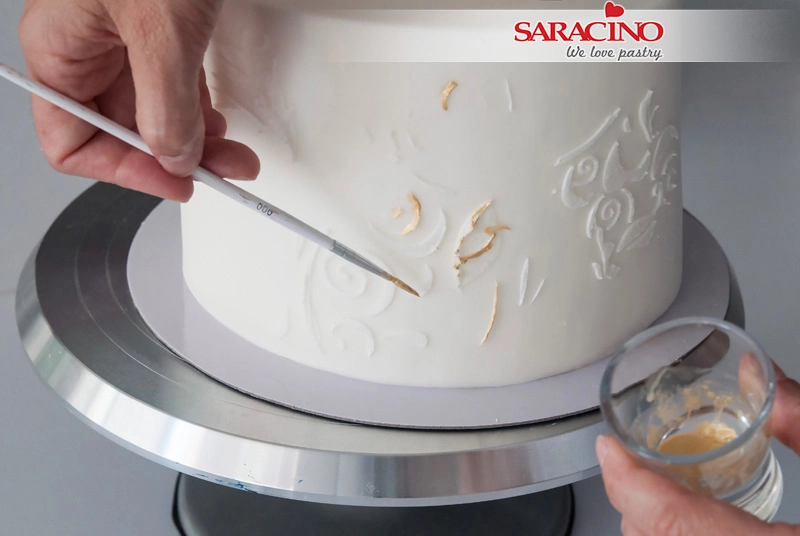
Step 48

Paint only a few parts to give a worn effect.
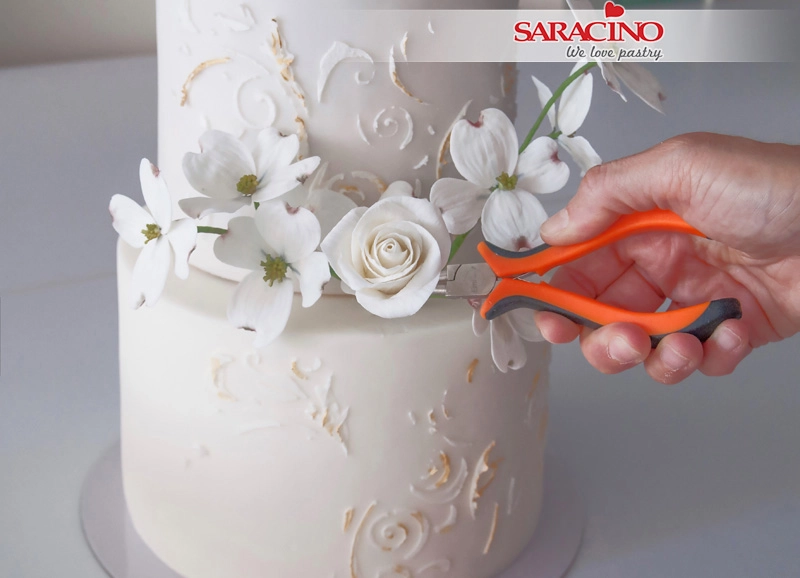
Step 49

Put the flowers on the cake. Use your pliers to bend the wires so they curve around the cake without the need to insert a flower pick.
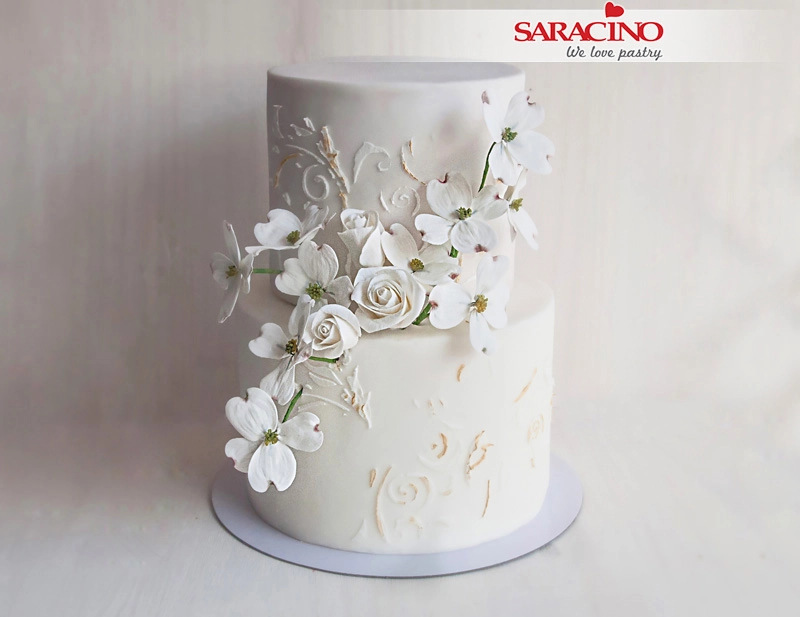
Step 50

Your cake is readyĀ 

UNICORN PARTY CAKE

UNICORN PARTY CAKE

Skill level: INTERMEDIATEĀ 

You will need:

  • White Saracino pasta model

  • Saracino pink and gold powder colour

  • Saracino white gel colour
  • Cake or dummy circular about 20cm high

  • Circle cutter

  • Knife

  • Large cocktail stick

  • Clear alcohol

  • Pink, light blue and blue Saracino pasta model

  • Work base

  • Thin brush

  • Ball tool

  • Silicone brush

  • Modelling tools
  • Black and brown food marker pen

Step 1

Cover your cake with sugarpaste. For best results use Saracino Pasta Top.

Tip : Pasta Top is Vegan, Gluten free and has NO hydrogenated fats.Ā 

Step 2

Using a soft brush gently blend from the base upwards with the pink powder colour, be careful not to use too much colour and you can tap the brush onto a sheet of kitchen paper to remove excess. Do the same from the top of the cake downwards.

Step 3

Using your circle cutter cut out two circles. Using the same cutter cut out two crescent shapes.

Step 4

Using your fingers shape the crescent into an eyebrow.

Step 5

Repeat so we have two eyebrows.Ā 

Step 6

Mix your gold dust colour with the clear alcohol and paint both eyebrows. Fix where required on the side of the cake.

Step 7

Using your circle cutters cut out two large and two small circles. Use a sharp knife to cut the top of each circle into a triangle shape.

Step 8

Using the gold paint, colour the two smaller circles.

Step 9

Fix the smaller painted pieces into the larger shapes to form the ears.

Step 10

Now for the Unicorn horn. Roll out two thin cone shapes from your white modelling paste.Ā 

Step 11

Twist the two together to give the spiral effect.

Step 12

Roll it tightly and then insert a cocktail stick or skewer into the base to provide support.

Step 13

Using your gold colour paint the horn. Fix the horn and the ears to the top of the cake.Ā 

Step 14

For the flowers cut out circles of different colours.Ā 

Tip : You can choose any colour scheme to match your occasion.

Step 15

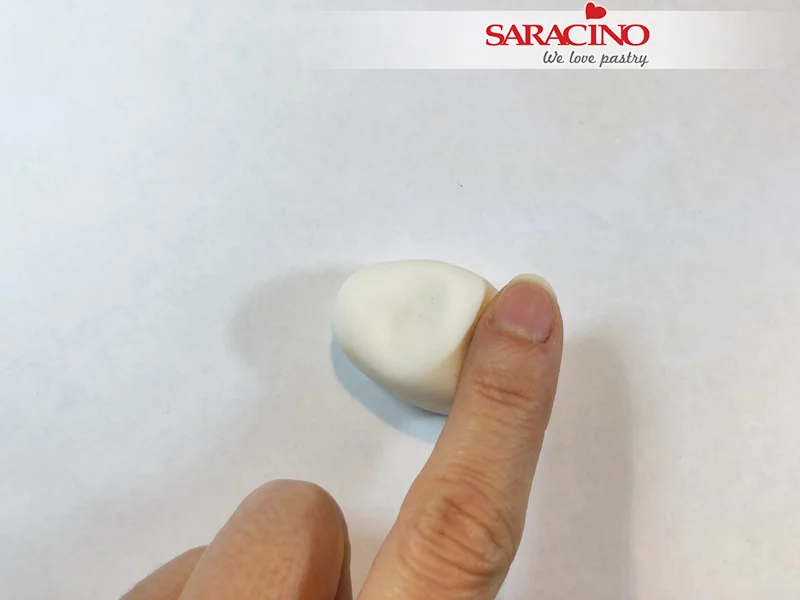
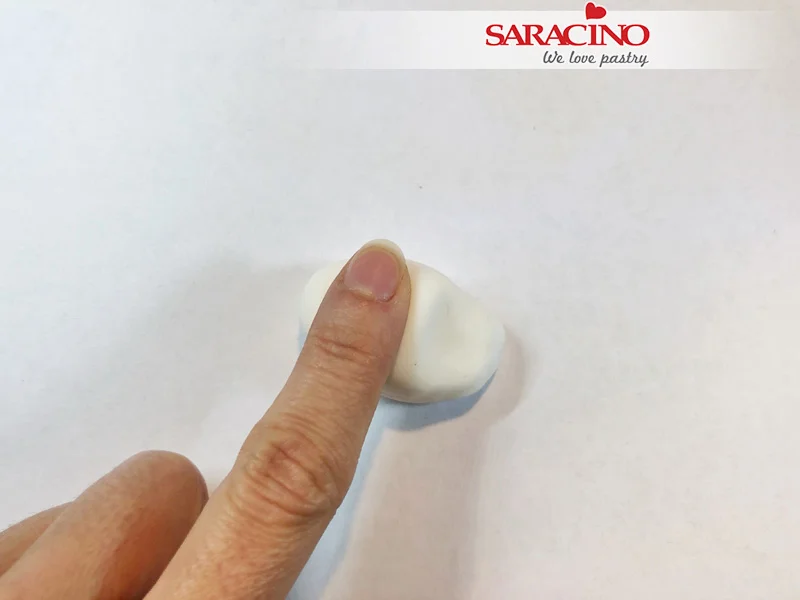
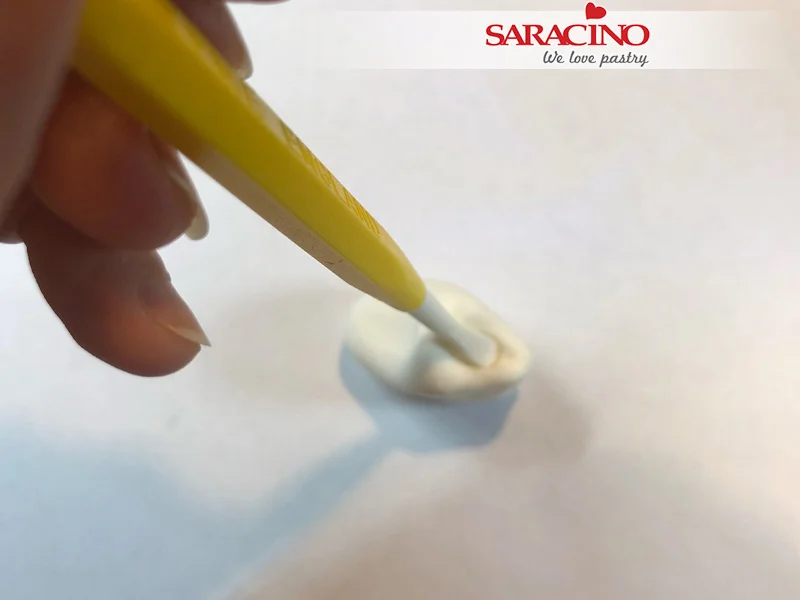
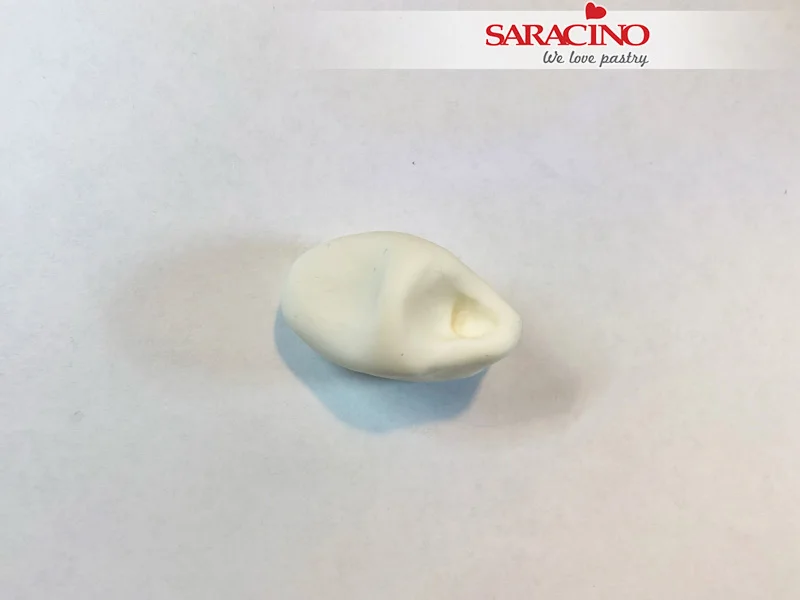
For each flower create a central bud by rolling paste into an egg shape. Then start applying the petals around each bud.

Step 16

Cut the larger petals in half to give the effect you need for each flower.

Step 17

Keep fixing the petals working around the buds.

Step 18

Tuck each petal inside the one previously applied and fix.

Step 19

Make as many roses as you want to give the look you need. Fix to the top of the cake to give the unicorns hair look. We will go onto the filler flowers next.Ā 

Step 20

For the filler flowers use your fingers to roll out cone shapes as shown.

Step 21

We cut the largest part of the cone in half and then half again in the other direction to give four petals.

Step 22

We spread the cut parts to form a four-petal flower. Use finger pressure or a ball tool to spread them and give form to make look realistic.

Step 23

Now dust your filler flowers using pink Saracino powder colour. Place the filler flowers among the roses to fill in any gaps.

Step 24

Use as many roses and filler flowers to give the effect you would like to see on your cake.Ā 

Step 25

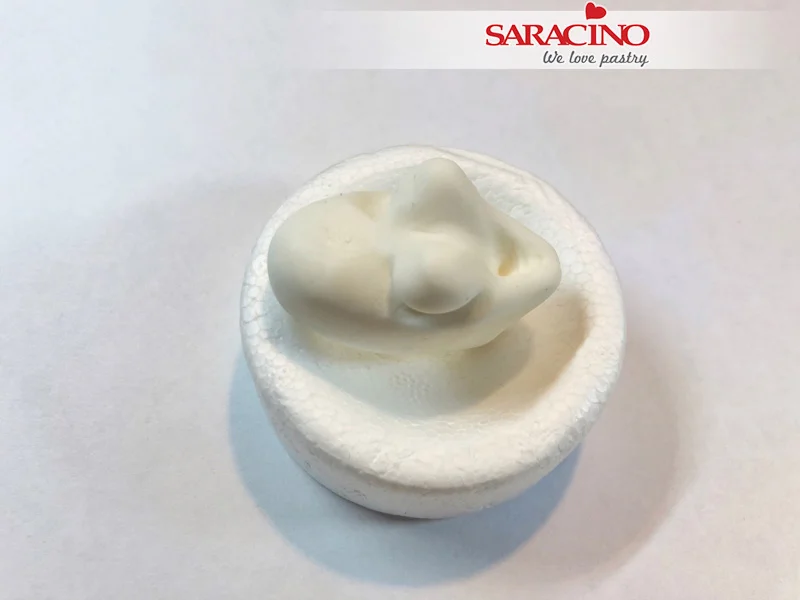
For the babies head roll a ball and with your fingers press to create the eye sockets. Use a silicone tool to form the nose.

Step 26

We create the nostrils and shape the nose with the silicone tool.

Step 27

Use a ball tool to create the eyebrow arches.

Step 28

Use your ball tool to create the eye sockets. Then roll two small balls of modelling paste to create the eyes.

Step 29

Insert the balls inside the holes to create the eyes.

Step 30

Make two smaller circles of brown paste and fix to each each ball.

Step 31

Roll out some of your brown paste very thinly and attach a strip above each eye for the eyebrows.Ā 

Step 32

Use your Dresden tool or similar to form the lips. The use a small ball tool to create the sides of the mouth.

Step 33

Create the pupil with a black food marker.

Step 34

Blend the iris with the brown food marker.

Step 35

Use your small ball tool to shape the mouth into the expression you require. Using white Saracino gel colour apply tiny dots to each eye.Ā 

Step 36

Your modelled face should look similar to this.Ā 

Step 37

Roll out an oval shape of your white paste for the body.

Step 38

Using your fingers raise one end of the oval shape.Ā 

Step 39

Use your ball tool to press the neck and sockets for each leg.

Step 40

For the neck roll out a tube of your pink paste. Cut short and fix into the socket made for the neck.

Step 41

Use a cocktail stick to attach the head to the neck in the angle you would like. For the hair roll out yellow paste into thin strands. Start applying to the head to build up the hair style. Use your ball tool to form shoulder sockets. Roll two strands to create the unicorn horn for the little girls head. Twist them together.

Step 42

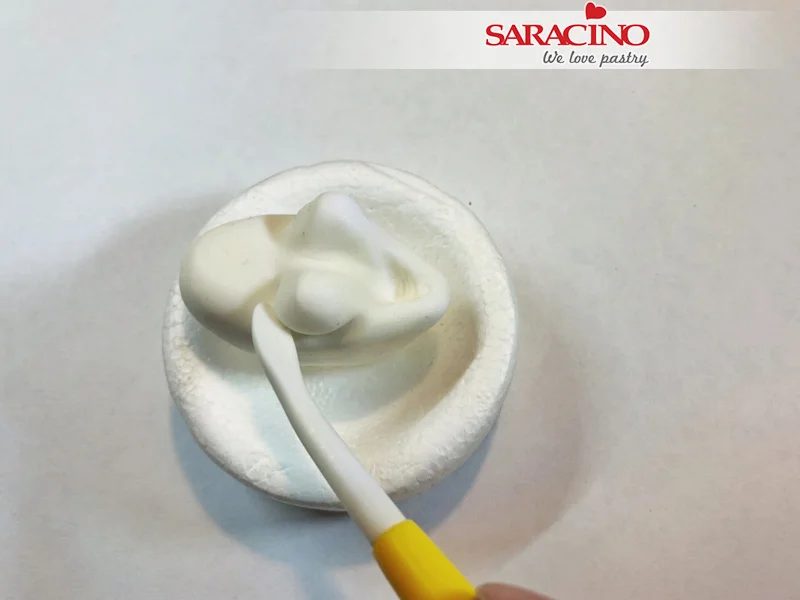
Press down the hair strands with your silicone tool.Ā 

Step 43

Form the arm with pink paste and create the palm of the hand with the thumb.

Step 44

Form the four fingers. Now repeat for the left arm and hand.

Step 45

Place the girl in front of the cake and attach her arm and the unicorn horn to her head.

Step 46

Roll a sausage shape of pink paste and cut diagonally in the centre for the legs.

Step 47

Use your fingers to roll out the foot and ankle from the thinner part of the paste.

Step 48

Roll gently on your mat to create the form of the leg and knee.

Step 49

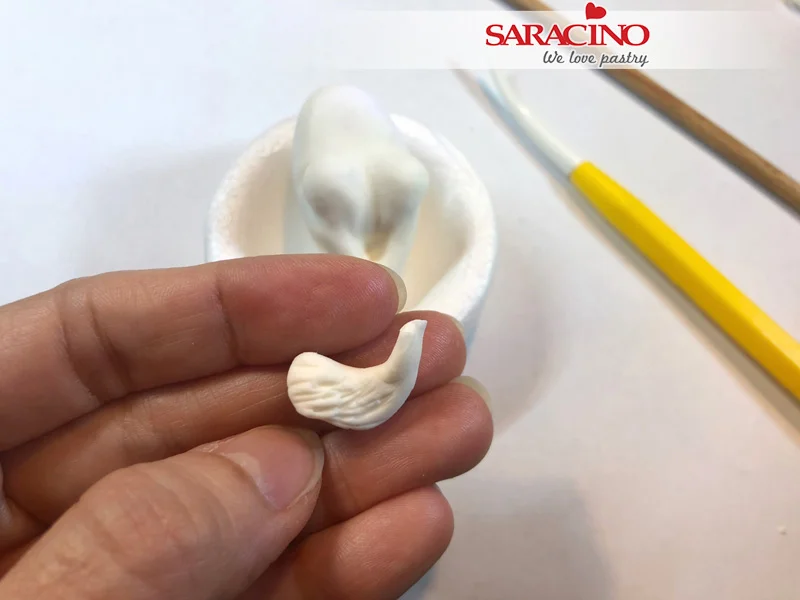
Make four small cuts on the back of the foot to form five toes.

Step 50

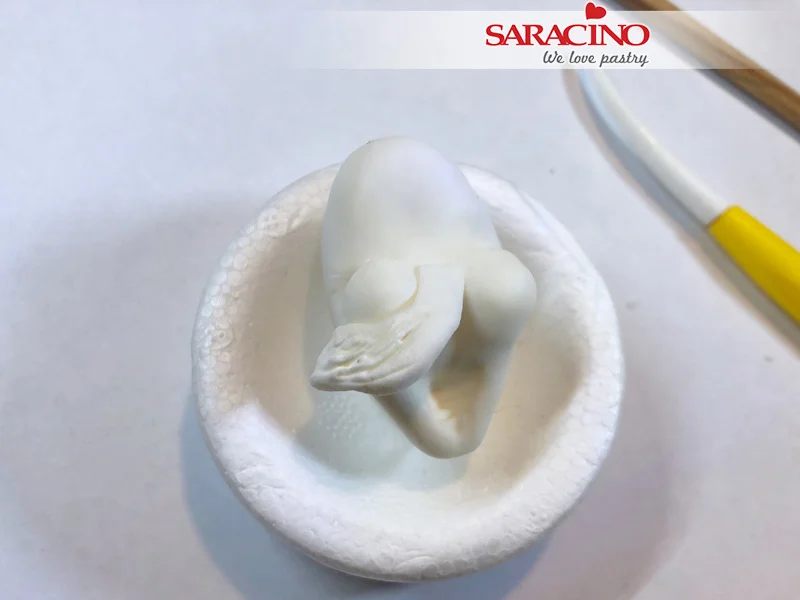
Fix the legs and the arms to the little girl. Model them into the shape you would like.Ā 

Your model is now finished and ready to WOW your friends.Ā 

CUTE PUPPY TUTORIAL

CUTE PUPPY TUTORIAL

Skill level: INTERMEDIATE

TIP:

ā€œit’s almost impossible to keep white paste dust-free as you work with it and even the smallest piece of dust is very annoying. With a cotton swab soaked in vodka you can gently clean the dust off your model. Otherwise use a baby wipe towel to clean yourĀ  finished model for larger areas.ā€

You will need:

  • Saracino modeling paste (white, black, pink)
  • Non stick board
  • Edible glue
  • Knife
  • Dresden tool
  • Point tool
  • Small flower former mould
  • Fine brush
  • Saracino gel colour black
  • Clear alcohol

Step 1

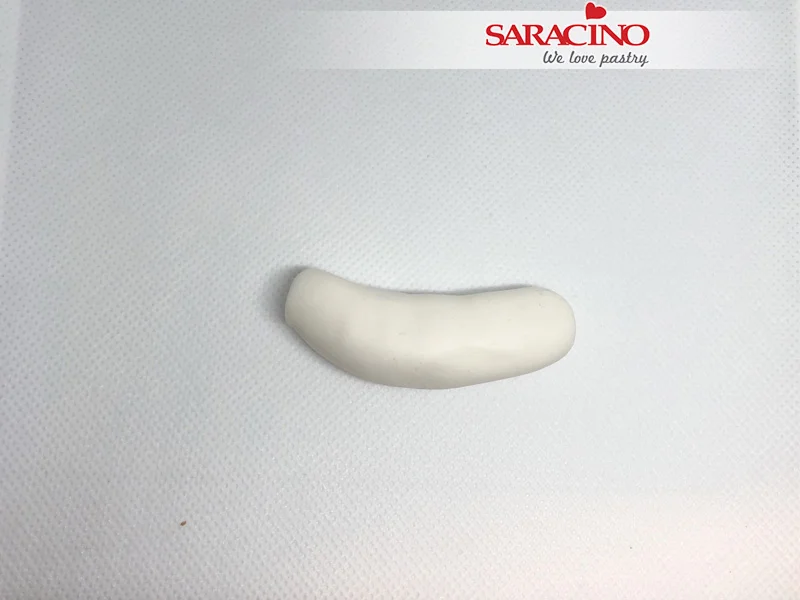
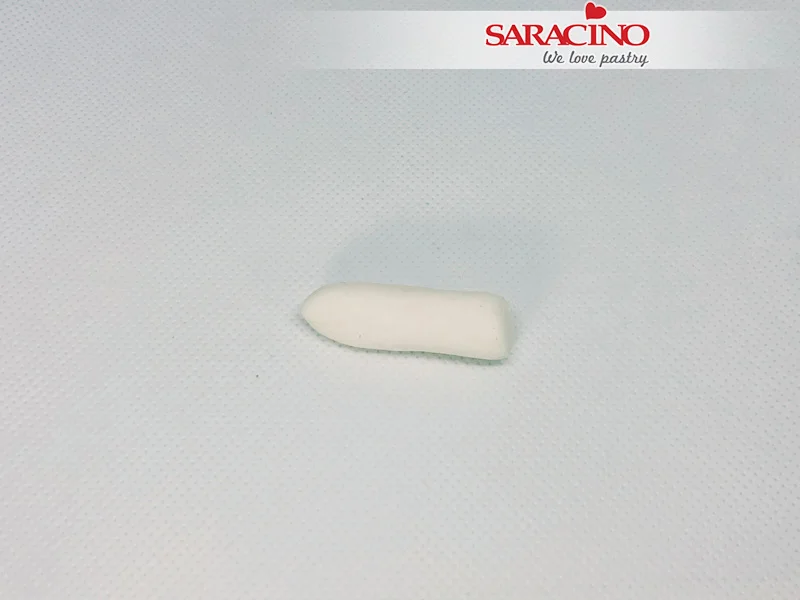
Take a piece of white paste (19g) and roll it into a sausage shape.

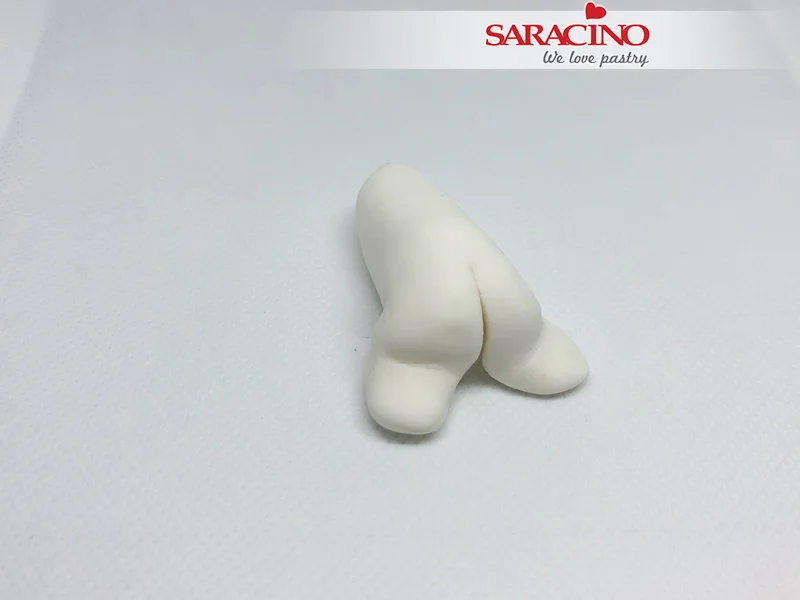
Step 2

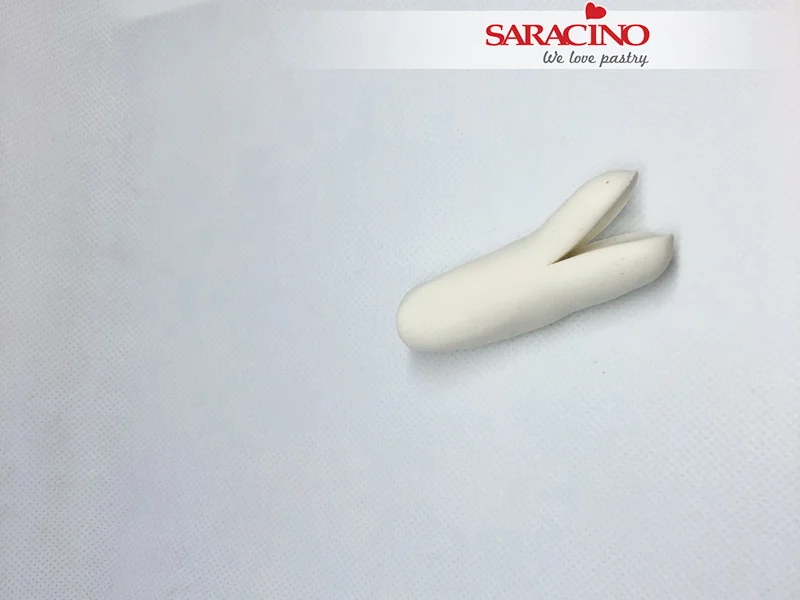
With the knife cut one end of it in half to split the two back legs

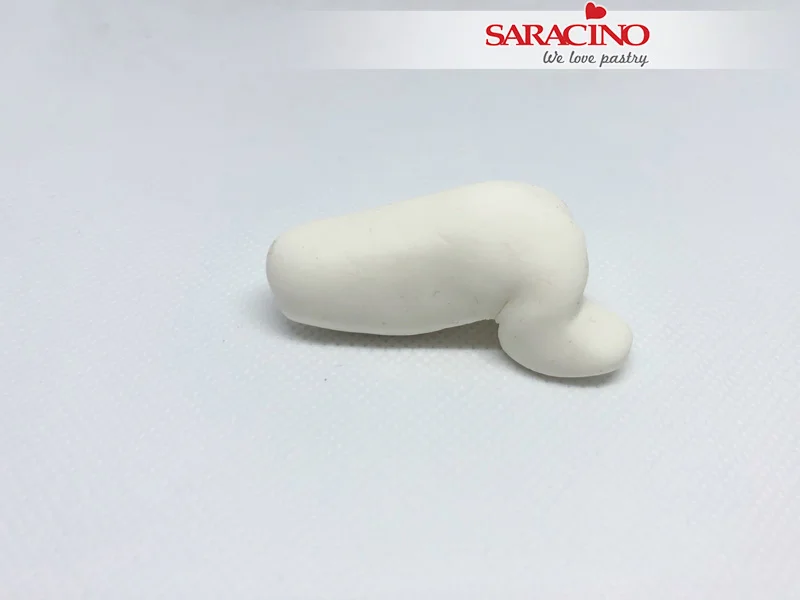
Step 3

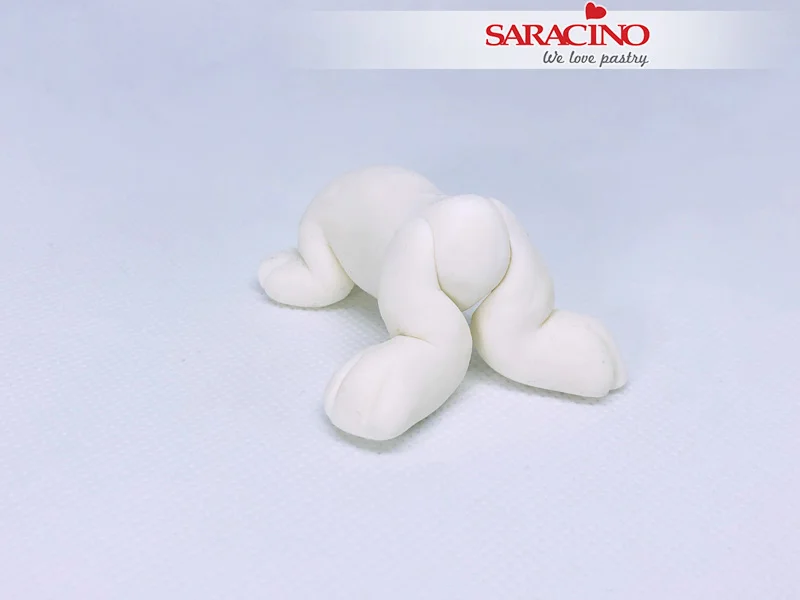
Bend each leg and form the back.

Step 4

In this photo you can see how they should be shaped.

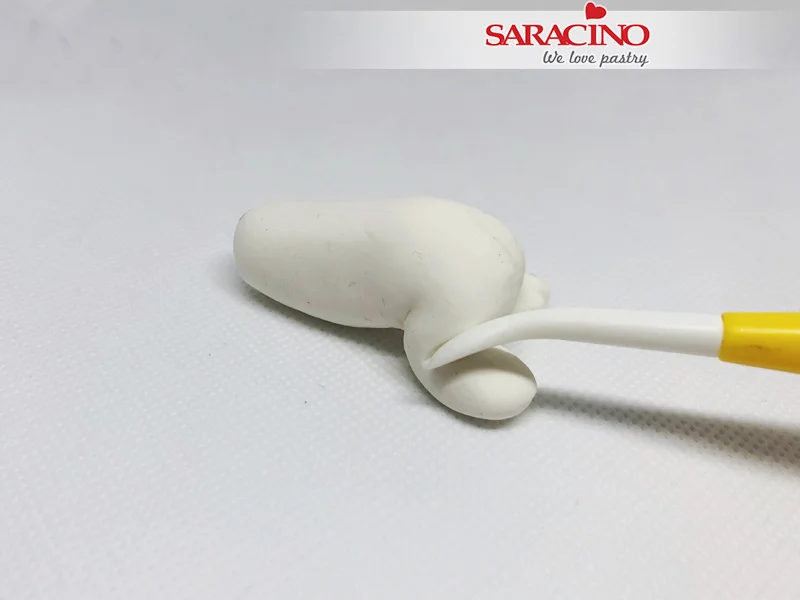
Step 5

Use the Dresden tool to make some details.

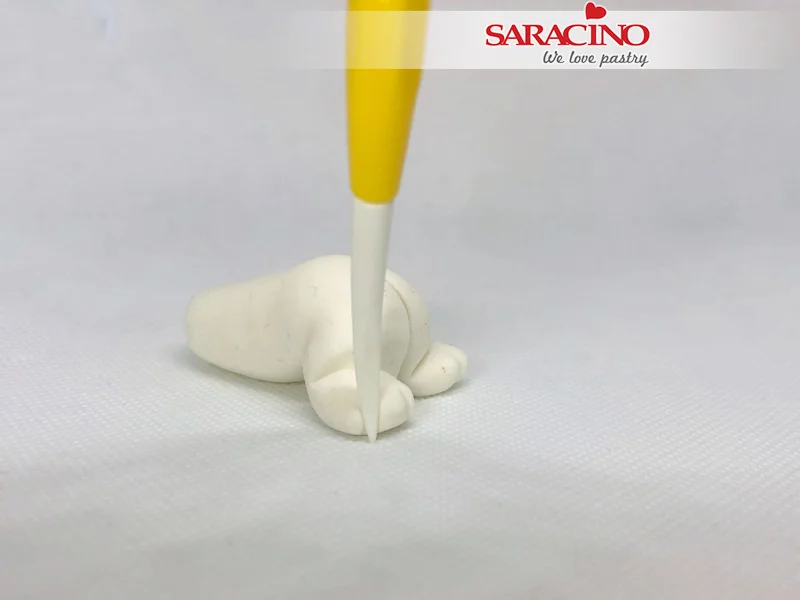
Step 6

Use the other side of the same tool to form the paws.

Step 7

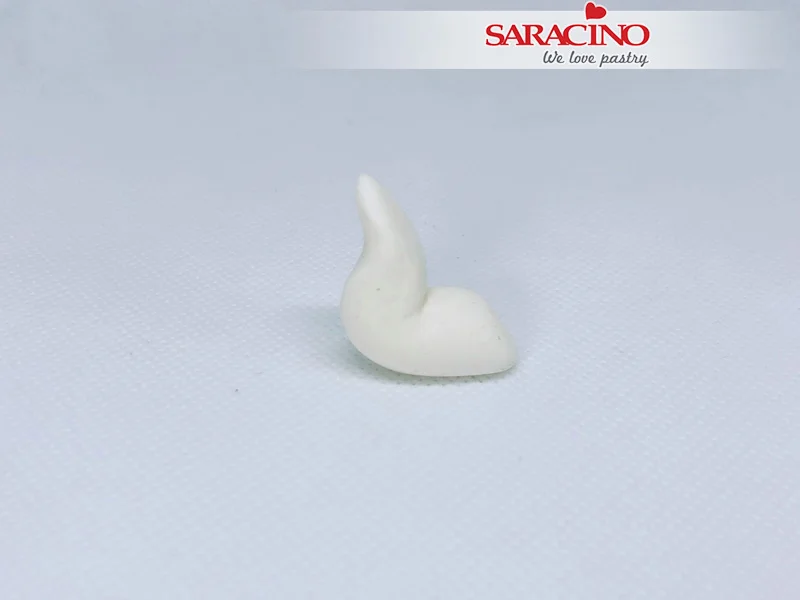
Take 3g of white paste and roll it into sausage shape

Step 8

Bend it in an angle and flatten the upper end. This will be one front leg.

Step 9

Do the same thing with the other leg and attach them to the body. With the Dresden tool form the details of the paws.

Step 10

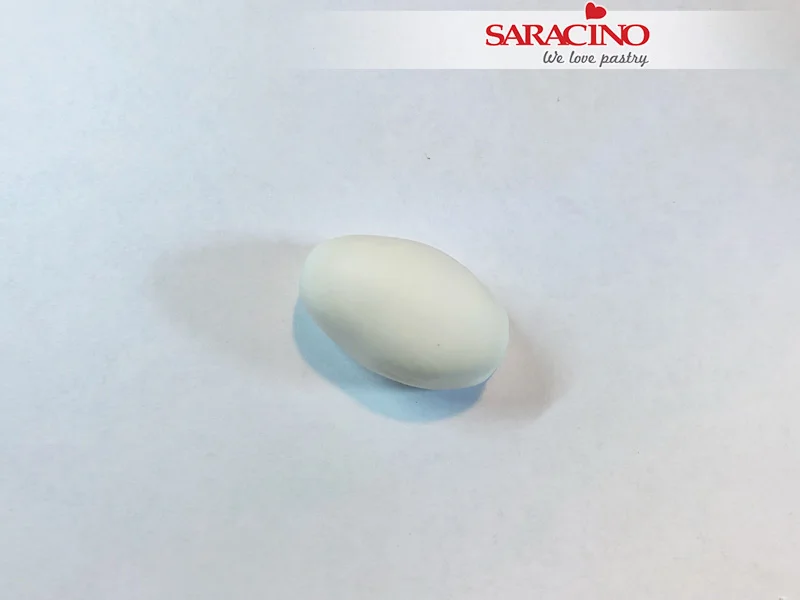
Take a piece of white paste (13g) and make an oval shape

Step 11

Using your finger push one end lightly

Step 12

With your finger push the other end too, leaving some space in the middle

Step 13

With your Dresden tool push one end to make a dimple where the mouth is

Step 14

Use your fingers to smooth and form the shape if needed.

Step 15

Use your Dresden tool to apply pressure down the middle of the remaining high part to form two cheeks

Step 16

Model and form the shape with your Dresden tool and fingers to make the cheeks round and stand out.

Step 17

Now for the whiskers. Take a small piece of paste and shape it into a teardrop, flatten it with your fingers and make some definition / whiskers with the point tool.

Step 18

Attach it as shown on one side of the face and make another for the other side

Step 19

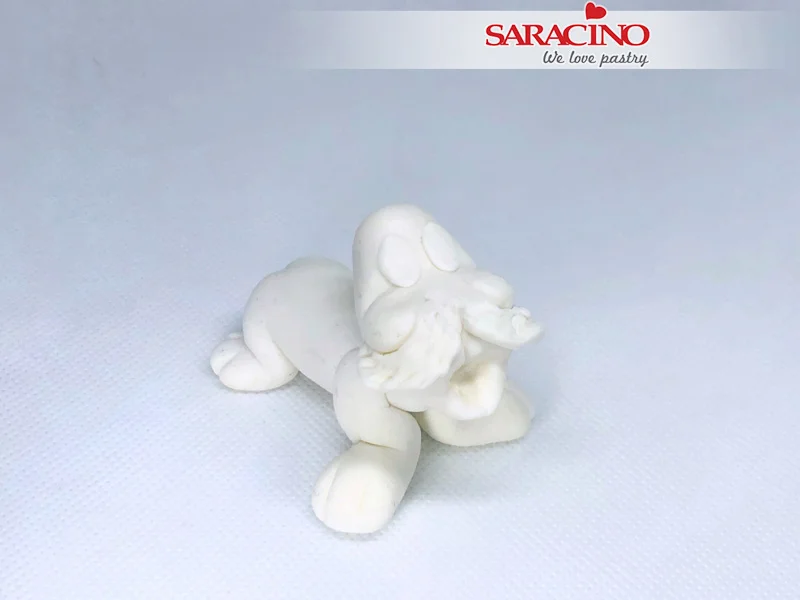
Using a little edible glue fix the head to the body. Now roll two small balls of paste and using your fingers form them into oval shapes. Fix themĀ above cheeks to start making the eyes.

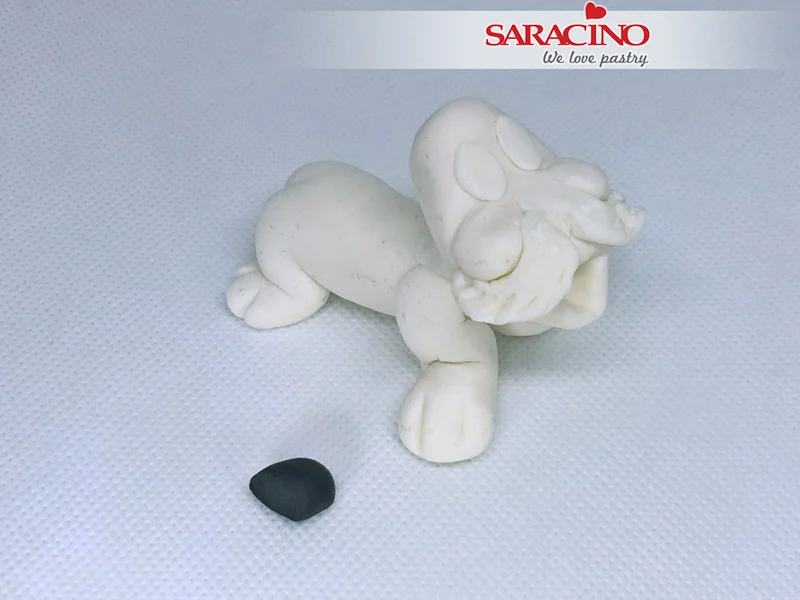
Step 20

Roll a small piece of black paste for the nose.

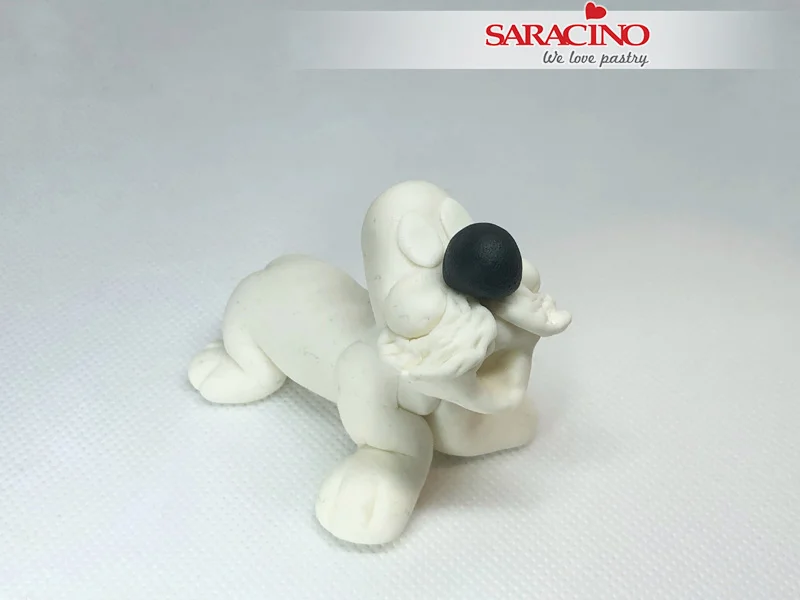
Step 21

Place it on the center of the face

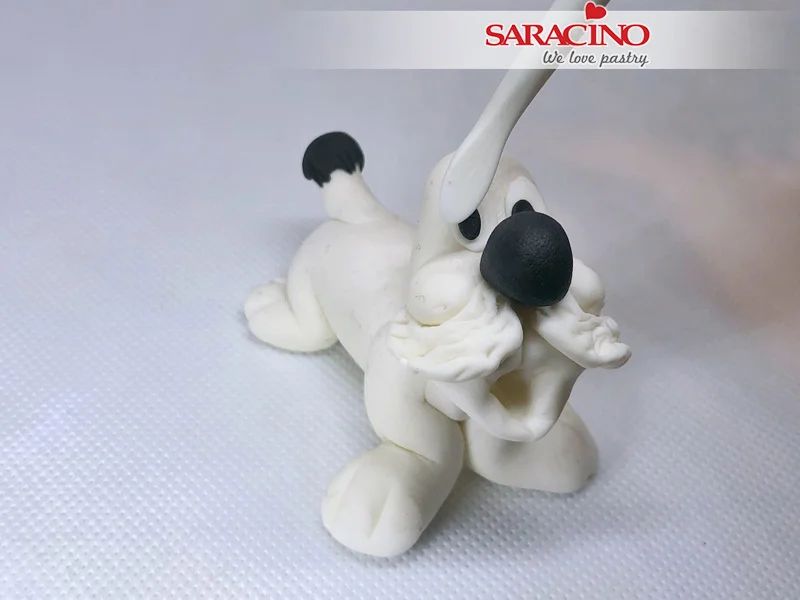
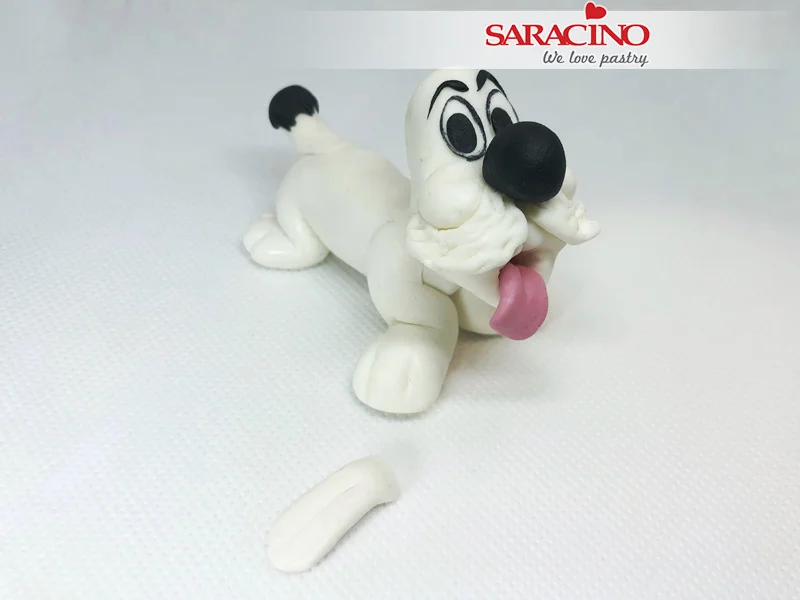
Step 22

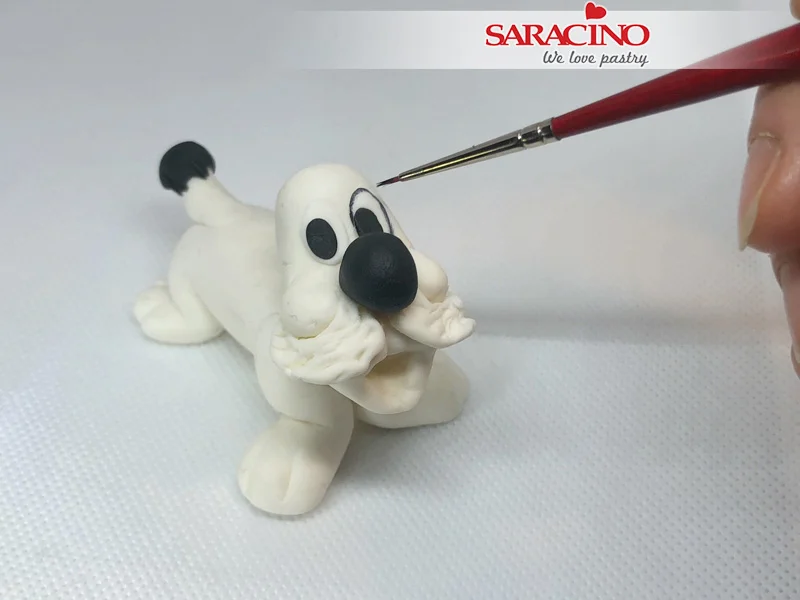
Now for the tail and eyes. Roll a small piece of white paste into a tapered sausage shape for the tail, use a little black at the end. Then roll two small balls of black paste and fix for the eyes.

Step 23

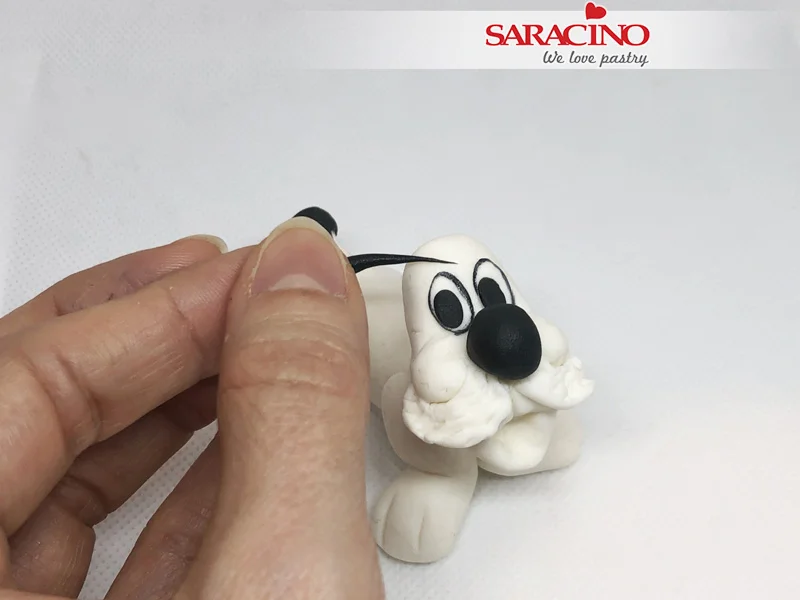
Dilute some of your black Saracino powder colour with clear alcohol. Using a fine brush paint the eyelids

Step 24

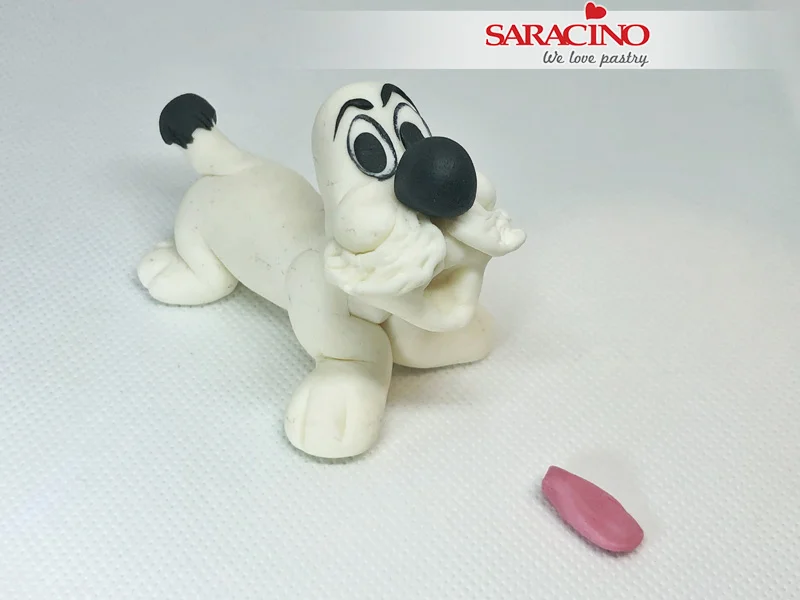
Using black paste roll a very thin sausage for the eyebrows (narrower at each end).

Step 25

Roll a small piece of pink paste for the tongue

Step 26

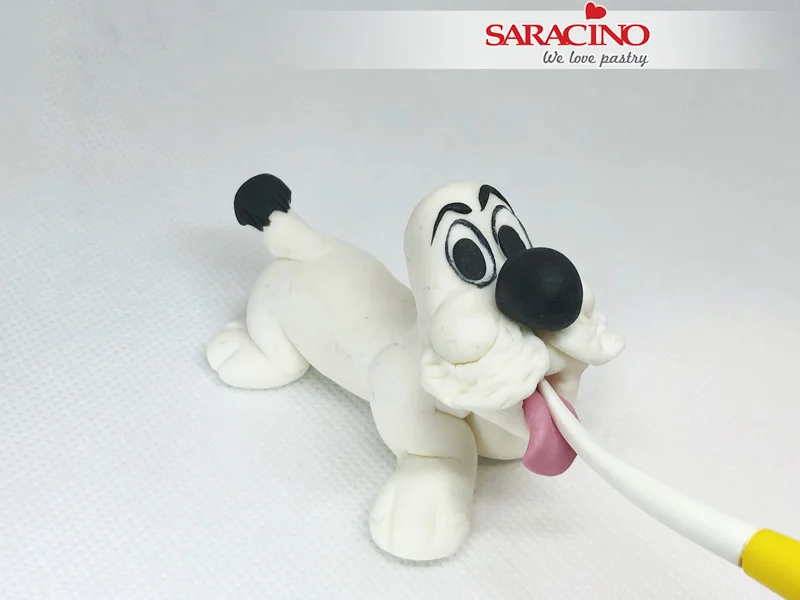
Place it into the mouth. Use a small amount of Saracino edible glue if required. Form the groove in the tongue with your Dresden tool.

Step 27

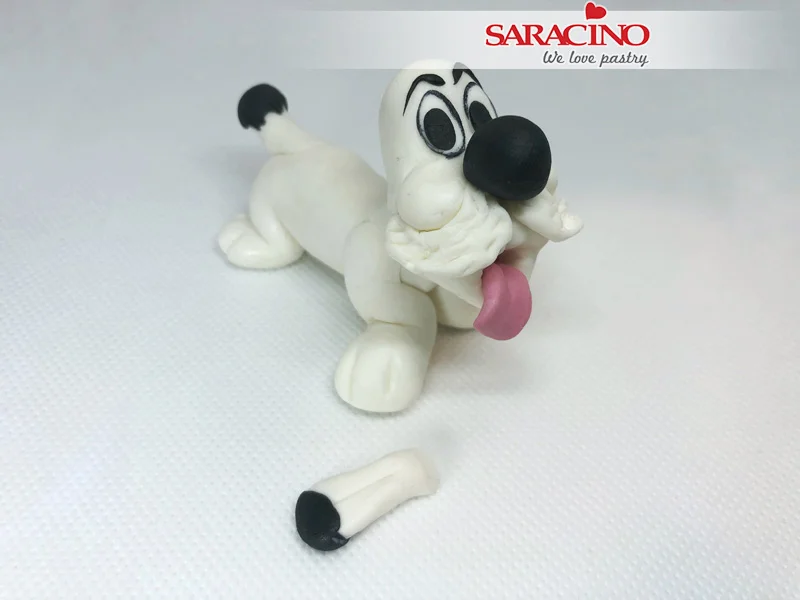
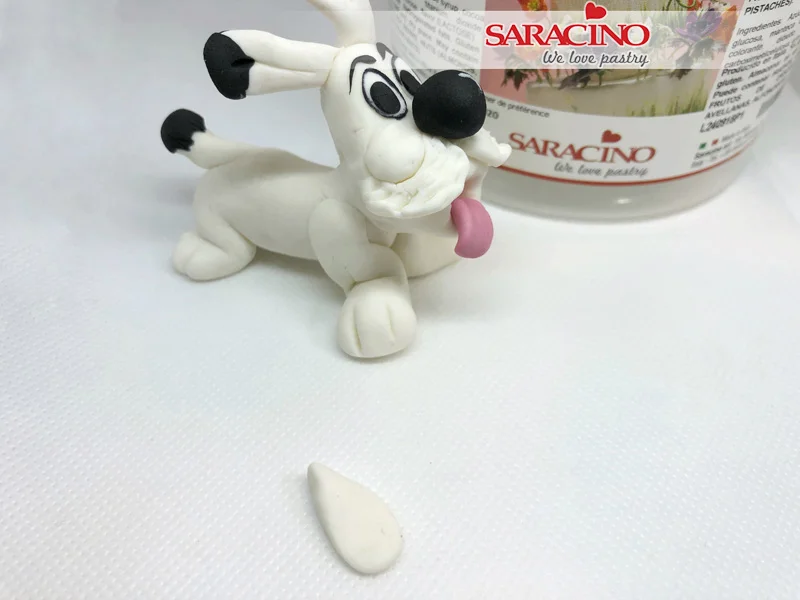
For the ears roll two small piece of white paste to the same size. Flatten one of them with your finger. Use your Dresden tool to form the groove down the centre.

Step 28

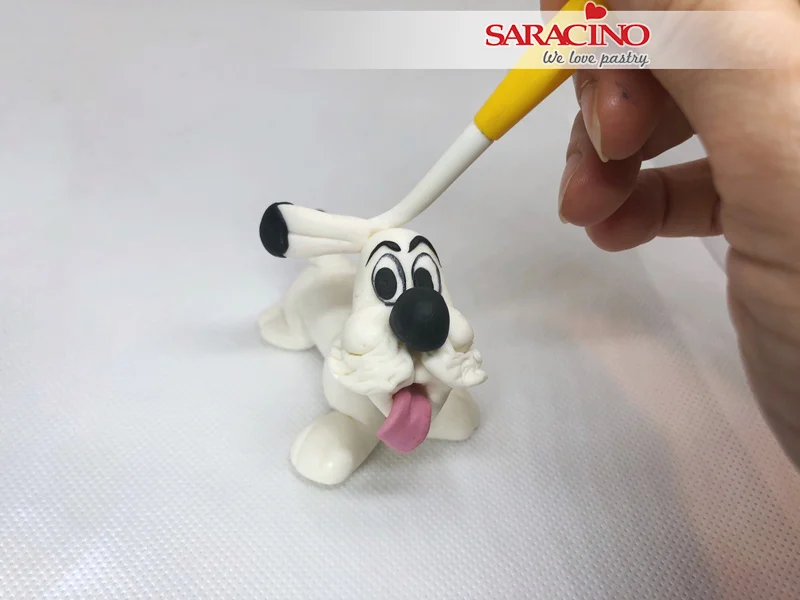
Add a little black paste to the top of the ear.

Step 29

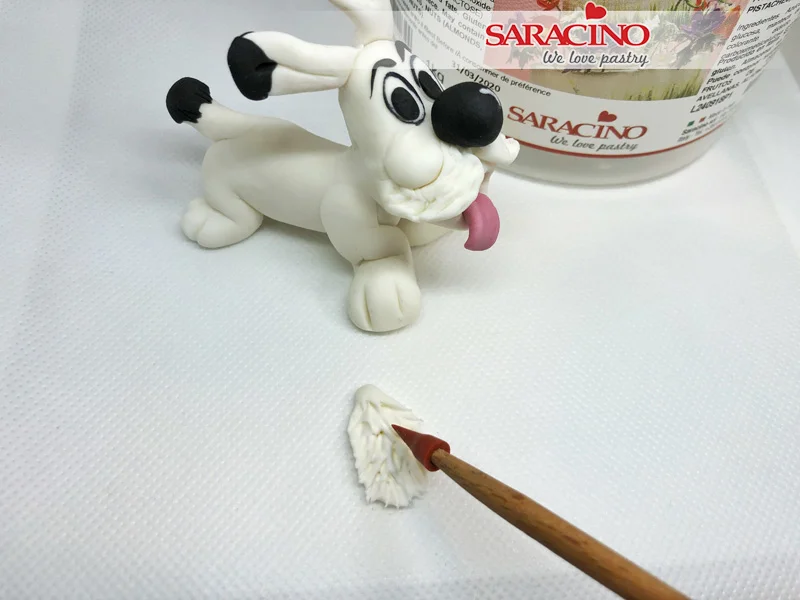
Attach to the top of the head where you would like the ears to be.

TIP: You can give your little puppy different characters with how you place the ears.

Step 30

Now repeat with the other ear.

Step 31

For his chest roll a small teardrop shape of white paste, press down using your finger and then using your Dresden tool give definition for the hair.

Step 32

Using a small amount of edible glue fix the chest to the model.

Step 33

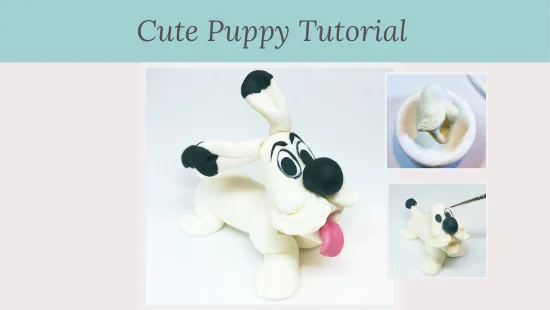
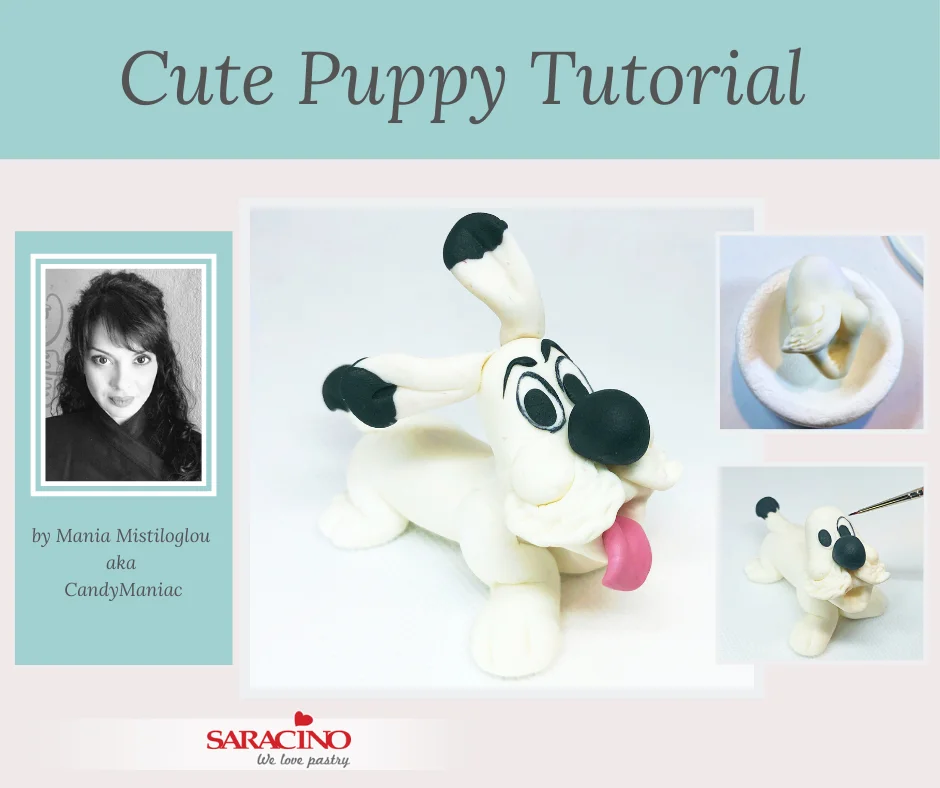
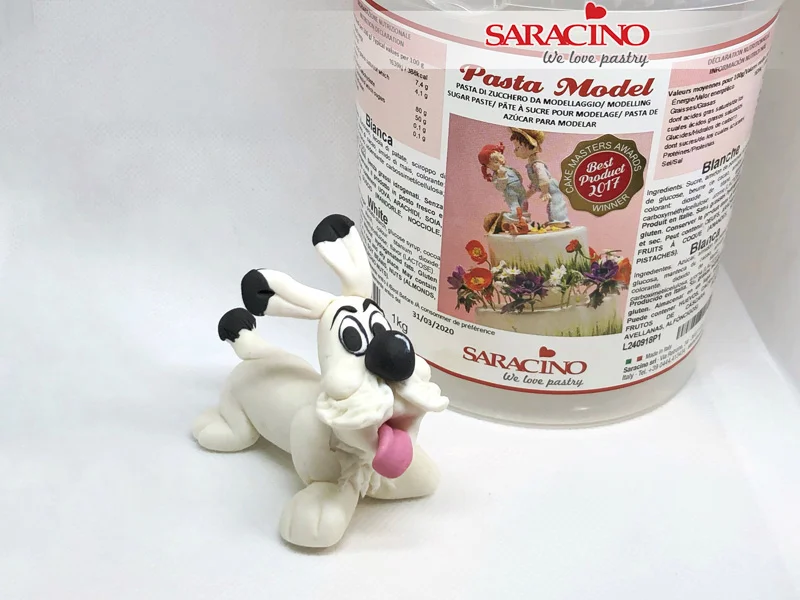
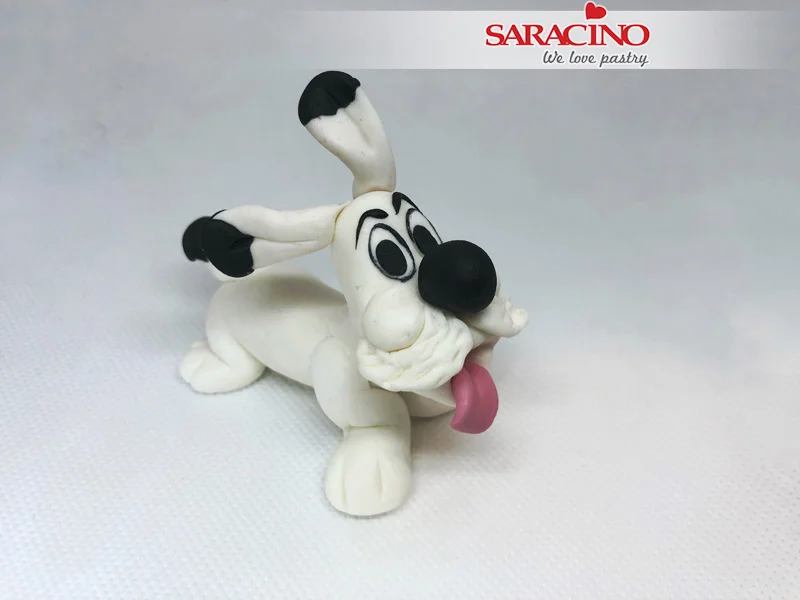
Your puppy is now ready! Woof Woof

APPLE BLOSSOMS TUTORIAL

APPLE BLOSSOMS TUTORIAL

Author:Ā Nicky Lamprinou

Skill level: BEGINNERS

You will need:

  • Flower paste Saracino – Pasta Bouquet
  • Non stick board
  • Small rolling pin
  • Ball tool
  • Foam pad
  • Groove board
  • Corn flour for dusting
  • Saracino Green gel colour
  • Saracino powder colours. Green – Pink – Yellow
  • Petal cutter and veiner
  • Leaf cutter and veiner
  • White flower wire gauge 28
  • Green flower wire gauge 26
  • Flower tape green – brown
  • Small head stamens
  • Saracino edible glue
  • Wire cutter
  • Paint brushes
  • Kitchen paper

Step 1

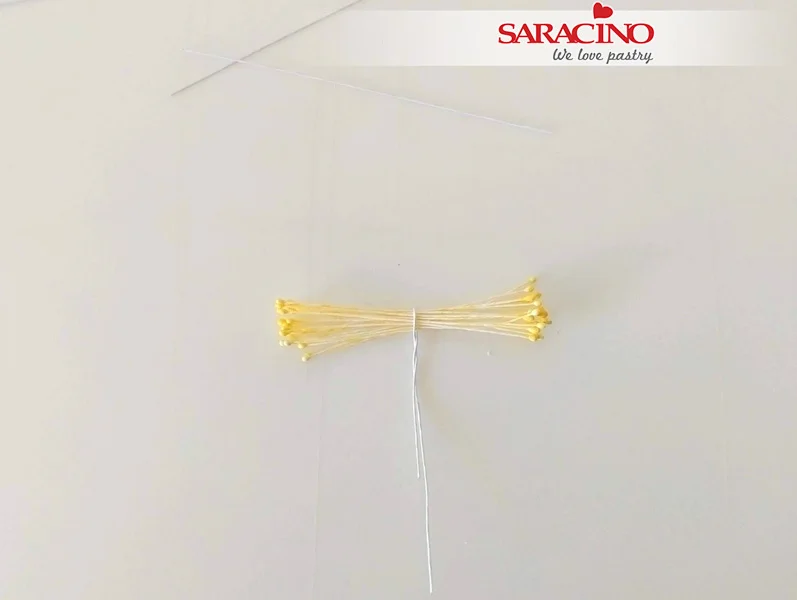
To make the centre of the blossom take about 12 small head stamens and twist a 28 gauge wire to secure at the centre.

Step 2

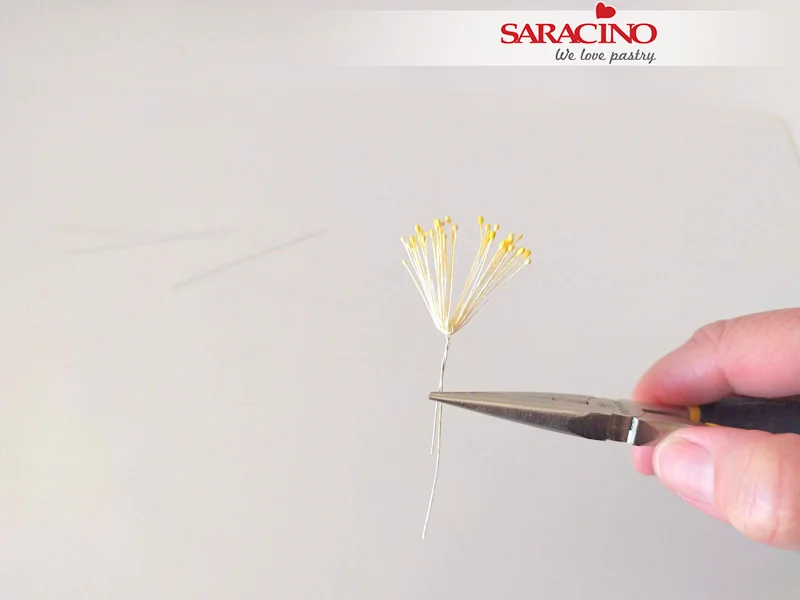
Lift the two sides up and twist the wire firmly with the wire cutter to keep the sides in shape.

Step 3

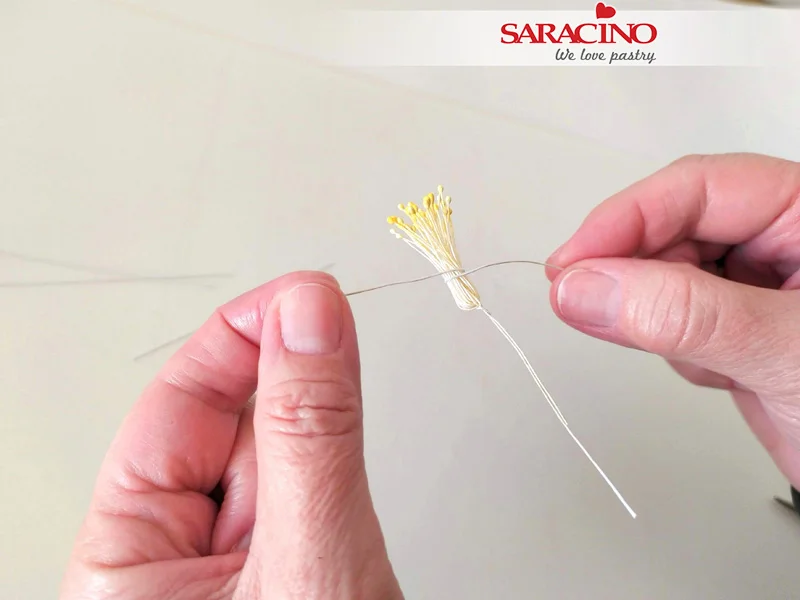
Take another small length of wire and wrap around the stamens as it is shown in the picture.

Step 4

Wrap the stamens and the wire with green florists tape.

Step 5

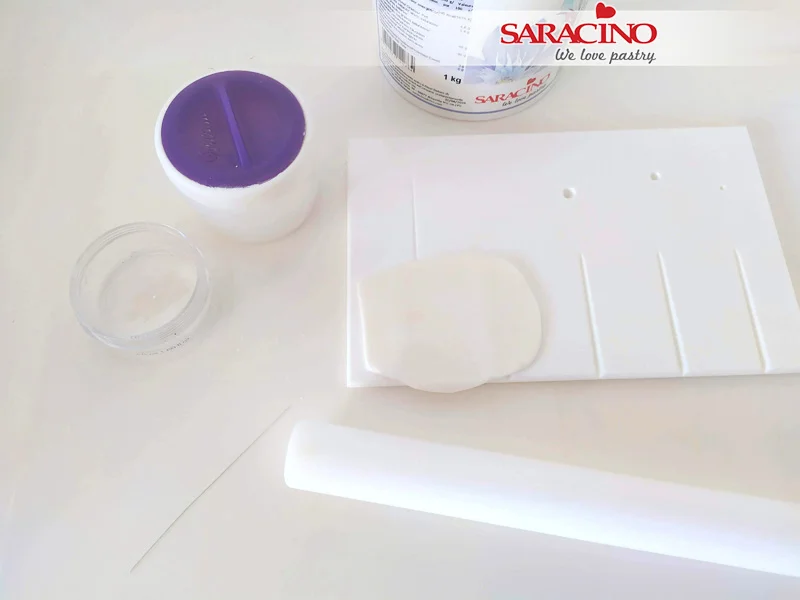
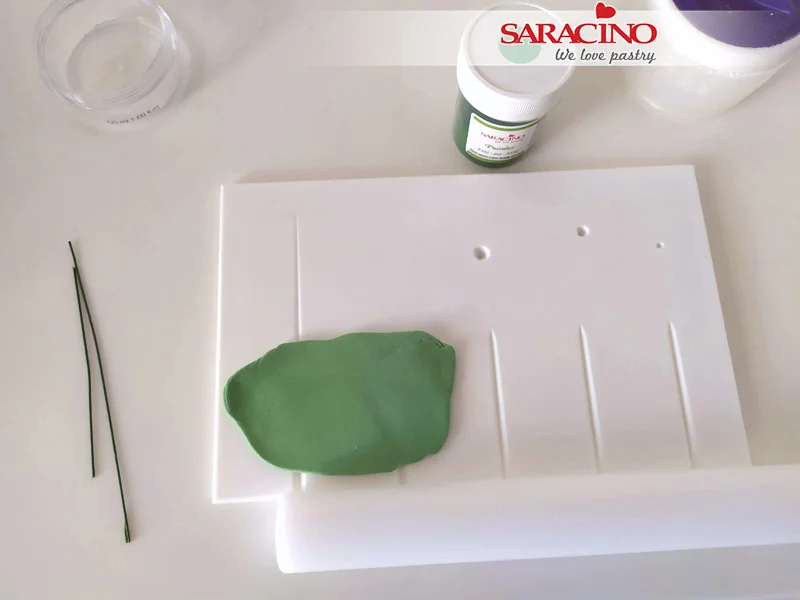
To make the petals dust the board with a small amount of corn flour.Ā Roll out the flower paste with a rolling pin on the board over one of the grooves.

Step 6

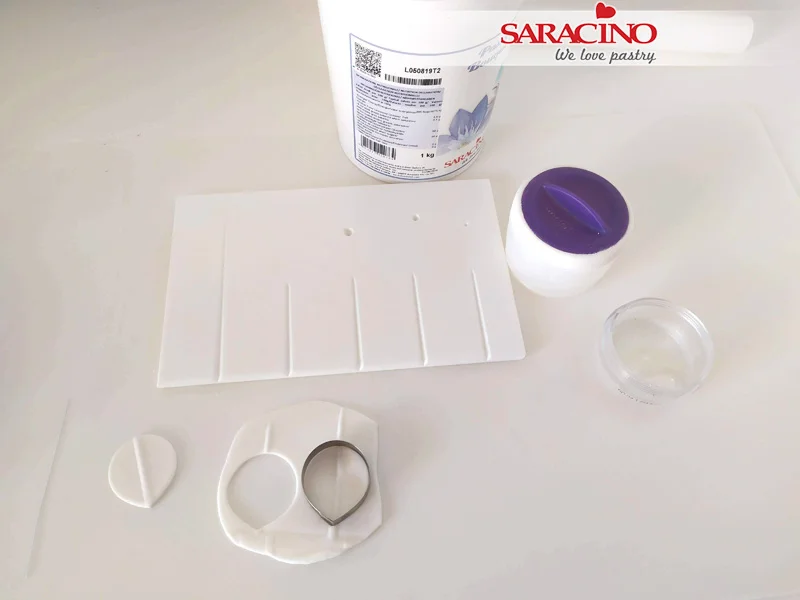
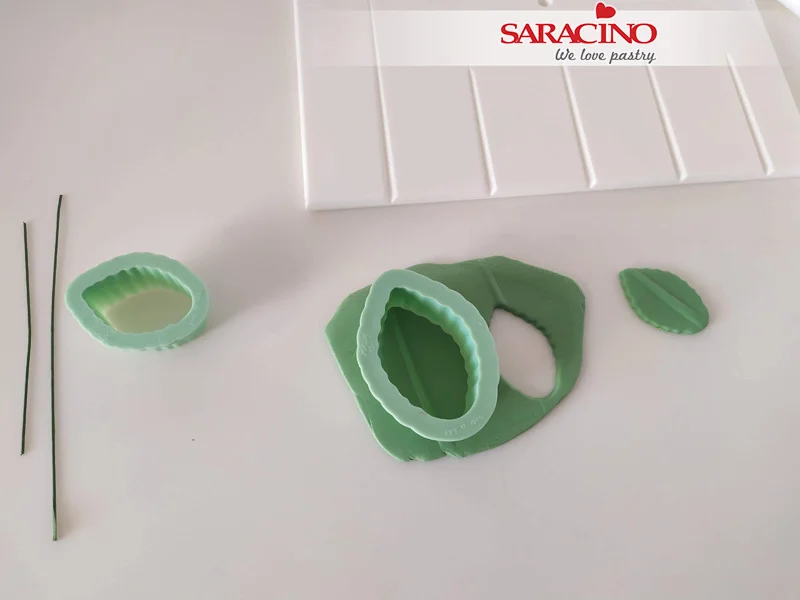
Cut out 5 petals for each flower with a leaf cutter.

Step 7

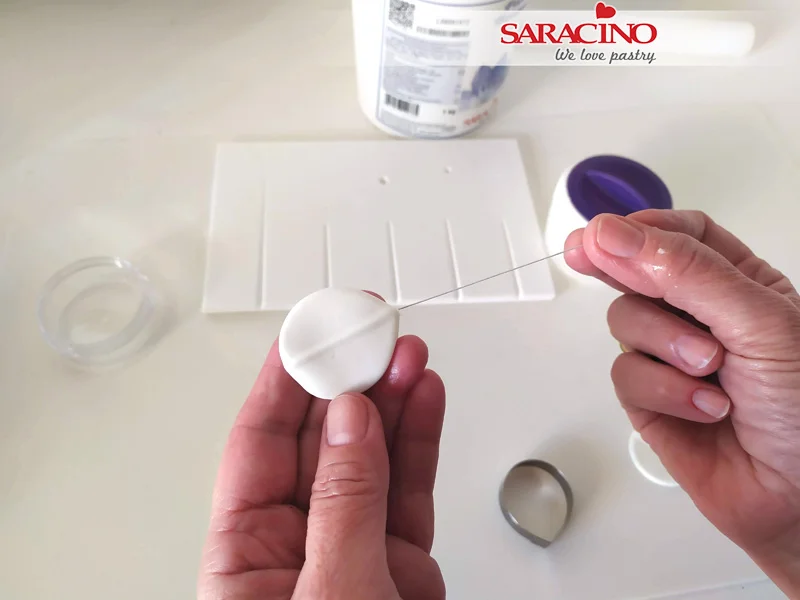
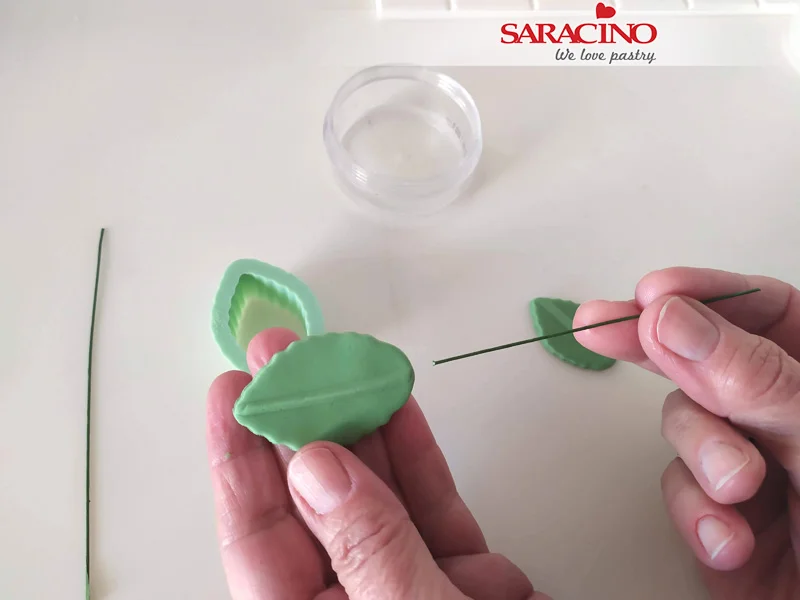
Add some edible glue at the end of the 28 gauge wire.Ā Insert the wire into the groove. Pinch the bottom of the petal gently to secure it to the wire.

Step 8

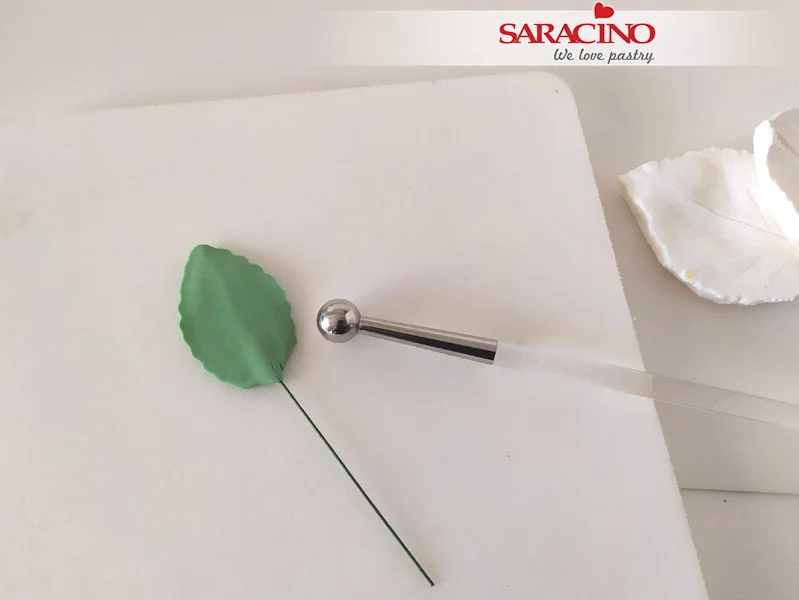
Move the petal onto a foam pad and thin the edges of the petal with a ball tool.

Step 9

Press each petal firmly into the veiner to form the veiner pattern.

Step 10

By using the corner of your cutter cut a small notch at the top of the petal.

Step 11

Let the petals dry overnight on a former to give definition and shape (we do not want flat petals)

Step 12

​To make the leaves roll out a small amount of green flower paste on the groove board

Step 13

Cut out leaves using the leaf cutter in two different sizes.

Step 14

Add some edible glue at the end of the wire insert into the groove of the leaf.

Step 15

Move the leaf onto a foam pad and thin the edges with the ball tool.

Step 16

Move the leaf onto the veiner and press firmly to shape the pattern

Step 17

Let them dry on a foam. If you wish youĀ can also dust the leaves with SaracinoĀ green powder or you can use confectioner glaze, to shine the leaves.

Step 18

​To make the buds take a 24 gauge wire and make a small hookĀ at one end. Roll a small ball of white paste and form a cone shape to create the bud. Add some edible glue to the hook and insert it into the bud.Ā Press the bud onto the wire to secure it

Step 19

For the ‘blooming’ flowers roll out white flower paste and cut out 3 small and 3 large petals for each bud.

Ā 

Step 20

Thin the edges with the ball tool

Step 21

Press the petals into the veiner and let them dry and form for 10 minutes

Ā 

Step 22

Fix the 3 small petals around the bud and then the 3 large ones over the smaller petals. Use a little edible glue on each petal.

Step 23

For the flowers already ‘bloomed’ dust the petals using pink powder colour and a soft brush.

Ā 

Step 24

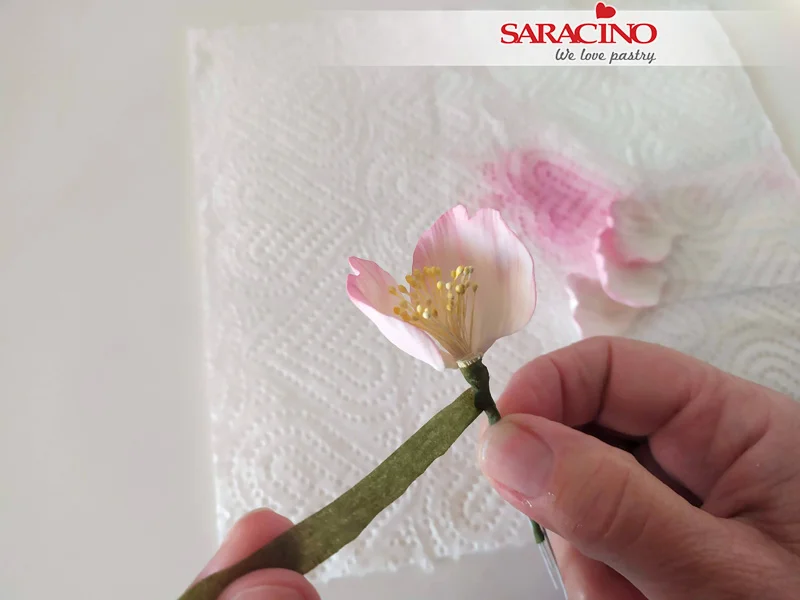
Using green florist tape attach 2 petals to the stamens.

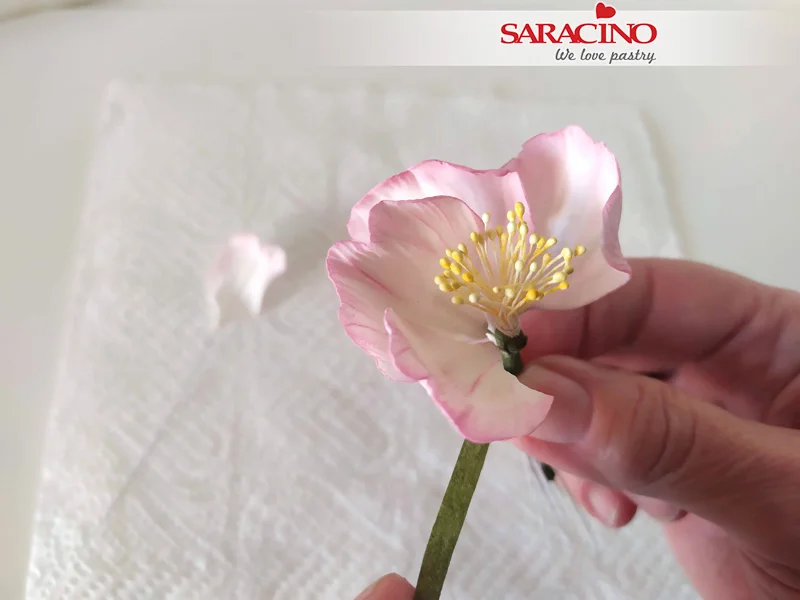
Step 25

Add the other 3 petals around and bind them one by one.

Ā 

Step 26

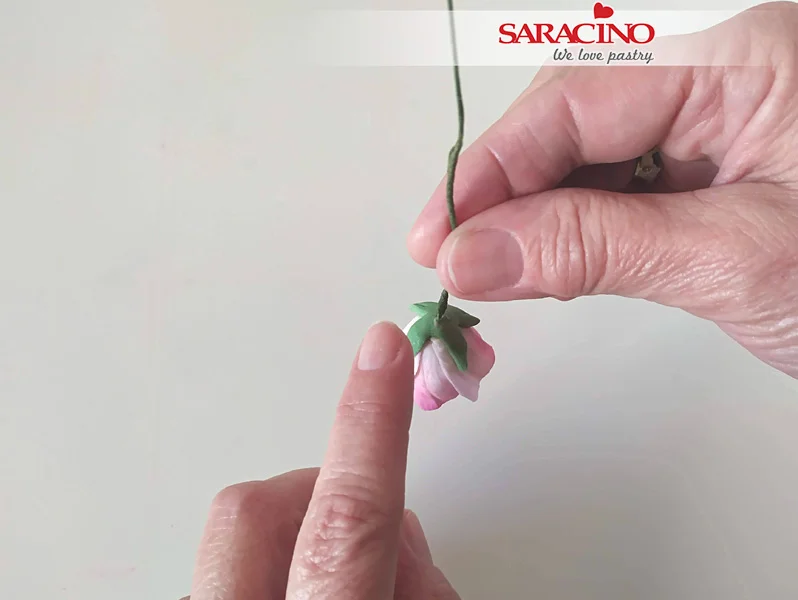
For the ‘Blooming’ bud dust with pink powder colour and a small soft brush. Add a small green calyx onto the base of the bud.

Step 27

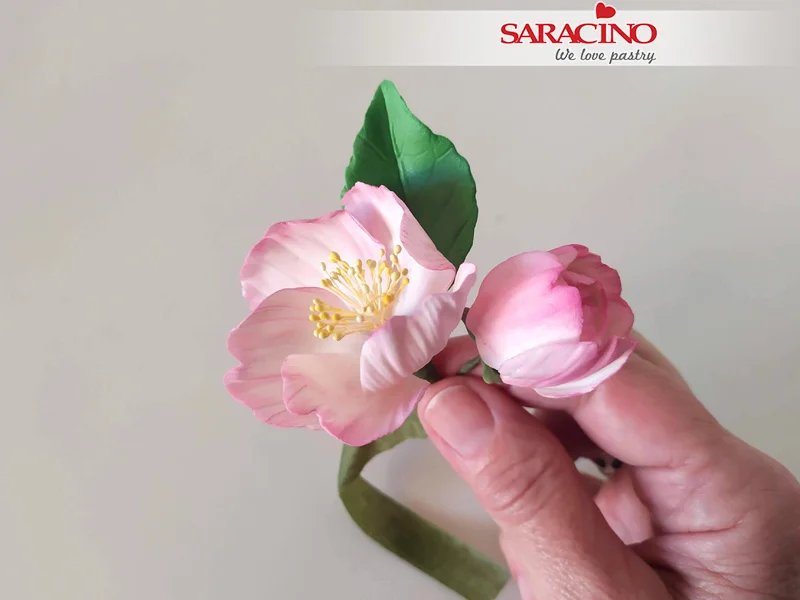
Tape one blossom with a bud and one leaf or more, using green tape

Ā 

Step 28

Add the rest of the leaves and flowers

Step 29

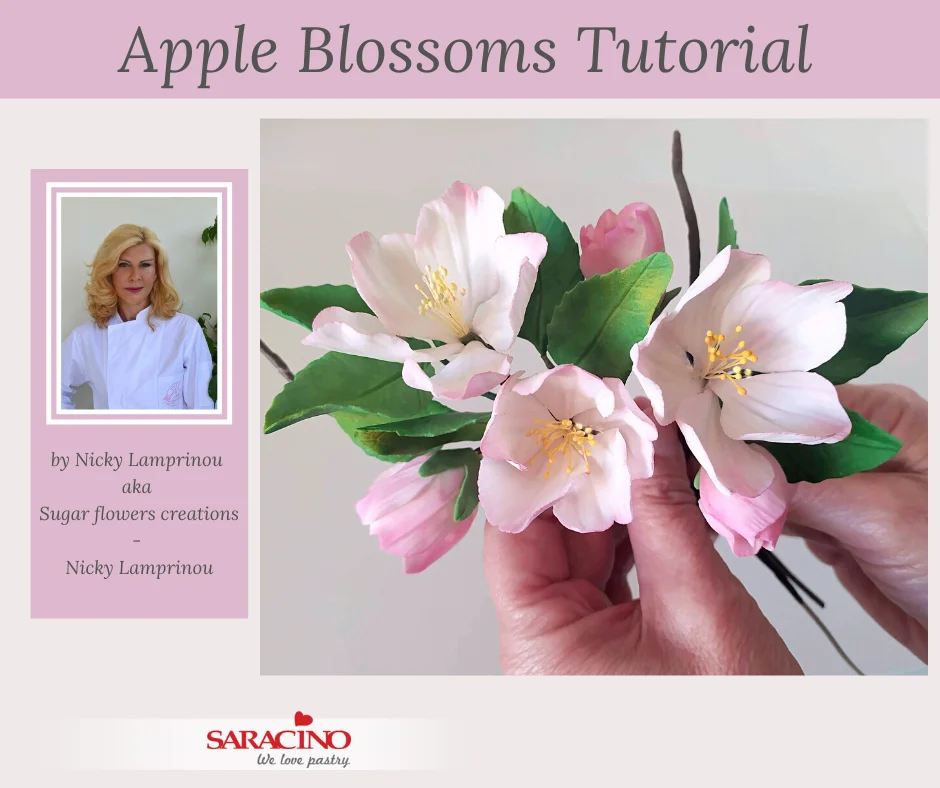
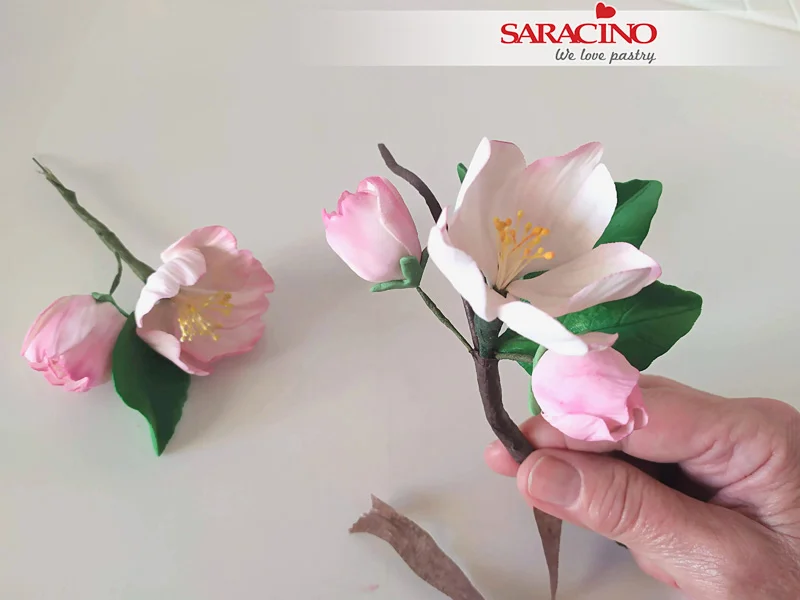
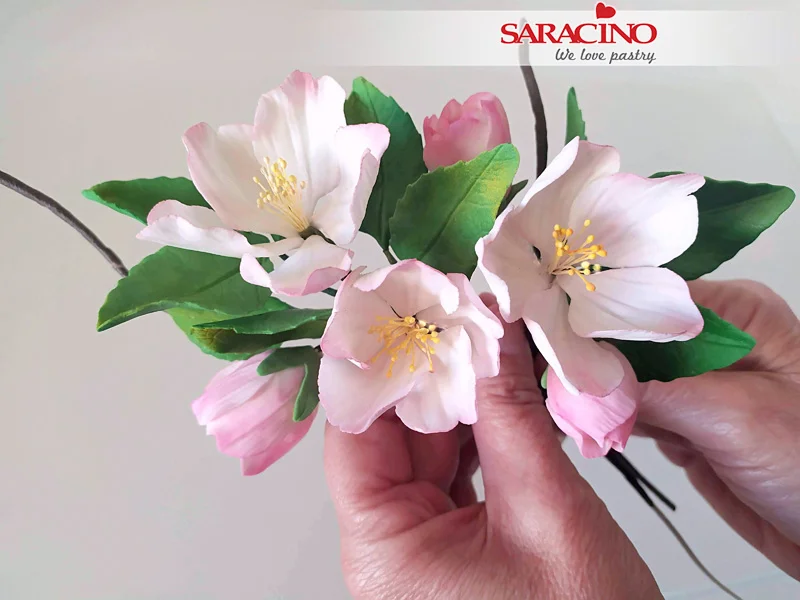
I have made this branch of apple blossoms. Feel free to create your own arrangement.

Ā 

MINI CHEESECAKES TUTORIAL

MINI CHEESECAKES TUTORIAL

Author:Ā Justyna Kowal

Skill level: INTERMEDIETEĀ 

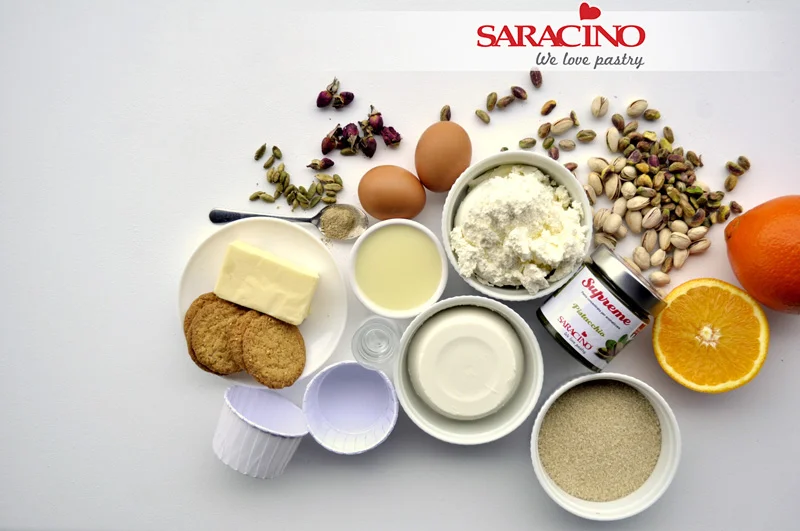
You will need:

To prepare the bottom of the cheesecakes:

  • 200g plain digestive biscuits
  • 60g butter

To prepare cheese for the cake:

  • 600g full-fat cream cheese (you can use Philadelphia cream cheese instead)
  • 250g drained ricotta cheese
  • 500g condensed sweetened milk
  • 2 eggs (about 60g one egg)
  • 2 egg yolks
  • 100g pistachio (unsalted)
  • 1 tsp Saracino Pistachio food flavouring
  • 1 tsp rose water
  • 1 tsp ground cardamom

To prepare orange and caramelĀ sauce:

  • 200g light brown sugar
  • 150g fresh orange juice
  • 1 tsp soft butter (optional)

For decoration you will need:

  • handful of ground pistachio
  • rose petals
  • pistachio macaron (optional)

Step 1

Bring all the ingredients to room temperature.

Step 2

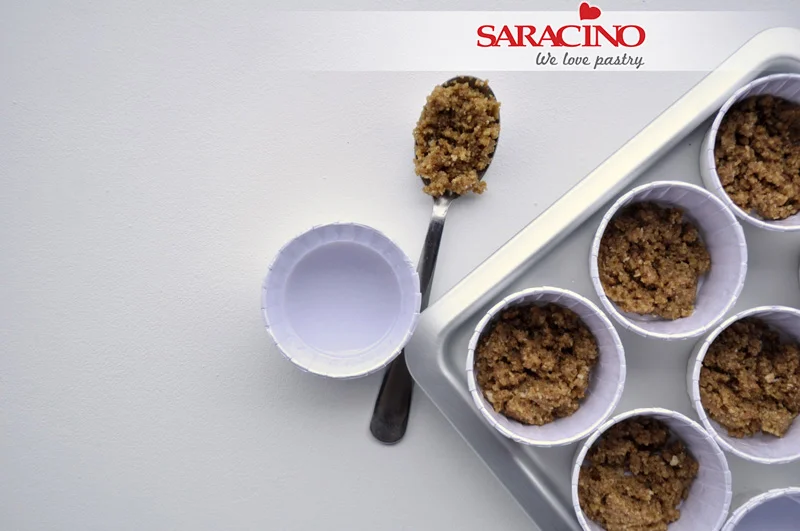
Melt the butter in a pan and let it cool down a little bit. Blend biscuits in the mixer.

Step 3

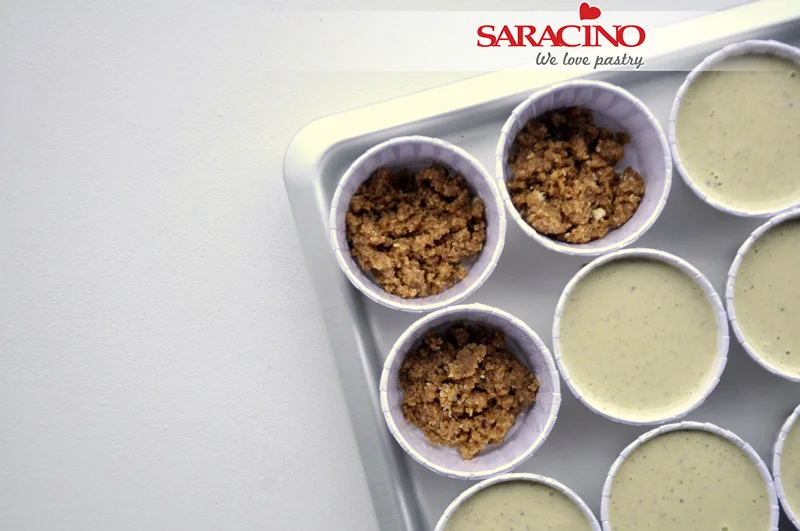
Mix melted butter with the crushed biscuits. Fill the the bottom of the paper cases with prepared mixture.

Step 4

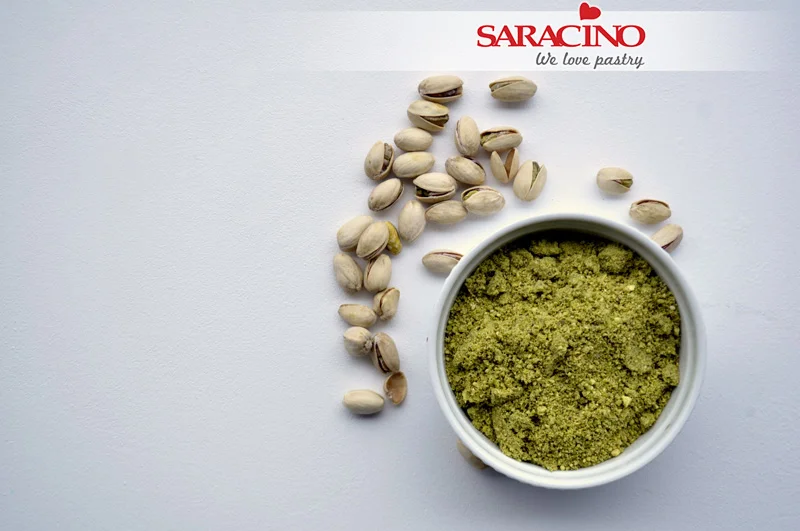
Mix the pistachio in the blender. Be careful as they can be over blended as you may end up with a paste / butter.

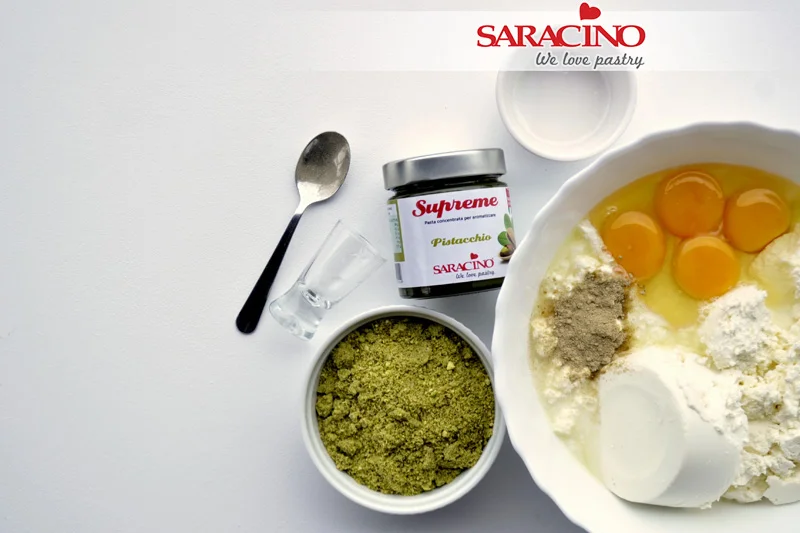
Step 5

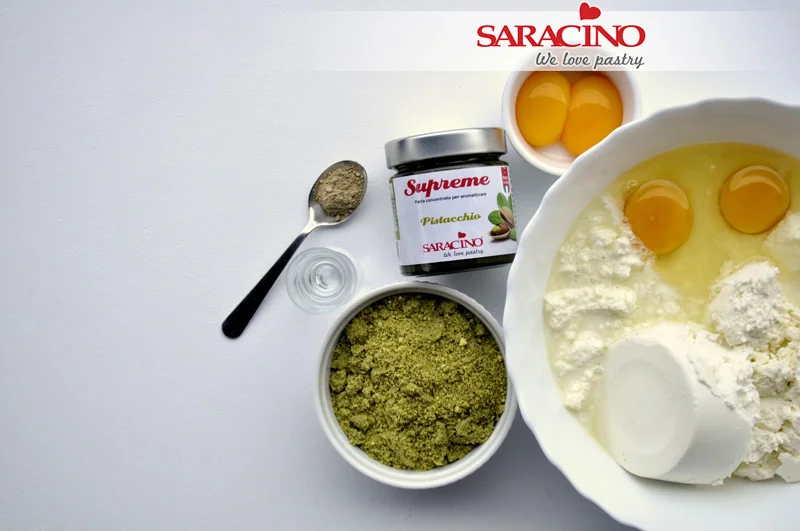
Place soft cheese, ricotta cheese, condenced milk and two eggs in a large bowl.

Step 6

Add two egg yolks, rose water and cardamom

Step 7

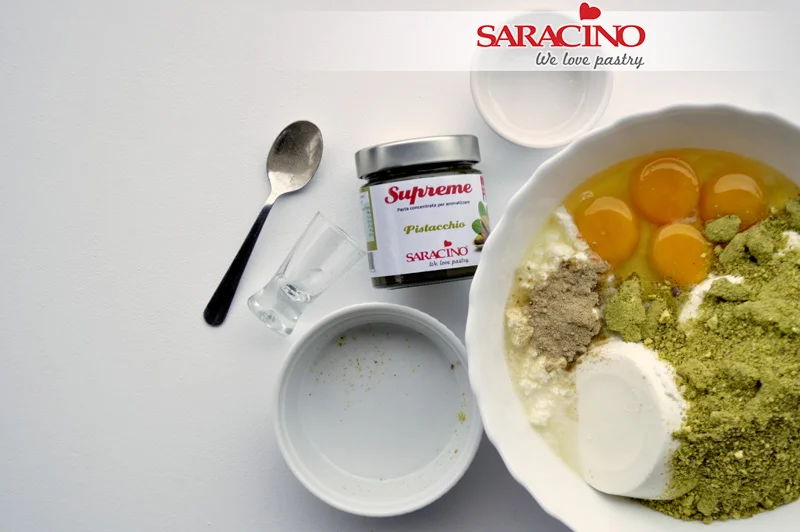
Add the ground pistachio

Step 8

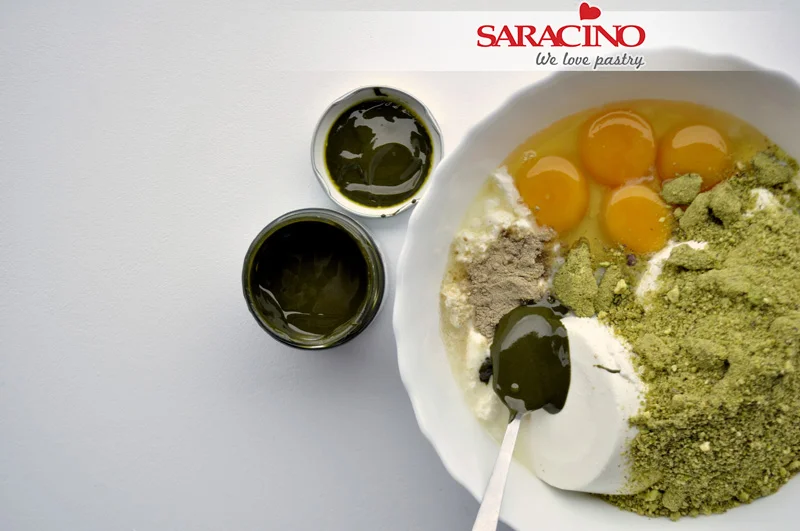
Add 1tsp of Saracino Pistachio food flavouring

Step 9

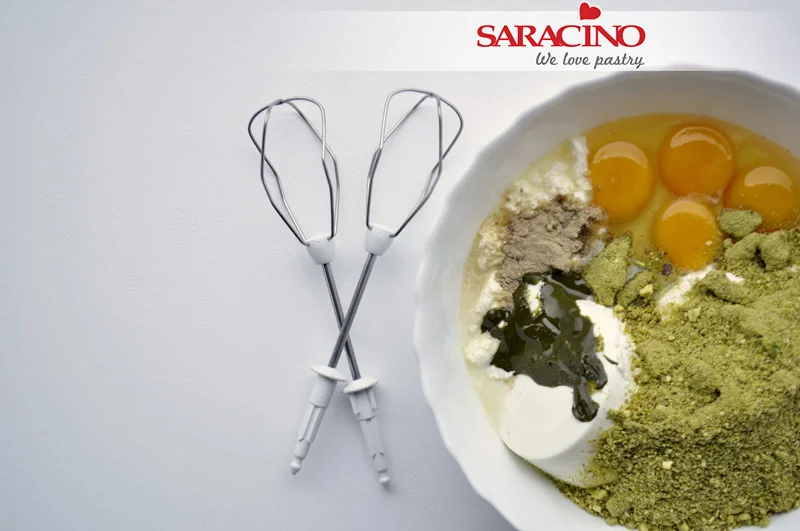
On a lower speed mix all the ingredients until combined completely

Step 10

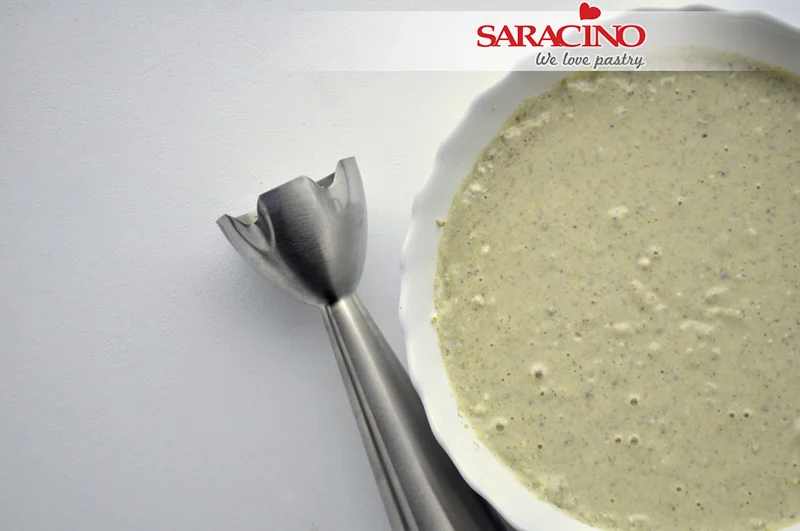
Now blend all the ingredients to achieve smooth consistency.

Step 11

Fill the paper cases with prepared cheesecake mixture. Bake in the preheated oven on 150C (with no fan) for about 20-25 minutes. Remove from the oven and let them cool down.

Step 12

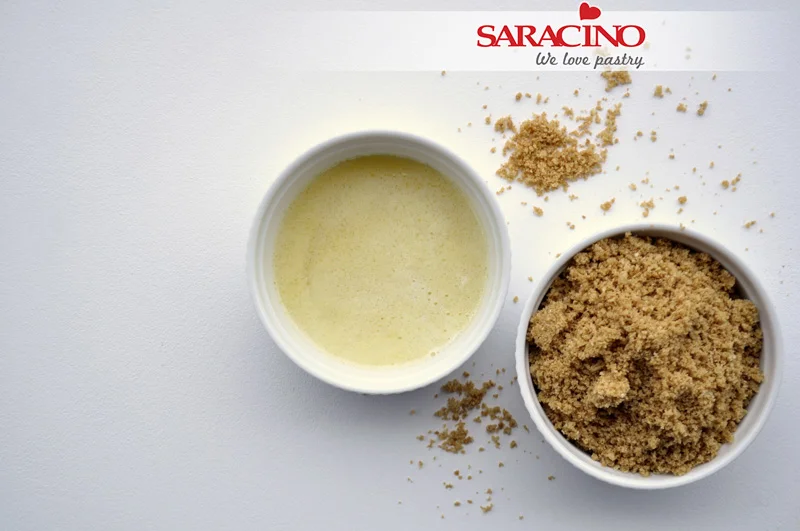
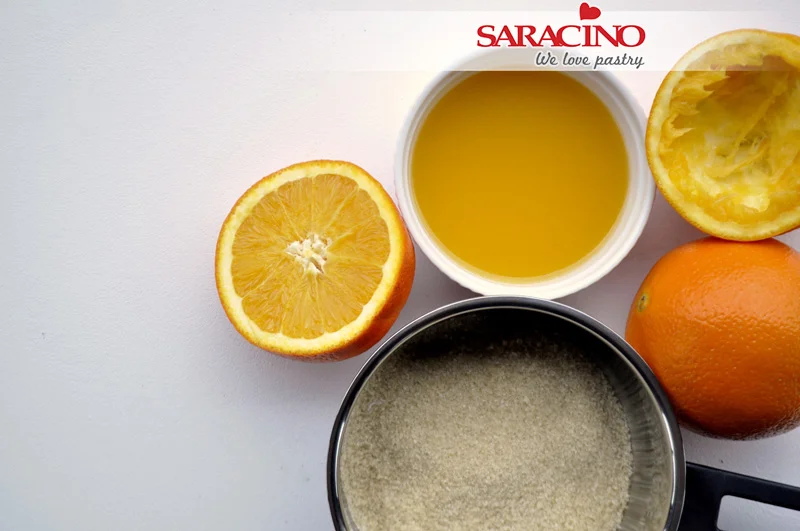
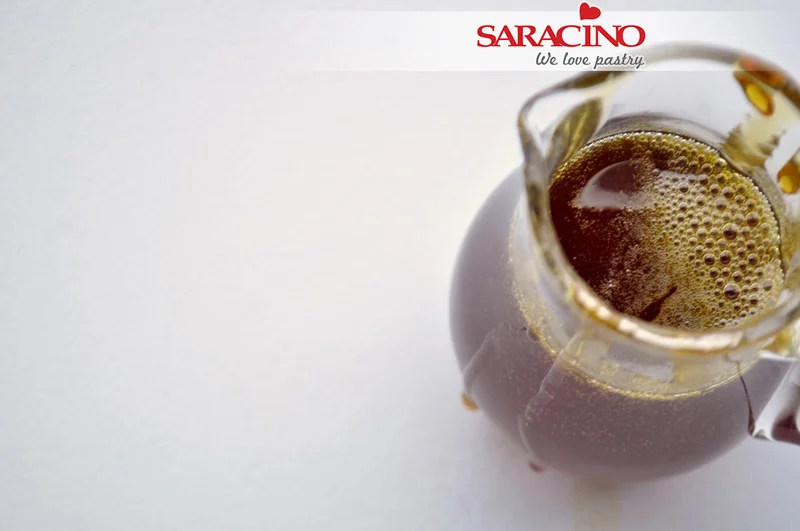
Add sugar to the pan. Prepare the fresh orange juice.

Step 13

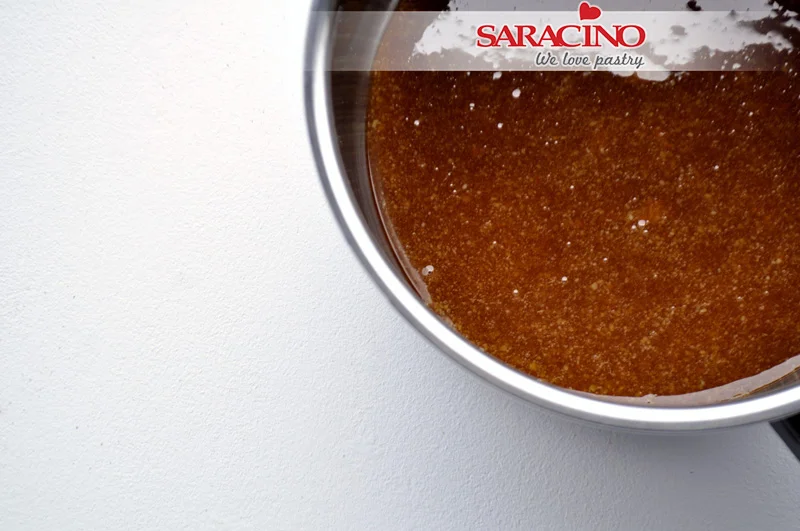
Melt the sugar until caramel is achieved

Step 14

When sugar is ready (dark brown colour and NOT burnt) carefully pour in the orange juice and cook for a few minutes until it becomes stiff stirring the mixture with a spoon. You can also add butter (optional)

Step 15

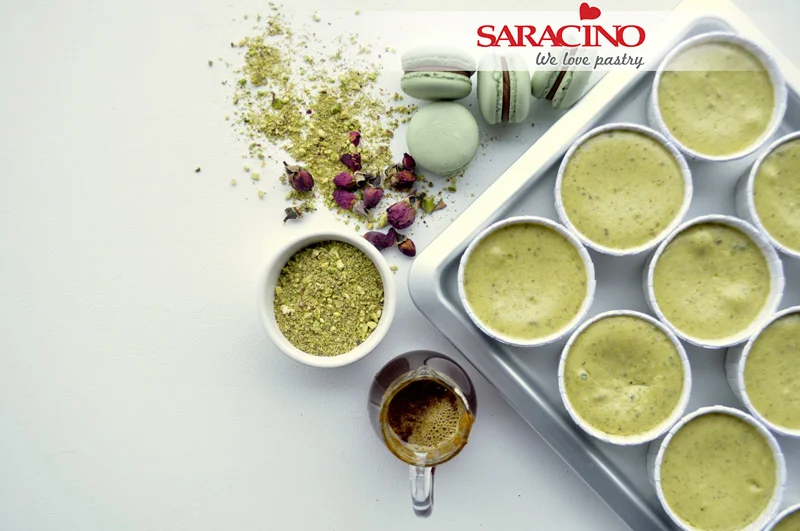
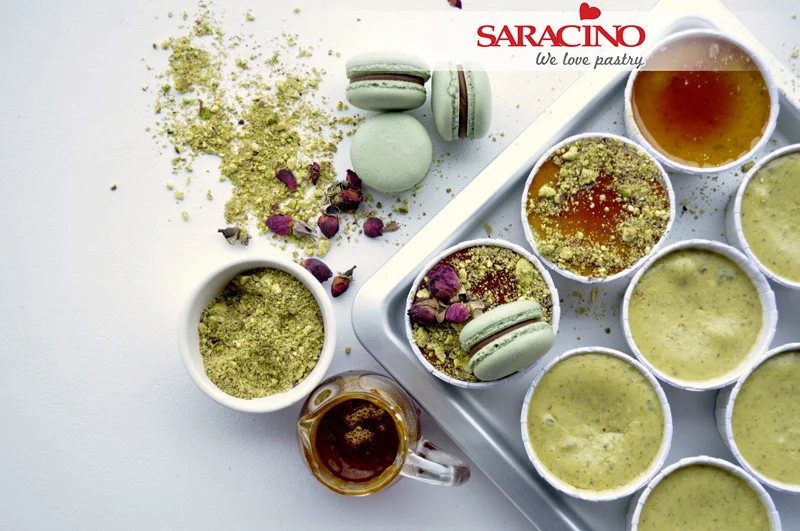
Get your cheesecakes, sauce, mixed pistachio, rose petals and macaroons (optional) ready.

Step 16

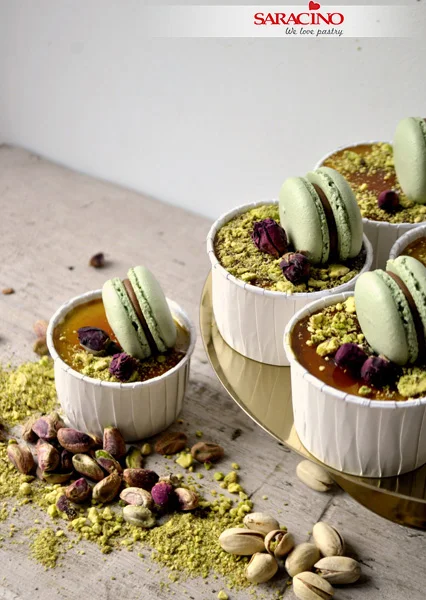
Poor the sauce over the cheesecakes, sprinkle with ground pistachio and decorate with the rose petals. Add a macaron (optional)

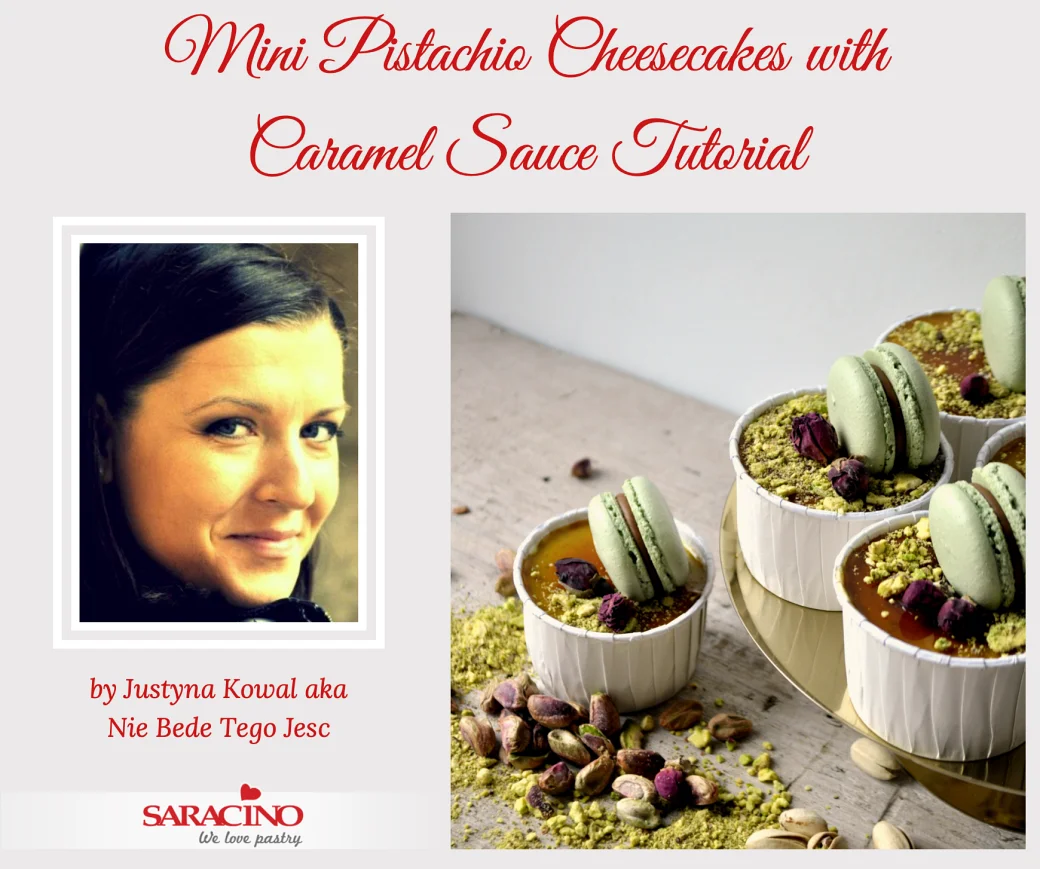
Step 17

Your yummy desserts are ready to be served