



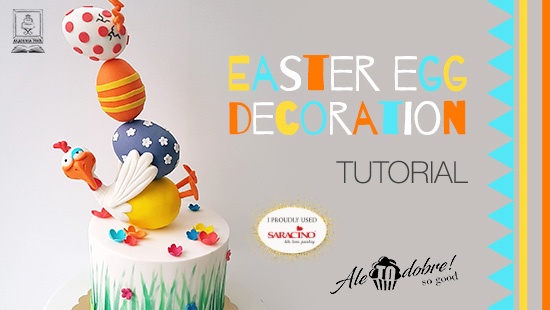
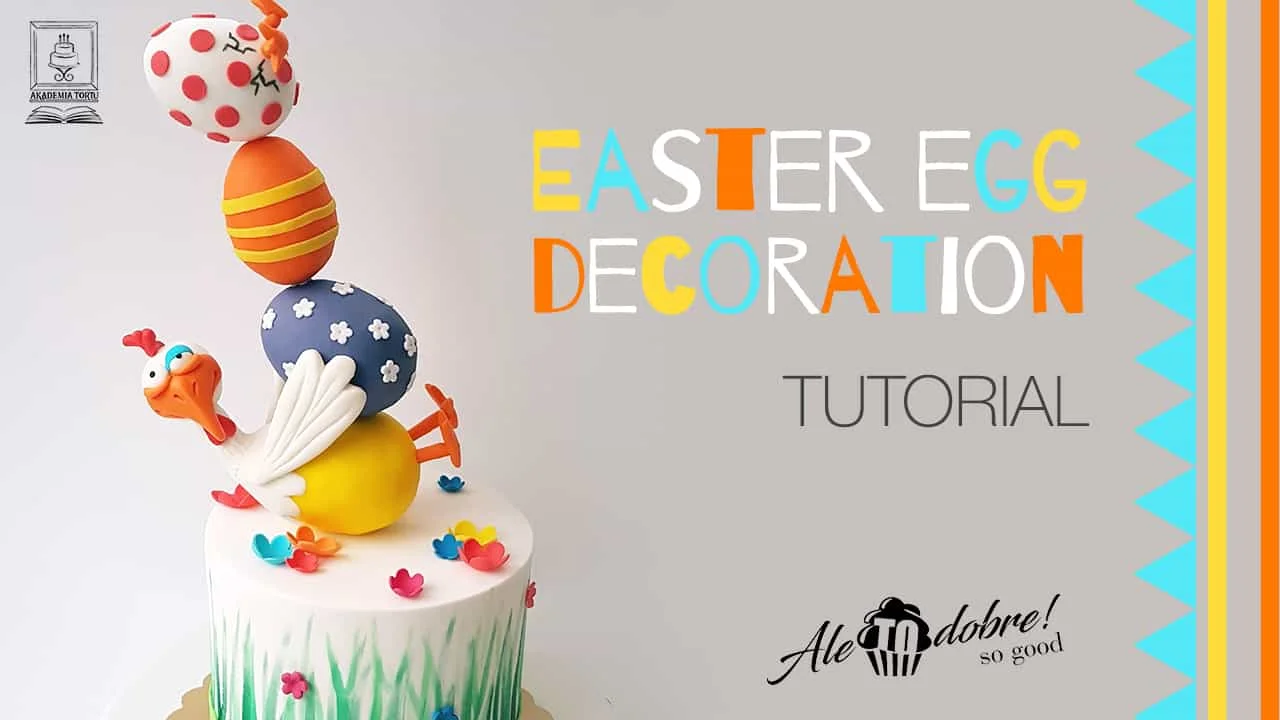
EASTER EGG DECORATION
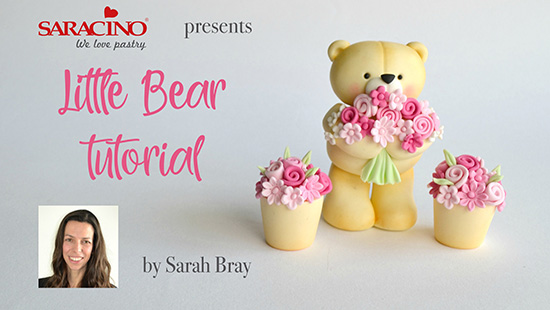
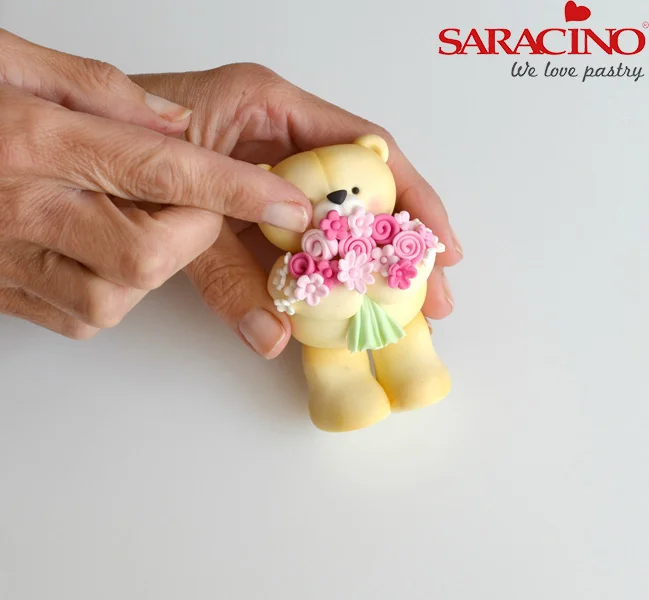
LITTLE LOVE BEAR TUTORIAL
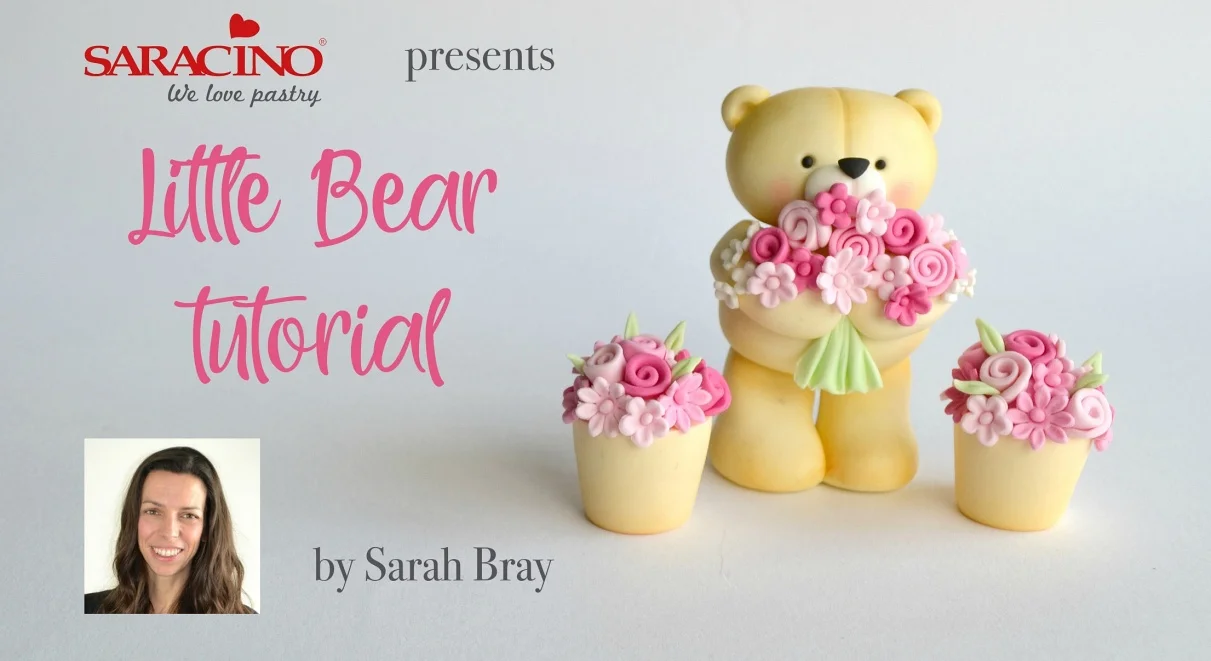

You will need:
- 200g Saracino white modelling paste
- Saracino yellow gel colour
- Saracino orange gel colour
- Saracino brown gel colour
- Saracino green gel colour
- Saracino yellow edible dust
- Saracino orange edible dust
- Saracino brown edible dust
- Saracino pink edible dust
- Small piece Saracino black modelling paste
- Sugar glue
- Workboard
- Cocktail sticks
- Paintbrush
- Rolling pin
- Blossom plunger cutters
- Small flower cutters
- Sharp knife
- Dresden tool
- Small ball tool
- Craft knife
- Dotting tool
- Sponge Mat
- Smoother
- Medium sized soft brush
- Plain wheel modelling tool
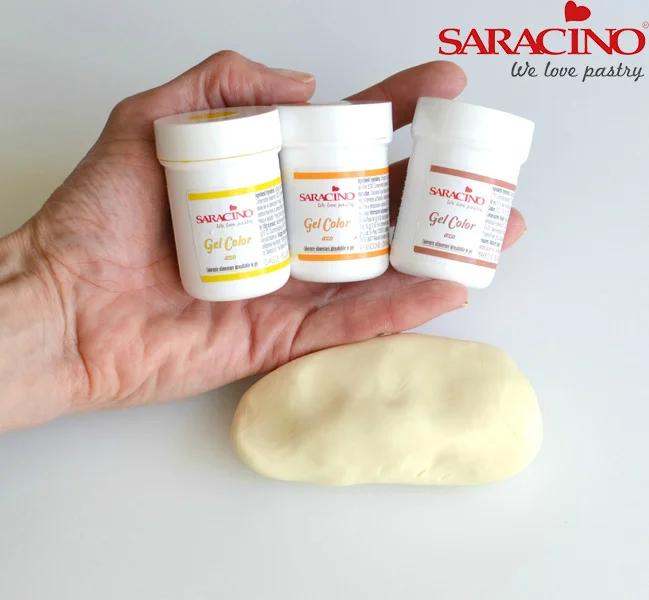
Step 1
Using a cocktail stick, add small spots of Saracino yellow, orange and brown gel colours to 100g white paste to create a light golden brown colour.
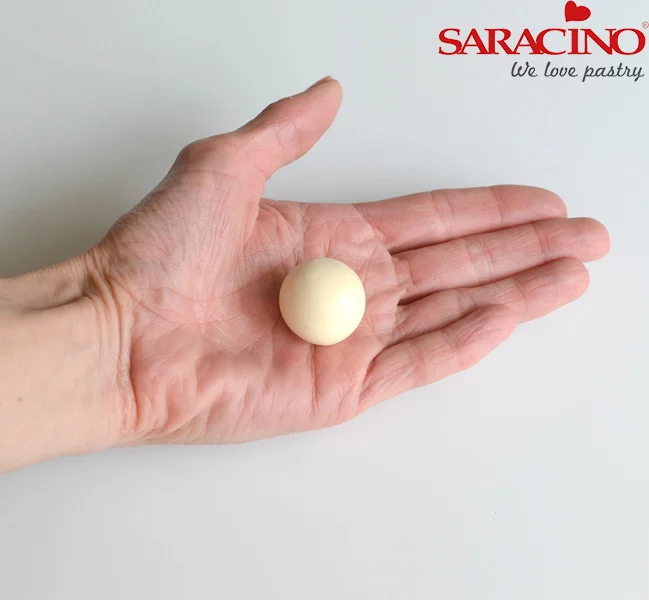
Step 2
To make the legs take a 12g piece of golden brown paste and roll into a ball in the palm of your hands
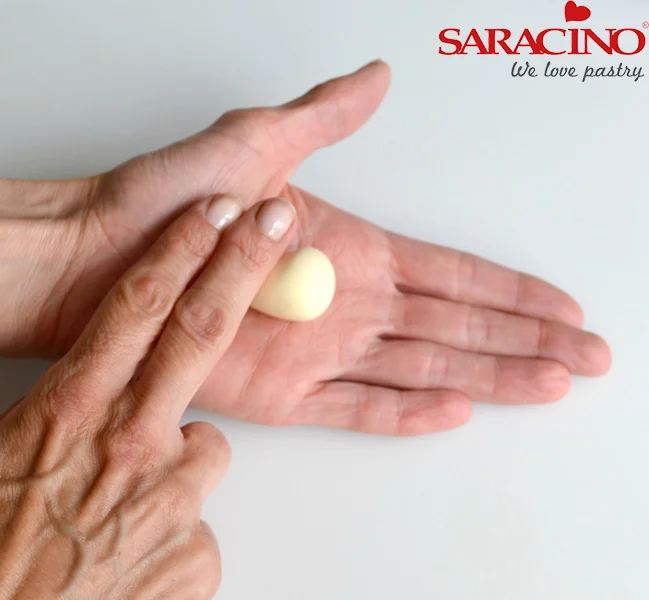
Step 3
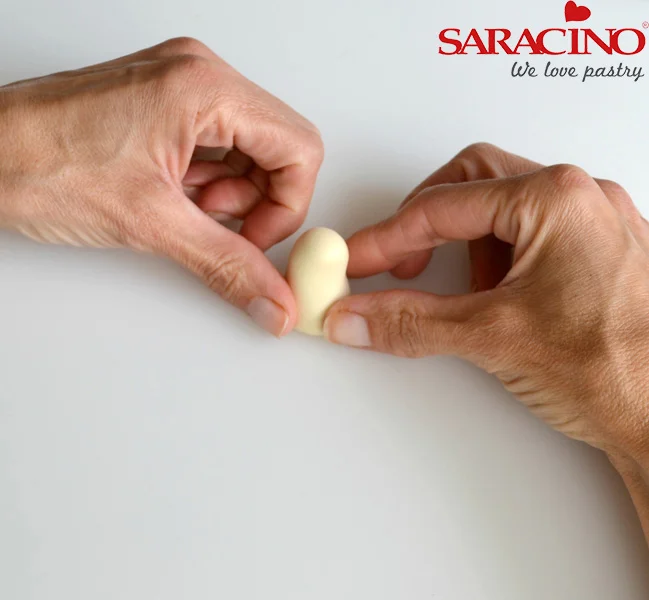
With the ball of paste in your hand use your index finger and middle finger to roll just one end to create a leg shape.
Step 4
Stand the leg onto the board and push it down onto the board to make the foot. Smooth over with fingers to soften any bumps. Repeat steps 2 – 4 to make the second leg
Step 5
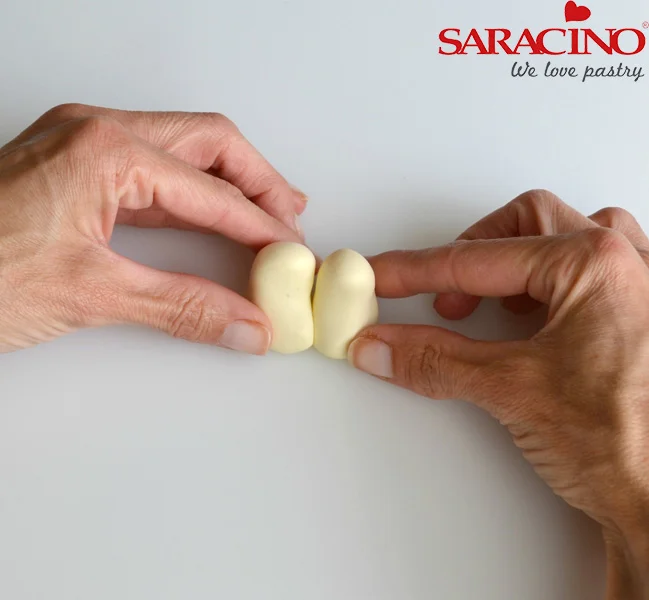
Push the two legs together using sugar glue if necessary to secure them together. Be careful not to lose the ankle shape when joining together.
Step 6
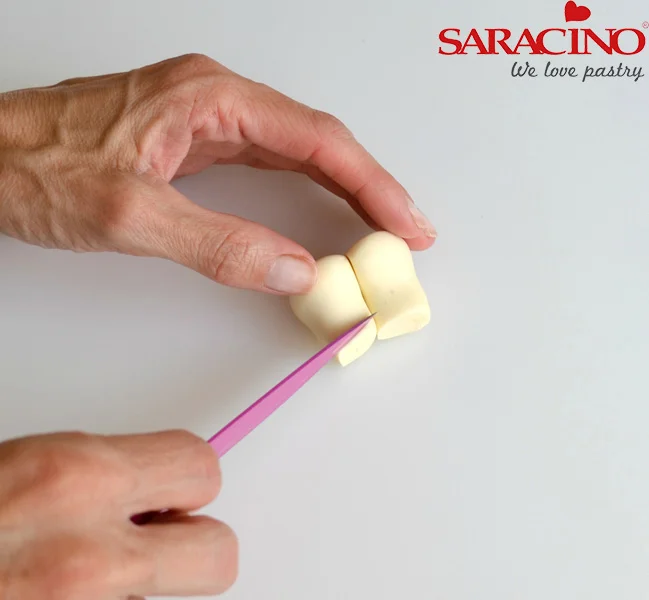
Use a sharp knife to diagonally trim off the top of the legs. Leave to set.
Step 7
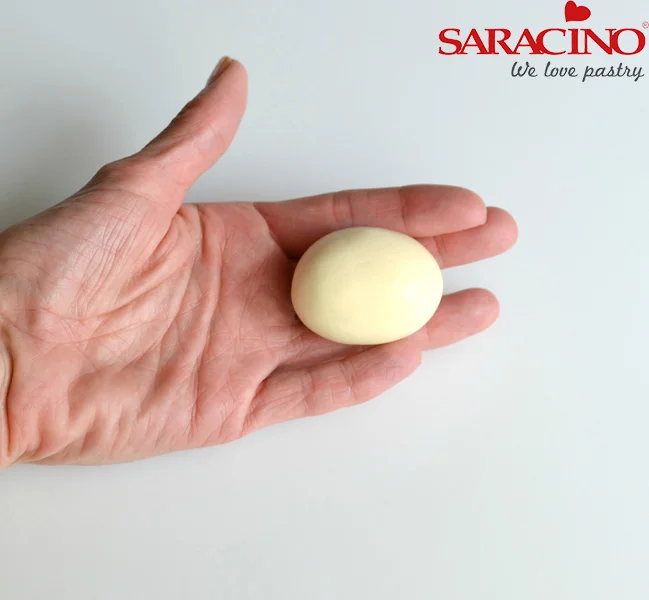
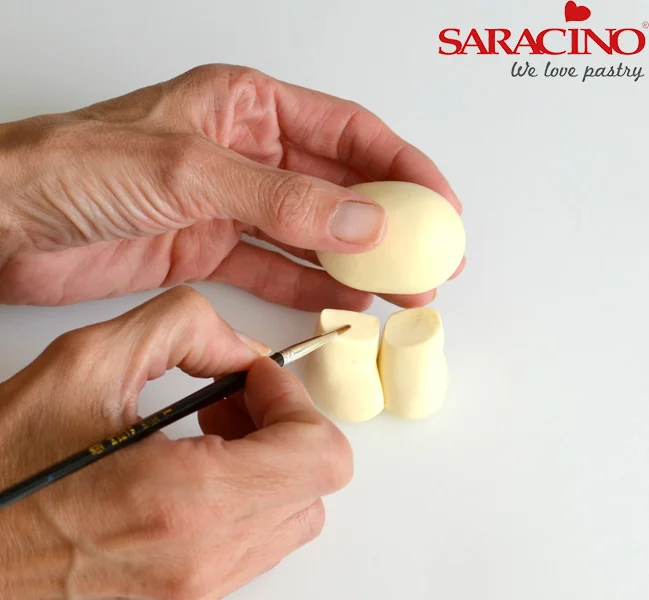
For the bears body roll a 35g ball of golden brown paste into a ball in the palm of your hands and roll gently to make a slight oval.
Step 8
Use sugar glue to attach the body to the legs.
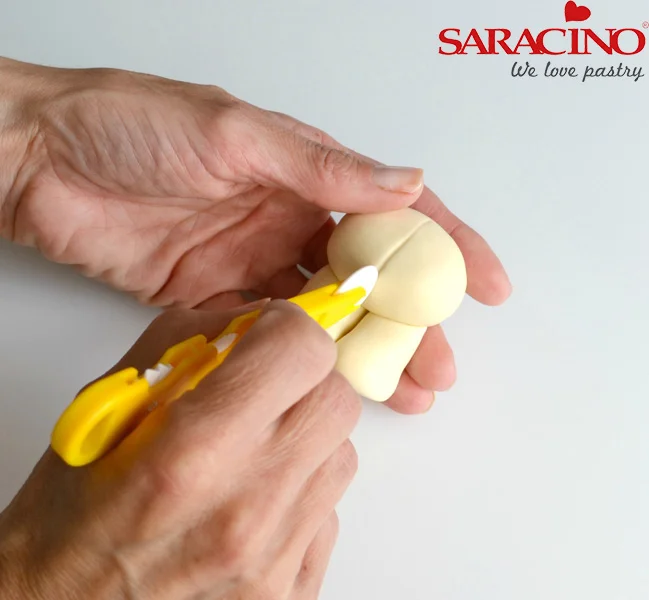
Step 9
Mark a line down the body using a plain wheel modelling tool and leave to set (supporting if necessary)
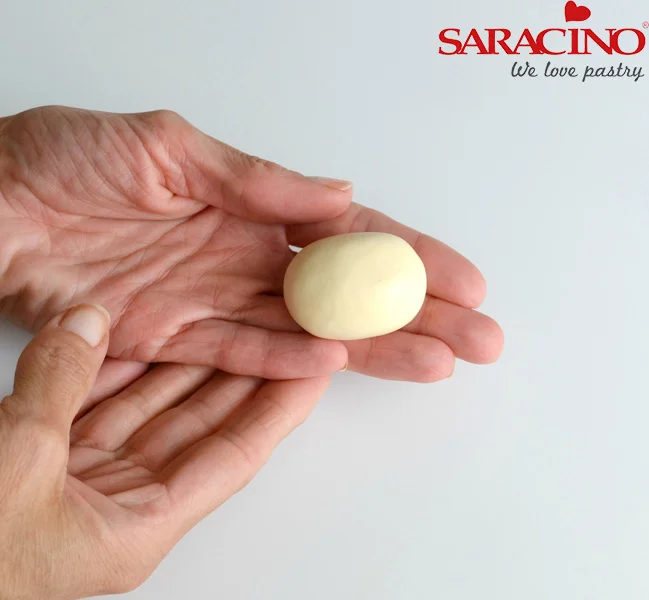
Step 10
To make the head roll a 25g piece of golden brown paste into a ball and soften gently into a slight oval.
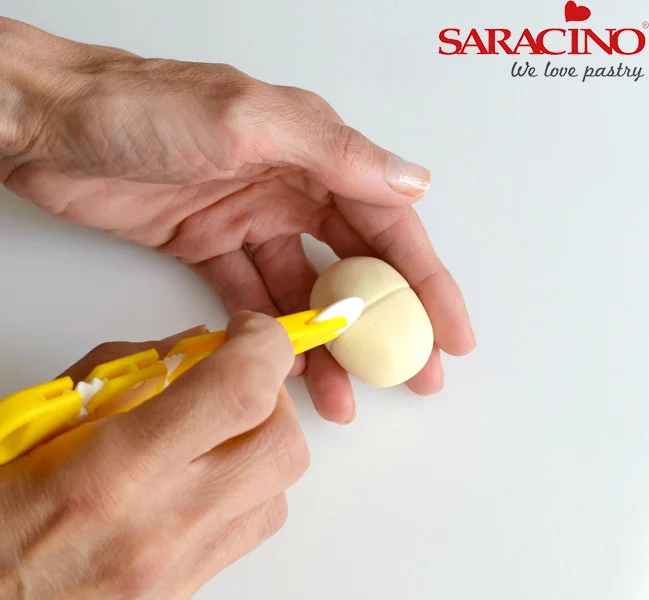
Step 11
Mark a line down the middle of the head using a plain wheel modelling tool and continue down the back.
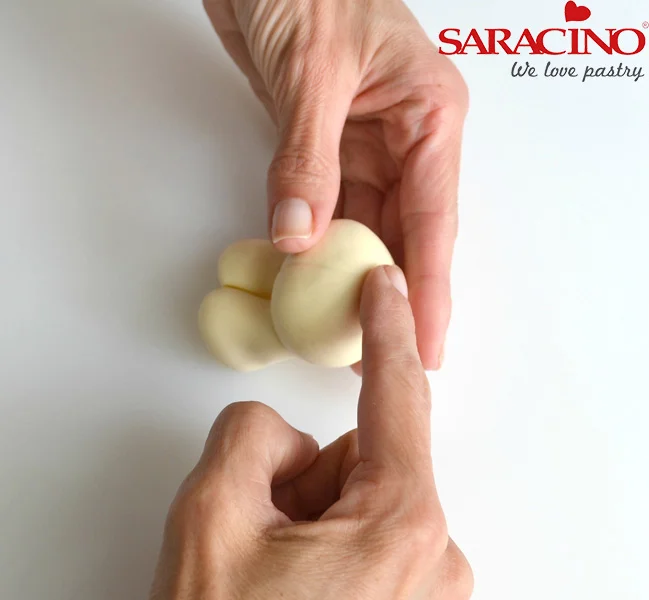
Step 12
Use your finger to slightly flatten the top of the body in order to secure the head more easily.
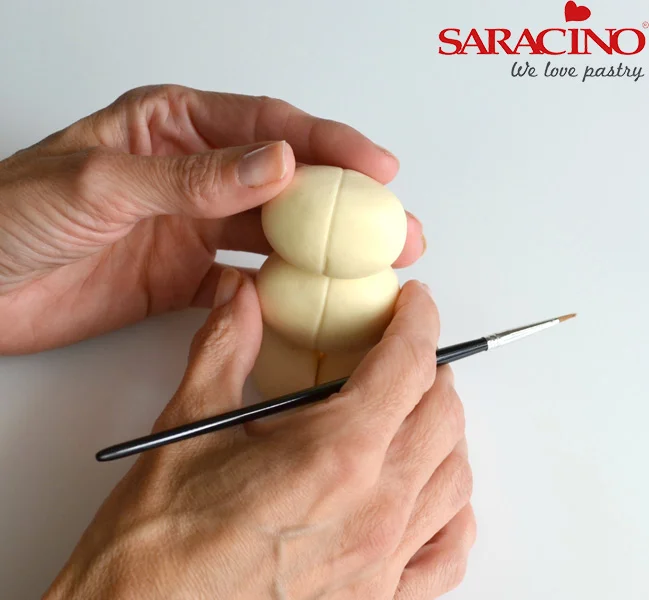
Step 13
Use some sugar glue to attach the head to the body and leave to dry (supporting if necessary)
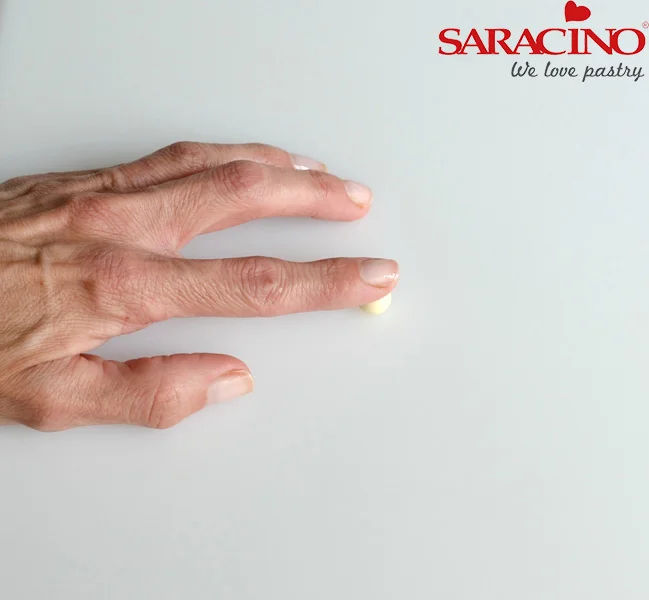
Step 14
For the ears roll a pea sized piece of golden brown paste into a ball and flatten slightly with your finger.
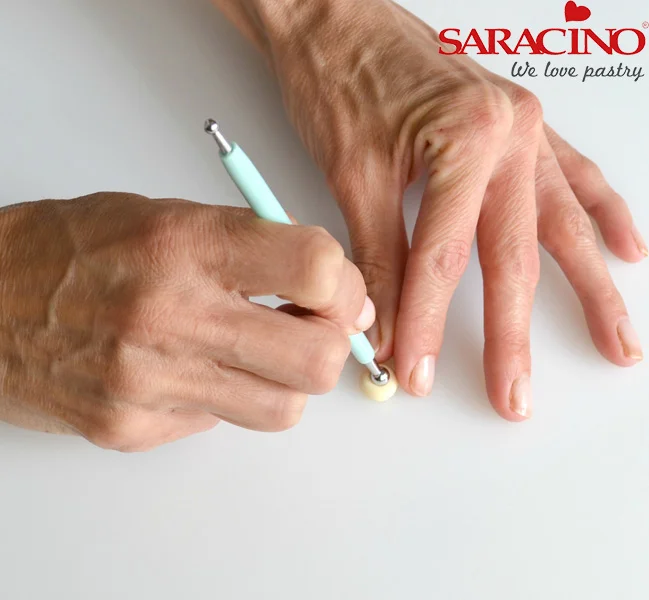
Step 15
With a ball tool press into the centre of this ball.
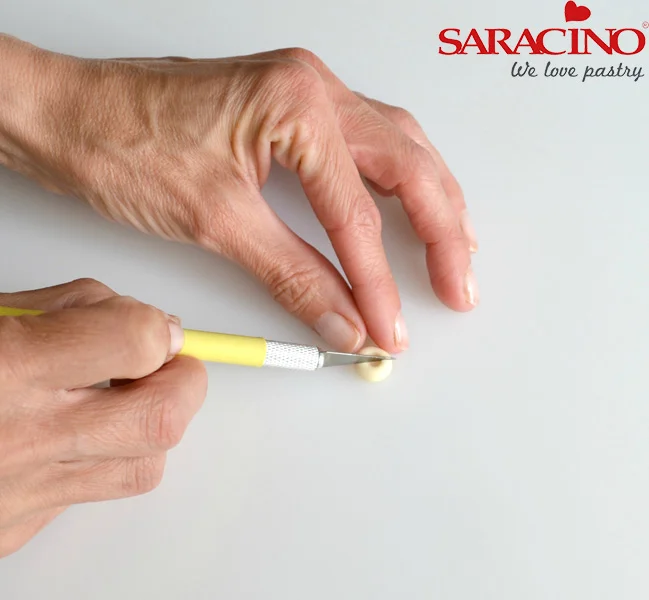
Step 16
Using a craft knife cut this in two to create two ears.
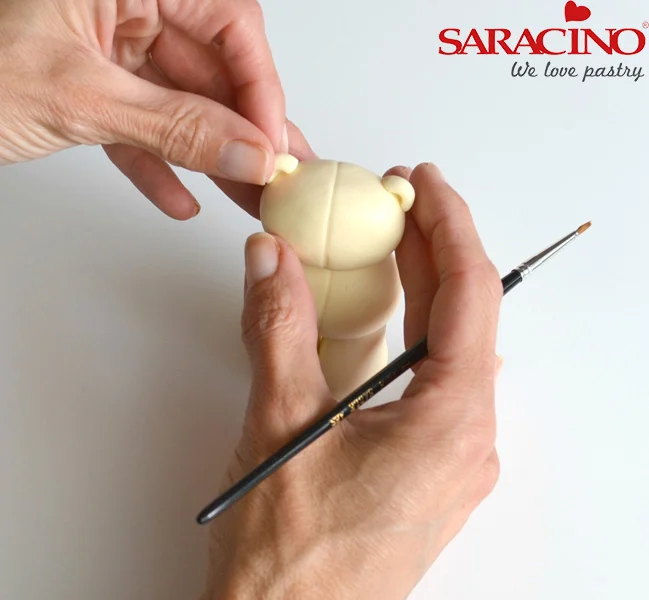
Step 17
Attach one either side of the head to create ears.
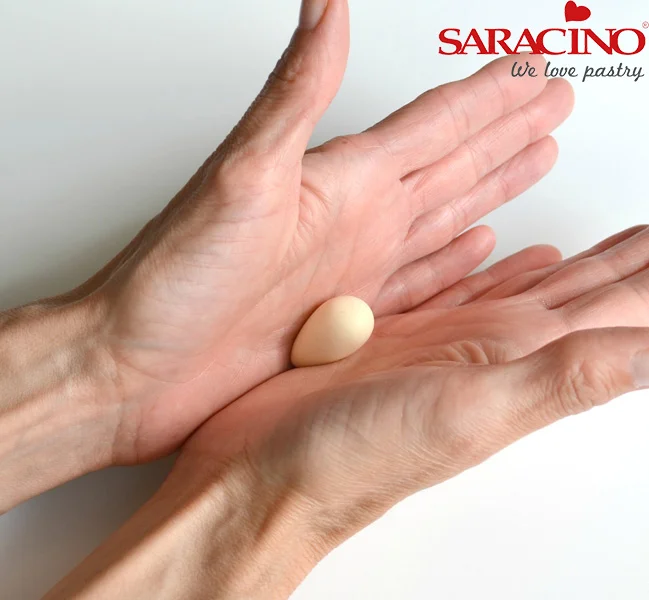
Step 18
To make the arms roll 5g of golden brown paste into a ball and then roll into a teardrop shape with your hands at an angle. Repeat for the second arm.
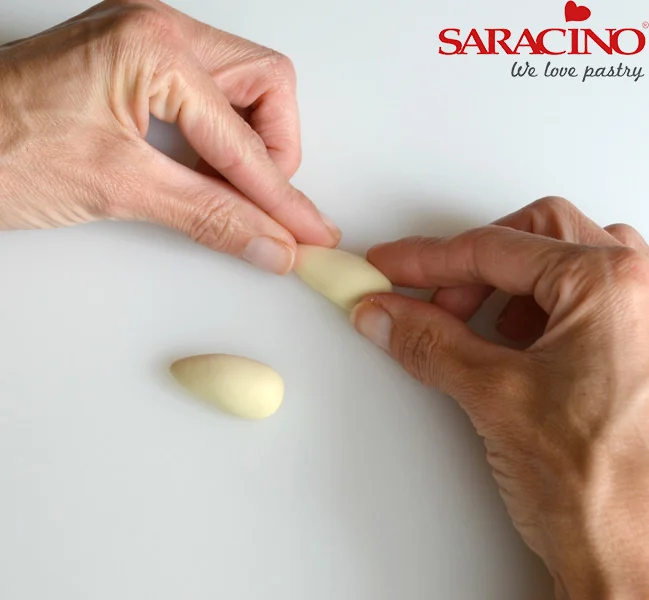
Step 19
Place the pieces on the board and use your fingers to flatten slightly onto the board.
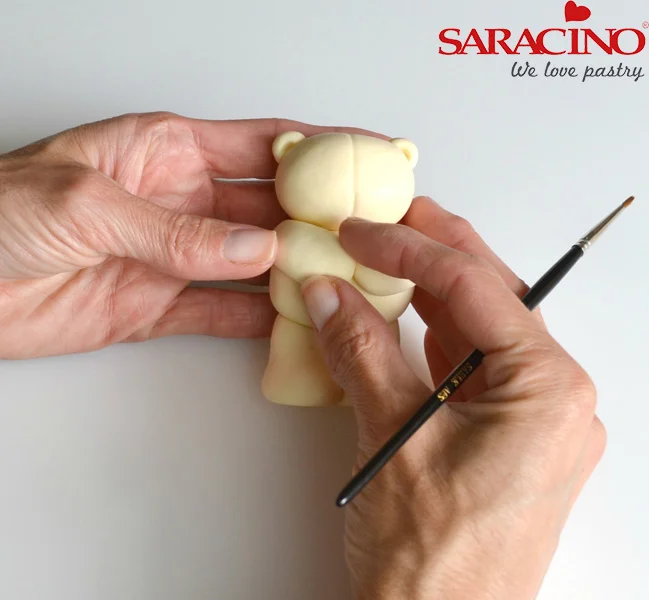
Step 20
Attach the arms with sugar glue making sure they meet in the middle. If they aren’t long enough elongate the arm slightly before attaching.
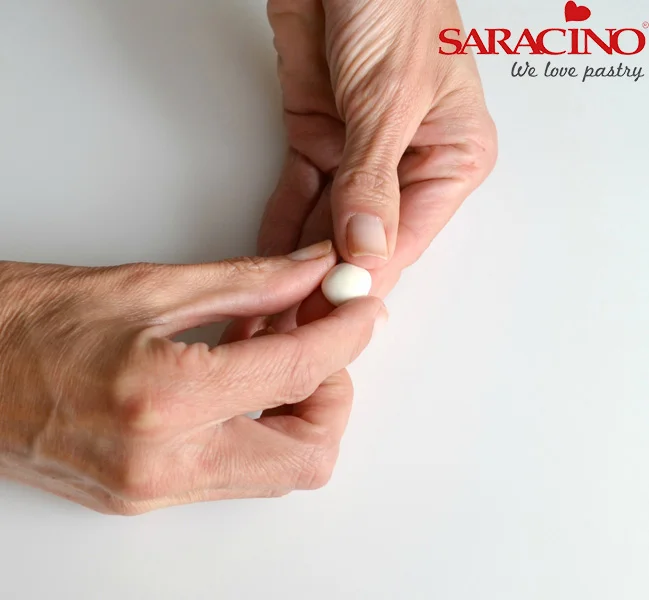
Step 21
Roll a pea sized ball of white paste and flatten slightly onto finger in an oval shape.
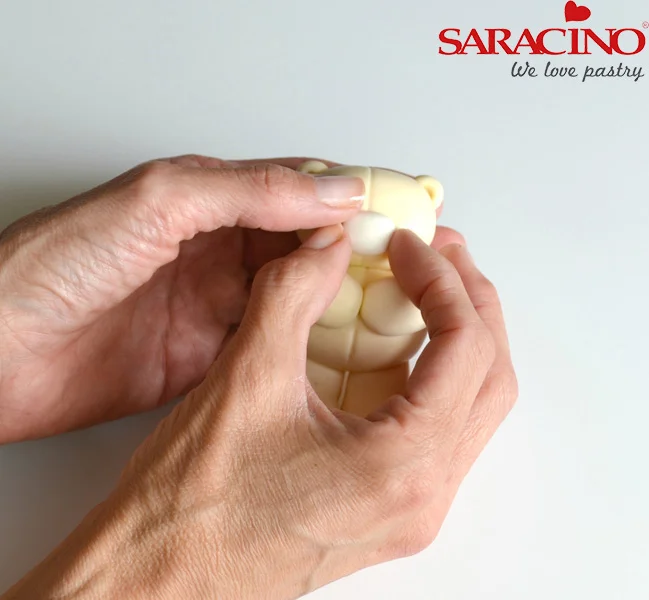
Step 22
Attach muzzle to bottom half of the face with sugar glue.
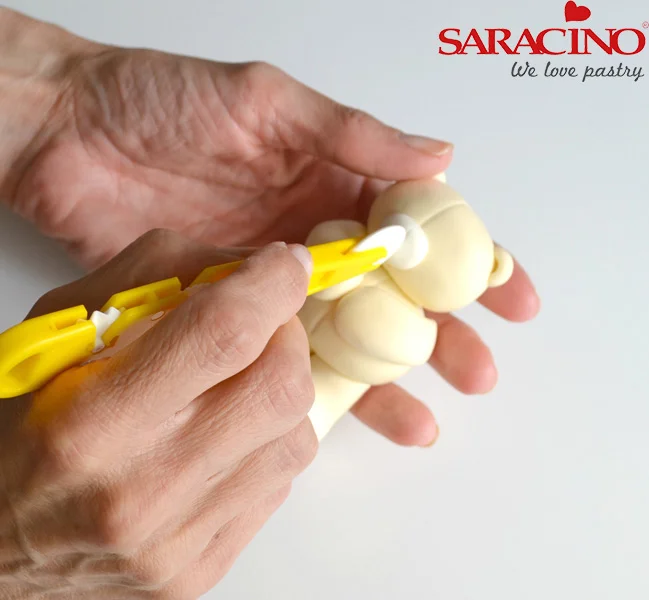
Step 23
Using a plain wheel modelling tool mark a vertical line from the top of the muzzle to the bottom.
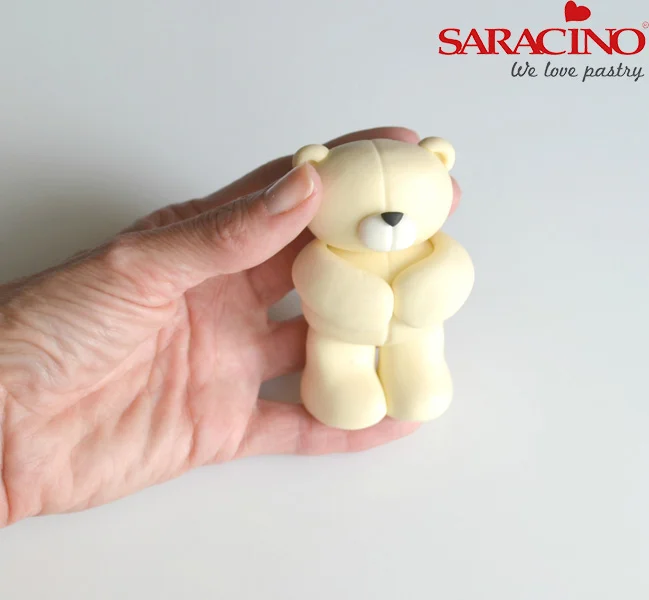
Step 24
Shape a small piece of black paste into a triangular nose shape and attach to the top of the line just made using a small bit of sugar glue.
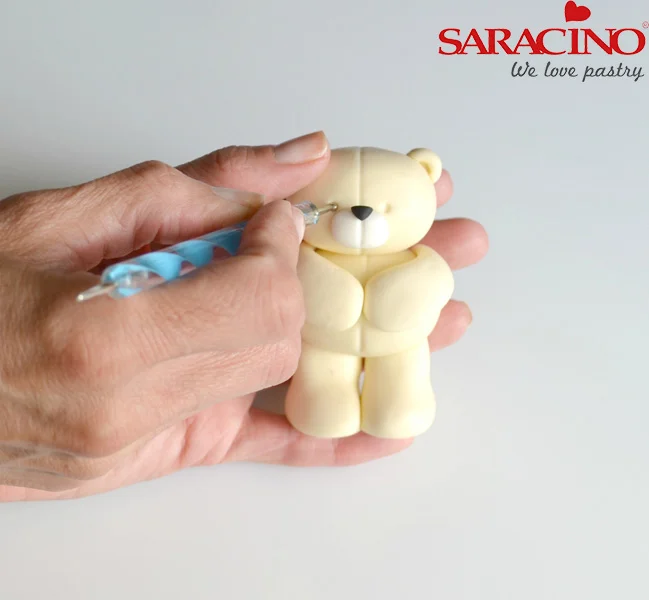
Step 25
Using a small dotting tool mark out two indents for eyes. Leave to dry
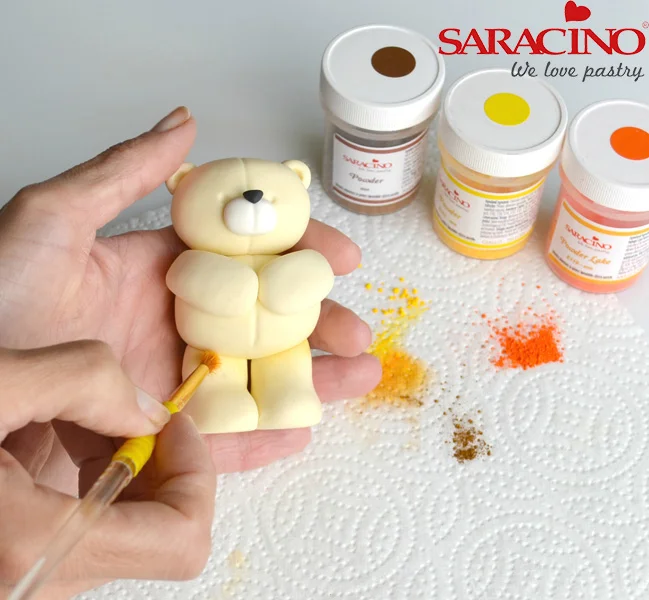
Step 26
To dust mix a small quantity of Saracino yellow, orange and brown dusts to get a golden colour. Build the colour up slowly with a soft brush dusting the top of the legs, around the base of the feet, under the head and around the edge of his head.
Tip: I keep a small piece of the paste used for the bear to check the colour of the dust before adding to the bear himself
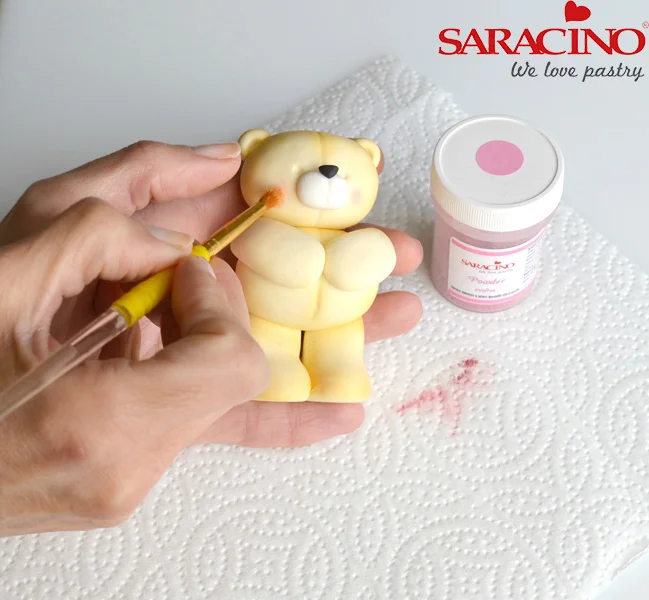
Step 27
Use a small amount of Saracino pink dust for the cheeks.
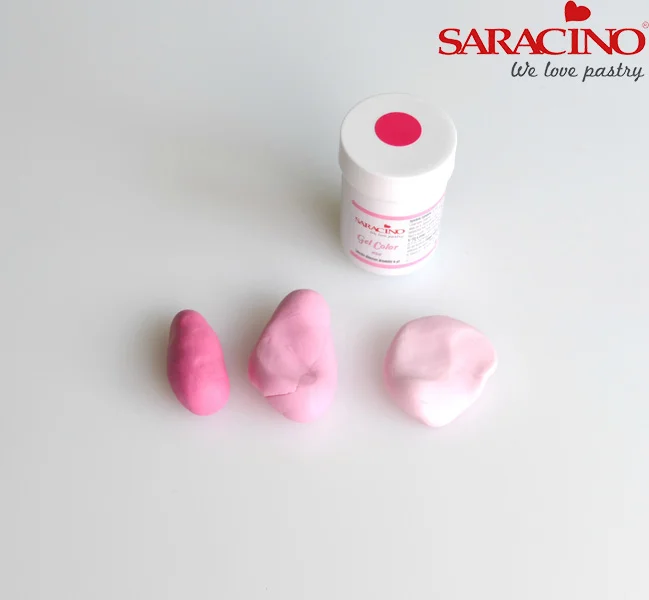
Step 28
For the flowers mix up three shades of pink using the Saracino pink gel colour and keep a small portion white.
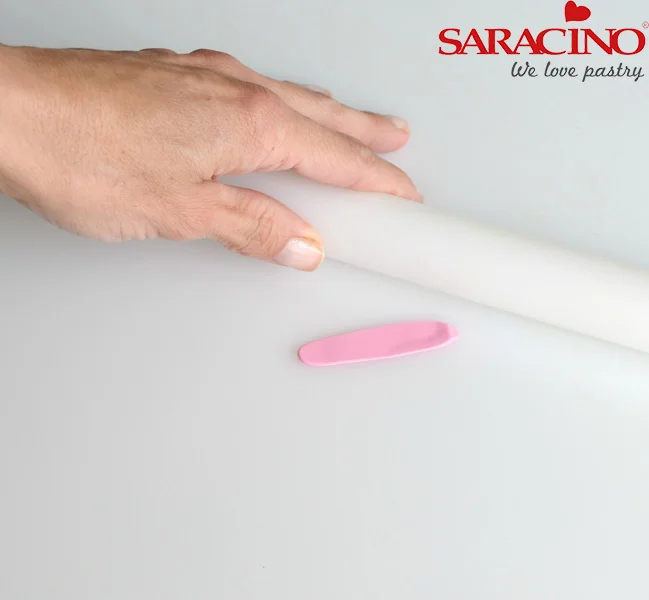
Step 29
To make the roses roll small pieces of paste into sausage shapes and flatten with the rolling pin
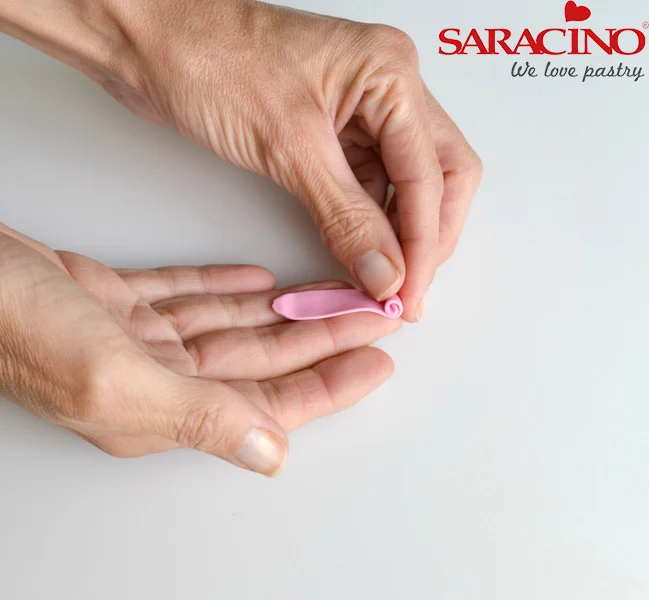
Step 30
Roll up into flowers. You may need to trim the excess paste off with a craft knife before attaching.
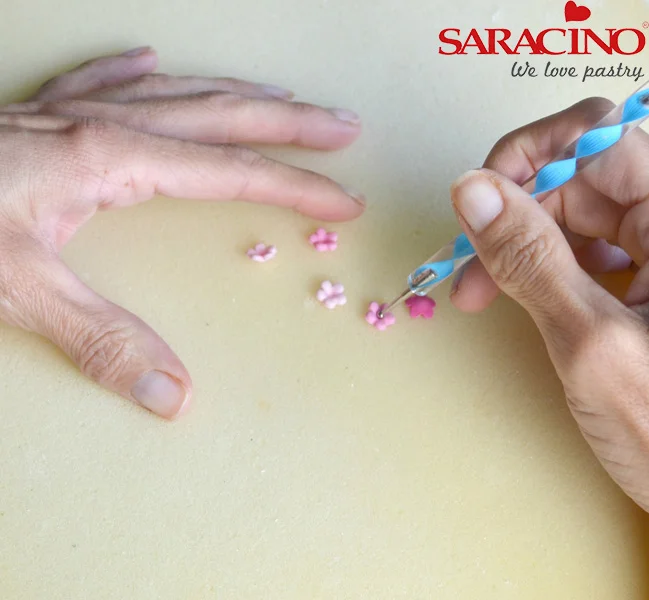
Step 31
Cut out a variety of flowers using simple blossom cutters and other small flower cutters in all three shades, shaping on a sponge mat with a ball tool.
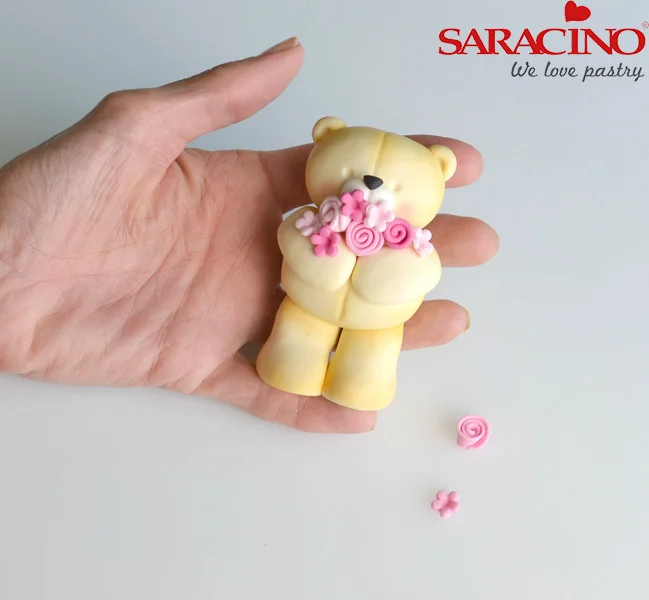
Step 32
Start to arrange these to the front of the bear securing with sugar glue. Try to add the smaller flowers towards the edges. Roll tiny balls of paste for the centres of the flowers.
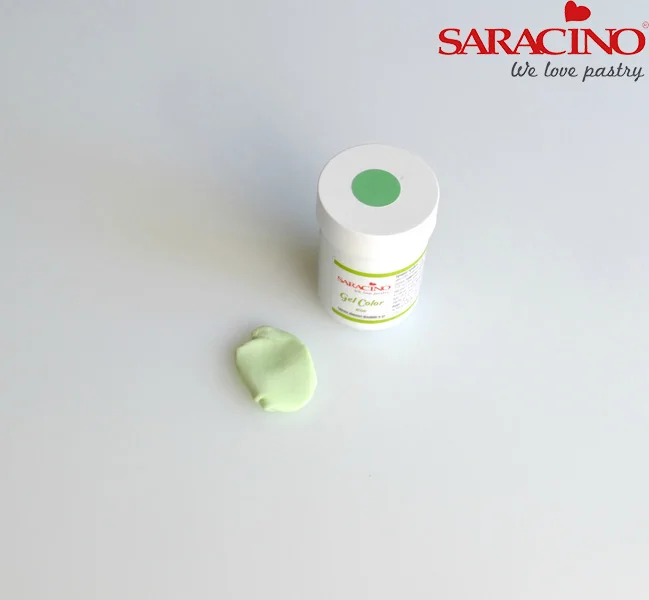
Step 33
For the leaves and stems mix up a small piece of white paste with a small amount of Saracino green gel colour to create a soft green.
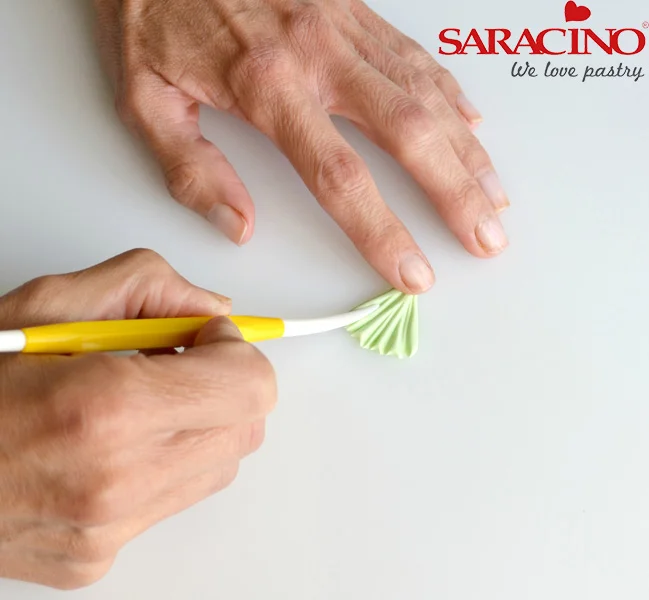
Step 34
Shape a small triangle of green paste in your fingers and use the thin end of the dresden tool to press lines in to create the look of stems
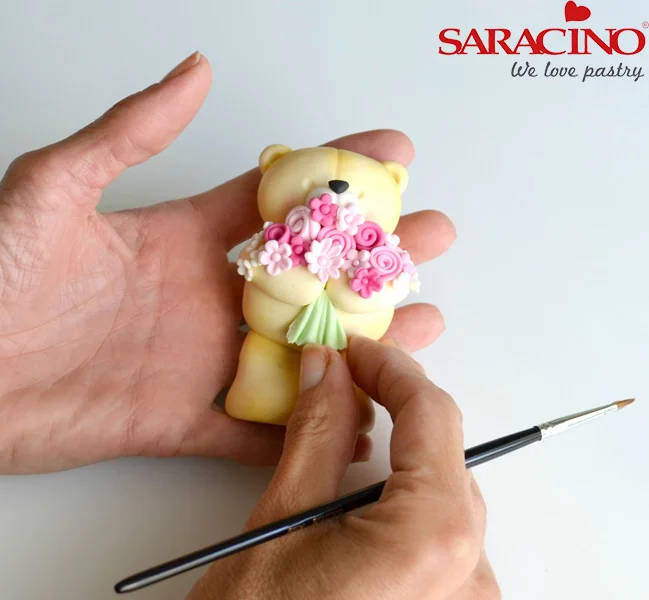
Step 35
Trim down and attach below the bears arms with sugar glue
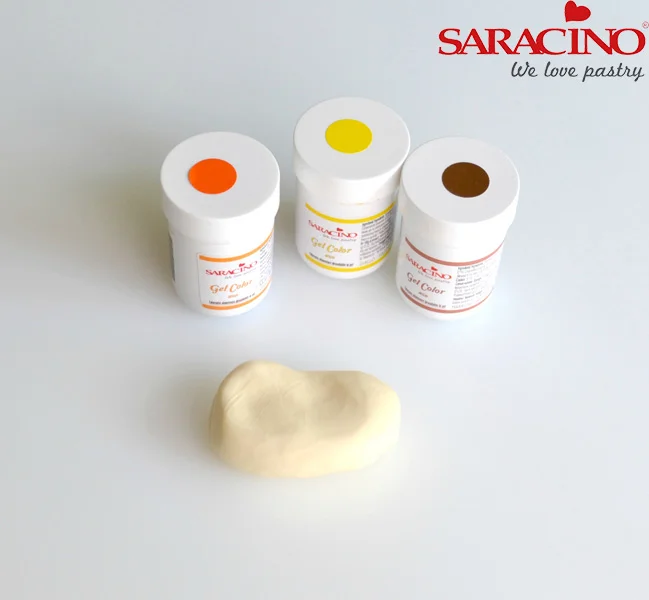
Step 36
For the flower pots mix up a 25g piece of white modelling paste to a golden cream colour using spots of Saracino orange, yellow and brown gel colour.
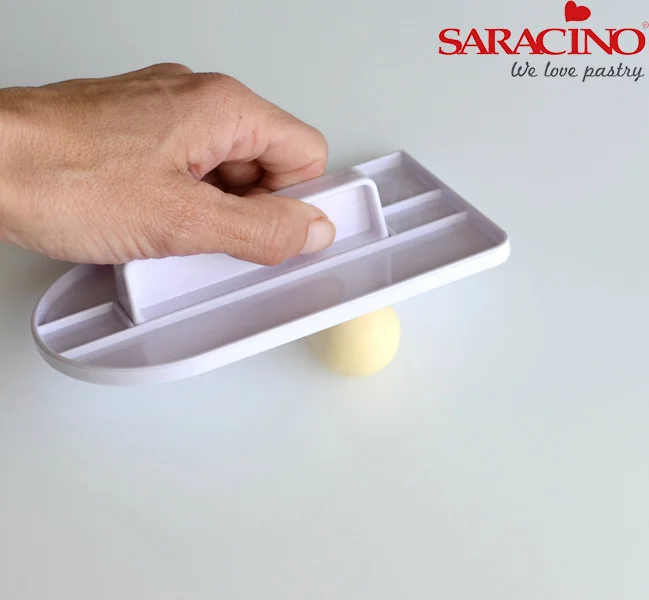
Step 37
Cut in half and using a smoother at an angle, roll to a cone shape.
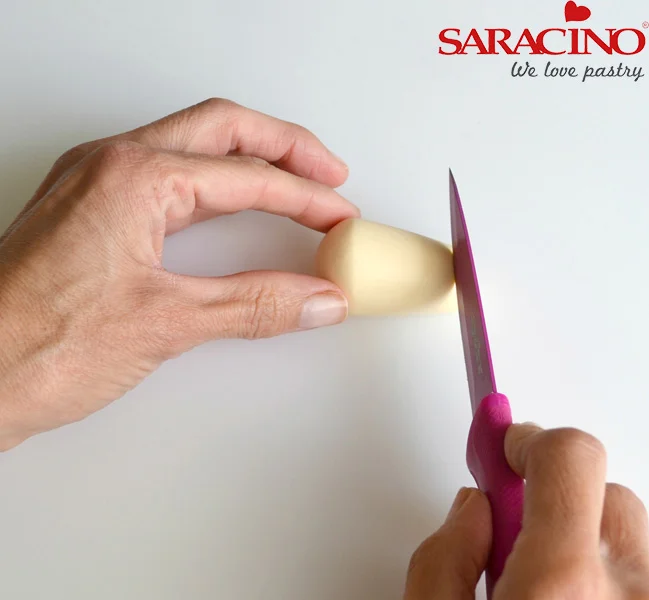
Step 38
Use a sharp knife to cut the excess off from either end to create a flower pot shape.
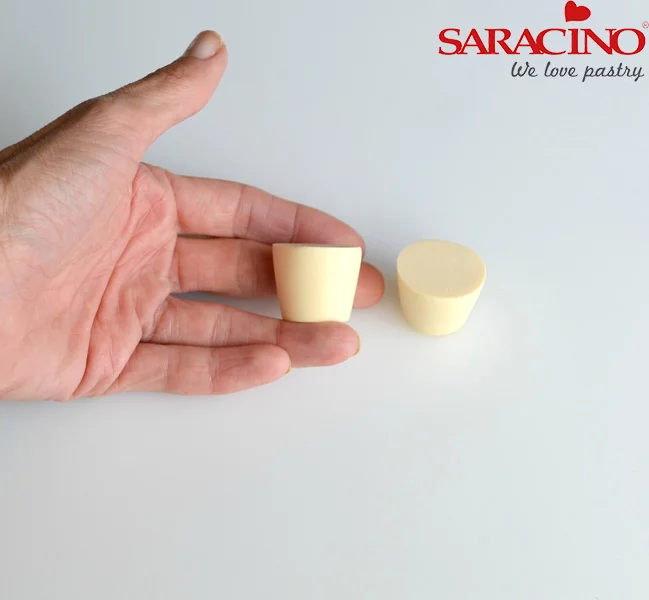
Step 39
Repeat to make the second pot
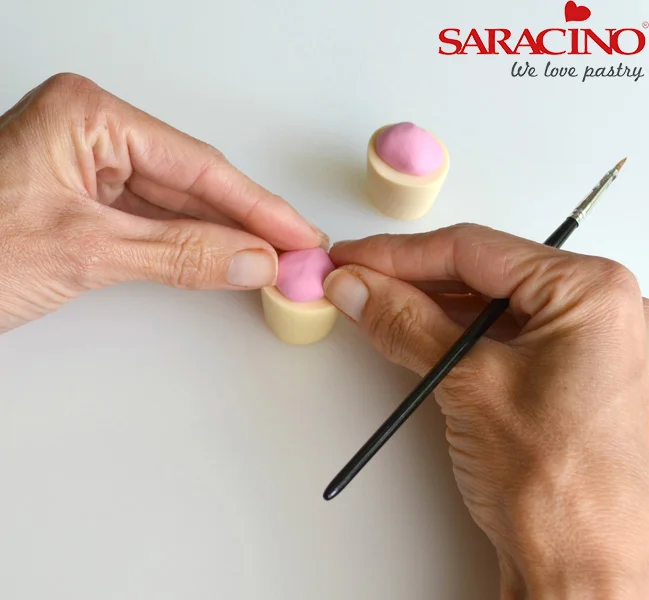
Step 40
Take a small piece of pink (any shade is fine) and stick to the top of each flower pot.
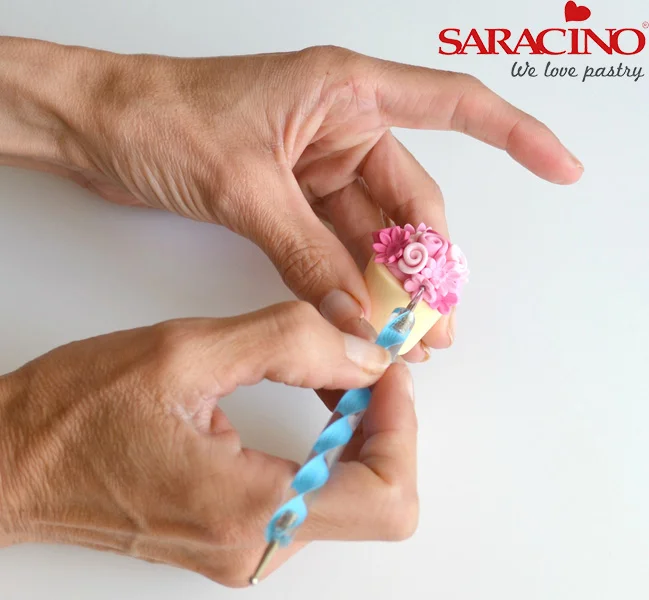
Step 41
Roll roses and cut out flowers as before and stick to both flower pots.
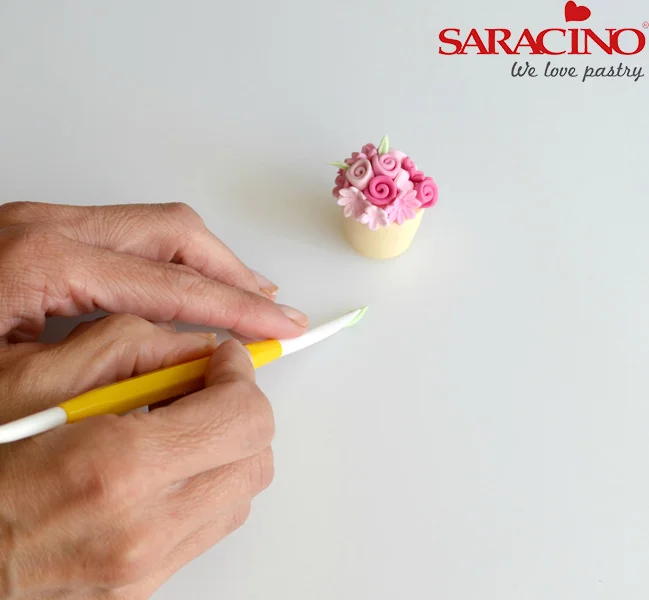
Step 42
Roll tiny teardrops of green paste and using the thin end of the dresden tool make a line down the middle. Push a few of these leaves in between the flowers in the pots
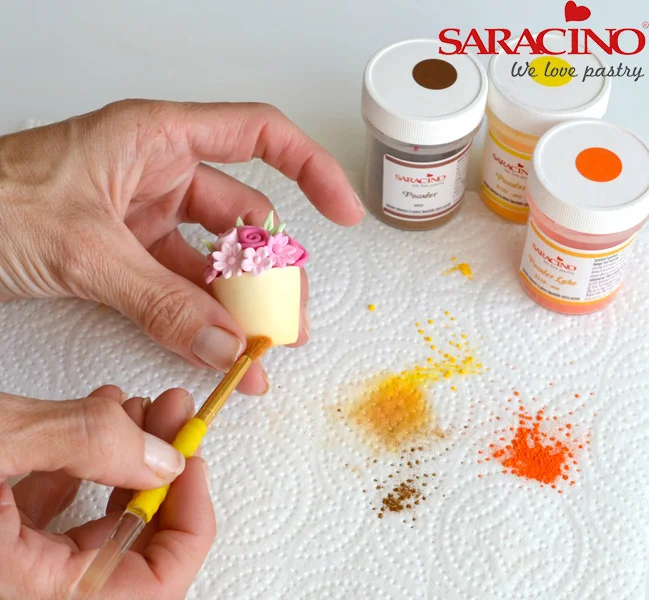
Step 43
Finish pots by very lightly dusting the bottoms using a mixture of Saracino yellow, orange and brown dusts.
Step 44
Roll two tiny balls of black paste for eyes and secure with sugar glue.
CREATE ROSEMARY FLOWER

FB: CALLI CREATIONS
Skill level: BEGINNERS
FROM CALLI:
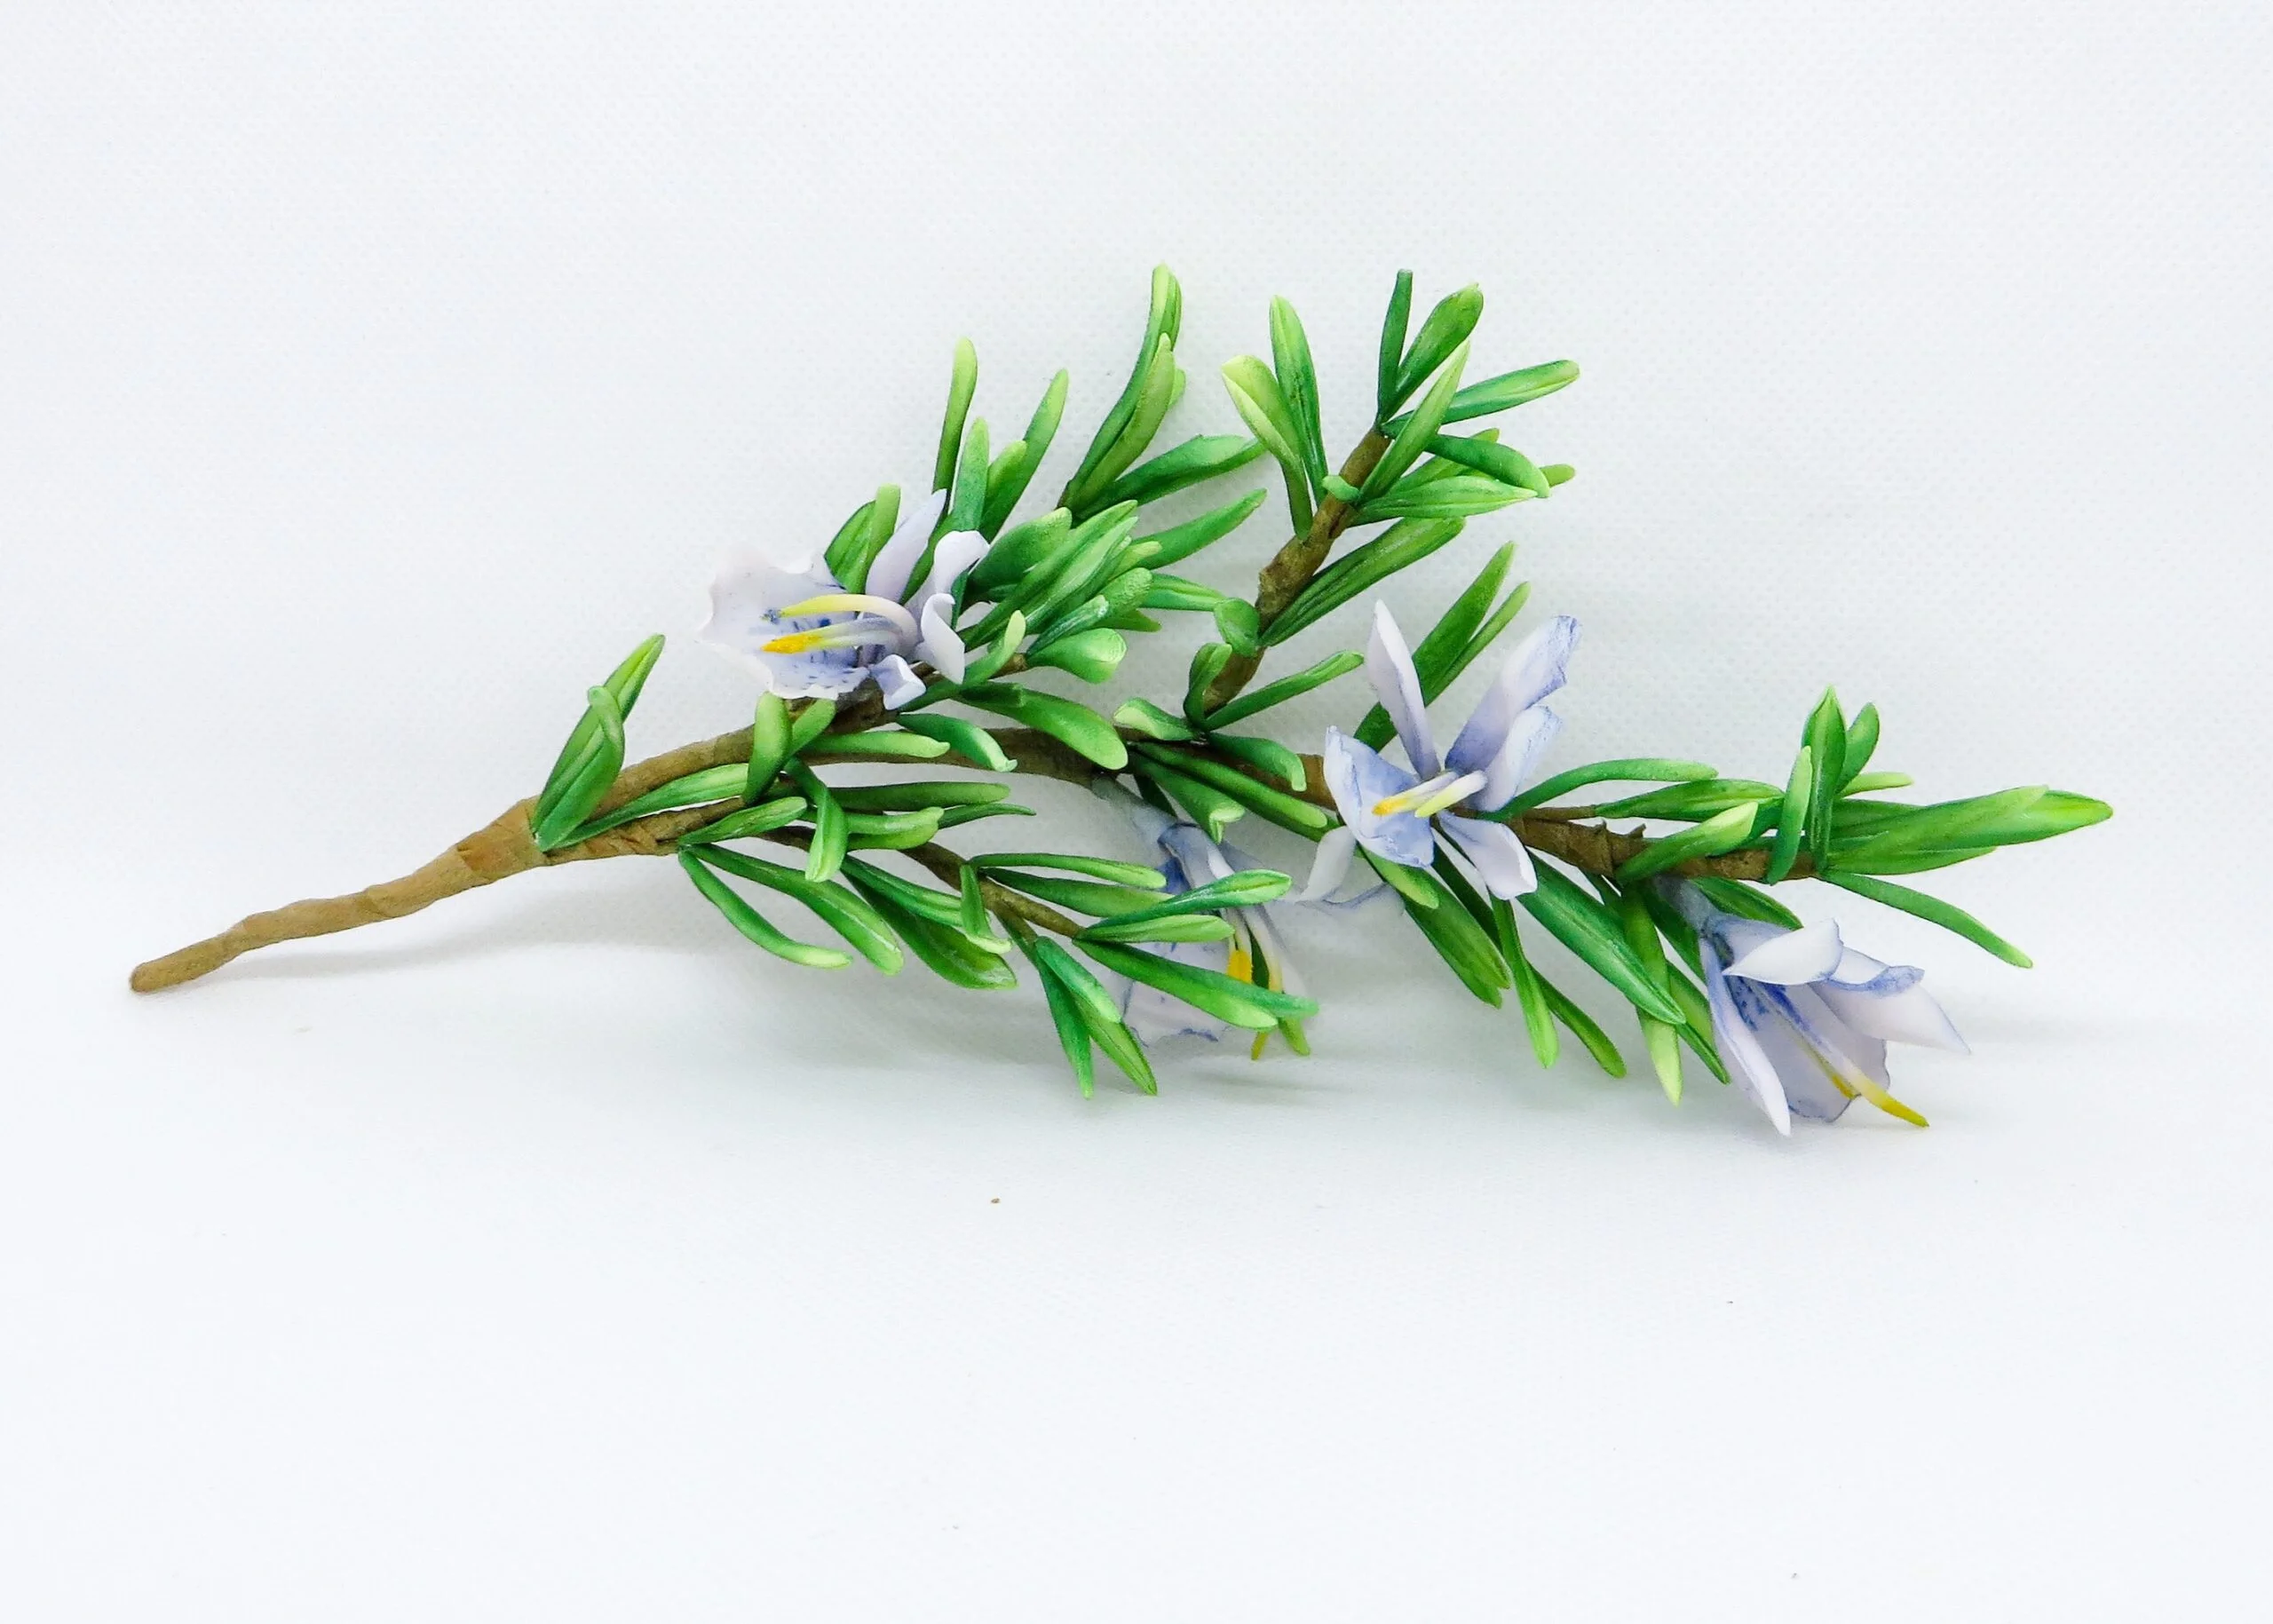
I’ve made up the flower as near to nature as possible, but used artistic licence so not botanically accurate.
I made three stamens (two joined with one behind it) . The petals sit as follows: Two tear drop petals either side of stamens, with a larger one at back of flower and a cupped one in the front.
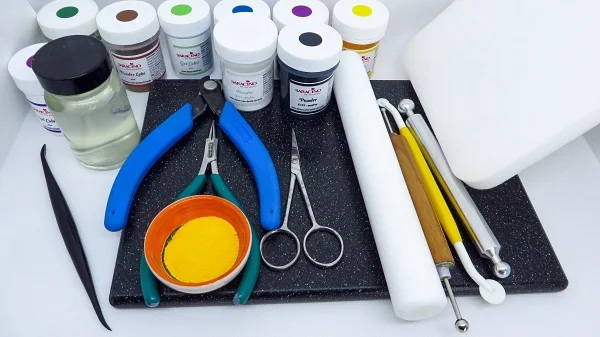
You will need:
- Saracino Flower Paste
- Saracino Colour Dusts (purple, red, blue, white, yellow, green, brown)
- Saracino Colour Paste (green, purple)
- Florist Wires (30, 28, 22)
- Florist Tape (Light Brown and White – ¼ inch)
- Semolina
- Edible Glue
- Cornflour for dusting
- Balling tool
- Non stick rolling pin (I use 9”)
- Cel Pad
- Cel Board
- Dresden tool or cutting wheel
- Paint brushes (Flat for dusting (size 2 – 4 and one fine line brush [eg 000 size])
- Small daisy cutter (I used tinkertech brand metal)
- Wire Cutter
- Kitchen Roll
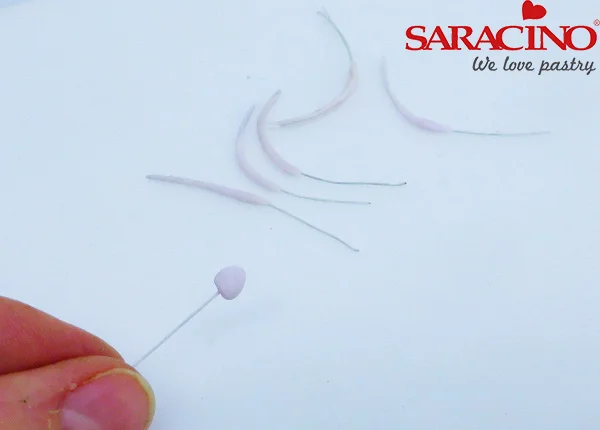
Step 1
Roll out a small ball of premixed pink flower paste onto a 30 gauge wire
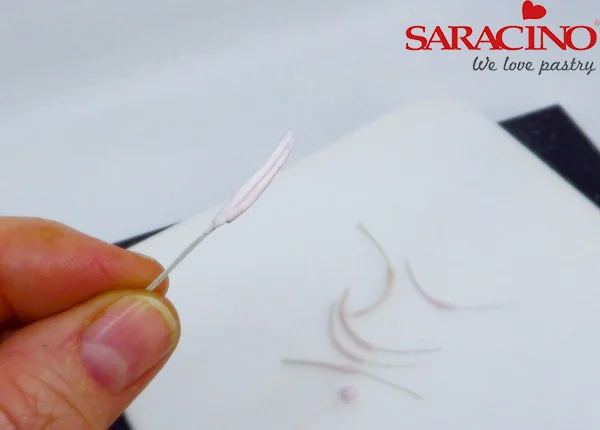
Step 2
Using a twisting movement downwards between fingers, spread the paste down the wire about a 1.5 centimeter with it thinner at top. Make two of those and one slightly longer. Curve slightly over finger and leave to dry. Stick the two shorter ones together and make sure the point meet at top.
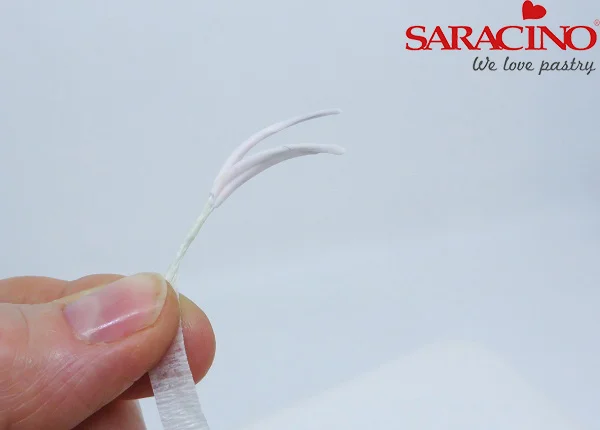
Step 3
Tape the longer one over the back, with white tape
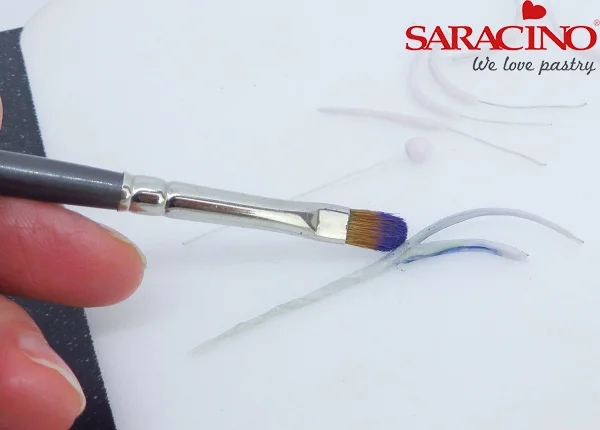
Step 4
Dust with a light dusting of purple and white mix dusts
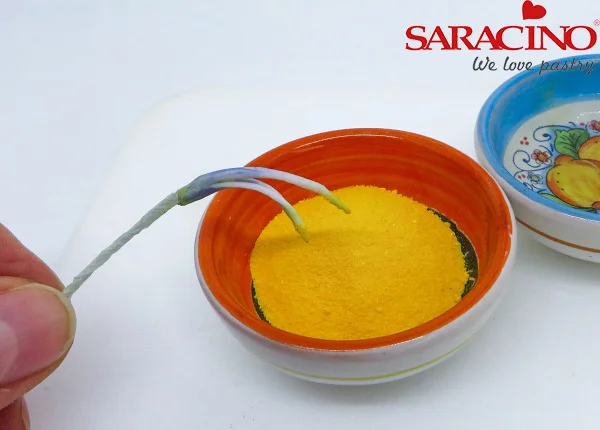
Step 5
Mix semolina and yellow dust colour to make pollen. Dip the end of the double stamen into edible glue, then into pollen and leave to dry
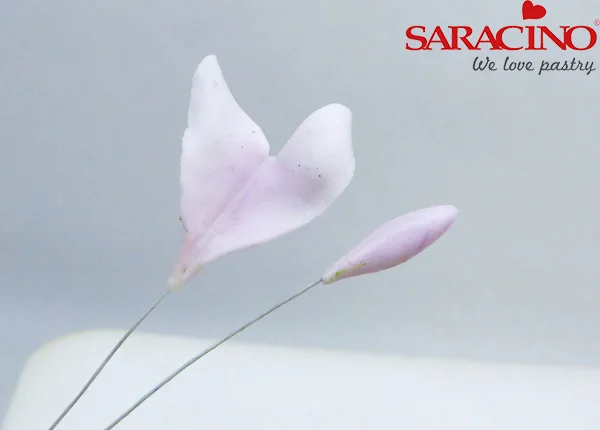
Step 6
Back Petal: Place a small ball of pale pink paste onto a 30 or 28 gauge wire. Roll paste between fingers to taper into a teardrop shape. Make as many as you require.
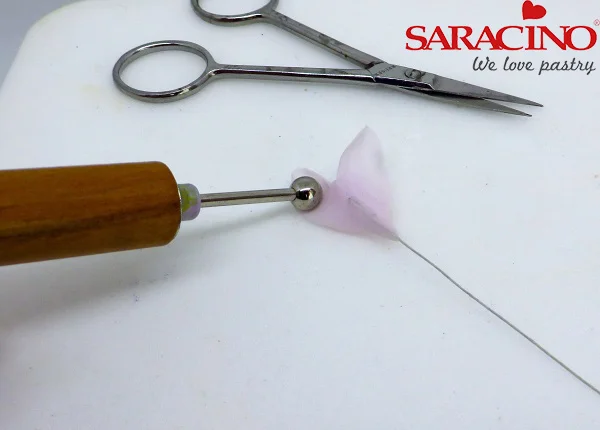
Step 7
Roll the tear drop out into a large petal on your board, and using small sharp scissors, cut a v shape at the top in the middle and using the ball tool on the centre of each side, at back of petal, to help it curve outwards
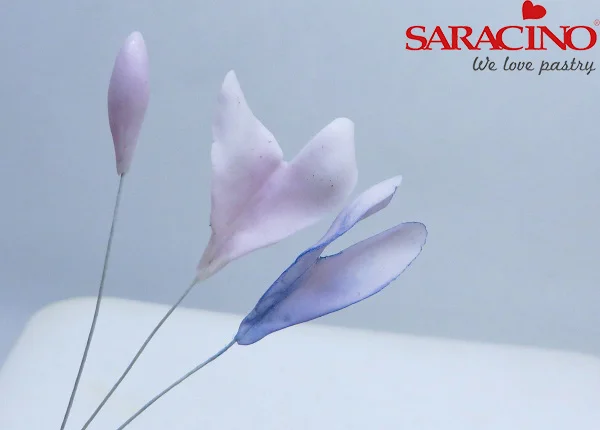
Step 8
Brush lightly with purple/white mix colour dusts.
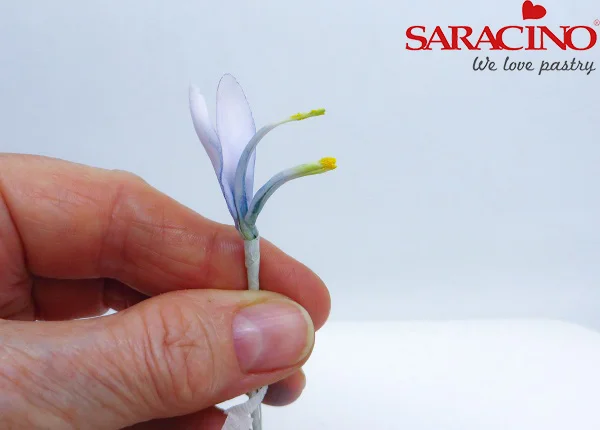
Step 9
Tape to back of stamens
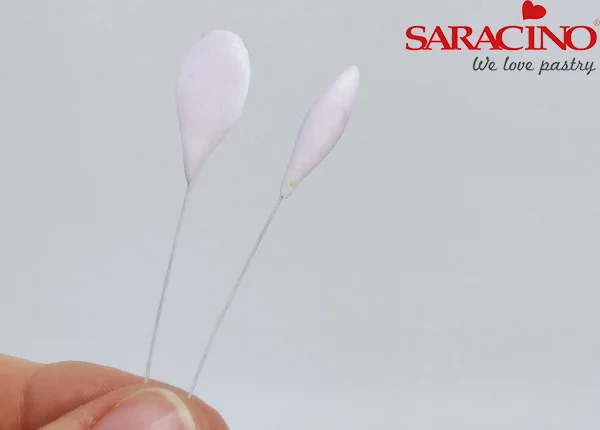
Step 10
Two side petals: Repeat same process at the back petal, but using a slightly smaller ball of paste onto a 28 or 30 gauge wire . Make 2 petals
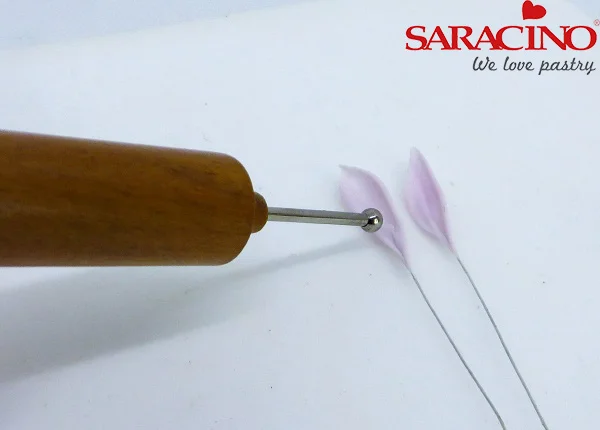
Step 11
Using a ball tool, spread out to thin either side and upwards, keep the point at tip
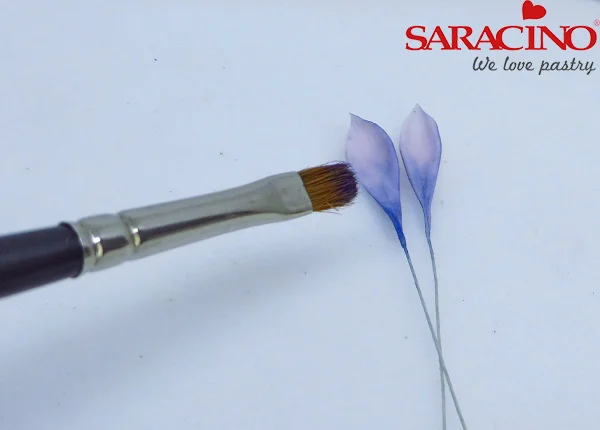
Step 12
Dust very lightly with purple and white mix, keeping it slightly darker at base.
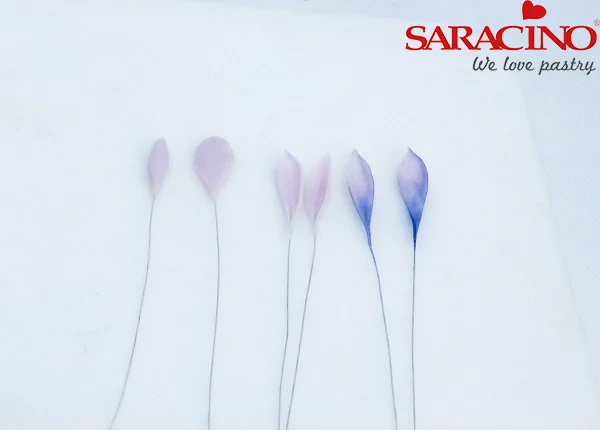
Step 13
Your petal should look like this.
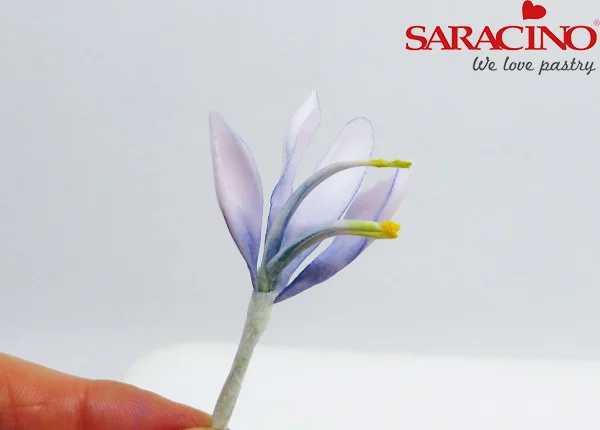
Step 14
Tape, with white tape, to either side of stamens.
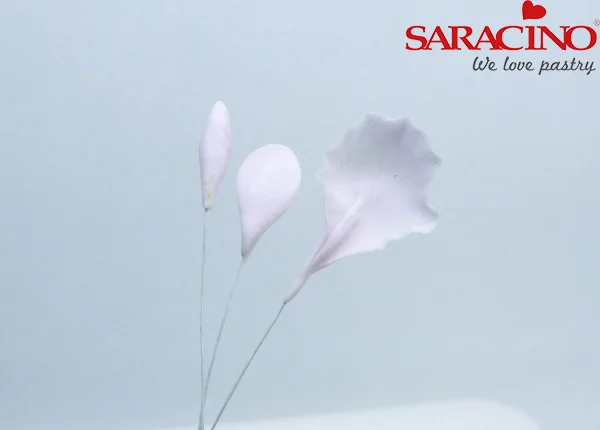
Step 15
Front petal:Same as before, roll out a ball of pink paste (about same size as back petal) onto a 28 or 30 gauge wire
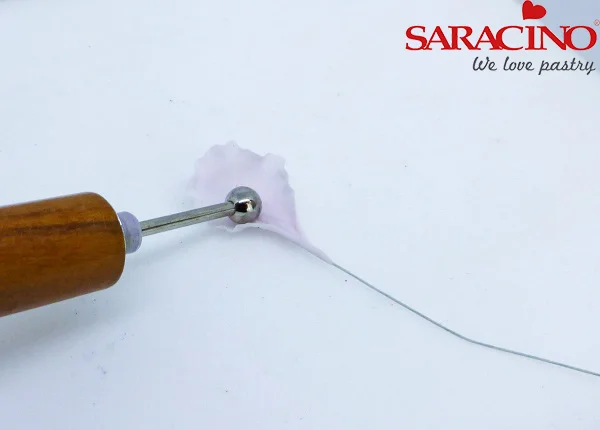
Step 16
Then ball out into a round cup shape, thinning the edges. Place ball of tool in centre to help it form cup shape.
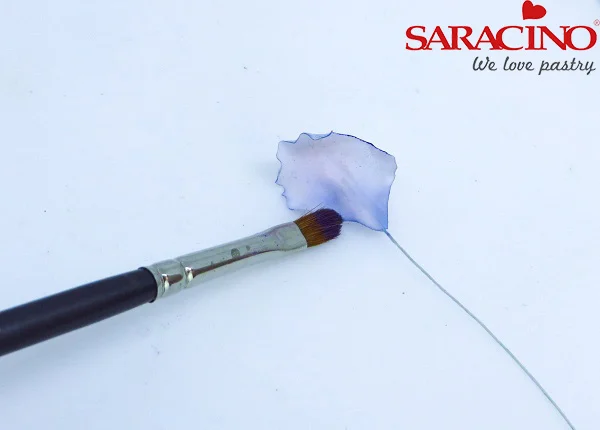
Step 17
Dust lightly as previous petals.
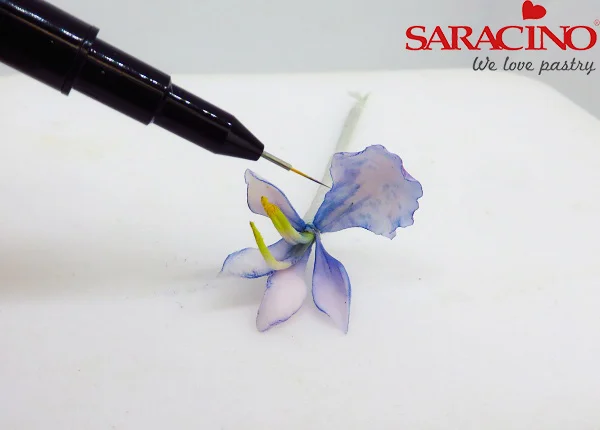
Step 18
Take a very thin fine line brush and create a soft mottled effect, at base and centre of petal, with colour mixed with a little water
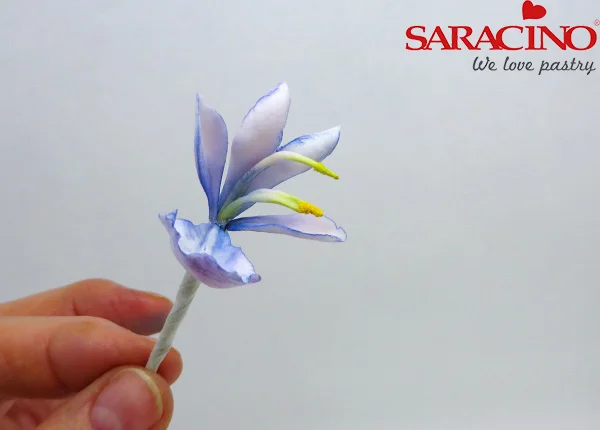
Step 19
Tape onto front of flower with cup facing upwards. Your flower is now complete
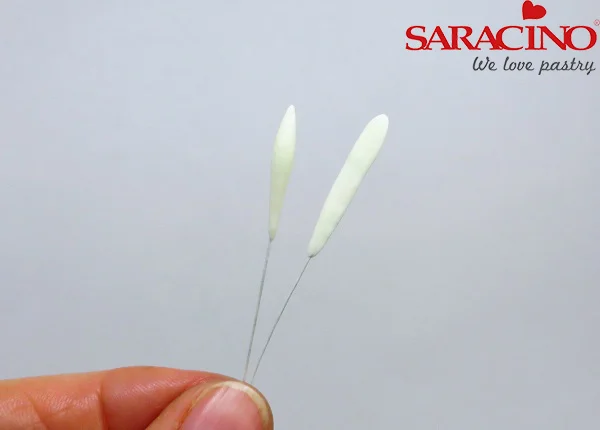
Step 20
Rosemary leaves – You will need to make a lot of these ( depending on how much you need to use). I used about 50-100 various sizes as you will see the rosemary sprig is varied.
Place a small ball of pale green paste onto a 30 gauge wire and taper between the fingers down the wire to form a long tear drop.
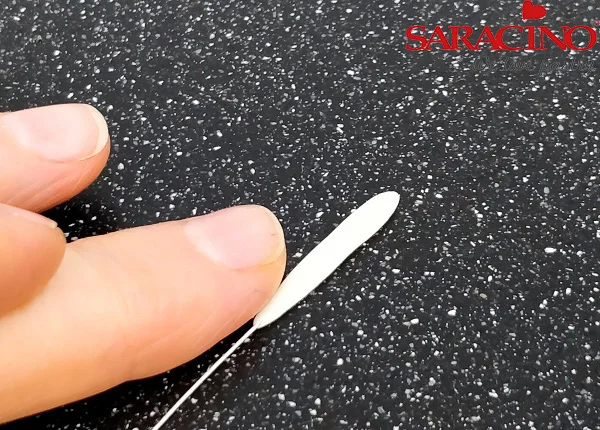
Step 21
Place onto your cel pad and gently press with your finger to flatten
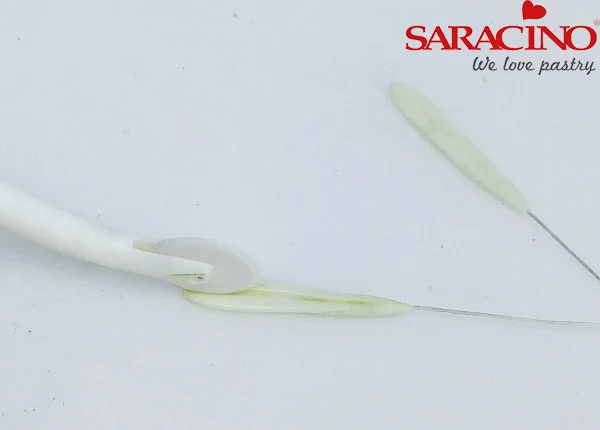
Step 22
Form a middle vein by rolling up the centre, gently, with a cutting wheel. You could also use a dresden tool to do this.
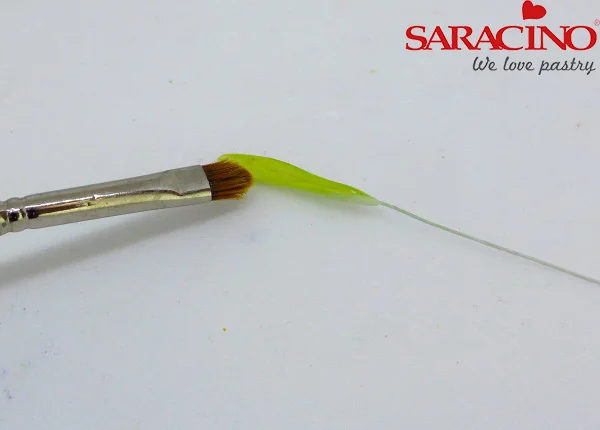
Step 23
Dust with pale green first (I mixed a little green into yellow).
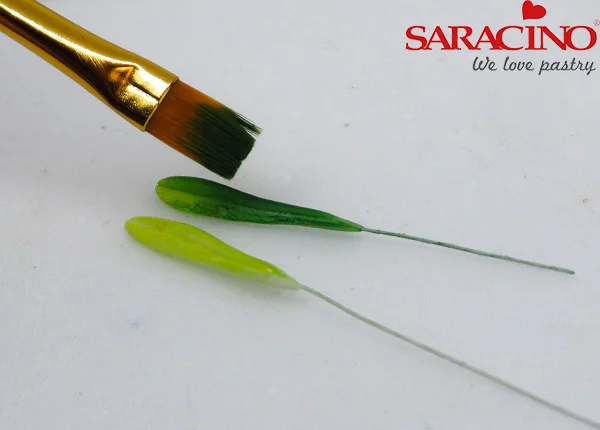
Step 24
Then colour dust with a darker green (I mix a little brown and blue into the green) keep it lighter at the tips and no need to dust the back as leaves are lighter at the back.
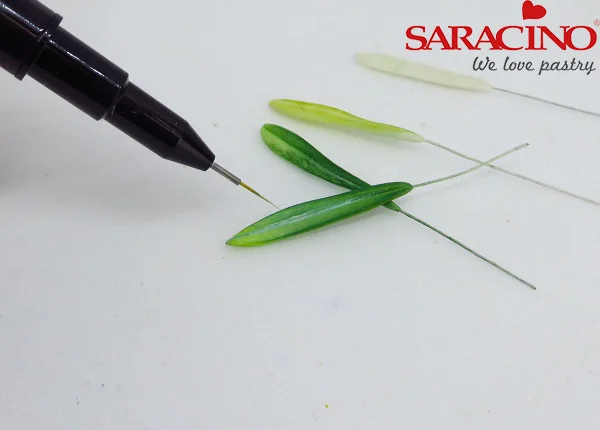
Step 25
WIth the fineliner brush with a little white that’s been mixed with a little water, paint a line down the centre. I put some onto the edges as well, just here and there
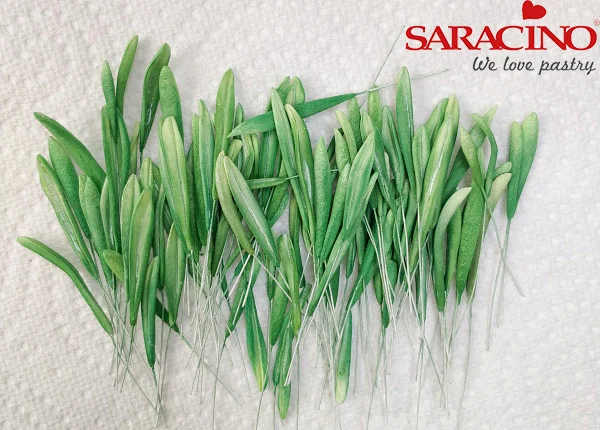
Step 26
Make a lot of leaves, all different sizes.
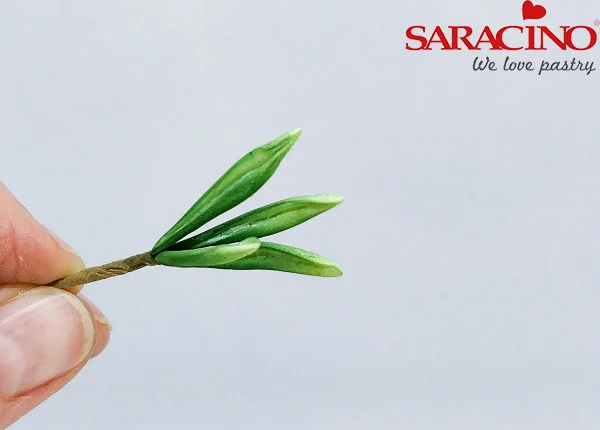
Step 27
Group leaves with brown tape.
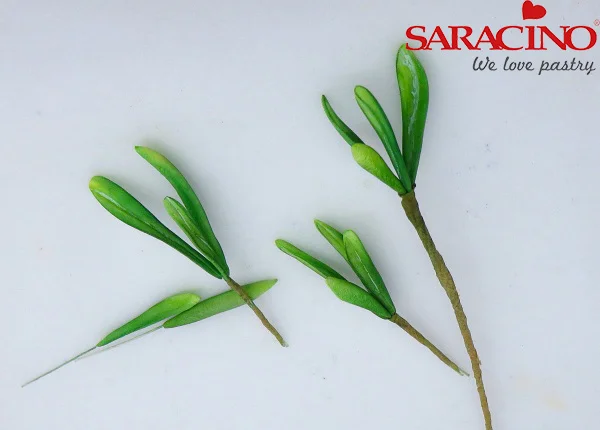
Step 28
Leaves should be grouped in various sizes and numbers
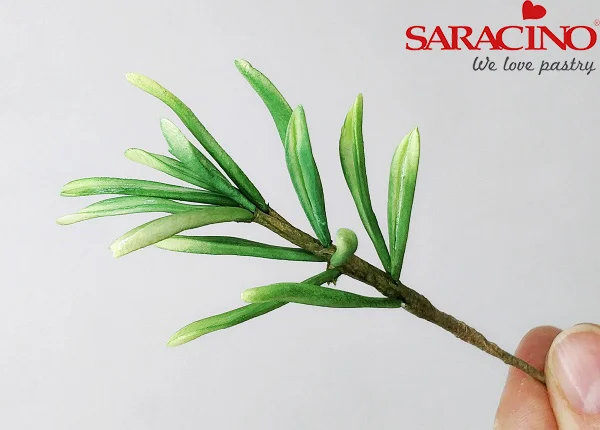
Step 29
Start with a small sprig of leaves at top of taped full wire, then work your way down the wire with single as well as groups of leaves
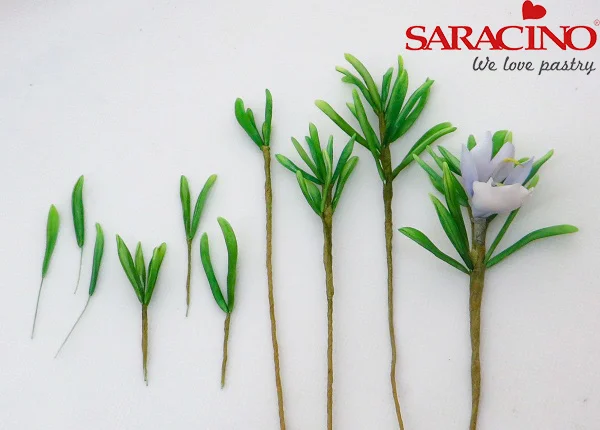
Step 30
Add the occasional blossom as you go down.
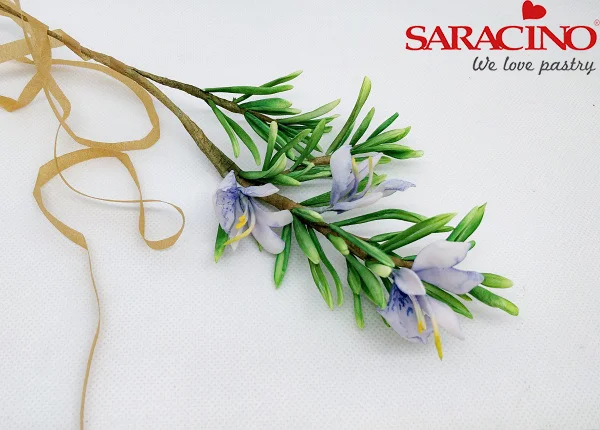
Step 31
Tape a few short branches to main one.
Step 33
Here is completed rosemary sprig with blossoms
NO DRAMA LlAMA
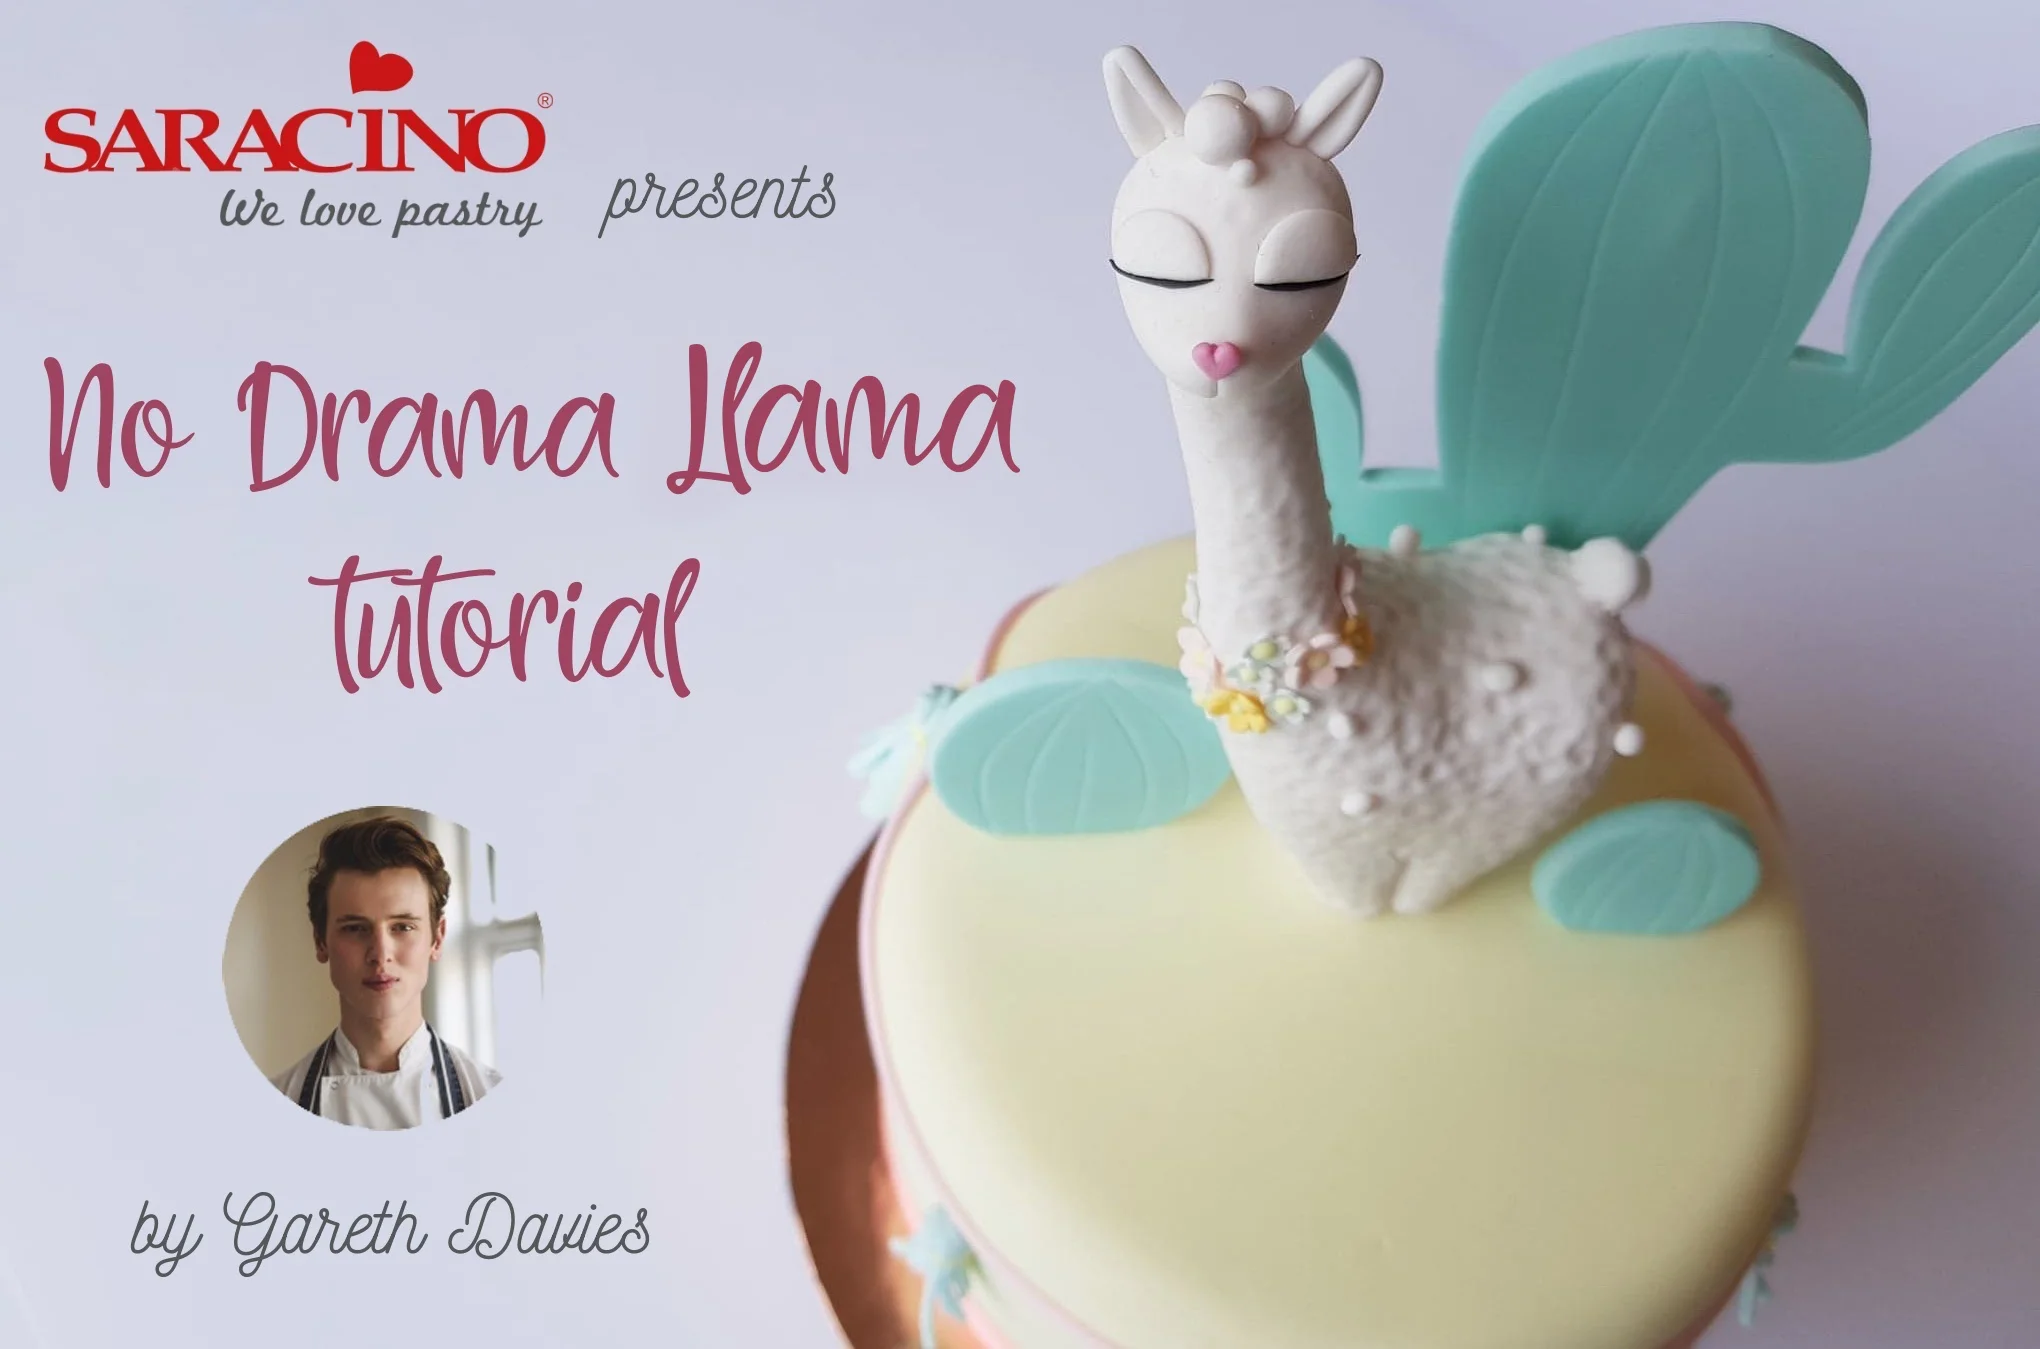

Author: GARETH DAVIES
FB Page : LET THEM SEE CAKE
You will need:
- 250g Saracino Pasta Model: Baby Pink
- 20g Saracino Pasta Model: Baby Blue
- 50g Saracino Pasta Model: Tiffany
- 2g Saracino Pasta Model: Black
- 2g Saracino Pasta Model: Fuschia Pink
- 5g Saracino Pasta Model: Yellow
- Teaspoon of Yellow Royal Icing
- Gel Colour: As pasta model colours above
- Modelling Tools: dresden, balling tool
- Foam pad
- Blossom cutters (2 sizes)
- Polystyrene dummy
- Wooden dowel
- Craft knife
- Kitchen knife
- Edible glue
- Paintbrush
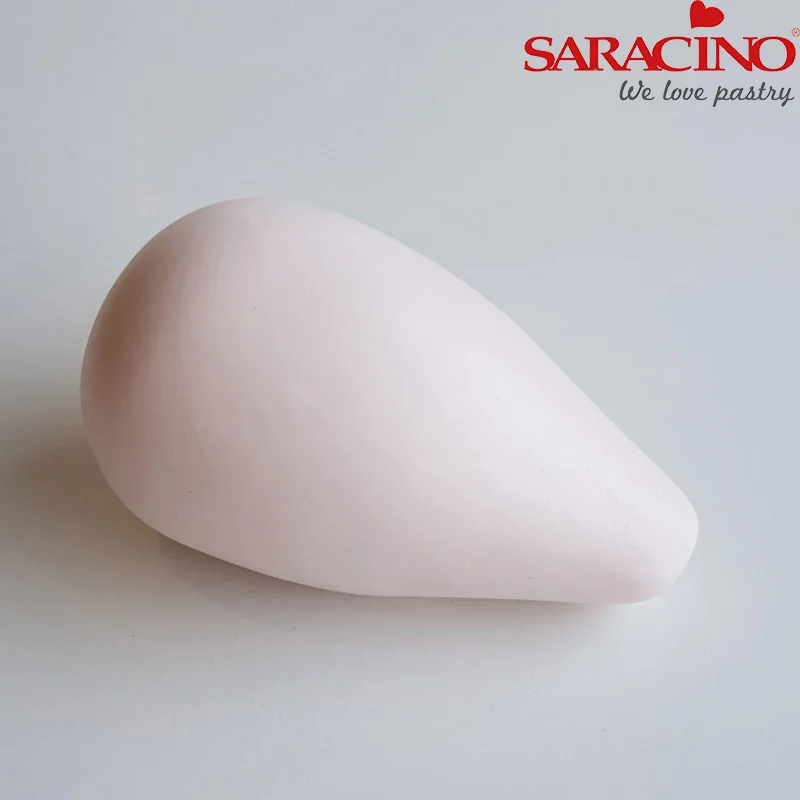
Step 1
For the body shape use 250g of pink Saracino modelling paste and form it into a cone shape.
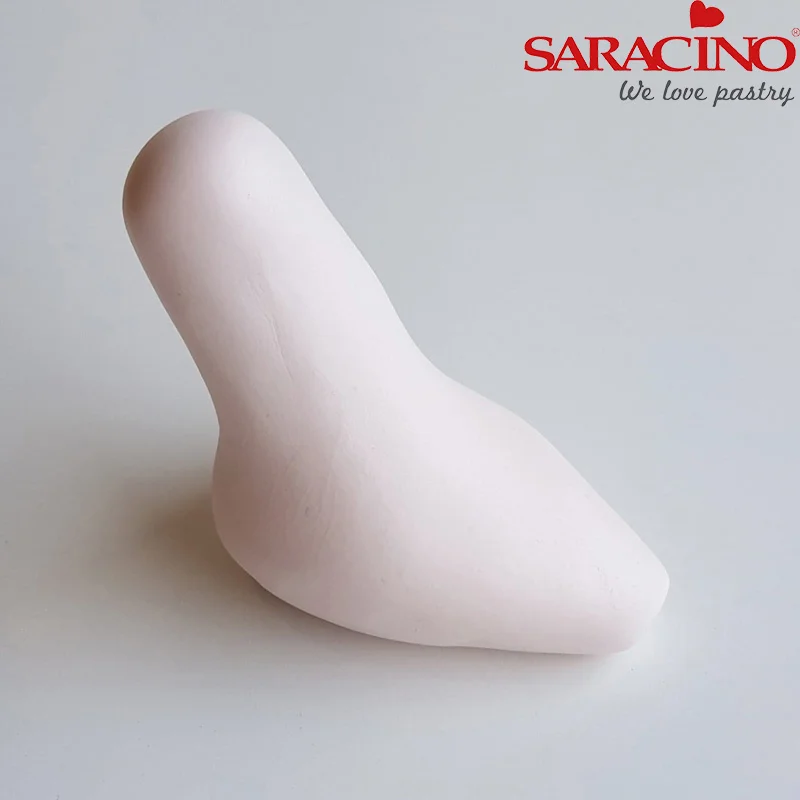
Step 2
Work with the thicker side of the cone, pull and work out the neck of the Llama until it’s long and thin keeping a ball shape at the very tip for her head.
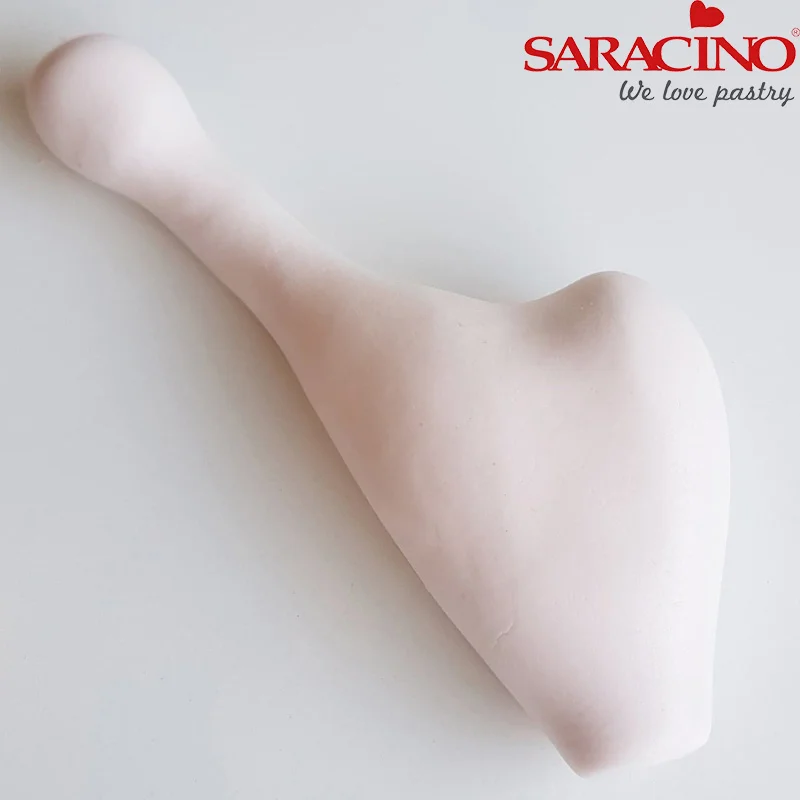
Step 3
Start to work the body of the Llama a little so it looks like a heart shape with the neck ,I have also made sure that the base (feet end) is flat so that the Llama will stand proud.
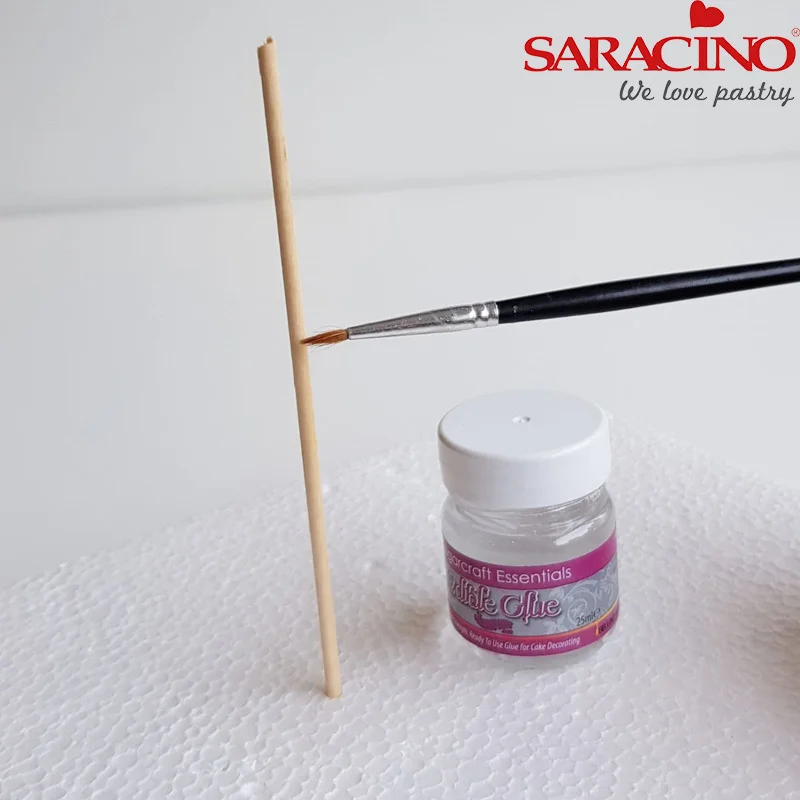
Step 4
Insert a wooden dowel into your polystyrene, then paint the rest of the dowel with a little edible glue.
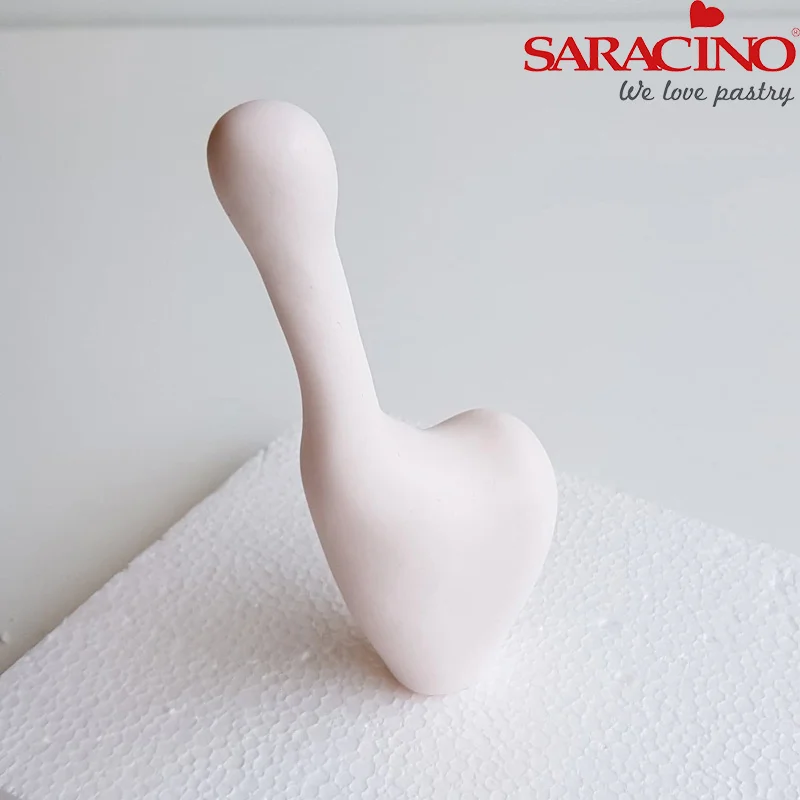
Step 5
Place your soon to be Llama onto the wooden dowel and double check that he is standing straight and as you want him, as this is how he will set and dry.
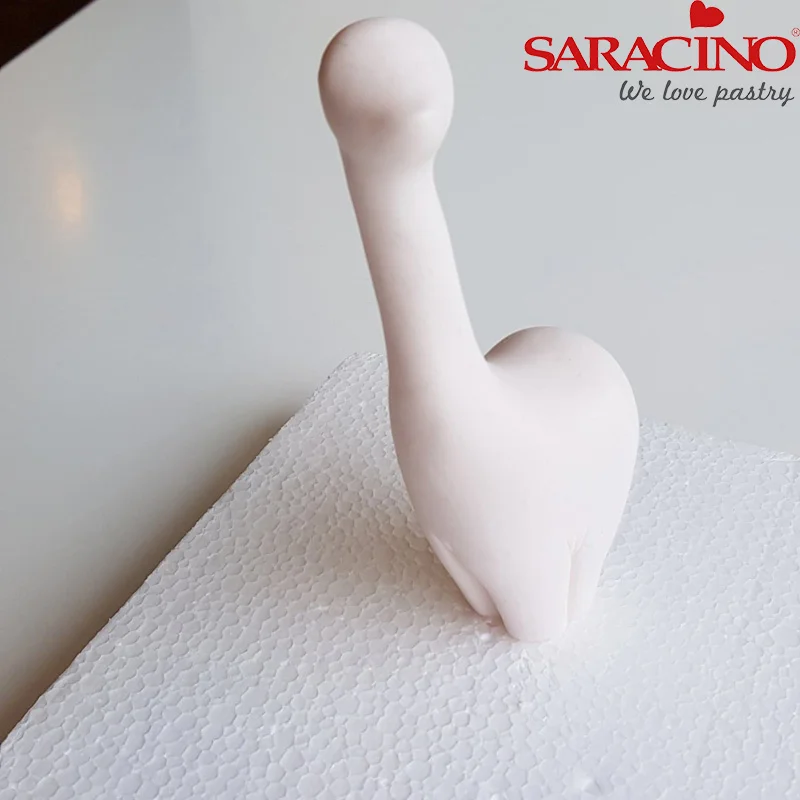
Step 6
Now it’s time to add some features. Carefully add your marks for the legs with either your dresden tool or your knife. I used my dresden tool to create four marks all together, one mark on each side, and then one in the front, and then at the back.
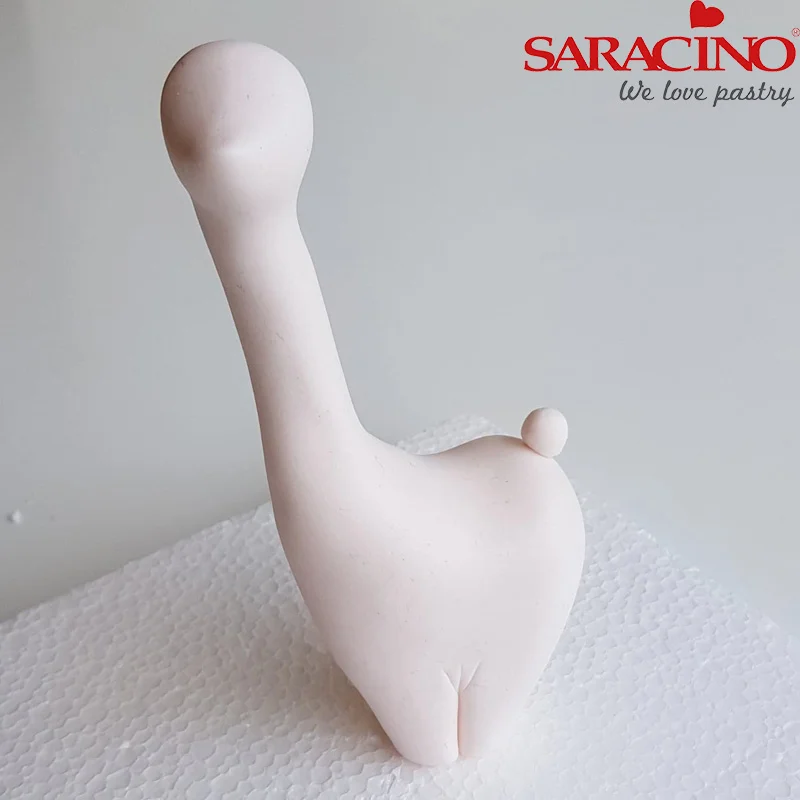
Step 7
Make sure you are happy with the length of the neck now. Once you are, form the ball that’s at the end of your neck into a cone shape for his mouth. Add a tiny ball for the Llama’s tail, don’t forget the bigger the ball, the bigger the tail!
Step 8
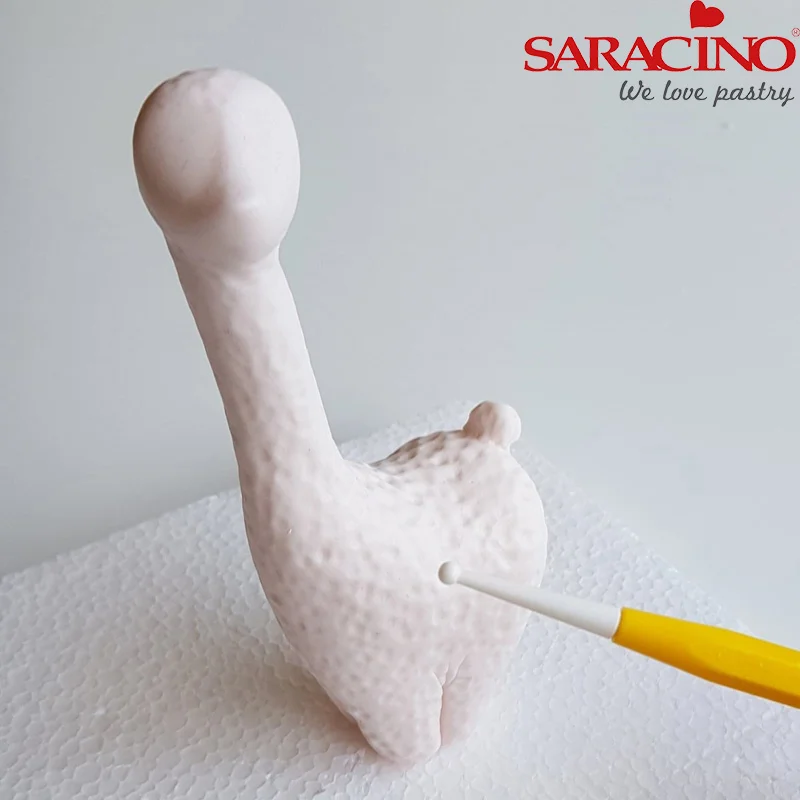
With my balling tool, I like to tab the surface of the Llama all over to create a nice wooly texture ( I try to avoid the face area a little at this stage)
Step 9
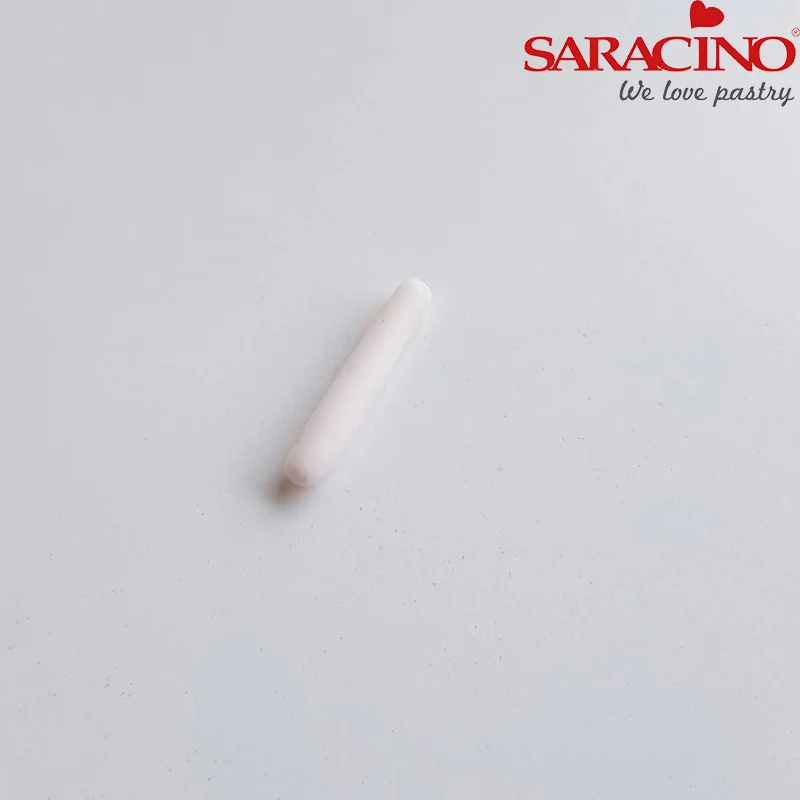
To create the ears I start off with a little bit of the pink modelling paste, and work it into a tiny sausage shape.
Step 10
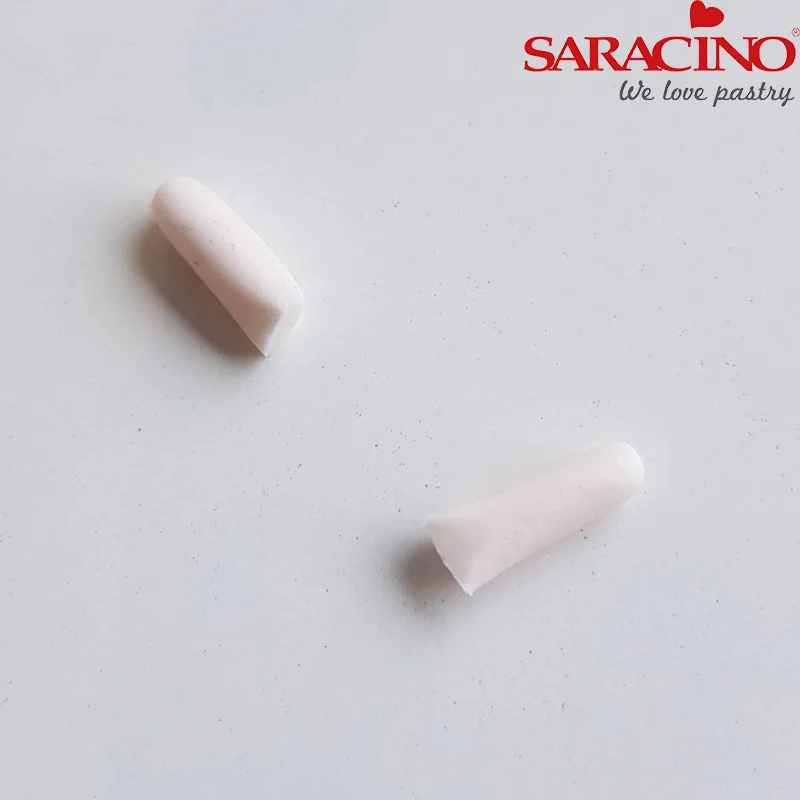
I have cut the sausage shape in half (I usually double check to see if I’m happy with the length of the ears at this stage) . Although Llamas usually have long ears, feel free to cut them down to the size you prefer.
Step 11
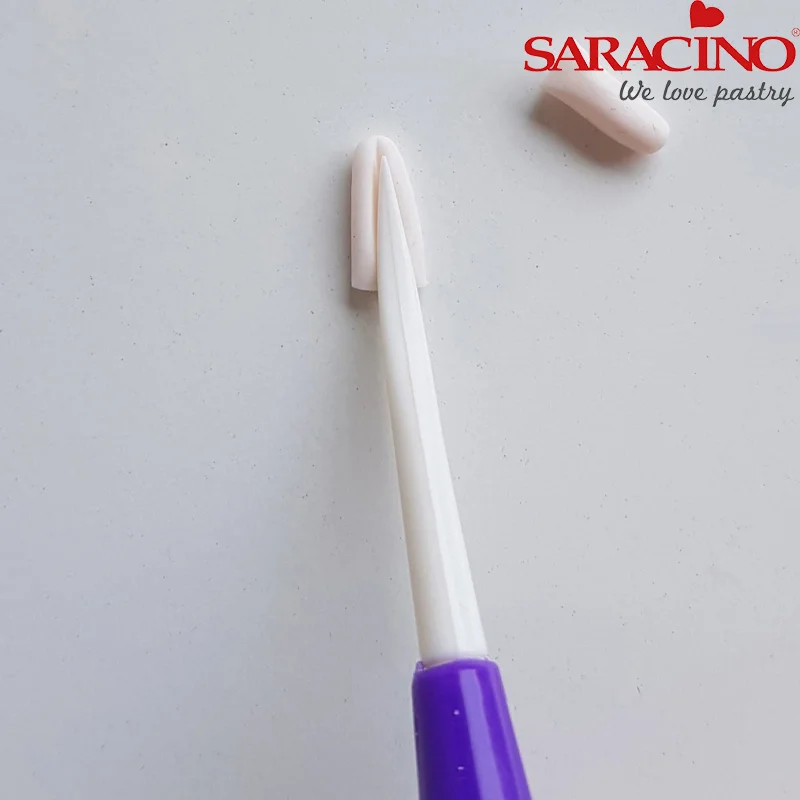
Place your dresden tool in the center of the ear and shape as seen to create the ears.
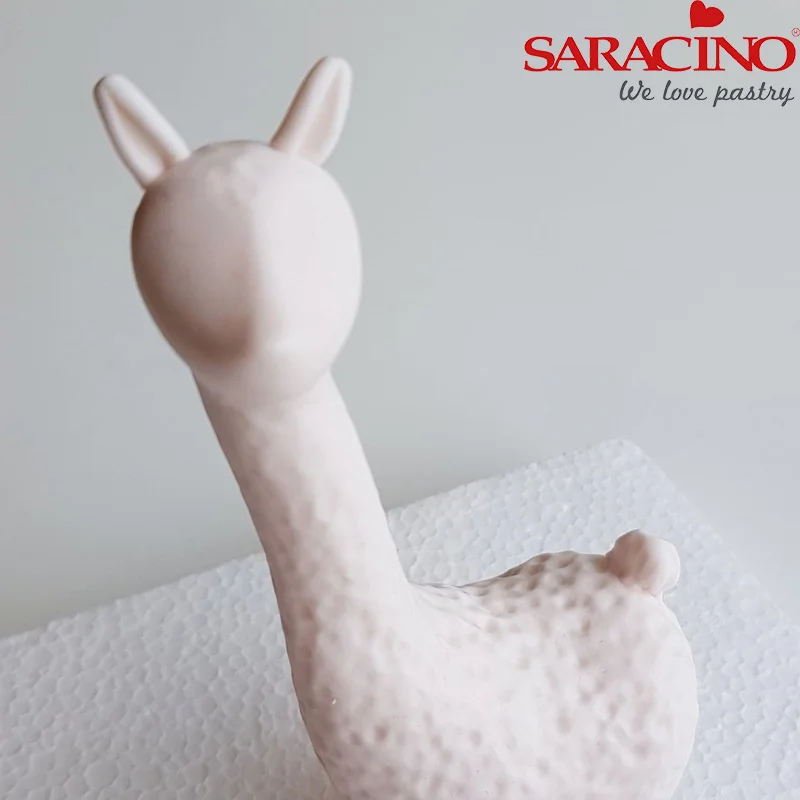
Step 12
Attach the ears with a little edible glue either side of the head making sure they are sticking up into the sky
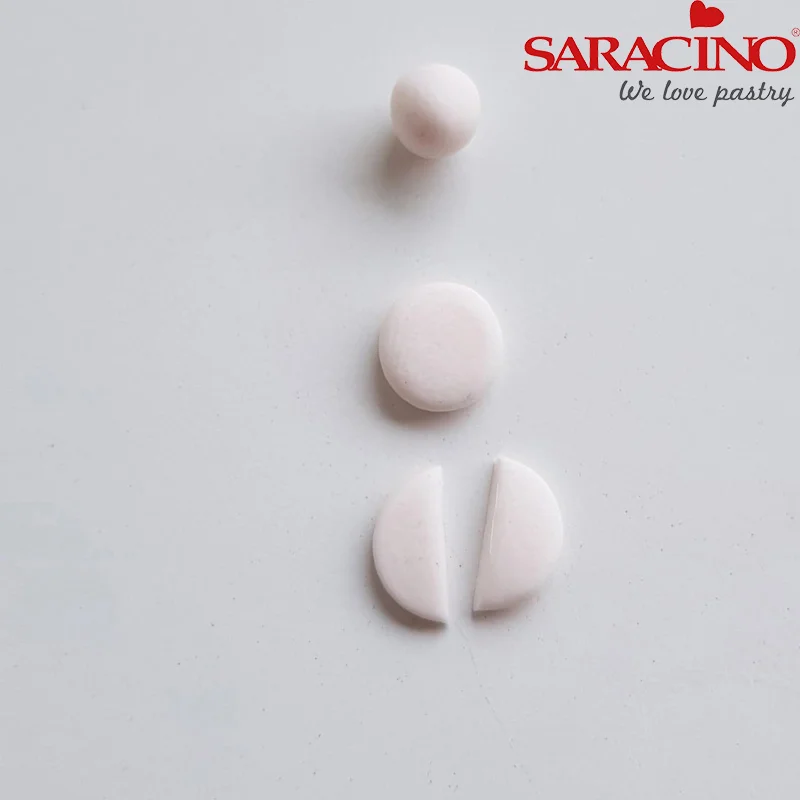
Step 13
To create the eyes I have got a small pea-sized ball of pink Saracino modelling paste, pressed it down on my board so that its flat, and cut it in half to result in two eyelids for the face of your Llama.
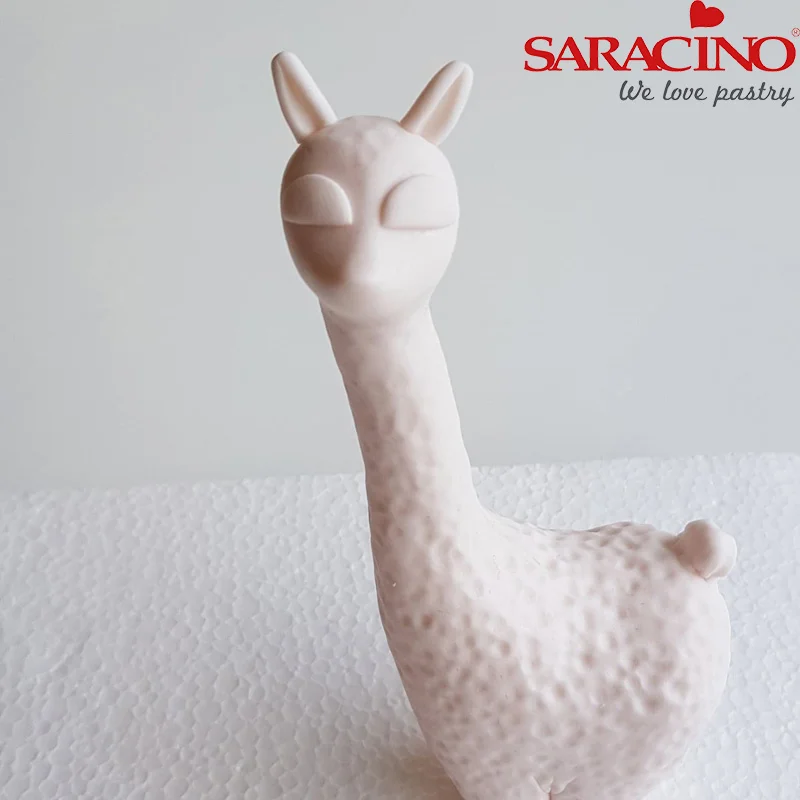
Step 14
Place one eyelid on each side of your Llama’s face with a little edible glue, with the straight edge at the bottom.
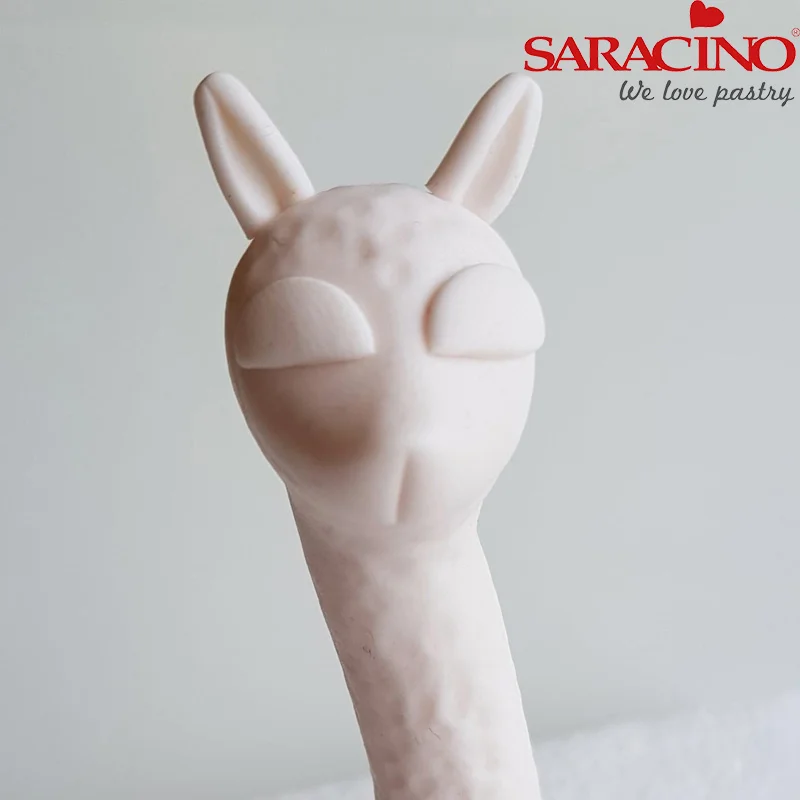
Step 15
Use your knife to create a mark in the middle of the Llamas snout.
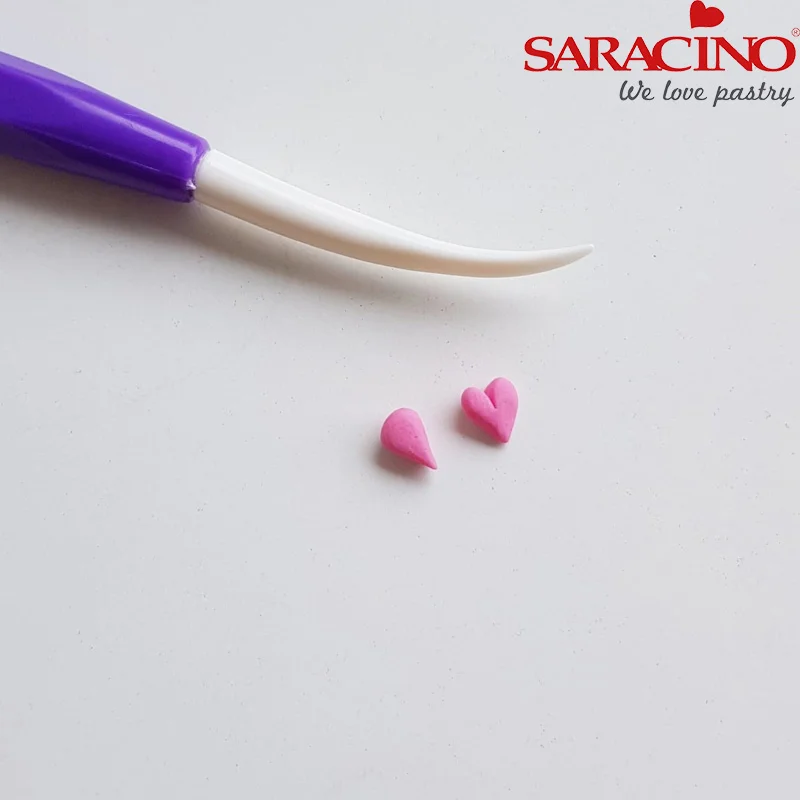
Step 16
Now we are ready to make the cute heart nose! Create a teardrop shape with a tiny ball of fuchsia pink Saracino modelling paste. Use your dresden tool to indent the thick side of your teardrop to create a cute little heart.
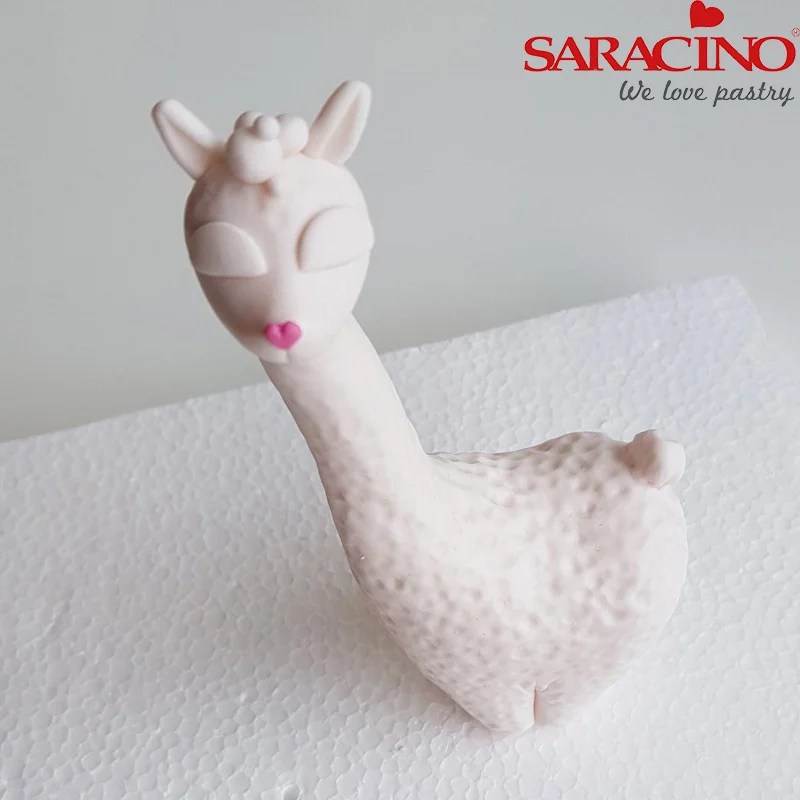
Step 17
Glue your nose on the tip of your original cone shape, I have also added a couple of little light pink balls on the top of the head to create the look of wool.
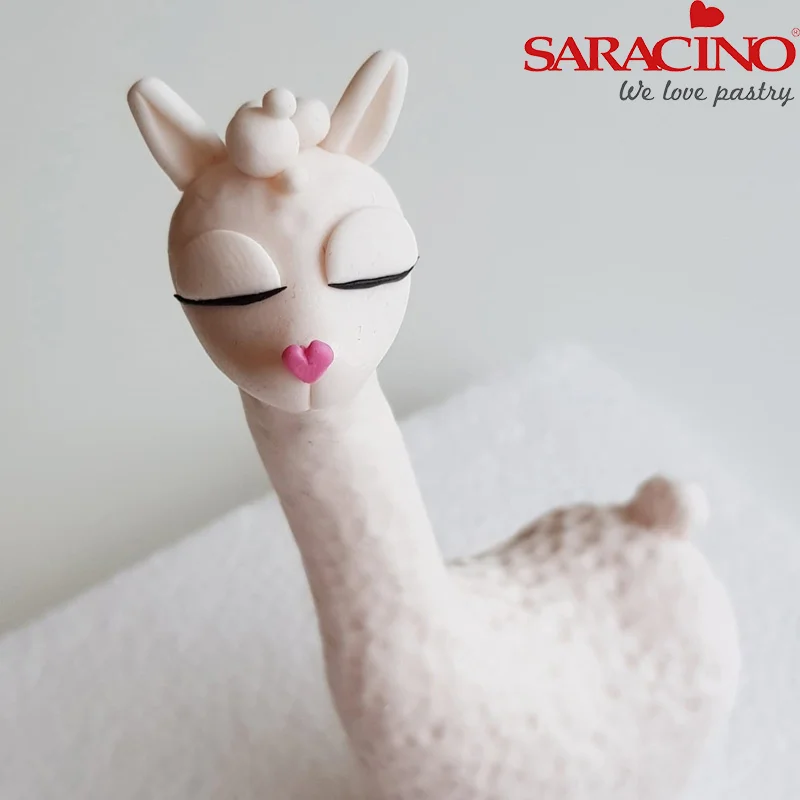
Step 18
Finish the face off with a tiny slither of black Saracino modeling paste rolled out with my fingers and placed at the bottom of each eyelid.
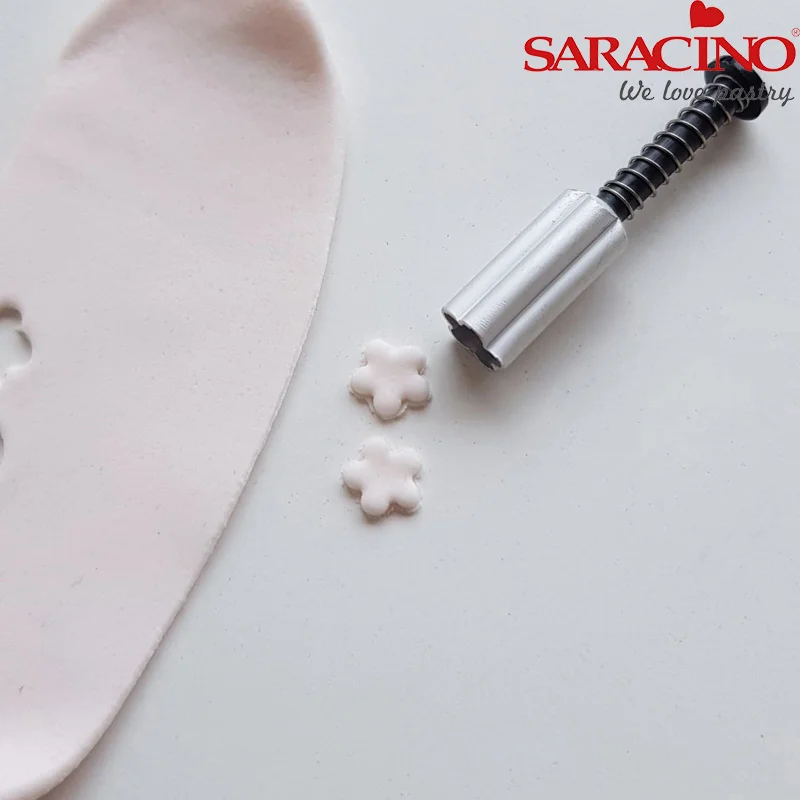
Step 19
As if our Llama wasn’t pretty enough! Why not add some beautiful little flowers around the base of the neck! Here I’ve just rolled out different pink ,yellow and blue pastel Saracino modelling paste very thin and cut out with small blossom cutters.
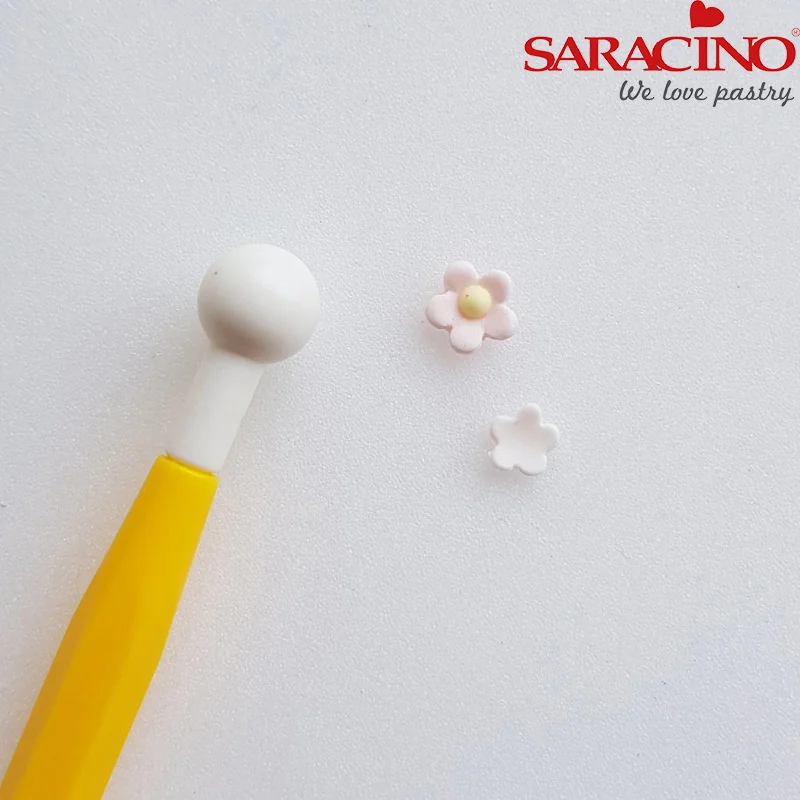
Step 20
Using my balling tool I have balled each flower out on a foam pad to help cup them up and thin them out a little more! I have also added a center to each flower with a little bit of Yellow Royal Icing.
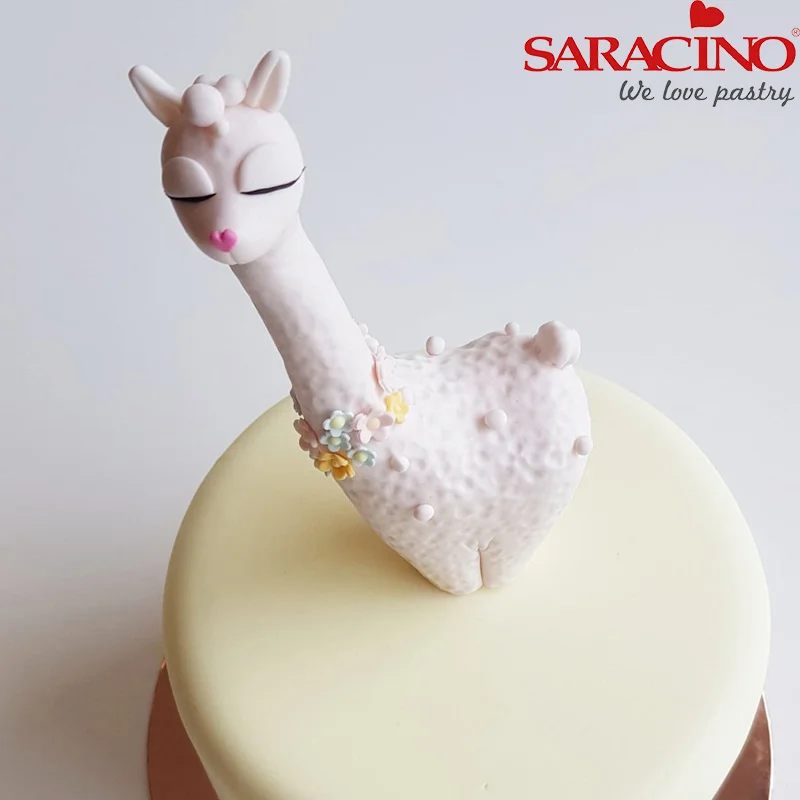
Step 21
To finish off my little Llama I have arranged all the flowers around the neck with a little edible glue to create a beautiful colour of flowers.
As you can also see in this photo I have transferred my little Llama to a 6” round cake, covered with pastel yellow Pasta Top.
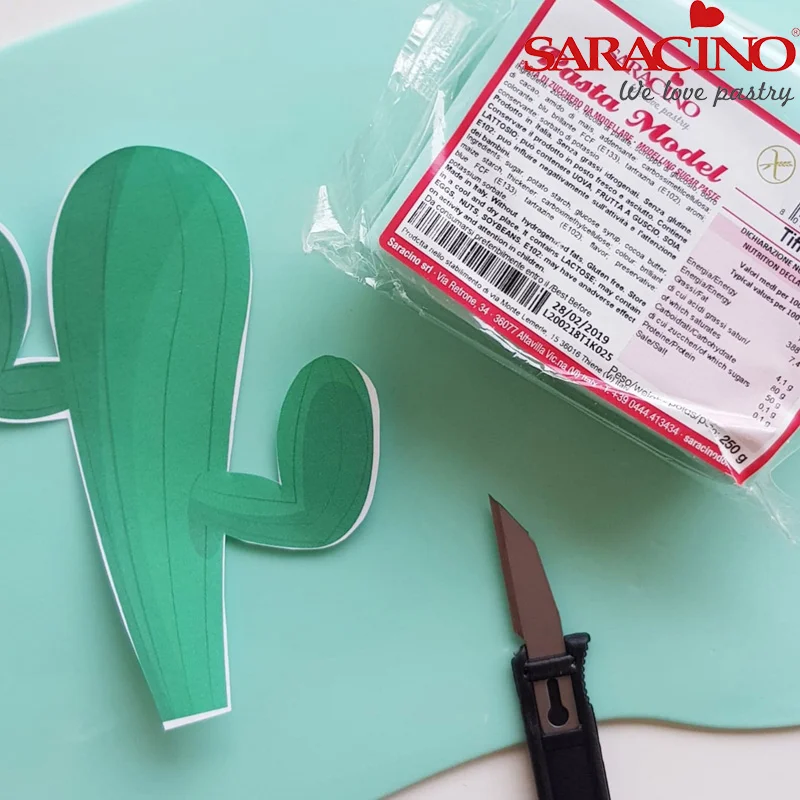
Step 22
To accompany my Llama, what’s better than a couple of cactuses created with my favorite Tiffany coloured Saracino Modelling Paste. Using a simple cactus template! I have carefully cut around with a sharp craft knife.
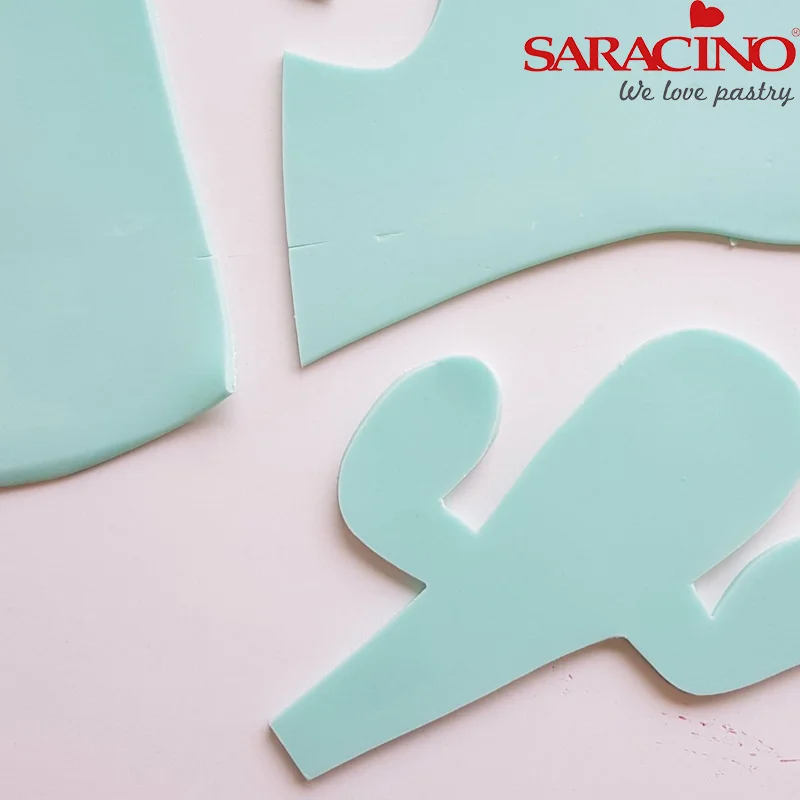
Step 23
Cut out as many as you wish and leave to dry and set hard
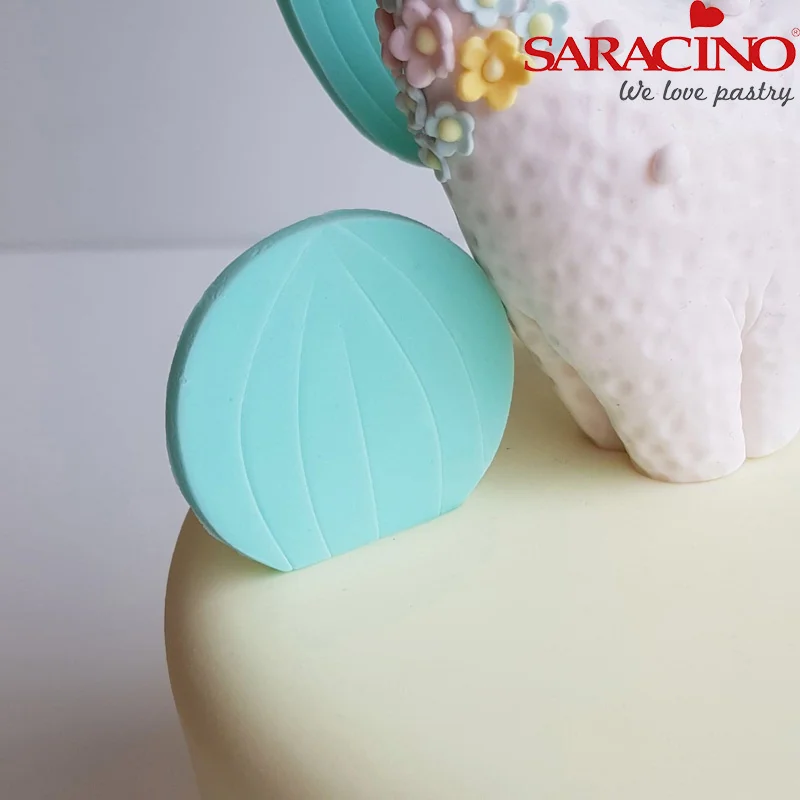
Step 24
I have added in little lines with my dresden tool to create this effect
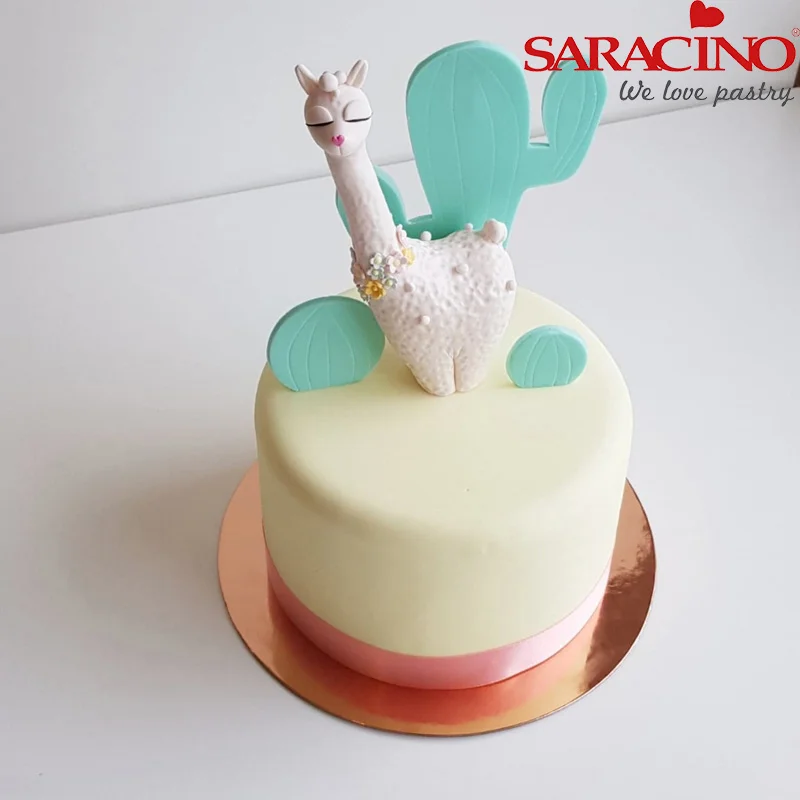
Step 25
Once the Cactuses have set hard, with a little bit of edible glue, I have stuck the cactus onto the cake using the Llama as support for the bigger cactuses (glue the cactus to the Llama also)
Step 26
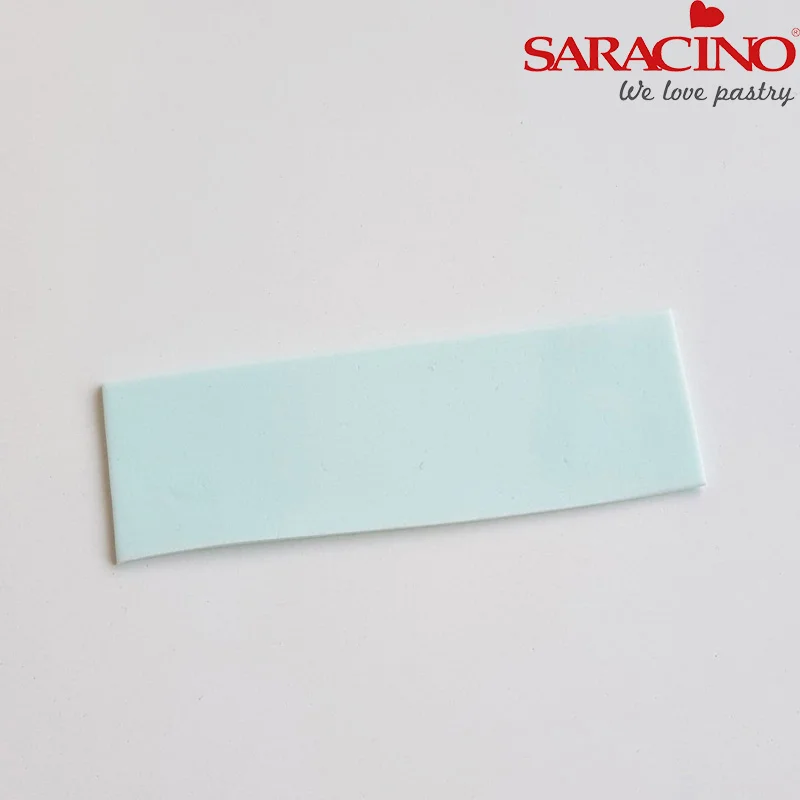
No Llama cake is complete without a pompom or a tassel somewhere in the mix.
To start your tassels I have rolled out some Baby Blue Saracino Modeling paste and cut a thin strip about 4cm wide by 8cm long.
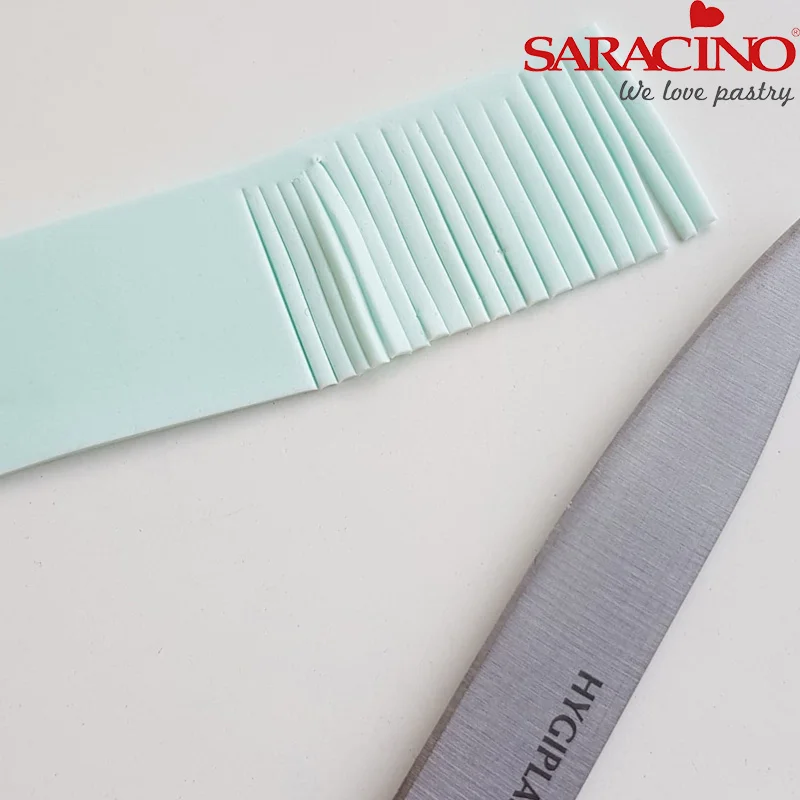
Step 27
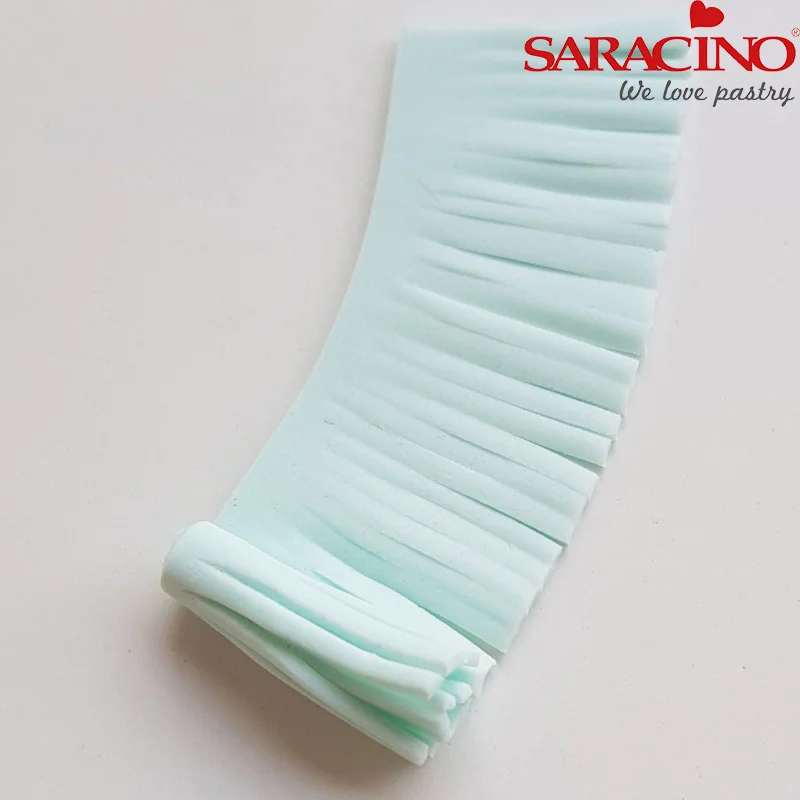
Then carefully cut the strip leaving a tiny bit uncut at the top of the strip.
Step 28
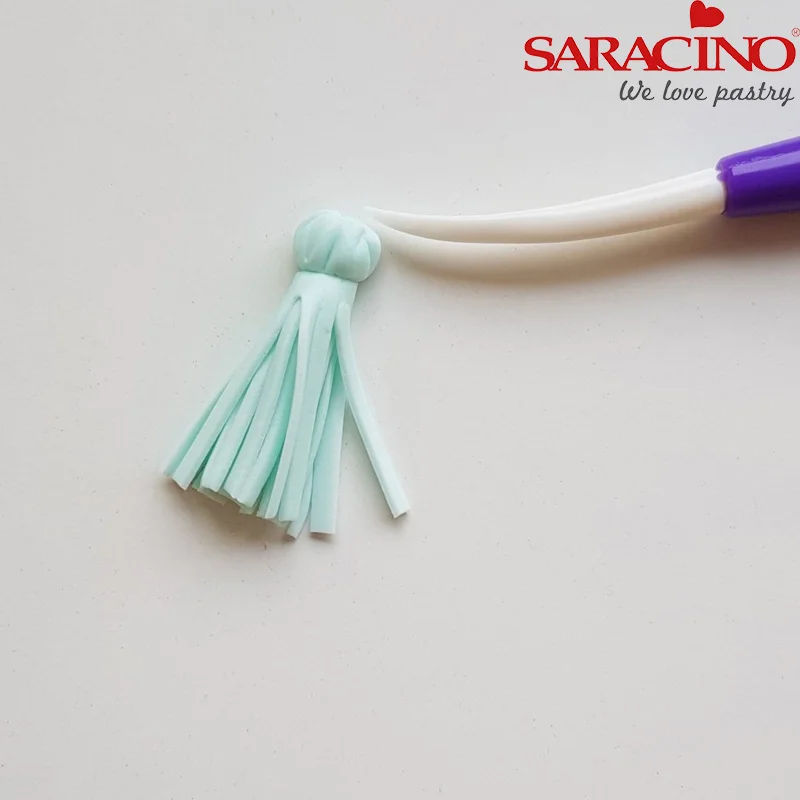
Then roll the strip up to create a lovely bottom half to your tassel, You might need to use a little glue to help secure the tassel and stop it from unraveling.
Step 29
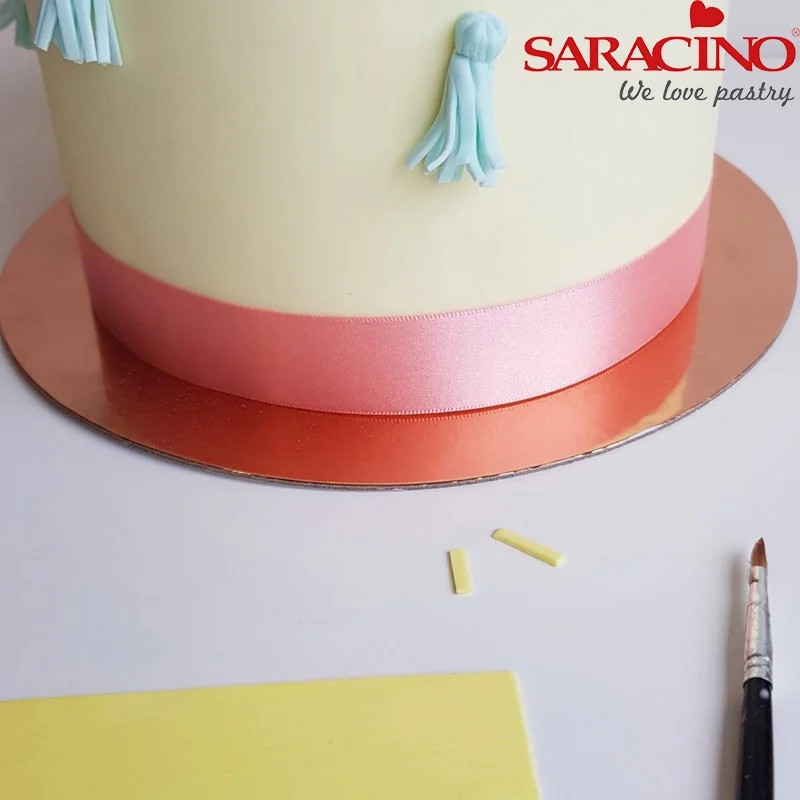
Add a small ball to the top of the tassel with a bit of edible glue and mark it all over with your dresden tool.
Step 30
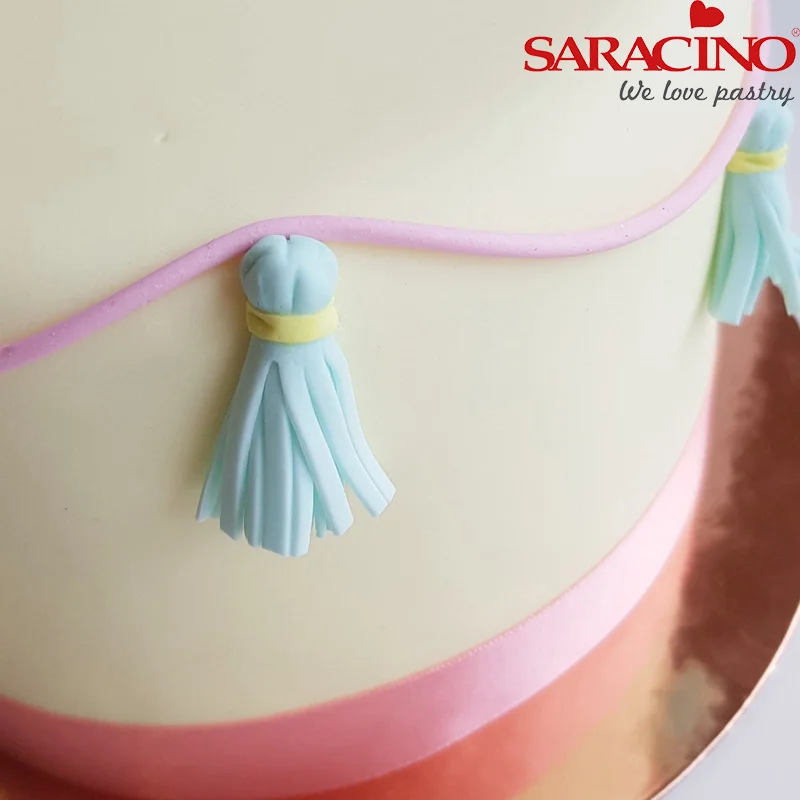
Carefully stick to the side of your cake with a little bit of edible glue, and then add a small strip of pastel yellow to cover the join as seen above.
Step 31
Attach to the cake
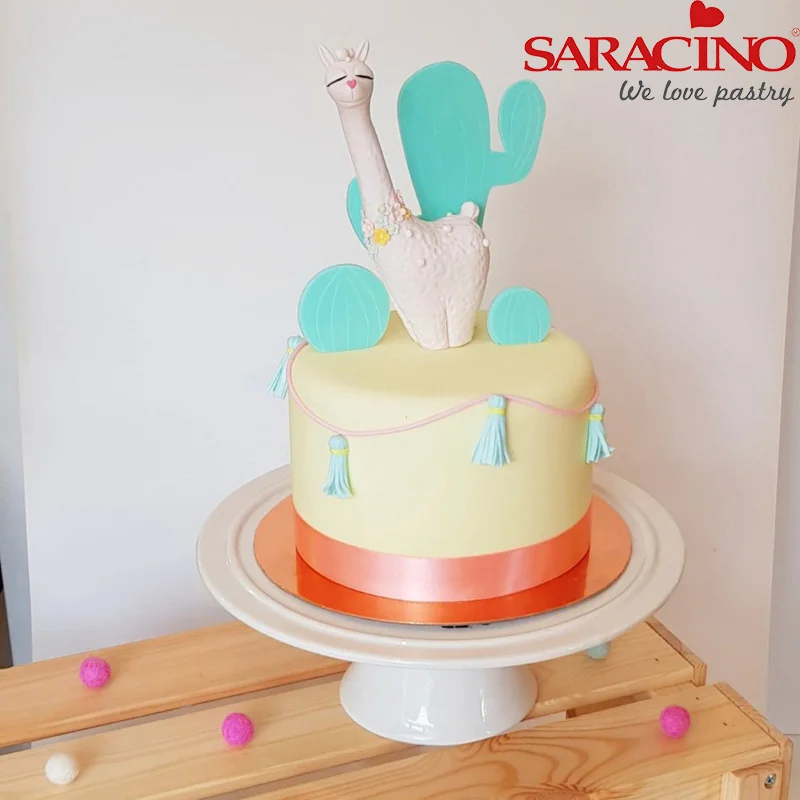
Step 32
Sit back and enjoy what you have just created and enjoy the special occasion.