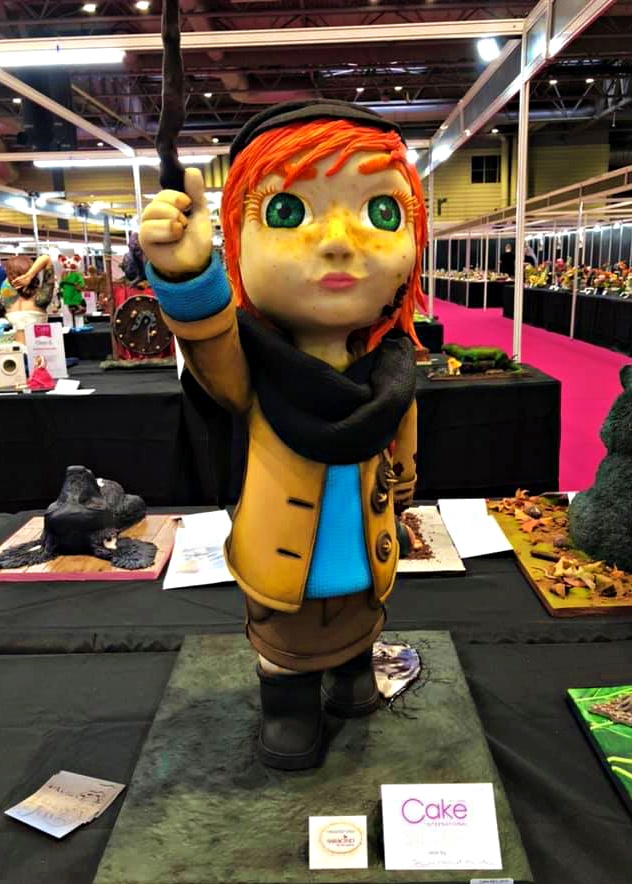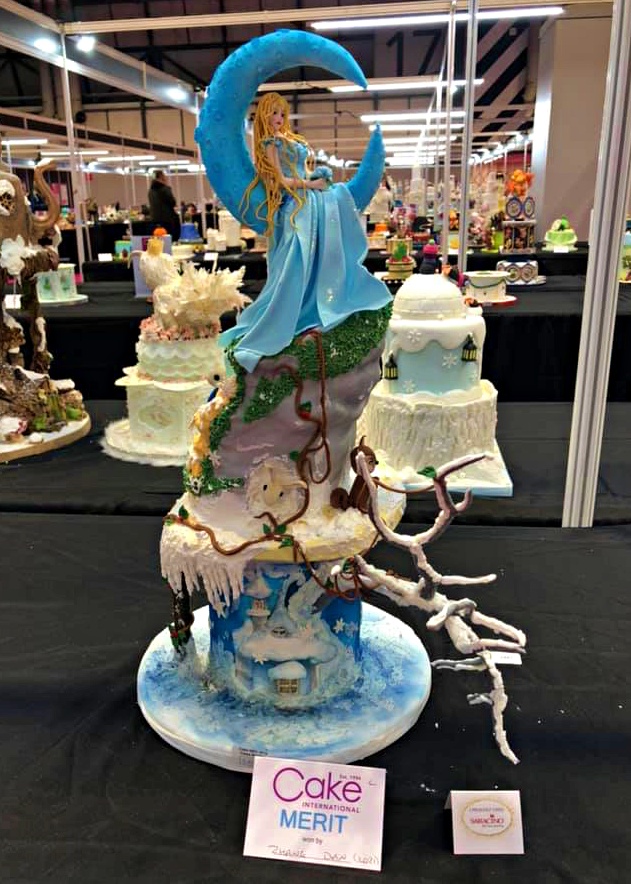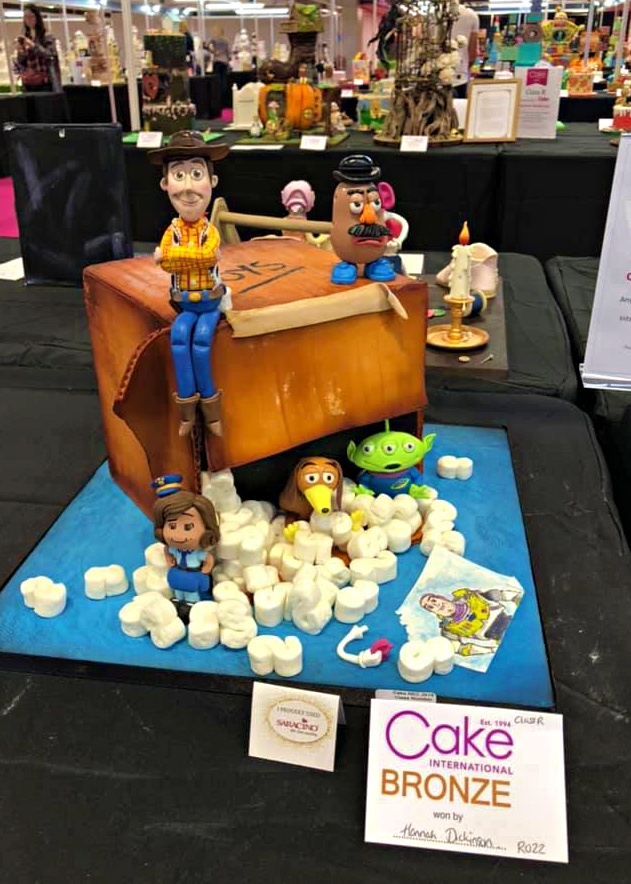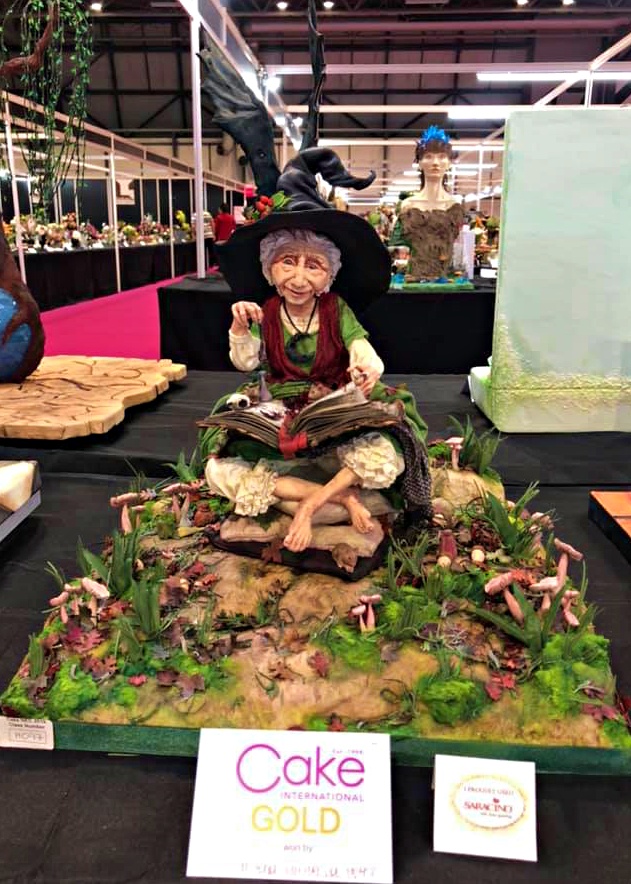
Dream Team 2019

Dream Team 2019

Here is a list of our amazing donator’s of this great prizes:
  • Aimee Rider
  • Akademia Tortu
  • Avalon Cakes School Of Sugar Art
  • CakeFlix Paul Bradford
  • Cake International
  • Cake Master
  • Cakes By Carol
  • Cassie Brown Design Ltd
  • Cerart
  • Claire Anderson
  • Dekofee
  • Dragiekiss
  • Dragons & Daffodils Cakes By Rhianydd Webb
  • Dummy Cakes
  • Evil Cake Genius
  • Fabricake
  • Pastaline
  • Silvia Mancini Cake Art & Co
  • Saracino
  • Sweet Stamps By Amy
  • Tina Scott Parashar
  • The Old Piping Bags
  • Valentina’s Sugarland
  • Vanilla Valley
  • Zee Chik Designs
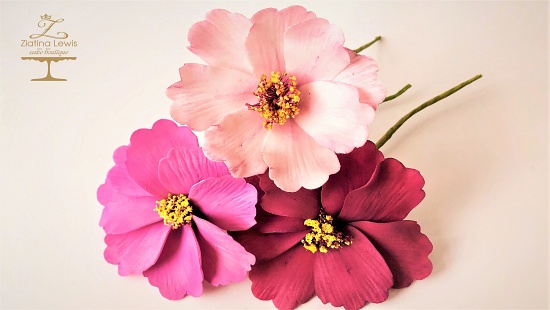
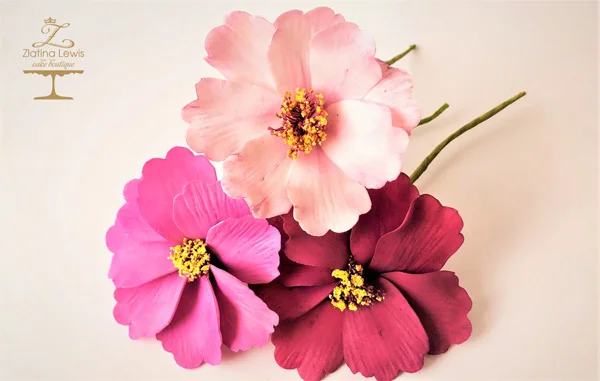
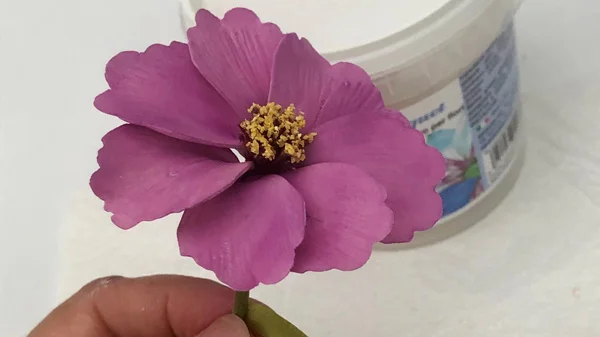
COSMOS FLOWER

COSMOS FLOWER

Skill level: BEGINNERS

FROM ZLATINA

By using different dust colours, you can create different colour cosmos blossoms. Let the nature be your inspiration.
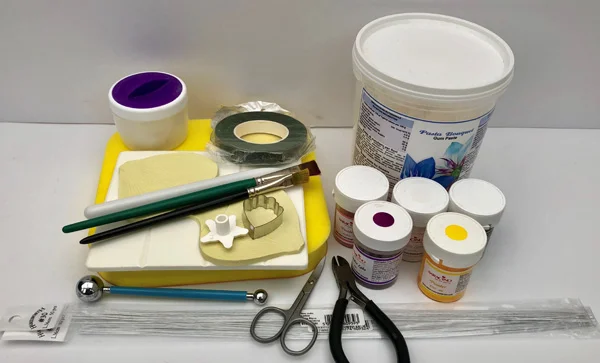
You will need:
  • Saracino flower paste – Pasta Bouquet – 50g
  • Florist wires white (24 and 30)
  • Florist tape – green
  • White cotton thread
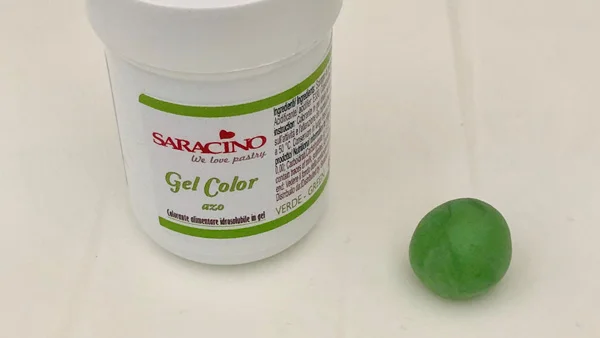
  • Saracino colour gel  – green, pink
  • Saracino colour dusts – yellow, pink, red, violet, white, green
  • Saracino edible glue
  • Semolina
  • Cornflour for dusting
  • Balling tool
  • Non-stick rolling pin
  • Cel Board
  • Foam Pad
  • Cosmos cutter & veiner
  • Paint brushes (Flat for dusting)
  • Wire cutter
  • Scissors
  • Kitchen roll

Step 1

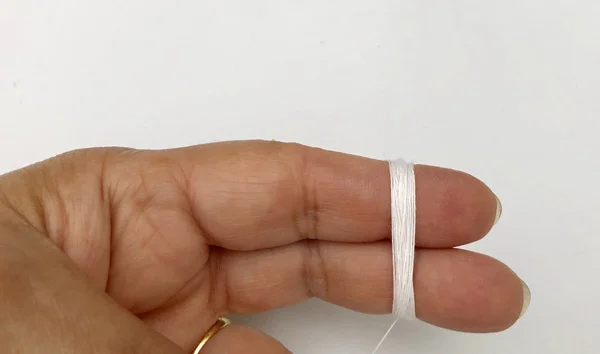
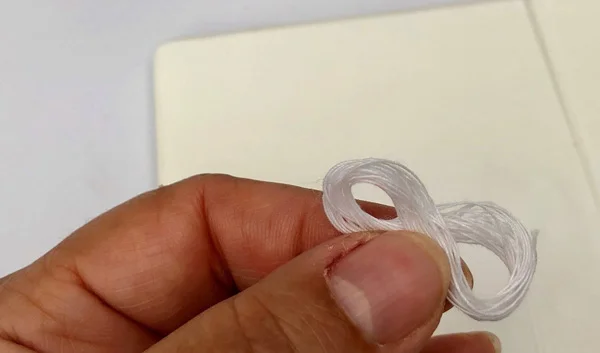
To make the centre of the flower, wrap cotton thread around your two fingers about 20-30 times, until you have a thick loop.

Step 2

Fold the cotton loop into a figure eight.

Step 3

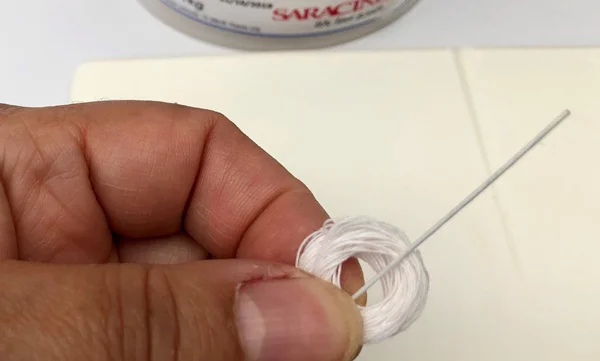
Fold the figure eight loop again, to form a thick coil and feed through a half length 24 gauge wire. Fold the wire and twist the two ends at the base tight together to secure the thread.

Step 4

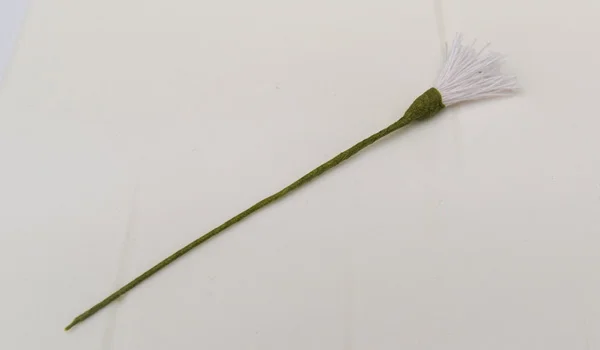
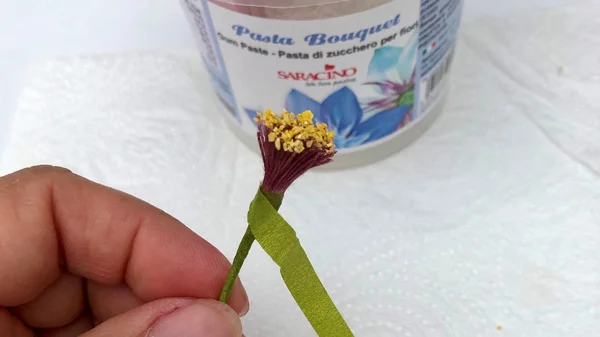
Secure the cotton loop with half length green florist tape and cover the wire.

Step 5

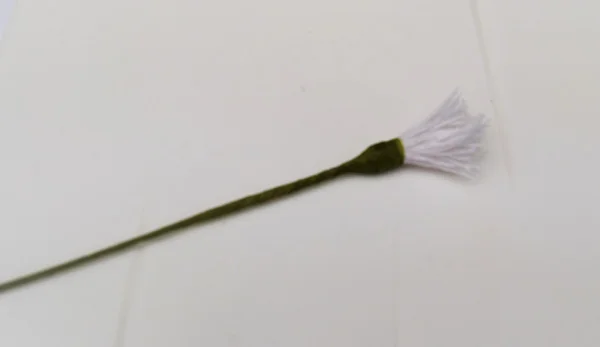
Cut into the loop with scissors and shorten the ends of the cotton if it is too long, to form a shape of a short tassel.

Step 6

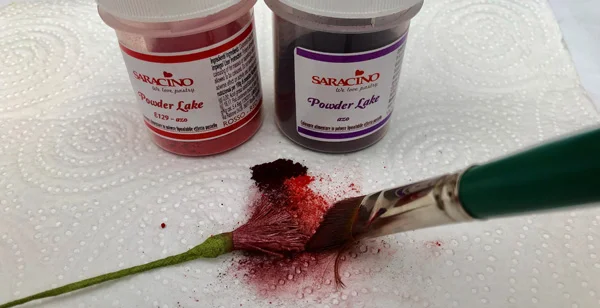
Mix together small amount of red and purple Saracino dust colours and dust the threads.

Step 7

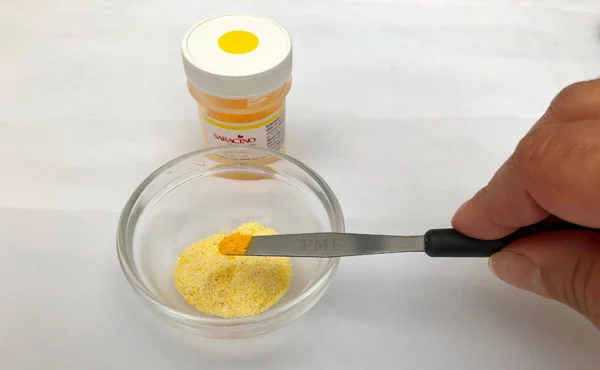
Colour a small amount of semolina with yellow Saracino dust colour to make a pollen like mixture.

Step 8

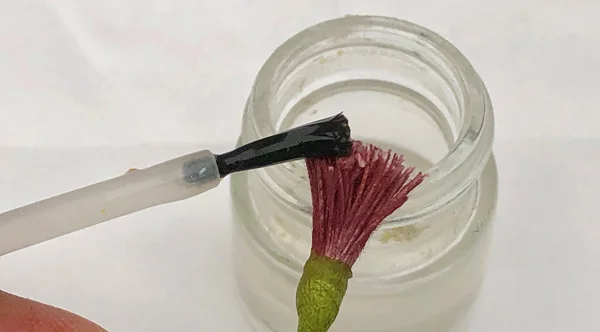
With a paint brush dab gently the ends of your coloured thread tassel with edible glue.

Step 9

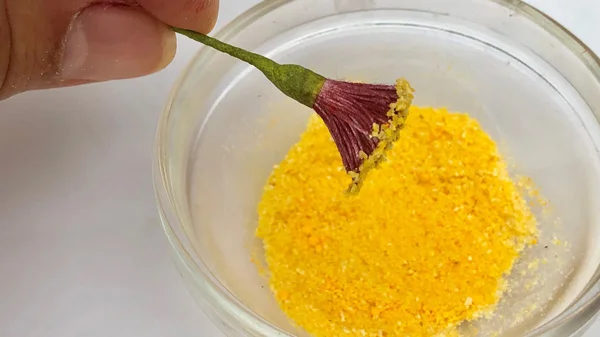
Dip the ends of it into the yellow semolina. This will resemble a flower pollen.

Step 10

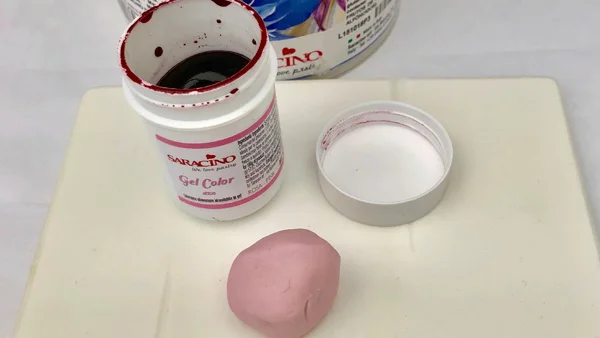
Add a bit of pink gel colour to a small amount of Saracino flower paste and mix well to achieve a smooth pale pink coloured paste.

Step 11

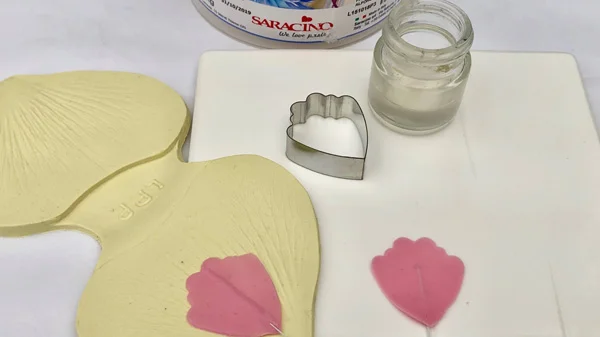
Roll the paste thinly over the grove on the grove board.  Cut out a petal with the cosmos cutter and insert the 30 gauge florist wire into the ridge.  Dust the veiner with small amount of cornflour and press the veiner firmly to form a veining pattern.

Step 12

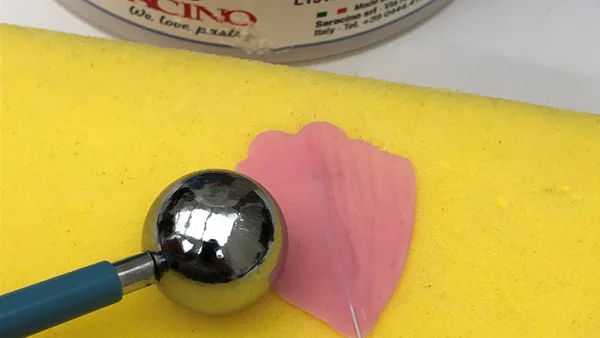
Move the petal onto a foam pad and thin the edges of the petal with a balling tool.  Pinch gently the bottom of the petal to secure the paste on the wire and to give it more movement and shape.  Make eight petals and leave them to dry on a sponge.

Step 13

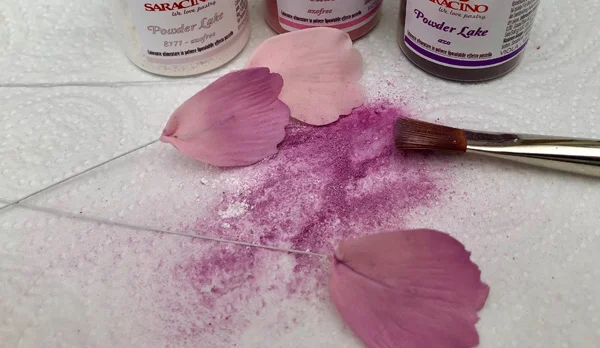
Mix together little bit of white, violet and red Saracino dust colours and dust the petals, at the base you should make the colour a bit darker.  Dust gently the reverse of the petals as well.

Step 14

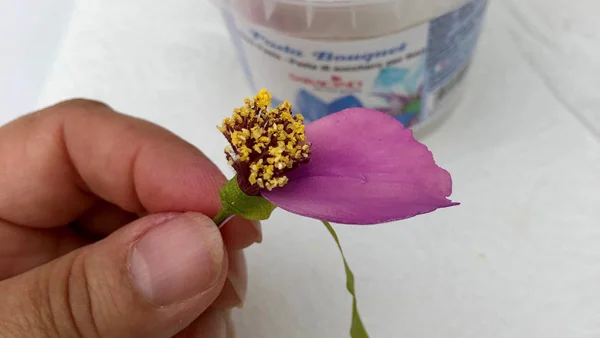
Wrap florist tape around the base of the flower centre.

Step 15

Bend the wire of each petal and attach it at the base of the flower centre with florist tape.

Step 16

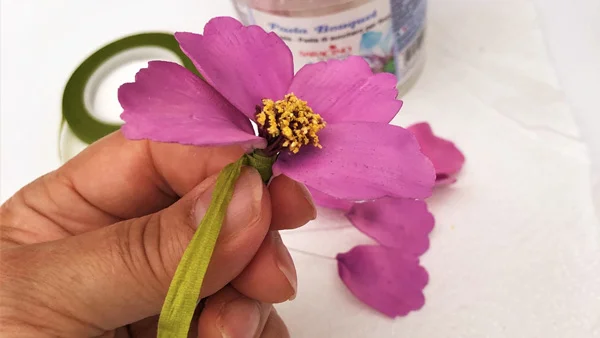
Make sure you attach the petals tightly to the base of the flower centre.

Step 17

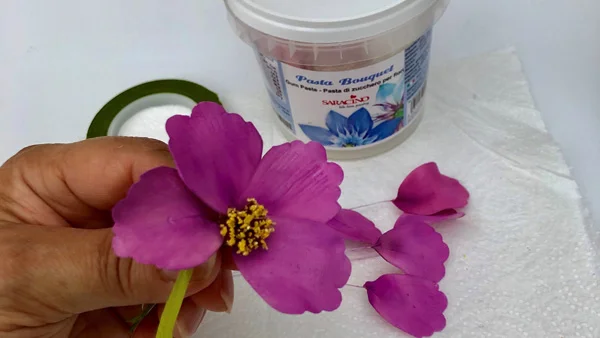
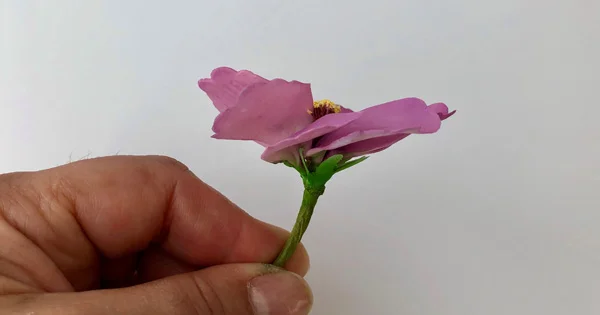
There is no correct way in which to arrange the cosmos petals.

Step 18

Assemble the flower as you see it. Different blossoms can be arranged in a different way.

Step 19

Colour a small amount of flower paste with green gel colour.

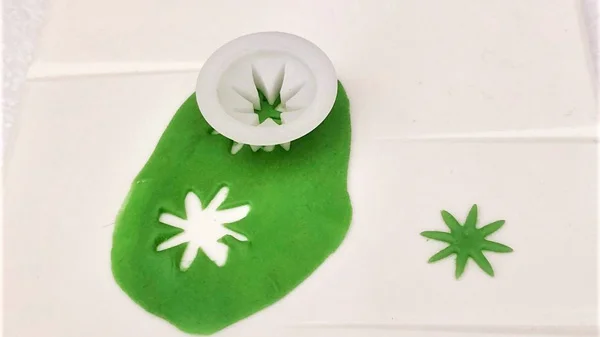
Step 20

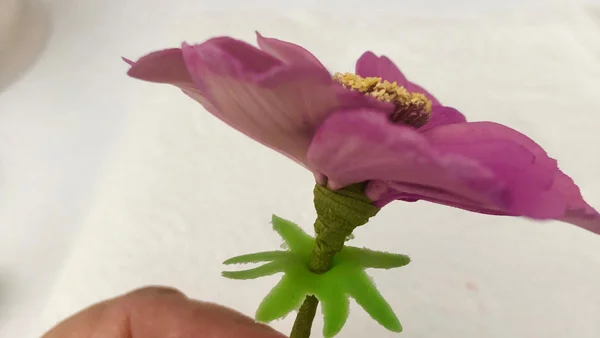
Roll out the green paste and using a star shaped cutter cut out a calyx.

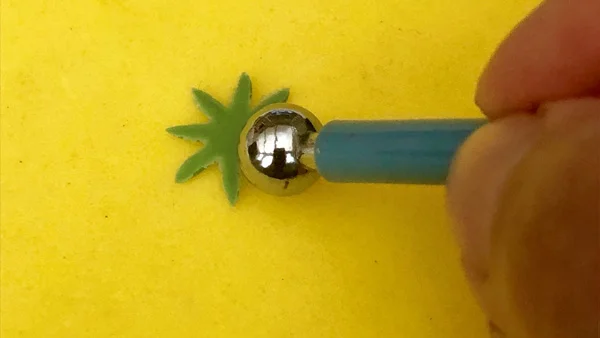
Step 21

With the ball tool roll over the calyx and thin the ends of it.

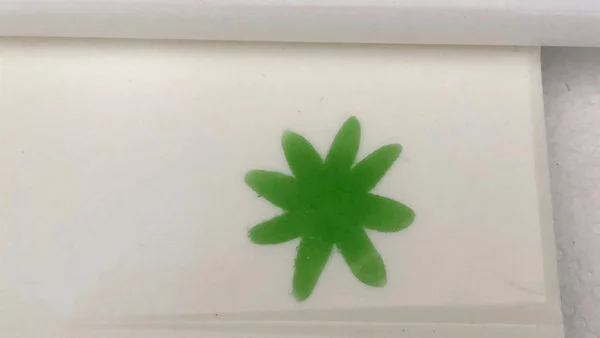
Step 22

Dampen gently the centre of the calyx with water.

Step 23

Push the calyx up the wire towards the flower head.

Step 24

Attach the calyx to the base of the cosmos flower.

Step 25

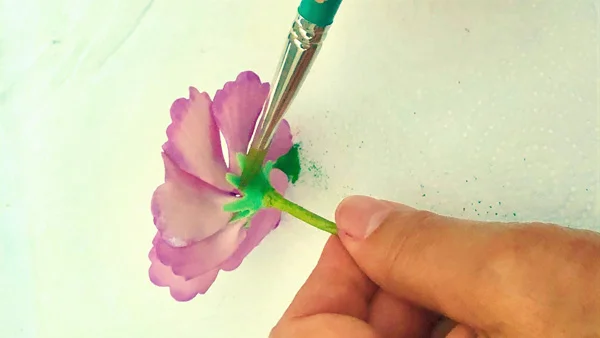
Use green dust colour and dust the calyx gently.

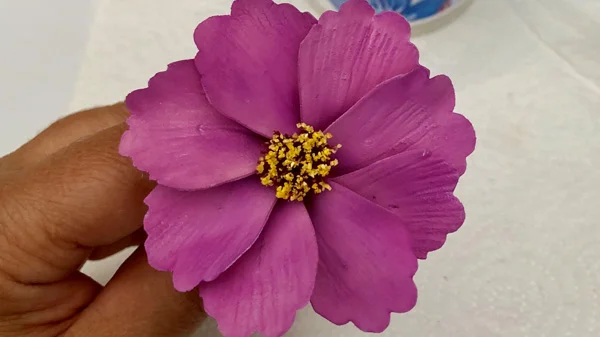
Step 26

Your flower is ready to go on your cake

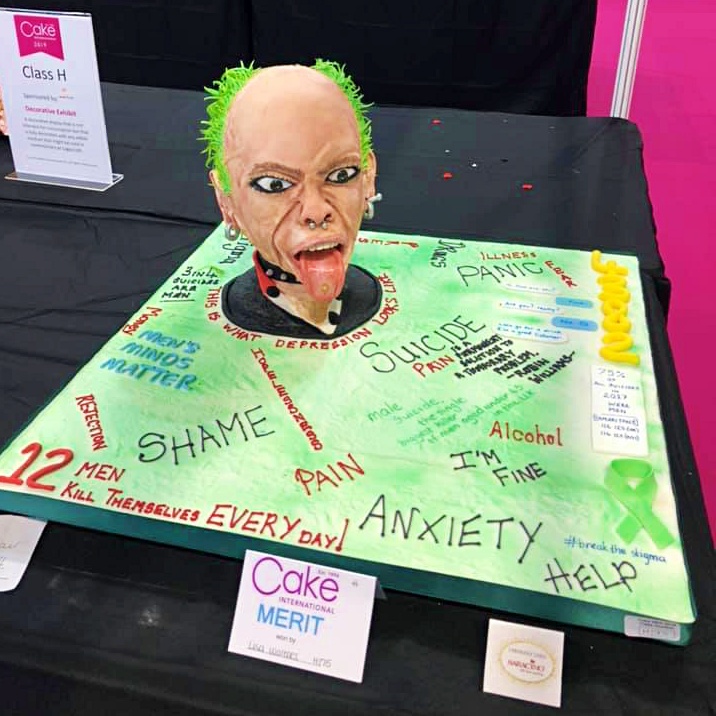
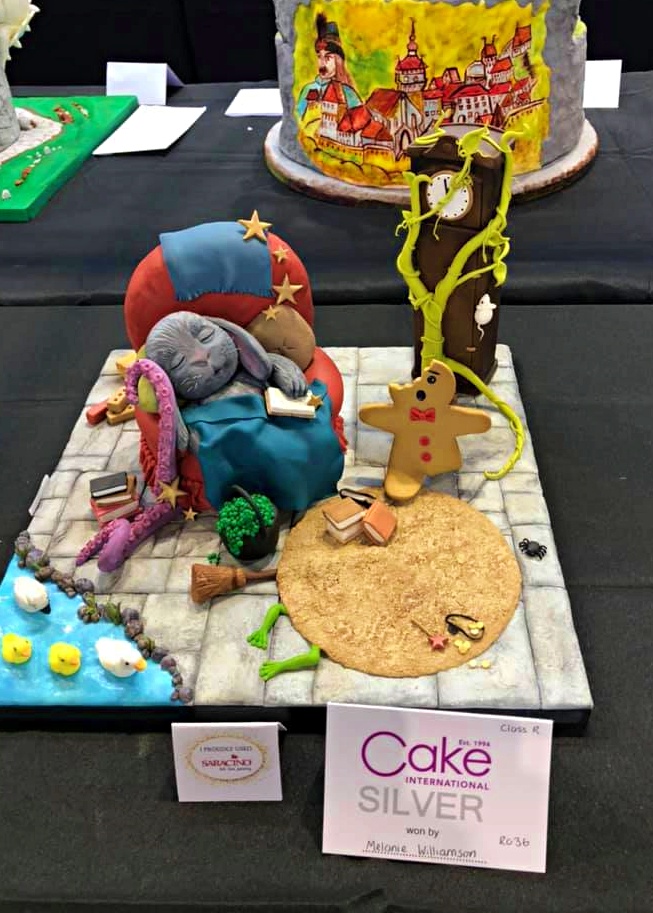
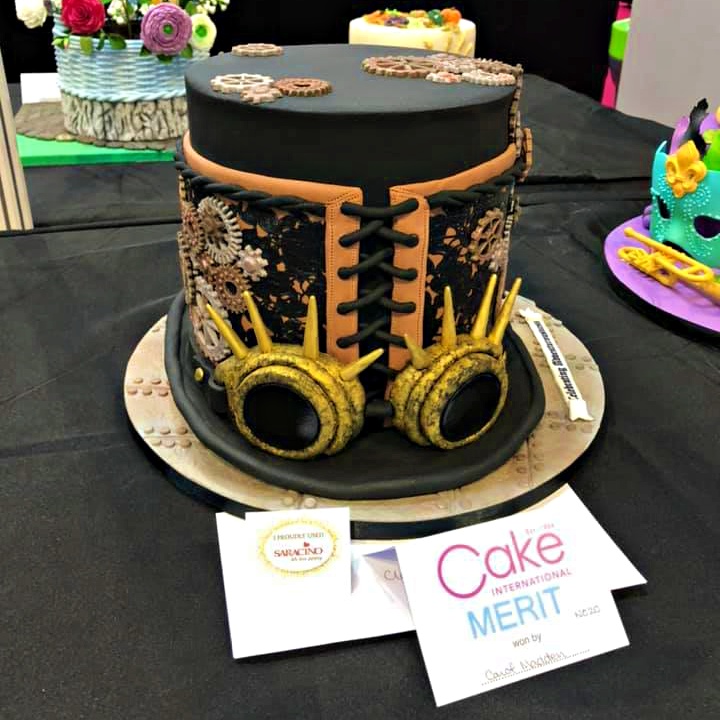
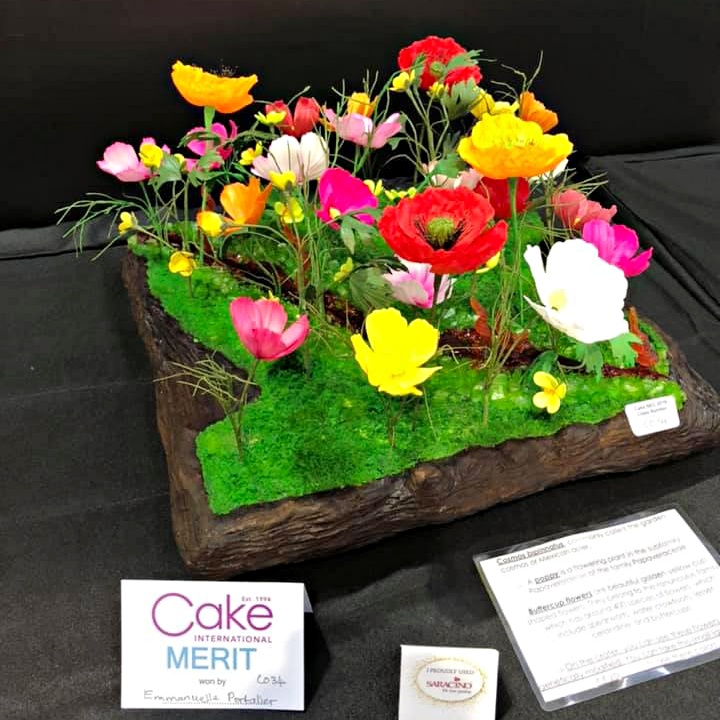
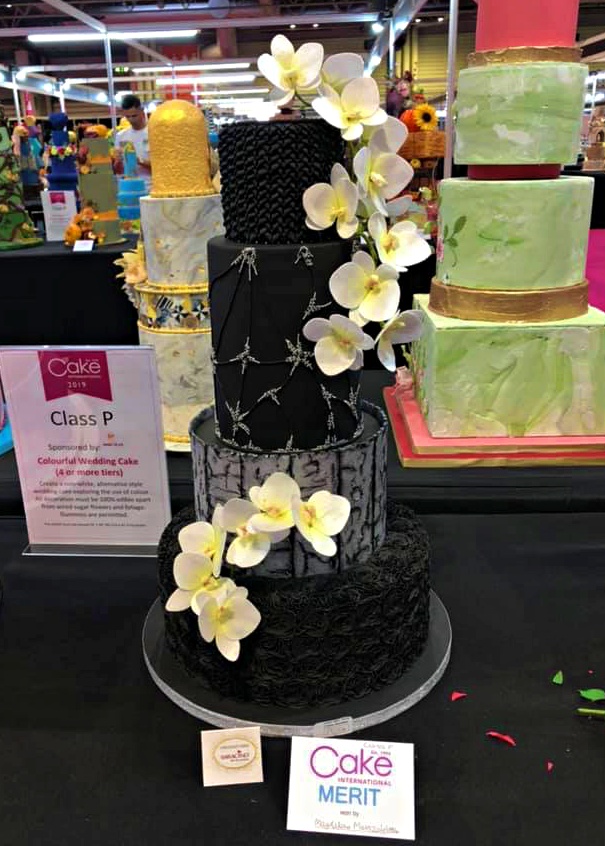
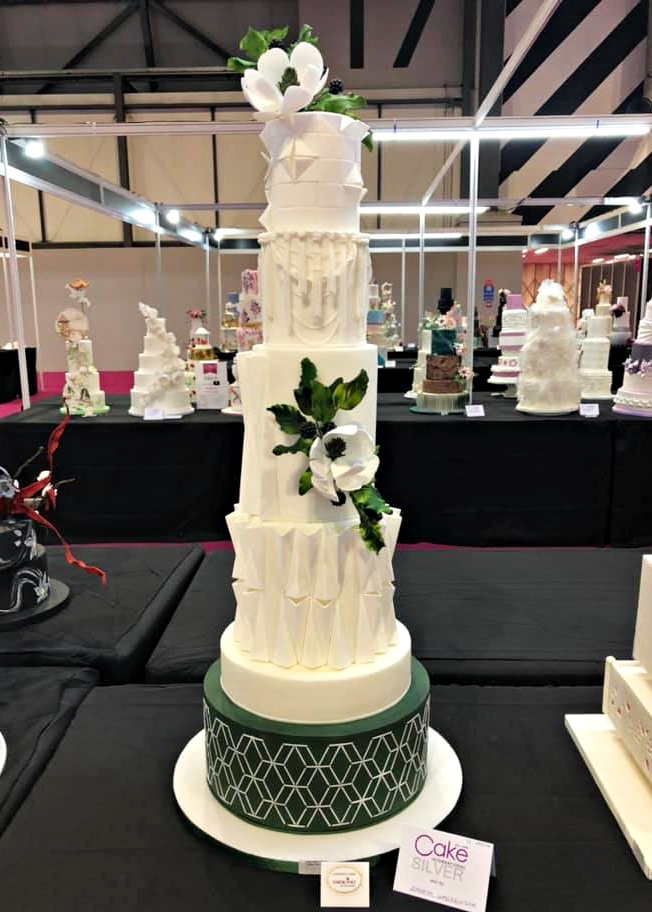
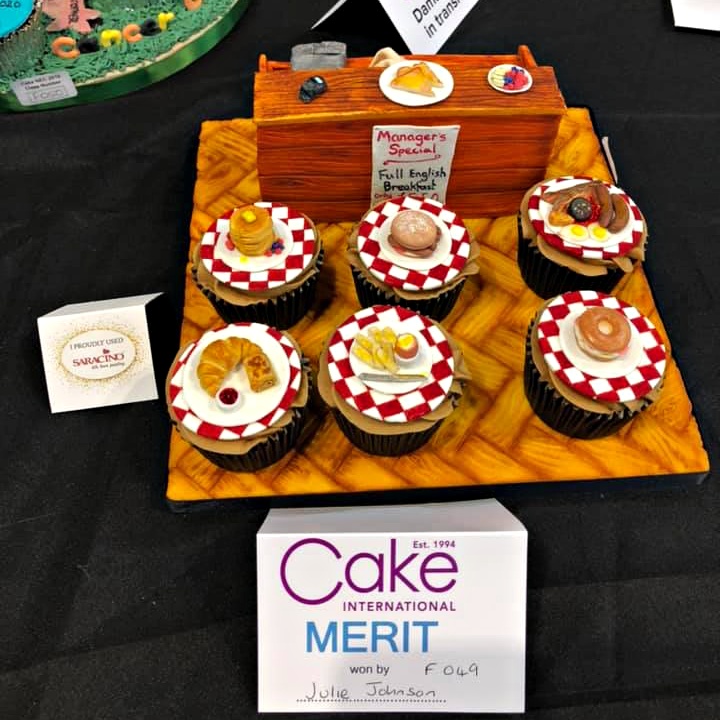
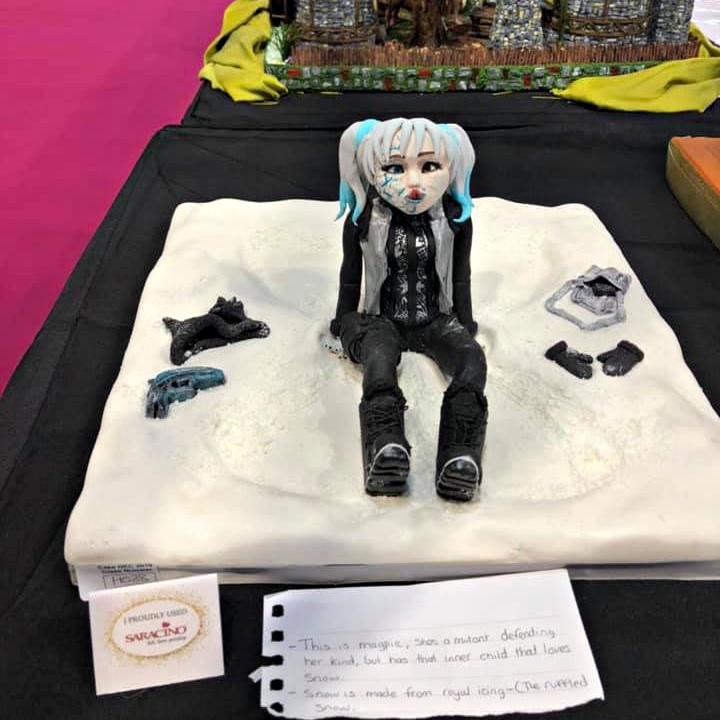
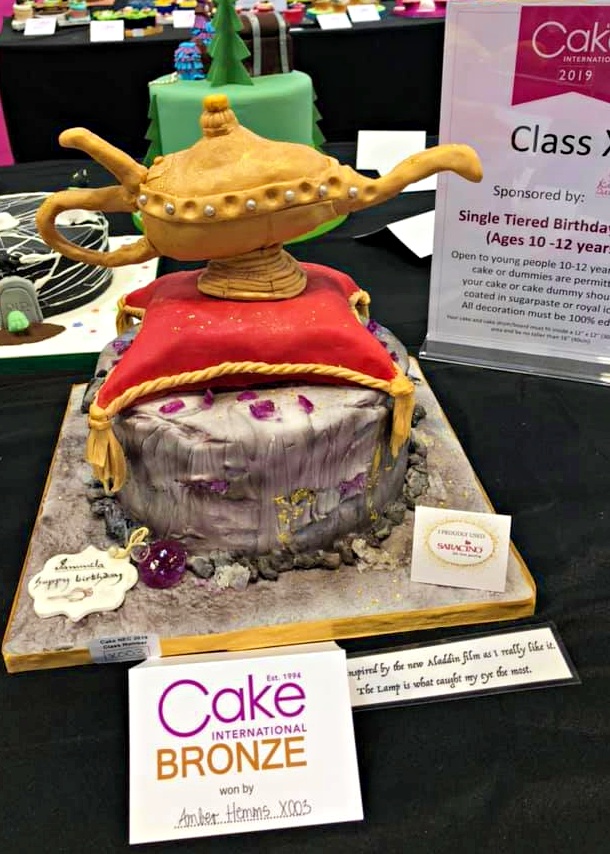
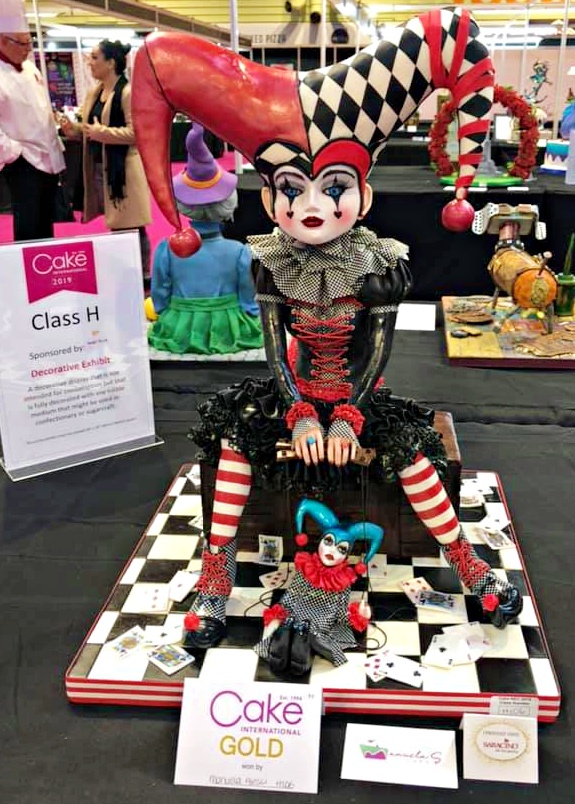
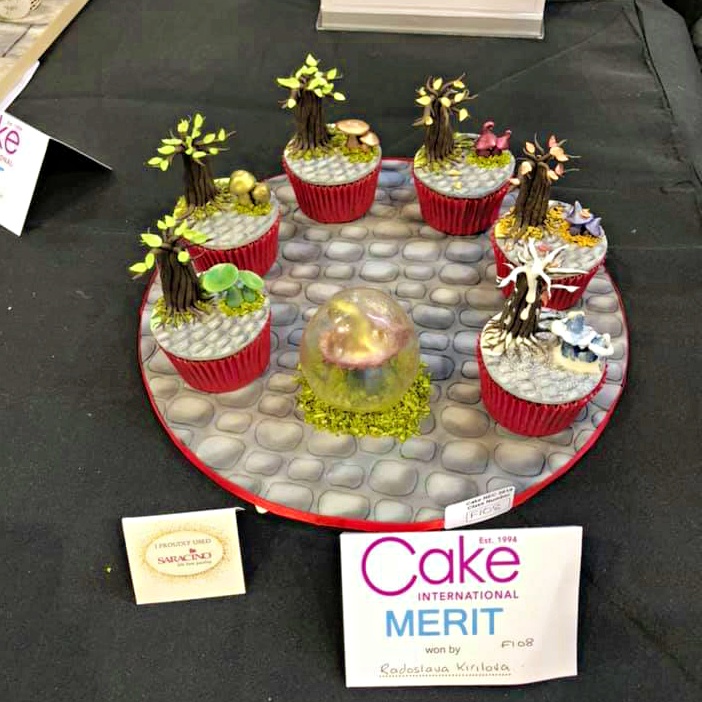
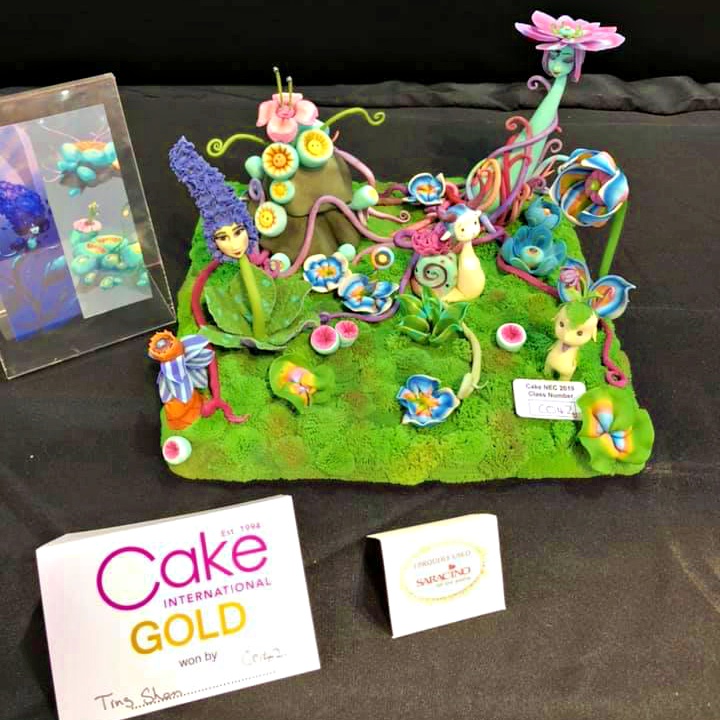
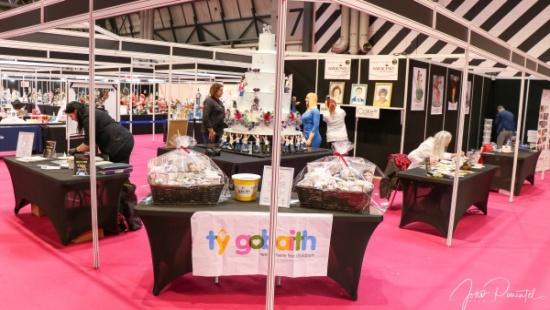
CAKE INTERNATIONAL SHOW 2019

CAKE INTERNATIONAL SHOW 2019

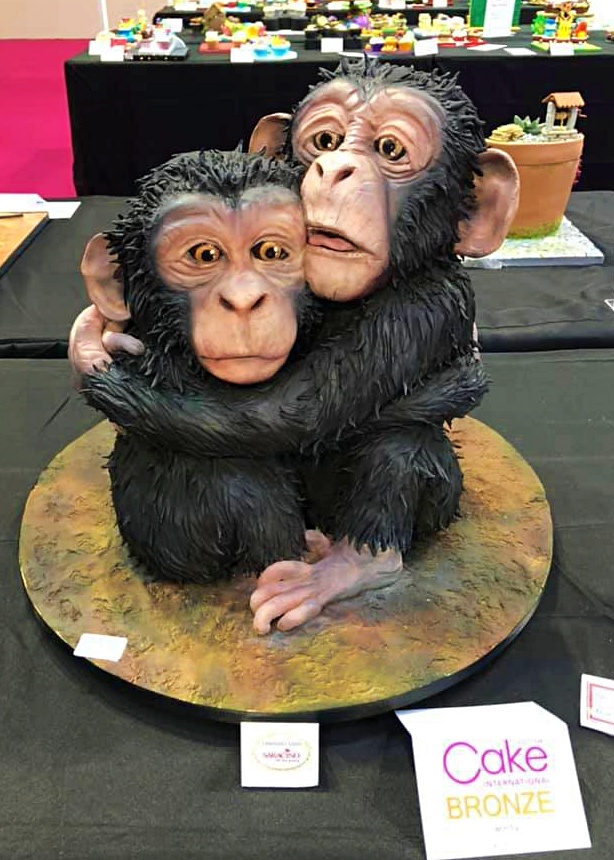
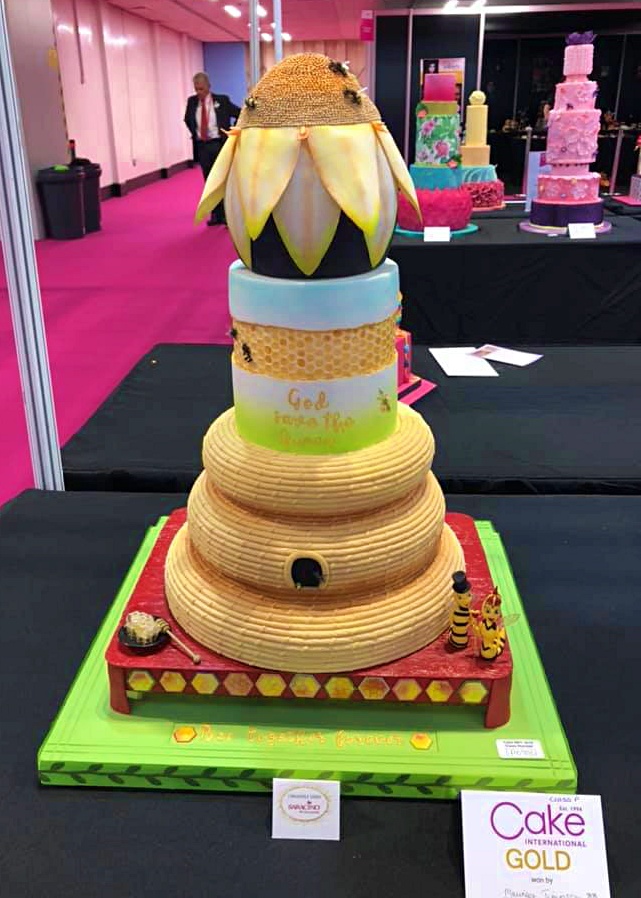
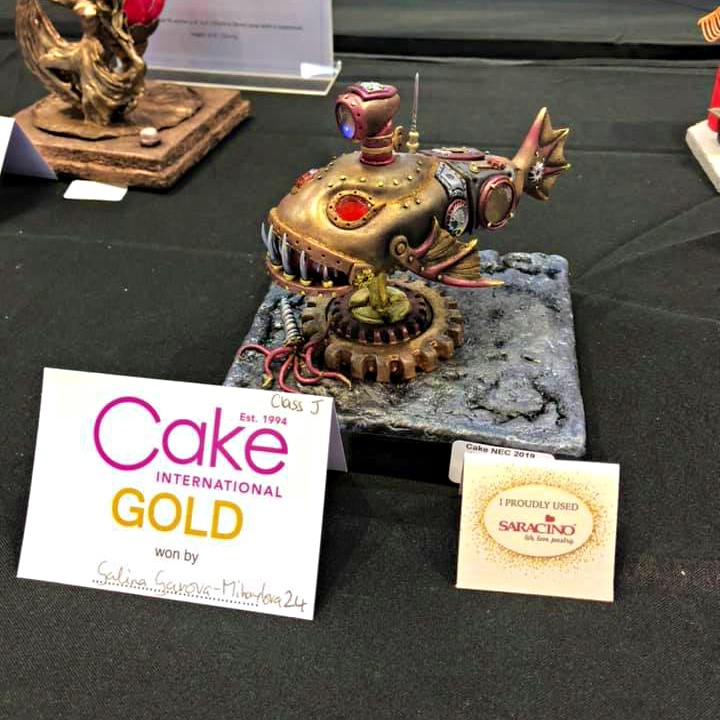
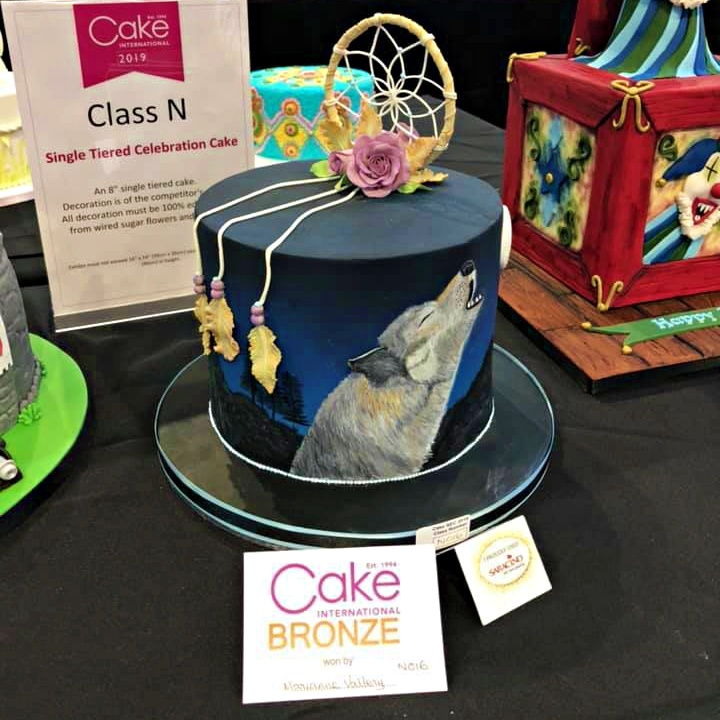
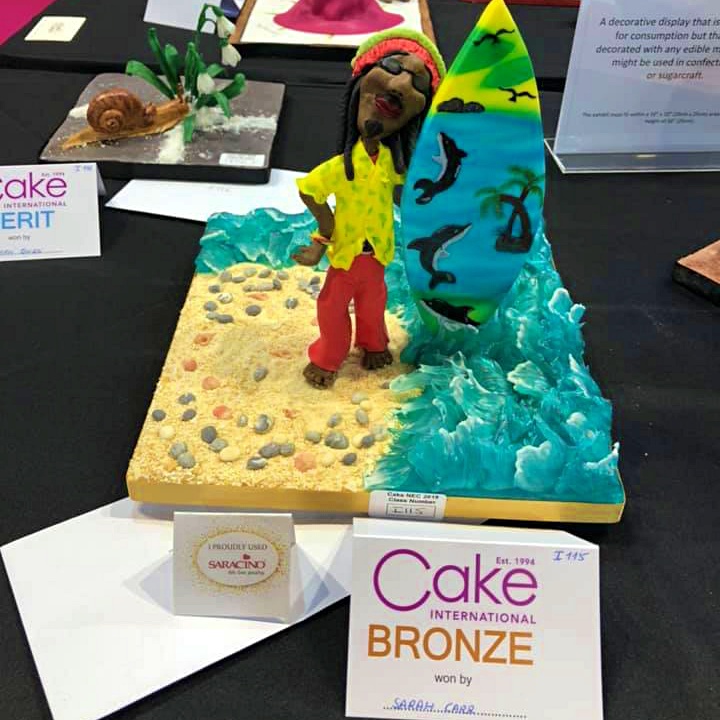
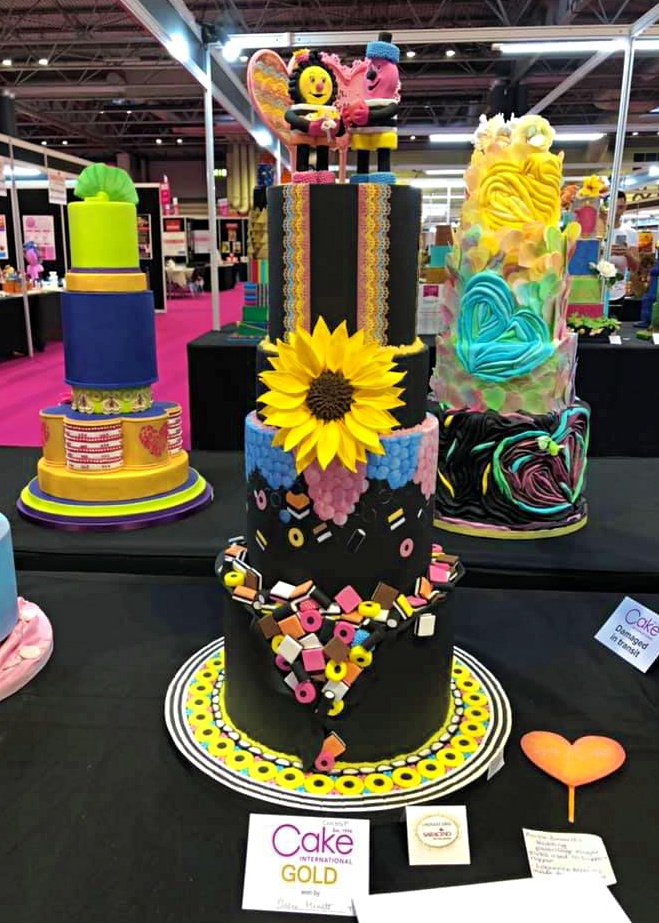
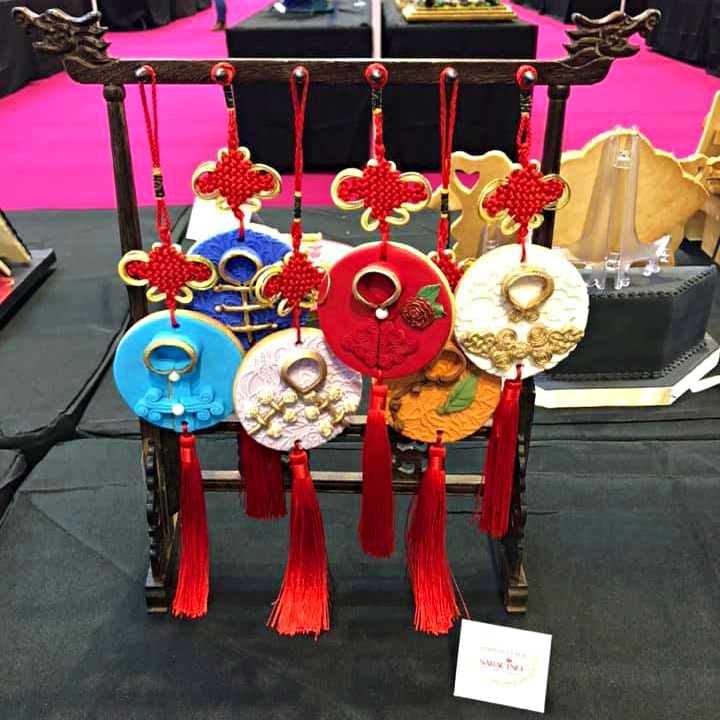
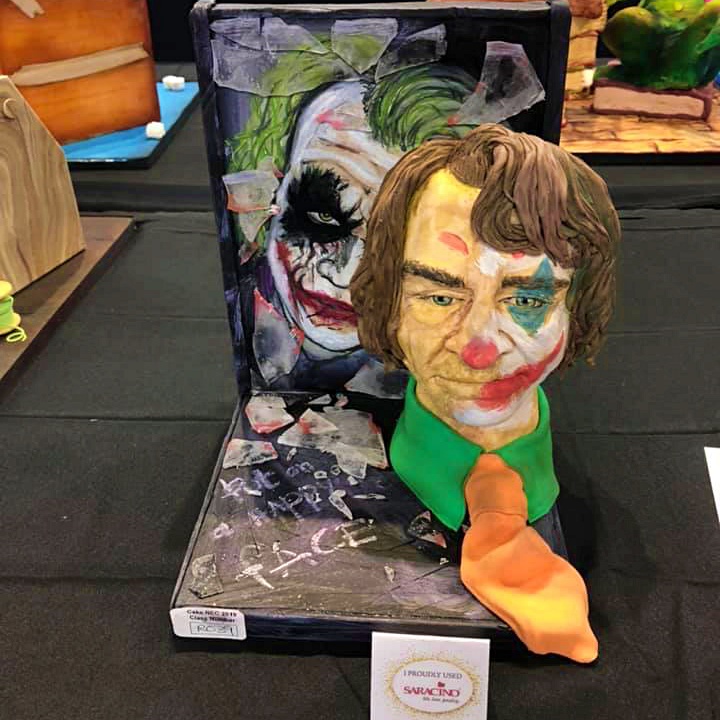
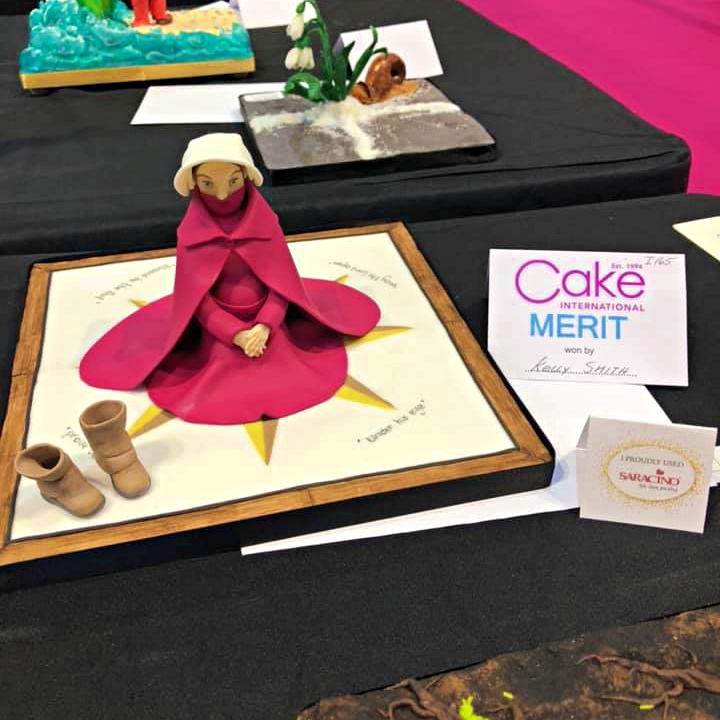
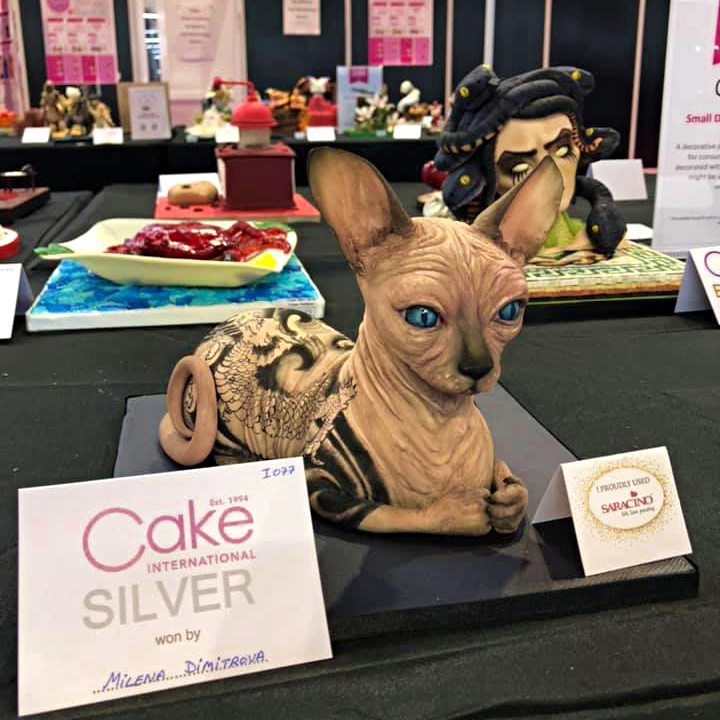
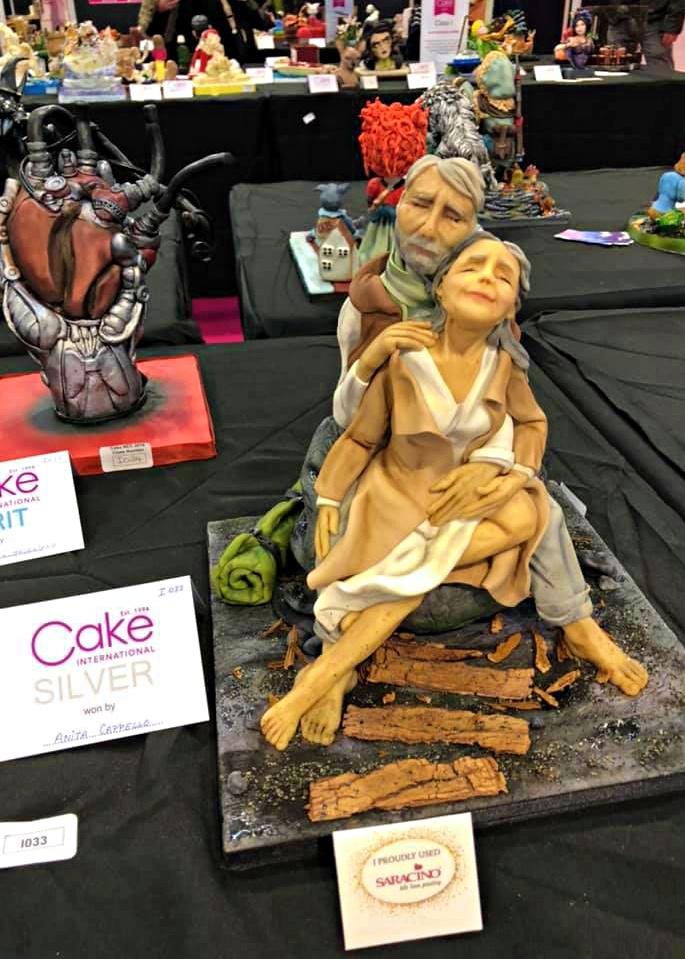
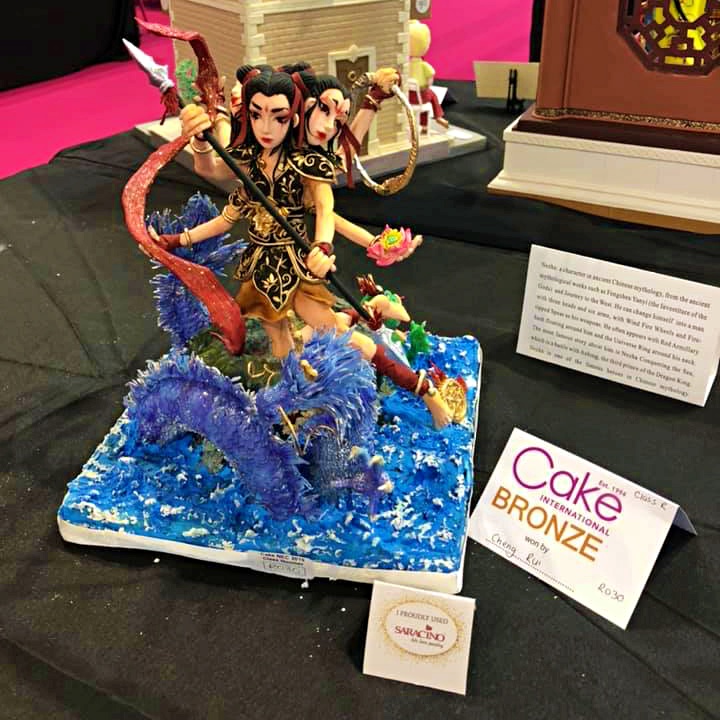
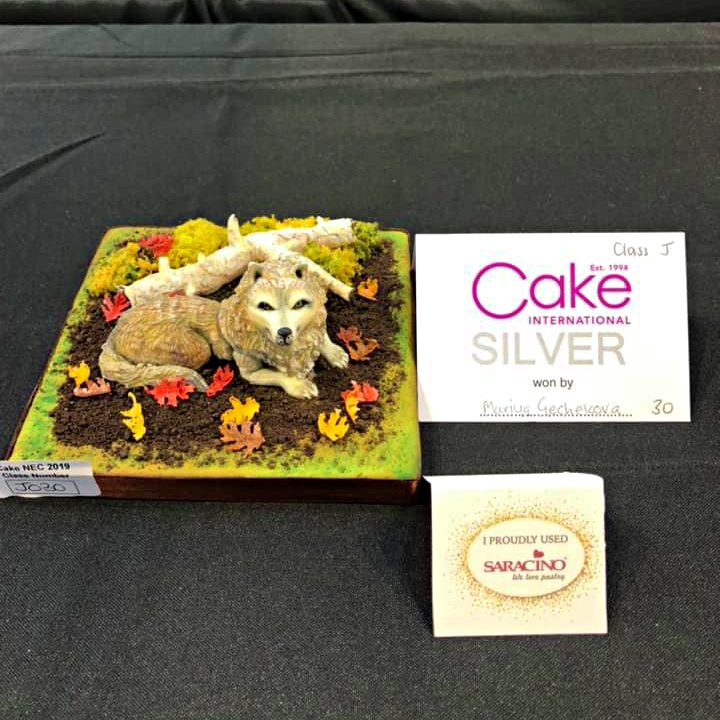
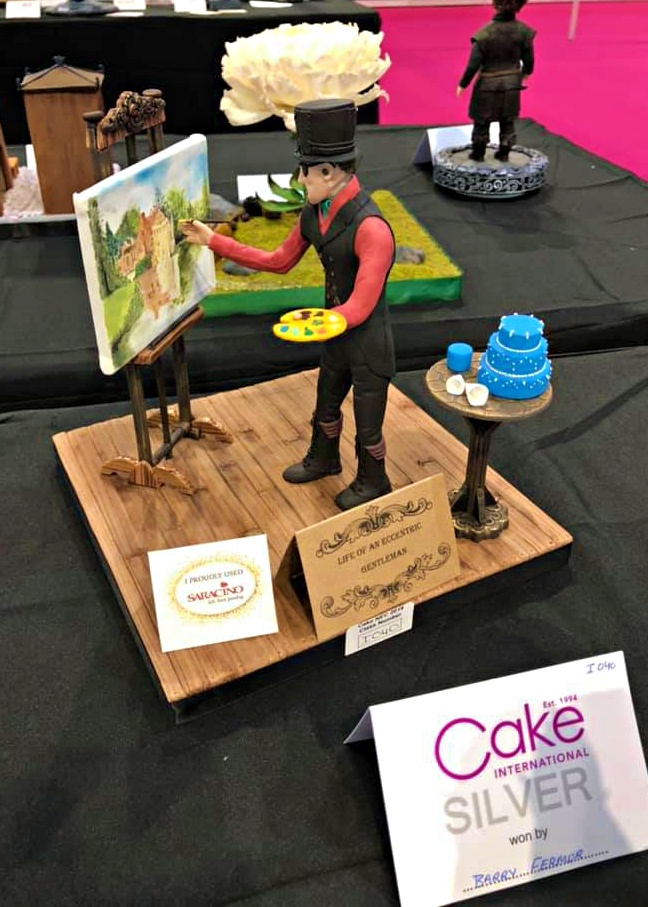
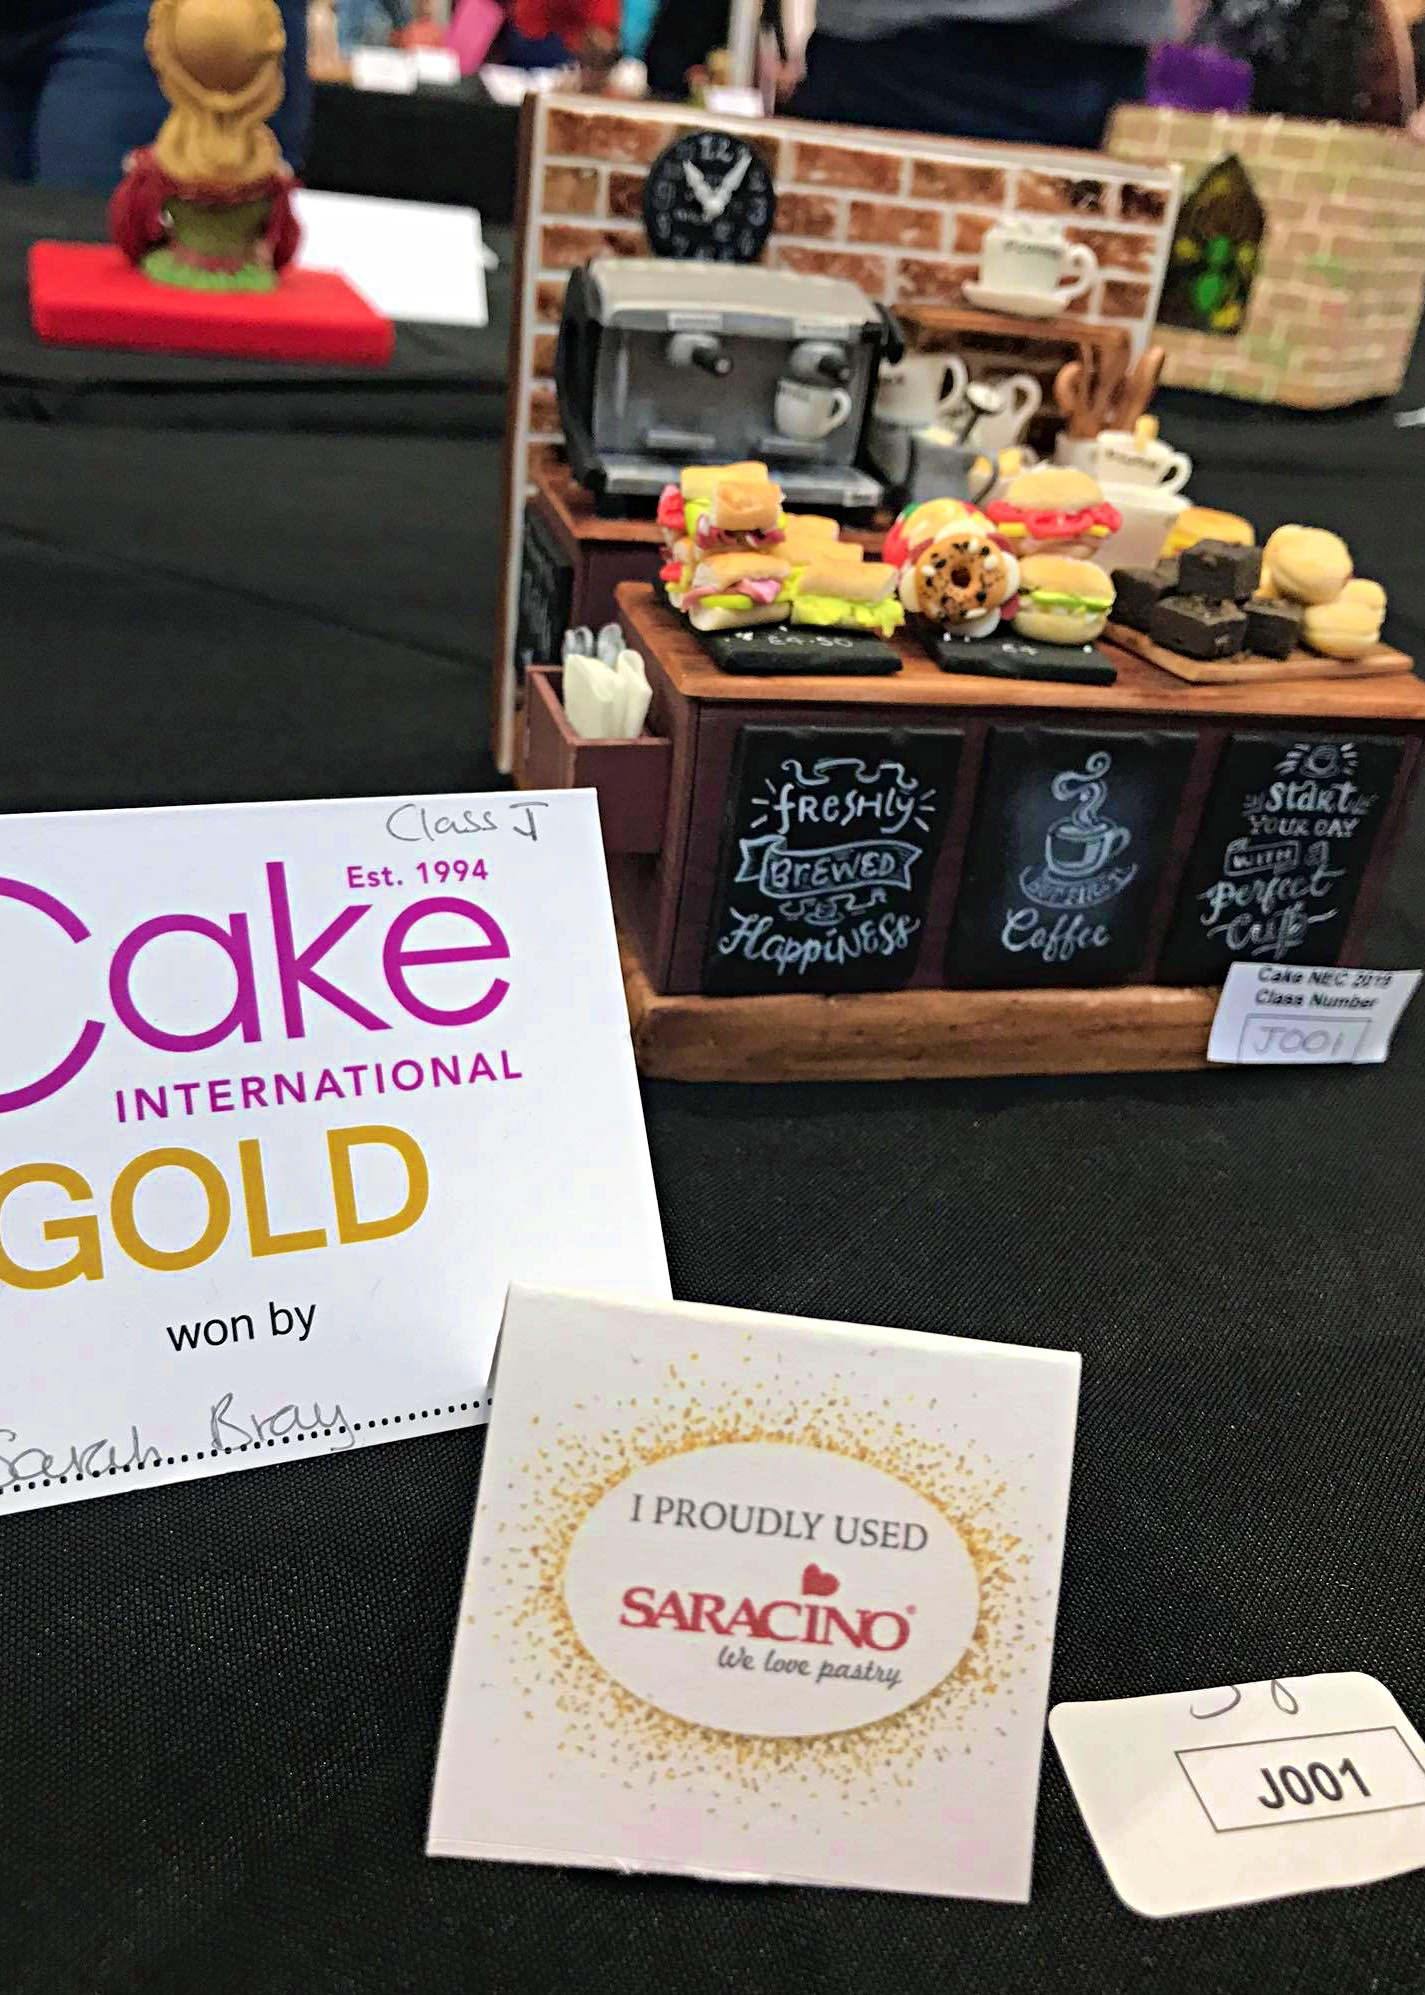
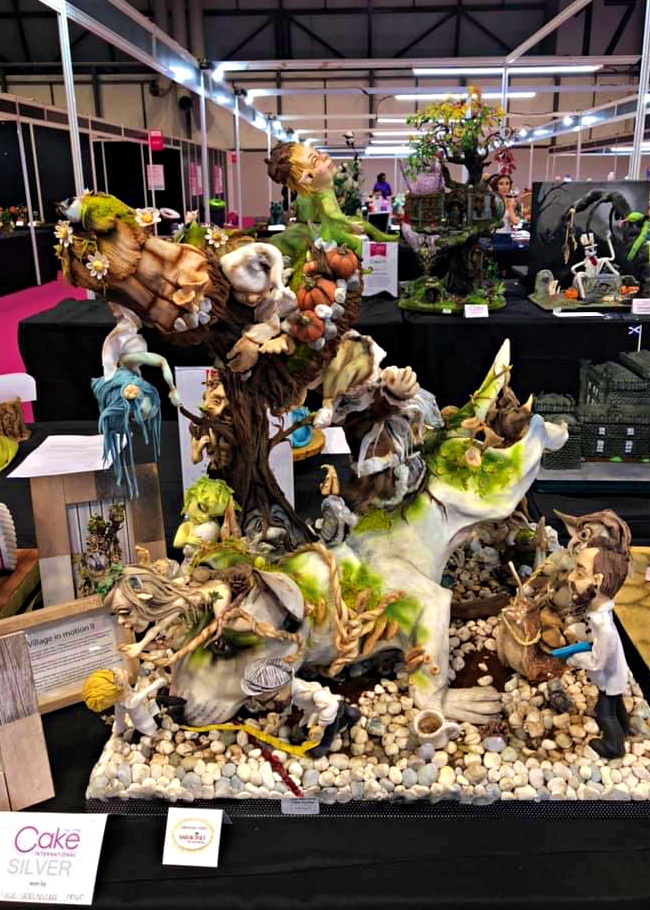
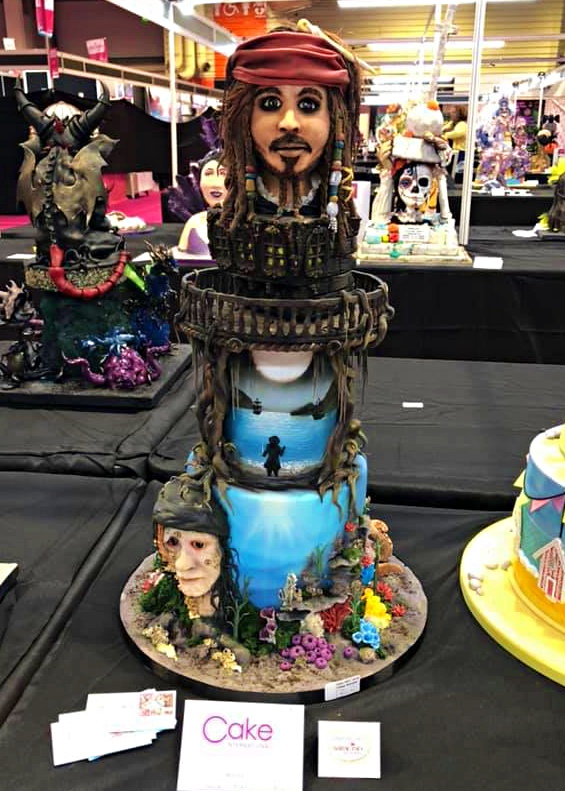
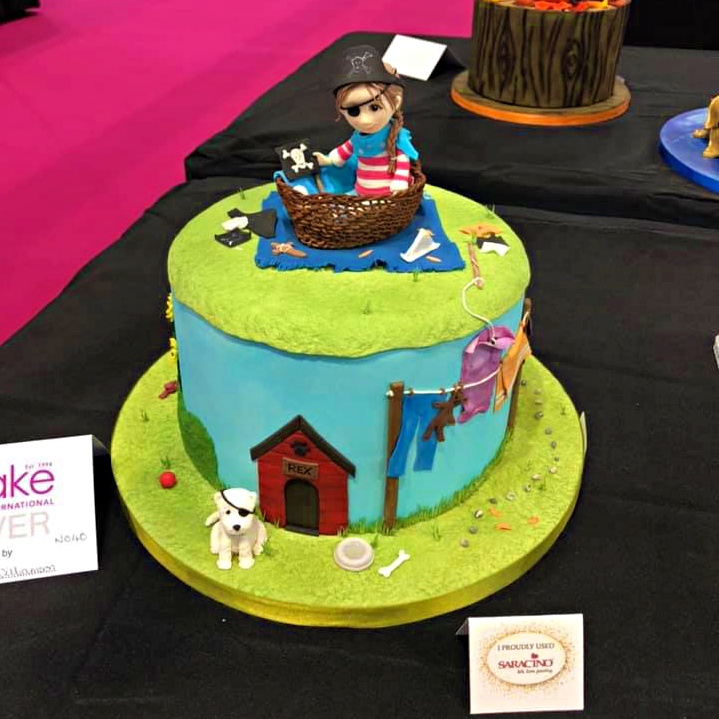
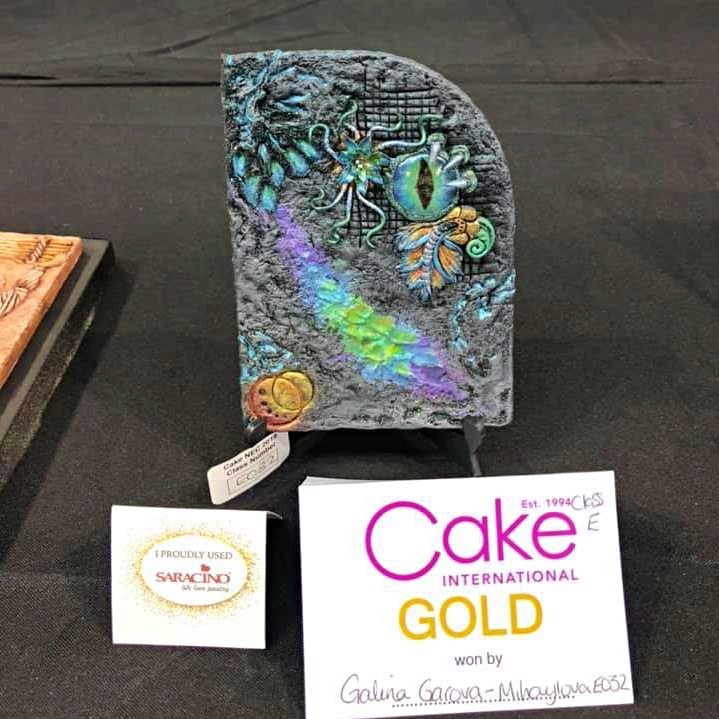
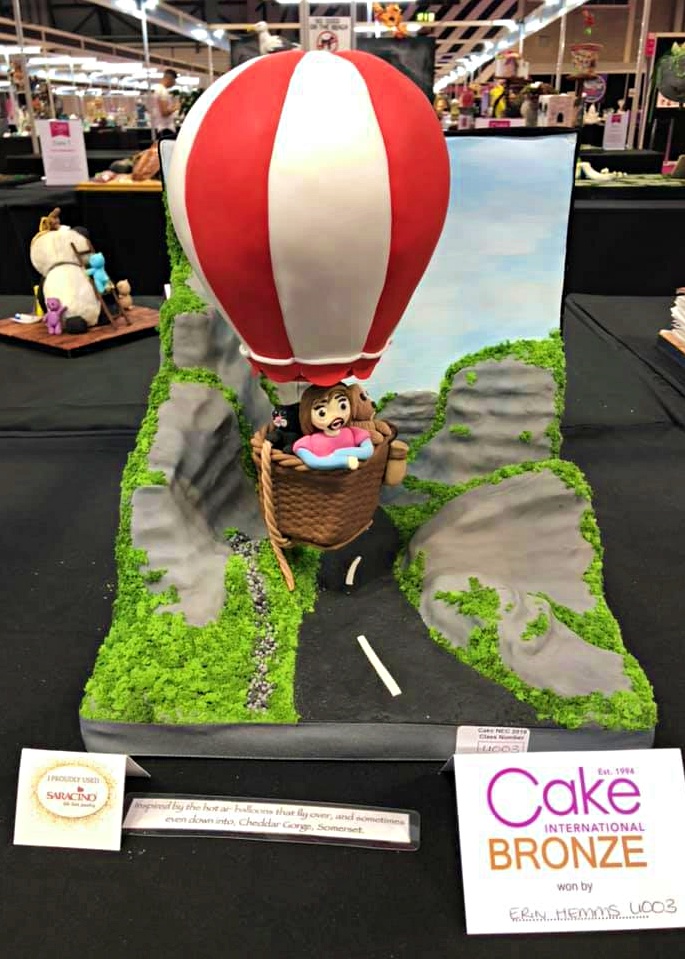
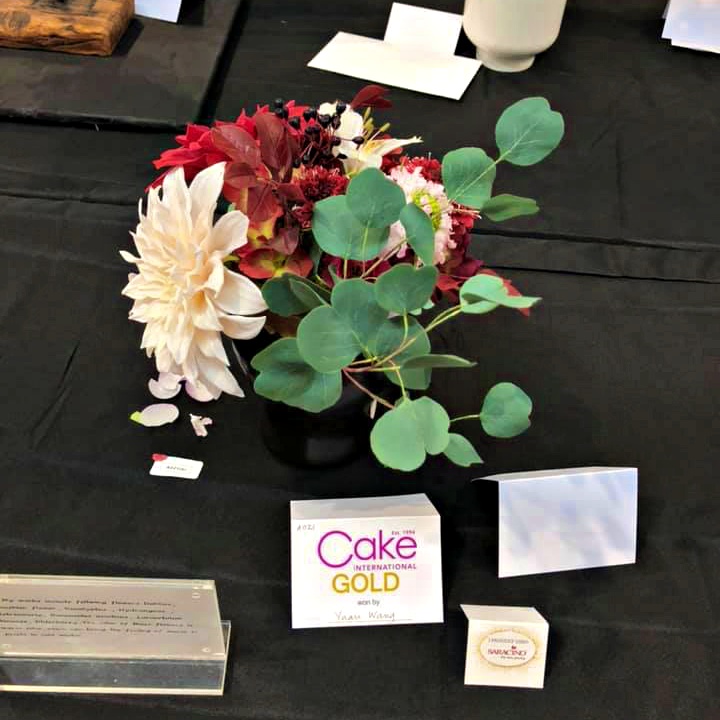
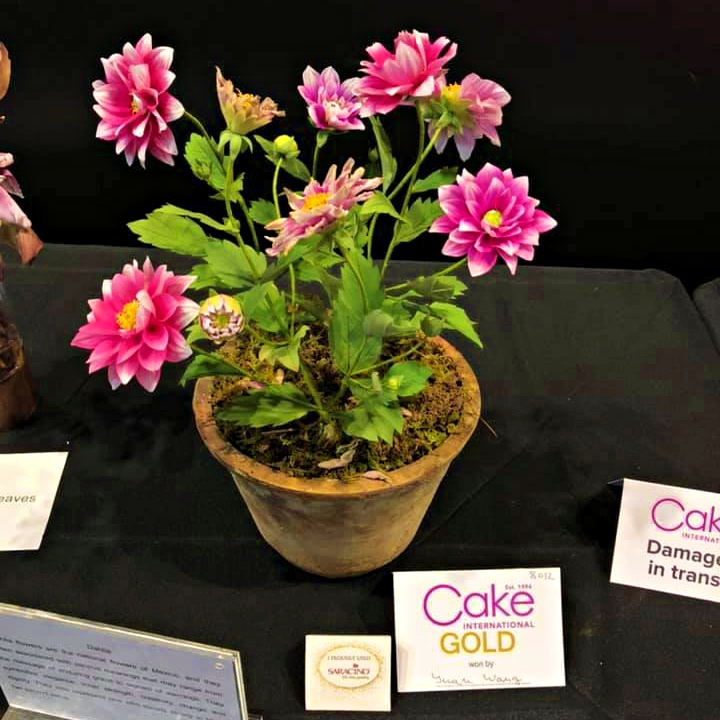
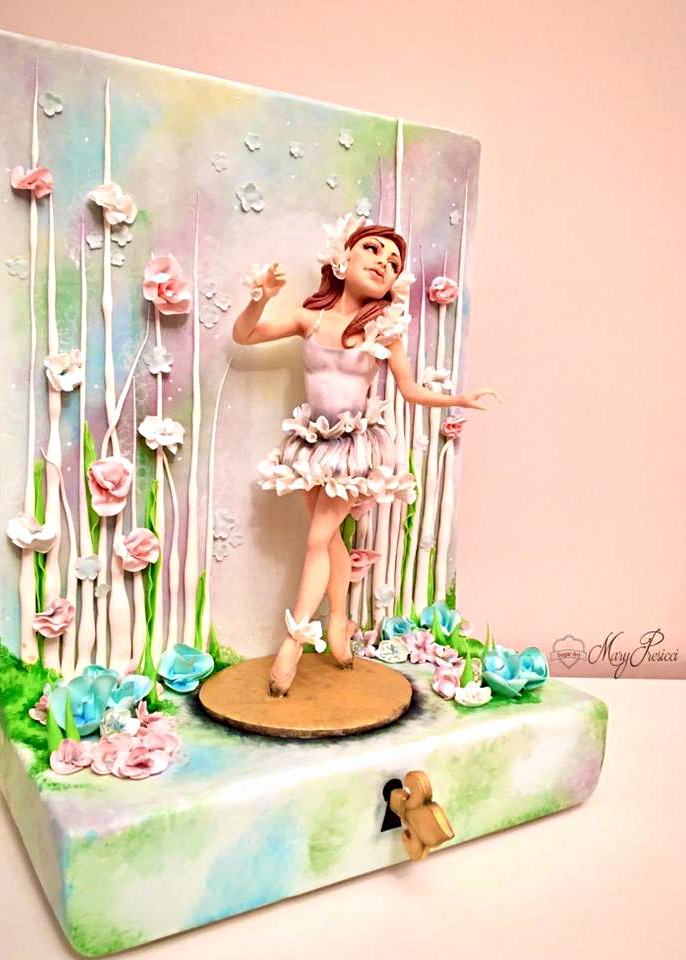
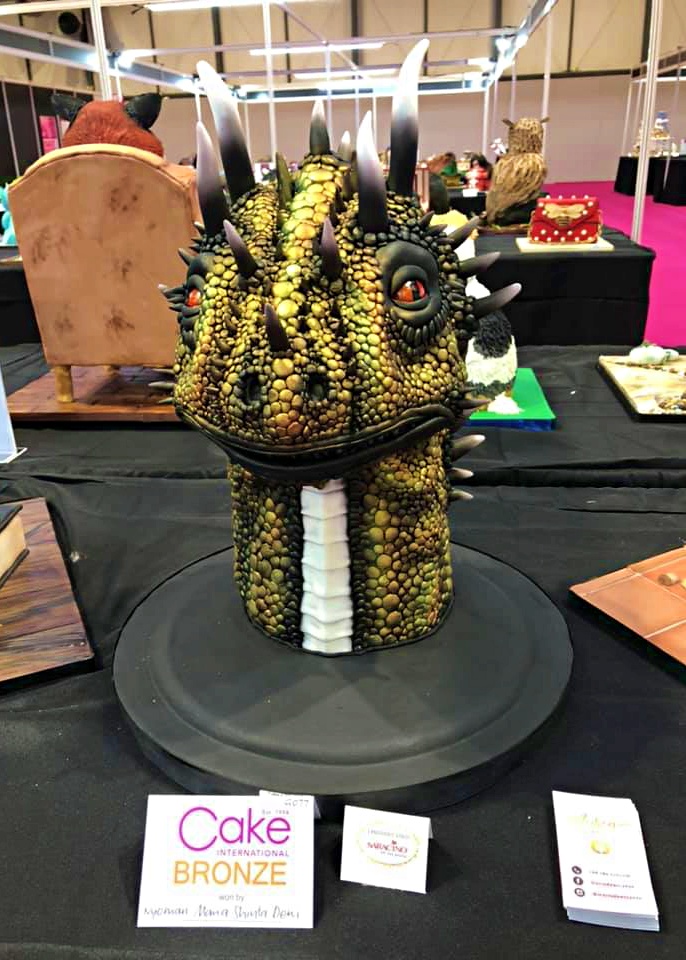
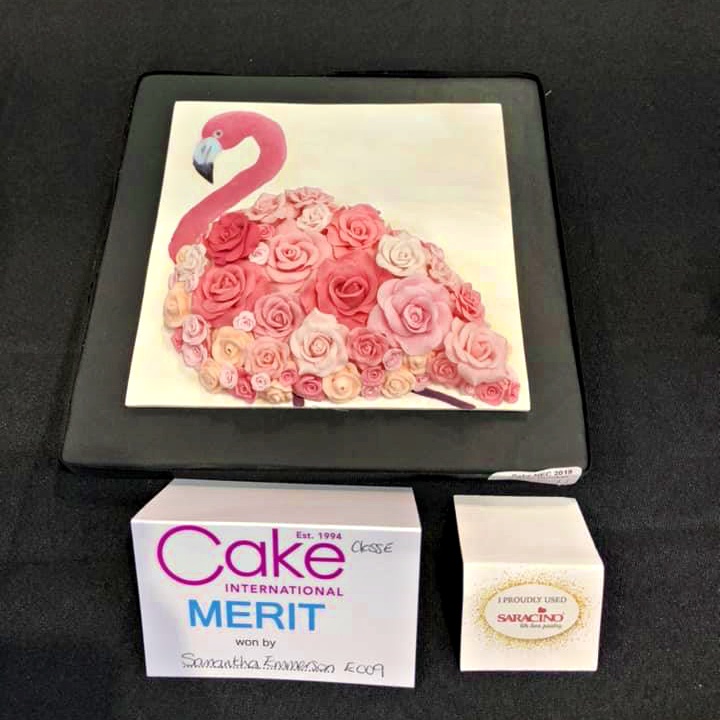
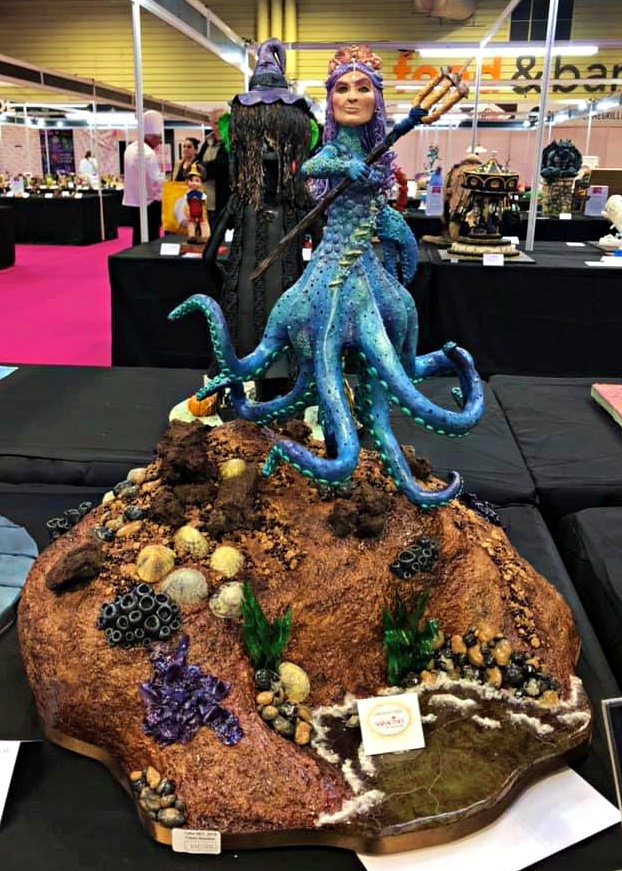
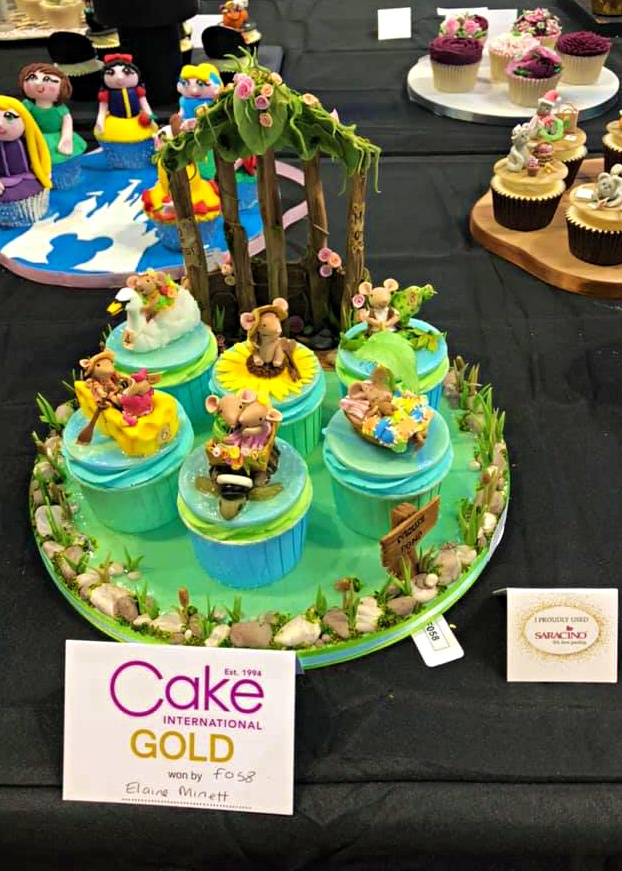
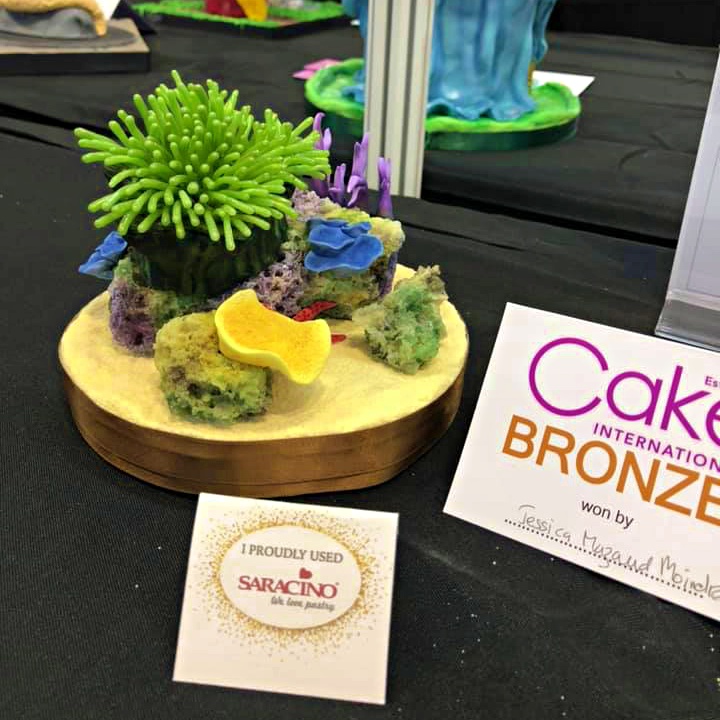
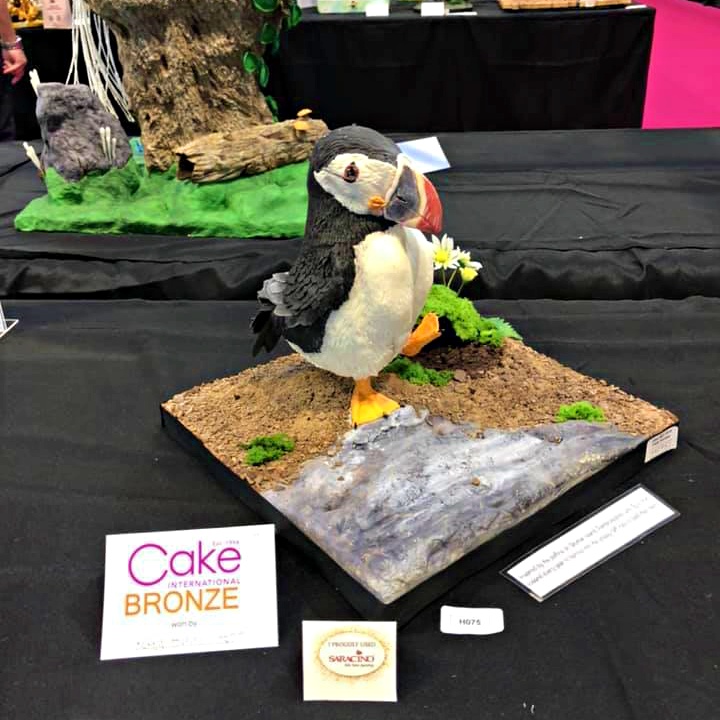
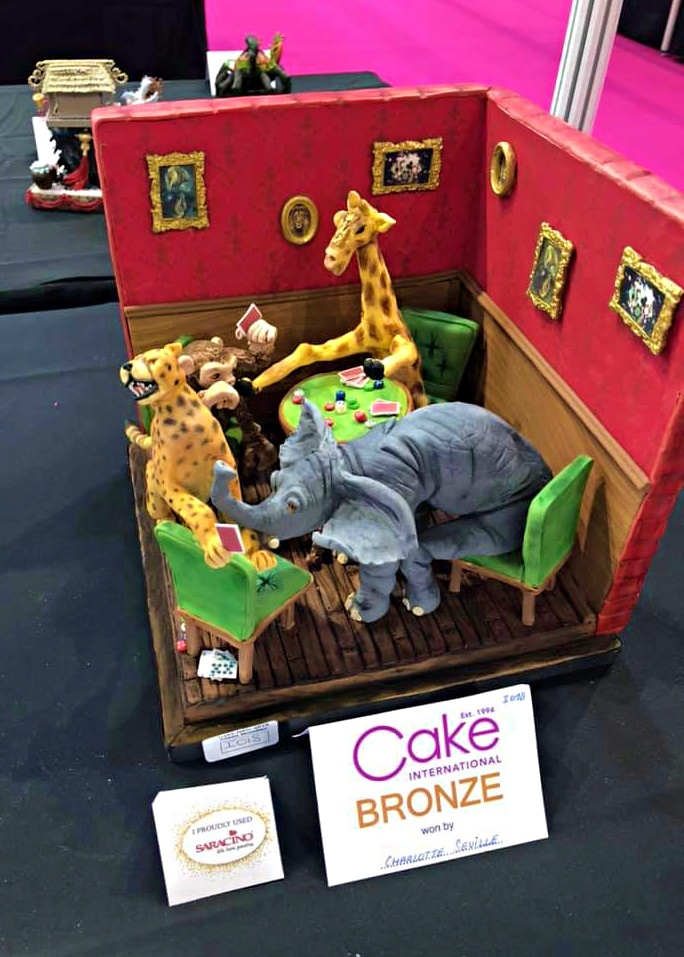
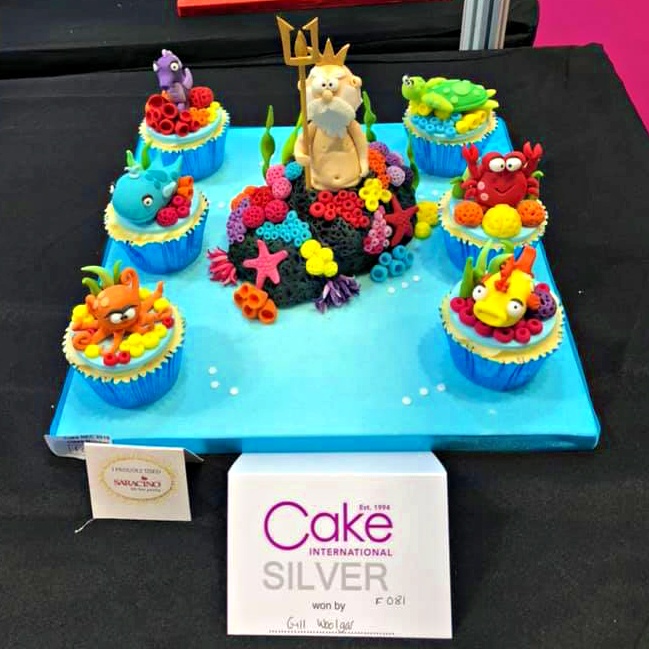
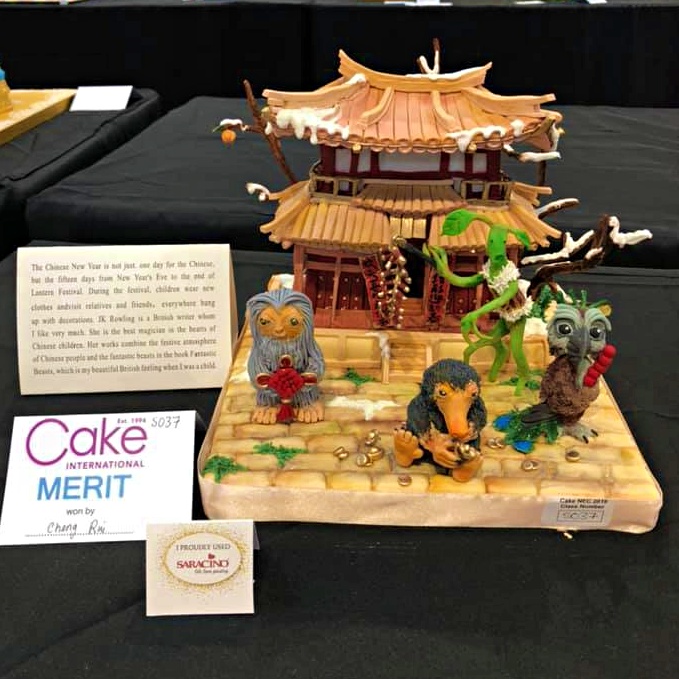
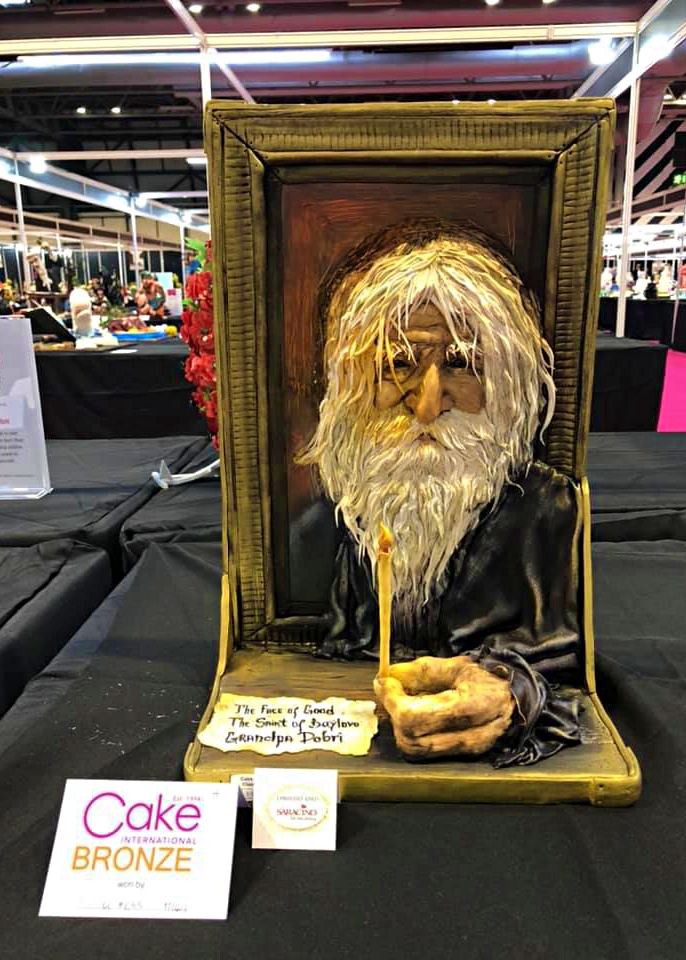
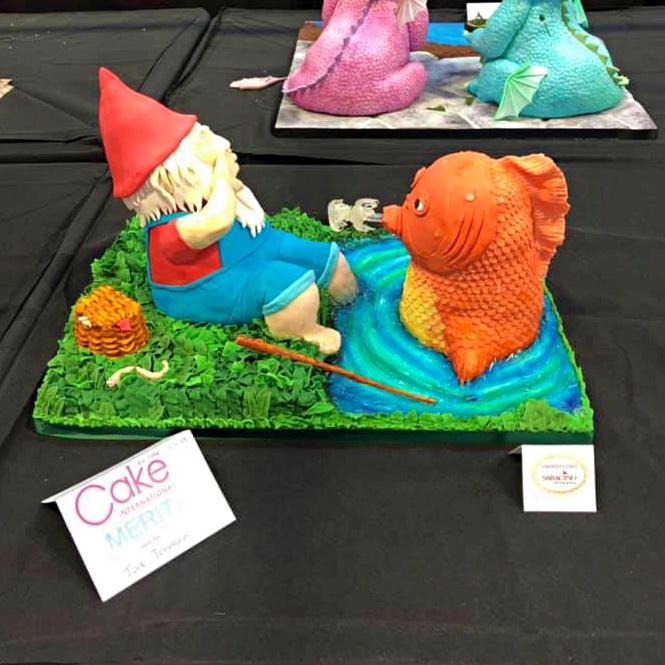
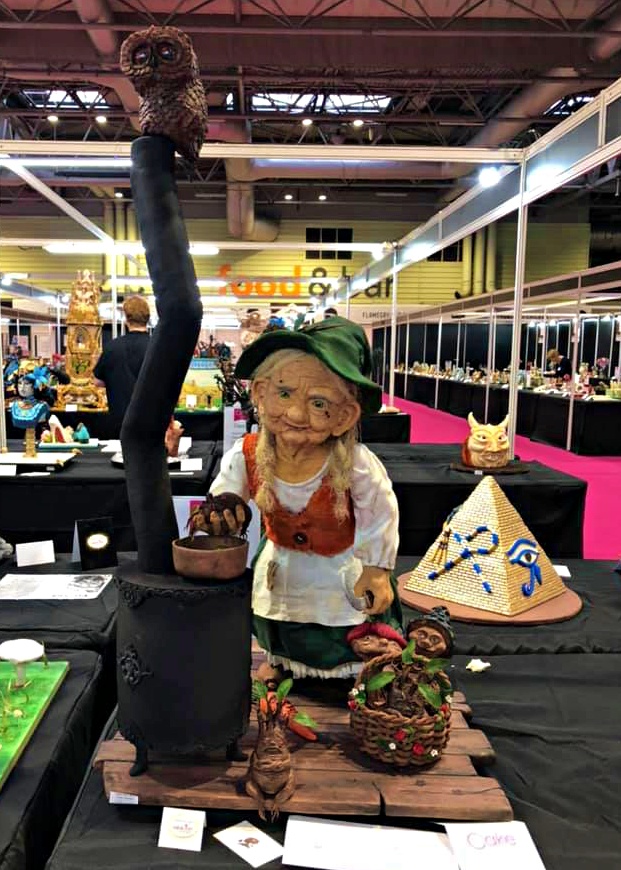
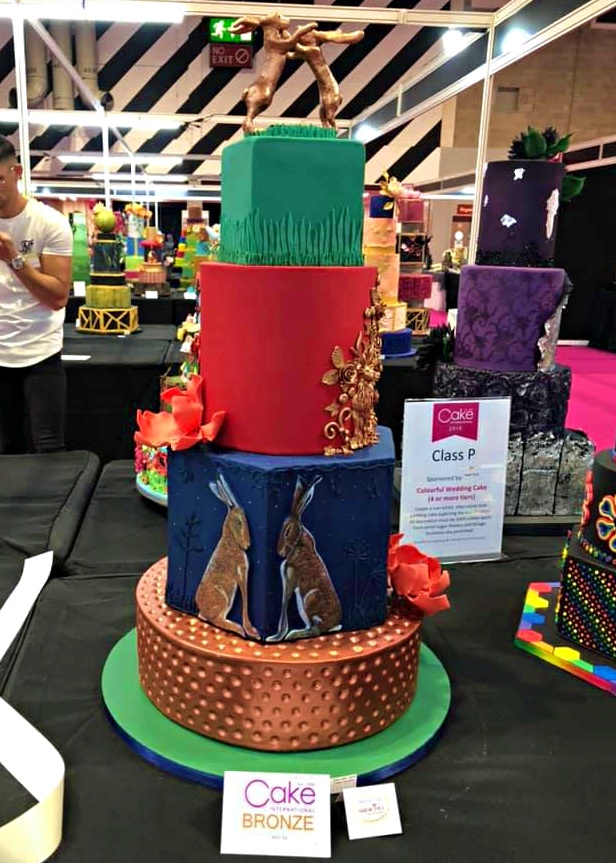
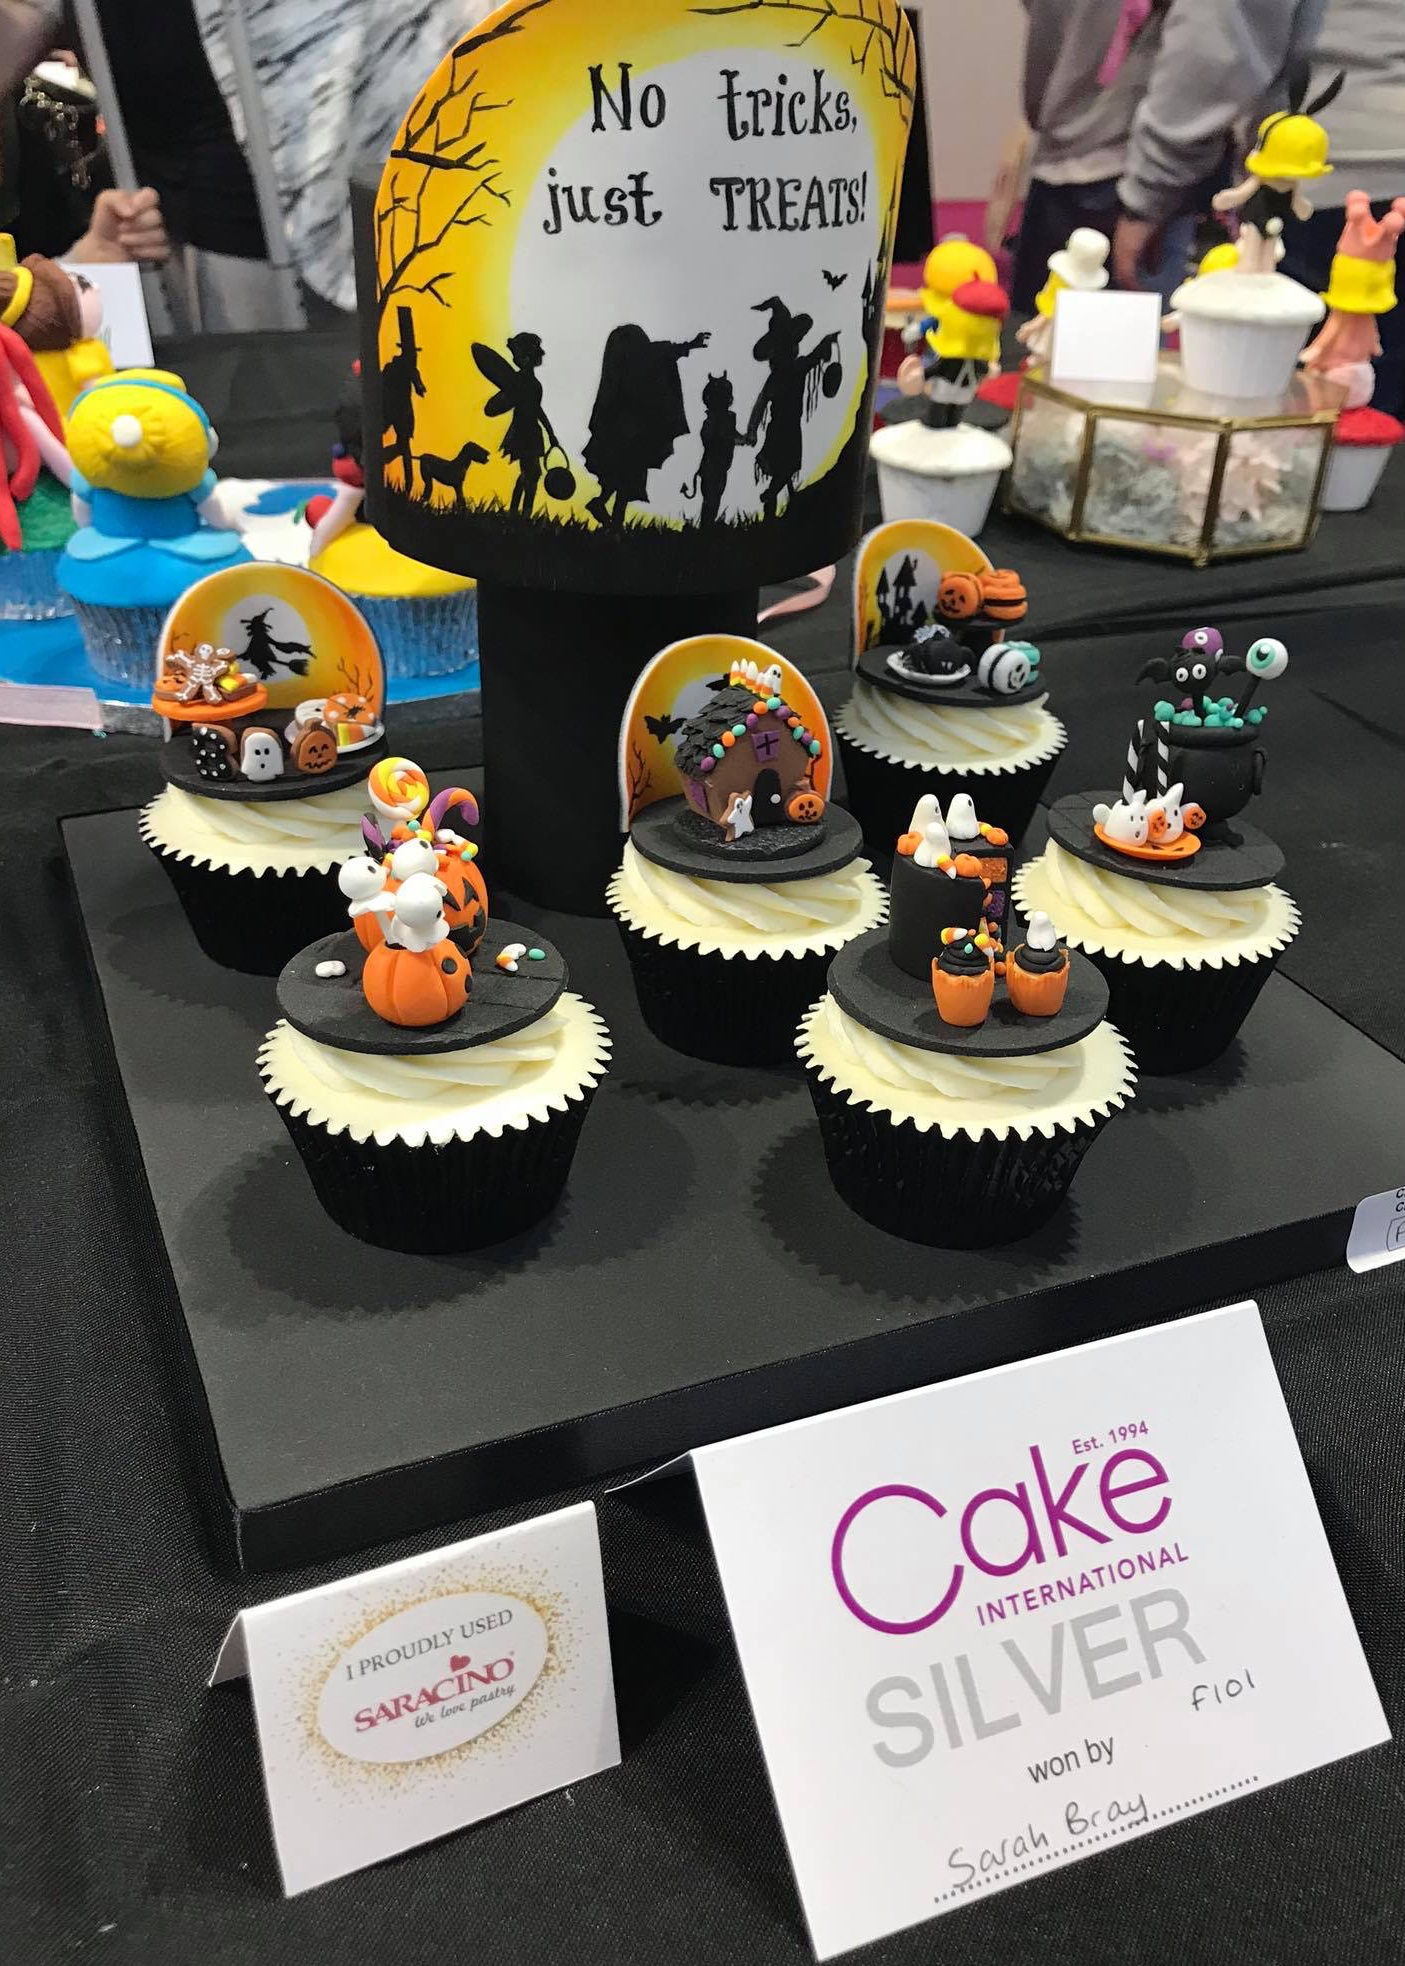
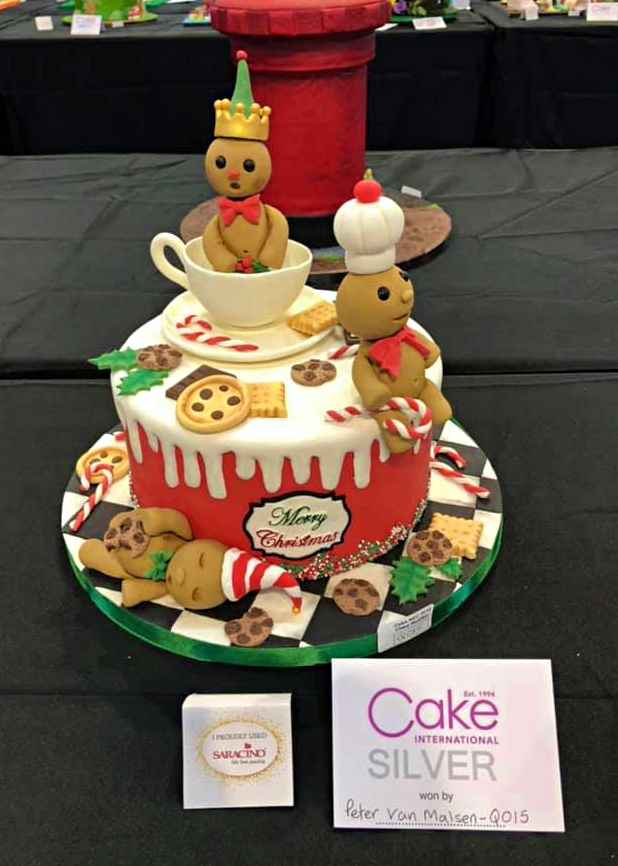
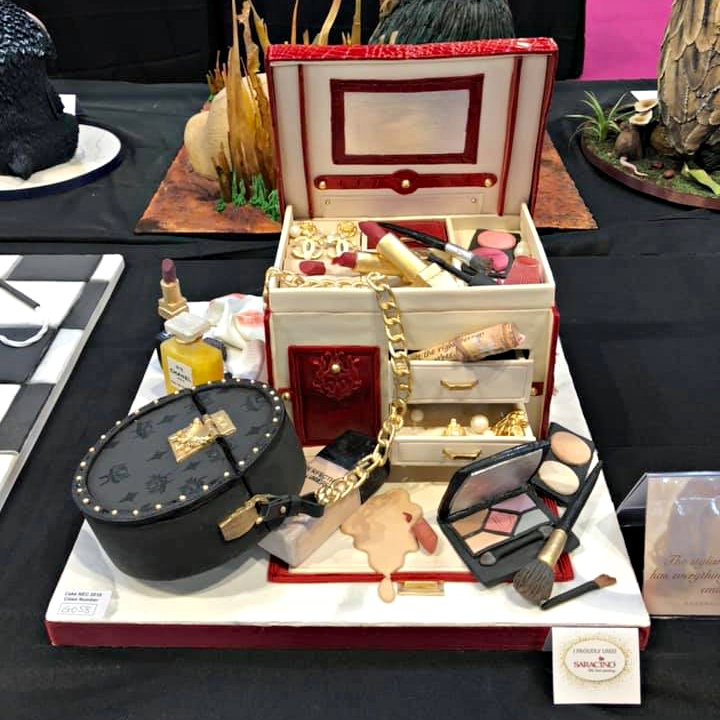
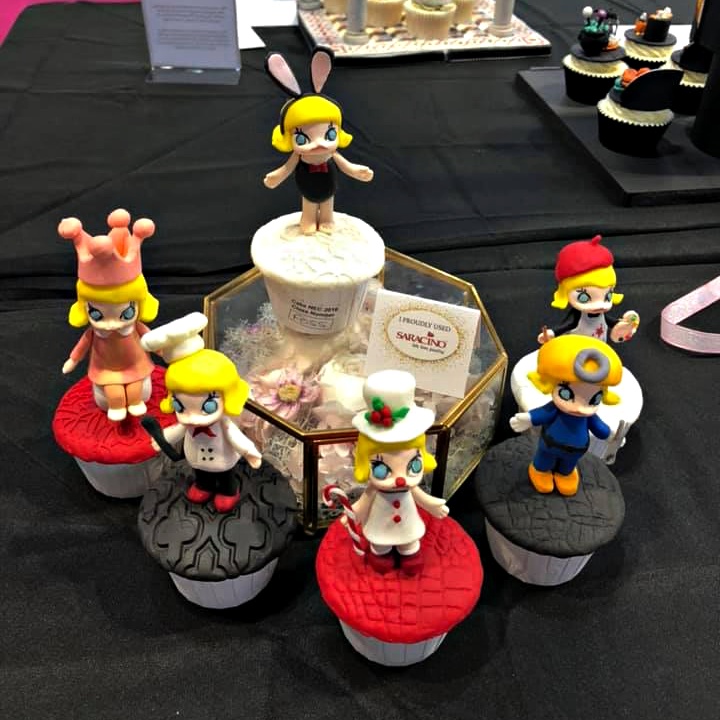
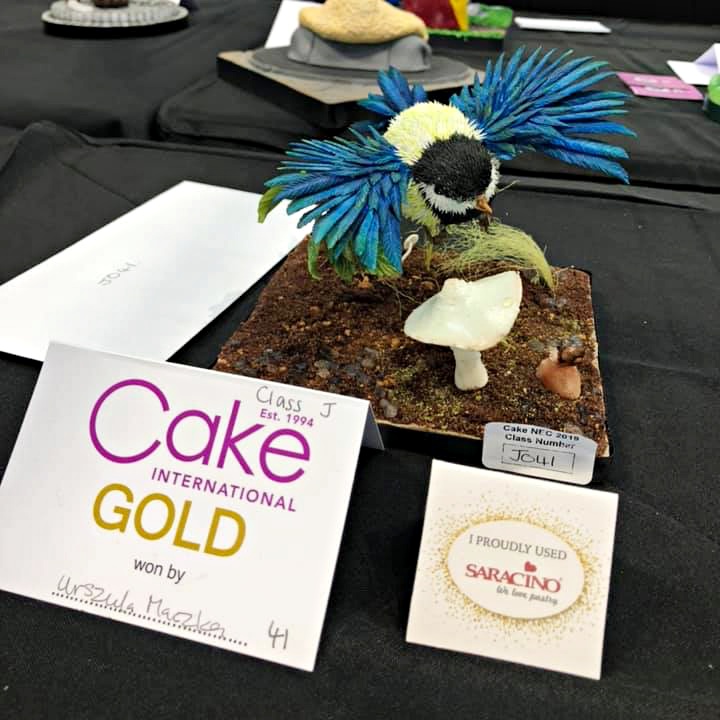
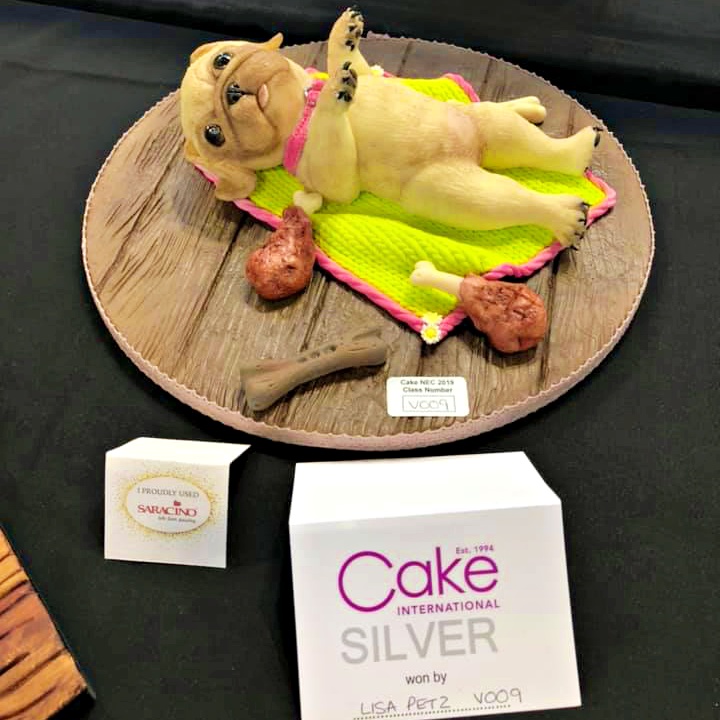
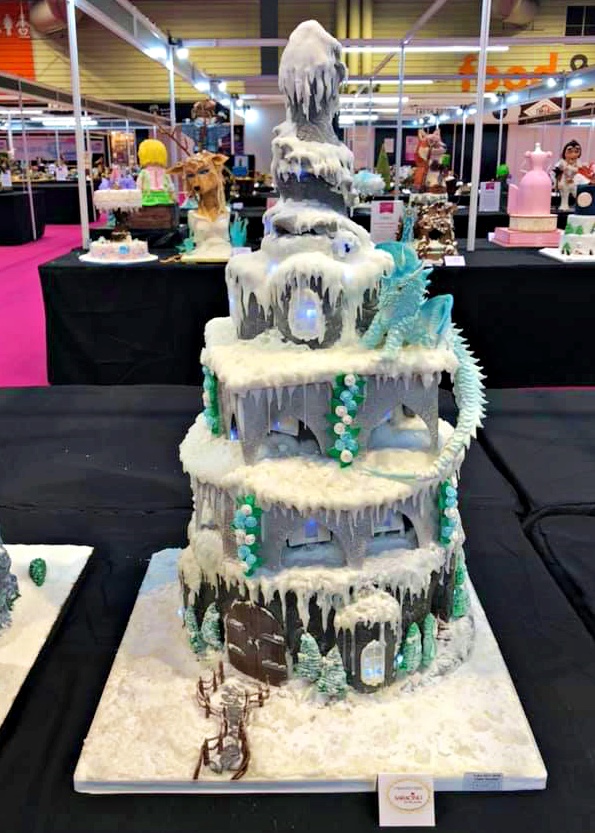
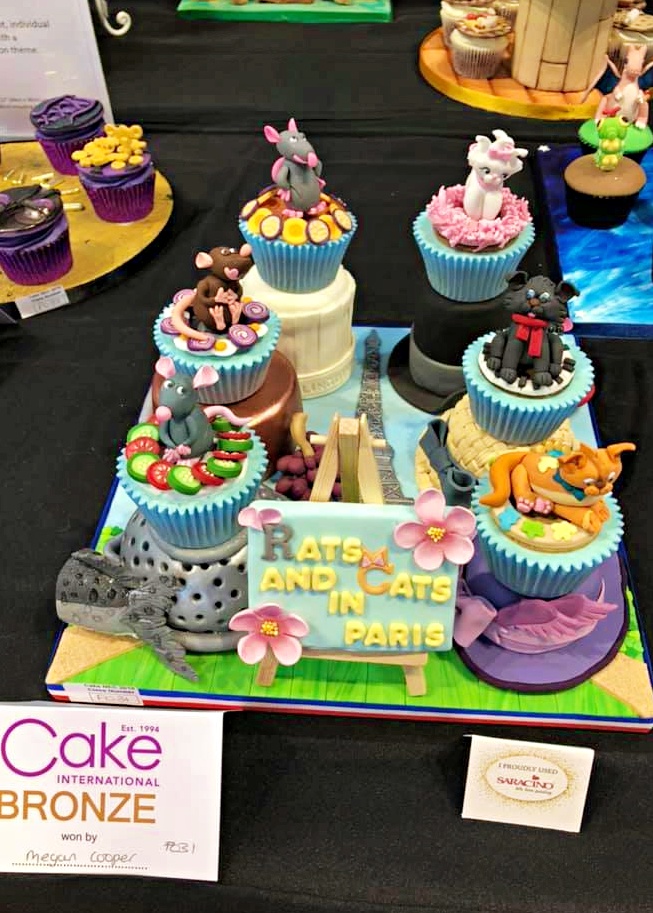
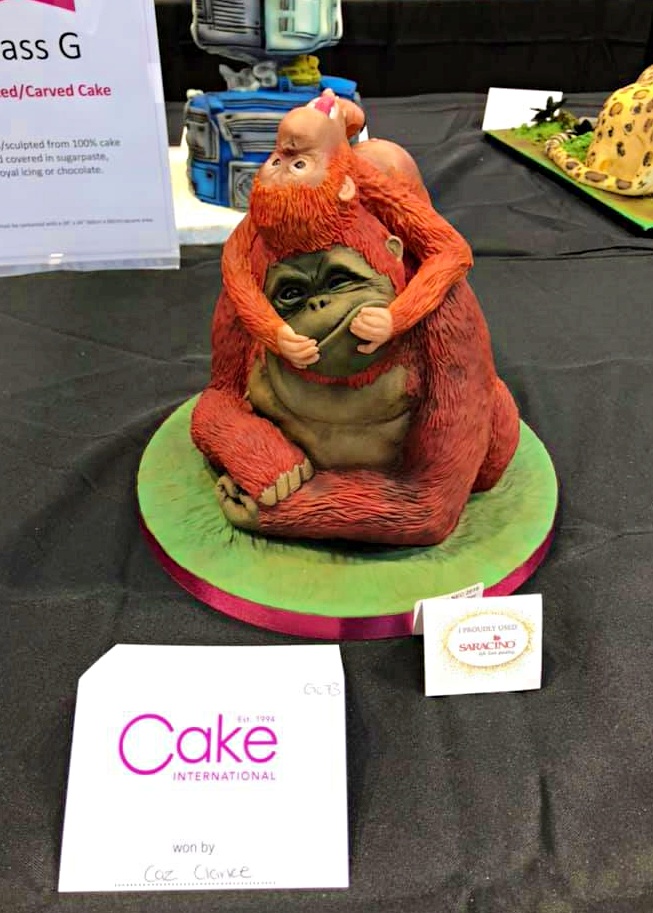
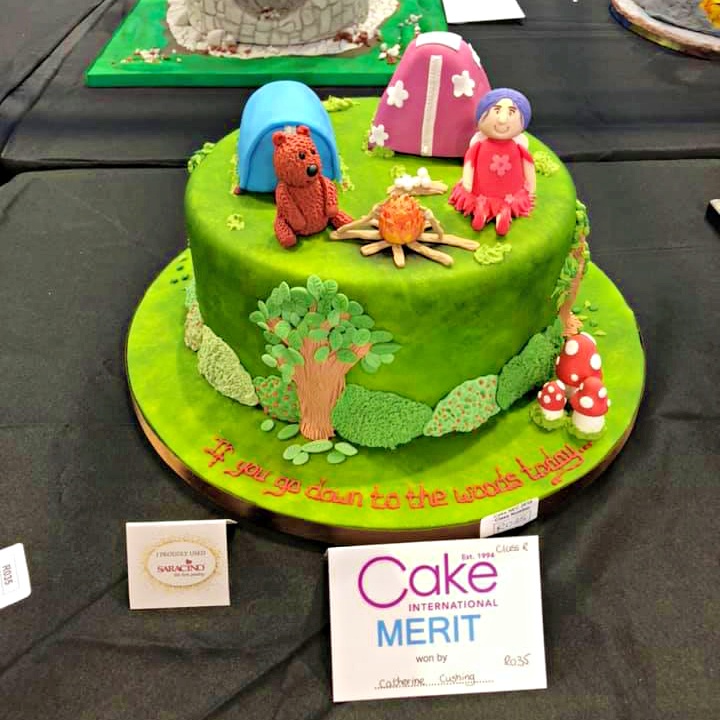
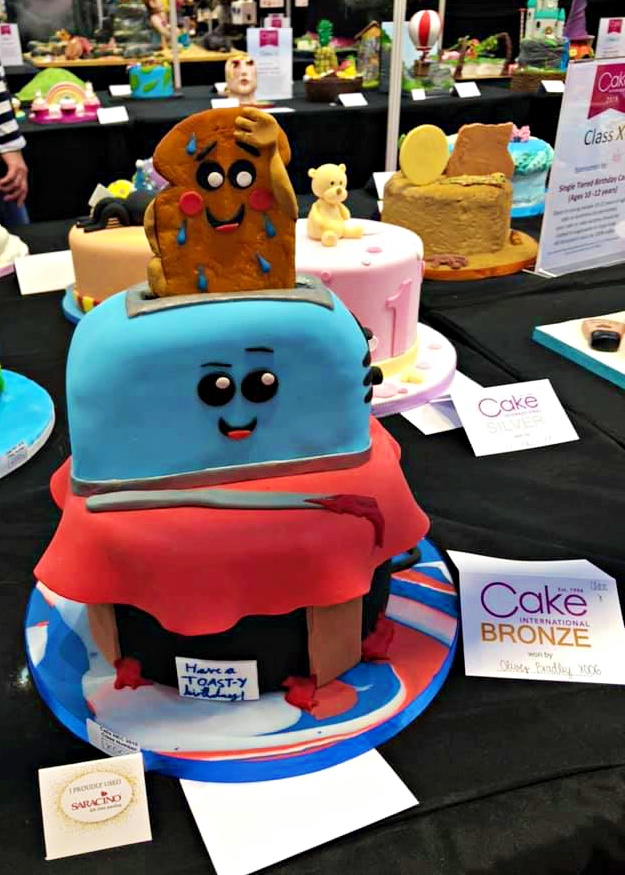
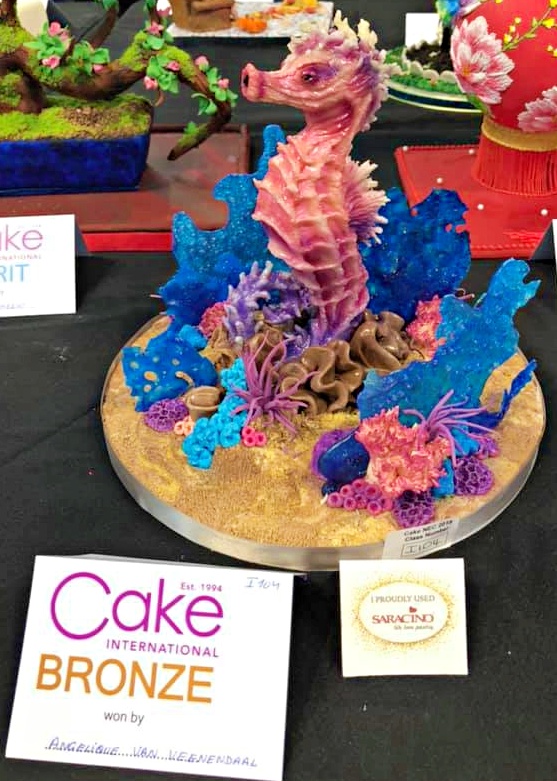
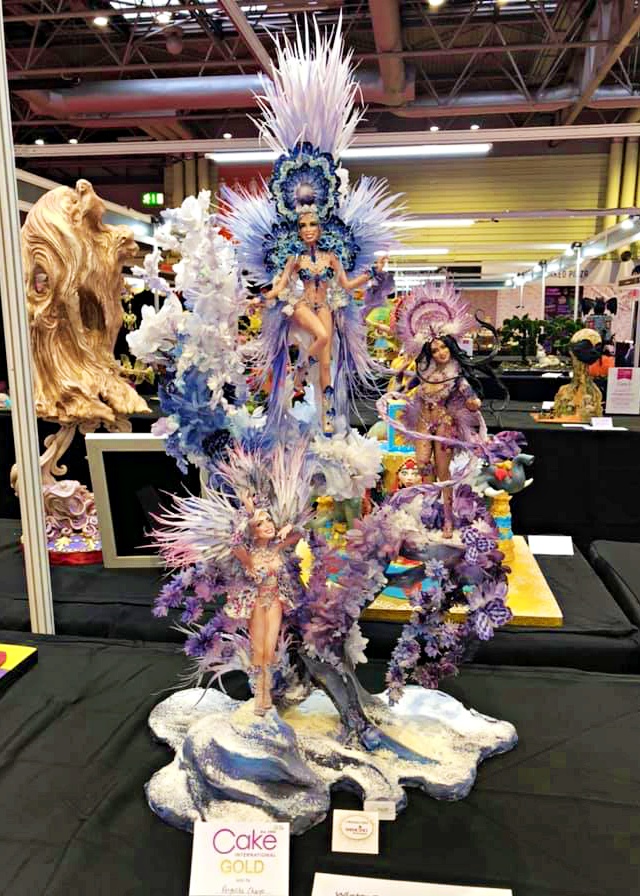
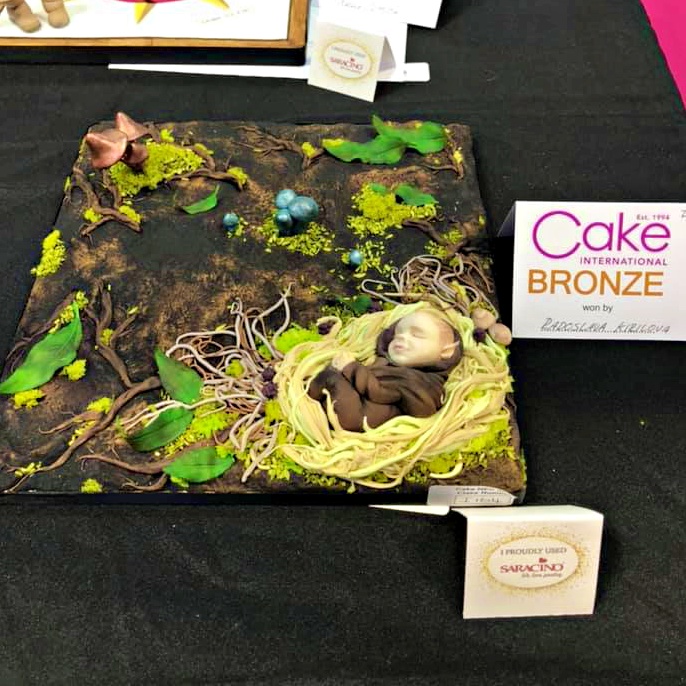
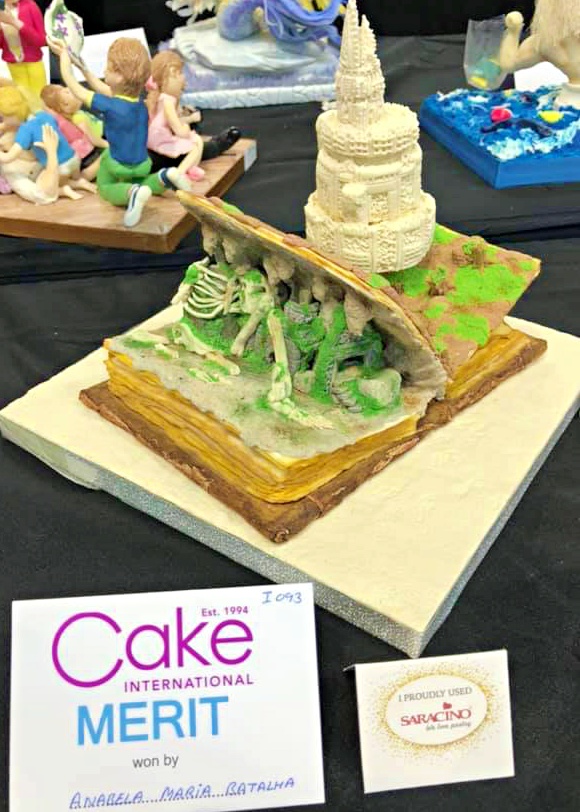
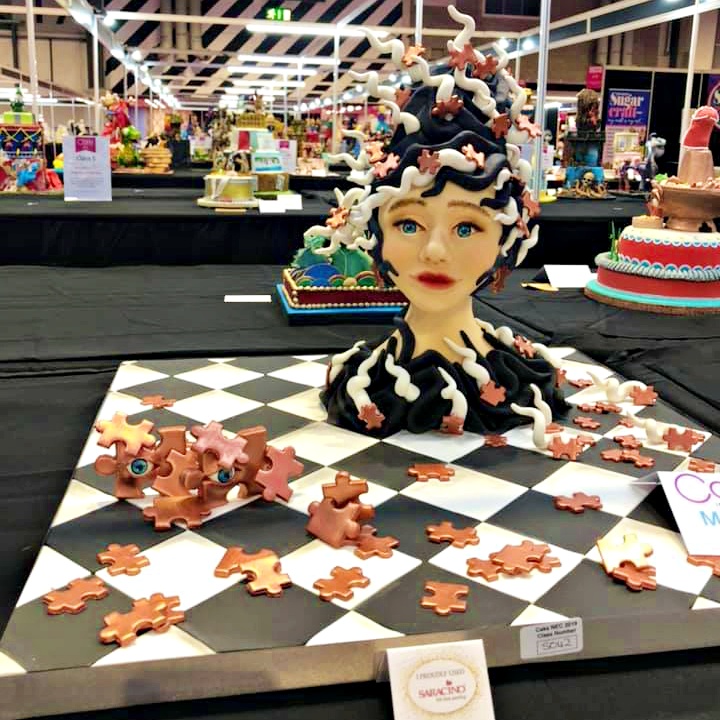
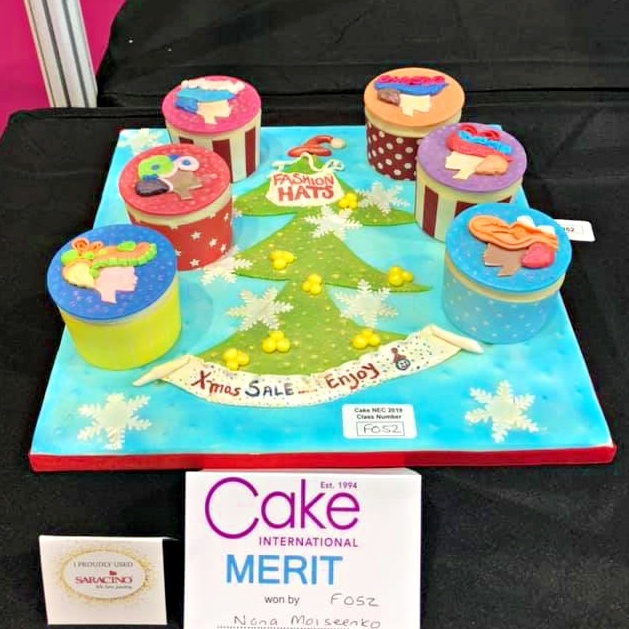
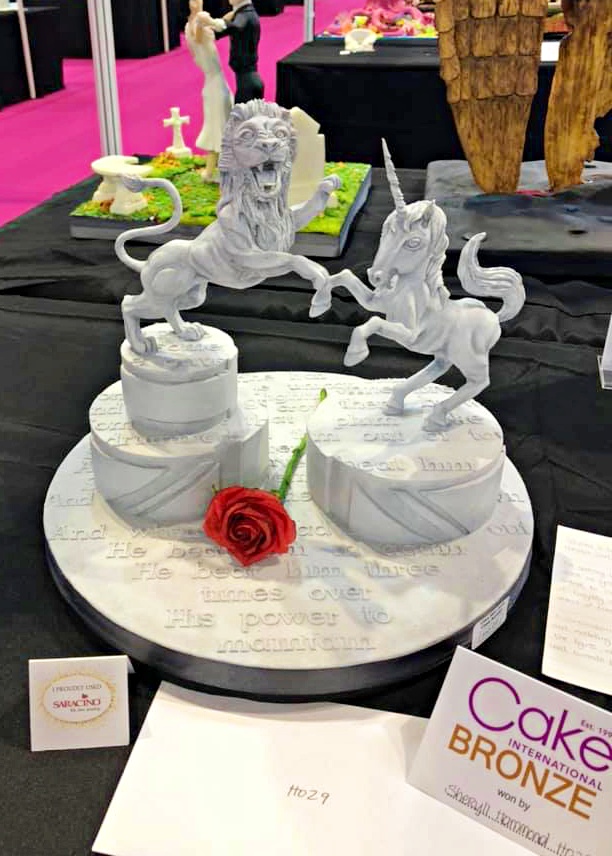
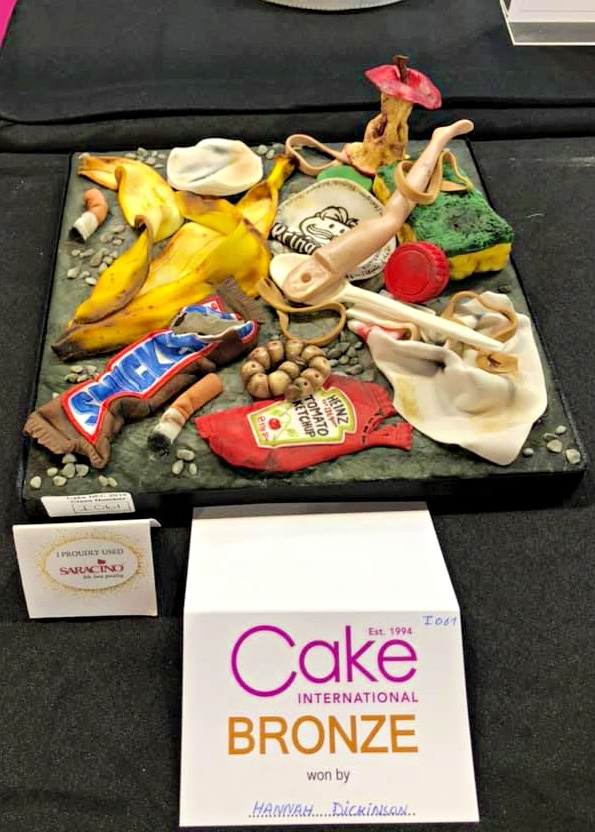
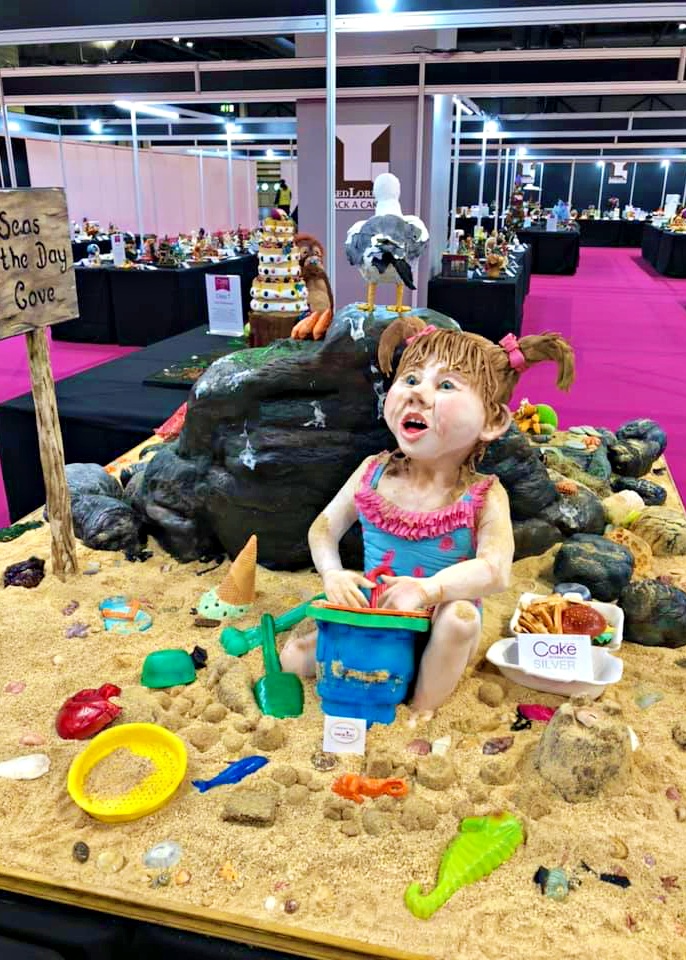
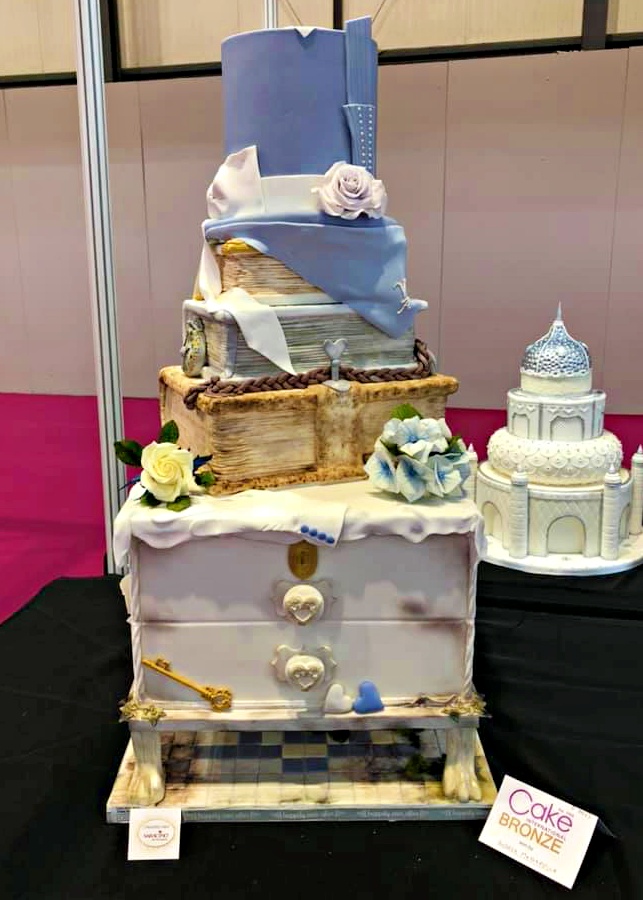
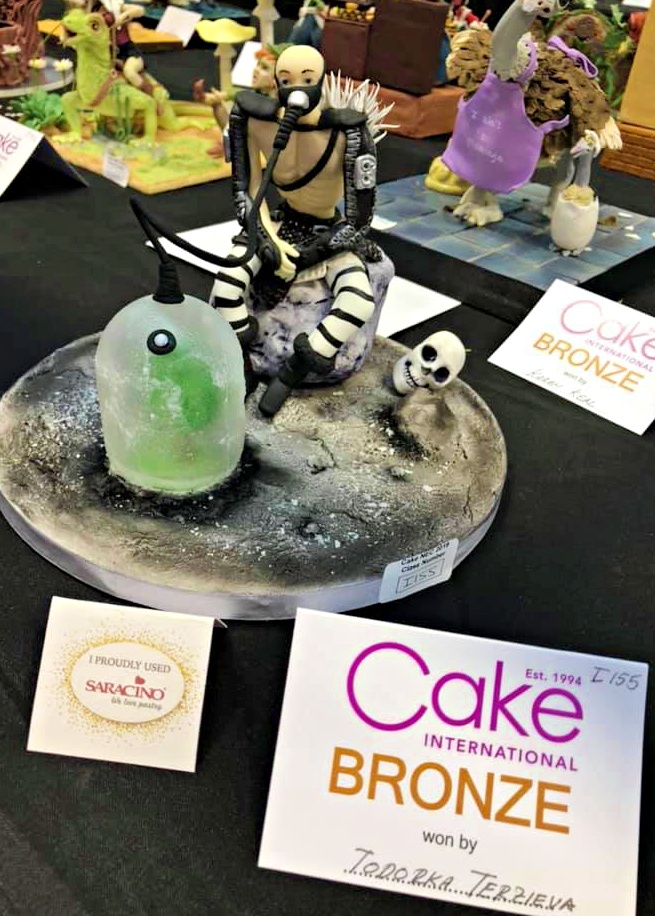
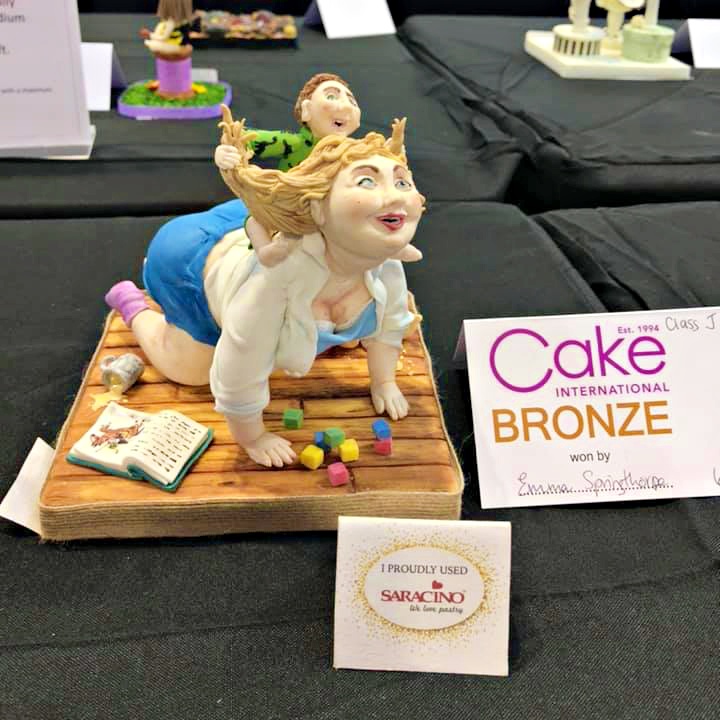
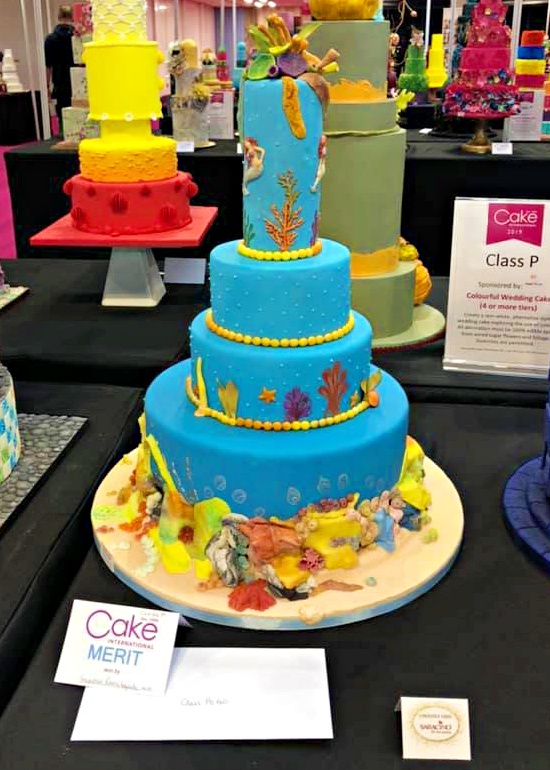
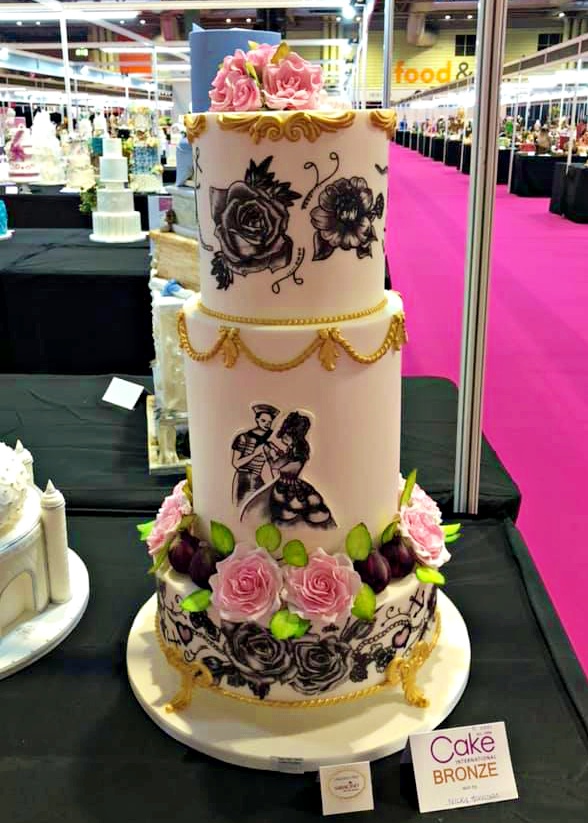
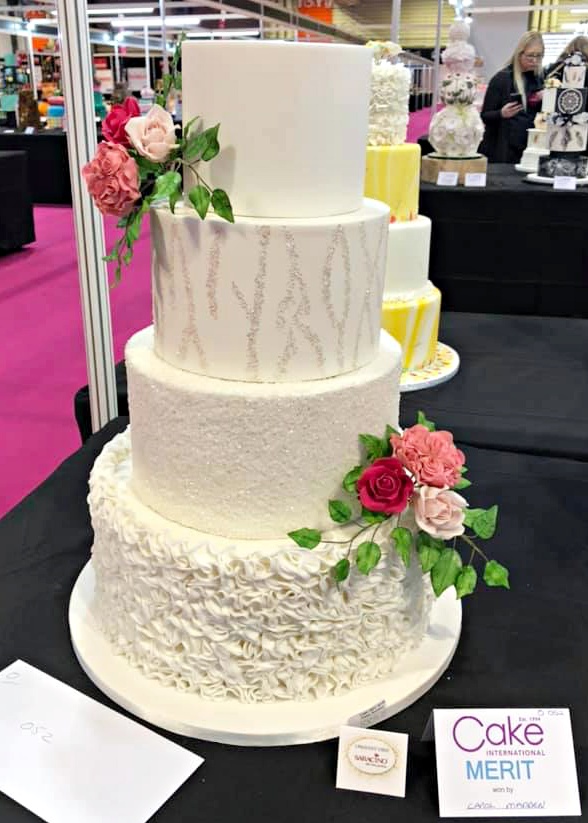
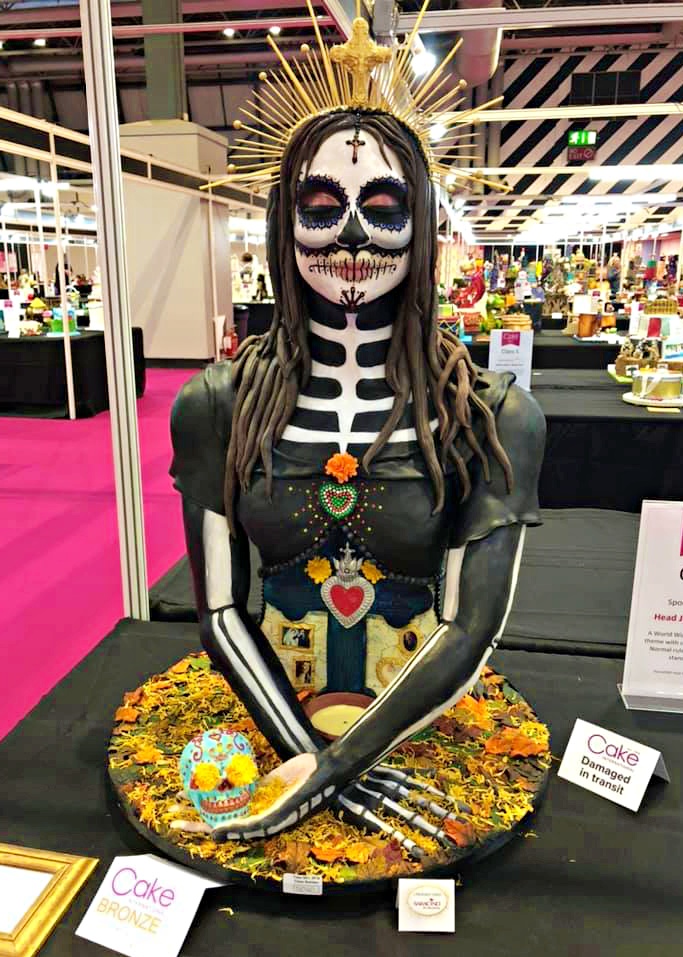
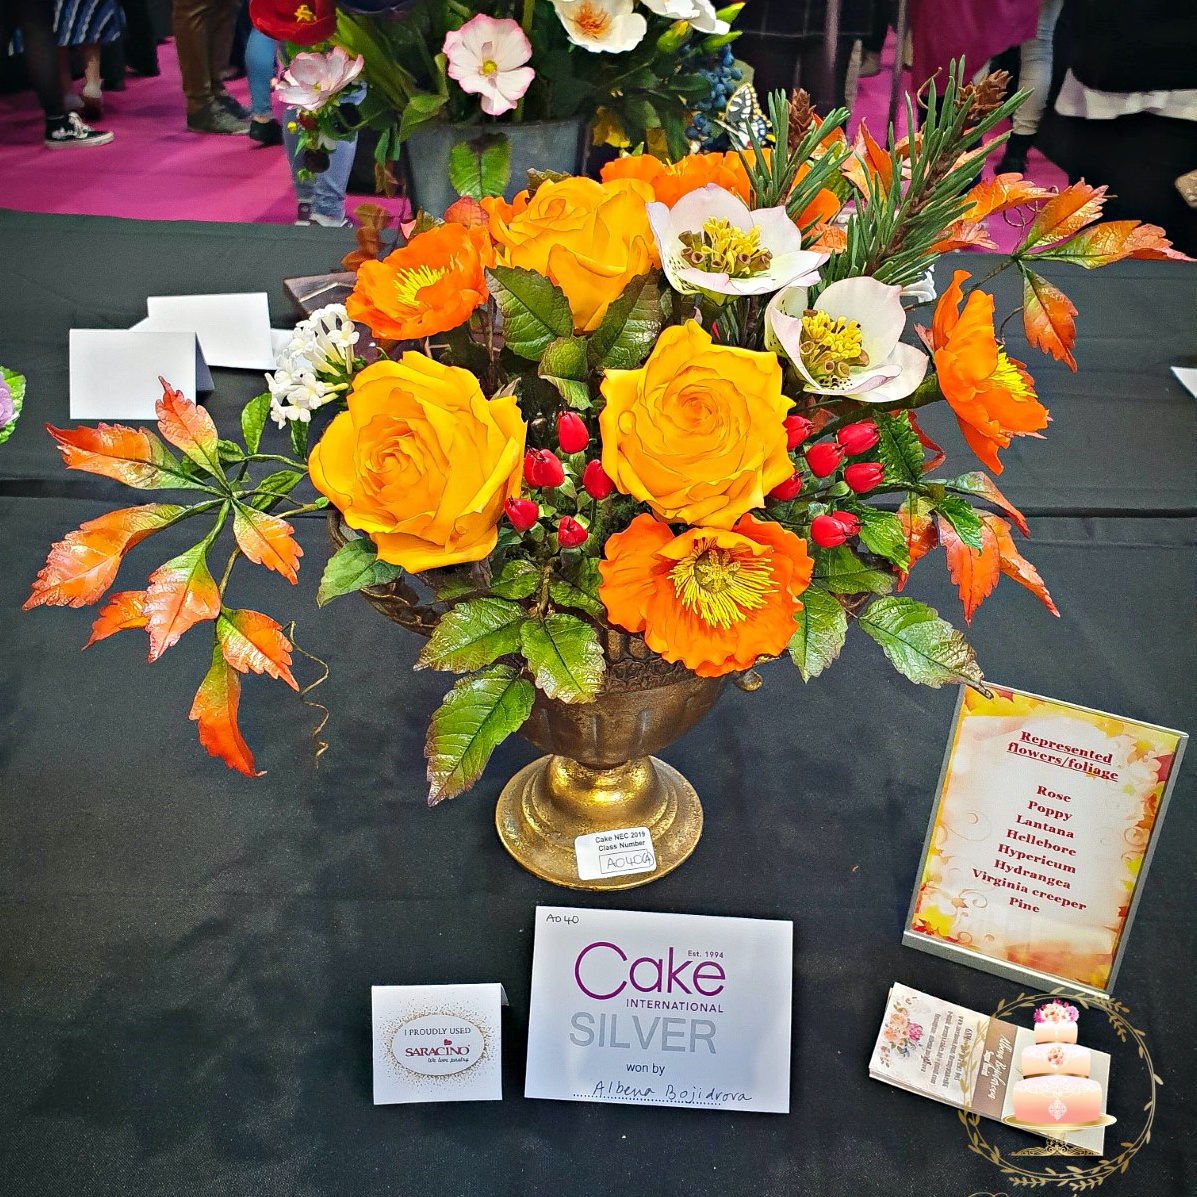
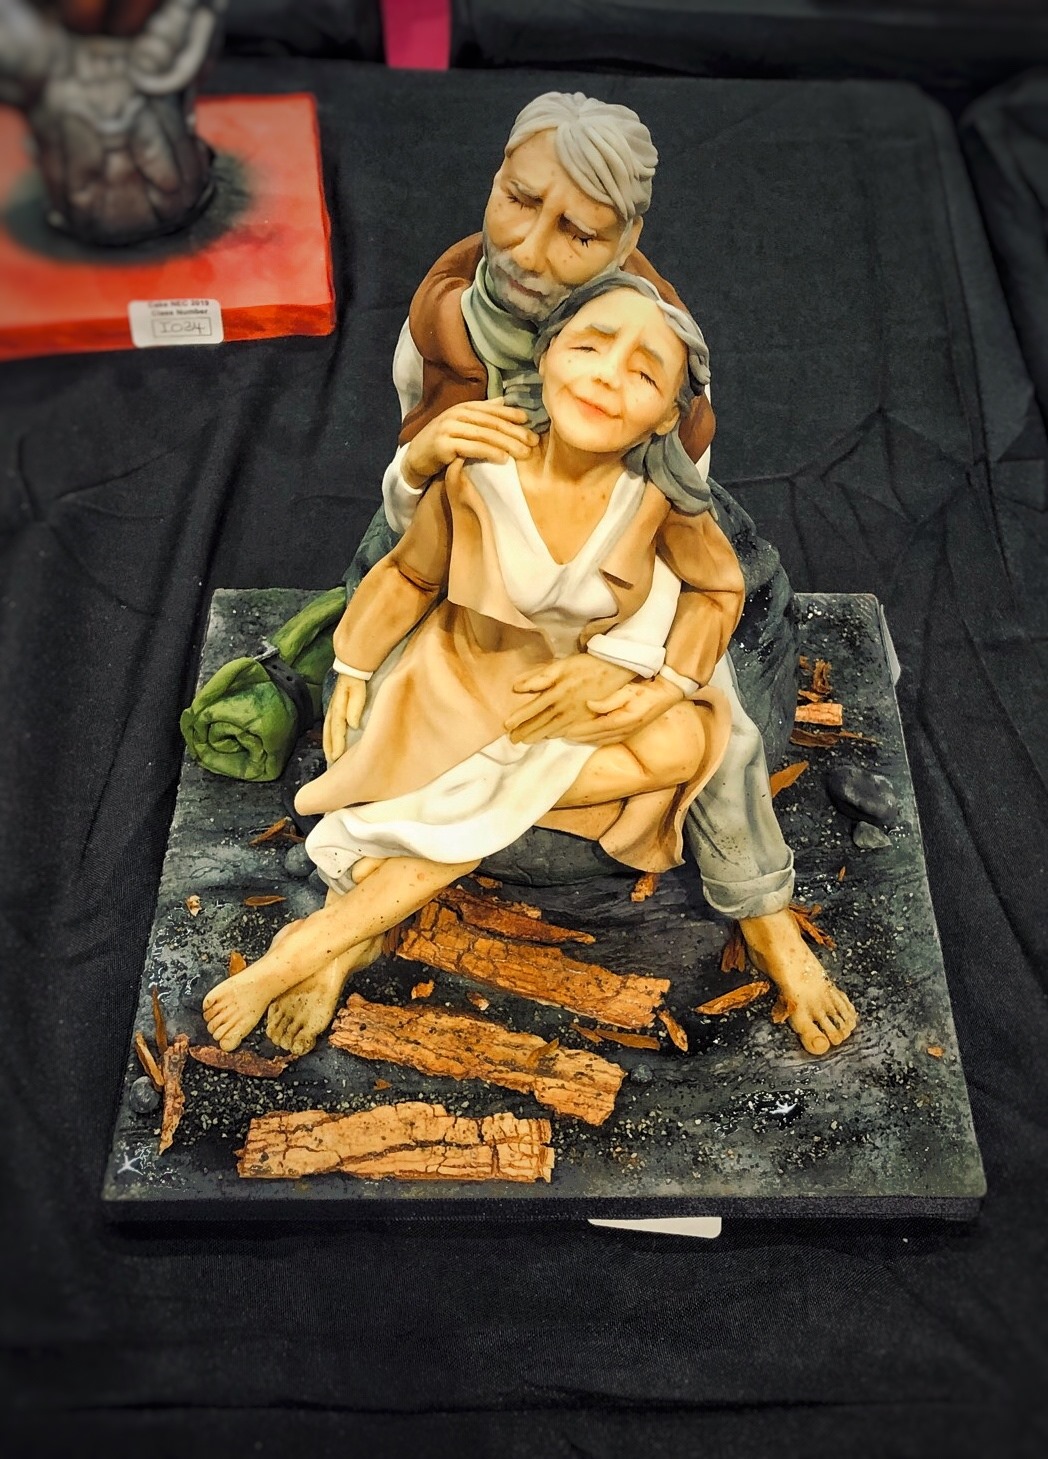
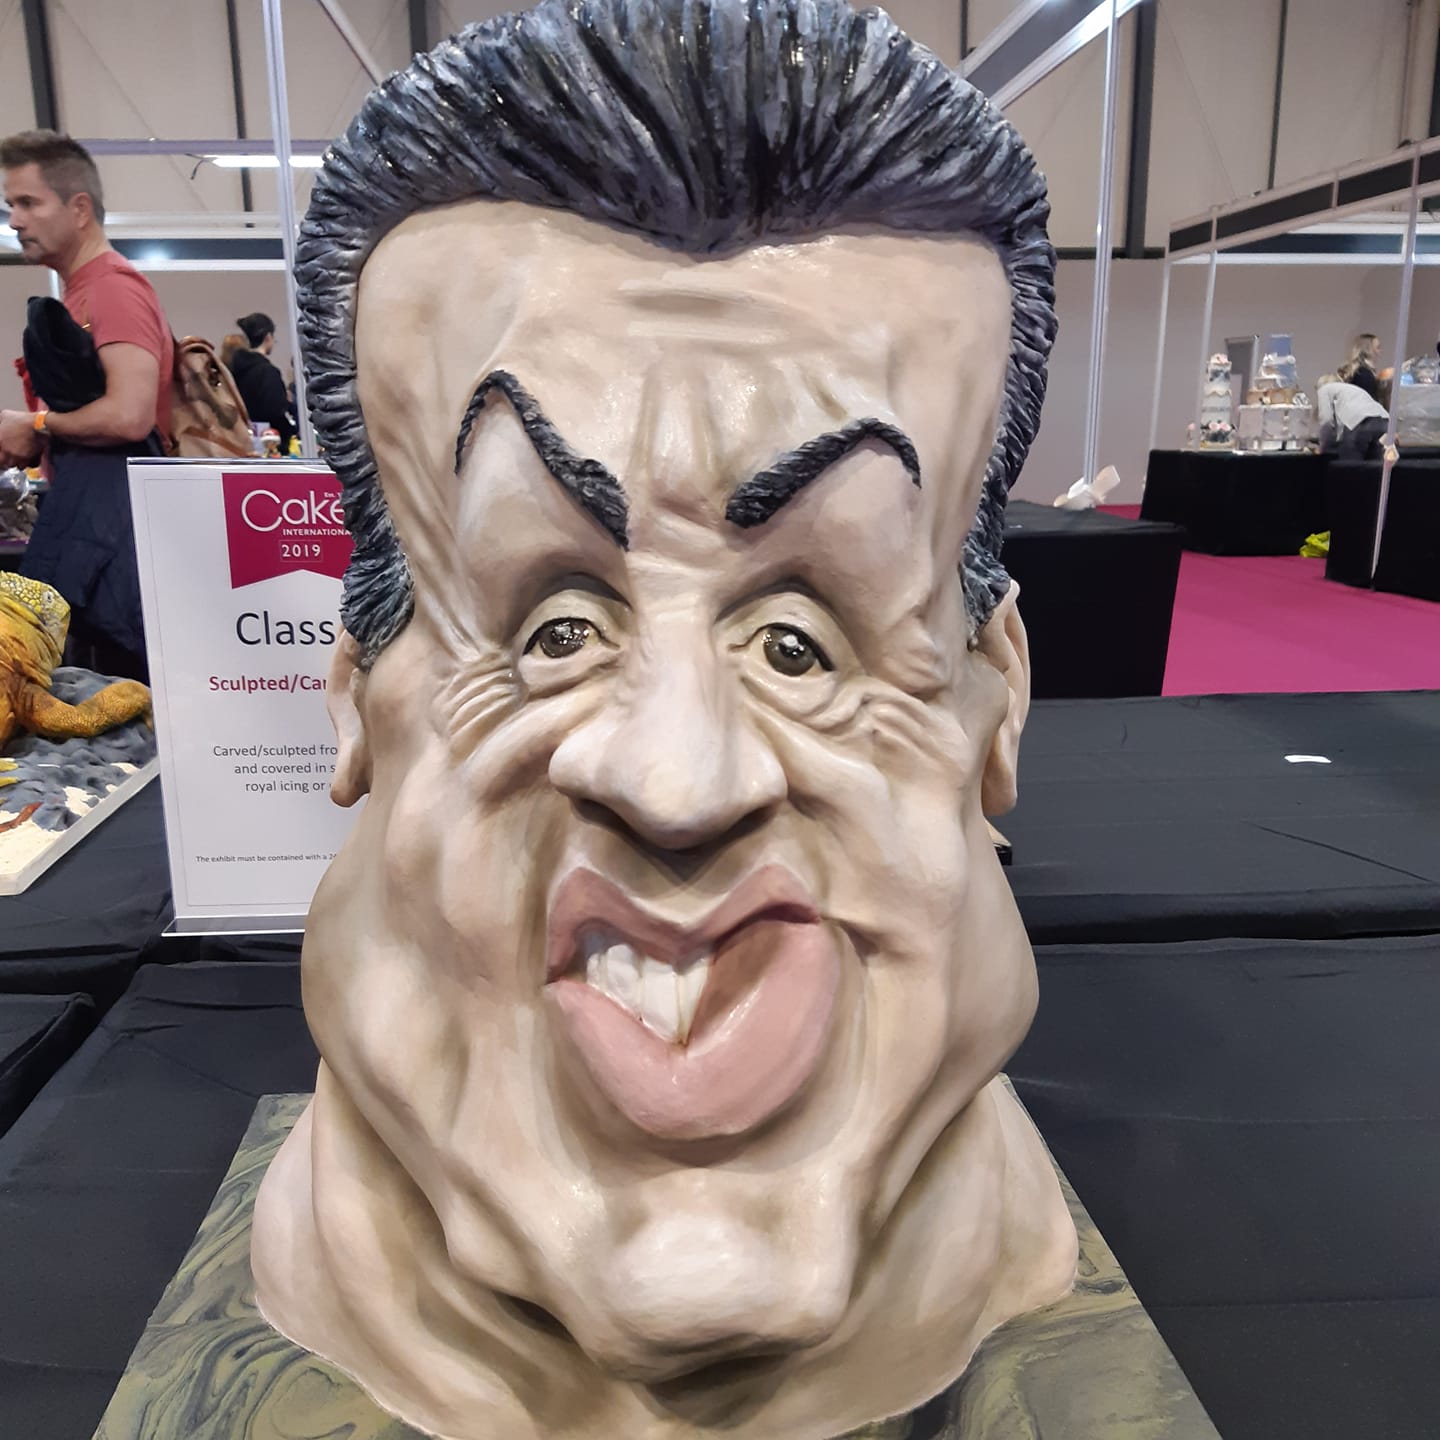
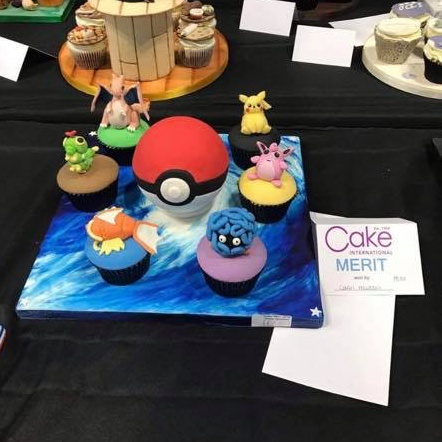
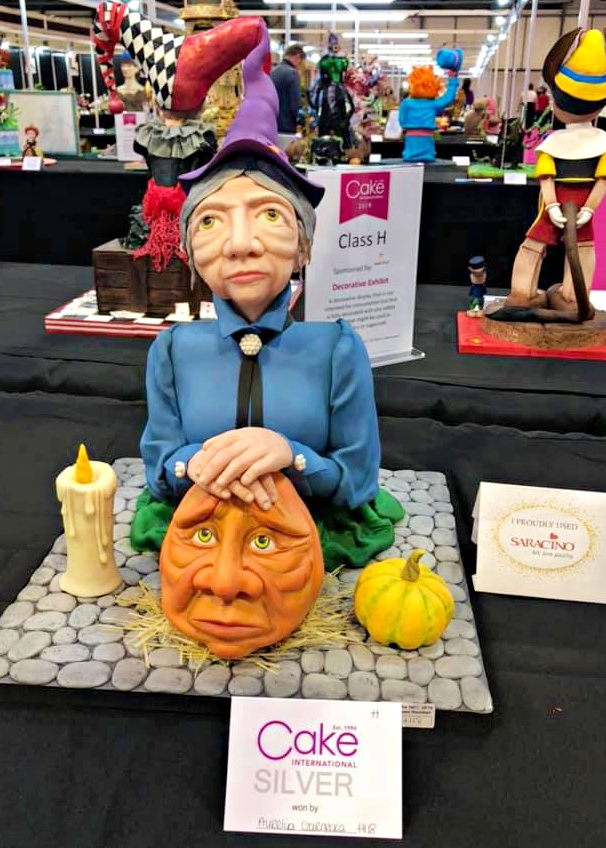
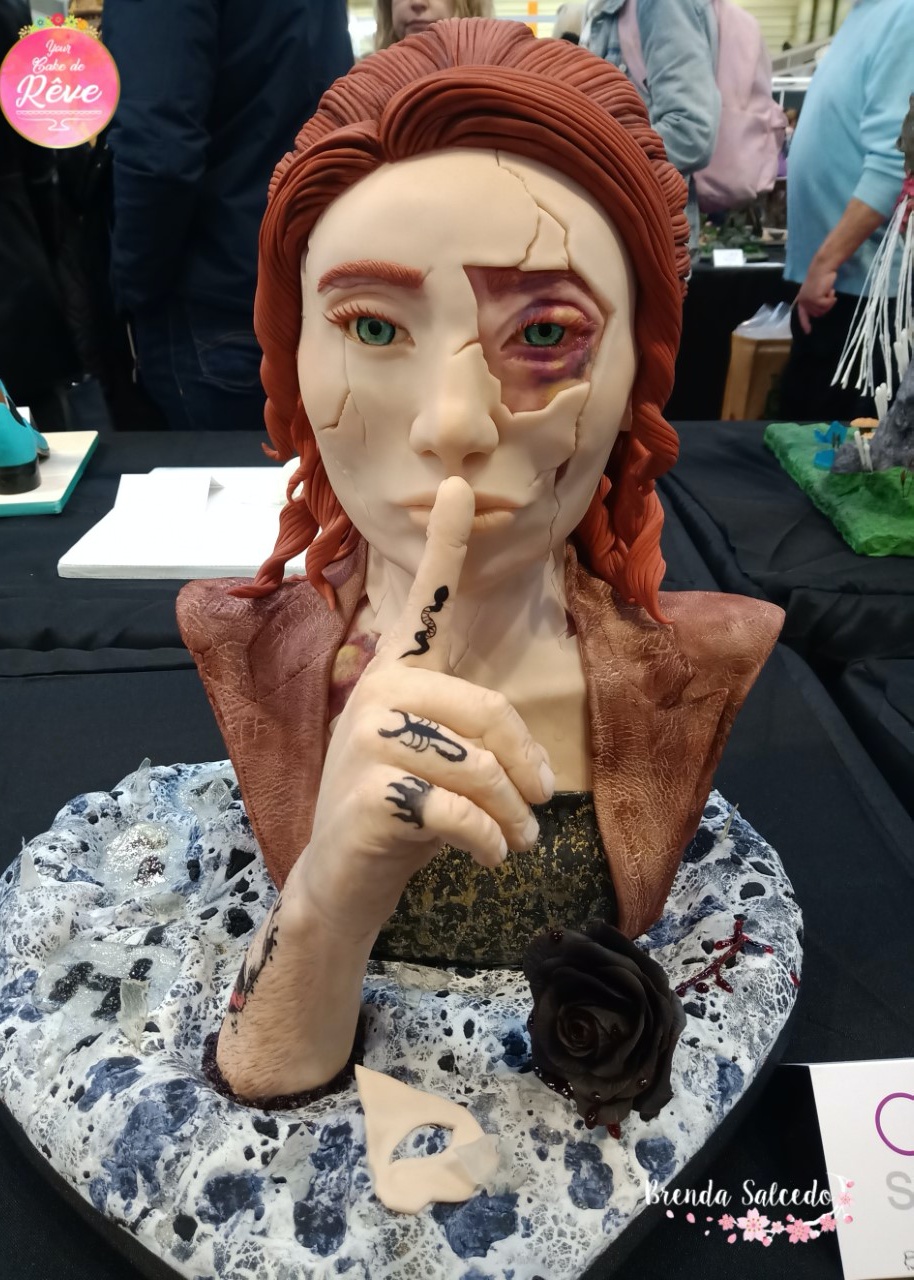
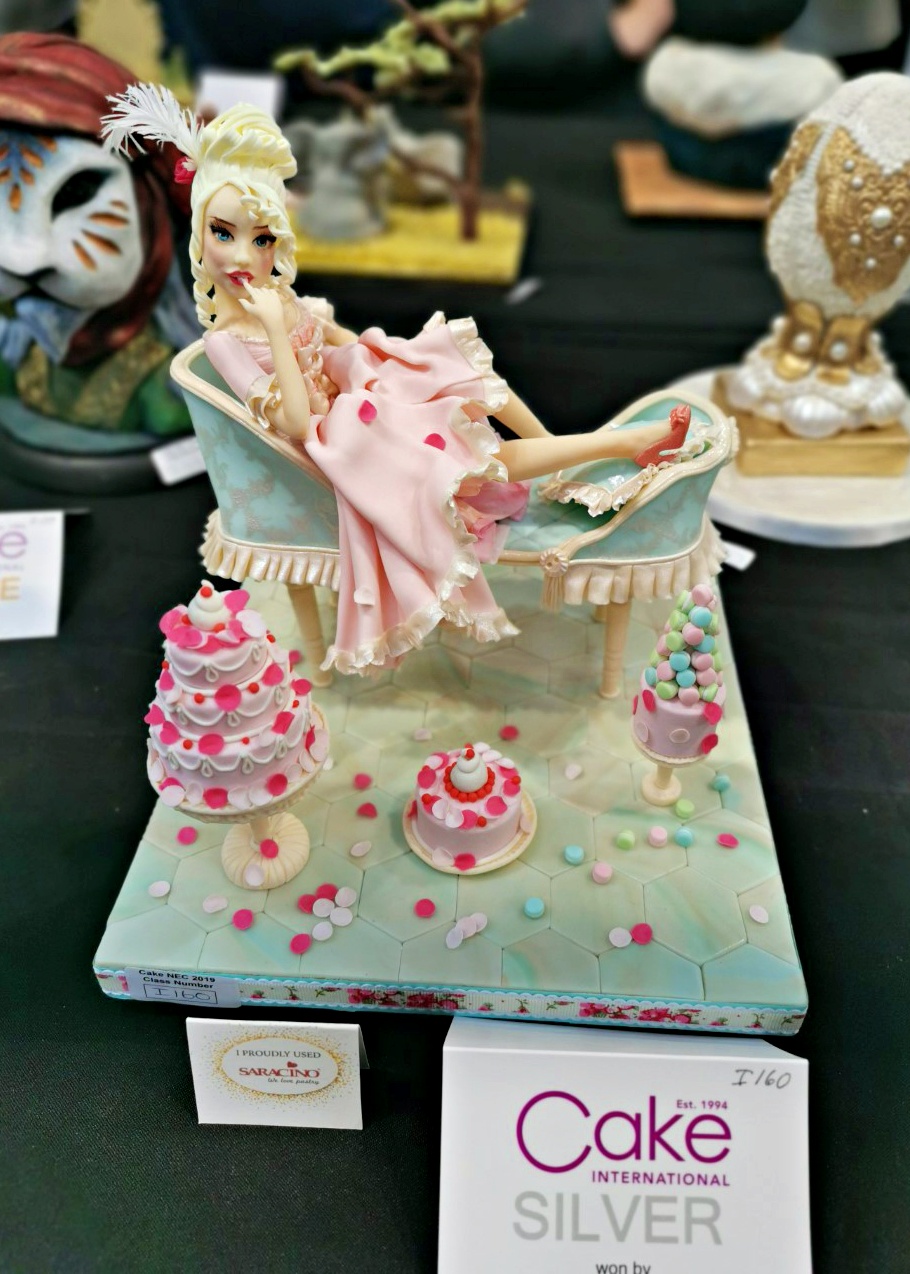
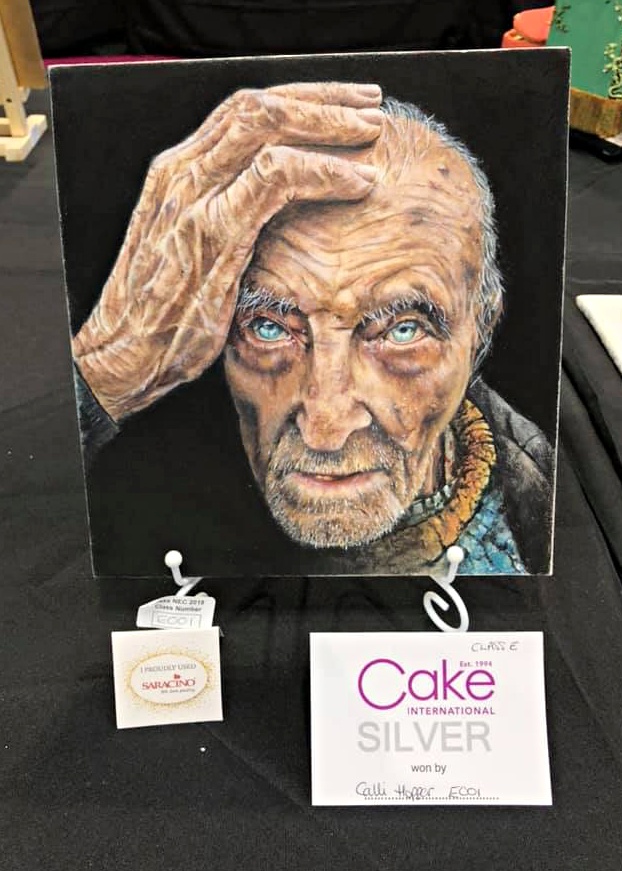
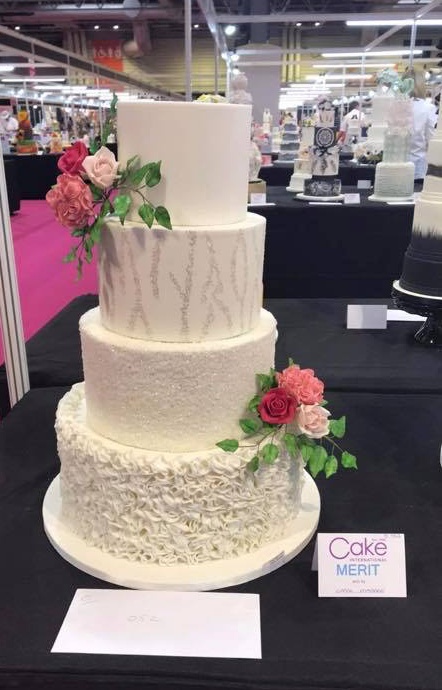
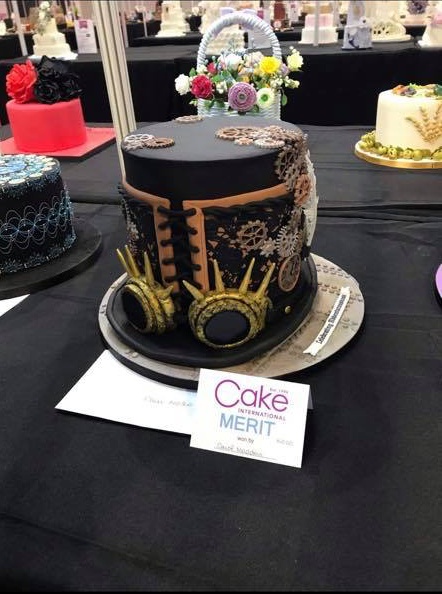
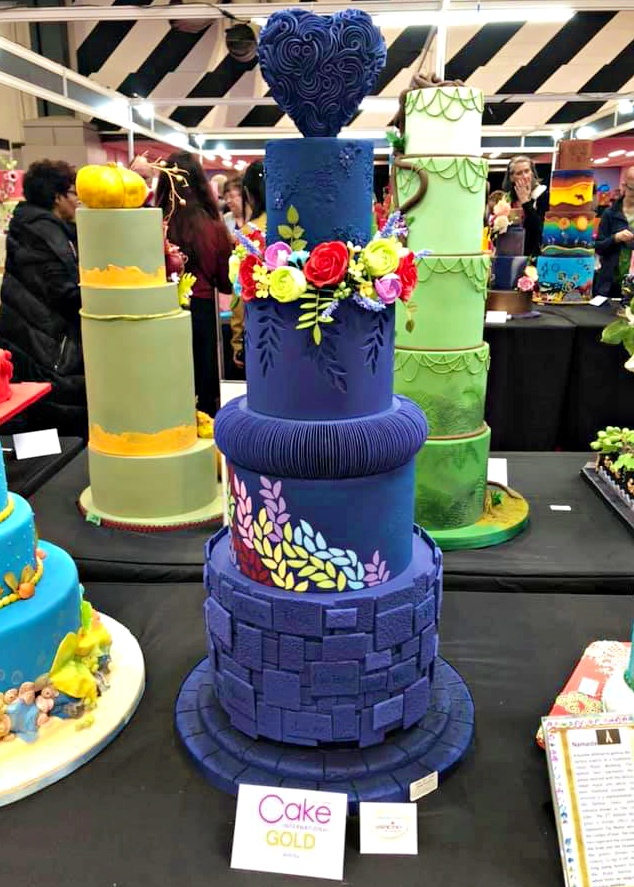
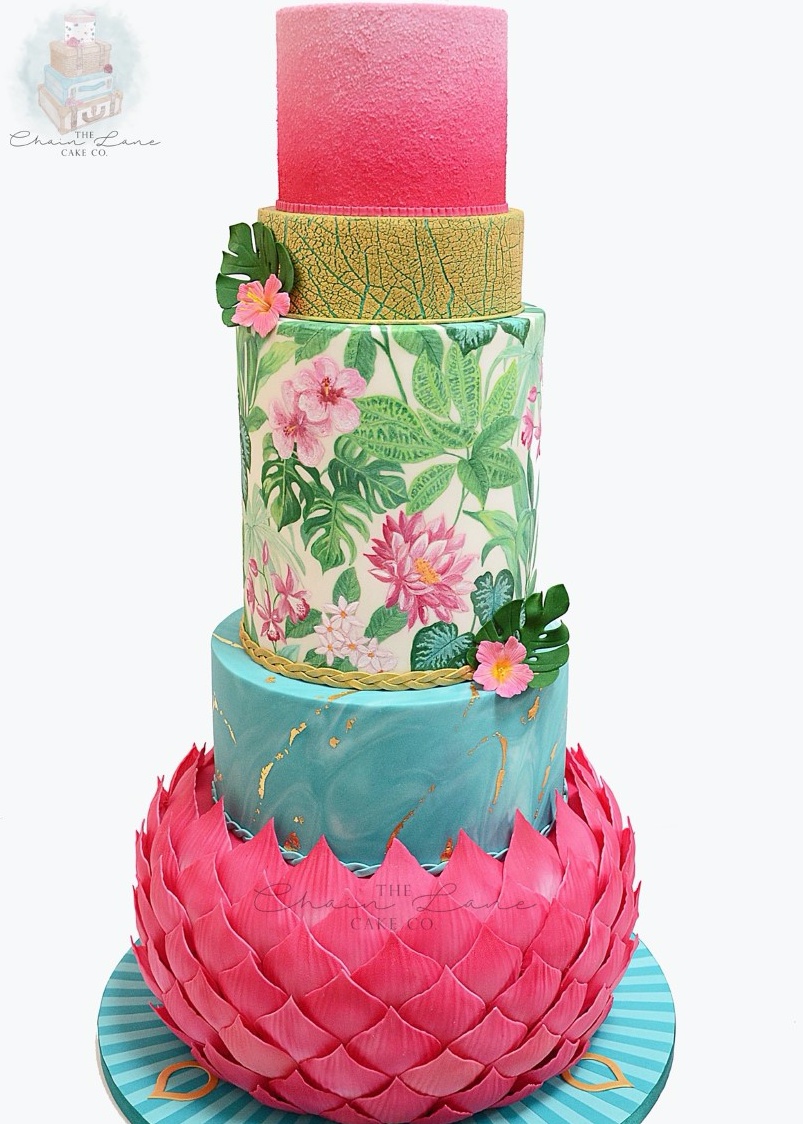
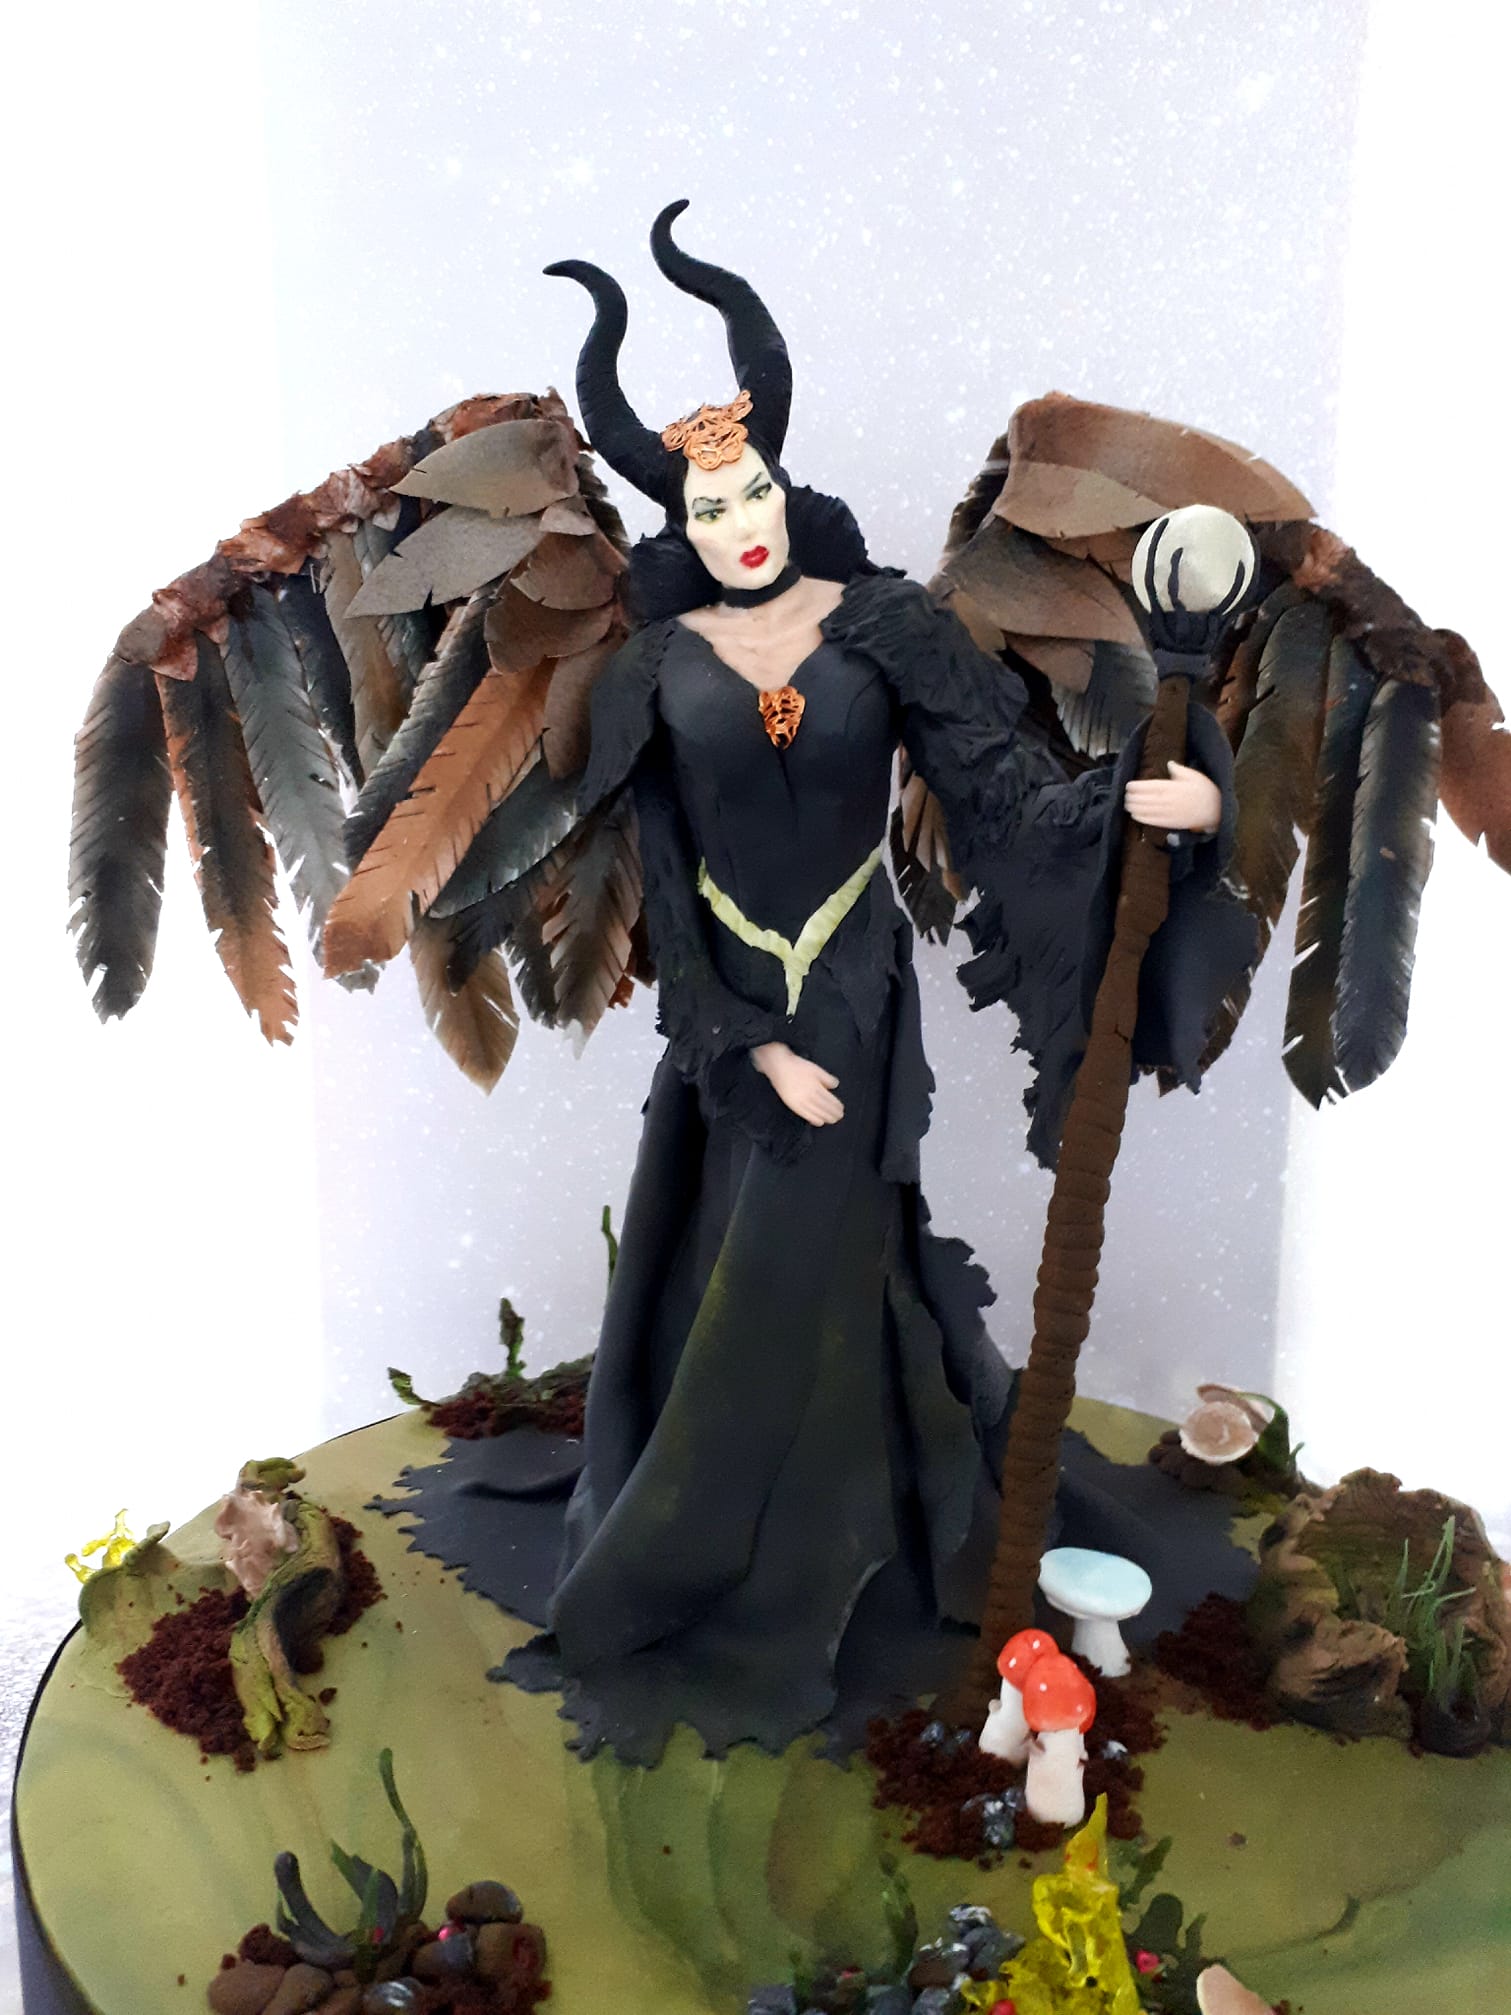
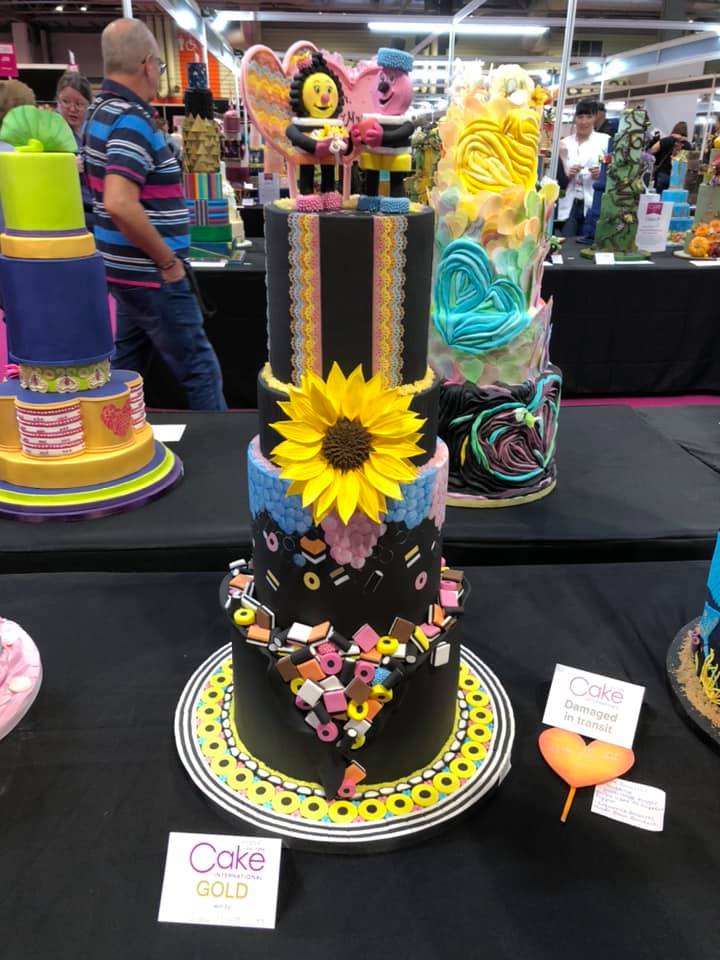
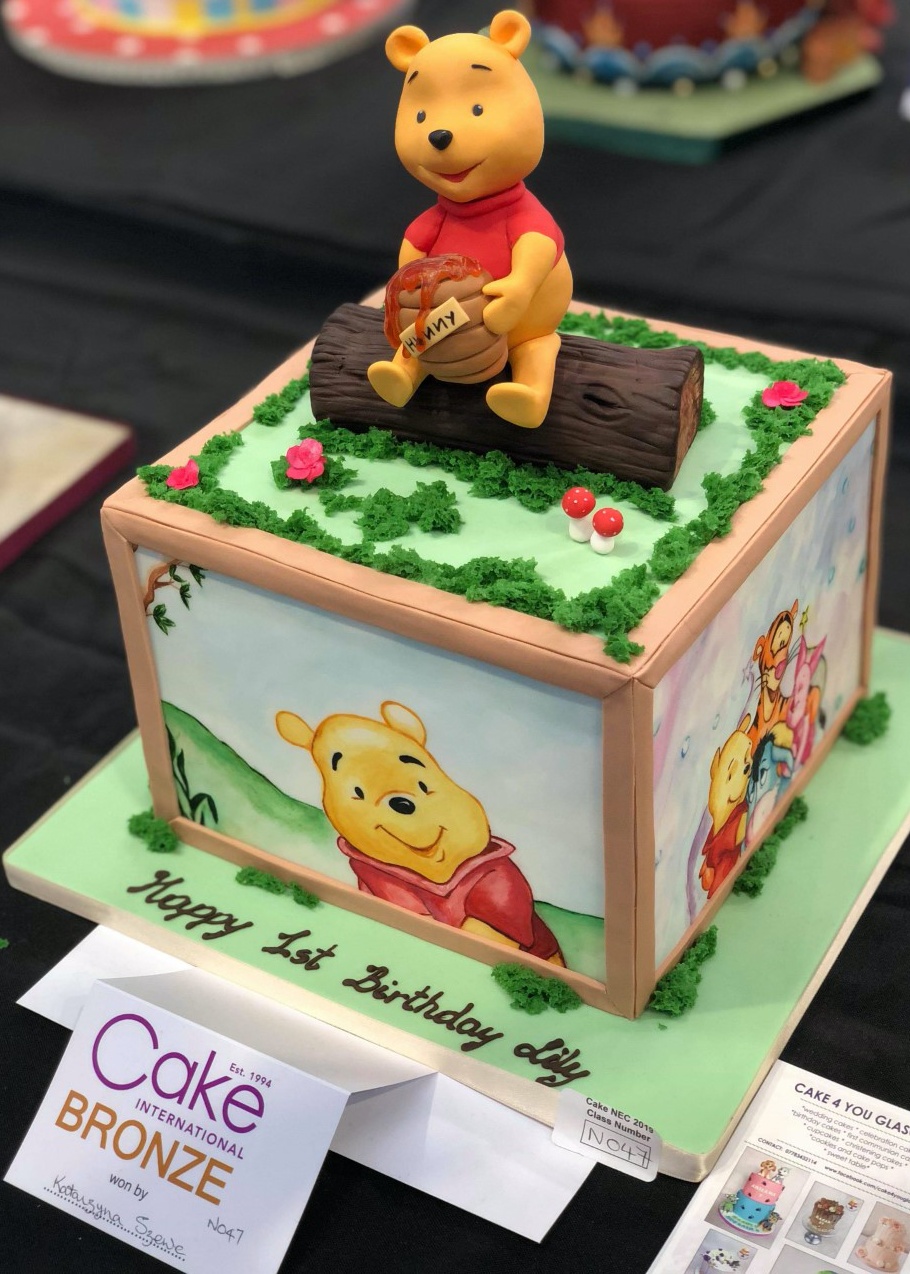
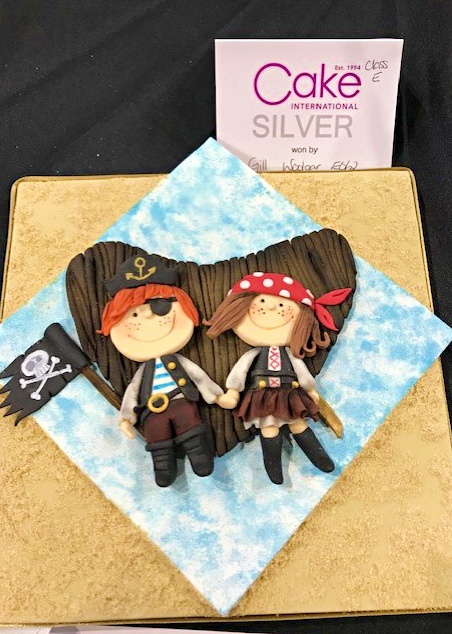
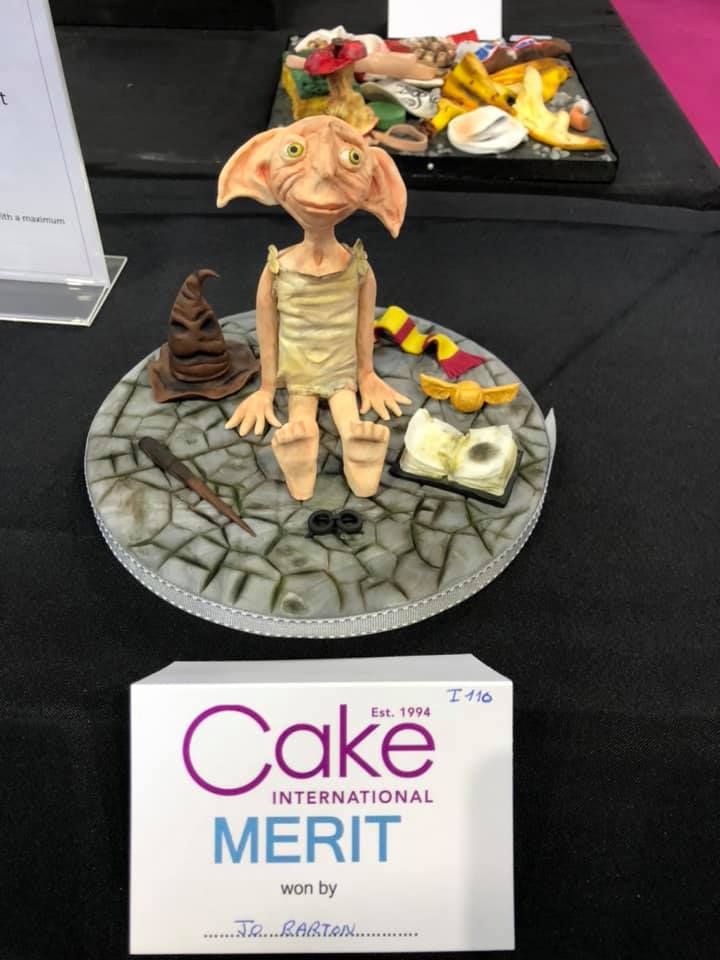
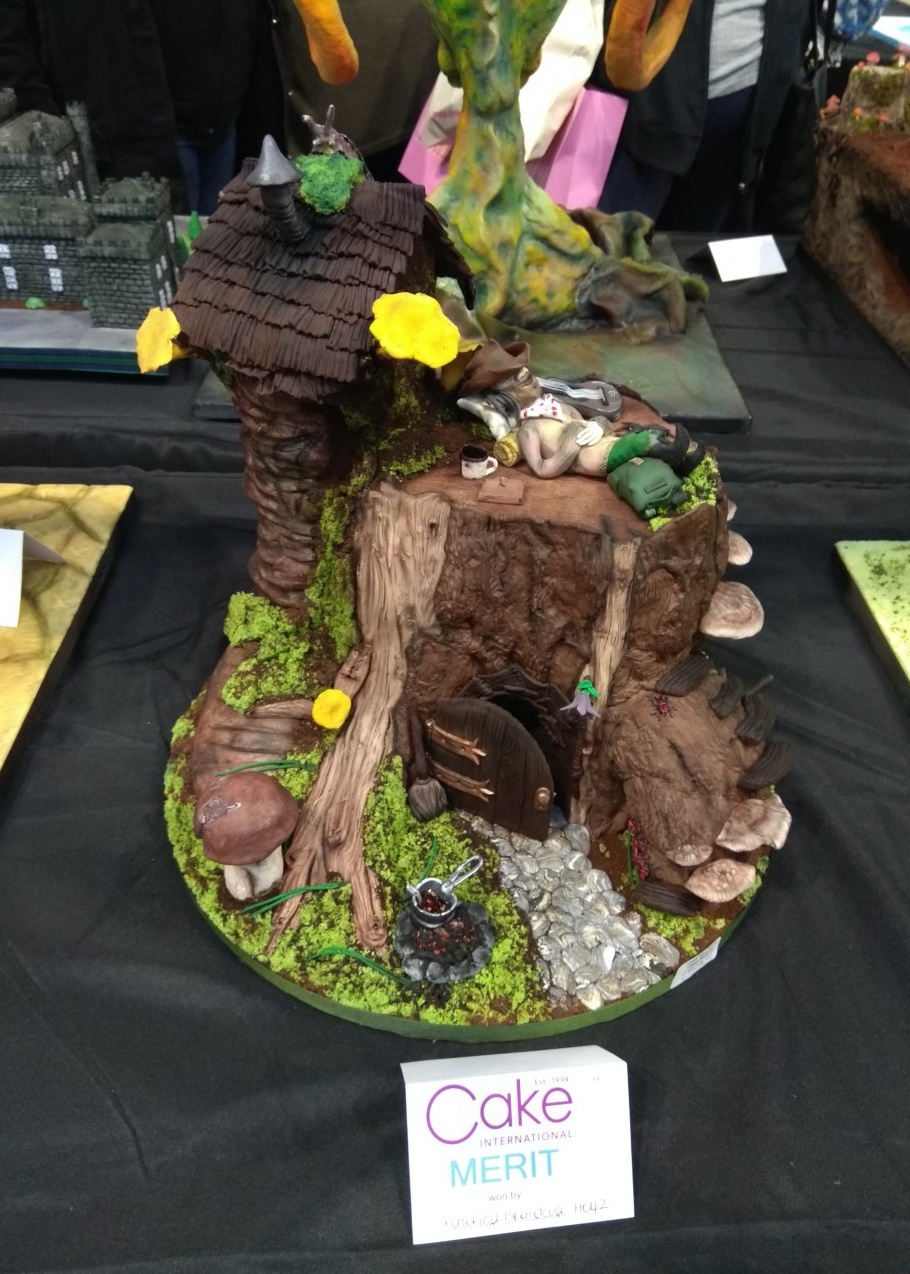
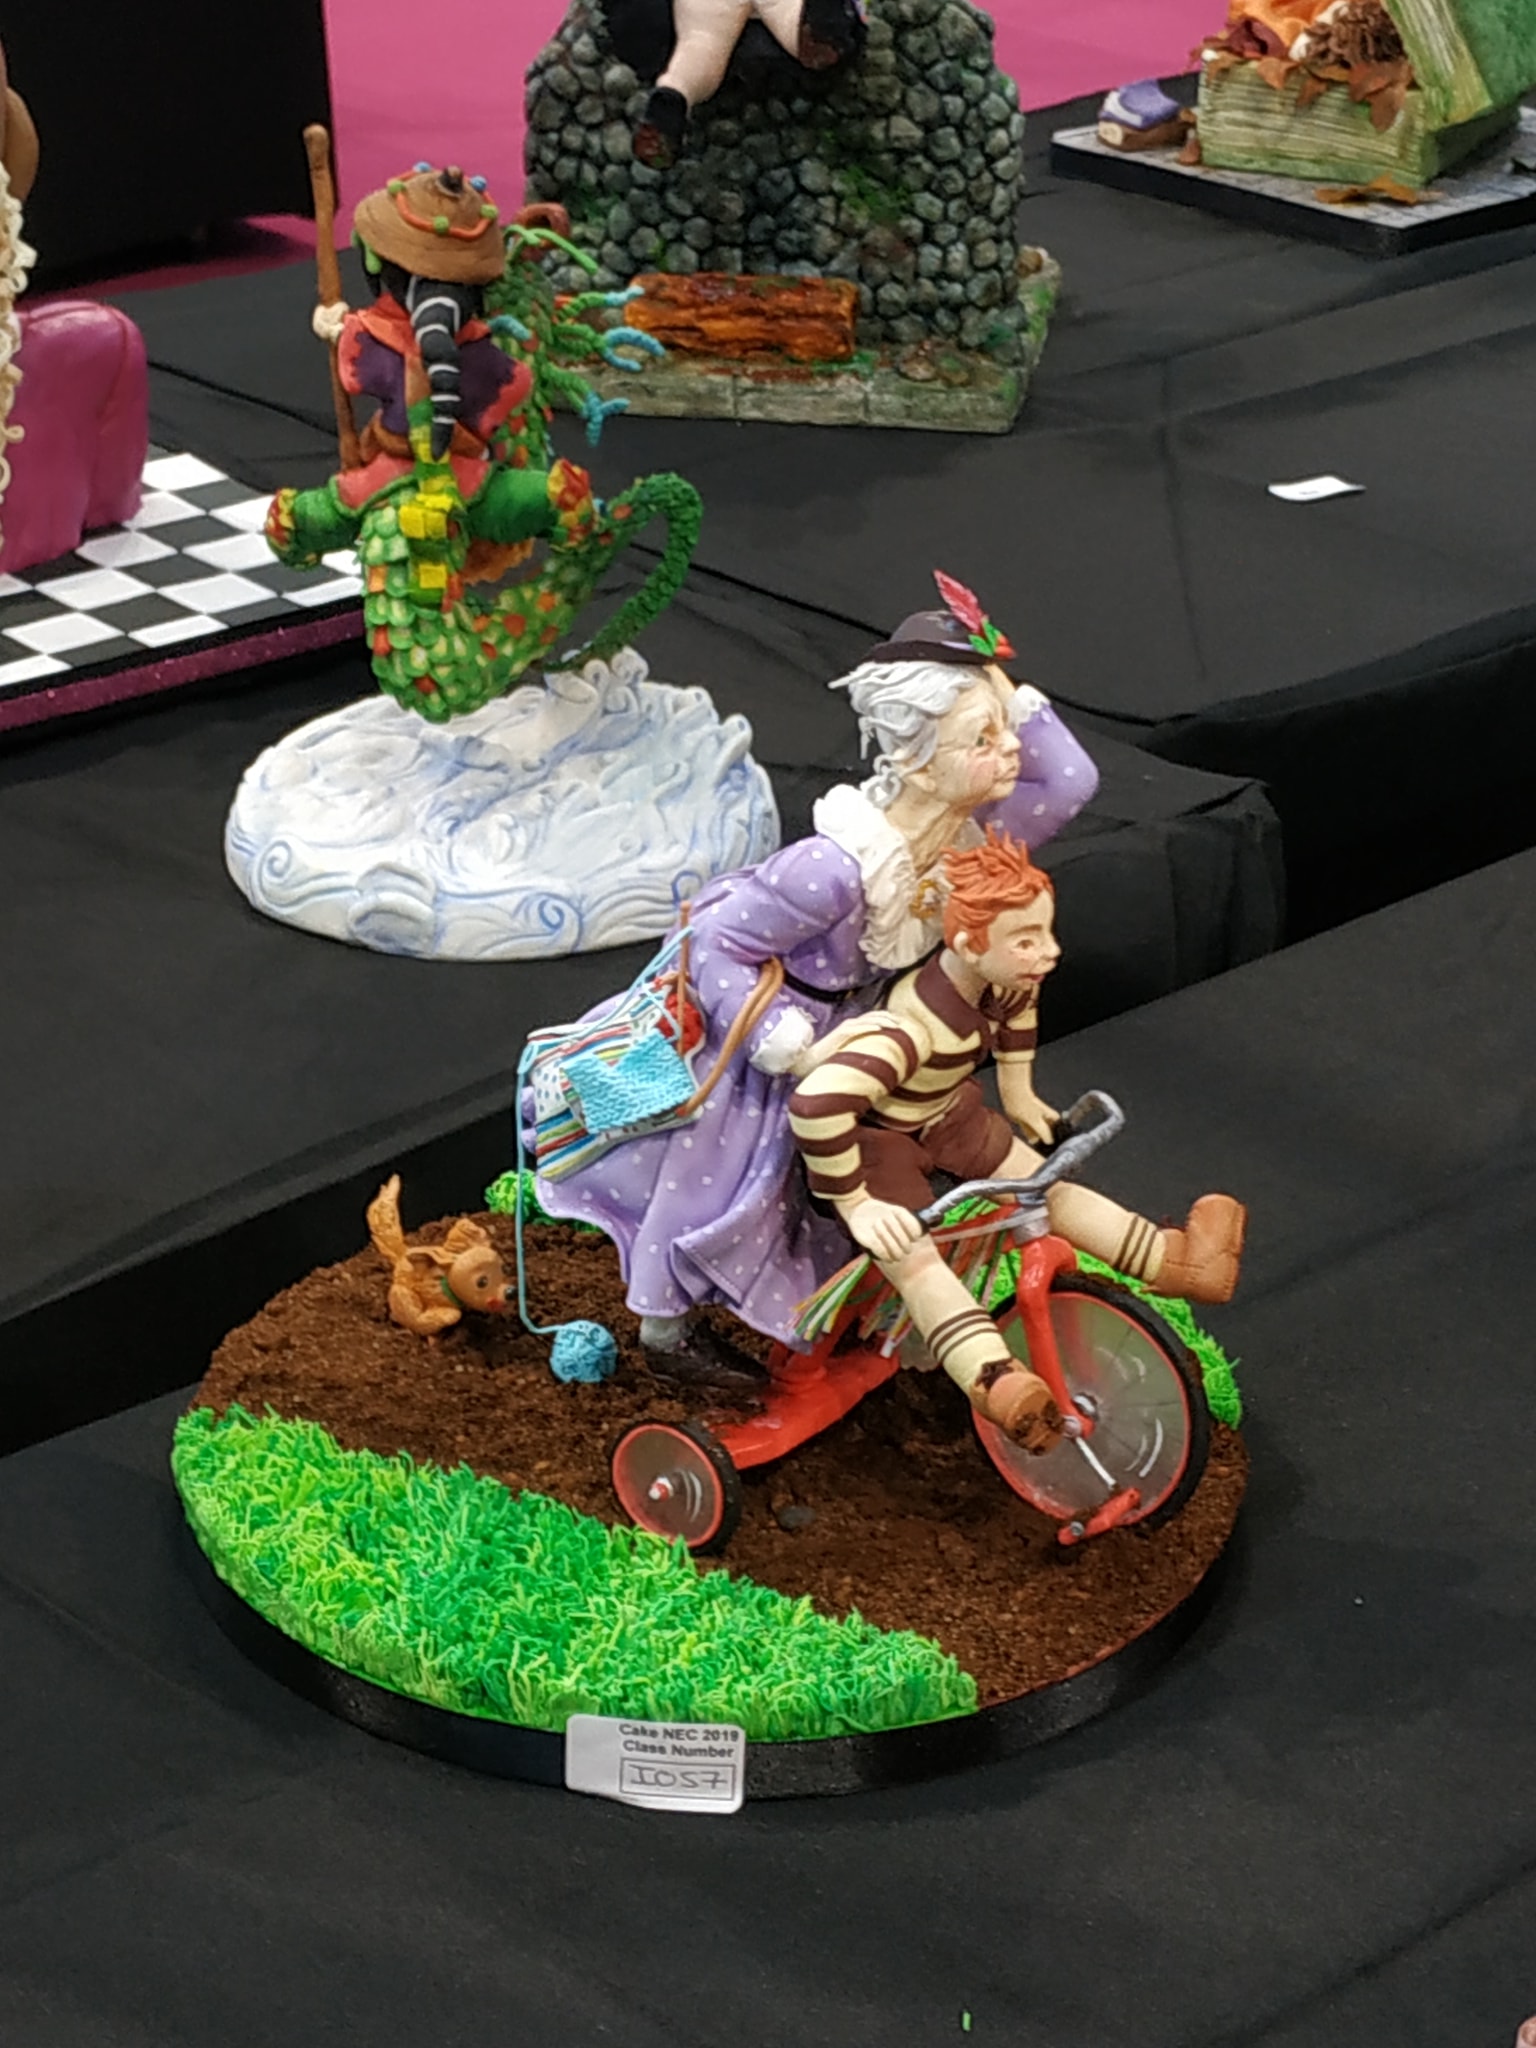
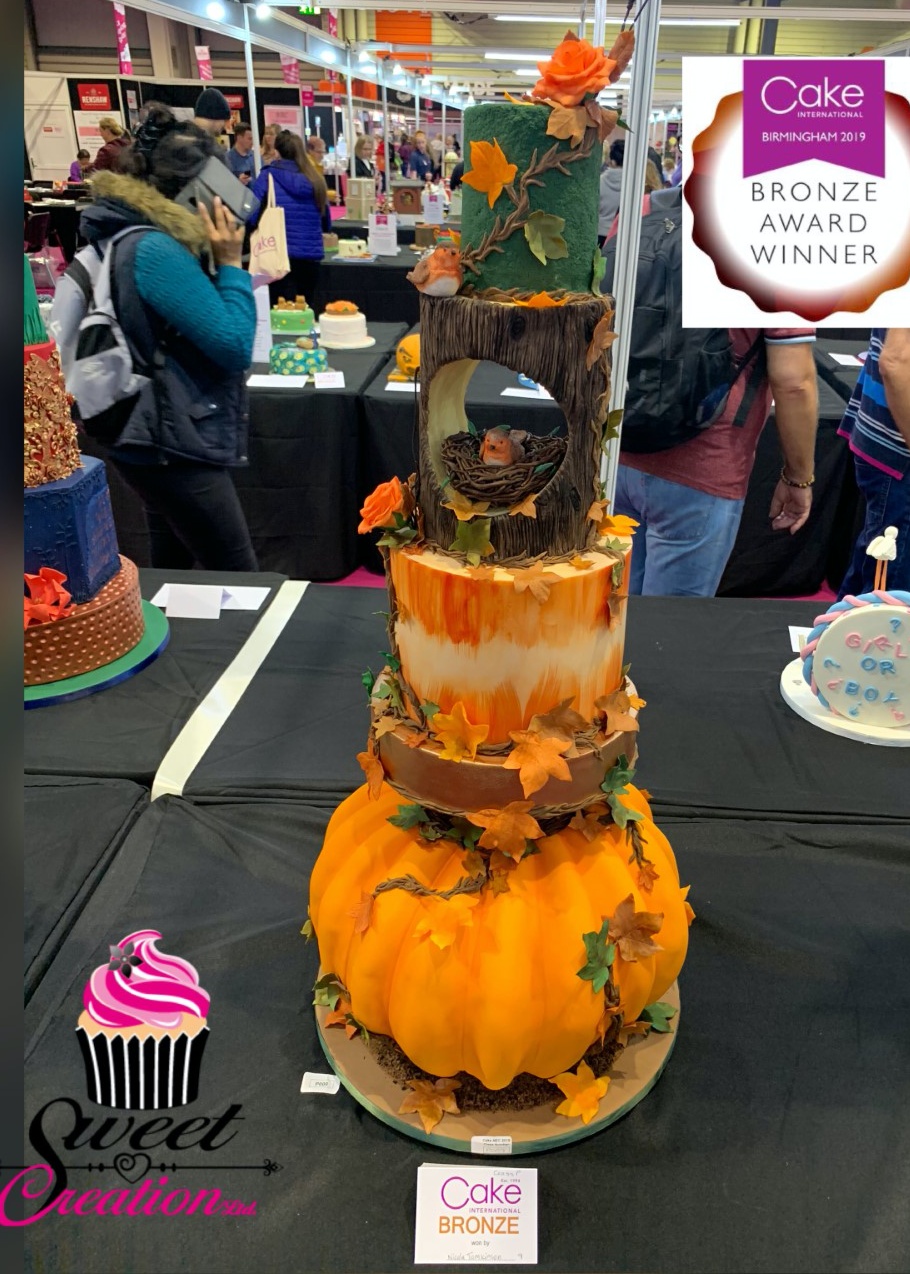
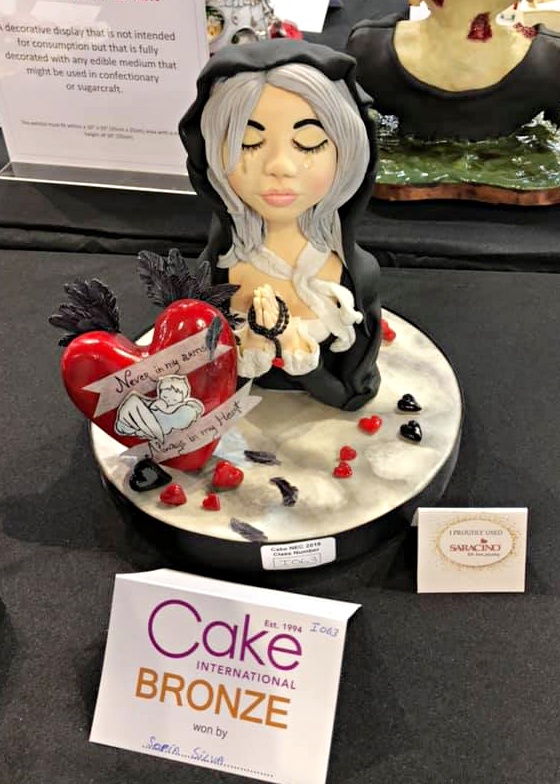
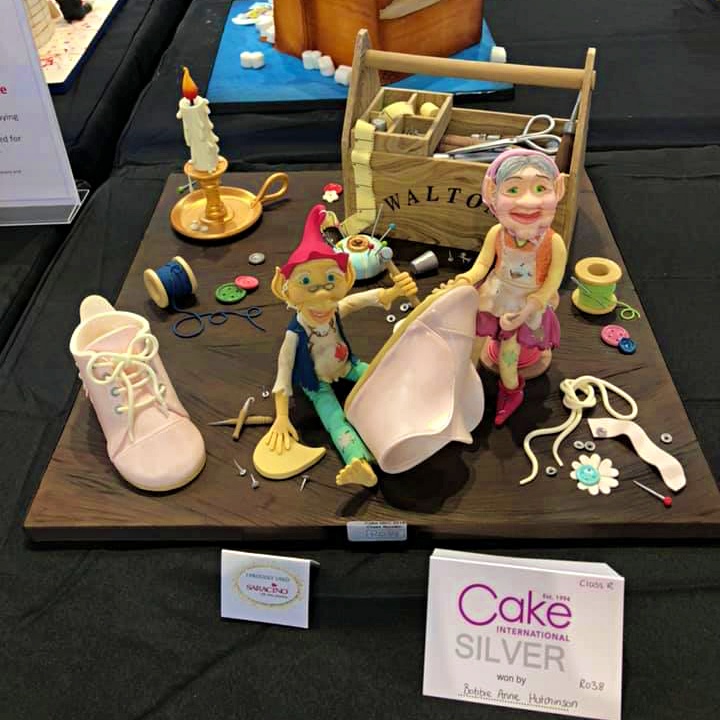
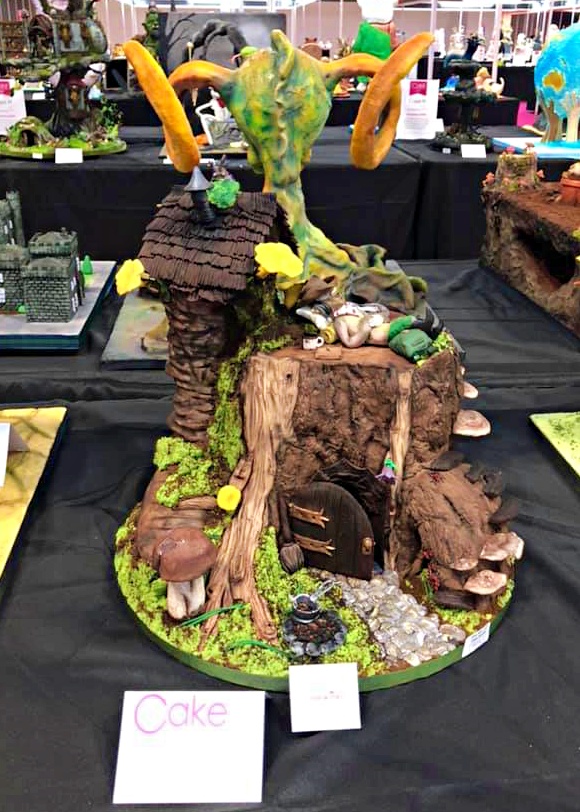
AMAZING CREATIONS FROM CAKE INTERNATIONAL 2019


by Saracino – as we are amazed how many of you have used Saracino products to create your pieces.
Click on the picture below to see more

Join Our Newsletter

We’d love to send you the latest news, discounts & exclusive offers via email! By signing up below you are confirming you are happy for Saracino to send you marketing emails. We will always treat your personal details with the upmost respect & will never sell your details to other companies for marketing purposes.

• All the latest industry news   • FREE video tutorials   • Exclusive product offers

Products         Tutorials          Ambassadors           Events           Blog           Showcase         Contact


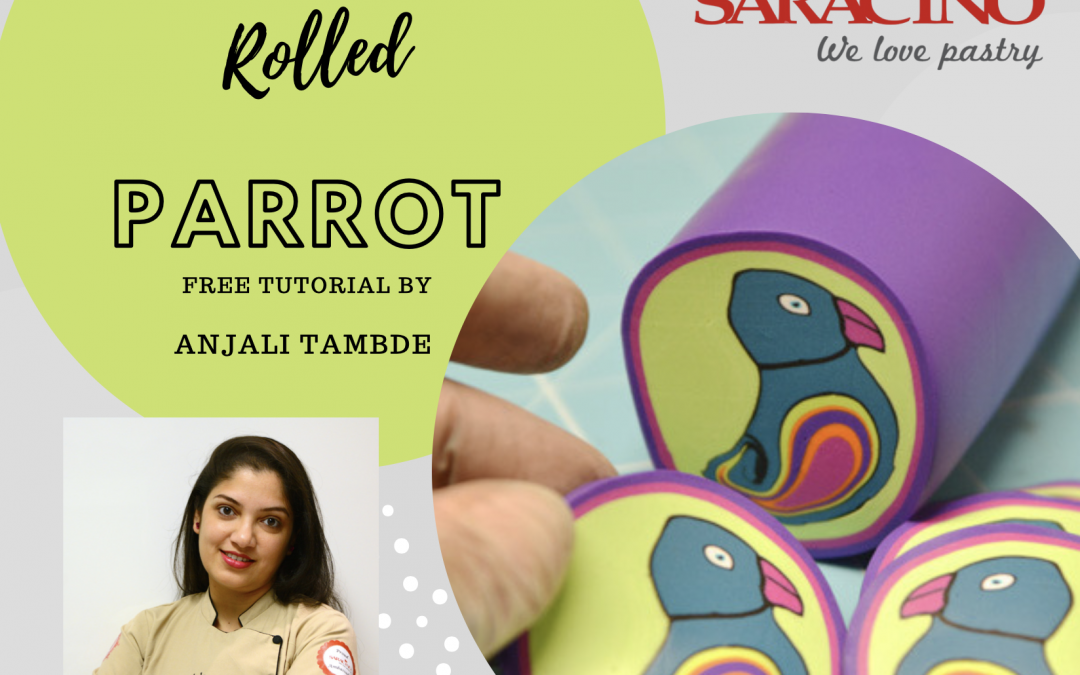
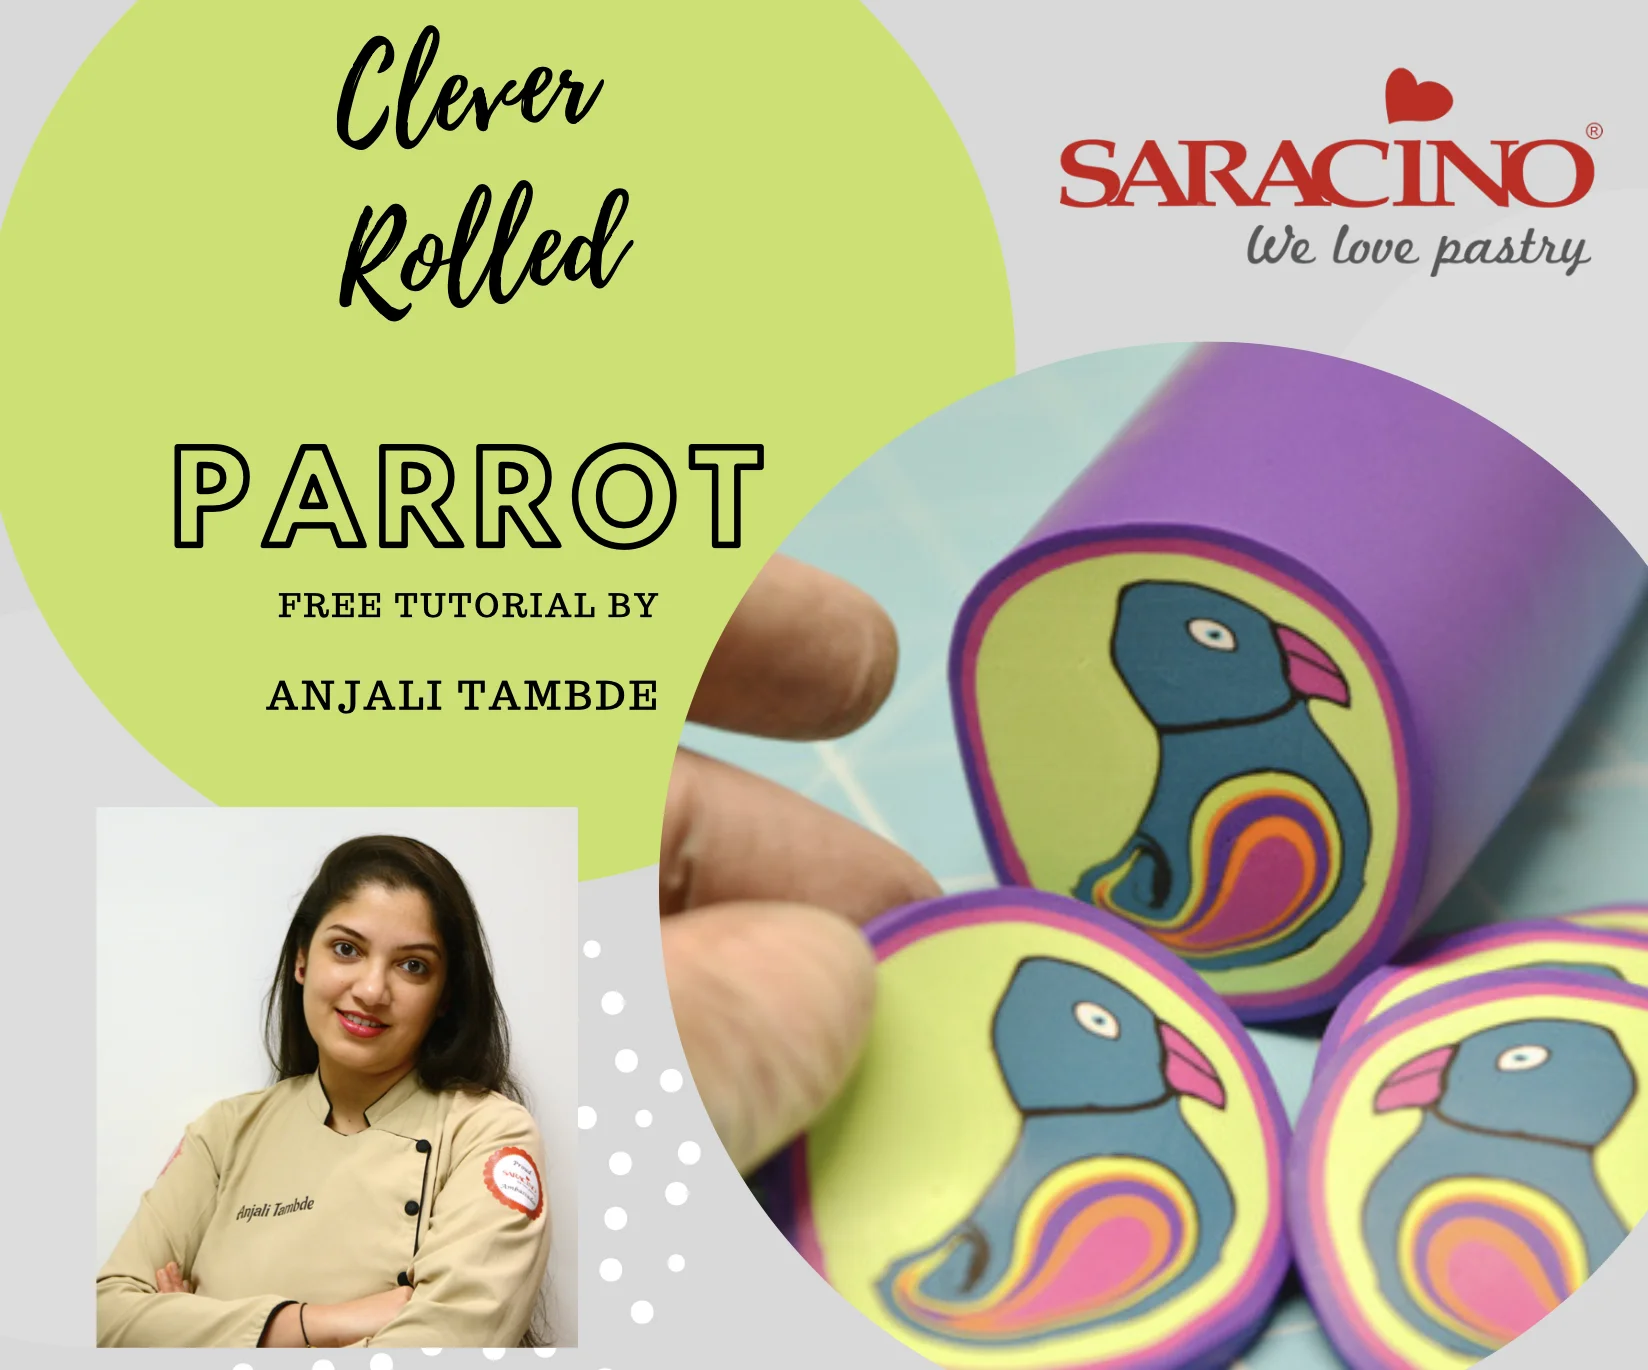
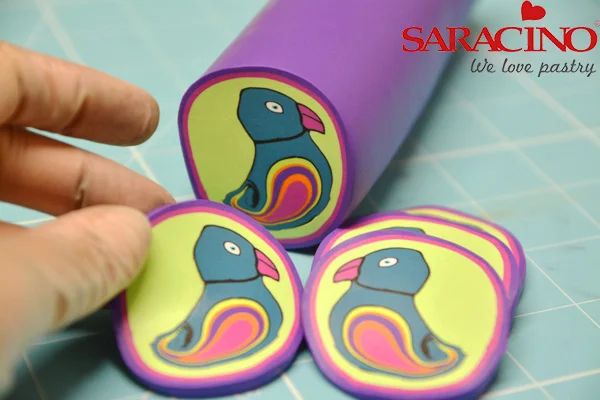
PARROT PATTERN TUTORIAL

PARROT PATTERN TUTORIAL

Skill level: BEGINNERS

You will need:
  • Saracino sugar paste coloured in fuchsia, light green and lilac
  • Pre-coloured Saracino azure sugar paste
  • Pre-coloured Saracino green sugar paste
  • Pre-coloured Saracino yellow sugar paste
  • Pre-coloured Saracino black sugar paste
  • Rolling pin
  • Cutting wheel
  • Crafts knife

Step 1

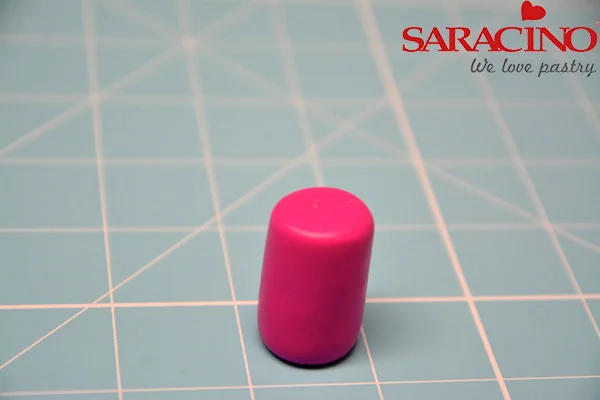
Roll fuchsia Saracino sugar paste into a small sausage, roughly 2 inches long. Be gentle while rolling and make sure you don’t have any air bubbles or air locks in it.

Step 2

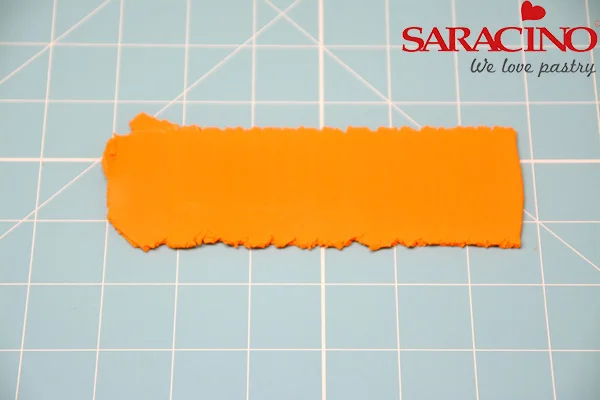
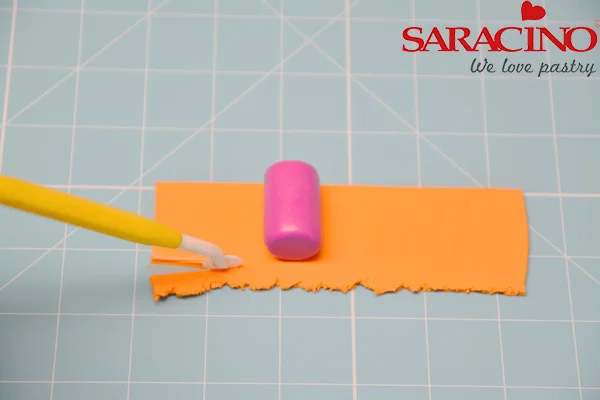
Flatten some orange Saracino with a rolling pin

Step 3

Keep the fuchsia sausage in the center and trim the sides of the orange sheet to the size of the sausage

Step 4

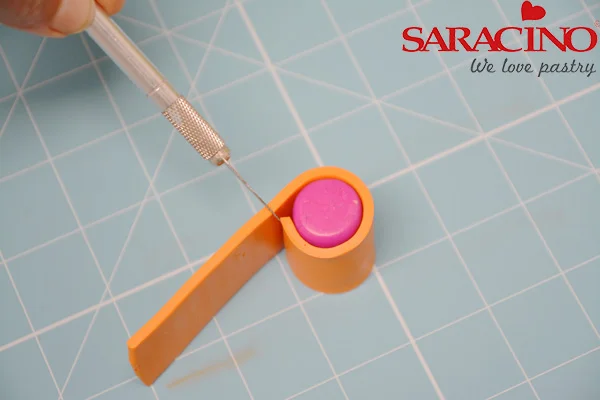
Now roll the orange sheet over the fuchsia as shown in the photo and cut off the extra, make sure that its exactly the same size of the sausage and not over lapping

Step 5

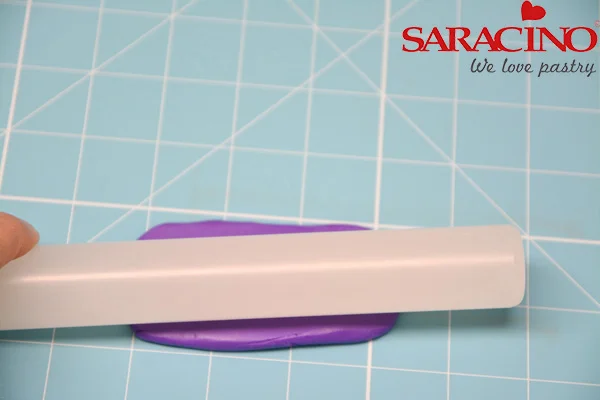
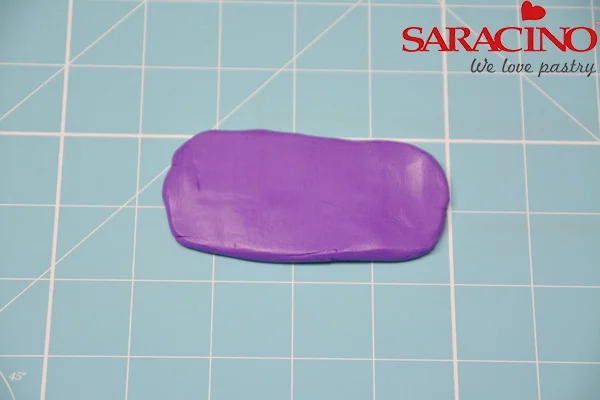
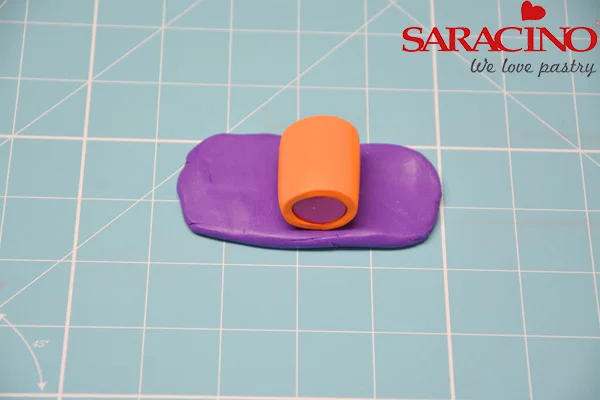
Roll lilac Saracino sugar paste, approximately 0.5cm thick.

Step 6

This has to be thicker than the sheets that were rolled earlier.

Step 7

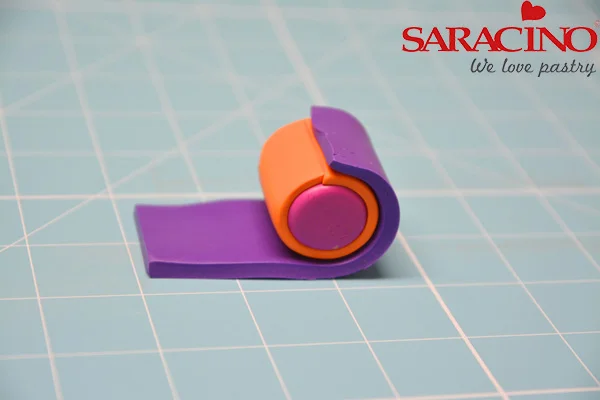
Now place the log over the lilac

Step 8

Cut it to shape exactly the same way the orange sugar paste was cut and roll over the log

Step 9

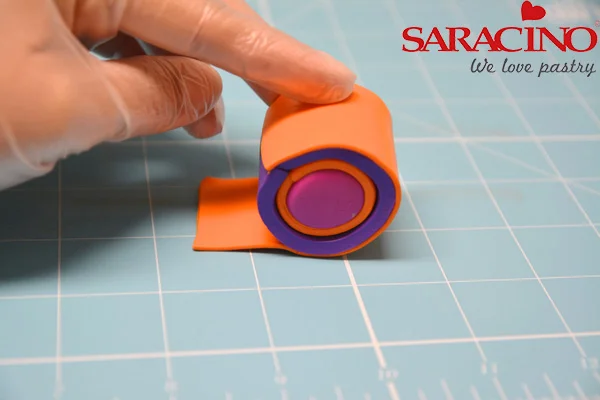
Again roll a thin orange sheet and cover the log, this will go over the lilac

Step 10

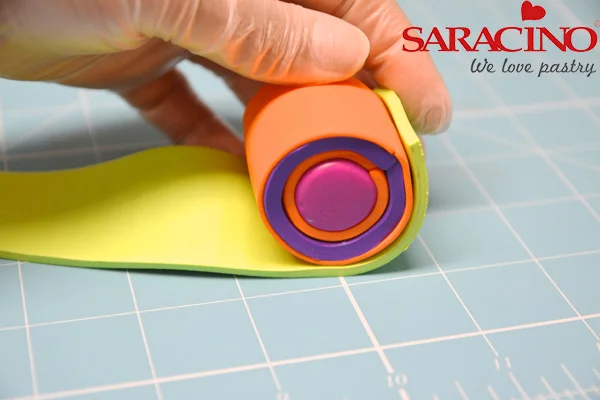
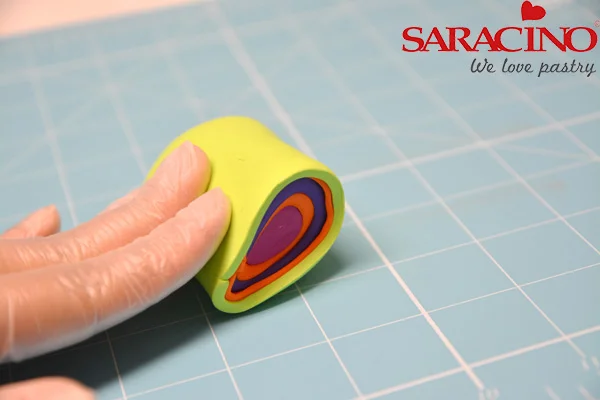
Mix some yellow and light green to make lime green paste and then roll it into a thin sheet, cover the log with the lime green paste

Step 11

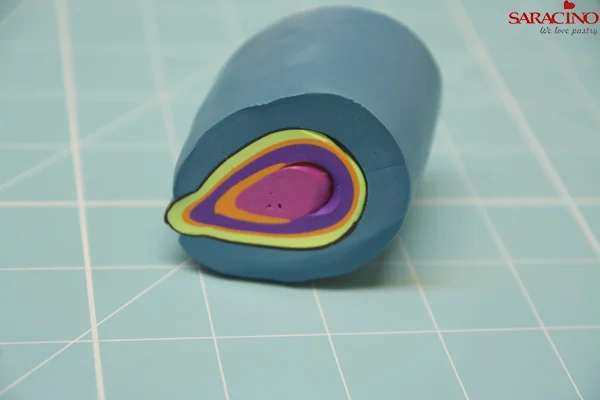
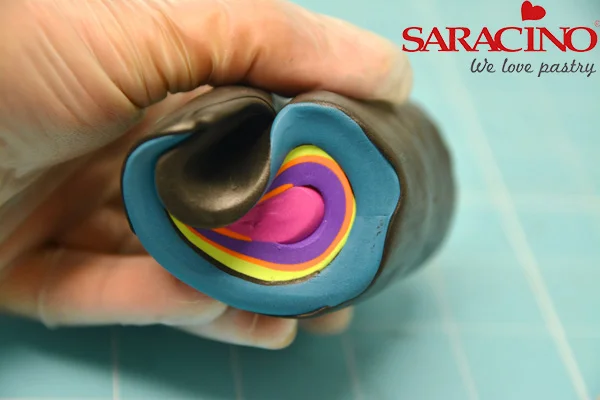
Press this log from one side to make a tear drop shaped log

Step 12

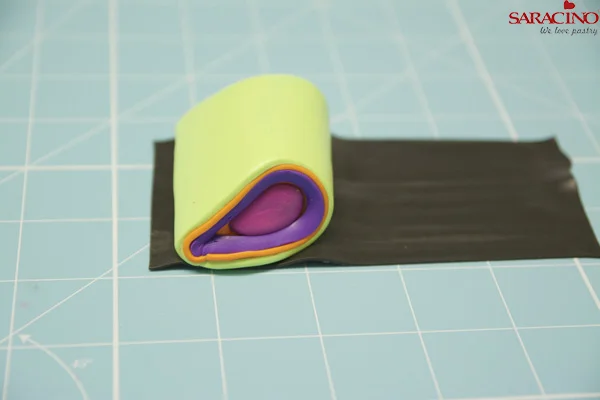
Now roll a very thin black sheet and cover the drop shaped log with it

Step 13

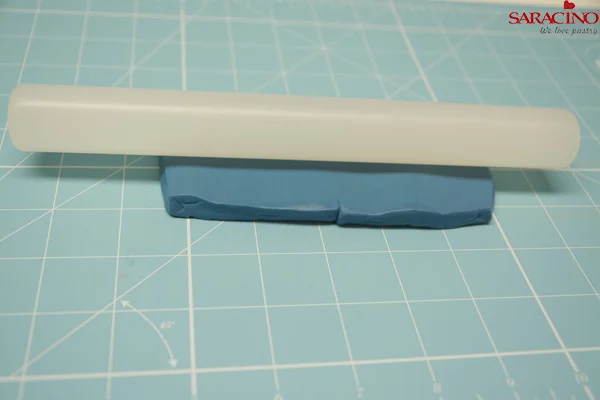
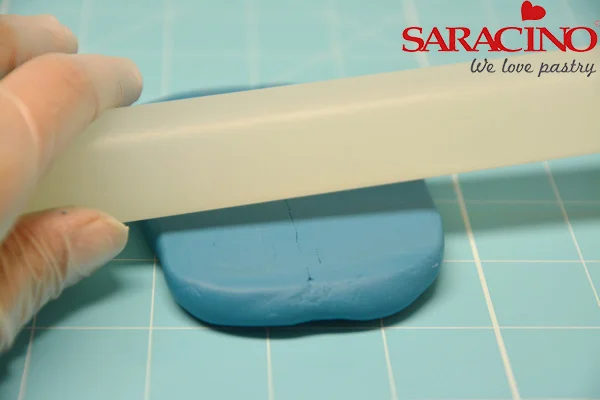
Mix some azure and green sugar paste to make turquoise and roll it

Step 14

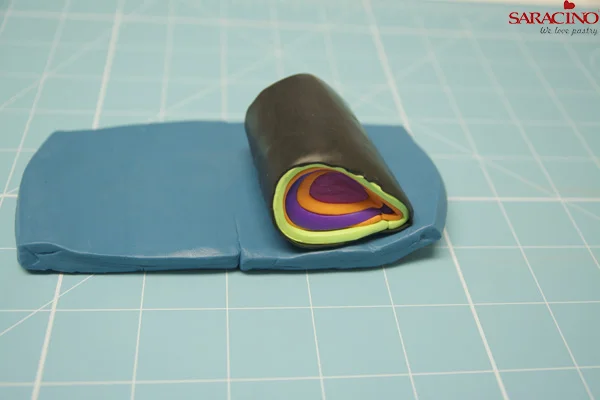
Place the log over the turquoise.

Step 15

Smooth the paste and seal the edges well.

Step 16

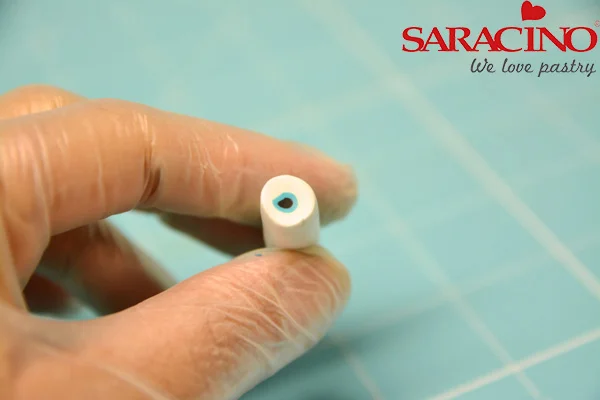
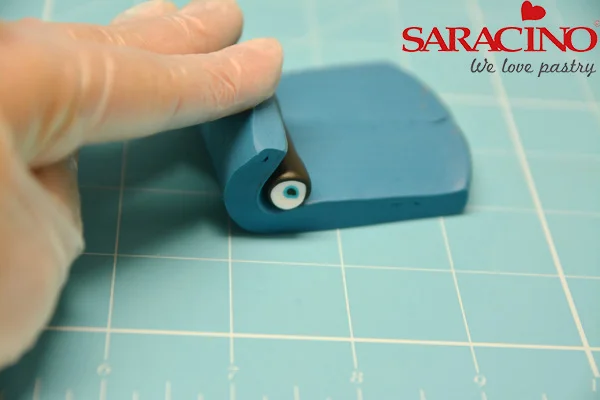
To make the eye roll a small amount of black, cover with blue and the white as shown in the picture

Step 17

Cover the eye (log) with black sugar paste

Step 18

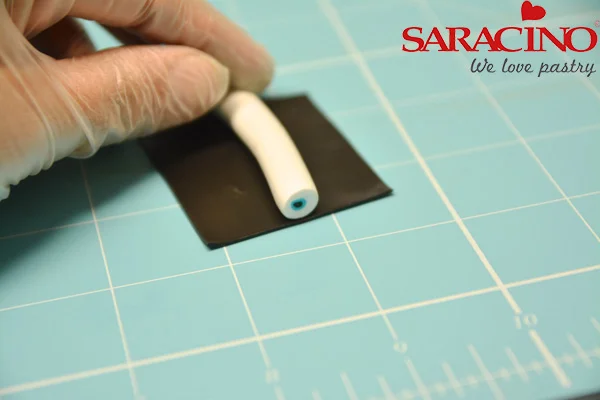
Roll the turquoise sugar paste lengthwise

Step 19

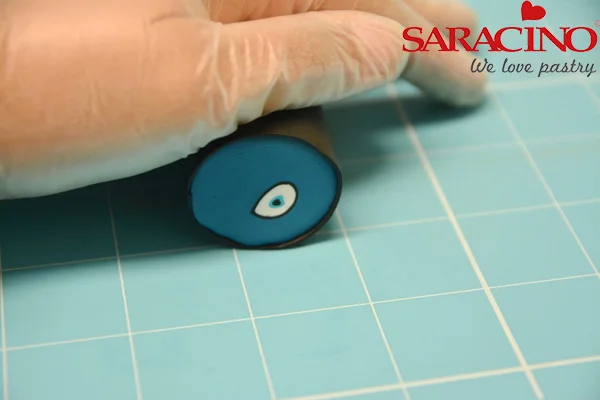
Place the eye log over it and roll it

Step 20

Cover that with thin black sugar paste sheet and make a nice round log.

Step 21

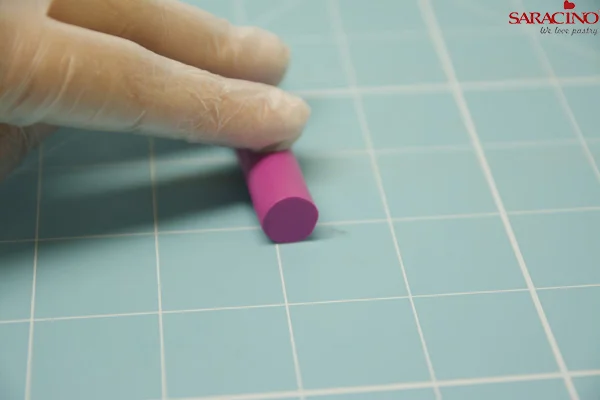
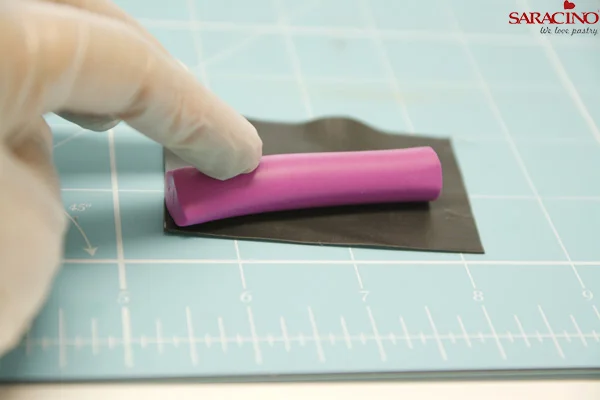
Roll a small amount of fuchsia into a thin log.

Step 22

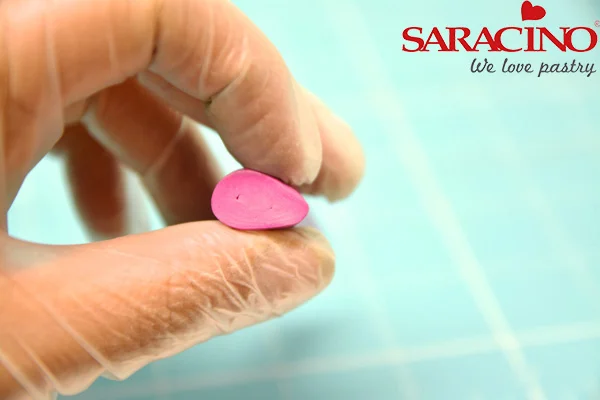
Press on one side to form a drop shape

Step 23

Cover it with black sugar paste

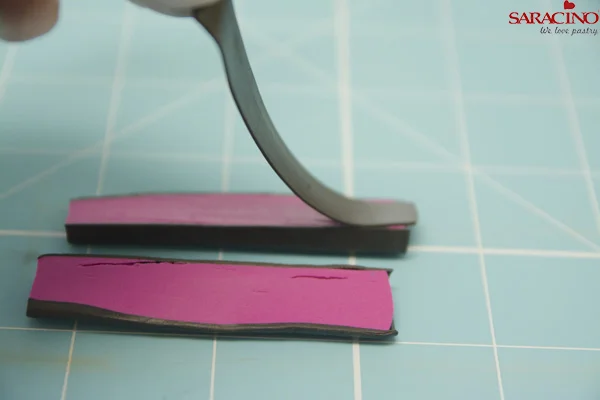
Step 24

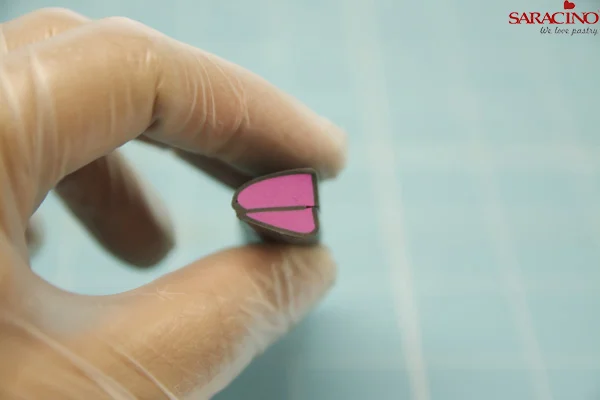
Cut it length way exactly in the centre and place a black strip in between each half.

Step 25

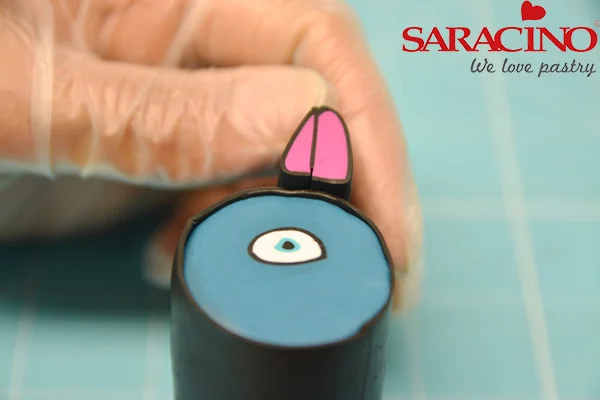
Sandwich those two pieces back together to form the beak

Step 26

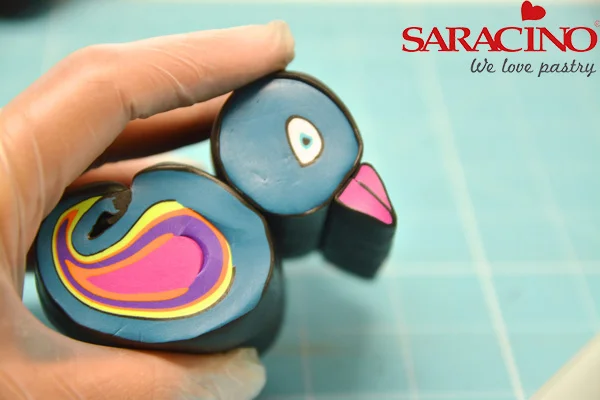
Place the beak in position

Step 27

Now slightly curl the tapered end of the body log to form its tail

Step 28

Join the head and the body together

Step 29

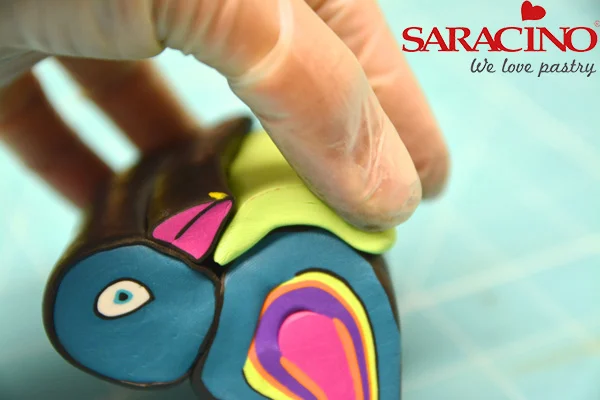
Cover the front of the body with lime green sugar paste

Step 30

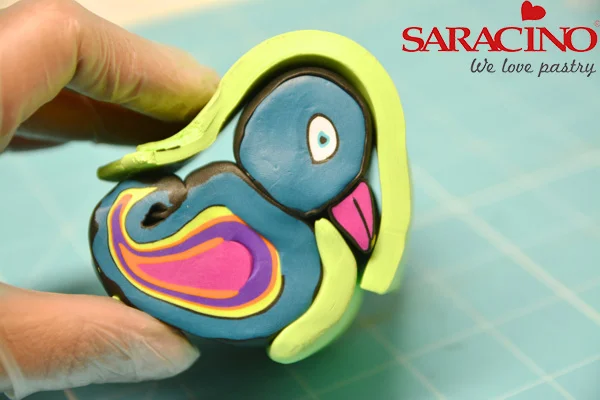
Cover the head with the lime green sugar paste

Step 31

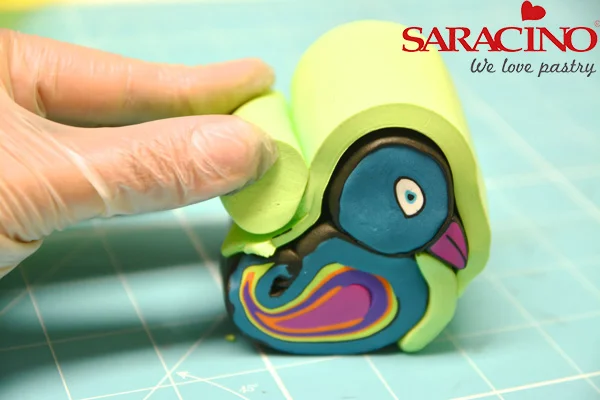
Roll a small sausage with lime green paste and place it exactly where the head finishes, as shown in the picture and then cover the rest with the lime green paste to form a nice round log

Step 32

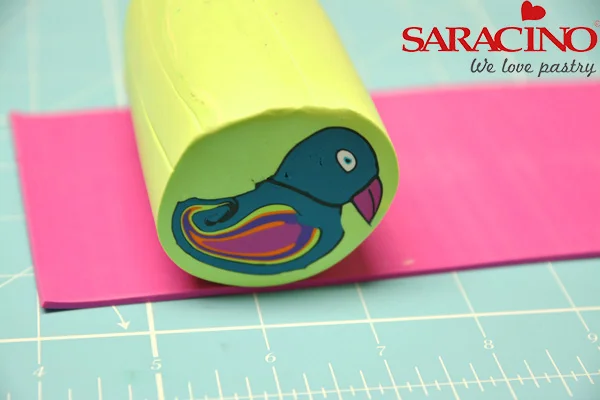
Cover the log with thin fuchsia sugar paste

Step 33

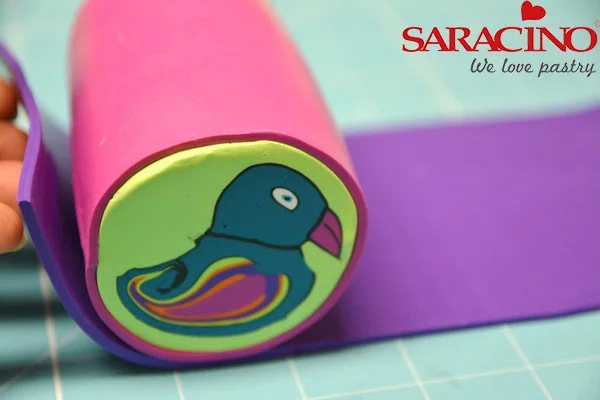
Then cover the log with lilac paste

Step 34

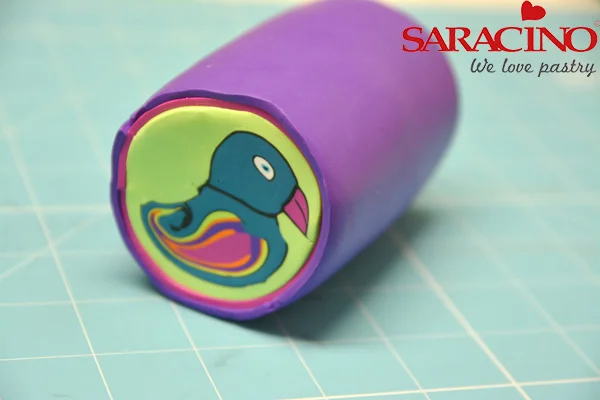
Gently roll everything together and you are ready to slice it

Step 35

Slice using a sharp knife and you are ready to decorate your cake with these parrot patterns