Jul 11, 2019 | Cakes, Desserts
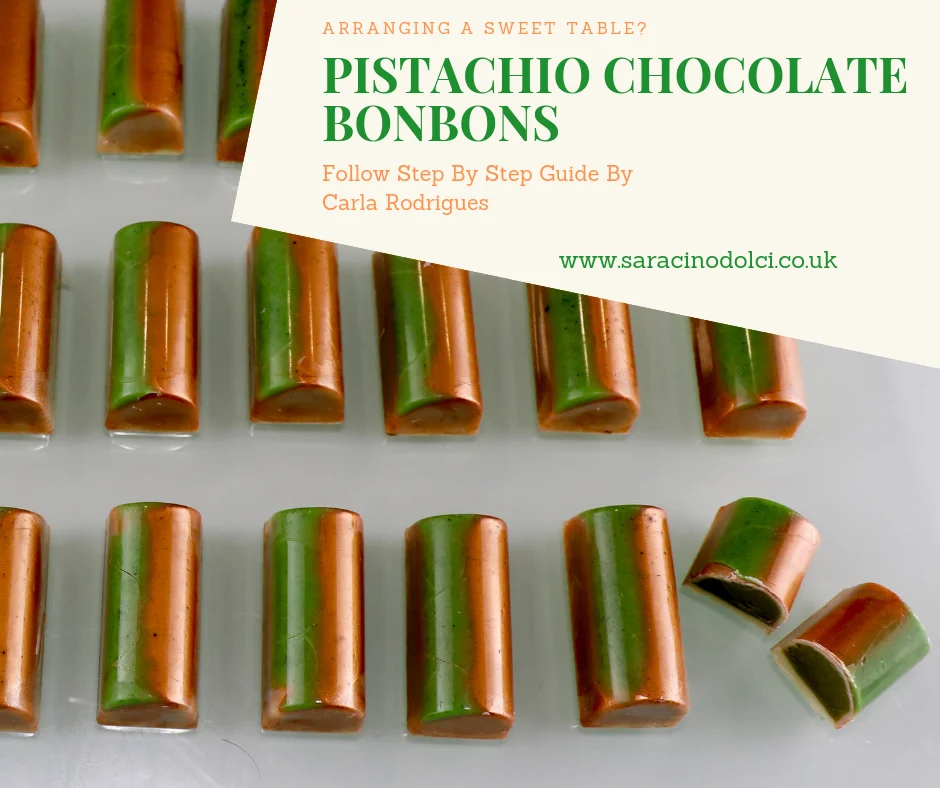
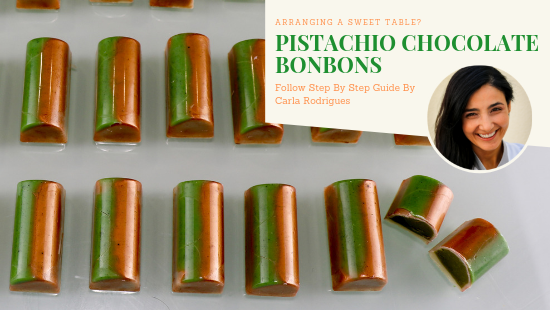
Pistachio Ganache
80 ml whipping cream (35% fat)
22 ml honey
350 g white Saracino chocolate
120 g Saracino Le Supreme pistachio flavouring
38 g salted butter, chopped and softened
Note: This recipe yields for at least 3 moulds like the one used at this tutorial.
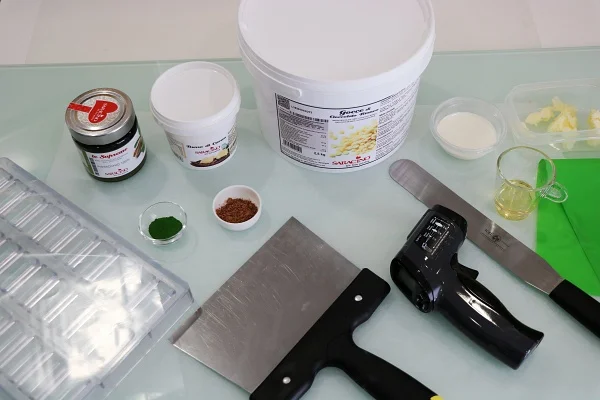
You will need:
- Saracino white Chocolate
- Saracino Le Supreme pistacchio flavouring
- Saracino cocoa butter
- Green colour dust
- Metallic bronze colour dust
- Guitar sheet
- Spatulas
- Digital thermometer
- Salted butter
- Double cream
- Honey
- Sponge to paint
- Brush
- Piping bags
- Polycarbonate chocolate bombons mould
- Blender
- Microwave
- Cling film
- Scraper
- Bowls
- Silicon paper
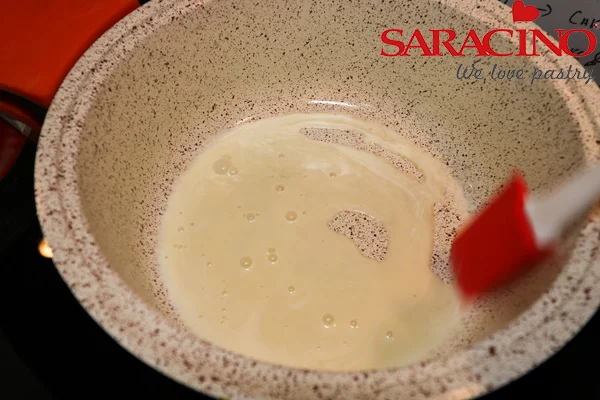
Step 1
Put the cream and the honey in a a saucepan over a medium heat and bring it to the boil.
Step 2
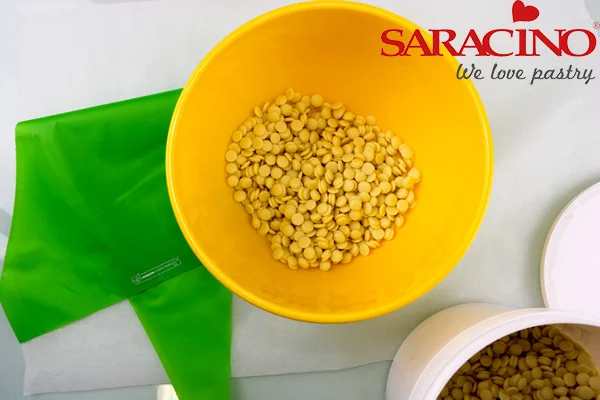
Put the chocolate in a bowl and heat it in the microwave for 30 seconds.
Step 3
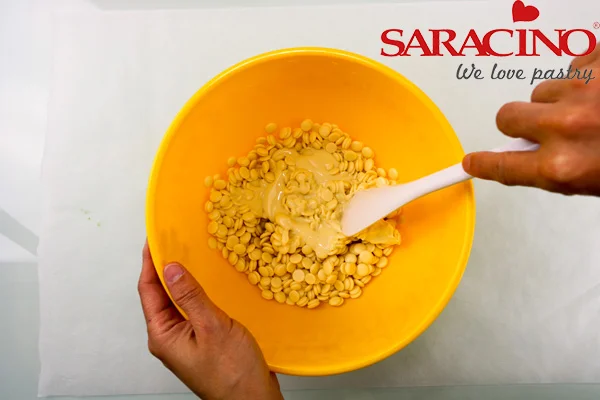
Stir the chocolate then return it to the microwave for another 30 seconds. Repeat this as many times as required until the chocolate is melted.
Step 4
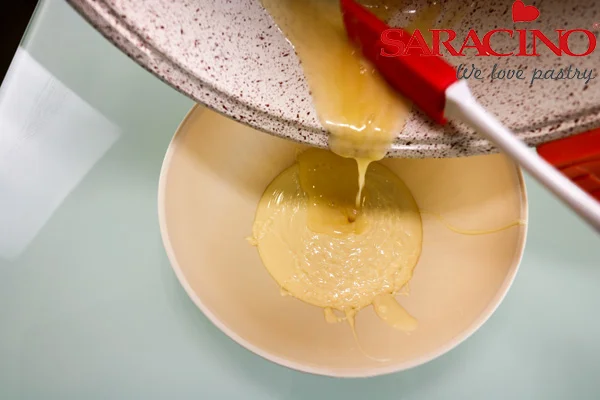
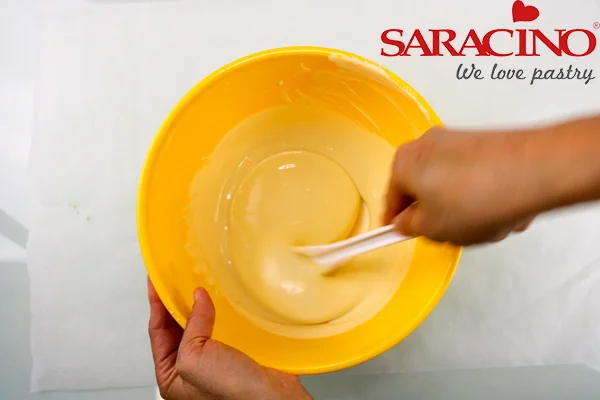
Pour the cream mixture over the chocolate and stir.
Step 5
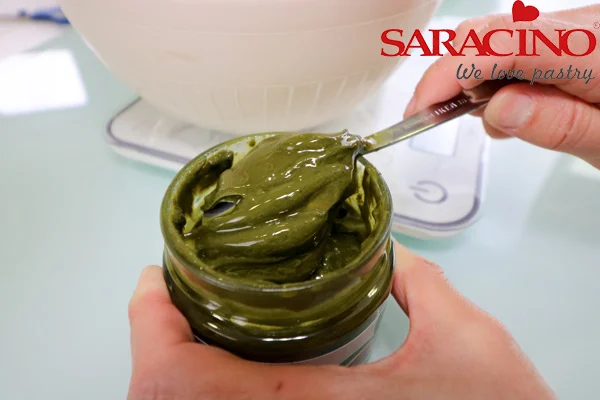
Open the jar and stir food flavouring.
Step 6
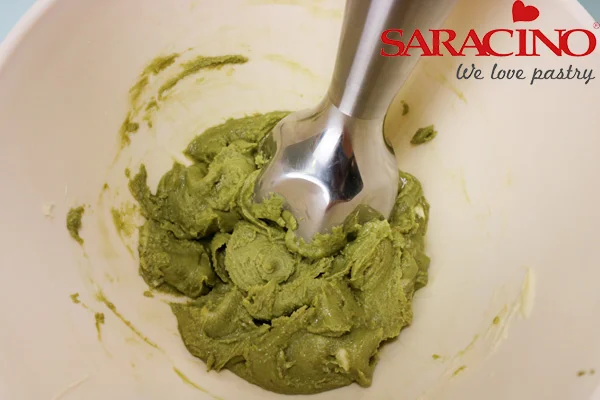
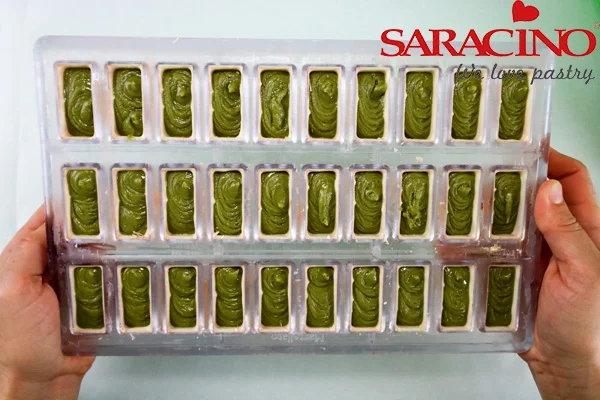
Incorporate the pistachio flavouring and the butter with the help of a blender until you get a smooth ganache. Cover the bowl with cling film and set aside to cool until required.
Step 7
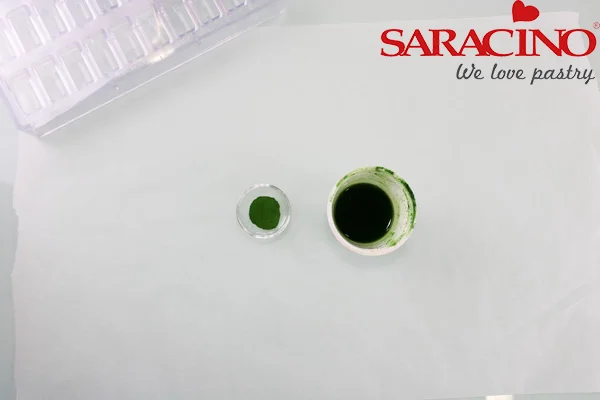
Melt enough quantity of cocoa butter in a bowl (in a microwave), add a small amount of green colour dust and stir.
Step 8
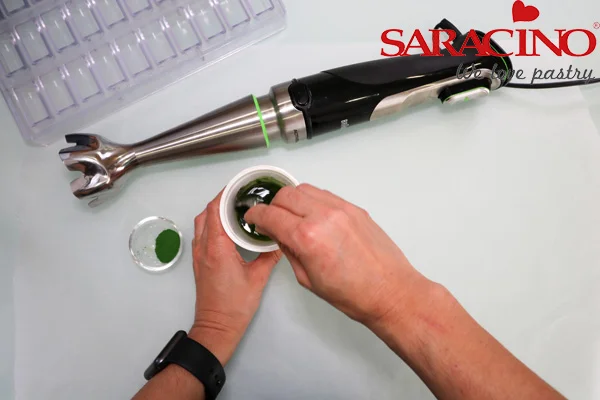
Add colour until you get the tone of green you want and use a blender to get an even colour.
Step 9
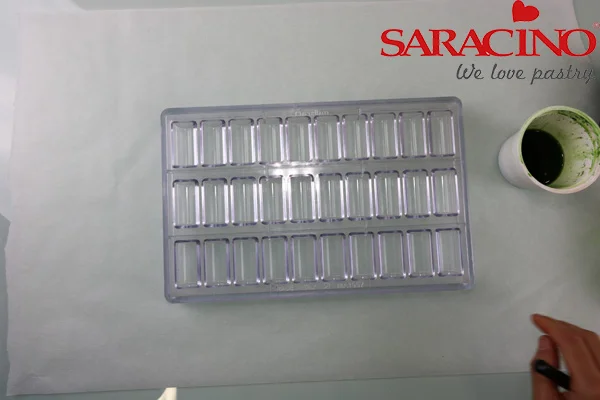
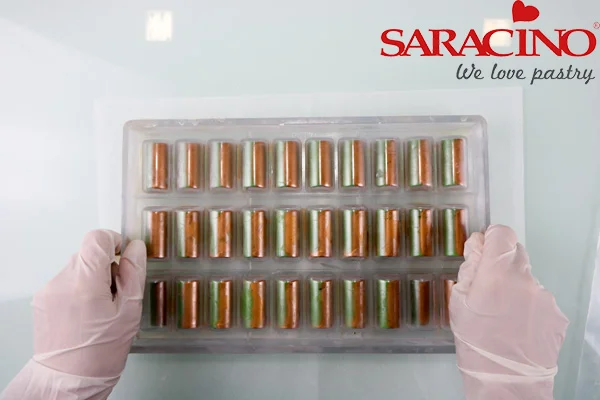
Make sure the mould is clean and free from grease and water. Line your worktop with silicon paper to help protect it from the cocoa butter splatters and later from the chocolate.
Step 10
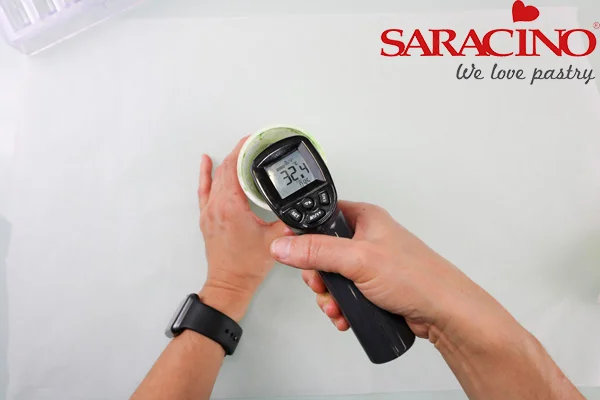
Bring your coloured cocoa butter to a temperature around 32ºC.
Step 11
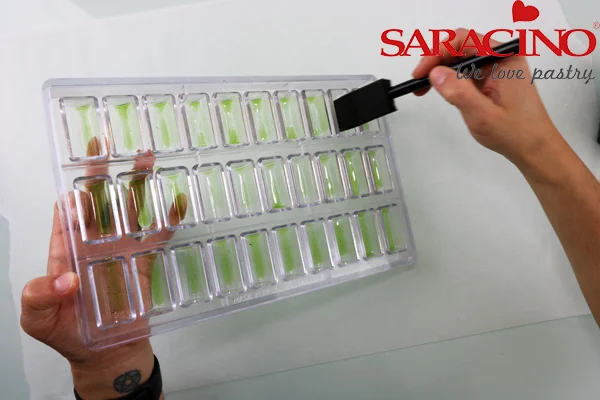
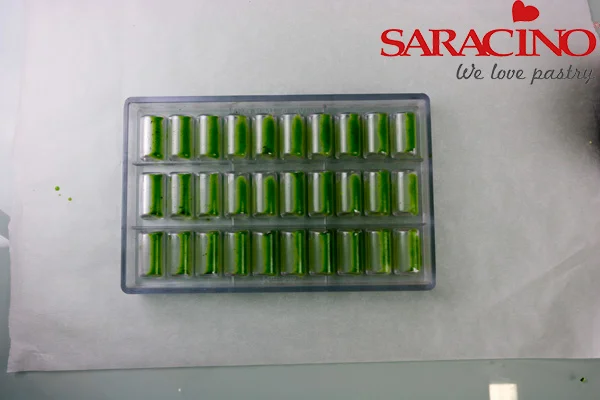
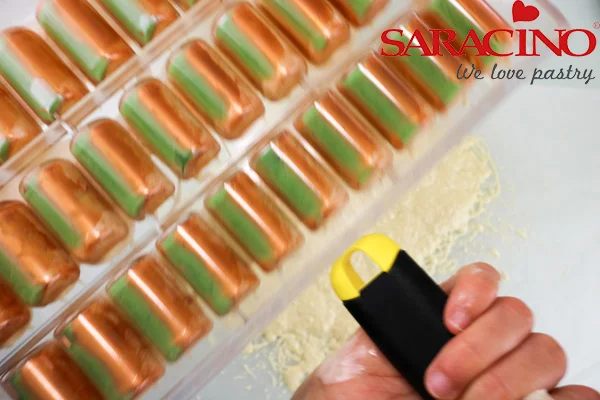
Use a sponge to colour a green stripe at each cavity of the mould.
Step 12
Leave to dry and go matt.
Step 13
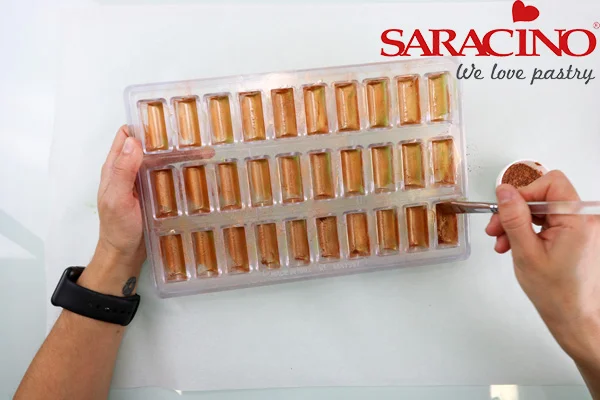
Dust all the cavities with the metallic bronze colour.
Step 14
Temper 400g of white chocolate (27 – 28 ºC).
Step 15
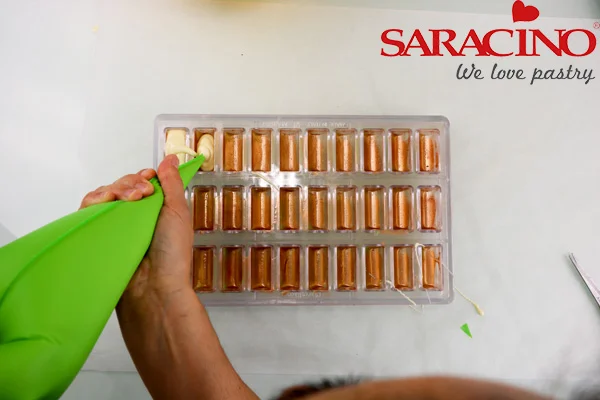
Transfer to a large piping bag, snip off the end and pipe the chocolate into each cavity of the mould as quickly as you can.
Step 16
Tap the mould on the worktop to release any air bubbles from the surface of the mould.
Step 17
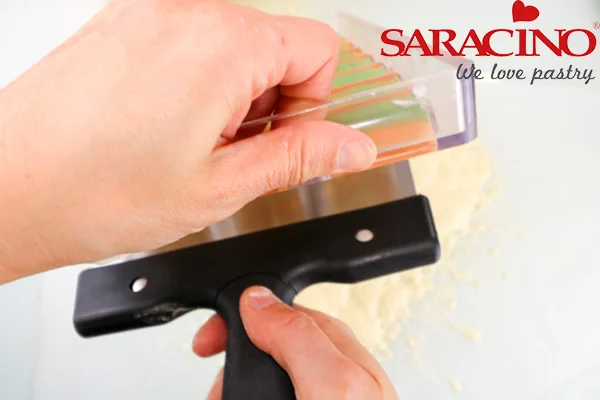
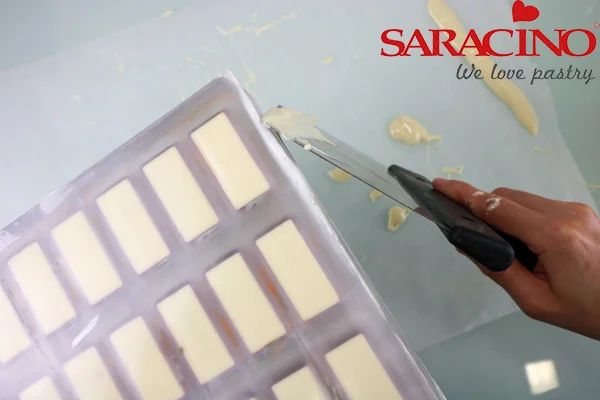
Turn the mould upside down and tap the side of the mould with a scraper to pour out the excess of chocolate.
Step 18
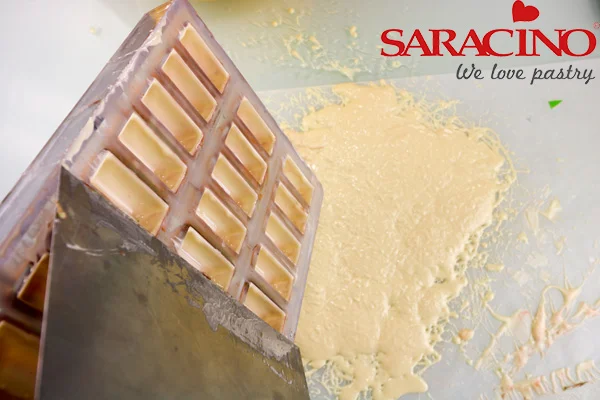
Once the chocolate has stopped dripping, scrape the mould whilst the mould is upside down, so the excess chocolate falls out of the mould.
Step 19
Turn the mould upright and clean with scraper again.
Step 20
Place the mould upside down on a sheet of silicone paper until the chocolate is touch-dry, then place in the fridge to fully set for no more than 30 minutes.
Step 21
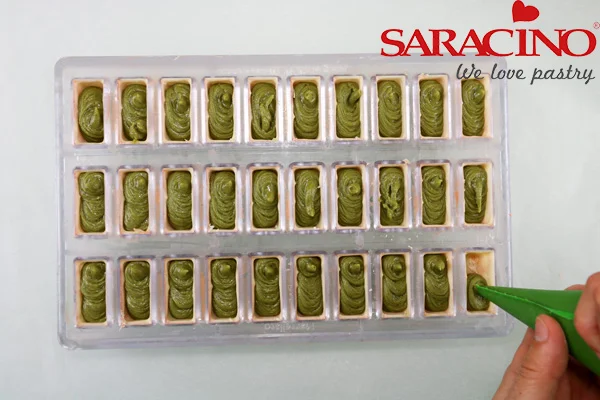
Transfer the ganache to a large piping bag, snip off the end and pipe into the chocolate shells, filling them to 2 mm from the top.
Step 22
Tap the mould gently on the worktop to release any air bubbles from the ganache and leave it evenly spread inside the shells. Let it set.
Step 23
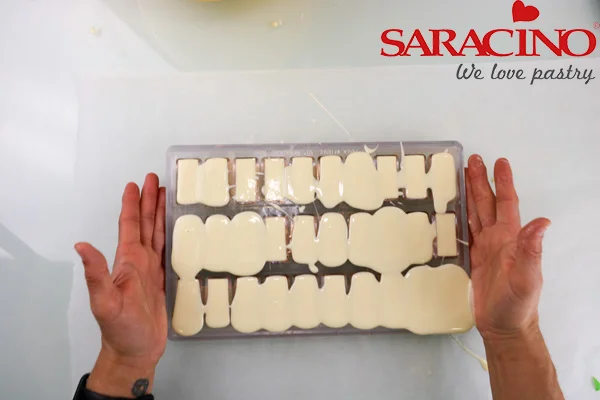
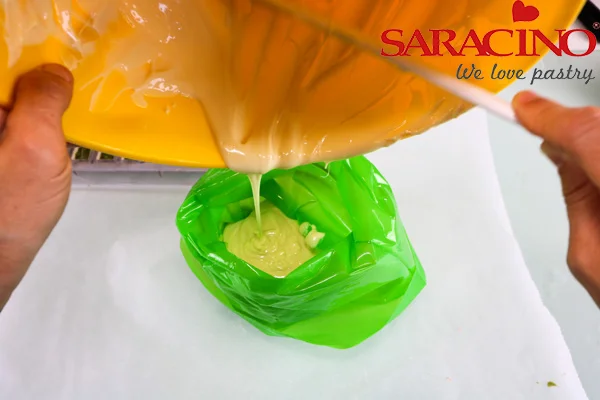
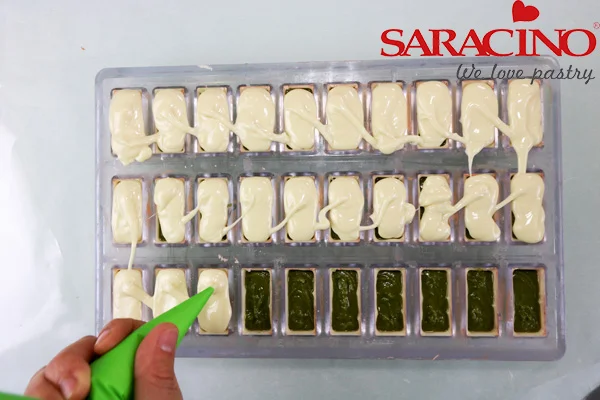
Temper approximately 200g of the leftover white chocolate and transfer it to a large piping bag.
Step 24
Pipe the chocolate over all the chocolates as fast as you can.
Step 25
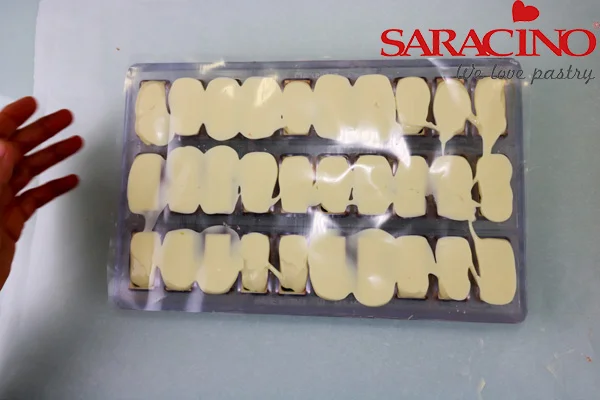
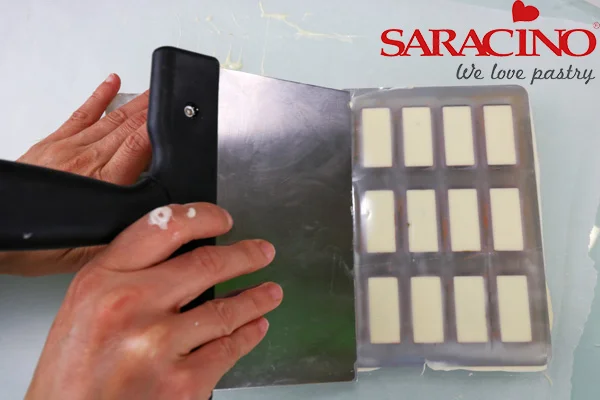
Place a guitar sheet over the top of the mould (previously cut to the size of the mould).
Step 26
Scrape downwards the excess of chocolate under the guitar sheet.
Step 27
Clean off the sides of the mould.
Step 28
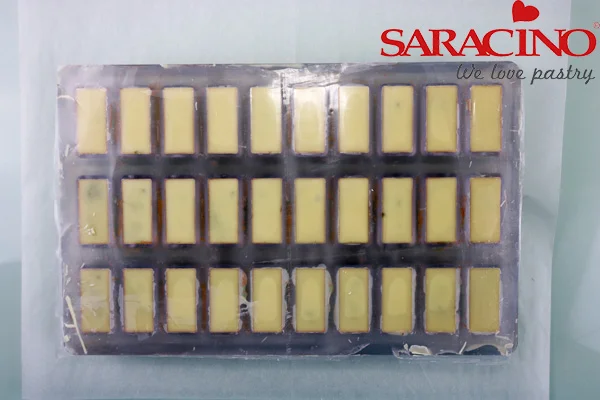
Set aside at room temperature until the freshly piped chocolate is touch-dry, then place in the refrigerator for 20 minutes to set.
Step 29
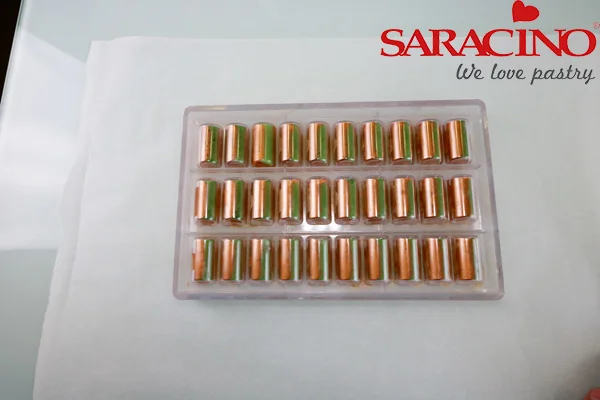
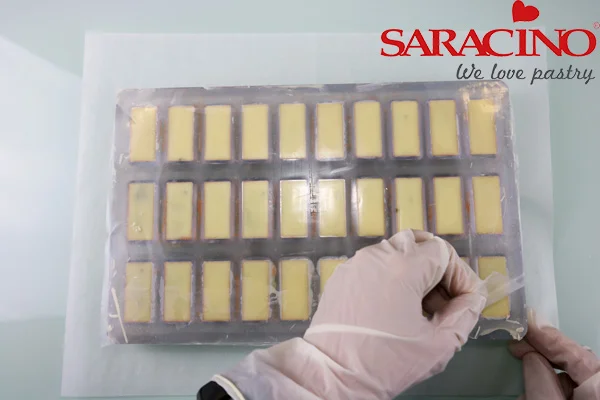
Remove the mould from the refrigerator and peel off the guitar sheet.
Step 30
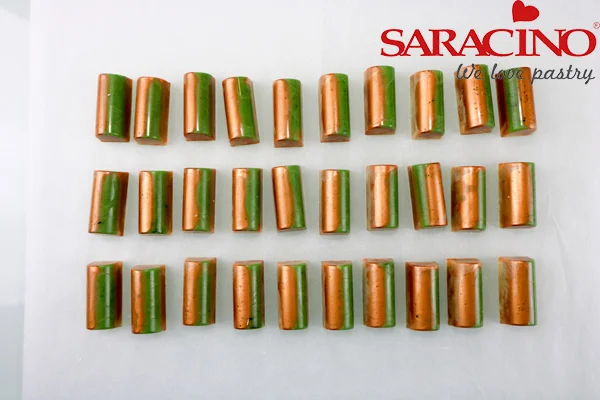
Remove the chocolates by turning over the mould and tapping the edge furthest away from you on the work surface.
Step 31
Tap different edges until the mould is empty.
Jul 5, 2019 | Cakes, Modelling
TIP:
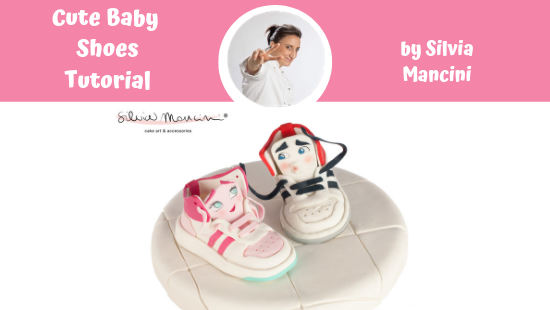
Attach all the parts using only a drop of water. You will need to wait until the paste is a little bit harder before you start to assemble the parts you cut off.
You will need:
- Scalpel
- Rolling pin
- Hard pointed brush
- Straw
- Pointed tool
- Flat brush size 1
- Pointed brush size 000
- Saracino edible glue (if required)
- Easy Eyes – You can use the shapes you like most. I used the pink and yellow shape – small sizes
- Saracino Modelling sugarpaste: white, fuchsia, pink, blue, red, Tiffany (it needs only for few details), a little bit of grey and light blue (for the eyes of the boy’s shoes)
- Saracino black gel colour
- Saracino white gel colour
- Clear alcohol
- Saracino dust pink
Step 1
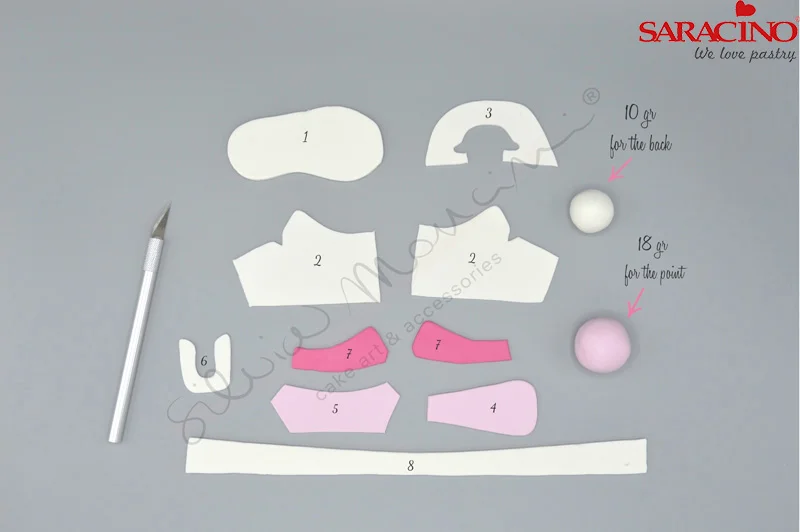
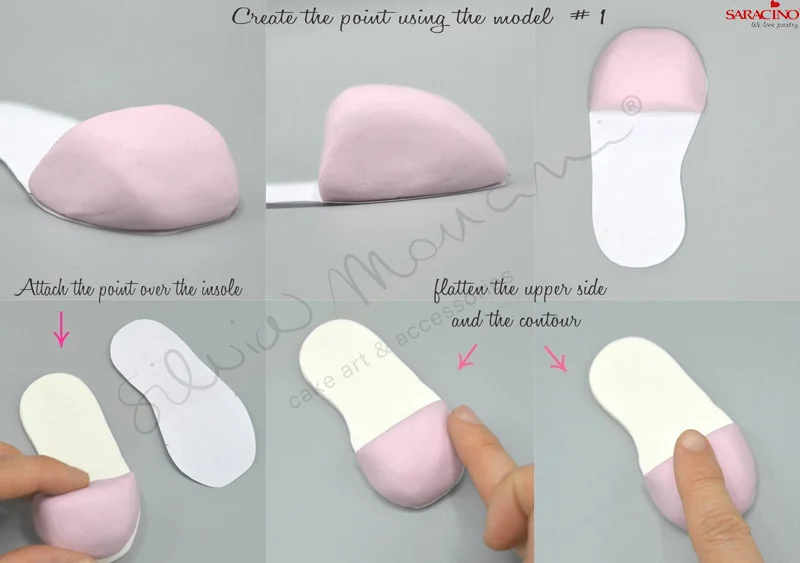
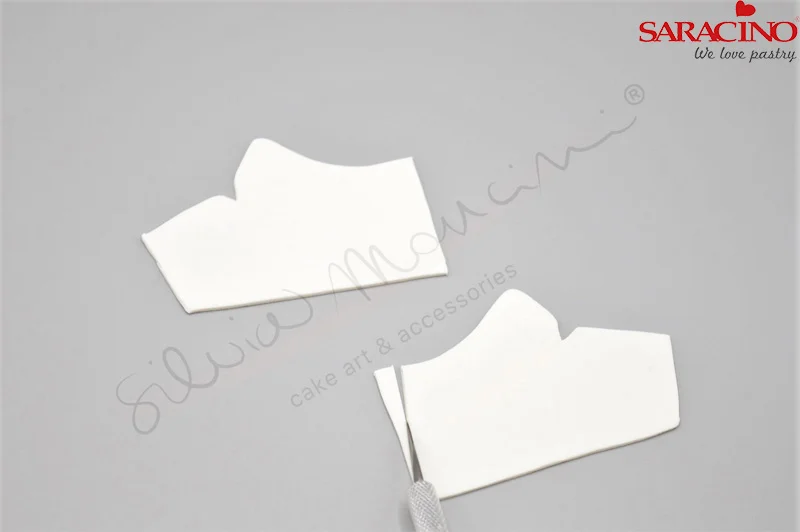
Using the downloaded template cut out all the shapes. Make two balls: white 10g and pink 18g.
Step 2
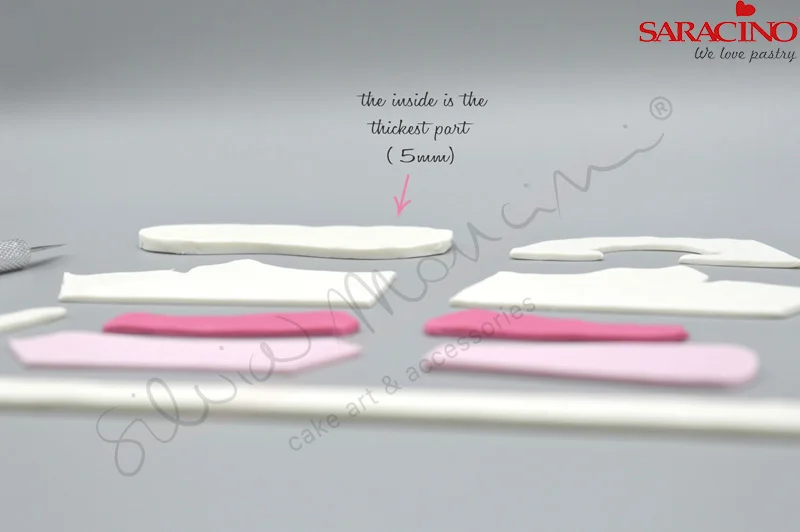
Vary the thickness as shown.
Step 3
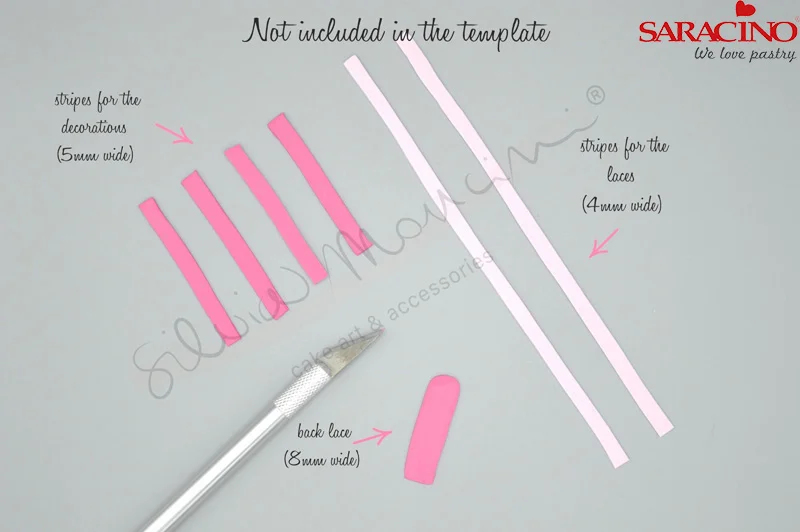
You will need to cut out some additional strips that are not on your template.
Step 4
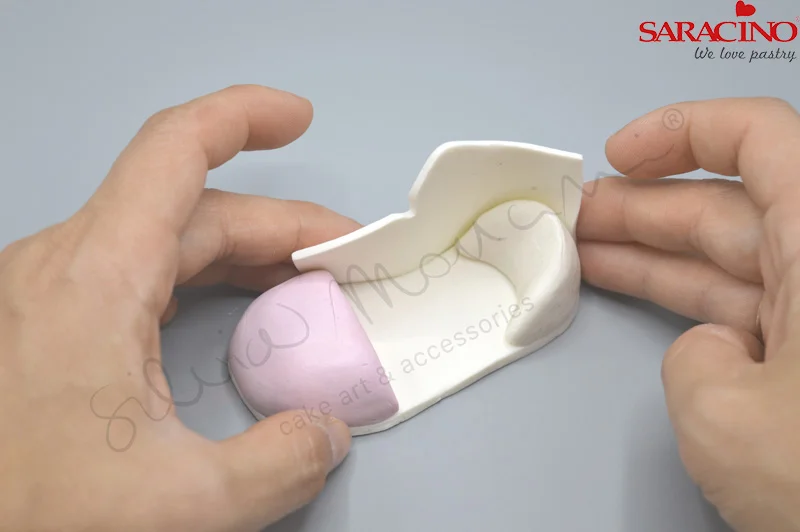
Form the toe of the shoe as shown.
Step 5
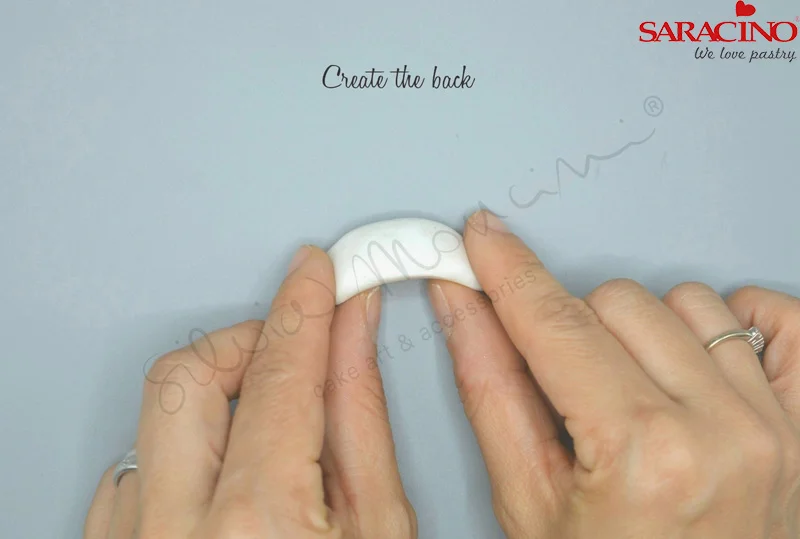
Create the heel of the shoe.
Step 6
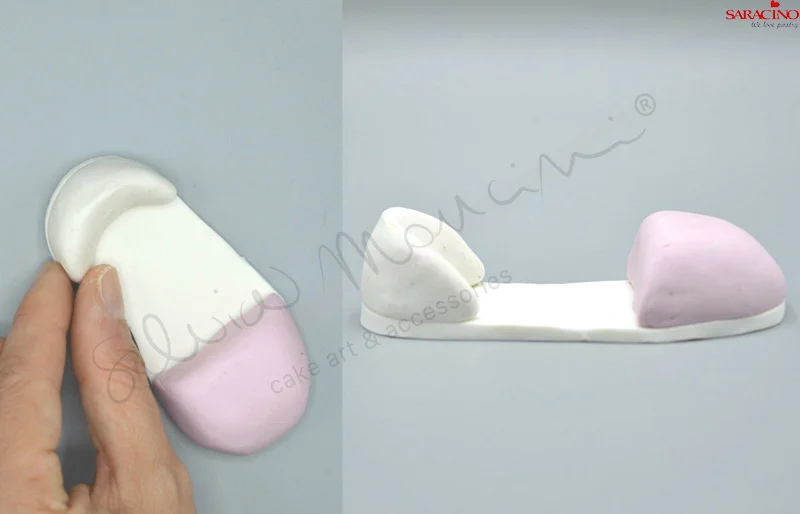
Attach the heel as shown using a drop of water.
Step 7
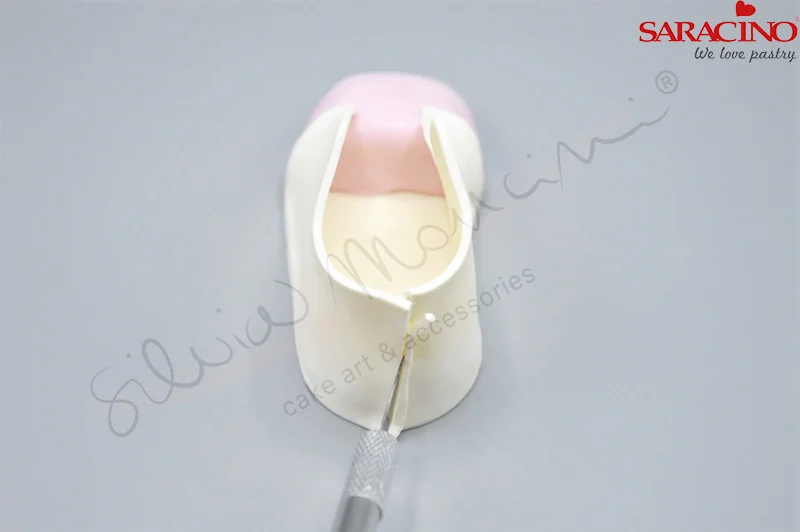
Using a blade trim shape number two
Step 8
Attach shape number 2 to the base.
Step 9
Trim any overlapping excess paste using a scalpel. It doesn’t have to be perfect we can blend as shown in the next step.
Step 10
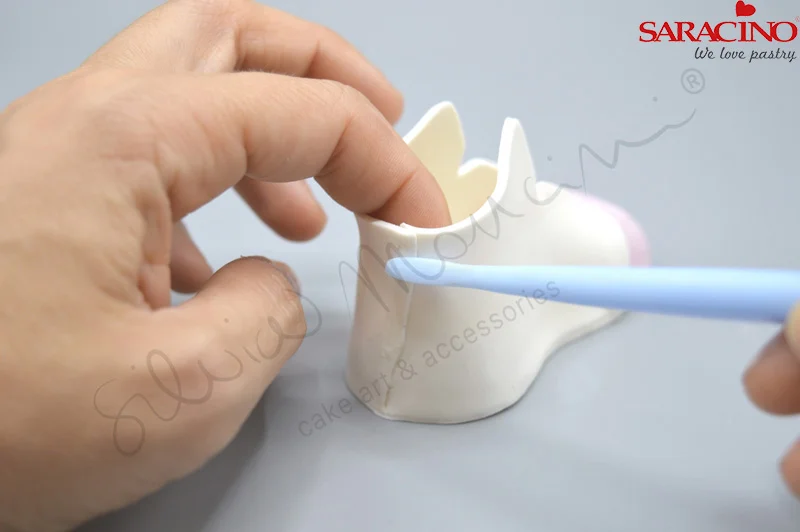
Using a Dresden tool blend the joint.
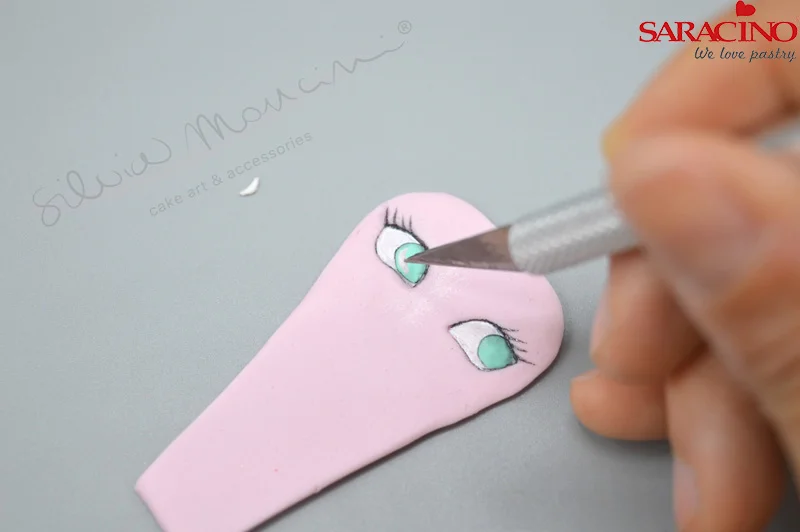
Step 11
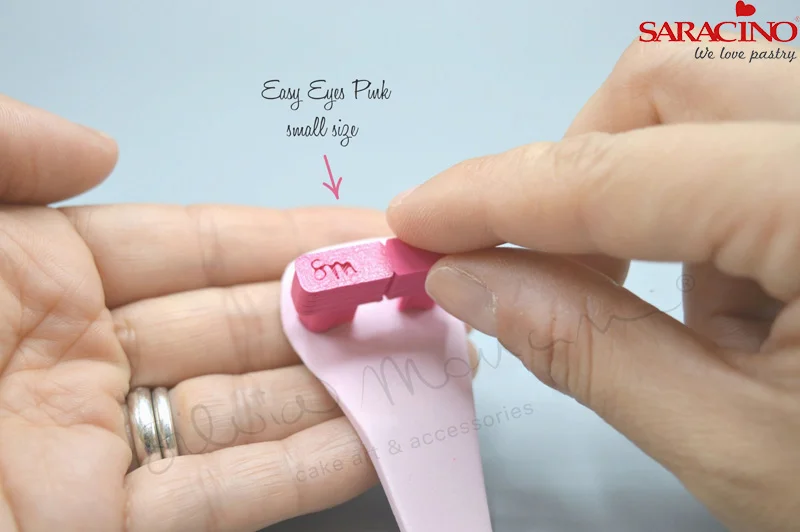
Use the Easy Eye cutter on the tongue.
Step 12
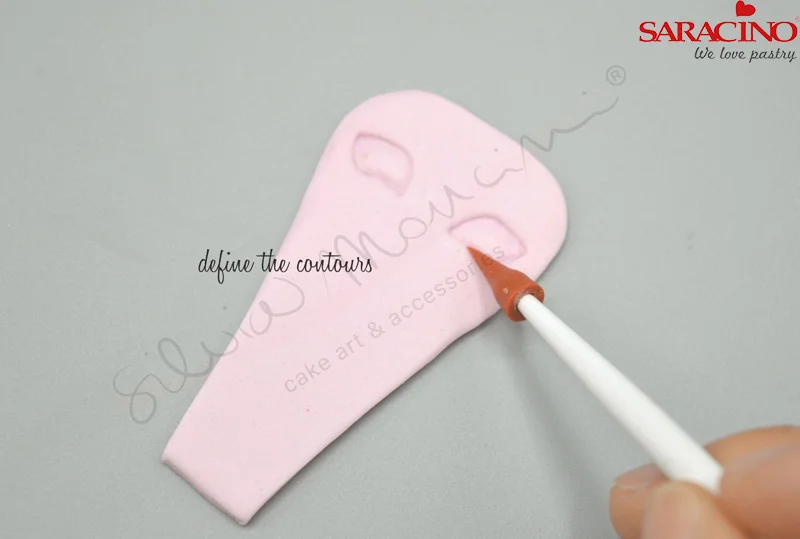
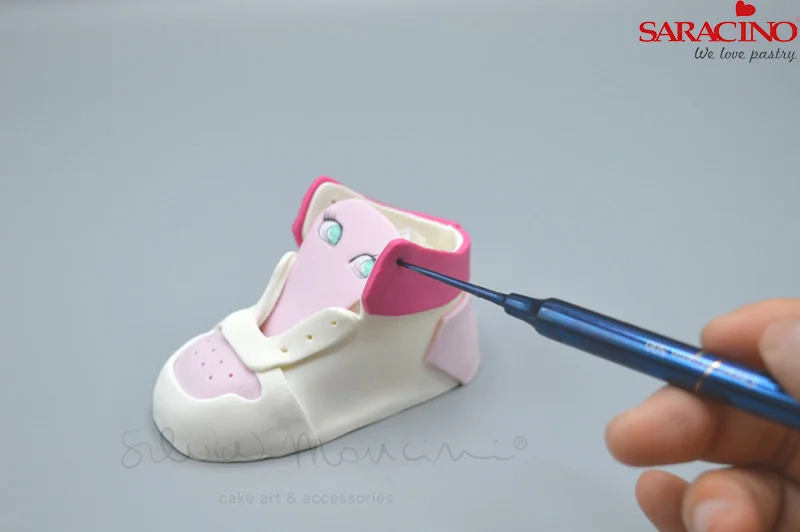
Using your pointed tool define the shape.
Step 13
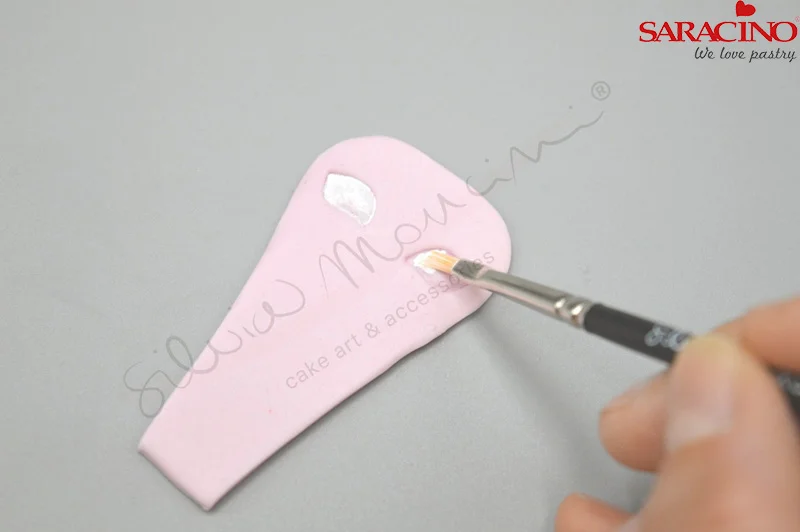
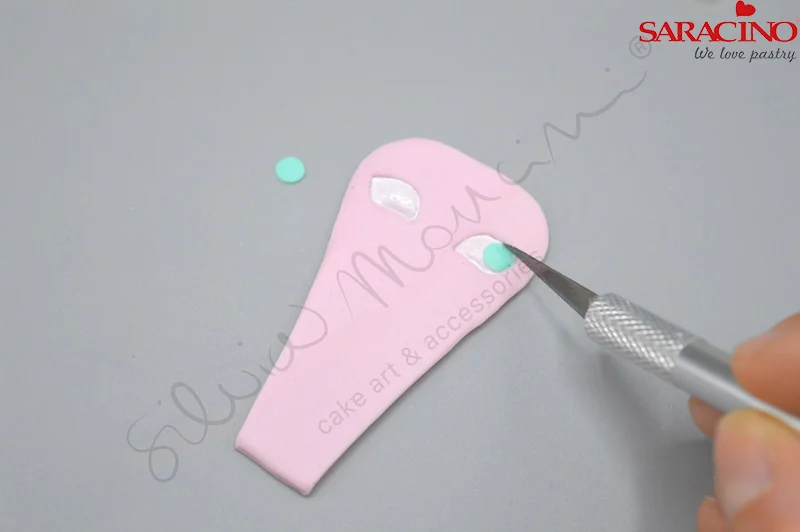
Using the white colours paint inside the defined areas.
Step 14
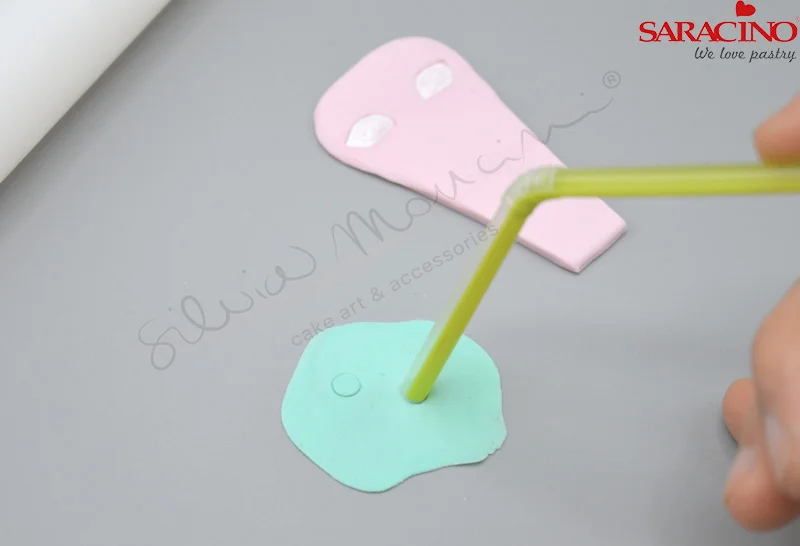
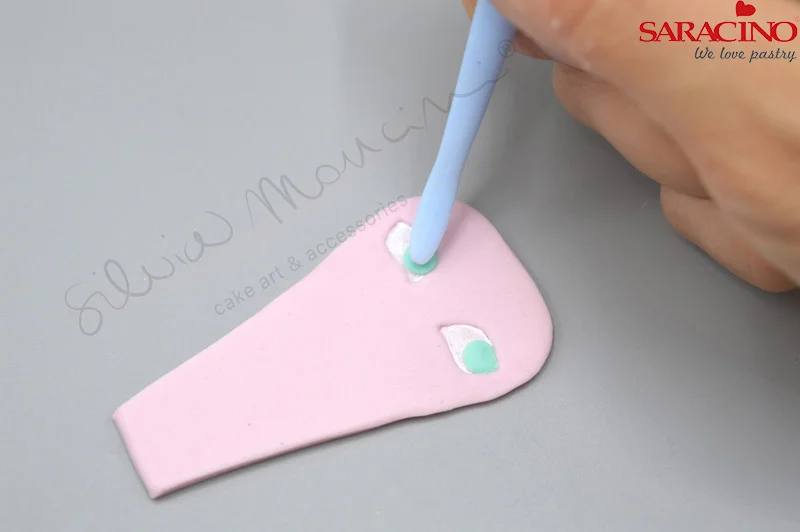
Using the end of a straw cut out the ‘eyes’ from rolled out blue paste.
Step 15
Attach as shown using a drop of water.
Step 16
Blend using a Dresden tool.
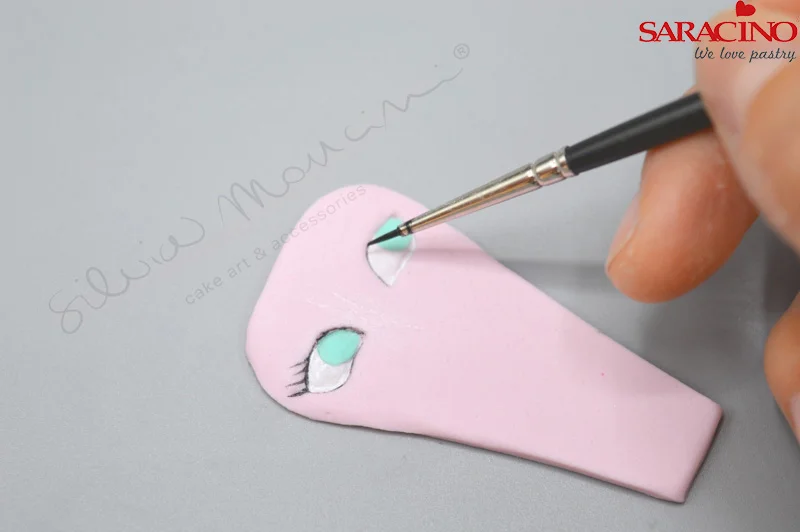
Step 17
Using your fine paintbrush draw eye lashes using the black colours. Blend your powder with a clear alcohol as required.
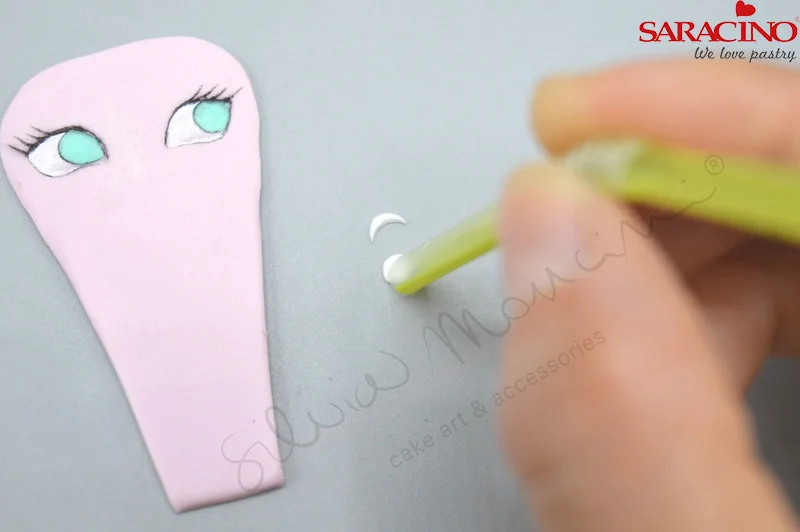
Step 18
Using your straw cut out highlights for the eyes.
Step 19
Attach and blend the highlights to each eye.
Step 20
Fix the shoe tongue into place using Saracino edible glue or a drop of water.
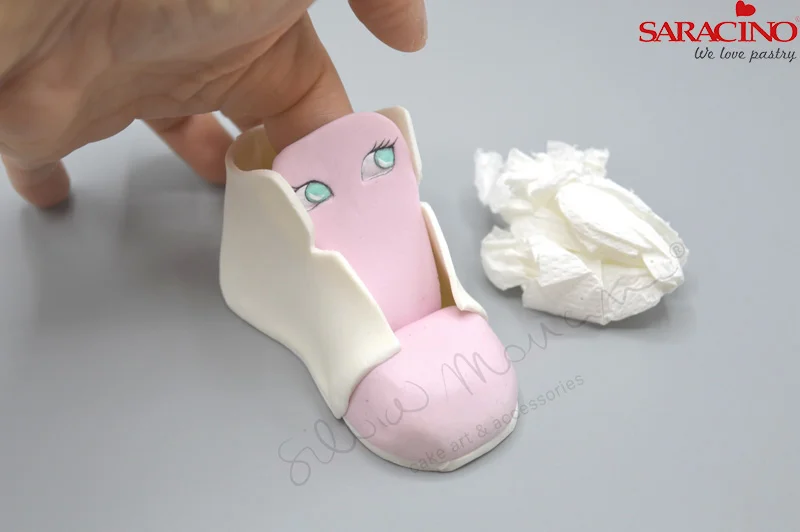
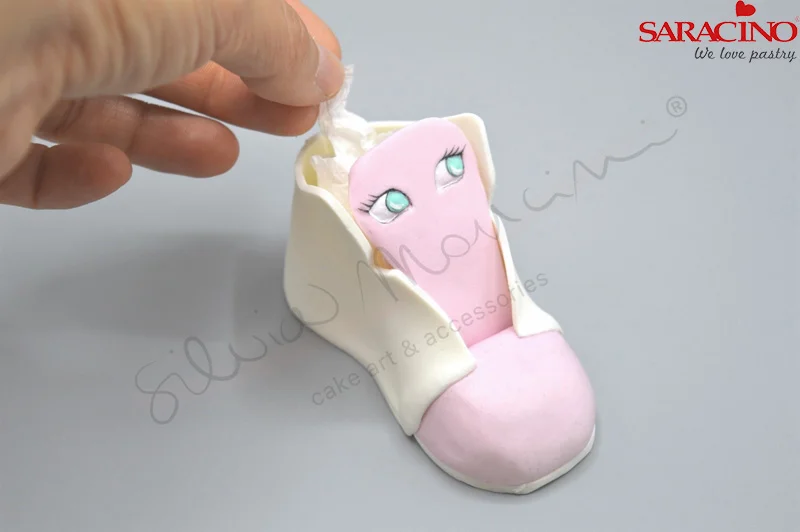
Step 21
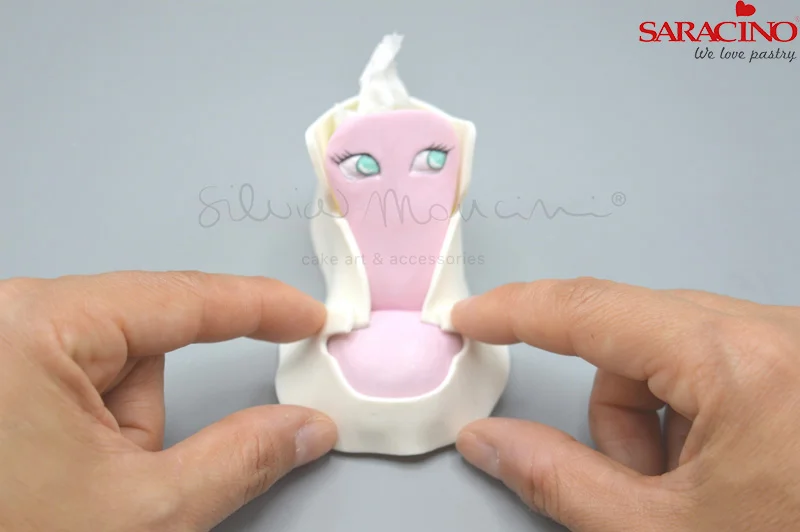
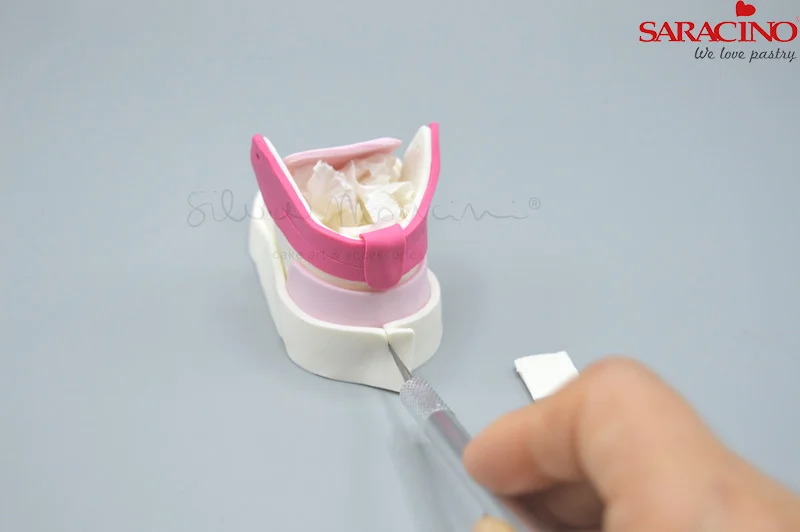
Pack behind the tongue with tissue to keep shape until dry.
Step 22
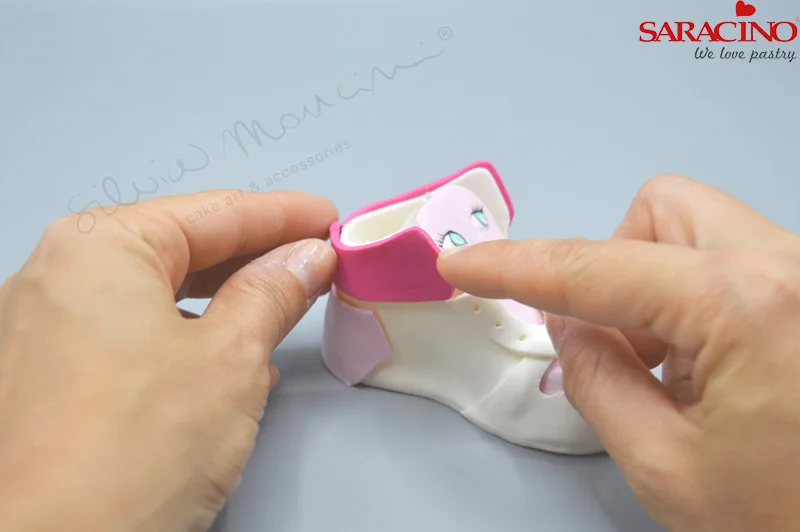
Using shape number three wrap around the front of the shoe.
Step 23
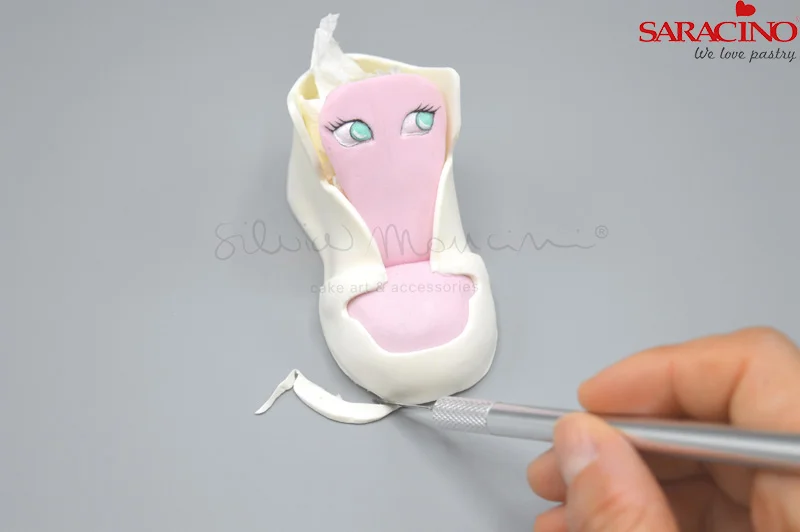
Trim any excess with your scalpel.
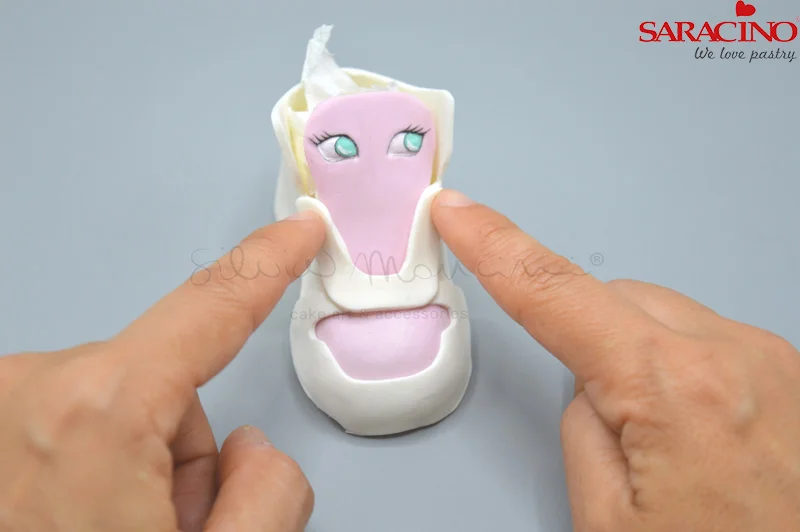
Step 24
Using shape number six fix as shown.
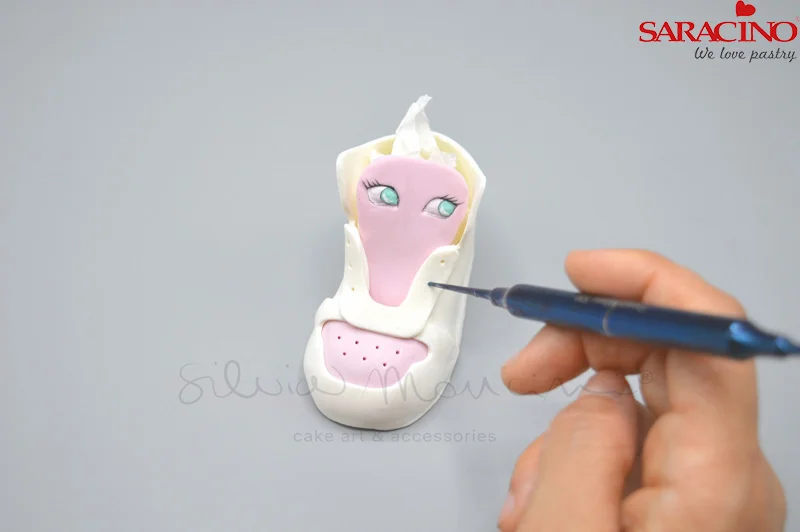
Step 25
Using a small ball tool make lace holes and pattern on the front of the shoe.
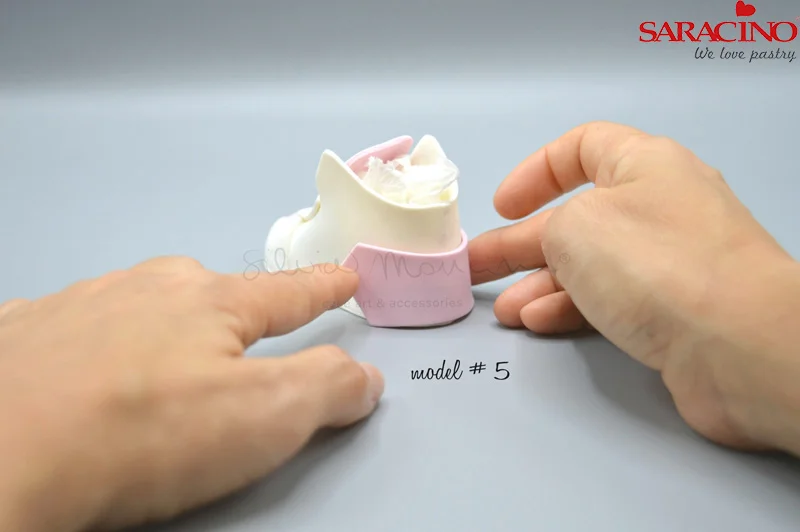
Step 26
Fix shape number 5 to the heel of the shoe.
Step 27
Fix shapes number 7 to the back of the shoe.
Step 28
Make lace holes using your small ball tool.
Step 29
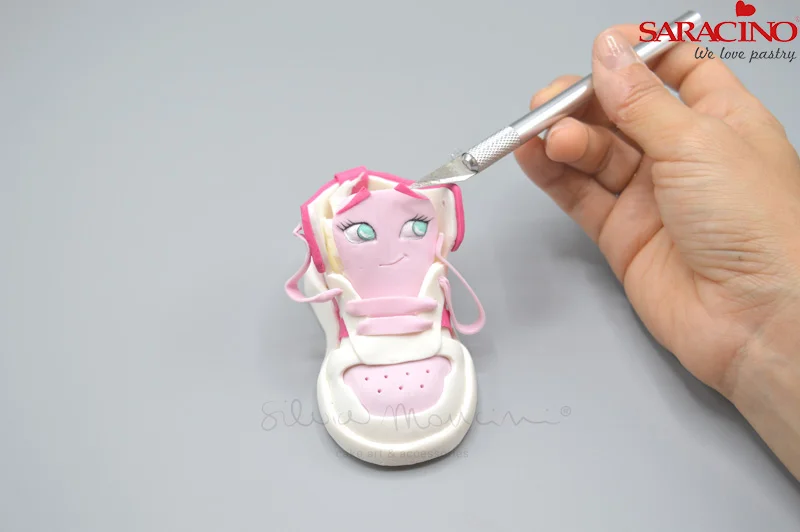
Make stitch lines using a scalpel or sharp tool.
Step 30
Attach the 8mm back lace as shown.
Step 31
Attach piece number 8 around the sole as shown.
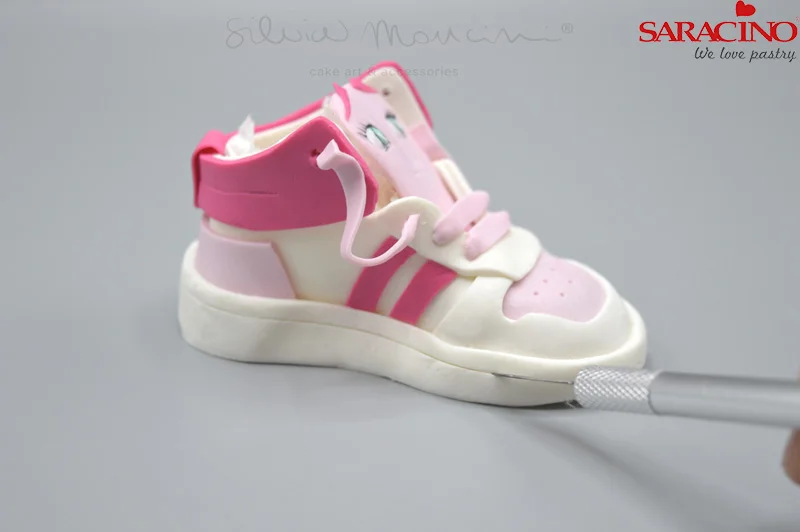
Step 32
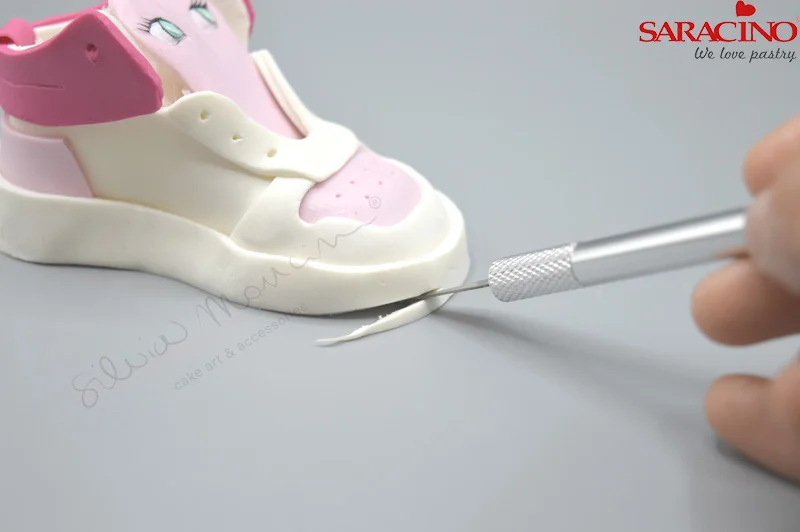
Trim any excess at the back using a scalpel.
Step 33
Trim the toe of the shoe as shown to raise off the floor
Step 34
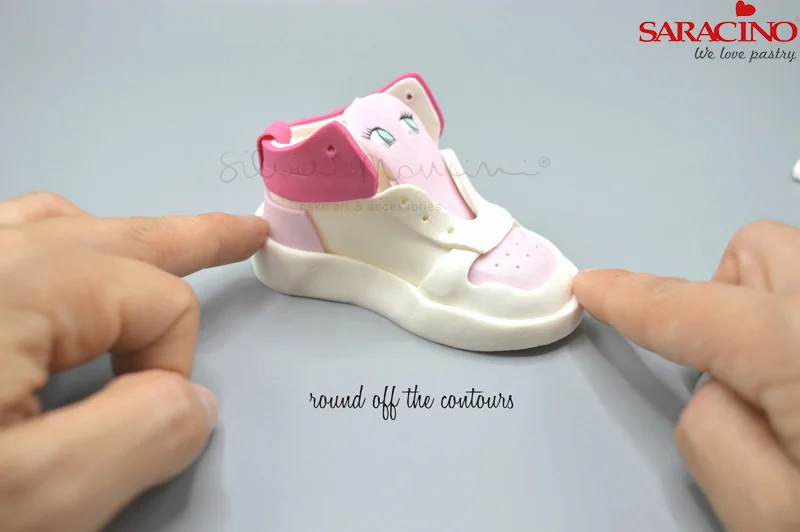
Blend edges to round off.
Step 35
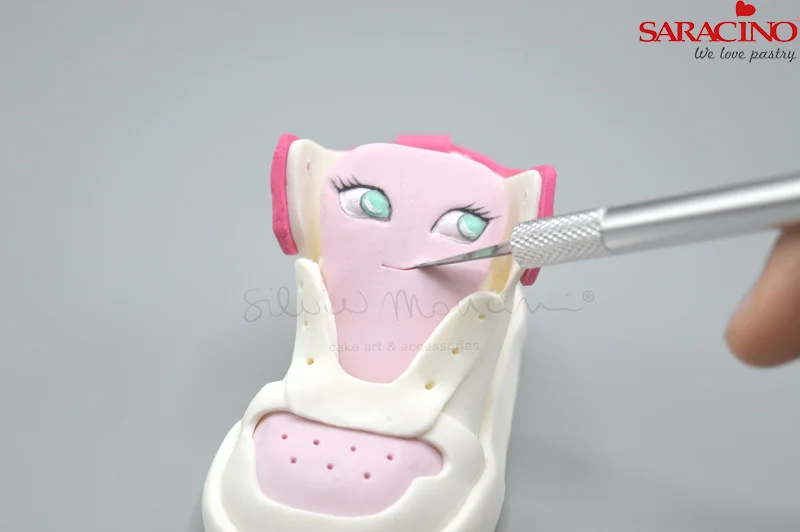
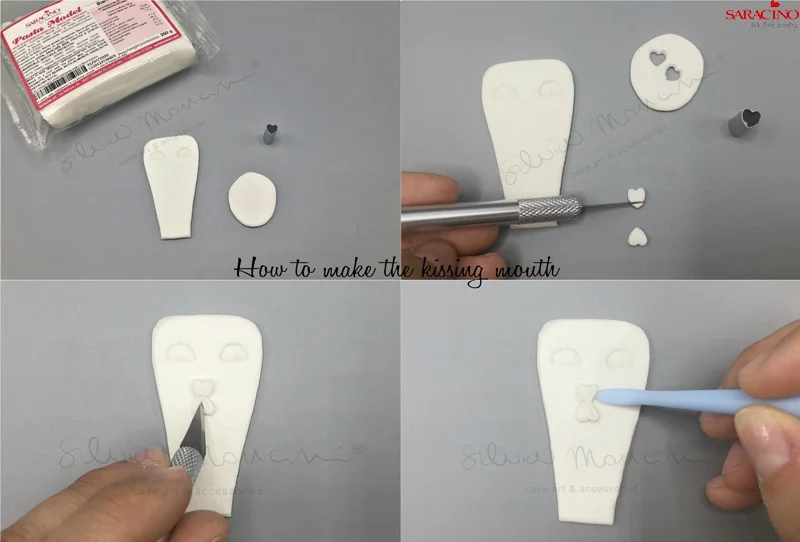
Form a mouth using your scalpel.
Step 36
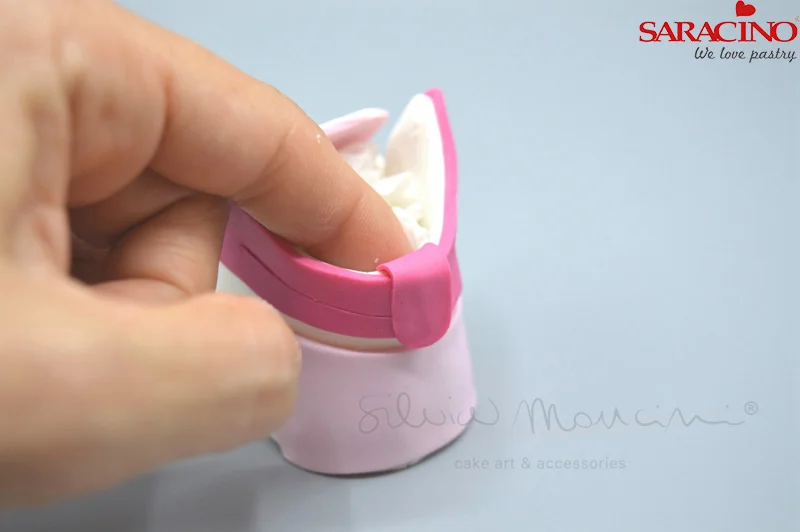
Add the 5mm strips as shown.
Step 37
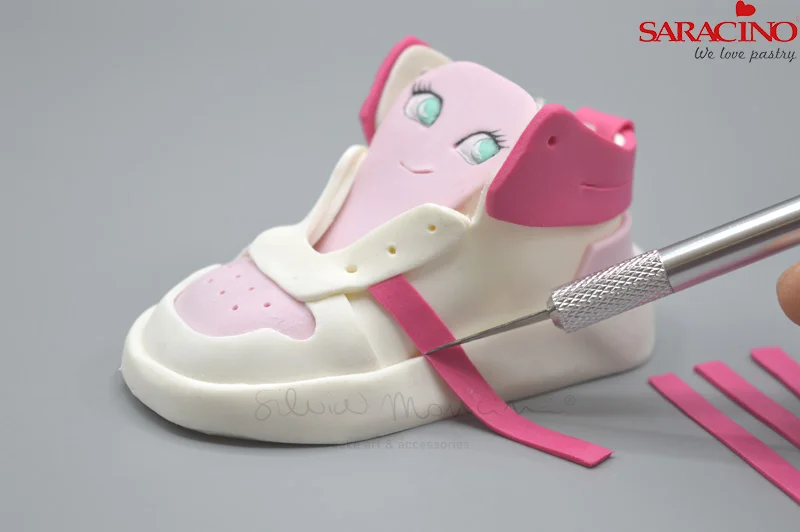
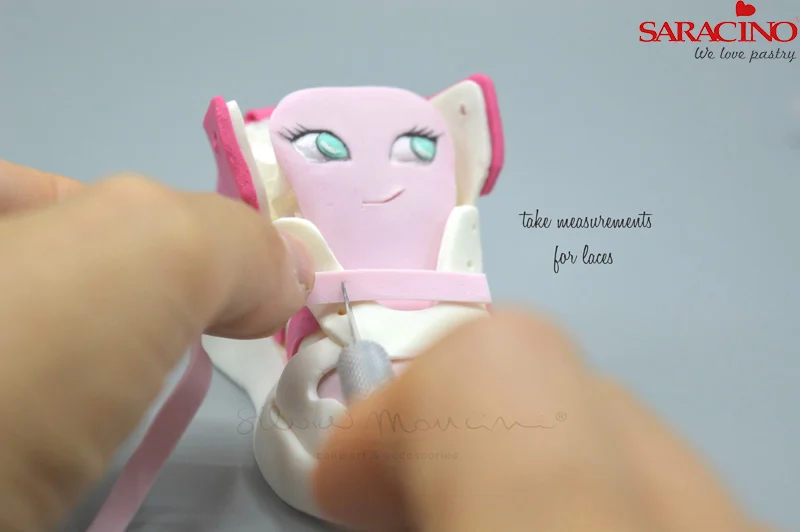
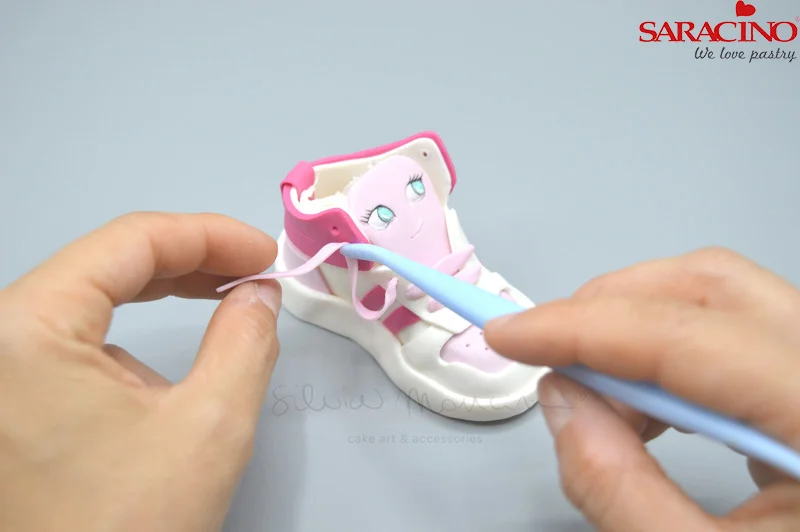
Check the length needed for your laces.
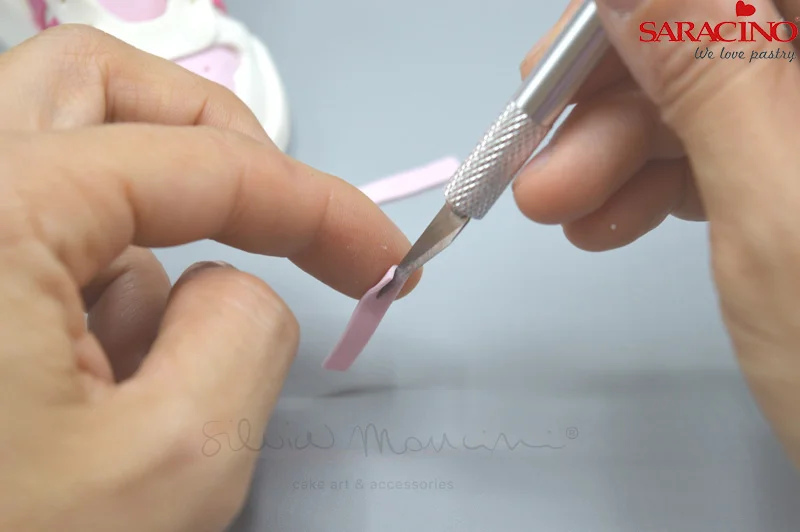
Step 38
Give the lace definition using the back of a sharp tool.
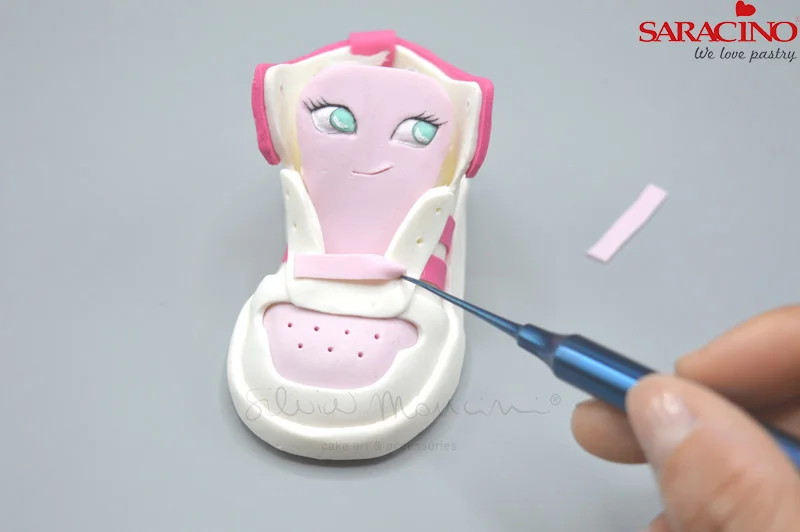
Step 39
Fix the lace into the lace holes previously formed.
Step 40
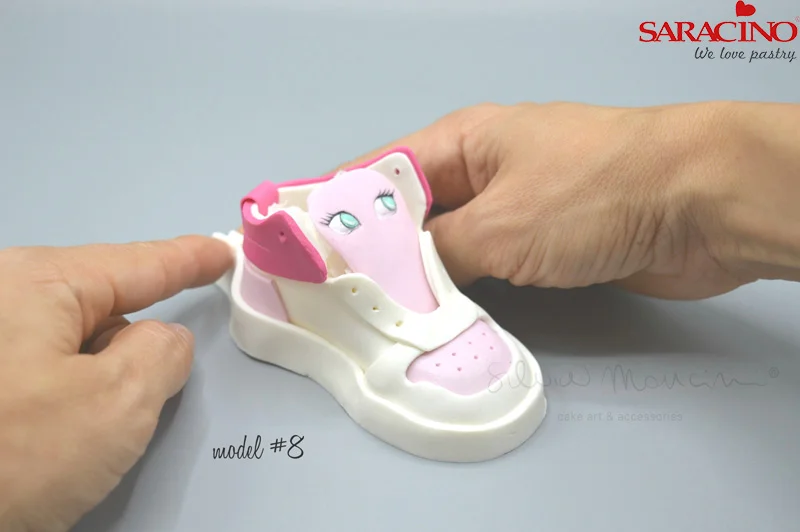
Using the longer laces fix to the side of the shoe as shown.
Step 41
Cut out and fix eyebrows.
Step 42
Use your scalpel to make a stitch line around the shoe.
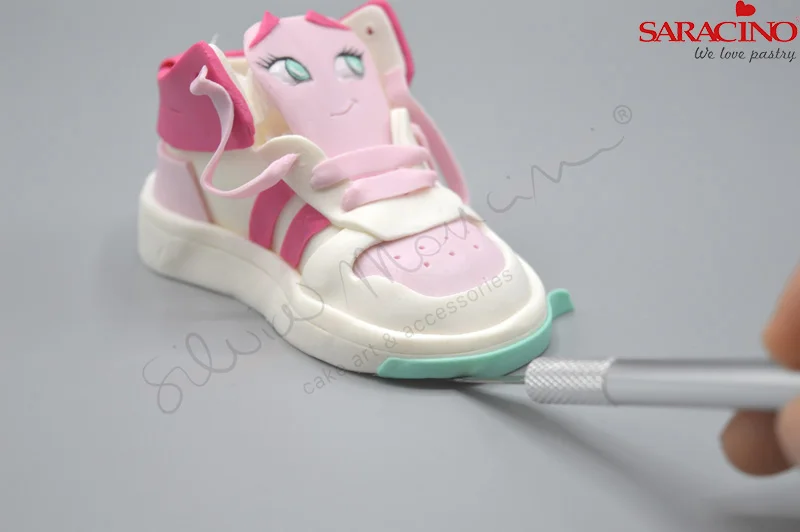
Step 43
Using Tiffany coloured paste attach the front of the shoe.
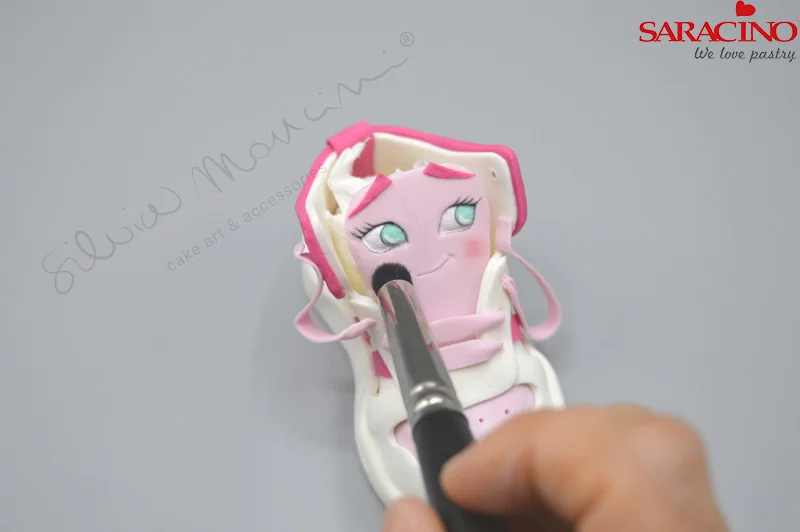
Step 44
Using pink powder dust give the cheeks some definition with a soft brush.
Step 45
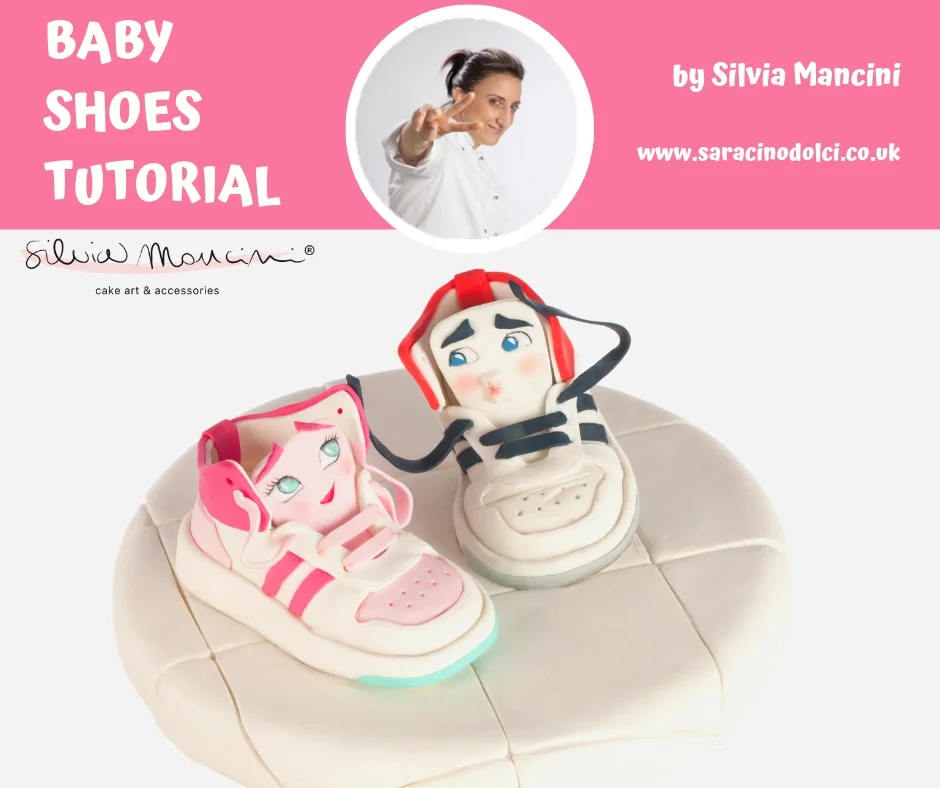
Repeat all the above steps to create the other shoe. You can customise each shoe to look how you want.
Jun 26, 2019 | Cakes, Cupcakes, Modelling
You will need:
- Green sugarpaste with gum trag added
- Sugar glue
- White flower paste
- Golden brown modelling paste (white paste coloured using Saracino yellow, orange and brown gel colours)
- Saracino white modelling paste
- Saracino red modelling paste
- Saracino pink modelling paste
- Saracino light green modelling paste
- Ginger modelling paste (white paste coloured using Saracino orange and brown gel colours)
- Saracino yellow modelling paste
- 100s and 1000s
- Work-board
- Rolling pin
- Paintbrush
- 58mm round cutter
- Sponge drying mat
- 32mm round cutter
- Ball tools (large and small)
- 2cm square cutter
- 1cm round plunger cutter
- Craft knife
- 4cm square cutter
- Smoother
- Sharp knife
- 2.5cm square cutter
- 12mm blossom plunger cutter
- 6mm blossom plunger cutter
Step 1
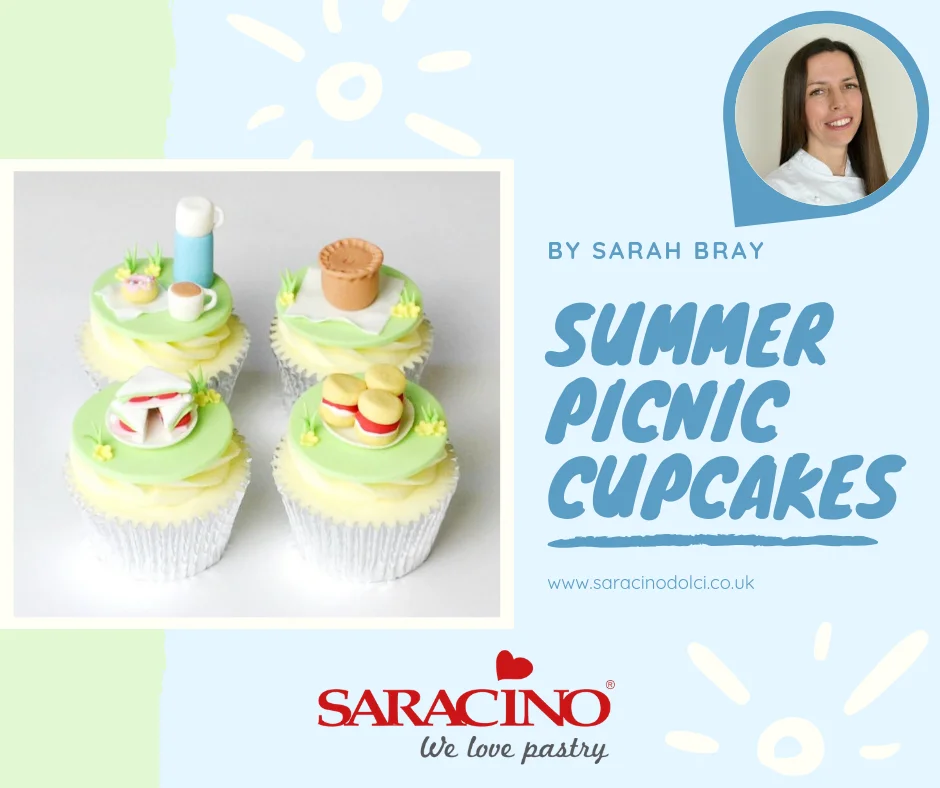
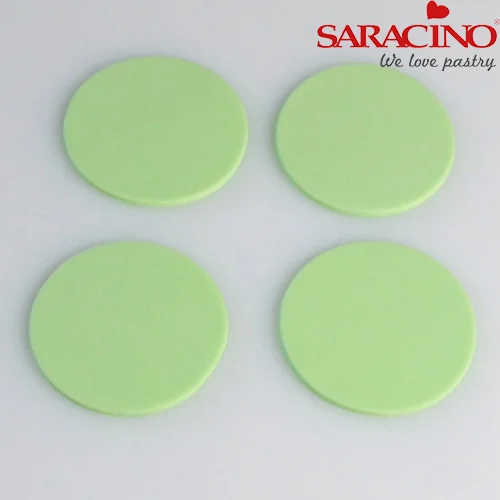
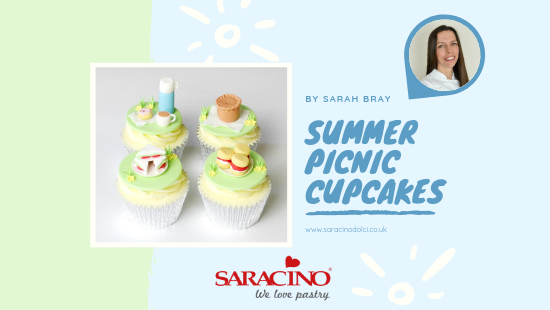
Cut out four green circles using a 58mm round cutter and leave to dry completely.
Step 2
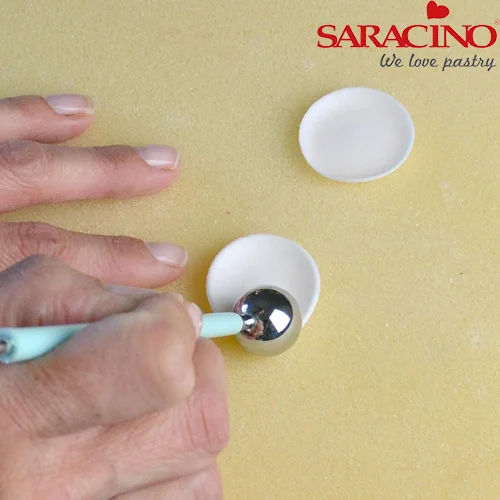
To make the plates cut out a thin circle of white flower paste using a 32mm round cutter and soften edges using a ball tool on a piece of sponge. Flatten slightly and leave to dry completely.
Step 3
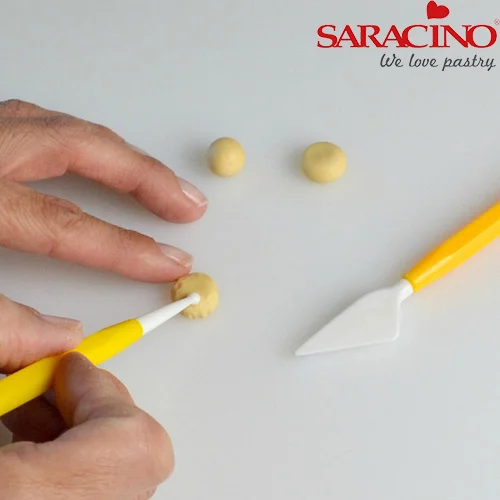
To make the scones, roll out a 1cm ball of golden paste and flatten slightly with your finger. Use a ball tool to add texture.
Step 4
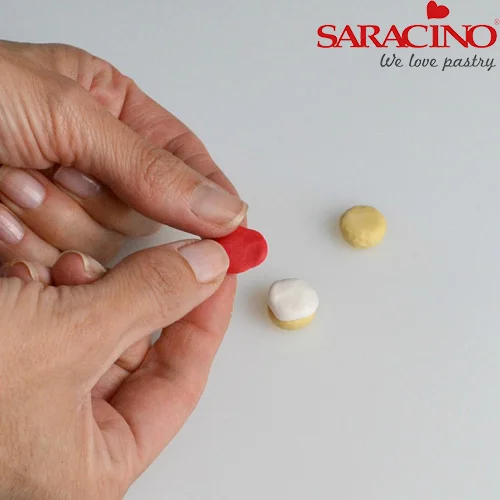
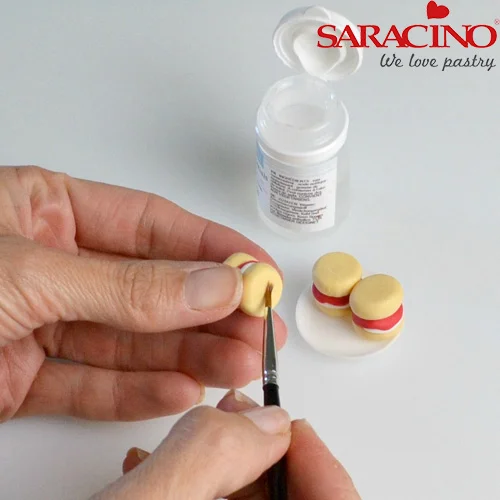
Pull off a small pea sized piece of white paste and use your thumb and forefinger to soften the edges. Stick to the bottom part of the scone. Repeat process with red paste (jam) and stick on top.
Step 5
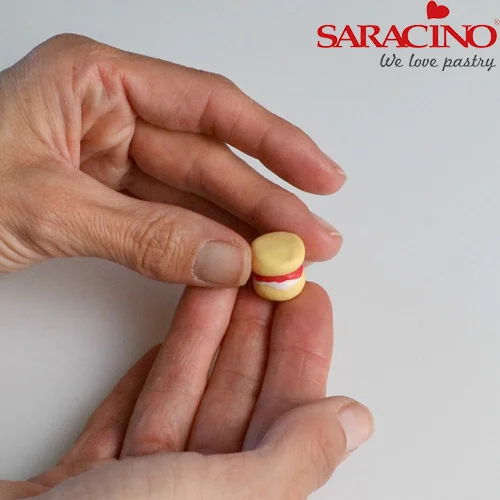
Lastly use your thumb and forefinger to shape a 1cm ball of golden paste for the top half of the scone and secure using sugar glue.
Step 6
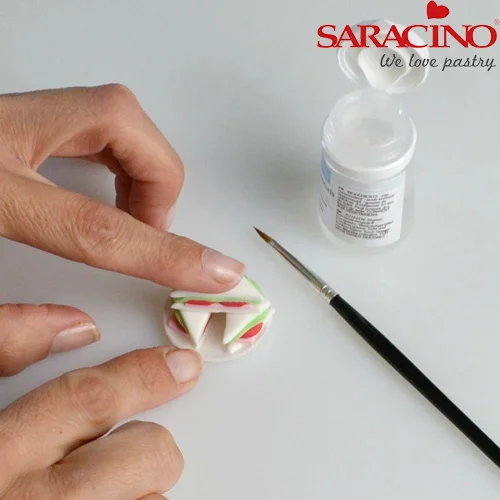
Make 3 scones like this and stick them onto the plate with sugar glue. Attach to the centre of one green topper
Step 7
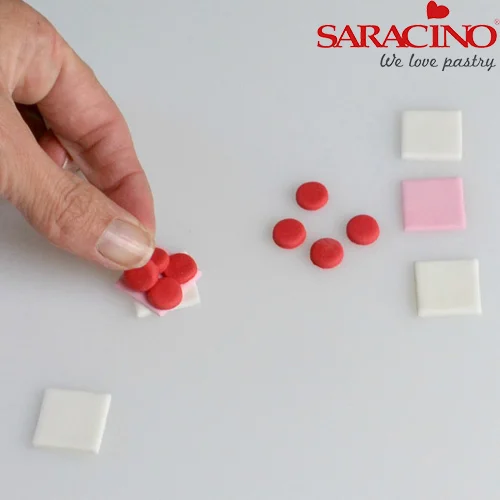
To make the sandwiches cut out 4 x 2cm squares of white paste (approx. 2mm thick) Cut out 2 x 2cm squares of pink paste (approx.. 1mm thick) and 8 x 1cm circles of red paste using a round plunger cutter. Construct the sandwiches filling each with a piece of ham (pink square) and 4 x red circles (tomatoes) securing with sugar glue if necessary.
Step 8
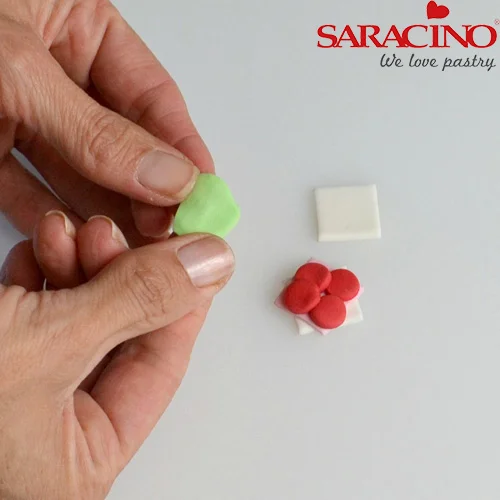
For the lettuce take a small piece of light green paste and soften edges with thumb and index finger. Attach to the top of the slices of tomato
Step 9
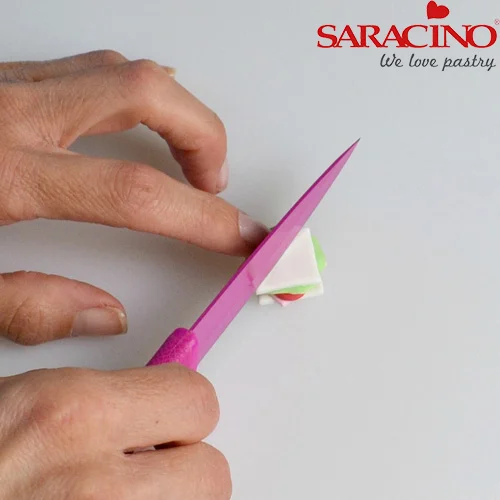
Finish with the other white square (slice of bread) and cut in half diagonally with a sharp knife.
Step 10
Arrange on one of the plates securing with sugar glue.
Step 11
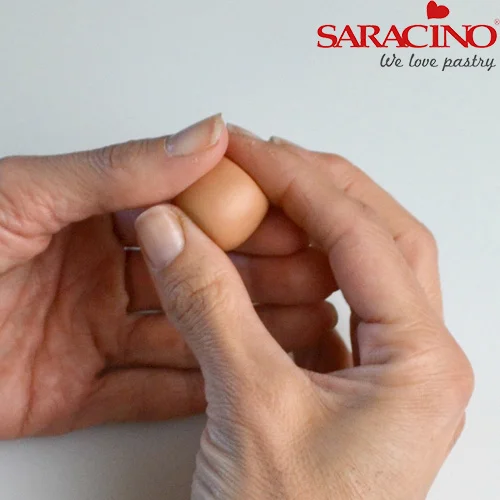
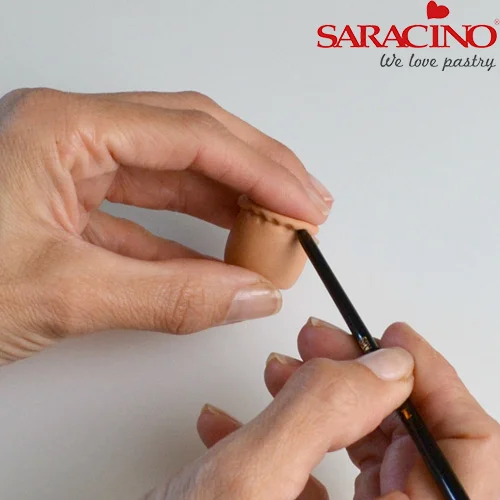
To make the pork pie roll a cherry tomato sized piece of ginger paste into a ball in the palms of your hands. Holding the ball of paste between your thumb and forefinger, use your other hand to rotate the paste round to create a pie shape.
Step 12
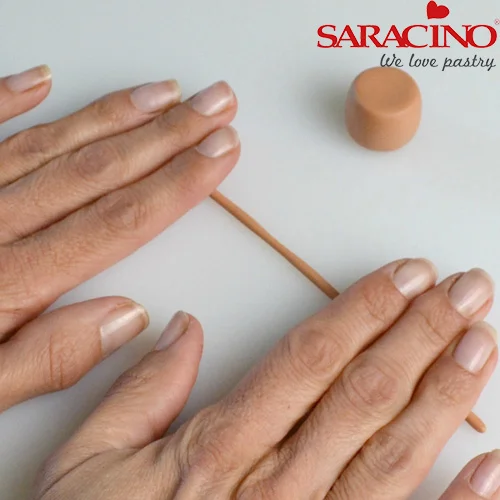
Roll out a thin sausage of ginger paste using the palms of your hands.
Tip: I use a smoother to even out any bumps made from rolling with the palms of your hands)
Step 13
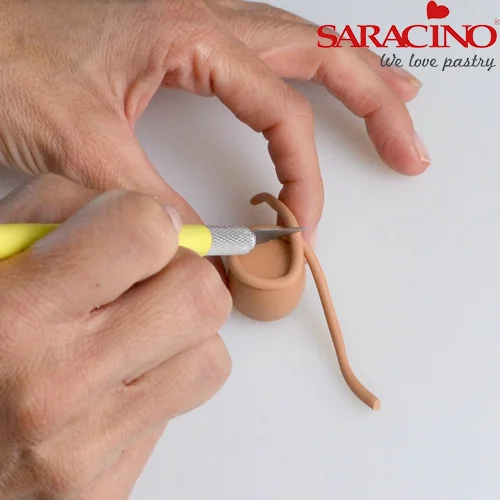
Wrap this sausage around the top of the pie to create the crust, cutting off the excess with a craft knife and securing with sugar glue if necessary.
Step 14
Use the bottom end of a paintbrush to push gently upwards on the rim of the pie to create a pattern.
Step 15
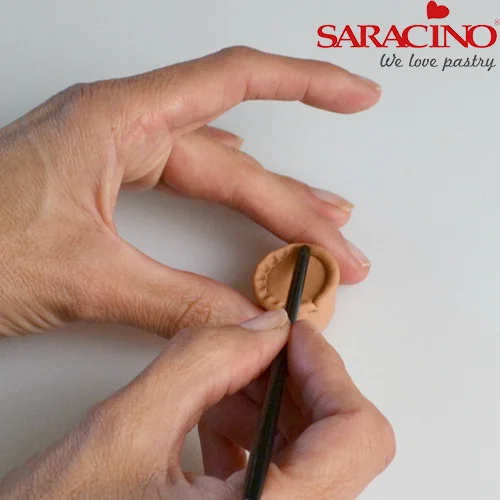
Push down on the top with the end of a paintbrush to create the pattern around the top edge of the pork pie.
Step 16
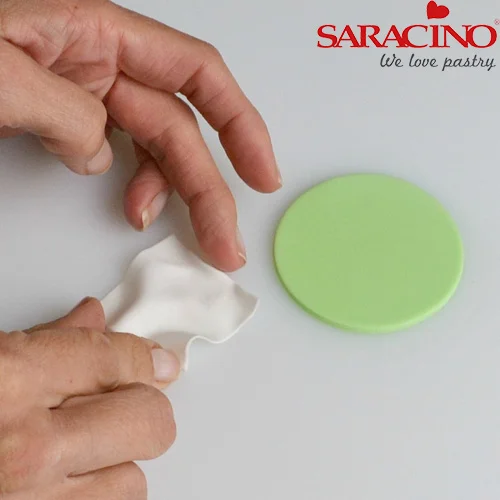
Roll out a thin piece of white paste and cut a 4cm square. Use your thumb and forefinger to push in slightly at the sides.
Step 17
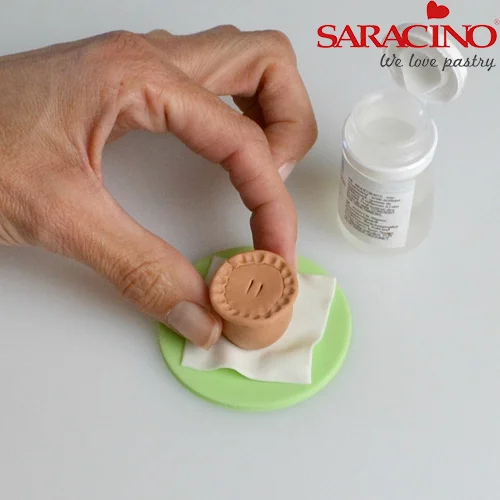
Secure the pork pie to the white paper and attach to one of the green toppers. Add two little slits on the top of the pork pie for decoration.
Step 18
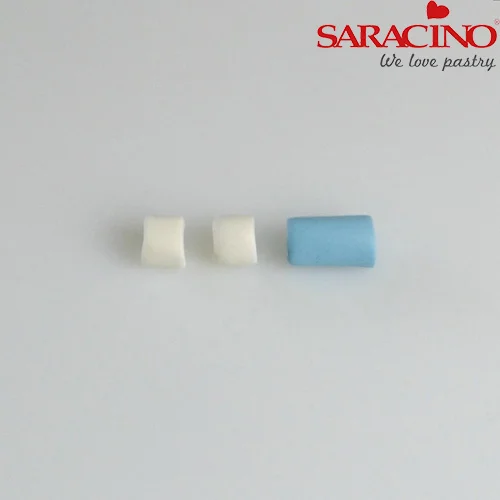
To make the flask use a smoother to roll out a sausage of blue paste and a sausage of white paste approx. 15mm in diameter. Cut off a piece of blue approx. 25mm in length and two pieces of white approx. 12mm in length.
Step 19
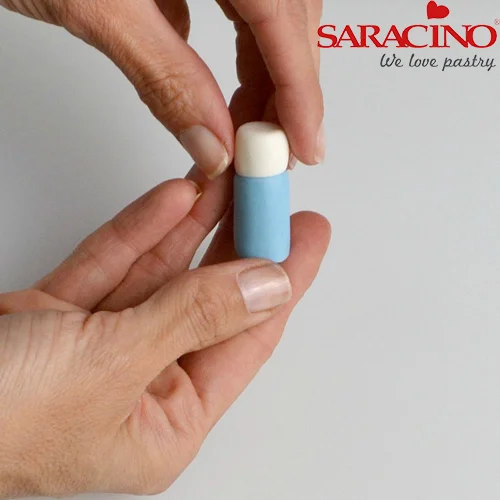
Use your thumb to soften one end of each of the white pieces and attach one to the blue piece with sugar glue. Put the other white piece aside for now to firm up. This will be the second cup.
Step 20
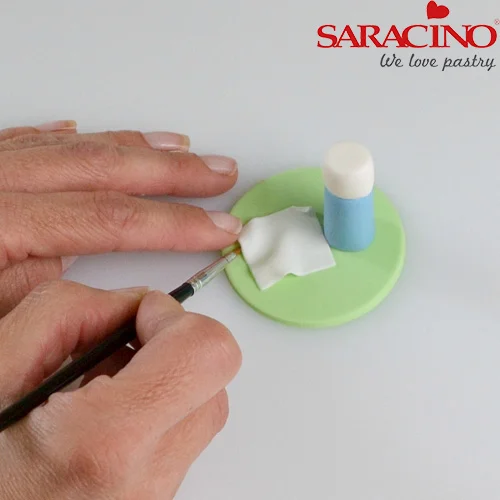
Roll out a thin piece of white paste and cut out a 2.5cm square. With your thumb and forefinger push gently on the sides as you did before. Attach this to one of the green toppers. Also attach the flask with sugar glue.
Step 21
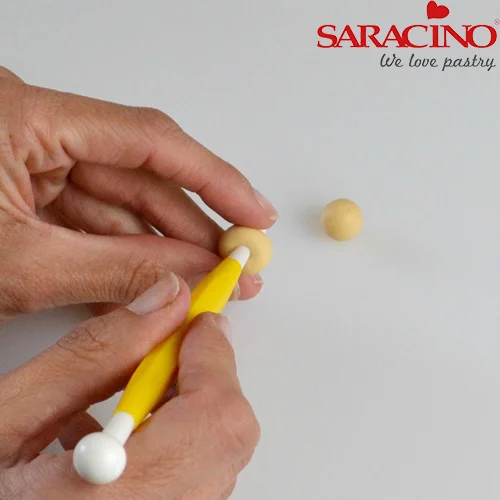
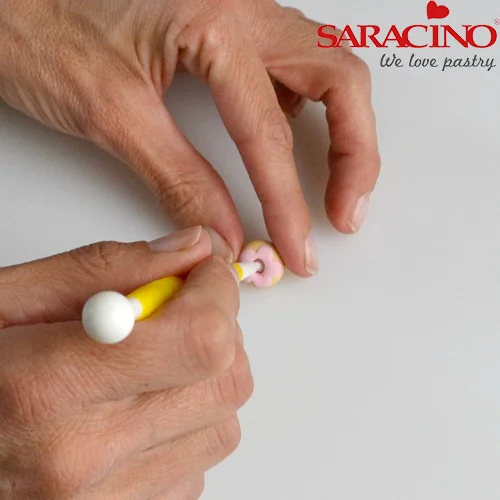
To make the doughnut roll a small pea sized piece of golden paste in the palms of your hands. Using the small end of the ball tool, push through the paste creating a hole in the centre. Push the tool two thirds of the way through to make the hole bigger.
Step 22
Roll out a small piece of pink paste and cut out a 12mm flower using a blossom plunger cutter. Press this onto the top of the doughnut (using sugar glue if necessary to secure) Use the ball tool again to add the hole back in.
Step 23
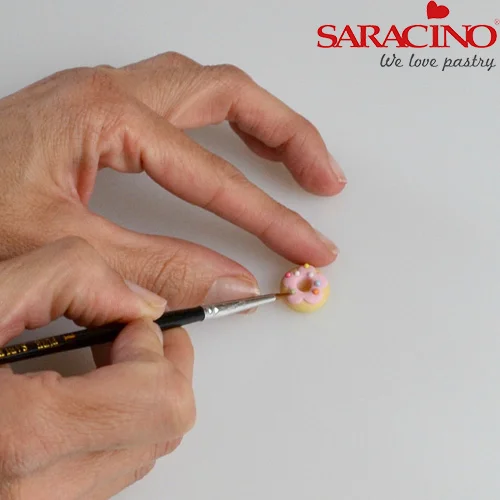
Decorate the doughnut with a few 100s and 1000s. Attach to the white square on the topper.
Step 24
To make the cup with tea, take a small piece of ginger paste and flatten in your fingers so it is the same size as the top of the cup made earlier.
Step 25
Press onto the top of the cup made earlier and secure with sugar glue if necessary.
Step 26
Roll out a small piece of white paste into a thin sausage. Curve into a handle shape, cut with a craft knife and glue to the cup. Repeat for the other cup.
Step 27
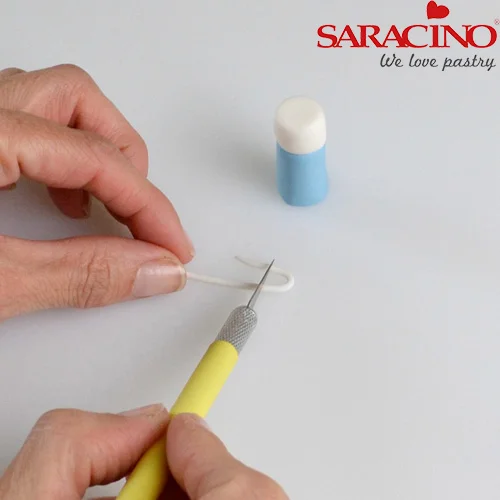
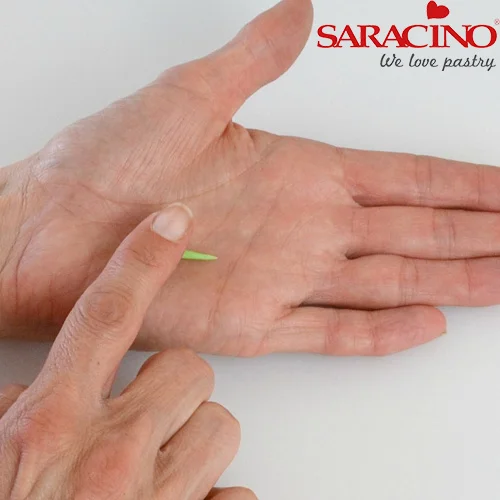
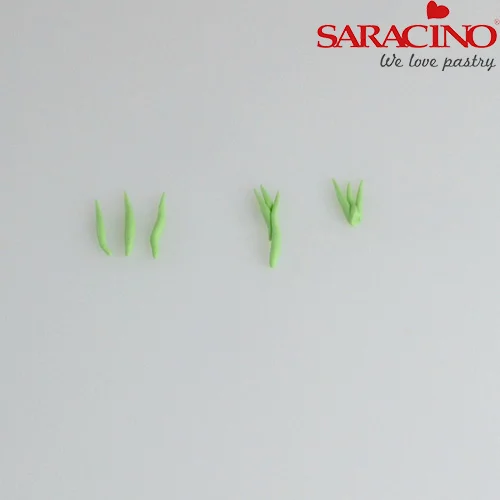
To make the grass roll three pea sized balls of light green paste into tear drop shapes in the palm of your hand with your finger.
Step 28
Stack them on top of each other and use a craft knife to trim off the excess.
Step 29
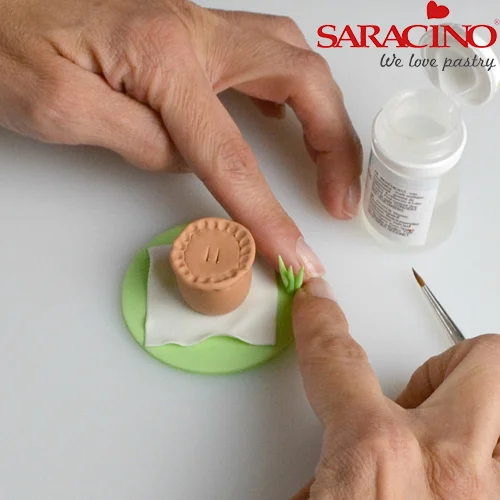
Attach the clumps of grass to the toppers with sugar glue making two for each topper.
Step 30
Finally using a small plunger cutter cut out little yellow flowers and add these to the toppers next to the grass (approx. 3 per topper)

Jun 21, 2019 | News, SAFE News
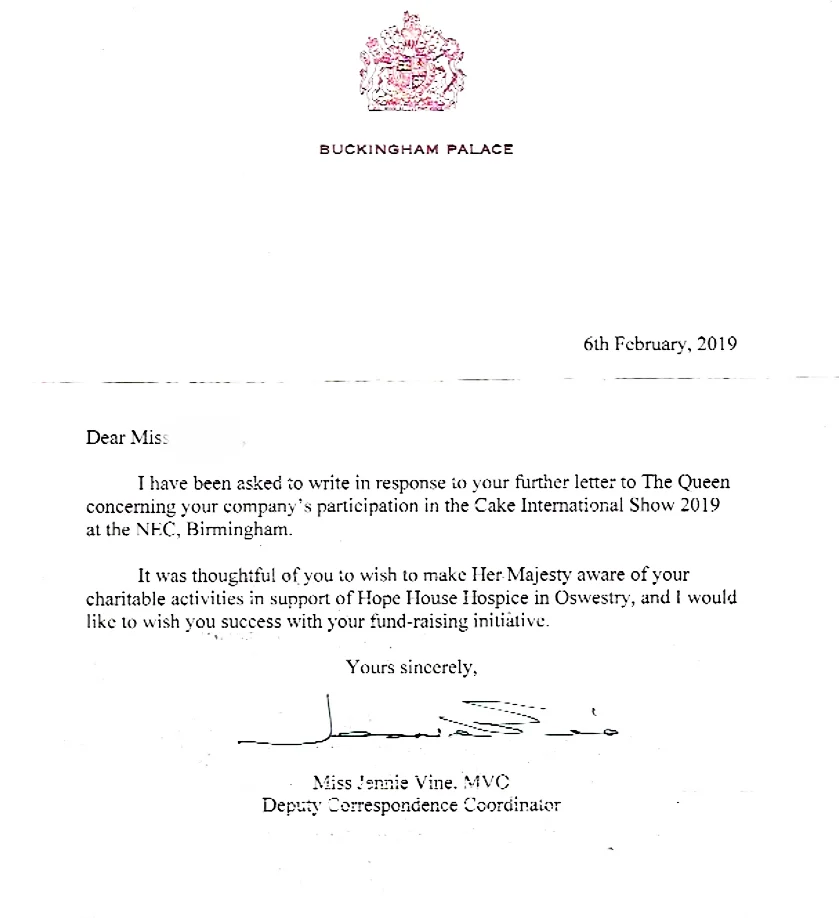
Royal Message Of Support
We are delighted to announce that we have received a letter of support from Her Majesty the Queen’s Official Office at Buckingham Palace.
Her Majesty has been made aware of our fundraising efforts for Hope House and has kindly sent us a goodwill message.
We have decided to announce this message of support now to raise awareness, to celebrate and to mark Children’s Hospice Week.
Children’s Hospice Week is the only week in the year dedicated to raising awareness and funds for the lifeline children’s hospice services across the UK, and the thousands of seriously ill children and young people they support. Hope House are just one of these many hospice’s that need our help.
The theme of Children’s Hospice Week is ‘Moments that Matter’, shining a light on children’s hospice and palliative care services that help families create special memories and important moments in their lives together.
To help us help them all you have to do is purchase raffle tickets. Every penny of the money raised will go to Hope House. And by helping you will be in with a chance of winning one of three hampers worth over £1,100 each. You can buy your lucky ticket via Just Giving Page HERE