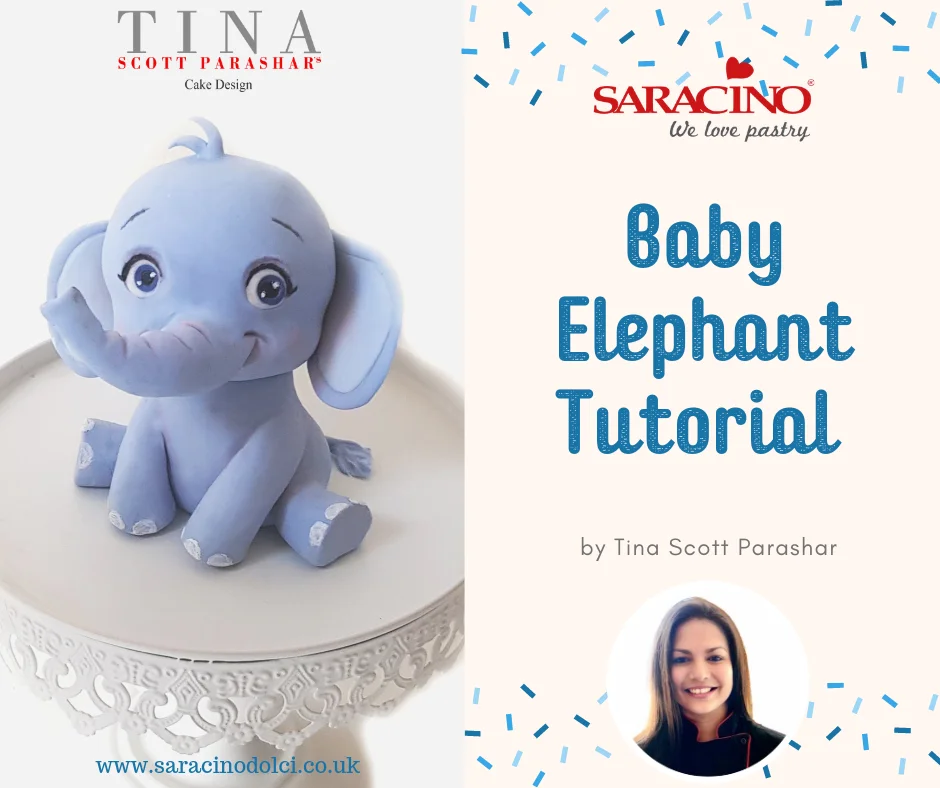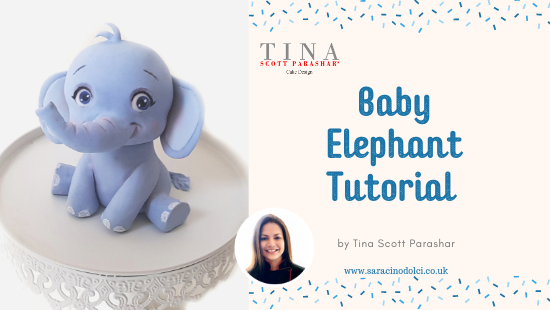
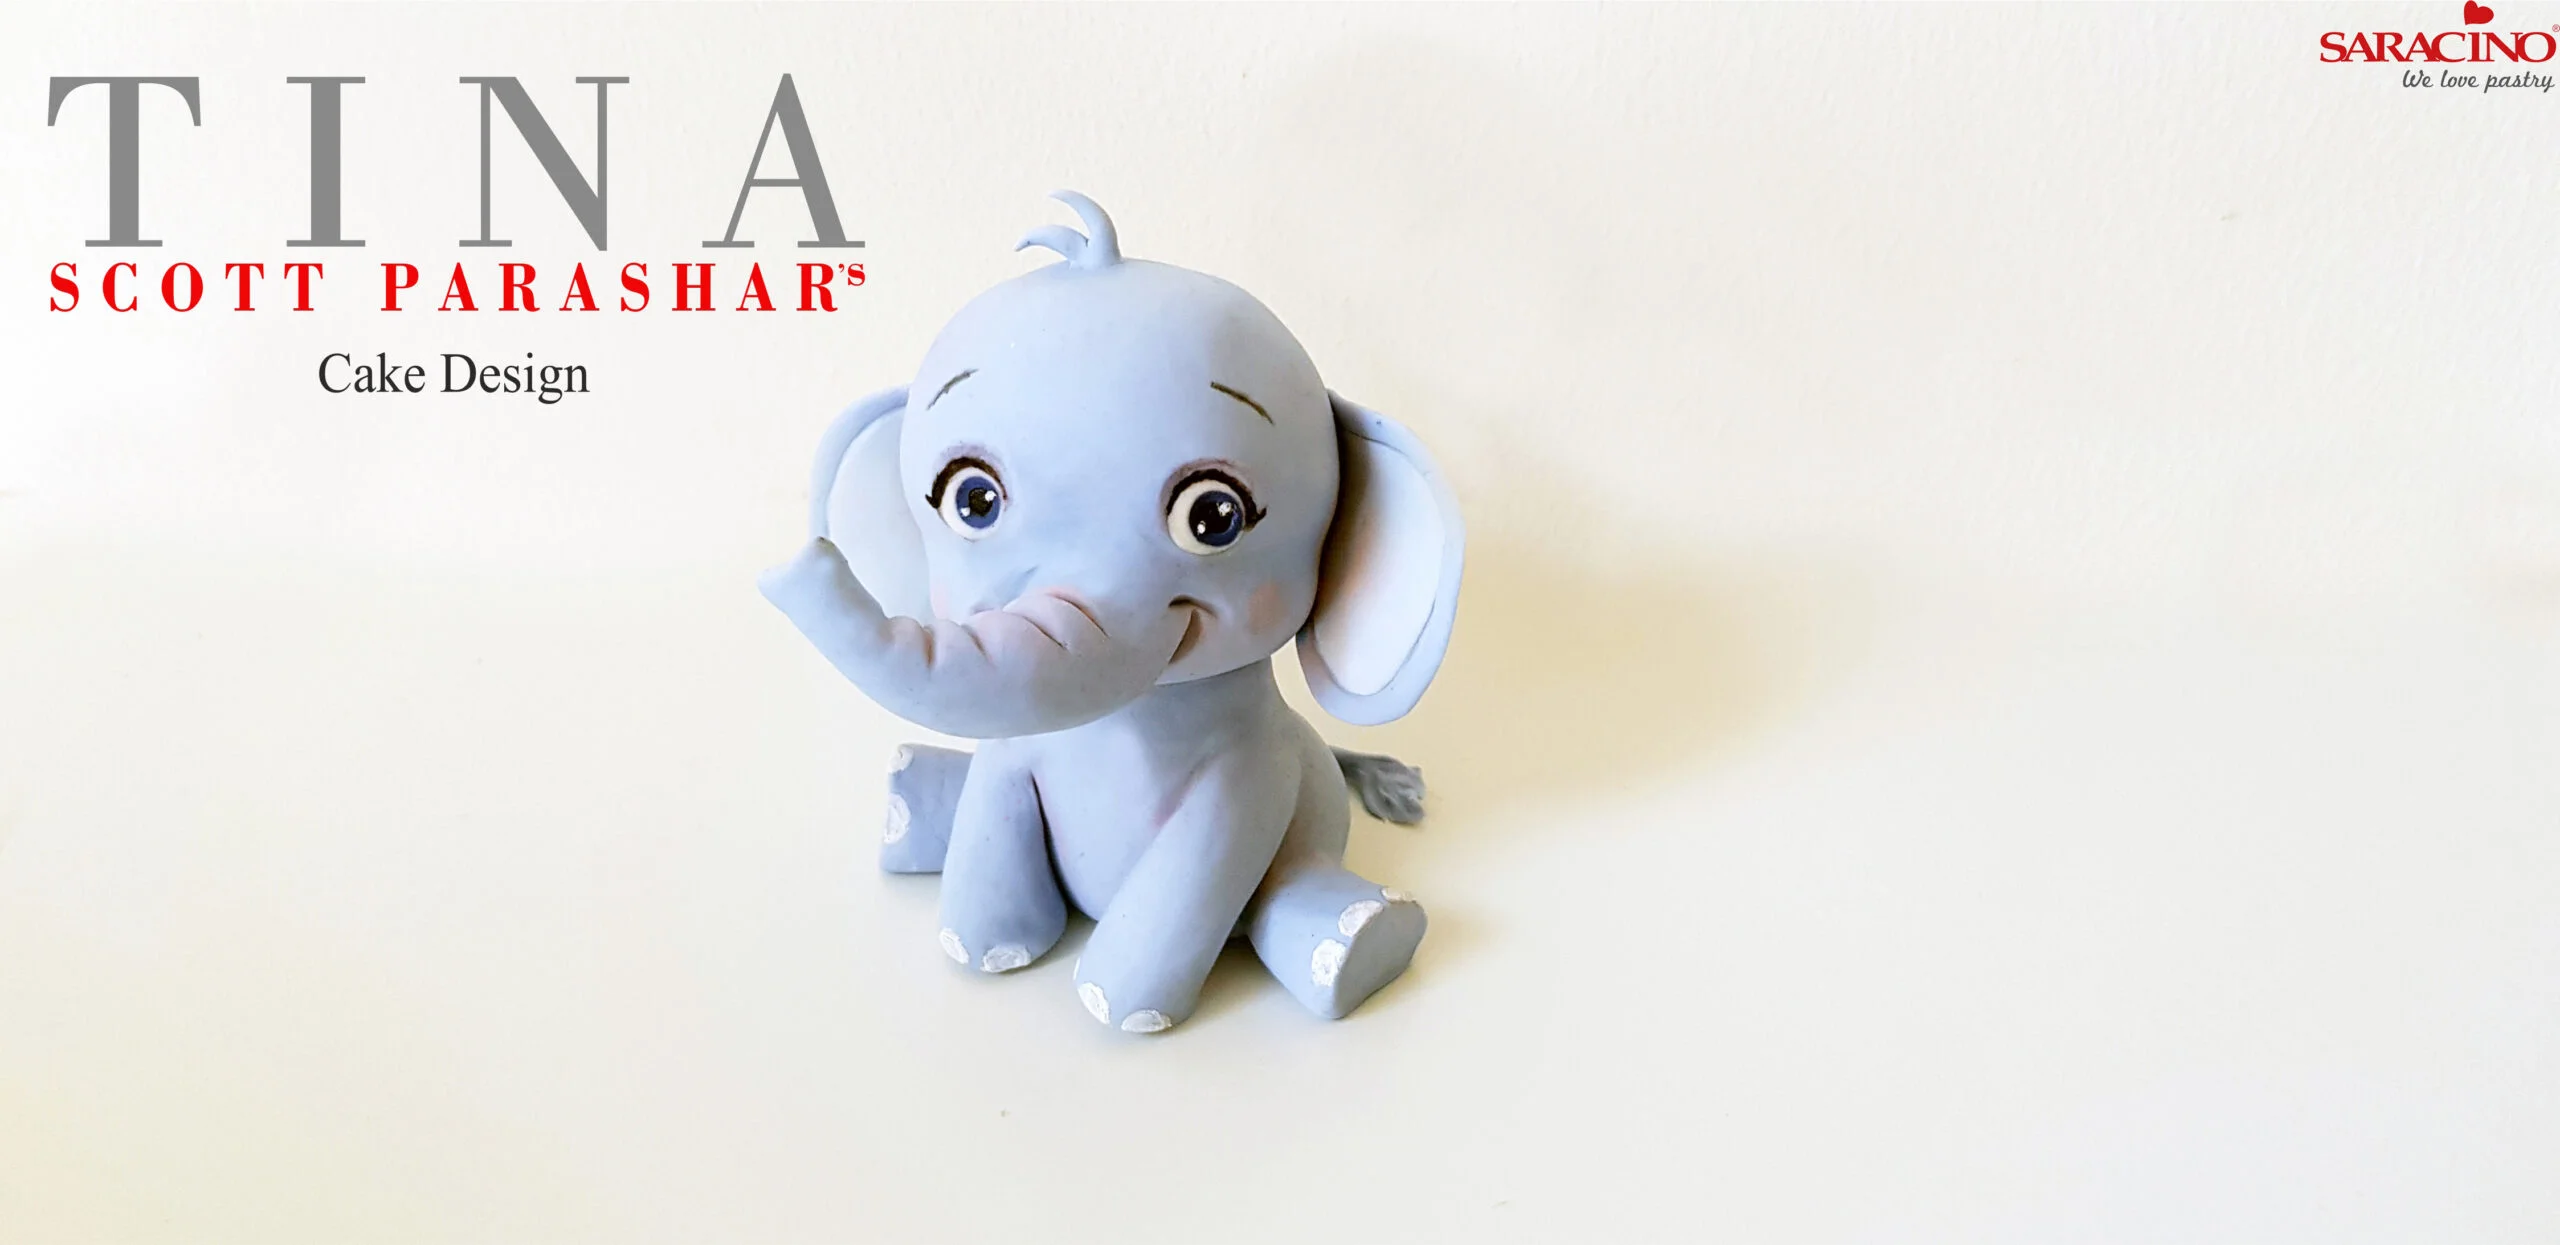
CUTE BABY ELEPHANT

CUTE BABY ELEPHANT

Skill level: BEGINNERS

TIP:

Tina recommends drying the parts before attaching them to each other. The body especially should dry a couple of hours before you place the head so that it can support the head. Also, if you pre-make the hole where the stick will go in, it helps with drying out the centre of the body faster.

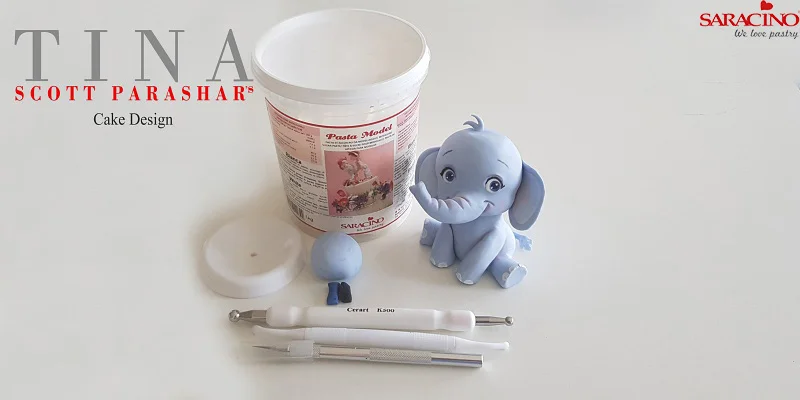
You will need:

  • Saracino model paste 300g (Light blue)
  • White, black and dark blue model paste for eyes
  • Flower former or soft foam for drying the head
  • Ball tool
  • Dresden tool
  • Exacto knife

Step 1

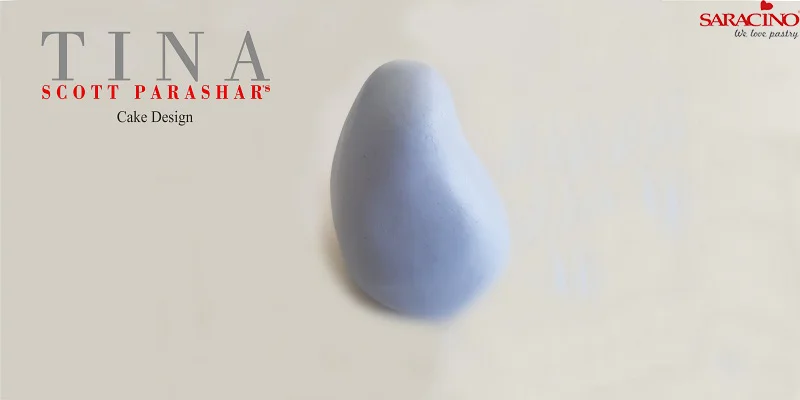
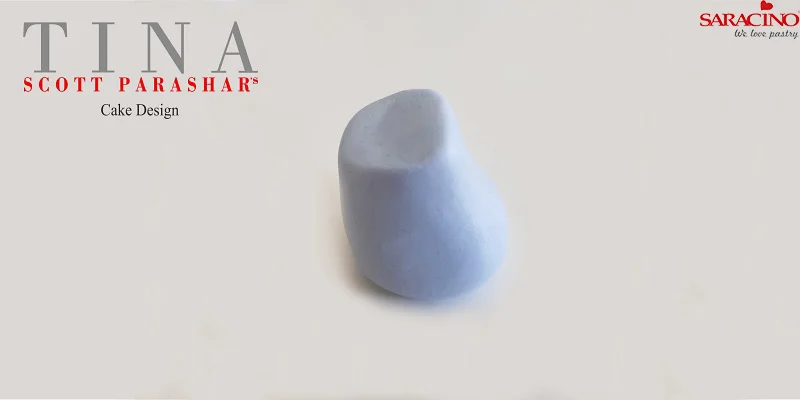
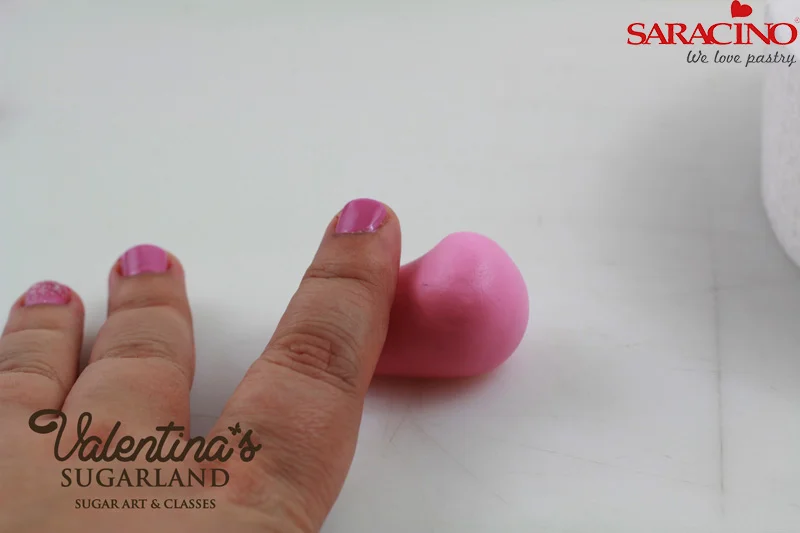
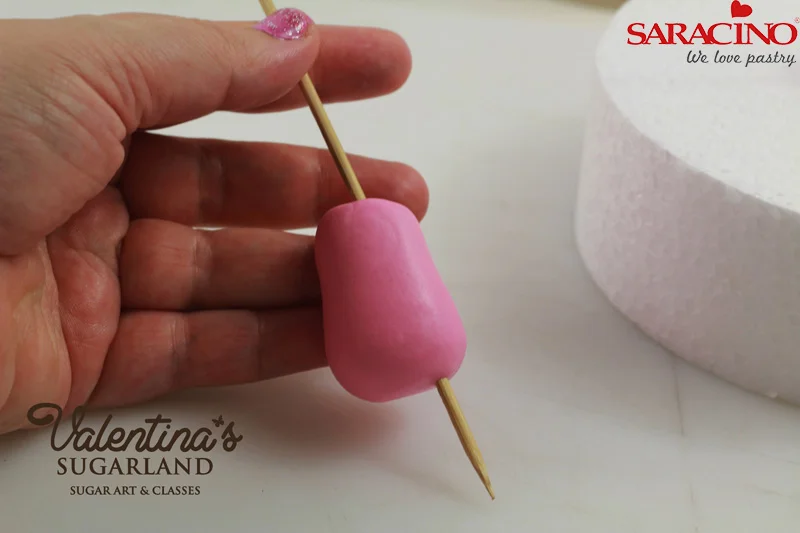
Take a ball of the light blue paste and form into the shape of the body.

Step 2

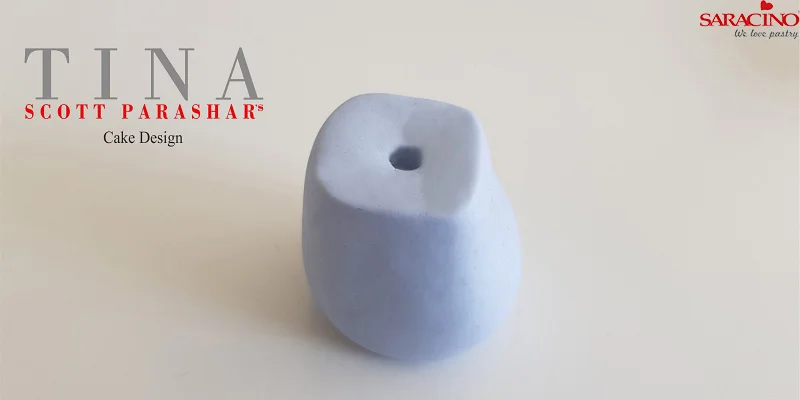
Cut the top of the body to get a flat surface.

Step 3

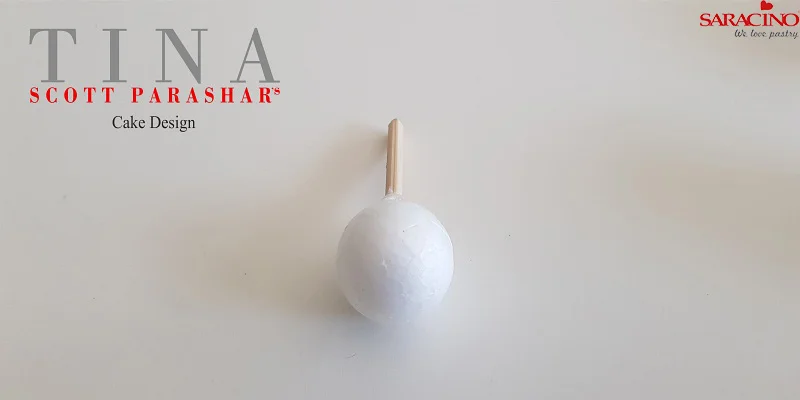
For the head, take a Styrofoam ball and insert a wooden stick (to go into the body as support). You could make the entire head with model paste but since it is much bigger than the body, you need to ensure enough drying time for the body to support the weight of the head.

Step 4

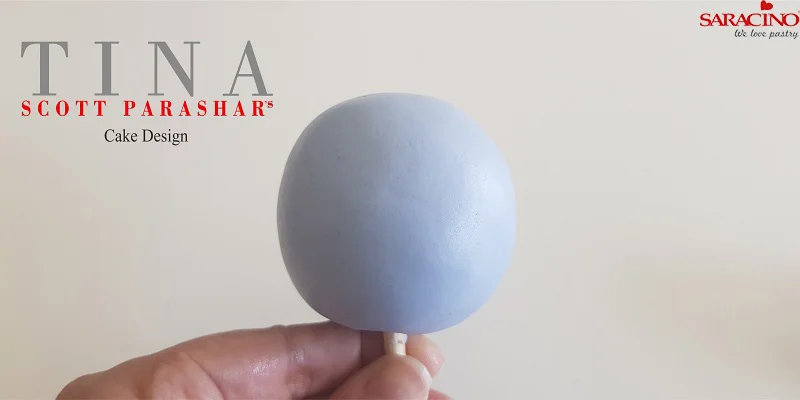
Cover the ball with the blue paste.

Step 5

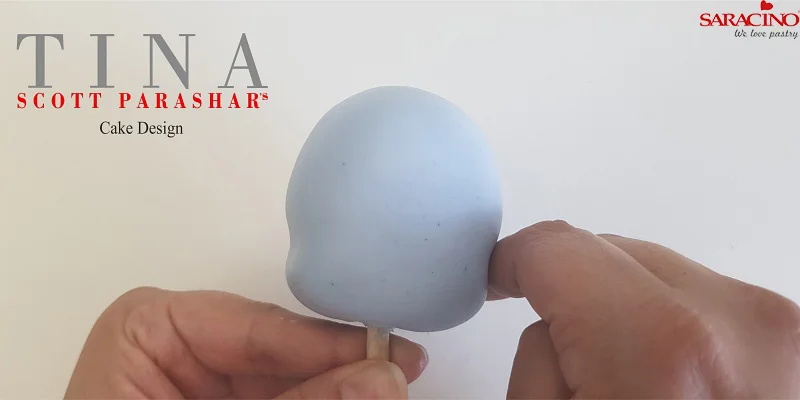
Shape the cheeks using your finger to go from one side to the other.

Step 6

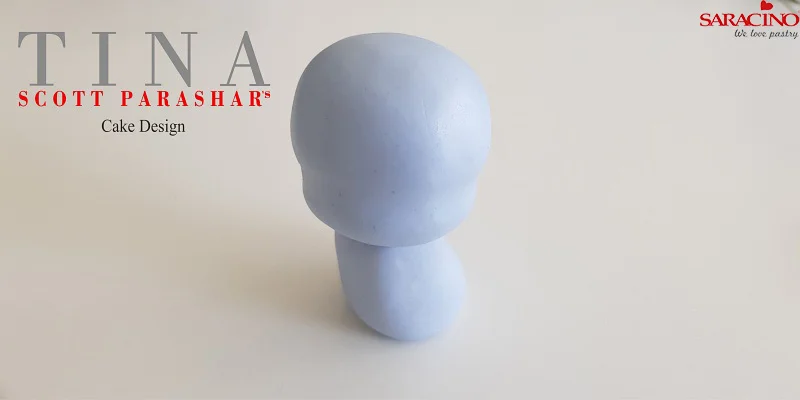
Place the head on the body.

Step 7

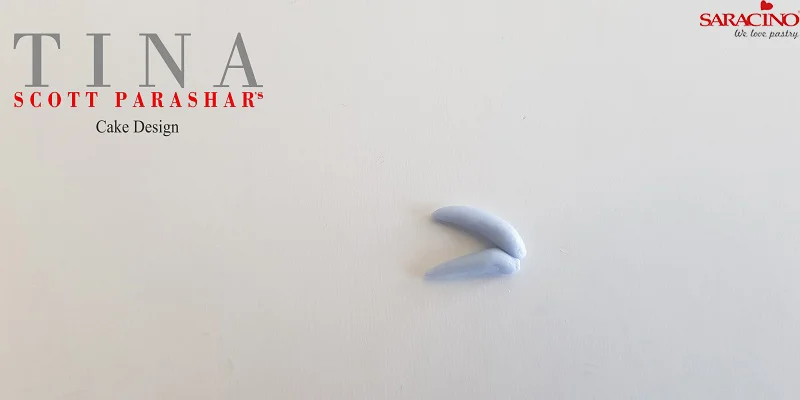
Take 2 tear drops for the hair.

Step 8

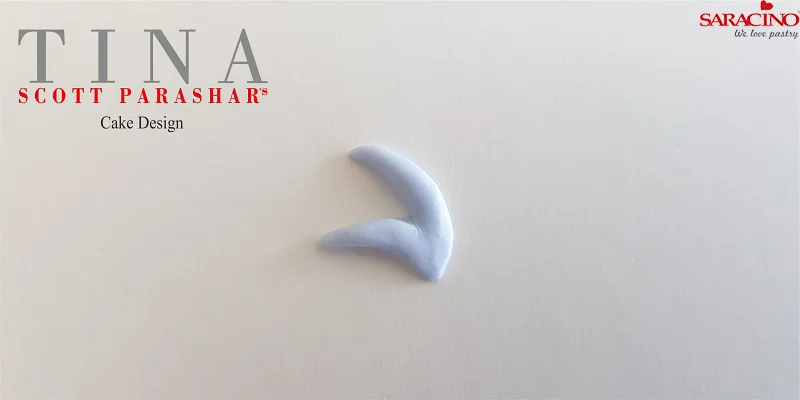
Merge the seams using your Dresden tool. You could even use a touch of water.

Step 9

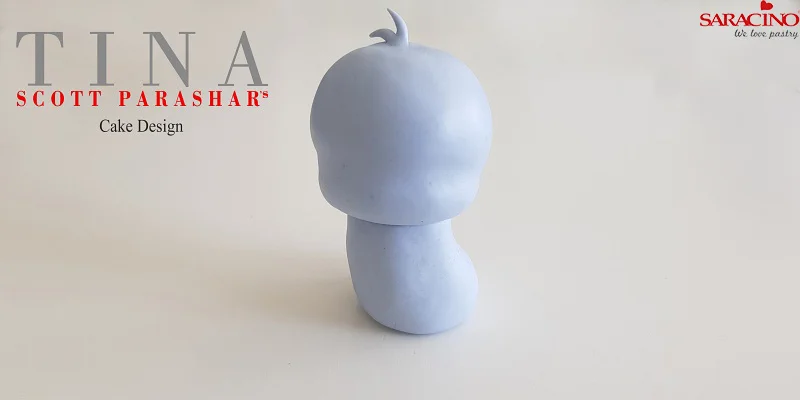
Place on the head and merge the seams again.

Step 10

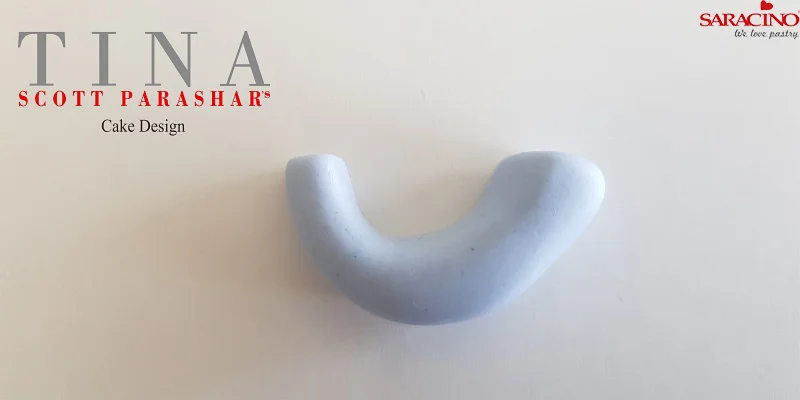
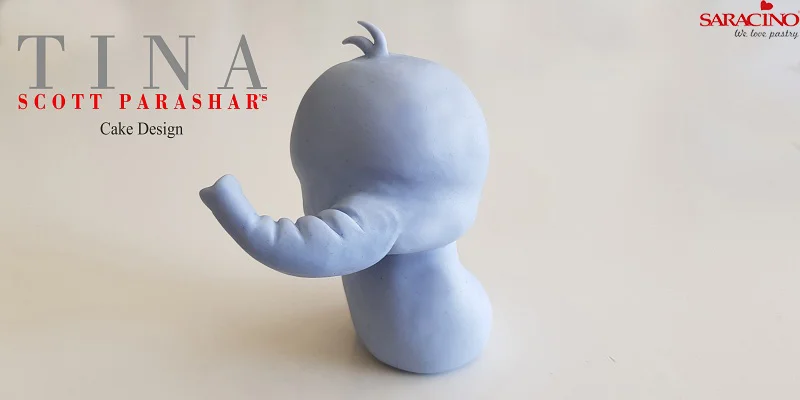
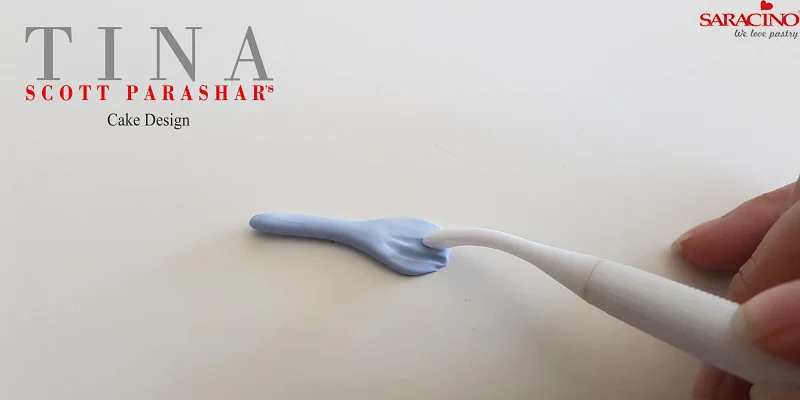
Shape the paste to form the trunk.

Step 11

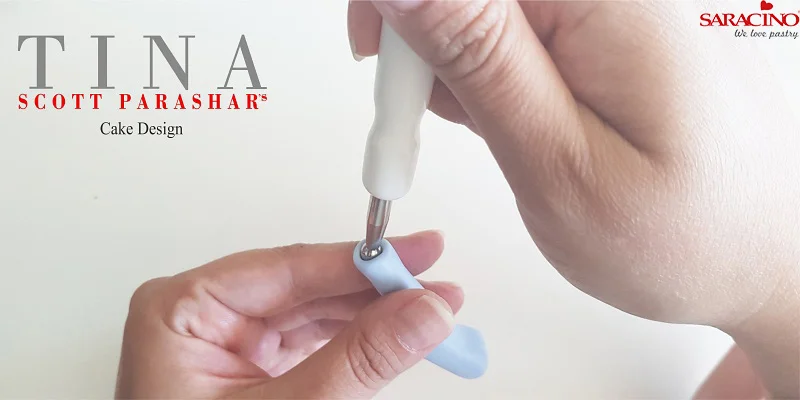
Using your ball tool shape the tip of the trunk.

Step 12

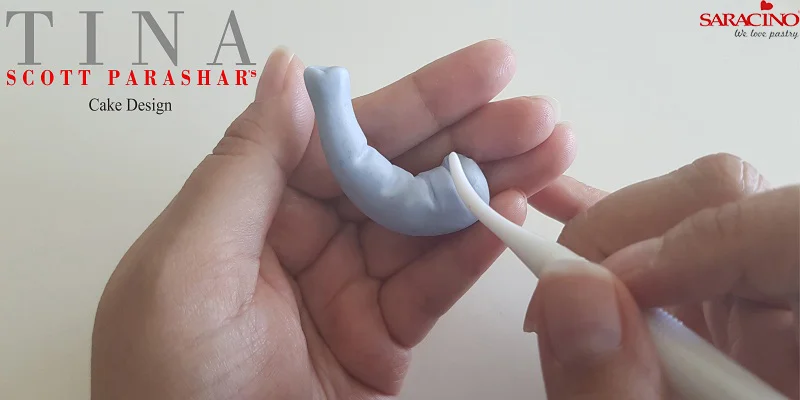
Using the Dresden tool, make a few deep ridges.

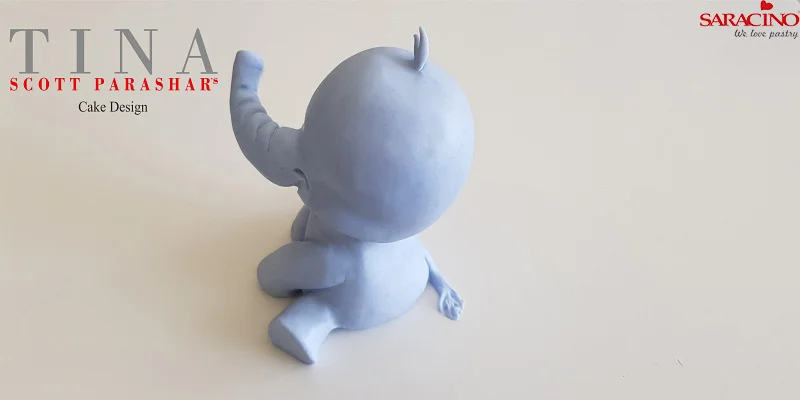
Step 13

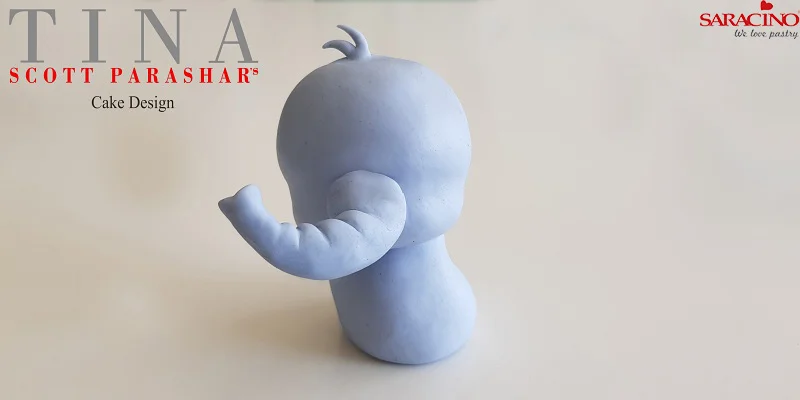
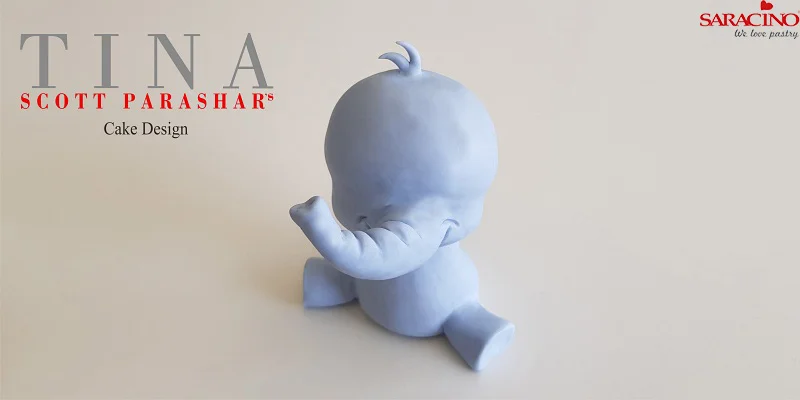
Fix the trunk on the head as shown in the picture. It helps if the trunk is dry. If you are in a hurry and don’t have time to dry it completely, you could even add a wire into the trunk that would go into the head as a support.

Step 14

Merge the seams.

Step 15

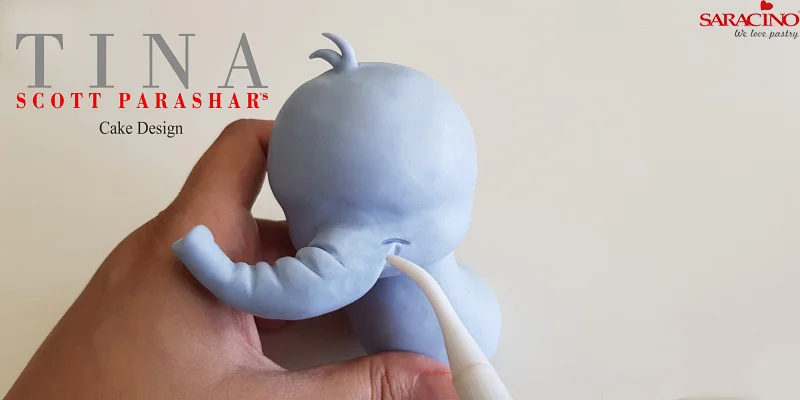
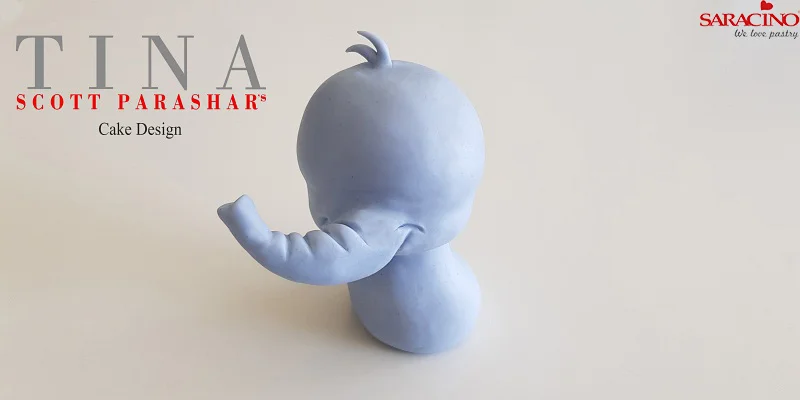
Using the Dresden tool, make a smile right under the trunk 😊

Step 16

Like so!

Step 17

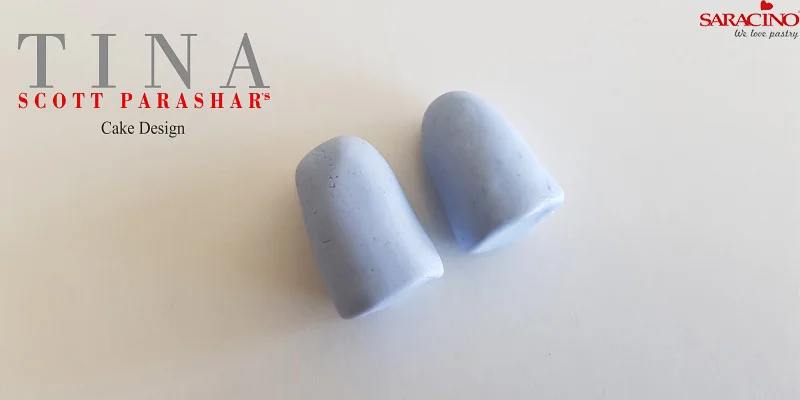
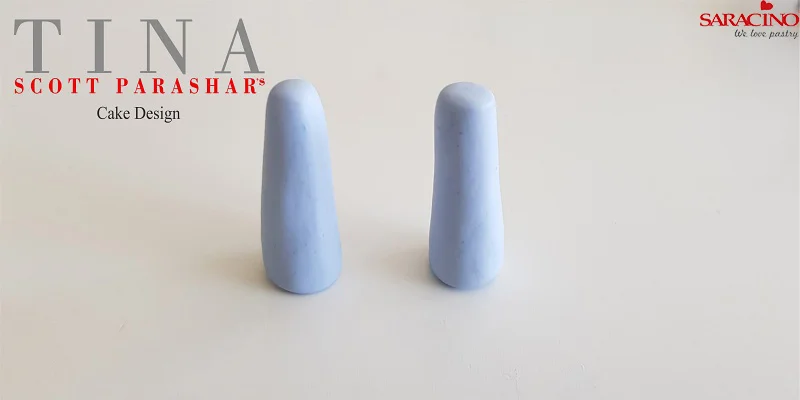
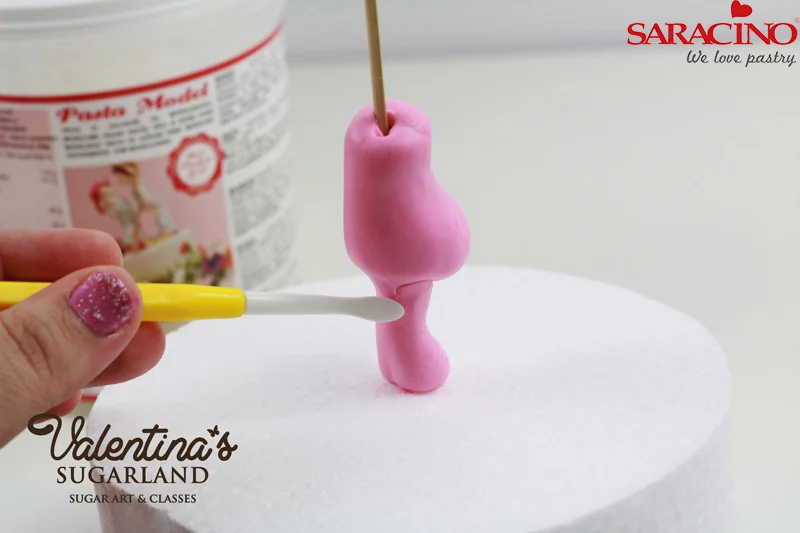
Make a small sausage shape and cut it into half.

Step 18

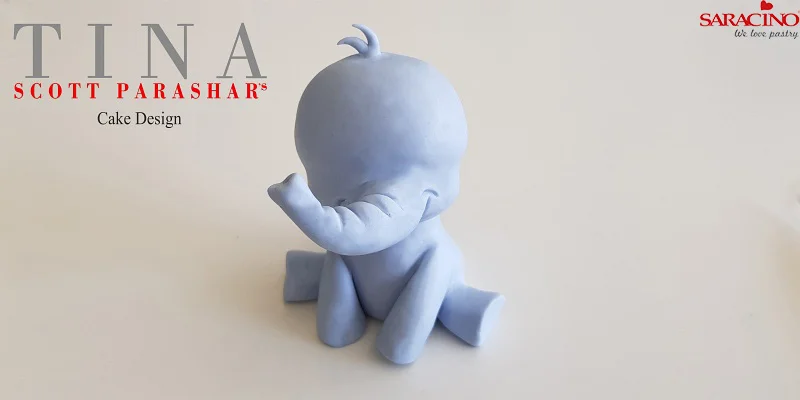
Stick it on to the baby elephant to form the back legs, making sure that the flat side is at the bottom.

Step 19

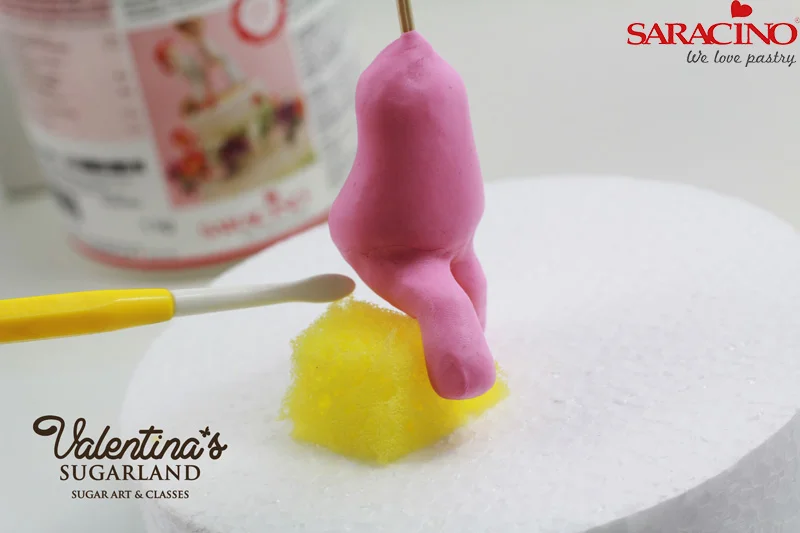
Again, make a sausage (bigger than the first time) and cut into half.

Step 20

Form the front legs coming down from the shoulder.

Step 21

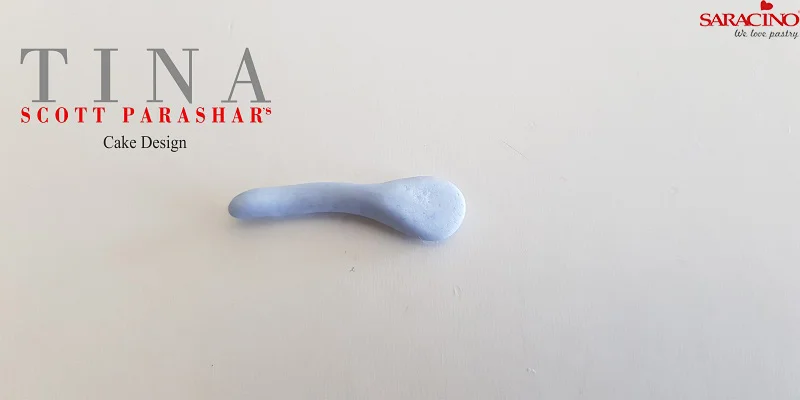
Using just a tiny bit of paste form a thin long sausage and press down on one side to form the tail.

Step 22

Using the Dresden tool mark the tip to form the hair.

Step 23

Stick it onto the baby elephant.

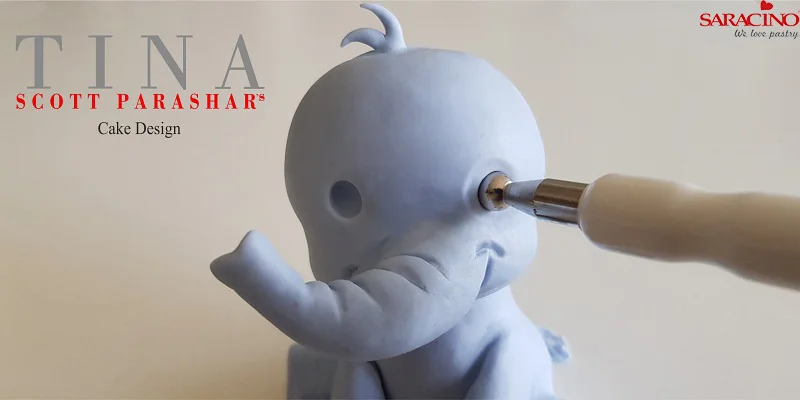
Step 24

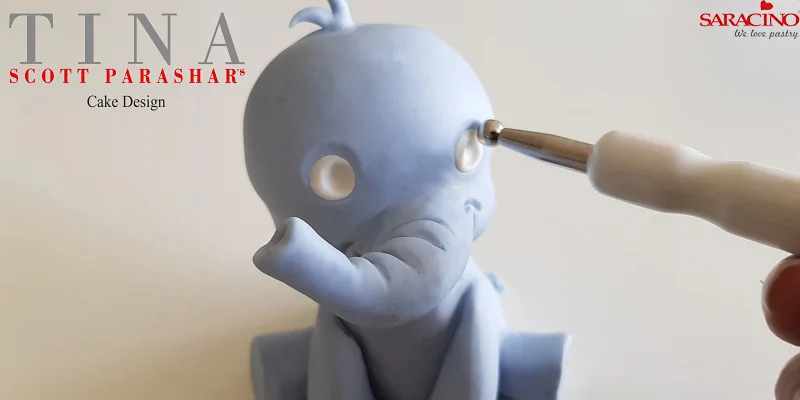
Using the ball tool Make 2 holes for the eyes.

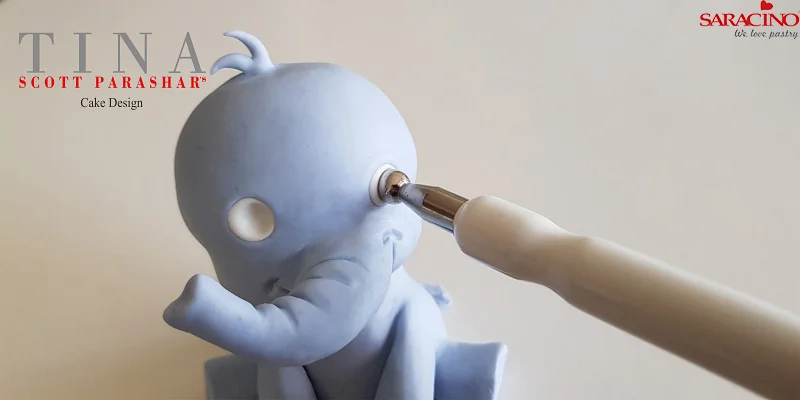
Step 25

Fill it with white paste. Using a slightly smaller ball tool, do the same again.

Step 26

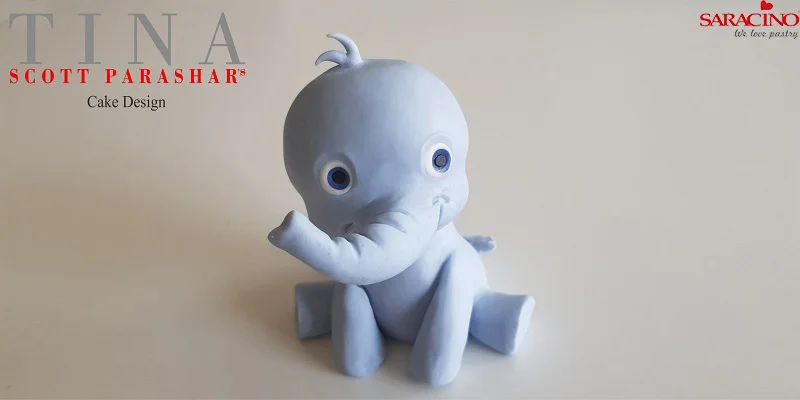
Using the ball tool make a little dip just above the white of the eye to form lids.

Step 27

Add blue and black paste to form the iris and pupil.

Step 28

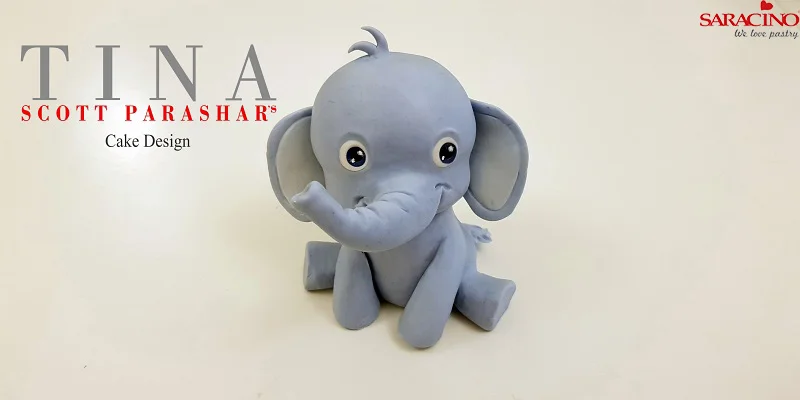
Shape the ears. Add another layer that is slightly smaller than the base in a lighter colour.

Step 29

Attach the ears to the head.

Step 30

Paint the eyelashes, eyebrows and toes. Baby elephant is ready!
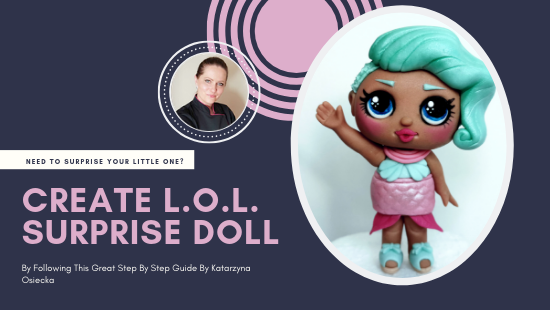
L.O.L. SURPRISE DOLL

L.O.L. SURPRISE DOLL

Skill level: BEGINNERS

TIP:

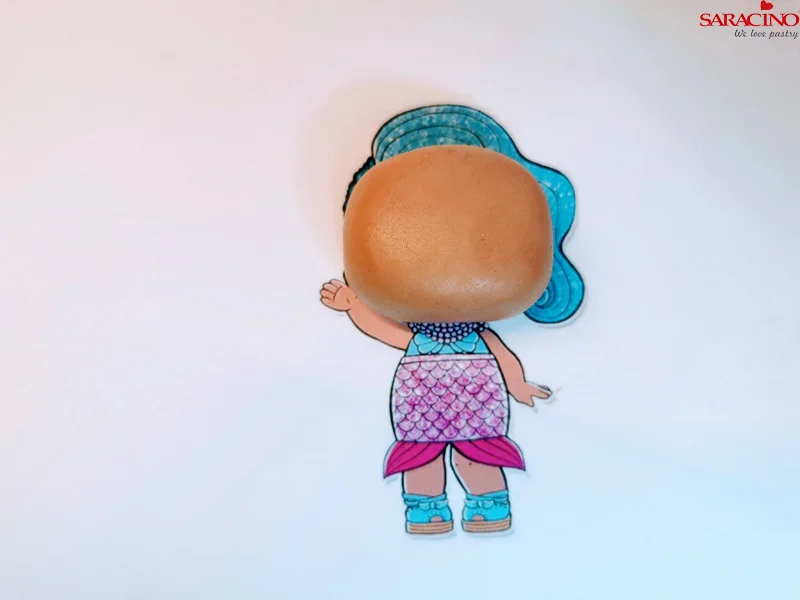
Always look at the picture of the figurine you want to make. Pay attention to details such as bows, neckless or hair style. To make correct proportions adjust paste to the printed picture.

You will need:

  • Dresden tool
  • Large ball tool
  • Small ball tool
  • Rolling pin
  • Small brush
  • Large brush
  • Exact knife
  • Skewers
  • Scales silicone mould
  • Clear alcohol
  • Edible glue or water
  • Dummy
  • Saracino modelling paste: skin tone, tiffany, fuchsia, pink, white, black
  • Saracino dust colours: brown, black, blue, pink, white

Step 1

Prepare about 70 grams of skin tone modelling paste and mix it with small amount of brown dust color for darker shade. Adjust the amount required to suit the model you have chosen.

Step 2

Print photo of the figurine you want to make.

Step 3

Divide coloured paste for each part of the body and adjust to the picture to make correct proportions

Step 4

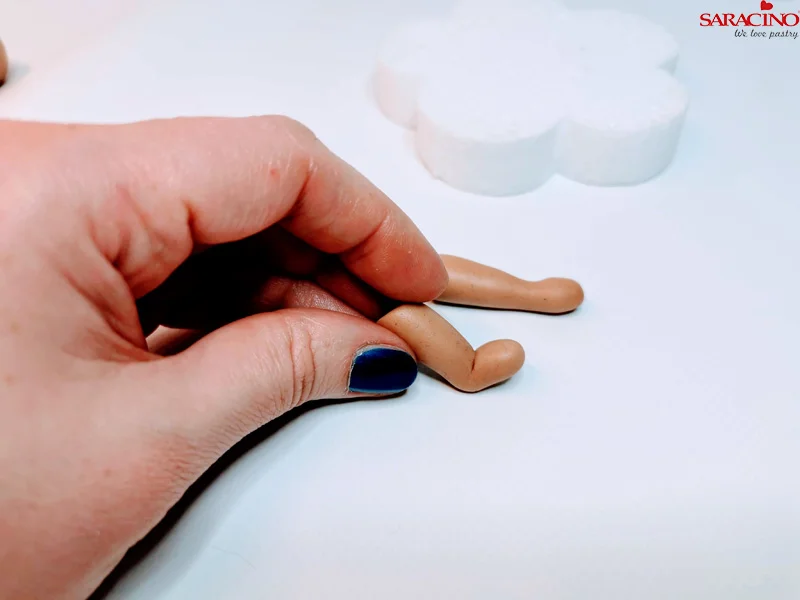
Take the leg part and roll it to small roller shape. Cut in a half.

Step 5

Give both parts carrot shape.


Step 6

Use small finger to shape ankle and bend it to make the foot.

Step 7

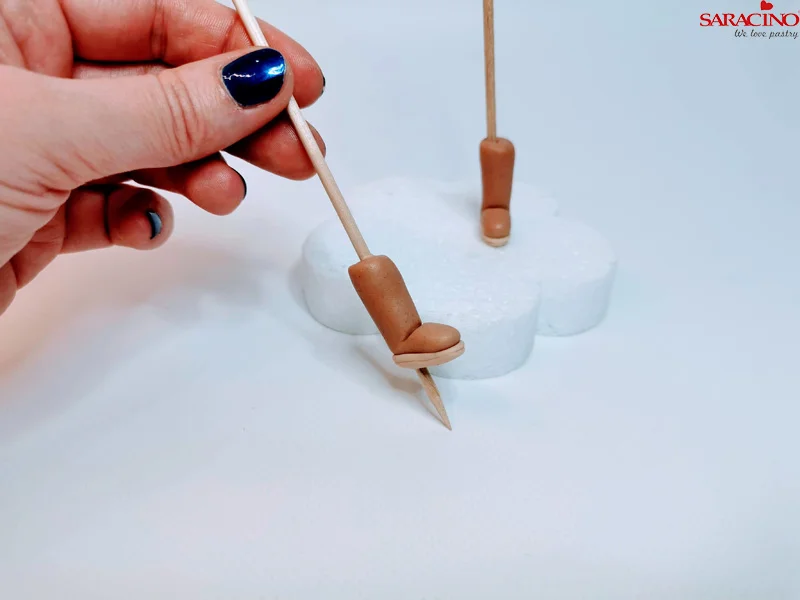
Use small amount of skin tone paste to make sole of the shoe.

Step 8

Take the wooden skewers and push through the legs. Place them on the dummy.

Step 9

Roll and cut strips from tiffany modeling paste to make shoes.

Step 10

Take another part of the paste for the belly and give it pear shape. Set aside for a moment

Step 11

Take small amount of fuchsia paste. Roll it and cut two small leafs. Using a sharp edge form veins on each leaf.

Step 12

Using rolled pink paste print the scaled pattern onto the skirt.

Step 13

Use a skewer through the body. Using edible glue or a small amount of water stick the mermaid tail and the skirt to the body. Add small bows to the shoes.

Step 14

Roll Tiffany paste. Cut out a shell shaped bra. Fix to the body.

Step 15

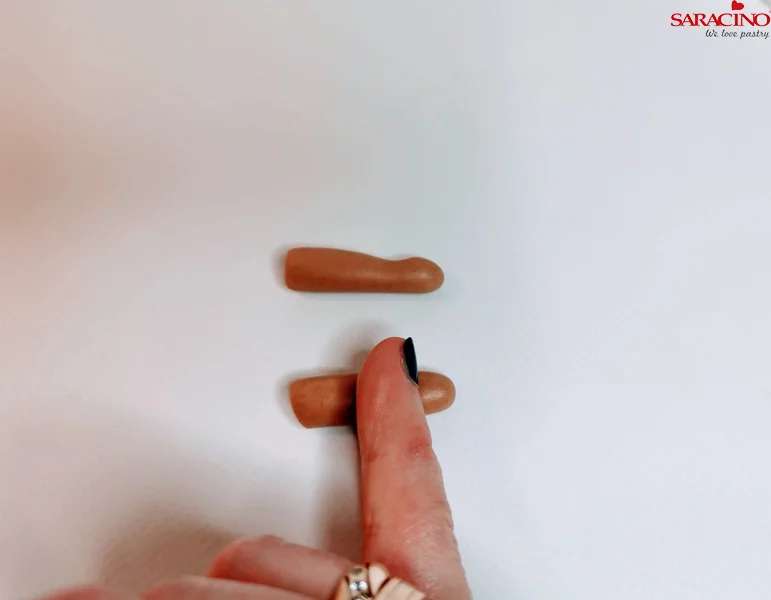
Roll two arm shapes. Using your small finger mark wrists.

Step 16

Use ball tool to flatten palm.

Step 17

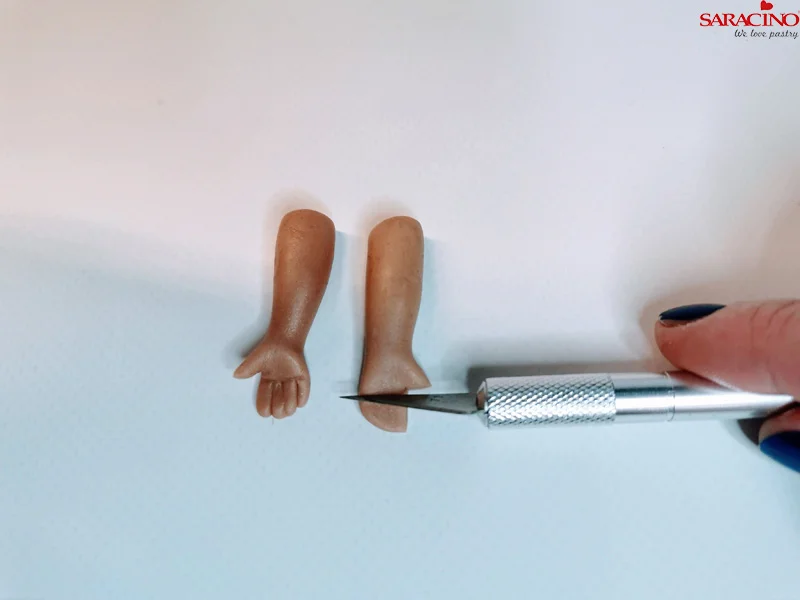
Cut thumb and using blunt side of the knife mark fingers.

Step 18

Attach one arm to the body using glue or small amount of water. Leave the other arm to one side until required.

Step 19

Take printed picture and adjust the head shape to it.

Step 20

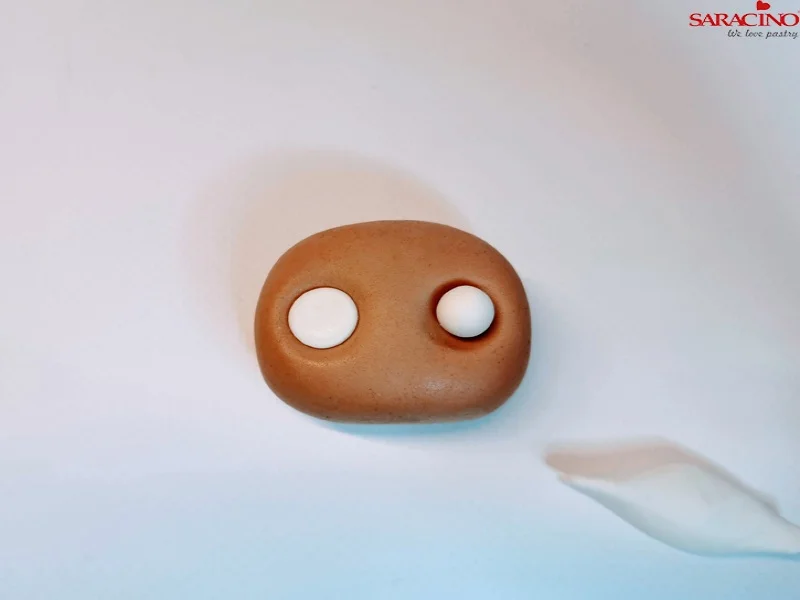
Choose the right size of ball tool to make the eye sockets.

Step 21

Make eyes sockets. Look at the printed picture to make them in the right position.

Step 22

Take white paste and make balls. Adjust it to the sockets.

Step 23

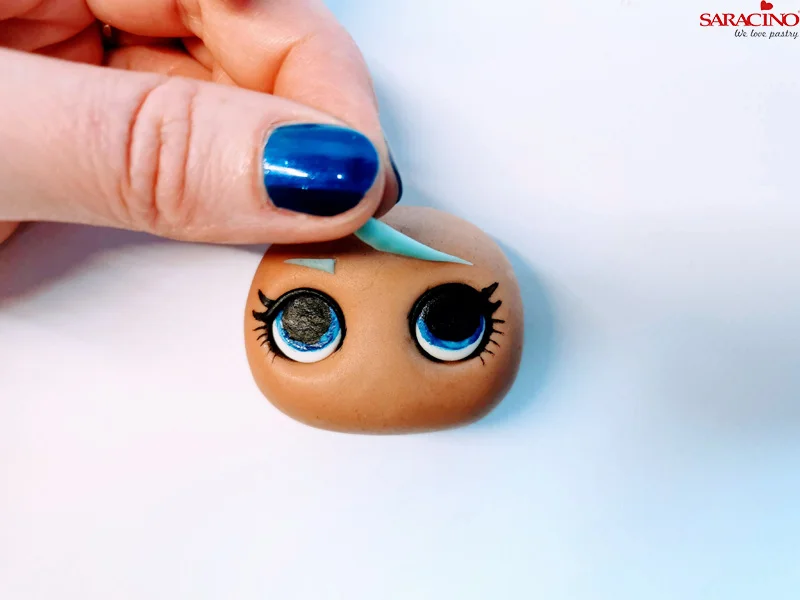
Use blue Saracino dust diluted in vodka to paint the iris.

Step 24

Use black Saracino dust diluted in vodka to paint the pupil and eyelashes.

Step 25

Roll a small amount of black paste to form thin lashes and stick it to the eyelid. Cut off the excess.

Step 26

The same way make the brows from the tiffany paste.

Step 27

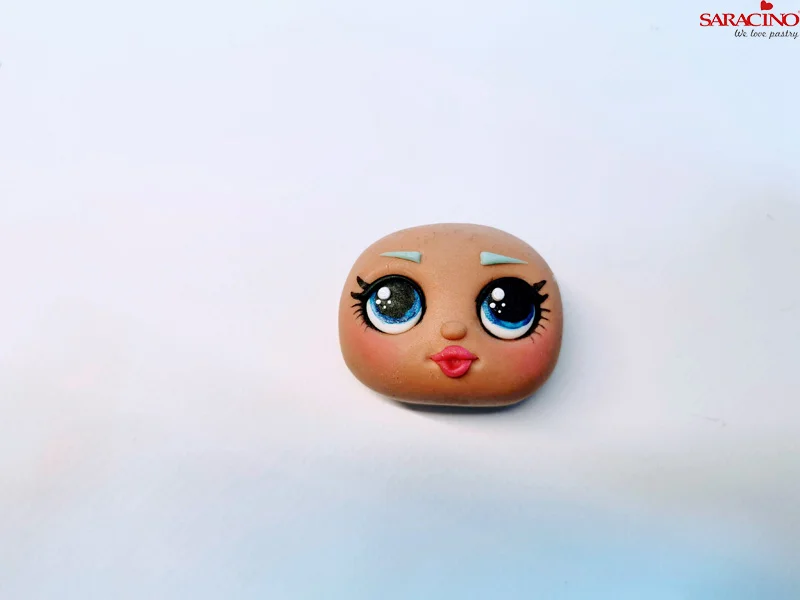
Take a small ball of the paste and make a small nose. Use fuchsia paste to make lips. Seperate the upper and bottom lips.

Step 28

Use dresden tool to shape open lips.

Step 29

Create definition on the lips using a Dresden tool.

Step 30

Use pink Saracino dust colour to make blush.

Step 31

Add some shine and life to the eyes by painting several white dots.

Step 32

Attach the head to the body. Insert a small skewer ready for fixing the other arm.

Step 33

Stick arm on the skewer and attach it to the body.

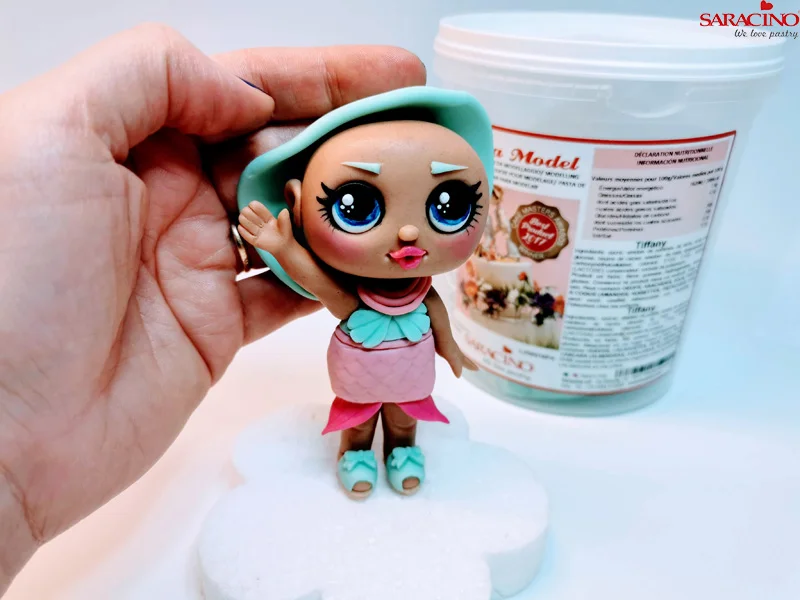
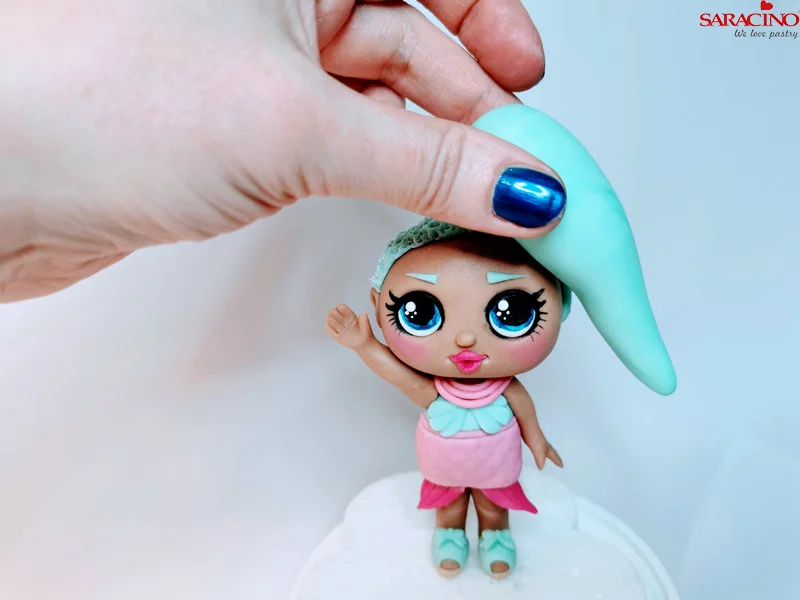
Step 34

Take tiffany paste and flatten it to pancake shape. Attach it to the head.

Step 35

Using a Dresden tool create a hair look to the paste.

Step 36

Take another part of the tiffany paste and make cone shape. Check if the amount of the paste is correct.

Step 37

Flatten the paste by the palm of your hand.

Step 38

Using the knife tool draw lines imitating hairs.

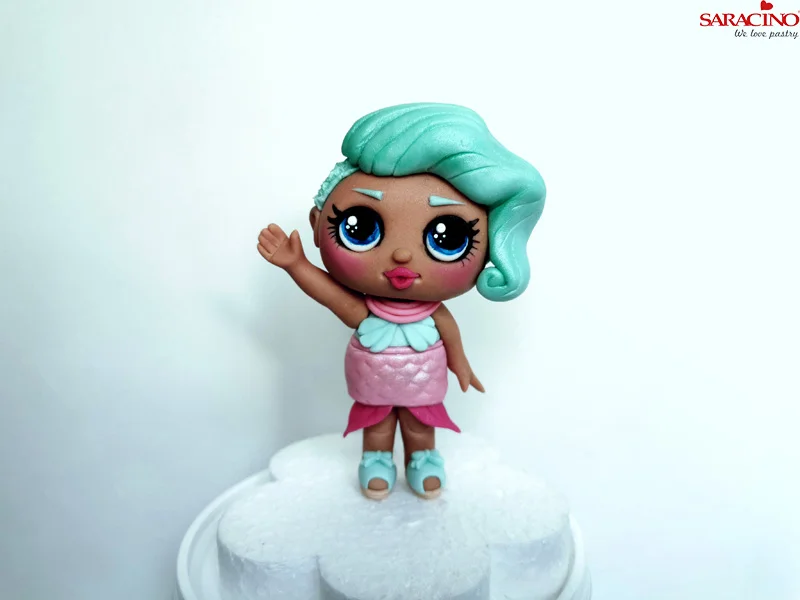
Step 39

Model hairs and glue it to the head.

Step 40

Give a little shine to the skirt and hair of your mermaid using lustre powder.

S.A.F.E. TOGETHER

S.A.F.E. TOGETHER

JOIN ‘S.A.F.E. TOGETHER’

We are delighted to announce our new project where as a team we help others


Since S.A.F.E. announced the raffle ticket draw that will take place at the November 2019 Cake International show in Birmingham, we have received lots of queries from various cake makers. You were asking us how you could help, how you could get involved with our fundraising, if Hope House is the only place we will be supporting and if we will be helping in any other ways?

We took all your queries and comments into consideration and decided to start something completely exclusive for all the UK Cake Makers who are happy to be a part of this great cause and keep helping others. This has resulted with us starting something DIFFERENT which gives you the opportunity to be a part of SOMETHING BIG.

TEAM WORK MAKES THE DREAM WORK

There is so much truth in this saying. All of us cake makers and artists from the UK make cakes every week, what if we said that for a small regular donation we can all help someone that YOU WILL NOMINATE? YES you get to choose who we give the money to.

Yes, you will be able to nominate and help choose the charity, organisation, school or any worthwhile cause you wish to help? We can hear you ask…… HOW?

Here at S.A.F.E. we have decided to give everyone the chance to be part of our team. We are calling this team initiative ‘S.A.F.E. TOGETHER’

What do you have to do to join the team?

All you have to do is donate £1 a week. Is this a lot? No, its not even a small coffee from your favourite coffee shop. But it is a small amount that will HELP.

How will this small amount help?

Because we believe that the cake community is a generous world we are hoping to find more generous people like you who are more than happy to donate £1 per week to make others smile.

How do you get to choose who the money goes to?

Simple, when setting up your donation you provide us with the name of the cause you would like to support. The system will automatically choose the cause the money raised goes to.

We are currently planning on making the draw every two weeks. Our aim is to reach over 400+ people in the team and when this is achieved we will make the draw a weekly event. That is £400+ to a chosen cause each week.

With this small donation from each of you we can do something amazing as a team together. When you submit your interest we will request that a Direct Debit is set up. This is currently only for the cake makers from the UK.

Do you think you can afford £1 per week? It’s not a massive amount but all taken together as a team will make a difference to the amount raised for each draw.

As from now through the whole of August we would like to receive all your applications expressing your interest in becoming a part of our team. From the 1st September 2019 we will start collecting funds and draw the first lucky cause on the 16th of September 2019.

You will also be invited to our exclusive ‘S.A.F.E. TOGETHER’ Facebook group where we will keep you all posted with our plans and activities. You will also receive a badge that you can wear with pride to show that you are in the ‘S.A.F.E. TOGETHER’ fundraising team.

But this is not everything!

Each time we make a draw and announce the name of the cause the money goes to, we will also announce a lucky winner from the donating team. YES!!! For those who are in our team we will have a regular small Saracino gift too. The lucky winner and your cake page will also be shared on our Social Media so great coverage for you.

So tell us…are you in? Are you ready to help us help others? Remember the bigger the team we create the more money we will raise for the worthwhile causes. Our aim is to make the team as large as possible so if you are interested tell your friends, tell friends of friends!

How To JOIN?

Please mail us on info@saracinodolci.co.uk with your name, facebook page and the name of the cause you would like to support. We will then invite you to our secret Facebook group where you will be kept updated with the latest.

We are also very honoured to announce that this initiative is backed up by the Cake International Show who believe in this project as much as we do and they have agreed to become our Official Social Media Partner.

We are counting on you! 

CURRENT GROUP MEMBERS

Sylwia Anna Price – Saracino SRL

Melanie Underwood – Cake International 

Wayne Price – Melys Cake Design

Jill Saunders

Xenia Robeson – Xenia’s cake creations

Calli Hopper – Calli Creations

Shereen Van Ballegooyen – Shereen’s cakes and bakes

Aurelia Czarnecka – Aurelia’s Cake

Zaneta Wasilewska – Cakes by Jeanette – Zaneta Wasilewska cake designer

Rachel Wyatt-Brown – The Old Piping Bag

Carol Smith – Cakes by Carol

Melanie Williamson – The Custom Cakery

Trudy Smith – The Chain Lane Cake Co

Nichola Gunn – The Elite Cake Company

Urszula Maczka – Sugar Atelier

Wioletta Adamska – My Sweet Miracles

Tammy Anne Marie Delph – Tammy’s Happy Tiers

Zlatina Lewis – ZL Cake Boutique

Shell Robinson – Spotty Cake Tin

Dorota Koczorowska – Peterborough – Domowe Wypieki Torty Na Roznego RodZaju Okazje

Beata Goraca –

Zee Chik – Zee Chik Designs

Nina Evans Williams – Ninas Cake Cabin

David Brice – CakeFlix

Lynsey Wilton-Eddleston – Sugarwhizz

Michelle Pattinson – VS Cakes


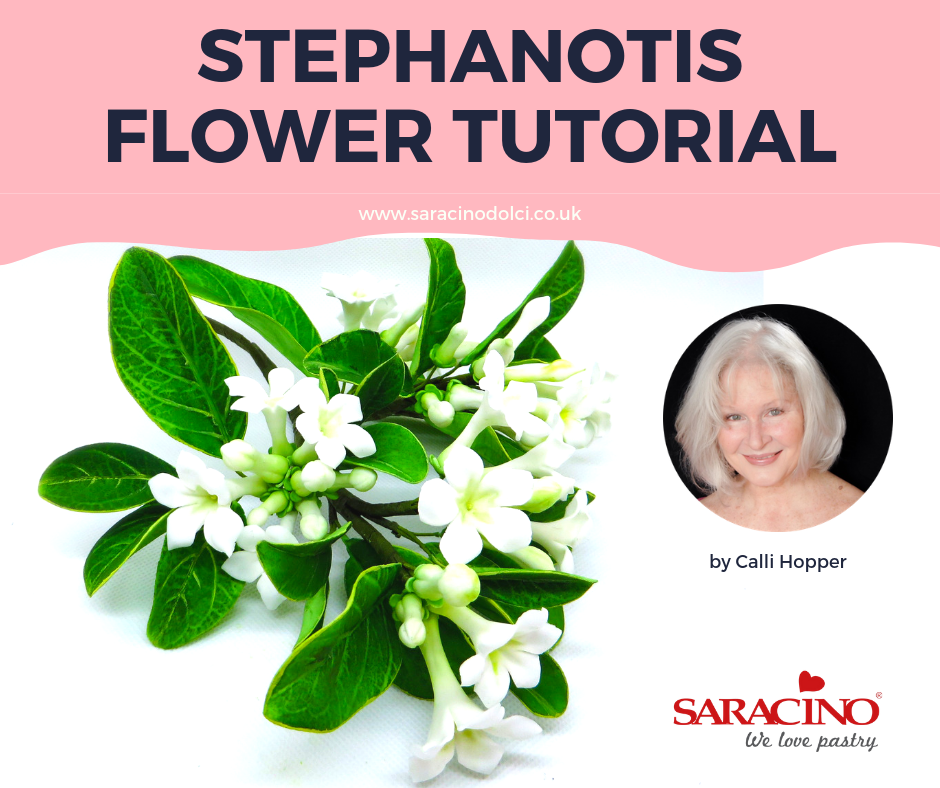
STEPHANOTIS FLOWER TUTORIAL

STEPHANOTIS FLOWER TUTORIAL

FB: CALLI CREATIONS

Skill level: BEGINNERS


FROM CALLI:

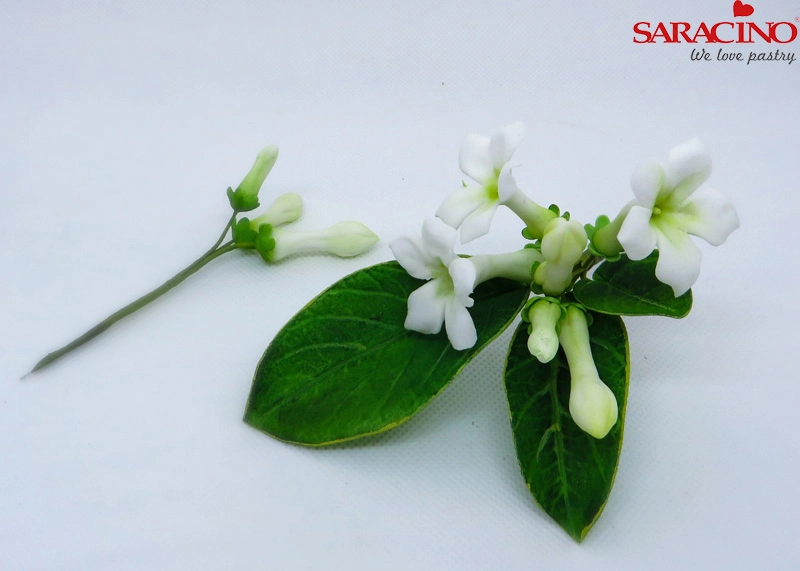
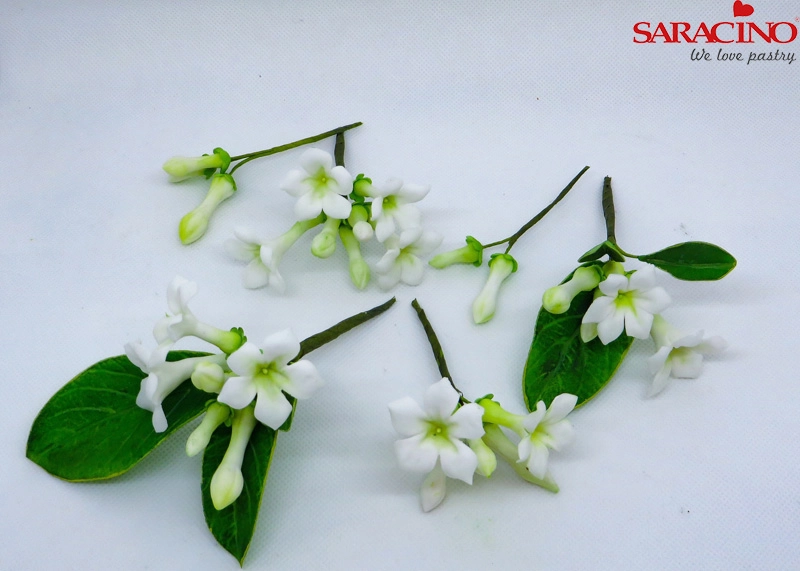
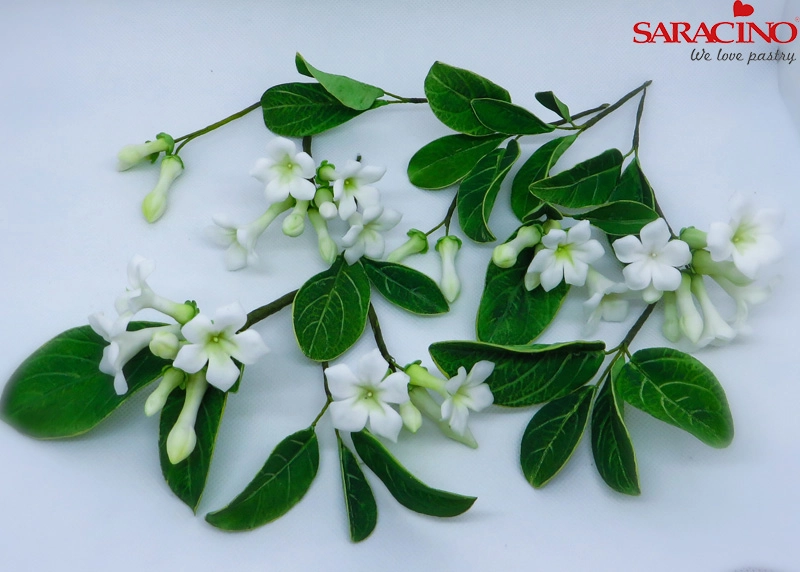
I’ve made the flower as near to nature as possible, but used artistic licence so not botanically accurate.


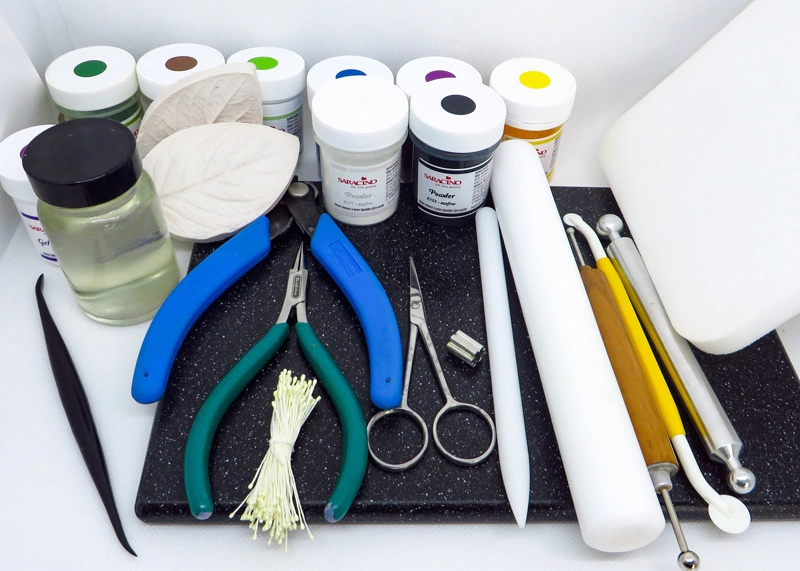
You will need:
  • Saracino Flower Pasta Bouquet
  • Saracino Colour Dusts white, yellow, green, brown
  • Saracino Colour Paste (green)
  • Florist Wires (26, 22, 18)
  • Florist Tape (Nile Green – ¼ inch)
  • Edible Glue
  • Cornflour for dusting
  • Balling tool
  • Non stick rolling pin (I use 9”)
  • Cel Pad
  • Cel Board
  • Dresden tool or cutting wheel
  • Paint brushes (Flat for dusting (size 2 – 4 and one fine line brush [eg 000 size])
  • Small blossom cutter (I used tinkertech metal, 1cm)
  • Wire Cutter

Step 1

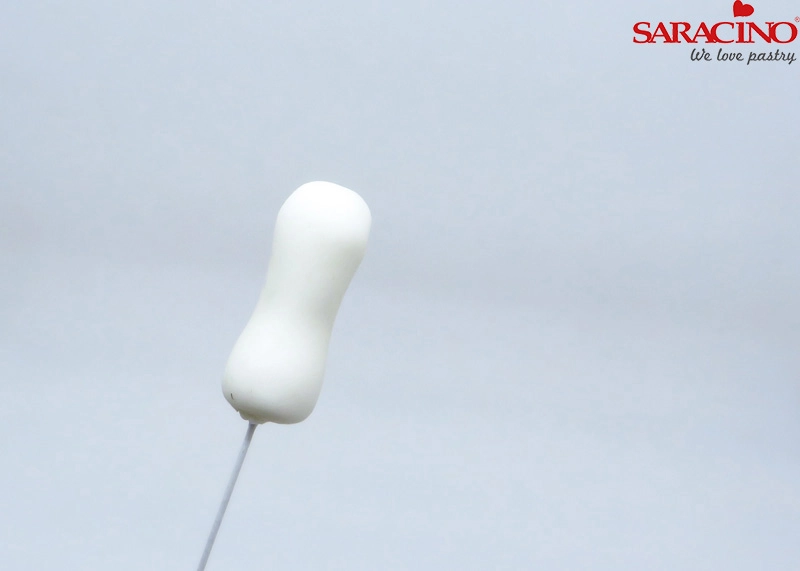
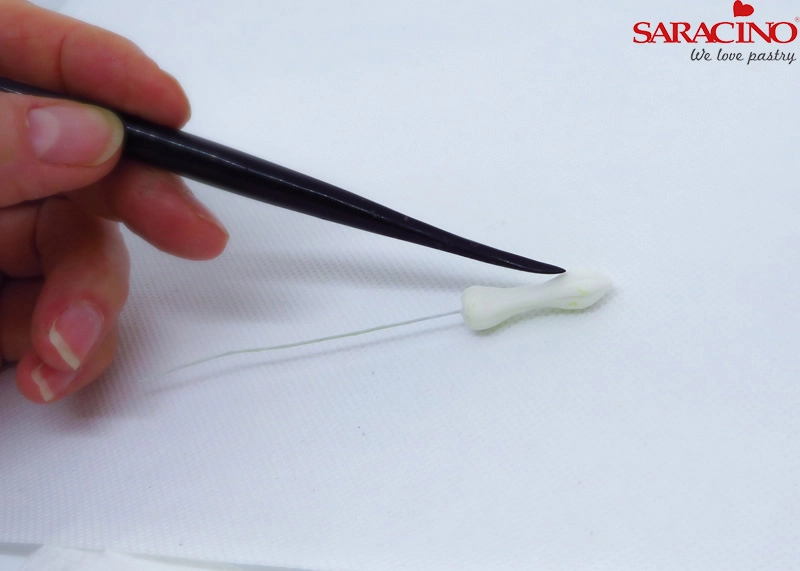
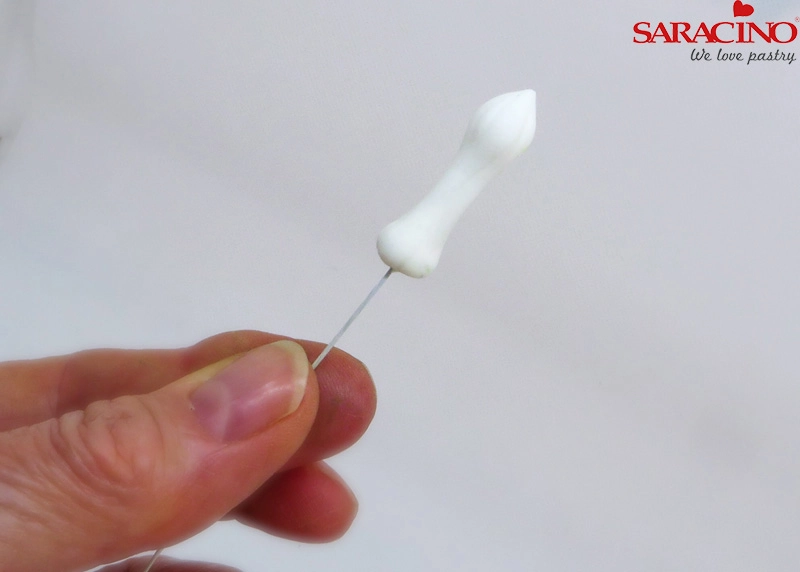
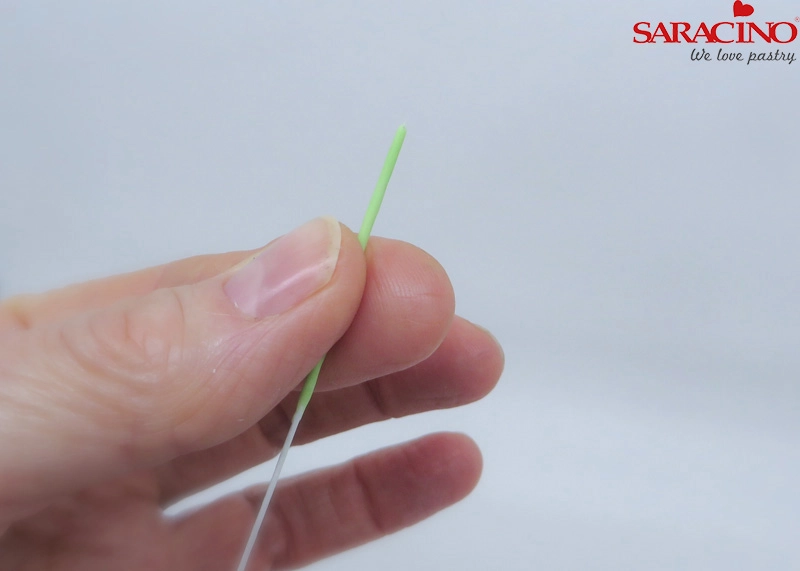
Roll out a ball of Saracino flower paste (about the size of a large pea) onto a 26 gauge wire and roll the middle gently between thumb and forefinger to narrow centre

Step 2

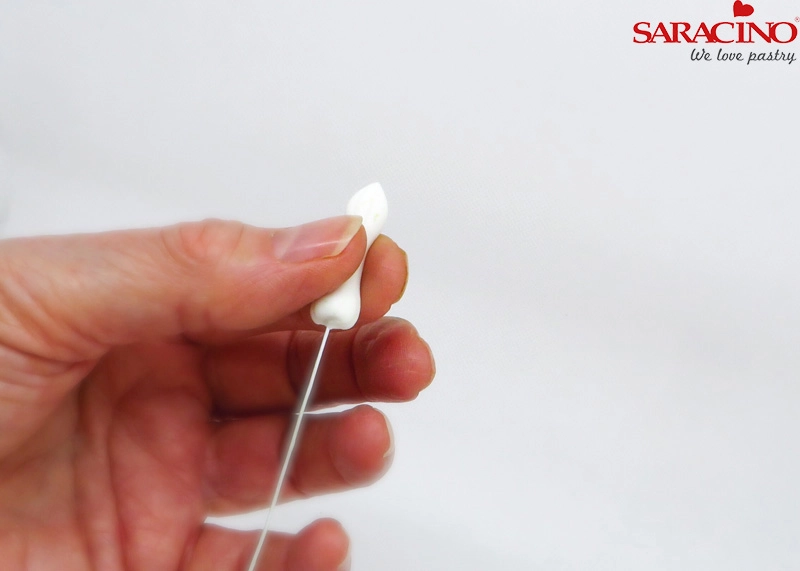
Roll the tip of one end to form a point

Step 3

Using your dresden tool or cutting wheel, scribe in a few random grooves.

Step 4

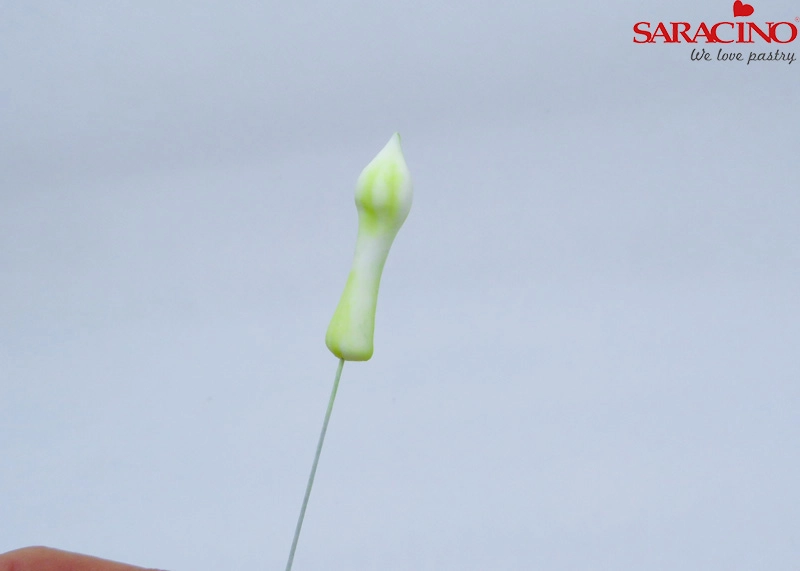
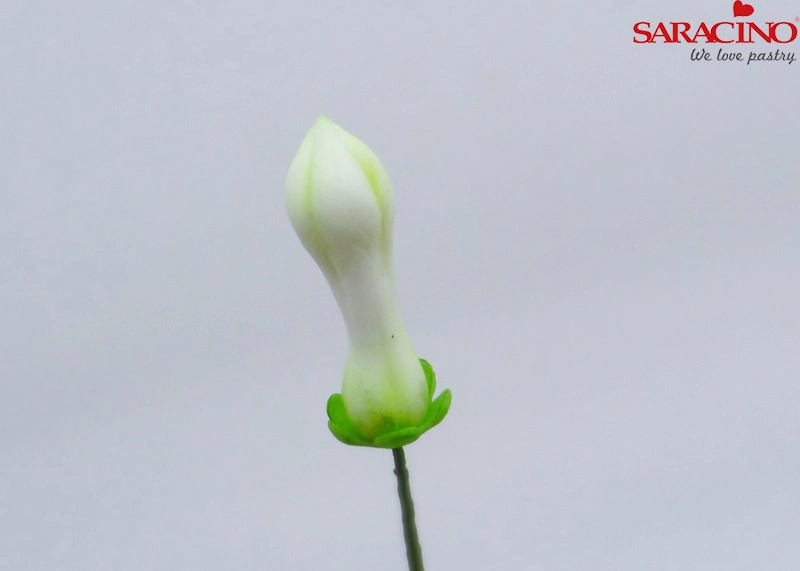
Here is how it looks before colouring, the grooves are just there to indicate where petals are forming.

Step 5

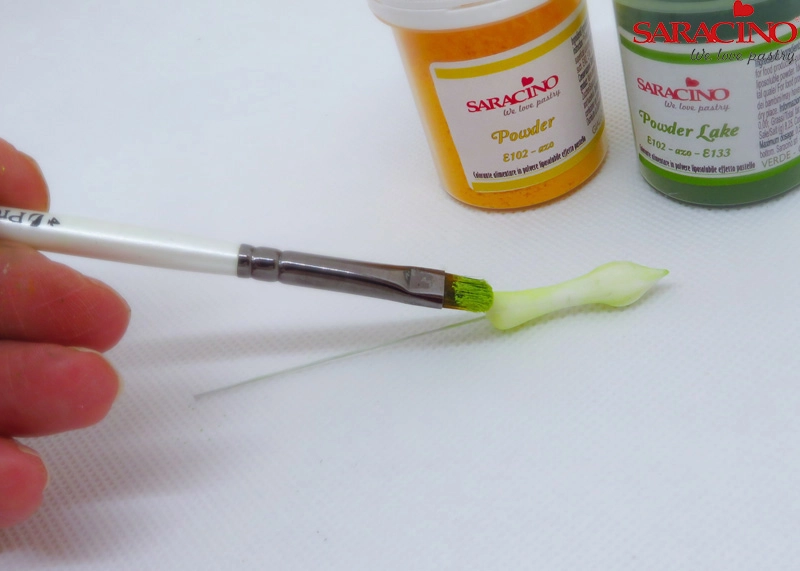
Mix green and yellow dust colour to make a lime green. Brush lightly over base and tip of bud.

Step 6

Close up showing light green on bud and in groves. Make sure to leave white bits as the bud is not all green.

Step 7

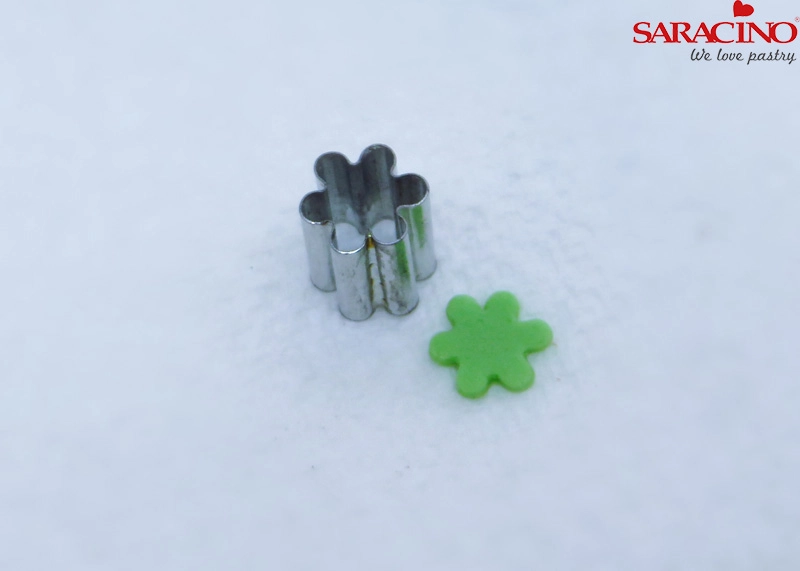
To make the sepal (leafy part at base of buds and flowers) Roll out green flower paste quite thinly and cut with blossom cutter

Step 8

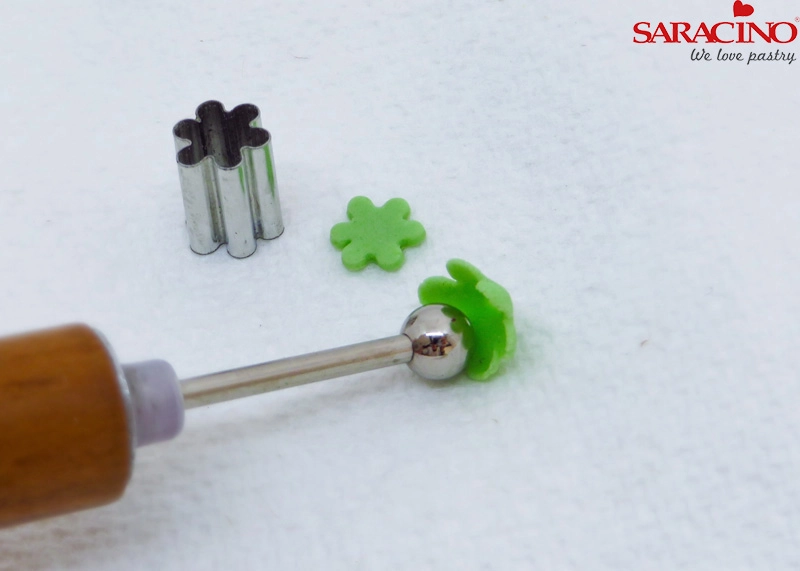
Using Ball tool, roll out each part of sepal.

Step 9

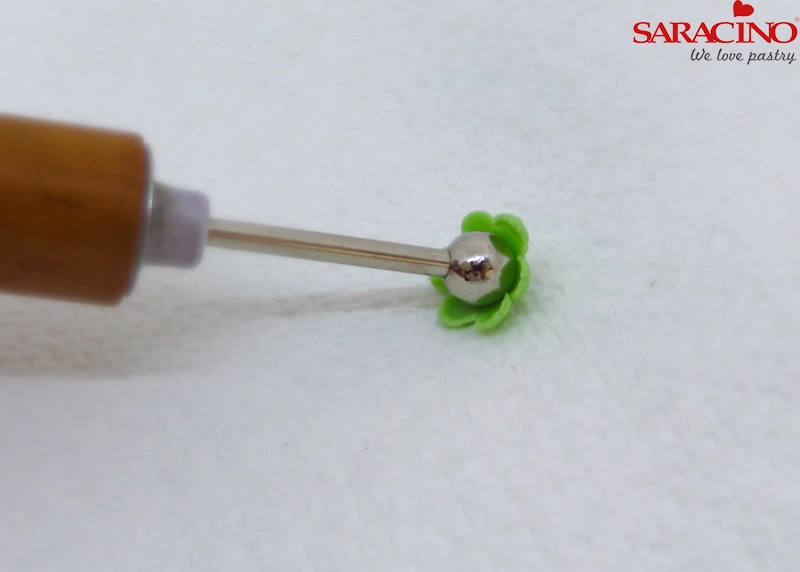
As well as centre so it curls inwards

Step 10

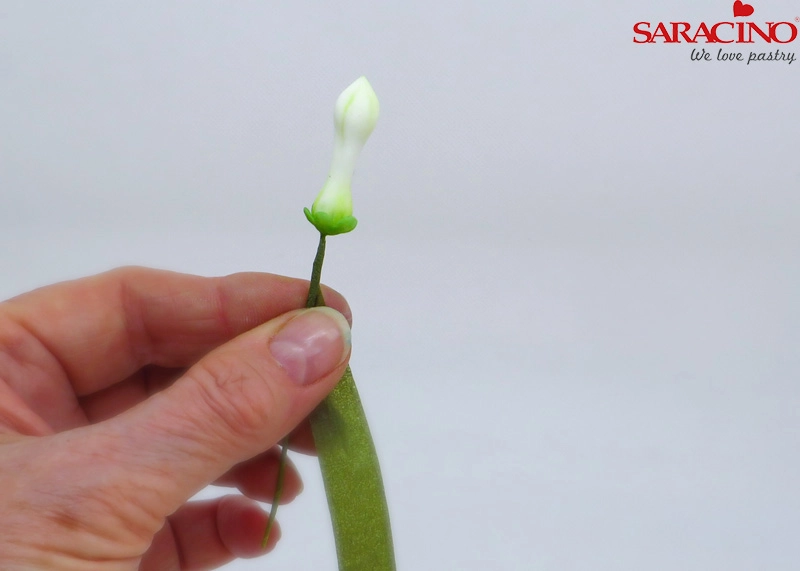
Place a hole in the centre with toothpick and insert onto the base of bud

Step 11

Tape the wire with nile green tape.

Step 12

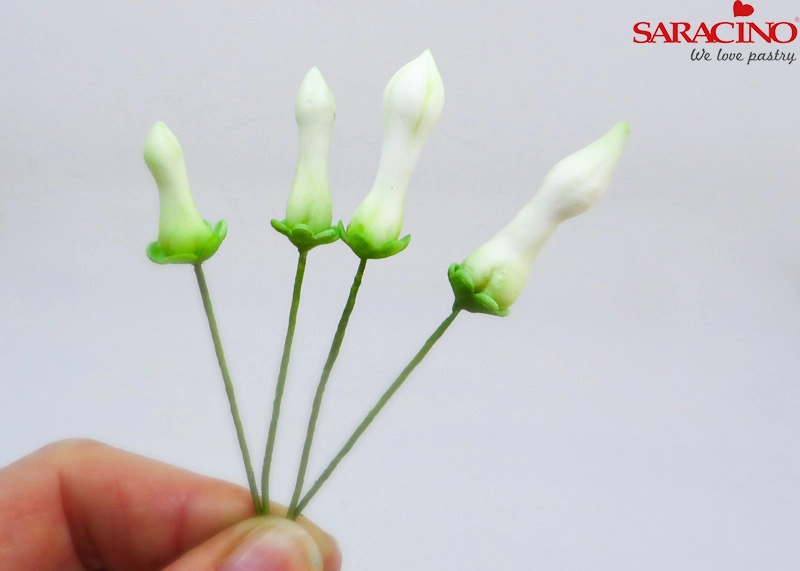
Make quite a few different sized buds

Step 13

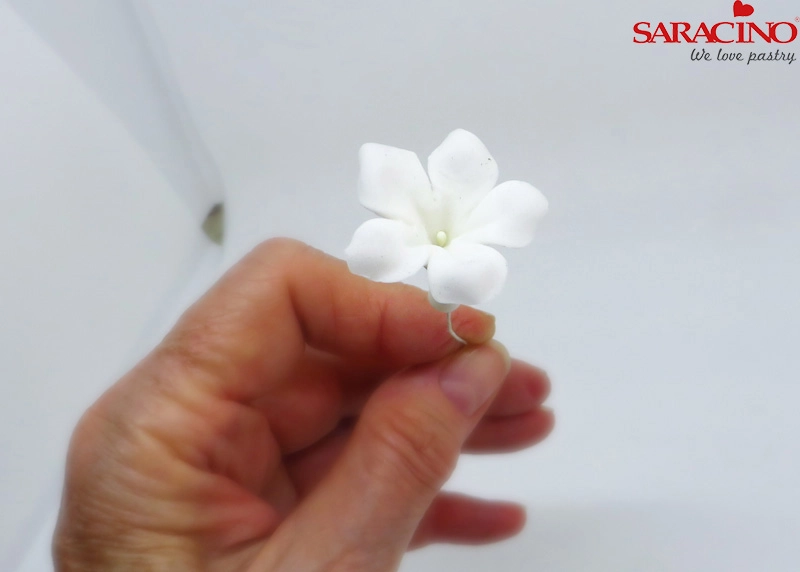
Start same as making buds, using 26 gauge wire 

Step 14

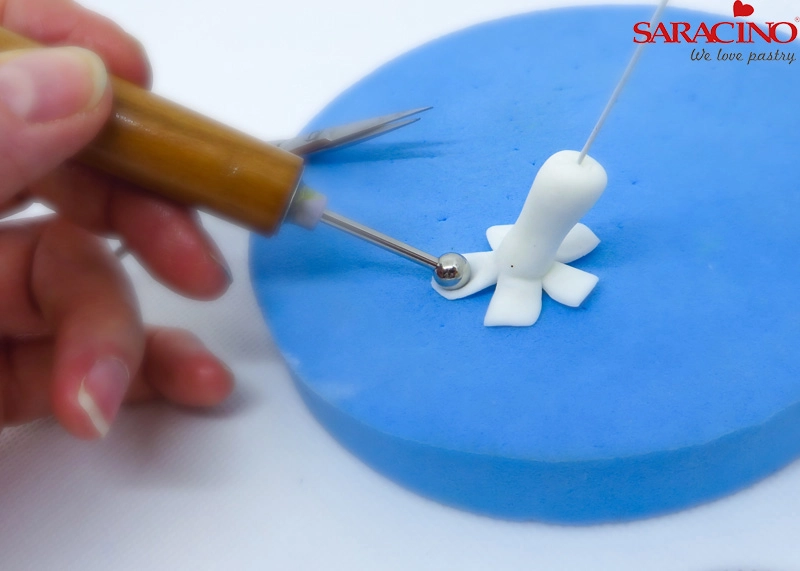
Using cel stick, make a hole in centre.

Step 15

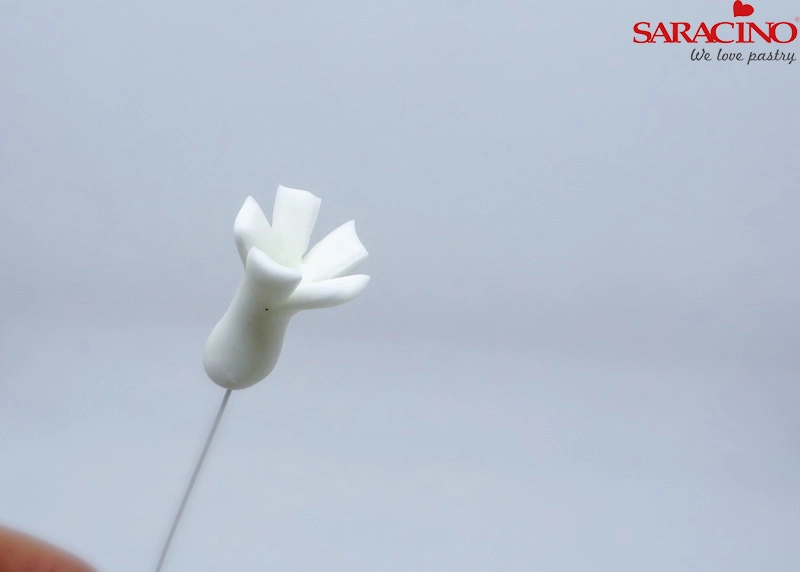
Using small scissors, cut five petals  

Step 16

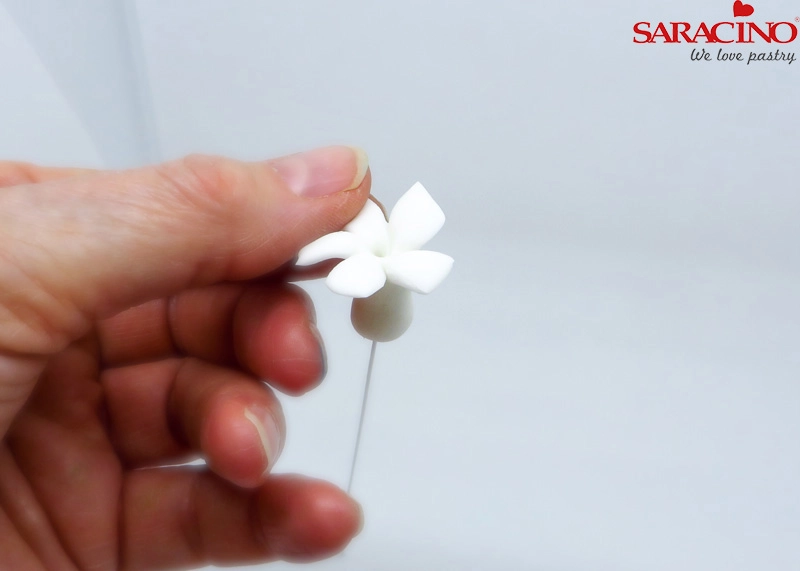
Gently press the ends of each petal, between thumb and forefinger, to thin and form petal shape of the flower. 

Step 17

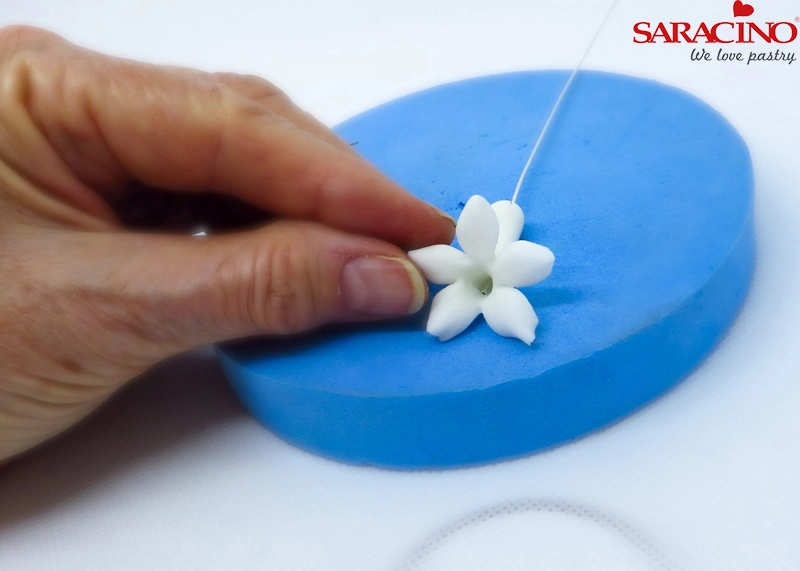
Turn flower upside down onto a foam pad and gently press and roll out each petal, this aids in shaping the petals

Step 18

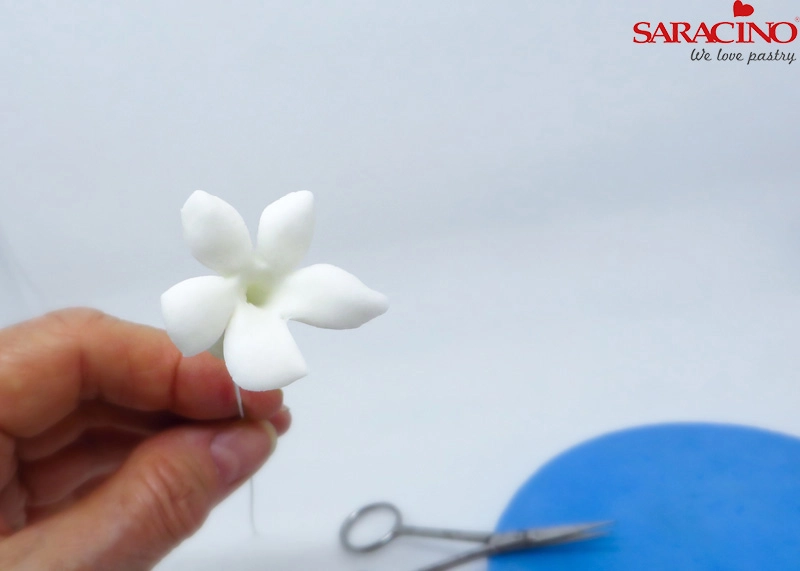
Gently form edge of each petal tip between thumb and forefinger

Step 19

This progress photo shows the flat petal as well as formed petals.

Step 20

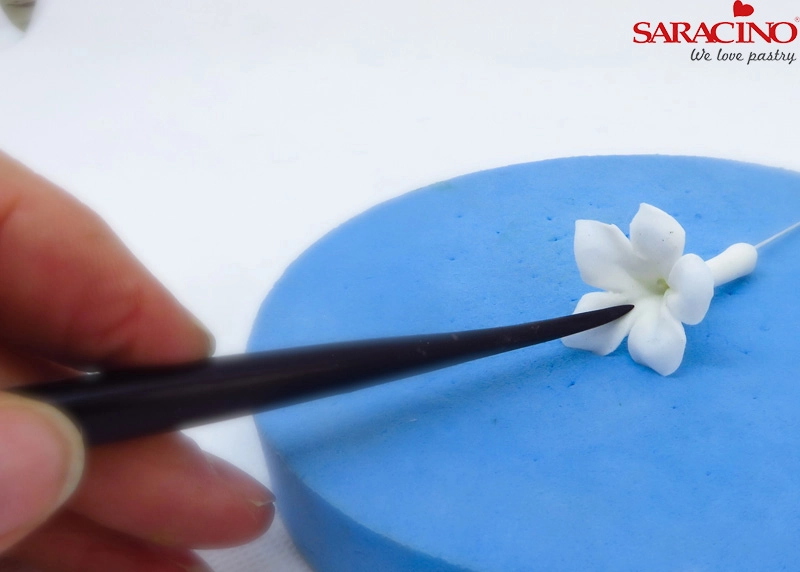
Make a small groove in the centre base of each petal, using dresden tool.

Step 21

Insert a small stamen in the centre.

Step 22

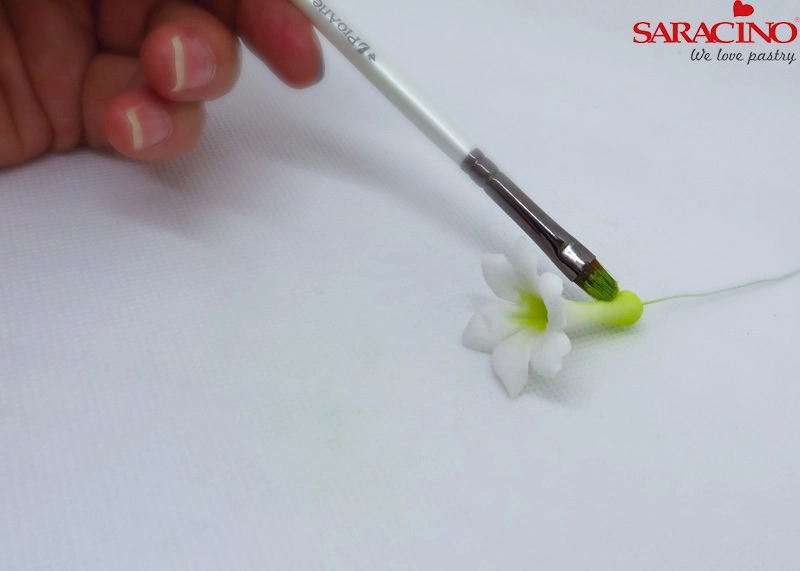
Using same lime green as buds, lightly brush the base of the flower and a little in the centre.

Step 23

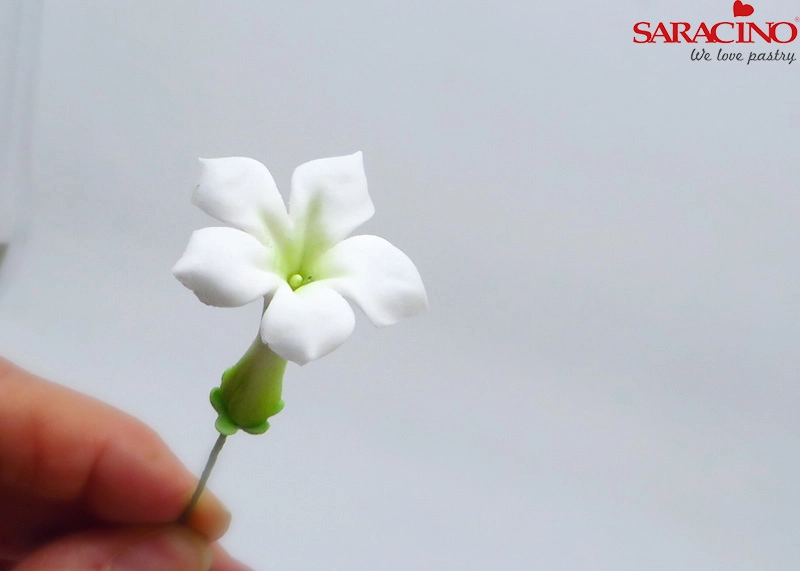
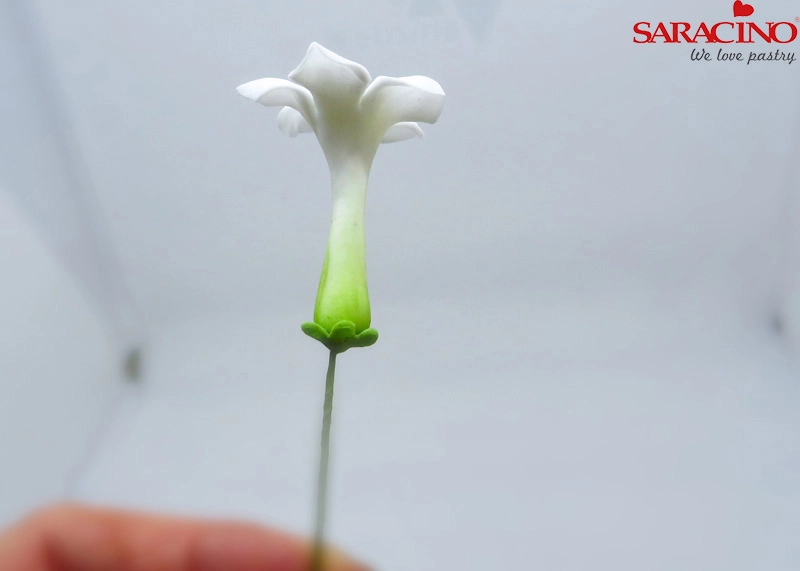
As with buds, add the green sepal at base of flower

Step 24

As a guide, make enough flowers for approximately 1-2 flowers to about 3-6 buds

Step 25

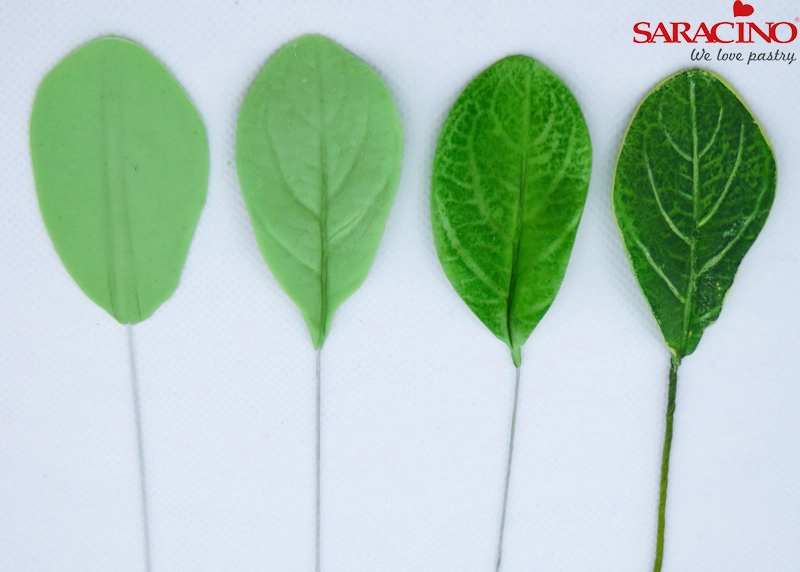
You will need to make quite a few leaves of about 4-5 different sizes.

Place a small ball of green paste onto a 26 gauge wire (larger leaves use 22 gauge wire) and taper it down so that length will be just short of what the leaf will be.

Step 26

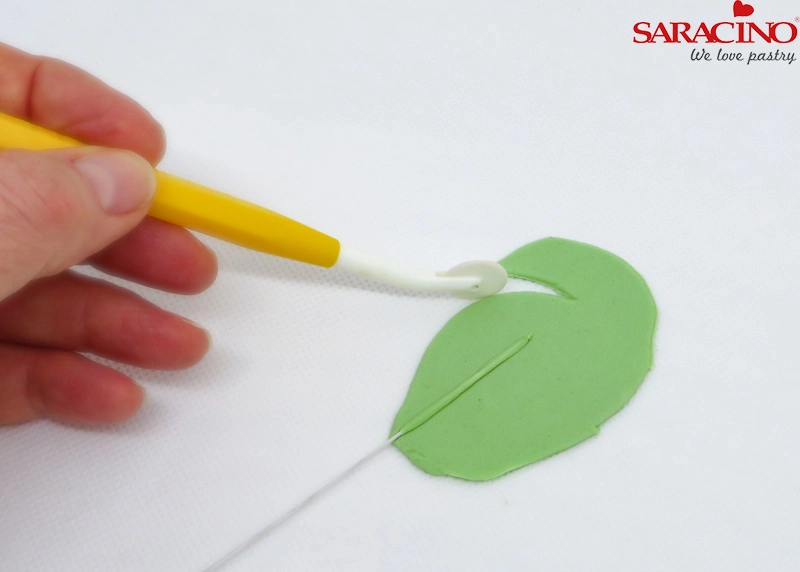
Place onto  rolled out paste and cut a leaf shape with cutting wheel.

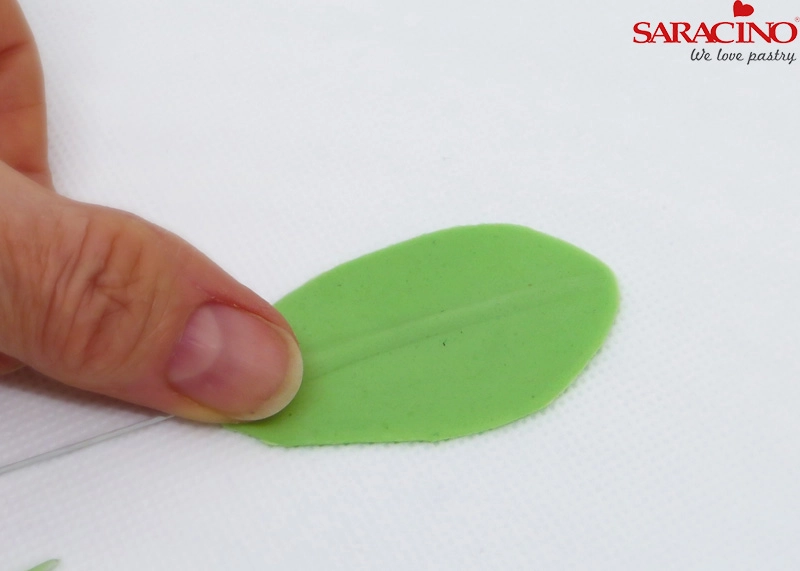
Step 27

Gently smooth the green covered wire  into the leaf.

Step 28

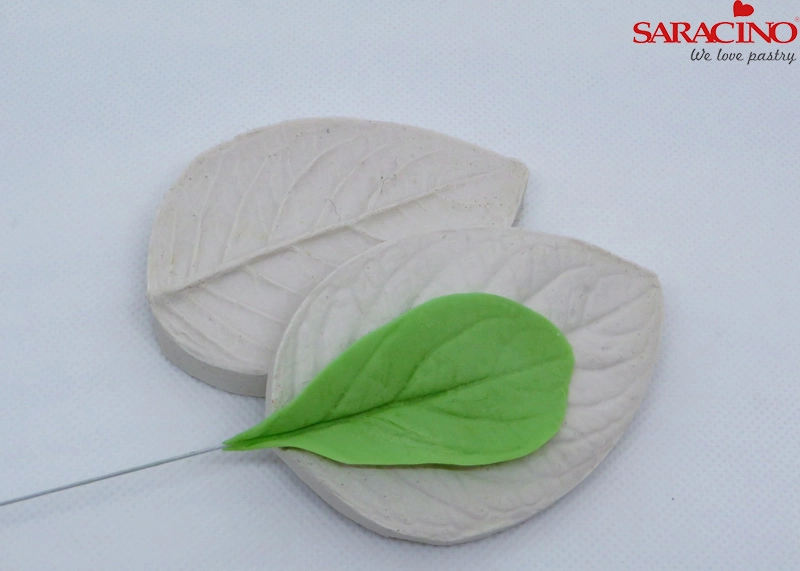
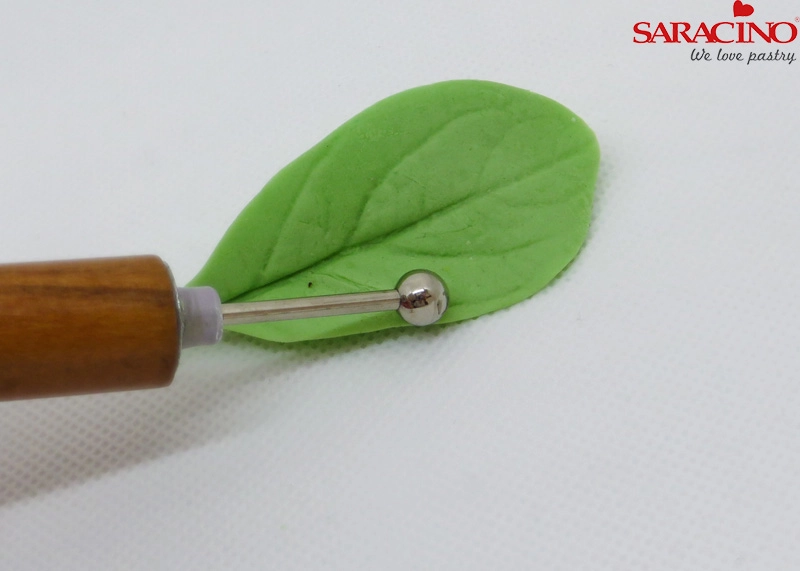
Press gently into a universal leaf veiner and form a gentle shape

Step 29

Thin the edge with a balling tool

Step 30

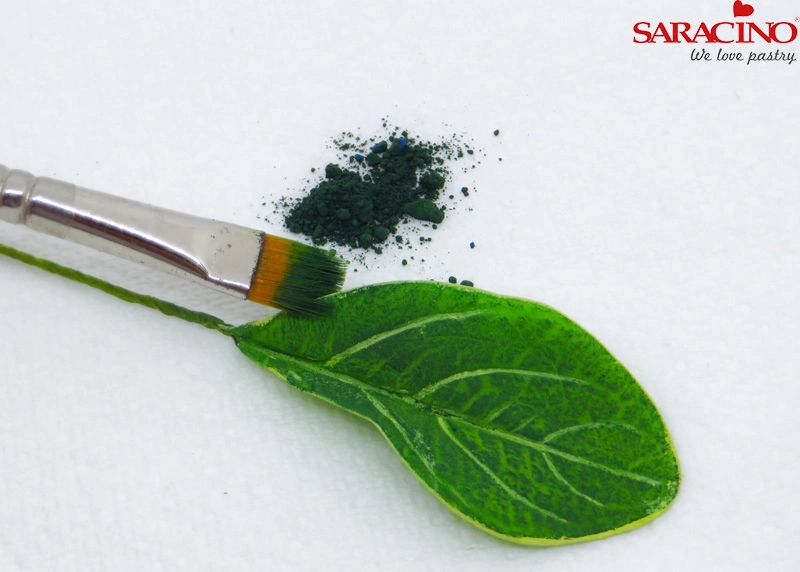
Brush with Saracino green dust and over dust again with green/brown mix dust

Step 31

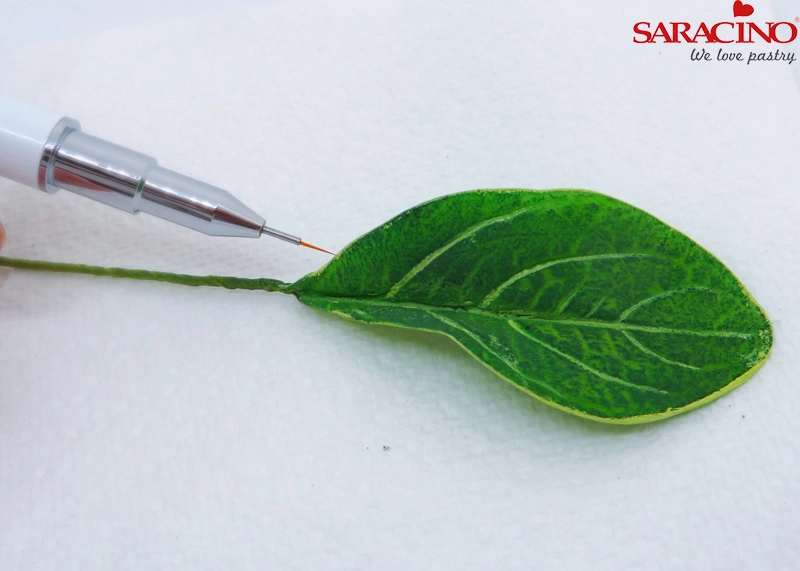
Using a fine brush (size 00000) paint a thin line on edge and veins top of leaf

Step 32

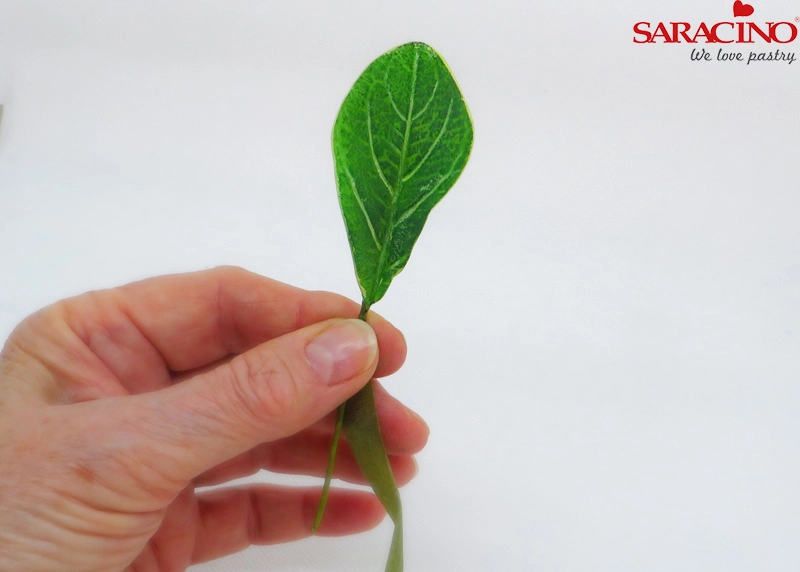
Tape the leaves with nile green tape.

Step 33

This photo shows you the stages I just described

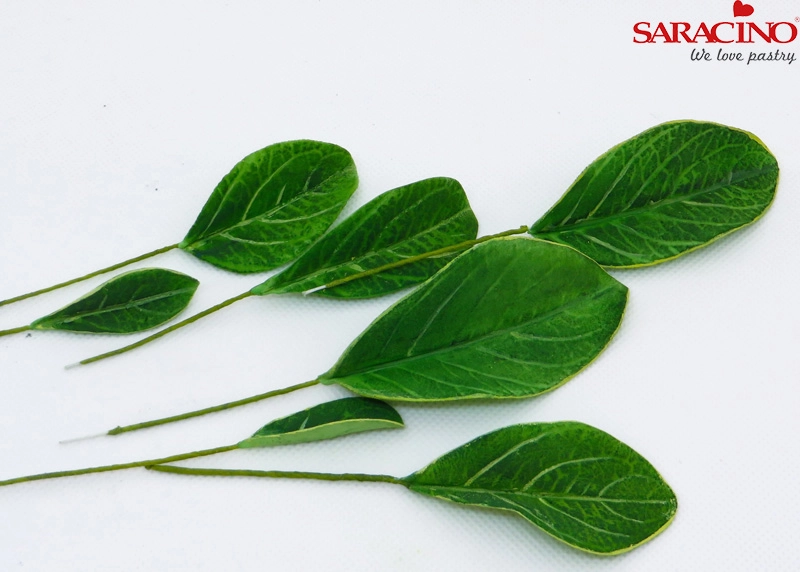
Step 34

Here are several sizes that I made a few of

Step 35

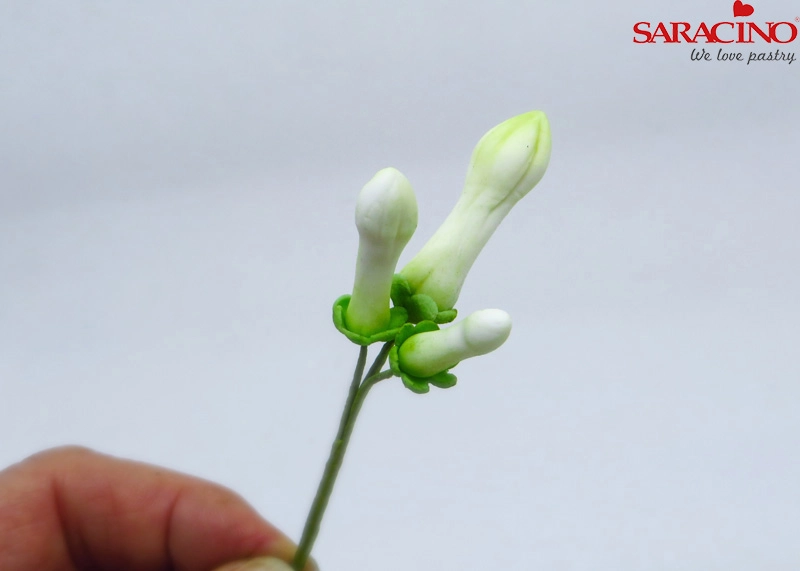
Tape together groups of different size buds.

Step 36

Add a few flowers

Step 37

Add a few different size leaves

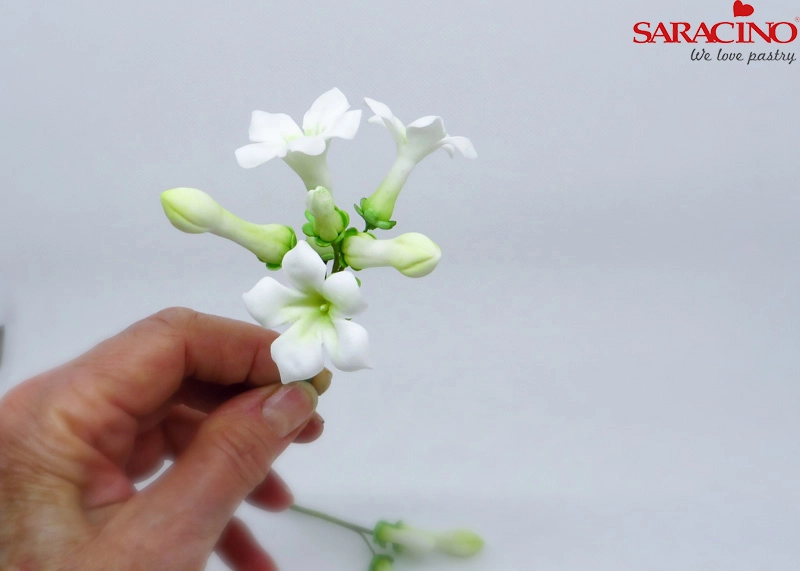
Step 38

This photo shows varied clusters of flowers, buds and leaves I taped together

Step 39

Then (using an 18 gauge wire) start taping the clusters in a formation to suit the sugar flower arrangement you may be adding this too.

These are relatively quick to make and are a great addition to any floral arrangement, making for a lovely contrast and adding a bit of freshness. I do hope you enjoy the tutorial.

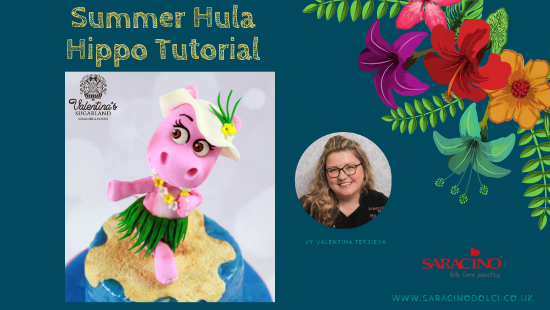
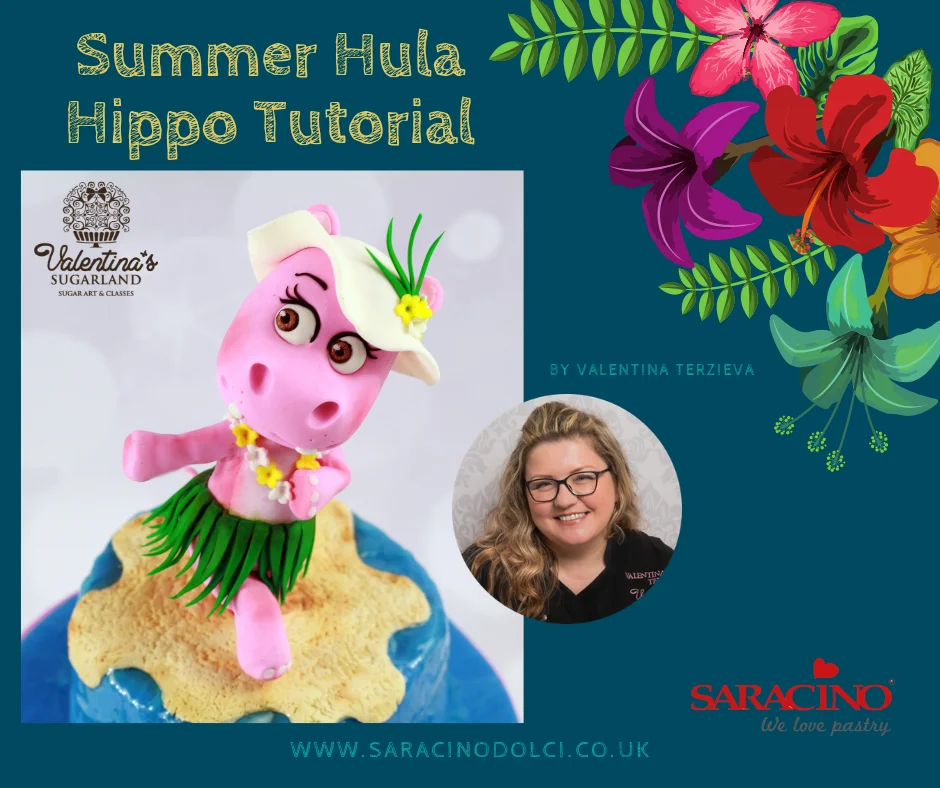
SUMMER HULA HIPPO

SUMMER HULA HIPPO

Skill level: BEGINNERS

You will need:

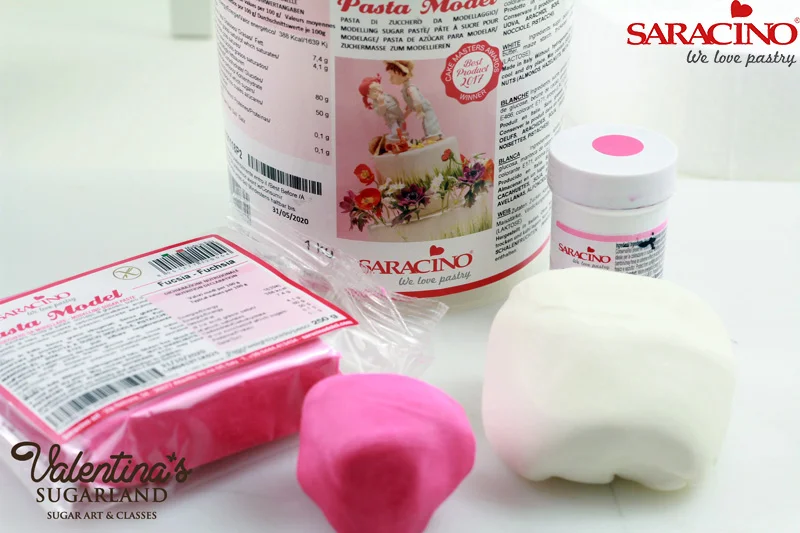
  • Saracino Modelling Paste – 50g fuchsia, 100g white, 20g green, 10g brown, 10g black and 10g yellow
  • Saracino Dust Colours – pink, brown, green, bronze and white
  • Saracino Cake Gel
  • Cake Dummy
  • Modelling Tools and brushes
  • Knife
  • Round cutter 3cm and 5.5cm
  • Wooden skewer/Barbecue skewer
  • Lemon extract/alcohol

Step 1

Prepare the Saracino Modelling Paste required for the Hippo. I used 40g fuchsia and 60g white modelling paste mixed together to get the pink colour paste, take 2g from this colour and mix it with 10g white to achieve the brighter pink for details.

Step 2

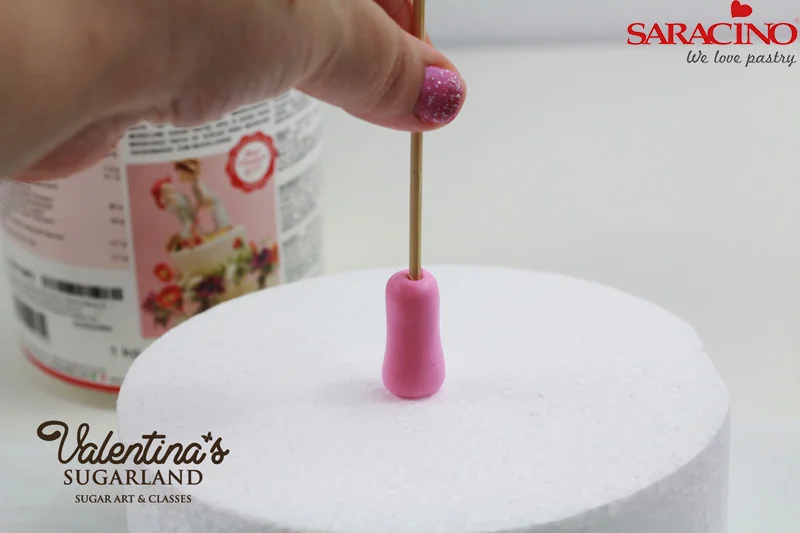
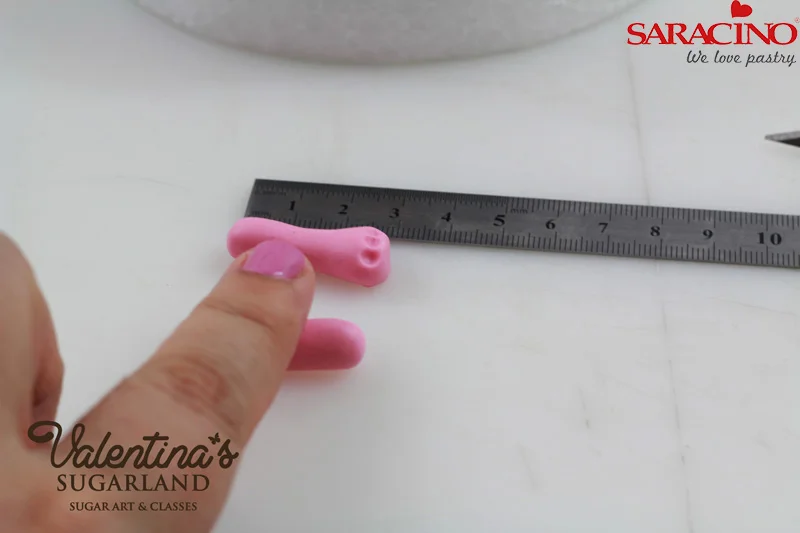
You will need 5g pink paste for one leg. Knead the paste thoroughly until pliable. Form a ball and roll it between your hands to a 3cm long sausage. Pierce it with a wooden skewer from one end to the other. Place it on a cake dummy and push the skewer into the styrofoam to be able to hold the hippo upstanding.

Step 3

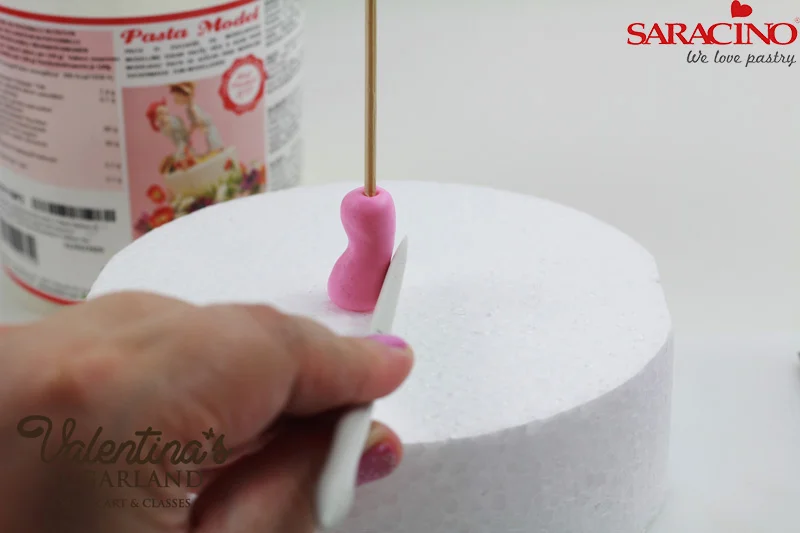
Using a blade side of a modelling tool form the sausage as leg. Press with your finger or with a tool in the middle of the leg to get the hollow of the knee. On the front side press the front lower side of the leg backwards.

Step 4

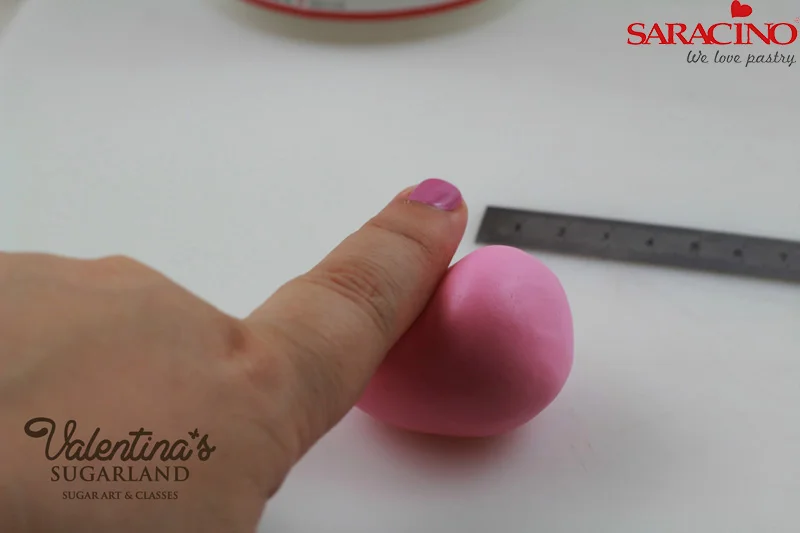
Use 25g pink modelling paste and form it to a pear shape – make a ball and then roll one side of the ball few times between a modelling pad and your finger. The body should be about 5cm long.

Step 5

Use a second skewer to pierce diagonally through the body and the tip should come out sidewise on the thicker end of the pear.

Step 6

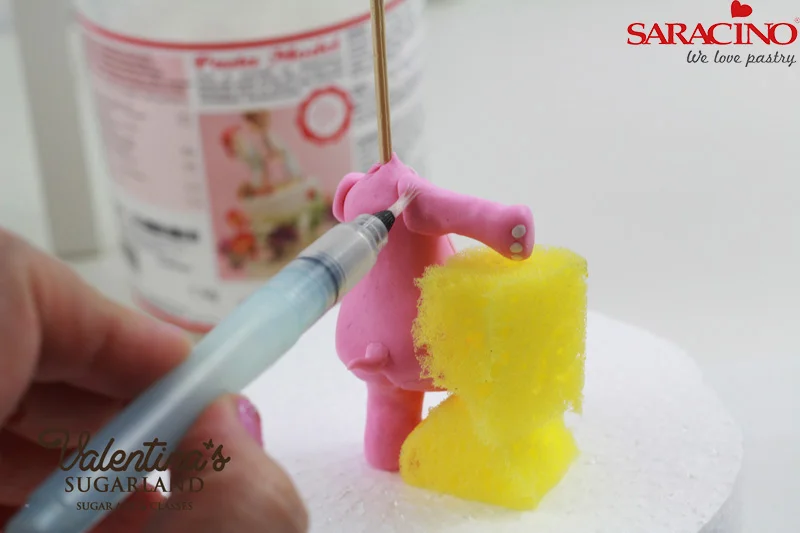
Take out the skewer and place the body on the skewer attached to the leg and the cake dummy. Apply water on the joining seam between leg and body and using a Dresden tool or silicon brush smooth the seam.

Tip:I use only water to join and smooth two pieces of Saracino modelling paste together. You don’t need sugar glue or piping gel for that. Apply water and go a few times with your tool over the seam.

Step 7

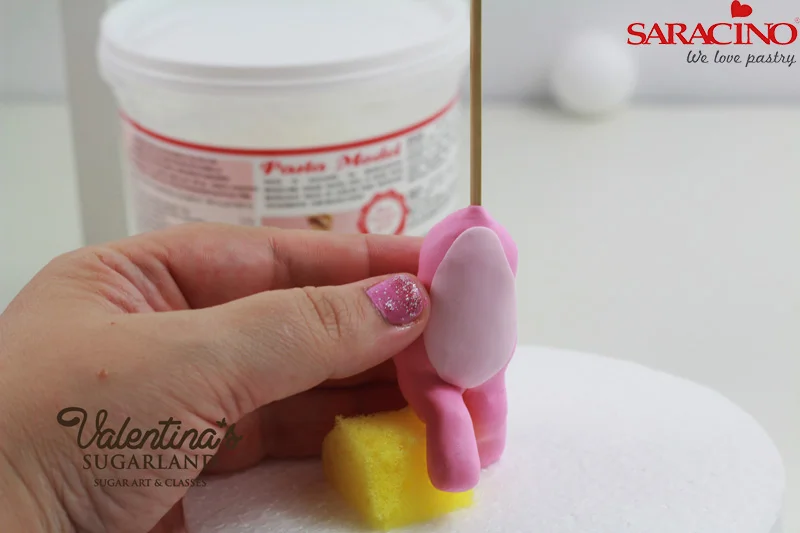
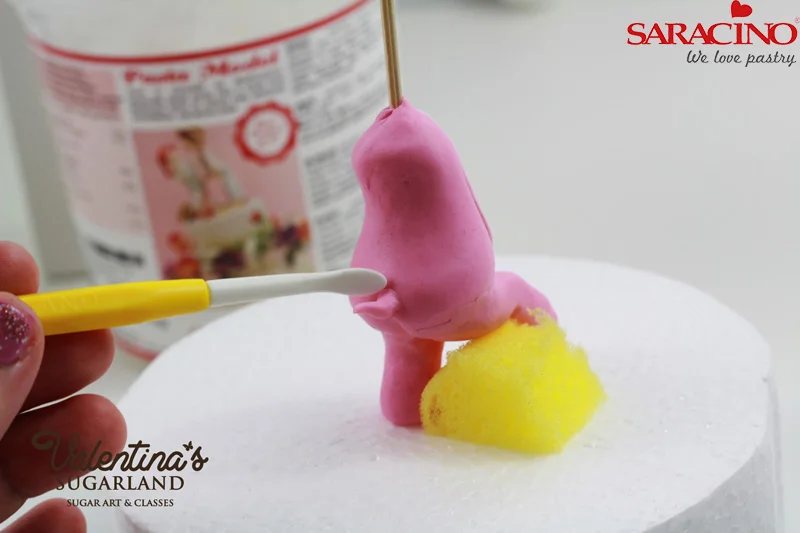
For the second leg use 5g paste and roll it to a sausage 3cm long. Roll in the middle between two fingers to thin it for the knee area and attach with water to the body. Use piece of sponge to support the leg while working on it and until it dries and can hold itself in the air.

Step 8

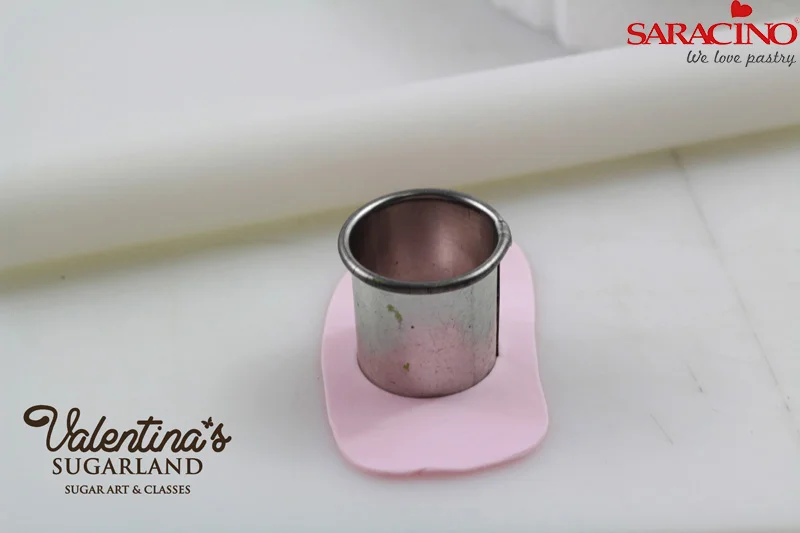
Roll out thin bright pink paste and cut a circle with a 3cm cutter

Step 9

Strech it between your fingers to get an oval shape and place it over the hippo belly. Use water on the back side so its sticks to the body.

Step 10

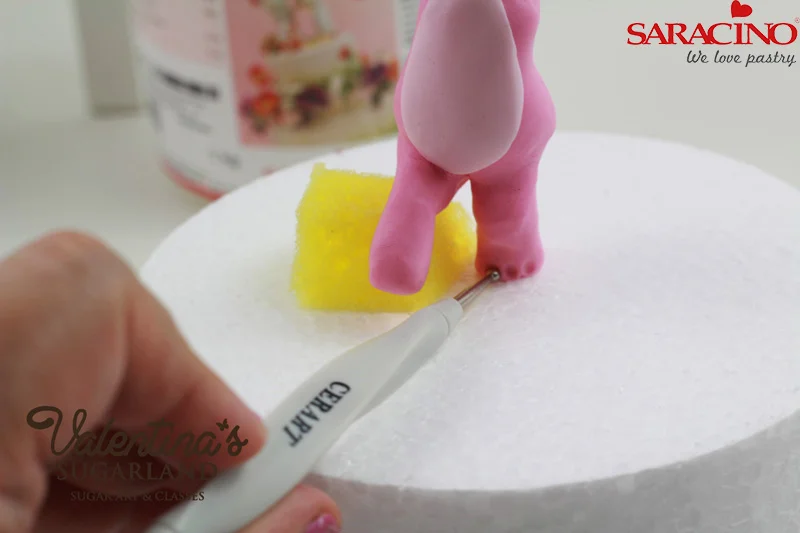
Use a small ball tool to indent three holes on the toes of both feet.

Step 11

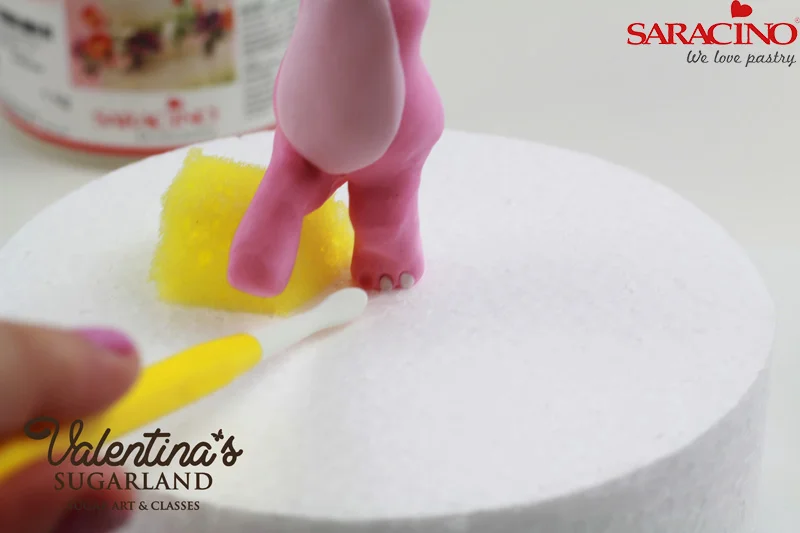
Fill the holes with small  balls of white modelling paste and press them flat with your finger or a tool.

Step 12

Form a small pointy sausage and place it on the back for a tail. Smooth with the Dresden tool.

Step 13

For each of the arms knead well and shape 2.5g Saracino Modelling Paste into a 3cm long sausage. Indent on each hand three holes for the finger nails and put in each hole a small ball of white modelling paste.

Step 14

Attach the arms to the body. One arm is streched out to the side, one is bent and is resting on the belly. Use water to blend the seams. Support the arm with a piece of sponge and leave the body over night to dry.

Step 15

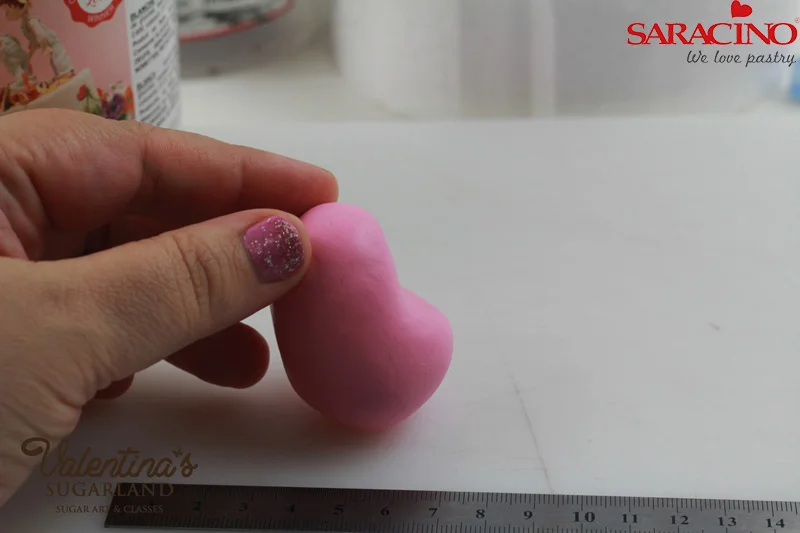
For the head you will need 40g pink Saracino modelling paste. Knead well and form a ball. Roll the ball on the modelling pad with one finger on one side and thin this area a bit. The head should be about 5cm long.

Step 16

From the side it should look like this.

Step 17

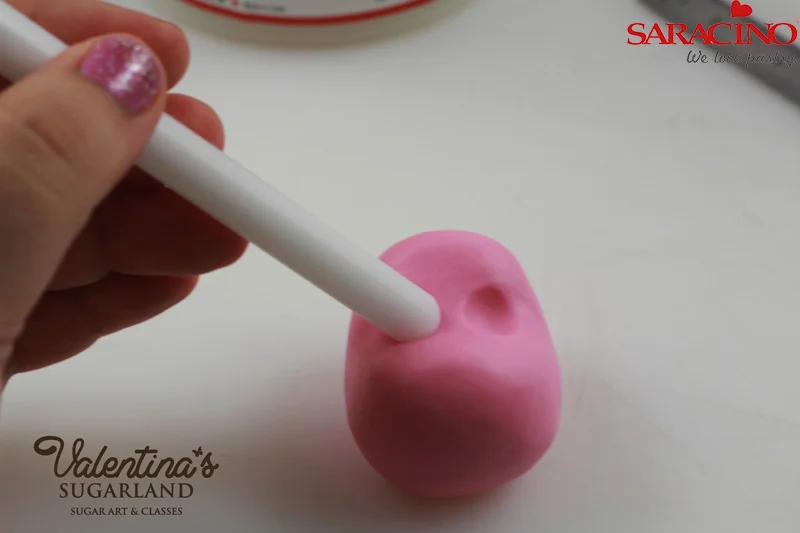
Using a ball tool or a CelPin make two dents for the eyes in the middle of the head length.

Step 18

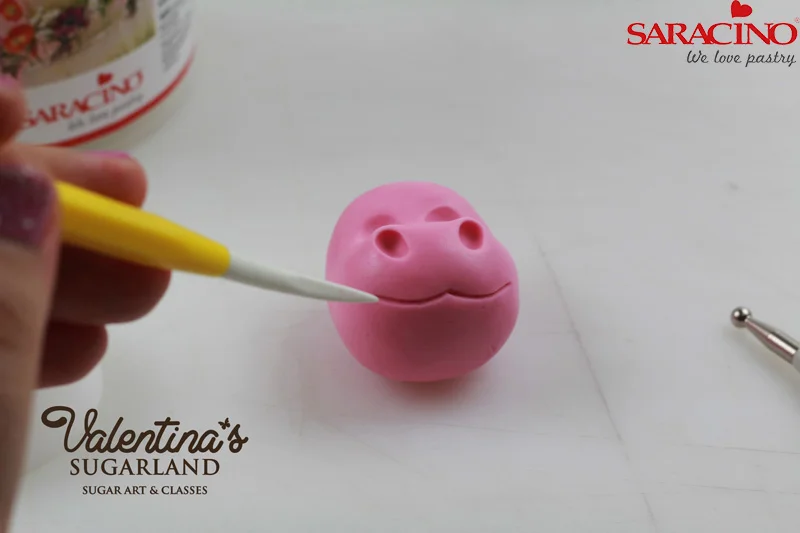
Using a smaller ball tool make the nostrils. With the smaller side of the Dresden Tool draw the lines of the mouth. Impress two smaller holes on both sides of the mouth line.

Step 19

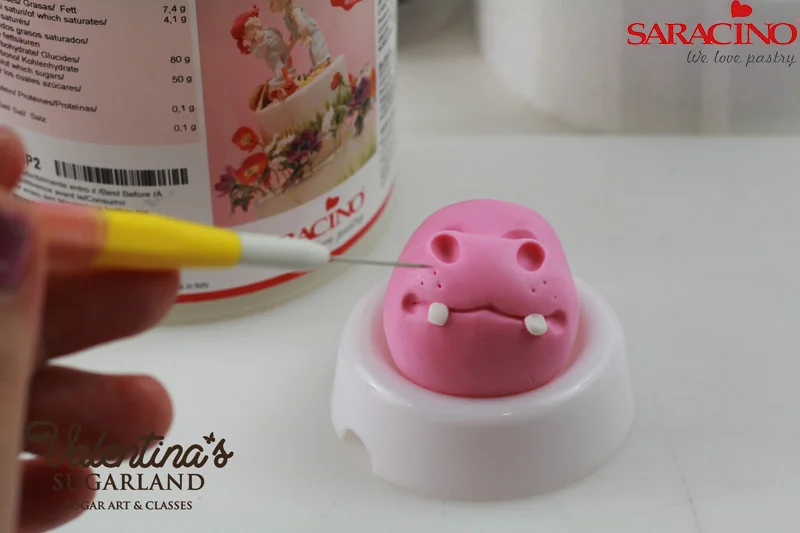
Form two teeth out of white modelling paste and place them on the mouth line. With the needle tool make a few holes on both sides underneath the nostrils.


Step 20

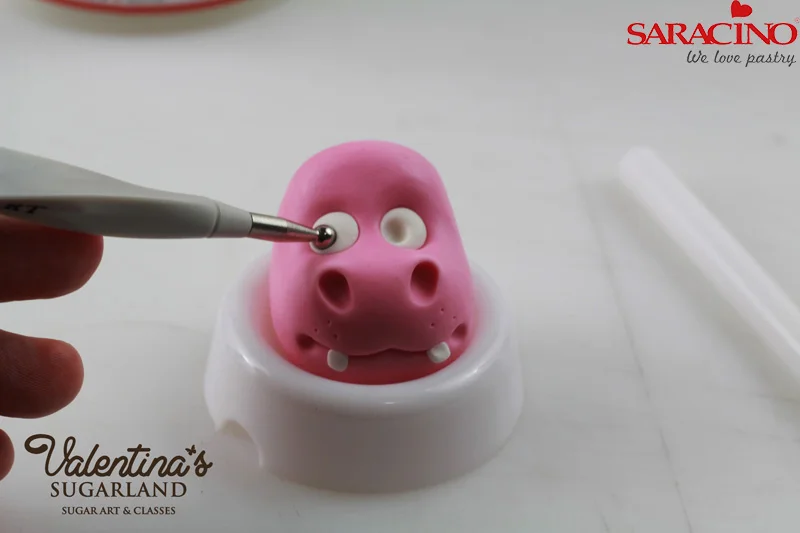
Fill the eye dents with small white balls and press them flat with your finger tips. Make holes in the white balls using small ball tool. Important here is to pay attention where you put these holes. It depends in which direction your hippo is going to look.

Tip: I am using small plastic or styrofoam cups that are usually used to dry sugar flowers in them so the head is not becoming flat on the back while I am working on it or while it is drying.

Step 21

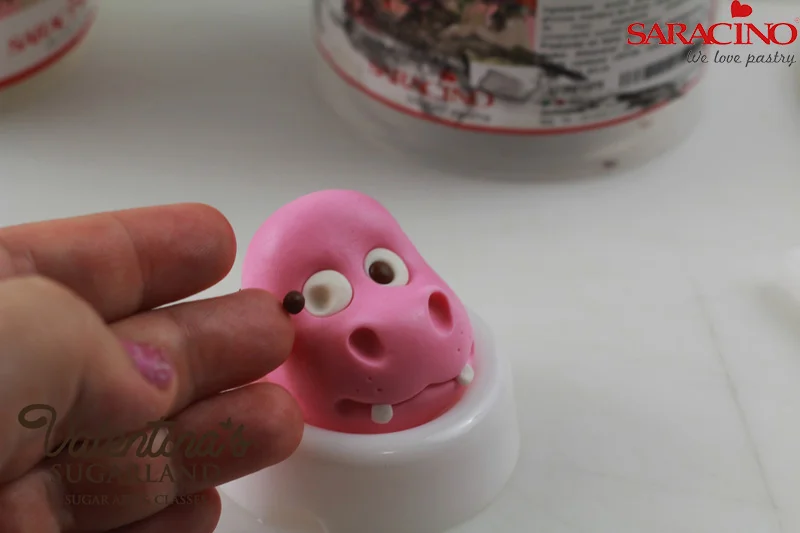
Put small brown ball of Saracino modelling paste into the holes. Press with your finger over it.


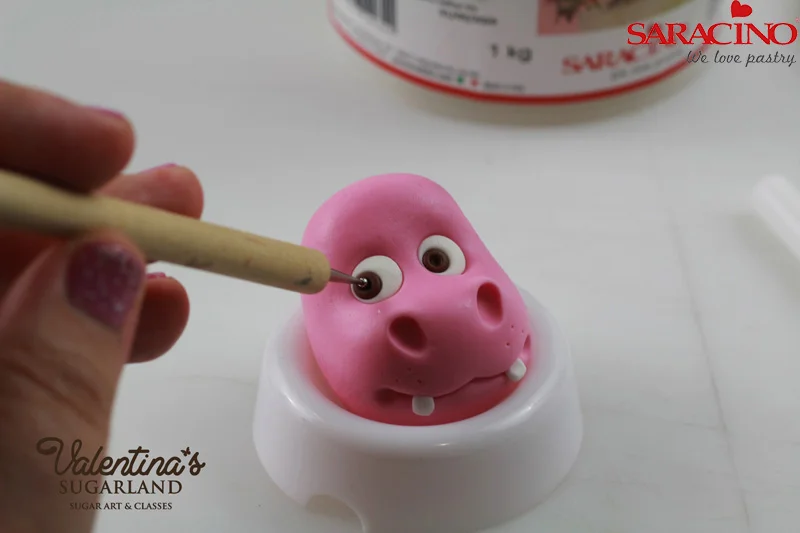
Step 22

Makes holes in the middle of the brown circle with smaller ball tool.
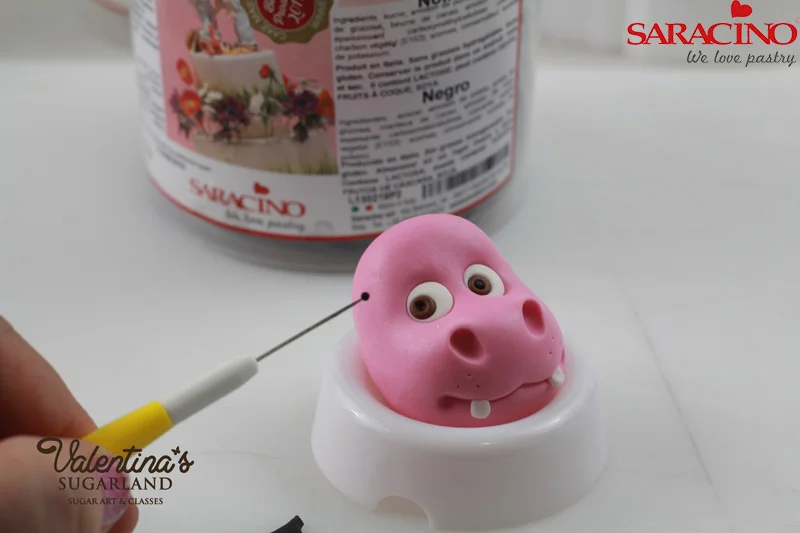
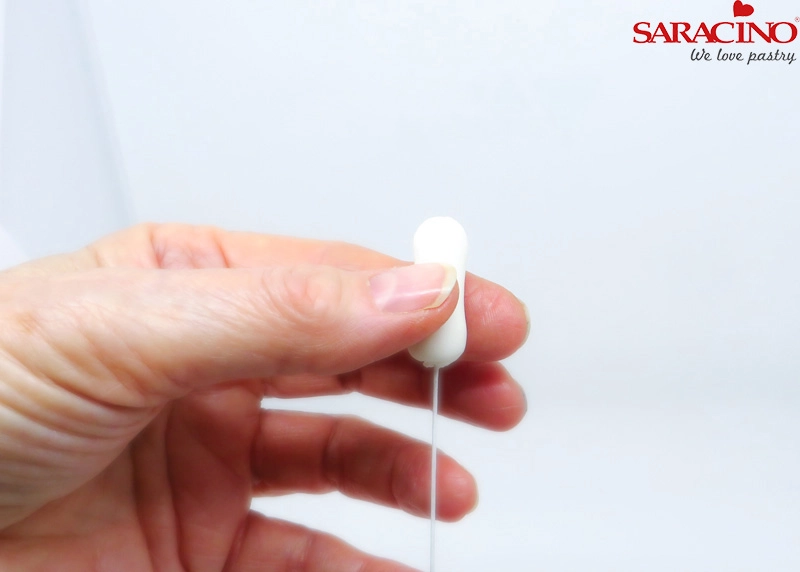
Step 23

Make tiny black balls and put them in the middle of the brown circle.
 

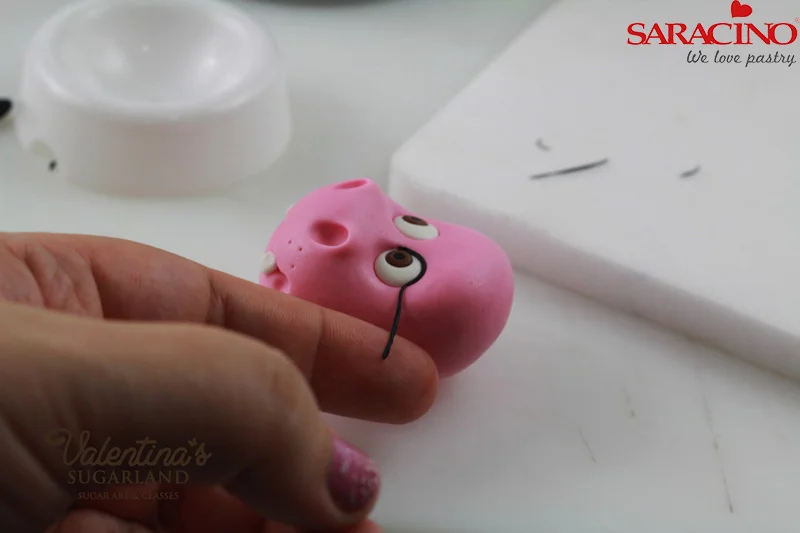
Step 24

Roll small amount black modelling paste into a very thin strand and put it as eye liner on the upper eye lid. Use little water to make it stick.

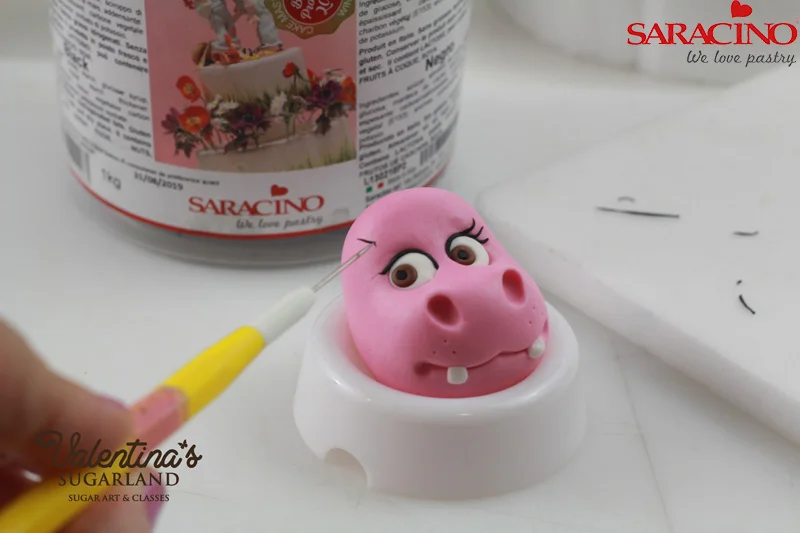
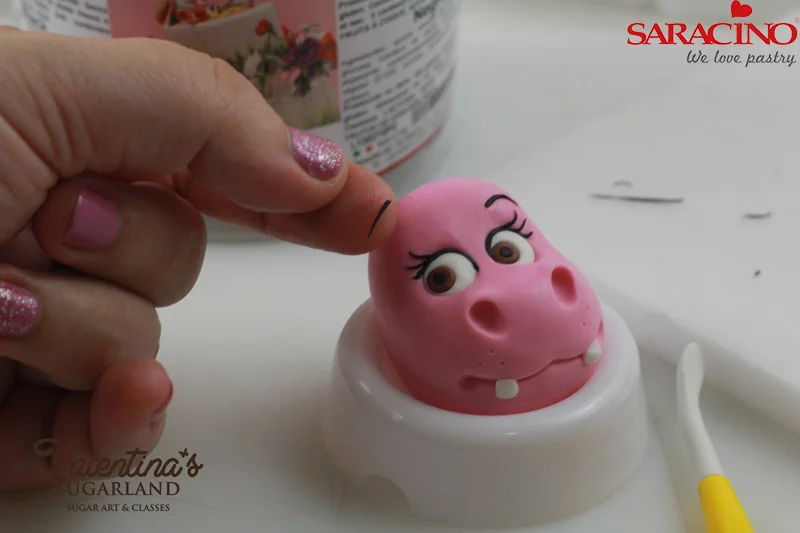
Step 25

If you like put 2-3 tiny pointy strands for eye lashes.


Step 26

Put two black strands for eyebrows.

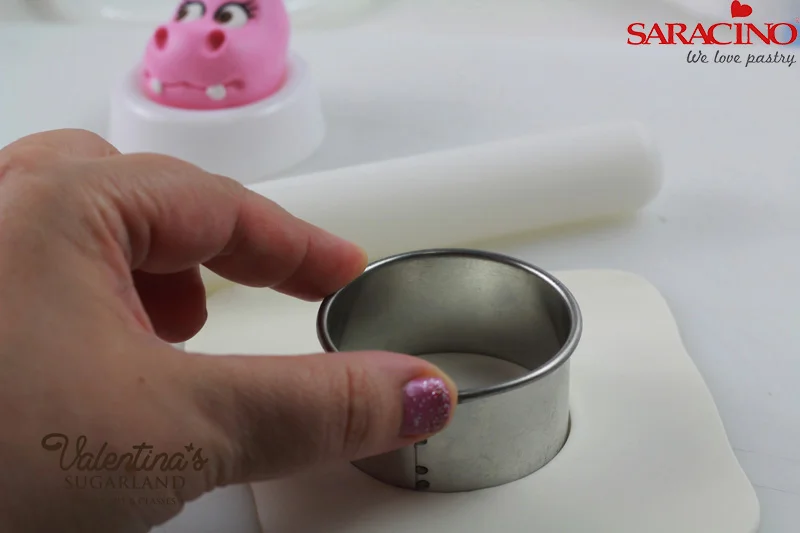
Step 27

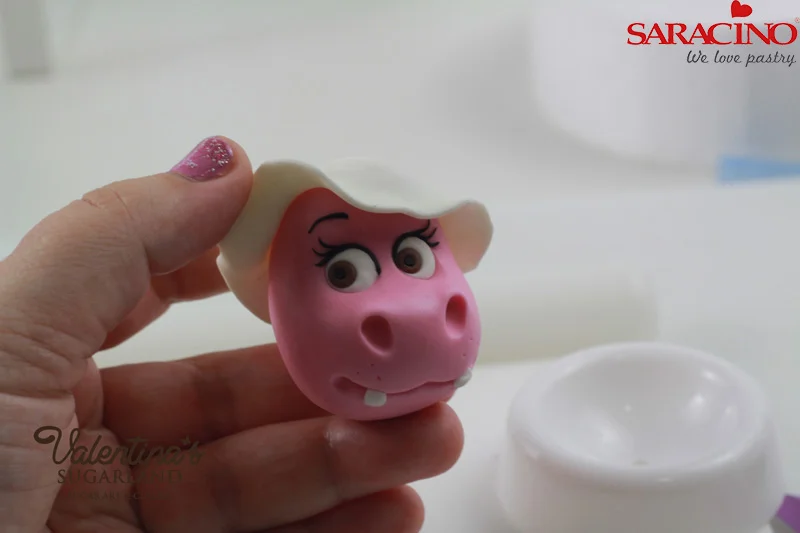
Roll out white modelling paste and cut a 5.5cm circle.


Step 28

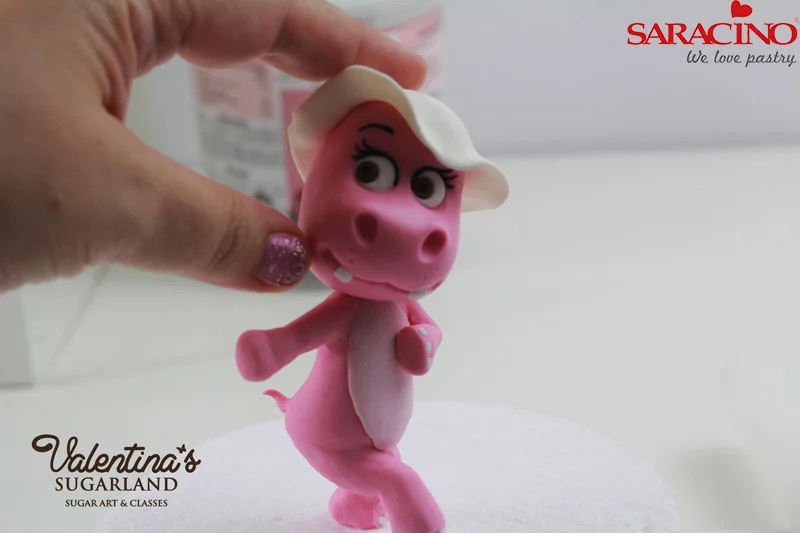
Place it on the head as hat and curl one side upwards so it looks like a textile summer hat.

Step 29

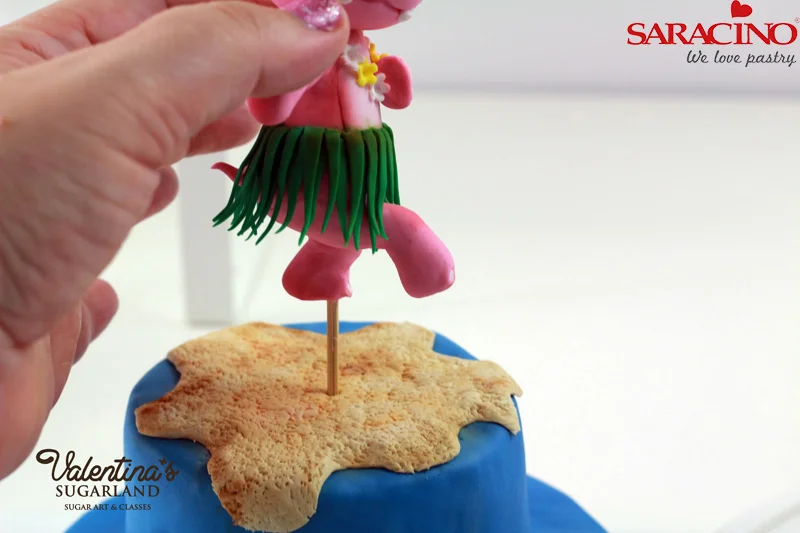
Cut the wooden skewer so it projects about 2-3 cm above the shoulders. Apply cake gel or piping gel in the middle of the shoulders and put the head on the shoulders using the wooden skewer as support.


Step 30

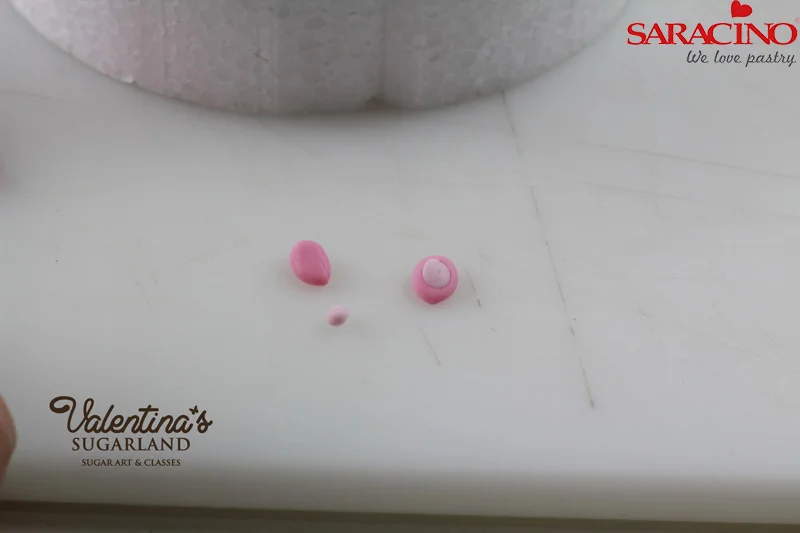
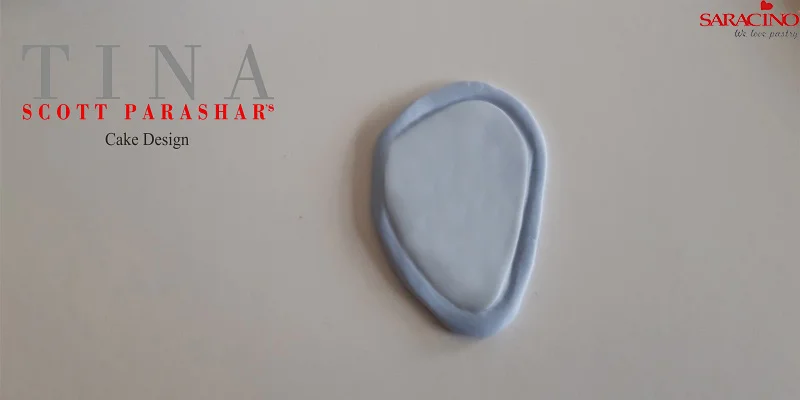
For the ears make two teardrops out of pink modelling paste and a much smaller teardrops out of the bright pink paste. Place the smaller drops on to the bigger one and press them together.

Step 31

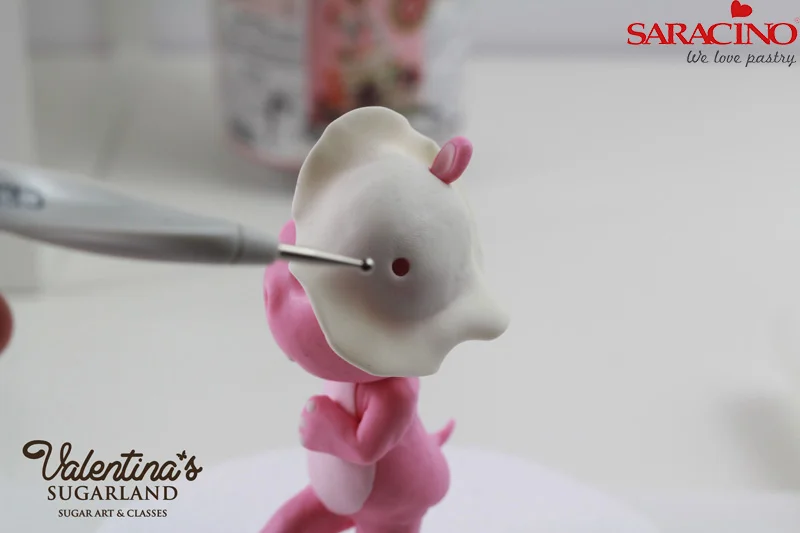
Make two holes into the head and insert the pointier end of the ears into them.
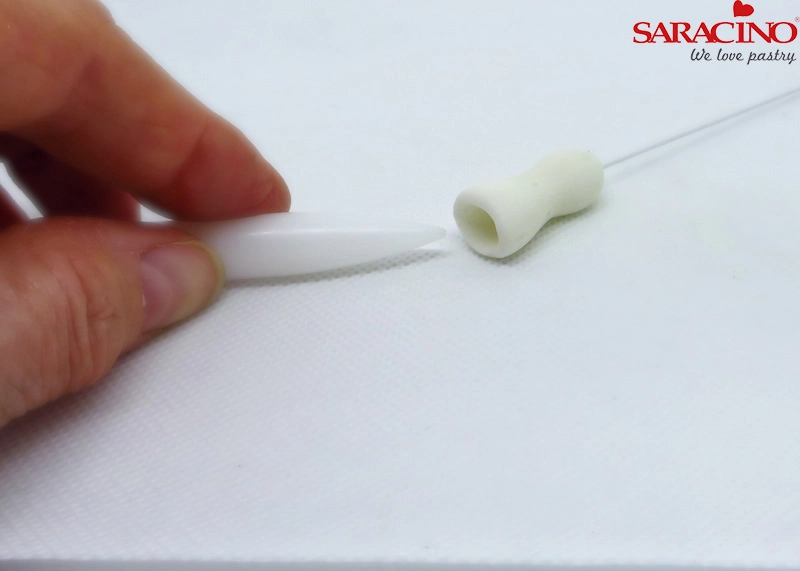
 

Step 32

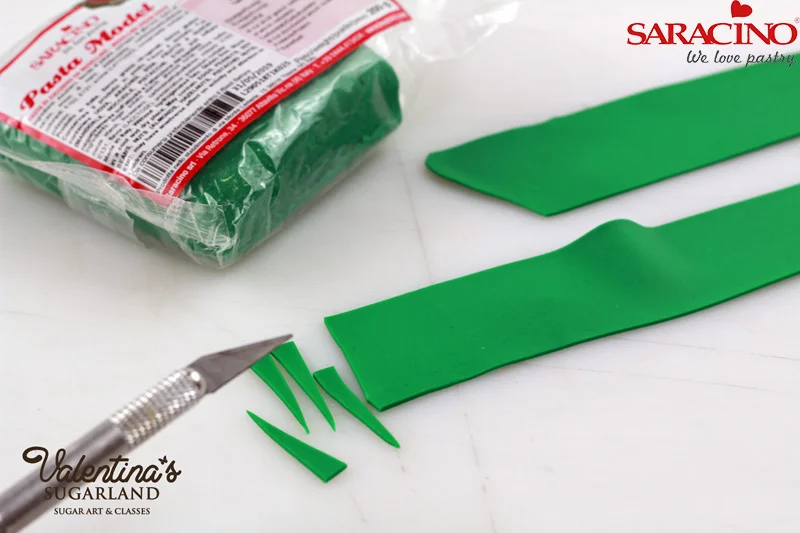
Roll out thin green Saracino modelling paste and cut with little sharp triangles with a craft knife.

Step 33

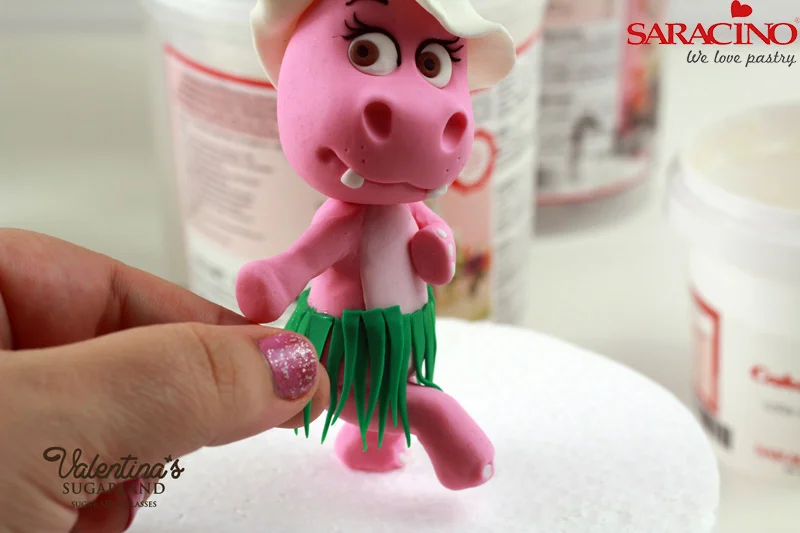
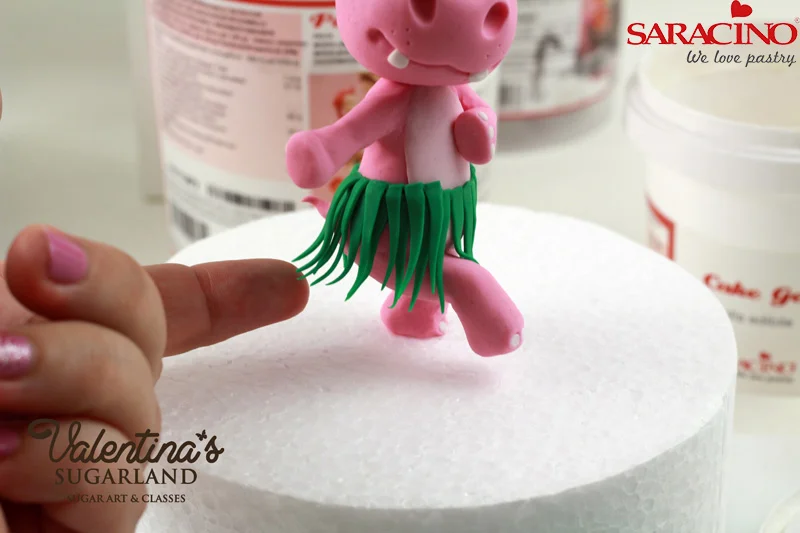
Apply Saracino cake gel on the waist and place the triangles around the waist. I put them in three layers.


Step 34

You can curve the tips of the triangles on one side so it seems as they move with the Hippo’s “dancing” moves.

Step 35

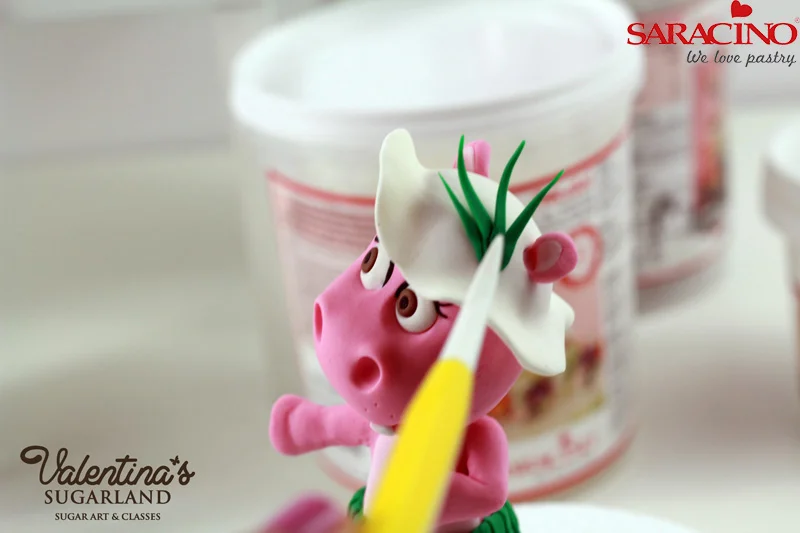
Use few triangles as hat decoration.


Step 36

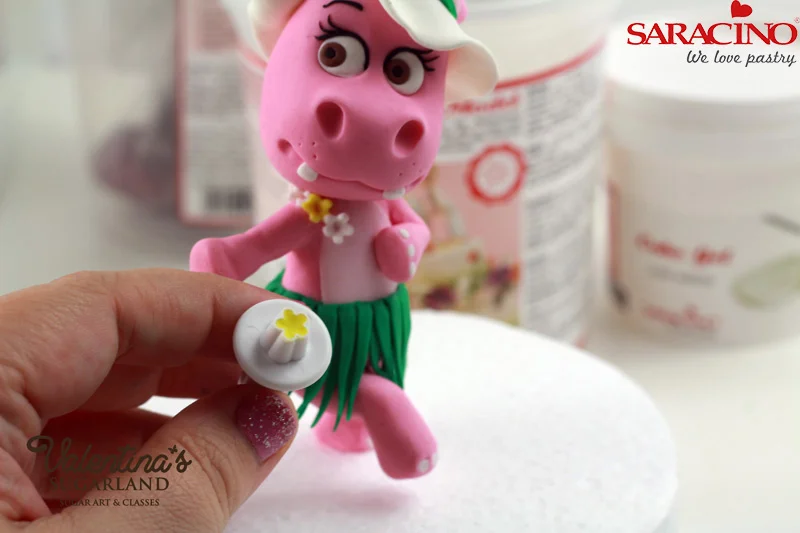
Cut small flowers out of white and yellow Saracino modelling paste and decorate the hat and the neck of the hippo.

Step 37

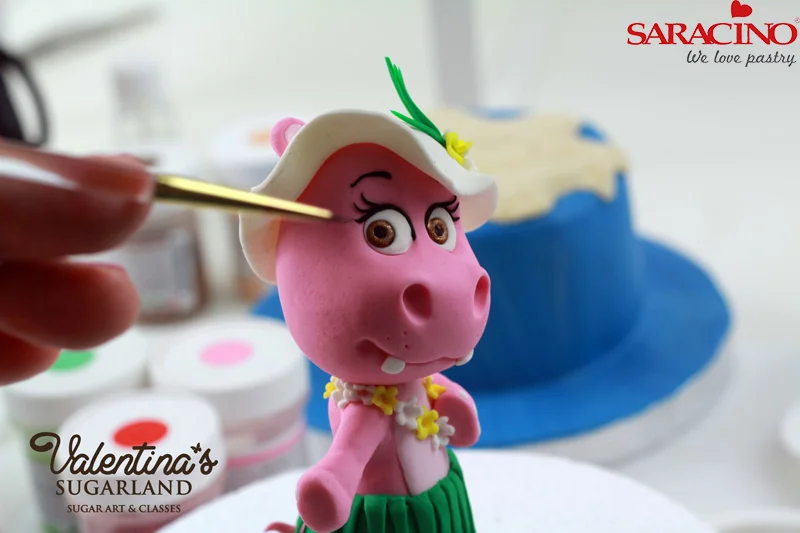
Mix Saracino bronze powder with lemon extract or alcohol and paint the brown of the eyes with the mixture. Mix white Saracino powder with lemon extract and put one white spot into each eye.


Step 38

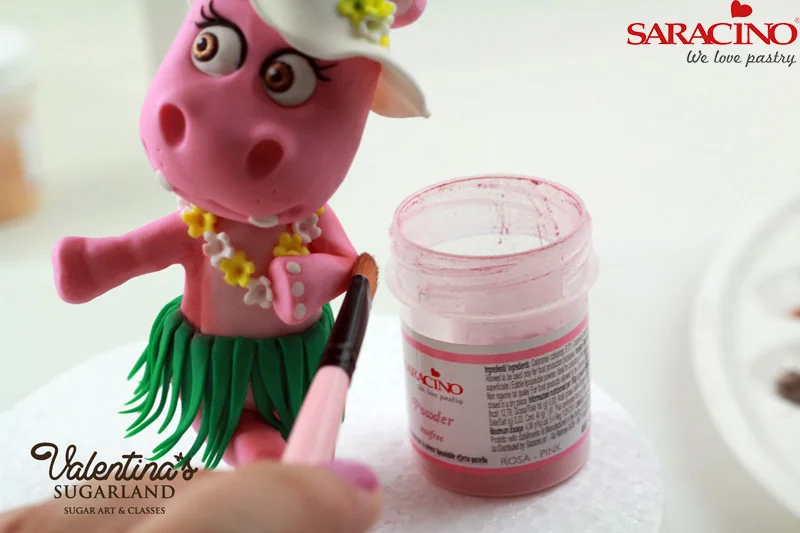
Use pink Saracino powder and a soft brush to add shadows on the elbows, on the cheeks, on the knees and on the nostrils.

Step 39

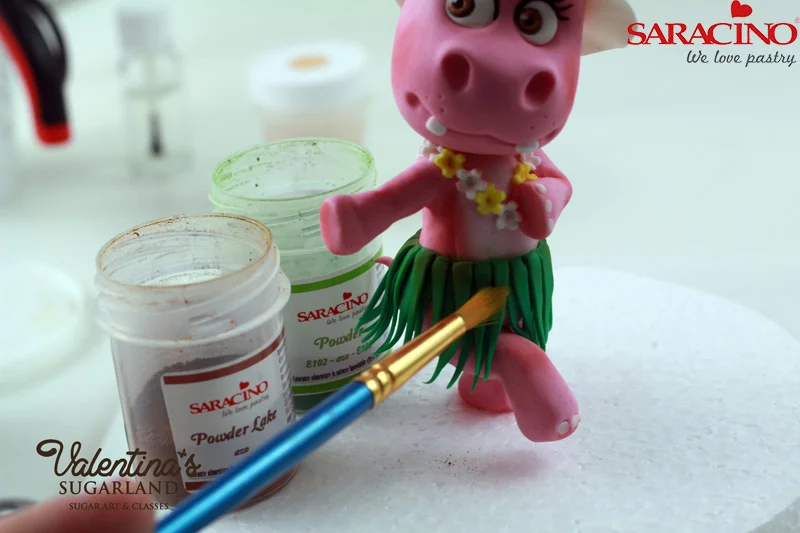
Add shadows on the skirt with brown and green Saracino dust powder


Step 40

Leave the Hippo to dry for at least 2-3 days before using it on a cake.