MR and MRS BEAVER TUTORIAL

MR and MRS BEAVER TUTORIAL
Skill level: BEGINNERS

TIPS:

Improvise with what tools you have available. Don’t have a small ball tool? Use a cocktail stick! Don’t have a small circle cutter? Use an icing tip!

If you use cocktail sticks, or anything else inedible, don’t forget to tell the recipient of your models!

You will need:

  • Modelling paste used:
  • Brown
  • White
  • Pink
  • Light green
  • Black
  • Water and paintbrush for gluing
  • Rolling pin
  • Dresden tool
  • Veiner tool
  • Ball tools in several sizes
  • Heart cutter (approx 4cm high)
  • Petal cutter (approx 4cm high)

Step 1

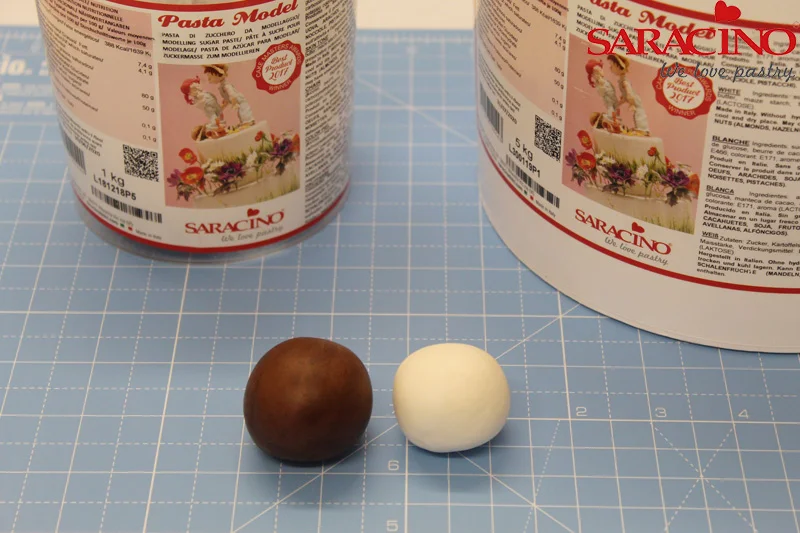
Take 40g of brown modelling paste and mix with 25g white modelling paste to create a lighter brown
Step 2

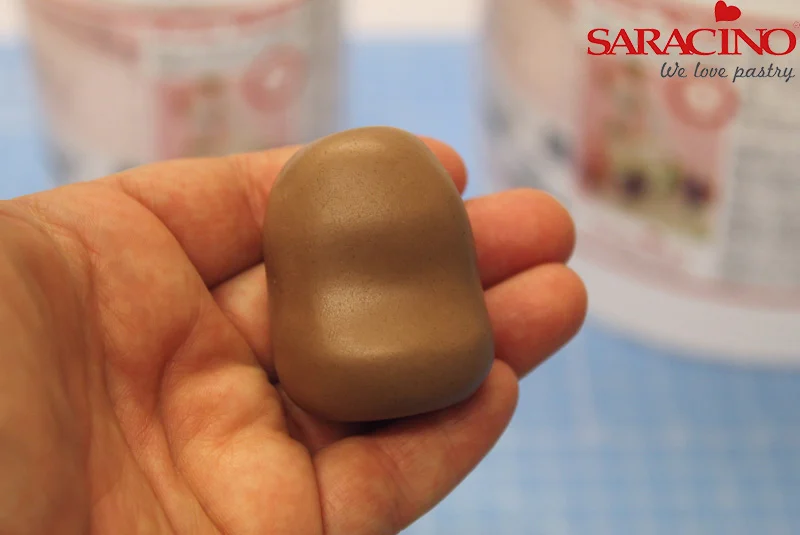
Use 35g if this and roll into a cone shape before shaping a ‘waist’ indent with the side of your hand
Step 3

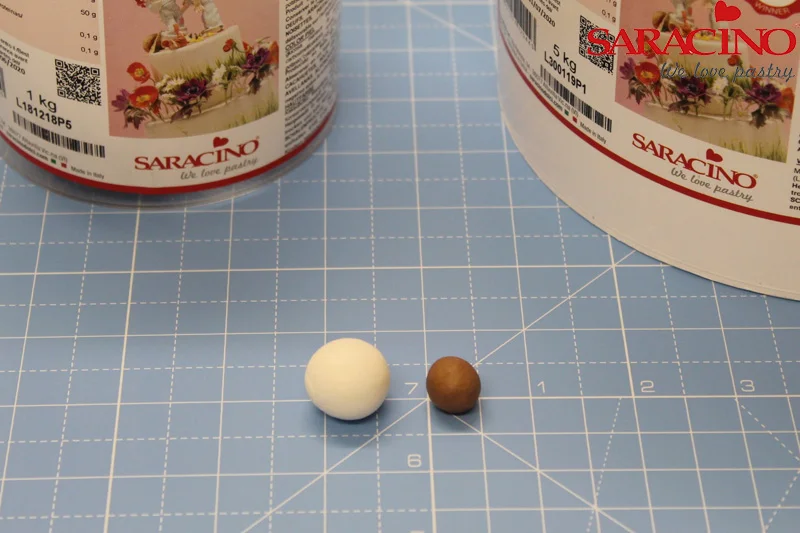
Now make a lighter brown using 5g of white paste and a tiny bit of brown modelling paste. Mix well.

Step 4

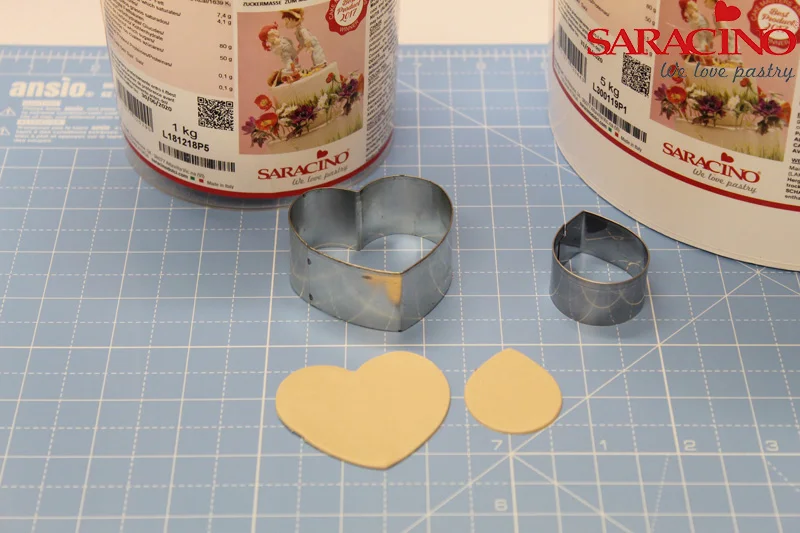
Roll out this light brown modelling paste
Step 5

Cut out 2 shapes using the petal cutter and the heart cutter. Set the heart shape to one side for use later

Step 6

Place the petal shape onto the body and smooth the edges with your finger
Step 7

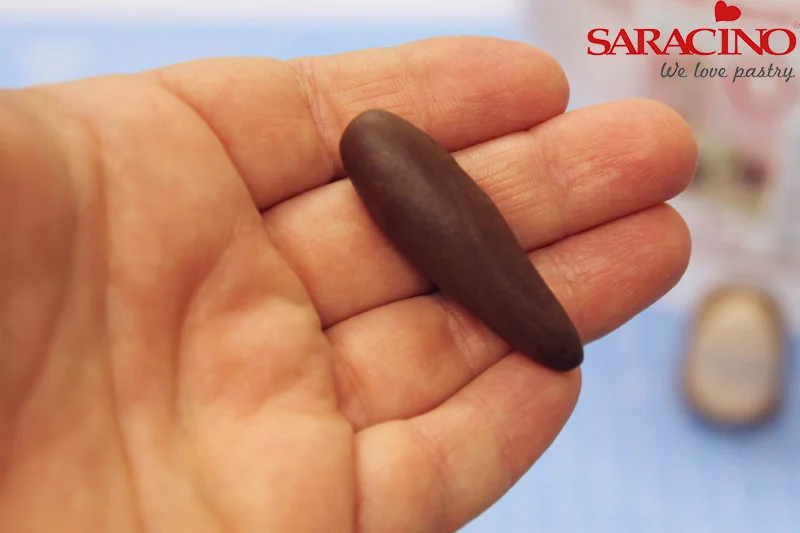
Take 5g of brown modelling paste and form into a pointed sausage as shown

Step 8

Flatten and smooth this to create the beaver tail

Step 9

Use the veiner tool to create a striped pattern in the tail

Step 10

Continue same technique in opposite direction to create a criss cross pattern and attach this to the beaver’s body

Step 11

Take 1g of brown paste and half. Shape each piece into a soft triangle and indent webbed feet with veiner tool

Step 12

Attach onto beaver

Step 13

Take 2g of the medium brown paste and roll into a sausage. Cut in half diagonally and shape little hands as shown

Step 14

Indent the hands using the veiner tool

Step 15

Attach onto the body

Step 16

Take the remaining medium brown paste, reserving just a little for ears and snout, and roll this into a ball before shaping as shown

Step 17

Take the heart you cut out earlier and using a craft knife cut as shown. Discard the lower part
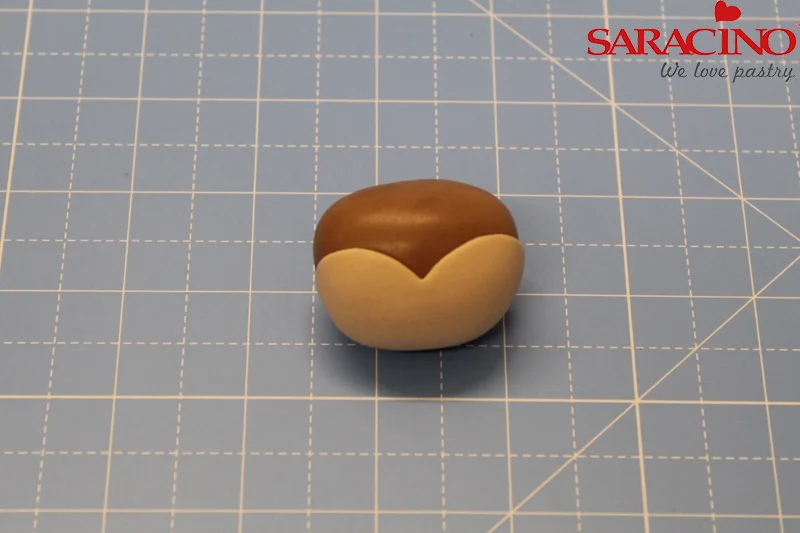
Step 18

Attach this to the head, again smoothing the edges with your finger

Step 19

Use a larger ball tool to indent the eyes then use a medium ball tool to deepen the socket.

Step 20

Roll two small white balls and drop into the socket before indenting again with the ball tool and this time placing black balls into them

Step 21

Roll two, very thin, black pieces of modelling paste to use as eyelashes. Leave them long enough for a pretty flick on the outer edges

Step 22

Use the smaller ball tool to indent a hole in each eye and insert a little white ‘catch light’ into each eye
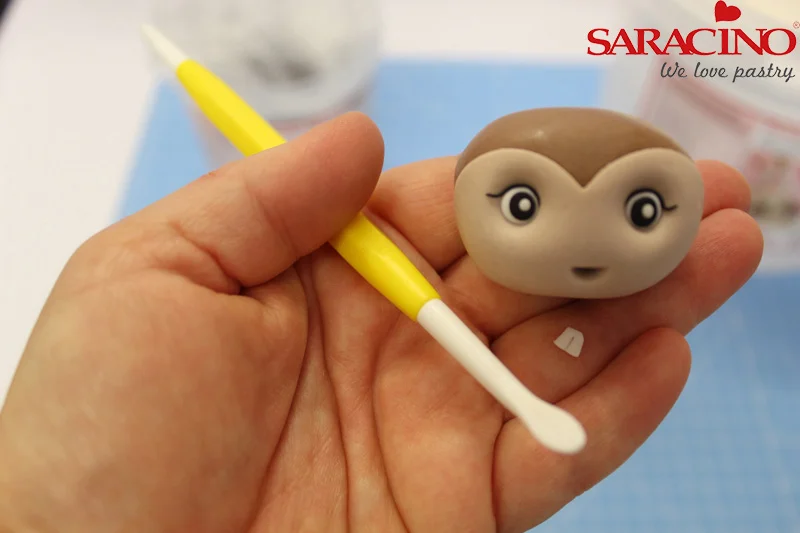
Step 23

Using the Dresden tool create a mouth. Model two little teeth out of white modelling paste, mark the centre with the veiner and place into the mouth

Step 24

Take a small piece of the reserved medium brown paste and shape into a flat oval. Mark the centre with the veiner and place onto the face. Add little dots on each side with the small ball tool before making the nose from a small triangle of black paste

Step 25

Use the little bit of remaining medium brown paste for the ears. Roll into a ball then cut with the craft knife. Indent with the medium ball tool and add a tiny ball of light brown paste. Indent again, neaten the bottom edge with the craft knife if required. Attach to the beaver.

Step 26

Glue the head into paste using a little water or if you prefer use a cocktail stick

Step 27

Mix light green modelling paste with white to create a softer shade. Roll some into two thin snakes that are long enough to reach around your beavers head. Use some to make little cone shapes, flatten these and indent with the veiner tool to create leaves
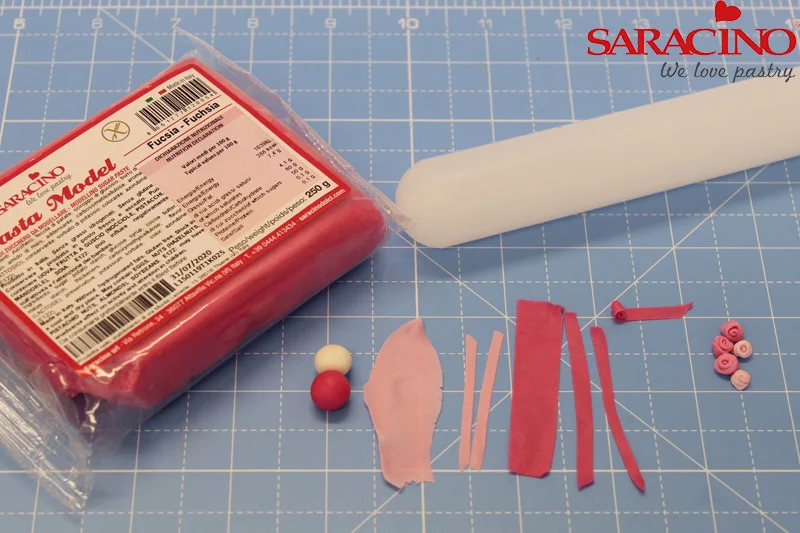
Step 28

Mix some pink modelling paste with white so you have 2 or 3 different shades of pink. Roll out, cut thin strips and roll these strips to make little flowers
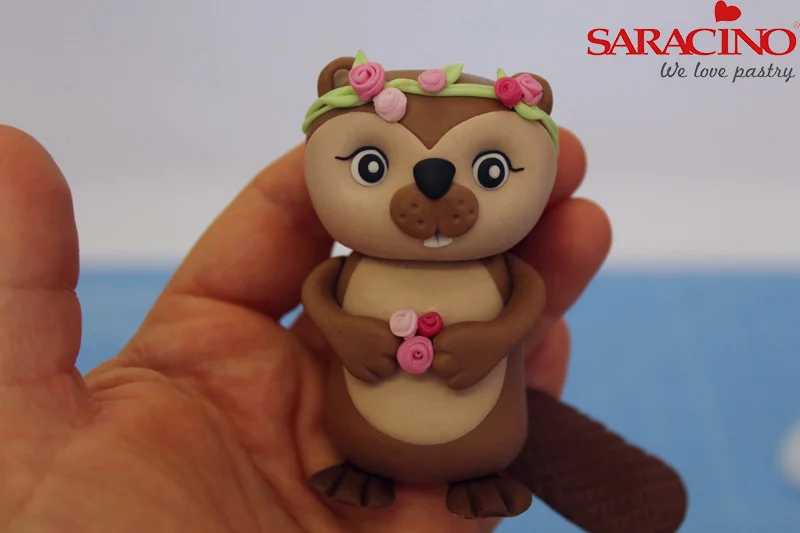
Step 29

Place the green ‘snakes’ onto the beaver’s head to make a garland and decorate with the leaves and flowers. Place some flowers between her hands
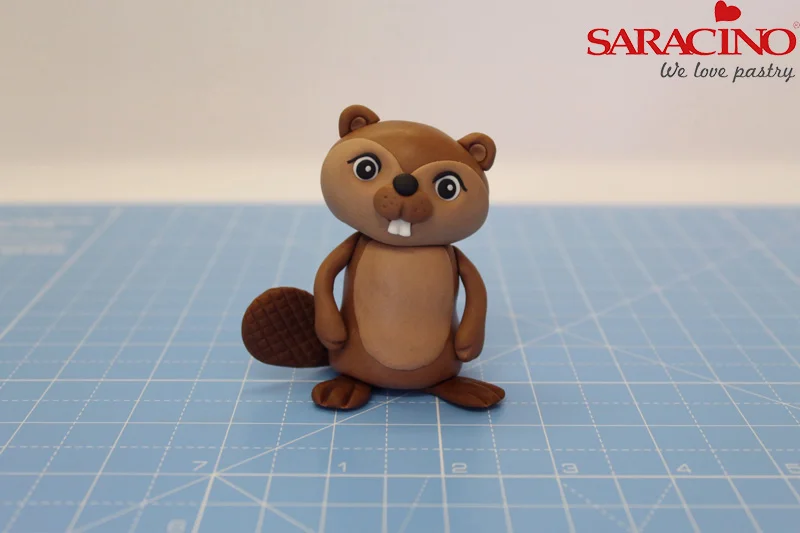
Step 30

To make Mr Beaver follow these steps again from the beginning, this time without the eyelash flicks. You can match identically or, as I have done, vary the size of tail, feet etc and the shaded of brown you use

Step 31

Use a circle cutter to cut a circle of black paste for the base of his hat – make sure it will fit between his ears! Shape a shirt cylinder, with a slightly smaller diameter, for the top of the hat. Finish with a strip of pink trim and any left over flowers

Step 32

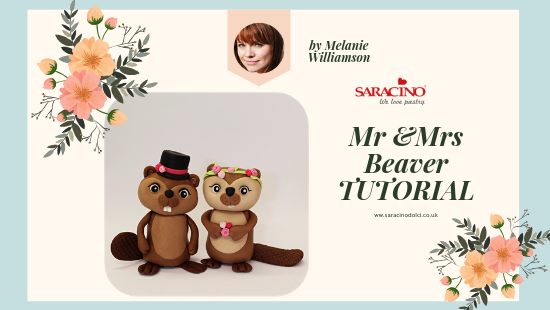
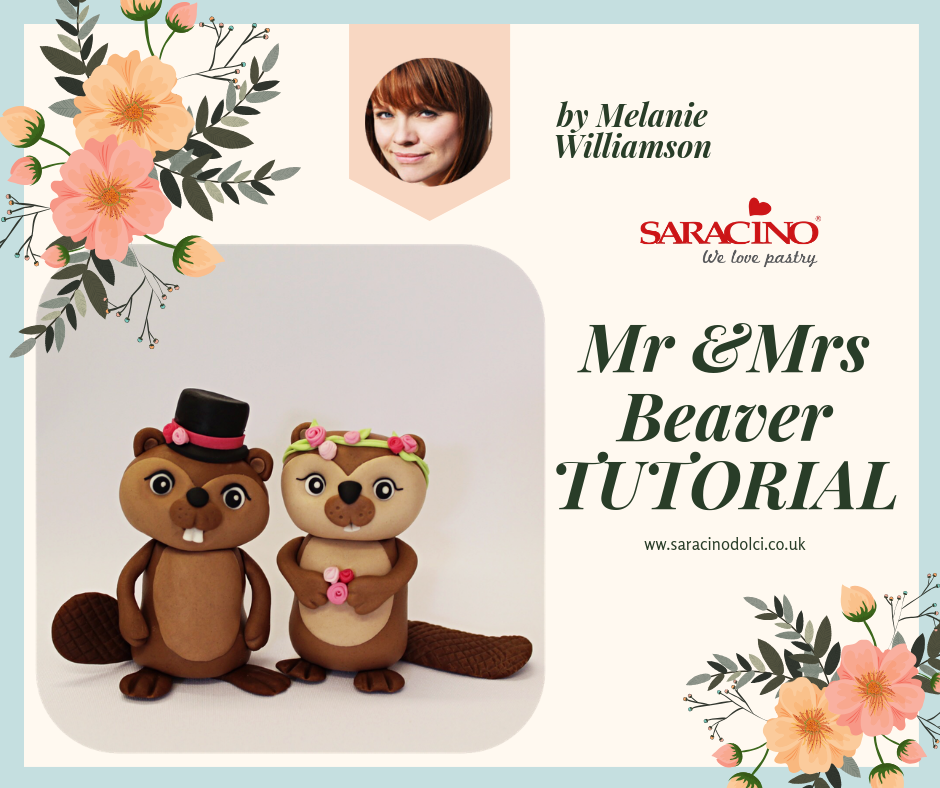
Voila! Mr and Mrs Beaver – don’t they make a lovely couple?!
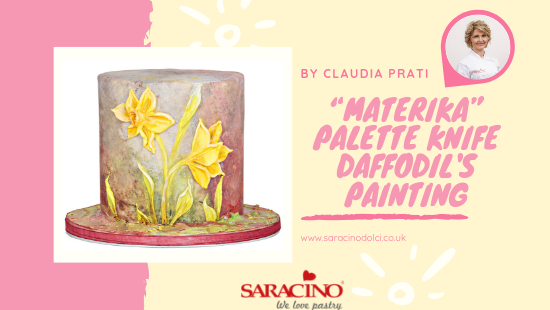
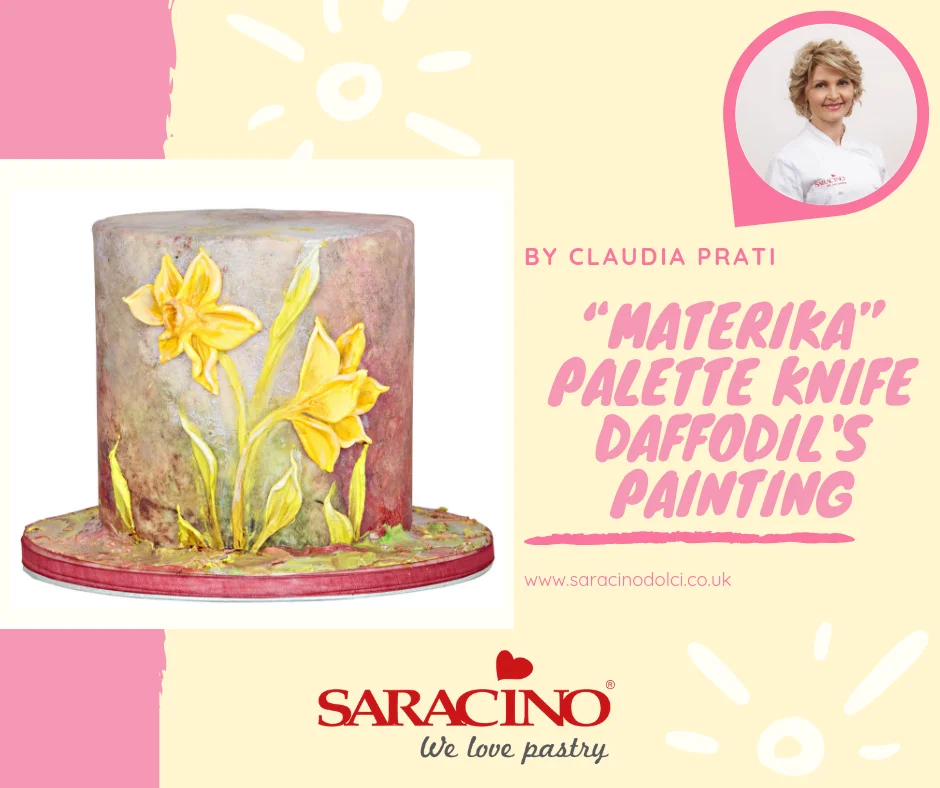
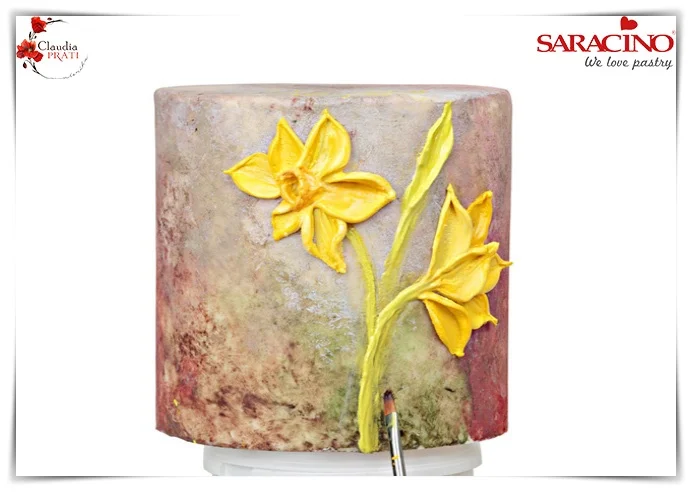
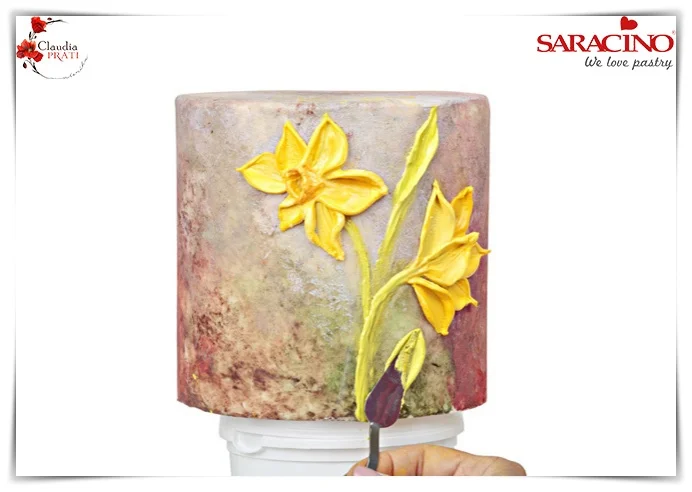
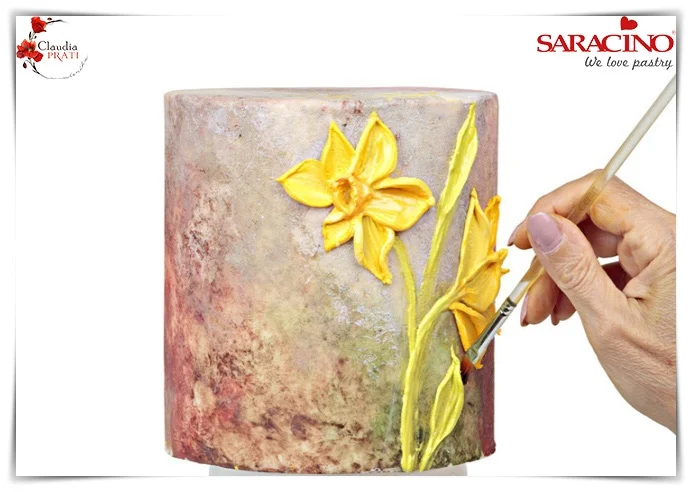
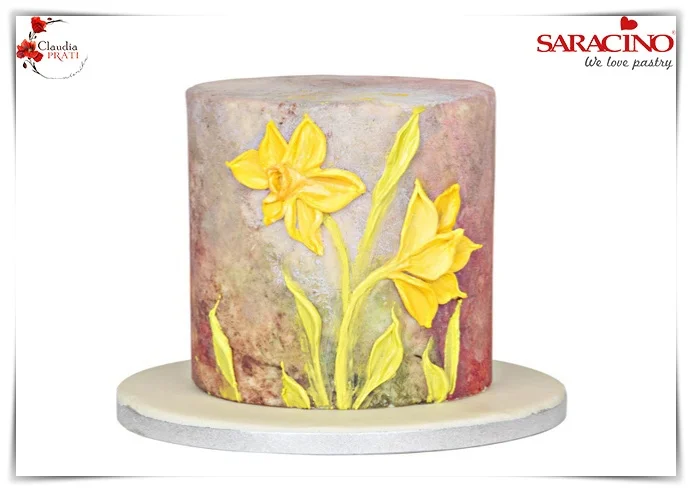
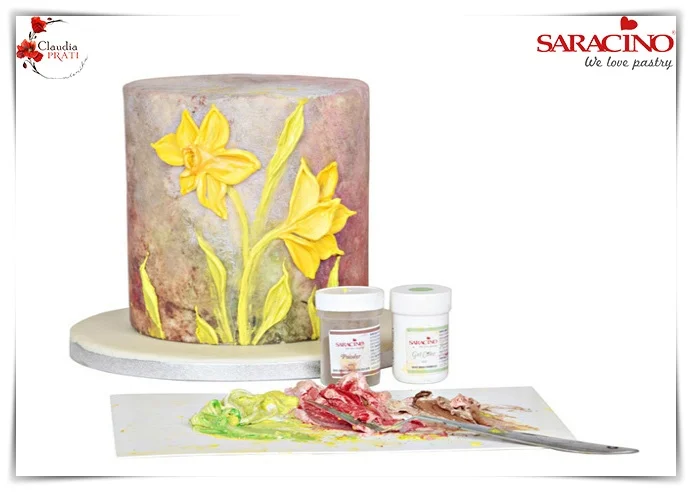
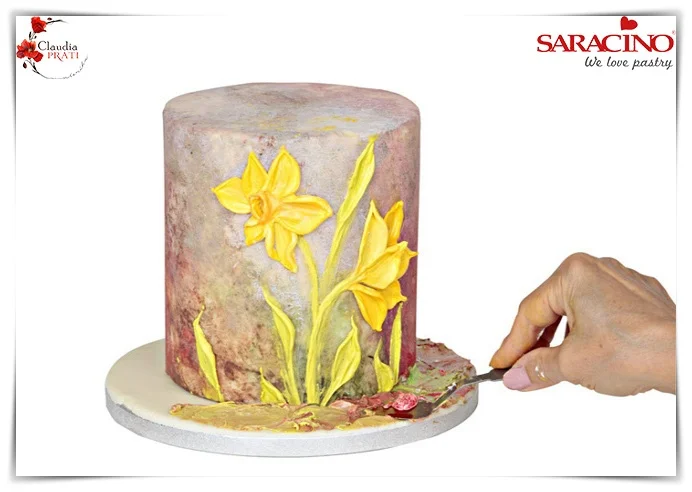
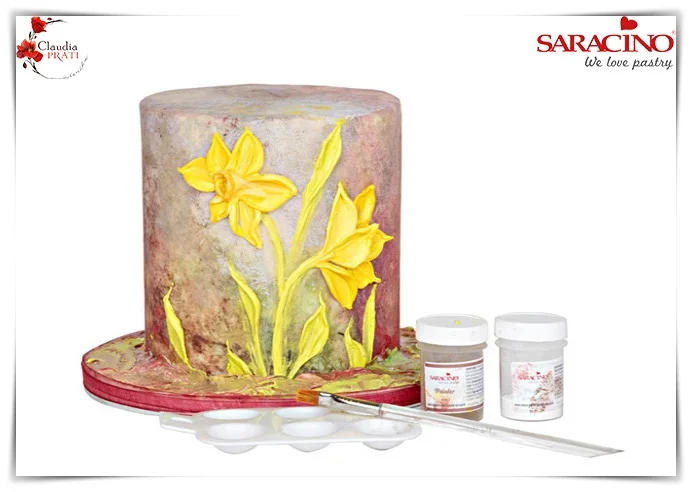
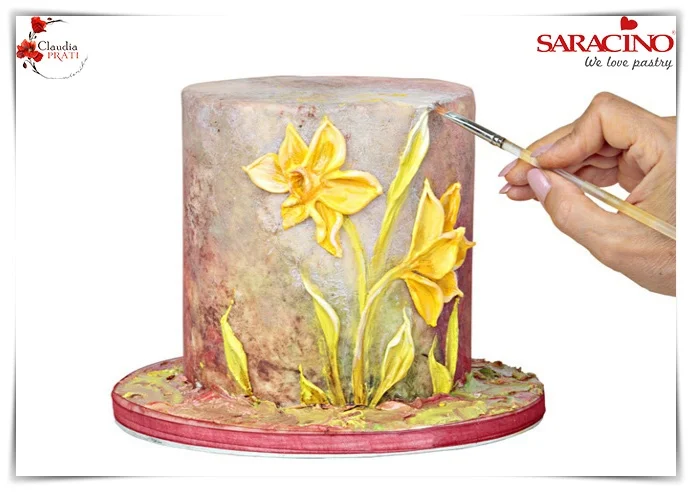
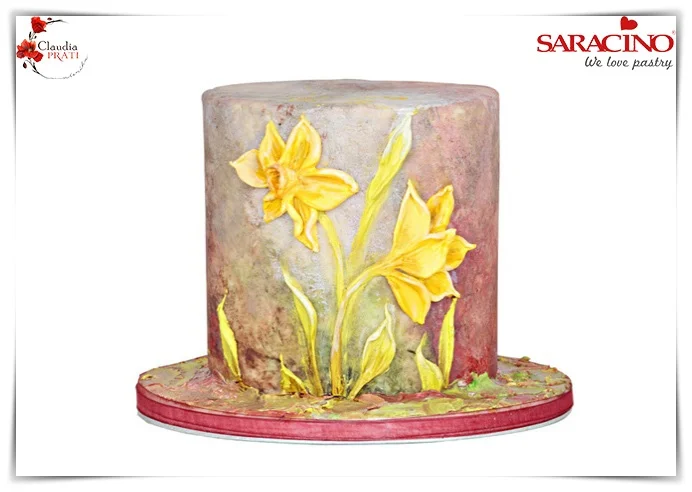
“MATERIKA” PALETTE KNIFE DAFFODIL’S PAINTING

“MATERIKA” PALETTE KNIFE DAFFODIL’S PAINTING

Skill level: INTERMEDIATE

You will need:

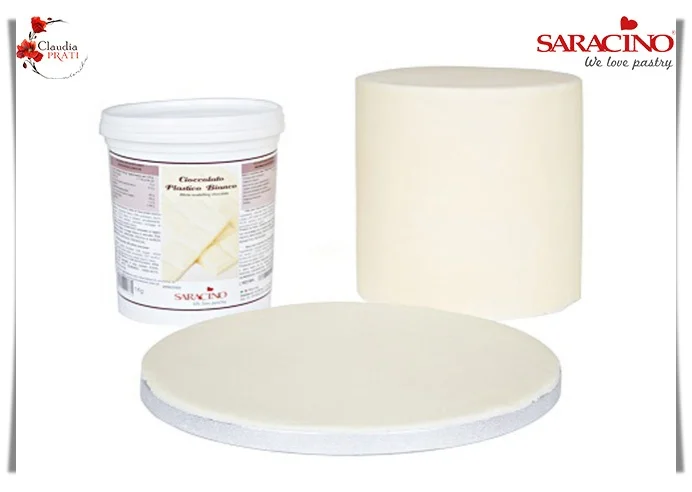
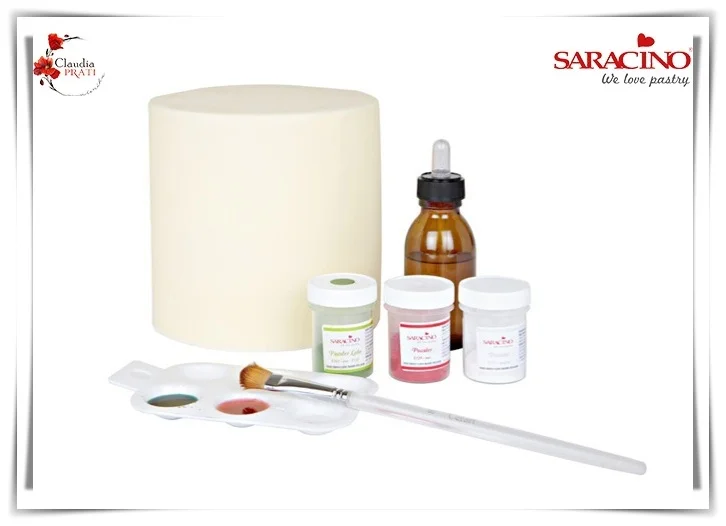
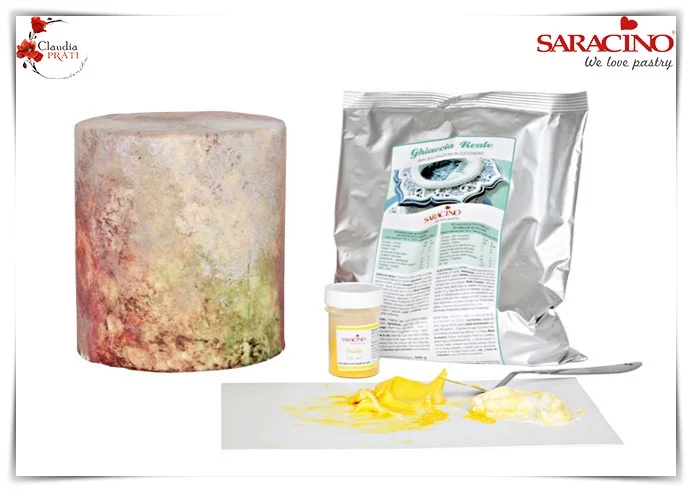
  • A round cake of 20cm diameter/15cm high covered with 300g Saracino white modelling chocolate
  • A 24cm round cake board covered with 150g of Saracino white modeling chocolate
  • Saracino Dust colors: white, red, brown, green, yellow
  • Saracino gel colors: green
  • 500g Saracino royal icing mix
  • 100 ml Vodka
  • One pointed stainless steel or plastic palette knife
  • 1 flat medium brush
  • 1 flat big brush
  • 2/3 pcs. small piping bags

Step 1

Cover the cake and the cake board with the modelling chocolate.

Step 2

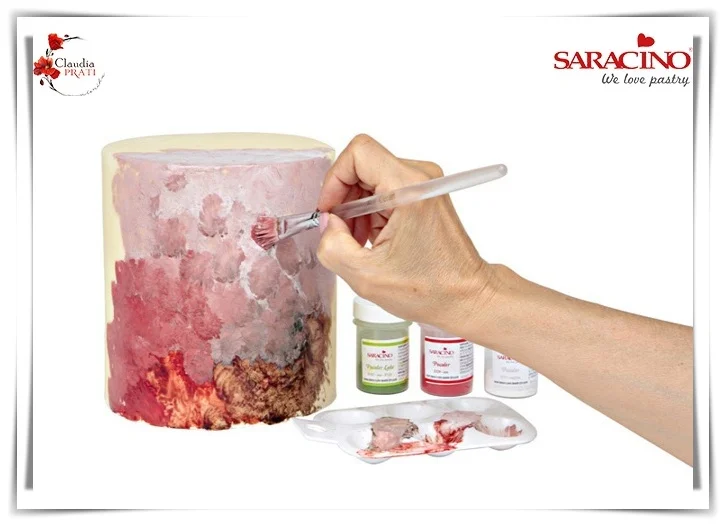
Mix some green, red and white dust color with a few drops of vodka, achieve a “paste” consistency

Step 3

Start painting the cake with red, green and white dabbing the surface of the cake

Step 4

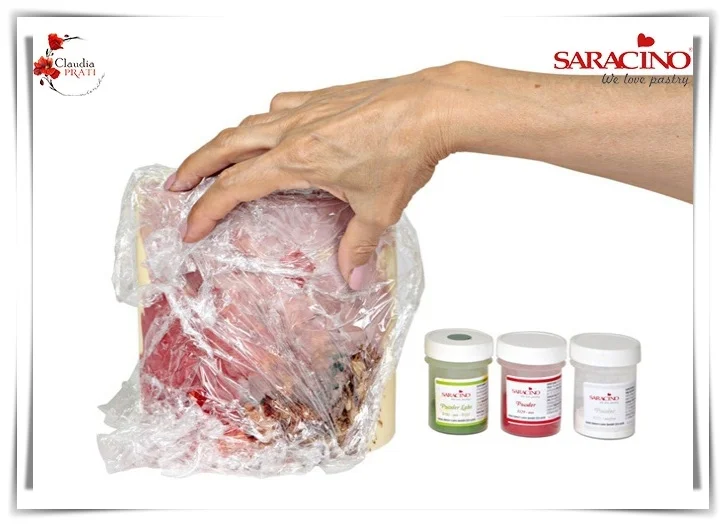
Crumple some film and place it on the cake. Remove the film by dabbing the surface of the cake

Step 5

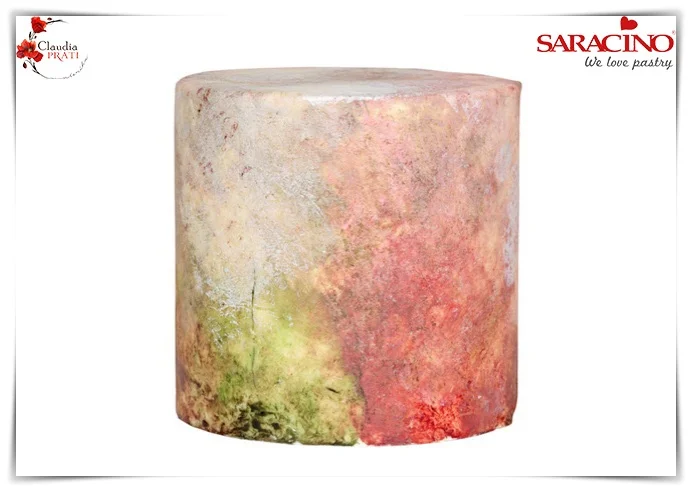
Paint half of the cake at a time in order to avoid drying of the colour. You should obtain a very “casual” painting

Step 6

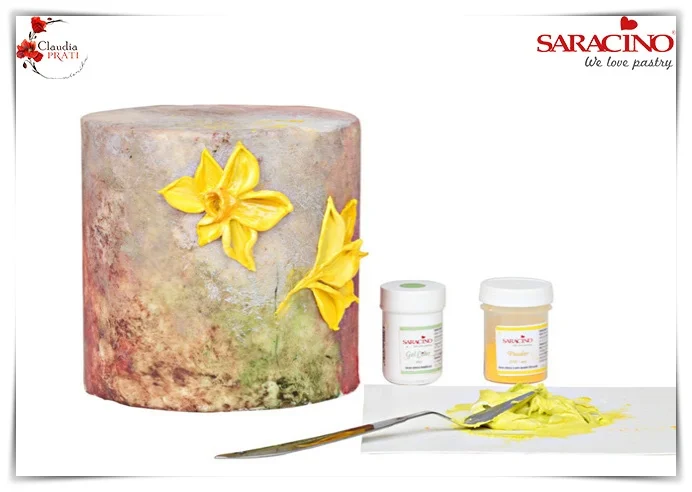
Prepare 500g of Saracino royal icing mix. Colour a spoon of royal icing with Saracino yellow dust to obtain a deep yellow colour. Colour a spoon of white royal icing with a pinch of the previous yellow royal icing to obtain a lighter shade.

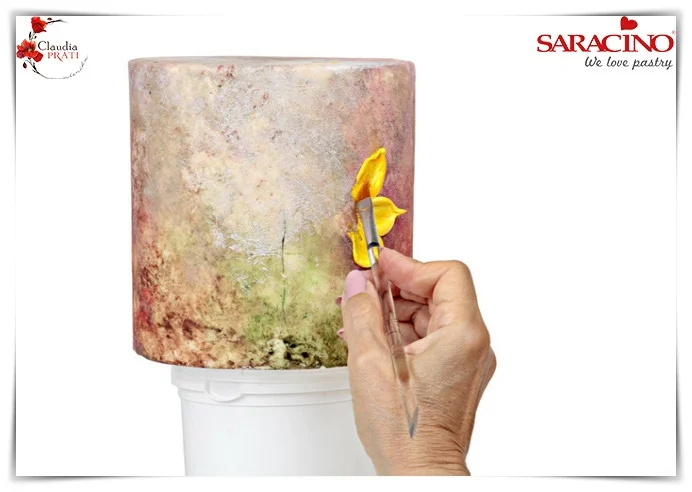
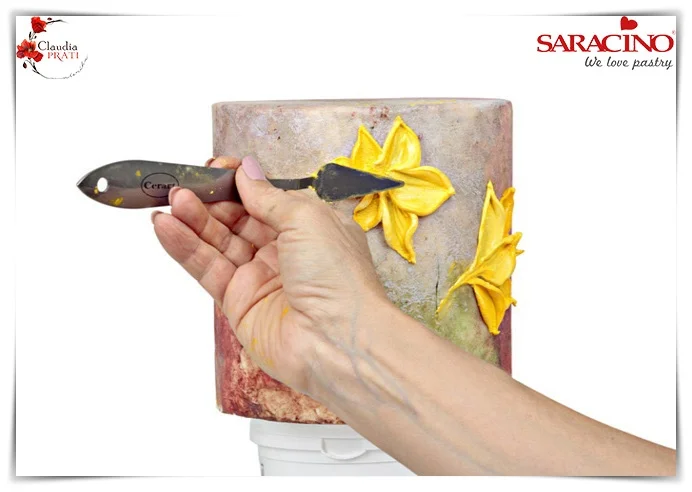
Step 7

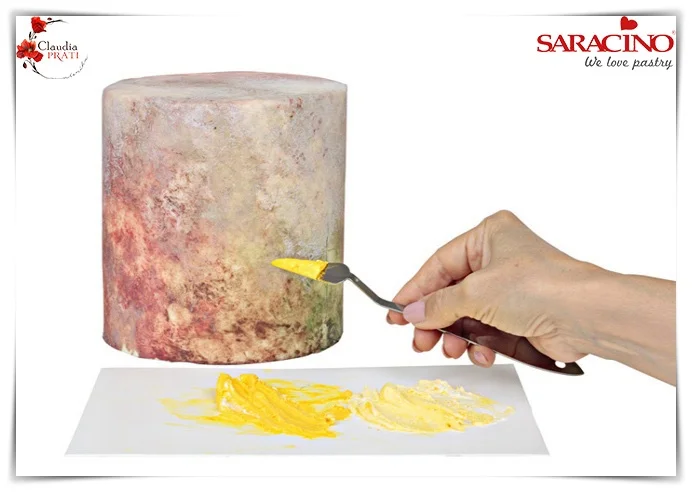
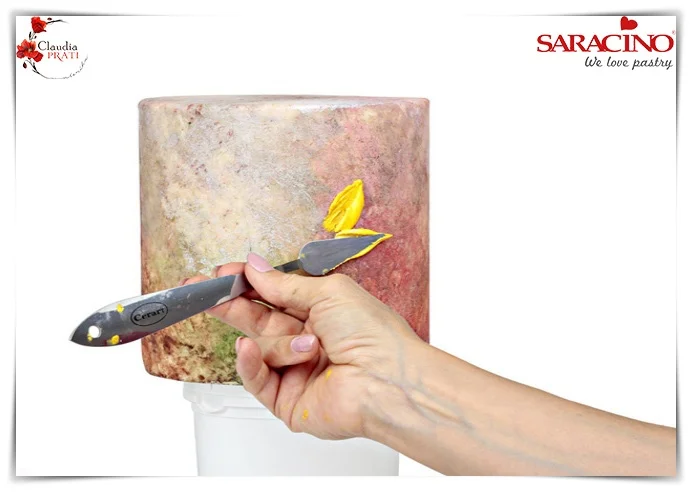
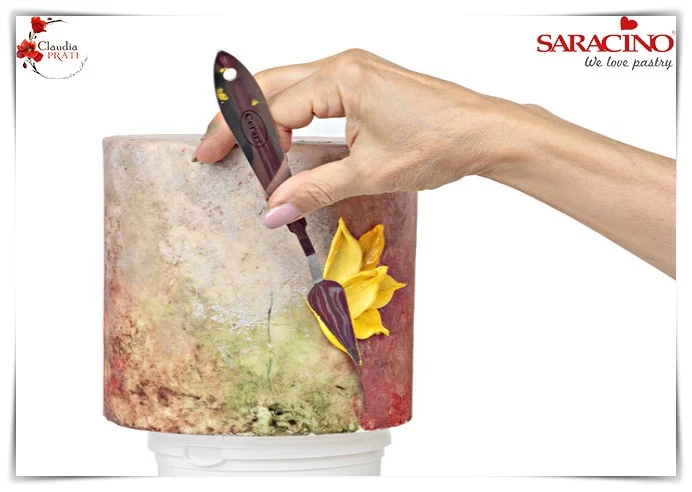
Fill the back of the spatula with the deep yellow royal icing as shown in the picture

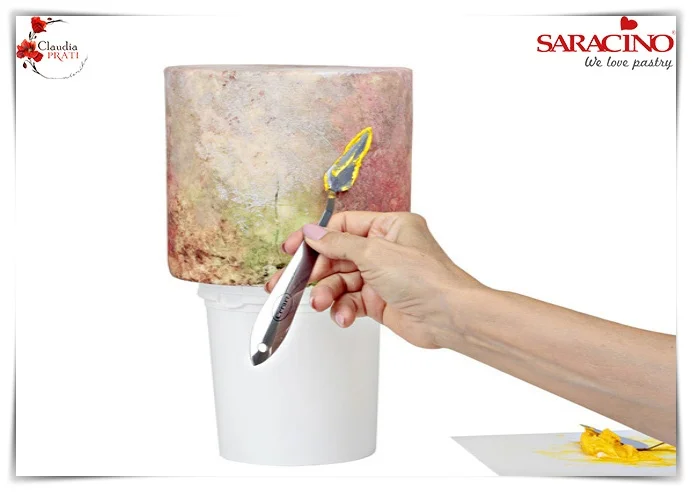
Step 8

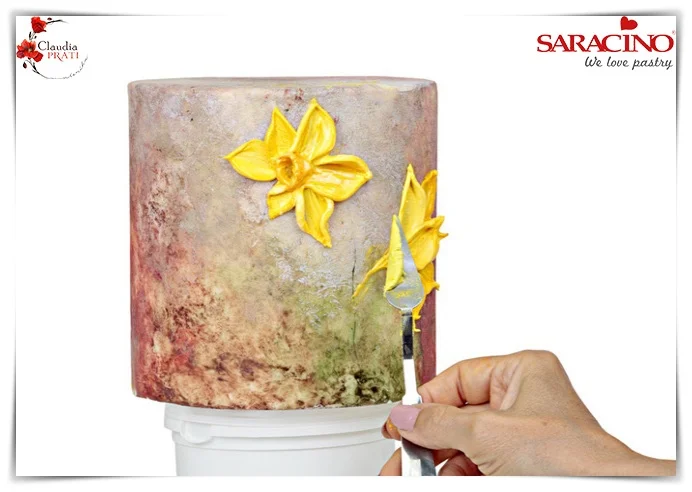
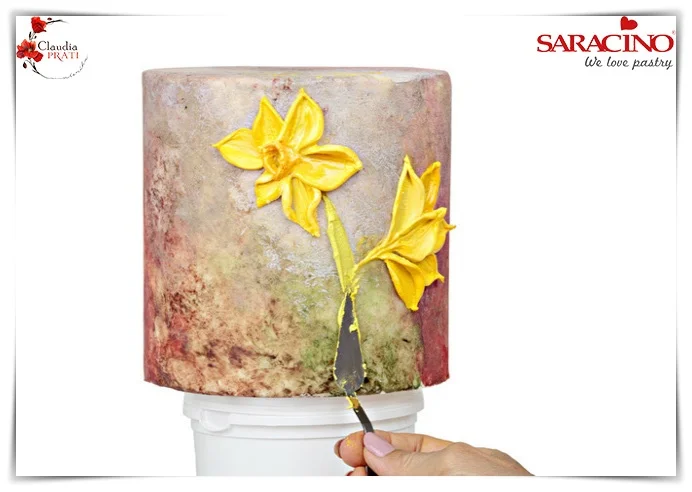
First petal: Place the palette knife on the cake in the position shown.

Step 9

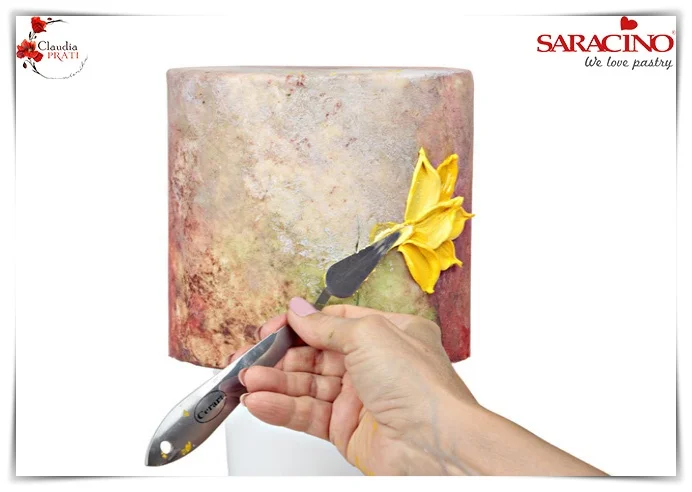
First press and then go down in a flat motion.

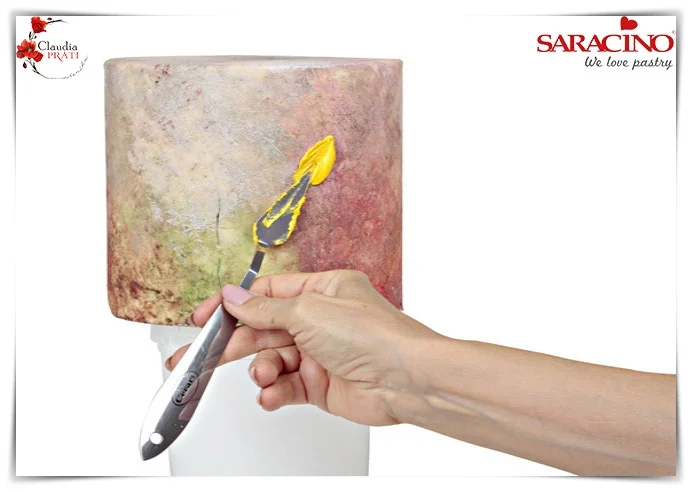
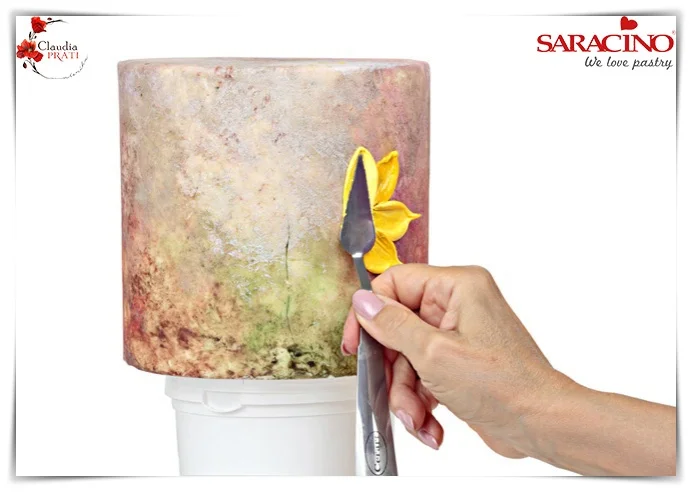
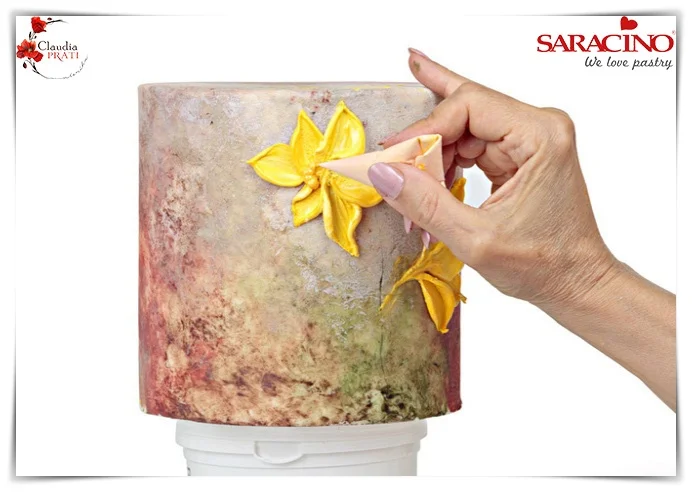
Step 10

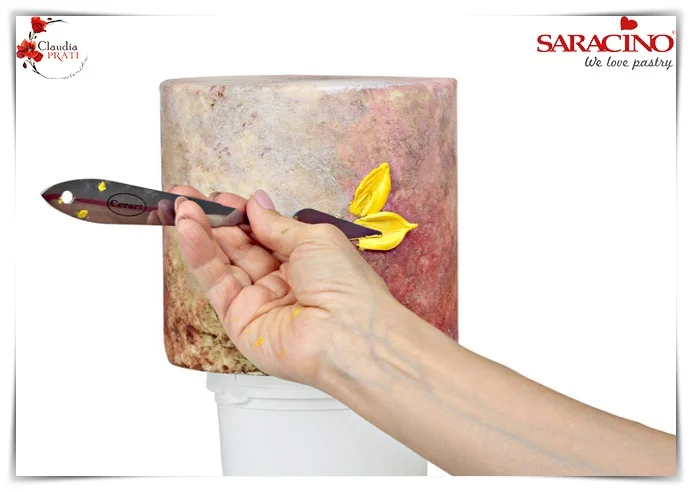
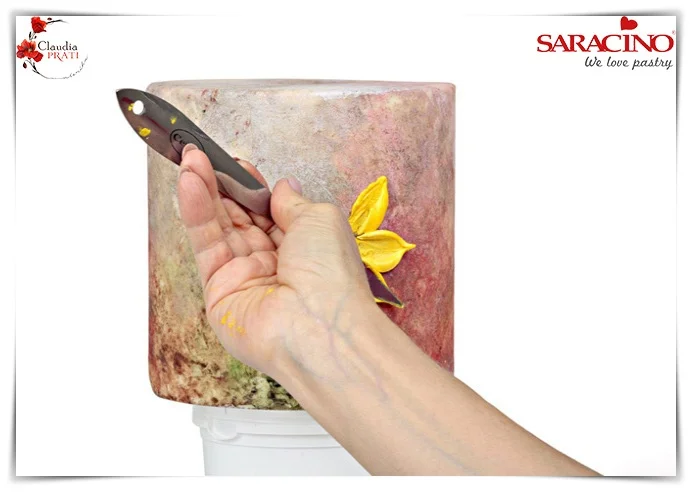
Second petal: with the same amount of royal icing on the palette knife put the spatula in the position shown

Step 11

Go on the left with a flat motion as with the first petal

Step 12

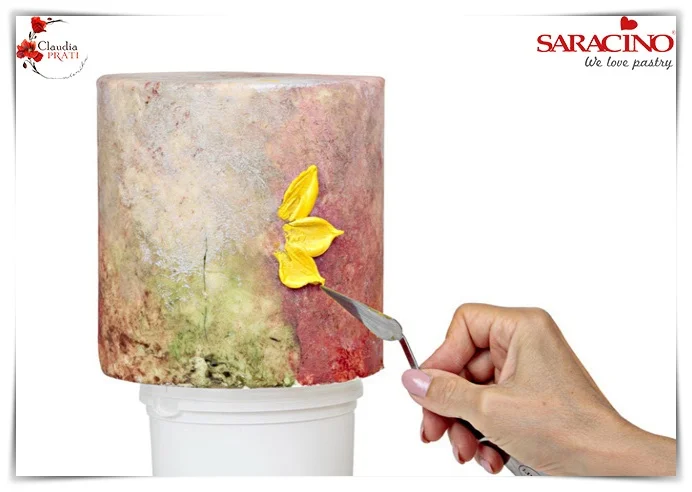
Do another petal in the same way under the second one

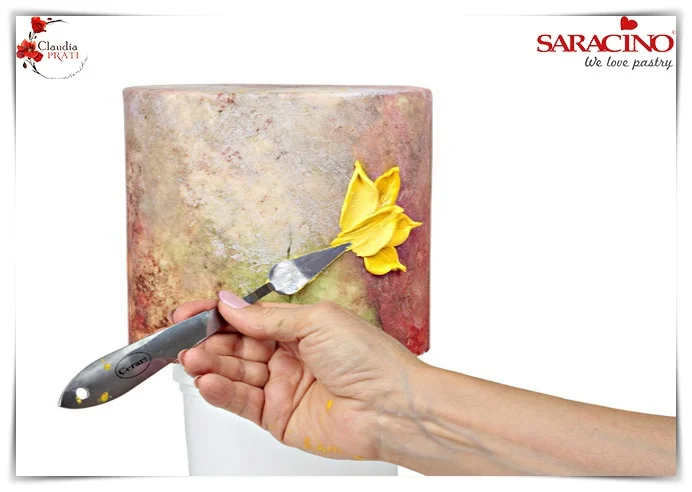
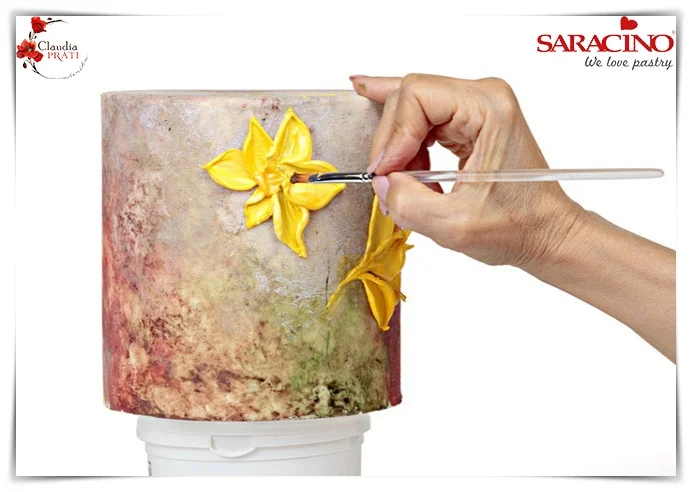
Step 13

Tidy the edge of the petals with the spatula

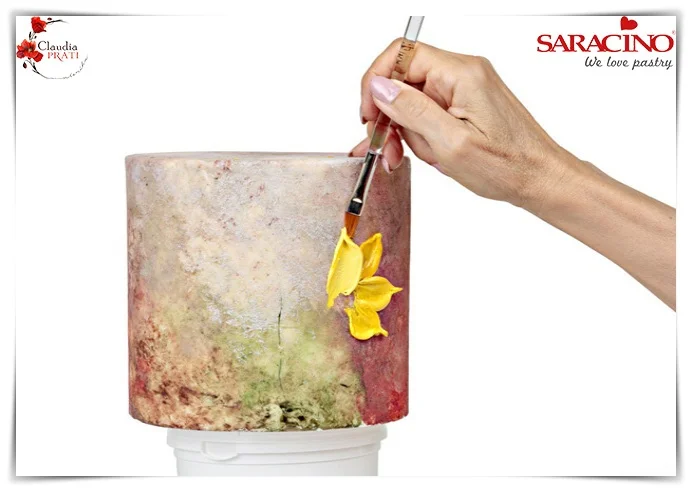
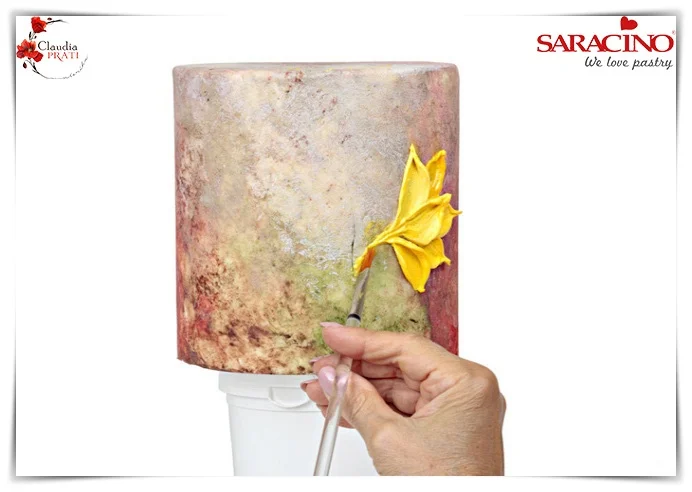
Step 14

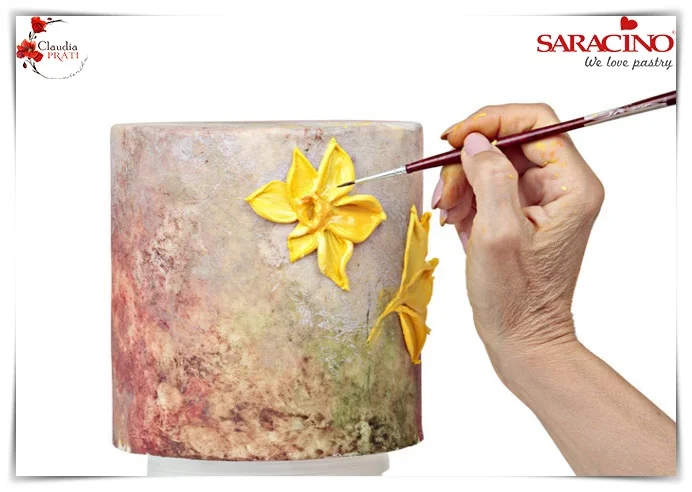
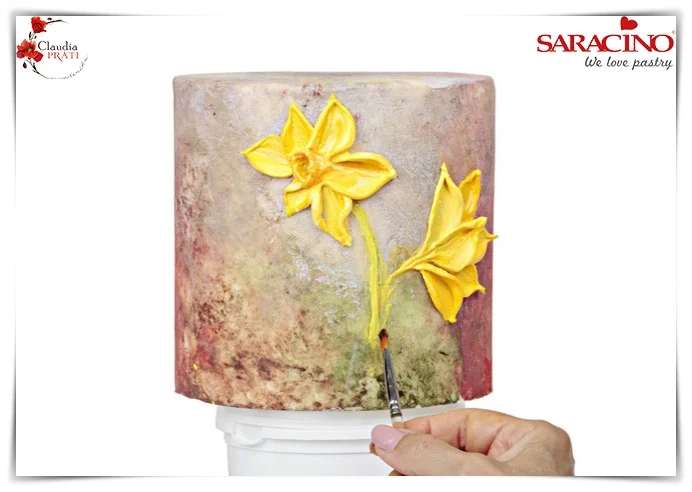
With a damp brush create some veins inside of the petals

Step 15

Fill the palette knife with a bit more of royal icing than before mixing the two yellows. Proceed with the fourth petal that overlaps the first petal but is more open to the left

Step 16

Tidy the edge with the damp brush

Step 17

Do another petal in the same way, using a mix of the two yellows. The edge of this petal is between the first and the second one.

Step 18

The sixth petal is put between the second and the third petal. Turn the palette knife upside down and press going up reaching the center of the flower

Step 19

Put a small quantity of yellow in the center of the flower going down with the palette knife creating a curved shape

Step 20

Tidy the center of the flower modeling it with a damp brush

Step 21

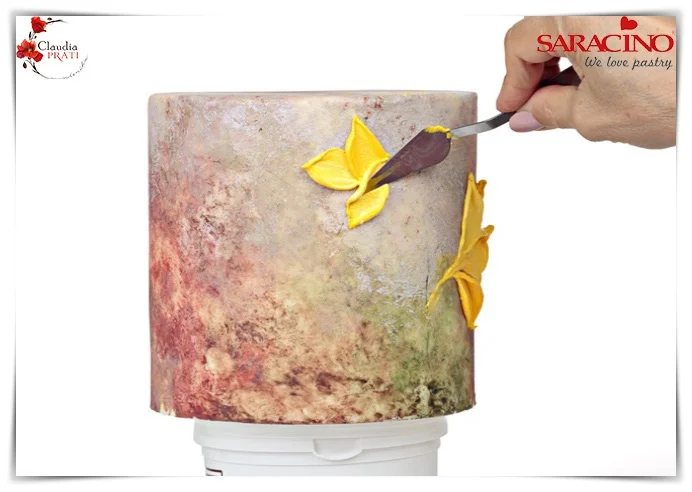
Create an open flower on the cake. Repeat the first 3 petals of the first flower but going on the right side instead of the left side

Step 22

In the same way do another three petals on the right

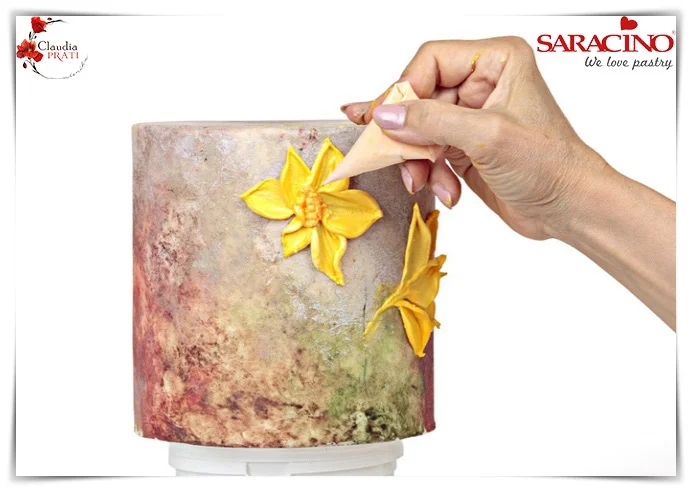
Step 23

Put some yellow royal icing in a small piping bag and create an oval shape in the center of the flower

Step 24

Blend the center of this shape with a damp medium brush leaving a thicker edge

Step 25

Put another bold line of royal icing on the right side of the first one leaving an hole in the middle

Step 26

Model and form the edge of this shape with a damp small brush

Step 27

Mix some green gel colour and yellow dust colour with a spoon of royal icing in order to create two different kinds of green, a medium green and a light green

Step 28

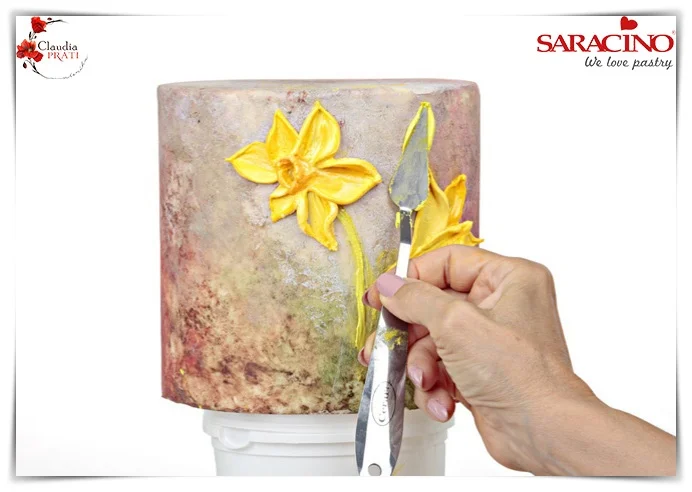
Fill just the edge of the pointed palette knife with a small quantity of royal icing

Step 29

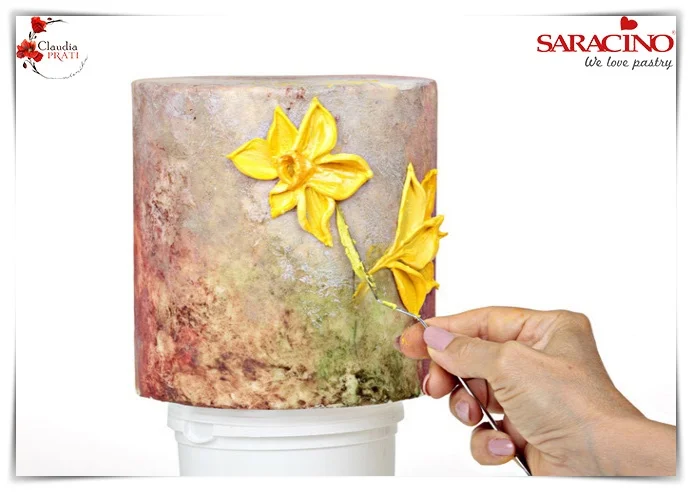
Touch the cake just with the edge of the spatula going down from top to bottom. To achieve a thin and long shape

Step 30

Put another long shape in the same way of step 29 under the first one.

Step 31

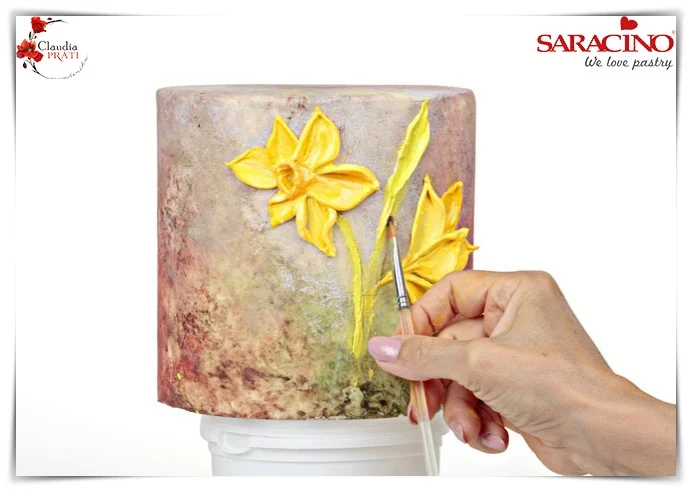
With a small brush model the two shapes together to create a stem underneath the flower

Step 32

Fill the palette knife with some green (mix the two greens together on the palette knife) and put in on the cake in the position shown with a flat motion that goes from the top to the bottom of the cake to create a leaf.

Step 33

Model this shape with the brush creating a long stem

Step 34

Apply some more of the green royal icing to finish the stem. Tidy with a damp brush.

Step 35

Do another stem in the same way on the first flower and model it with the brush

Step 36

Repeat step 28/30 and create other leaves all around, model the edge of each leaf with the brush

Step 37

Fix the cake to the cake board.

Step 38

Divide 100g of royal icing in 3 parts and colour it with green Saracino gel, Saracino dust brown and dust red. Keep some white royal icing on one side to use later

Step 39

Mix the 3 colours together on the palette knife and paddle the surface on the cake board, ocassionaly mix some white royal icing on the 3 colours

Step 40

Put just a touch of white dust in the palette and fill the container with some drops of vodka. Do the same with some Saracino brown dust colour

Step 41

Add some touches of shadows using the brown, painting with the medium brush the stems from the bottom to the top and the inside of the open flower. Add some touches of light painting with the medium brush some white from the edges of the petals to the center of the flowers.

Step 42

Fix a “burgundy” or brown ribbon around the cake board

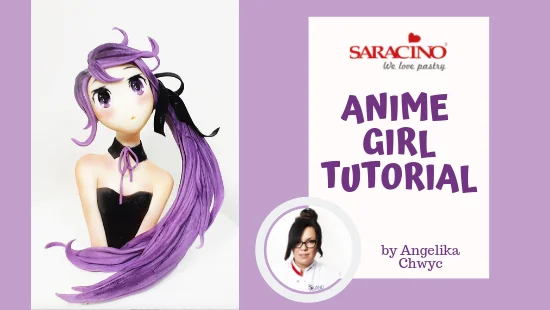
ANIME GIRL TUTORIAL

ANIME GIRL TUTORIAL

You will need:

  • Saracino white modelling paste
  • Saracino modelling chocolate
  • Saracino black modelling paste
  • Saracino skin tone powder colour
  • Saracino purple gel colour
  • Craft knife or scalpel
  • Rolling pin
  • Large brush
  • Small brush
  • Dummy
  • Cocktail sticks and wooden skewer
  • Florist wire
  • Tool with a sharp point

Step 1

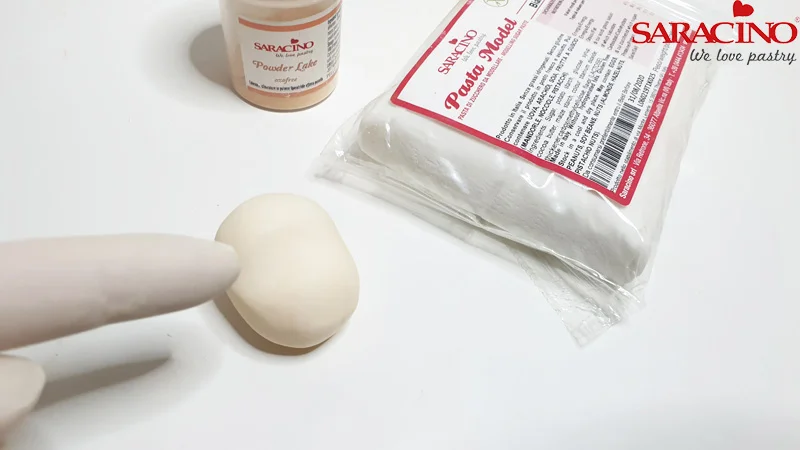
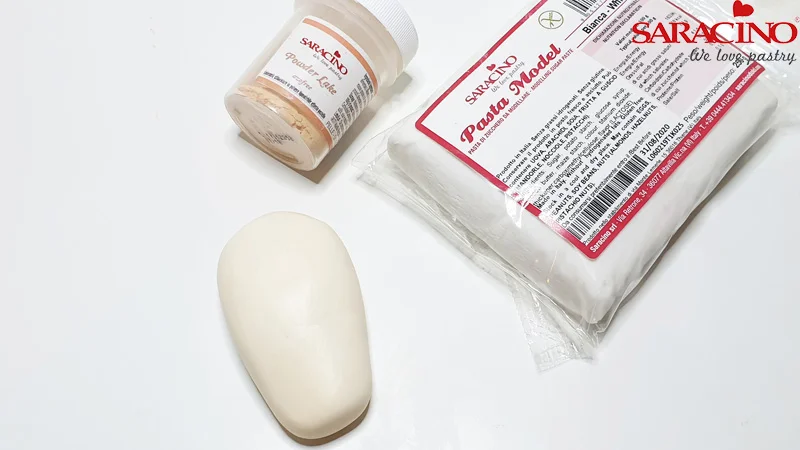
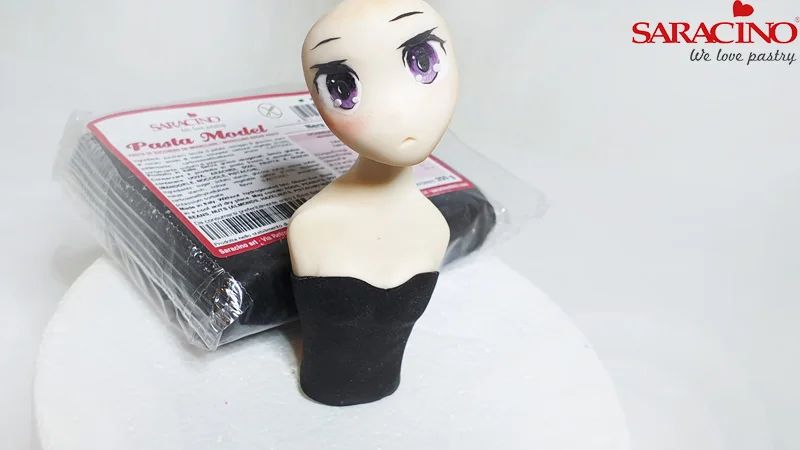
Mix white modelling paste with skin tone powder colour. Form an oval shape.

Step 2

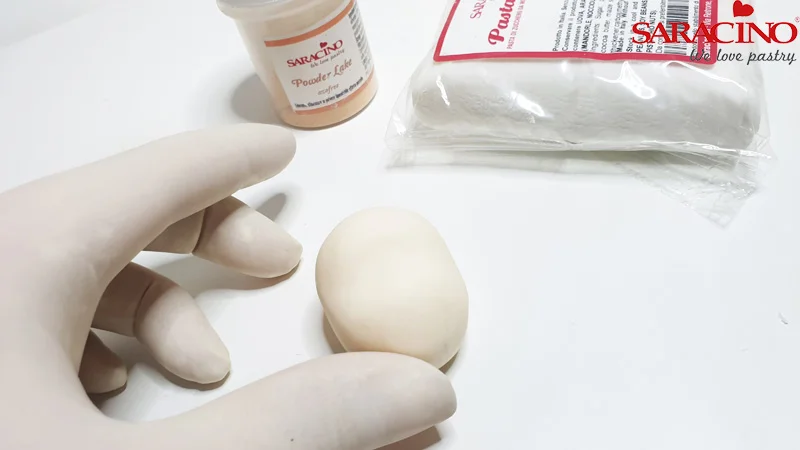
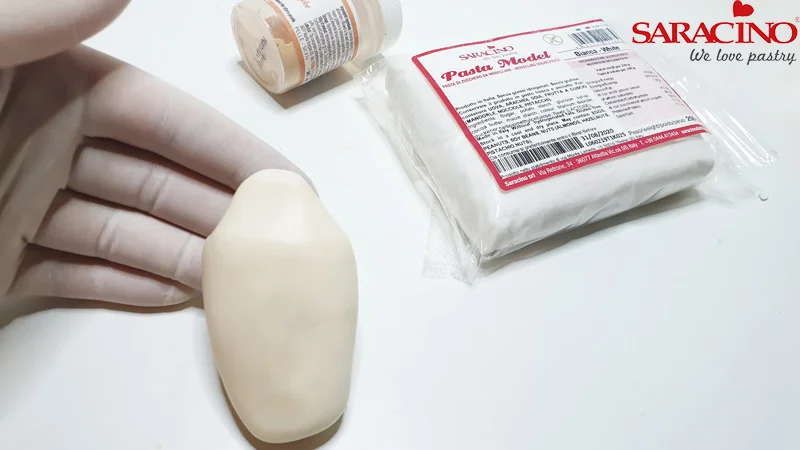
Then with your finger form a dent across the centre

Step 3

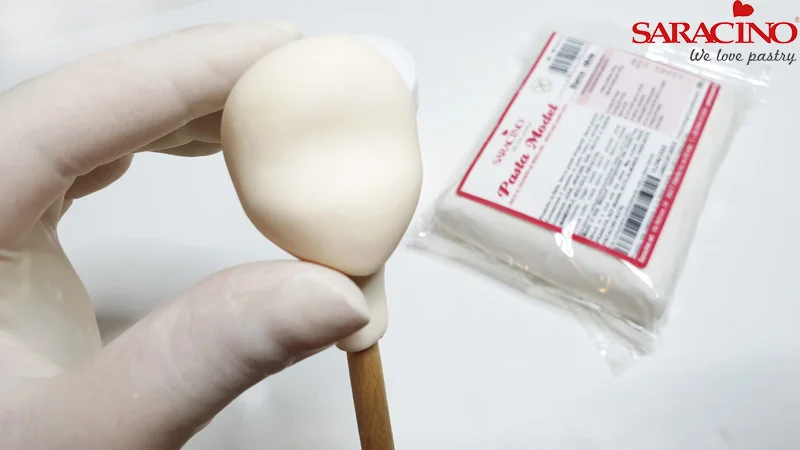
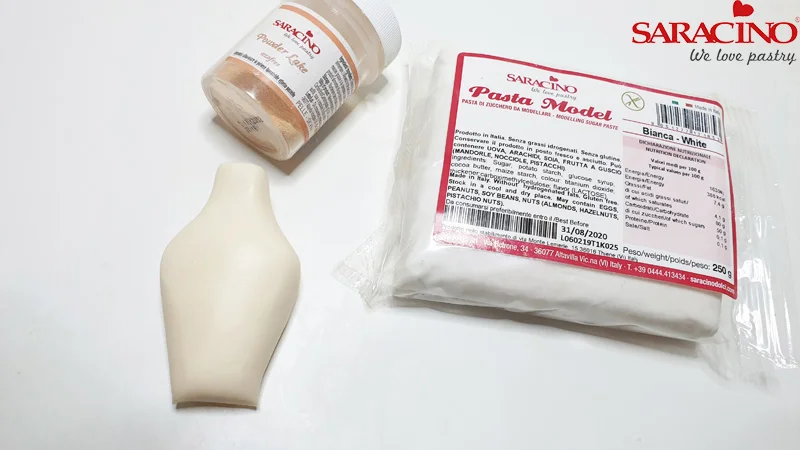
To create a chin, find the centre of the bottom of the face. Press gently on both sides to create a triangle shape.

Step 4

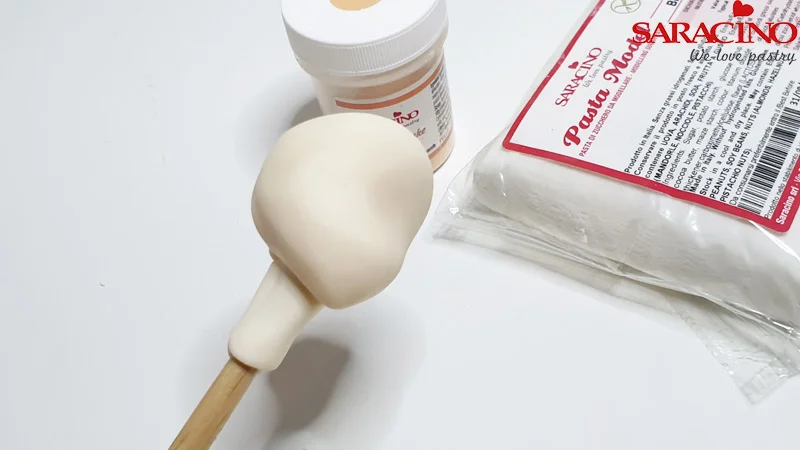
Attach the head to the wooden stick. Using a small amount of paste, fix a piece of paste around the top of the stick to stop the head sliding down. This is not a neck and will be removed later.

Step 5

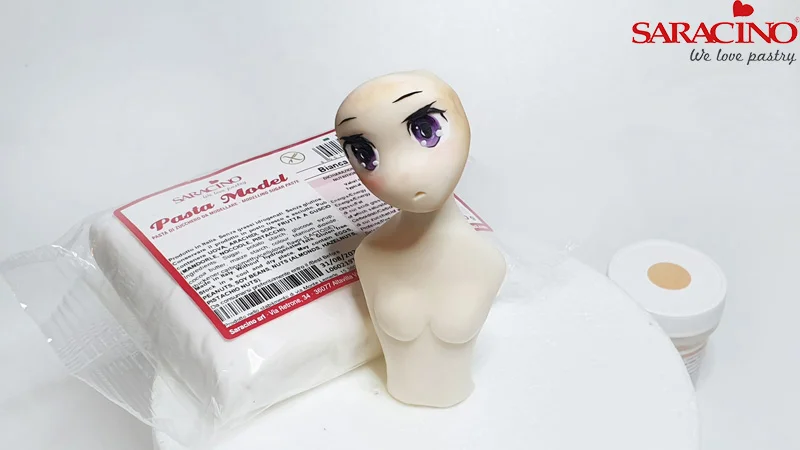
Face should look as shown on the picture. You are trying to achieve a delicate narrow look to the chin area.

Step 6

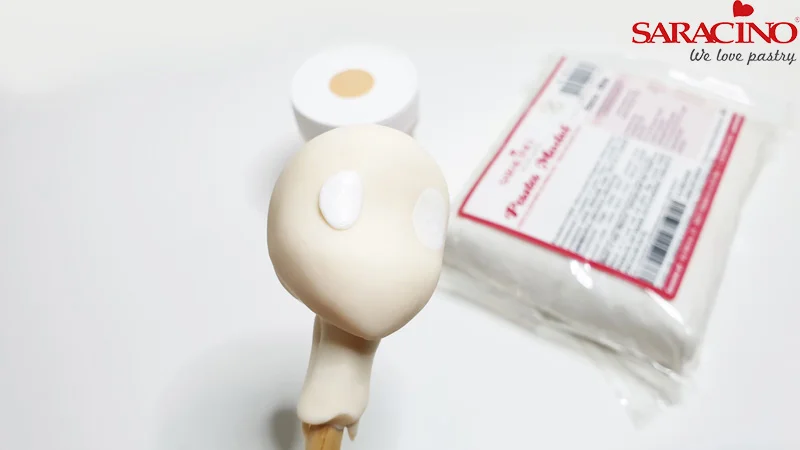
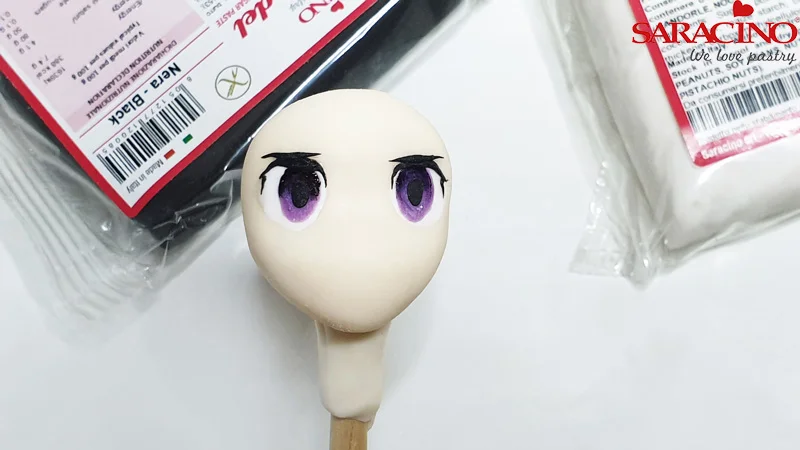
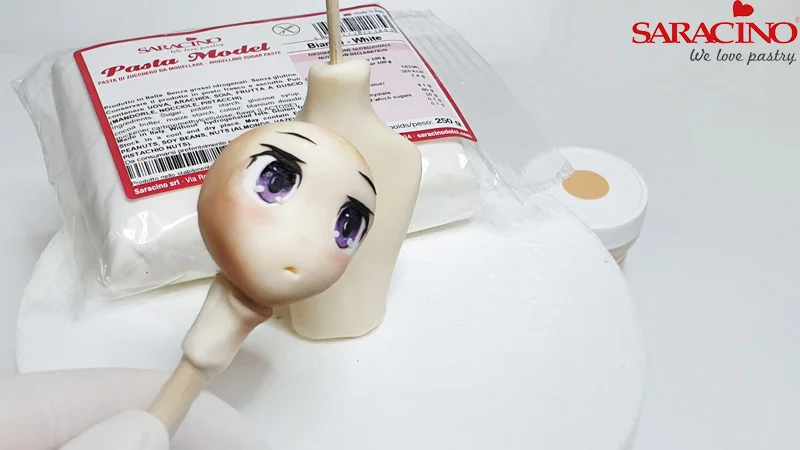
Make two small balls from your white modelling paste and position over each eye location. Gently press to flatten the white ball making sure you do not blend into the skin tone. The white eye needs to stand out.

Step 7

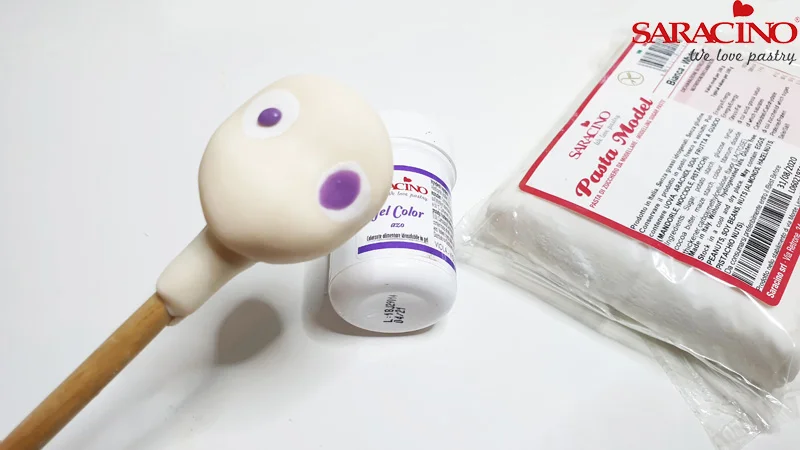
Colour a small amount of paste with purple gel colour and form two small balls. Position them in the centre of the eye and blend to form an oval shape as shown. 

Step 8

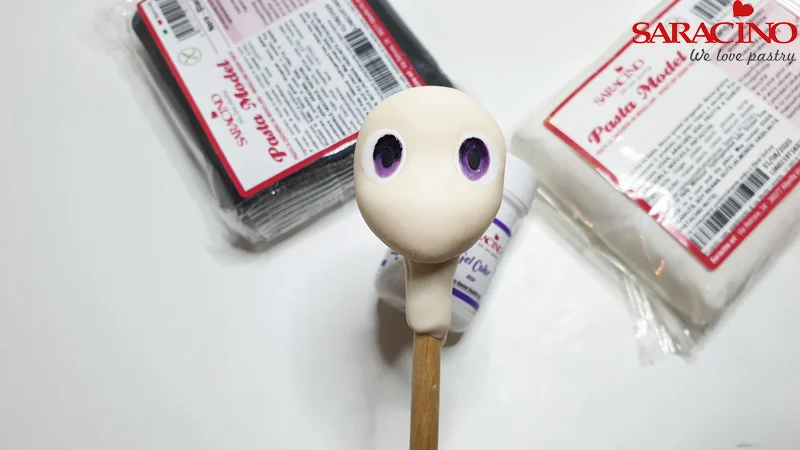
Using the purple gel colour add darker shade to the top of the eye. Create two small balls using black modelling paste and position in the centre of eyes. Blend gently.

Step 9

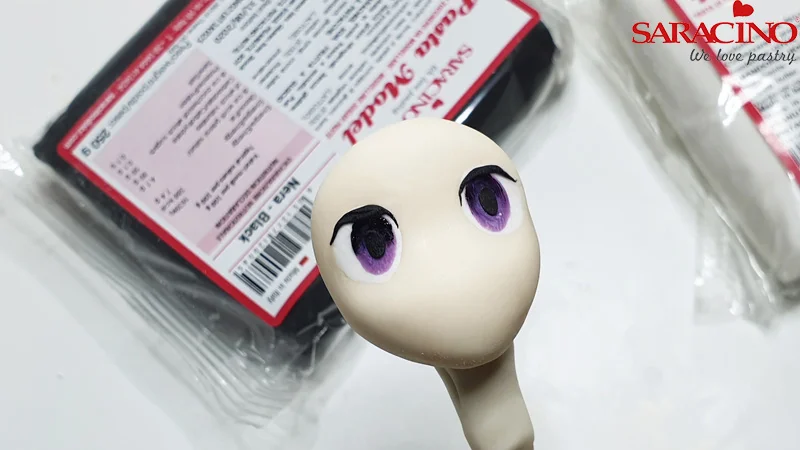
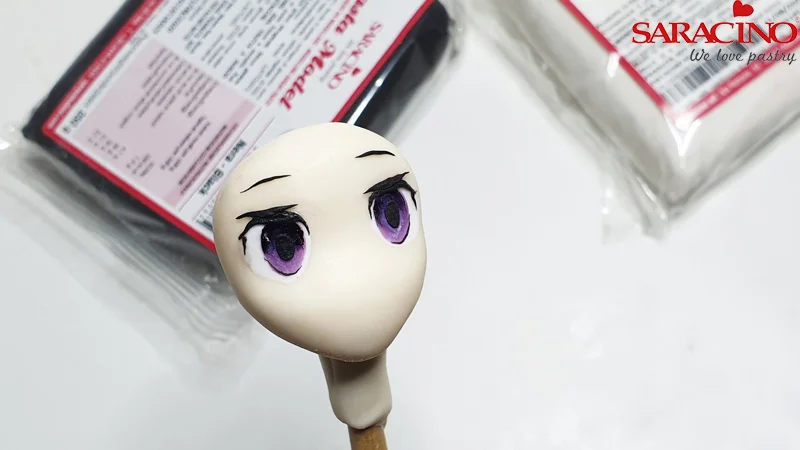
Using black modelling paste roll out two very thin sausages to create eyelashes. Fix above both eyes.

Step 10

Add additional line above eyelashes on both eyes.

Step 11

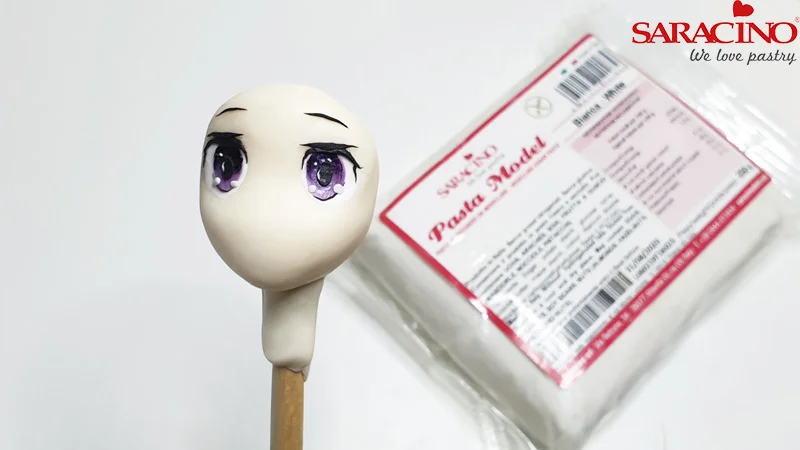
Roll more of black modelling paste very thinly and create two eyebrows as shown on the picture. Add thin lines at the bottom of each coloured area of the eyes.

Step 12

Using white modelling paste, create tiny balls and fix to the eyes where shown. This is characteristic of anime characters.

Step 13

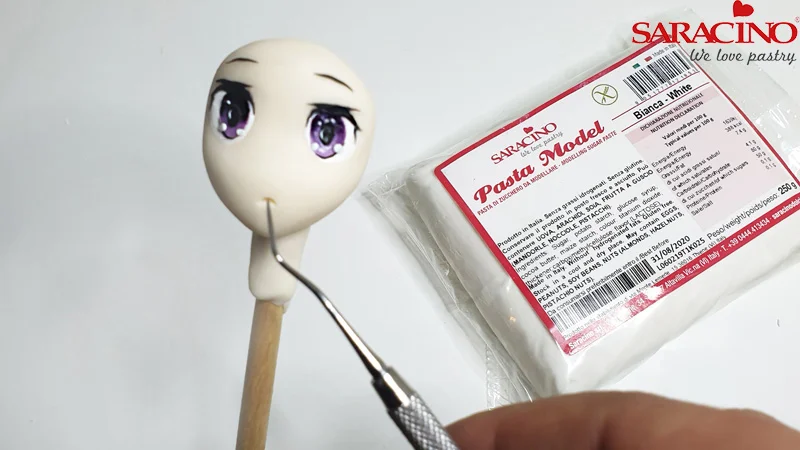
Use the sharp tool to make a mouth.

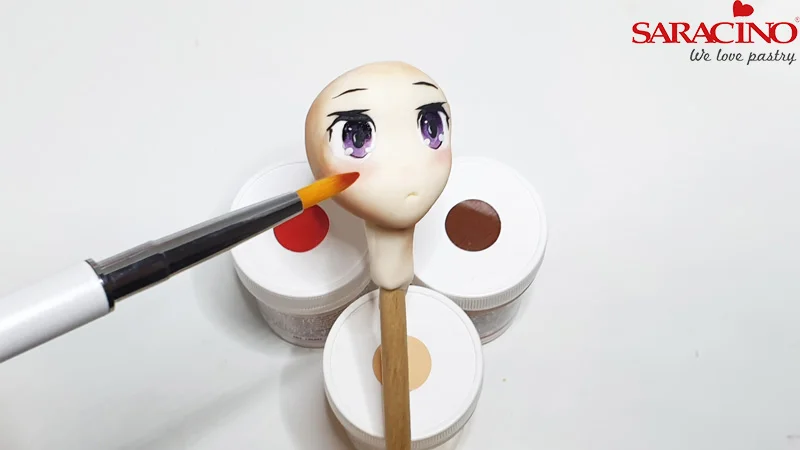
Step 14

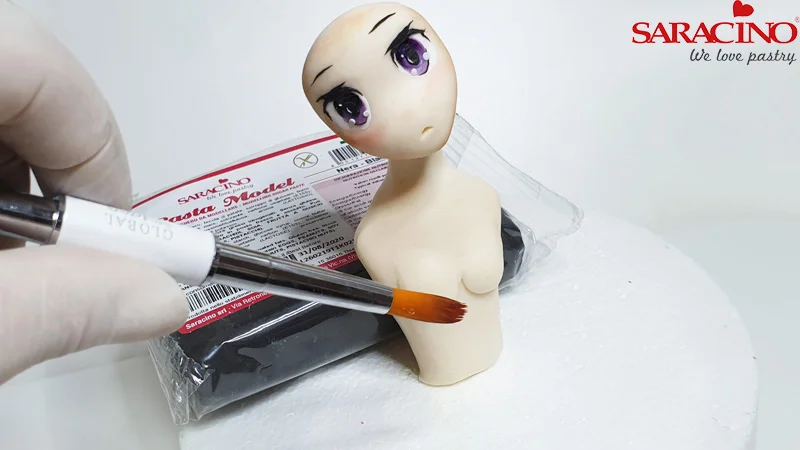
Mix some red, skin tone and brown dust colours. Using a soft brush apply tone to the face to create definition as shown

Step 15

Put sugar face on one side and let it dry. Create body using the same modelling paste (white mixed with skin tone dust)

Step 16

Using finger pressure form the shoulder and neck area.

Step 17

Gently form the neck to make it thin and delicate.

Step 18

Place a wooden skewer through the body into your dummy with the short piece left from the neck to fix the head. Get your head off the stick. Make sure you remove the piece that has been created to secure the head from sliding down.

Step 19

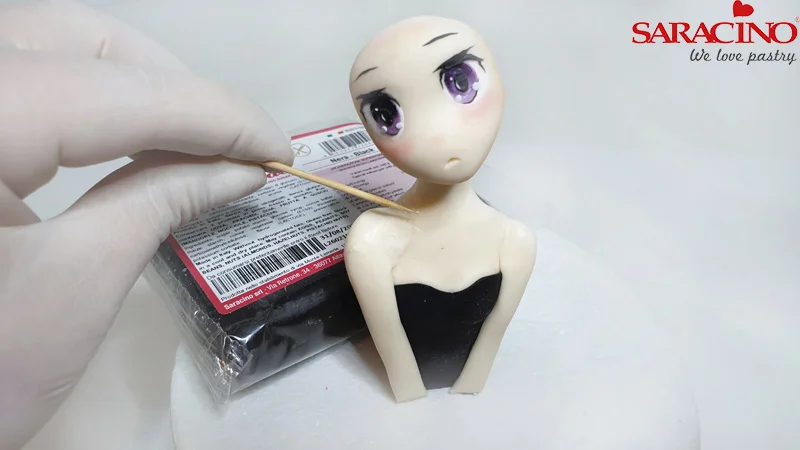
Apply the head to the body at a slight angle. Roll out two small balls of skin tone paste and fix to the chest. Blend the paste around the top to the chest area.

Step 20

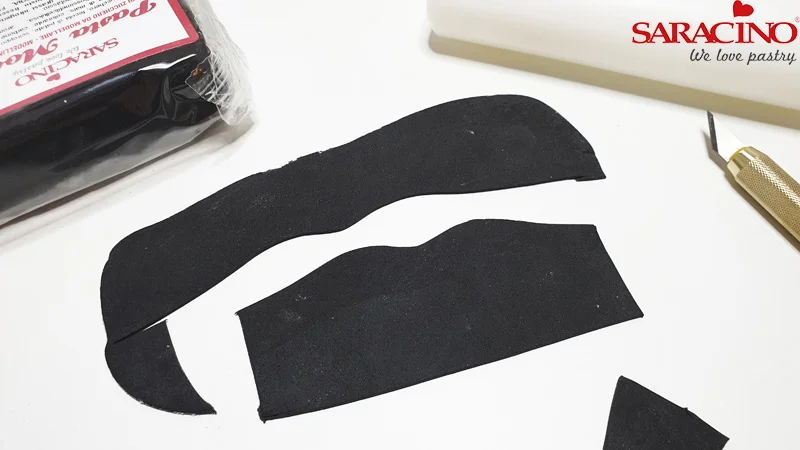
Roll thinly a small amount of black modelling paste to create the top.

Step 21

Apply a tiny amount of water using soft brush. This will help stick the clothes to the body.

Step 22

Apply clothes to the body.

Step 23

Roll out two sausage shapes using your skin tone paste. Fix to the sides of the body as shown. Blend the top of the arms with the shoulders.

Step 24

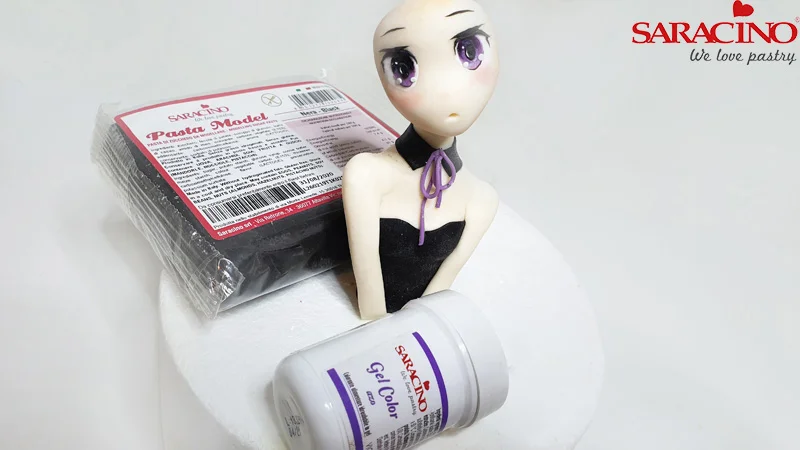
Using black modelling paste, cut out a little collar and attach to the neck. Add a bow using white modelling paste mixed with purple gel colour.

Step 25

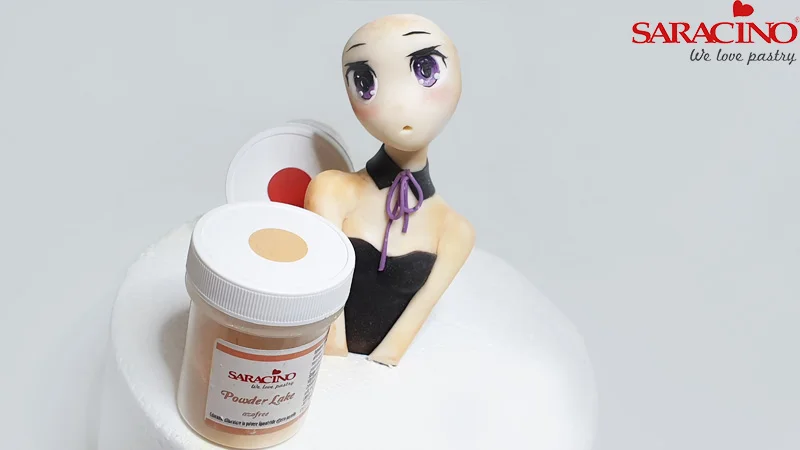
Using skin tone powder colour add shades to the body.

Step 26

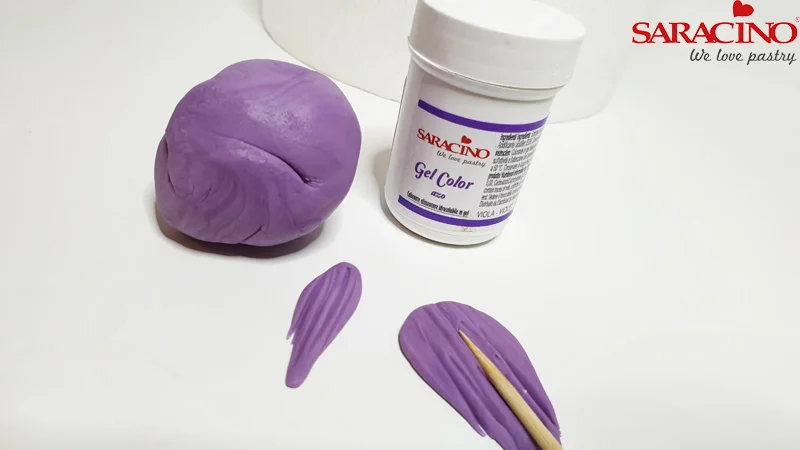
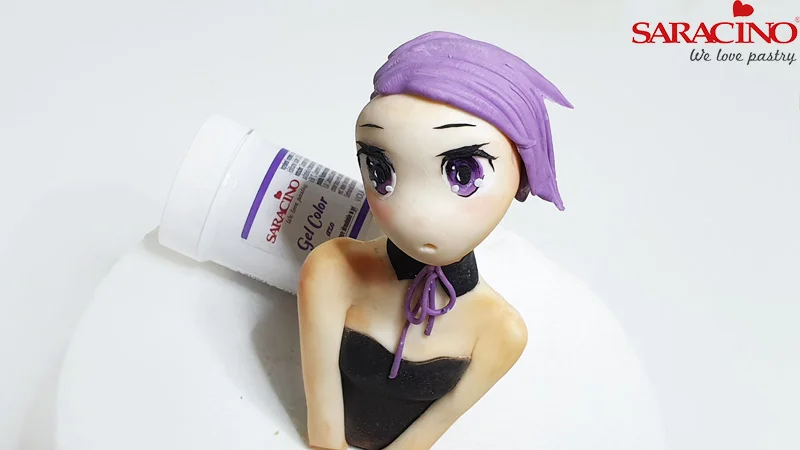
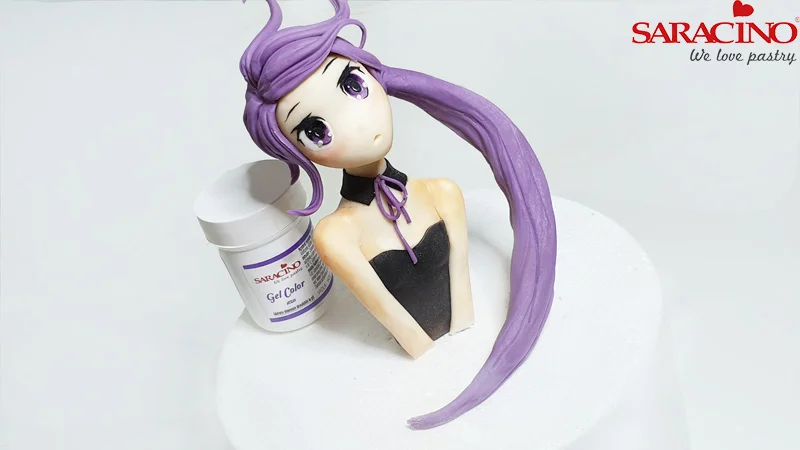
Colour white modelling paste with purple gel colour and start creating hair.

Step 27

Starting from the back of the head fix the hair going to one side.

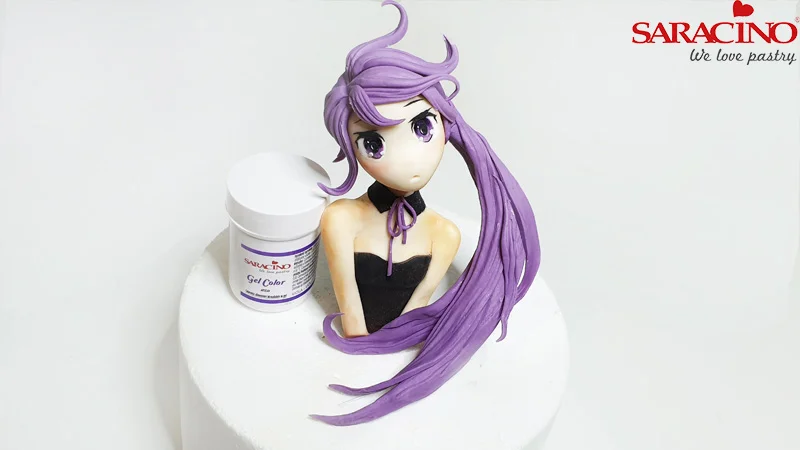
Step 28

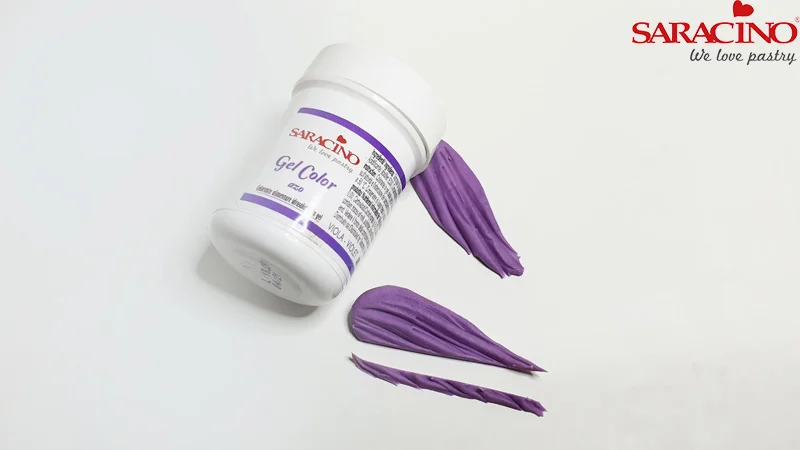
Using the purple paste create finer strands of hair.

Step 29

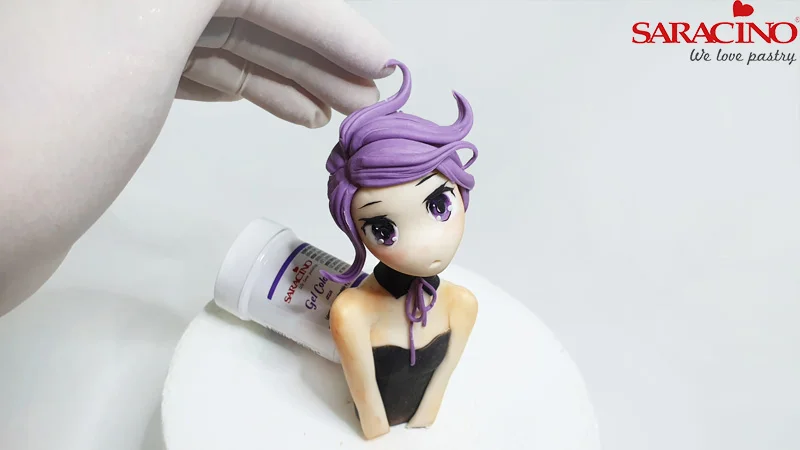
Apply them one by one and curl the ends.

Step 30

Create one long strand of the hair to form a pony tail. Thread the pony tail over a florist wire. Bend to give shape to the hair and fix to the side of the head where shown on the picture.

Step 31

Add layers to the pony tail.

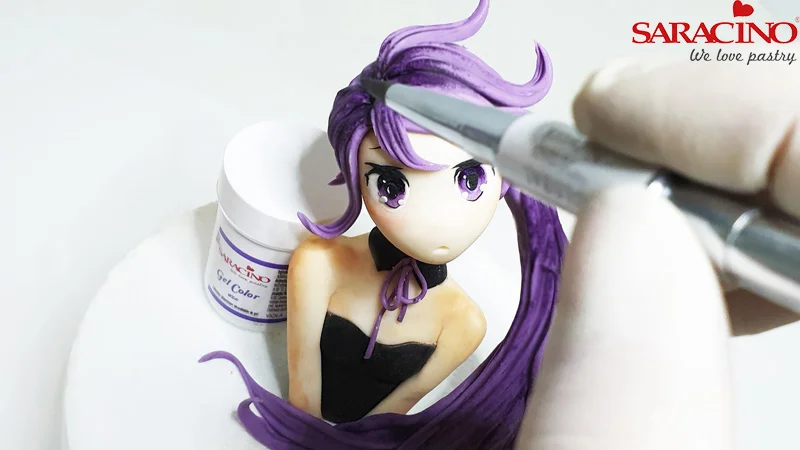
Step 32

Using purple gel colour add darker shade to the top of the hair.

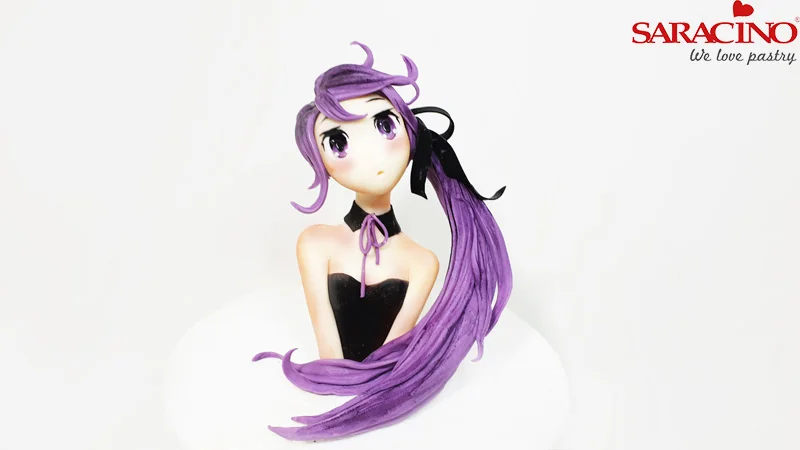
Step 33

Using black modelling paste create a thin ribbon and fix to the pony tail.

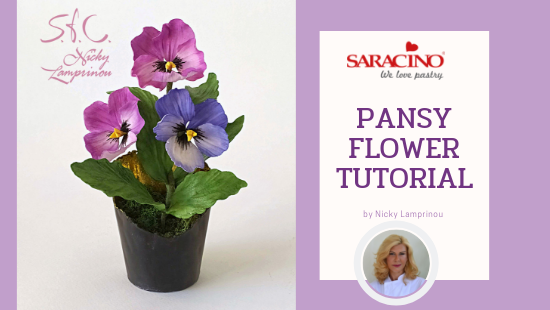
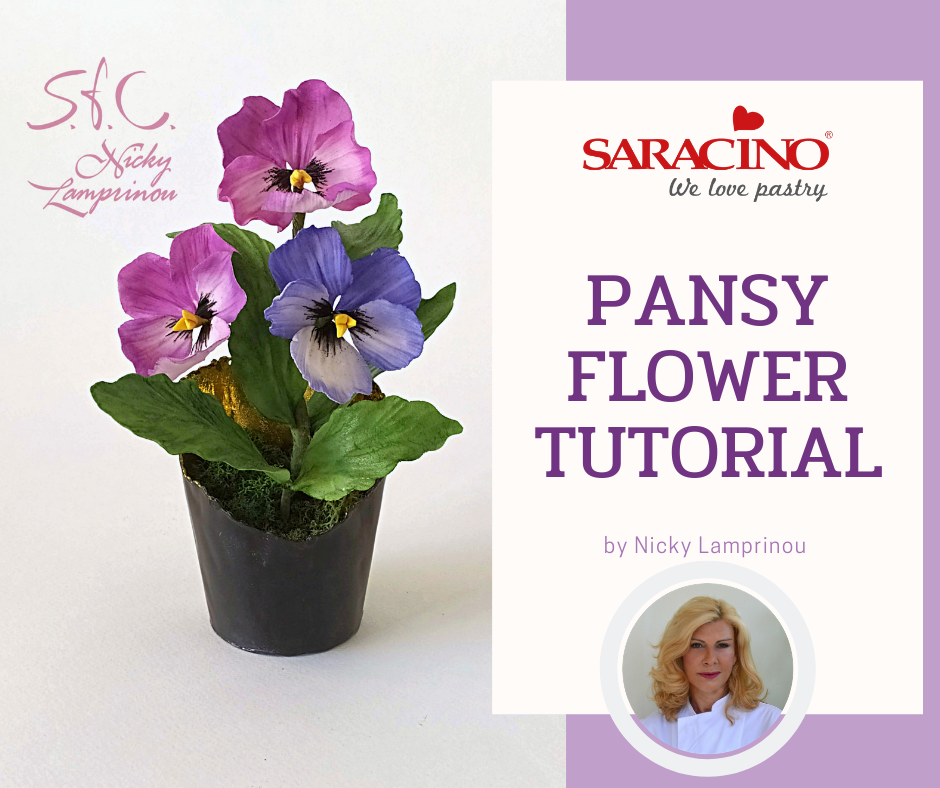
PANSY FLOWER TUTORIAL

PANSY FLOWER TUTORIAL

Skill level: BEGINNERS

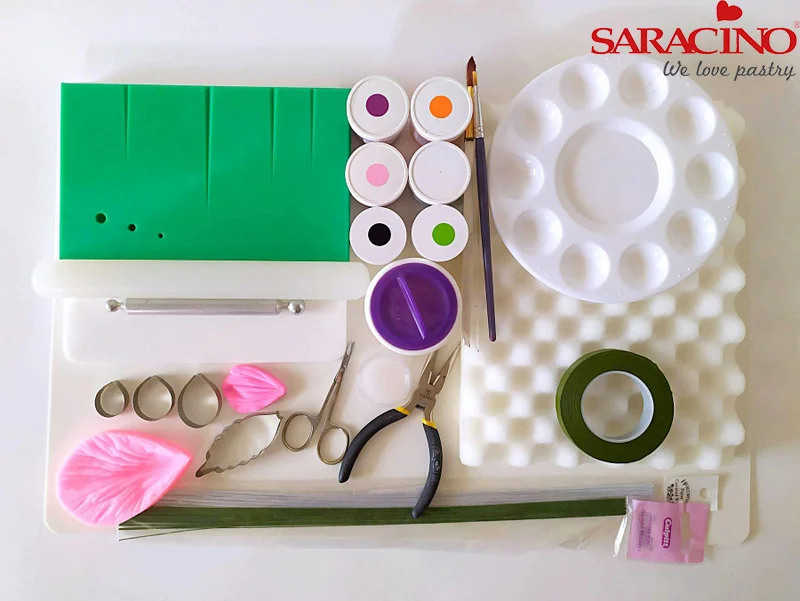
You will need:

  • Flower paste Saracino – Pasta Bouquet
  • Non stick board
  • Small rolling pin
  • Balling tool
  • Foam pad
  • Cel board
  • Corn flour for dusting
  • Saracino Green gel colour
  • Saracino colour dusts – pink , violet , orange, yellow
  • Petal cutter (3 sizes) and veiner
  • Leaf cutter and veiner
  • Florist wire white (#28)
  • Florist wire Green (#26)
  • Florist tape green
  • Saracino edible glue
  • Wire cutter
  • Small scissors
  • Paint brushes
  • Kitchen paper

Step 1

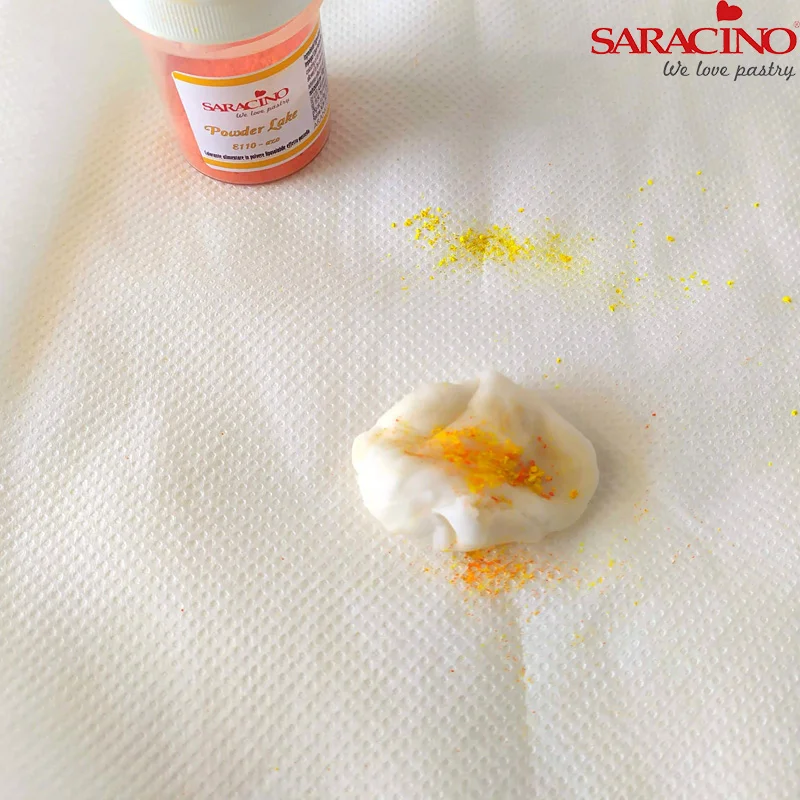
To make the centre of the flower add a bit of orange and yellow powder colour to the paste and mix well.

Step 2

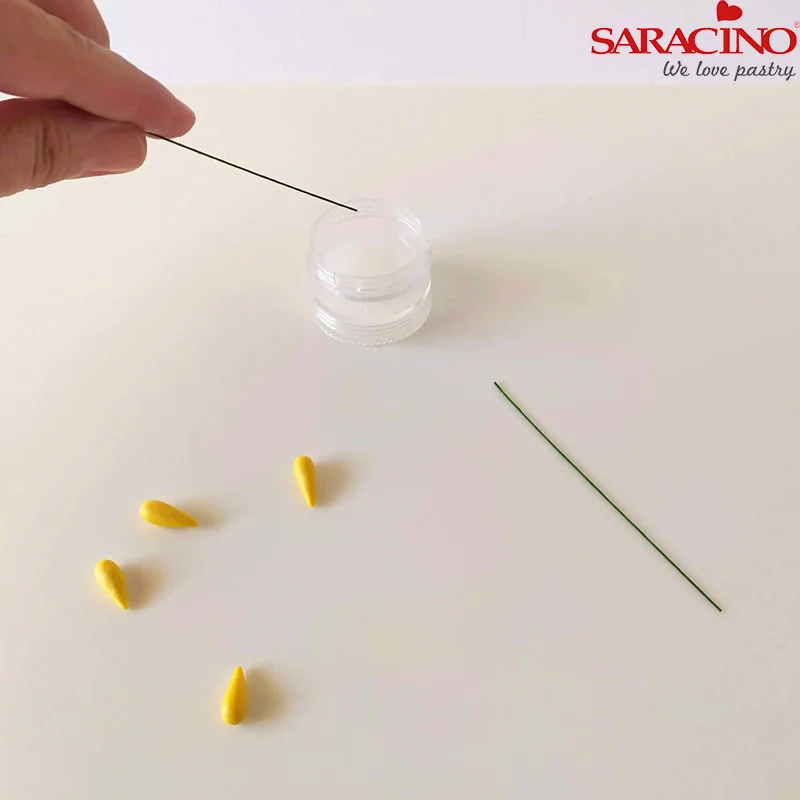
Form a small teardrop of sugar paste for each flower. Add some glue at the end of the wire (gauge 26).

Step 3

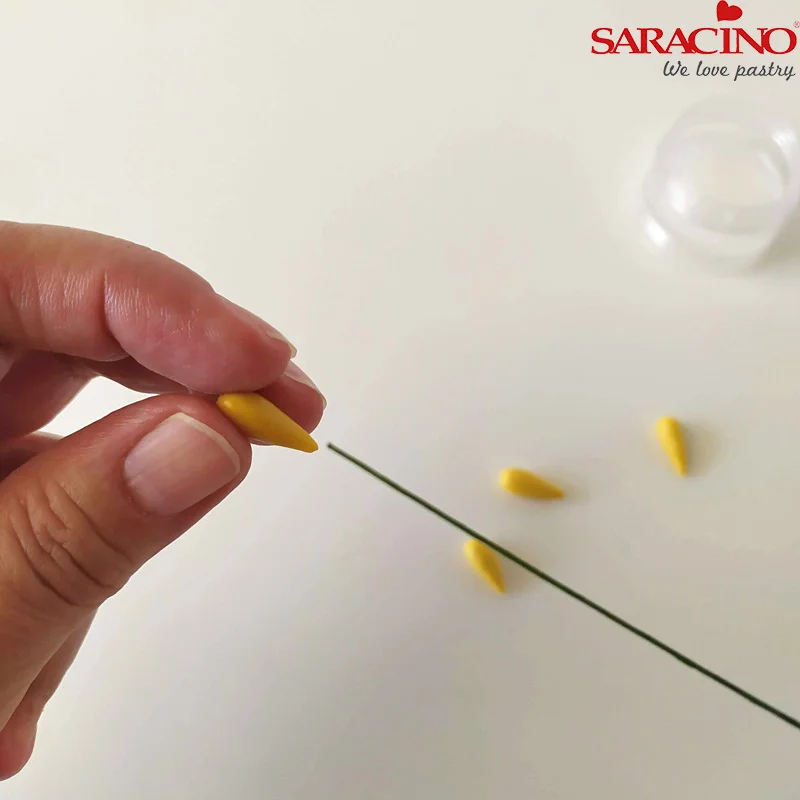
Insert the wire half way into the teardrop.

Step 4

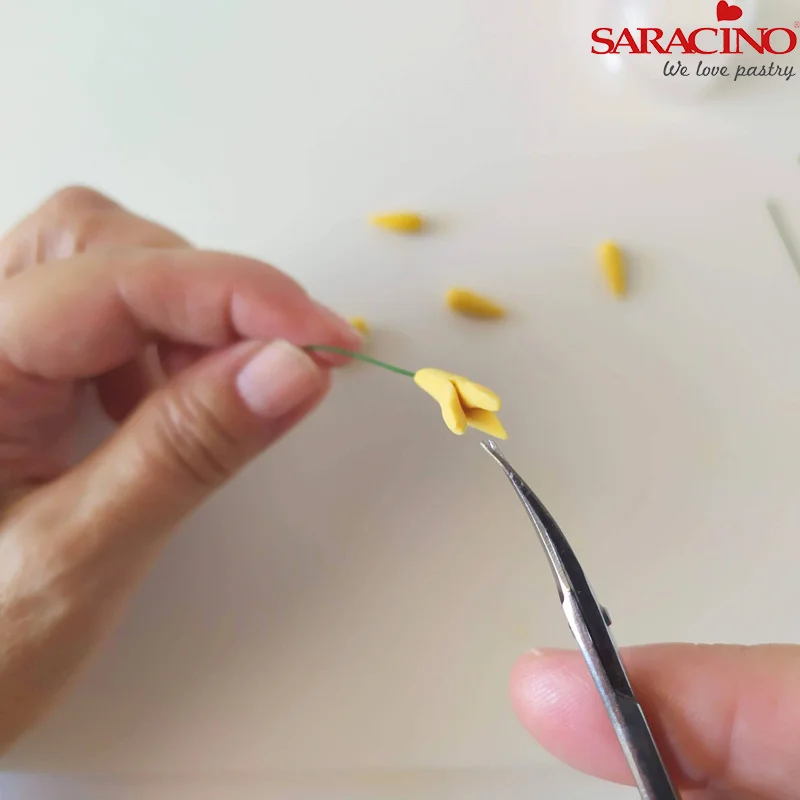
Use a small scissors to cut the teardrop in three parts.

Step 5

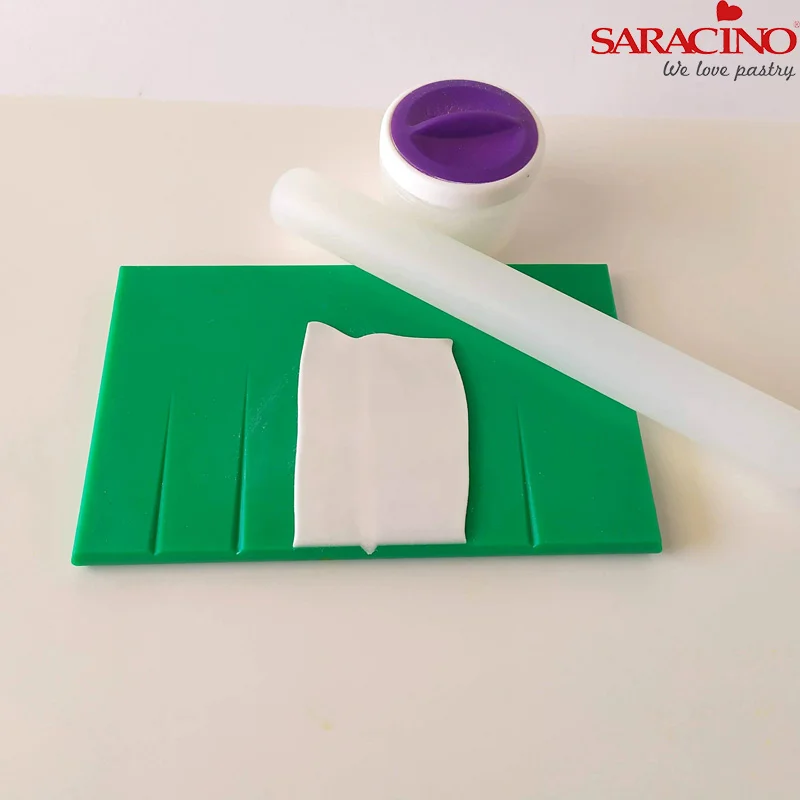
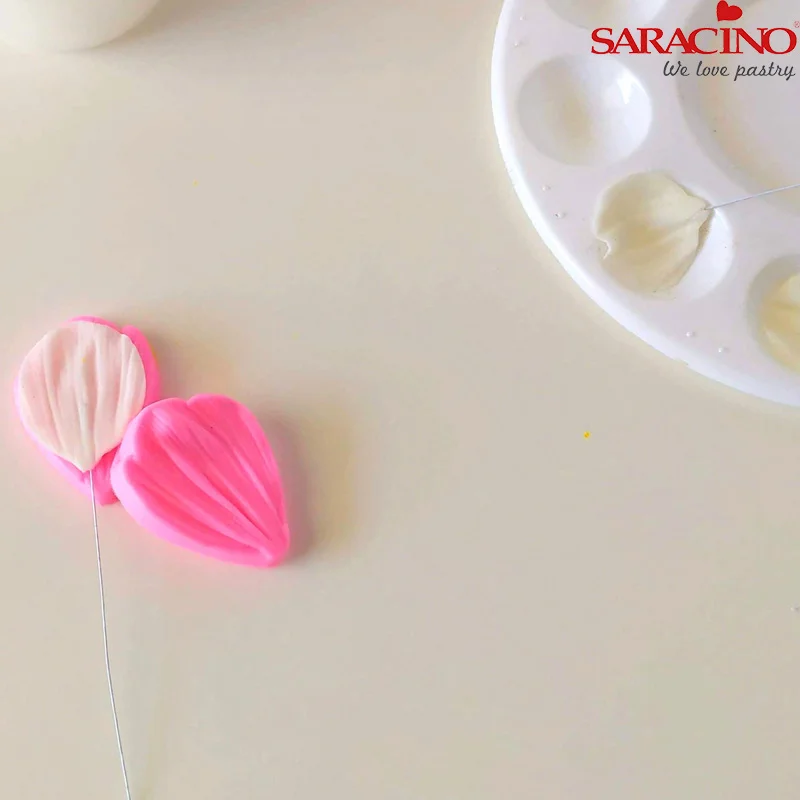
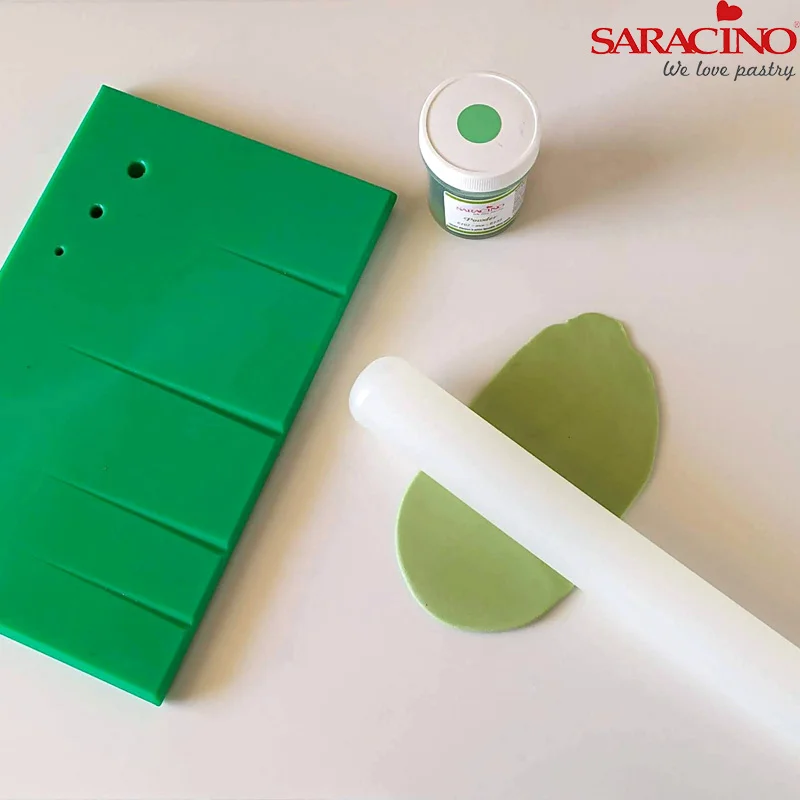
Roll out a small amount of white or light pink sugar paste over the groove on the board.

Step 6

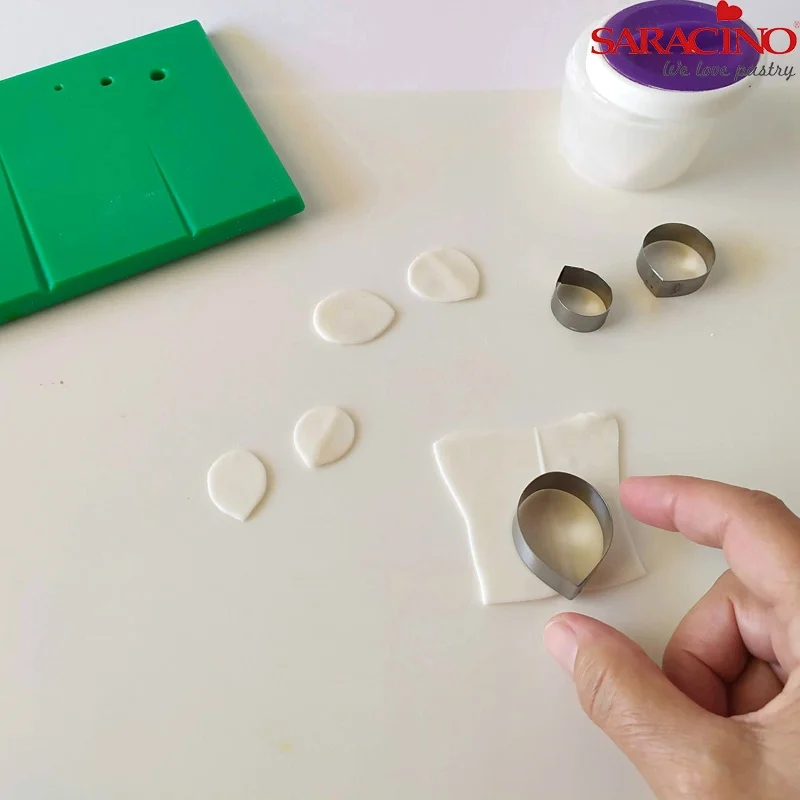
Dust your board with a small amount of cornflour and cut out 5 petals for each flower (2 small, 2 medium, 1 large).

Step 7

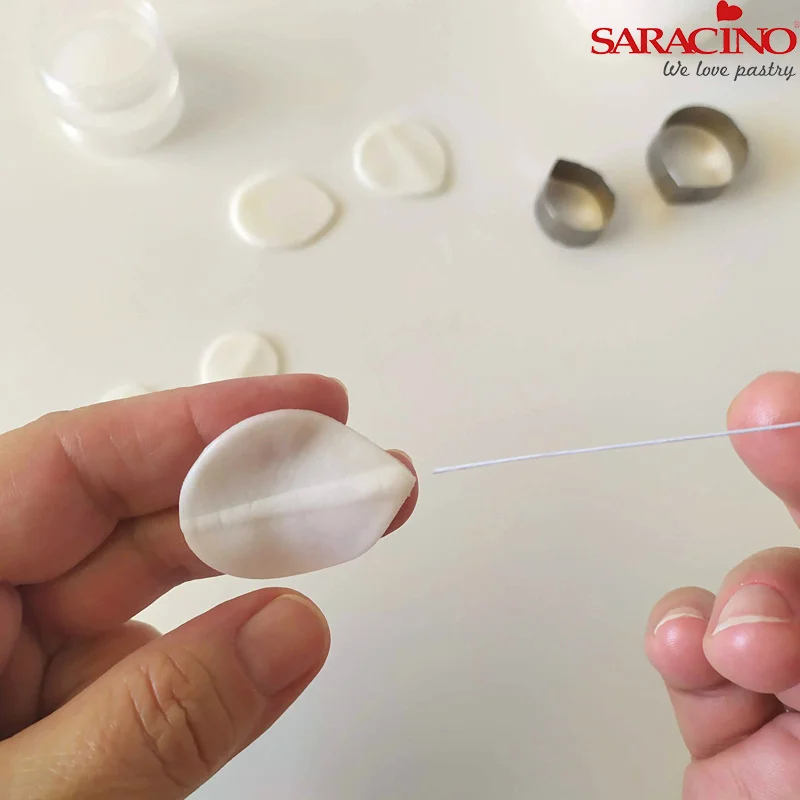
Add some glue at the end of the wire. Insert the wire into the ridge formed in the petal.(​White #28)

Step 8

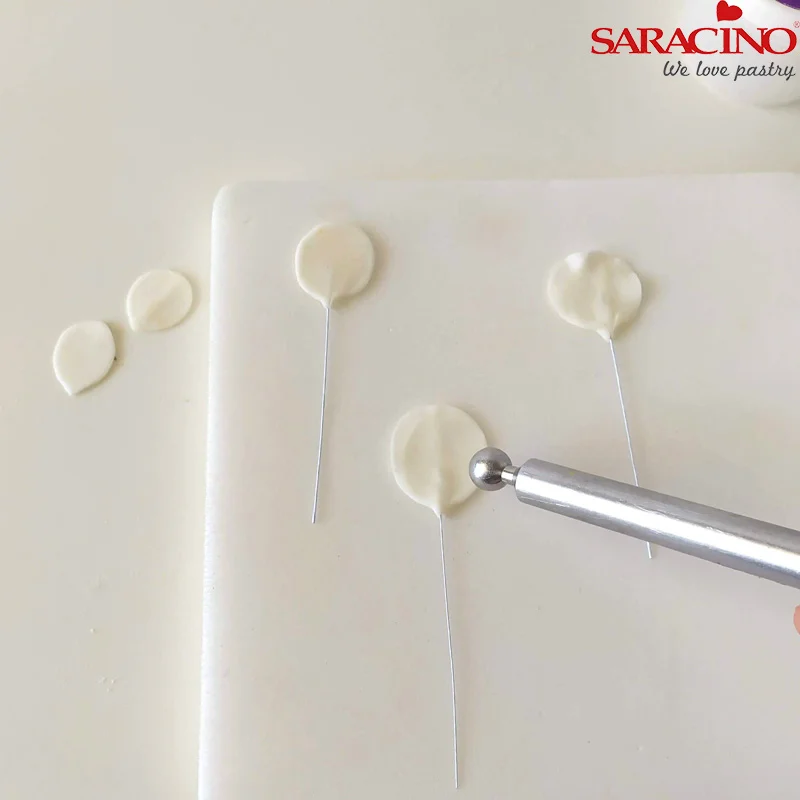
Move the petal onto a foam pad and thin the edges of the petal with a balling tool.

Step 9

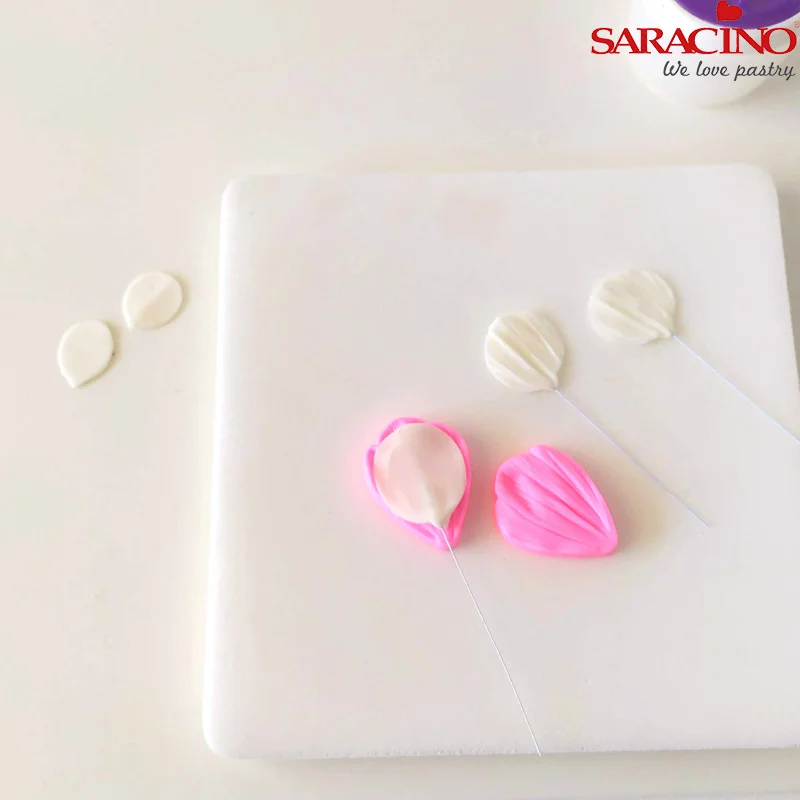
Dust the veiner with small amount of cornflour and press the veiner firmly to form a veining pattern.

Step 10

Let them dry and form.

Step 11

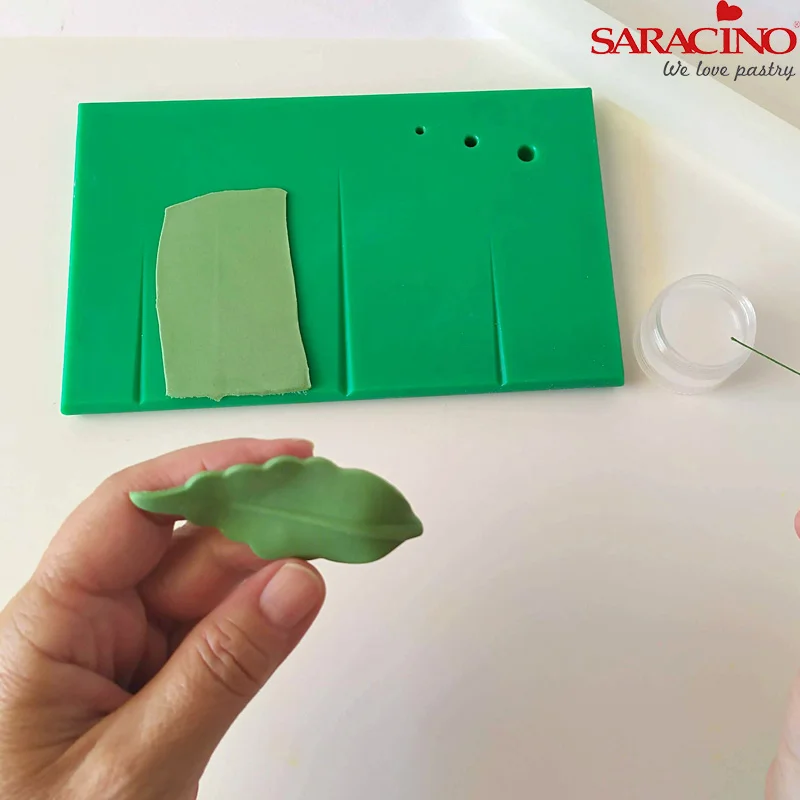
Add green colour to the paste, mix well and roll out.

Step 12

Roll out a small amount of the green sugar paste on the board.

Step 13

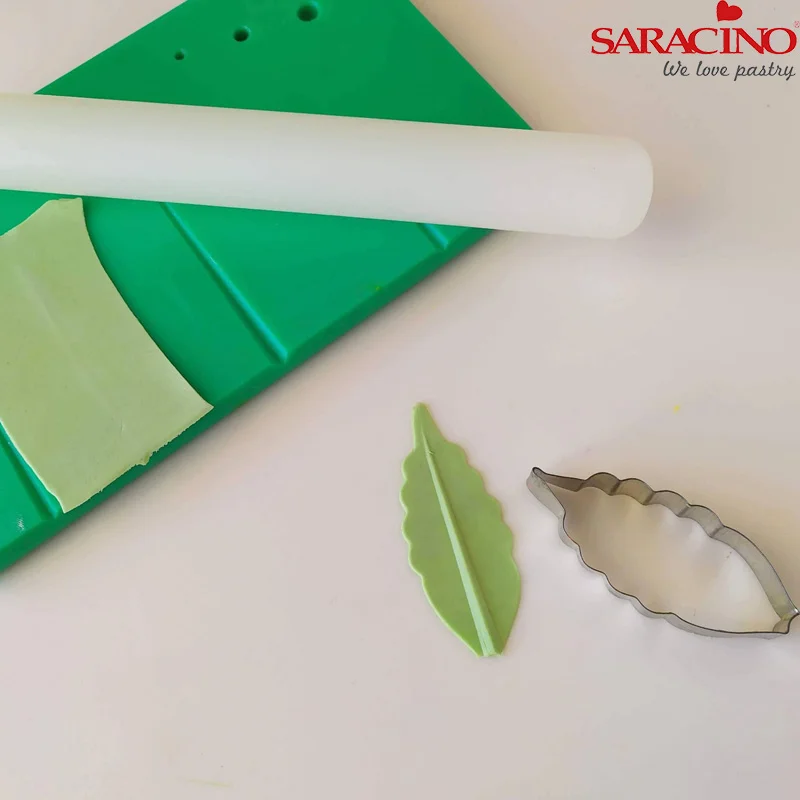
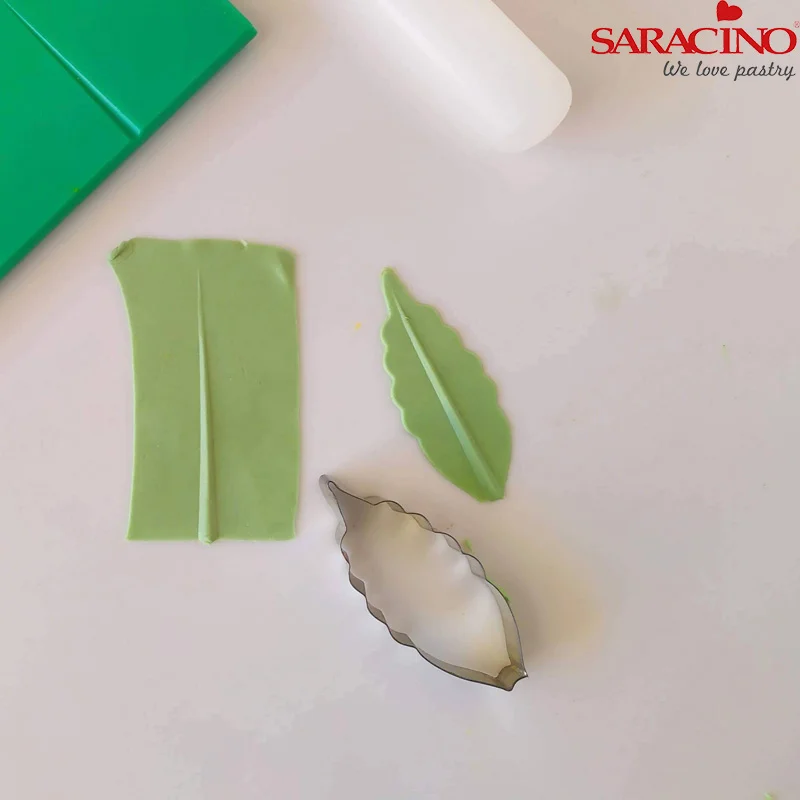
Cut out leaves with leave cutter.

Step 14

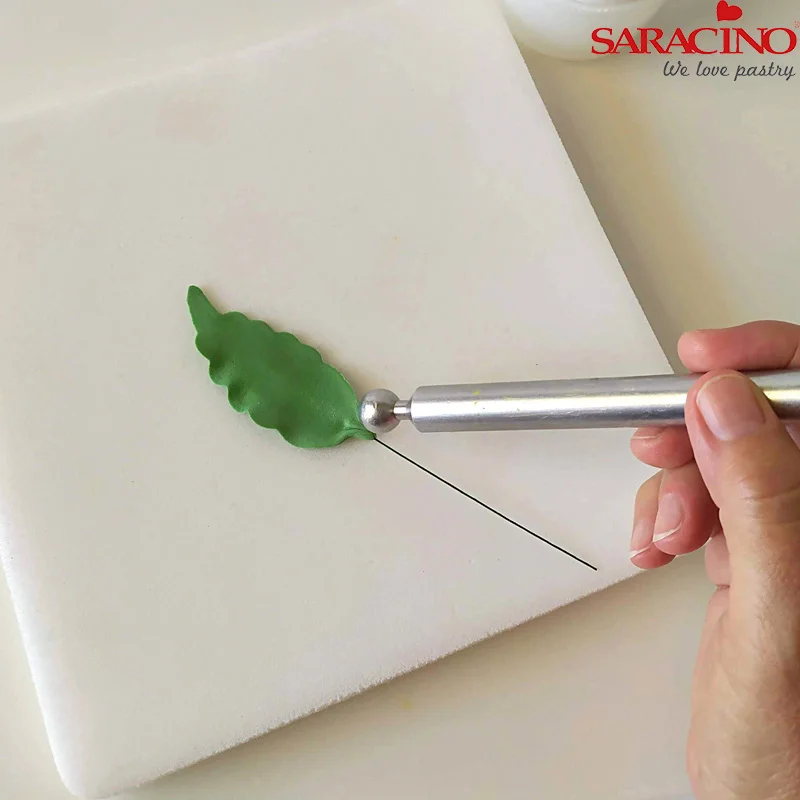
Add some glue at the end of the wire. I​nsert the wire into the leaf.(​Green # 26)

Step 15

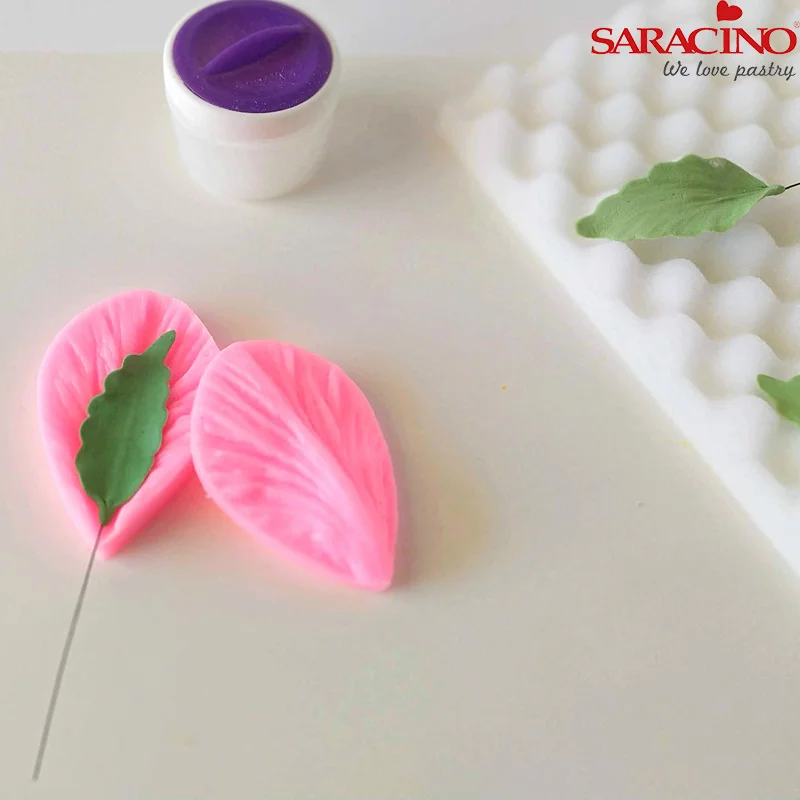
Move the leaf onto a foam pad and thin the edges with a balling tool.

Step 16

Move onto veiner and press firmly.

Step 17

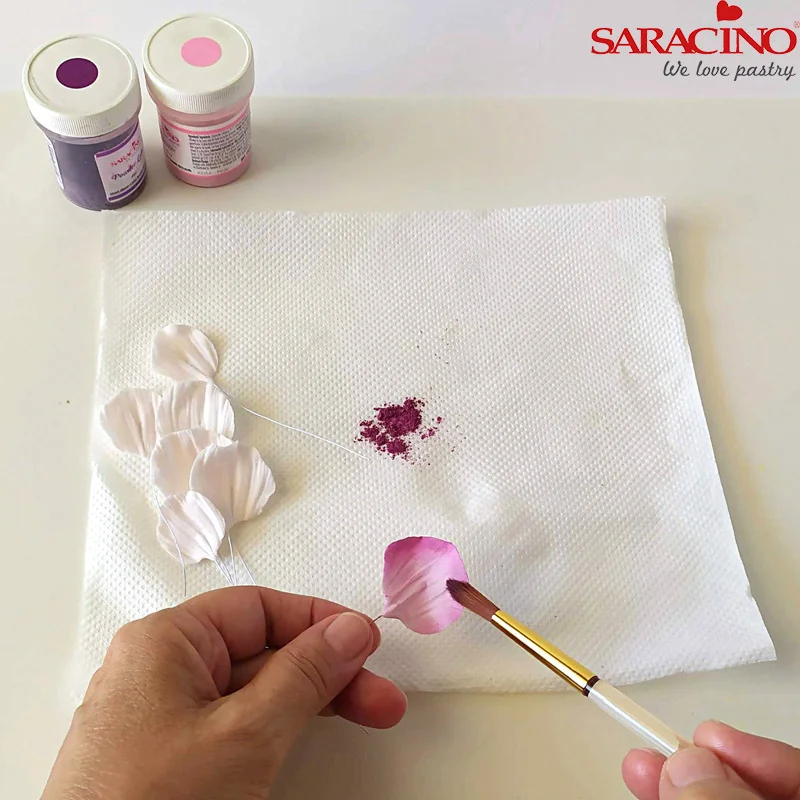
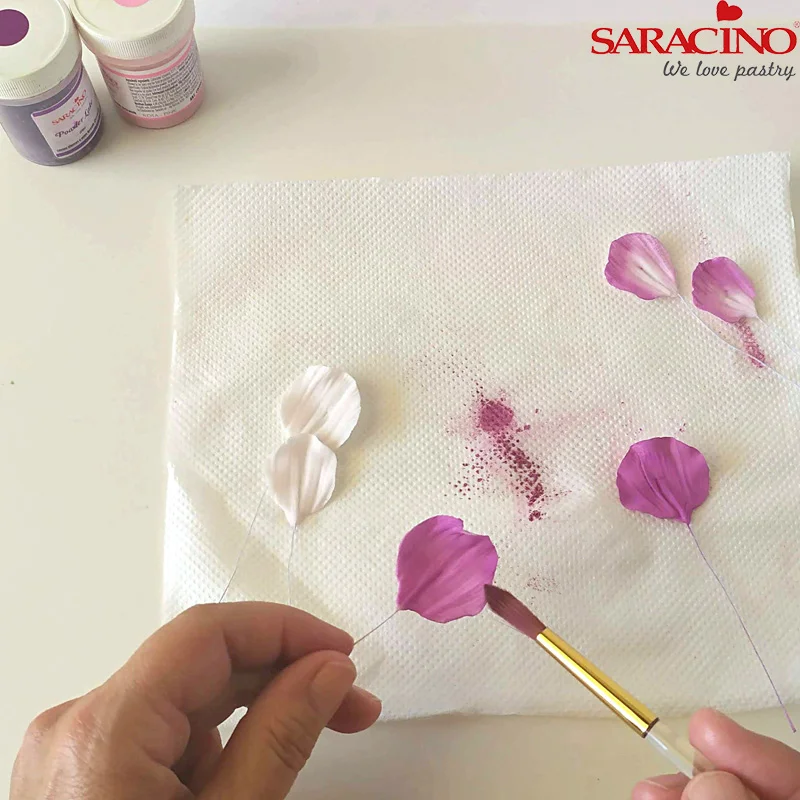
To paint the petals mix pink and violet powder colour.

Step 18

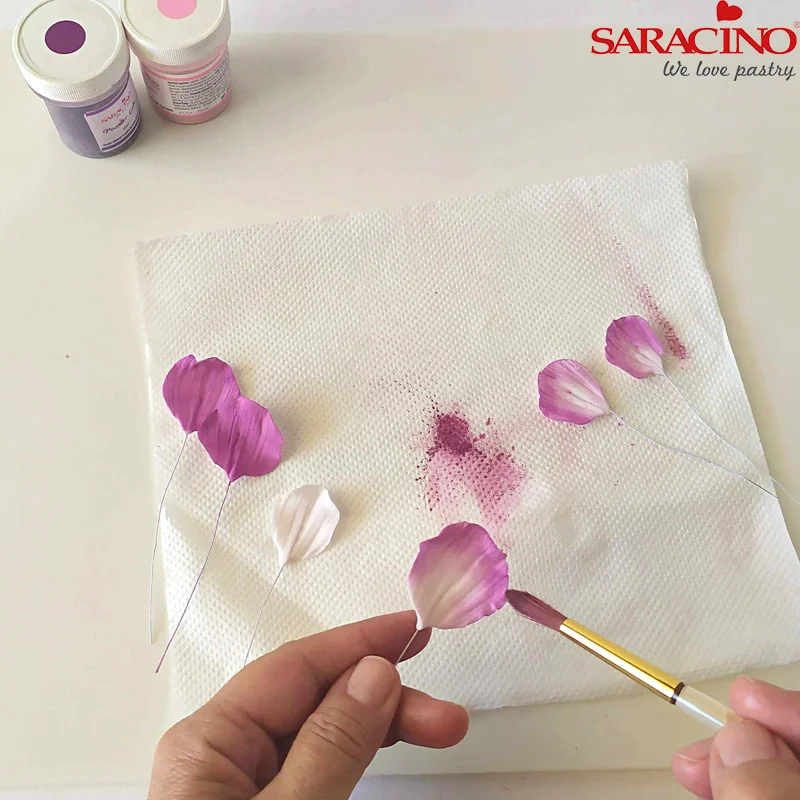
Use a soft brush to colour the big petals.

Step 19

Dust the edges of the small and medium petals.


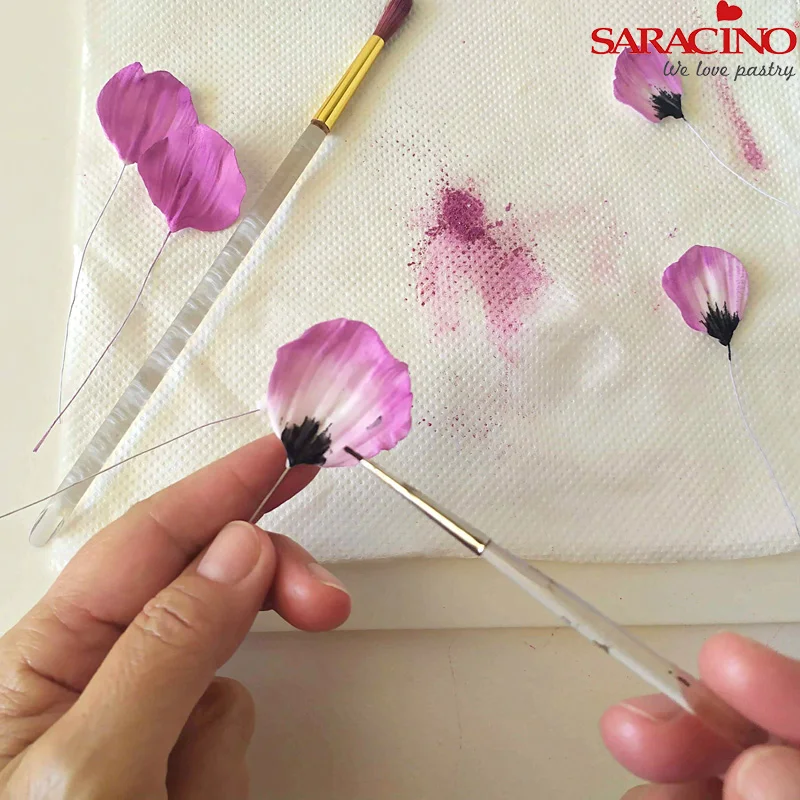
Step 20

Use a small brush to colour in black the base of the 2 small and 1 big petal.

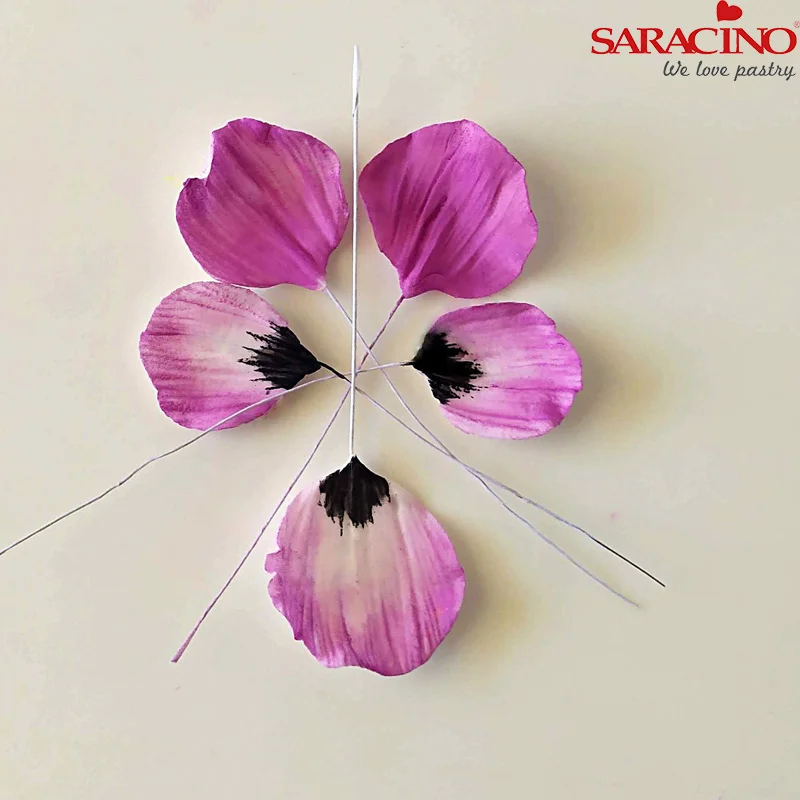
Step 21

The petals should look like this.


Step 22

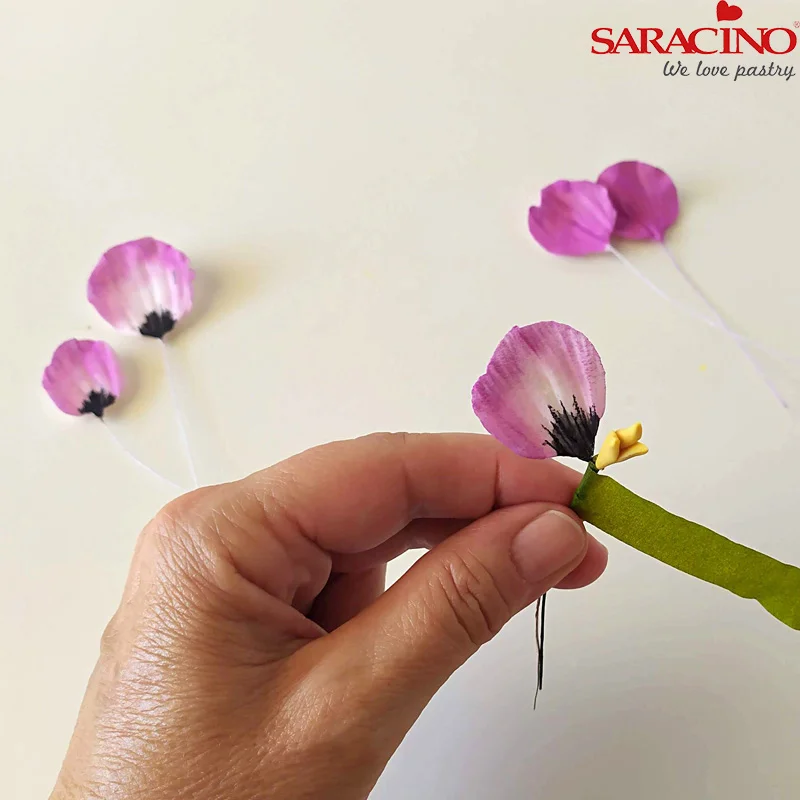
Using florist green tape bind the small petal with the centre of the flower.

Step 23

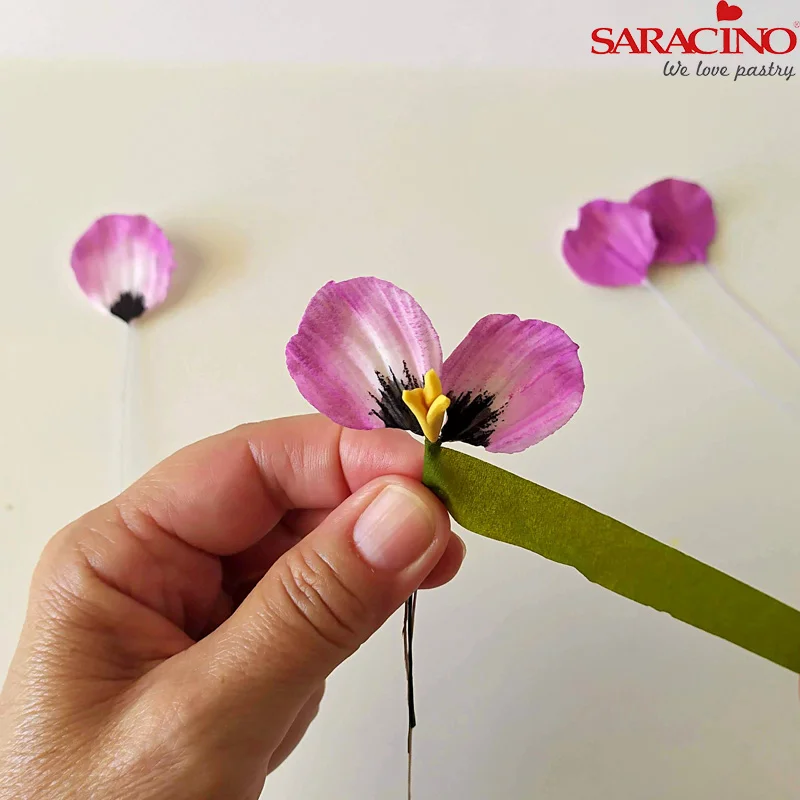
Add another small petal.


Step 24

Add 1 medium petal behind the small petals.

Step 25

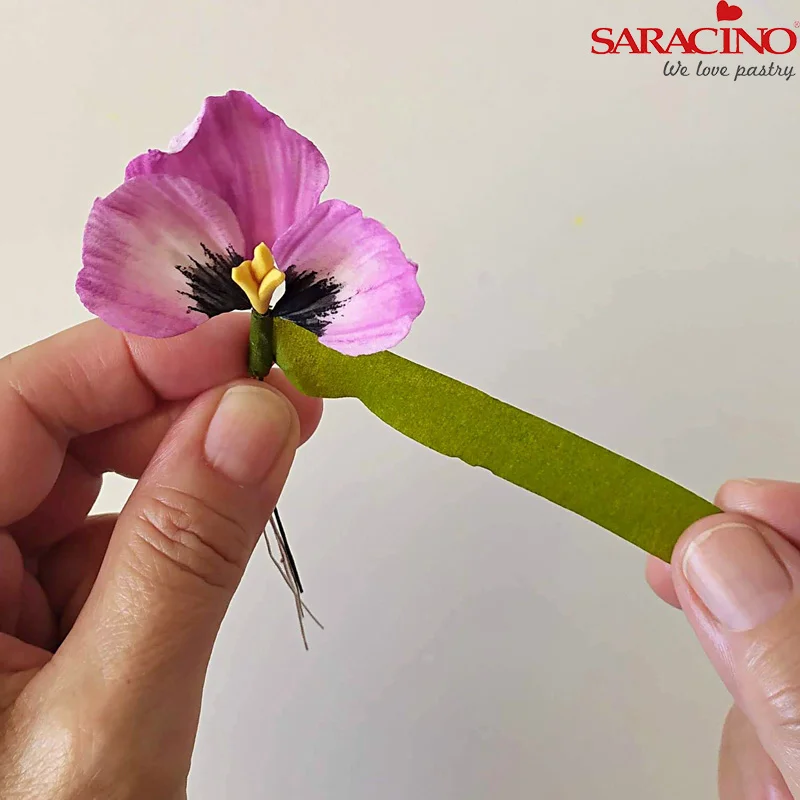
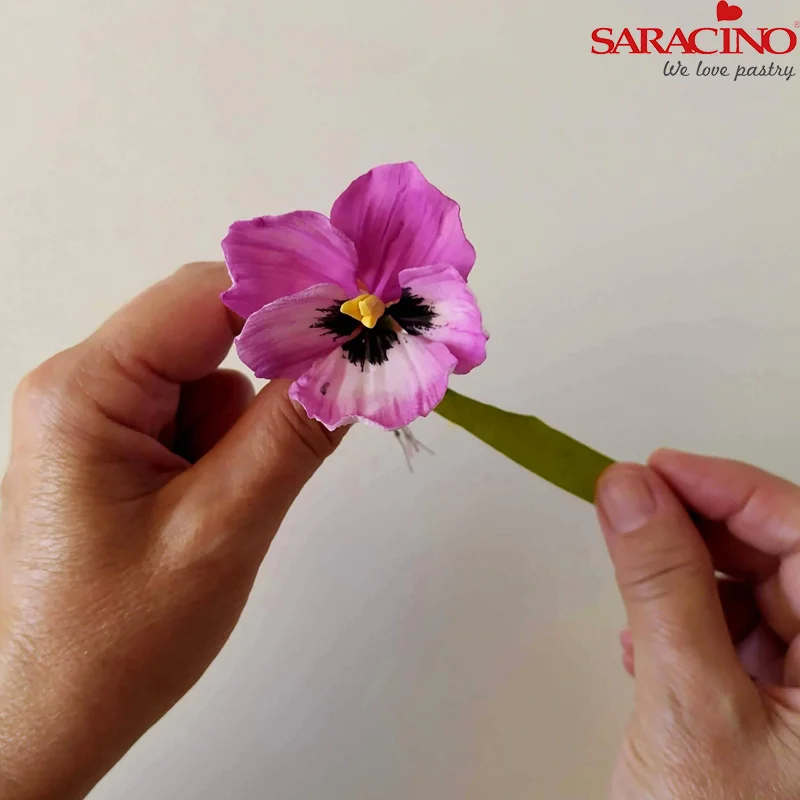
Add the second medium petal and the big petal into the centre.


Step 26

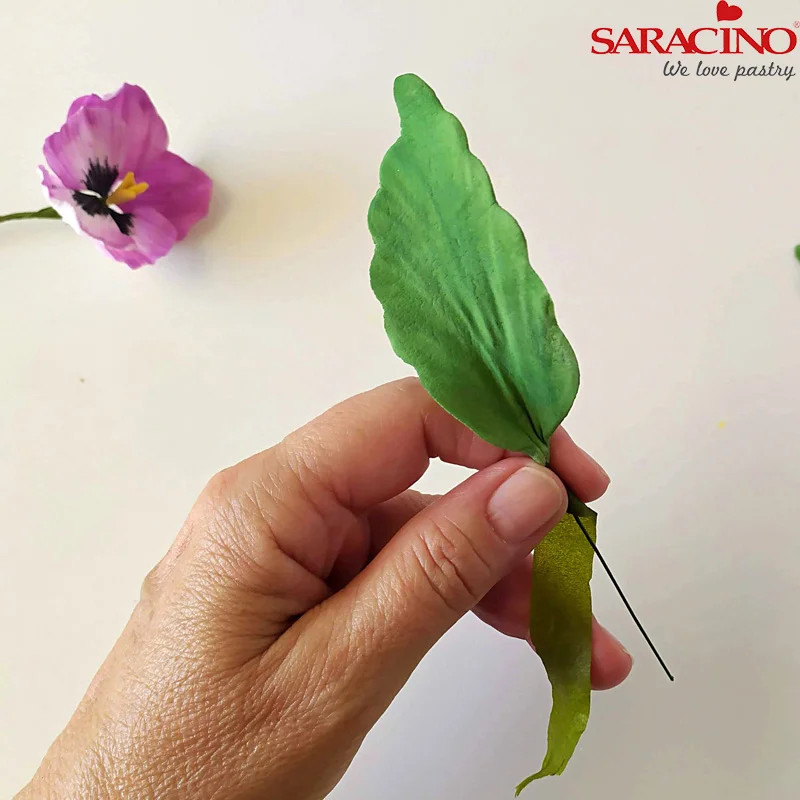
Wrap the leaf wires with green florist tape. You can also dust the leaves with Saracino green powder colour or you can use confectioner glaze to shine the leaves

Step 27

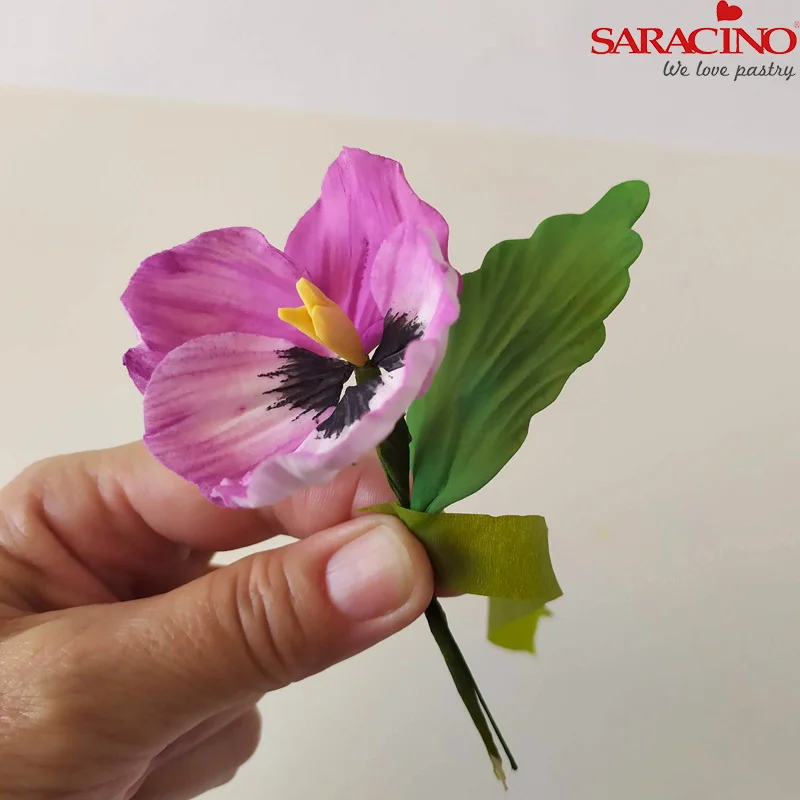
Attach first leaf to the flower stem.


Step 28

Add the rest of the leaves and flowers

Step 29

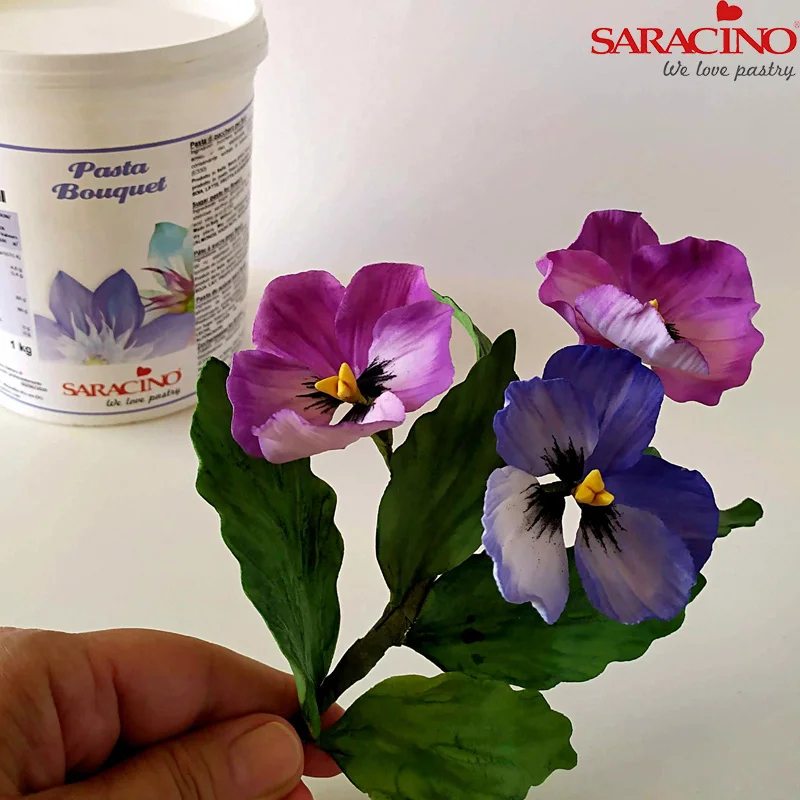
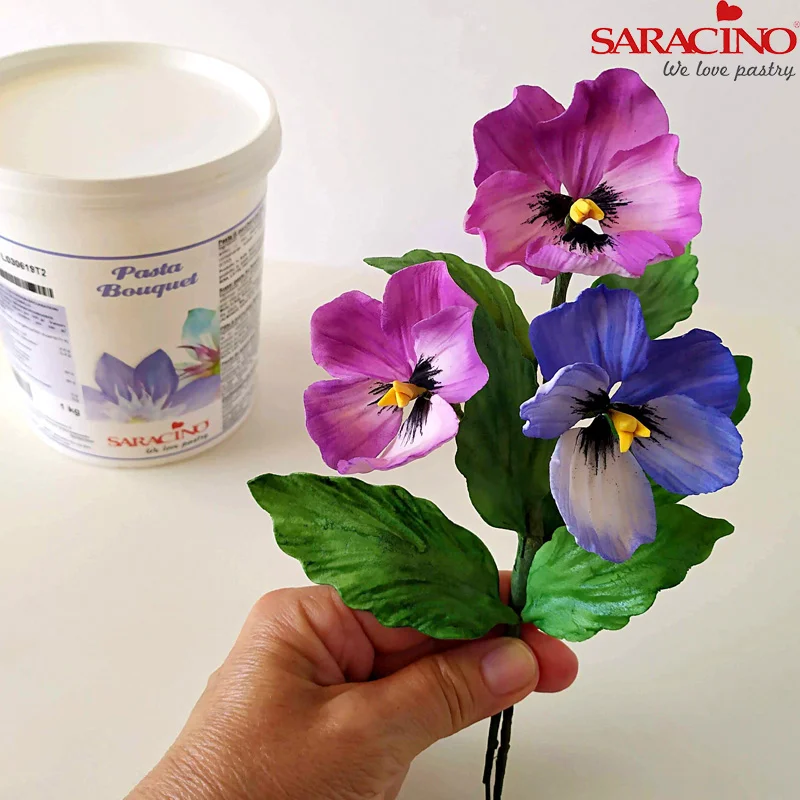
I have wired 3 pansy flowers with 5 leaves. Feel free to create your own composition which can differ in the form and the colours.


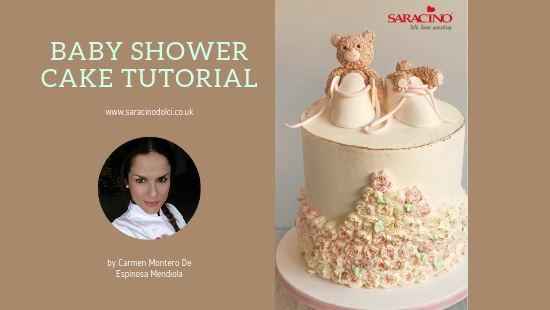
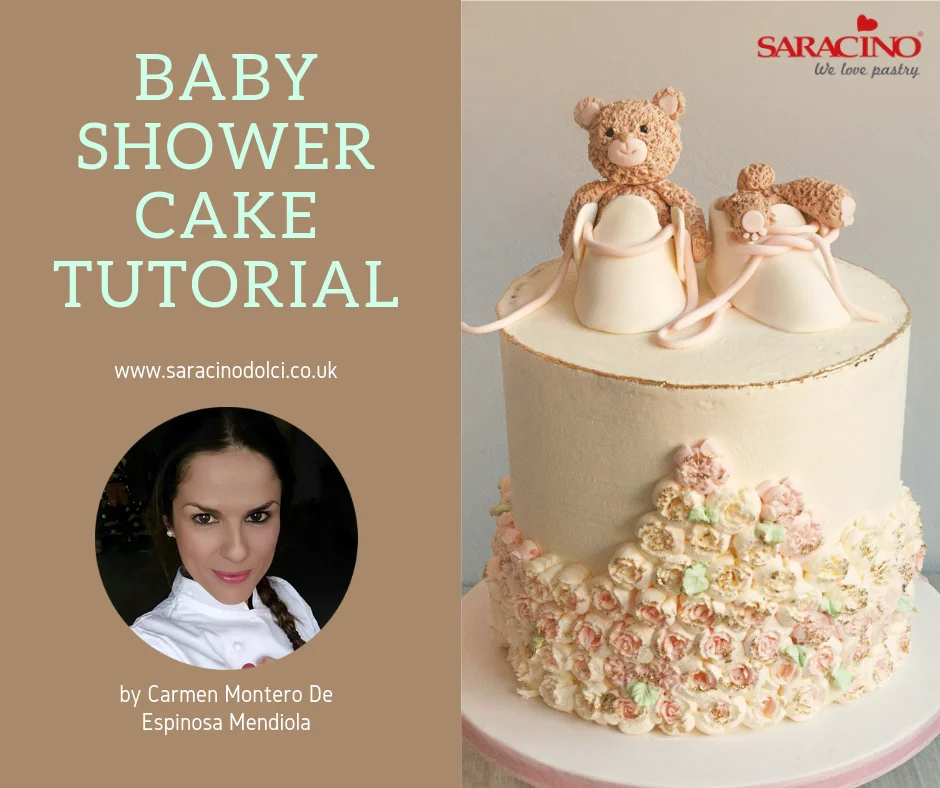
BABY SHOWER CAKE

BABY SHOWER CAKE

Skill level: BEGINNERS

You will need:

  • A cake covered with buttercream on a cake drum
  • 3 pastry bags with buttercream white, pink and light green
  • 2 russian piping nozzles and one piping nozzle to make leaves
  • Saracino white modelling paste
  • Small Rolling pin
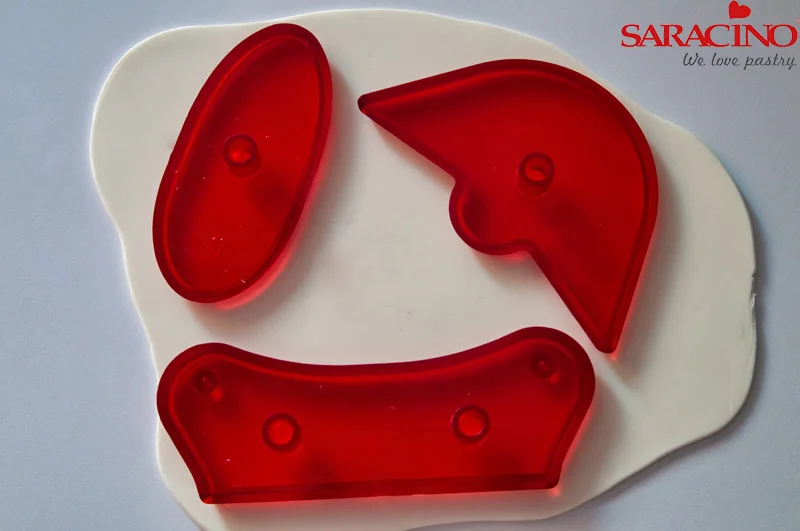
  • Baby shoe cutter set
  • Brush
  • Edible glue
  • Saracino brown colouring powder
  • Small scissors
  • Saracino pink colouring powder
  • 2 black sugar pearls
  • Dresden tool
  • Gold edible paint

Step 1

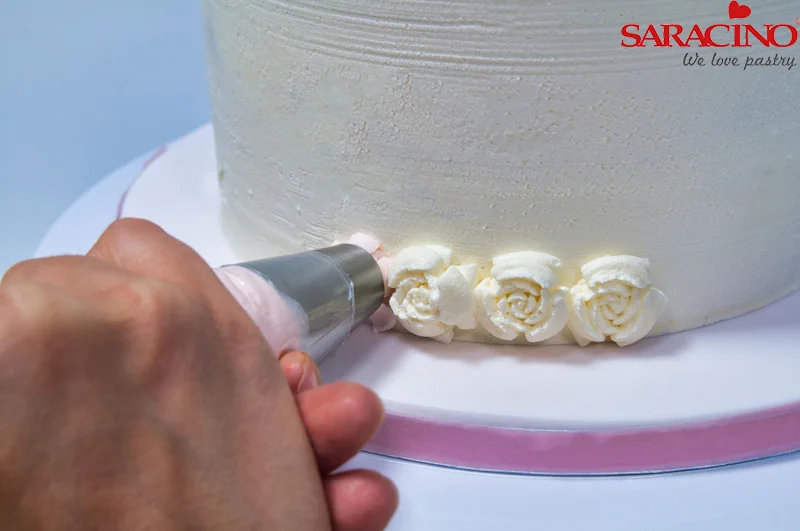
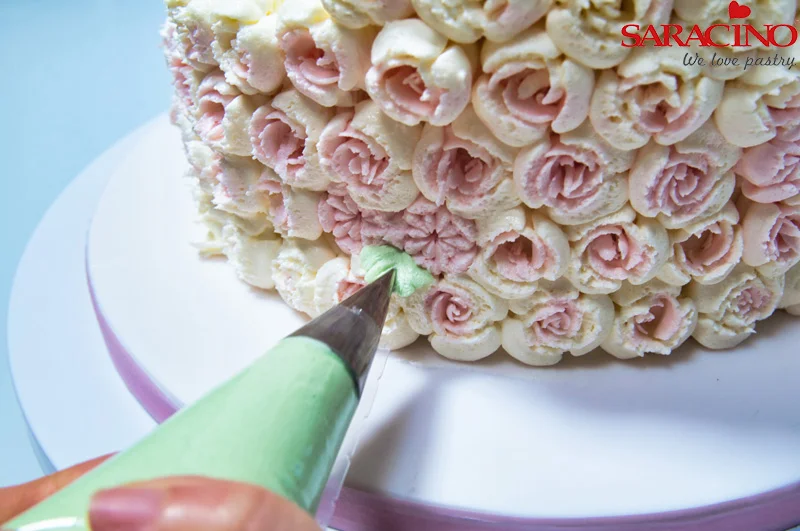
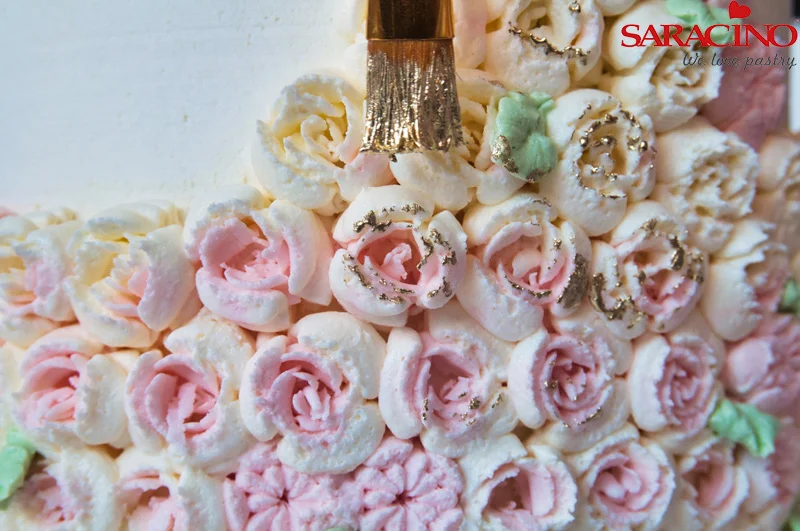
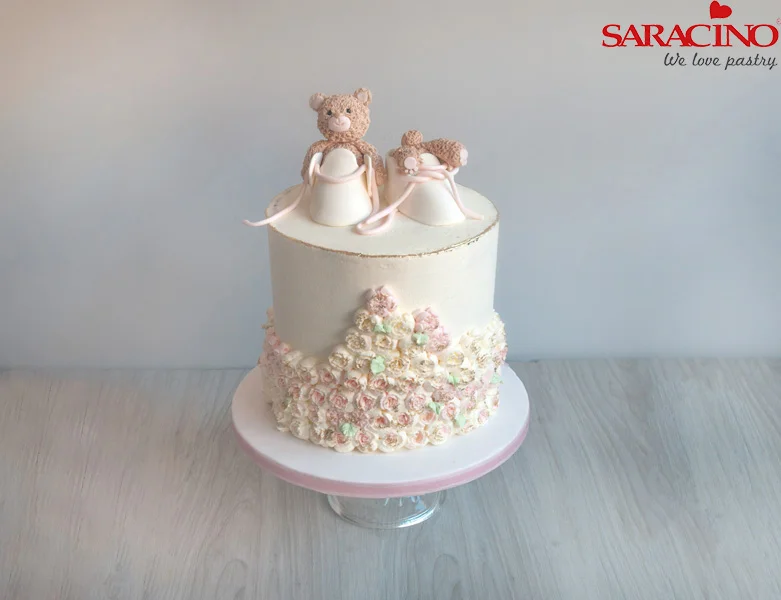
Take one piping bag with a russian piping nozzle and pipe some buttercream flowers to the side of the cake. Your buttercream will need to be a firm mix.

Step 2

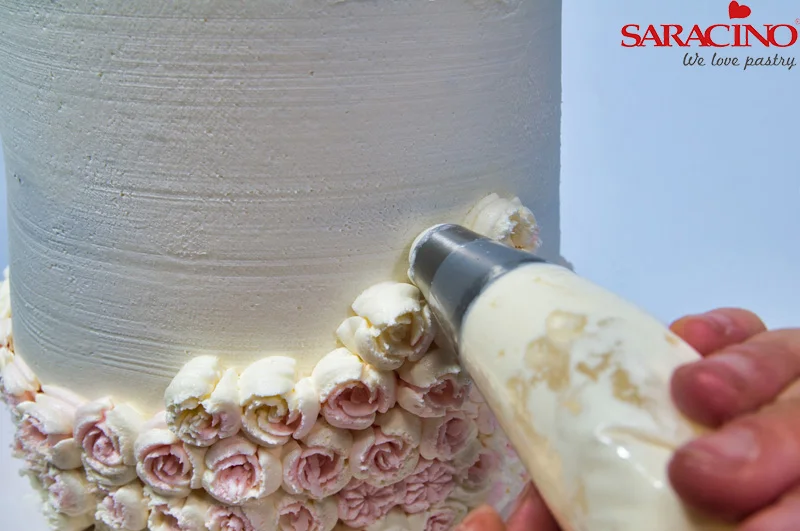
Cover your cake up to the middle and pipe more flowers on just one area. You can pipe using two colours of buttercream; to do this take a piping bag, put the white buttercream on the walls of the bag and then, the pink buttercream in the center.

Step 3

Take the buttercream piping bag with the leaf nozzle and make some leaves around the cake between the flowers.

Step 4

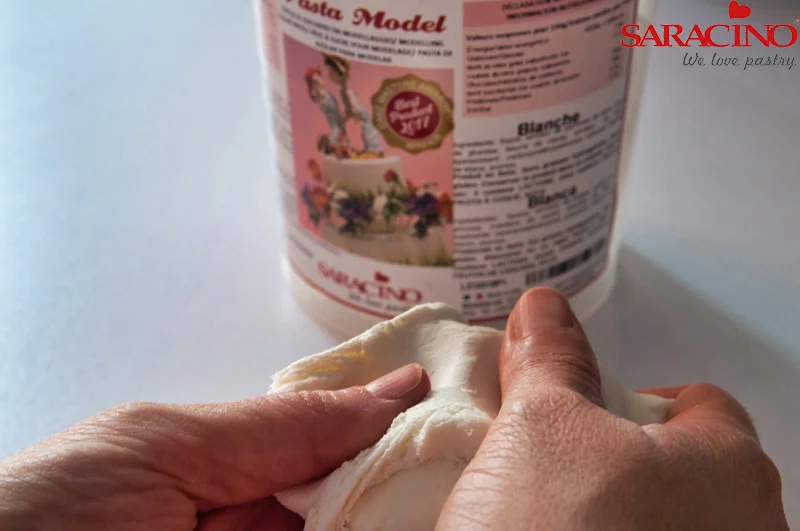
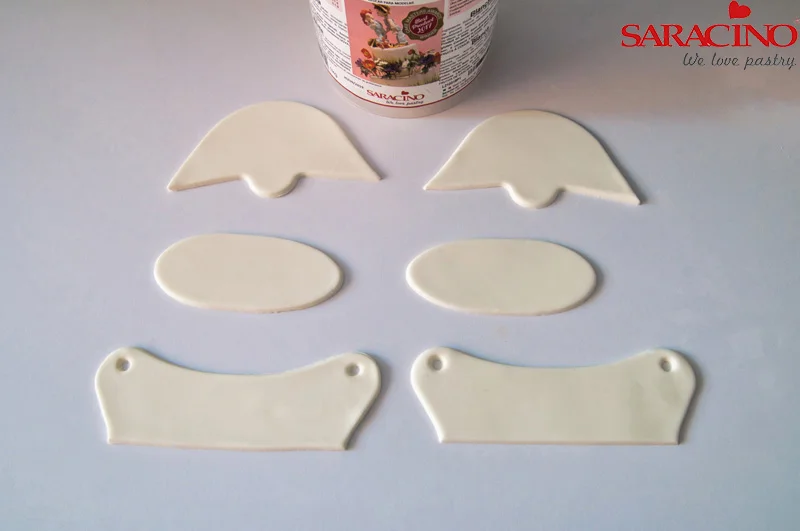
To make the baby booties, we are going to use the Saracino white modelling paste. Knead a piece of paste to make it workable.

Step 5

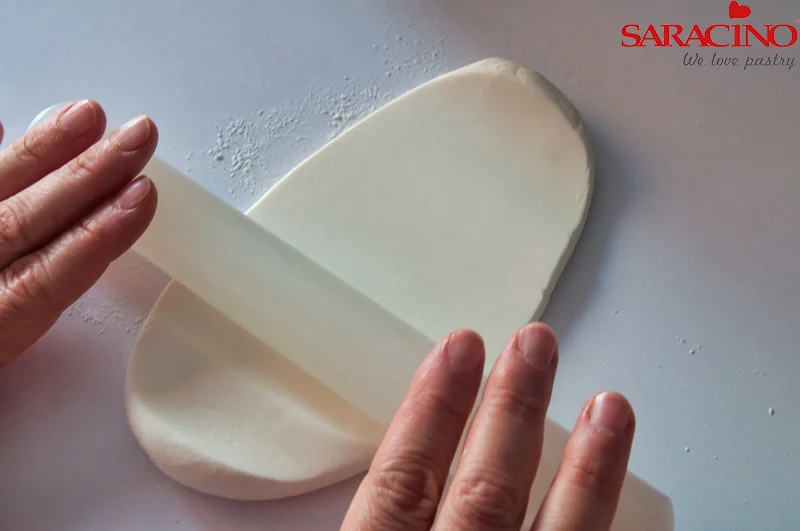
Roll out the paste with a rolling pin thin enough to cut the pieces.

Tip: If required use cornstarch on the table to avoid the paste sticking.

Step 6

Cut out the baby bootie pieces. We are making two booties so you will need to cut out two of each piece.

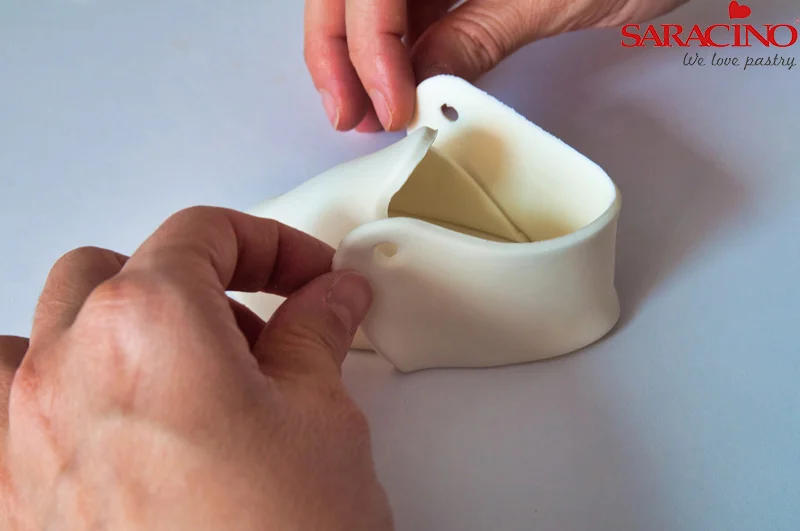
Step 7

Allow to dry for a few minutes; that way we will get better shape when forming the booties

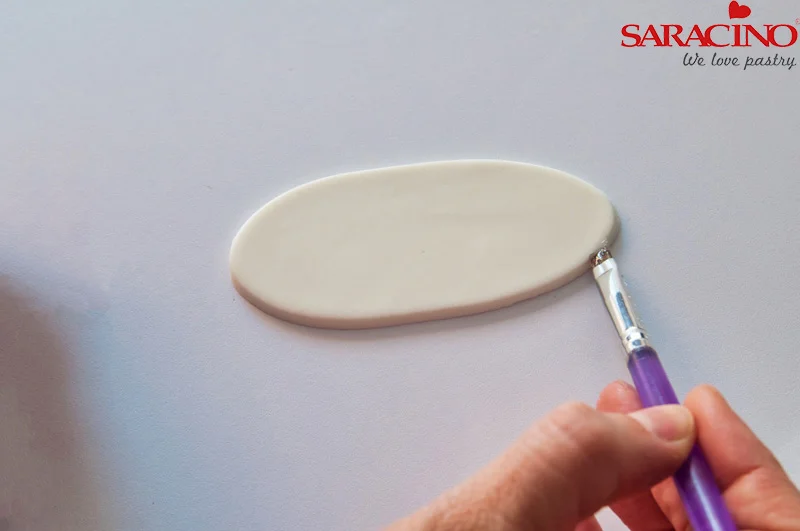
Step 8

Using edible glue apply to the front area.

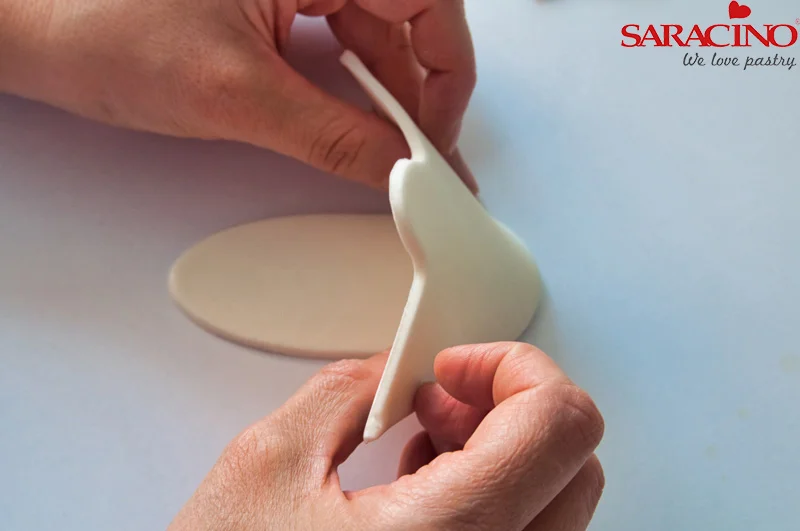
Step 9

Fix the front piece of the bootie, form a curve in the piece to create the shape of the front of the bootie.

Tip: If required you can fill with tissue or sponge to keep the shape.

Step 10

Set aside to dry for a few minutes.

Step 11

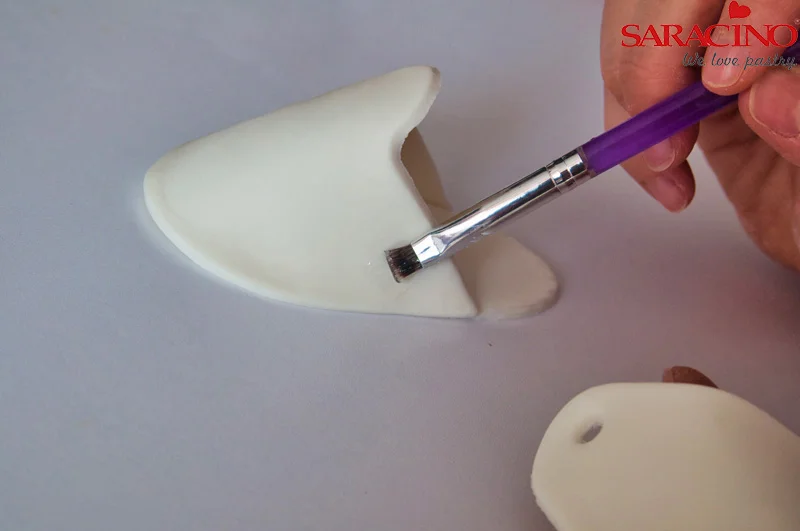
Put a little bit edible glue on the sides of the shoe.

Step 12

Brush some edible glue on the edge of the sole and on the sides of the front piece of the bootie, place the back piece in position and press it so it fixes well.

Step 13

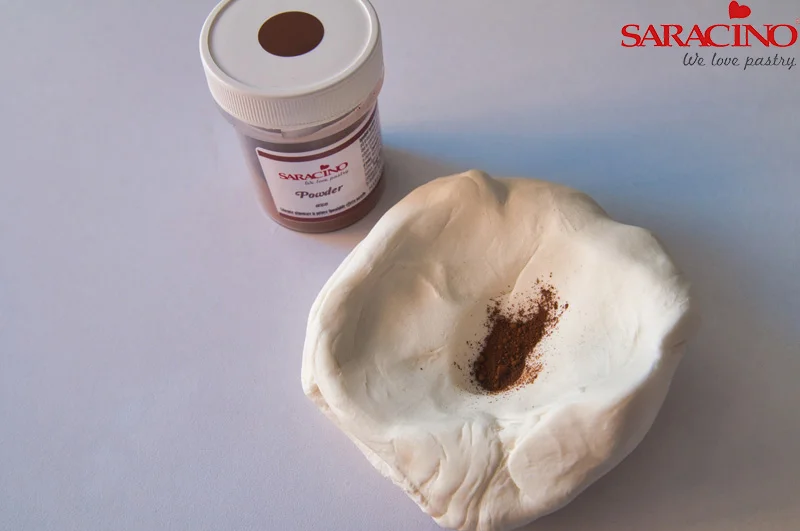
Take a piece of paste and colour it with edible brown colouring powder

Step 14

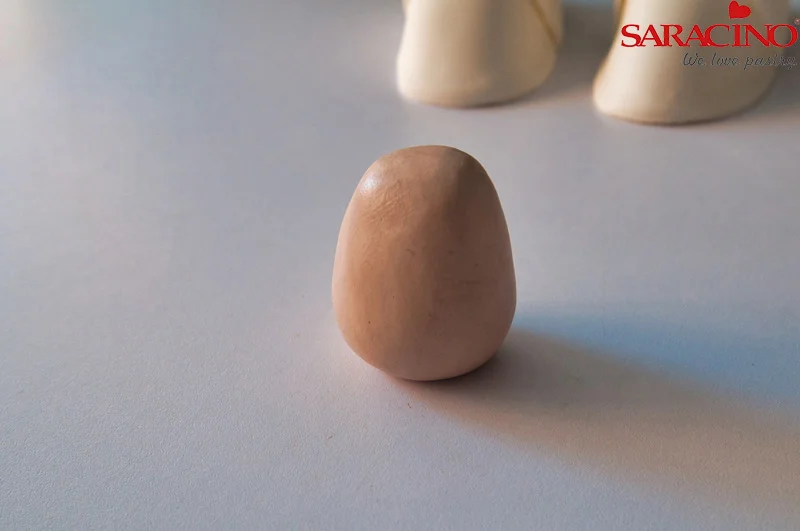
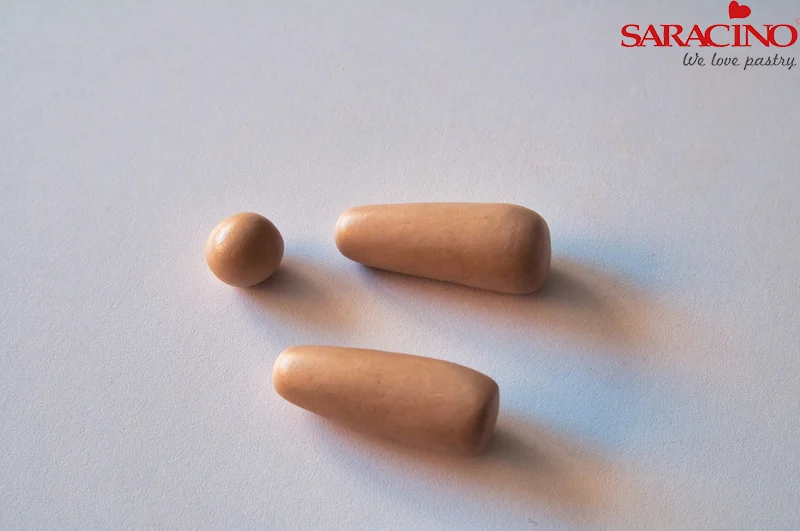
Take a ball of the brown paste and form a slightly elongated shape. This will be the body of the teddy bear.

Step 15

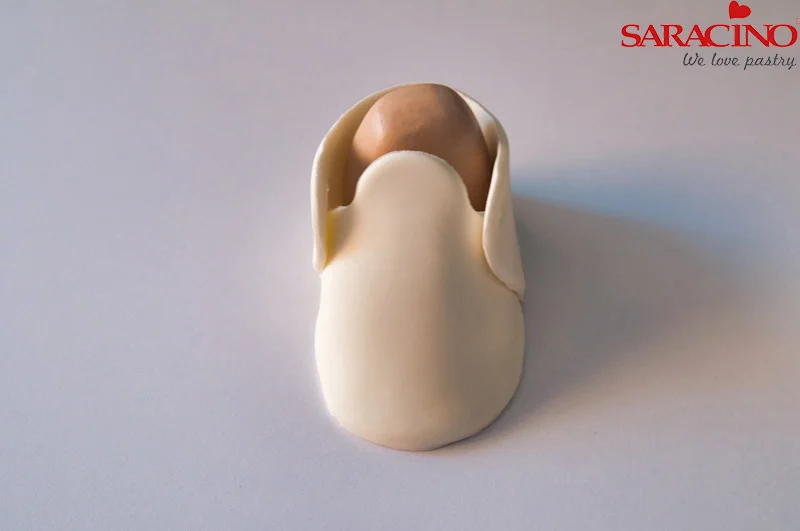
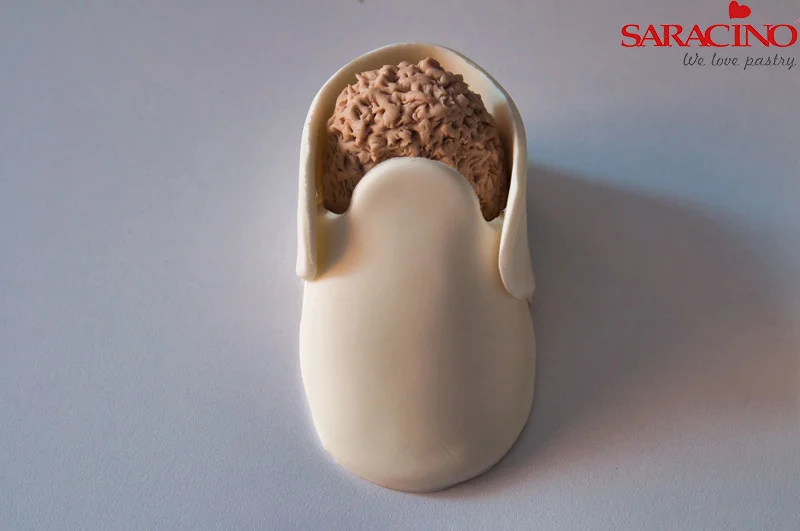
Put the teddy bear body into the bootie and check that it fits. There should not be too much space around.

Step 16

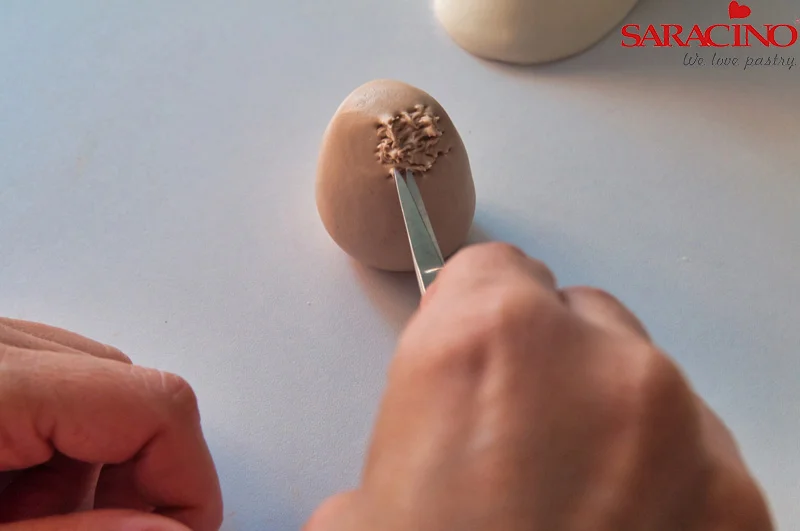
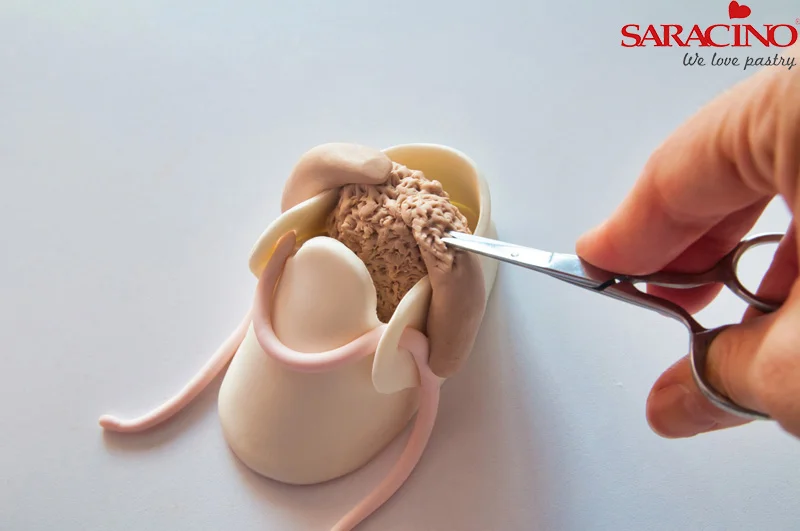
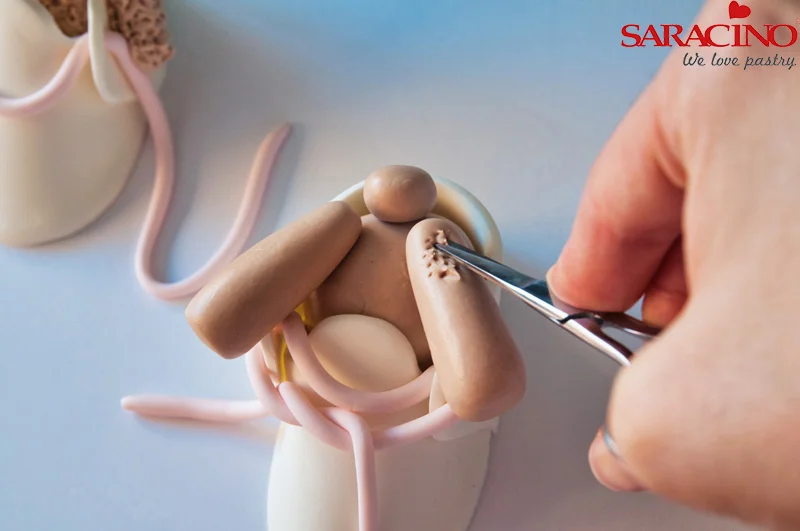
With the tip of small scissors, we texture the entire body of the teddy bear.

Step 17

Put a little edible glue in the sole of the bootie and the fix the body of the teddy bear into the bootie.

Step 18

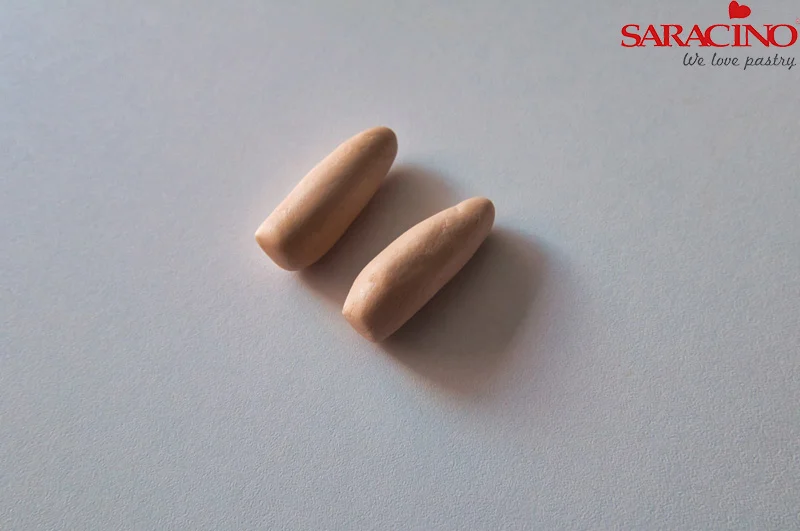
Roll 2 small sausages, which will be the arms of the teddy bear. Set aside for later.

Step 19

Take a piece of paste and colour it with edible pink powder.

Step 20

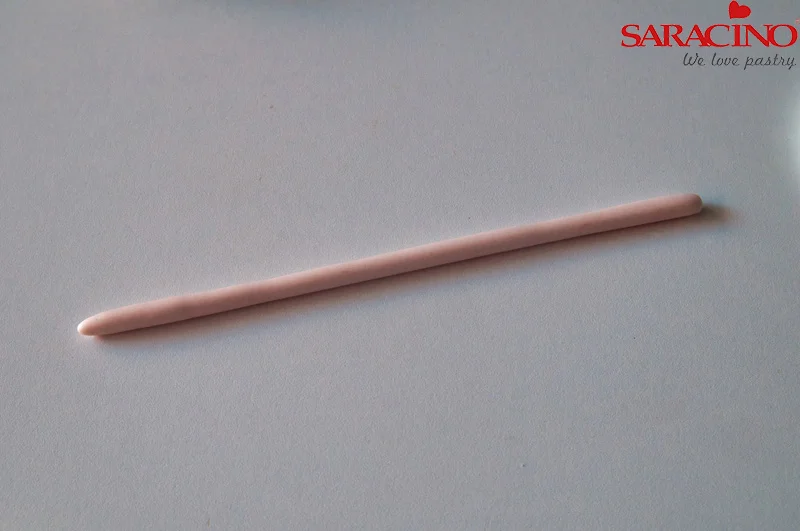
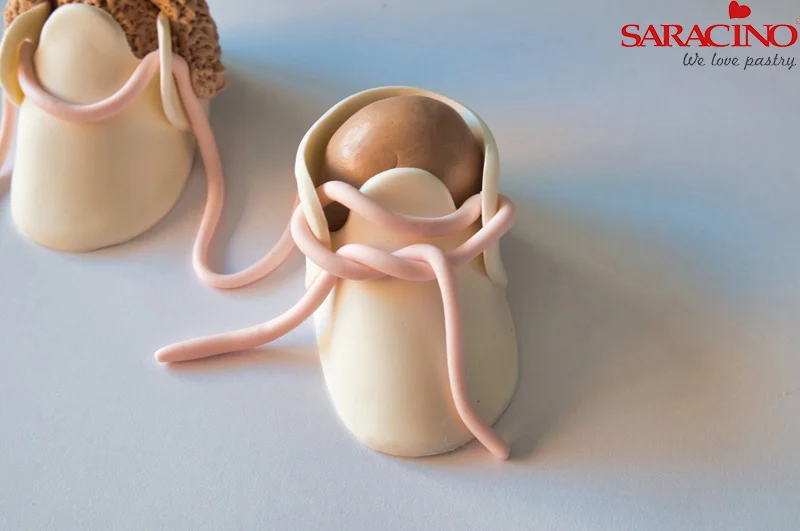
Roll out to form a lace with the piece of pink paste.

Step 21

Pass the lace through the eyelets of the boot.

Step 22

Stick the arms on the body and texture the same way we did before

Step 23

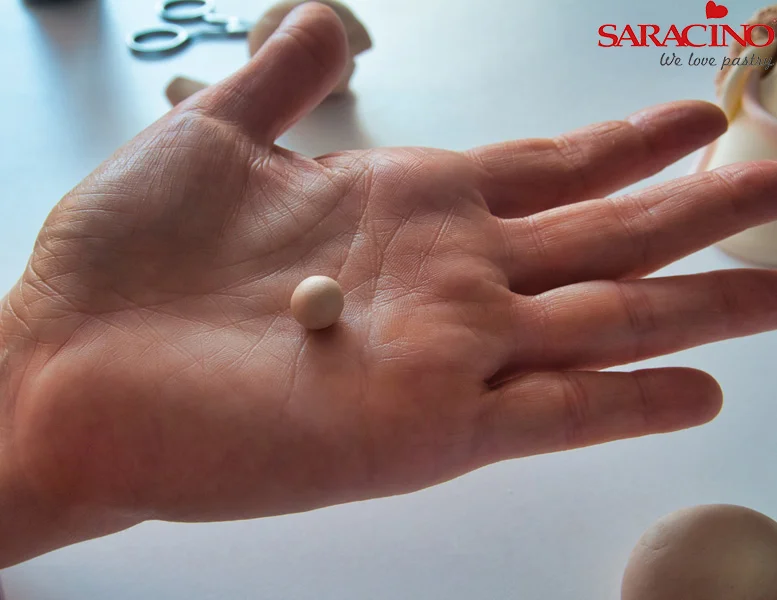
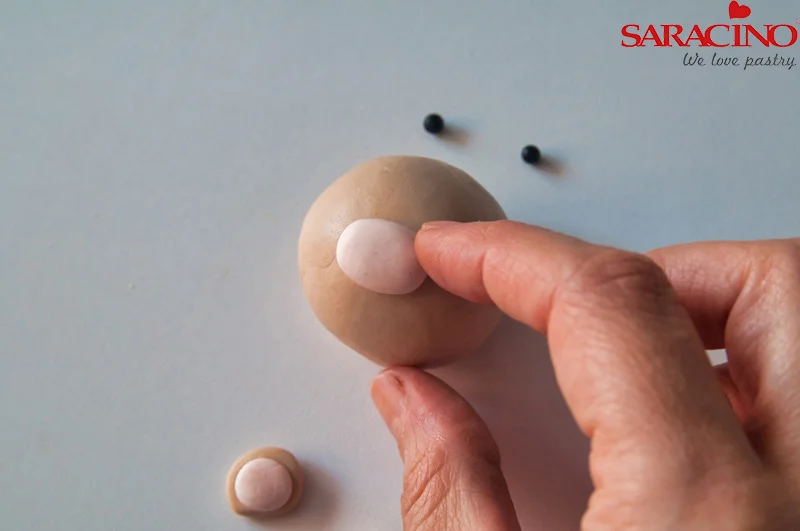
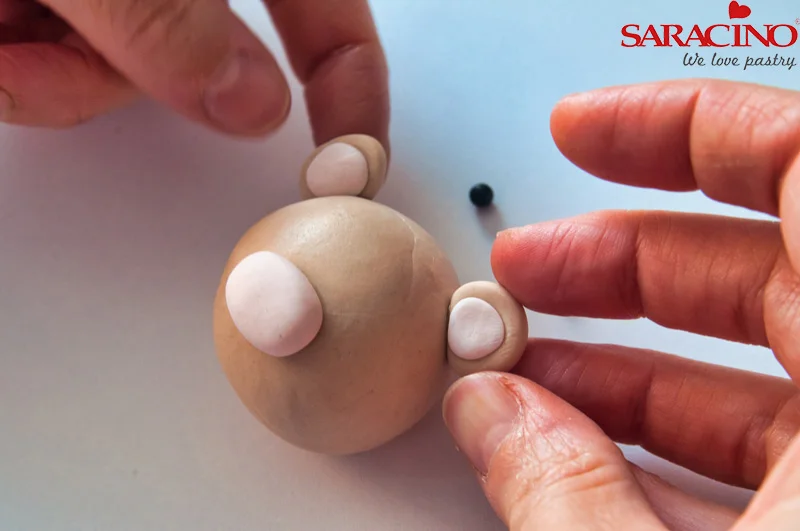
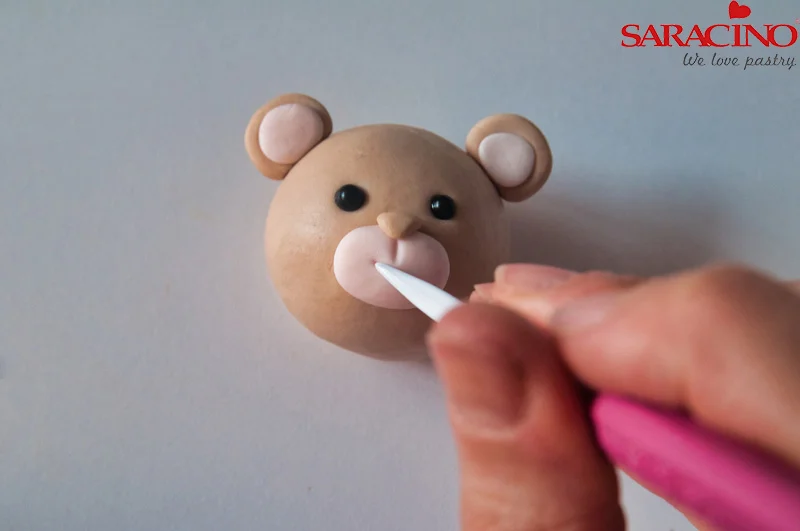
Now we are going to make the ears. To do this, make 2 small balls with the brown paste.

Step 24

Then repeat this with 2 smaller balls of pink paste.

Step 25

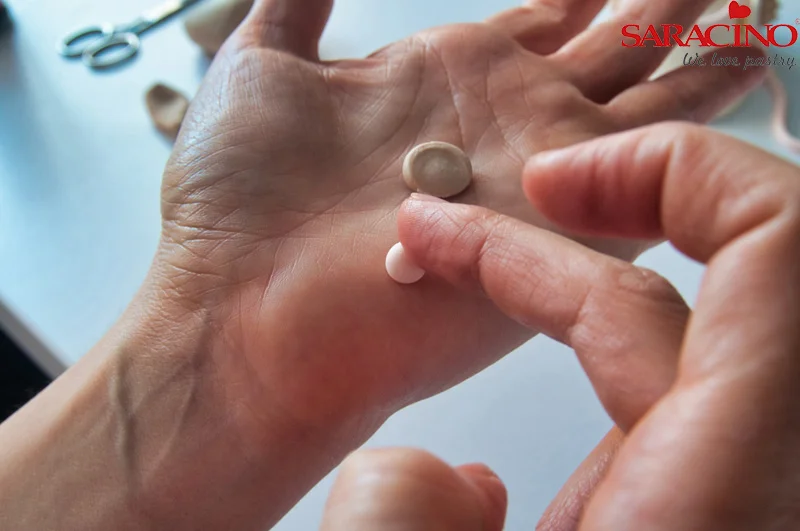
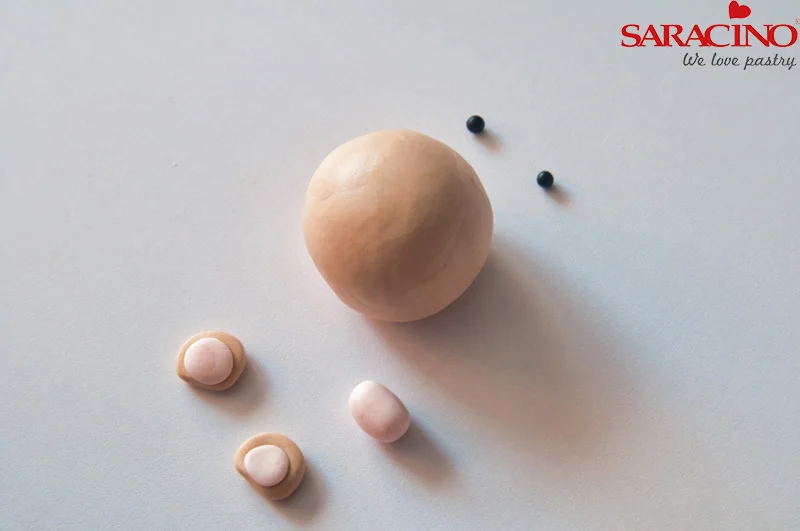
Gently flatten all the balls we have made and glue each pink ball onto each brown ball.

Make a ball to form the head and a small cylinder for the mouth area. Use 2 black sugar pearls for the eyes.

Step 26

Glue the mouth area onto the head.

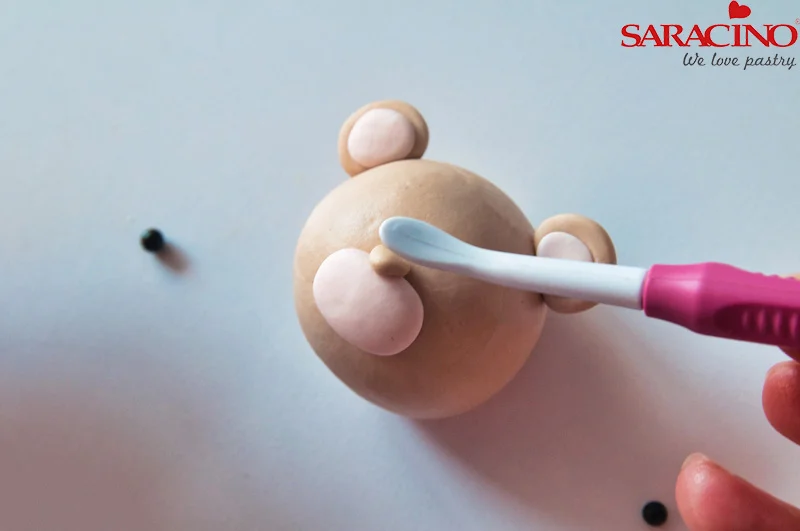
Step 27

Put some edible glue in the area of the ears and glue them in place.

Step 28

Make a small ball with brown paste to make the nose.

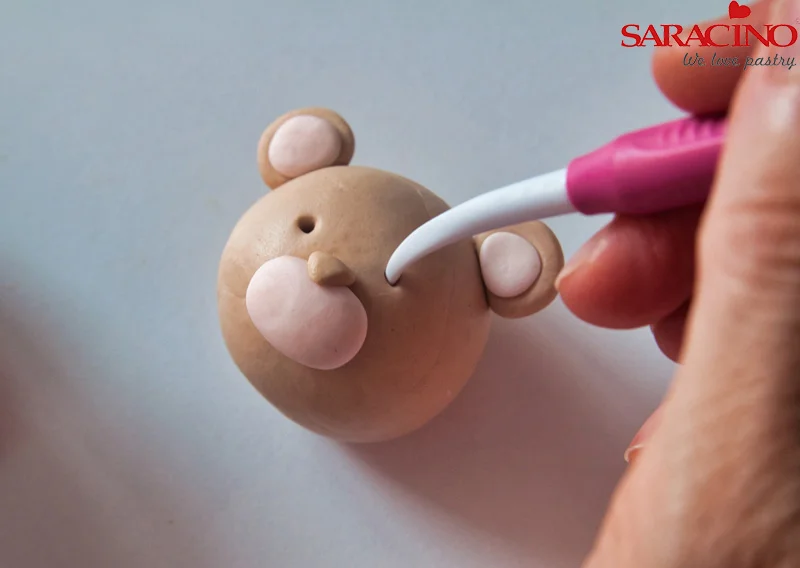
Step 29

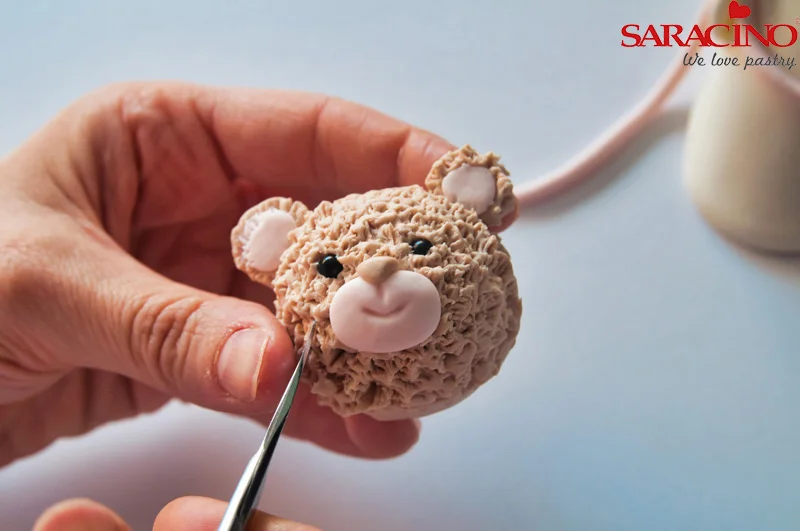
Make 2 small holes where we will place the sugar pearls for the eyes, put a little edible glue and stick them.

Step 30

Mark with a dresden tool the smile of the teddy bear.

Step 31

Texturize the whole head.

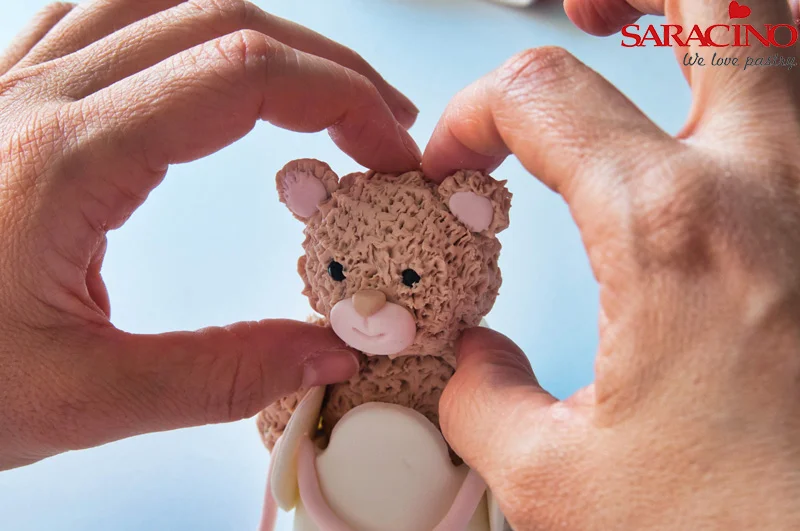
Step 32

Stick your head on the piece that we have already made.

Step 33

Make a body for another teddy bear, which we will place inside the other bootie. In this case, the bear will go “upside down”

Step 34

For this teddy bear we only need to make 2 legs and a tail.

Step 35

Stick the legs and tail in place, so that it seems that the teddy bear got into the bootie head first, and texturise as the other items.

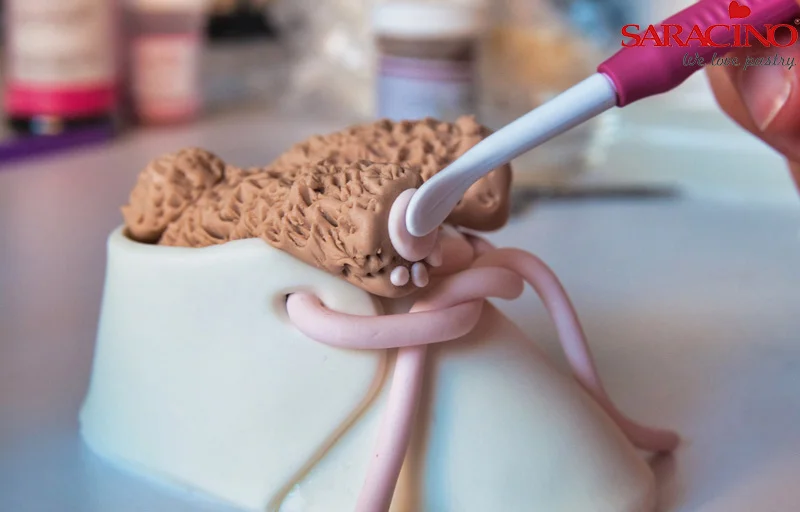
Step 36

We make some small balls with pink paste to form the bear’s footprint

Step 37

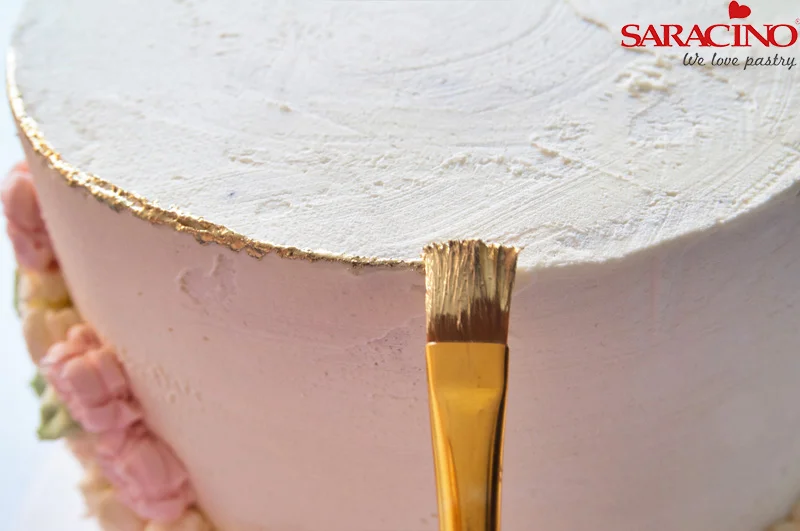
With a little gold paint colour the edge of the cake.

Step 38

We can also give a golden touch on buttercream flowers.

Step 39

Place the booties on the cake.