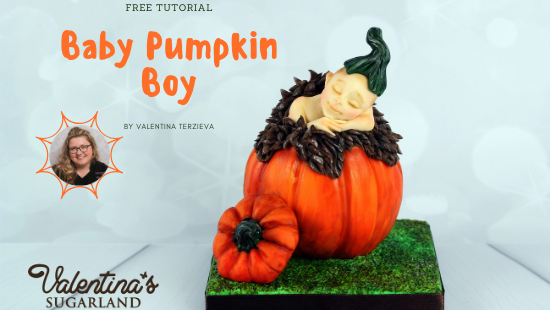
BABY PUMPKIN BOY

BABY PUMPKIN BOY

Skill level: BEGINNERS

You will need:

  • Saracino Modelling Paste – 200g orange, 60g brown, 40g skin color, 10g green,
  • 150g green Sugarpaste
  • Saracino Dust Colours – pink, skin, yellow, red, brown, green, black and white
  • Saracino Cake Gel
  • Cake Board 12cmx12cm
  • Styrofoam Ball 8cm
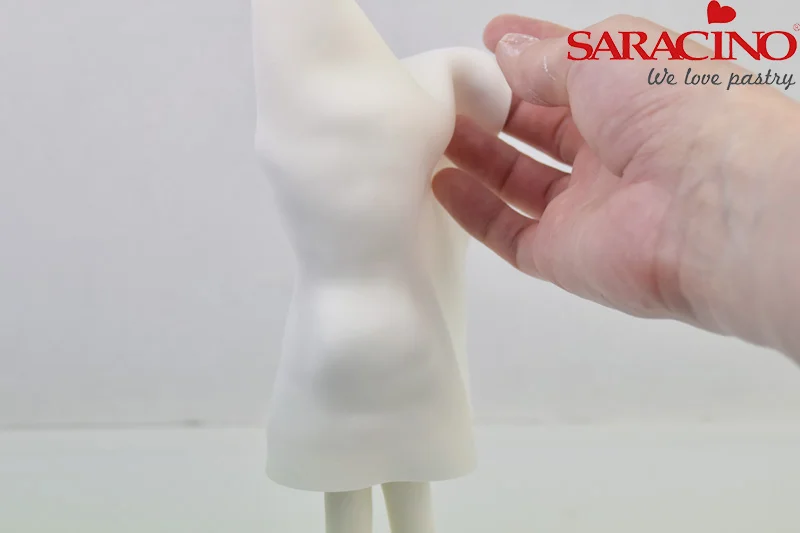
  • Modelling Tools and brushes
  • Knife
  • Scissors
  • Lemon extract/alcohol

Step 1

Cover the cake board with green sugar paste. Roll out the paste to a reasonable thickness.

Step 2

Use a stiff-bristled brush to make texture on the fondant. Trim the excess.

Step 3

You can use a 8cm stryrofoam ball to form the inside of the pumpkin or alternatively use a ball of rice krispie treat. Cut the top off two opposite sides of the ball with a sharp kitchen knife.

Tip: I will always use a styrofoam shape for inside support when I make a cake topper that is going to be kept as decoration for a long time. I use rice krispie treat only on cake decoration that is going to be eaten fast, so there will be no chance to deteriorate.

Step 4

Knead 200g orange Saracino modelling paste until soft and pliable and roll out to approximately 5mm thick. Apply cake gel or edible glue to the styrofoam ball and cover it with the modelling paste.

Step 5

Use your fingers to sharpen the upper edge.

Tip: I often use gloves when working on larger pieces, to be more hygienic. It also helps you when you have a hot hands and the paste may stick to them. When working on small faces or detail I prefer working without gloves to have more control and better feeling of my fingers.

Step 6

Use a modelling tool such as a CelPin to make the pumpkin’s grooves. Smooth them by running your fingers over them.

Step 7

For the pumpkin lid take 20g of orange Saracino modelling paste and shape it to a disk as big as the pumpkin top.

Step 8

Place the lid on the top of the pumpkin and mark where the grooves should be to match the main pumpkin. Remove the lid and form the dents as described in Step 6.

Step 9

Mix green and brown modelling paste and shape 3g of it to a twisted stem. Use a modelling tool and draw a line along the stem and place it in the middle of the lid. Fix using edible glue.

Step 10

Mix Saracino dust colours with lemon extract or vodka and paint the pumpkin. Start with yellow and using a wide brush paint in strokes from the upper edge to the bottom. Mix some red to the yellow dust to achieve a different shade of orange. Apply with a smaller brush. Paint the red and brown mixture to the dents. Use brown and green to paint the stem.

Step 11

Place the pumpkin and the lid in the middle of the cake board. Use brown, green and yellow dust colours mixed with lemon extract to paint the grass.

Step 12

Knead 50g of the Saracino sugar paste and place about 30g of it on the top of the pumpkin. Shape it to look like a fur blanket. Use small pointed scissors to add texture to the blanket.

Step 13

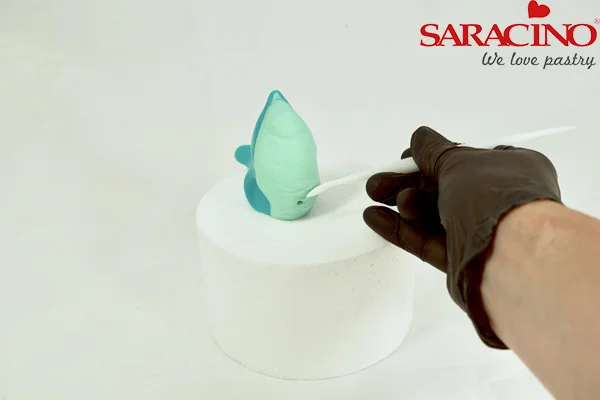
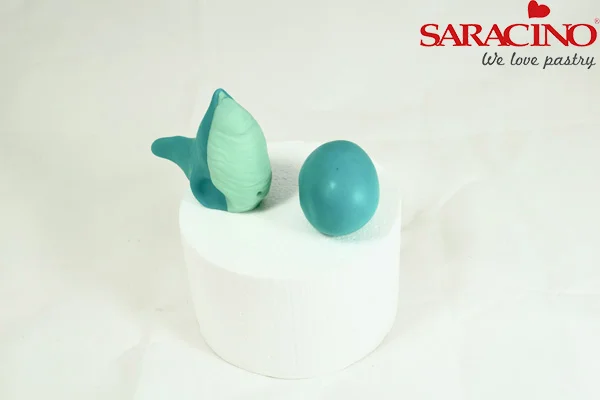
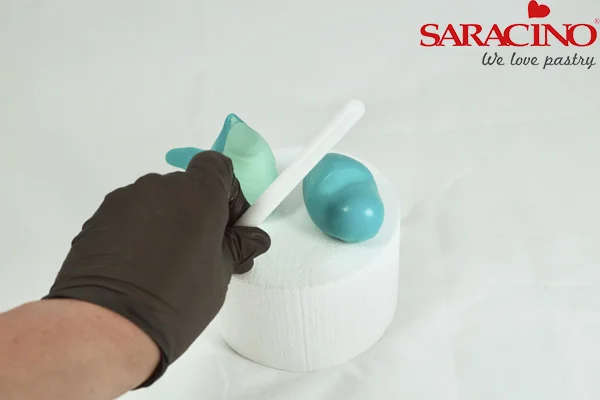
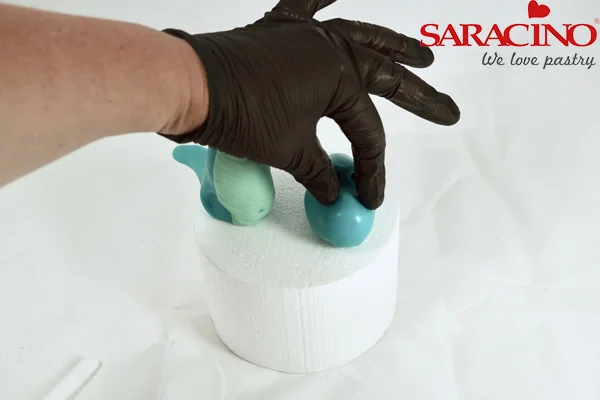
Knead 15g of the skin coloured Saracino Modelling Paste and roll to a sausage shape. Pull centrally on the upper side to form a small neck. Mark the arm pit on the left side.

Step 14

Pull and shape the right side to form a long thin sausage for the right arm. Mark in the middle for the elbow and bend it towards the direction of the body.

Step 15

Place the body into the pumpkin and arrange the fur strands in a way that they cover the joint between the body and the blanket and to look like the baby boy is inside the pumpkin. If needed use more brown paste to add blanket behind the body and shape it like fur as described in Step 12.

Step 16

Use 1.5g of the skin coloured Saracino Modelling Paste to make the hand. Shape it like a teardrop, flatten the thicker side with your finger and place on the modelling board.

Step 17

Using a knife cut out a small triangle to separate the thumb from the fingers and then make three cuts to form four fingers.

Step 18

Roll each finger gently between your finger and thumb to shape them and cut to the required length.

Step 19

Place the hand near the body in the pumpkin and arrange the fur around to look natural.


Step 20

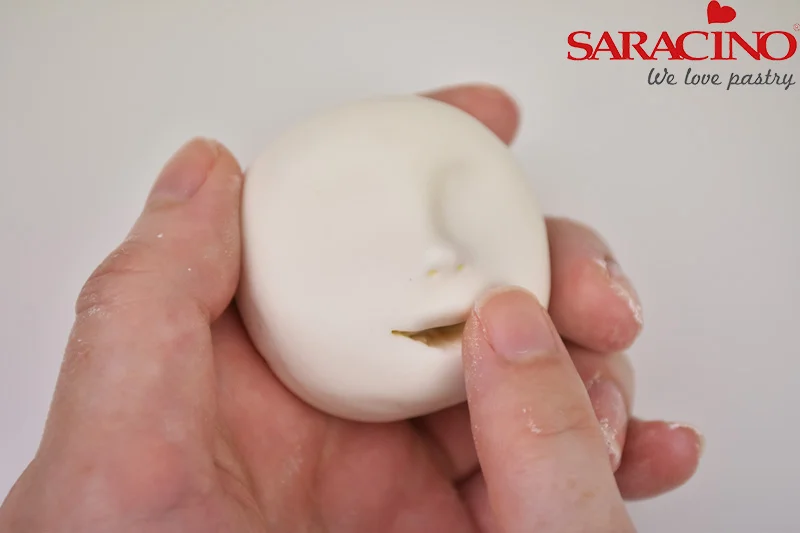
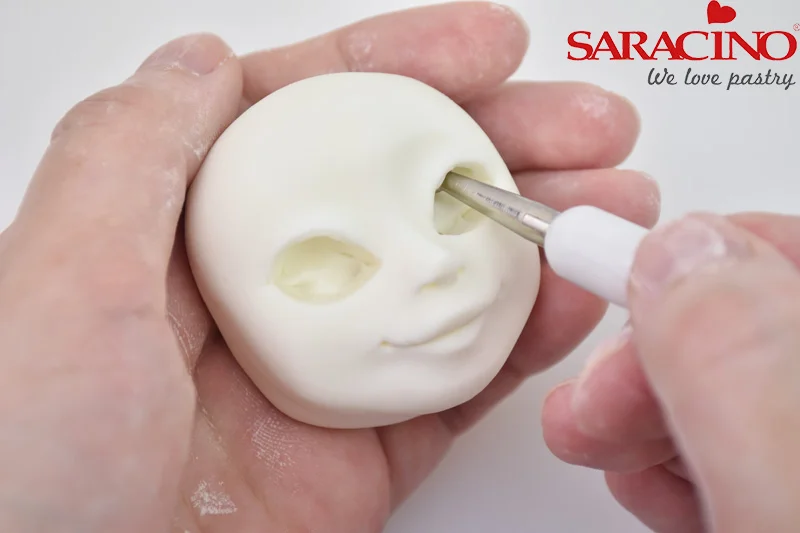
For the head knead 20g of Saracino skin coloured modelling paste and roll it to a smooth egg shape. Use the round side of the CelPin and form two dents for the eye area in the middle of the head. Leave a gap of 2mm between the dents for the bridge of the nose.

Step 21

Using a modelling tool shape the bridge of the nose, with the lower end wider than the upper.


Step 22

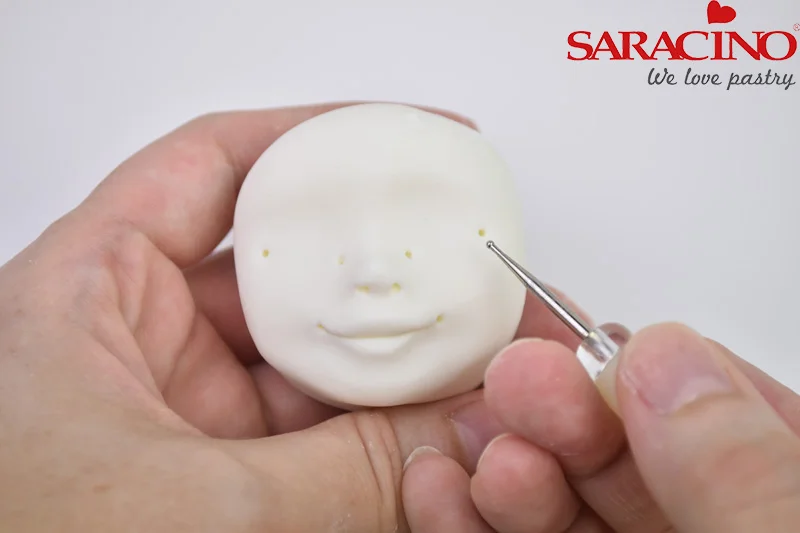
Make the holes for the nostrils using a pointed modelling tool or tooth pick. Shape the nostrils.

Step 23

Draw a line for the mouth approximately 4mm below the nose.


Step 24

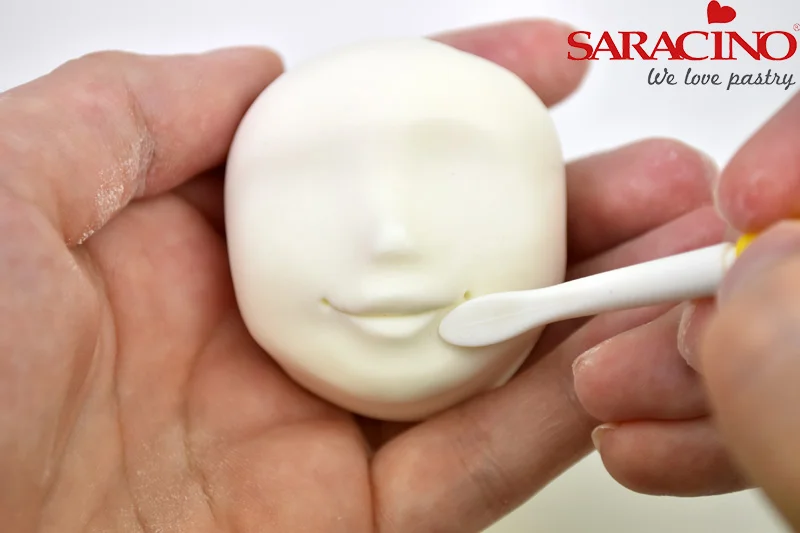
Using a knife cut the line deeper and then lift the upper lip from the inside

Step 25

Shape the upper and lower lip using a Dresden tool or silicon brush.


Step 26

With a small ball tool indent the line between the nose and the mouth.

Step 27

Shape the chin and the face using a CelPin and your fingers.


Step 28

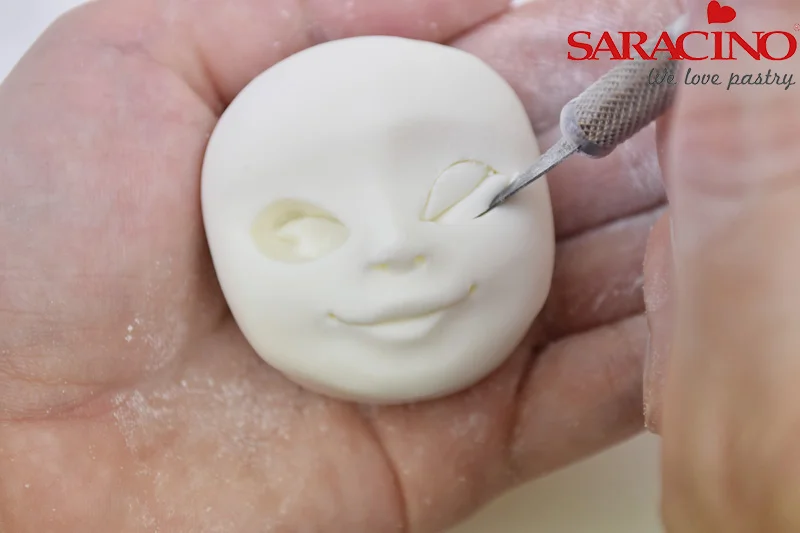
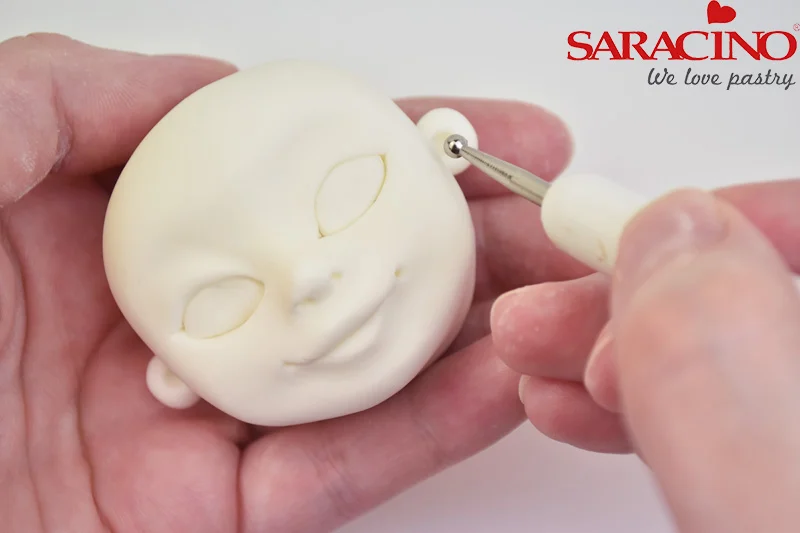
Add two small flat teardrops into the eye sockets. Apply water on the edges and using a modelling tool smooth over to join them with the face.

Step 29

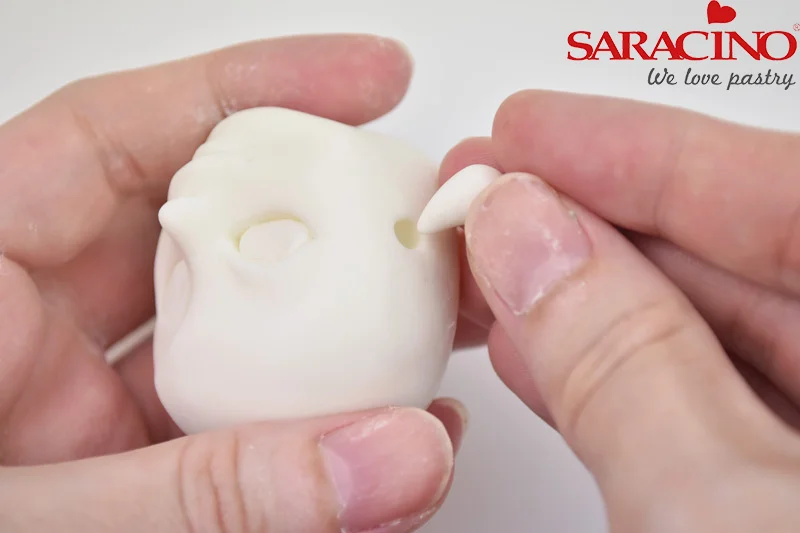
Add two larger flat teardrops for ears on both sides of the head.


Step 30

Place the head on the neck and using a small amount of water and the same technique as above join the two pieces together and blend the joint.

Tip: I only use water to join and smooth two pieces of Saracino modelling paste together. You generally don’t need sugar glue or piping gel for that. Apply the small amount of water and smooth the joint with your tool.

Step 31

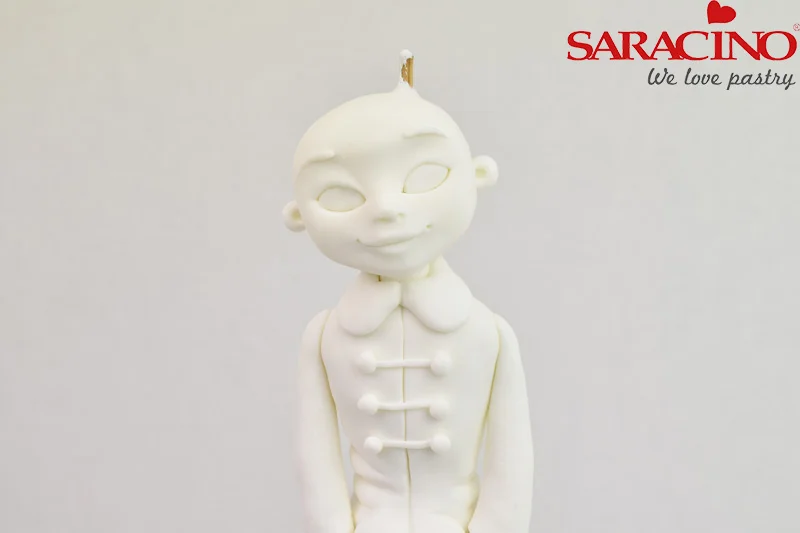
Use a modelling tool to shape the direction of the eyebrows so it looks like the baby is sleeping peacefully.


Step 32

Shape a hat from 3g brown-green paste and fix it on the head. Use dust colors to brush and give more depth and realistic look. For this project I used Saracino pink, brown, skin and green dusts.

Step 33

Use a small brush to apply brown dust on the eyelashes and eyebrows.


Step 34

With a wider brush apply brown dust to the hair and pink for the cheeks. You can add skin and pink color on the body. Dust the hat with green and brown. Dust the fur with brown dust color and go over it with an almost dry brush dipped in the mixture of white dust and lemon extract / vodka.
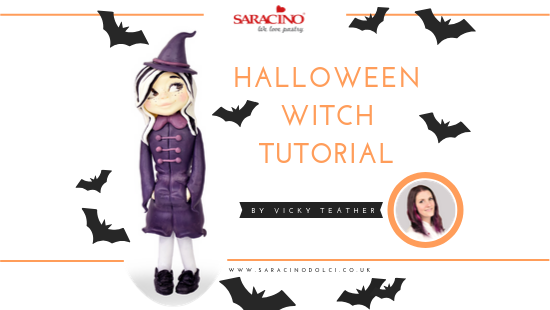
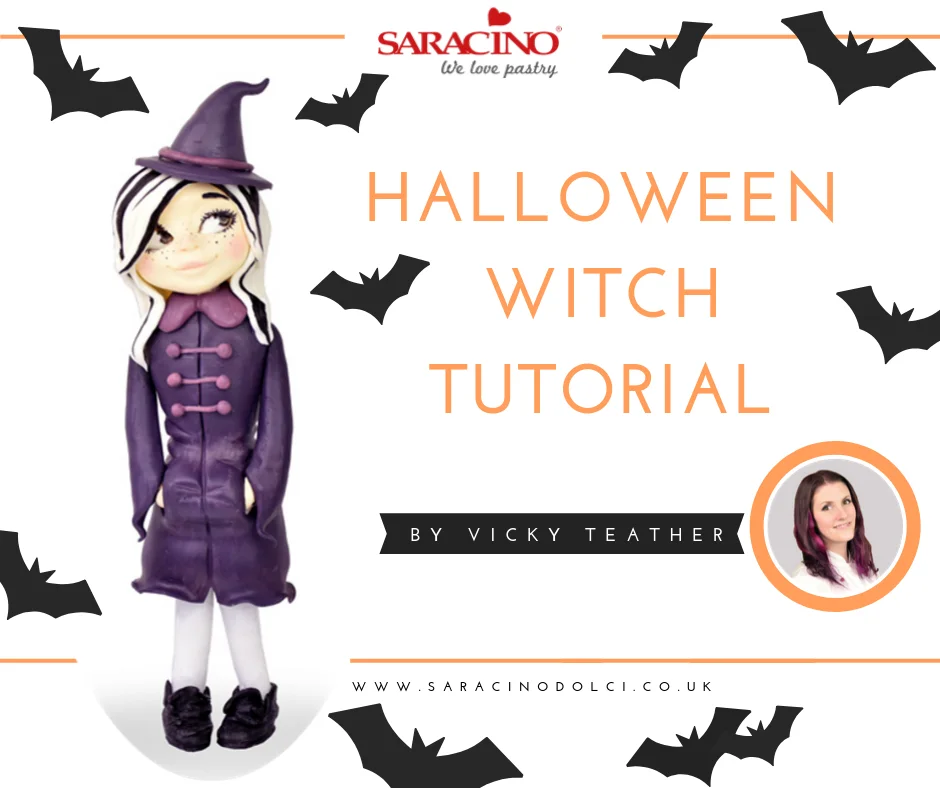
HALLOWEEN WITCH TUTORIAL

HALLOWEEN WITCH TUTORIAL

Author: Vicky Teather

Skill level: BEGINNERS

TOP TIPS:

If you don’t have cocoa butter you can use clear alcohol to create paint with edible dusts, just make sure you add a little edible varnish to the mix. This will stop the dust from shedding later. The varnish will set on your paintbrush and palette, so make sure to keep them covered with cling film to prevent it drying out as you work. Always clean your equipment straight away to avoid the varnish setting and ruining it.

Add White dust to the paint to create an opaque colour.

You will need:

  • Saracino modelling paste: 320g White
  • Saracino Dust Colour: Black, Brown, Pink, Purple, Skin Tone, White
  • Saracino Cocoa Butter
  • Round polystyrene dummy, 3” deep: 3”
  • Wooden skewer: 2
  • Craft knife
  • Dresden tool
  • Scissors
  • Boiling water
  • Mug
  • Paint Palette
  • Paintbrushes

Step 1

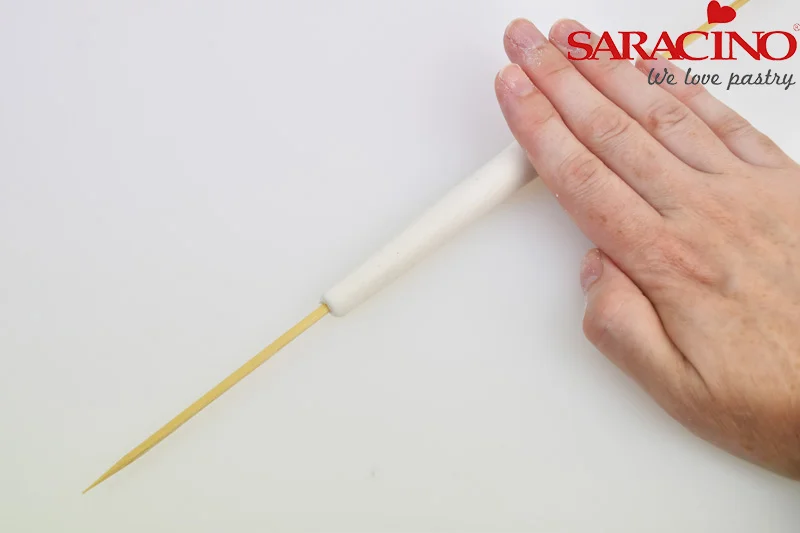
Roll out 15g of White modelling paste into a 10cm long tapered sausage. Insert a wooden skewer through the centre. Repeat for the second leg.

Step 2

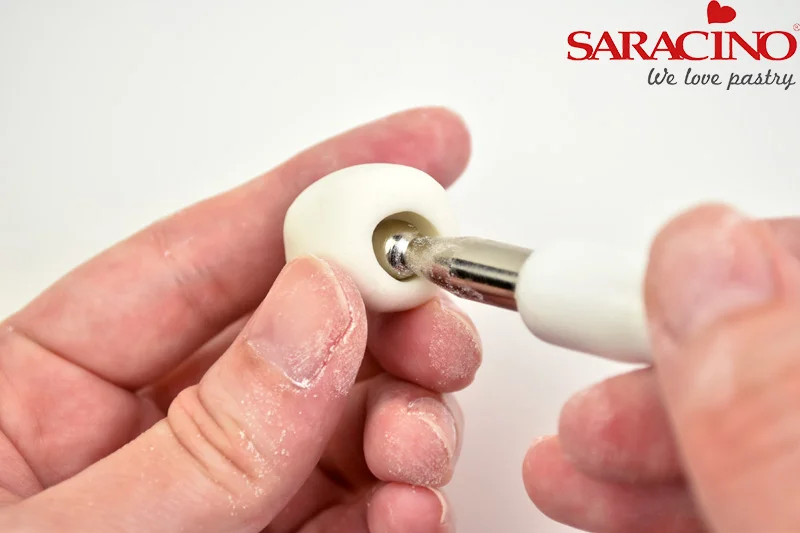
For the boots. Shape 10g of White modelling paste into a ball. Push a medium ball tool into the centre and form a 5-8mm deep well.

Step 3

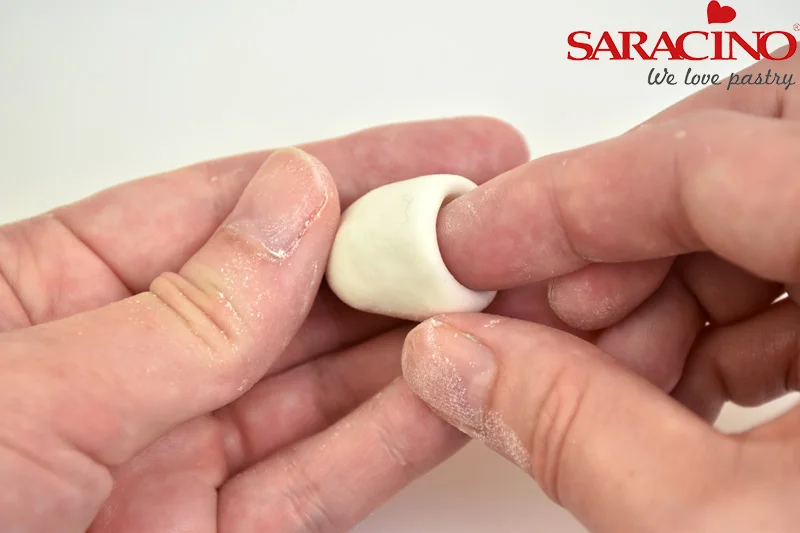
Place a finger inside the well and gently pinch around the edge to thin and shape the paste.

Step 4

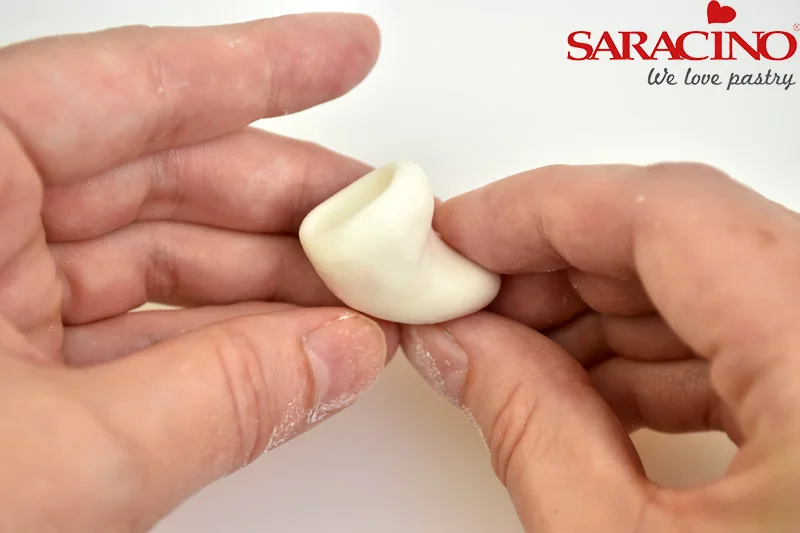
To make the toes, pinch the opposite end of the ball into a right angle. Make two cuts on the top edge of the boot above the toes. Repeat to make a second boot.

Step 5

Fit the boot to the end of the leg. Use the wide end of the dresden tool to create folds and grooves in the boots. Use the pointed end to draw the line for the soles. Add two small balls to each boot for the buttons.

Step 6

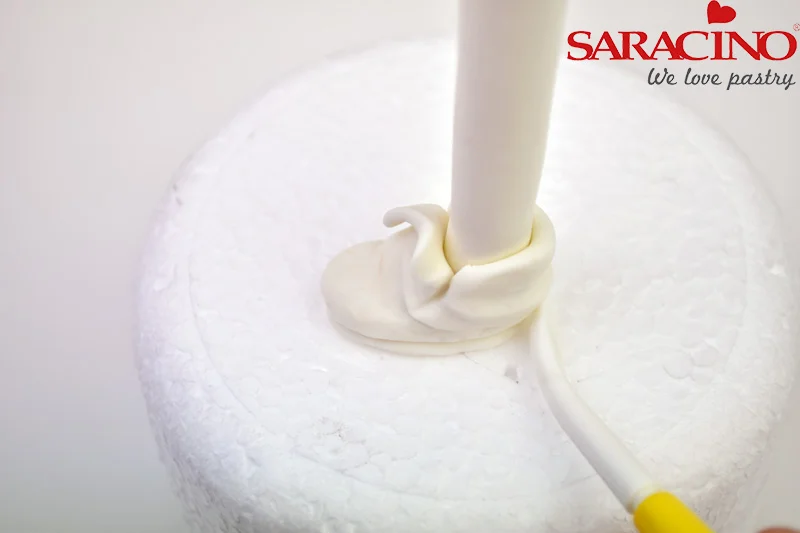
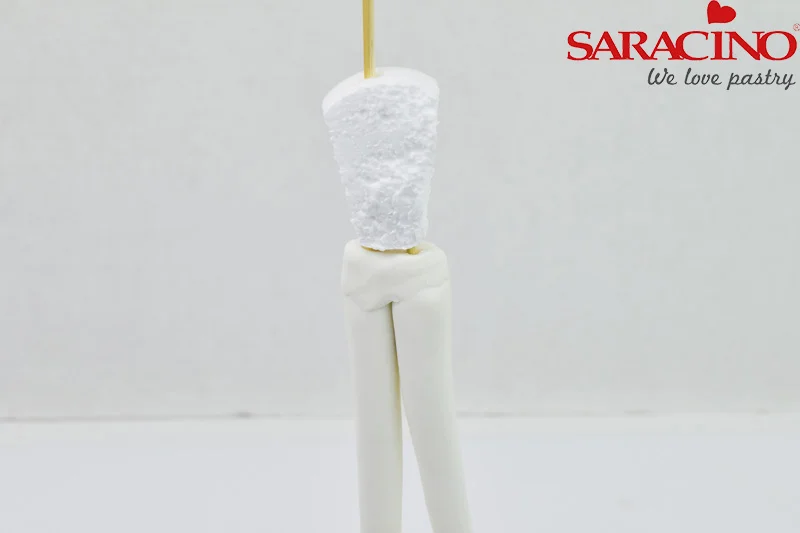
Join the legs together where they meet with 10g of modelling paste. Cut a piece of polystyrene into a 5cm x 2cm x 2cm cuboid. Push down over the wooden skewer.

Step 7

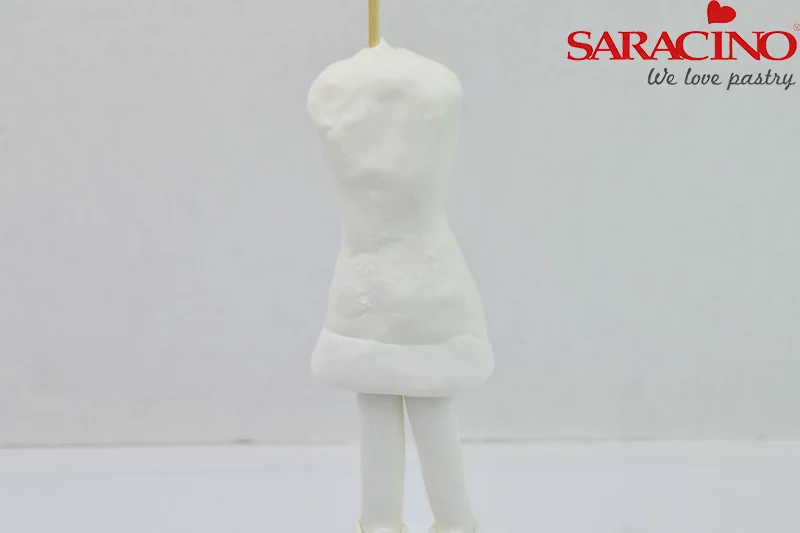
Use around 100g of White modelling paste to shape the body and skirt around the dummy and legs.

Step 8

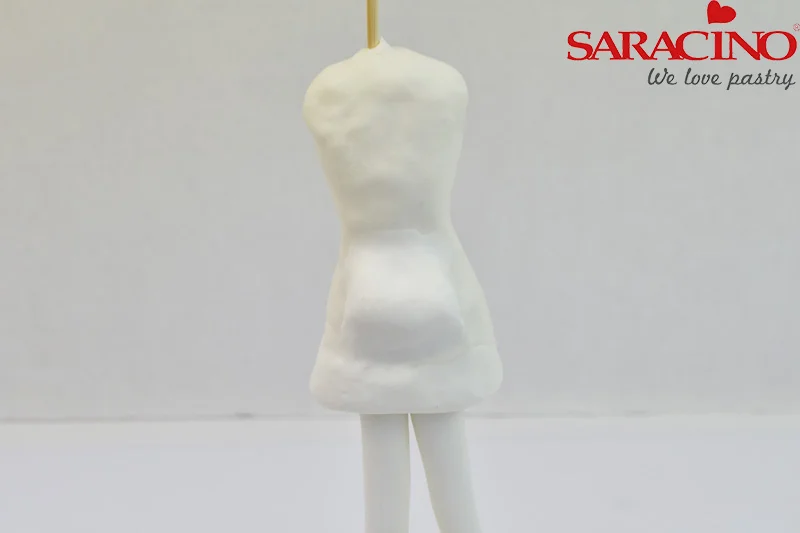
Shape 10g of White modelling paste into a cylinder. Cut in half length ways and glue in place on the lower edge of the body. Use your fingers to smooth the cylinder to blend it into the body. Use your fingers and/or a silicone smoothing tool to smooth the surface of the body.

Step 9

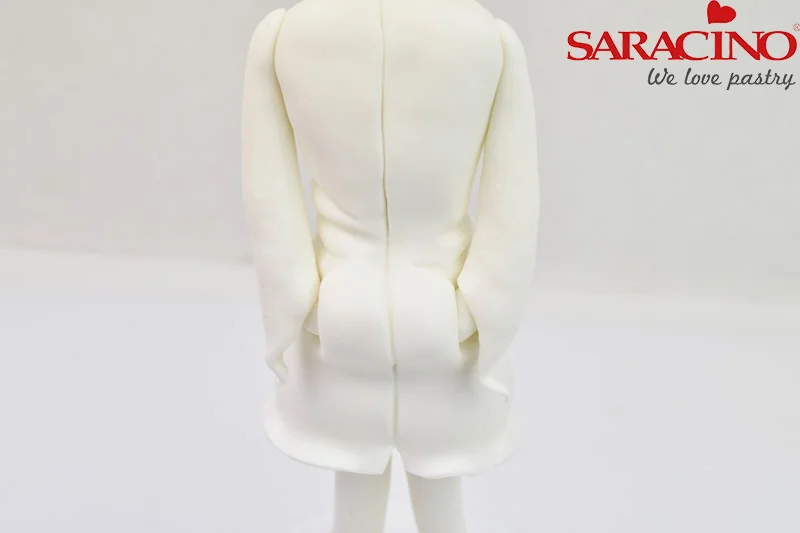
Roll out 40g of White modelling paste thinly. Cut a straight line along one side of the paste. Paint glue over the surface of the body and skirt. Gently lift the paste and line up the straight edge with the bottom of the body/skirt. Use your hands to shape the paste around the body. Trim away the excess paste at the back.

Step 10

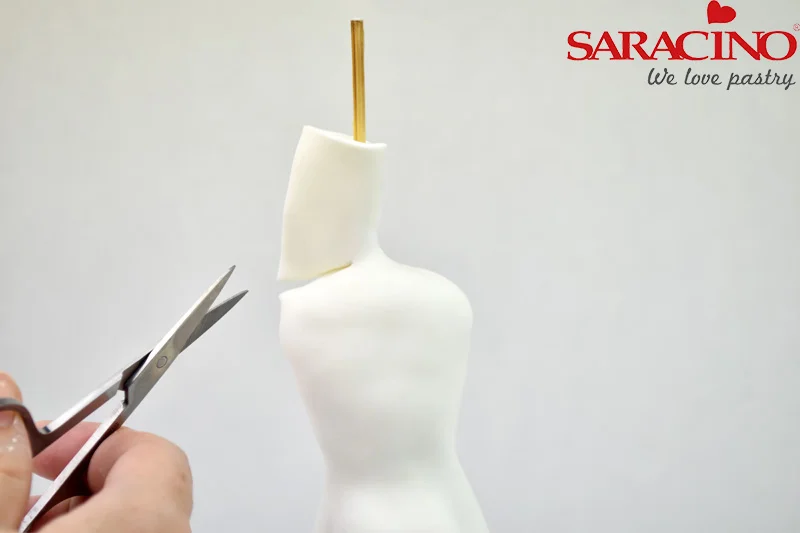
Press the paste together at the top and use a pair of scissors to cut the paste around 1mm above the shoulders. Remove the excess paste and neaten the cut edge with your fingers.

Step 11

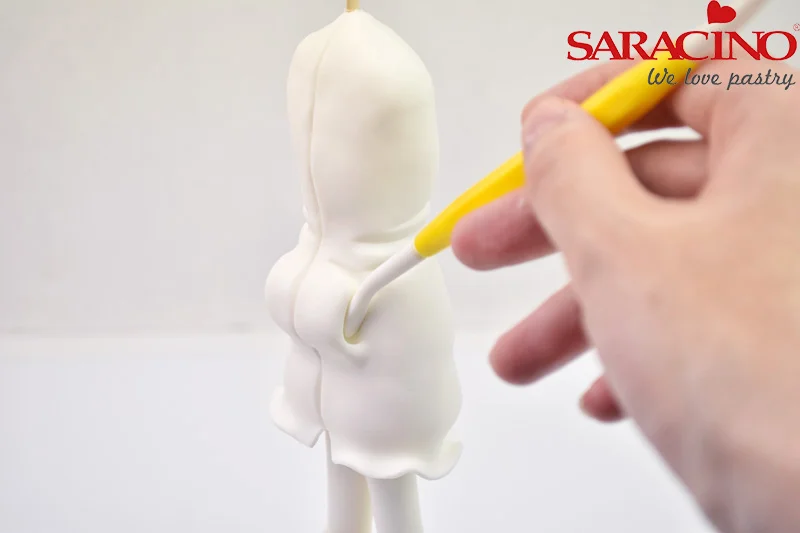
Draw a line down the centre of the coat and add creases to the waist with the dresden tool. Use your fingers to curl and wave the bottom edge of the coat. Press the wide end of the dresden tool into the sides of the pockets to open up the space a little.

Step 12

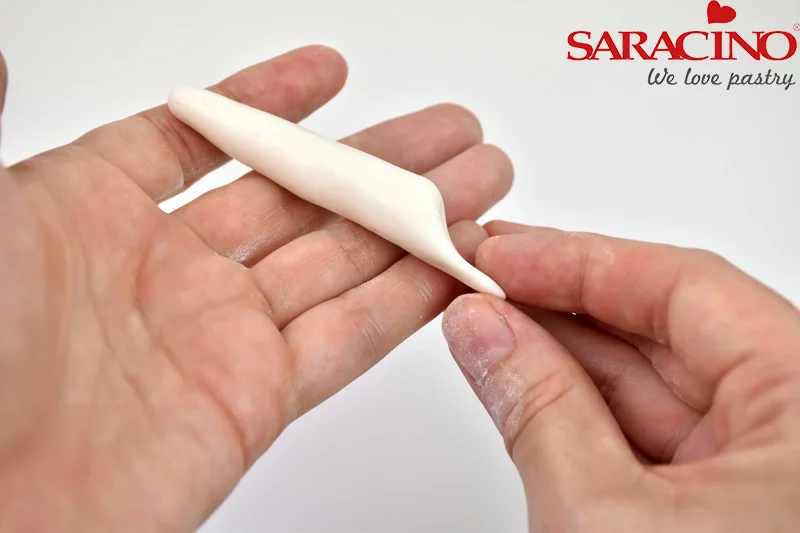
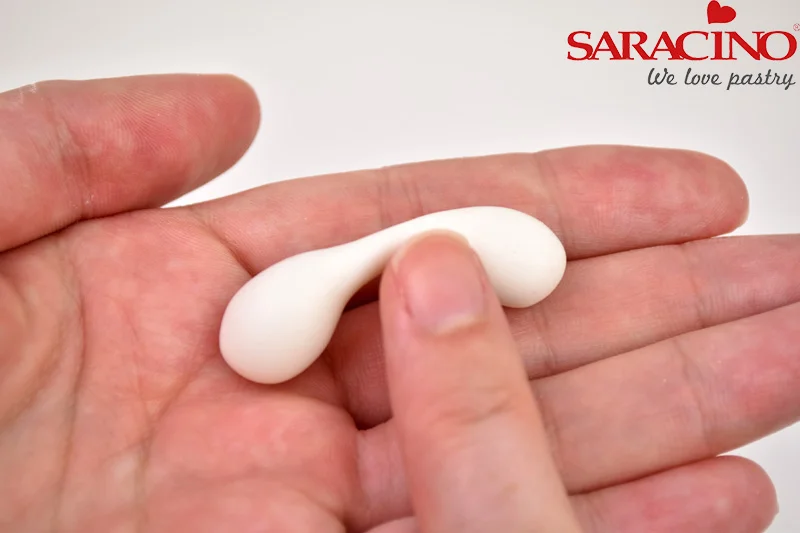
Shape 8g of White modelling paste into a 5.5cm long tapered sausage. From the wide end, gently pinch the paste into an elongated point.

Step 13

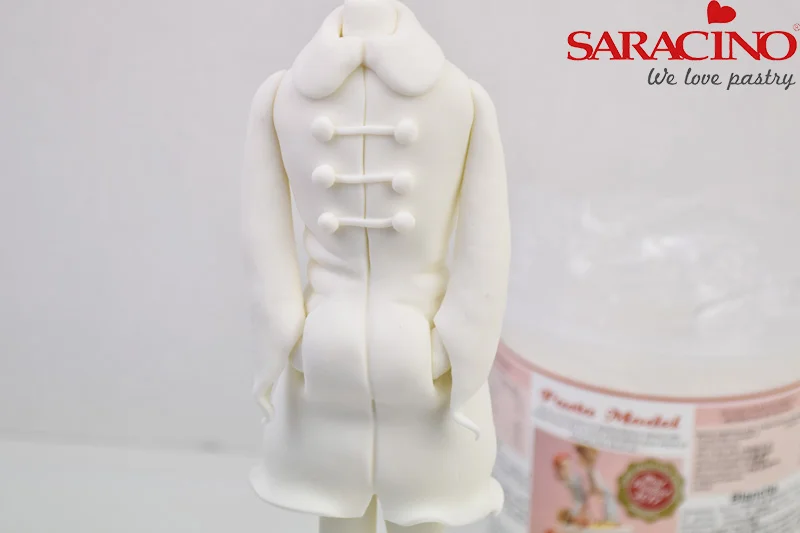
Roll two pea sized cylinders from White modelling paste and glue inside the pockets on the coat. Glue the arms in place. Glue a large pea sized cylinder of White modelling paste at the top of the coat for the neck.

Step 14

Roll 5g of White modelling paste into a ball. Place the side of your finger over the centre of the ball and rock back and forth to create a narrow-centred sausage.

Step 15

Flatten with your fingers and then glue in place around the neck.  Add three thin strips and six small balls to either end for the coat buttons.

Step 16

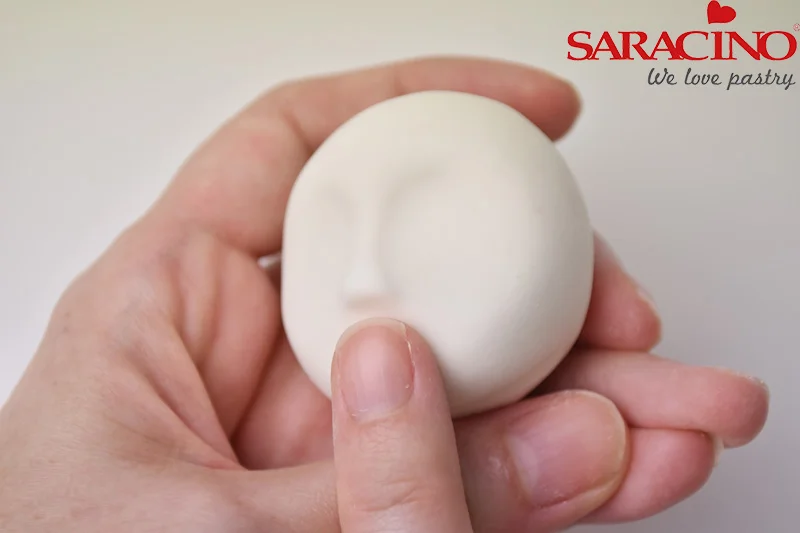
Shape 50g of White modelling paste into a ball. Place the side of your finger half way up the ball and gently rock back and forth to create a groove. Press your fingertips into the paste 5mm apart and gently press to form the eye sockets. Smooth away any harsh lines created by your fingers. Push upwards from below the eye sockets to create a small bump for the nose. Use your fingers to shape the bump and bridge of the nose. Press a small ball tool into the bottom of the nose for the nostrils.

Step 17

Use the craft knife to cut a 1.5cm slightly curved line between the nose and the chin. Use the knife to prize open the mouth. Smooth the upper and lower cut edges with your fingers. Push the top lip upwards.

Step 18

Use the dresden tool to push the paste underneath the mouth up towards it, thus creating a bottom lip. Use the dresden tool to shape around the mouth and add dimples with a small ball tool.

Step 19

Press a ball tool into the eye sockets to mark the inner and outer corners of the eyes.

Step 20

Cut a line between the inner and outer dots as a guide. Then cut a curved line above and below the central line. Remove the paste.

Step 21

Neaten the edges of the eyes with a ball tool. Place the tool under the upper eye lid and gently pull up and outwards to stretch the paste. Fill the eyes with two balls of White modelling paste.

Step 22

Push a ball tool into the sides of the head, around the same height as the bottom of the eyes. Roll two small cones from White modelling paste and fit inside the holes.

Step 23

Press a ball tool into the centre of the ear and towards the head. Roll two very fine tapered sausages of White modelling paste and glue in place above the eyes.

Step 24

Glue the head onto the body with it leaning ever so slightly to the left.

Step 25

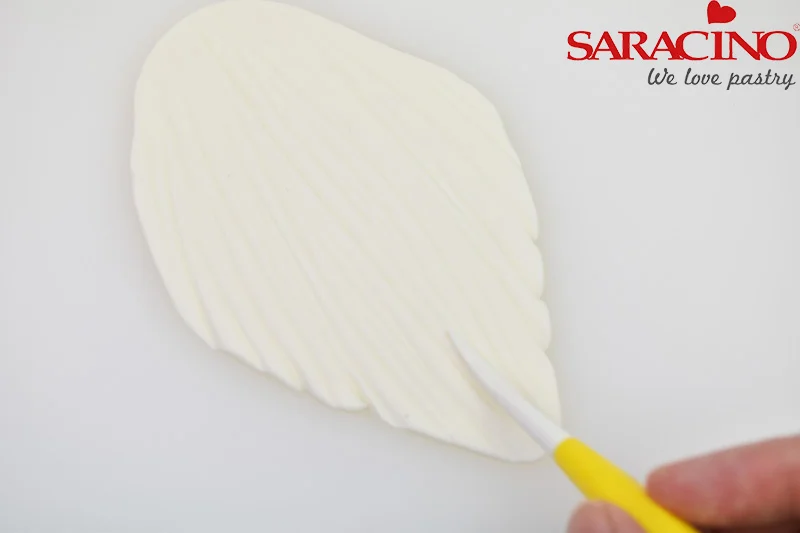
Roll out 25g of White modelling paste thinly as per the photo. Draw lines down the length of the paste using the dresden tool.

Step 26

Paint glue over the back of the head and place the sheet of paste in place. Work upwards towards the crown of the head, fitting the paste as you go. Once you get to the top, pinch the paste together and use the scissors to trim away the excess. Use your hands to neaten the cut edge.

Step 27

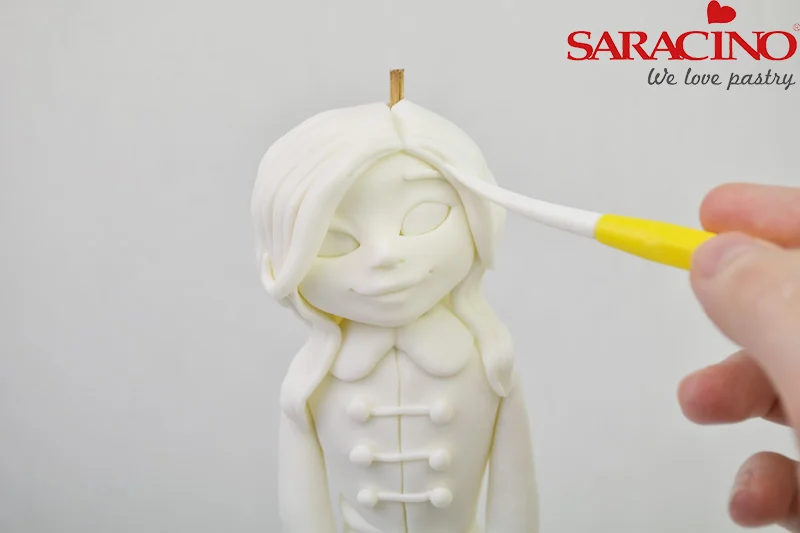
Add more strands of hair around the front of the hairline by rolling long cones of paste, flattening them and drawing on hair lines. Finish with two chunkier cones along the front of the hair.

Step 28

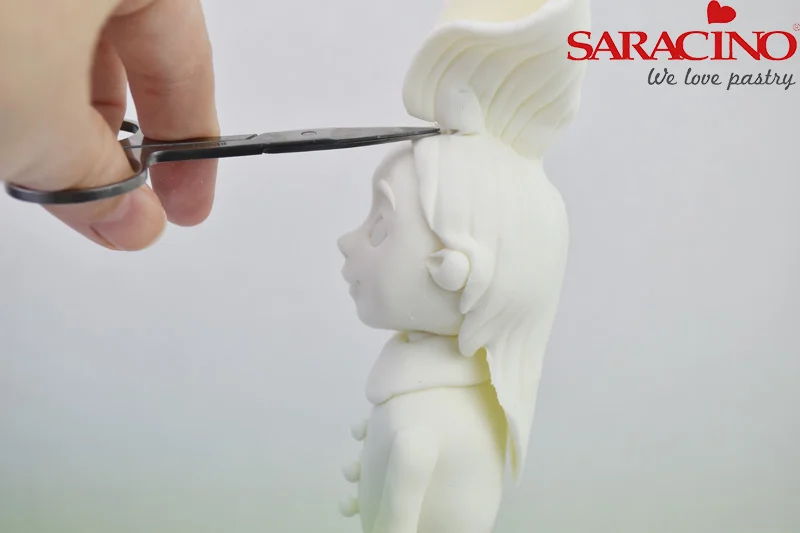
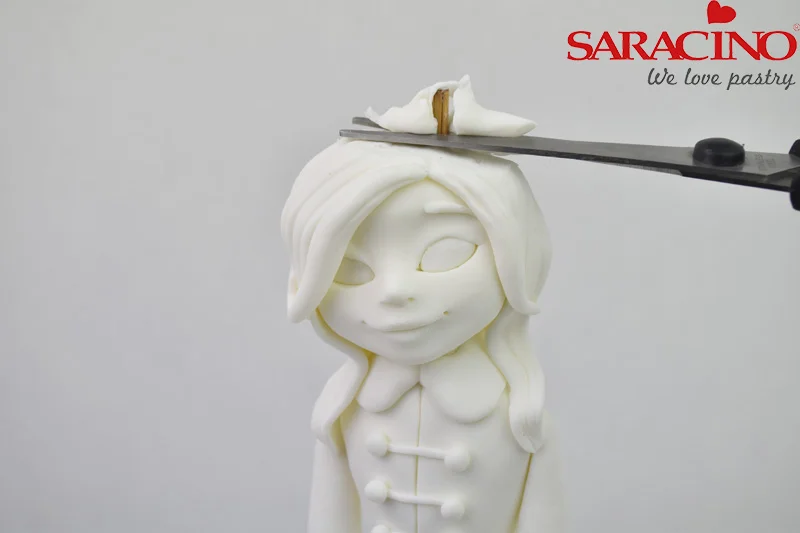
Use a pair of scissors to cut away the top of the hair, around the tip of the skewer, to create a flat surface.

Step 29

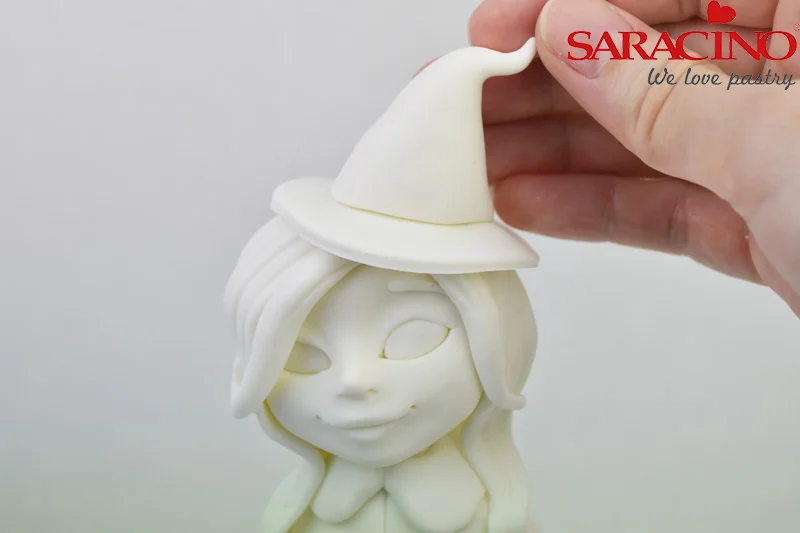
Roll out 10g of White modelling paste and cut out a circle with the 5cm circle cutter. Glue in place over the flattened section of the head. Roll a cone from 15g of White modelling paste and glue on top of the circle. Tease the point of the cone into a bend. Add a thin sausage of White modelling paste to hide the join line.

Step 30

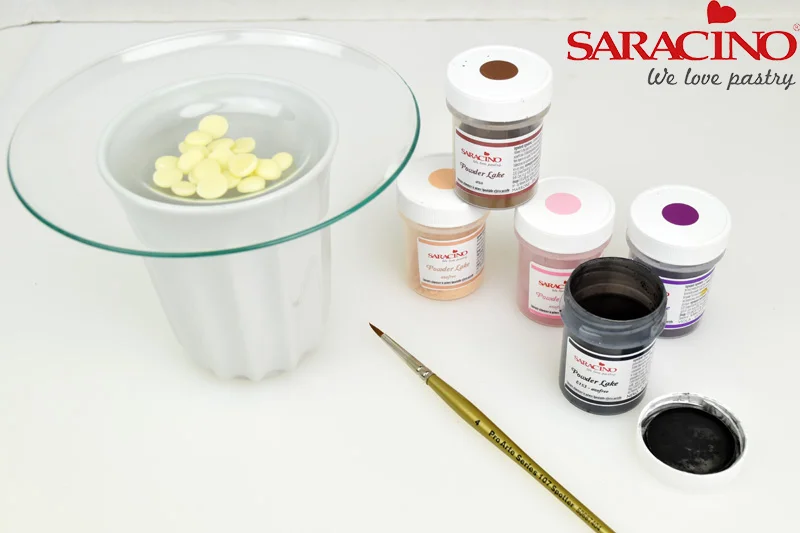
Fill a mug half way with boiling water. Place the paint palette on top and add 5g of cocoa butter. Allow the cocoa butter to melt. Remove from the top of the mug and replace with a second paint palette. Add a small amount of the dust colour and mix a little of the melted cocoa butter in to form a paint.

Step 31

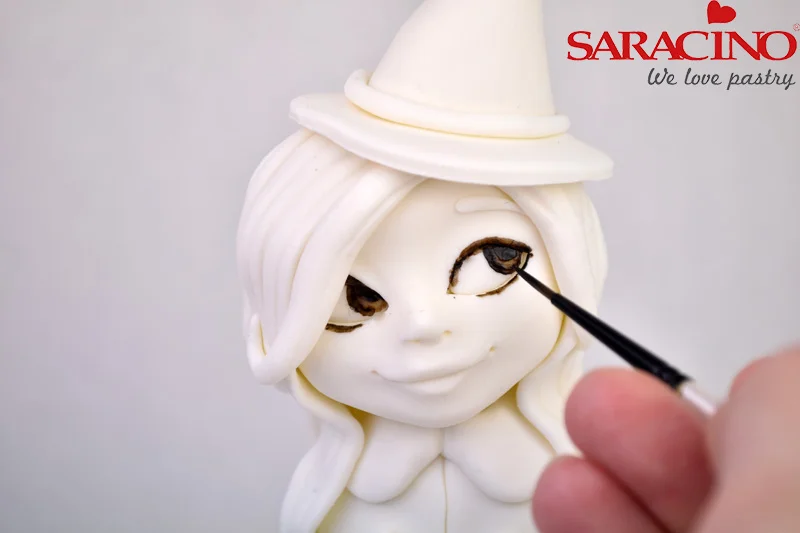
Using a fine 0 paintbrush, paint the eyes and eyelashes with Brown paint, mixed with a little white. The outer edge and top of the eye should be darker brown. Don’t worry about neatness, you can fix any smudges later by painting over it.

Step 32

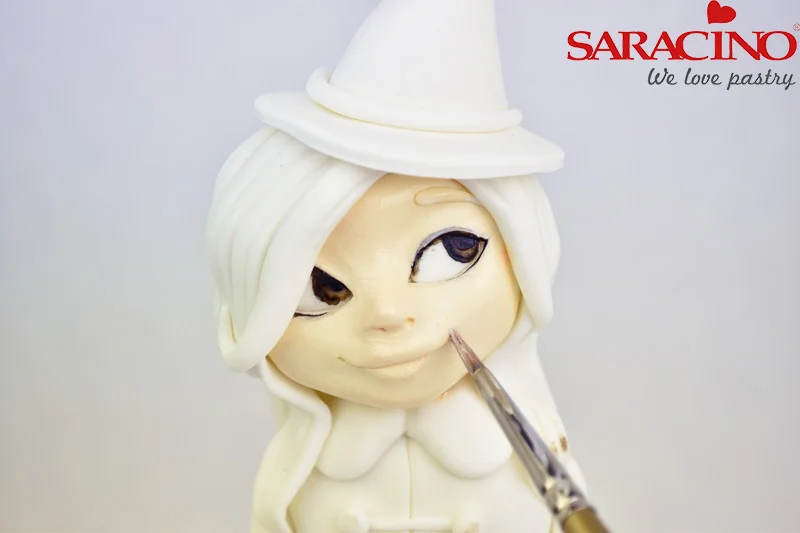
Mix Skin Tone dust with White to create a pale flesh colour. Paint the face and wrists.

Step 33

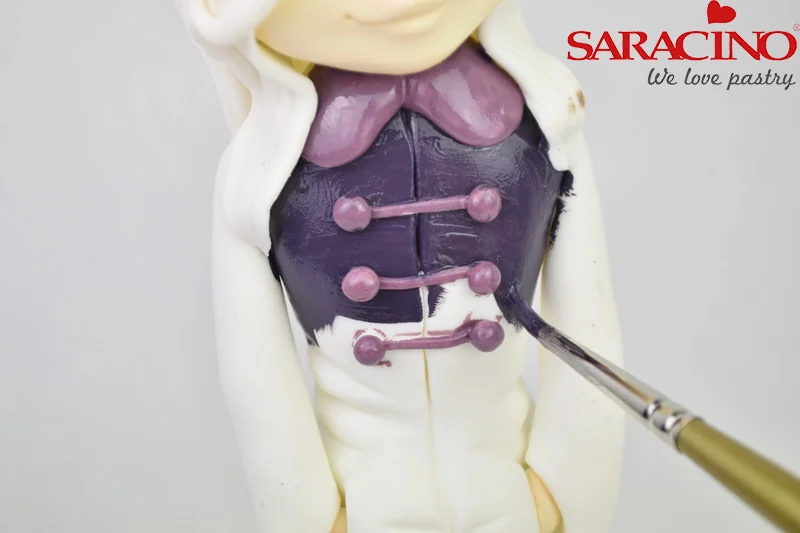
Mix Purple and White to form a paint. Paint the hat. Mix a little Pink in to the paint to form a pinker shade. Paint the rim around the hat and the buttons and collar on the coat. Paint the rest of the coat with the Purple paint.

Step 34

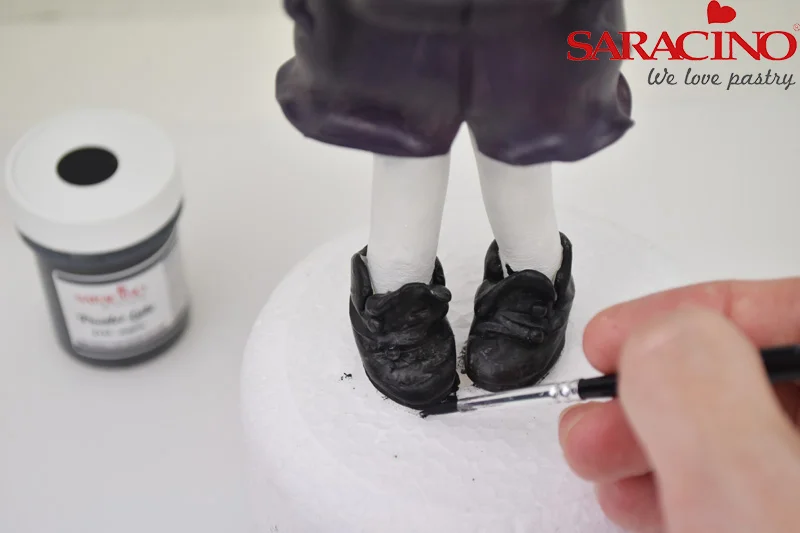
Paint the legs with a pale grey paint (White with a touch of Black) and the boots with Black paint.

Step 35

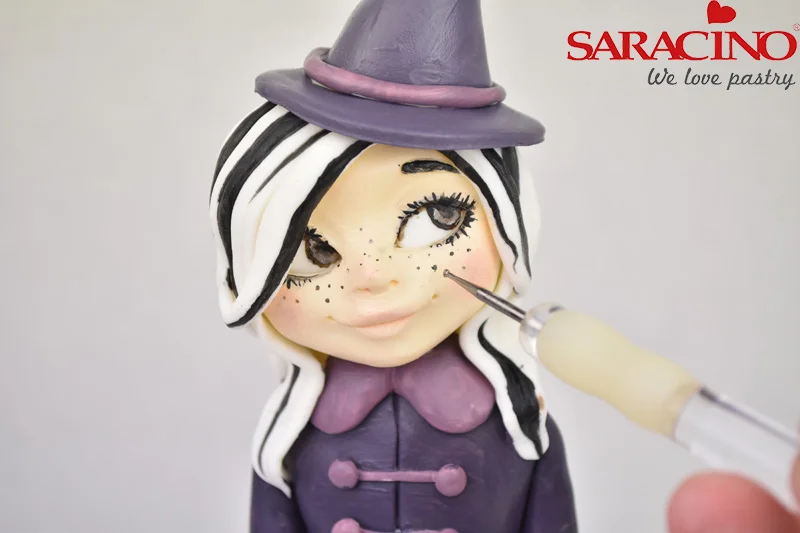
Paint Black streaks in the hair, eyelashes and the eyebrows. Dust the cheeks, nose and lips with Pink dust colour and a soft paintbrush. Dip a small ball tool into the paint and use to create freckles on the face. Add a dot of White to each eye as the highlight.

OUT OF THIS WORLD PLANET CAKE

OUT OF THIS WORLD PLANET CAKE

Author: Mabanuby

Skill level: BEGINNERS

You will need:

For the cake:

  • Saracino white Pasta Top

  • Saracino blue gel colour

  • Dummy cake (circular) about 20 cm high. Or cake with same dimensions.

  • Saracino airbrush colours: black, light blue, blue

  • Saracino gold powder colour

  • Saracino powder spray dispensers: gold and silver

  • pure clear alcohol

  • Side smoother

  • Work base

  • Stiff bristled brush

  • Airbrush

For chocolate planets:

  • Polycarbonate half circle moulds of various sizes
  • Cocoa butter
  • Saracino powder colours: gold, white, bronze, blue and copper
  • Brush with stiff bristles
  • Brush with soft flat bristles
  • Dark chocolate
  • Marble or steel worktop
  • Spatulas
  • Baking tin

Step 1

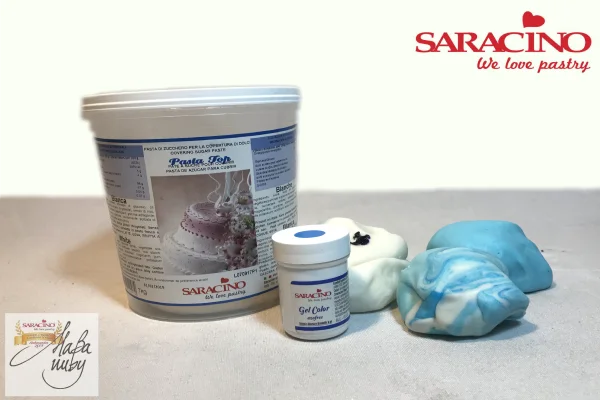
Prepare blue pasta top: Add a little Saracino blue gel colour to the Saracino Pasta Top, until an intense blue colour is obtained.

Step 2

Roll out the dough into a strip as high as the dummy / cake.

Step 3

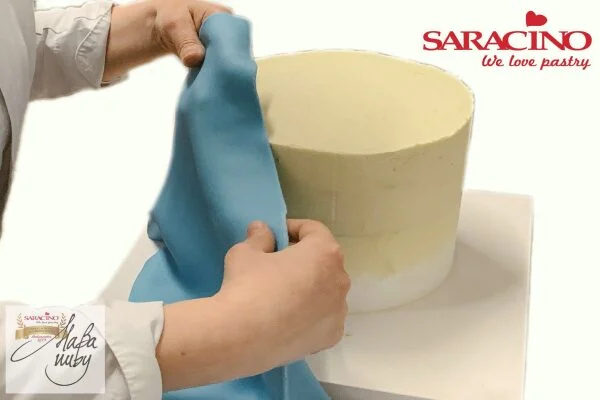
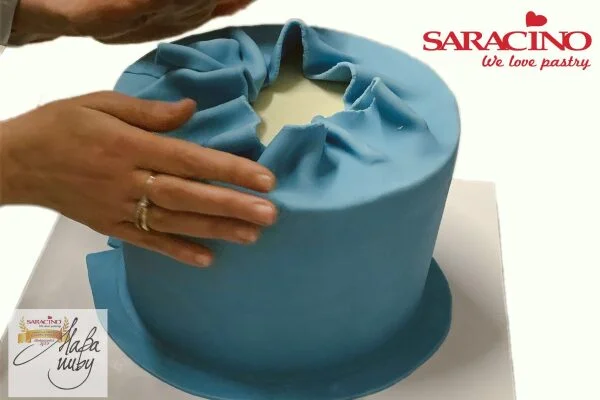
Cover the side of the cake bringing the excess upwards

Step 4

Cut the excess and finish with the smoother.

Step 5

Roll out some more of the blue paste and cut out a circle of the exact size of the cake and close the top by blending the paste very well with the smoother.

Step 6

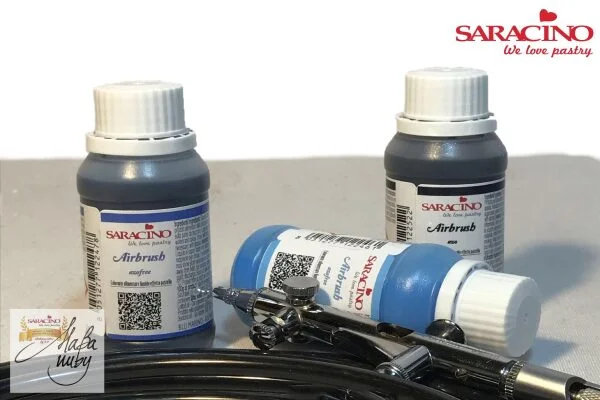
Prepare the airbrush colours (black, dark blue and light blue). Since these are alcohol-based colours, the high concentration of pigment is deposited on the bottom, so before use it is advisable to shake / mix well.

Step 7

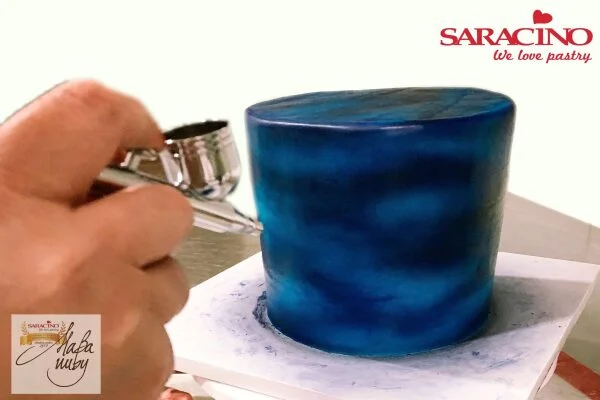
With the airbrush create horizontal shades on the whole cake alternating the different colours, starting from the lightest to finish with black.

Step 8

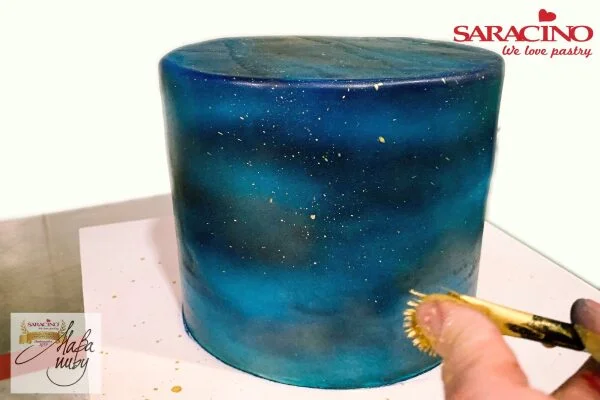
With Gold Pearl dust diluted in pure alcohol use a brush with stiff bristles to ‘flick’ the paint onto the cake, create splashes and stains on the surface.

Step 9

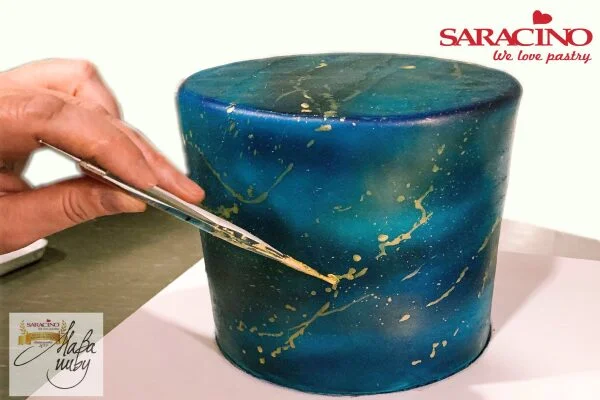
With a thin tipped soft bristled brush, use the Gold colour diluted in alcohol to sketch out some irregular lines, trying to follow both the style of the colour given by the airbrush and the splashes of gold.

Step 10

Prepare the colors to be used in the polycarbonate half circle moulds (use different sizes). Melt cocoa butter, separate it into 5 different bowls, in each of them mix the following colours: White Powder, Bronze Pearl Powder, Gold Pearl Powder, Blue Powder, Copper Pearl Powder.

Step 11

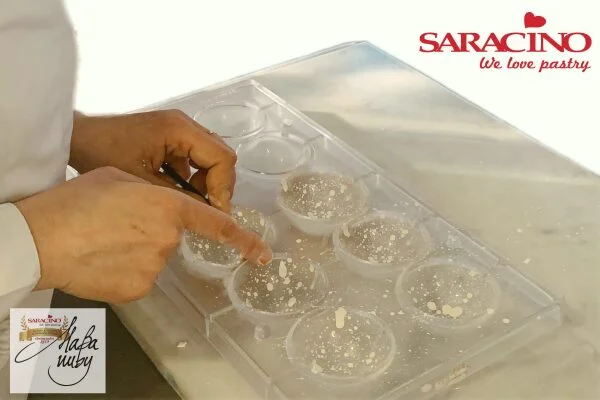
With the white coloured cocoa butter use a stiff bristle brush to create splashes directly on the polycarbonate moulds. Allow to cool for a few minutes in the refrigerator.

Step 12

With the gold and bronze coloured cocoa butter use a soft flat bristle brush to completely cover some of the moulds alternating the two colours as desired, while in other moulds create streaks. Leave to cool for a few minutes in the refrigerator

Step 13

With the Blue and Copper coloured cocoa butter, use small brushstrokes to alternate the different colours to create different shades and streaks, also covering over the white droplets or over streaks of other colours created previously. Allow to cool for a few minutes in the refrigerator. There are no rules, you can play with different colours and patterns to create new and different effects.

Step 14

Prepare the dark chocolate bringing it to a temperature of 45 degrees. Proceed with the tempering of the chocolate. Pour two-thirds of the chocolate onto the marble surface. This operation can also be done on a steel surface.

Step 15

With the spatula spread the chocolate on the marble surface, and then gather again. If you want to protect the marble top, you can place an acetate sheet on the marble or wet steel surface and proceed with the tempering on the acetate sheet.

Step 16

Repeat the operation several times until the chocolate reaches 27 degrees. The movement with the spatulas is important to obtain an excellent tempering of the chocolate.

Step 17

Collect the chocolate from the work surface and return it to the bowl with the remaining chocolate, allow it to reach 29 degrees.

Step 18

Pour the tempered chocolate into the previously painted moulds.

Step 19

Tip out the excess, checking that the chocolate completely covers the half circle mould.

Step 20

Clean the mould top very well with a spatula in order to have perfect edges to each of the half circles and leave to cool in the refrigerator for a few minutes. If the correct tempering temperatures have been achieved, the chocolate will become shiny with a smooth finish as it cools down.

Step 21

When set you can remove the half circles from the moulds. To make removal easier, you can tap the back of the mould with your spatula.
Step 22

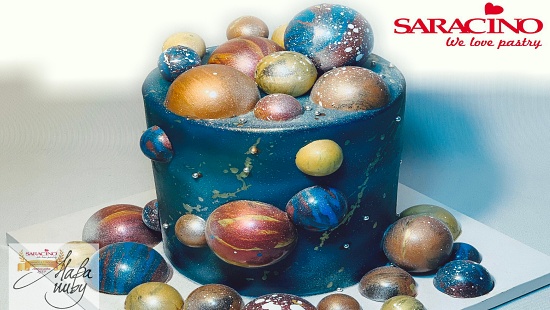
Prepare different sizes with different shades of colours.
Step 23

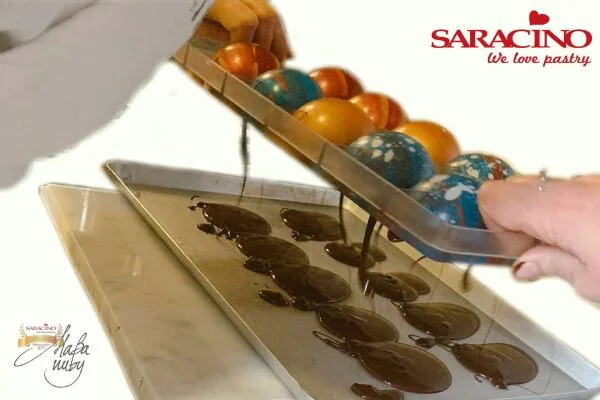
Using a baking tray sitting over a hot pan of boiling water, lightly touch the edge of the chocolate to the surface to melt the edge of two half balls of the same size and with similar colouring.

Step 24

Join the two halves together to create balls. Allow them to cool by placing them in the polycarbonate moulds.

Step 25

Using your hot baking tray lightly melt a part of the ball (this is getting it ready to stick to the cake).

Step 26

Stick the balls to the top of the cake, allowing the chocolate to cool and set well.

Step 27

Again using the hot baking tray lightly melt the edge of some half circles.

Step 28

Fix the half circles to the top of the cake allowing the chocolate to cool well.

Step 29

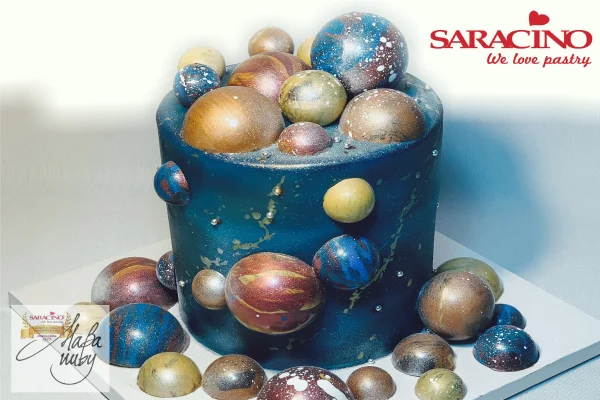
Proceed by attaching some full balls and half balls on to the sides of the cake until you have the pattern and effect you want.

Step 30

To add extra effect spray the cake with Saracino edible glitter dust. Use silver and gold.

Step 31

Finish with the addition of some silver and golden dragees (sugar balls) as you like.

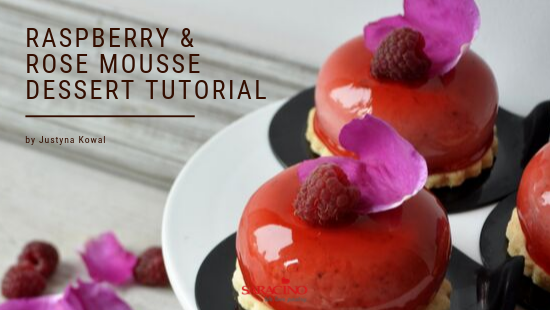
RASPBERRY & ROSE MOUSSE  DESSERT

RASPBERRY & ROSE MOUSSE DESSERT

Author: Justyna Kowal

Skill level: BEGINNERS

You will need:

To prepare the jelly centre you need:

  • 250g fresh raspberries
  • 2g pectin NH powder
  • 60g sugar
  • small semi circle silicone mould approx 3cm
  • bunch of edible fresh rose petals

To prepare raspberry mousse you need :

  • 500ml of cream 30-36% fat
  • 100g raspberry puree (prepared with approx. 300 g raspberries)
  • 100g of white chocolate
  • 1 teaspoon of rose water
  • 1 teaspoon of Saracino natural raspberry flavouring
  • 10g of gelatine soaked in a minimum quantity of cold water
  • large semi circle silicone mould approx 7cm

To finish the dessert you need:

  • butter biscuits from your favourite recipe with a diameter slightly larger than the diameter of the mousse
  • Saracino raspberry mirror glaze
  • small cake tabs larger than the biscuit
  • raspberries and rose petals for decoration

Step 1

Add the raspberries and rose petals to a heavy based pan and bring to the boil with half of the sugar, add the rest of the sugar mixed with the pectin and cook until thickened.

Step 2

Pass the raspberry jam through a sieve to remove bits (you may need to press with the back of a spoon), pour into a bowl and set aside to cool

Step 3

Pour the jam into a smaller sized moulds, put it in a fridge or freezer to set.

Step 4

Pour 250 ml of the cream, white chocolate, Saracino raspberry food flavouring and rose water into a small heavy based pan and heat over a low heat until the chocolate is melted.

Step 5

Mix until smooth

Step 6

Add Saracino raspberry flavouring.

Step 7

Add soaked gelatin.

Step 8

Mix thoroughly to combine.

Step 9

Cover the surface with cling film, let it cool down on the table top and then chill in the fridge taking care not to let the sauce set.

Step 10

Add the rest of the cream (250ml) to a pan and mix in 1 teaspoon of vanilla essence.

Step 11

Whip the cream to a stiff consistency.

Step 12

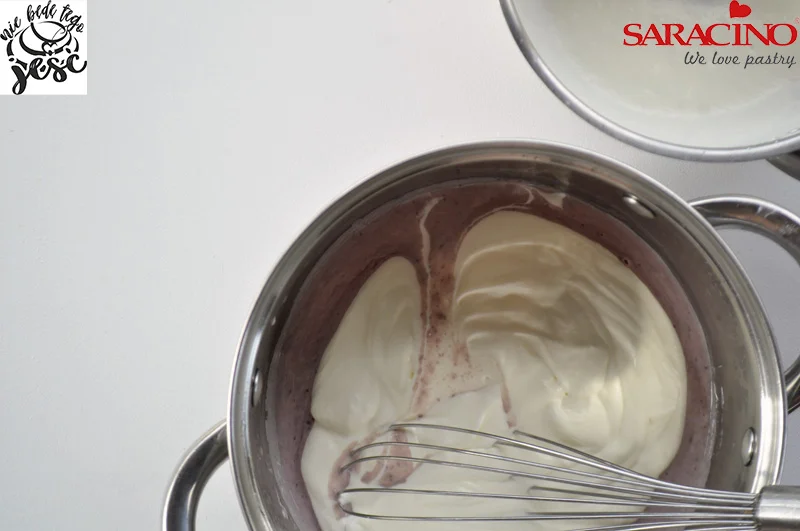
Whisk the cream with the thickening raspberry-rose sauce and chocolate.

Step 13

Mix gently but make sure all the ingredients are fully blended.

Step 14

Put the mousse into the piping bag and have the larger silicone mould ready.

Step 15

Fill the larger silicon moulds with mousse up to half the height of each circle.

Step 16

Remove the previously made jelly from the fridge / freezer (make sure they are set). Place one jelly into each of the larger silicone mould circles.

Step 17

Fill the mousse to the brim by covering the jelly, level the surface, place in the freezer until set.

Step 18

Prepare the mini cake boards and the butter biscuits. Check that the mousse is completely frozen.

Step 19

Heat the mirror glaze in a microwave oven or over a Bain-marie to 40 degrees Celsius. When reached the correct temperature pour it into a jug that will make it easy to pour precisely.

Step 20

Prepare a flat tray with a rim (cake pan, tart pan) and line it with cling film. Place a glass or similar with a diameter smaller than that of the dessert in the middle and sit the frozen mousse on top of the glass. Alternatively you can place the mousses on a wire rack over a large baking tray.

Step 21

Pour the mirror glaze in a circular motion, starting from the centre of the dessert out towards the edges. Wait until the excess of the mirror glaze flows off the mousse into the dish.

Step 22

Using a spatula or knife, carefully transfer the dessert on to the biscuit placed on the small cake board, place in the fridge to keep chilled but defrost. Take the remaining glaze mixture from the foil, keep in a sealed container in the fridge ready to use again.

Step 23

Before serving, decorate desserts with raspberries and fresh rose petals.

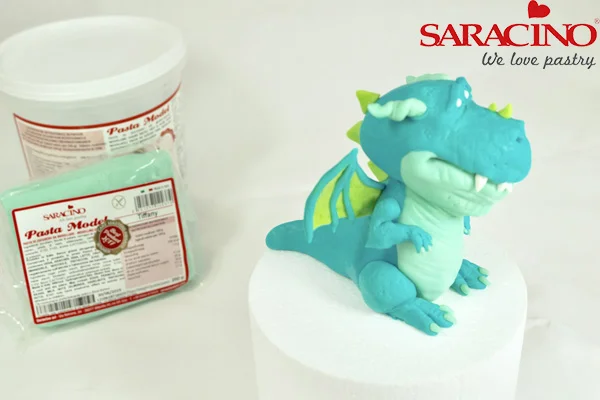
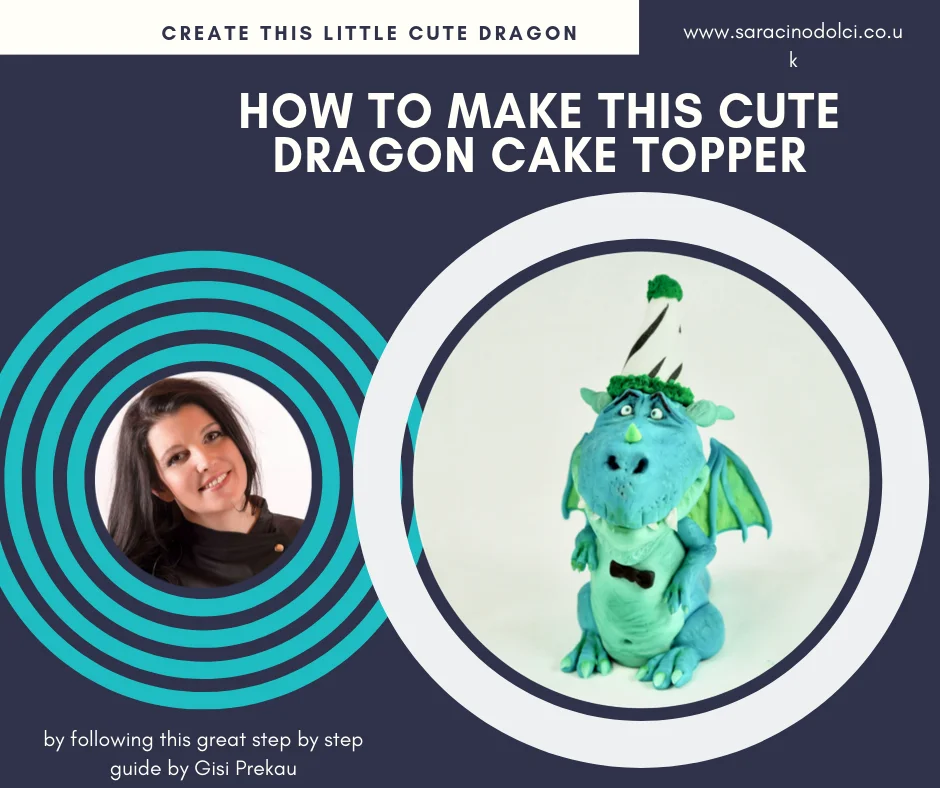
LITTLE DRAGON CAKE TOPPER

LITTLE DRAGON CAKE TOPPER

Author: Gisi Prekau

Skill level: BEGINNERS

TIP FROM GISI:

To get fondant smooth and workable blend in some vegetable shortening (Trex).

You will need:

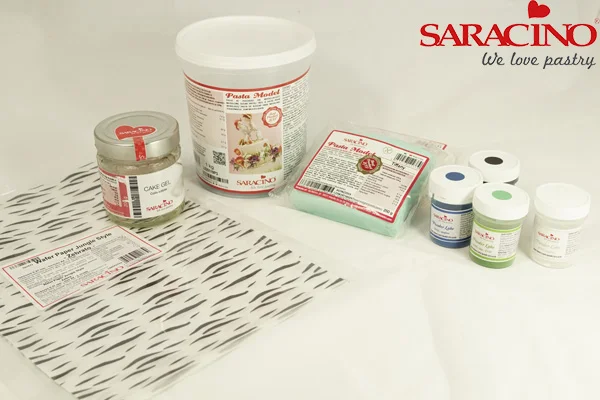
  • Pasta Model light blue 220g
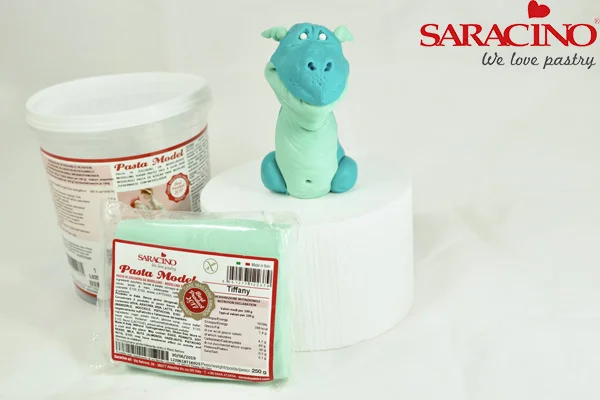
  • Pasta Model tiffany 40g
  • Pasta Model yellow 10g
  • Pasta Model green 5g
  • Powder colours black, blue, green, white
  • Waferpaper “Zebra“
  • Floral wire 22 gauge
  • Sugar pearls 3mm
  • Alcohol
  • Cake Gel Glue
  • Wooden Skewer
  • Rolling pin
  • Balltools
  • Silicon brush
  • Piping tip 1mm
  • Scalpel / sharp blade
  • Painting palette
  • Dresden tool
  • Brush 00, Powder Brush

Step 1

Start by kneading 100g light blue Pasta Model, then form it to a 15cm long sausage shape. Make both ends of the sausage thinner as shown.

Step 2

Bend in the middle as shown.

Step 3

Pinch the upper part to a point to form the neck. Curve the tail a little.

Step 4

Use a ball tool to create indentations for the legs

Step 5

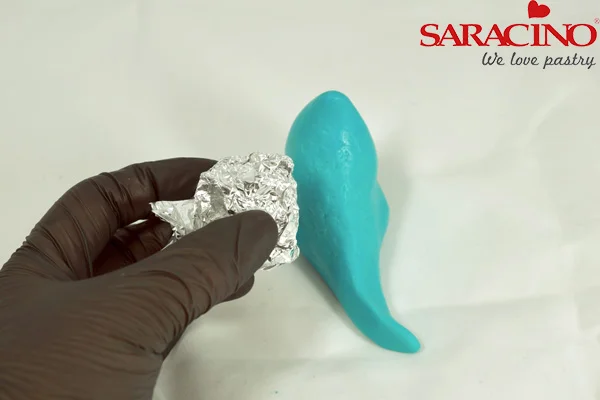
Crumpled aluminium foil creates a nice surface texture.

Step 6

For the colored design of the belly knead 10g tiffany Pasta Model and roll it out thin.

Step 7

This is placed on the tummy and slightly pressed in the middle.

Step 8

Cut off the excess and smooth the edges so it blends with the body.

Step 9

Form a belly button with the end of a modelling tool. Make horizontal stripes with a modelling tool on the Tiffany tummy.

Step 10

For the head knead 75g light blue Pasta Model and form into an oval shape.

Step 11

Using a small rolling pin or a modelling tool create a dent for the eye area.
Step 12

Pinch with your fingers to form the top of the nose.
Step 13

Insert two eye sockets with a pointed tool.

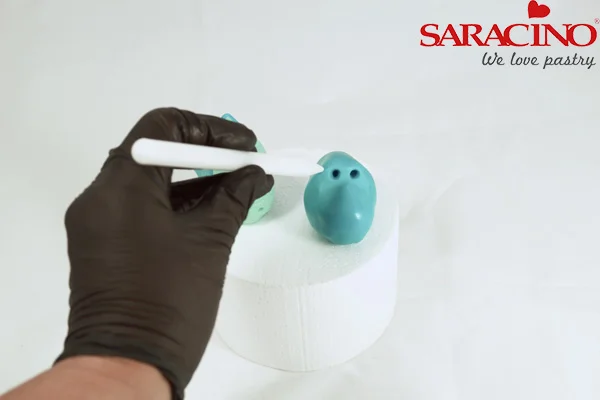
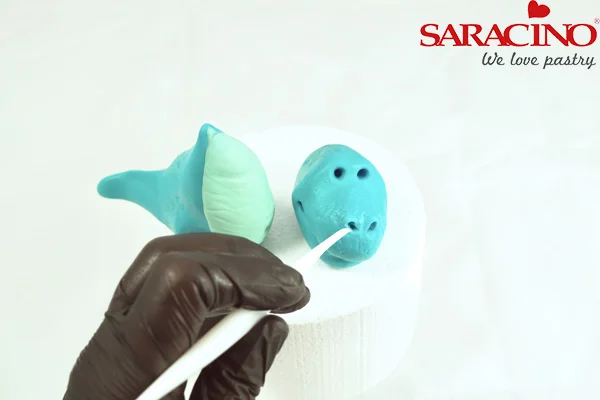
Step 14

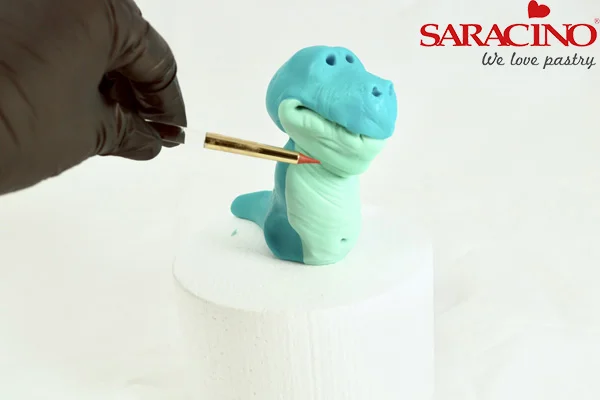
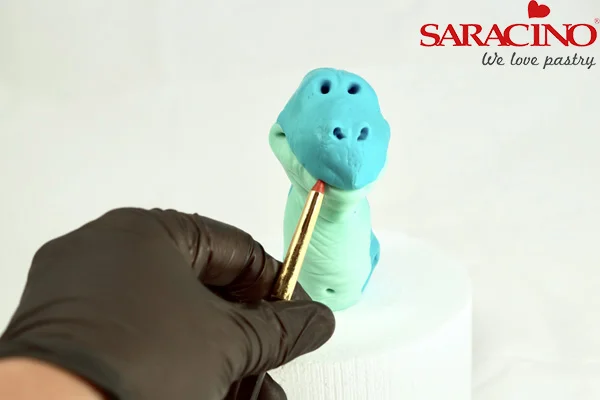
 Model the mouth and nostrils with the dresden tool

Step 15

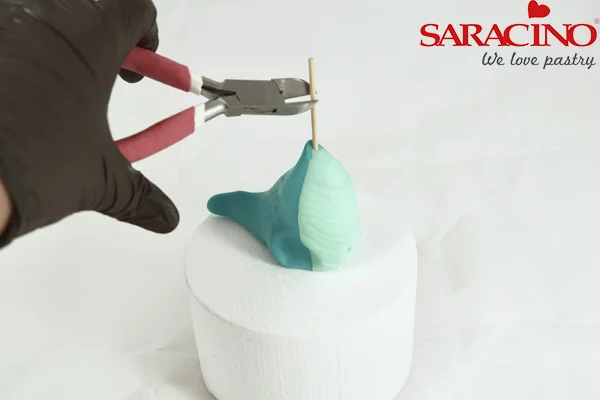
To give the head support insert a wooden skewer through the body and cut off leaving about 1.5cm projecting.

Step 16

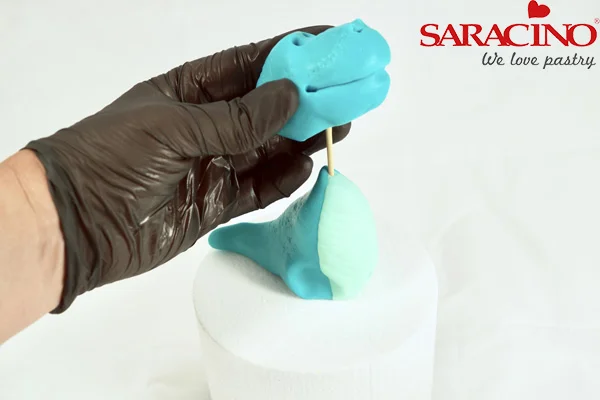
Put the head onto the skewer and blend with the neck / body.

Step 17

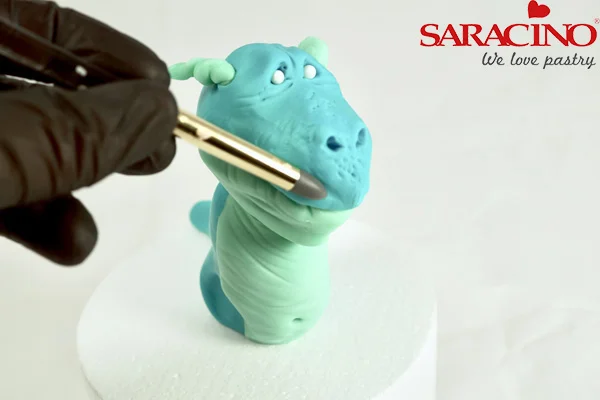
For the coloured area of the lower jaw knead 10g tiffany Pasta Model and roll it into a slightly thicker oval. Fix it under the mouth line using edible glue to create the lower jaw and the neck.

Step 18

Cut off the excess paste and blend.

Step 19

Using a modelling tool make small indents for the teeth

Step 20

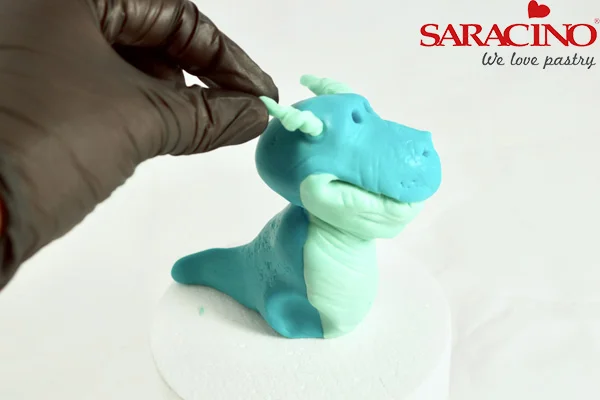
Twist 1g tiffany Pasta Model into spirals to form small horns and attach them in small holes on the left and right side of the head.

Step 21

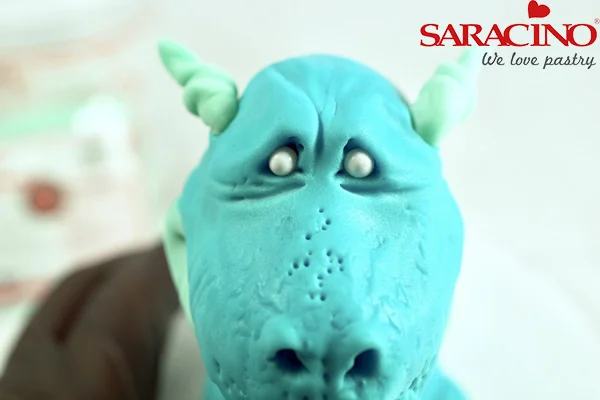
Attach two sugar pearls in the eye sockets.

Step 22

With a modelling tool form the features of the dragon face.

Step 23

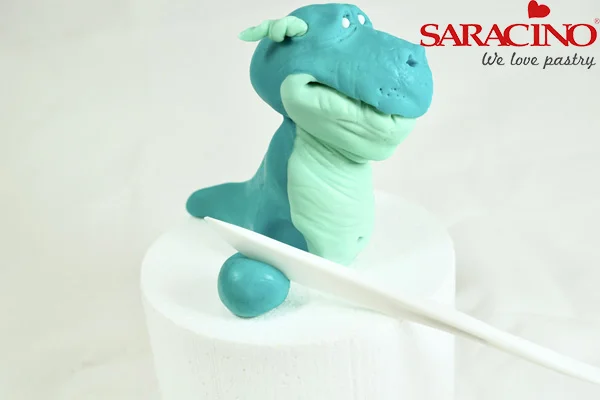
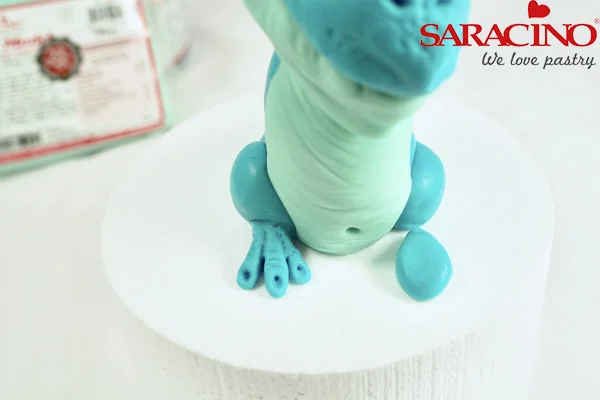
For the legs knead 10g light blue Pasta Model and roll it to a ball. Cut it in half.

Step 24

Using edible glue fix to each side of the body.

Step 25

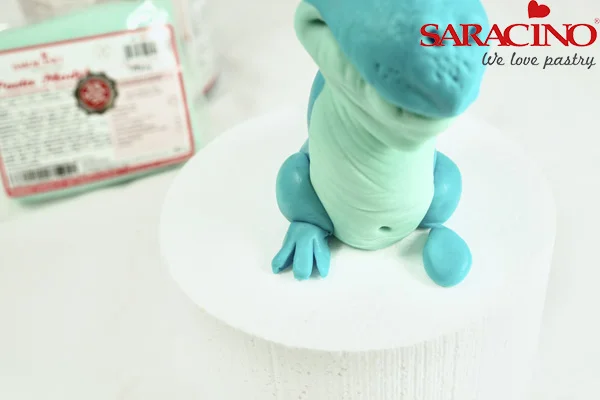
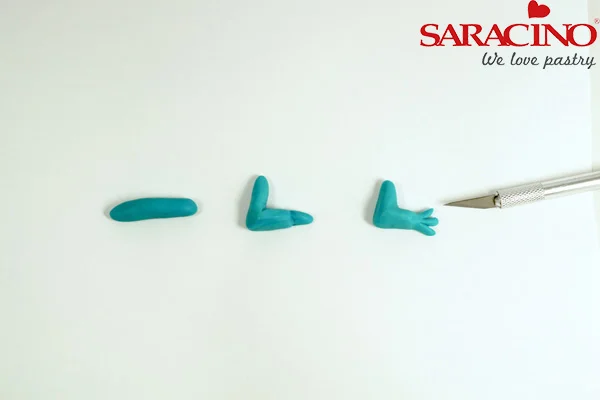
For the feet use 2g light blue Pasta Model for each. Form a ball, flatten and form it to a tear drop shape. Cut to form the toes.

Step 26

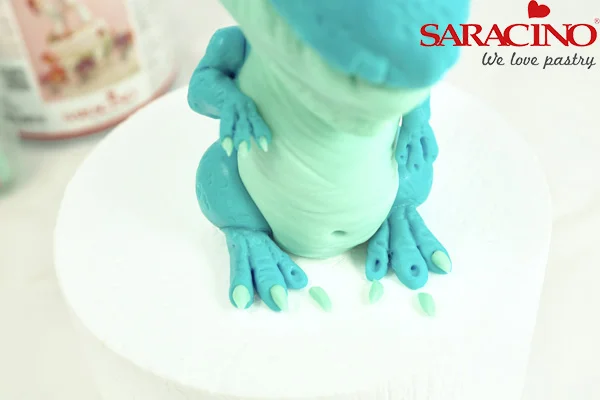
Attach to the legs. Model and add form to the toes using a modelling tool. Create small indentations for the claws.

Step 27

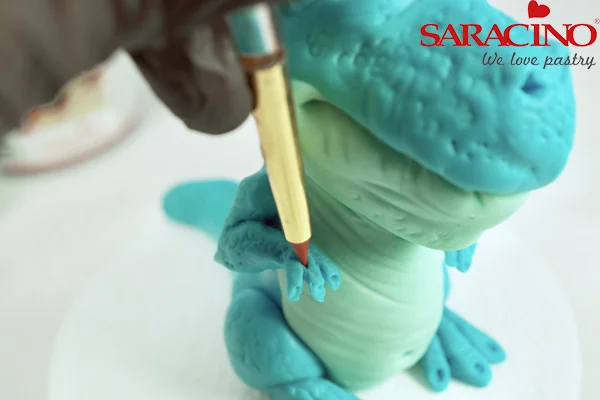
For the arms take 2.5g light blue Pasta Model for each and roll to a 2.5cm long sausage shape. Bend it in the middle and make two cuts to form the fingers

Step 28

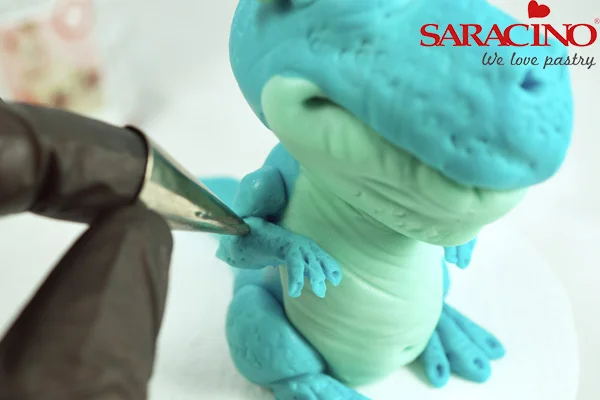
Attach the arms to the left and right side of the body. Give them shape with the modelling tools.

Step 29

You can use the end of a piping nozzle to create a scaly effect on the body, head, arms and legs.

Step 30

Roll a small amount of paste into tiny cone shapes to form the claws on the hands and feet. Fix them into the holes previously formed.

Step 31

For the inside of the wings knead 8g yellow and 8g tiffany Pasta Model together.

Step 32

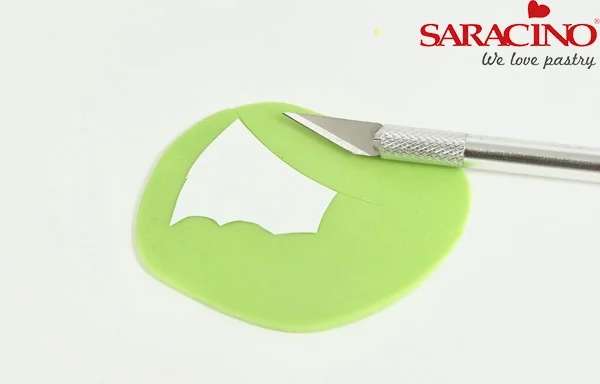
Cut out a wing template to the shape you want. Roll the paste out thin and cut out two wings using your template so they match.

Step 33

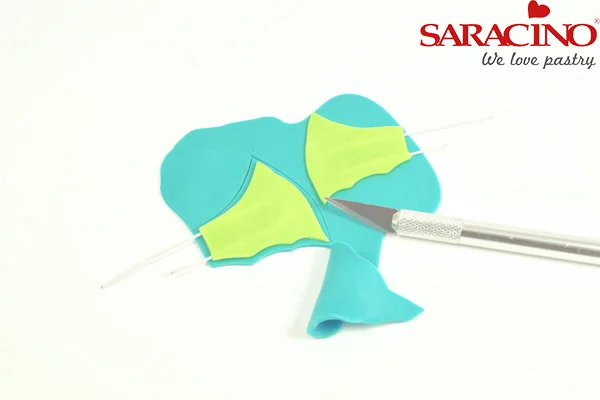
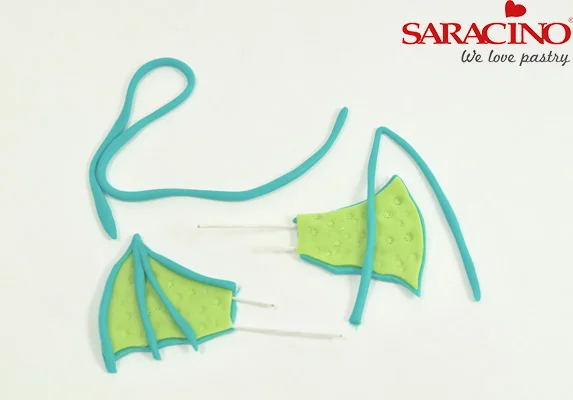
Roll out 20g light blue Pasta Model to the same thickness as the inner wing. Bend two 8cm long 22 gauge wires and place them onto the modelling paste so that the ends project from the bottom of the wing – press them on gently. Now place the inner light green wings onto the blue paste and press them on gently. Cut out the blue wings slightly bigger so you have a blue strip around the inner wing.

Step 34

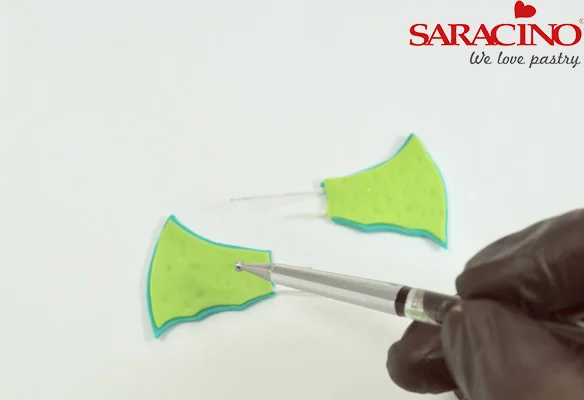
Texture the light green inner wing with a small ball tool .

Step 35

Roll out some light blue Pasta Model to a long string. Place it on the wings and cut to the correct length. Fix in place with edible glue to form the bones in the wing.

Step 36

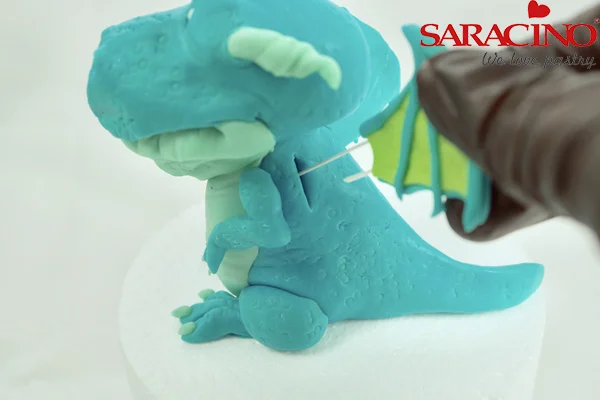
Using a scalpel or sharp blade make a small cut either side of the back. Attach the wings into these pushing the wires into the body.

Step 37

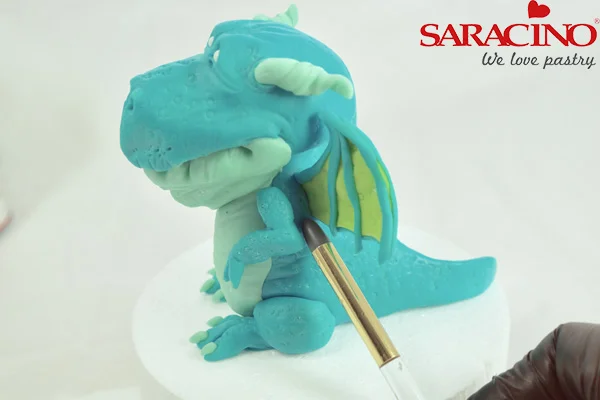
Blend the base of the wing to the body.

Step 38

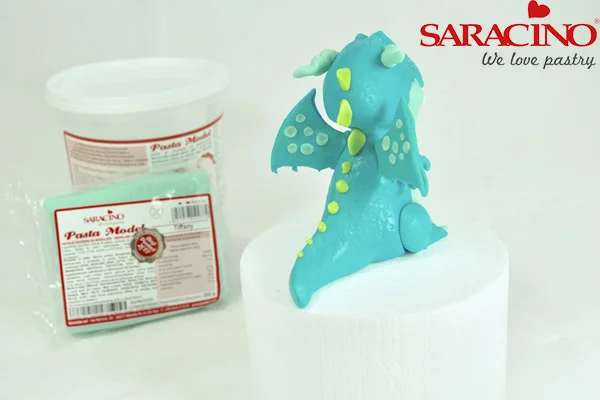
Cut out some small circles from the Tiffany paste and fix on the back of the wings. Form small triangles out of the light green modelling paste and fix them down the centre of the back and tail to give your dragon a crested look.

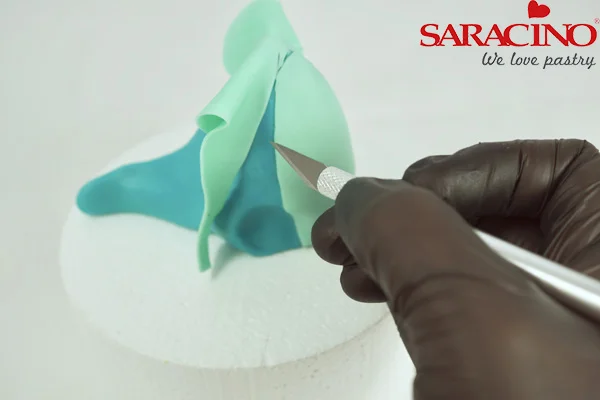
Step 39

Now for the dragon’s teeth. Roll out some white fondant to form small cone shapes, fix them into the holes previously made for the teeth.

Step 40

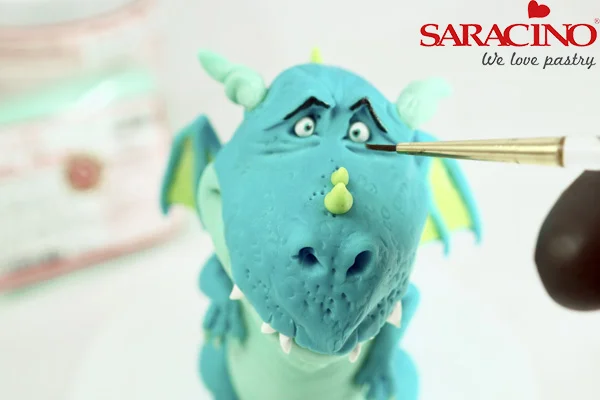
For the eyes mix your powder colours with clear alcohol. Using a small brush paint on a light green iris and a small black dot for the pupil. Also highlight the eyebrows using black.

Step 41

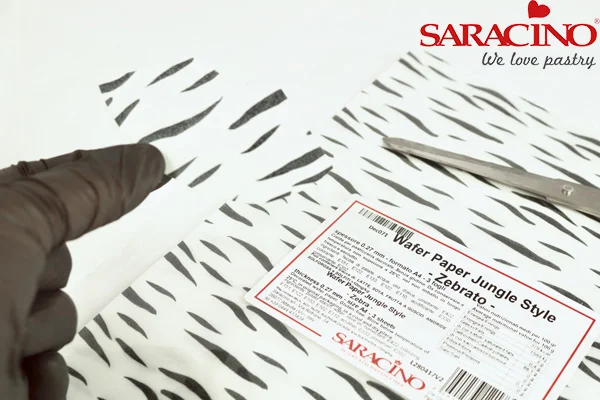
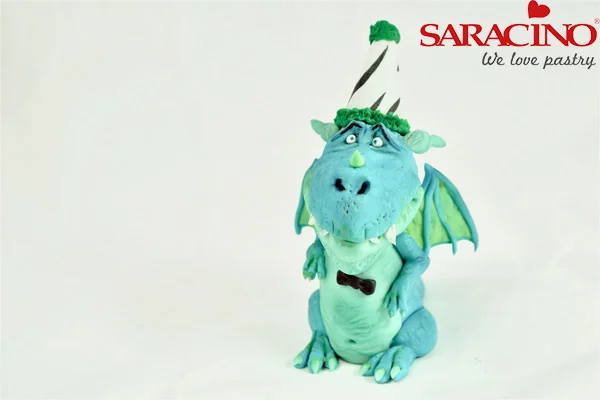
To make the little hat cut out a circle of the zebra wafer paper. Coat the back thinly with piping gel and roll it into a cone shape. The gel helps to soften the paper and at the same time acts as an adhesive on the overlapping edge. Place next to the head to check it is the correct size. Adjust as necessary and set aside to dry.

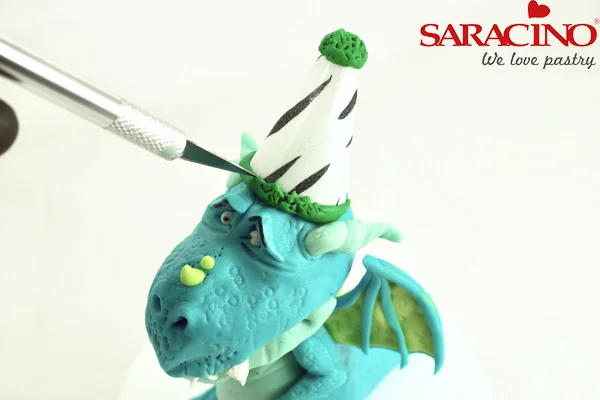
Step 42

Using 4g of the green Pasta Model roll out a ball. Place it at the base of the hat and flatten. This should be a bit larger than the diameter of the hat cone. Place the wafer paper cone onto the green circle. Use another small ball of the green paste to form the pom pom on the top of the hat. Add texture to the paste using a sharp knife. When finished fix the hat to the dragons head using edible glue.

Step 43

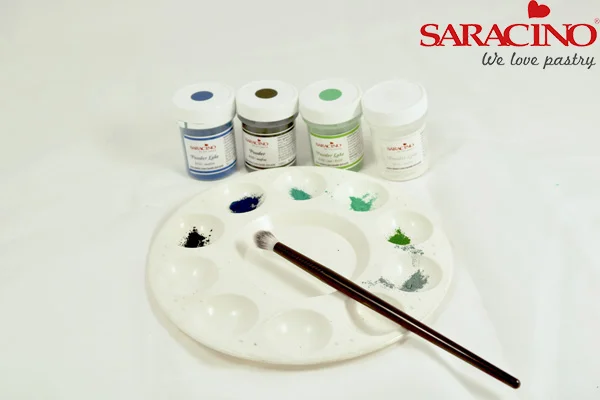
Finally for the finishing touches and to add definition, give your dragon a dust. Using a soft powder brush and black, green, blue, and white powder dust the dragon.

Mix also the turquoise and grey. Dust the belly, horns, arms and legs.

Step 44

Make a little bow from black paste and fix to the neck.

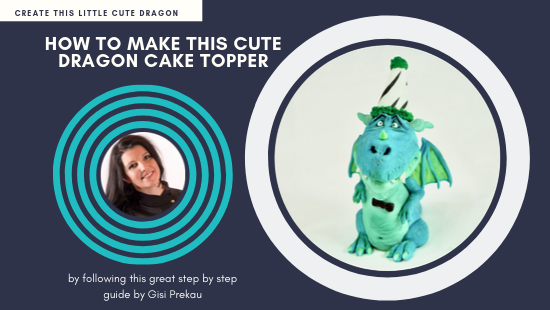
Ta-Da, your little dragon is ready to go onto the cake.