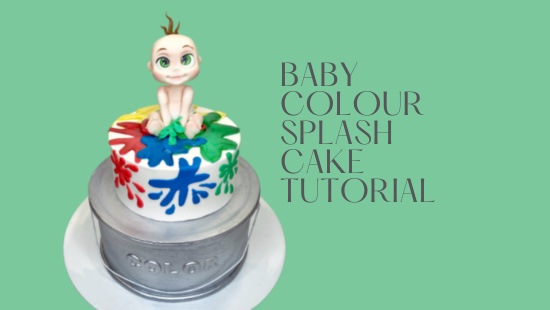
BABY COLOURS SPLASH TUTORIAL

BABY COLOURS SPLASH TUTORIAL
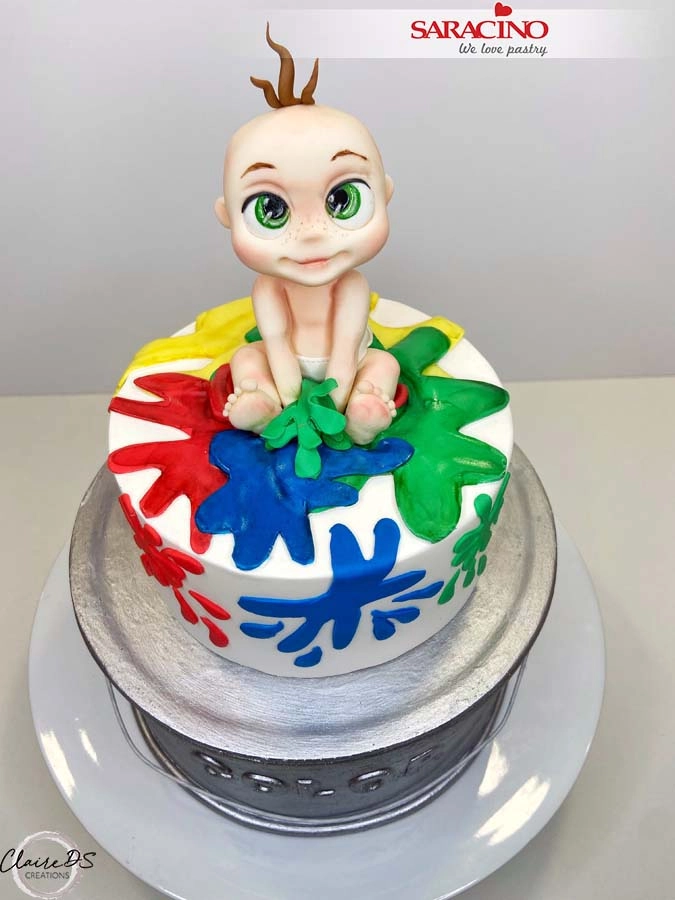
Author: Claire Ds

Skill level: BEGINNERS

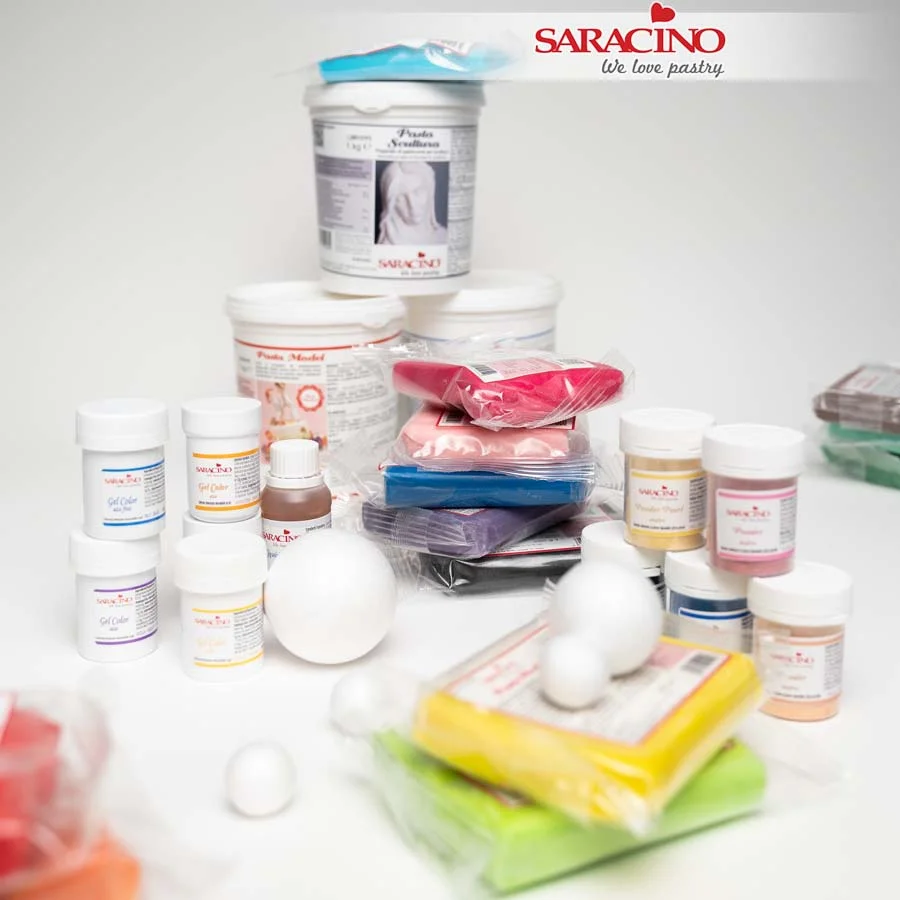
You will need:

INGREDIENTS:

  • 130g Pasta Model light skin
  • 20g Pasta Model white
  • 30g Pasta Model green
  • 5g Pasta Model black
  • 20g Pasta Model red
  • 20g Pasta Model yellow
  • 10g Pasta Model blue
  • 10g Pasta Model brown
  • Powder colour pink and brown
  • Liquid Shiny

EQUIPMENT:

  • Dresden modelling tool
  • Fine brush and blush brush
  • Small rolling pin
  • Small and large ball tools
  • A cutter or scalpel
  • Circle cutter 2.5/1.3/1/0.6cm
  • Wood skewer
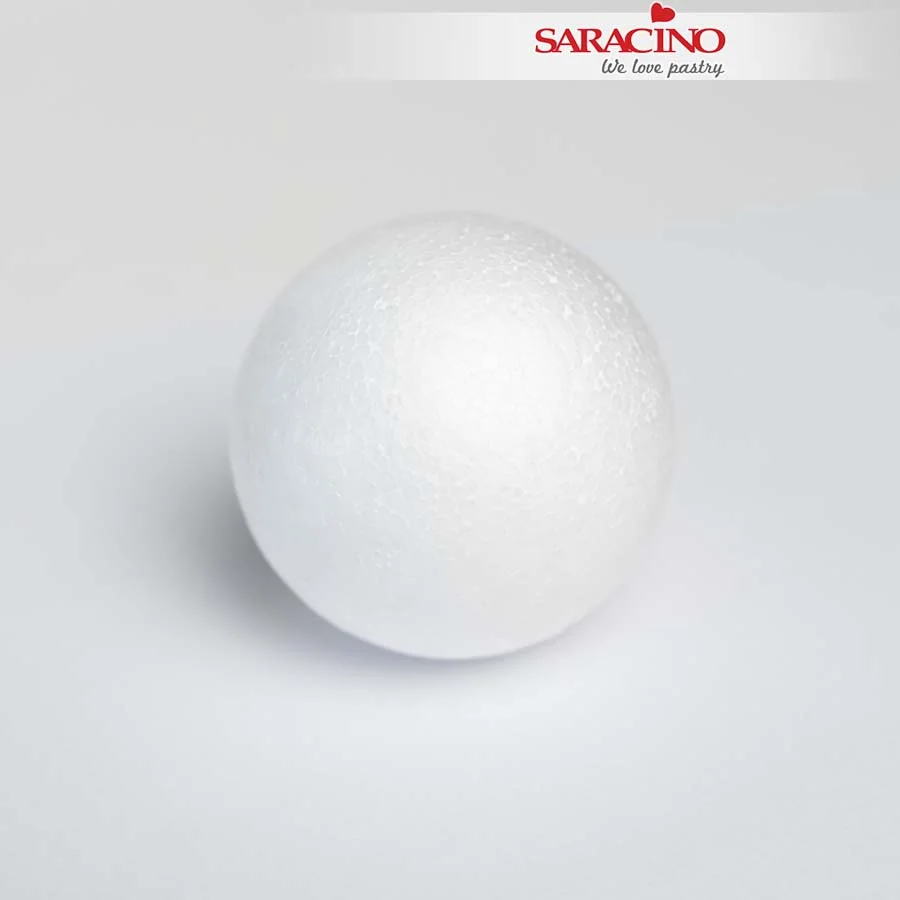
  • 4cm polystyrene ball

Step 1

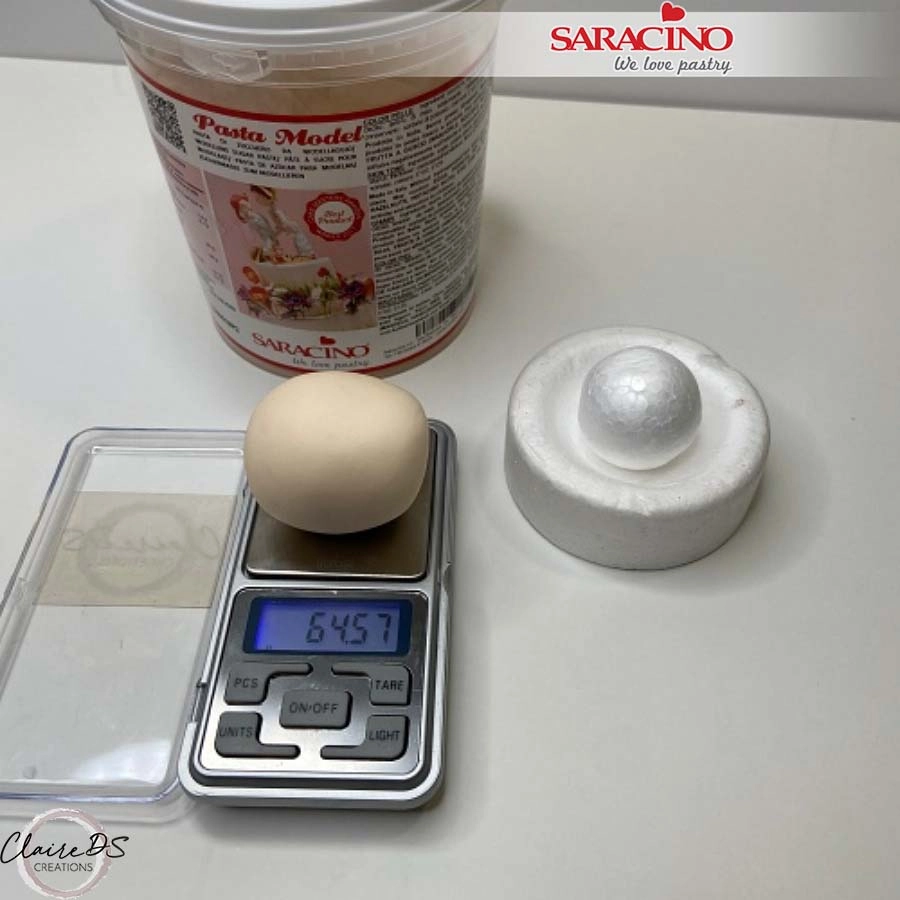
Head: Weigh 65g of light skin modelling paste and prepare a polystyrene ball 4cm in diameter.
Step 2

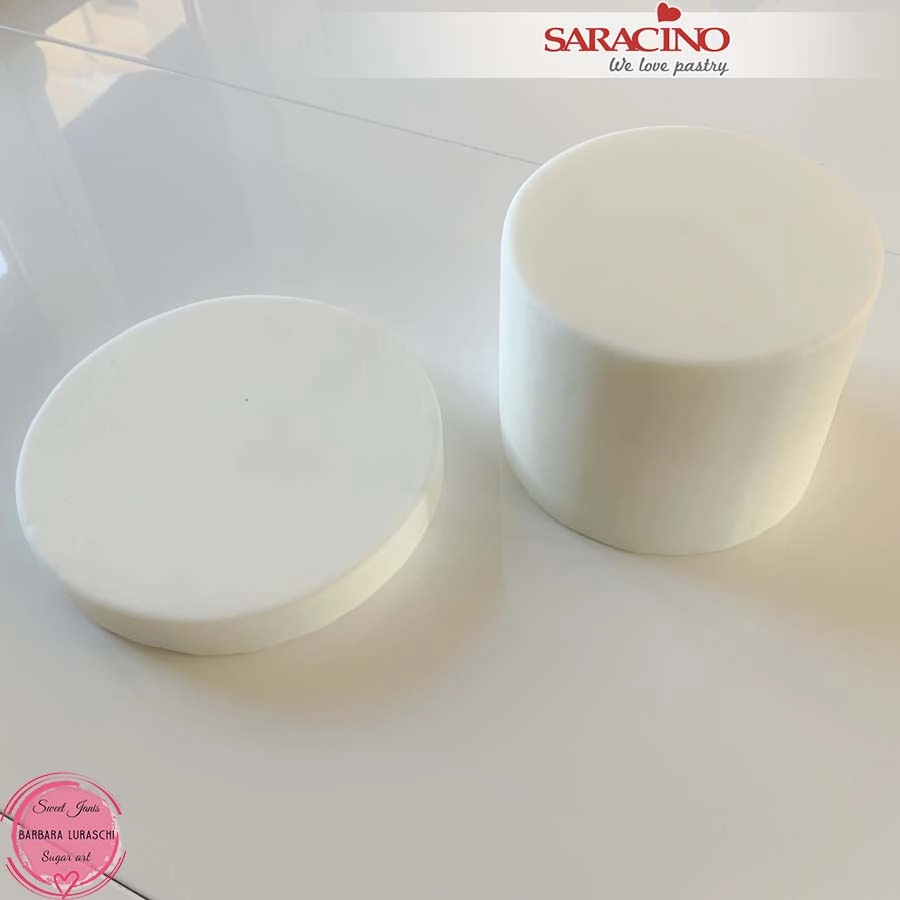
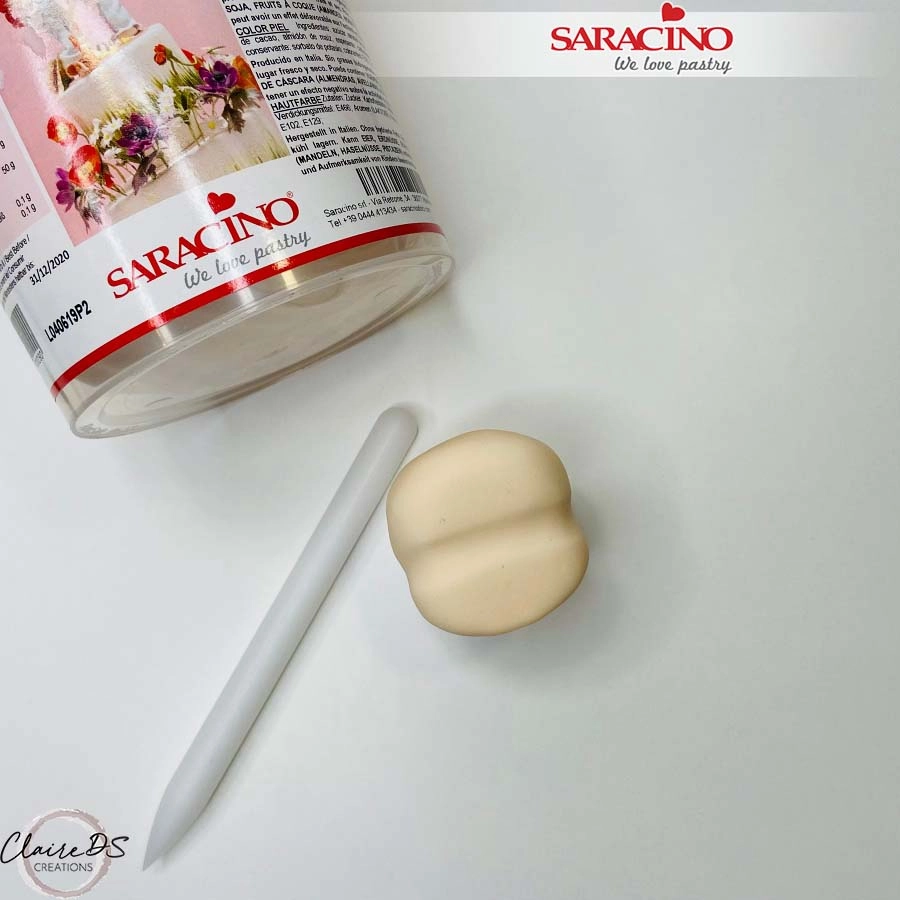
Roll the light skin paste into a ball. Push the polystyrene ball into the paste and fully cover. Smooth any joints. Using your finger or a small rolling pin make a dent across the eye line.
Step 3

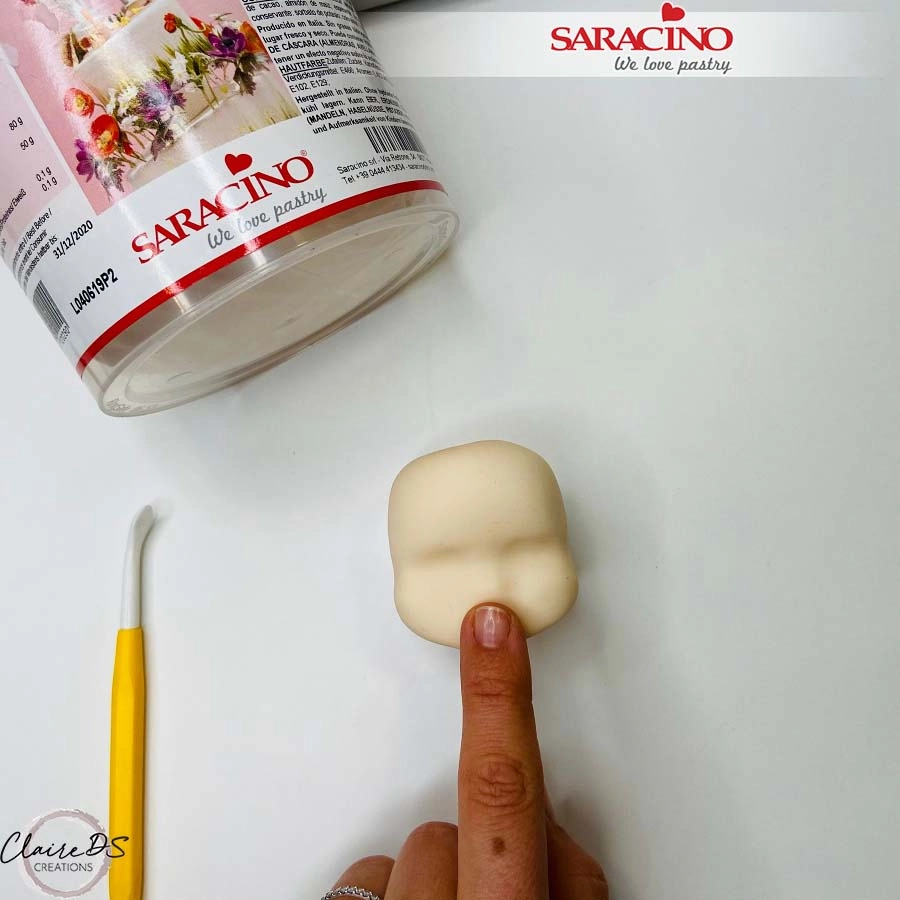
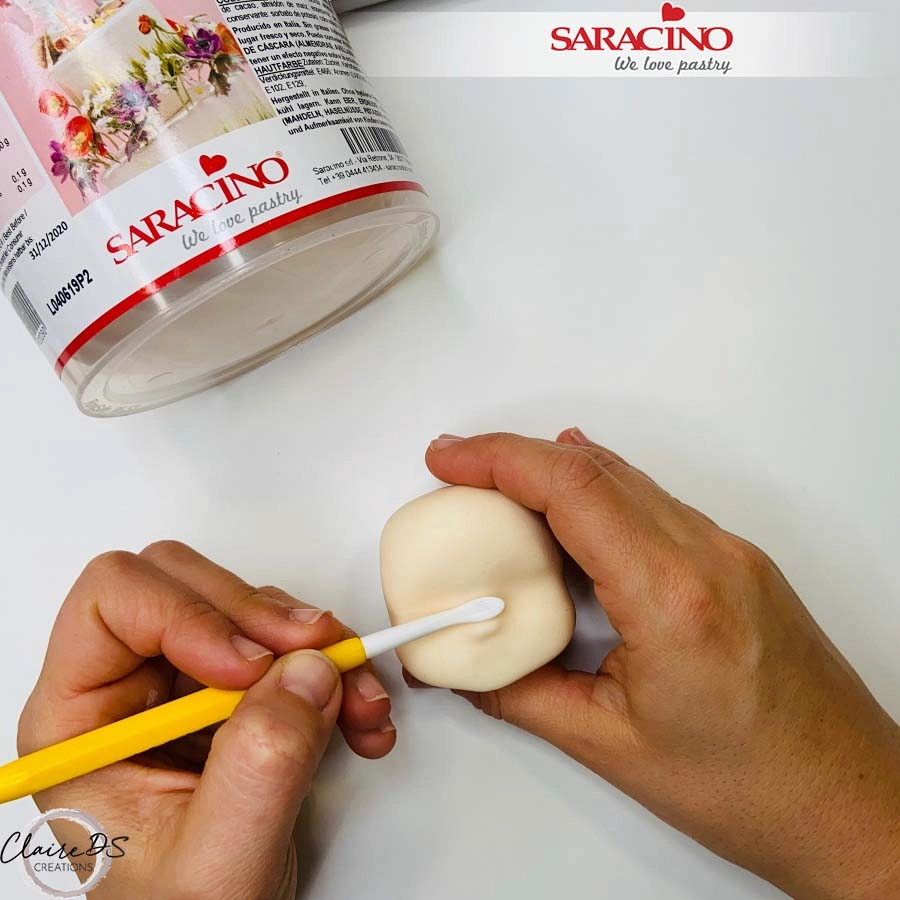
Push with your finger to create the tip of the nose.
Step 4

With the Dresden tool form the curve of the nose.
Step 5

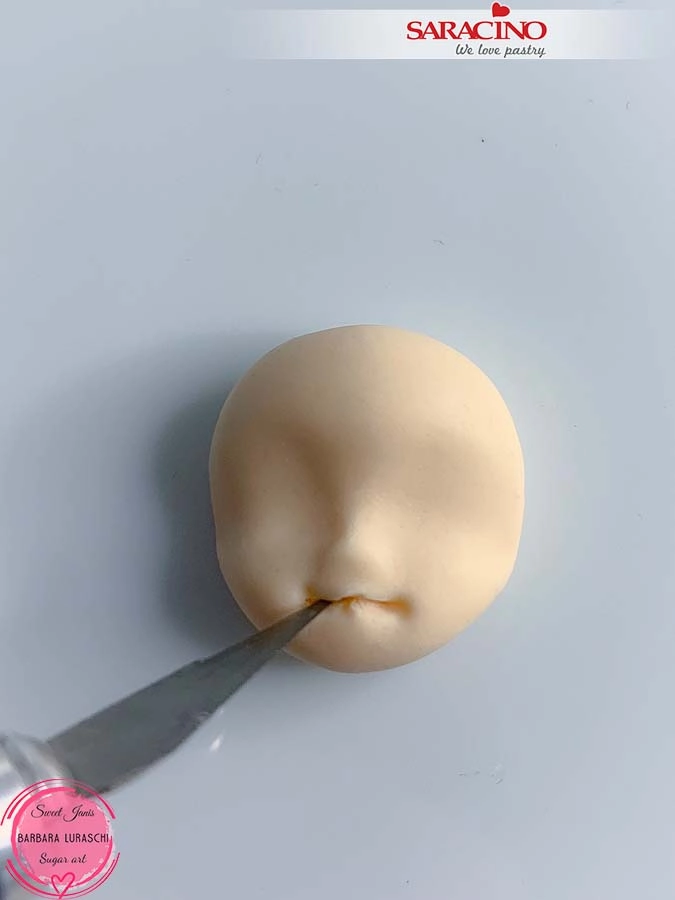
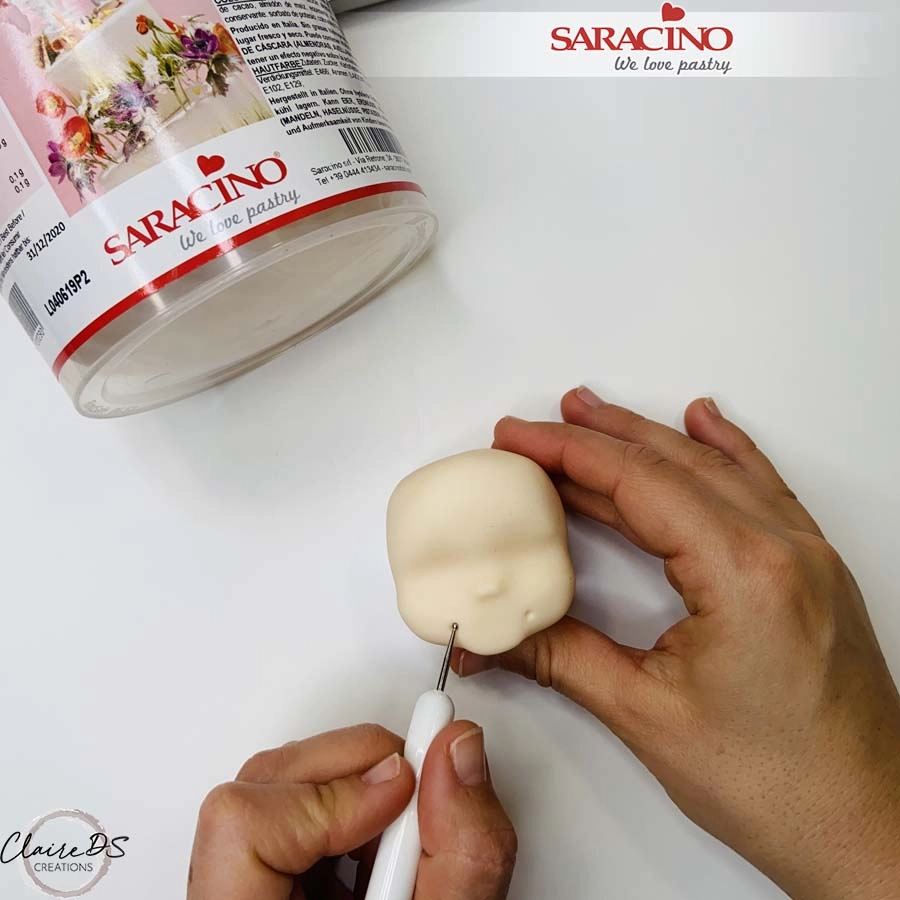
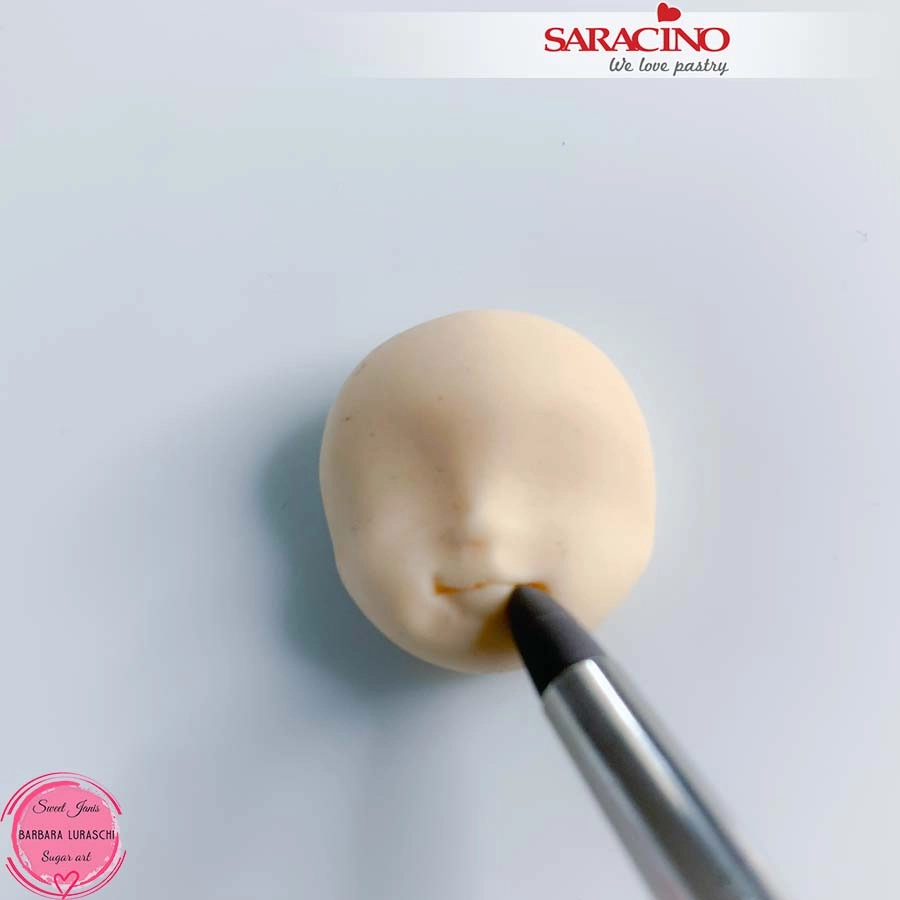
With a ball tool, mark the corners of the lips.
Step 6

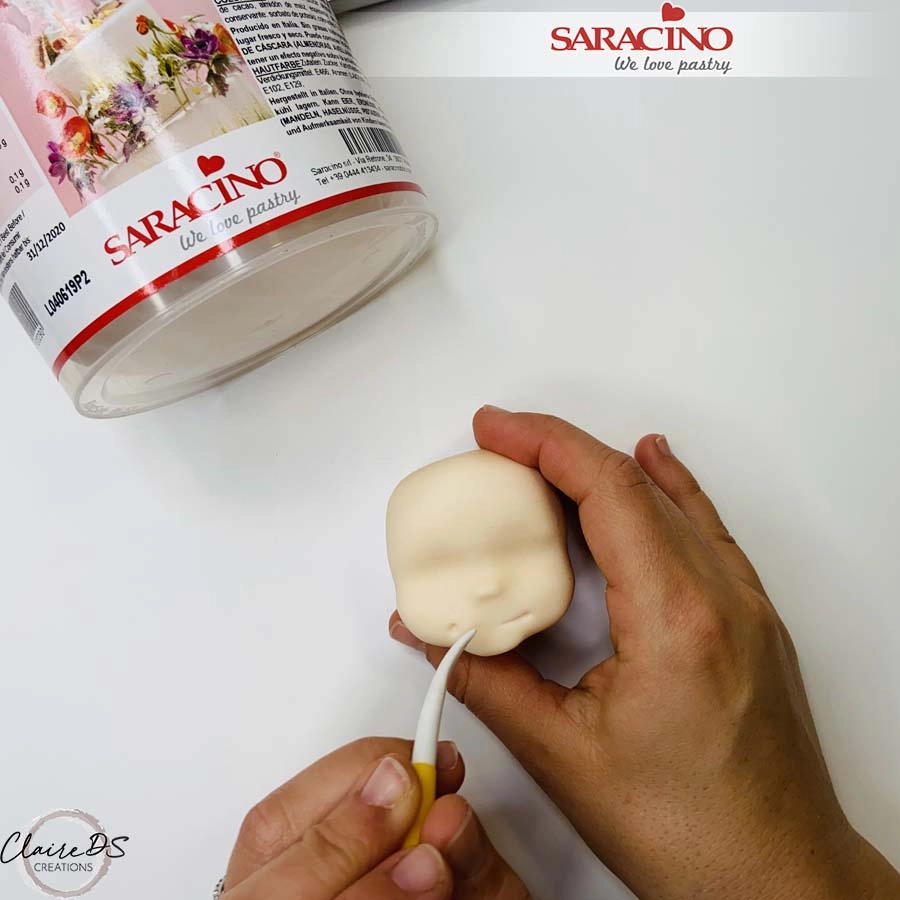
Connect the two dots with the Dresden tool forming a smile.
Step 7

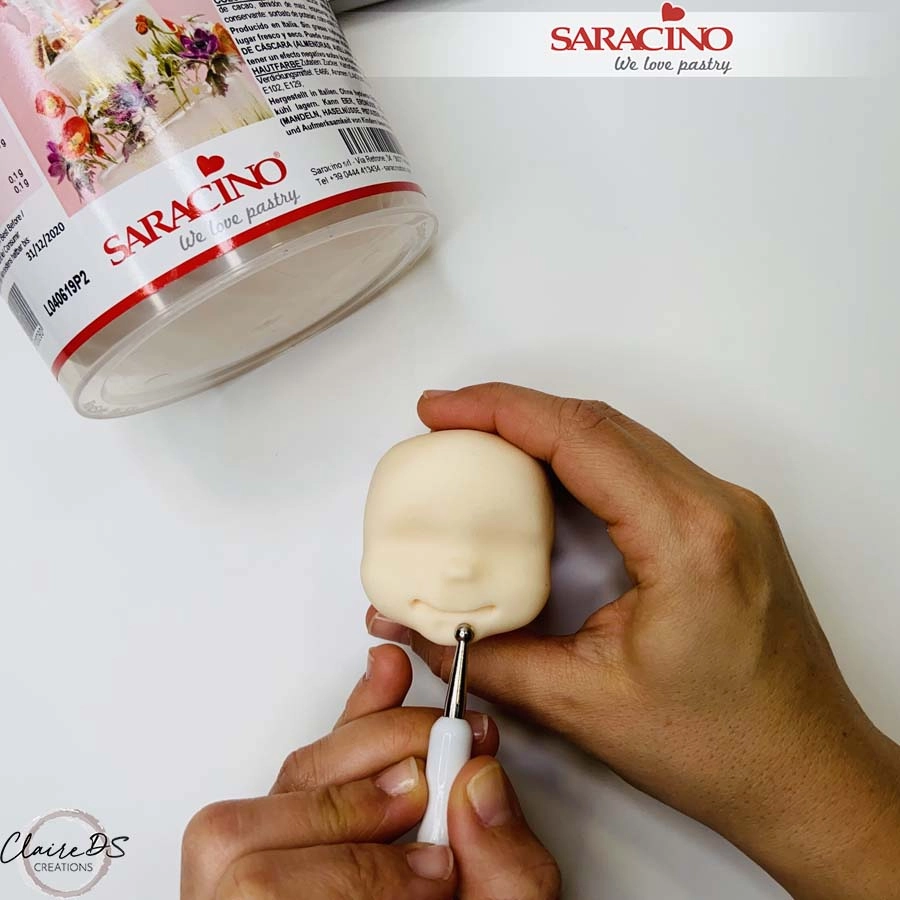
With a ball tool, hollow out the underside of the lip to form the chin.
Step 8

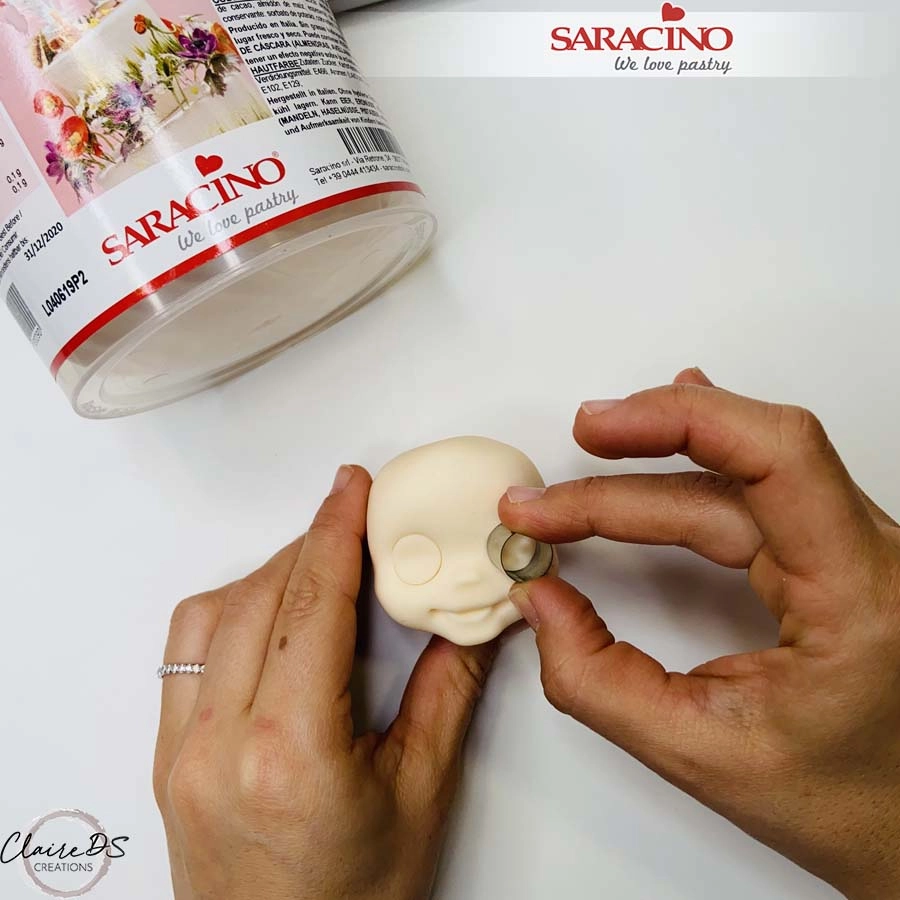
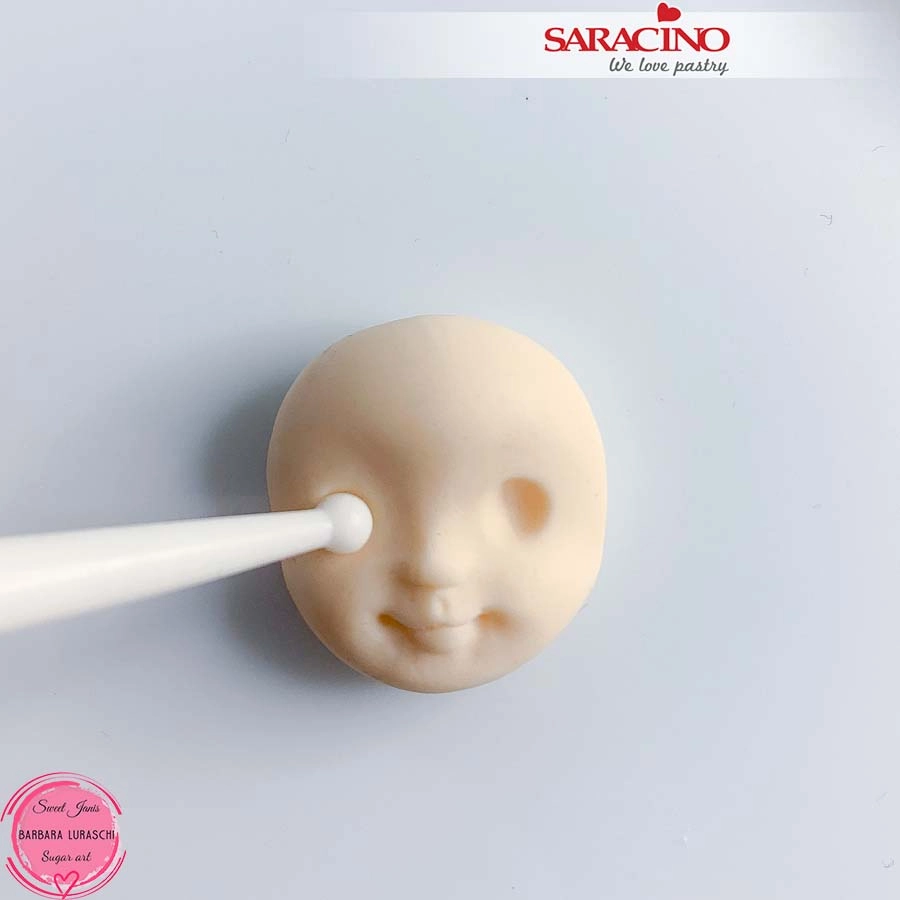
Using a circular cutter 1.3cm diameter mark the eyes.
Step 9

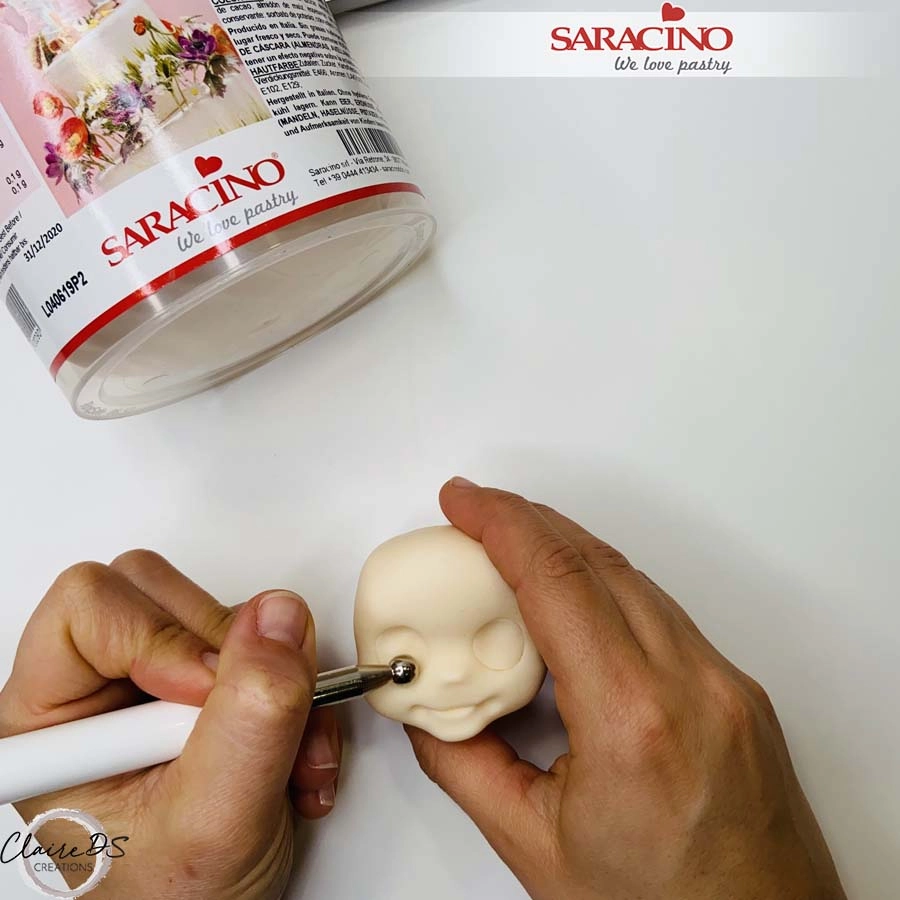
With a ball tool, press to form eye sockets.
Step 10

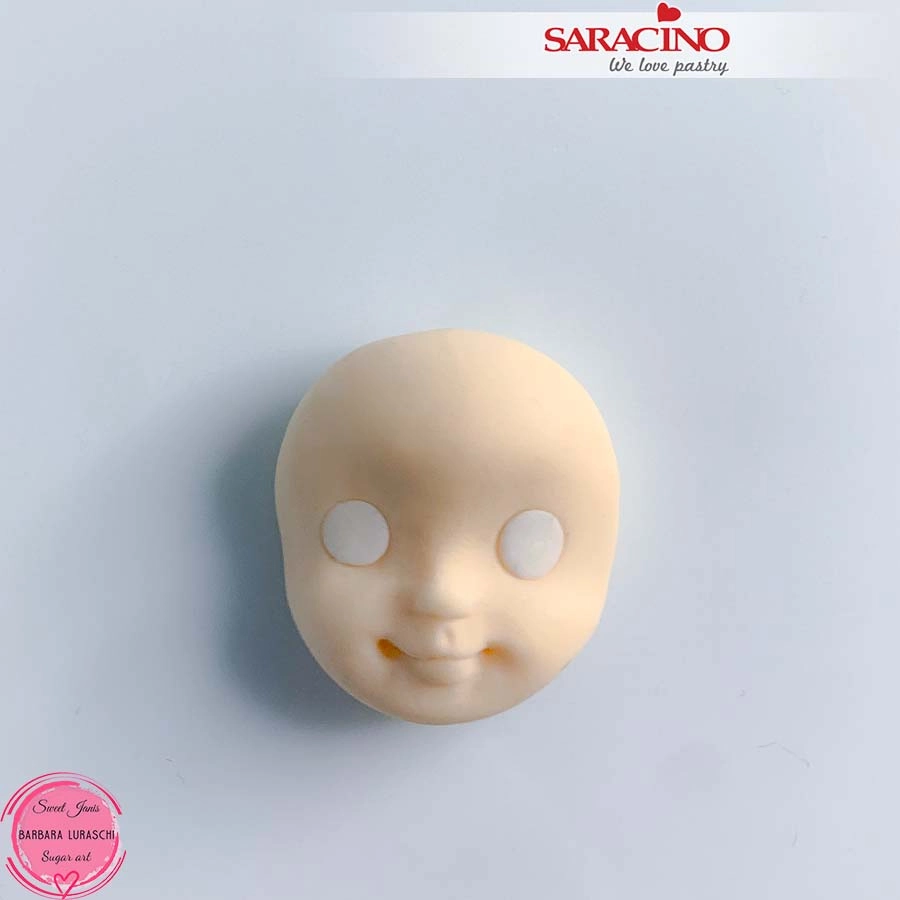
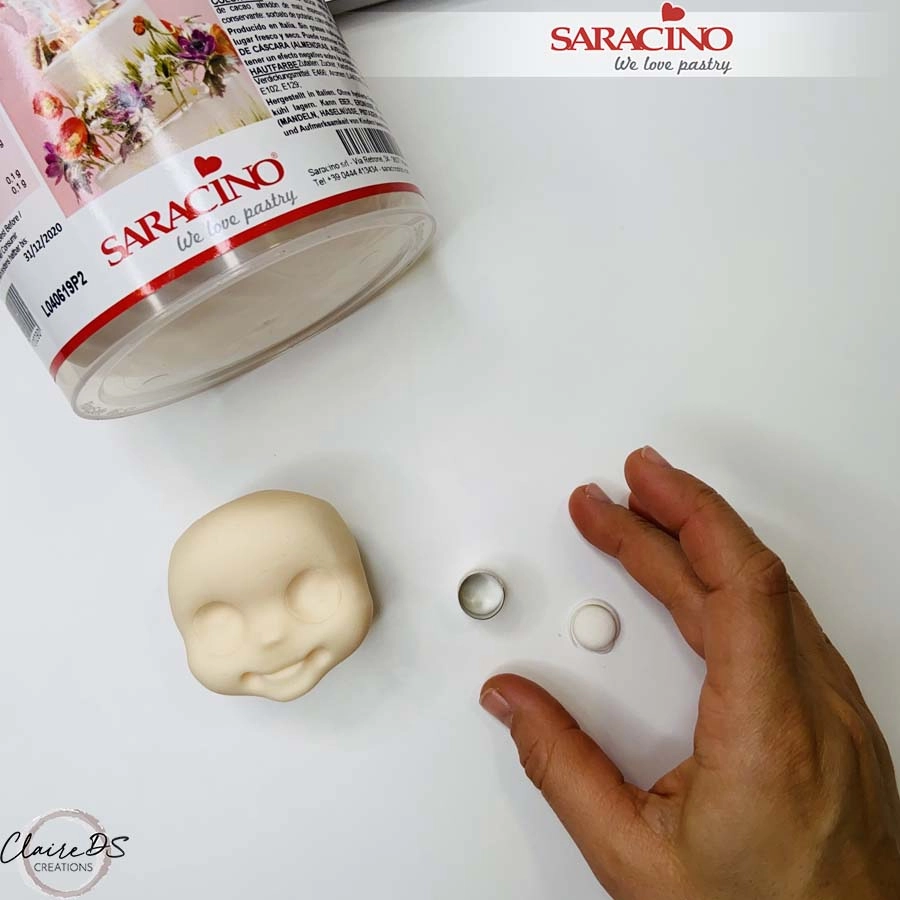
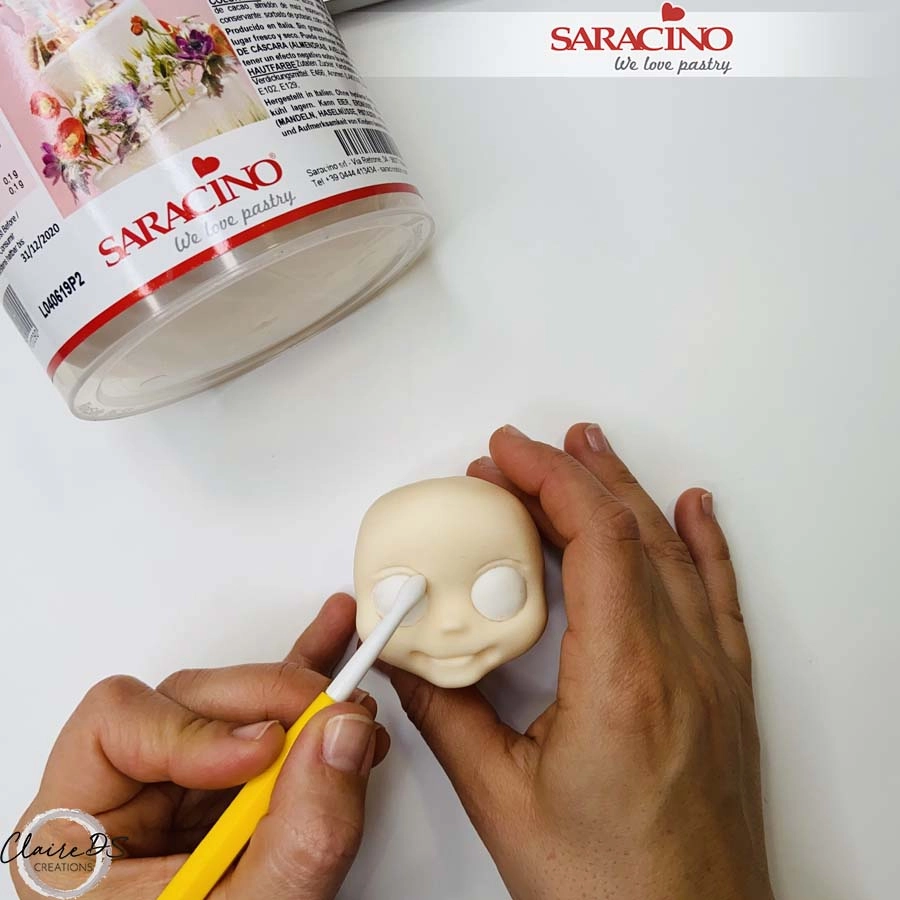
Cut out two thick circles of white Pasta Model using a 1.3cm diameter circle cutter.
Step 11

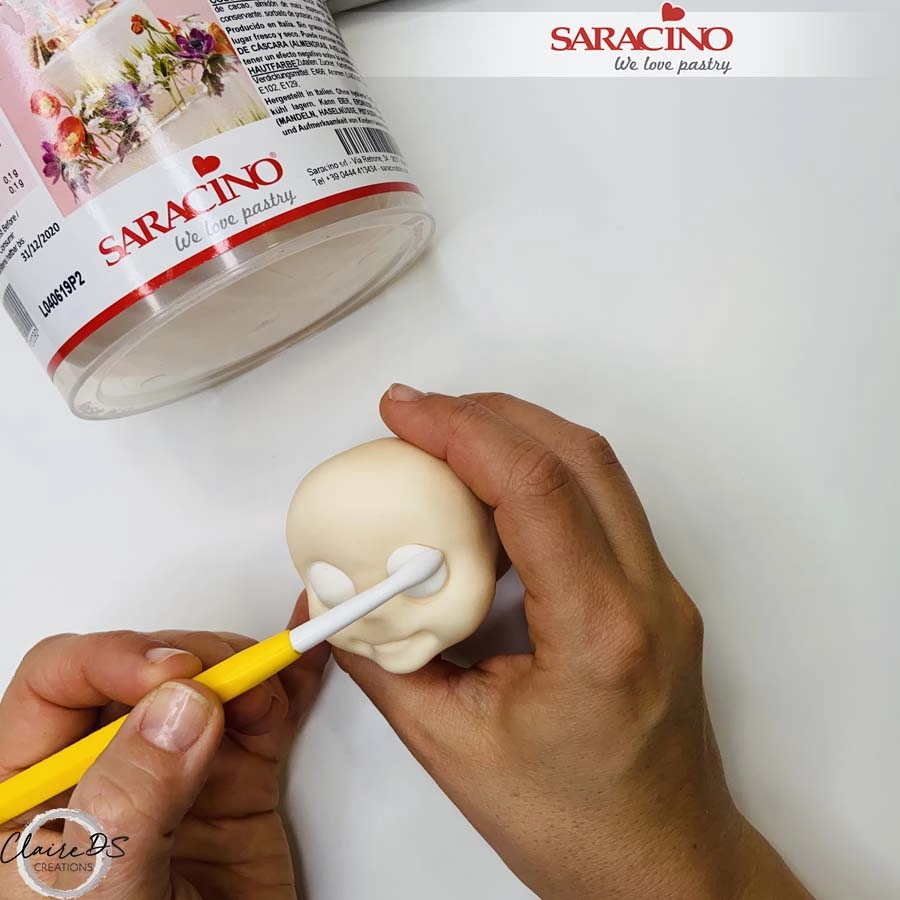
Place the white circles to the eye sockets and press them in with the Dresden tool.
Step 12

Use the Dresden tool to shape the eyelid.
Step 13

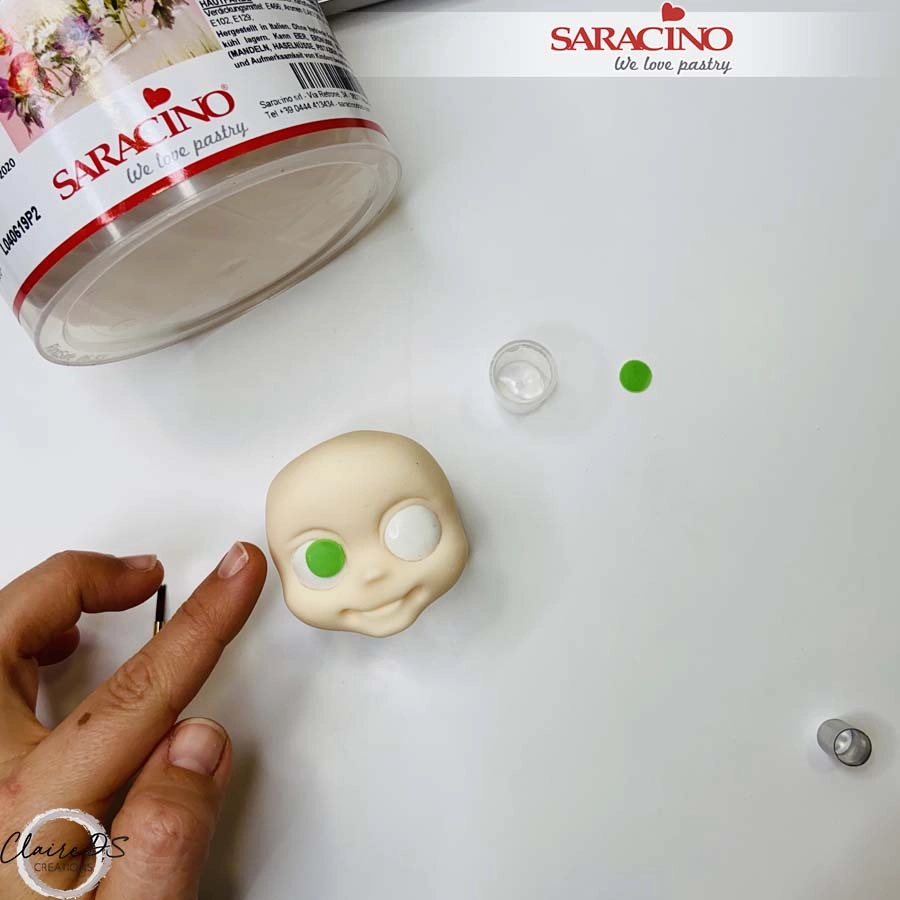
Roll the green Pasta Model thinly and cut out 2 circles with a 1cm diameter cutter.
Step 14

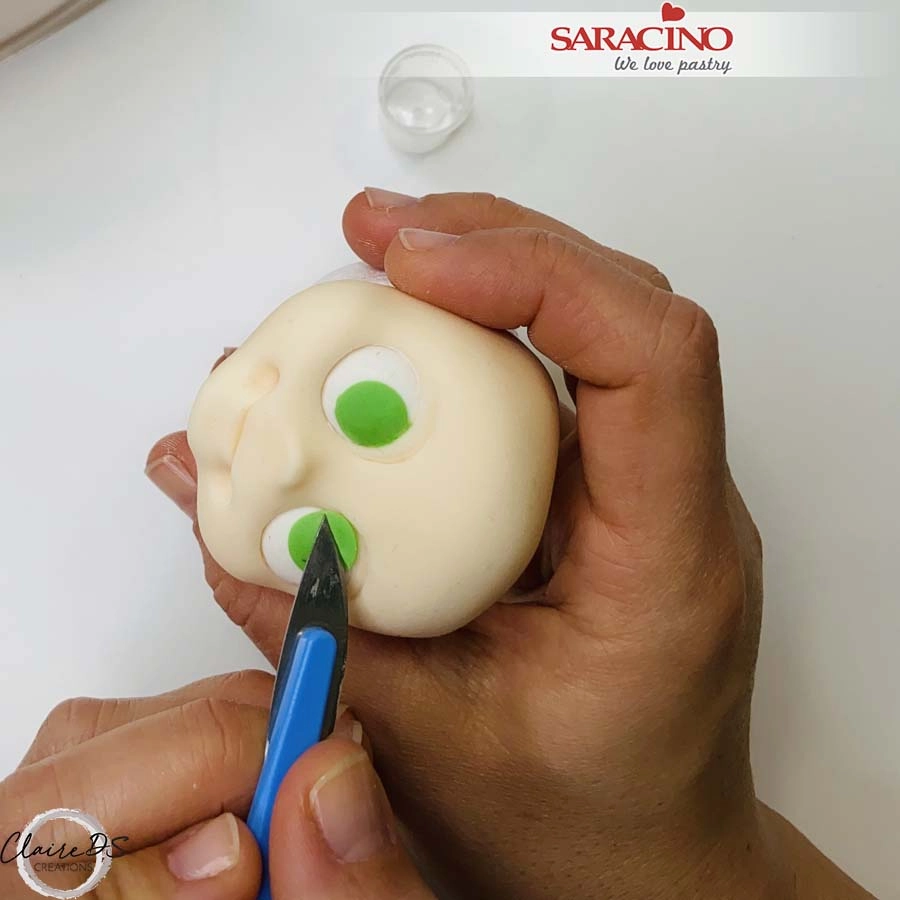
Place the green circles to create the iris of the eyes. Cut the excess with a sharp knife.
Step 15

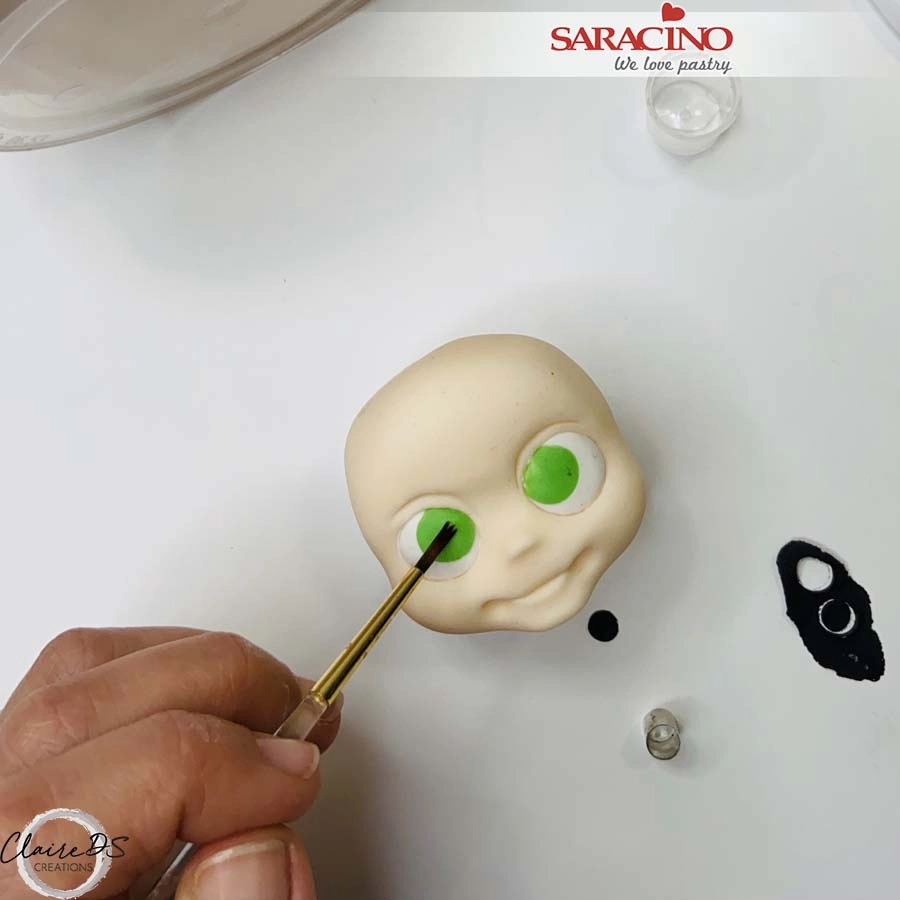
Roll black Pasta Model thinly and cut two circles with a 0.6cm diameter cutter.
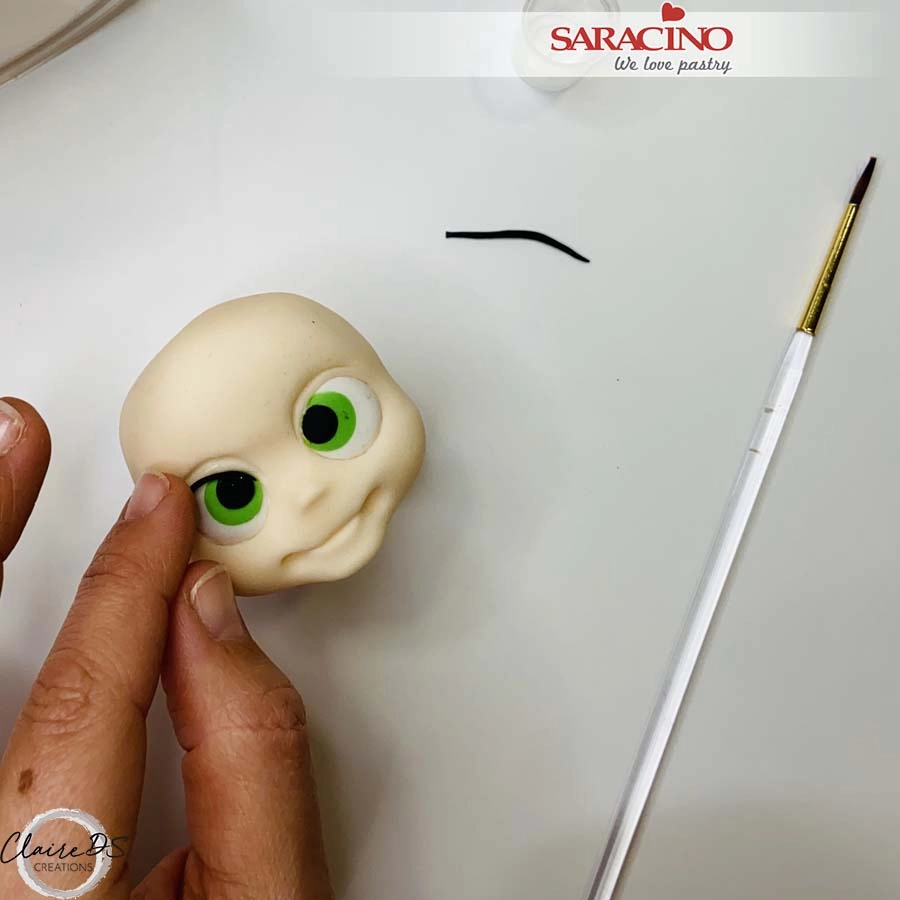
Step 16

Add the black circles to the eyes. Using black Pasta Model roll a very fine sausage shape for the eyeliner on the edge of the eye lid.
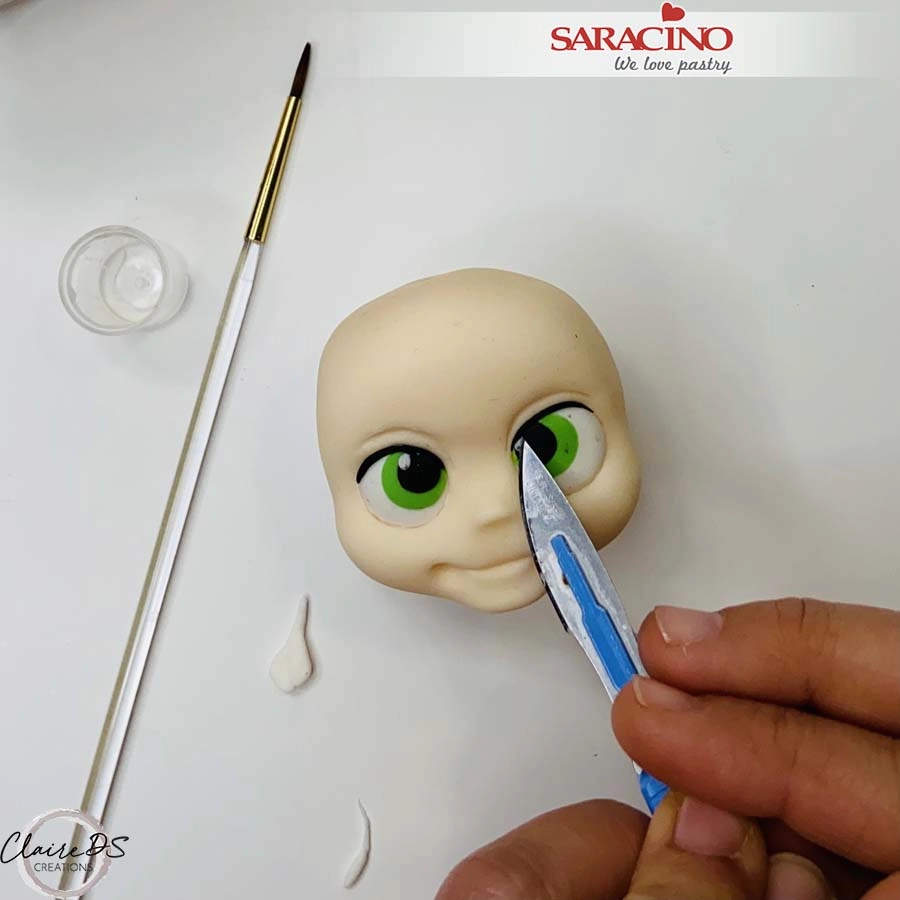
Step 17

Fix the eye liner. Using white Pasta Model roll two very small balls to create the light points of the eyes.
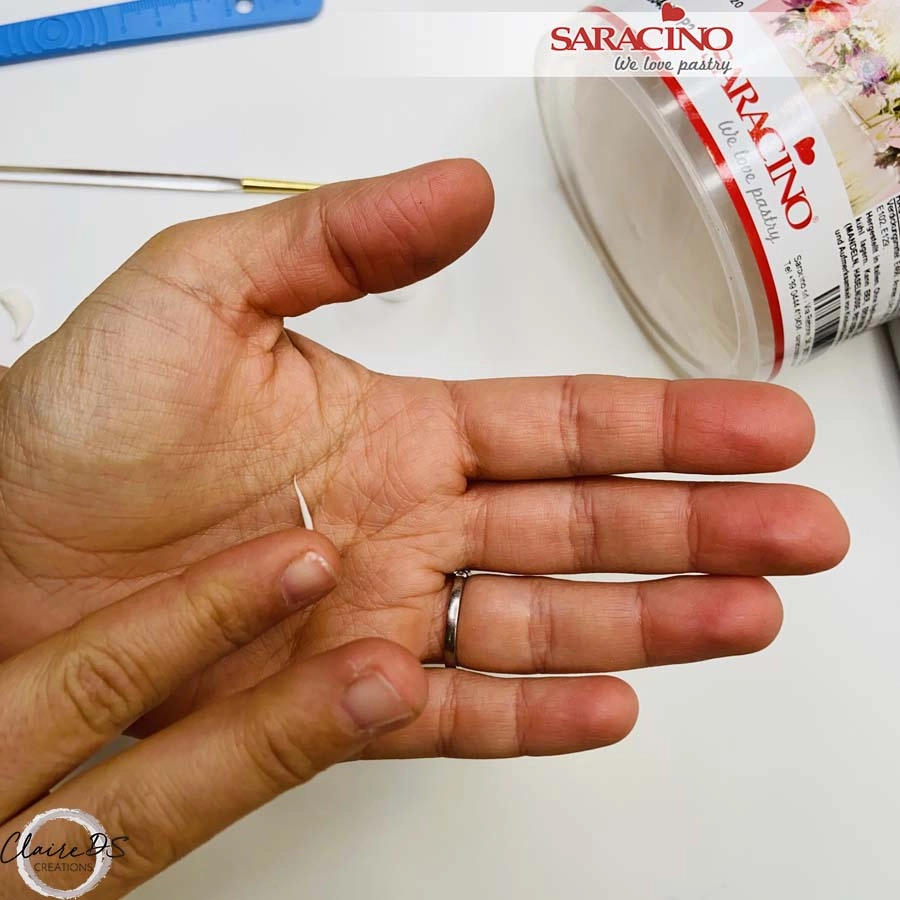
Step 18

Using white Pasta Model roll a very thin sausage shape. 
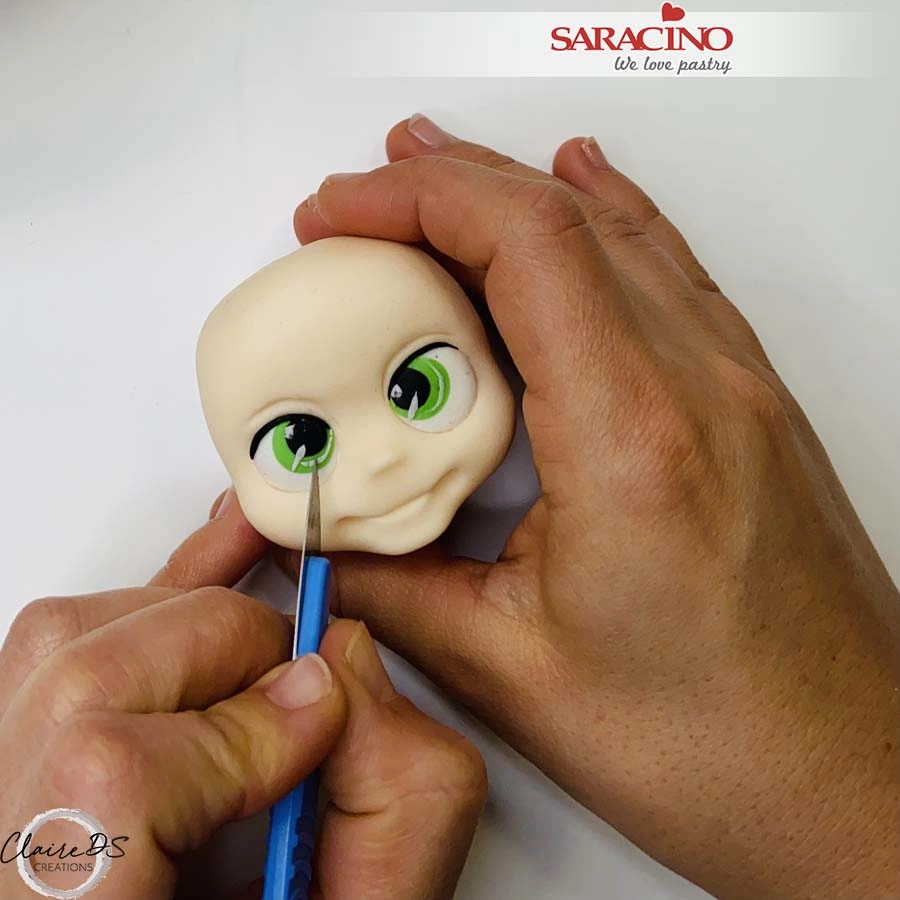
Step 19

Add the thin white line to the eye for highlight. With a sharp knife make small notches for more realism and dimension.
Step 20

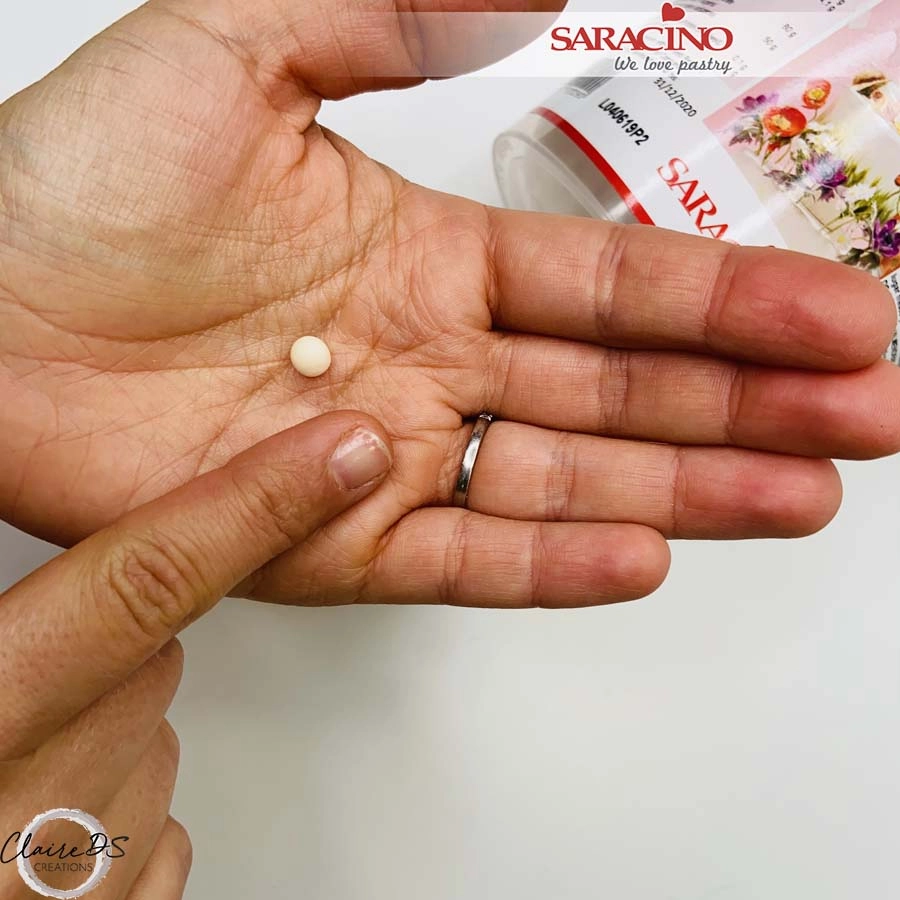
For the ears take a few grams of light skin Pasta Model. Roll a small ball and cut in half to create each ear.
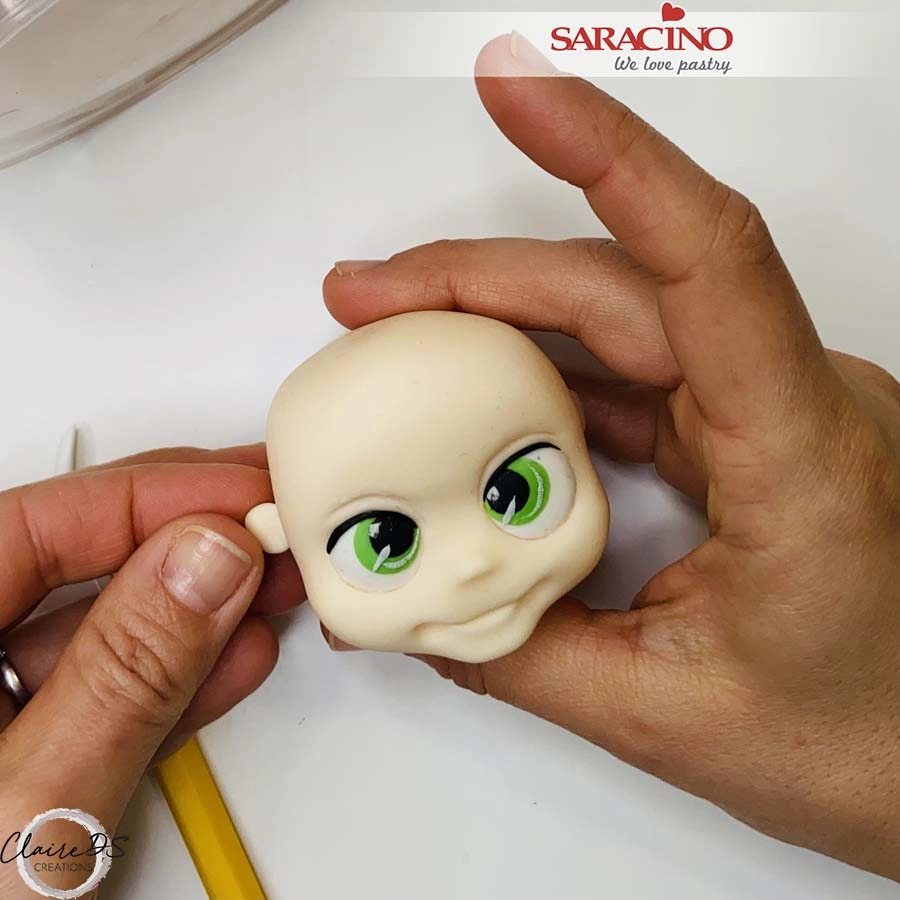
Step 21

Use a little glue to fix the ears each side of the face in the same alignment as the nose.
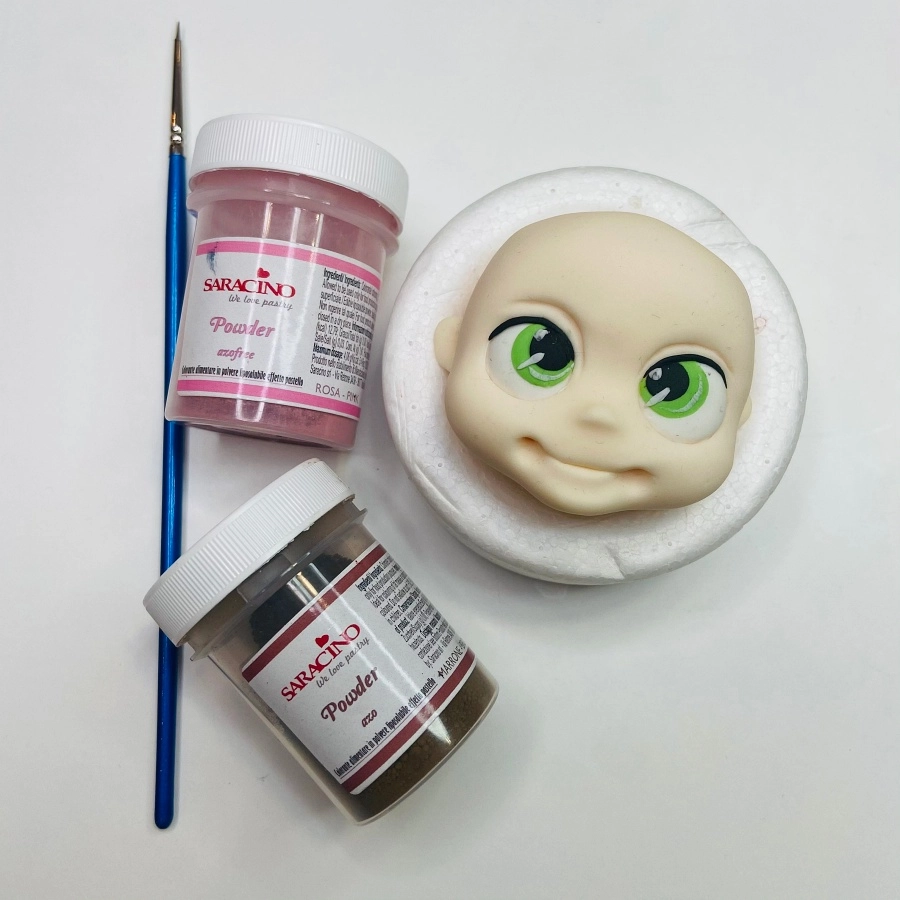
Step 22

Prepare a fine brush with the pink and brown powder colours and a clear alcohol for diluting.
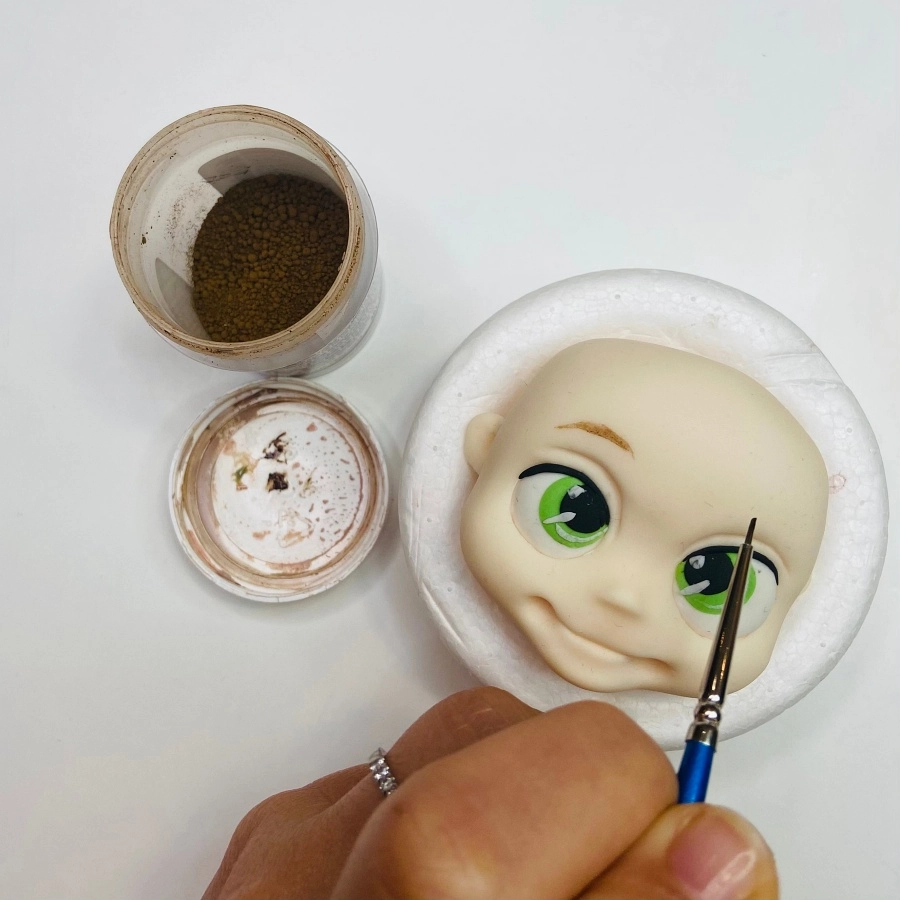
Step 23

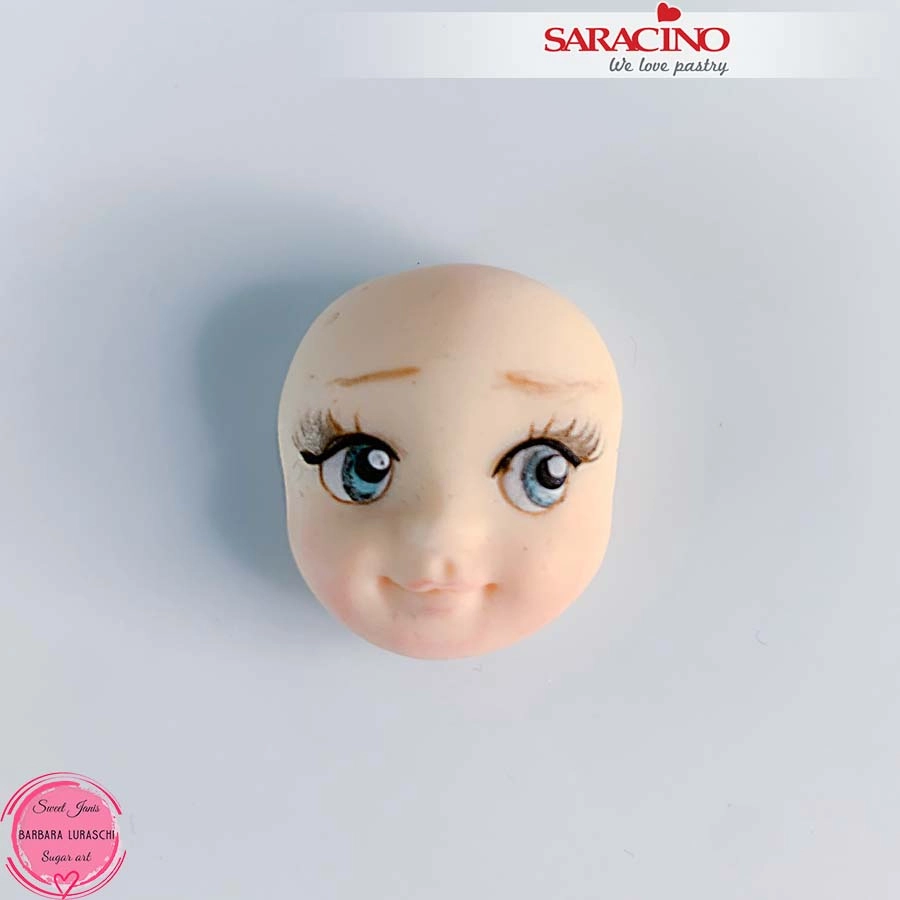
Dilute brown powder colour in a little clear alcohol (I use the lid). Paint two thin lines for the eyebrows.
Step 24

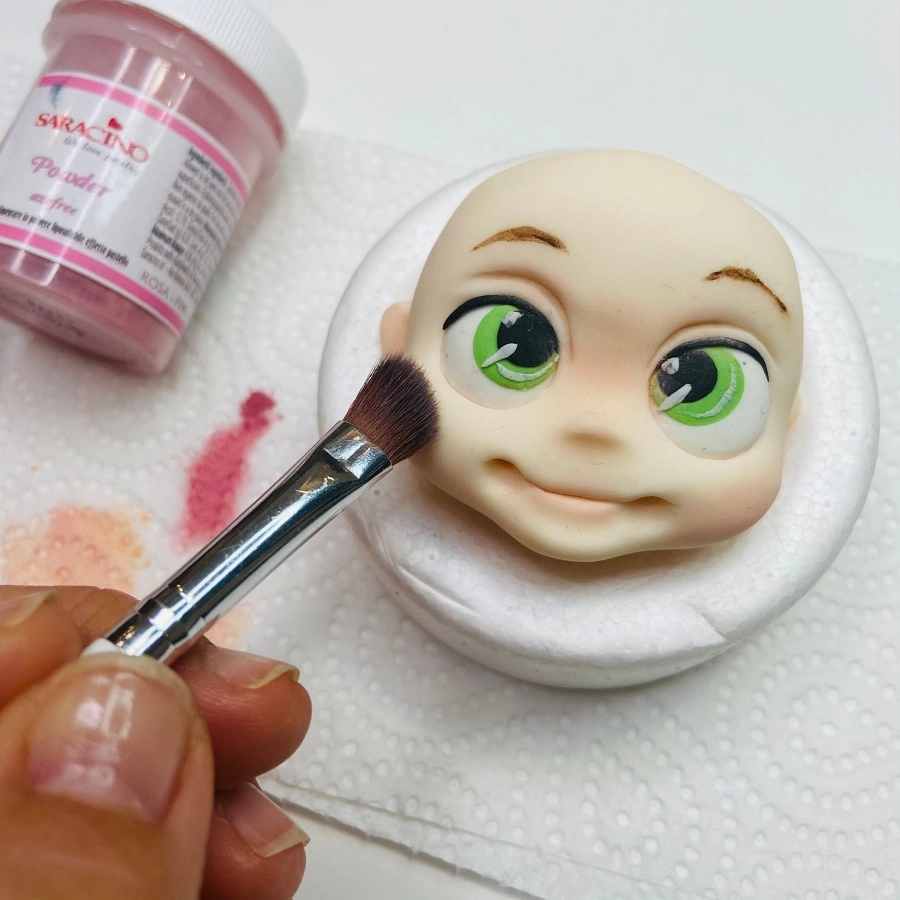
Use a soft brush and pink powder colour to dust the cheeks, nose and lips.
Step 25

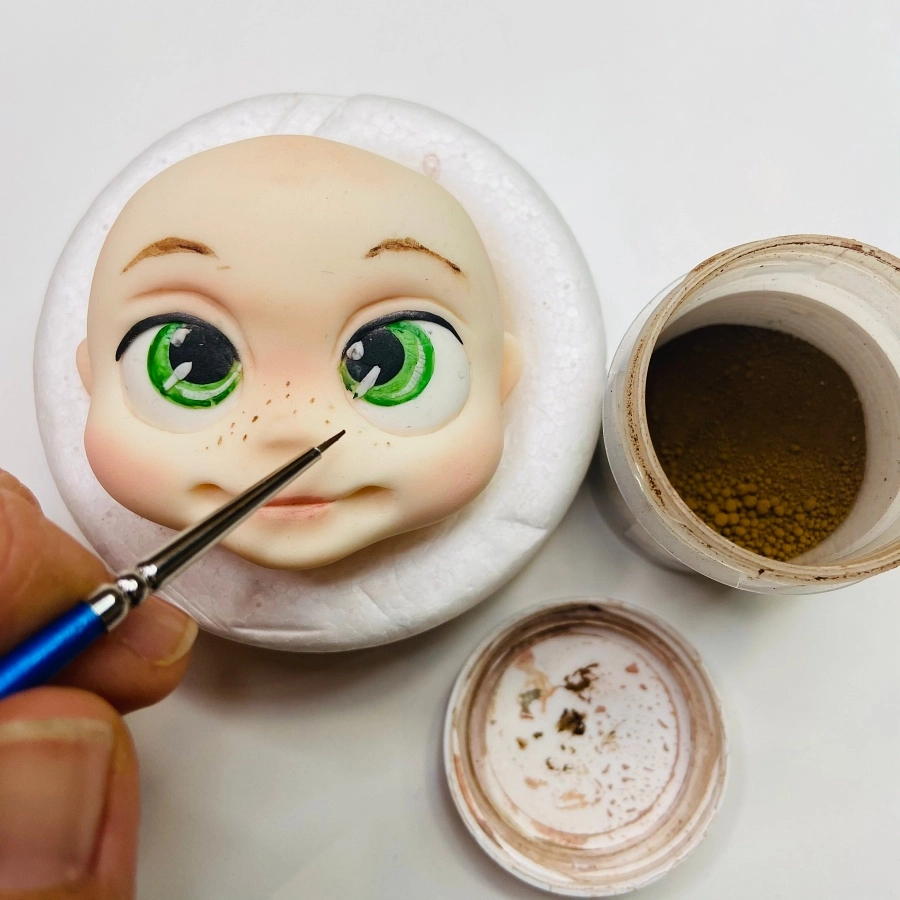
Using the fine brush paint small brown dots for freckles.
Step 26

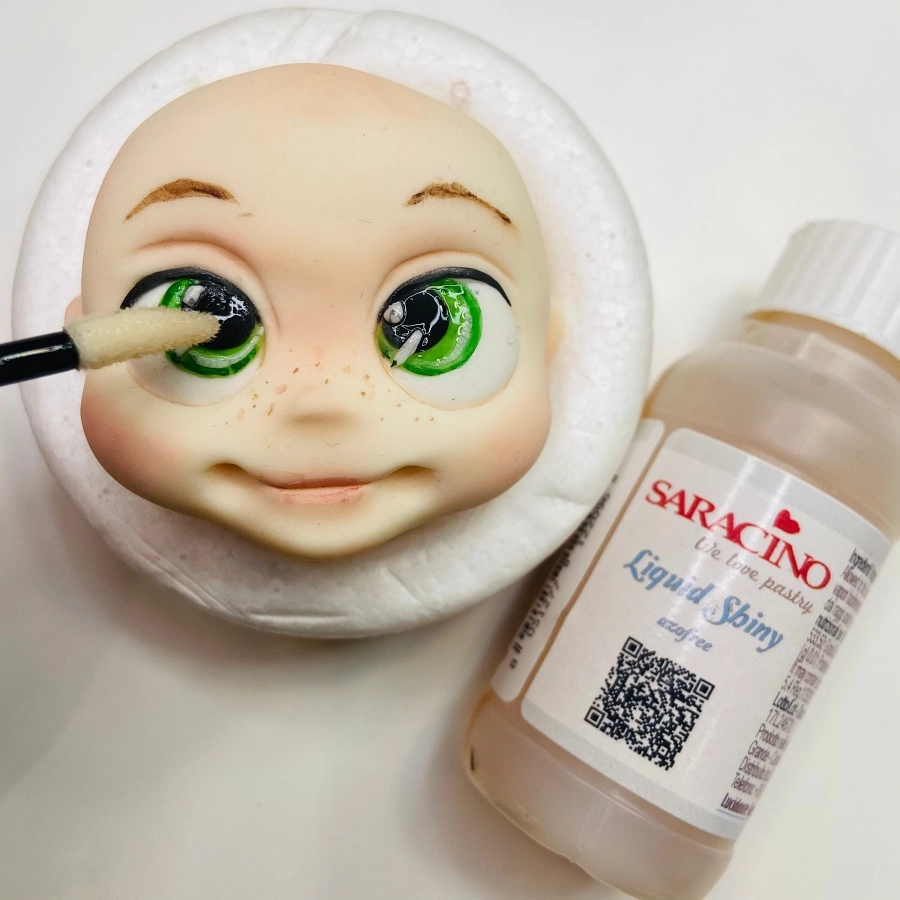
Paint the eyes with liquid shiny to make them shine.
Step 27

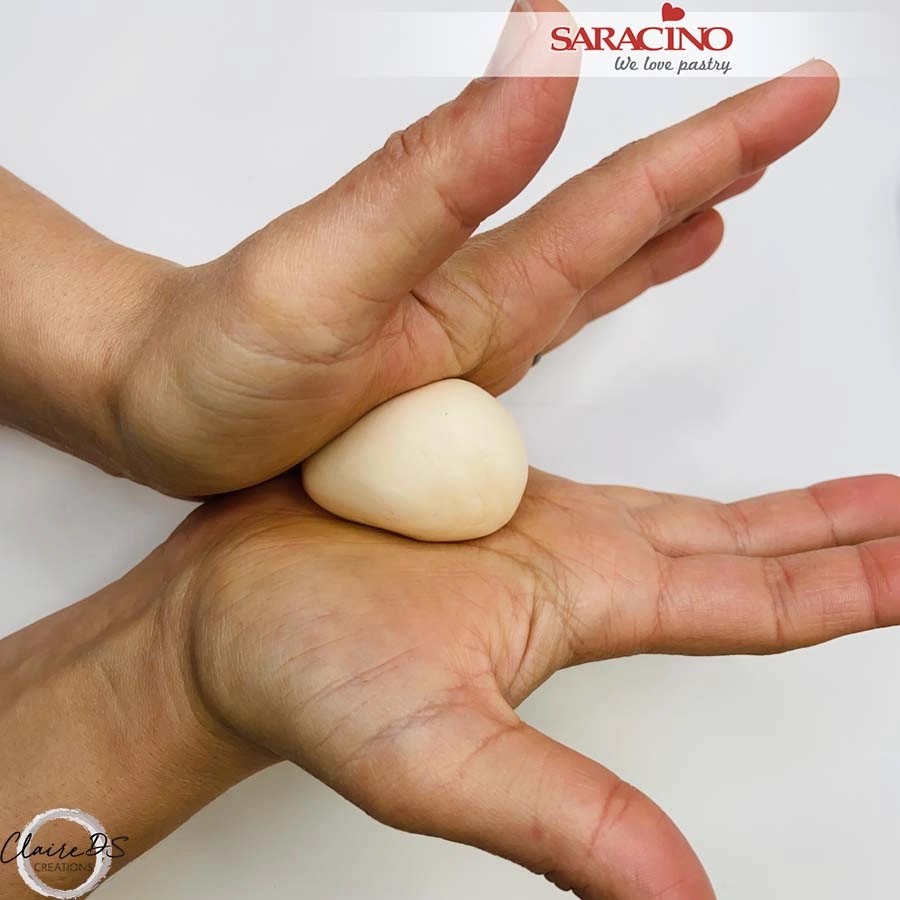
BODY: Take 35g of light skin Pasts Model and roll a pear shape with your hands.
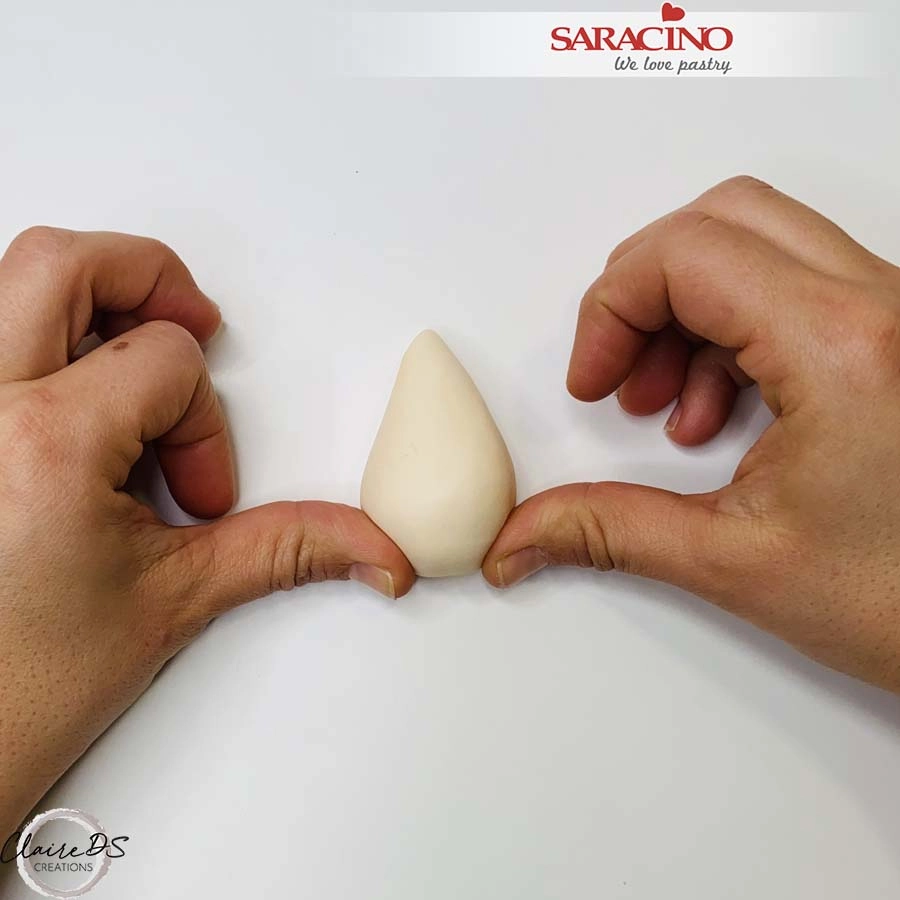
Step 28

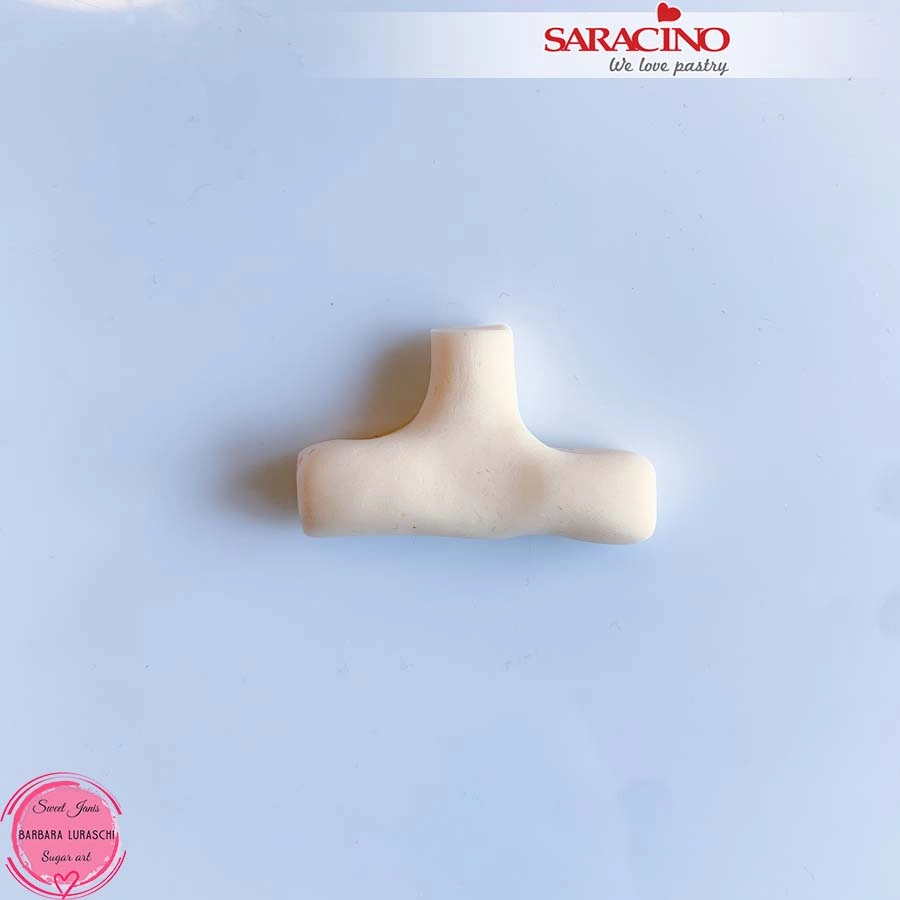
Use your thumbs or fingers to press the sides of the wide part of the pear for the leg locations.
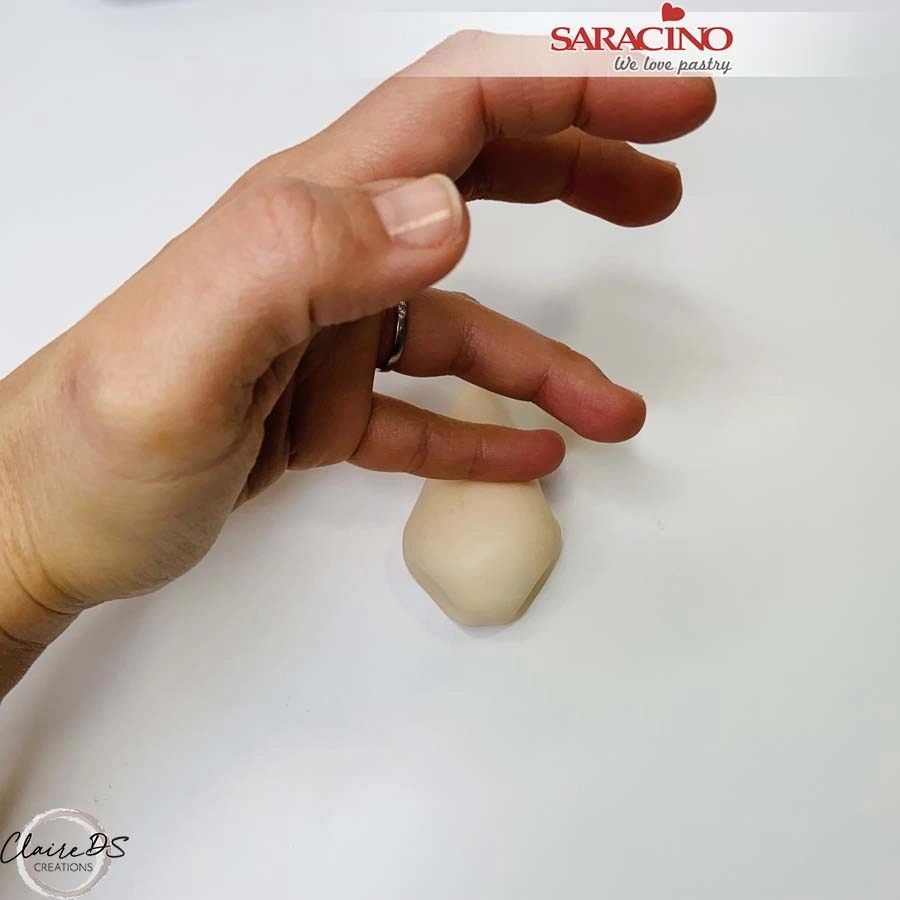
Step 29

Model and shape the top of the pear gently with your fingers to form the baby’s body. Insert a wooden skewer through the centre. Cut flush at the bottom and leave 2cm at the neck to fix the head.
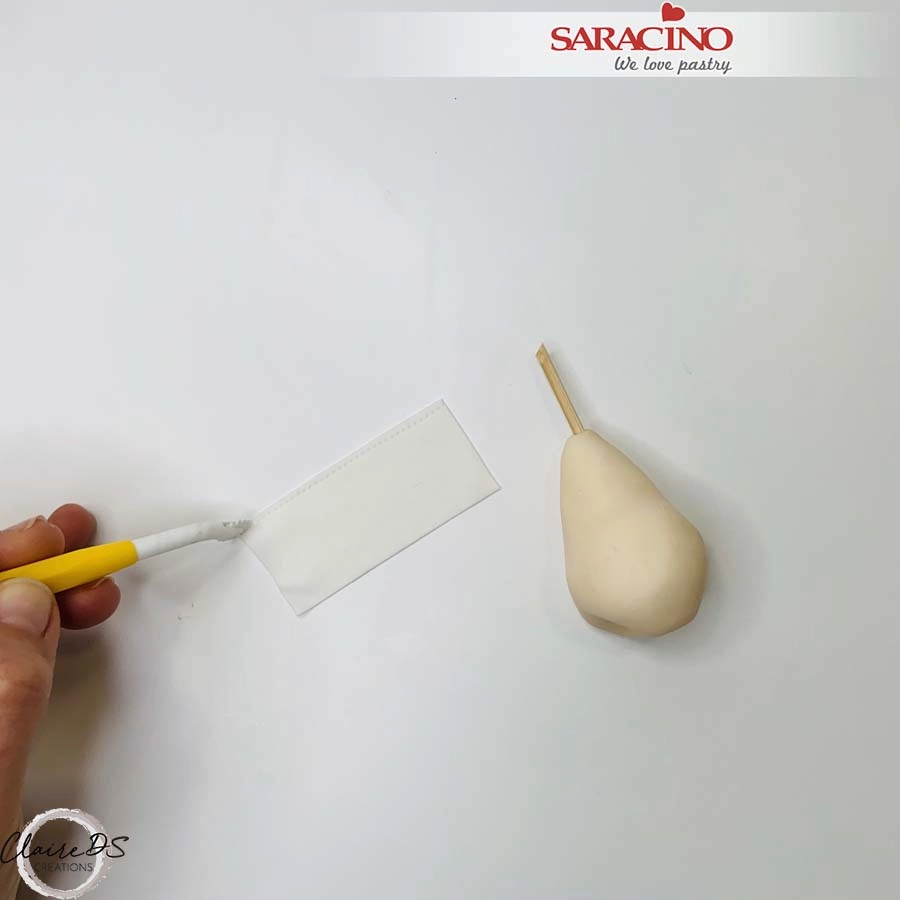
Step 30

For the nappy roll white Pasta Model thinly to approximately 2cm x 5cm. Use the stitching tool to mark around the nappy.
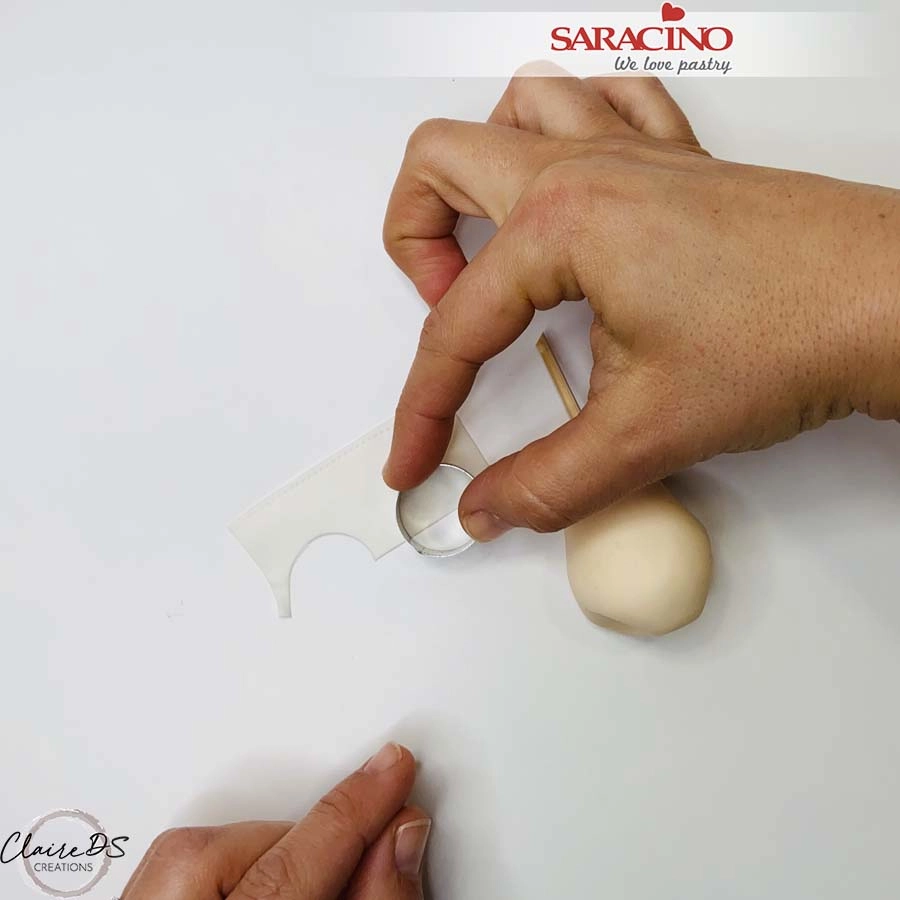
Step 31

Use a 2.5cm diameter circle cutter to cut two half circles from the nappy.
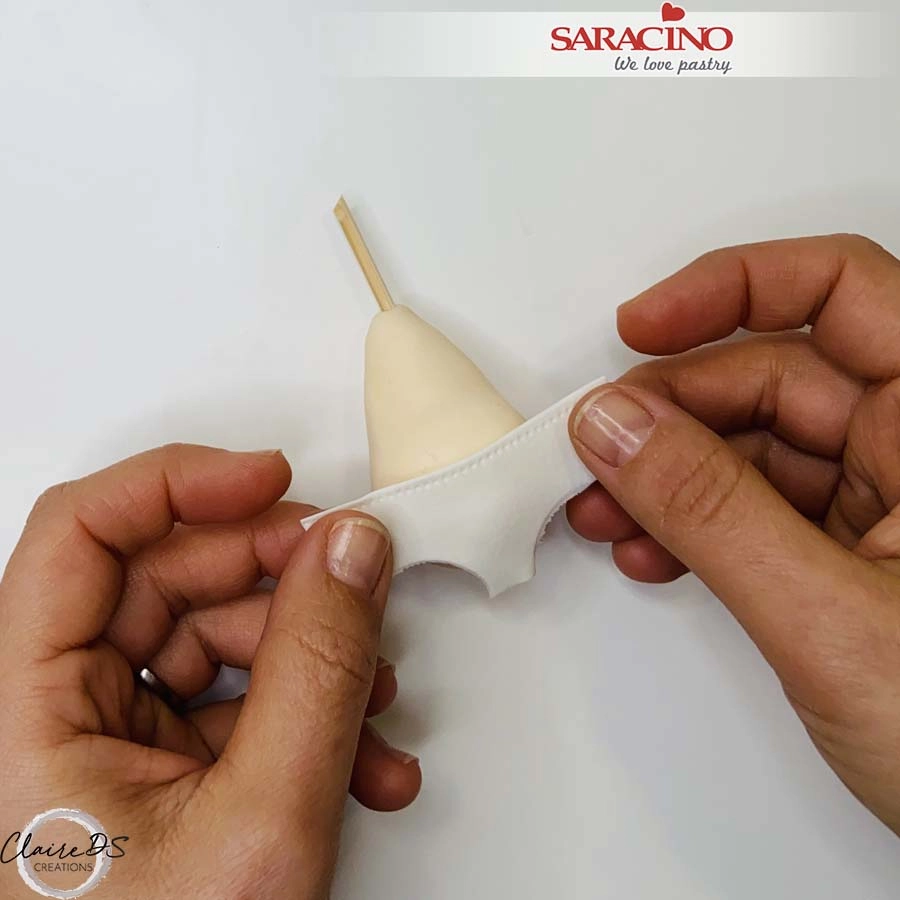
Step 32
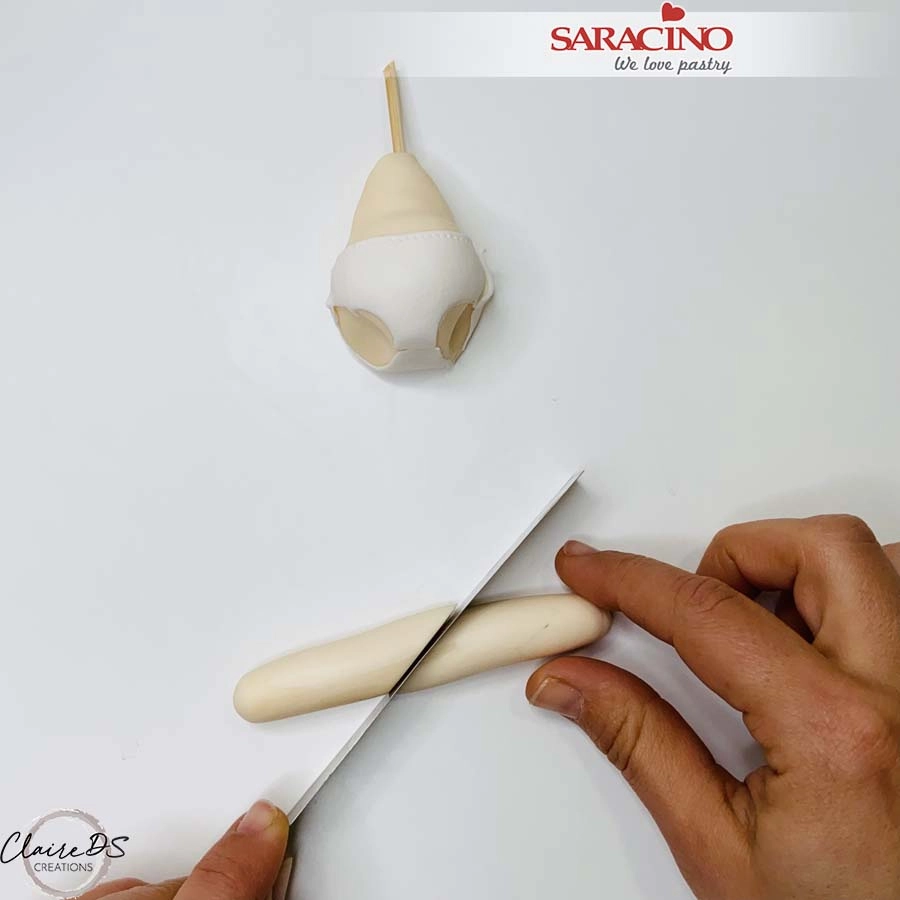
Fix the nappy to the body using a little water if required. Repeat the nappy steps to make the back.

Step 33

For the legs roll a sausage shape using 20g of light skin Pasta Model. Cut at an angle in the middle to create two legs.
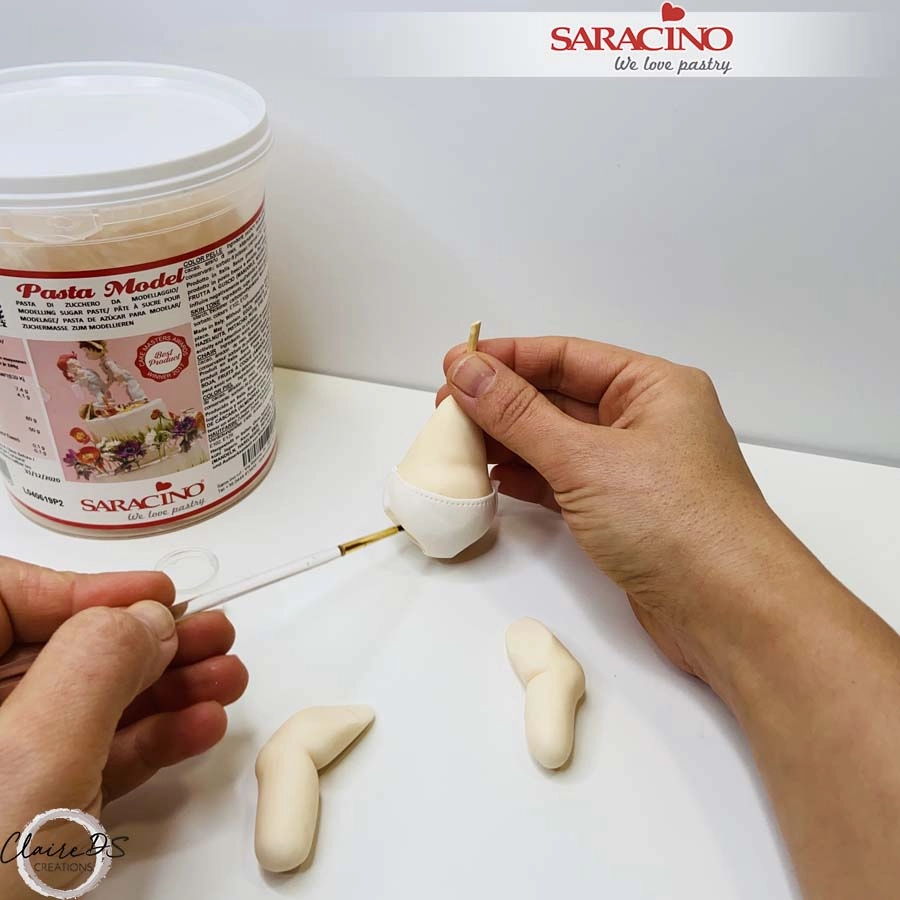
Step 34

Use the Dresden tool to bend the leg and shape the knee area. Fix the legs to the body using a little water if required.
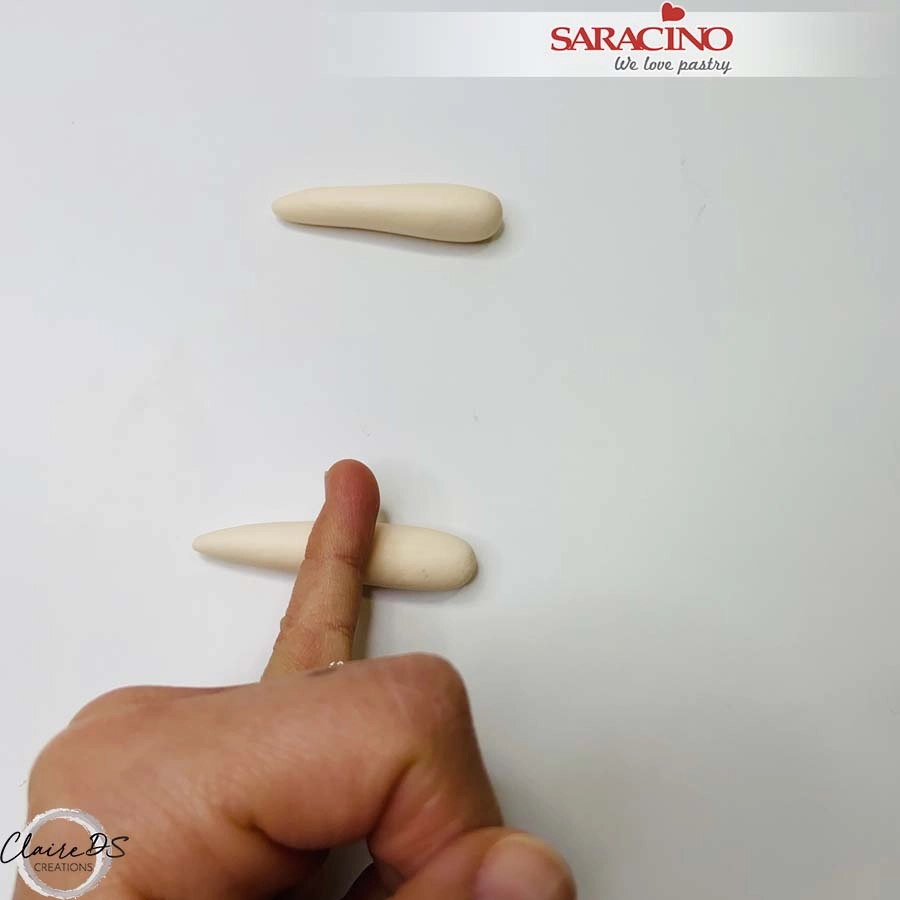
Step 35

For the arms use 6g of light skin Pasta Model to roll two sausages. Use your finger in the middle of each sausage to create the bend of the elbow area.
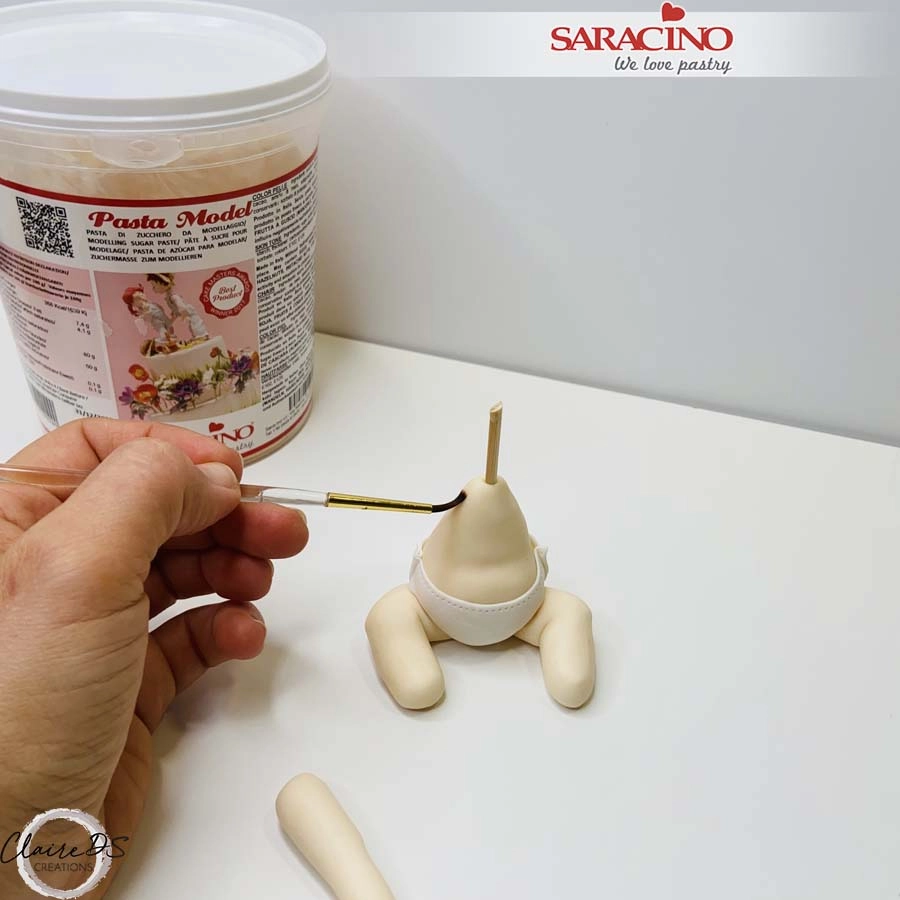
Step 36

Apply a little water to the shoulder area.
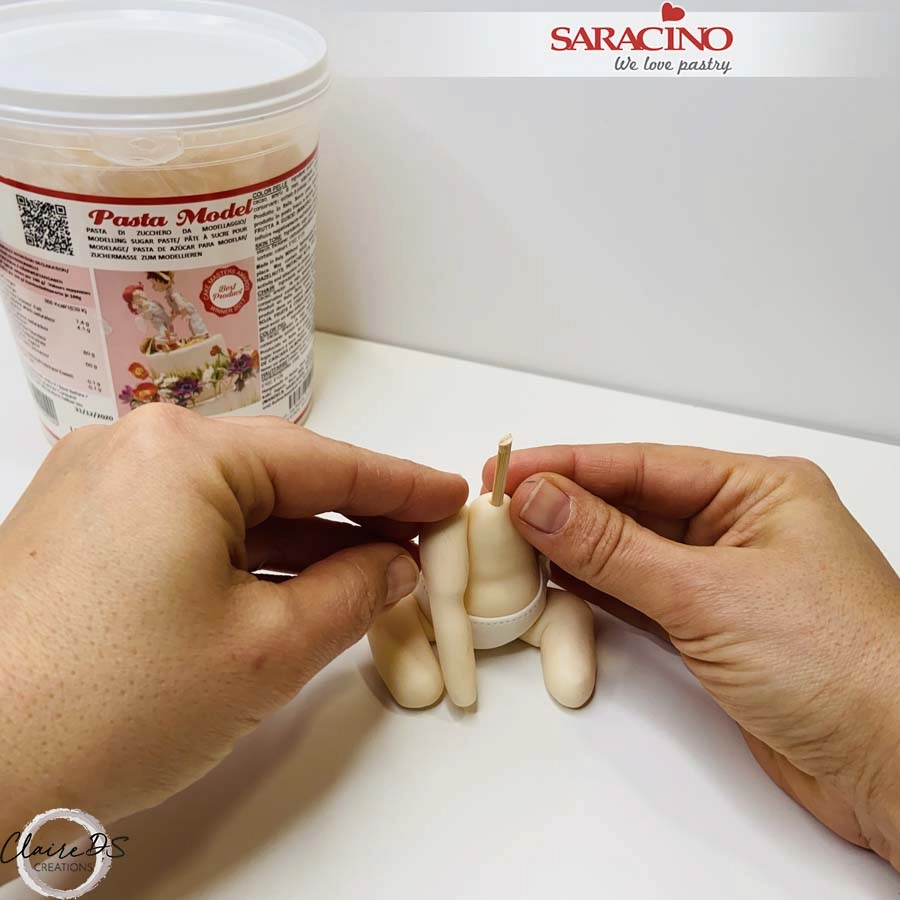
 

Step 37

Attach the two arms.
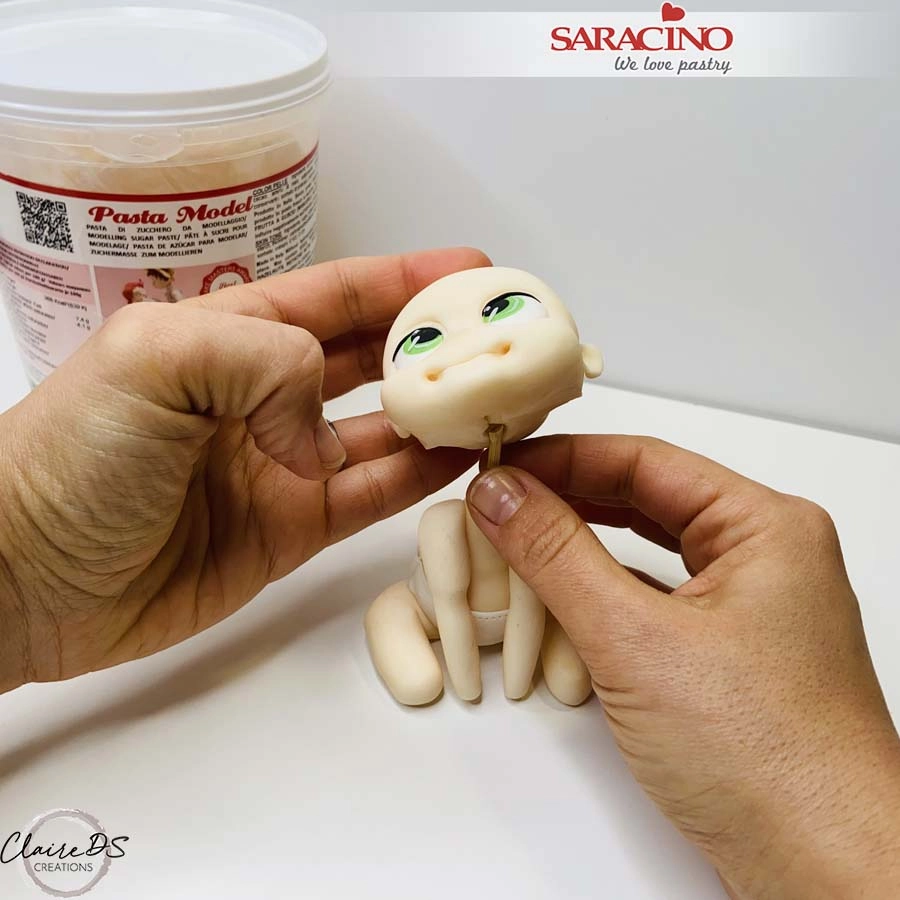
Step 38

Create a hole in the head but don’t fix it yet. 
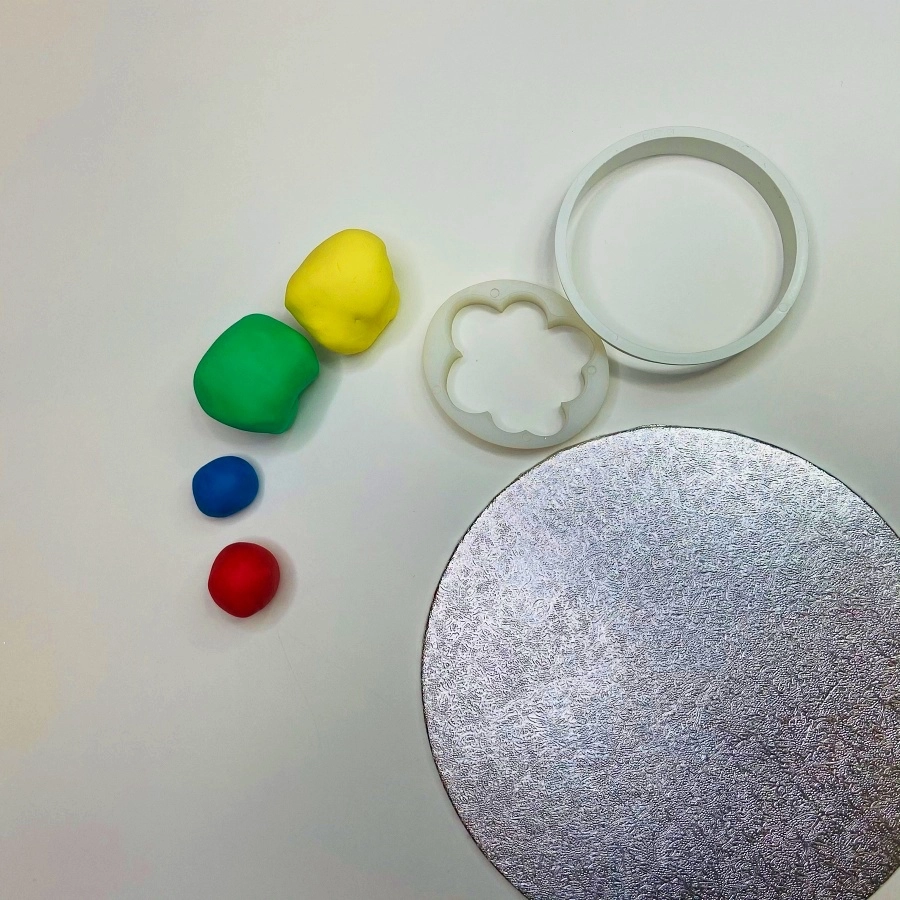
Step 39

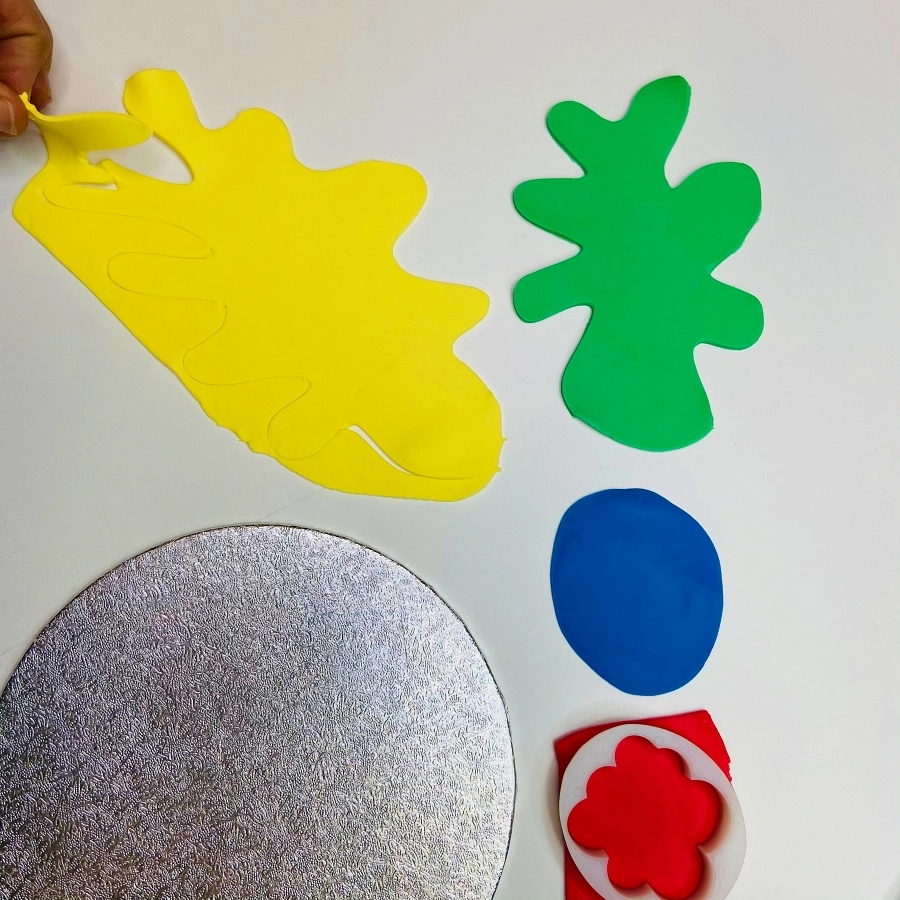
Prepare the yellow, green, blue and red Pasta Model.
Step 40

Roll the paste and use a craft knife to cut out ink spots. Alternatively use a cloud-shaped cookie cutter.
Step 41

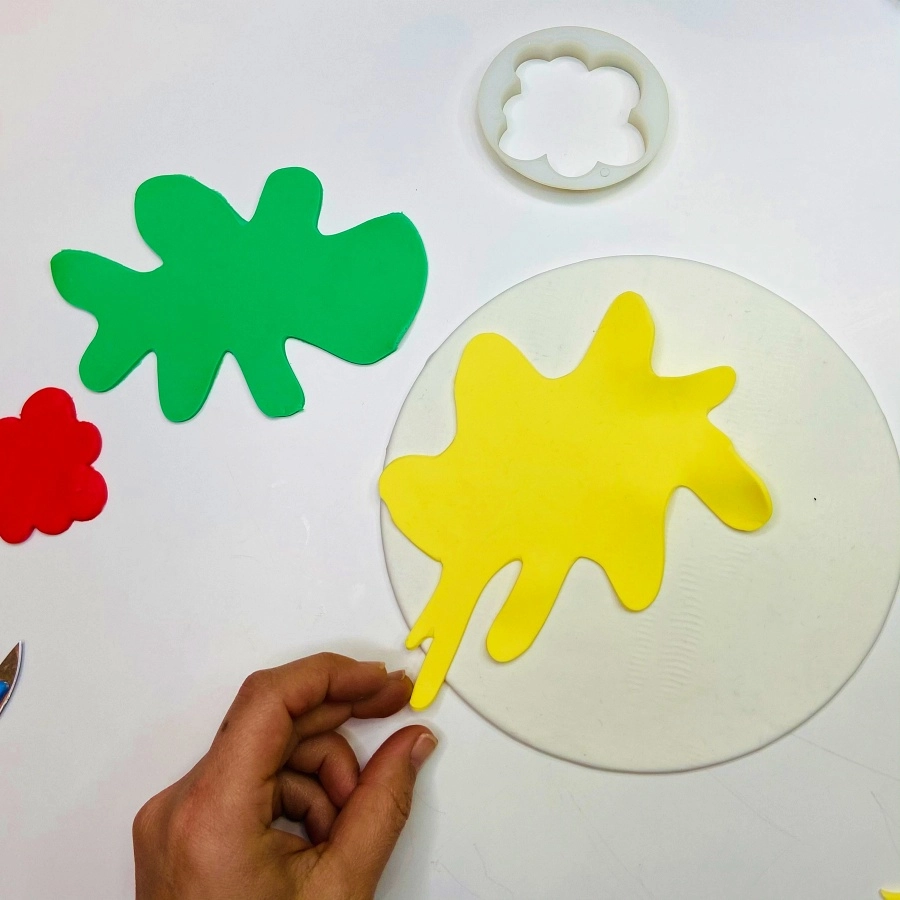
Use white Pasta Top to cover the board. Place the coloured spots onto the board.
Step 42

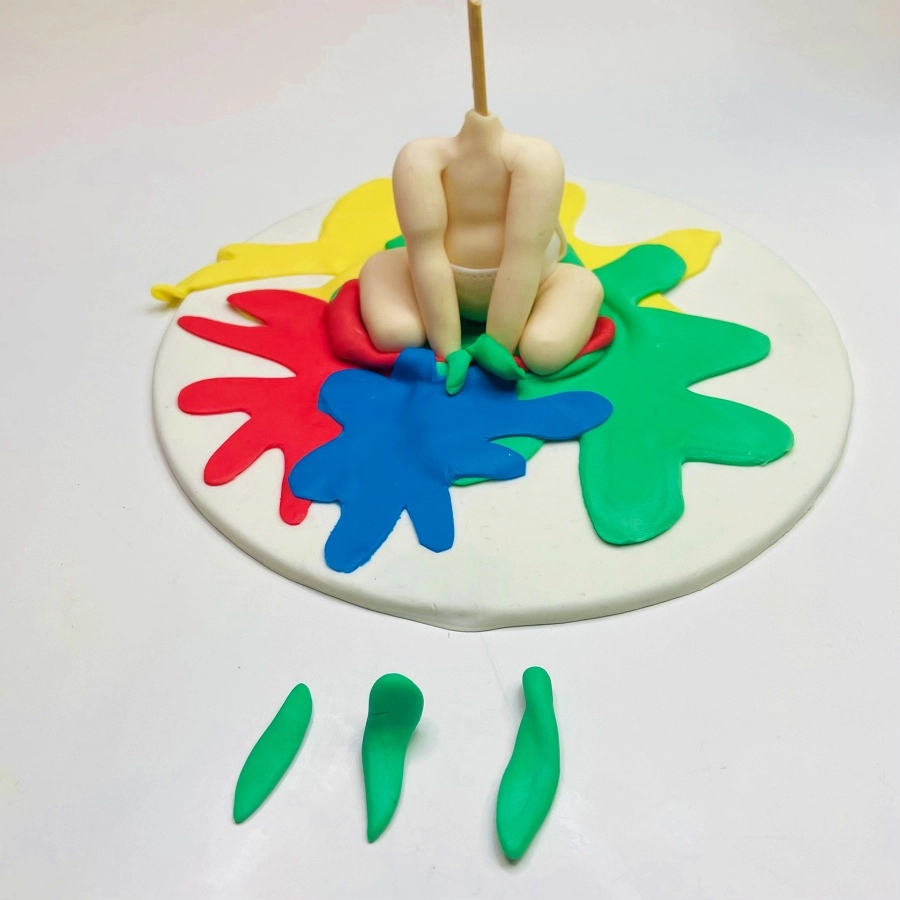
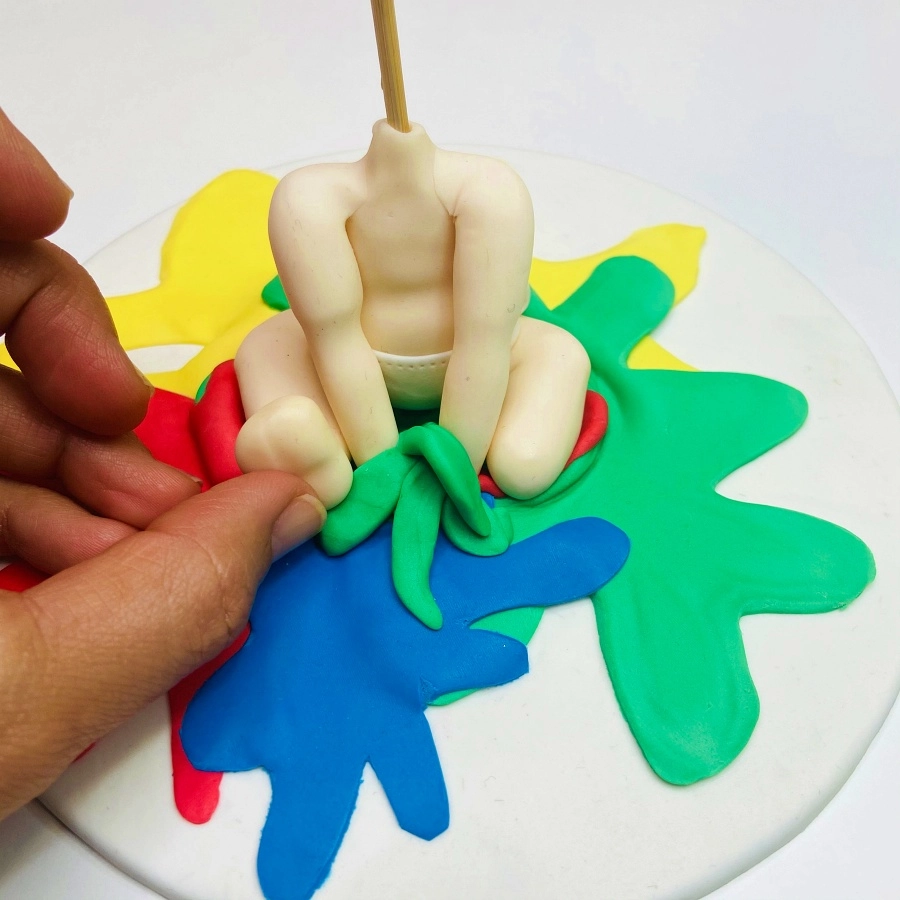
Form a hollow in the centre with your fingers or a ball tool and place the baby’s body. Roll small sausage shapes of green paste to create splashes.
Step 43

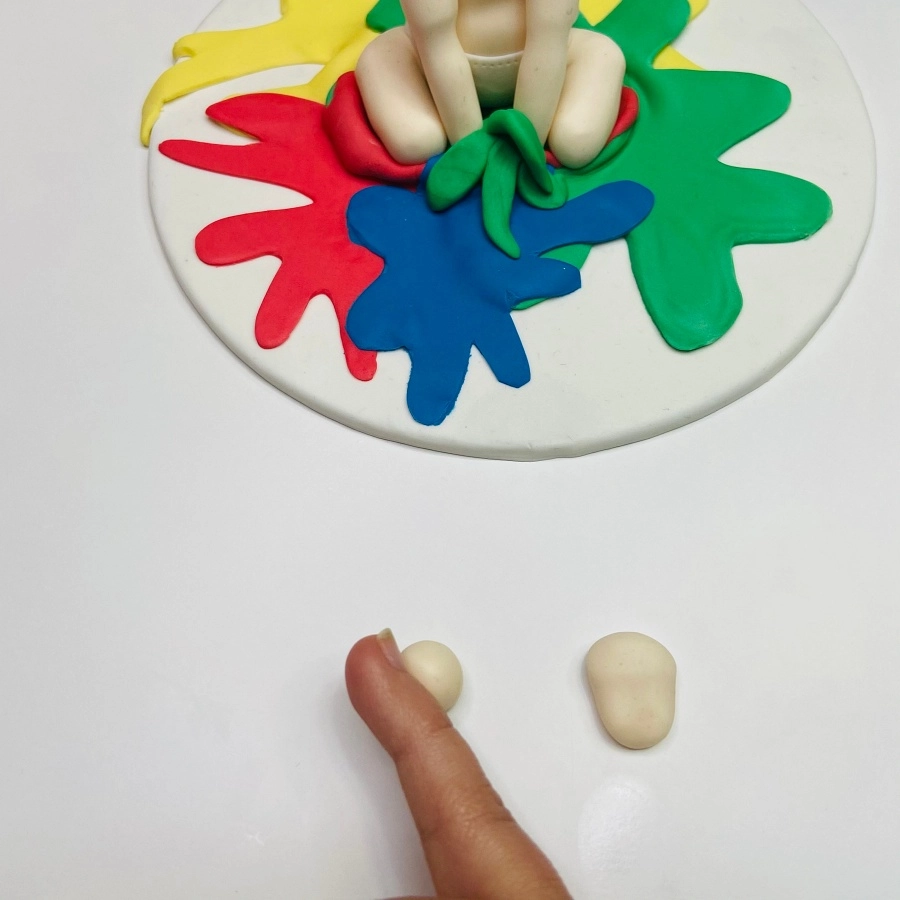
Fix the green spalshes. With a few grams of light skin Pasta Model roll a small pear shapes. Flatten slightly to create the baby’s little feet.
Step 44

Fix the feet to the legs using a little glue if required.
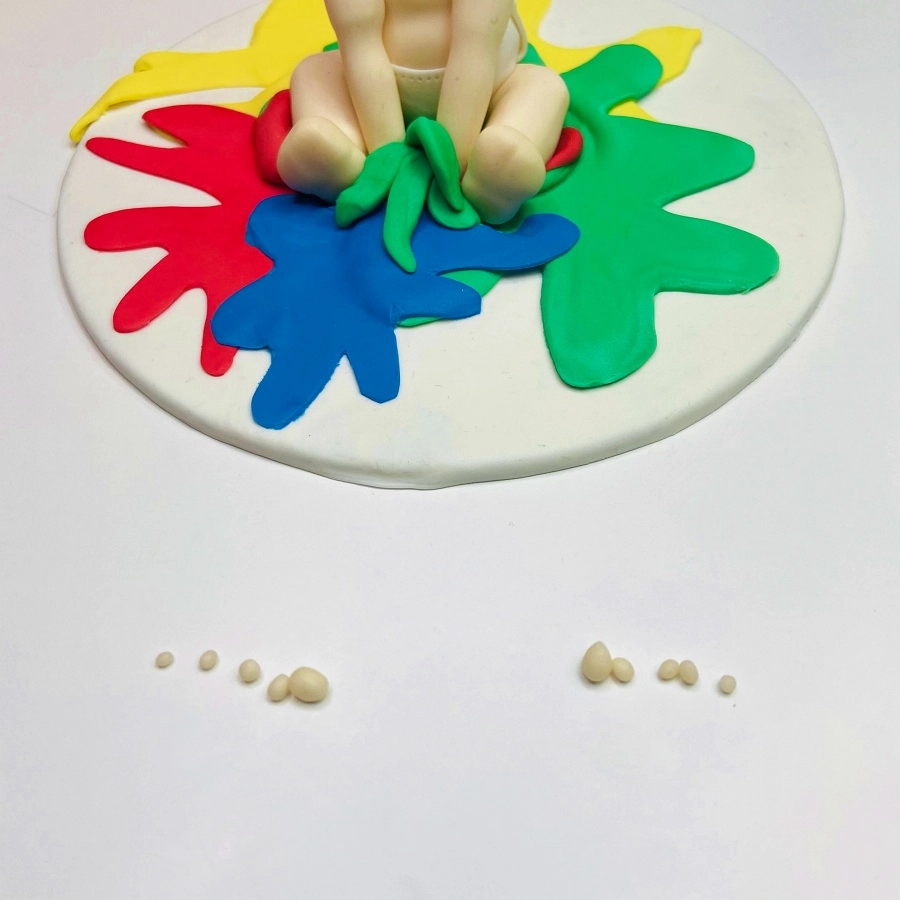
 

Step 45

Using light skin modelling paste roll 10 balls for the toes. Each ball should be slightly smaller than the one next to it for each foot.
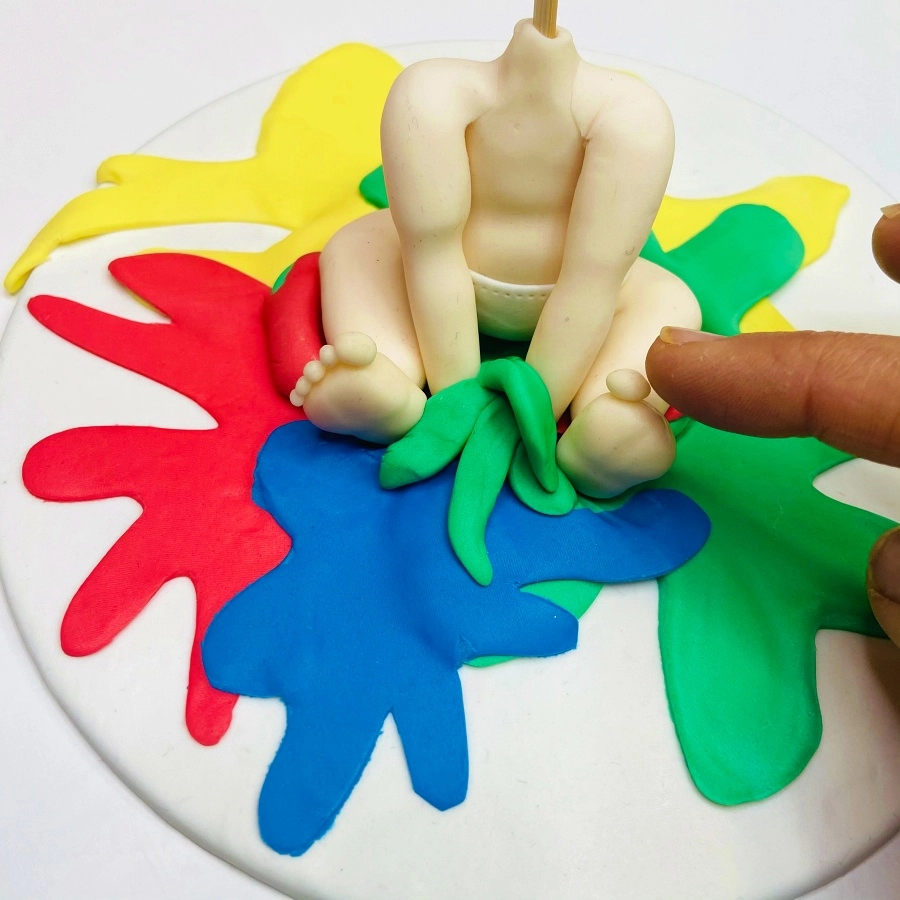
Step 46

Fix the 10 toes using a little glue.
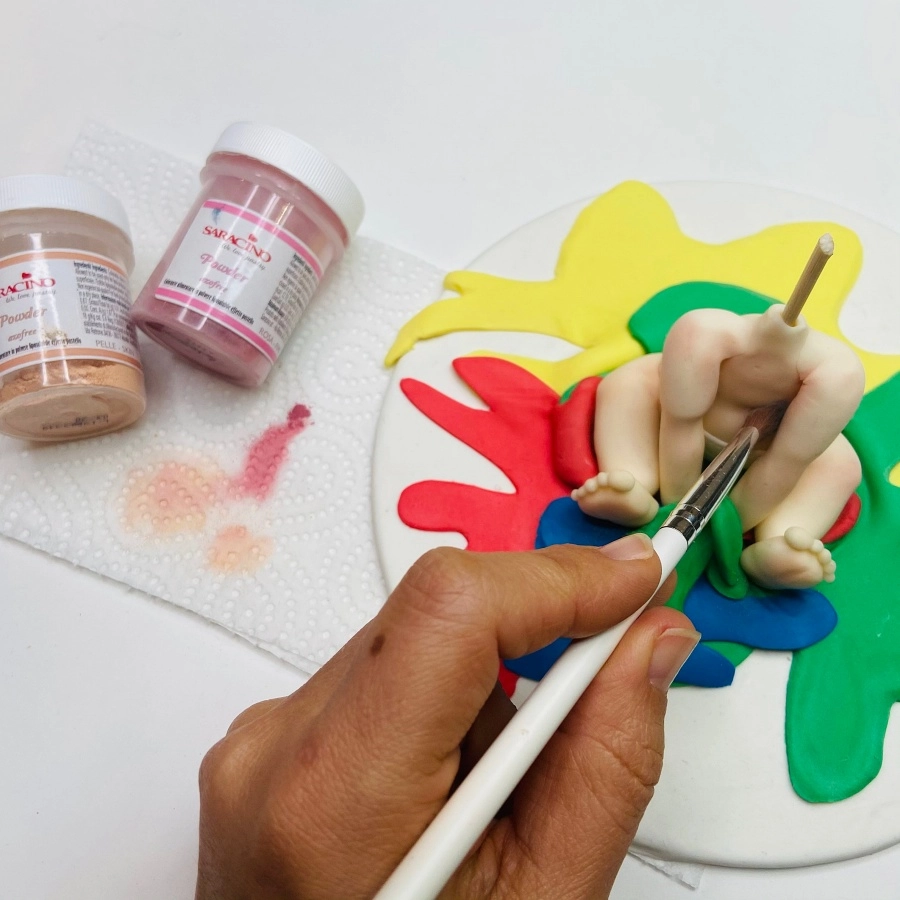
Step 47

Using pink and light skin powder colour mix with a soft brush and dust the baby’s body.
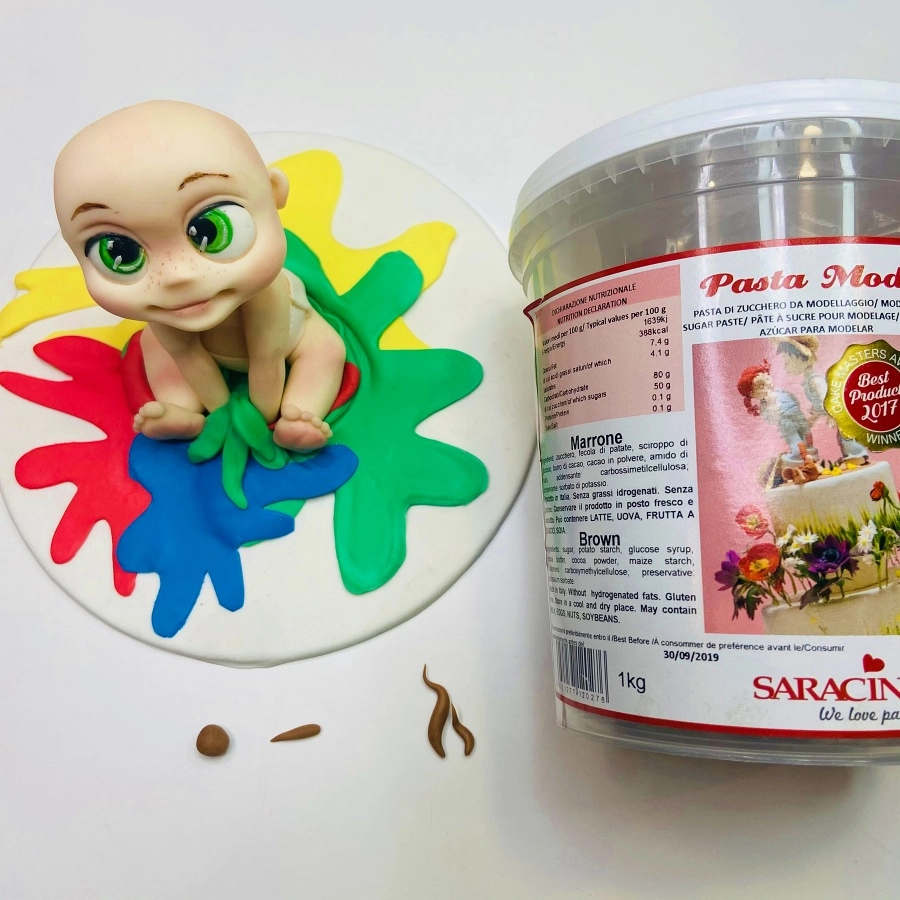
 

Step 48

Place the baby’s head on the wooden skewer using a little glue. Roll a few strands of brown Pasta Model for the hair.
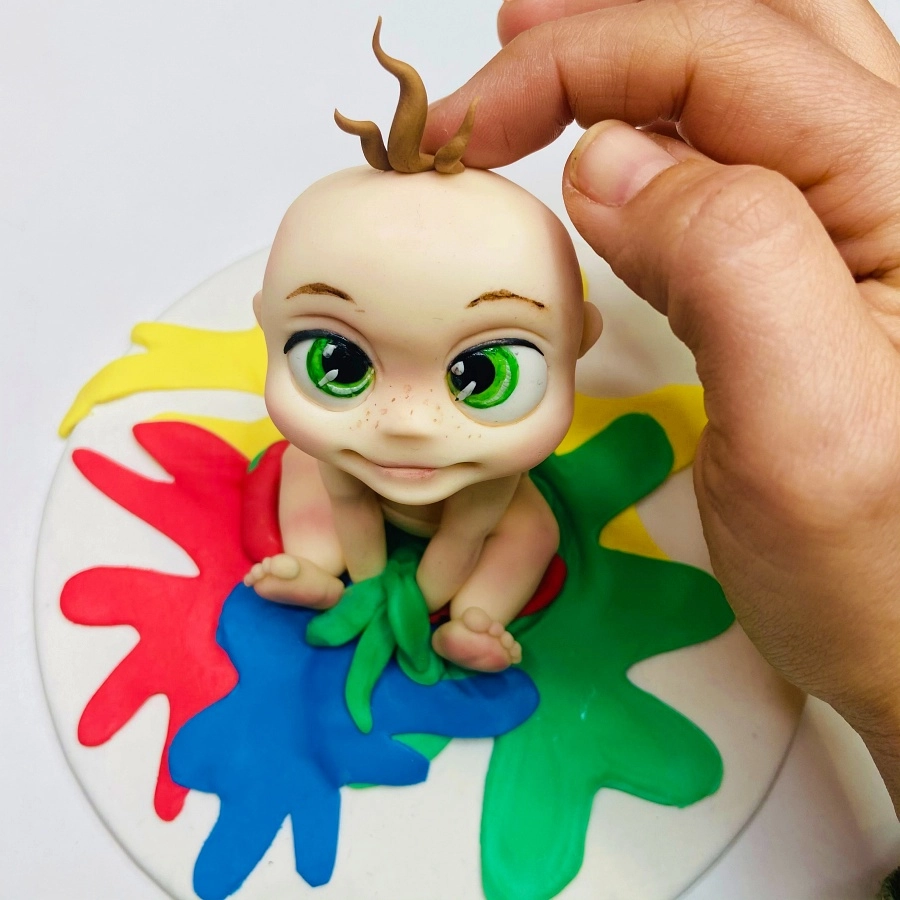
Step 49

Apply a little water to the top of the head and fix the strands of the baby’s hair.
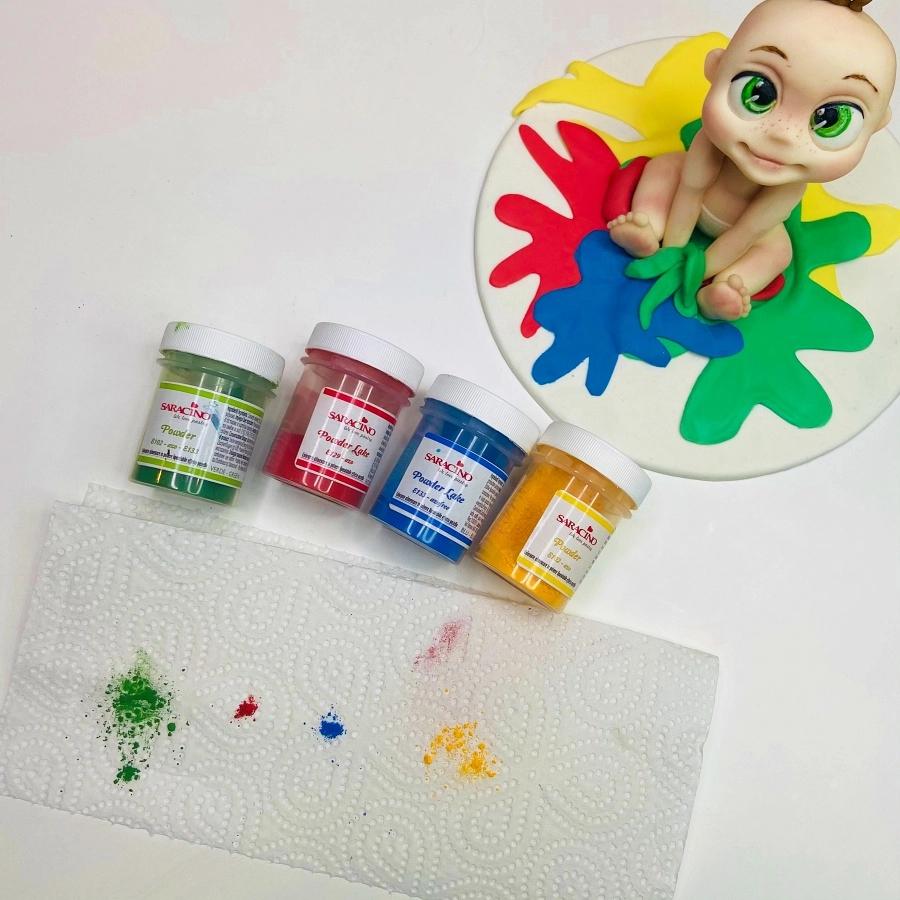
Step 50

Prepare green, red, blue and yellow powder colours on a piece of kitchen paper.
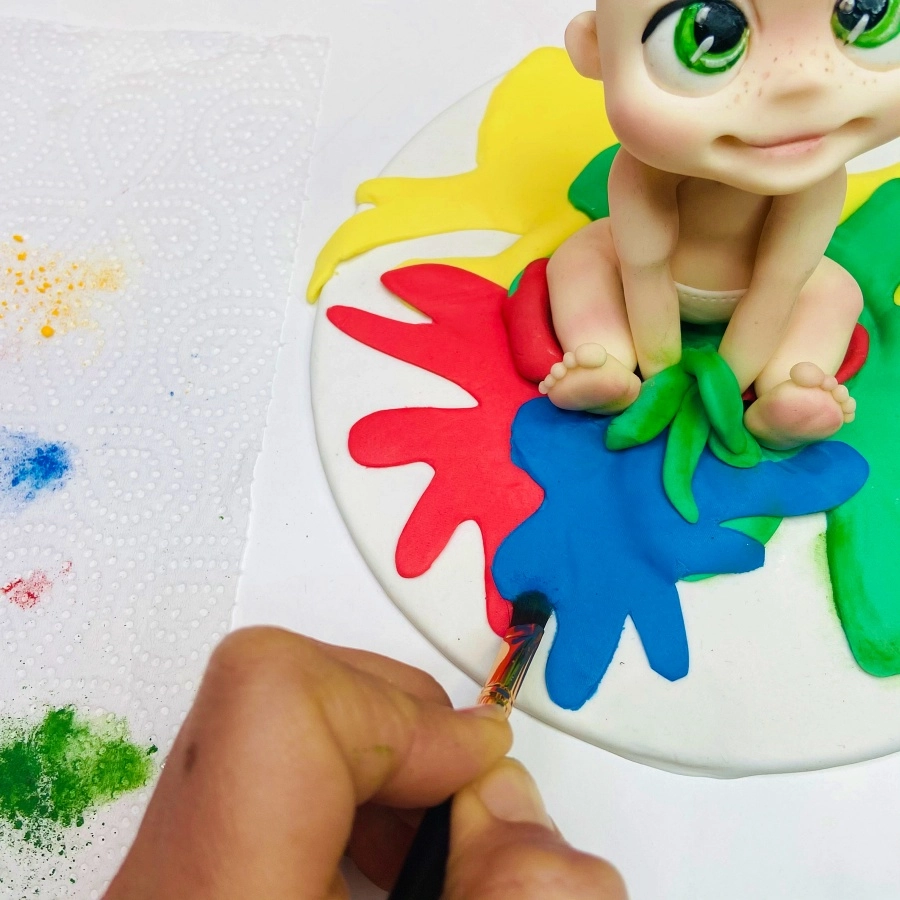
Step 51

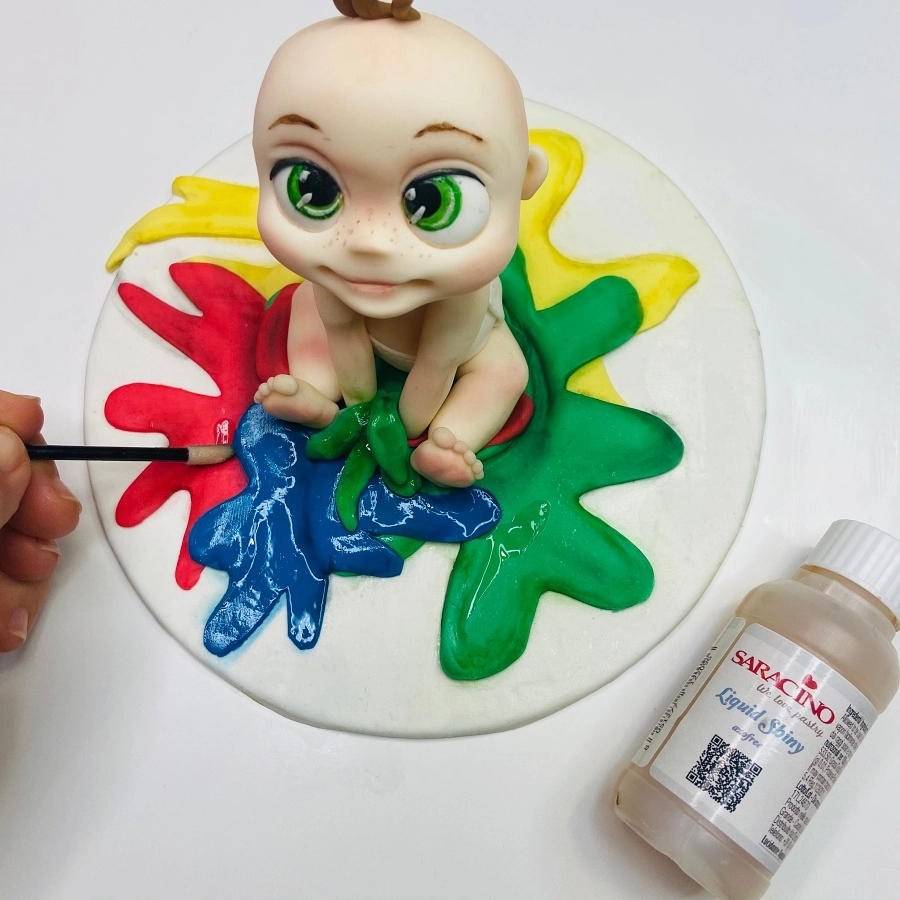
Dust the paint splashes to give more dimension.
Step 52

Paint the splashes with the Liquid Shiny. Your model is now ready to place on the cake.
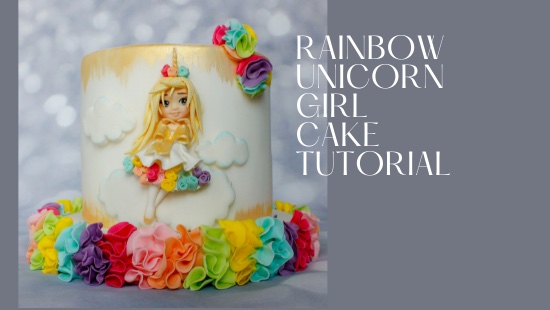
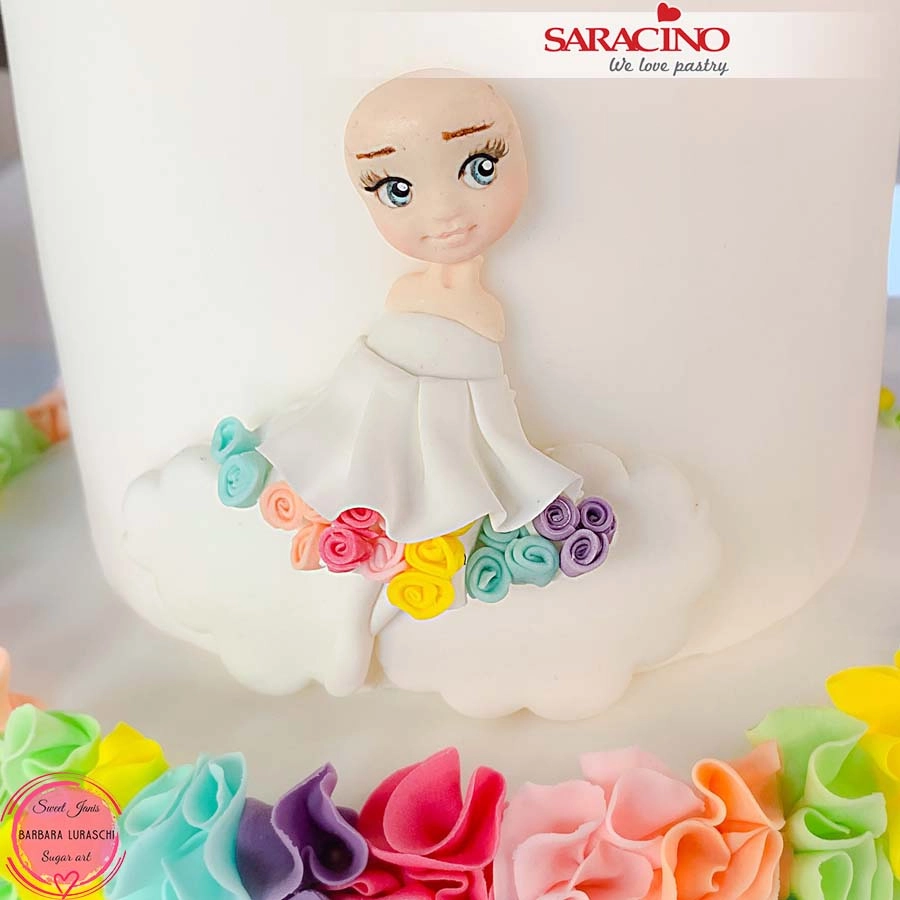
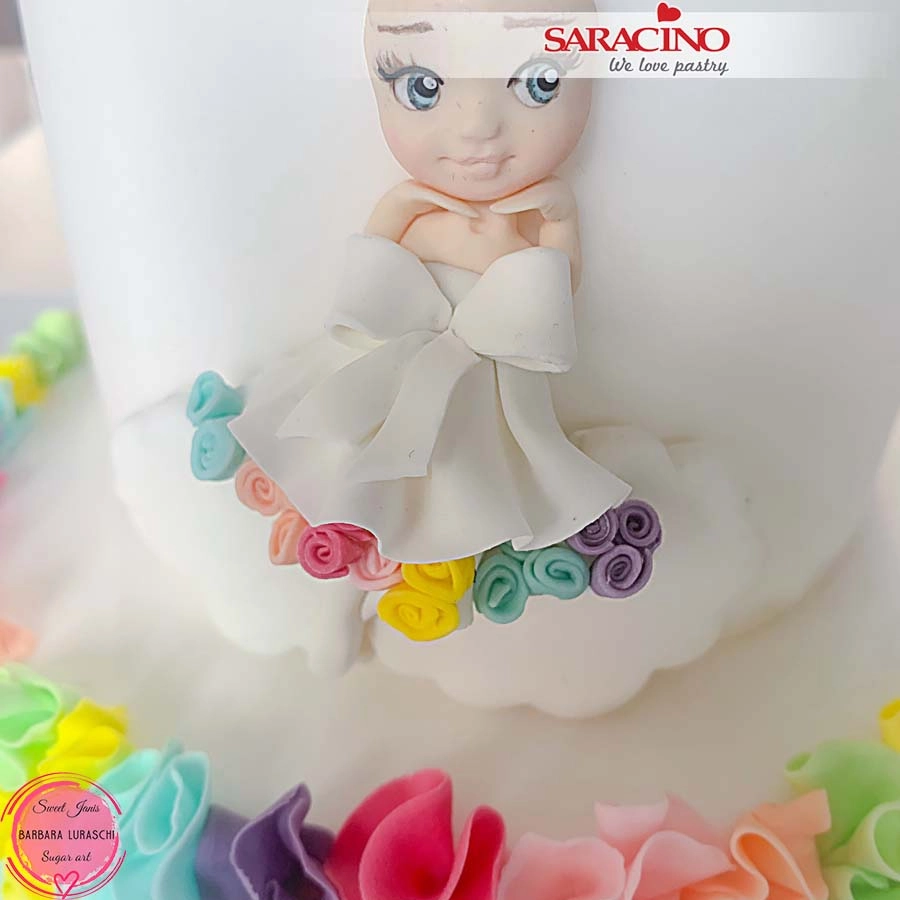
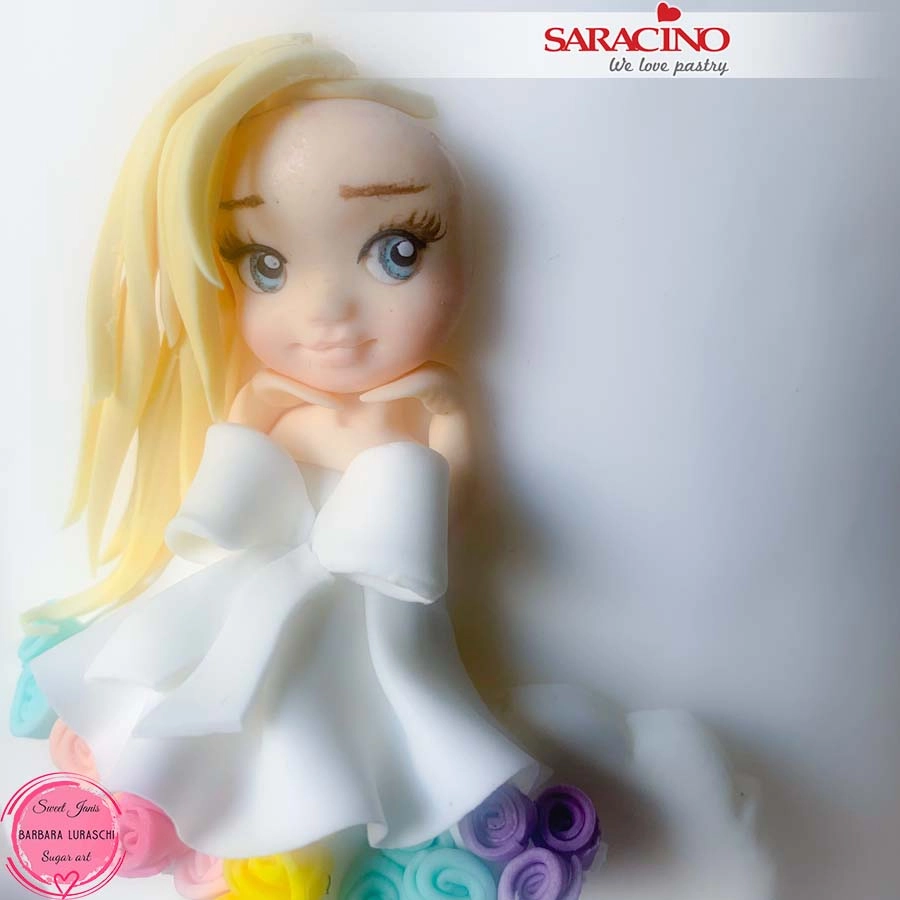
RAIBOW UNICORN GIRL

RAIBOW UNICORN GIRL

Skill level: BEGINNERS

You will need:

  • Saracino white Pasta Top 500g
  • Saracino Pasta Model:
    • white 100g
    • light green 100g
    • pink 100g
    • orange 100g
    • yellow 100g
    • tiffany 100g
    • fuschia 100g
    • violet 100g
    • black 10g
    • light skin 15g
  • Saracino gold powder
  • Cake 15cm diameter x 13cm tall
  • Cake board 20cm diameter x 2.5cm tall
  • Saracino Cake Gel
  • 3cm circle cutter
  • Ball tool
  • Modelling tools
  • Rolling pin
  • Brushes
  • Clear alcohol
  • Cloud cutter
  • Foam mat
  • Exacto knife and Dresden tool
  • Silicone brush
  • Piping nozzles #3 #2
  • Saracino dust colours: light blue, brown and pink
  • Small oval cutter
  • DOWNLOAD THE PICTURE HERE

Step 1

Cover the cake and the board using white fondant Pasta Top.

Step 2

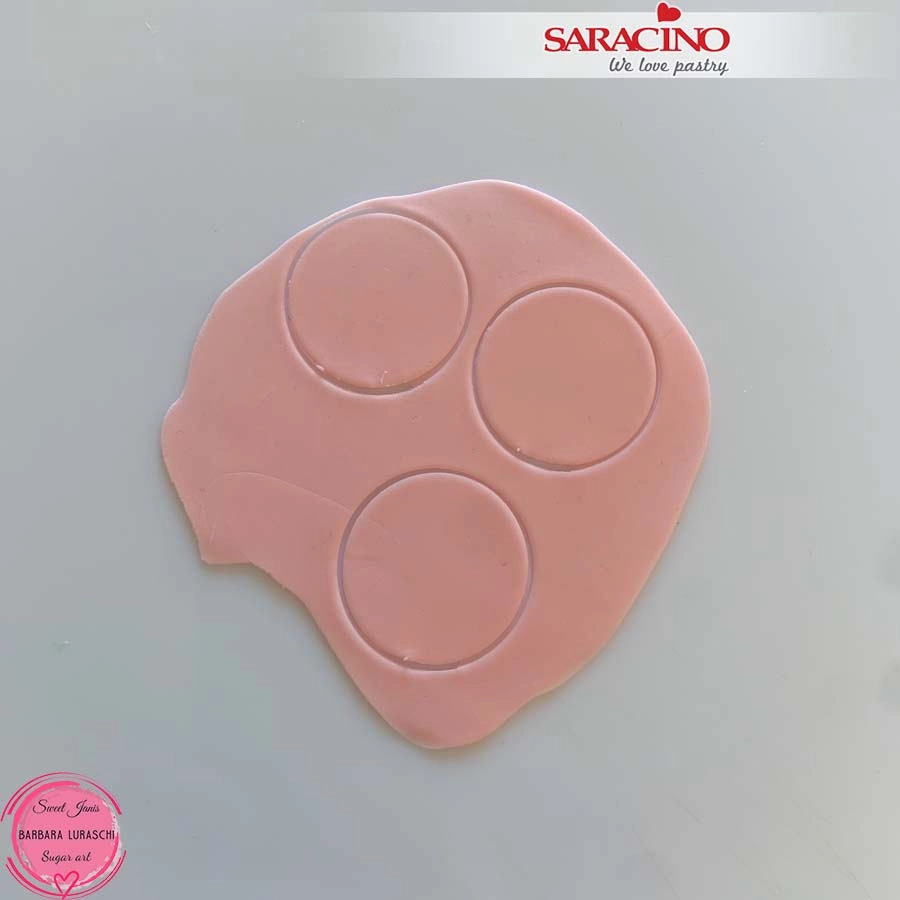
Roll out some pink modelling paste quite thin. Cut some circles using the circle cutter.

Step 3

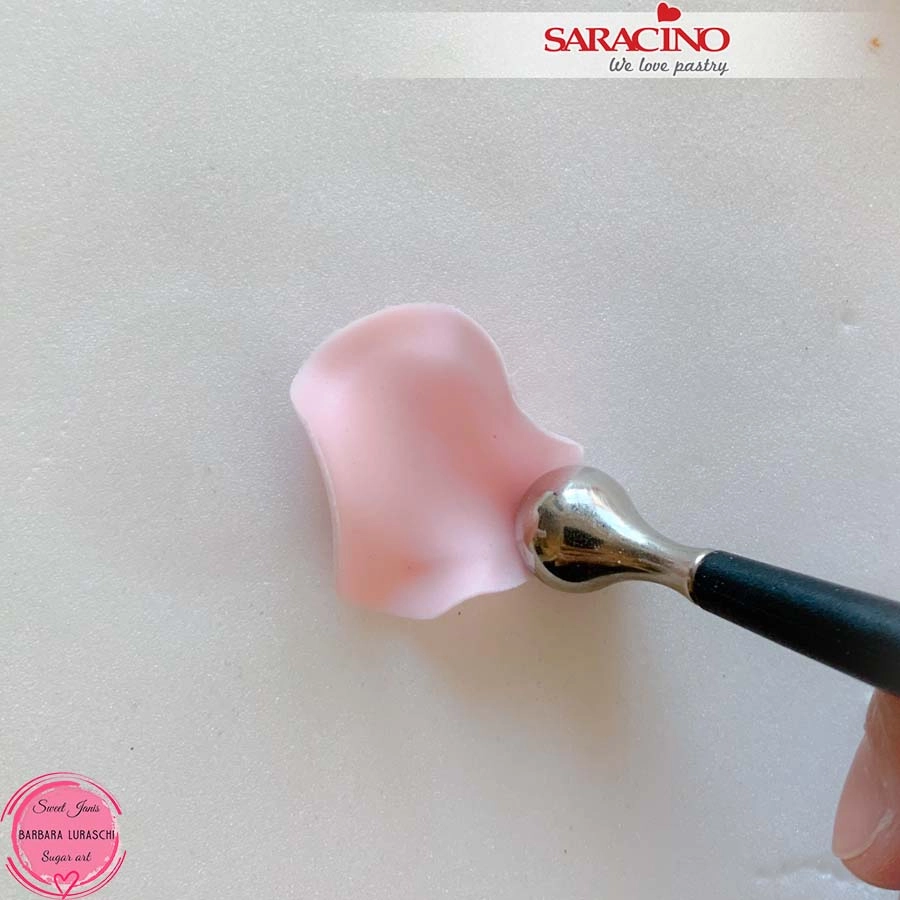
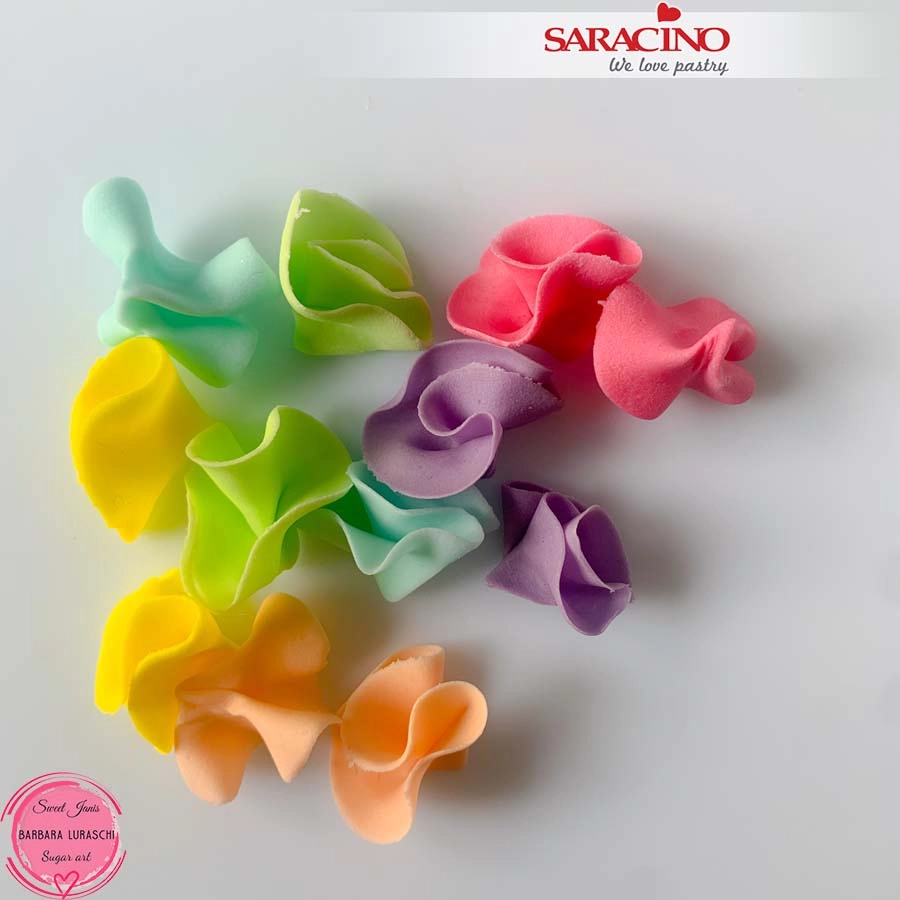
Place the circles on a foam mat and thin the edges using the ball tool, pressing half on the edge of the circle and half on the mat.

Step 4

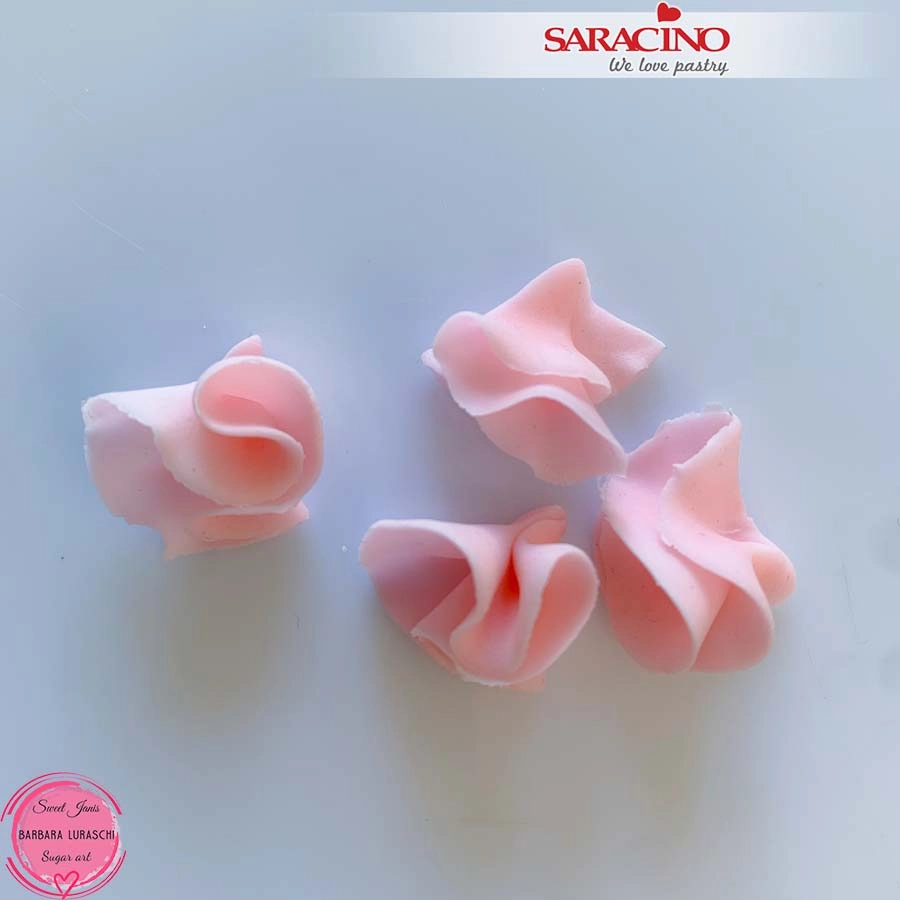
Repeat for each circle and fold them like an “S” shape as in the picture. Leave them dry on the mat for few minutes before positioning them on the board.

Step 5

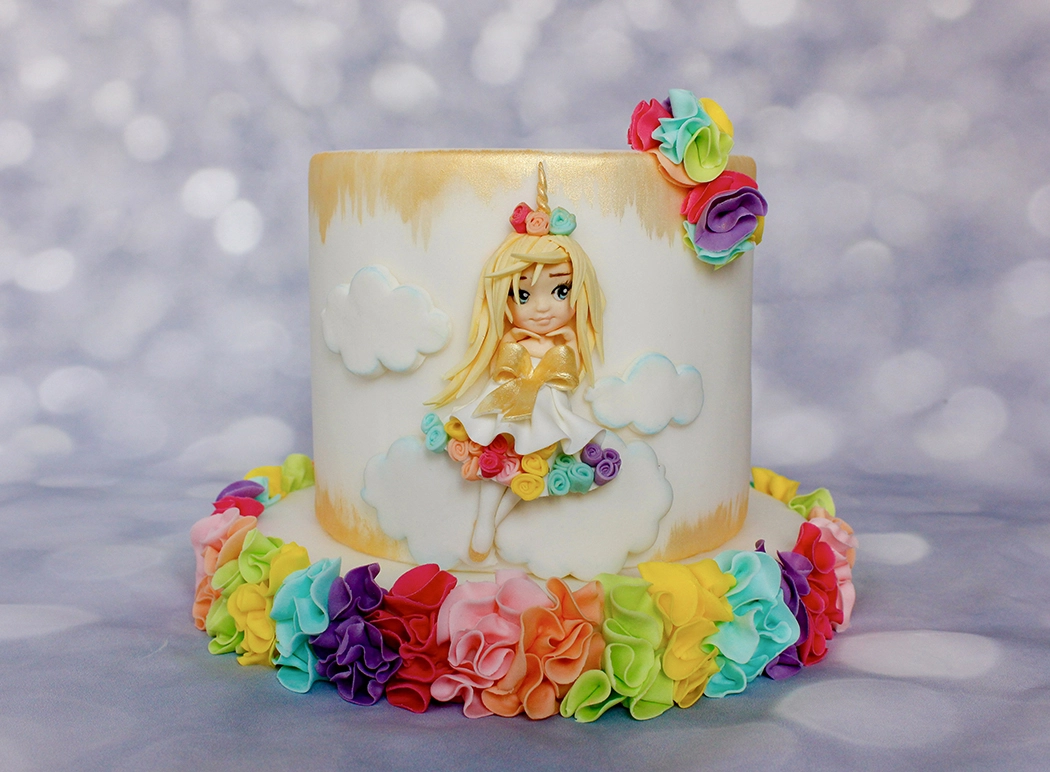
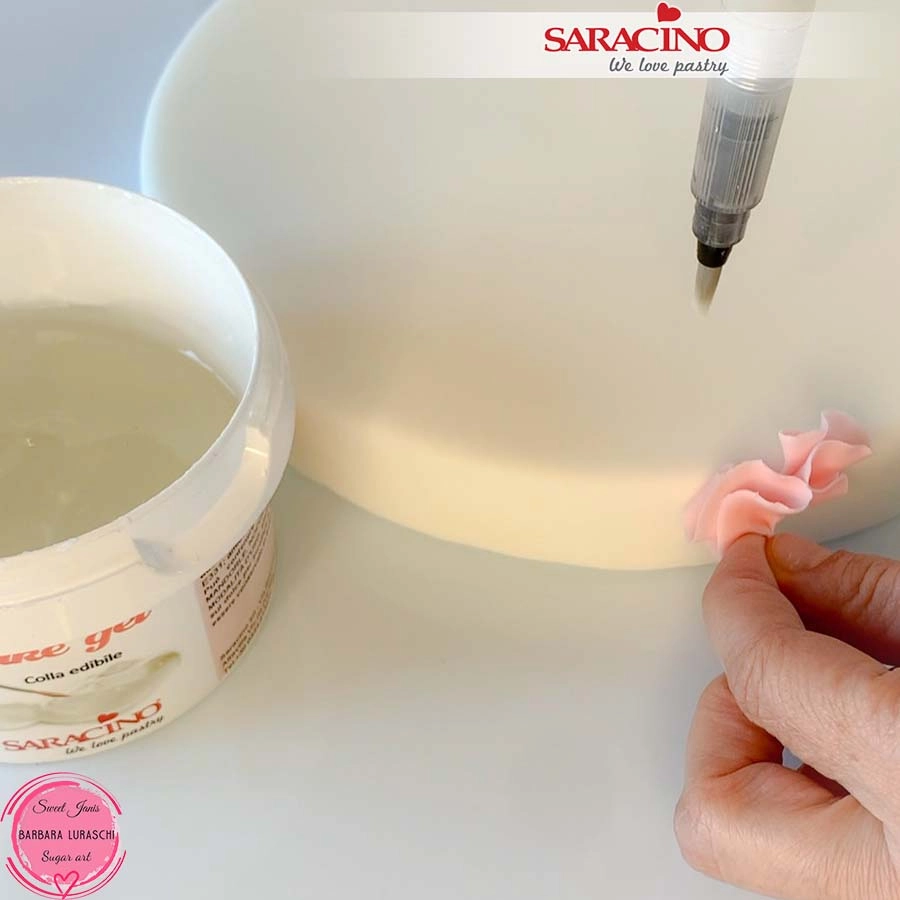
Take one “petal” ruffle and stick to the side of the board, starting from the top, placing the other above slightly to the left. I used 4 petal ruffles of each colour. Use Saracino cake gel to help it stick.

Step 6

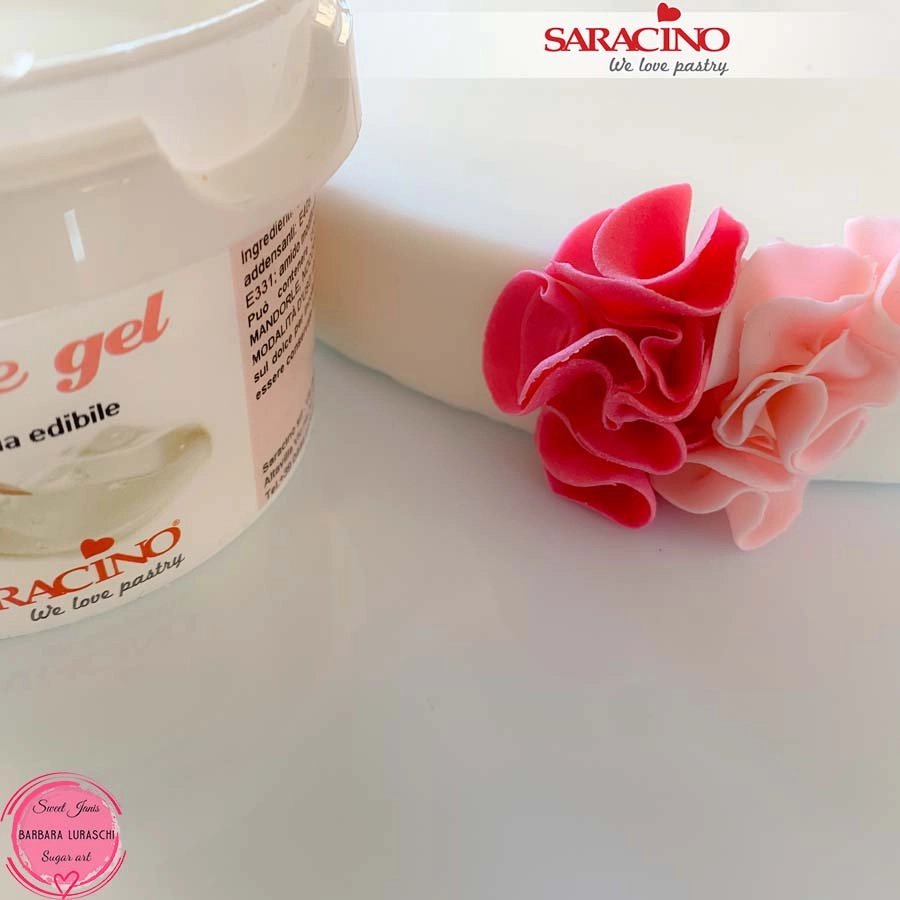
Prepare the other petal ruffles in different colours. Fix next to the one previosly fixed.

Step 7

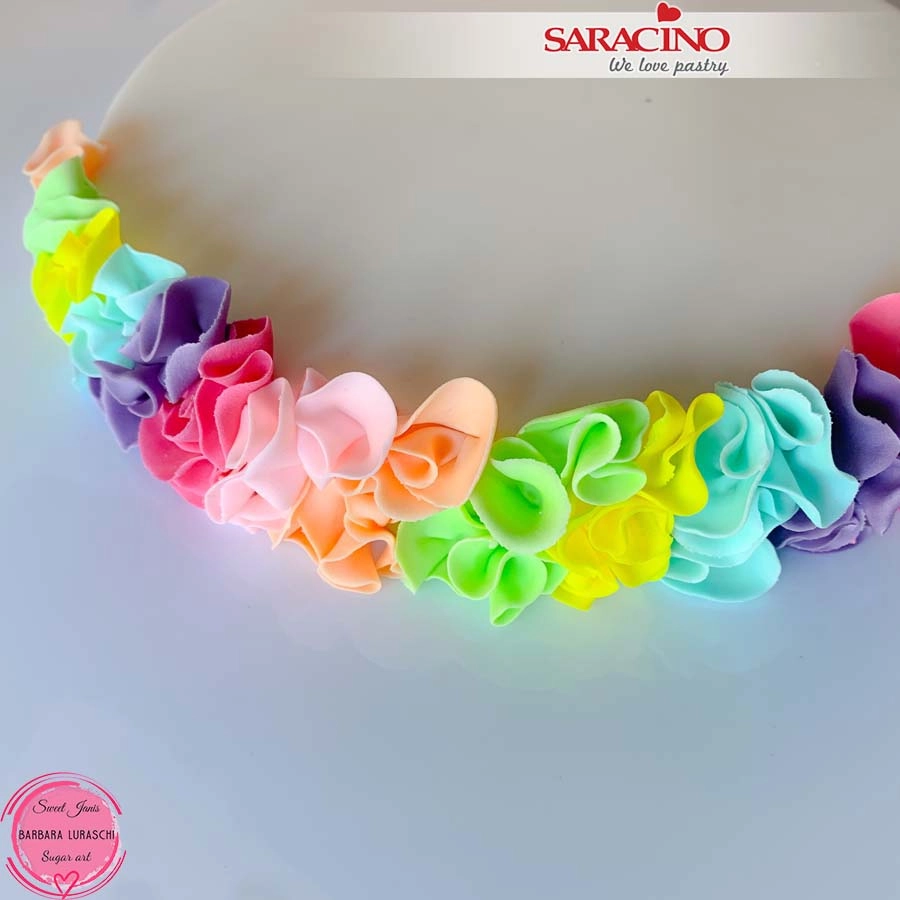
Repeat with all the colours keeping to the same sequence as you work around the board.

Step 8

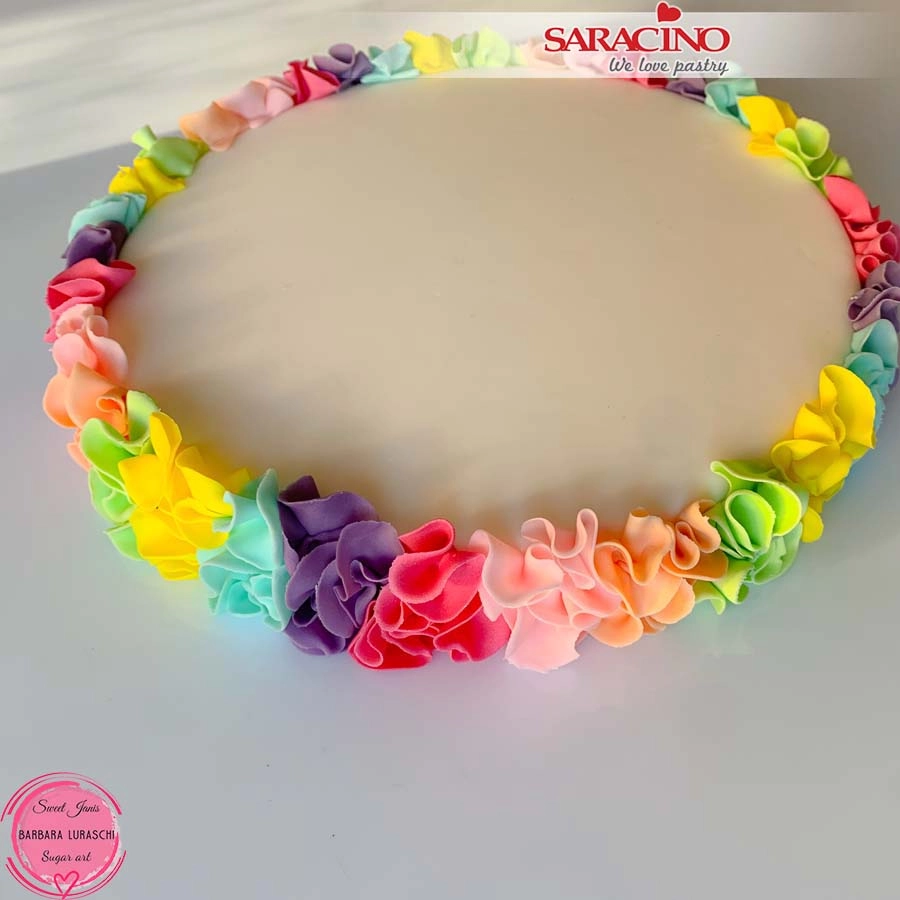
Cover the entire side of the board as in the picture.

Step 9

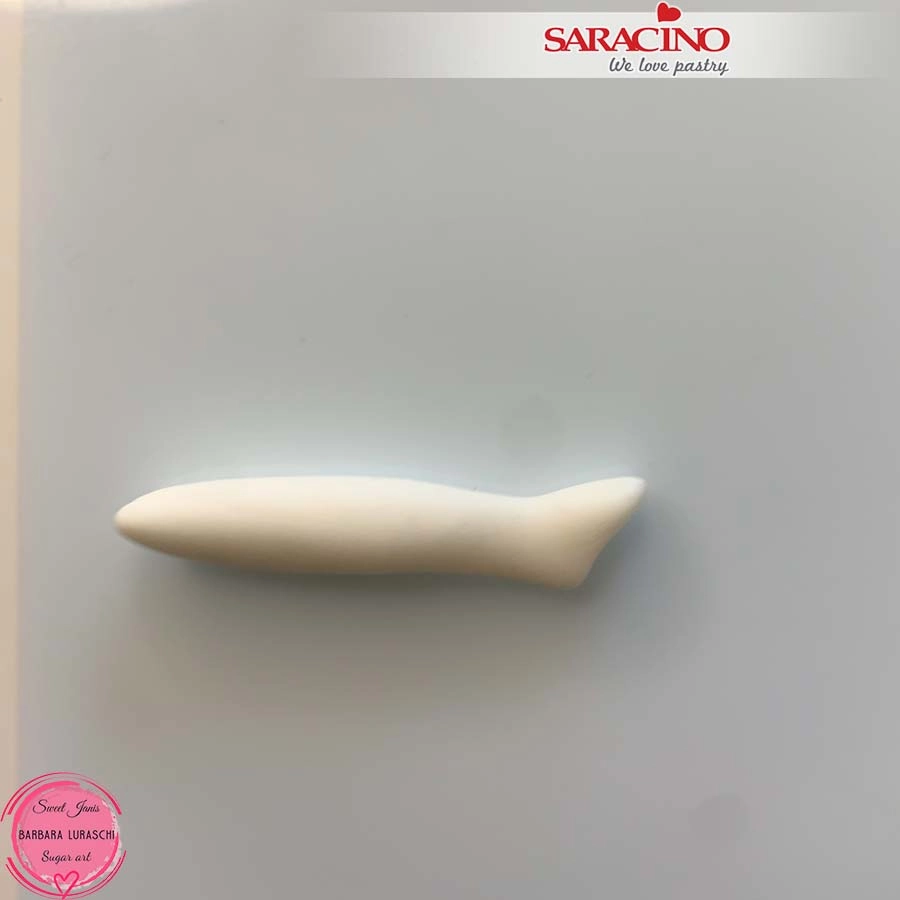
Roll a 5g sausage shape of white Pasta Model. Use your fingers to shape the ankle and flatten the end for the foot.

Step 10

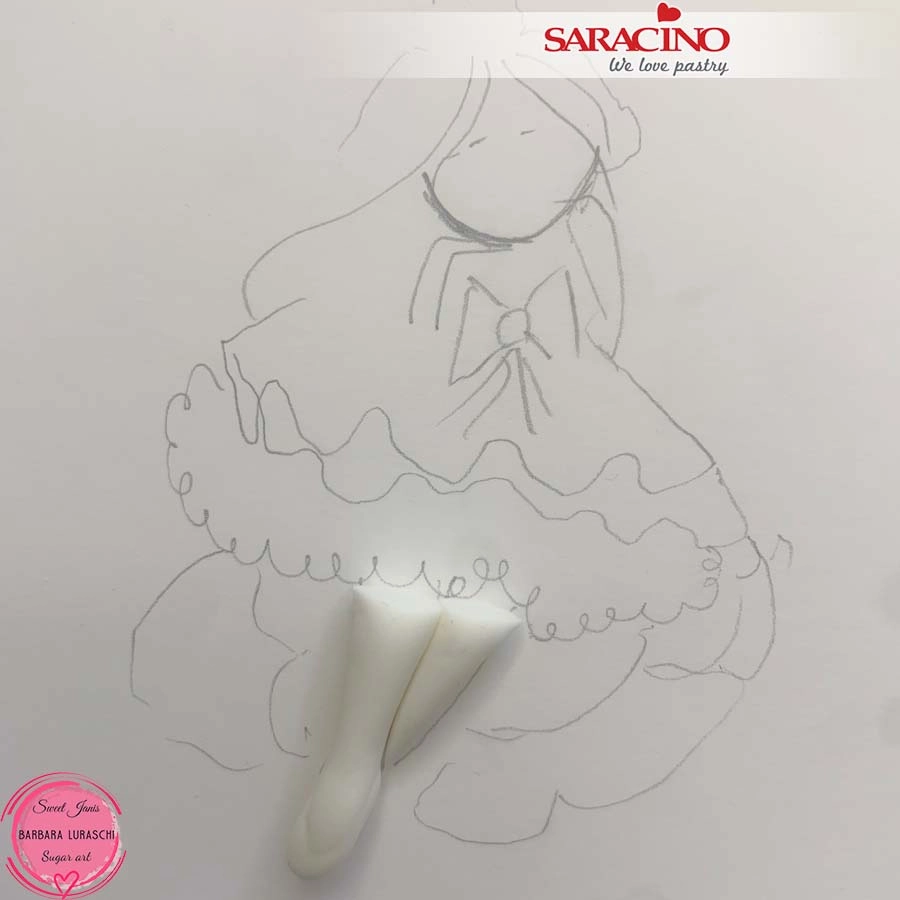
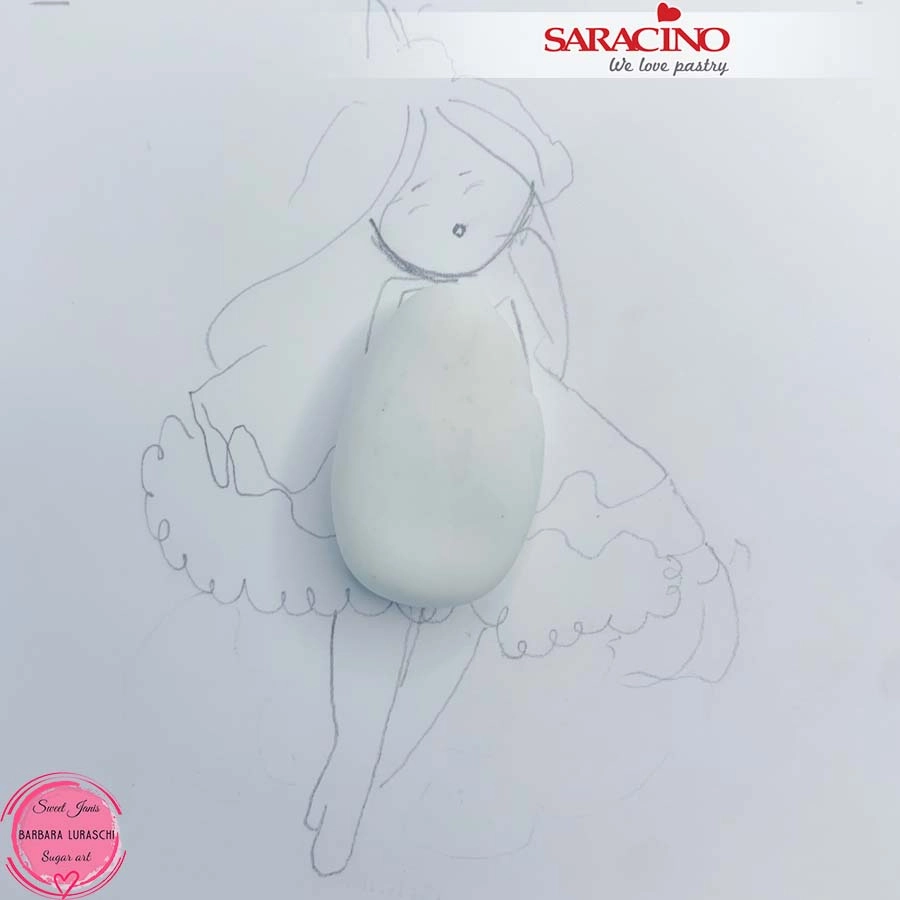
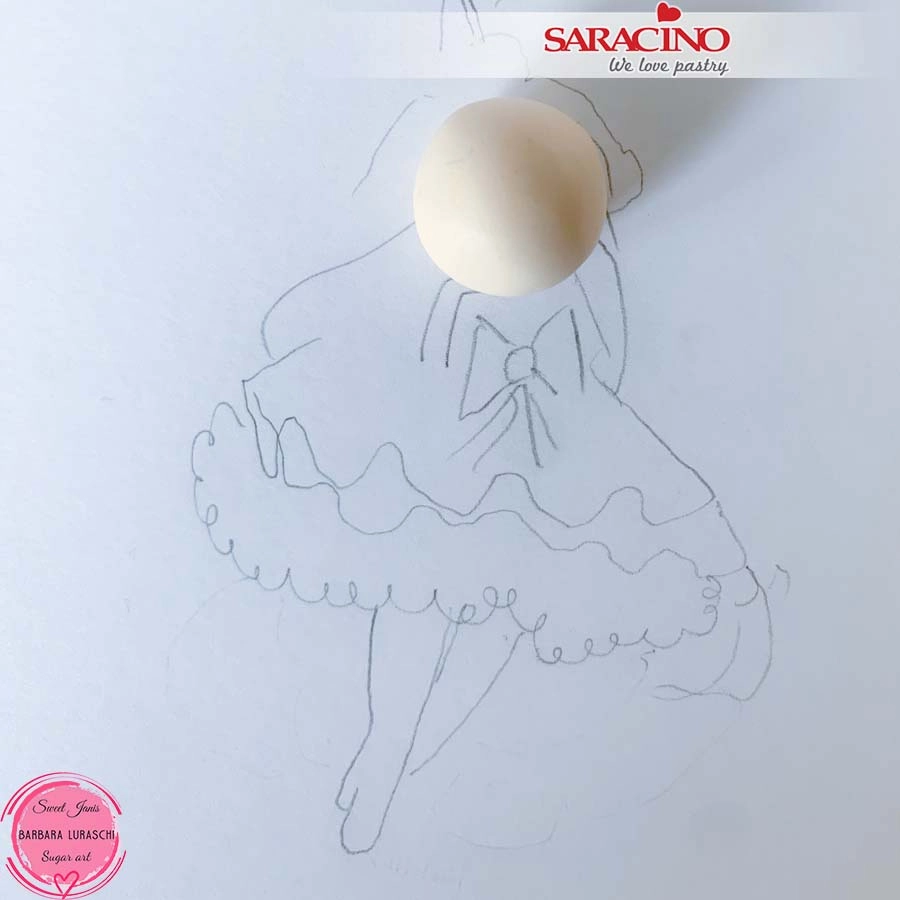
Download the picture HERE. Position the leg on the template to check you have the correct size. Model the other leg using the template as a guide. Use a sharp tool to mark the slipper outline.

Step 11

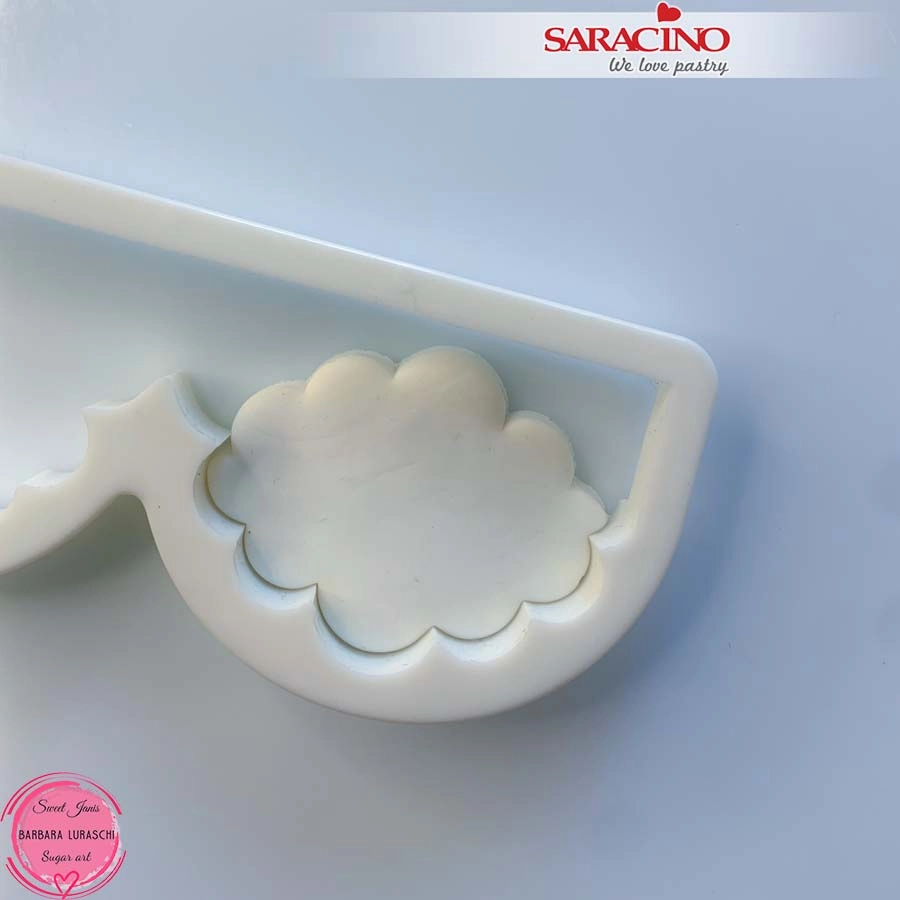
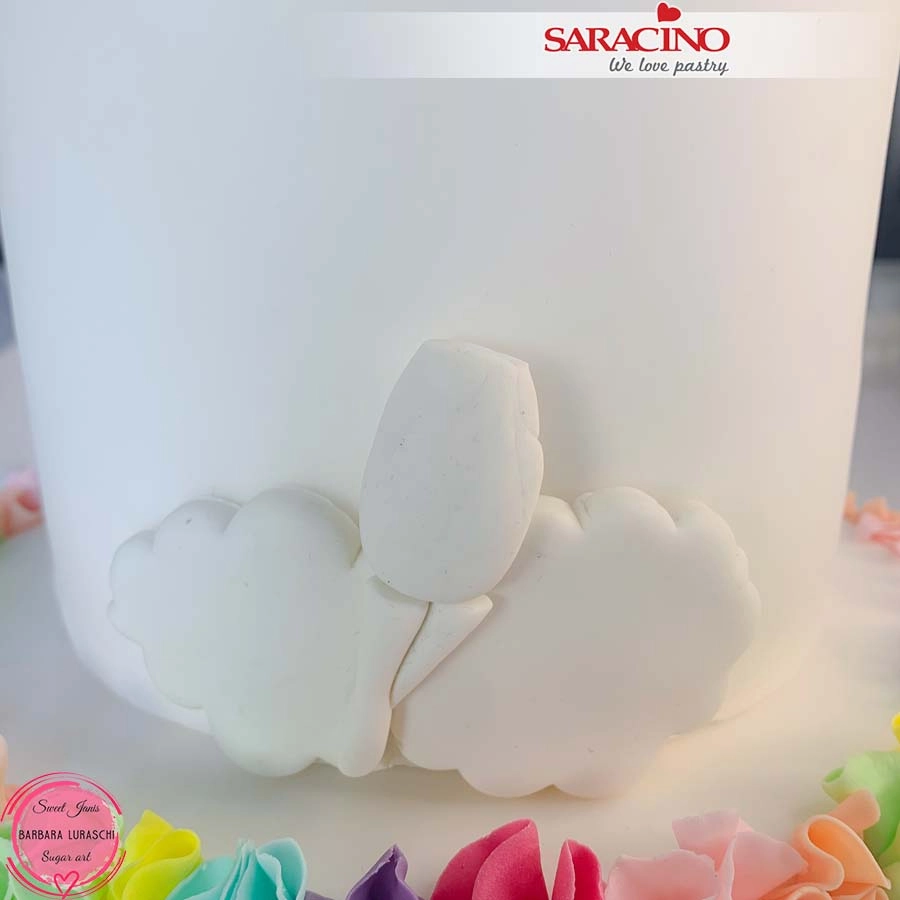
Roll approximately 20g of white Pasta Model thickly and cut a cloud using the “cloud” cutter.

Step 12

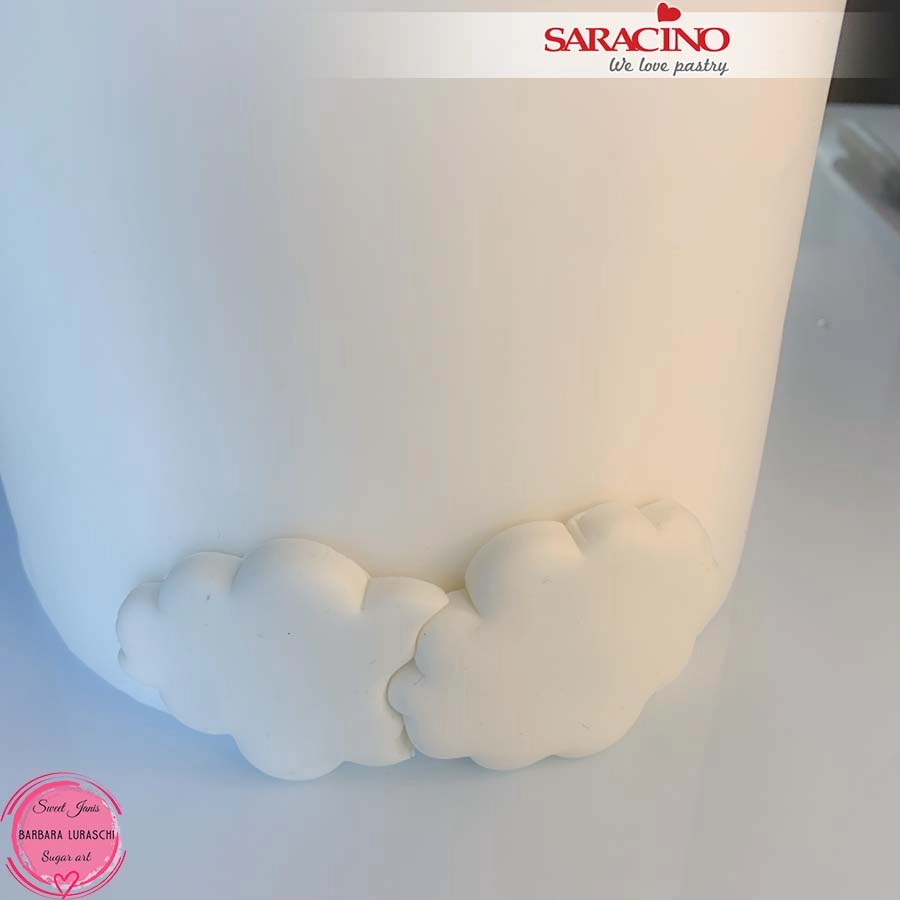
Make another cloud and fix them on the bottom of the cake side. Use a little cake gel to help them stick.

Step 13

Position the legs we made previously on the clouds as shown.

Step 14

Roll approximately 7g of white Pasta Model into a teardrop shape. Use the template as a size guide.

Step 15

Position and fix the body onto the cake following the design of the template.

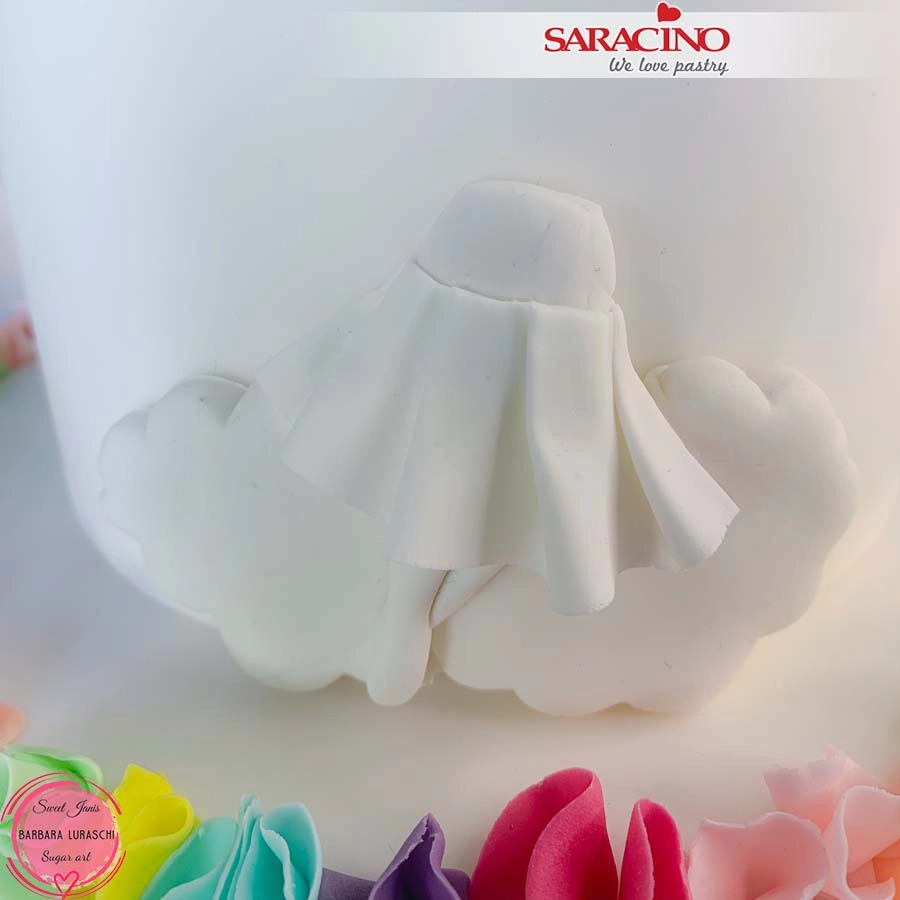
Step 16

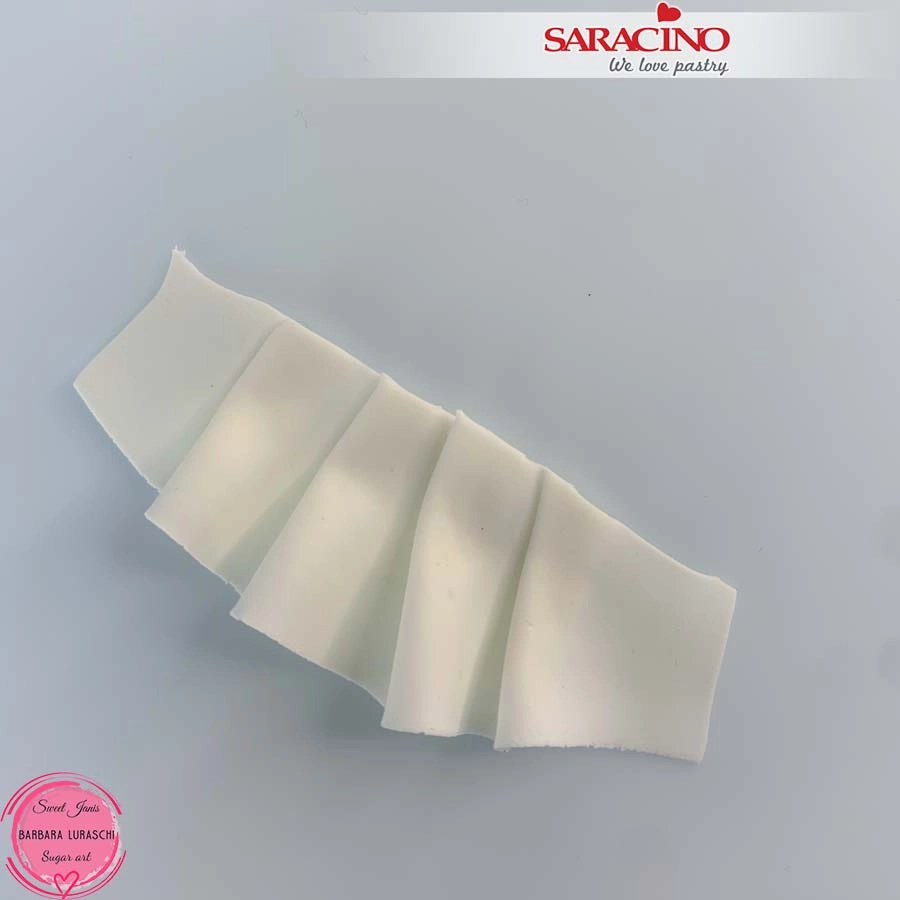
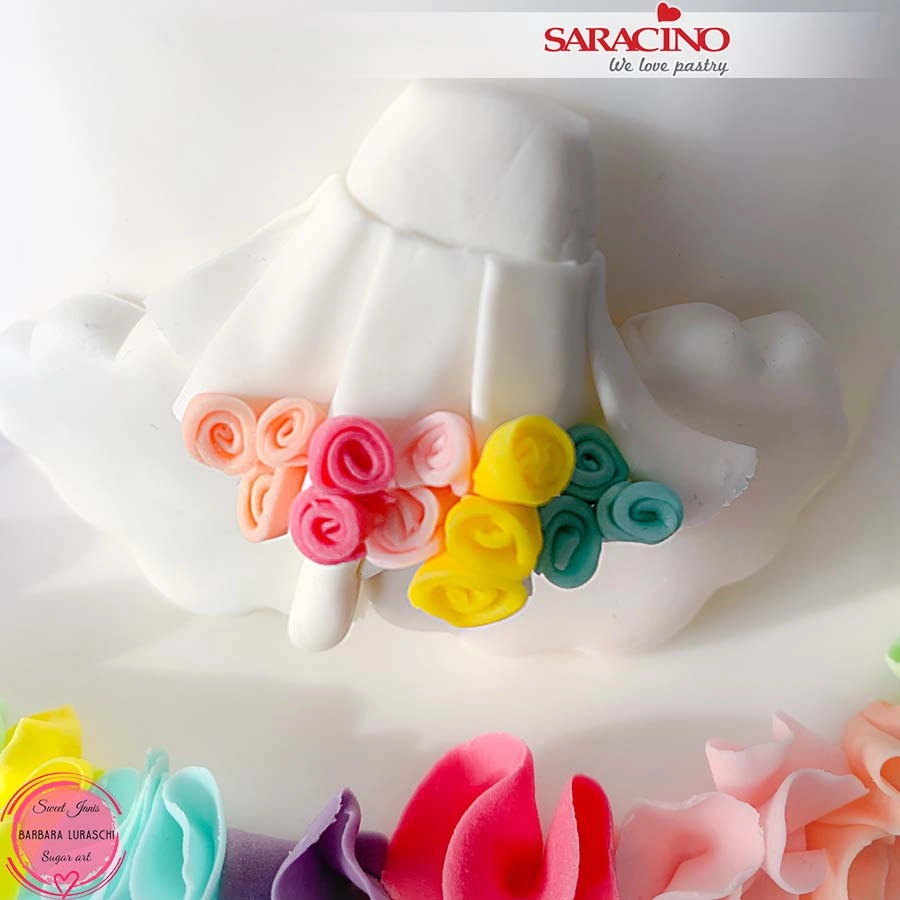
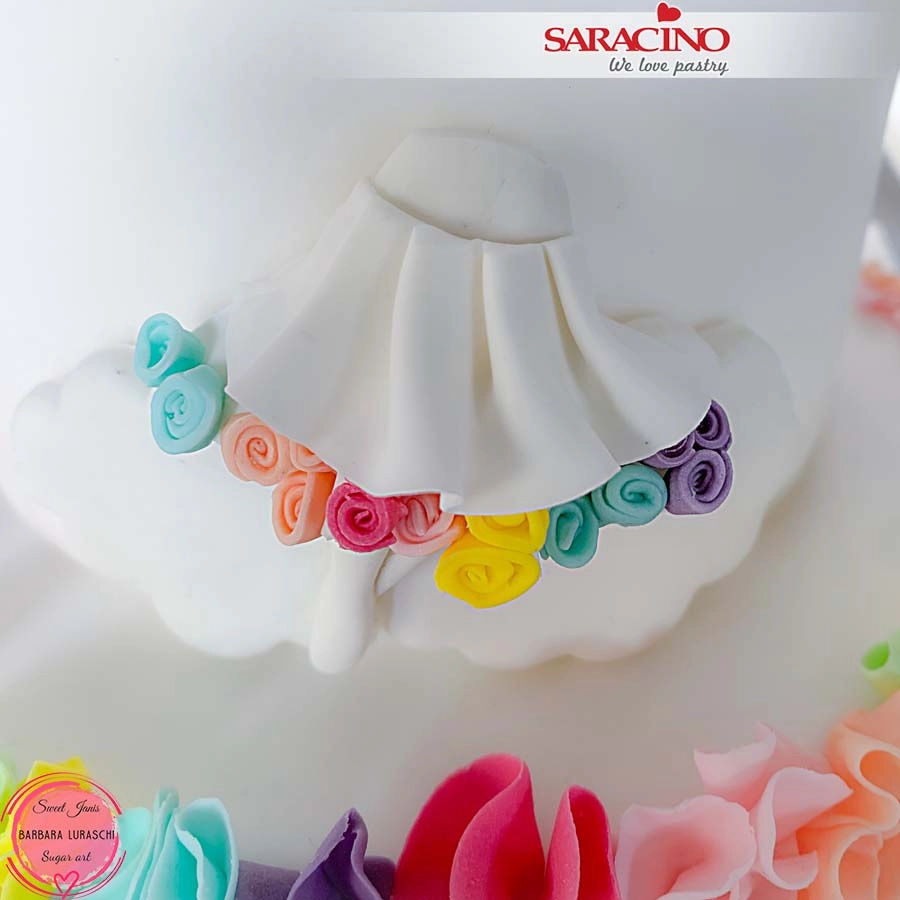
For the skirt roll approximately 5g of white Pasta Model thinly and cut a strip. Fold it as shown in the picture to make the pleats.

Step 17

Position and attach the skirt to the body.

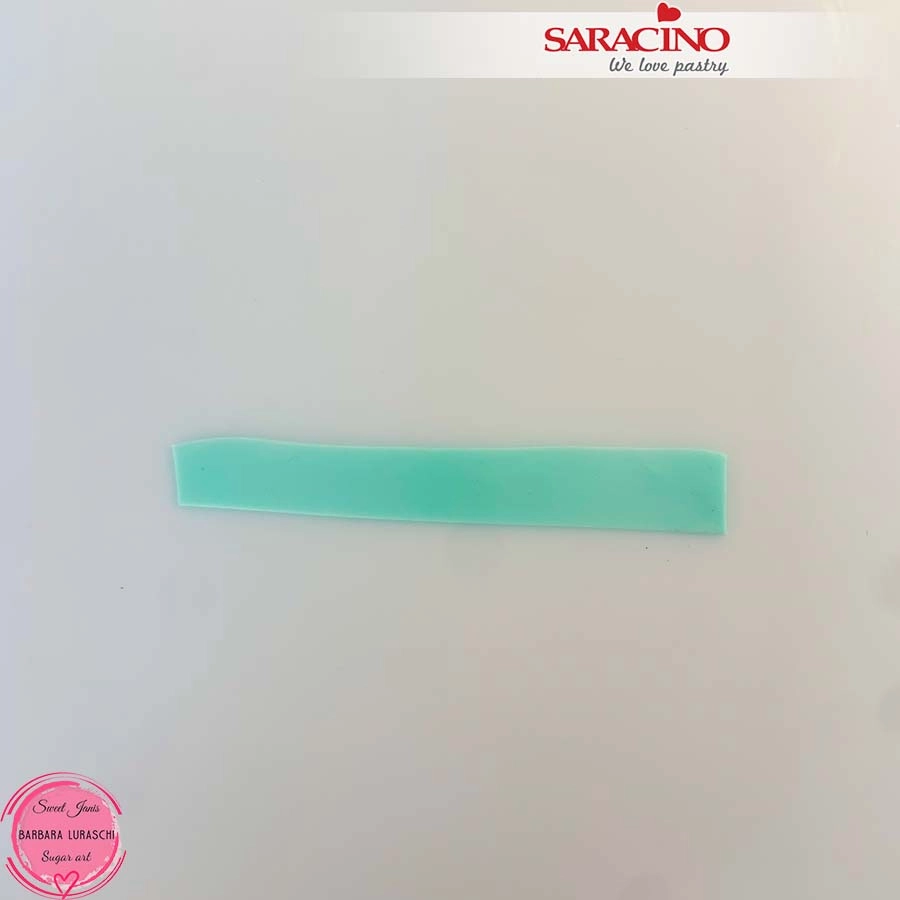
Step 18

For the flowers on the dress roll a small amount of tiffany Pasta Model and cut a small strip.

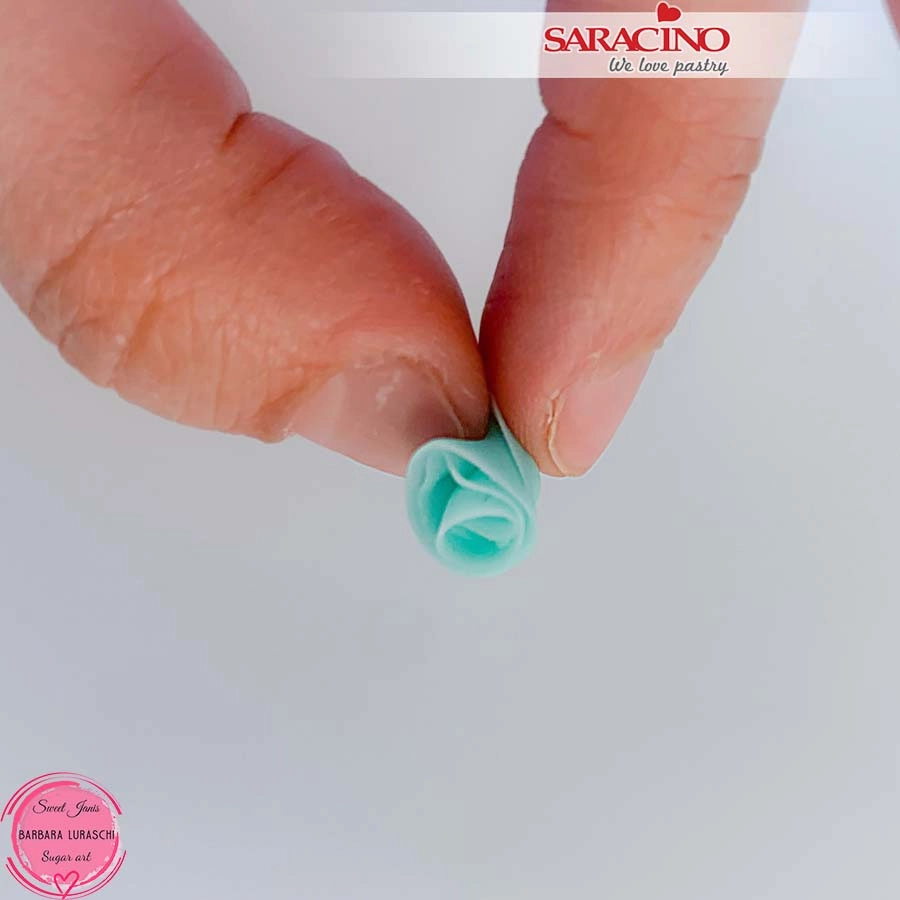
Step 19

Roll and fold the strip to make a small rose.

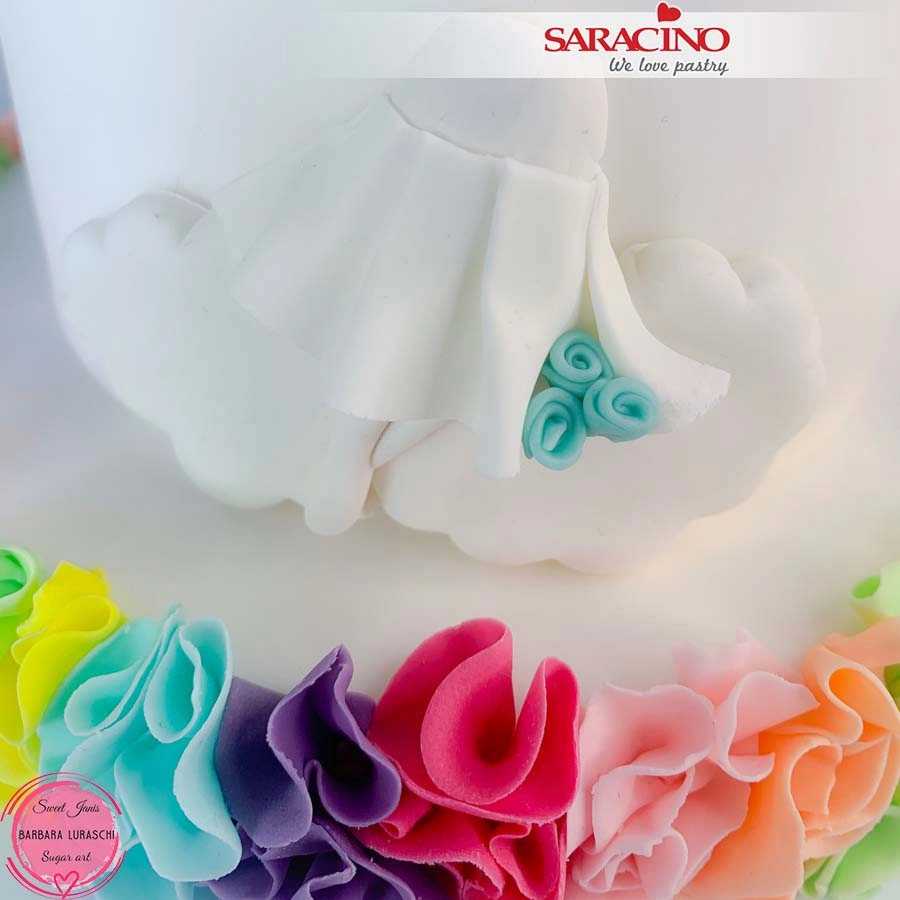
Step 20

Make 3 flowers and fix them at the bottom of the skirt.

Step 21

Repeat the same with different colours and continue until you decorate the entire bottom of the skirt.

Step 22

Roll 5g of white Pasta Model and cut another strip. Fold it as you did before to make pleats and position it as a “second layer” over the first one and above the roses.

Step 23

Roll a 6g ball of light skin Pasta Model using the template as a guide for the size needed.


Step 24

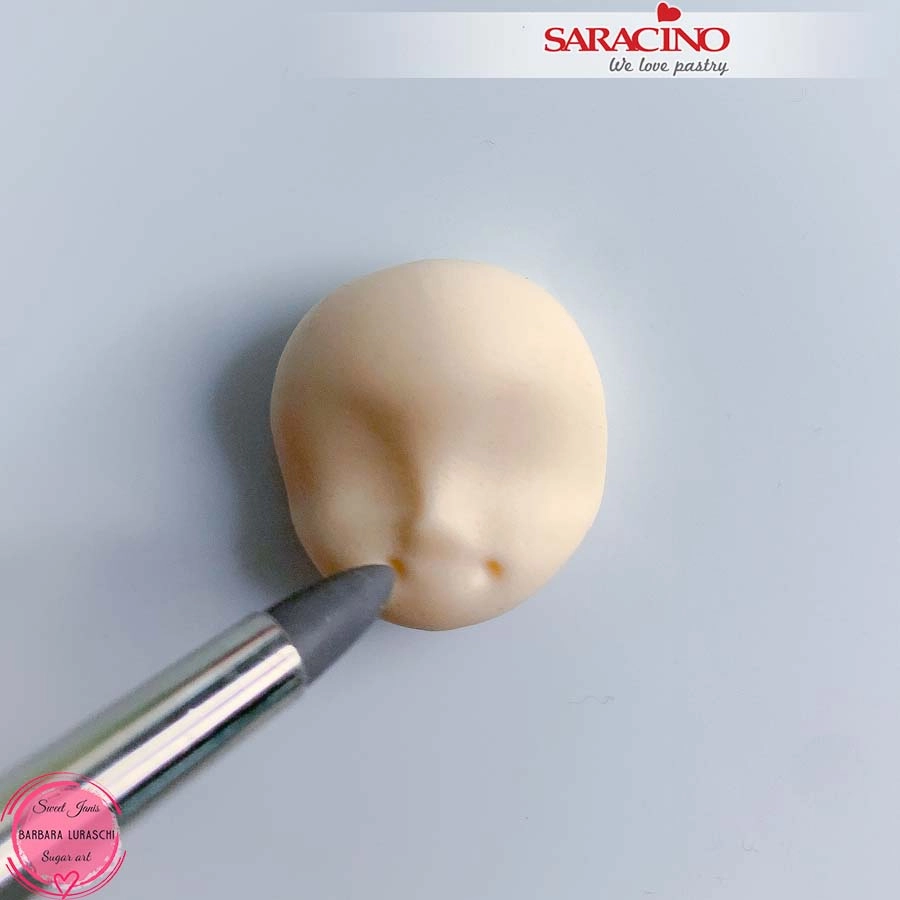
Flatten the ball slightly and using your fingers start to shape the eye sockets and the nose.

Step 25

Use a silicone tool to mark the 2 points at the end of the mouth as shown.

Step 26

Mark a line between the 2 points with the modelling tool and cut it using the craft knife.

Step 27

Mark the upper and the bottom lips using the Dresden tool. Push the paste towards the mouth for the upper lip and just mark the shape of the lower lip.

Step 28

Smooth around the lips using the silicone tool.

Step 29

Make the eye sockets using a small ball tool.

Step 30

Fill the eye sockets with 2 small balls of white Pasta Model.

Step 31

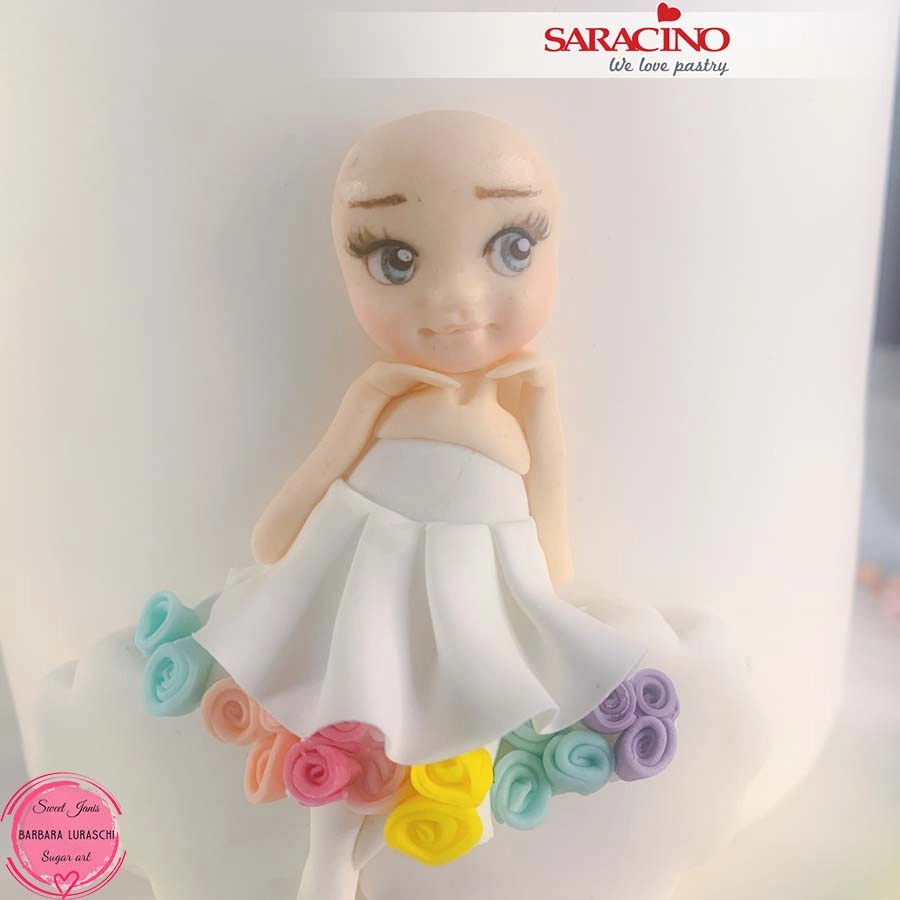
Paint the eyes: use light blue colour for the iris. Using the end of the number 3 piping nozzle cut 2 small circles of black Pasta Model and fix them in the center. Add 2 small dots of white Pasta Model for the highlights. Roll 2 small lines of black paste for the eye liner and fix. Using brown colour paint the eyelashes and eyebrows. Dust the  cheeks and lips using pink powder.

Step 32

Roll a sausage of about 5g of light skin Pasta Model and pinch in the middle to shape the neck.

Step 33

Position the neck on the body and cut to the right shoulder width. Fix using cake gel. Use the silicone tool to shape the neck. Position the face using cake gel to help it stick.

Step 34

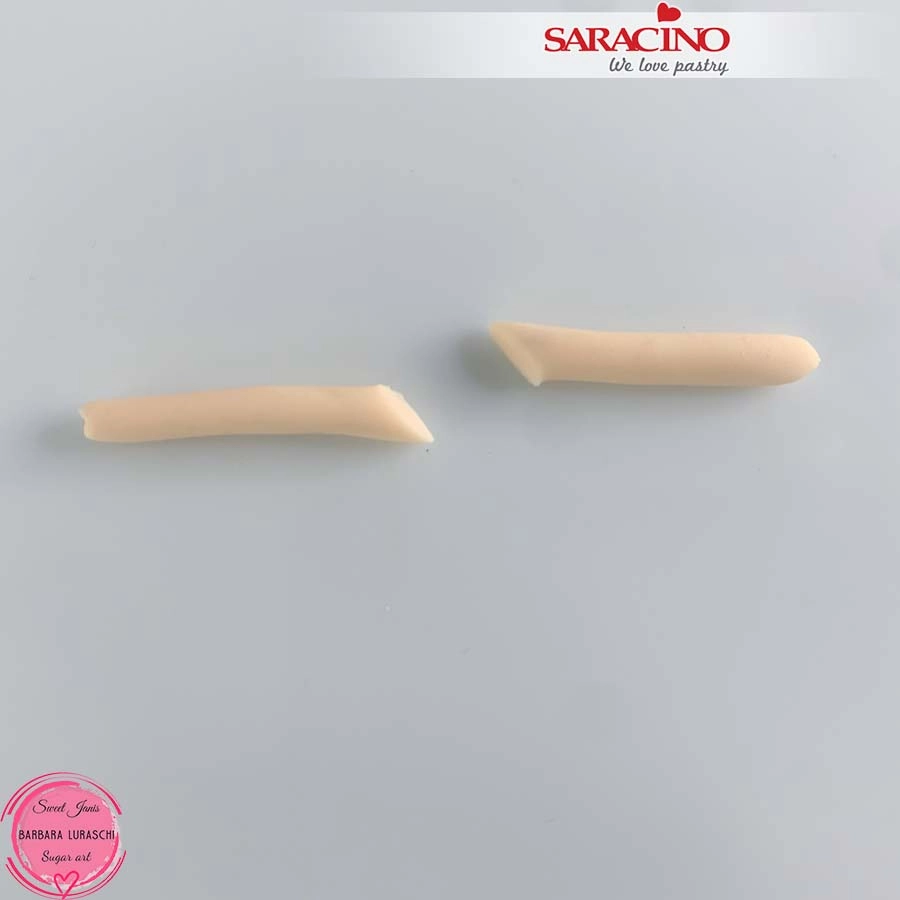
For the arms roll a small sausage of light skin Pasta Model (about 1g) and cut in half.

Step 35

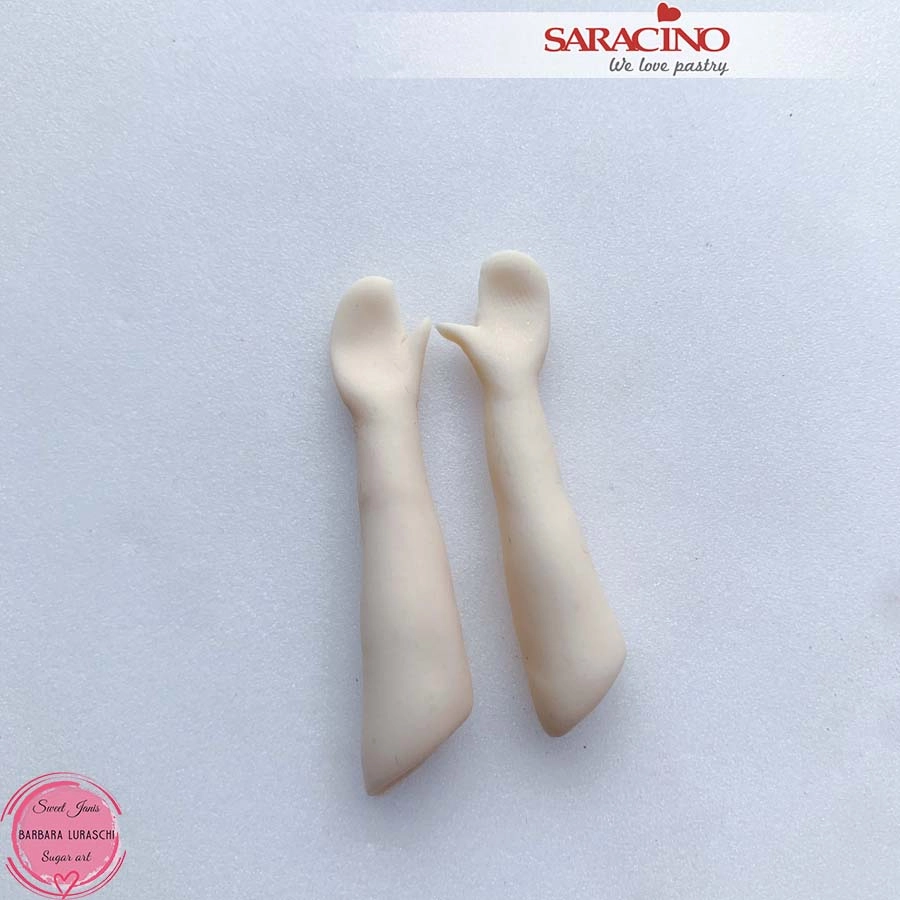
Flatten the hand end and cut out the thumb shape.

Step 36

Bend the hands and fix them in place as shown.

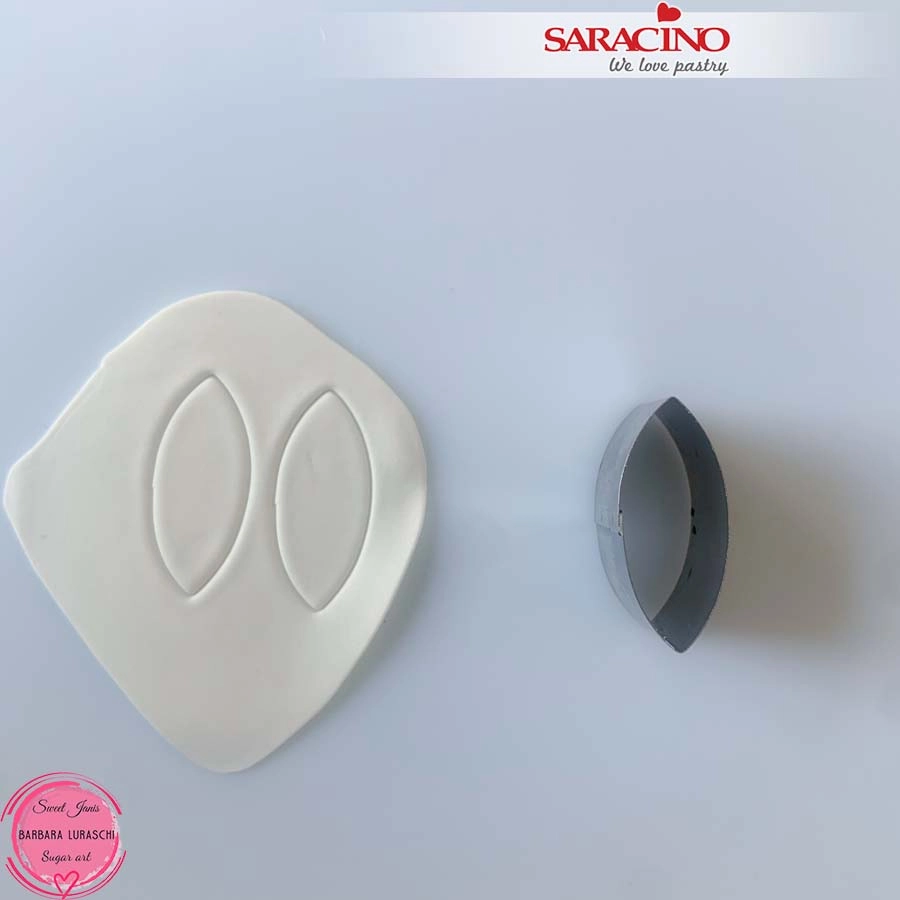
Step 37

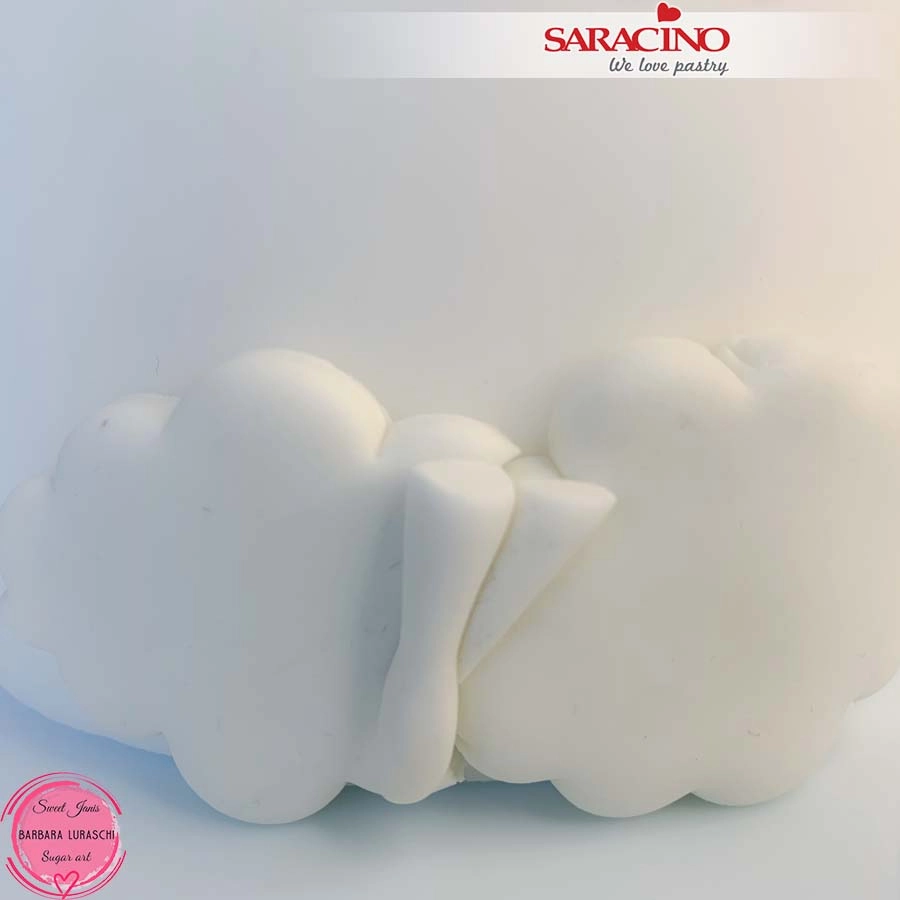
For the bow roll a small amount of white Pasta Model and cut 2 oval shapes.

Step 38

Fold them joining the ends and position them on the dress. Add 2 strips of white paste for the ribbon.

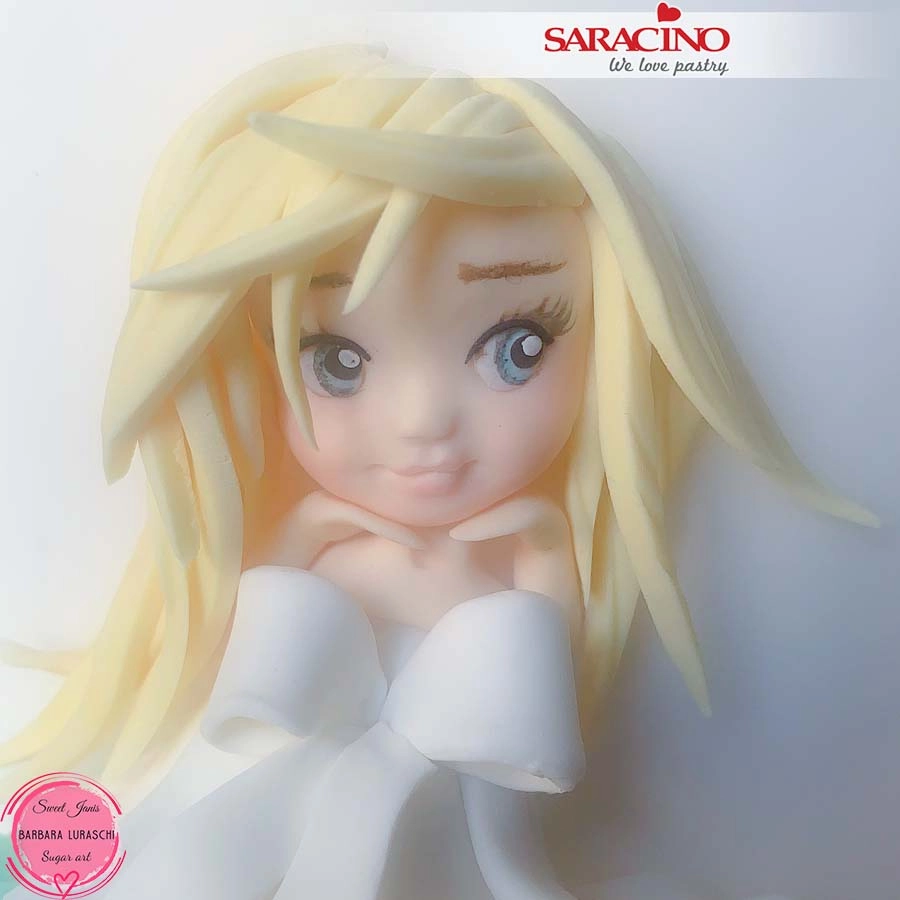
Step 39

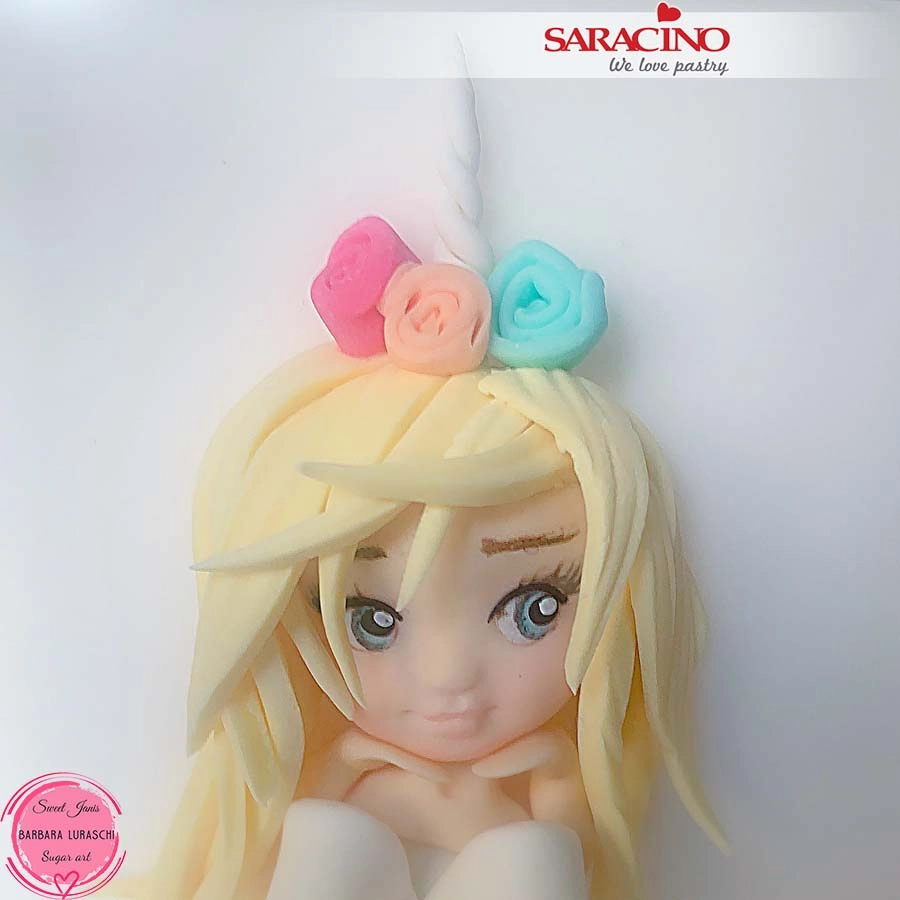
For the hair cut strips of yellow paste. They should be different sizes and different shapes. Fix them on the head.

Step 40

Continue until you cover the entire head. Use smaller strips for the fringe.

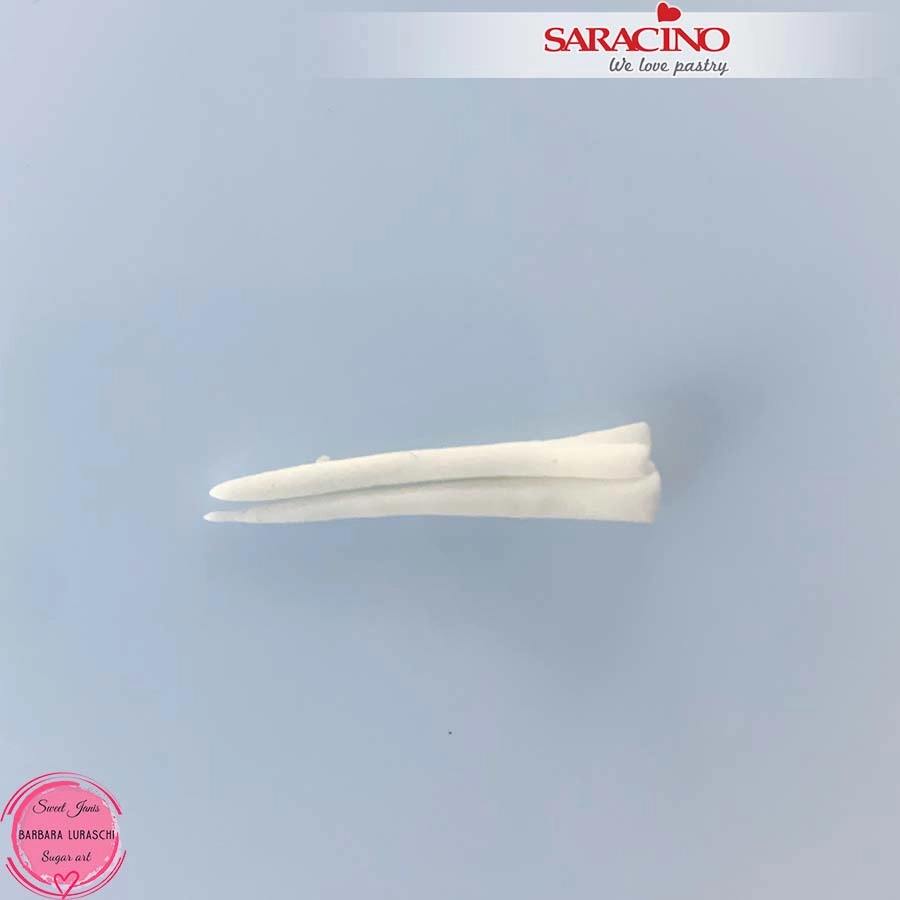
Step 41

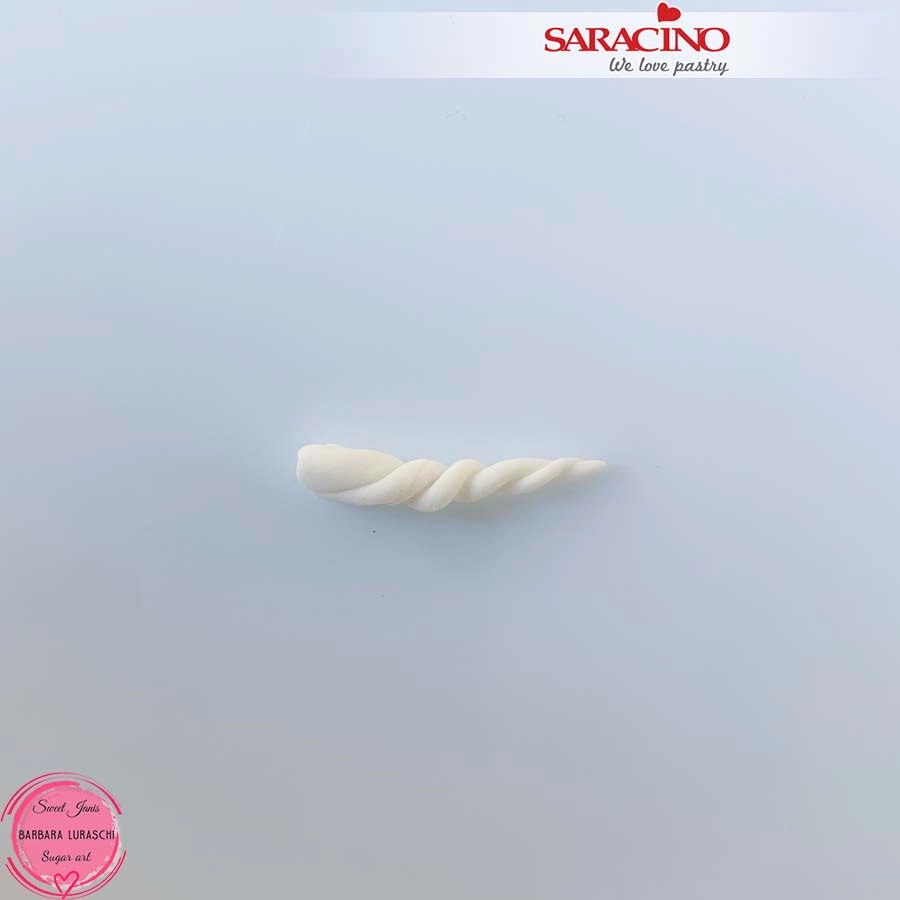
For the unicorn horn roll 2 small cylinders of white paste to a point at the end.

Step 42

Twist them together as shown.

Step 43

Fix the unicorn horn on the head and add 3 small flowers (made the same as the flowers on the dress).

Step 44

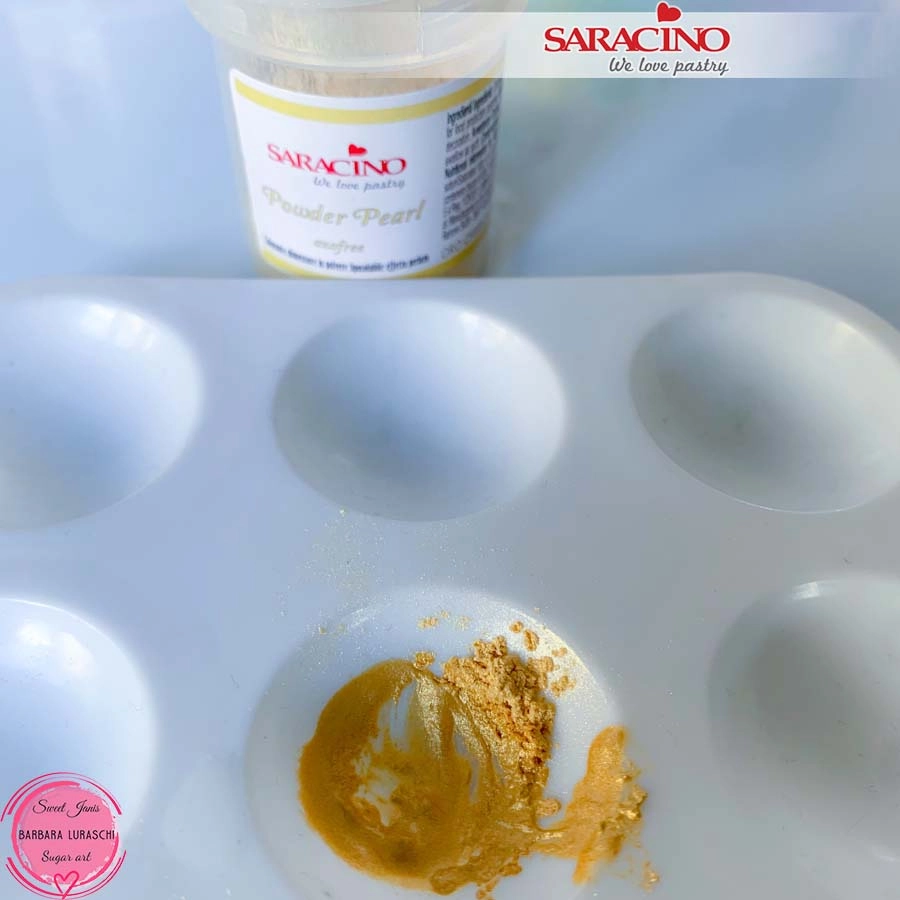
Dilute some Saracino gold powder with clear alcohol.

Step 45

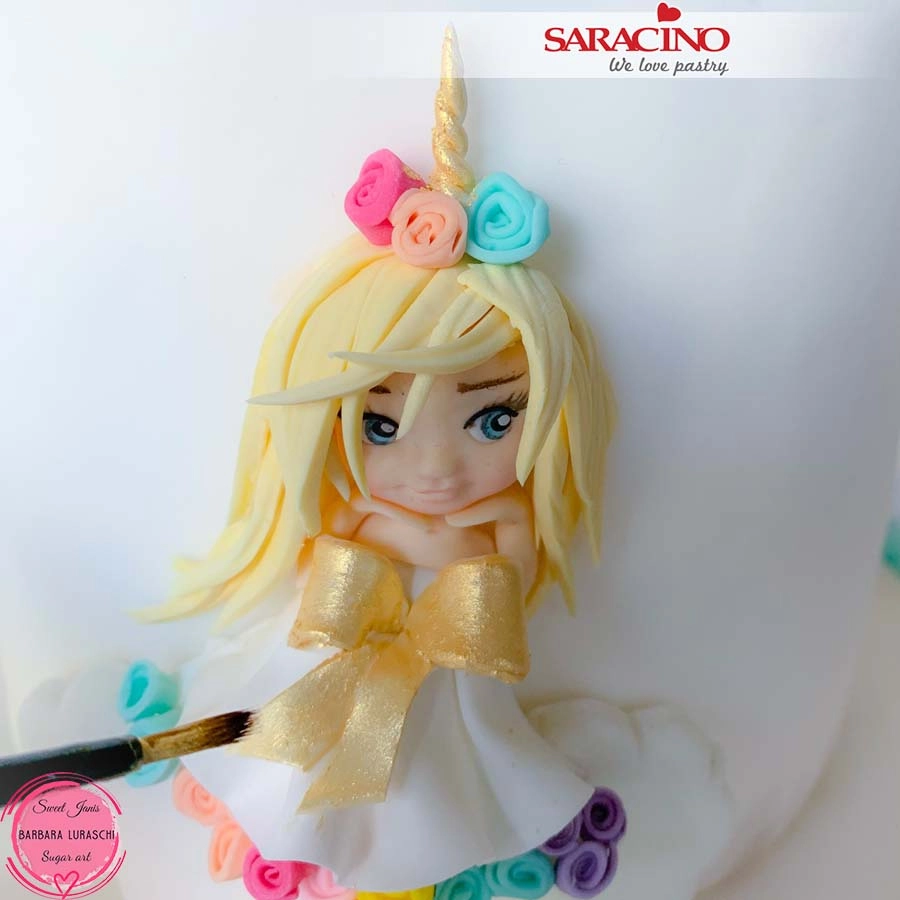
Paint the bow, the unicorn horn and the slipper with the gold colour.

Step 46

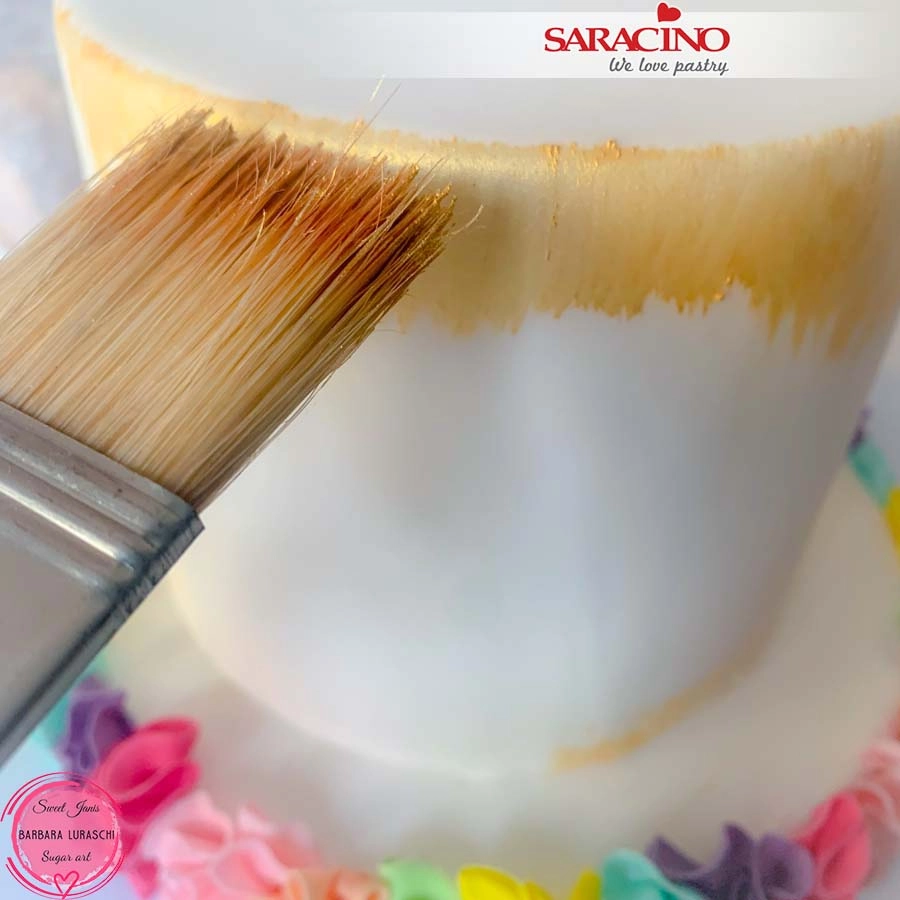
Using a large flat brush paint the top edge and around the bottom of the cake with the gold colour.

Step 47

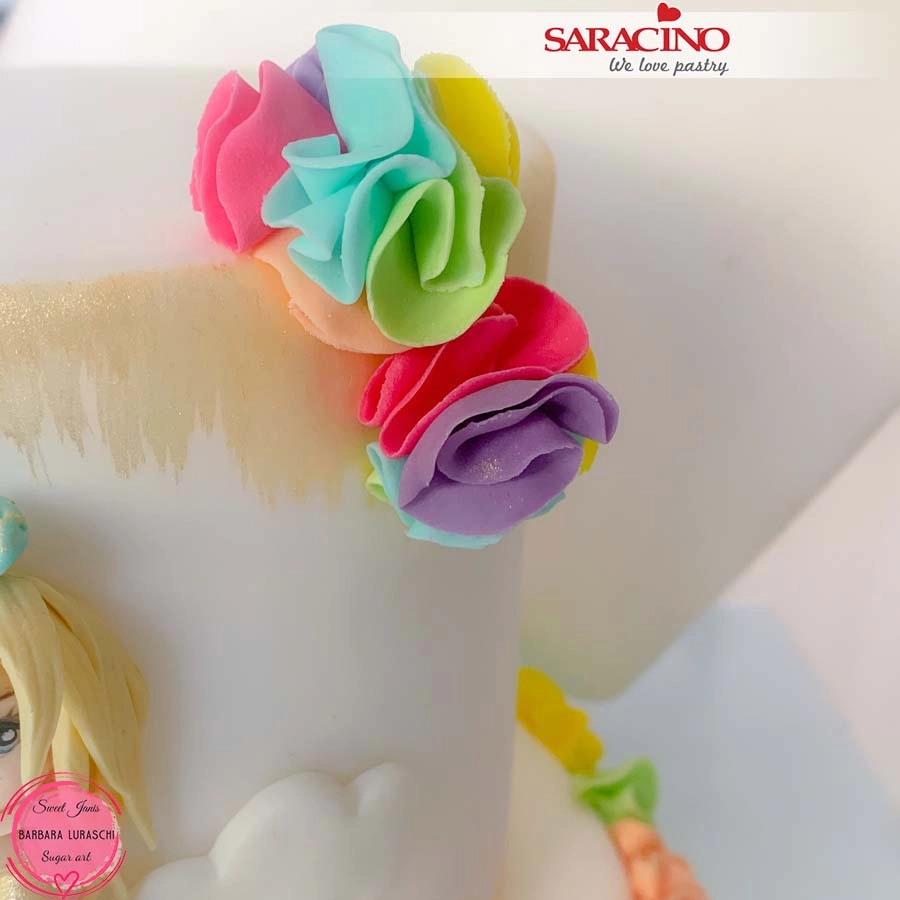
Make some coloured petal ruffles in the same way you made the ones for decorating the board.

Step 48

Make 2 decorations by fixing the petal ruffles together. Fix them to the top of the cake on the right hand side. Your cake is done!

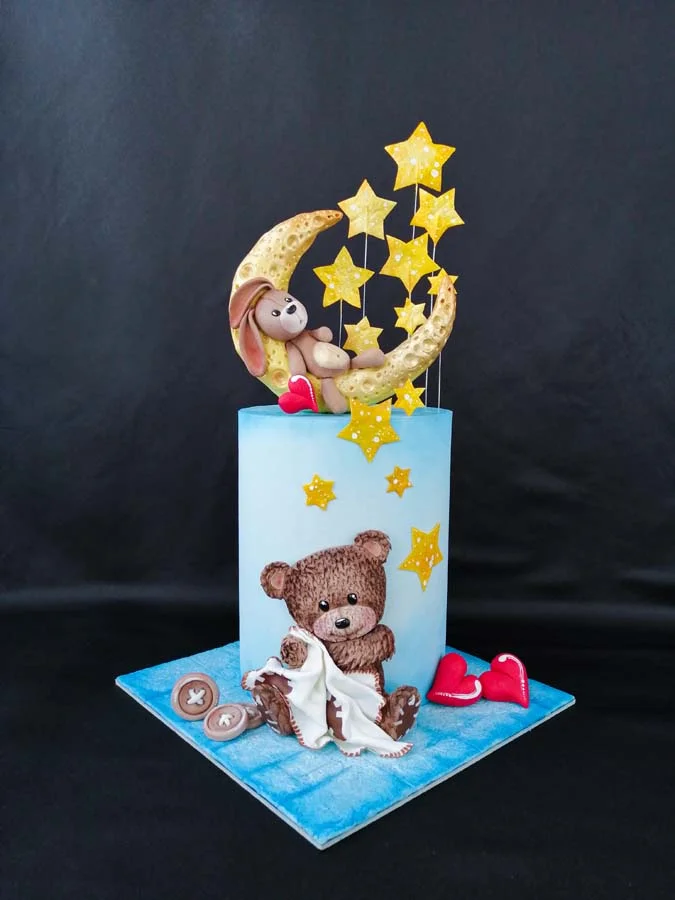
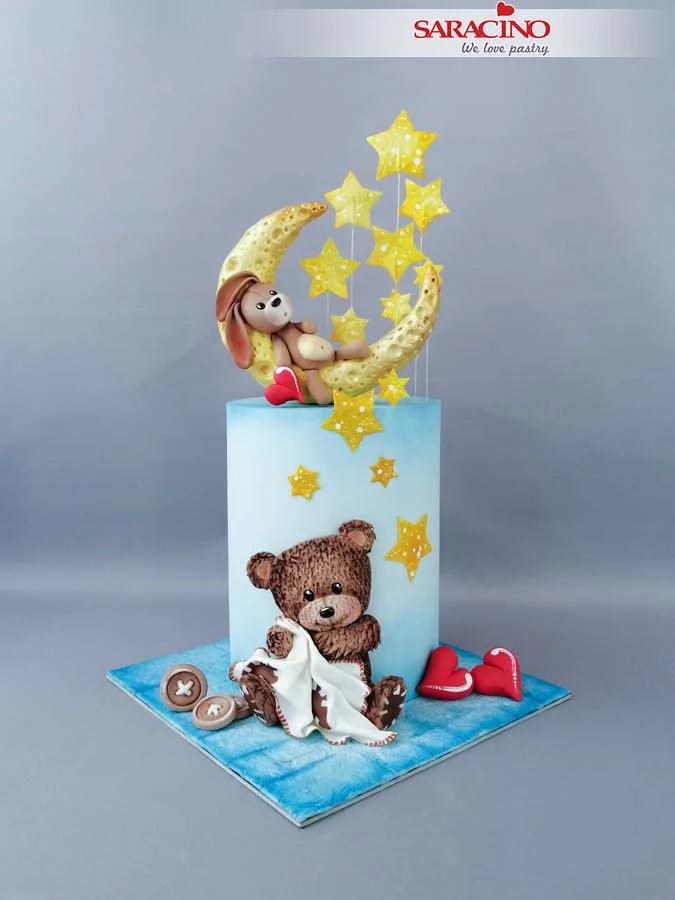
SLEEPY TEDDIES CAKE TUTORIAL

SLEEPY TEDDIES CAKE TUTORIAL

Skill level: BEGINNERS

You will need:

  • Saracino Pasta Top : white
  • Saracino Pasta Model : white, brown, yellow and black
  • Saracino powder colours : white, blue, yellow and red
  • Saracino powder : light gold
  • Saracino Liquid Shiny confectioners glaze
  • Saracino Wafer paper 0.27
  • Saracino cake gel
  • Brown edible food pen
  • Round cake with a diameter of about 18cm
  • Silicone pad
  • Roller
  • Craft knife
  • Ball and other modelling tools
  • Round cutters
  • Round nozzle
  • Paint brushes
  • Scissors
  • White florist wires
  • Water

Step 1

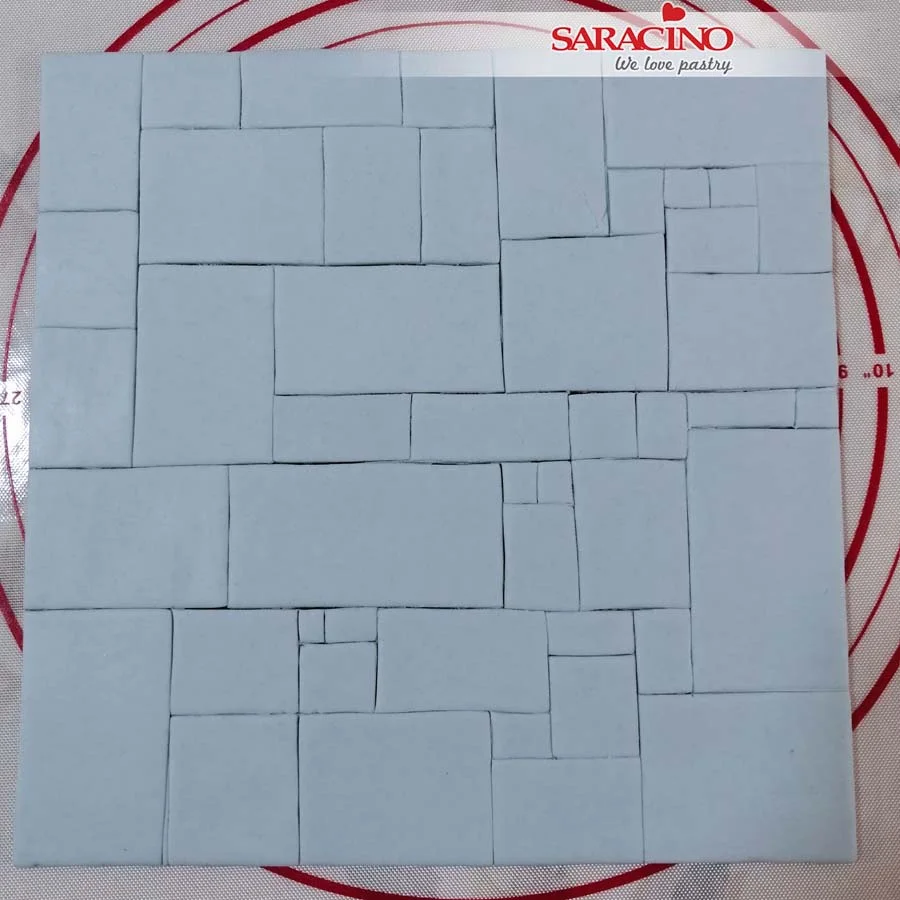
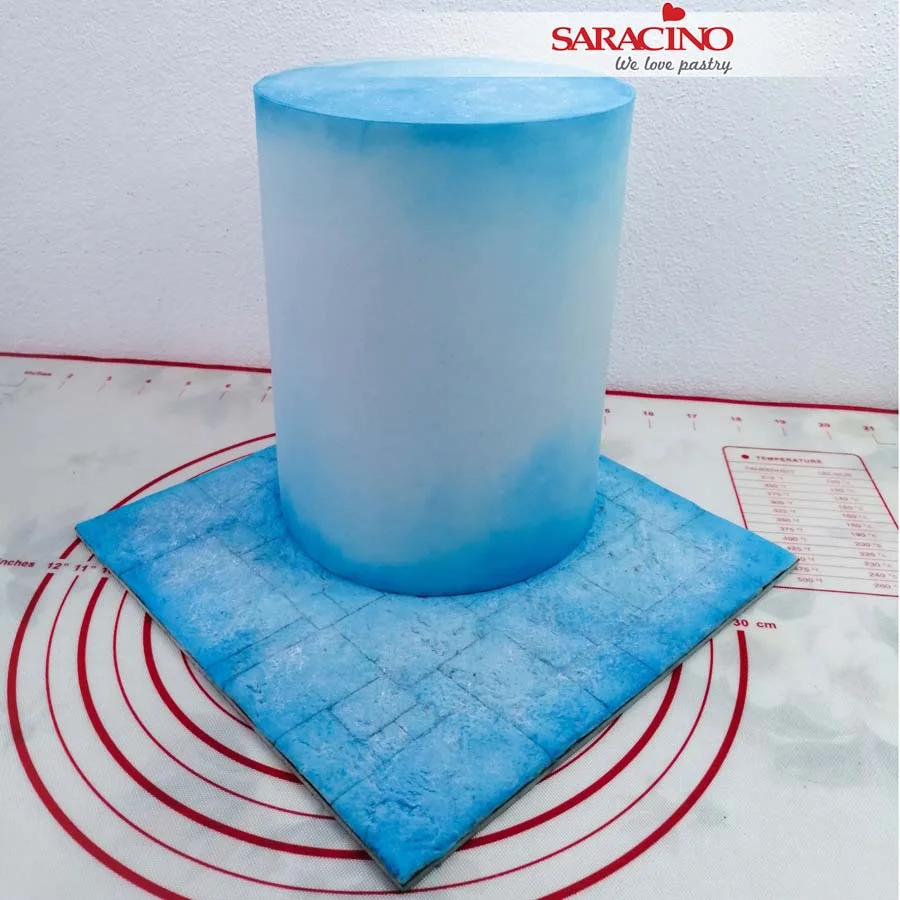
For covering the board and the cake, mix blue and white Saracino Pasta Top together. For the board roll out thinly and cut into strips and squares of different sizes. Fix randomly on the board to cover the entire area with ‘paving’.

Step 2

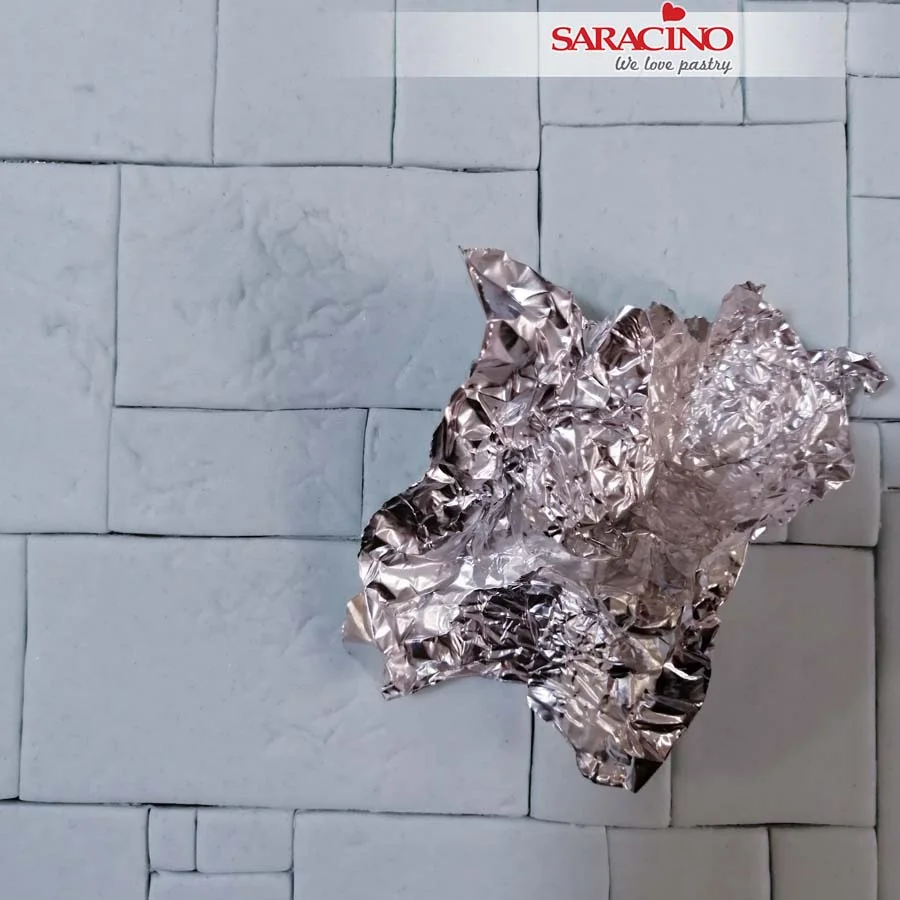
Using a bunched up piece of aluminum foil add texture to the board.

Step 3

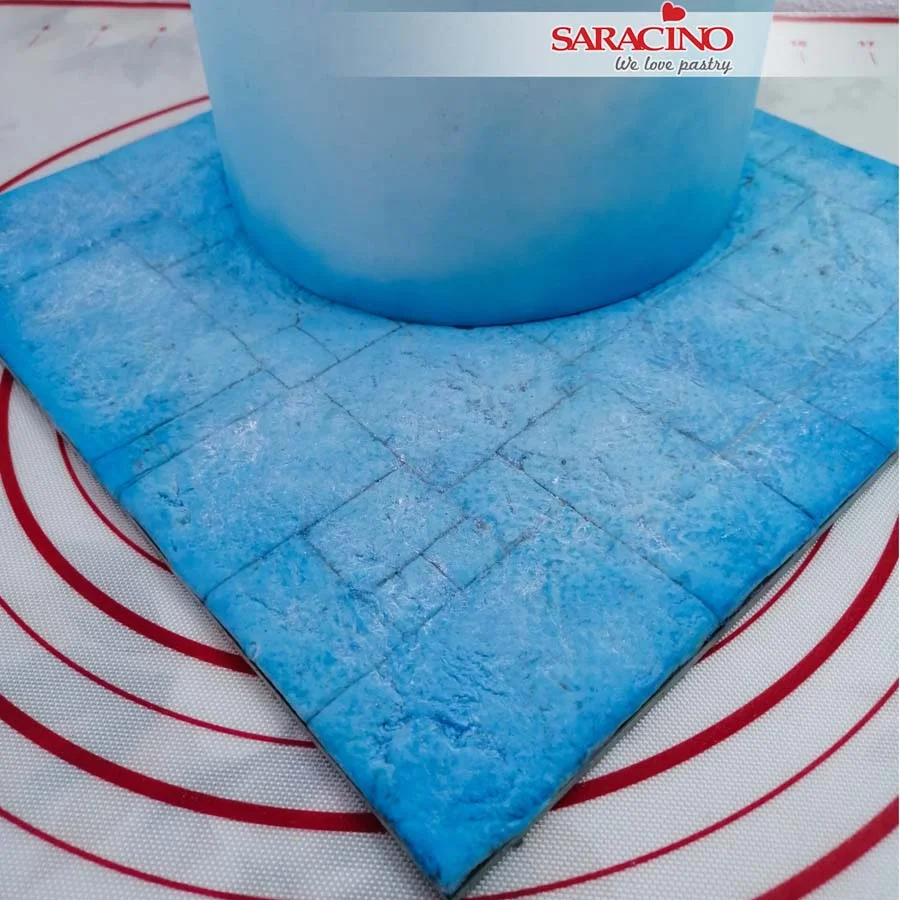
Dust the board with Saracino blue powder colour. Add areas of white using white powder colour.

Step 4

Dust the top and bottom of the cake using the blue powder colour.

Step 5

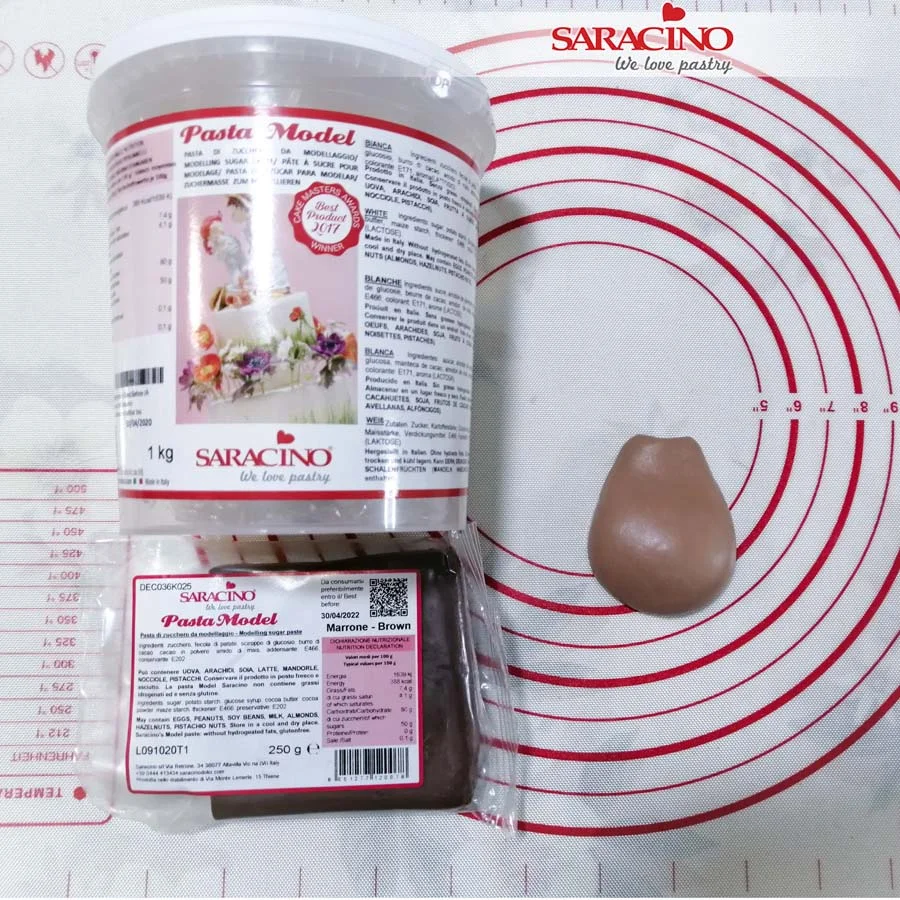
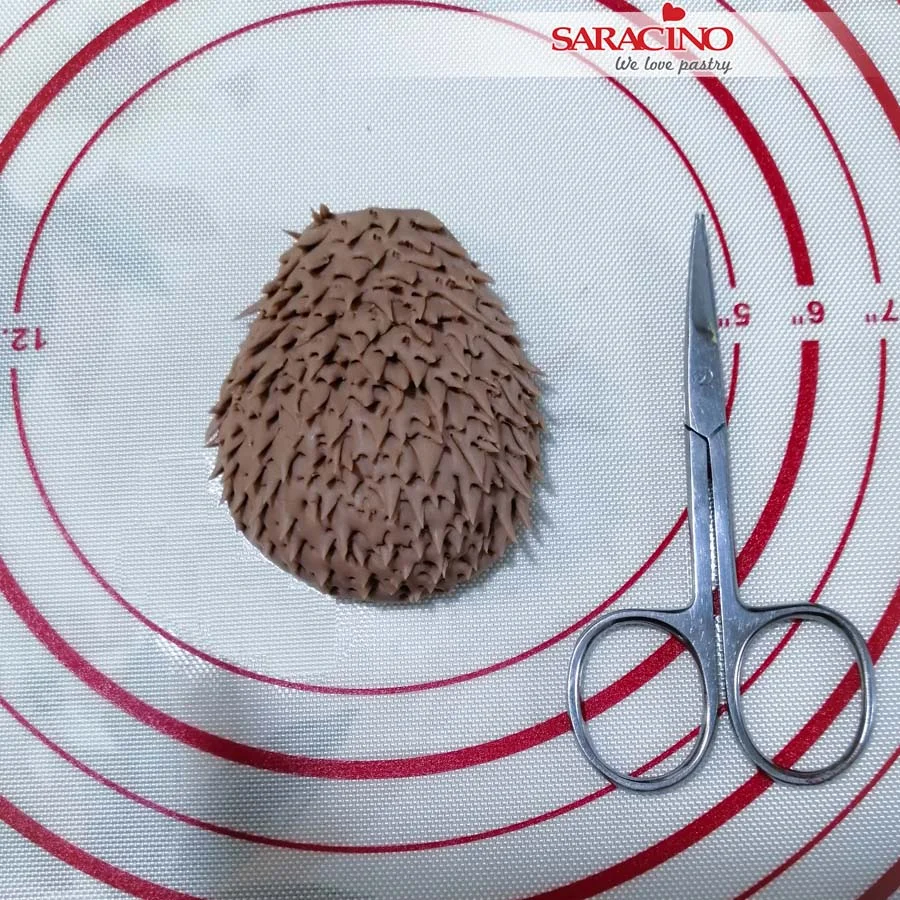
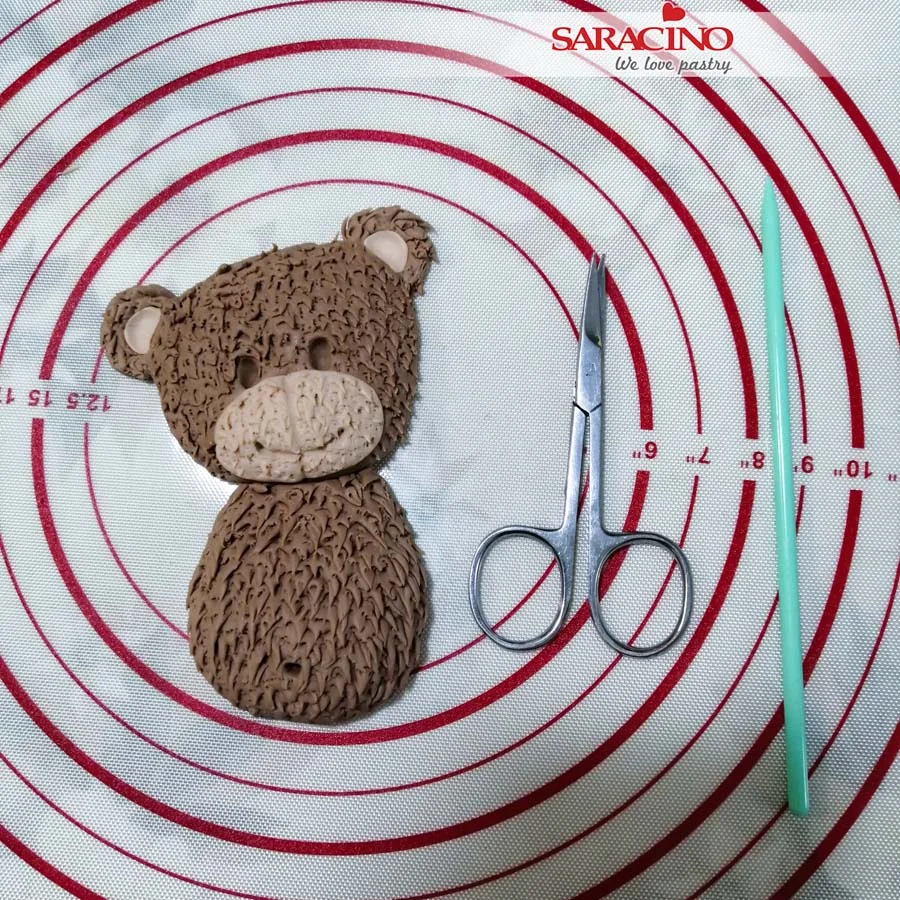
For the teddy bear, mix brown and white Pasta Model. Roll a teardrop shape for the body. Flatten the back.

Step 6

Use a sharp pair of scissors to cut the fur texture.

Step 7

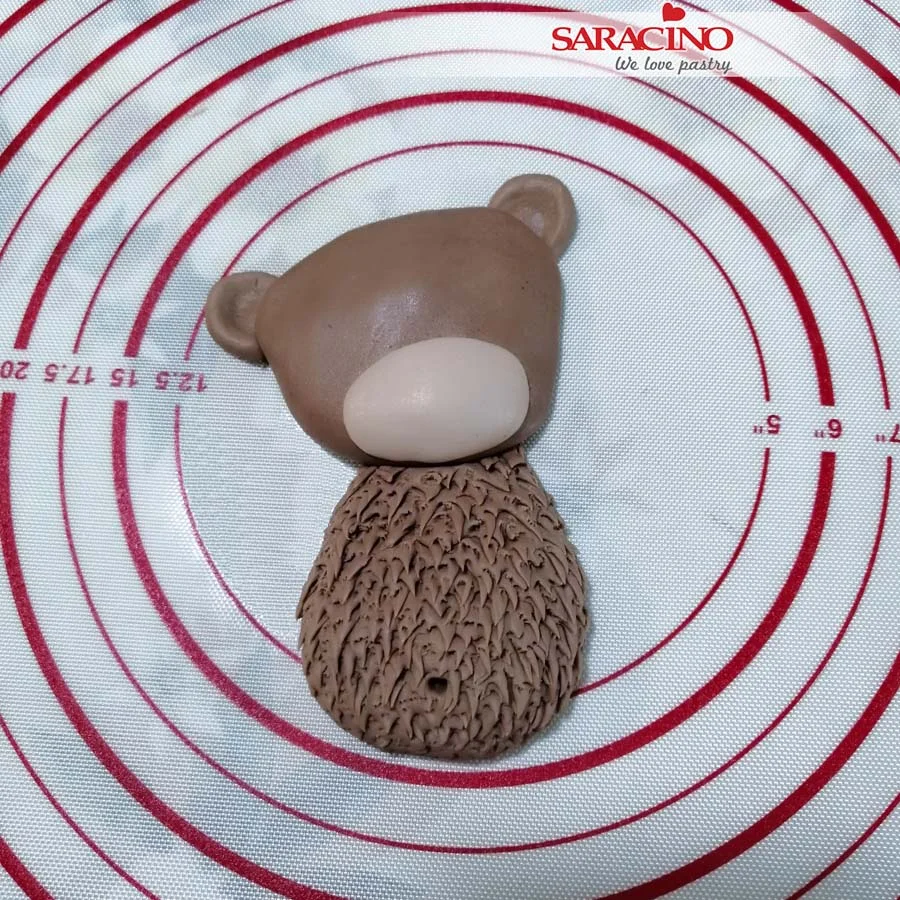
Use the brown Pasta Model that we used for the body to roll the head and model the ears. Use a light brown for the nose. 

Step 8

Texture the head and ears with scissors. Add light brown paste into the ears. Use a ball tool to form eye sockets. Mark the mouth and nose using a modelling tool.

Step 9

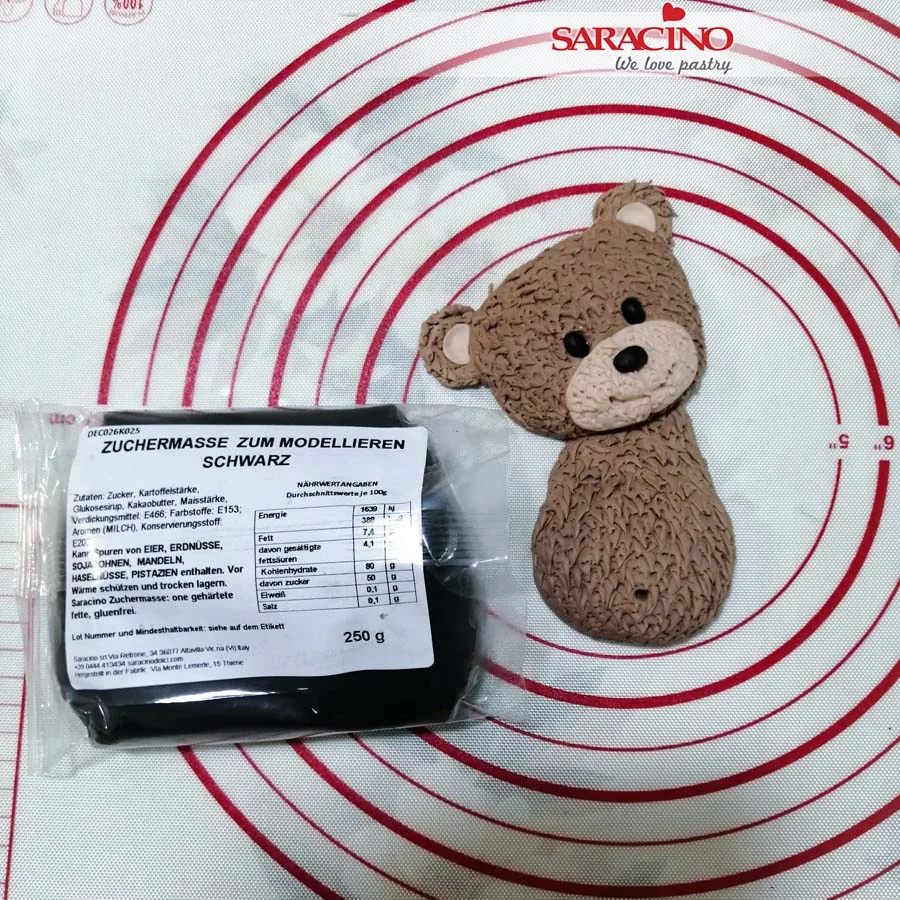
Use black Pasta Model for the eyes and nose.

Step 10

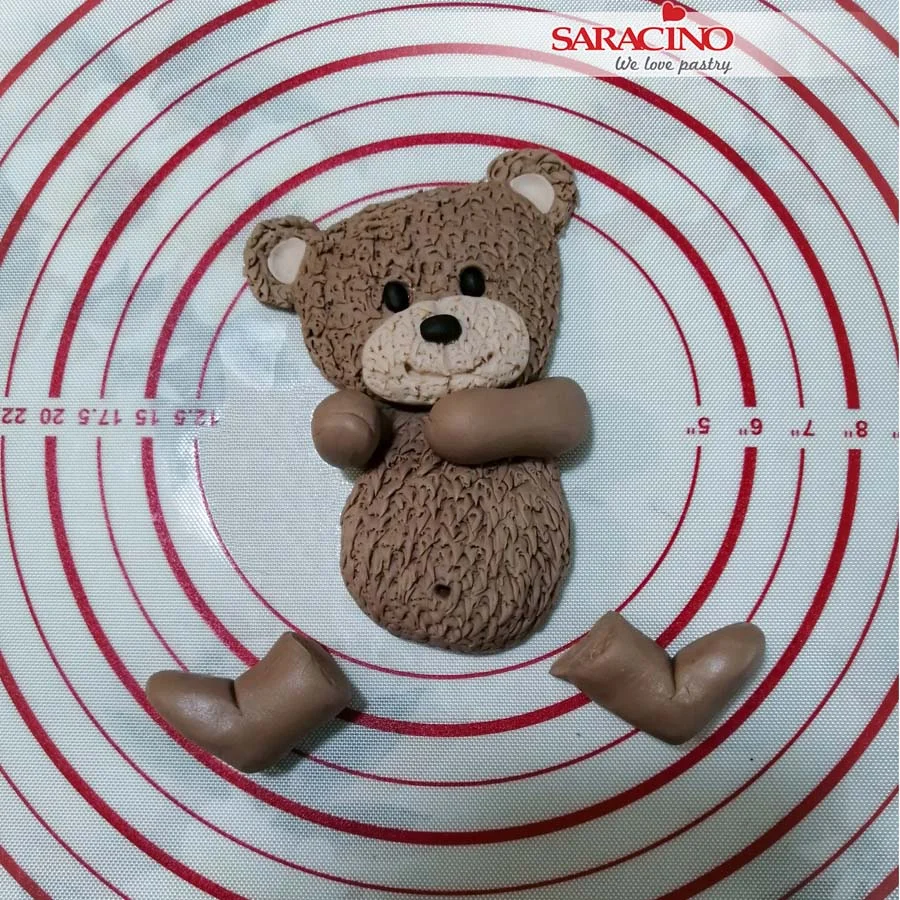
Using the dark brown paste model the bear’s legs and arms.

Step 11

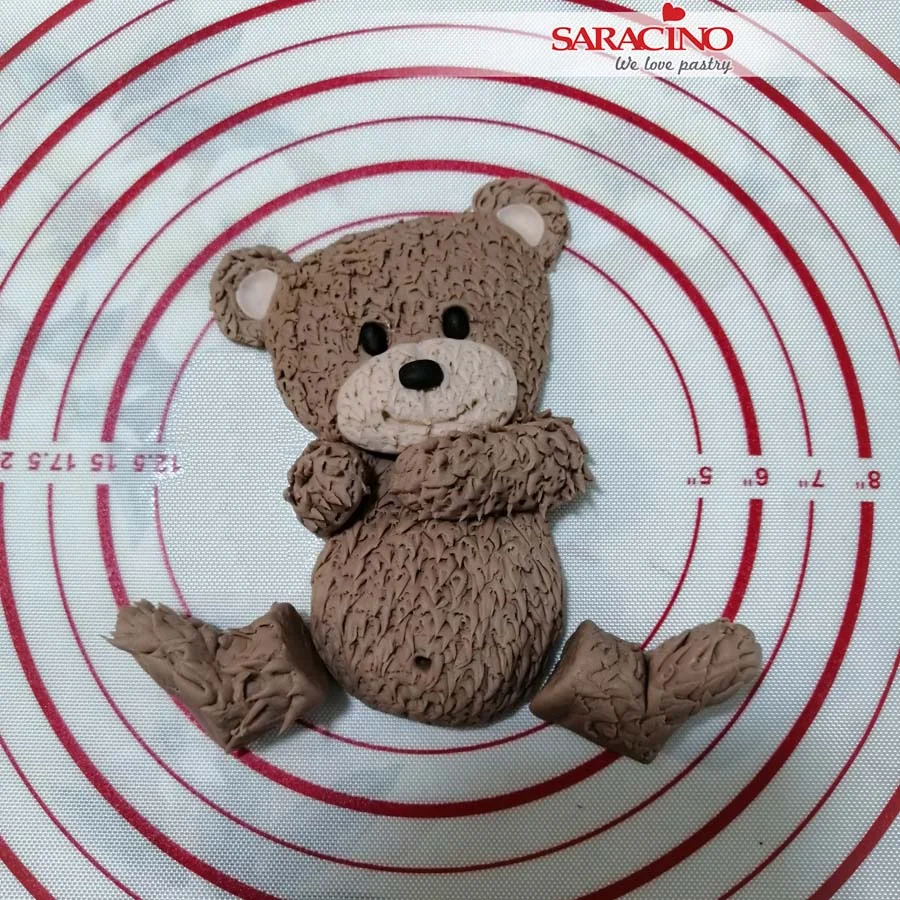
Add the fur texture using the sharp scissors. Fix the arms and legs to the bear.

Step 12

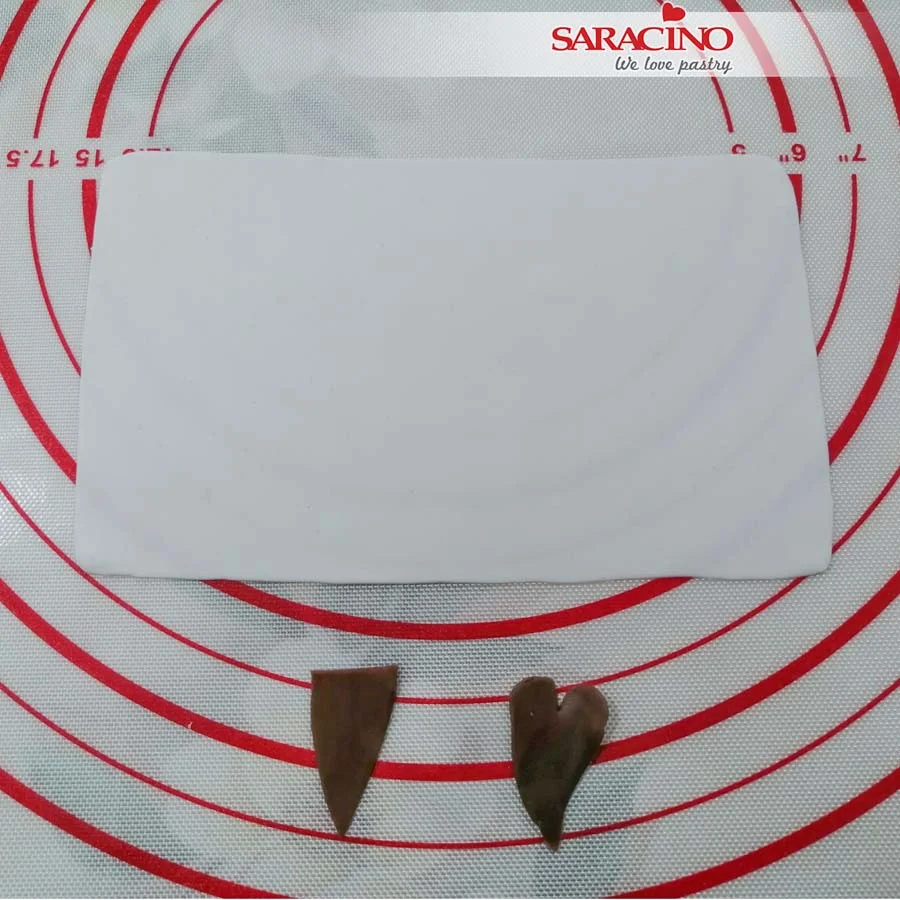
For the blanket roll a rectangular shape of white Pasta Model. For the patchwork pieces cut out shapes using brown paste. 

Step 13

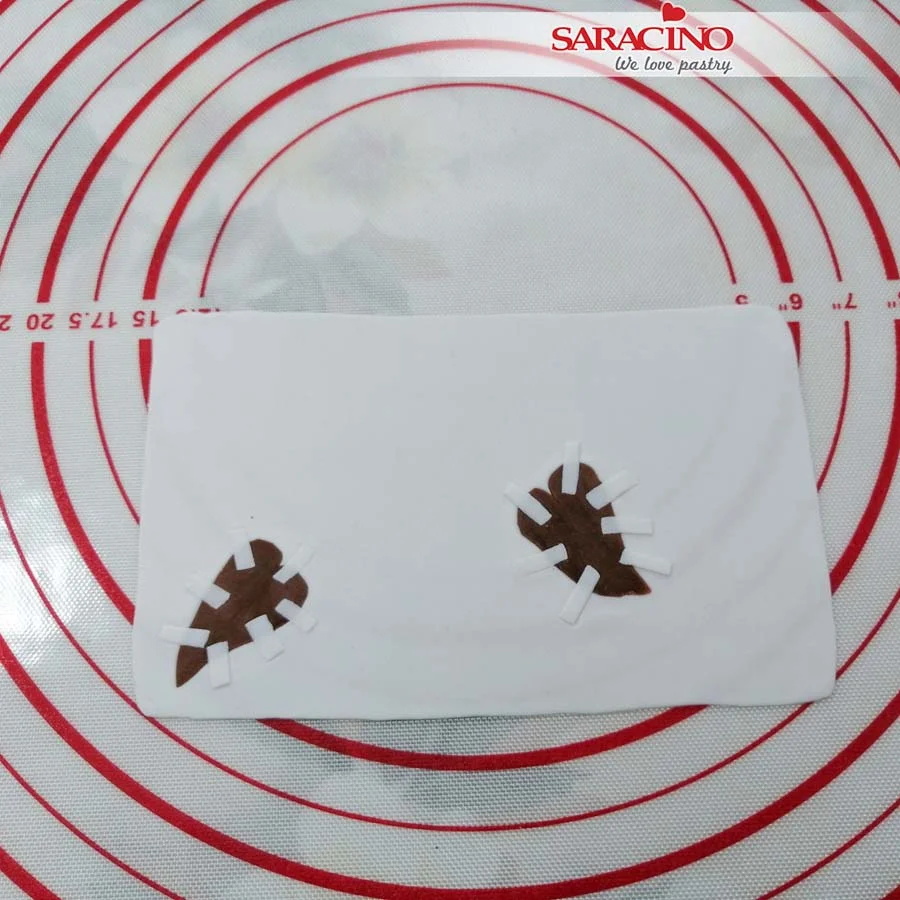
Fix the brown “patches” to the blanket. Cut out small strips of white paste and fix as shown to give the stitching look. 

Step 14

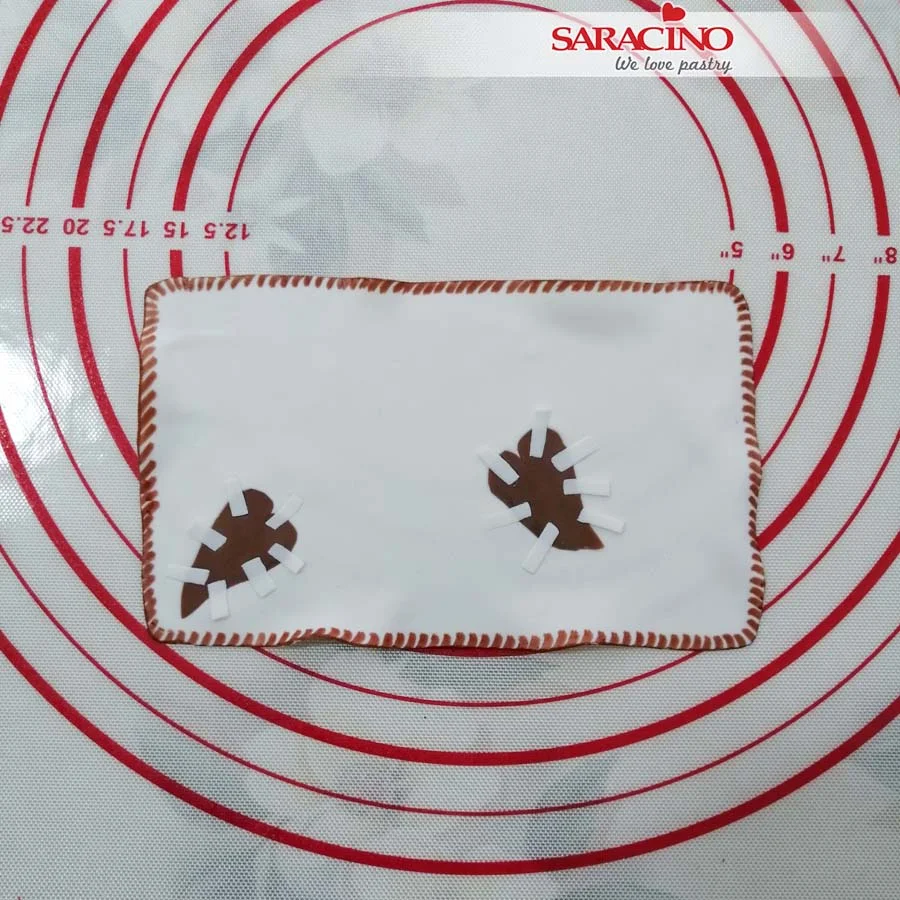
Add a stitching look to the blanket by painting around the edges with a brown edible food pen.

Step 15

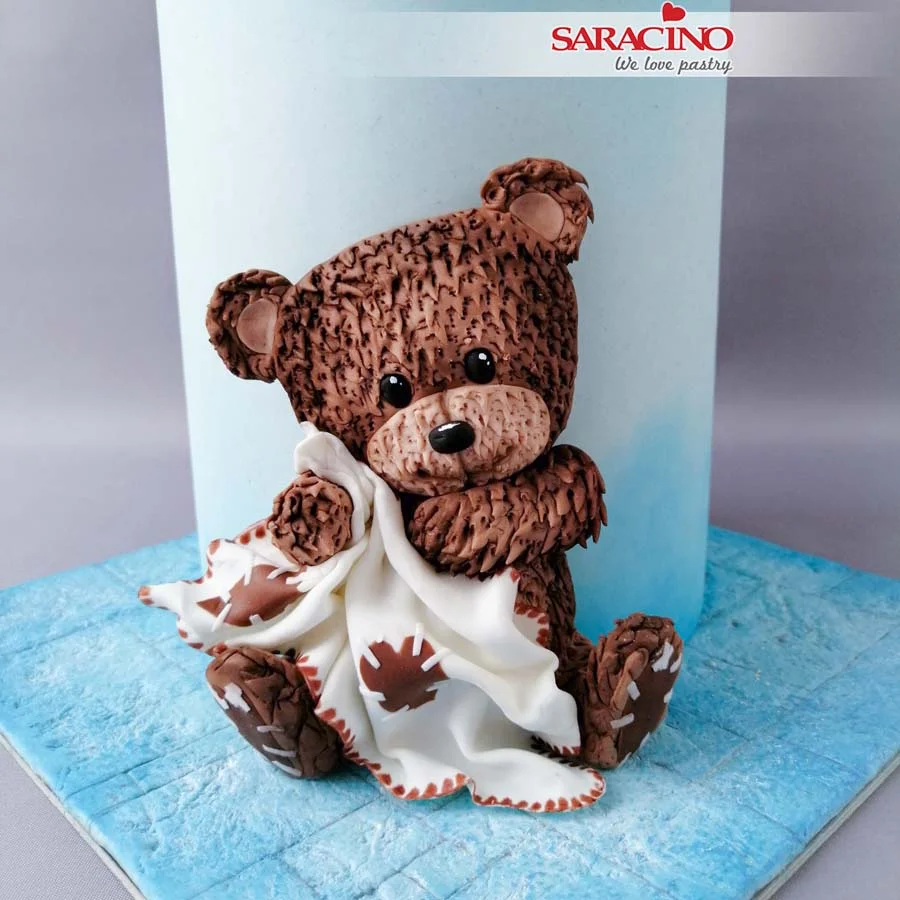
Fix the bear to the cake. Add the blanket into the bears arms. Fix small pieces of brown paste to the bears feet then add small pieces of white paste to give the stitching look.  

Dust the bear to add shade using brown powder colour. Paint small white highlights to the eyes and nose using white powder mixed with Liquid Shiny confectioners glaze.

Step 16

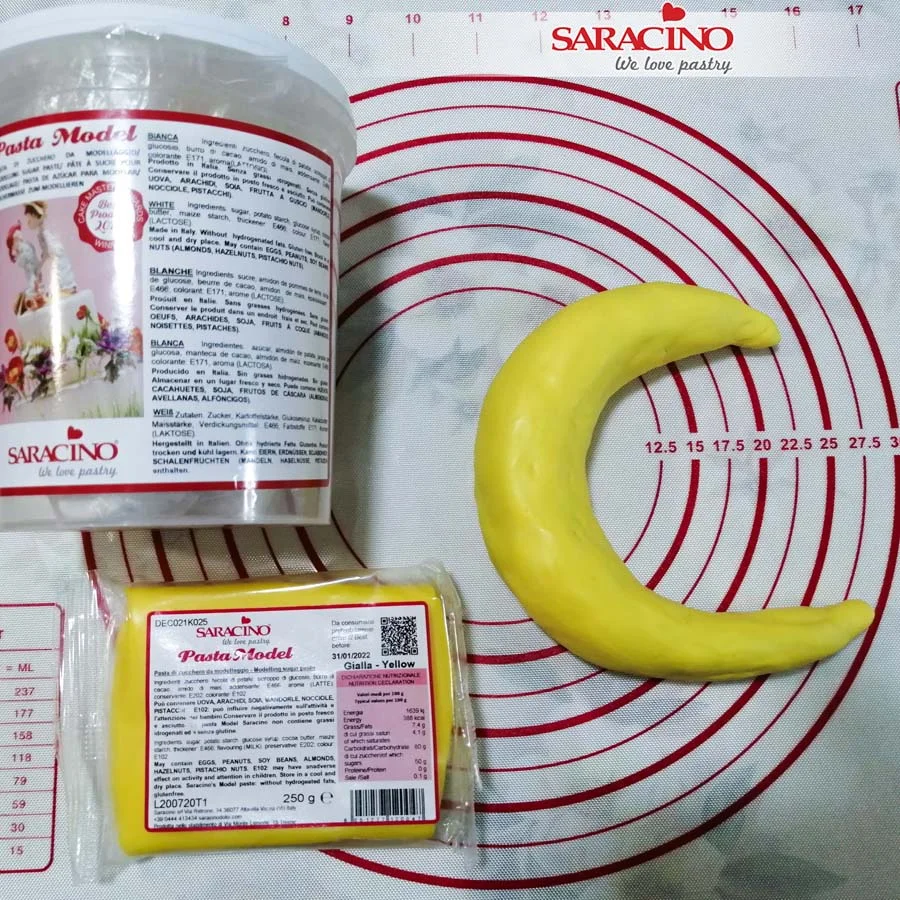
For the crescent moon mix yellow and white Pasta Model. Roll out and shape the crescent.

Step 17

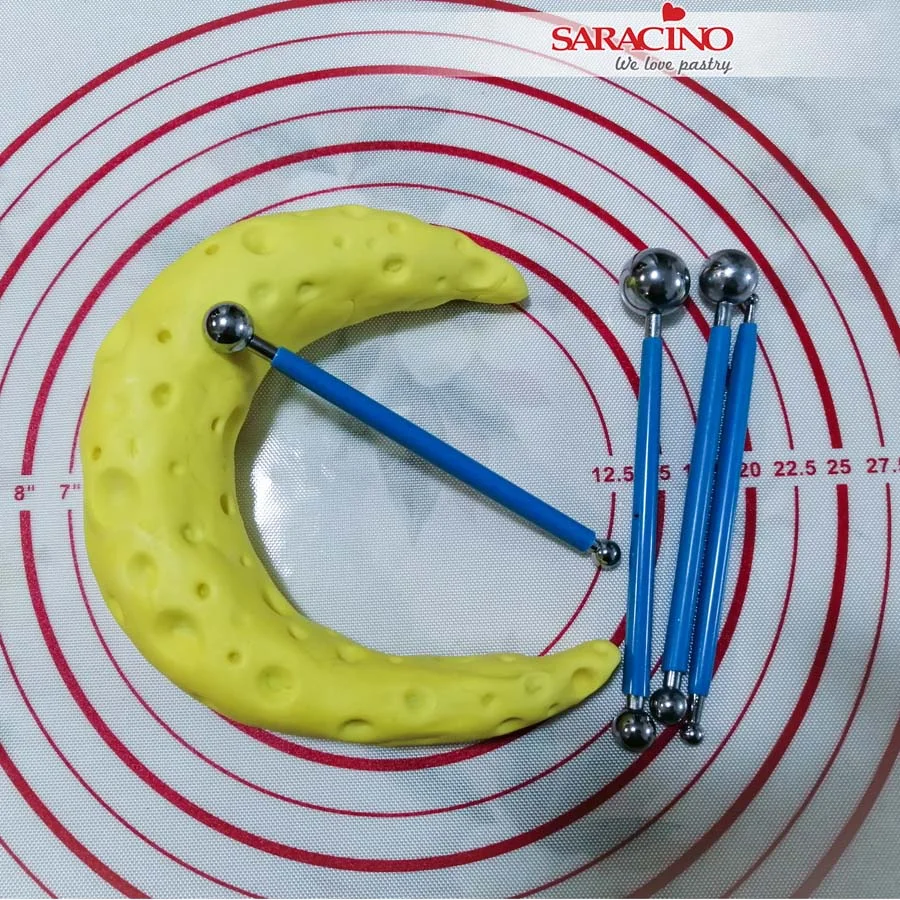
Using ball tools of differing sizes add holes to the moon surface. Allow to dry. 

Step 18

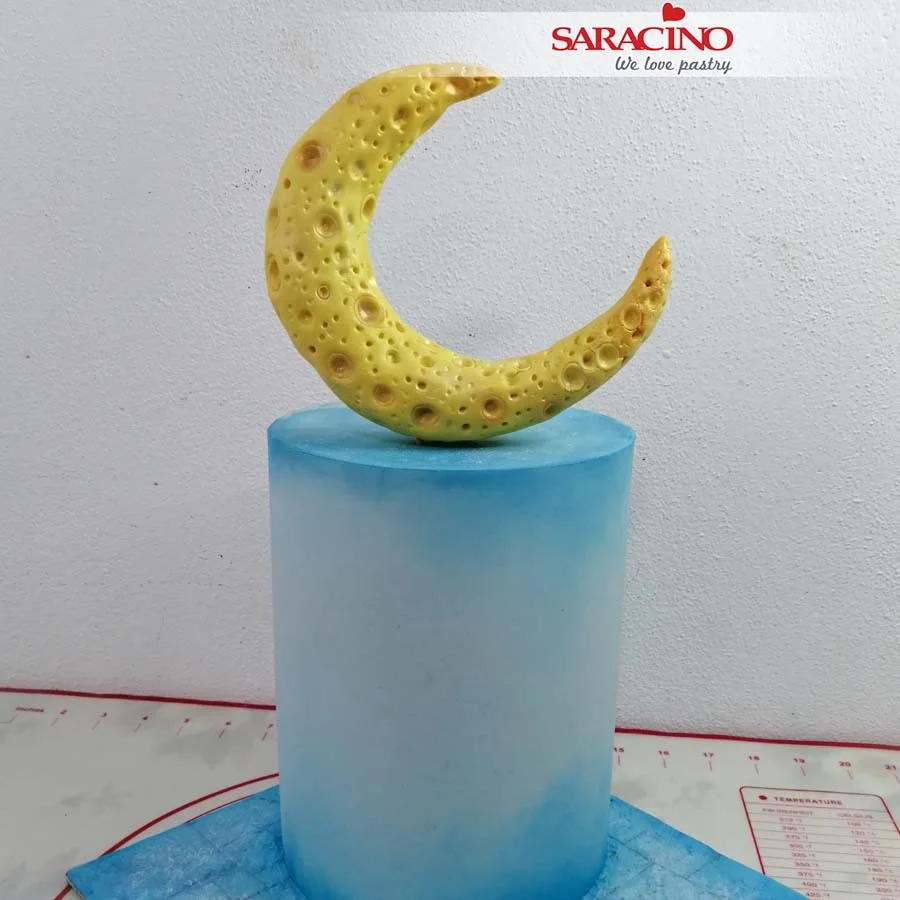
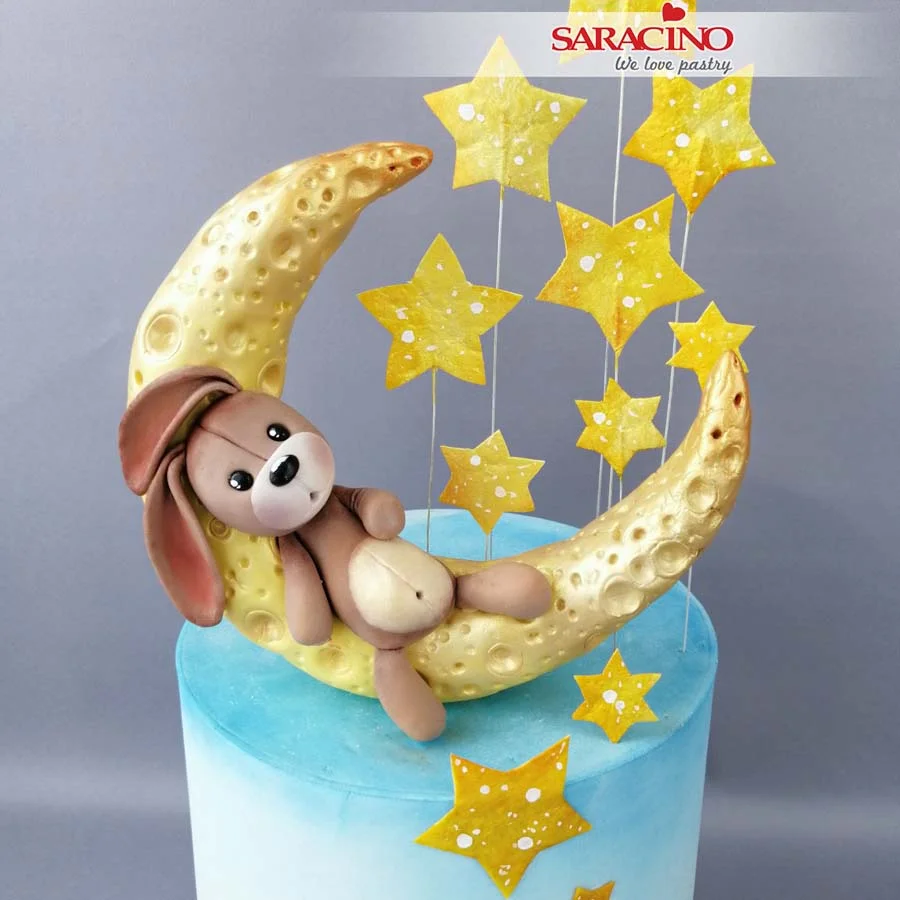
Fix the moon to the top of the cake. Insert a toothpick to add additional support. Dust the edges of the moon with orange powder colour. Paint the moon surface with light gold powder mixed with Liquid Shiny glaze. 

Step 19

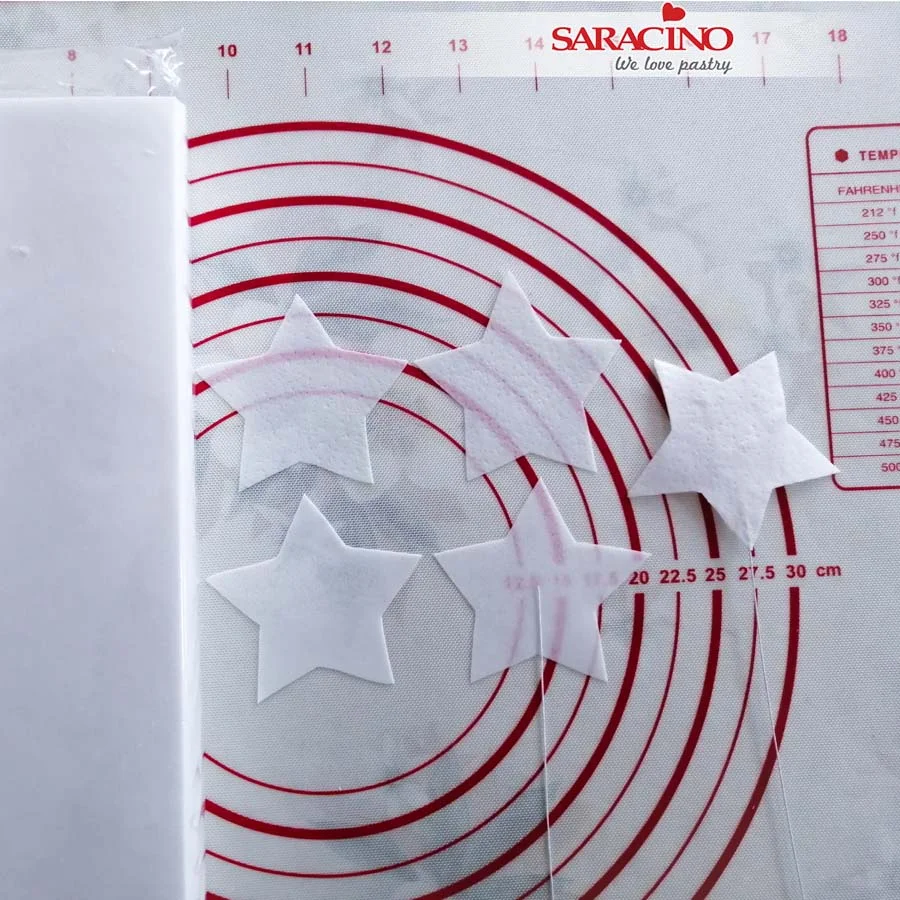
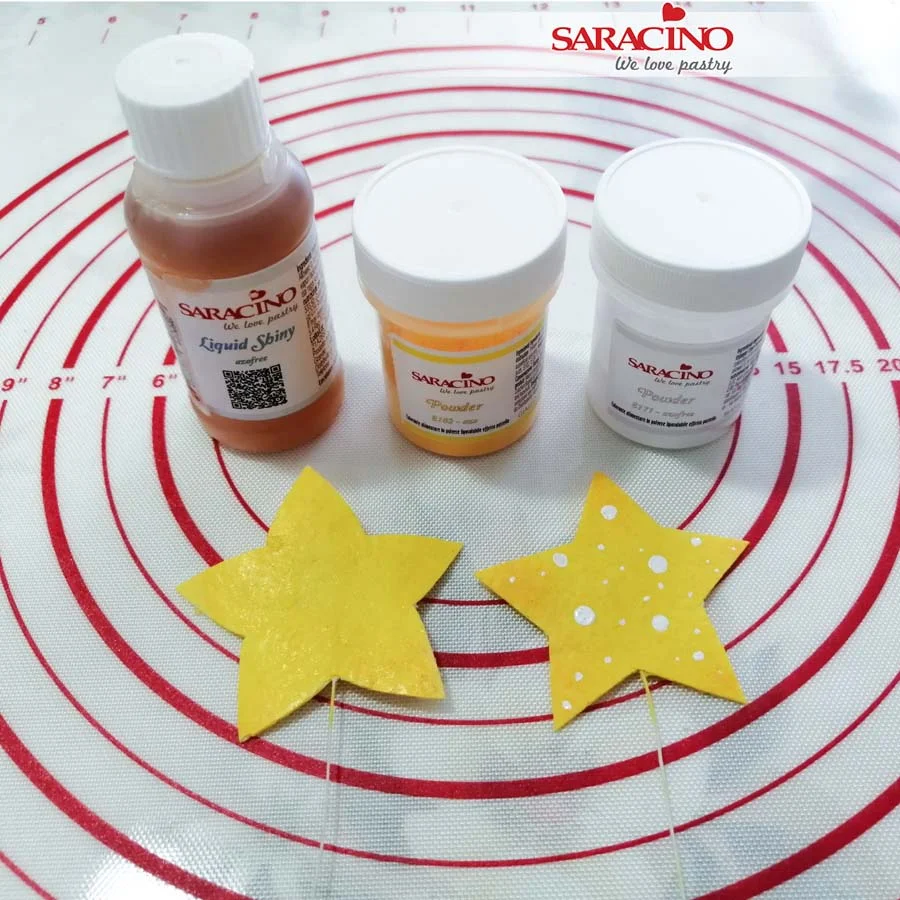
Cut out large stars from wafer paper. Paint one side of a star with a little water. Add a flower wire to the star and press another star shape over. you will need some stars without the wire.

Step 20

Mix yellow powder colour with Liquid Shiny confectioners glaze. Paint both sides of the star and allow to dry. Mix white powder colour with Liquid Shiny confectioners glaze and paint white dots on the stars.

Place wired stars to the back of the cake. If you are using a real cake use posy picks or straws. Fix a few stars to the front of the cake.

Step 21

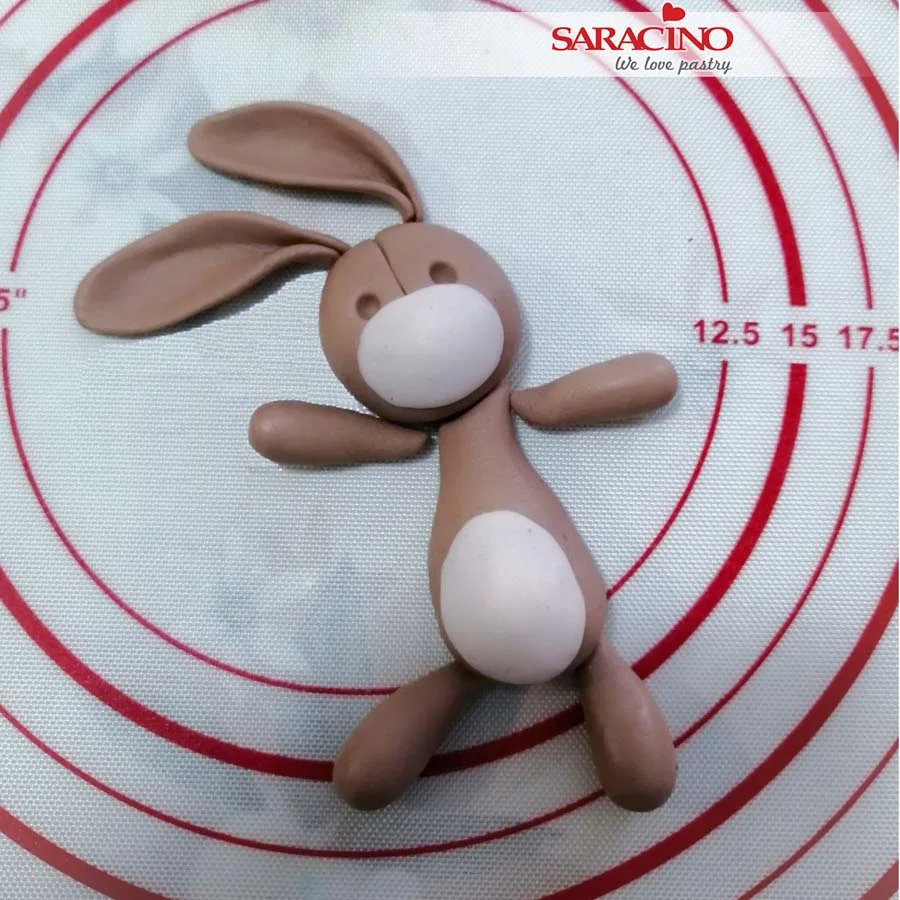
Mix brown and white Pasta Model for the rabbit. Model the rabbit in a similar way as the bear. Do not texture the fur and make the rabbit’s ears longer.

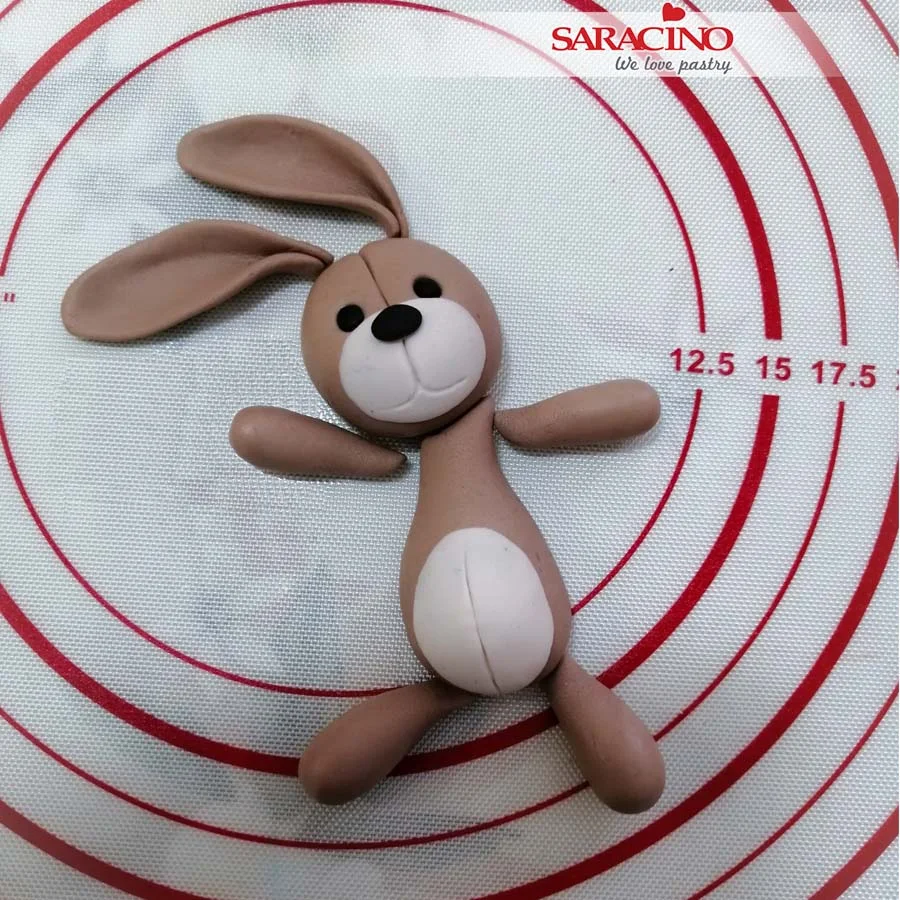
Use light brown Pasta Model for the nose and tummy. Add eye sockets using a ball tool. Use a sharp tool to draw the line on the head.

Step 22

Add black Pasta Model for the eyes and nose. Draw the mouth and tummy lines with a modelling tool.

Step 23

Dust the rabbits ears and cheeks using pink powder colour. Fix the rabbit to the moon. Mix white powder colour with Liquid Shiny confectioners glaze and paint white dots in the eyes and nose of the rabbit. Use a sharp tool to add the mouth and tummy button.

Step 24

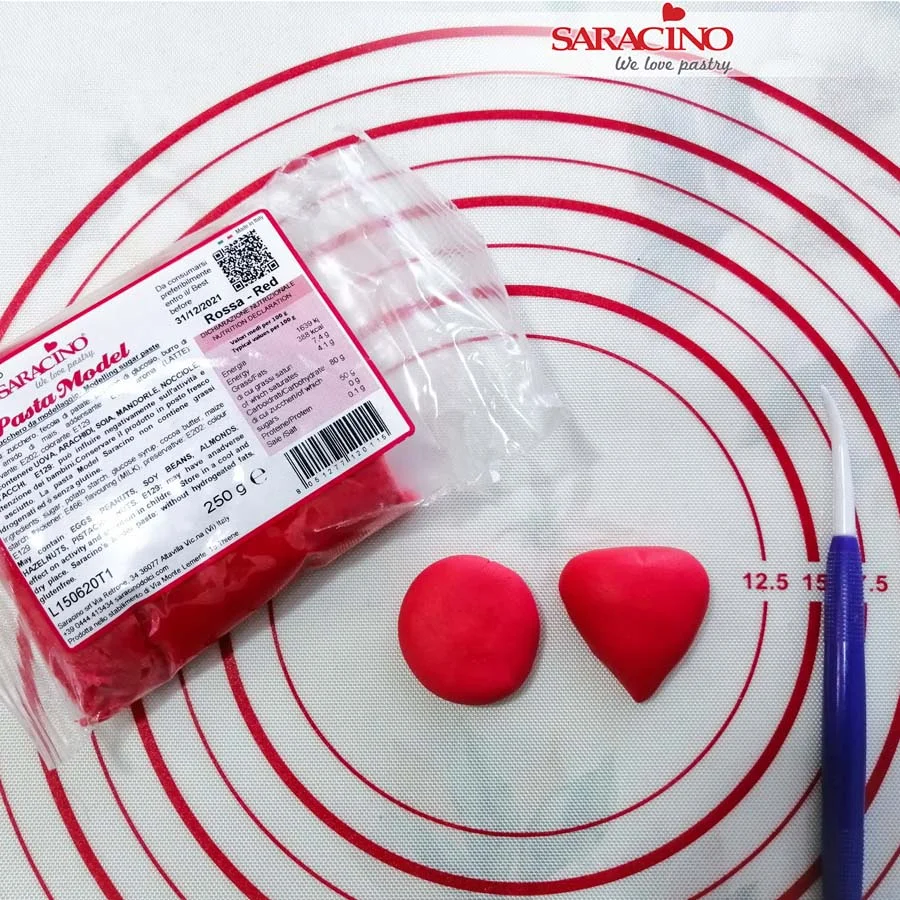
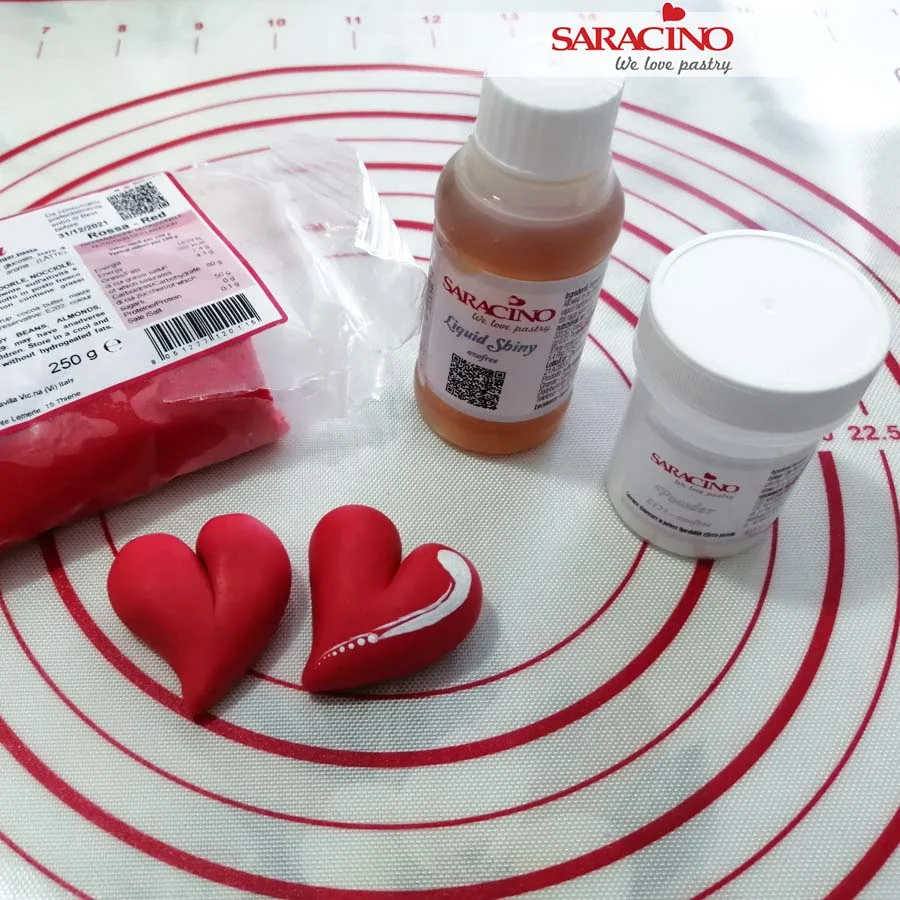
Use red Pasta Model to model three heart shapes.

Step 25

Mix white powder colour with Liquid Shiny confectioners glaze. Add white dots and lines on the side of the hearts. Fix one heart to the rabbit’s paw and two hearts on the cake board.

Step 26

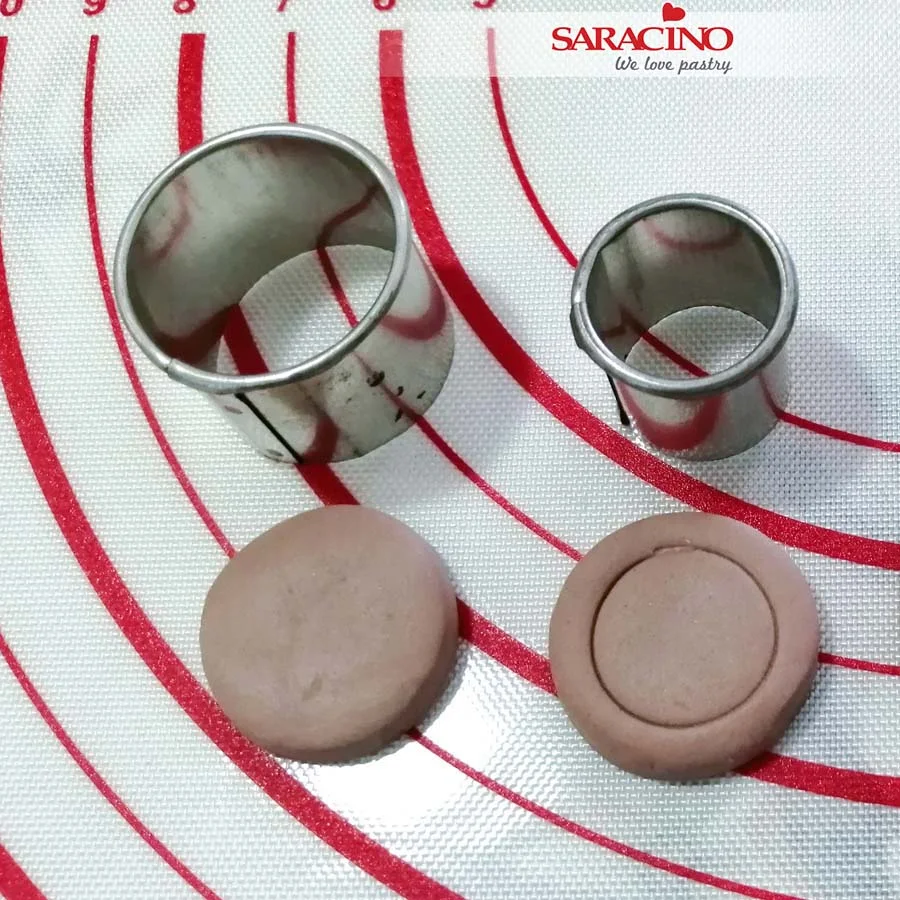
For the buttons cut out a disk using light brown Pasta Model. Use a smaller cutter to mark the outline of the button.

Step 27

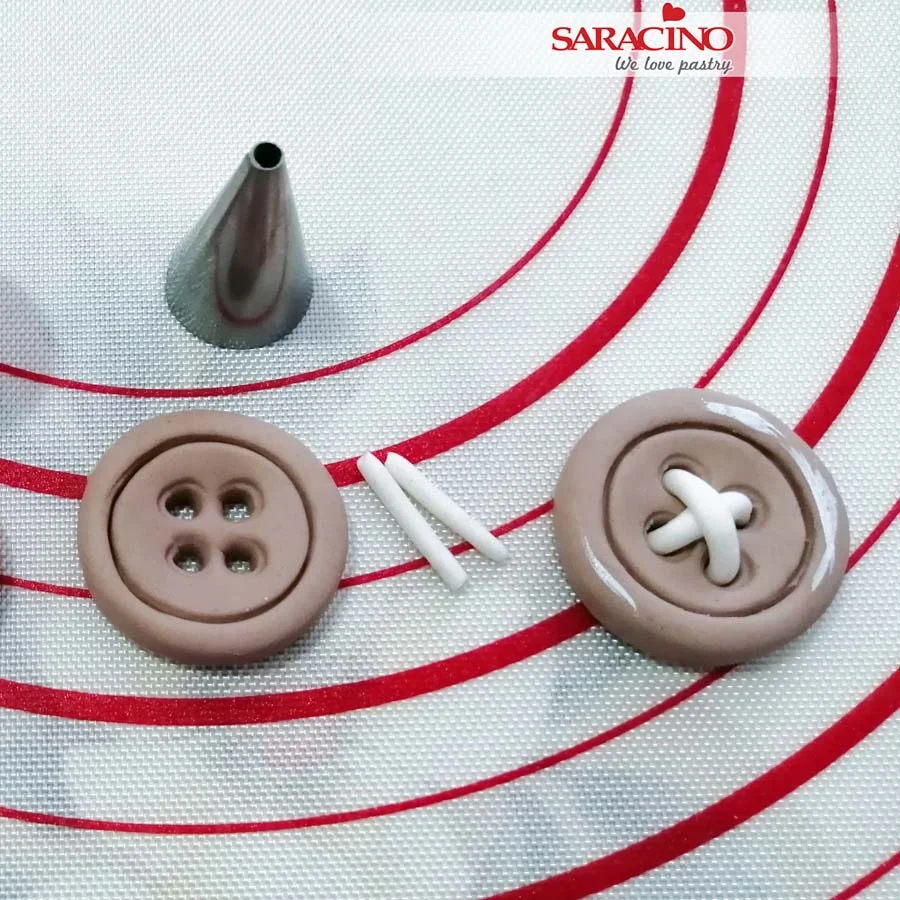
Using the end of a piping nozzle cut 4 holes in the centre of the buttons. Roll two white strips of white Pasta Model and insert them into the holes of the button for a stitching look. Mix white powder with Liquid Shiny confectioners glaze and paint white dashes on the side of the buttons.

Step 28

Your cake is ready!

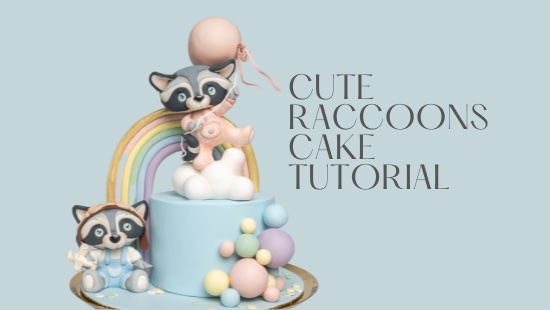
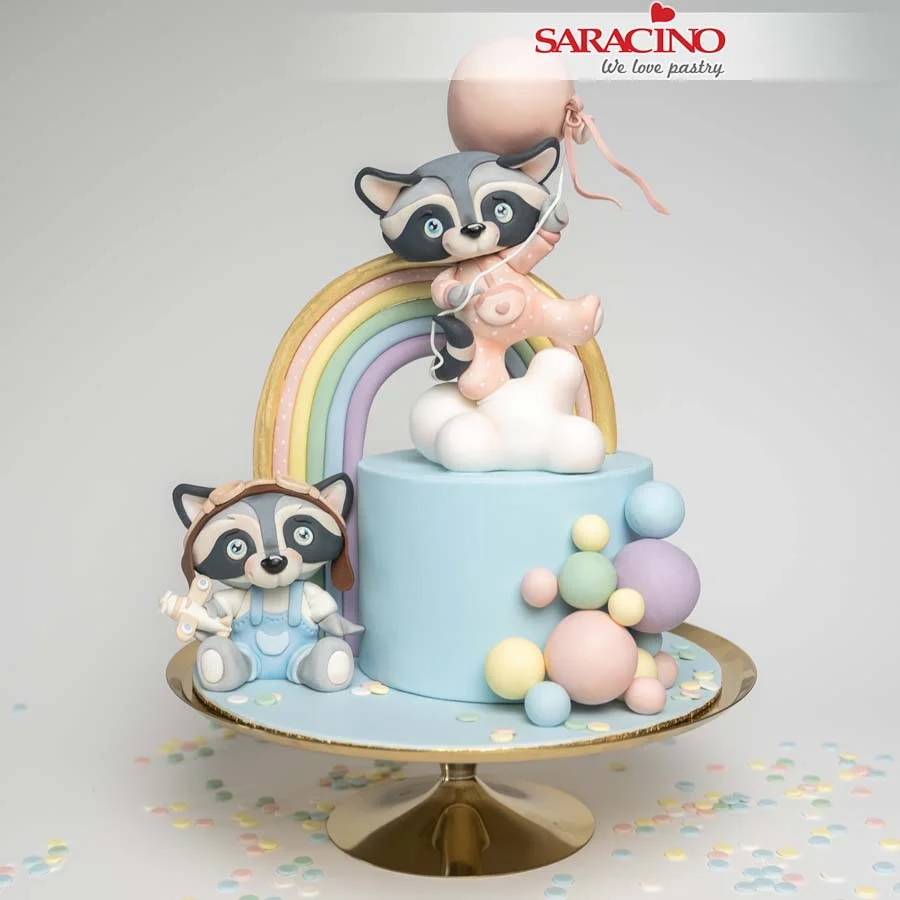
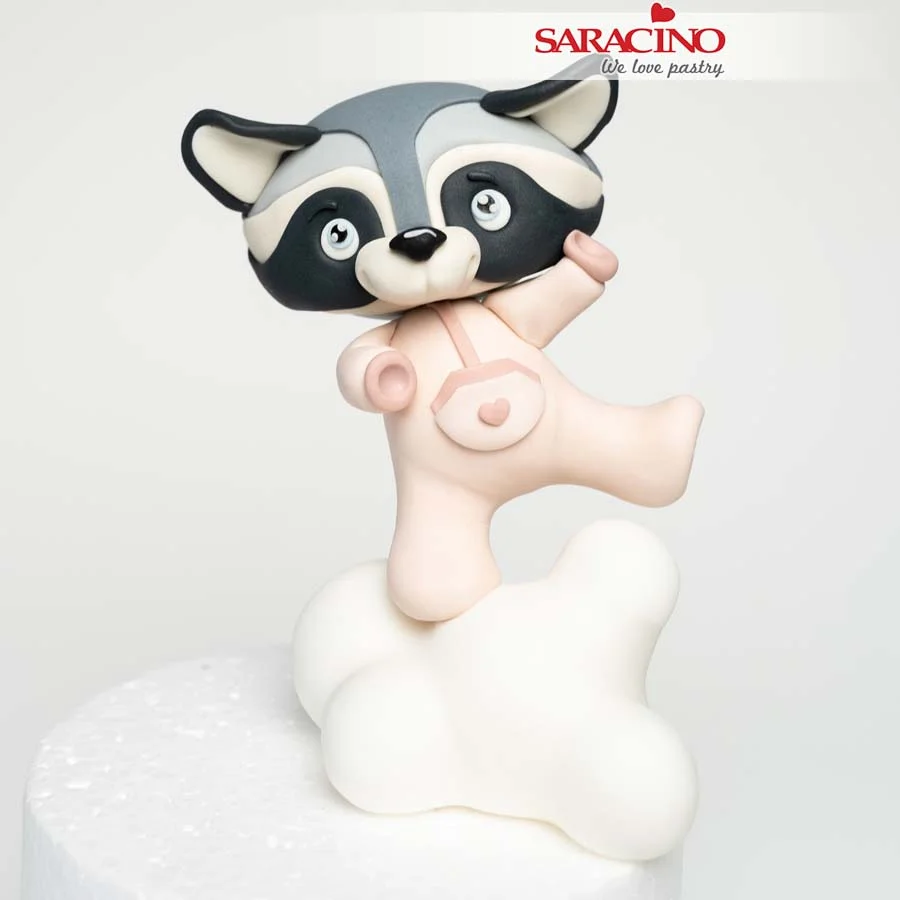
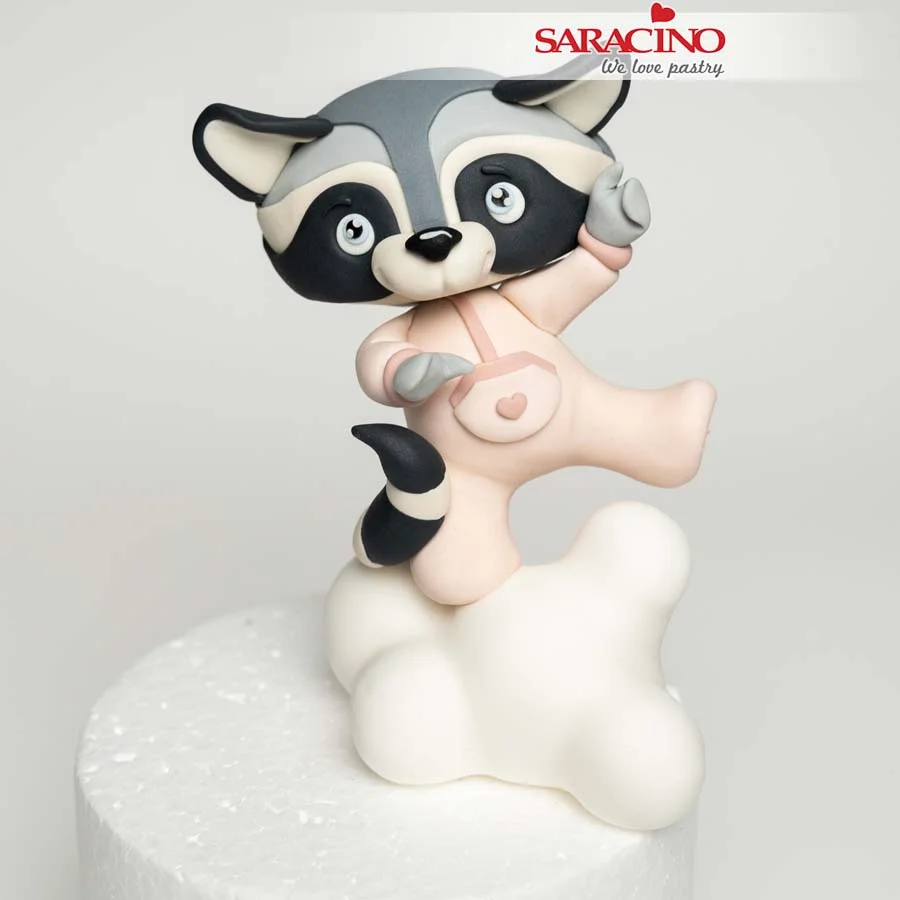
CUTE RACCOONS BABY SHOWER CAKE

CUTE RACCOONS BABY SHOWER CAKE

INSTAGRAM: MADZIOWKA

Skill level: BEGINNERS

Inspiered by Tanyi Bonya

You will need:

  • Saracino Pasta Model: white, black, light blue, pink, yellow, violet, light green, brown
  • Saracino white Pasta Top
  • Saracino baby blue Pasta Top
  • Saracino powder colour: light gold, black, sky blue, pink, light skin tone
  • Saracino shiny effect confectioners glaze
  • Polystyrene balls: 1 x 6cm in diameter, 4 x 4cm in diameter, 7 x 2cm in diameter
  • Dummy cake or cake
  • Clear alcohol
  • Dresden tool
  • Ball tool
  • Rolling pin
  • Brushes
  • Fondant smoother
  • Cake drum
  • Toothpicks
  • Circle cutters

Step 1

Prepare all the necessary products and tools.

Step 2

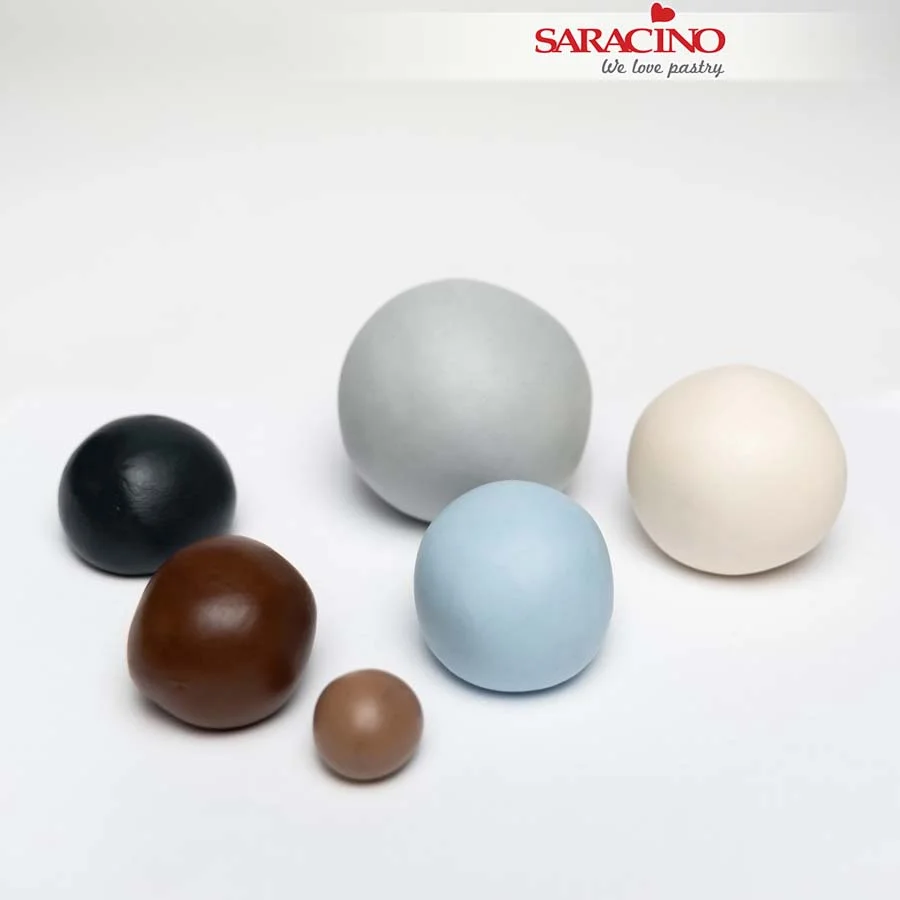
Start by working the pastes to make them soft. You can start working right away with the pre-coloured pastes. For a soft and “dusty” sky blue, mix light blue Pasta Model with white and a little brown. Don’t be afraid to experiment until you get the colour you like.

Step 3

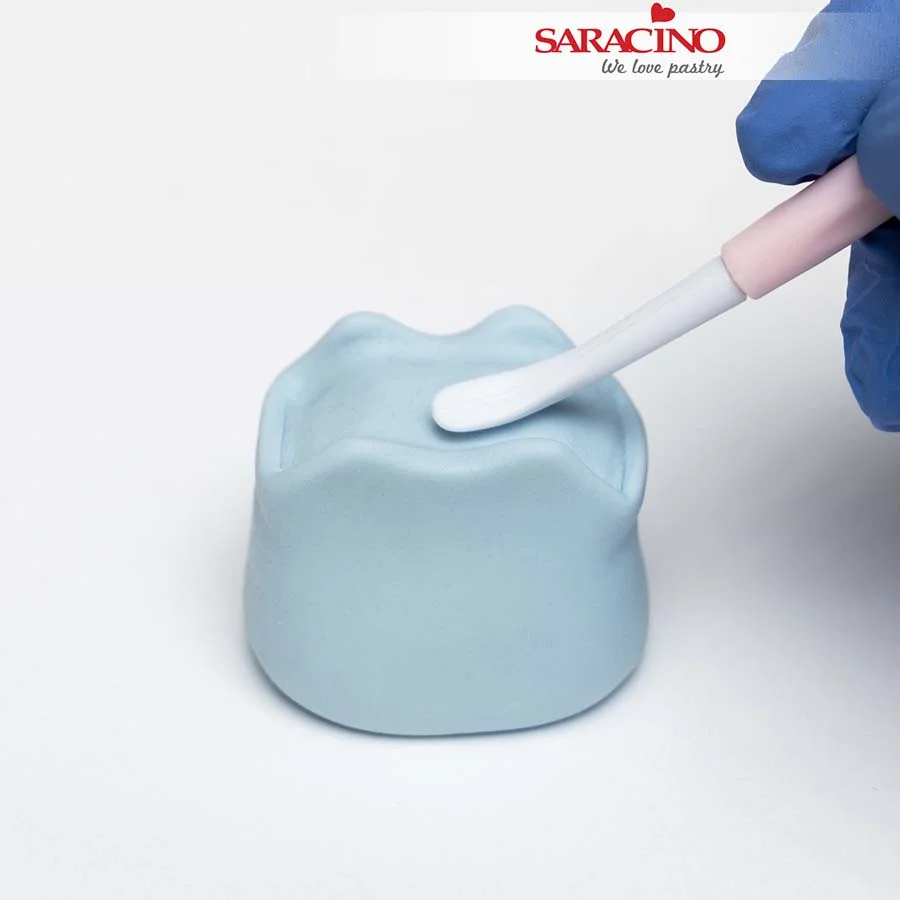
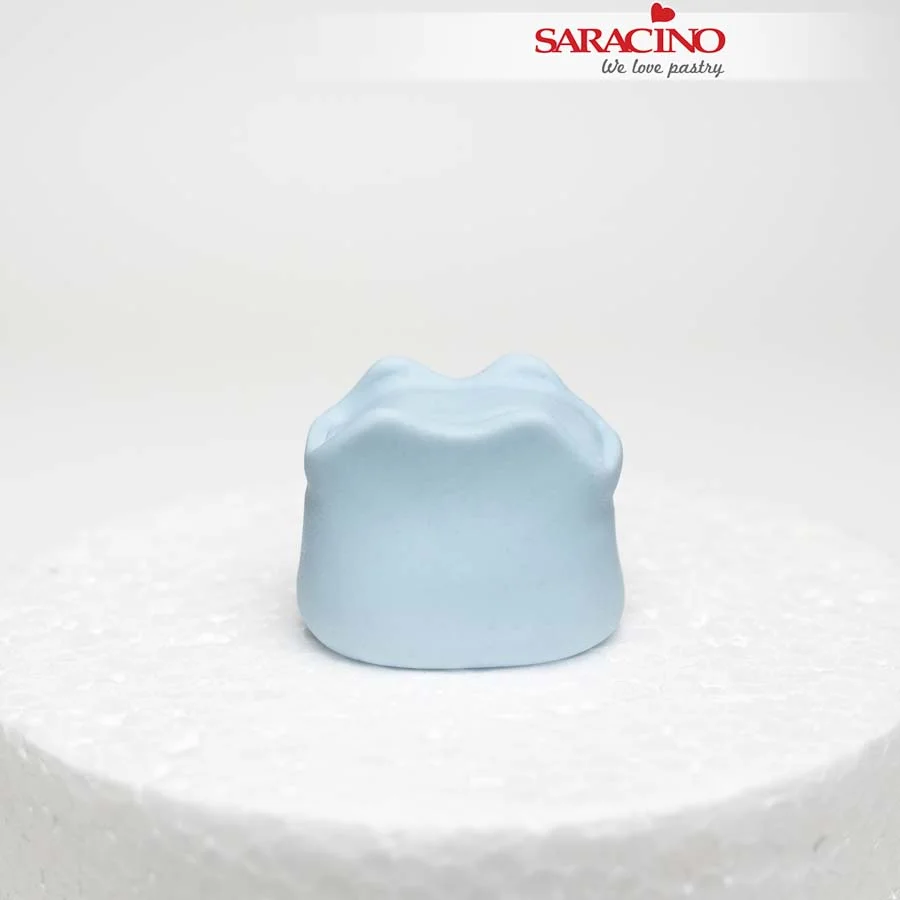
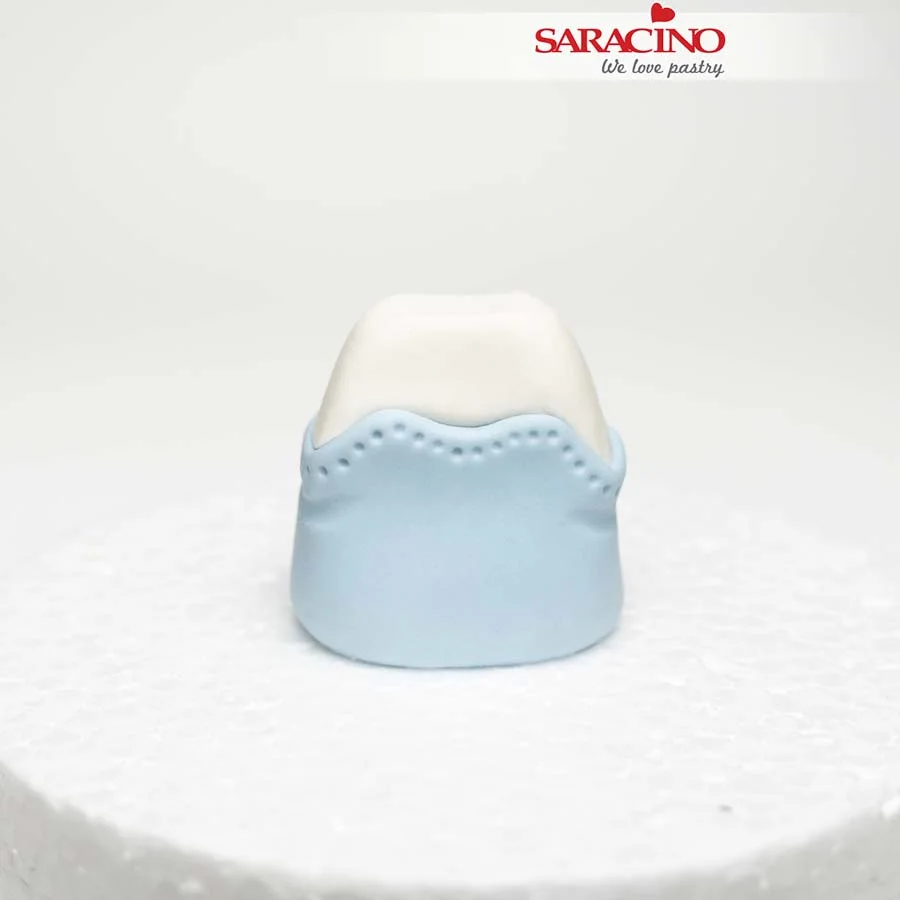
For the body roll and form the paste into a cylinder shape. Use the Dresden tool to shape into overalls.

Step 4

Place on a dummy and allow to dry slightly.

Step 5

Using white Pasta Model add the upper part of the torso inside the overalls. Using a ball tool add stitching to the edge of the dungarees and creases below the armpit areas.

Step 6

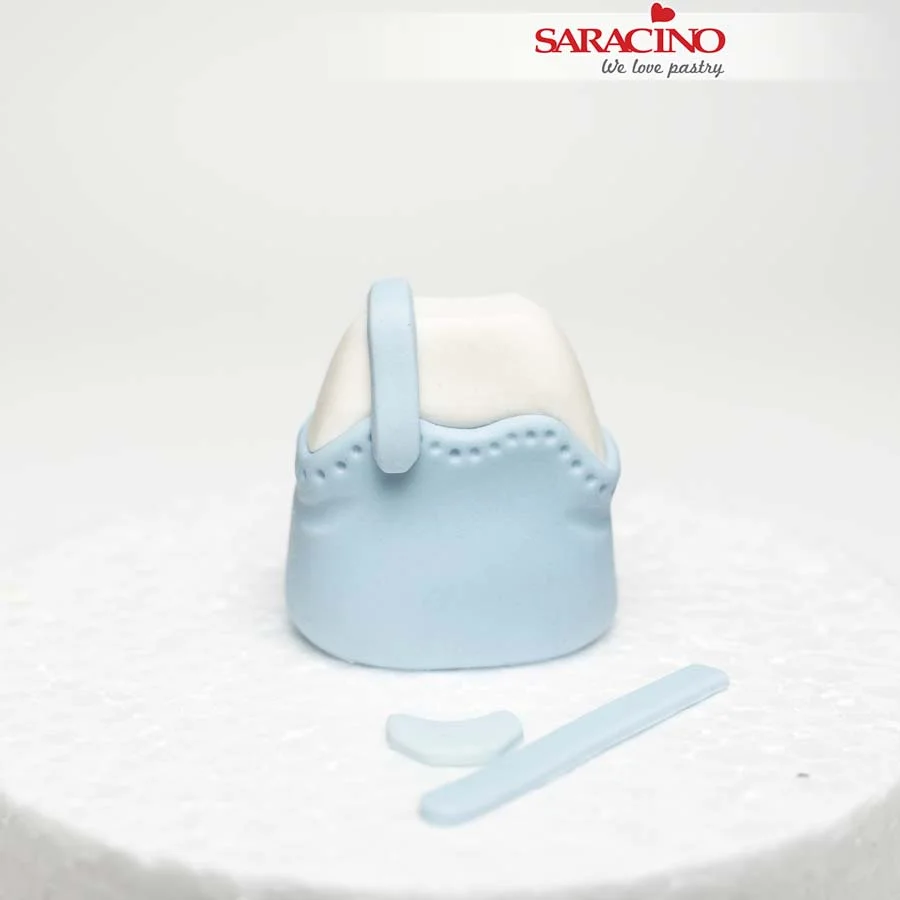
Using light blue paste roll two strips and round at each end for the straps. Cut out a small circle and cut out a semi circle – this will be a pocket.

Step 7

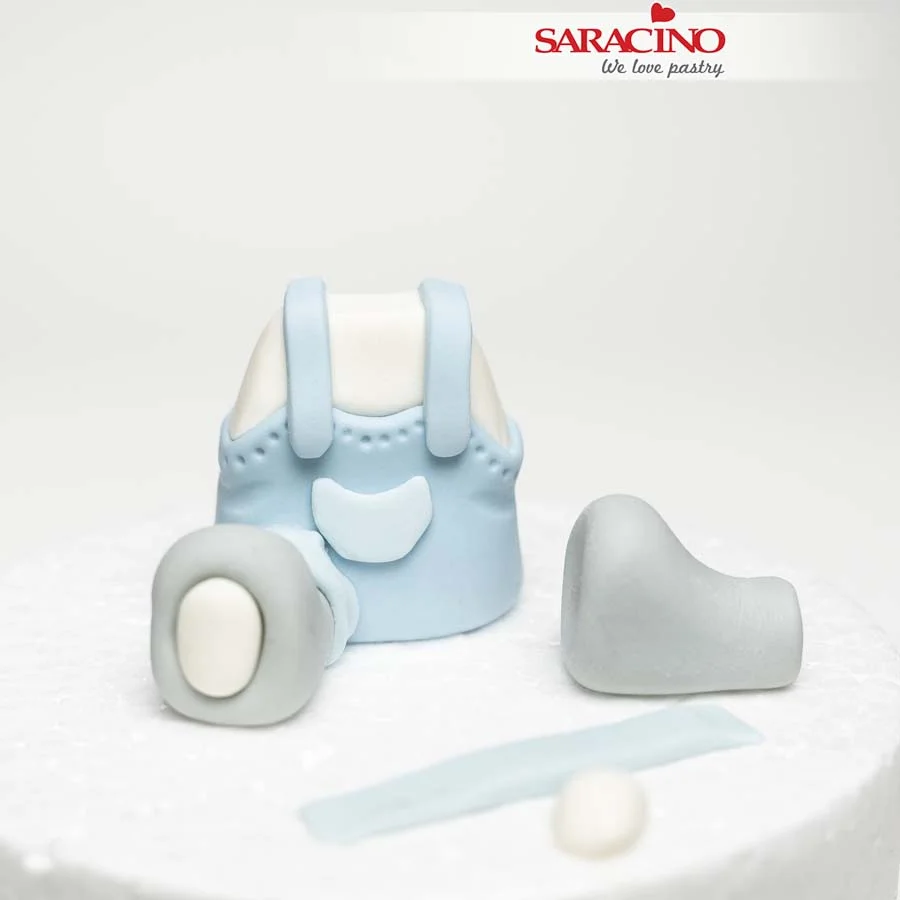
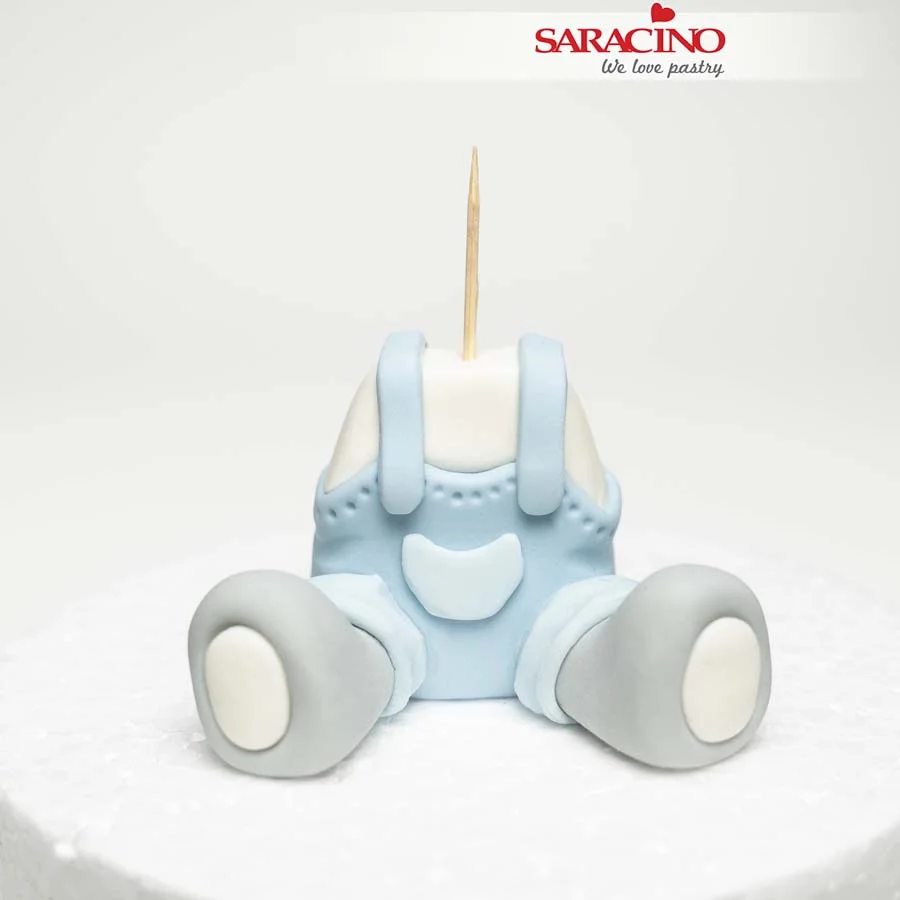
Fix the straps and pocket. Use the grey icing to model two legs as shown. Roll two strips of blue icing for the trouser legs. Roll two oval shapes from the white paste and attach to the soles of the feet.

Step 8

Fix the legs to the shorts and then wrap the trousers around the top of each leg. Use the Dresden tool to add creases to the trousers. Insert a short toothpick into the torso at the neck.

Step 9

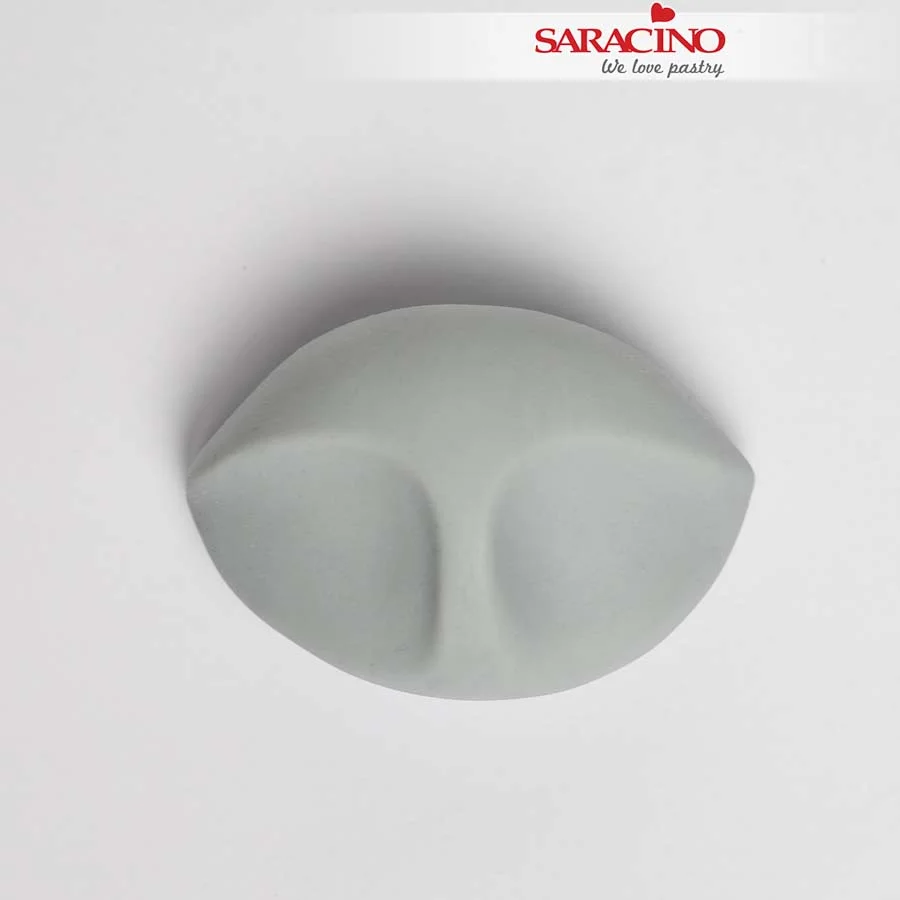
For the head roll the shape shown. Use your index fingers or a ball tool to make two recesses for the eyes leaving a gap between them.

Step 10

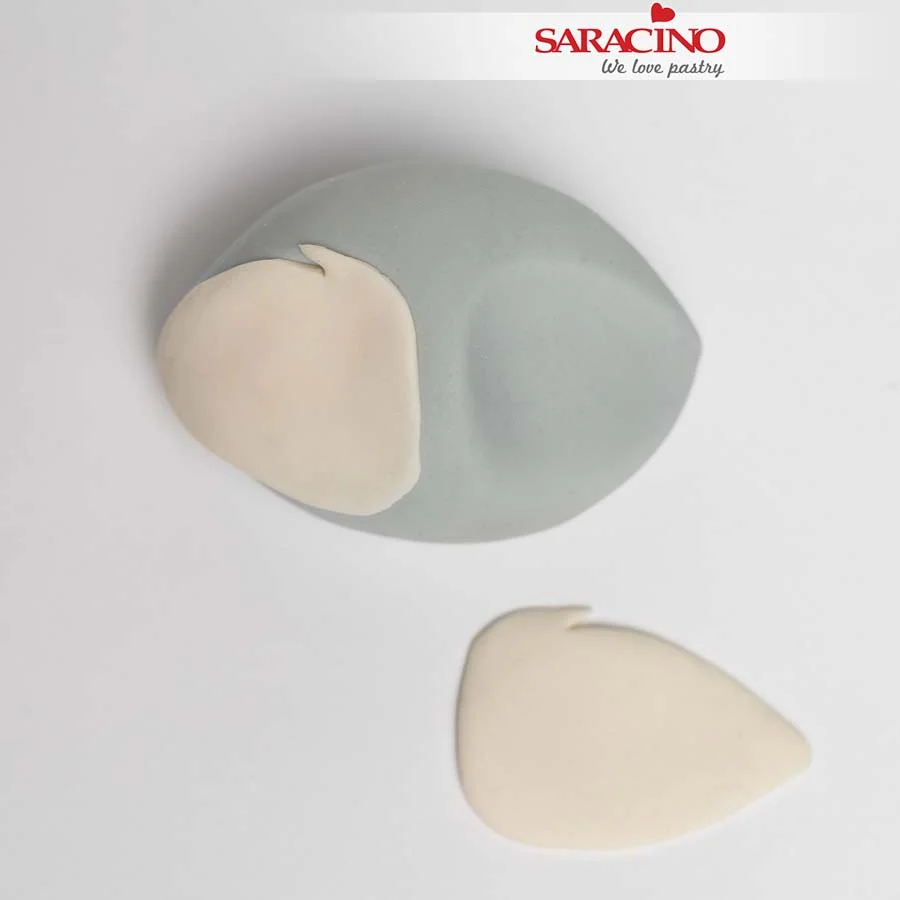
Using white paste cut out terdrop shapes simialr size to the eye sockets. Use a knife or scalpel to cut off the small triangles at the top – they will look like fur. Glue both into the previously prepared recesses.

Step 11

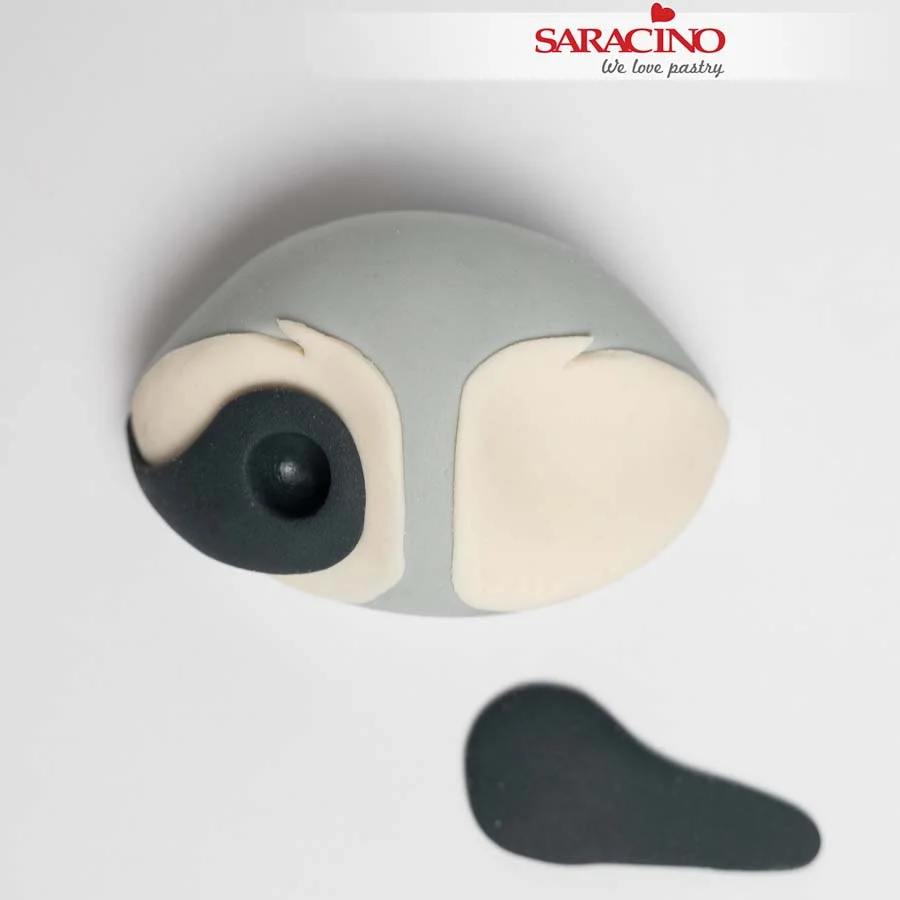
Using a dark grey paste prepare elongated teardrop shapes, thinner on one side. Fix to the head and use the ball tool to make sockets for the eyes.

Step 12

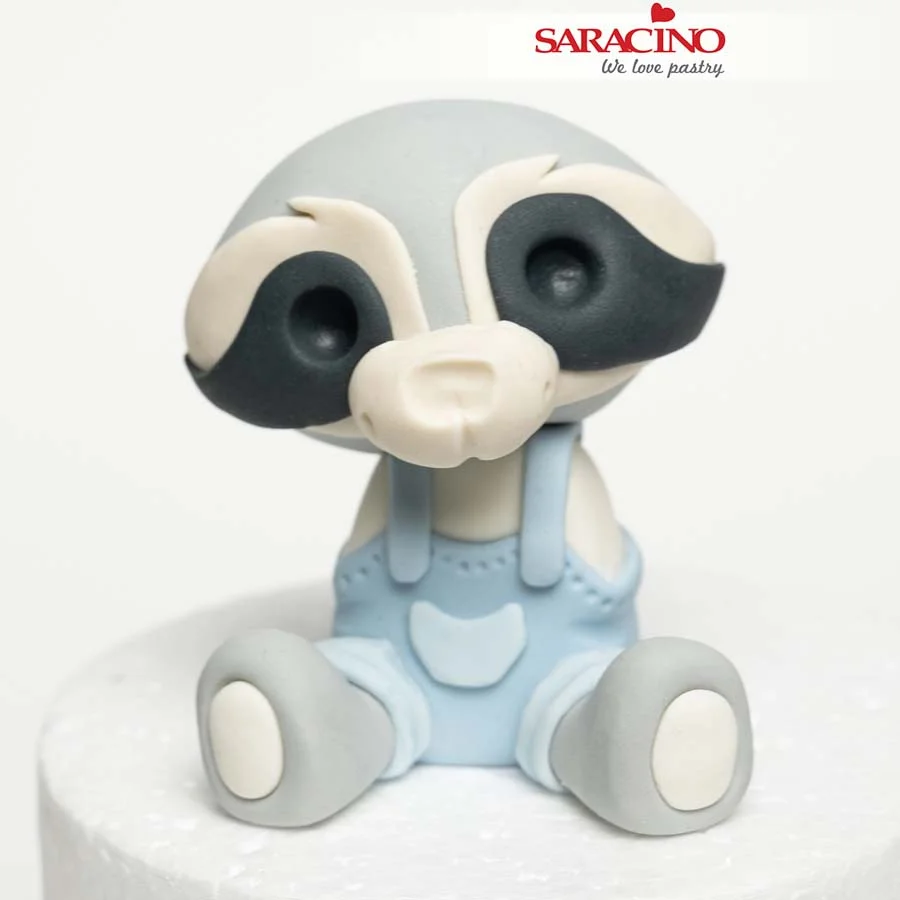
Place your head onto the torso by sticking it onto the toothpick. Add a flattened oval shape as a snout. Mark the nose and add a smile.

Step 13

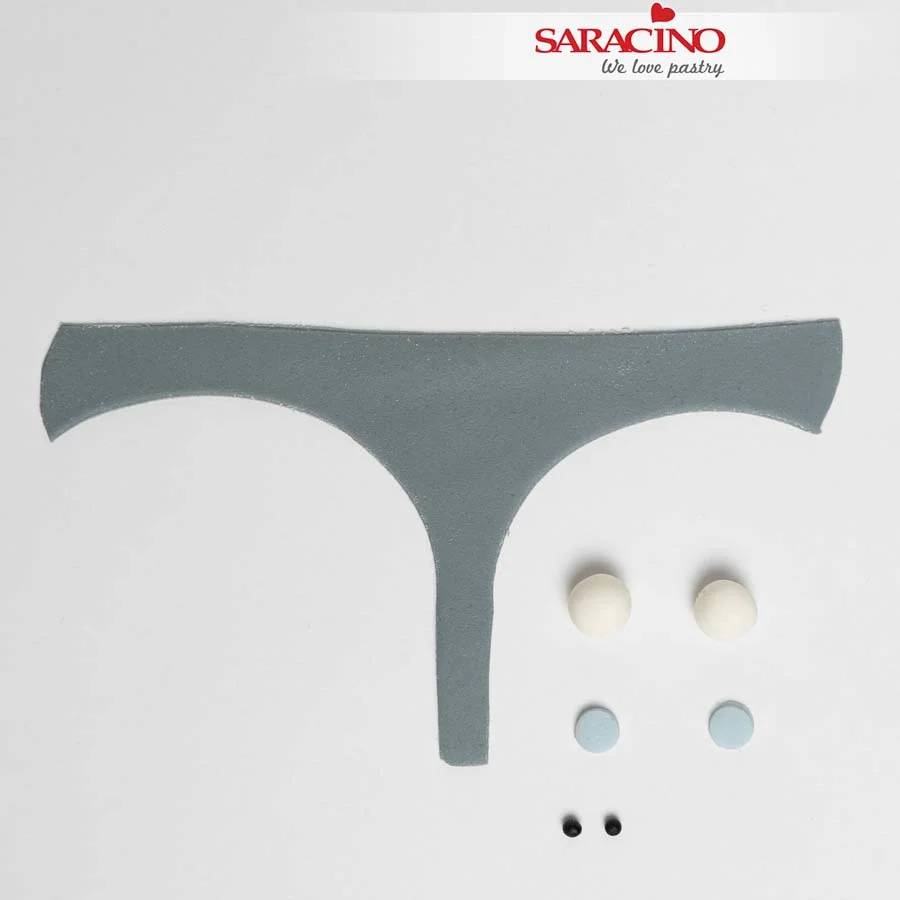
Using the dark grey paste cut out a shape as shown for the dark fur on the raccoon’s head. Prepare two white balls for the eyes, two blue balls for the irises, and two smaller black balls for the pupils.

Step 14

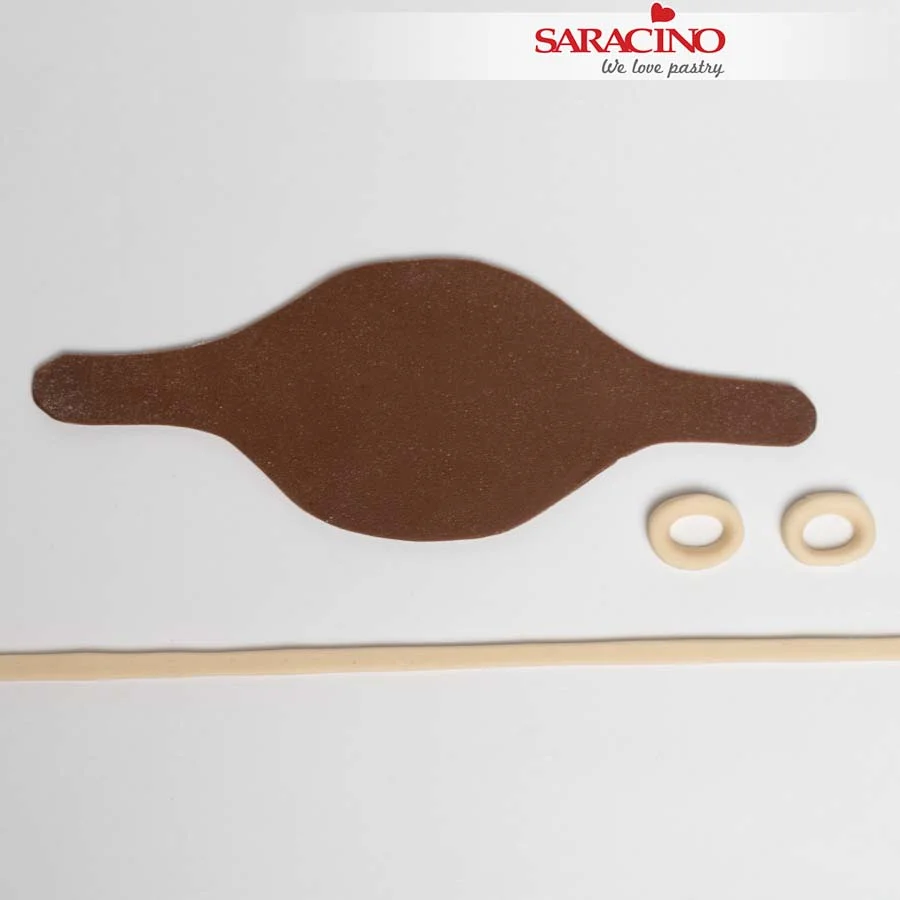
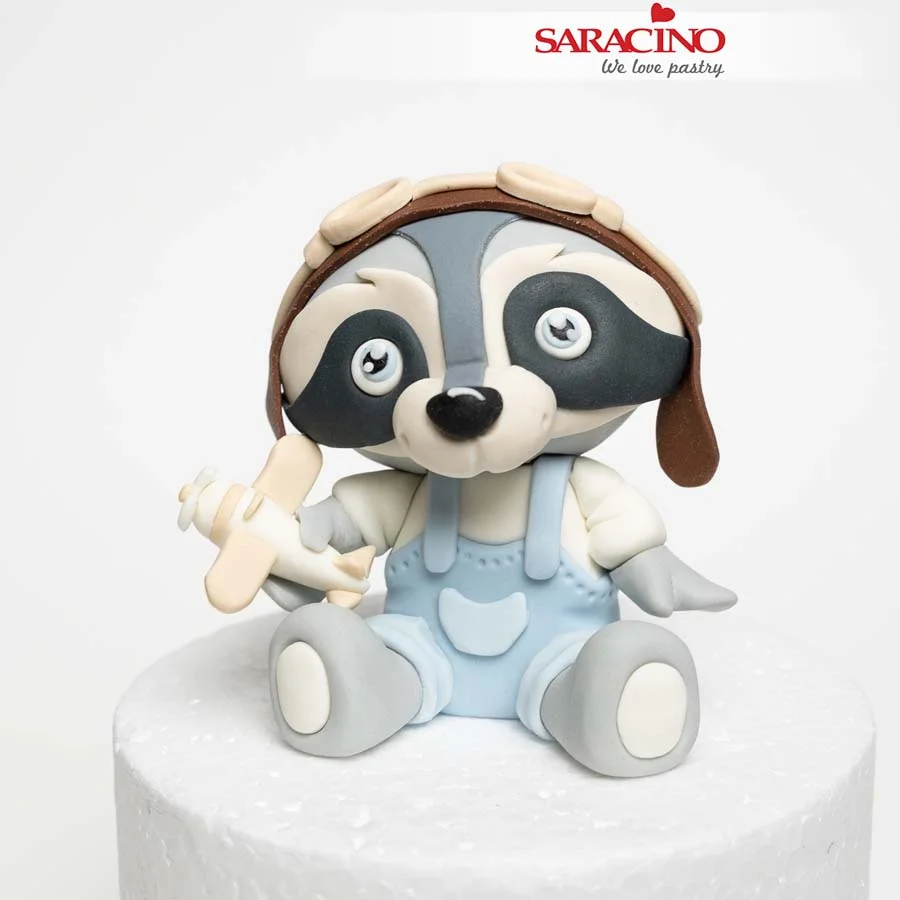
Roll out some brown paste and using a scalpel cut out the shape as shown to form the pilot cap. Prepare a strip of beige color and two circles with holes in the center. Gently flatten the circles into an egg shape. These elements will make the goggles.

Step 15

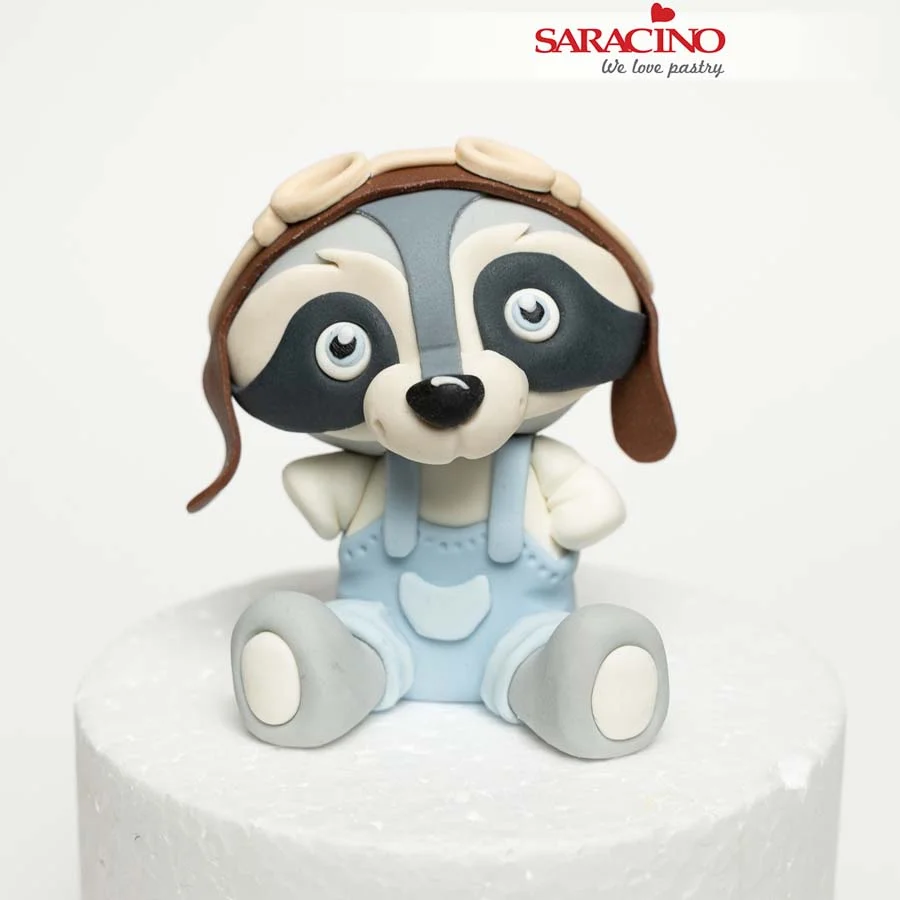
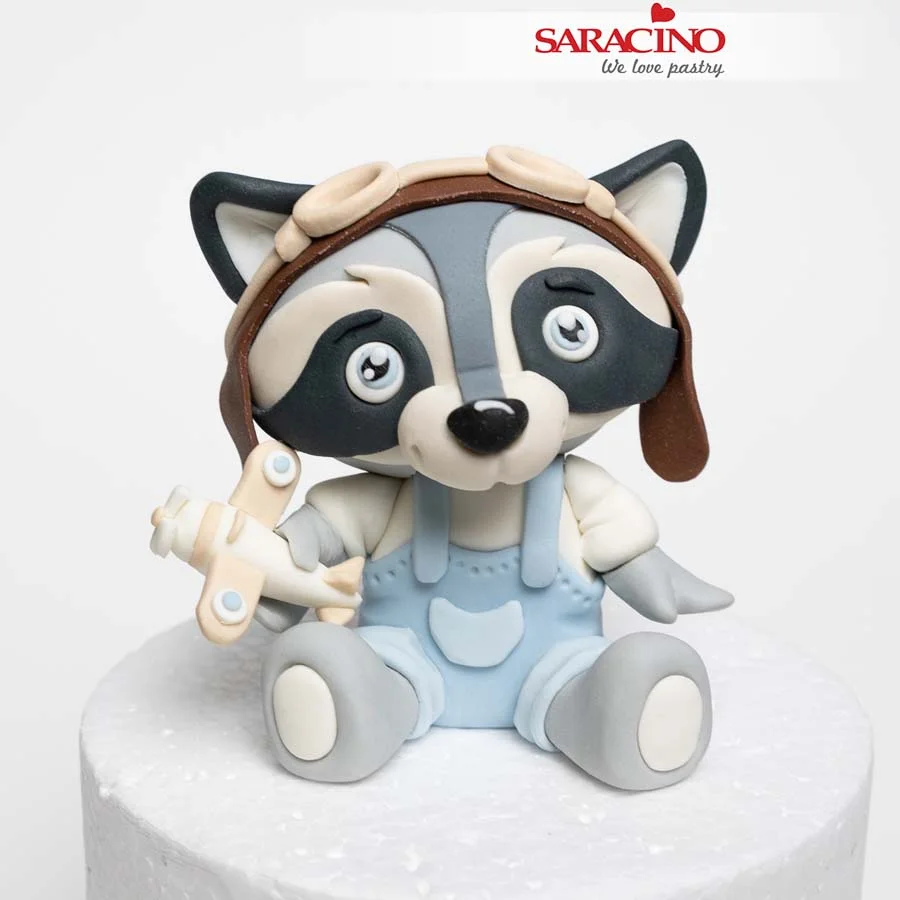
Add the eyes. Use tiny white beads to add a “sparkle” to each eye. Add the grey ‘fur’ piece. Add a black nose with a white ‘sparkle’. Fix the brown paste ‘helmet’ to the raccoon’s head. Add the elements to form the goggles. Add two sleeves using white paste.

Step 16

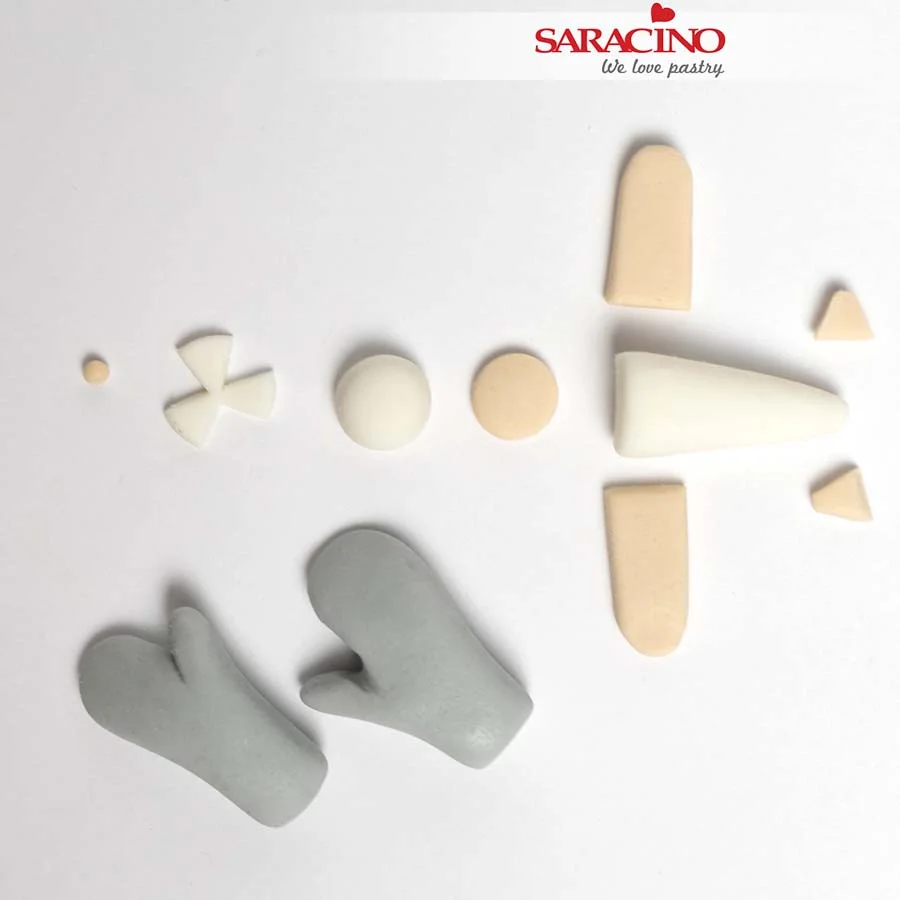
Prepare two paws from the dark grey paste as shown. Model small elements that will create the toy airplane. Let them set slightly and then glue together.

Step 17

Fix both paws to the arms. Add the toy airplane to the right paw.

Step 18

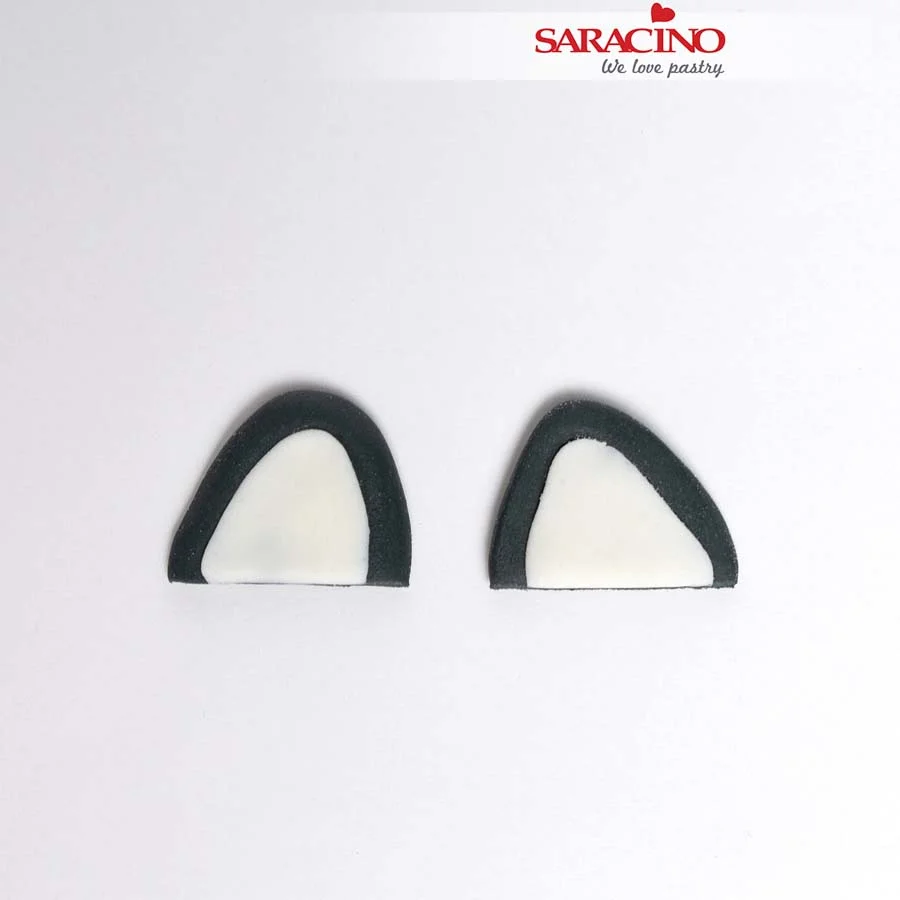
Form the shape of the ears from the black paste, stick the white centers to them (the same shape, only smaller).

Step 19

Place the ears on the raccoon’s head, gently bend them with your fingers to give character and form.

Step 20

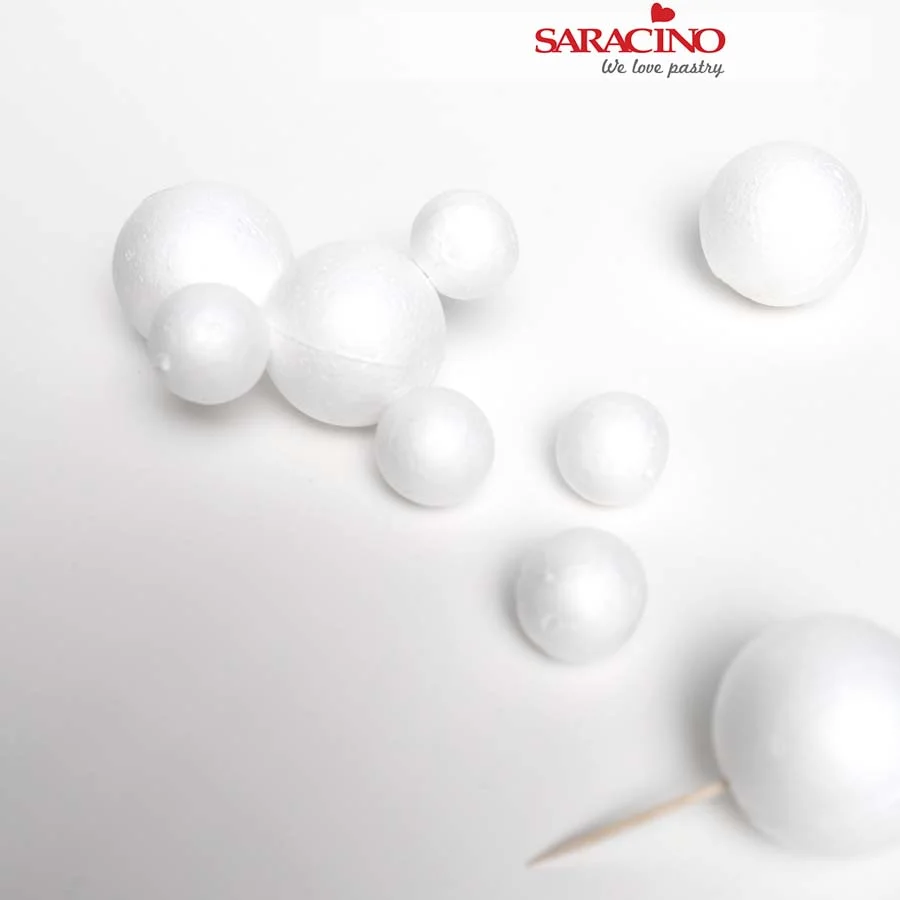
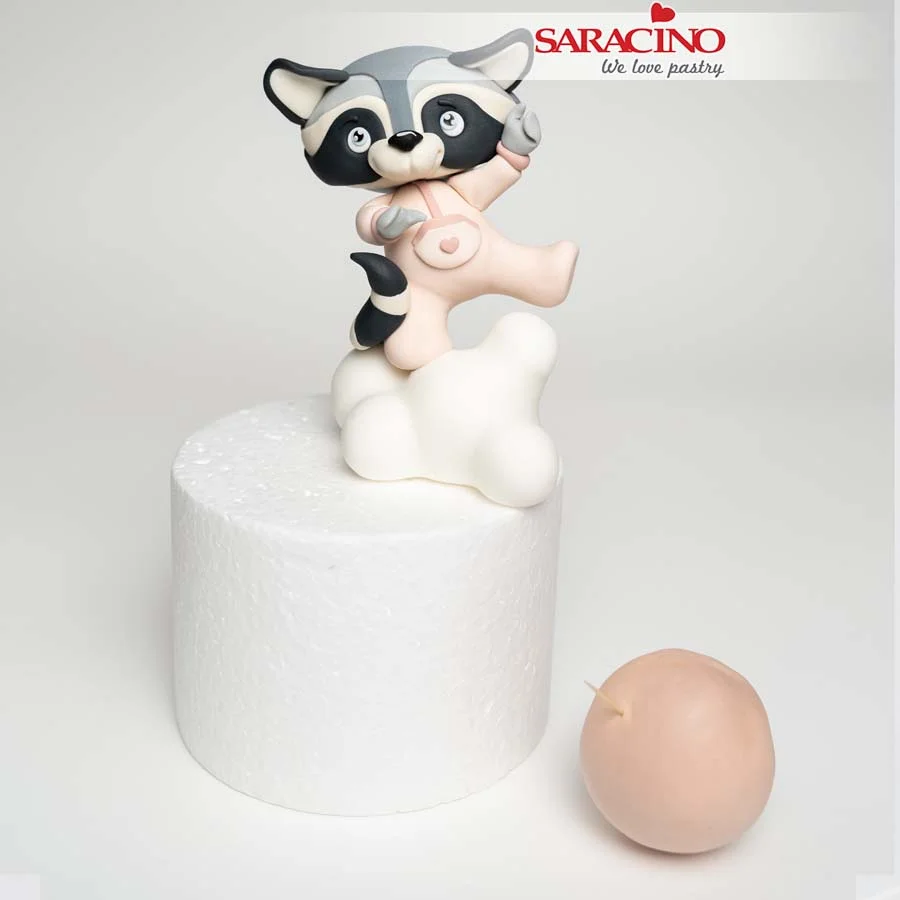
For the cloud prepare polystyrene balls connected together with toothpicks.

Step 21

Roll out the white paste and put it over the balls. To help the paste stick you can moisten the polystyrene with a little water and a brush.

Step 22

Gently press down and pull the paste to cover the ball structure.

Step 23

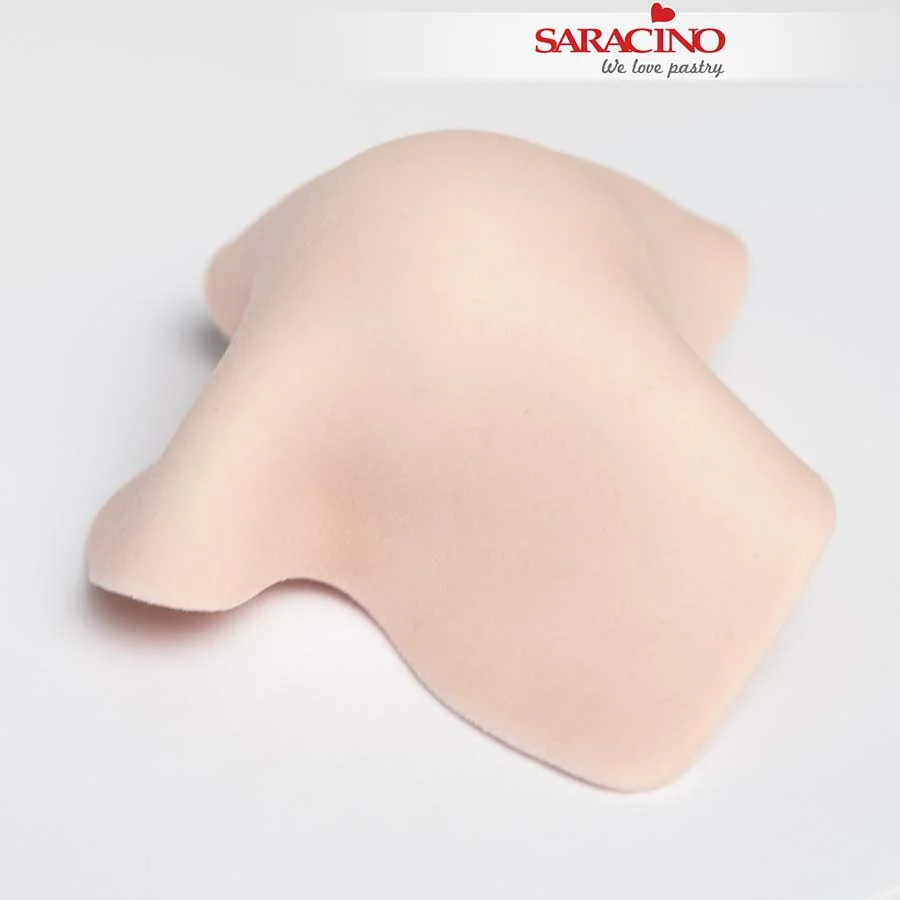
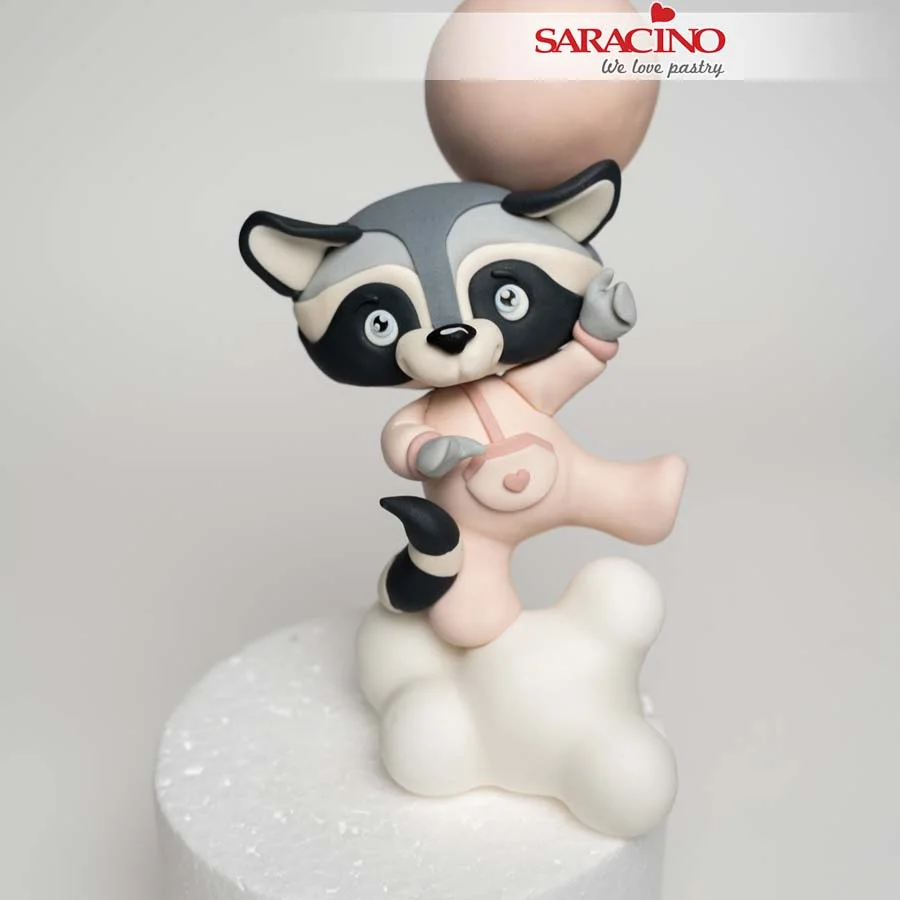
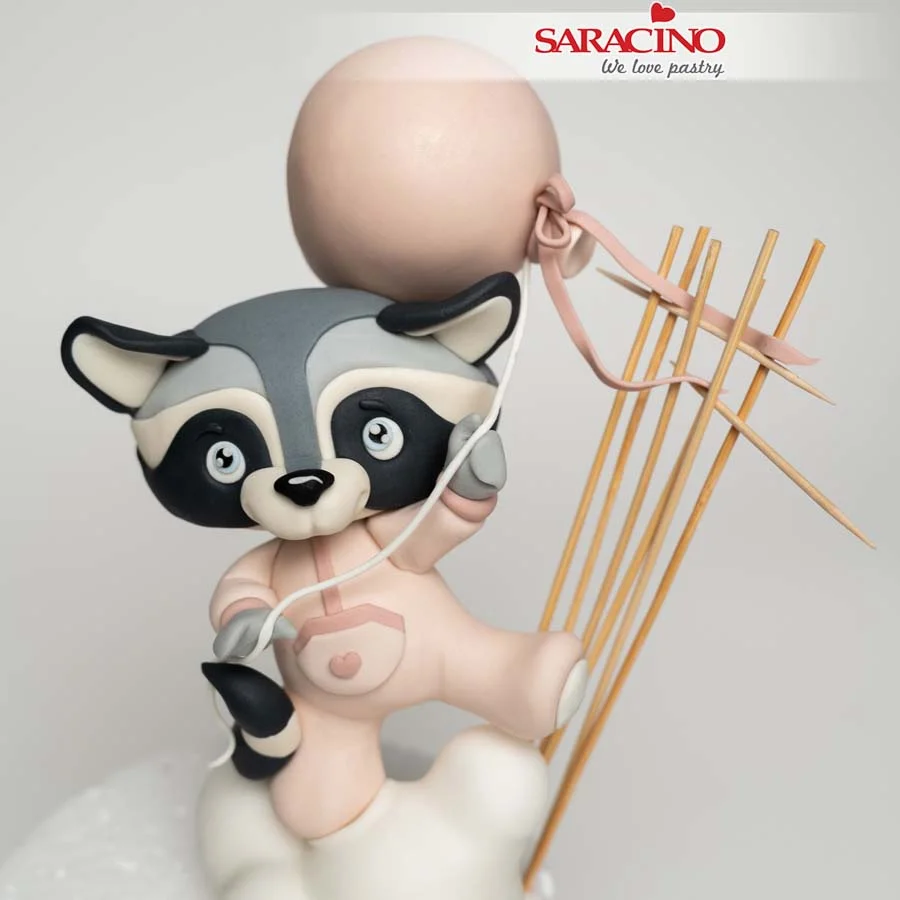
Combine light pink paste with white paste, add a little brown for a soft colour. You can of course use the pre-coloured pastes if you wish. Model the shape of the tummy with the legs. Attach it to the cloud with a toothpick. If the raised leg is not set enough and drops you can insert a toothpick into it to keep it straight.

Step 24

Prepare a slightly darker shade of paste. Make a thin strap, a pocket shape and a mini heart. Using the lighter colour paste make a pocket shape. Fix the elements on the character’s tummy with a little glue if required.

Step 25

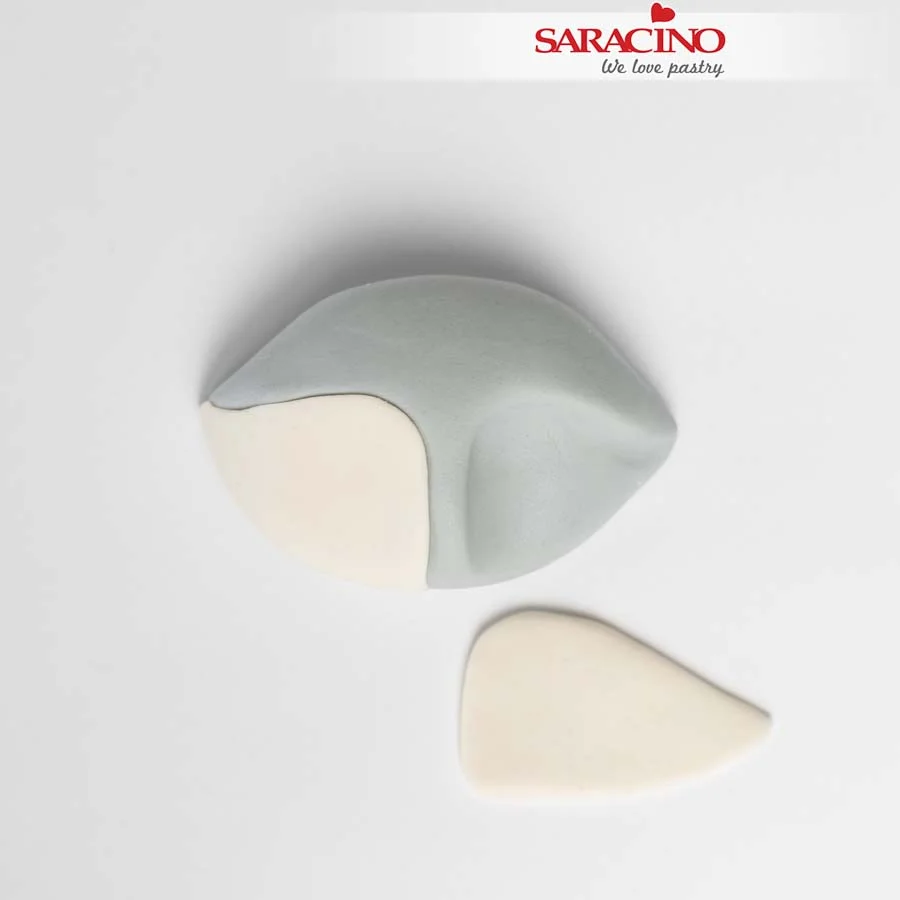
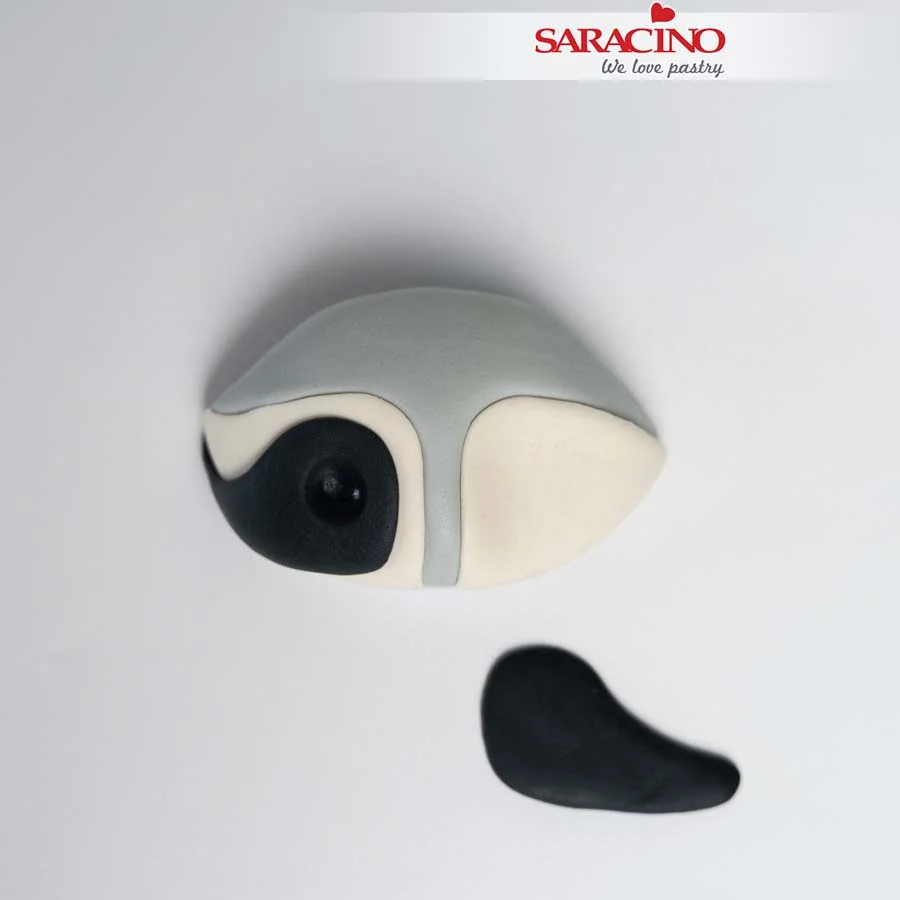
As with the previous racoon use grey paste to form the shape of the head. Use your finger or a ball tool to form recesses. Fill the recesses with lighter pieces of paste cut into a tear drop shape.

Step 26

Using a dark grey paste prepare an elongated teardrop shape flattened on one side. Fix to the face. Use a ball tool to make eye sockets.

Step 27

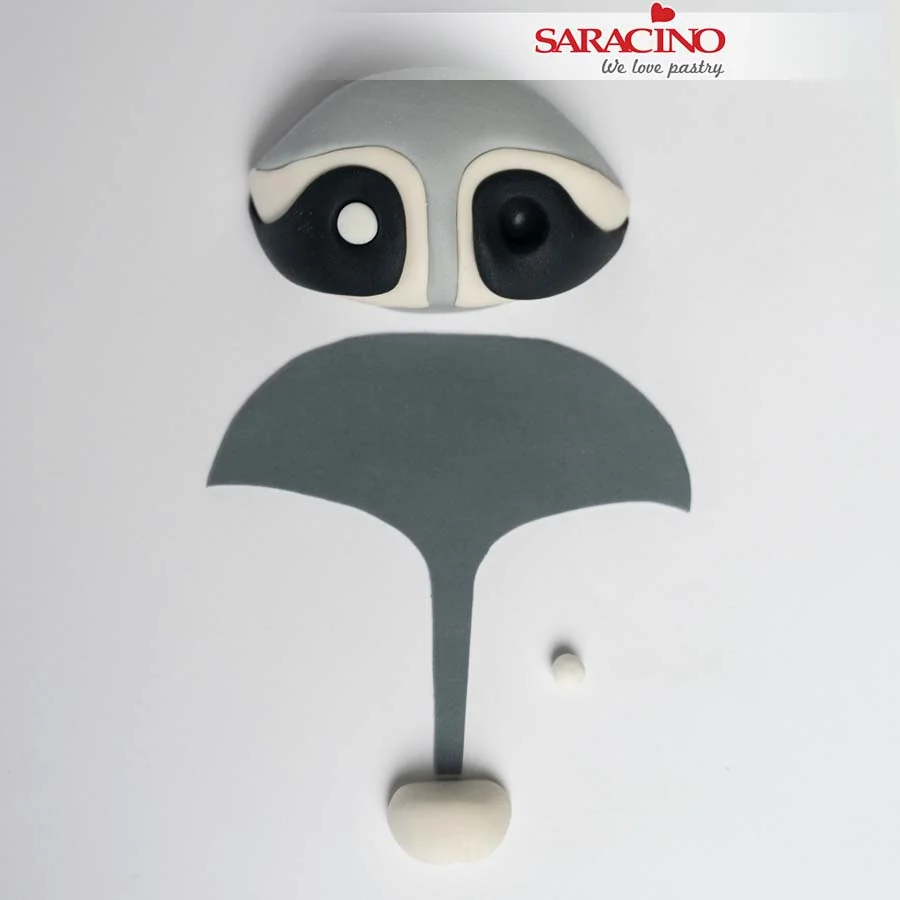
For the dark fur on the racoons head roll out a mid grey and cut out to the pattern shown. Roll two balls of white paste for the eyes. Using white paste shape the mouth area.

Step 28

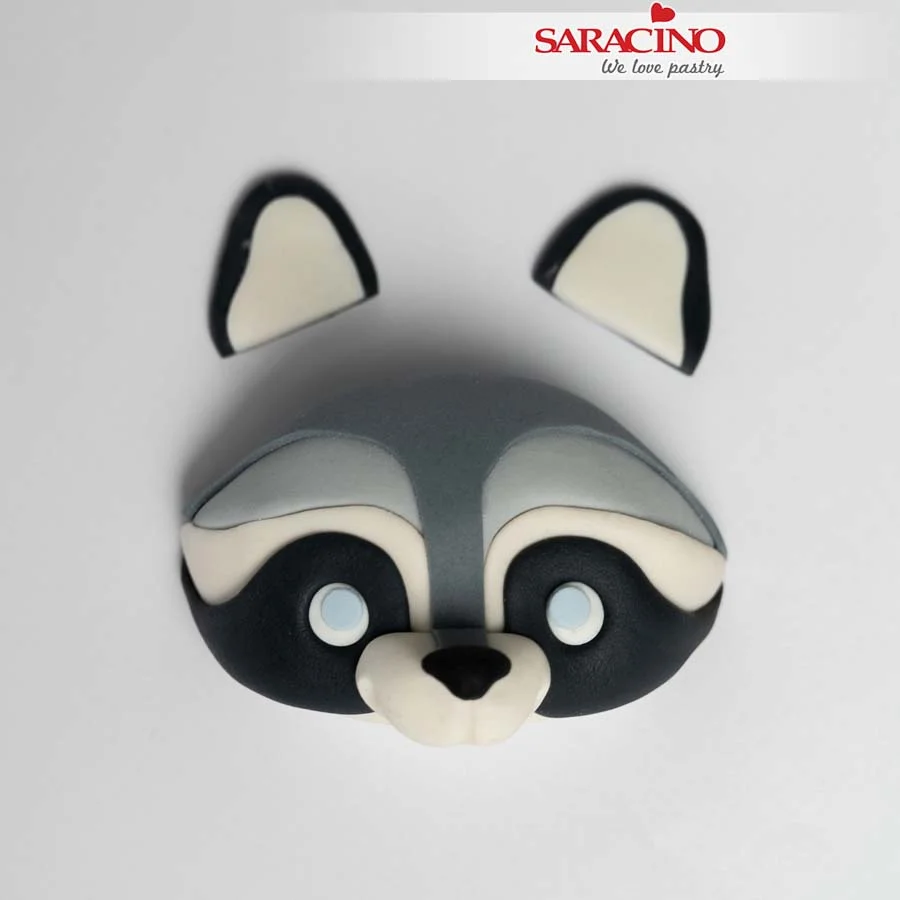
Fix the dark fur on the head and cut to length by the nose. Add the mouth, nose, irises and ears as before. Use a Dresden tool to form the mouth and snout.

Step 29

Attach the head to the torso using a cocktail stick if required. Add two sausage shapes for the arms. Using the darker pink roll two small balls and press to a cuff shape. Fix to the end of the arms. Use a ball tool to form a recess in each cuff ready to fix the hands. Apply two small dots of white paste to each eye.

Step 30

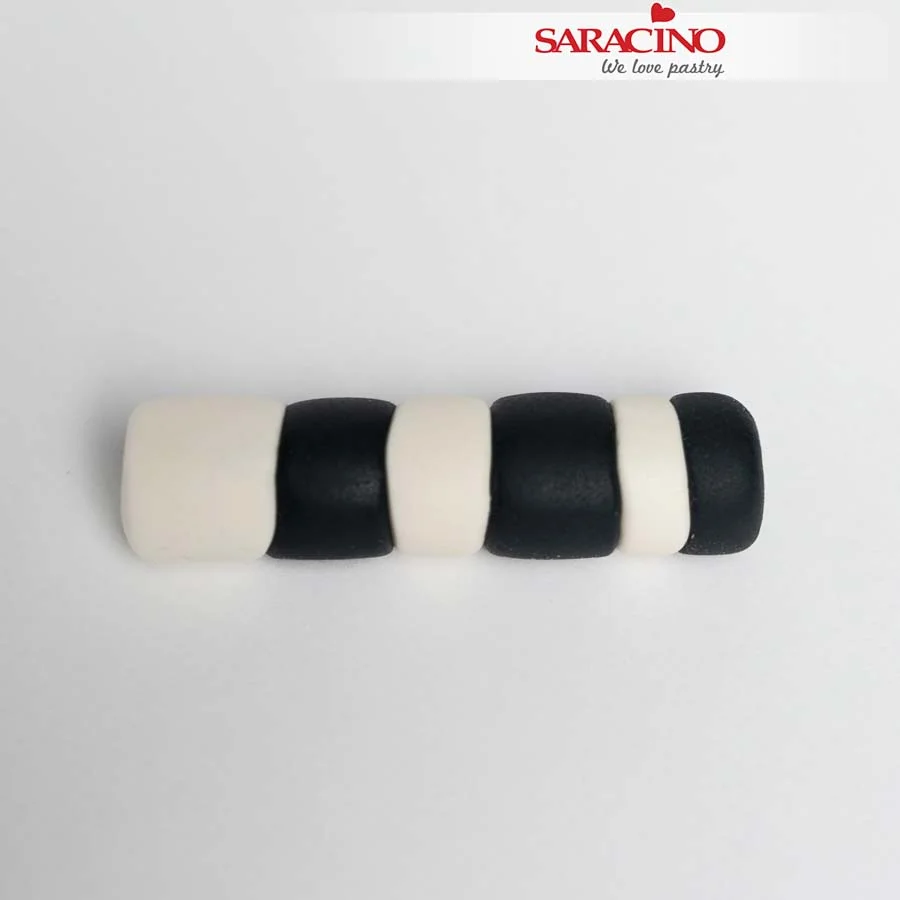
Prepare balls of dark grey and cream paste. 3 different sized pieces of each colour. Arrange from the smallest to the largest alternately. Carefully press them together to form a roll shape.

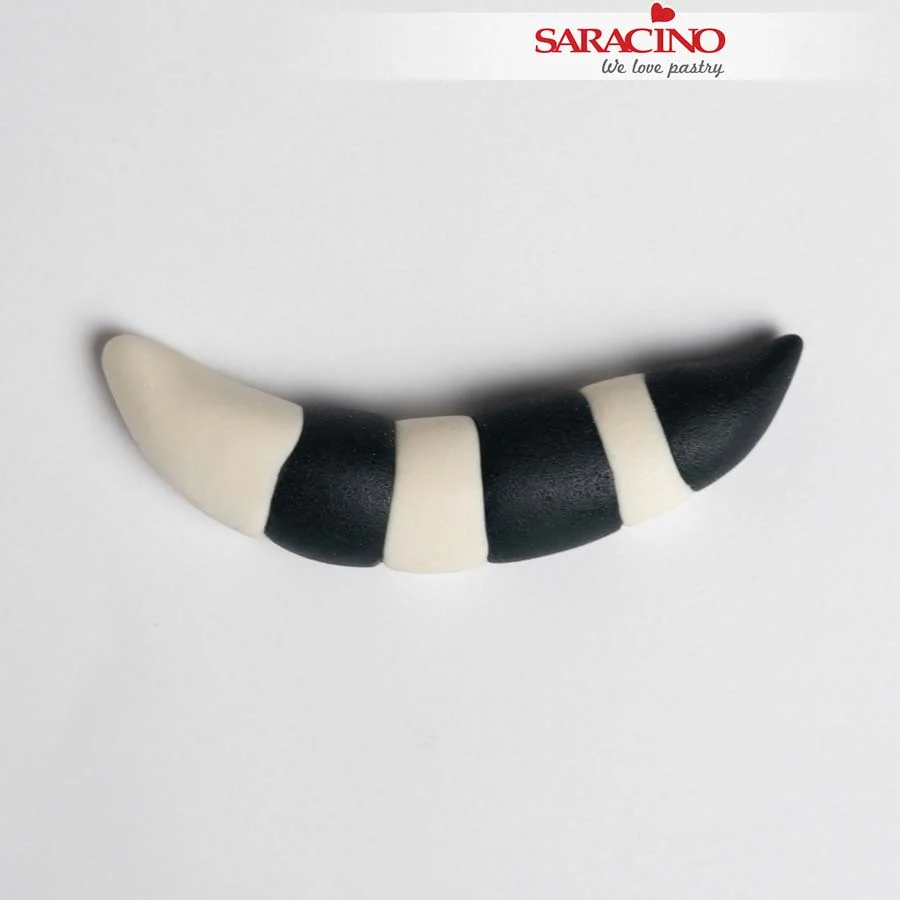
Step 31

Roll the tail to give a point at each end.

Step 32

Fix the tail with a little glue. Model the hands and fix to each cuff.

Step 33

Apply a little water to the 6cm polystyrene ball.

Step 34

Roll out the dusty pink paste. Carefully cover the ball and smooth.

Step 35

Stick a toothpick into the ball.

Step 36

When the figurine is set and firm stick the toothpick into the top of the raccoon’s head. Take your time with this step as if the figurine is not firm enough the ball maybe too heavy.

Step 37

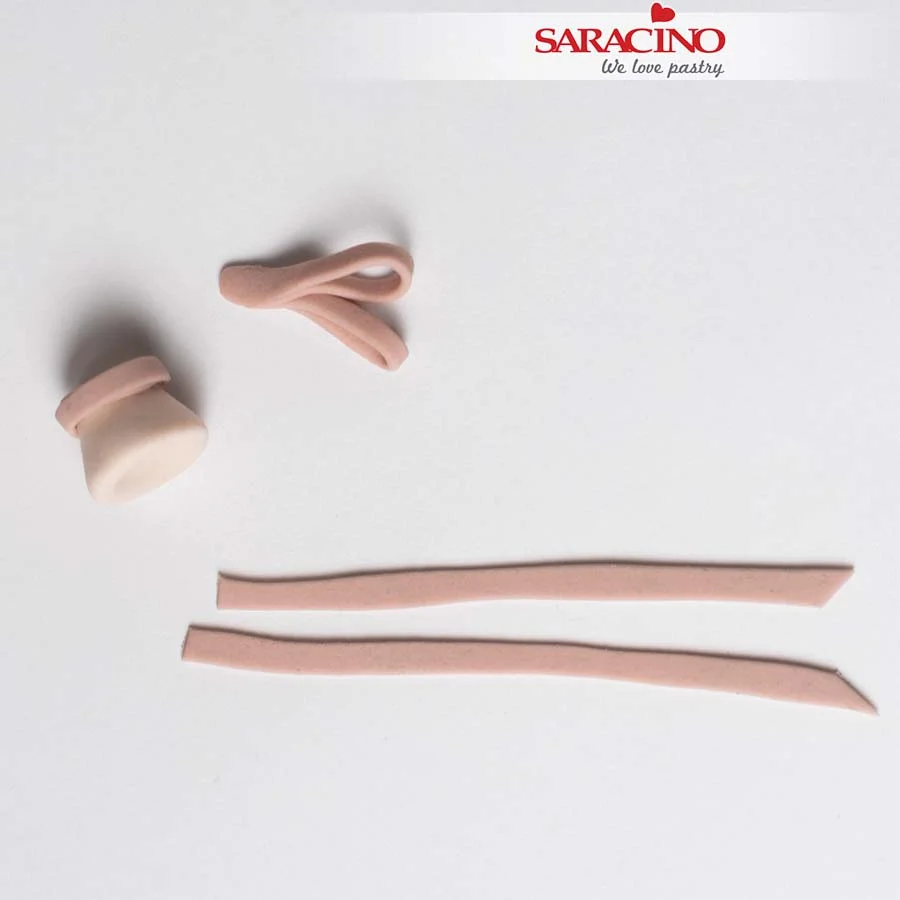
For the end piece of the balloon model a small cone shape. Prepare thin strips of the dusty pink paste. Two longer ones for the ribbons and two shorter ones for the bow. Fold in half and join them together as shown. Wrap a fifth piece around the end piece of the balloon.

Step 38

Fix to the balloon. Add a thin white strand of paste and place it in the raccoon’s hands. To obtain the effect of ribbons blowing in the wind use a construction of skewers and toothpicks as I have shown. Support the ribbons off the structure until they are set. Carefully remove the sticks checking that the ribbons are holding their shape.

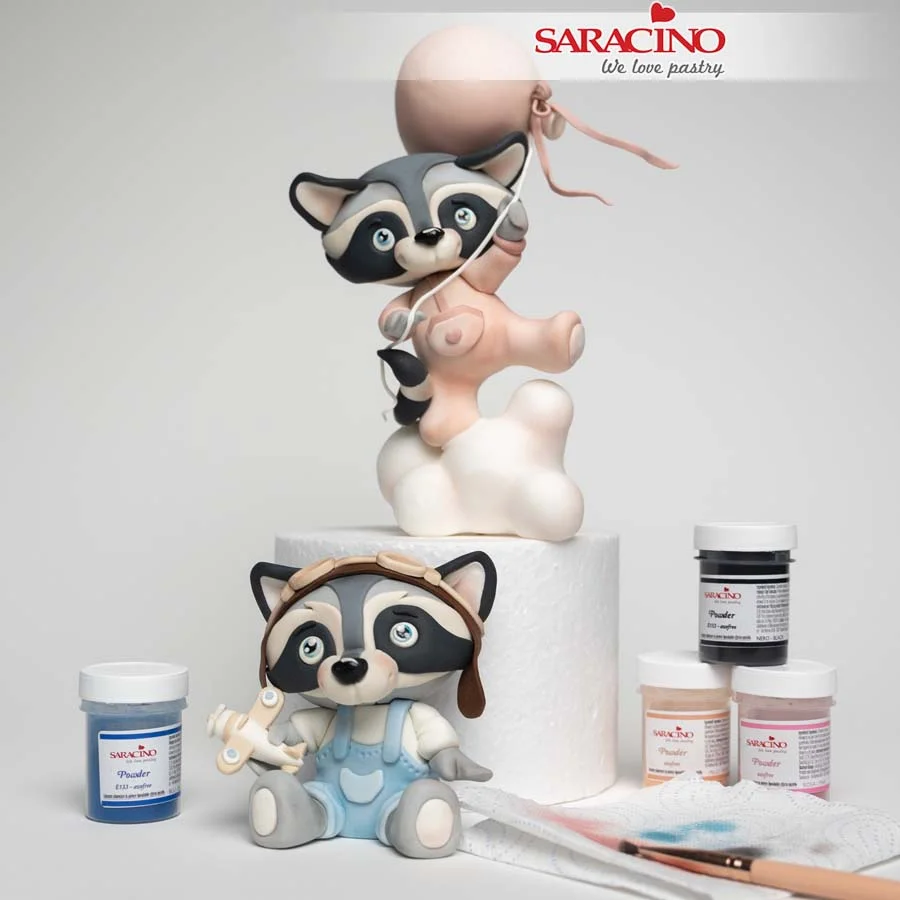
Step 39

Finish off the characters by painting the eyes and noses with the Liquid Shiny confectioners glaze. Using a soft brush and the powder colours lightly dust the figures. Black for fur, blue for dungarees and the combination of pink and skin tone for the balloon and girl’s jumpsuit. To make the figures even cuter add a slight blush to the faces. Remember to control the amount of powder on the brush, apply the dust each time and then wipe the excess off the brush onto a paper towel.

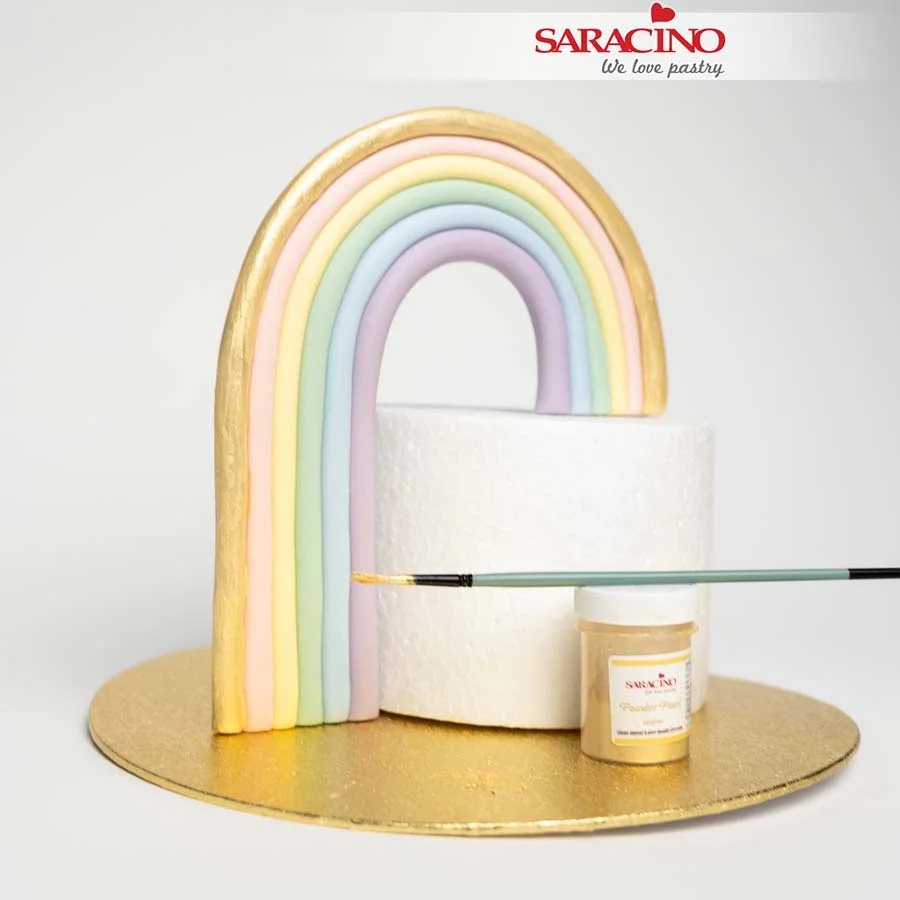
Step 40

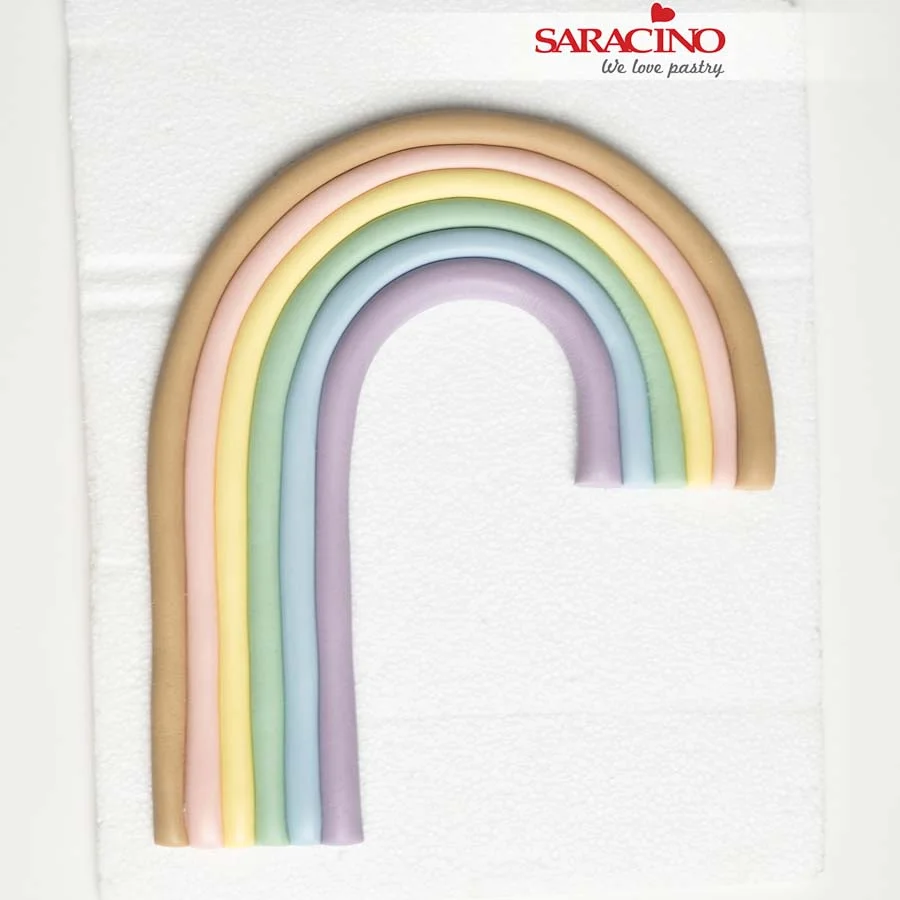
Prepare and work the purple, sky blue, green, yellow, powder pink and very light brown colour pastes. Add white paste to the pre-coloured paste to make the softer shades. Roll a long sausage shape of each colour and shape them into a rainbow. Trim the ends with a knife. Leave to set.

Step 41

Using Light Gold powder pearl colour mixed with clear alcohol carefully paint the light brown colour. Painting the gold over the brown makes coverage easier.

Step 42

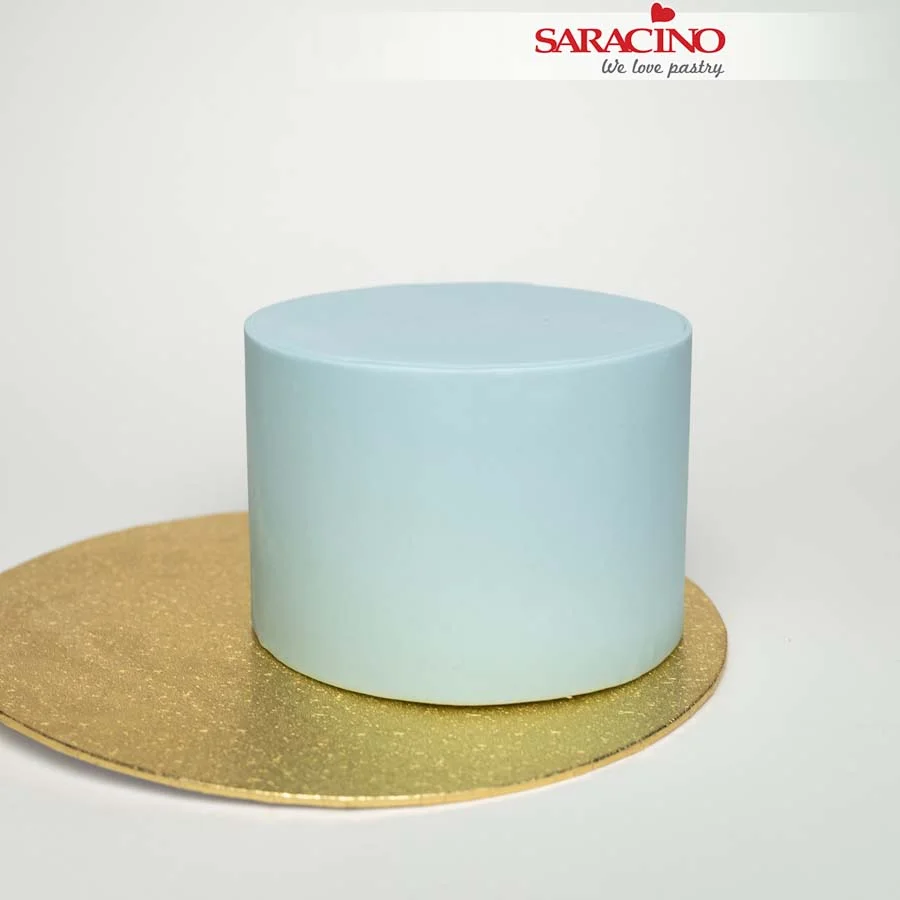
Using baby blue Pasta Top cover the dummy or the finished cake.

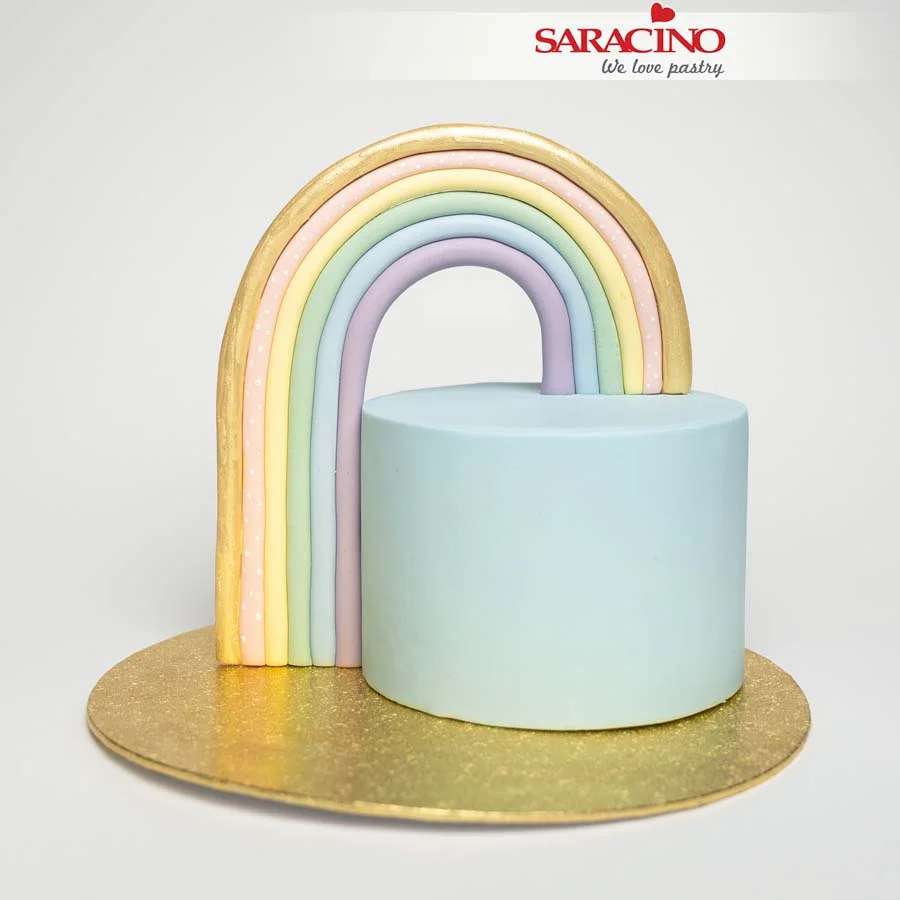
Step 43

Glue the rainbow to the side of the cake and to the top. Optionally add white dots on the pink rainbow strip.

Step 44

Place the boy raccoon on the cake board and the girl raccoon on top of the cake. You may want to add additional decoration to the cake such as sprinkles or hand-cut confetti. On the side of the cake you can add paste covered polystyrene balls (these can also be cake pops or chocolate balls depending on your skills).

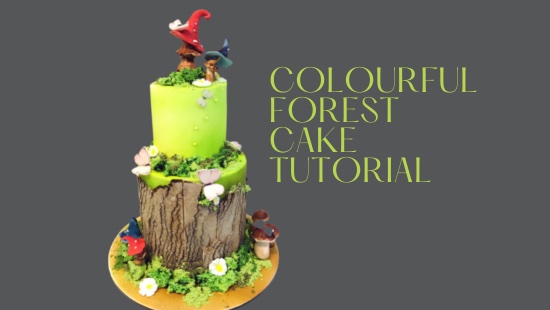
COLOURFUL FOREST CAKE

COLOURFUL FOREST CAKE

Skill level: BEGINNERS

You will need:

  • Pasta Top
  • Pasta Model
  • Pasta Bouquet
  • Wafer paper
  • Isomalt
  • Almond powder
  • Cake Gel Glue
  • Powder colours: yellow, green, brown, blue
  • Gel colours: red, blue, green, brown

Step 1

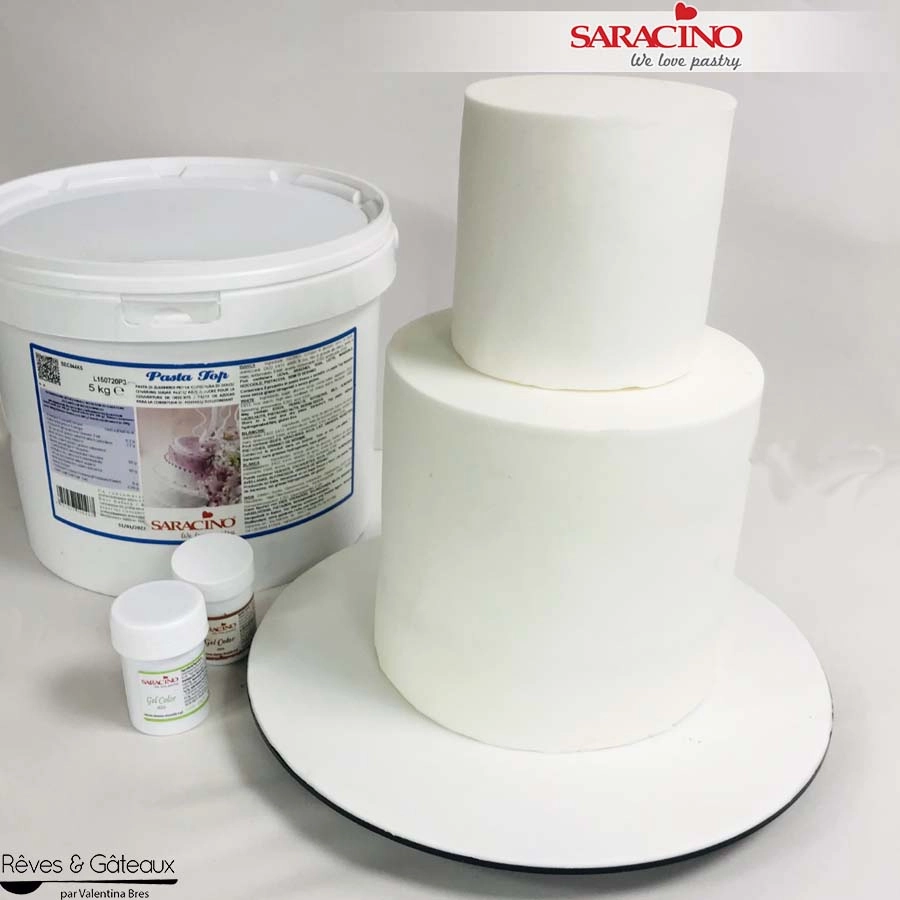
Cover a 15cm diameter x 14cm high tier and a 10cm diameter x 10cm high tier with white Pasta Top.

Step 2

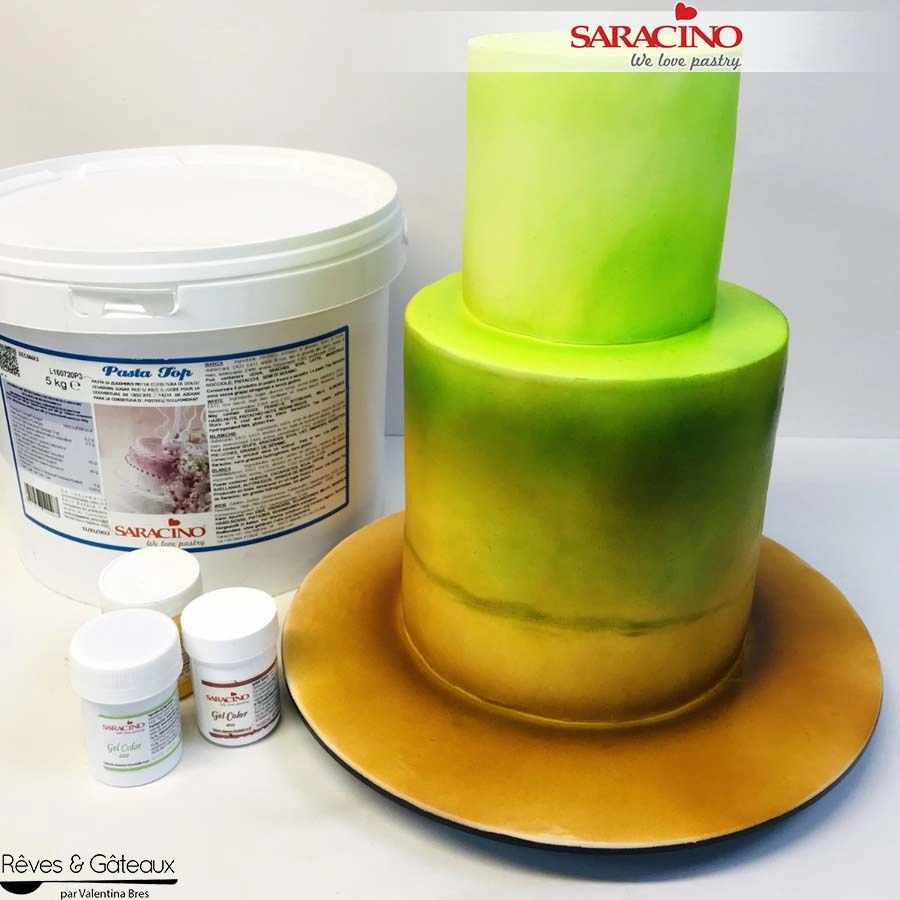
Paint the cake with a brush, sponge or airbrush in shades of brown and meadow green.

Step 3

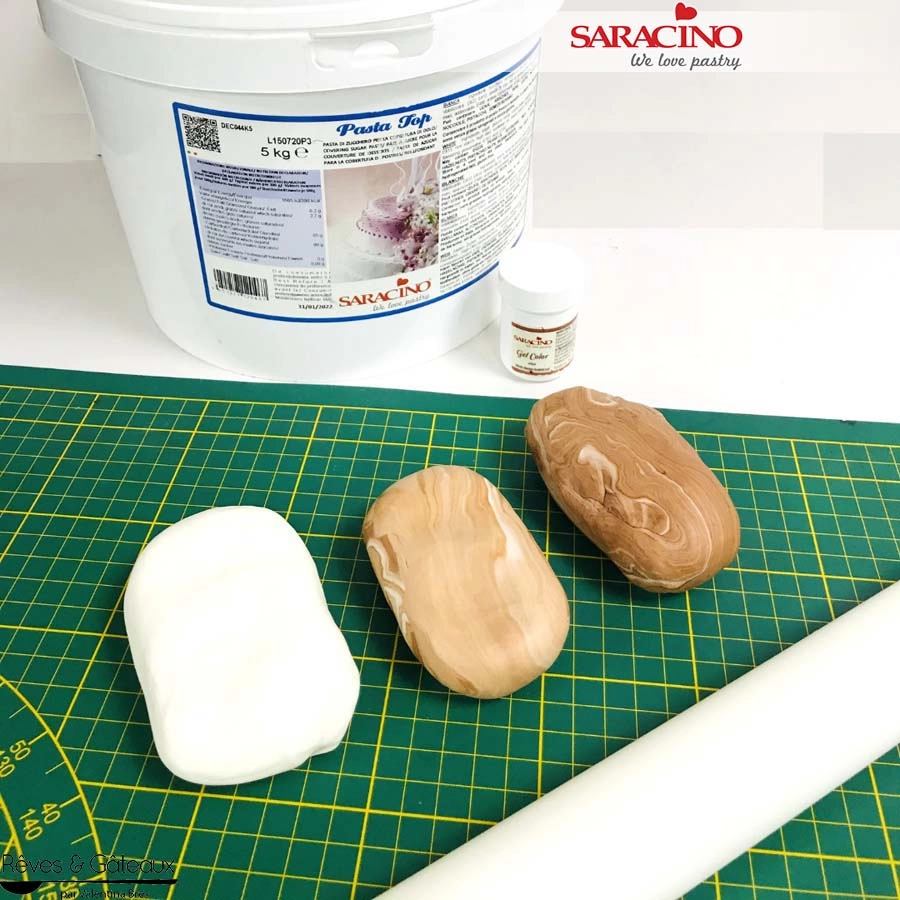
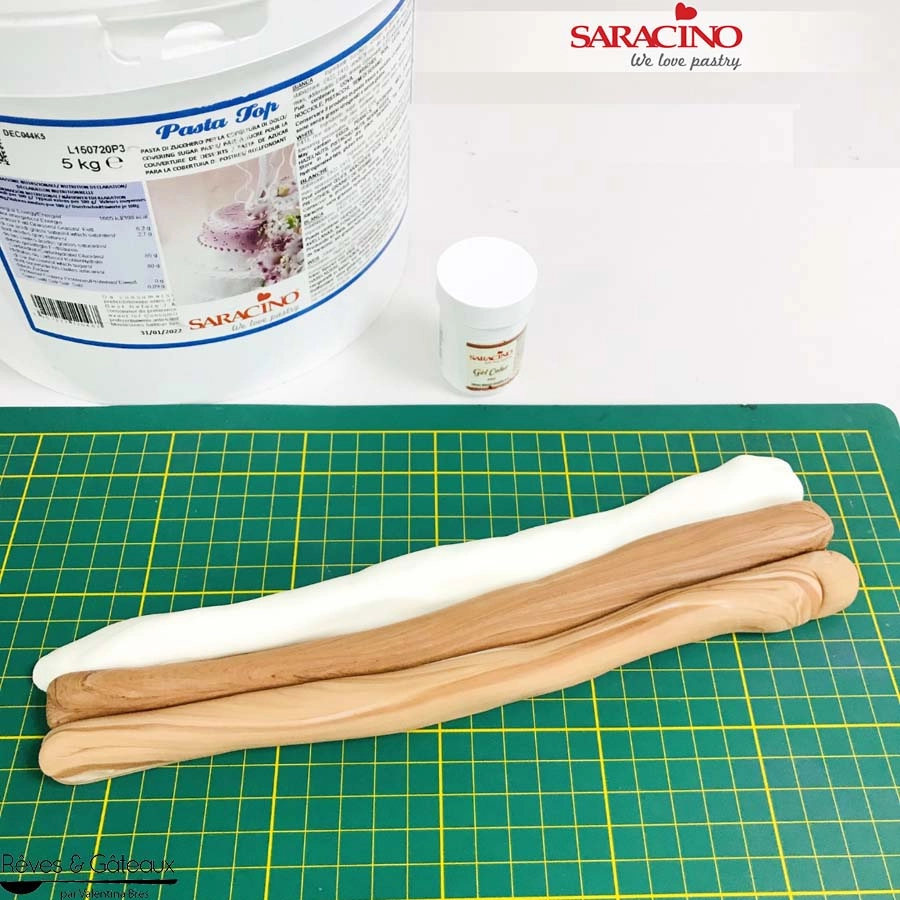
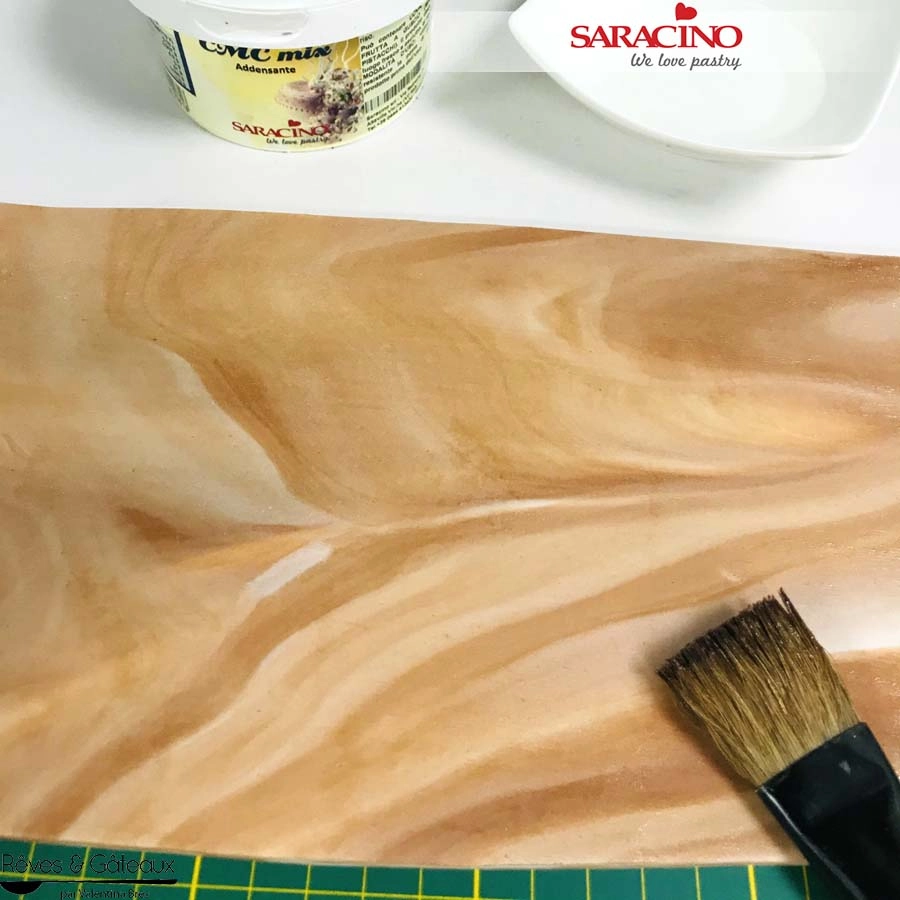
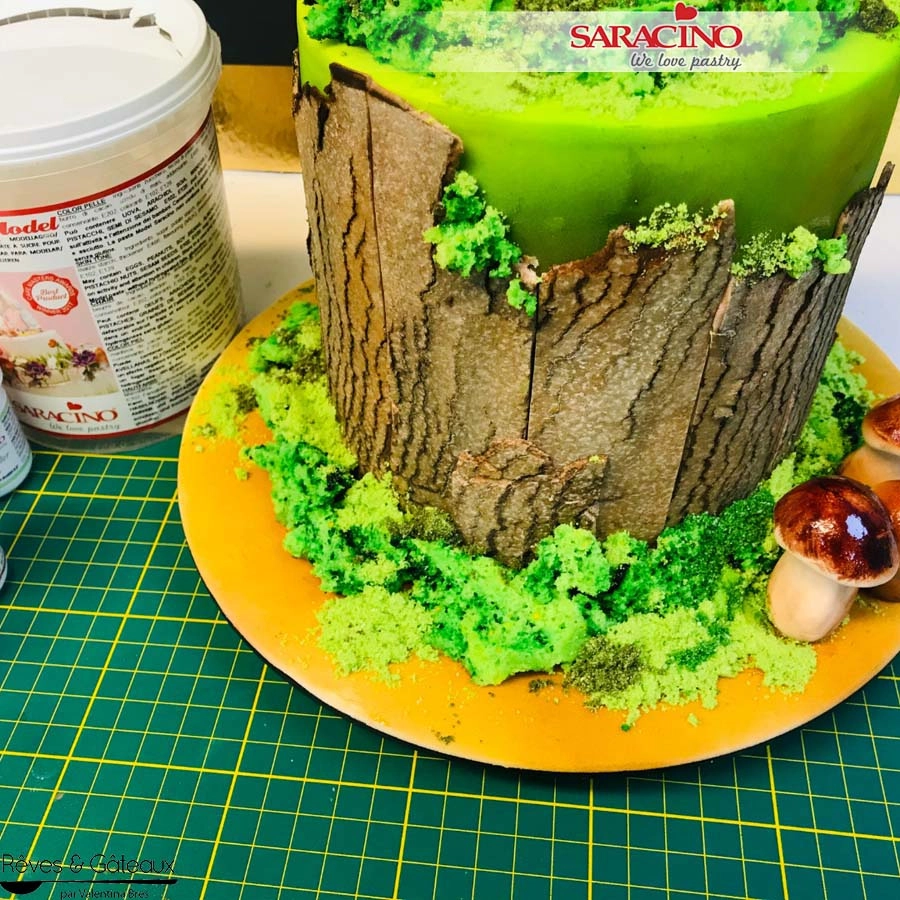
For the bark, colour 100g of Pasta Top in shades of light brown and dark brown.

Step 4

Roll the two brown pastes and a white paste to elongated sausage shapes and position side by side.

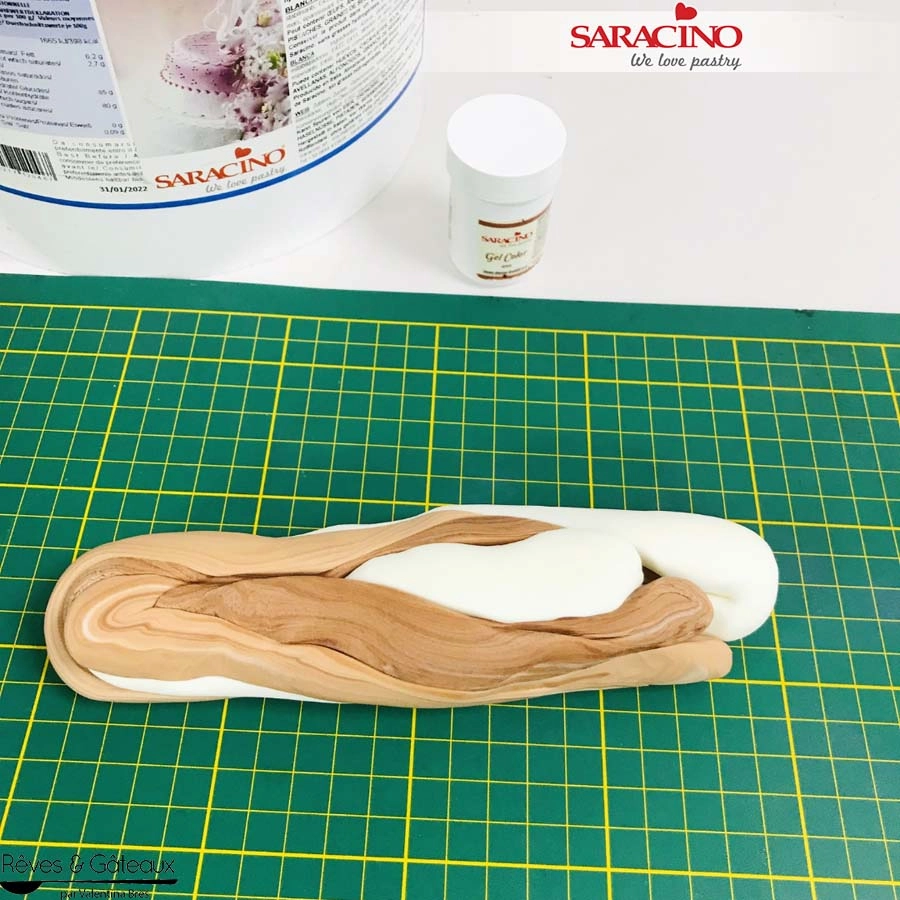
Step 5

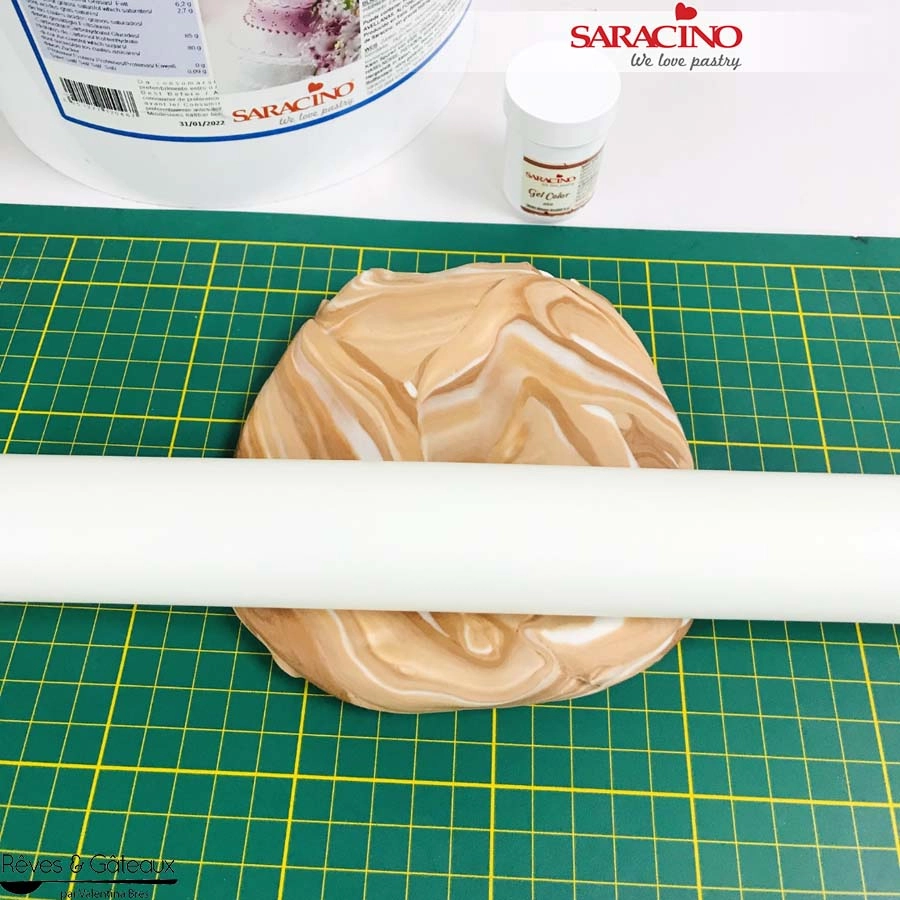
Mix the colors until you get a beautiful, well-marked marbling.

Step 6

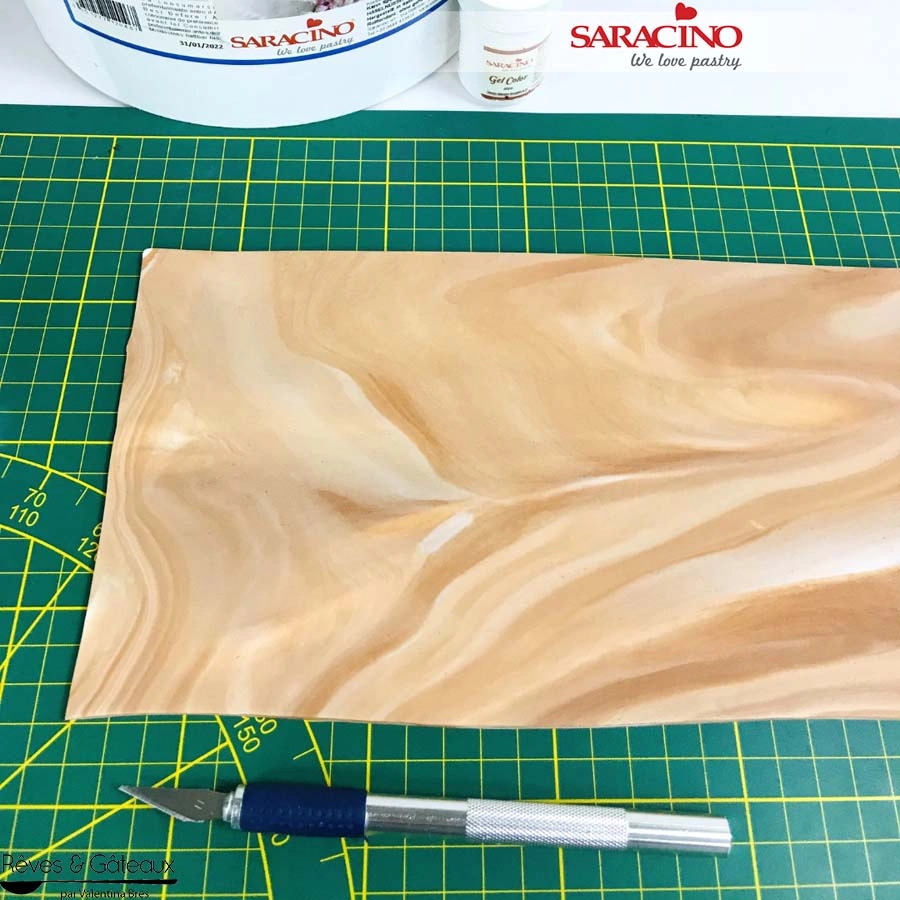
Roll out the sugar paste to a thickness of 3mm.

Step 7

Cut out a 50x14cm rectangle. I worked in two parts of 25x14cm to make it easier.

Step 8

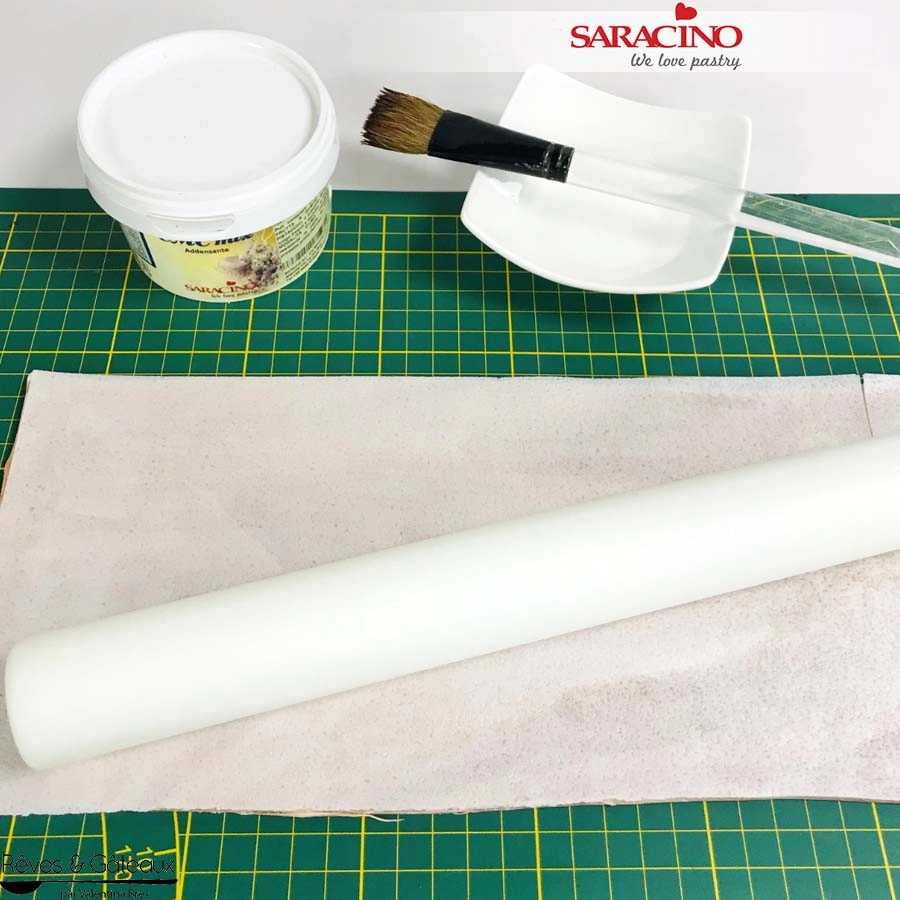
Apply a thin layer of Cake Gel or other edible glue with a brush. Optionally you can mix CMC with water to make your own glue.

Step 9

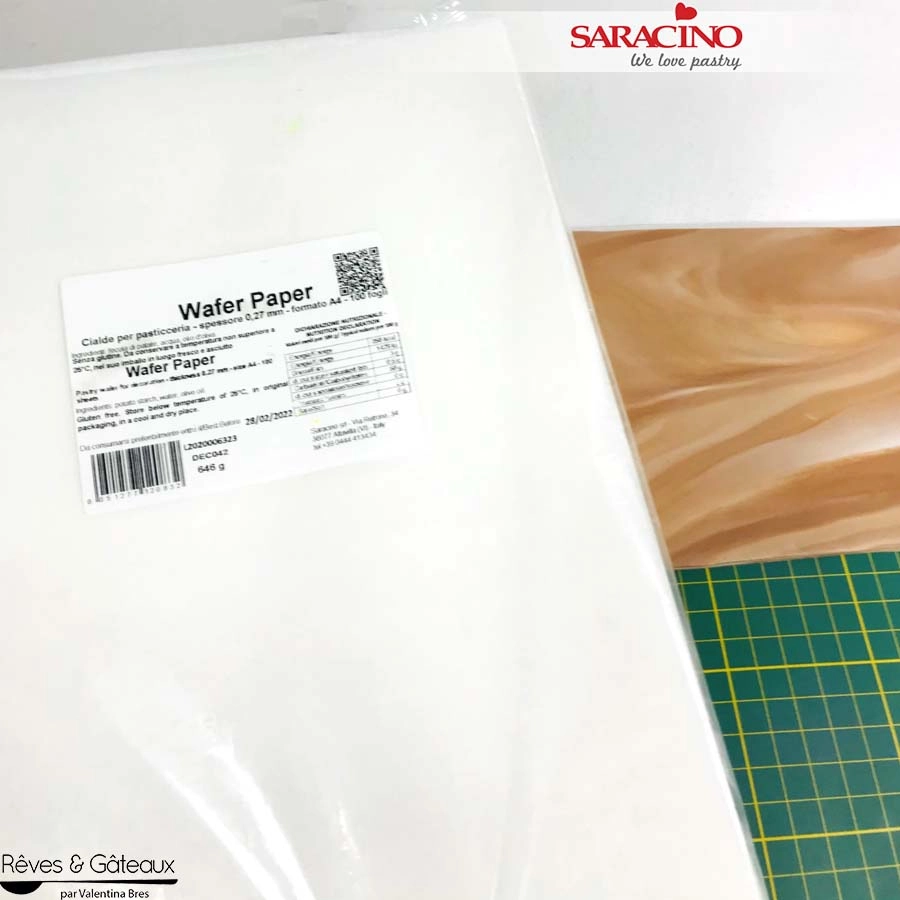
You will need 0.27 Saracino wafer paper sheets.

Step 10

With a wafer paper sheet cover the strip of sugar paste. Be careful to put the rough side of the sheet facing up with the smooth side against the paste. Roll out in all directions.

Step 11

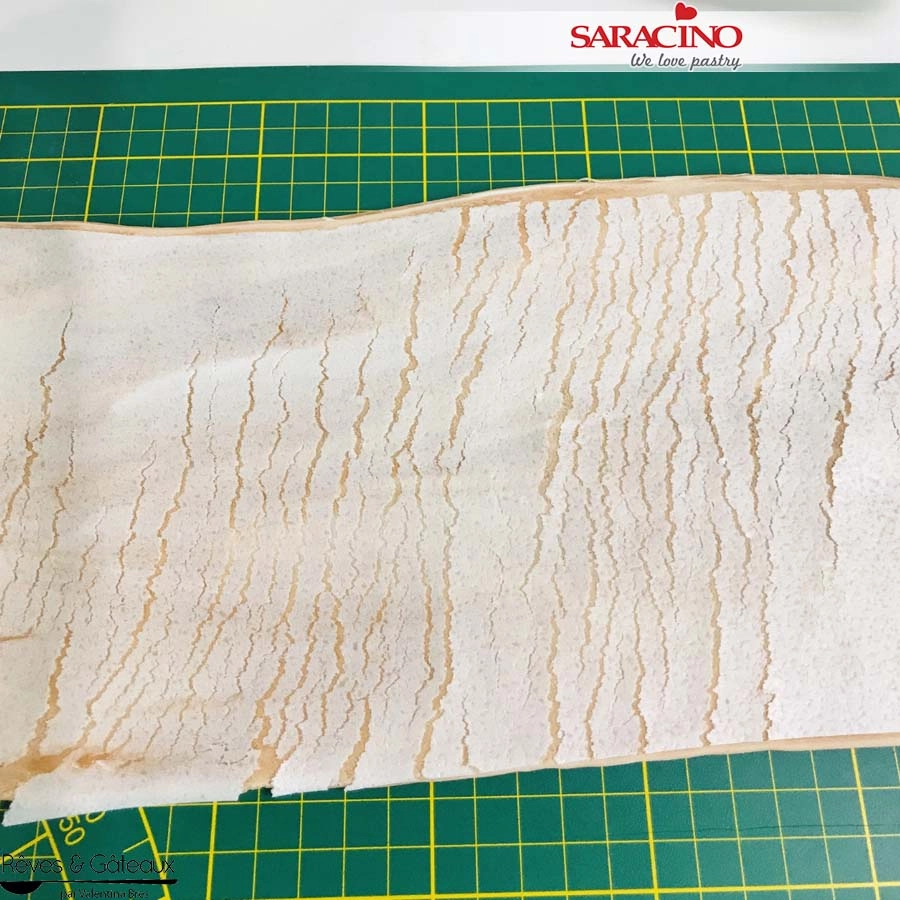
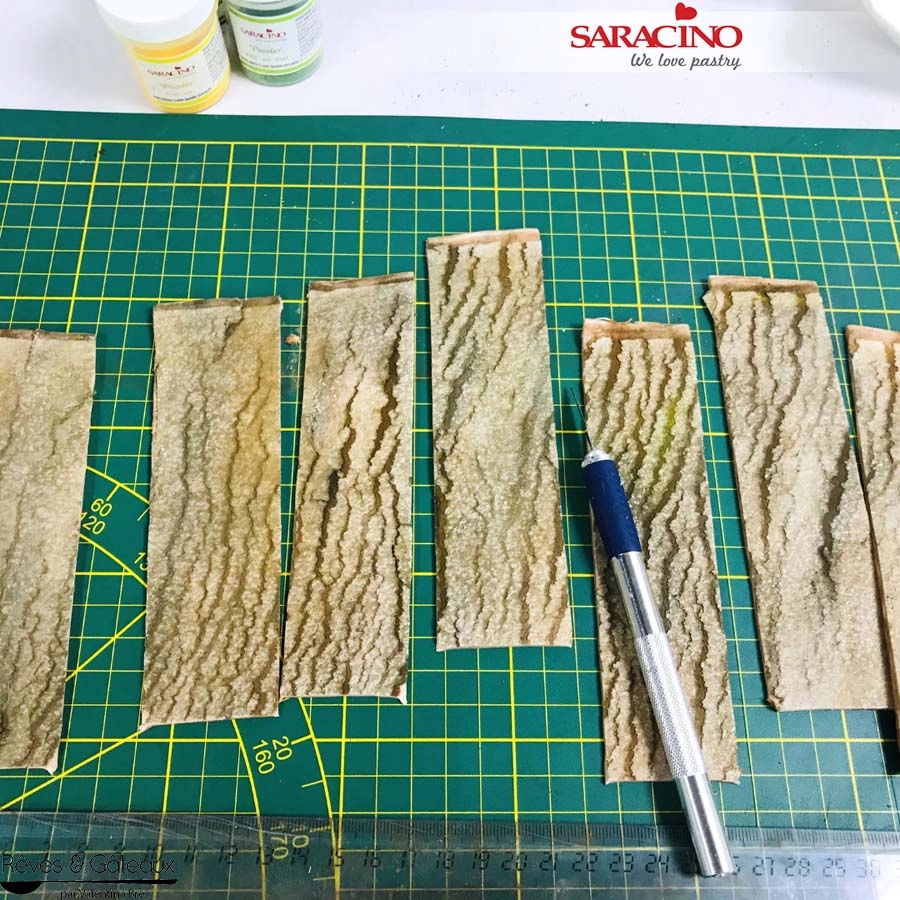
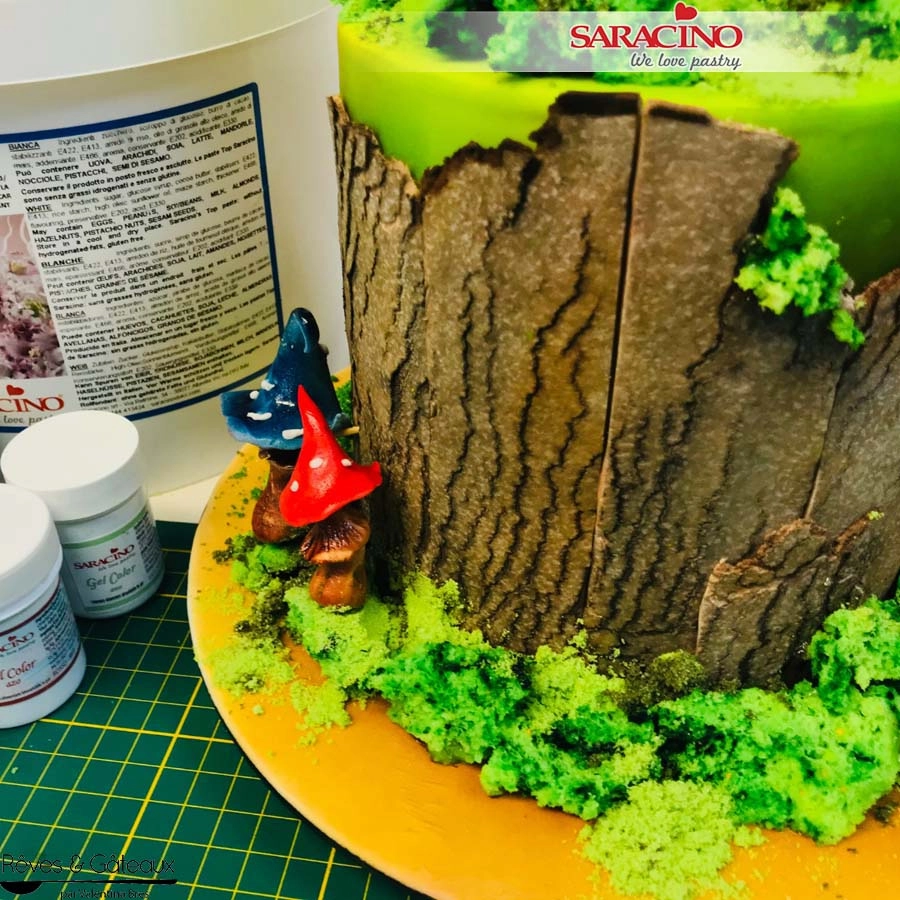
As you roll the wafer paper will tear and you will get a wood bark effect. Continue to roll to exaggerate the cracks and get the look you want to achieve.

Step 12

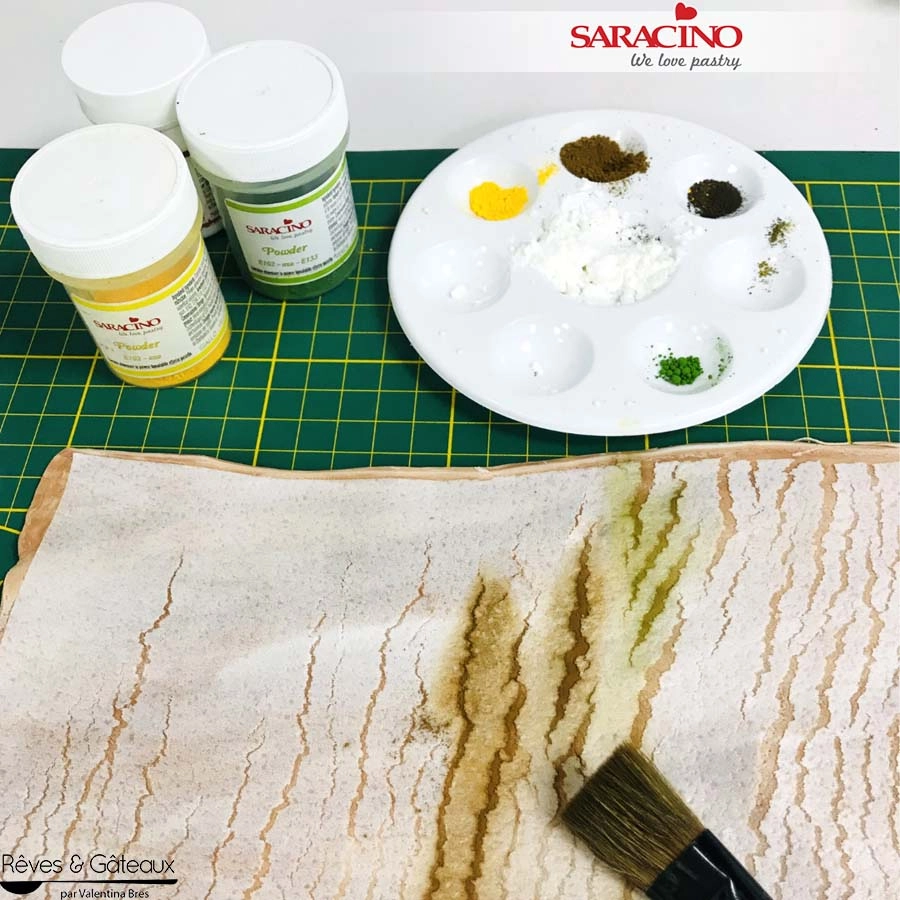
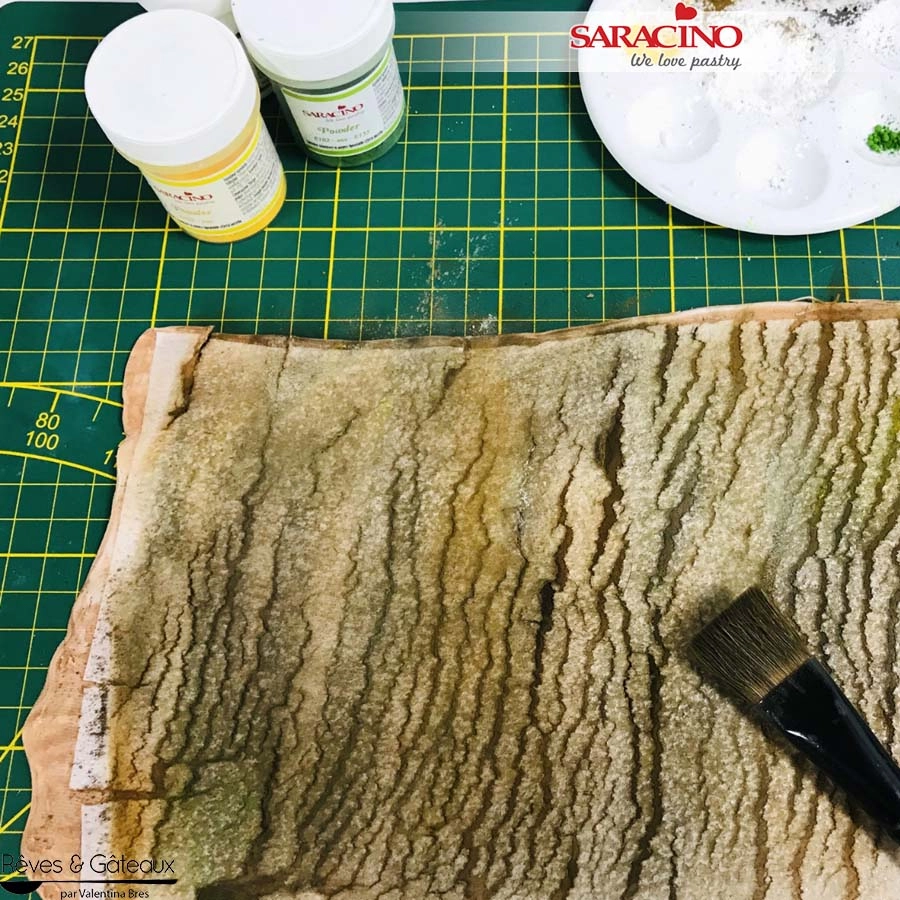
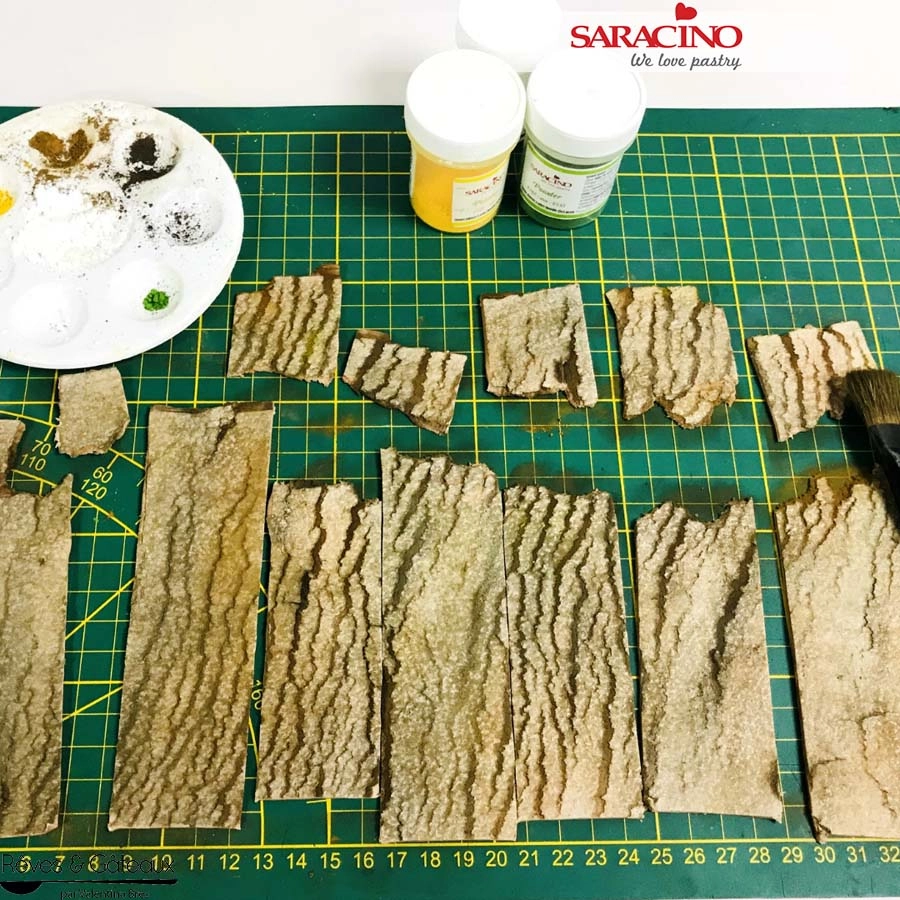
Using Saracino powder colours and a soft flat brush dust the cracks in shades of brown and green. The goal is to create a wood bark effect.

Step 13

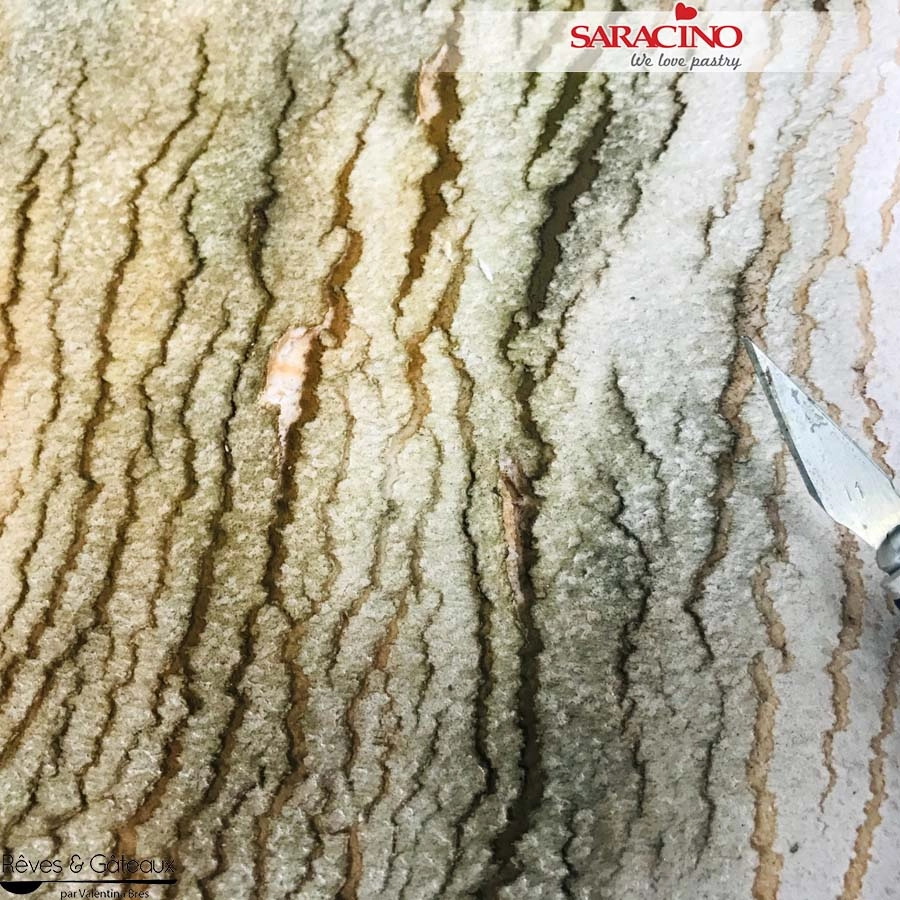
You can exaggerate the cracks and give a slight 3D look by lifting with a scalpel blade.

Step 14

Emphasize the cracks with a darker shade of color.

Step 15

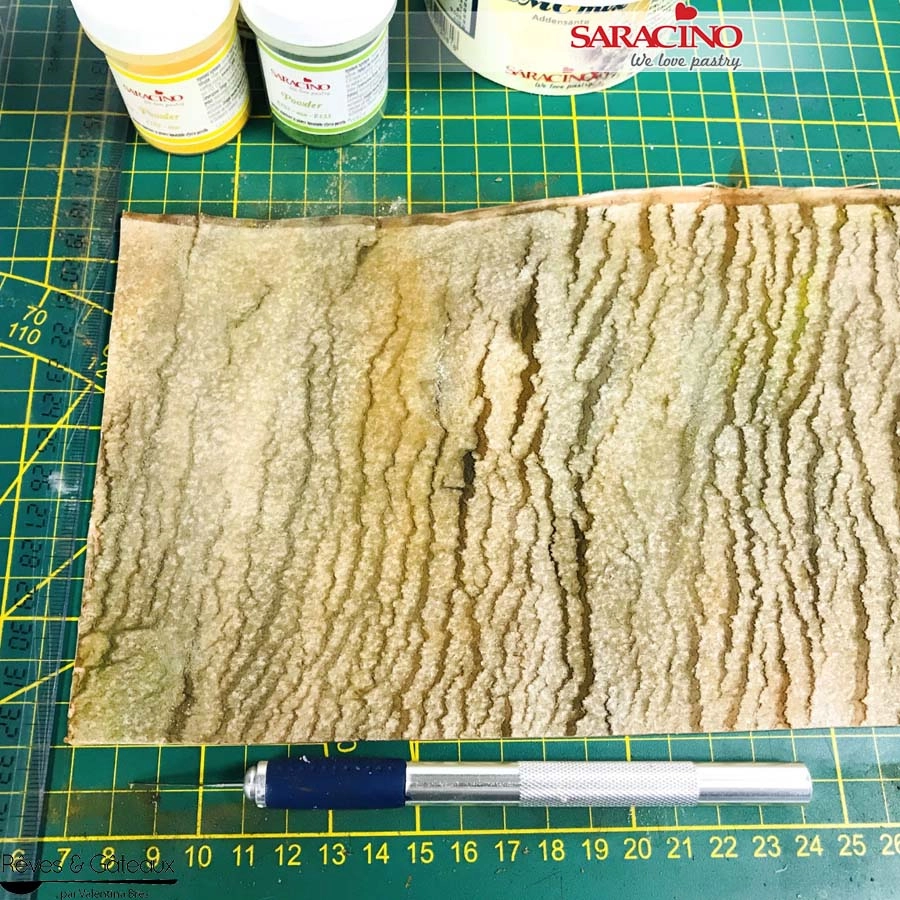
Trim the edges to return to the 50cmx14cm strip we had at the beginning.

Step 16

Cut into strips approximately 4cm wide.

Step 17

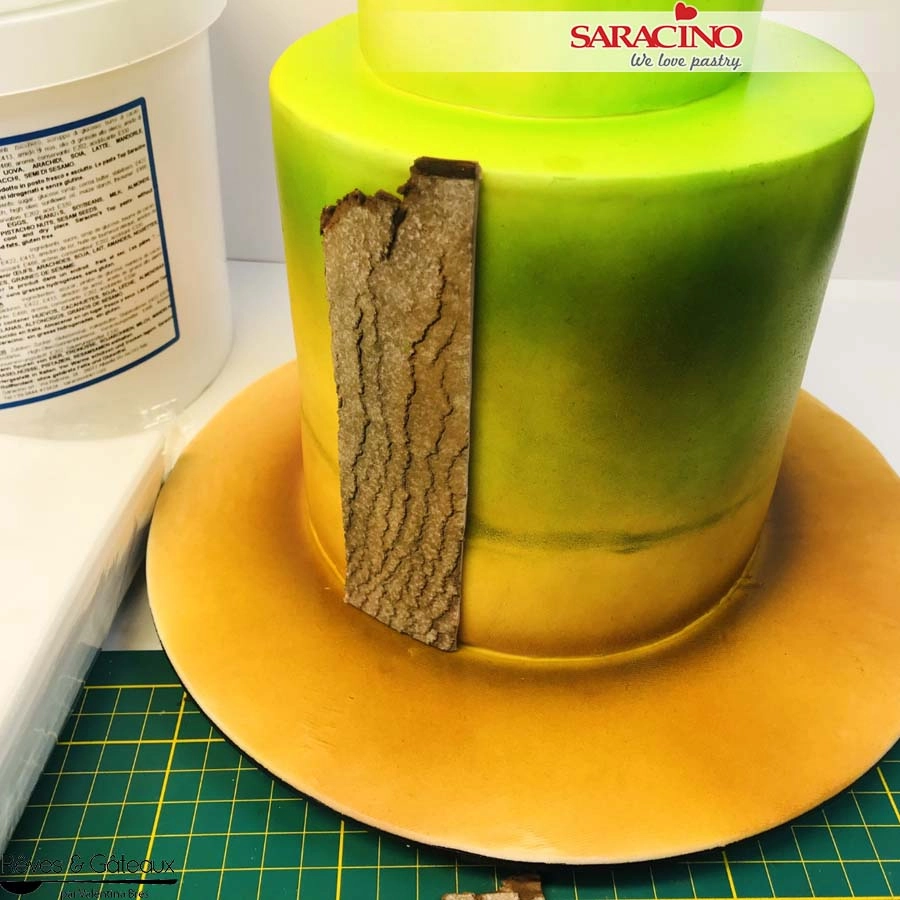
Roughly tear the top of the strips to a length of 2 – 3cm.

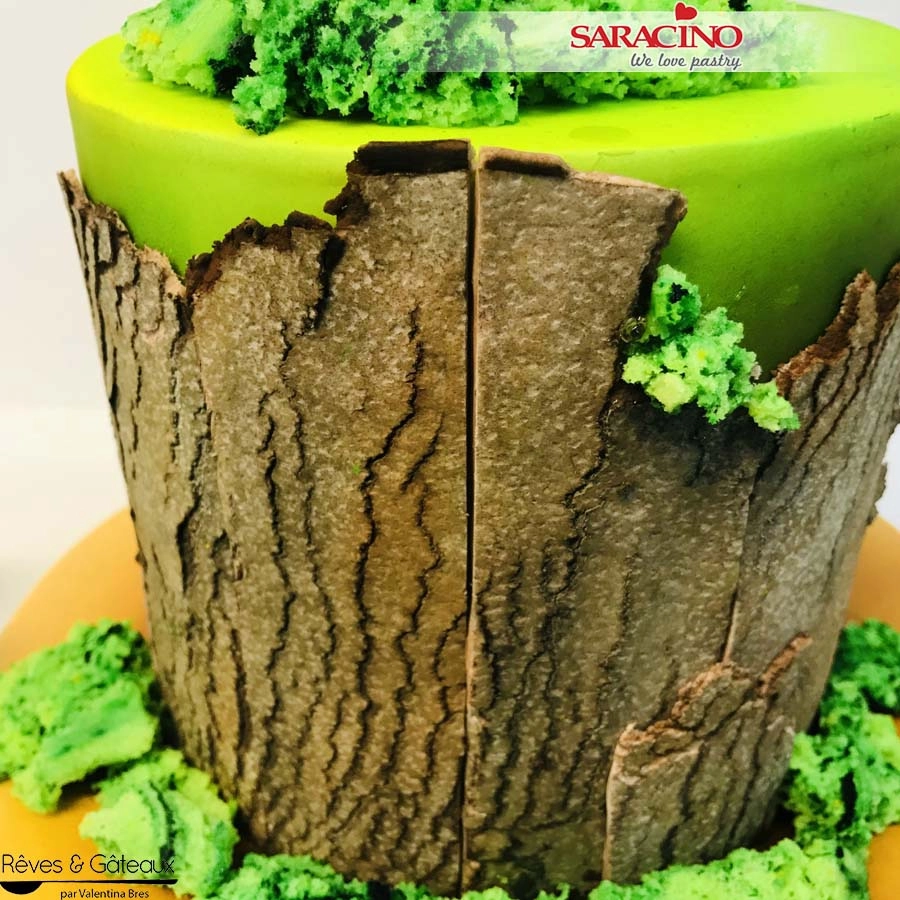
Step 18

Using dark brown powdercolour, dust the edges of the strips. Glue the strips to the cake using Cake Gel.

Step 19

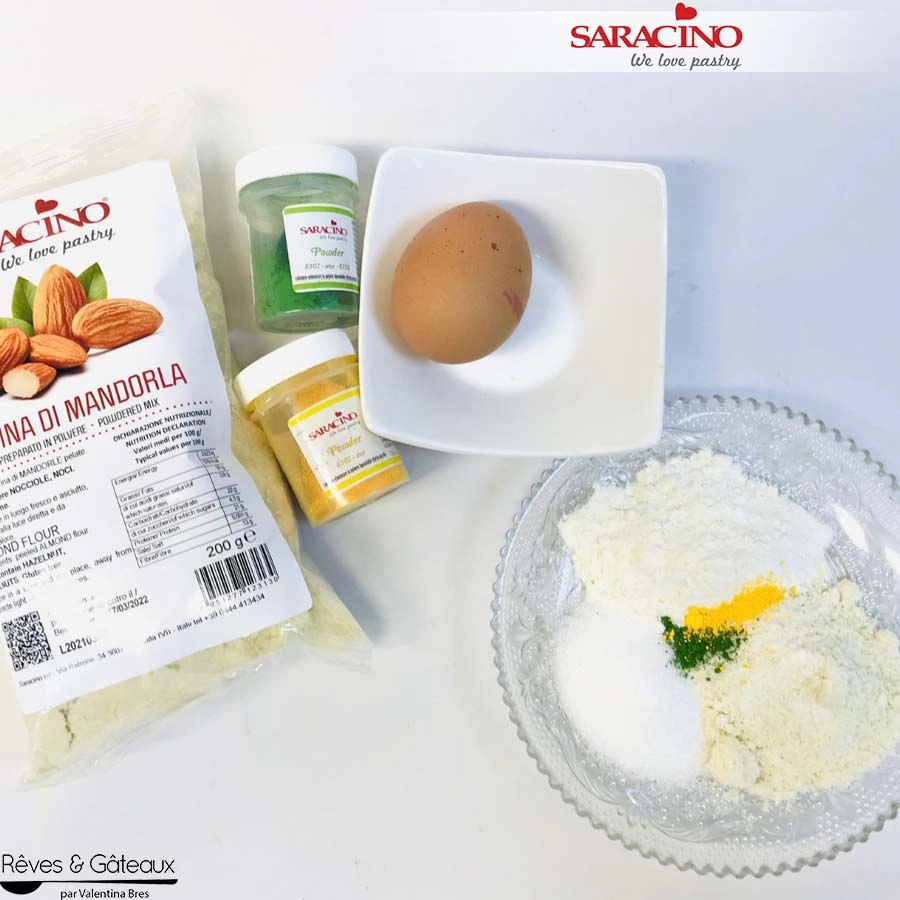
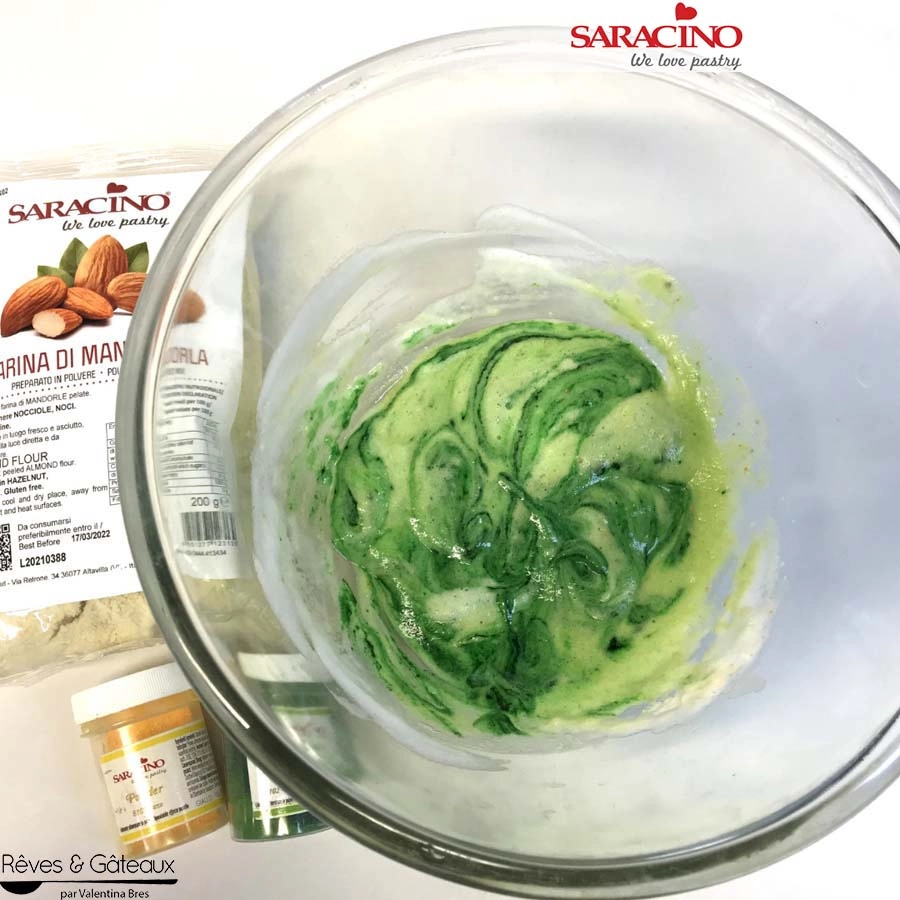
Prepare a small sponge cake with: 15g Saracino almond flour, 15g white flour, 15g sugar, 50g egg white and a little yellow and green powder colours.

Step 20

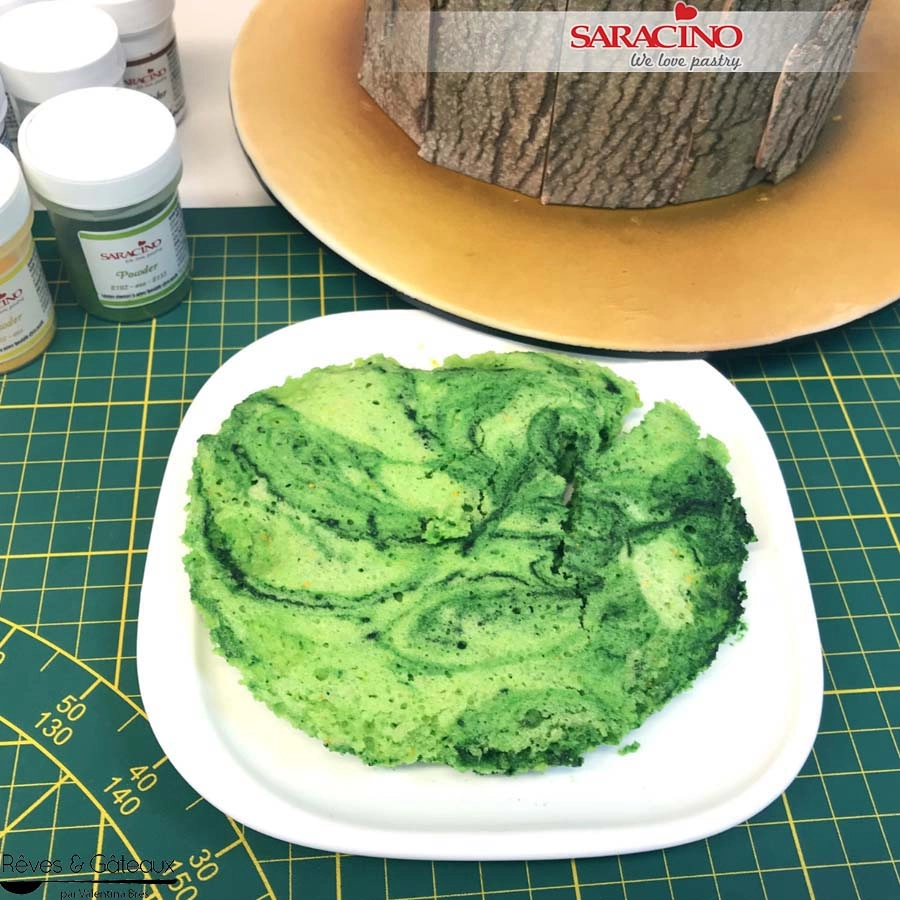
Whisk the egg whites. Mix them to the rest of the ingredients. Microwave for approximatelty 3 – 5 minutes.

Step 21

Allow the sponge to cool.

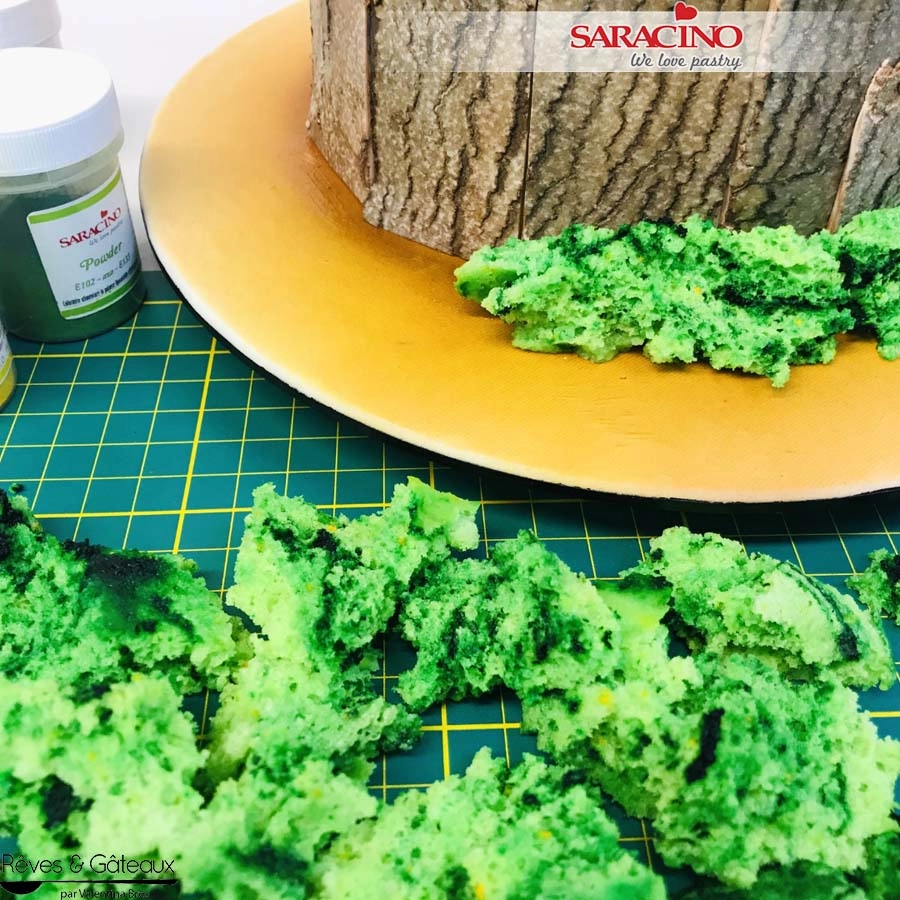
Step 22

Crumble the sponge cake.

Step 23

Fix the cake pieces onto the main cake using Cake Gel.


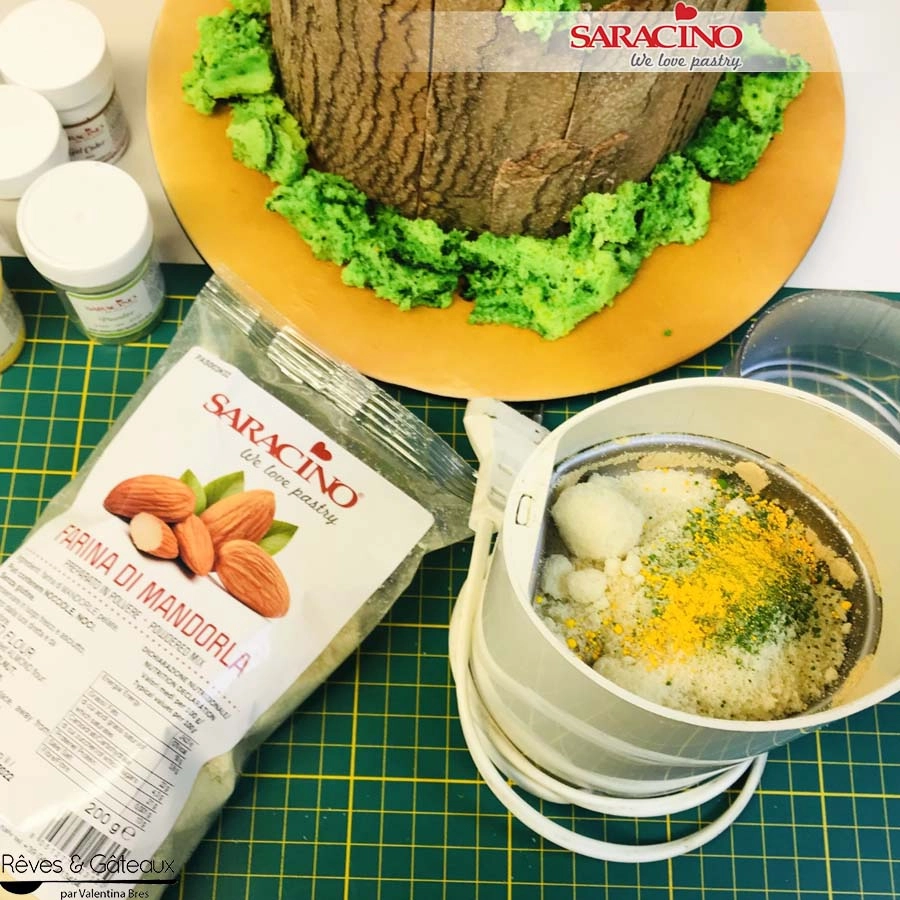
Step 24

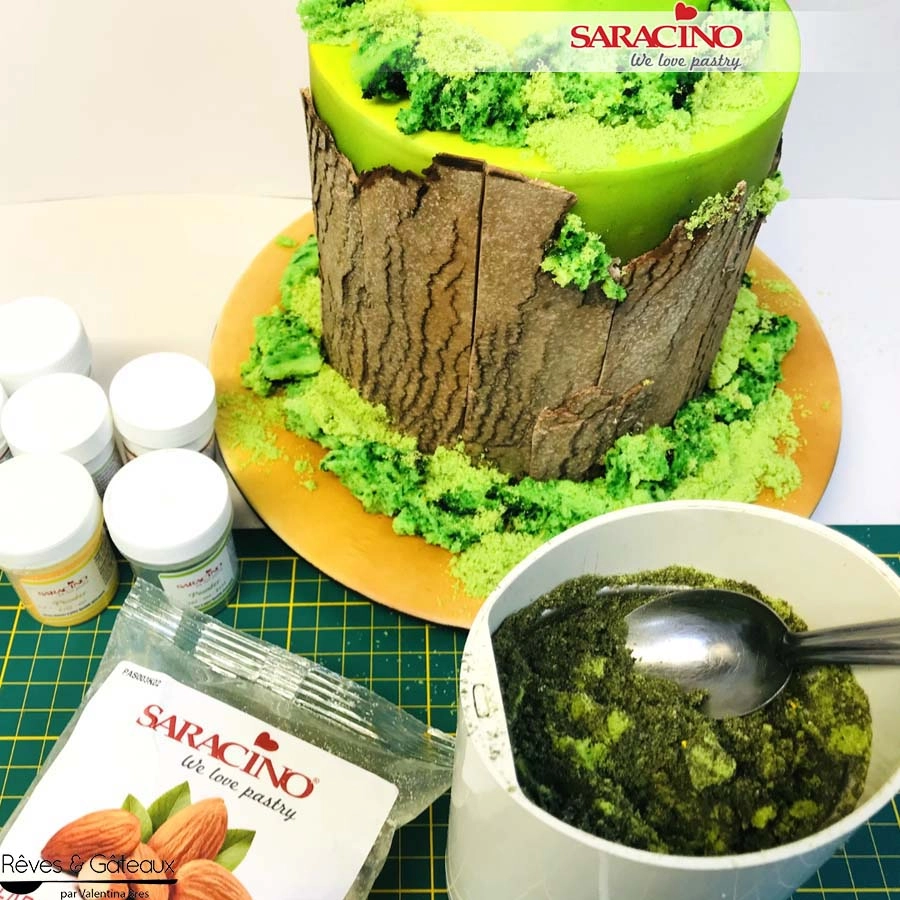
For the grass effect. Use a coffee grinder or blender to mix some Saracino almond flour with yellow and green powder colours.

Step 25

Use this mixture to complete the “grass” look on the cake. Fix using a thin layer of Cake Gel.
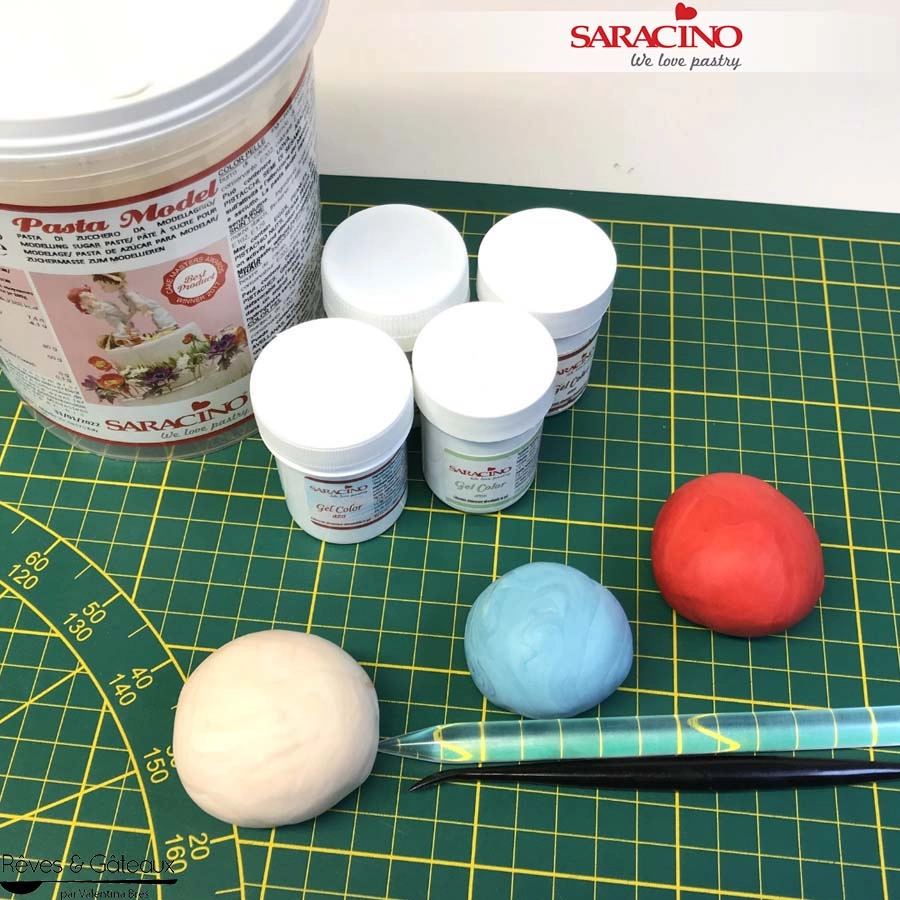
Step 26

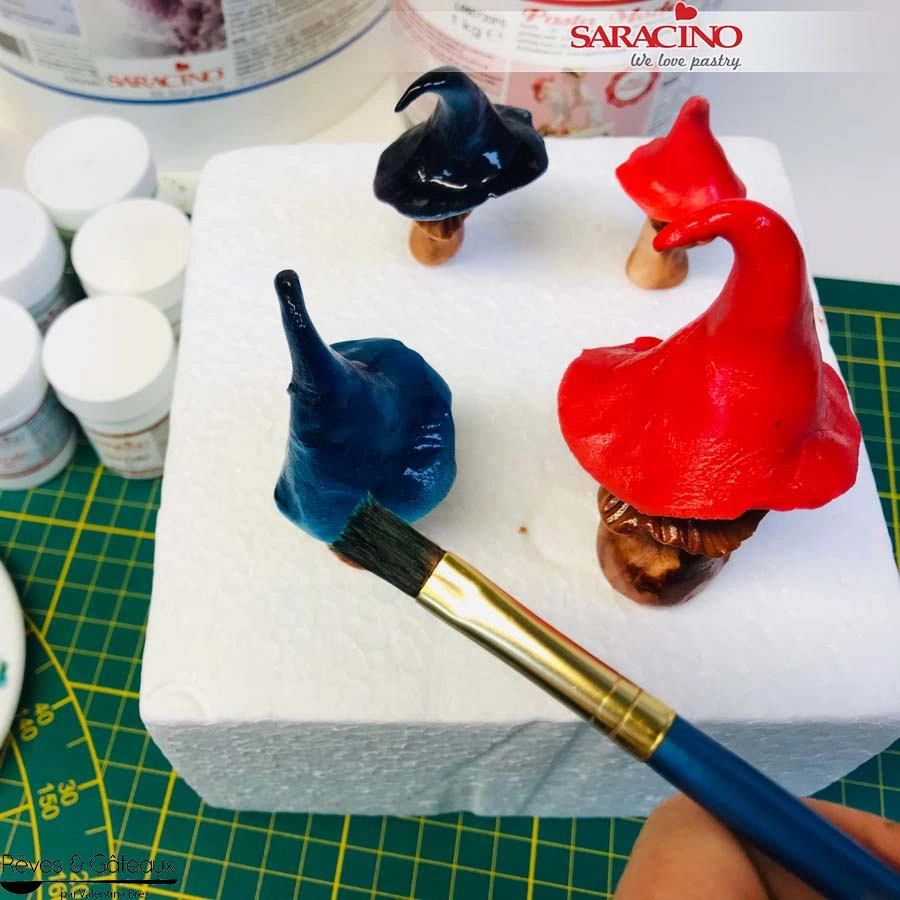
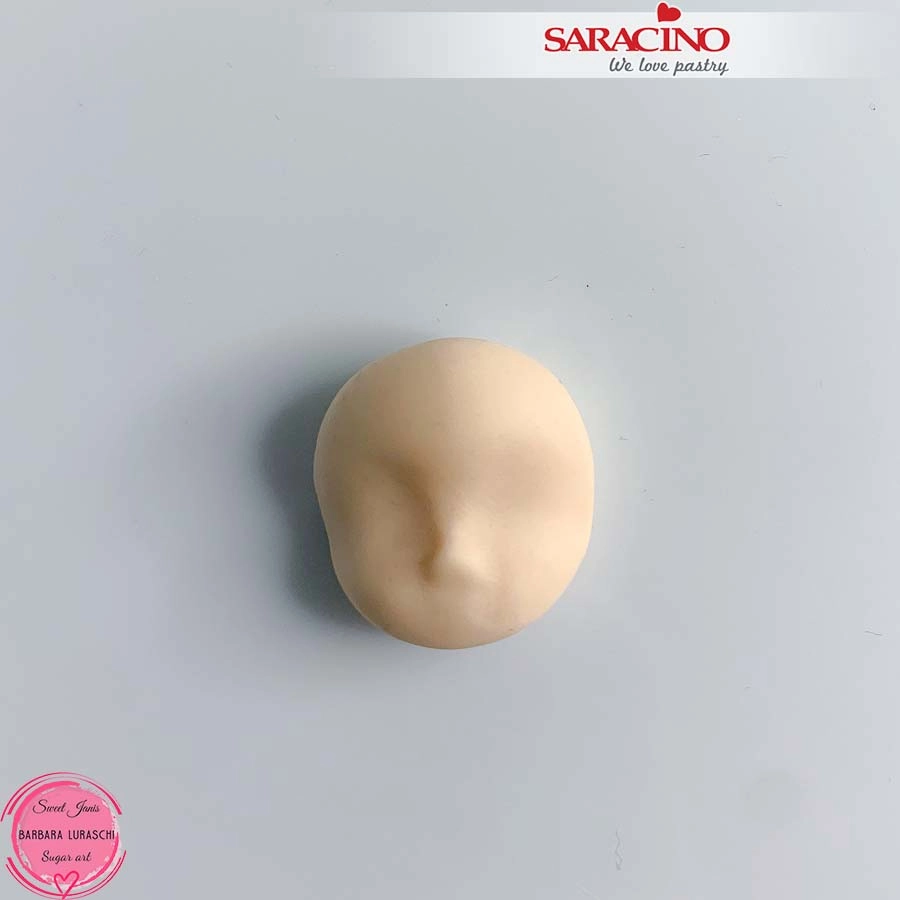
For the mushrooms colour small amounts of Pasta Model with light brown, blue and red gel.

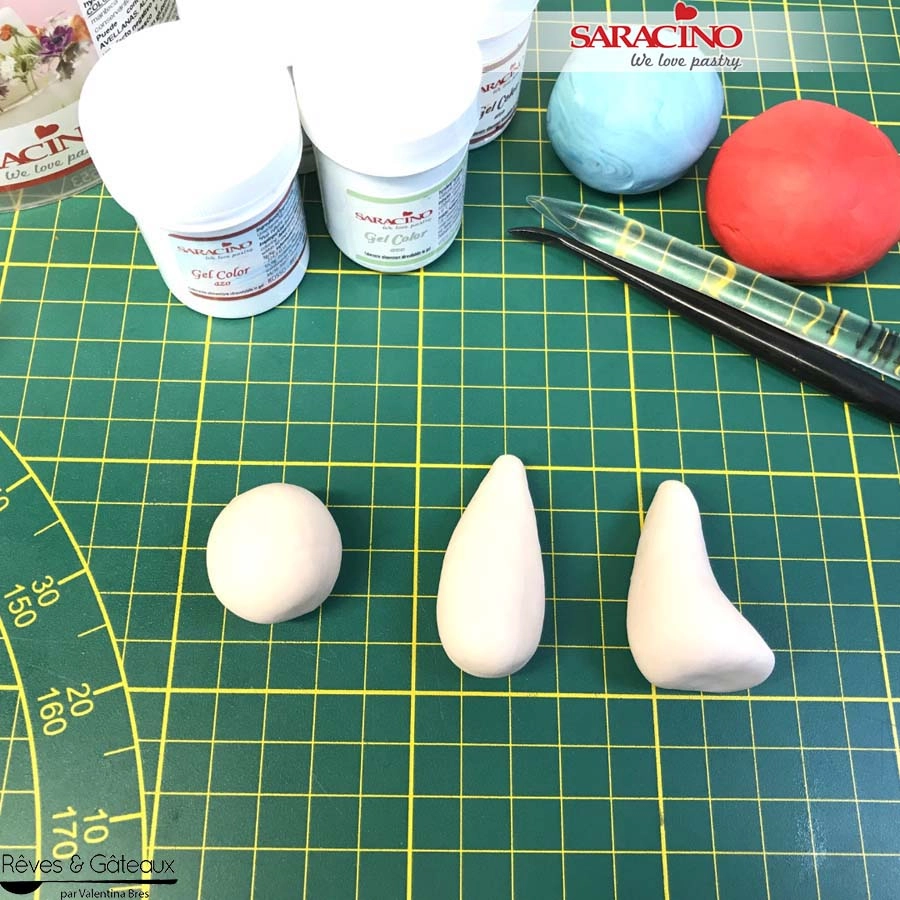
Step 27

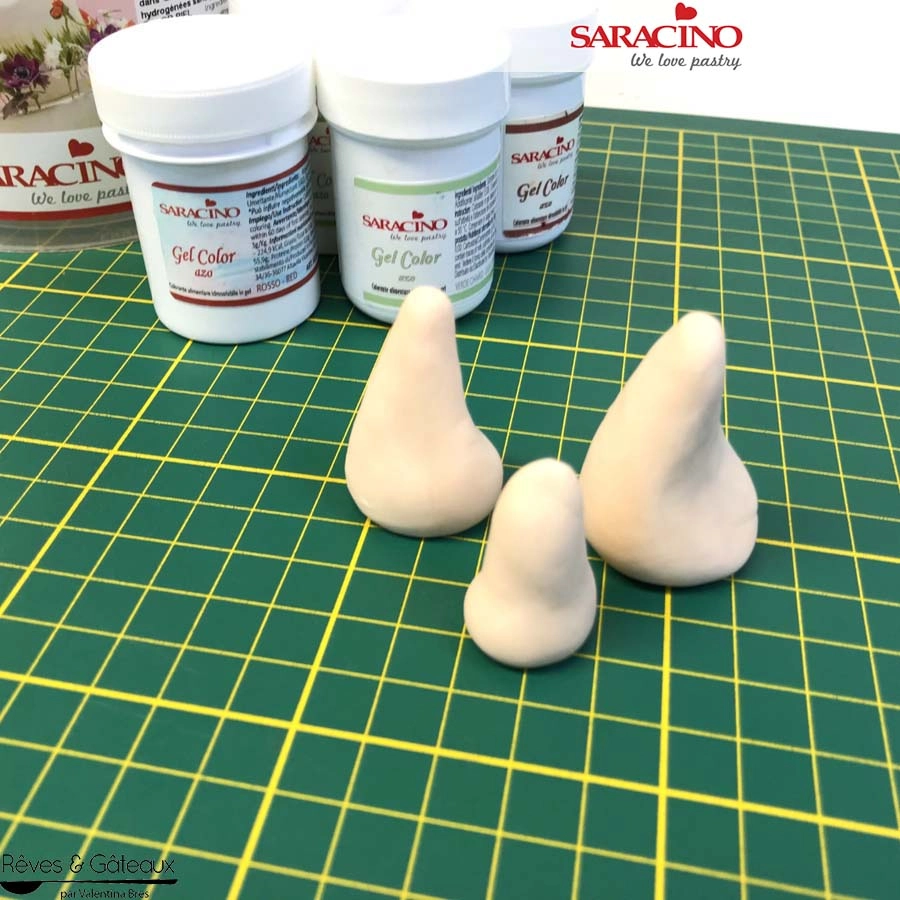
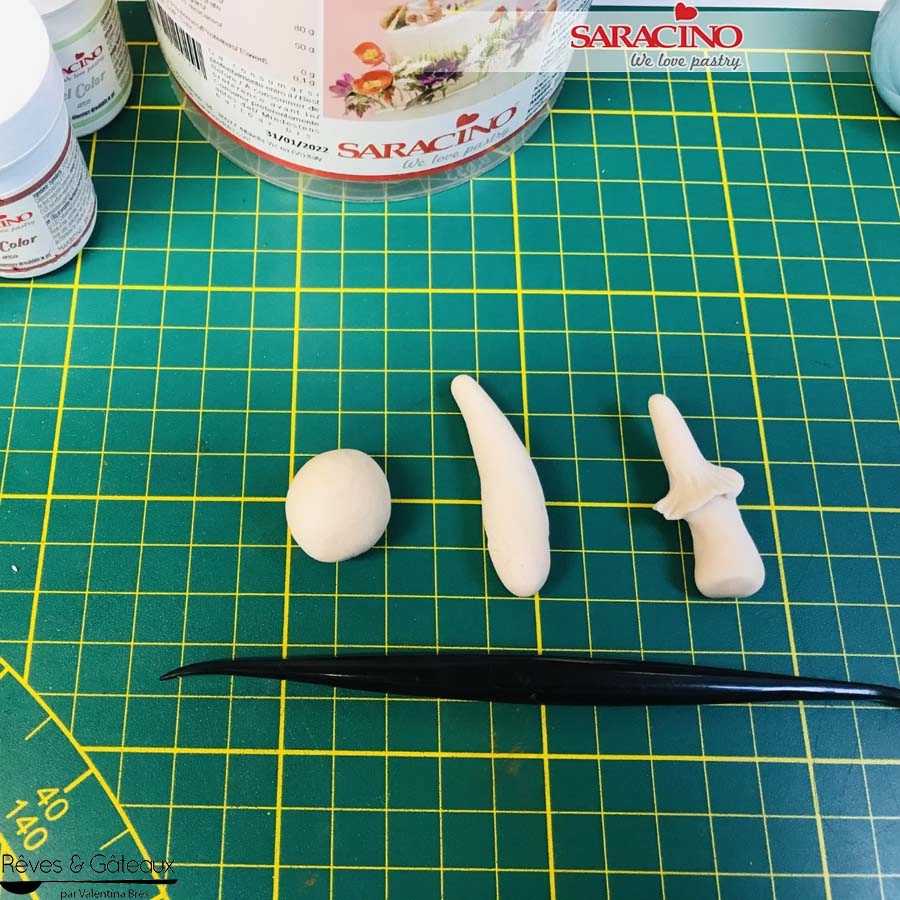
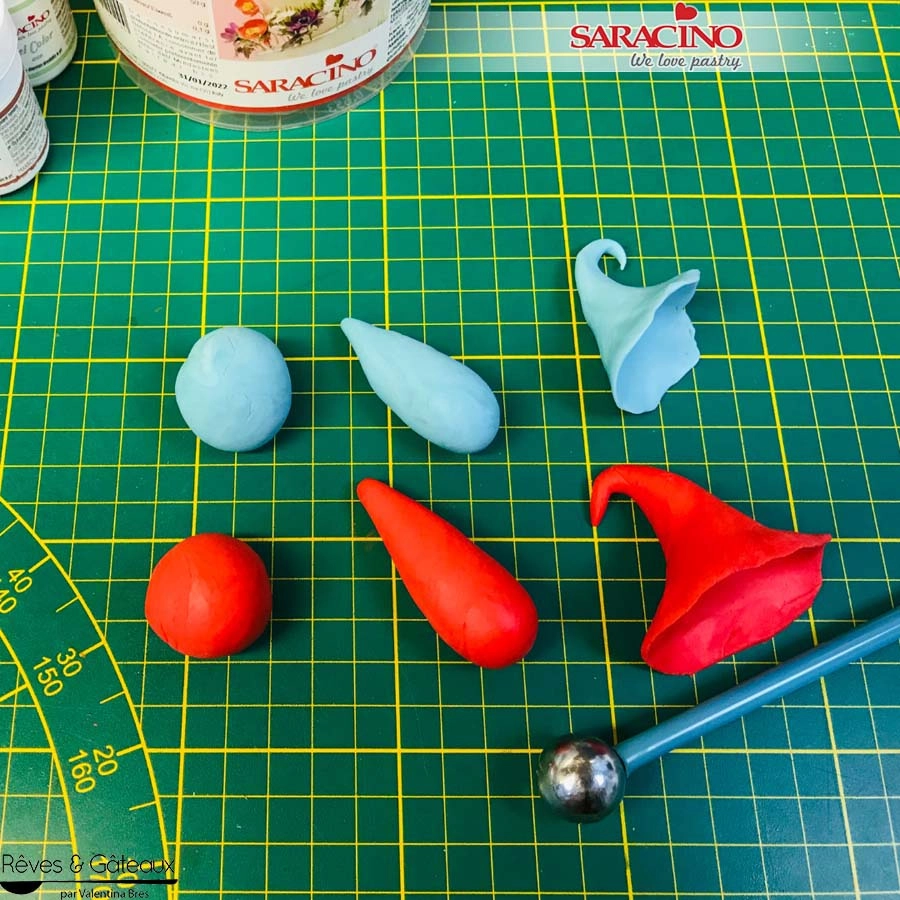
For the mushroom stems use the light brown coloured paste. First roll a ball and use your fingers to roll into a tear drop shape.

Step 28

We will need three stems like this one. Make each of them slightly different size and shape.

Step 29

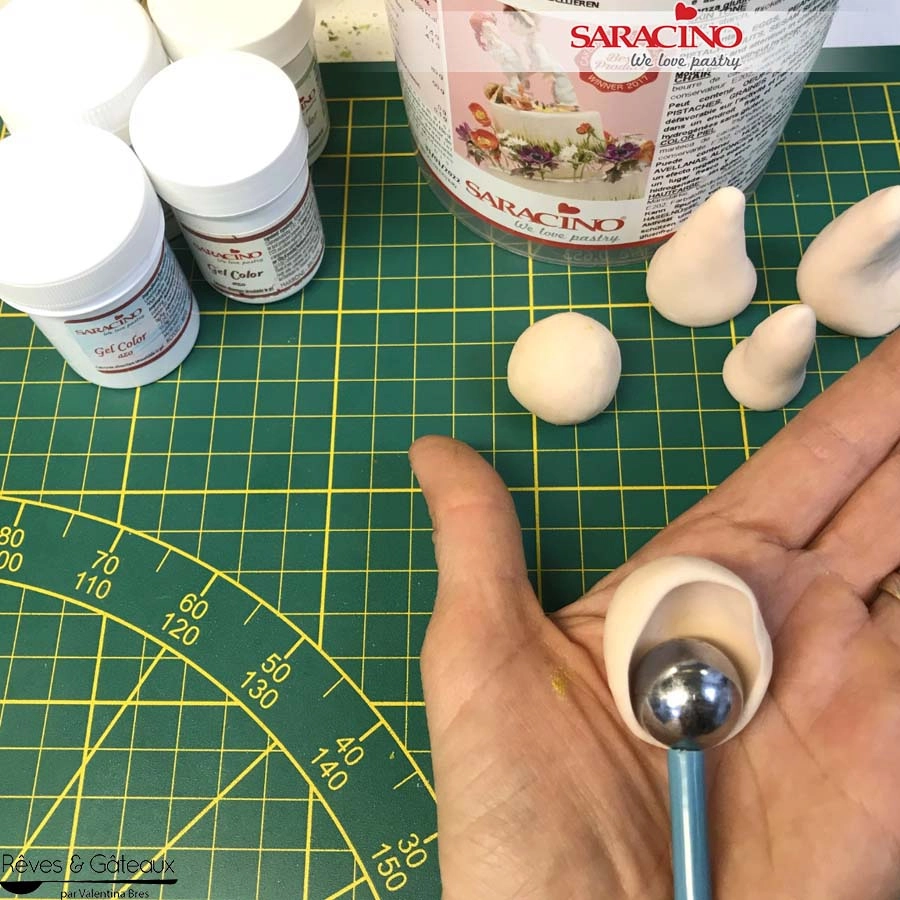
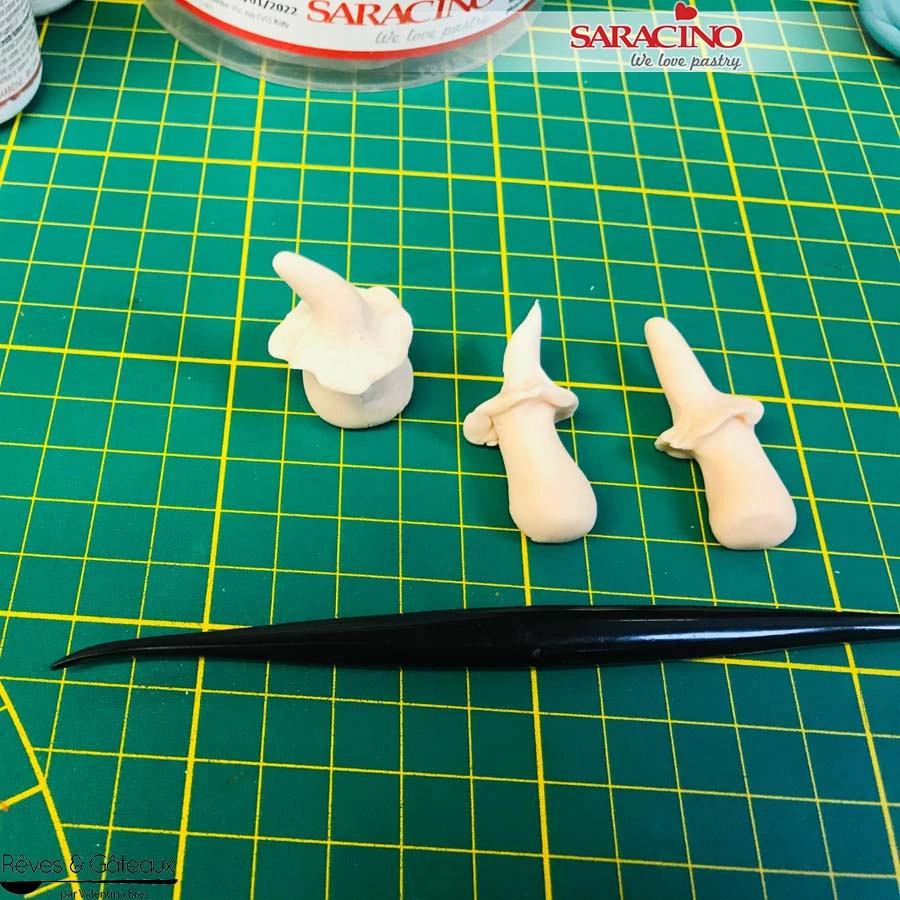
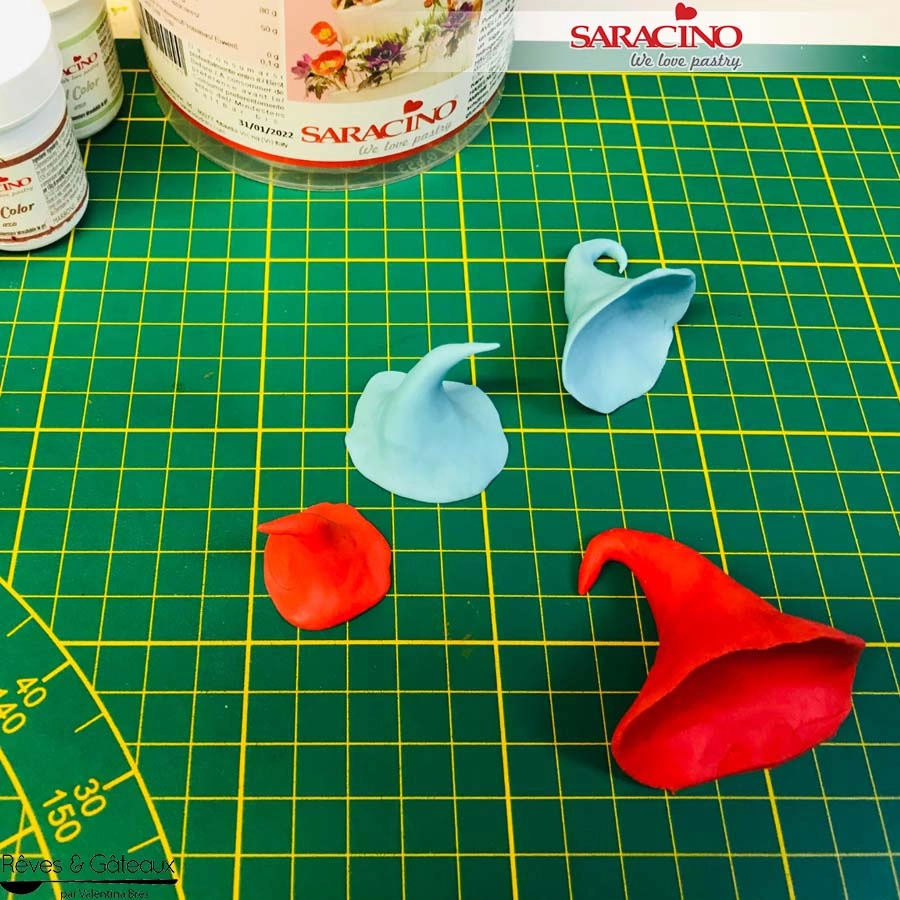
Take a ball of the light brown Pasta Model. Use a ball tool to hollow out and form a mushroom cap.

Step 30

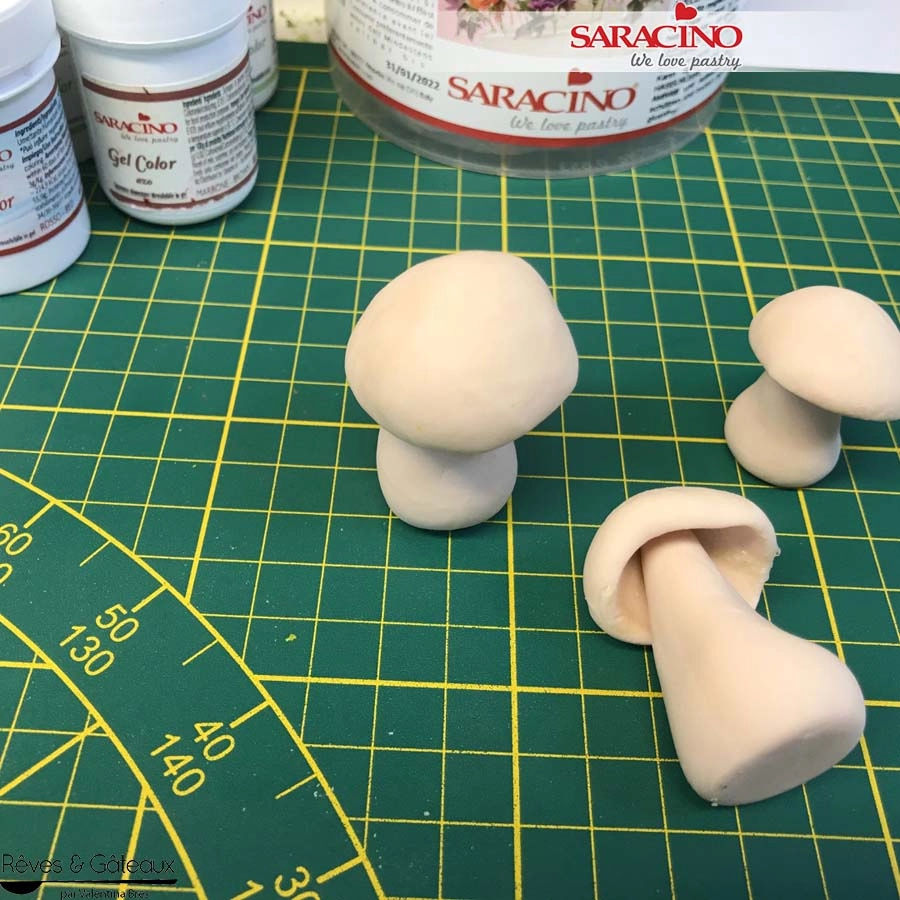
Repeat for the three mushrooms. Fix the caps to the stems using a little glue. Allow to dry.

Step 31

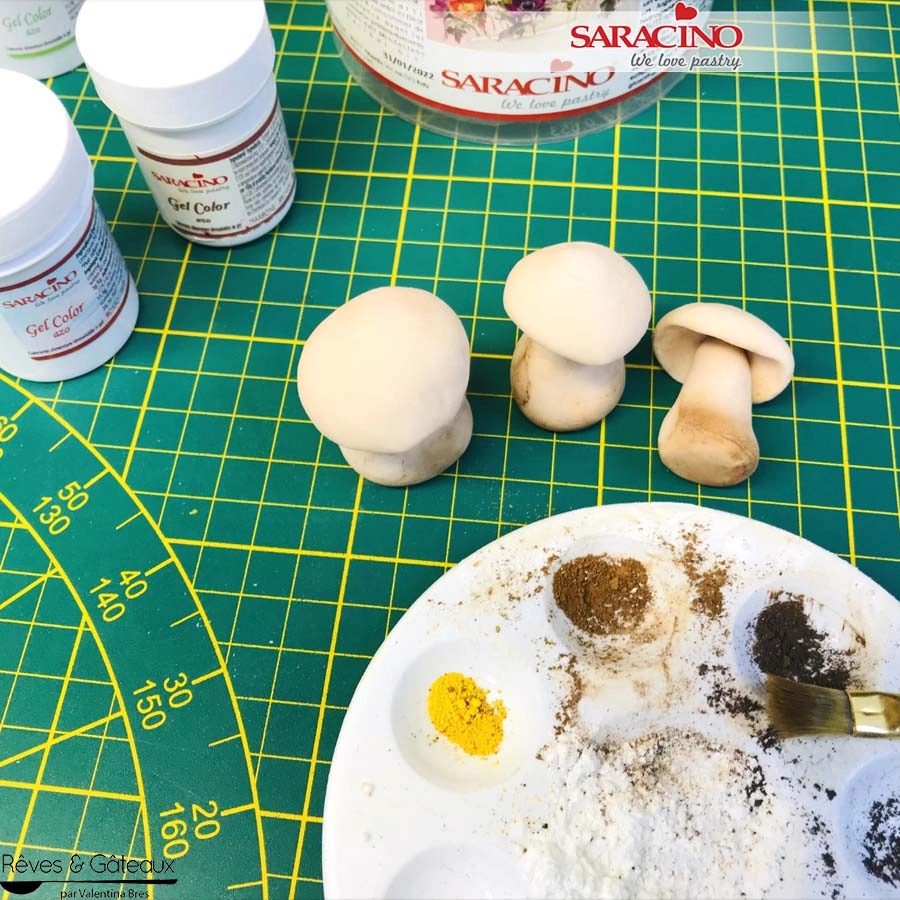
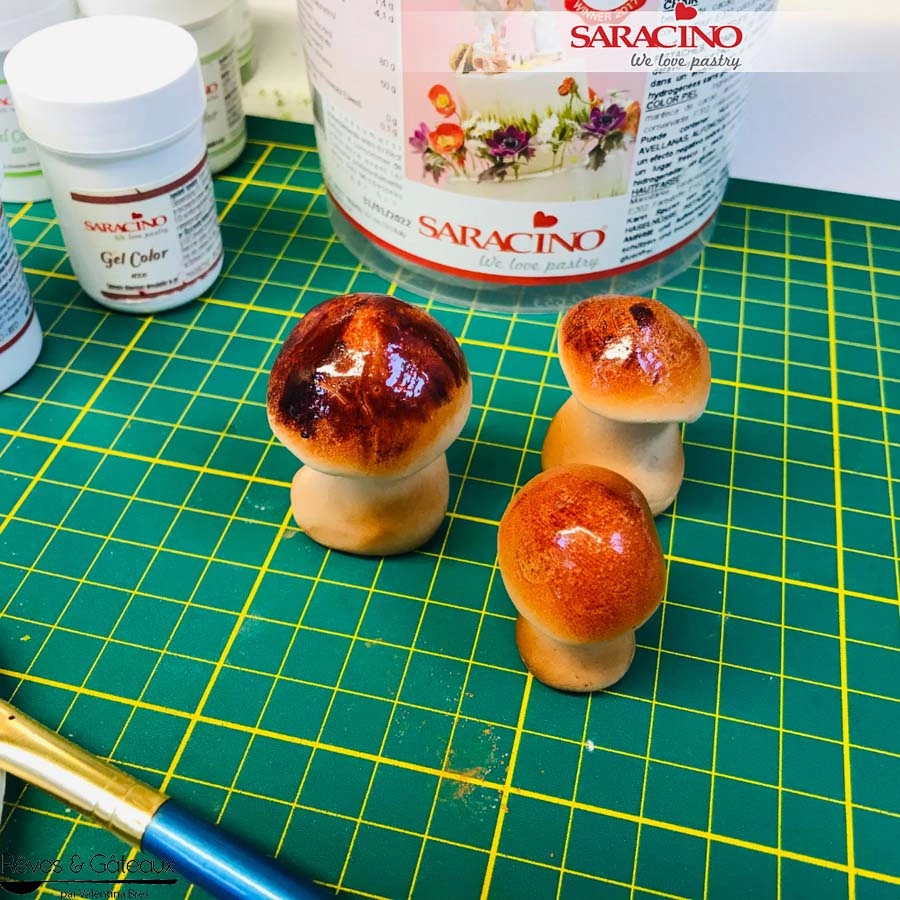
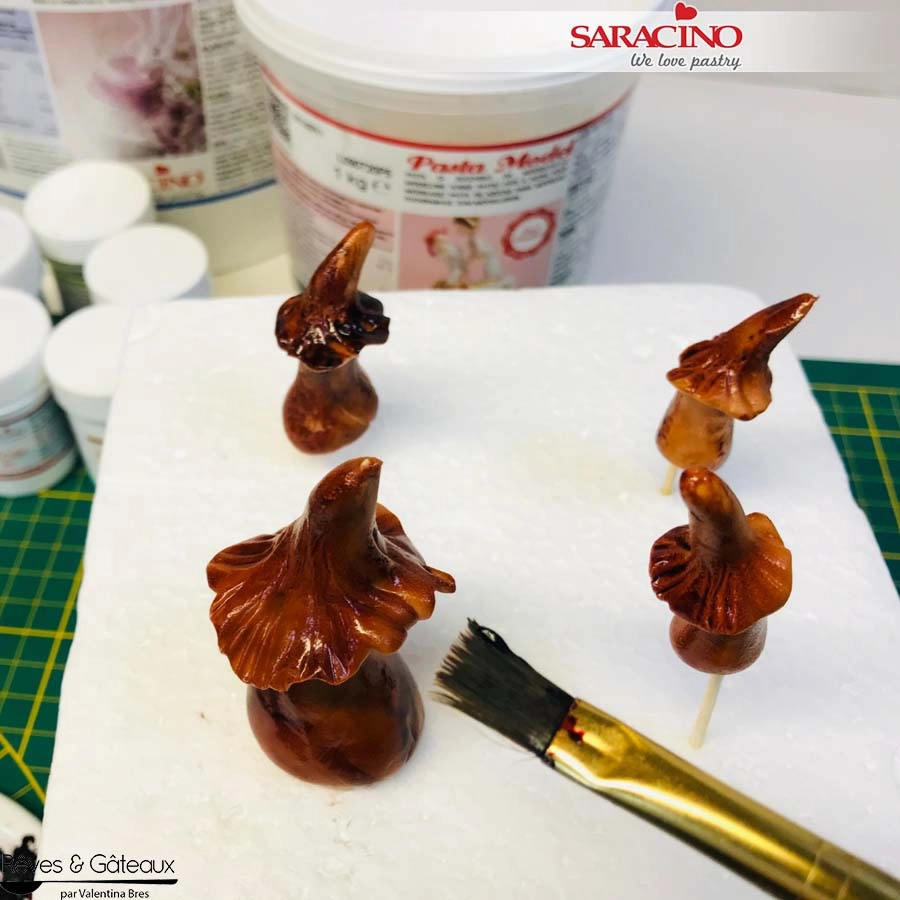
Use a soft bristle brush and brown powder colouring to dust shadows on the stems.

Step 32

With brown gel colour diluted with clear alcohol paint the caps. Add layers of varying colour to give a velvet effect.

Step 33

Allow to dry and fix the three mushrooms to the cake. For the shiny cap effect you can use Saracino Liquid Shiny.
Step 34

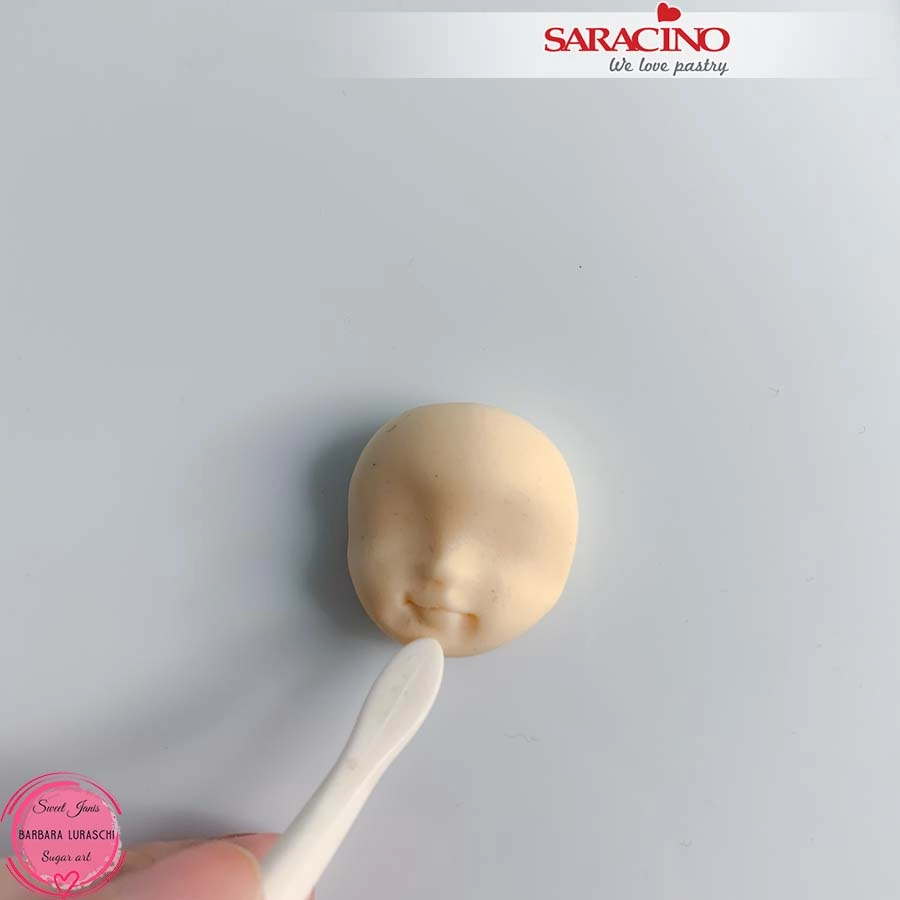
For the coloured mushrooms: Use the coloured Pasta Model to create the mushroom stems. I find a Dresden tool helps at this stage.

Step 35

You will need to make three or four stems depending on how many mushrooms you want on your cake.

Step 36

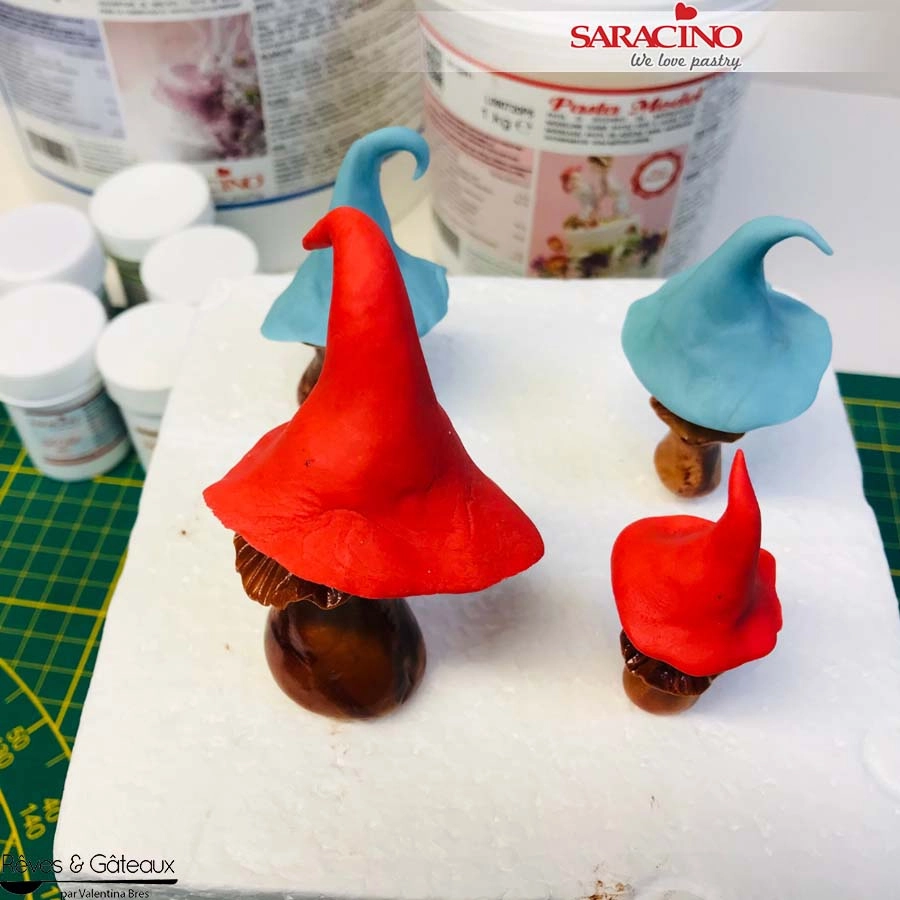
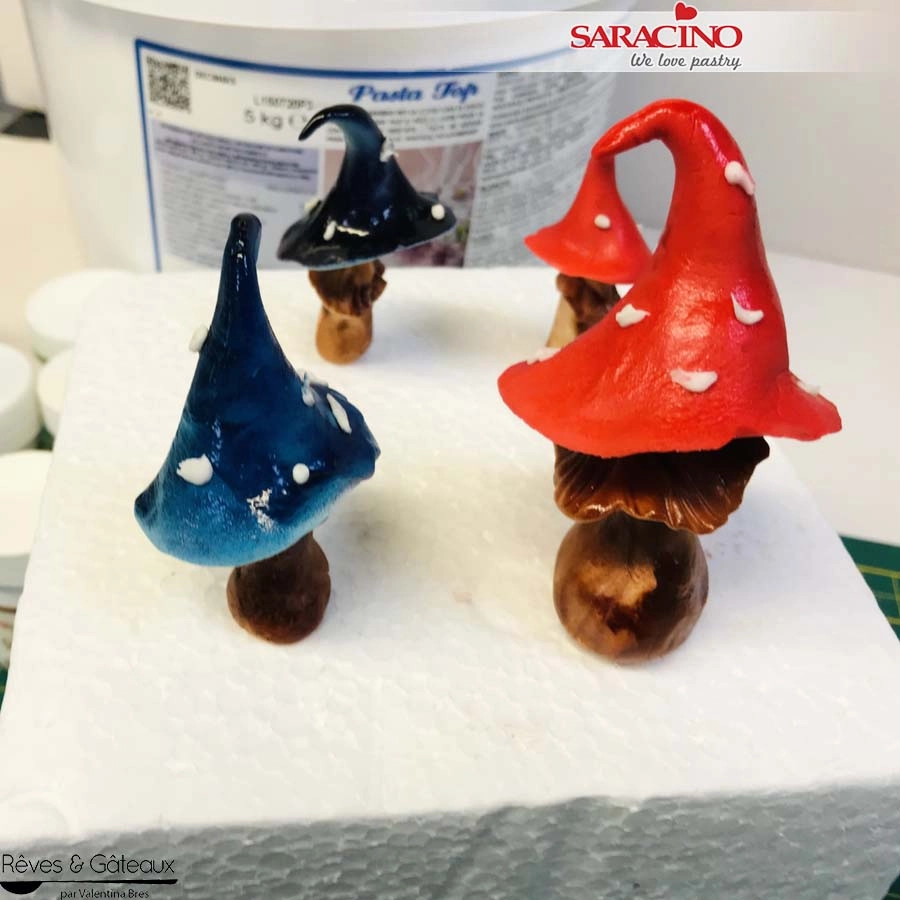
As shown previously using a ball tool model the mushrooms caps using the red and blue Pasta Model.

Step 37

Make in different shapes and sizes.

Step 38

Paint the stems brown using Saracino brown colour gel diluted in clear alcohol.

Step 39

Fix the caps to the stems with a little Cake Gel.

Step 40

Paint the caps with blue and red gel colour.

Step 41

Make small pieces of sugar paste for the mushroom “spots”. They should not be circular and need to be irregular. Allow to dry.

Step 42

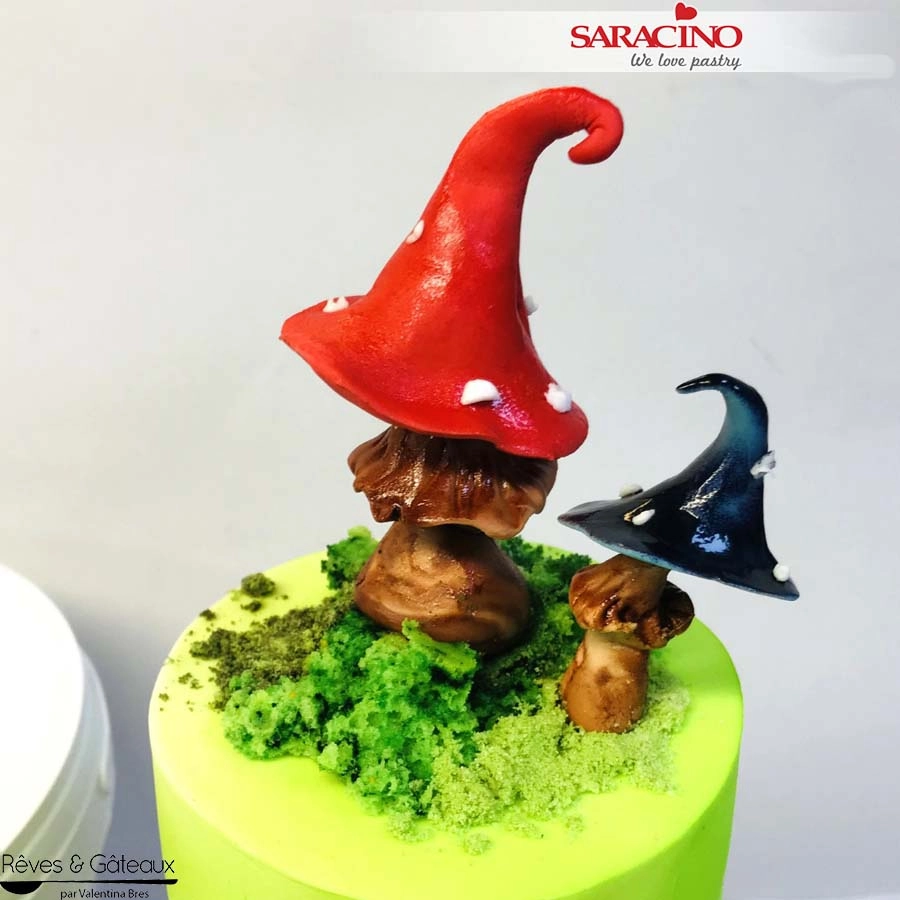
Insert a cocktail stick into the stem of the mushrooms. Fix to the top of the cake.
Step 43

Add the mushrooms wherever you would like them to be.

Step 44

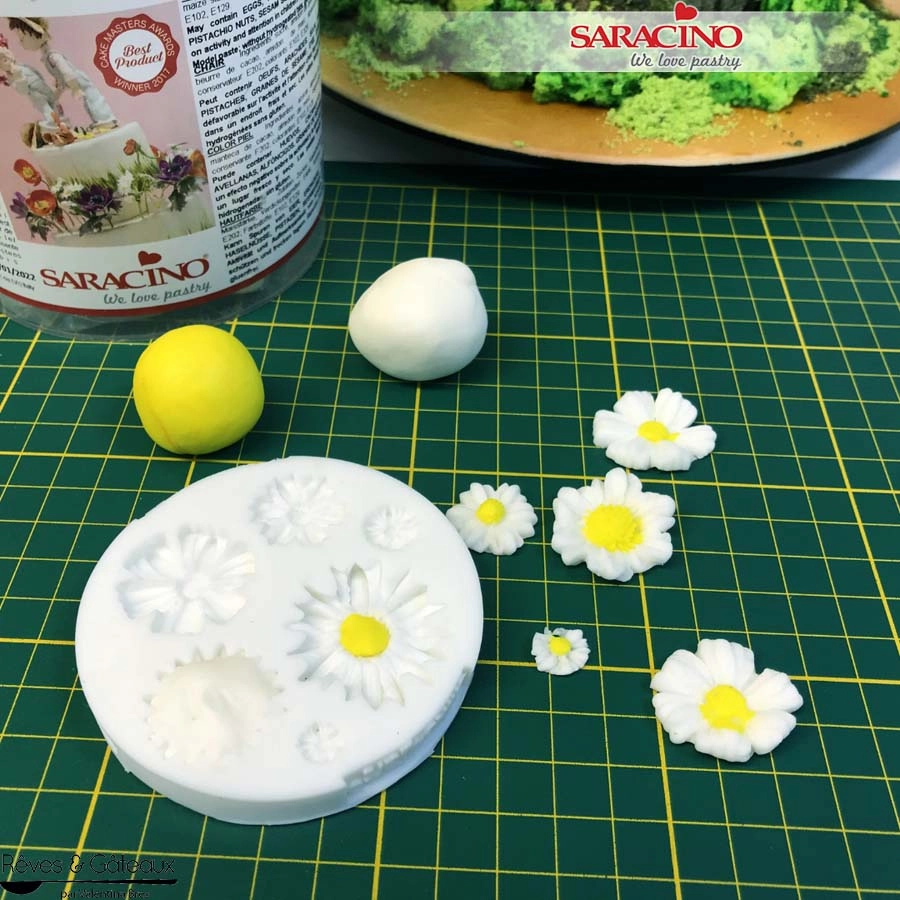
Make little daisies or other flowers with a little white and yellow Pasta Top. I used a silicone mould, but a cutter will suffice.

Step 45

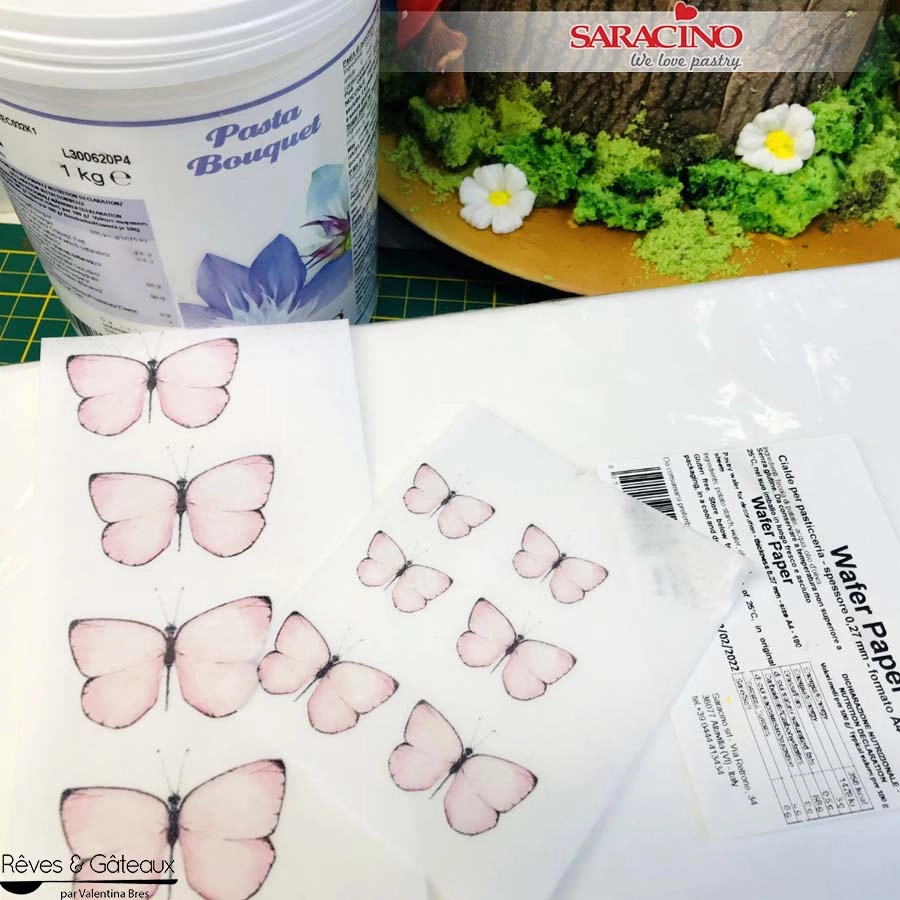
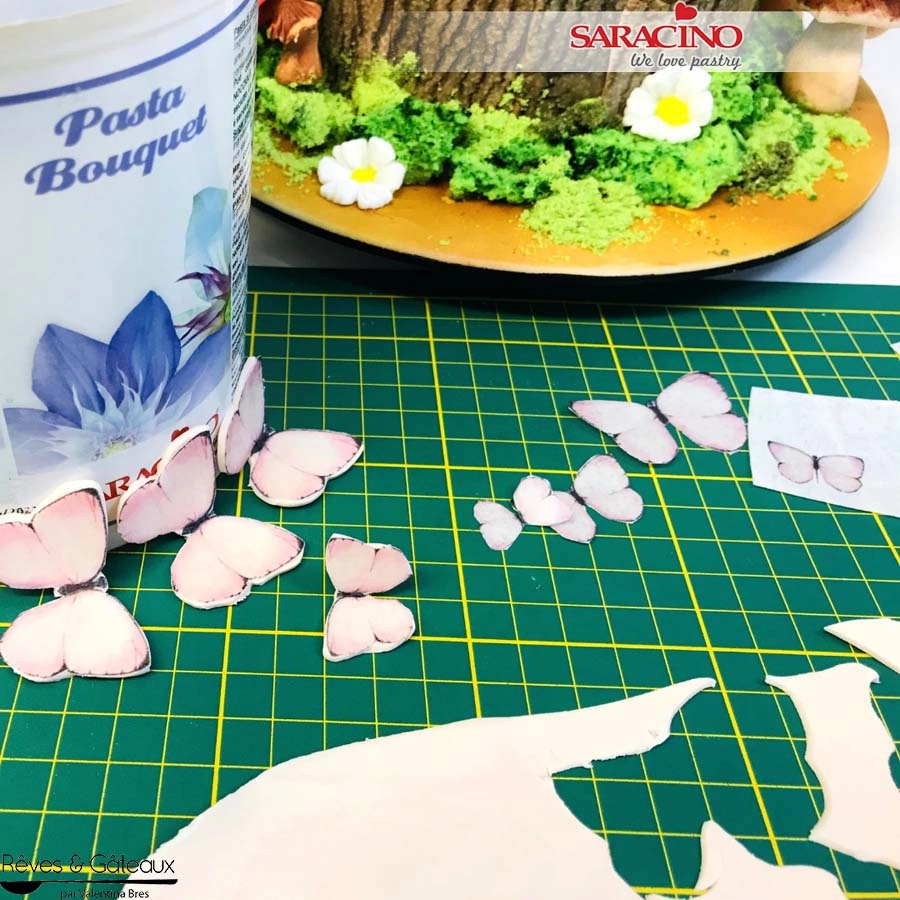
Print or paint butterflies on Saracino Wafer paper.

Step 46

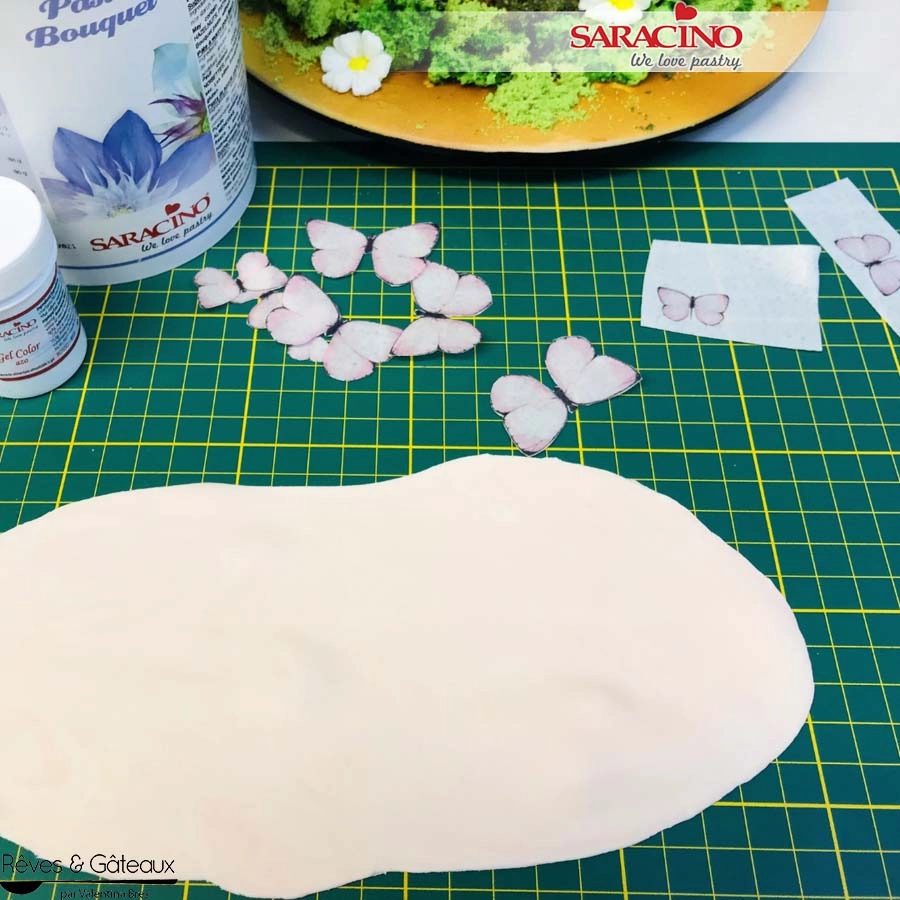
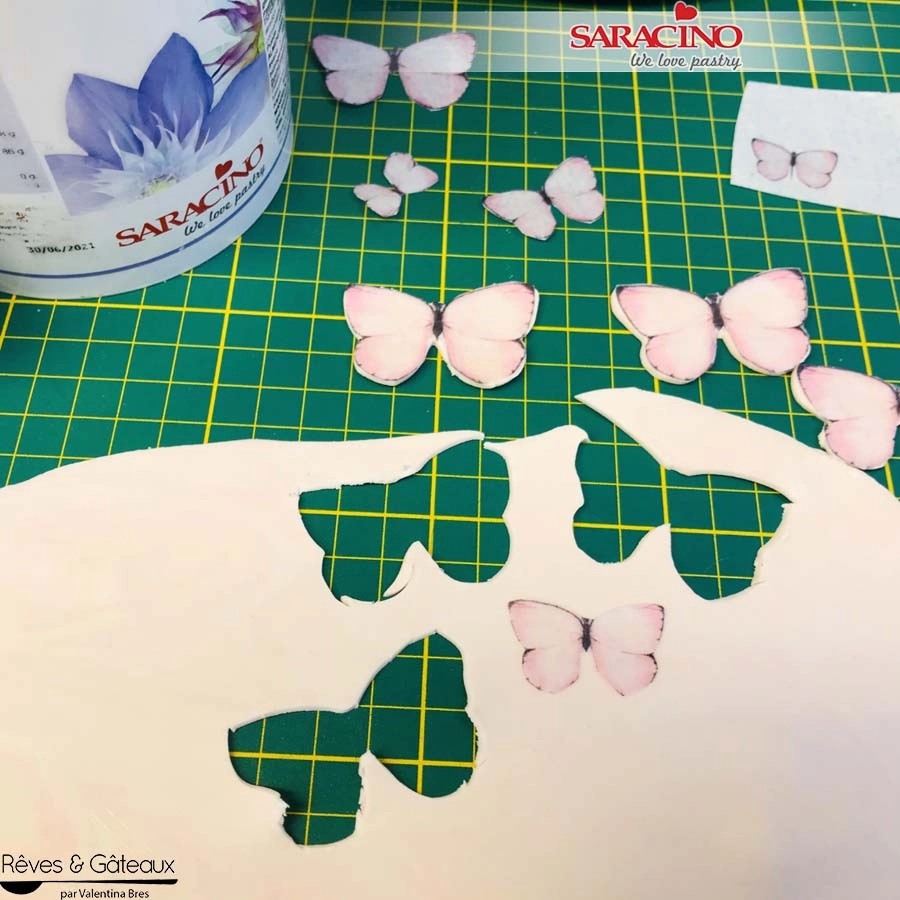
Cut out the butterflies and glue them to a thin layer of Pasta Bouquet coloured with pale pink.

Step 47

Using a sharp knife cut out the butterflies.

Step 48

Smooth the edges to remove any rough cuts. Bend the butterflies at the centre and position to dry.

Step 49

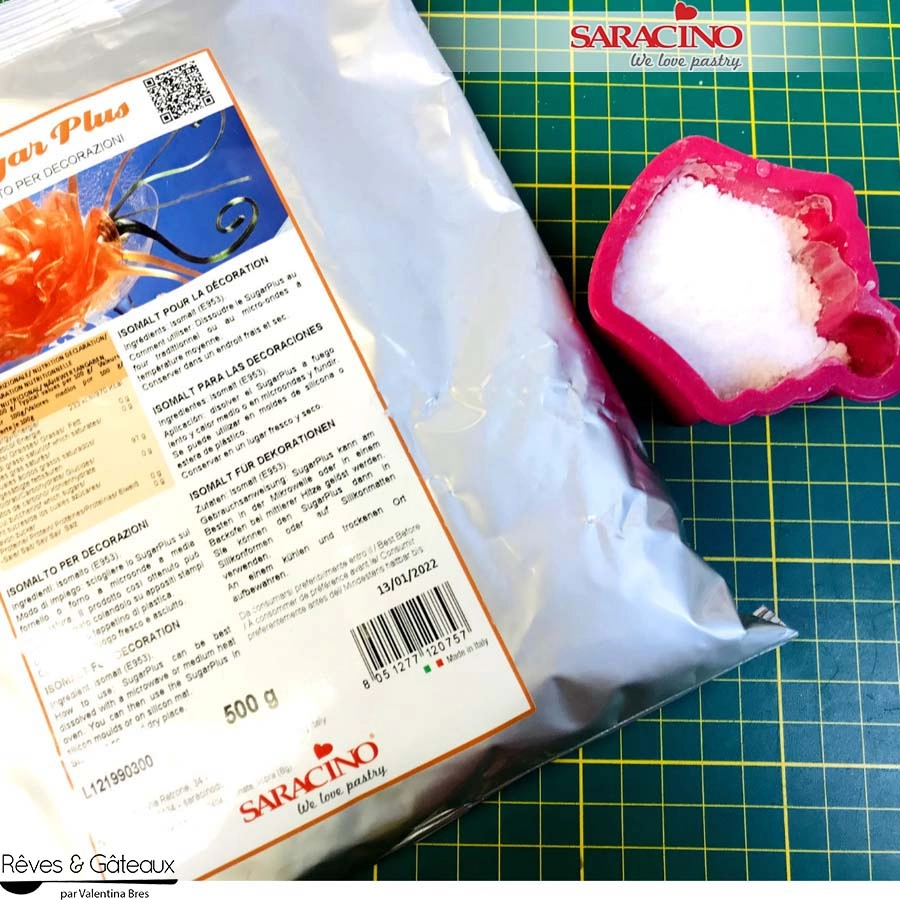
For the moisture drops add Saracino isomalt to a silicone mould.

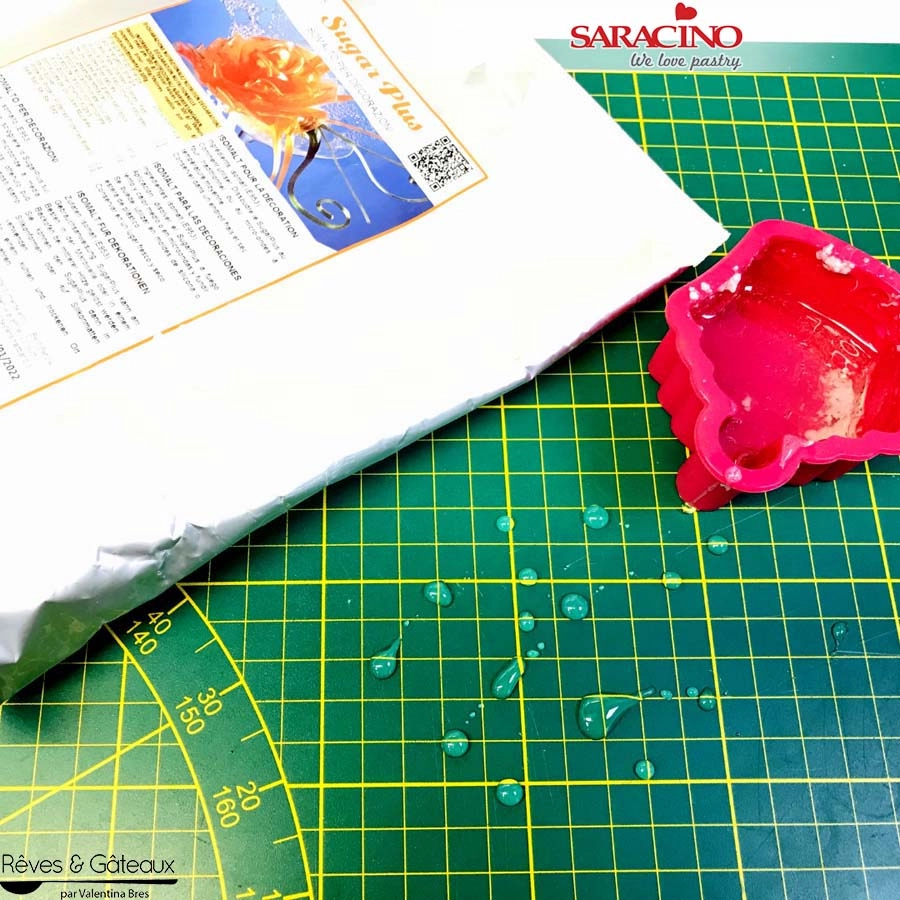
Step 50

Melt in a microwave and drip onto a silicone mat. Allow to harden.

Step 51

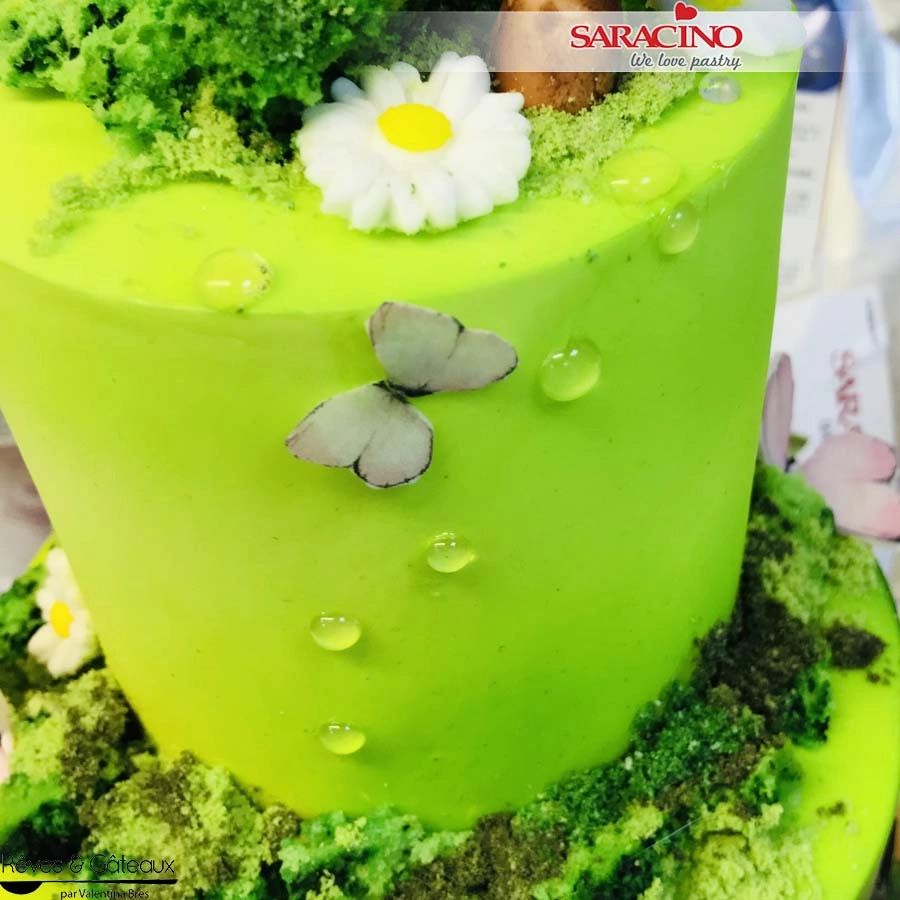
Glue the butterflies to the cake. Add the dew drop isomalt pearls.
Step 52

Your cake is ready.