SLEEPY GIRL MODELLING TUTORIAL

SLEEPY GIRL MODELLING TUTORIAL
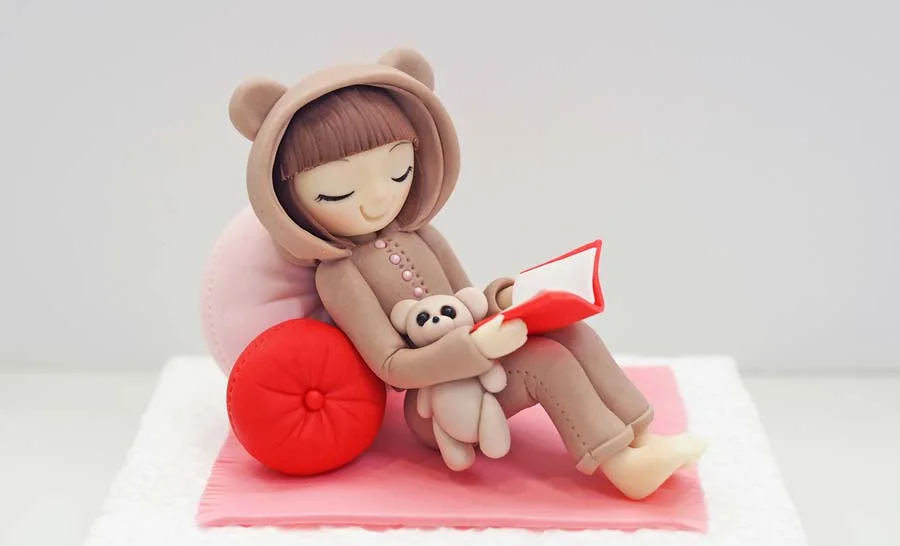
Author: ZEE CHIK

Skill level: BEGINNERS

You will need:

  • Saracino Pasta Model: black, white, brown, red, pink, light skin
  • Saracino black gel colour
  • Saracino pink powder colour
  • Dragees: black, pink
  • Polystyrene foam
  • Knife
  • Dresden tool
  • Tapered cone tool
  • Quilting tool
  • 24 gauge wire
  • Cocktail sticks

Step 1

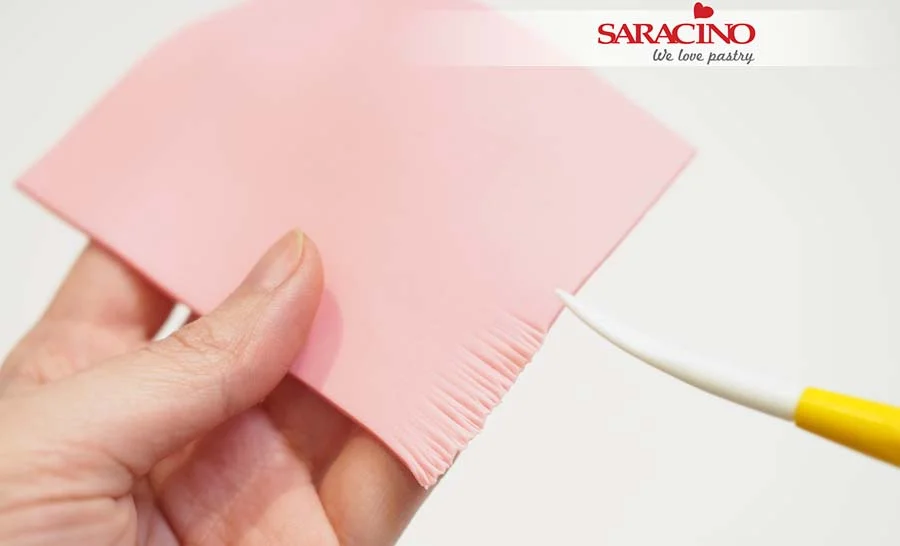
For the rug roll a rectangle of pink modelling paste and use a Dresden tool to mark lines on both ends of the rectangle. Set aside to dry.
Step 2

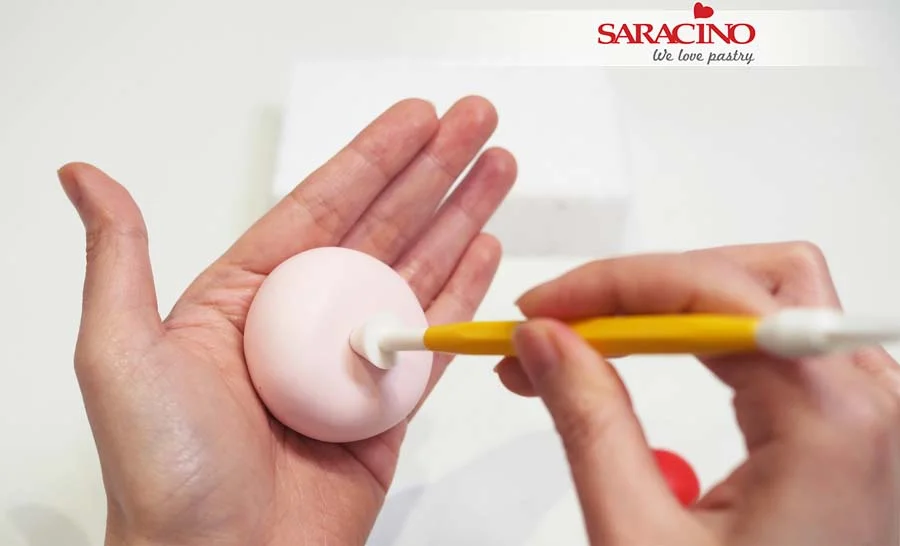
For the cushions roll a large ball of light pink modelling paste then slightly flatten it using your hands. Use the tapered cone tool to indent the centre of the flattened circle.
Step 3

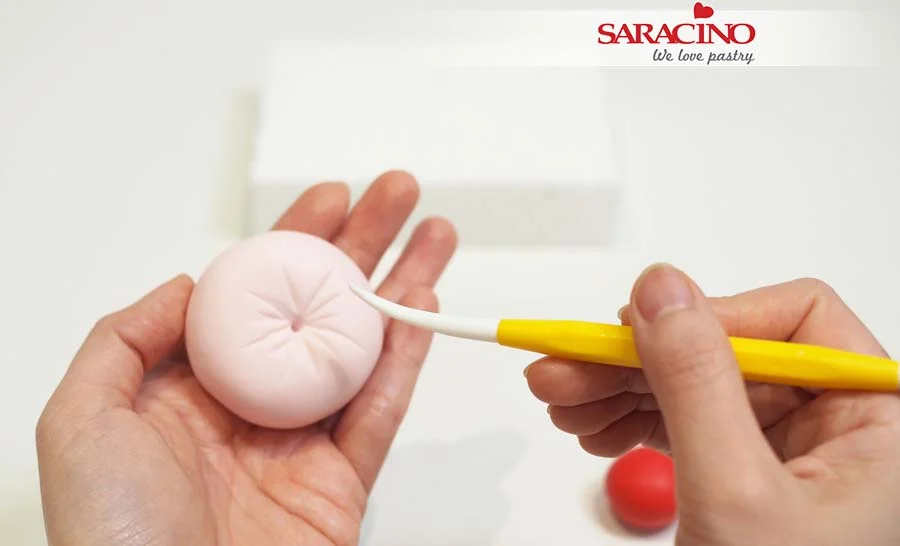
Use a Dresden tool to mark some short and long lines from the centre outwards.
Step 4

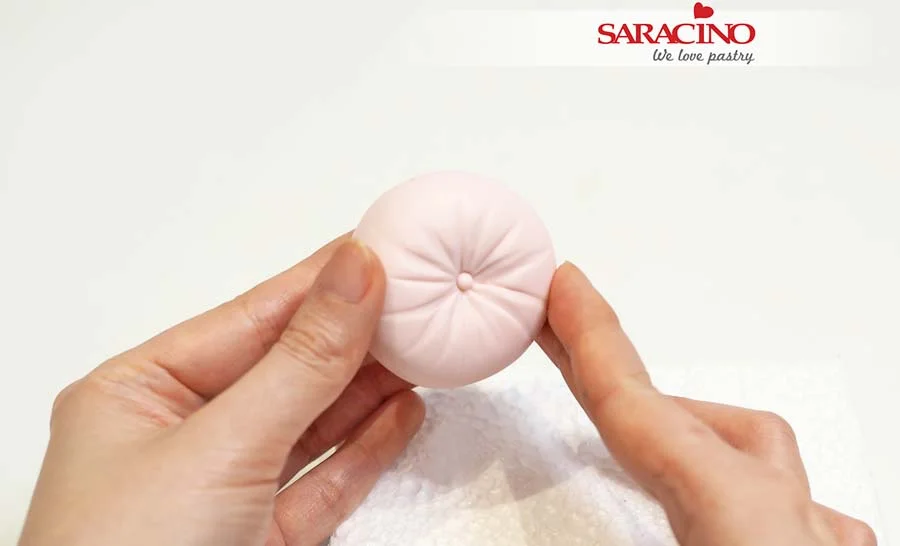
Roll out a tiny ball and put some edible glue or water and stick it to the centre.
Step 5

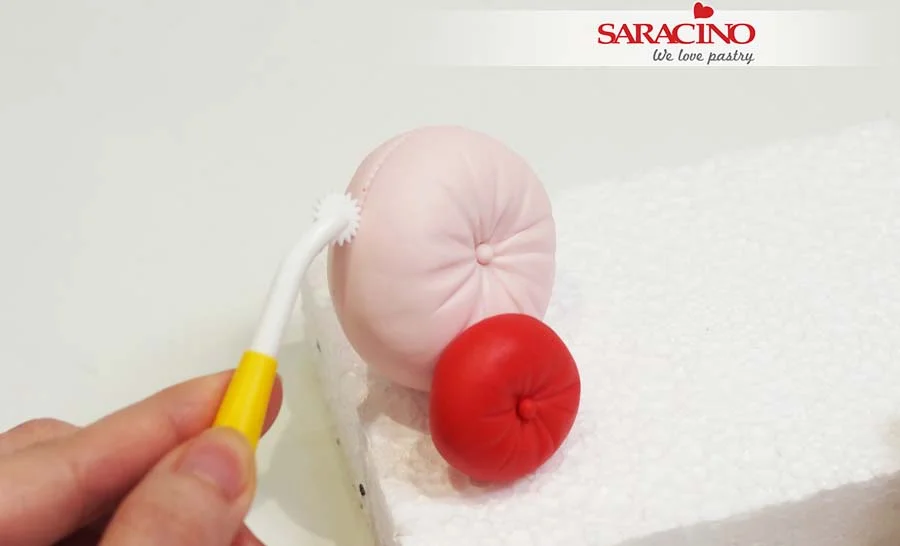
Use the same method to make a small cushion using red modelling paste and fix it to the front of the pink cushion. Use a quilting tool to add stitch lines on both cushions.
Step 6

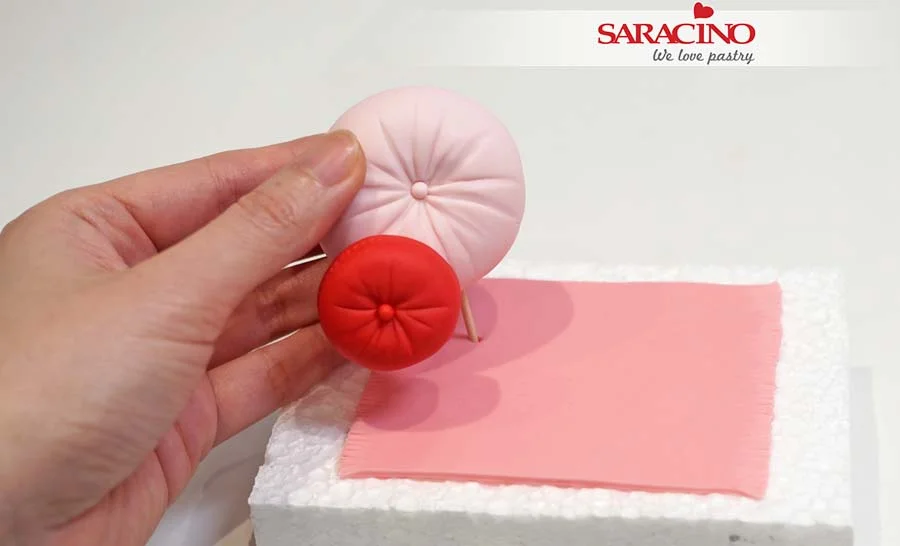
Insert a cocktail stick through the pink rectangular paste rug into the polystyrene foam base then push the cushions onto the cocktail stick.
Step 7

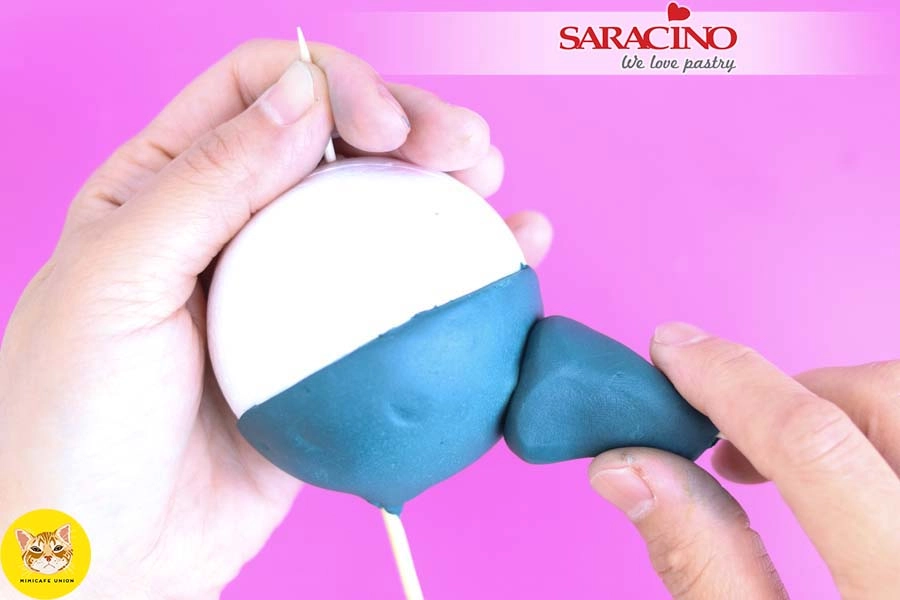
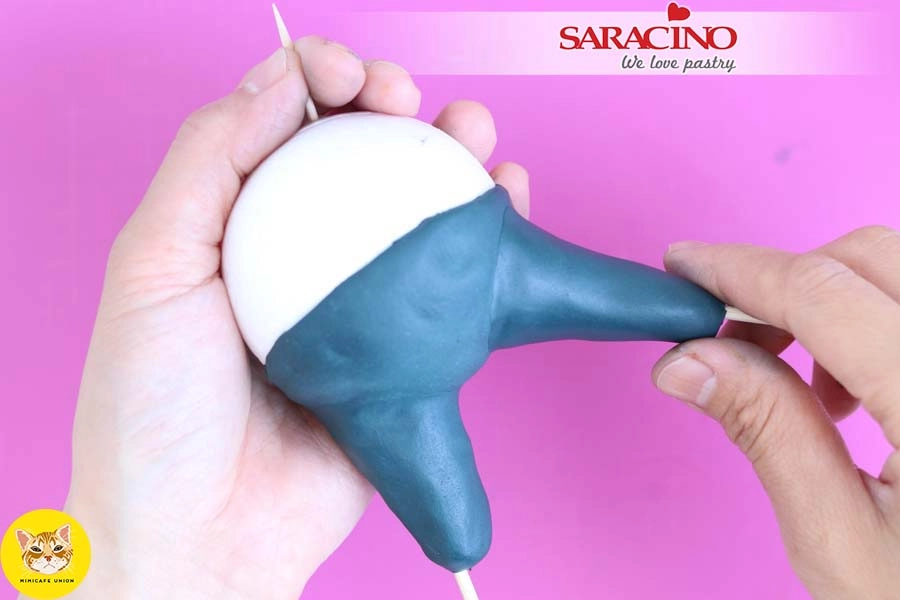
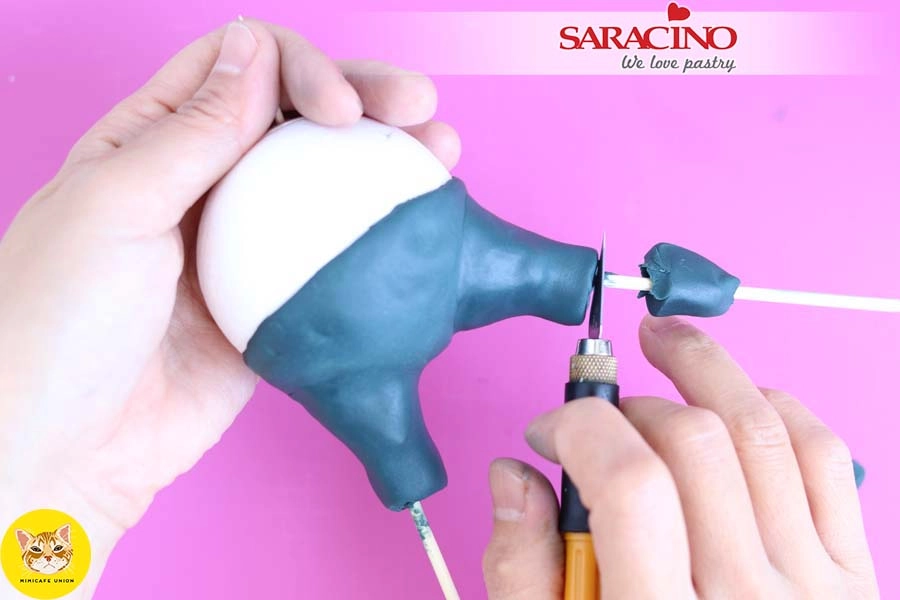
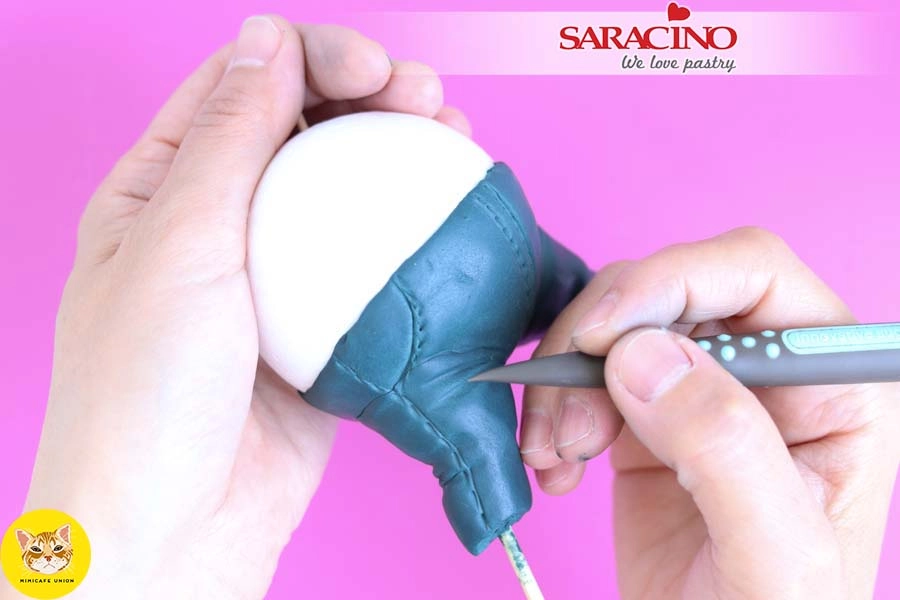
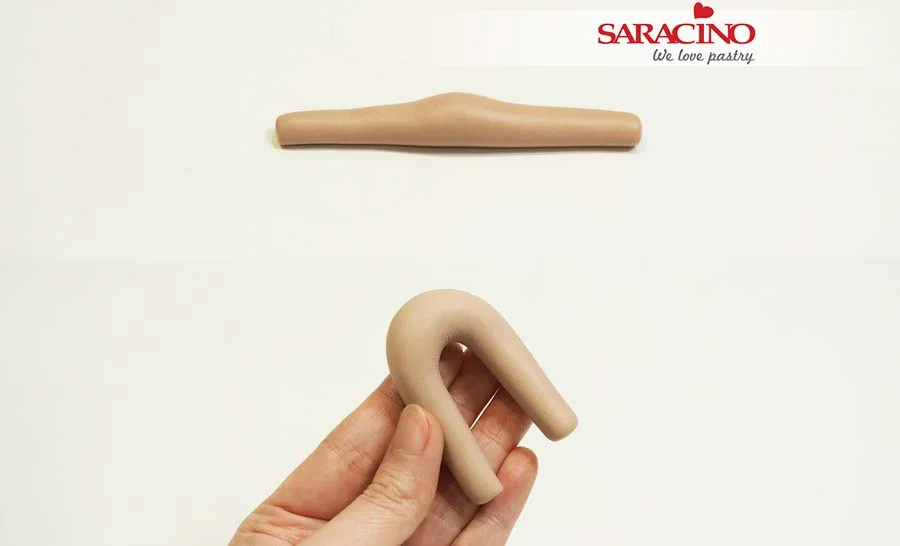
For the pyjama bottom mix brown and white modelling paste to give the required colour then roll out a sausage shape slightly thicker in the centre. Bend both ends / legs towards each other. 
Step 8

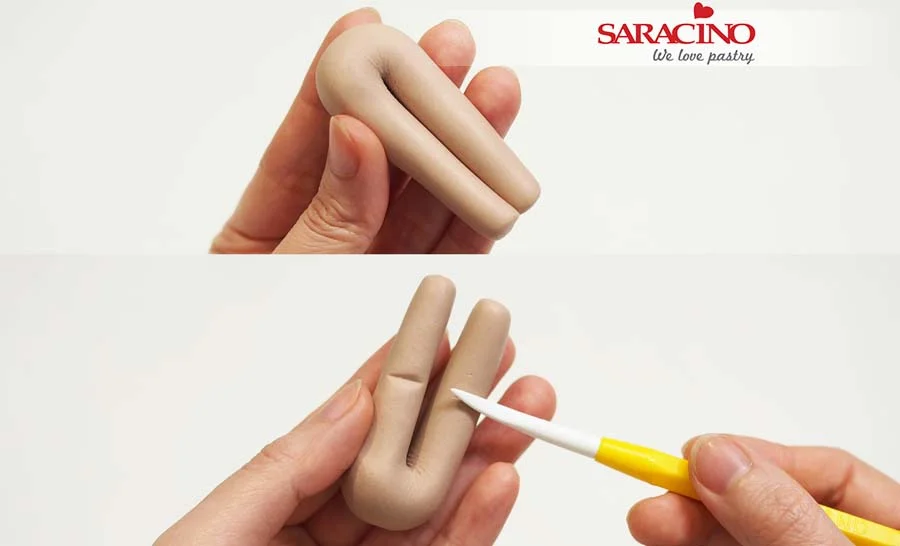
On the back use a Dresden tool to form lines at the back of the knee.
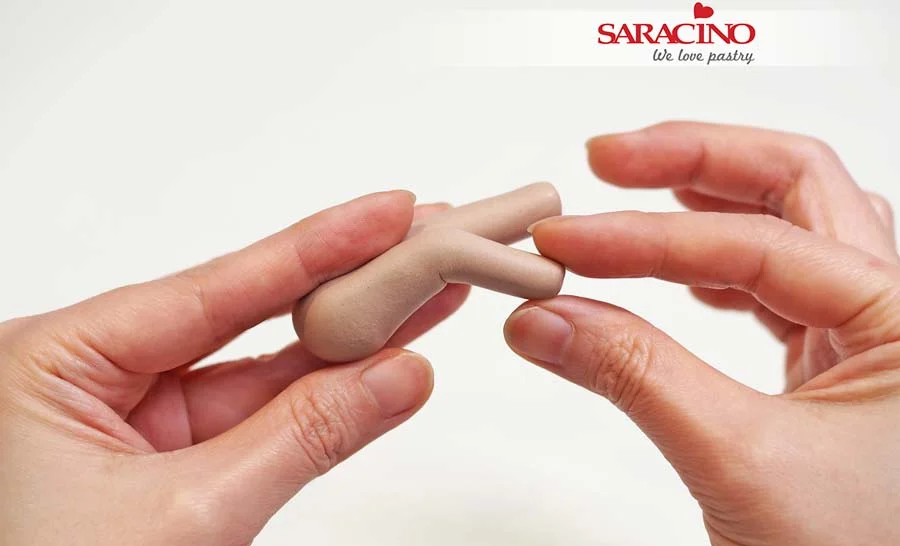
Step 9

Bend both legs and set aside to dry in that position.
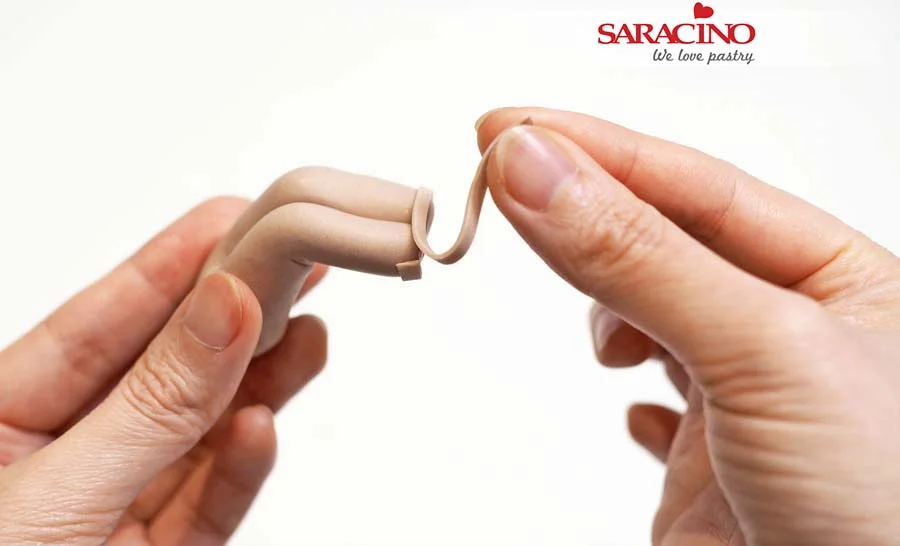
Step 10

For the pyjama cuffs roll out a thin strip of paste and fix it around the end of the legs as shown.
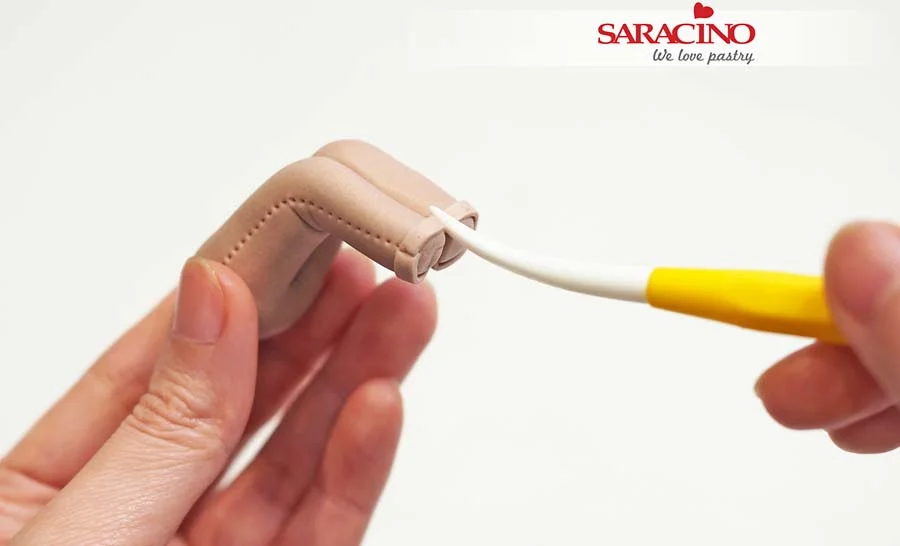
Step 11

Use a Dresden tool to shape the cuff line and add some stitching detail to the side of each leg.
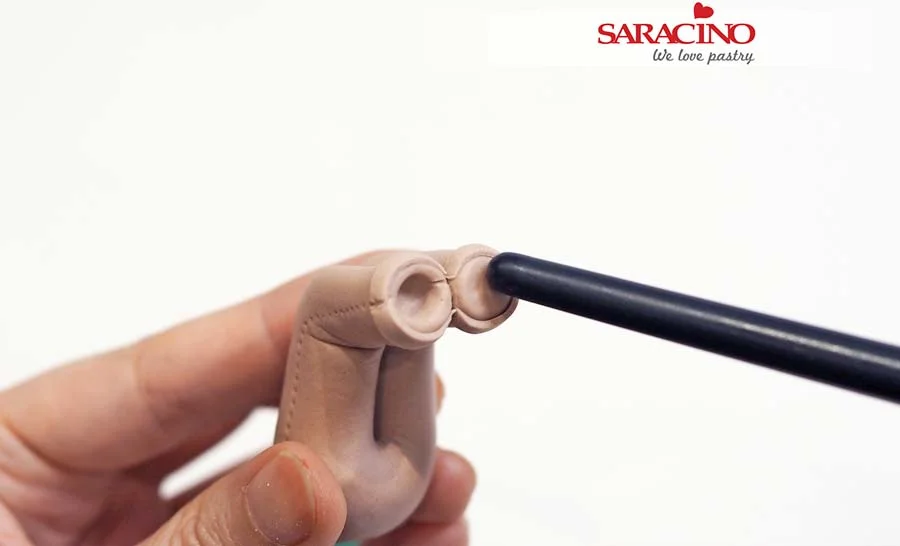
Step 12

Use the end of a paint brush to indent the end of each leg.
Step 13

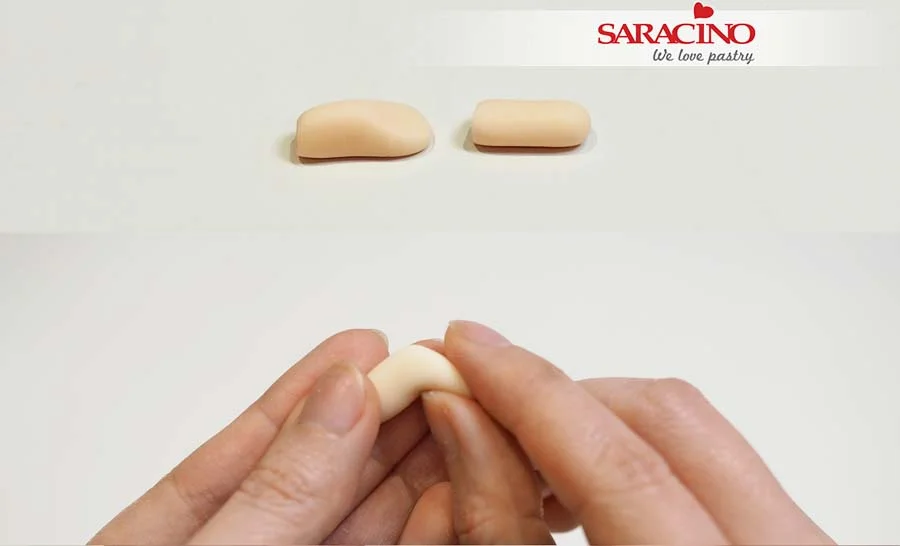
For the feet and ankles use some light skin colour modelling paste and roll out a small sausage shape. Press on one end and bend it forward.
Step 14

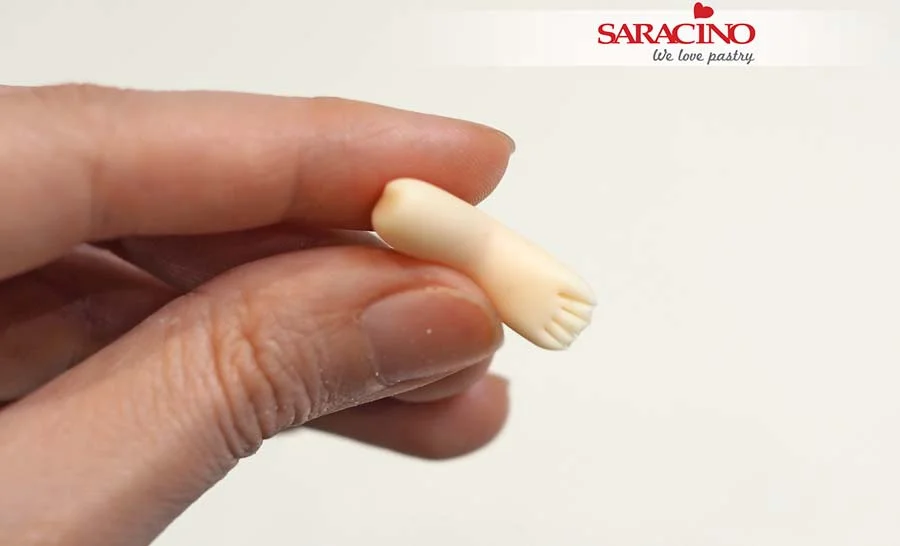
Using a sharp knife cut four lines for the toes.
Step 15

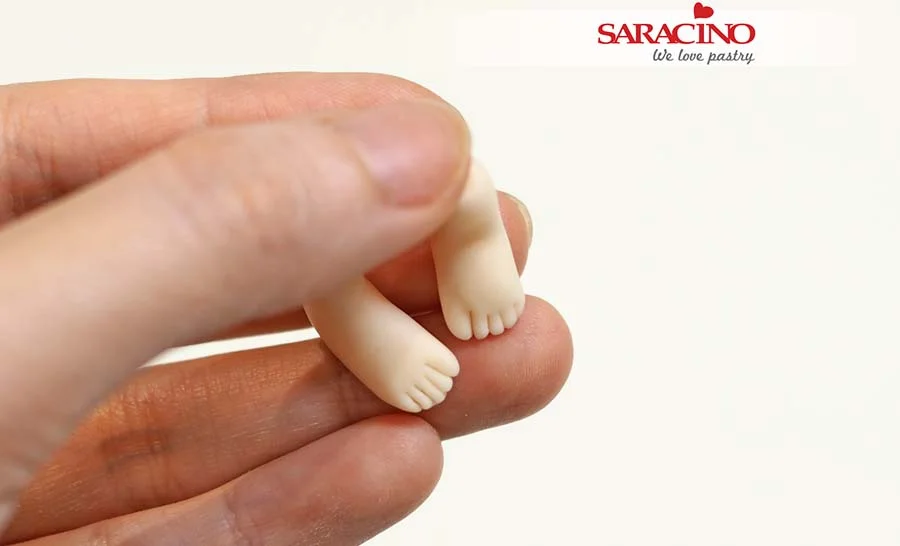
Use the same method to make the other foot and round off all the edges. Remember to make a left and right foot!
Step 16

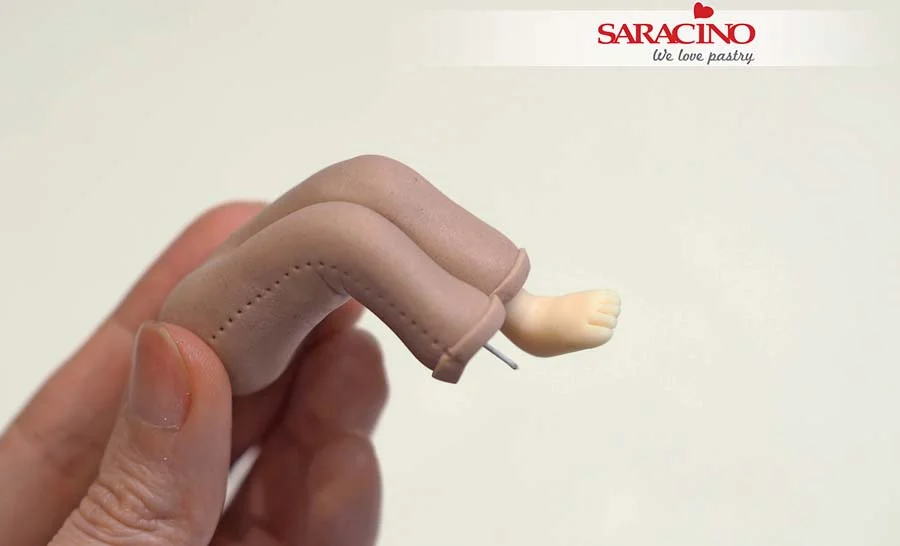
Insert a short length of 24 gauge flower wire into the bottom of each leg and fix the feet. Set aside to dry.
Step 17

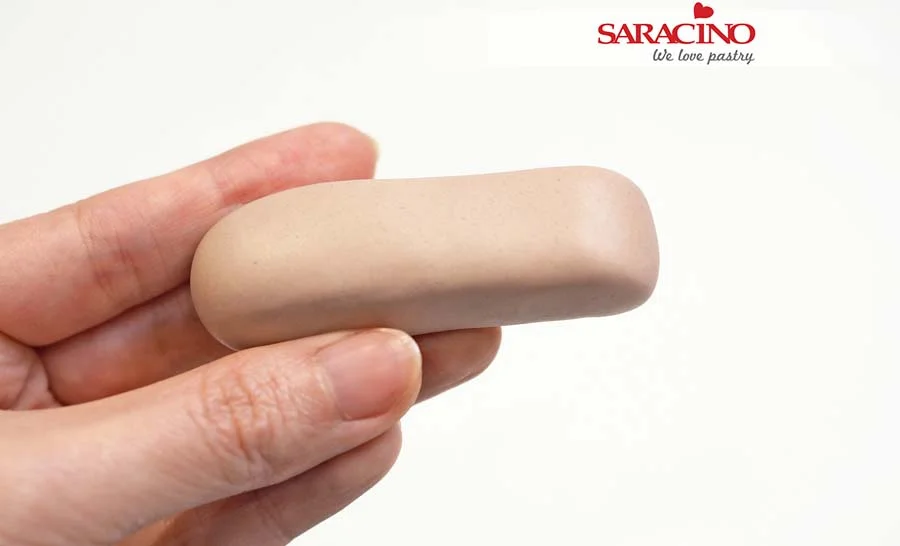
For the body use the same colour paste as the trousers. Roll out a sausage shape as wide as the waist of the pyjama bottoms and flatten one of the ends for the shoulders.
Step 18

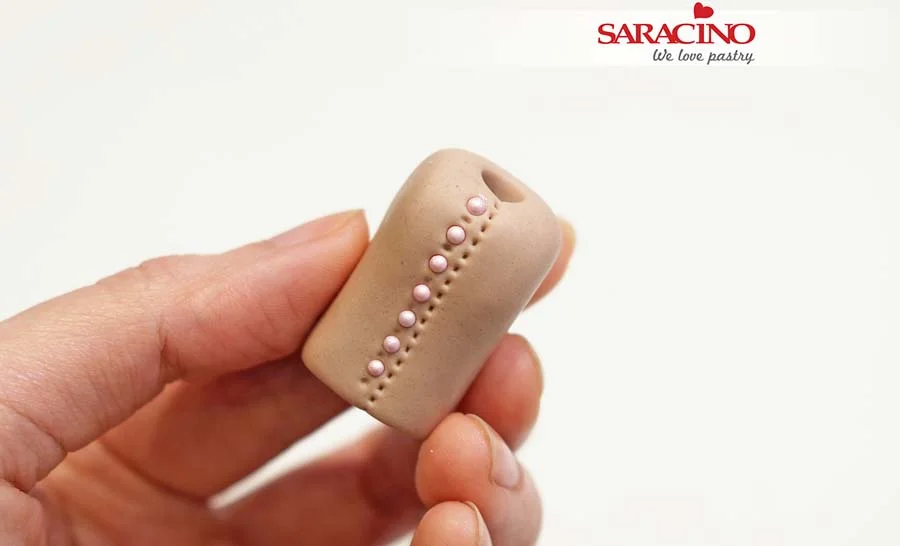
Cut it to length. Use the back of a paint brush to add an indent for the neck. Add some stitching and fix some small pink dragees for buttons.
Step 19

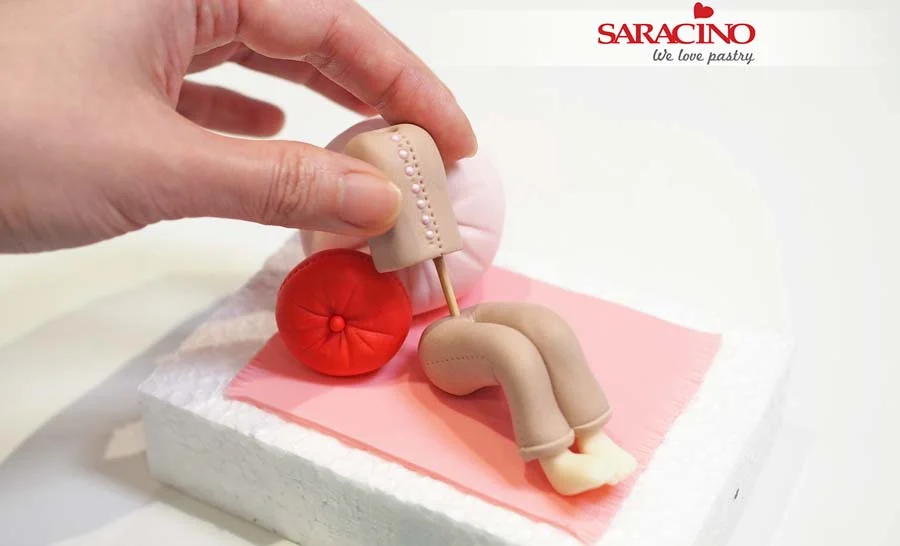
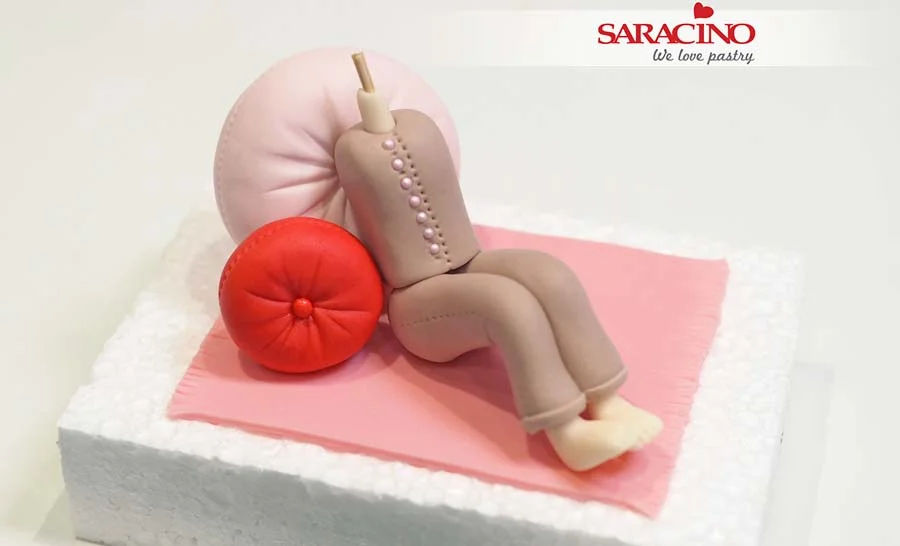
Insert a cocktail stick through the bottom into the foam base then attach the body. 
Step 20

For the neck roll a small light skin colour sausage shape and add into the neck indent.
Step 21

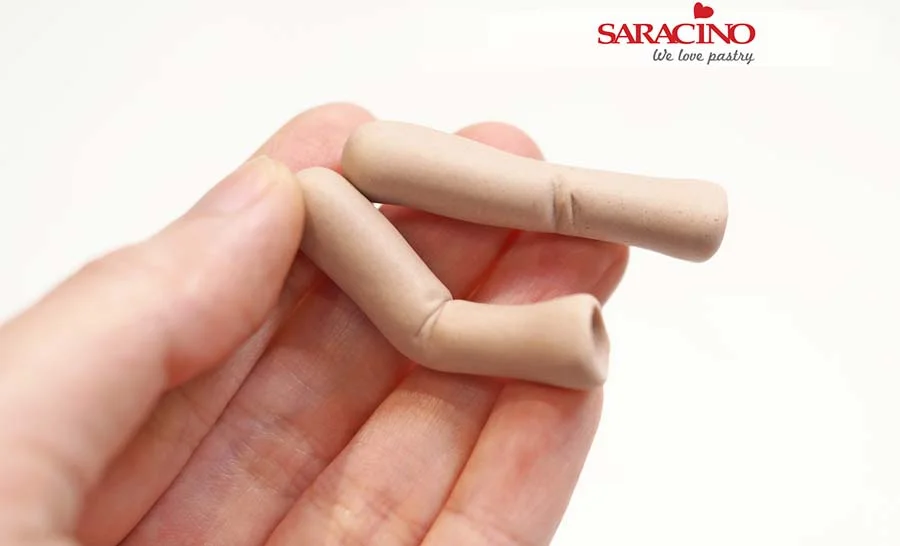
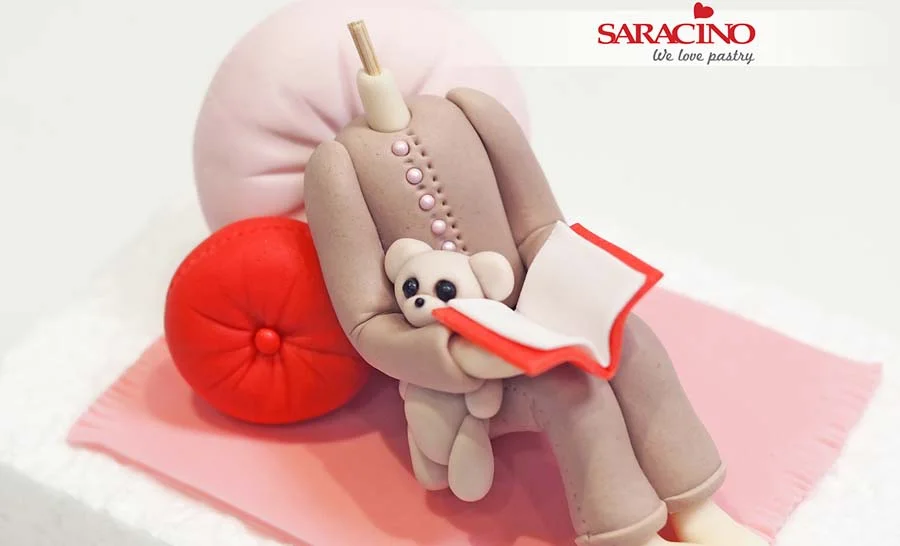
For the arms roll out two sausage shapes. Using the back of a paint brush or your Dresden tool indent the sleeves and mark lines for creases. Bend both arms to shape.
Step 22

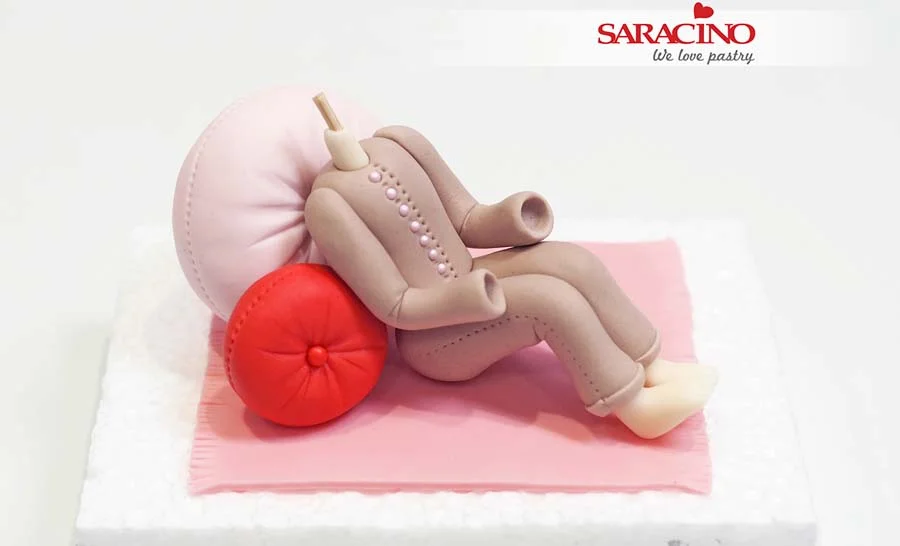
Attach both arms to the body using a little edible glue if required.
Step 23

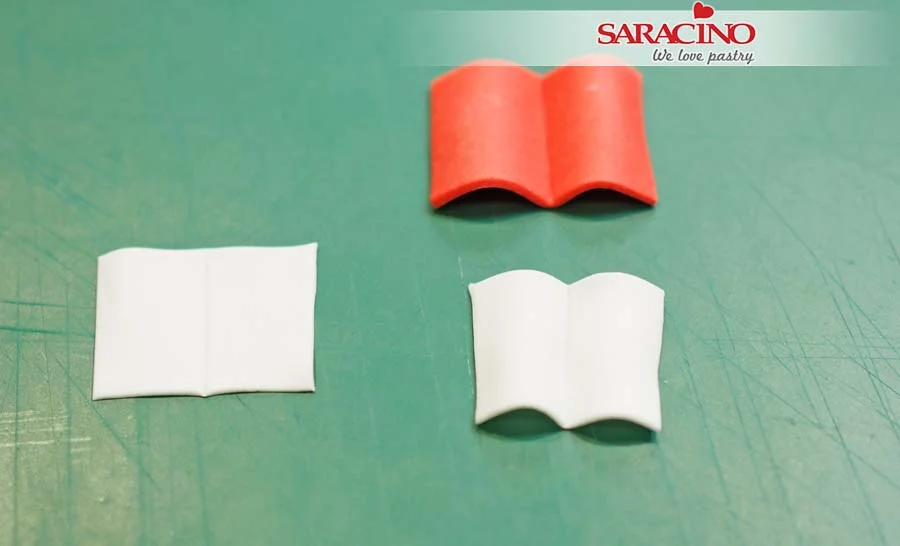
For the book cut out 2 rectangular pieces of white modelling paste and one larger red rectangle. Mark a line in the centre and shape them like a letter ‘M’. Fix them on top of each other.
Step 24

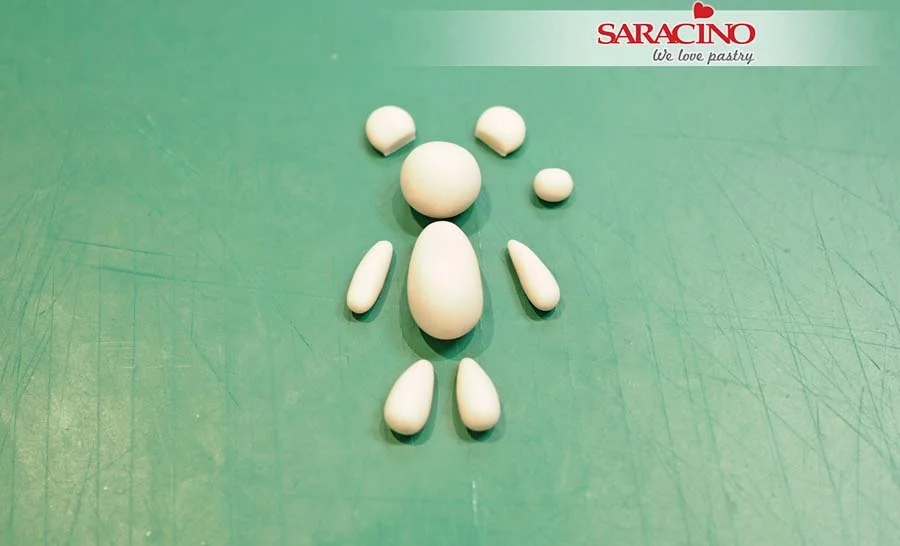
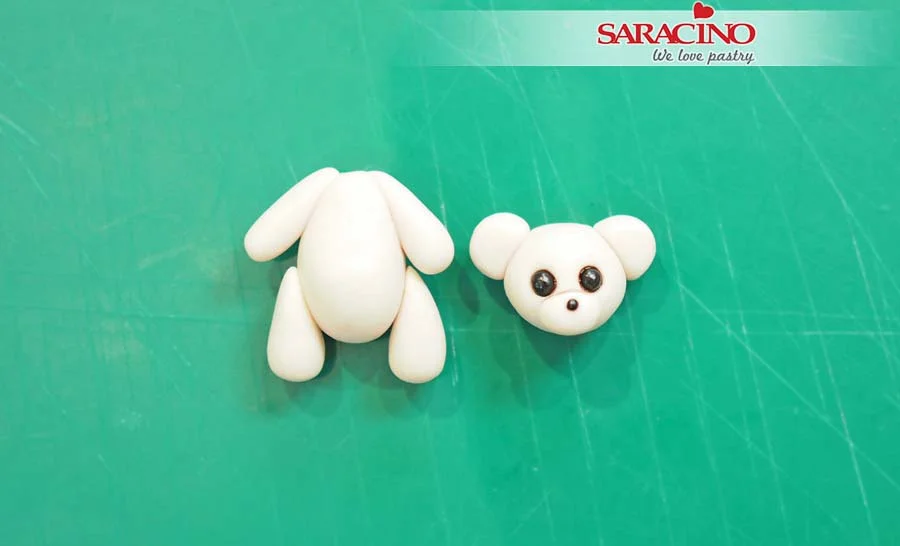
For the bear use a lighter brown modelling paste. Roll one large ball for the head, a small oval for the nose, a large teardrop shape for the body, 4 small teardrops for the arms and legs. For the ears, roll out two small balls and slightly flatten them. Cut off 1/3 of the circle where the ears attach to the head.
Step 25

Fix them together using a little glue. Add two small black dragees for the eyes and one small black dragee for the nose.
Step 26

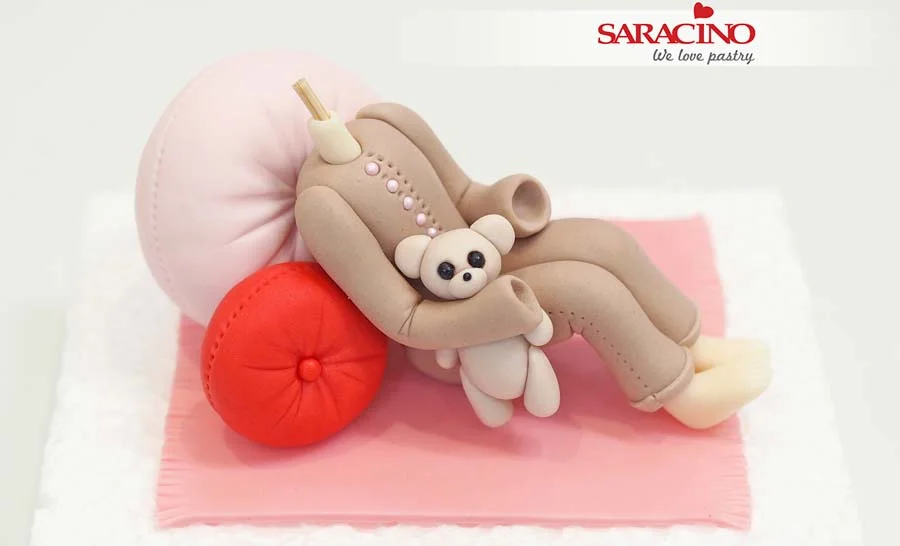
Flatten the top of the bear body and stick it in between the arm and leg.
Step 27

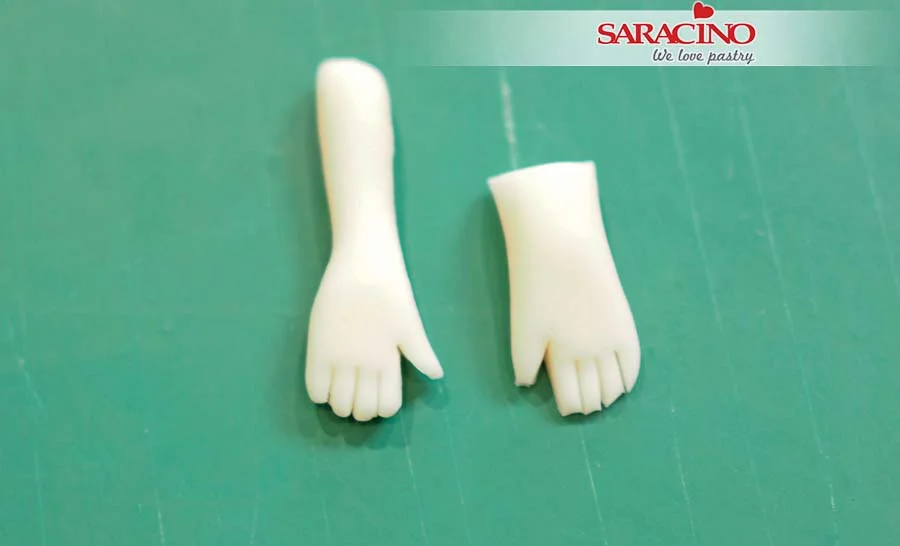
For the hands and wrists roll out a sausage shape and flatten the palm. Cut four lines for the fingers and round off all the edges.
Step 28

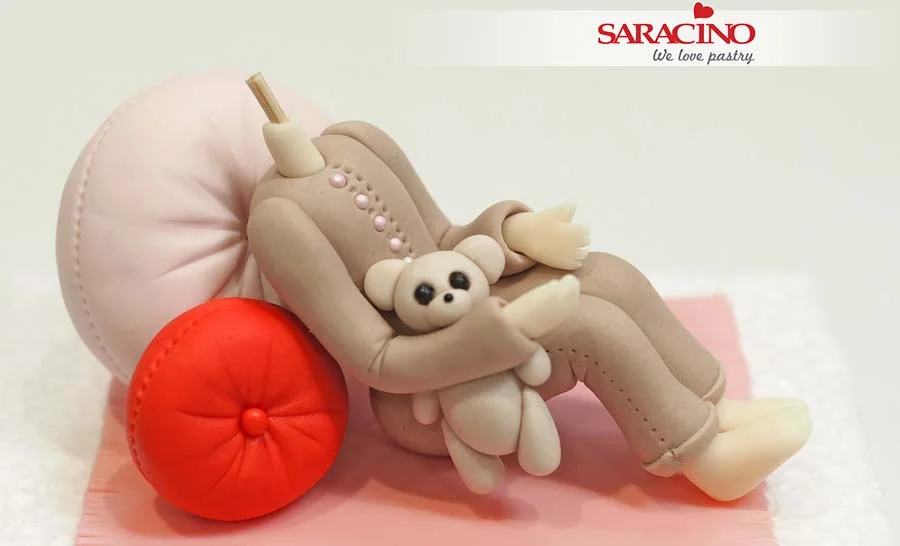
Fix the hands into the sleeves.
Step 29

Fix the book onto the hands.
Step 30

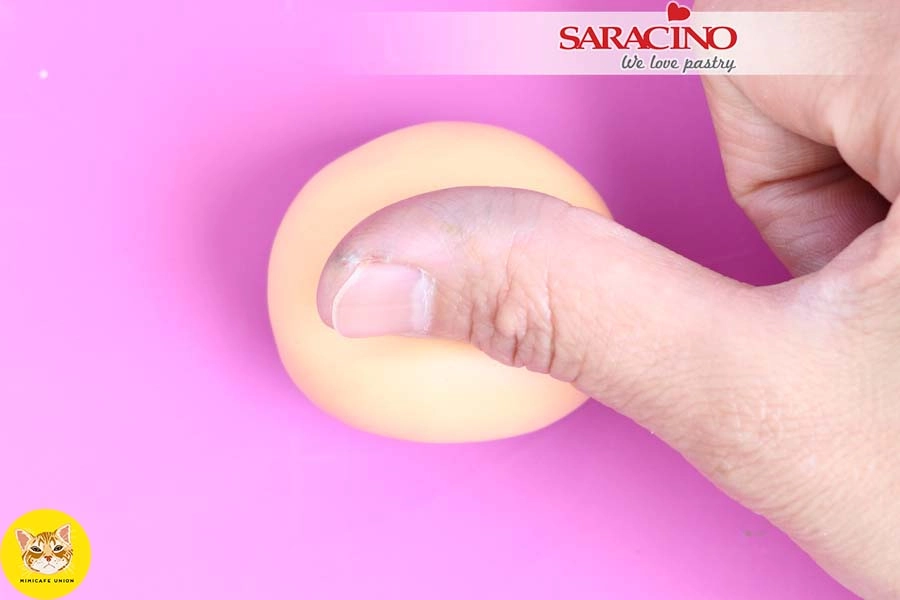
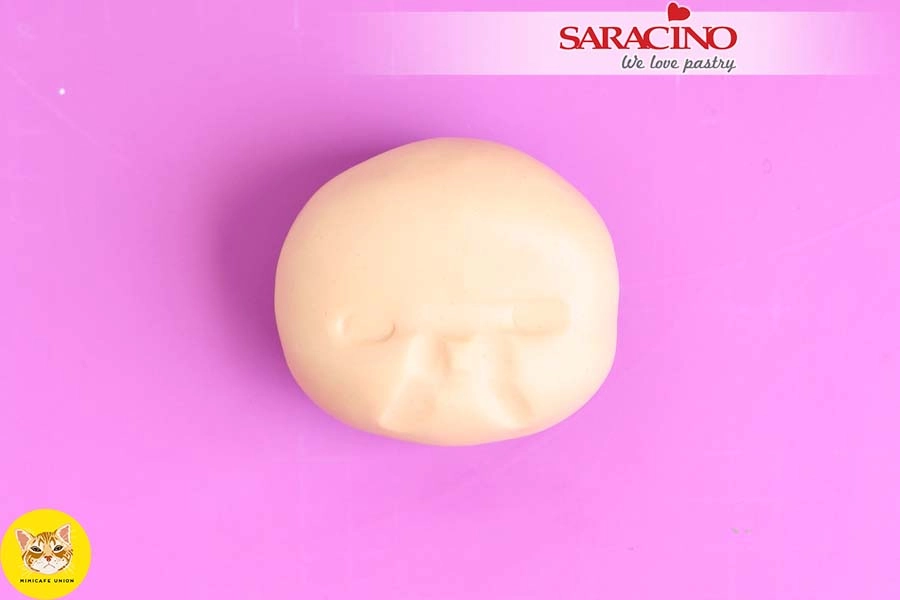
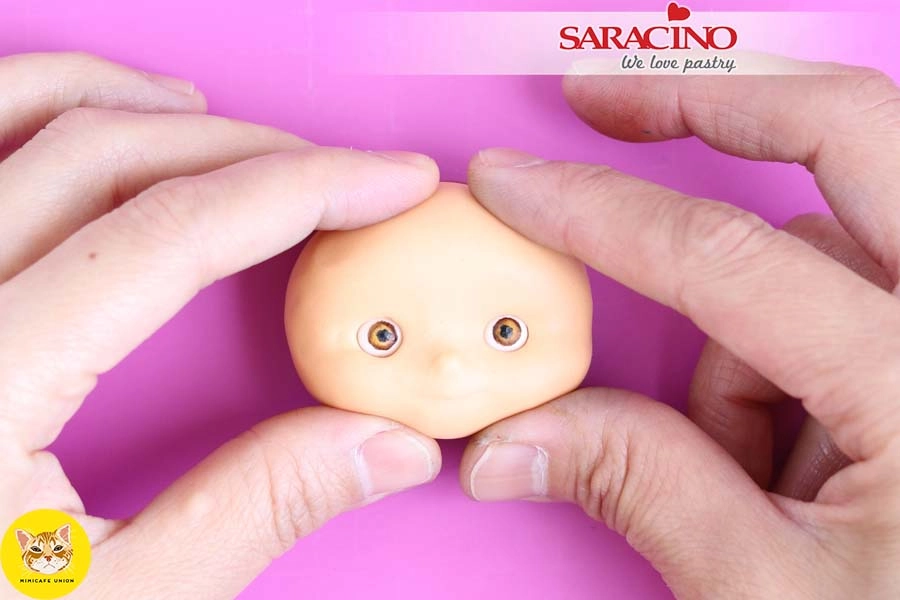
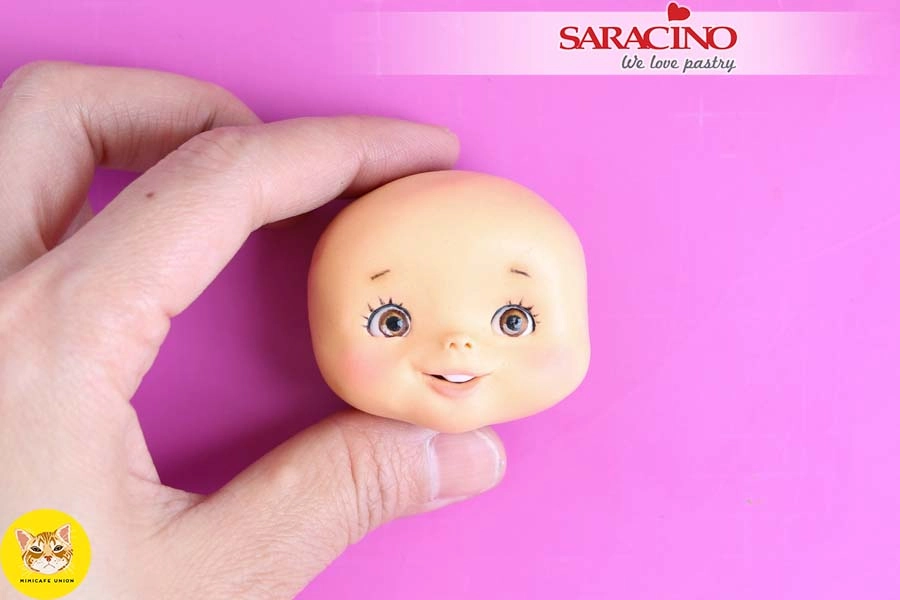
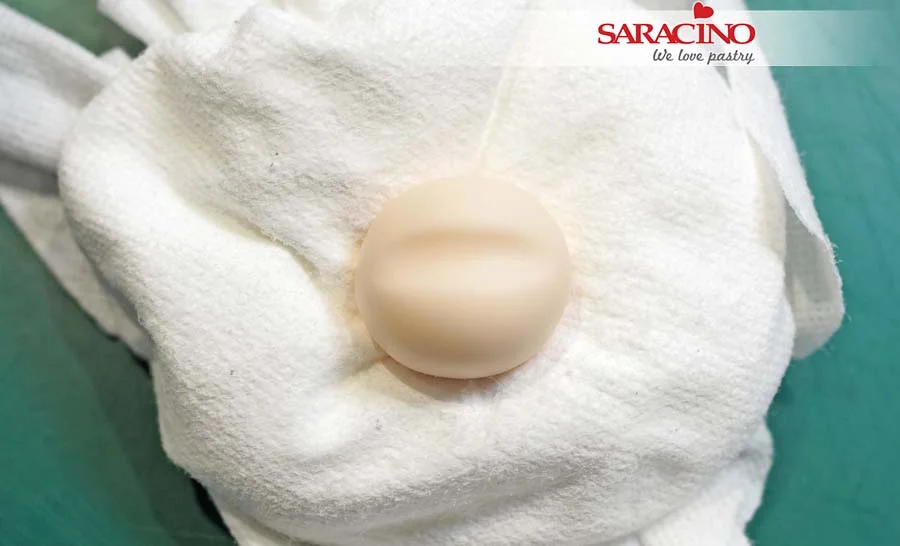
For the head roll a light skin colour ball and indent across with the back of a paint brush.
Step 31

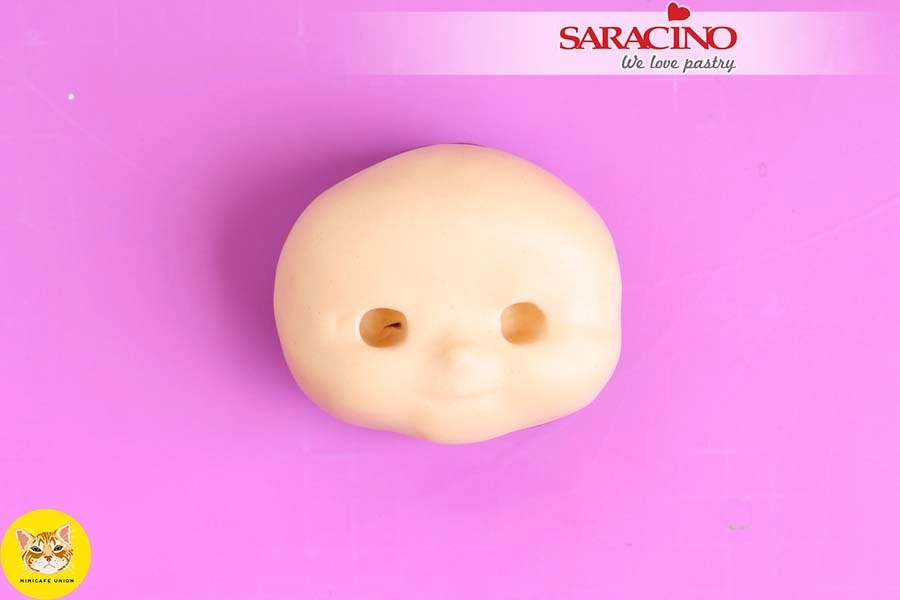
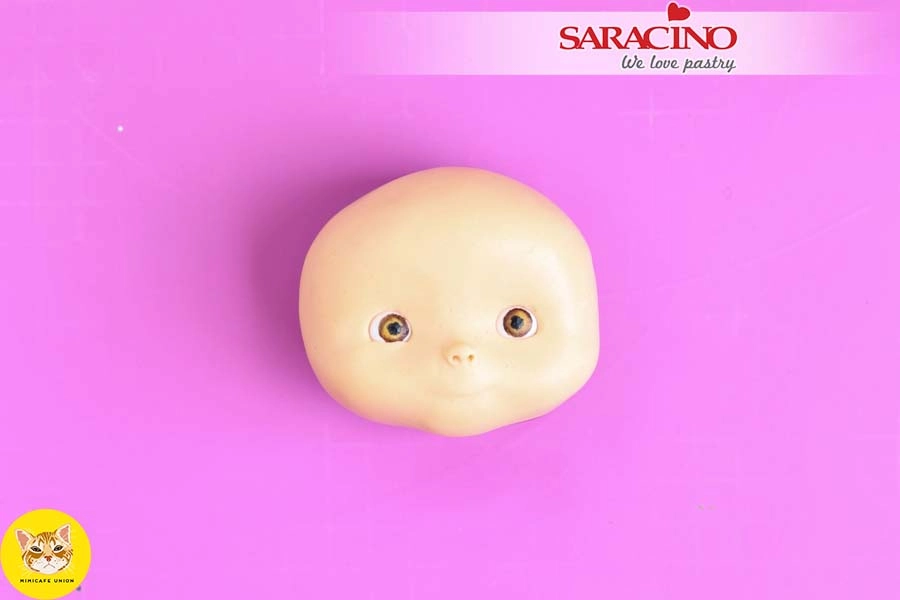
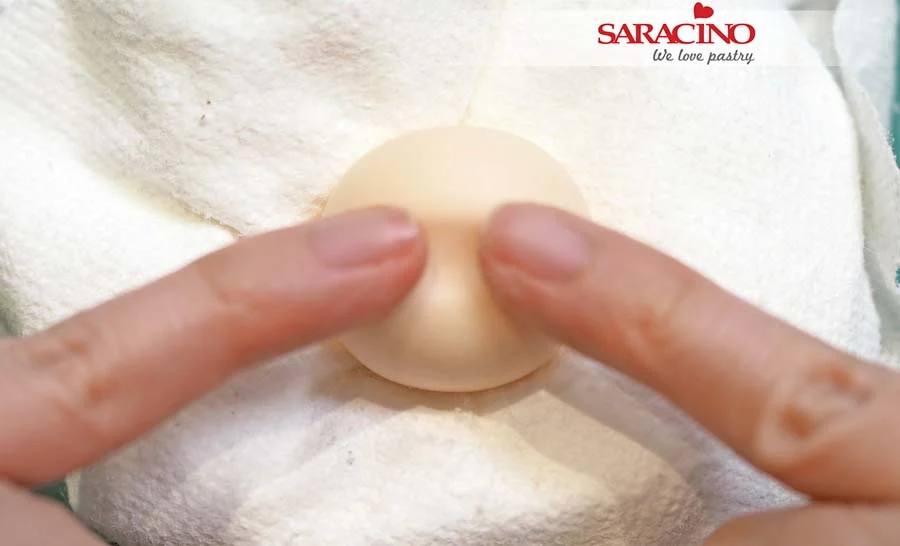
Use your little fingers or ball tools to indent the eyes and to form the bridge of the nose.
Step 32

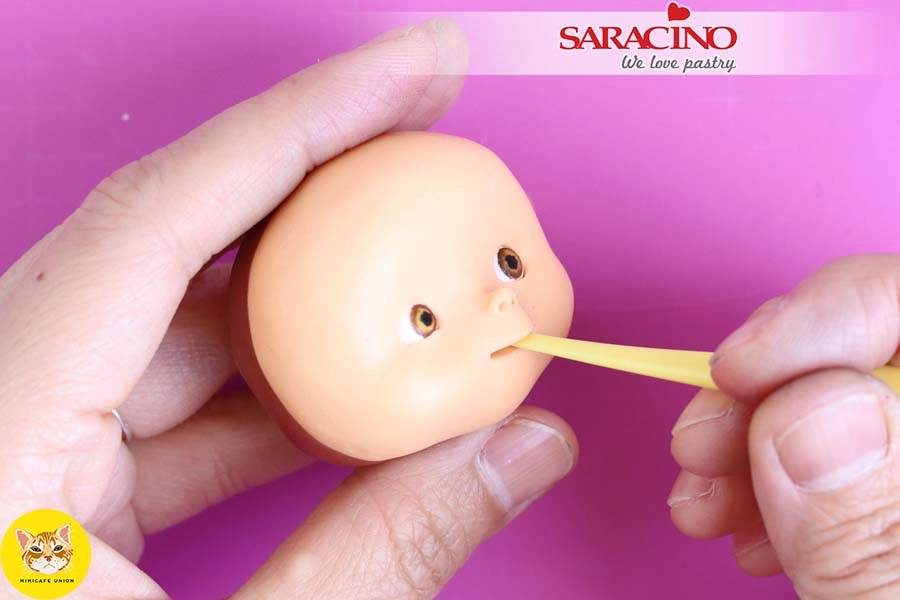
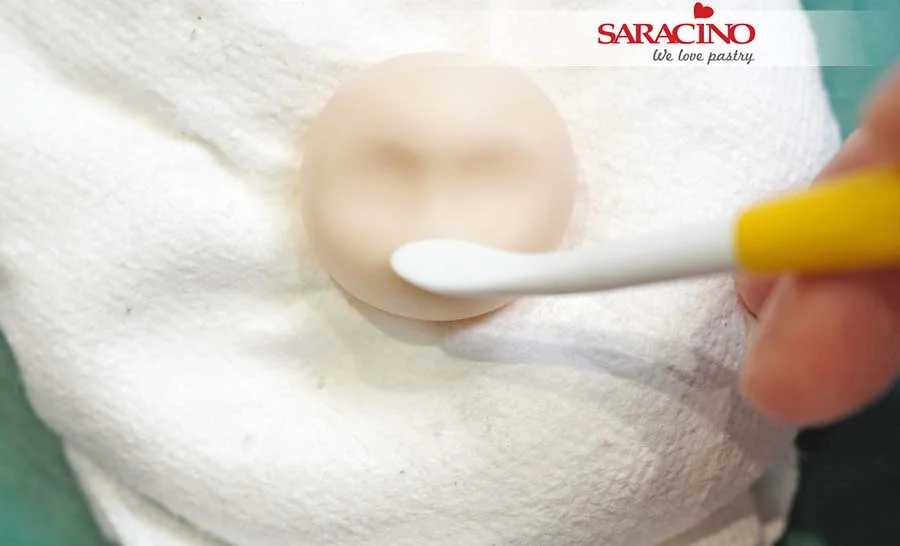
Use the Dresden tool to press down at the end of the nose and push up slightly to form the raised nose.
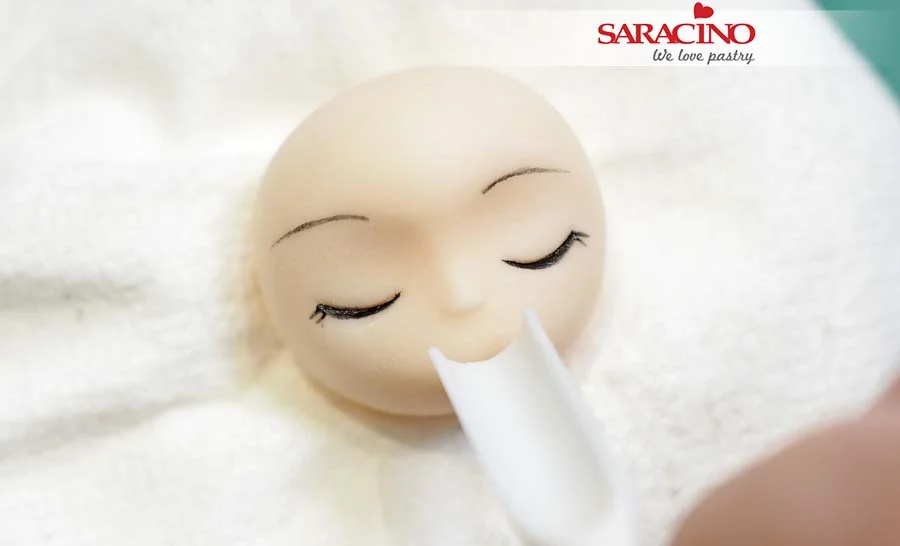
Step 33

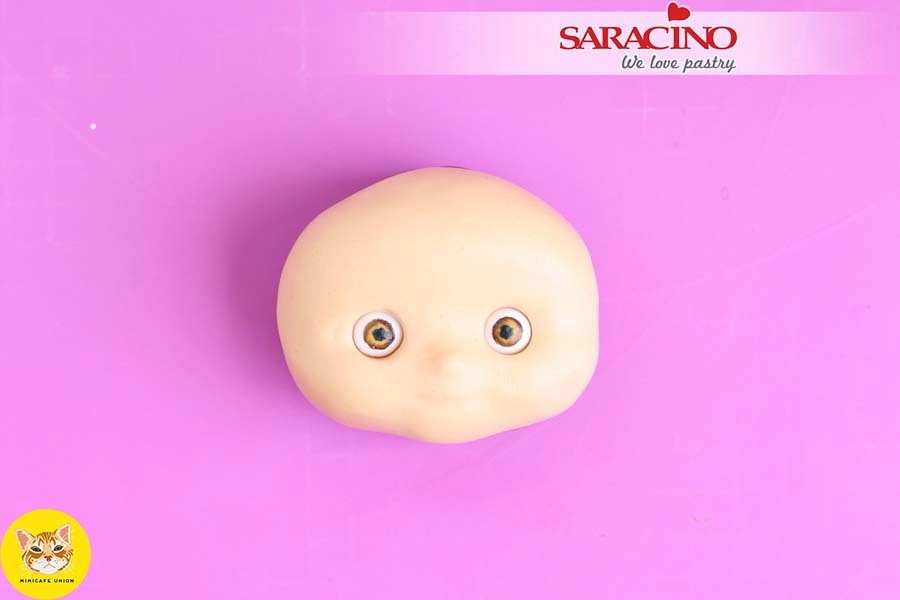
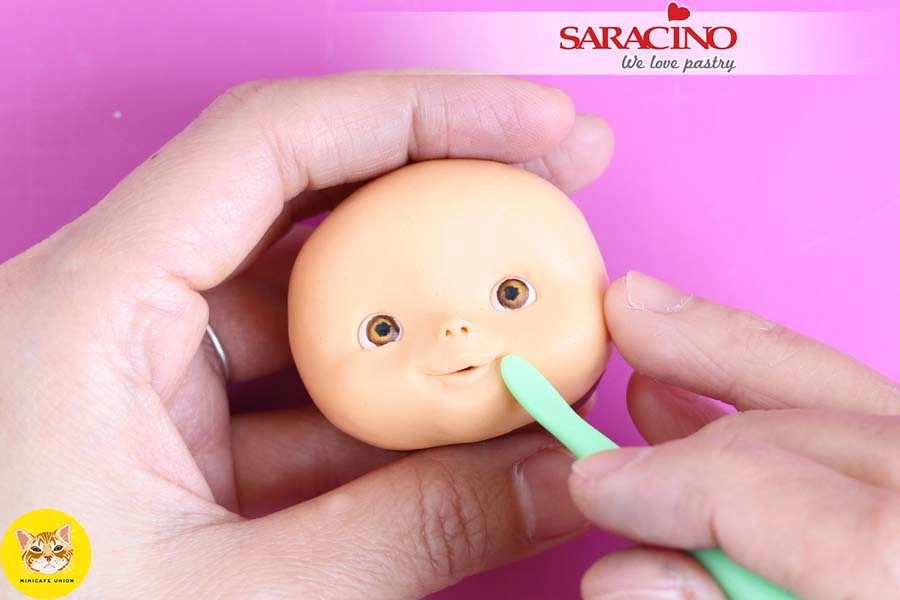
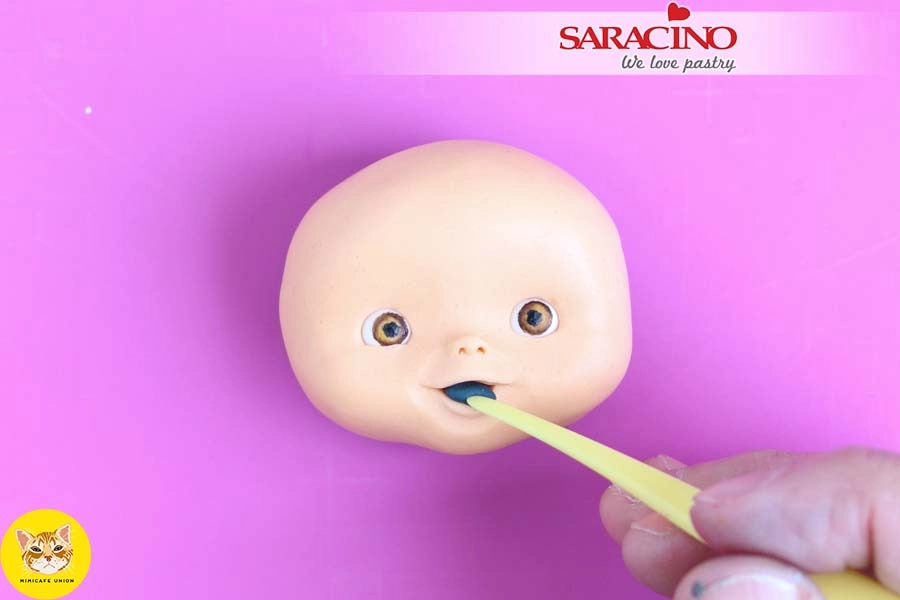
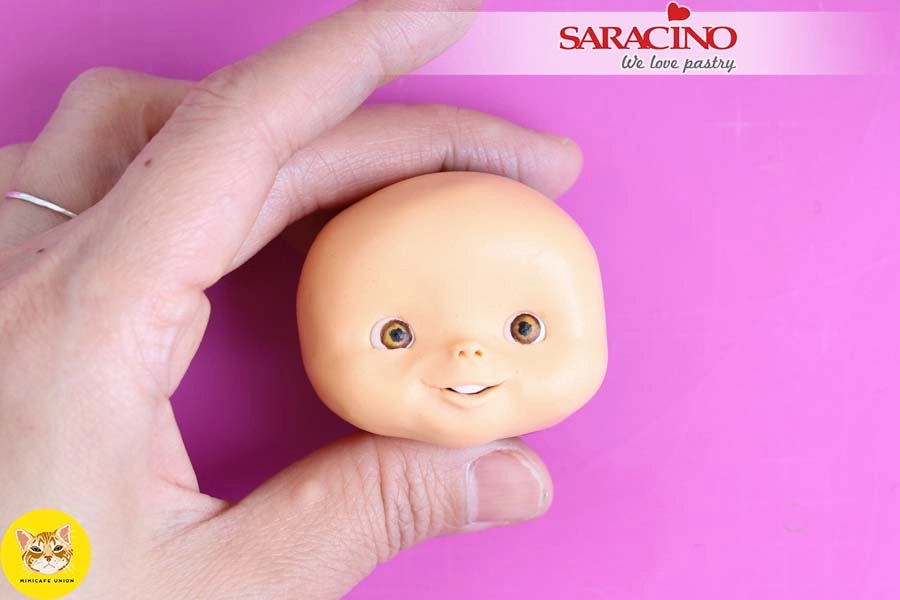
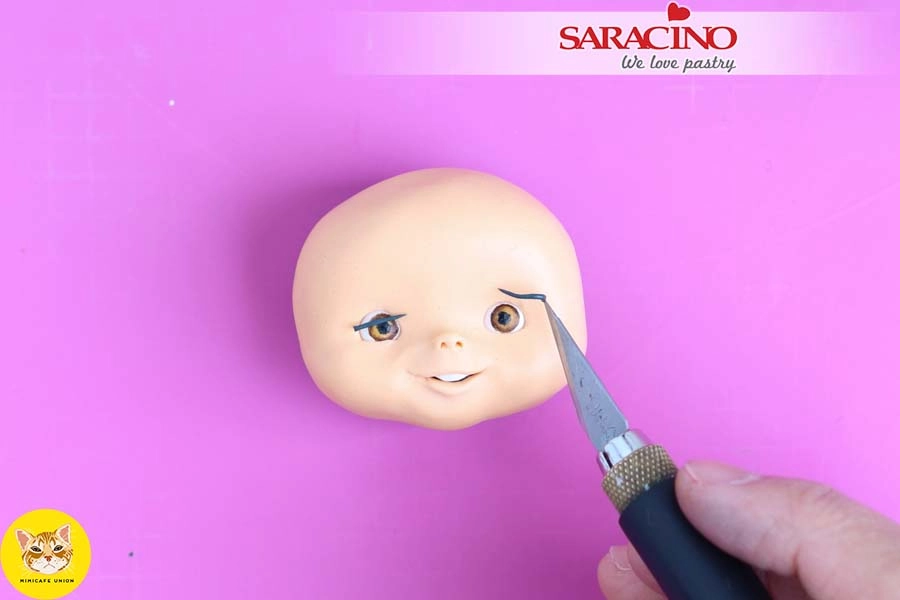
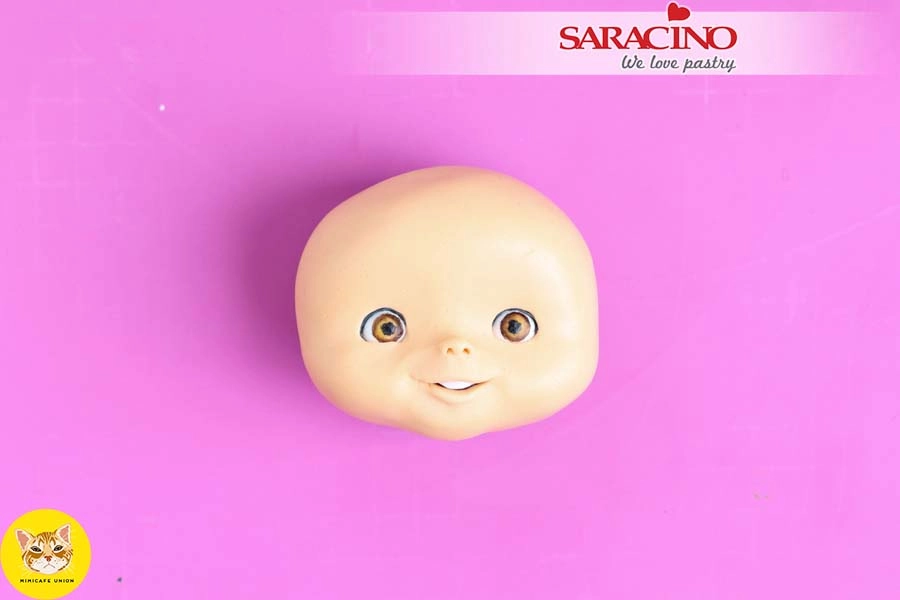
Use the smile tool to indent the eyes and mouth then use black edible paint and a fine brush to paint the eye lashes and eyebrows.
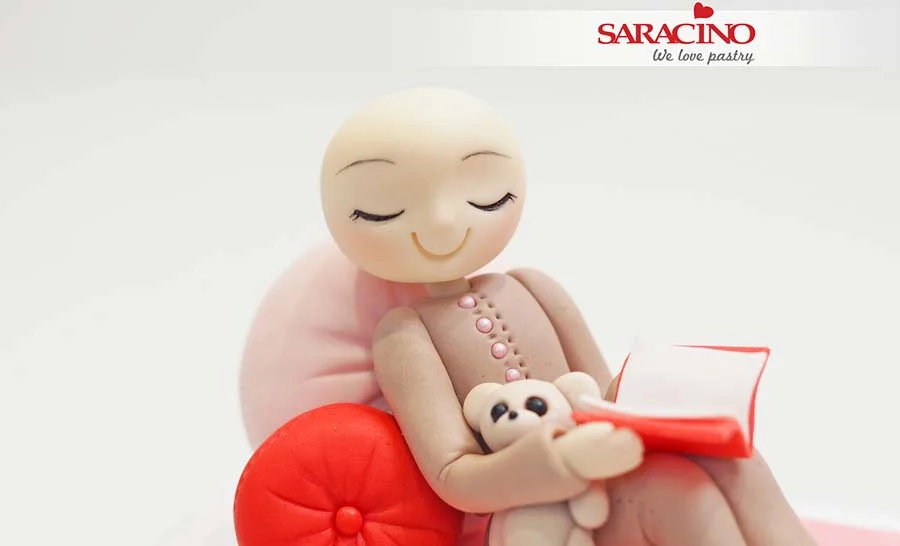
Step 34

Lightly dust the cheeks using pink powder and a soft brush. Fix the head onto the neck at your chosen angle.
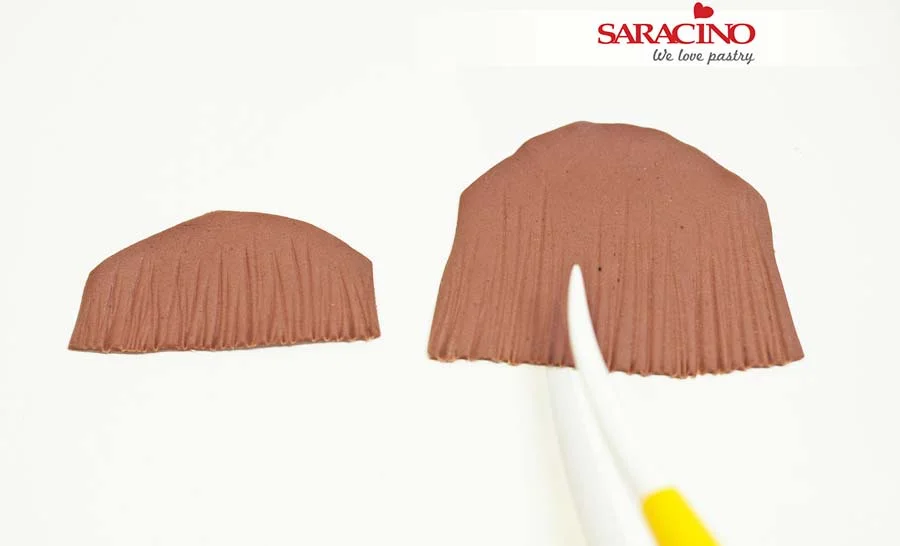
Step 35

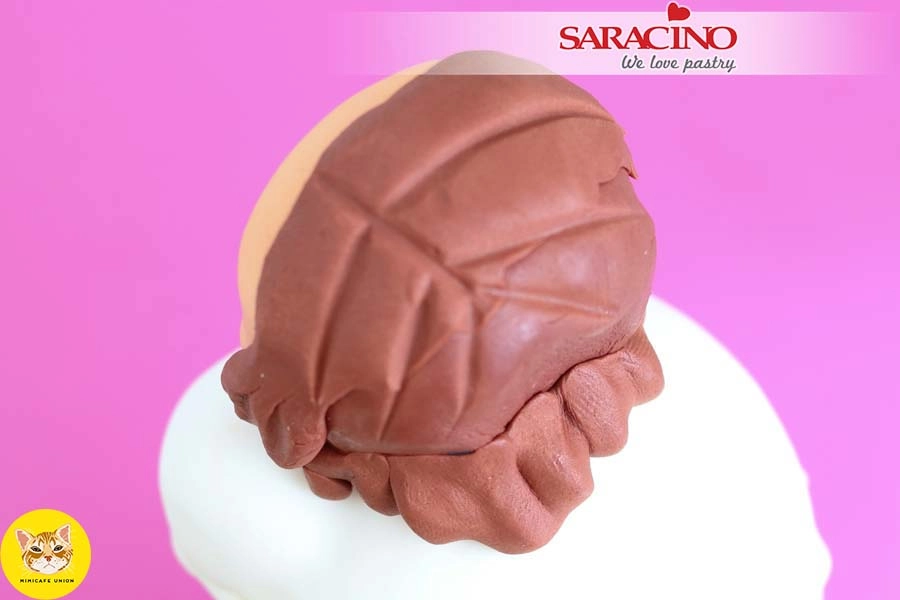
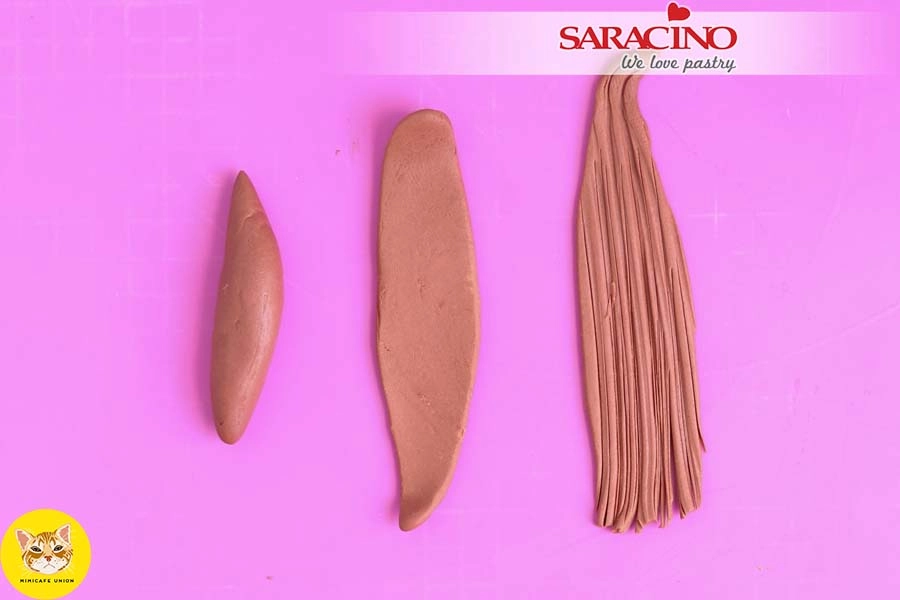
For the hair use the brown modelling paste and roll thinly. Cut out two shapes. One for the fringe and one for the longer hair. Use a Dresden tool to mark lines for the hair.
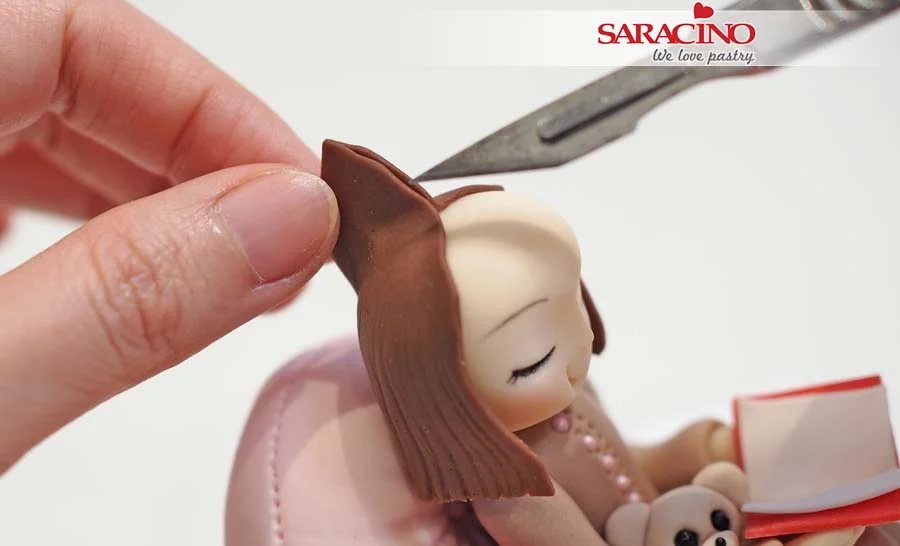
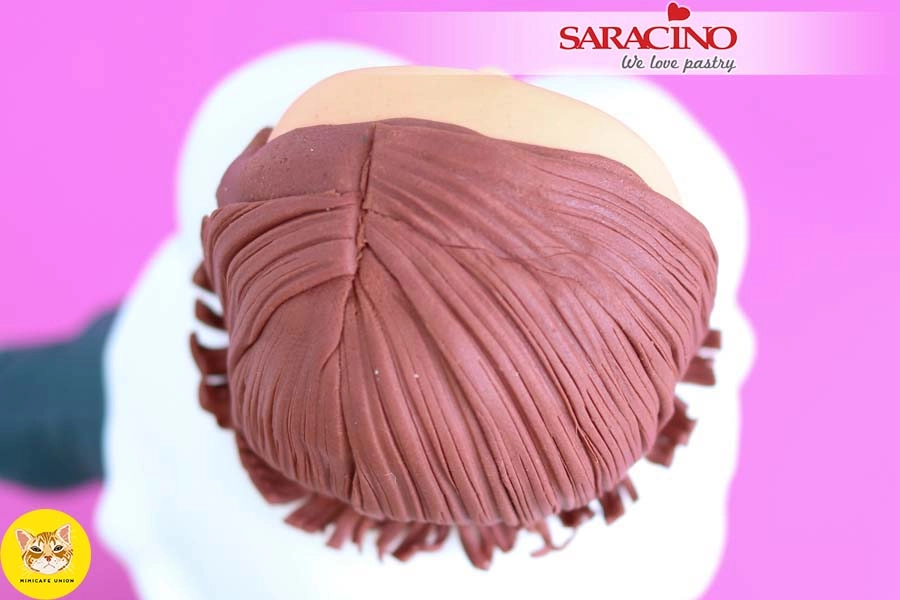
Step 36

Fix the larger piece around the head and gather the paste in the centre of the head. Cut off any excess paste and add the smaller fringe piece onto the front of the head.
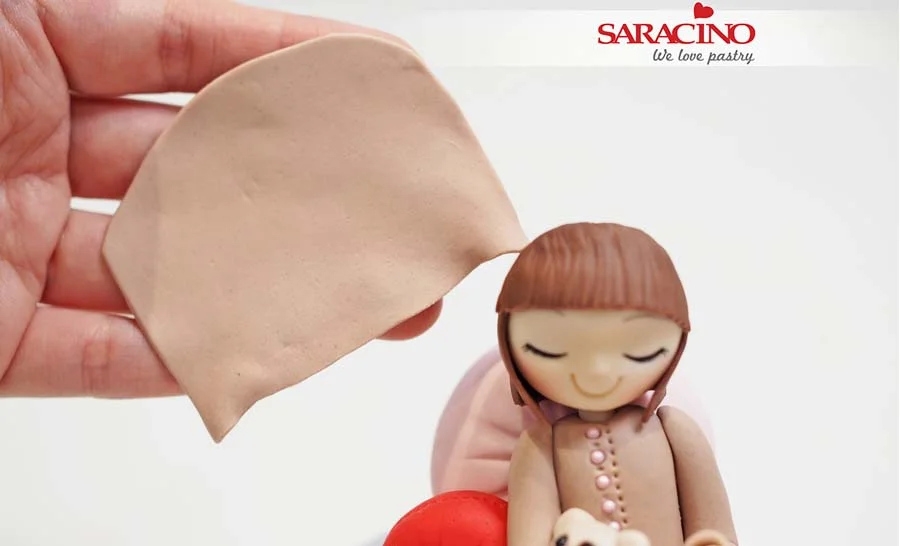
Step 37

For the hood use the same colour paste as the pyjamas. Roll thinly and cut into shape.
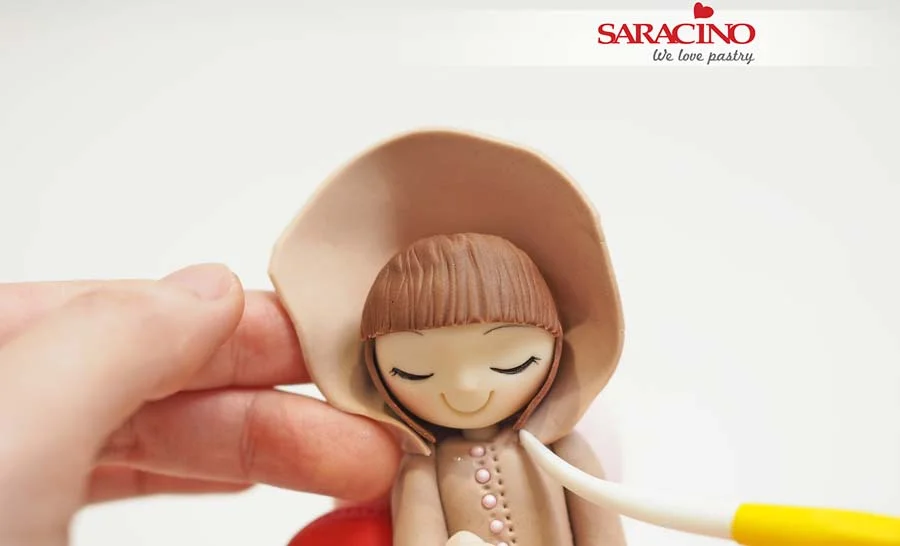
Step 38

Fix the hood to the back of the head and to the shoulders. Press the joint with your Dresden tool to attach well to the shoulders.
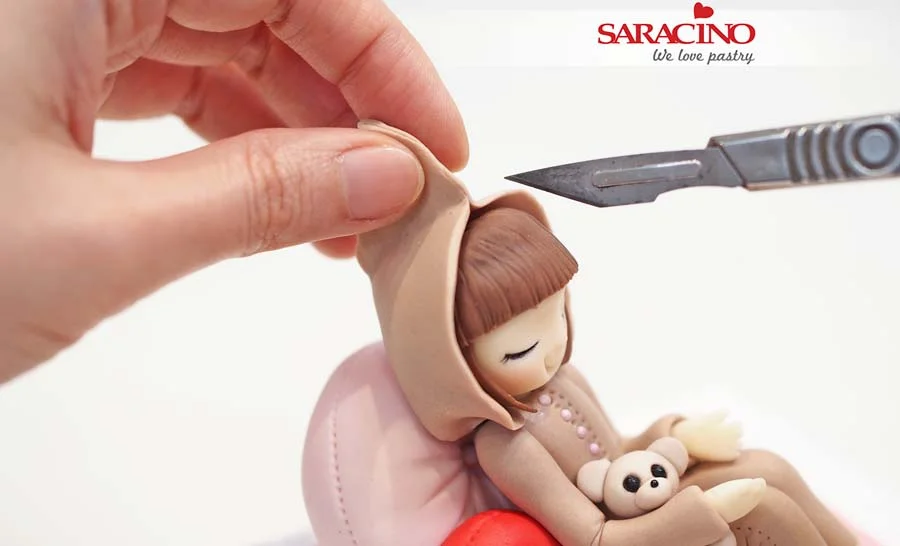
Step 39

Gather the excess paste at the top centre of the head and cut off the excess.
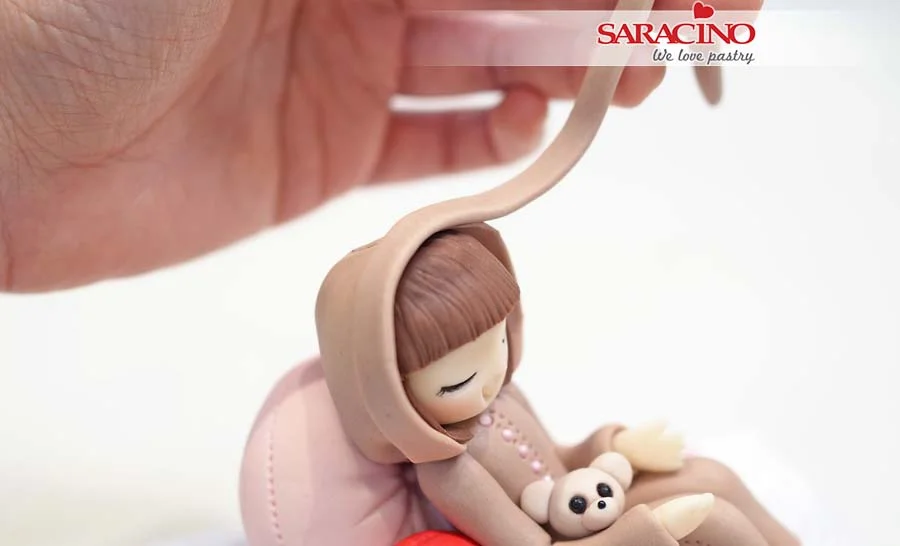
Step 40

For the hood trim roll a thin sausage shape and flatten. Fix it to the edge of the hood and cut off any spare length.
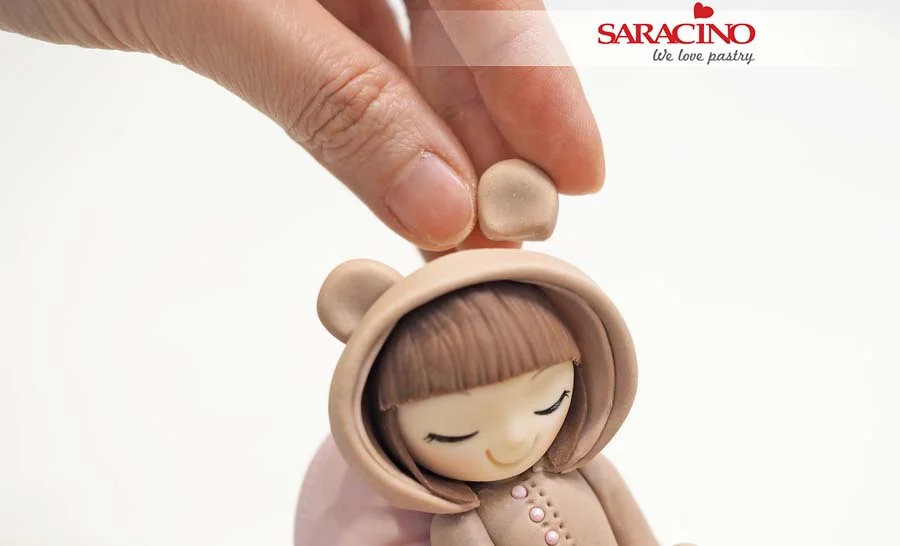
Step 41

For the hoody ears roll two balls and slightly flatten them. Cut off 1/3 and fix to the hood.
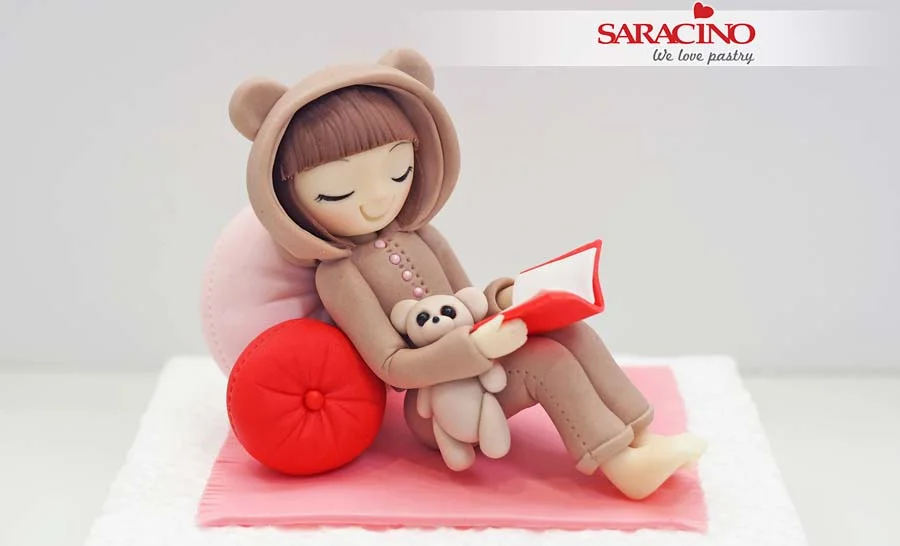
Step 42

Your sleepy girl is ready.

OLD BOOK CAKE

OLD BOOK CAKE

Author: XENIA XENAKI

Skill level: BEGINNERS

You will need:

  • Saracino Pasta Top: white, black, green
  • Saracino gel colours: light skin, brown
  • Saracino powder colours: red, brown, white
  • Saracino powder pearl colours: light gold, bronze
  • Saracino Wafer paper 0.27mm
  • Edible glue
  • Clear alcohol
  • Cake or dummy 20x15cm
  • Cake board
  • Silicone mat
  • Silicone mould
  • Plastic mould
  • Knife
  • Stamp
  • Rolling pin
  • Toothpicks
  • Brushes
  • Modelling tools
  • Smoother
  • Measuring tape
  • Painting palette
  • Scissors
  • Paper towel

Step 1

Cover your rectangle cake with ganache and allow to set.

Step 2

Roll out white Pasta Top and cover three sides (top, right side and bottom).

Step 3

Mix white Pasta Top with brown gel colour until you achieve the colour you need. You can also use pre-coloured brown Pasta Top.

Step 4

Add black Pasta Top a little at a time to the brown paste until you achieve the darker colour you need for the look of the book cover.

Step 5

You should have a shade similar to this. 

Step 6

Measure the left hand side and cover. This will assist with rolling the paste to the correct size.

Step 7

Roll the coloured paste to the required size and cut to make neat edges. Remember to add 1cm for each side to create the extension of the book cover.

Step 8

Cover your cake as shown leaving the overhang.

Step 9

Using a modeling tool mark the spine of the book.

Step 10

Use your fingers to press all around the edge of the book cover to give a damaged and worn look.

Step 11

Roll long strips of the coloured paste and cut to 1cm width. Add them to create the edge of the back cover of the book.

Step 12

Use a Dresden tool to mark and add ‘damage’ to the back cover of the book.

Step 13

Mix white powder colour with clear alcohol. Use a wide brush to roughly paint all the dark surfaces of your book.

Step 14

Before the paint dries take a textured paper towel and press it on your book cover.

Step 15

Pull off the paper towel to remove the excess colour and achieve the textured paper towel effect.
TIP: Repeat the process if the paint dries out. Continue until you achieve the required look.

Step 16

Using the coloured paste roll two 2cm strips and ‘damage’ with your fingers. They will be used to make the spine binders.

Step 17

Fix them to the spine of the book and use the paint technique shown earlier to add texture.


Step 18

Mix 100g green Pasta Top with 70g brown Pasta Top to create an olive colour.


Step 19

Roll the olive green paste on an impression mat to add the desired pattern.

Step 20

Use a knife to cut a piece and add shape with your fingers by curling up the edges.

Step 21

Use edible glue to fix to the cover of the book.

Step 22

Mix brown and red powder colours to make a rust colour. Use a soft brush to dust different parts. 

Step 23

Using a soft brush and brown powder colour dust the remainder of the cover and spine to give a weathered and aged look.

Step 24

Use a silicone mould and the coloured Pasta Top to make a key and a lock.

Step 25

Dust the key and the lock using the rust coloured powder.

Step 26

Mix white powder colour with clear alcohol. Use a fine brush to add highlight to the key and lock details.

Step 27

When they are completely dry mix bronze powder colour with clear alcohol and further highlight the key and lock details. Repeat on the cover.

Step 28

Mix light gold powder pearl color with clear alcohol and paint it on your text stamp.

Step 29

Press the stamp on the book cover. The impression does not have to be perfect as we want an old and aged effect.

Step 30

Use edible glue to fix the key and lock to the book.

Step 31

Using 0.27 Wafer Paper cut 1cm wide strips to the length and width of the book.

Step 32

Mix light skin gel colour with clear alcohol and paint both sides of each strip. The brush cannot be too wet otherwise it may damage the wafer paper. 

Step 33

Paint each strip and fix it immediately to the book. We need to fix immediatley one by one to avoid drying of the strip. If it is allowed to dry it will be difficult to fix to the book. Use a little water to fix the strips to the book. Insert toothpicks between each strip so they dont stick together.

Step 34

Remove the toothpicks when the strips are completely dry.

Step 35

Mix brown gel colour with clear alcohol and gently paint the edges of the strips.

Step 36

The pages should look as shown.

Step 37

Cover your cake board with the olive coloured Pasta Top. Add paint to the board to give the aged effect.

Step 38

Your historic book is ready!

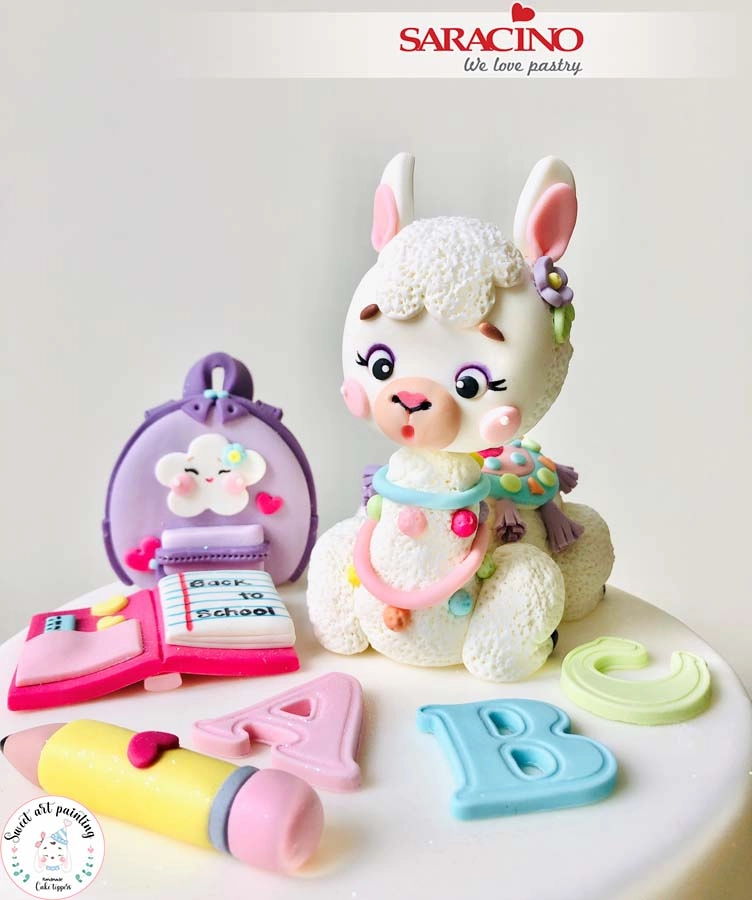
LLAMA GOES BACK TO SCHOOL

LLAMA GOES BACK TO SCHOOL

Author: ZULY XIOMARA

FACEBOOK: SWEET ART PAINTING

Skill level: BEGINNERS

You will need:

  • Saracino Pasta Model: white, green, violet, tiffany, orange, pink, fuchsia, yellow, brown and black
  • Saracino white Pasta Top
  • Saracino powder colours: pink, violet
  • Saracino Liquid Shiny confectioners glaze
  • Saracino gel colours: black and light skin
  • Icing sugar
  • Dummy or edible cake
  • Edible markers: black, brown, red, blue and pink
  • Oval cookie cutters
  • Ball tools of different sizes
  • Flower and heart plunger cutters
  • Modelling tools
  • Scalpel
  • Digital scales
  • Knife
  • Baking paper
  • Small scissors
  • Pencil
  • Snips for cutting
  • Small rolling pin
  • Letter plunger cutters
  • Oval plunger cutter
  • Small teardrop cutter
  • Plastic knife
  • Artists brushes
  • Silicone tip brush
  • Silicone bow mould
  • Clear alcohol
  • Piping nozzles: 1.8cm, 1.5cm, 1cm, 7mm, 5mm, 1mm, 2mm, 4mm
  • Chopsticks
  • Bamboo stick 20cm long
  • Corn flour

Step 1

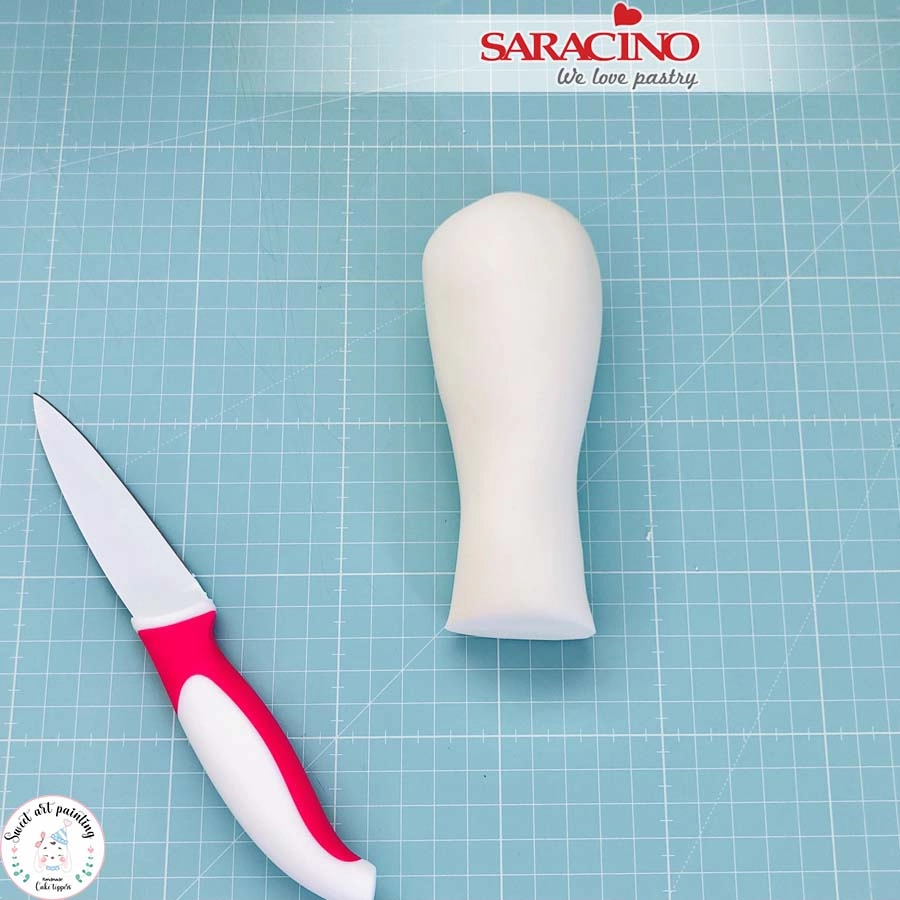
Using 400g of white Saracino Pasta Model knead and form a ball. Modelling with your hands shape the body of the Llama and cut off the excess at the neck.

Step 2

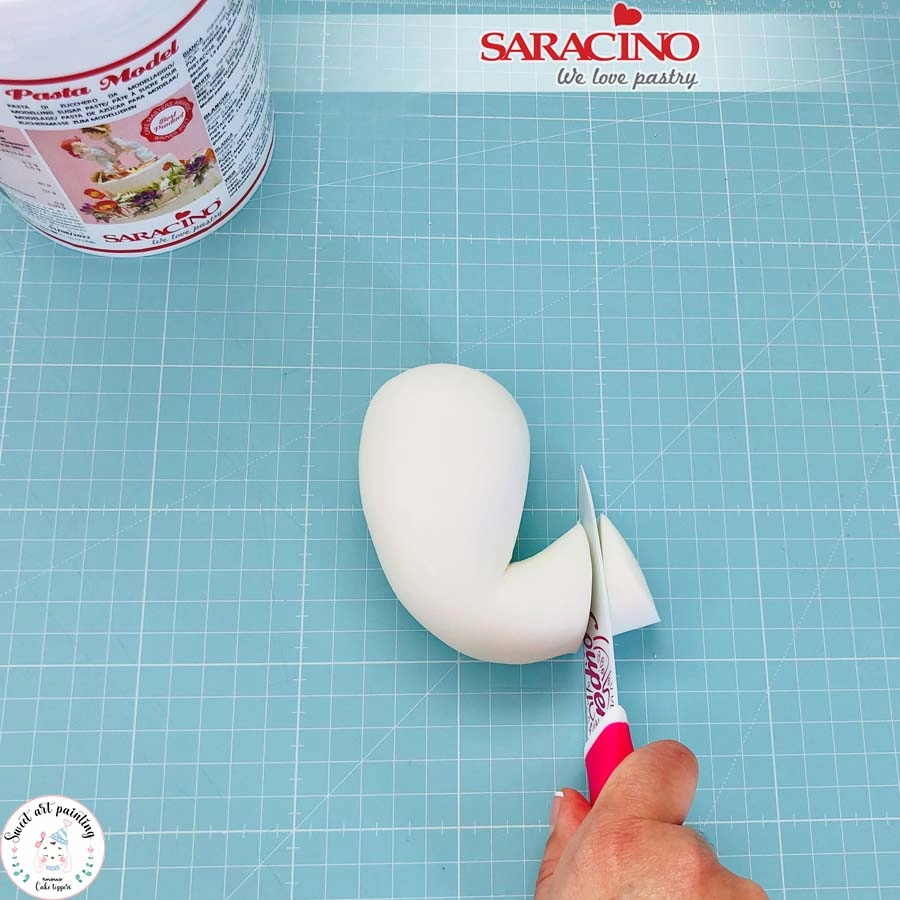
Bend at the neck and cut off more excess diagonally to get the top of the neck.

Step 3

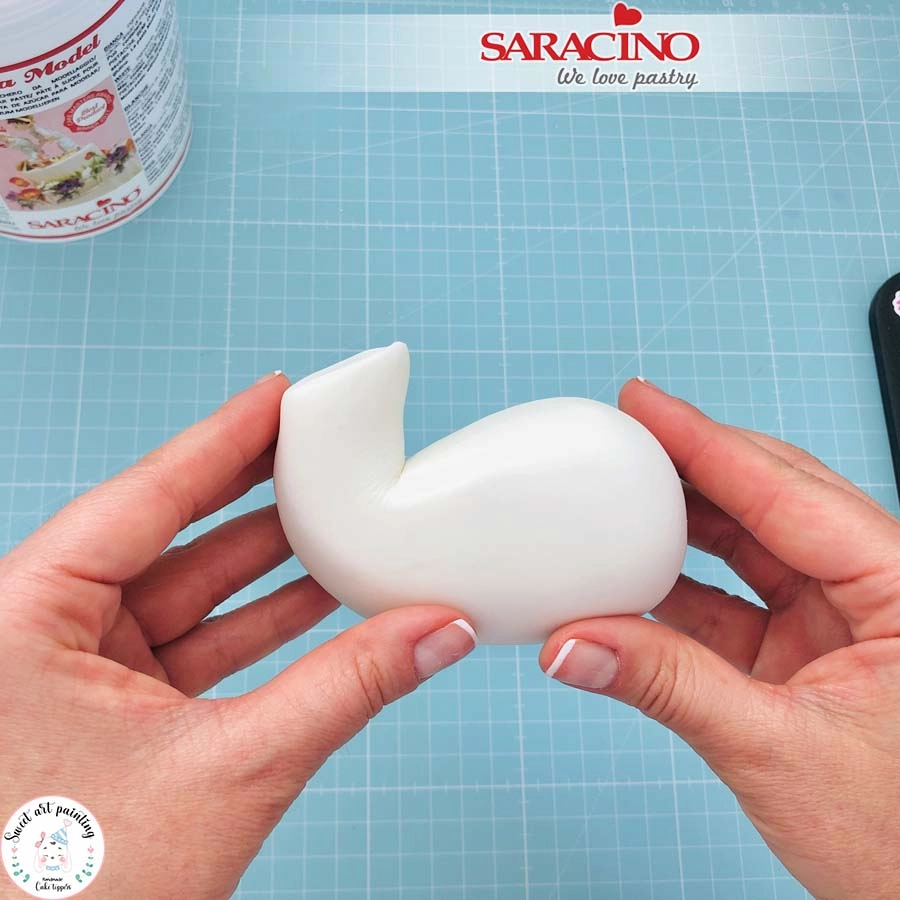
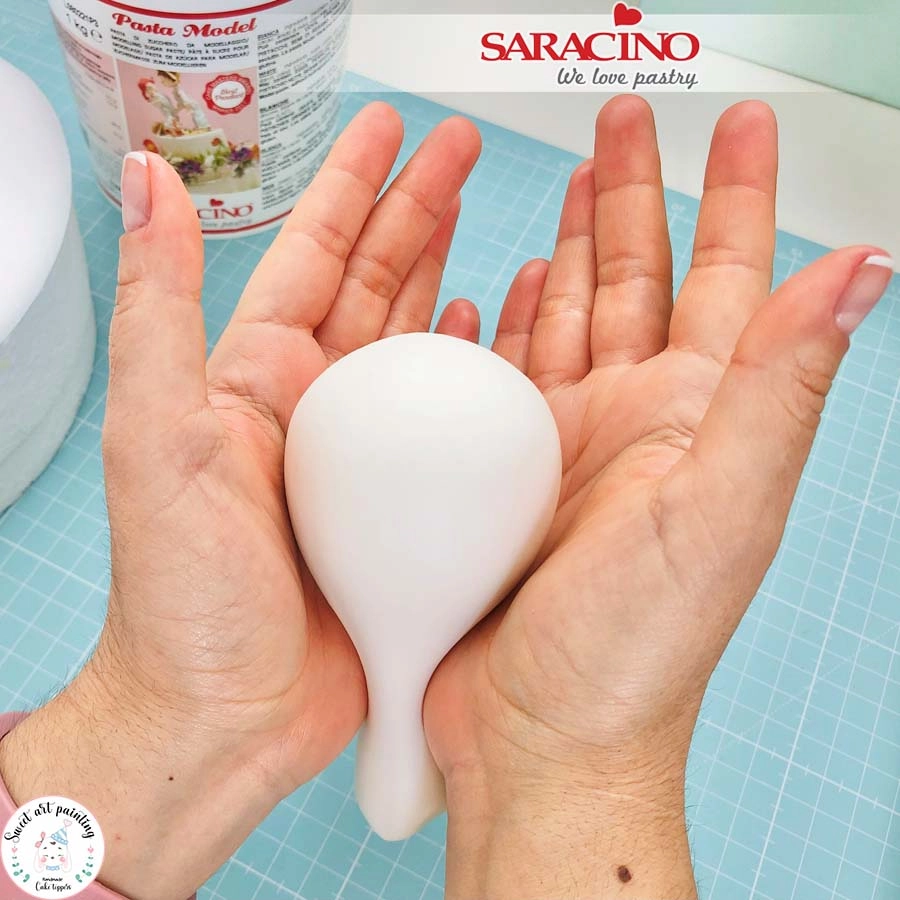
Your body and neck shape should look like this from the side.

Step 4

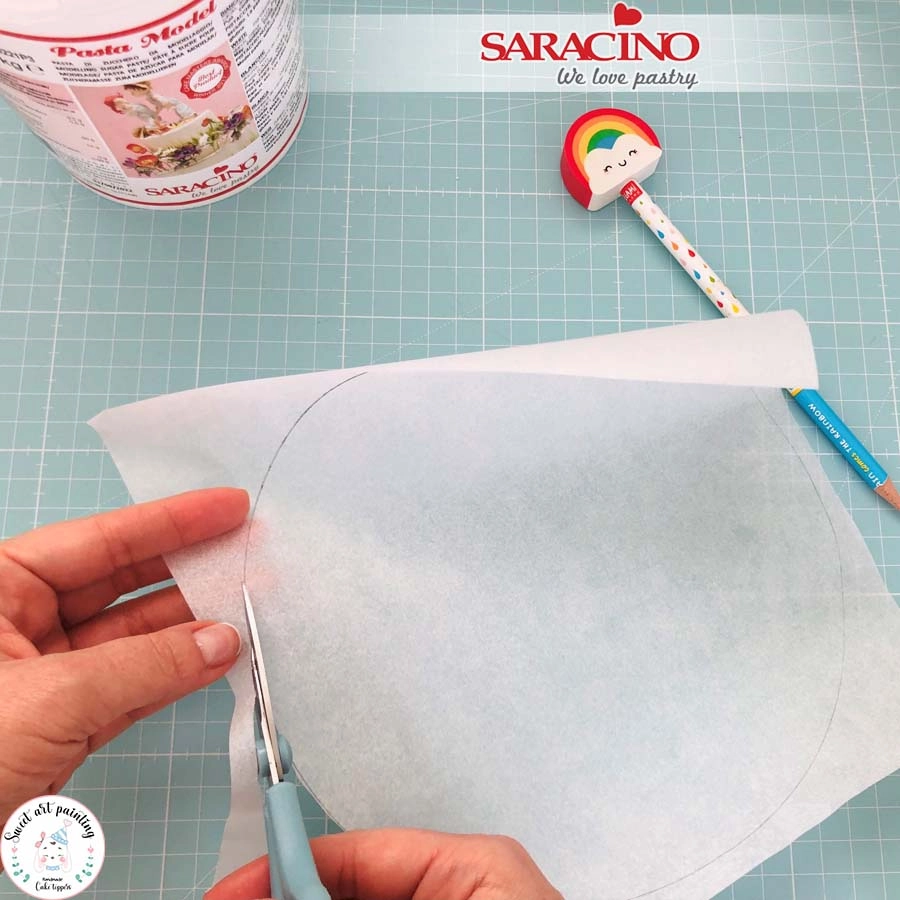
Cut a piece of greaseproof paper to the same diameter as your dummy.

Step 5

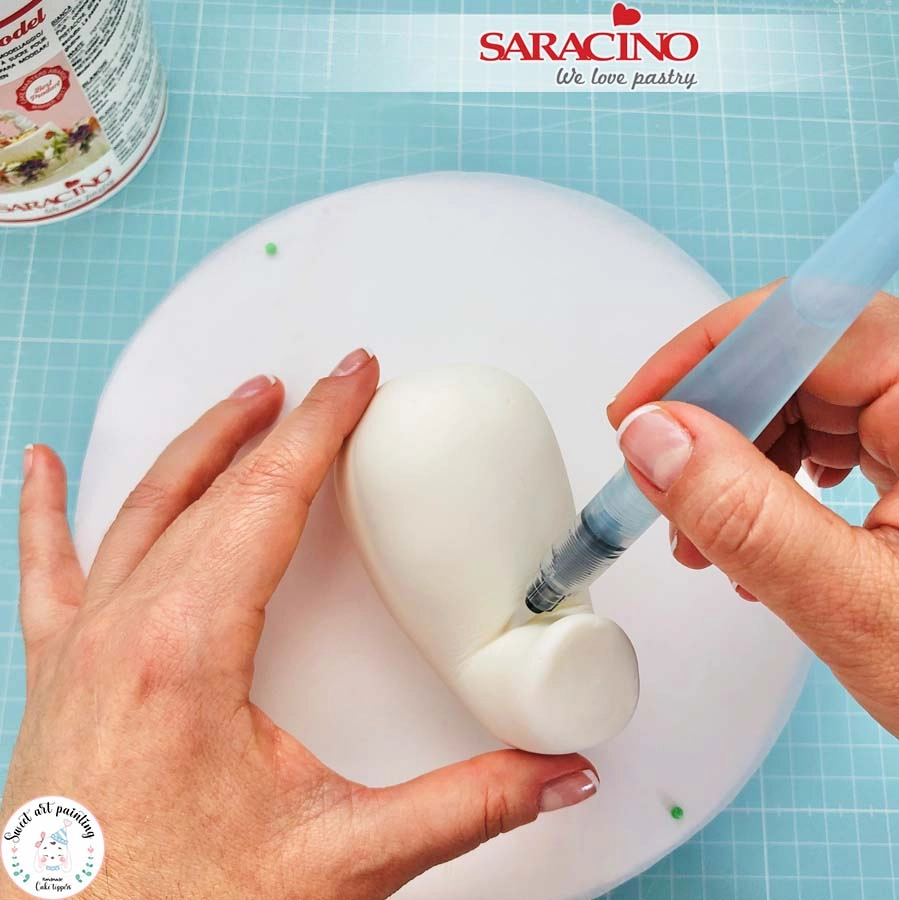
Place the body on the base and add a little glue or water in the back crease of the neck.

Step 6

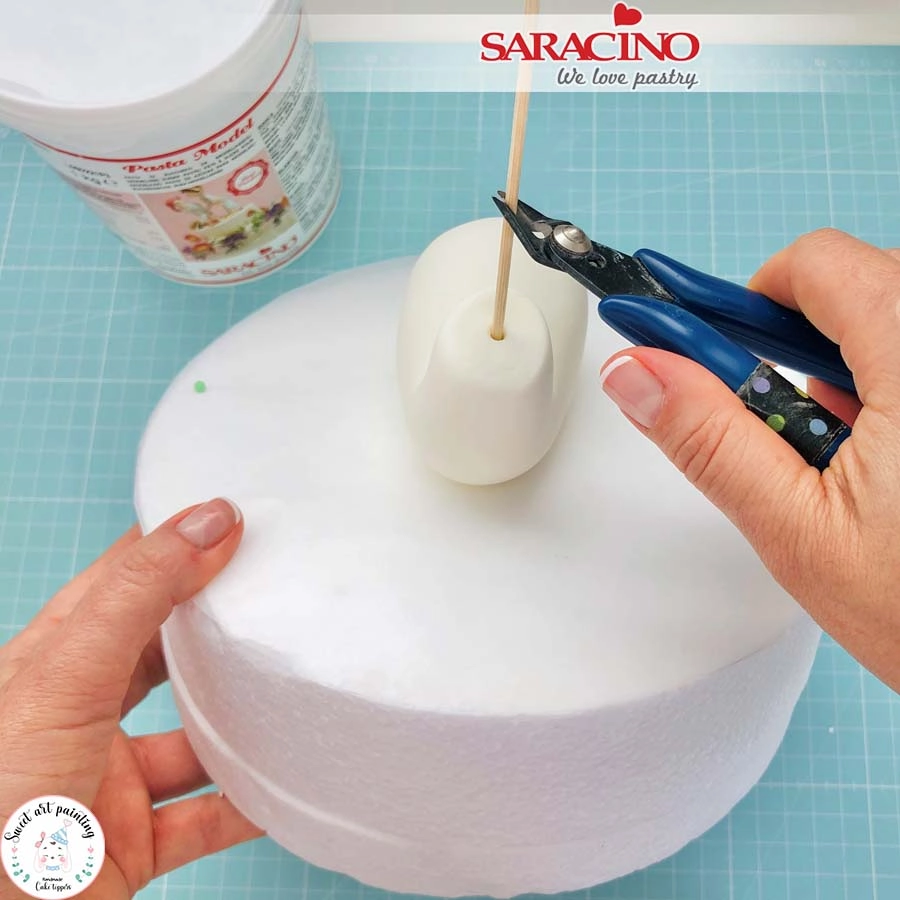
Moisten the bamboo skewer with water. Insert it through the center of the neck and into the polystyrene base. Cut the skewer using snips so you have approximately 4cm projecting for the head.

Step 7

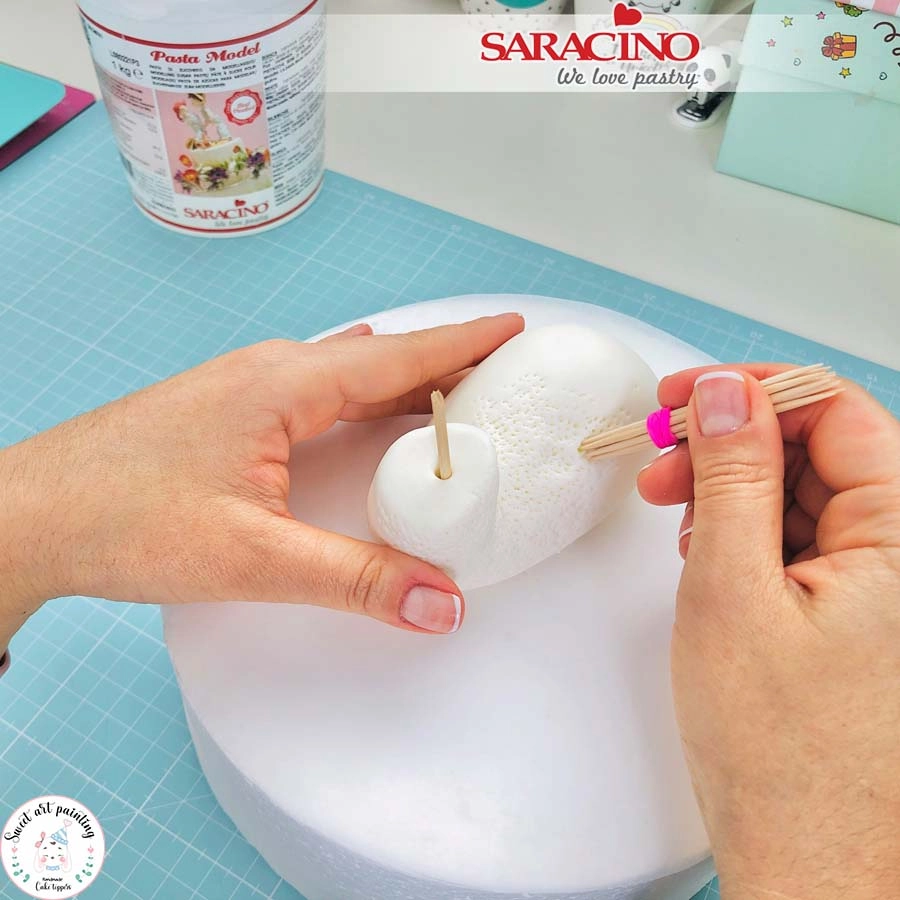
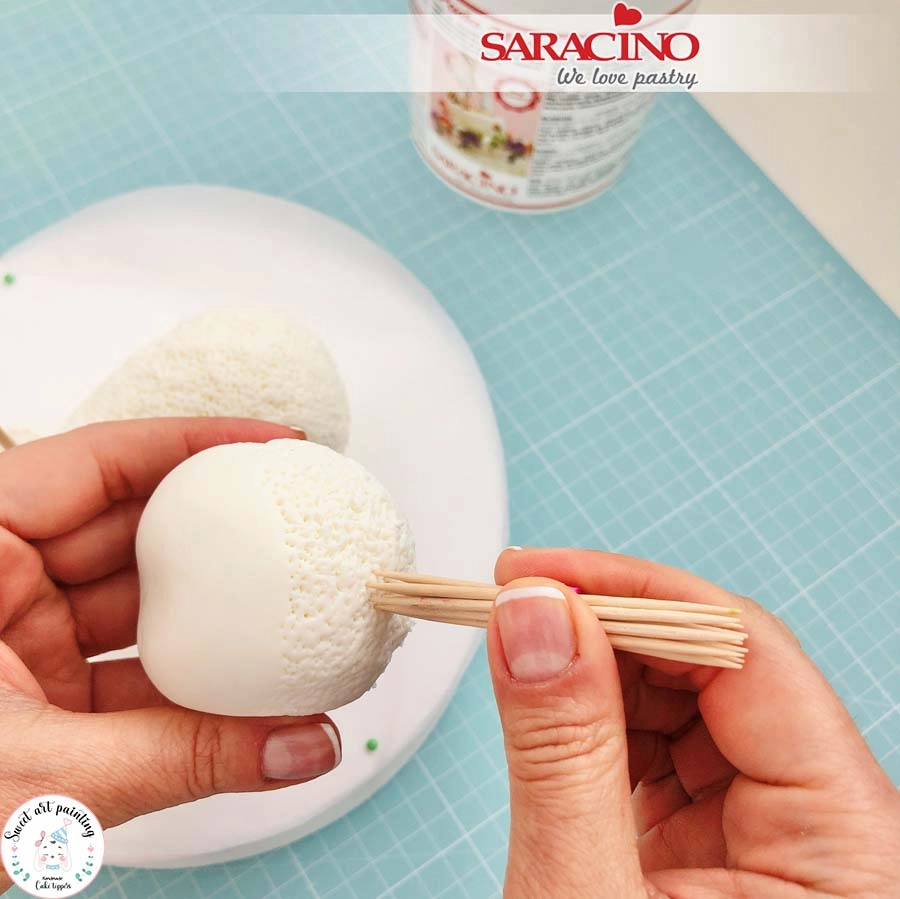
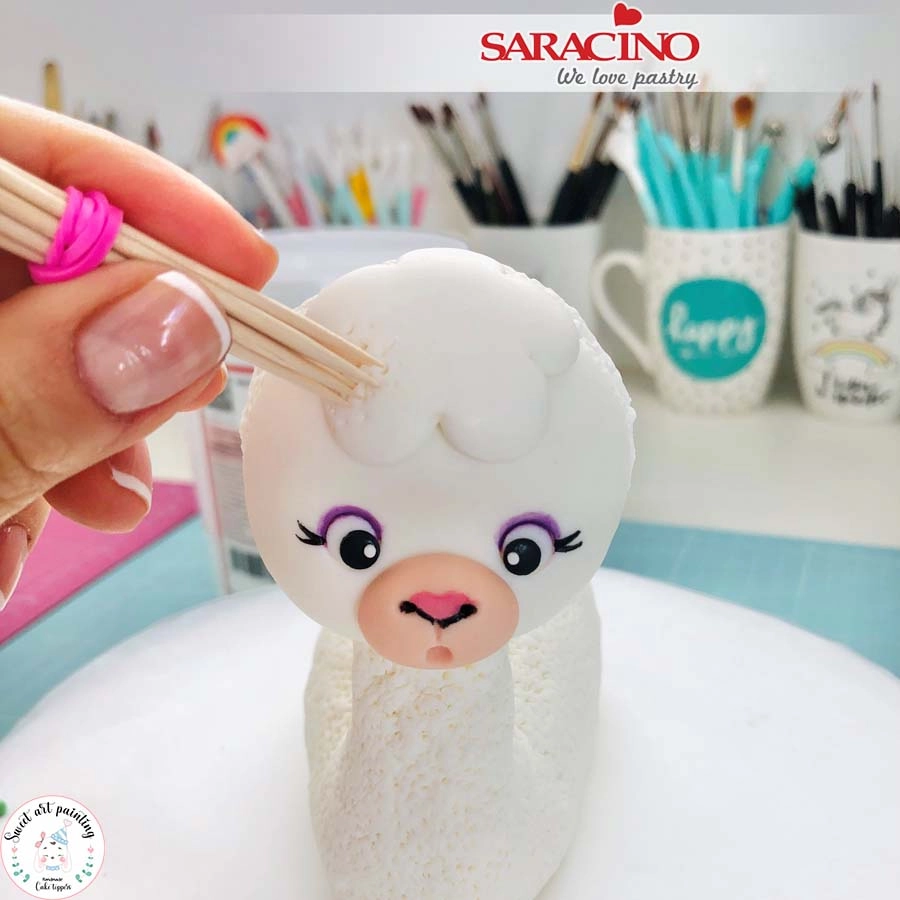
Join several toothpicks with an elastic band or with adhesive tape and add the texture of the wool.

Step 8

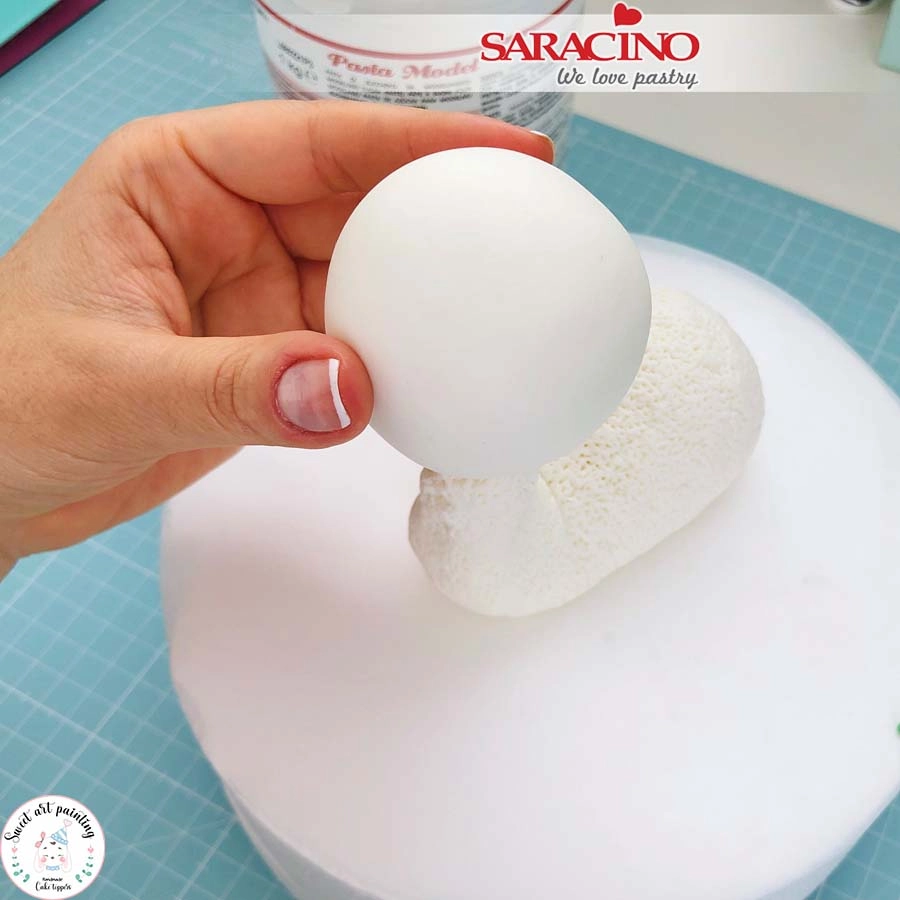
Take 110g of white Pasta Model and roll a ball to create the head.

Step 9

Position the head on the skewer without adding glue.

Step 10

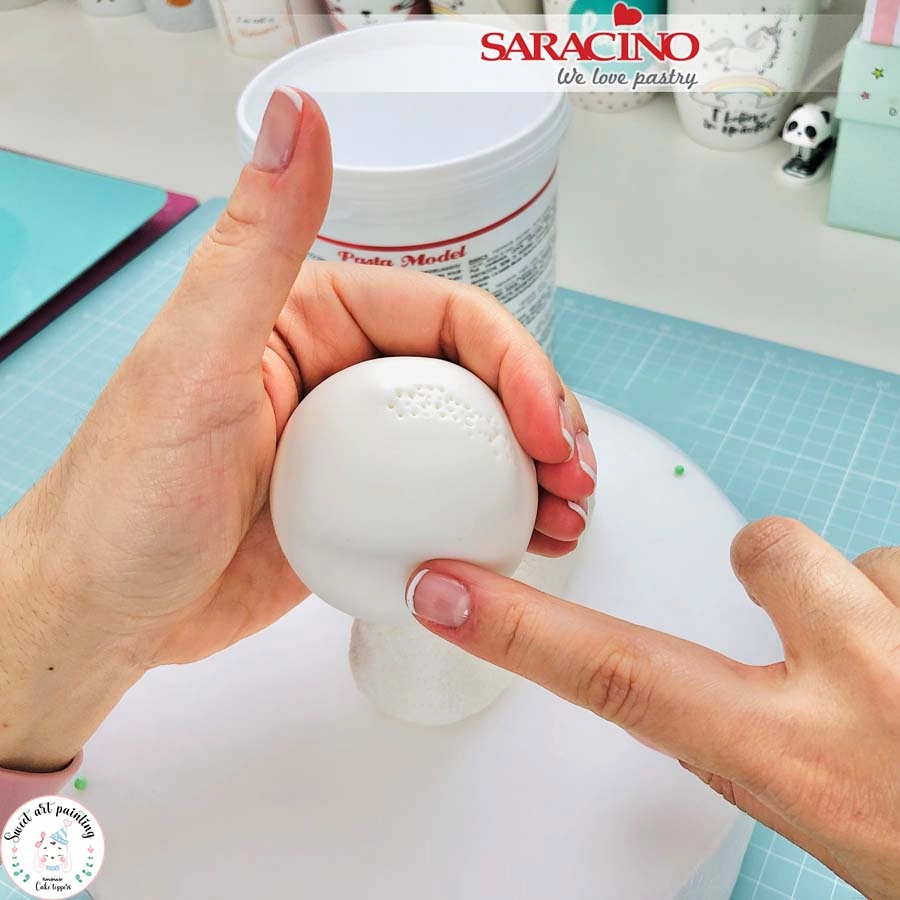
Use your finger to press a dent across the face in the eye location.

Step 11

Remove the head and create the wool effect on the back with our cocktail stick tool. Using a little glue or water fix the head to the neck.

Step 12

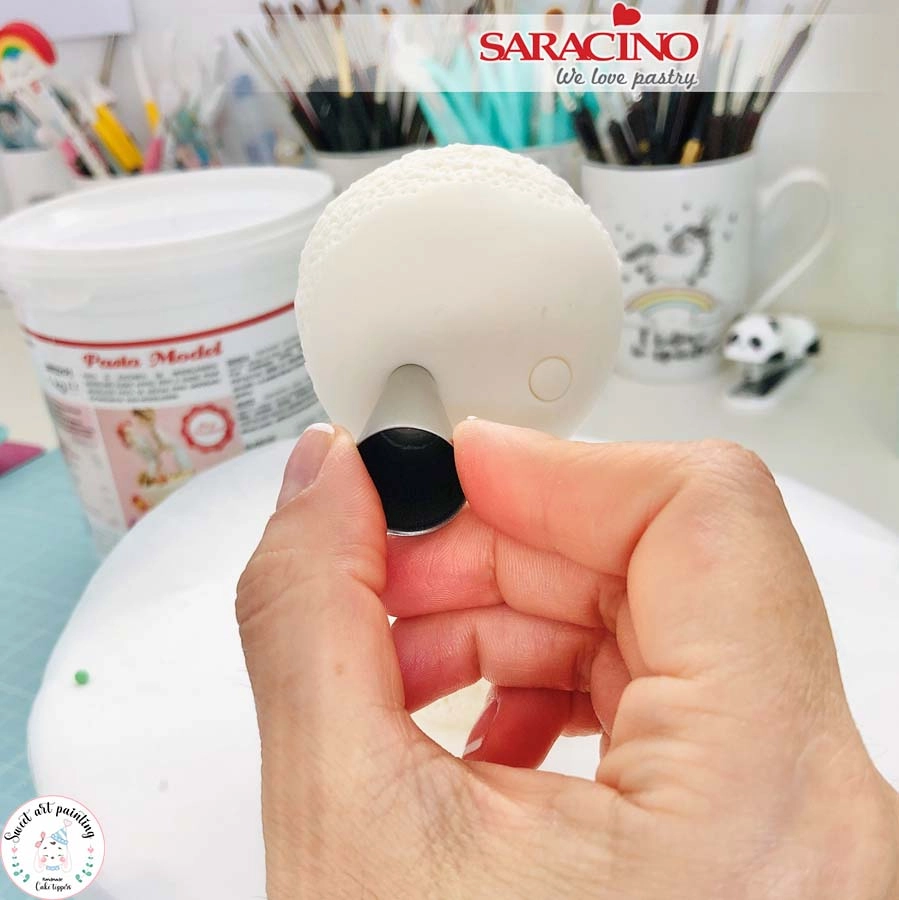
Using a 7mm diameter piping nozzle mark the eyes.

Step 13

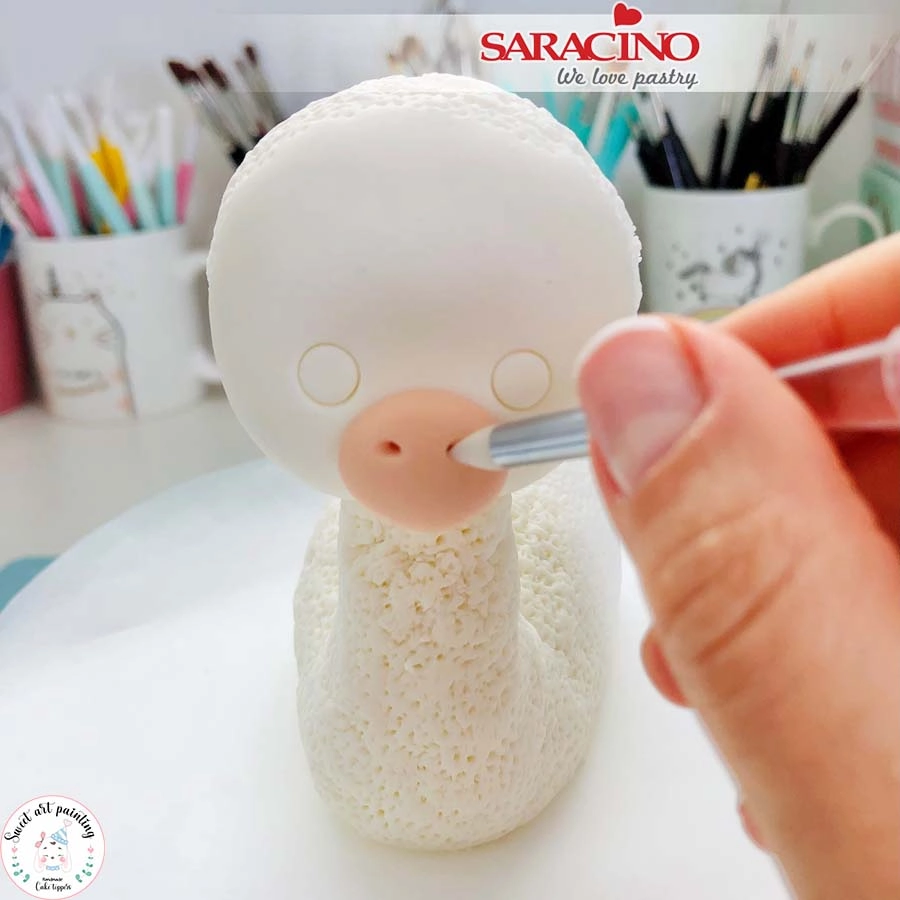
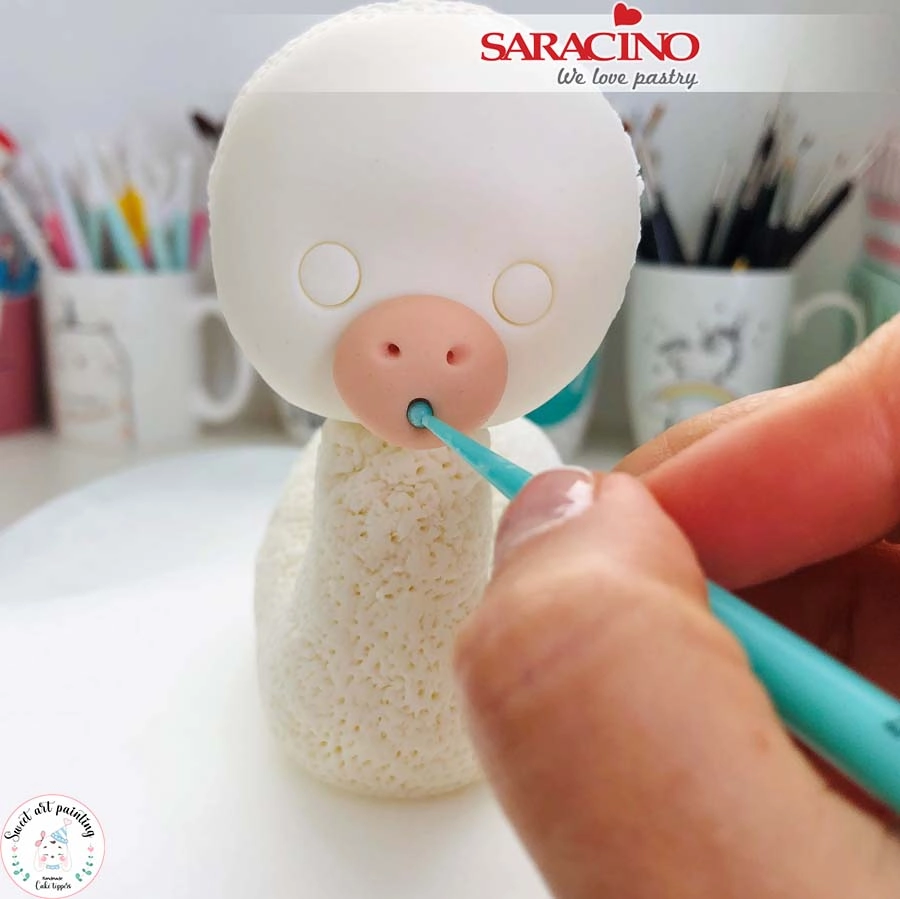
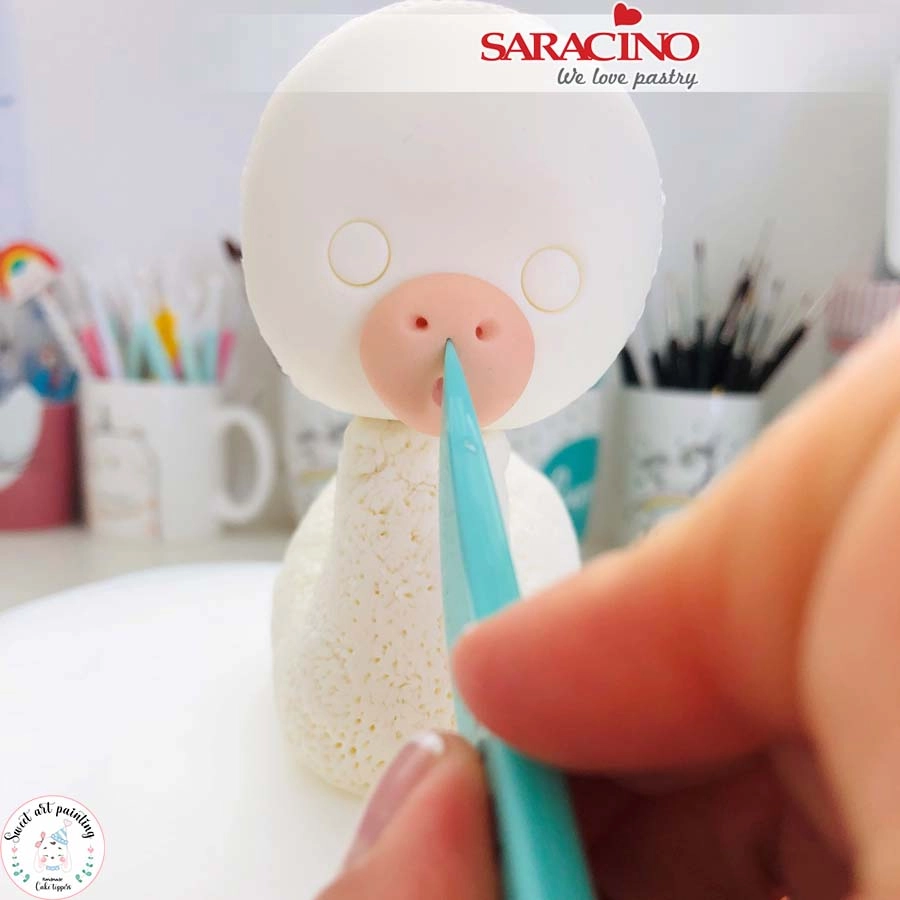
For the mouth and nose area mix a little light skin and pink colour Pasta Model. Roll into a ball and flatten the back face. Use a 1.8cm diameter piping nozzle to cut out the mouth and nose area. Fix to the face and add the nostrils  using a silicone pointed tool.

Step 14

Using a small ball tool add the mouth.

Step 15

Using a modelling tool or knife mark the central division that joins the nose and mouth.

Step 16

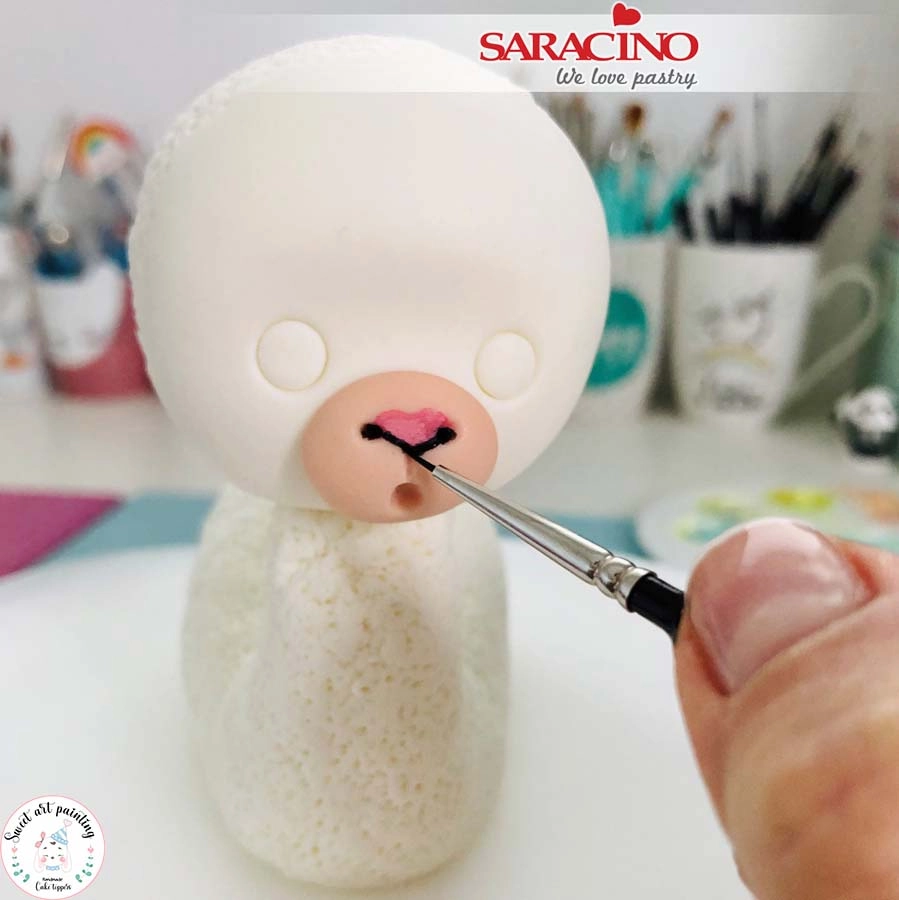
Dilute a little pink powder colour with clear alcohol and using a fine brush paint the nose in the shape of a triangle. Dilute a little black gel colour with a little water and use a fine brush to paint the shape of the nose.

Step 17

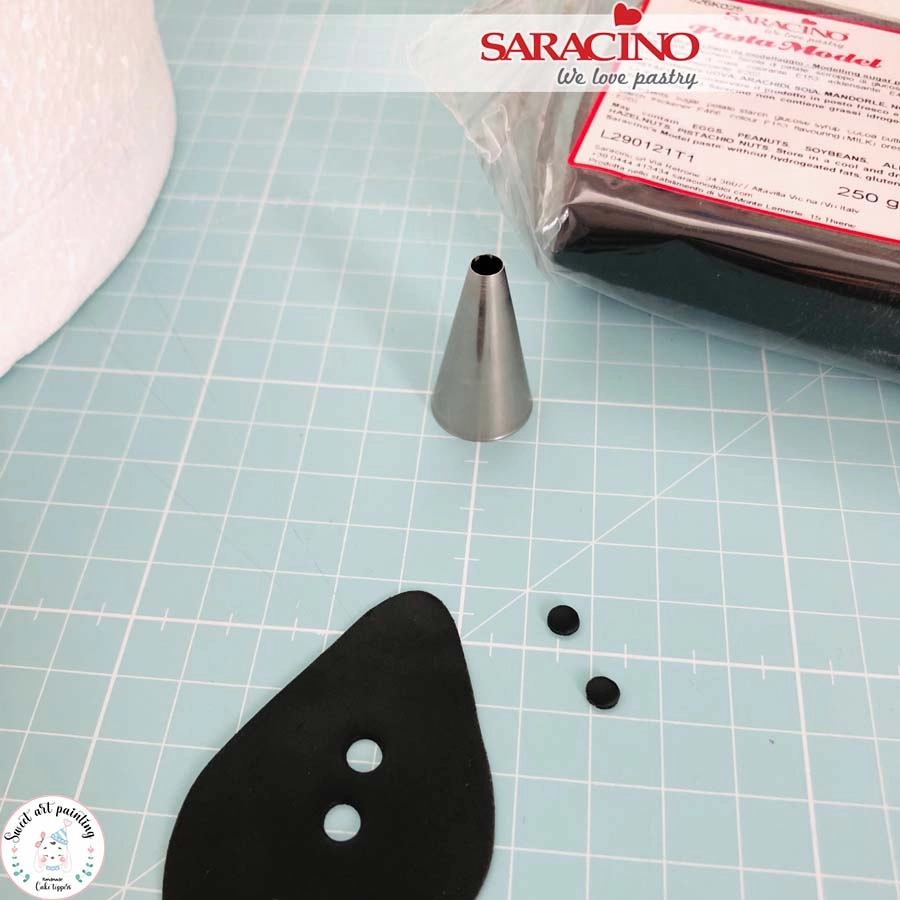
Roll a little black Pasta Model until it is 1mm thick. Cut two circles with the 4mm diameter piping nozzle and glue them to the inside of the eyes.

Step 18

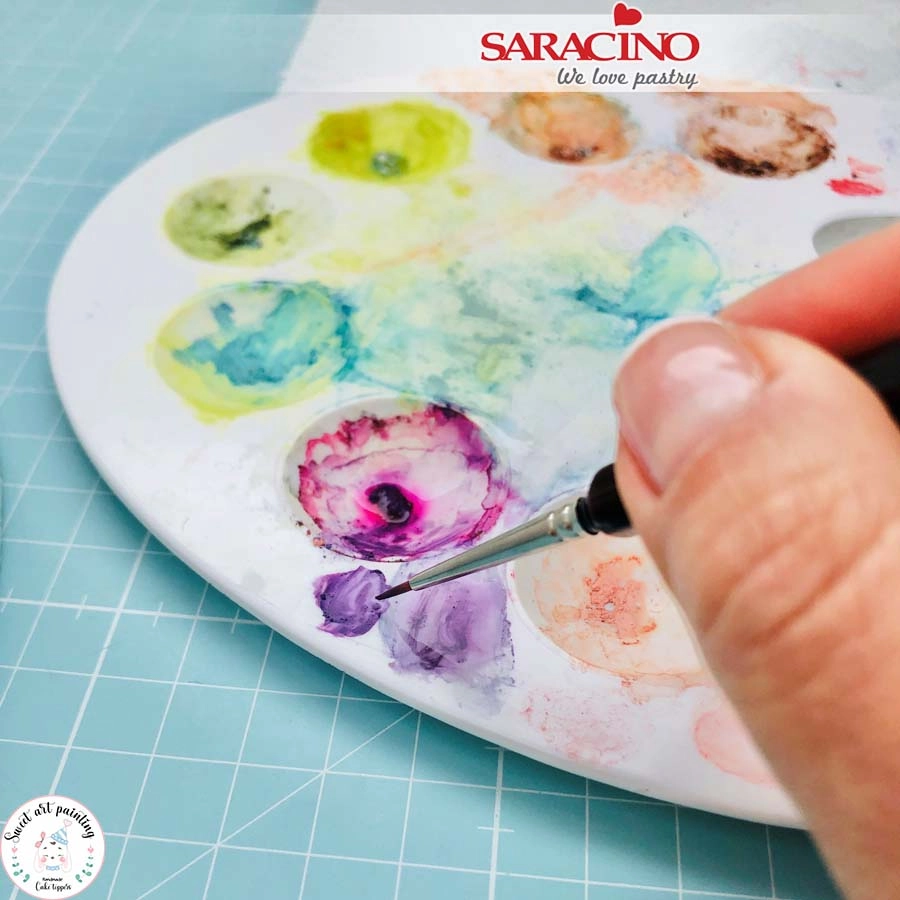
Dilute a little purple powder colour with clear alcohol.

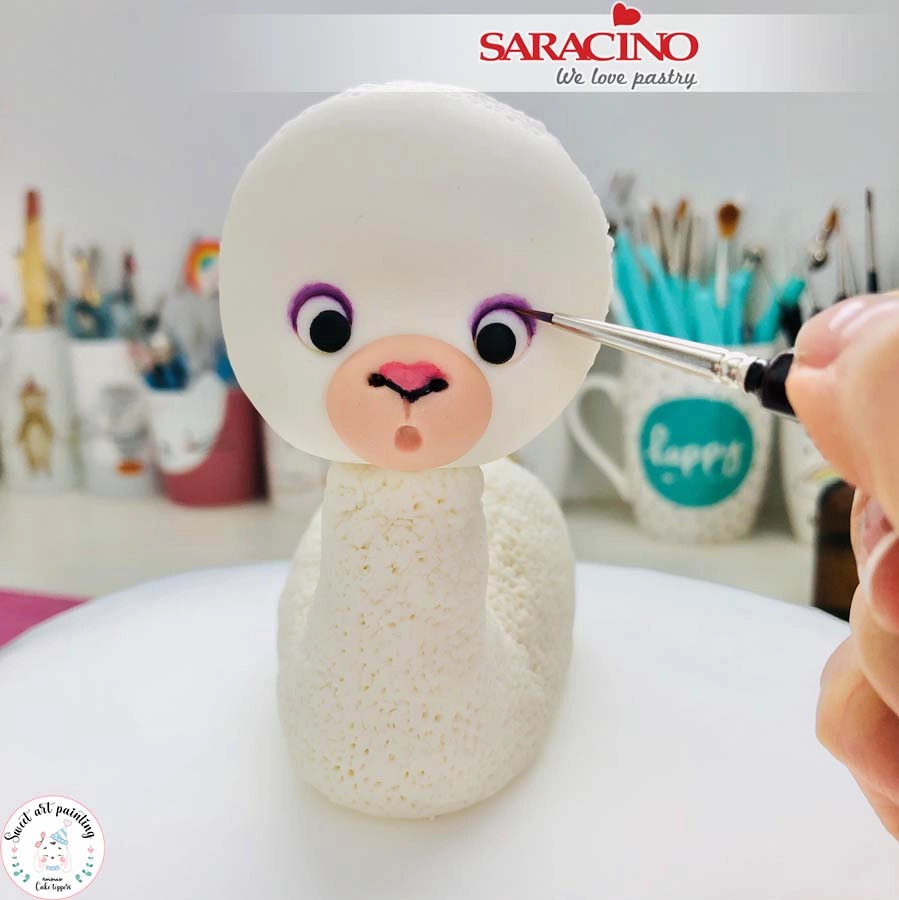
Step 19

Use a fine brush to paint the eyelid area.

Step 20

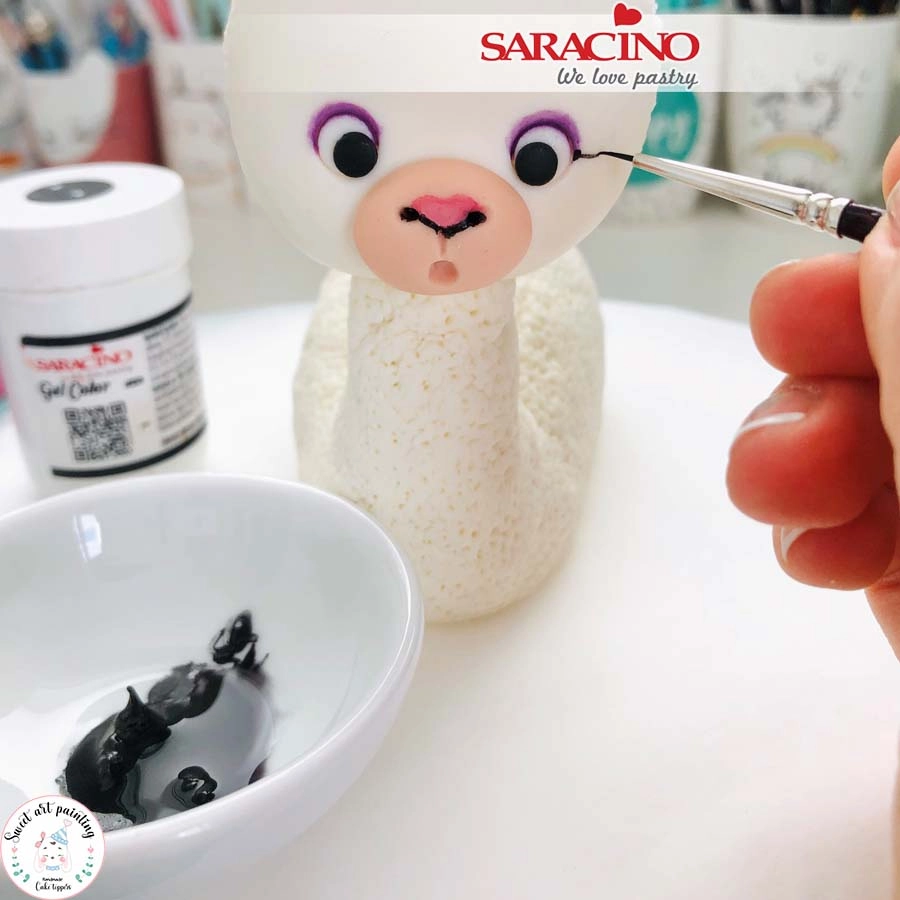
Using black paint the eye lashes with a thinner brush.

Step 21

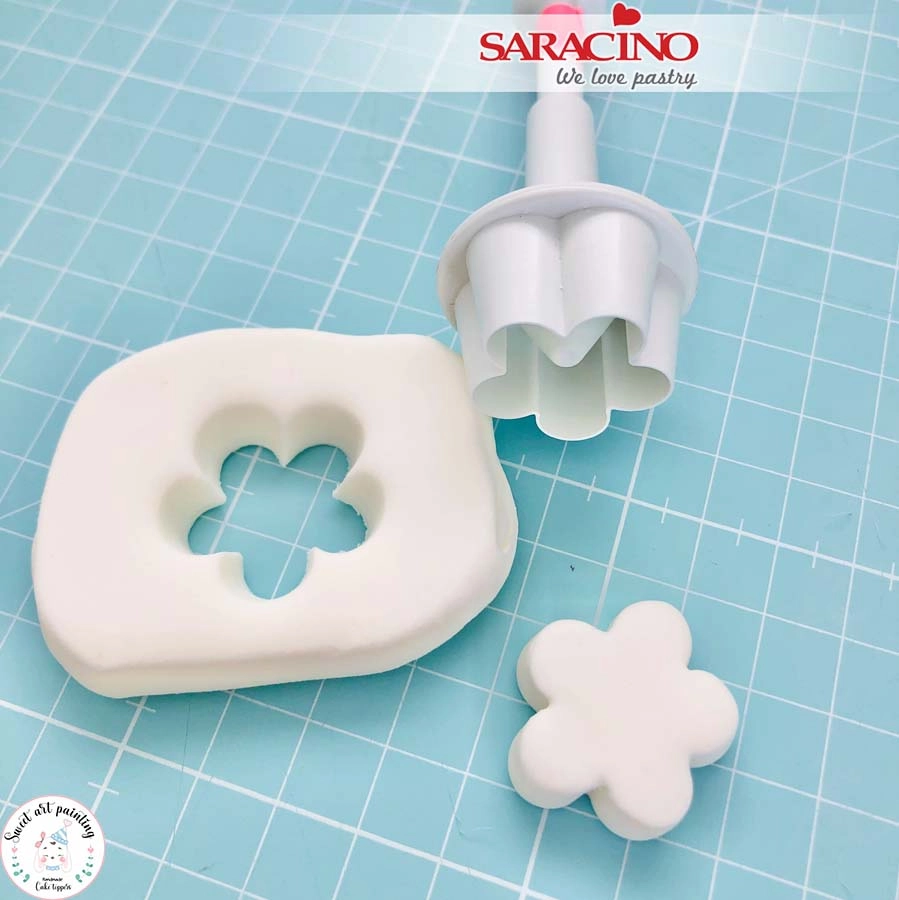
For the hair on the top of our Llama’s head roll white Pasta Model to a thickness of 0.5cm. Use a large flower cutter to cut out the required shape.

Step 22

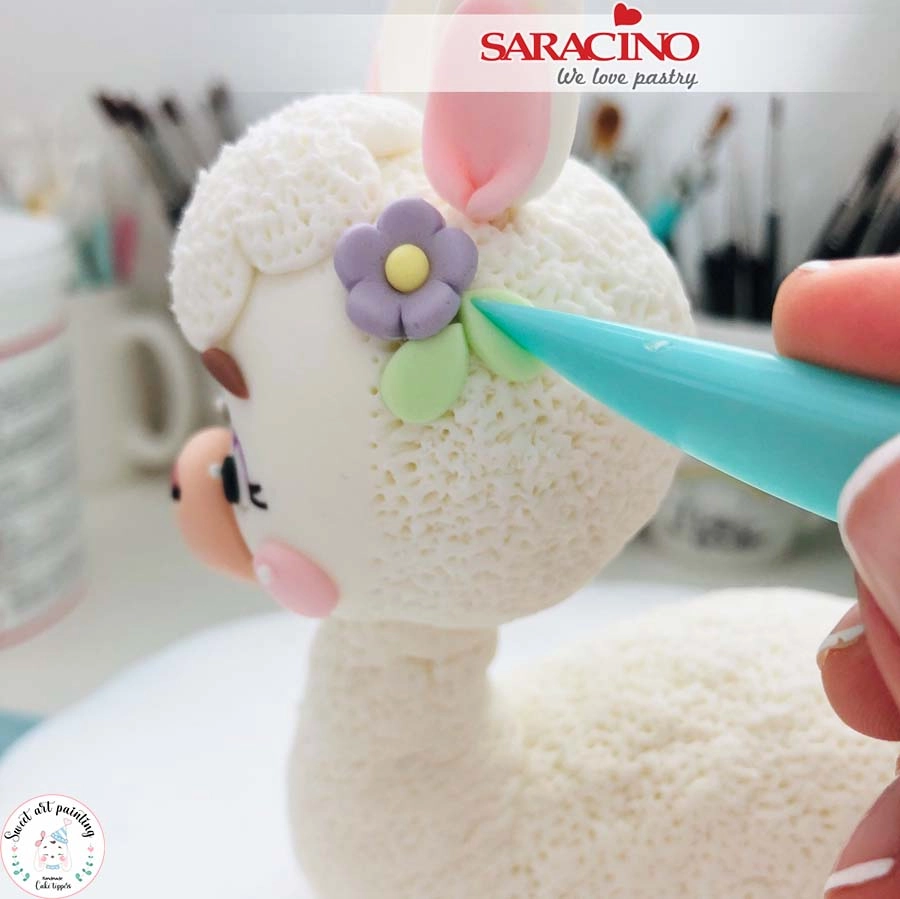
Use a little glue to fix the hair into place and add the wool texture. Using white Pasta Model cut two circles with the 1mm diameter piping nozzle and stick them on the black eye circles.


Step 23

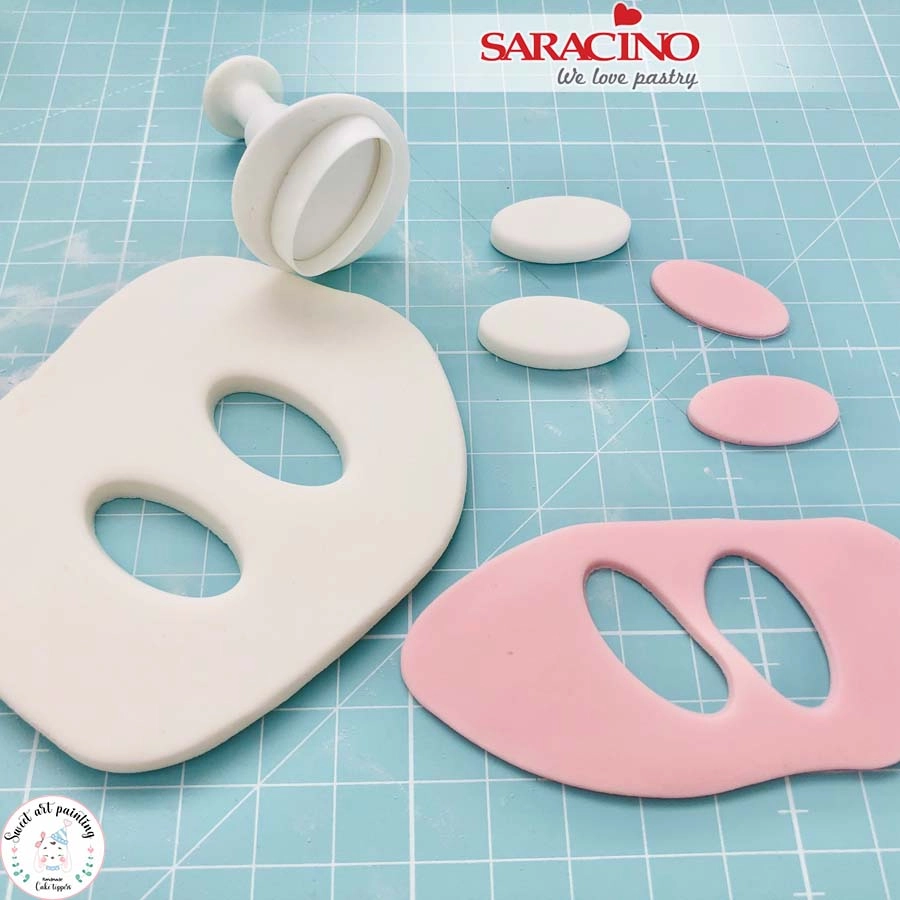
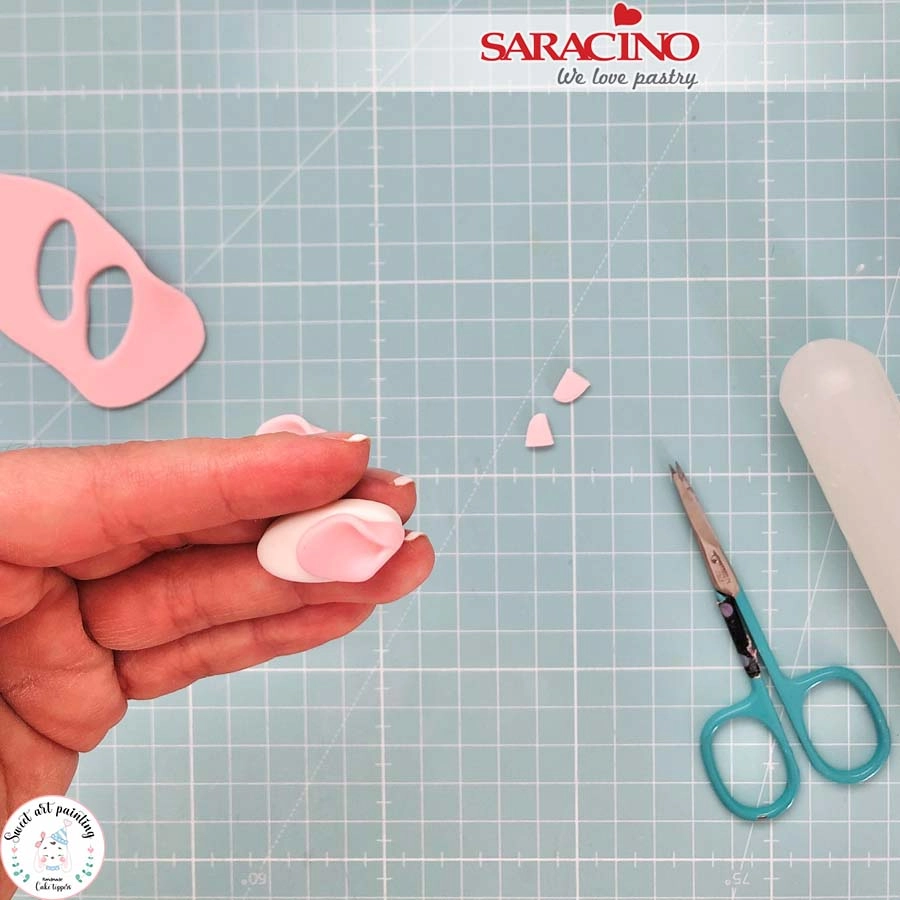
For the ears roll a little pink and white Pasta Model. the white needs to be thicker than the pink. Use the oval plunger cutter to cut out two oval shapes from each colour.

Step 24

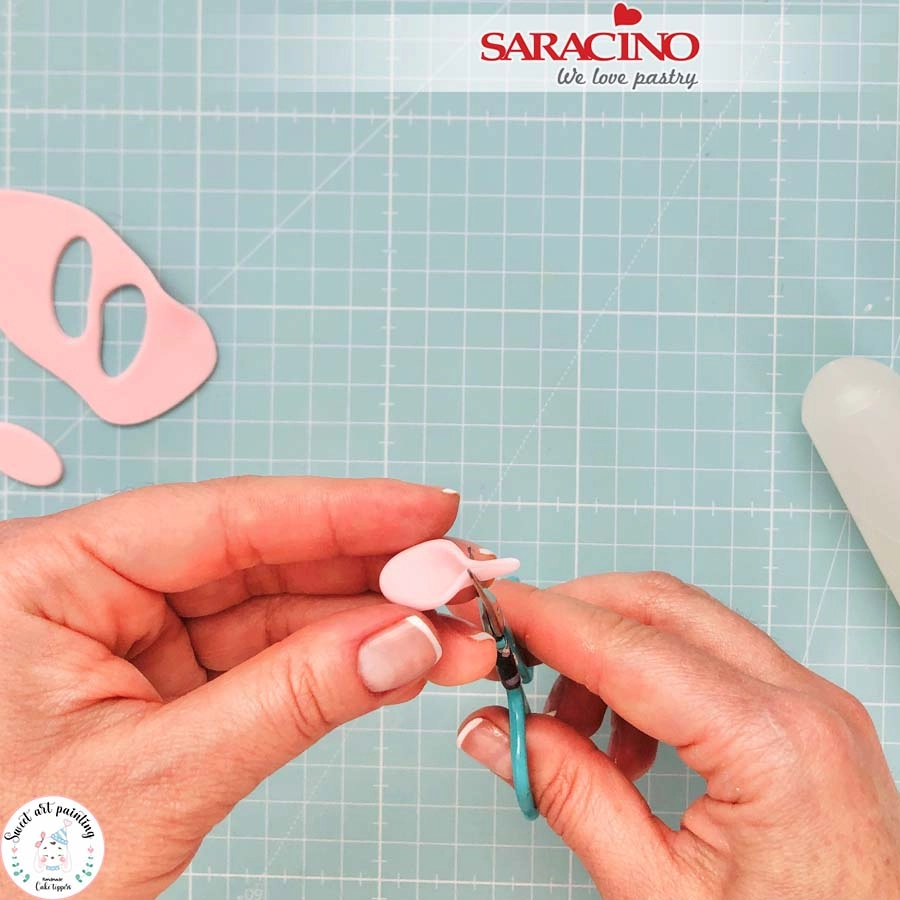
Fold the pink pieces at the end and cut off the excess. 

Step 25

Fix the pink to the white as shown. 

Step 26

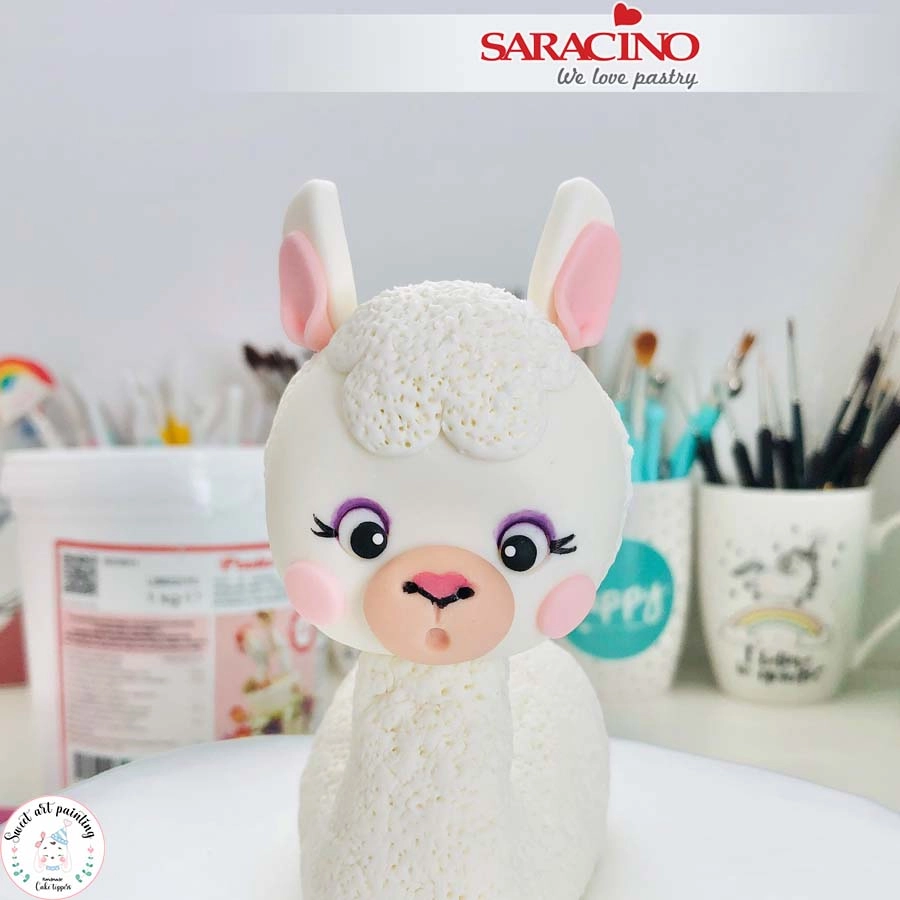
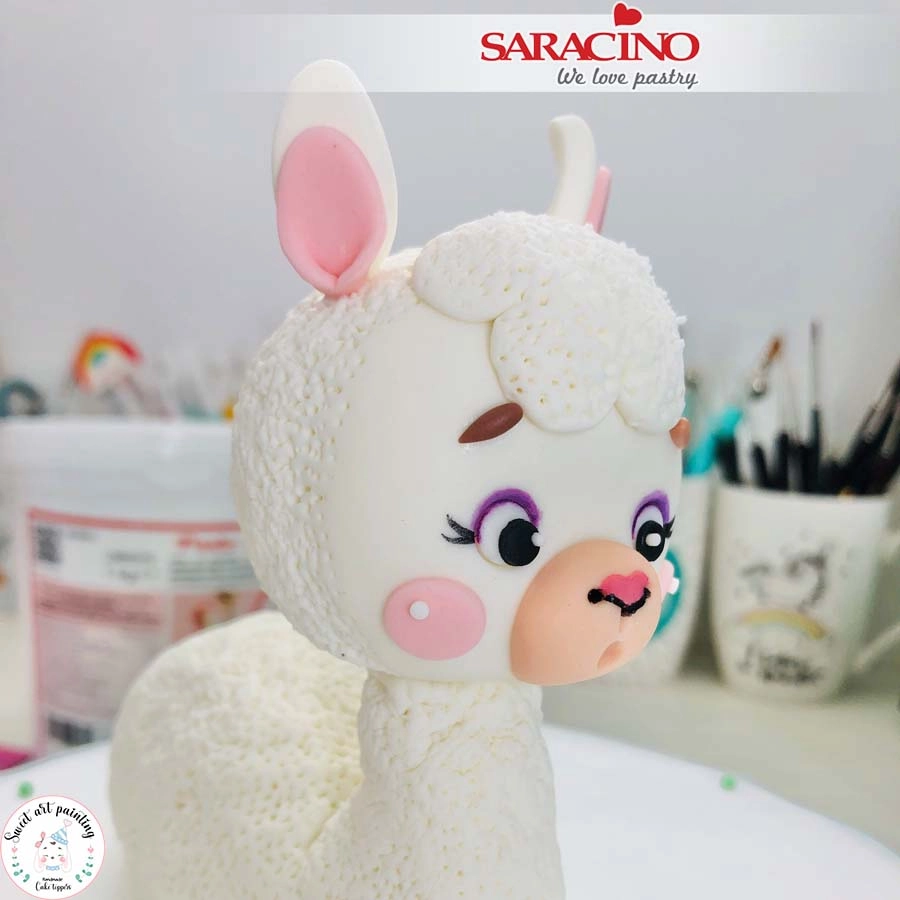
Fix both ears using a little glue (if required you can add a small piece of cocktail stick into each ear to help secure). Using pink Pasta Model cut two circles and fix to the cheeks. 

Step 27

For the eyebrows mix white and brown Pasta Model and roll small teardrop shapes. Fix to the head. Using your 1mm diameter piping nozzle create two small white circles and fix to the pink cheeks. 

Step 28

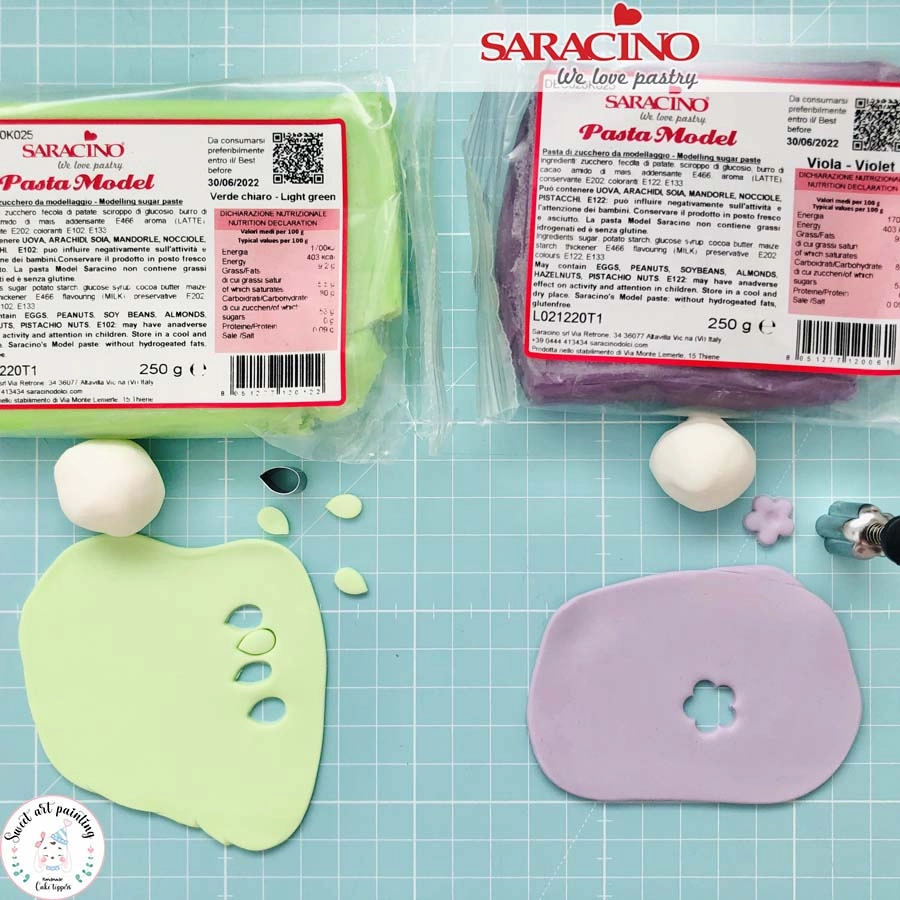
For the flower and leaves mix a small amount of violet and light green Pasta Model with white to achieve pastel colours. Cut out the flower and small leaves. 

Step 29

Use a little glue to fix to the head. Add a small ball of yellow to the centre. 

Step 30

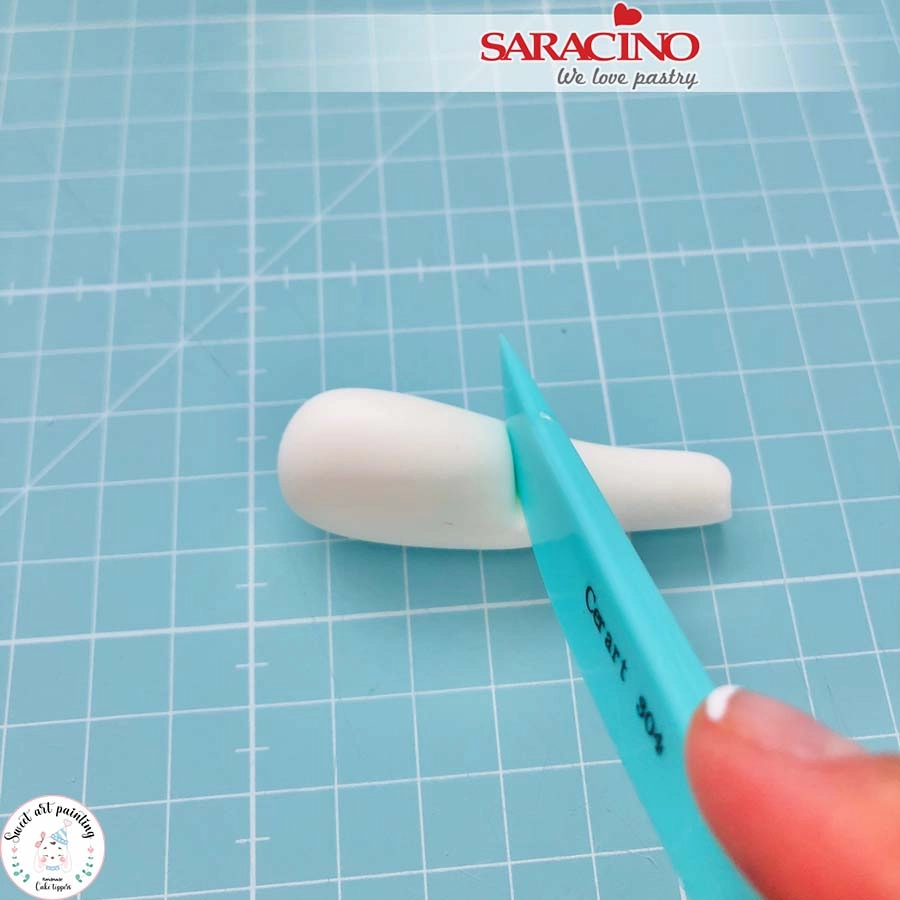
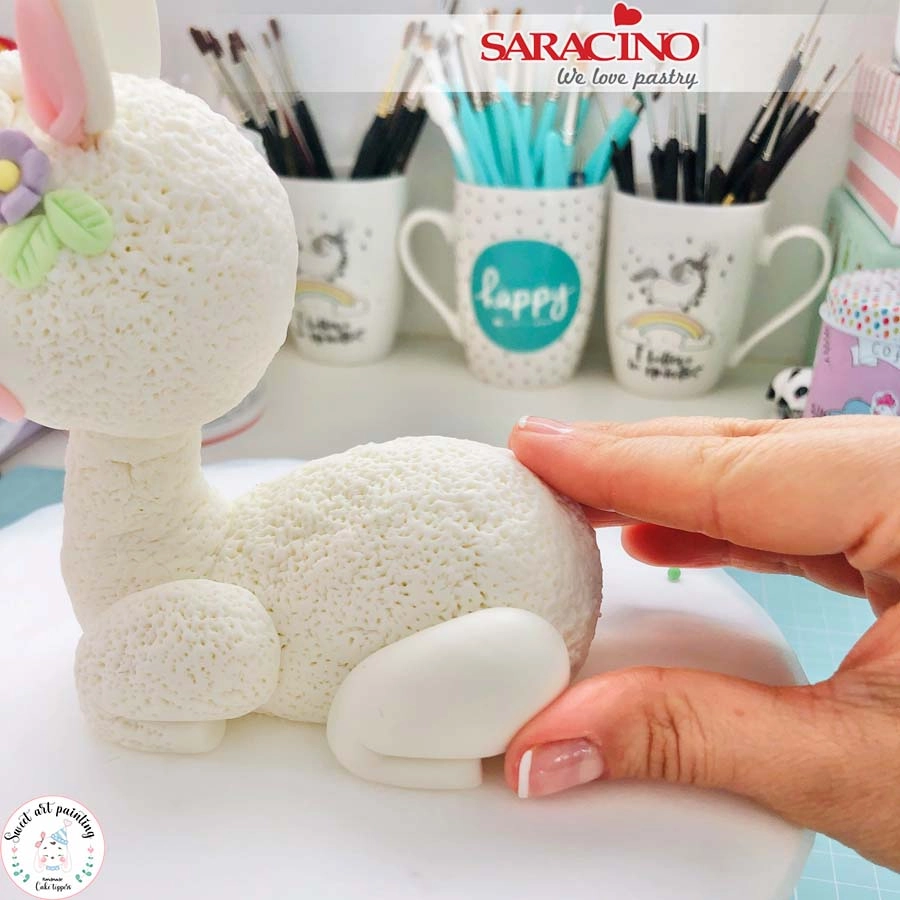
To form the legs roll white Pasta Model to a sausage shape as shown in the photo. Each leg will weigh approximately 13g. Bend approximately in the middle to give the shape of the leg. 

Step 31

Repeat this step for all the legs (the front legs should be slightly smaller). Create the wool texture effect on all of them. Do not add texture to the hoof area as we will paint this later.

Step 32

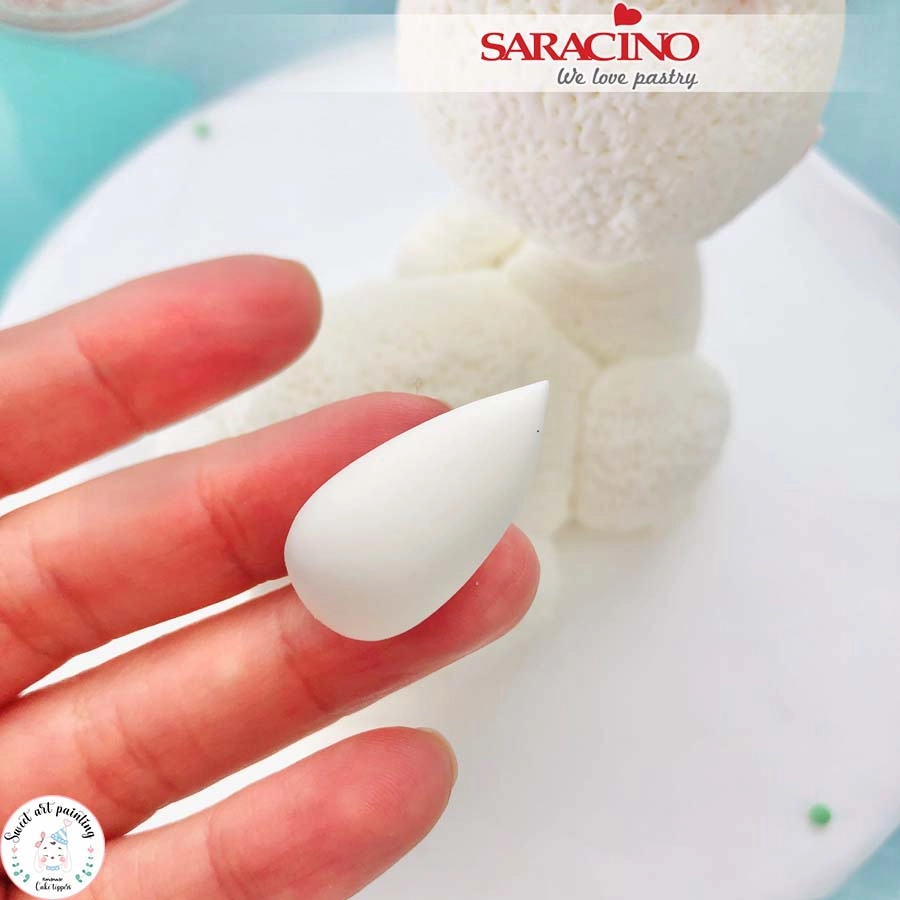
For the tail roll a teardrop shape of white Pasta Model. Fix to the Llama and add the wool effect. 

Step 33

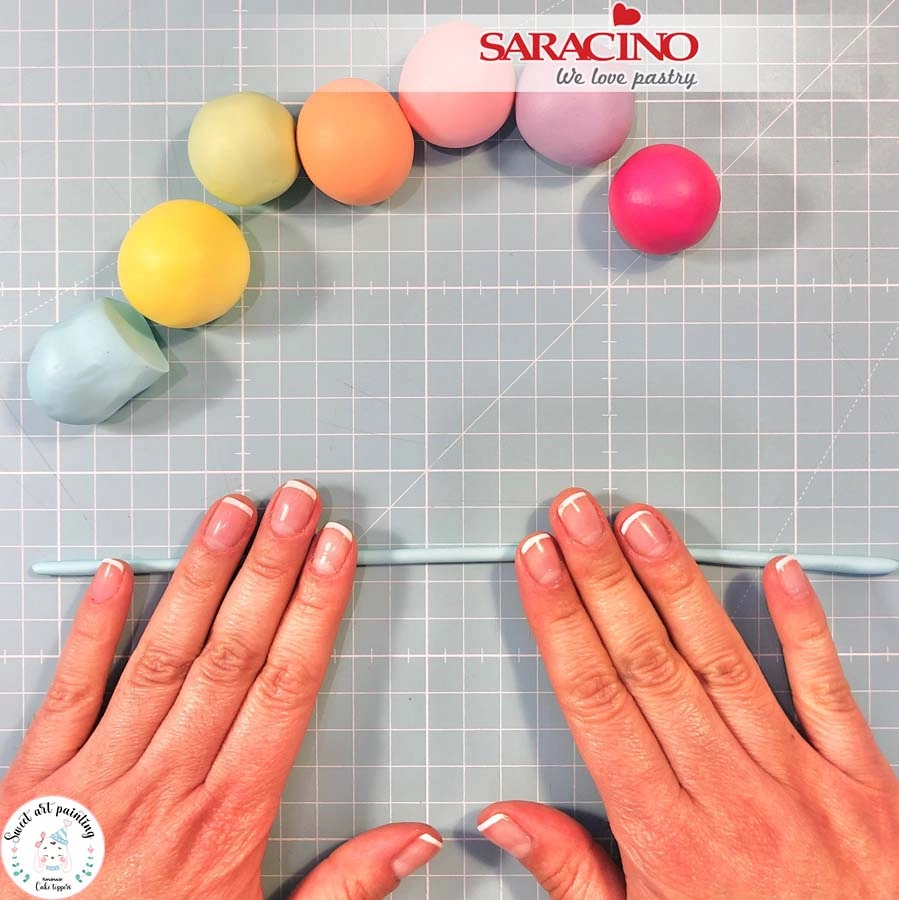
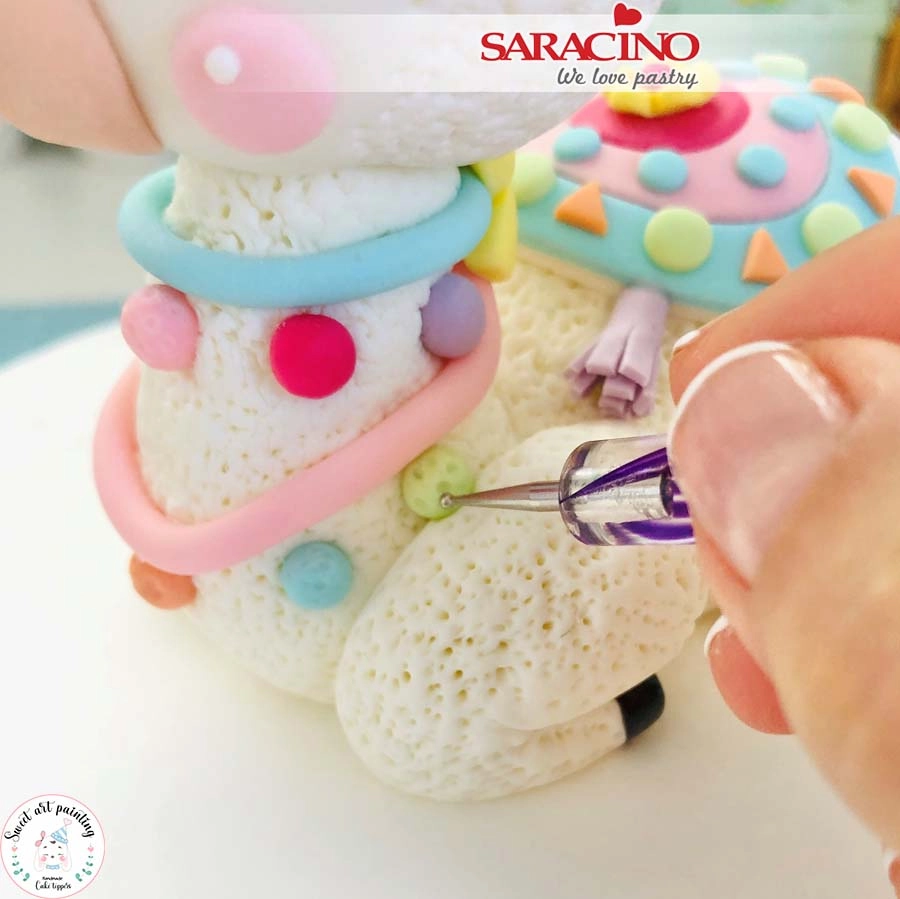
For the necklace collar prepare pastel colors using Pasta Model: light blue, yellow, green, orange, pink, lilac (adding a little white paste to each colour) and fuchsia which does not need white adding. Roll the light blue paste until it forms a long thin sausage.

Step 34

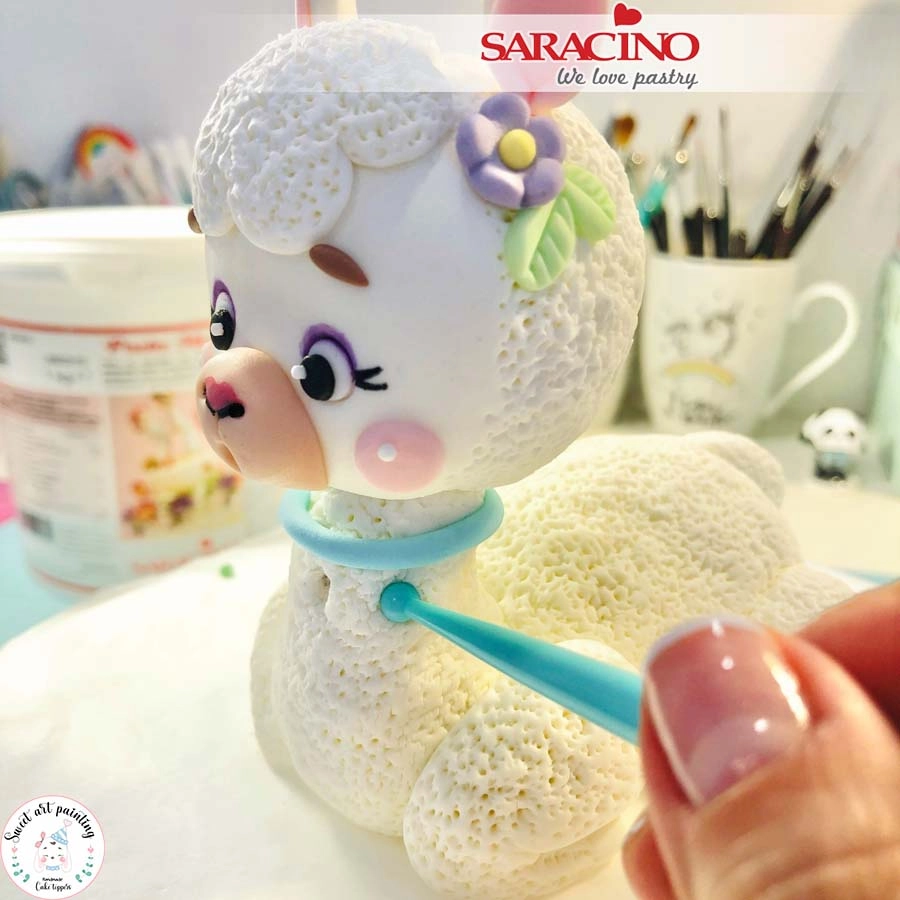
Fix the light blue around the Llama’s neck. Using a ball tool create the holes where the pompoms will go.

Step 35

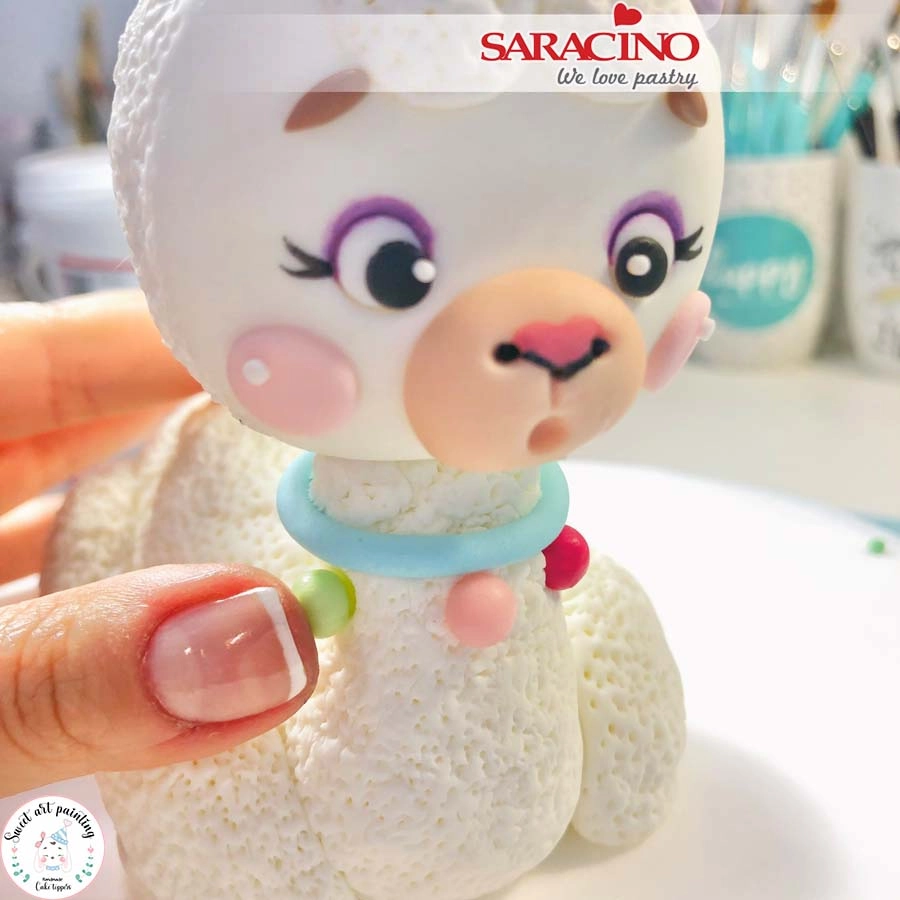
Take a small equal part of each colour. Roll the balls using your index finger on the palm of the hand. Glue the balls into place.

Step 36

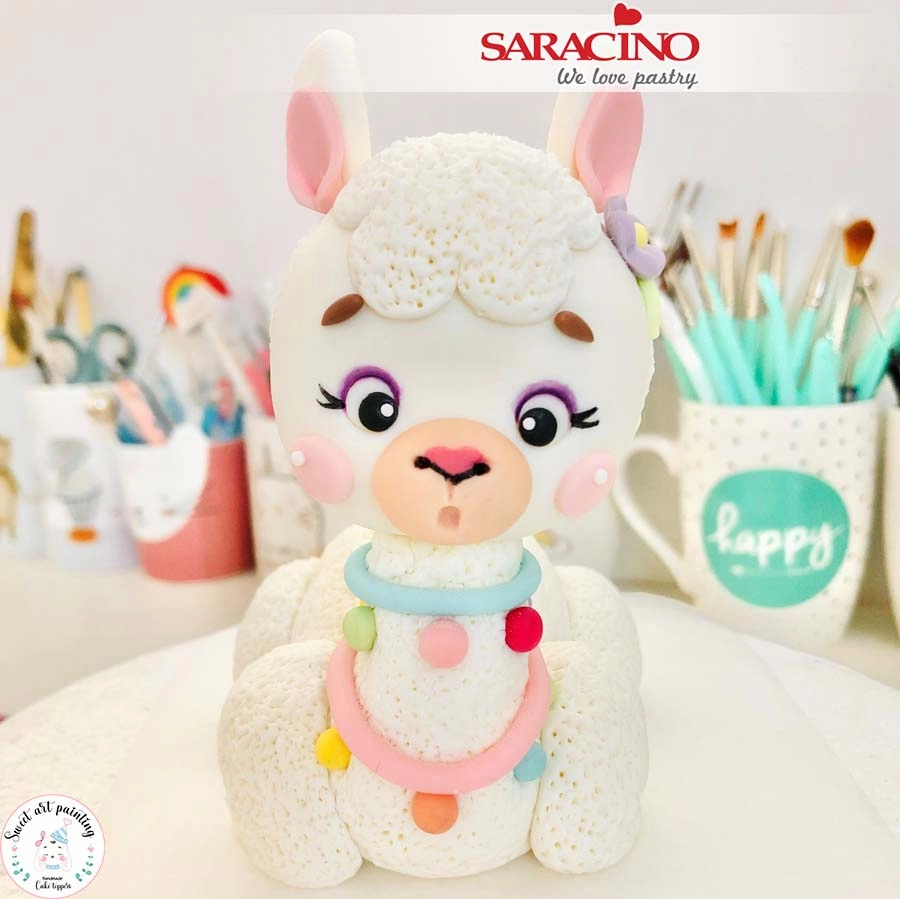
Repeat the steps to create another neckless.

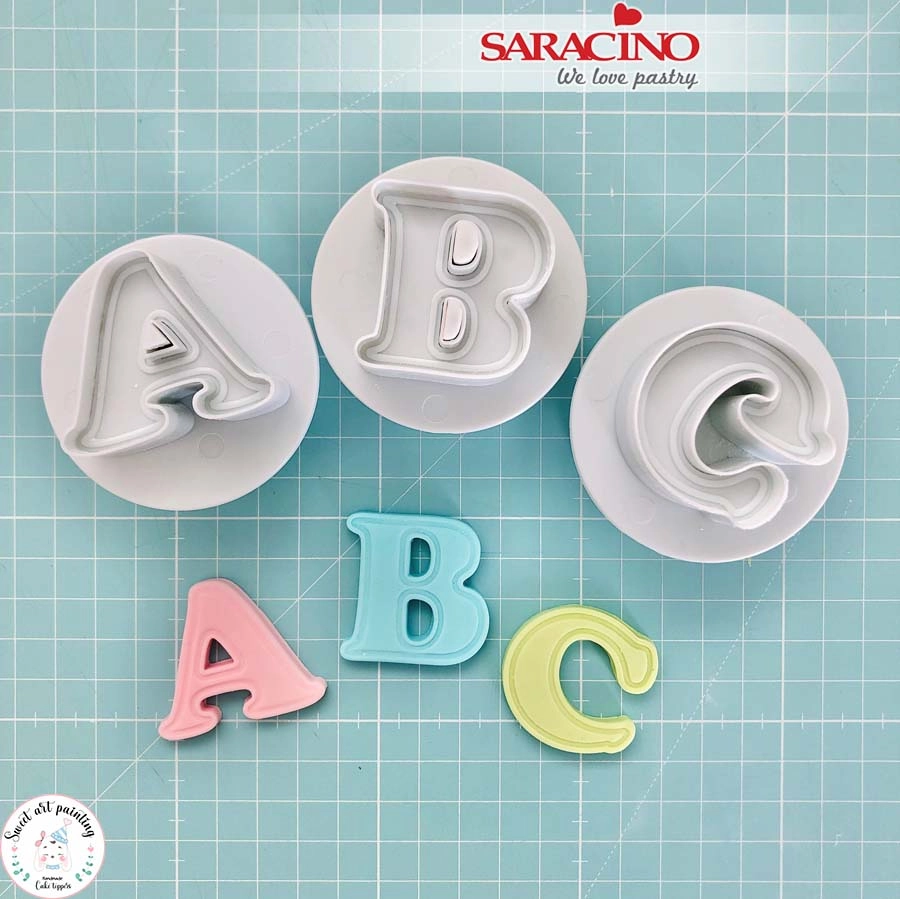
Step 37

Using the letter plunger cutters cut out the letters you would like using your required colours. Leave aside. 

Step 38

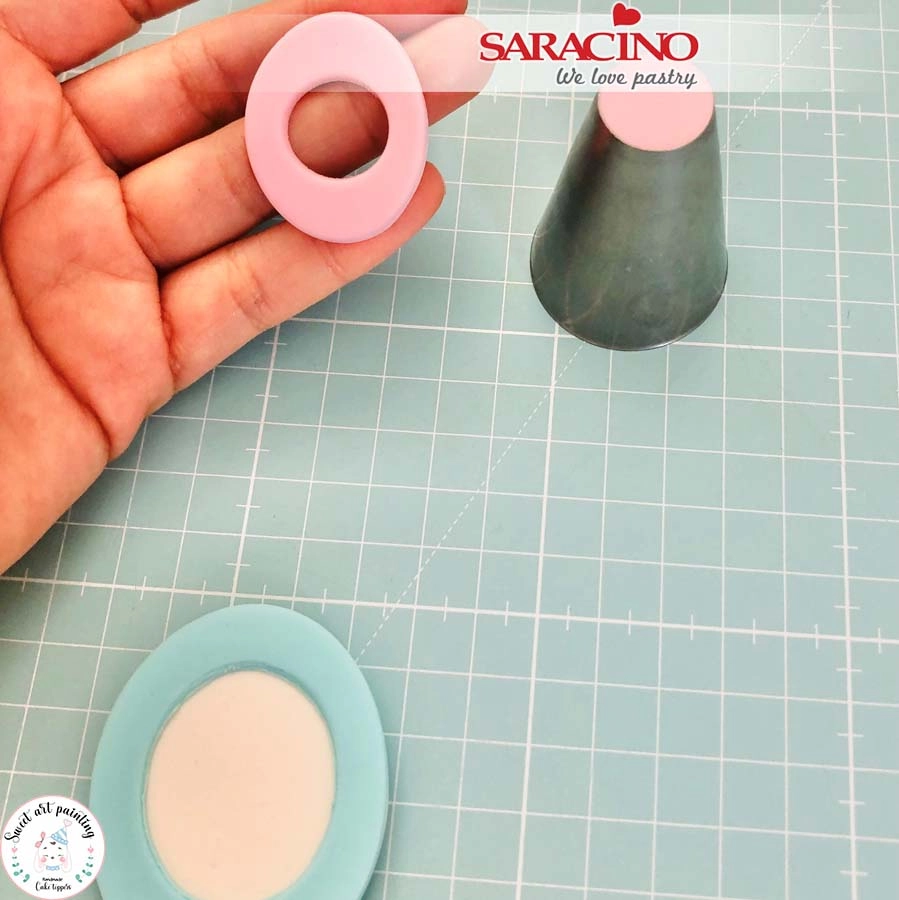
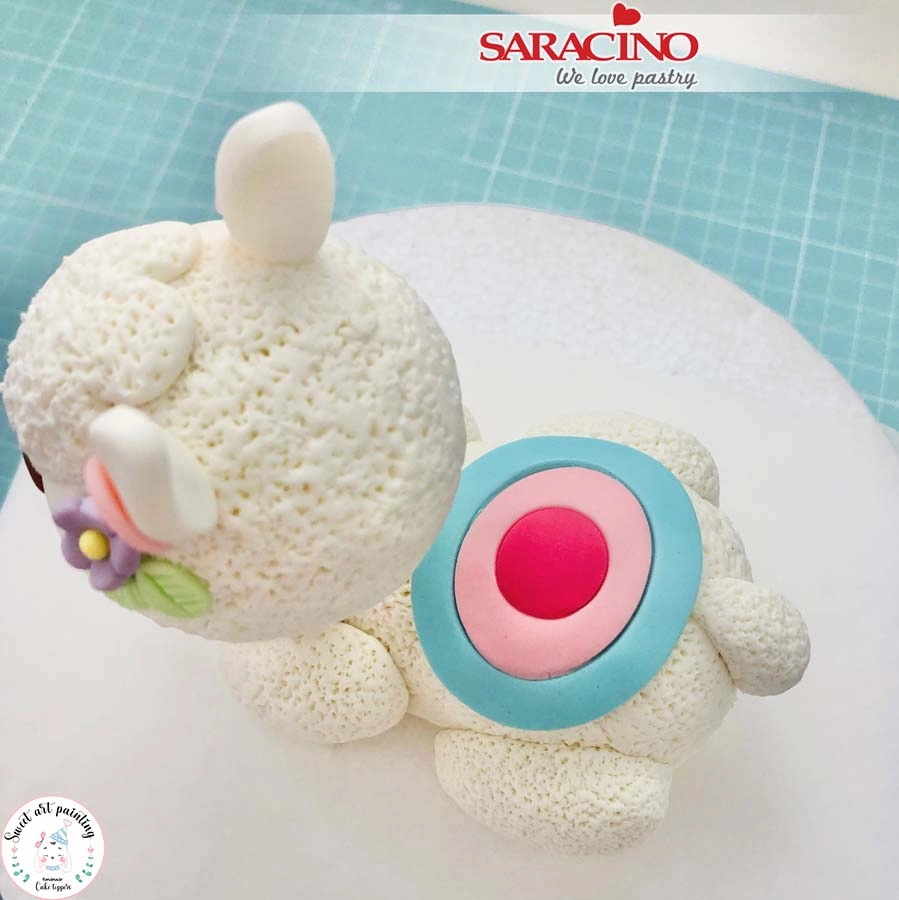
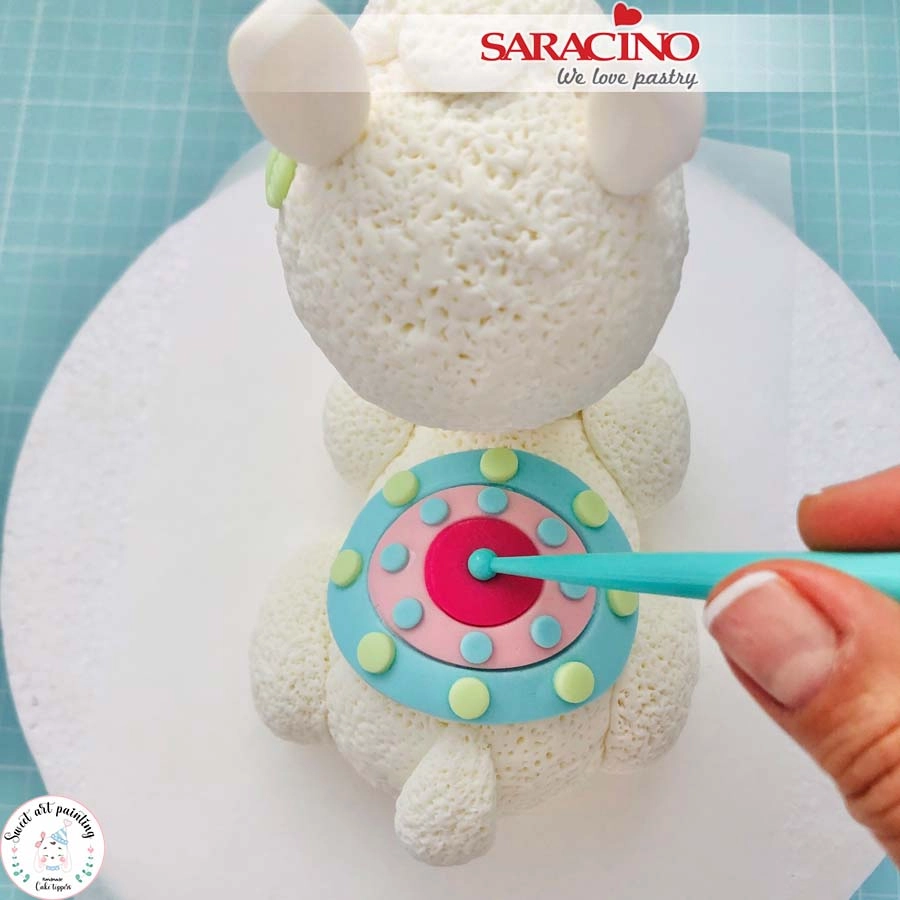
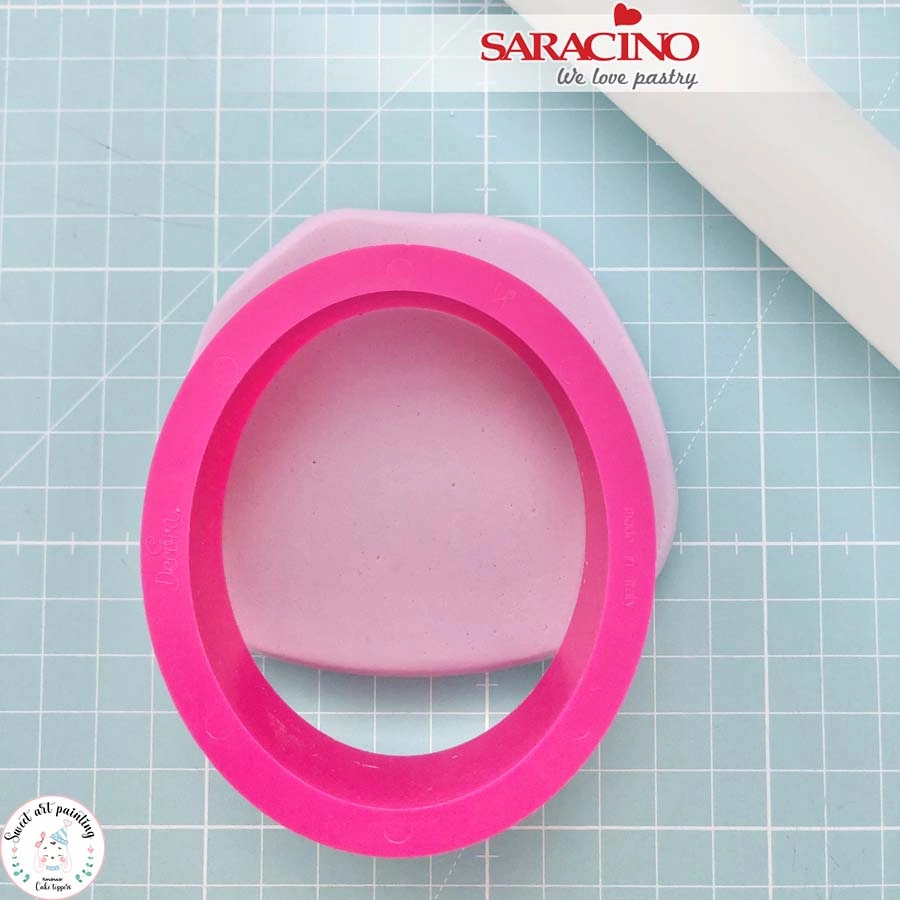
For the blanket use a large ovel cutter to cut out a thinly rolled piece of white Pasta Model. Use the same cutter to cut a thin piece of light blue paste. Use a smaller cutter to cut out the centre of the blue. Use the same smaller cutter to cut out a thin piece of pink paste and add to the centre of the blue. Cut out a circle from the centre of the pink. Use the same circle cutter to cut out a thin piece of fuchsia paste. Add the fuchsia circle to the centre of the pink.

Step 39

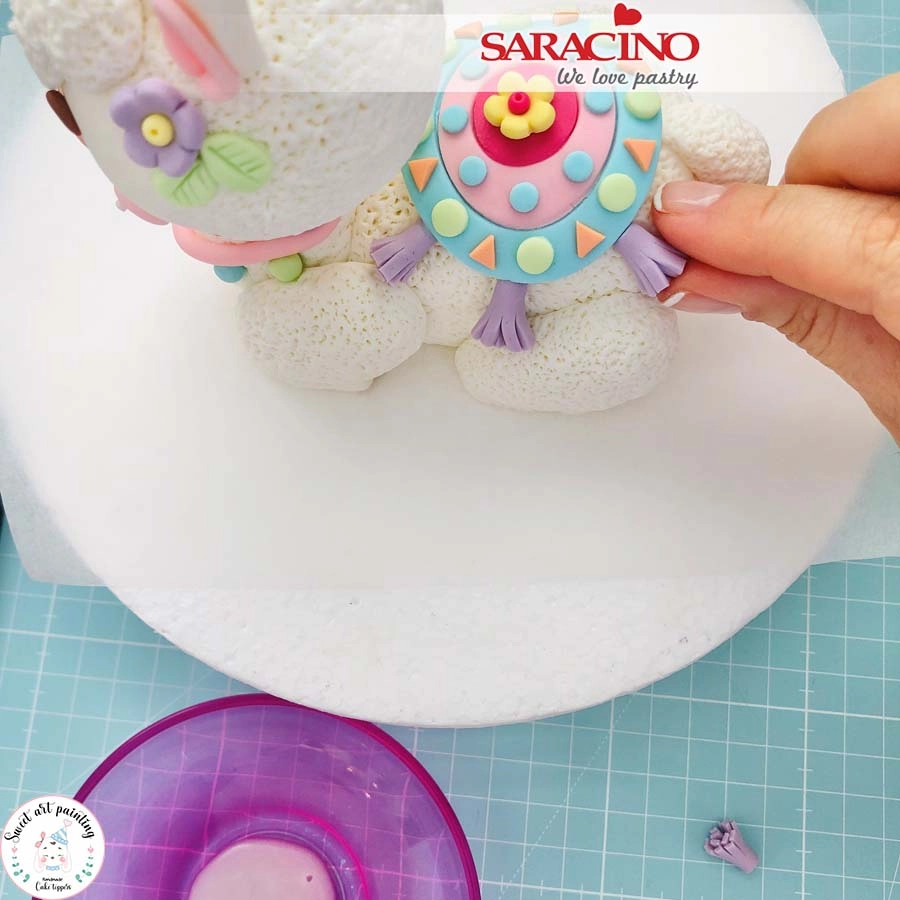
Fix the blanket to the Llama’s back.

Step 40

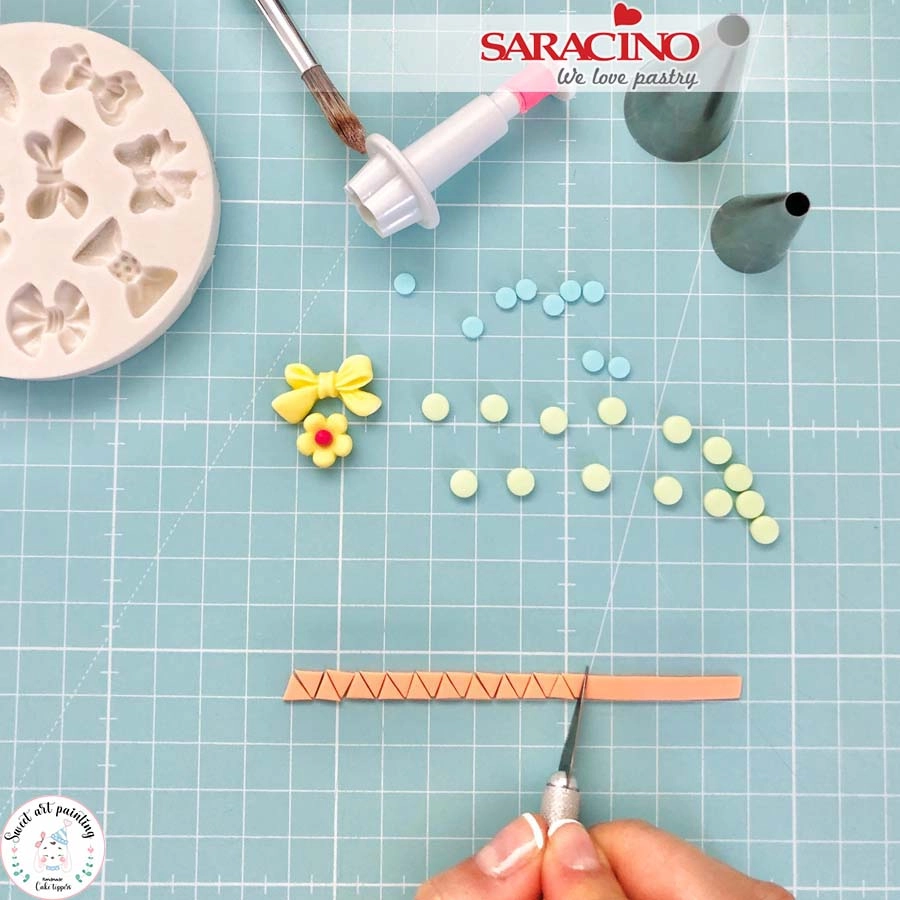
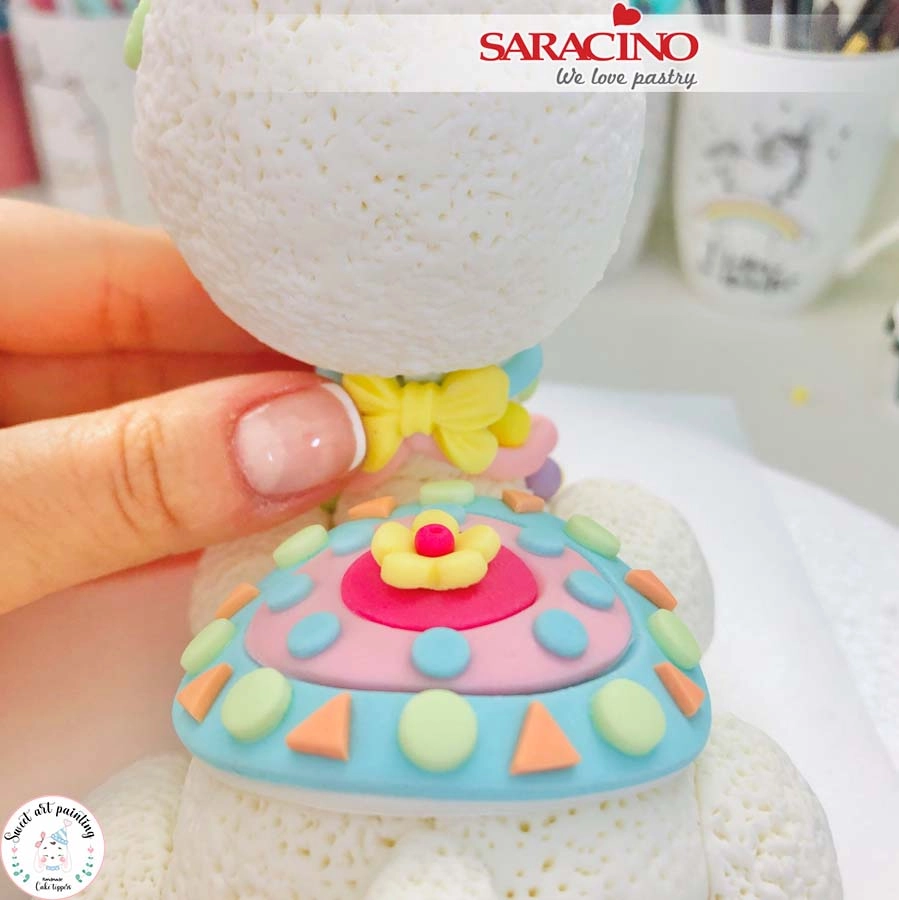
Use a silicone bow mould to make a small yellow bow. Add a little corn flour to the mould to prevent the paste from sticking. Use a flower plunger cutter to make a small flower. Cut out circles and triangles using colours of your choice. 

Step 41

Add the decorations as shown using a little glue if required. 

Step 42

Attach the flower to the centre of the blanket and the bow to the back of the neck. 

Step 43

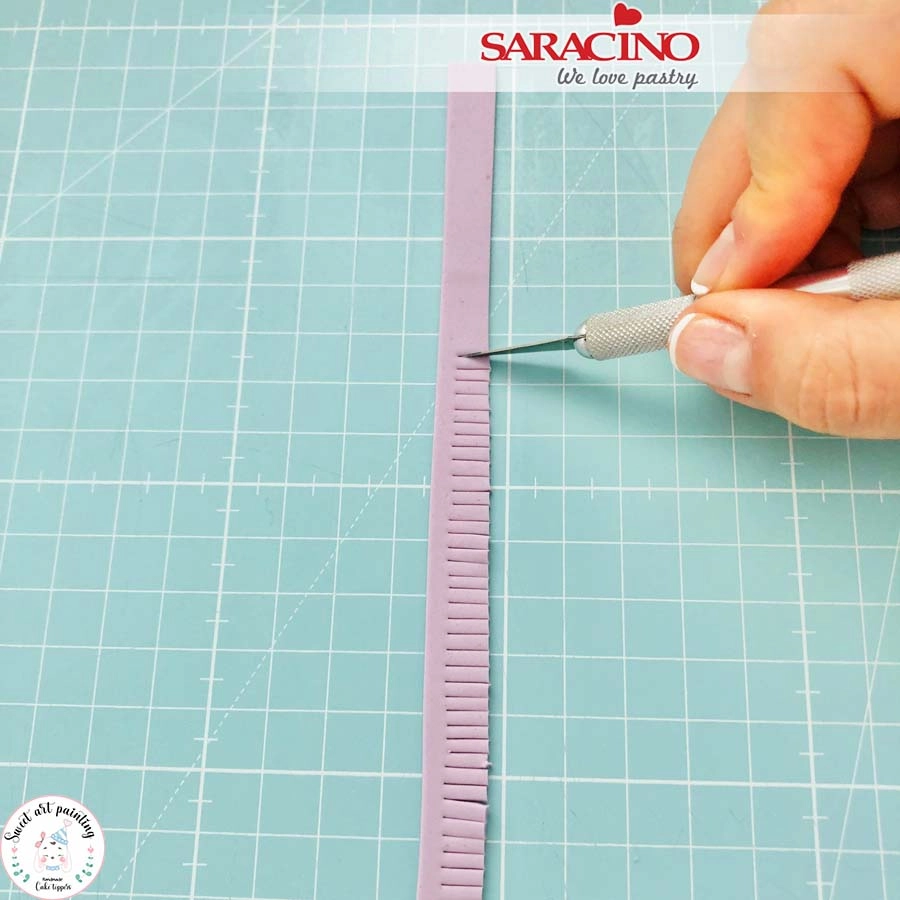
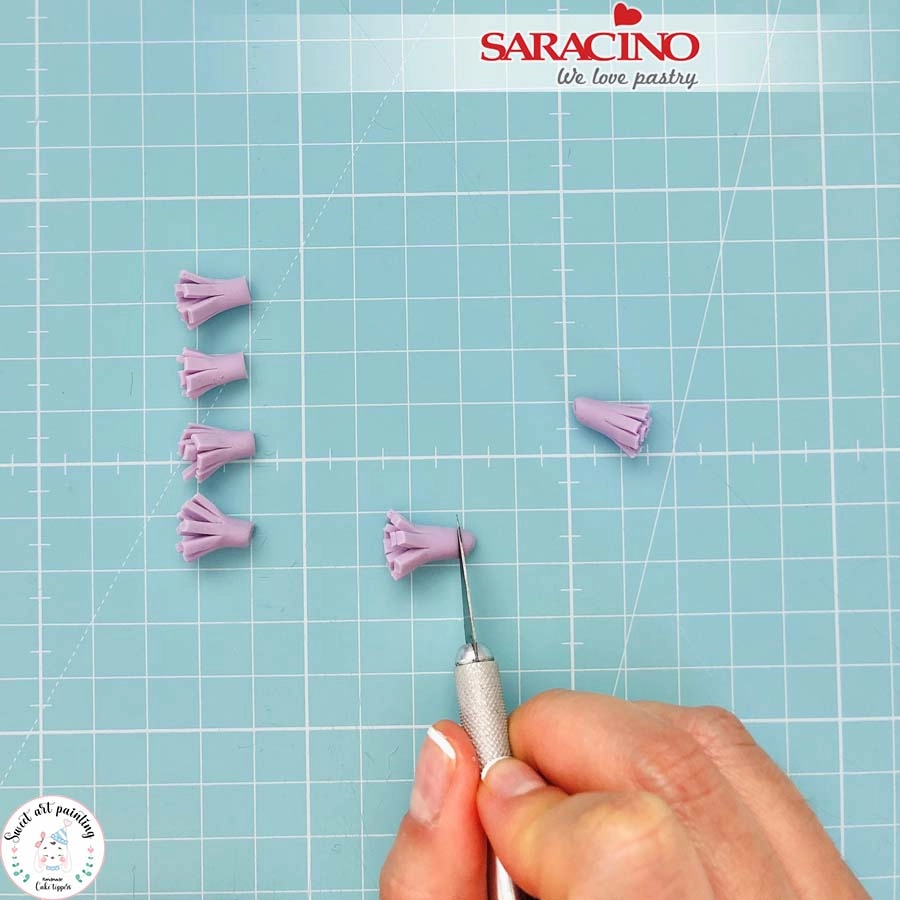
For the tassels roll light purple coloured paste thinly and cut a long 1cm wide strip. Use a scalpel to cut small strands. 

Step 44

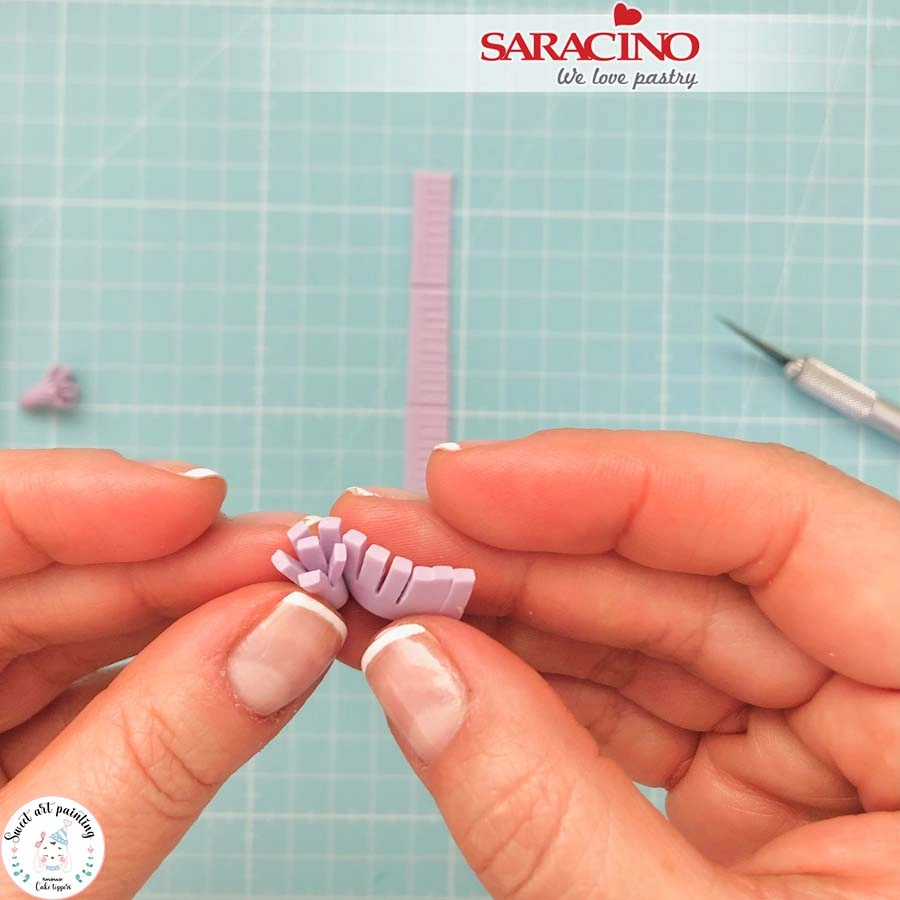
Cut in equal lengths and roll up as shown.

Step 45

Make as many as you require. Cut off the escess paste from the end.

Step 46

Using a little glue or water fix the tassles around the edge of the blanket.

Step 47

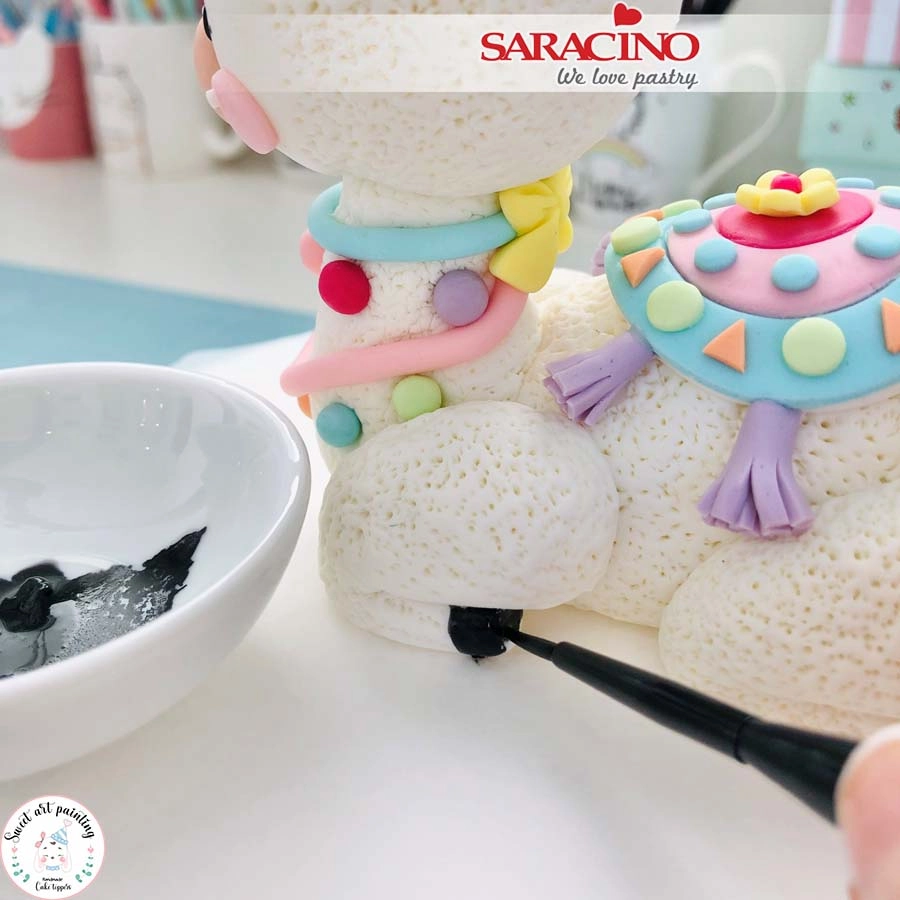
Dilute black colour with clear alcohol. Use a small brush to paint the hoof on each leg.

Step 48

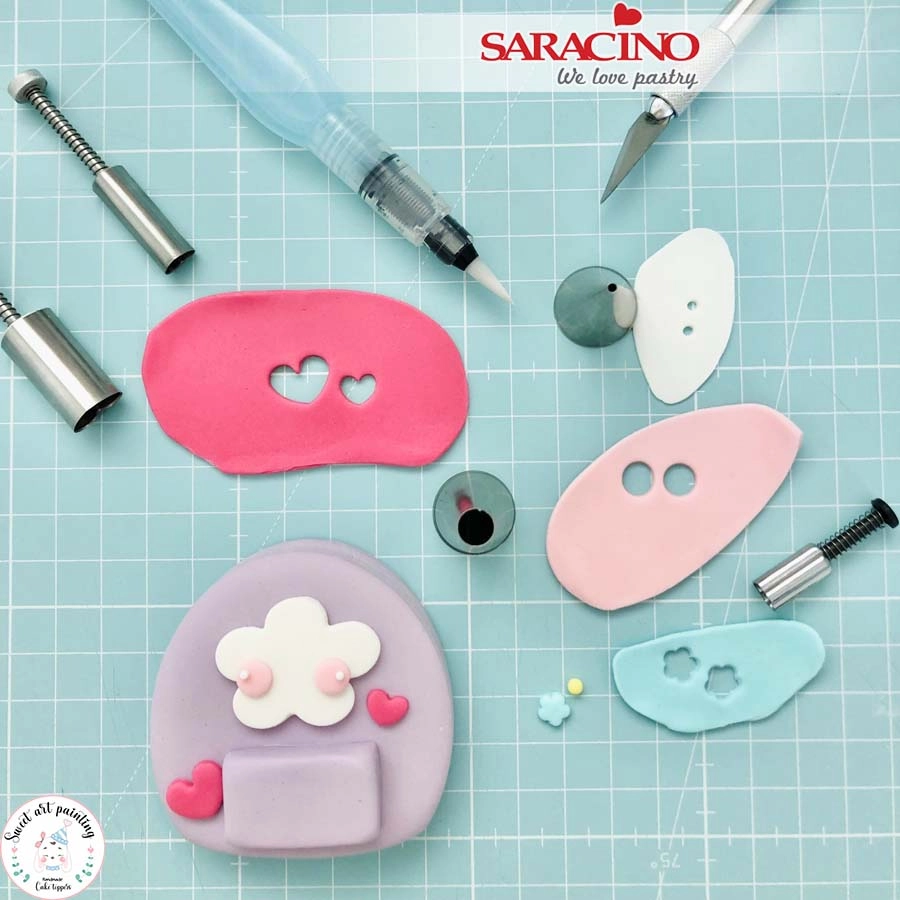
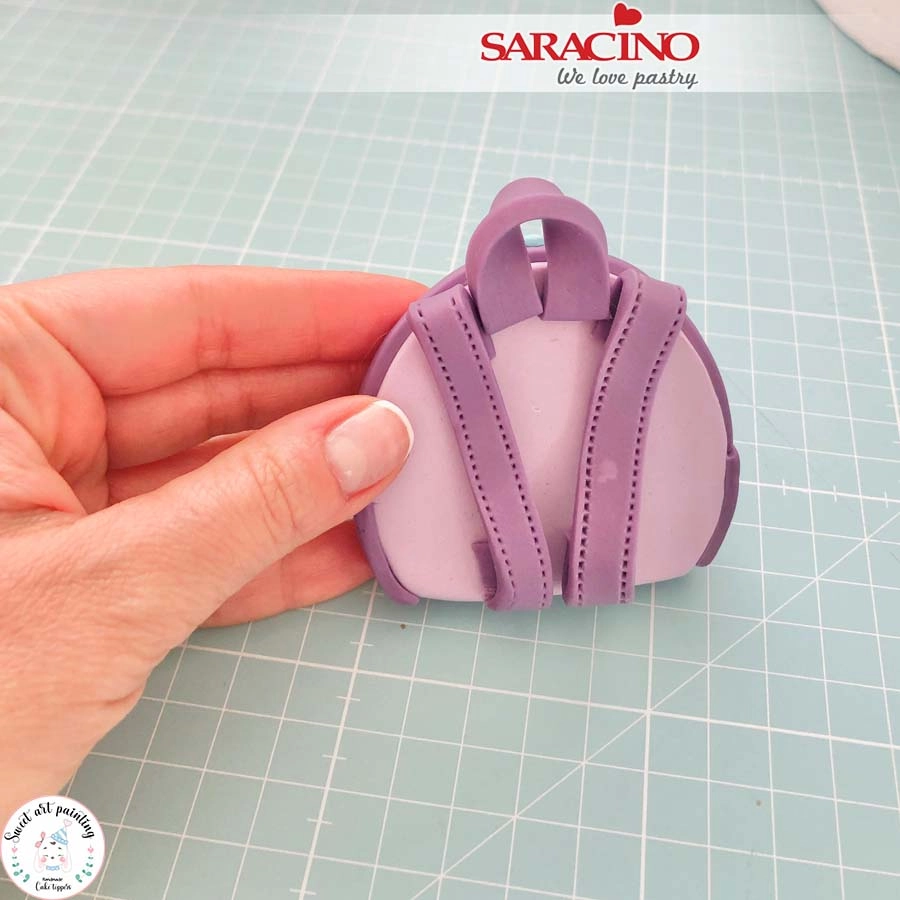
For the school bag – Roll lilac coloured Pasta Model to approximately 2cm thickness. Cut out the bag shape using a large ovel cutter.

Step 49

Using various shaped cutters and coloured Pasta Model decorate the front of the bag. Use the same colour as the bag add a rectangle shape for the front pocket. 

Step 50

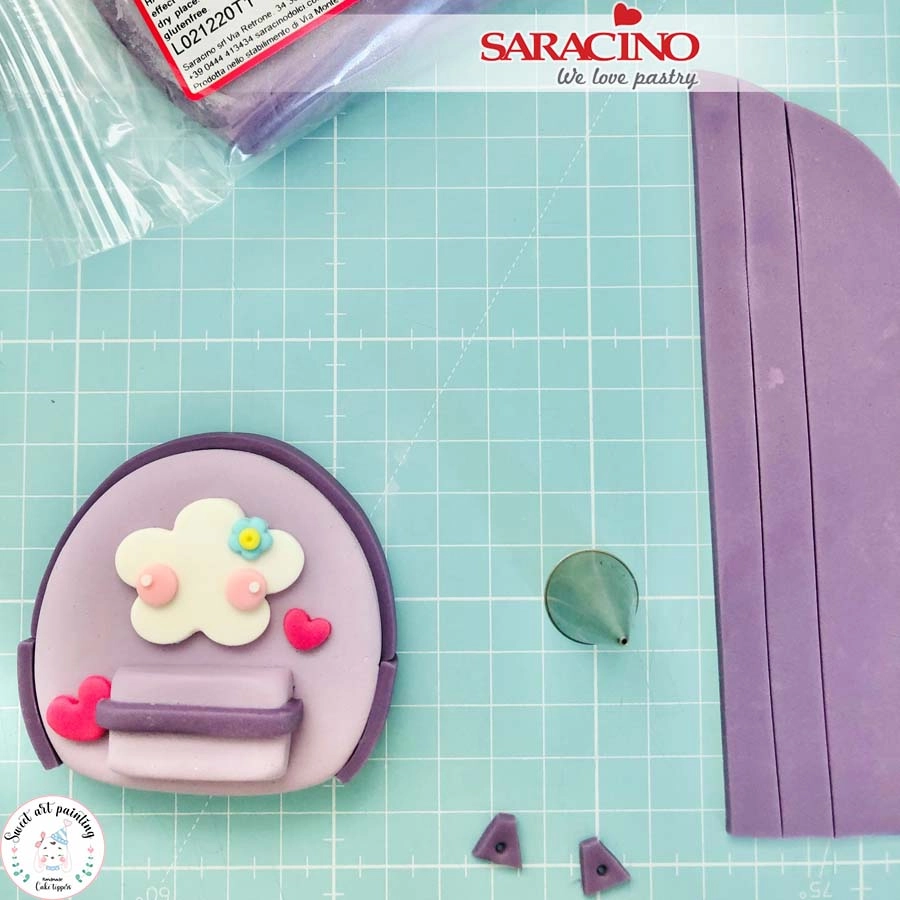
For the bag zip roll purple Pasta Model thinly and cut into strips. Fix to the bag. Repeat using a thinner strip for the zip to the front pocket. For the fastener cut out two triangle shapes. Use a thin piping nozzle to add the centre circle. We will need strips cut ready for the straps to the bag.


Step 51

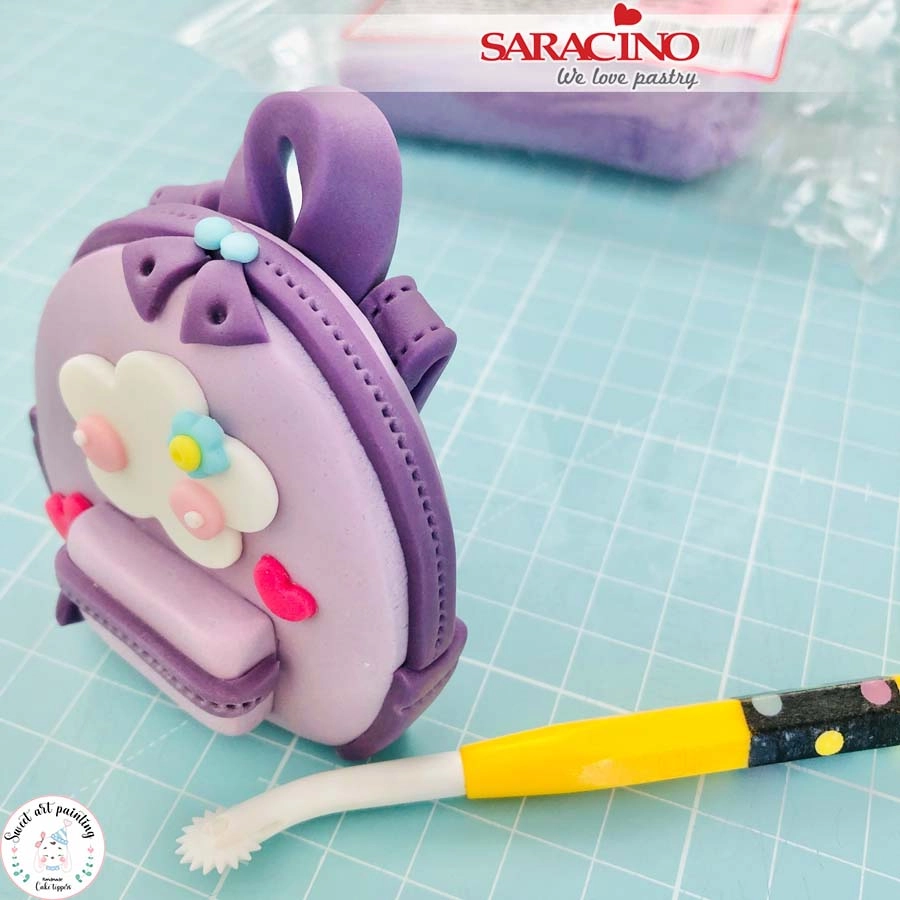
Use a stitching tool to add a zipper effect as shown. Fix the triangle fasteners. Add two small light blue circles to the top of the fasteners. Use a little glue to add the straps and the bag handle. 


Step 52

For the zipper and side pockets of the briefcase cut purple pasye and glue


Step 53

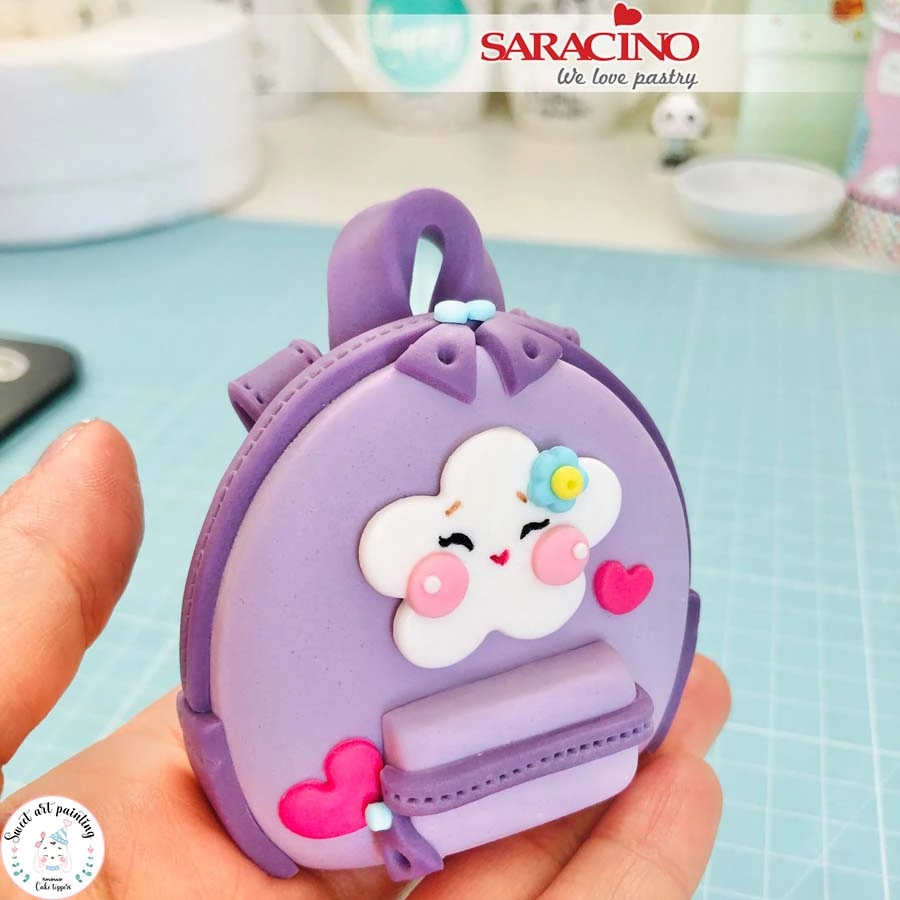
Using edible pens paint the eyes and lips.


Step 54

The straps should be fixed as shown. 


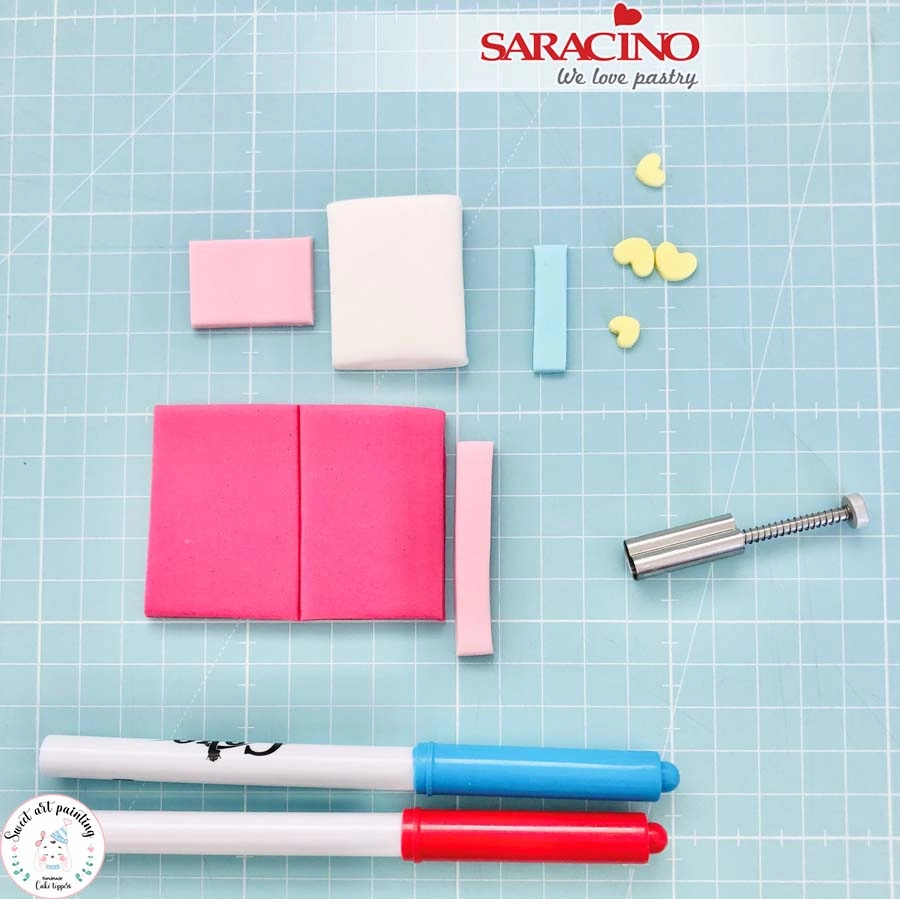
Step 55

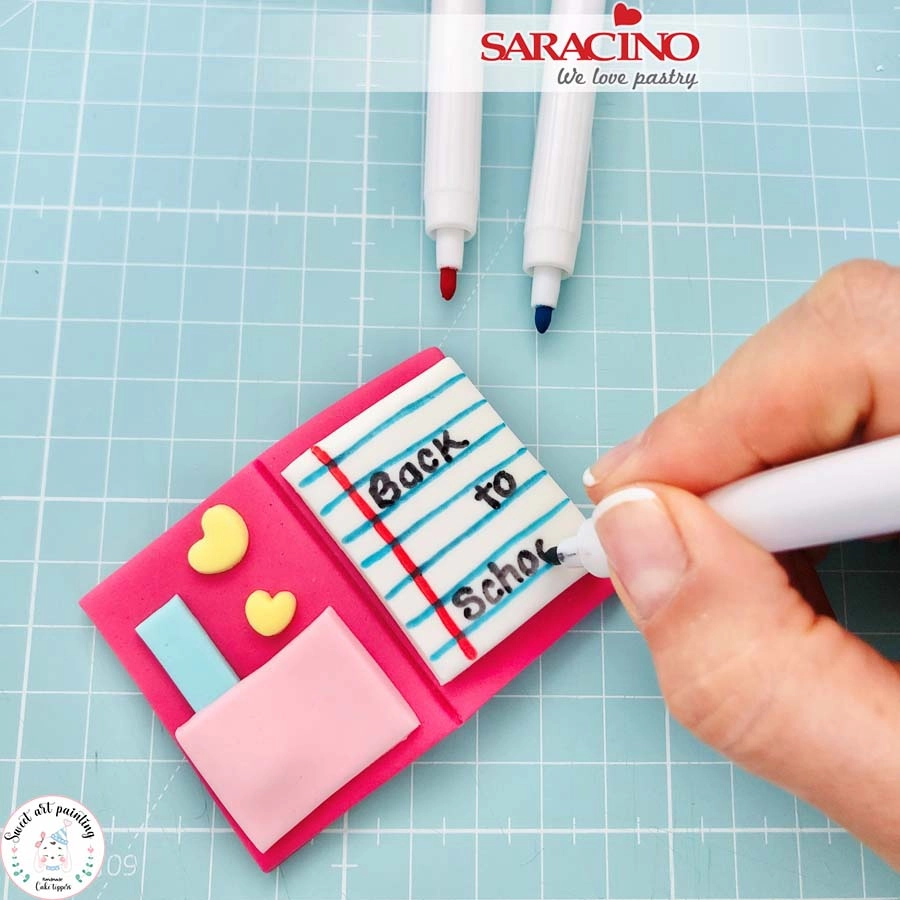
To create our notebook cut a rectangle 7cm x 5cm using fuchsia Pasta Model and mark a line down the centre. Cut all the pieces and decoration needed for the book.


Step 56

Glue each of the pieces and decoration. Using the edible pens draw the lines of the page and add the text.


Step 57

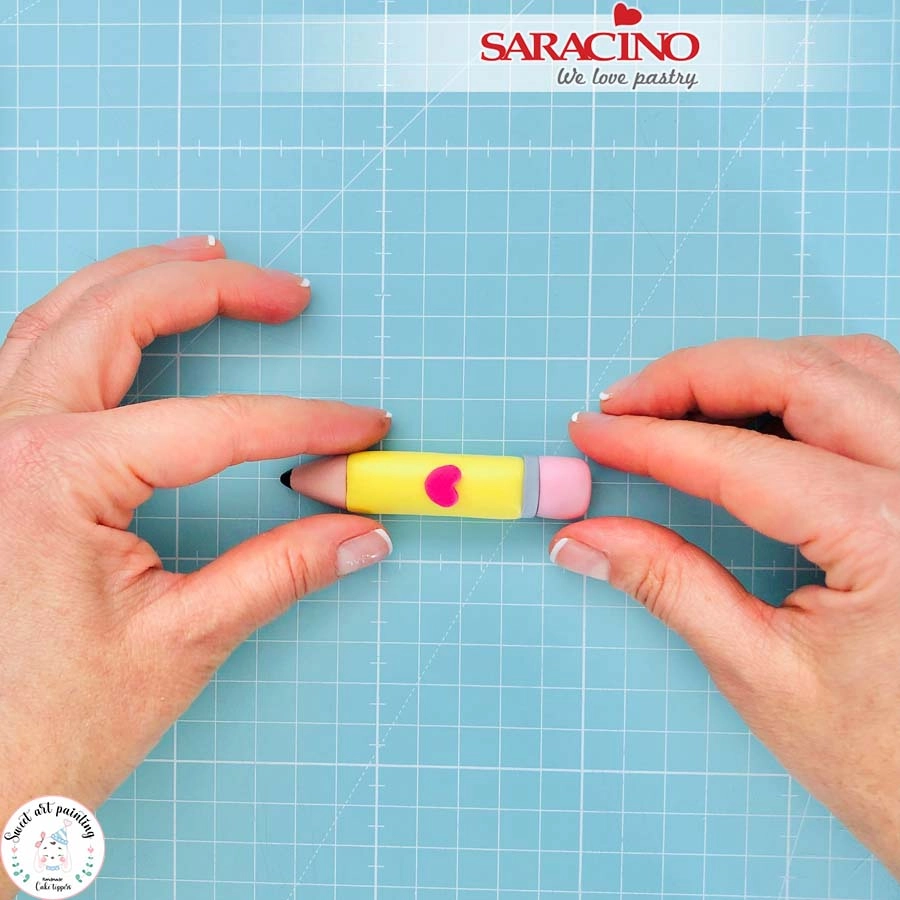
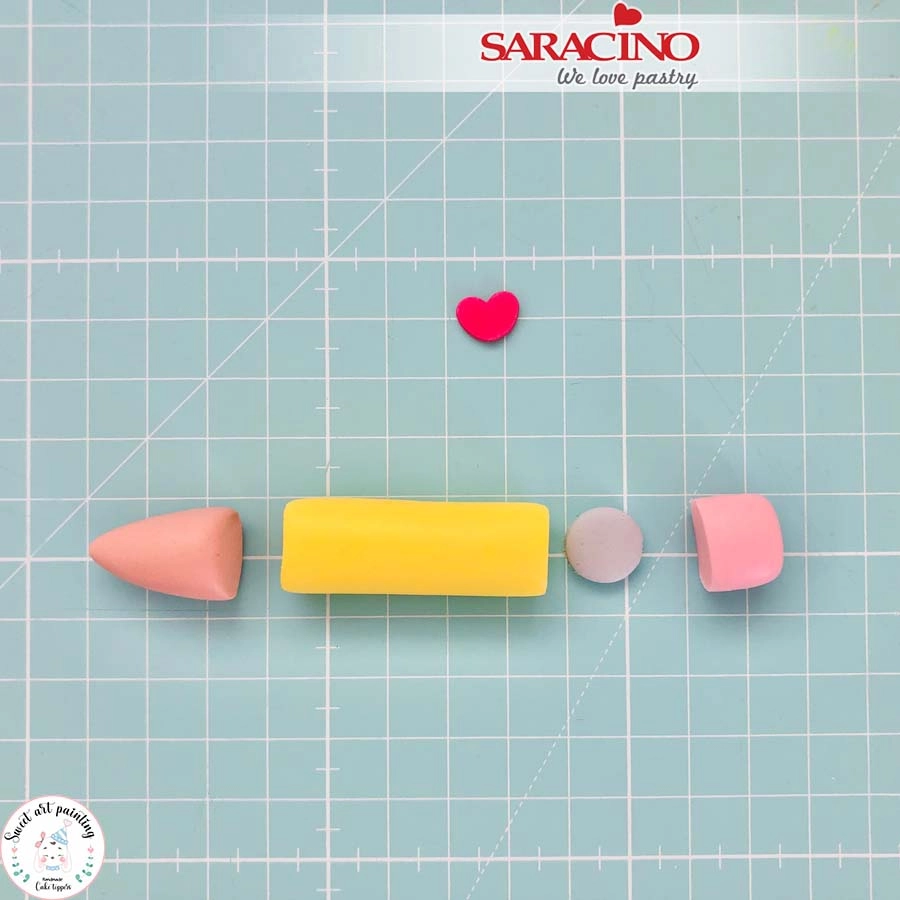
For the pencil roll a small 4cm long cylinder using yellow Pasta Model and model the other parts using grey, beige, pink and fuchsia.

Step 58

Glue the pieces together as shown. Paint the end tip of the pencil using black colour.


Step 59

Using a small ball tool add texture to the pompoms.

Step 60

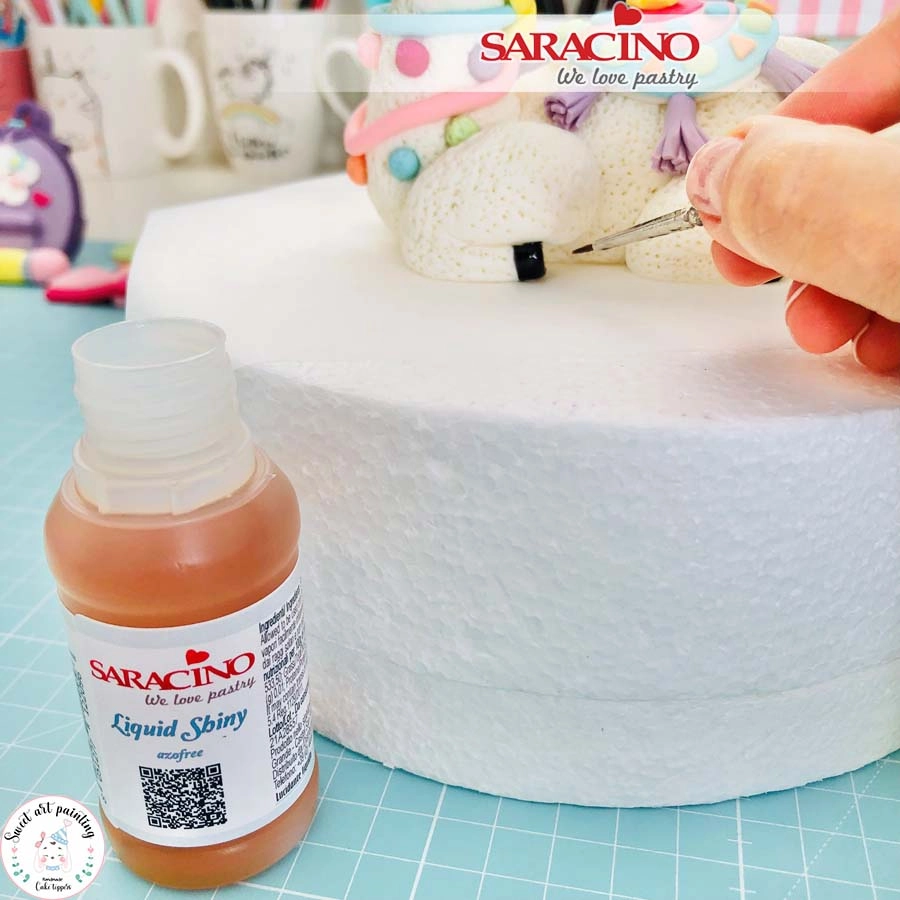
Paint the hooves using Liquid Shiny.


Step 61

Cover your cake using Pasta Top. Add the decorations as required to the cake.

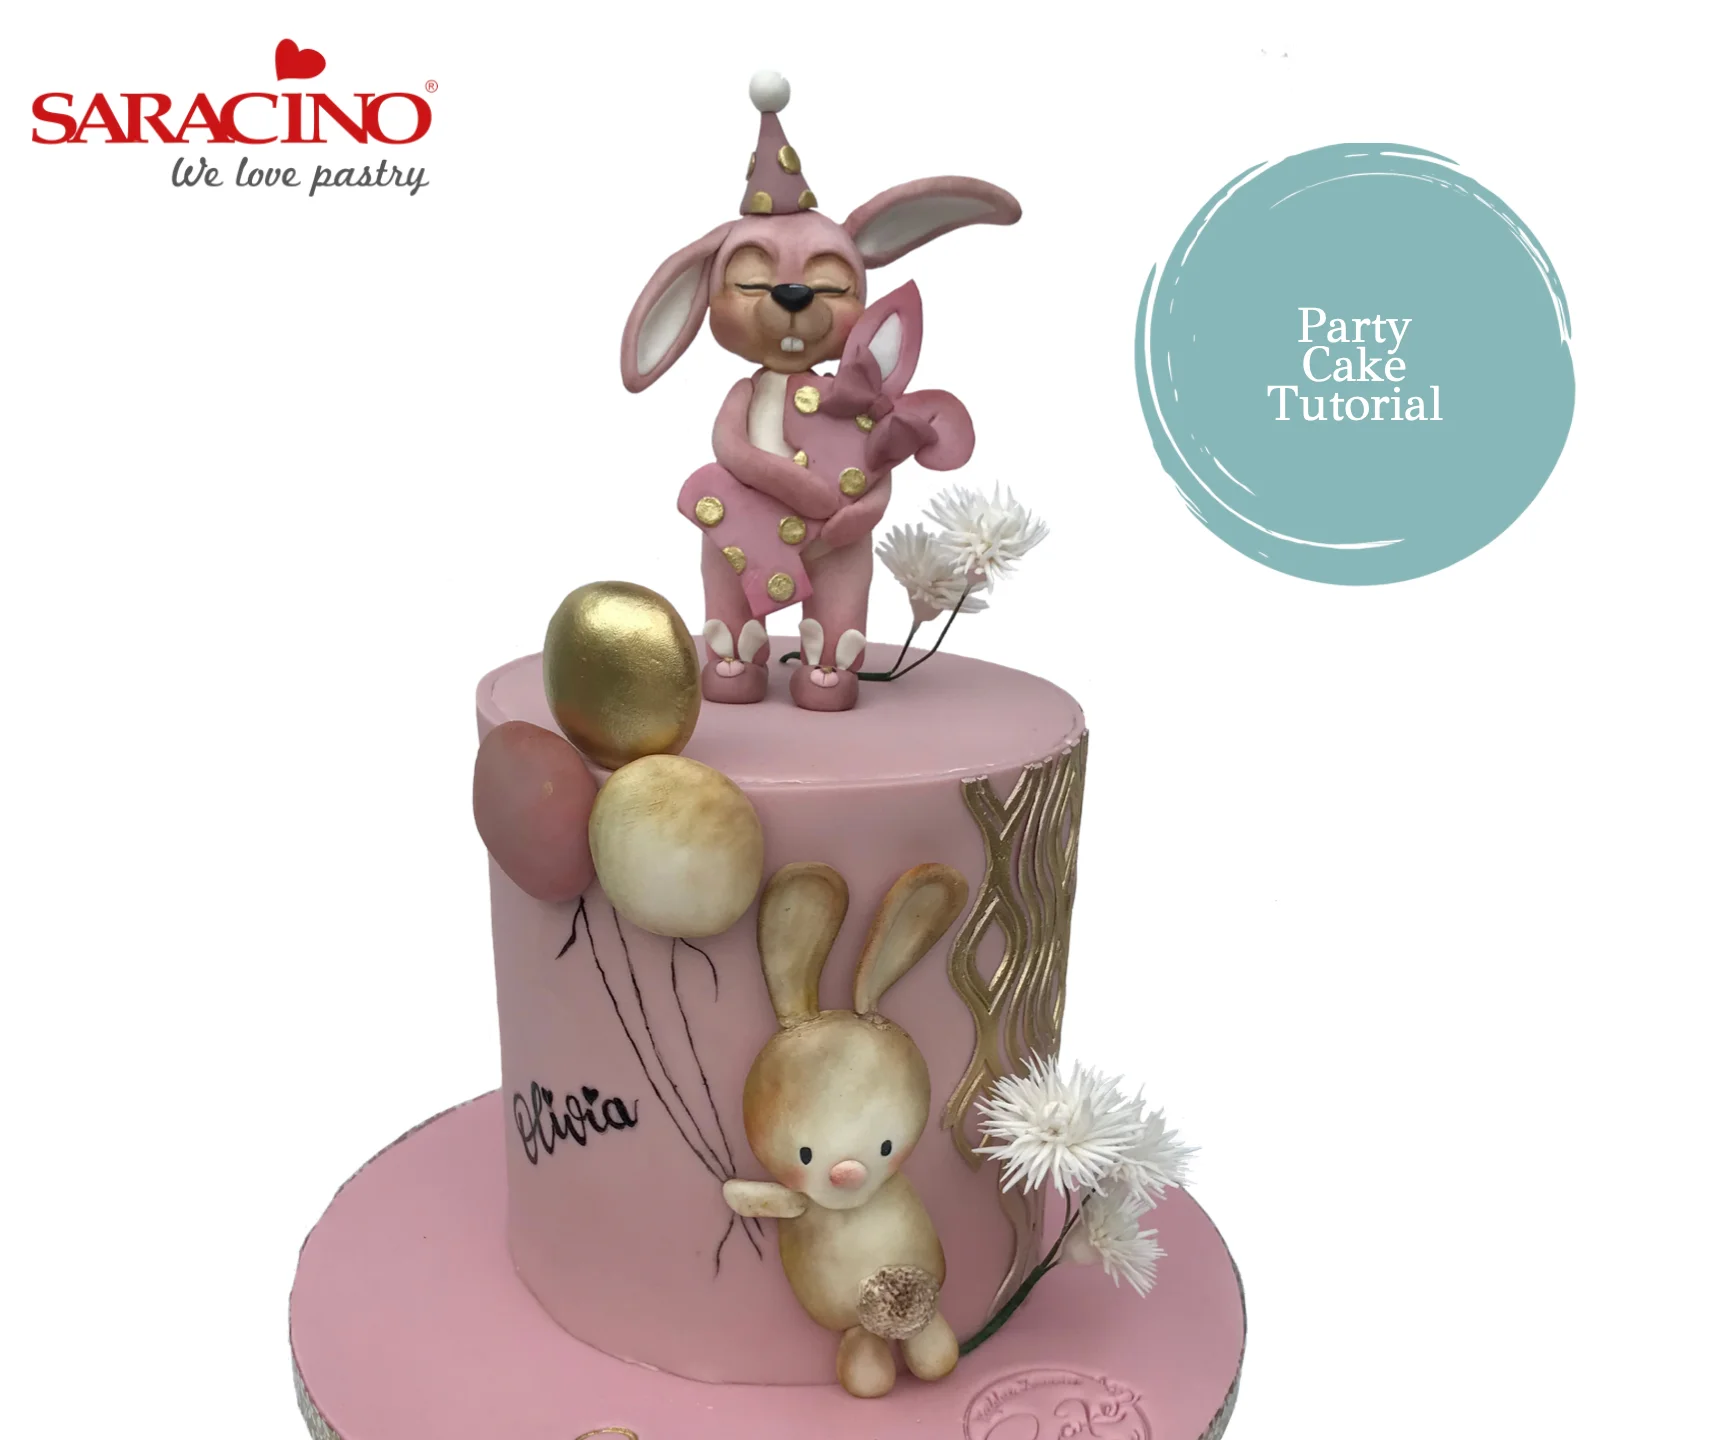
1st BIRTHDAY CUTE PARTY CAKE

1st BIRTHDAY CUTE PARTY CAKE

Skill level: BEGINNERS 

Covering cake board and cake:

Add 3 drops of Pink Gel Color and one drop of Brown to Saracino Pasta Top. The colour can be deepened and modified by adding more colour. Cover the Cake Dummy and Cake Board. Add a name if you wish. Attach the Washi Tape around the Cake Drum. Set aside to dry

You will need:

  • Rolling pin
  • Sharp knife
  • Dresden tool
  • Small, medium and large ball tool
  • Number 12 Piping Tip
  • Skewers and wooden toothpick
  • Green Floral Wire – 22 gauge
  • Green Floral Tape
  • Soft brushes
  • Small paint brush
  • Cake lace mould (I used Marvelous mould)
  • Mini bows silicone mould
  • Number 1 Cookie Cutter
  • Edible glue
  • 6 inch Cake Dummy
  • 10 inch Cake Drum
  • Gold Washi Tape
  • White, black and skin tone Saracino Modelling Paste
  • Saracino Pasta Bouquet
  • Saracino White Pasta Top
  • Saracino Sweet Lace Pearl
  • Saracino Powder Colour (white, skin tone, rose pink, brown and light gold)
  • Saracino Gel Colour – Black, Brown and Pink
 

Step 1

Prepare the paste: To the white Modelling Paste, add a small amount of the pink gel colour and a little brown colour (this way you will get Dusty pink). You will also need Skin tone, black and white paste.

For the head knead a ball and roll it with your hand.

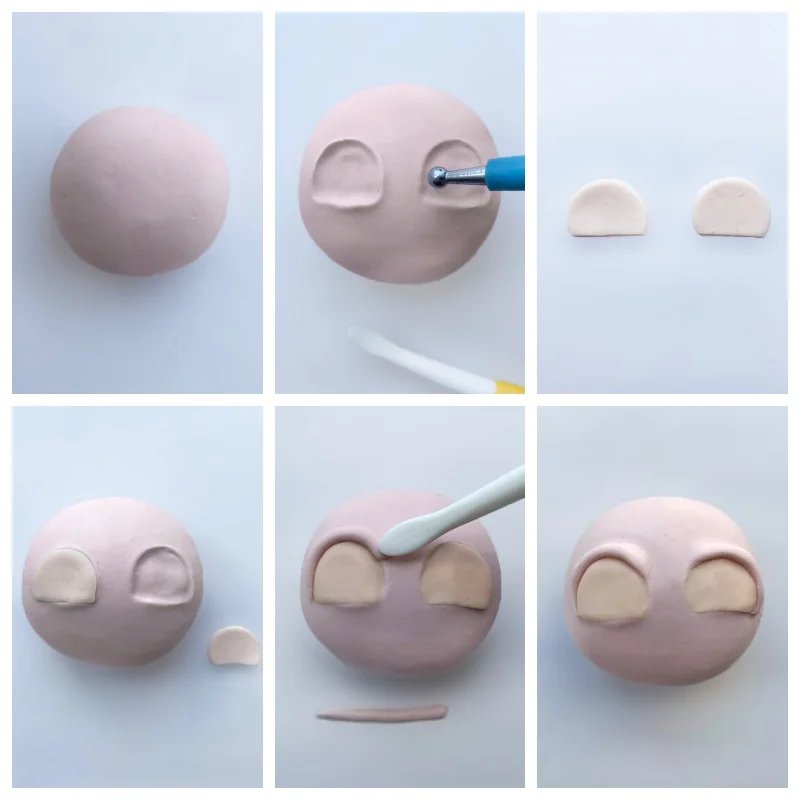
For the eyes:

  • Using the tool with a small ball, form a half-circle for the eye sockets.
  • Using the cutter, cut out small circles from the skin tone and cut off the bottom with a knife to give a flat edge.
  • Place into the sockets of the eyes
  • Using your fingers roll two thin sausage shapes with one pointed end and fix them over the eyes, then shape and blend them with the Dresden tool to form the eye lids.

Step 2

To create the face:

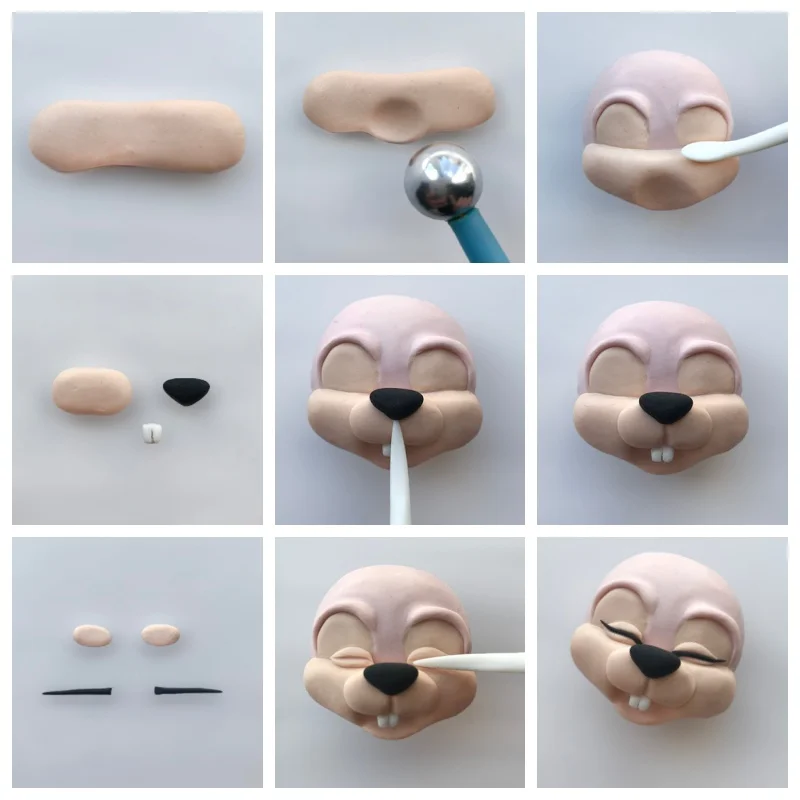
  • Using skin tone paste roll a long flat sausage shape for the cheeks and mouth area.
  • Using a tool with a large ball, make a dent for the mouth
  • Fix to the face and shape / blend it
  • Shape the nose pieces and teeth, fix them to the mouth and make a line below the nose
  • Prepare the details for the eyes and eyelashes. Fix oval eyes where shown, make a line on them with the Dresden tool and fix the black line eyelashes into the line.

Step 3

To create the ears, arms, tail and body:

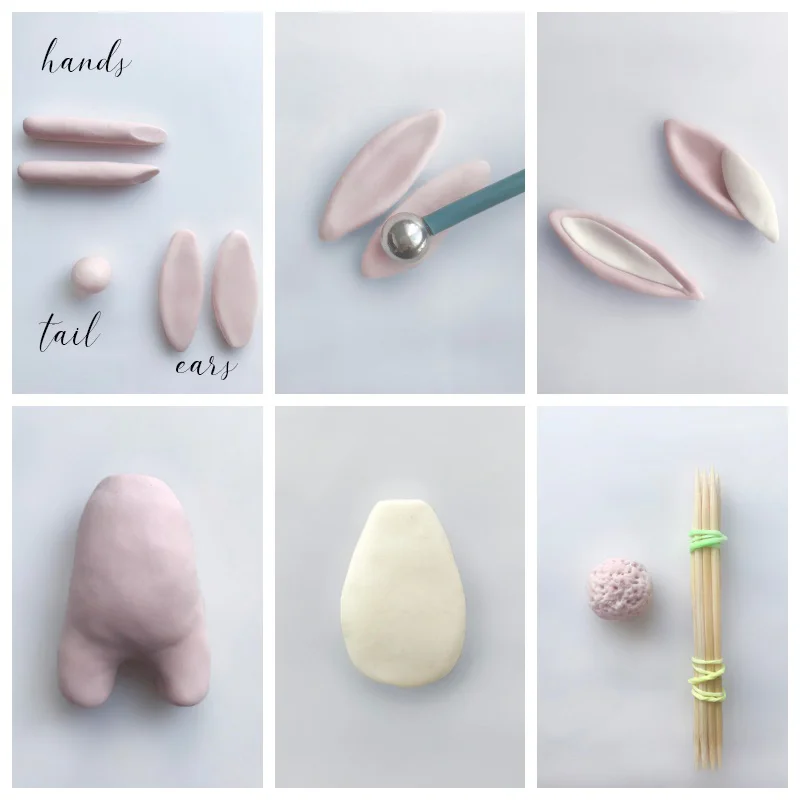
  • Use dusty pink to form the ears of the rabbit. For the arms roll the dusty pink colour into a long sausage shape. Cut diagonally into two equal parts. Roll a ball for the tail.
  • Using a medium ball tool, shape the ears. Fill them with white paste.
  • For the body form a large ball, roll it into a cone shape and flatten at the end. At the large bottom of the cone, make a dent in the centre with your finger and form the legs.
  • Using white paste cut out a circle for the tummy
  • Using the cocktail sticks as a tool, add texture to the tail.

Step 4

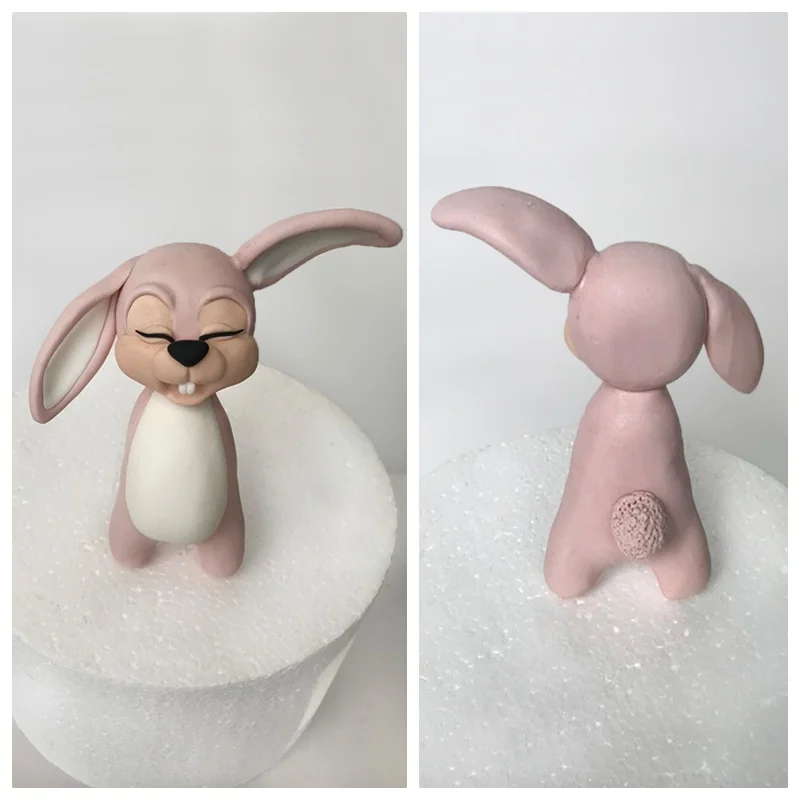
Connect the head to the body using a cocktail stick, fix the ears to the required position, fix the white part of the tummy and the tail.

Step 5

To create details:

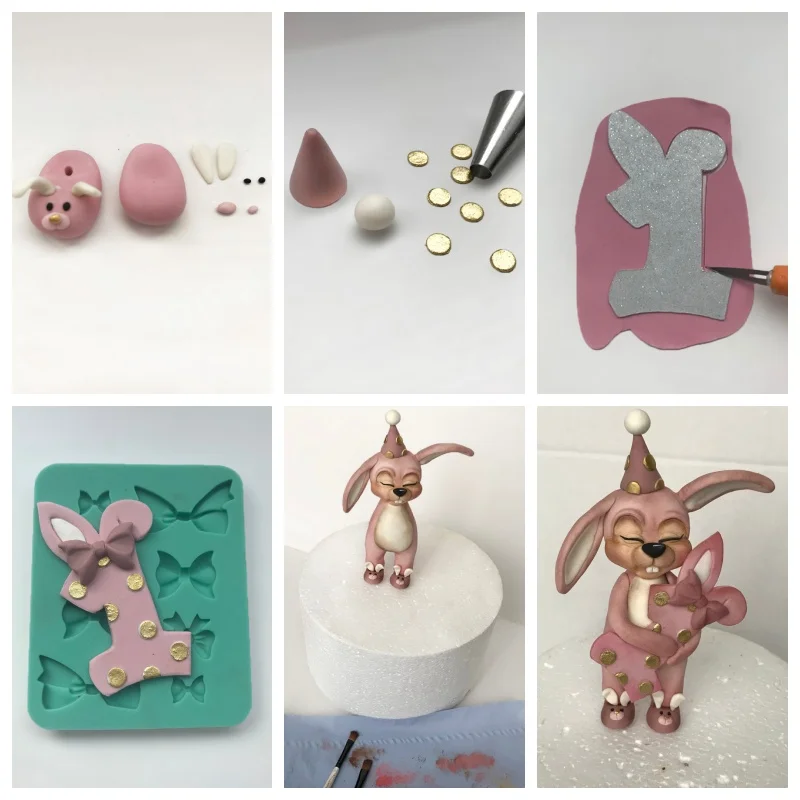
  • Prepare the slippers and a hat using the shapes shown in the pictures.
  • Using Saracino Pasta Bouquet, cut a one shape (you can use a cutter for this) and decorate it. Your bow can be formed in a bow mould ti the required size.
  • Attach the bunny slippers and hat. Using a soft brush and powder colours add shade (I used brown and pink)
  • Fix the rabbit’s arms and fix the number one in them. Put on the cake!

Step 6

FOR THE SIDE BUNNY DECORATION:  Prepare the paste: Add a small amount of Skin tone to the white Modelling Paste. You will also need Black paste and a small amount of pink for the nose

For the head: 

  • Form a ball and shape it with your hands.
  • Using the Dresden Tool, make an incision in the centre of the lower part of the head for the mouth, then on the sides to shape the rabbit’s face.
  • Gently pull out the mouth and shape / blend the sides

Step 7

Eyes and nose:

  • Using a small metal ball tool, form oblong indentations for the eye sockets
  • Prepare black eyes and a pink nose from paste
  • Fix the eyes and nose to the bunny’s face

Step 8

For the body:

  • Form a cone shape and round it at the top, then smooth it with your hand.

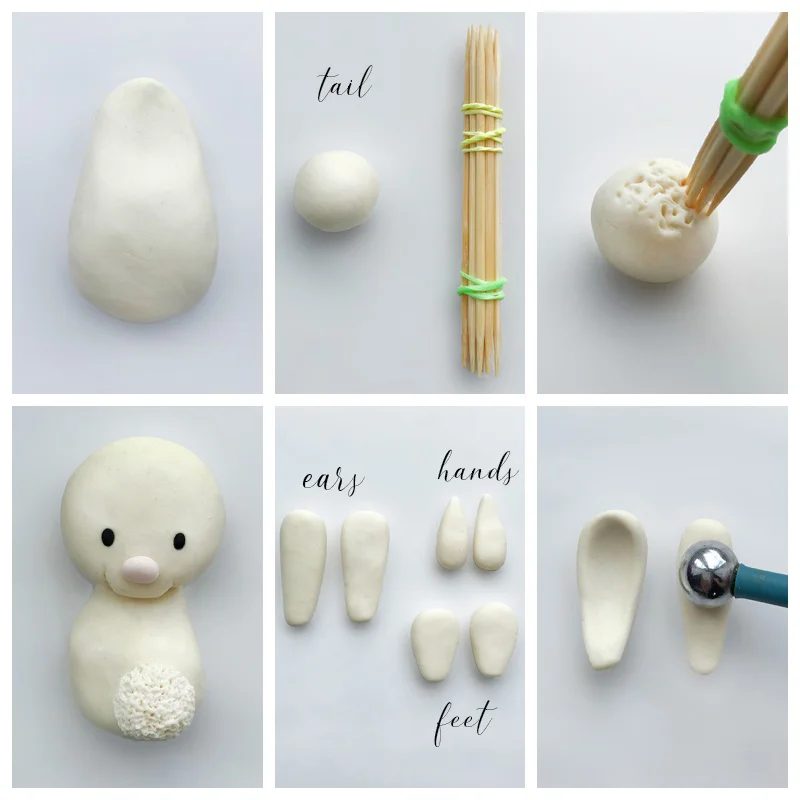
  • For the tail roll a ball. Add texture using the cocktail sticks.

  • Attach the head to the body and fix the tail

  • Prepare the rabbit’s ears, hands and feet as shown

  • Make a dent in the ears using a medium-sized ball tool

Step 9

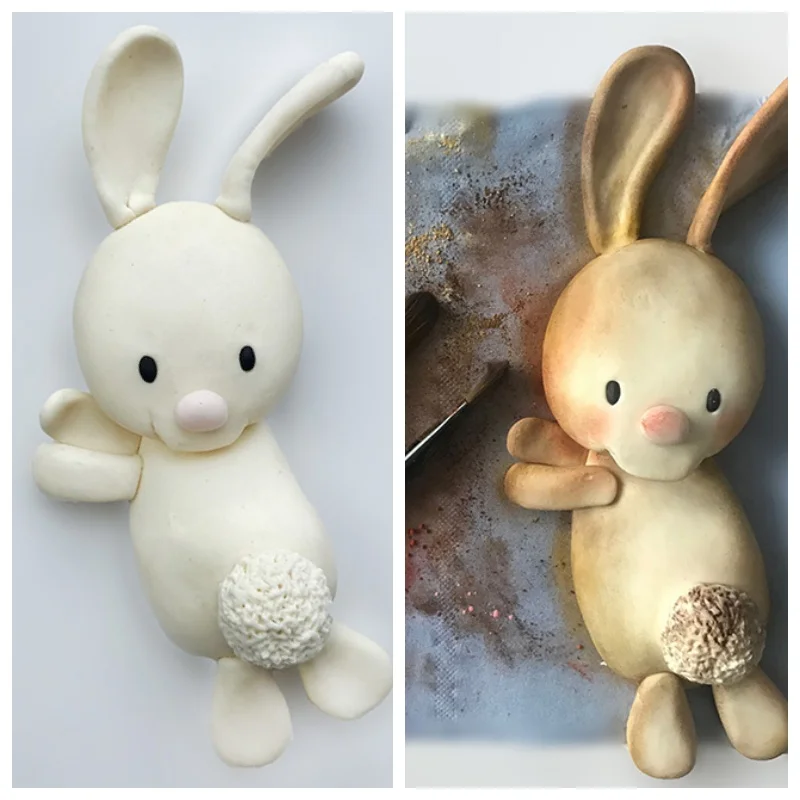
Fix the hands and feet. Using a soft brush and powder colours, shade the rabbit (I used brown, skin tone and pink). Use edible glue to attach the rabbit to the cake.

Step 10

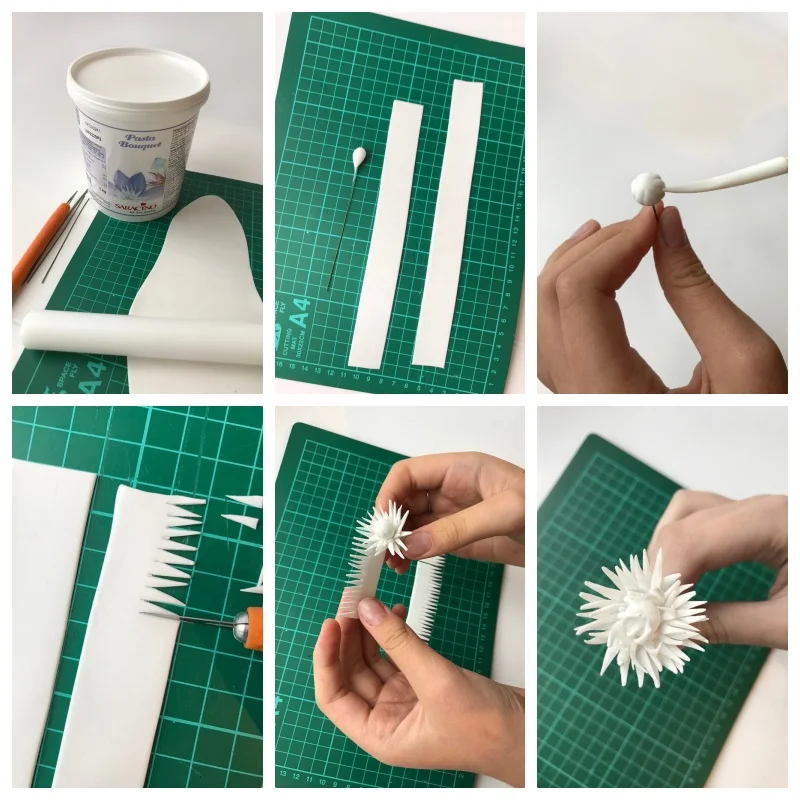
Sugar Flowers: 

  • Using Pasta Bouquet roll out thinly.
  • Using Pasta Bouquet fix a small ball to the end of a flower wire. Using your Dresden tool make lines on the ball and set aside to dry.
  • Cut two strips 13cm long
  • Use a knife to cut out narrow triangles in each strip
  • Cut strips and fix around the flower centre.
  • Allow to dry completely, then wrap the wire with floral tape and place on the cake. If inserting into the cake you will need a flower pick.

Step 11

Balloons:

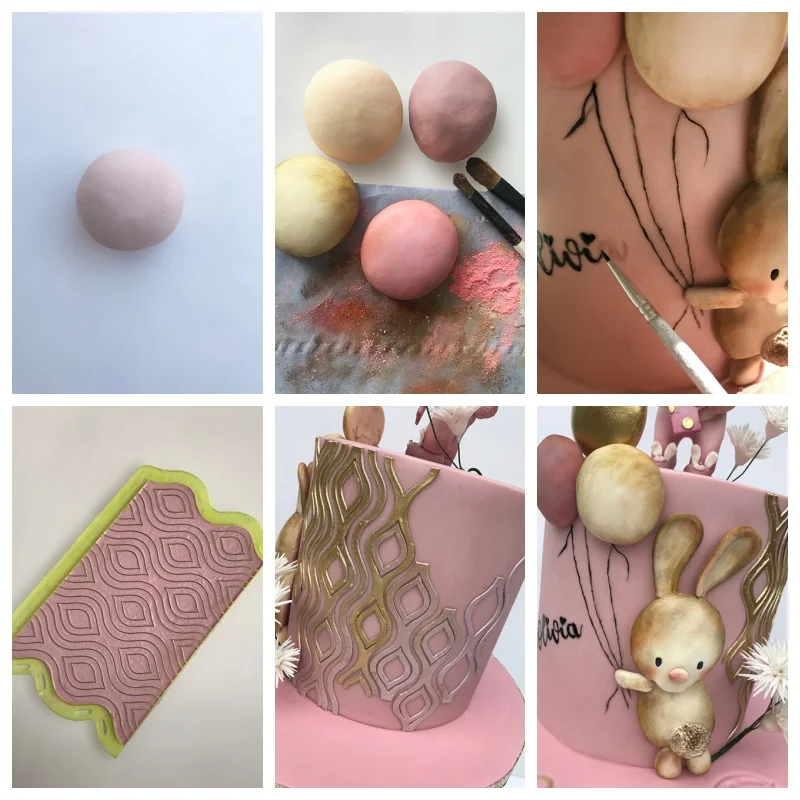
  • Roll a Dusty pink ball and two Skin tone balls
  • Flatten using your hand
  • For two balloons – Dusty pink and Skin tone, dust with Saracino Powder Colour (Pink and Brown)
  • Paint the final balloon gold with Saracino Light Gold Powder mixed with alcohol. Using edible glue, fix the balloons to the cake.

Pattern:

  • Add drops of pink and brown colours to the Saracino Sweet Lace Pearl. Mix. 
  • Place in the mould. You can use any Cake Lace mould (I used Marvelous mould)
  • Let it dry completely. Due to the deep pattern my lace took 36 hours to dry completely.
  • When the lace is dry, paint some parts gold and leave the rest in the Dusty pink colour
  • Using edible glue, fix the lace on the cake

Painting the name and the balloon string:

  • Use a pencil to make an inscription and add a string of balloons on the cake
  • Using the Small paint brush, black gel dye mixed with clear alcohol, paint over the pencil details.

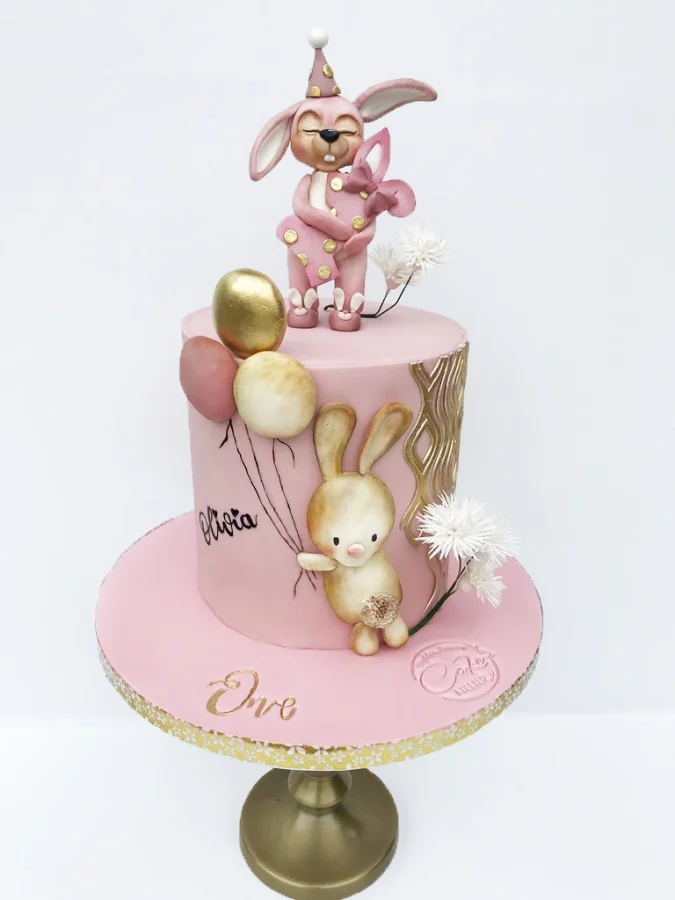
Voila your cake is ready!

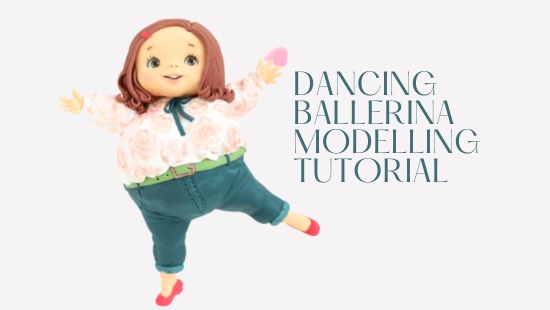
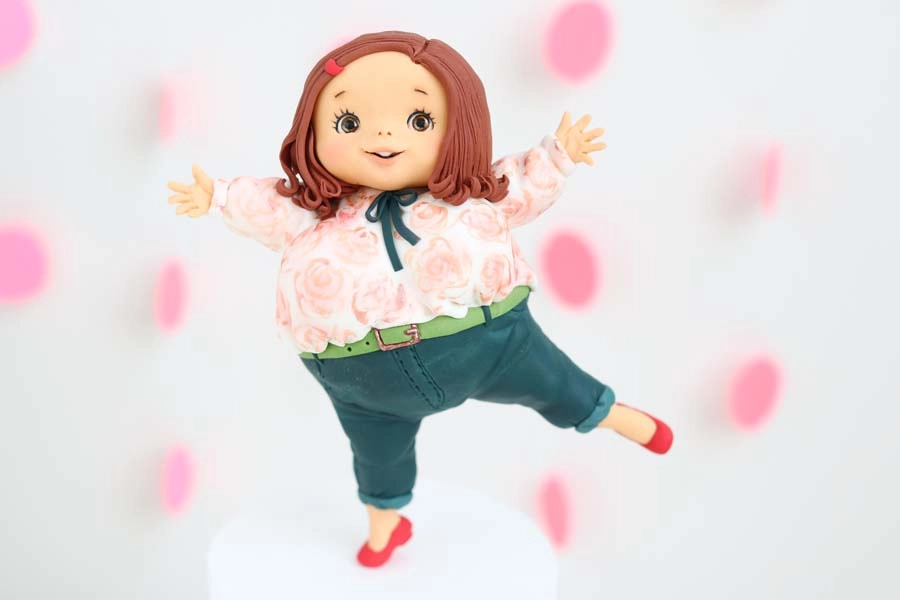
DANCING BALLERINA MODELLING TUTORIAL

DANCING BALLERINA MODELLING TUTORIAL

Skill level: INTERMEDIATE 

At home you can vary the colours to your preference. If the Modeling Paste is really sticky, add a little bit of corn flour.

You will need:

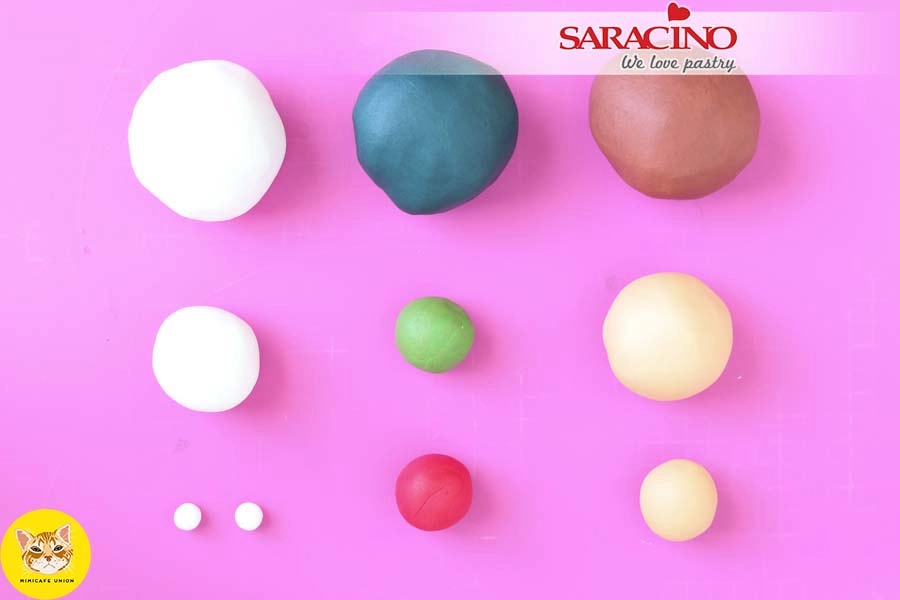
  • Saracino Pasta Model brown (Total 6.4 oz – 180g) – Hair 1.0 oz (28g) & Back of head 0.5 oz (14g)
  • Saracino Pasta Model light skin tone – Face 0.8 oz (22 -23g), Hands & Legs 0.2 oz (5-6g)
  • Saracino Pasta Model blue – Jeans 1.5 oz (42-43g)
  • Saracino Pasta Model green  – Belt 0.2 oz (5-6g)
  • Saracino Pasta Model red – Shoes 0.2 oz (5-6g)
  • Saracino Pasta Moodel white – Top 1.5 oz (42-43g)
  • Saracino Pasta Model light skin tone  – Body (Torso) 0.5 oz (14g)
  • Gum Paste / Flower Paste Eyeballs 5mm  (Eyeballs are made in advance)
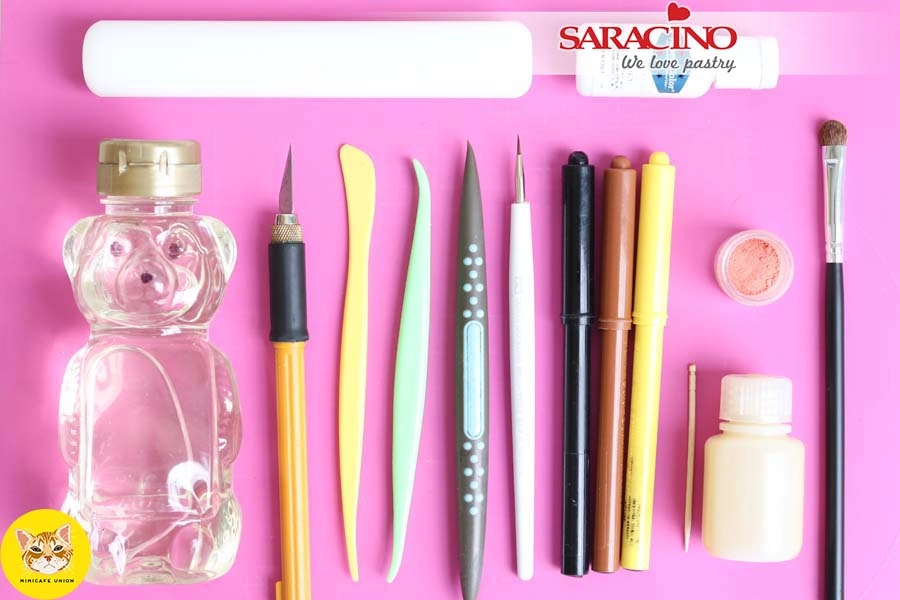
  • Rolling pin
  • White gel colour
  • Corn syrup (or Glucose) 
  • Craft knife
  • Flat modelling tool
  • Dresden tool
  • Silicon modelling tool
  • Sharp tip brush
  • Edible marker pens 
  • Toothpick
  • Confectionery glaze
  • Petal dust
  • Brush for dusting

Structure Materials

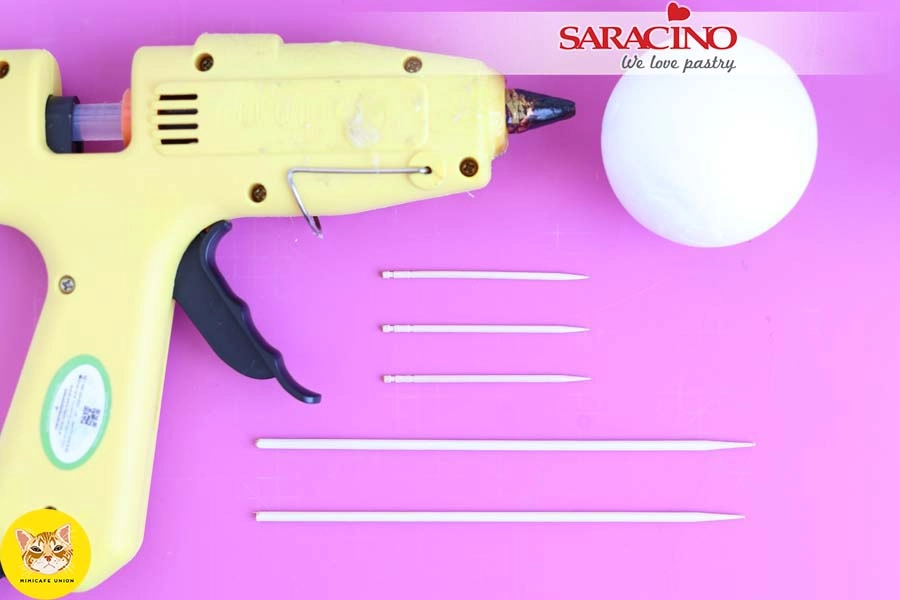
  • Glue gun
  • 2.5 inch diameter styrofoam ball
  • 3 toothpicks 
  • 2 skewers (approx. 6 inches – 150mm long)

Step 1

Prepare the Pasta Model as shown.

Step 2

Prepare the tools we will need. 

Step 3

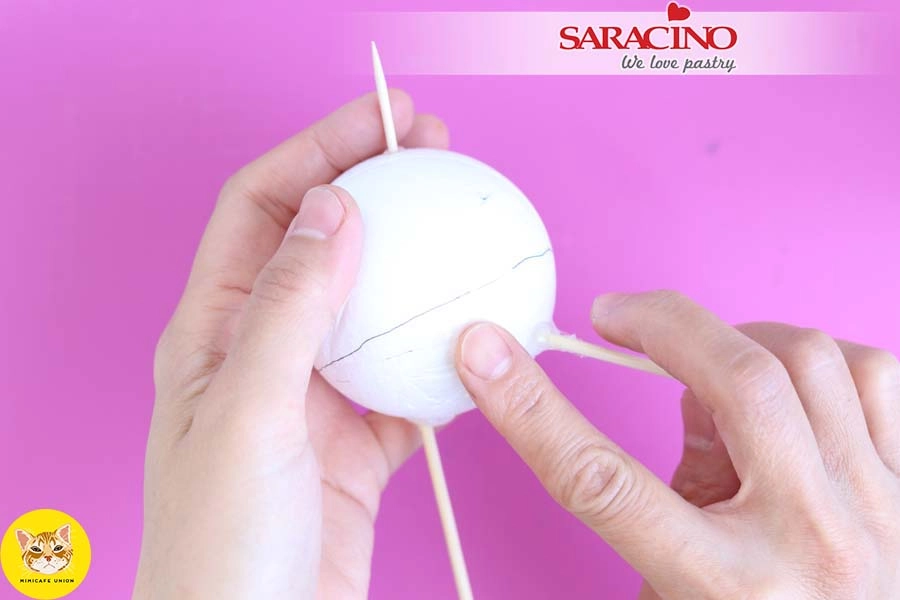
Prepare the glue gun, cocktail sticks, skewers and styrofoam ball. 

Step 4

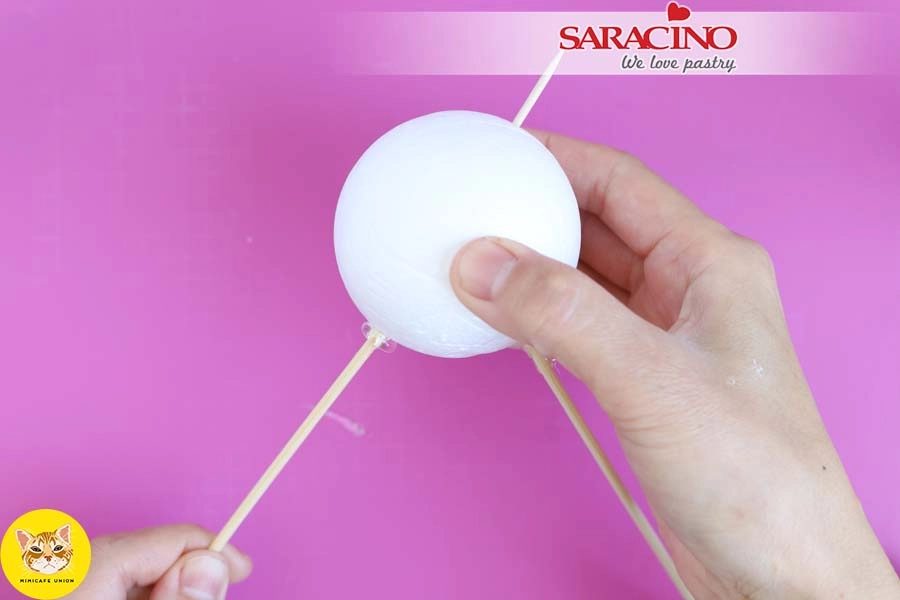
Using your eye to judge the positioning, place the two skewer pieces into the styrofoam for the legs. One of the leg skewers should go all the way through the styrofoam ball.

Before inserting the leg skewers, add some hot glue from the glue gun and carefully insert into styrofoam. 

The hot glue may make the styrofoam melt slightly, but it will cool and dry quickly (Do not use the glue when inserting the arm toothpicks).

Step 5

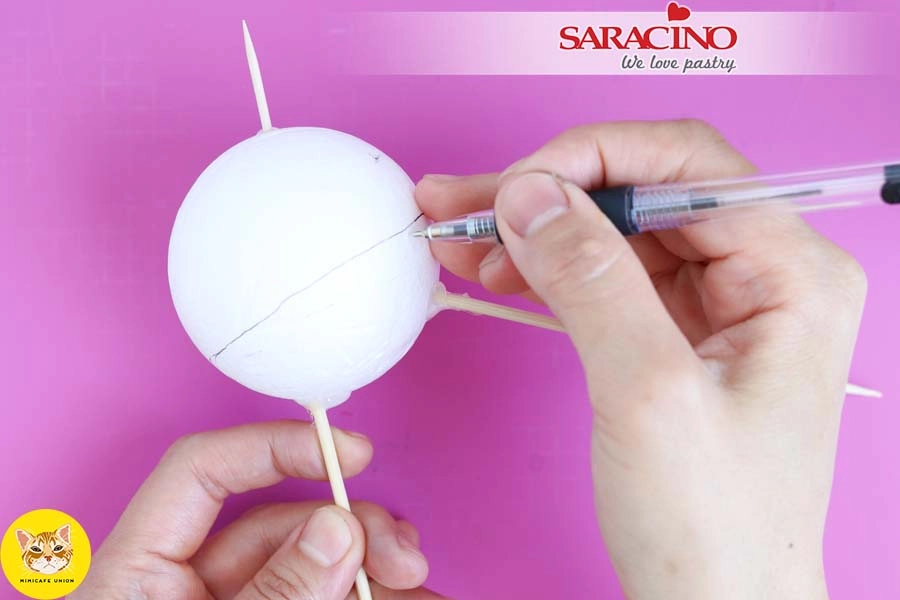
Draw a line marking where the blouse and the jeans will meet.  

Step 6

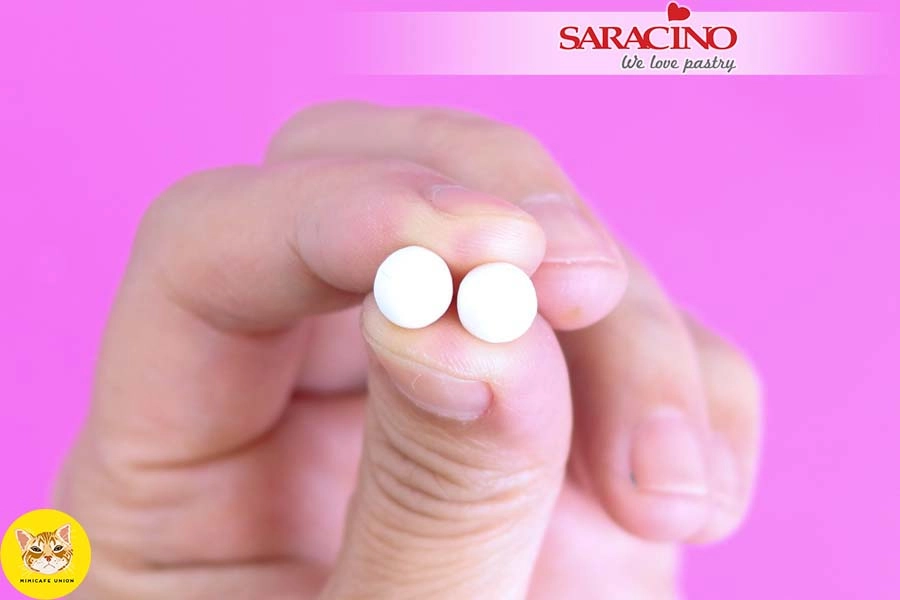
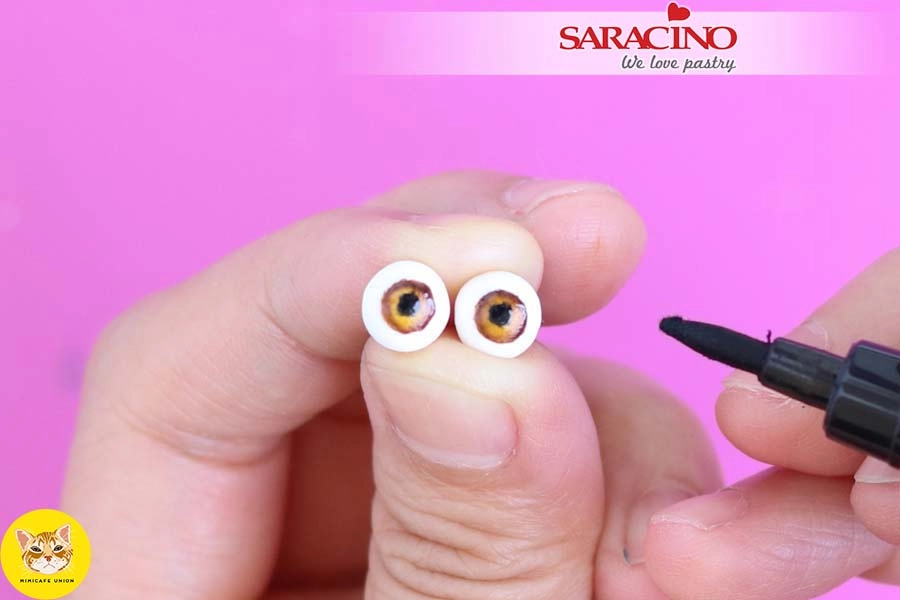
Painting eyeballs: Use the eyeballs made previously. Paint the eyes while holding them together in your fingers so that you can accurately compare them. 

Step 7

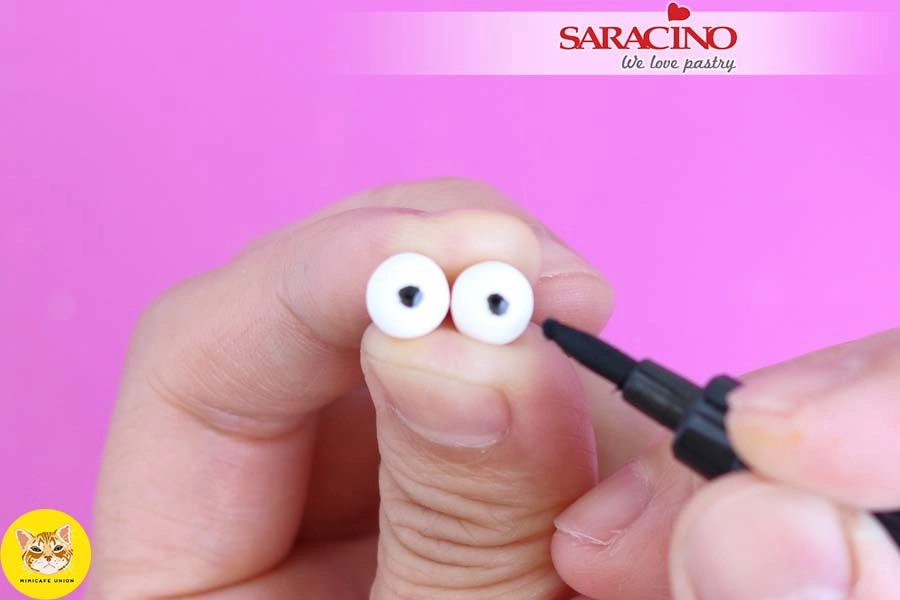
Draw dots on the eyeballs with the black edible marker. 

Step 8

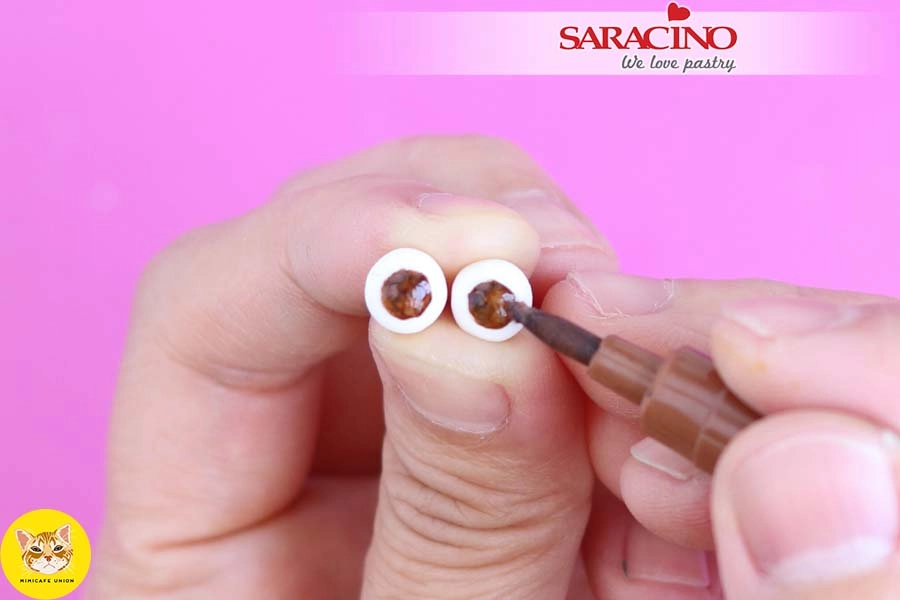
Use a brown edible pen to paint the eye colour over the black.

Step 9

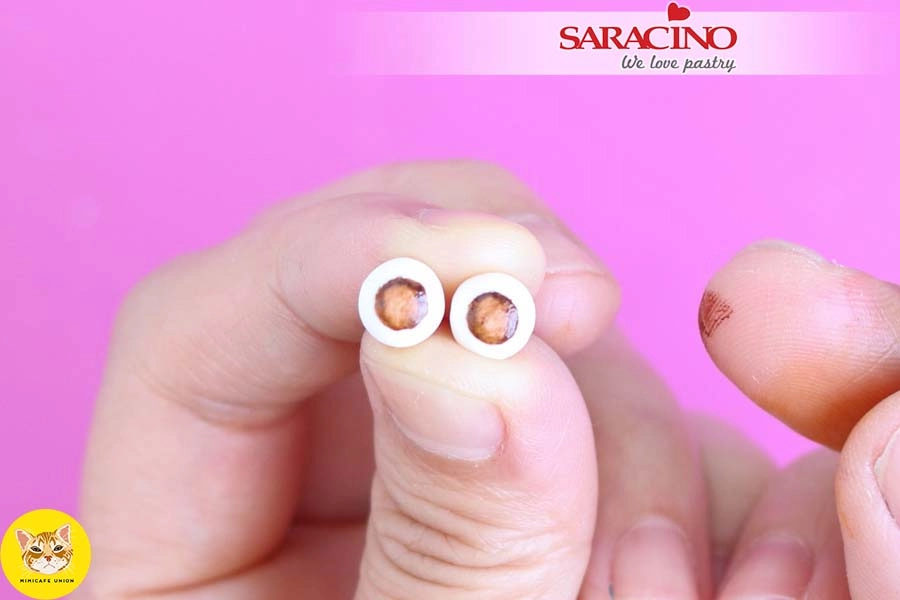
Remove excess colour using your finger or a little kitchen paper.

Step 10

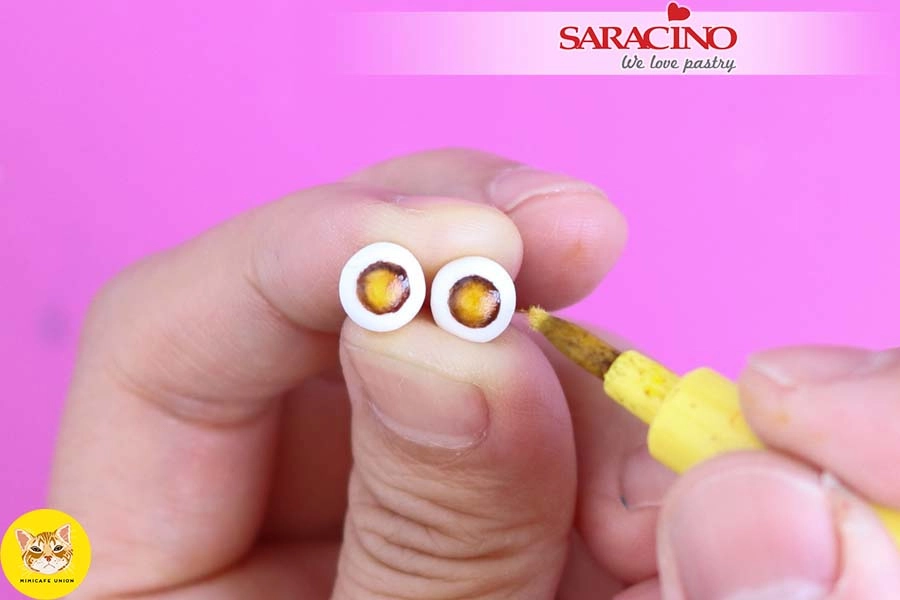
Paint over using a yellow edible pen colour.

Step 11

Use a black edible pen to add the pupils. 

Step 12

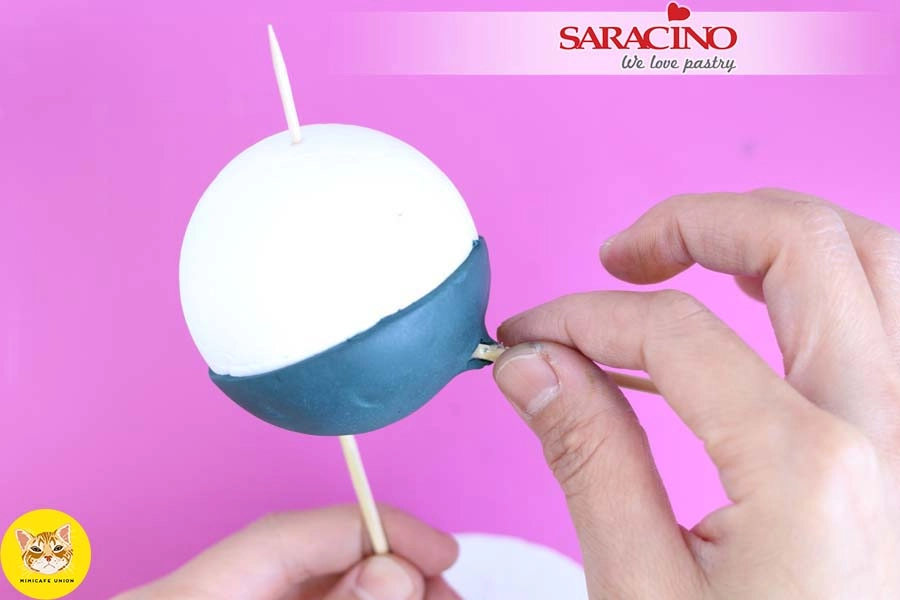
Paint the lower part of the styrofoam ball with cake gel or glucose/corn syrup. This is for fixing the jeans. Take care not to get any gel on the leg skewers. 

Step 13

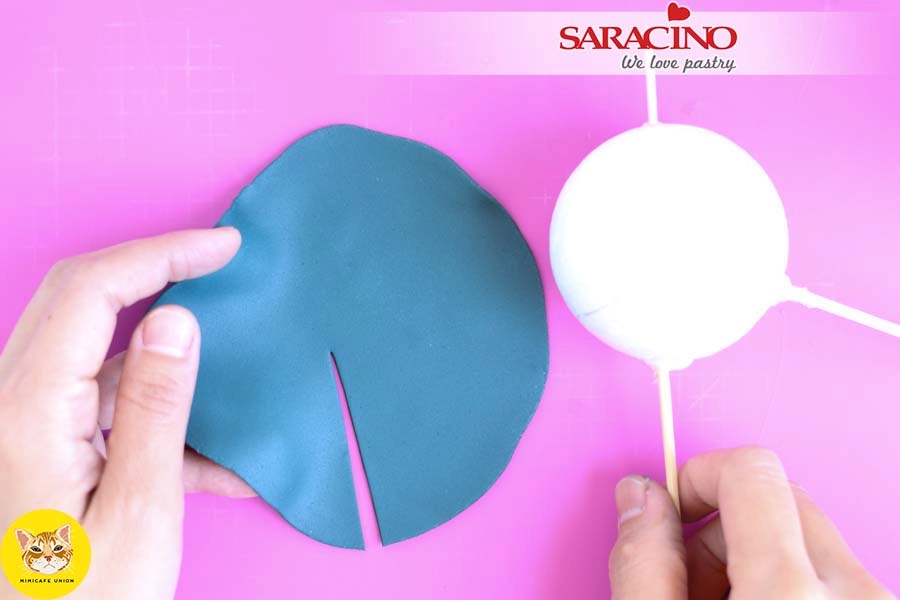
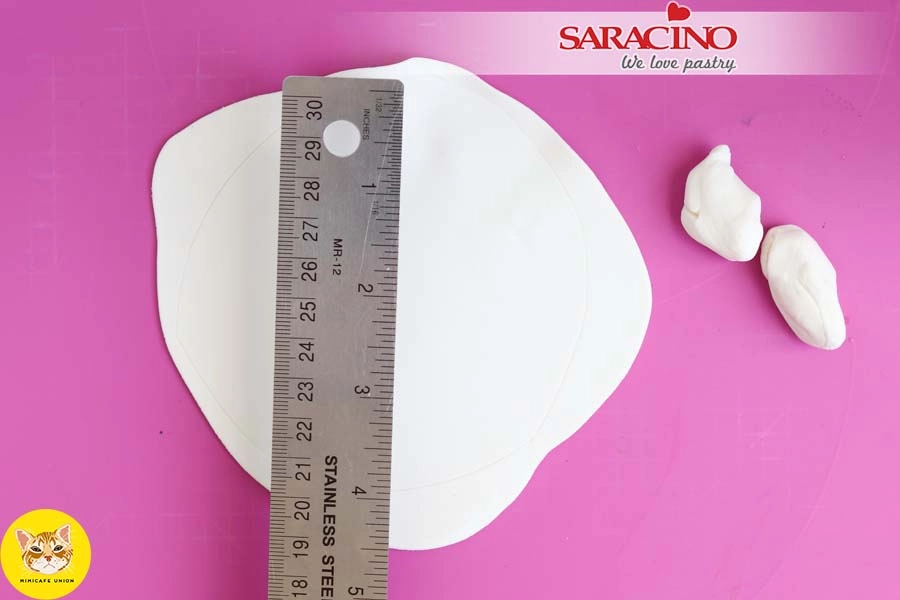
Roll out the larger portion of blue jean coloured fondant into a disk approximately 4” in diameter. Make a cut as shown. 

Step 14

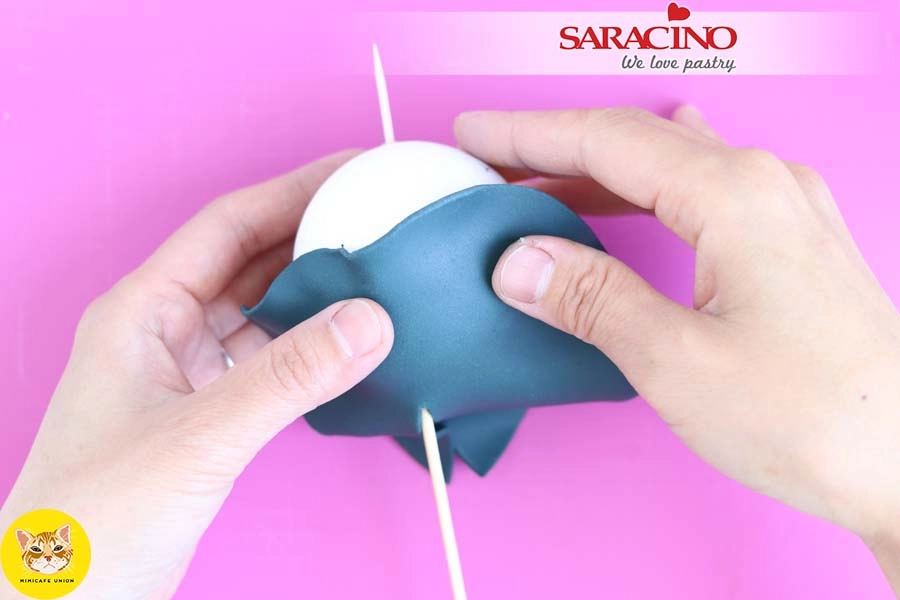
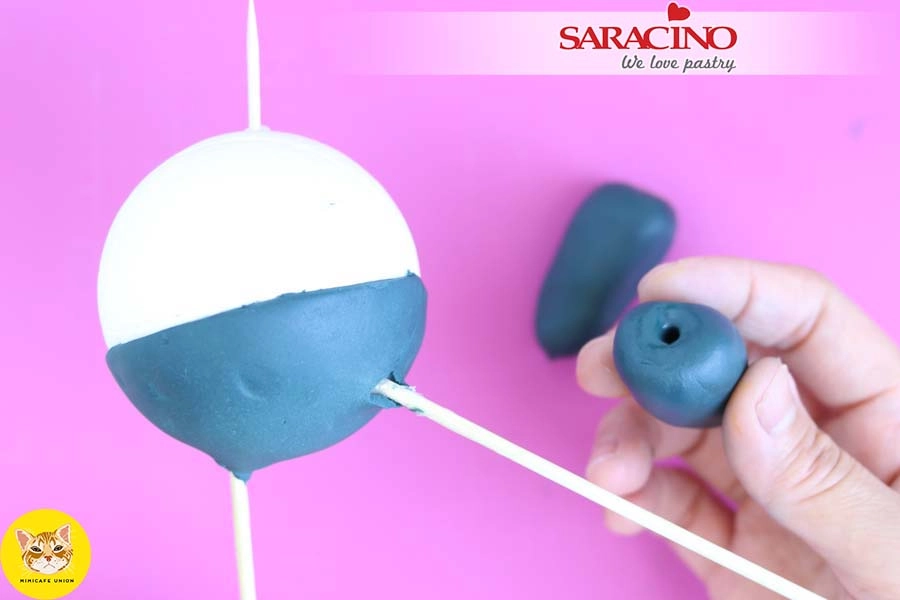
Place the rolled out Pasta Model on the corn syrup coated bottom half of the styrofoam ball with the cut placed around the skewer.

Step 15

The cuts in the Pasta Model make it easier to apply the fondant around the skewer legs. Now smooth the fondant with your fingers.

Step 16

Use the craft knife to cut away the excess Pasta Model. This will also create a straight waistline fully around the styrofoam ball.

Step 17

Use your fingers to apply a thin layer of cake gel or corn syrup to the leg skewers.

Step 18

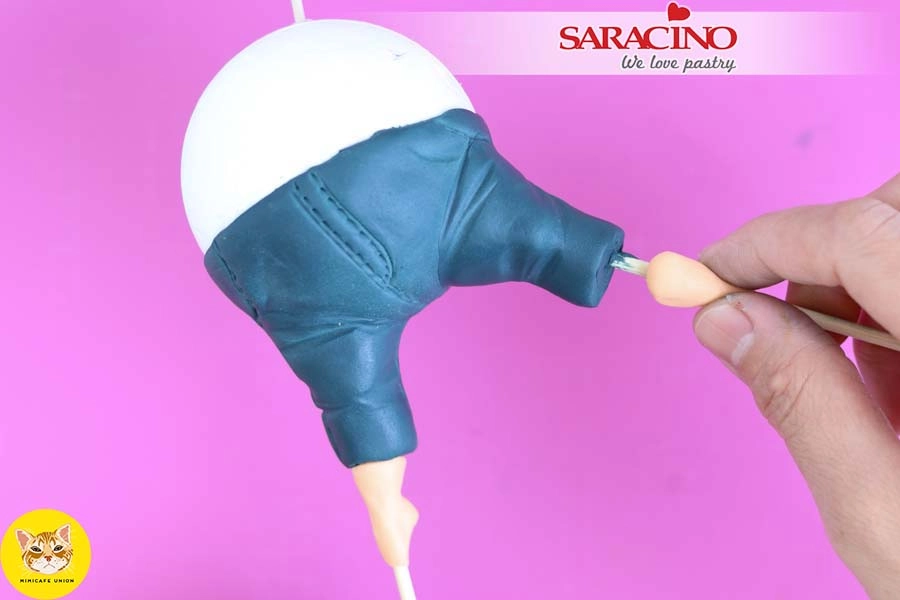
Shape the legs into a small sausage shape using the blue jean coloured Pasta Model. Use a toothpick to pierce a hole through each leg.  

Step 19

Slide the Pasta Model legs up the skewers until they meet the body.

Step 20

Blend the joint between the leg and the body using a modelling tool. Shape the legs with your fingers.

Step 21

Cut off excess with a craft knife.

Step 22

Use the tip of your tool to add detail to the jeans such as the belt line and zipper area. 

Step 23

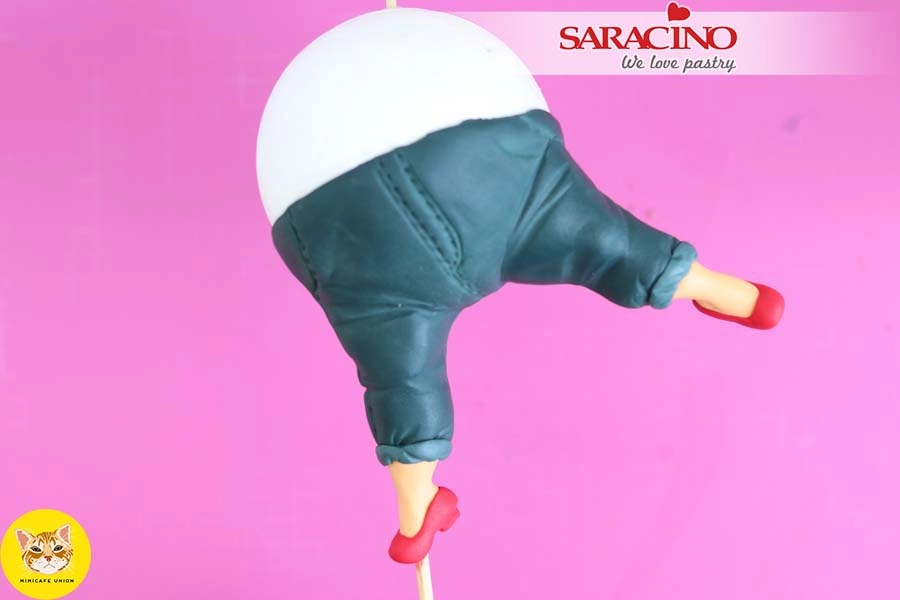
Feet: Add a small portion of light skin tone Pasta Model just below each jean leg and use your fingers to shape the feet. 

Step 24

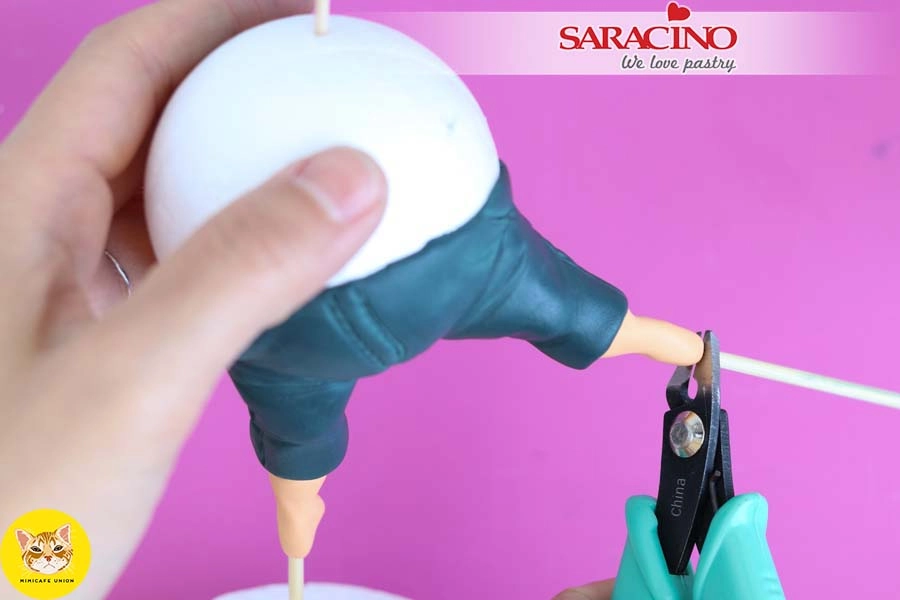
Use pliers or snips to cut away the end of the skewer of the kicked up leg.

Step 25

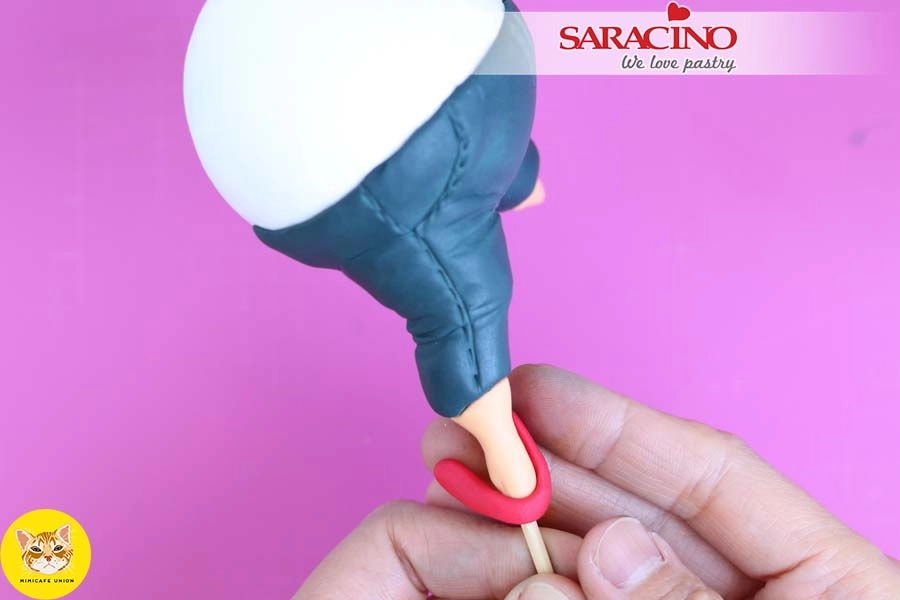
Roll a small ribbon of red Pasta Model for the shoes and attach to the feet as shown. Smooth with a modelling tool. 

Step 26

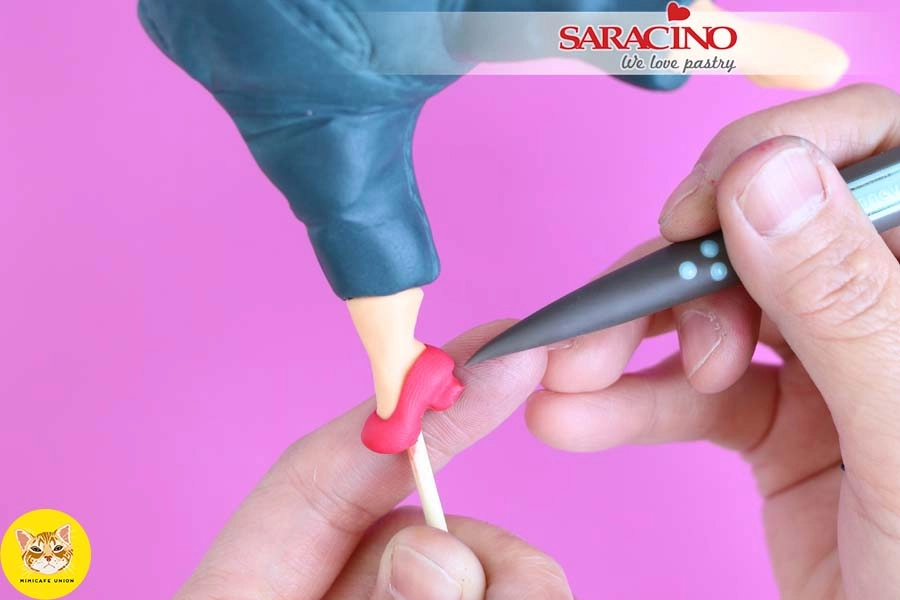
Use a modelling tool to shape the heel.

Step 27

Roll a short ribbon of blue jean coloured Pasta Model and fix to the cuff / hem of the jeans.

Step 28

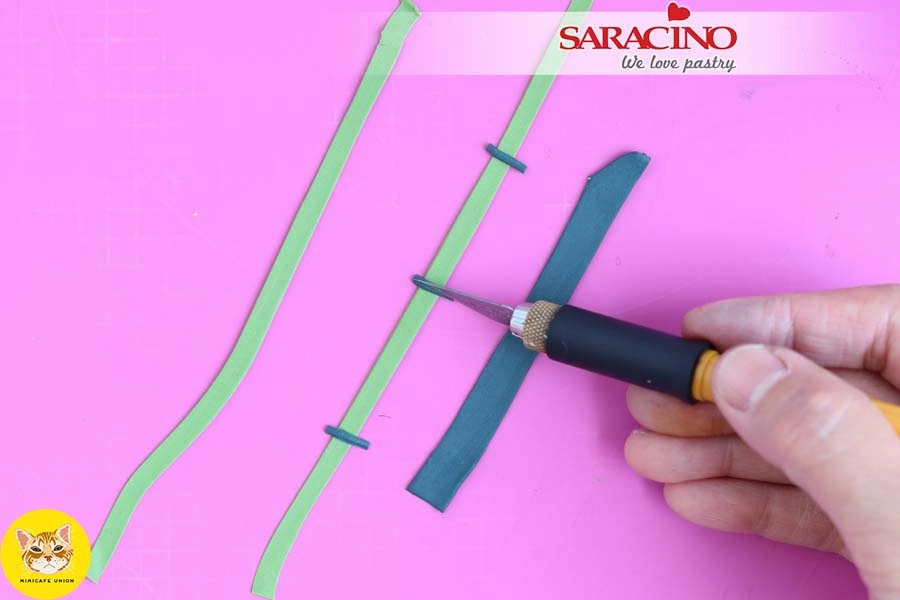
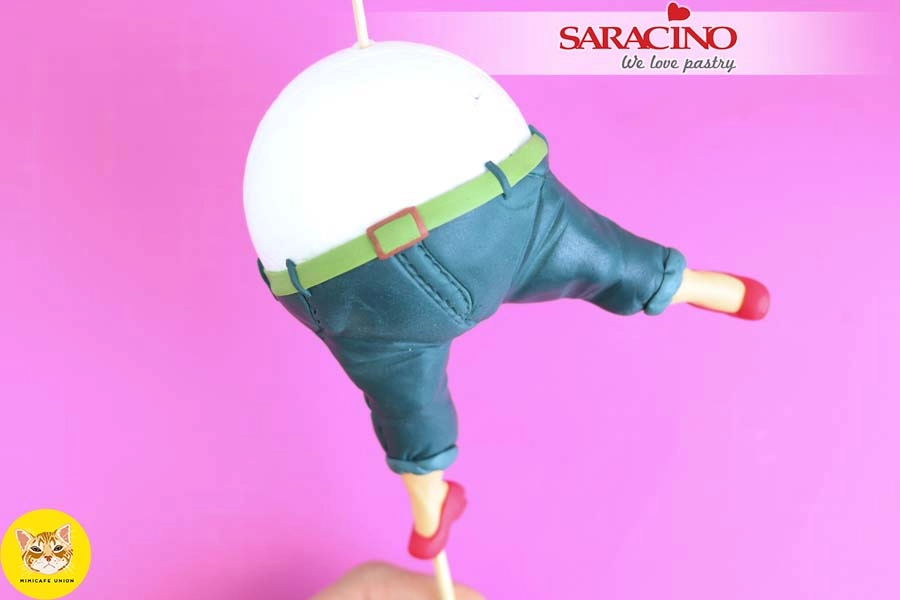
Roll a thin ribbon of green and blue jean Pasta Model. Use a sharp knife to cut the belt. Cut thin strips from the blue Pasta Model for the belt hoops and fix. 

Step 29

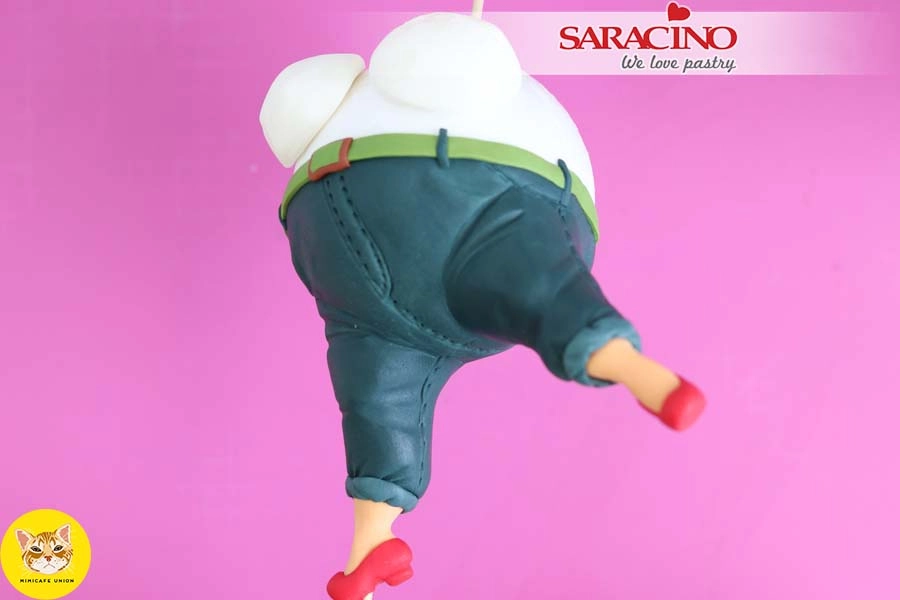
Add a buckle to the front. This is how you want the front to look. 

Step 30

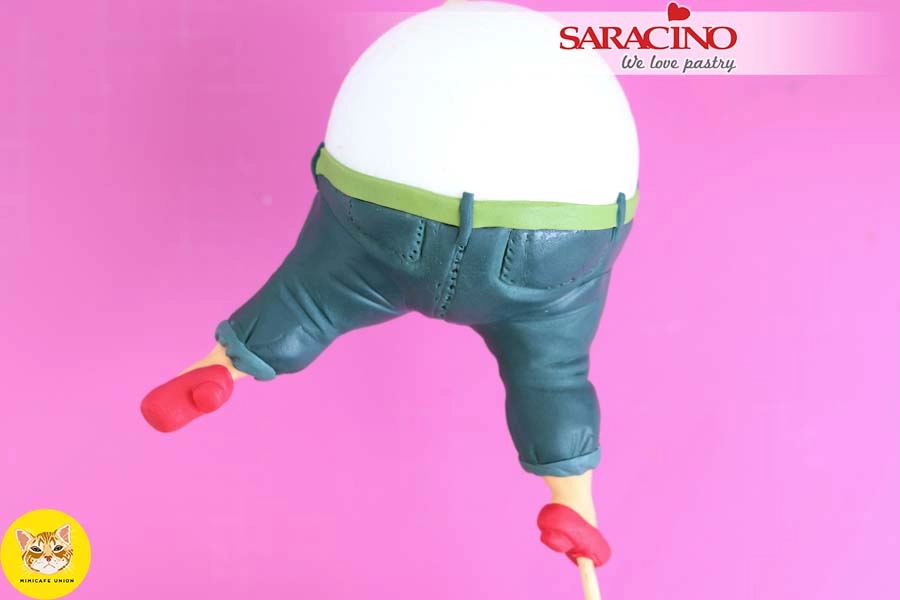
This is how the rear should look.

Step 31

Coat the top of the styrofoam ball with cake gel or corn syrup. Cut a circle in half for the breasts and fix as shown to the ball. 

Step 32

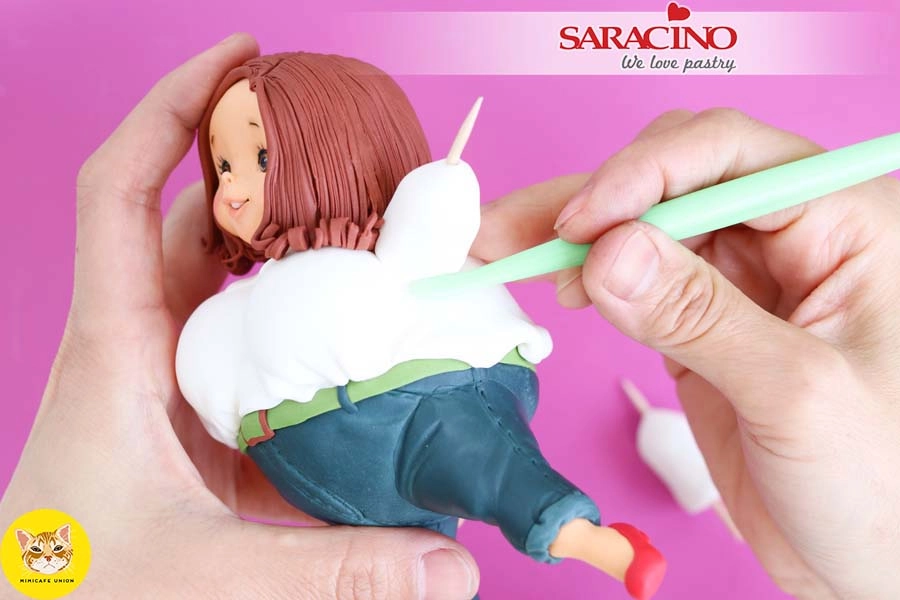
Separate 3 portions of white Pasta Model. One piece for the blouse body, one for the collar and one for the arms. Roll the larger portion into a disk about 4” (100mm) in diameter for the blouse body. 

Step 33

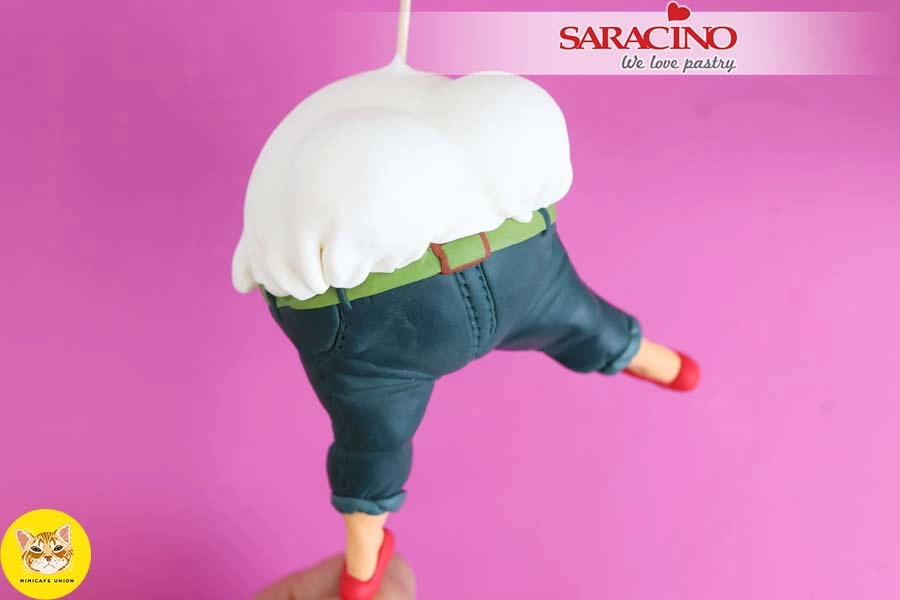
Place the blouse on top of the styrofoam and the breasts. Use your tool to gently add ruffles around the bottom of the blouse.

Step 34

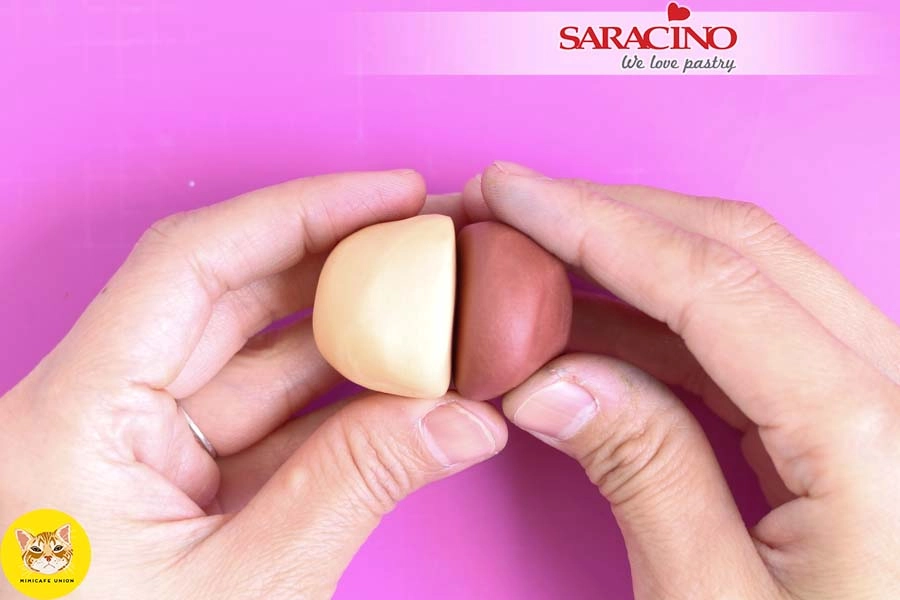
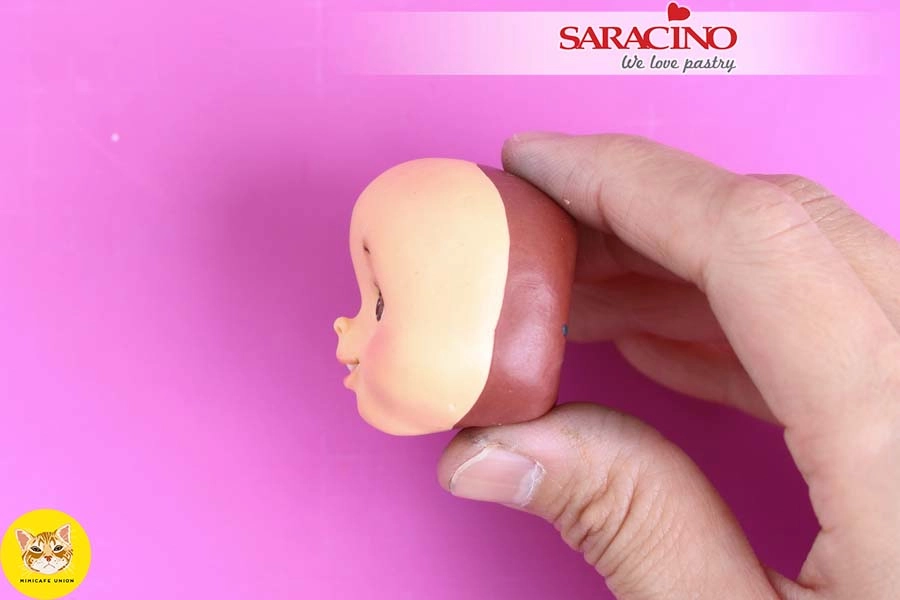
For the head – Using your brown hair coloured Pasta Model, separate a portion of approx 0.5 oz (14g).  Shape this into a half ball shape. Repeat with the face light skin tone Pasta Model and fix together using a little water if required. 

Step 35

Use your thumb to create an indentation across the face. 

Step 36

Use a modeling tool to mark facial features such as eyes and nose. Smooth the surface of the face with your fingers.

Step 37

Use a ball tool to create the eye sockets. Use modelling tools to form the nose and smiling mouth.

Step 38

Position the eyeballs using a toothpick so they are looking in the same direction.

Step 39

Use your fingers to push the cheeks up and the forehead area down to help define the face.  

Step 40

Smooth the surface with your fingers. Use a modelling tool to raise the nose and add nostrils with a toothpick.

Step 41

Use a sharp knife to cut the mouth and use a Dresden tool to open the mouth and shape the lips.

Step 42

With the Dresden tool shape the mouth and full lip definition with clean, smooth, round edges.

Step 43

Insert a small amount of black Pasta Model into the mouth.

Step 44

Add a small amount of white Pasta Model for the teeth.

Step 45

For the eye line roll two tiny pieces of black Pasta Model very thinly.  

Step 46

Use a modelling tool to position and fix at the mid point of the upper eyelids to create eye line definition. 

Step 47

Use a sharp tipped paintbrush coated with edible marker pen ink to paint eyelashes and eyebrows. Use the pink powder dust and a soft brush to dust the cheeks. Take care not to over dust and test out the colour on your hand or paper before applying to the face. 

Step 48

This is the view from the side. 

Step 49

Fix a small piece of light skin tone Pasta Model on the skewer for the neck. 

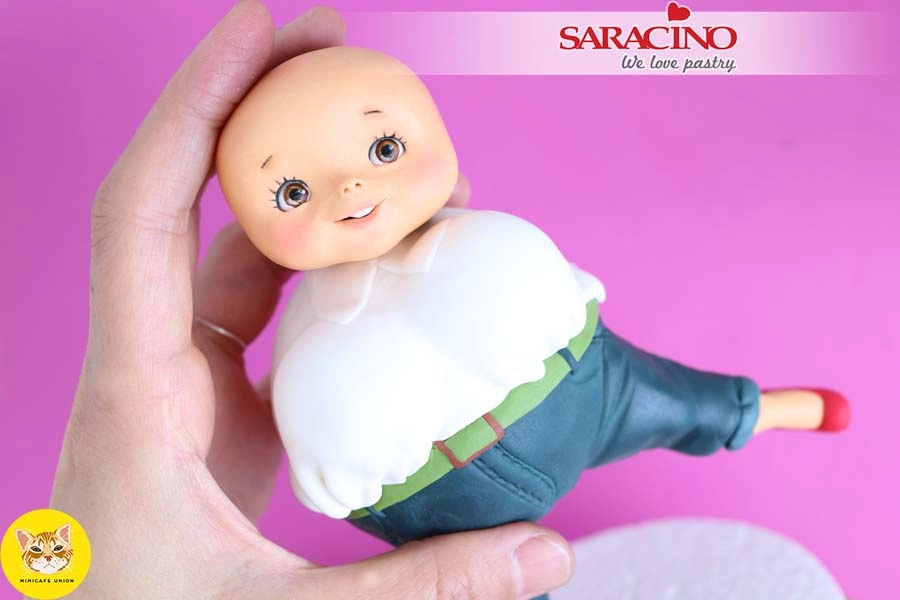
Roll white Pasta Model and cut out the collar. Fix around the neck line. Add the head fixing into place with a little cake gel. 

Step 50

Start building up the hair using brown Pasta Model. Cover the back and sides of the head.

Step 51

The hair base should look similar to this. It does not have to be too tidy as we will be covering. 

Step 52

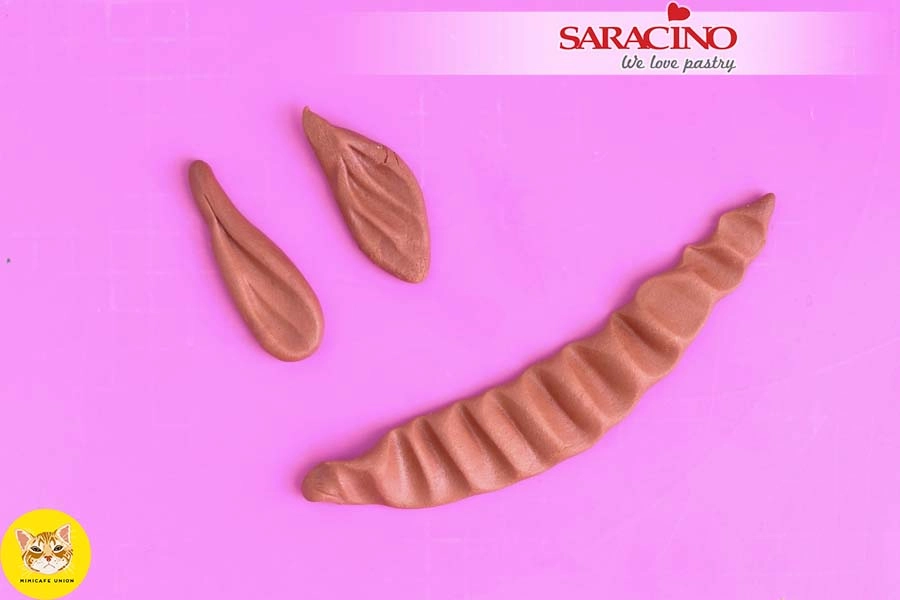
Roll brown Pasta Model into small sausage shapes. Flatten and use a modelling tool to add hair strands. Cut  the bottom edges to give a rough effect.

Step 53

Add the Strands to the head, gradually working from back to front. 

Step 54

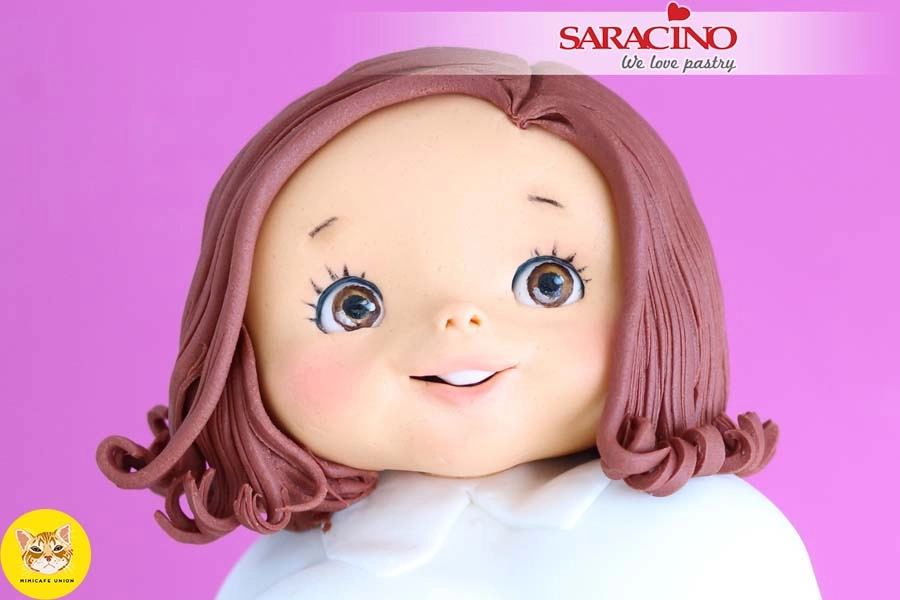
Add curls to the hair ends using a toothpick. Your face should look like this from the front.

Step 55

Insert cocktail sticks into the body at the required arm locations.

Using white Pasta Model roll out two arm shapes. Insert a cocktail stick through the centre to form a hole. Apply a little cake gel or corn syrup to the arm cocktail sticks and add the arms. Shape the sleeves with your fingers and blend the joint where the arms meet the body.
Step 56

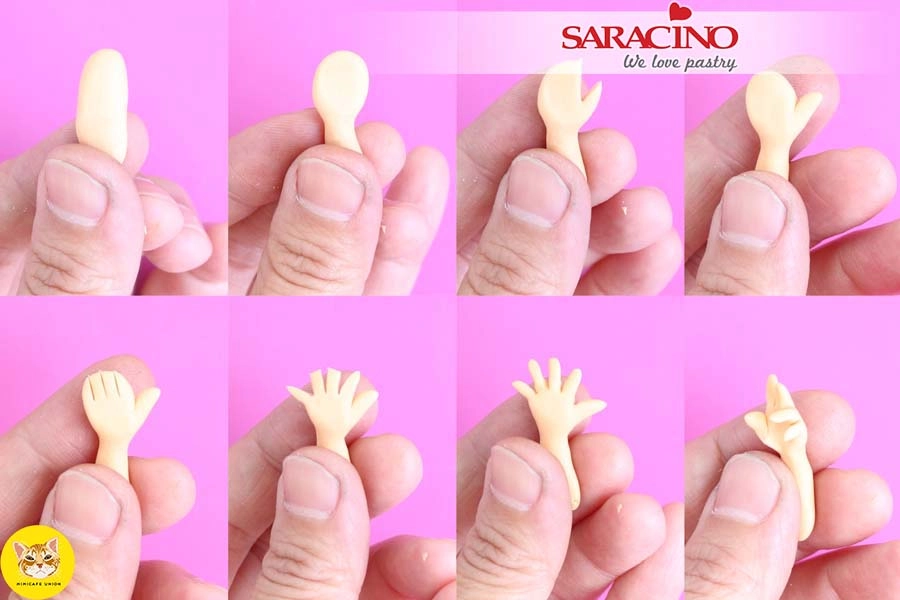
Hands: Begin by rolling a small sausage shape. Press down to make a palm shape. Using a craft knife cut out a small piece to create a thumb. Cut four fingers. Open the fingers and smooth them to remove sharp edges. Add shape to the fingers. Push the thumb forward.
Form a hole in the wrist for connection to the arm. Cut the arm cocktail sticks if they are too long. Apply a small amount of cake gel or corn syrup to the end of the sticks and place the hands at the end of each sleeve. Add white cuffs at the wrists.

Step 57

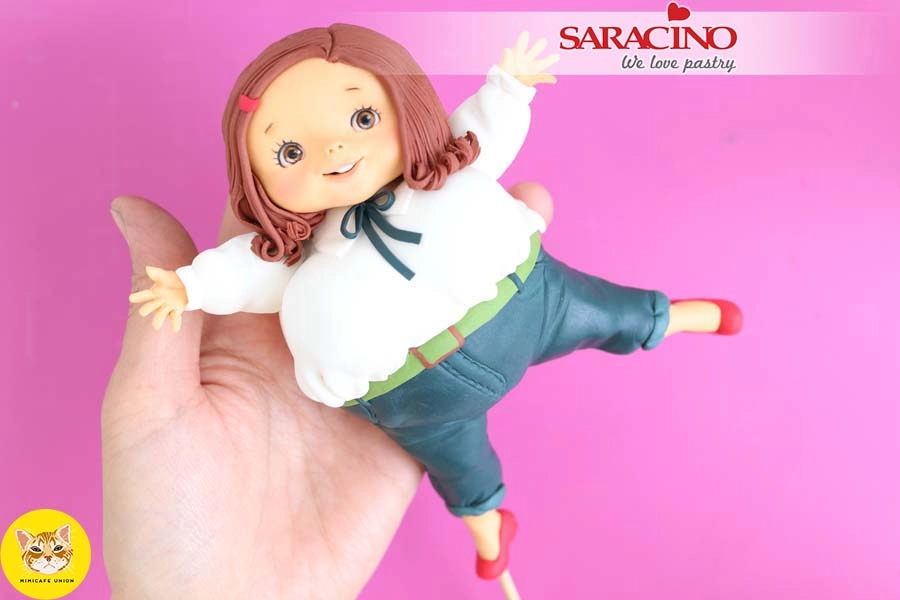
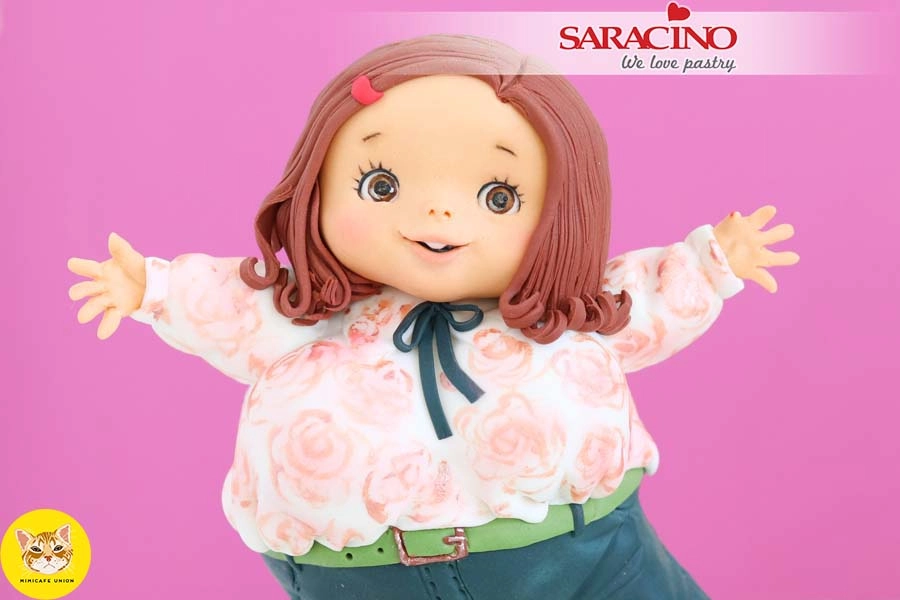
Add a ribbon around the neck and hair accessories. If you are feeling confident you can paint a pattern on the blouse.

Step 58

Your dancing figurine is ready for the cake!