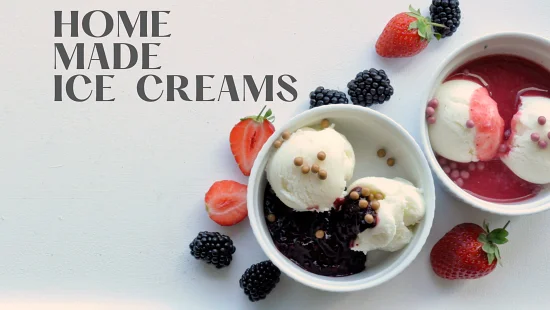

HOME MADE ICE CREAM

HOME MADE ICE CREAM

Author:Ā Justyna Kowal

Skill level: BEGINNERSĀ 

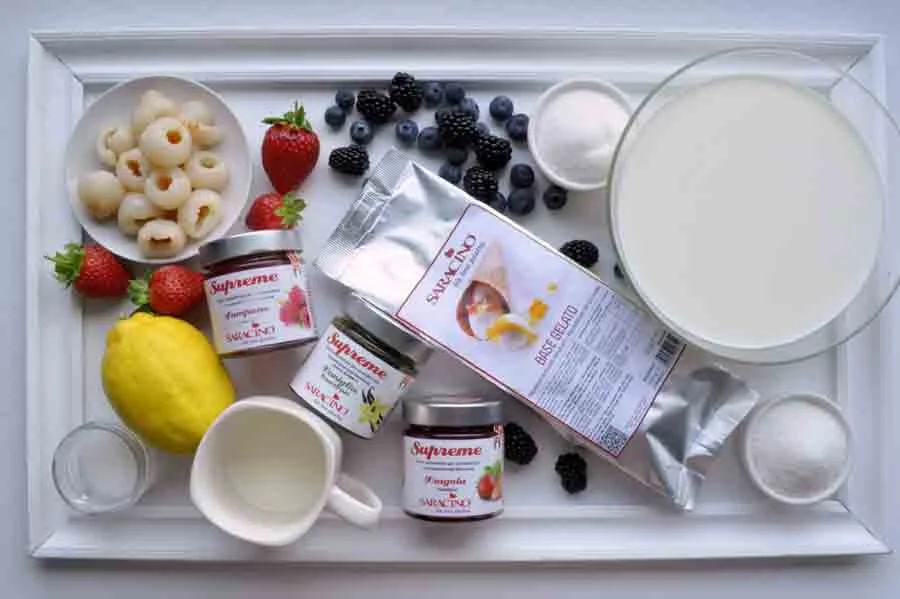
You will need:

  • 800ml warm milk

  • 300ml cream (30-36%)

  • 230g sugar

  • 150g Saracino Base Gelato ice cream base

  • Saracino Le Supreme flavouring – vanilla, raspberry and strawberry

  • 200g fresh strawberries

  • 100g fresh lychee (can be tinned)

  • 160g fresh blueberries

  • 150g fresh blackberries

  • 2 tablespoons of lemon juice

  • 1 heaped tablespoon cornflour dissolved in 4 tablespoons of cold water

  • 1 tablespoon sugar

Step 1

Prepare all your ingredients.Ā 

Step 2

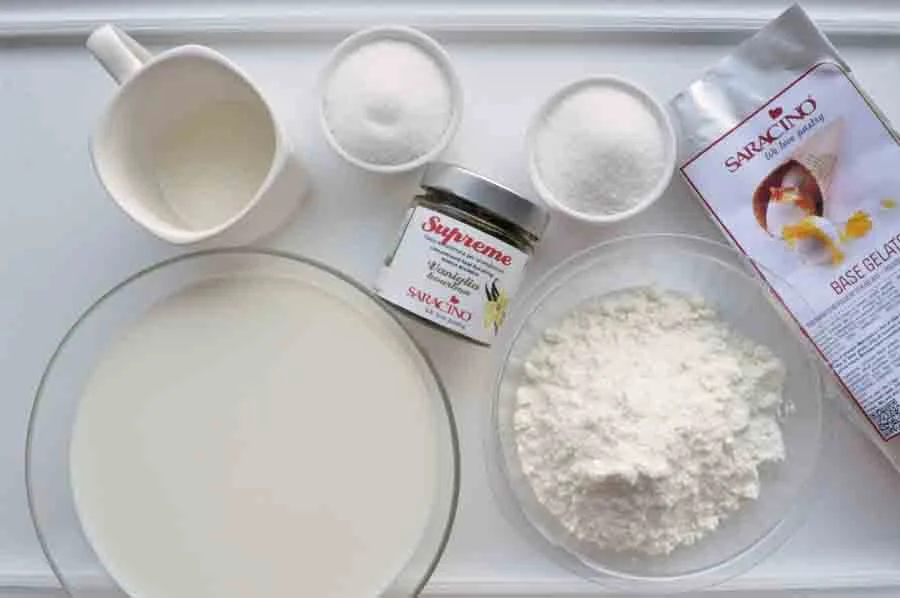
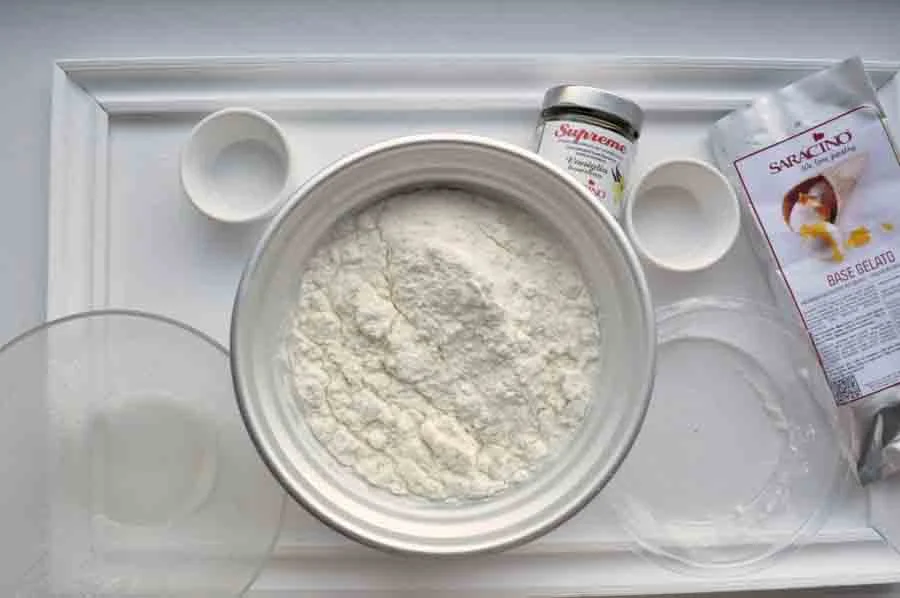
Prepare the ingredients for the ice cream mixture – warm milk, Base Gelato, cream, sugar and Le Supreme vanilla flavouring.
Step 3

Put the warm milk, cream, sugar and Base Gelato in a frozen ice cream making bowl (alternatively use a plain metal or glass bowl).
Step 4

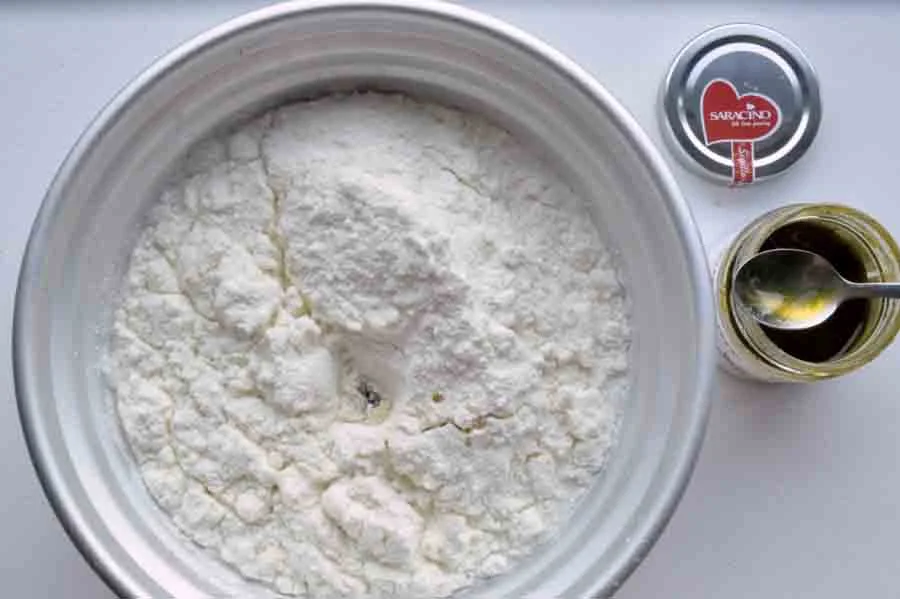
Add 2 tablespoons of Le Supreme vanilla flavouring.
Step 5

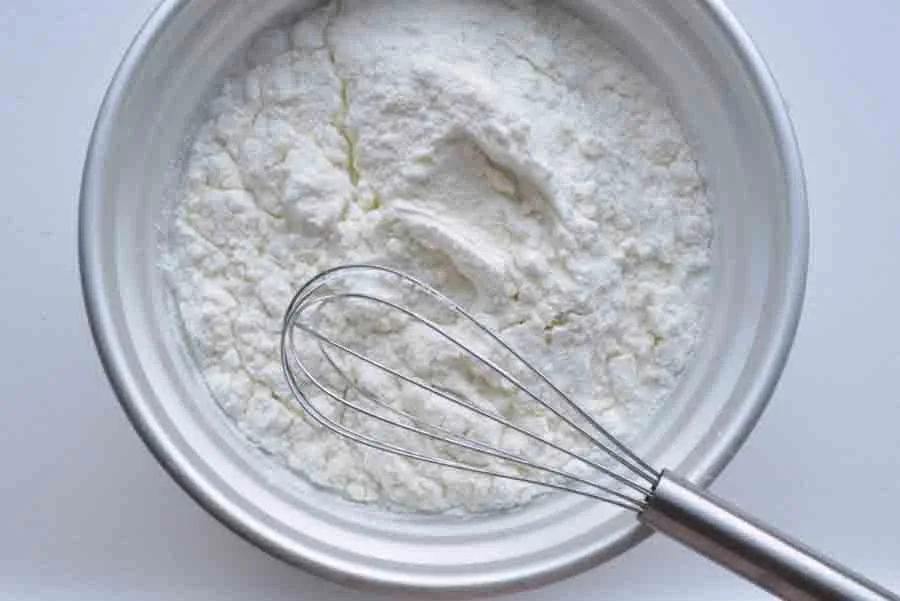
Using a whisk, mix the ingredients thoroughly until the sugar is fully dissolved. If you are using a bowl from an ice cream maker – place it in the machine and mix until it freezes to the desired creamy consistency. When ready put it in the freezer. If you are not using an ice cream maker, after mixing thoroughly, put the mixture in the freezer. After 20 minutes take it out and mix it with a fork to break down the ice crystals that are forming and make the mixture a creamy consistency. Continue mixing every 20 minutes until you get the consistency of ice cream. Place in the freezer.
Step 6

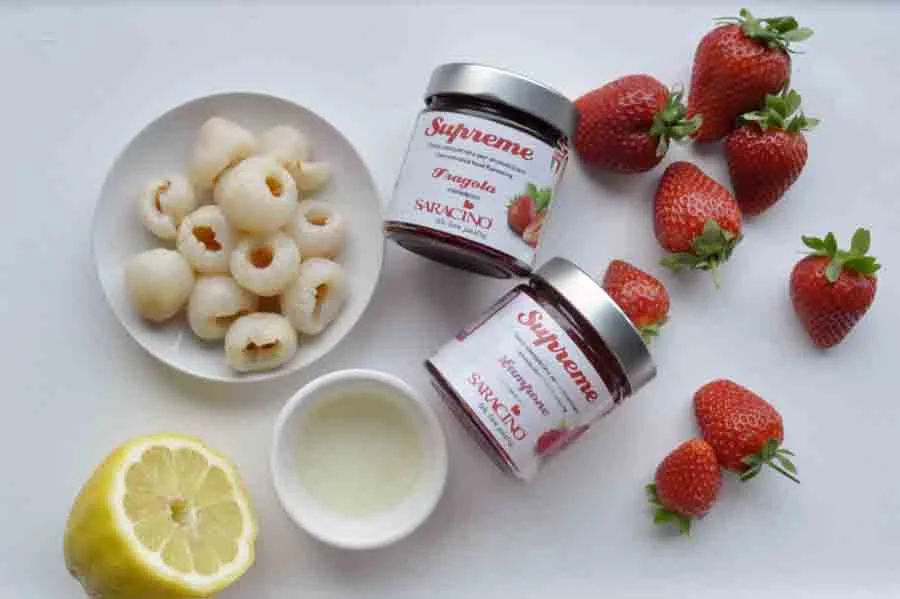
Prepare the ingredients for the lychee sauce – you will need the lychees, strawberries, 1 tablespoon of lemon juice and the strawberry and raspberry Le Supreme flavouring.
Step 7

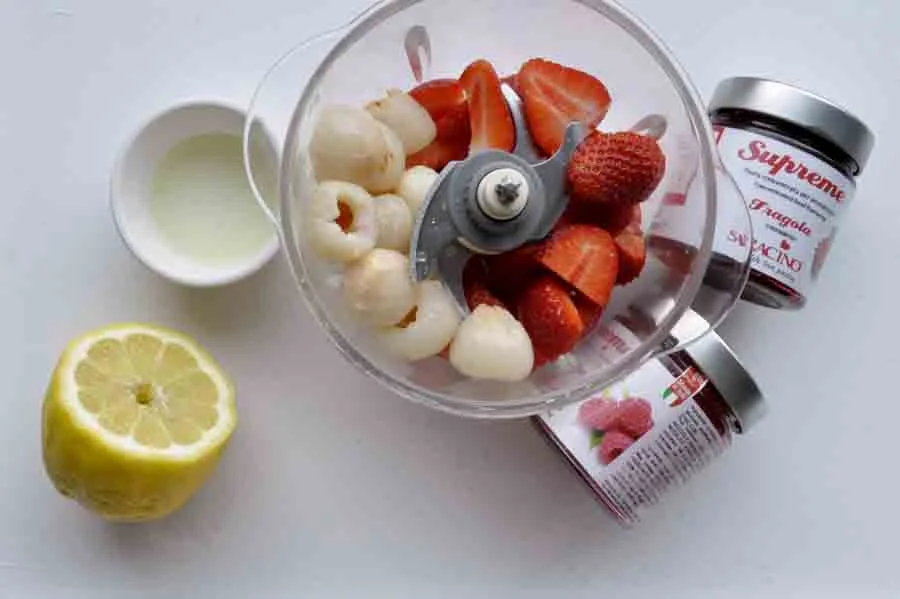
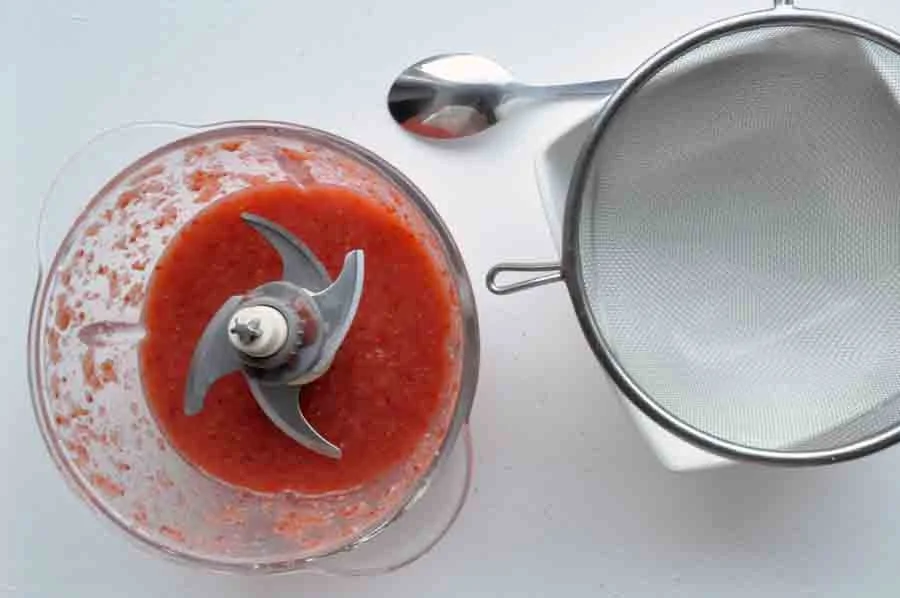
Place the fruit in the blender.
Step 8

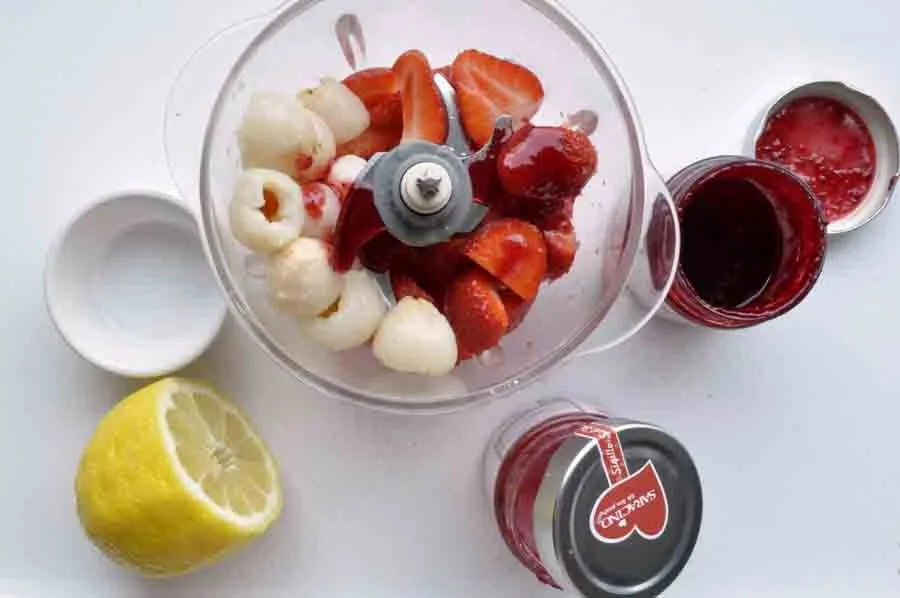
Add the lemon juice and one teaspoon of each flavouring.
Step 9

Blend thoroughly.
Step 10

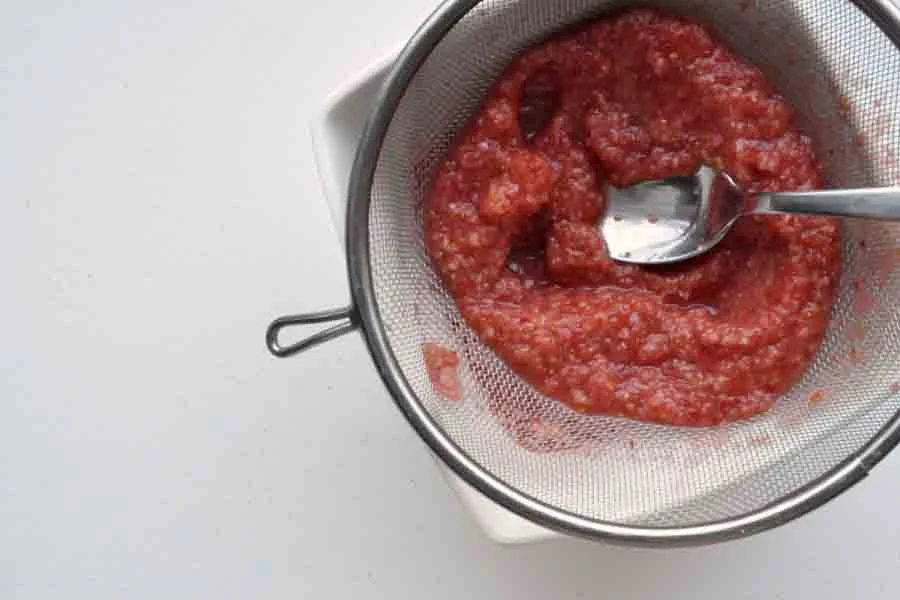
Using a metal sieve and a spoon, push the blended fruit through the sieve into a bowl to give a smooth puree.
Step 11

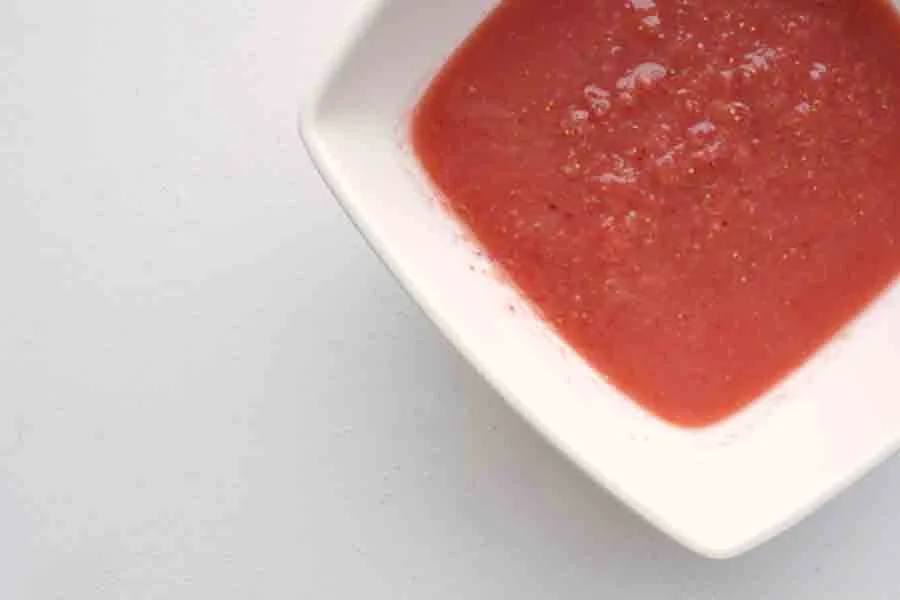
Put the puree into a ceramic bowl and place in the refrigerator.
Step 12

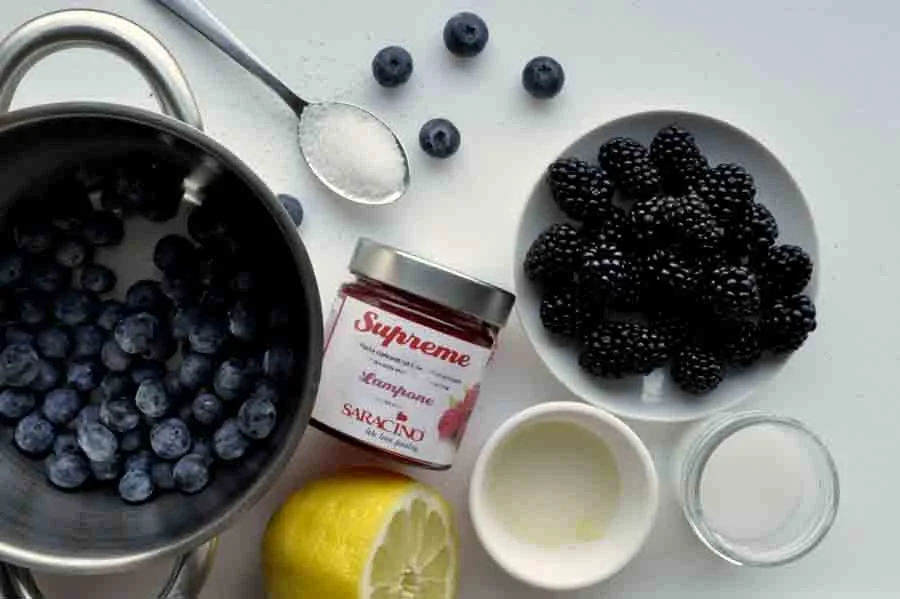
Prepare the ingredients for the forest fruit sauce – blackberries, blueberries, 1 tablespoon of lemon juice, cornflour dissolved in water, raspberry Le Supreme flavouring and a tablespoon of sugar.
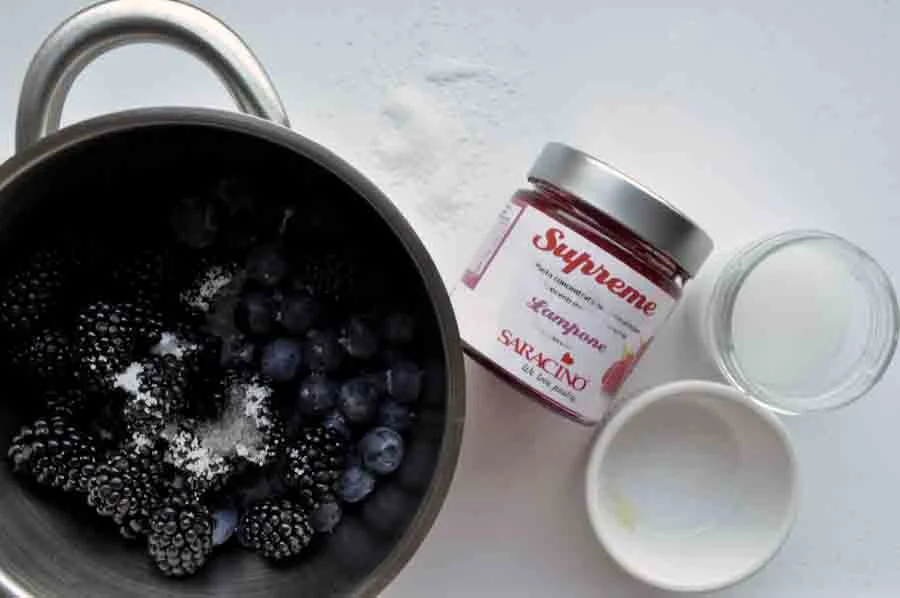
Step 13

Put fruit, lemon juice and sugar in a pan and mix.
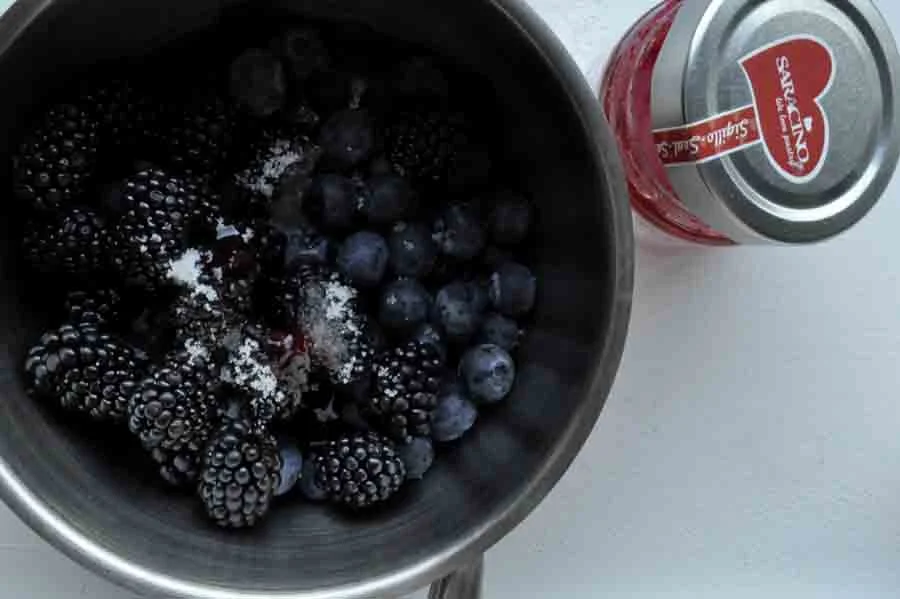
Step 14

Add 1 teaspoon of raspberry Le Supreme food flavouring, mix and bring to the boil. The fruit should not fall apart completely.
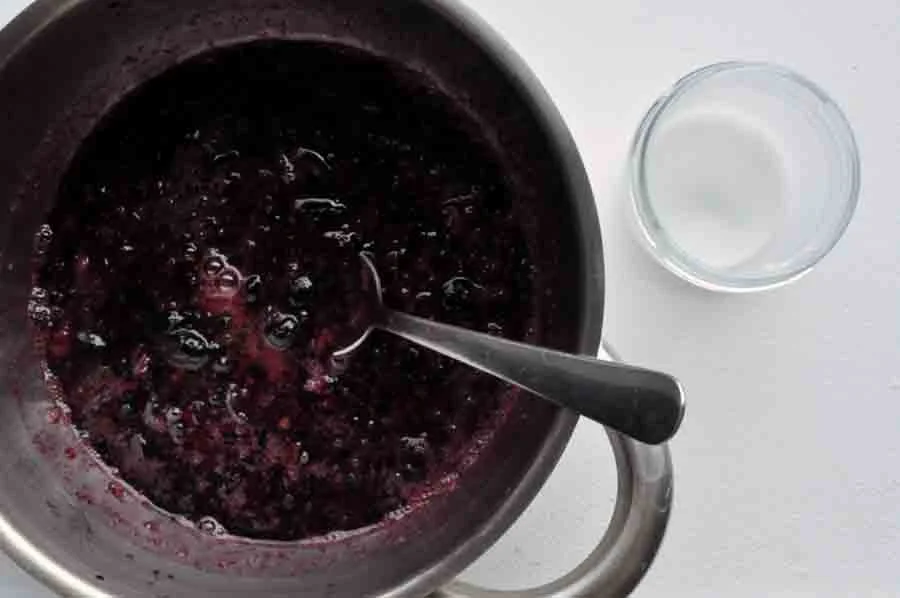
Step 15

Remove the pan from the heat and pour in the cornflour mixed with water. Bring to the boil.
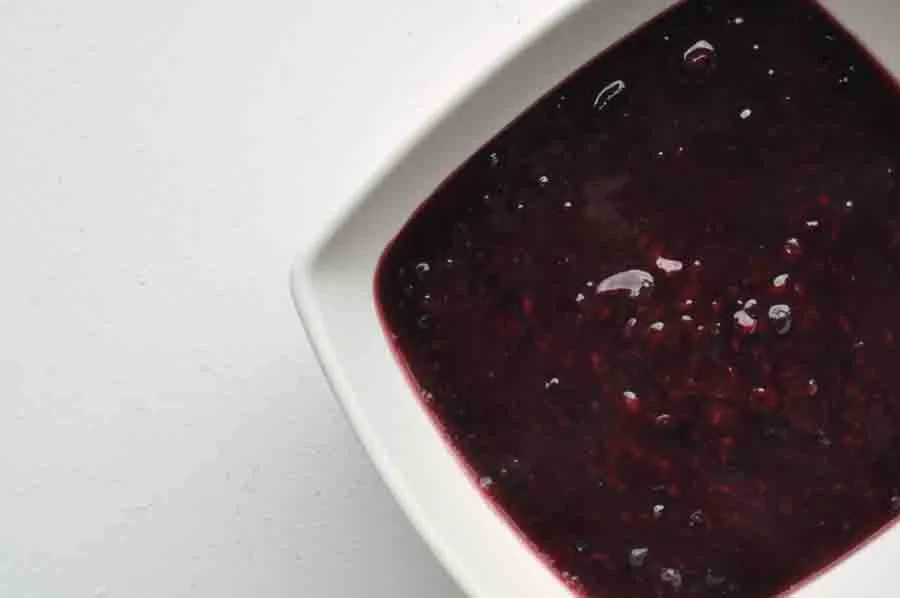
Step 16

Transfer to a ceramic bowl, allow to cool and place in the refrigerator.
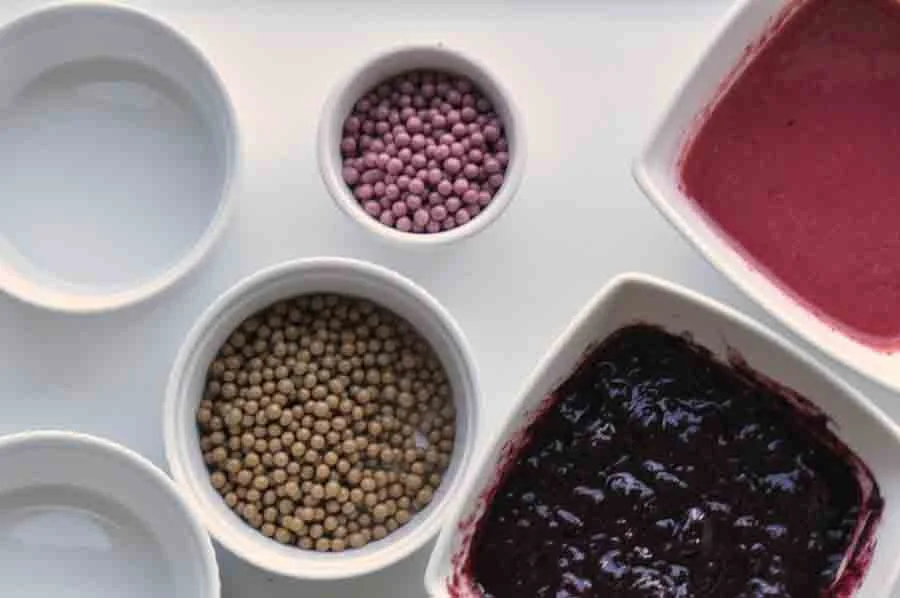
Step 17

Prepare serving bowls for ice cream or waffles, a scoop for ice cream and boiling water.
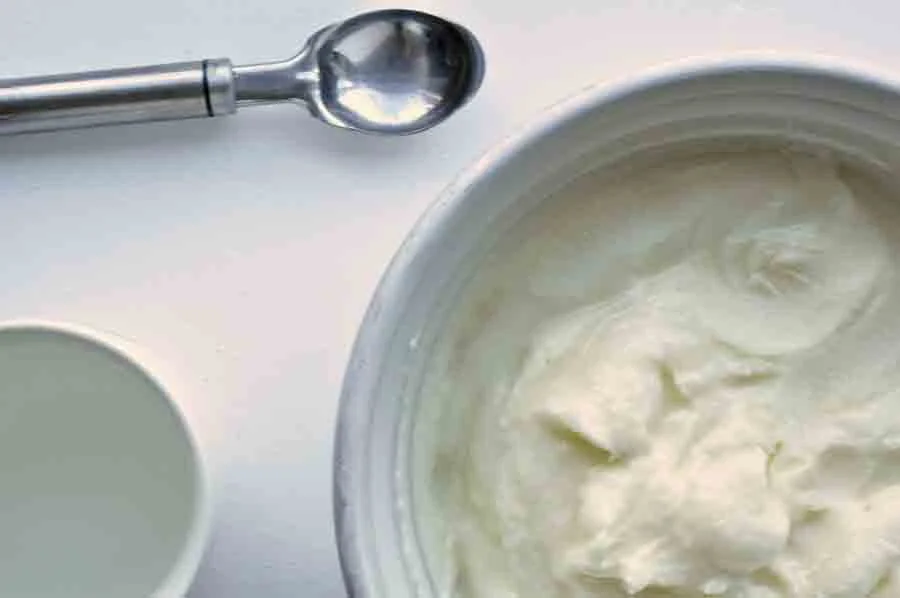
Step 18

Take the ice cream from the freezer, take out the sauces from the fridge, prepare side dishes such as fresh fruit, sprinkles, meringues, chocolate. Use a hot spoon to scoop ice cream into bowls or wafer cones.
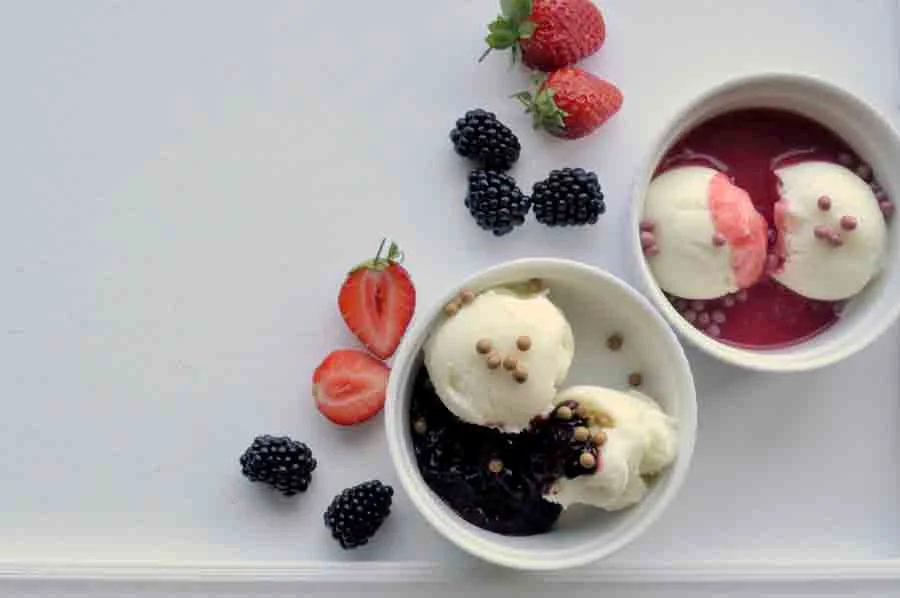
Step 19

Serve the ice cream in a bowl with the toppings and sauce of your choice.
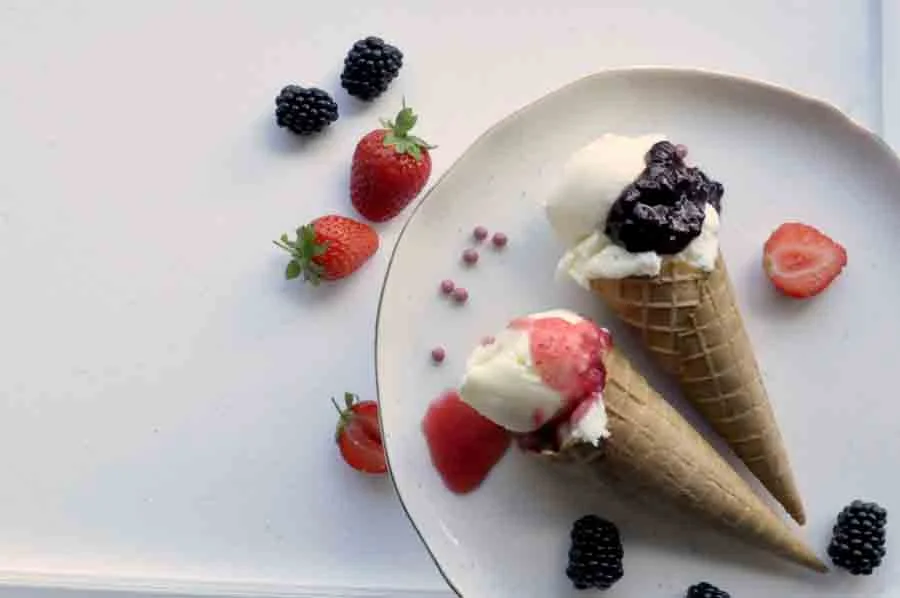
Step 20

Or alternatively serve in the cone.Ā 

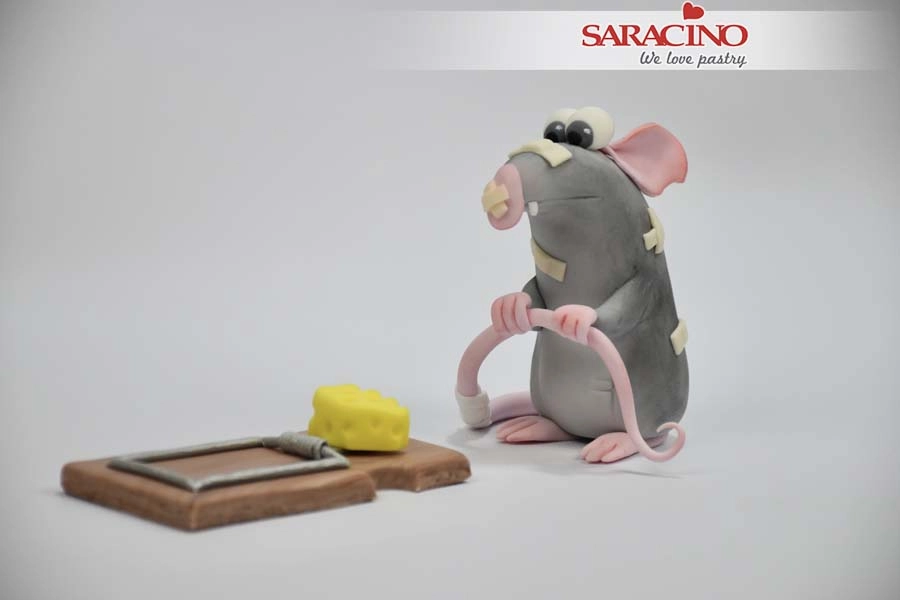
MOUSE IN A TRAP

MOUSE IN A TRAP

You will need:

  • Dresden tool
  • Large brush
  • Exacto knife
  • Rolling pin
  • Small silicone brush
  • Blade
  • Small petal cutter
  • Saracino Pasta Model: white, light skin, black, pink and yellow
  • Edible glue
  • Wooden skewer
  • Ball tool
  • Saracino powder colours: white, red and black

Step 1

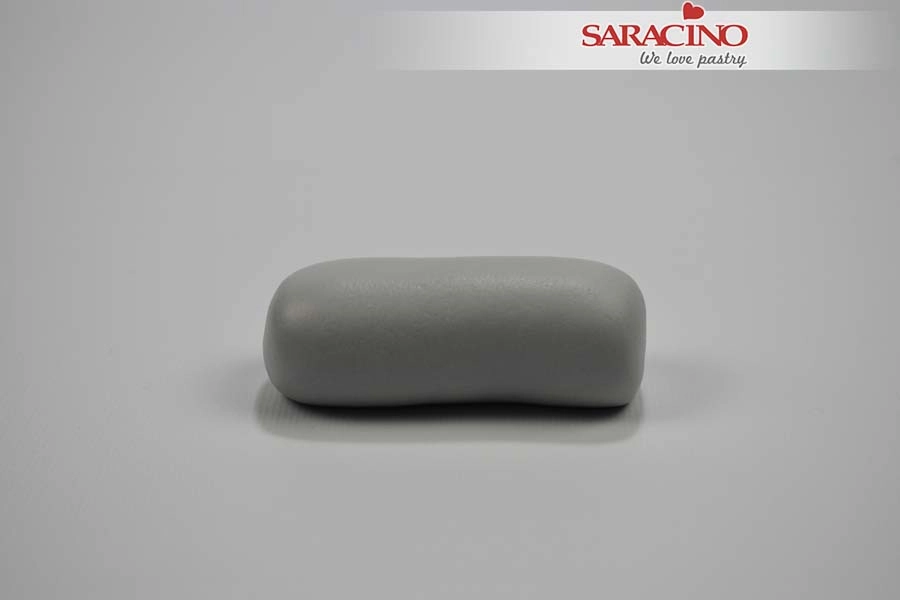
For the mouse use 100g white Saracino Pasta Model and colour it grey using a little black colour.

Step 2

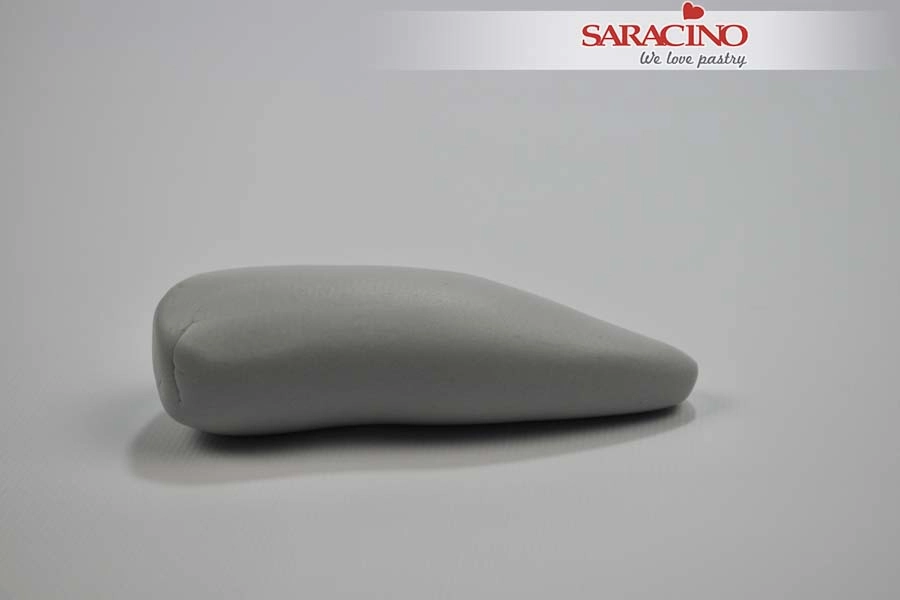
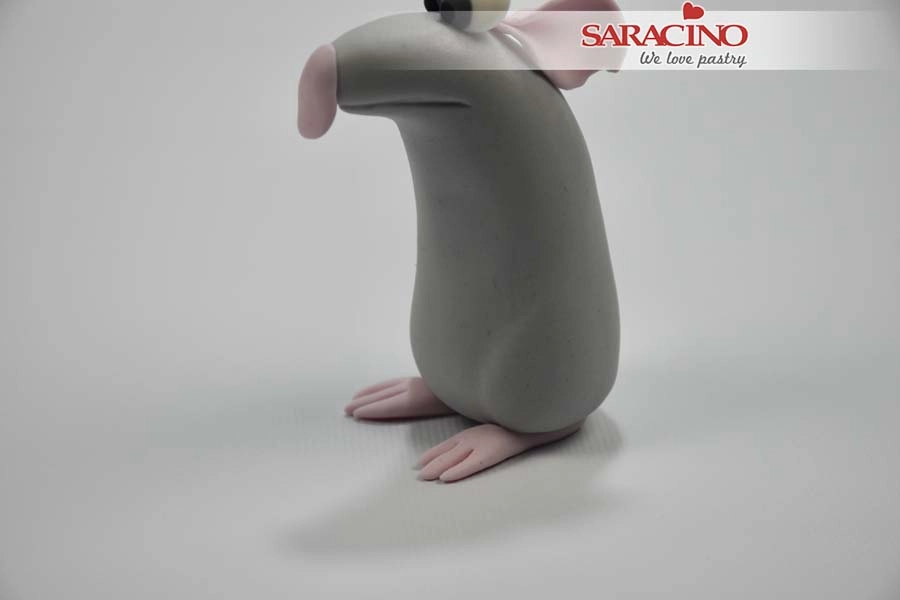
Roll it into a shape thinner at the head and wider at the bottom.

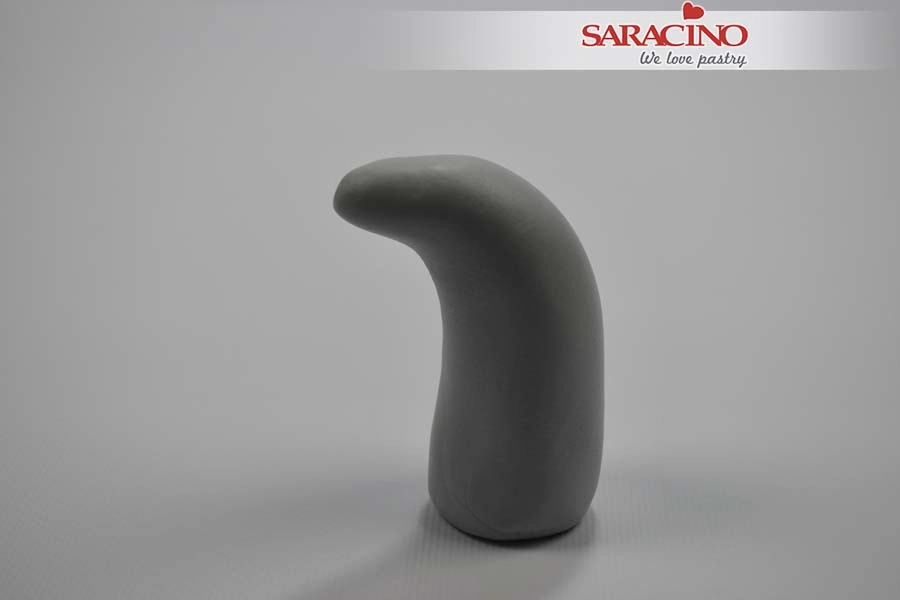
Step 3

Stand it up and gently bend the thinner end as shown.

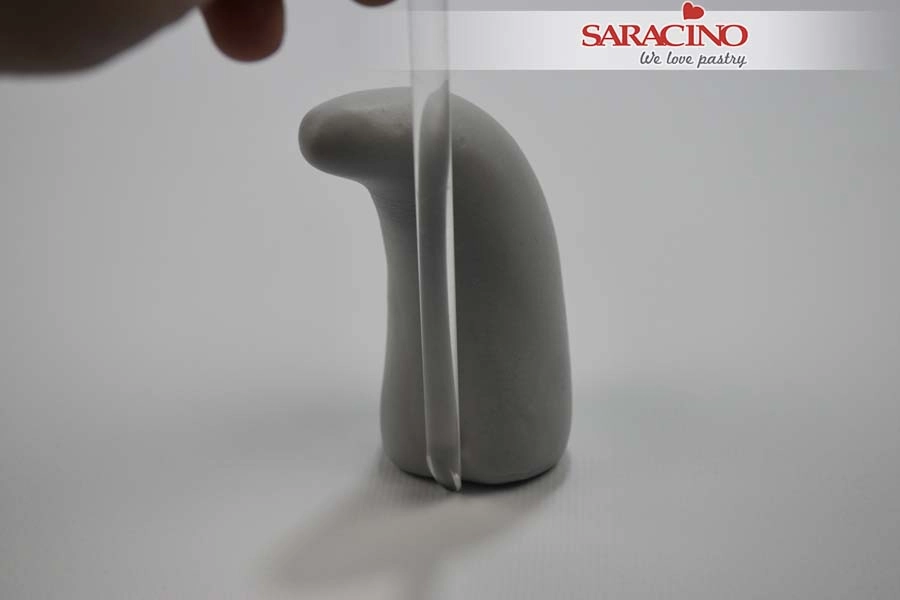
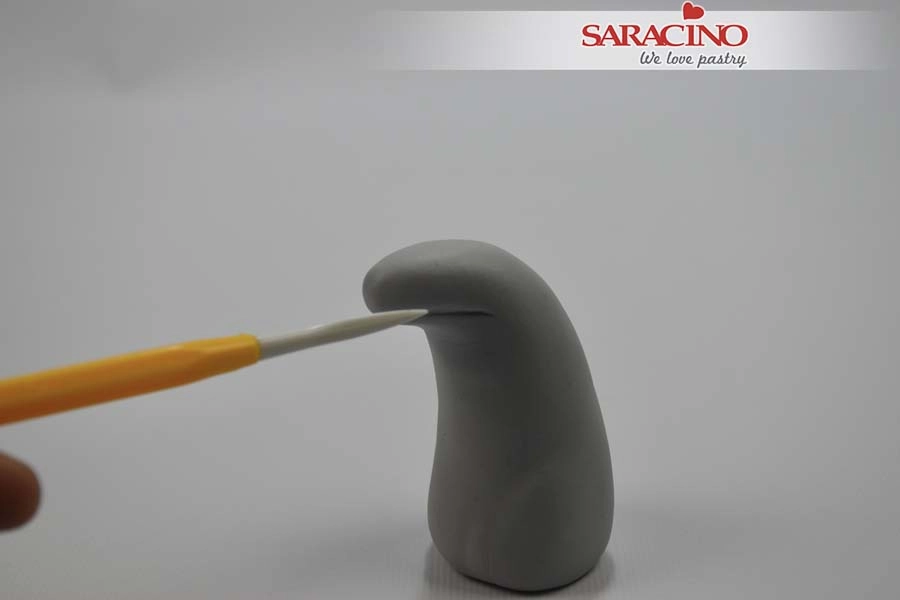
Step 4

Use a modelling tool or the back of a brush to form a dent either side of the base for the legs.

Step 5

Use a Dresden tool to mark the mouth area.

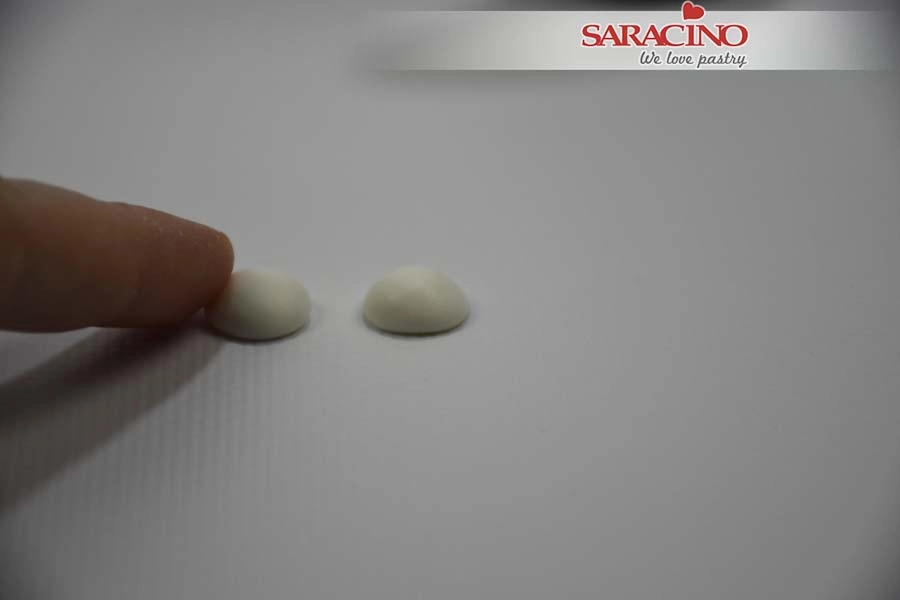
Step 6

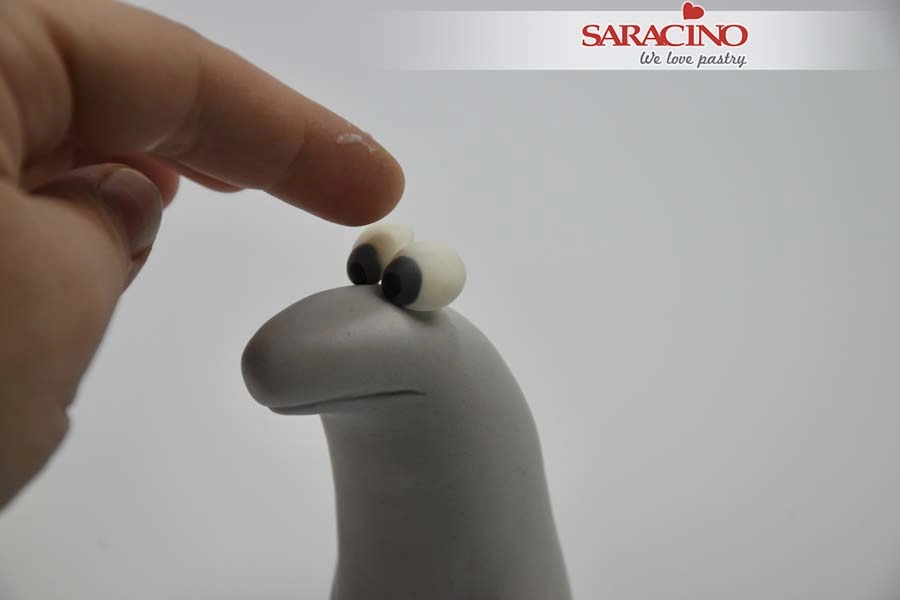
For the eyes roll two small white balls.Ā Press with your finger to achieve the shape shown.

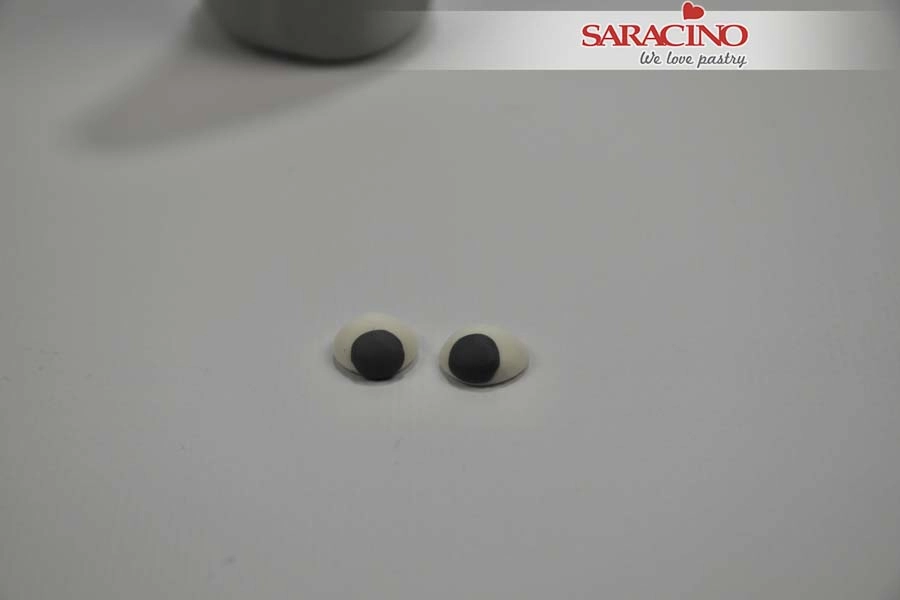
Step 7

Roll dark grey Pasta Model and cut out 2 small circles. Fix them to the eyes.

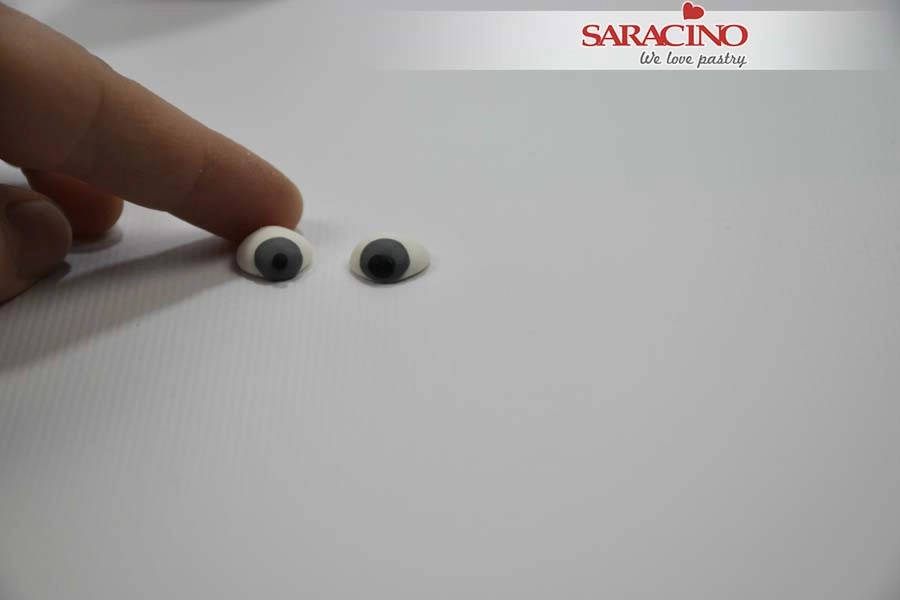
Step 8

Add a small black dot to the center of each eye.
Step 9

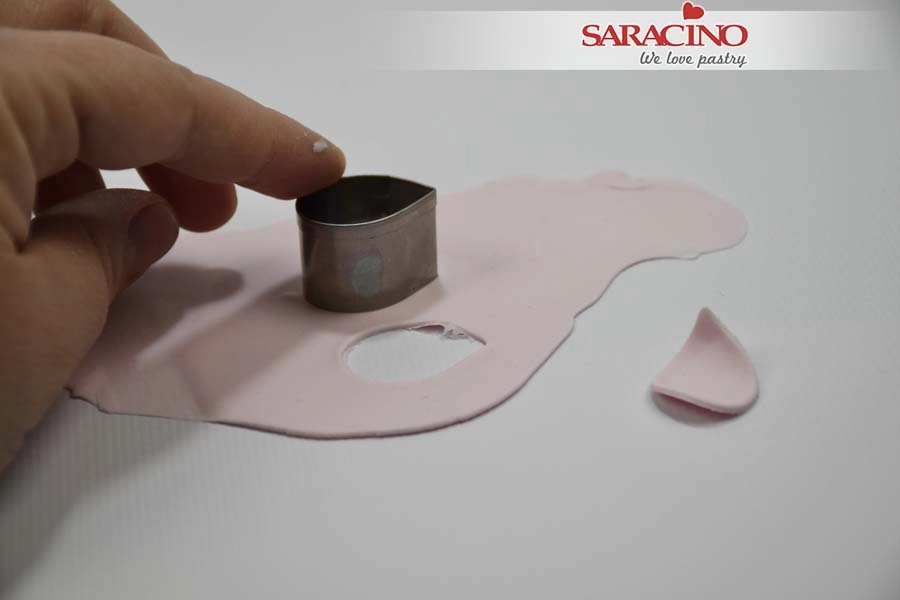
For the ears roll light pink Pasta Model and use a petal cutter to cut out two ears.
Step 10

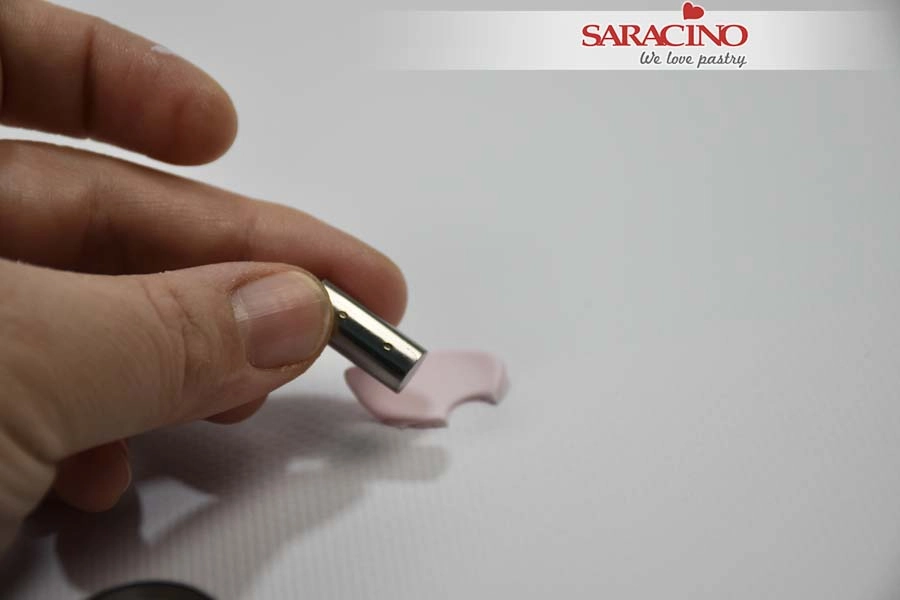
Use a small circle cutter to remove a small piece from each ear.

Step 11

Fix the eyes on the top of the head.

Step 12

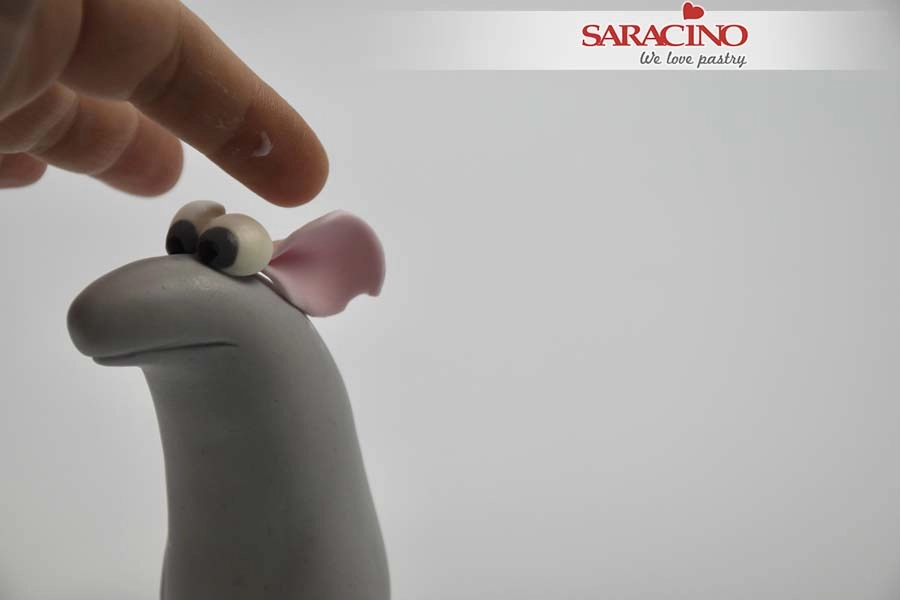
Fold the pink ears and fix them behind the eyes.

Step 13

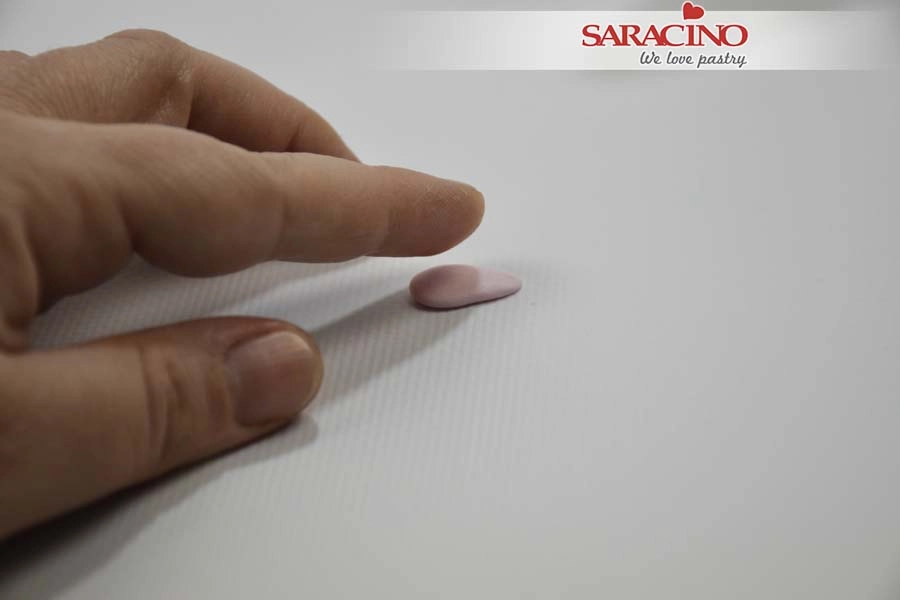
For the nose roll a small amount of pink to a teardrop shape. Flatten with your finger.
Step 14

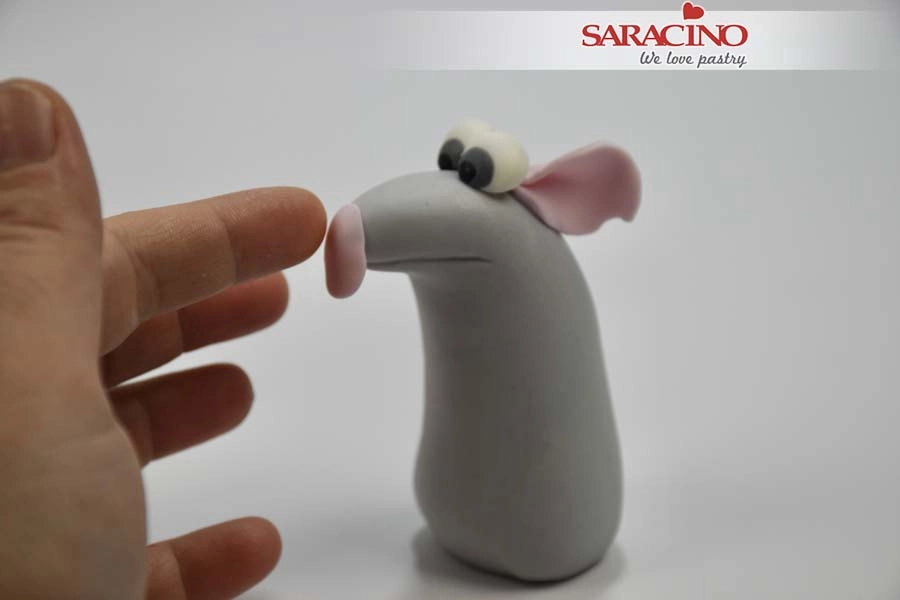
Fix the nose to the end of the face.

Step 15

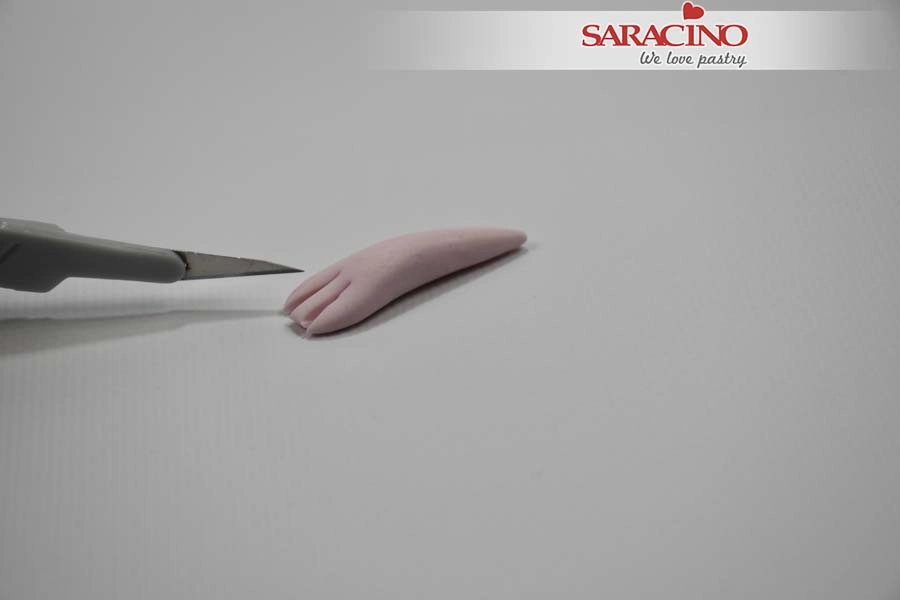
For the feet use a small amount of pink sugar paste and roll it into a long carrot shape.Ā Use your finger to flatten the widerĀ end. Use a sharp knife to cut 3 fingers.

Step 16

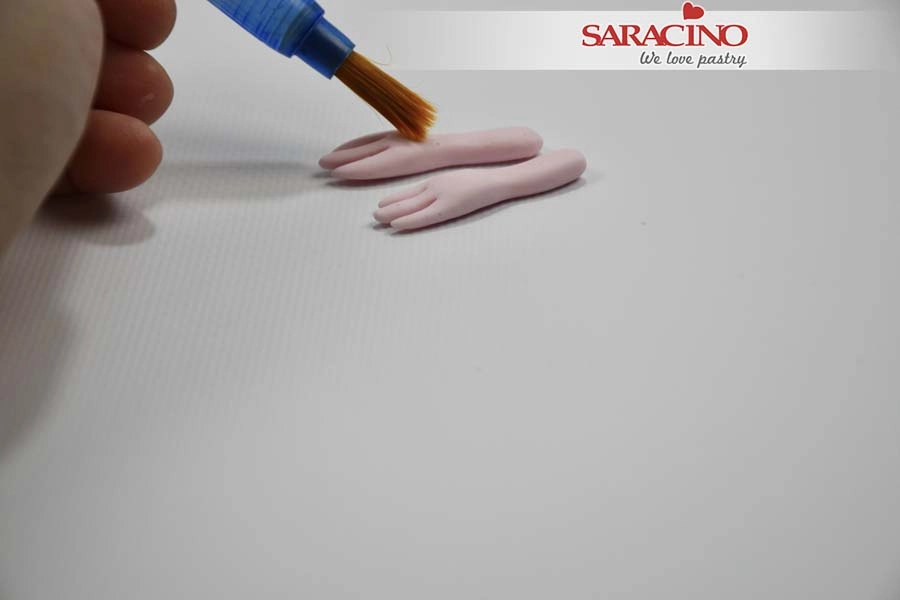
Repeat for the other leg and add a little edible glue to the top where they will be fixed to the body.

Step 17

Place under the body.


Step 18

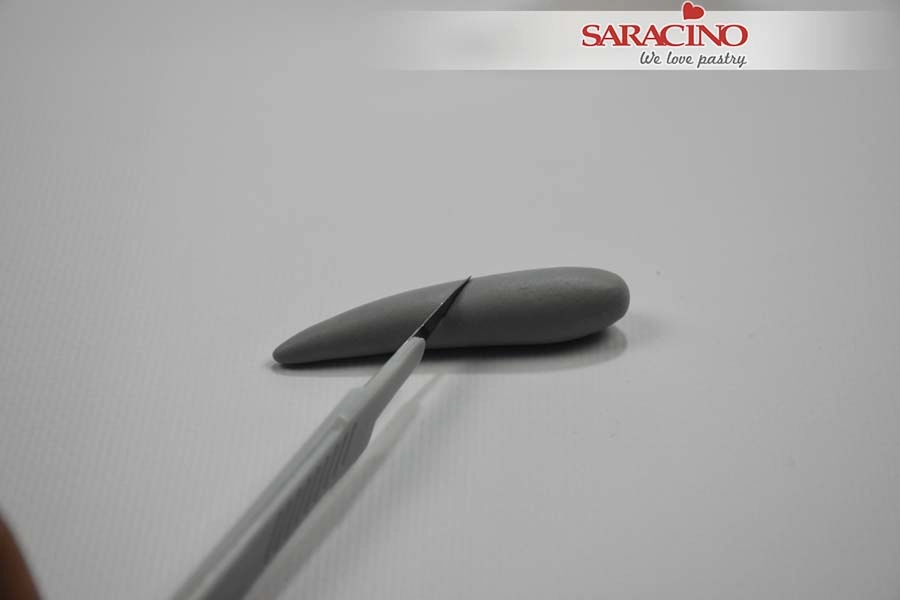
Roll a small piece of the grey paste into a carrot shape and cut to an angle as shown. We will need the thin end for each arm.

Step 19

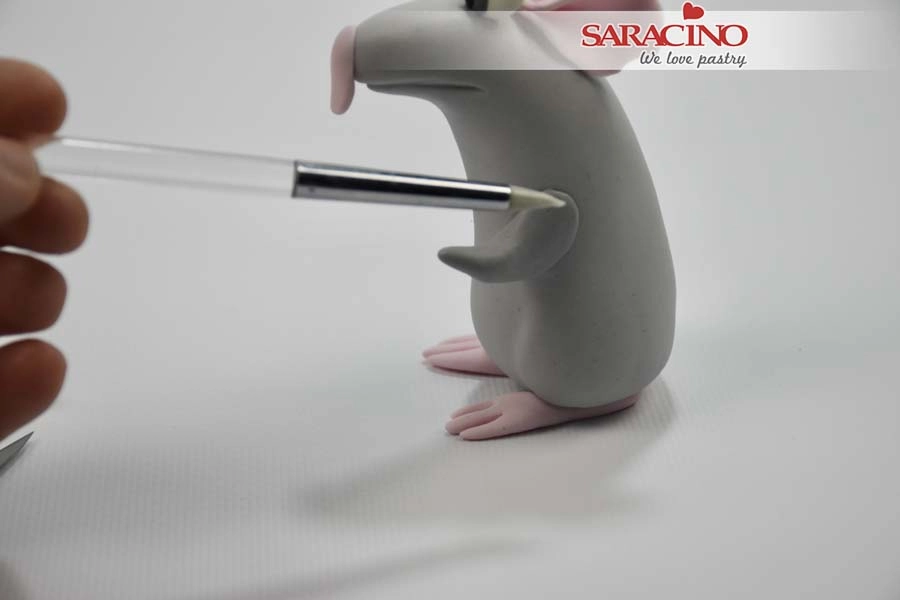
Repeat to make two thin arms. Fix them to the body.Ā Use a modelling tool to smooth the joint.

Step 20

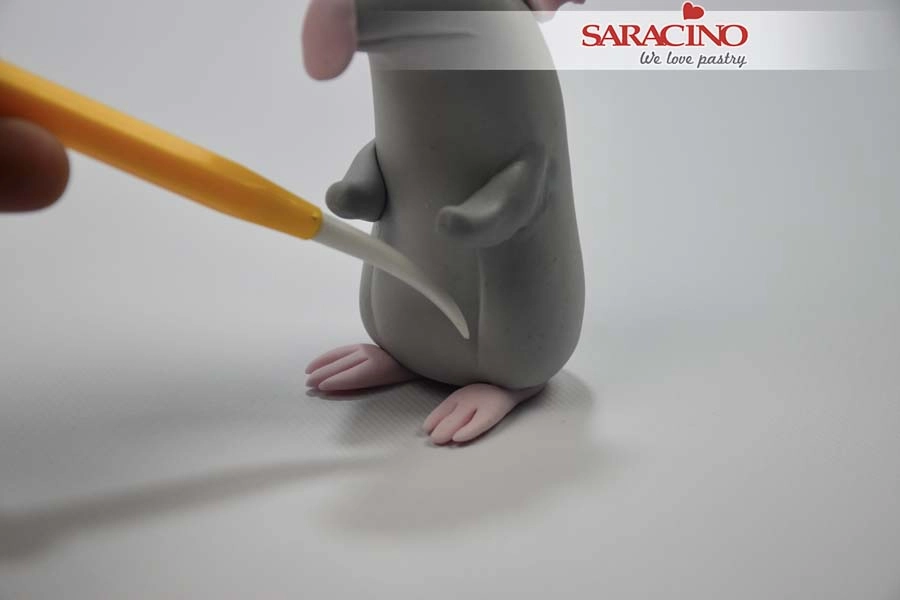
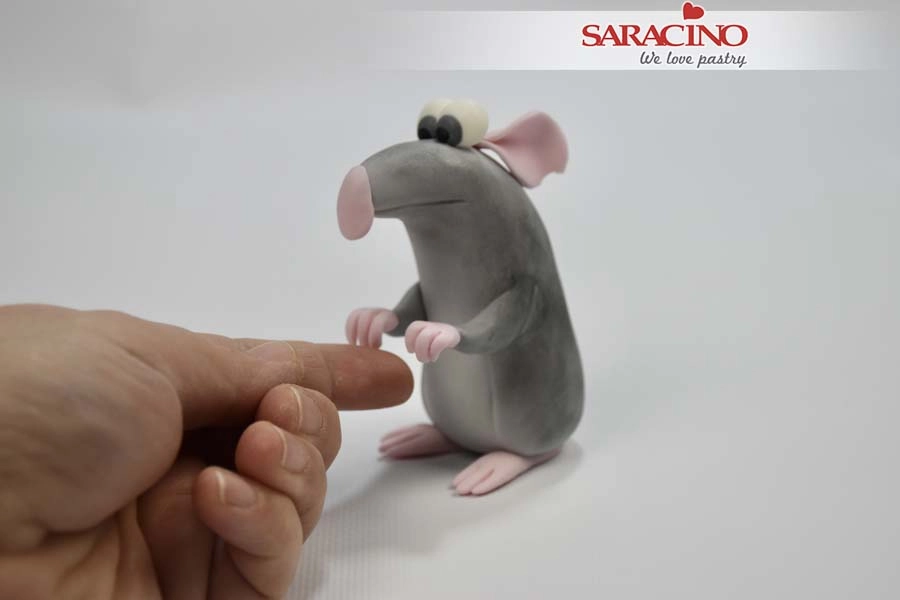
Use the Dresden tool to shape the belly.

Step 21

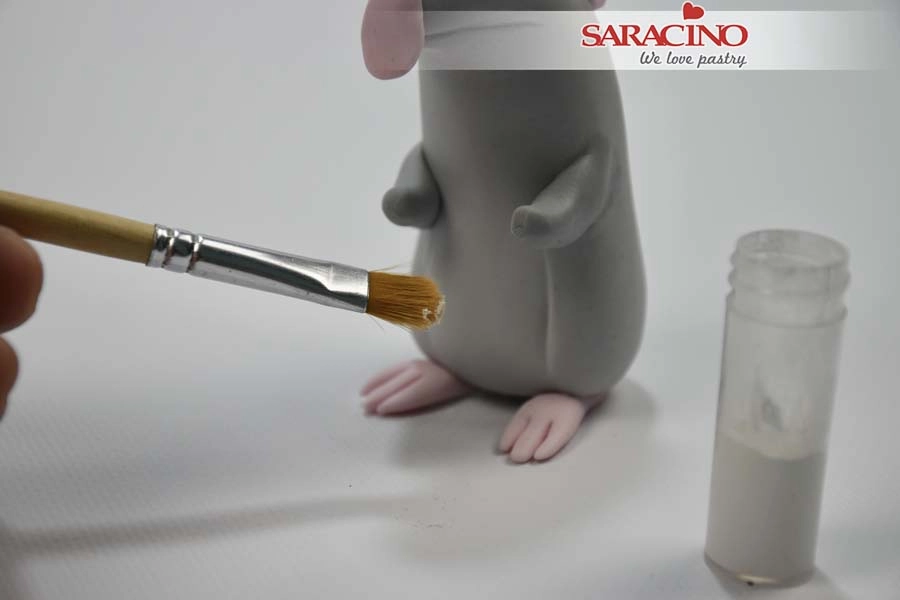
Use a soft brush and white powder colour to dust the belly area.

Step 22

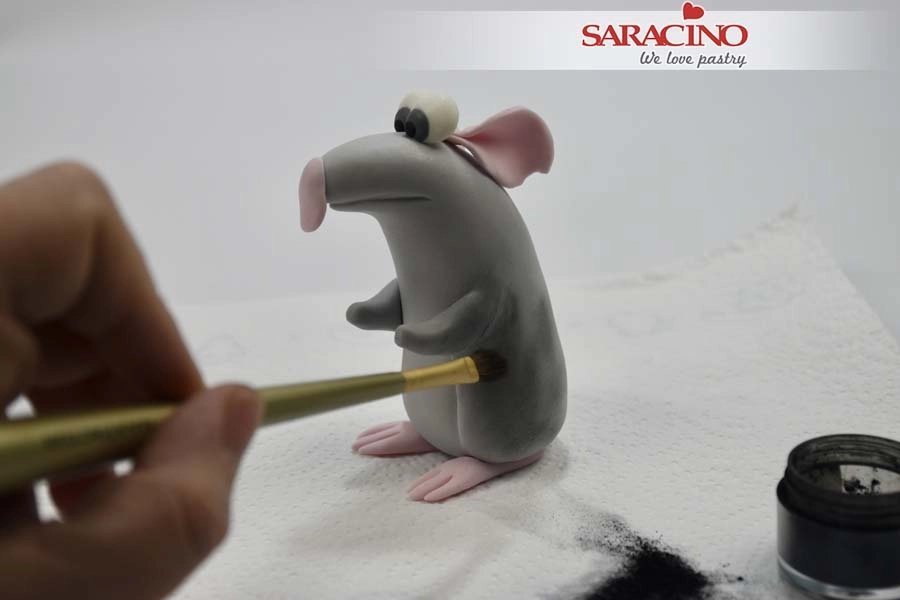
Use black powder colour to dust the rest of the body to make it darker.

Step 23

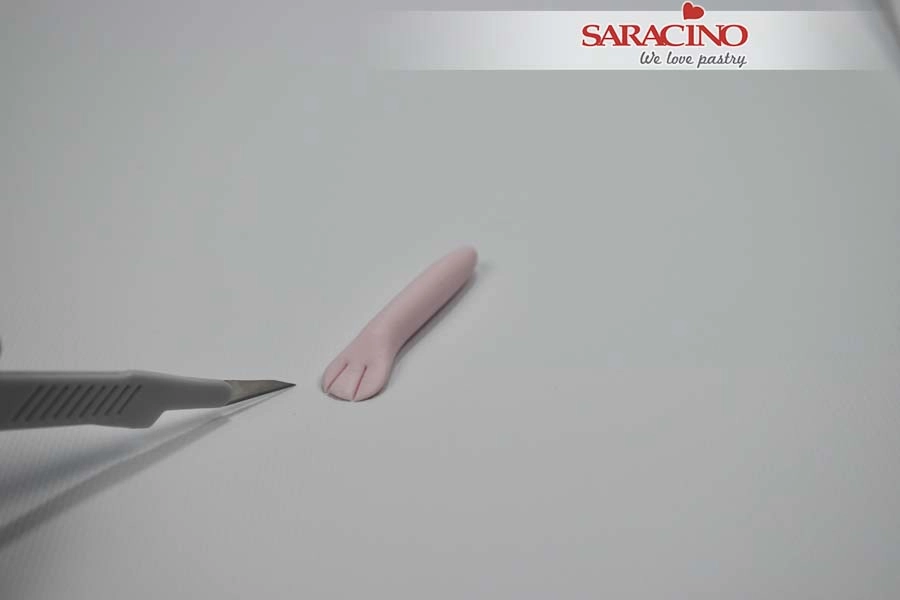
For the hands roll a small piece of pink fondant into a sausage shape.Ā Cut 3 fingers.

Step 24

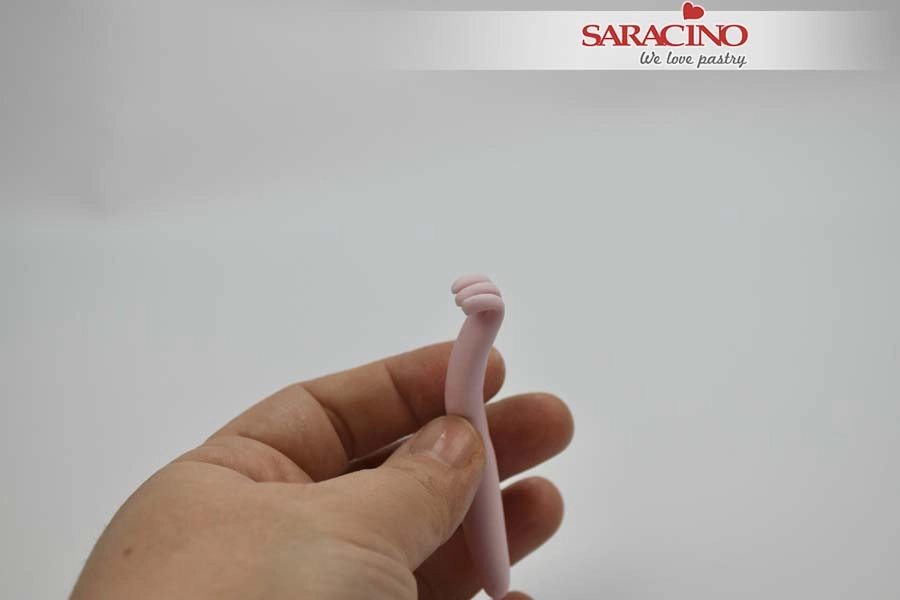
Bend the fingers. Ā 

Step 25

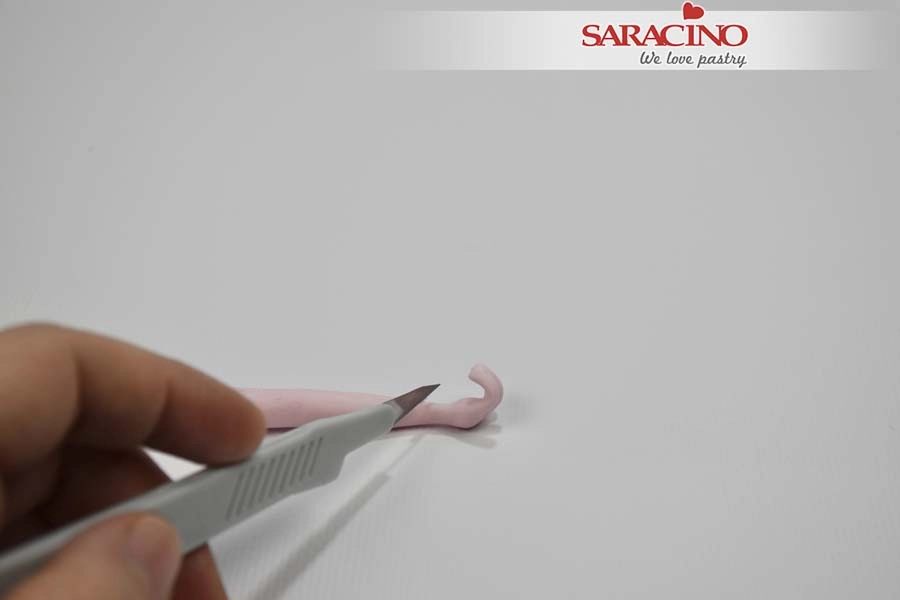
Use your fingers to roll it thinner at the wrist. Cut with an exacto knife.

Step 26

Fix each hand to the arms.

Step 27

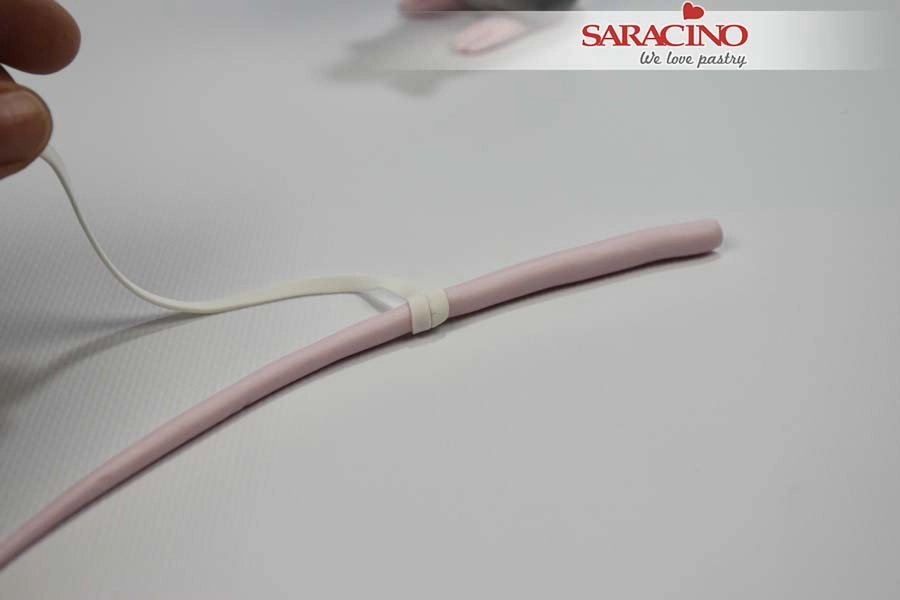
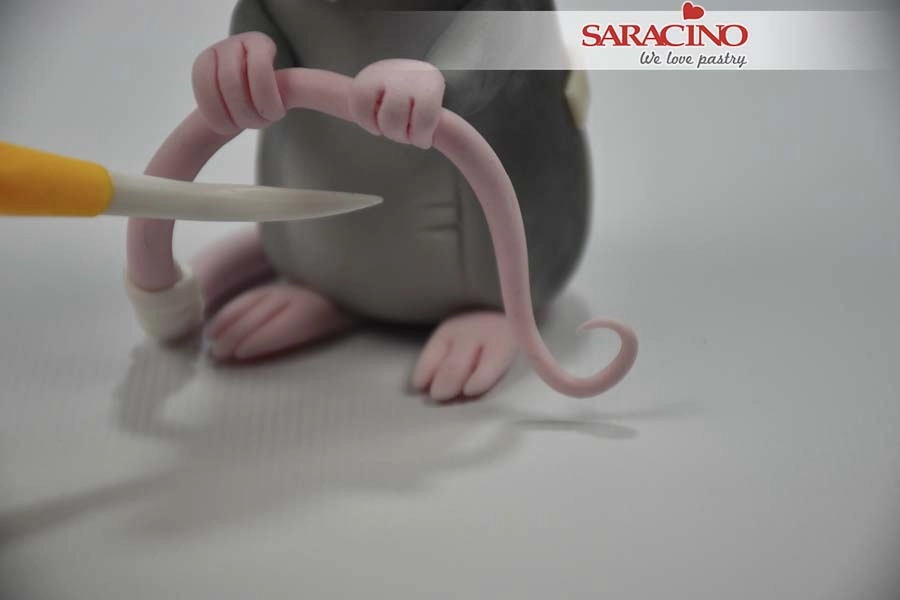
For the tail roll a thin, long piece of pink Pasta Model. For the bandage roll a white strip and wrap the tail.

Step 28

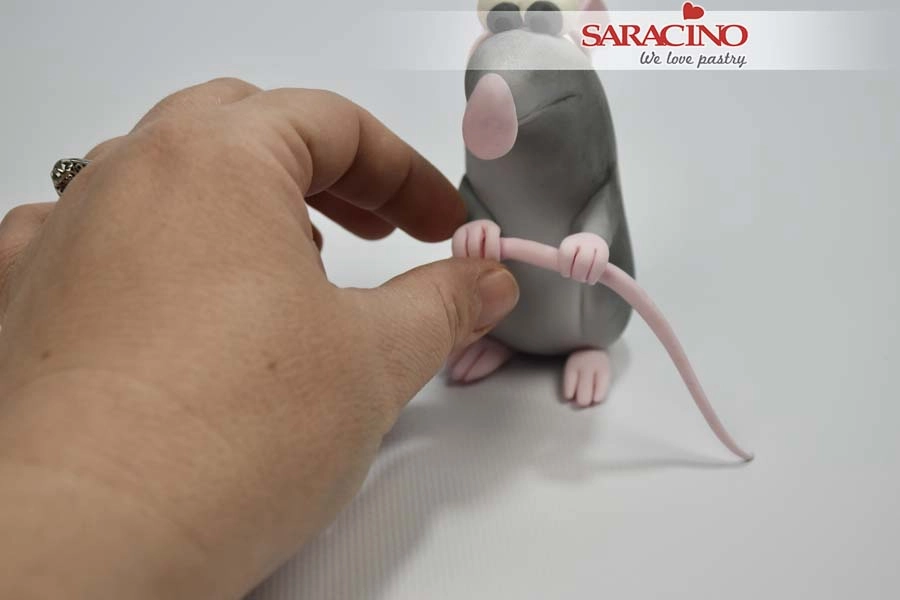
Place the tail to the back of the body and into the hands. Use a little edible glue to fix.


Step 29

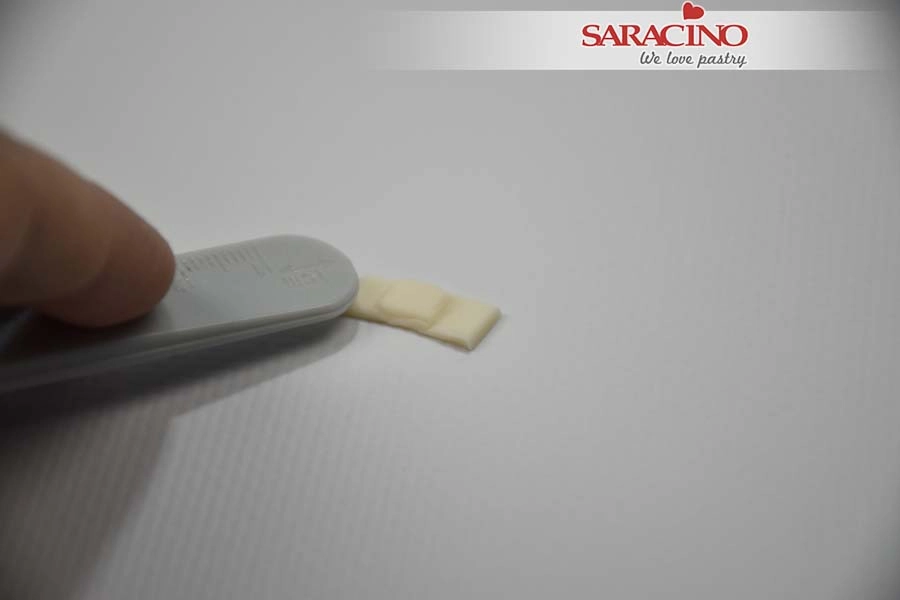
For the plasters cut a small strip of light skin colour Pasta Model.Ā Flatten the edges.

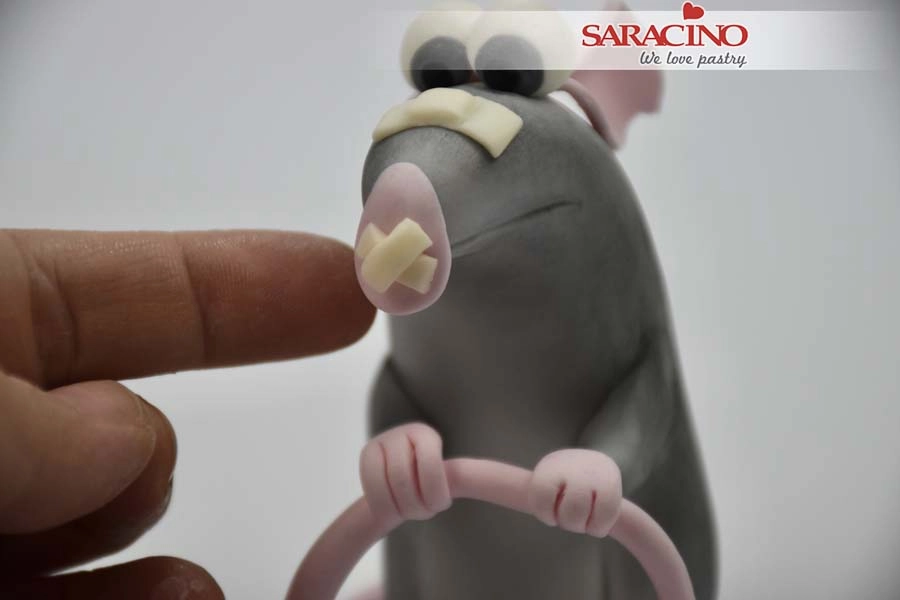
Step 30

Ā Fix to the top of the nose. Ā Cut two more strips and place them in an X shape on the end of the nose.


Step 31

Use the Dresden tool to make some marks around the edge of the belly.

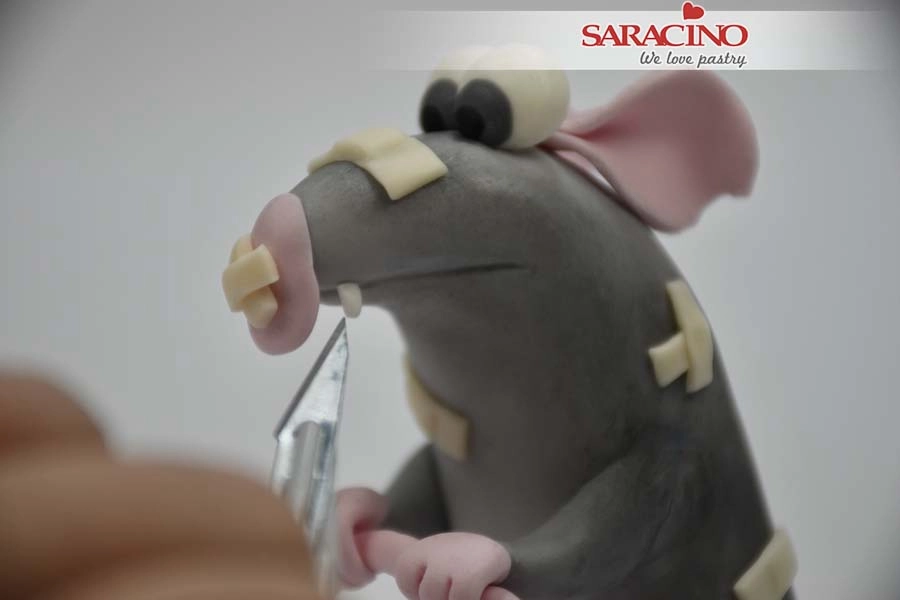
Step 32

Add more plasters to different places of the body.Ā Cut a tiny piece of white paste and place it in the side of the mouth for a tooth.Ā 


Step 33

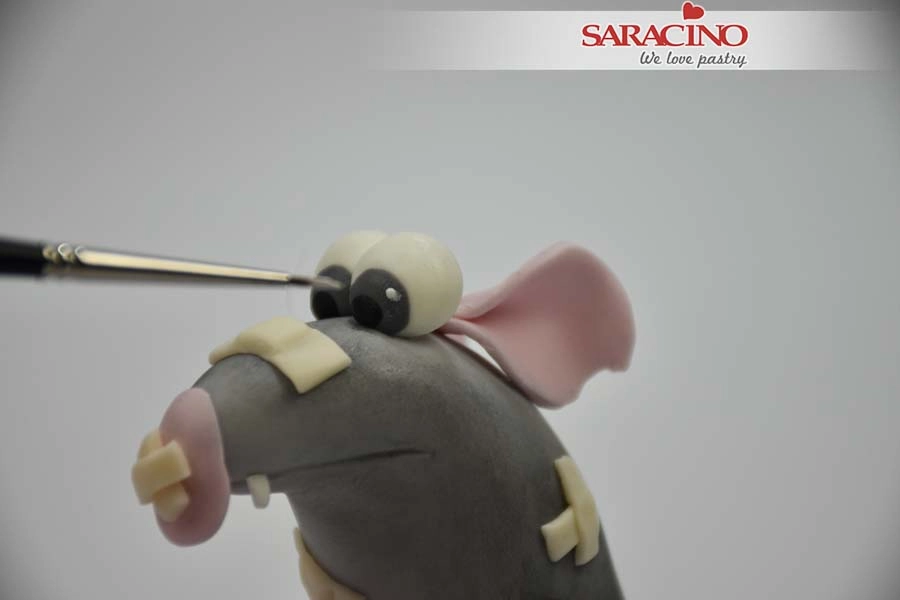
Using white gel colour add small dots to the eyes.

Step 34

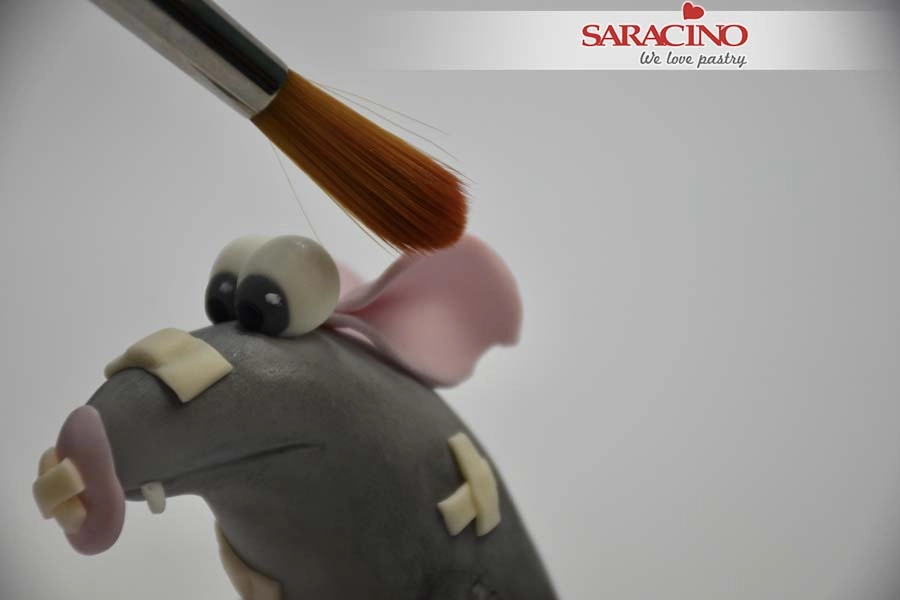
Using a soft brush and red powder colour dust the pink areas.


Step 35

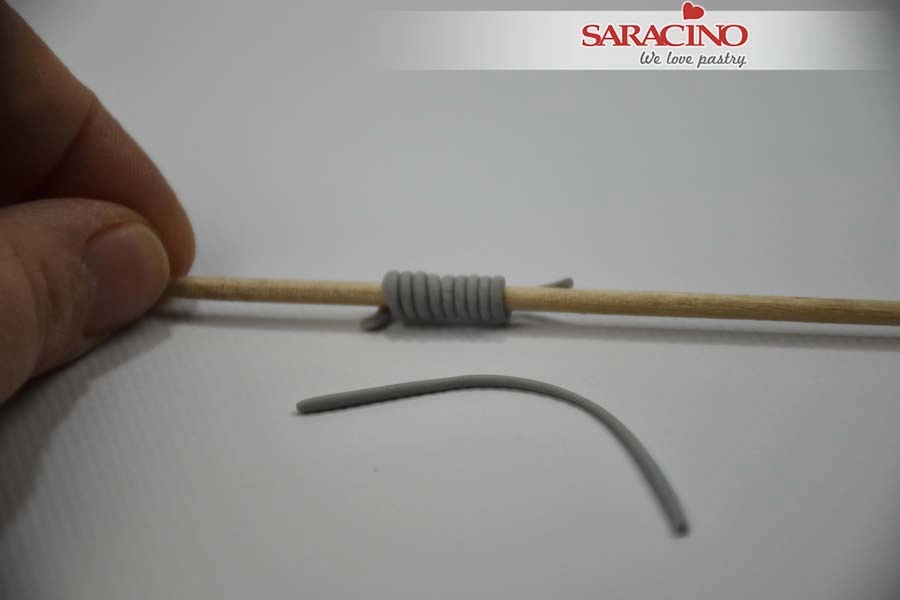
For the trap spring, roll a very thin strip and wrap it around a wooden skewer. Allow to dry.

Step 36

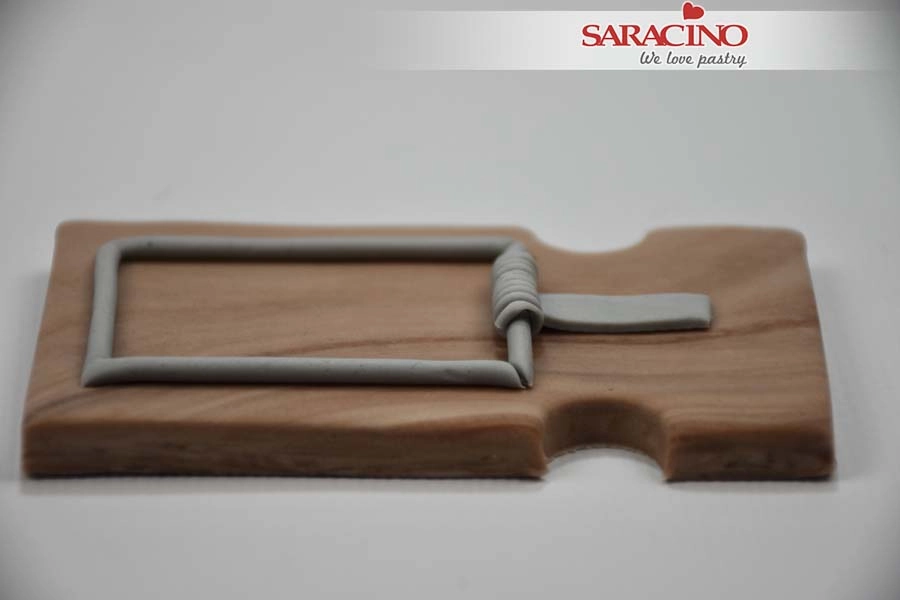
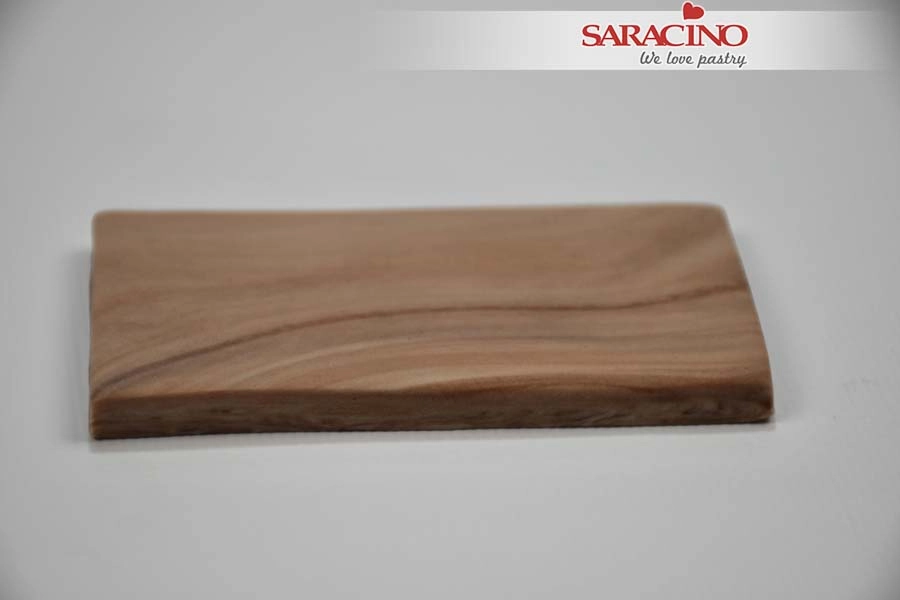
For the wood effect mix brown and light beige colour Pasta Model. Do not mix too well to give the wood effect. For the base cut it into a rectangle shape.


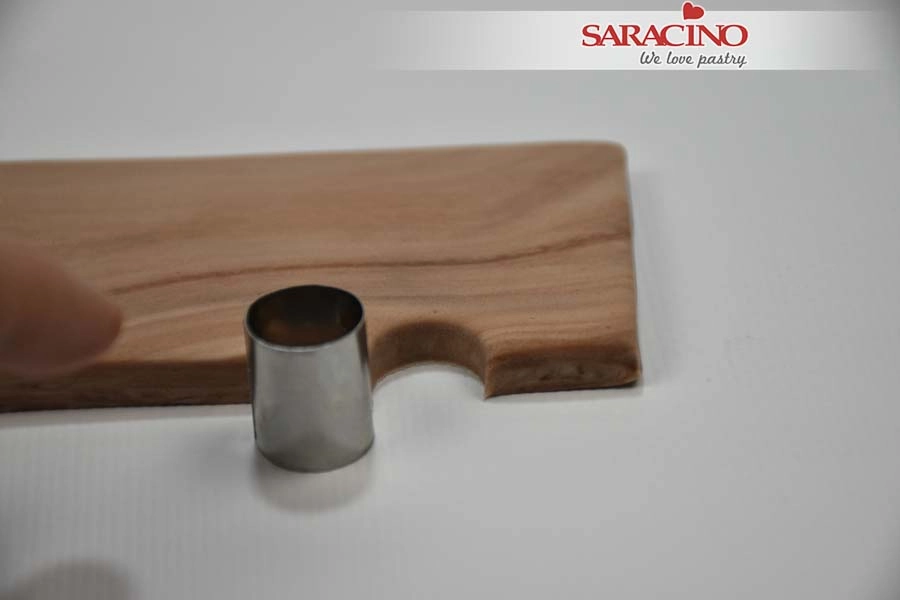
Step 37

Use a circle cutter to cut the dents from the sides of the trap.

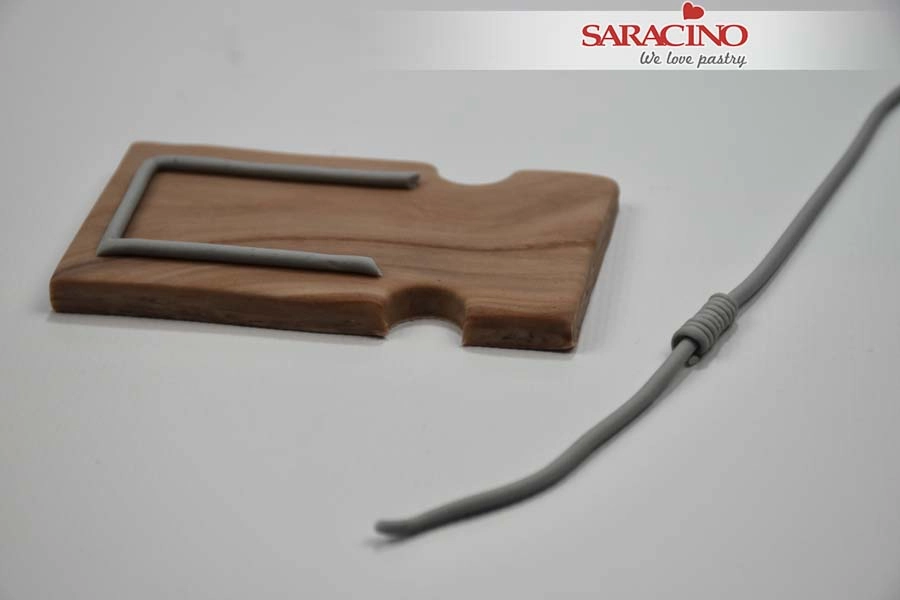
Step 38

Roll some more thin grey strips to the same diameter as the wooden skewer. Take one strip and pass it through the centre of the spring. Fix the rest of them as shown.


Step 39

Fix the length with the spring to the centre. Cut the excess ends. Add one more larger piece of grey paste in the centre of the trap.

Step 40

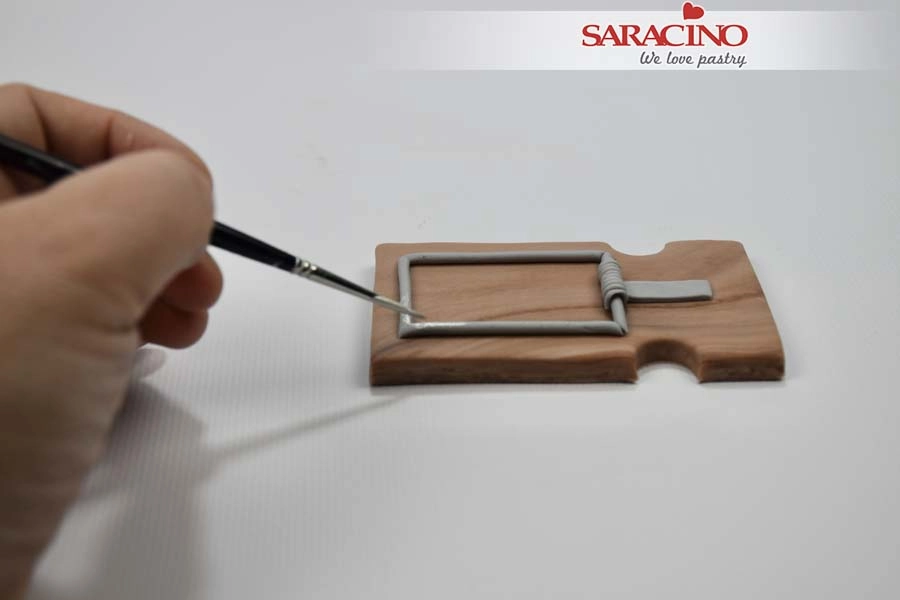
Using silver powder mixed with clear alcohol paint the grey areas to look like metal.


Step 41

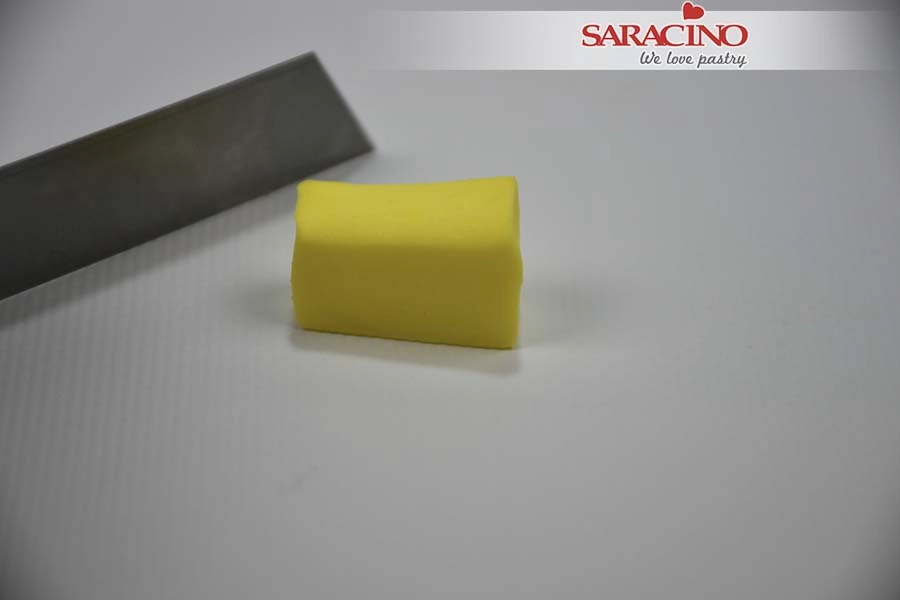
For the cheese use a small amount of yellow Pasta Model.Ā With a blade cut into a random ‘cheese’ shape.

Step 42

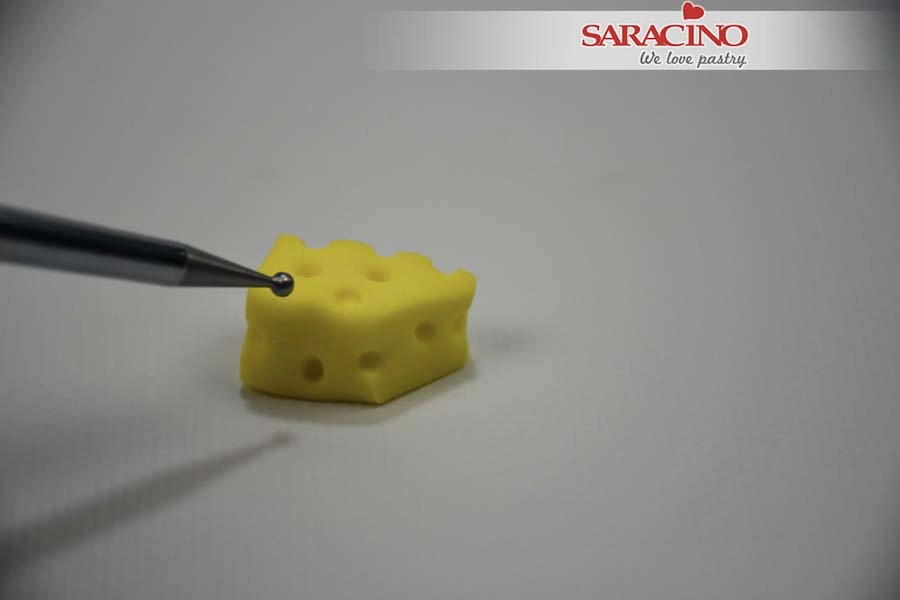
Use a small ball tool to press some holes to make it look like cheese.Ā 


Step 43

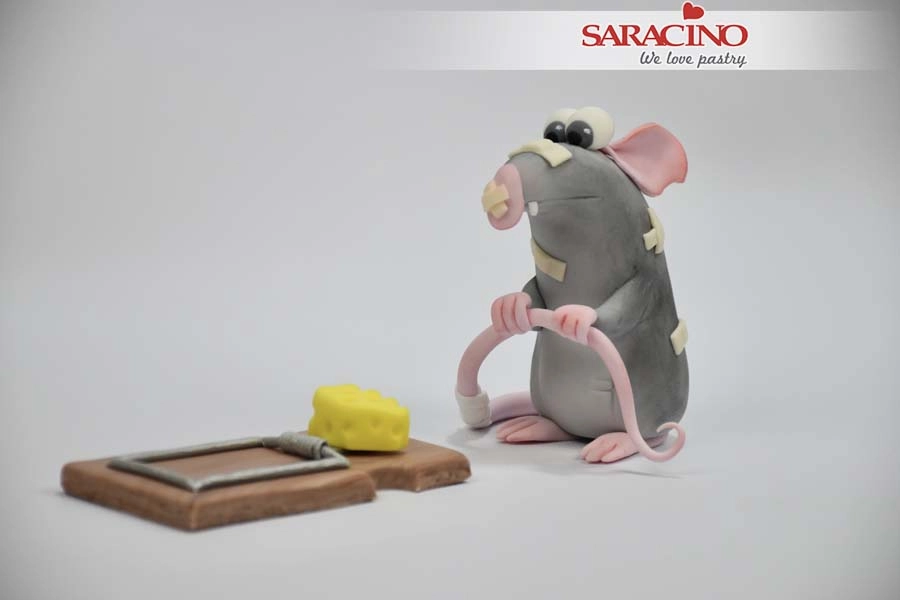
Fix the cheese on the trap. Our hero mouse is ready!

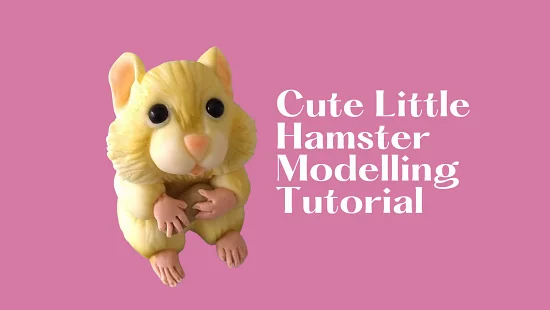
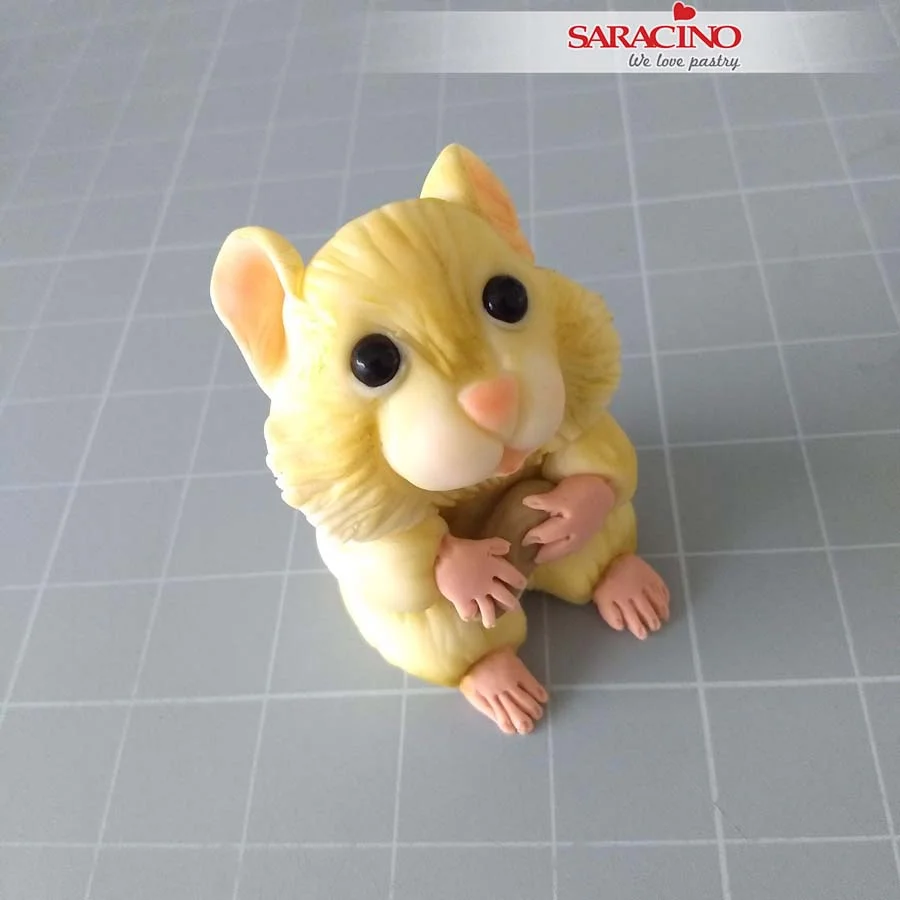
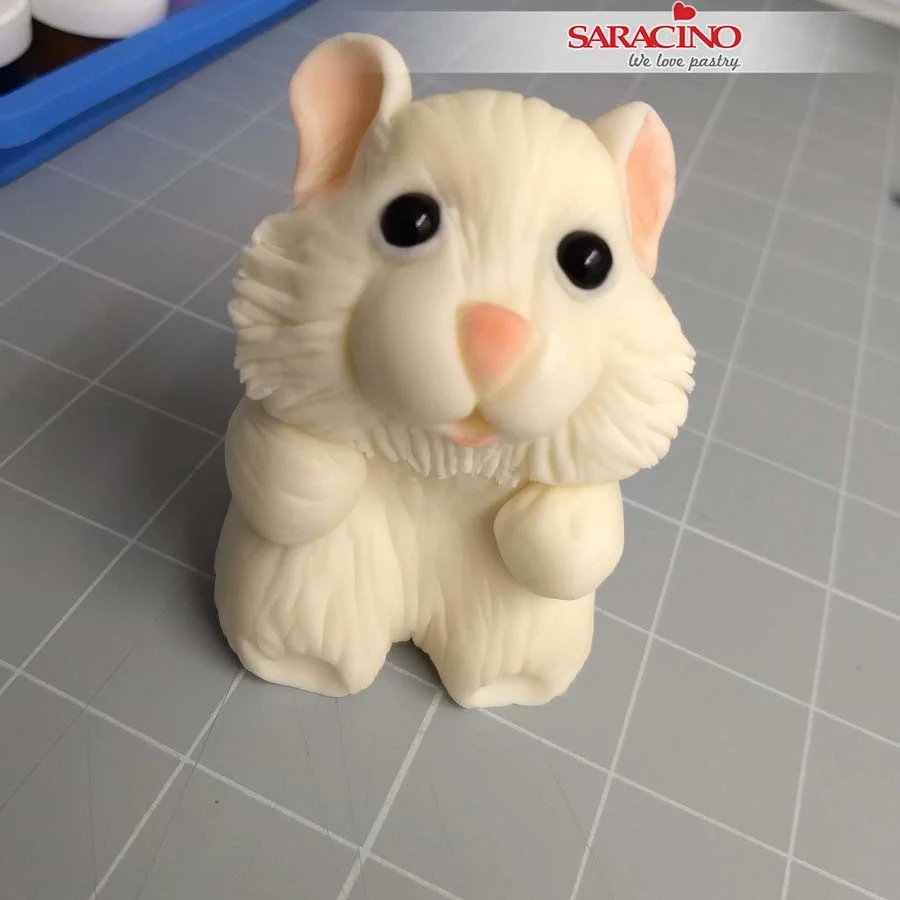
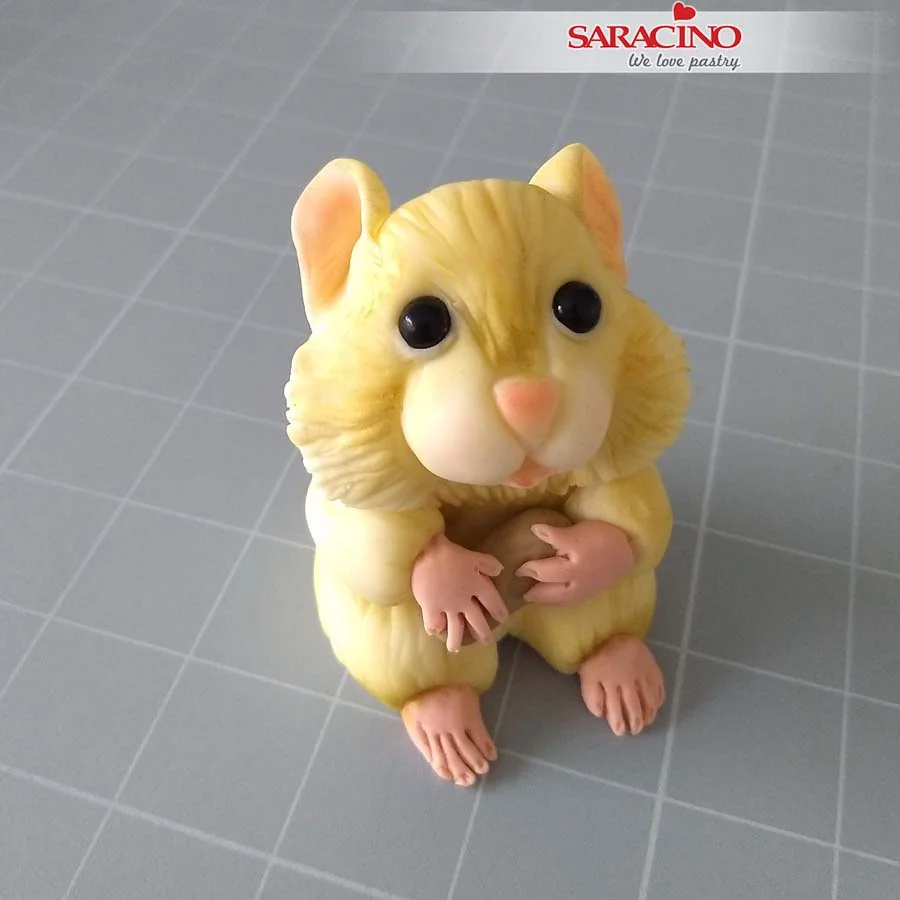
CUTE LITTLE HAMSTER

CUTE LITTLE HAMSTER

Skill level: BEGINNERS

You will need:

  • Saracino white Pasta ModelĀ 

  • Edible glue and brush

  • Knife

  • Silicone tipped modelling tools

  • Dresden tool

  • Small ball tools

  • 2 x 7mm black sugar pearls

Step 1

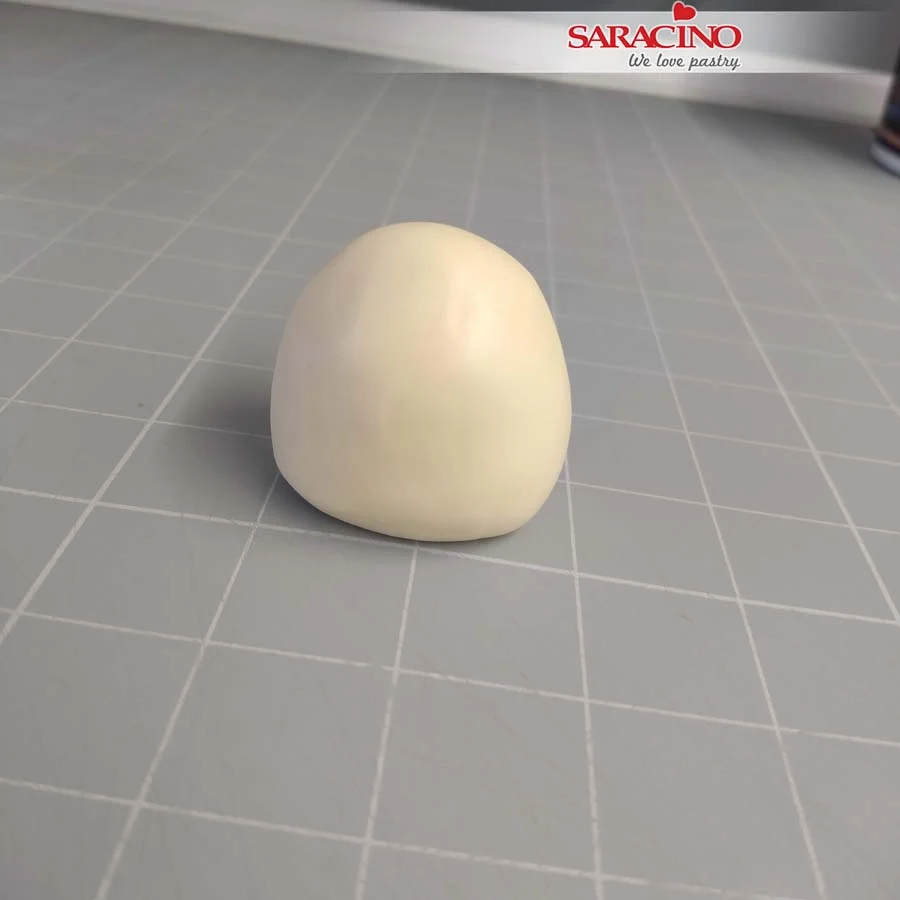
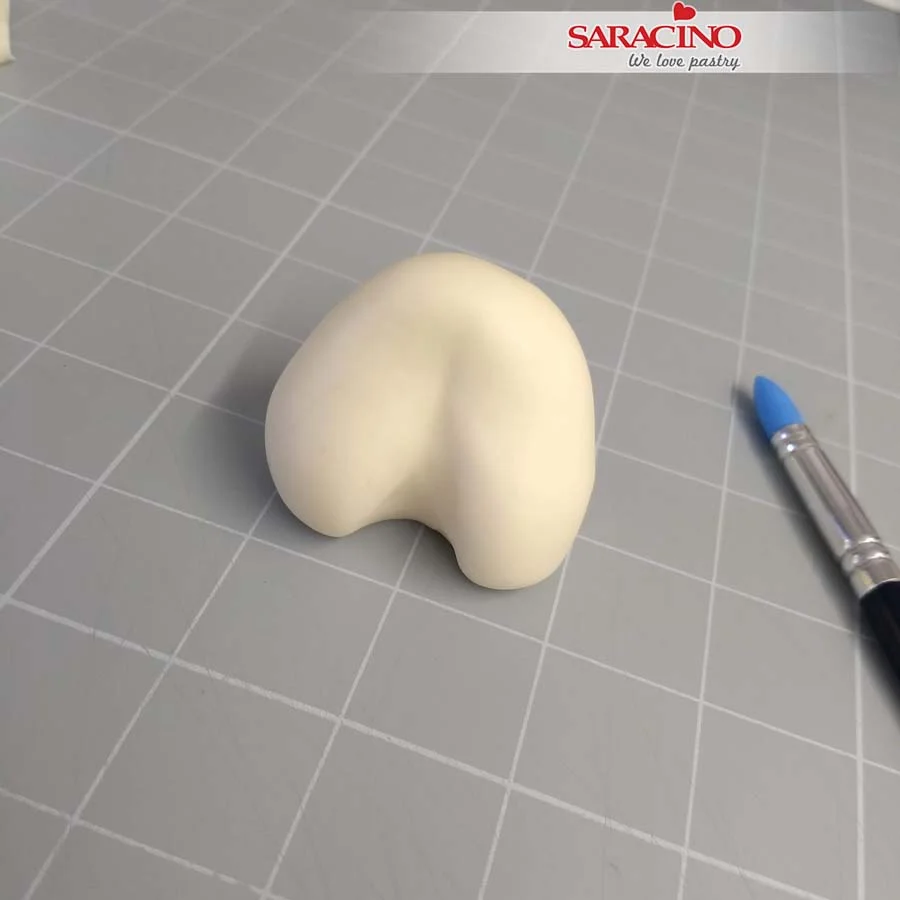
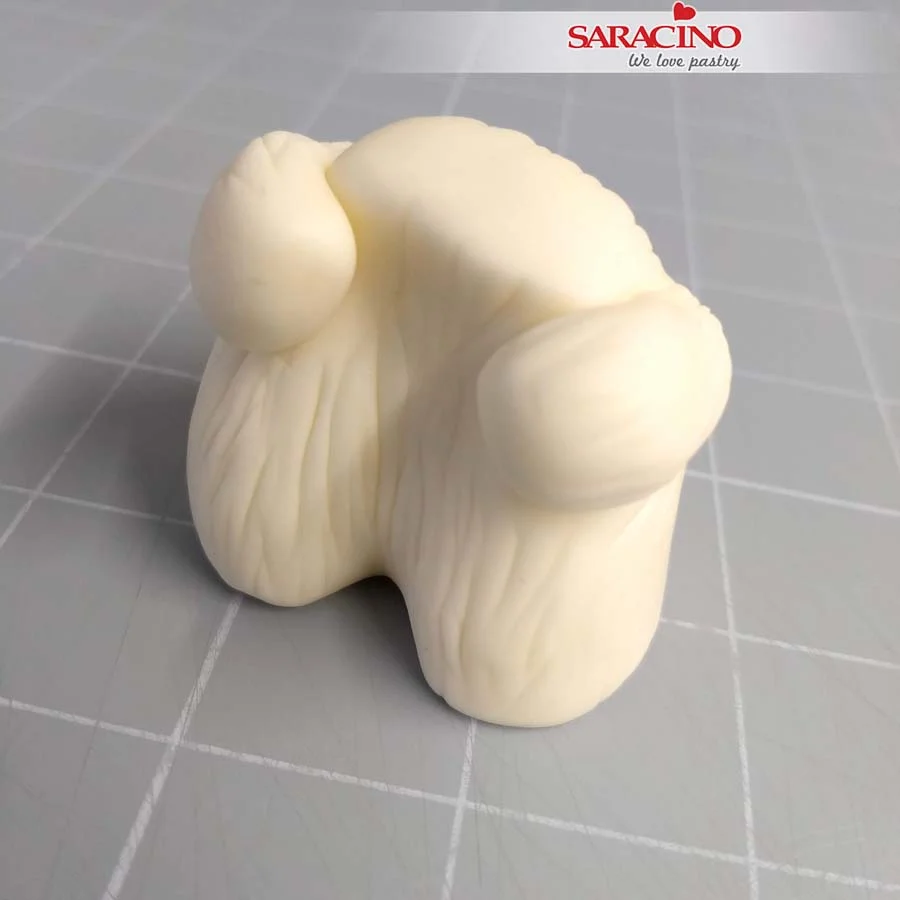
Take approx 90g white or ivory coloured Pasta Model and create a soft domed shape.

Step 2

Push your little finger or tool into the centre to create the beginning of two legs.

Step 3

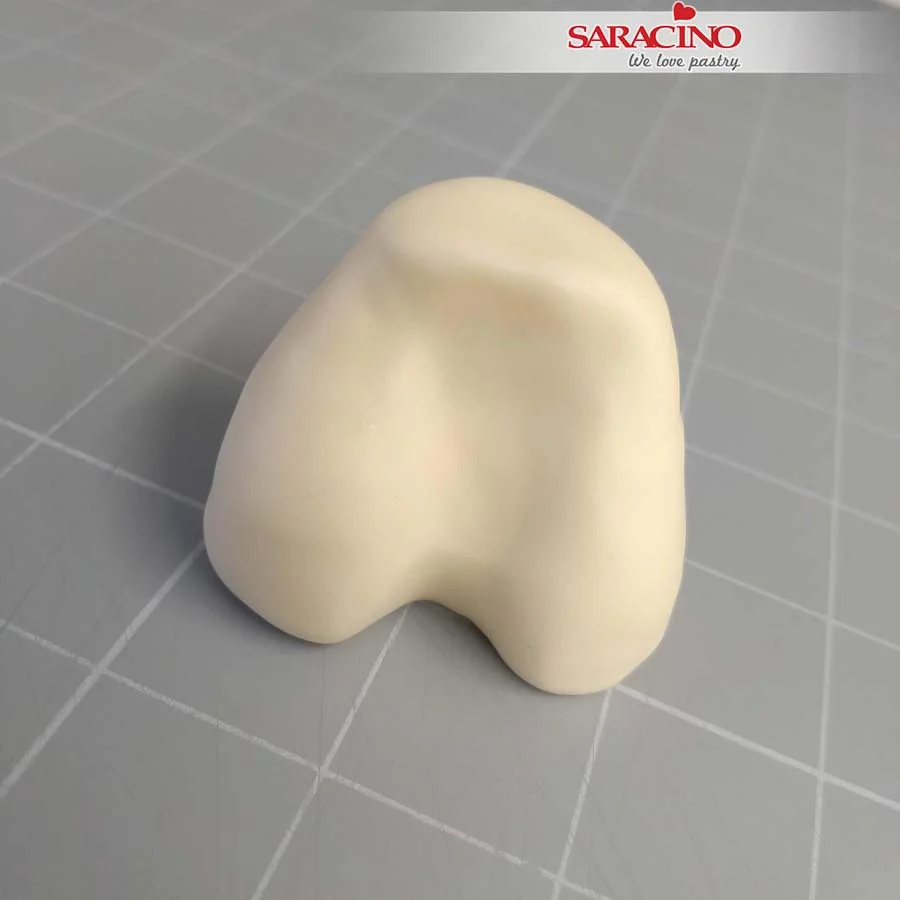
Flatten the top of the dome shape and define the two legs further.

Step 4

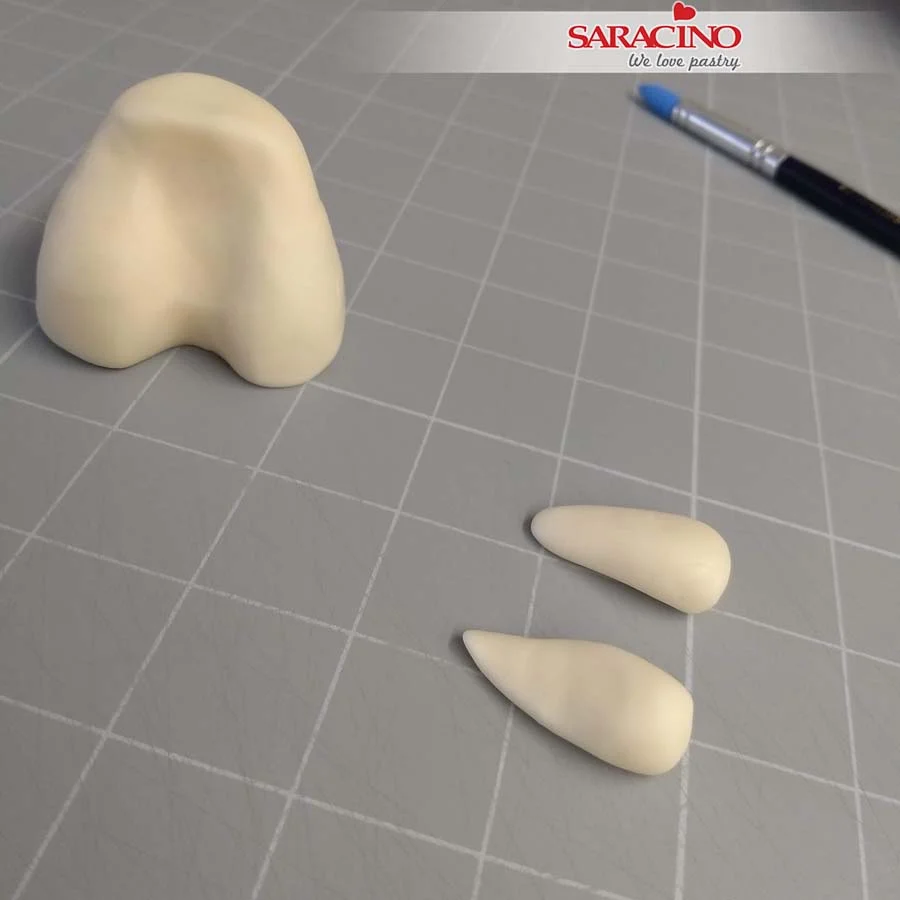
Use two small balls of Pasta Model of approx 5g each and roll into teardrop shapes for the arms.

Step 5

Using a tiny amount of edible glue, attach the thick end of the two arms to the body and blend the joints using a silicone tipped tool. Ā  Ā  Ā  Ā  Ā  Ā  Ā  Ā  Ā  Ā  Ā  Ā  Ā  Ā  Ā  Ā  Ā  Ā  Ā  Ā  Ā  Ā  Ā  Ā  Ā  Ā  Ā  Ā Ā 

Step 6

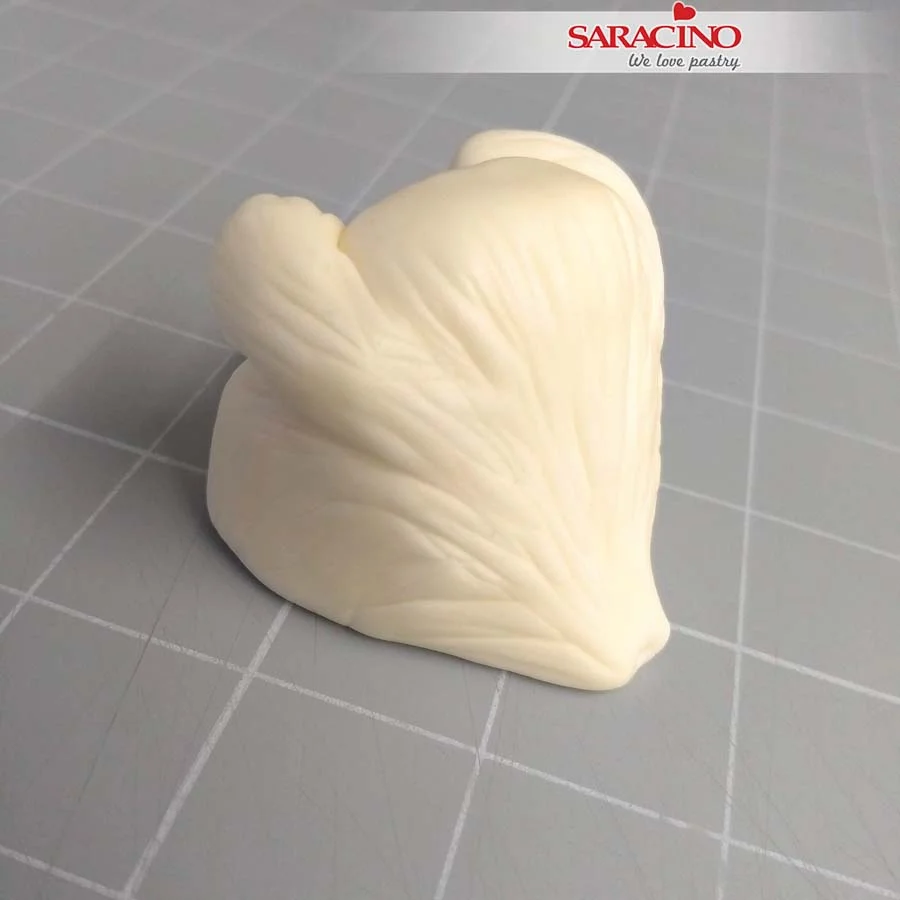
Use a Dresden tool to mark lines to create a simple fur effect.

Step 7

Use your fingers to carefully pull out and shape the back base of the body to a soft point to make the hamsters tail.

Step 8

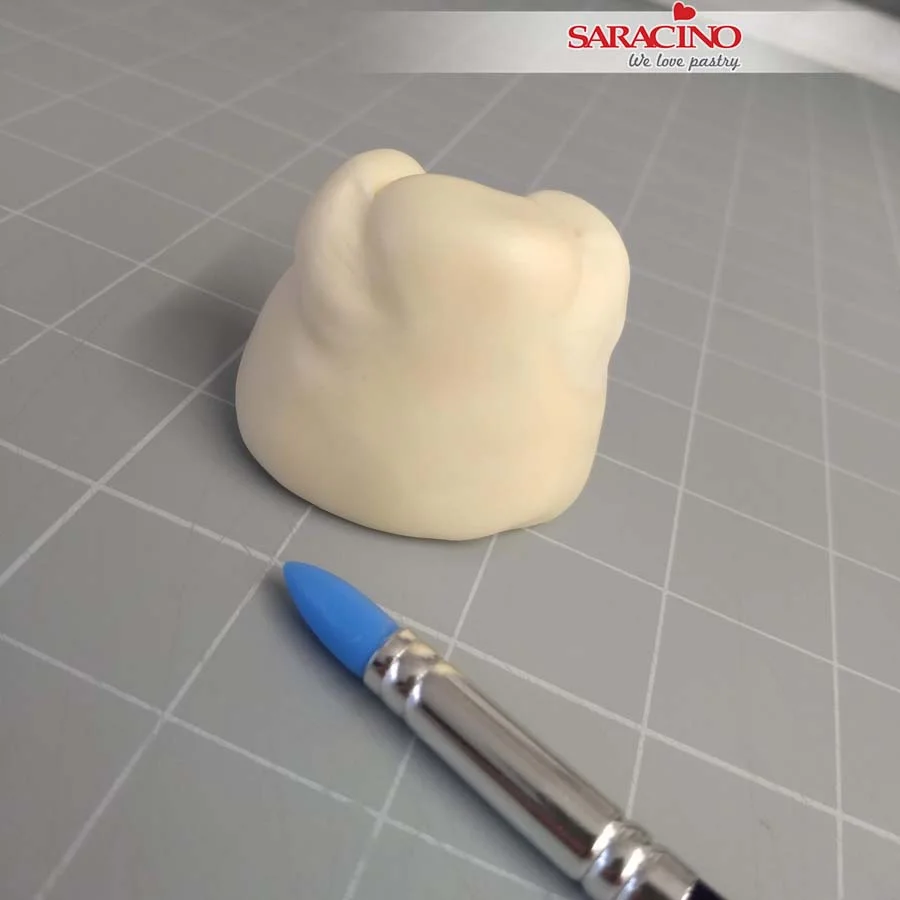
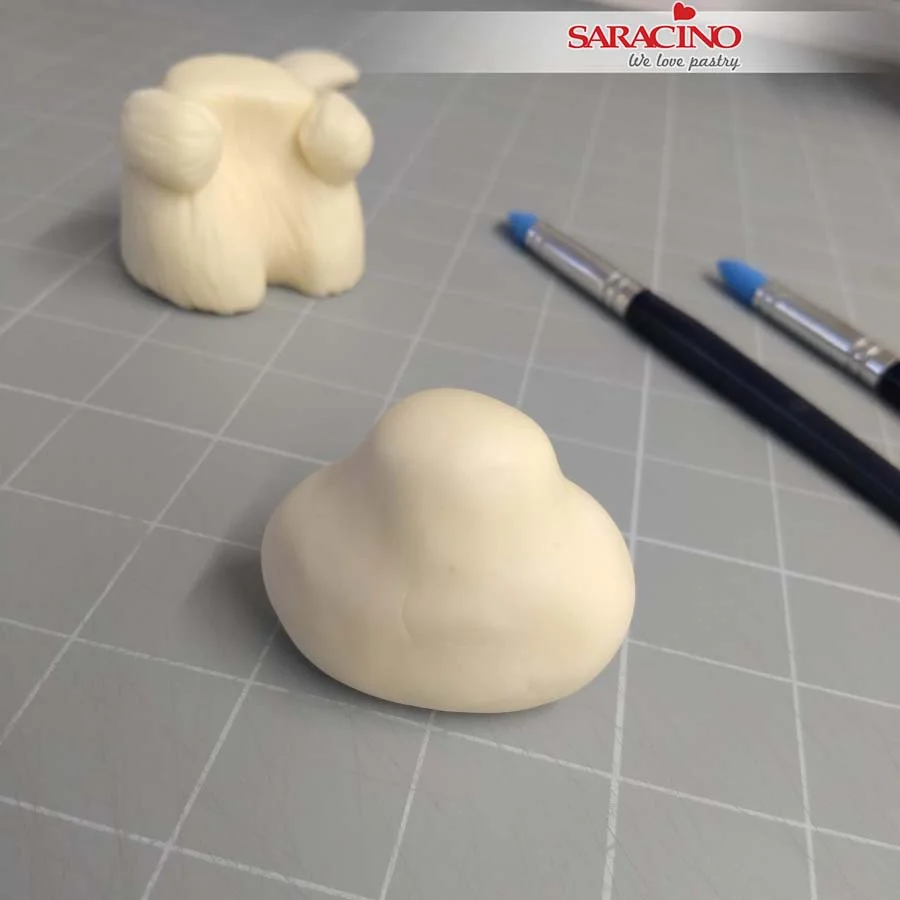
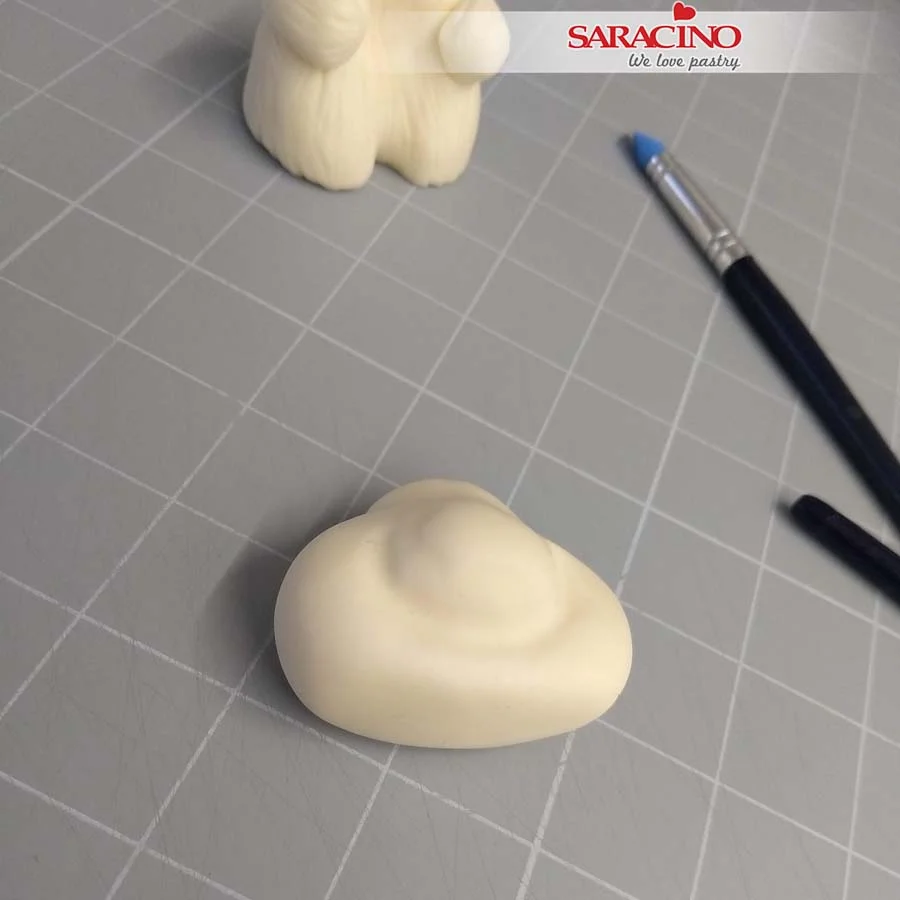
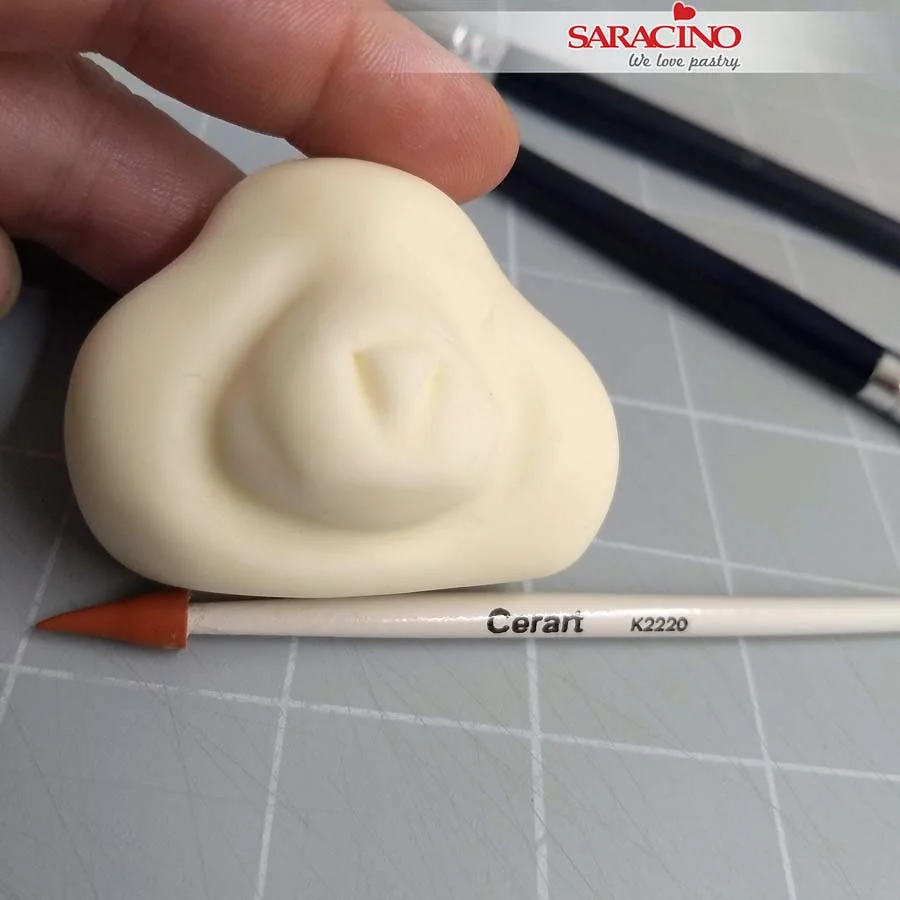
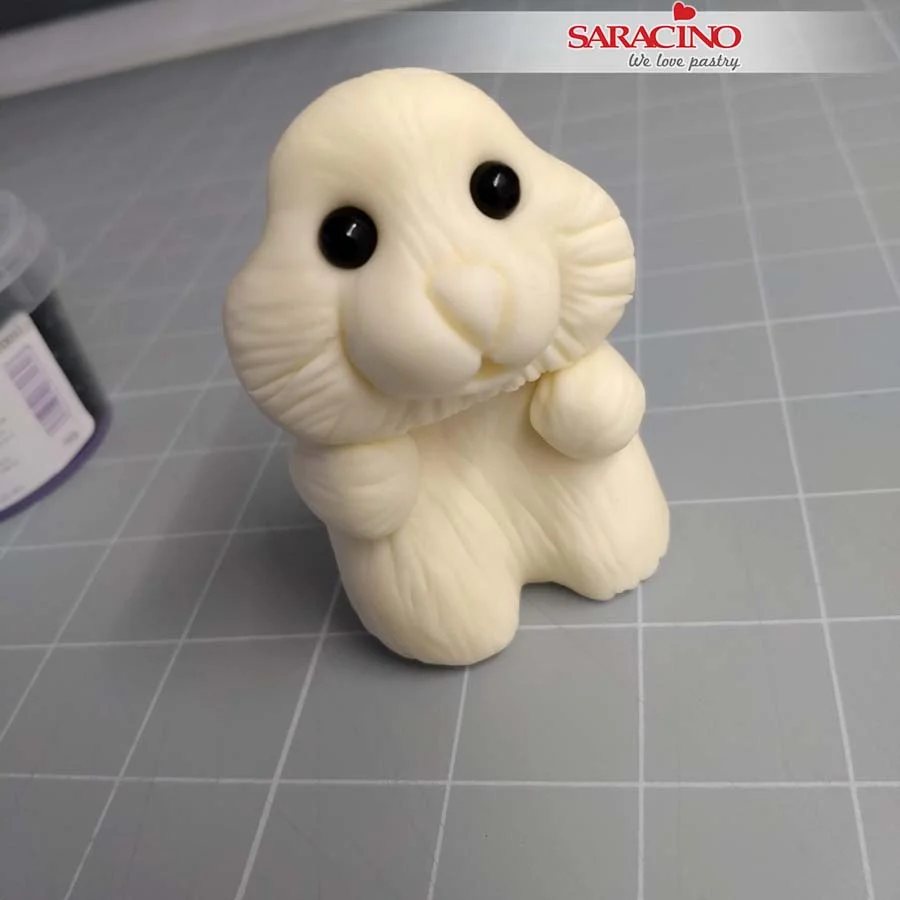
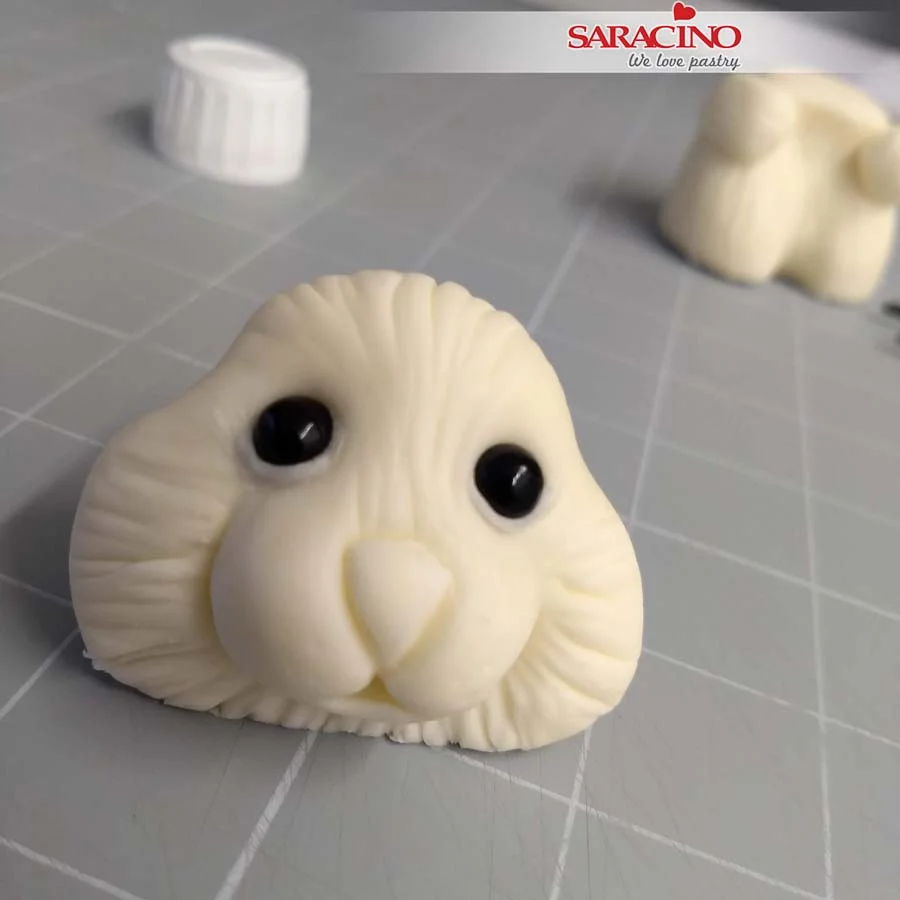
Take a piece of Pasta Model approx 60g and roll into a ball. Use your fingers to create a soft dome on the top. The dome will be the top of the head and the wider section will be the face and cheeks.

Step 9

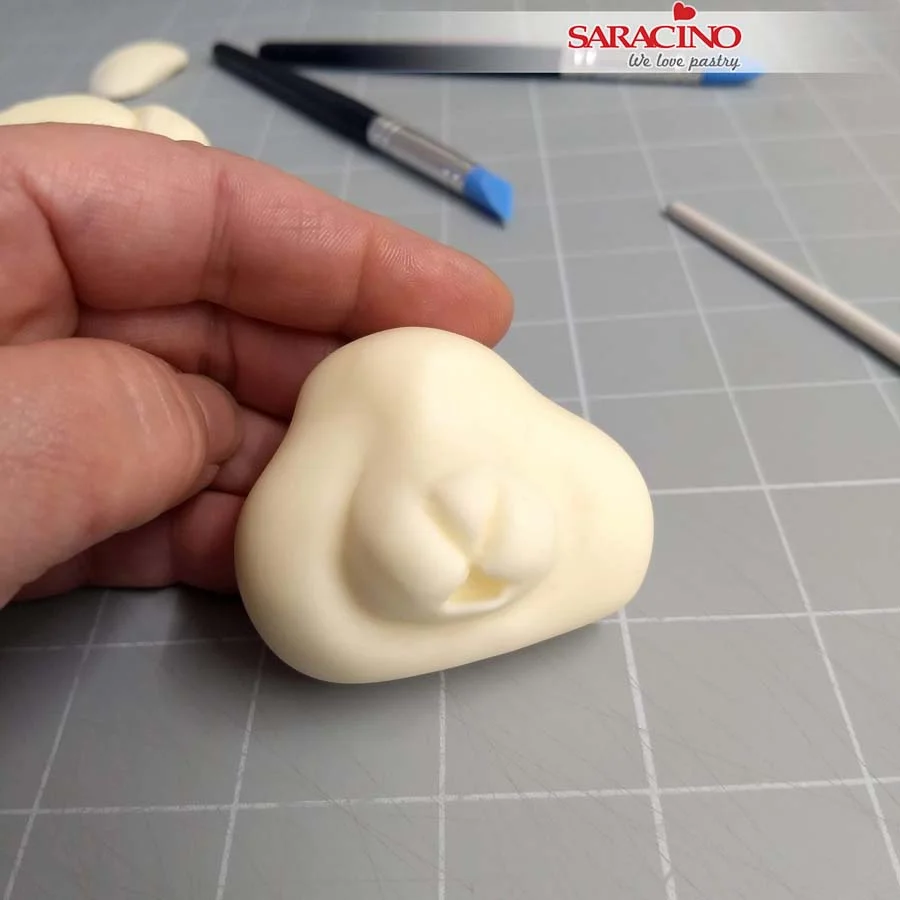
Using your fingers or a silicone tool, carefully form and shape a snout that projects further than the cheeks.

Step 10

Using a fine modelling tool, mark a triangle shape to form the nose shape. Flatten the bottom of the head.

Step 11

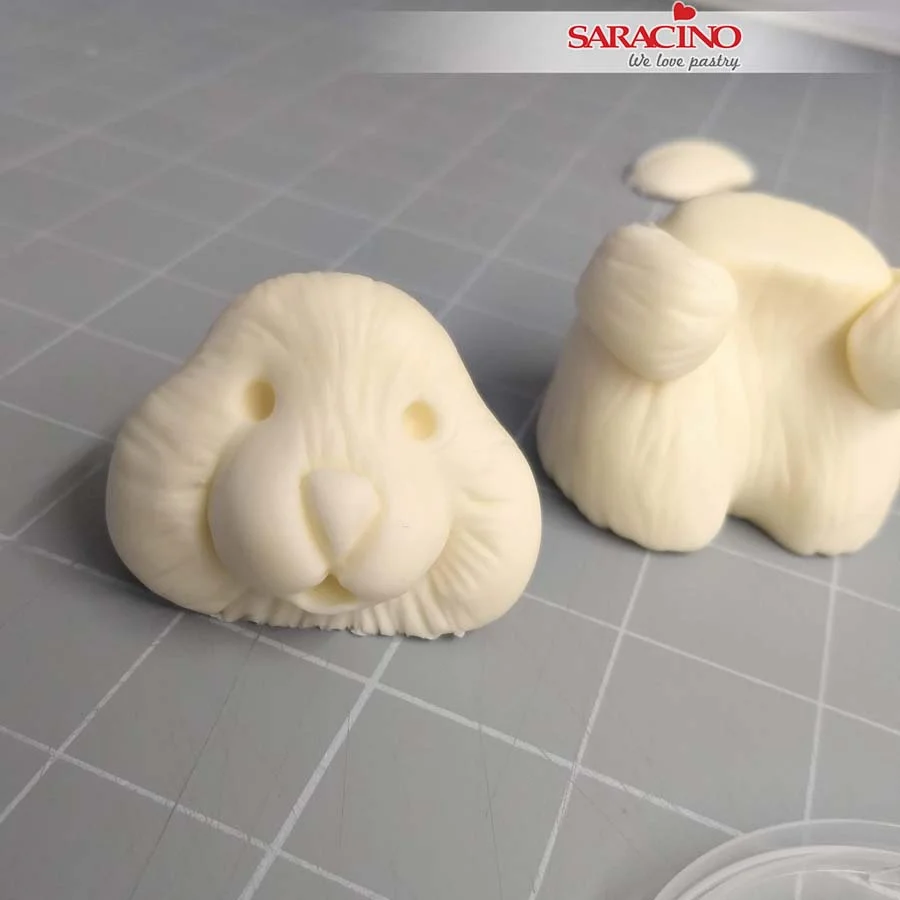
Push a Dresden tool in below the nose and push it downwards to create an open mouth shape. Use the modelling tools to define the features of the face.Ā 

Step 12

Using a Dresden tool, mark fur lines. Use a ball tool to create the eye sockets.

Step 13

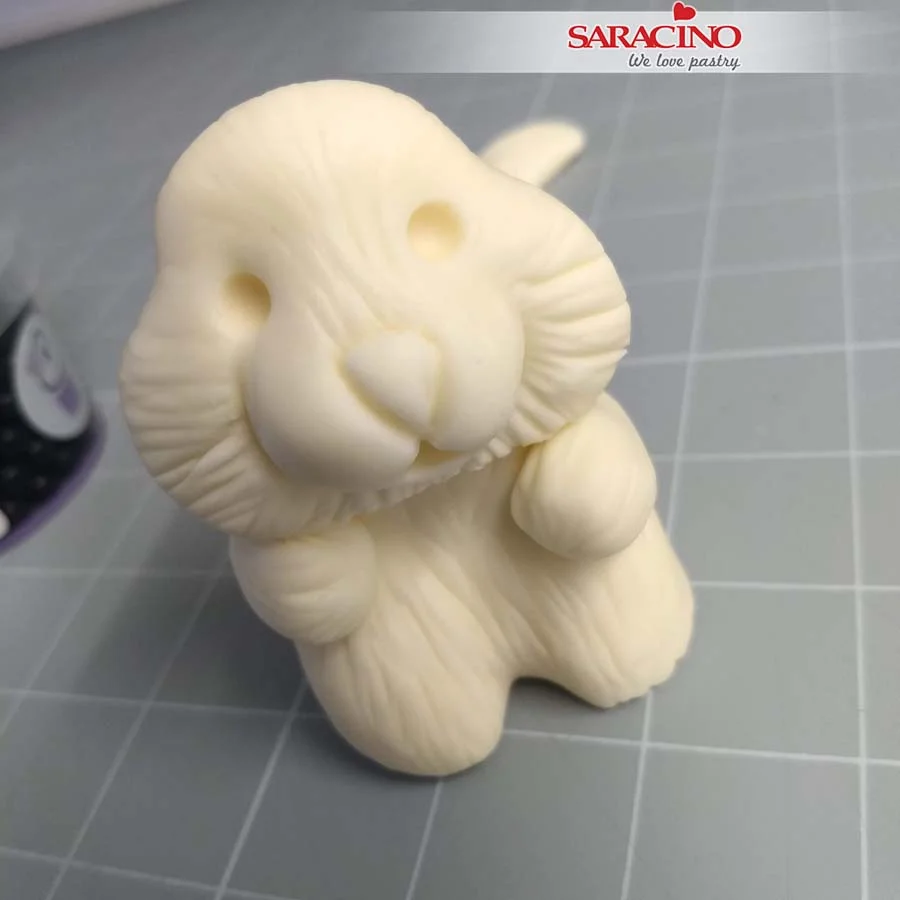
Attach the head to the body using a little edible glue. If further stability is required, you can insert a cocktail stick into the centre of the body before adding the head.

Step 14

fix two 7mm black sugar pearls into the eye sockets.

Step 15

Roll a tiny sausage shape of Pasta Model and fix this around the sugar pearl to create tiny eyelids and to soften the appearance of the hamsters eyes.

Step 16

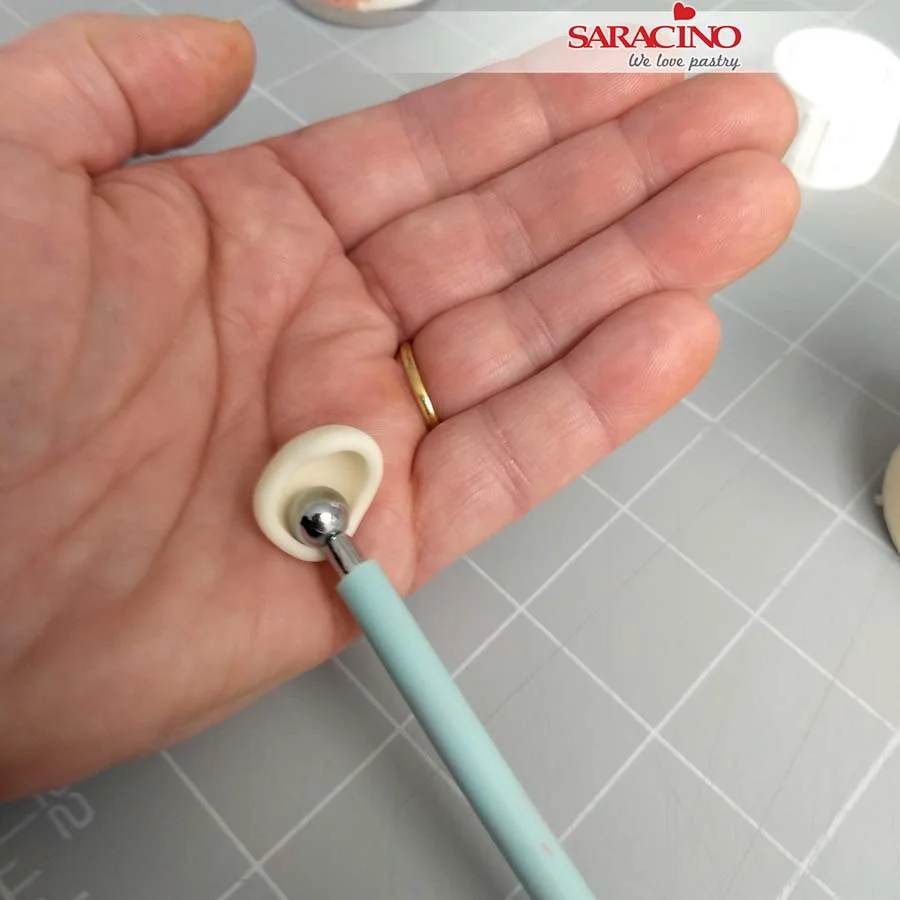
For the ears use two small balls of Pasta Model and place on your hand, press a ball tool into the centre to create a curved ear shape.

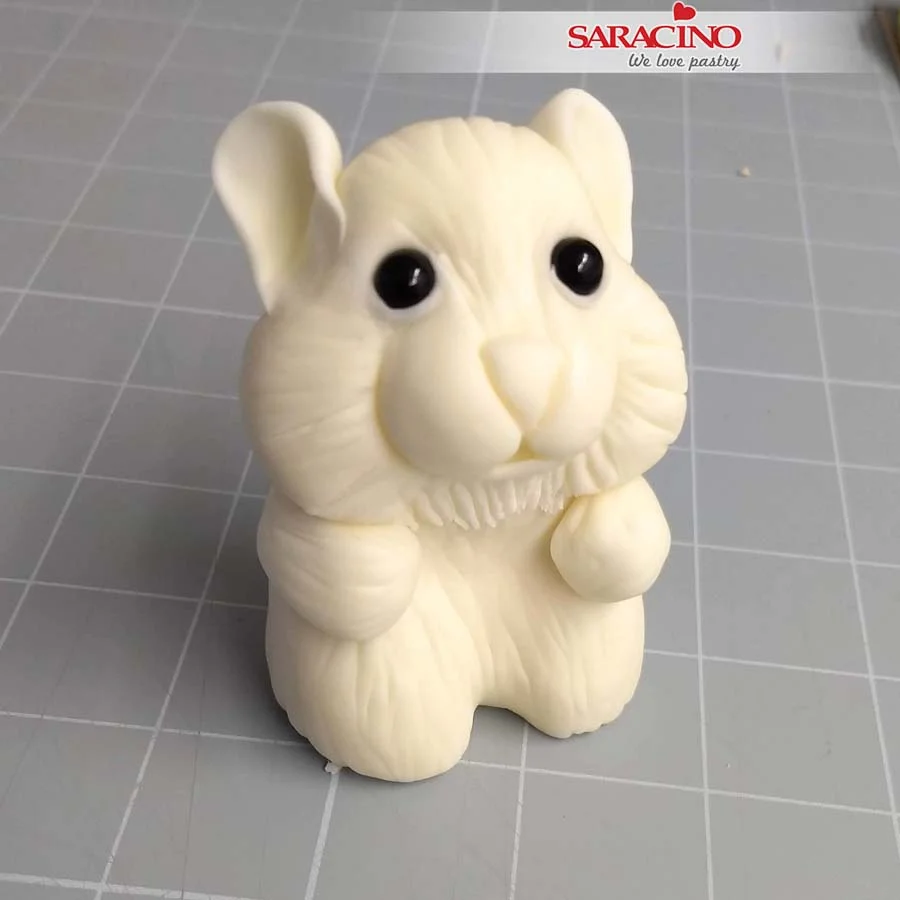
Step 17

Attach the ears using a little edible glue and blend the joints to the head using a modelling tool.

Step 18

Using a soft brush and pink powder colour dust the nose and ears. Push a small ball tool into the ends of the arms and legs ready to attach the paws.

Step 19

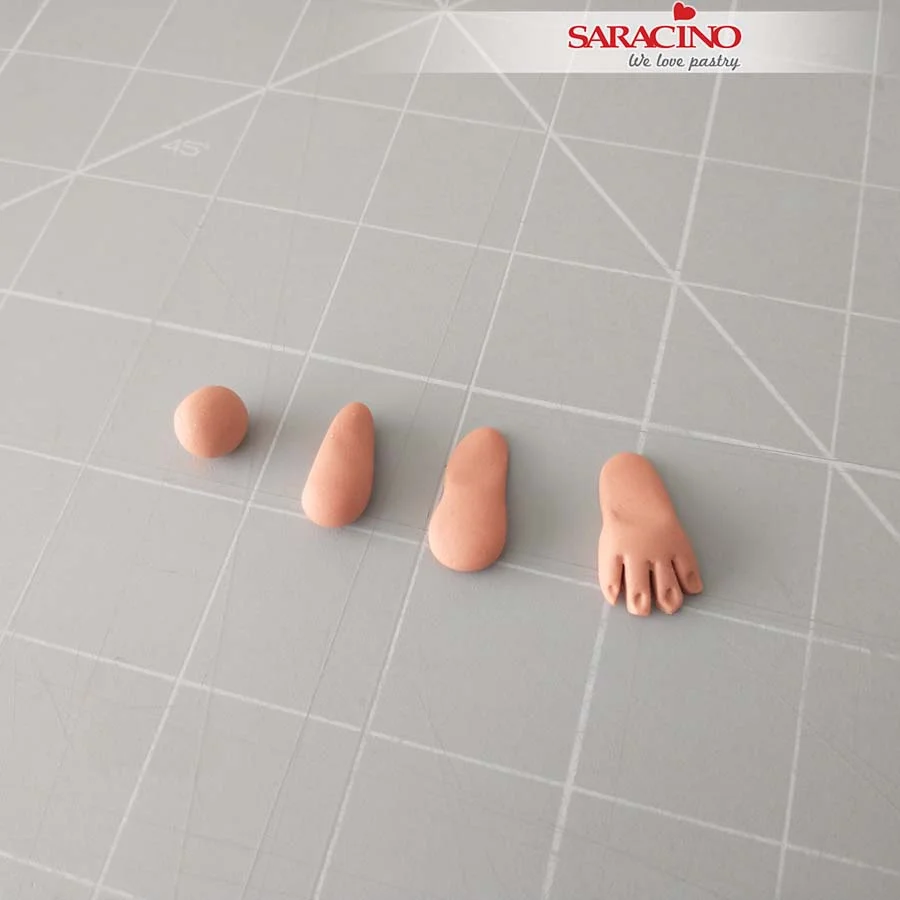
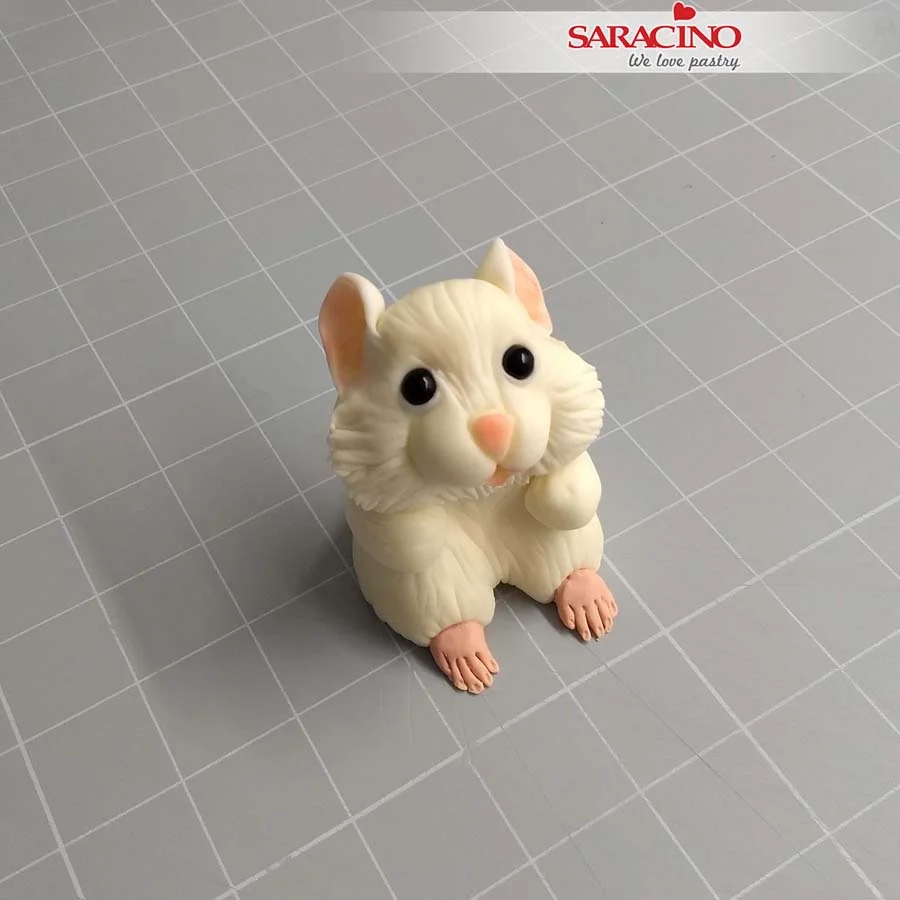
Take four 6g balls of Pasta Model coloured with paprika gel colouring and shape to form the paws as shown. Use the end of your Dresden tool to create the small nail indentations.

Step 20

Attach the feet using a small amount of edible glue.

Step 21

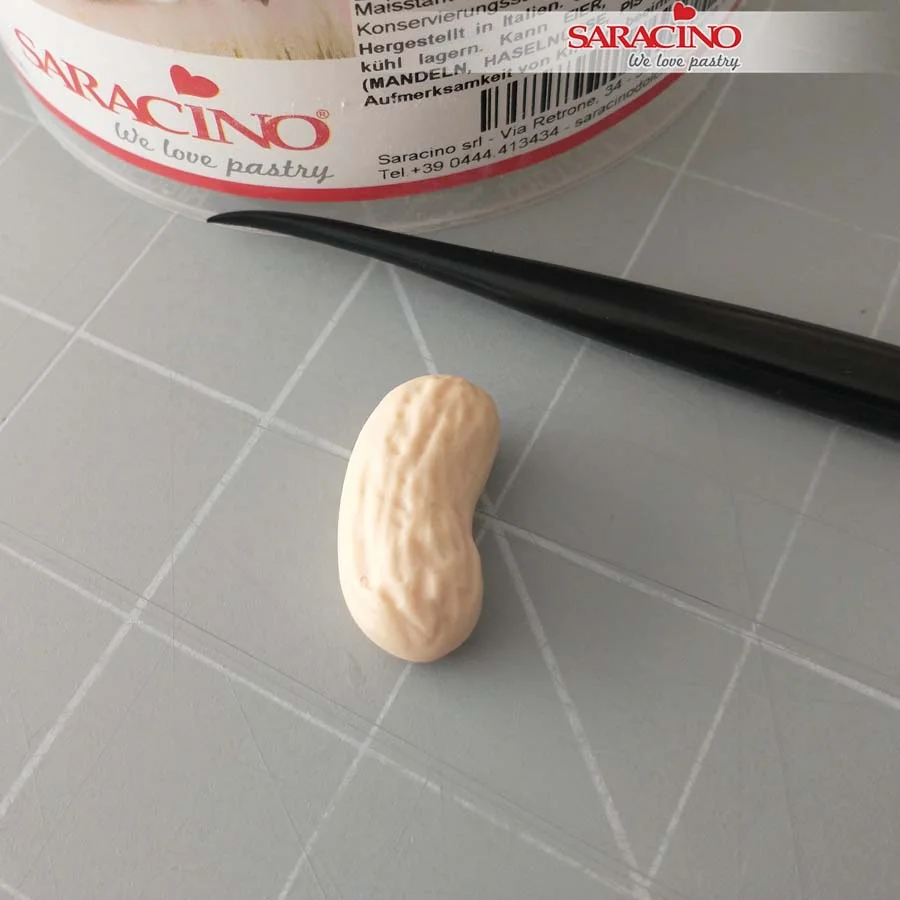
To make the peanut roll a 4g piece of pale brown Pasta Model to form the peanut shape.Ā Using a Dresden tool mark lines on the peanut. Use the sharp end of the tool to push soft dots to resemble a monkey nut.Ā 

Step 22

Use a soft brush and brown powder colour to dust the peanut. Fix the peanut to the hamsters body and fix the hands holding the peanut. Using a soft brush and powder colour dust the hamsters fur to the shade you. Your adorable little hamster is ready!

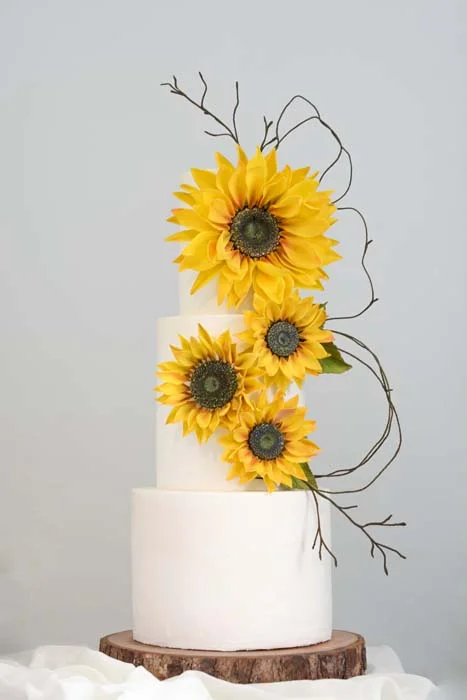
SUNFLOWERS TUTORIAL

SUNFLOWERS TUTORIAL

Skill level: BEGINNERS

You will need:

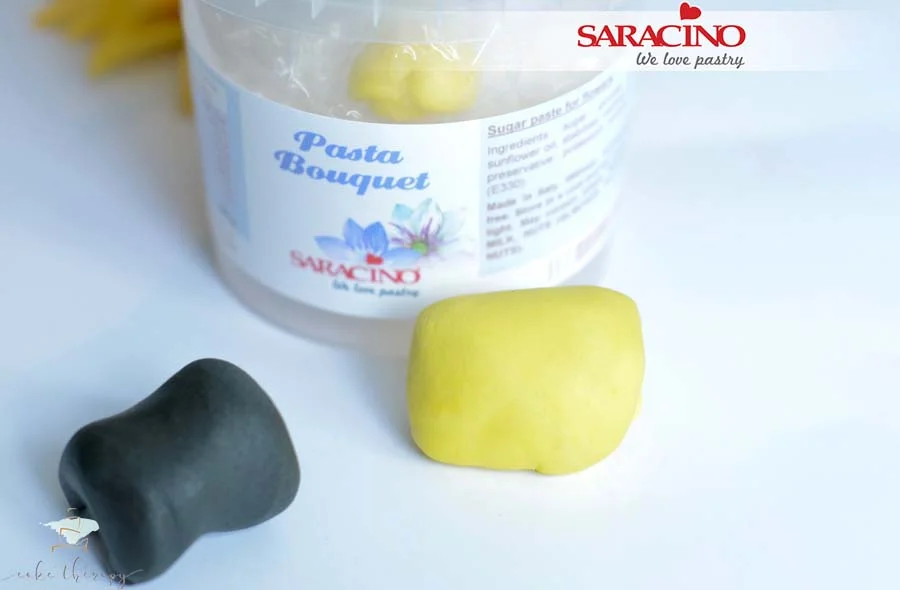
  • Saracino Pasta Bouquet
  • Gel colour (yellow, black, white, green)
  • Powder colour (yellow, red, brown)
  • Petal cutter and veiner
  • Sunflower center mould
  • Grooved work board
  • 26 gauge flower wire
  • Wire cutter
  • Small rolling pin
  • Foam board
  • Edible glue
  • Spoons or petal former
  • Soft brushes for dusting
  • Pointed tool

Step 1

Colour your Pasta Bouquet using yellow and black gel colour.Ā 

Step 2

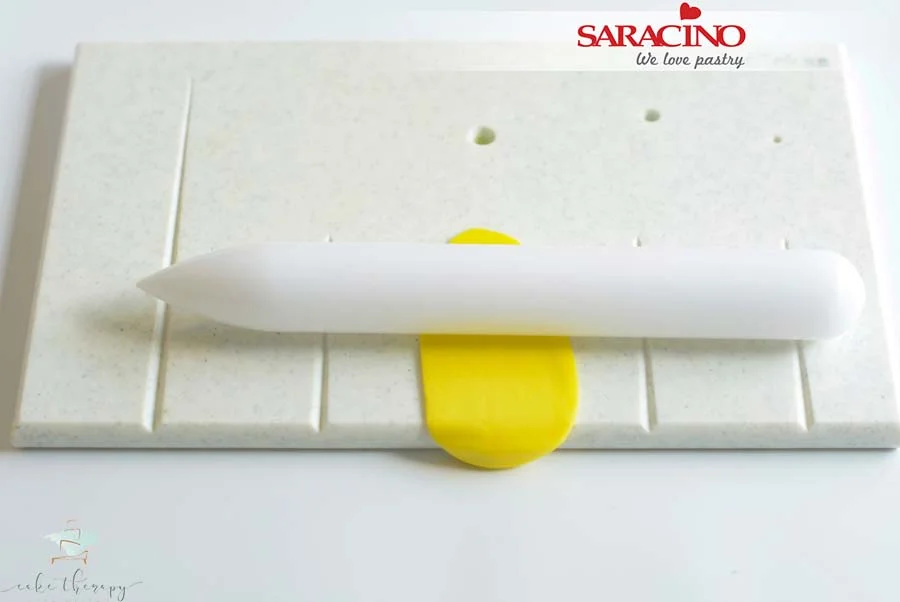
    Take a small amount of the yellow Pasta Bouquet and roll it over a groove on your board until the paste is thin.Ā 

    Step 3

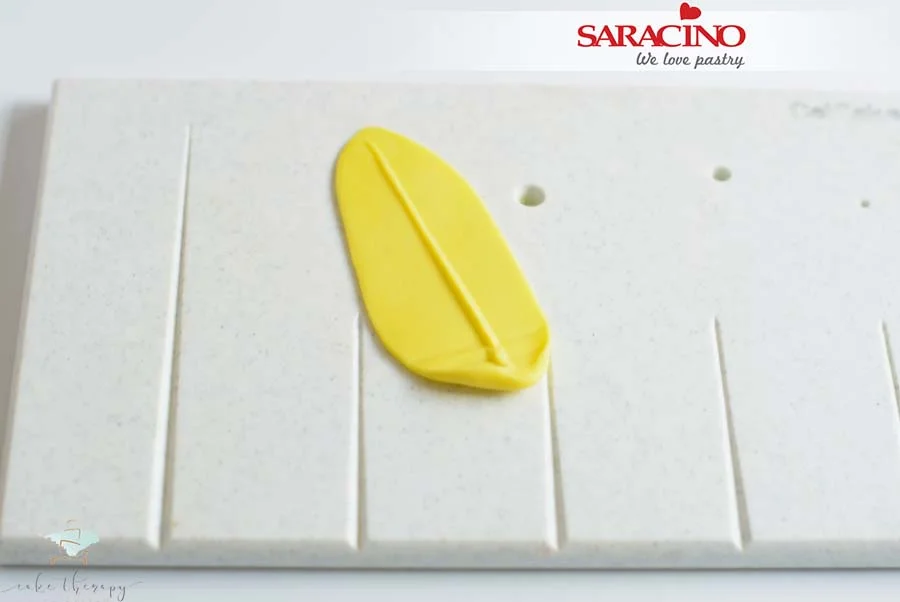
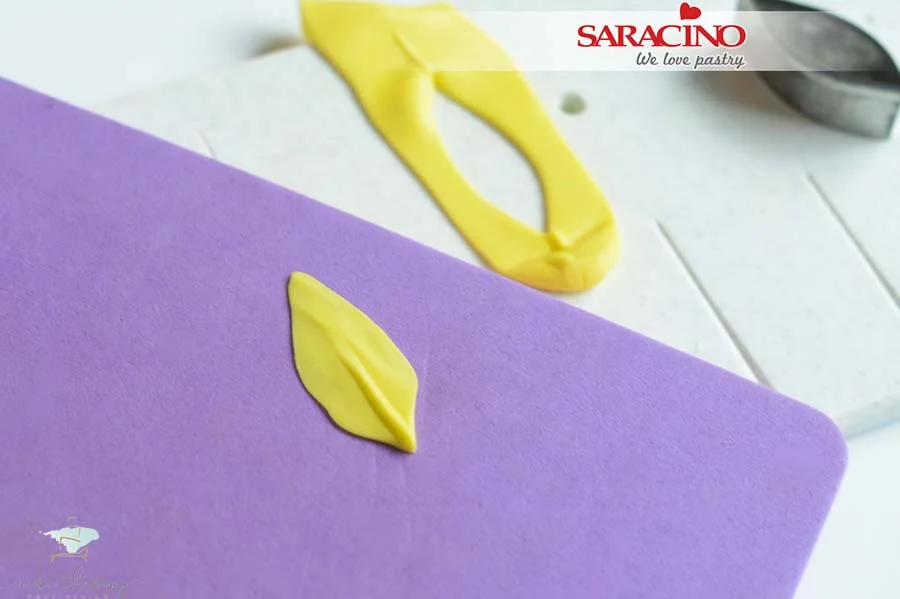
    Once the paste is rolled thinly turn the petal over to show the vein for the flower wire.

    Step 4

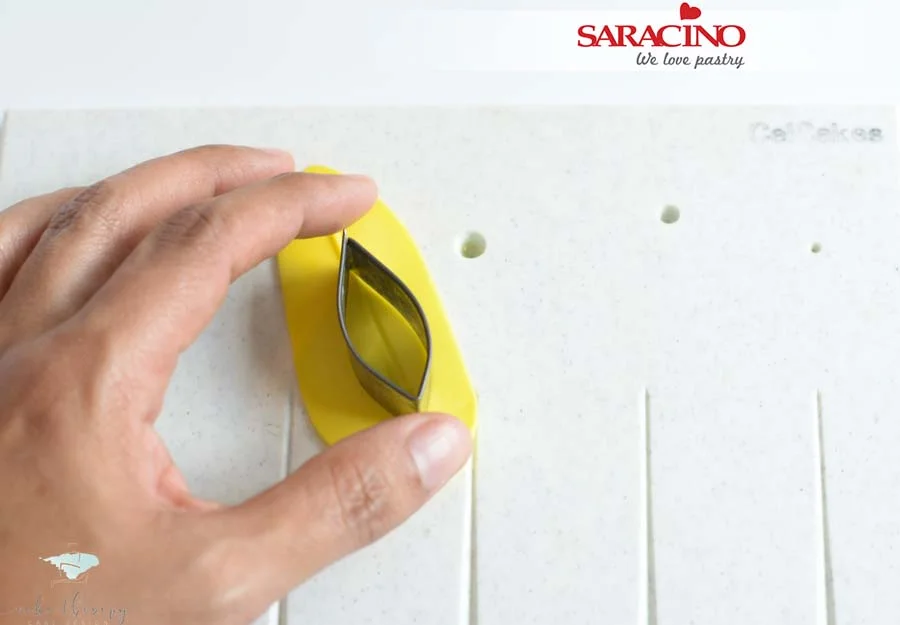
    Place the petal cutter in line with the center vein and cut the petal.

    Step 5

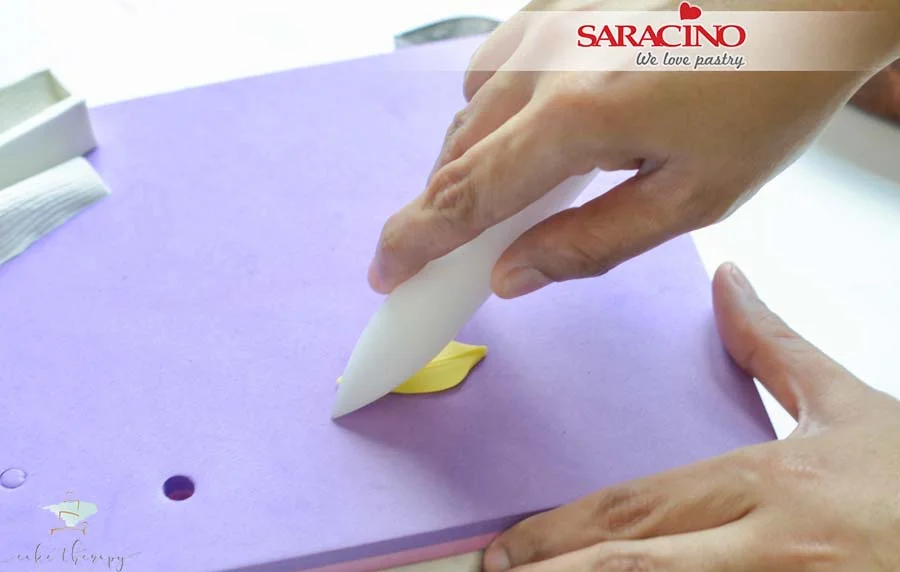
    Place the petal on a foam mat and using the end of a rolling pin or ball tool gently press around the outside of the petal to thin the edge.

    Step 6

    Do not thin around the bottom of the petal. If you press too firmly at the bottom you will lose the paste needed for wiring.

    Step 7

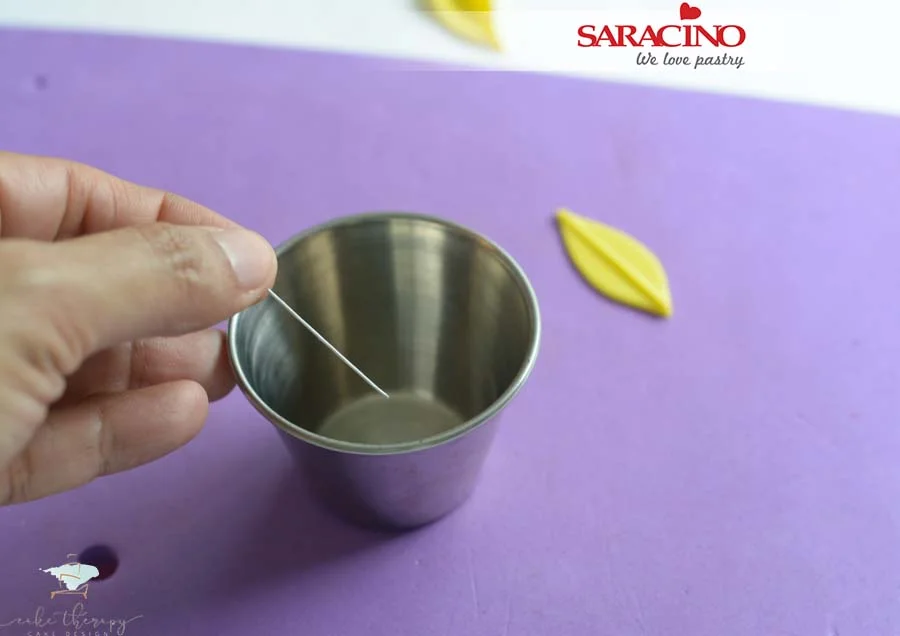
    Use a small wire cutter to cut the 26 gauge wire into shorter lengths. Two inches (5cm) should be long enough.Ā Moisten the tip of the wire with edible glue or a small amount of water. This will provide a secure attachment once dried.

    Ā 

    Step 8

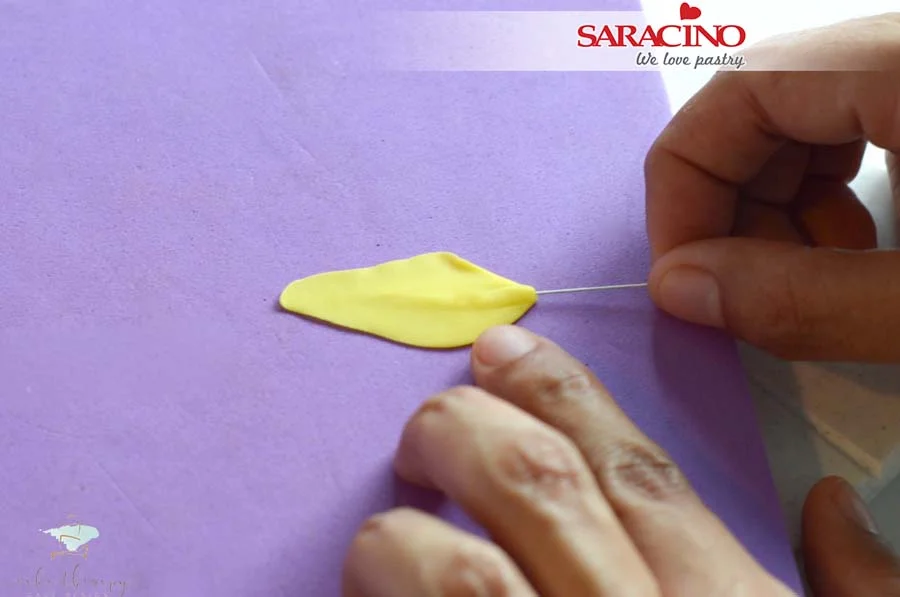
    Gently insert the wire into the grooved, thicker area of the petal. Twist when inserting to make it easier.

    Step 9

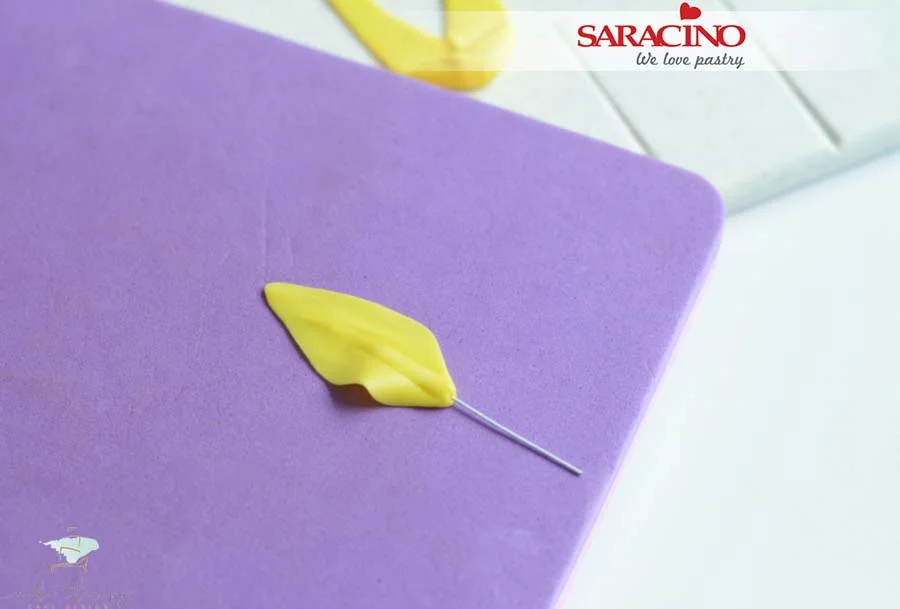
    Make sure the wire is not visible through the petal.

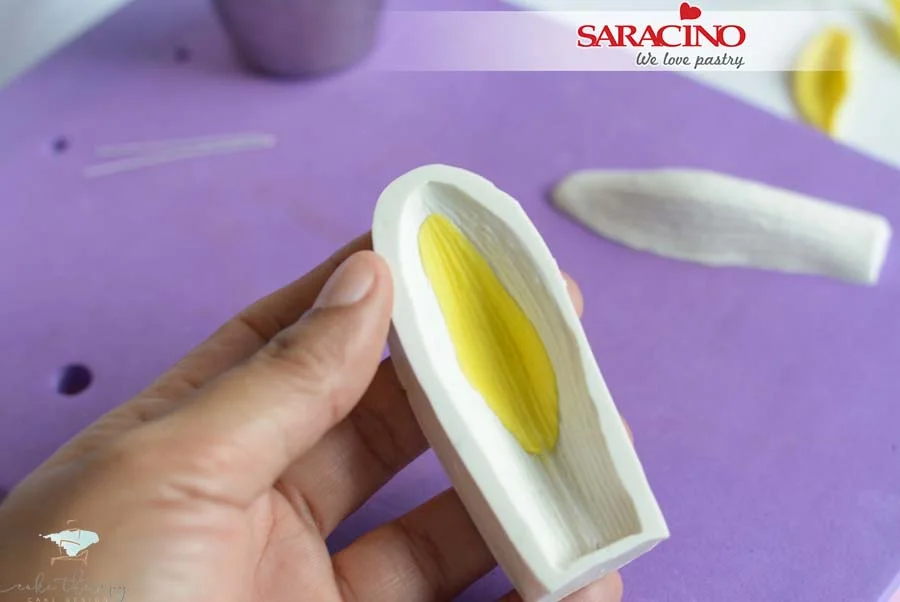
    Step 10

    Place the wired petal into the petal veiner.

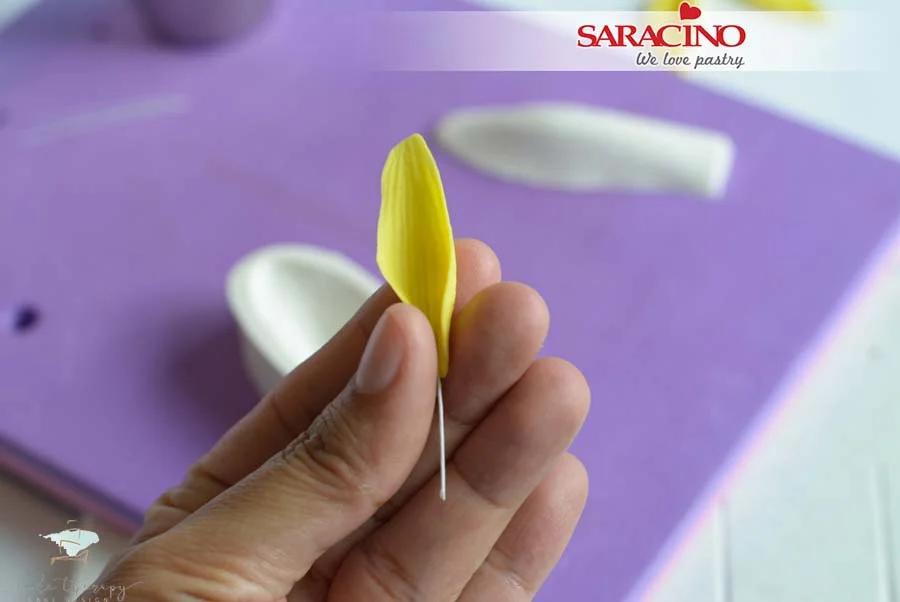
    Step 11

    Carefully remove the petal and slightly press at the base.

    Step 12

    Bend the tip of the petal as well.

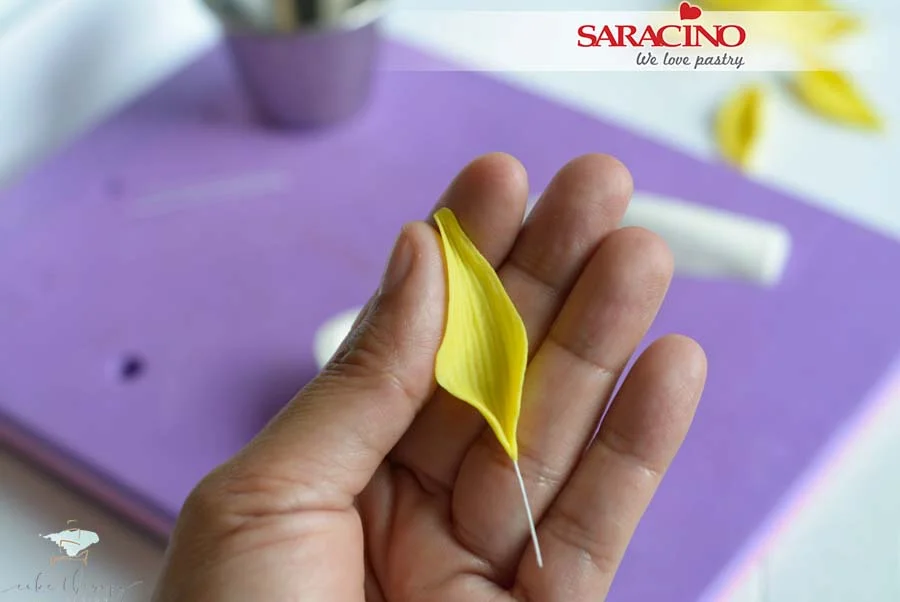
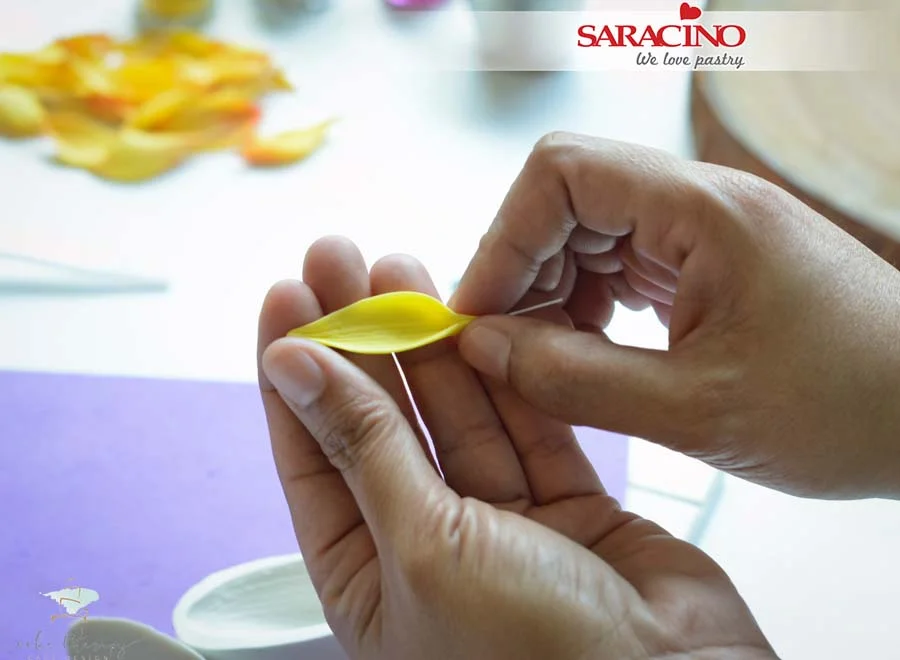
    Step 13

    Use your fingers to delicately give form and movement to the petal.

    Step 14

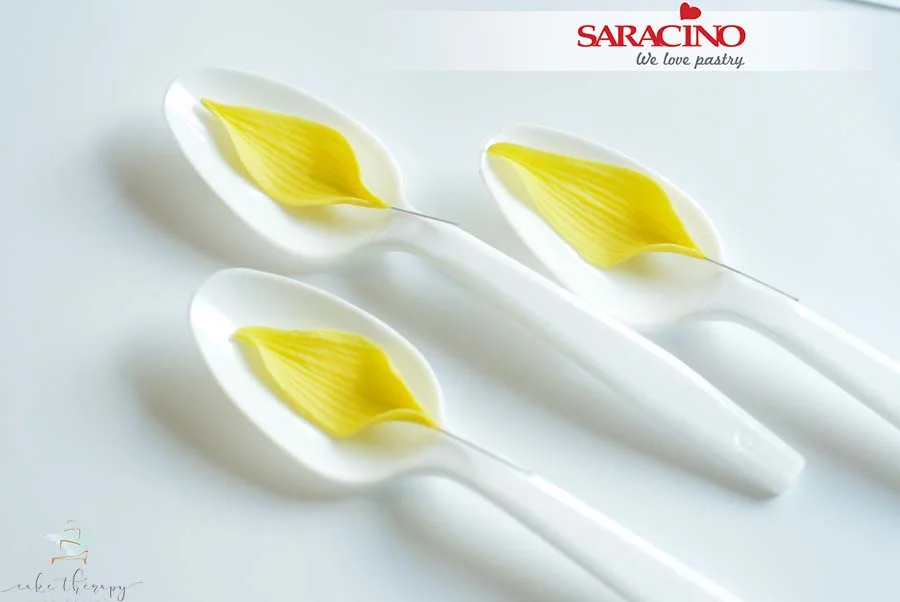
    You can use spoons to aid with petal forming and allow to dry until the next day or at least a couple of hours.

    Step 15

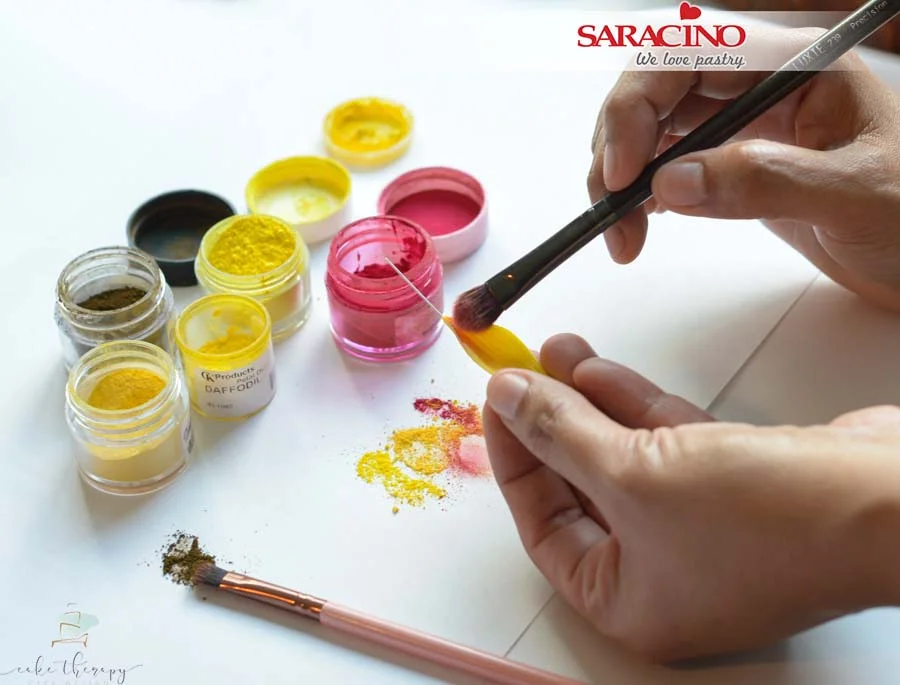
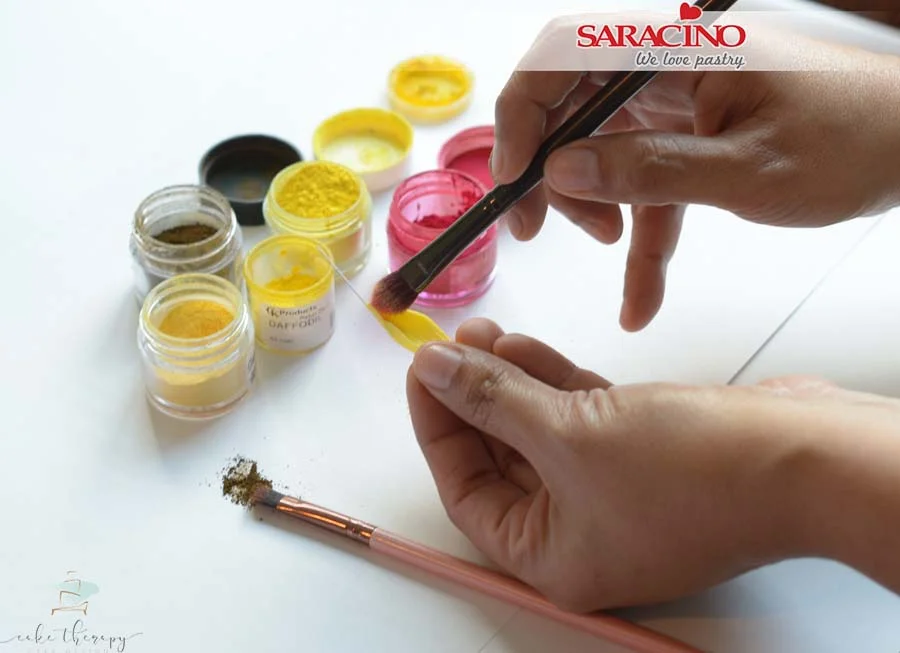
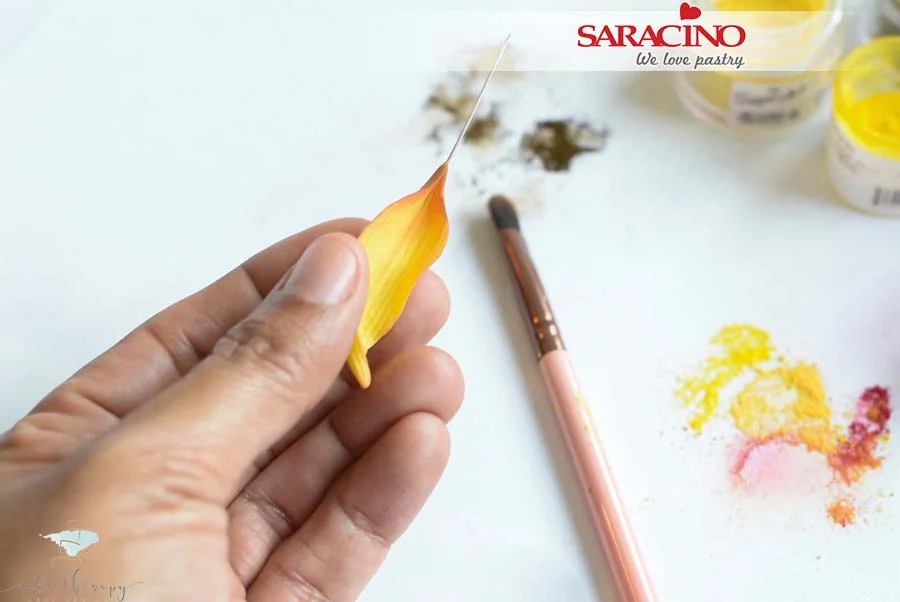
    Once the petals are dry they are ready for dusting. Use a combination of yellow and red powder colour and mix to create the desired shade of orange.Ā Starting applying the orange tone at the base of the petal and use lighter colours towards the tip of the petal to give a nice blend and transition of colour.Ā 

    Ā 

    Step 16

    Don’t forget to colour the back and tip of the petal.

    Step 17

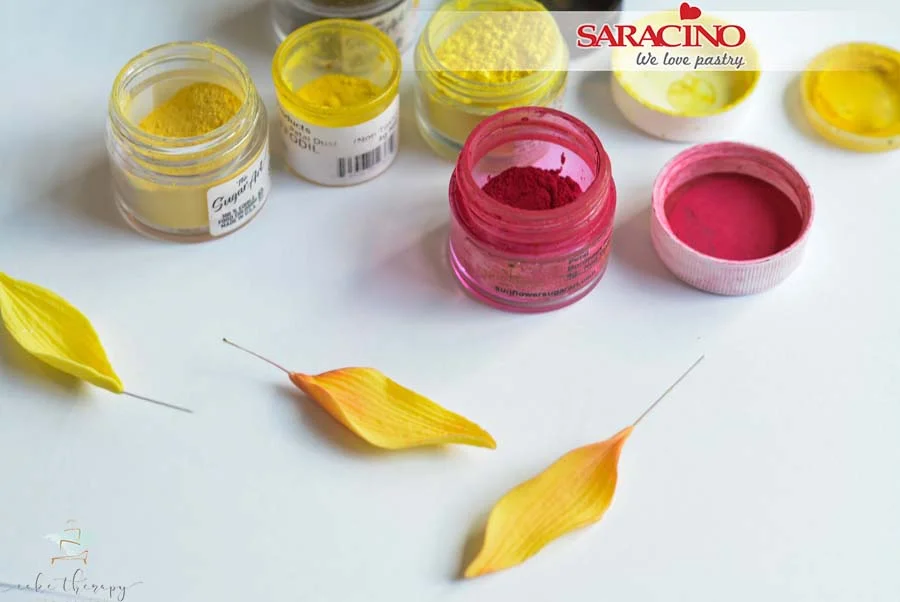
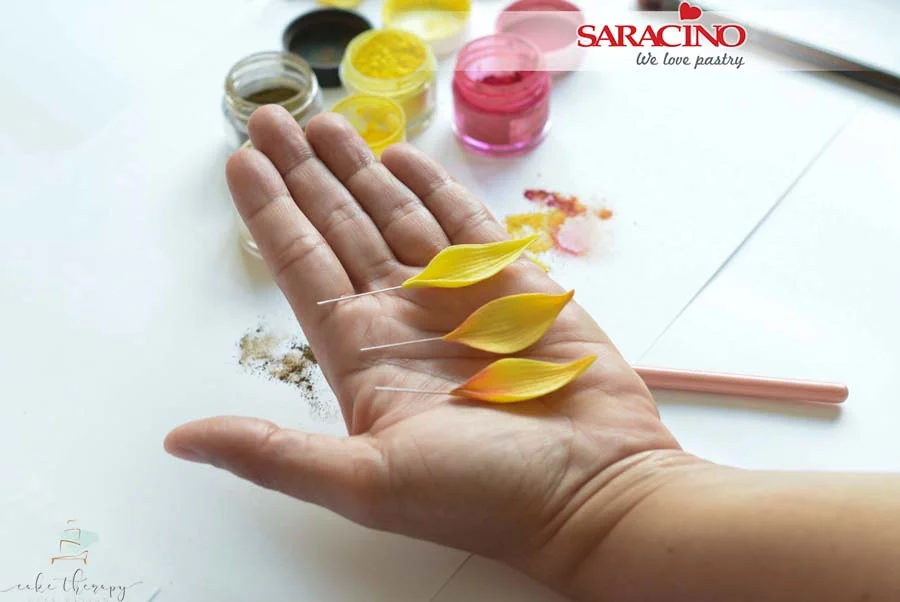
    The petal should look darker at the bottom, lighter at the center and with just a slight shade of orange at the tip.

    Step 18

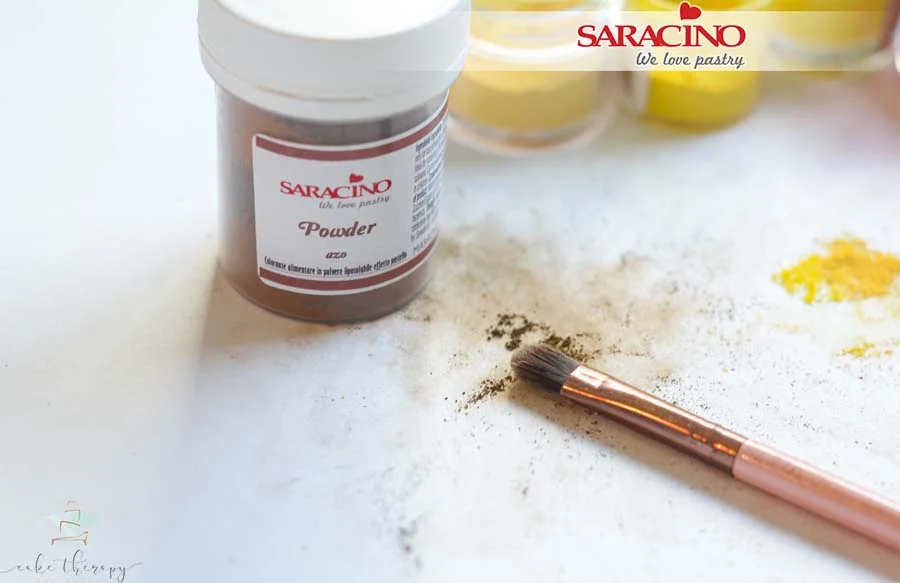
    Prepare brown powder colour and a smaller soft brush.

    Step 19

    Dust the brown colour at the base of the petal next to the wire.

    Step 20

    This picture shows the transition in the dusting process. Repeat the steps to make at least 38-40 petals for this size centre. It is always a good idea to make spares.

    Step 21

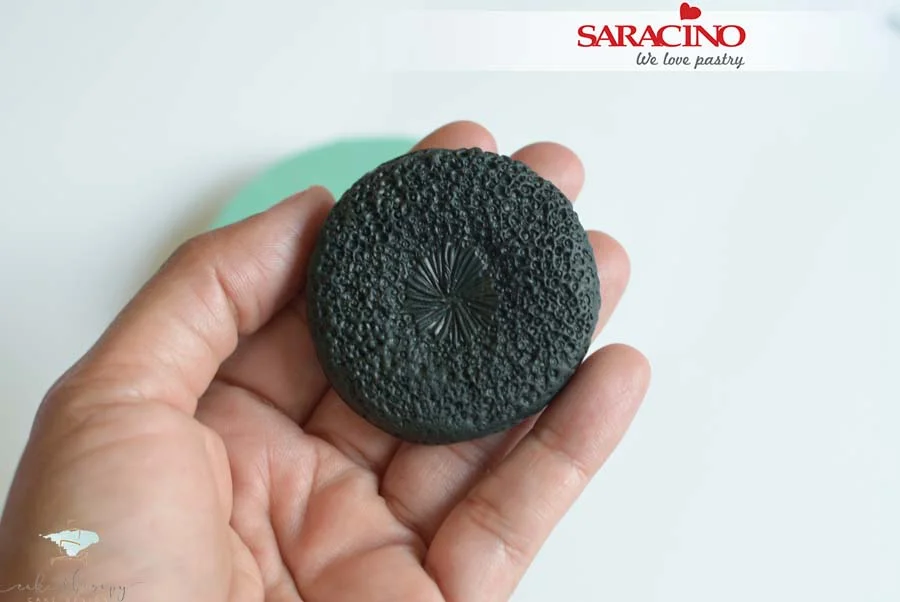
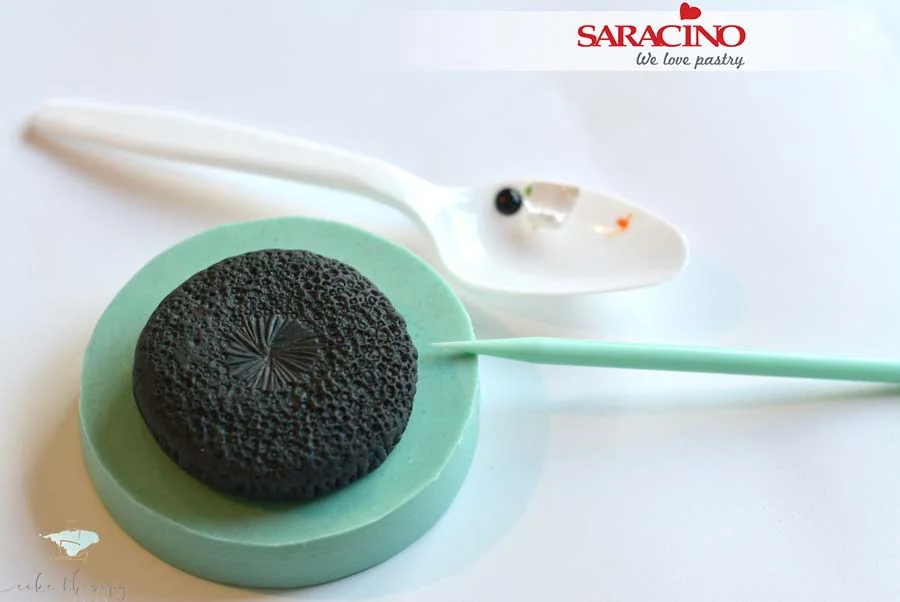
    Using approximately 30g black coloured Pasta Bouquet, press into the sunflower center mould. Make sure to press evenly so the impression is uniform around the center.

    Step 22

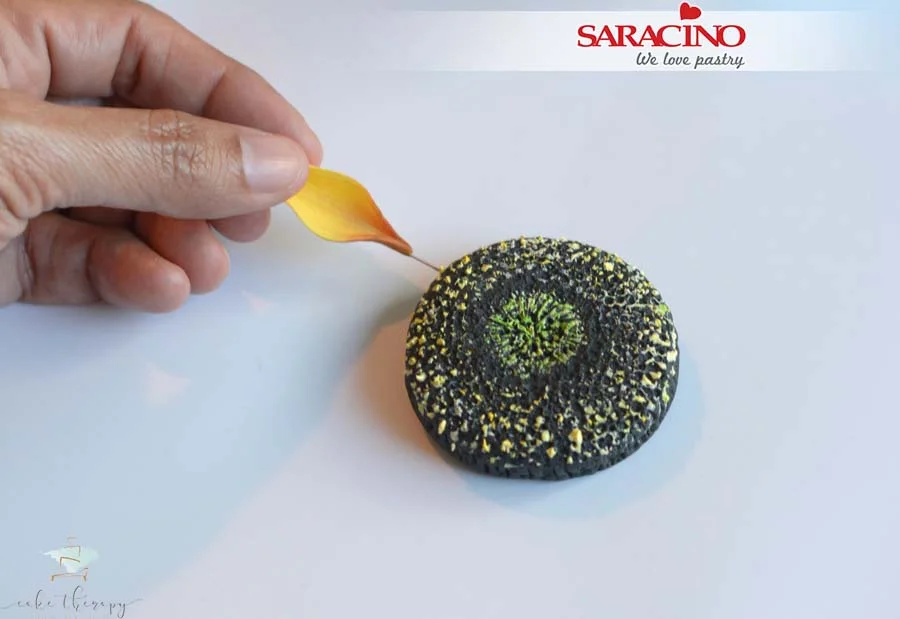
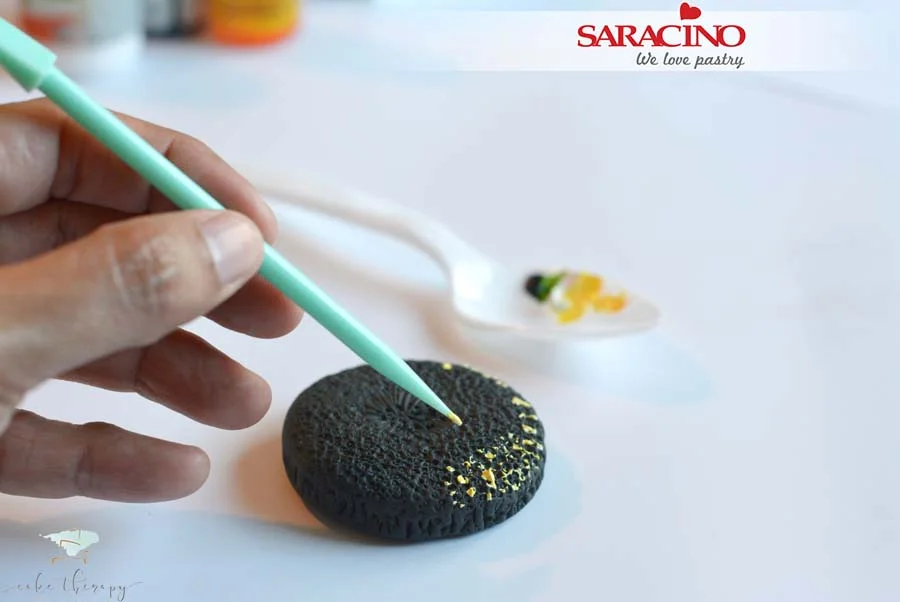
    You will need a modelling tool with a pointed tip or a tooth pick to add paint to the center of the flower.

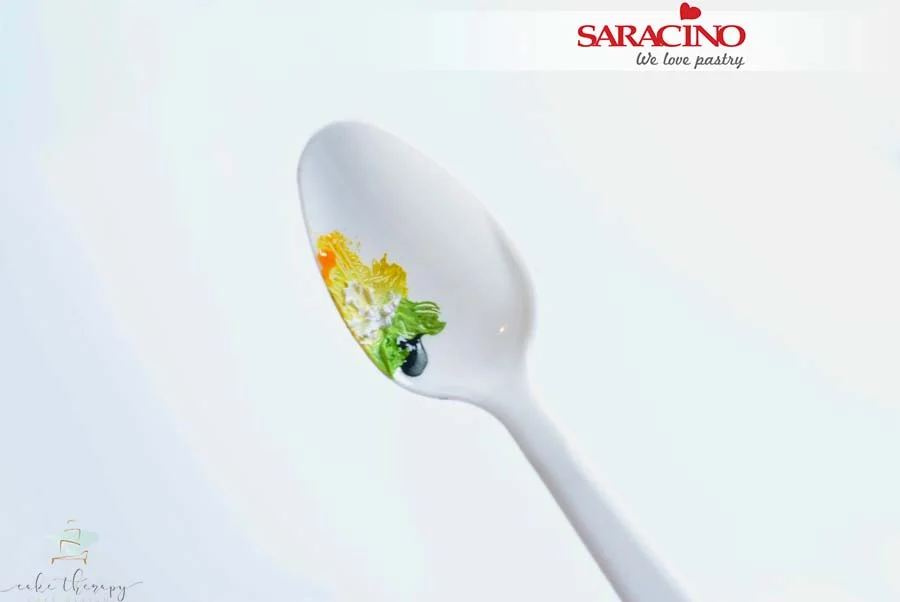
    Step 23

    You can use a spoon as a small paint palette to prepare green, white and yellow gel colours.

    Step 24

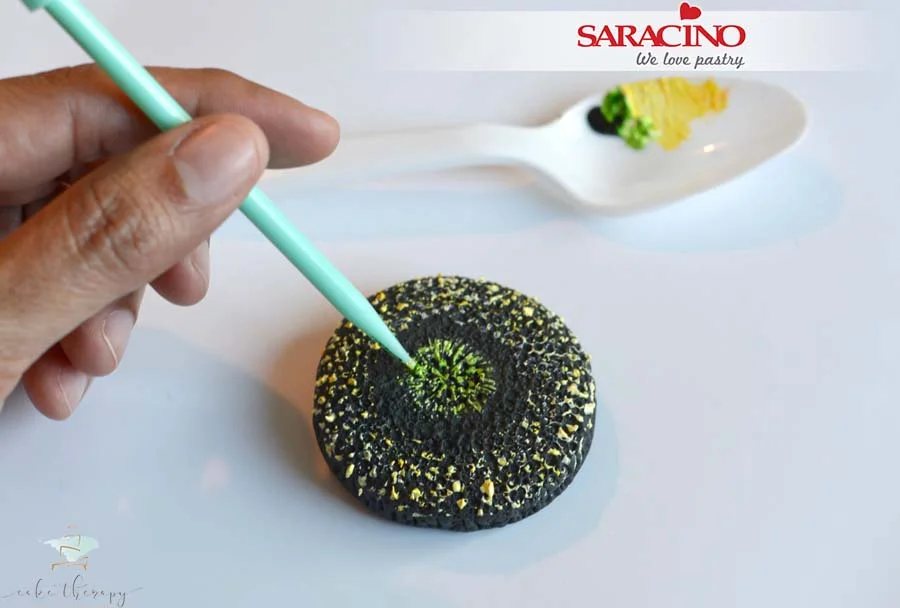
    Starting with the yellow make small dots with the end of the pointed tool.

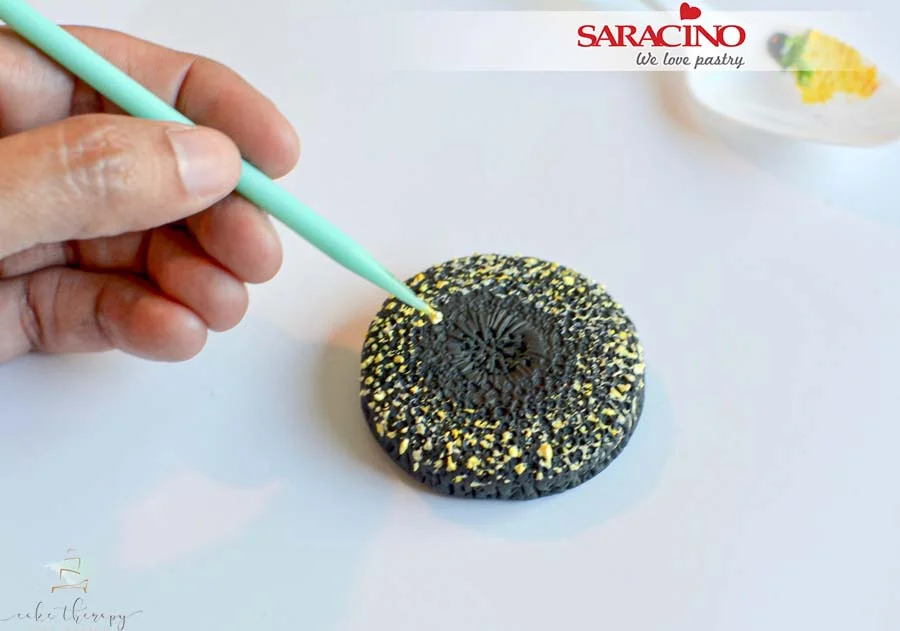
    Step 25

    Move around the outer part of the center and inwards to the center making smaller spots as you move towards the inner center.

    Step 26

    Then follow a similar procedure with the green colour to the inner center of the flower. Allow for drying time.

    Step 27

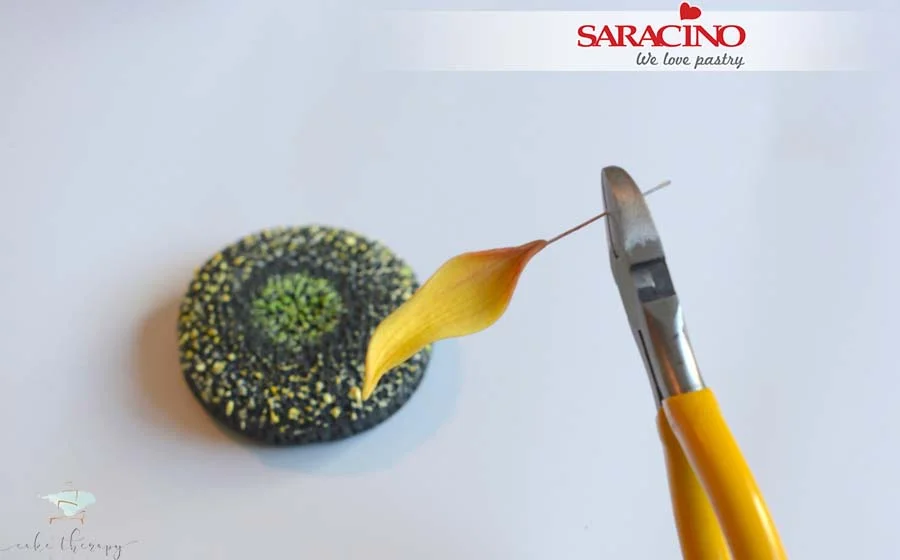
    Trim the wire excess from each petal if needed.

    Step 28

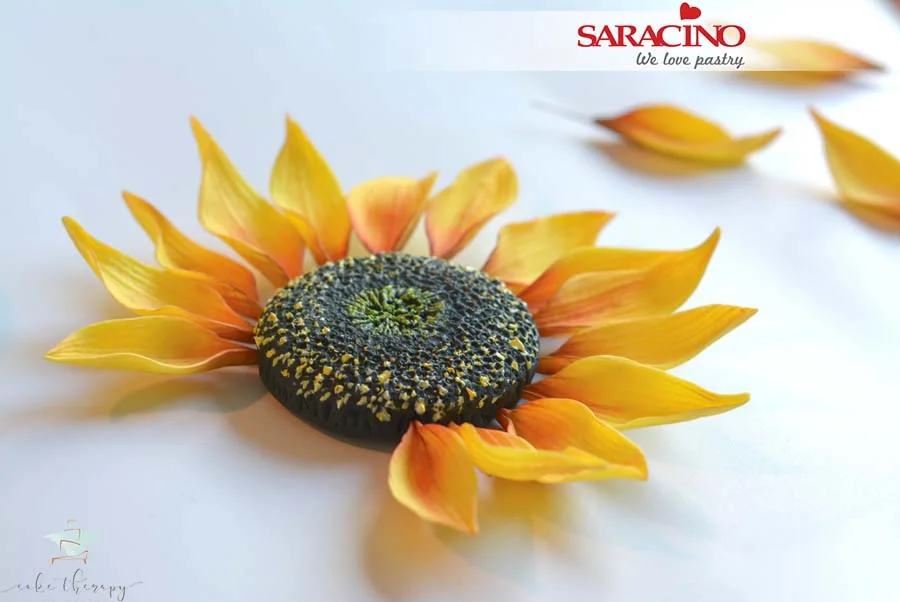
    Dip the tip of the wire into edible glue and insert the petals into the flower center.

    Step 29

    Ā  Continue around the side making sure you leave the same amount of space between each petal.

    Step 30

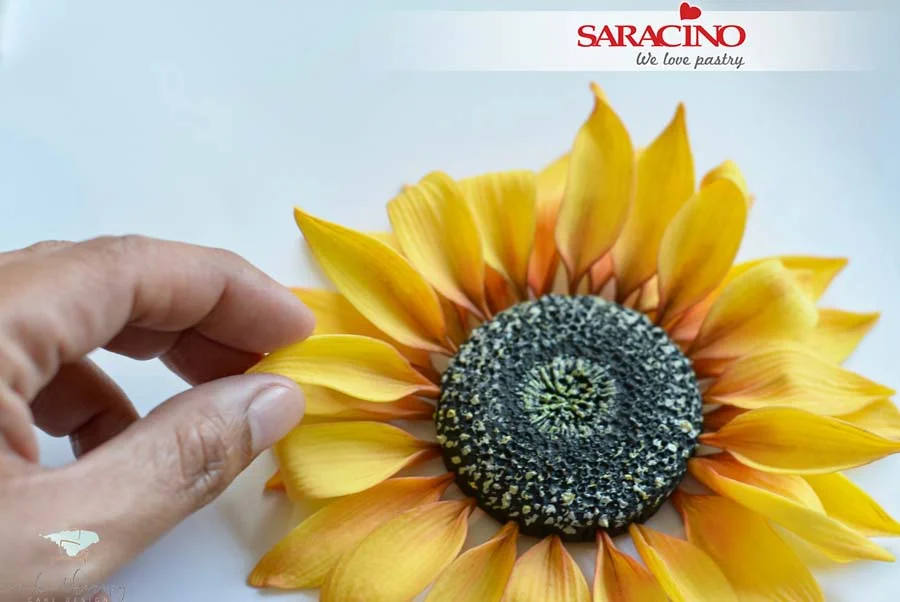
    Once you have finished the bottom layer, start inserting a second layer of petals starting in the space between the petals of the first layer below.

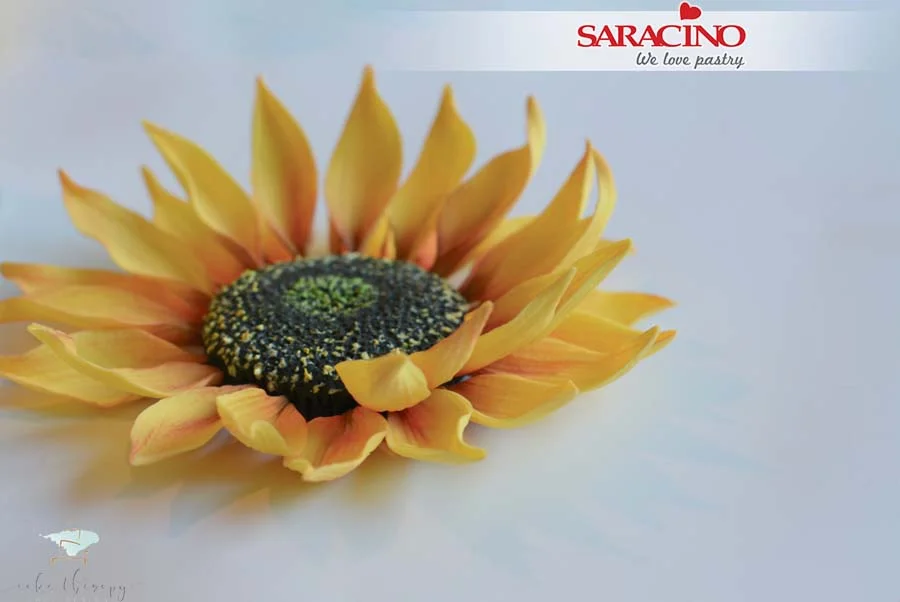
    Step 31

    Continue around the centre leaving the same gap between each petal until you finish the upper layer. Your sunflower is now ready to add sunshine to your cake!

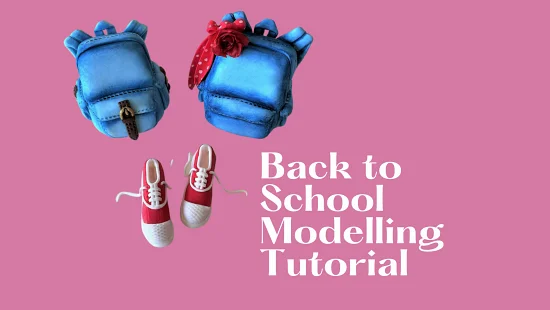
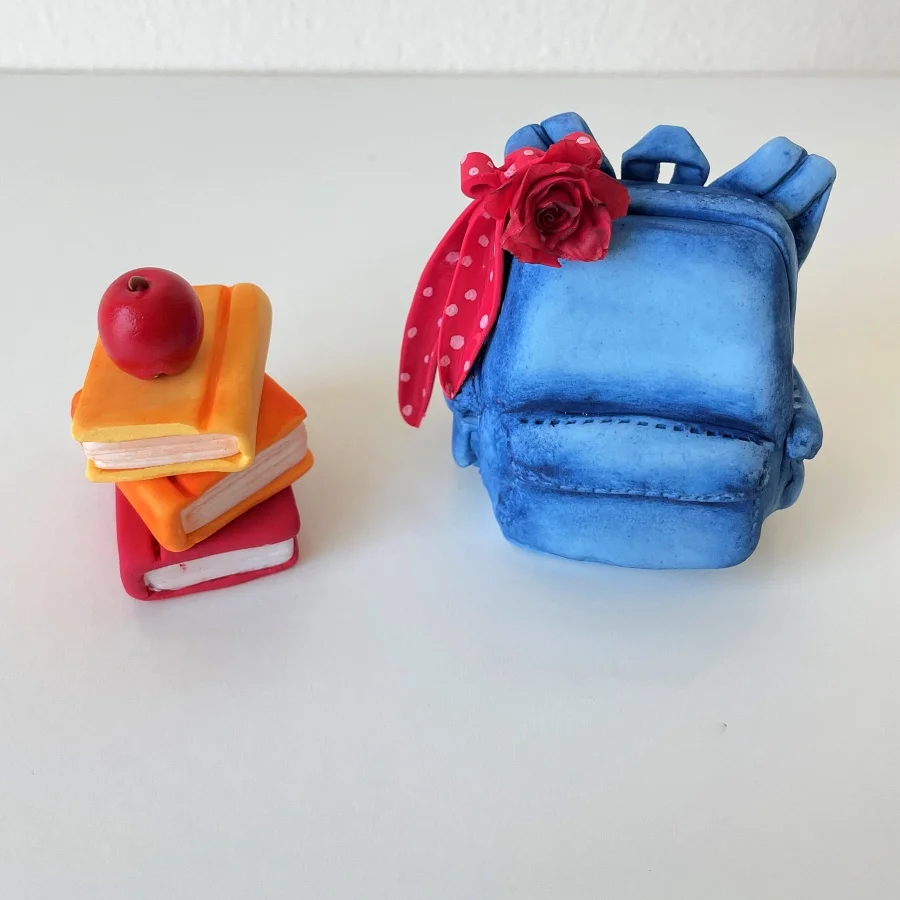
    GET READY TO GO BACK TO SCHOOL

    GET READY TO GO BACK TO SCHOOL

    Skill level: BEGINNERS

    You will need:

    • Saracino Pasta Model: blue, red, brown, white
    • White gel colour
    • Powder colours – gold, black, dark blue, red and brown
    • Liquid Shiny confectioner’s glaze
    • Dresden tool
    • Exacto knife
    • Rolling pin
    • Stitch tool
    • Pointed modelling tool
    • Ball tool
    • Paint and dusting brushes
    • Texture mat

    Step 1

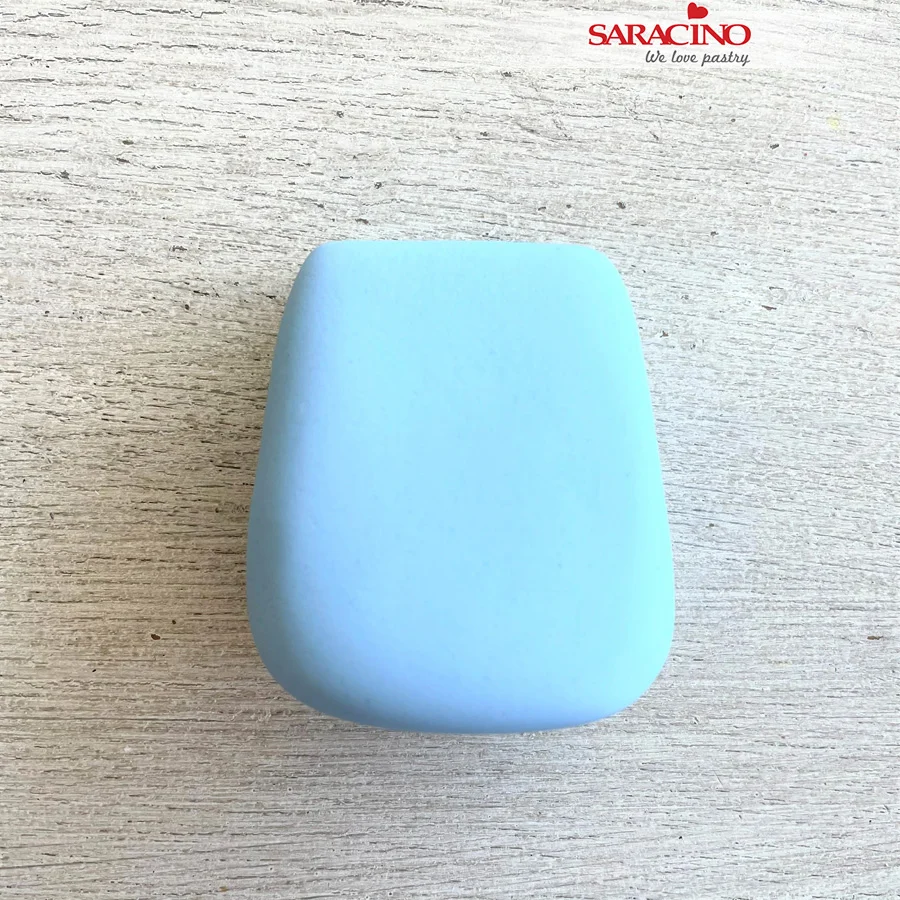
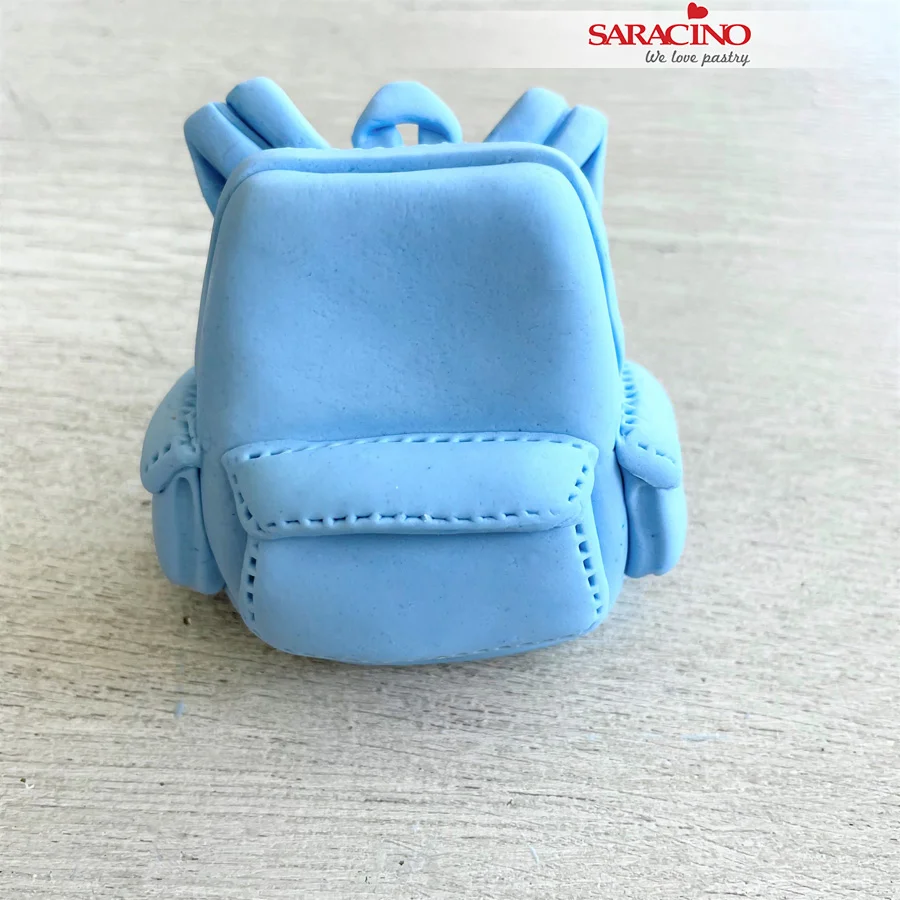
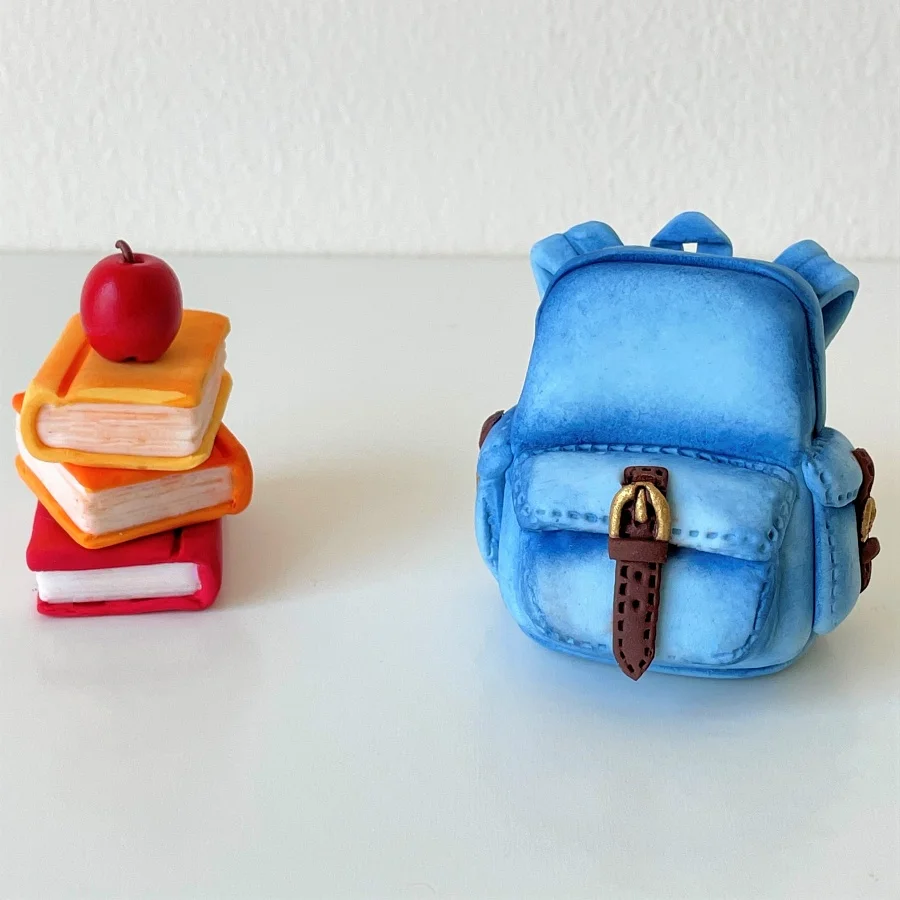
    Using light blue Pasta Model form the basic bag shape – create a teardrop and cut off the top. Flatten it narrower at the top.

    Step 2

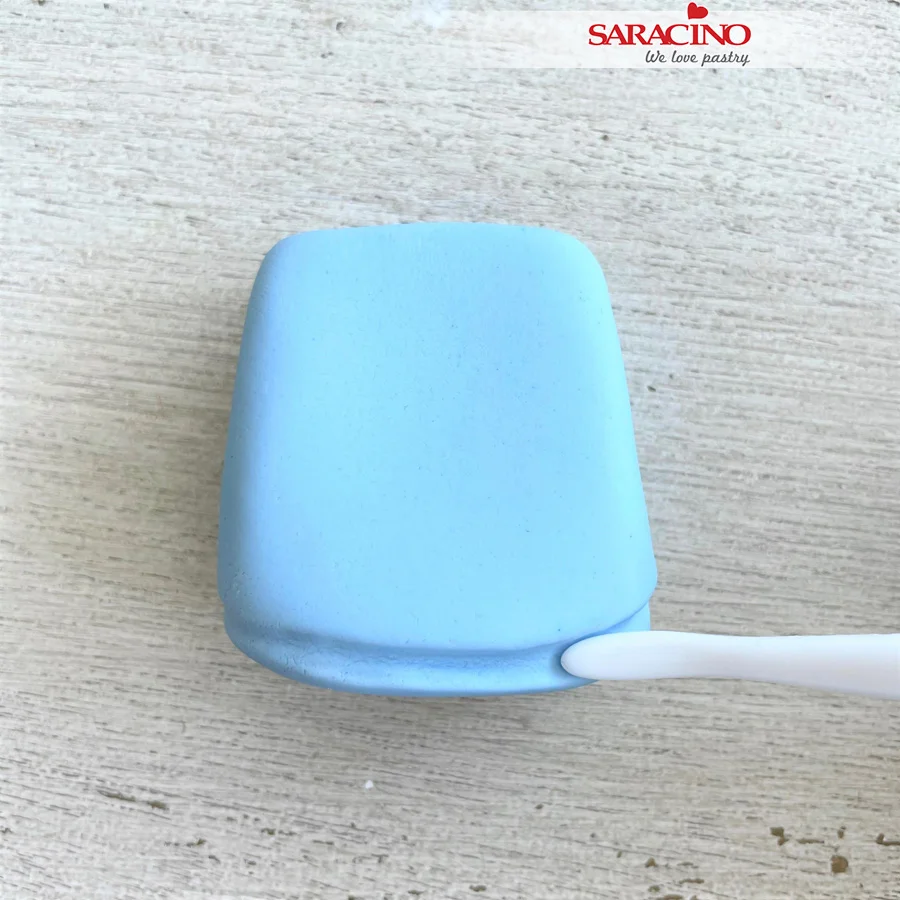
    Using a Dresden tool, press a line along the bottom of the bag. This will form the base. Mark two lines on the side of the bag for the joints.

    Step 3

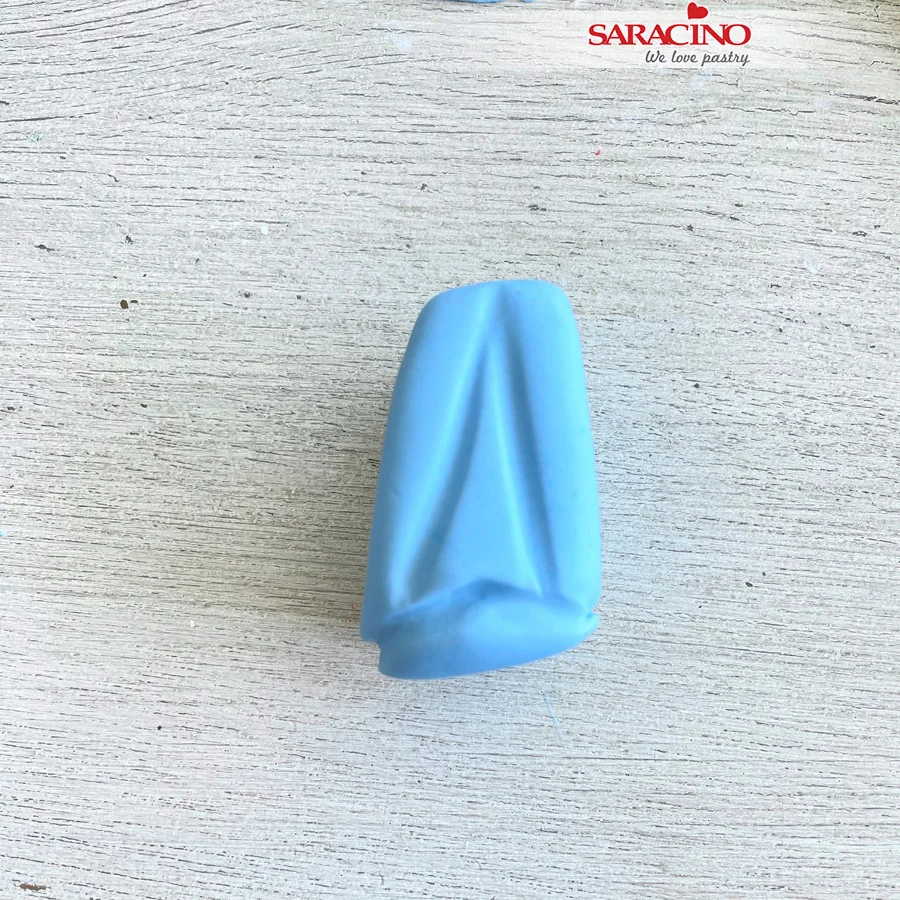
    Use the Dresden tool to mark an upside down ā€˜V’ on both sides of the bag.

    Step 4

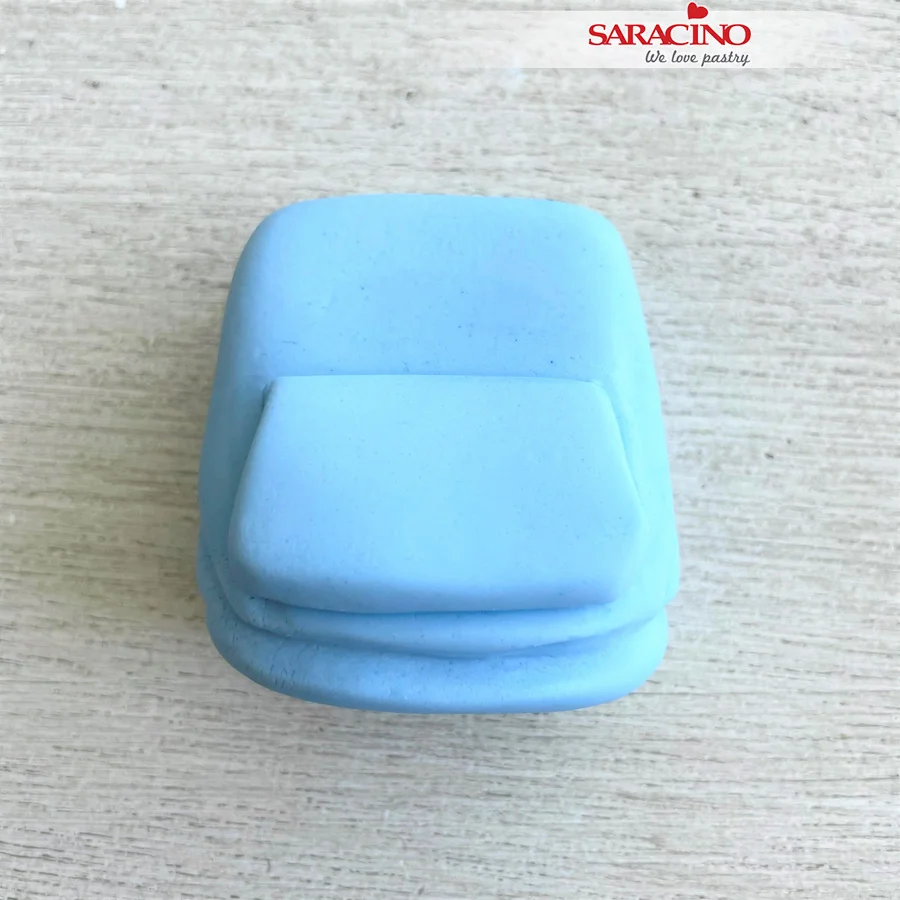
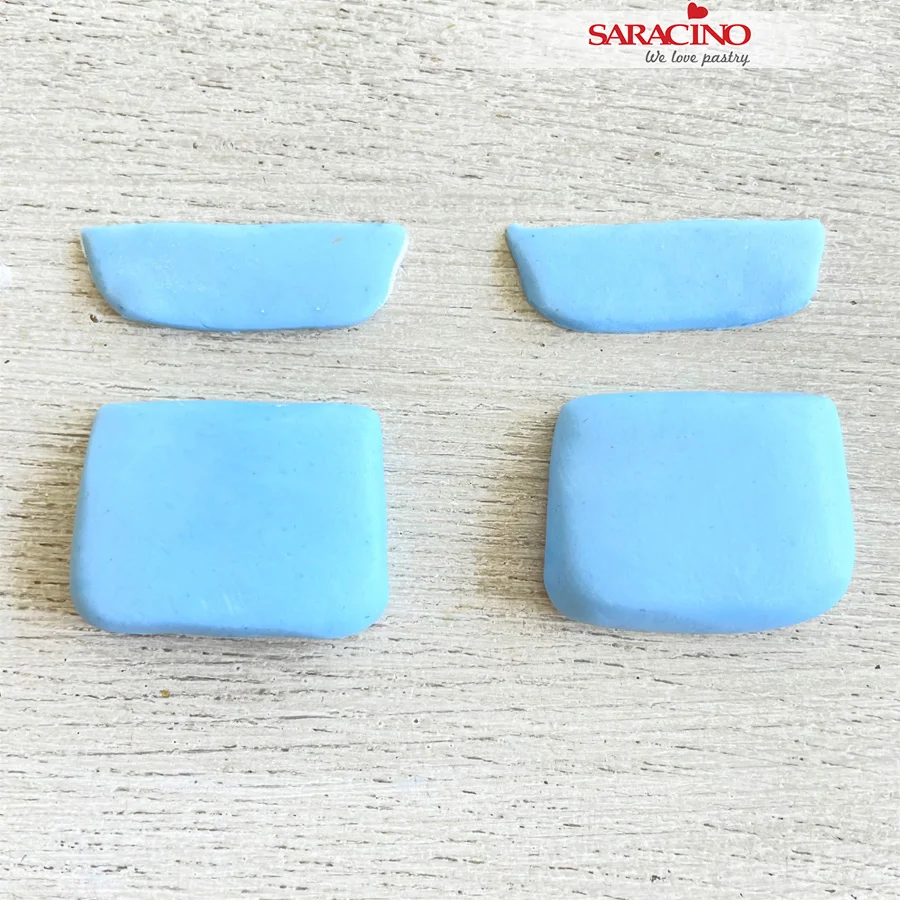
    For the front pocket use the Pasta Model and cut out a small rectangle to the correct size to suit your bag. Curve the bottom edges and taper the top a little using an exacto knife. Fix to the front of the bag using a little water if needed.Ā 

    Step 5

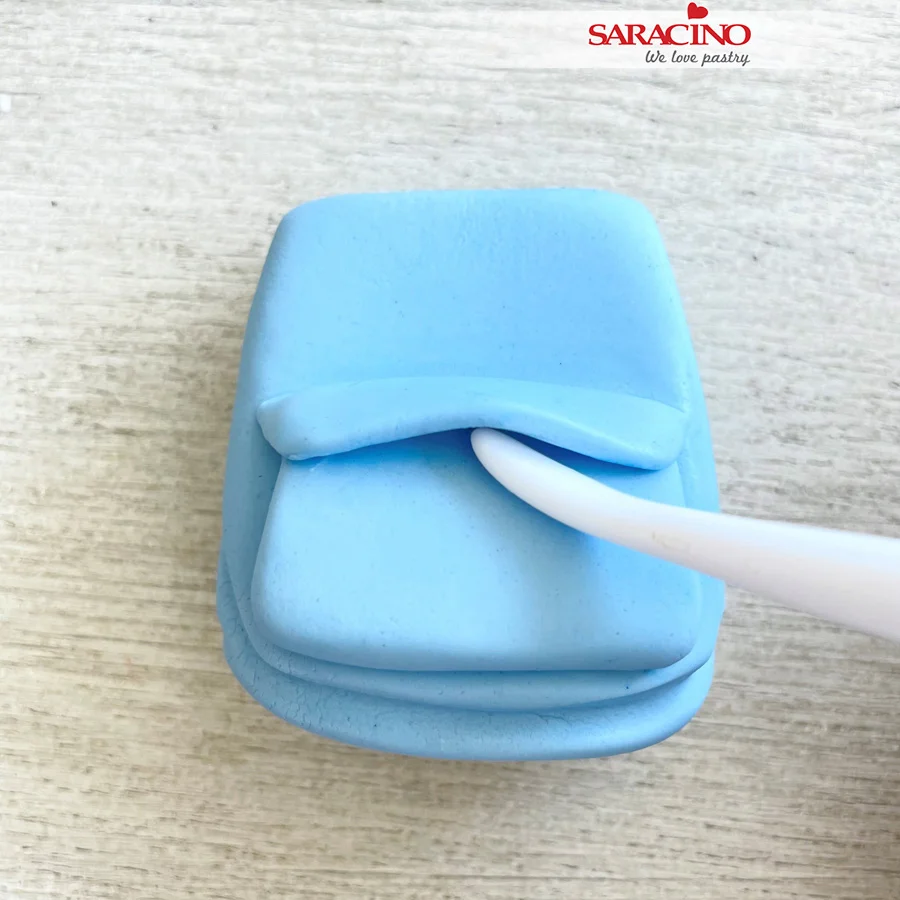
    Cut a strip of the blue Pasta Model and curve the two bottom corners. This will be the flap of the pocket. Fix it on top of the pocket and lift the centre a little so that it doesn’t sit flush.

    Step 6

    Repeat to make the side pockets and flaps. These will be a little smaller than the front pocket.

    Step 7

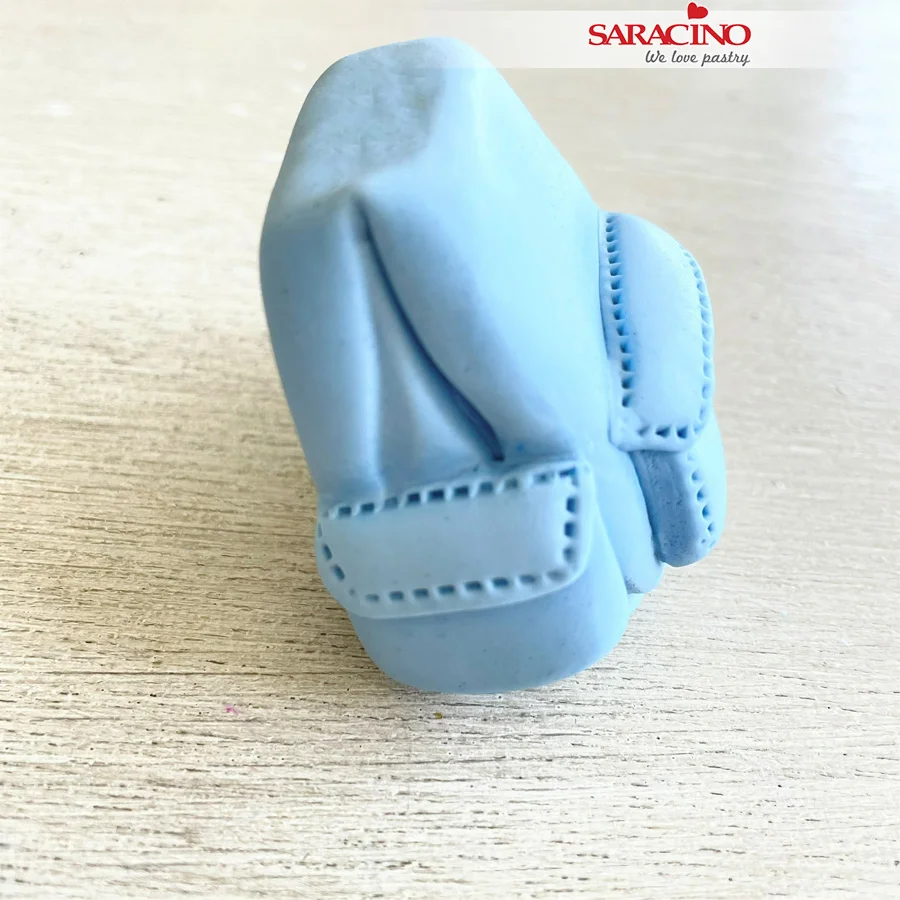
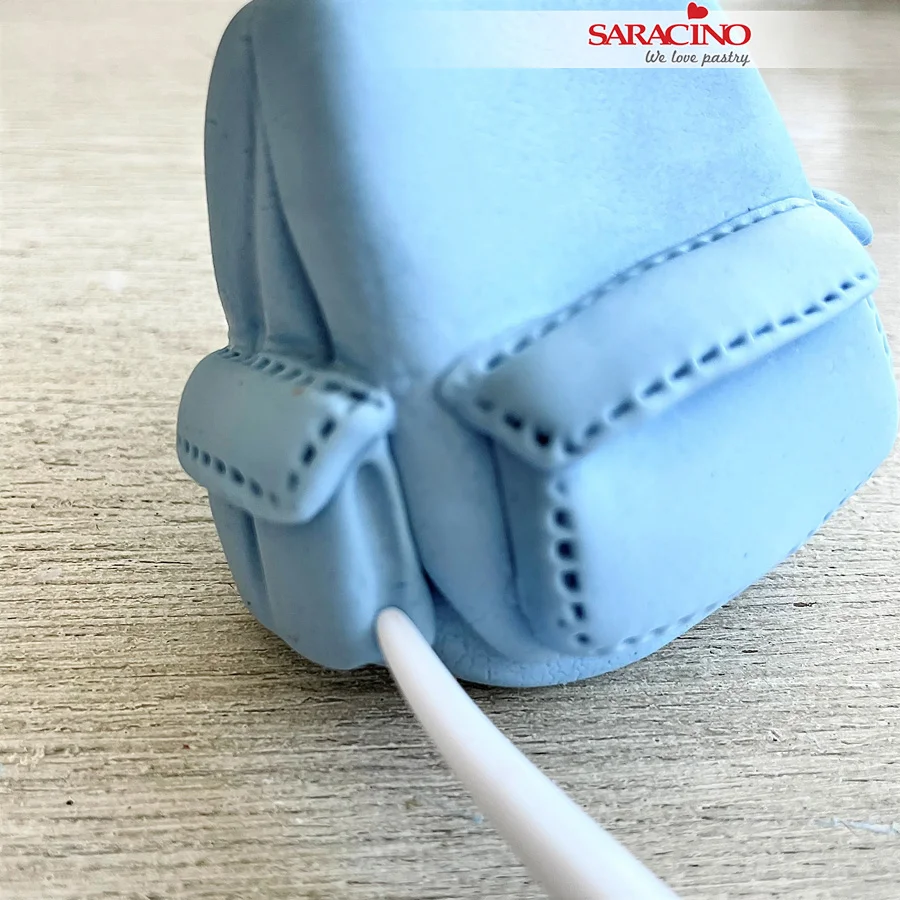
    Attach the side pockets. Using a stitching tool mark the stitch lines on the pockets and flaps.

    Step 8

    On the side pockets, mark a line in the centre using the Dresden tool. Also mark the crease under the pocket.

    Step 9

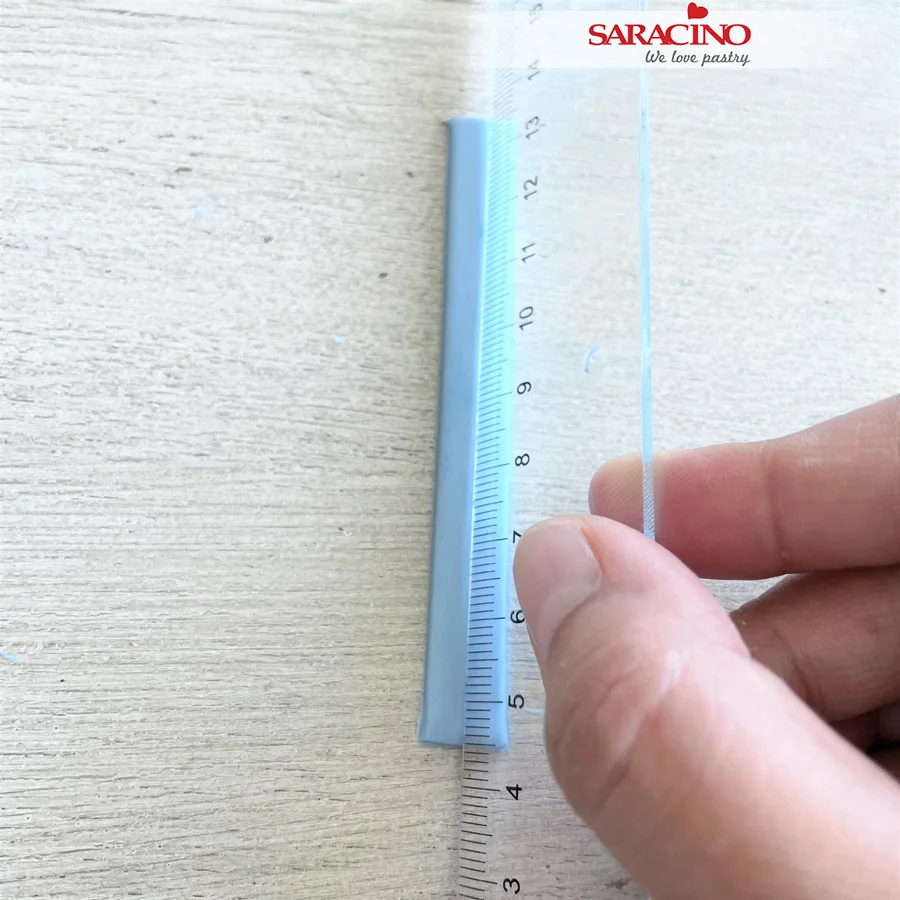
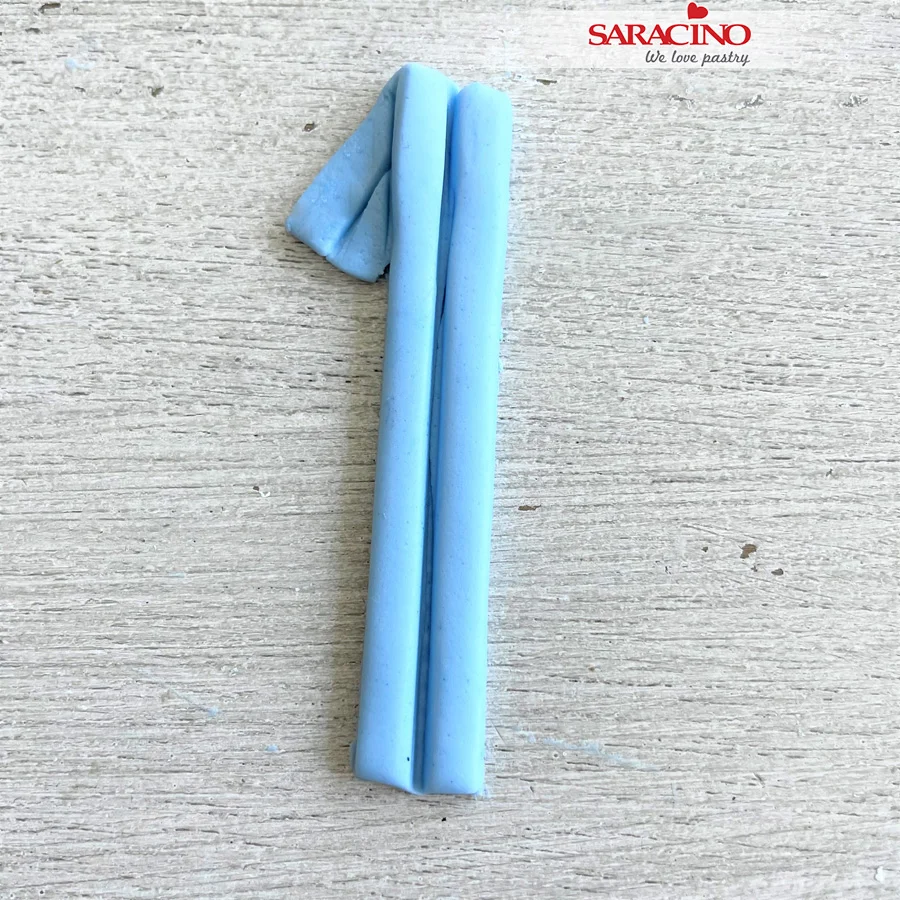
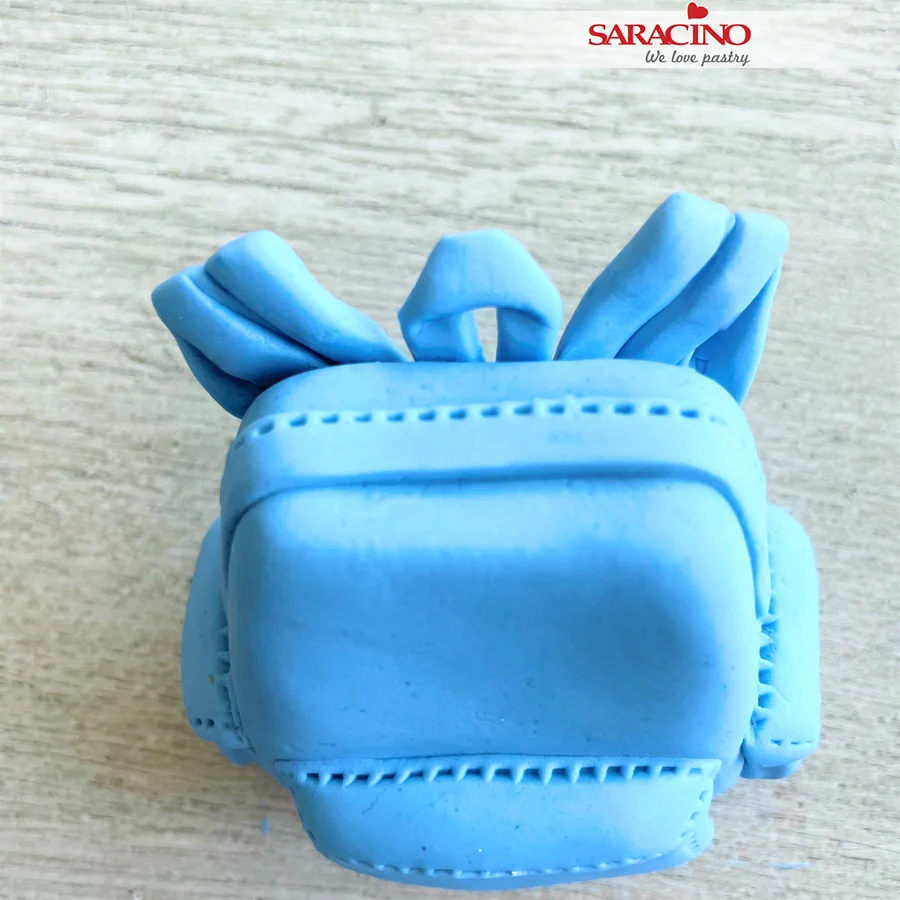
    For the straps cut 2 thick strips of the blue Pasta Model. Using a sharp straight edge or ruler mark a line down the centre of each strip.Ā 

    Step 10

    Bend the top of both straps as shown.

    Step 11

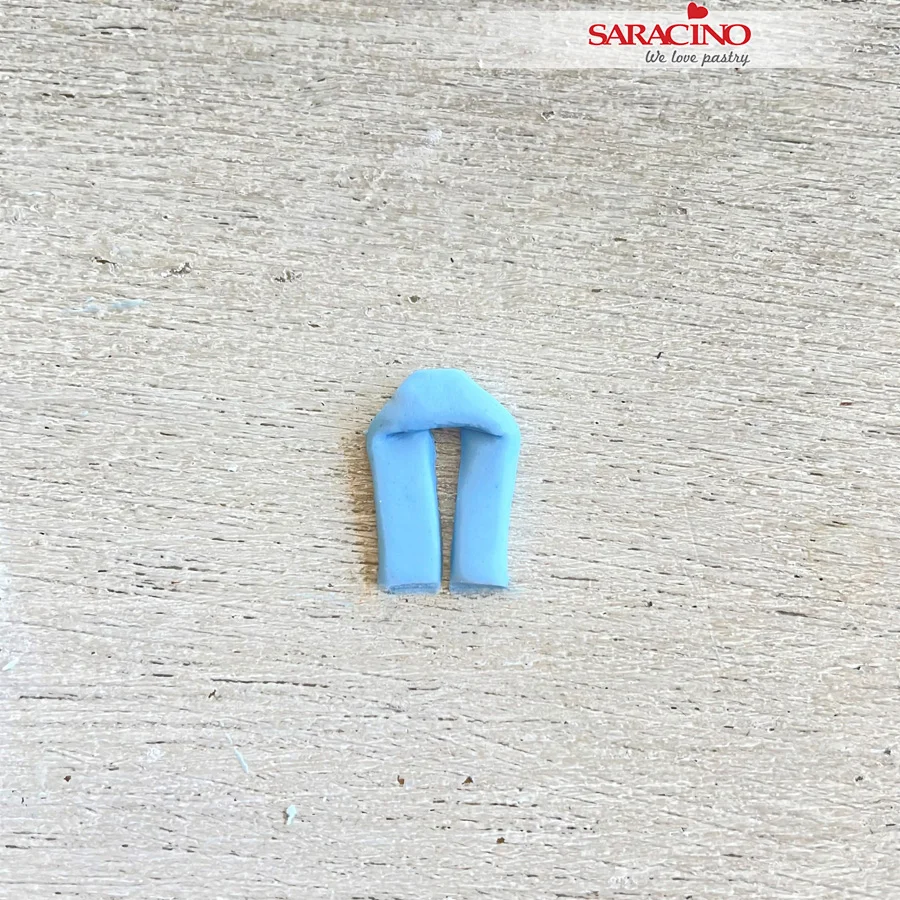
    For the handle use a thin strip and fold it over twice.

    Step 12

    Fix the handle and the straps to the bag using a little water if required.

    Step 13

    Cut out a strip. Fix to the top and sides of the bag for the flap over the zip. Mark a stitch line on one side.

    Step 14

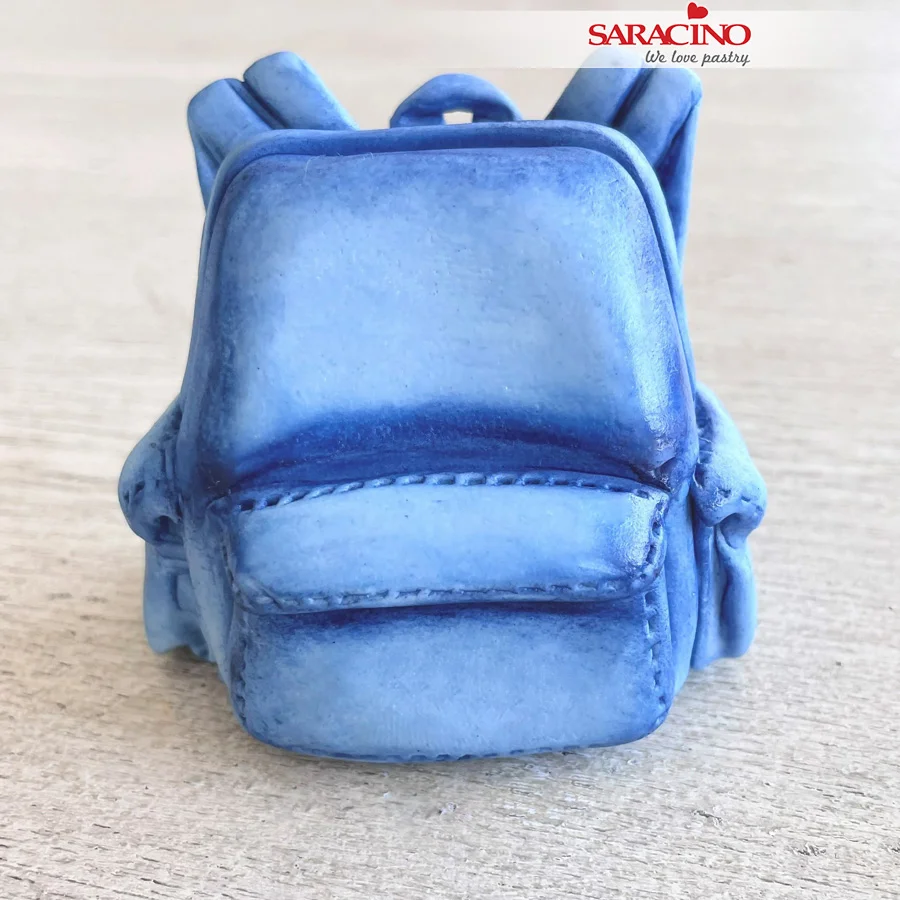
    Using a soft brush and blue powder colour dust the bag to give the denim effect.

    Step 15

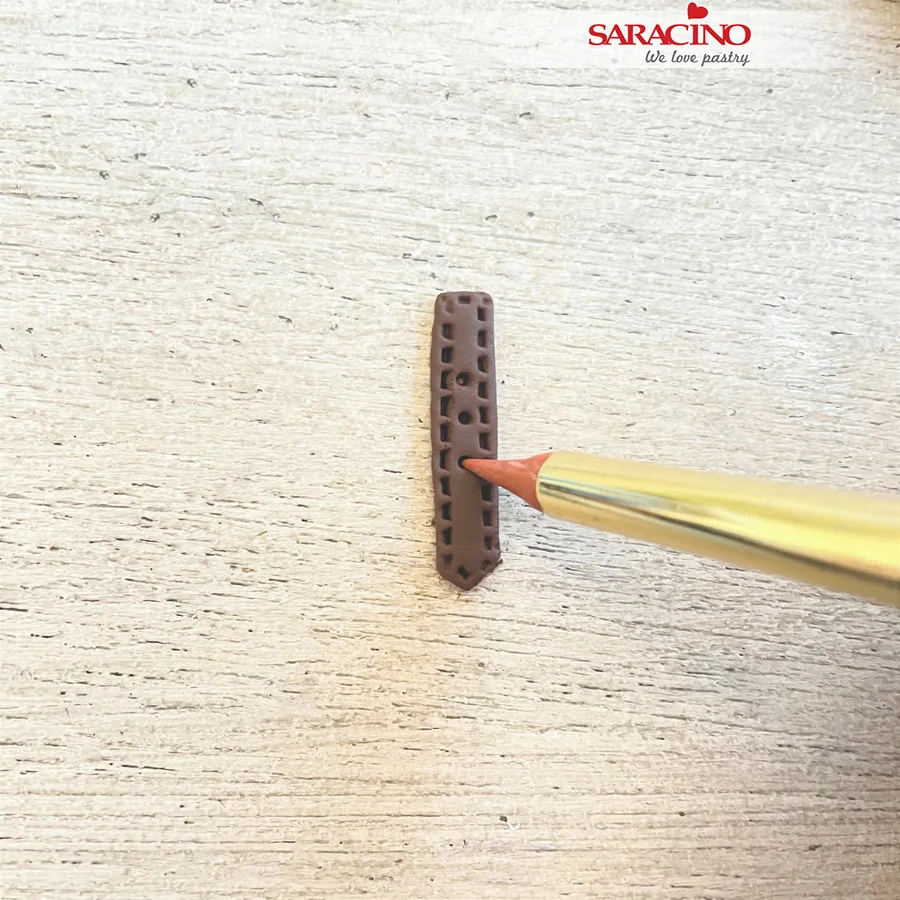
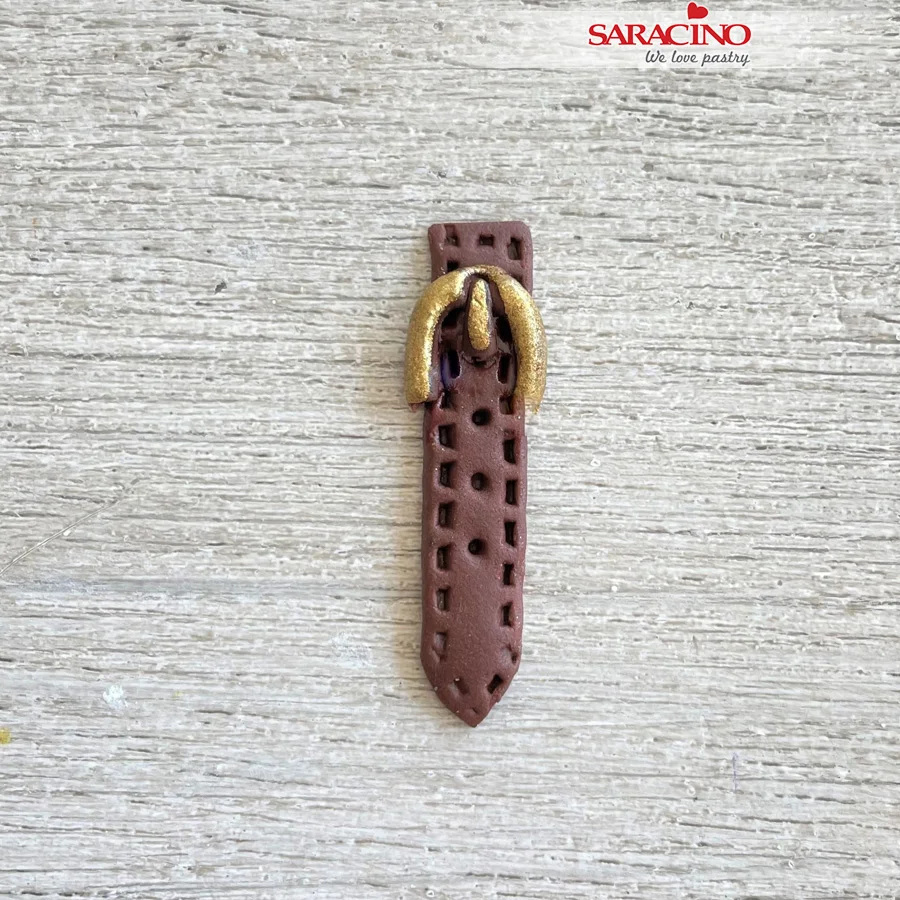
    For the strap use brown Pasta Model and cut out the shape as shown. Using a stitching tool mark the edges. Use a pointed modelling tool to mark the holes on the strap.

    Step 16

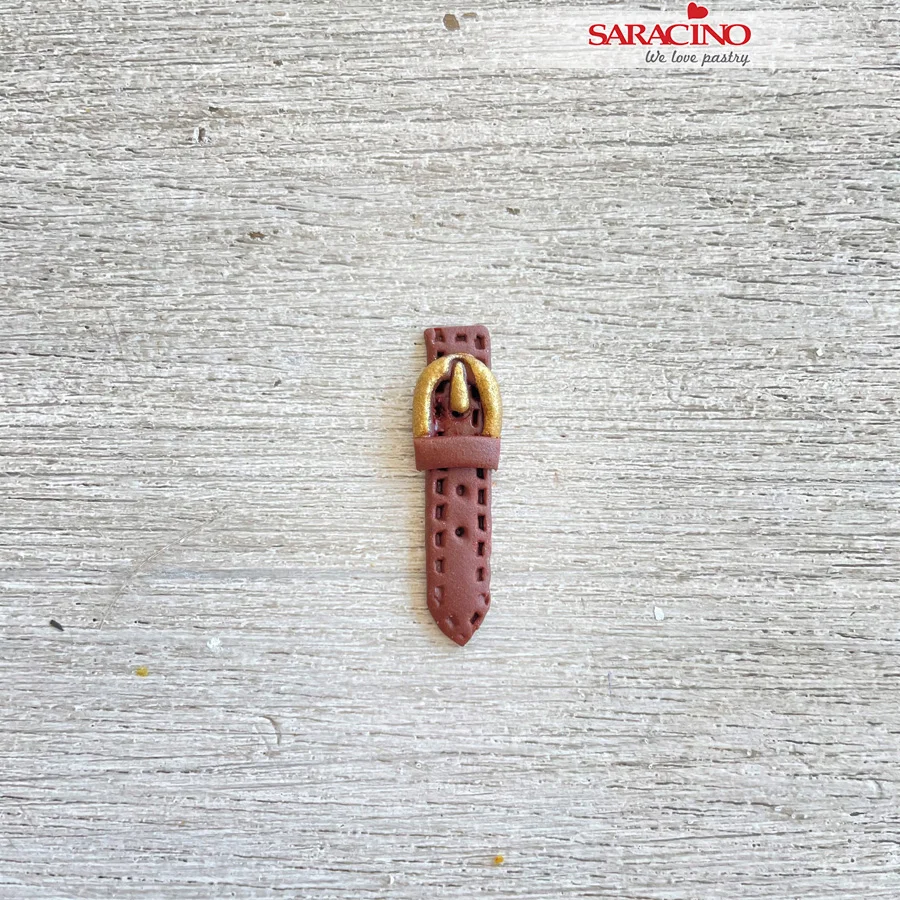
    For the buckle roll a small piece of Pasta Model to fit around the strap in an upside down ā€˜U’. shape. Take a small piece of the paste and shape the piece to fit into the hole. Paint the buckle pieces using gold powder colour mixed with clear alcohol.

    Step 17

    Use a small piece of brown Pasta Model to form the belt loop and fix.

    Step 18

    Fix the strap to the bag. Make two more straps and fix to both side pockets.

    Step 19

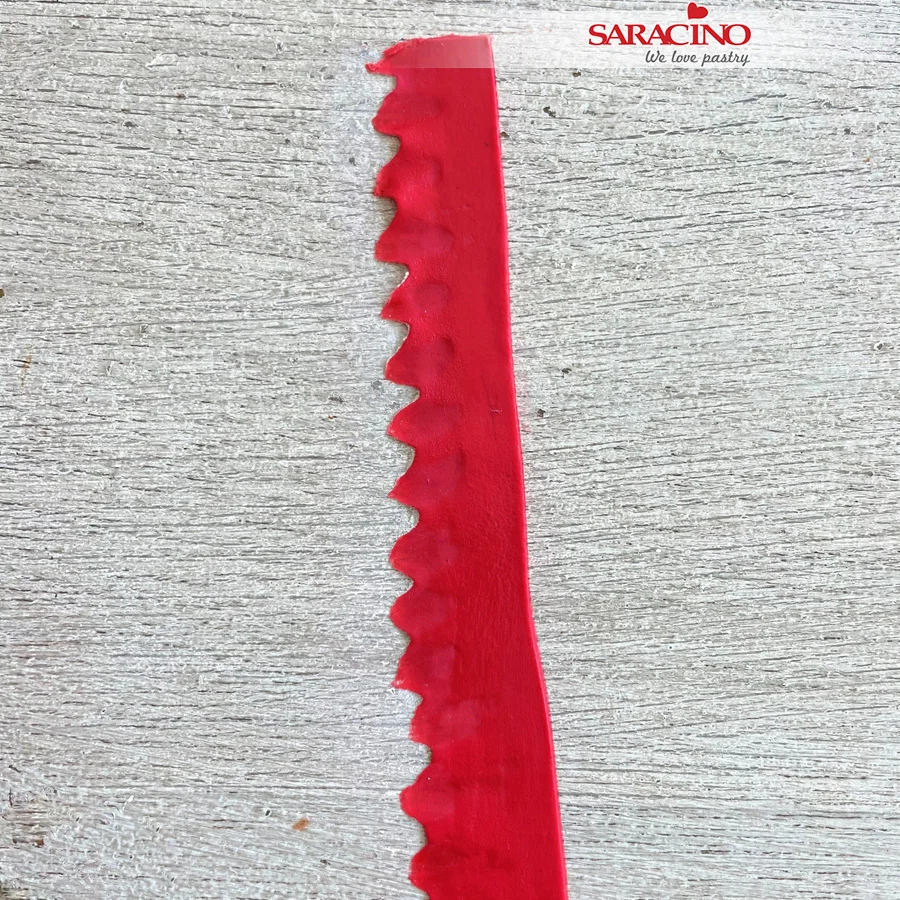
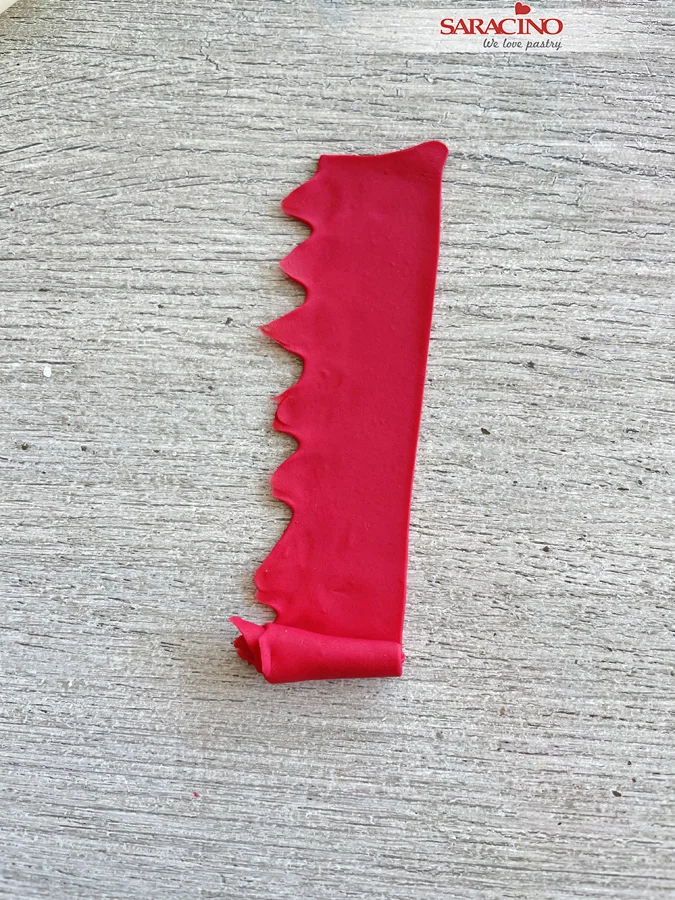
    For the flower, roll a thin red strip of Pasta Model. Using a Dresden tool or ball tool, pull out the paste on top to form ridges. It is easier to do this on a foam pad.

    Step 20

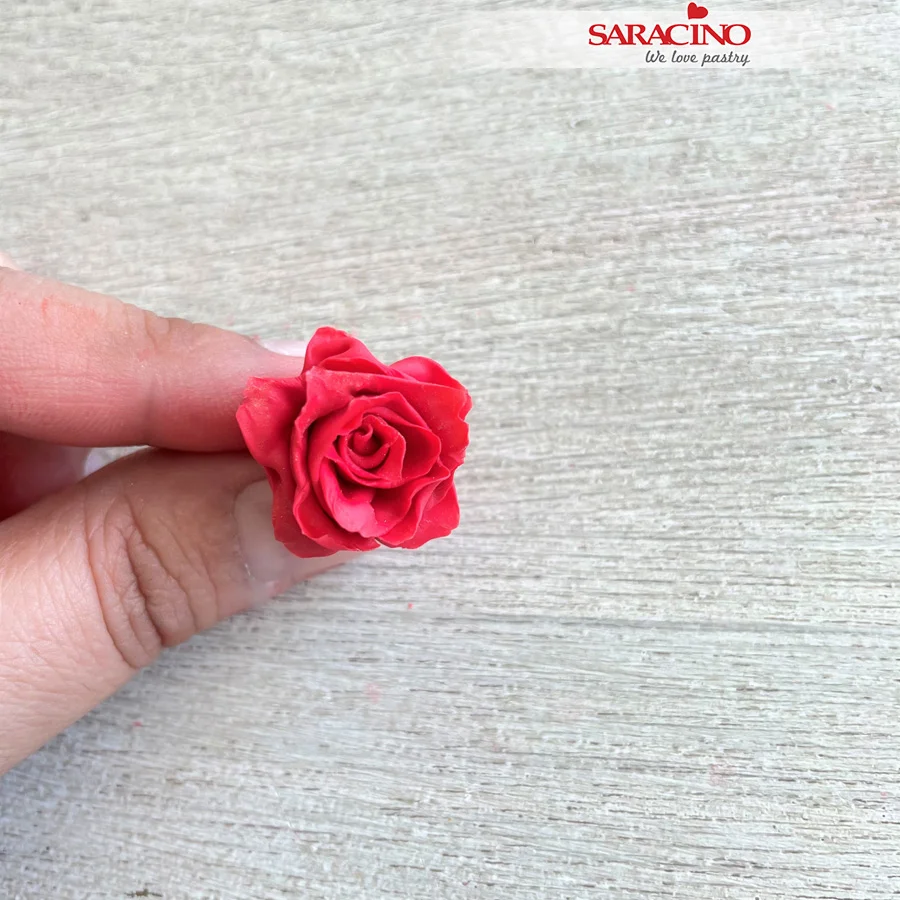
    Now start rolling the petal from one corner to the other and keep adjusting the petals the way you want it.

    Step 21

    When rolled the edges don’t need to be perfect and can have a little rough look. Pinch the excess at the base and remove. Use a soft brush and a darker shade of red or a little black powder colour to dust the centre.

    Step 22

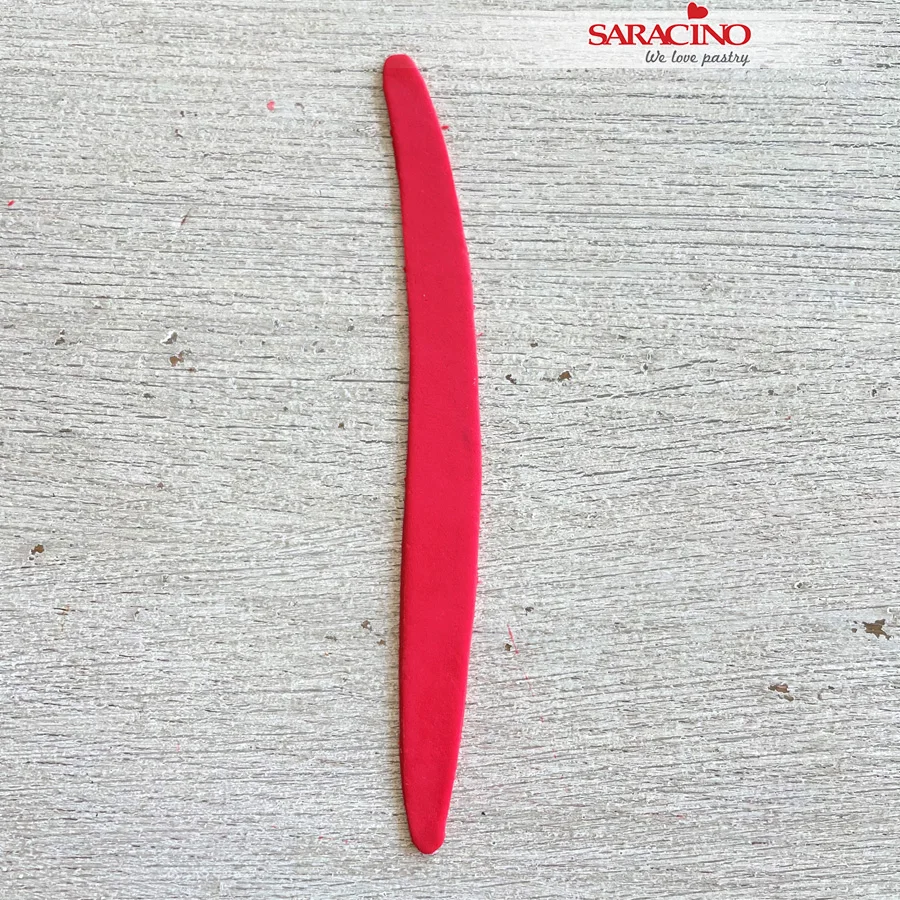
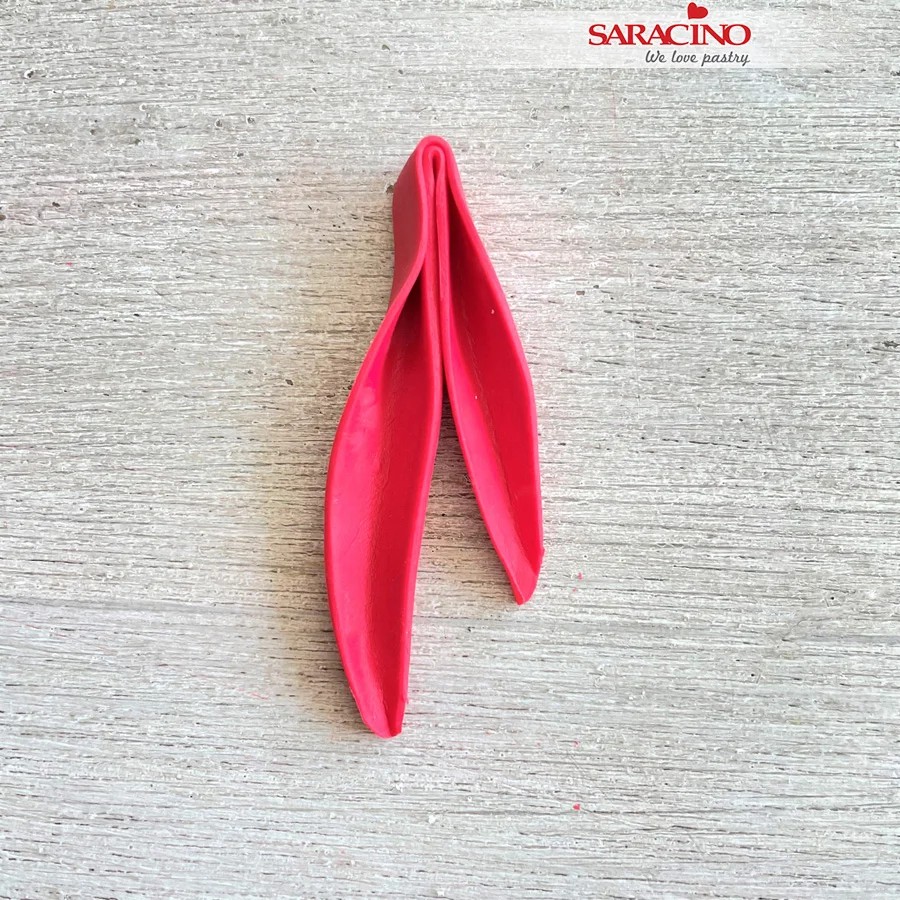
    For the bow take another thin strip, tapering at the edges and thicker towards the middle.Ā Use a ball tool to thin the edges if needed.

    Step 23

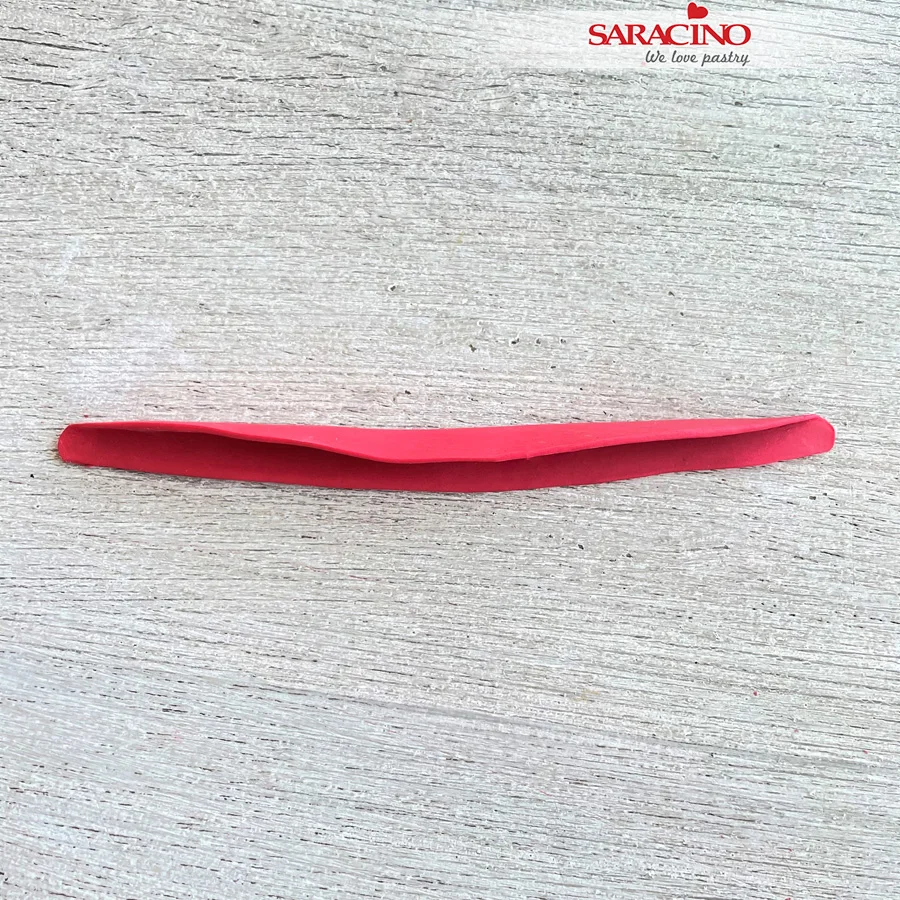
    This will also give a little curl effect to the edges. Fold loosely in half.Ā 

    Step 24

    Fold it over so that one side hangs lower than the other.

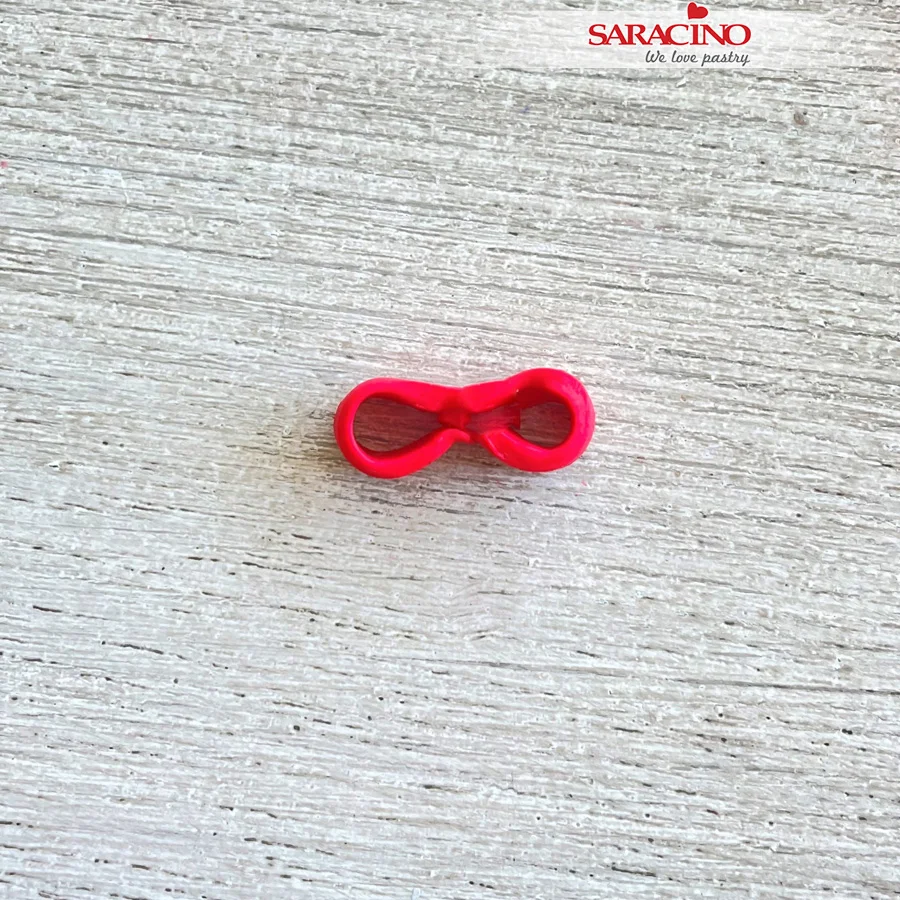
    Step 25

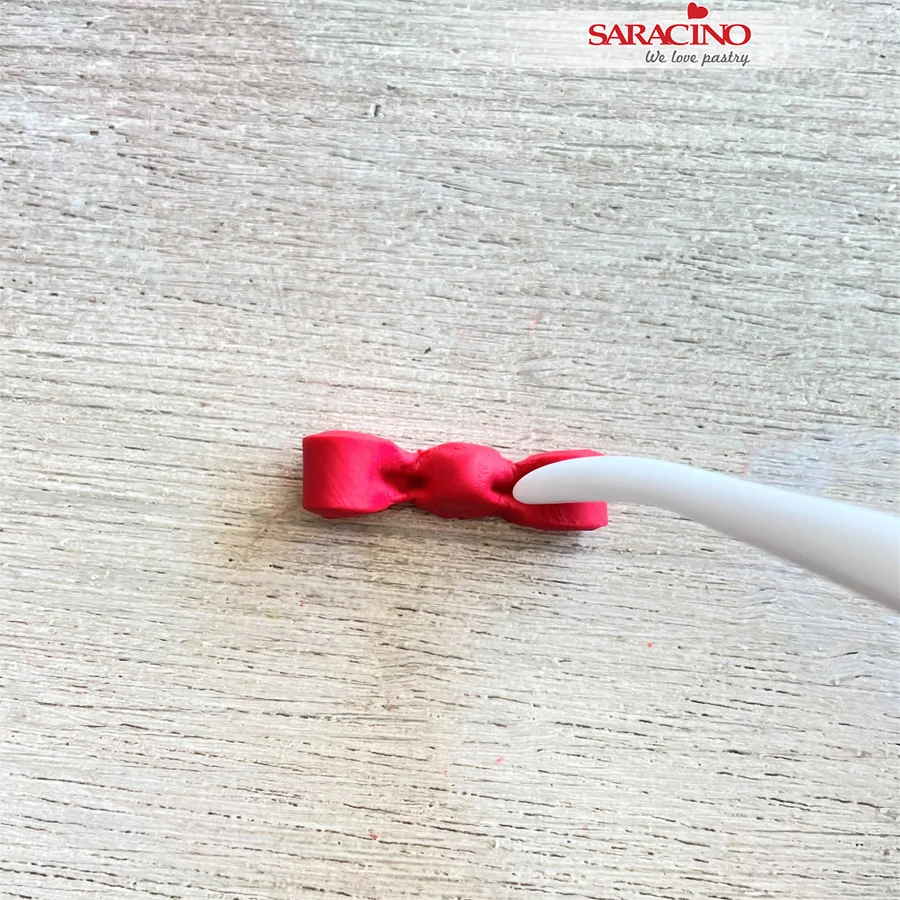
    Take a smaller strip of red and cut it into a long rectangle. Fold over both sides to meet in the middle. Use a modelling tool to shape the bow.Ā 

    Step 26

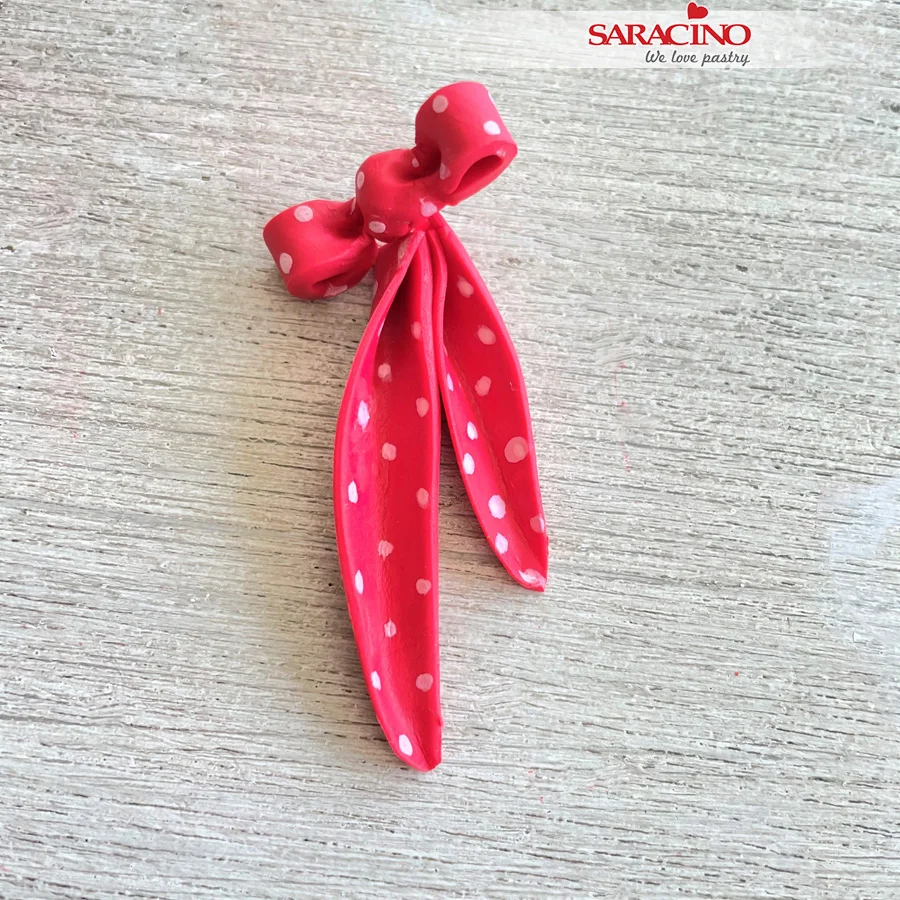
    Using a Dresden tool, mark two small dents near the knot for the fabric folds. Fix to the bow tails.Ā 

    Step 27

    Dilute white powder colour with clear alcohol and paint small dots with a fine brush.

    Step 28

    Now stick the rose in front and put the bow on top of the rose and hide the joint.Ā You could add a little confectioners glaze to the scarf so that it shines to give a silk look.

    Step 29

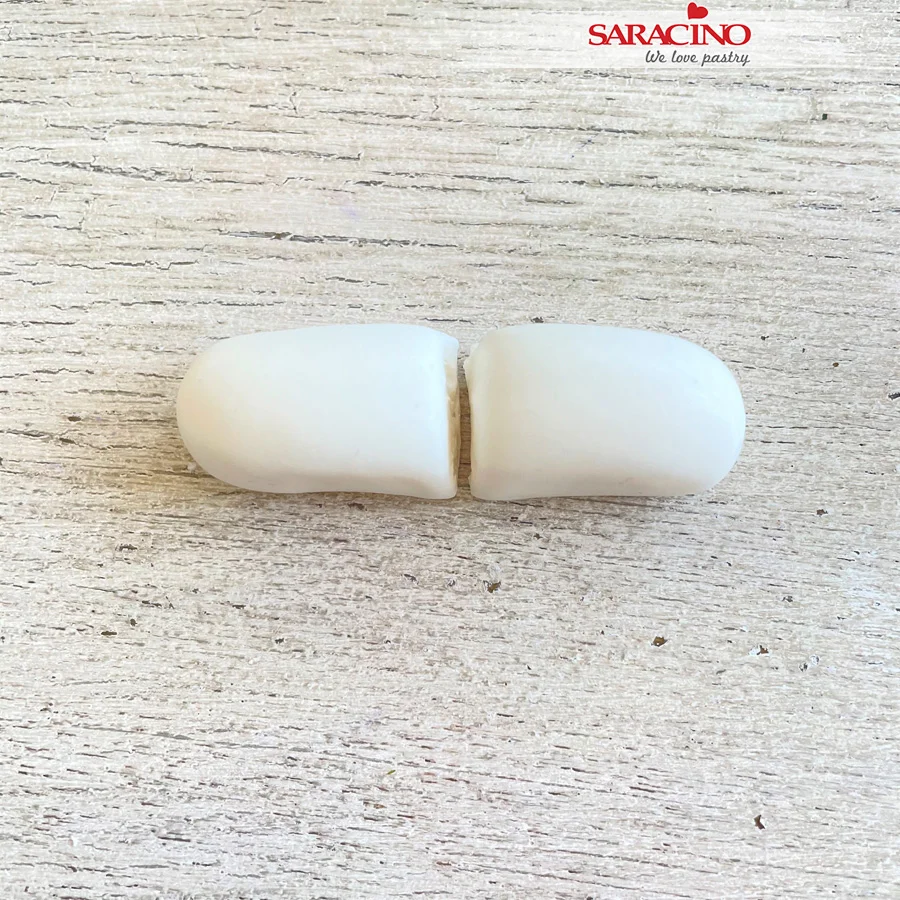
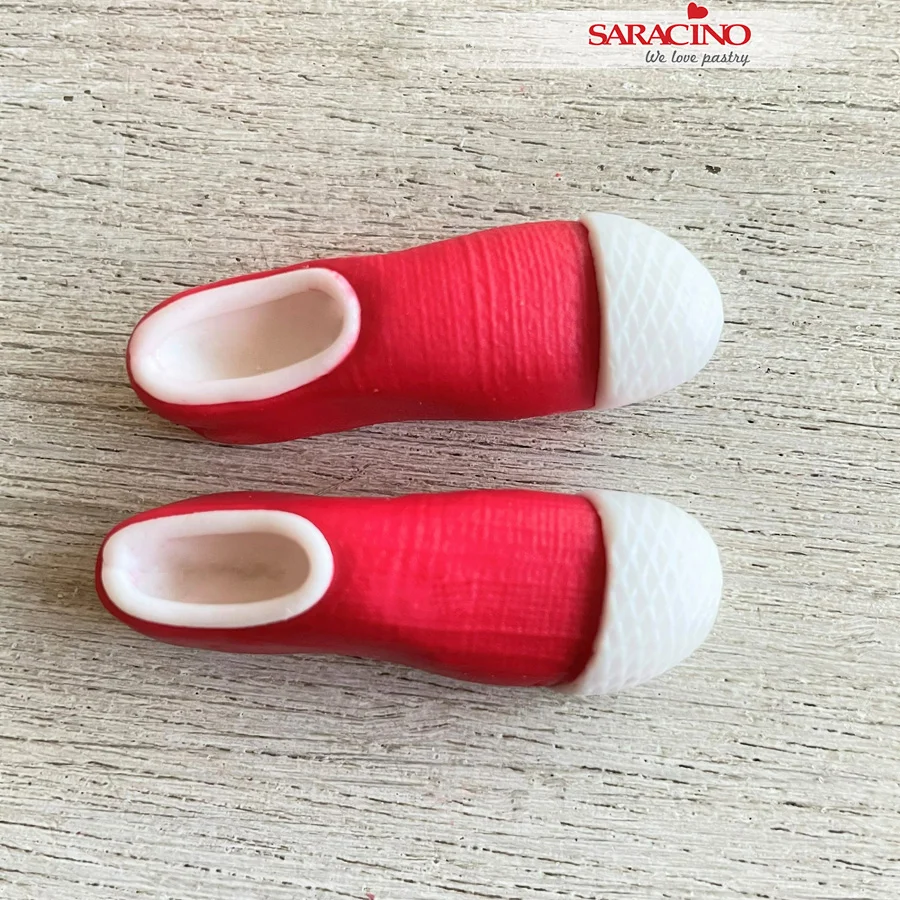
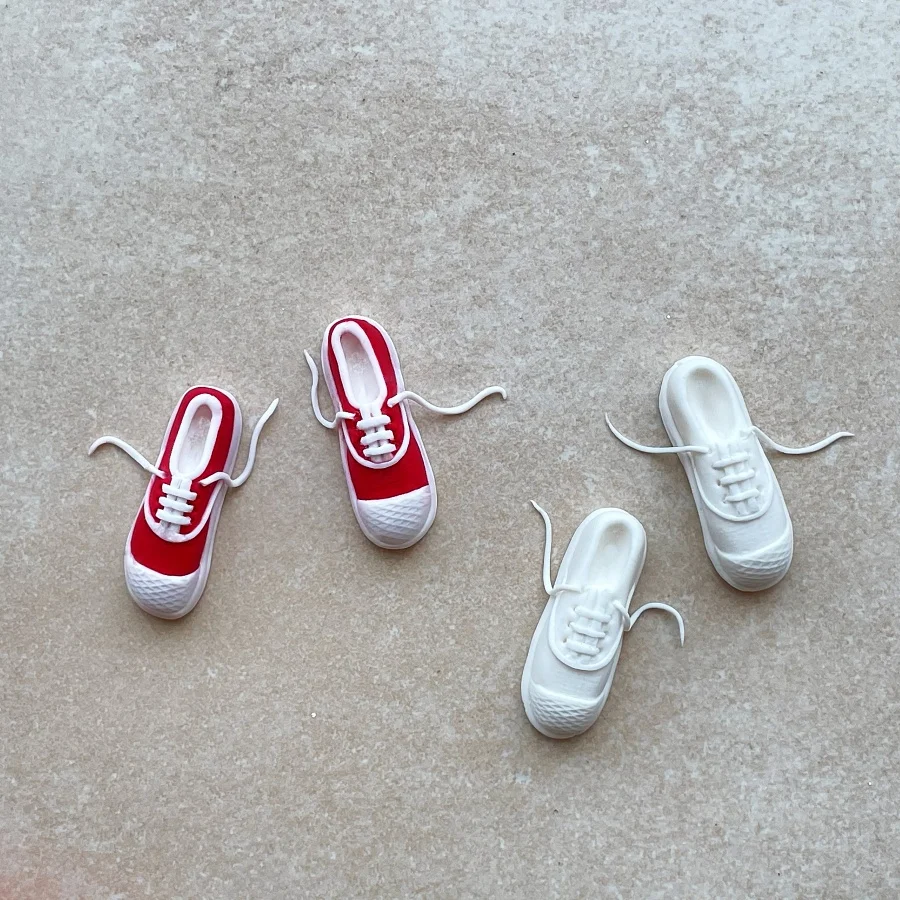
    For the pair of trainers. Roll a cylinder shape from white Pasta Model and cut in half.

    Step 30

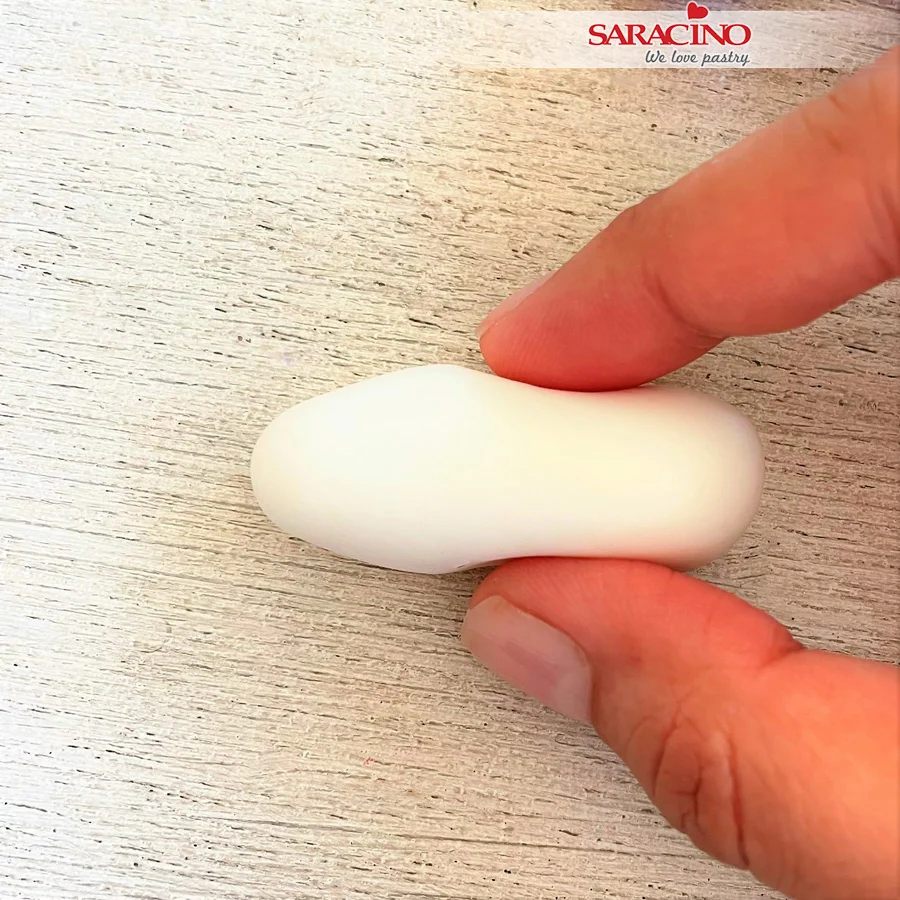
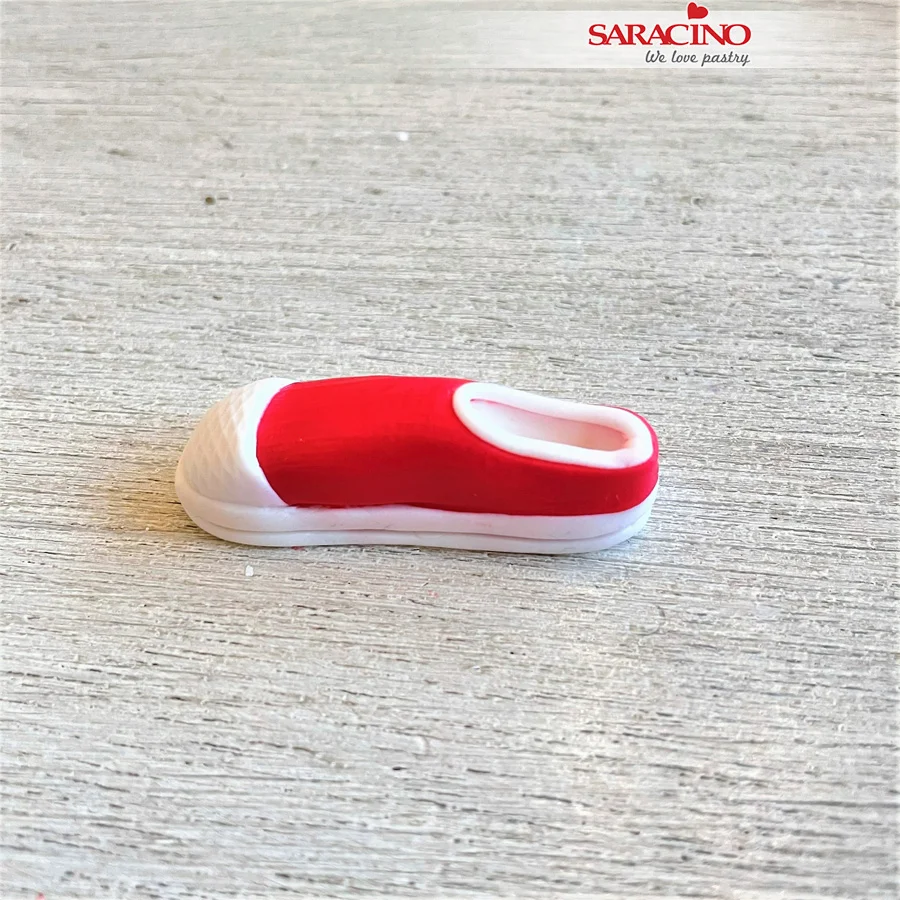
    Using your fingers form the basic shape of each shoe. Taper the front of the shoe and pinch in the centre.

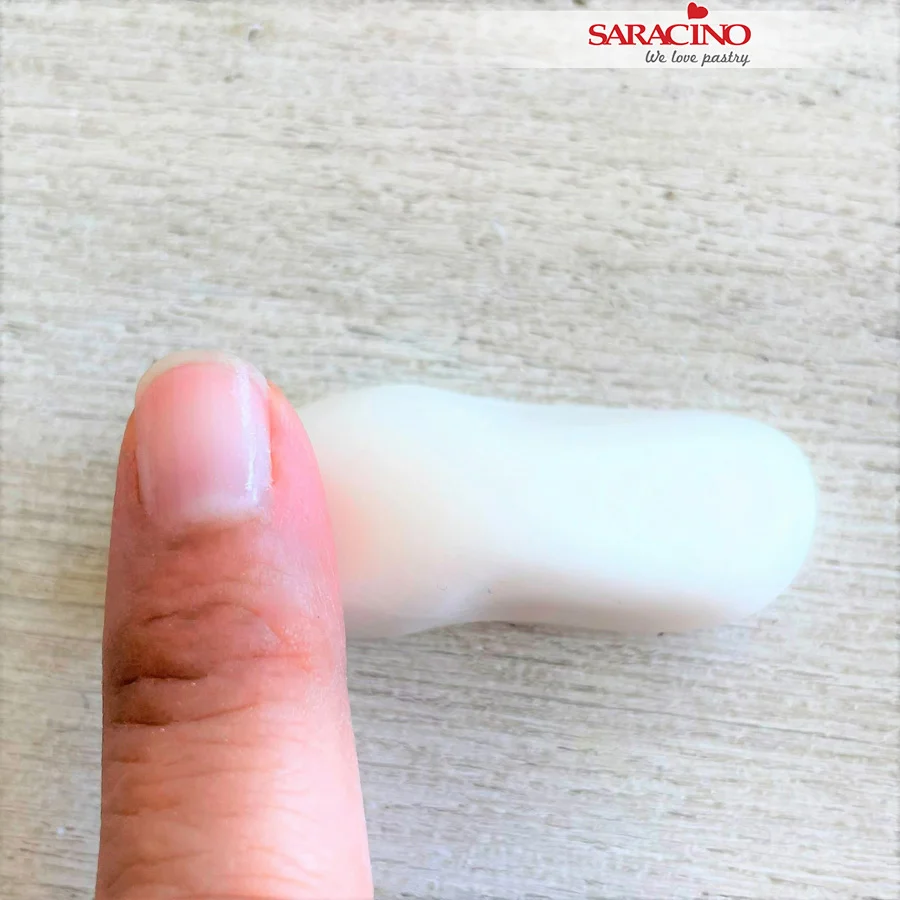
    Step 31

    Flatten slightly at one end. From the middle to the front press down to a slight slope.

    Step 32

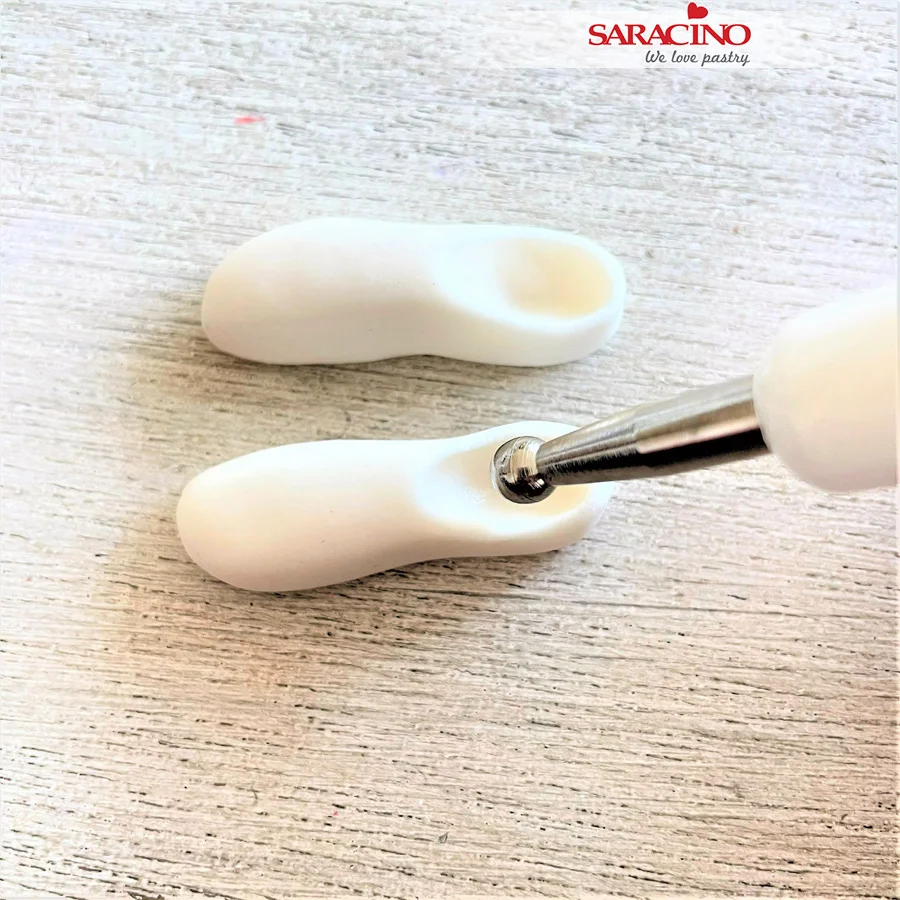
    Using a small ball tool form the holes for the feet.

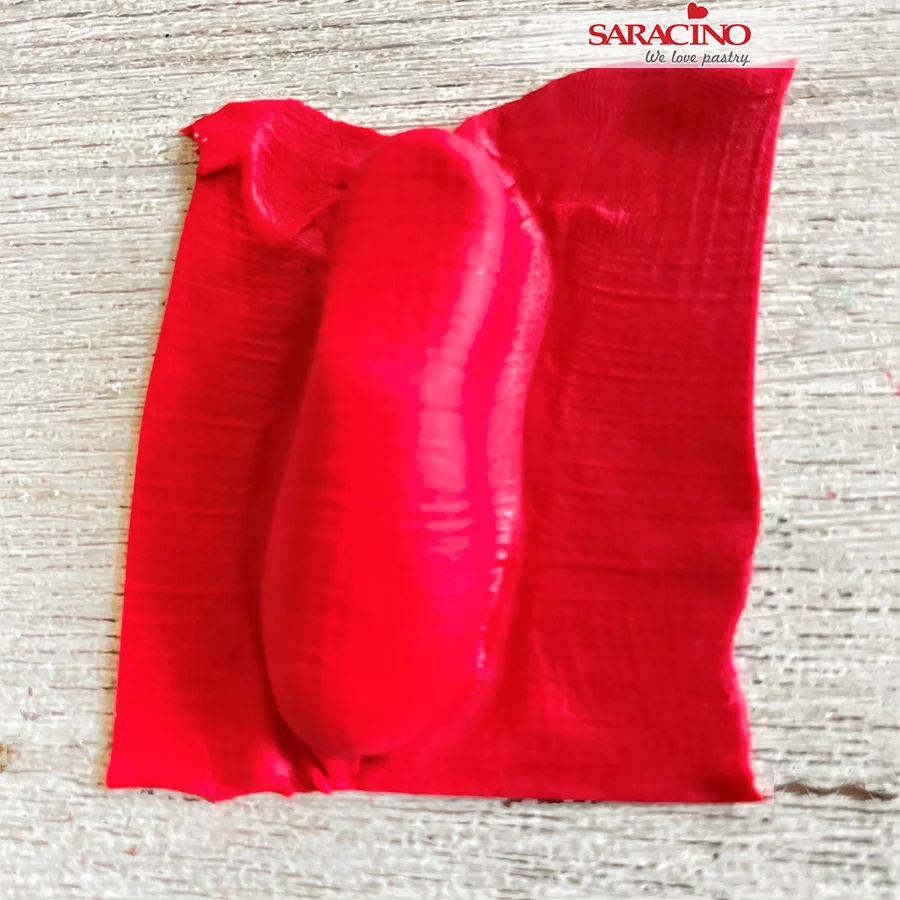
    Step 33

    Roll red Pasta Model thinly and give texture using your texture mat. Place over each shoe.Ā 

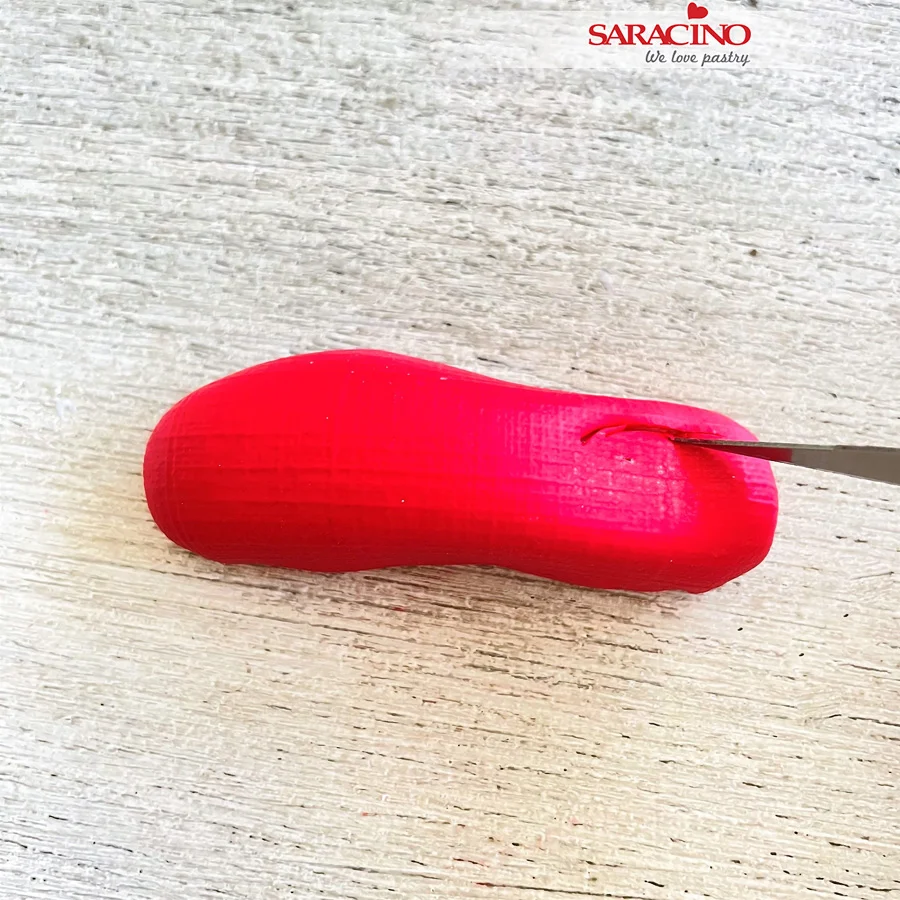
    Step 34

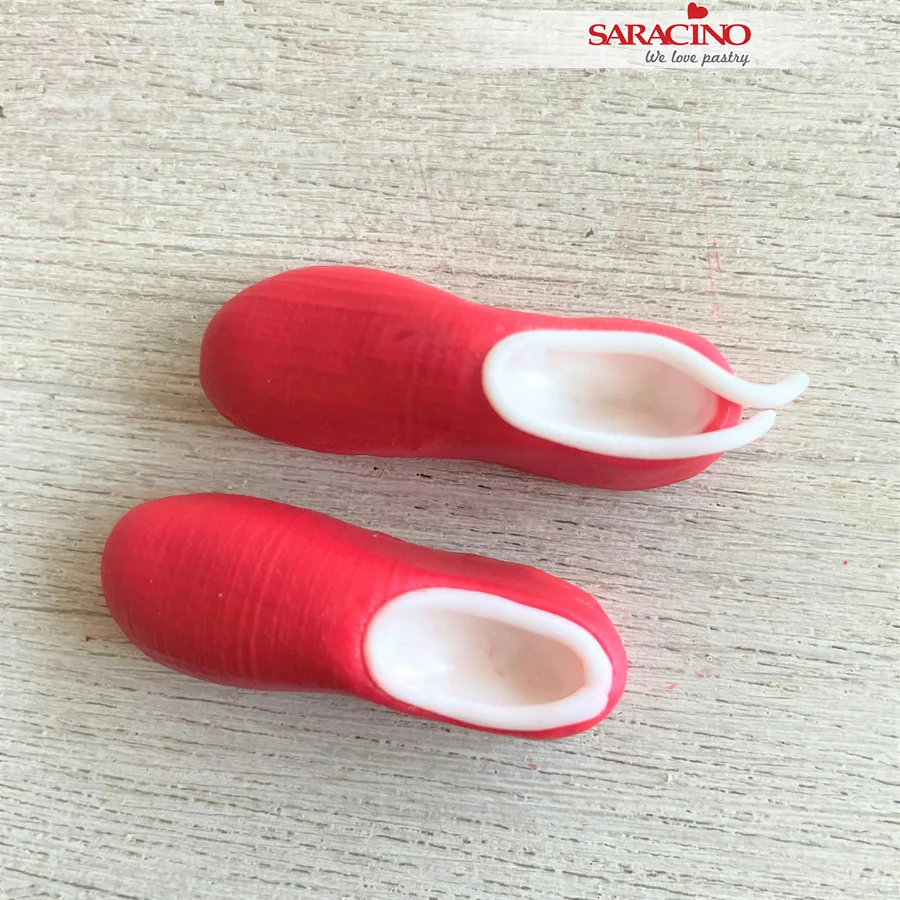
    Trim the excess from around the base. Using the exacto knife cut open the hole so that the white is visible underneath.Ā 

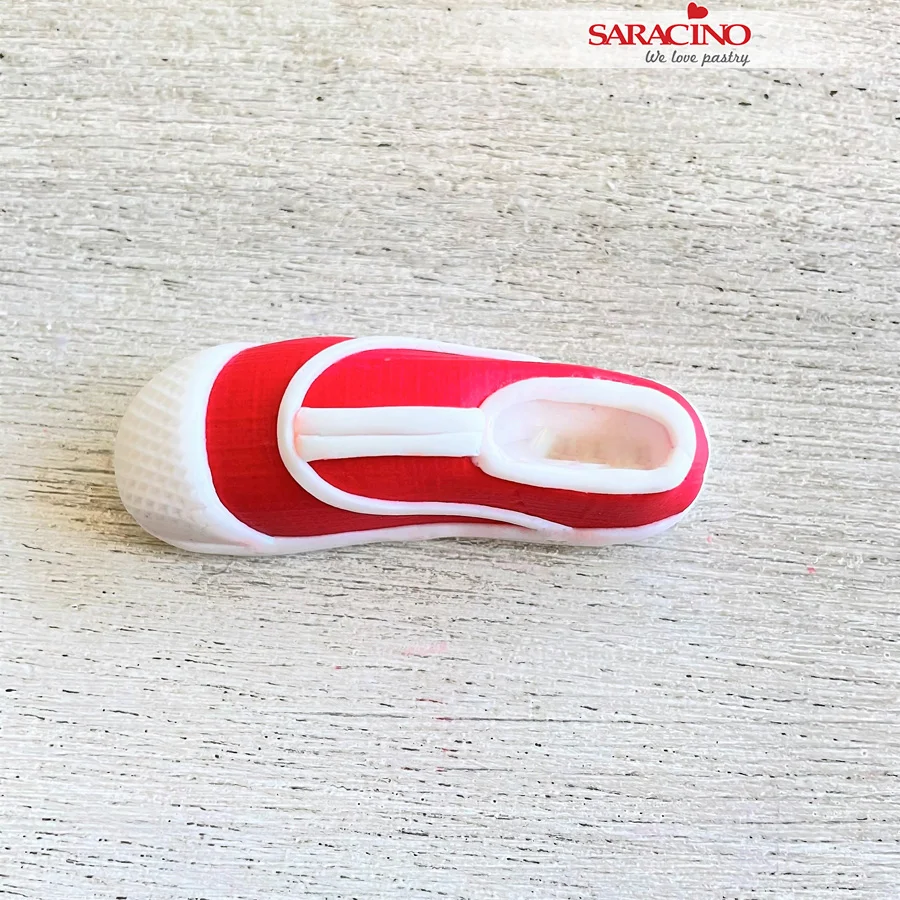
    Step 35

    Roll a thin strip of white Pasta Model and fix over the seam between the white and red. Trim any excess.

    Step 36

    Roll a circle of white Pasta Model and use a texture mat to give the appearance shown. Cut in half. Fix to the toe of each shoe.

    Step 37

    Cut a thin strip of white Pasta Model and fix around the base of each shoe. Mark a stripe using an exacto knife.Ā 

    Step 38

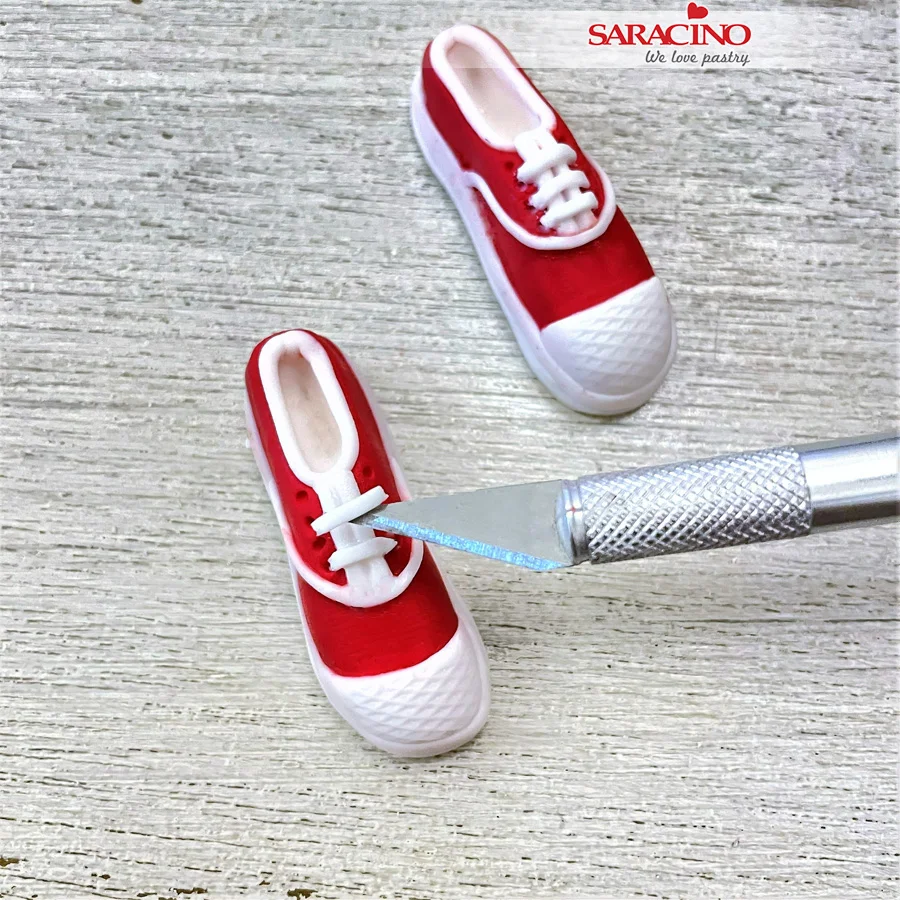
    Cut a small rectangle of the white Pasta Model and fix for the lace area. Roll a thin strip and fix as shown for the white stripe detail.

    Step 39

    Use a sharp tool to mark the lace holes. Roll a thin strip of white paste for the laces. Cut into small lengths and fix into the lace holes.Ā 

    Step 40

    Your tiny shoes topper is ready!