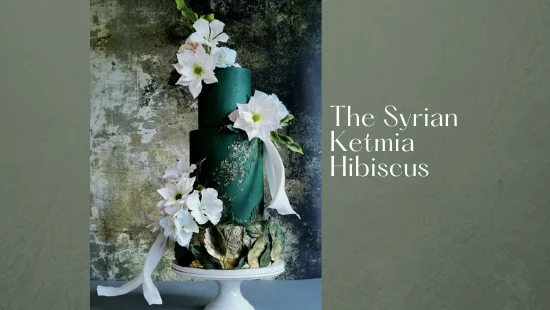
Apr 30, 2021 | Cakes, Flowers, Wafer Paper
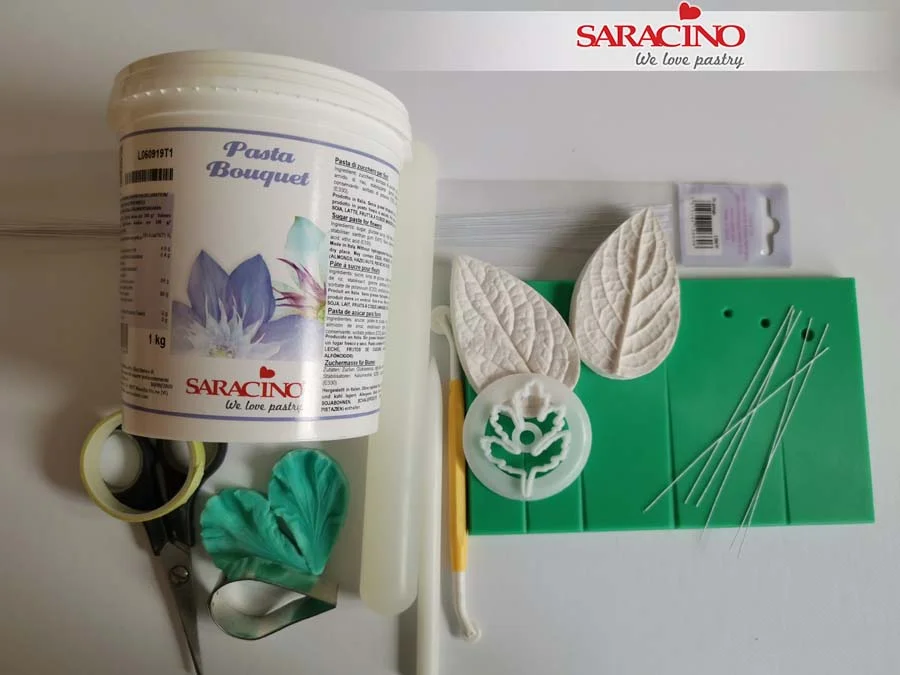
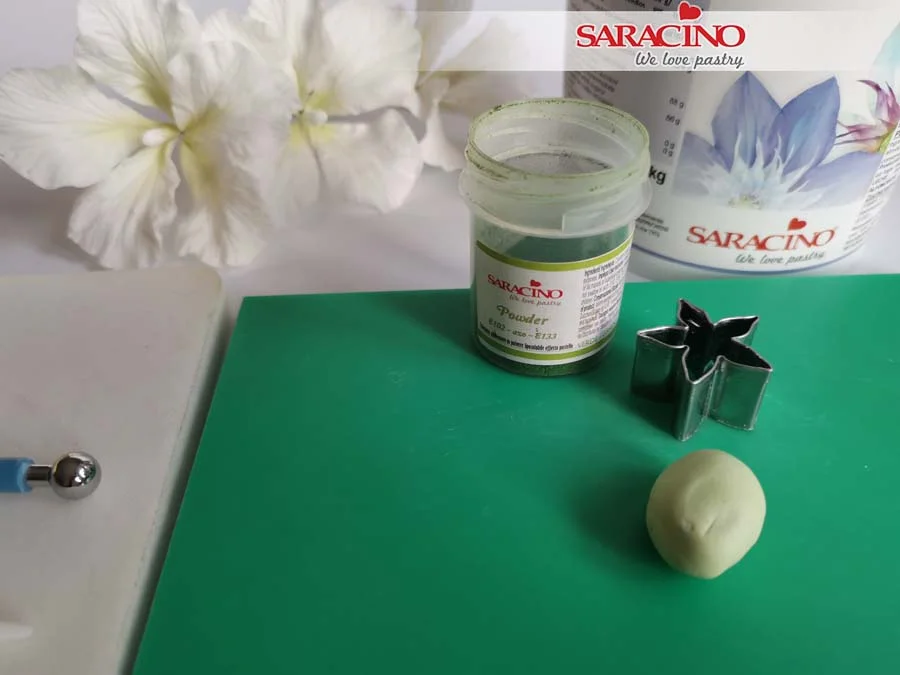
You will need:
- Saracino Wafer Paper 0.27
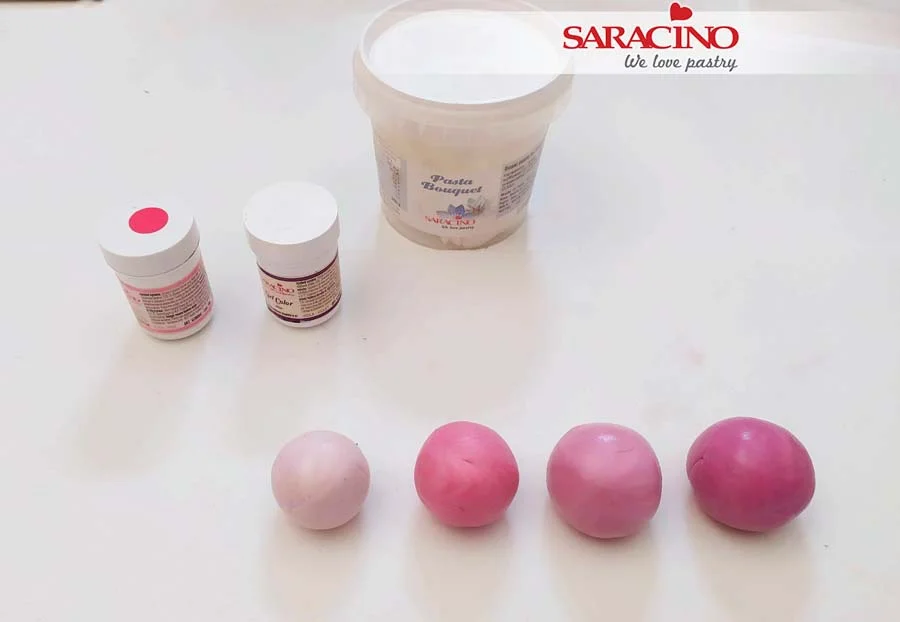
- Yellow Saracino Pasta Model
- Saracino powder colours: blue, white, pink, yellow and purple
- Two tier cake finished off using buttercream to a colour of your choice (leave some buttercream aside)
- Flower veiner
- Flower tape
- Scissors
- Pliers
- Flower wire gauge 30 and 20
- Paper puncher
- Brushes
- Clear alcohol
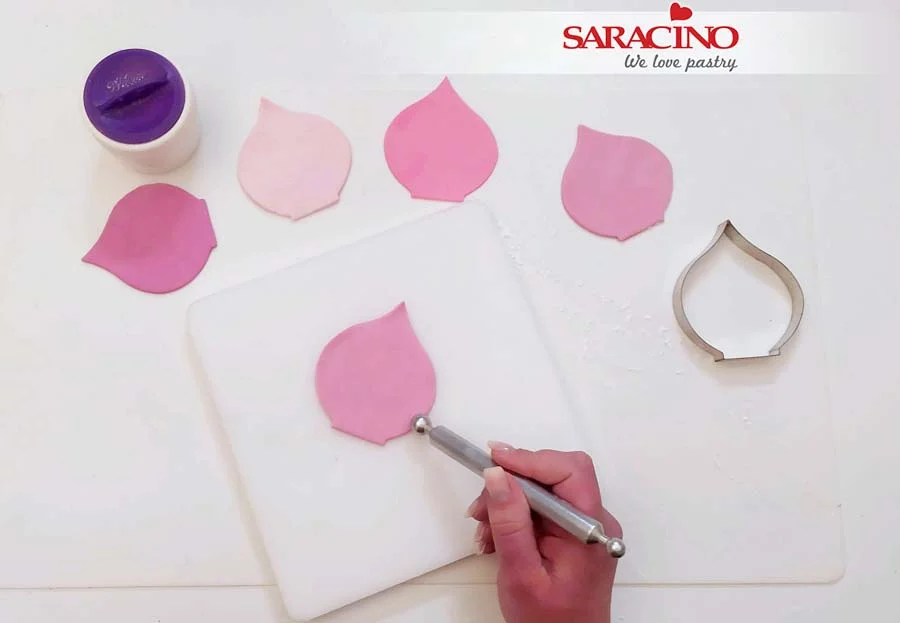
- Modelling tool Cerart 502
Step 1
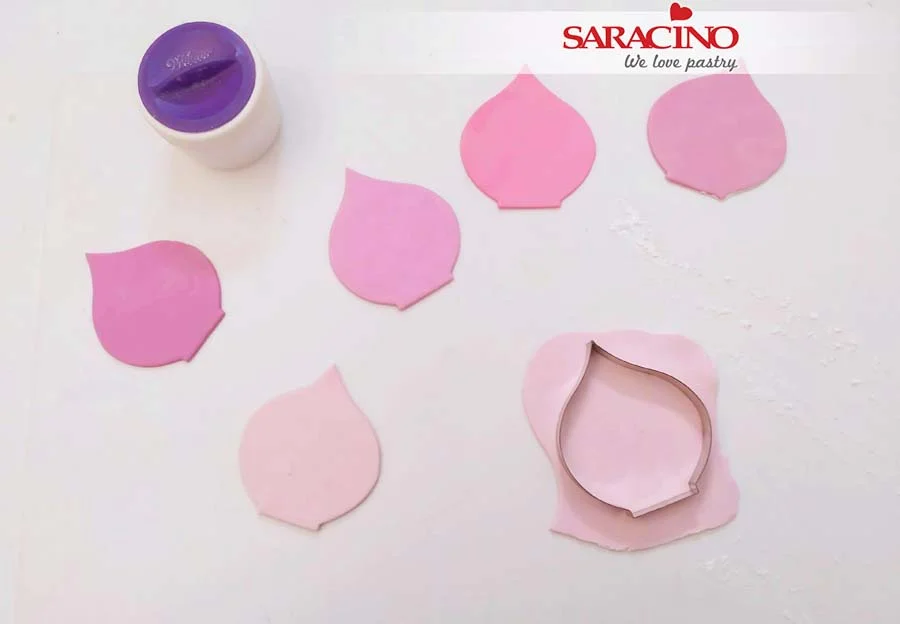
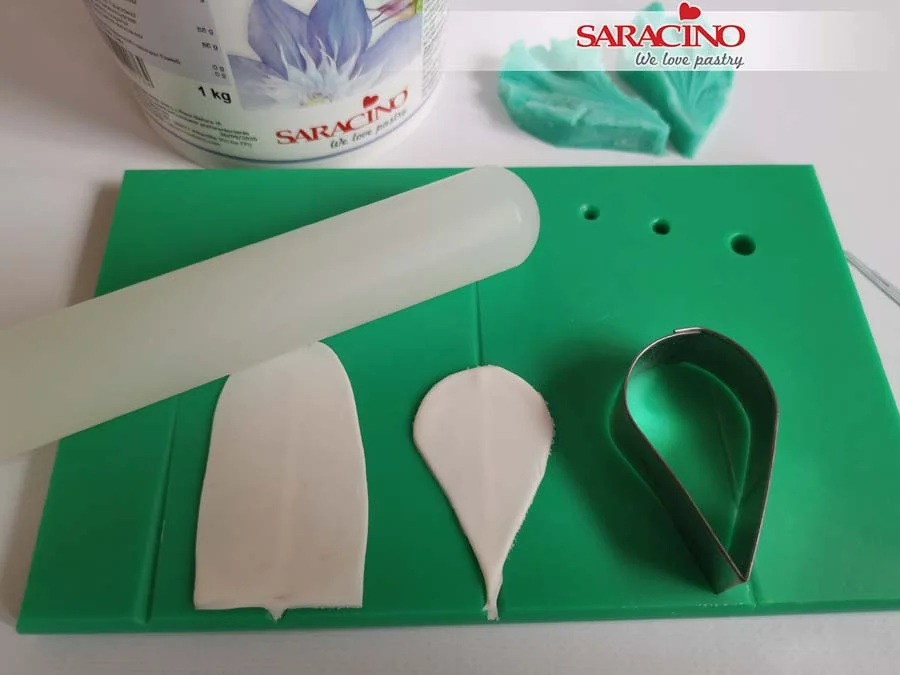
Cut the wafer paper into wide strips starting from the narrow edge.
Step 2
Fold the cut pieces in half.
Step 4
Repeat for the whole strip.
Step 5
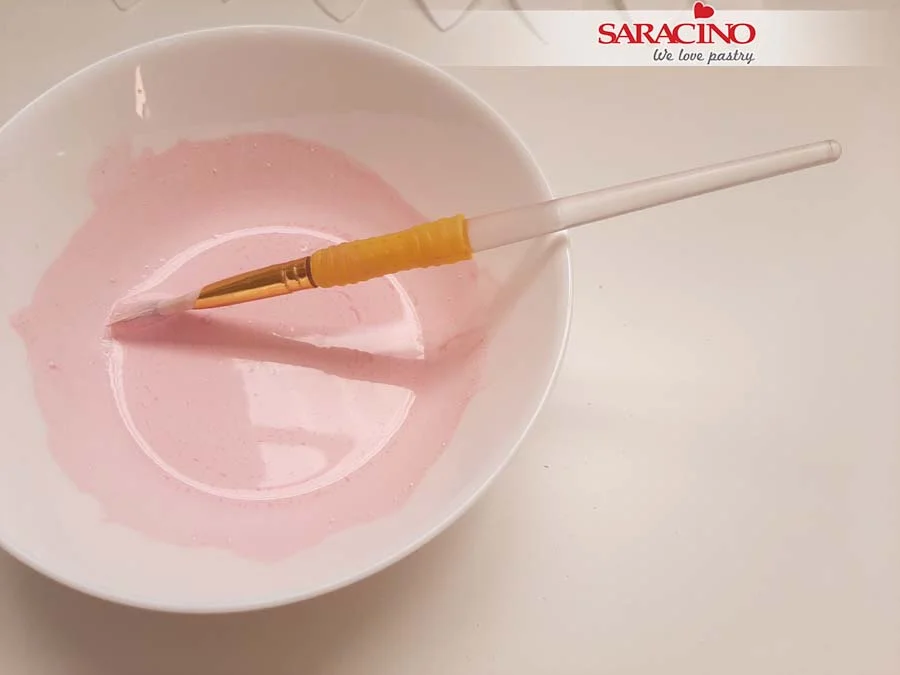
Prepare white and pink Saracino powder colour and a bowl or painting pallet.
Step 6
Add a little of the powder colours to the bowl. Add clear alcohol and mix till blended. Keep this colour as we will use it later.
Step 6
Take your 30 gauge wire and cut into small pieces.
Step 7
Using the colours and brush paint the petal from one side.
Step 8
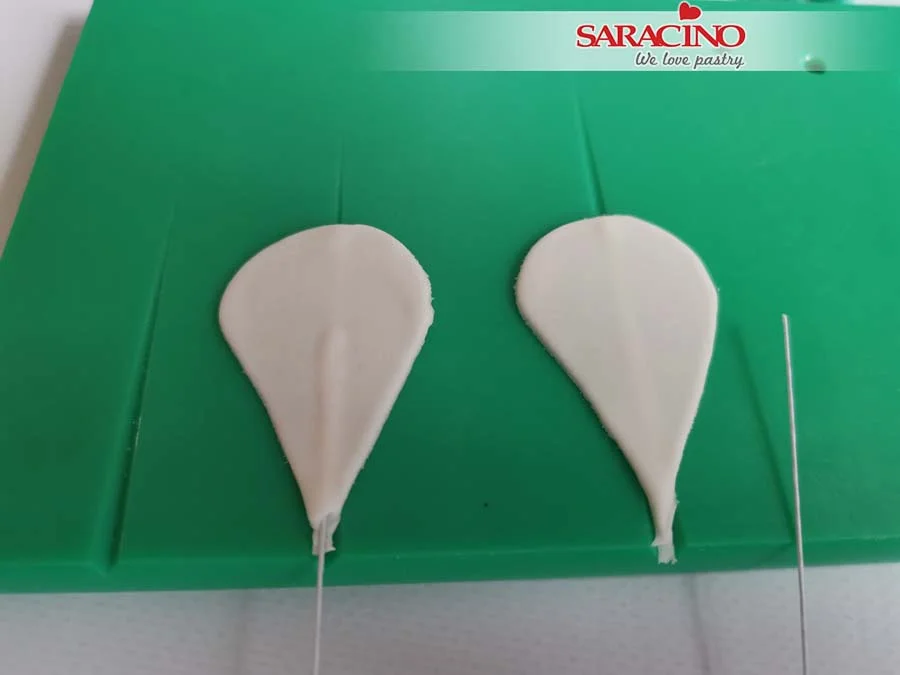
Place your wire on the painted petal whilst it is still wet.
Step 9
And cover with another petal so they stick together.
Step 10
Now you can paint it on both sides.
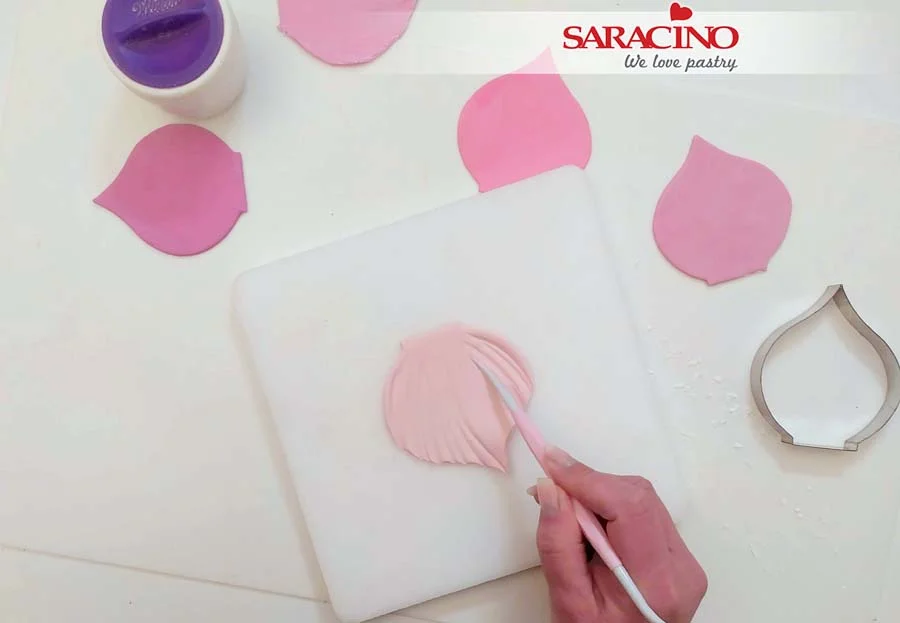
Step 11
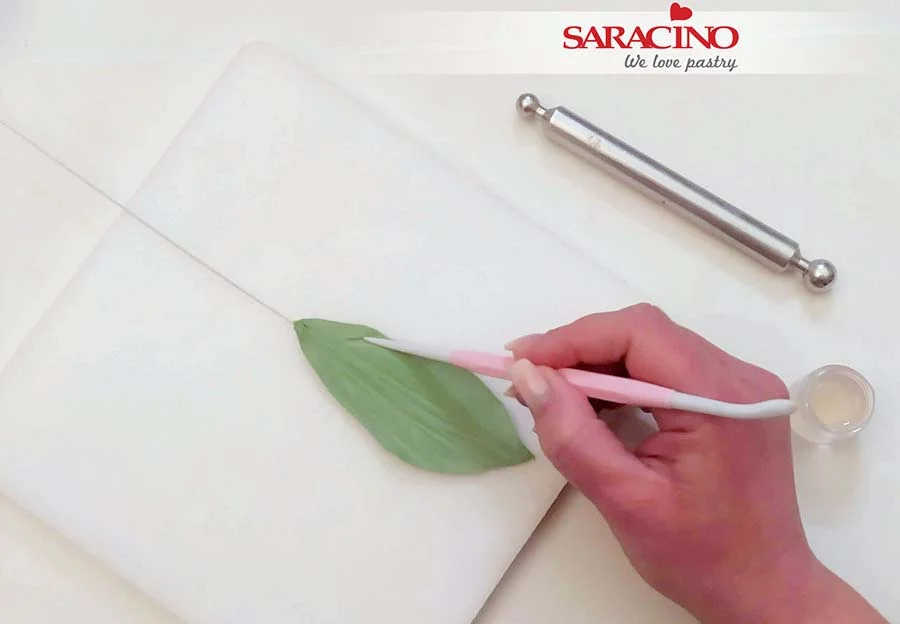
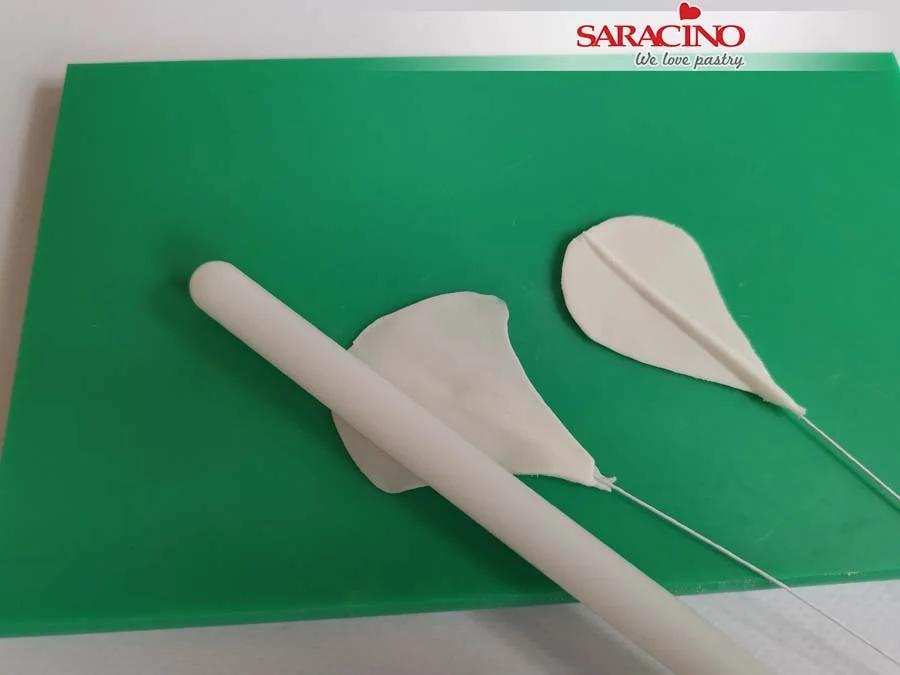
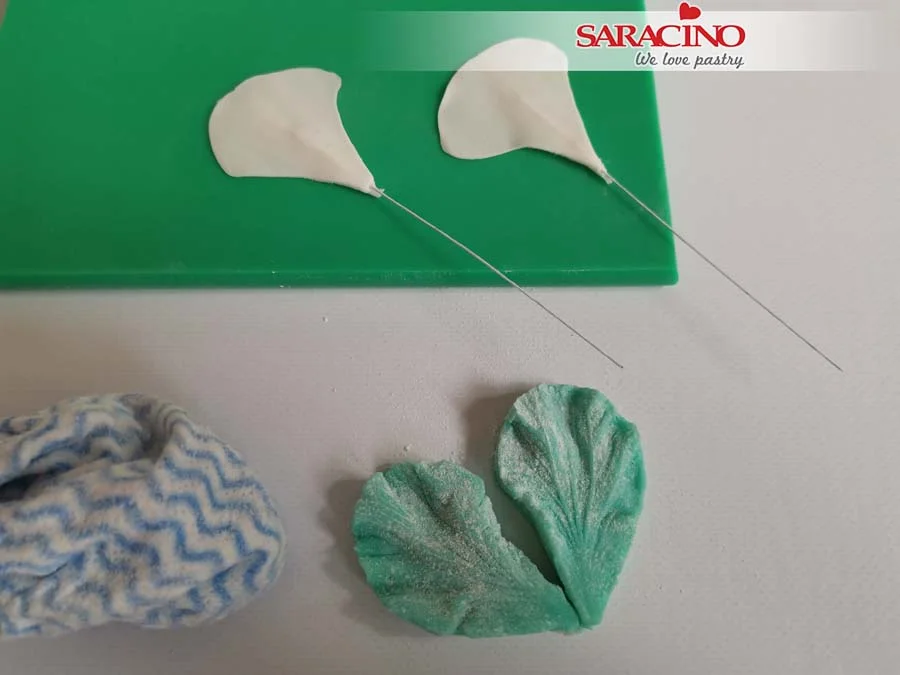
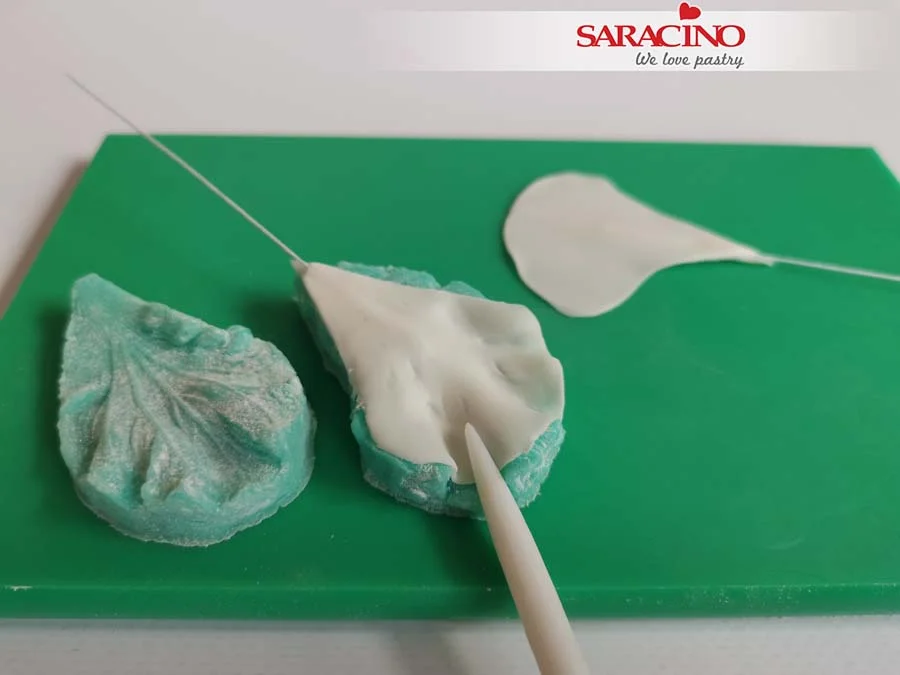
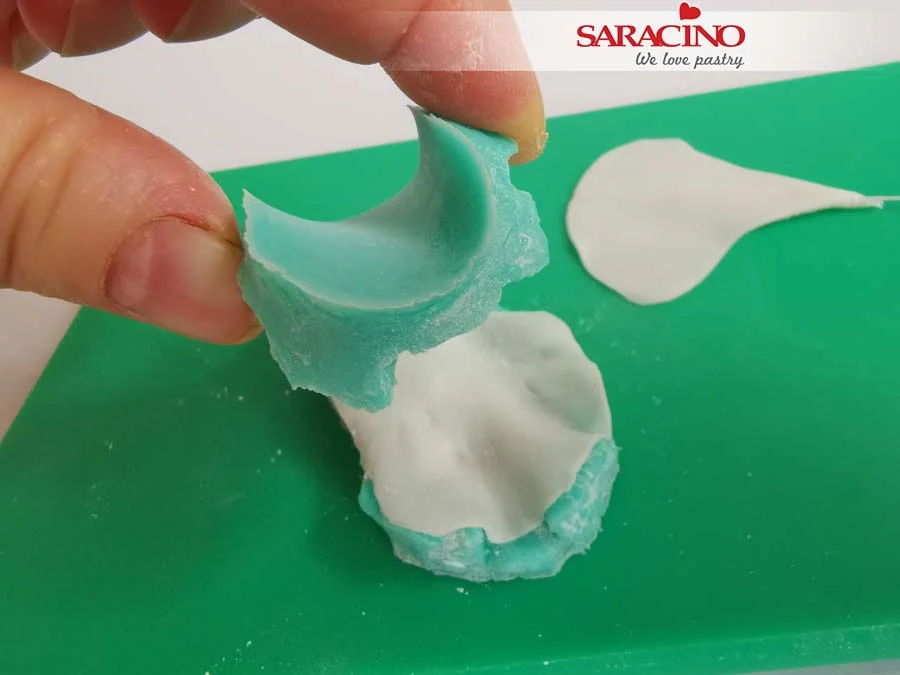
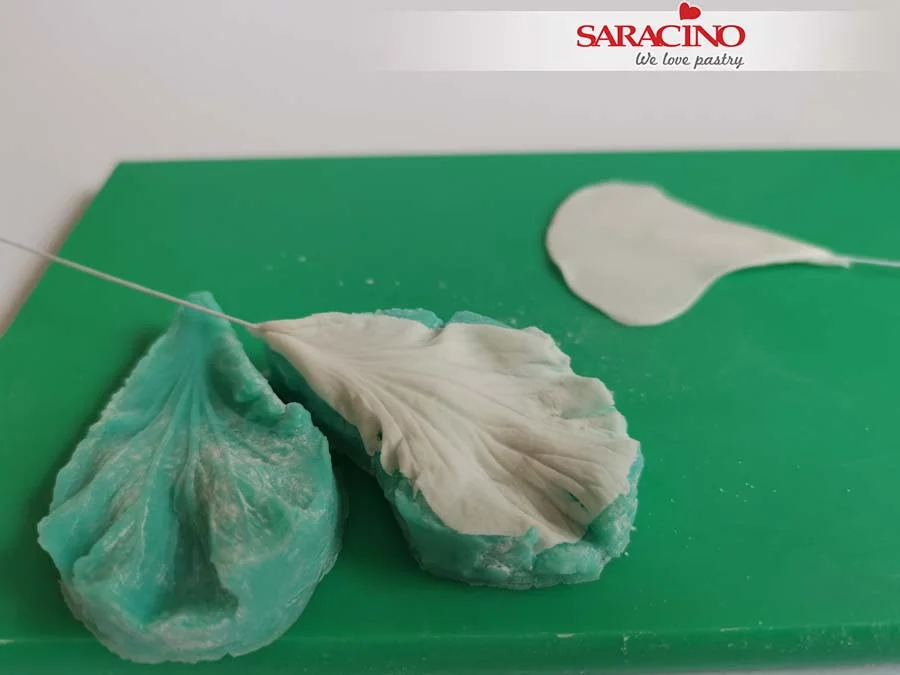
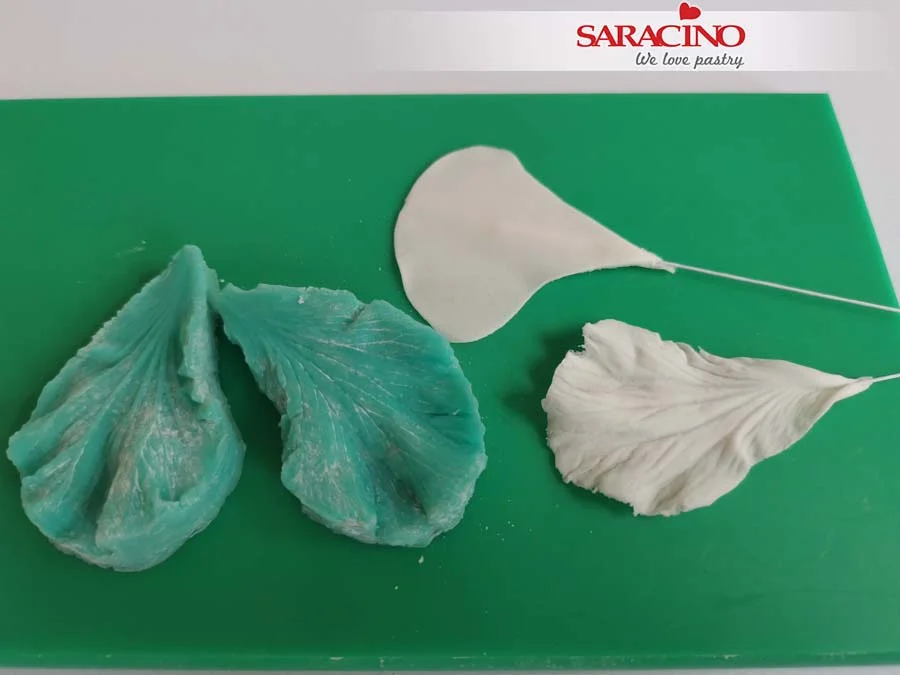
Place your petal on a veiner and press gently to achieve a veined effect.
Step 12
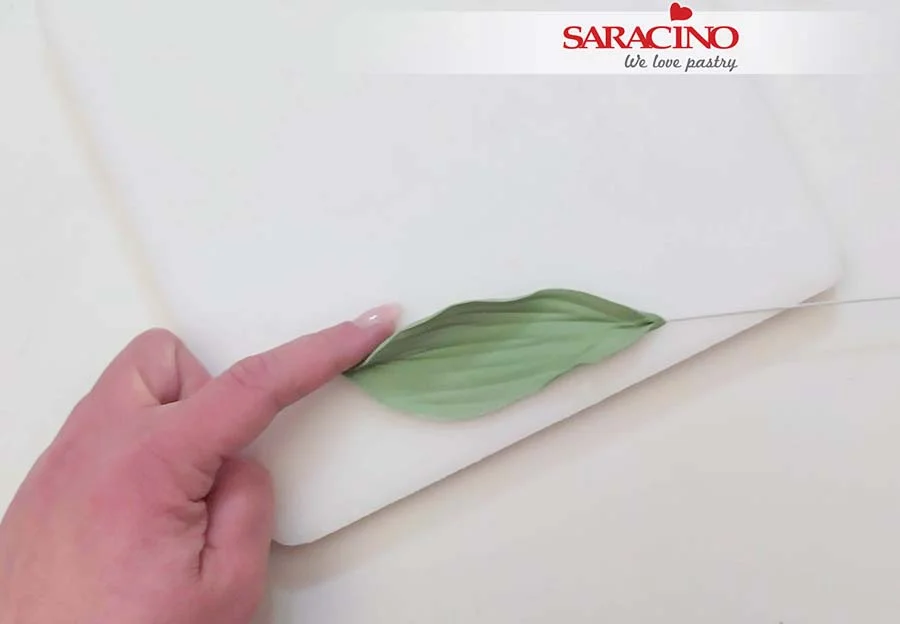
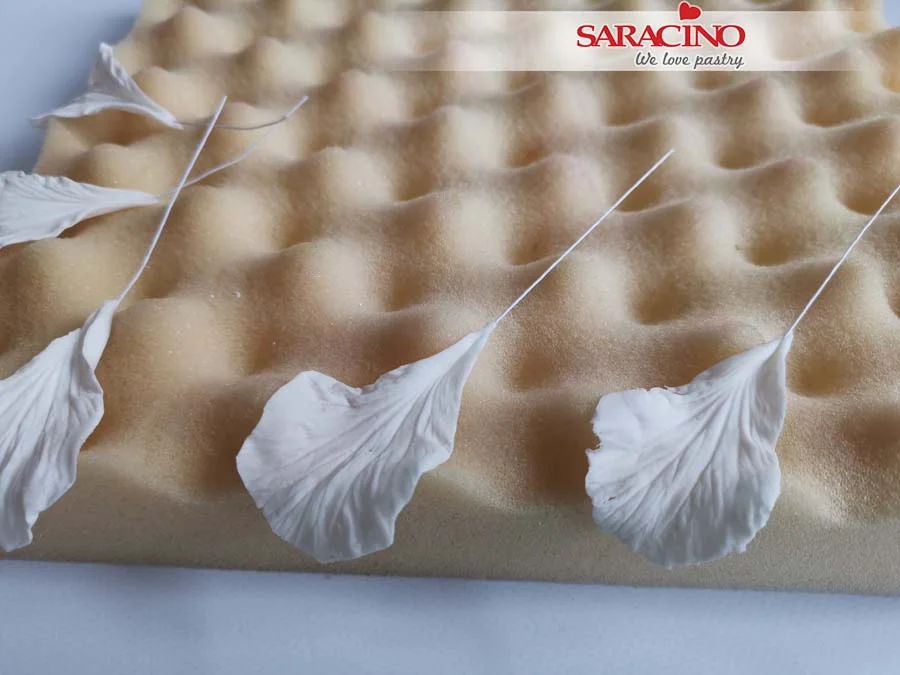
They need to have a natural look. Let them dry on a plate or sponge mat.
TIP: If you are in rush you can dry them in the oven at 50C for 10 minutes.
Step 13
Repeat with all petals. The quantity you make depends on the amount of flowers you need.
Step 14
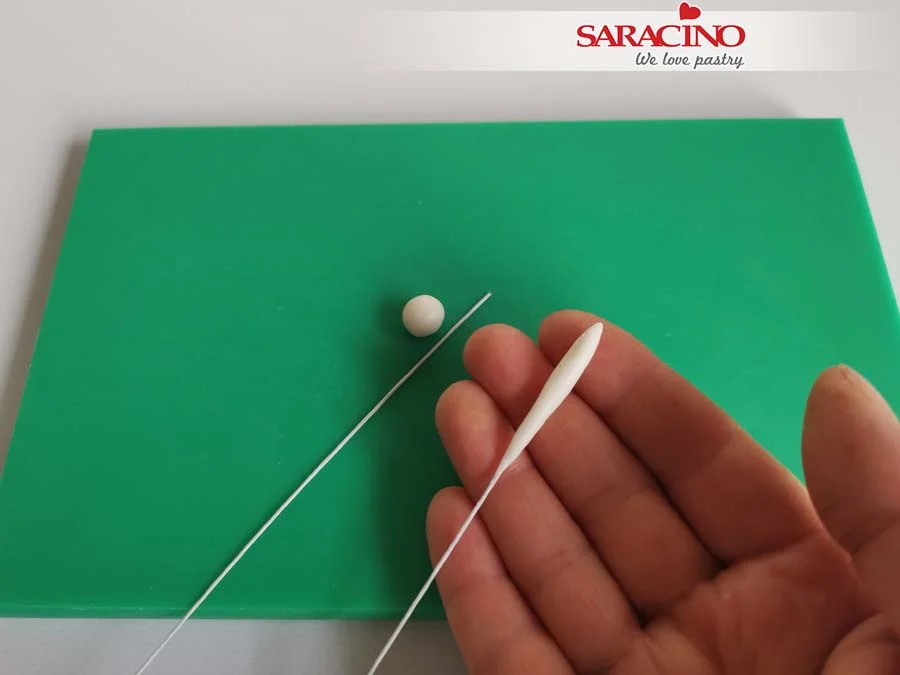
Cut your 20 gauge wire in half.
Step 15
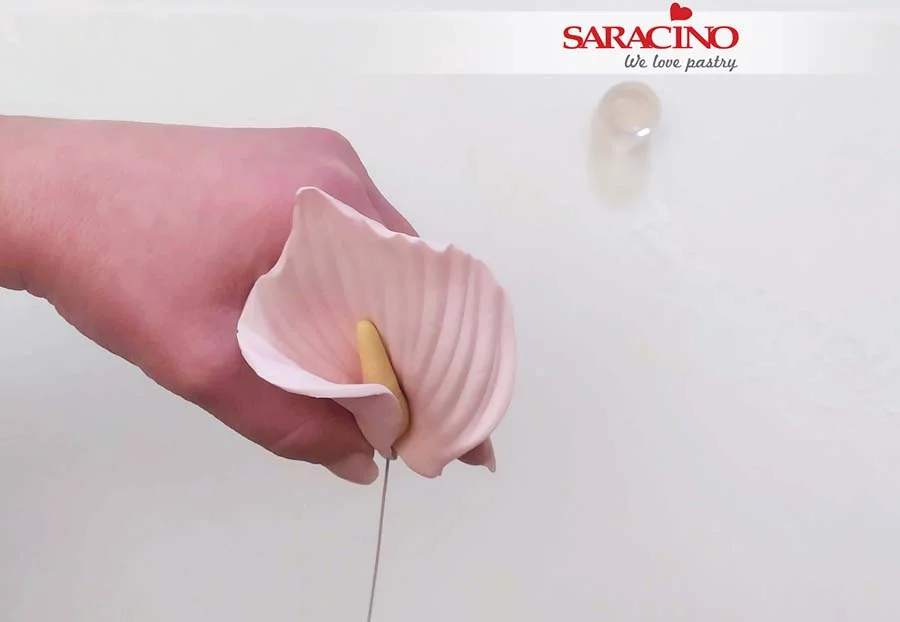
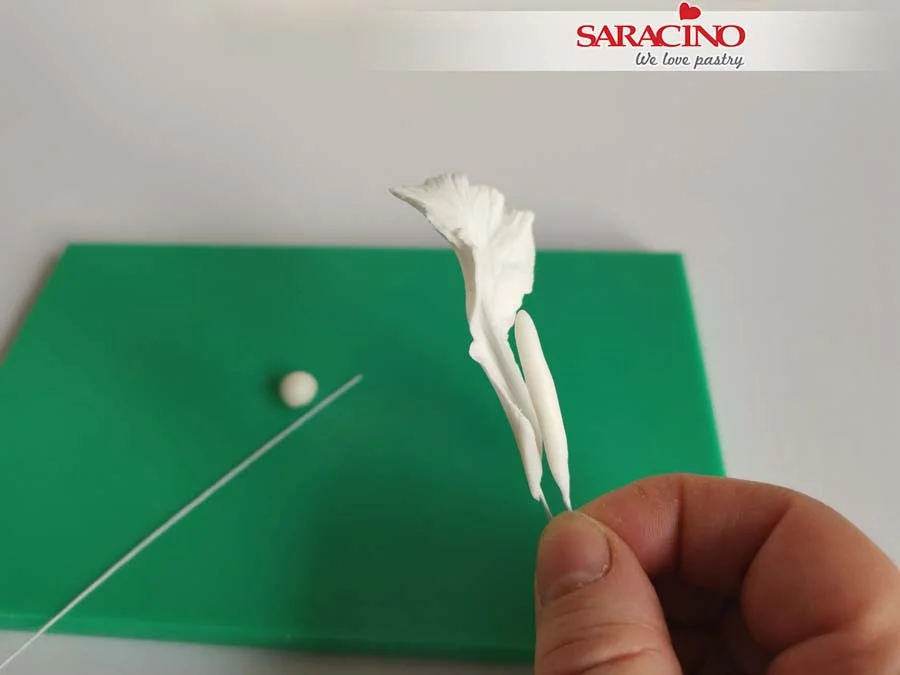
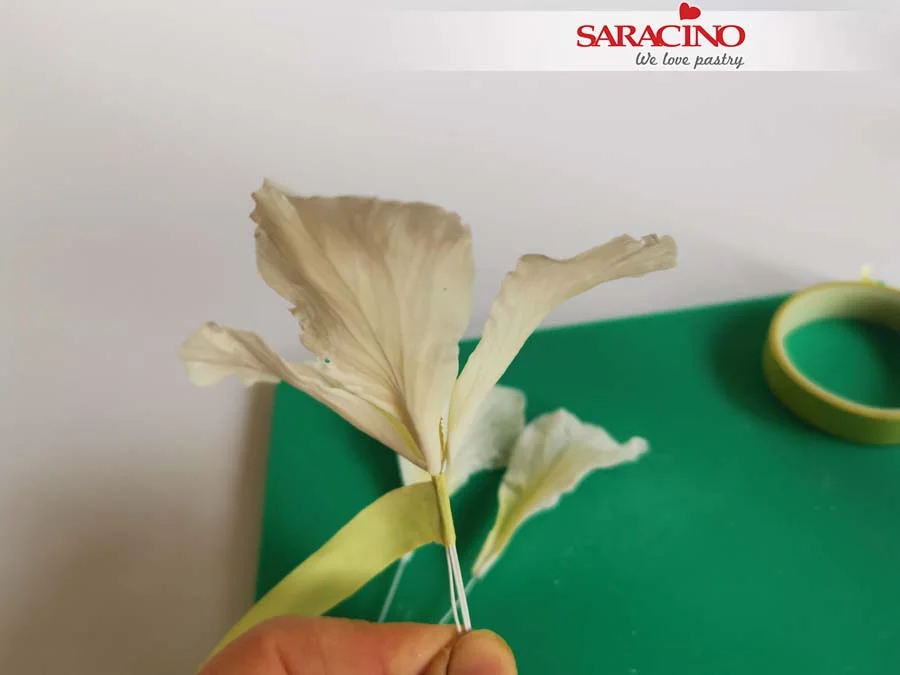
Bend your petals as shown.
Step 16
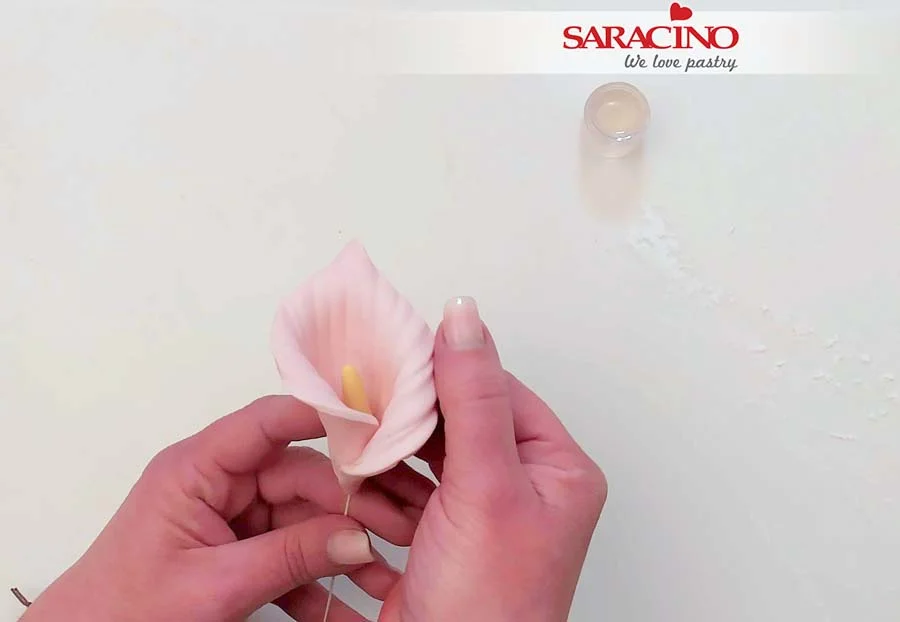
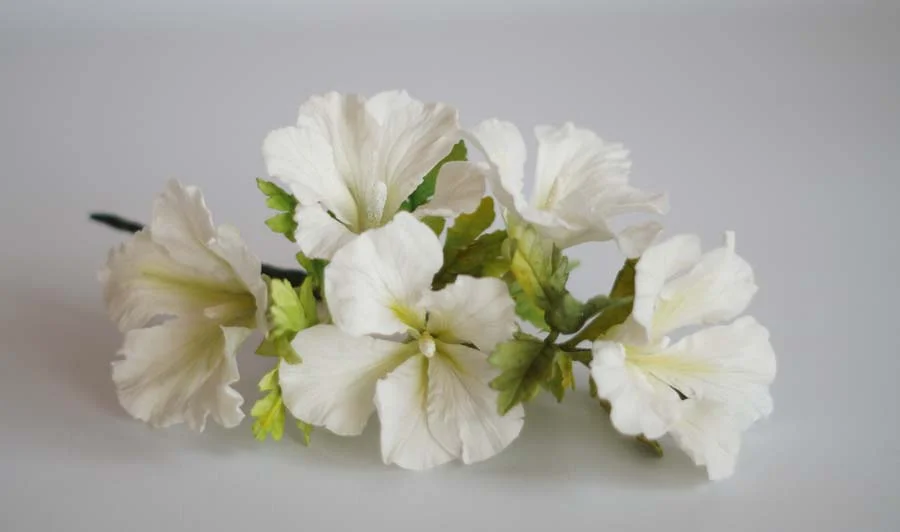
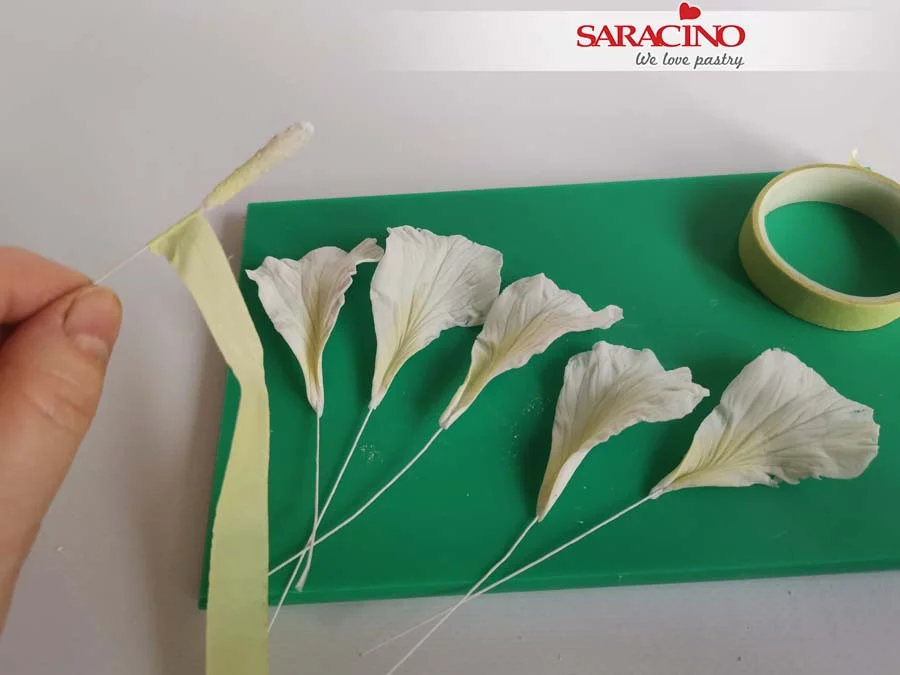
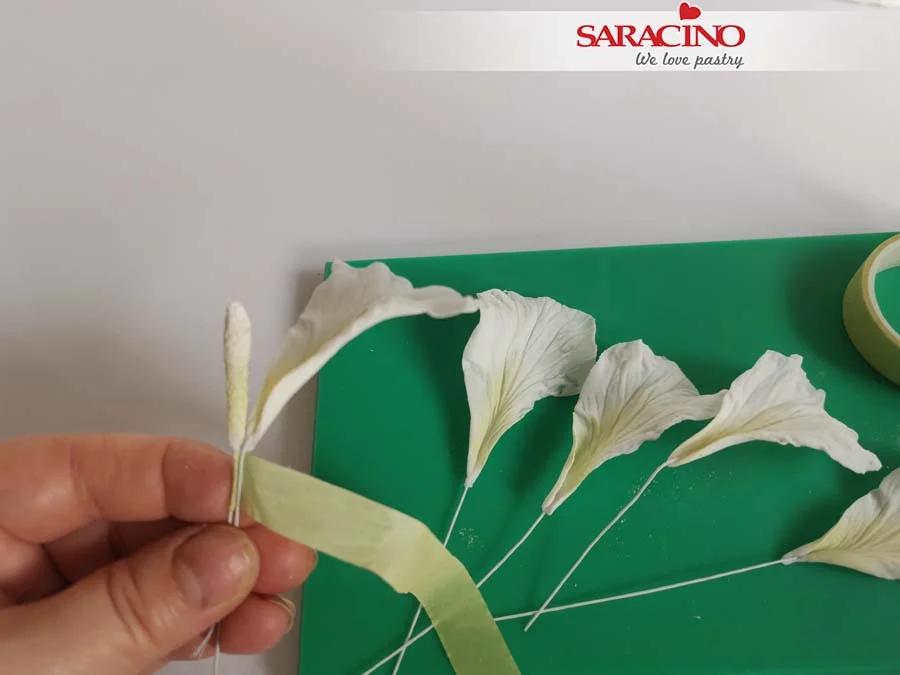
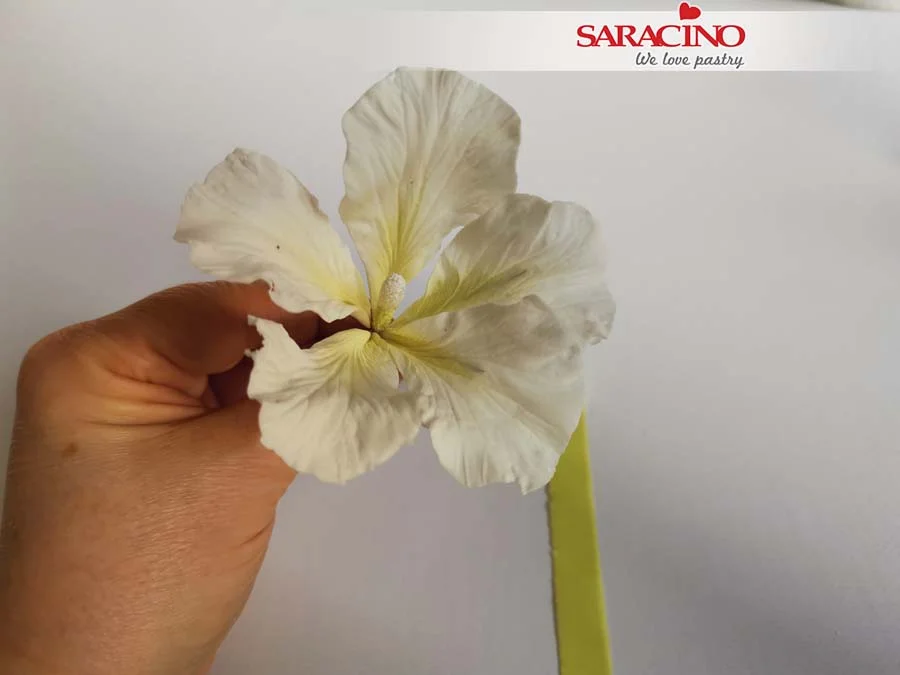
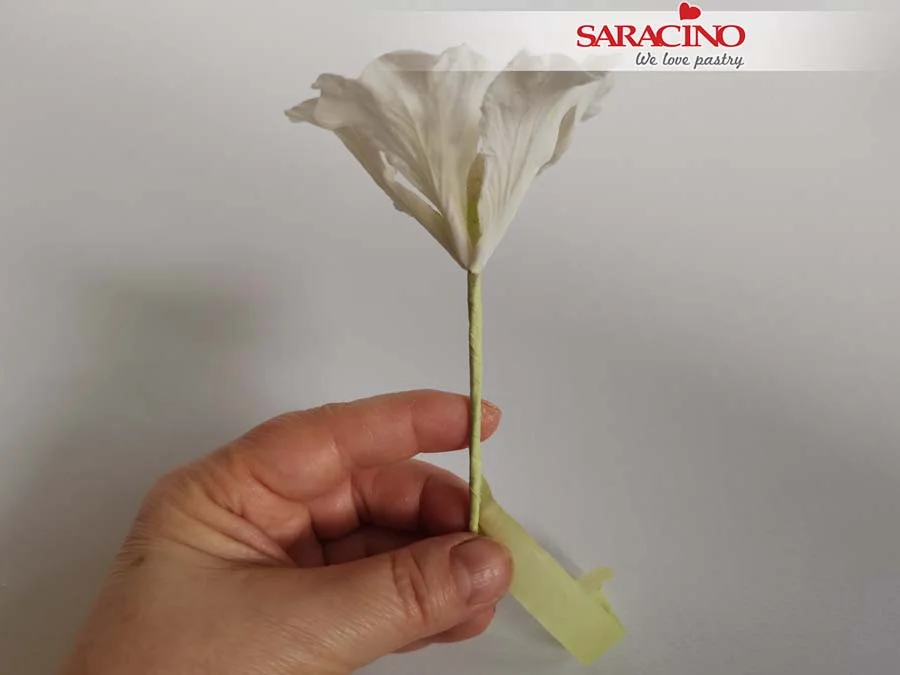
Fix a few petals around the 20 gauge wire. My flower will have 8 petals.
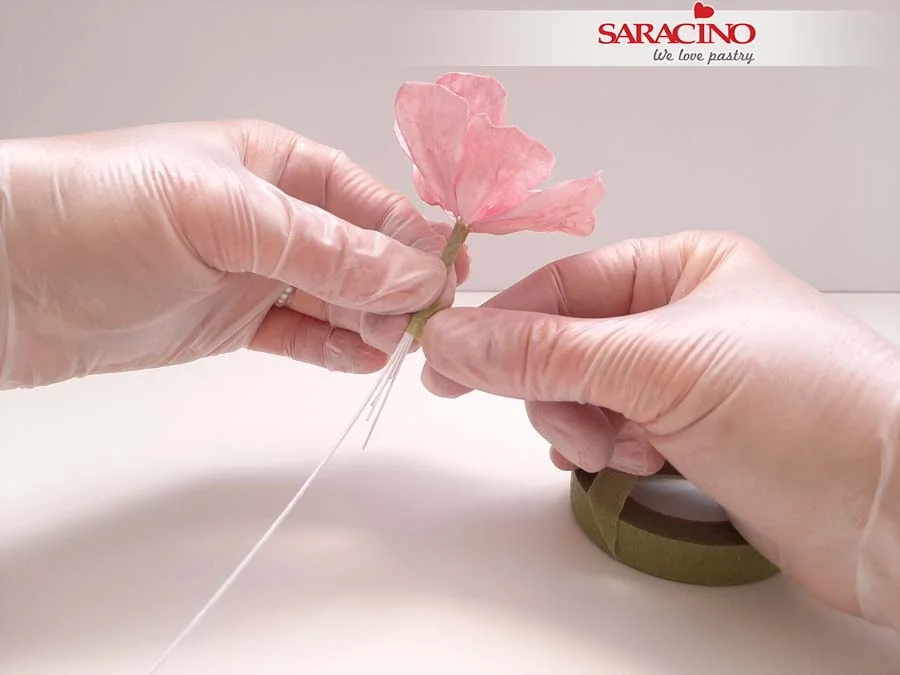
Step 17
Secure the wires with flower tape.
Step 18
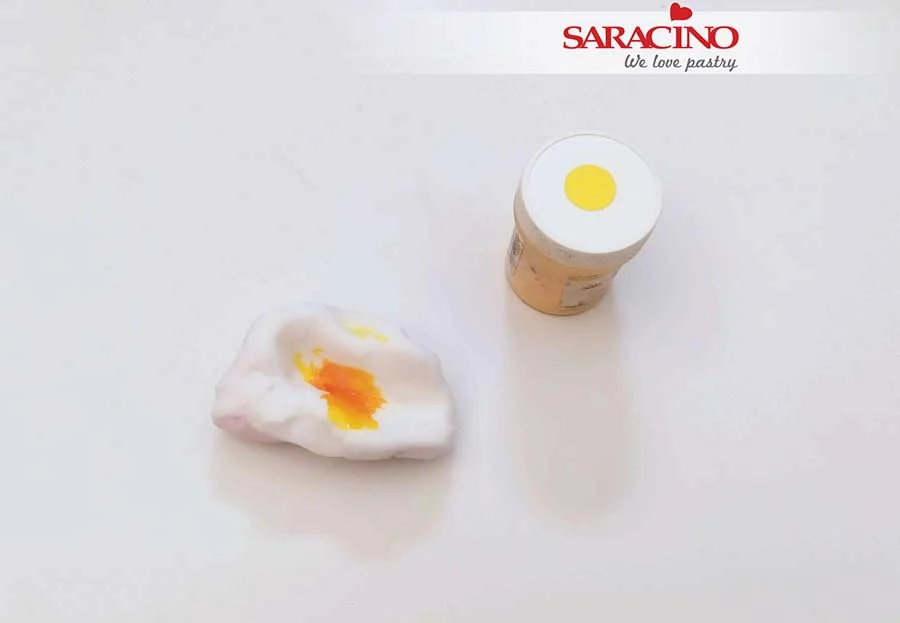
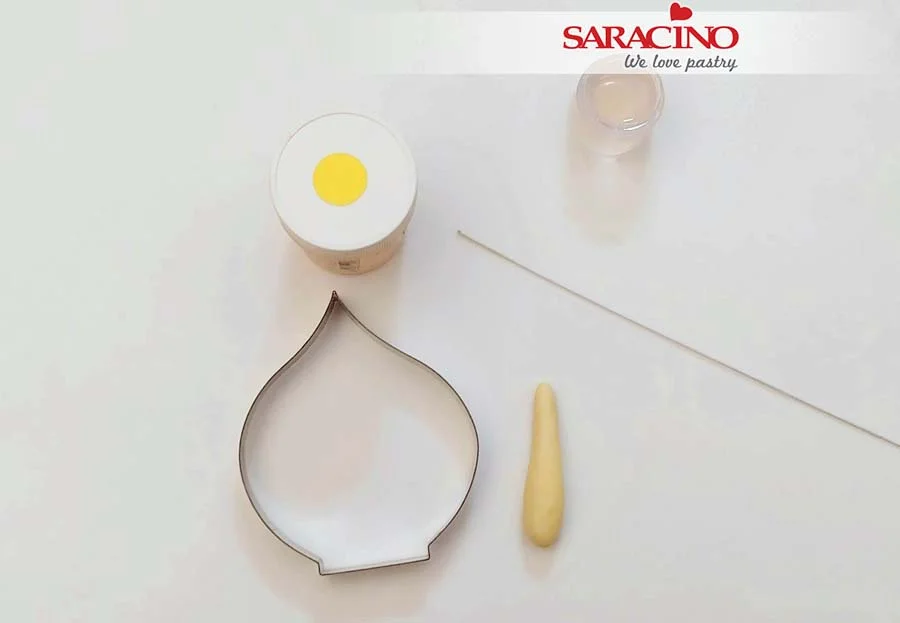
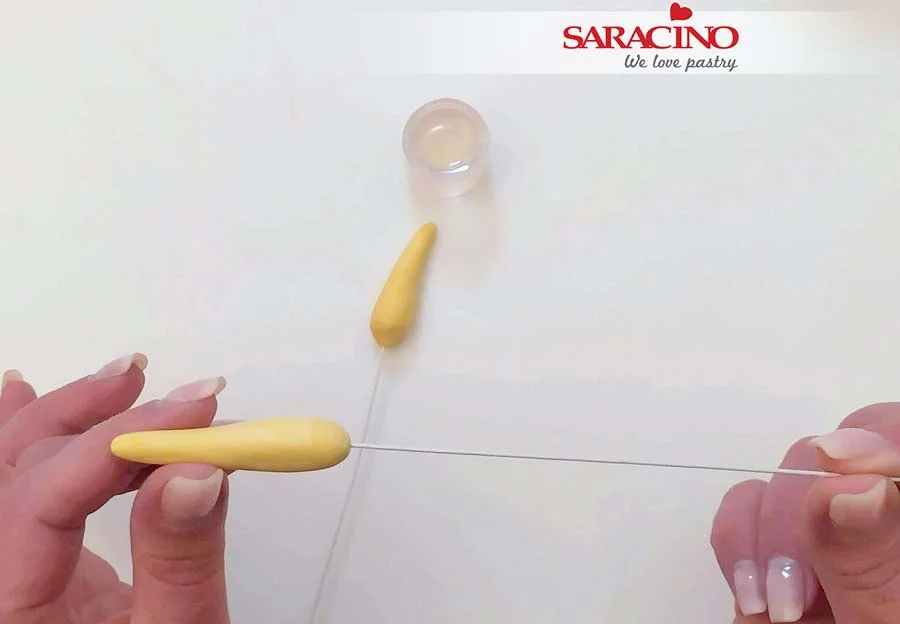
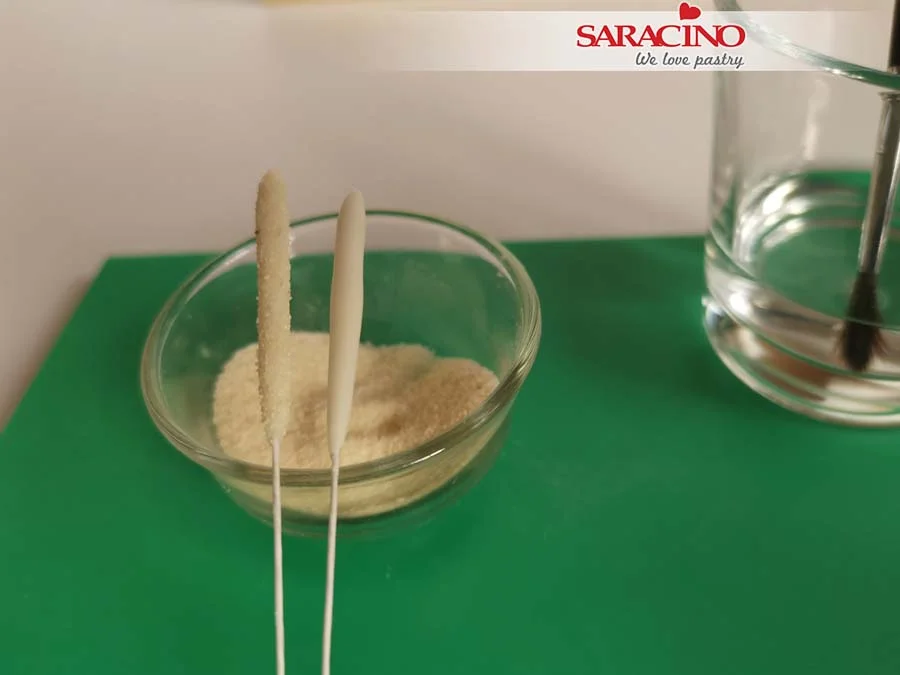
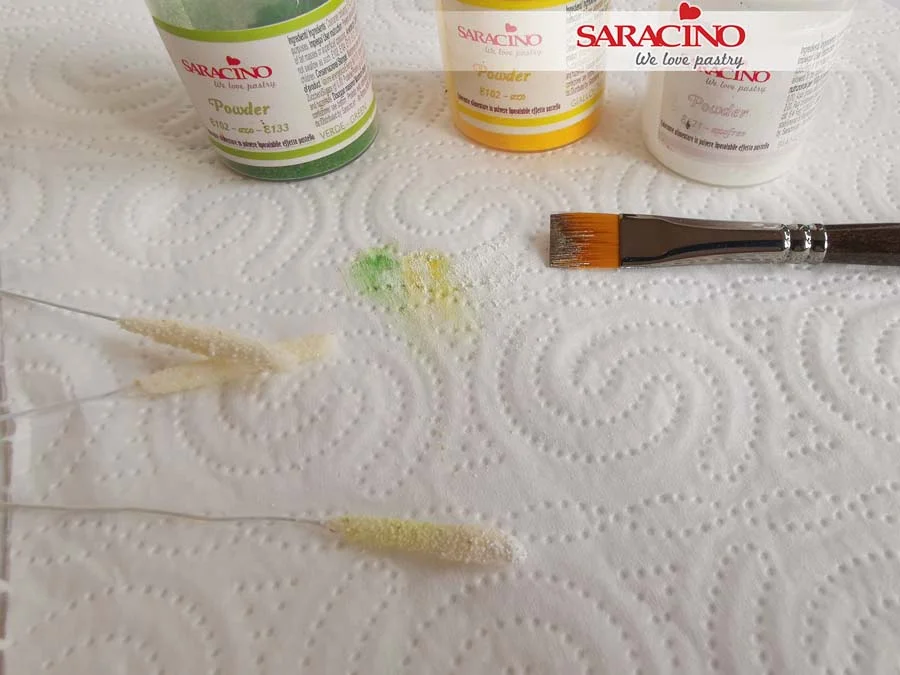
Using yellow Pasta Model, roll a small ball and add to the centre of the flower. Using your modelling tool add texture.
Step 19
Using blue, black and yellow colour powders shade the petals.
Step 20
For the bottom lace, cut the wafer paper into long strips.
Step 21
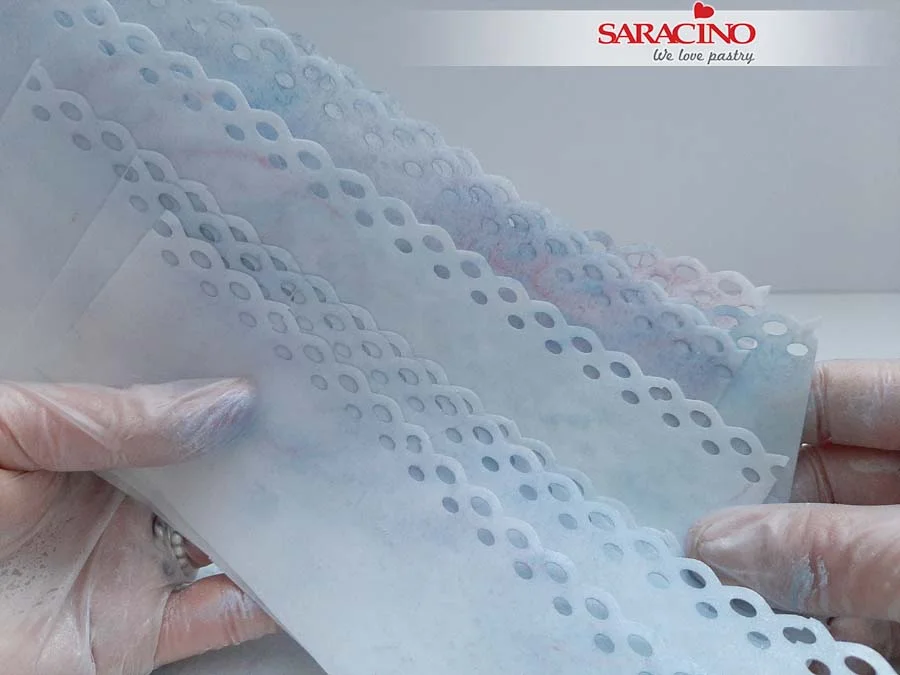
Using a paper puncher of your choice create a pattern along the edge of each paper strip.
Step 22
In a clean bowl put blue, white and pink powder colours.
Step 23
Using a soft brush shade the edges of the wafer paper.
Step 24
So they look as shown. Don’t aim for all of them to look the same. We want them to look random.
Step 25
Add a tiny bit of water to the bottom edge of the paper and start folding.
Step 26
Connect two pieces together using a little bit of water.
Step 27
Make as many as you require to cover your bottom tier.
Step 28
Take your cake and cover with buttercream to the same colour.
Step 29
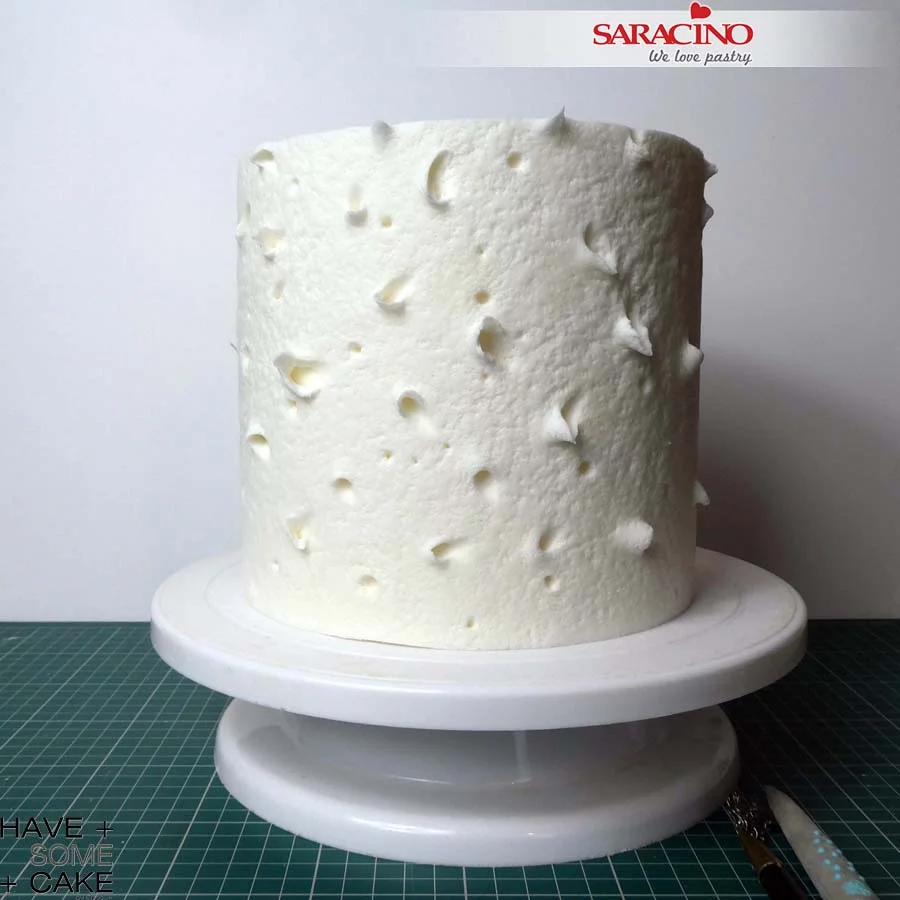
Using a spoon, dip it in the cream and dab over the cake to give the textured look.
Step 30
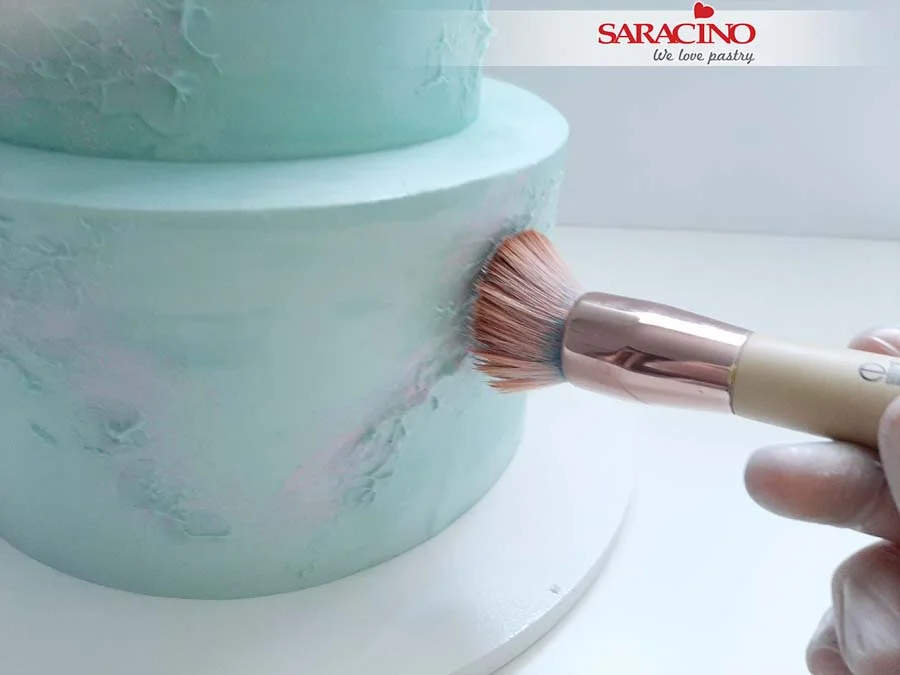
Take the previously mixed colour. There is no need to add more alcohol as it can be used as a dust.
Step 31
And dab over the cake with the brush.
Step 32
Start adding the paper lace. No need to add water if your cake has a buttercream covering.
Step 33
Continue all around the bottom of the cake. Do this twice to give a fuller look appearance.
Step 34
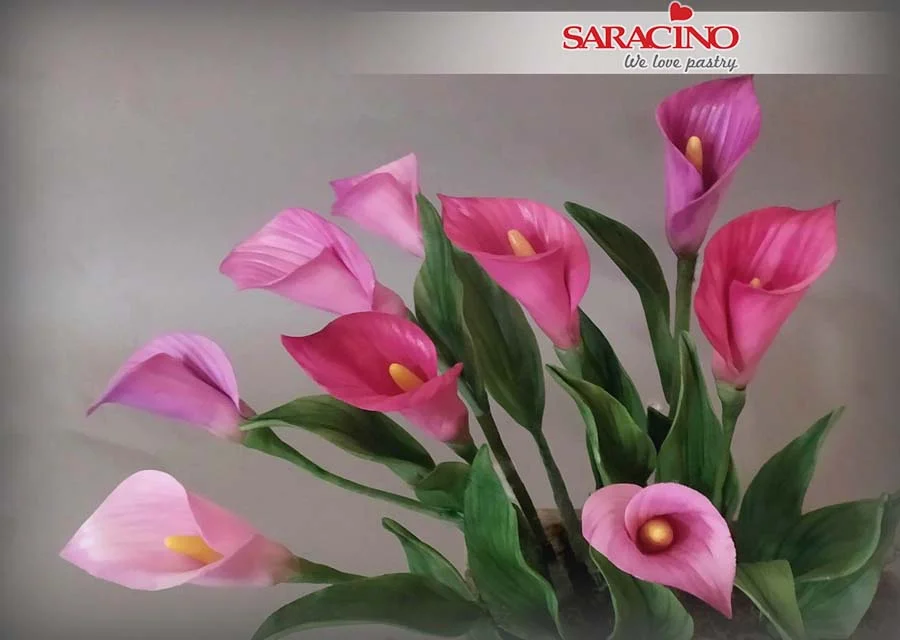
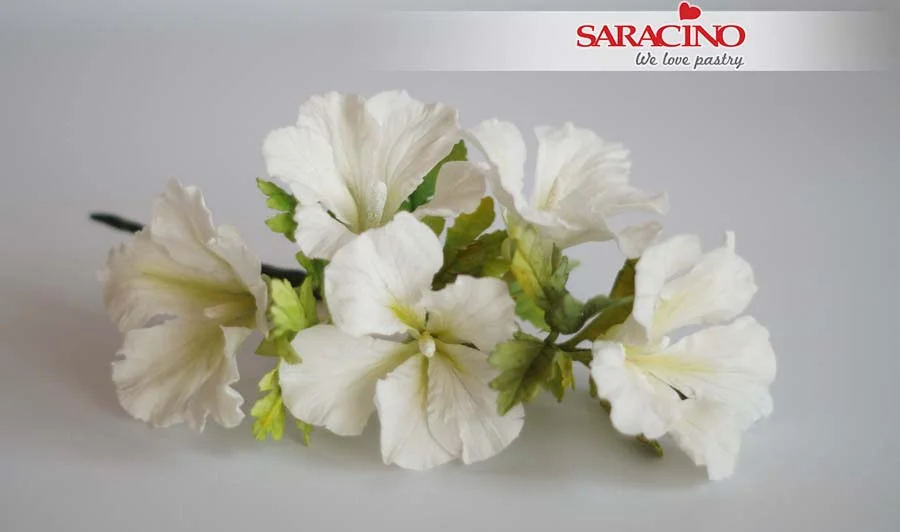
Add the flower randomly where required.
Step 35
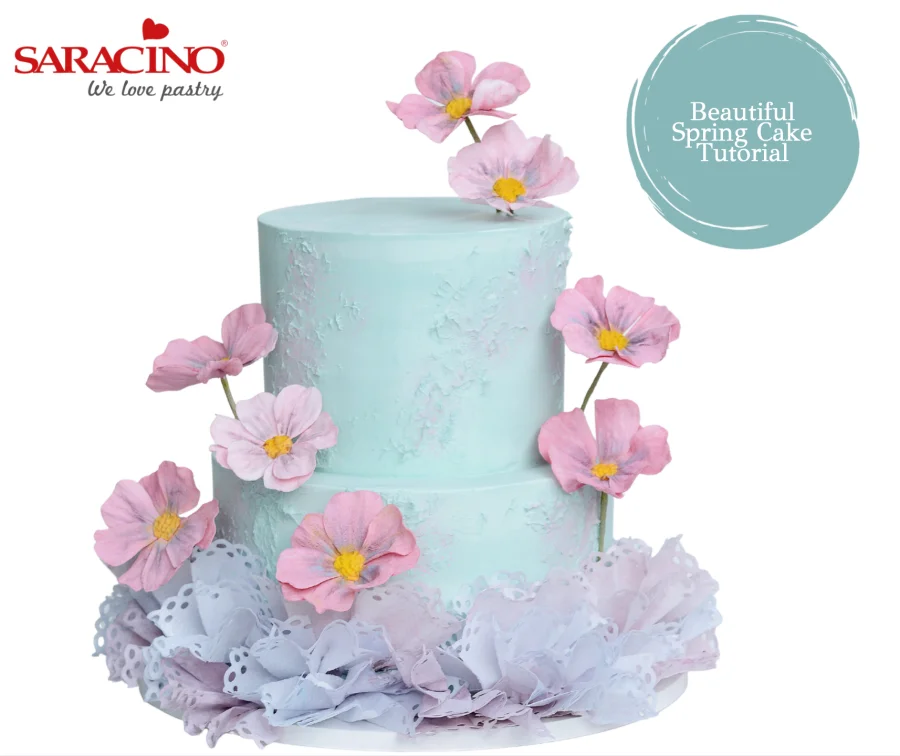
Your spring cake is ready!
Apr 12, 2021 | Blog, News
PASTA MODEL – gum paste designed for modelling
It is a READY TO USE product so NO need to add CMC to create your piece.
When you unwrap the paste it will be very firm,
Don’t worry as this is how it is supposed to be!
Simply cut off a small piece and knead it in your hands. Your hands warmth will make the paste workable and stretchy.
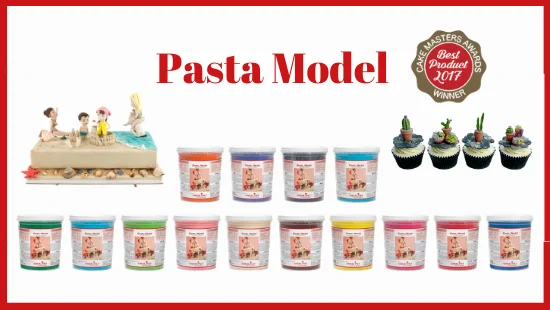
Saracino Pasta Model, the winner of the ‘Best Product’ Cake Master Award in 2017, is the ideal fondant for modelling and creating 3D images.
The perfect balance of sugars and cocoa butter ensures perfect results in most climates and gives a brilliant effect to every occasion. Once you try this product, you just won’t be able to resist Pasta Model for making your decorations. Our modelling paste is extremely elastic and strong. It can be modelled without cracking. When worked it maintains its form and you can work on the project for hours. You can also blend the joints beautifully by simply smoothing the surface with your fingers or modelling tool.
It can be finely moulded which assists with delicate work such as laces, moulds and small flowers. It also has a subtle aroma and taste.
Saracino Pasta Model currently comes in 15 different colours: white (available in 5kg, 1kg and 250g packs) and orange, blue, light blue, skin tone, yellow, Tiffany, light green, green, fuchsia, brown, black, pink, red and violet (available in 1kg and 250g packs). This means there is plenty for you to choose from. Pasta Model is also easily coloured with gel and powder colours of your choice.
If you have not tried this product yet, it is the way to go. We promise you will not go back.

Apr 6, 2021 | Cakes, Modelling
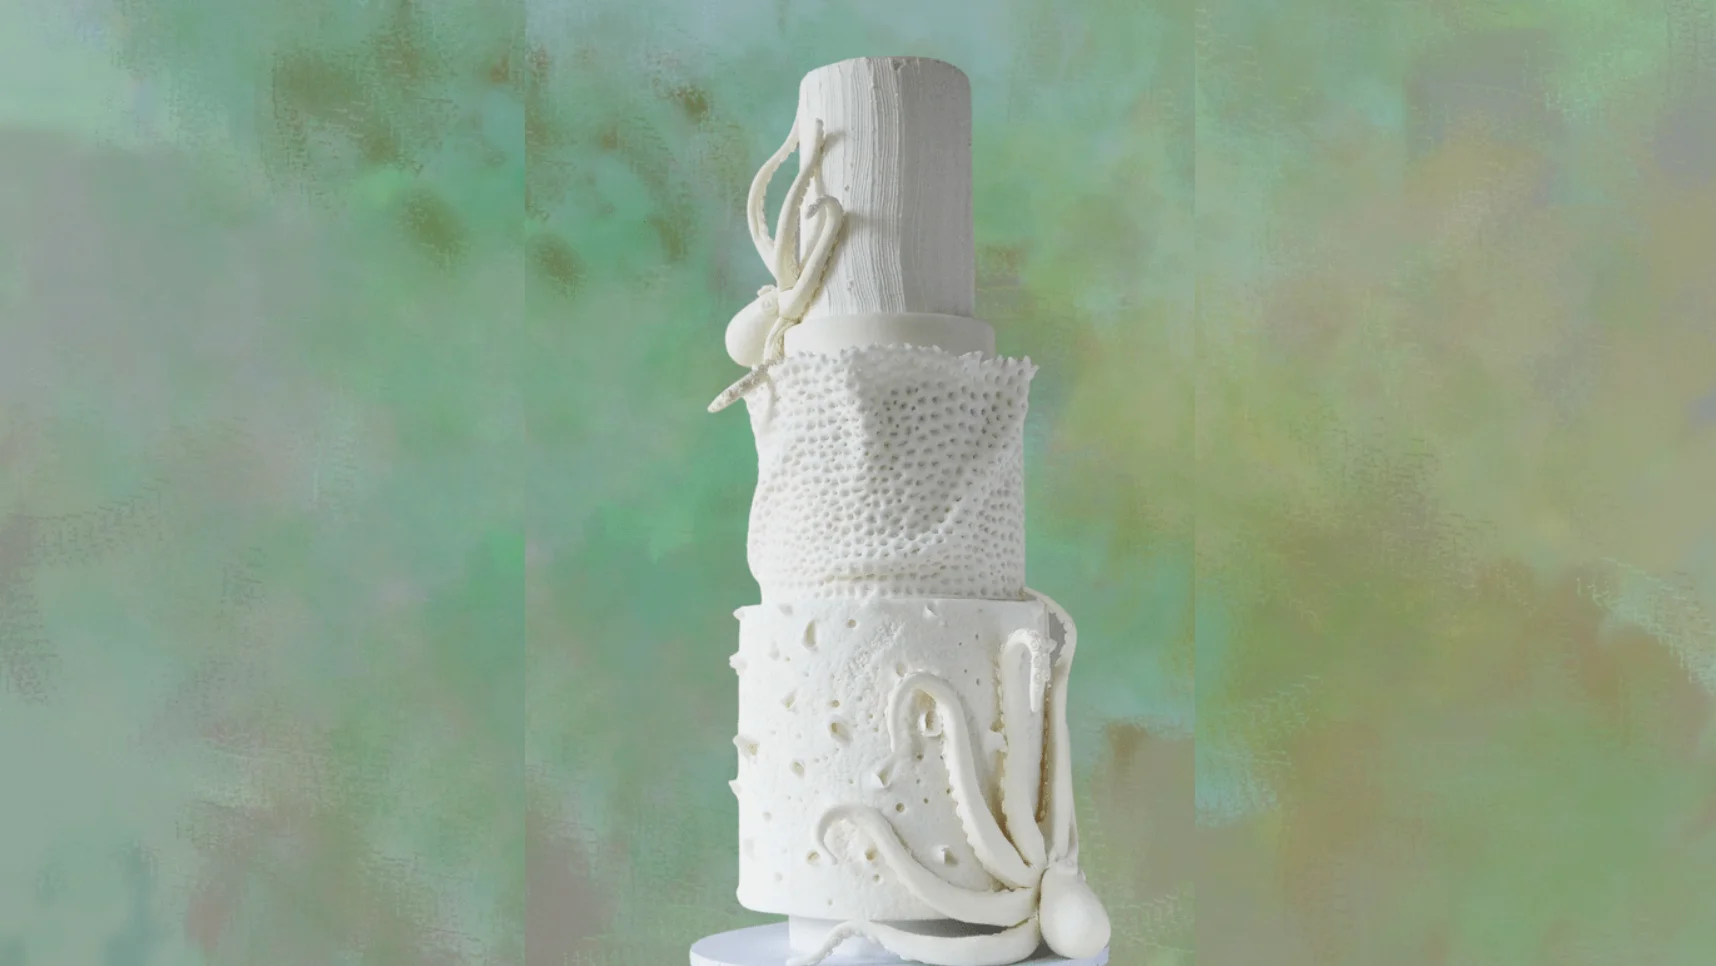
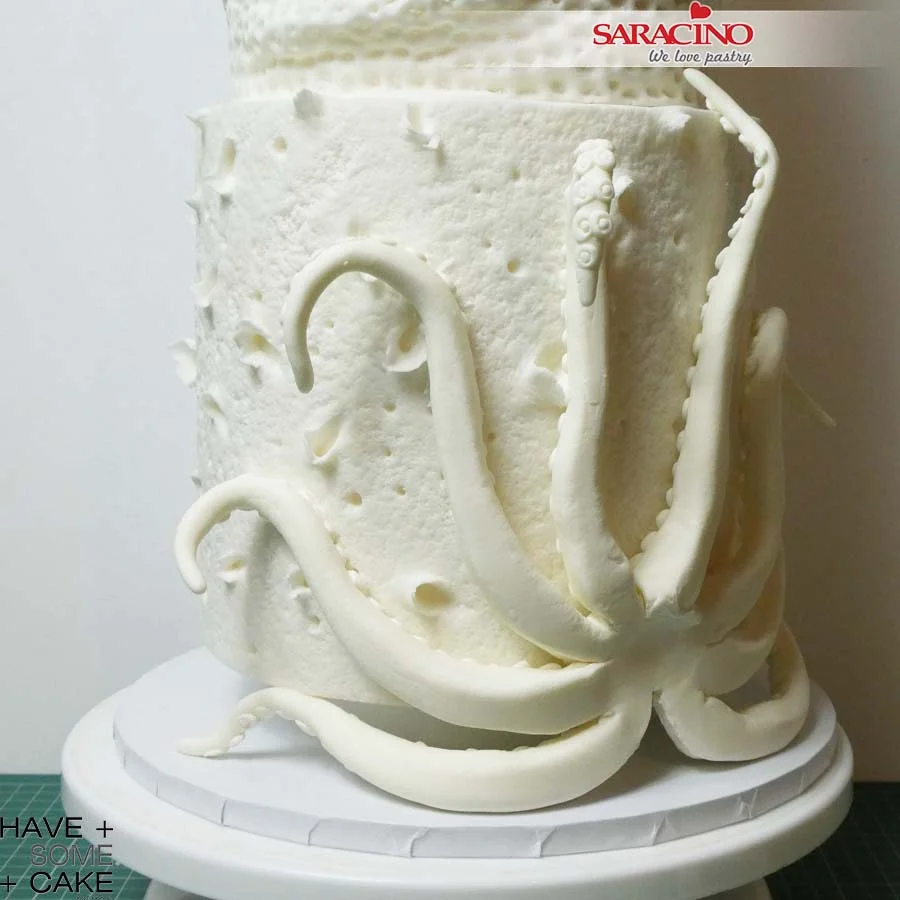
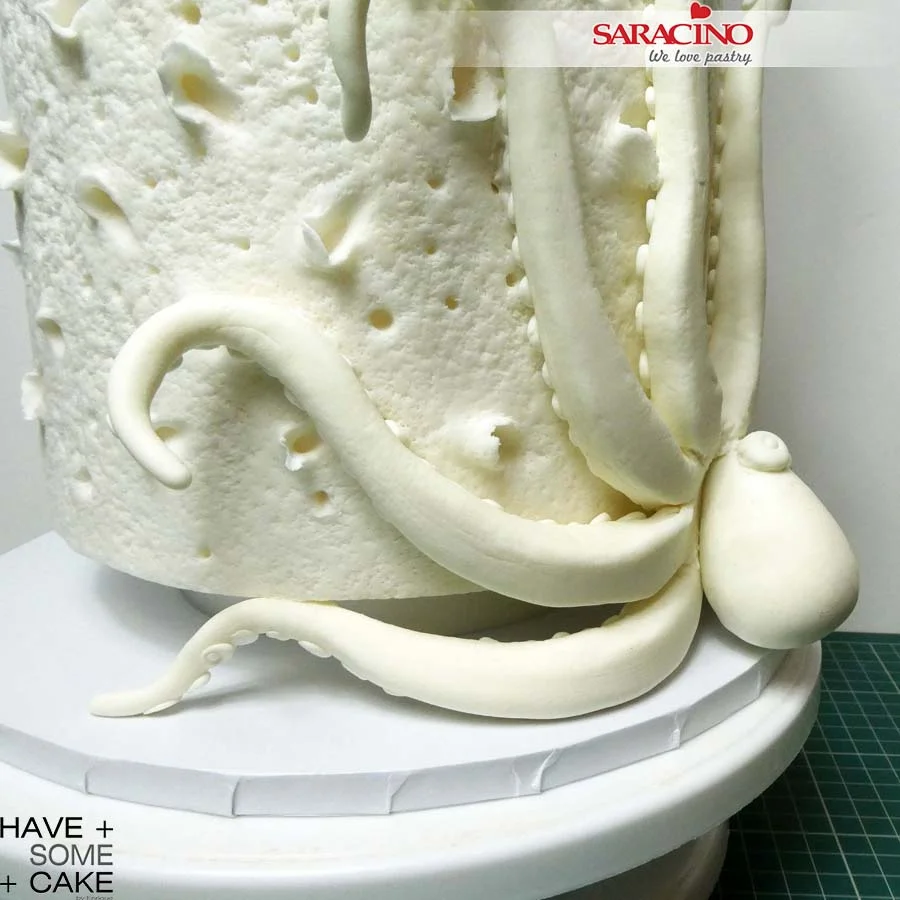
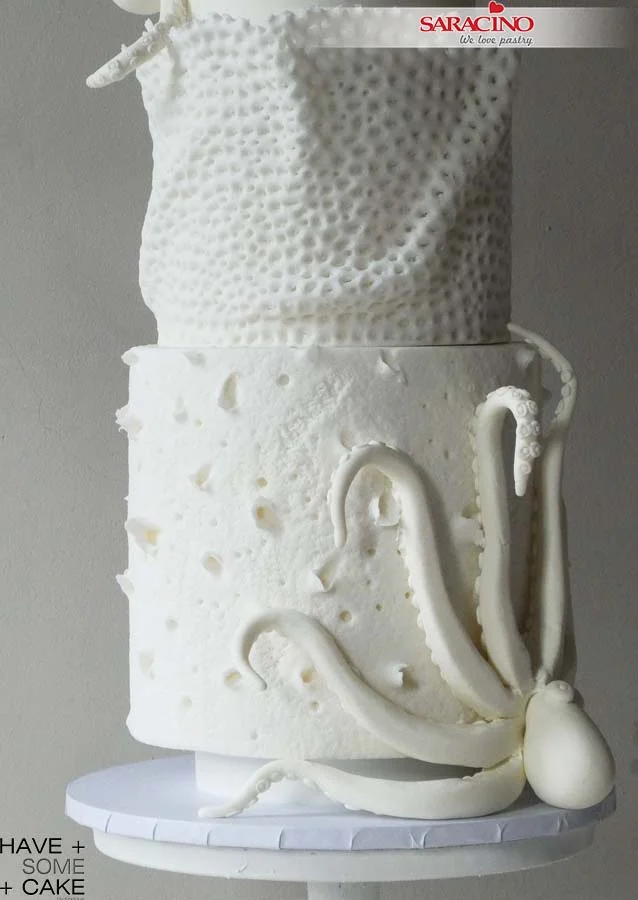
A different kind of Wedding Cake. This tutorial is about textures inspired by live coral reef and the ones washed ashore and dried. On the bottom tier we have a heavily textured tier that reminds you of pieces of coral dried and eroded by the elements. On the middle tier there is a more organic recreation of a live coral as found in reefs and at the top, the tier is textured to simulate sand at the bottom of the sea. The cake is finished by two octopus climbing around it. I went all white because it gives the design a more sculptural/ethereal feeling and because it is a thematic design.
You will need:
- SARACINO white Pasta Top
- SARACINO white Pasta Model
- Rolling Pins
- Ball Tool
- Scriber Needle
- Dresden tool
- Veining Tool
- Coarse Brush [Kemper] Tool
- Pointed Rolling Pin
- Zig Zag Edge Pottery Spatula
- Sugarworks Shaper : Pointed Chisel (Light Blue)
- Sugarworks Shaper : Bone Chisel (Orange)
- Number 2 Round Piping Nozzle
- White Royal Icing
- Craft Knife
- Pearl White Dust (OPTIONAL)
- A Cake (Dummy) as shown : 5″ x 1″ Deep Round Separator/ 7″ x 7″ Deep Round Tier/ 6″ x 5″ deep Round Tier/ 5″ x 1.5″ Deep Round Separator /4″ x 6″ Deep Round Top Tier
Step 1
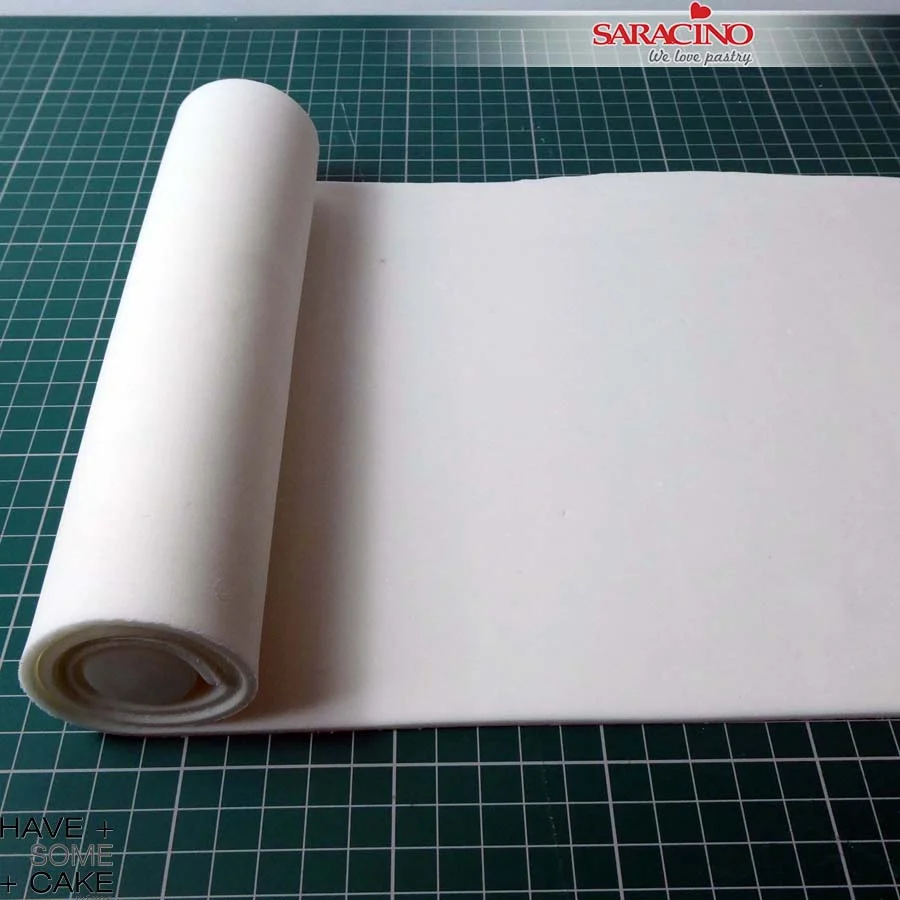
Very thinly roll enough Saracino white Pasta Top to wrap the bottom tier. Using a 9″ rolling pin roll the sugar paste around it as shown.
Step 2
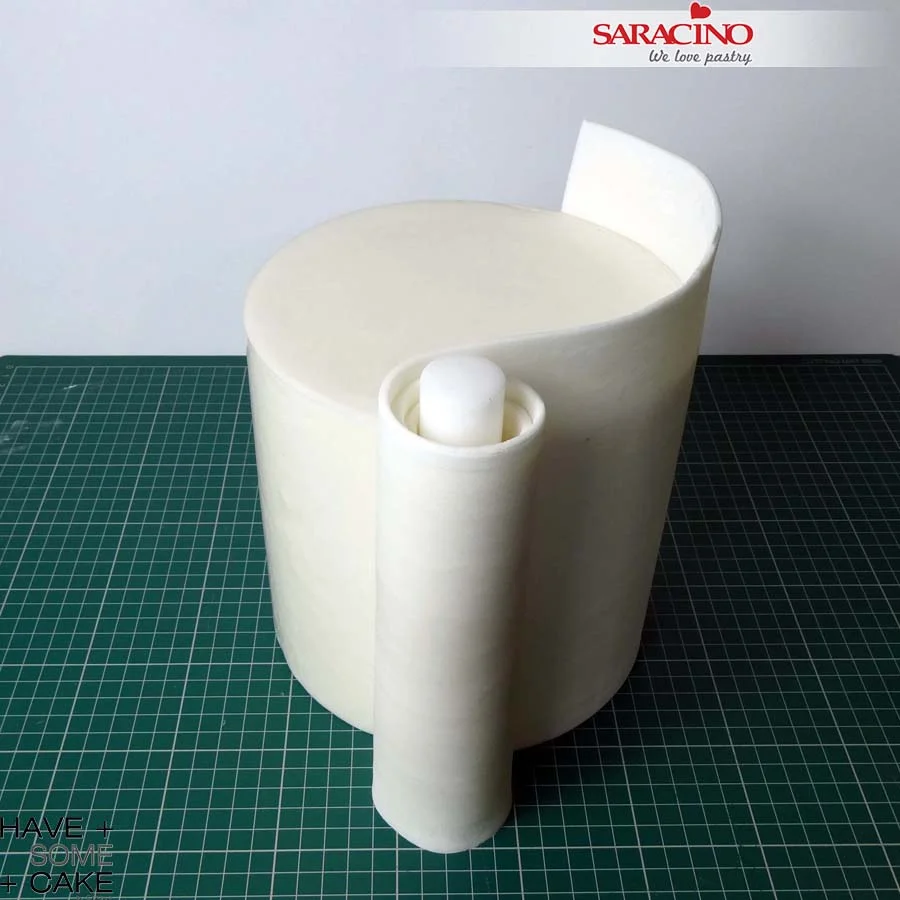
Moist the dummy and roll the sugar paste around the tier as shown. With a knife cut the excess sugar paste at the top edge.
TIP: When cutting the excess sugar paste at the top use a new blade or run the blade in Trex so it cuts smoothly. Try to do the whole cut on a turntable and in one go.
Step 3
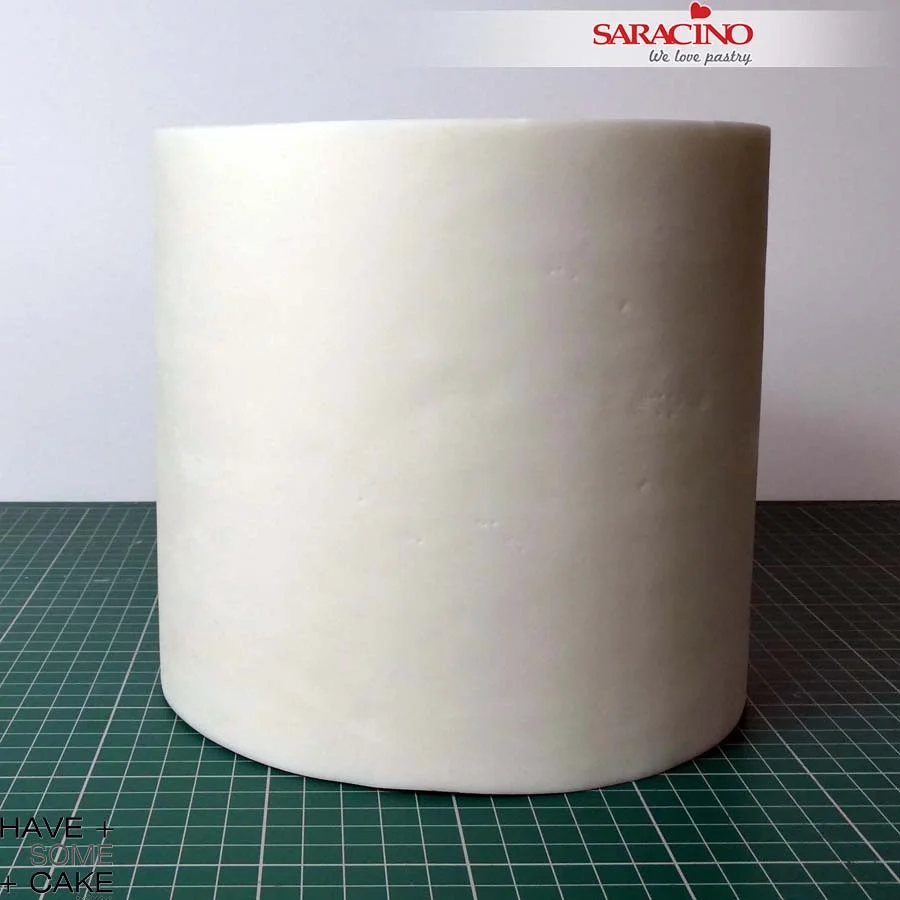
Your finished tier doesn’t have to be perfect as we will apply a texture.
Step 4
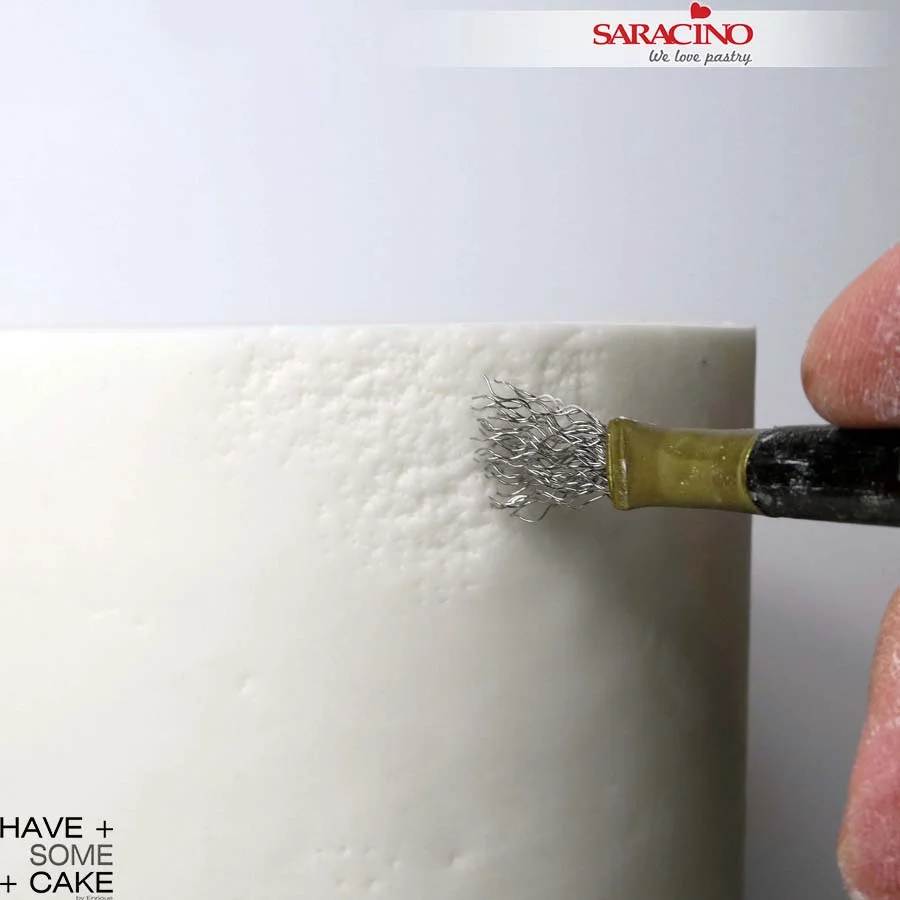
Using the Kemper coarse brush start pressing onto the previously covered tier. Use a moderate force when pressing and occasionally press forcefully to create a variation in the texture you are creating.
Step 5
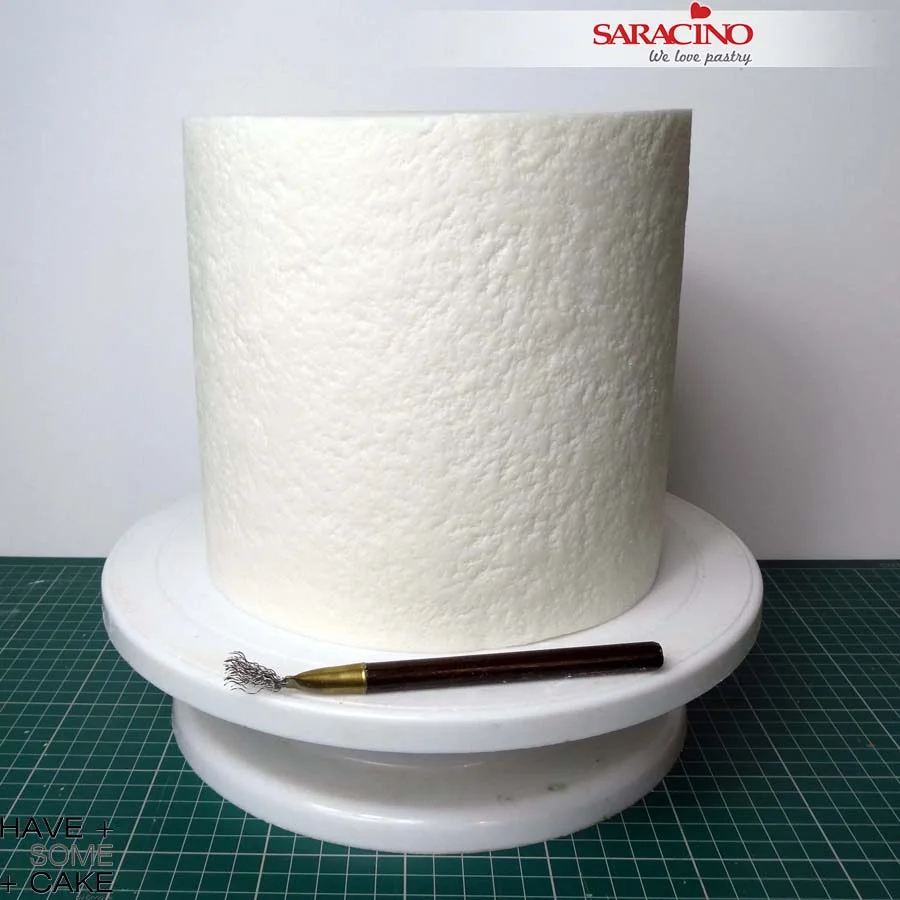
You want this kind of appearance.
Step 6
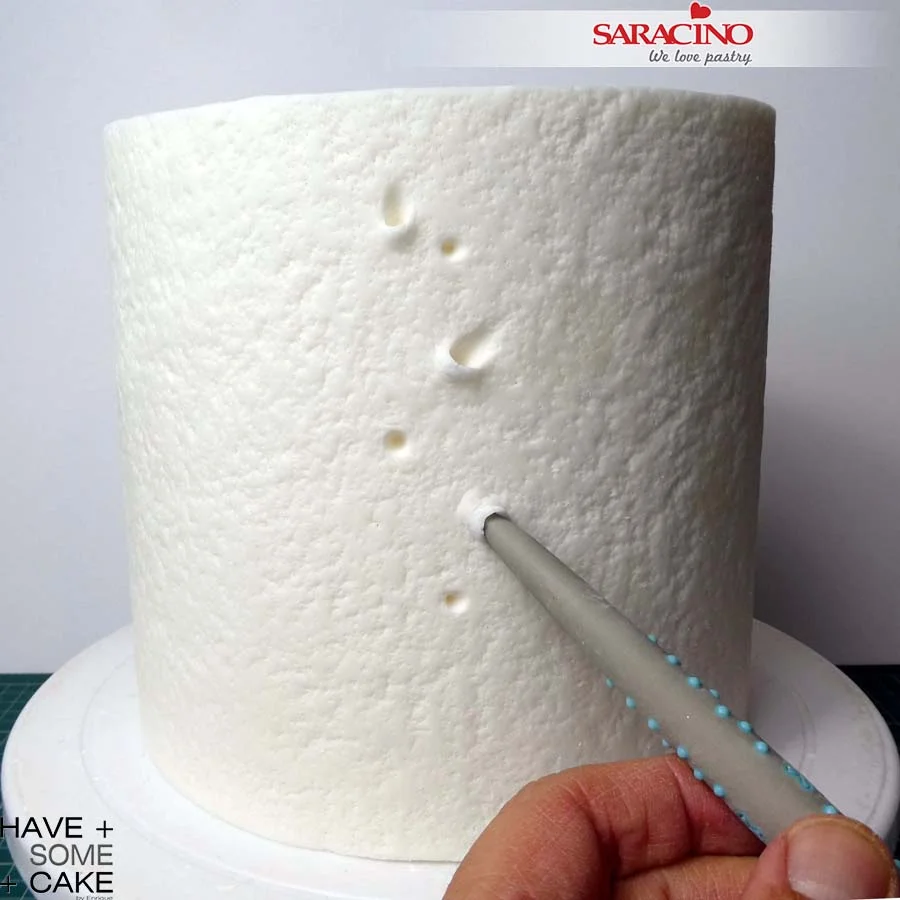
Using a pointed chisel tool at an angle start creating cavities. You can go as deep as you want and lift them as much as you like as shown.
Step 7
Using differing modelling tools complement the texture with random craters around. You will be able to work with this while the sugar paste has not dried. Be as gentle or as strong as you like. No limits to create your texture.
Step 8
Cover the middle tier as described previosuly. This also does not have to be perfect as we will be adding texture.
Step 9
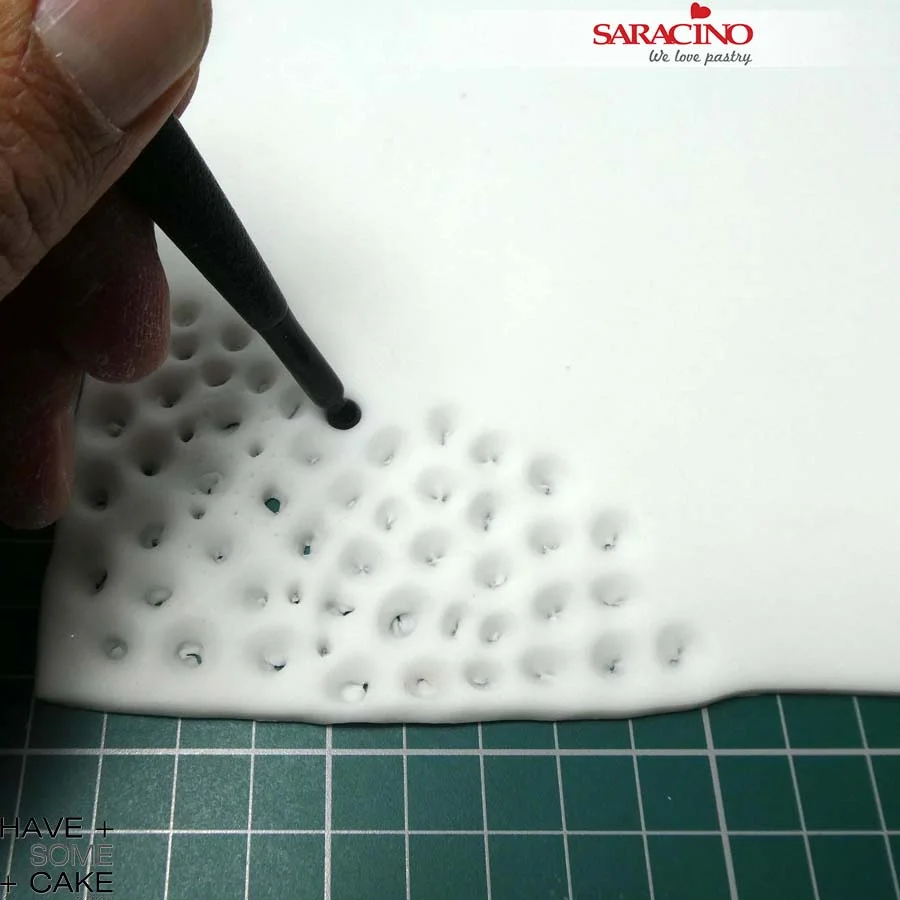
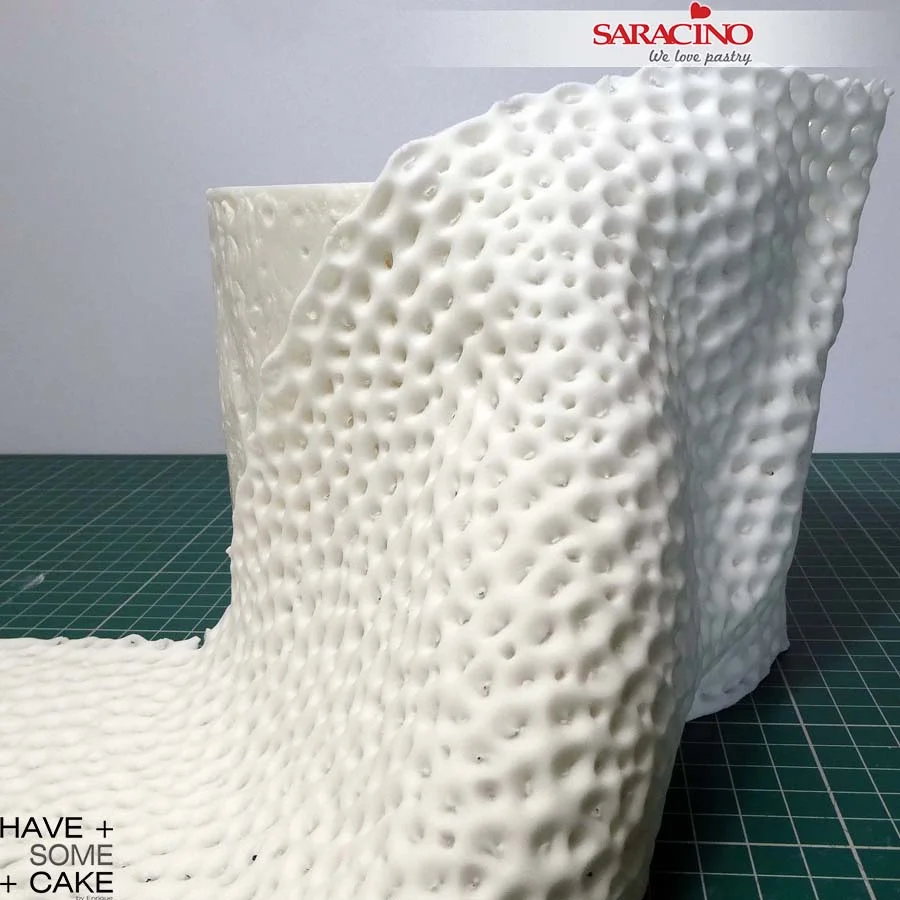
Roll a piece of Saracino white Pasta Top the length and height of the second tier. Using a small ball tool start pressing onto the strip of sugar paste as shown.
Step 10
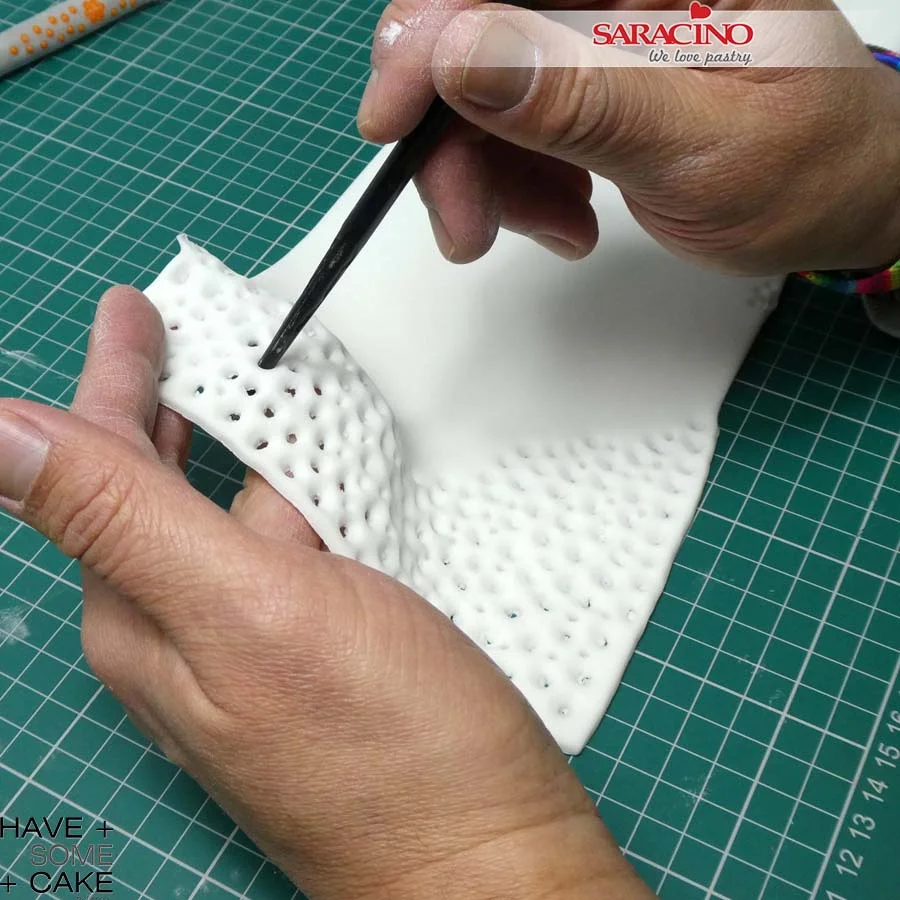
Use both ends of the ball tool to create different sizes and as close as possible. This will start deforming the previous round impression creating a more organic coral like structure. Using a veining tool you can perforate even more of the hole as shown in image.
Step 11
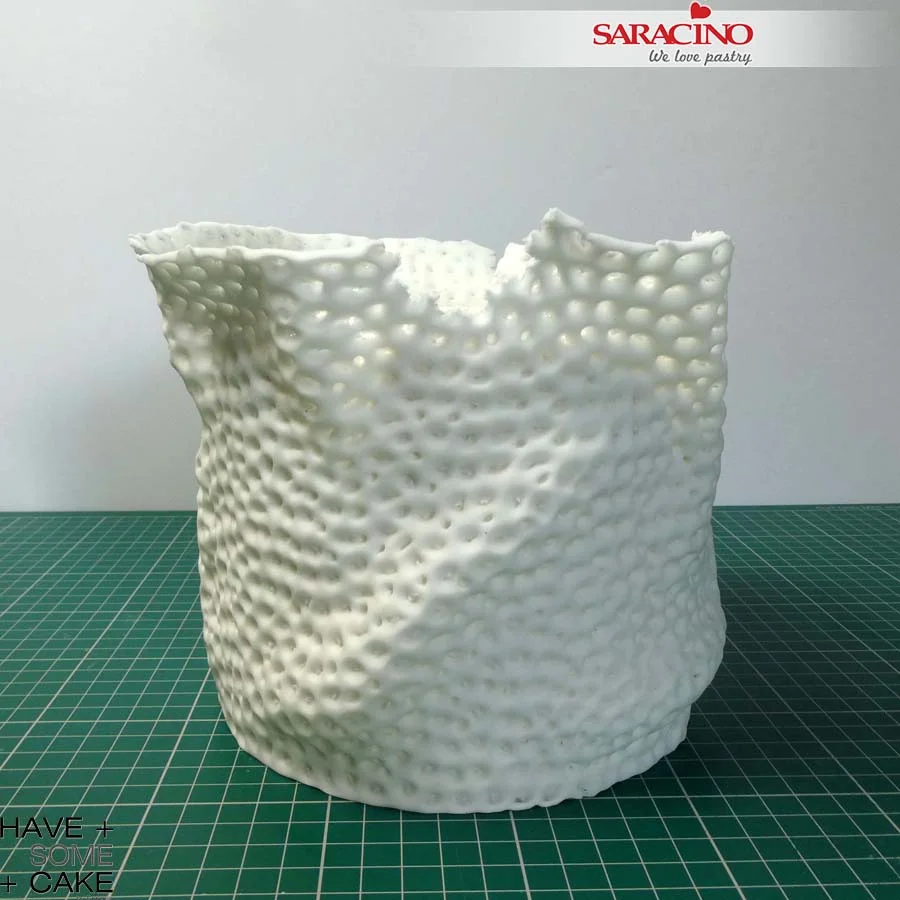
Lift the finished strip and wrap it around the tier. When doing this, handle the strip as if you were doing some drapes to create a wavy, organic shape as shown.
Step 12
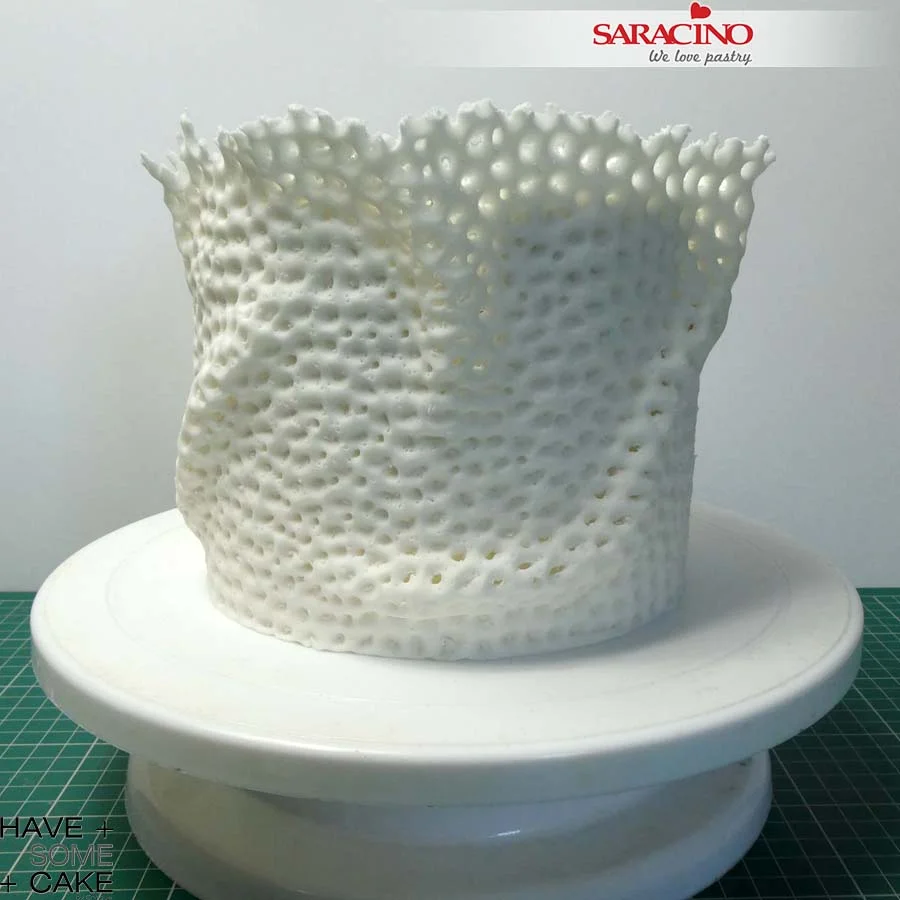
Once the tier is fully covered use your fingers to tear the top edge randomly to create an imperfect edge.
Step 13
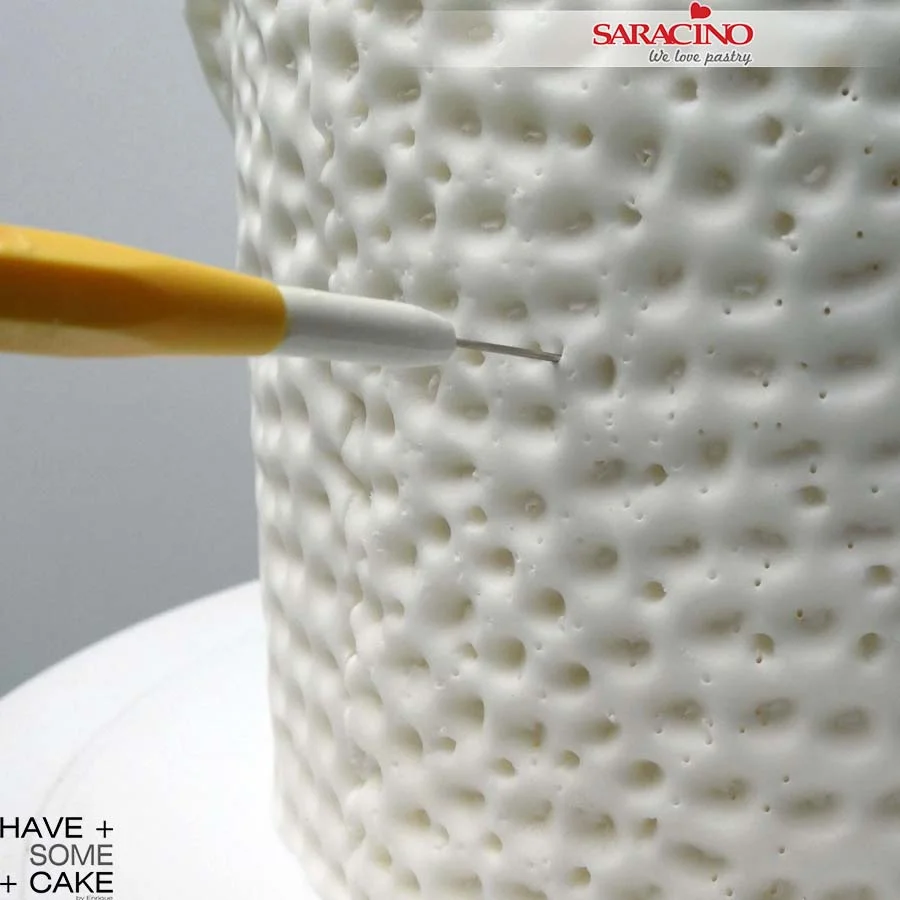
Using a sharp tool, perforate the hole structure where you have some draping creating some space for light to penetrate.
Step 14
Using the same sharp tool start punching all around to make little tiny holes on it. Live coral is not completely smooth and this will give a second more detailed texture to this tier.
Step 15
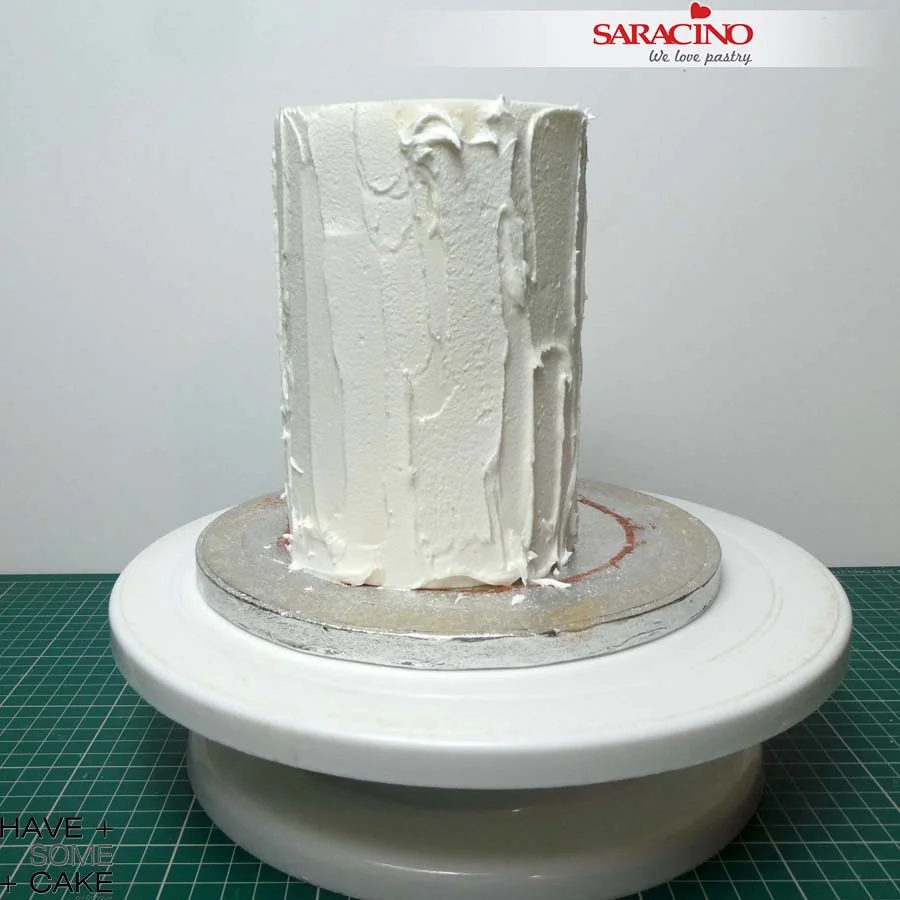
Prepare some Saracino Royal Icing to the instructions on the packaging. We need a hard peak mix. Cover the top tier with it.
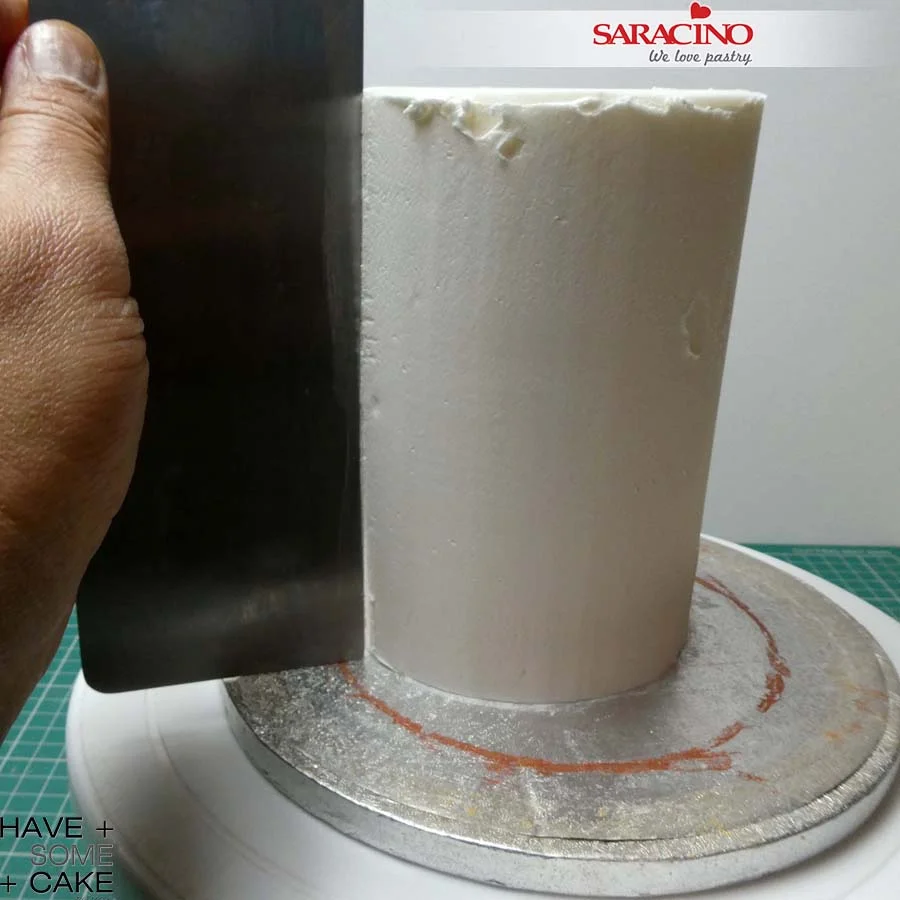
Step 16
Using a metal scraper remove the excess. We do not need a perfect smooth finish as we are again adding texture.
Step 17
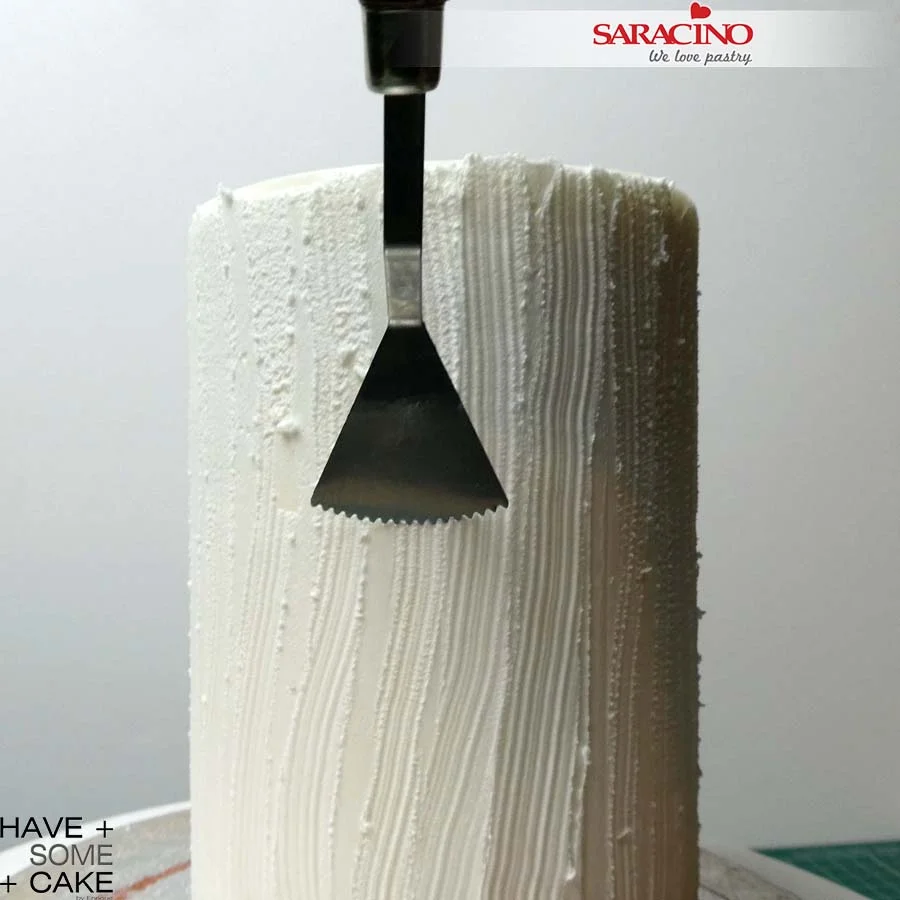
Before the icing dries use the zig zag edge pottery tool to create wavy stripes. It is a very subtle but effective texture.
Step 18
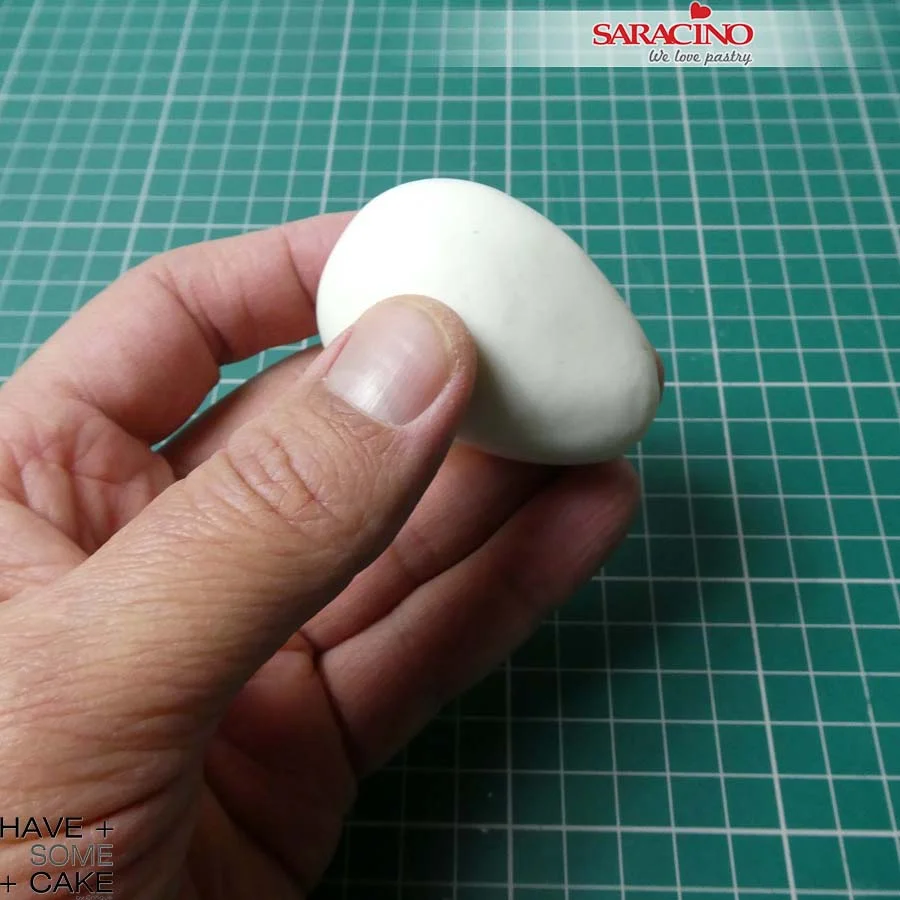
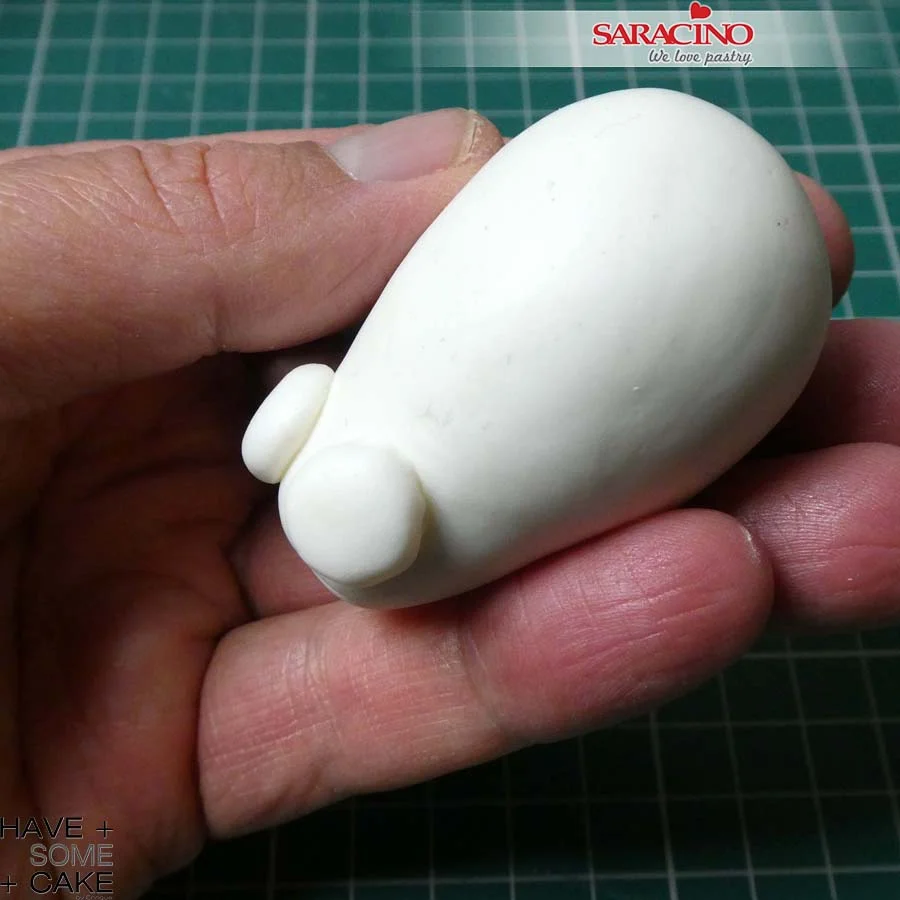
To make the head of the octopus, roll Saracino white Pasta Model in your hands to create an egg shape.
Step 19
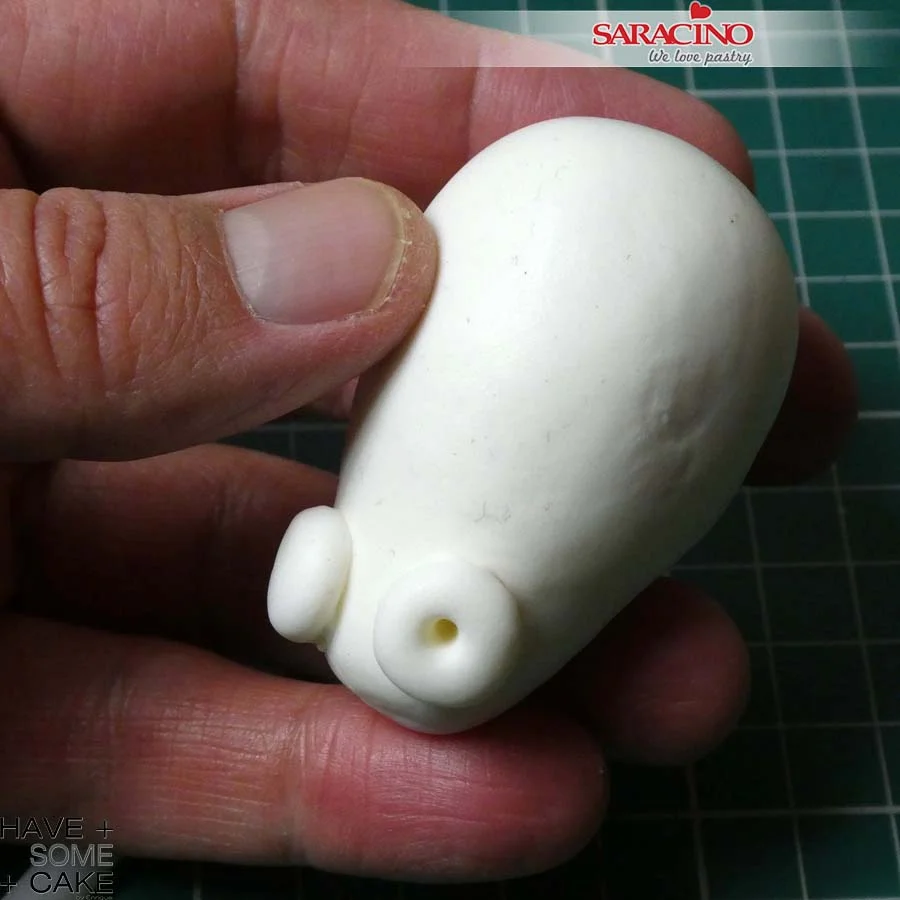
Make two smaller balls and flatten them to create the eye sockets and attach them to the thin end of the head as shown.
Step 20
Use a modelling tool to press two eye sockets.
Step 21
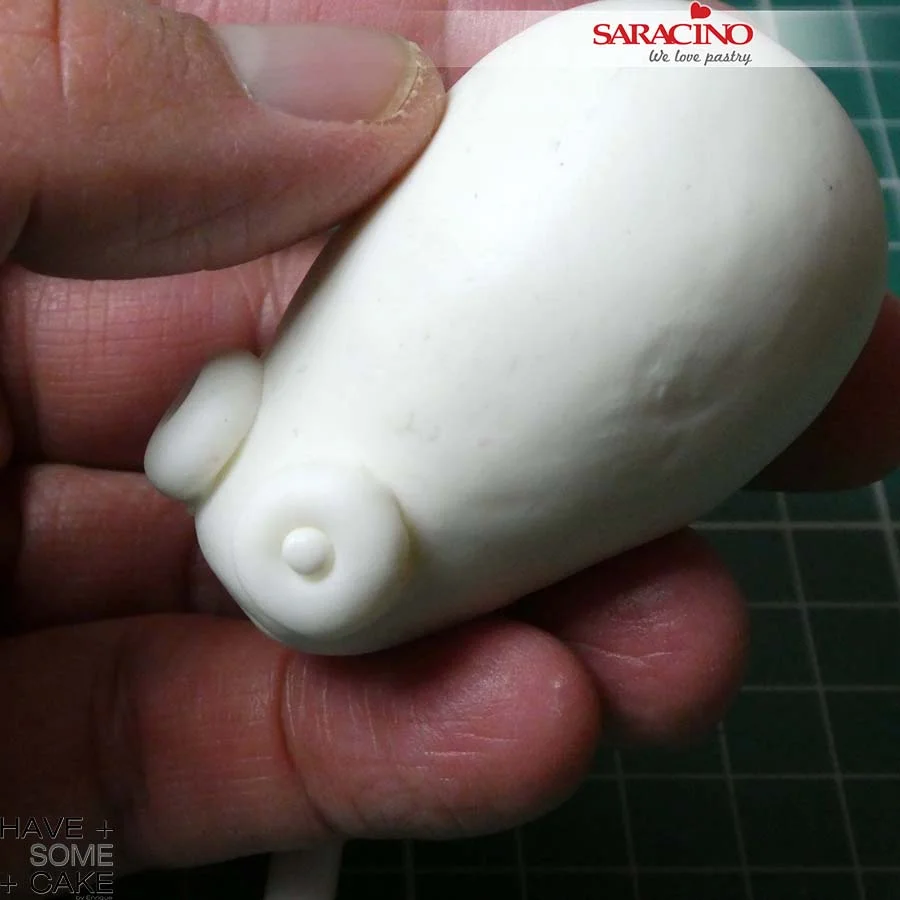
Roll a small ball of white modelling paste and place it in the previously make hole in the eye sockets. Leave to dry while you make the tentacles.
TIP: I decided to make the octopus in 2 parts, the head separated from the tentacles so I wouldn’t have to wait for it all to dry. Also as it would be easier to handle the tentacles to position over the cake without the head.
Step 22
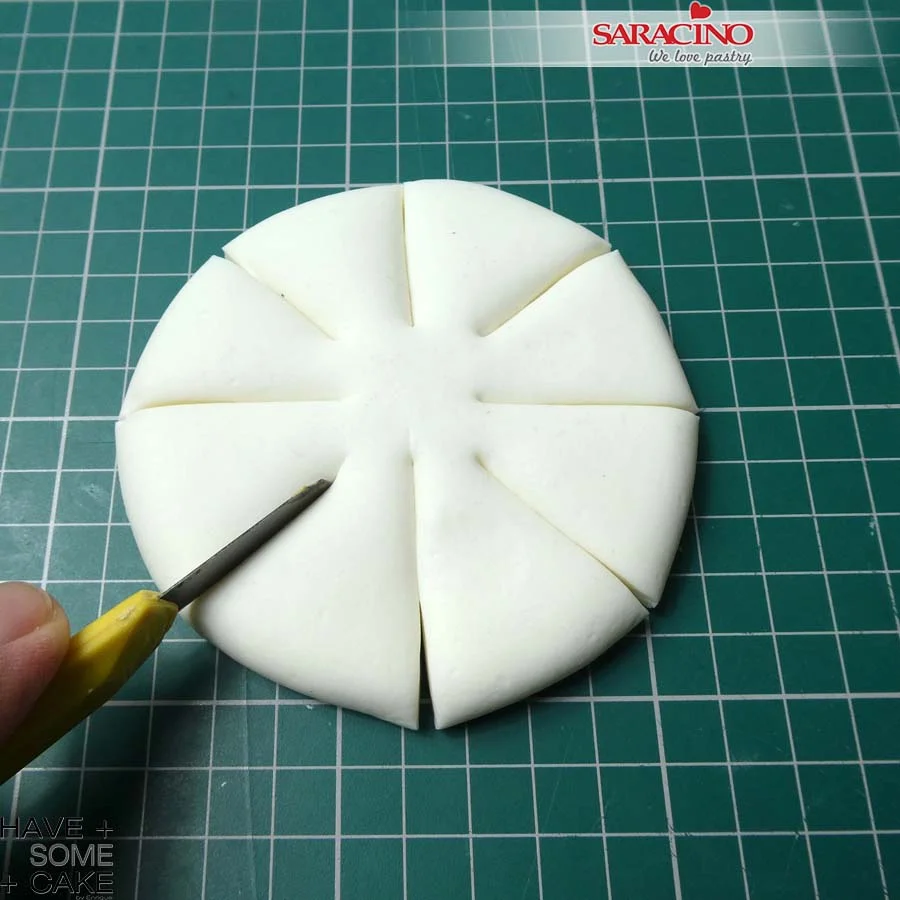
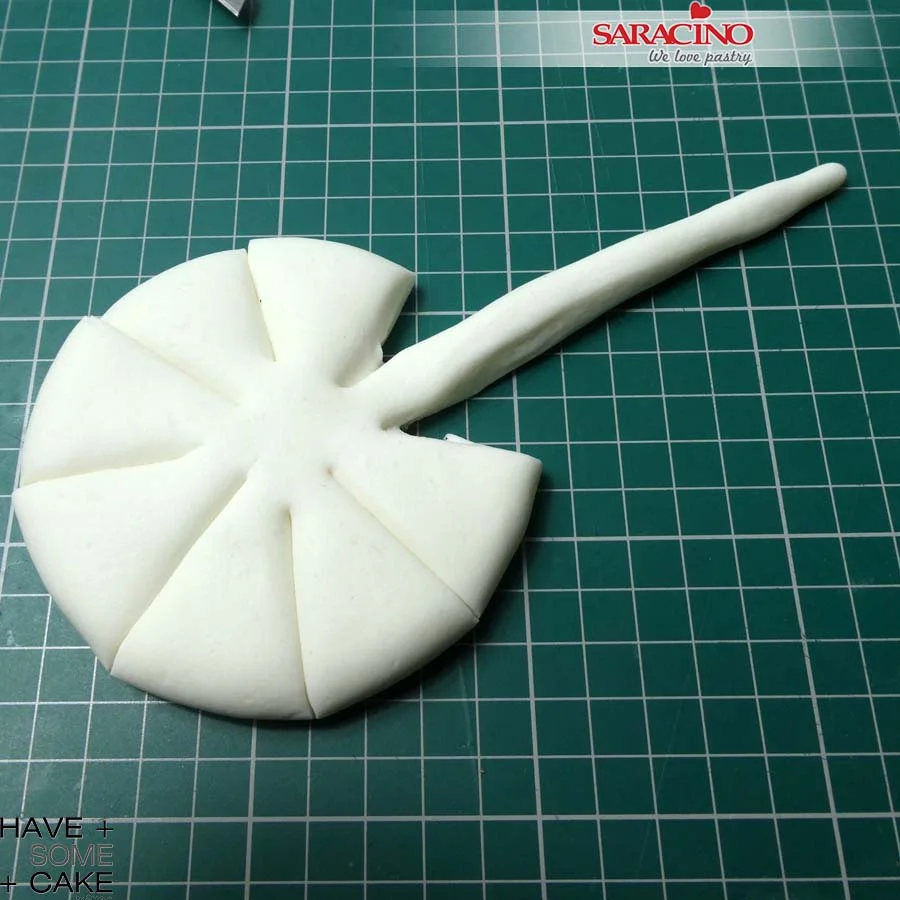
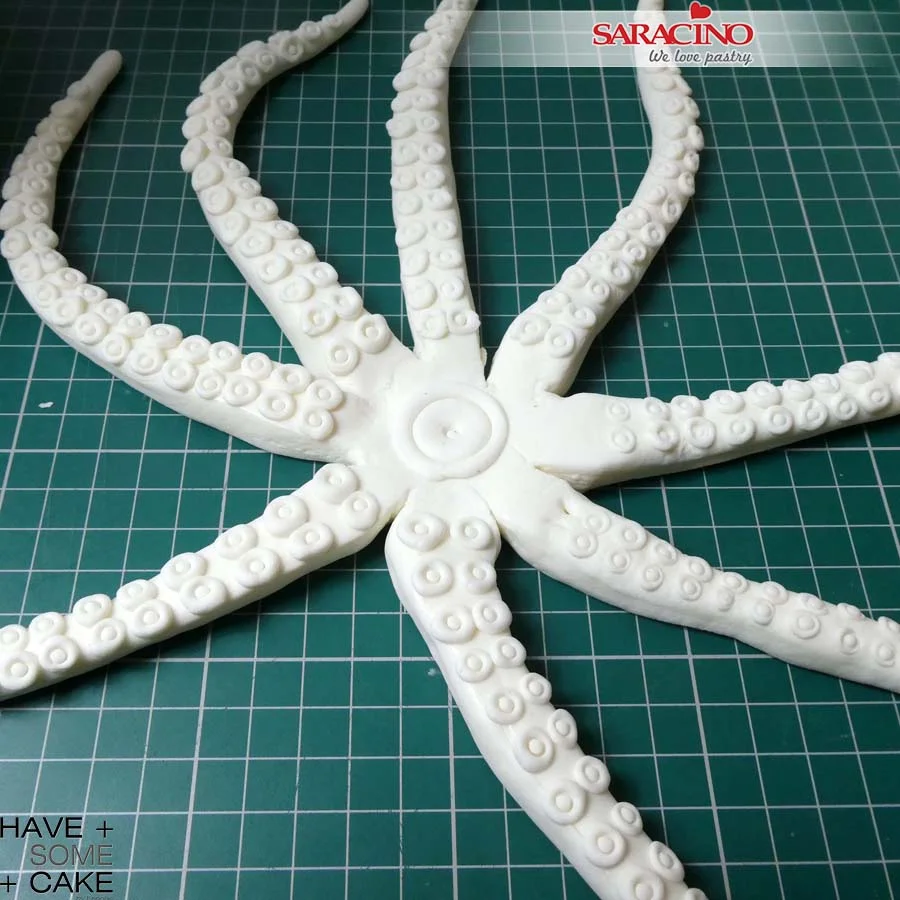
For the tentacles roll a ball of white Pasta Model and flatten it. With a knife cut equally into 8.
Step 23
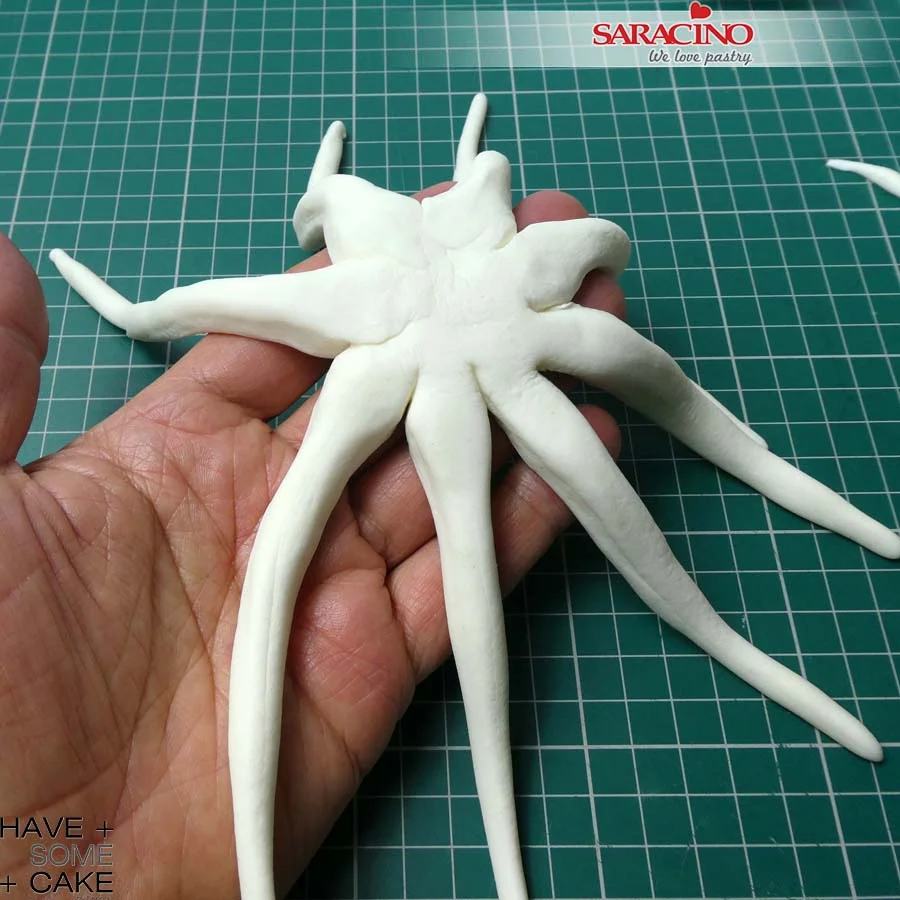
With your hands roll and thin one portion at a time until you have the 8 tentacles.
TIP: Alternatively, you can do each tentacle separately and join them when ready but as the tentacles are placed vertically you will have to join them and leave to dry in position on a dummy as there isn’t anything holding them together. Remember this is not an exact biological octopus recreation.
Step 24
Your tentacles should look like this.
Step 25
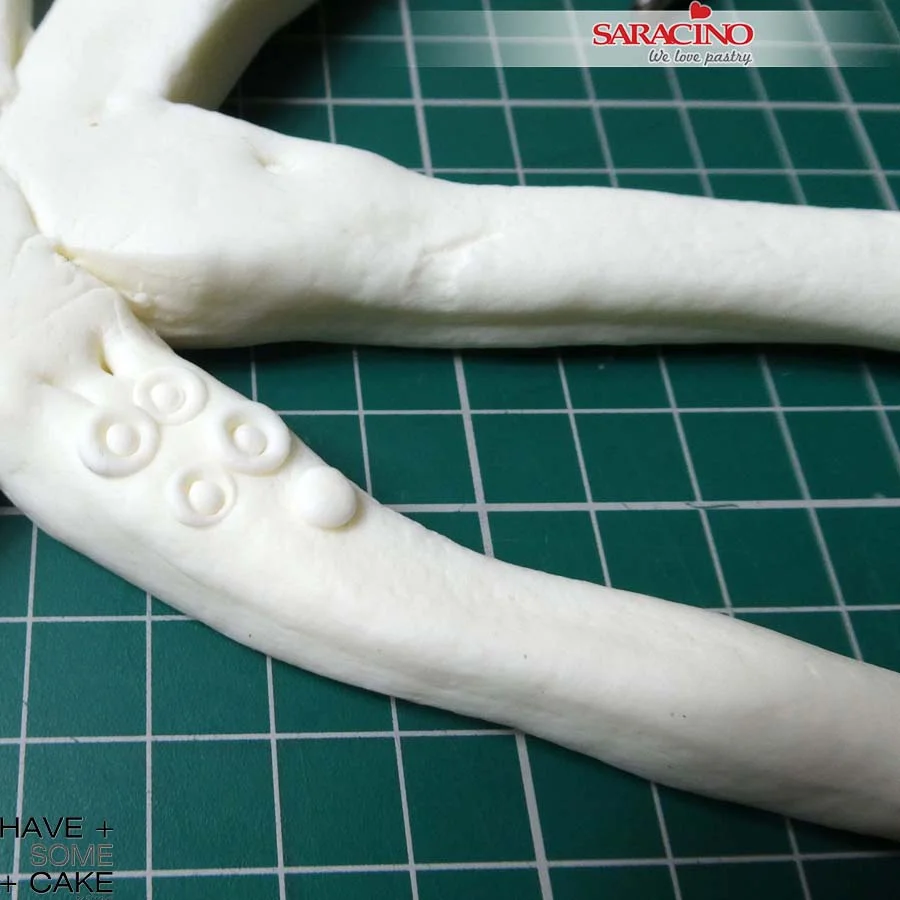
To make the tentacle suckers roll small balls of white Pasta Model and start placing them onto the tentacles.
Step 26
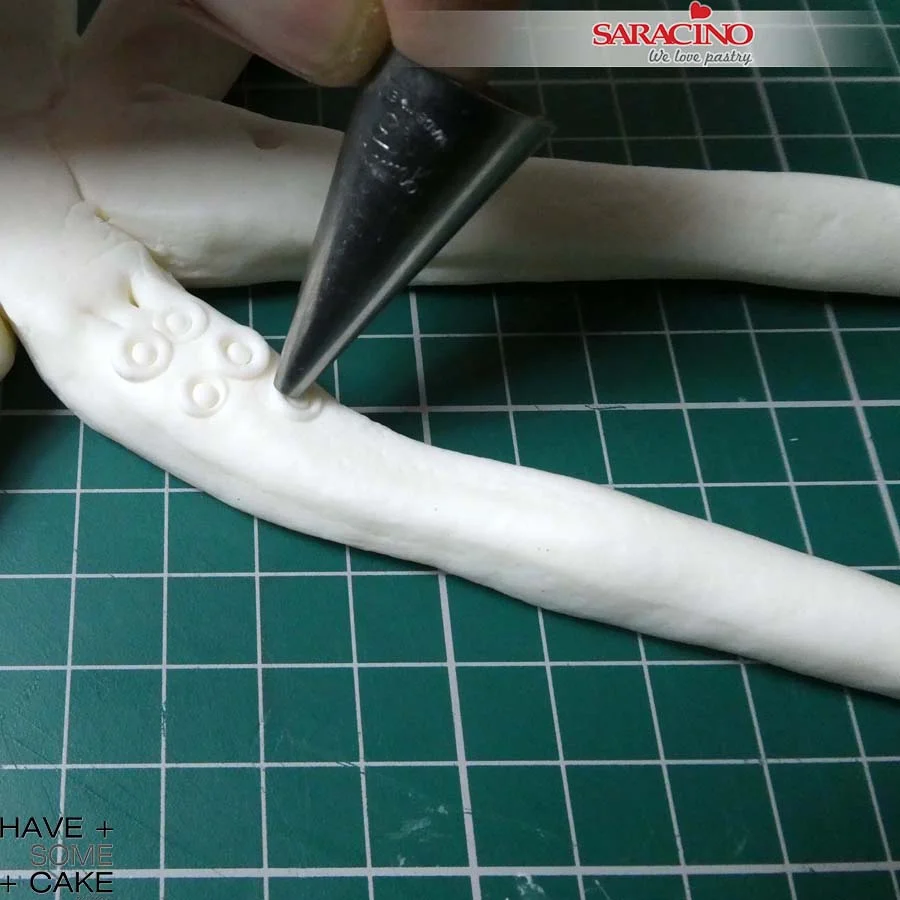
Using the number 2 round piping nozzle press each ball to give the sucker look. Repeat for all 8 tentacles. For this project you will make a larger octopus for the bottom tier and smaller one for the top tier.
Step 27
Do the same with the middle.
Step 28
Arrange the tentacles organically as required with the suckers facing the cake. Use a little royal icing to hold in place.
Step 29
Attach the head to the tentacle part using royal icing. You can also fill the gaps between head and body with royal. You will have to hold it in place for a little so the head does not slide off.
Step 30
Your underwater treat is ready!