SOUTACHE WEDDING CAKE TUTORIAL

SOUTACHE WEDDING CAKE TUTORIAL
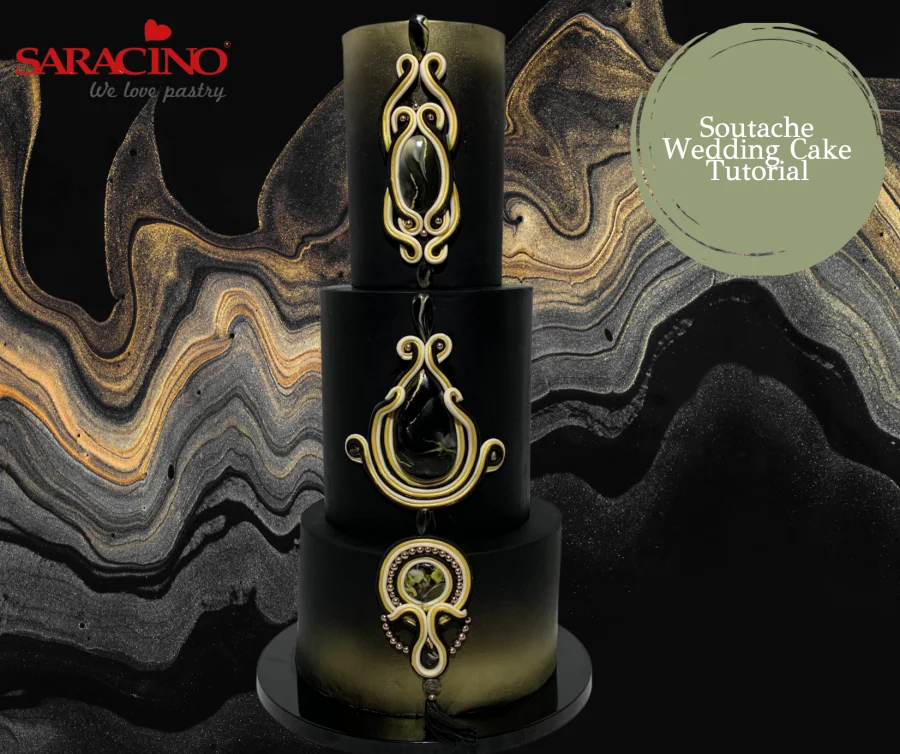
Skill level: BEGINNERS

You will need:


  • Saracino black Pasta Top

  • Saracino skin tone Pasta Model

  • Saracino yellow Pasta Model

  • Saracino black Pasta Model

  • Saracino gold dust

  • Gold airbrush colour

  • Saracino cake gel

  • Saracino Liquid Shiny

  • Trex

  • Rolling pin

  • Paint brushes

  • Long blade or knife

  • Scalpel

  • Three dummy cakes 5 and 7 inch cakes (8 inch high) 9 inch cake (5 inch high)

  • Work mat

  • Rolling mat

  • Cake smoothers

  • Cake drum

  • Extruder

  • Ball tool 

  • Straws

Step 1

Prepare your cakes or dummies. Brush each one with Trex to help the fondant to stick. Place the Saracino Black Pasta Top on your work surface, kneed until smooth and pliable. Roll out the fondant to your preferred thickness.
Step 2

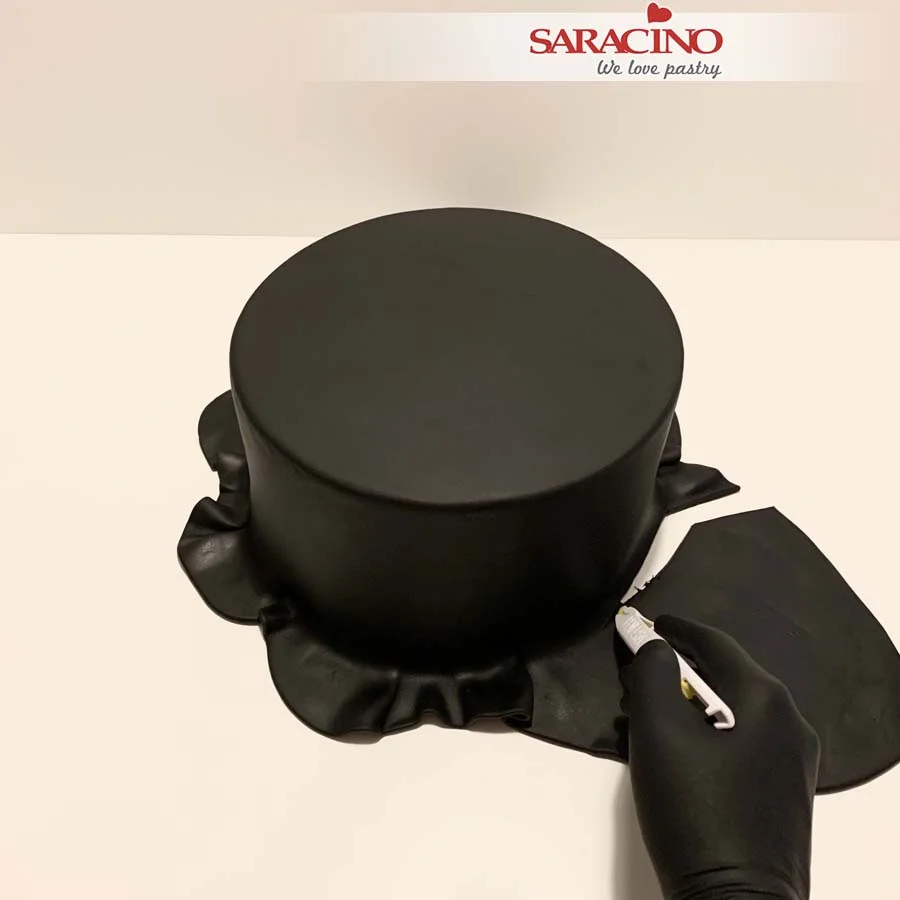
Trim off the excess fondant with a sharp knife. 
Step 3

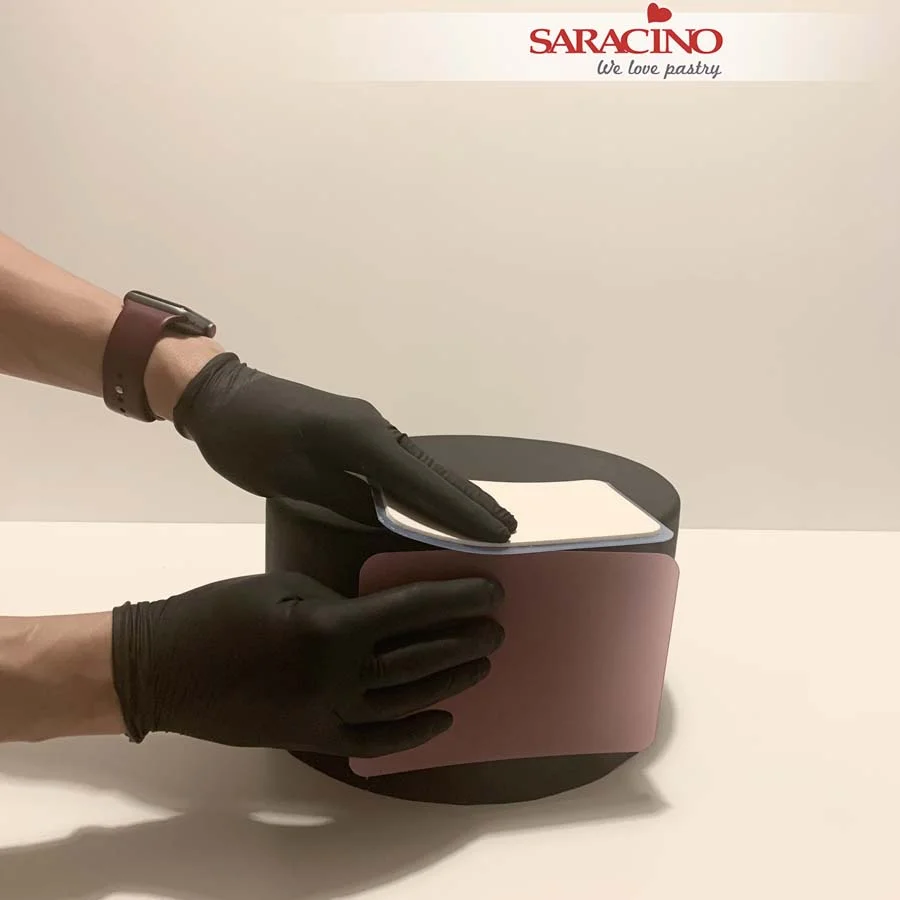
Use cake smoothers around the side and top of the cake. Smooth it until you achieve a sharp edge. Repeat for the 7 and 5 inch cakes or dummies.
Step 4

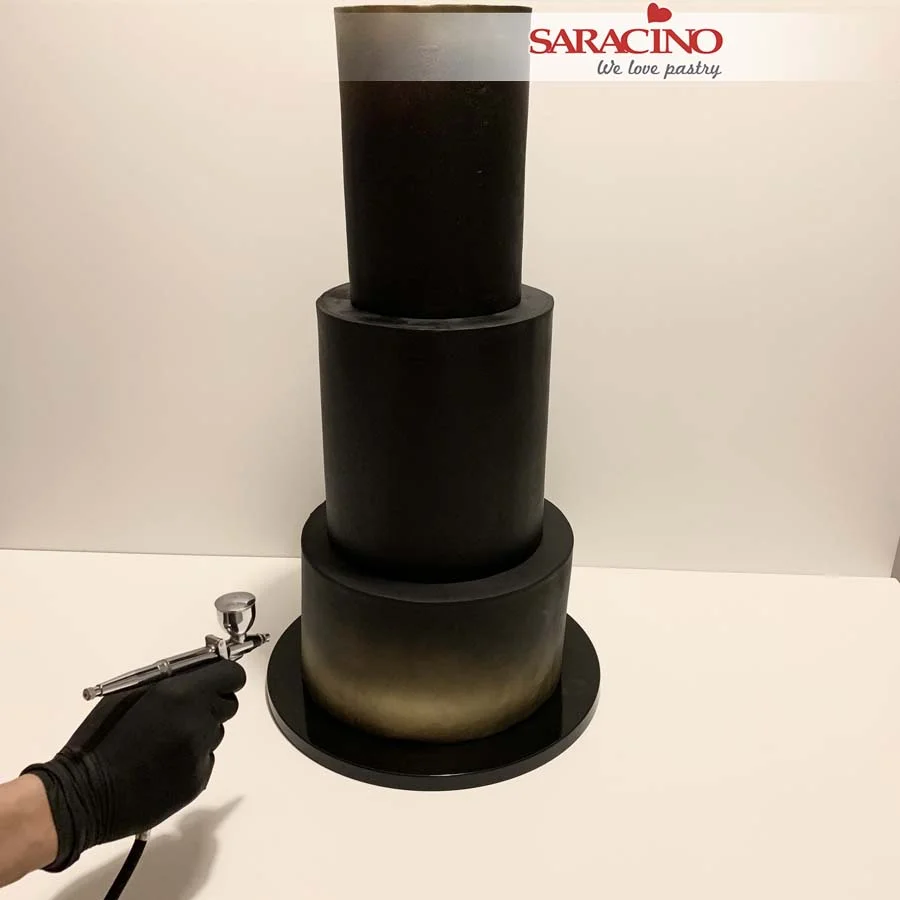
Stack your tiers. When using real cake remember to use support between the tiers. Airbrush the top and the bottom of the cake with gold airbrush colour.
Step 5

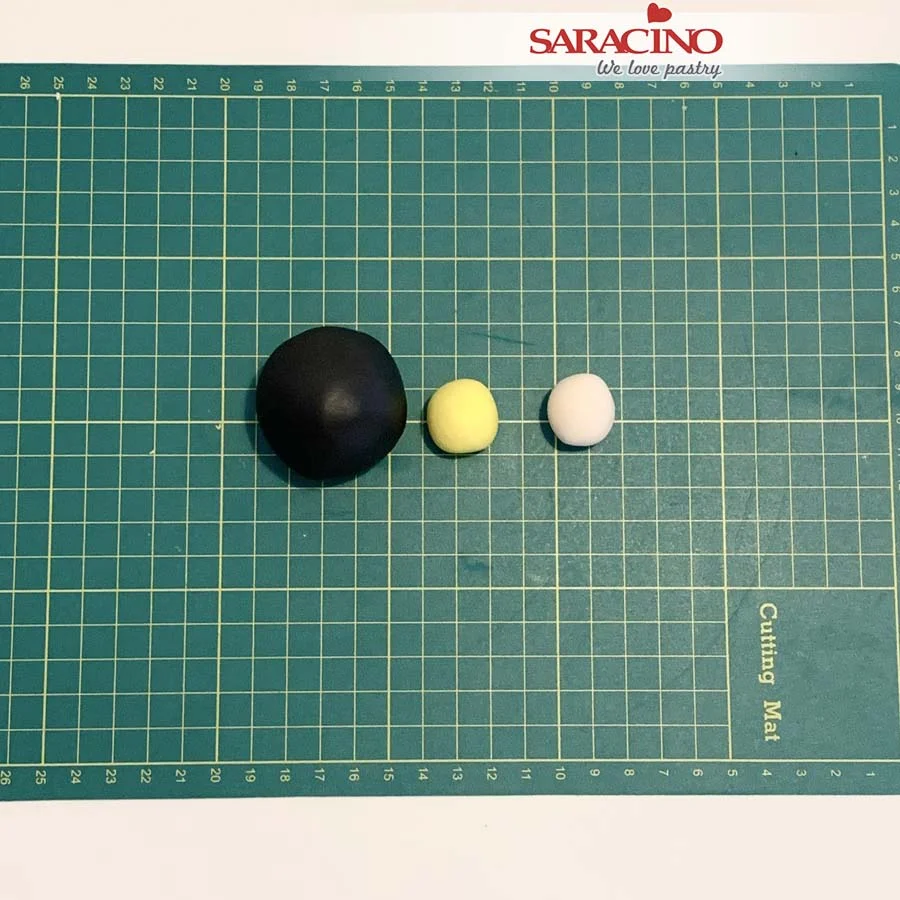
Take a piece of black pasta model and an equal amount of skin tone and yellow to the proportions shown.
Step 6

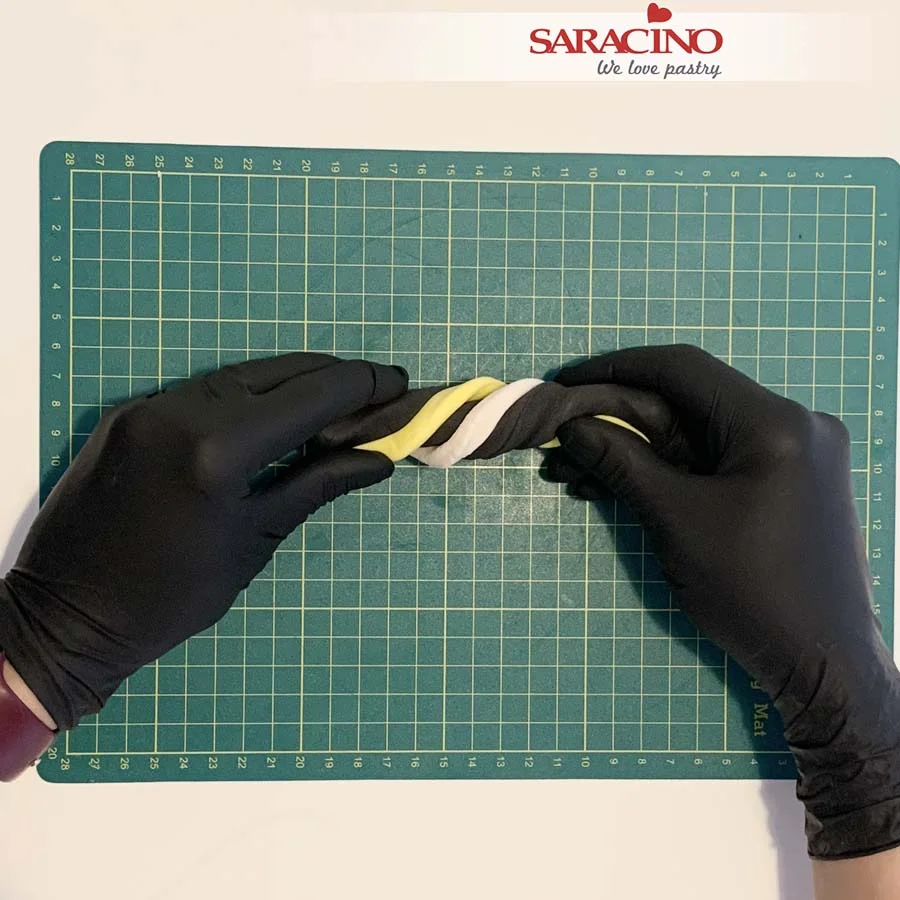
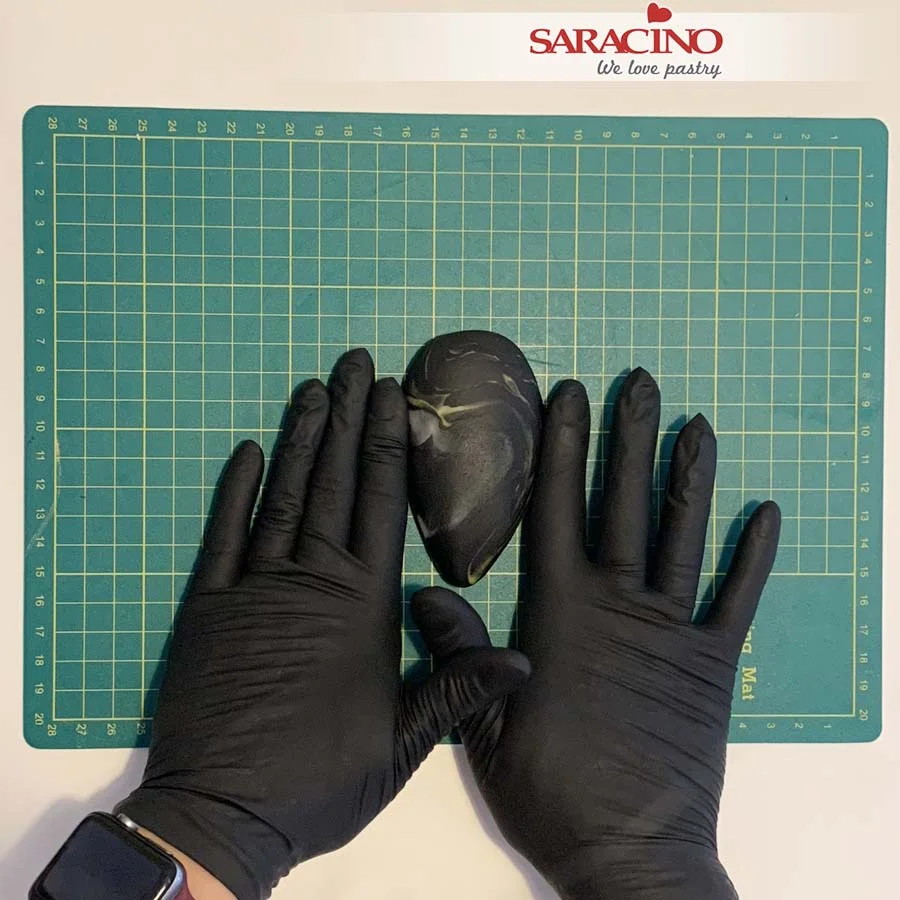
 Mix colours together. You can use your fingers to move and stretch the modelling paste so the colours will slightly blend.
Step 6 

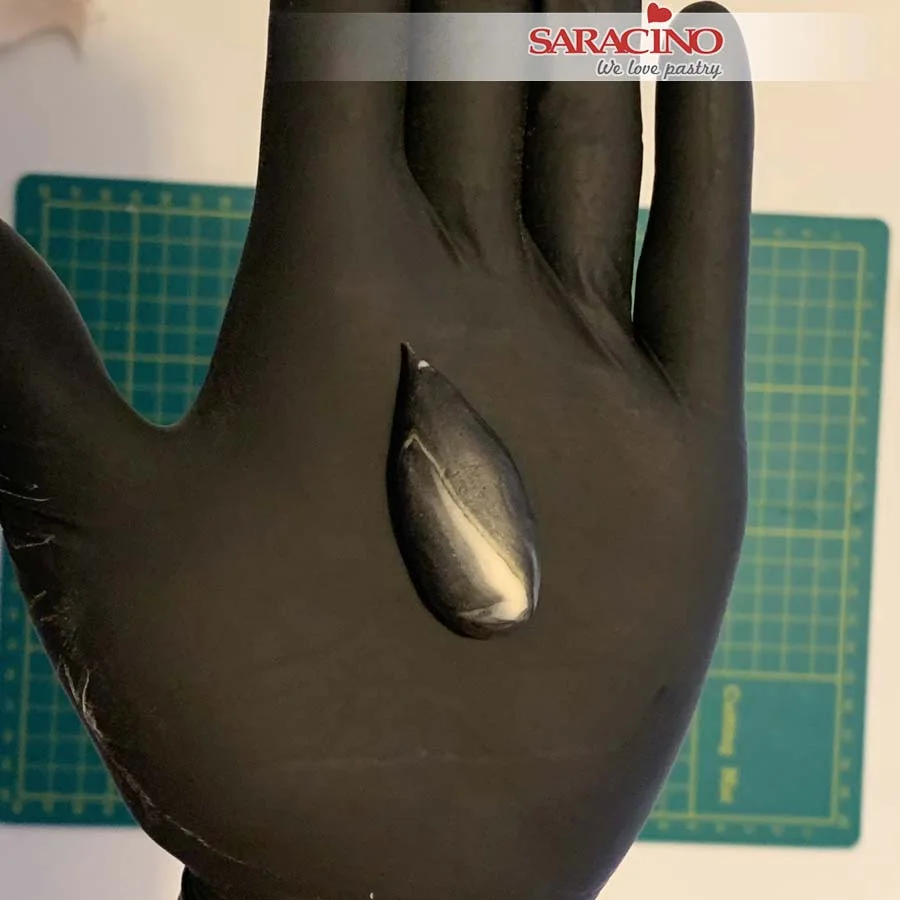
Smooth the modelling paste and create an oval shape. Place the oval shape on the mat and squeeze the bottom to create a tear drop shape. Smooth the edges with your fingers.
Step 7

Repeat to create smaller tear drop and circular shapes. You will need one large tear drop. One large oval. One medium circle. Five small tear drop. 2 small circles. Two smaller circles. See the picture at the end of the tutorial to check for sizes. 
Step 8

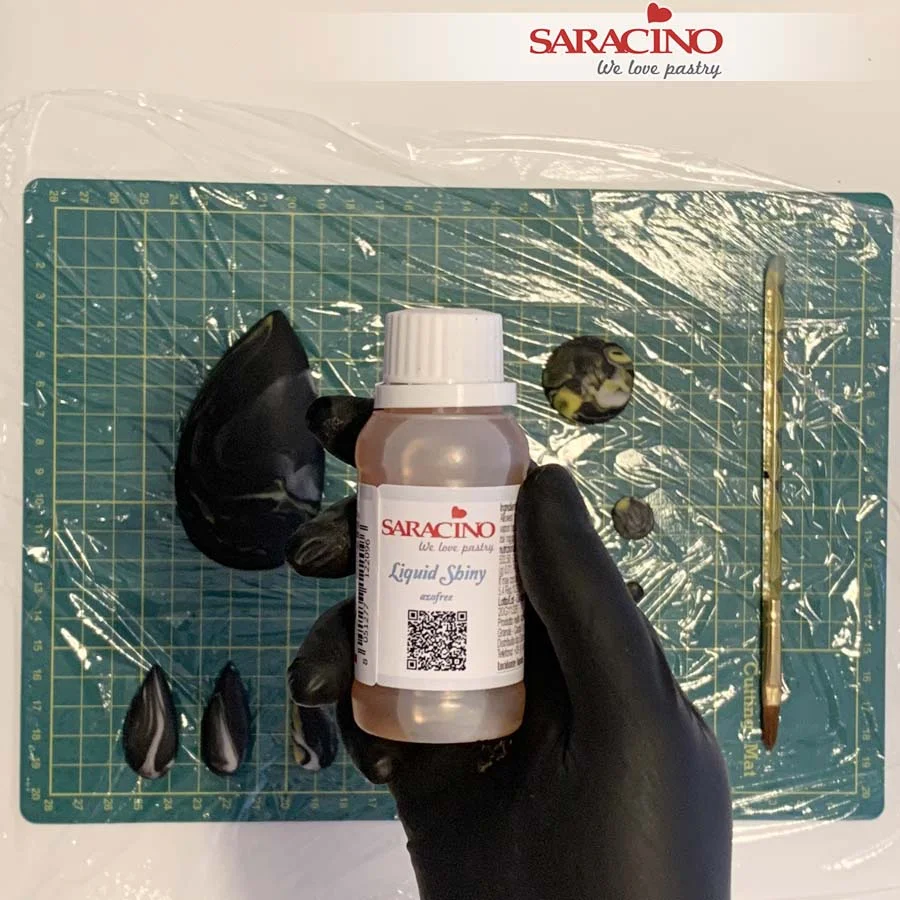
Cover your work surface with cling film. Using Saracino Liquid Shiny Glaze add a shine to the ‘stones’. Paint your stones with glaze (Afterwards use an alcohol to clean your brush).
Step 9 

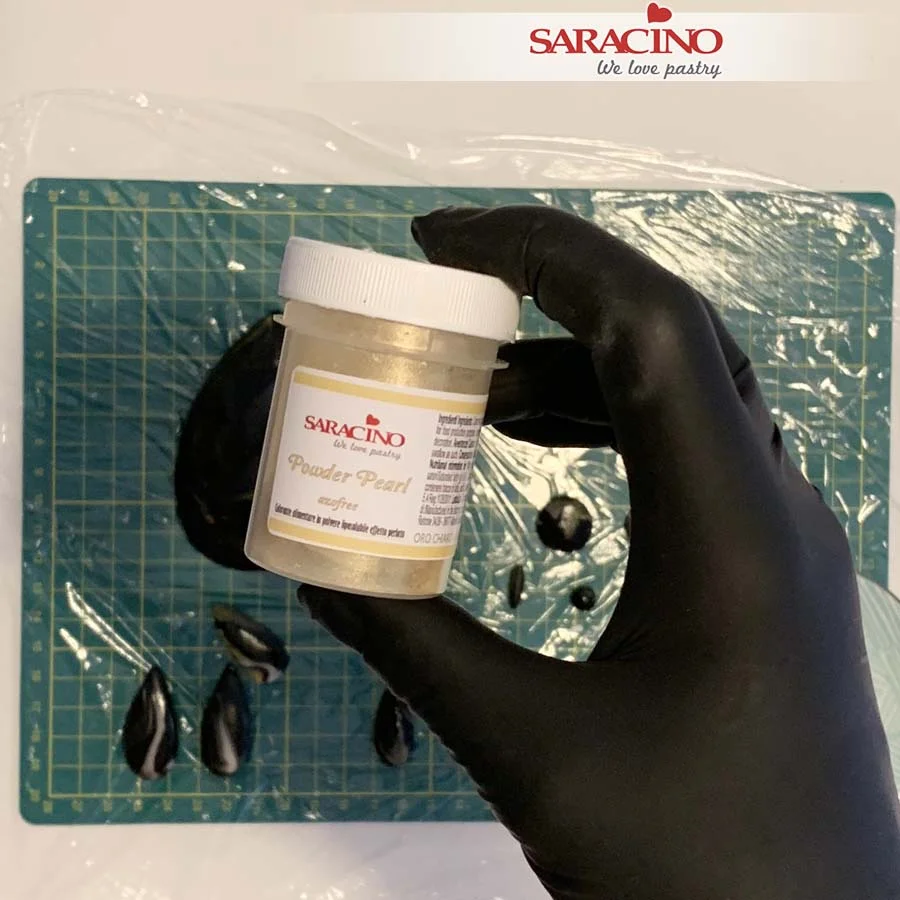
Prepare Saracino gold dust. Mix gold dust with a little glaze.
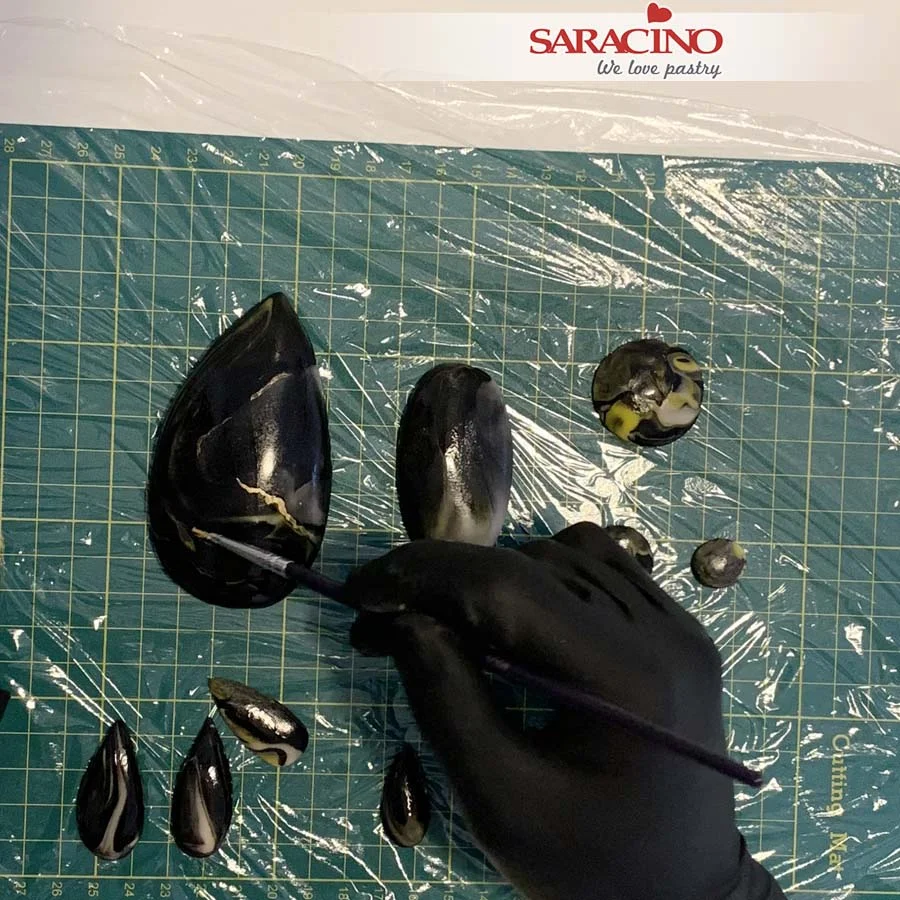
Step 10

Using fine brush paint irregular lines on the stones.
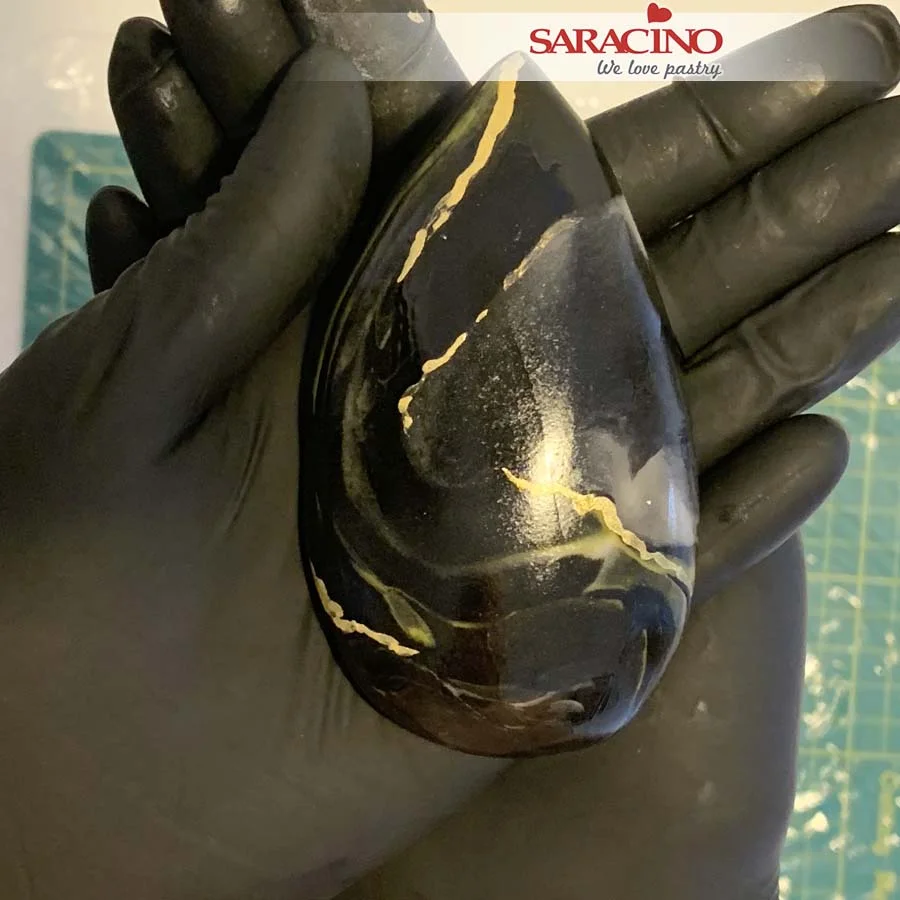
Step 11

We want to achieve this beautiful stone effect.
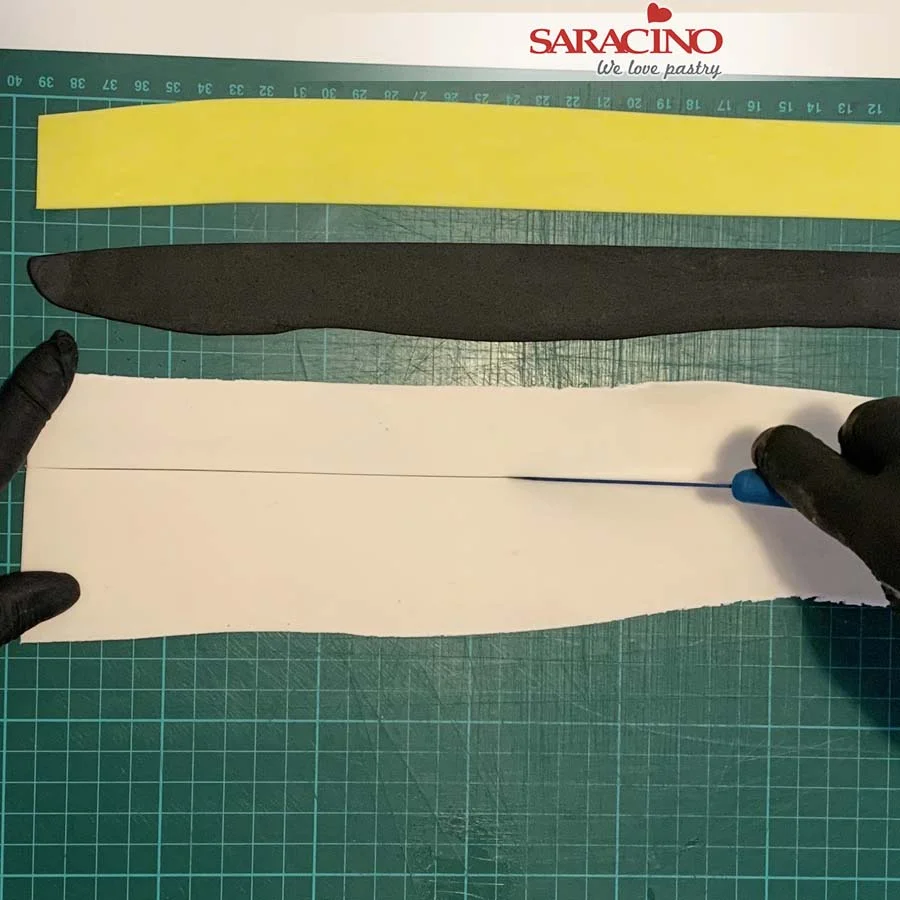
Step 12 

Roll out the skin tone, yellow and black modelling paste, approximately 1mm thickness.  Cut the paste into long strips. Cover it with stretch cling film to prevent drying too quick. 
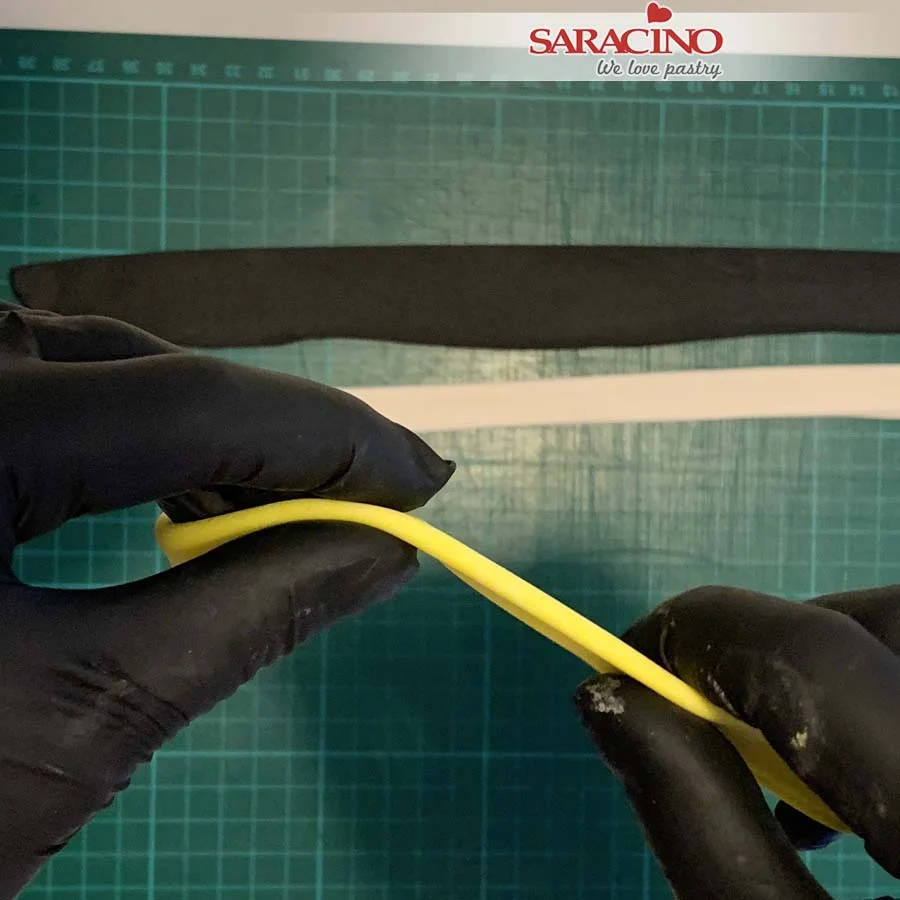
Step 13

Fold the strips of Saracino modelling paste in half lengthways. Use Saracino cake gel to stick the modelling paste together.
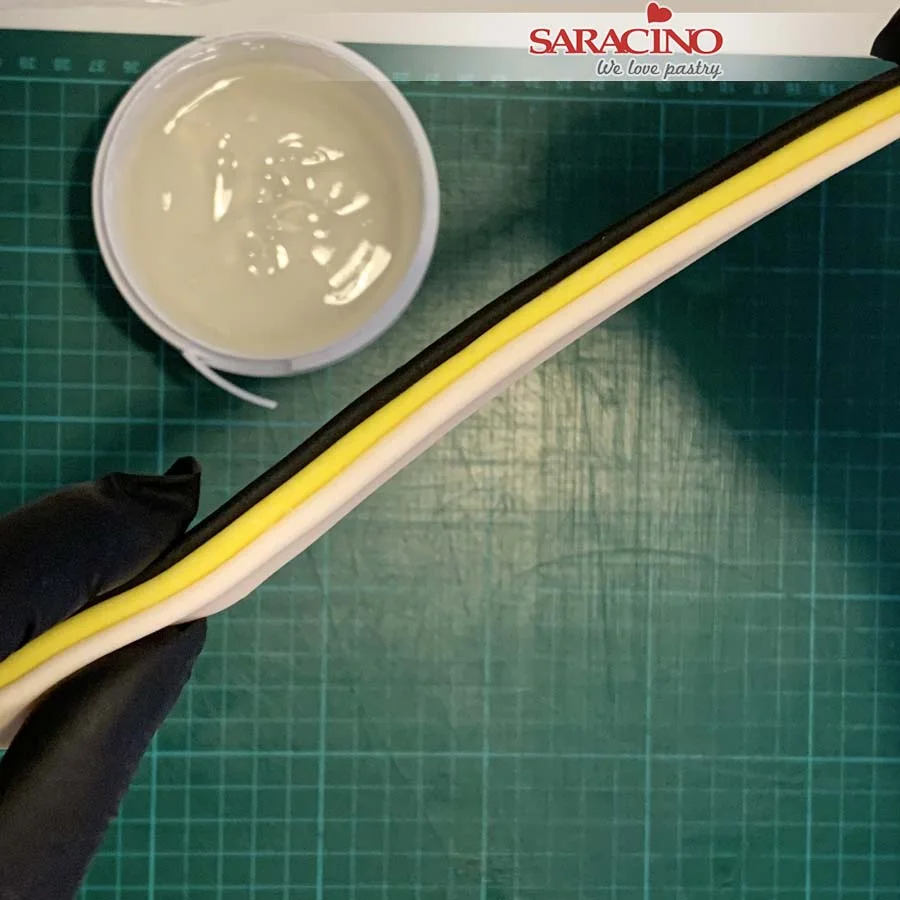
Step 14

Layer the three colours as shown. Apply a little cake gel between each layer to stick together. This way you will achieve the three colour combination.
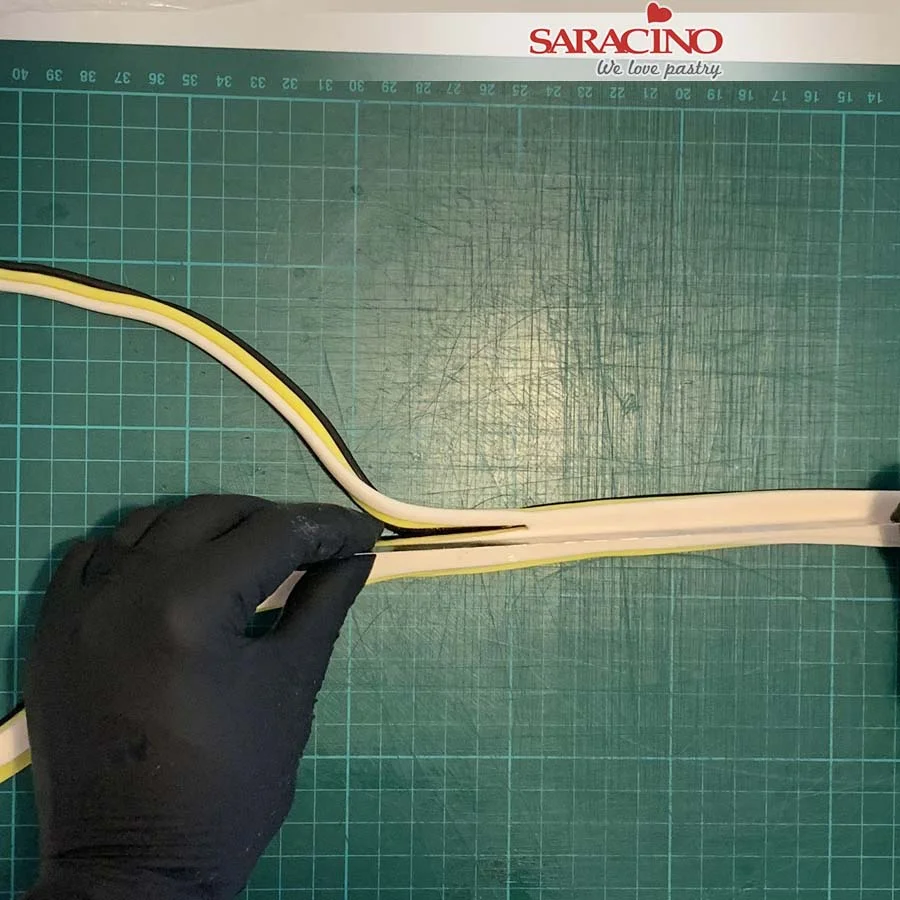
Step 15

Using a sharp knife cut a strip off the top of the three coloured modelling paste.
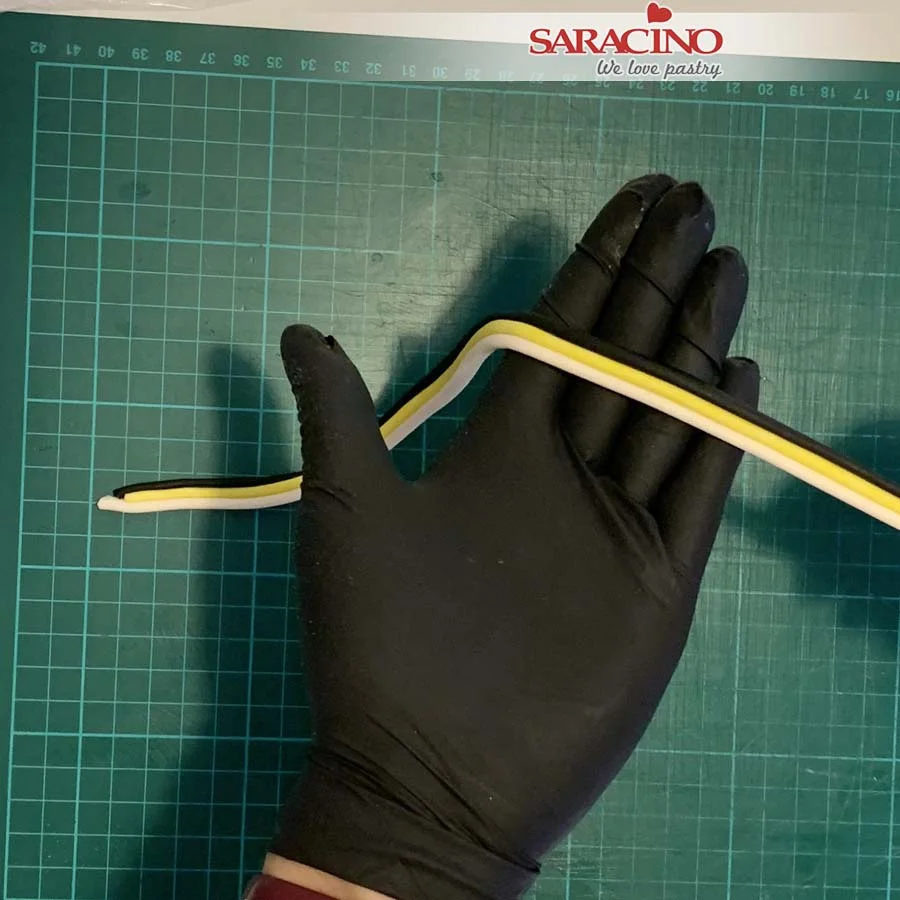
Step 16

You need to achieve coloured strips, round on the top and flat on the bottom.
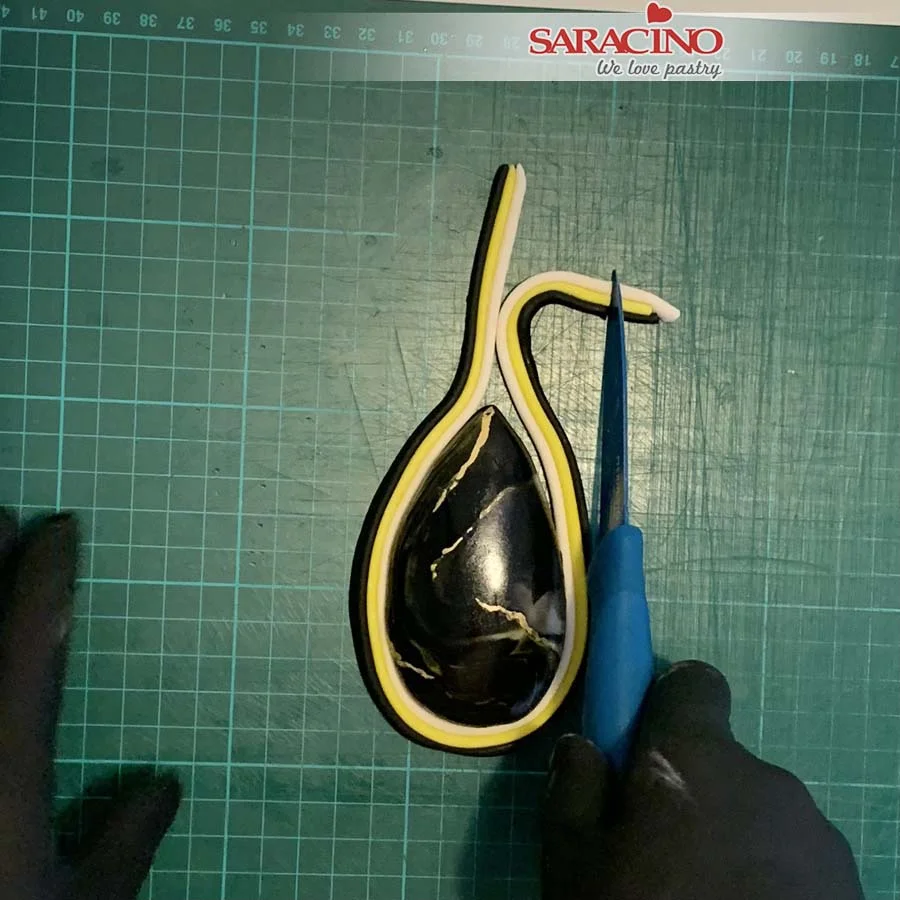
Step 17

Place the largest tear drop stone and brush the sides with a little cake gel. Place the strip around the outside of the tear drop. Fix it all the way around the outside of the stone. Leave a short length which we will curl. Cut the excess.
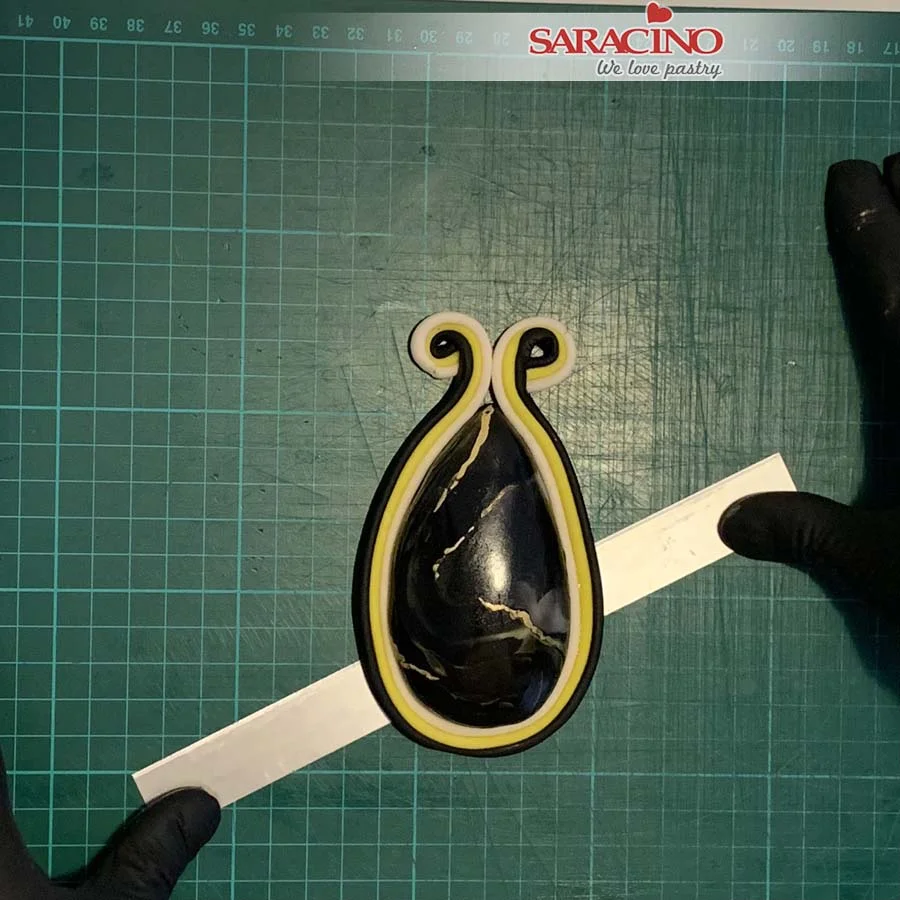
Step 18

Curl both ends, you can use the end of a brush and place it in the middle to twist around. Use a long blade to lift it up off the mat.
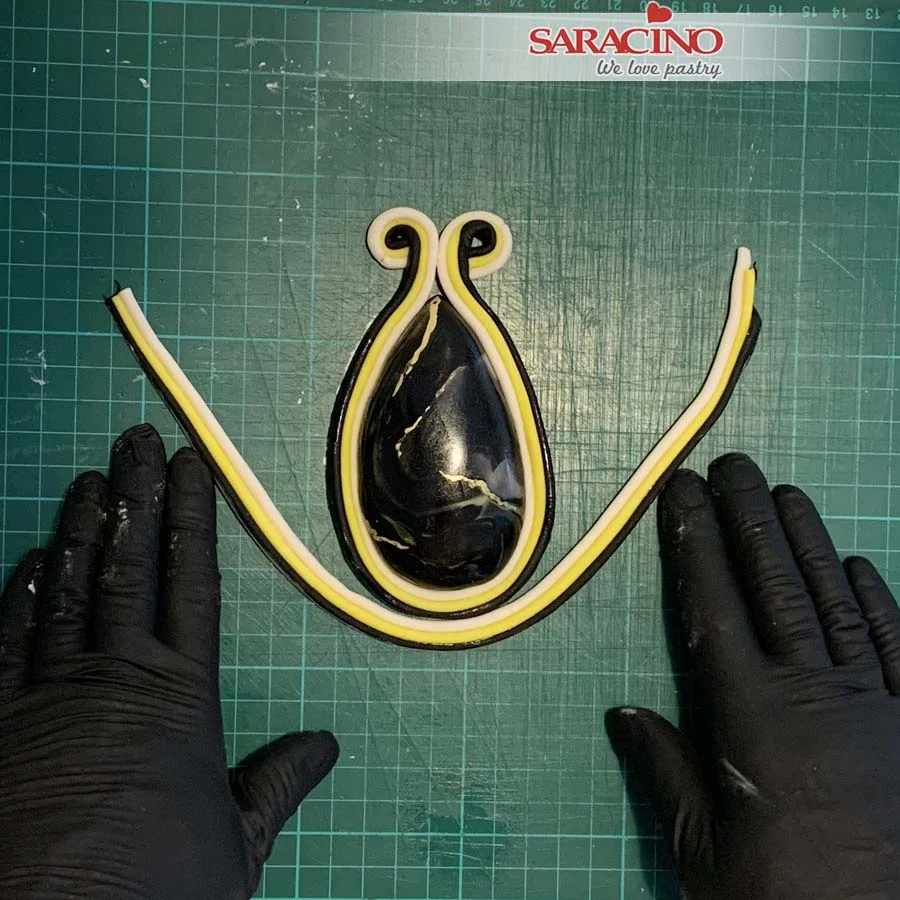
Step 19

Dust some corn starch on your work surface to prevent sticking. Make more strips of the three colour modelling paste. Fix it around the previous strip as shown.
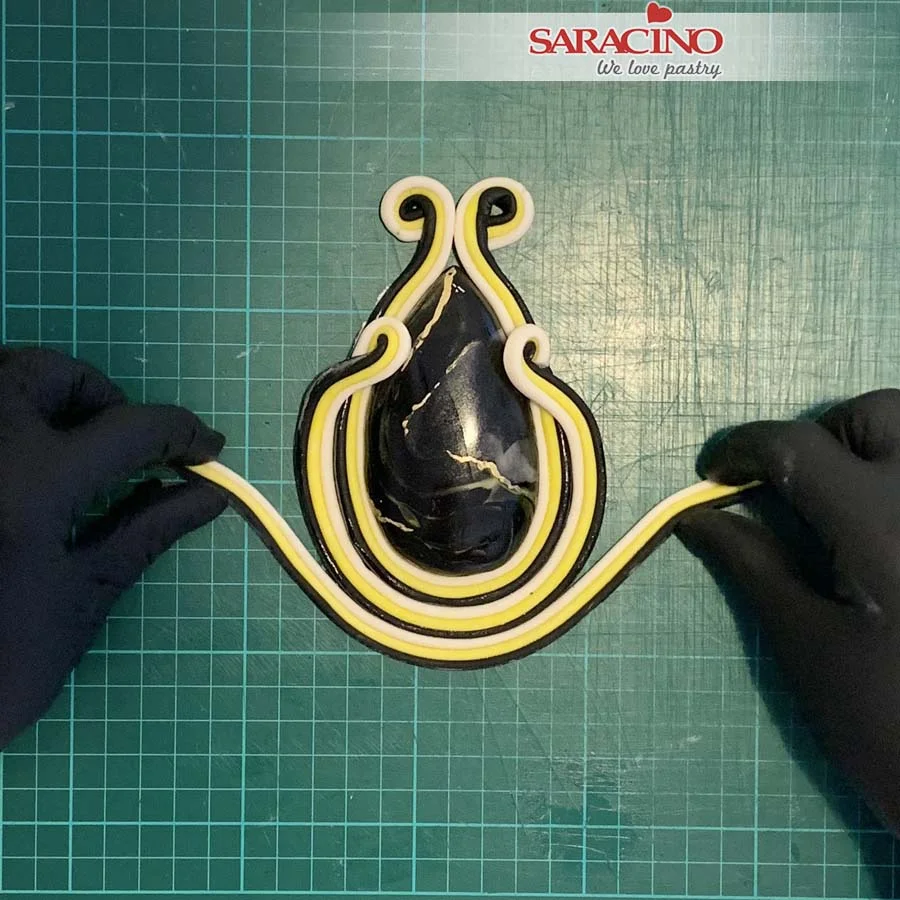
Step 20

Curl the ends of the second strip on both ends. Place both ends over the first strip and onto the stone. Fix another strip of the modelling paste.
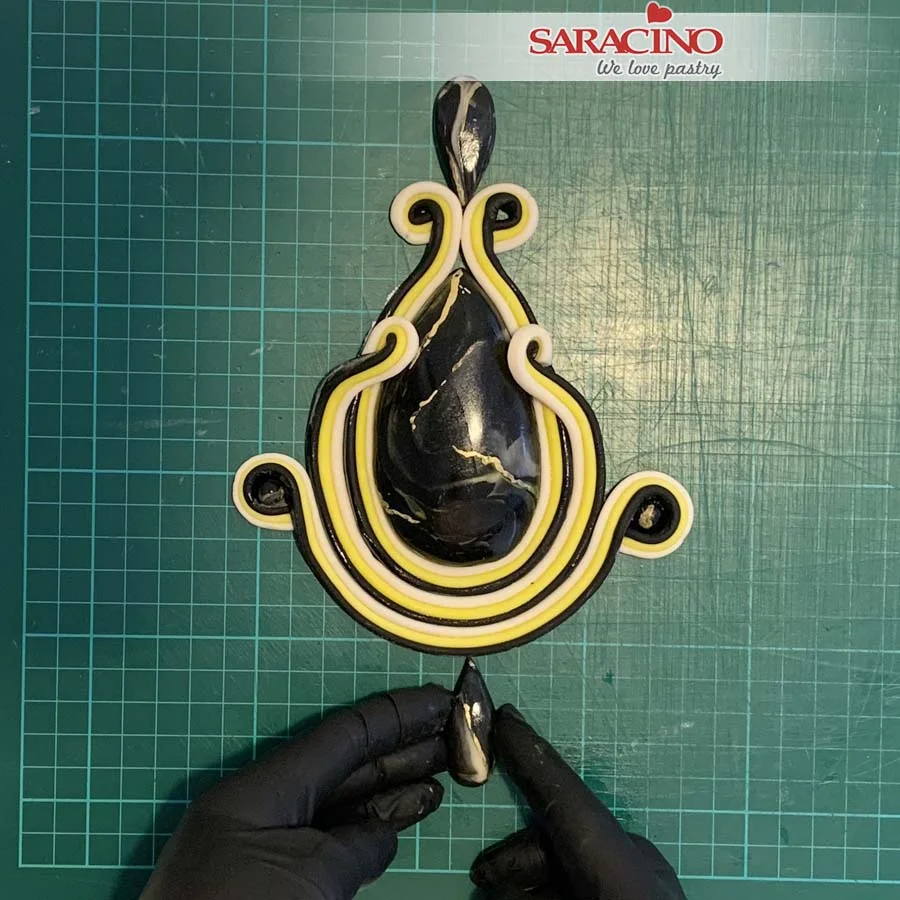
Step 21

Curl both ends and place two of the previously prepared small circles inside the curl. Fix smaller tear drops on the top and bottom of the design.
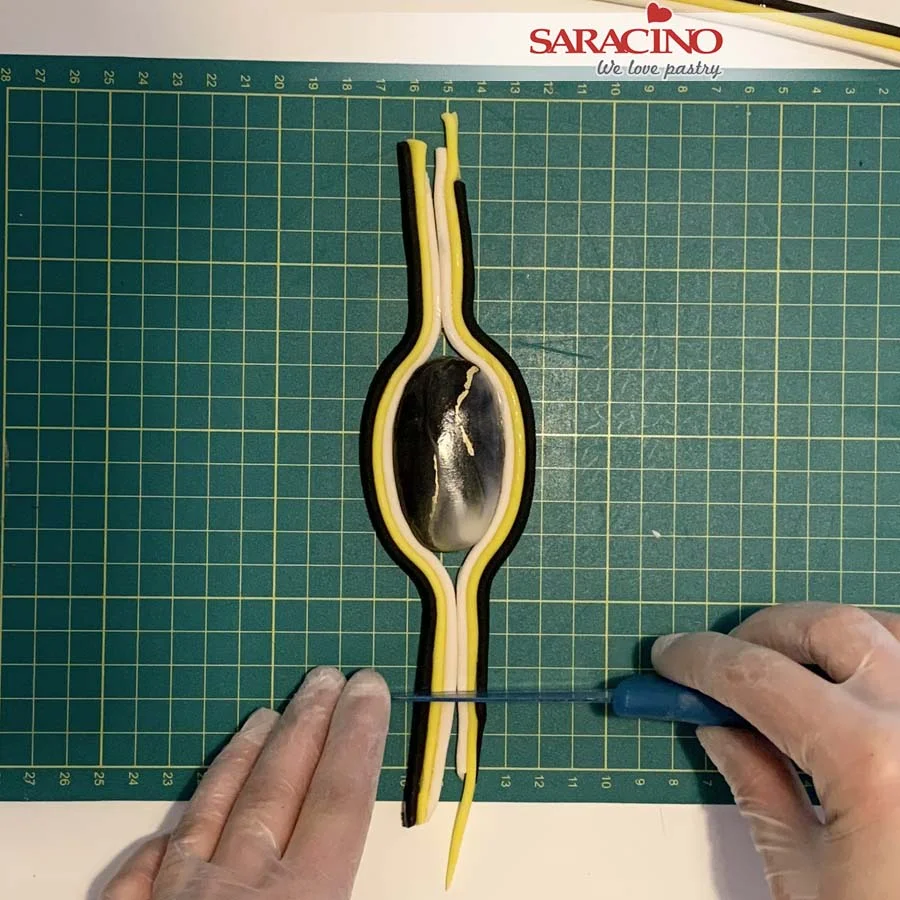
Step 22

Place an oval shaped stone on your mat and fix two of the coloured strips. Trim the excess leaving a length as shown.
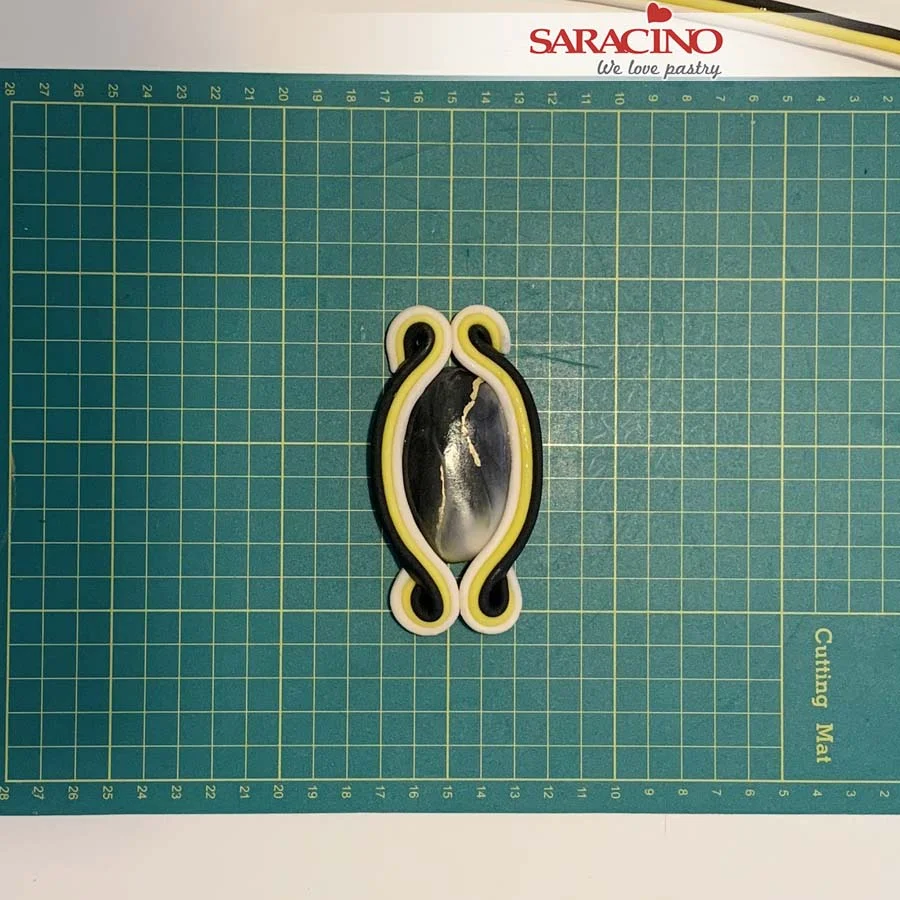
Step 23

Curl the ends at the top and bottom of the stone.
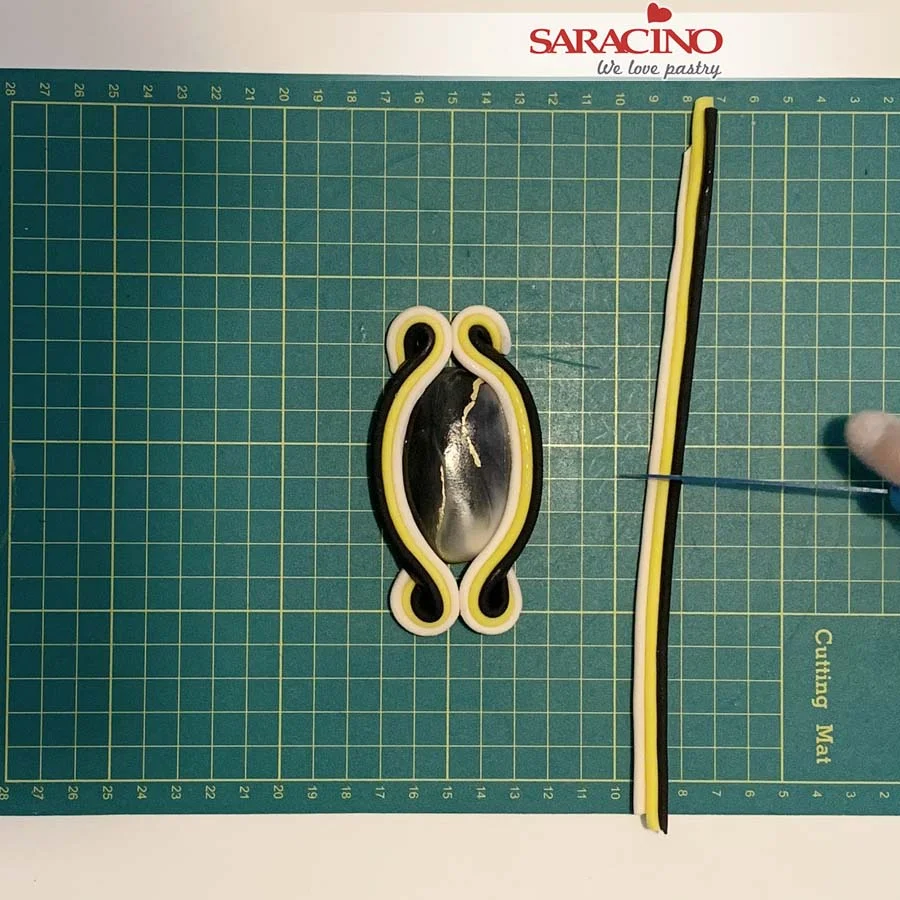
Step 23

Take one of the strips and cut in half.
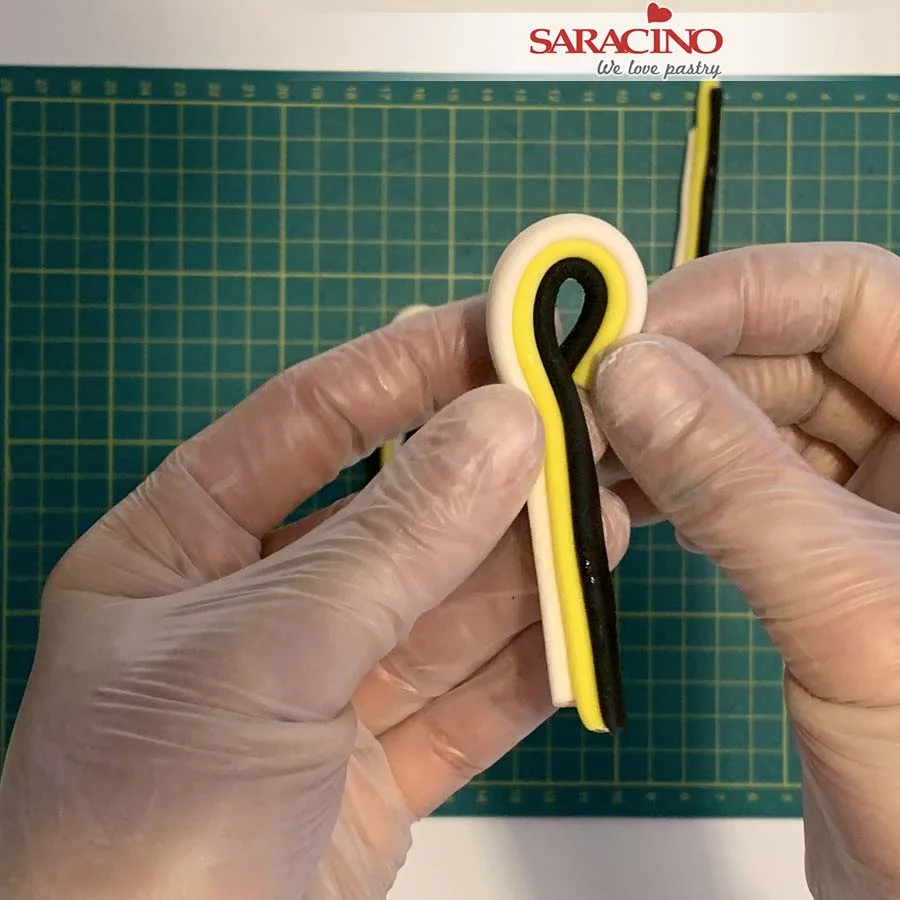
Step 24 

Curl to create the round ends.
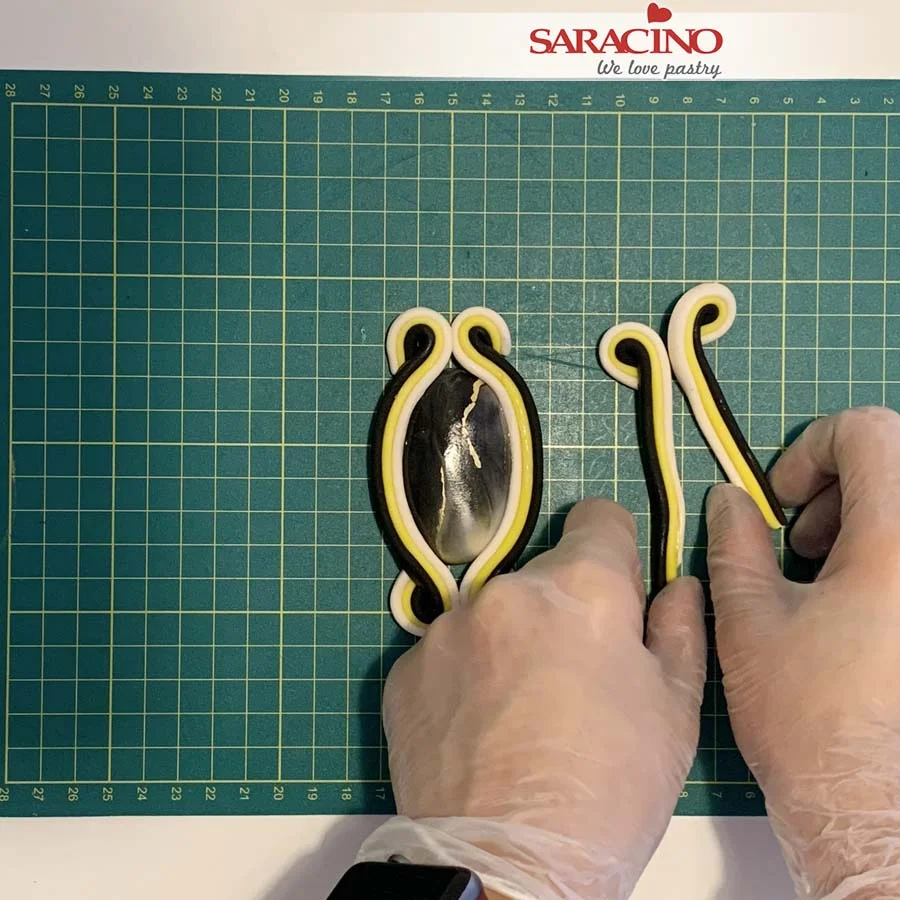
Step 25

Make two identical strips, make sure the skin colour is inside on both sides.
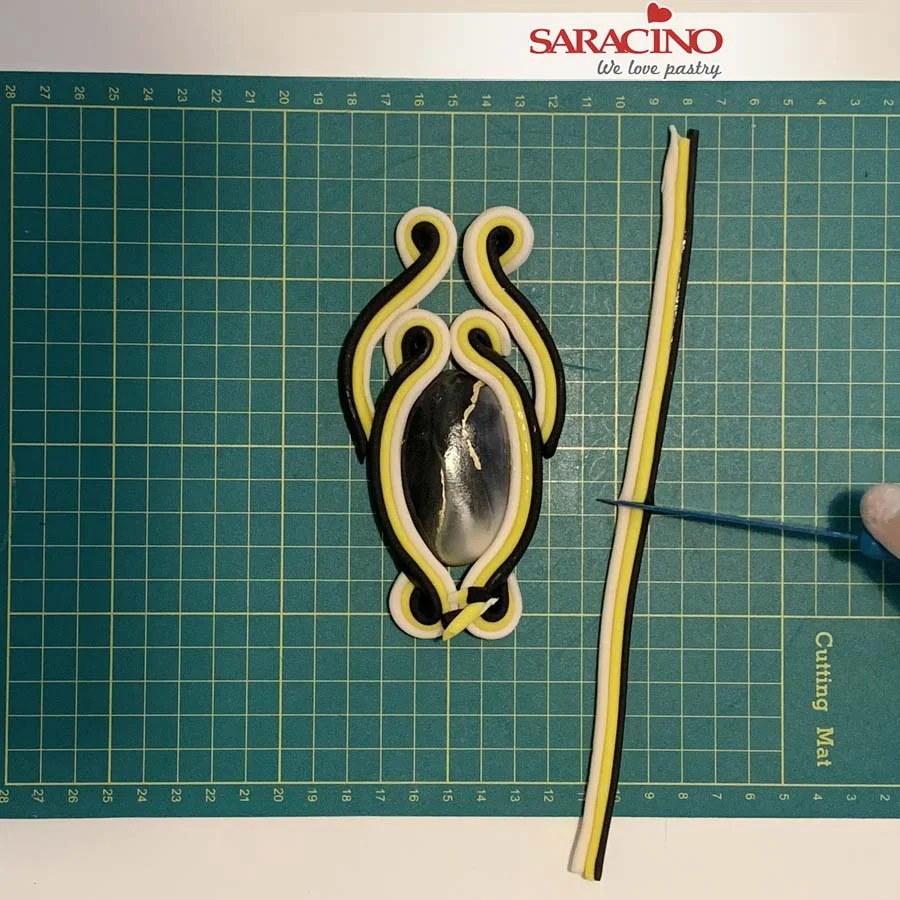
Step 26

Place the two strips on the top of design and prepare another two.
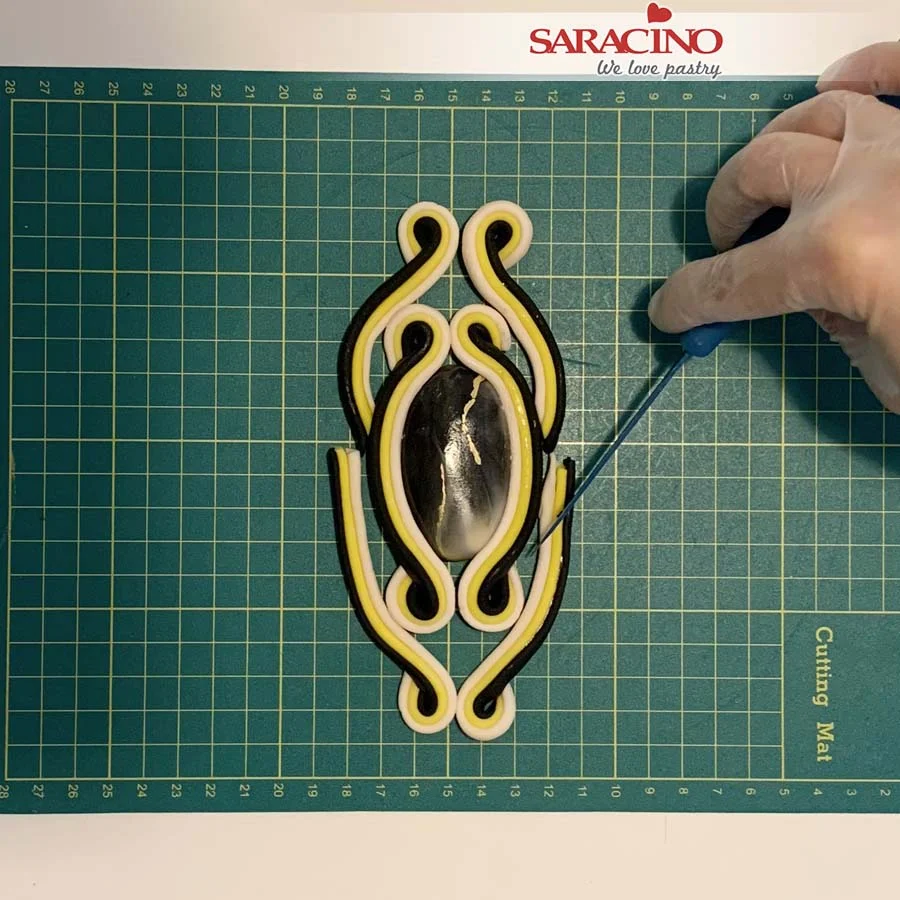
Step 27

Place strips on the bottom and trim the excess to the length required.
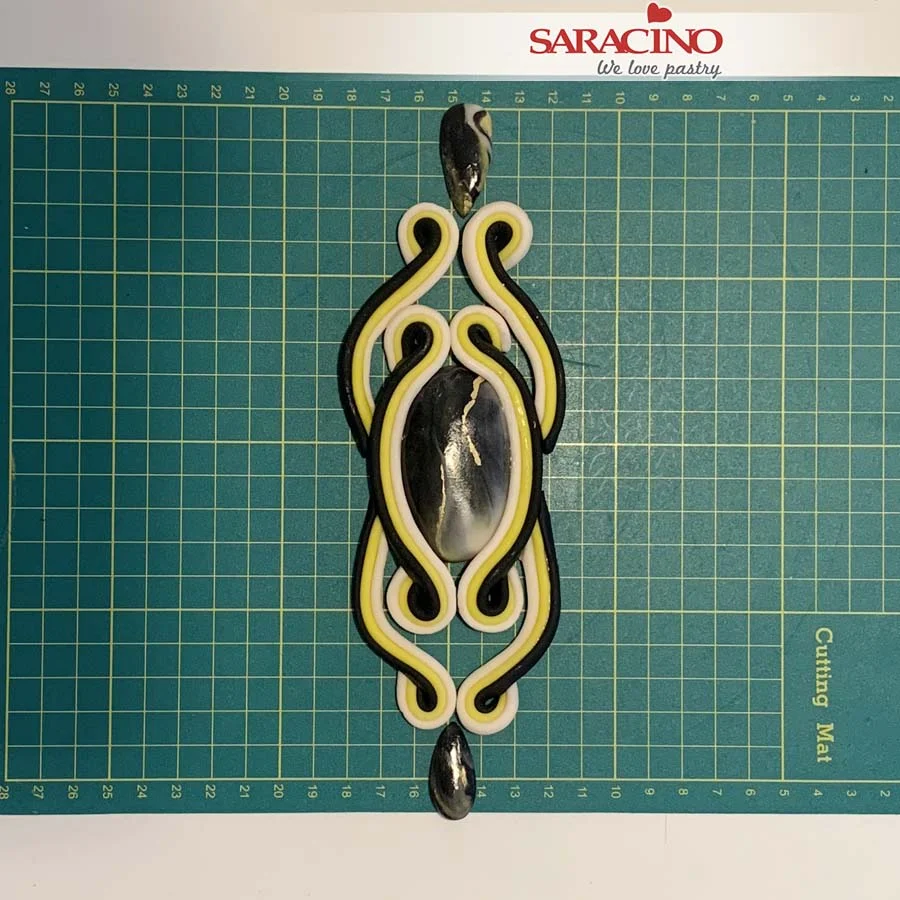
Step 28

Using two small tear drop shapes place them at the top and the bottom. Do not stick them just yet, we will fix them directly onto the cake.
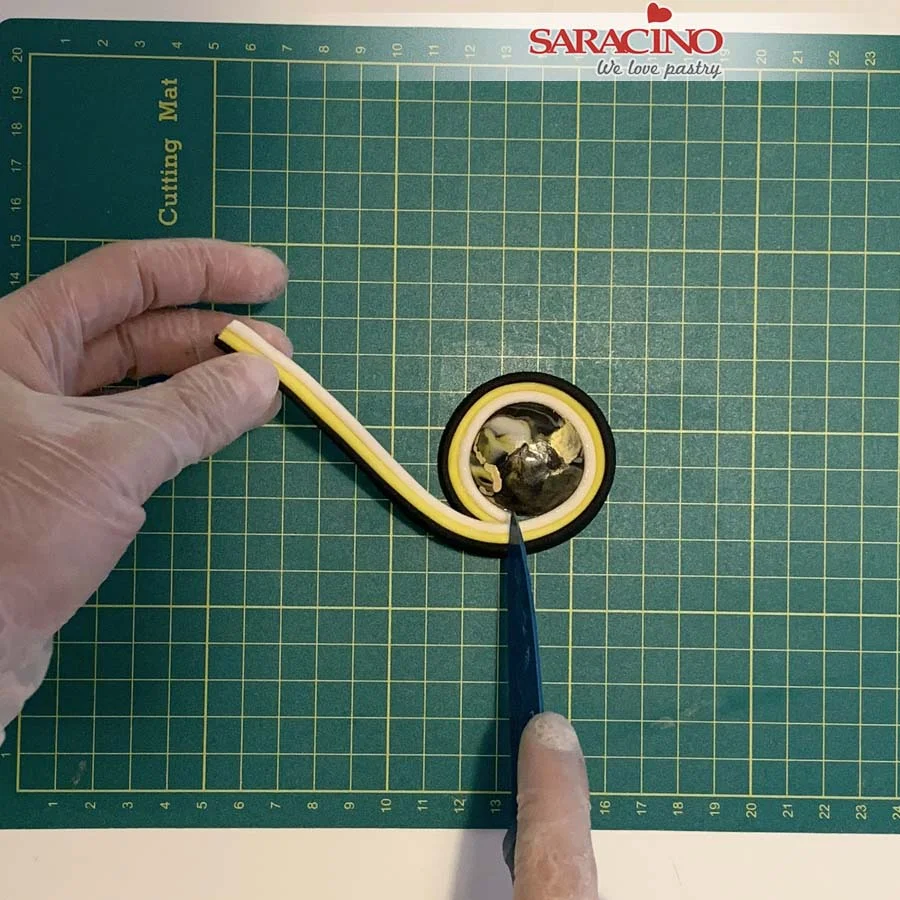
Step 29

Using a round stone wrap a strip of the modelling paste around it. Trim the excess.
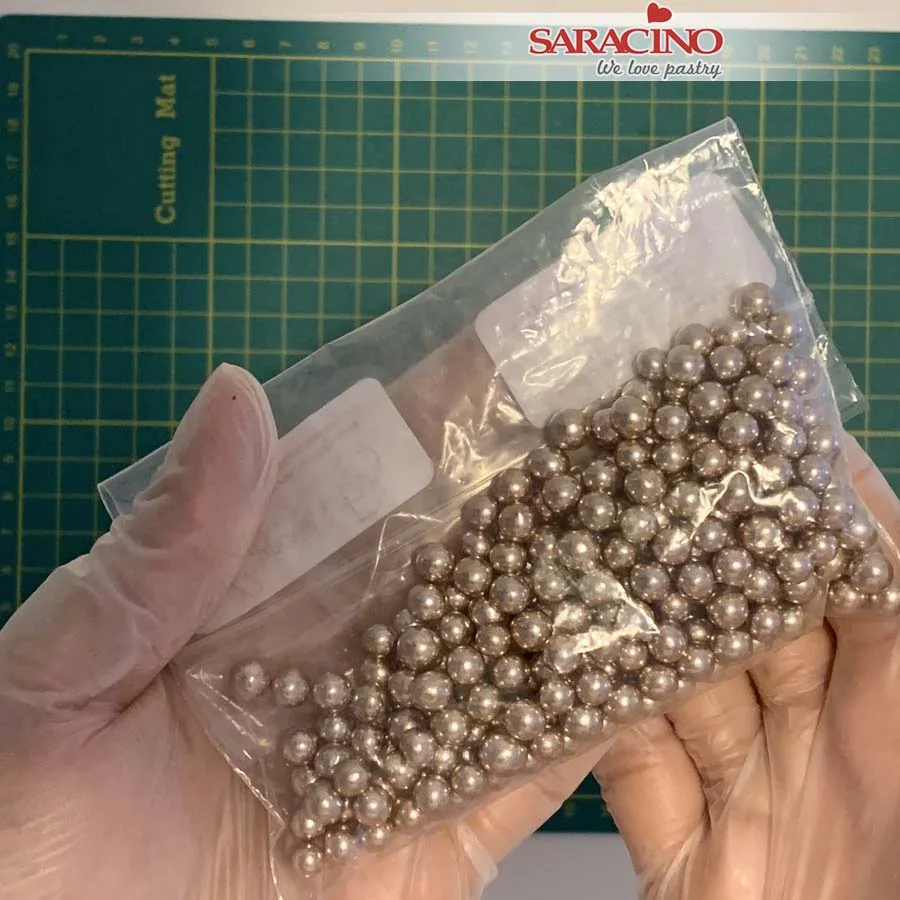
Step 30

You will need 3mm – 4mm sugar pearls.
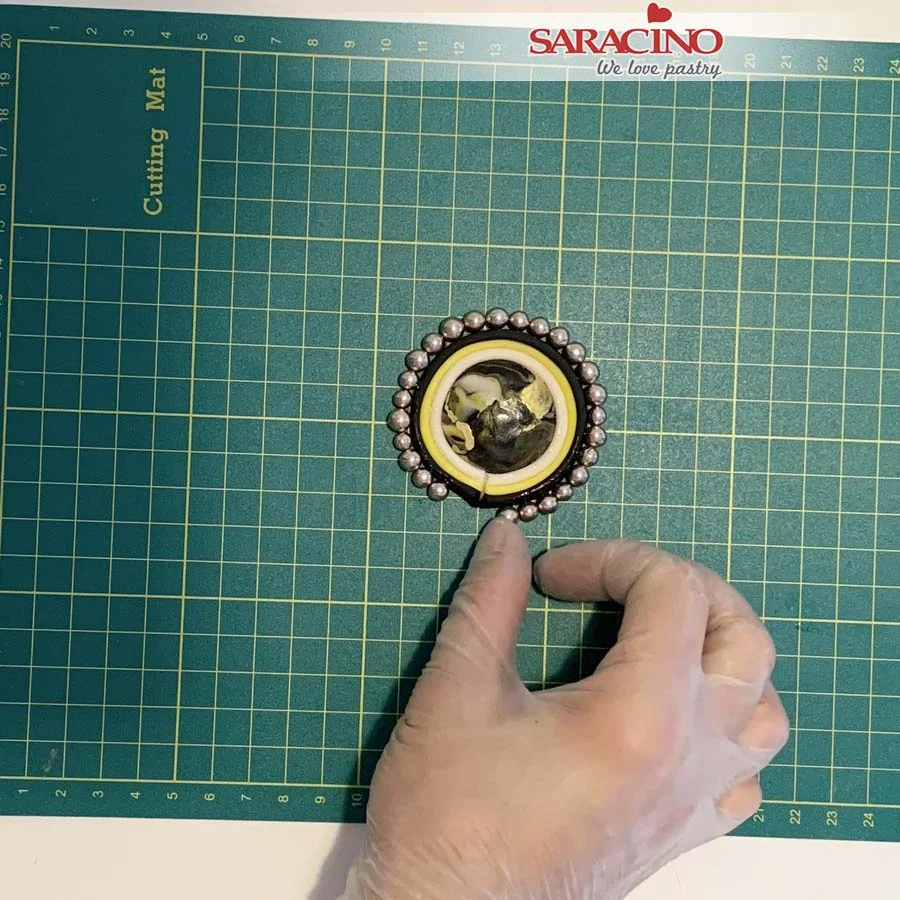
Step 31

Use cake gel to brush the side. Fix sugar pearls around the perimeter.
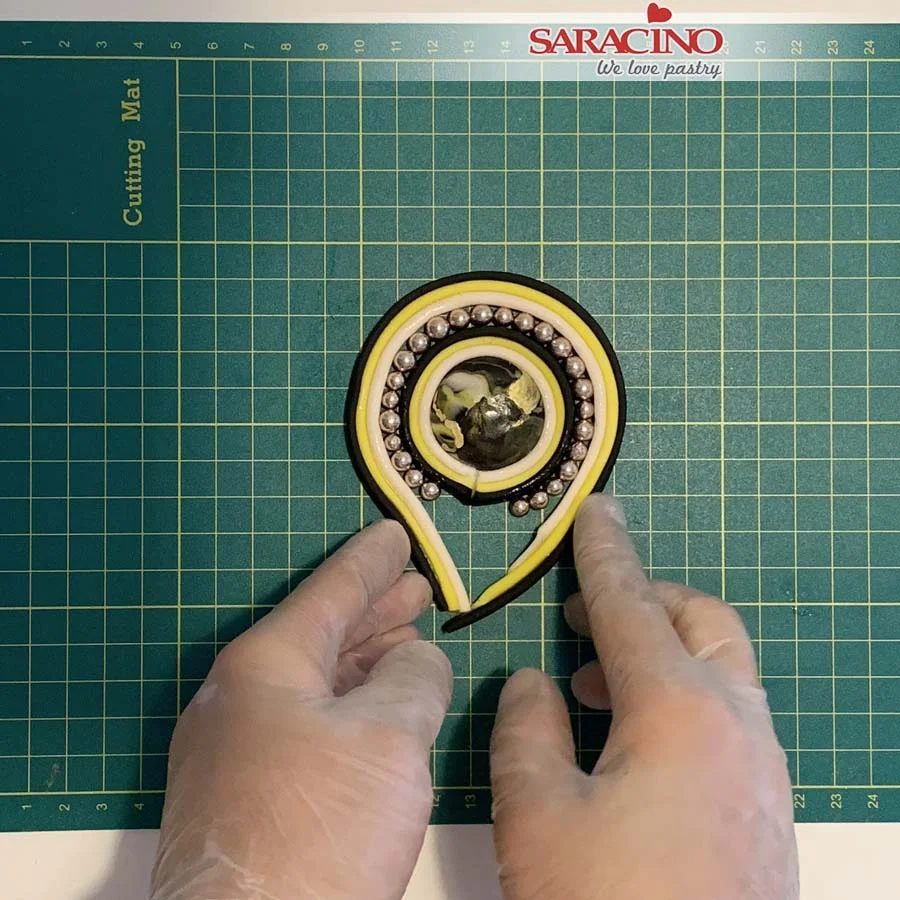
Step 32

Apply a little glue to another strip. Wrap it around the pearls.
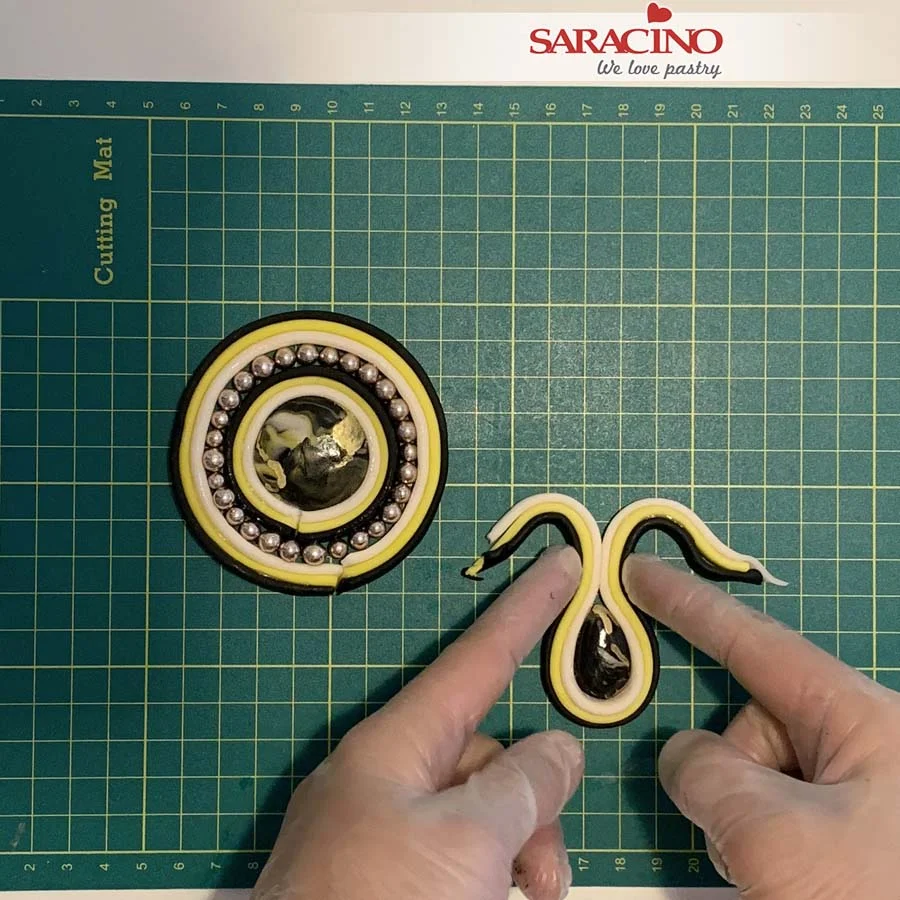
Step 33

Using a small tear drop stone wrap another three coloured strip around the outside. Fix it together at the top. Place it on top of the round stone design already made. Curl the top.
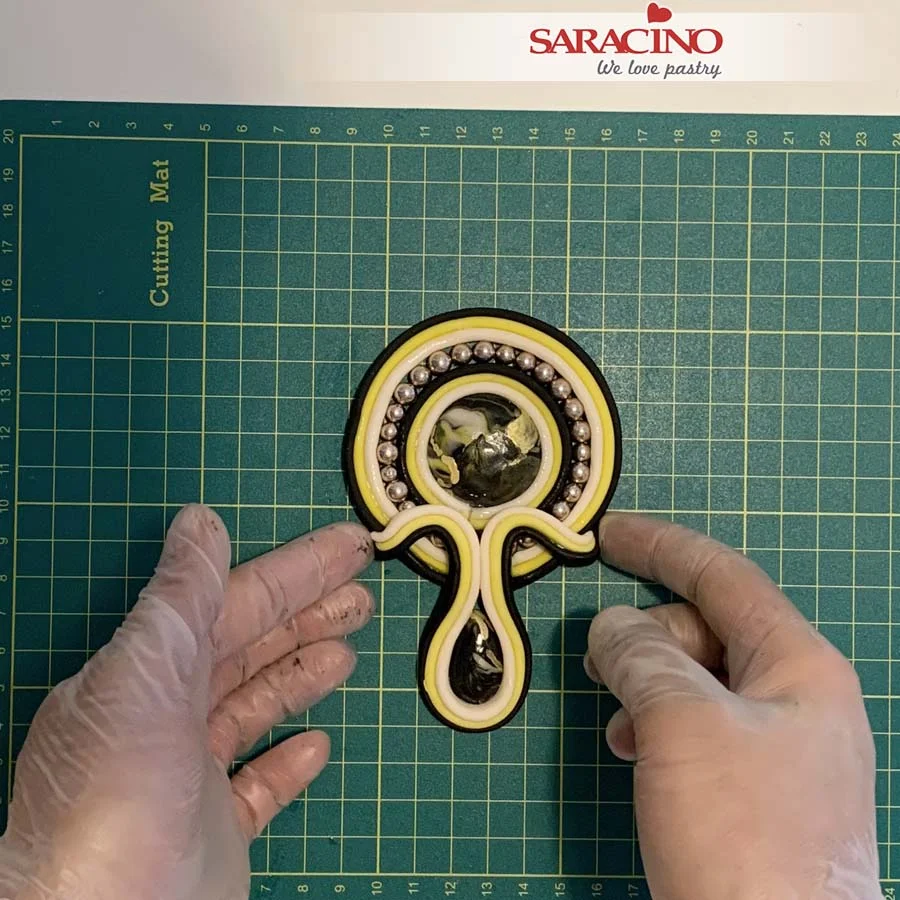
Step 34

Fix the ends underneath the round design.
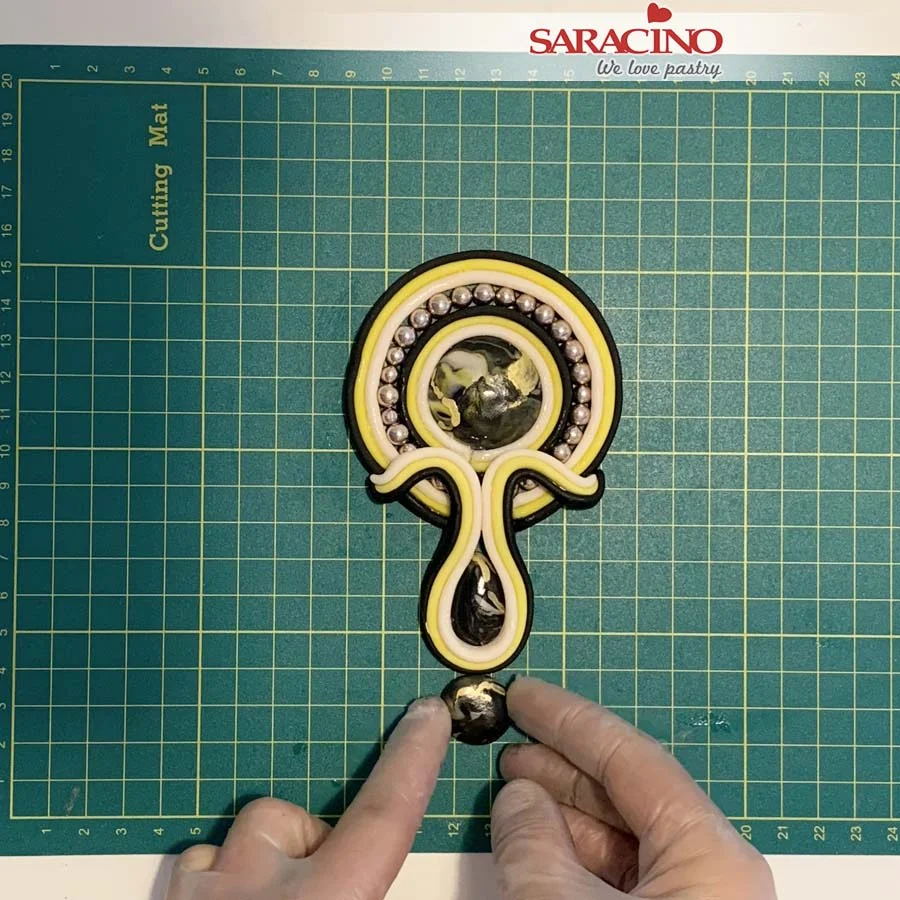
Step 35

Place two small round stones at the bottom of the design. 
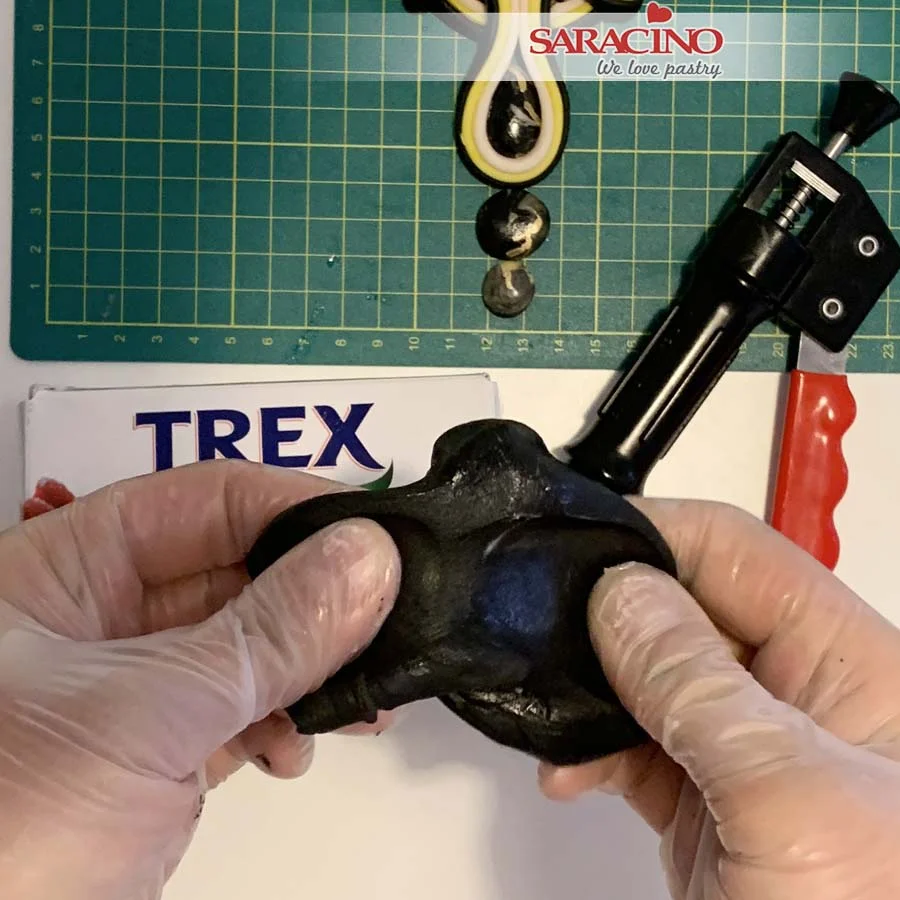
Step 36

Mix black modelling paste with Trex and knead well. Use an extruder with small holes. Push out the paste. Cut to length and repeat the process.
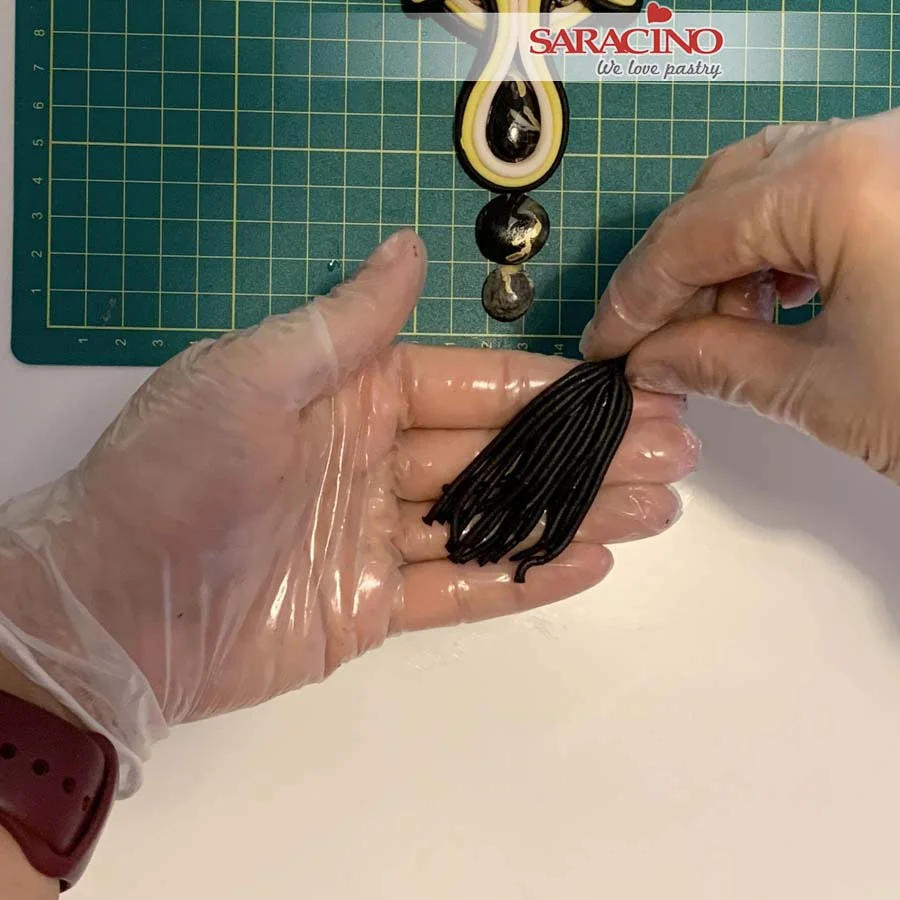
Step 35

Create the tassel by fixing together at the end.
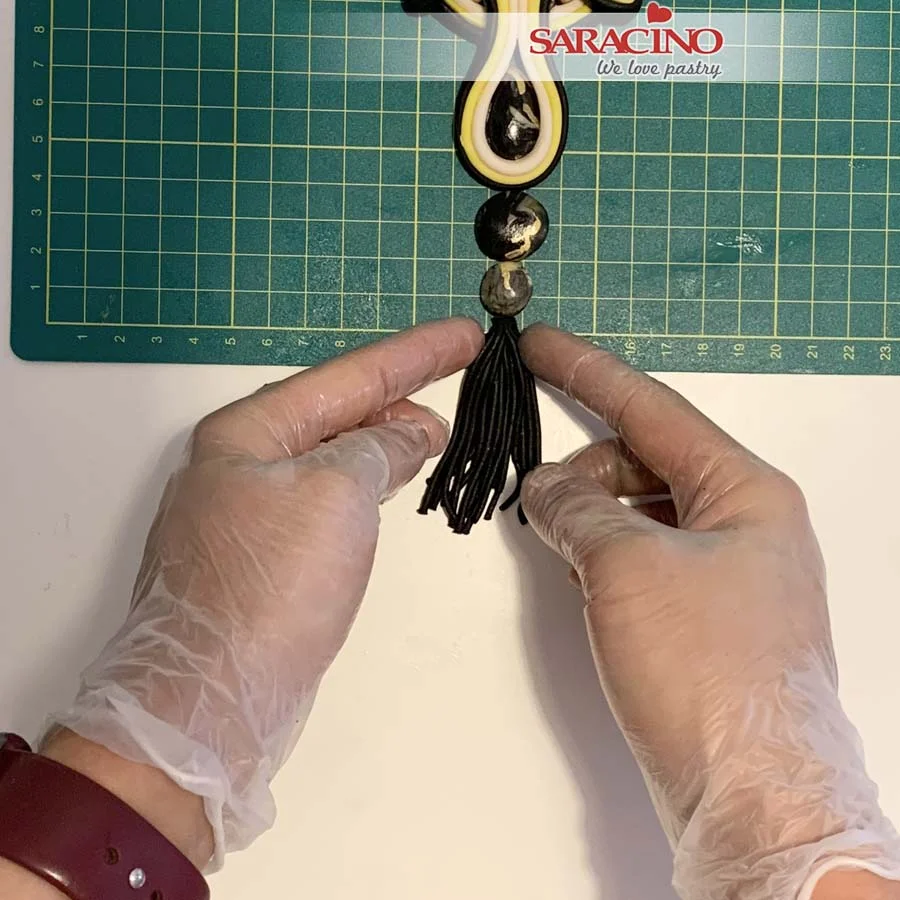
Step 36

Place it on the bottom of our design. Do not fix yet.
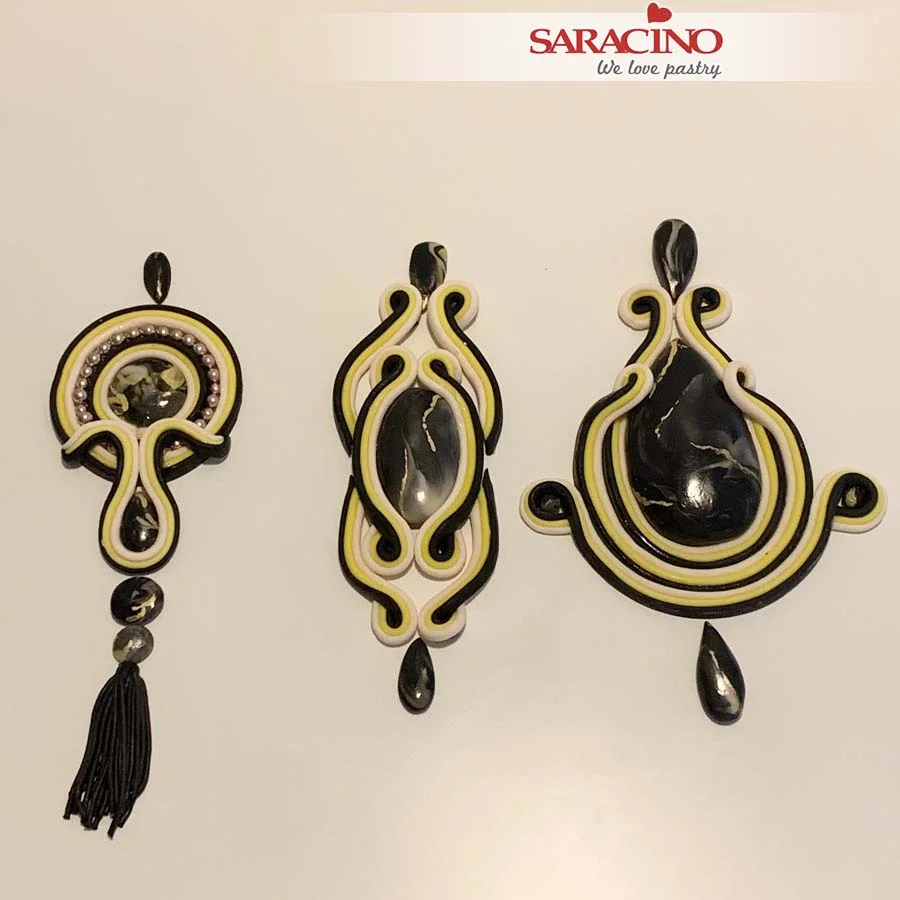
Step 37

Our three edible jewels are ready to fix to the cake.
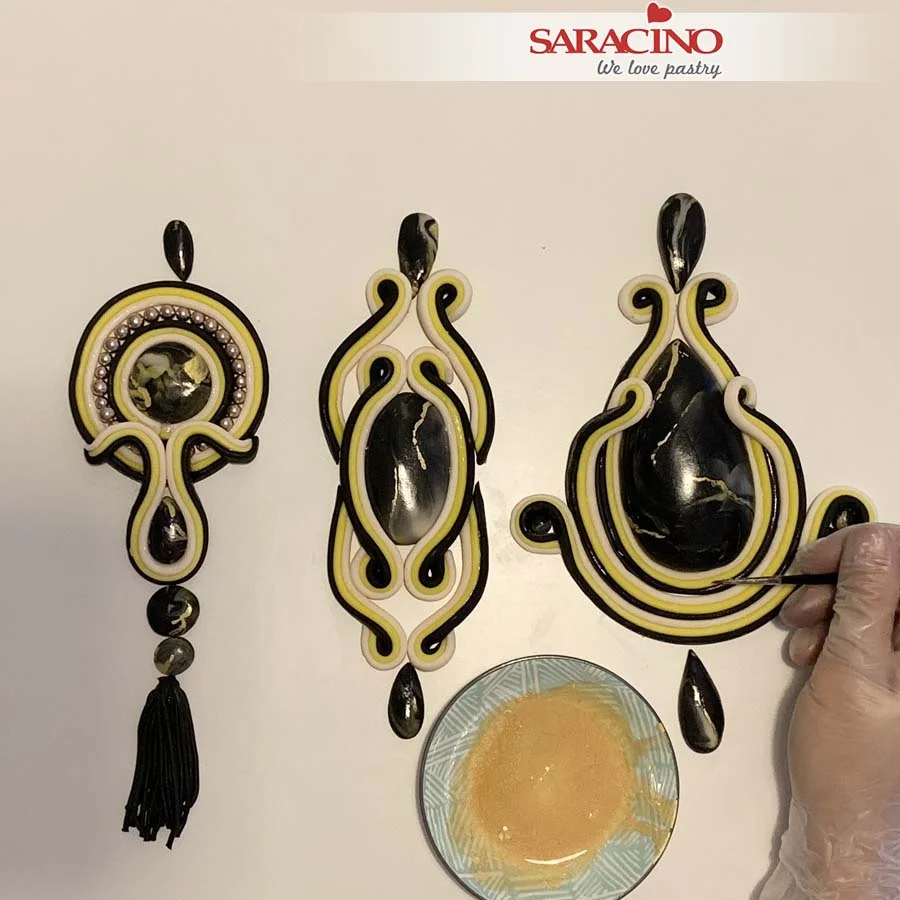
Step 38

Use Saracino glaze and gold dust, mix them together. Paint the yellow lines on all three designs.
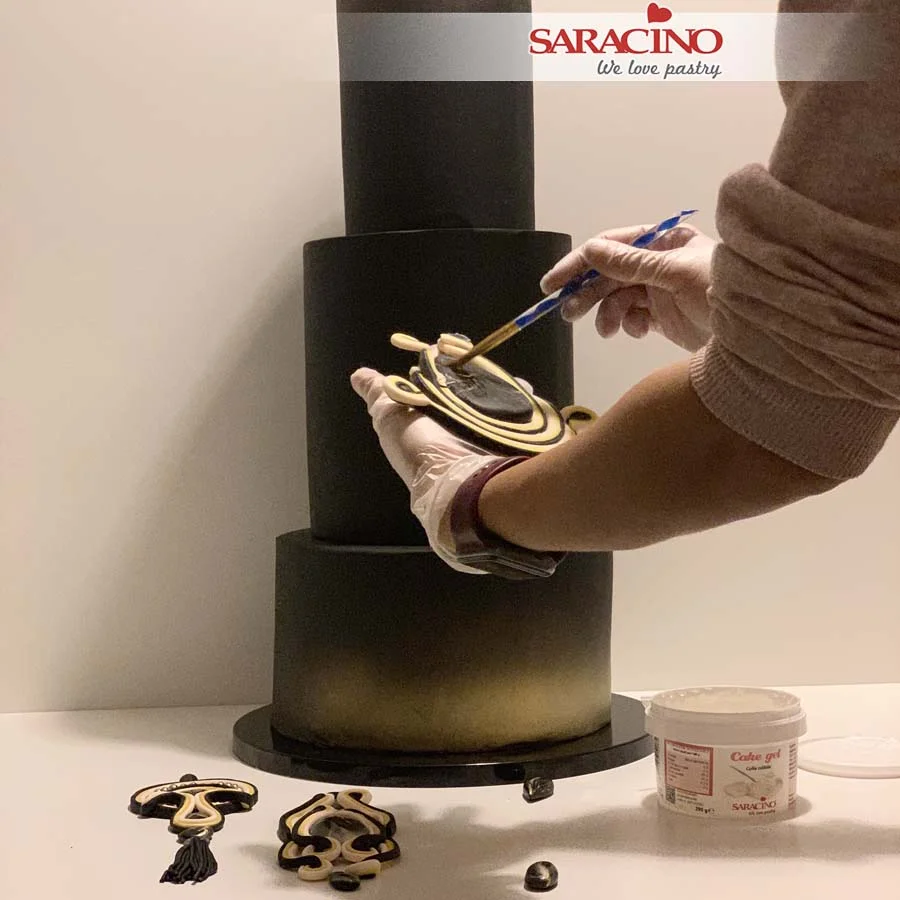
Step 39

Brush the back of your jewels with cake gel.
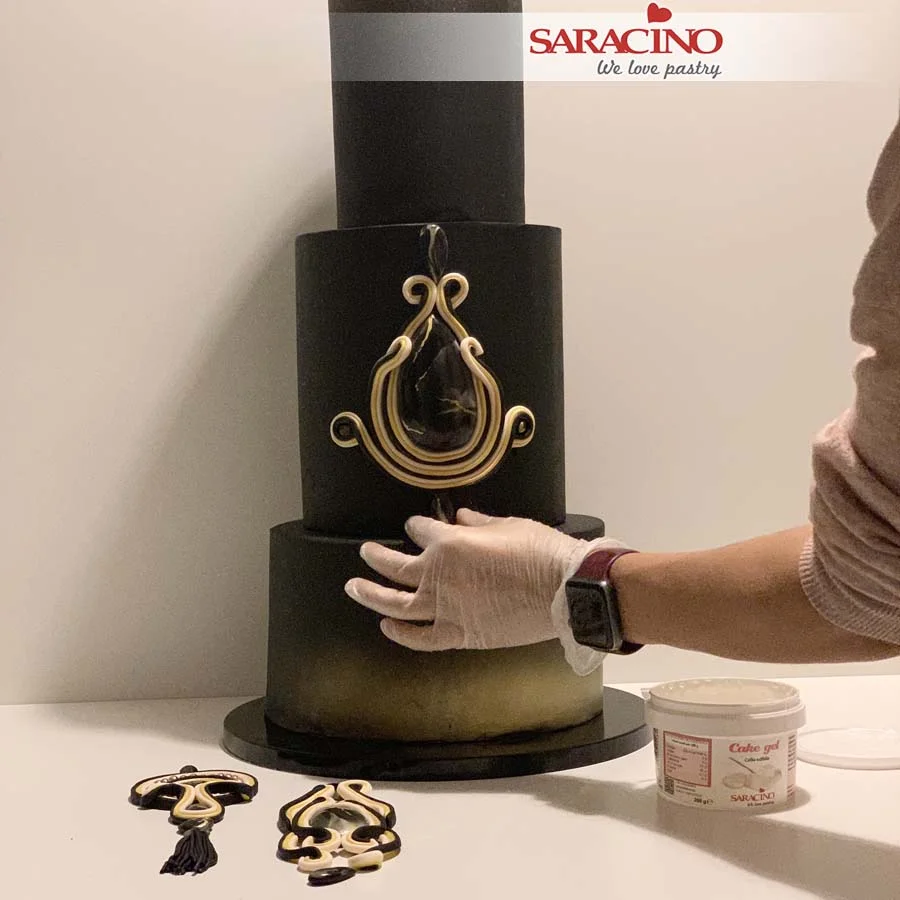
Step 40

For the middle tier fix two tear drop stones. One on the top and one on the bottom.
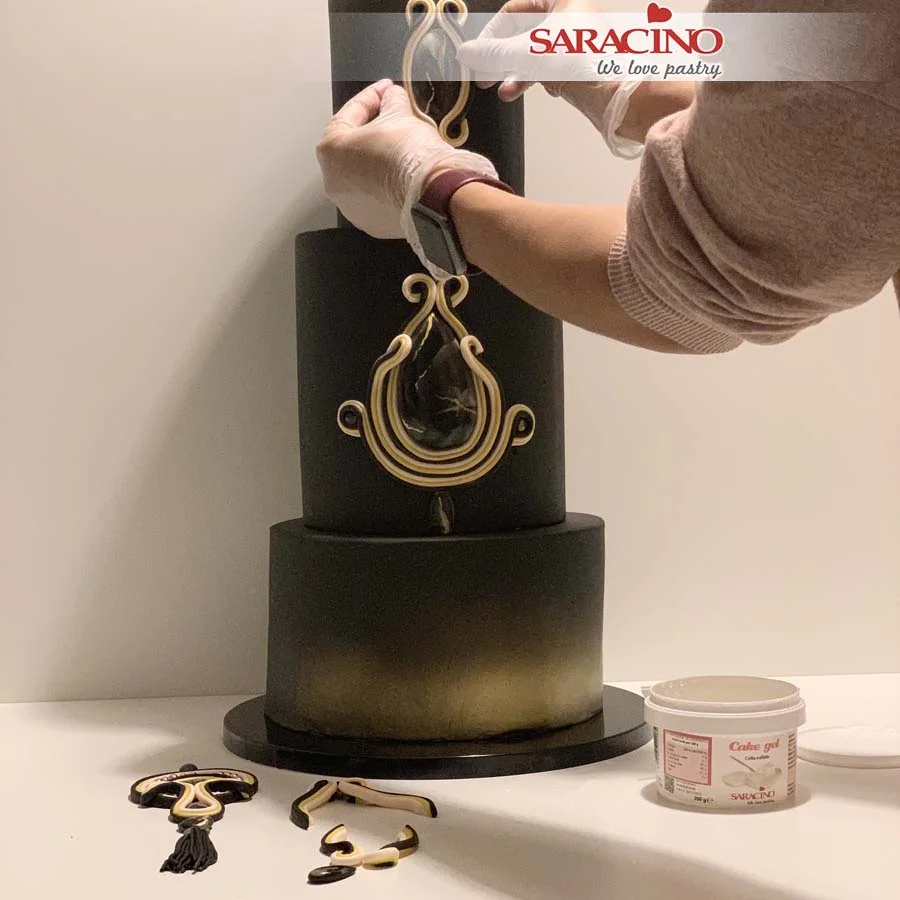
Step 41

Fix the top tier jewel.
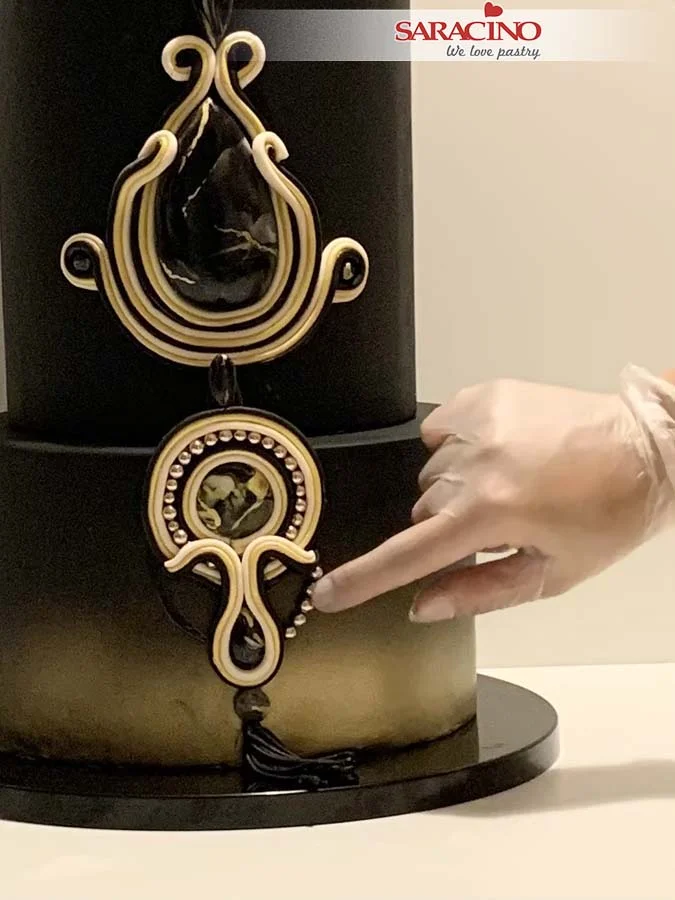
Step 42

Fix the bottom tier jewel and add some pearls to the design.
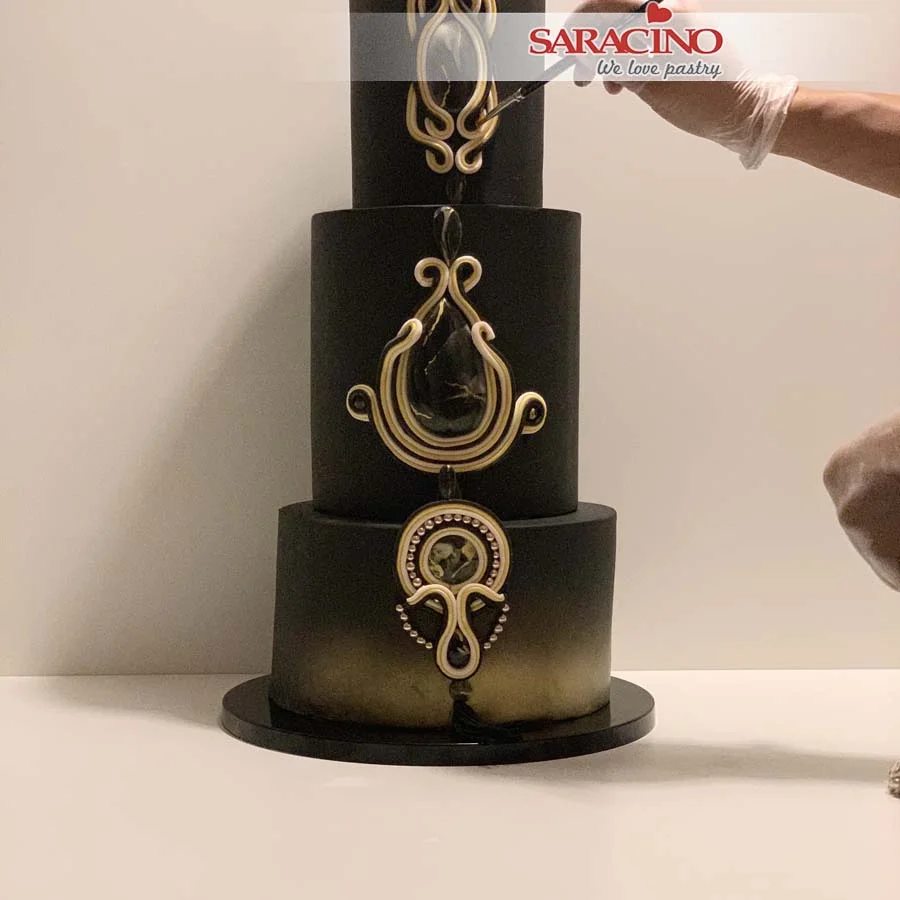
Step 43

Add a little glue ready to fix sugar pearls inside the curves on the middle and top tier.
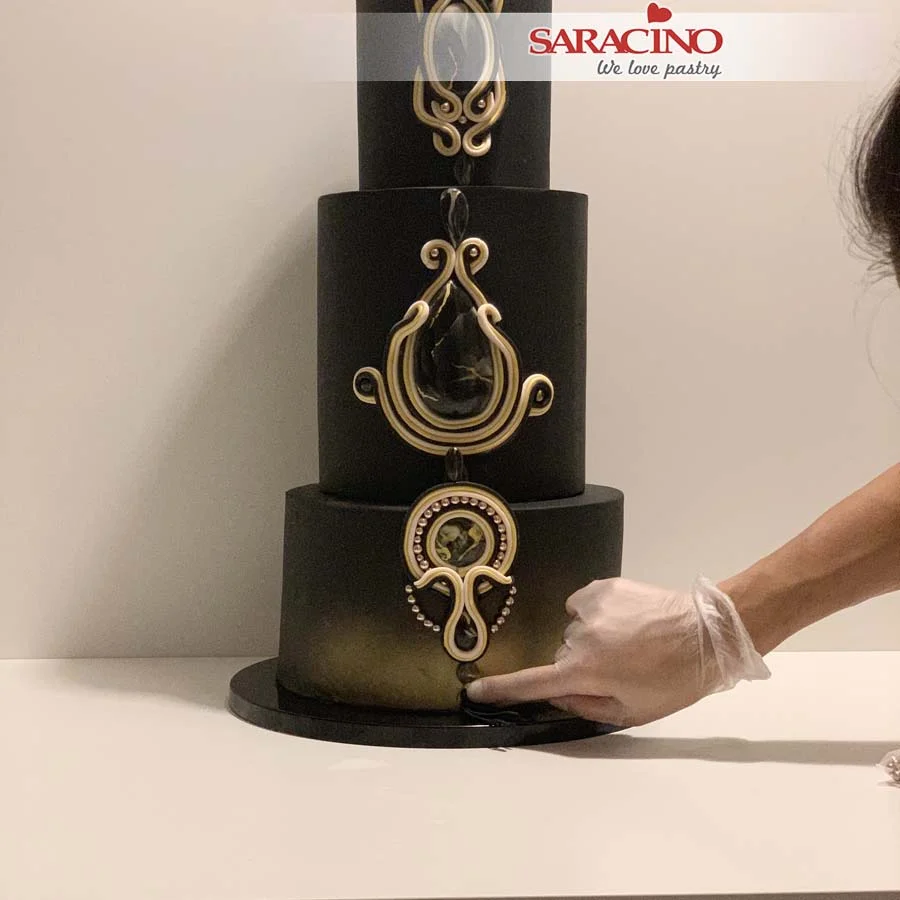
Step 44

Fix the pearls inside the curls. Fix the tassle and ball to the lower jewel. Place the final sugar pearl just above the tassel.

GOLD LACE WEDDING CAKE TUTORIAL

GOLD LACE WEDDING CAKE TUTORIAL

Skill level: BEGINNERS

You will need: 

INGREDIENTS:  

  • White Pasta Top
  • Pink powder colour
  • Cake gel
  • Saracino ready to use gold lace paste – minimum 2 pots 
  • Pink Push Pump Glitter Dust
  • Gold airbrush colour 

EQUIPMENT:  

  • 8×5″ round cake or dummy

  • 6×5″ round cake or dummy

  • 4×5″ round cake or dummy

  • Large rolling pin

  • Fondant smoother

  • Sharp knife

  • Corn starch

  • Airbrush

  • Cake Lace mat of your choice

  • Cake Lace spreading knife

  • 12″ white cake board

  • Small brush 

Step 1

Prepare the cake lace. Make well in advance as it takes a while to create the amount of lace we need. To cover a 8×5″ size cake you will need at least 2 whole pots of cake lace mix. I recommend having an extra pot ready just in case we don’t have enough to cover our cake.


Step 2

Stir the cake lace mixture. Place onto a mat and spread using a plastic cake lace knife.

Step 3

Make sure all grooves are filled and the excess is removed.

Step 4

Allow to dry. You can leave it outside for a while or place in the oven on a very low heat.


Step 5

For the middle tier add pink powder colour to white Pasta Top. Knead well to achieve a uniform colour. 


Step 6

Cover the middle tier (cake or dummy). 

TIP: Pasta Top is very elastic and can be rolled thinly. 

Step 7

Using white Pasta Top cover the other two tiers. You can use cornstarch on your work surface if required. Trim off excess paste. 

Step 8

Spray the middle pink tier with pink glitter. Careful not to apply too much, we just want to achieve a nice sheen.

TIP: Keep the spray bottle a little distance away from the surface to avoid making concentrated glitter spots.


Step 9

Prepare your airbrush and gold colour.

Step 10

Airbrush the top tier. You will need at least two layers to achieve a nice coverage.

TIP: Don’t rush it! Make one layer at a time! Allow to dry before adding the next layer.

Step 11

Take a sharp knife or scissors and cut off the trim from the lace. 

Step 12

Take a small brush and apply a thin layer of edible glue to the edge of the gold lace trim.

Step 13

Fix around the top of the tier.

Step 14

Now it’s time to fix all the lace to the bottom tier. Remember, the best part of this design is the fact that none of it has to be even. The bottom part imitates a skirt so don’t worry if it turns out not exactly perfect. I have made 22 lace sheets using 2 tubs of lace paste.

Step 15

Take one lace sheet and fold it in half.

Step 16

Form a little ruffle shape ready for attaching.

Step 17

Start adding your lace from the bottom to the top. Apply glue on the cake.

Step 18

Fix the first lace piece around the bottom. Place one end of the lace, bend it and try to shape it like a ruffle skirt pushing a little into the cake as you work around the perimeter.

Step 19

Repeat around the cake perimeter until we meet where we started.

Step 20

Repeat this process keeping an even gap between lace bands. Continue until you fix a band around the top of the tier. You are aiming for a ruffle effect as shown.

Step 21

Your top band should continue onto the top of the tier. Apply a little glue. Fix the pink centre tier over the lace so to cover the joint.

Step 22

Apply a little glue around the base of the gold top tier. 

Step 23

Fix a lace trim around the bottom. 

Step 24

Add a plaque or detail of your choice if required. Your beautiful cake is ready!


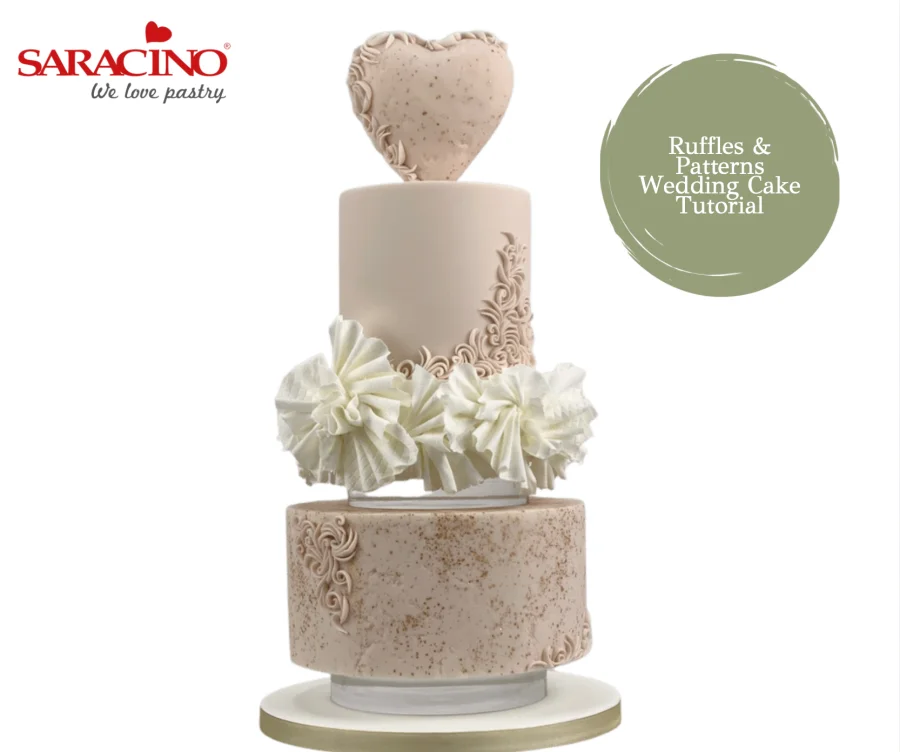
ROMANTIC RUFFLES AND PATTERN WEDDING CAKE TUTORIAL

ROMANTIC RUFFLES AND PATTERN WEDDING CAKE TUTORIAL

Author: CAROL SMITH

Skill level: INTERMEDIATE

You will need:

  • Pink, brown and white Pasta Top 
  • White Pasta Model
  • Tsp of royal icing
  • Cool boiled water
  • Saracino Gold glitter
  • Trex
  • Icing sugar
  • 5 x 5” deep dummy cake
  • 6 x 2” dummy separator
  • 9 x 4” dummy cake
  • 4” polystyrene Heart 
  • Spare dummy cake (at least 4” wide)
  • 12” pre covered cake drum
  • 5 & 7” 30mm Acrylic spacers – Prop Options 
  • 18 gauge flower wire 
  • Cake pop stick
  • 6 – 8cm round cutter
  • Medium and large rolling pin
  • Long sharp needle 
  • Knife
  • Sharp edge smoother
  • Flexi smoother
  • Scissors
  • Tiny palette knife
  • Modelling knife
  • PME 3 in 1 wheel – serrated part
  • Dresden tool
  • Small and thick brush
  • Medium flower pick
  • Pasta Roller
  • Hessian mat or any lace mat
  • Foam drying sponge and some cut off pieces 
  • Stone & Textile texture mat – The Old Piping Bag


Step 1

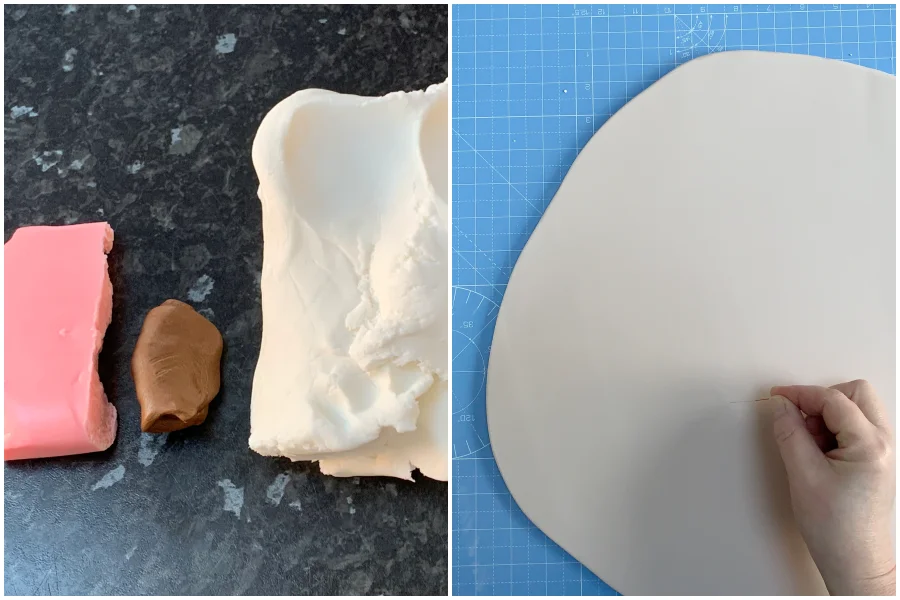
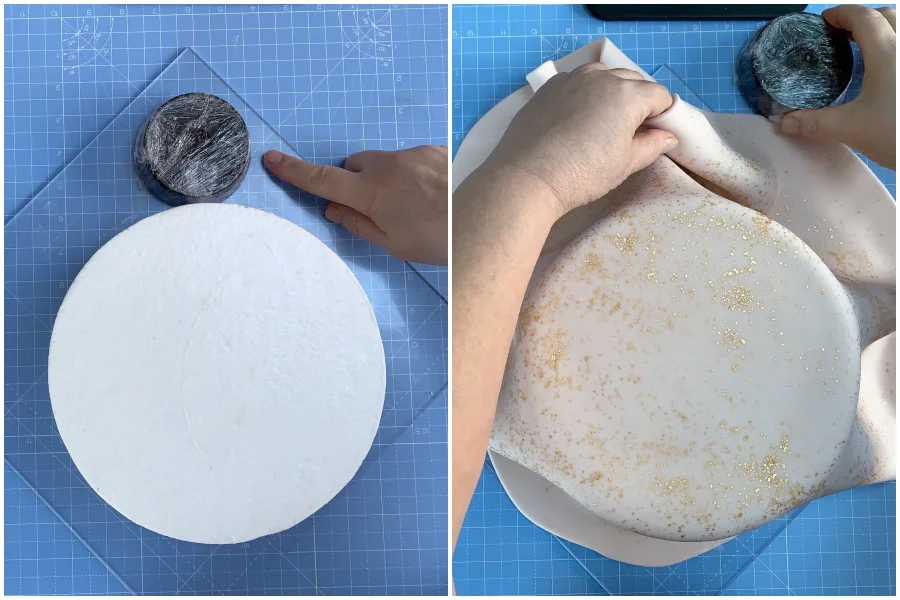
Mix the brown, pink and white together making sure you combine the colours well making a light blush pink. Lightly dust your work top and start to roll your paste out, keeping it round and roll to around 7mm thick. Use the needle to pop any bubbles if you have any.

Step 2 

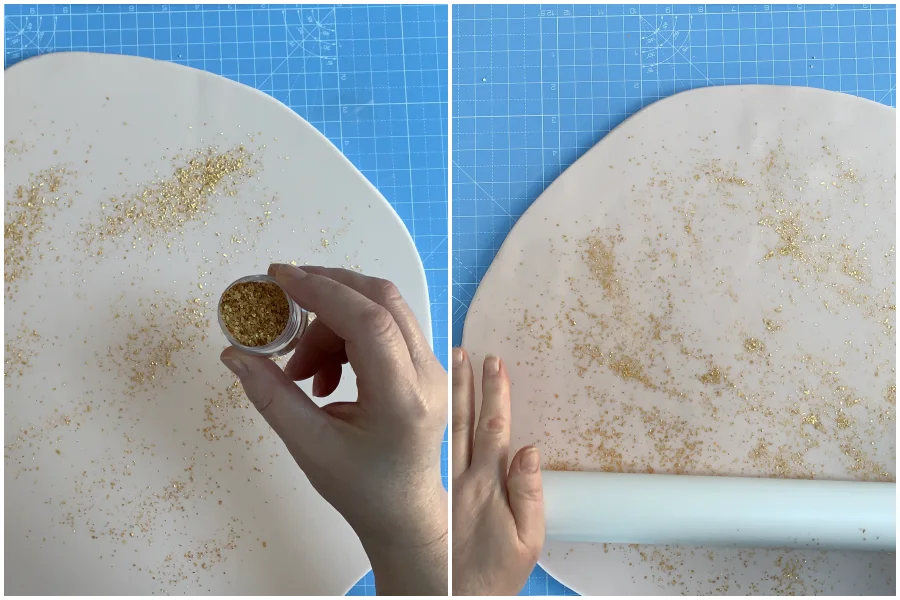
Lightly sprinkle the Gold glitter over the paste and using the palm of your hand gently press it into the paste. Roll the paste a little more, you will notice most of the glitter will stick to the sugarpaste.

Step 3

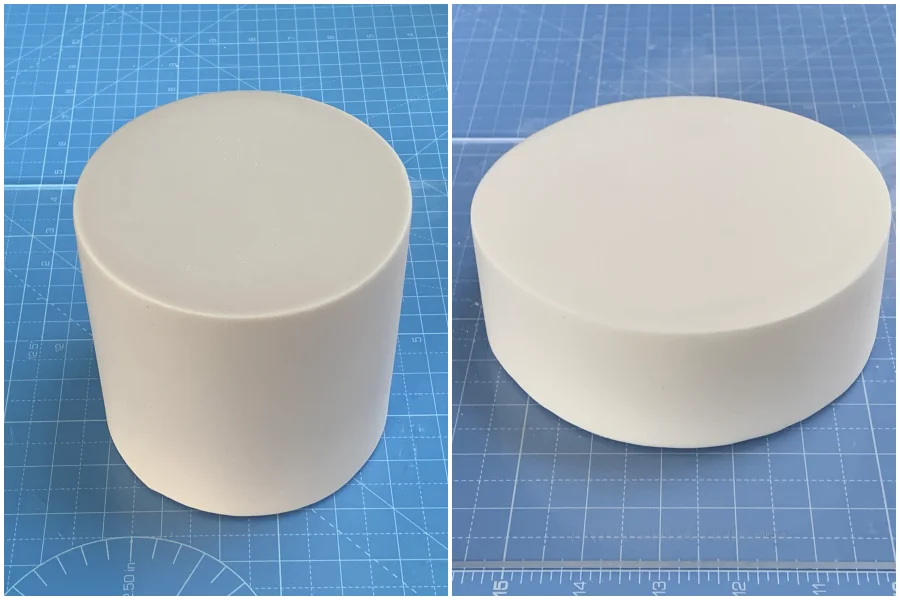
Using some Trex completely cover the side and the top of the largest dummy. Put the dummy cake onto the smaller acrylic plate with a weight behind the dummy cake (this will stop it from moving whilst you cover the cake). Place the paste over the dummy and then remove the weight. Using the palm of your hand gently press the paste onto the dummy making sure you remove any air bubbles by lifting the side of the paste. 

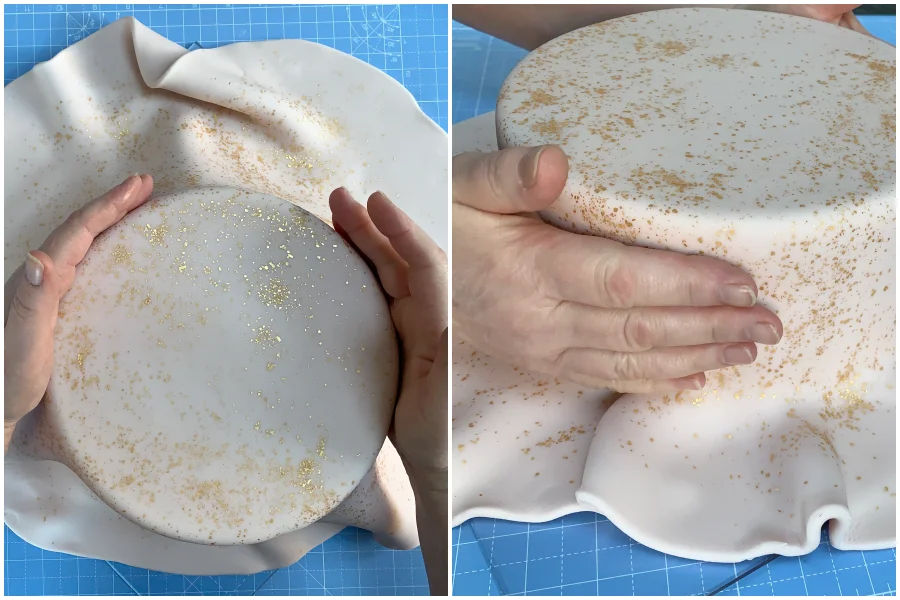
Step 4

Using your palms of both hands gently press the top edge of the paste to the cake, being careful not to press too hard which may leave finger prints. Work your way down the cake gently lifting the paste and moving it around so it’s secure to the cake.

Step 5

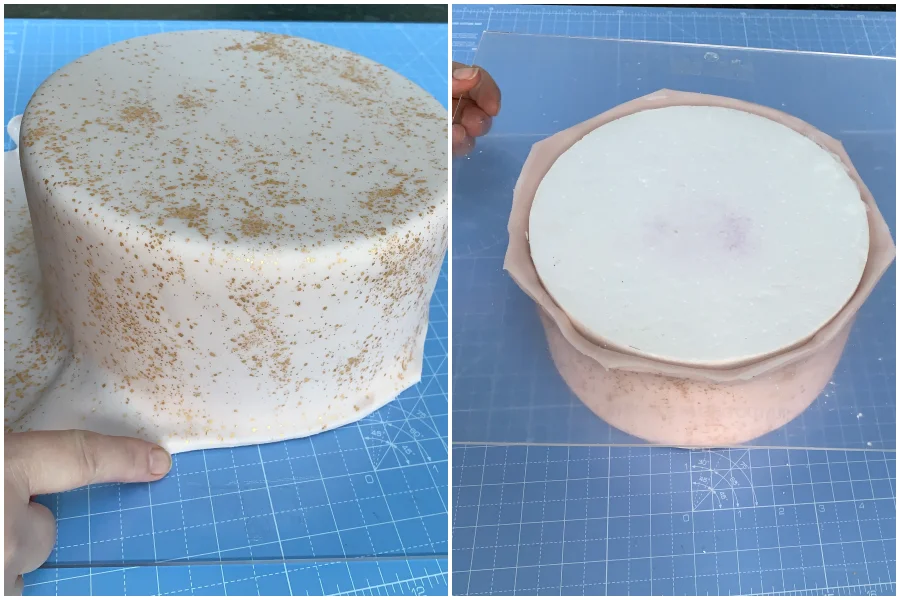
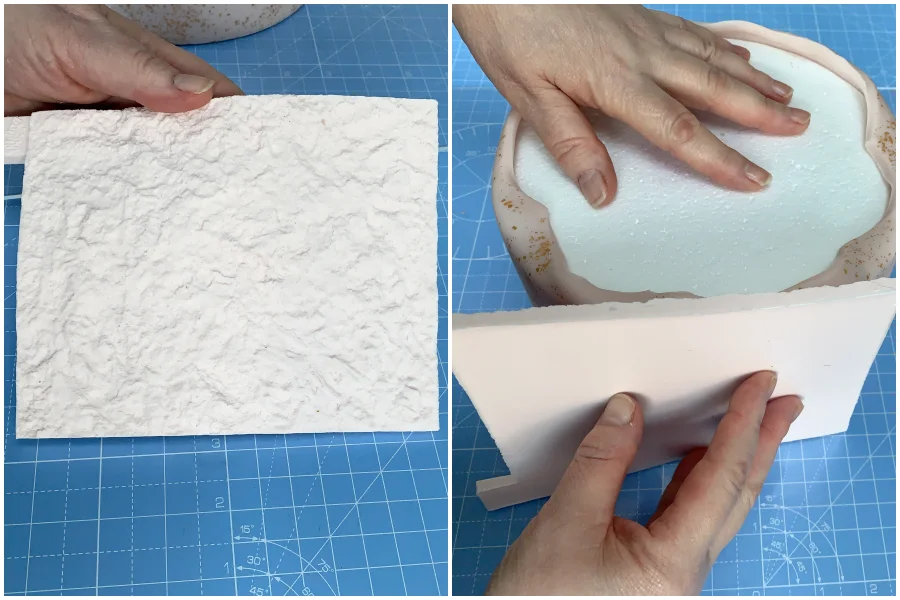
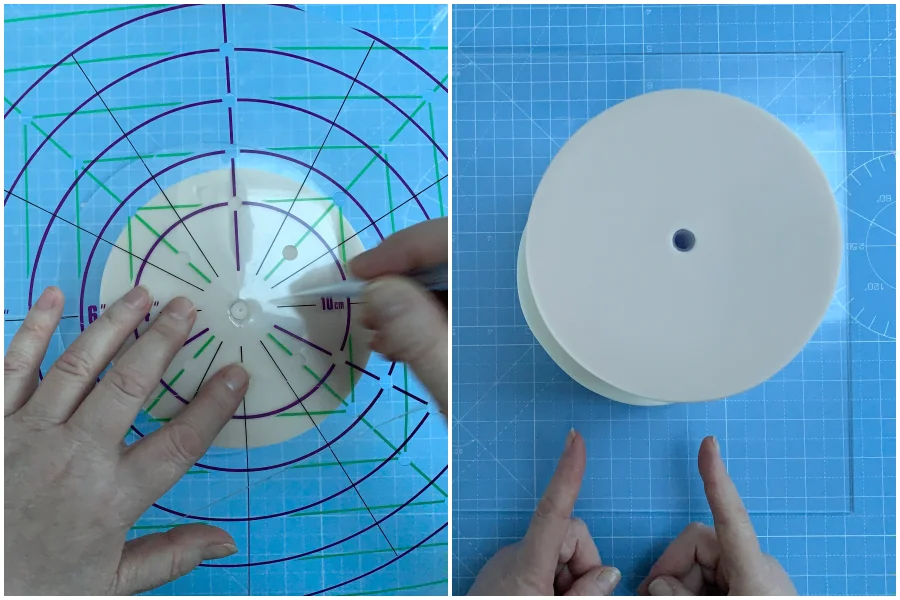
Trim the sugarpaste, don’t go right to the cake you want to leave around 5mm. Lightly dust the top of the cake with some icing sugar and place the larger acrylic plate on top with one hand directly under the cake and the other above. Flip the cake over so it is now upside down.

Step 6

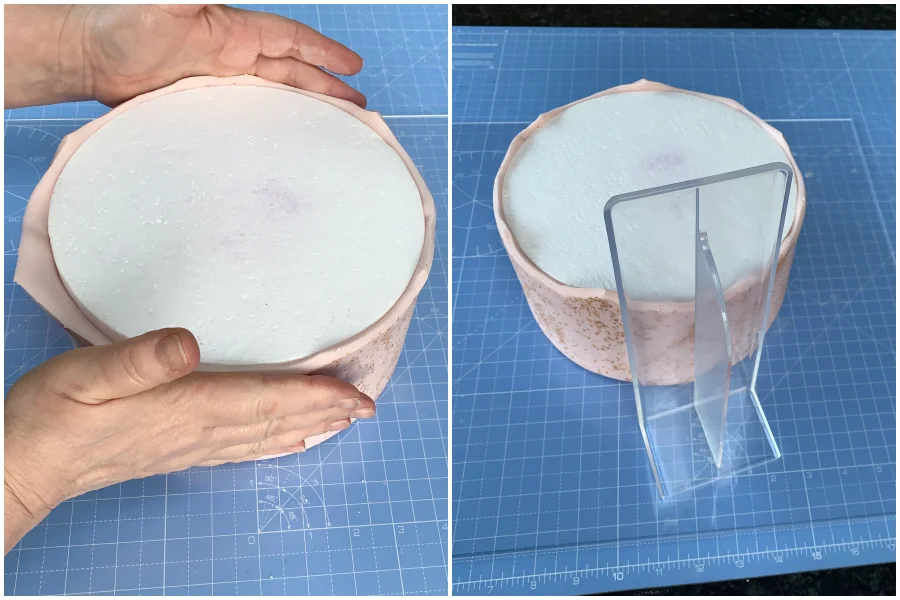
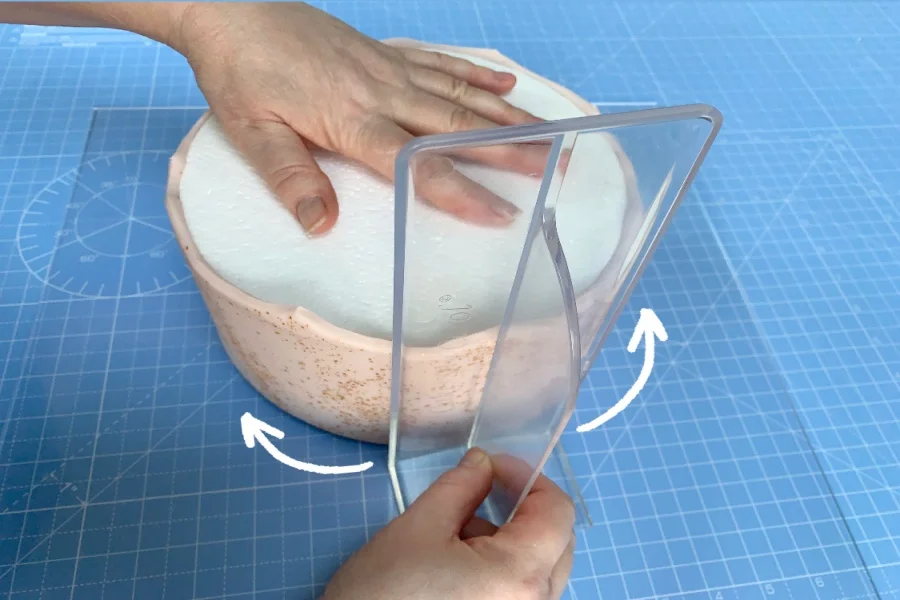
Secure the paste to the side of the cake to prevent it from falling down. Place the sharp edge smoother on the acrylic plate making sure it is touching the cake as well as the acrylic base. The smoother is kept on the plate at all times.


Step 7

Holding the smoother at the bottom with one hand whilst your spare hand is gently holding the cake in place.  Be careful not to put too much pressure on the cake as this will create a lip. Gently push the smoother into the cake at the same time moving the smoother forward then pull the smoother back so that you are dragging the paste back (like a rocking movement).

Step 8

If you get an air bubble, gently peel the paste away from the top and using the palm of your hand gently move the air bubble up so it can escape at the top. If needed use the smoother to smooth the paste back.


Step 9

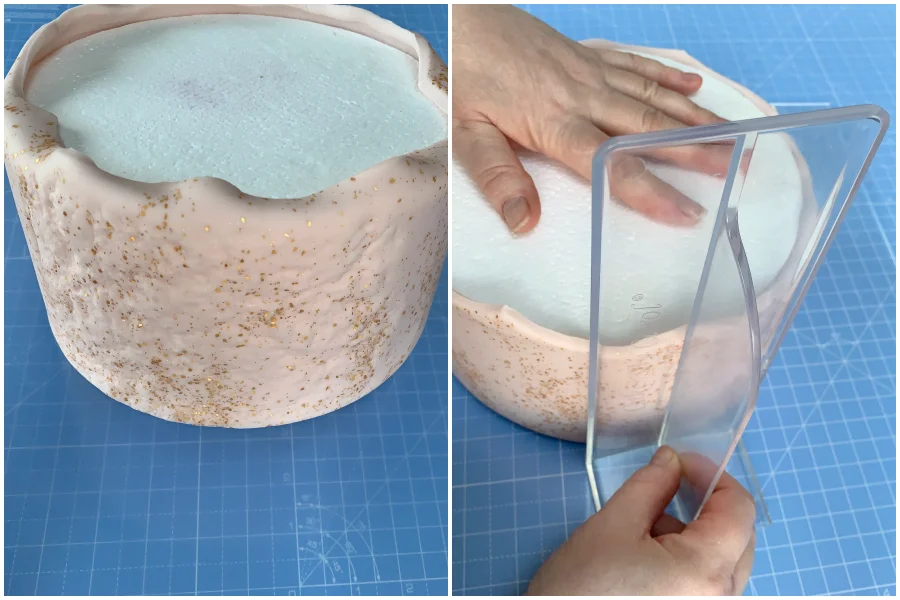
You should now see that the sugarpaste is now in contact with the acrylic plate, this means that you have a perfect sharp edge.

Step 10

Use the stone/textile mat making sure that it is touching the plate (so you don’t get a line from when you press in) gently press in to the paste, turning the mat as you go around the cake.

Step 11

You should be able to see that you have perfect sharp edges as well as a lovely texture on your cake. If you have pressed in too much, go round the cake with the smoother a little.

Step 12

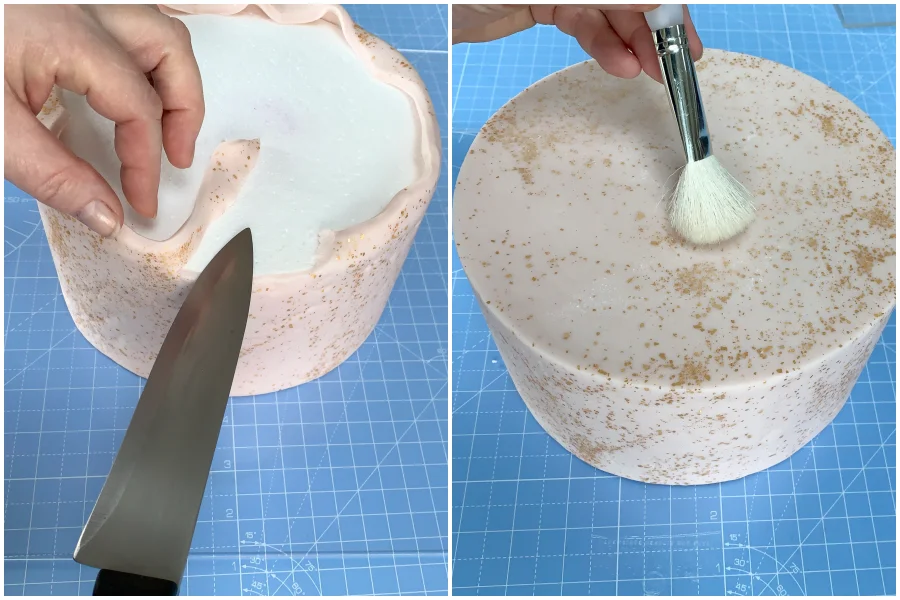
Trim the excess with a knife going into the centre (this will make sure the paste is sealed nicely to the cake). Place the other acrylic plate on top and flip the cake over (again making sure that your hands are placed in the middle of the cake to stop it from slipping). Using a large soft brush remove any icing sugar.

Step 13

Cover the 5” dummy in the blush pink paste and use the smoother to get the sharp edges. Using some white Pasta Top, cover the 6” dummy again use the smoother to achieve sharp edges.

Step 14

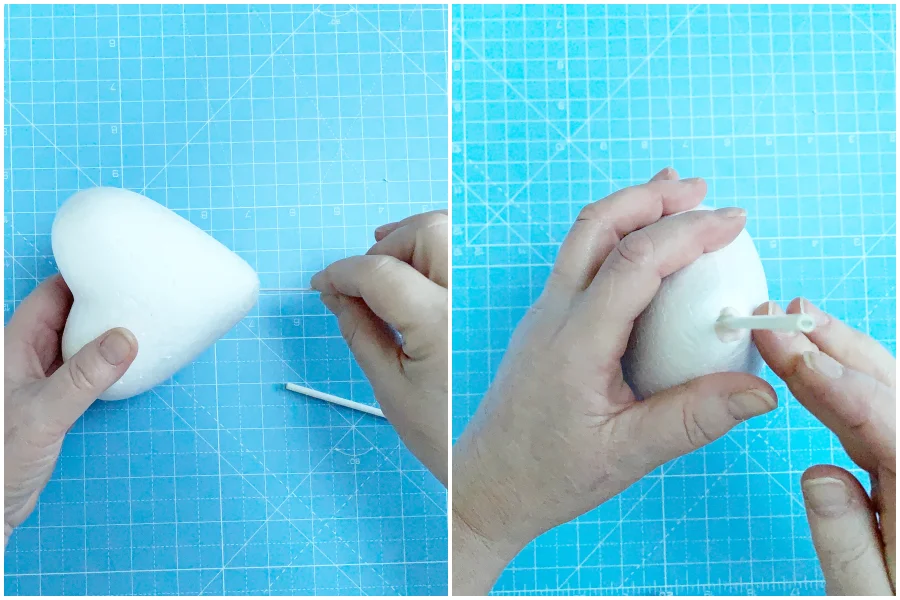
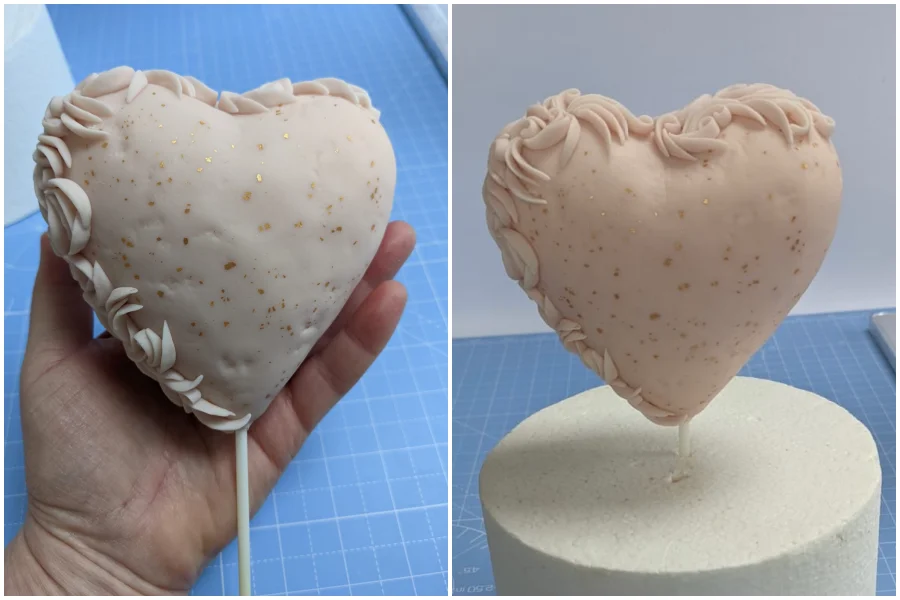
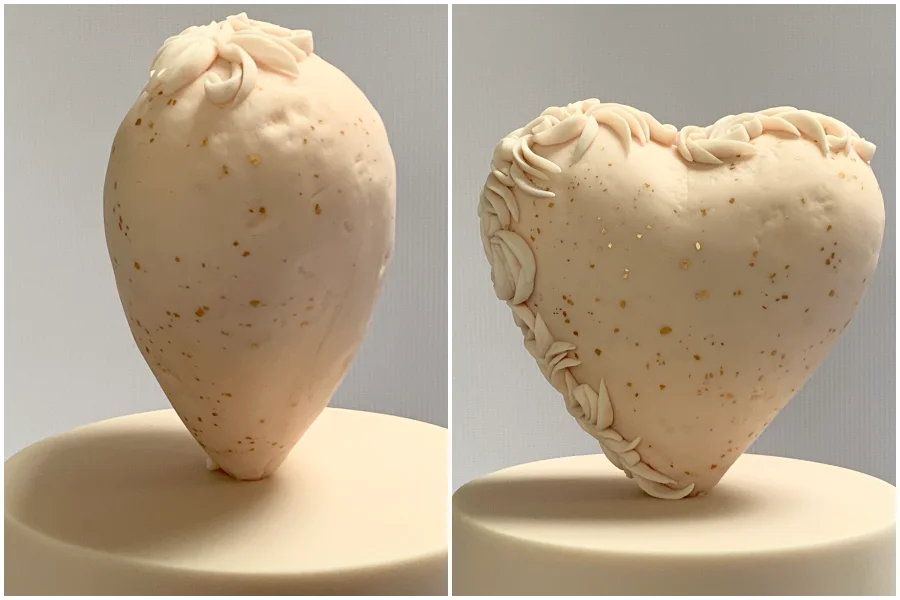
Hold the polystyrene heart and the 18 gauge flower wire so you can see how far you need to insert. Keeping your fingers in that position gently push the wire into the heart making sure it is straight and not at an angle (or when you come to place the heart on the top of the cake it wont look straight). Push the cake pop stick over the wire into the heart. With a tiny amount of paste place it at the bottom of the heart and leave to set, this will stop the wire and cake pop stick from moving.

Step 15

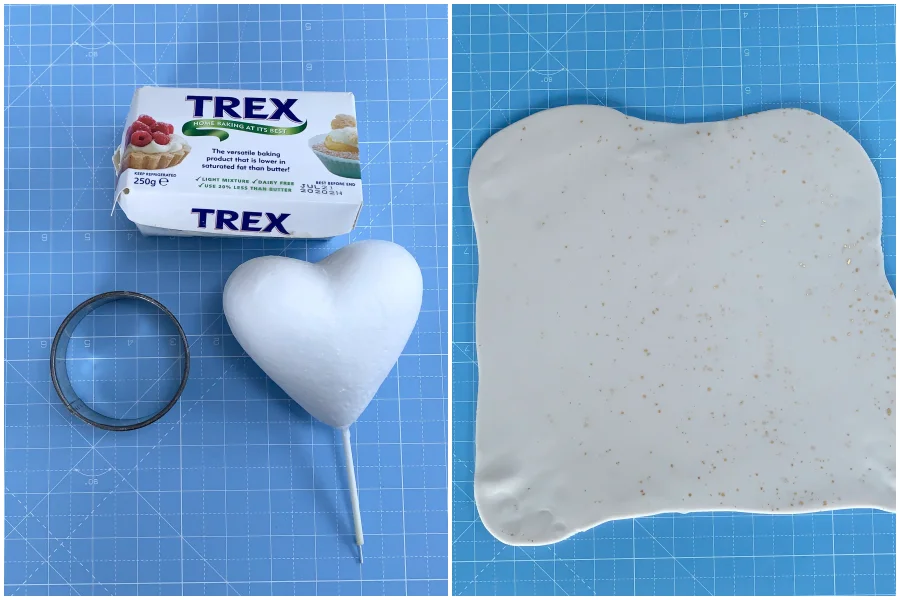
Cover the heart with Trex and place it onto the round cutter. This will prevent the heart from moving when you place the paste on for fixing. Roll out the paste (I used some of the trimmings from the first cake which has the glitter on). It only needs to be rolled to around 2-3mm thickness.

Step 16

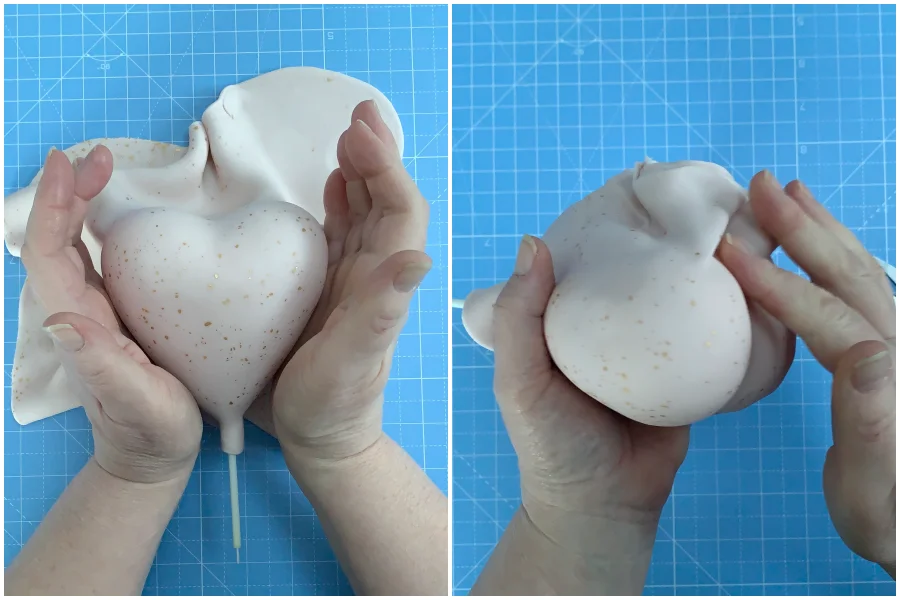
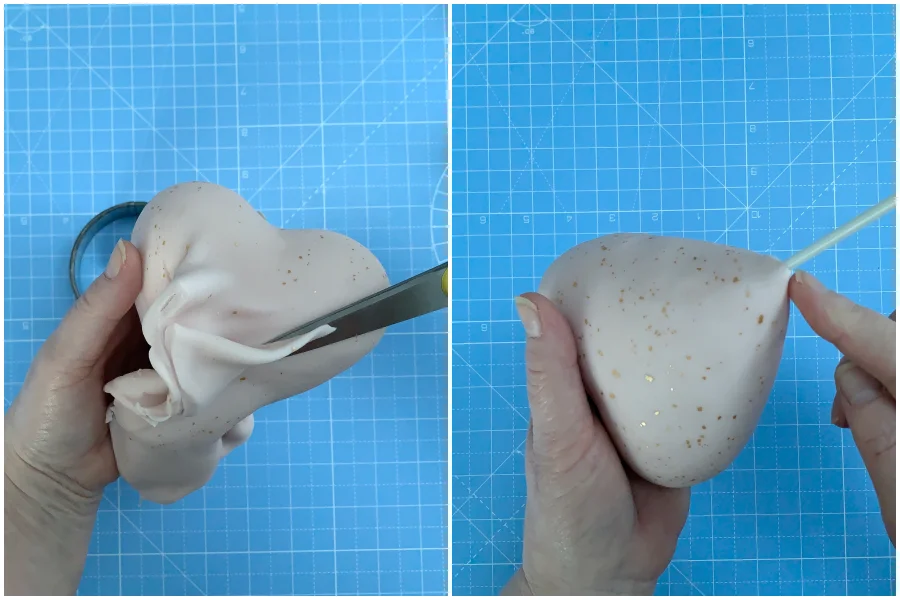
Place over the heart and using the palm of your hands shape the paste around the heart, be careful not to press too hard. Trim the paste at the bottom.

Step 17

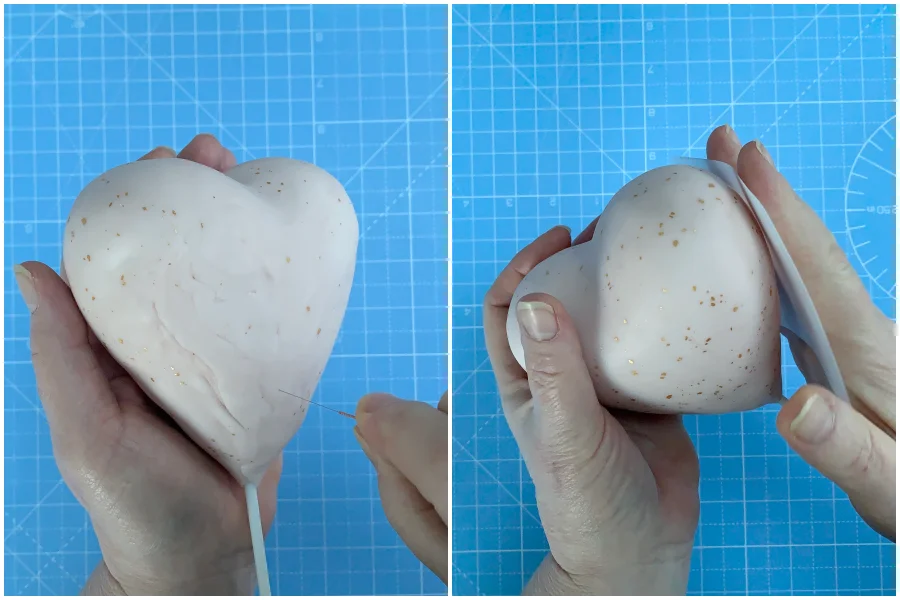
Use scissors to trim off the excess and then smooth and blend to remove any lines or joints. Make sure that the paste is neatly tucked in at the bottom of the heart.

Step 18

Remove any air bubbles with the needle. Use a flexi smoother or the palm of your hand to smooth out any creases. 

Step 19

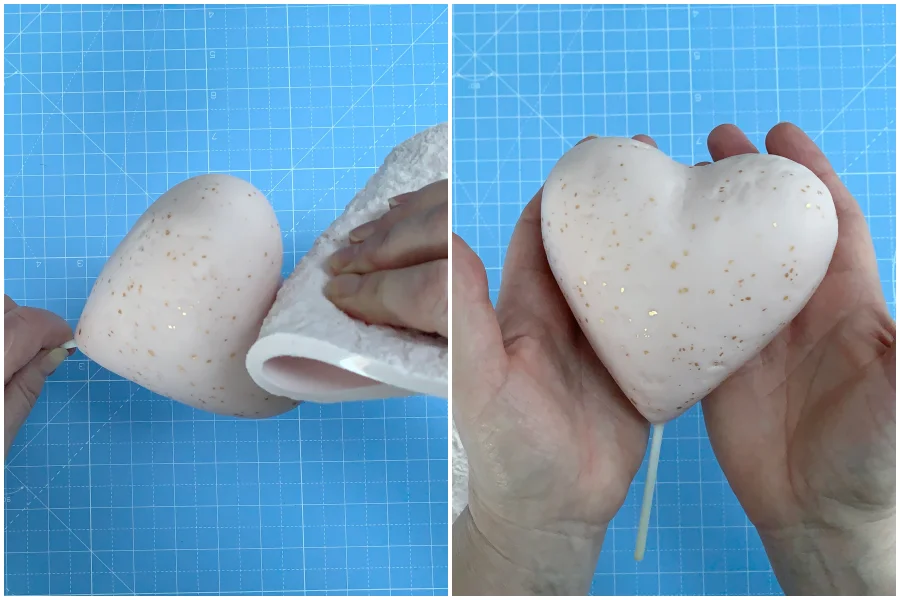
With the textile mat gently press into the heart here and there so it matches the bottom tier of the cake. Place the heart into a spare dummy and leave to dry for 12 – 24hrs.

Step 20

Mark the centre of the smaller pink tier and push in the flower pick, making sure its pushed in and not sticking out. Put a little bit of royal icing onto the white cake and place the top tier on top making sure it is central.
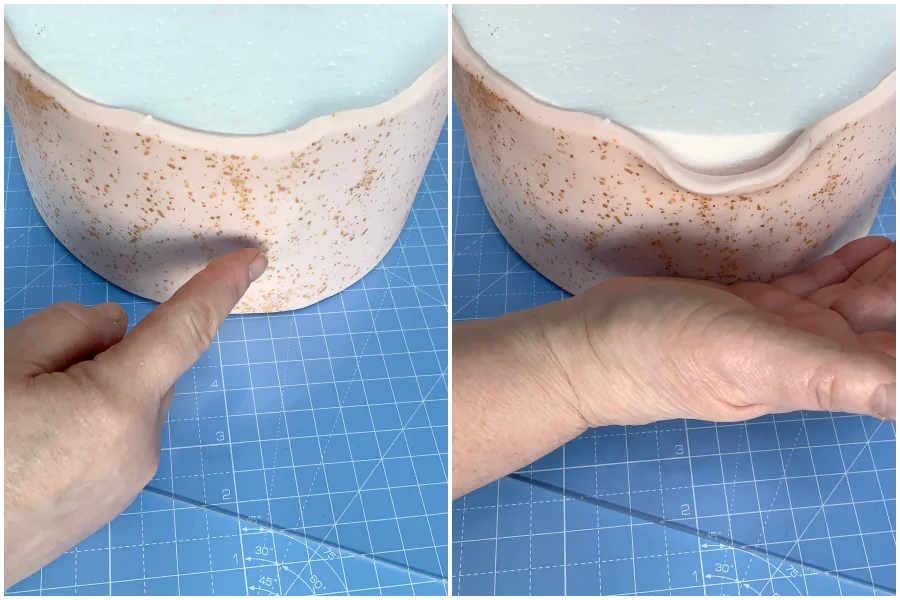
Step 21

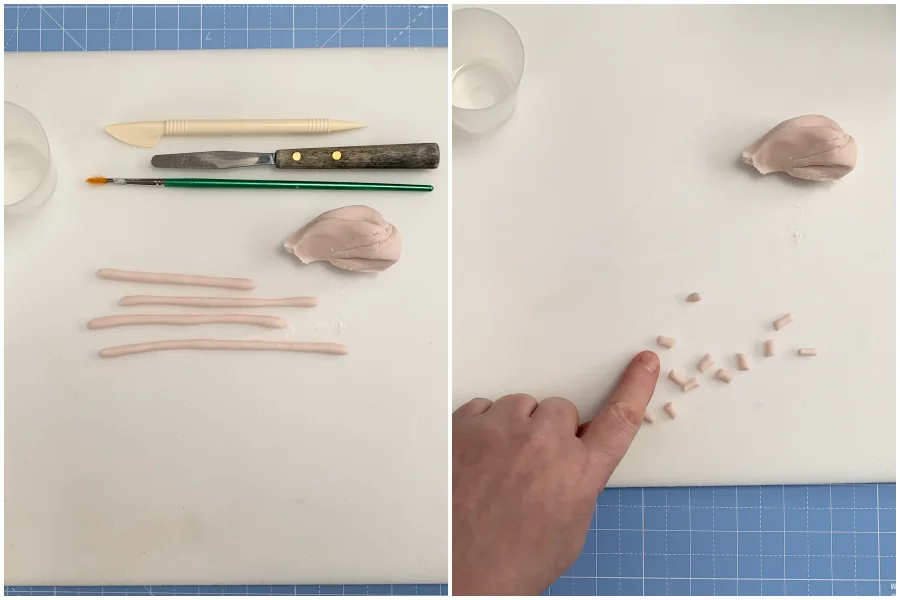
Roll out some of the blush pink paste into thin sausages (not the trimmings that have the glitter on) and cut into small pieces.
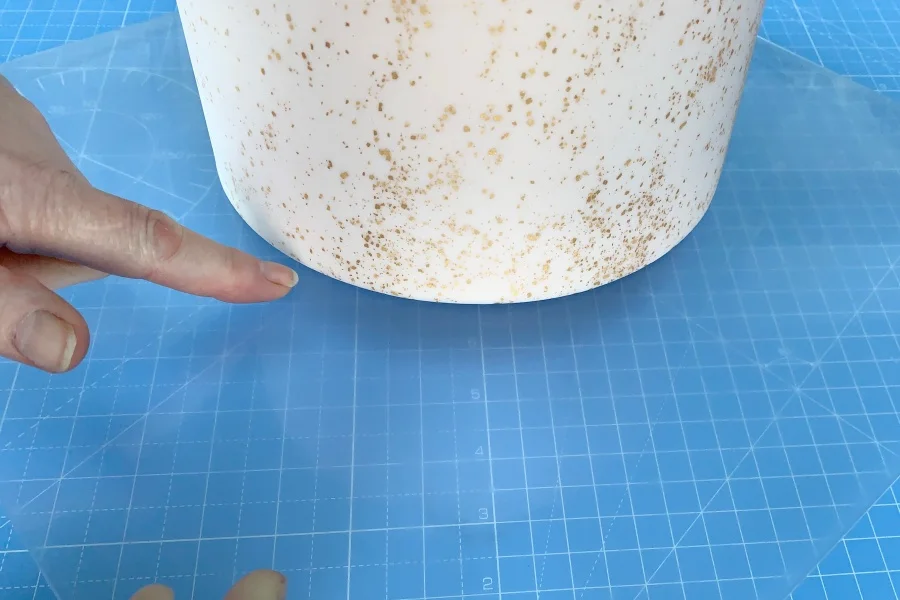
 

Step 22

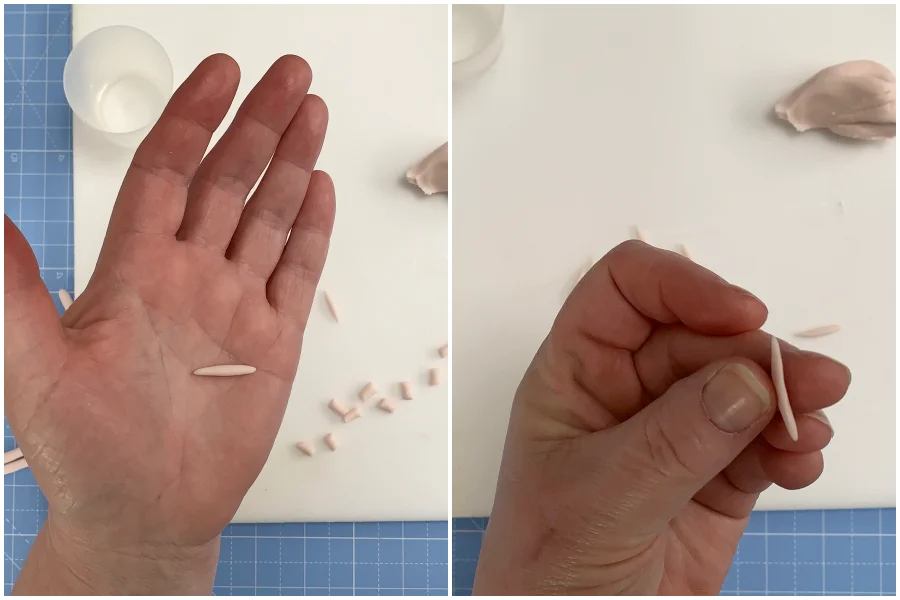
Roll the paste in the palm of your hand making sure that both ends are pointed (not too pointed though). Using the side of your finger to gently flatten one side so that you have a flat side and a wider side. You can make around 15-20 of these before attaching them to the heart.

Step 23

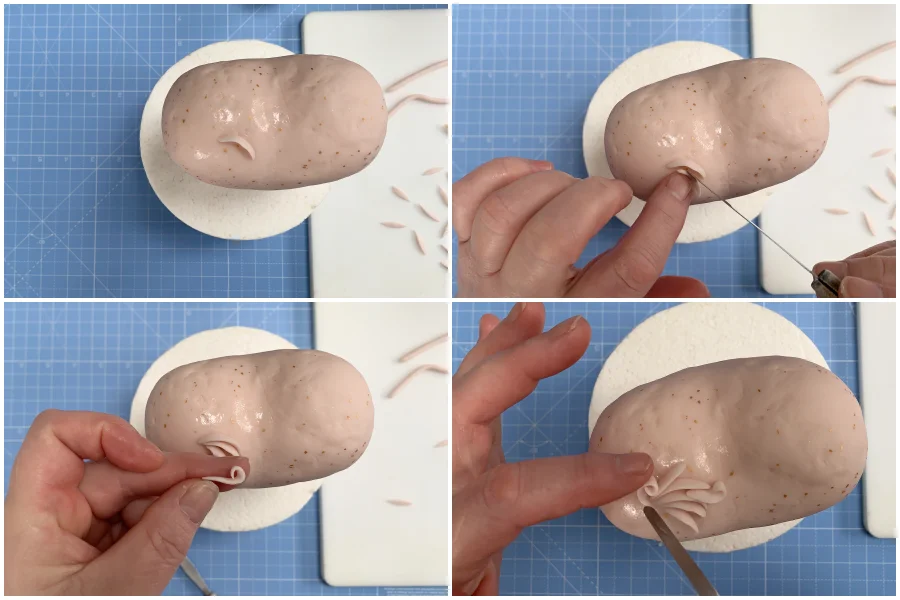
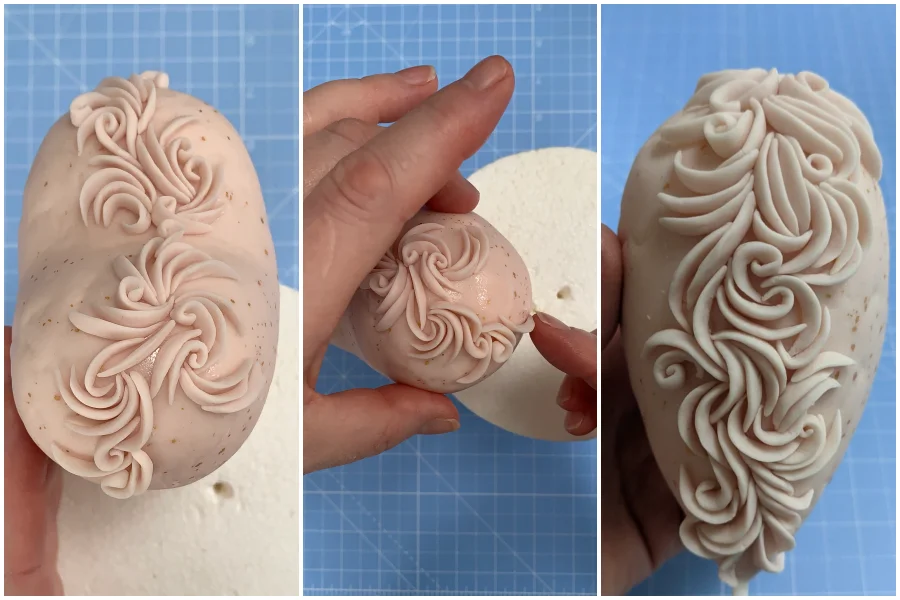
Brush the top of the heart with some cool boiled water.  The wider part of the paste is placed on to the heart and you can now start making a scroll pattern, using the tiny palette knife to curl the paste into position. Gently rolling one end and tucking it in then you can add to your pattern.

Step 24

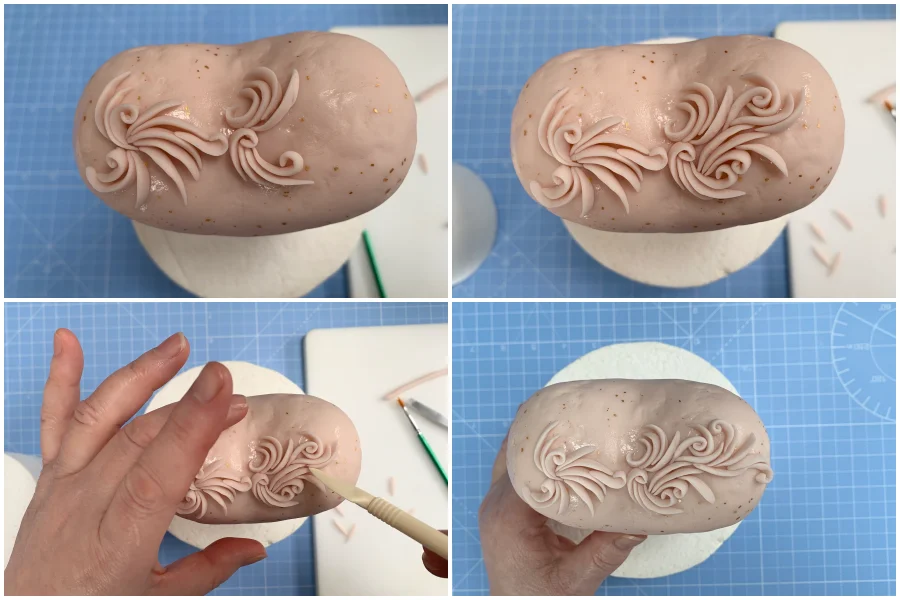
Keep applying the pieces of paste making sure that they don’t get too big as you want them to look delicate. Continue the pattern across the top of the heart.

Step 25

Start working down one side of the heart, you may need to place the heart at an angle so it makes it easier to apply the pieces. When you get to the bottom you may need to place the heart on its side. Use some cut out sponge pieces or rolled kitchen paper to stop the heart moving.

Step 26

Apply the pattern all the way down the side of the heart bringing some of the scrolls around to the front (and a little around the back too). Place the heart back into the cake dummy to dry.

Step 27

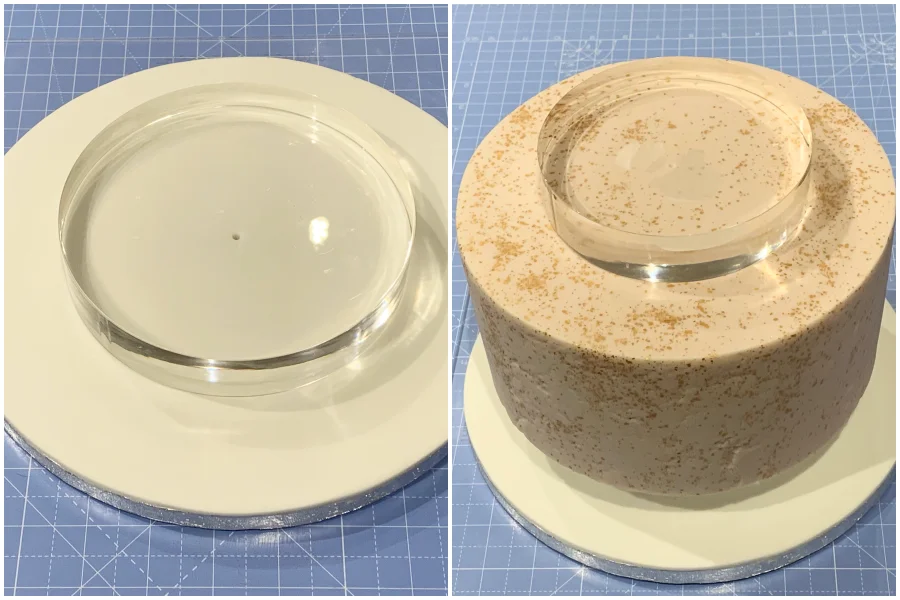
Place the larger acrylic spacer onto the pre covered board making sure it is central (put a little royal icing in the middle and press down so it doesn’t move). Repeat with the largest pink tier and then place the smaller spacer on top again using a tiny amount of royal icing to keep them in place. 

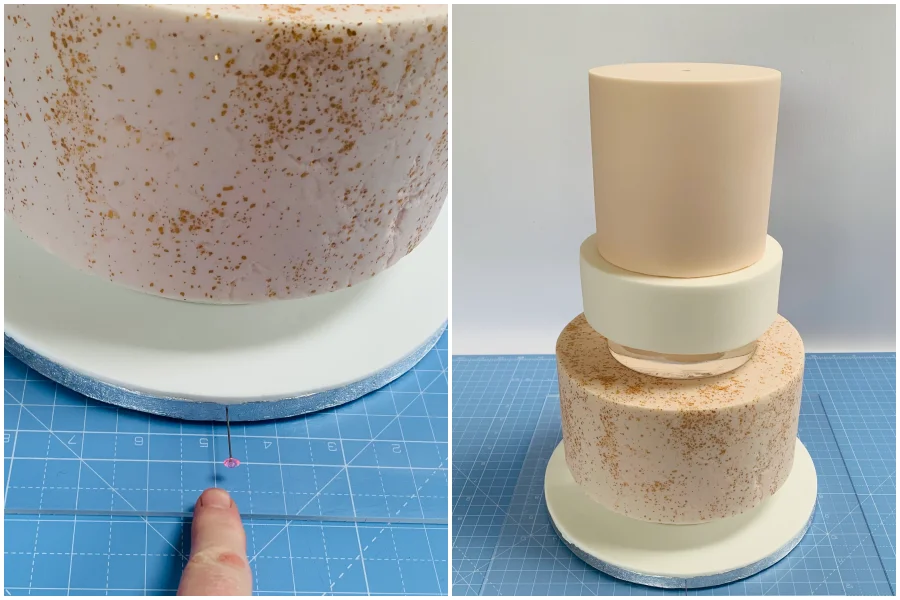
Step 28

Put a pin in the board so we remember which is the front of the cake. Now place the top tier attaching it with a small amount of royal icing.

Step 29

Add the first scroll not quite centrally. Use the palette knife to move into position. You can now add more curls shaping them in different ways. Remember to keep them delicate so that the pattern isnt too bulky.

Step 30

As you add more of the scrolls take the pattern up the cake and towards the right hand side. Try not to push them in too tight as you won’t get the same effect as shown in the pictures.

Step 31

Now you can start adding the scrolls onto the lower tier, keeping the pattern small this time.  You only need to have around 3 -4 of these patterns here and there on this bottom tier. 

Step 32

When placing them near the bottom of the tier try not to let them hang over, you want them to be flush with the bottom edge. Add the scroll pattern to the back of the cake.

Step 33

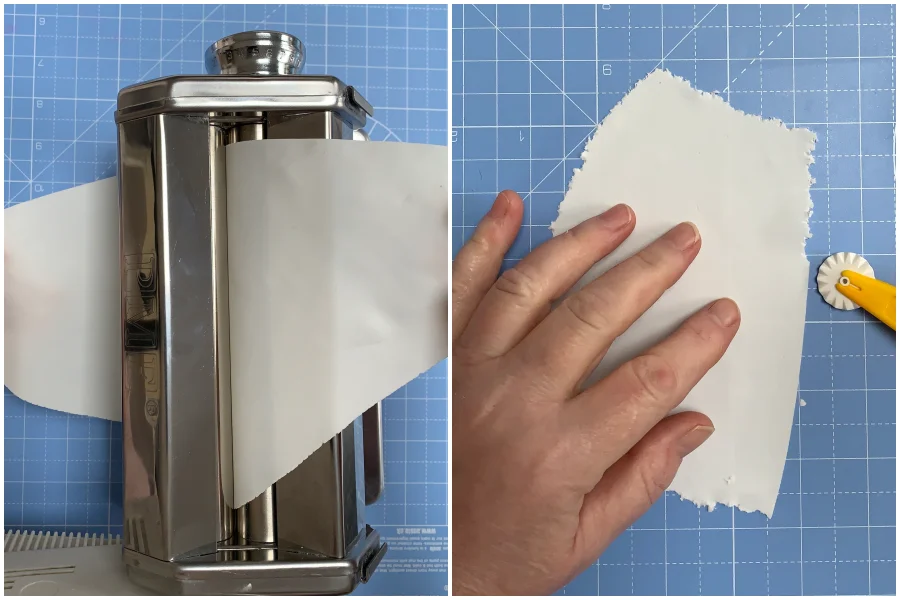
Using the pasta roller and some white modelling paste, take it through until the paste is thin enough so you can just see your fingers underneath. Place the rolled out paste onto some clingfilm and cover each piece with cling film to stop it drying out.  Leave for around 4-6 hours. Cut the paste to approximately 8cm x 16cm (it doesn’t matter if slightly smaller or bigger) and holding it at an angle use the serrated part of the wheel to gently place it on the very edge of the paste and pull so you’re making it look like the paste has rough edges. 

Step 34

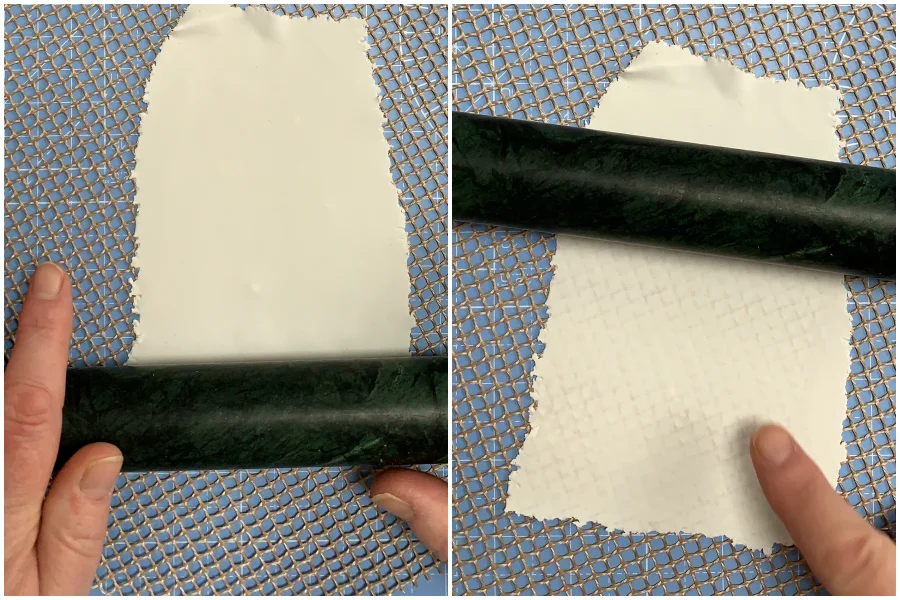
Place the paste onto a hessian mat (or you can use any lace mat for a bit of texture) and take the rolling pin over it so it makes an impression.

Step 35

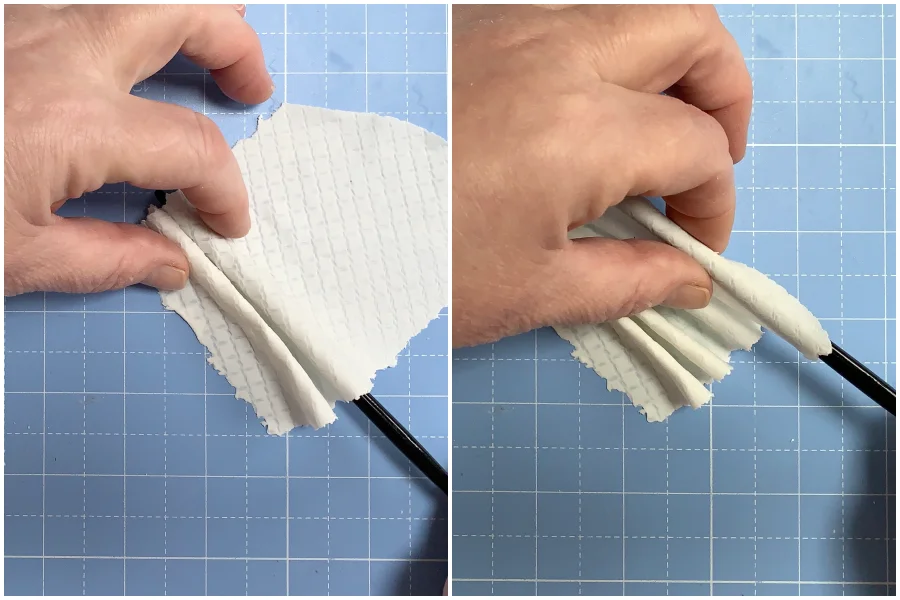
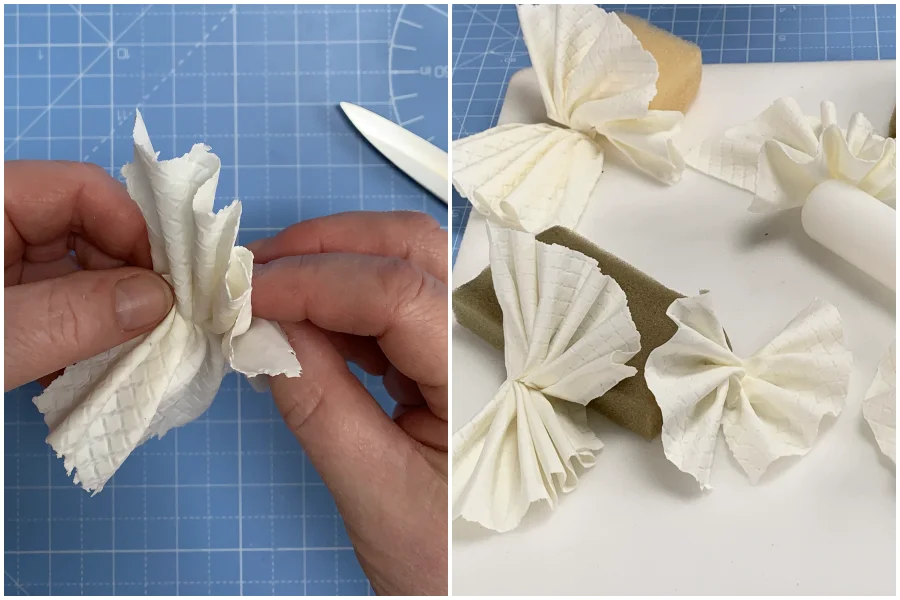
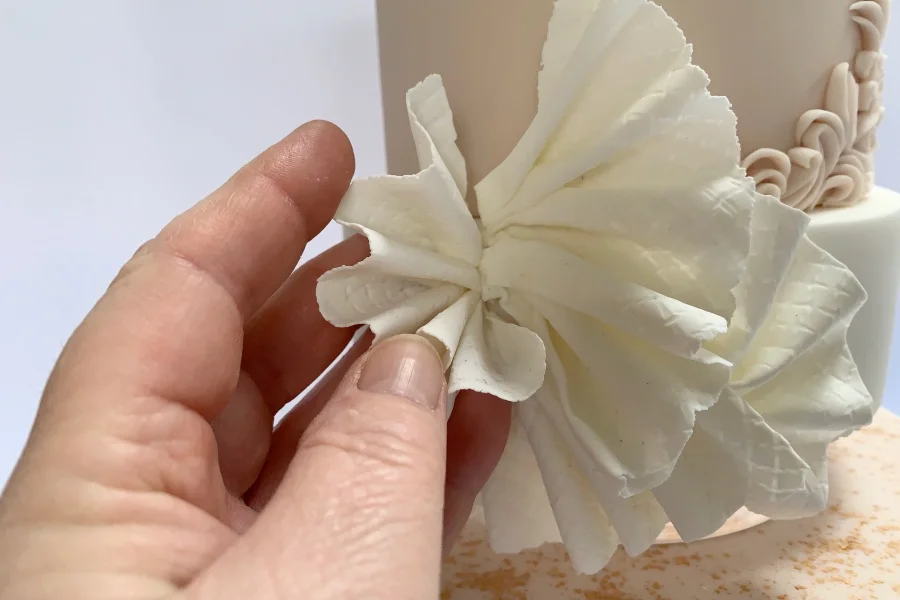
Using the handle of the smaller brush make some folds, they dont have to be perfect.

Step 36

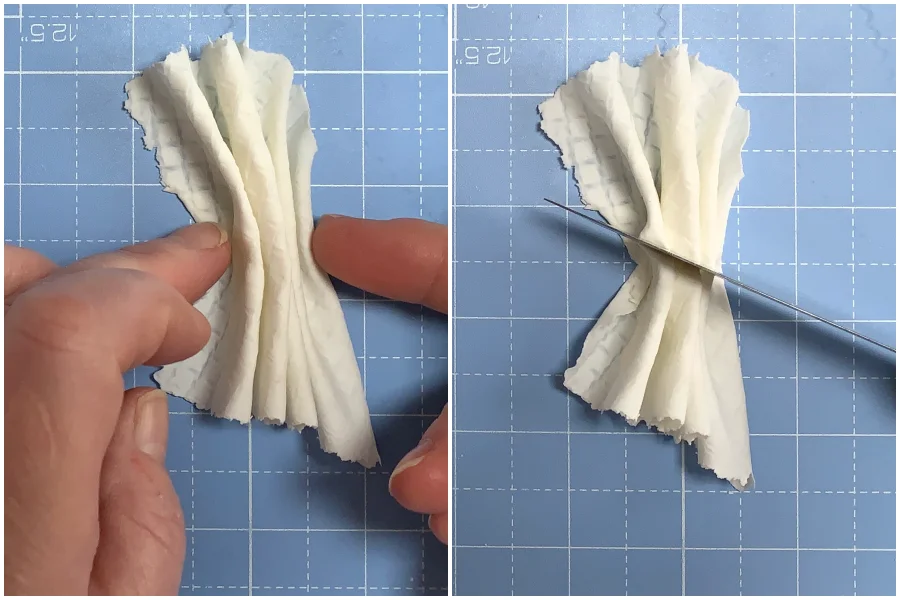
Gently push the folds together in the middle and then with a knife cut.  You can cut it straight or at an angle.

Step 37

Some of them you can leave and gently twist.Leave to set for 10 mins, resting on some pieces of sponge or a rolling pin.

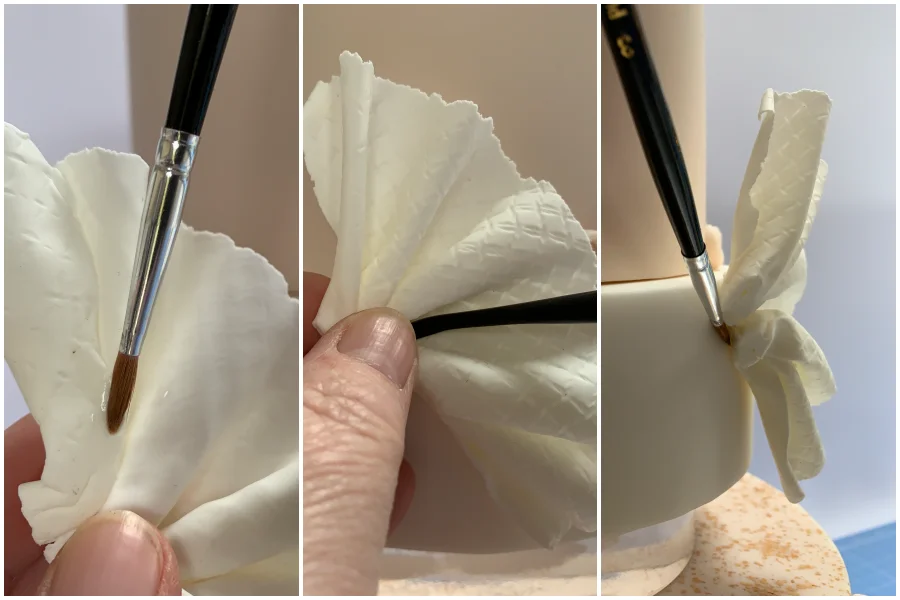
Step 38

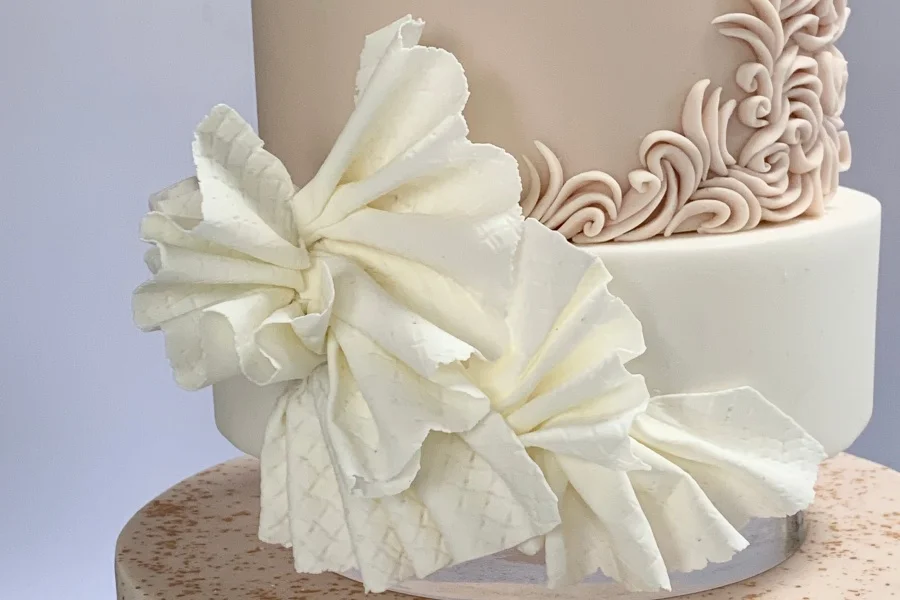
Add a little water behind the ruffle and fix onto the white tier using the Dresden tool, making sure its nice and secure. You can see that the first ruffle is placed higher than the rest.

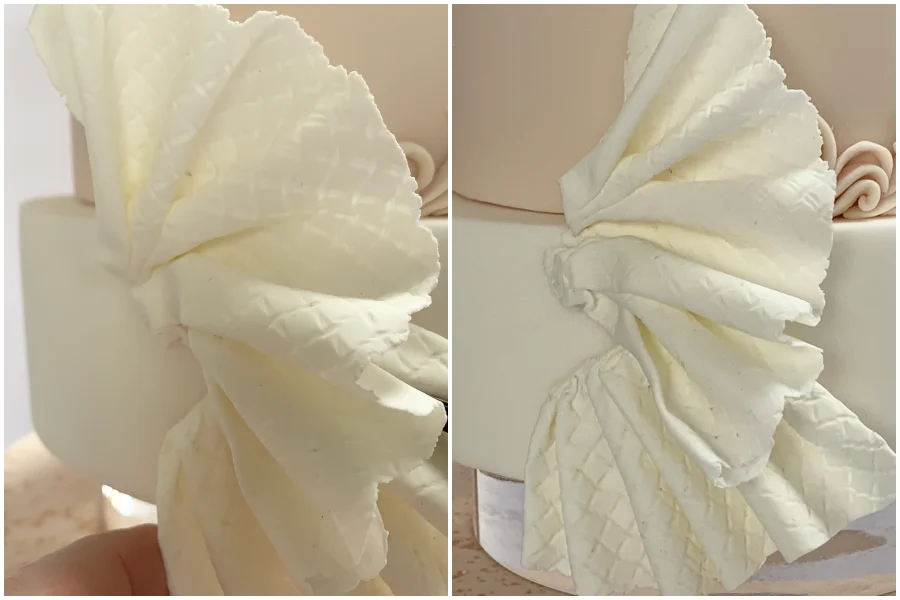
Step 39

You can now start adding some more gently tucking them under or over the other ruffles.

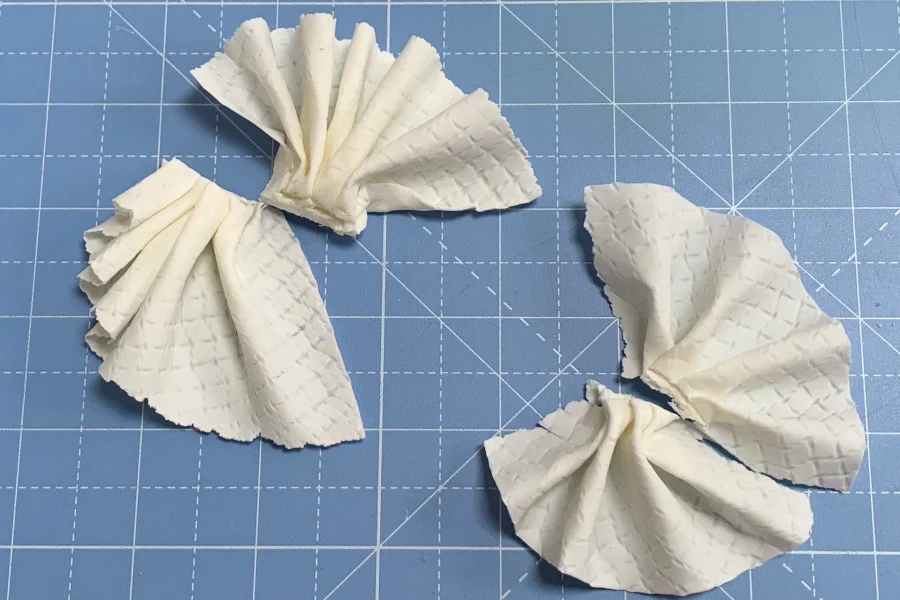
Step 40

Make various shaped ruffles.

Step 41

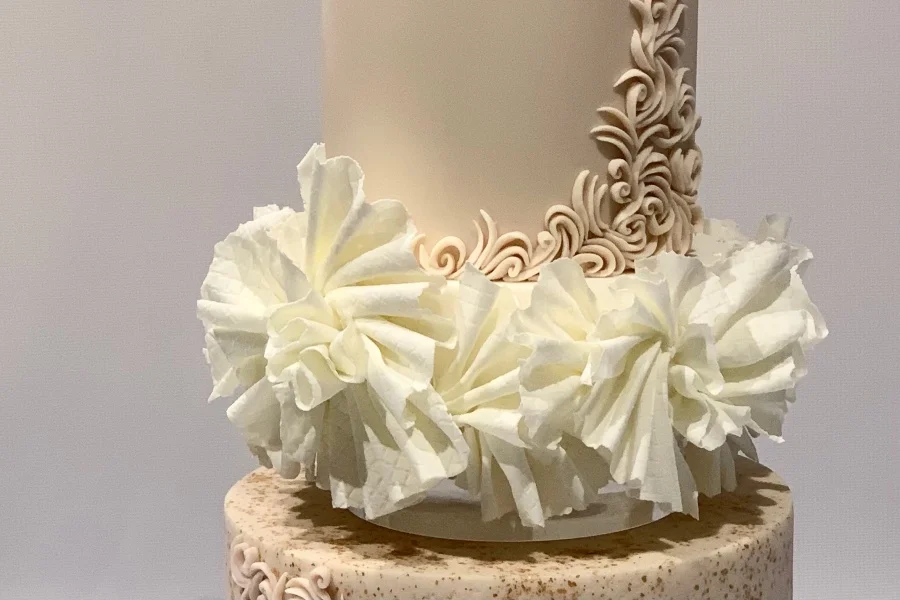
Try not to place them in a pattern, you want it to look random.

Step 42

Go all the way round the white tier, placing some a bit lower than the tier so they look like they are hanging.

Step 43

Again making sure they are stuck on well so that they don’t move.

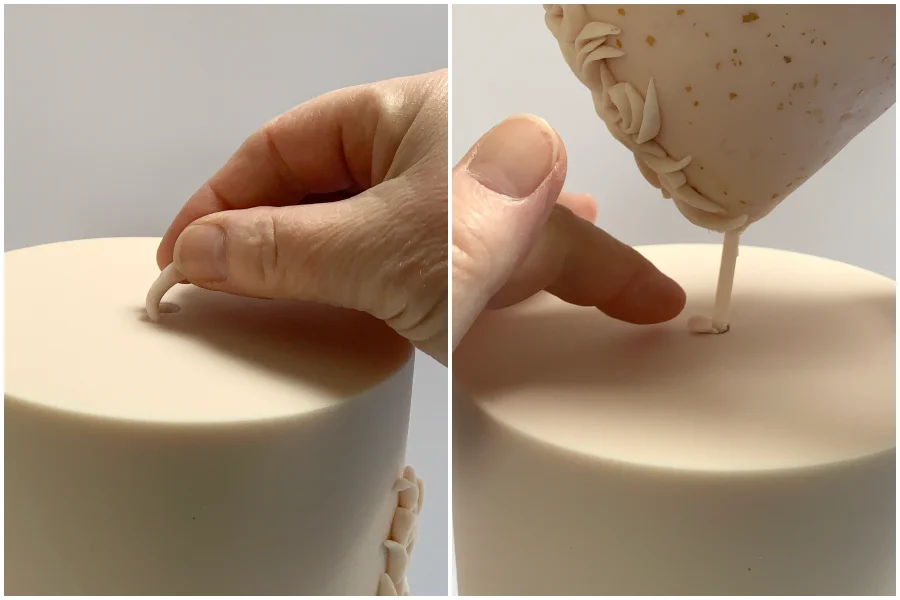
Step 44

Place a tiny amount of paste into the flower pic so that when you put the heart in, the paste will prevent it from moving.  You may require more once the heart is in.

Step 45

You will need to make sure that the heart is in straight and not leaning to the side, so stand back a little and you will see if it needs adjusting.  Look at the heart from the side too as again you don’t want it leaning forward or back.

Step 46

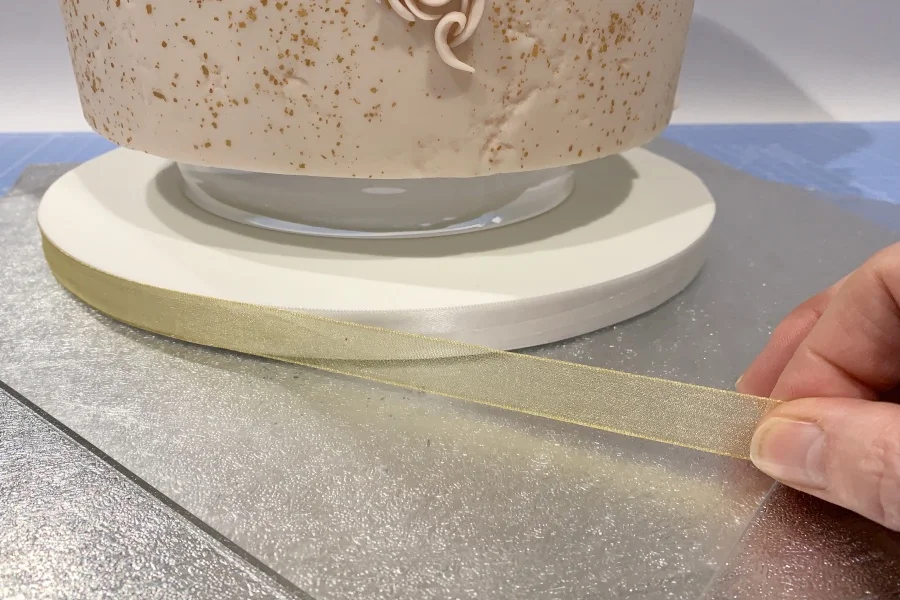
Add the ribbon, I have used white and then a gold organza as a gold satin was too bright.

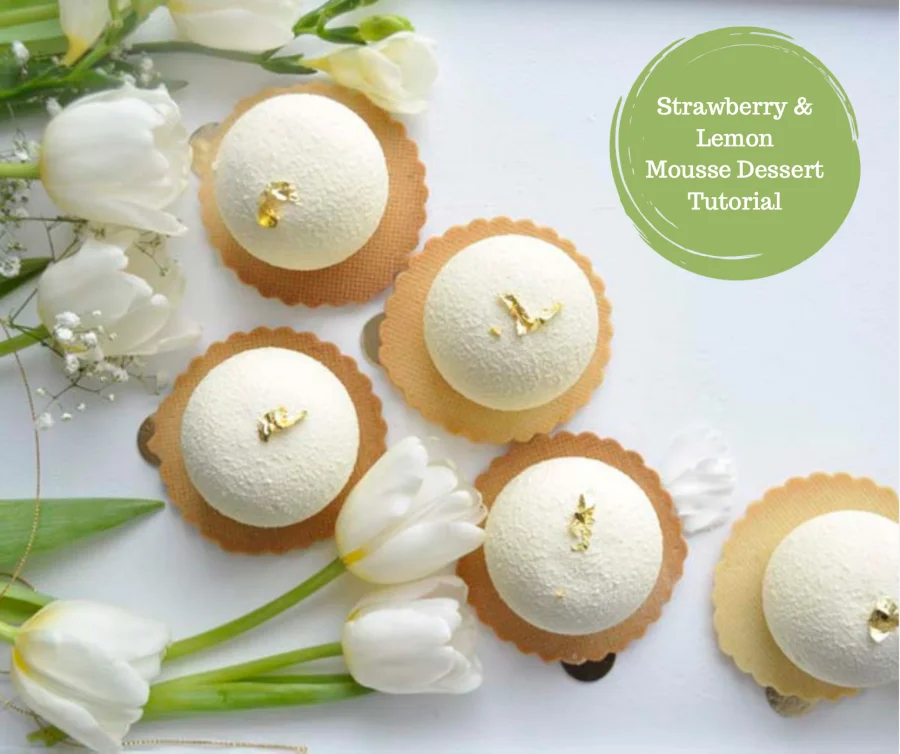
STRAWBERRY & LEMON MOUSSE DESSERT

STRAWBERRY & LEMON MOUSSE DESSERT

Author: Justyna Kowal

Skill level: BEGINNERS 

You will need:

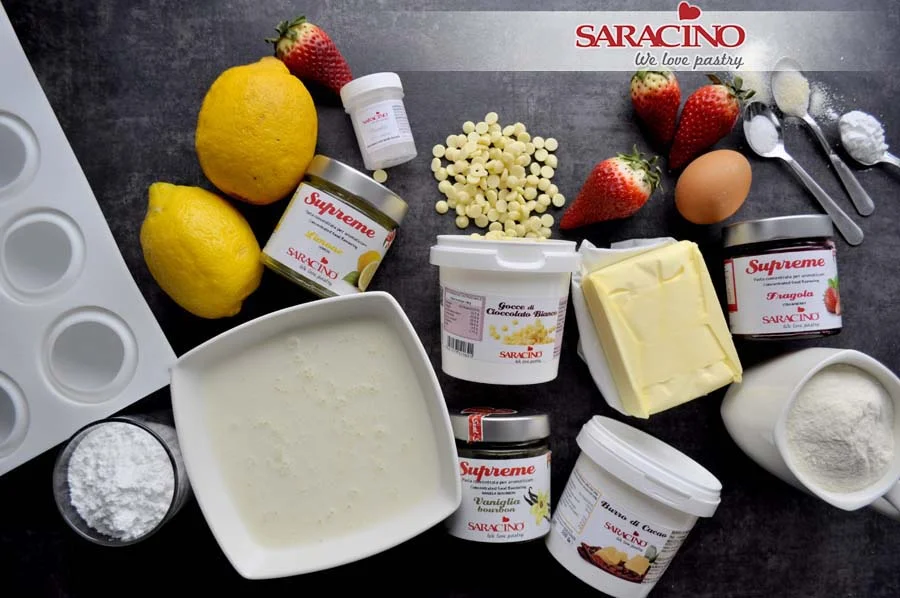
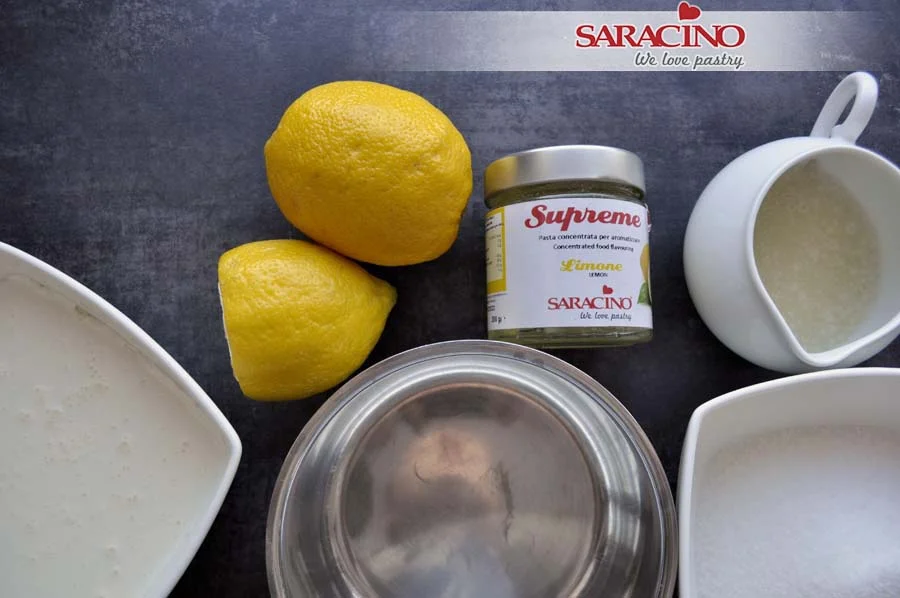
Wedding lemon mousse and strawberry coulis on butter cookie desserts – approx 15-20 pieces

COULIS

  • Saracino La Supreme strawberry food flavouring
  • 500g fresh strawberries
  • 2 table spoons of lemon juice
  • 2 table spoons of corn flour
  • 4 table spoons of water

LEMON MOUSSE

  • Saracino La Supreme lemon food flavouring
  • 130g lemon juice
  • 110g sugar
  • 450g double cream-  30%
  • 3 tsp gelatine disolved in 100g cold water 

BUTTER BISCUITS

  • Saracino La Supreme vanilla food flavouring
  • 360g plain flour
  • 30g sugar powder
  • 1 egg
  • 200g soft butter
  • pinch of salt

SUEDE EFFECT

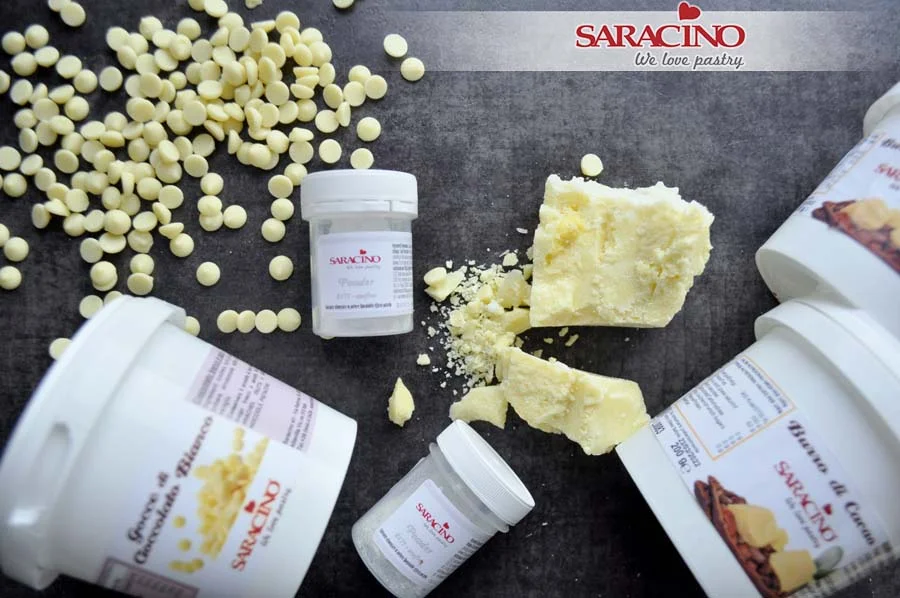
  • Saracino cocoa butter – aprox 200g
  • Saracino white chocolate drops – approx 200g
  • Saracino white powder colour 


    Step 1

    Prepare all your ingredients. Make sure they are all at room temperature.

    Step 2

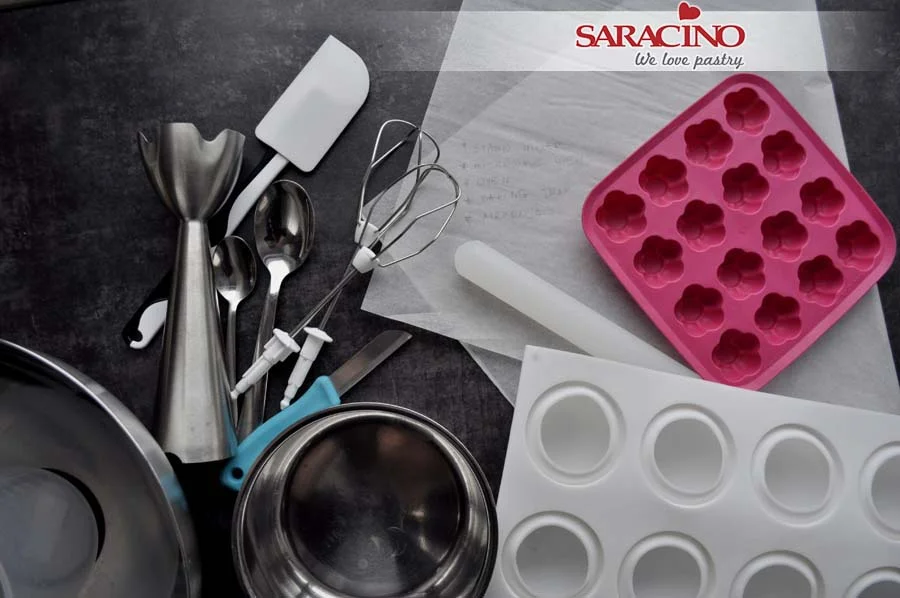
    Prepare basic confectionery equipment – bowls, spoons, teaspoons, blender, small saucepan, mixer, rolling pin, baking paper, two silicone moulds (for mousses and inserts), a small knife and an airbrush with a wider nozzle (for cocoa butter) and turntable.

    Step 3

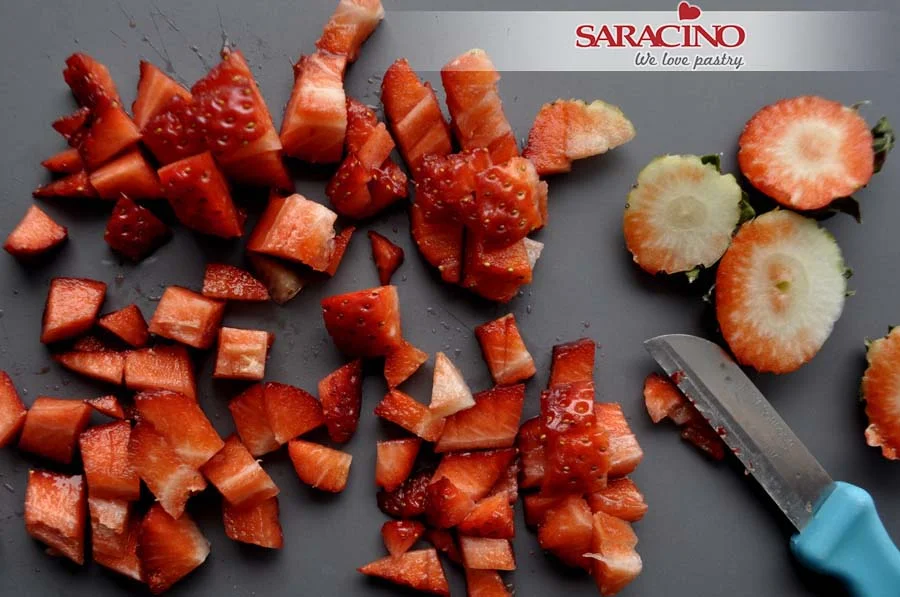
    Cut your strawberries into small pieces. 

    Step 4

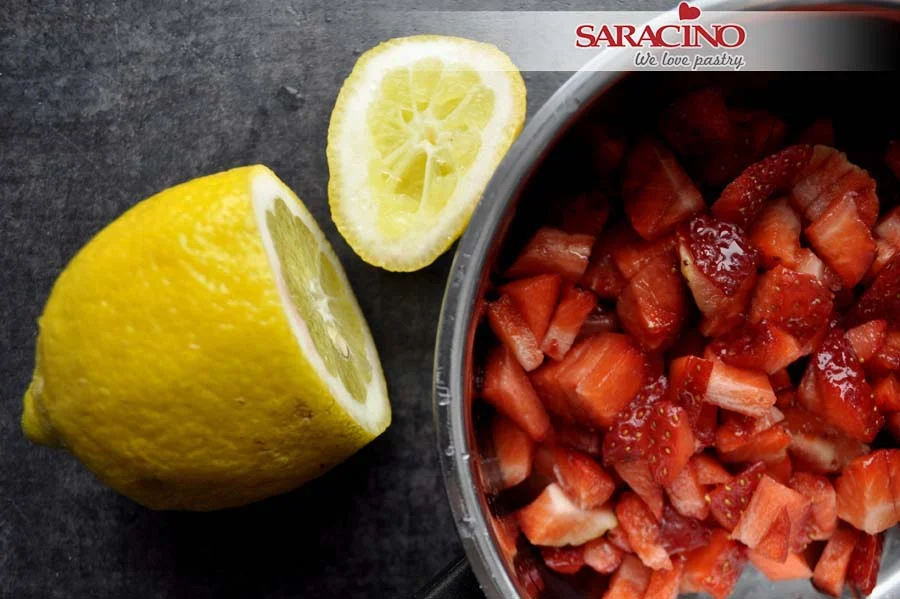
    Put half of the chopped strawberries in a saucepan and add lemon juice.

    Step 5

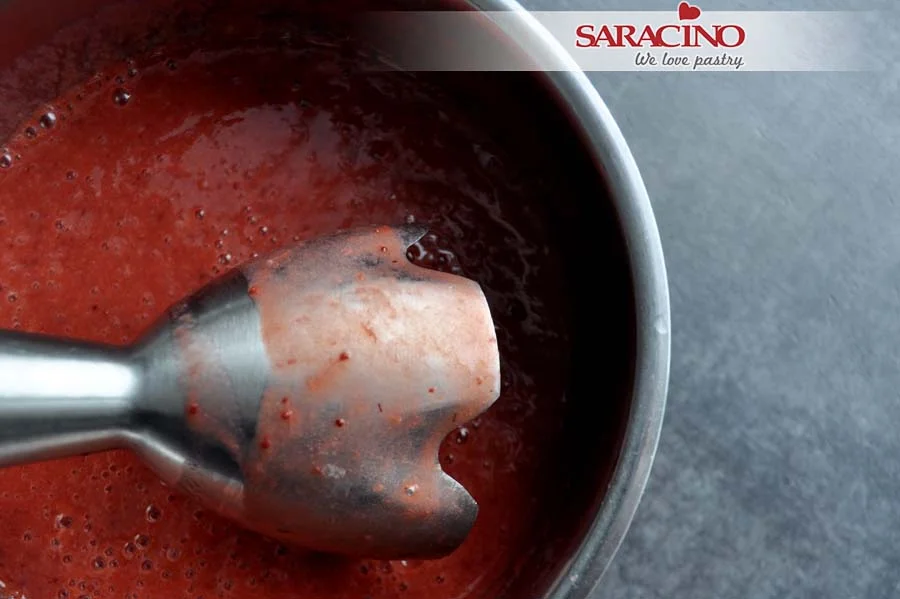
    Blend until smooth.

    Step 6

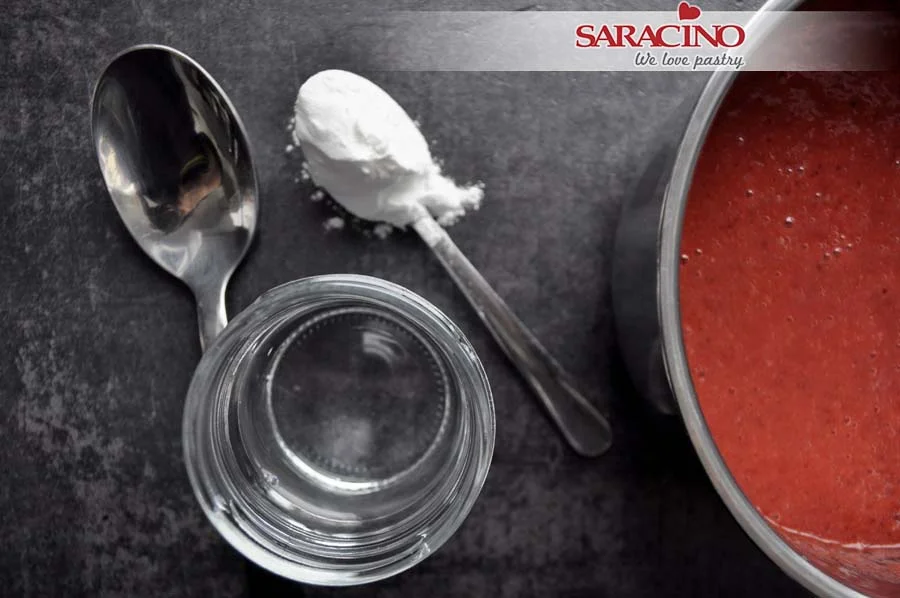
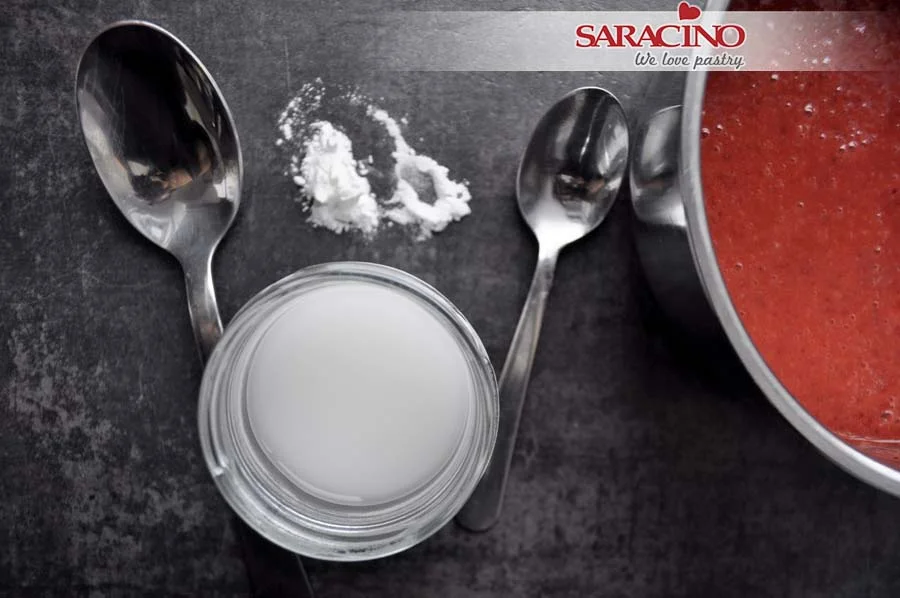
    Prepare a cup of water and cornflour.

    Step 7

    Mix the cornflour and water thoroughly.

    Step 8

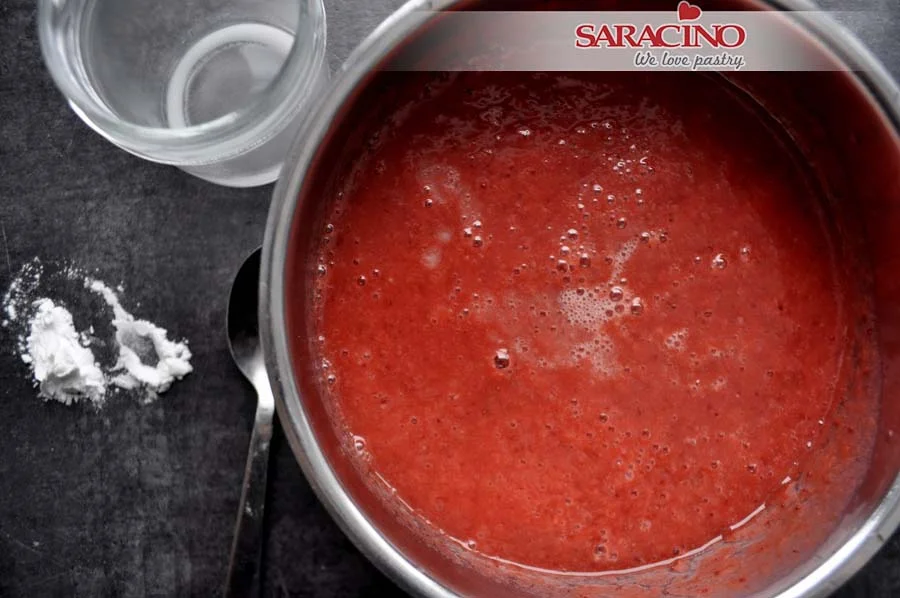
    Pour the cornflour mixture into the strawberry, mix and bring to a boil.
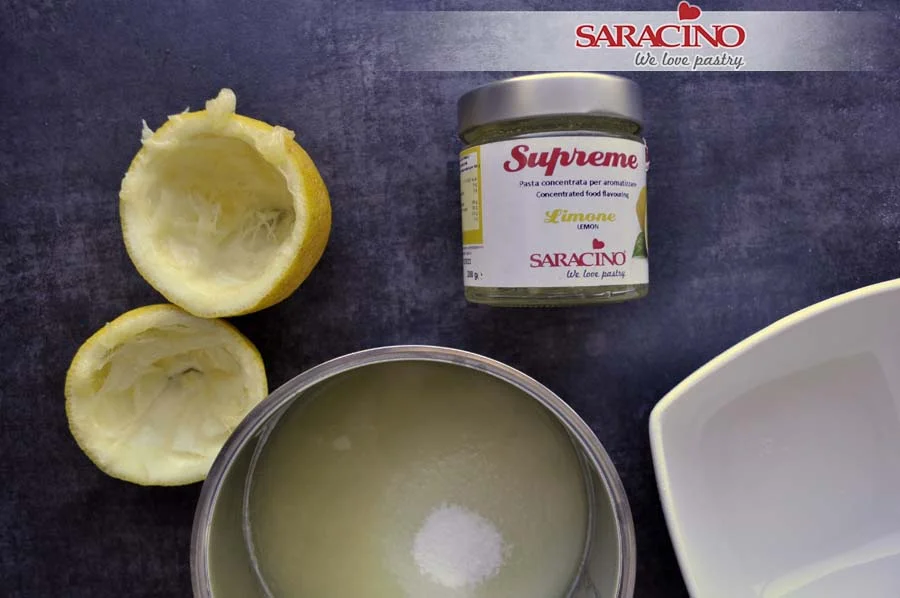
    Step 9

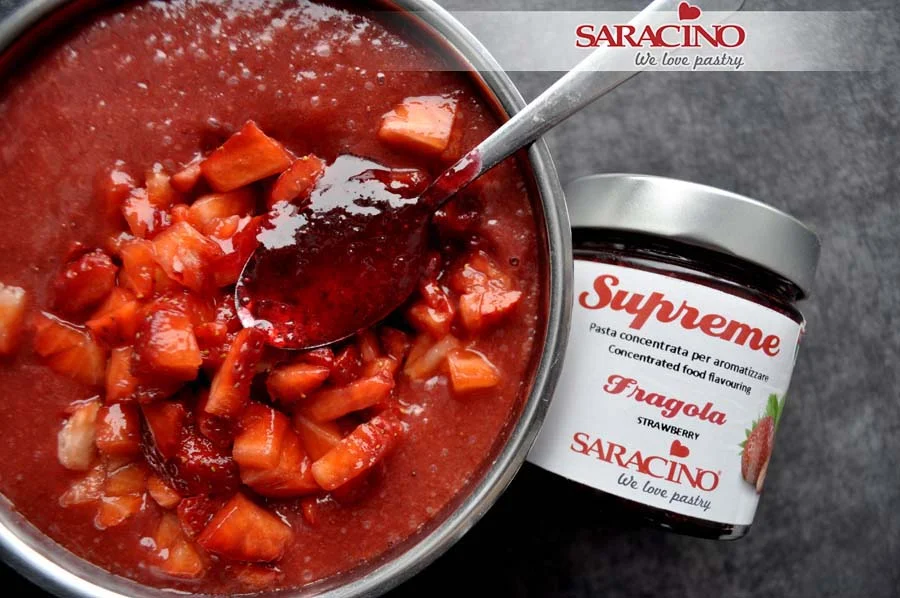
    Add the remaining strawberries and 2 teaspoons of strawberry flavour.
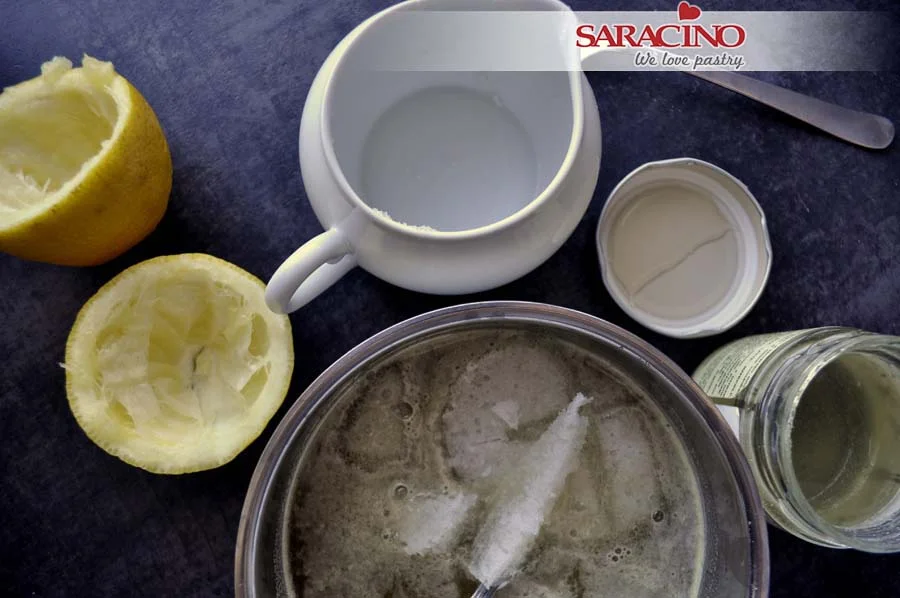
    Step 10

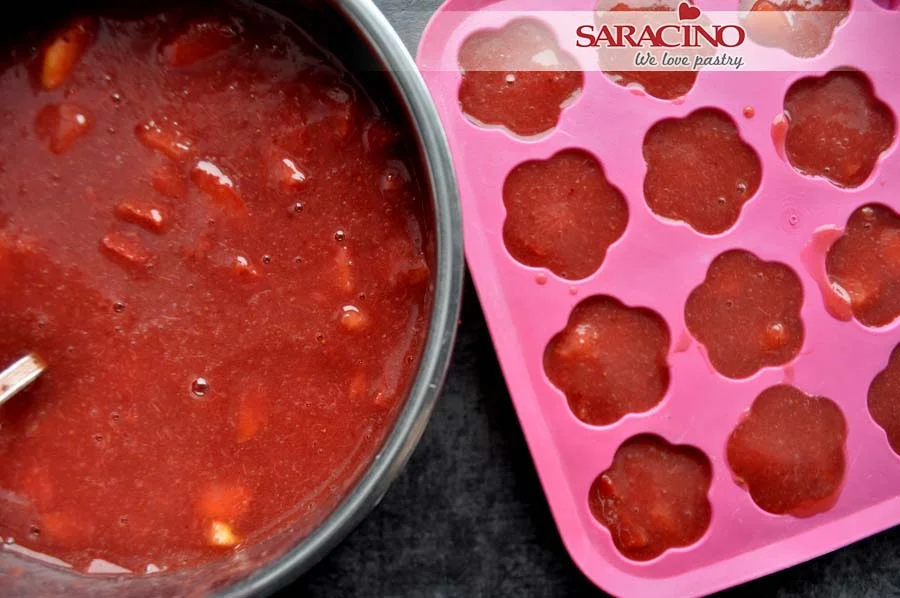
    Mix thoroughly and add into a small silicone mould. Freeze over night.

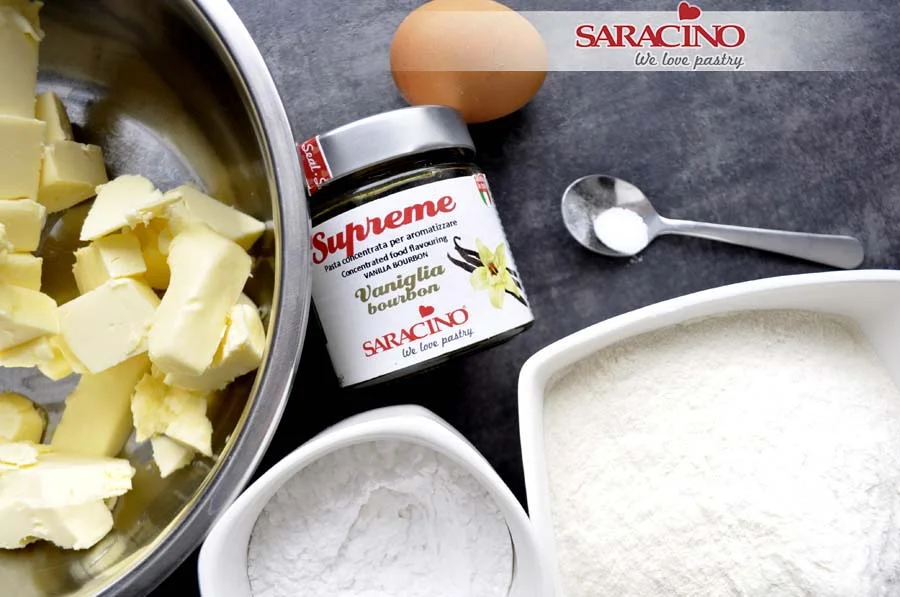
    Step 11

    Prepare the ingredients for the shortbread cookies.

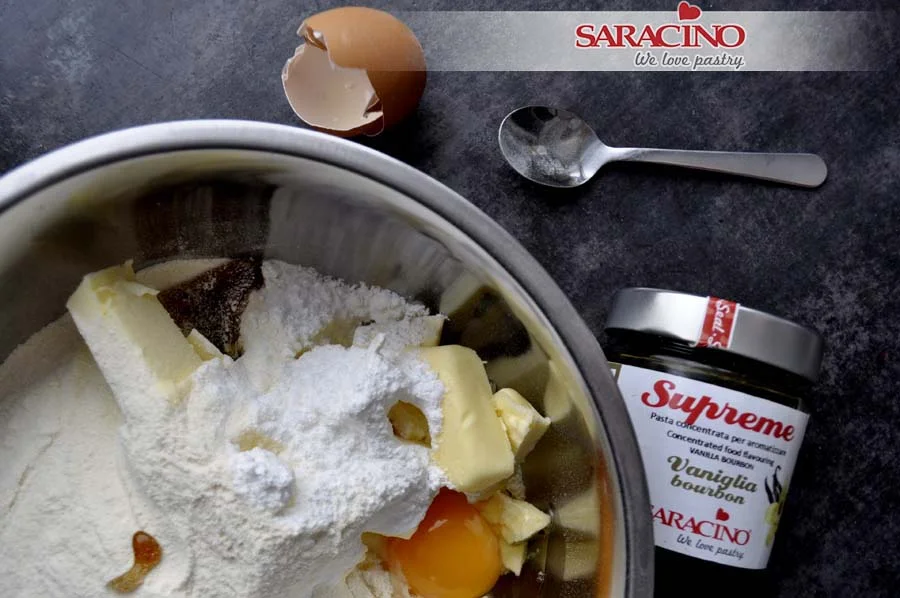
    Step 12

    Put all ingredients in a bowl, add 1 teaspoon of vanilla flavour.

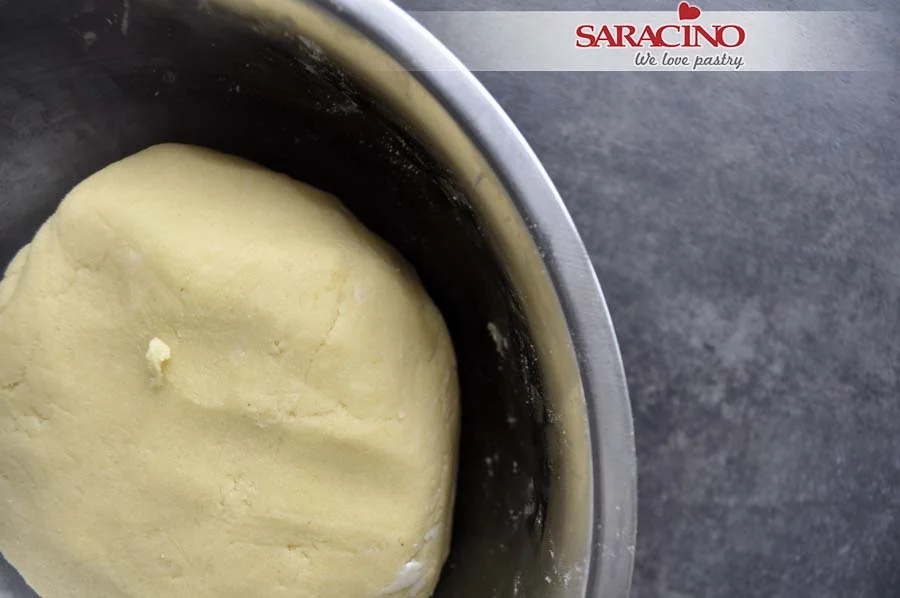
    Step 13

    Manually knead the dough to a uniform consistency.

    Step 14

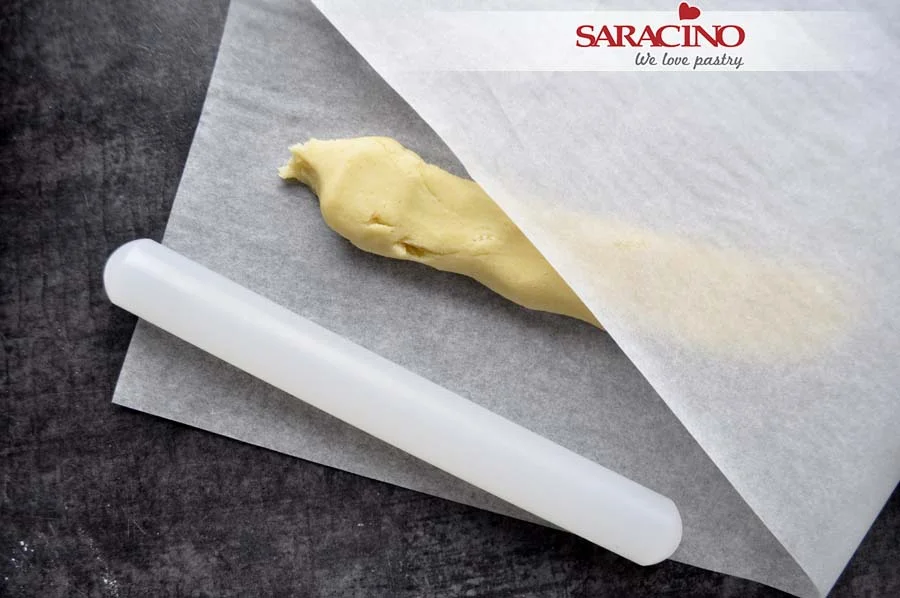
    Roll the dough to a sausage shape and place it between two layers of baking paper.

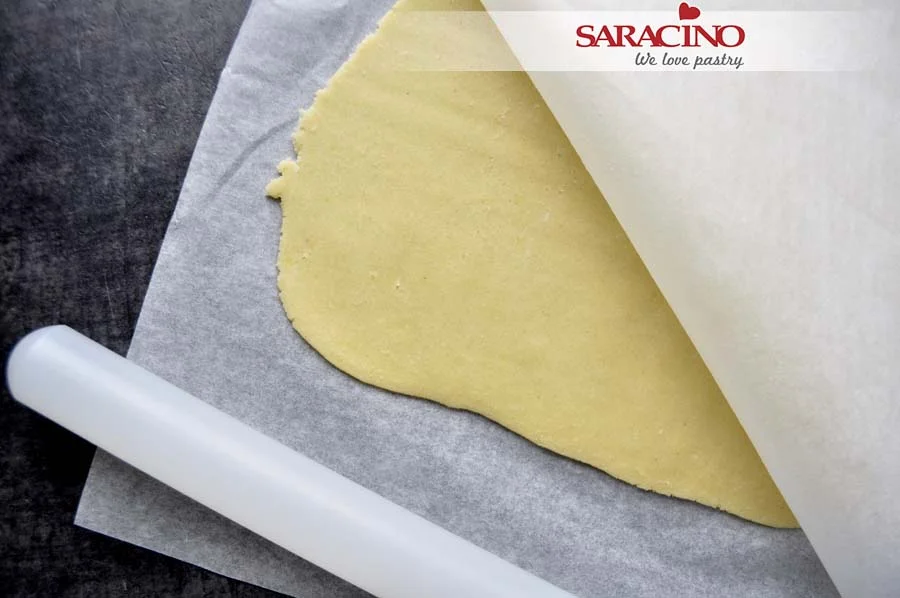
    Step 15

    Roll out into an even, thin layer, approx. 2-3mm.

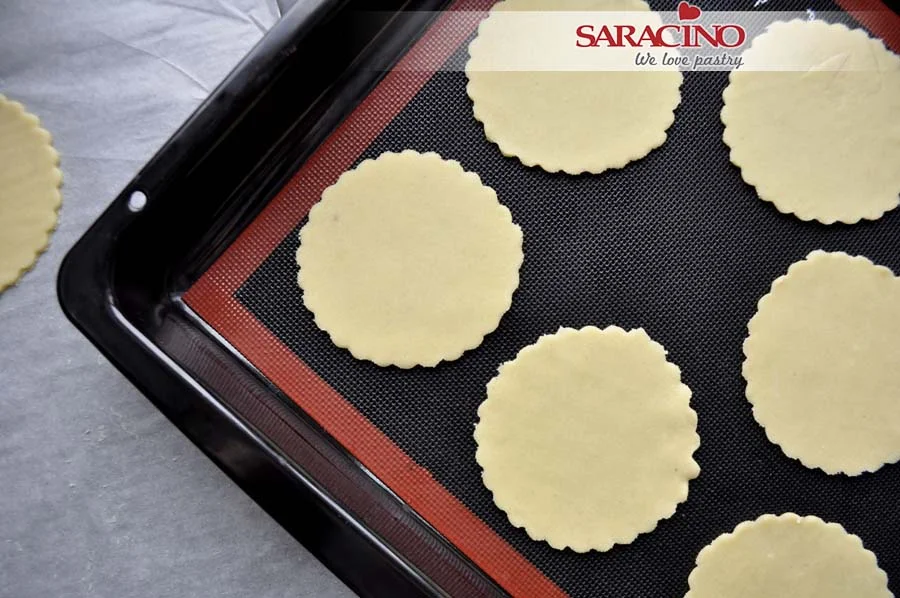
    Step 16

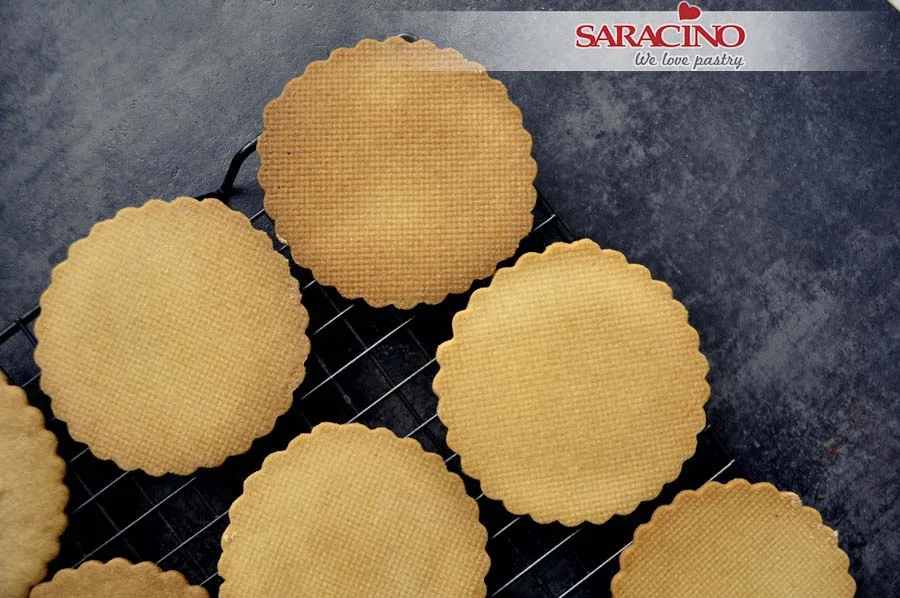
    Using a cookie cutter, cut out shapes approx. 3cm wider than the diameter of the mousse moulds, bake at 190 degrees for approx. 12-15 minutes.

    Step 17

    Allow to cool on a wire rack.

    Step 18

    Prepare the ingredients for the lemon mousse.

    Step 19

    Put lemon juice and sugar in a saucepan, bring to a boil until sugar is dissolved.

    Step 20

    Add soaked gelatin and 1 teaspoon of Saracino lemon flavour to the hot juice, mix thoroughly and allow it to cool to room temperature.

    Step 21

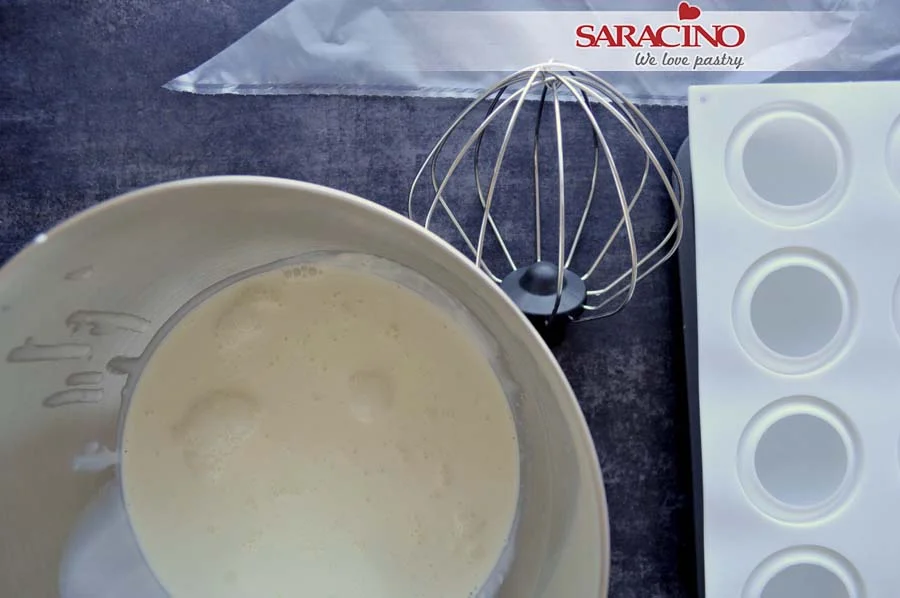
    Prepare a piping bag and mousse moulds.

    Step 22

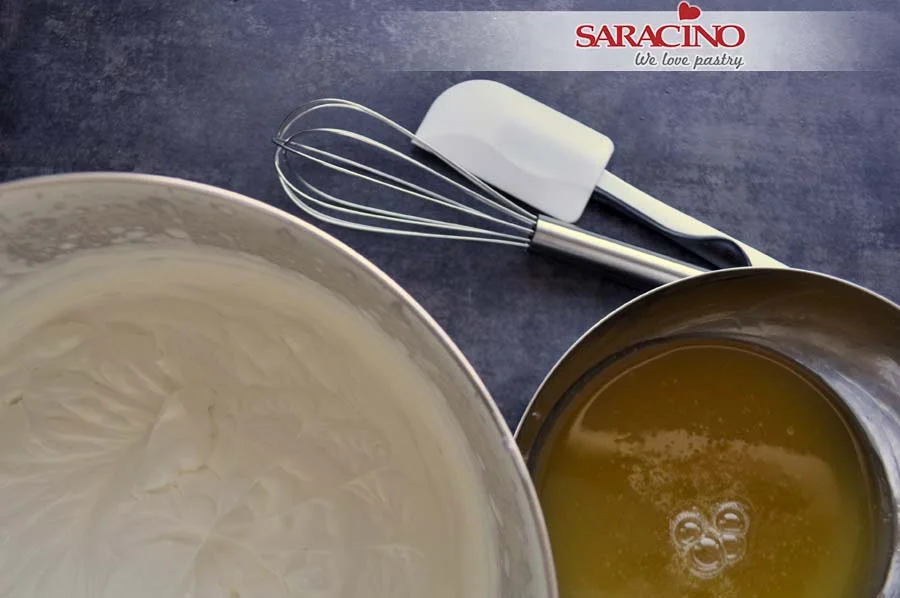
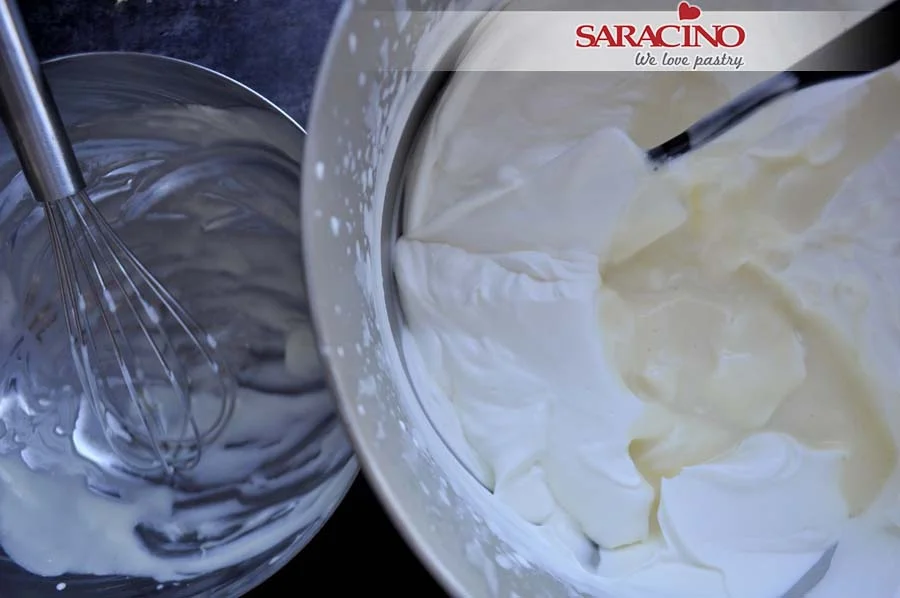
    Whip the cream.

    Step 23

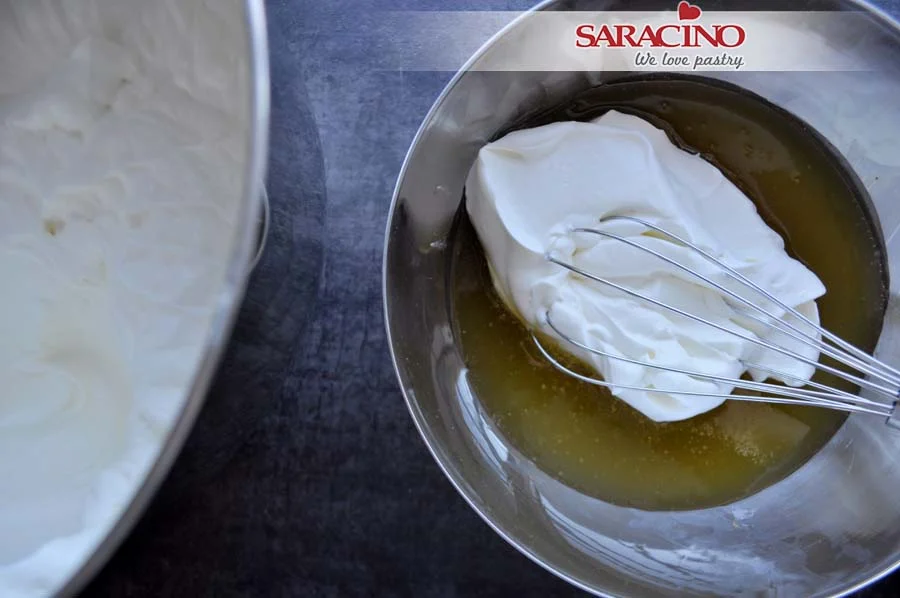
    Mix 2-3 tablespoons of whipped cream with lemon juice.

    Step 24

    Pour the mixture into the remaining cream and mix very thoroughly with a silicone spatula.

    Step 25

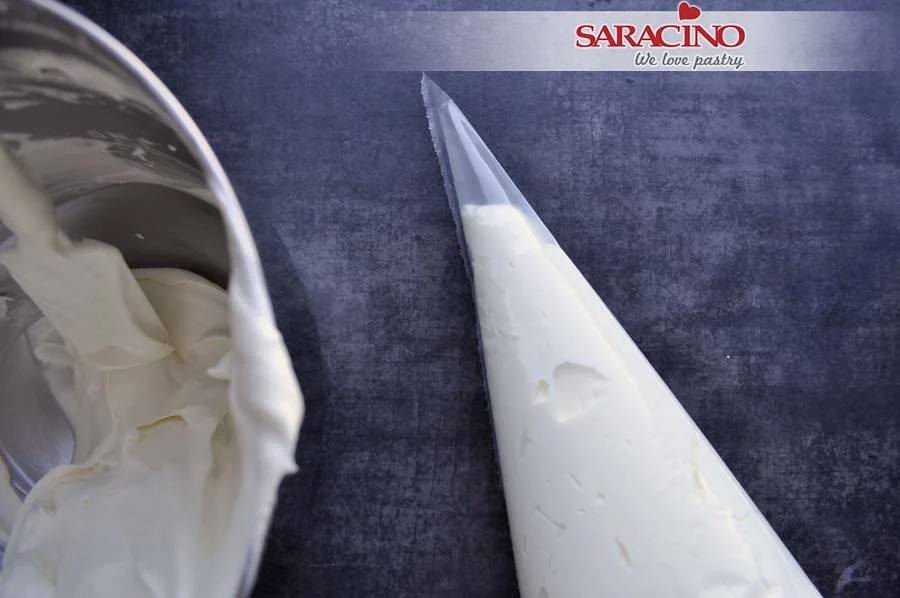
    Put the mousse into the piping bag.

    Step 26

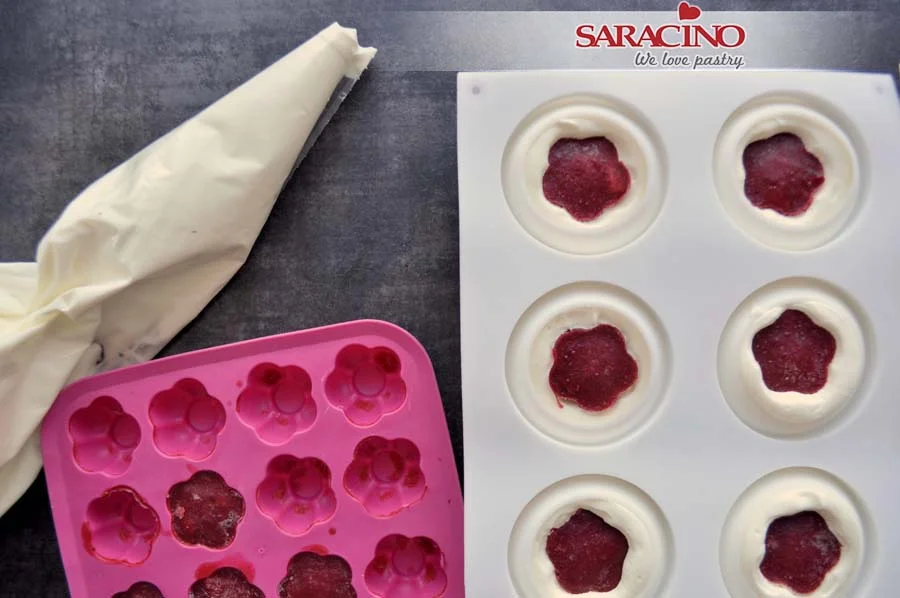
    Remove the frozen strawberry from the freezer. Pipe some of the mousse into a mould, placing a strawberry filling into each, fill each to the top with mousse and freeze.

    Step 27

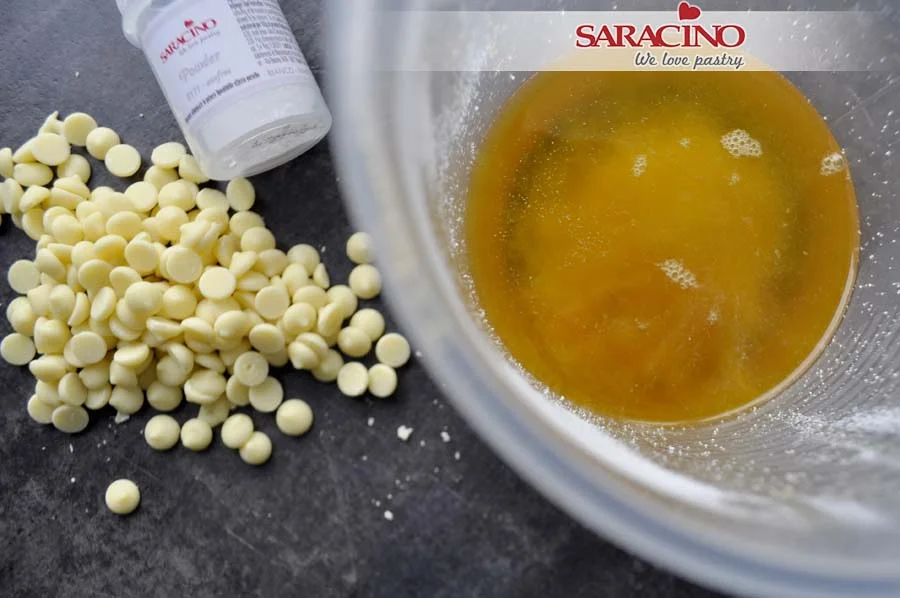
    Prepare the suede effect ingredients – cocoa butter and Saracino white chocolate drops.

    Step 28

    In a microwave oven melt the cocoa butter on low power.

    Step 29

    Add Saracino powder colour as needed until the desired colour is achieved and blend well.

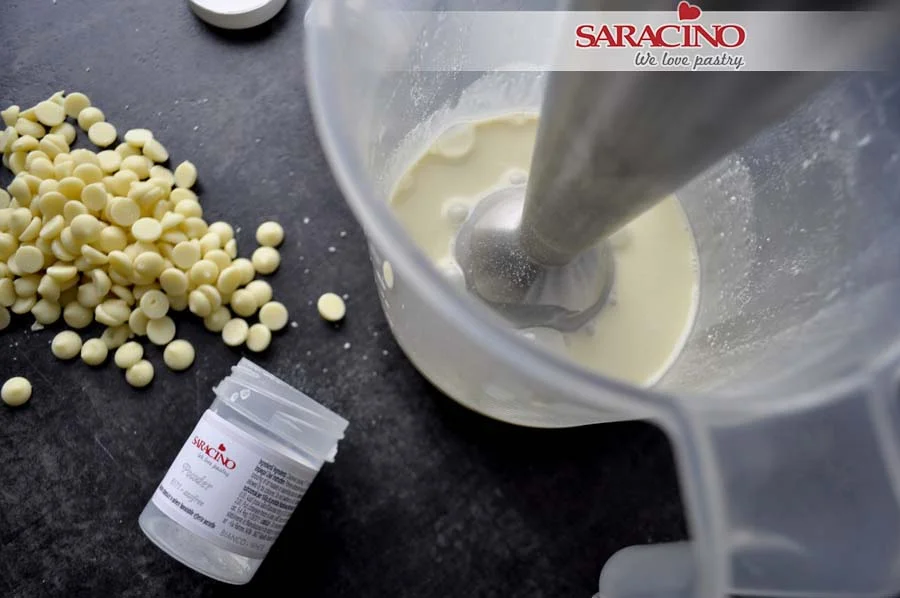
    Step 30

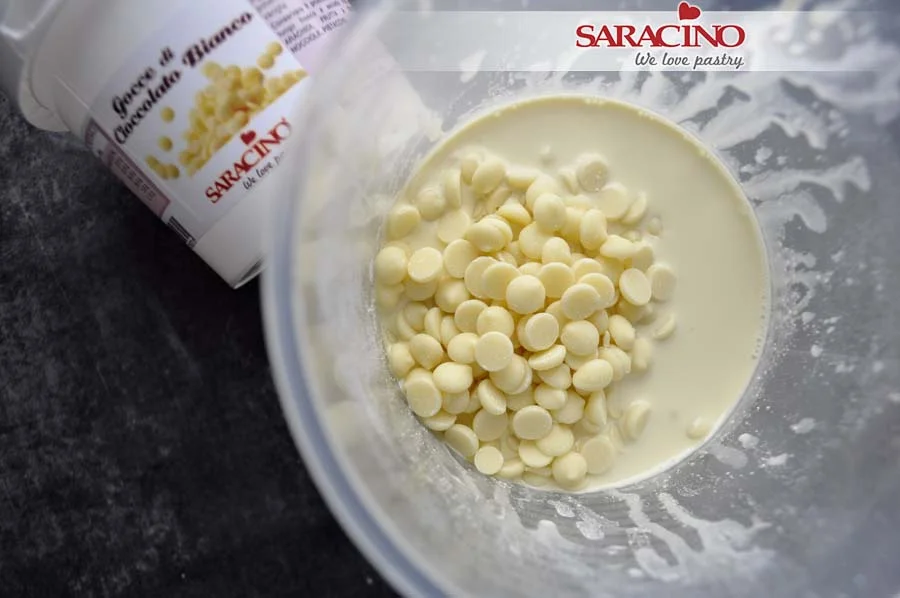
    Add white chocolate and mix to a smooth consistency (use a blender if necessary), cool to approx. 35 degrees Celsius. Pour the cocoa butter and chocolate mix into the airbrush reservoir.

    Step 31

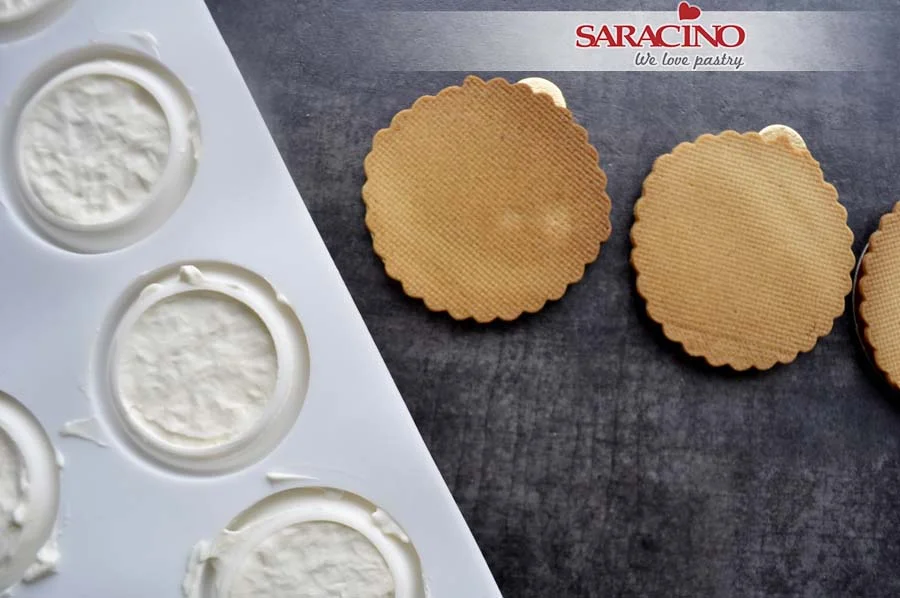
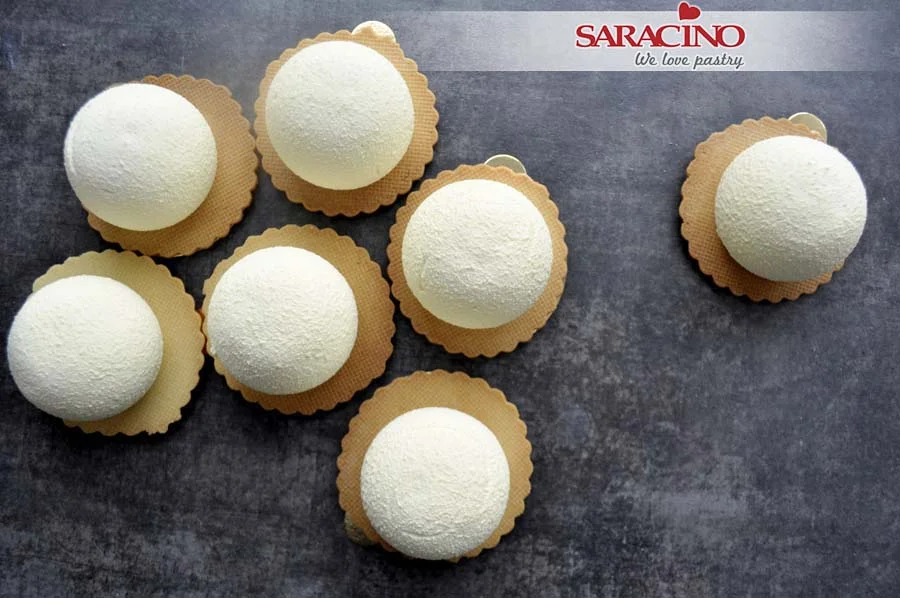
    Prepare shortcrust biscuits (you can put them on the placemats) and remove the frozen mousses. Remove the mousses from the mould. Using an airbrush, spray the frozen mousses to give a suede effect. Use your turntable and twist the plate while applying so that the mousse is applied evenly in a thin layer.

    Step 32

    Using a spatula, carefully transfer the mousses to the biscuits.

    Step 33

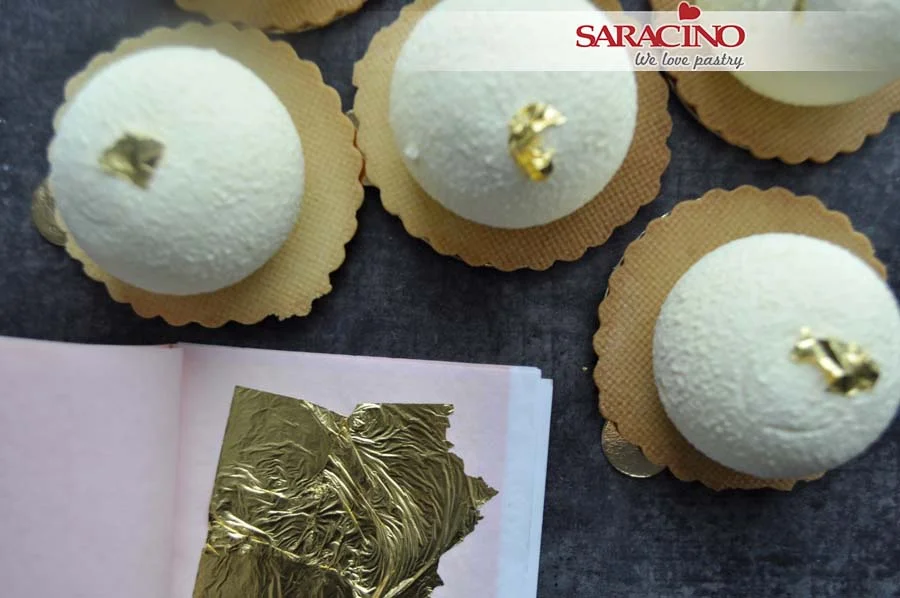
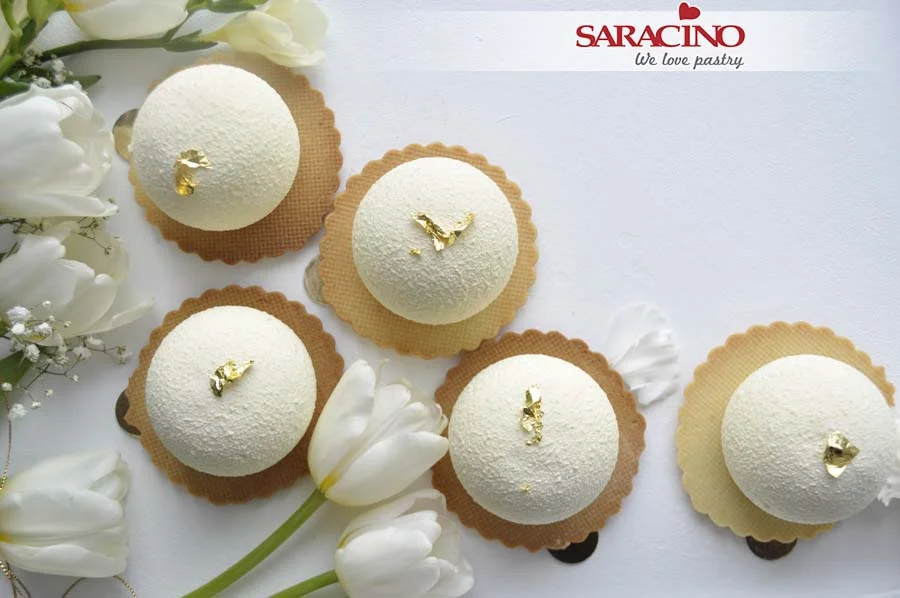
    Decorate with pieces of edible gold or another decoration of your choice.

    Step 34

    ET VOILA! Enjoy your mousses.

    COCONUT CHEESECAKE TUTORIAL

    COCONUT CHEESECAKE TUTORIAL

    Author: Justyna Kowal

    Skill level: BEGINNERS 

    You will need:

    For 10 cheesecakes 120ml each

    • 600g cream cheese
    • 90g desiccated coconut
    • 320g coconut milk or coconut cream
    • 40g butter cookies
    • 30g cream (30-36%)
    • 20g coconut liquor 
    • 300g Saracino white chocolate drops
    • 150g Saracino milk chocolate drops
    • Saracino Supreme Coconut food flavouring 
    • Saracino Supreme Vanilla food flavouring 


      Step 1

      Prepare all your ingredients. Make sure they are all at room temperature.  

      Step 2

      Pour 220ml of coconut milk into the pan and bring to boil.

      Step 3

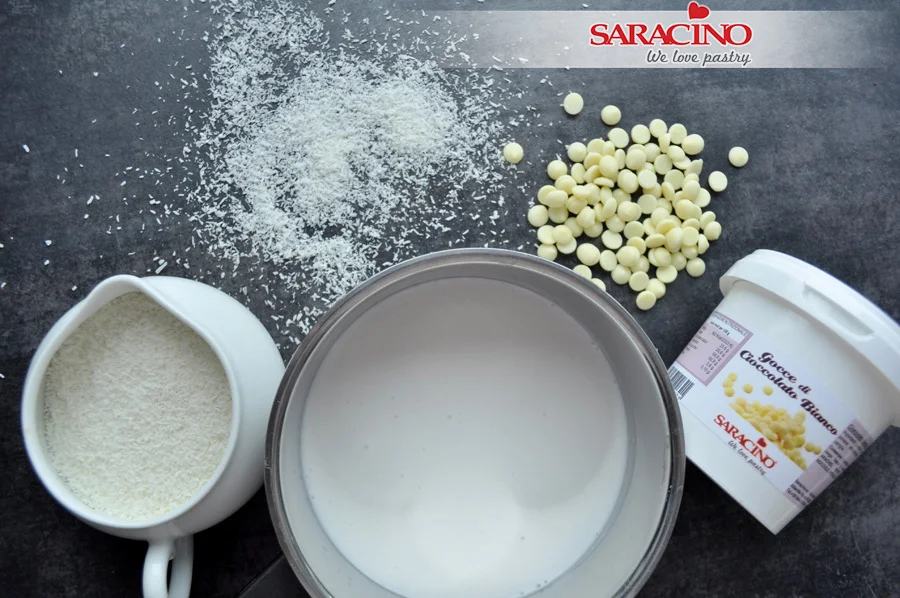
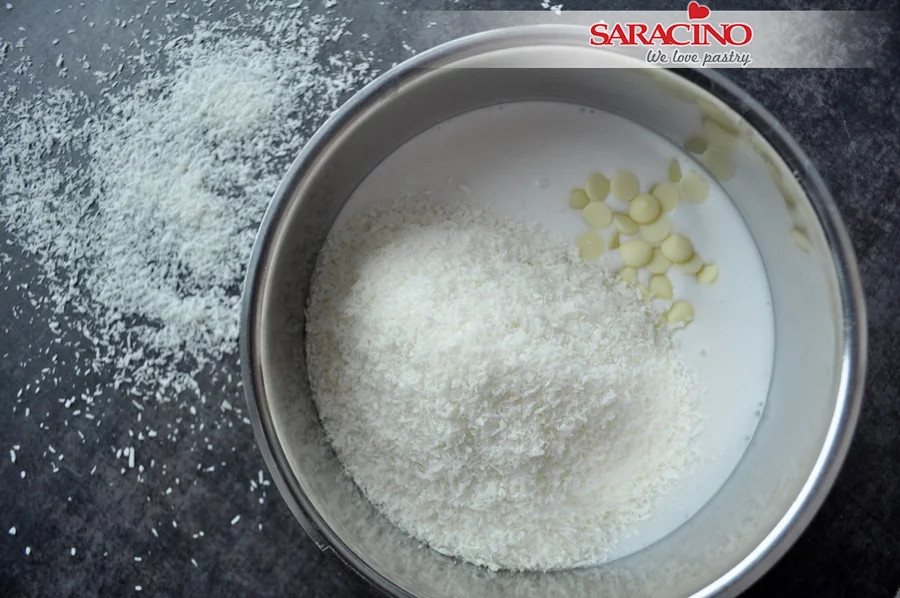
      To the hot milk add 70g desiccated coconut and 100g Saracino white chocolate drops

      Step 4

      Add one teaspoon of Saracino Supreme coconut food flavouring. 

      Step 5

      Stir until combined and boil for another 5 minutes on a slow rolling boil, stirring continuously. 

      Step 6

      Cover with cling film making sure it touches the cream. Let it cool down in the fridge over night. 

      Step 7

      Add 20g of desiccated coconut to a heavy based pan.

      Step 8

      Fry until a golden colour is achieved. Make sure you do not burn them. Let them cool down.

      Step 9

      To the blender add 40g butter biscuits and blend until they achieve a sand texture. 

      Step 10

      Add the toasted coconut and mix together. 

      Step 11

      For the cheesecake mixture make sure all the ingredients are at room temperature. 

      Step 12

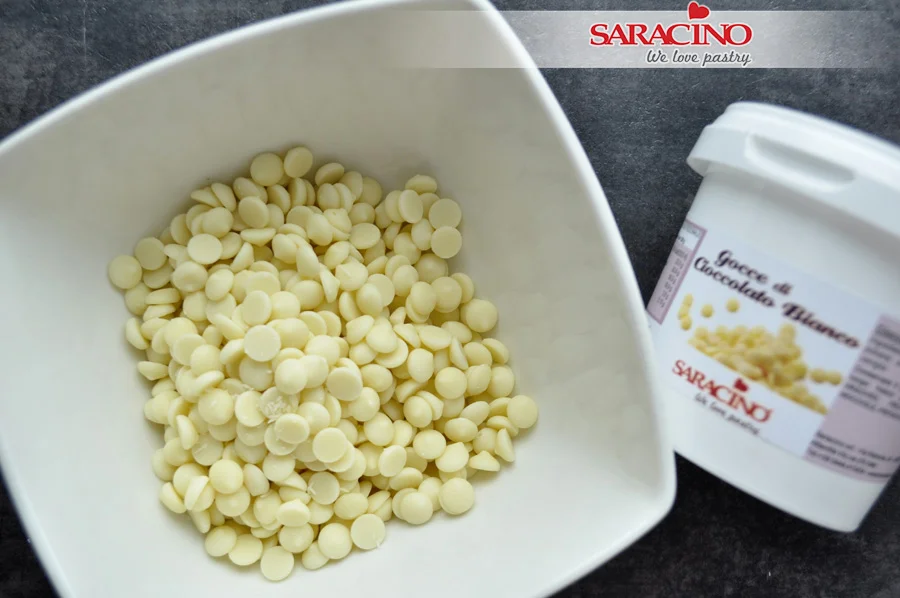
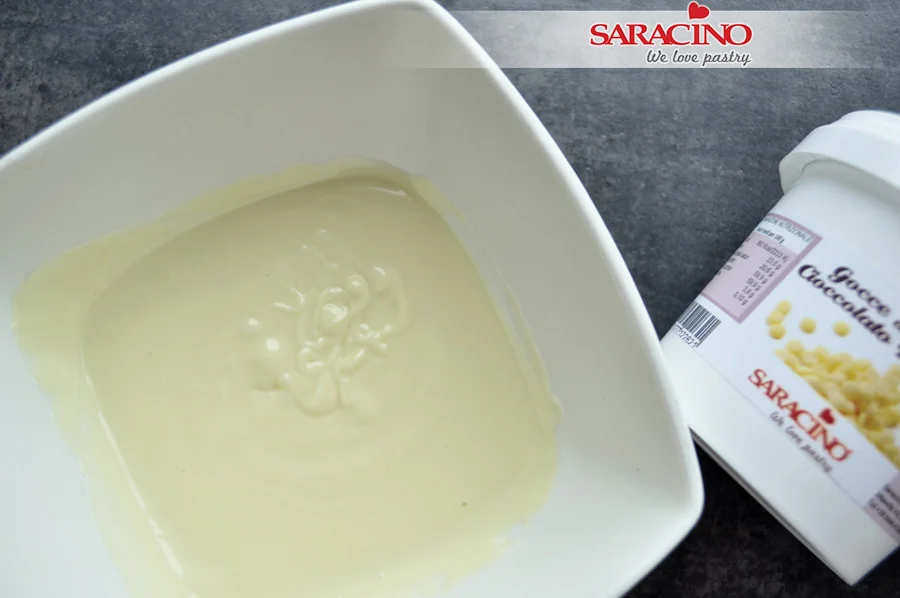
      Prepare 200g of Saracino white chocolate drops and melt.

      TIP: I use a glass bowl if melting in the microwave and metal bowl if melting over a water bath. Be careful not to over heat. 

      Step 13

      Let the melted chocolate cool down a little bit. 

      Step 14

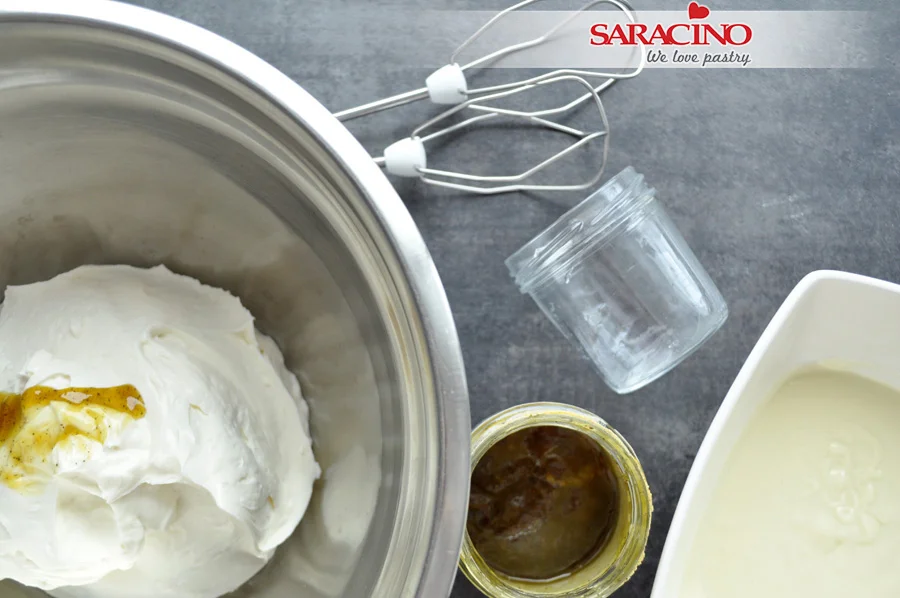
      Prepare your food mixer, Saracino Supreme Vanilla food flavouring and 20ml coconut liquor.

      Step 15

      Add food flavouring and liquor to your cheese mixture.

      Step 16

      Gently combine on a slow motion. Slowly add the melted chocolate. 

      Step 17

      When all the ingredients are combined. Prepare a piping bag with a star nozzle.

      Step 18

      Add the cheesecake mix to the bag and place in the fridge.

      Step 19

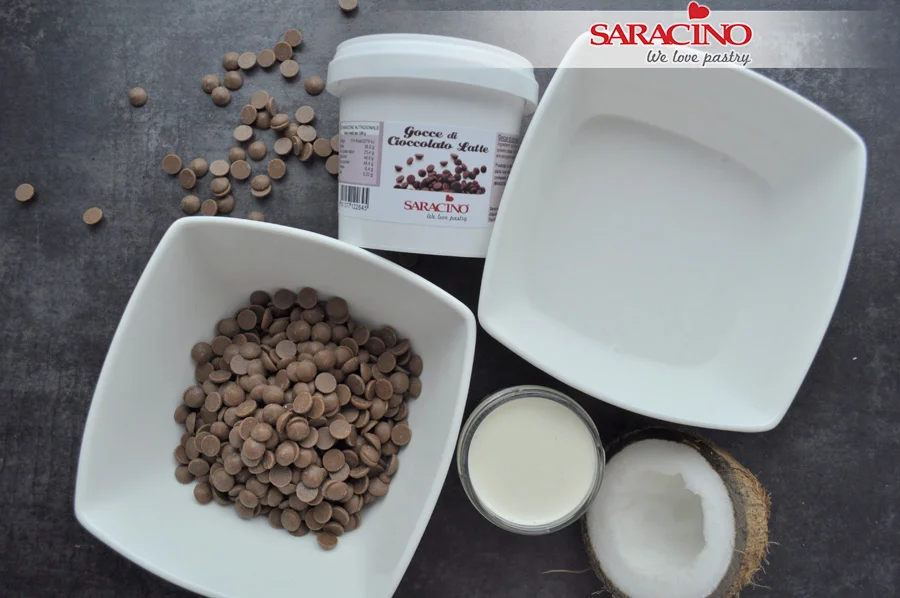
      For the chocolate to go on the top prepare 150g of Saracino milk chocolate drops, 100ml coconut milk and 30g double cream (30-36%)

      Step 20

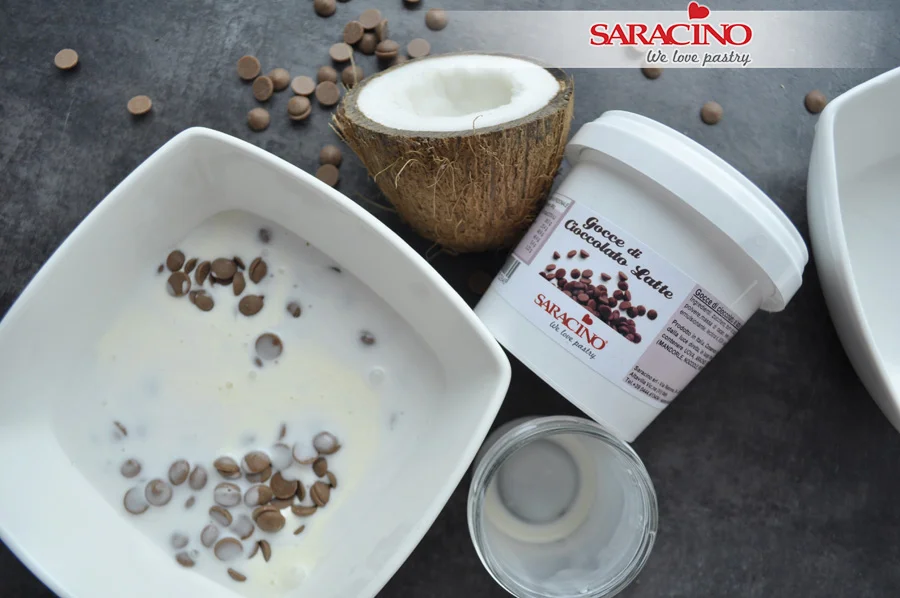
      Pour milk and cream into the bowl, add chocolate and melt.

      Step 21

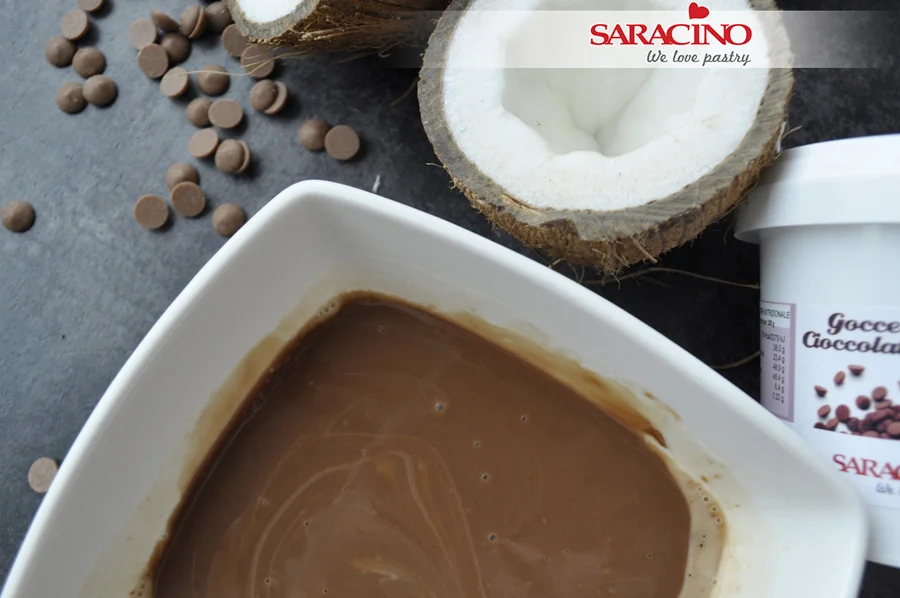
      Make sure all the chocolate is melted. Allow to cool down. 

      Step 22

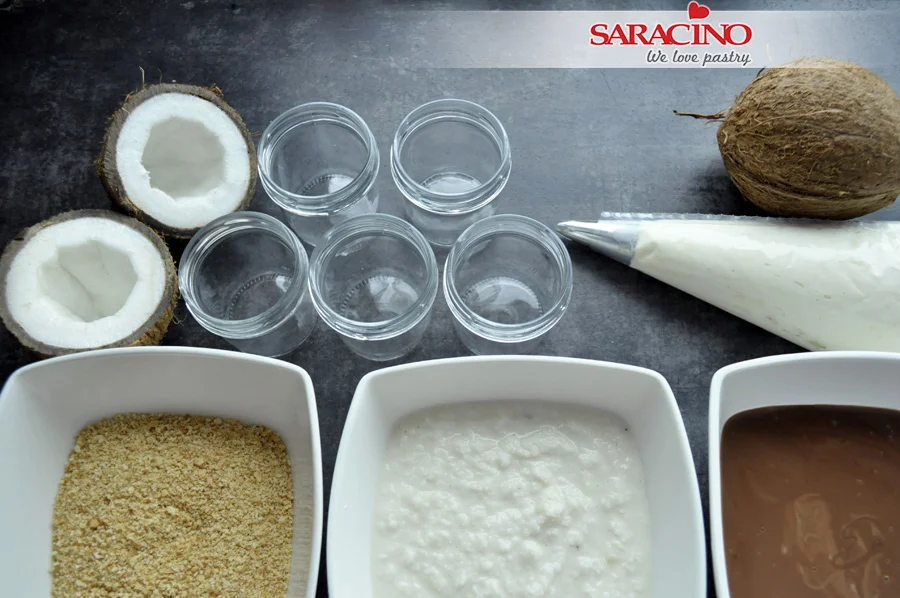
      Prepare small jars, biscuits, cream and chocolate. 

      Step 23

      At the bottom of each jar add biscuits.

      Step 24

      Add the cream cheese mix.

      Step 25

      Add the coconut cream.

      Step 26

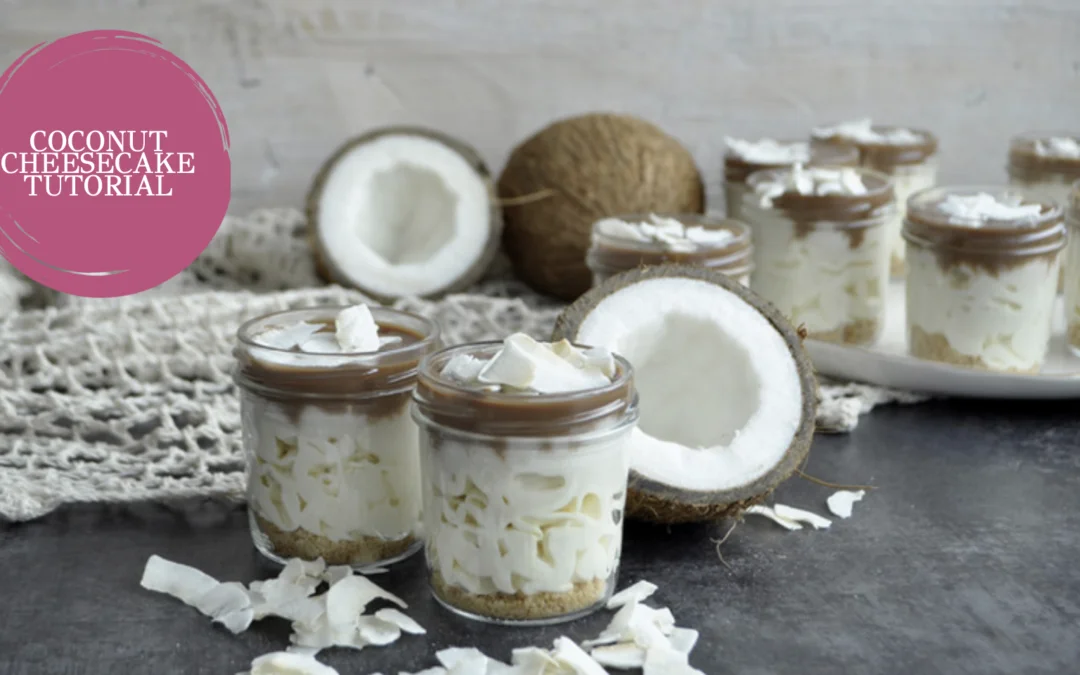
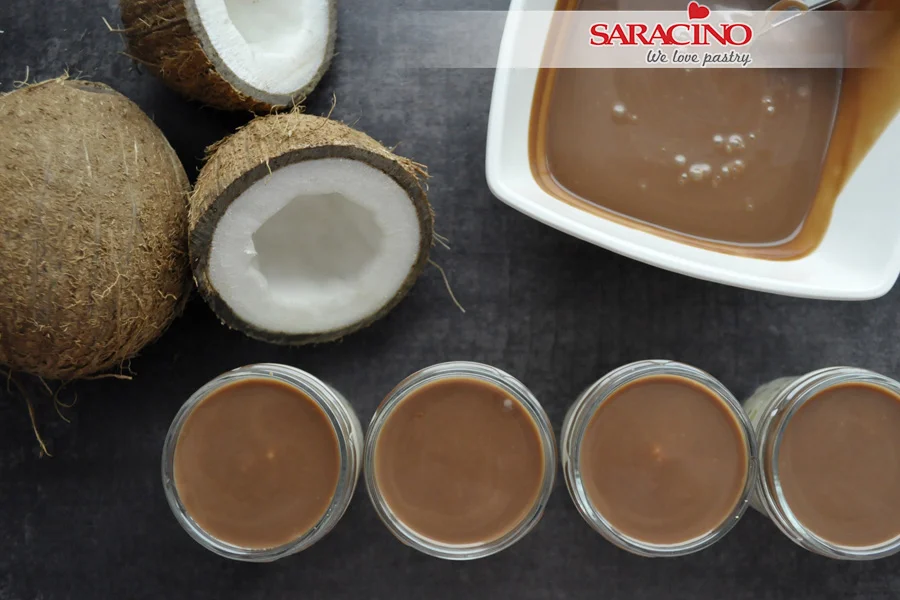
      Finish with a layer of melted chocolate.

      Step 27

      Decorate with coconut flakes and ENJOY!