KAWAII BIRTHDAY CAKE

KAWAII BIRTHDAY CAKE
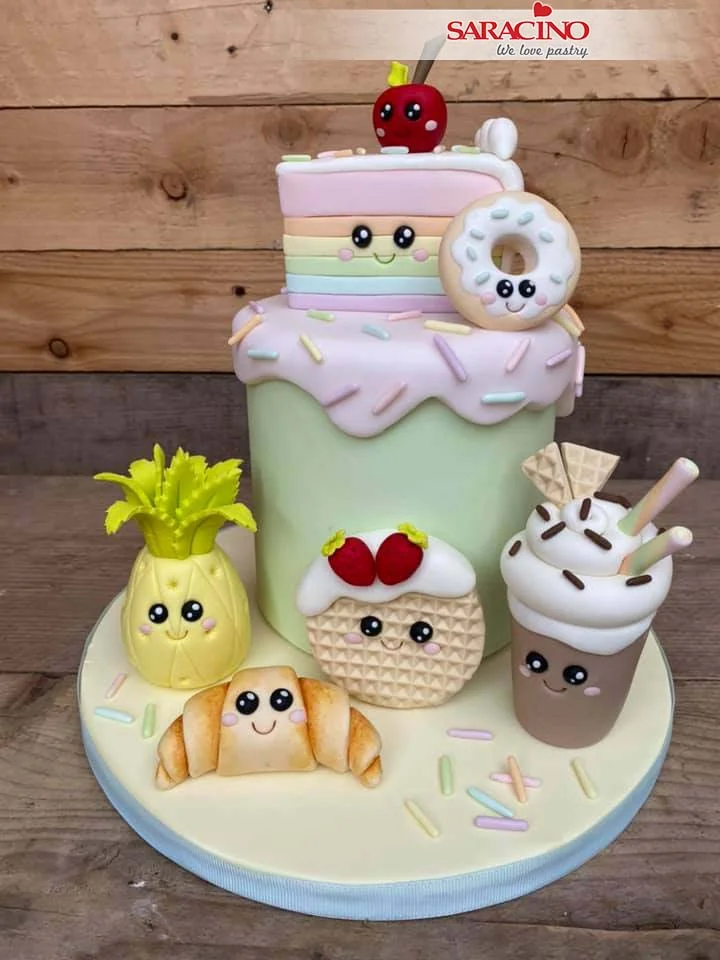
Skill level: BEGINNERS

You will need:

  • Saracino Pasta Model
  • Saracino white Pasta Top
  • Waffle Texture Mat
  • Ball tools large, medium & Small
  • Scallop tool
  • Craft Knife
  • Dresden Tool
  • Small Blossom Cutter
  • Flower veiner mould
  • Ribbon Cutter
  • Serrated cone tool
  • Rose Leaf Cutter
  • Heart Cutter
  • Paint Brush
  • Lemon Extract
  • Circle Cutters
  • Sugar Glue
  • Heart cutter

Step 1

Cover your cake board with Pasta Top coloured in pale yellow and your cake with Pasta Top coloured in light shade of mint green.

Step 2

For the top part, colour Pasta Top pale pink. Roll the paste to about 4mm thick (we dont want it too thin). Place a cake board the size of your cake in the middle of the icing and cut your ‘drip’ part around the board, leaving space so it hangs down the side of the cake.

Step 3

Place the drip part on the cake after brushing the cake with some sugar glue. Apply a little glue under each ‘drop’ part and the press against the cake.

Step 4

Use the inside of your thumb to run over the edges to smooth them off and round them nicely.

Step 5

Here’s a guide on how to create some pastel colours and extra colours using ready coloured Saracino Pasta Model.

Peach – mix 2g yellow with 3g orange and 50g white, for a darker peach just add more orange.
Step 6

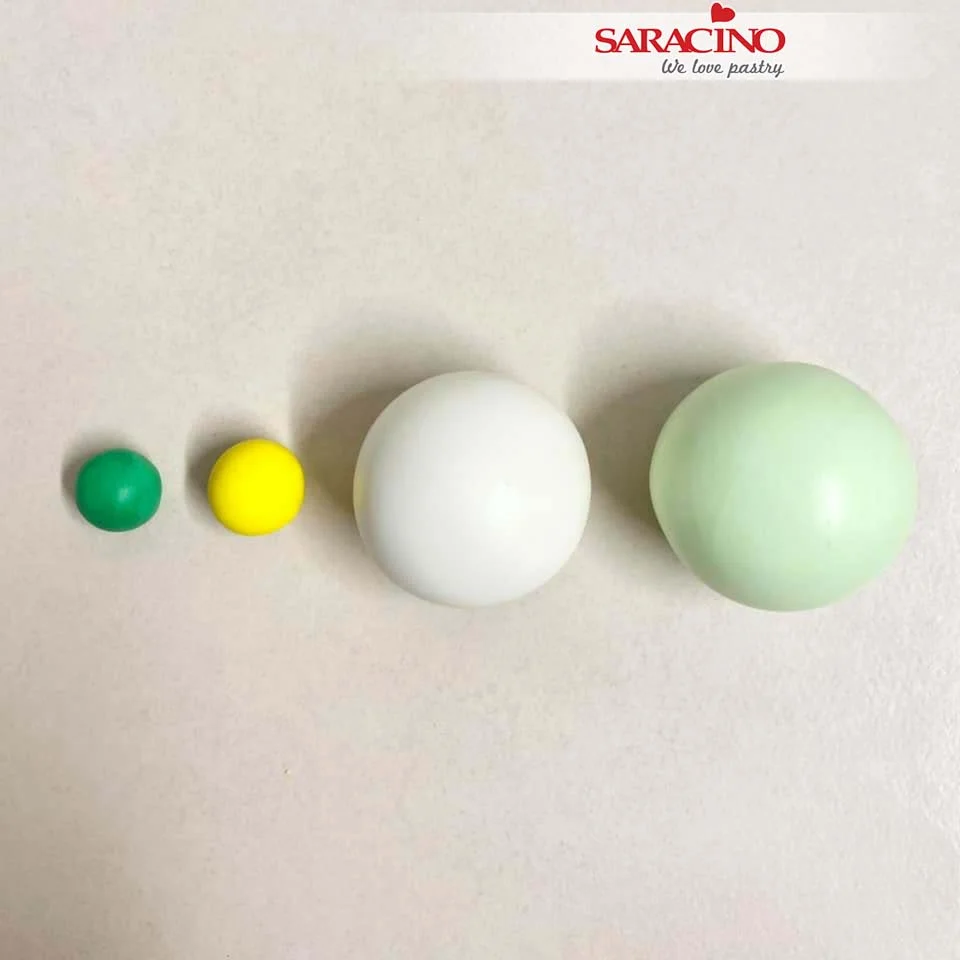
Mint green – mix 2g green with 3g yellow and 50g white, for a darker green just add more green

Step 7

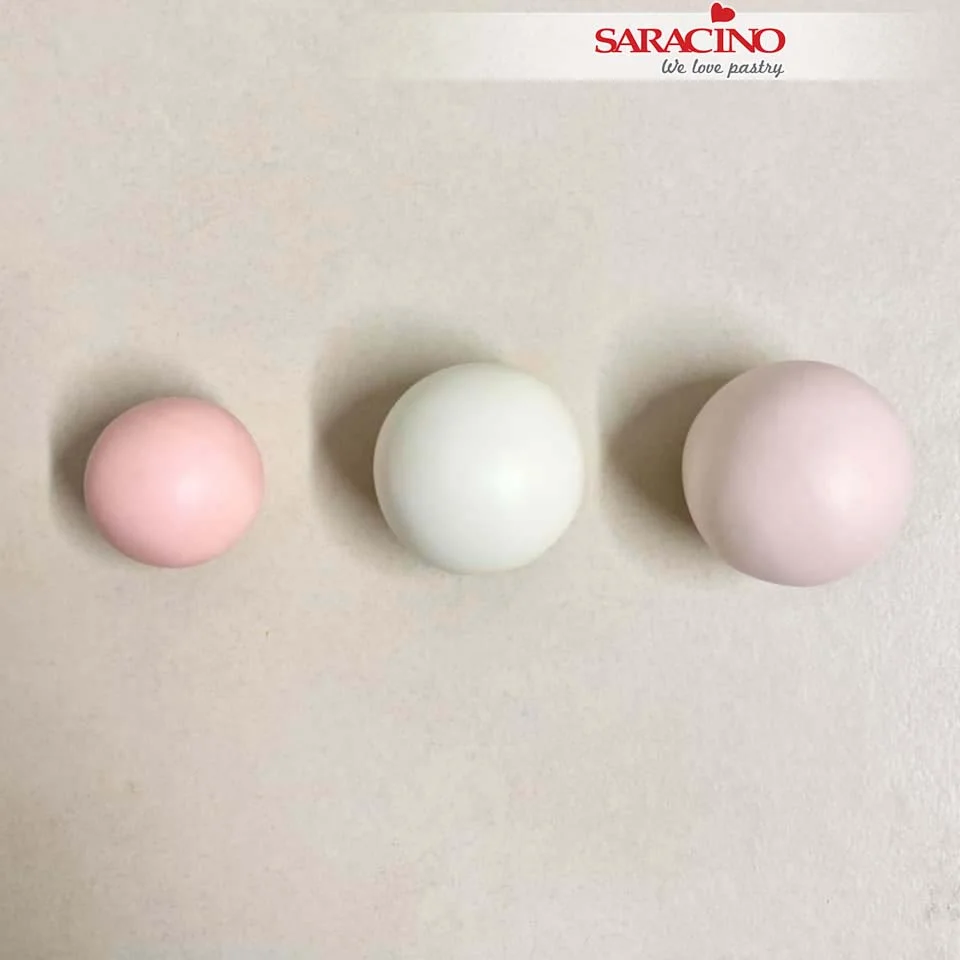
Pale purple – mix 2g dark pink with 3g purple and 50g white. I always add pink to my purple as it just lifts the colour a bit.
Step 8

Baby pink – Mix 25g light pink with 50g white. You can add more pink for a slightly darker shade or just use a dark pink mixed with white for different shades too.
Step 9

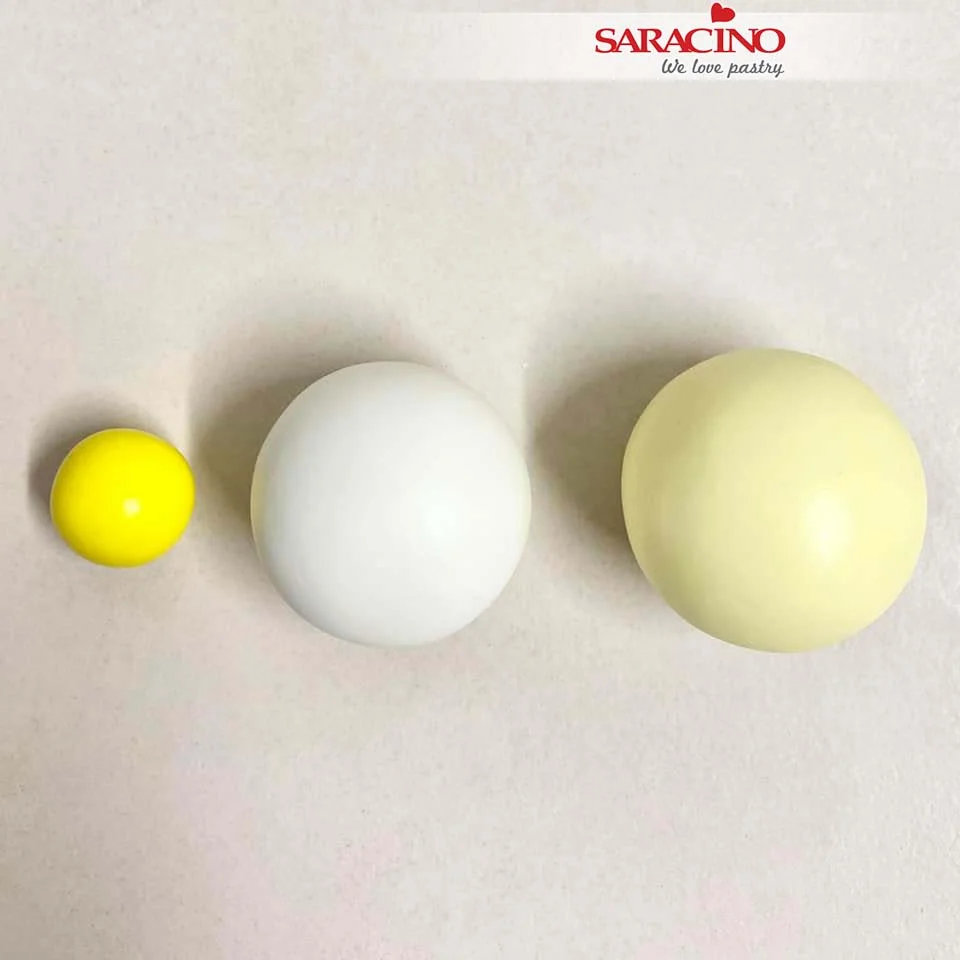
Light yellow – mix 15g yellow with 50g white. Add more yellow if you would prefer a darker yellow.
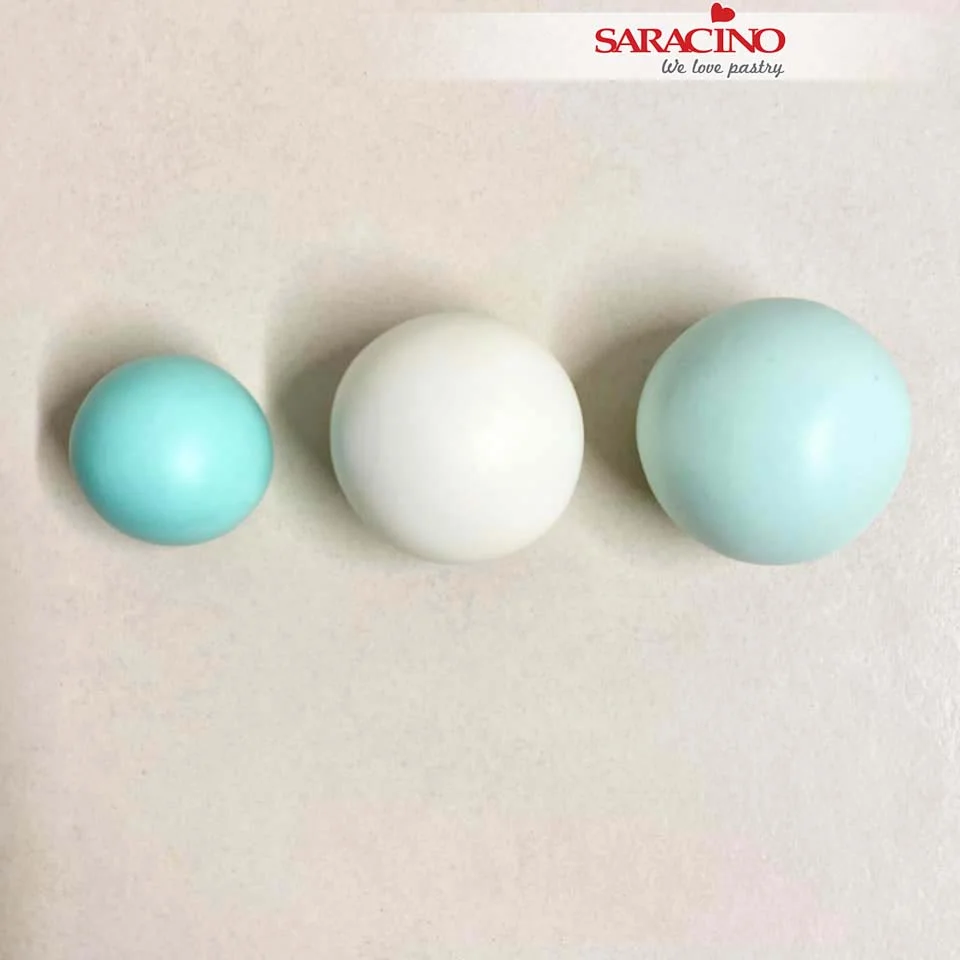
Step 10

Pale blue – mix 25g tiffany with 50g white. Add more tiffany if you’d like a darker shade

Step 11

Lime green – mix 10g dark green with 25g yellow for a lovely bright lime green, more yellow will give it a more vivid green look or more green will tone down the brightness.
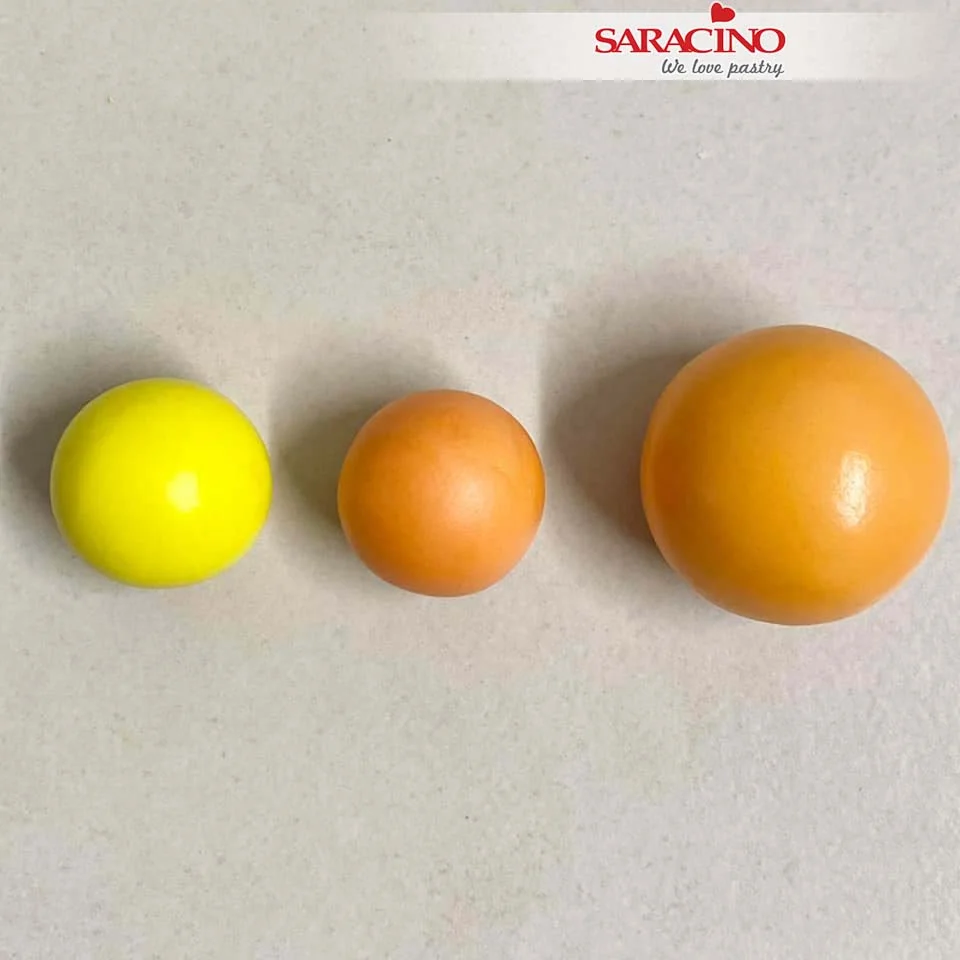
Step 12

Bright orange – mix equal portions of yellow and orange
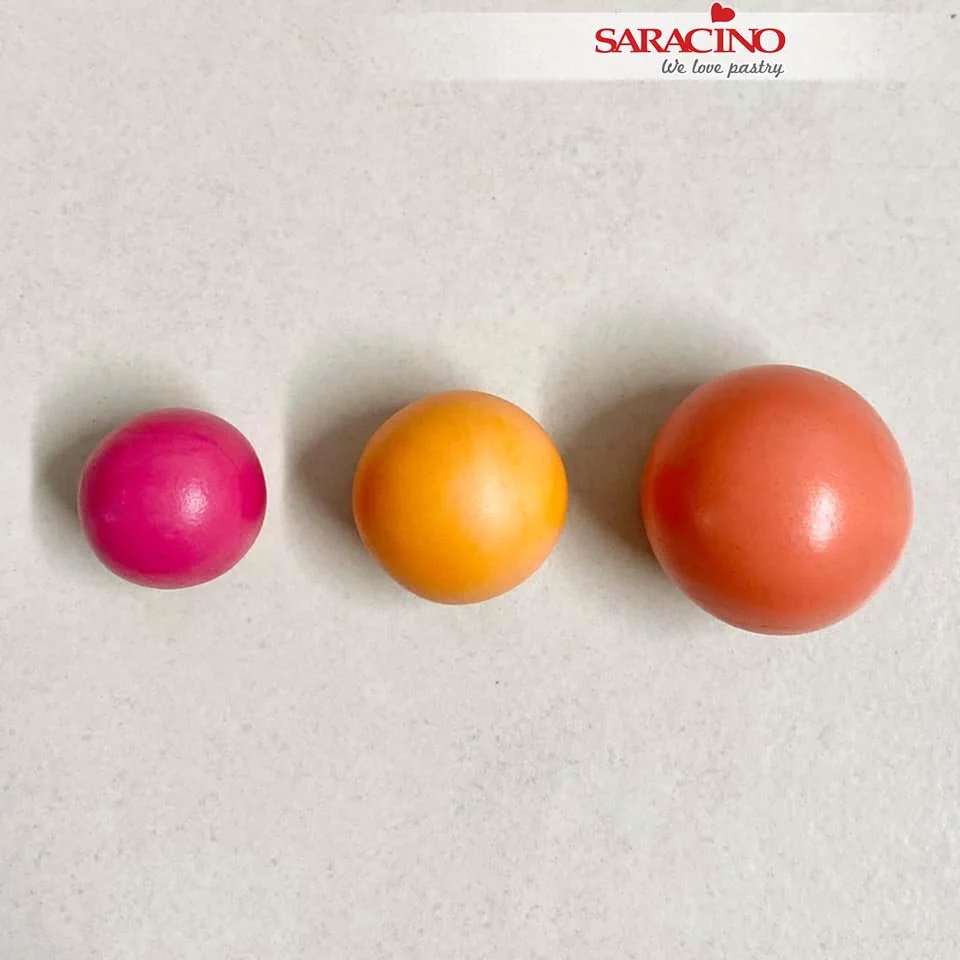
Step 13

Dark coral – mix 15g fuschia with 25g orange.
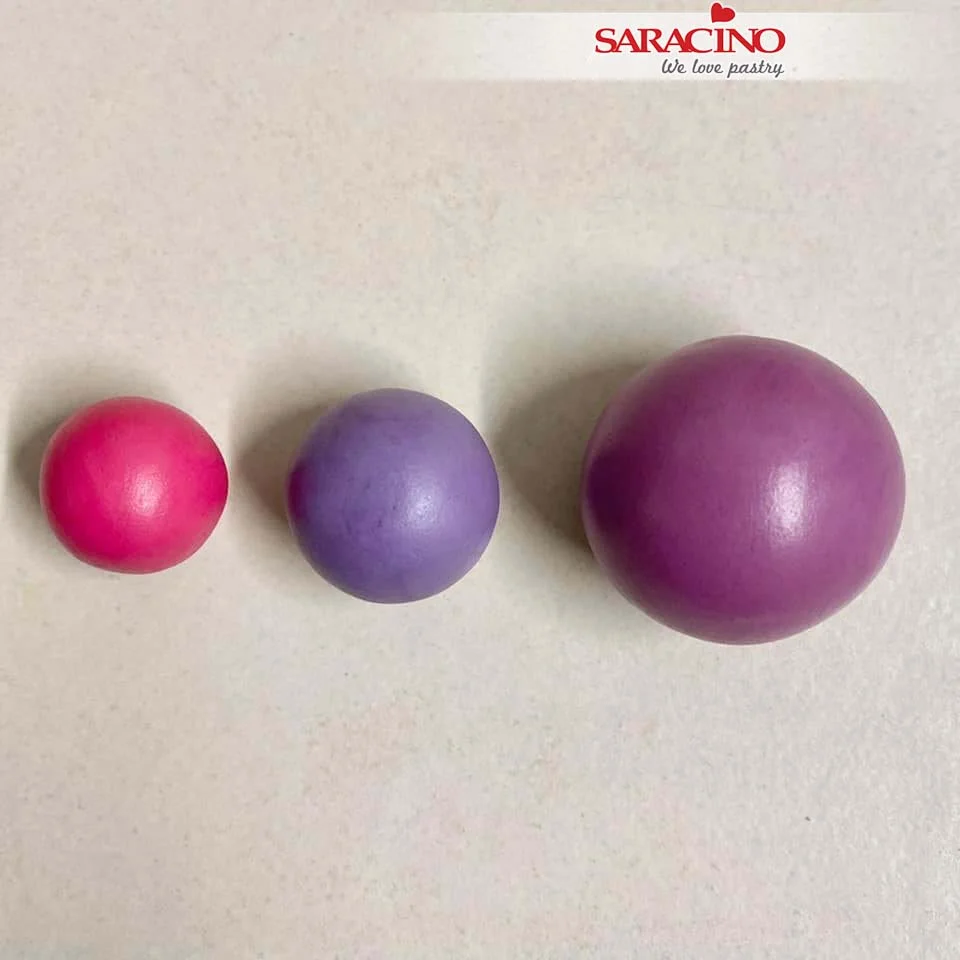
Step 14

Rich purple – mix 15g dark pink with 20g purple.
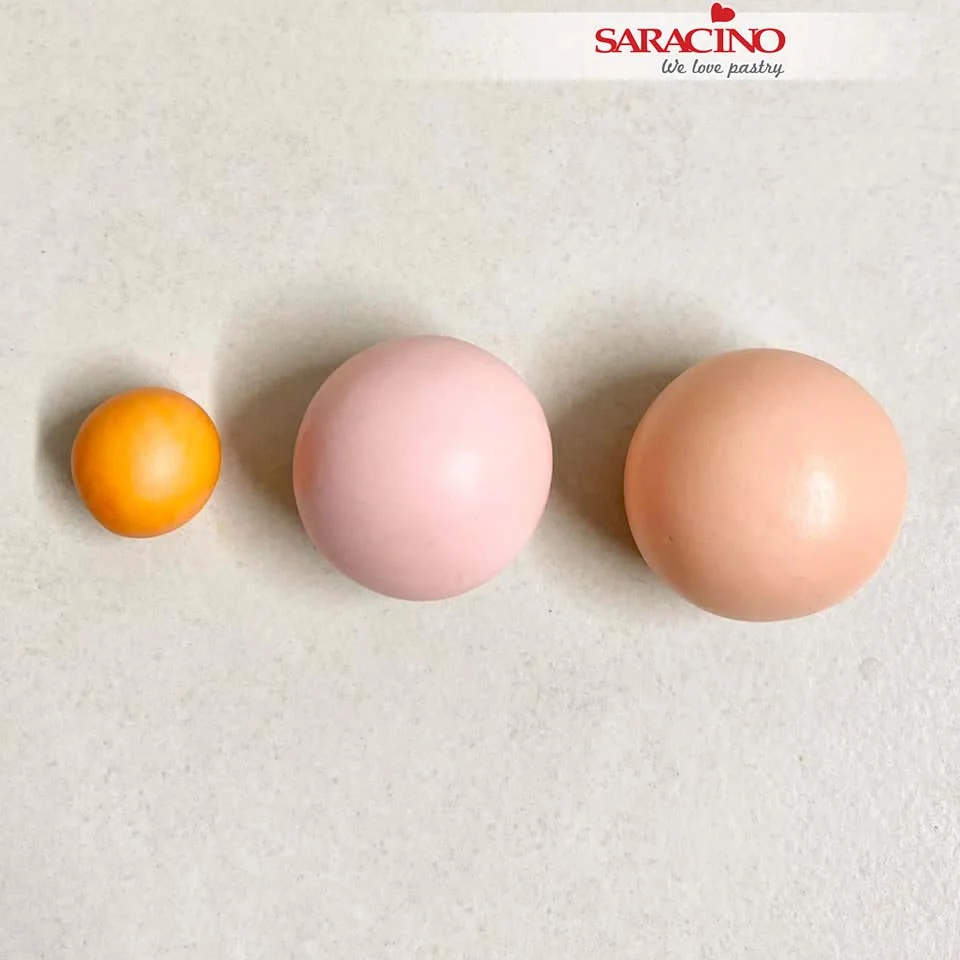
Step 15

Light coral – mix 3g orange with 25g light pink
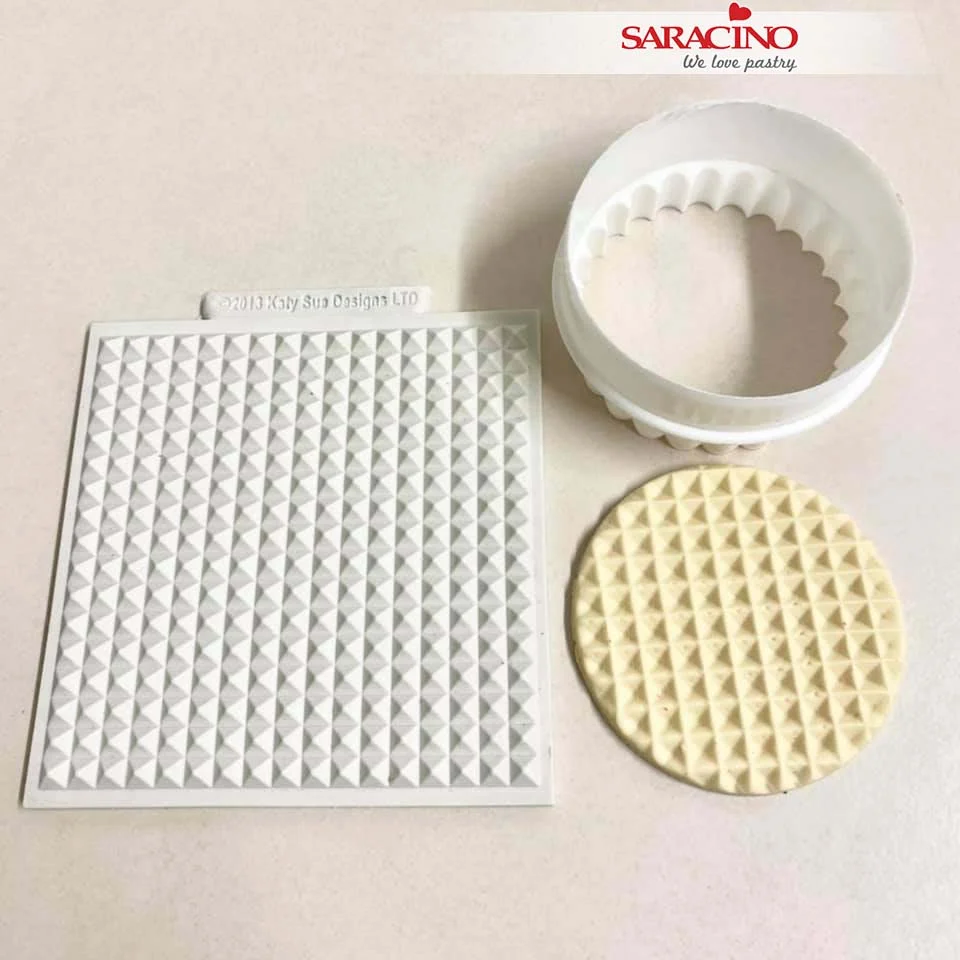
Step 16

Use the waffle texture mat to texture some Pasta Model, the paste must be 5-6mm thick so it can stand up properly when dry. Cut out a circle for the waffle. I coloured this paste with a little bit of caramel and autumn leaf colours.
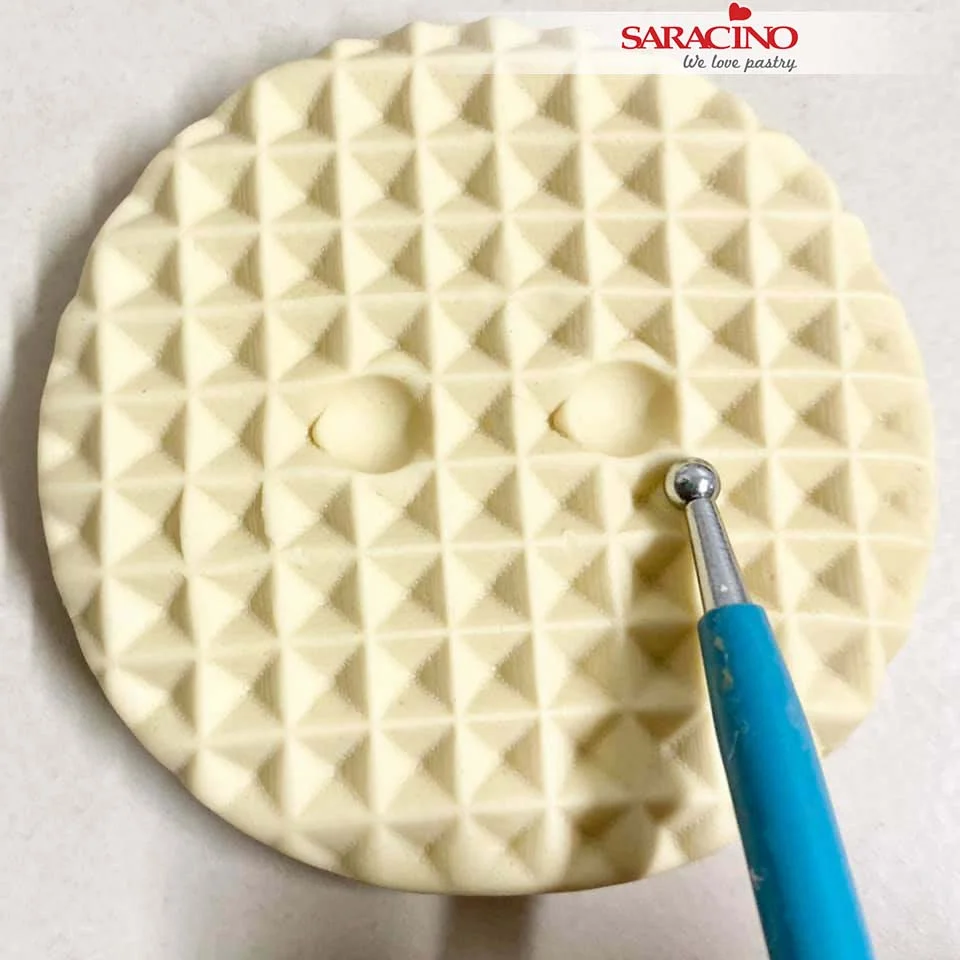
Step 17

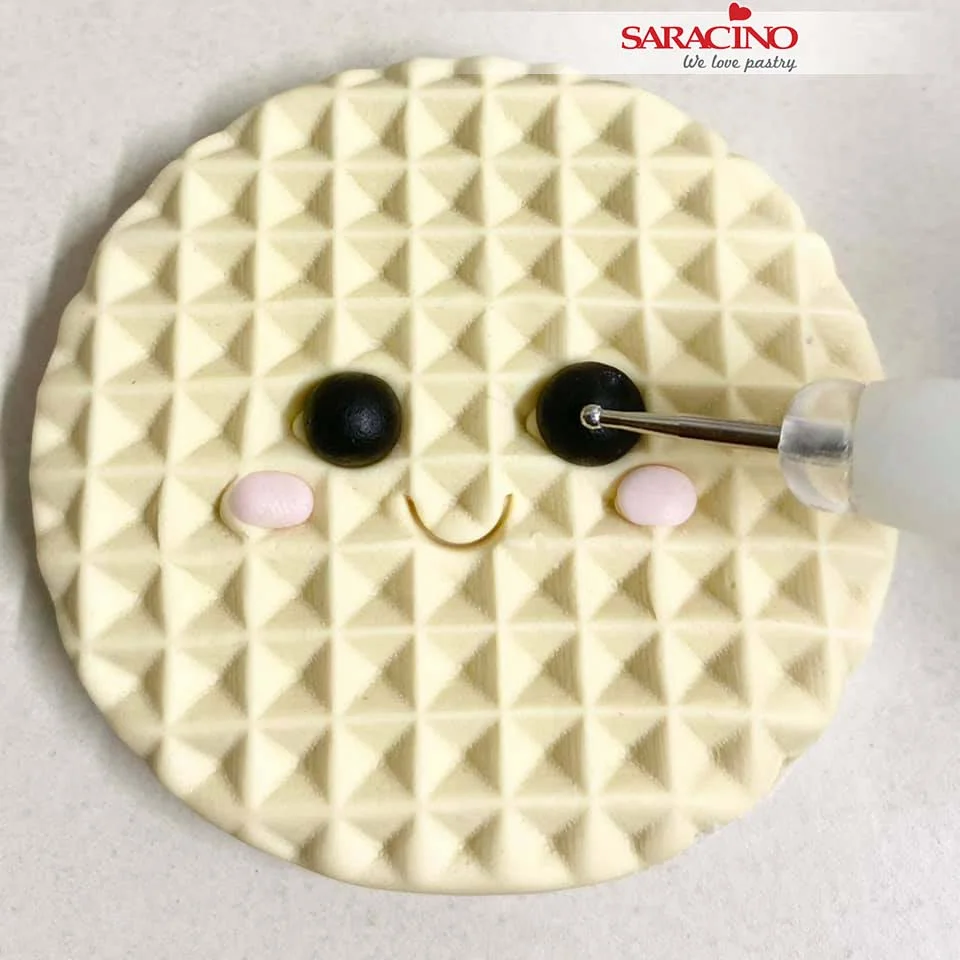
Use a medium ball tool to make some sockets for eyes. All the character faces are made exactly the same as this. Use a small ball tool to shape a small oval socket for the cheeks.
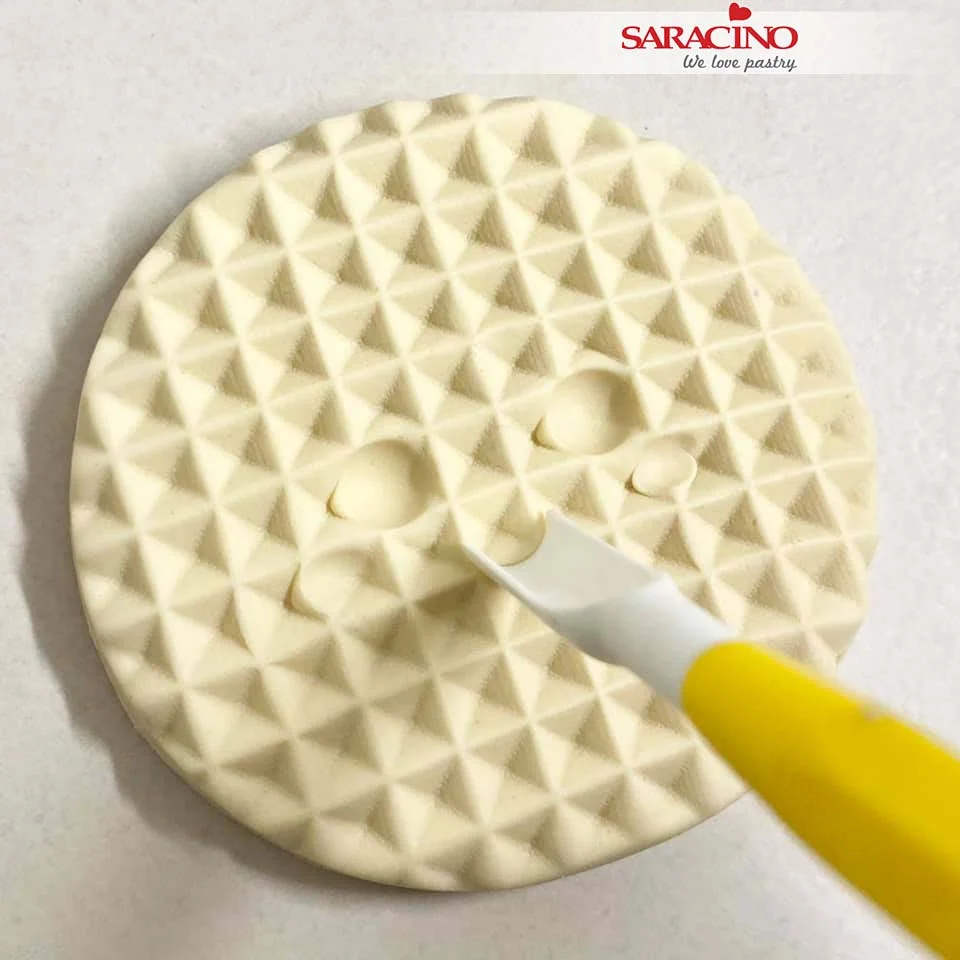
Step 18

To make a small mouth use a PME scallop tool and press it in fairly deep (not all the way through).
Step 19

Using black Pasta Model add two eyes and then mark small sockets on each eye. Add two tiny sockets to each eye. Add two small balls of white Pasta Model to the cheeks.
Step 20

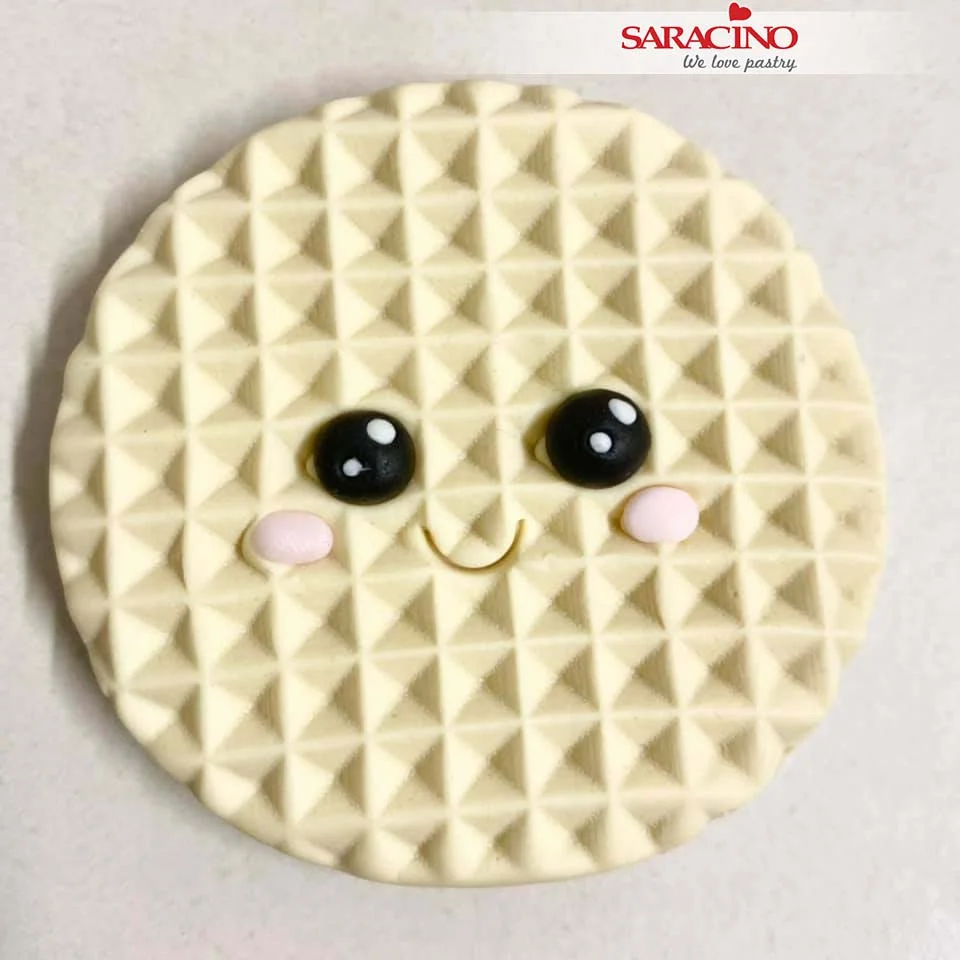
Add two different sized white dots to each eye to finish the face of the little character.
Step 21

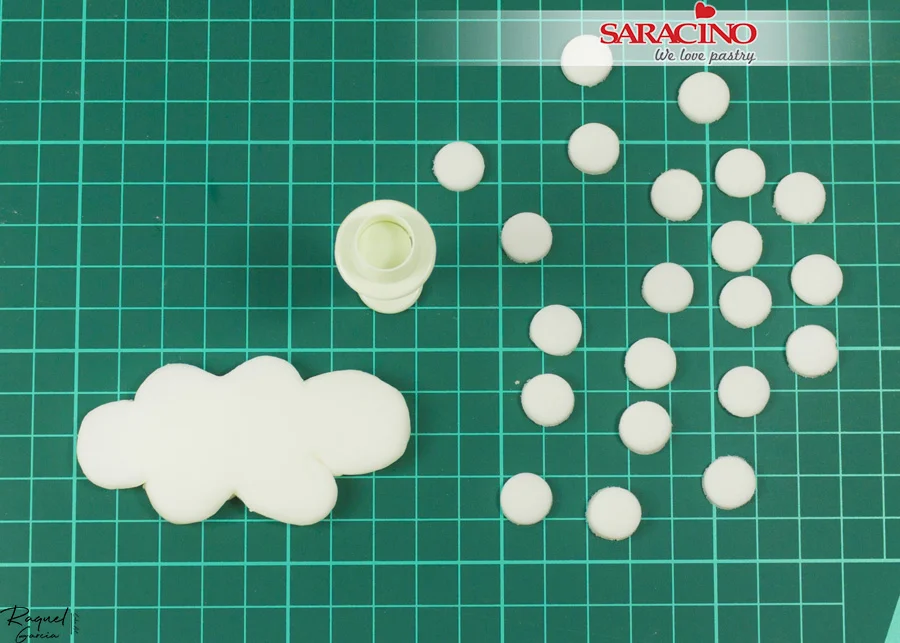
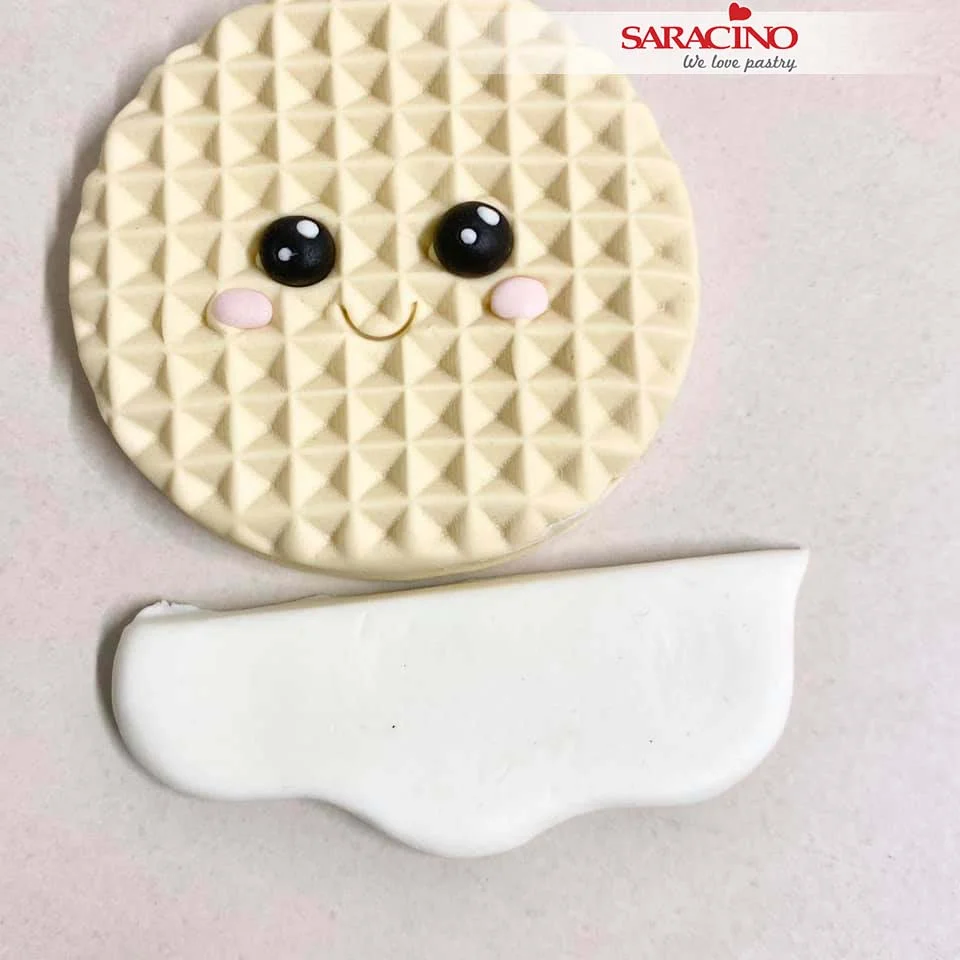
To make an icing drip, roll out white Pasta Model and shape with your fingers. Trim off the top before adding to the waffle.

Step 22

Add the icing drip to one side of the top of the waffle.

Step 23

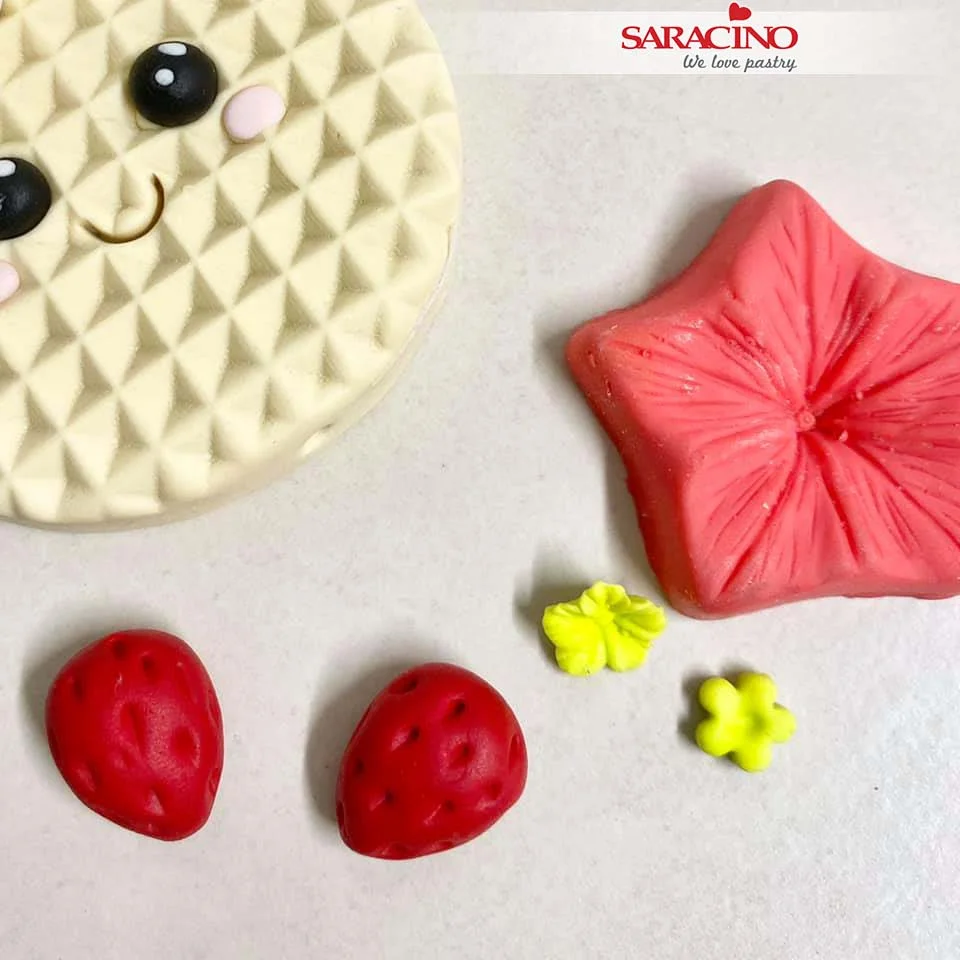
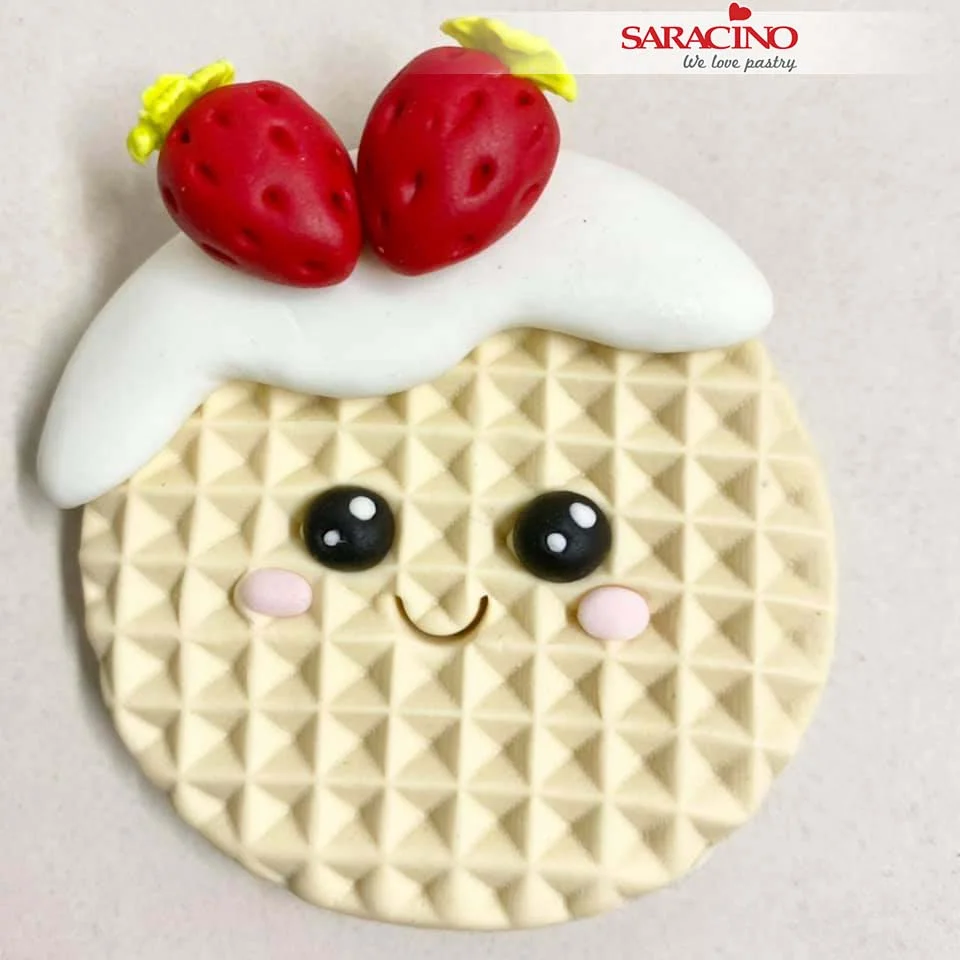
Make some strawberries for some extra decoration. Roll the strawberry shape using red Pasta Model and use a Dresden tool to mark the little seeds on the fruit.
Step 24

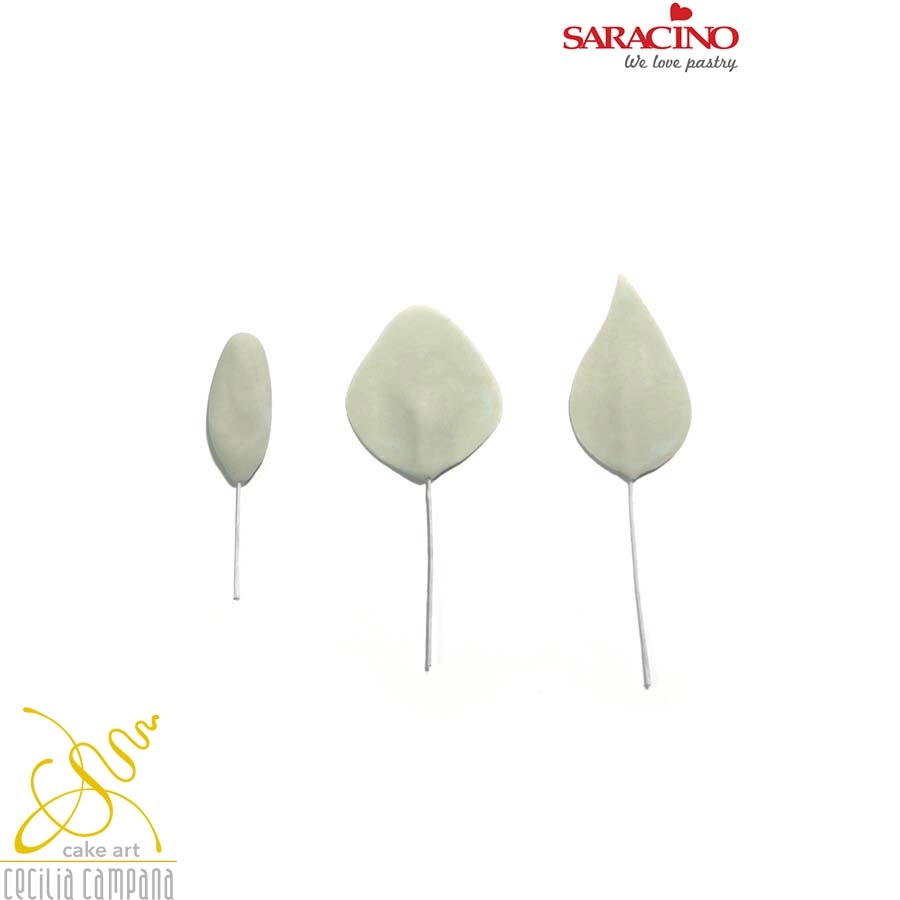
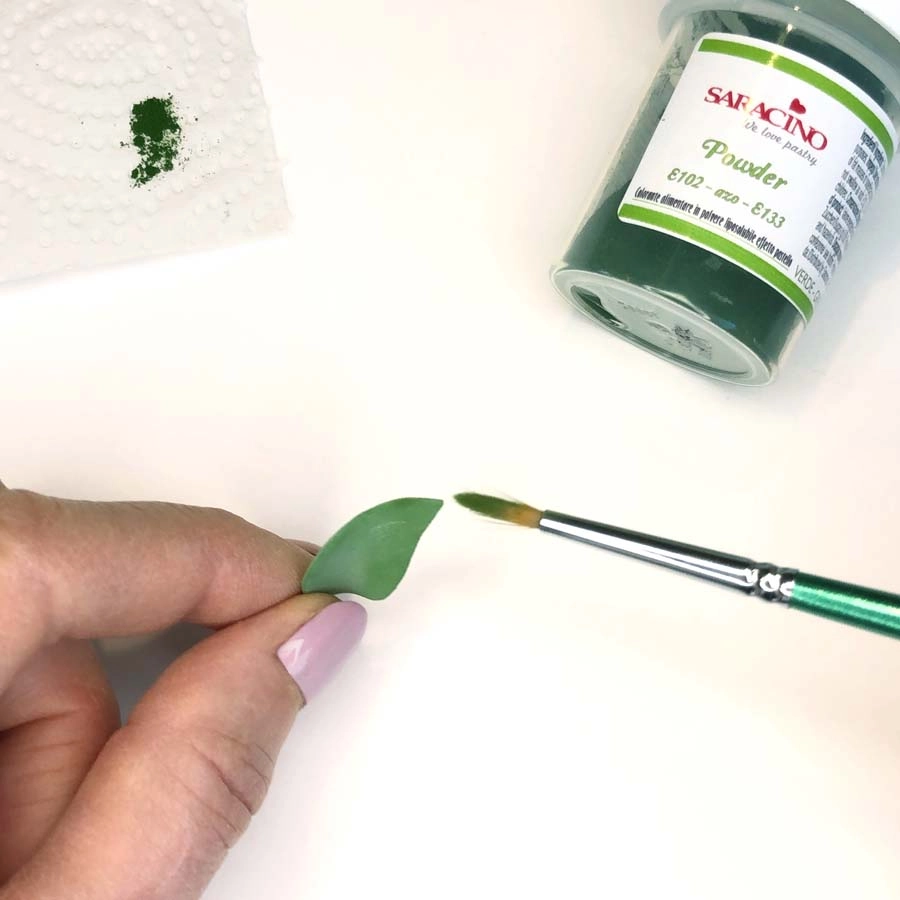
For the top of the strawberry use a small blossom cutter to cut 2 bright green leaves and use the veining mould to give these some texture.
Step 25

Add the strawberries at the top. Your little waffle is complete. Let it dry. 
Step 26

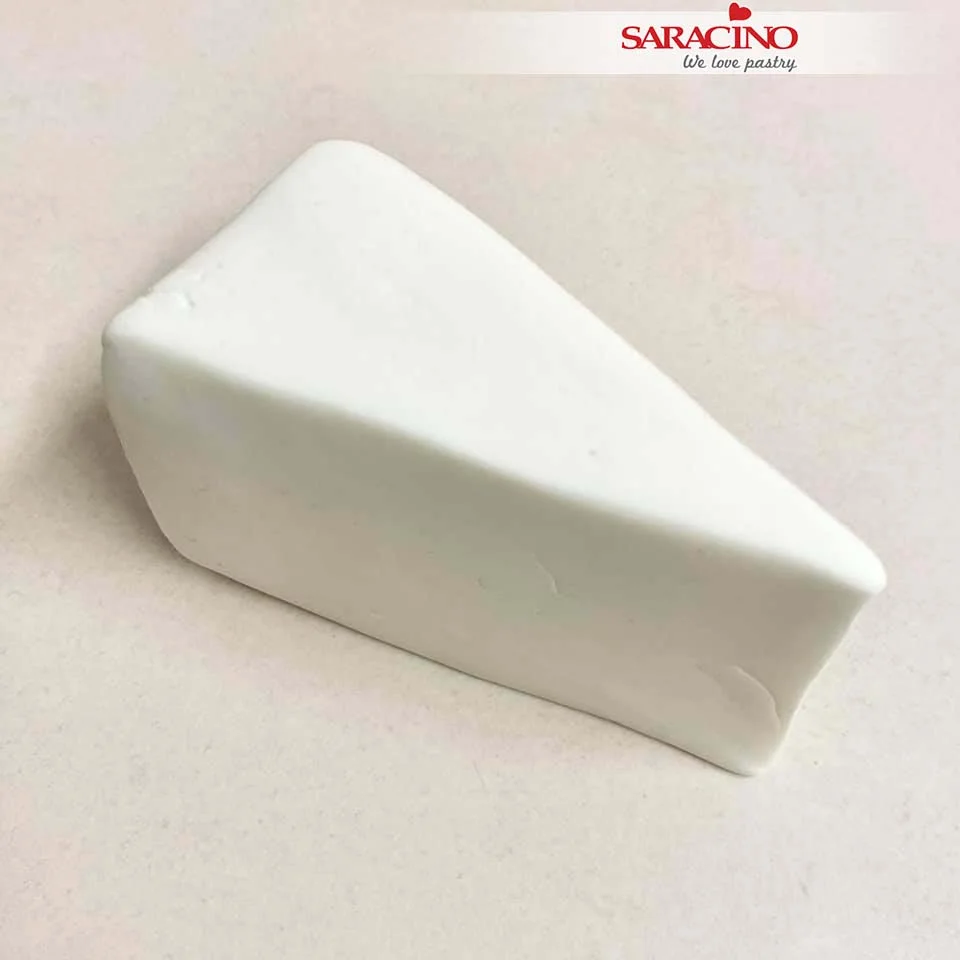
For the cake slice use Pasta Model to form a square in your hands and then roll one side thinner. Trim your shape to create a cake slice shape.

Step 27

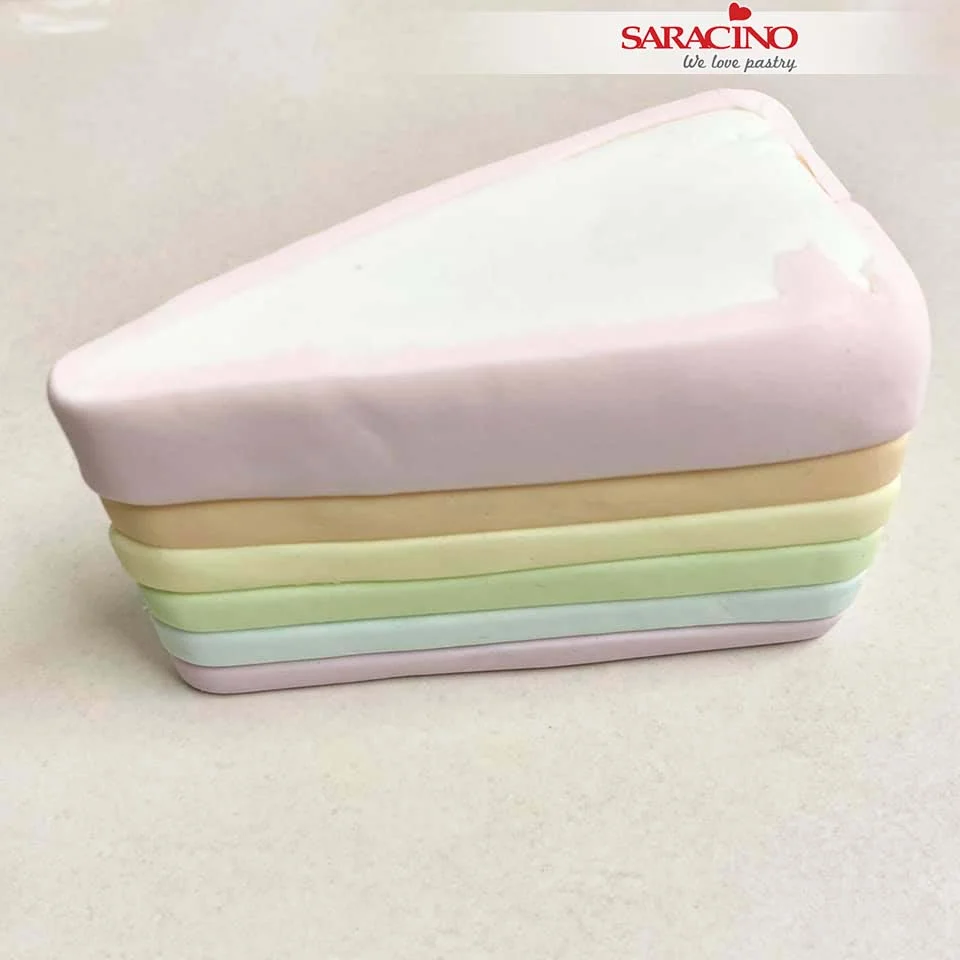
We will be using the pastel coloured pastes we mixed earlier. Roll out the paste and using a ribbon cutter cut strips of each colour.
Step 28

Start adding the stripes from the bottom and work your way up. I always finish with a wider band of colour as this allows me to add drippy icing over the top if I want to. Finished colour stripes

Step 29

For the ‘icing’ covering roll out some white Pasta Model to approx. 3mm thick. It needs to be long enough to cover the top and side of the cake slice. Now glue the back of your cake slice on to the piece of paste.

Step 30

Trim excess icing off each side of the cake slice but keep the long piece to go over the top of the cake.

Step 31

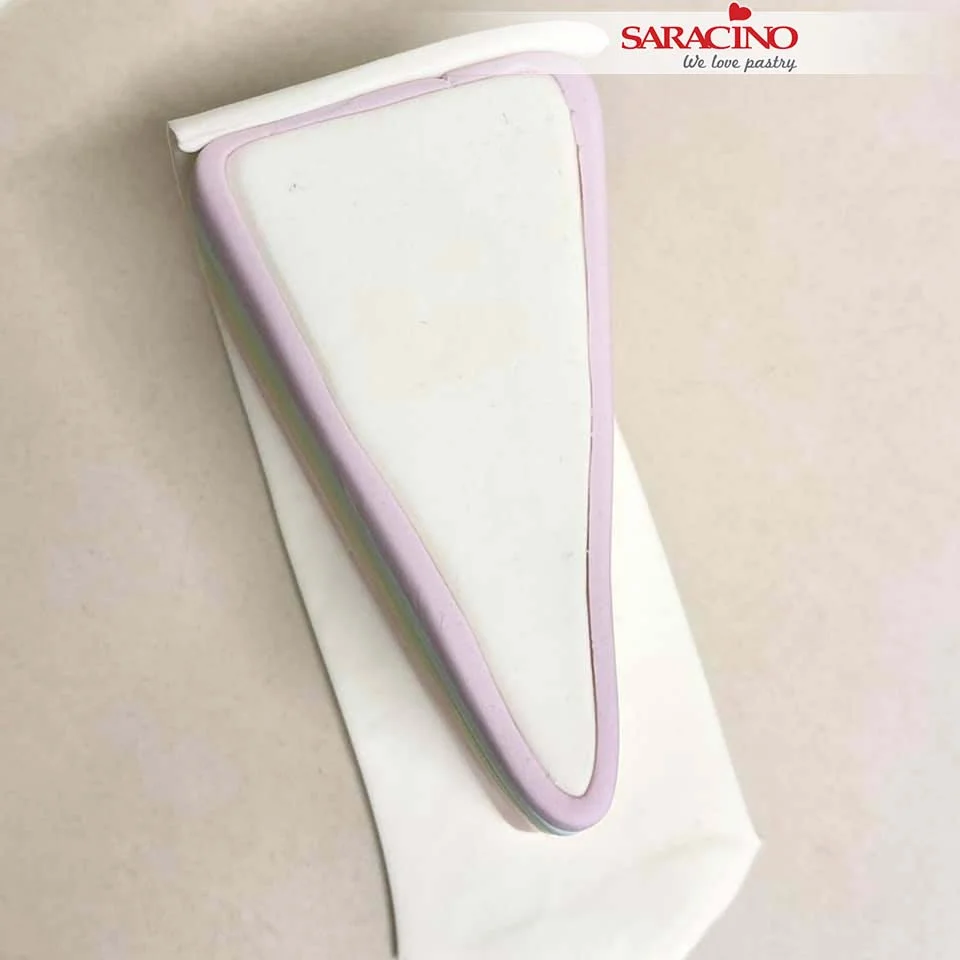
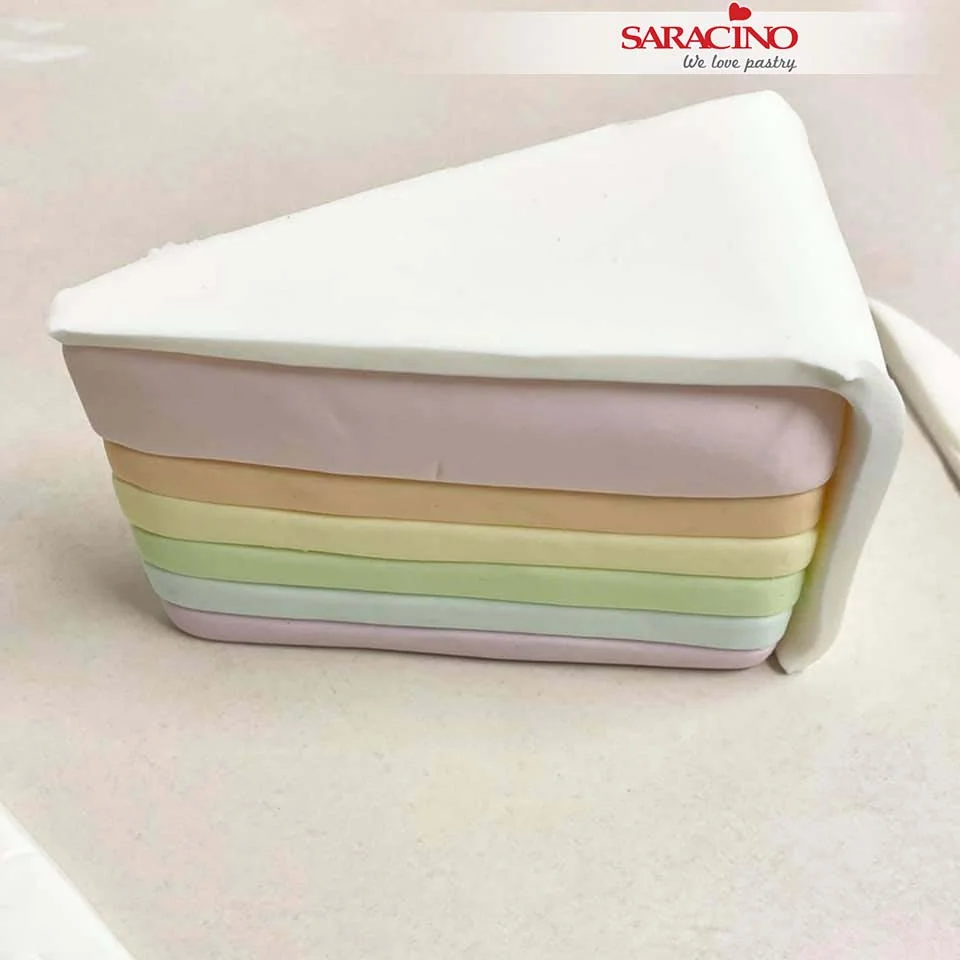
Flip the slice over and brush the top with glue and bring the rest of the white paste up over the top.
Step 32

Now turn the slice upside down so you can see where you need to trim each side of the triangle top shape.
Step 33

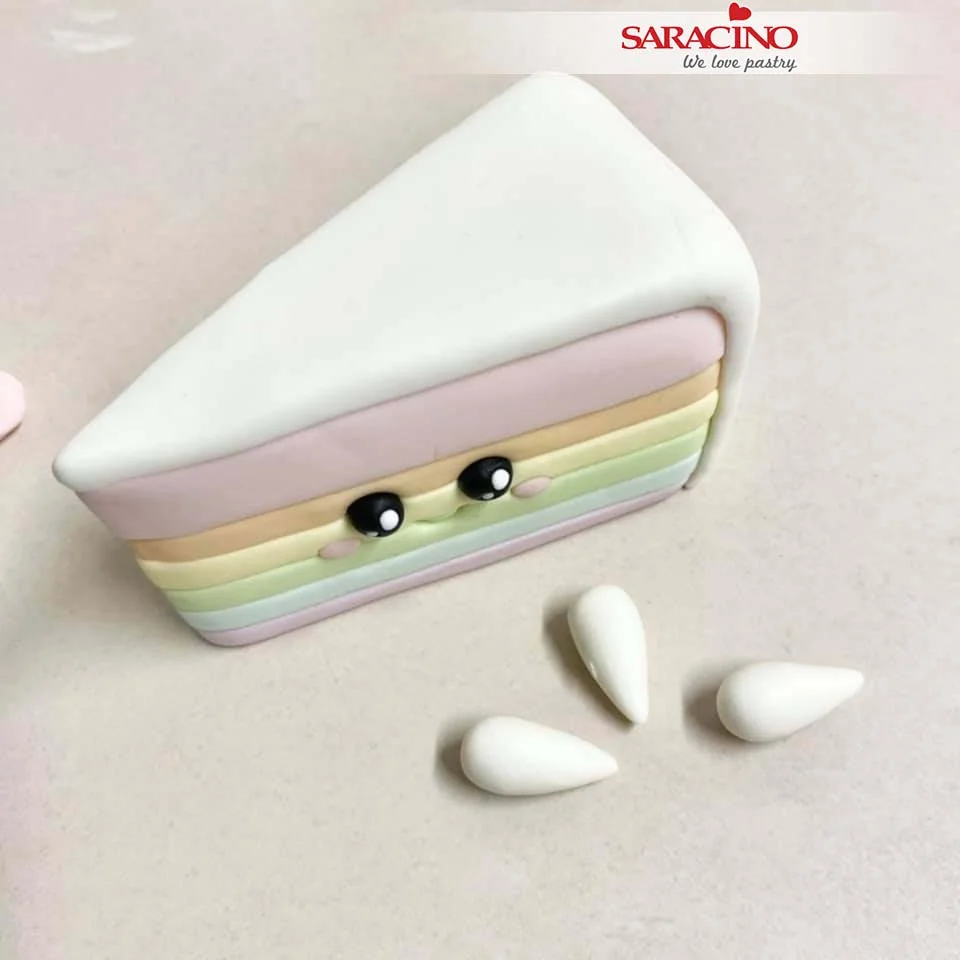
Once trimmed flip back upright.
Step 34

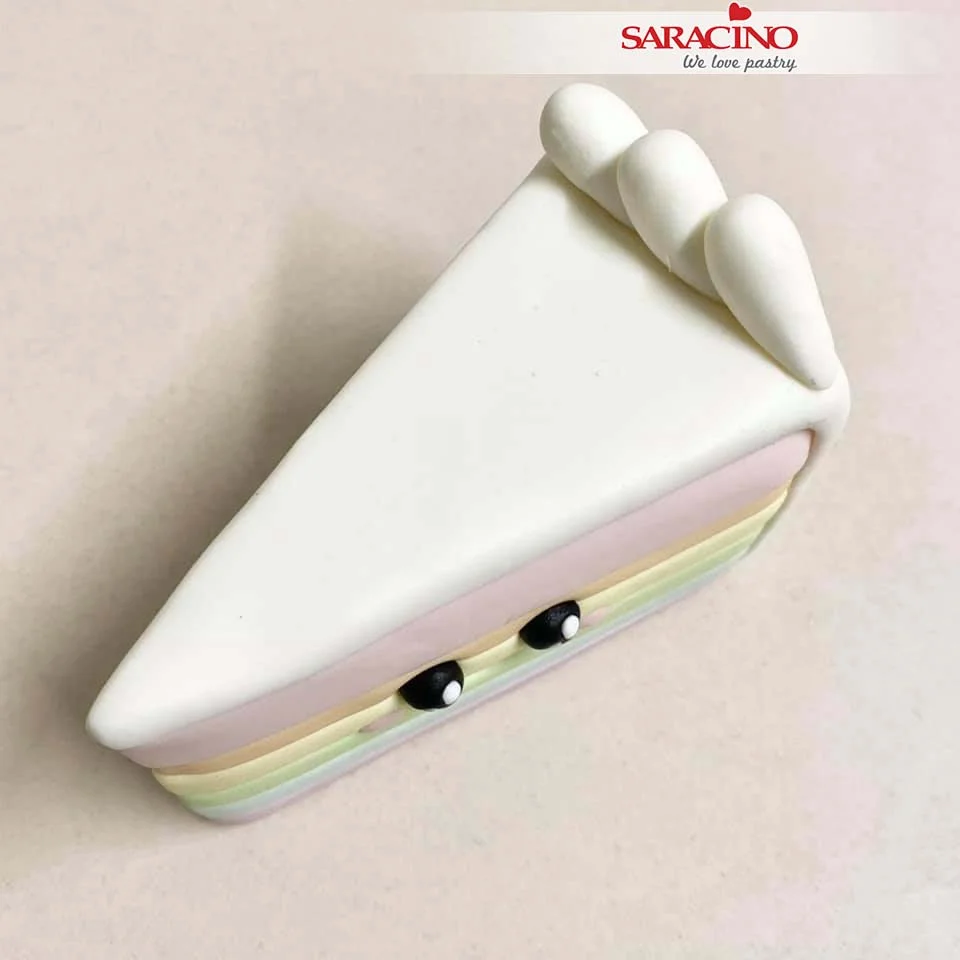
Smooth off the edges nicely. Add eyes, cheeks and mouth like you did with the waffle. Roll out some little teardrop shapes for icing.
Step 35

Add the icing decoration to the top of the cake slice.
Step 36

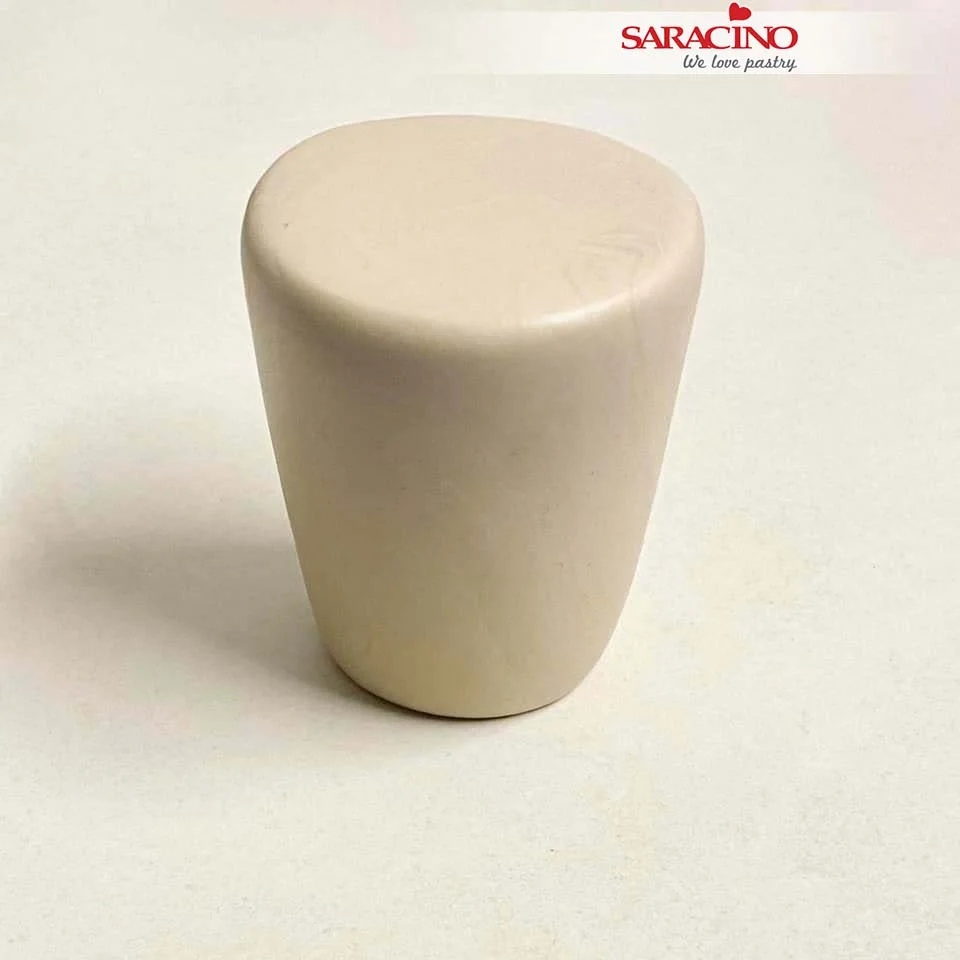
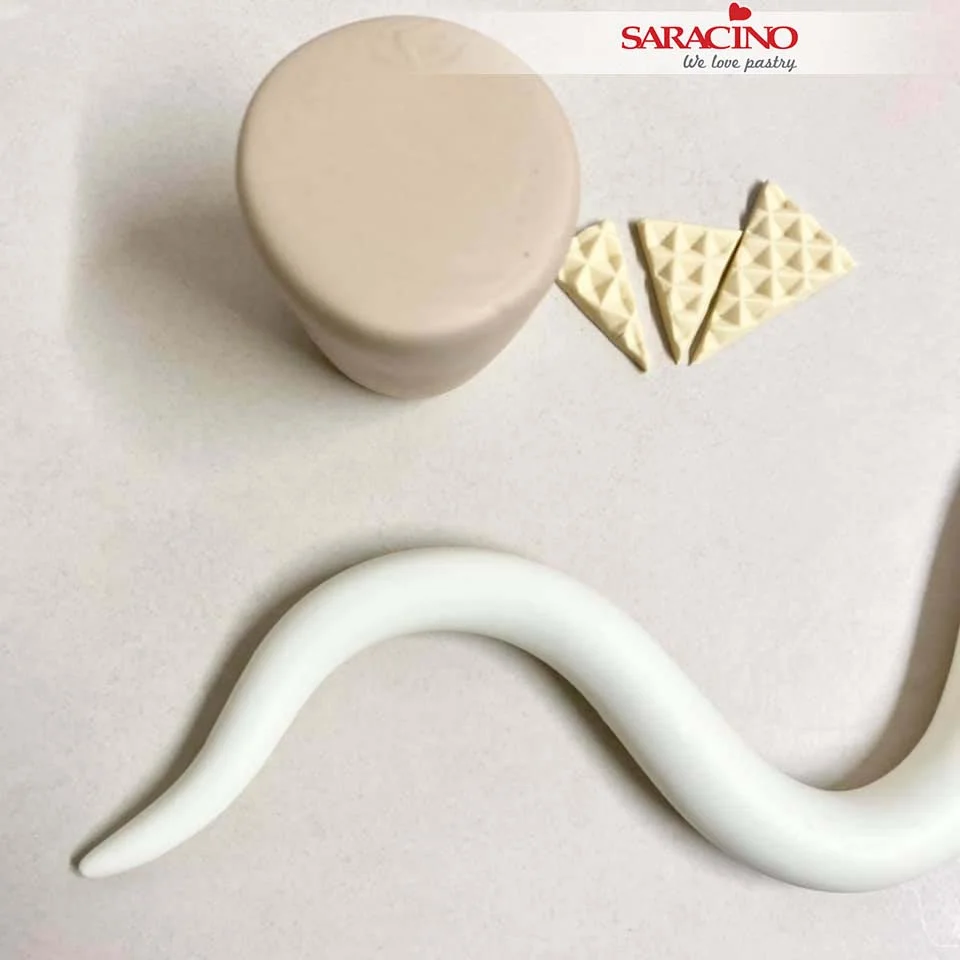
For the chocolate milk shake character use light brown Pasta Model to shape a cup.
Step 37

Roll out some white Pasta Top. Keep it fatter one end and then roll thinner and thinner to create a nice swirl of cream on your shake. Make some little wafers for the shake too, use the waffle mat again, cut a circle and then cut some wedge shapes.

Step 38

Add your ‘cream’ swirl to your shake.

Step 39

For the straw roll 2, 3 or 4 colours to a thin long sausage shape.

Step 40

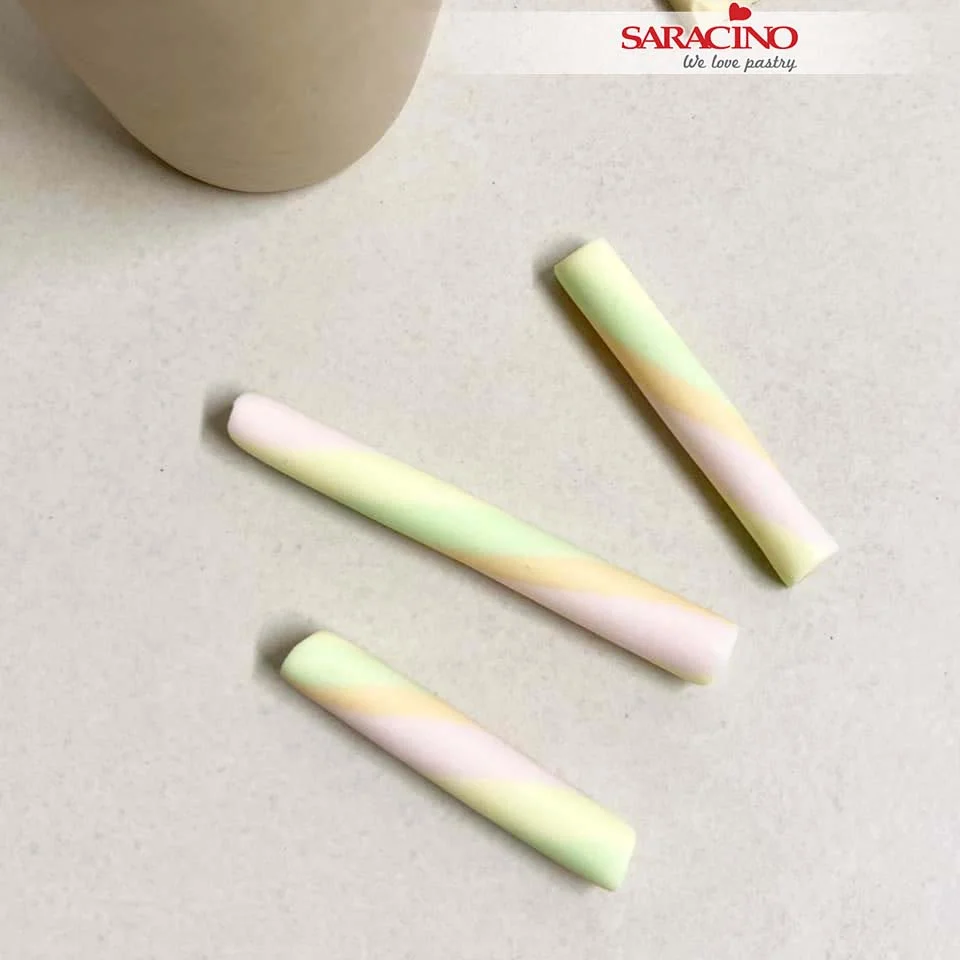
Place your colours together and twist them, after a gentle twist, roll out under the palm of your hand on your mat. Twist again and roll until you have a smooth long colourful sausage shape to cut into straws.
Step 41

Cut some straws in different sizes.

Step 42

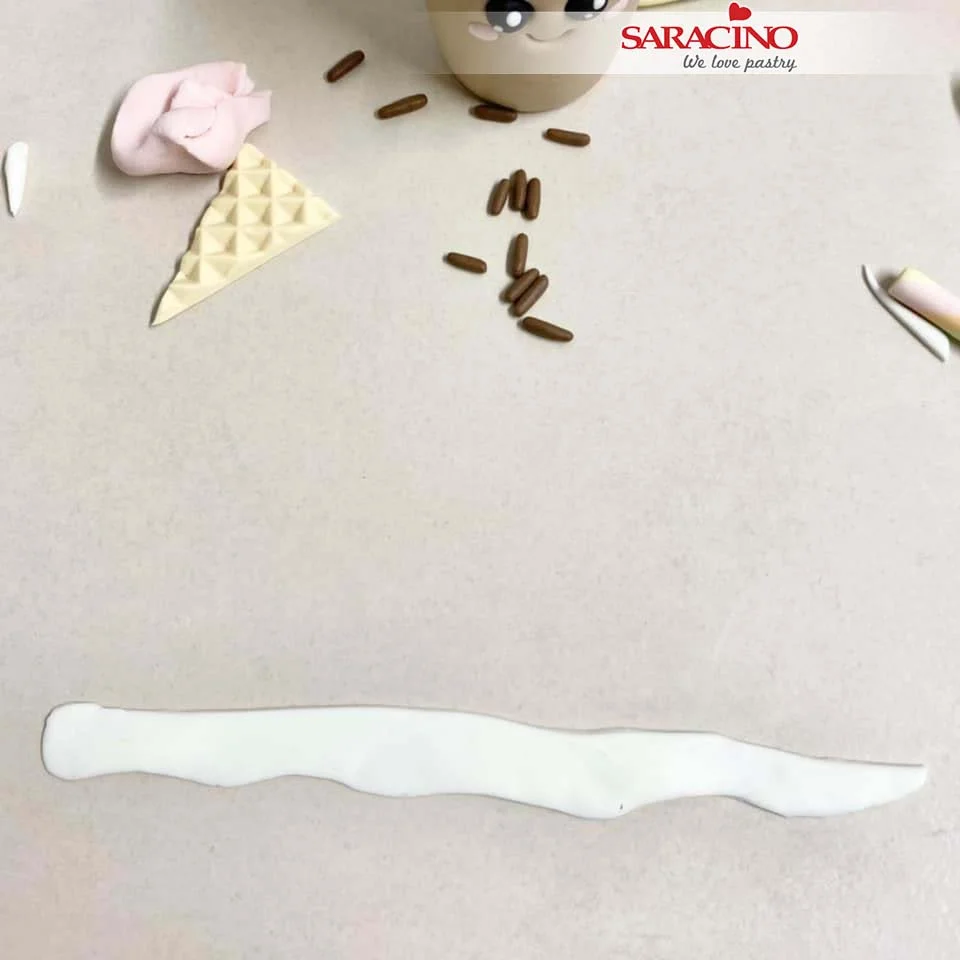
Following the steps we used previously add eyes, cheeks and mouth. Roll some little dark brown sprinkles and use a ball tool to make holes for the straws to go in to.
Step 43

Thinly roll out some white Pasta Model and cut out a drip shape. Add around the top of the cup.

Step 44

Add the wafers, sprinkles and straws to finish your character.
Step 45

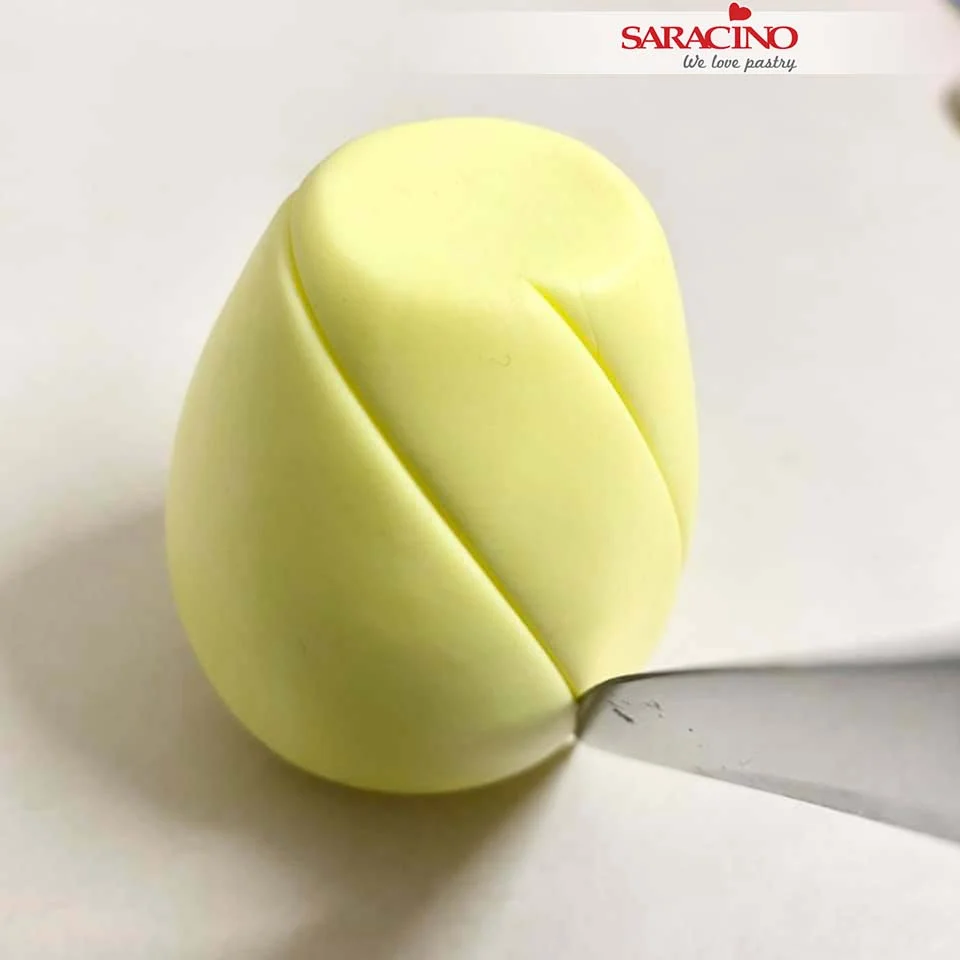
For the pineapple, use yellow Pasta Model and roll an egg shape then trim off the top. Use a long sharp knife too make some lines on the egg shape.

Step 46

I made bigger diamond shapes as they are easier to create around this pineapple shape. Use a serrated cone tool to make the little star dents inside each diamond shape.

Step 47

The little star shapes in the centre of each diamond shape.
Step 48

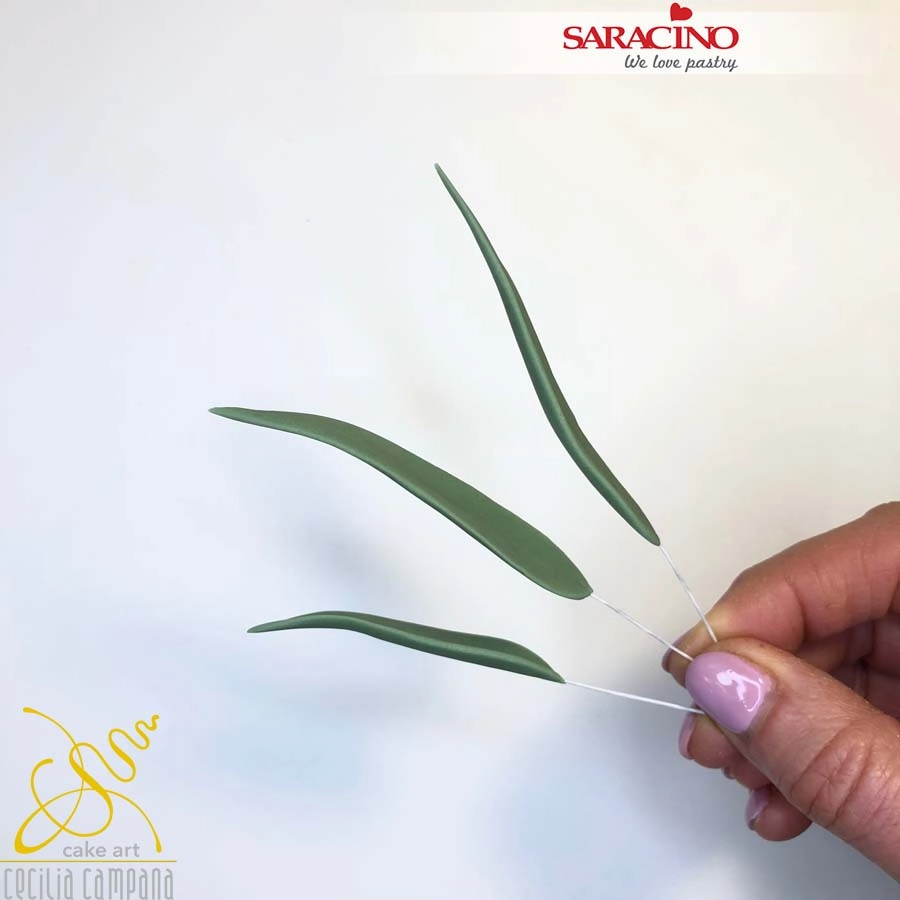
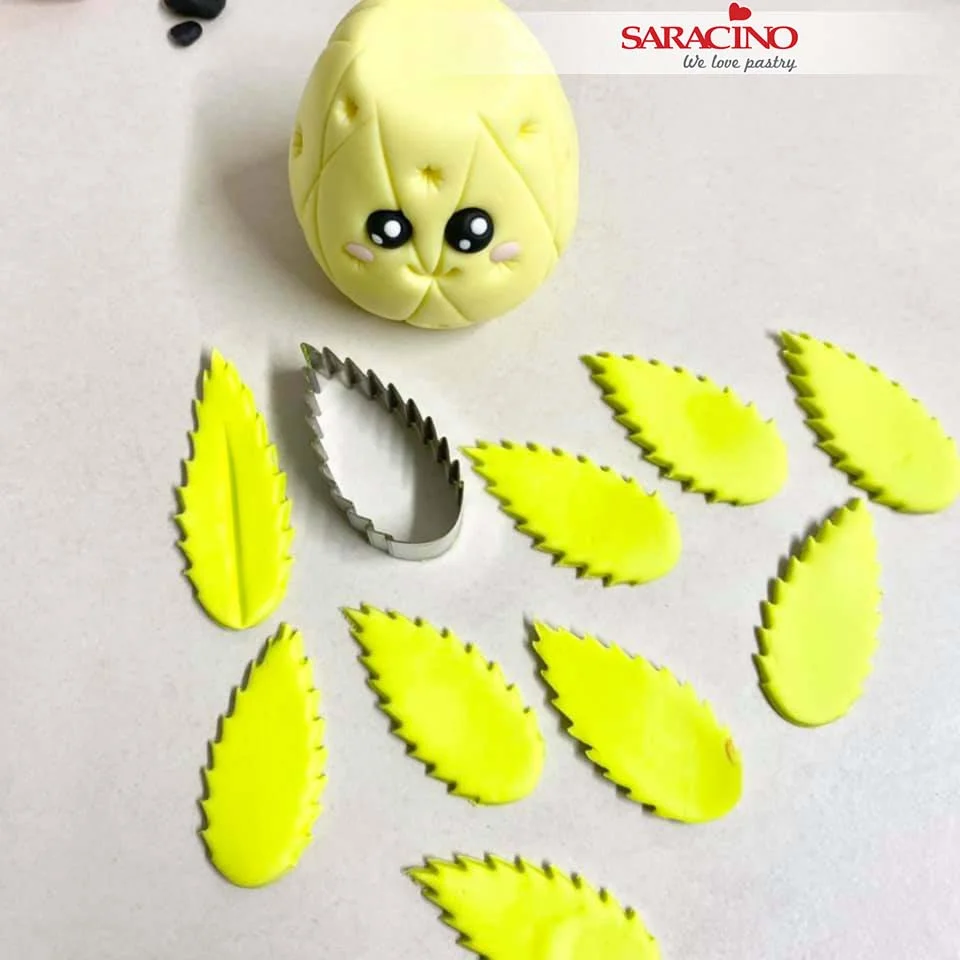
Add the eyes, cheeks and mouth. For the top leaves of the pineapple, use green Pasta Model and cut out some leaves using a rose petal cutter. Use a Dresden tool to mark a line in the centre of the leaf. As Pasta Model is so flexible, stretch each leaf out longer and as it stretches also thin the ends with your fingers.

Step 49

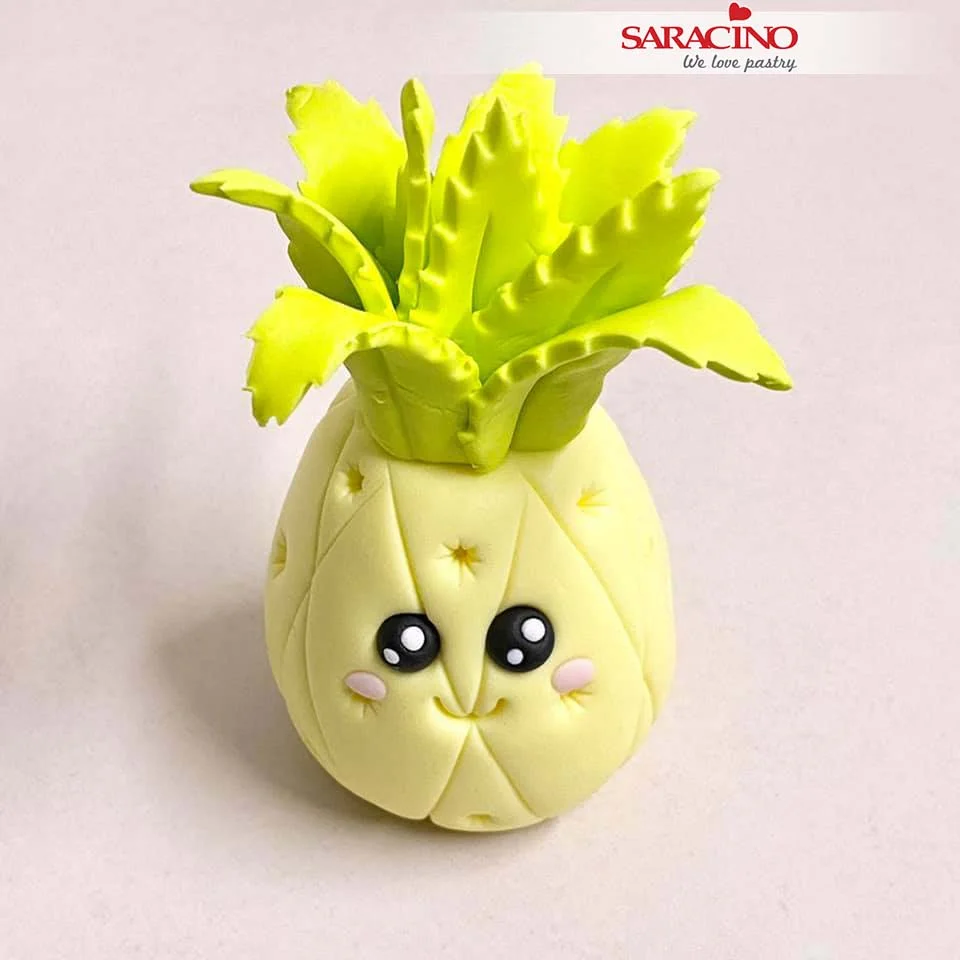
Start putting your leaves together starting in the centre.
Step 50

Once you have put all the leaves together trim off the base so they sit flush on top of the pineapple and you have another completed character.

Step 51

For the croissant roll out Pasta Model (the same colour as your waffle) and cut out a long triangle shape.
Step 52

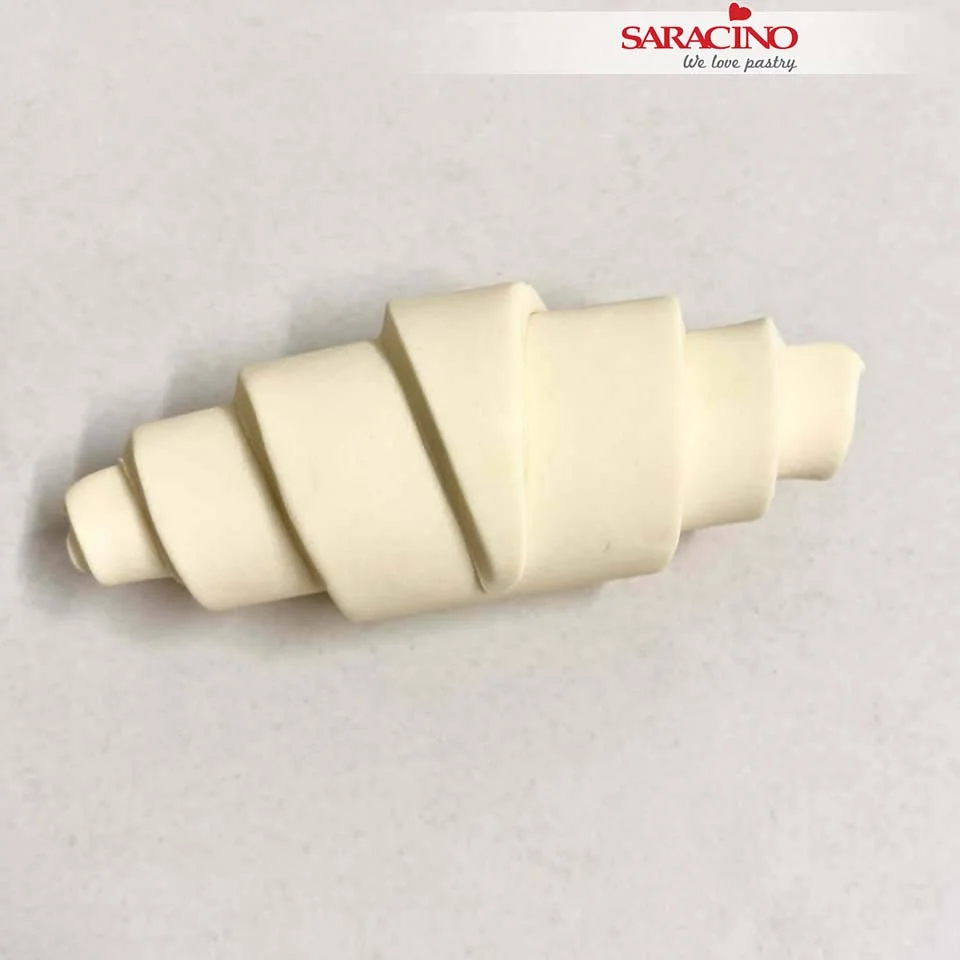
Start rolling this from the larger side. Roll right to the end.
Step 53

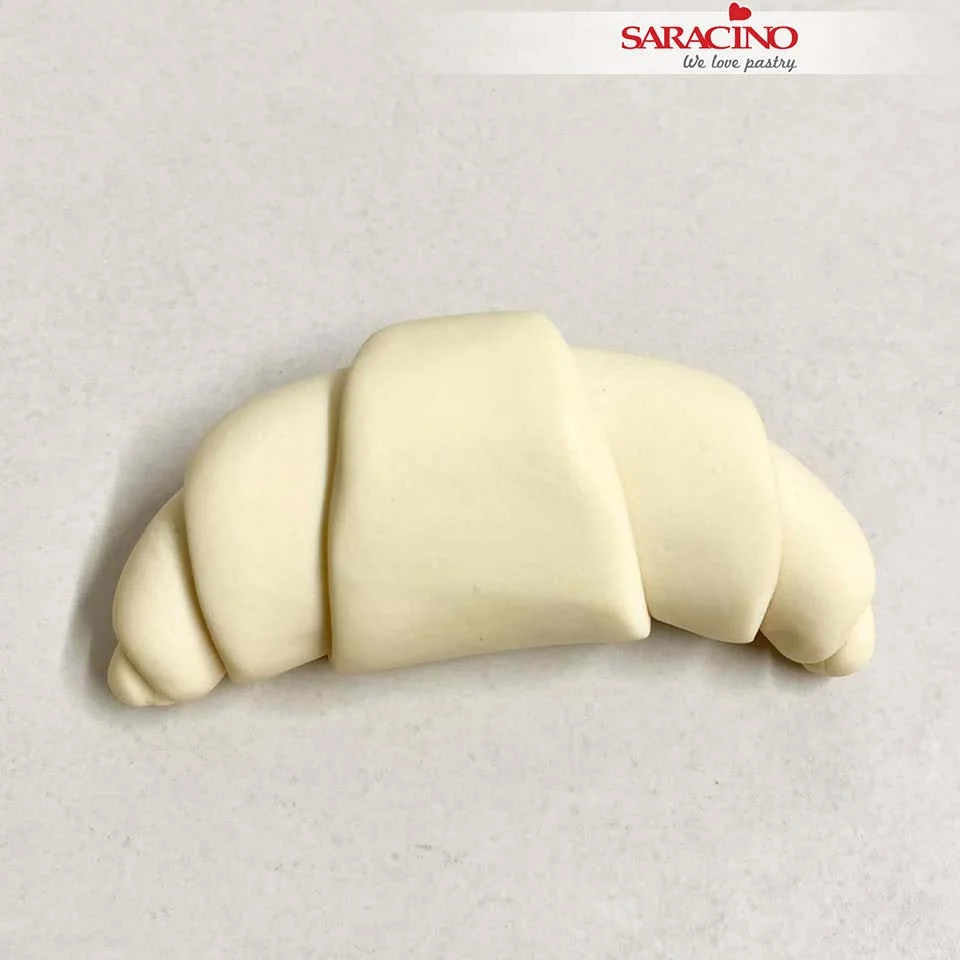
Turn this over and press together nicely. Smooth the edges and shape the ends to make your croissant.
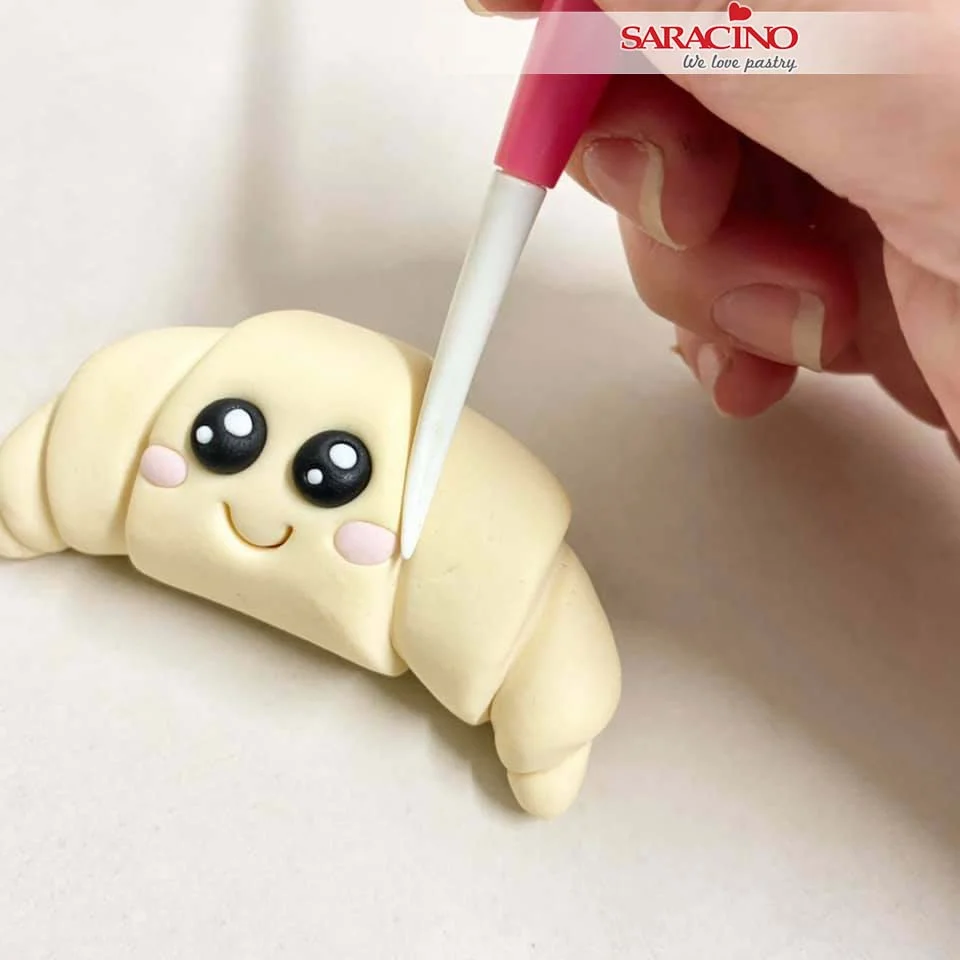
Step 54

Add the little face and use the Dresden tool to indent slightly along each line.

Step 55

I used a little bit of lemon extract and autumn leaf colouring to add some colour on the croissant.
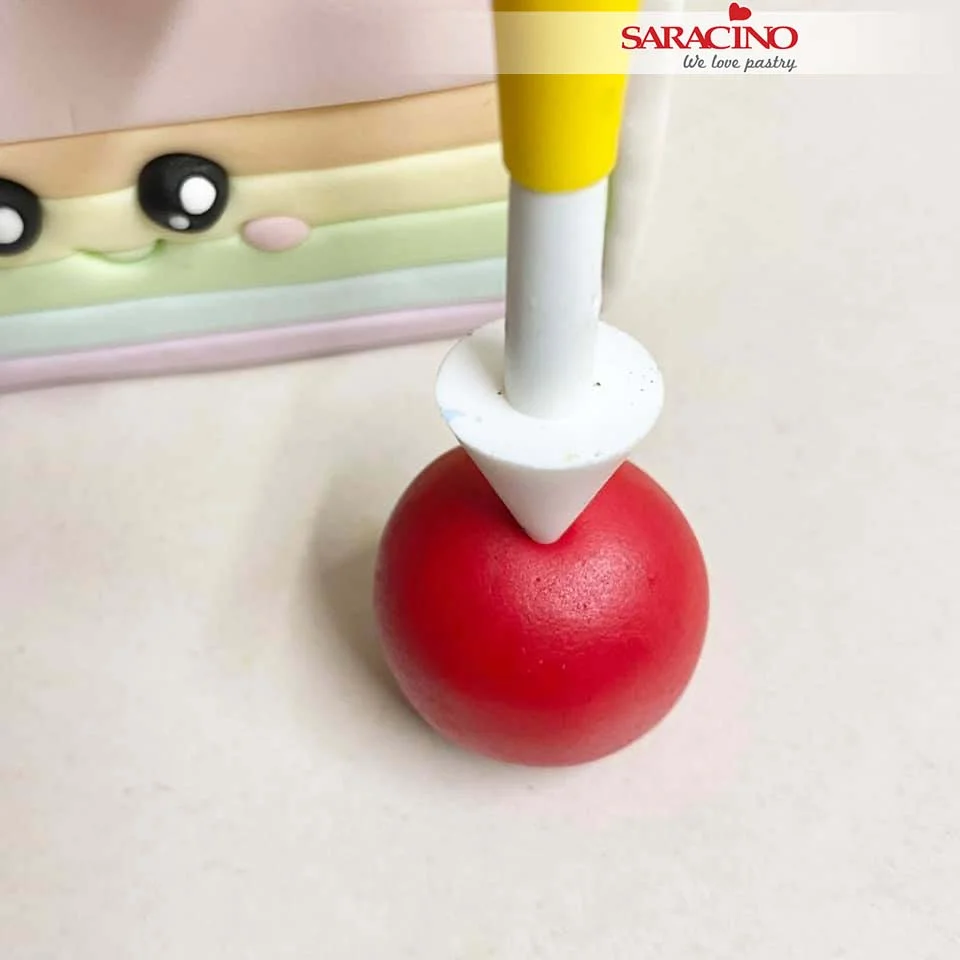
Step 56

For the cherry use red Pasta Model. Roll it into a ball. Use a cone tool to make the dent in the top of the cherry.
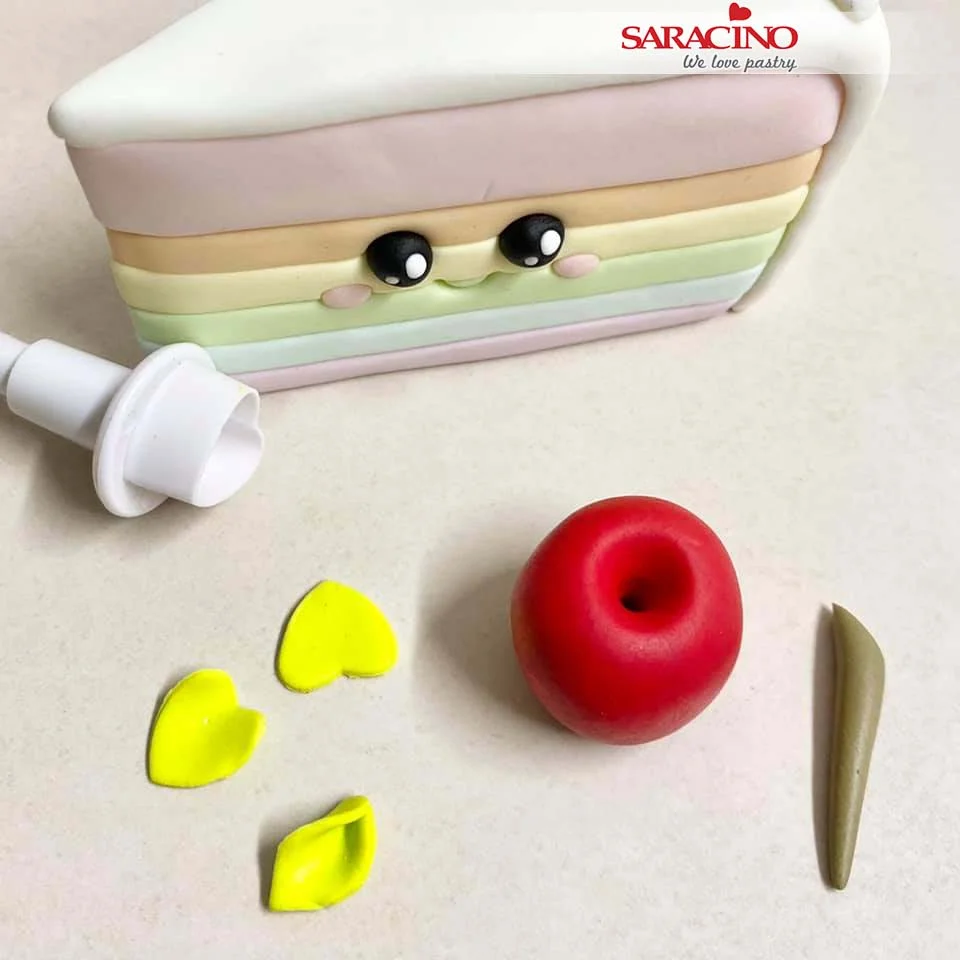
Step 57

Use a small heart cutter to cut out some leaves and fold in on the rounded side and pinch together. Create a stalk for the cherry.

Step 58

Add the face and complete your little cherry for the top of the cake slice.
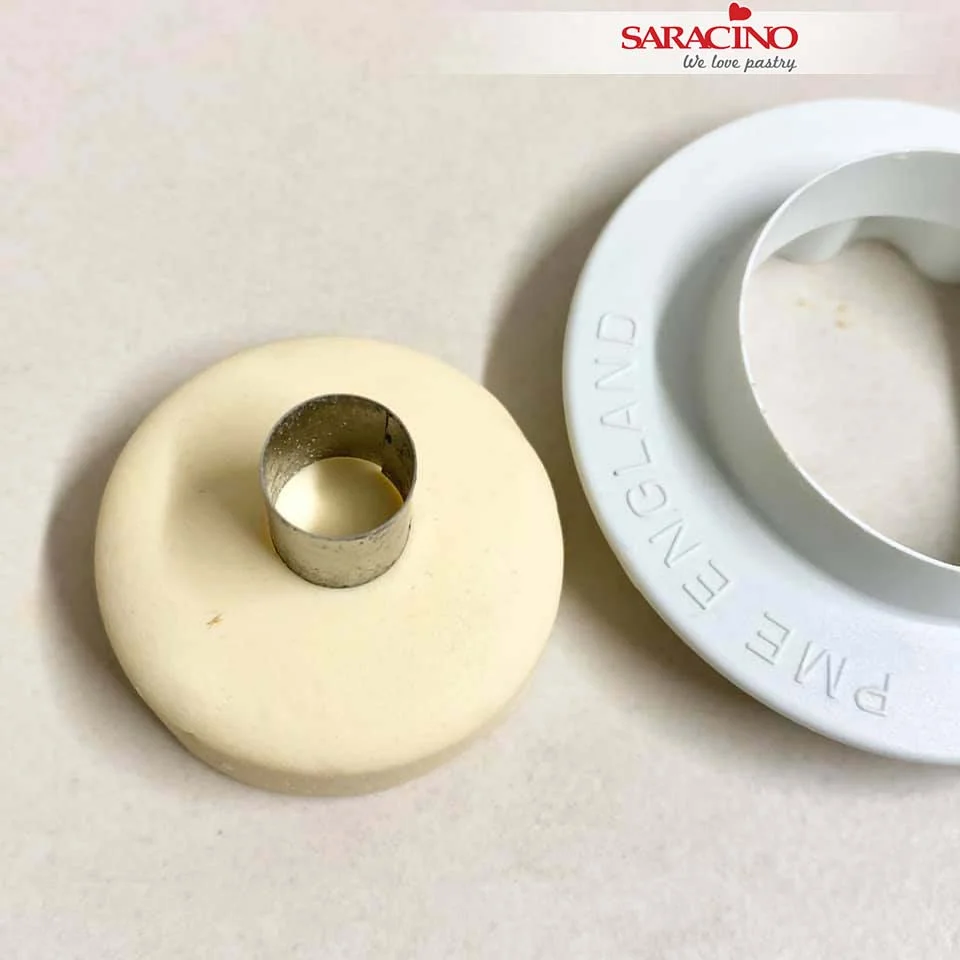
Step 59

To make the donut character cut out a circle from light brown Pasta Model. Use a smaller circle cutter to remove the centre from the donut.

Step 60

Roll out some white Pasta model. Cut a wavy edge around the outside slightly smaller than your donut. Place on top of the donut.

Step 61

Use a ball tool to press the white through the centre of the donut so it fills the side of the centre hole.

Step 62

Add the happy face and finish off with some sprinkles.

Step 63

Using the pastel colours roll lots of sprinkles. Add to the top of your cake and to the cake board.

Step 64

Add your kawaii characters to the cake. Ta Da! It’s ready.
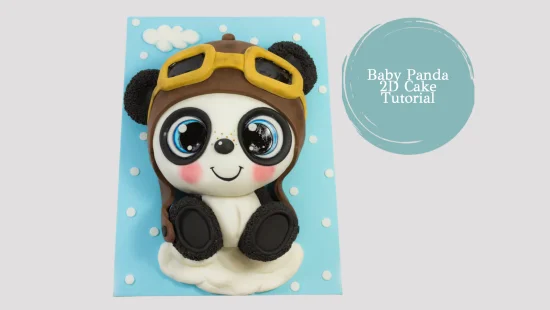
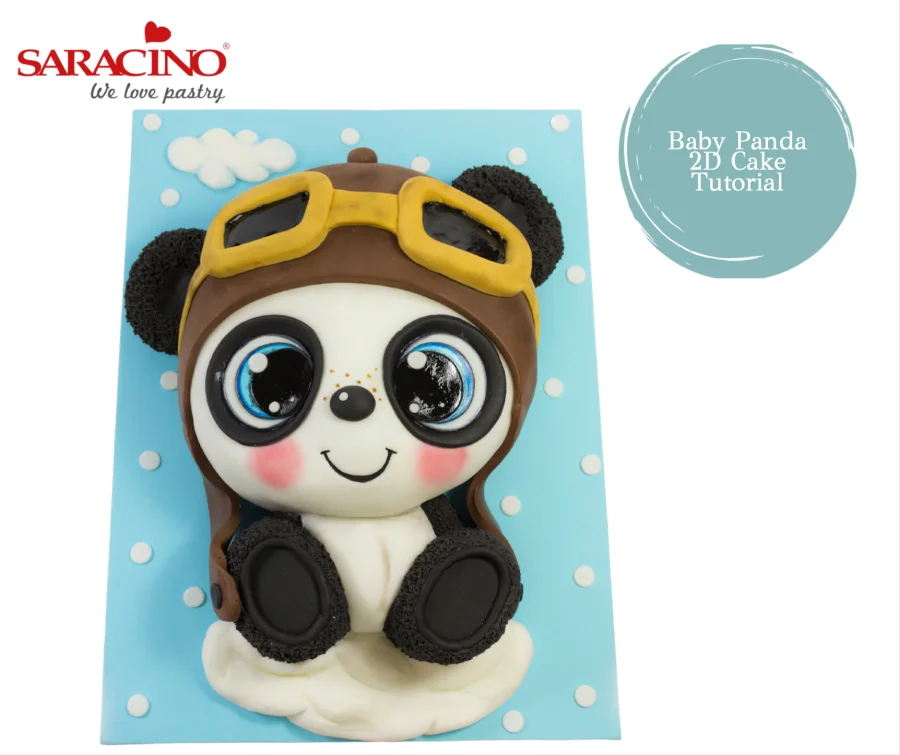
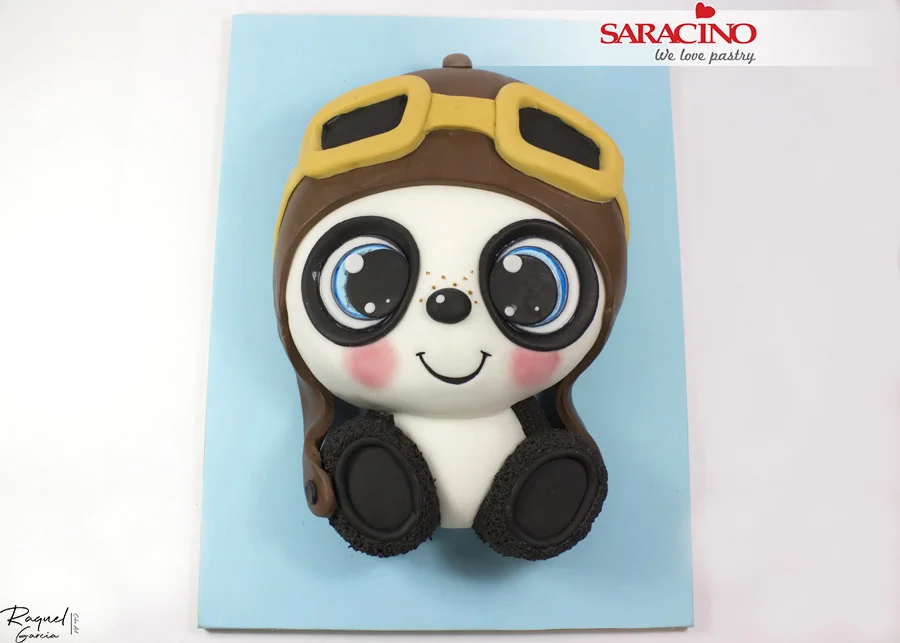
BABY PANDA 3D CAKE TUTORIAL

BABY PANDA 3D CAKE TUTORIAL

Skill level: INTERMEDIATE

You will need:

  • Cake board to put the cake on
  • Rectangular drum
  • Ganache
  • Vanilla cake (or the flavour you prefer)
  • Syrup
  • Smoother
  • Knife
  • Steel spatula
  • Roller
  • Swiss meringue buttercream
  • Cutter for the fondant
  • Set of round cutters
  • Modelling tools
  • Paint brushes
  • Clear alcohol
  • Saracino Le Supreme food flavouring Forest Fruits
  • Saracino Le Supreme food flavouring Vanilla De Bourbon
  • Saracino blue gel colour
  • Saracino powder food colouring: brown, pink, black and blue
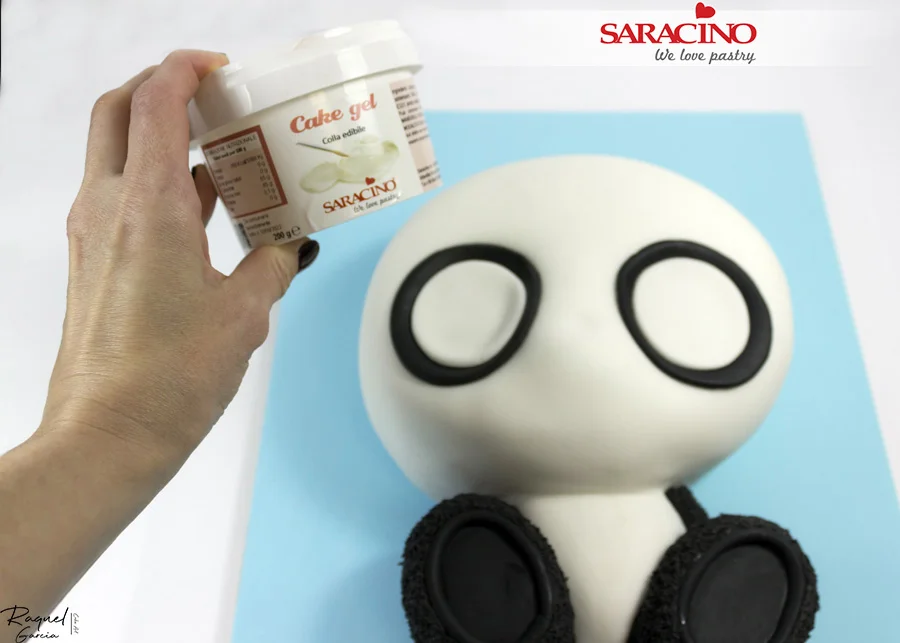
  • Saracino Cake Gel (edible glue)
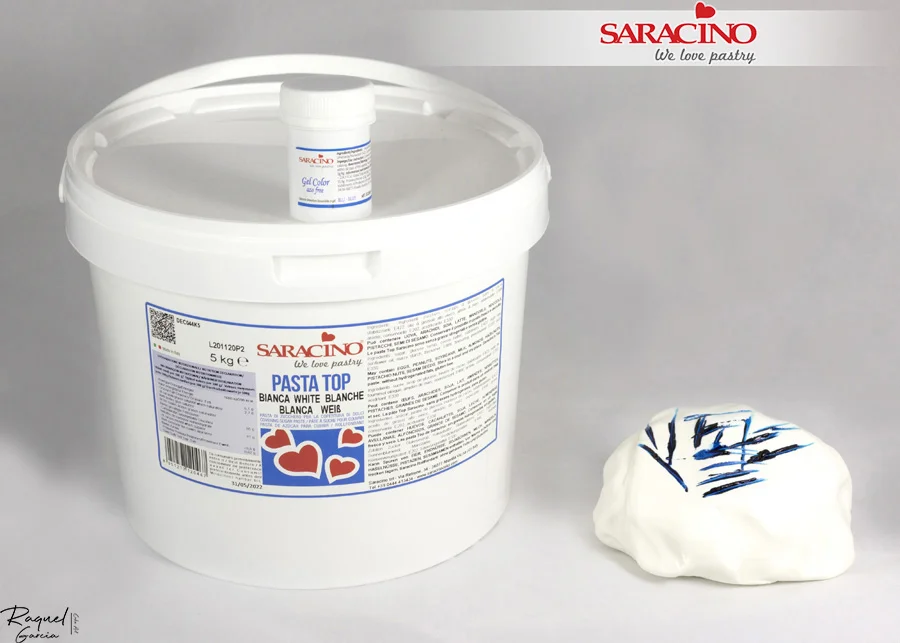
  • Saracino white Pasta Top 
  • Saracino black Pasta Top
  • Saracino brown modelling paste 
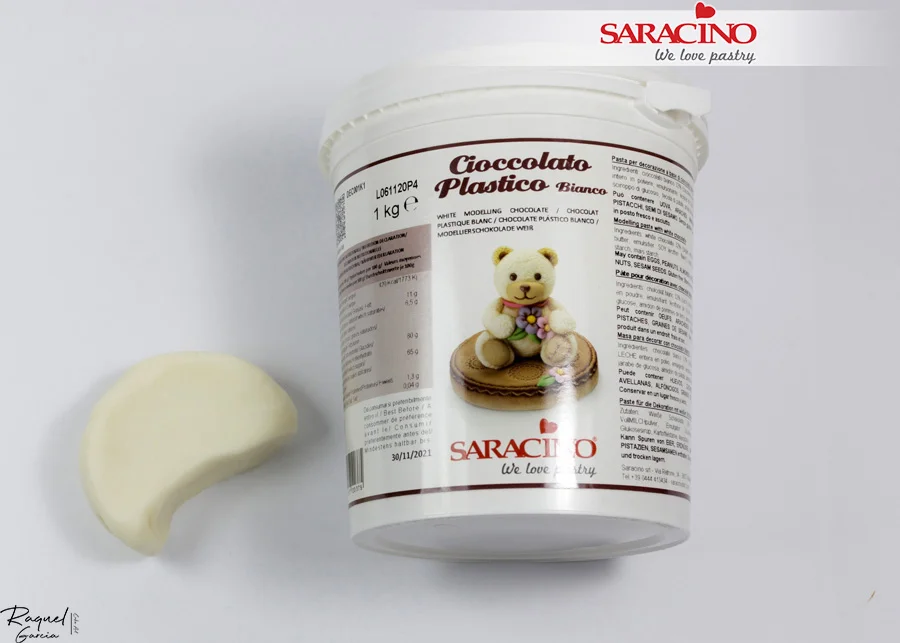
  • Saracino white modelling chocolate
  • Saracino Liquid Shiny (edible varnish)
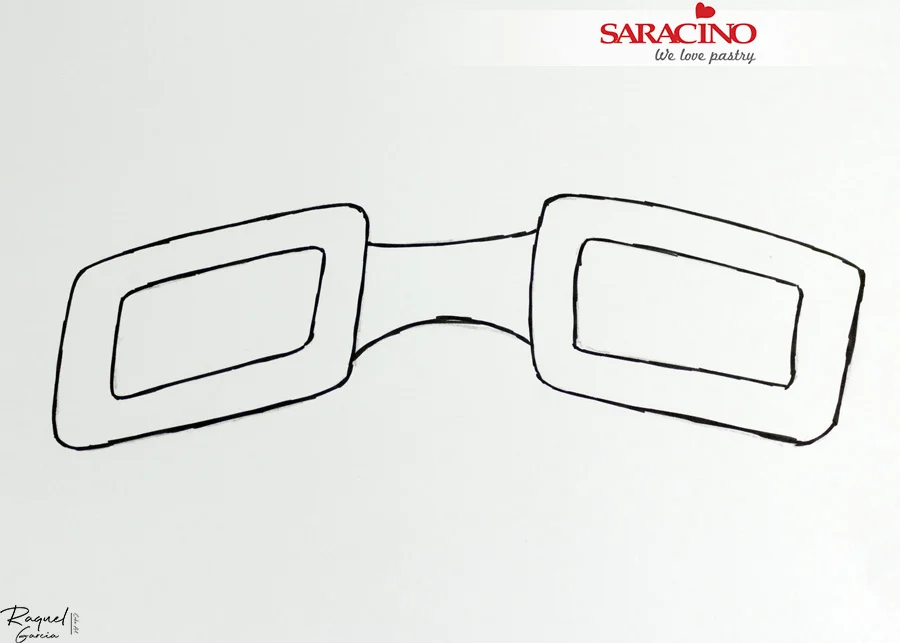
  • Printing templates. Panda- HERE, Glasses – HERE

Step 1

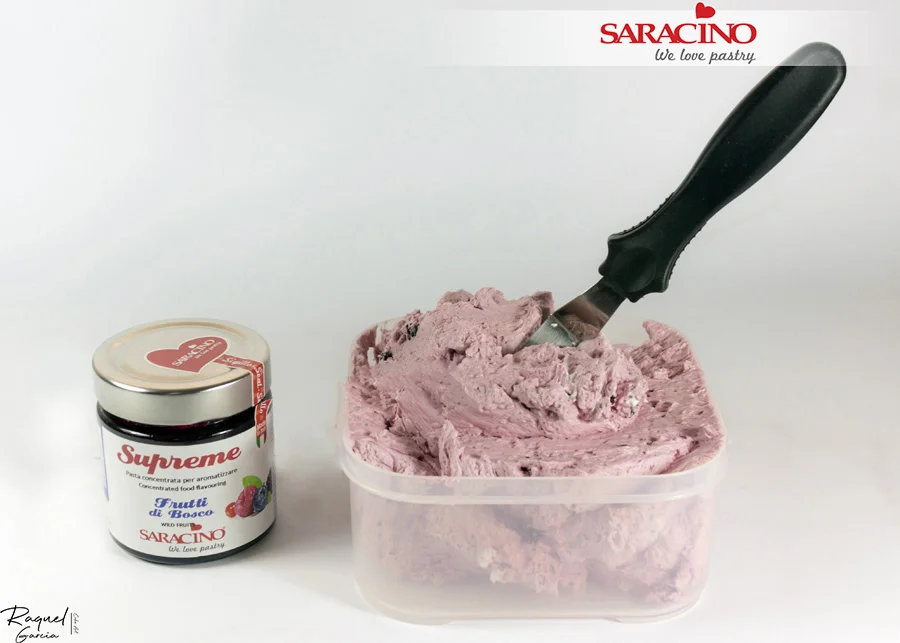
Make a Swiss meringue buttercream and flavour to taste with the Saracino Supreme forest fruit paste.


Step 2

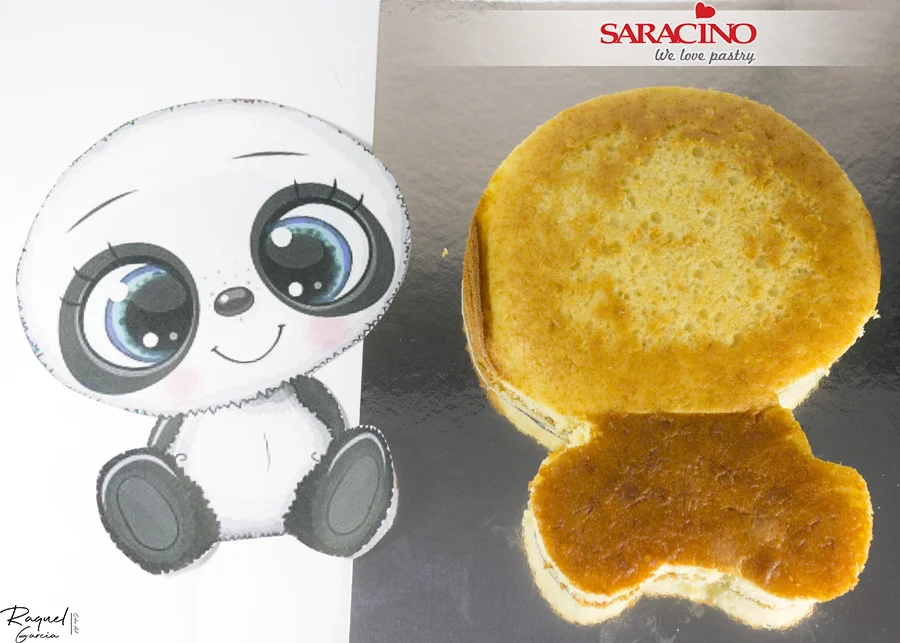
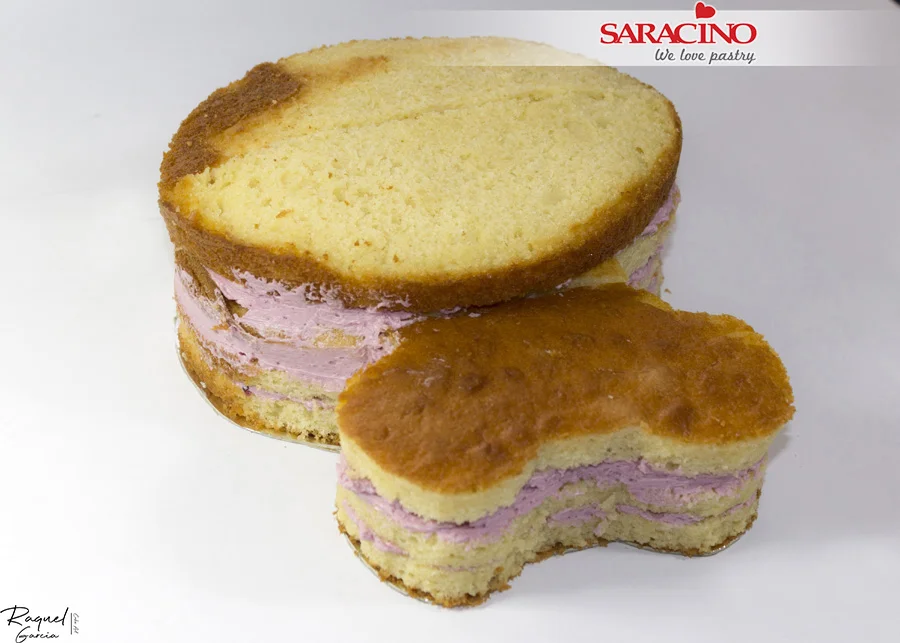
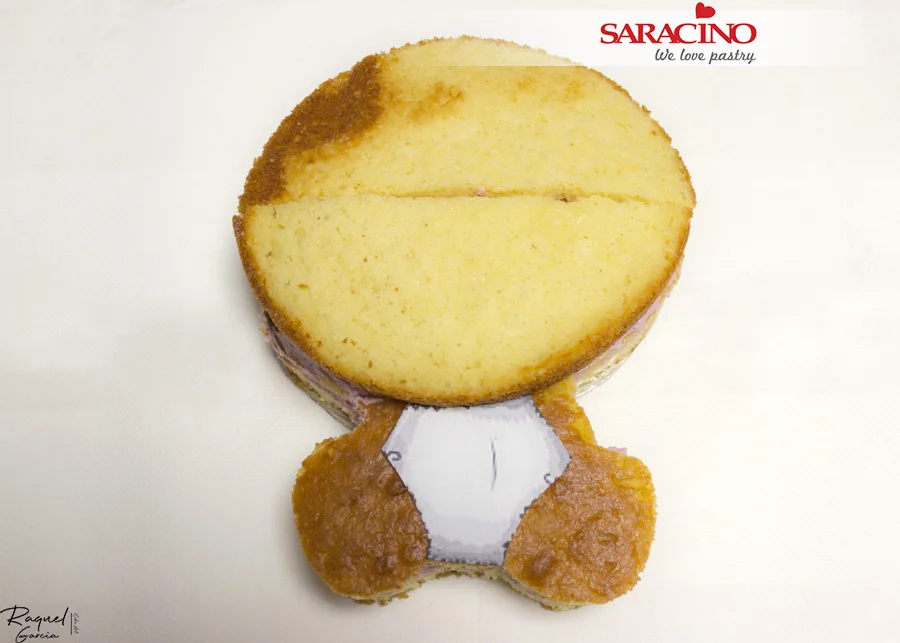
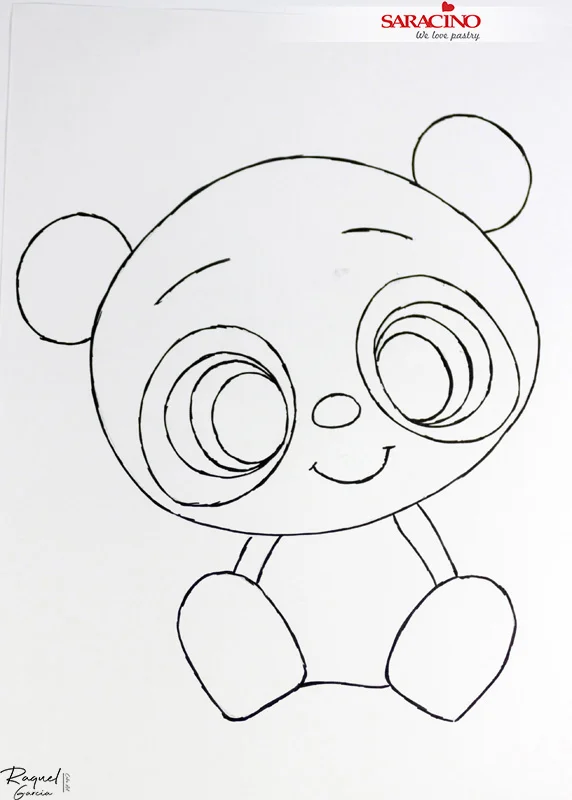
Print the template HERE. Cut out the shape using cardboard or foil in the size you want to make your cake. Cut the top and bottom of the cakes until they are flat and rectangular, then put the bear template on top and carve the cake with a serrated knife.

Step 3

Flavour each sponge with syrup and layer with the buttercream we made in step one.

Step 4

For the head part of the Panda, add one more layer of sponge cake to give the shape when carving.

Step 5

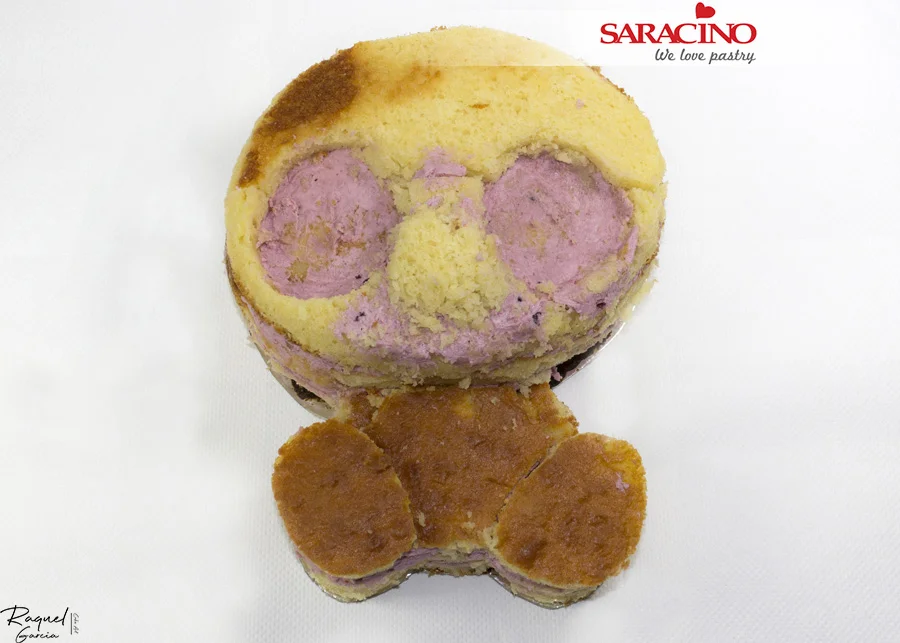
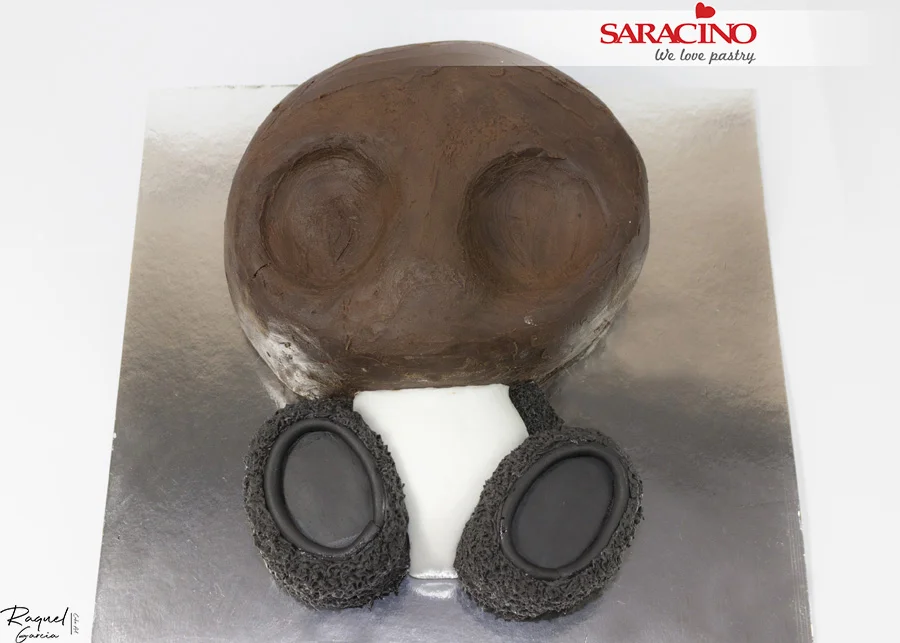
Mark the eyes using the template and cut the sockets in the cake, with the pieces of cake we have removed mix with buttercream and use to model the nose. Add a layer of sponge to each foot. Allow the cake to chill in the fridge.


Step 6

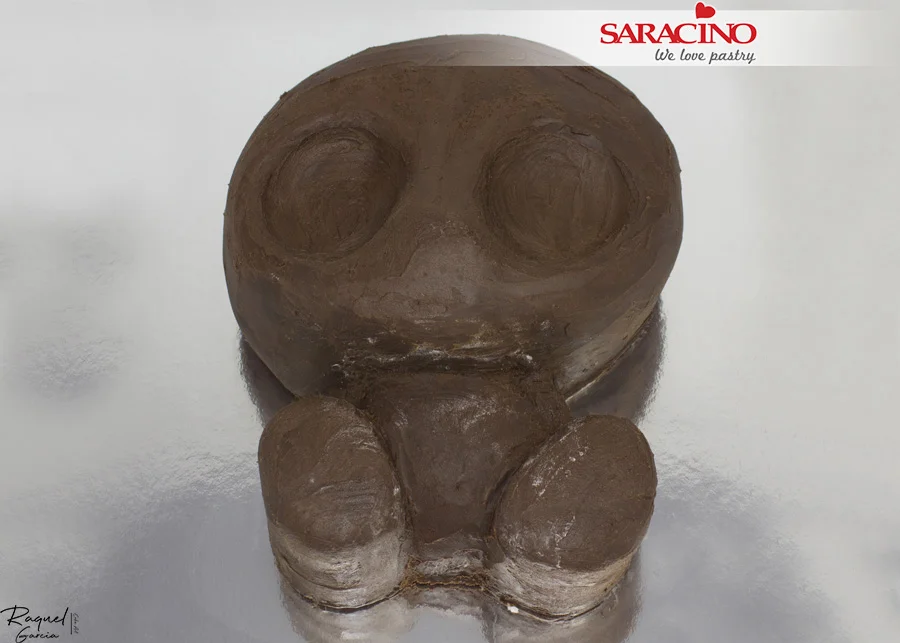
Cover the cake with chocolate ganache (ideally prepared 24 hours in advance).


Step 7

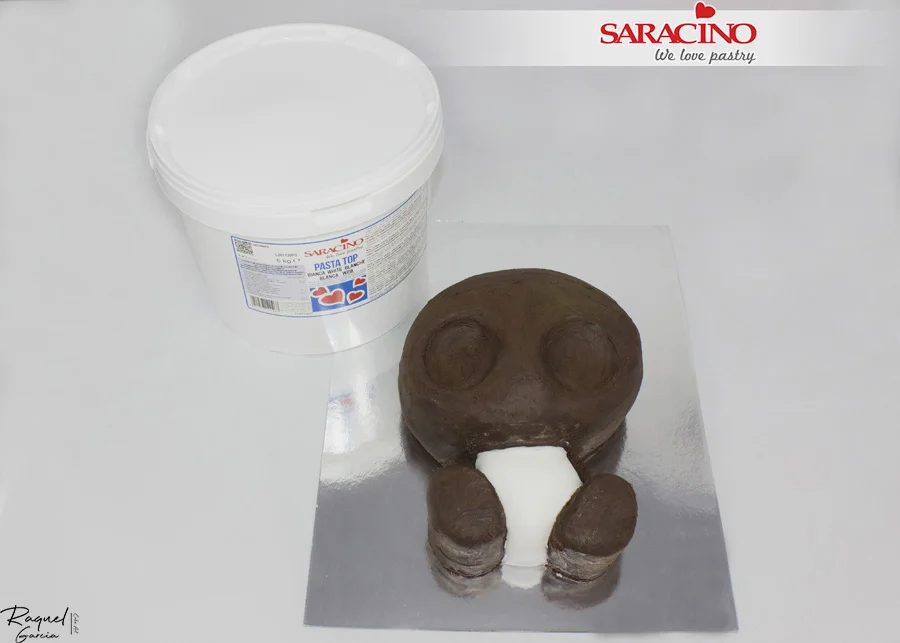
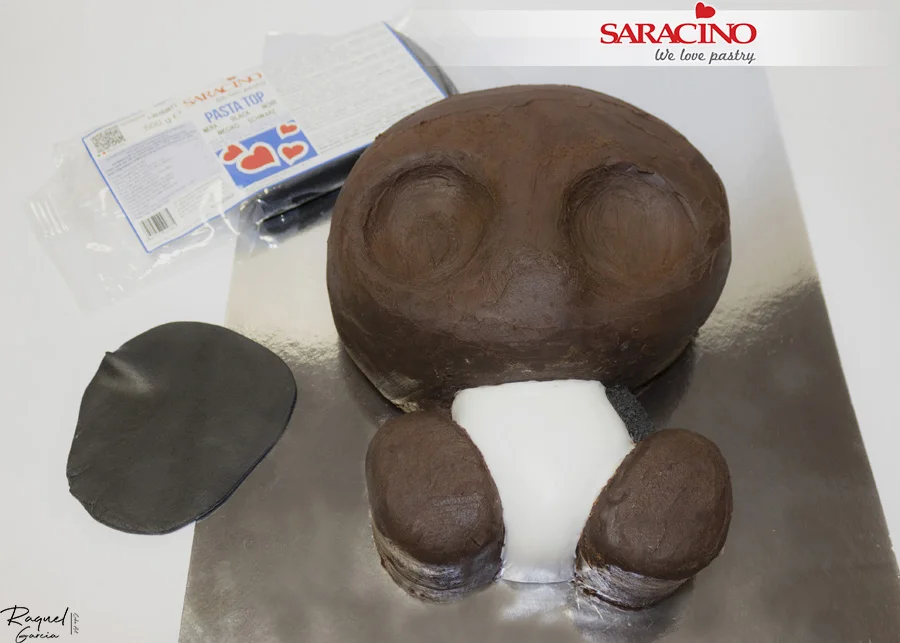
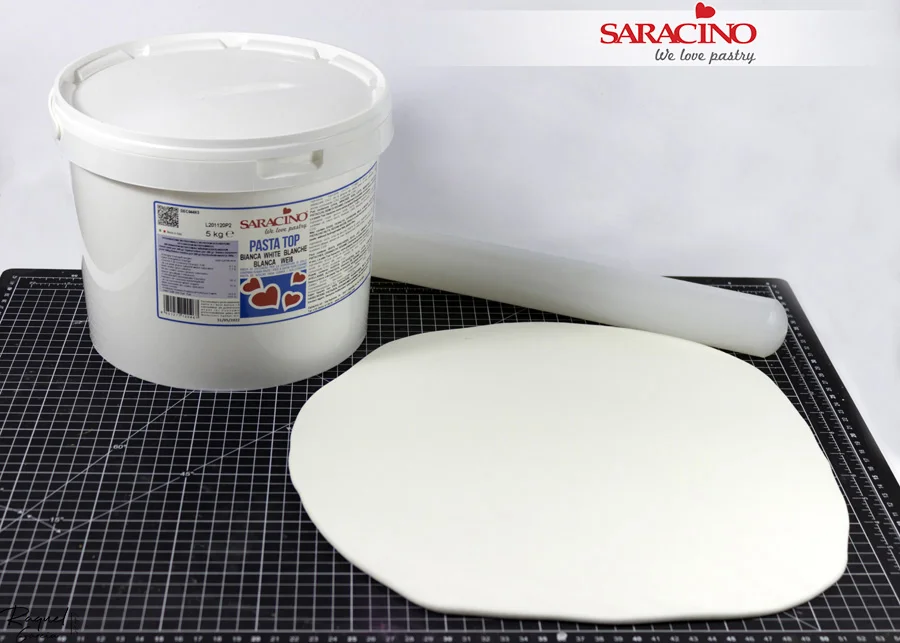
Roll a thin layer of white Saracino Pasta Top and cover the body of the Panda.

Step 8

Roll black Saracino Pasta Top . Do not roll too thin as we will  need to texturise to add the hair effect. We need this to cover the arms and the two legs and feet.


Step 9

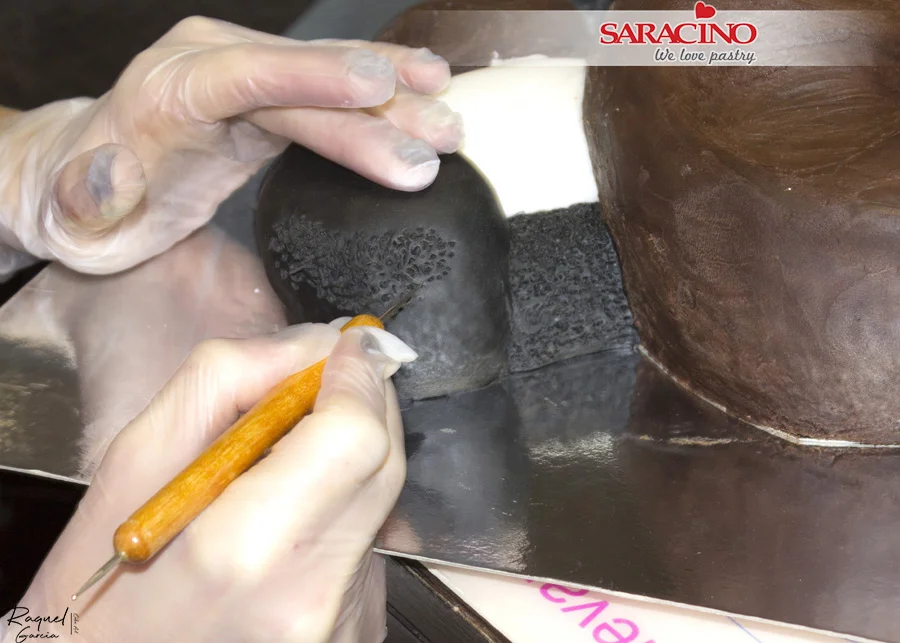
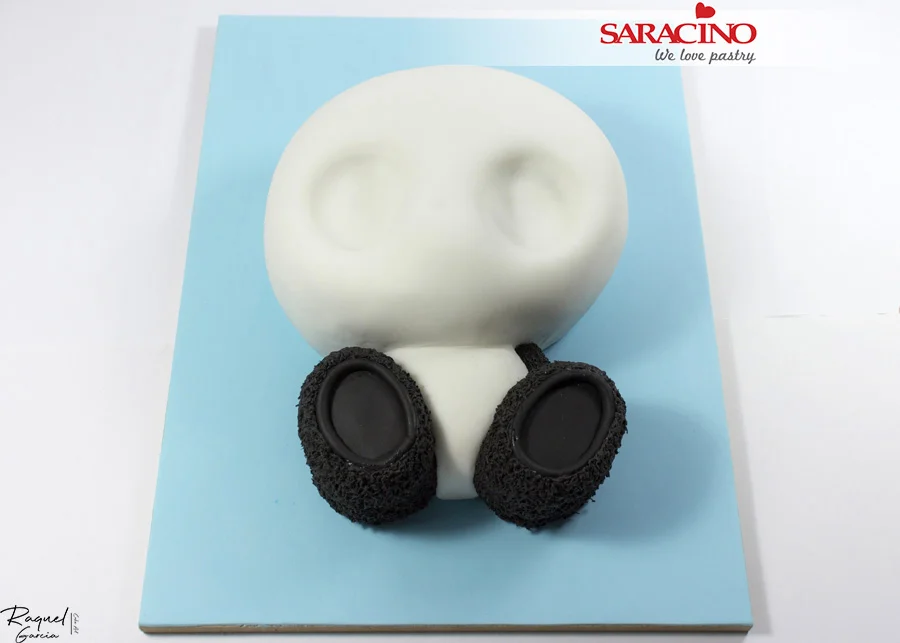
Cover the legs and feet. Using a very small ball tool add the texture. Do not texture the top of the feet.

Step 10

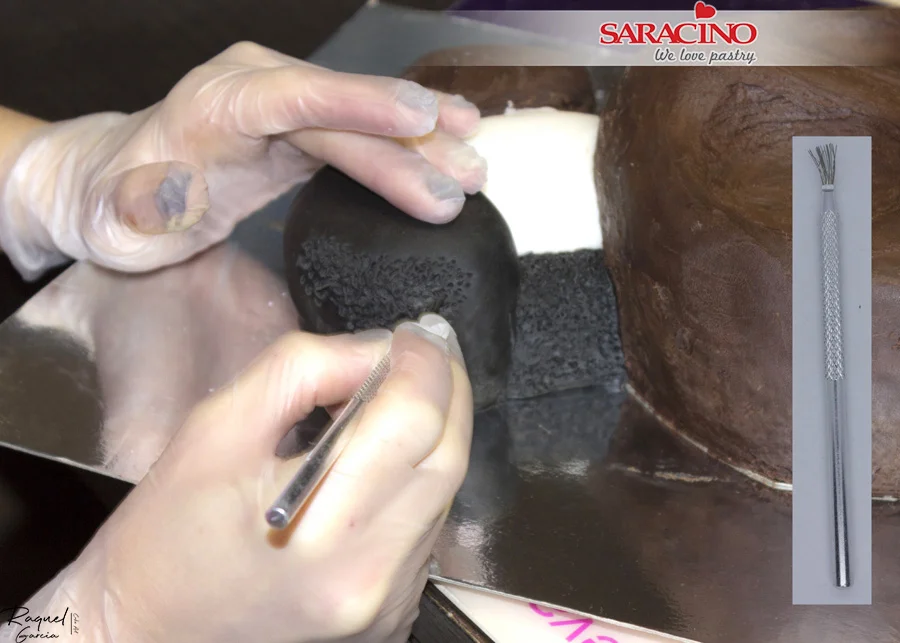
Using a fine metal wire modelling tool create a hair texture by finely brushing the whole area. 

Step 11

Roll a strip of black paste and fix around each foot.

Step 12

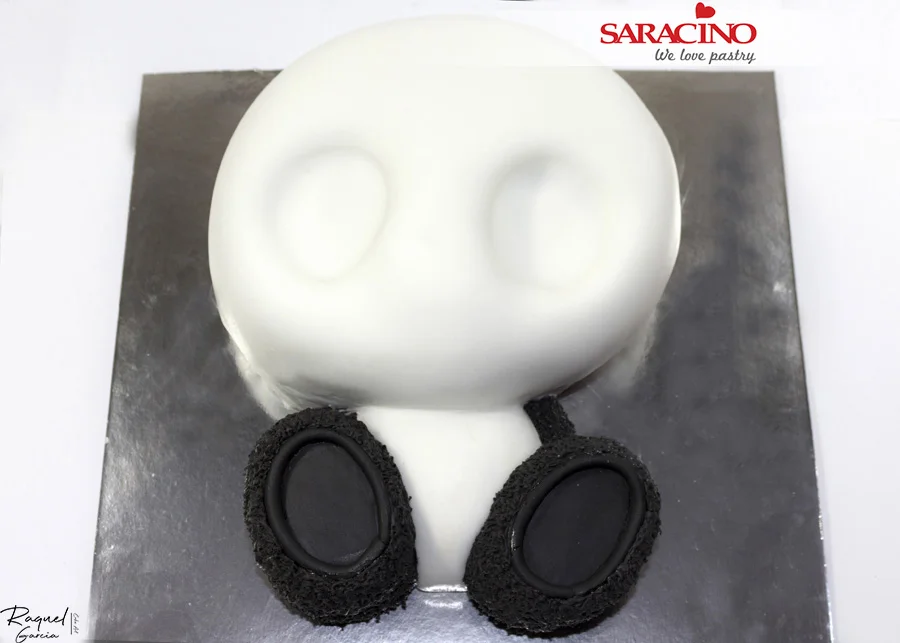
Roll white Saracino Pasta Top for the head.

Step 13

Cover the head. Use your fingers to shape the two eyes and add form for the nose.

Step 14

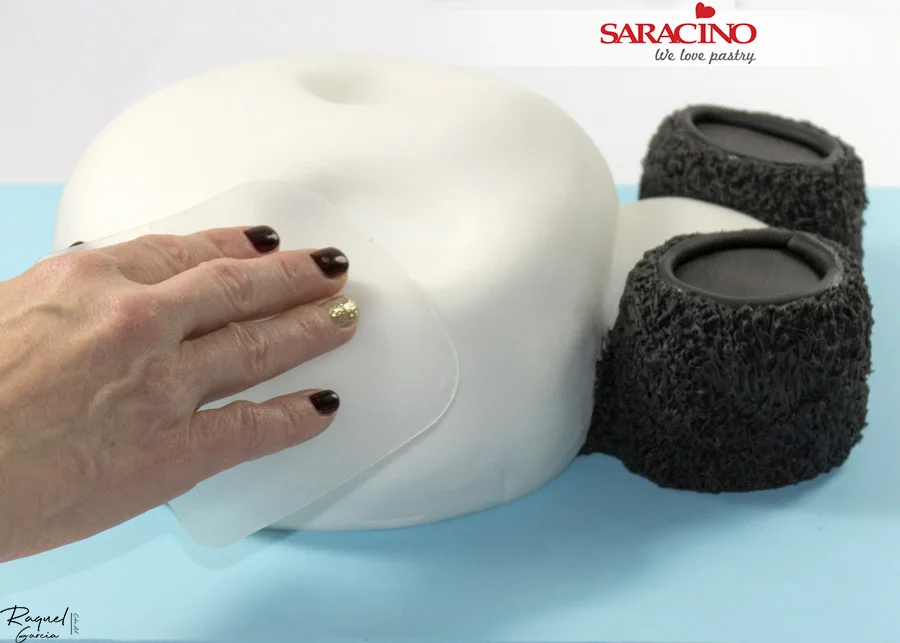
Using your smoother smooth out the surface of the head.

Step 15

For the cake board colour some white Pasta Top with blue gel colour to achieve the shade you require.

Step 16

Cover your cake drum and smooth.

Step 17

Move the cake to the board. Apply a little edible glue to the board beneath the cake. 

Step 18

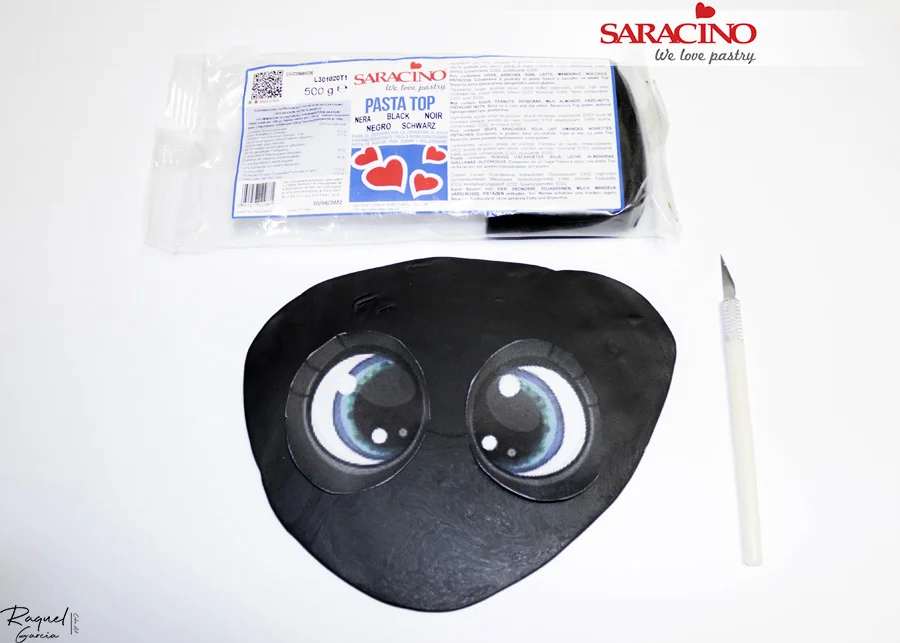
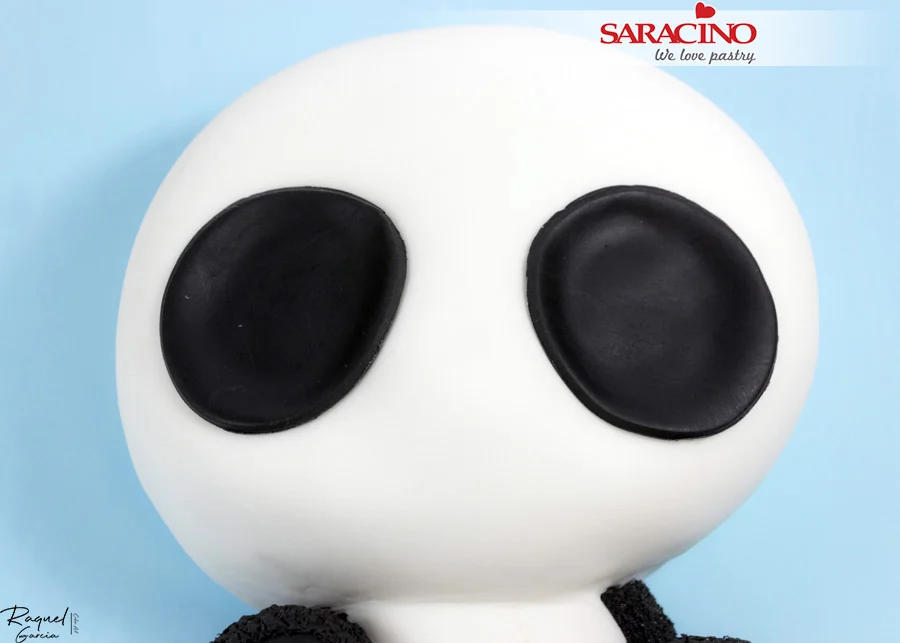
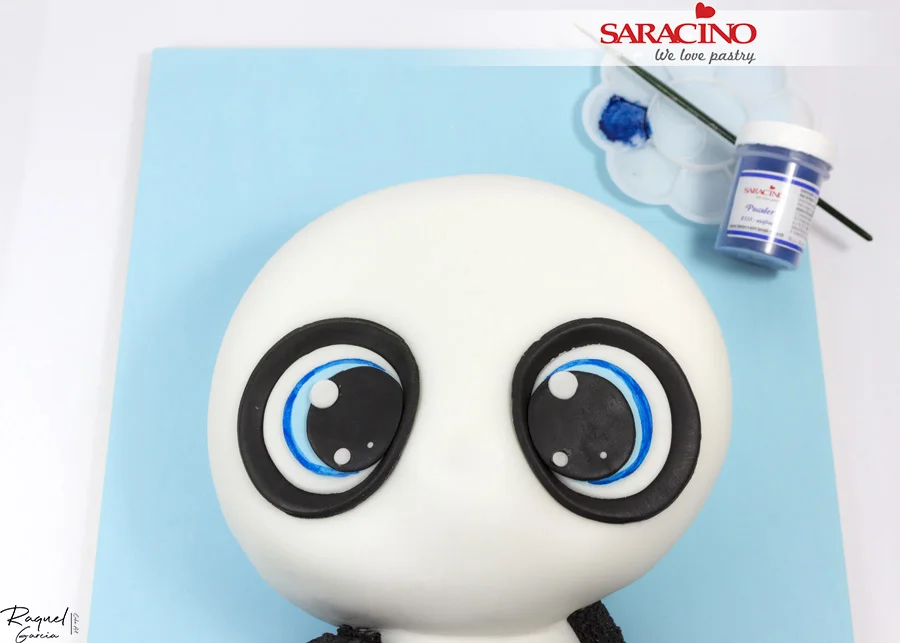
Cut out the two eyes from the template. Roll some black Saracino Pasta Top and cut out the two black circles with a sharp blade.


Step 19

Using edible glue fix two black circles into the eye sockets.


Step 20

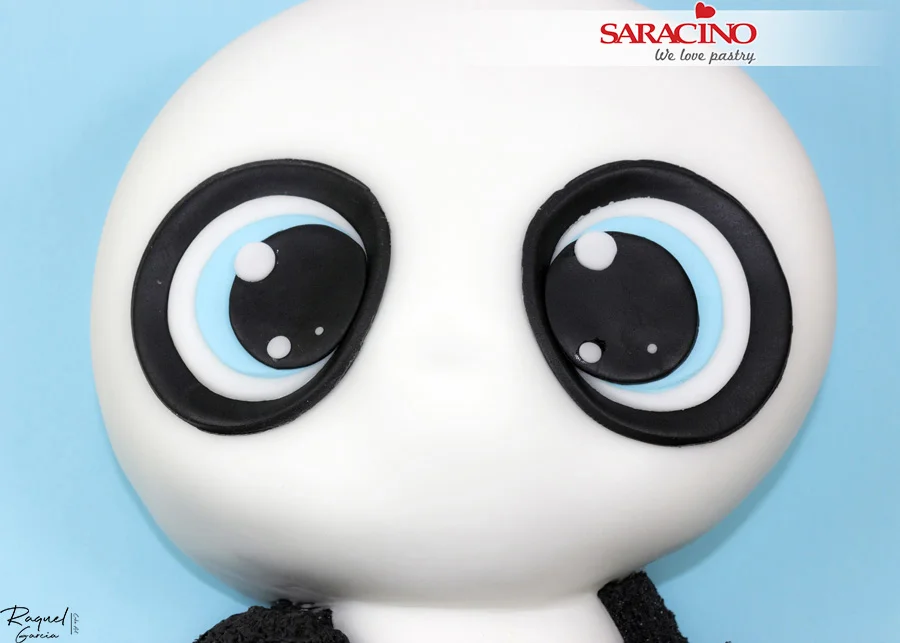
Cut out two white circles smaller and stick them over the black.

Step 21

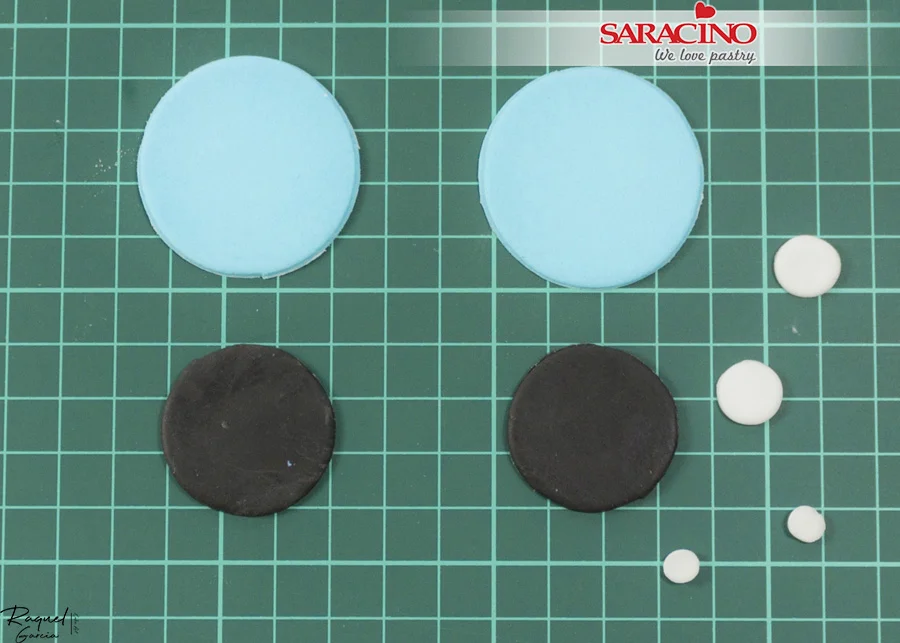
Roll out and cut the blue, black and white circles. The white will need to be two different sizes.

Step 22

Layer and fix as shown. Add a smaller dot of white if required.

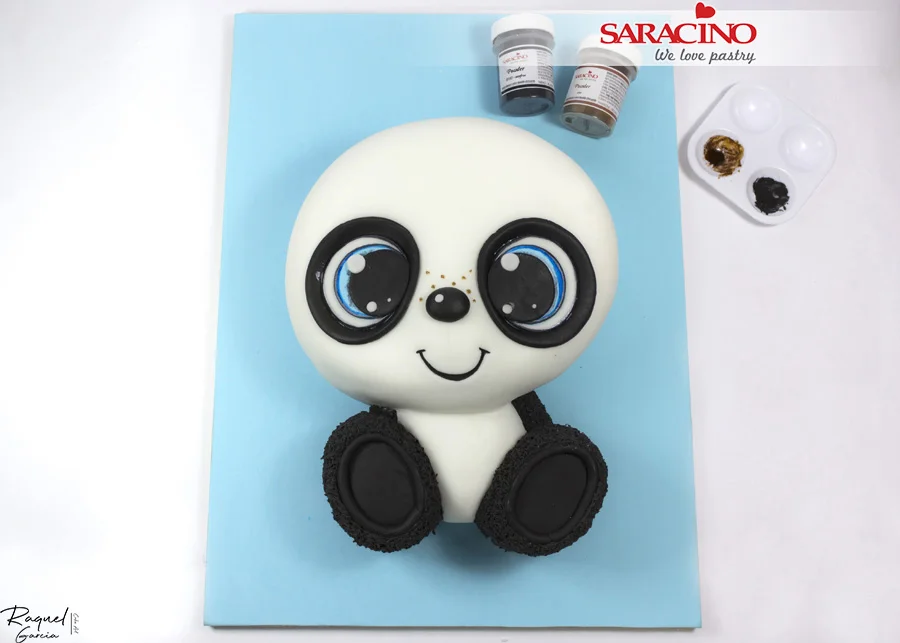
Step 23

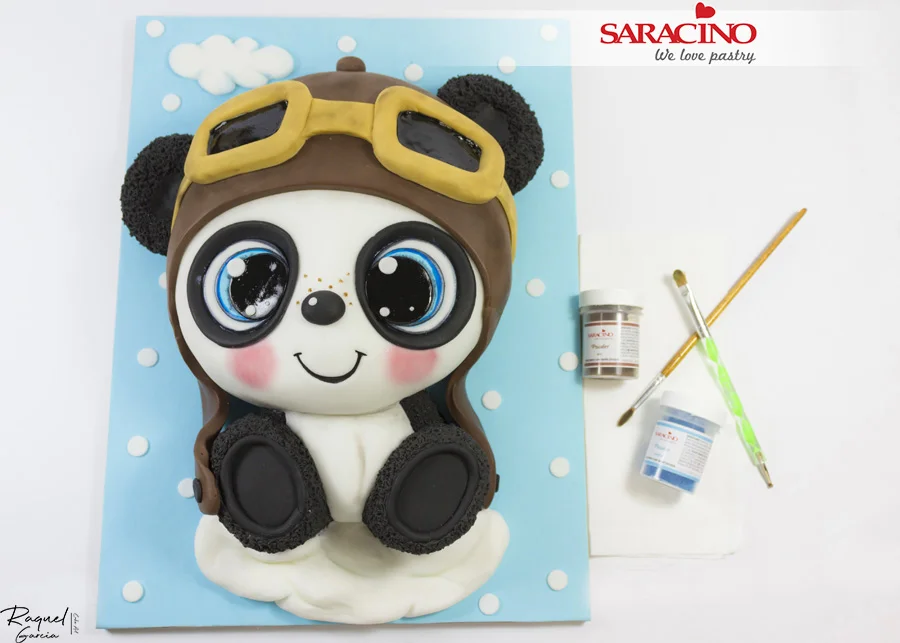
Mix blue powder colour with clear alcohol and paint around the outside of the eye as shown.

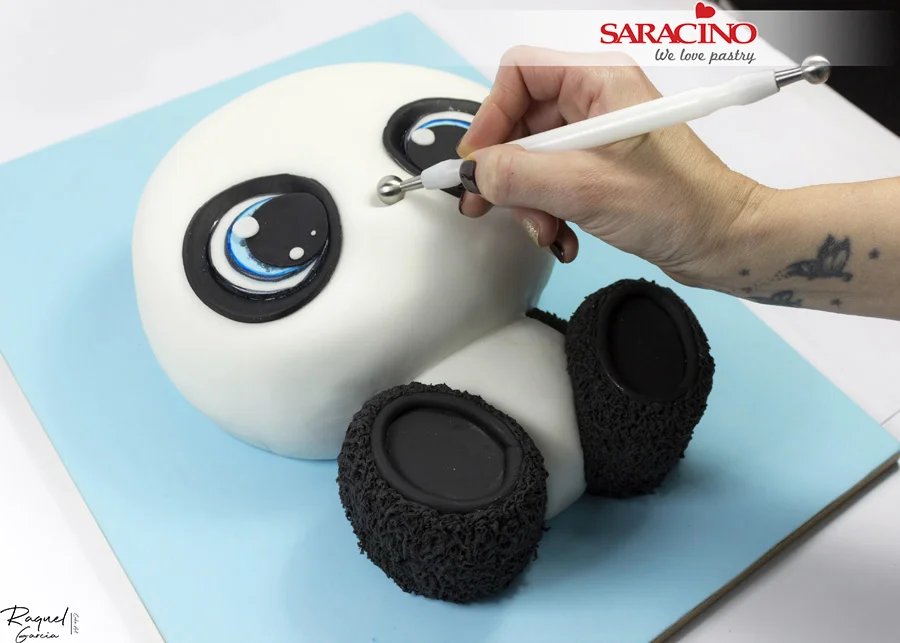
Step 24

Use a ball tool to mark the nose position.


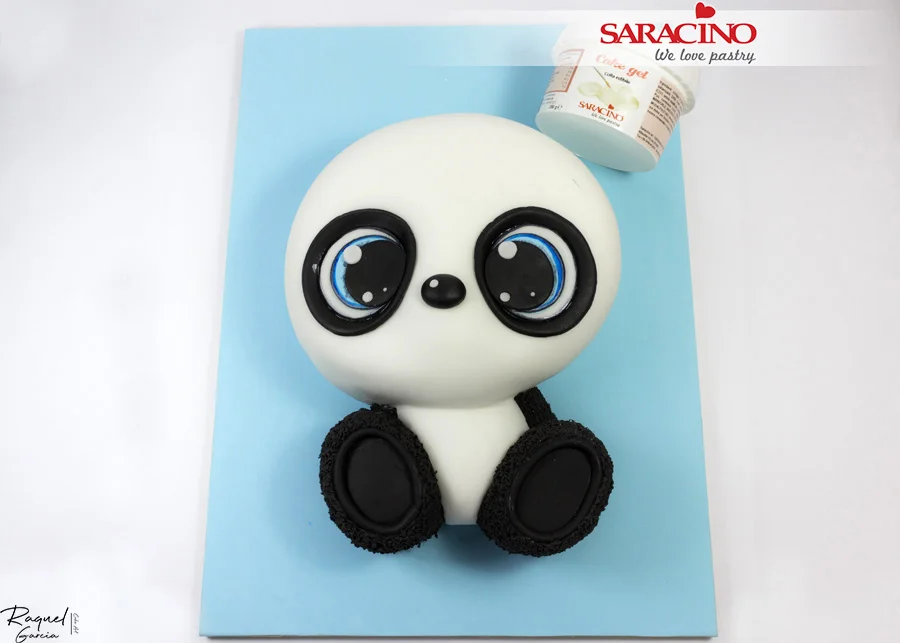
Step 25

Roll a small ball of black paste for the nose. Fix into place. Add a small dot of white.


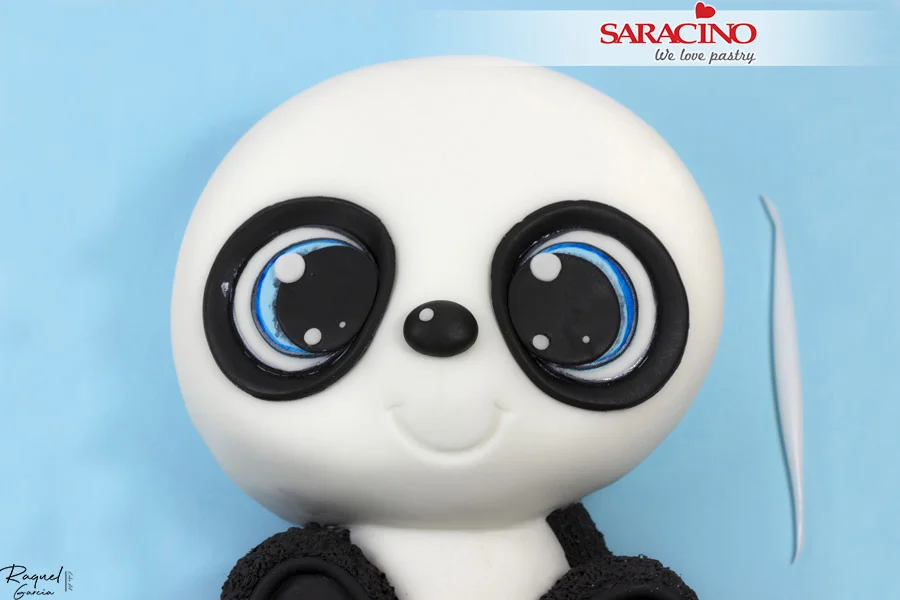
Step 26

Using a modelling tool mark the mouth.

Step 27

Mix brown powder colour with clear alcohol and paint the freckles. Mix black powder colour with clear alcohol and paint the mouth we have previously marked.

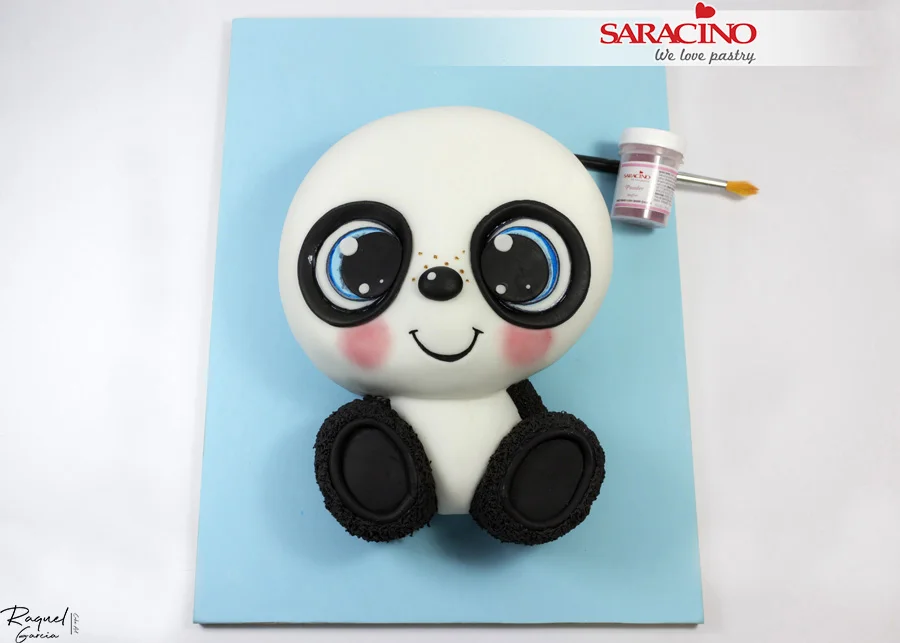
Step 28

Using pink powder colour and a soft brush lightly dust the cheeks. Be careful not to apply too much colour as it is easy to add more but not so easy to remove!

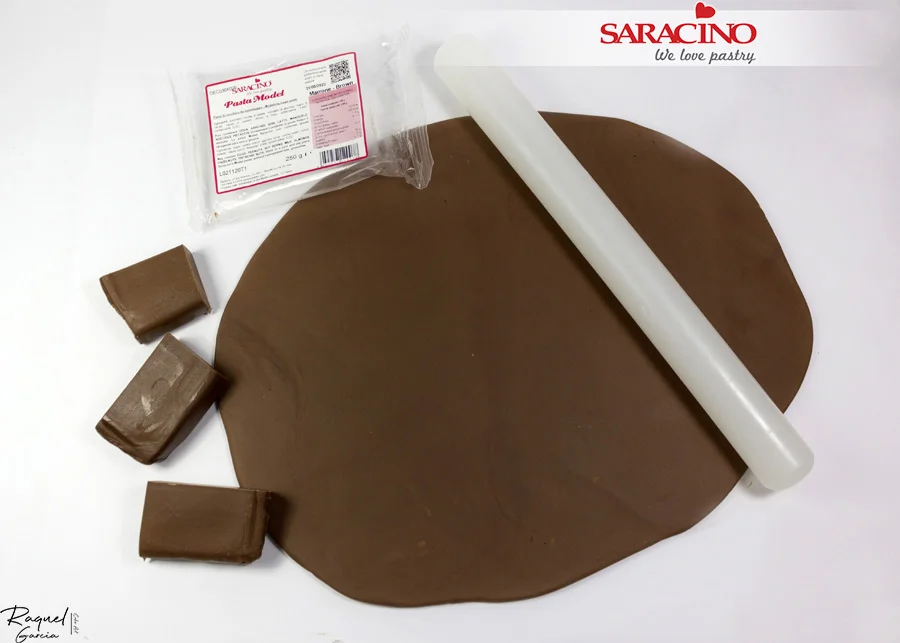
Step 29

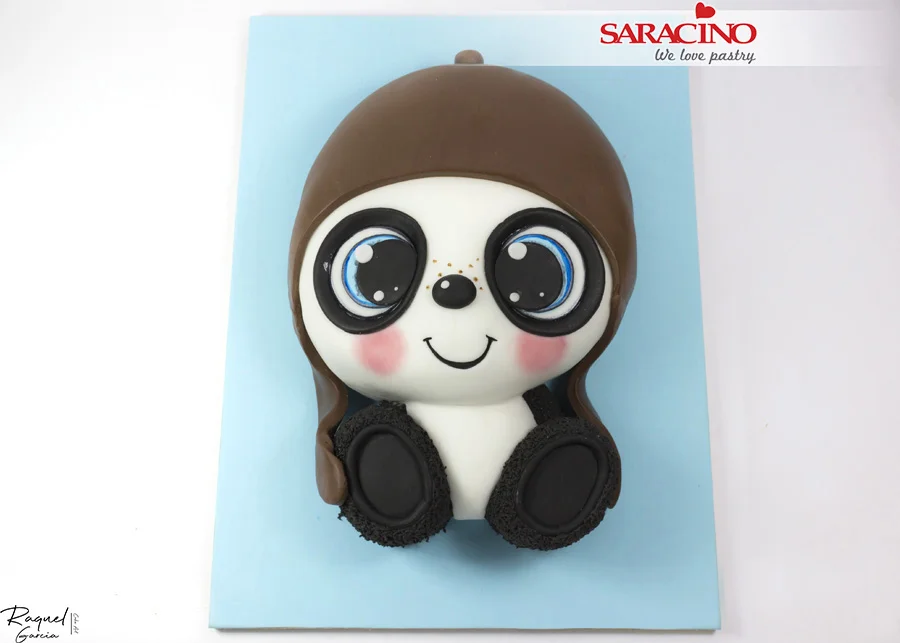
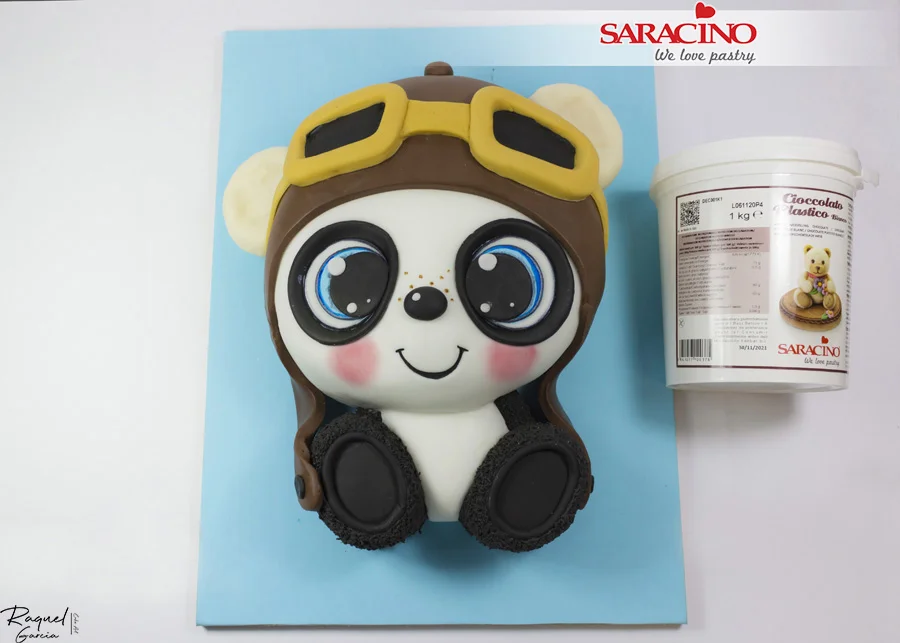
For the helmet roll some brown Saracino modelling paste.

Step 30

Place the rolled paste over the top of the head. Using a sharp knife cut out the shape of the helmet. Leave ‘straps’ either side. Roll a small ball and fix it on the top of the cap.

Step 31

For the goggles download the template HERE. Using a colour of your choice roll out the paste and cut out the goggles. Fix on top of the helmet.

Step 32

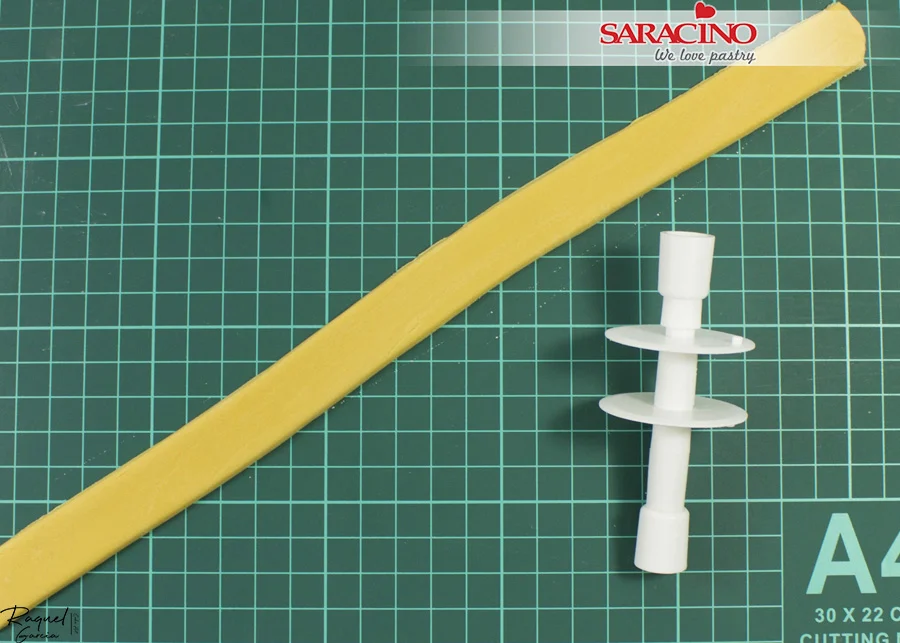
Cut a strip of paste about two or three centimetres wide to make the straps for the goggles.


Step 33

Glue two black rectangles of top paste to the inside of the glasses. Fix the goggle straps. Add a black button to the helmet strap.

Step 34

Using Saracino white modelling chocolate model the two ears.

Step 35

Fix the two ears either side of the helmet where required.

Step 36

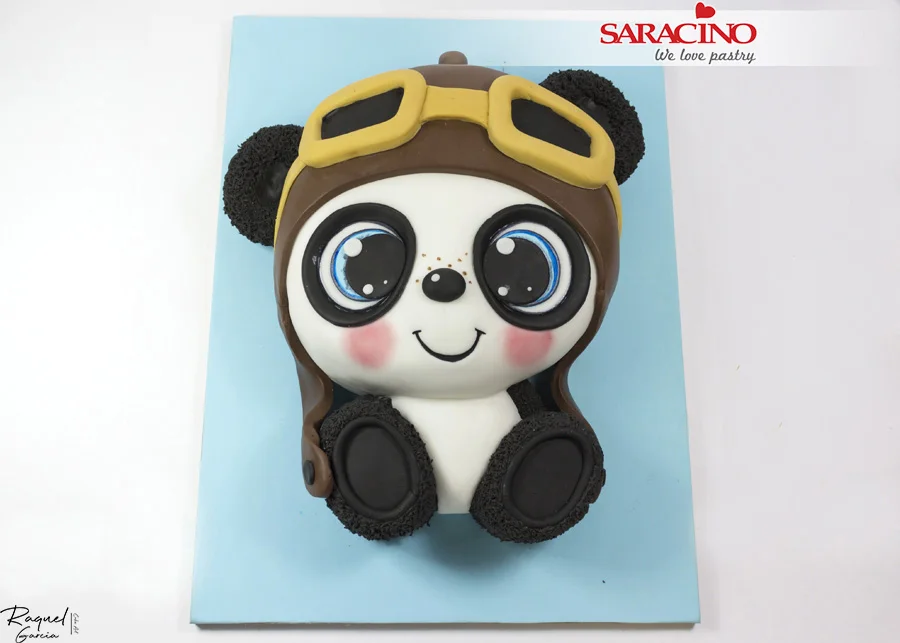
Cover both ears with black paste and texture as the legs and arms.

Step 37

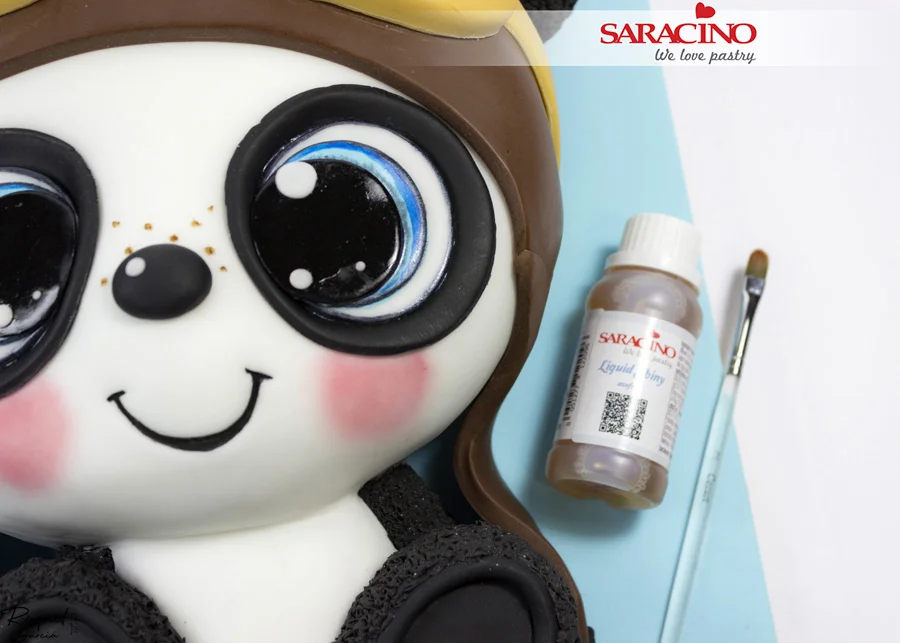
Using Saracino Liquid Shiny paint the eyes and the two black rectangles inside the goggles to give a shiny effect.

Step 38

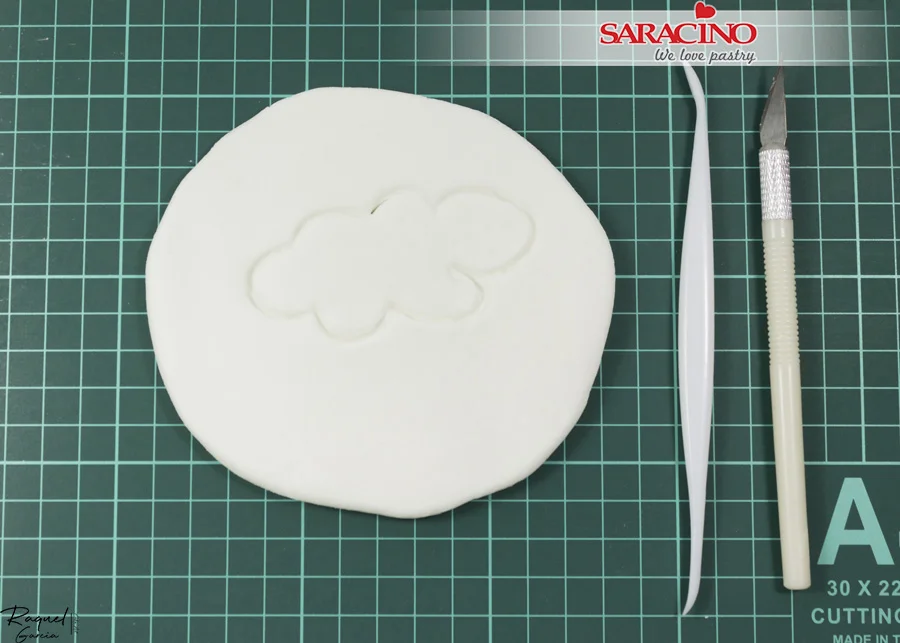
Roll white Saracino modelling paste. Draw a cloud and cut out with a sharp knife. Smooth the edges and shape it with your fingers.


Step 39

Glue the cloud to the upper left corner of the board using Saracino cake gel. Make a large cloud with white paste and fix to look like the panda is sitting on it.

Step 40

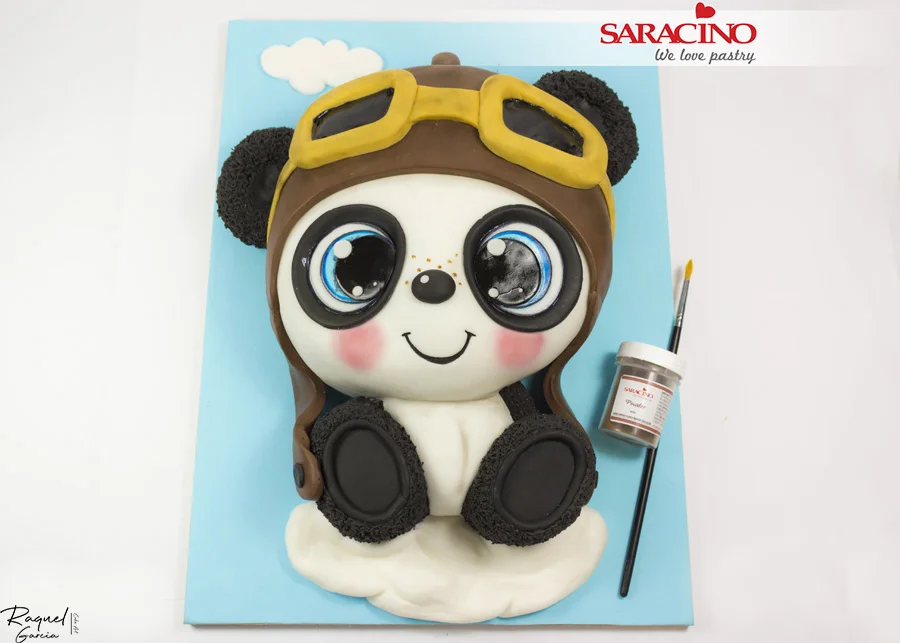
Using Saracino brown dust colour and a soft brush lightly dust the goggles, hat, tummy and chin. Be careful not to over dust!

Step 41

Roll out white paste and cut white circles with a circular cutter.

Step 42

Fix the white circles to the board. Using blue powder colour and a soft brush dust the clouds.

Step 43

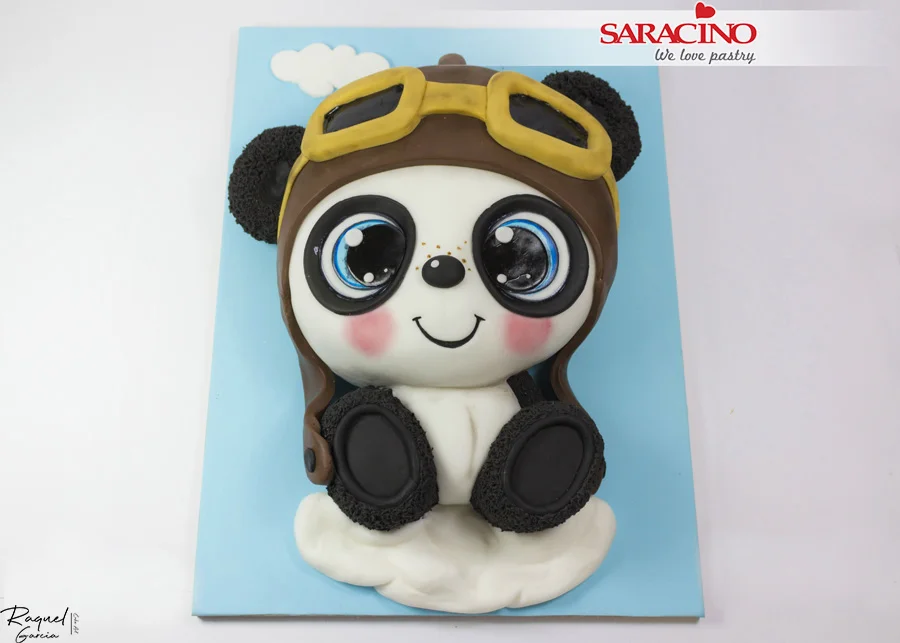
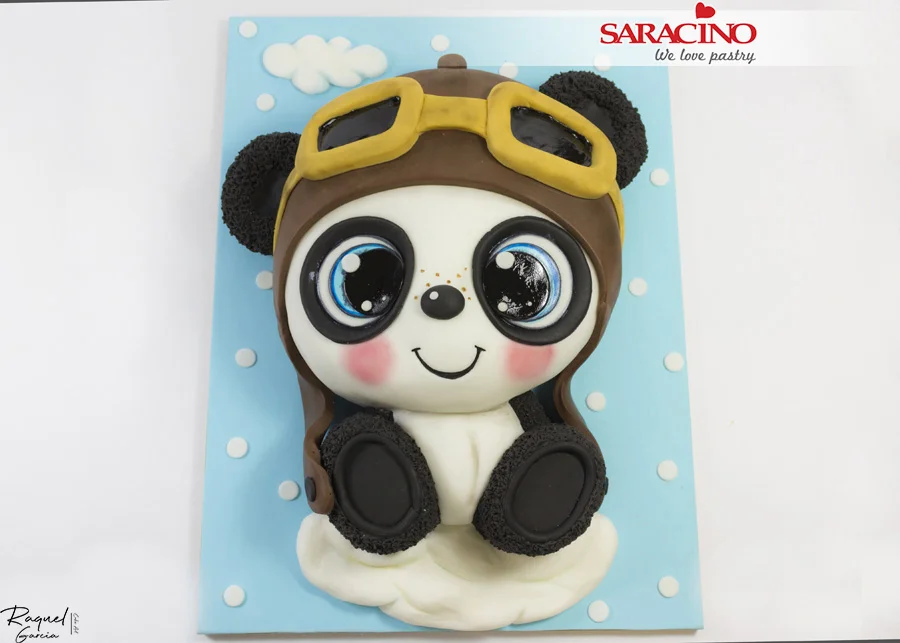
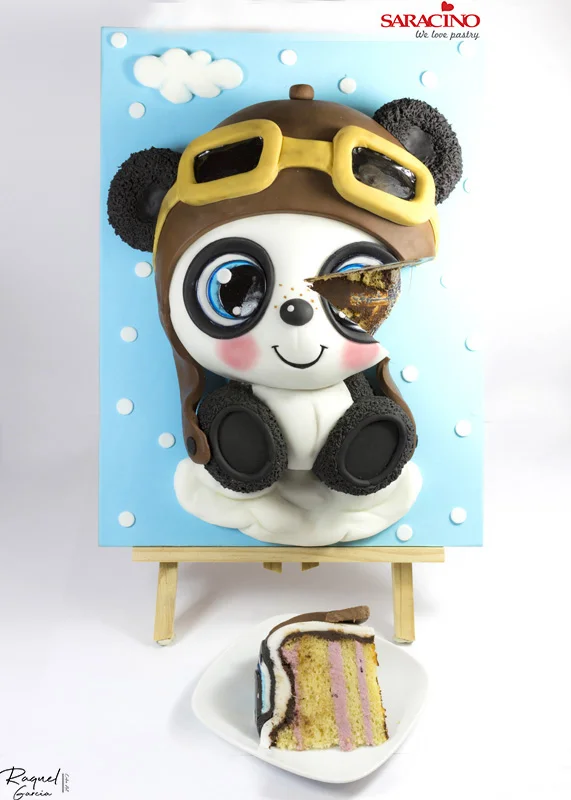
Your Panda pilot is ready to fly to your party!

Step 44

Cut and enjoy! 

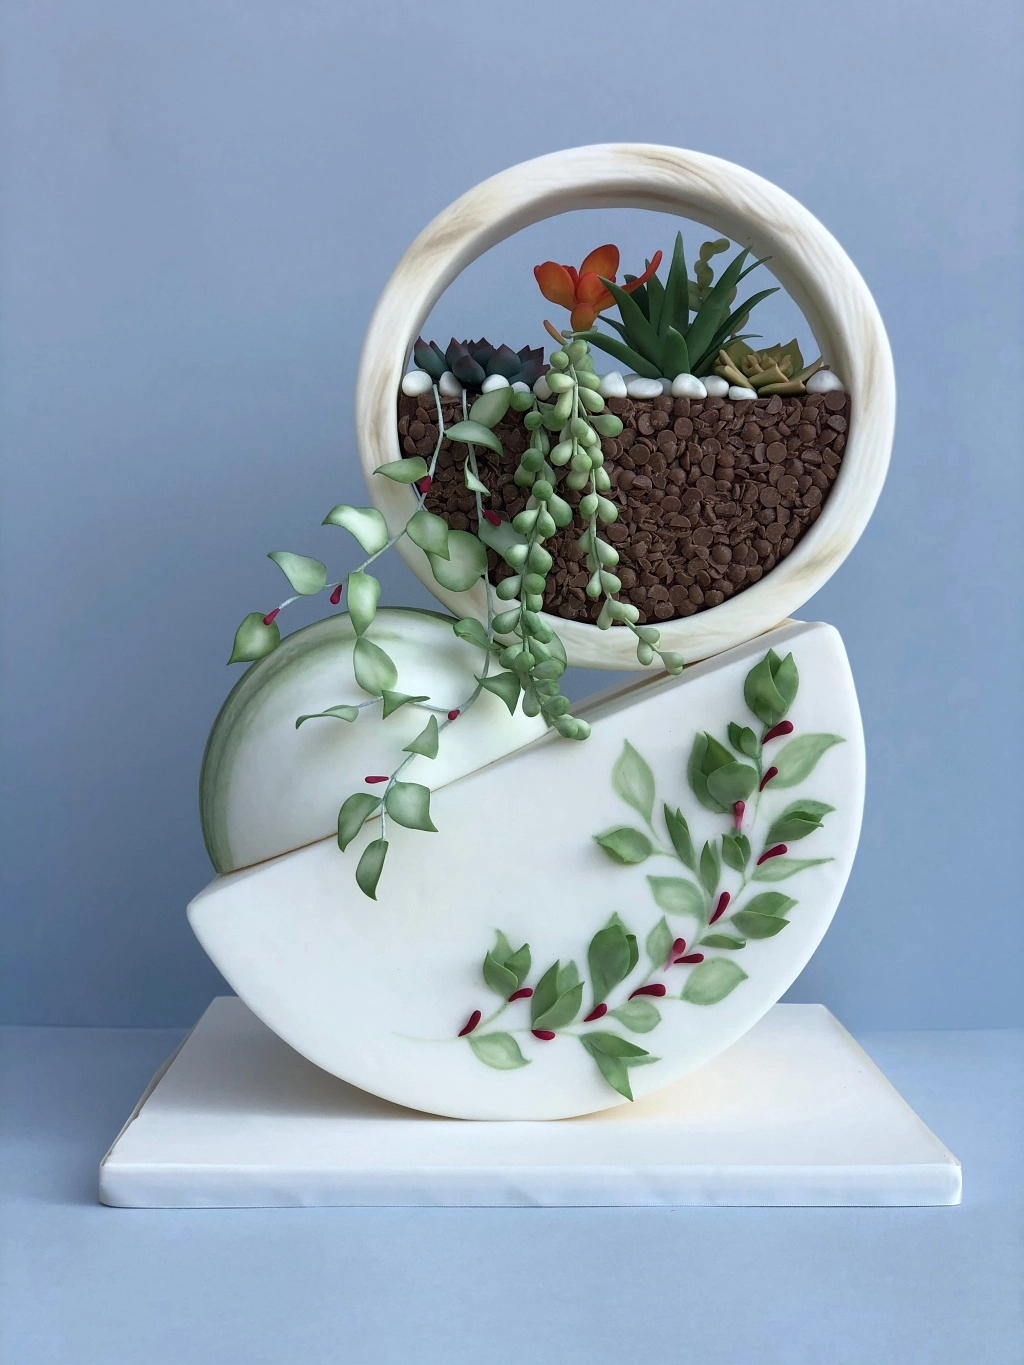
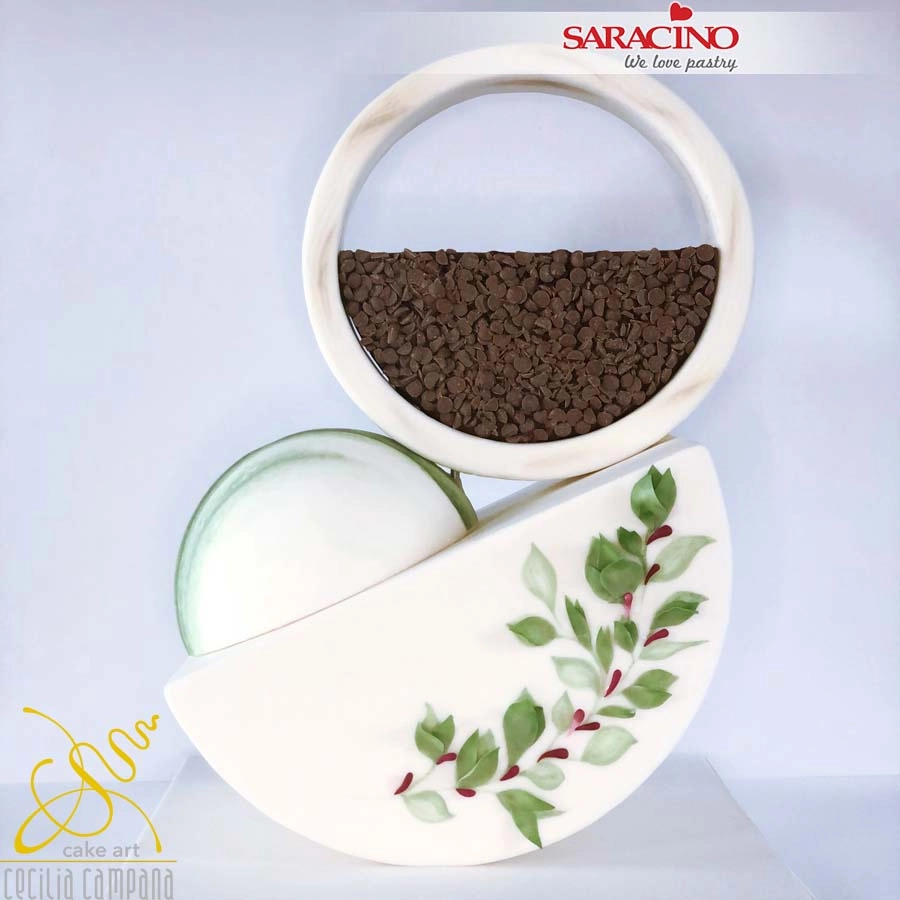
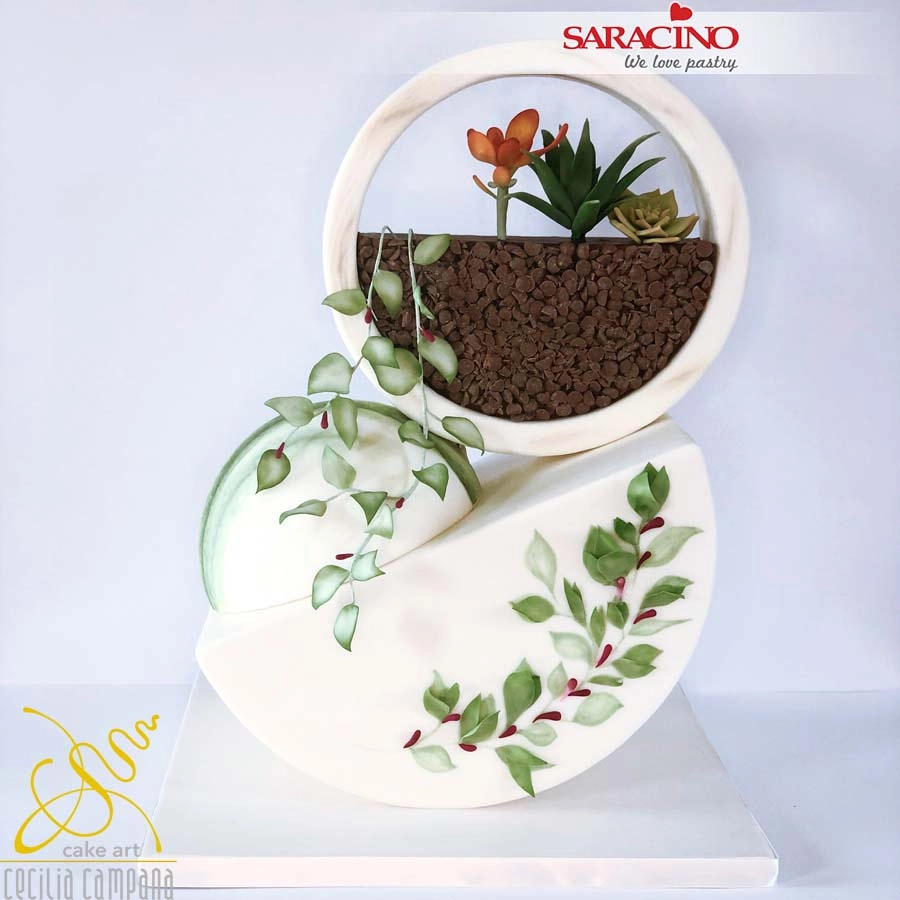
SUCCULENT WEDDING CAKE

SUCCULENT WEDDING CAKE

Skill level: INTERMEDIATE

You will need:

  • Saracino milk chocolate drops
  • Saracino Pasta Top white
  • Saracino Pasta Model white
  • Saracino Pasta Bouquet
  • Saracino dark Modelling Chocolate
  • Dust colours: white, light green, green, yellow, orange, rose, red, burgundy, brown, grey
  • Cake Gel
  • Clear alcohol
  • Gel colours: yellow, light green, green, blue
  • Dark chocolate ganache (1:1 ratio chocolate/cream)
  • White chocolate ganache (3:1 ratio chocolate/cream)
  • Half 30cm diameter by 19cm high dummy (or cake+dummy)
  • 18cm diameter spherical cake
  • Half 20cm diameter by 5cm high cake
  • 25cm external diameter dummy ring with 2.5cm wall thickness
  • Knife
  • Craft knife
  • Smoother
  • White flower tape
  • Green flower tape
  • Soft brushes
  • Non stick mat
  • Rolling pin large and small
  • 20, 24, 26, 28 gauge flower wires
  • Ball tool
  • Wood effect impression mat
  • PME flower cutters
  • Flower former
  • Cake board 35x35cm
  • 26cm long threaded metal rod
  • 2 nuts and 2 washers
  • Plastic straw

Step 1

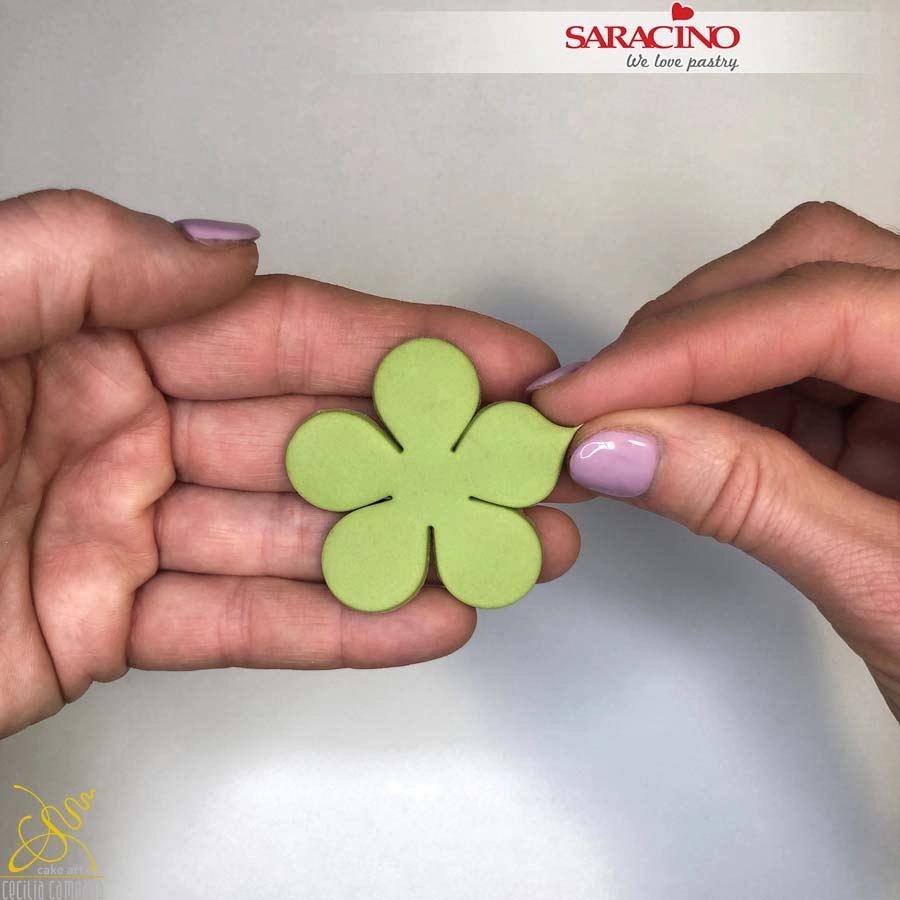
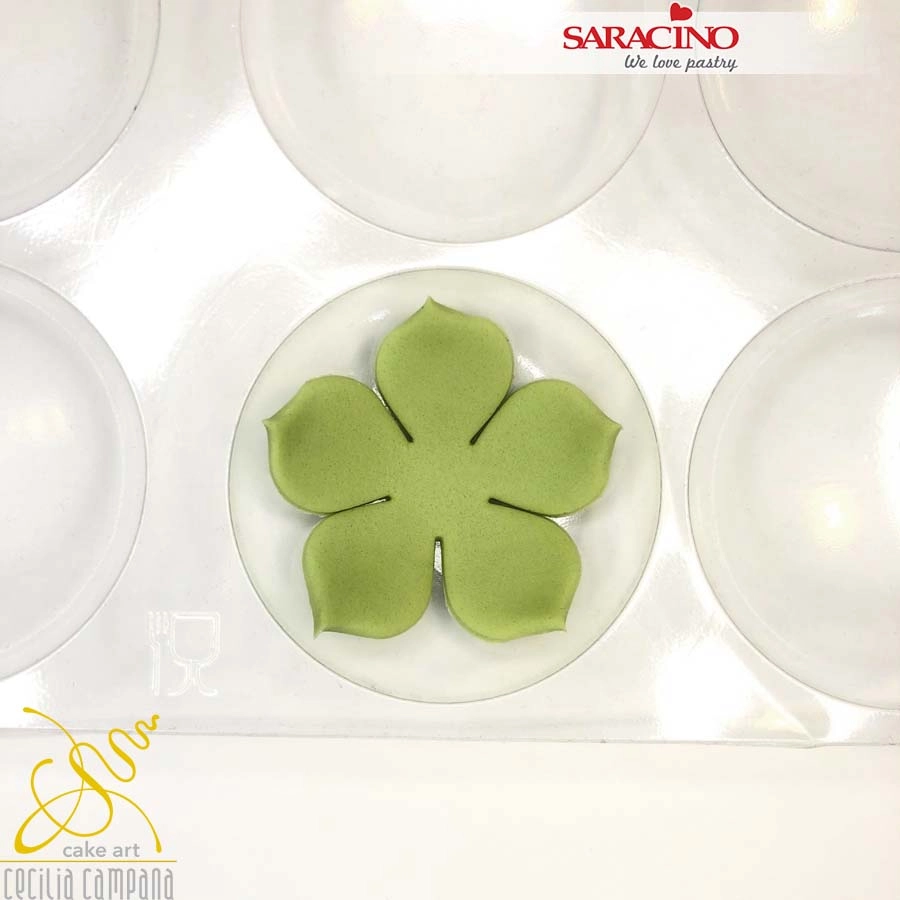
Colour Saracino Pasta Bouquet with the green gel colour. Roll out the paste to a thickness of approx 3mm and cut 5 flowers of decreasing size with the 5-petal cutters. Squeeze the tip of the petal between your fingertips to give a slight point.

Step 2

Leave the flowers to dry in the flower former.

Step 3

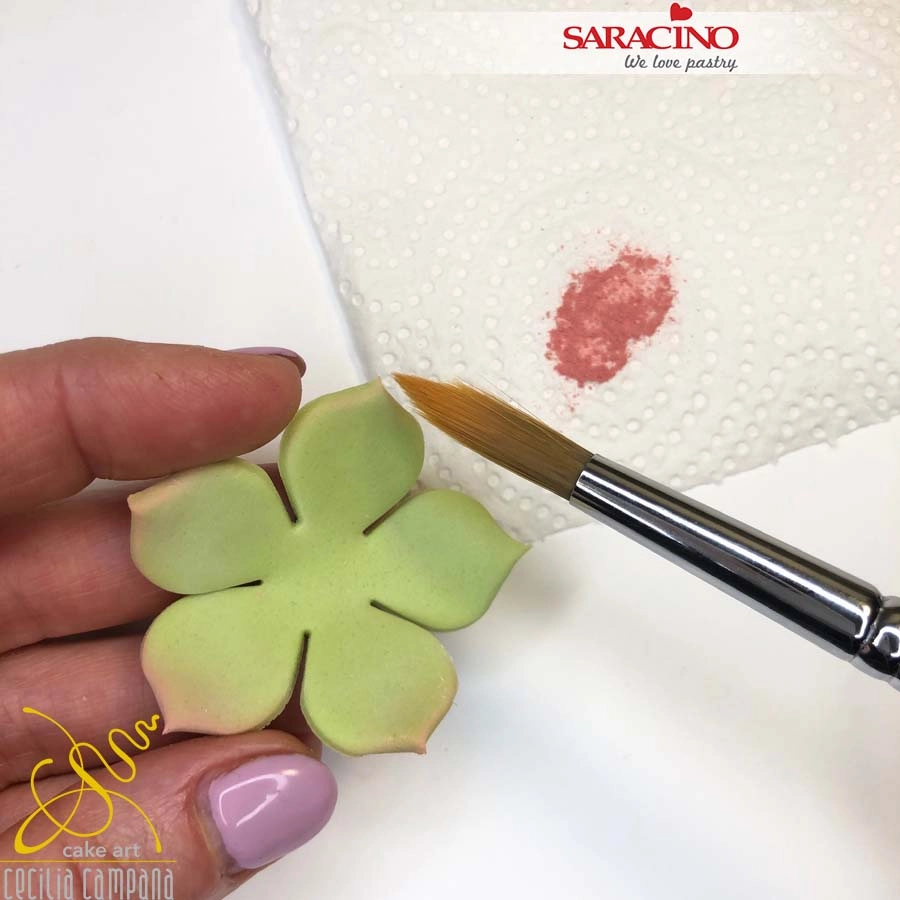
When they are almost dry lightly dust the end of each petal with the pink powder colour.

Step 4

Fix the flowers on top of each other by gluing them with the cake gel. Stagger the petals as you fix them.

Step 5

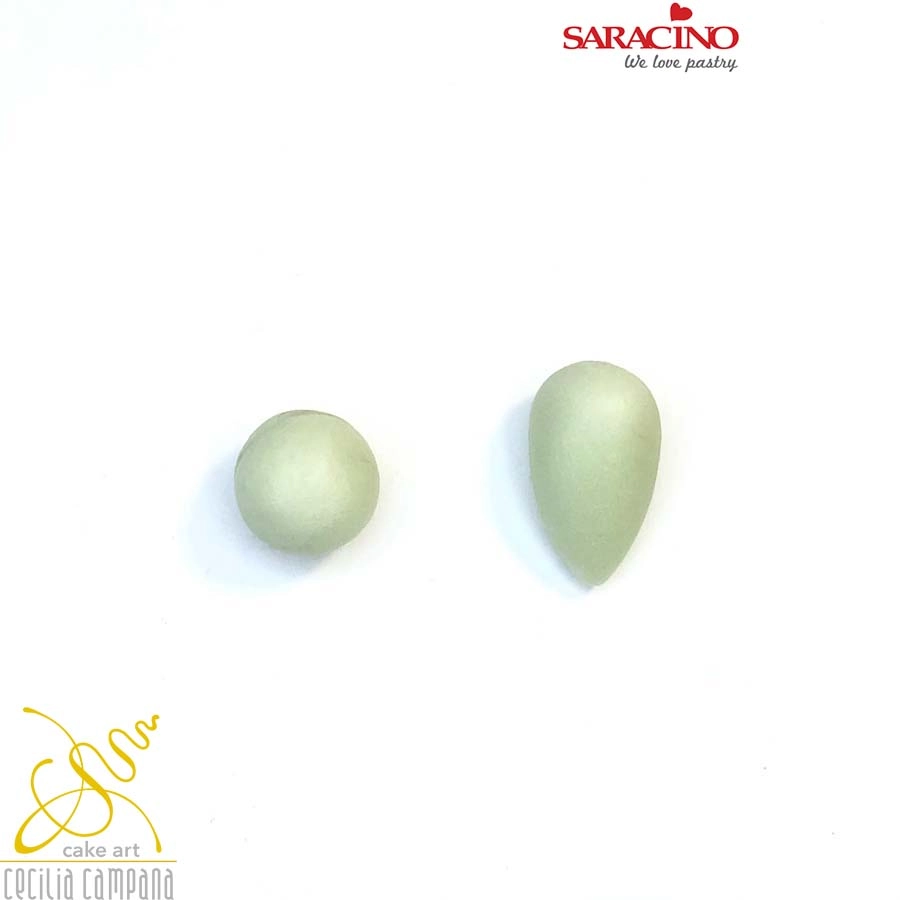
Colour Saracino Pasta Bouquet with very little green gel colour. First create a ball and roll it into a teardrop shape by rotating it between your palms.

Step 6

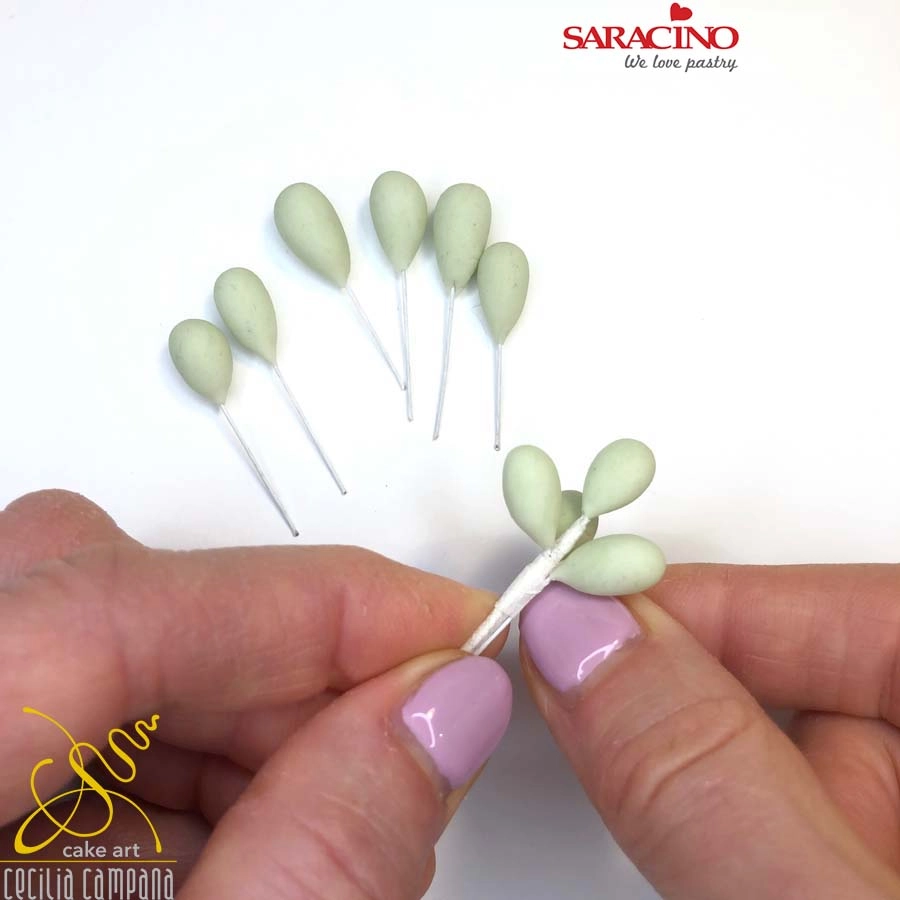
Cut a 26 gauge wire. Lightly dip the tip of the wire in the cake gel (it must only be slightly damp) and insert it into the teardrop. Squeeze the teardrop securely to the wire. You will need to repeat this step for the amount of buds you need.

Step 7

With the white tape join the buds one by one (3 for each level).

Step 8

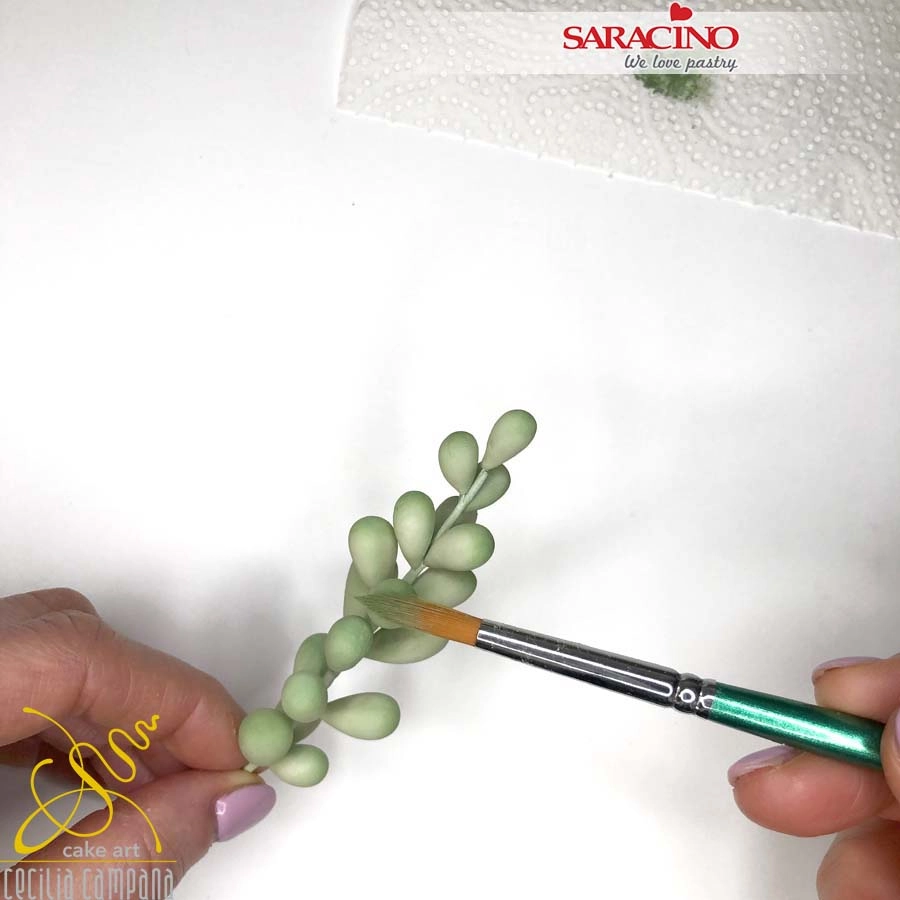
With the green powder colour, dust to give a darker shade to the end of each branch and colour the tape with a lighter green.

Step 9

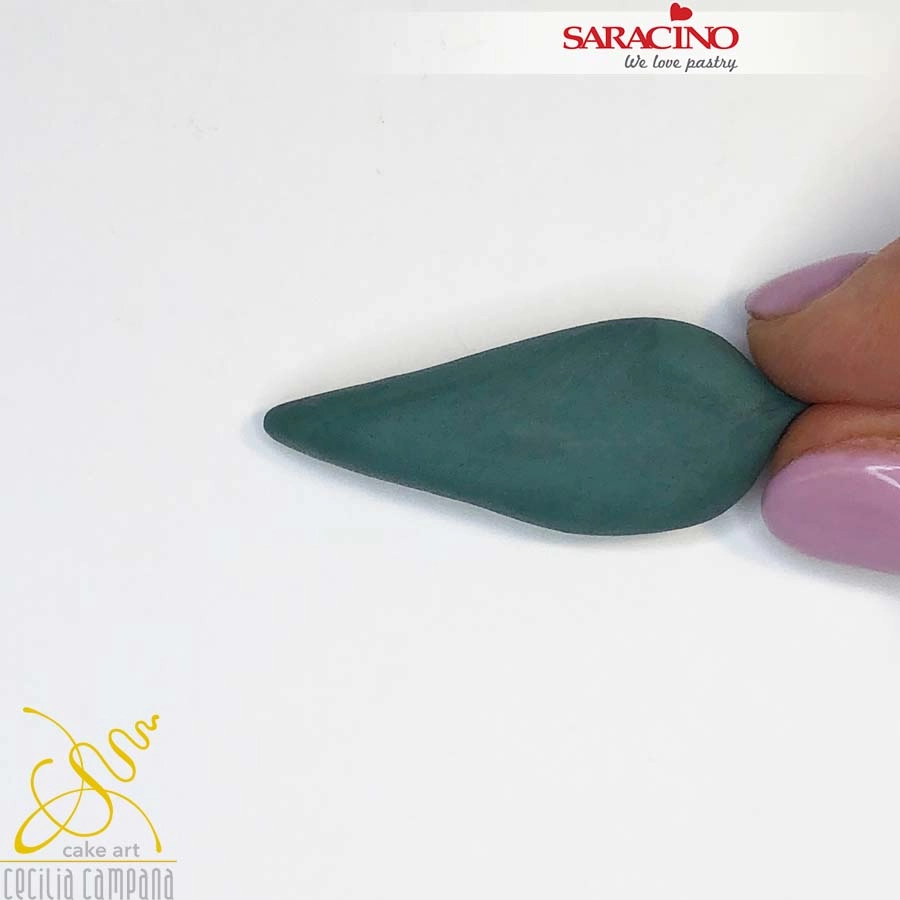
For the next flower form a teardrop shape with the dark green Saracino Pasta Bouquet and pinch it into shape with your fingers flattening slightly.
Step 10

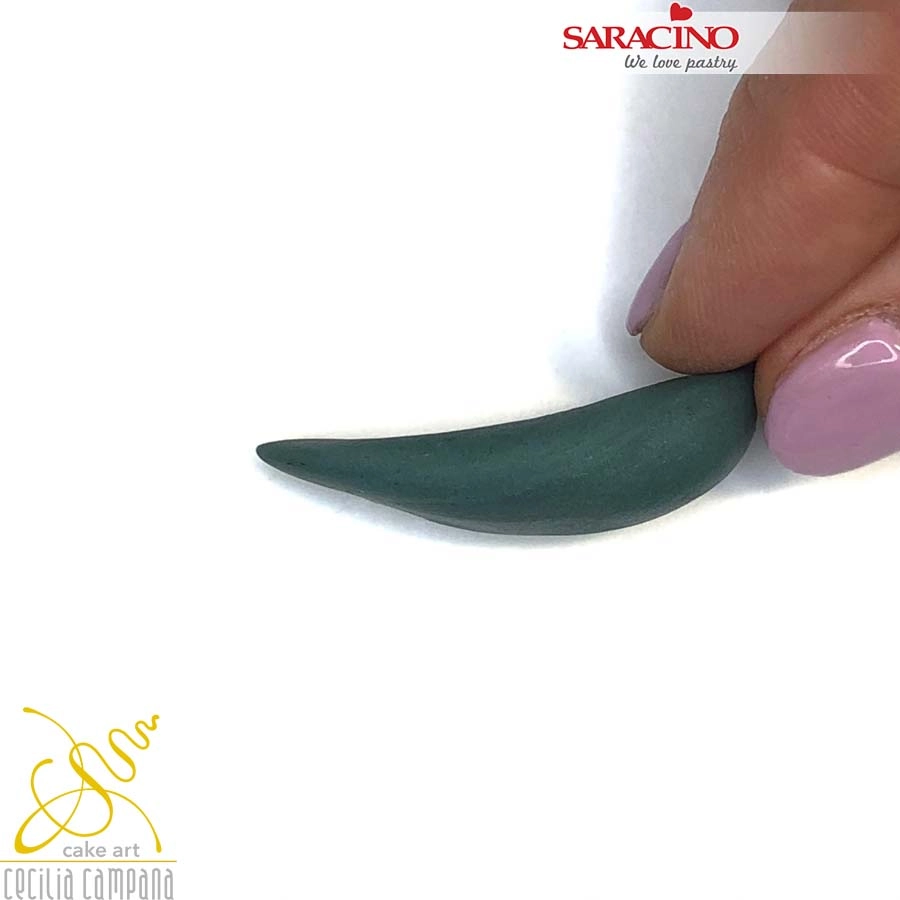
Give it a slight curve.
Step 11

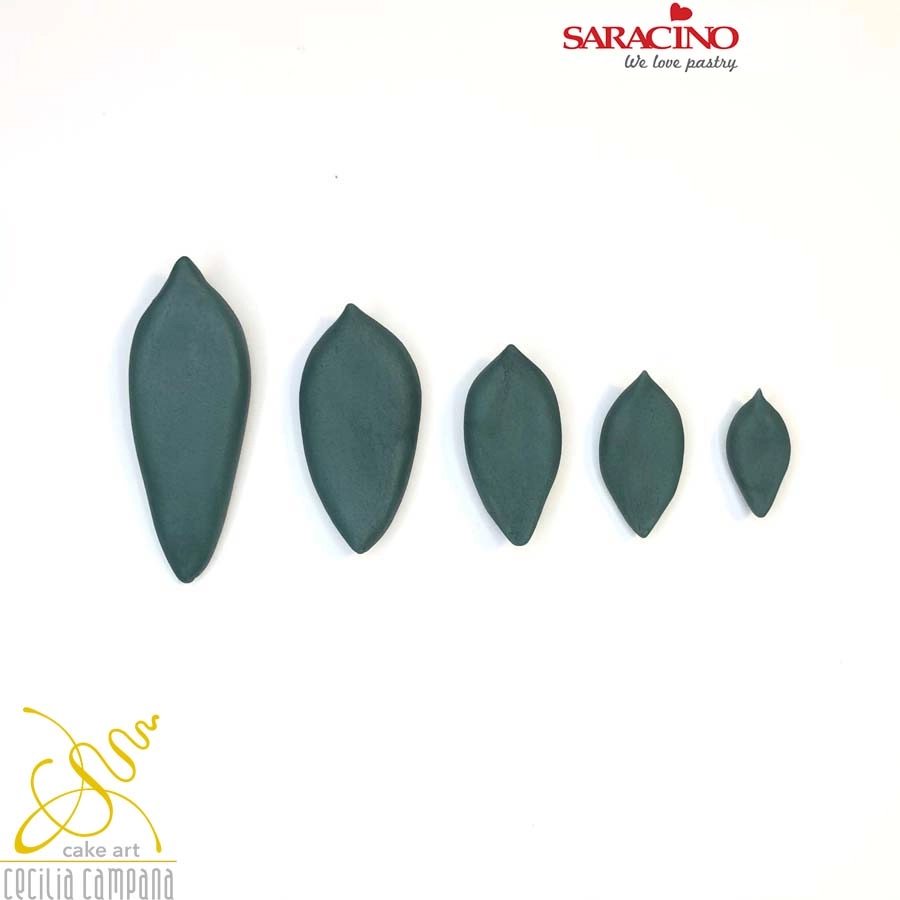
Repeat the same procedure and create 5 different petal sizes. You will need 7 leaf size 5 petals (large), 6 leaf size 5 and 4-5 leaf size 3 and 2-3 leaf size 1 (small).

Step 12

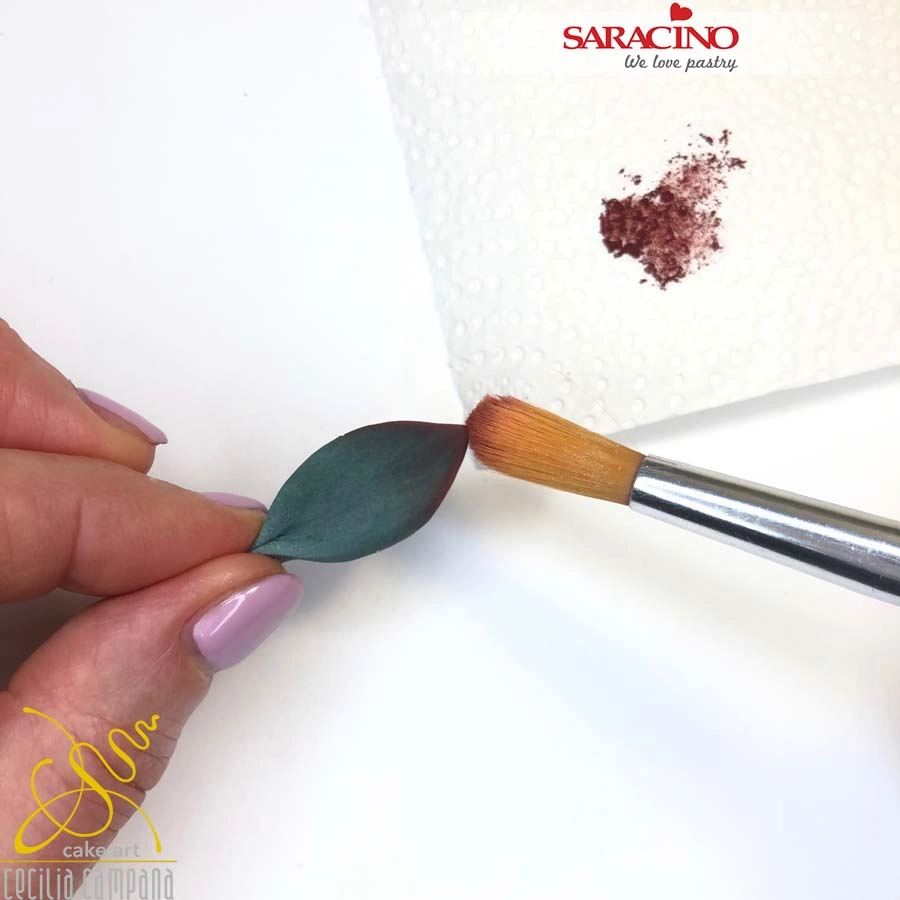
Shade the end of each leaf with burgundy powder colour.

Step 13

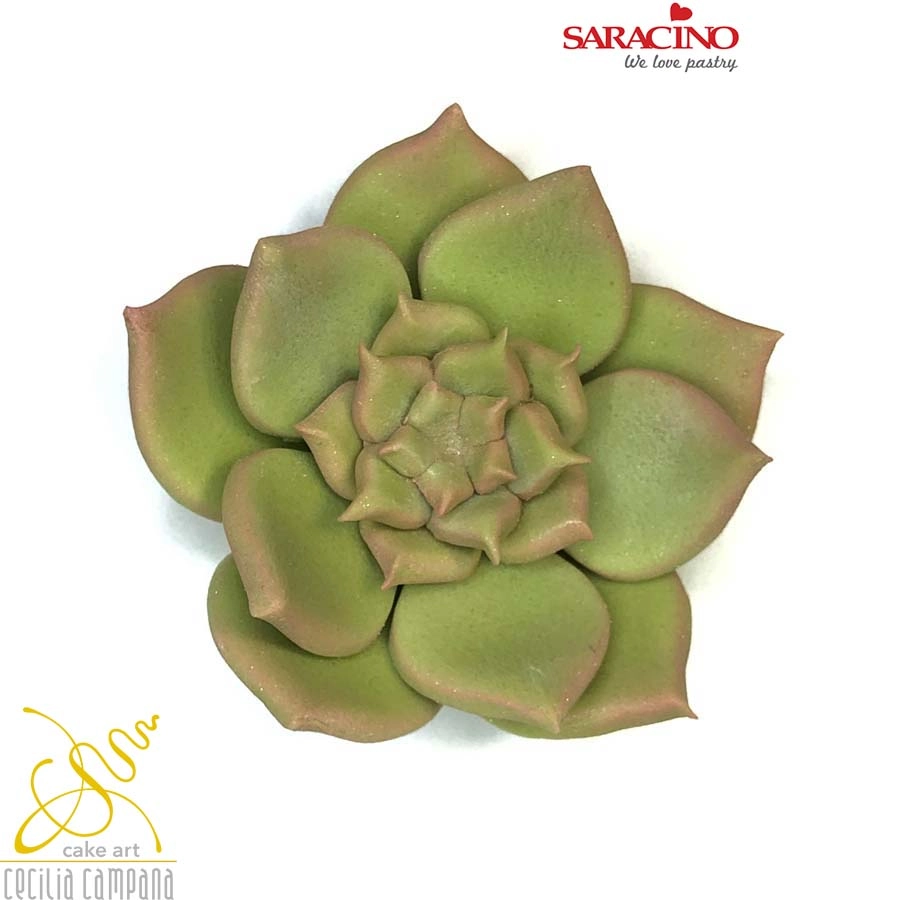
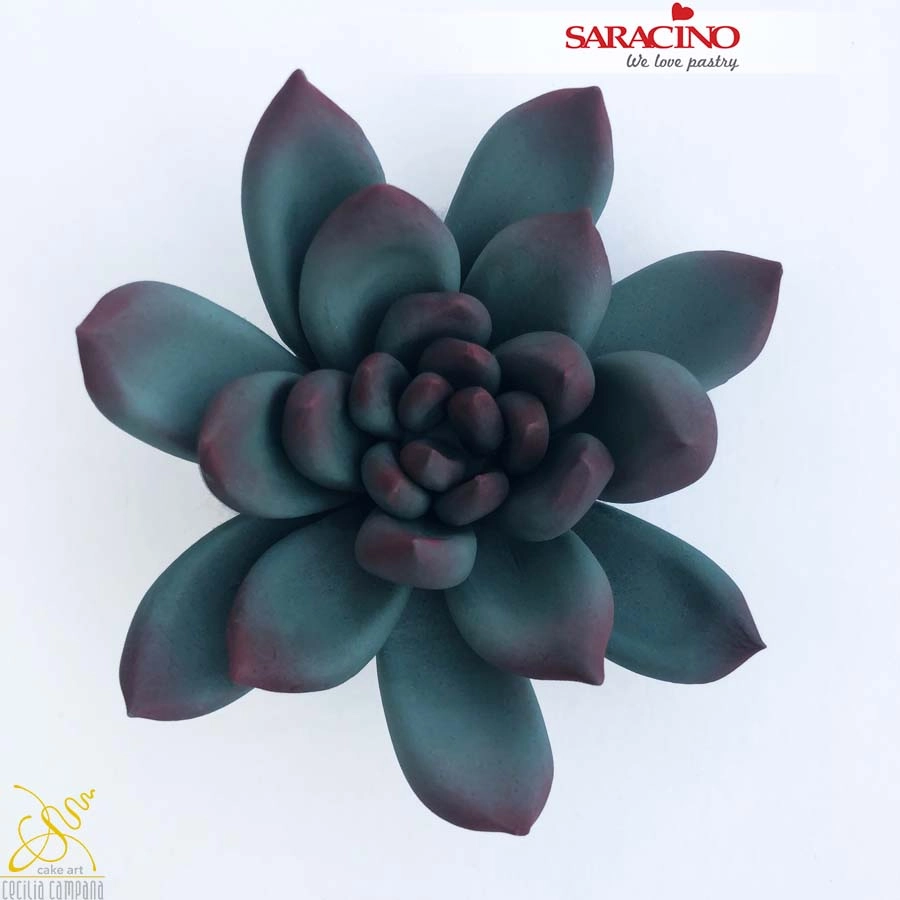
Create a small thin disk of paste and glue the leaves with the cake gel from the center (size 1) to the largest (size 5). Be careful to not overlap the petals.

Step 14

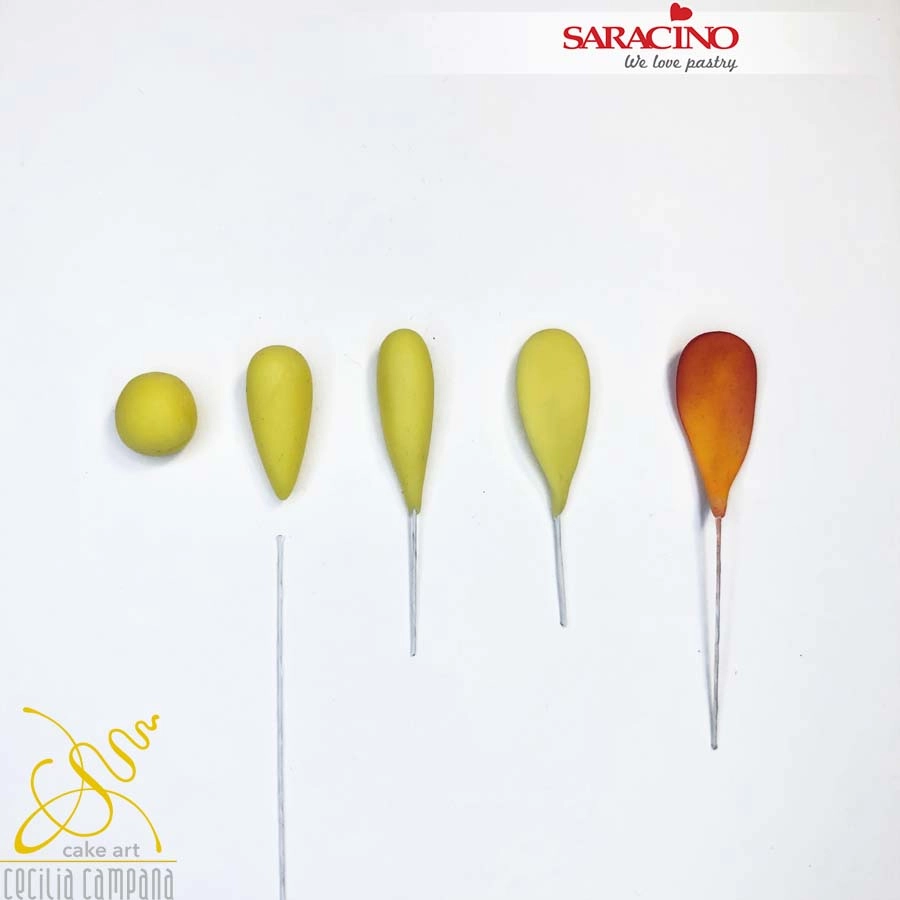
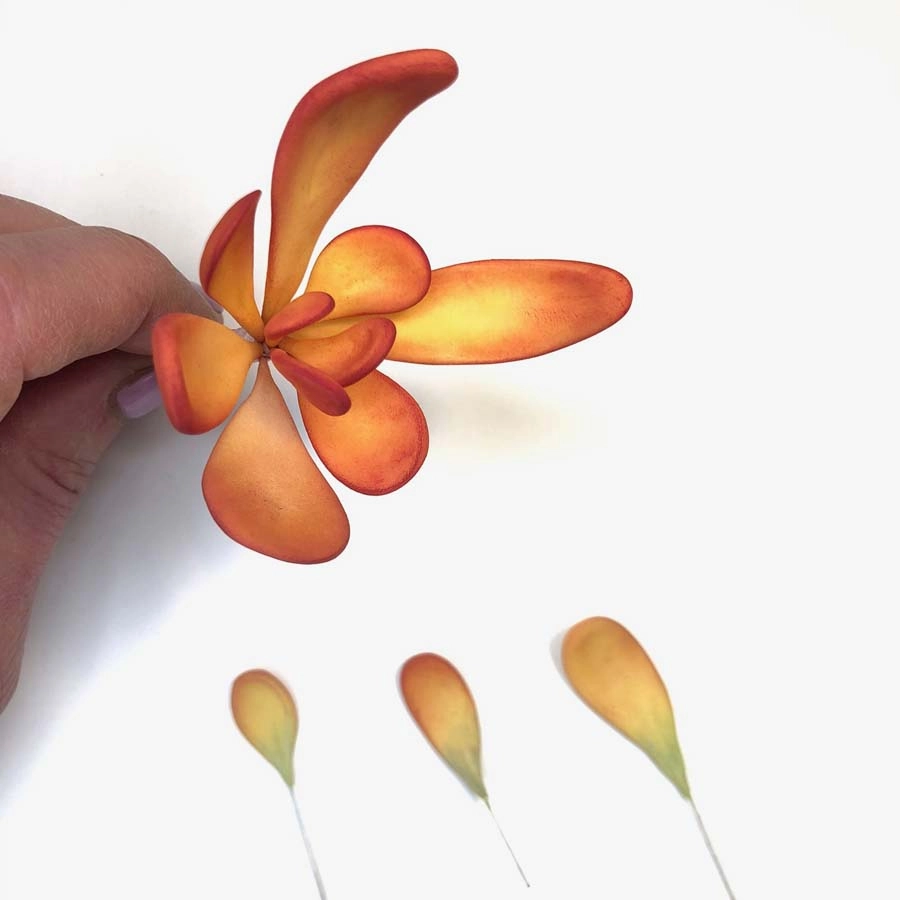
Colour Saracino Pasta Bouquet with the yellow gel colour. Prepare 12 different sized petals starting with a ball of yellow paste. The 5 steps shown is how to make each petal. The final step has been dusted with red and orange powder colour.

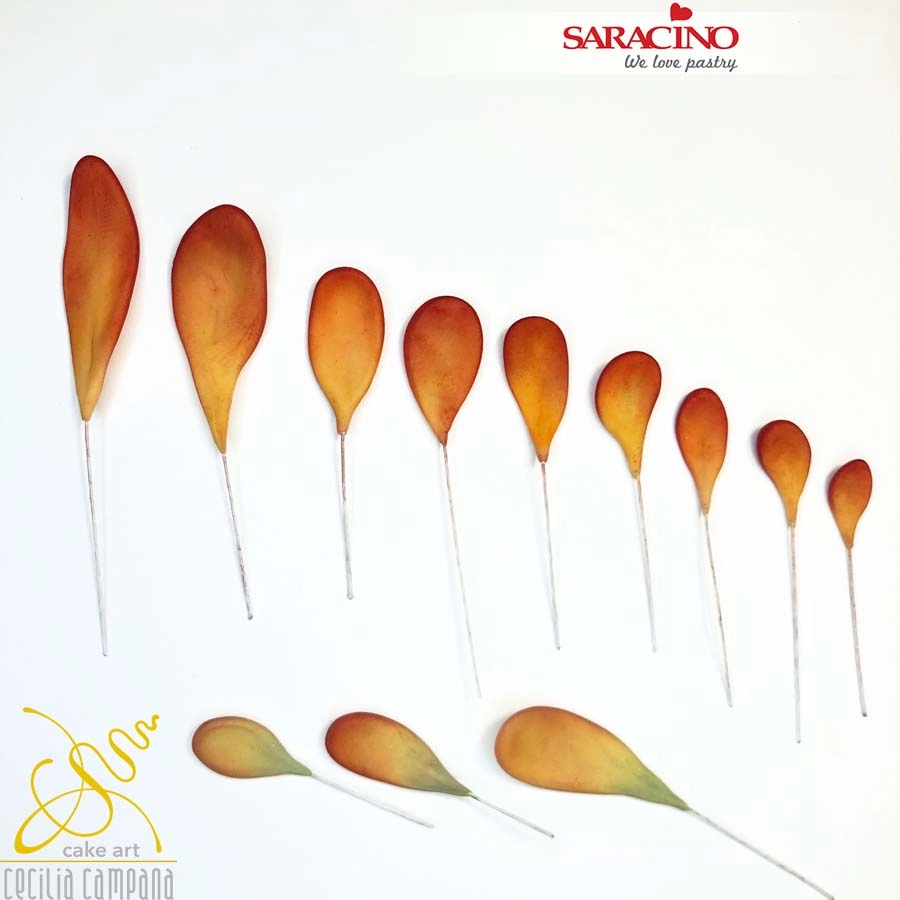
Step 15

The petals are all to be different, 2mm thick and rounded on the edges. Dust the edges of the front and back petals with orange and then with a little bit of red powder. 3 petals should be shaded with green powder at the base.

Step 16

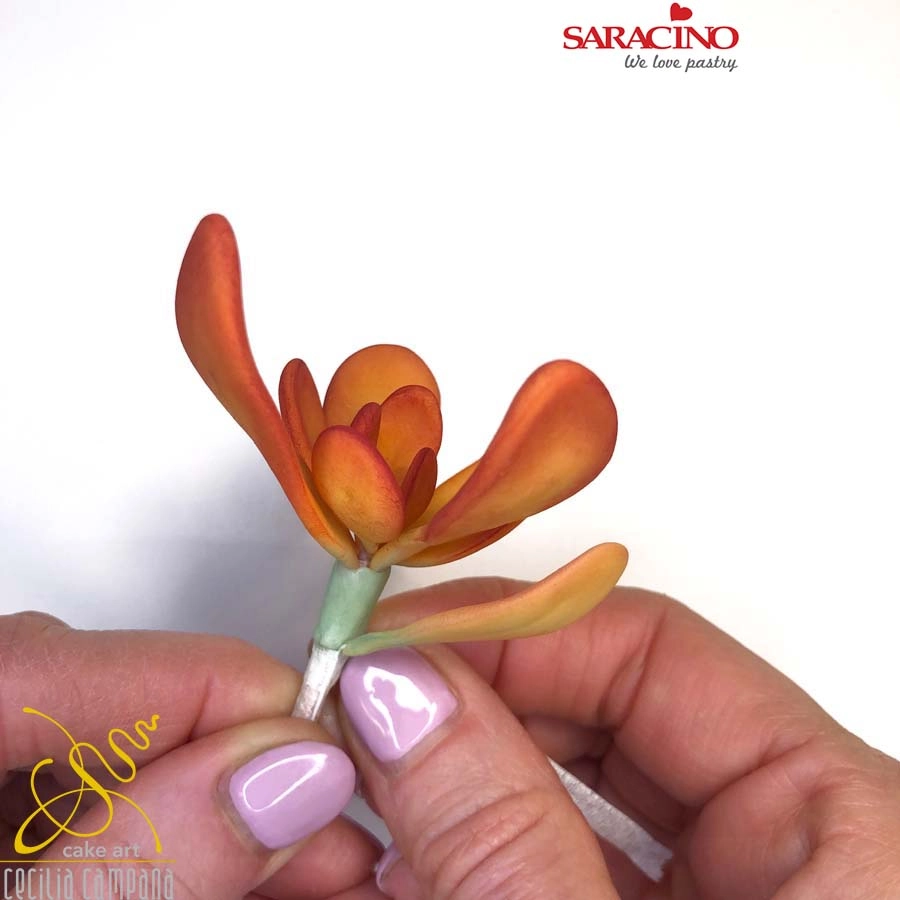
Join the petals with the white flower tape starting from the 3 smallest in the center. Then add the other 7 one by one.

Step 17

Directly below the petals apply a little glue to the stem and attach light green paste and smooth. Add two petals and fix with florist tape.

Step 18

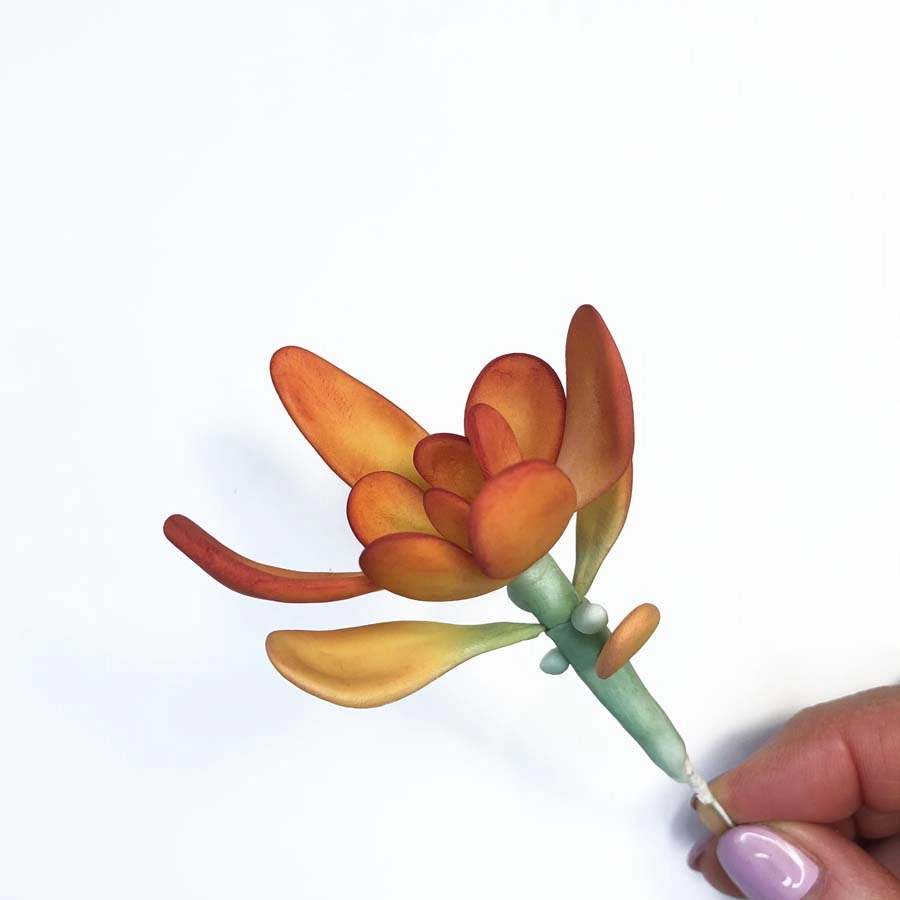
Repeat the same process and attach the third lowest petal. Make two small squashed green balls and glue them onto the stem as shown.

Step 19

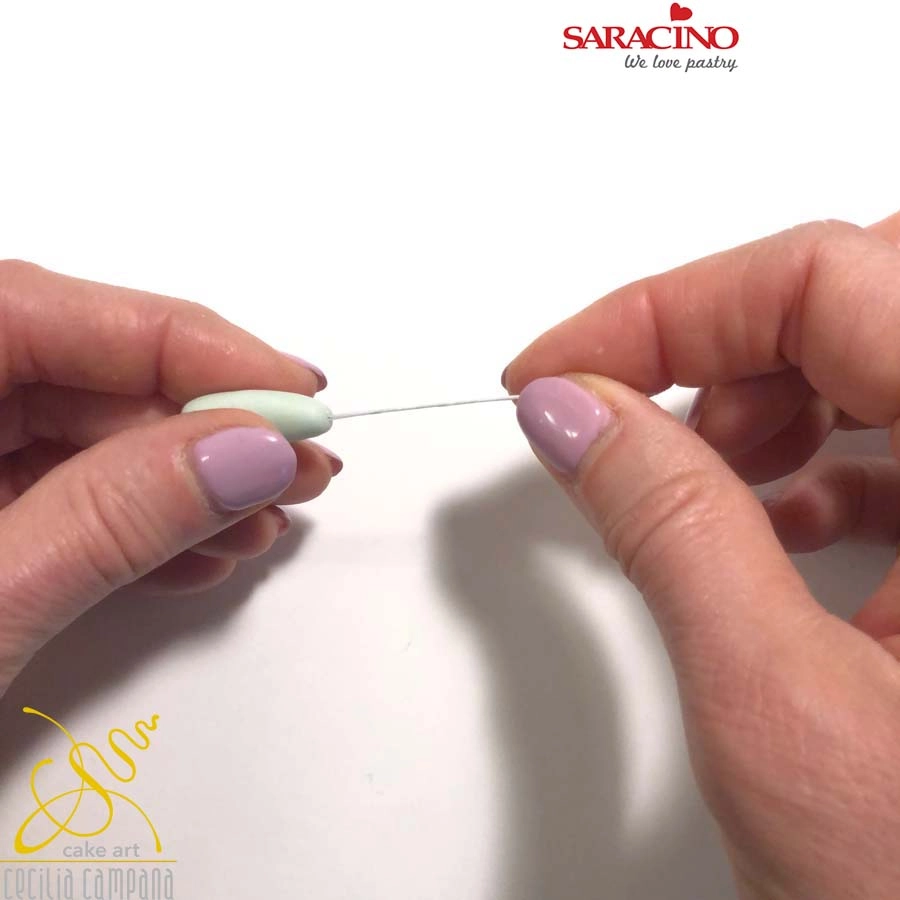
Cut a 26 gauge wire. Dip the tip in the cake gel (it must only be slightly damp) and insert it into a teardrop shape of pale green Pasta Bouquet. Squeeze the bud securely to the wire.

Step 20

Create the leaves using these 3 steps:
1. Flatten the teardrop
2. Starting from the center next to the wire thin the edges with a small rolling pin
3. With the craft knife shape the leaves.
Remember that each leaf must be different, that’s why we cut them by hand!

Step 21

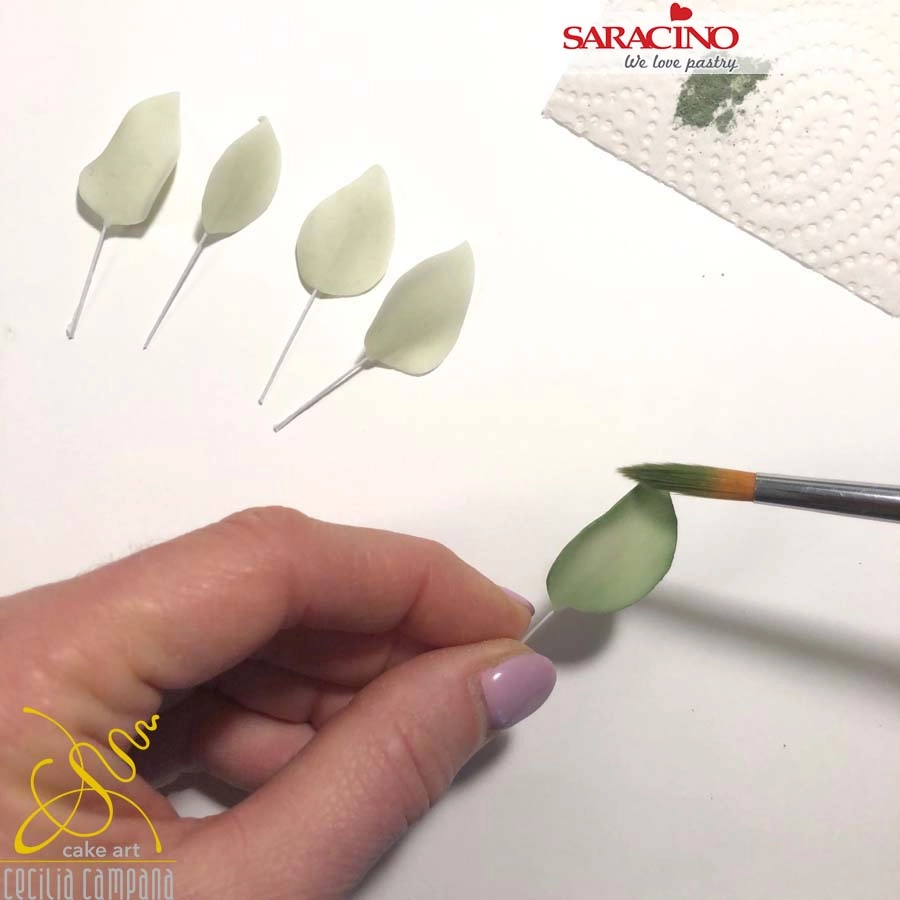
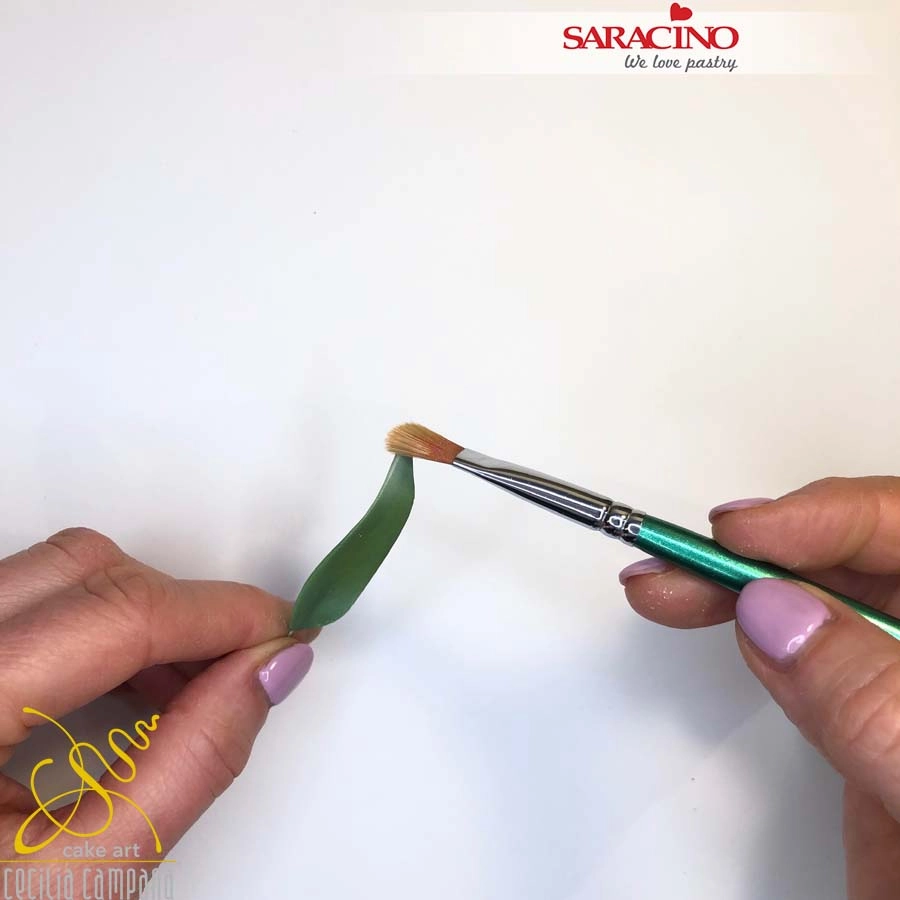
Allow the leaves to dry on a shaped mat to give them form. Shade the edges with green colour on both the front and back.

Step 22

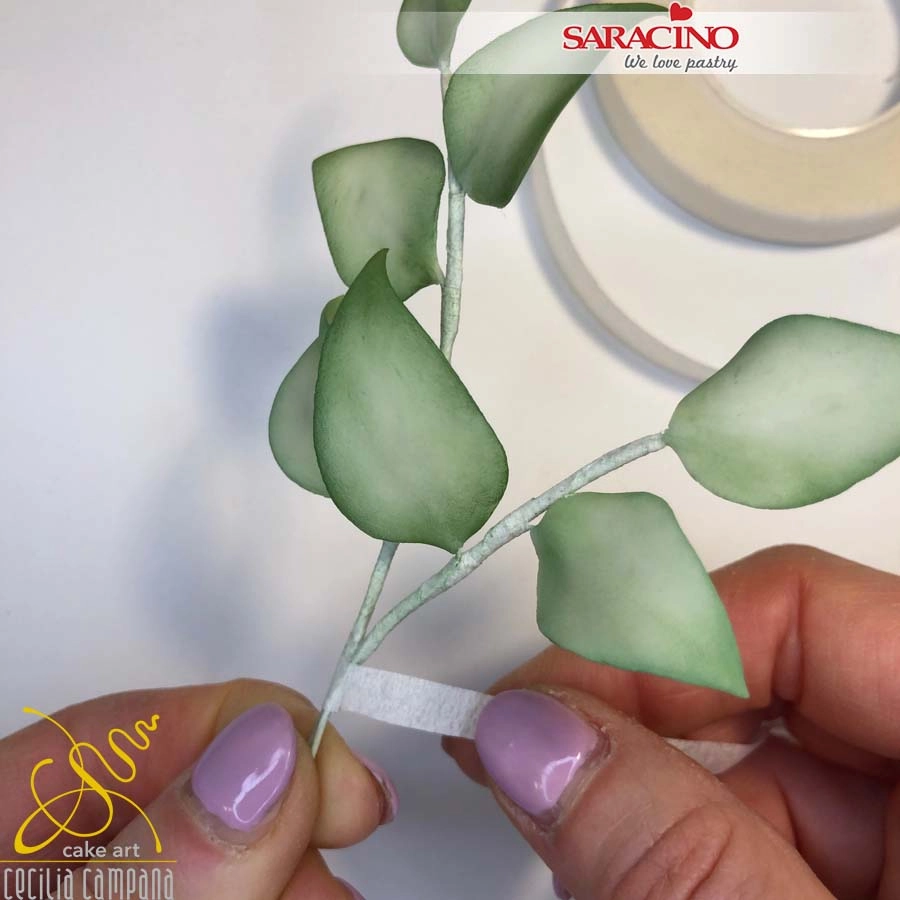
Join the leaves one by one on a 20 gauge wire with the white tape. Occasionally add a red bud. Colour the tape with light green dust colour.

Step 23

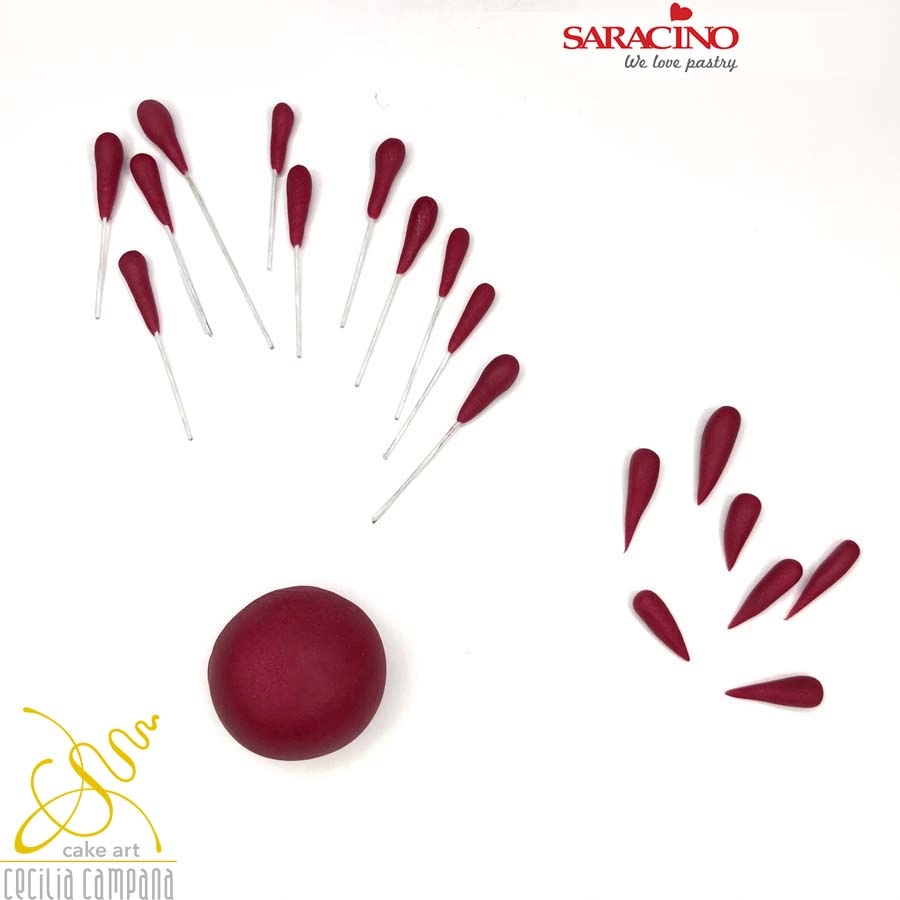
Create small dark red teardrop shaped buds. Fix some of them on short lengths of 28 gauge wire.

Step 24

With the same procedure as photos 19-20 create 14 elongated leaves of various sizes using dark green paste. Make them 2mm thick at the bottom and 1mm at the edges and tip.

Step 25

Dust all the leaves with the green powder and touch up only the tips with the white powder colour.

Step 26

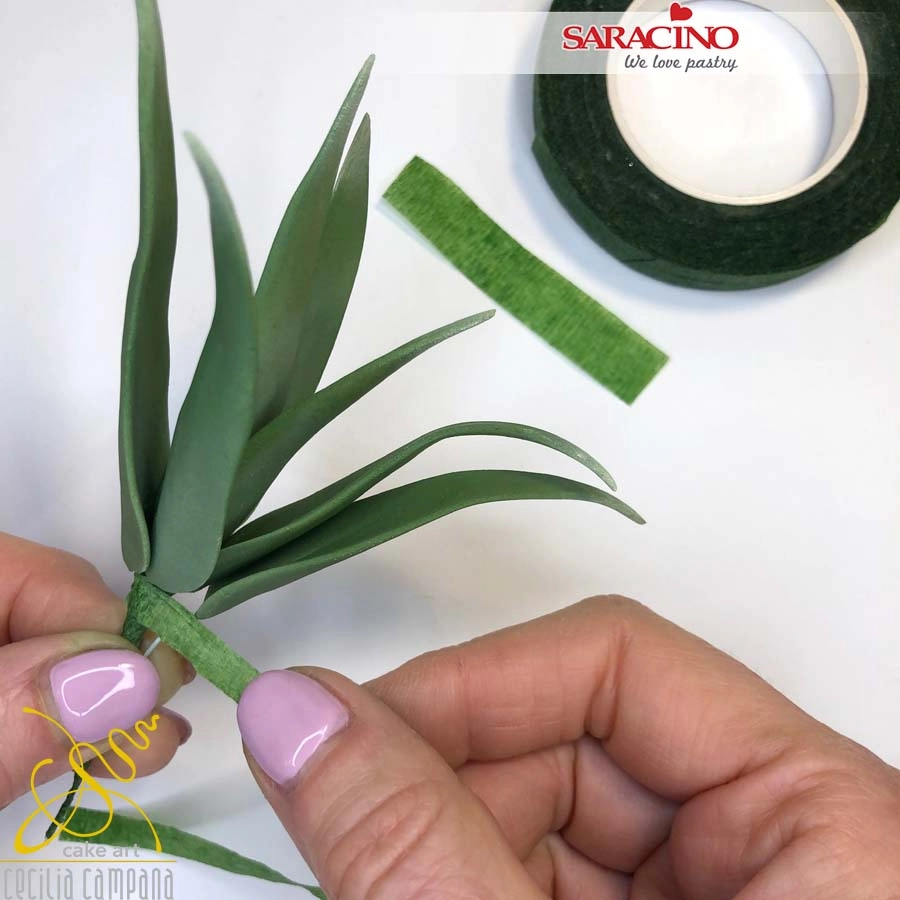
Join the leaves one by one on a 20 gauge wire with the green tape. 

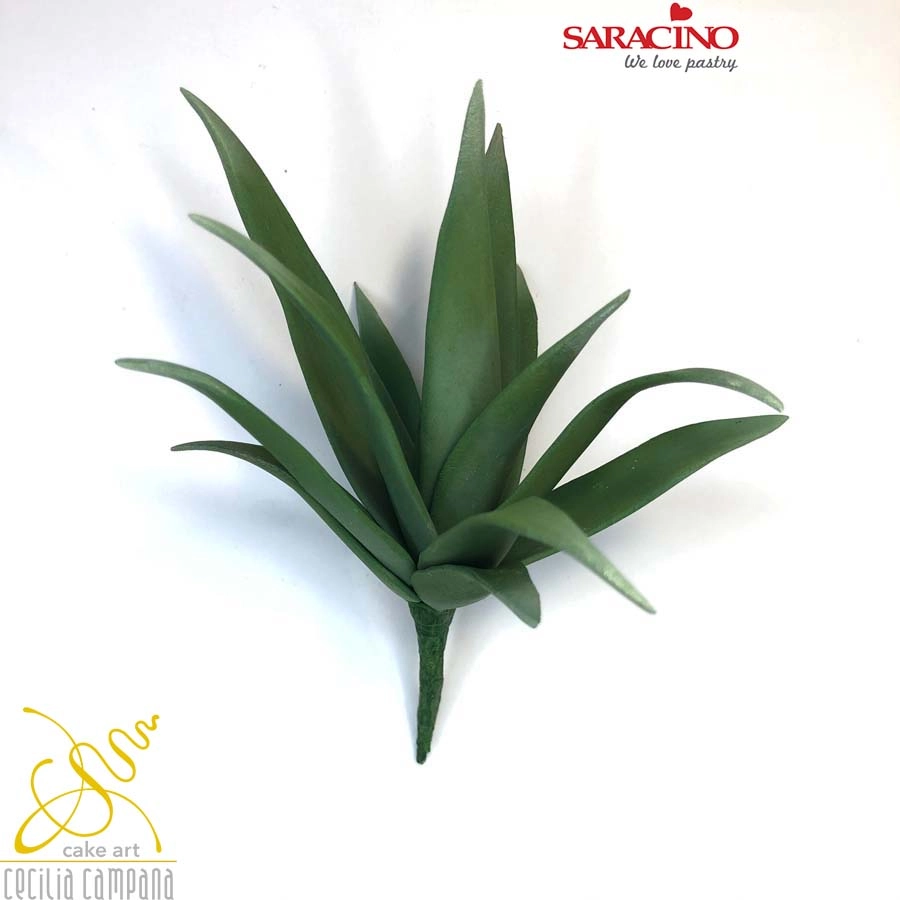
Step 27

So it looks like this when all the leaves are connected.

Gently steam each flower and petal to fix the colours.

Step 28

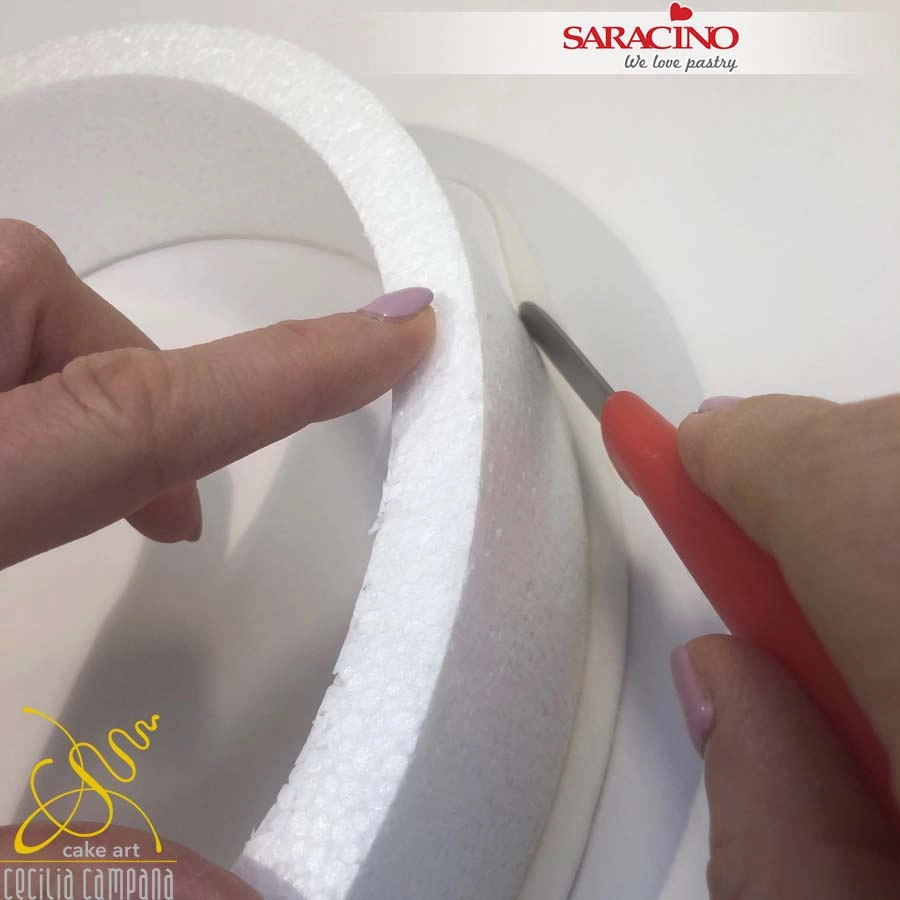
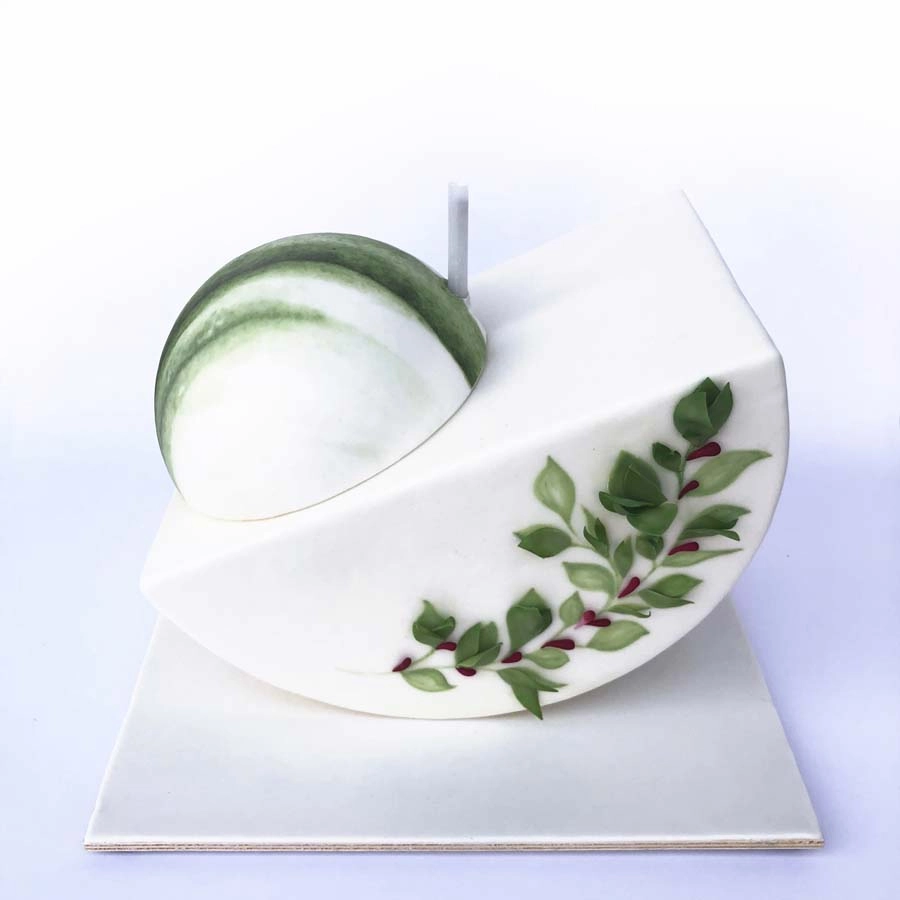
You will need to make a diagonal hole through your lower tier dummy at the angle you want the bottom tier to sit.

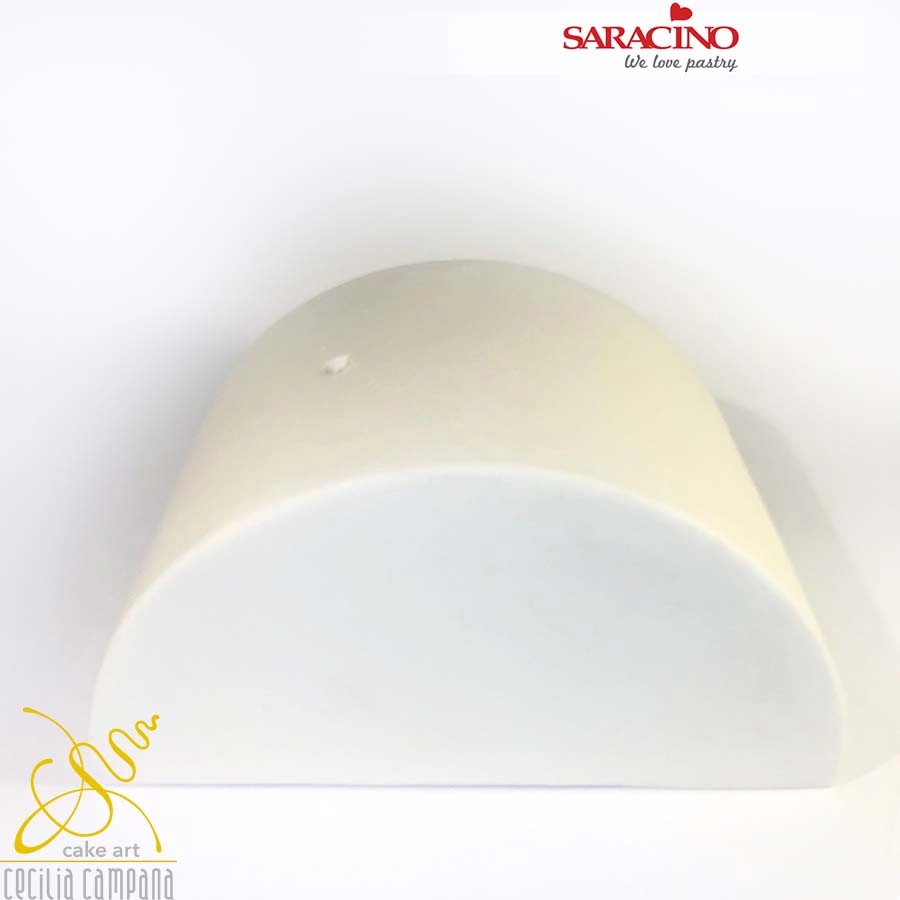
Cover your lower tier (half round) and the half sphere with white ganache.

Cover the lower tier with white Pasta Top and smooth.


Step 29

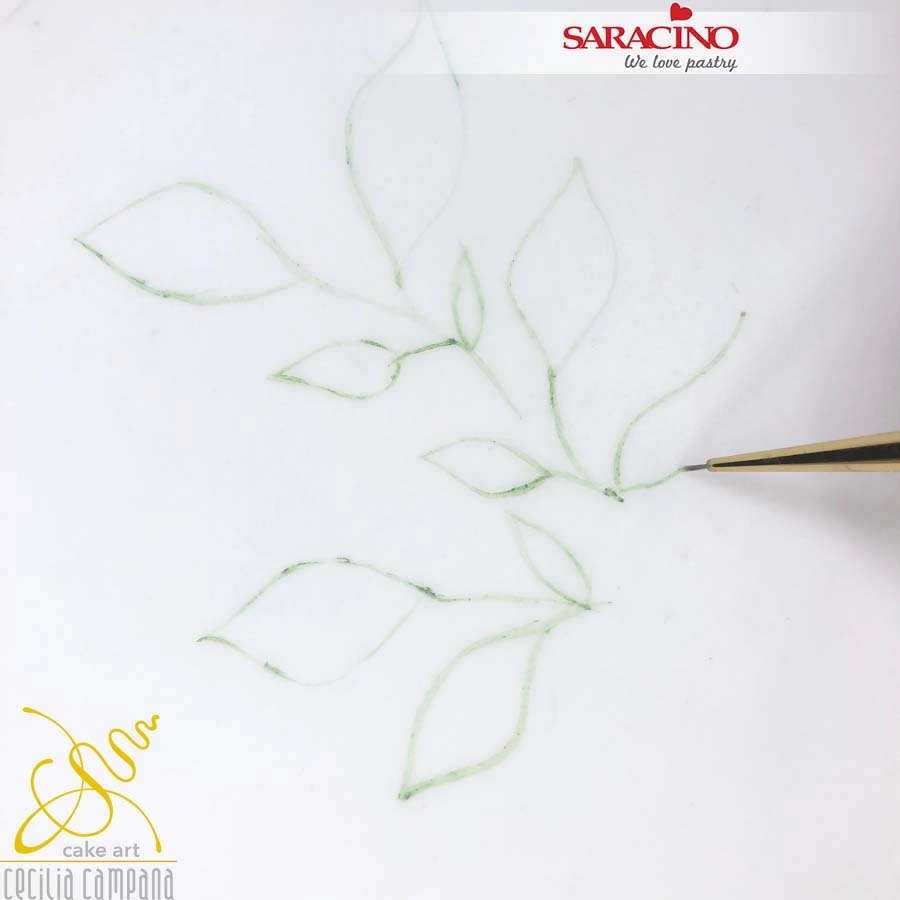
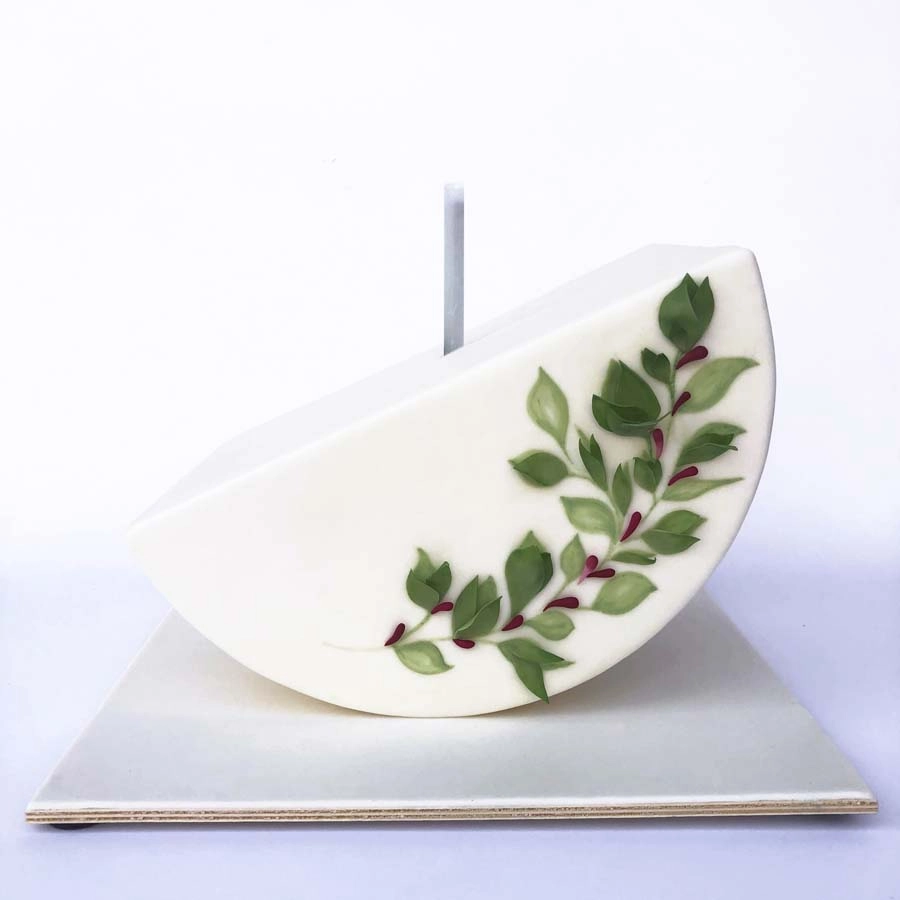
On the side of the semicircle paint the outline of the leaves with a brush and the green powder diluted with clear alcohol. Paint them a similar shape to the leaves we made in step 21.

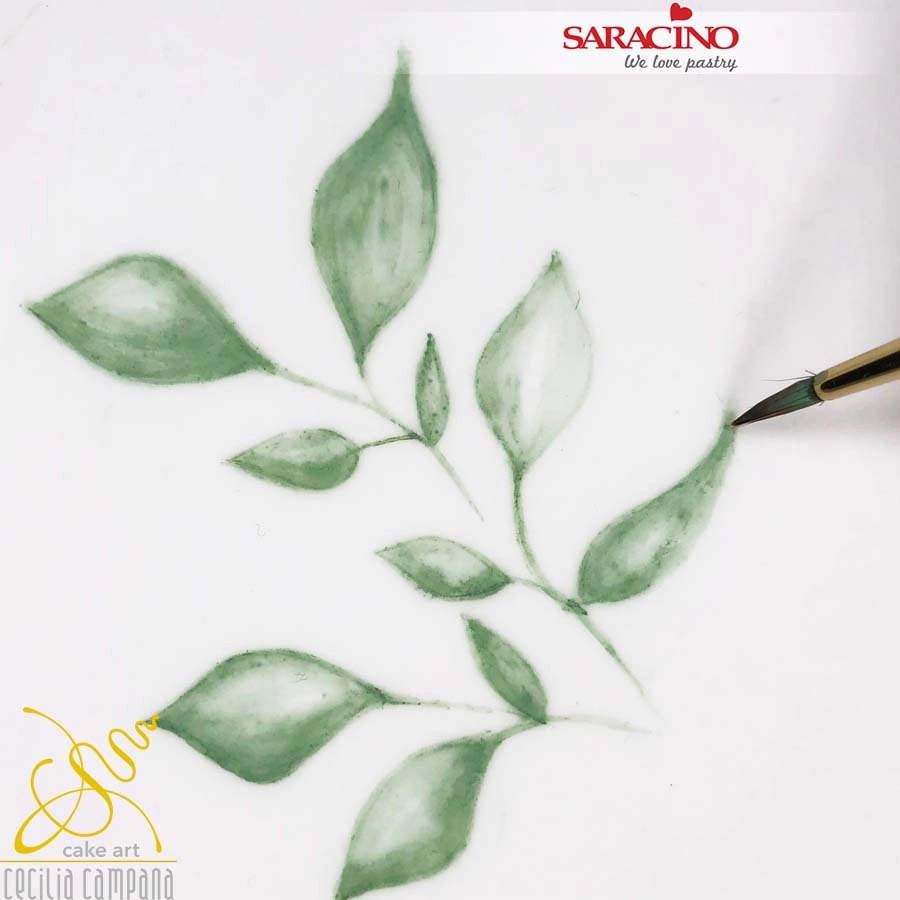
Step 30

With a large brush create the shades. Identify the leaves you want to make three-dimensional.

Step 31

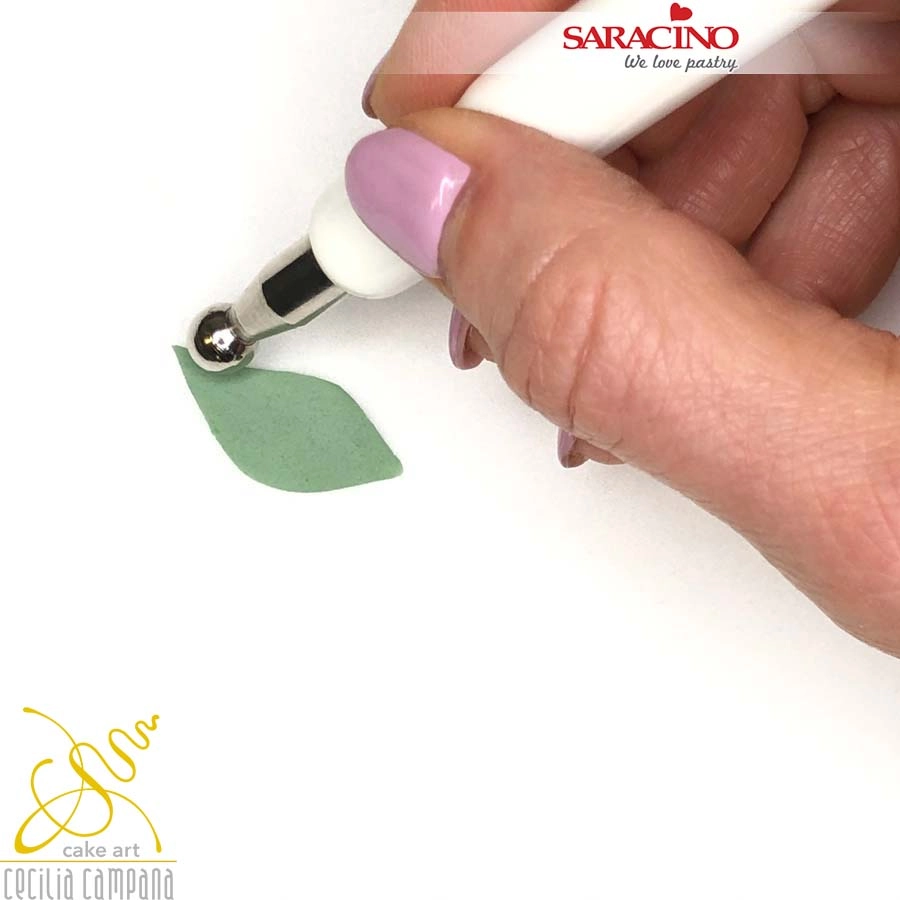
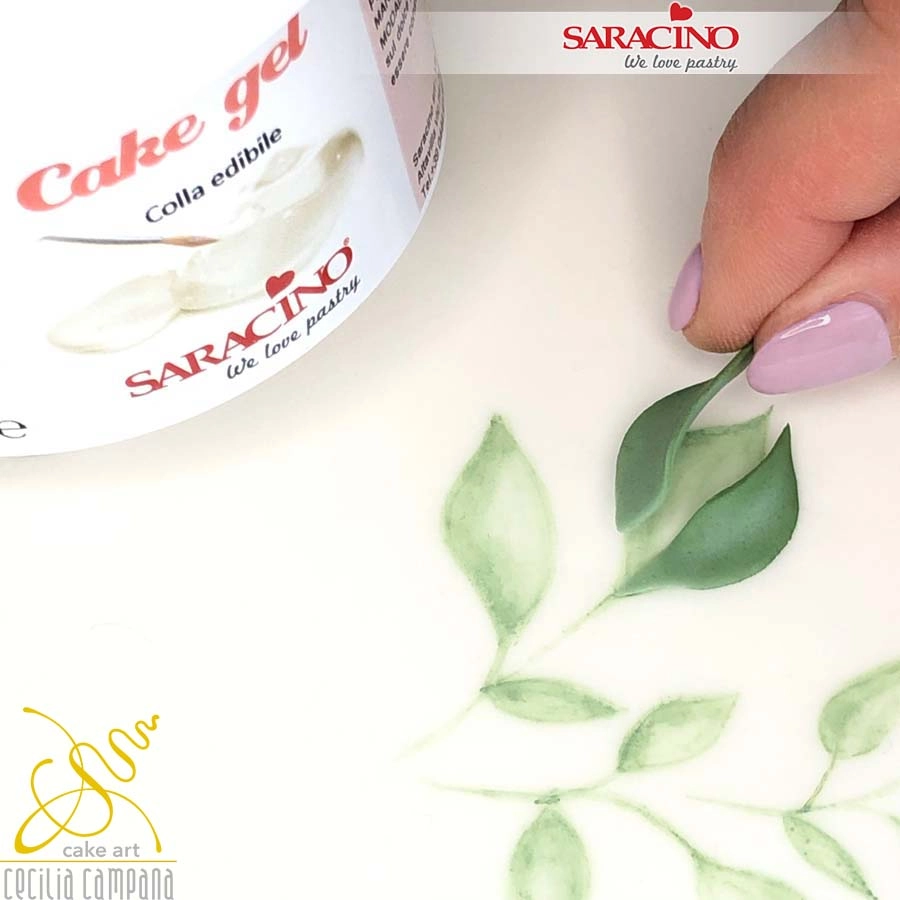
Roll green Pasta Bouquet to approx 1mm thickness and cut 2-3 leaves for each of the drawn leaves you chose in step 30 to make 3D. Thin the edges of the leaves with a ball tool.

Step 32

With green powder colour, dust the edges of the leaves to give depth.


Step 33

Fix the leaves with a thin layer of cake gel on the edge that is in contact with the cake surface. Repeat for the other leaves you chose to have the 3D appearance.

Step 34

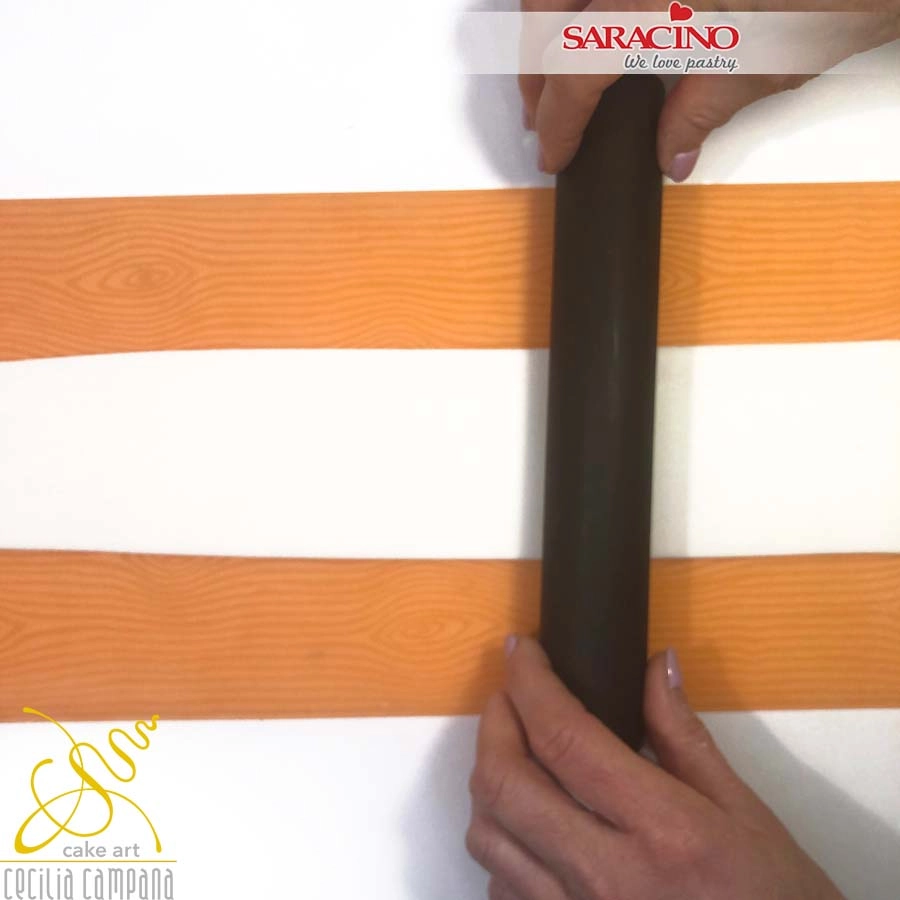
Roll white Pasta Top to approx 3mm thick. Place wood texture mats on top and roll to add texture to the paste. 

Step 35

Cover one edge of the circle dummy and trim excess paste.

Step 36

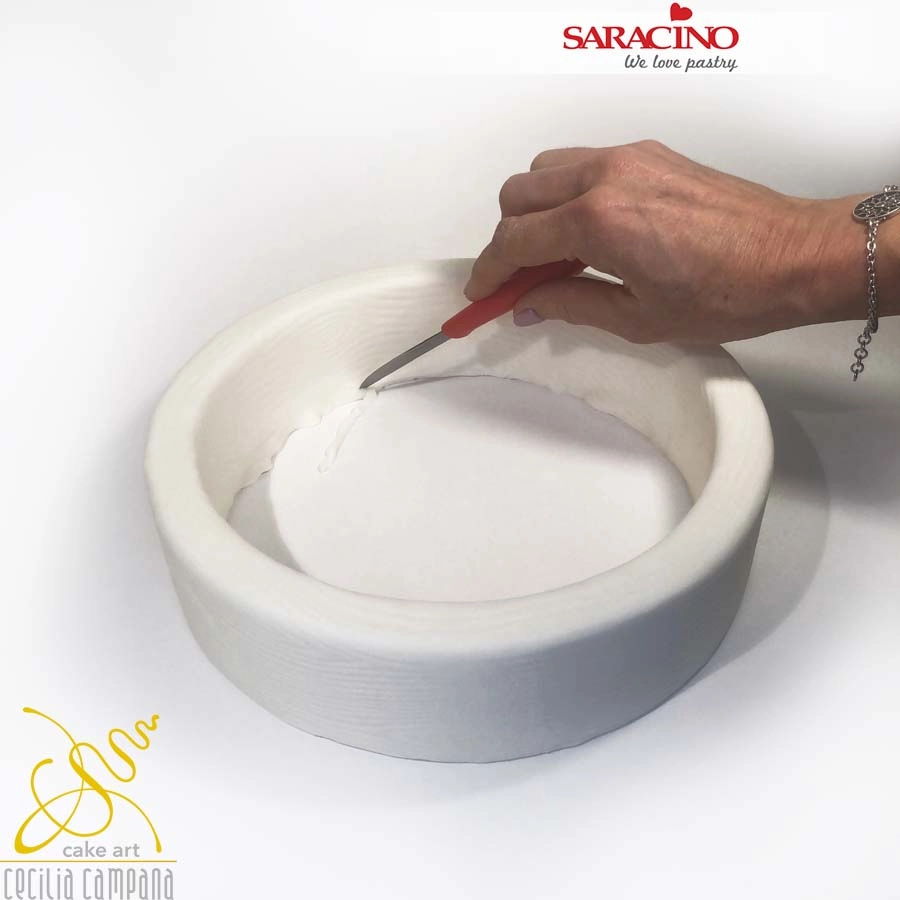
Repeat to cover all sides of the ring dummy. Apply a little water or cake gel to the dummy to assist fixing the paste. Trim all excess and blend to smooth the joint taking care not to smooth the texture.
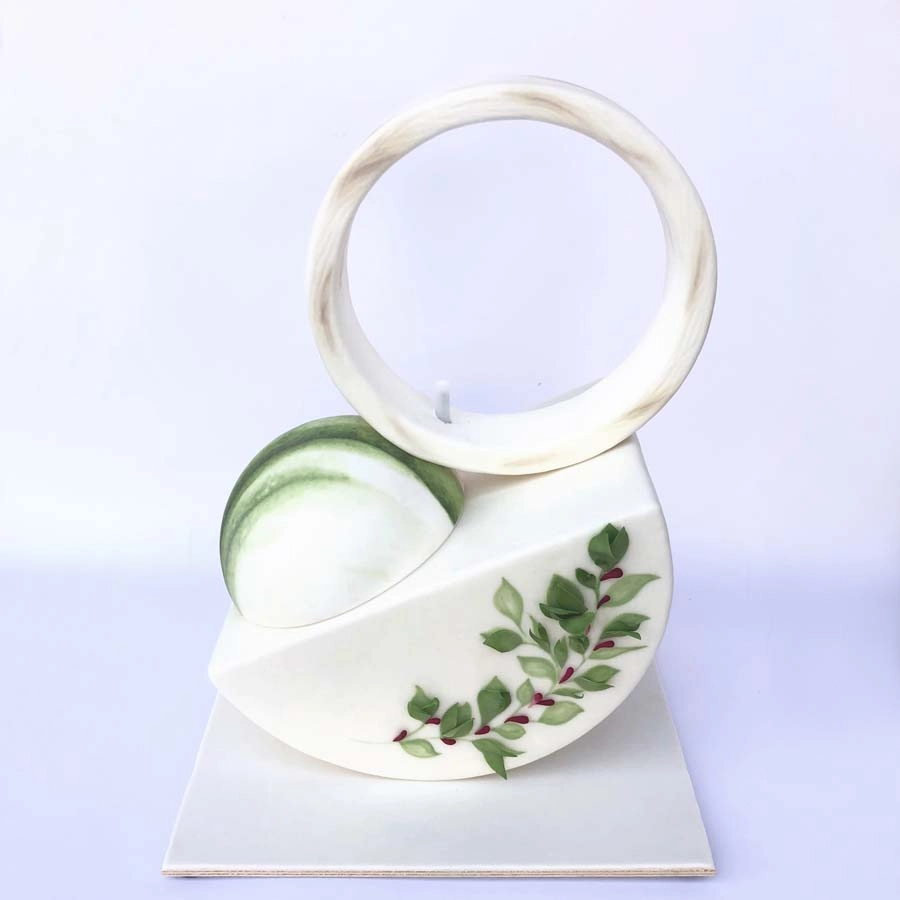
 

Step 37

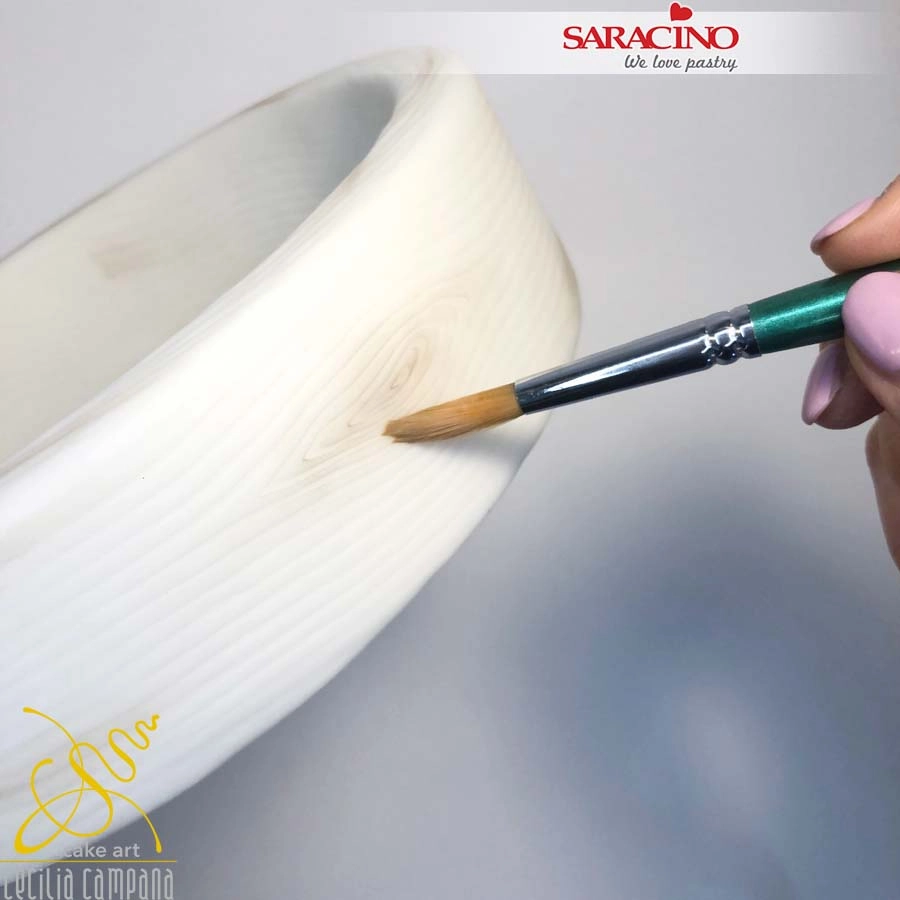
Using a soft brush lightly dust the knots using brown powder colour.

Step 38

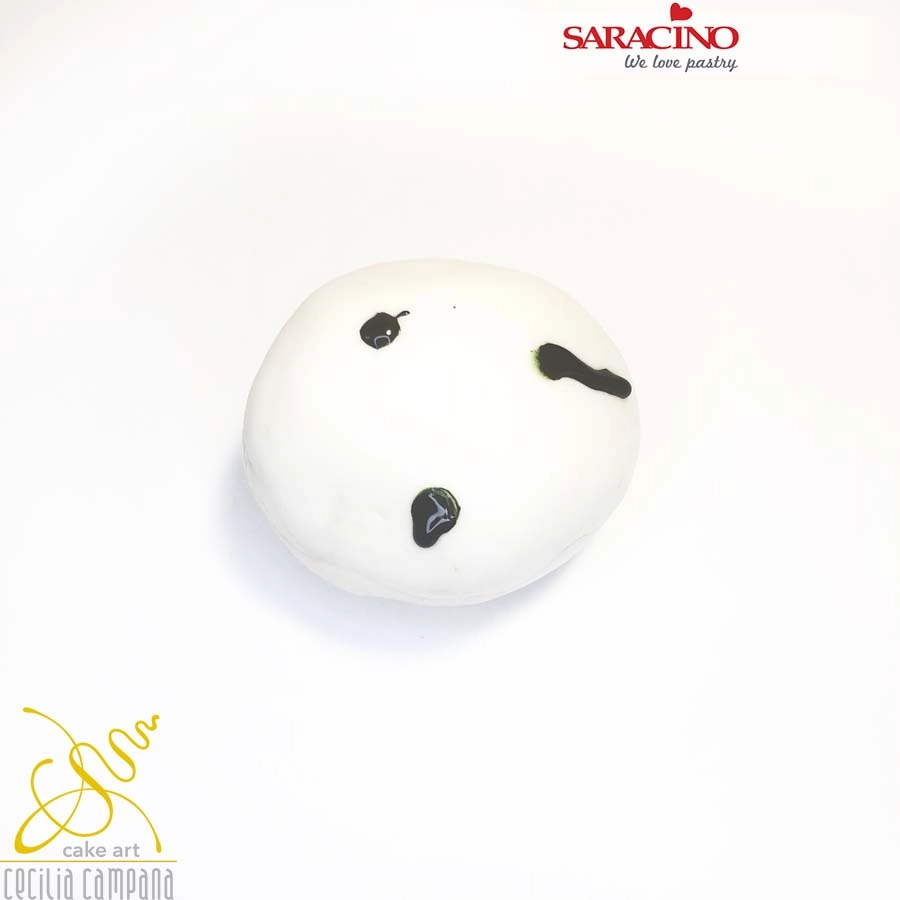
Take 140g of Pasta Top and add 3 small dots of green gel colour.

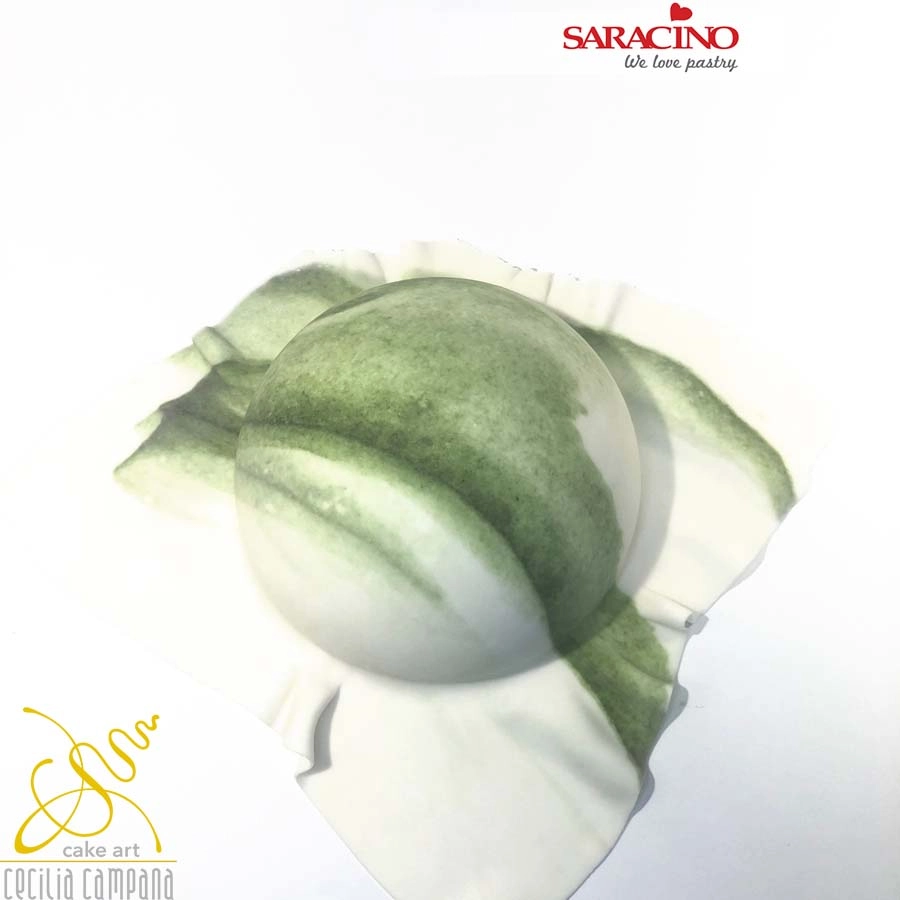
Step 39

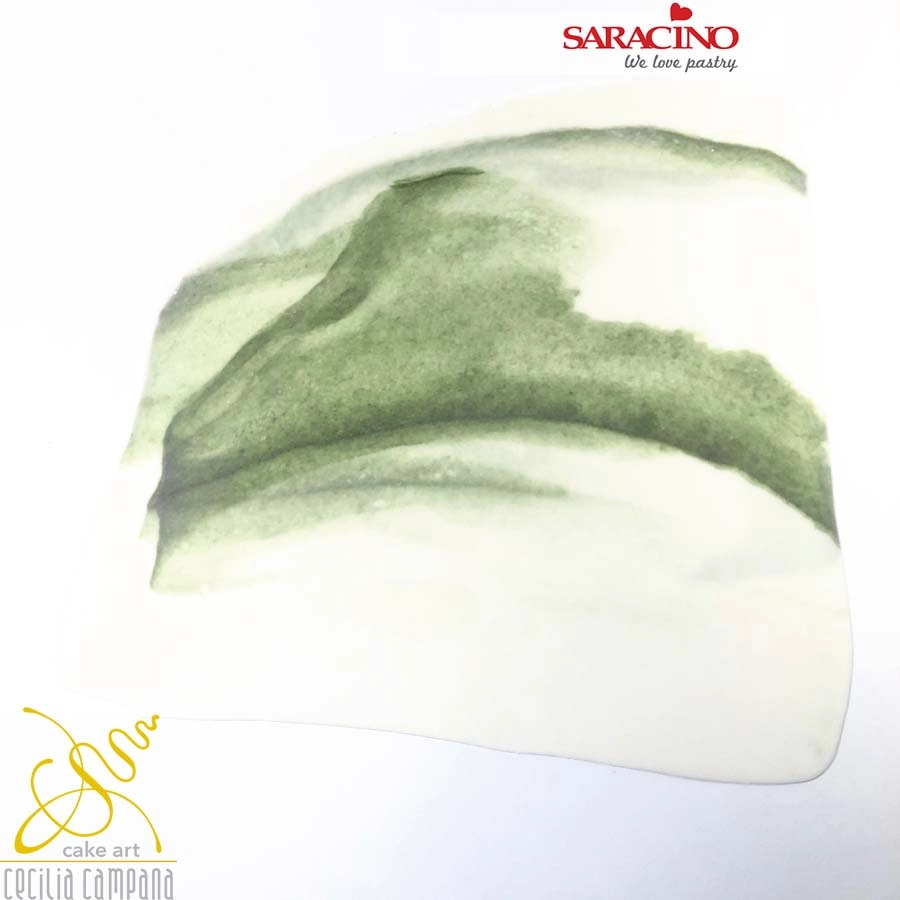
Fold and roll out the paste several times in the same direction until it acquires the desired marble style shade and pattern. Roll to 3mm thickness.

Step 40

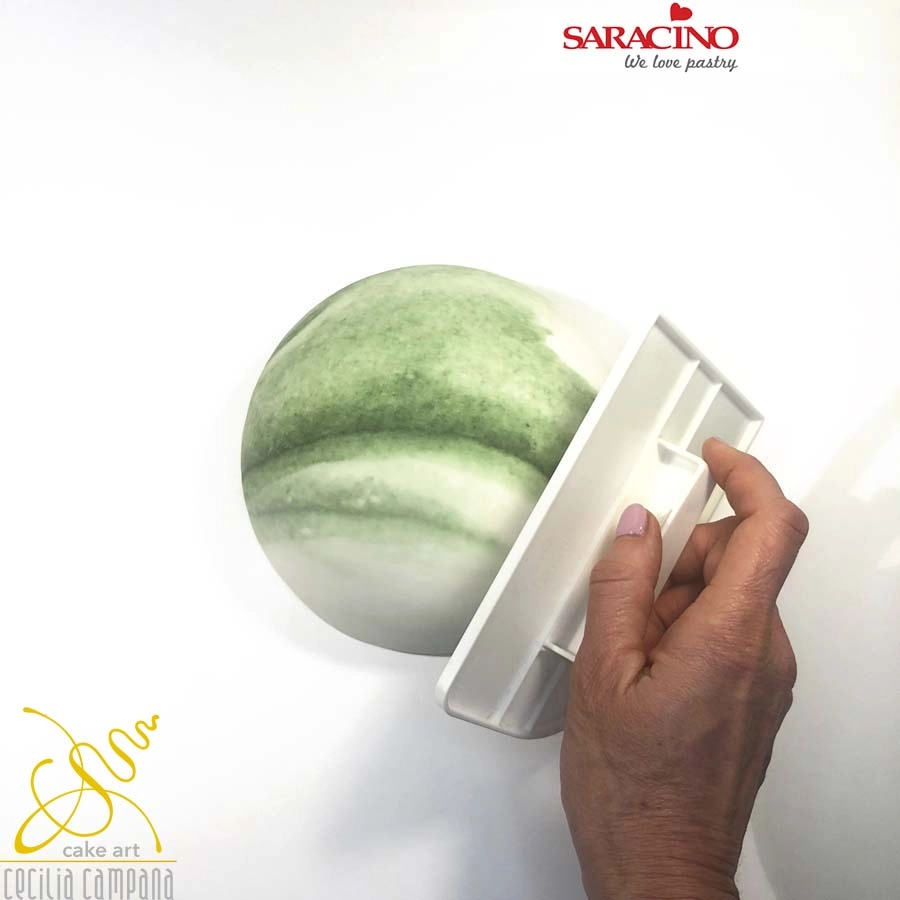
Take the half-sphere cake coated with the ganache and place on a cake board. Cover it with the marbelled paste.

Step 41

Trim the edge excess very carefully and smooth well to give a nice finish.

Step 42

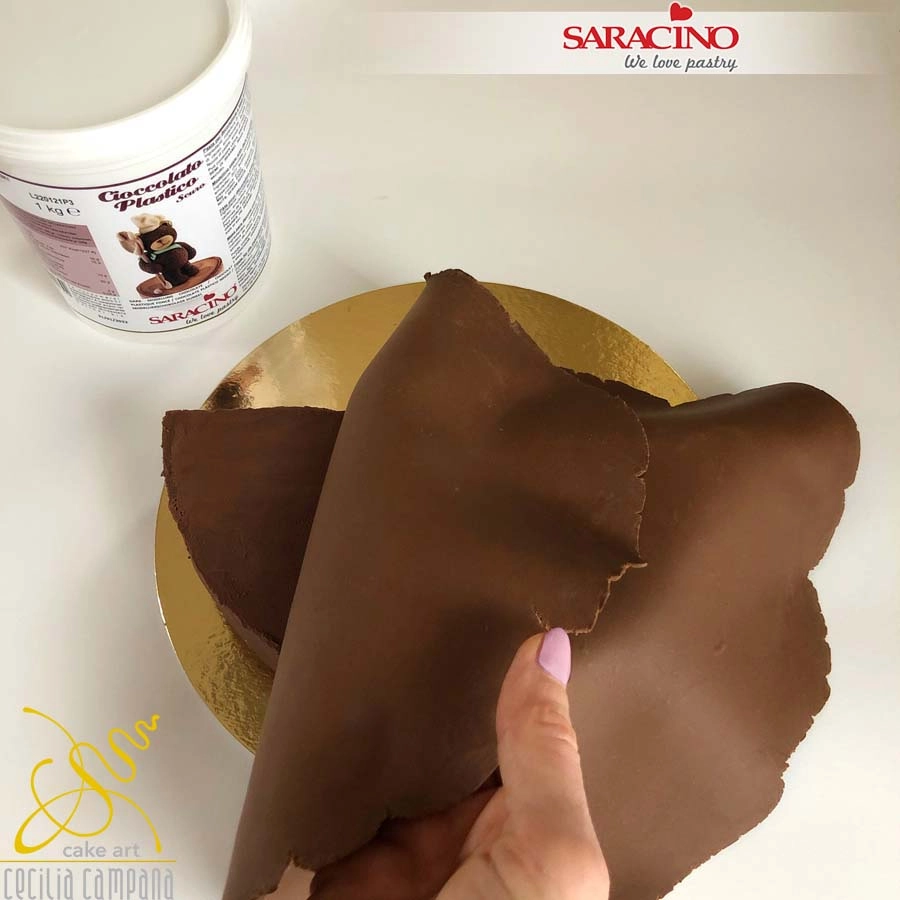
Take 150g of dark modelling chocolate and cover the top half round cake that has previously been coated with dark chocolate ganache (the ganache can be applied at the start so it can set whilst we make the flowers).

Step 43

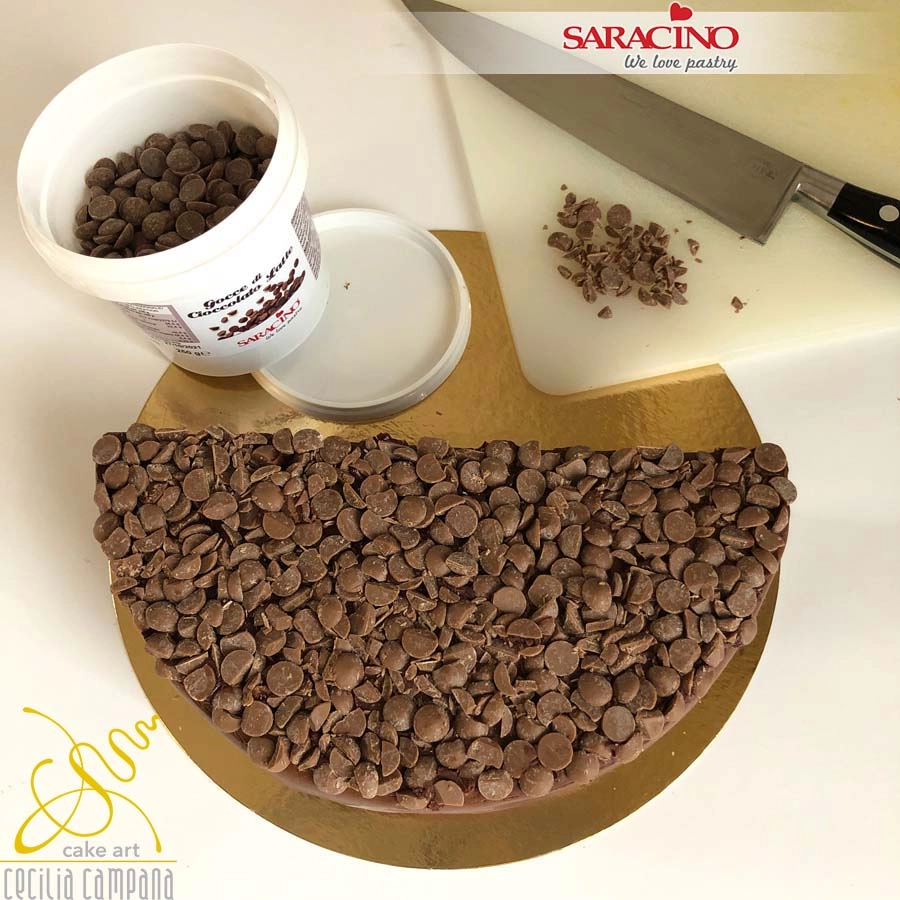
Coarsely chop the Saracino milk chocolate drops and stick them to the face of the semi circle with ganache or cake gel.

Step 44

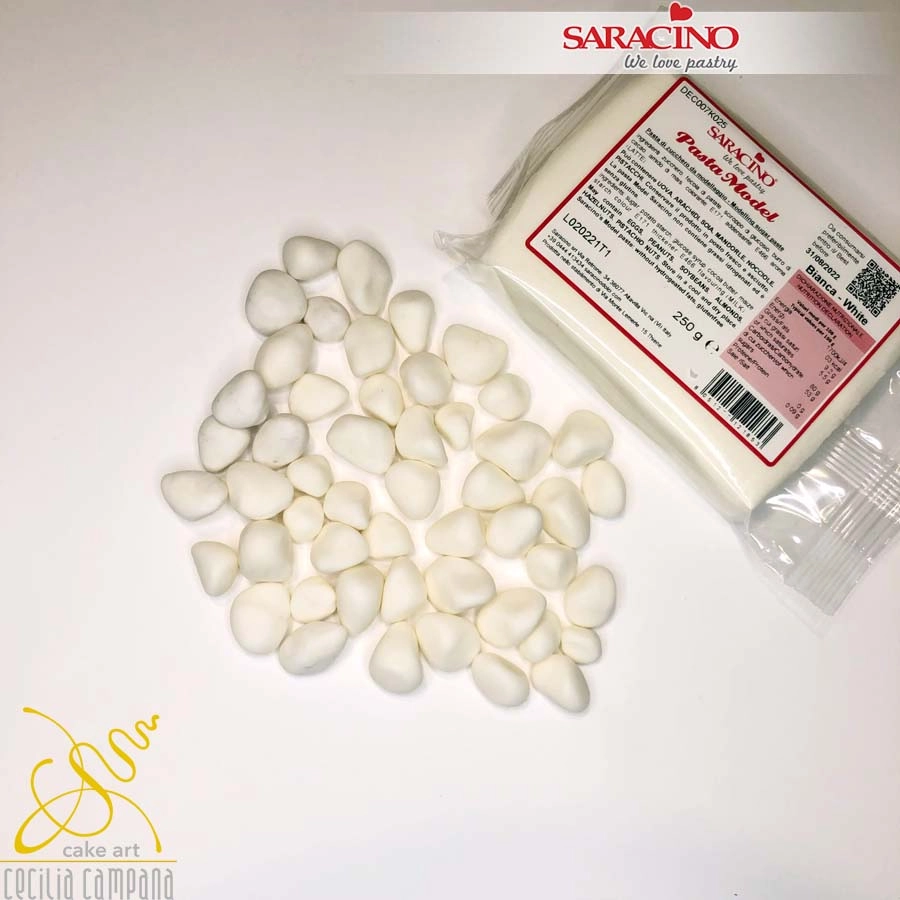
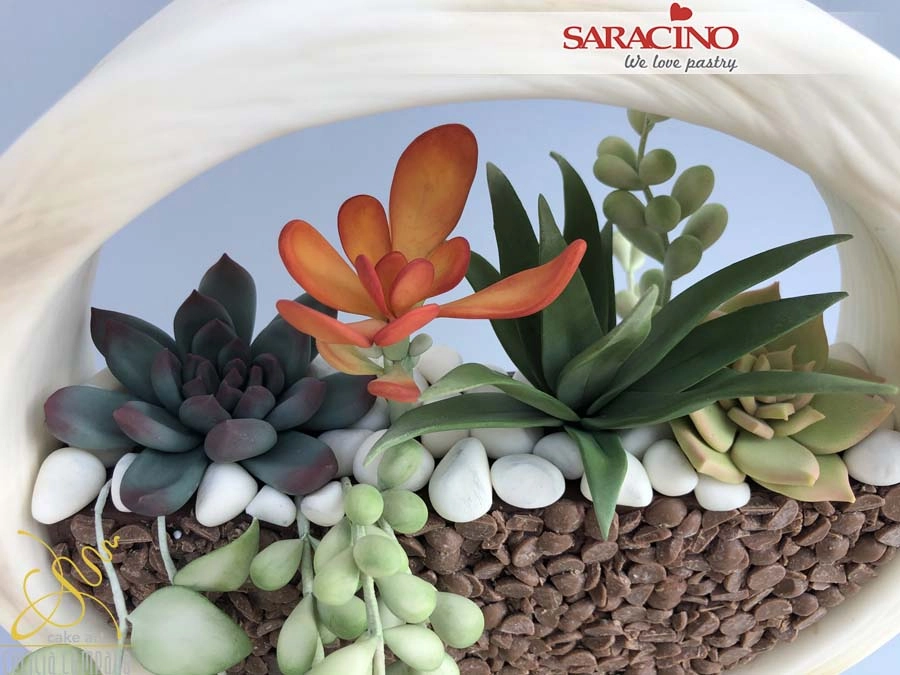
To make stones use white Pasta Model and roll into different shapes and sizes.

Step 45

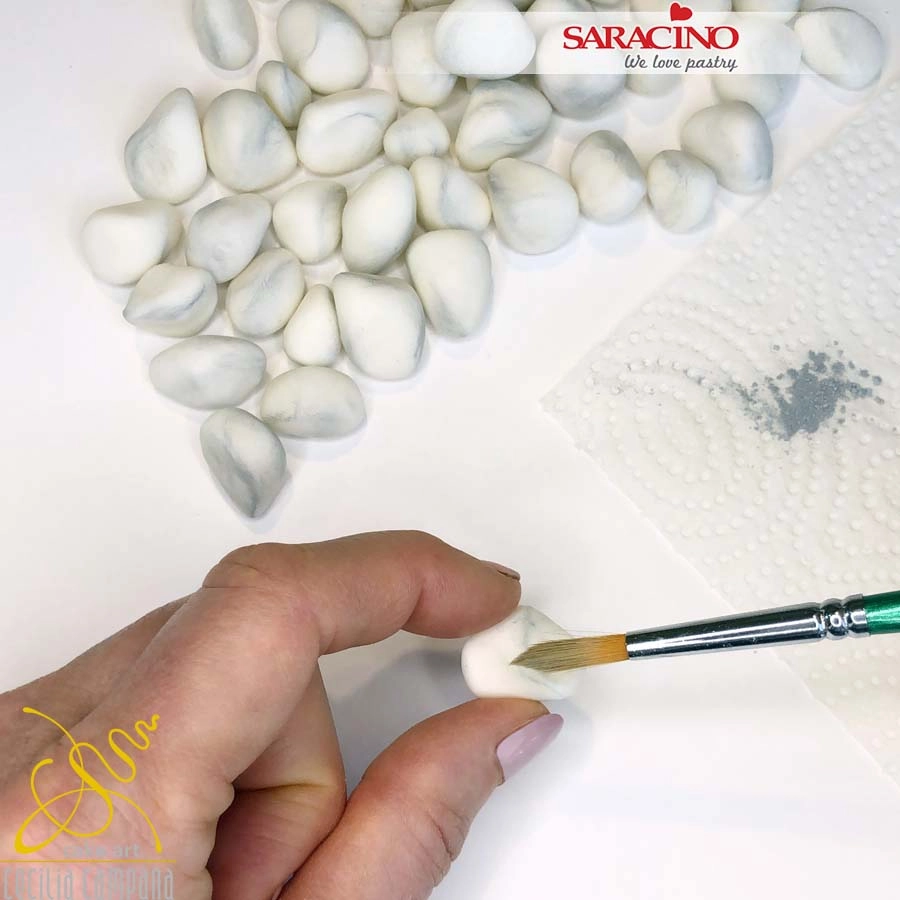
Using a soft brush and grey powder colour dust the stones to give shade, intensifying the colour in some points.

Step 46

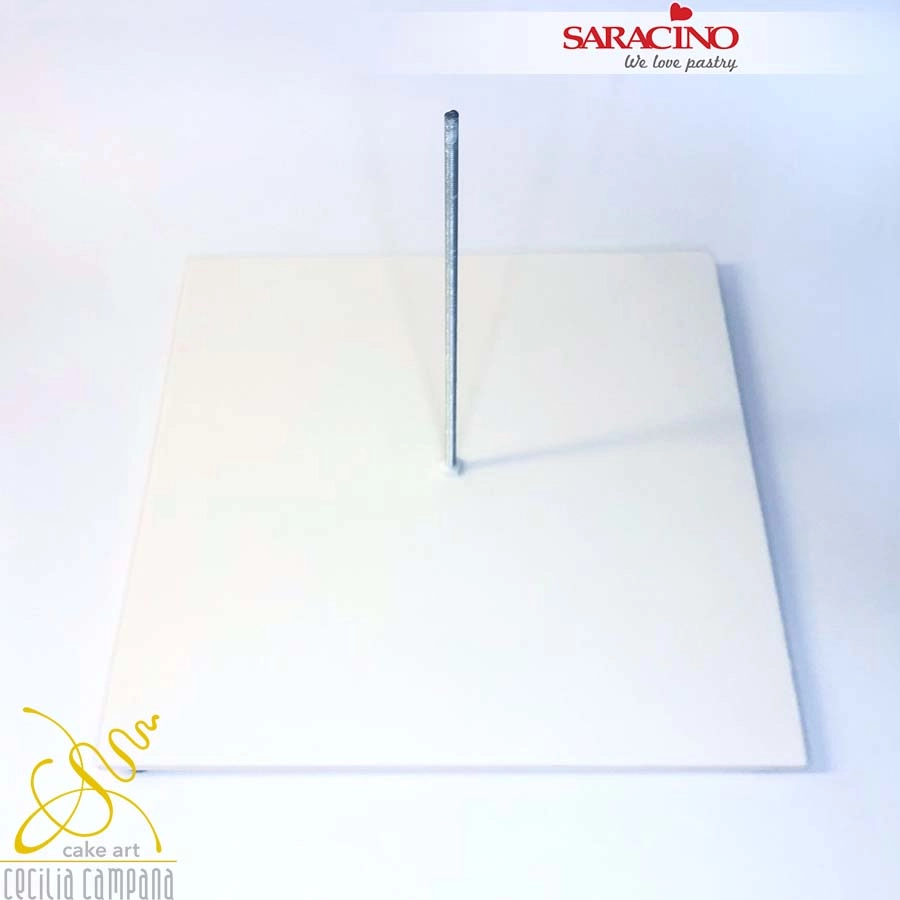
For the support structure form a hole central to the board. Pass the threaded rod through and fix a nut and washer both under and above the cake board. Once the rod is securely fixed, cover the board with white Pasta Top. Cover the metal rod with the hollow plastic tube / pipe.

Step 47

Position the bottom tier over the dowel onto the board. You will notice why we had to form the hole through the cake at an angle. Fix some of the dark buds we made previosuly to the leaf pattern.

Step 48

Make a hole close to the edge of the half circle and insert it onto the dowel.


Step 49

Form a hole through the top ring and insert it onto the dowel. You may wish to add a little glue to keep all secure.

Step 50

Fix the top cake inside the ring. You may need to position it lengthways inside the ring to fix over the dowel end and then turn it inside the ring.

Step 51

It is time to place the succulents and leaves. We want them to achieve a ‘flow’ with the curved leaves on the lower tier.

Step 52

Add the rest of the succulents and fill in the gaps with the stones. 

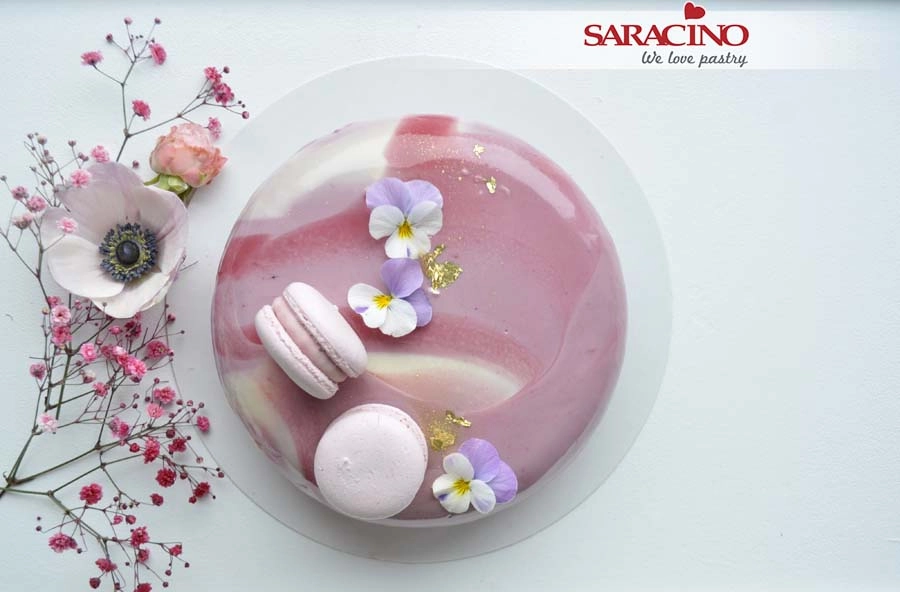
CHOCOLATE & COFFEE MOUSSE WITH FRUIT JELLY, ALMOND SPONGE & CRISP SPONGE CAKE

CHOCOLATE & COFFEE MOUSSE WITH FRUIT JELLY, ALMOND SPONGE & CRISP SPONGE CAKE

Author: Justyna Kowal

Skill level: BEGINNERS 

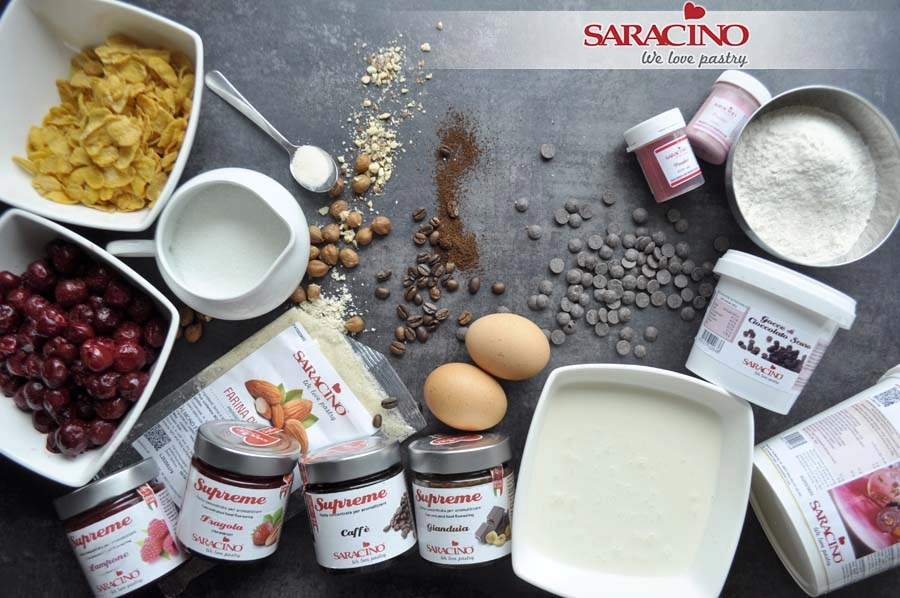
You will need:

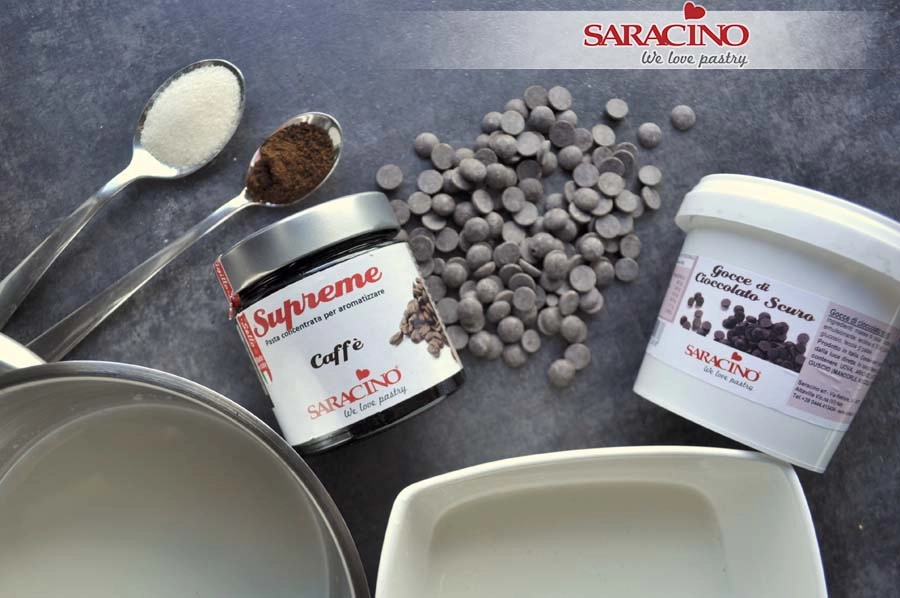
  • Saracino Le Supreme food flavourings: strawberry, coffee, hazelnut and raspberry
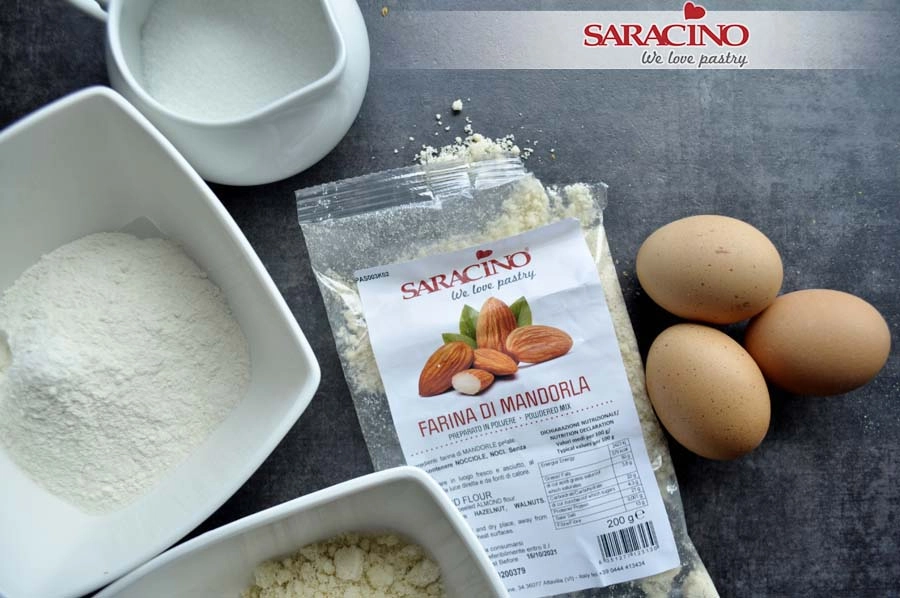
  • 50g Saracino Almond flour
  • 200g Saracino dark chocolate drops
  • Saracino mirror glaze: white chocolate and red fruits (raspberry, strawberry or wild fruits)
  • 350g cherries (can be frozen)
  • gelatine
  • 25g corn flakes
  • 20g chopped hazelnuts
  • 50g dark chocolate 60%
  • 3 eggs
  • 80g sugar
  • 90g plain flour
  • 150g milk
  • 200g cold double cream (30-36%)
  • 1 tsp freshly ground coffee

Step 1

Prepare all your ingredients. Make sure they are all at room temperature.  

Step 2

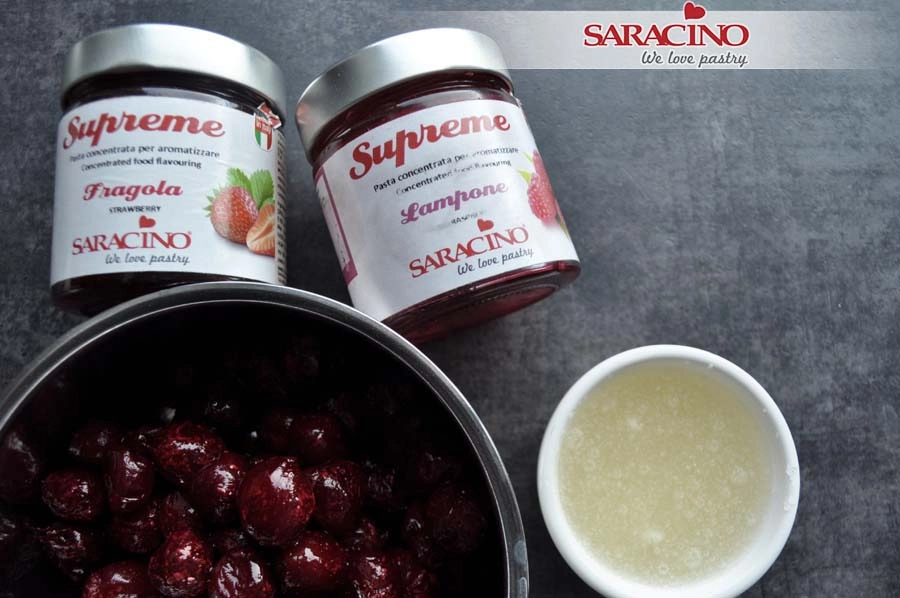
Prepare 350g of cherries (they can be frozen), 12 g of gelatine soaked in 3 tablespoons of cold water, Saracino food flavouring – raspberry and strawberry.

Step 3

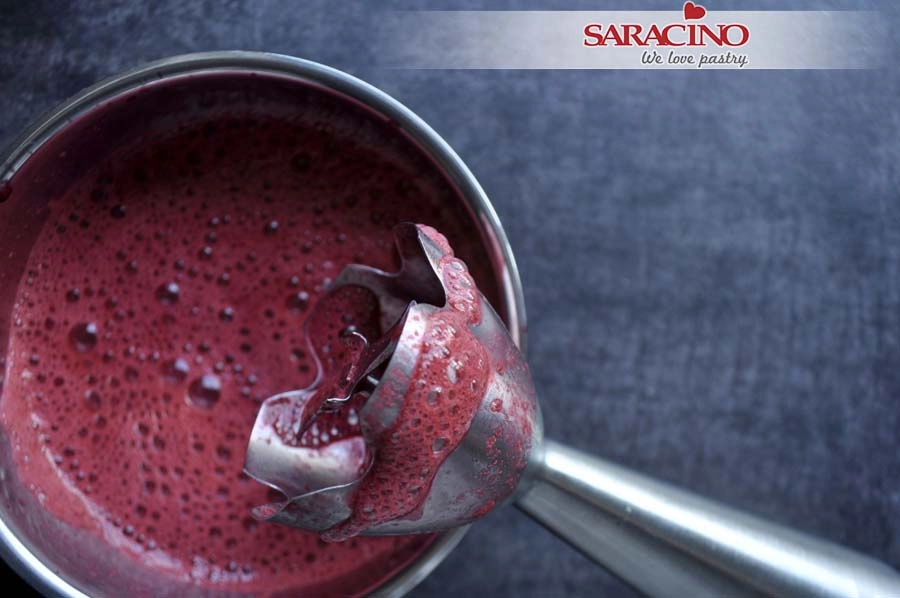
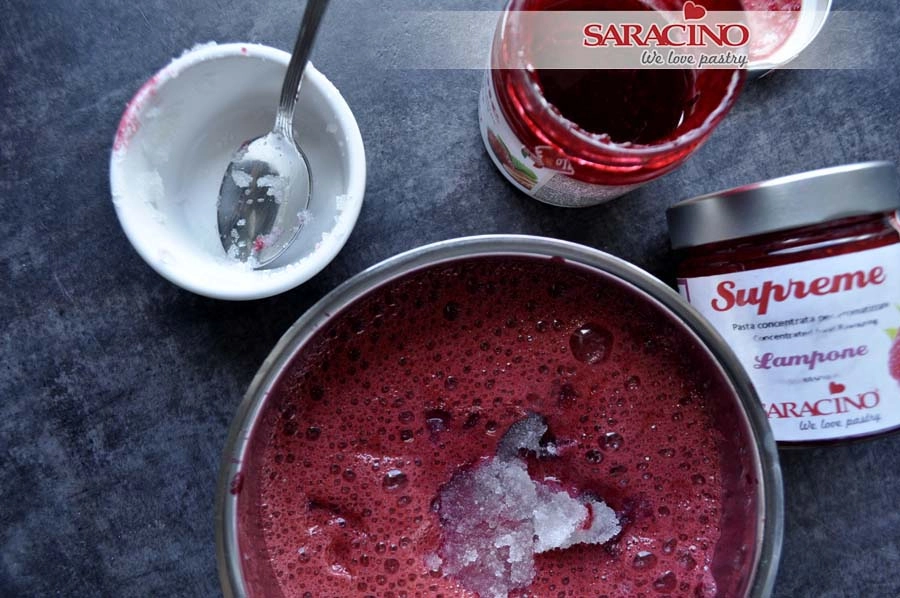
Boil the cherries and blend them to a puree.

Step 4

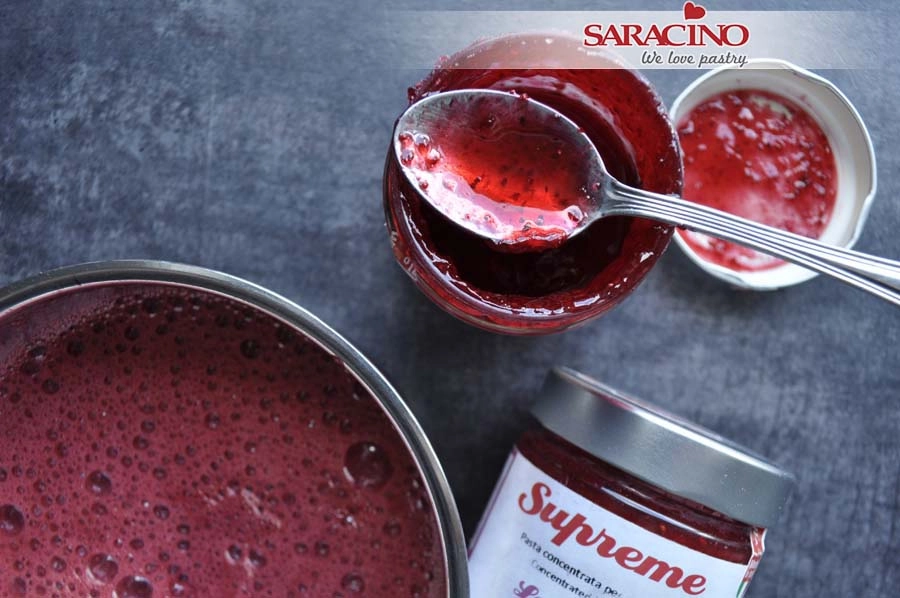
Add 1 teaspoon of raspberry flavour and 1 teaspoon of strawberry flavour to the puree whilst still hot.

Step 5

Immediately add the soaked gelatin and mix well.

Step 6

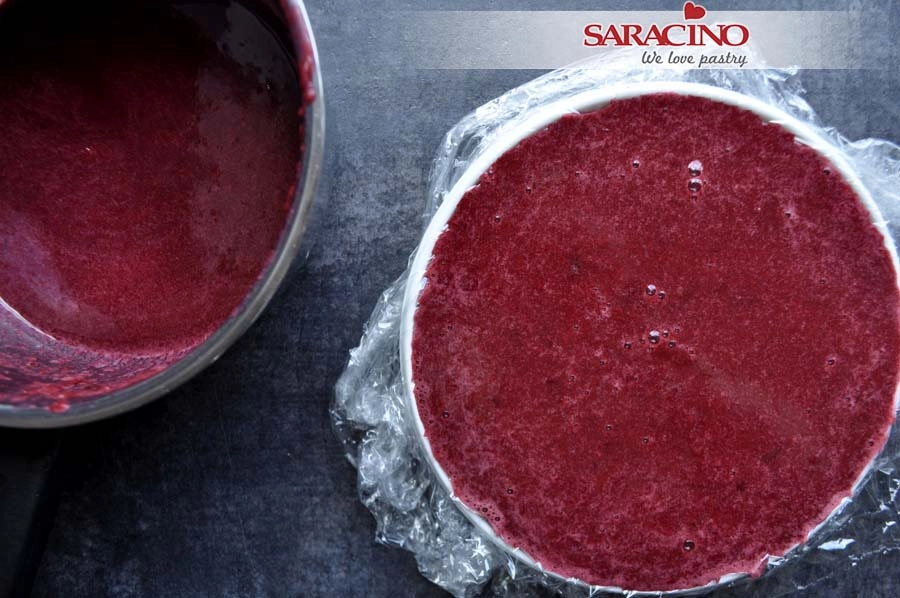
Pour the puree into a mould (plate) with a diameter slightly smaller than the cake mould, lined with cling film. Freeze.

Step 7

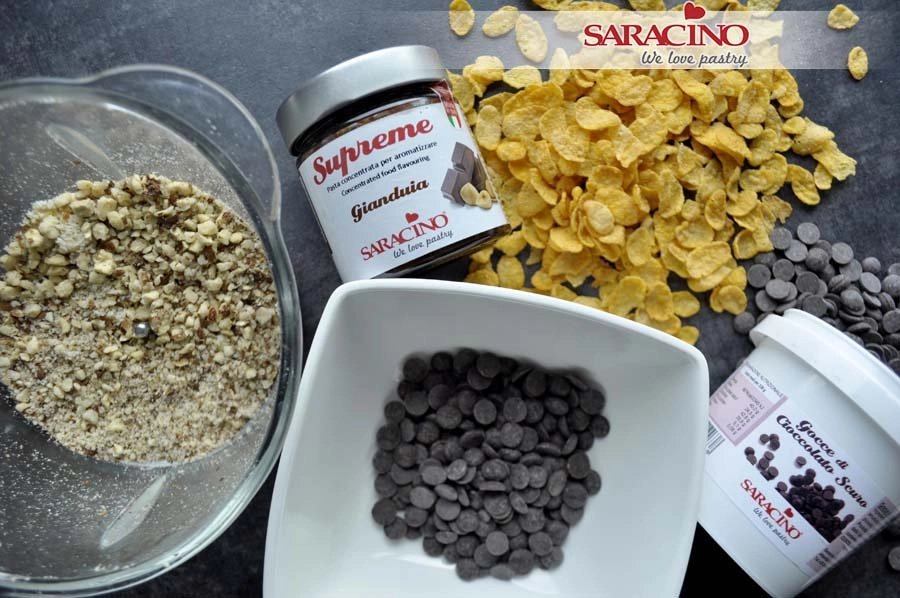
Prepare the ingredients for the crisp:

• 25g of corn flakes

• 20g hazelnuts, finely chopped

• 50g of plain chocolate

• 1 teaspoon of Saracino gianduia flavouring

Step 8

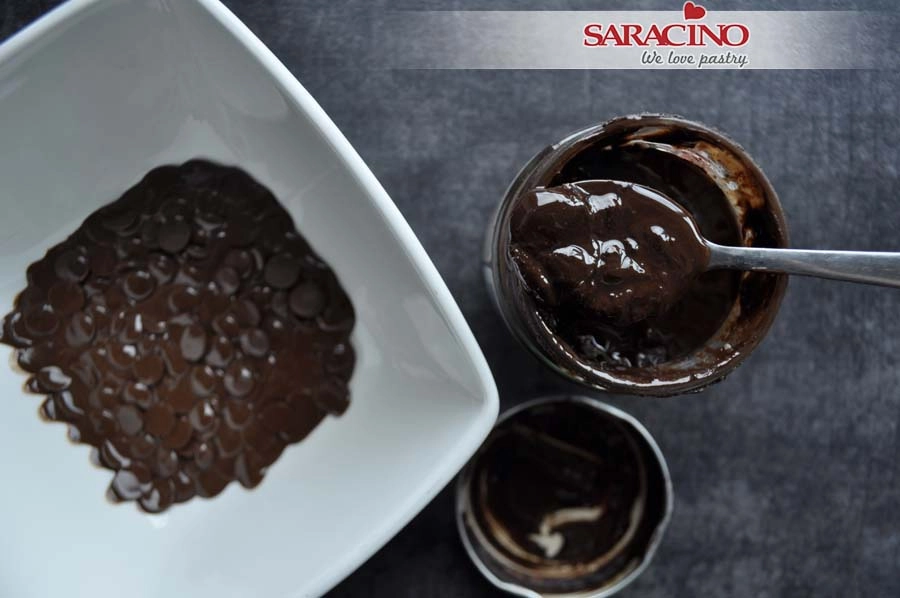
Melt the chocolate and add the gianduia flavour, cool to room temperature.

Step 9

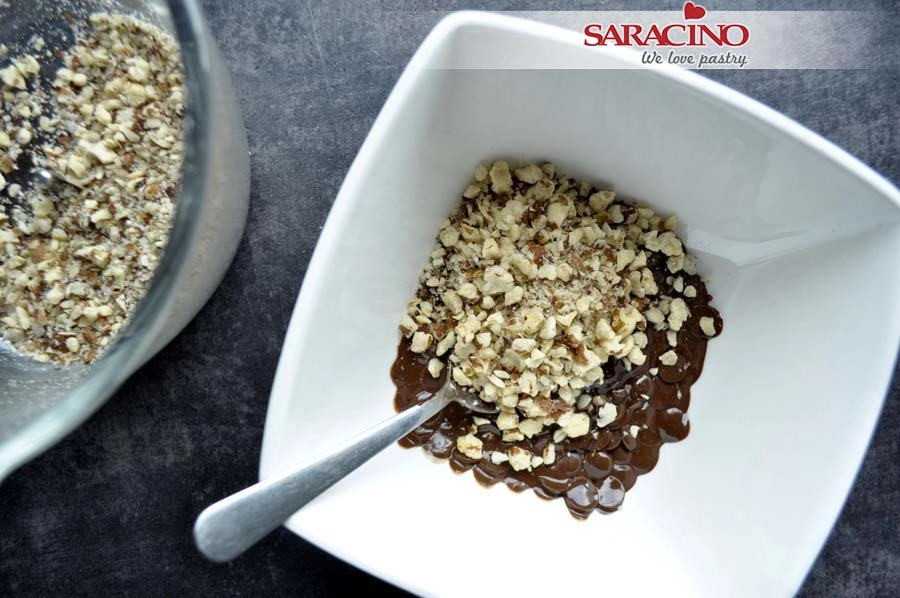
Add chopped hazelnuts.

Step 10

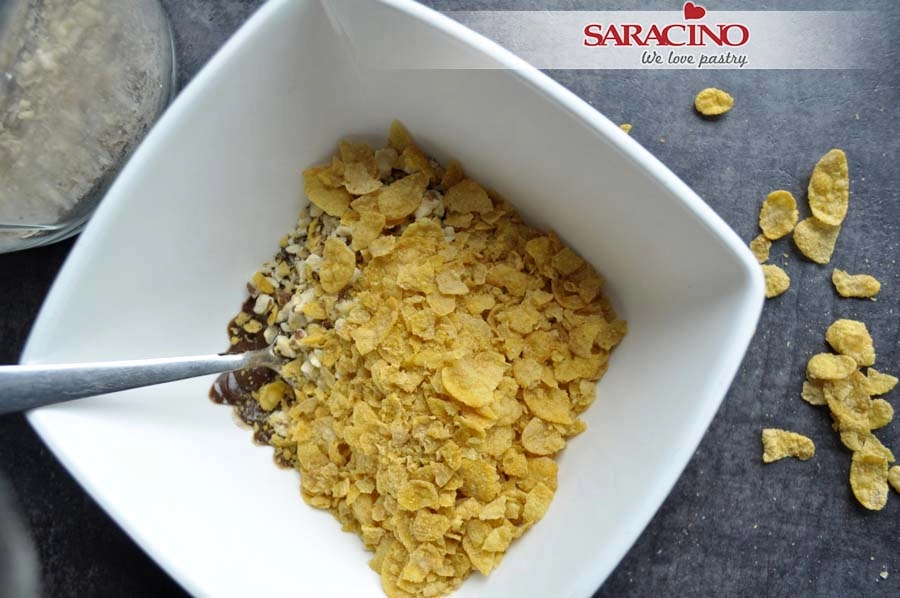
Add the corn flakes, lightly crushed.

Step 11

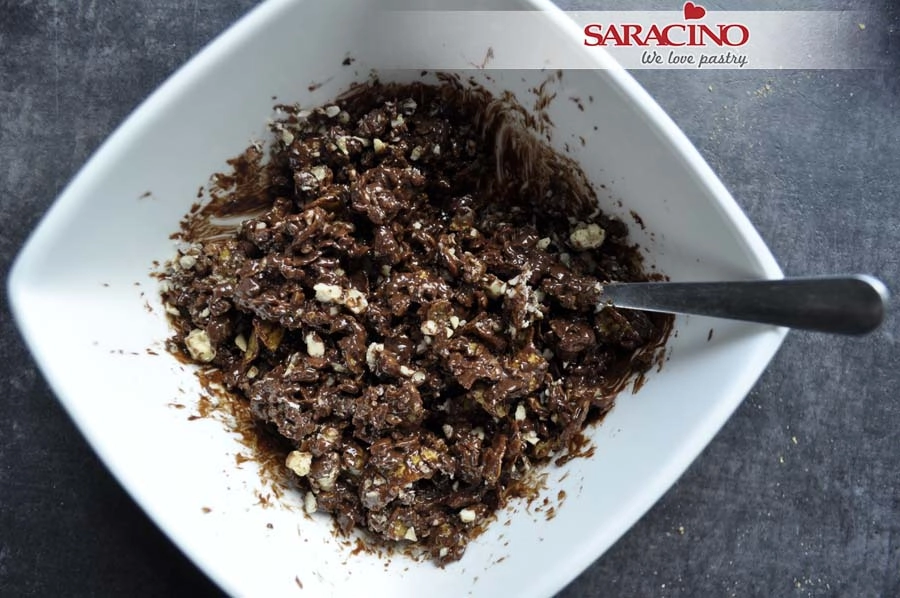
Stir quickly and thoroughly.

Step 12

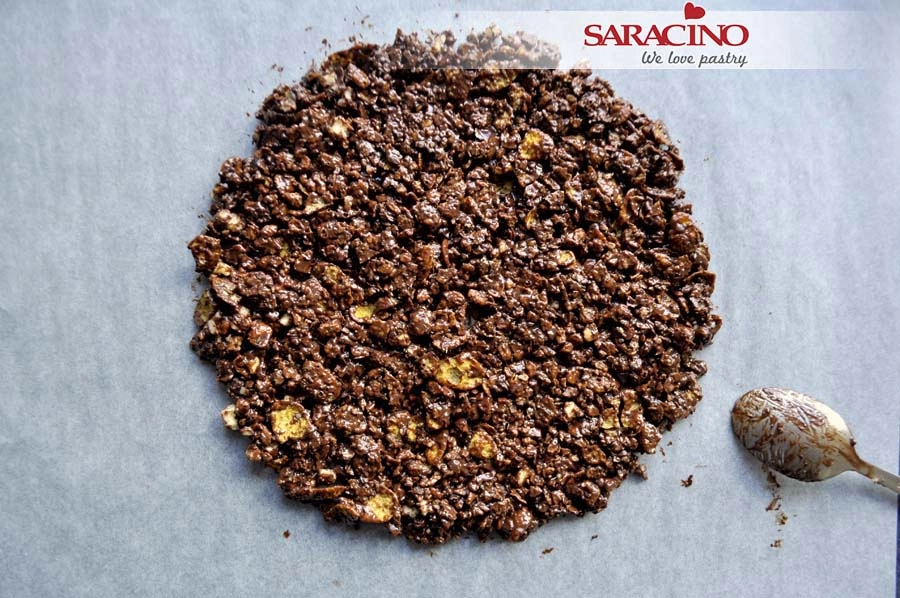
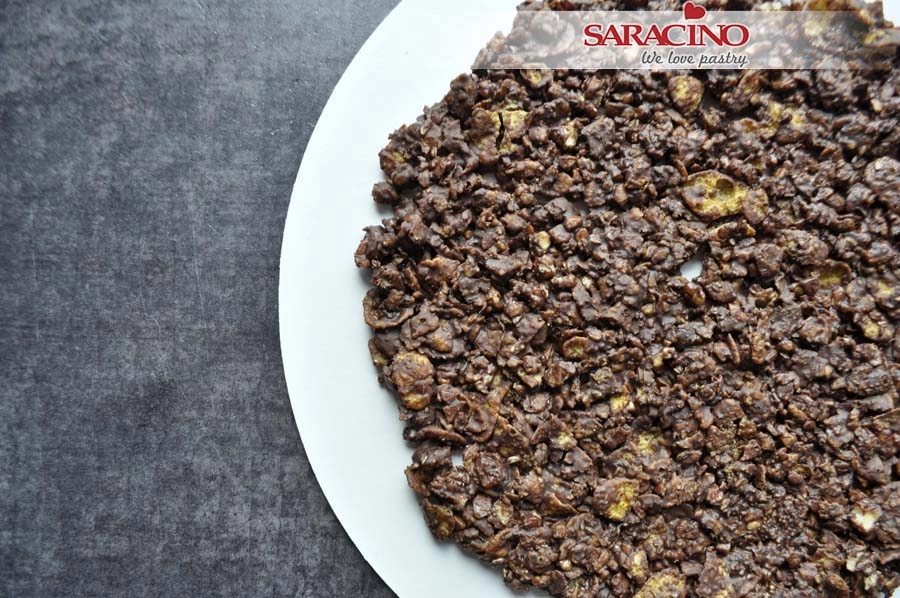
Put the crunch on baking paper and use a spoon to make a circle the diameter of the fruit jelly mould, chill in the fridge.

Step 13

Prepare the ingredients for the almond sponge:

• 3 large eggs (60g) at room temperature

• 80g of sugar

• 90g of wheat flour

• 50g Saracino almond flour

Step 14

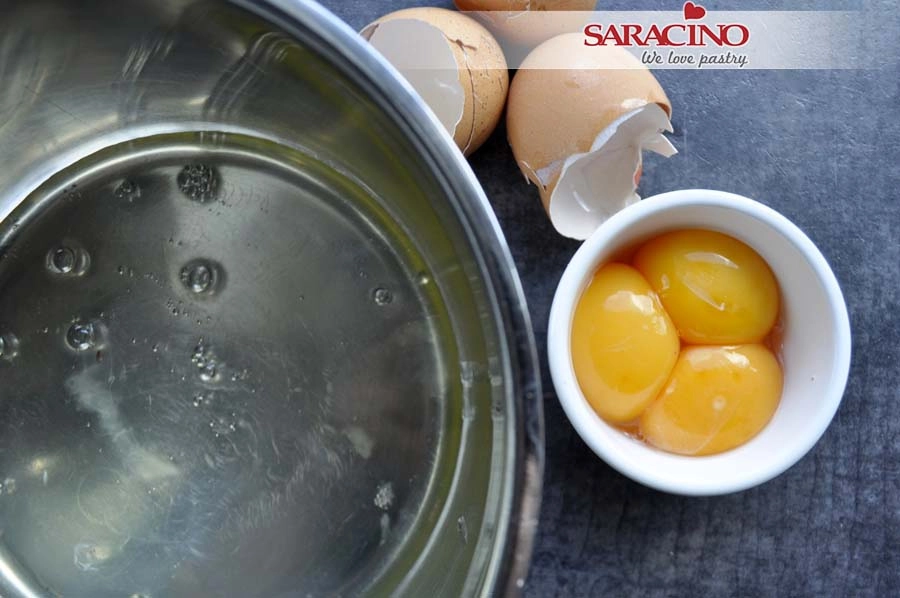
Separate the egg whites from the yolks (pay attention to the quality of the ingredients – a fresh egg has a thick egg white and a yolk that does not spill when broken).

Step 15

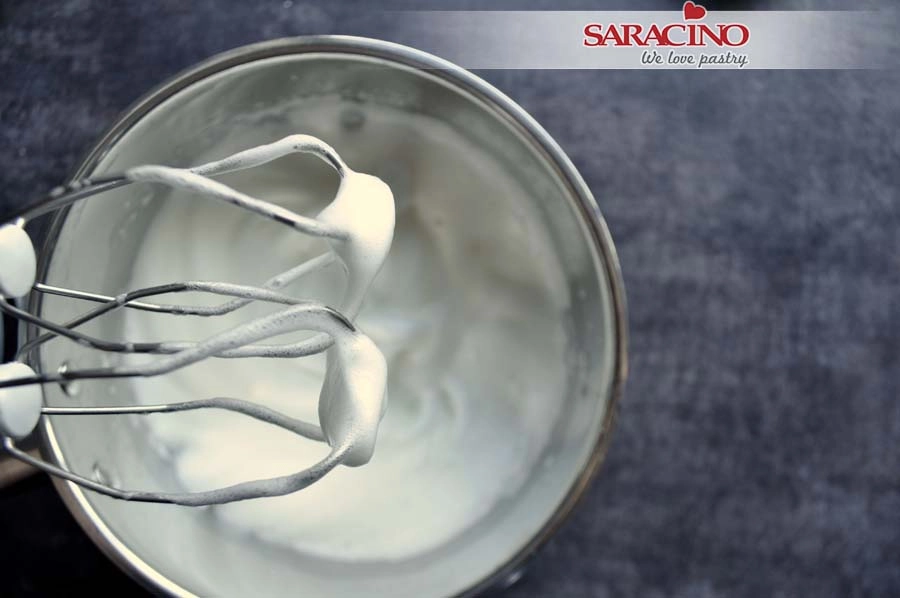
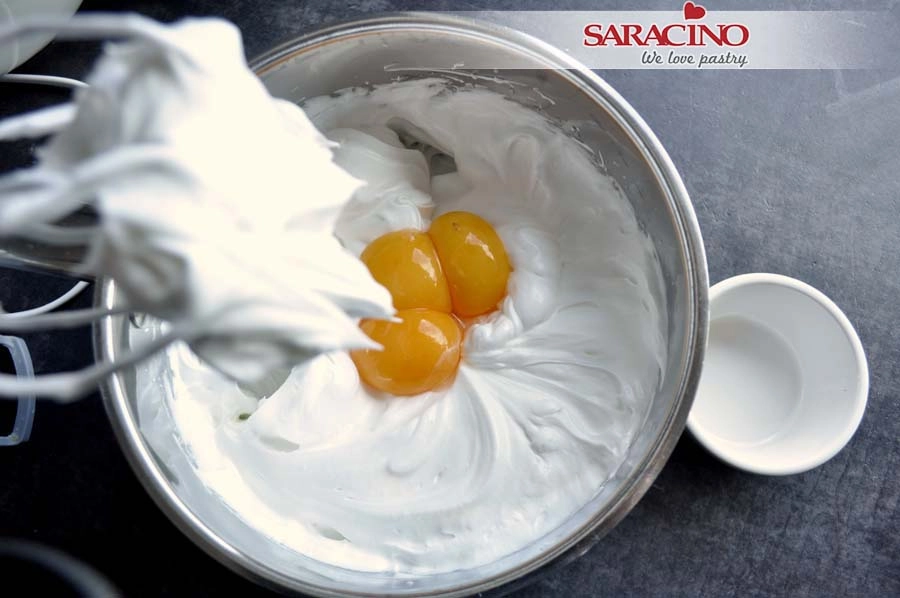
Beat egg whites until foam (not stiff).

Step 16

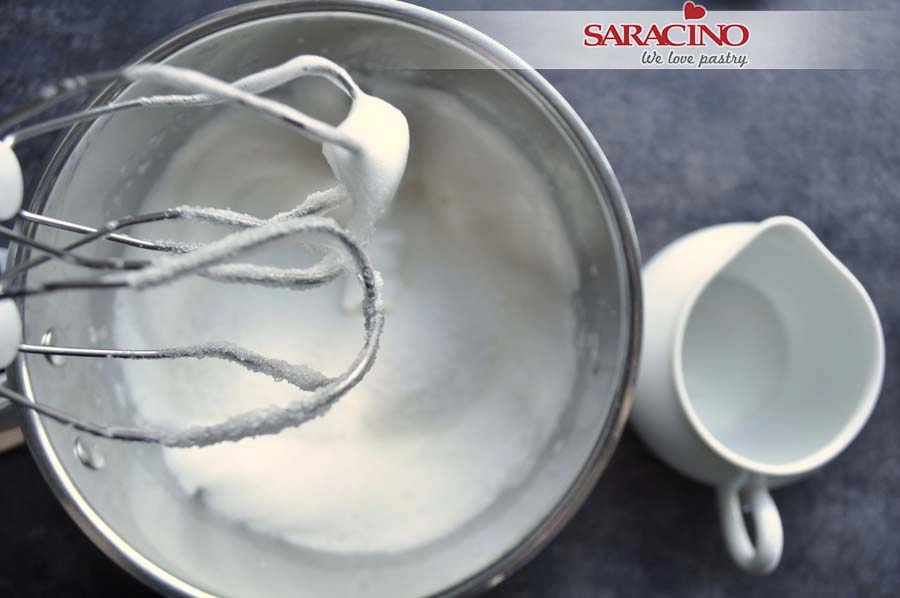
Add sugar and beat on medium speed mixer until the sugar is completely dissolved.

Step 17

Add egg yolks, mix briefly.

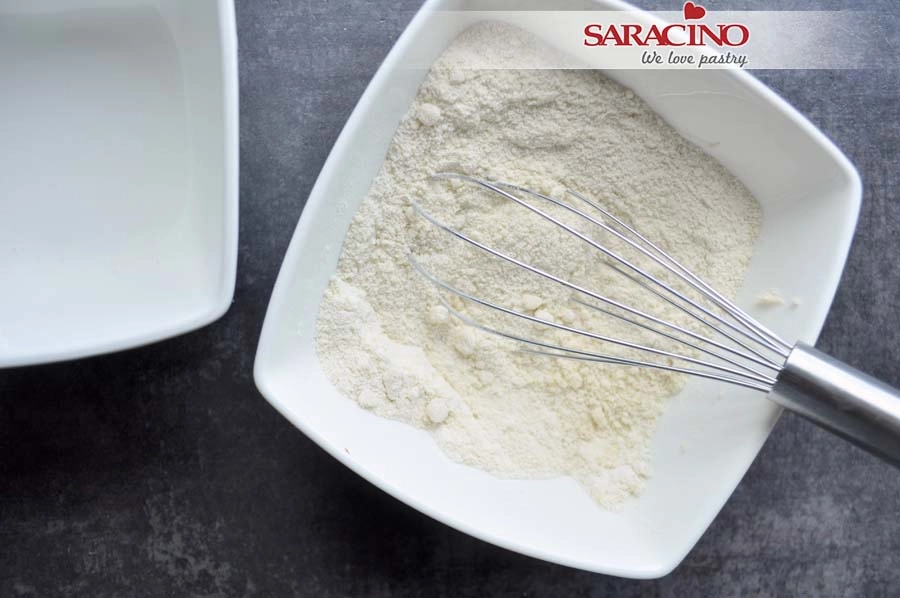
Step 18

Mix the wheat and almond flour.

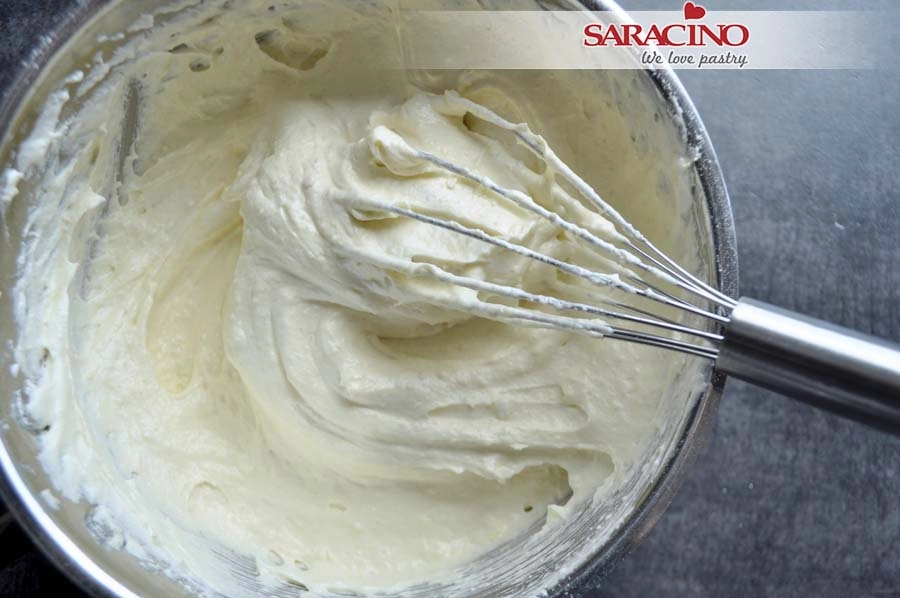
Step 19

Using a hand whisk add the combined flour with beaten eggs and mix briefly, gently but thoroughly.

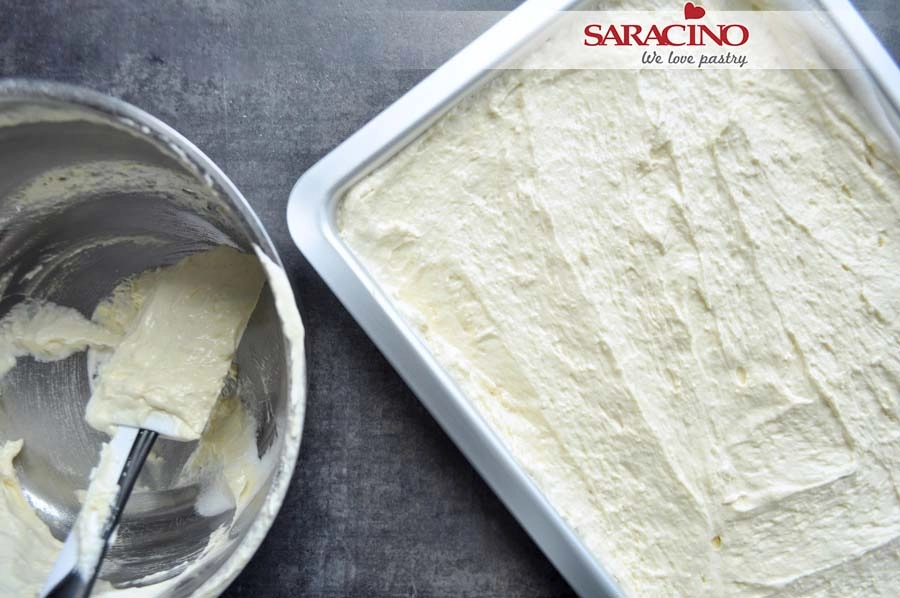
Step 20

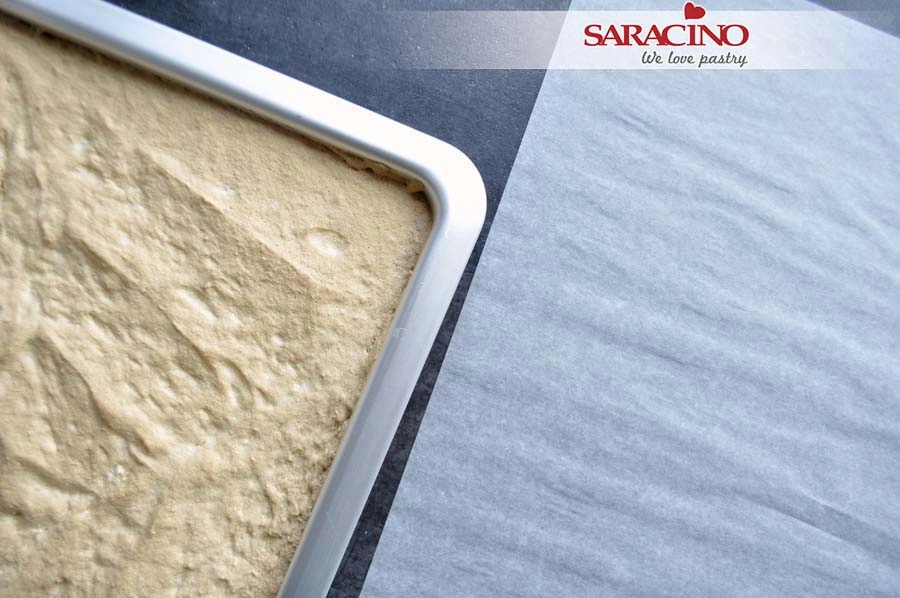
Tip onto a baking sheet that has been covered with baking paper, spread to a thickness of about 1cm and bake at 180 degrees Celsius for about 15 minutes (not fan oven assisted).

Step 21

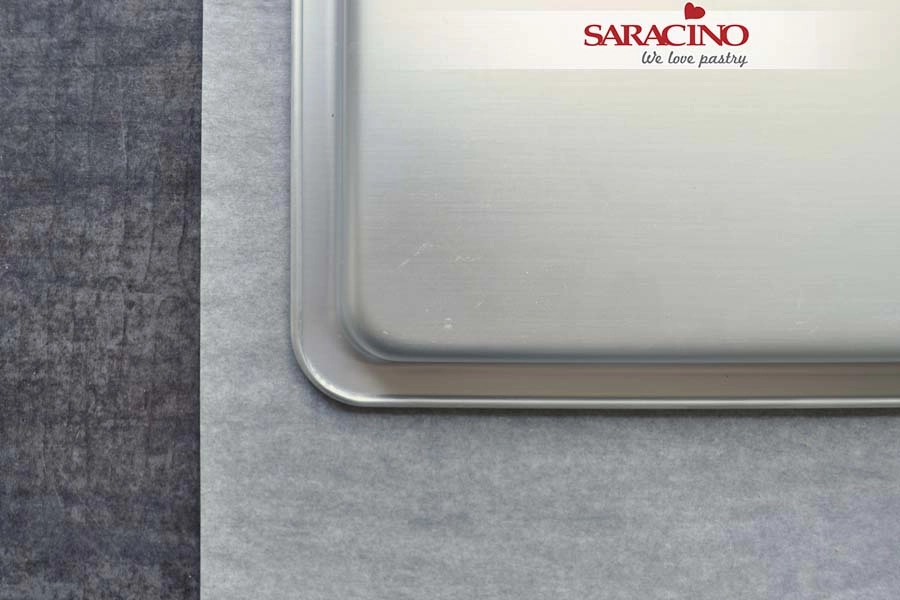
Take the sponge cake out of the oven and prepare a sheet of baking paper.

Step 22

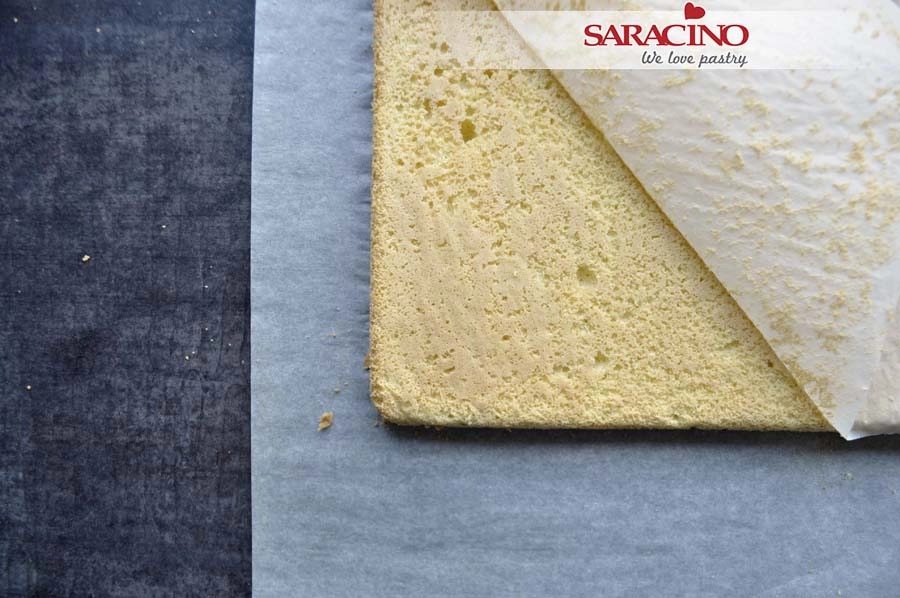
Carefully separate the sides of the hot sponge cake from the tray and turn it upside down onto the previously prepared sheet of paper.

Step 23

Gently peel off the paper on which the sponge cake was baked, and let it cool down.

Step 24

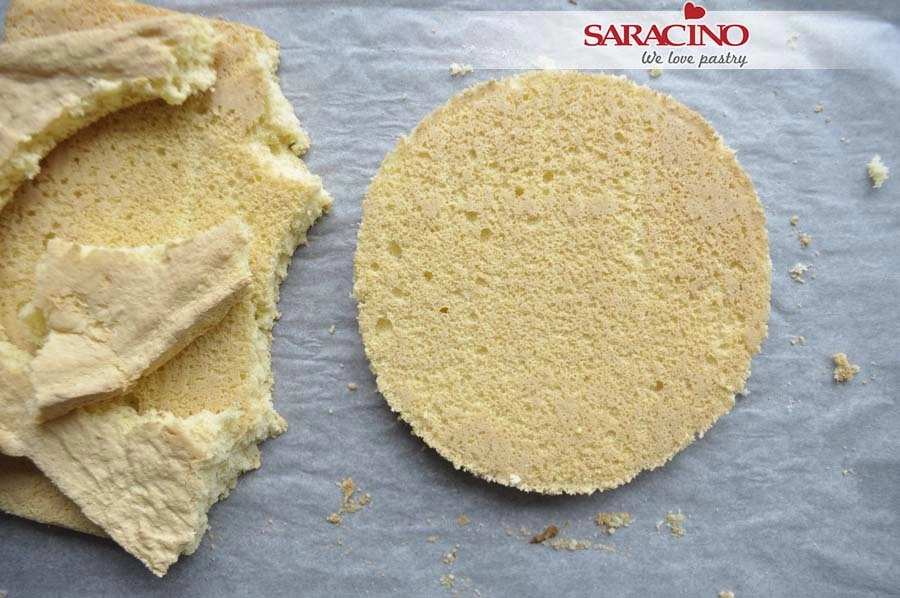
Using a sharp knife, cut out a circle with the diameter to match the jelly and chocolate-corn crisp base.

TIP: You can eat the leftover sponge cake or make it into cake pops – remember – this food is too good to waste!

Step 25

Prepare the ingredients for the coffee and chocolate mousse:

• 150g of milk

• 200g of chilled cream (30-36%)

• 200g Saracino dark chocolate

• 10g of gelatin + 3 tablespoons of cold water

• 1 teaspoon of freshly ground coffee

• 1 teaspoon of Saracino coffee flavouring

Step 26

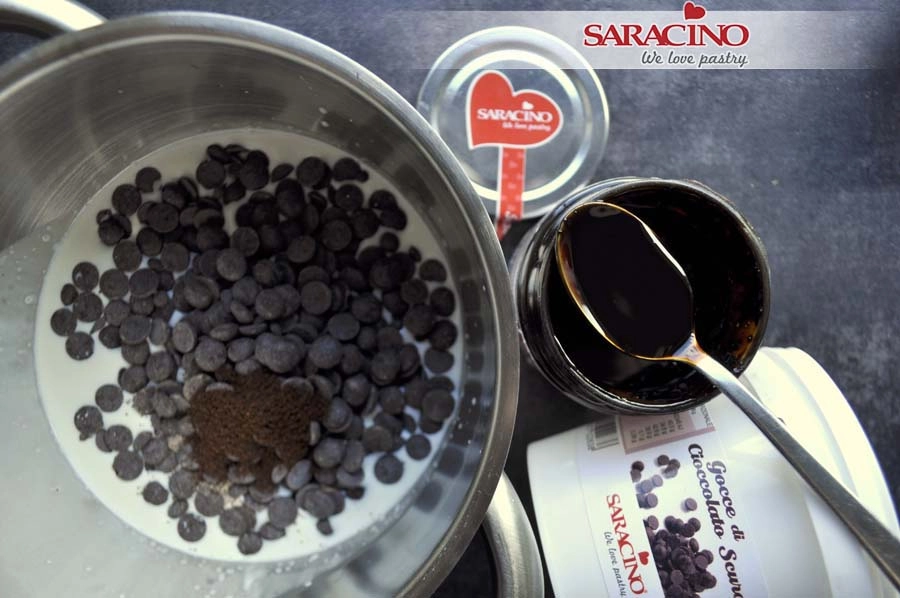
Put the milk, chocolate and coffee in a bowl. Add the Saracino coffee flavouring and heat until the chocolate is melted.

Step 27

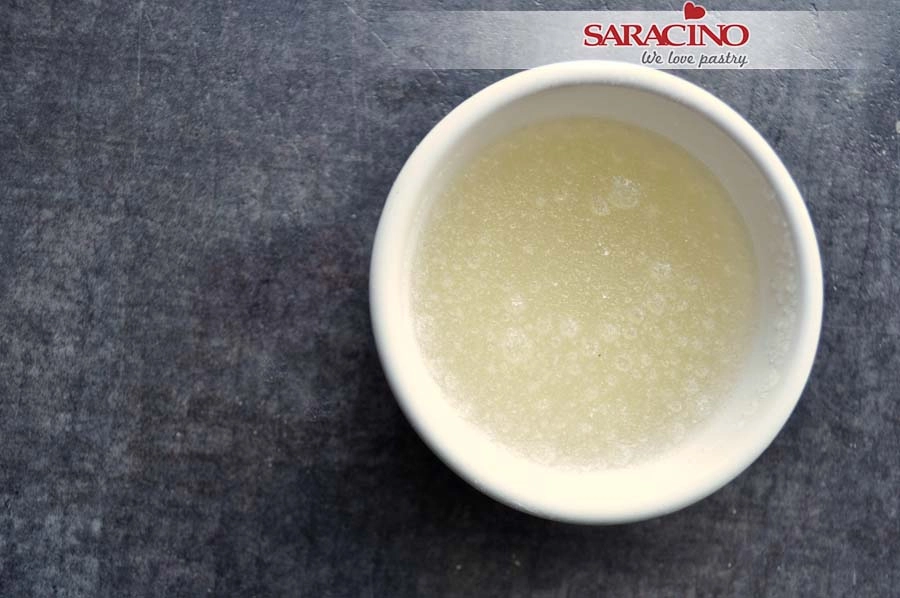
Mix gelatine with cold water and set aside.

Step 28

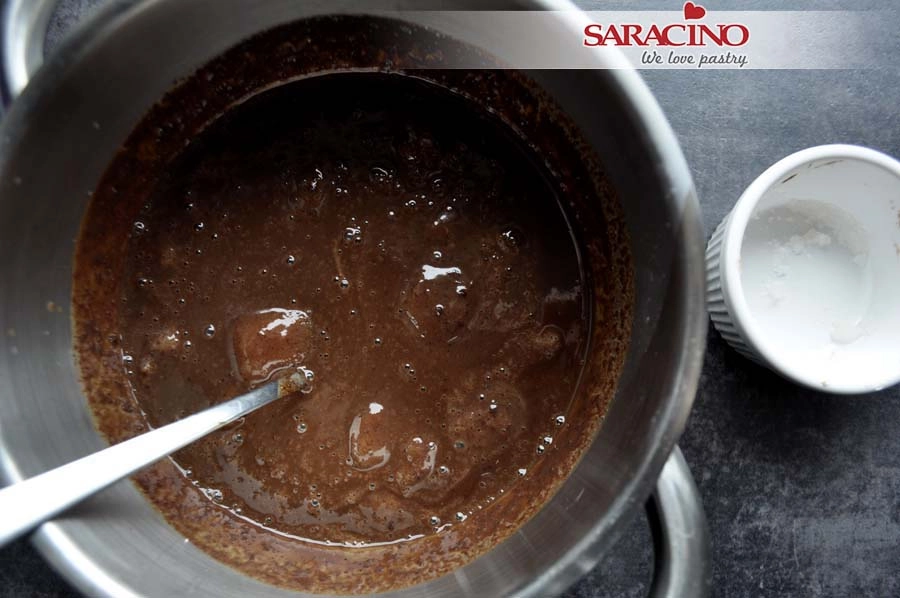
Add the gelatine to the melted chocolate mixture.

Step 29

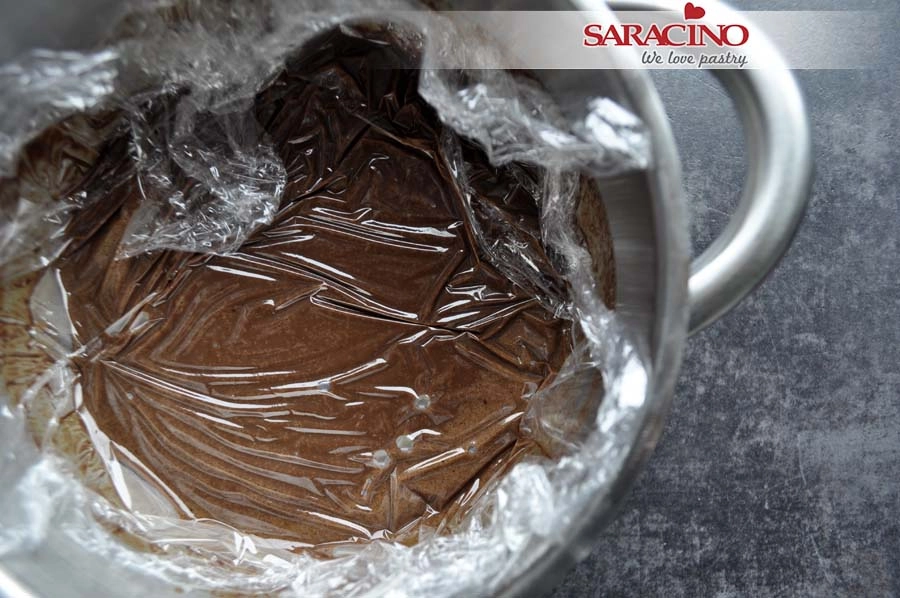
Cover the surface of the mixture with cling film and let it cool down to room temperature until it reaches the consistency of a thick sauce – it must not start to set.

Step 30

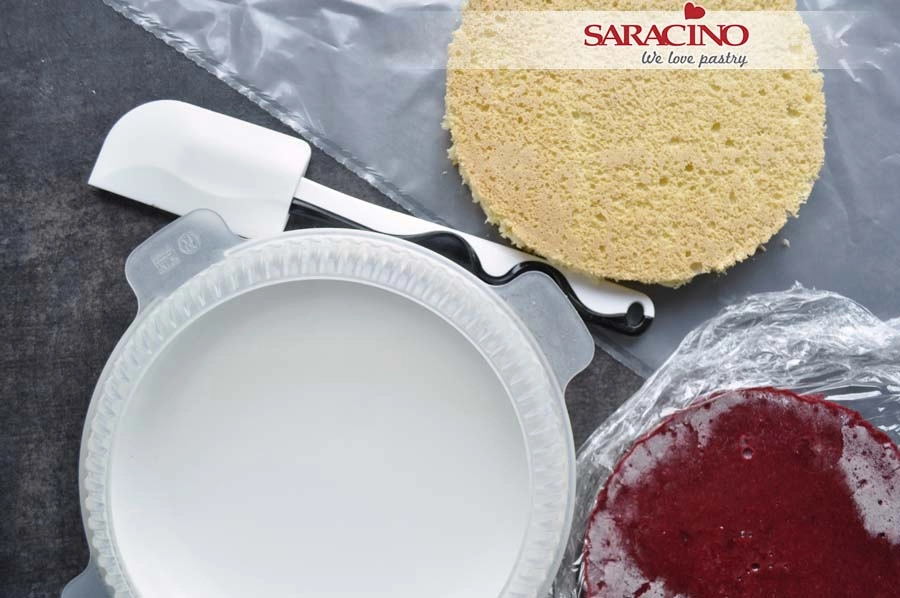
To assemble our final cake prepare a silicone mould, the jelly, sponge cake, silicone spatula and a piping bag.

Step 31

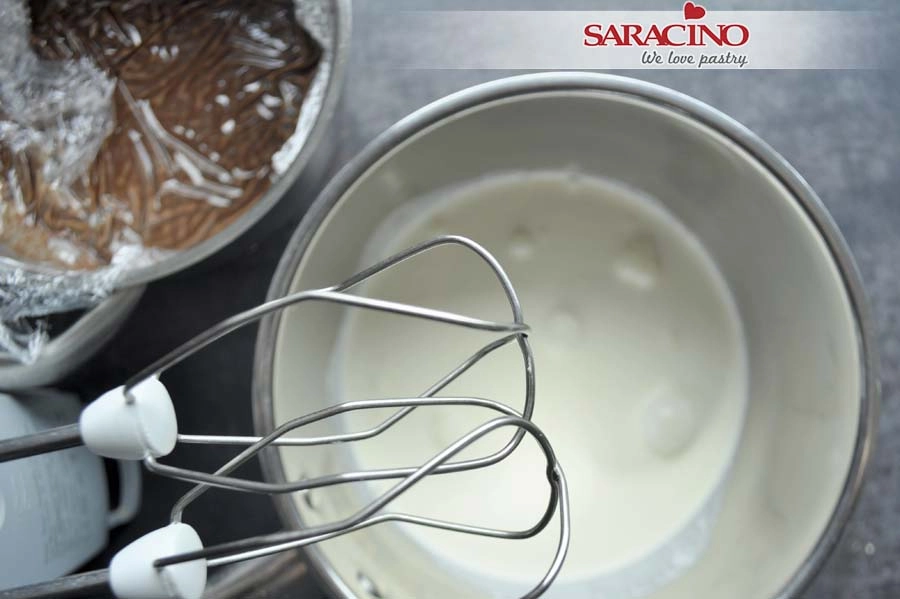
Add your cream to a bowl.

Step 32

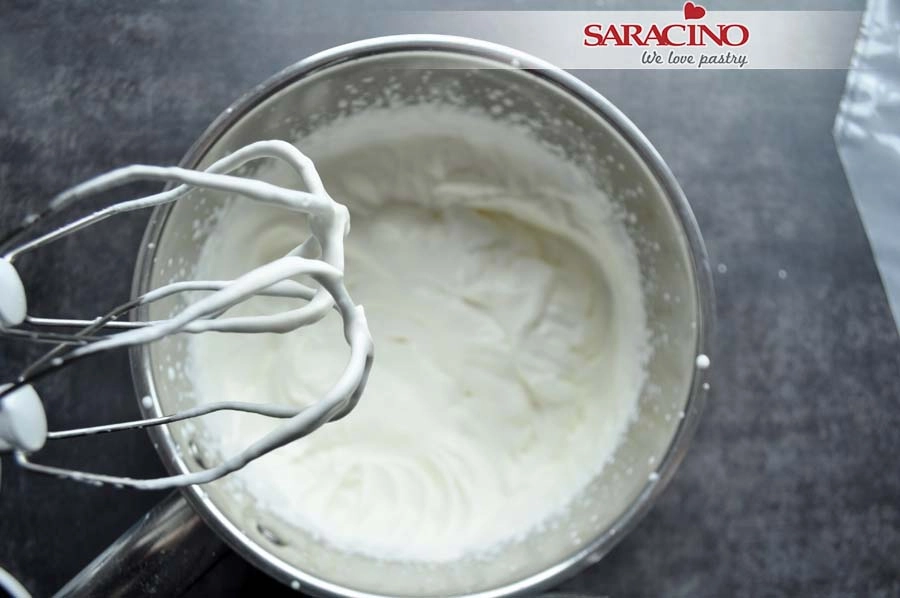
Beat the cream until stiff.

Step 33

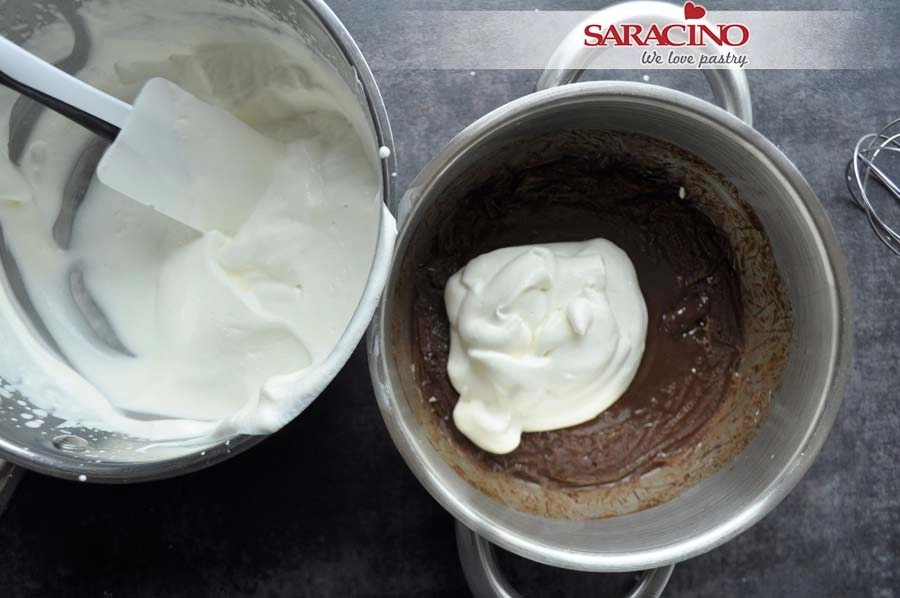
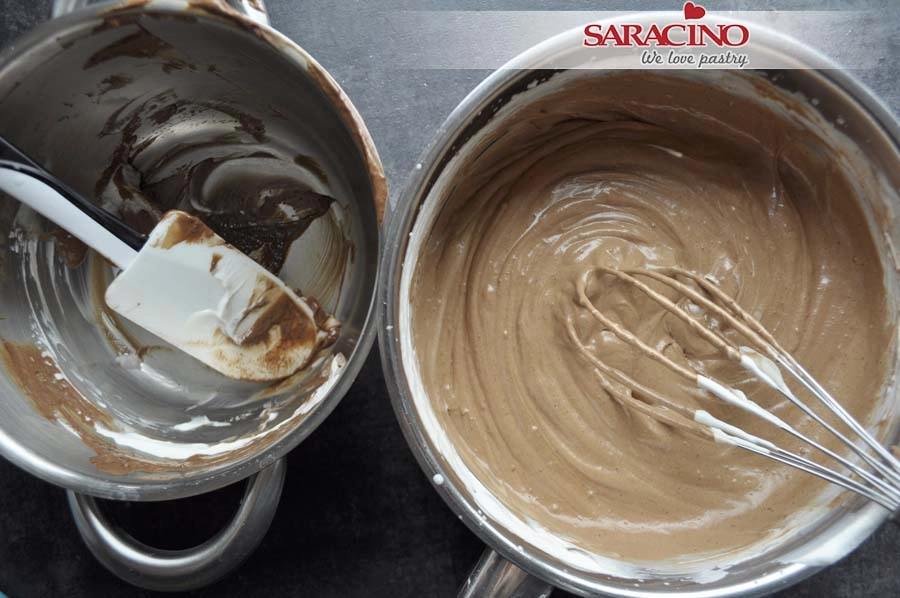
Add part of the whipped cream to the chocolate mixture and combine thoroughly.

Step 34

Add the remainding chocolate mixture into the cream and mix gently but thoroughly.

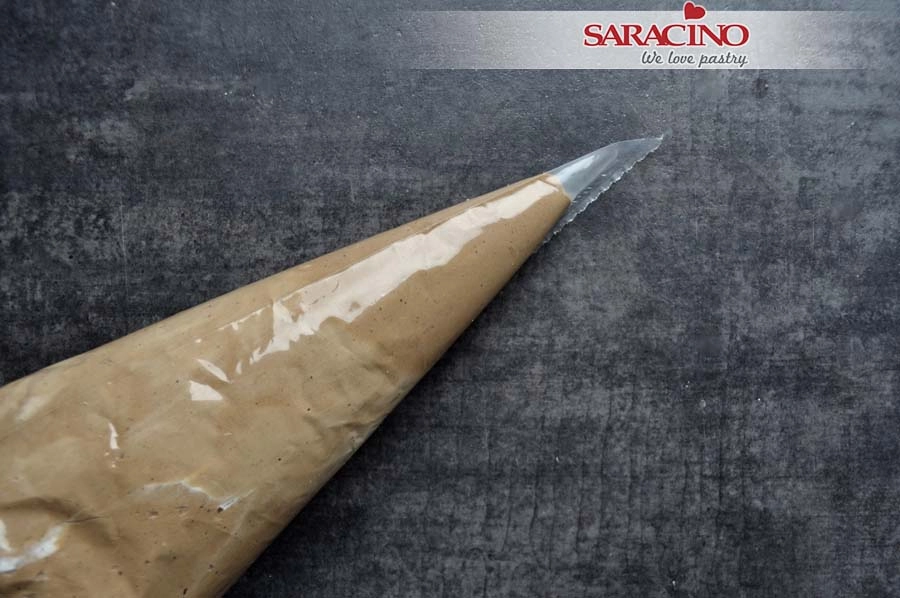
Step 35

Put the finished mousse into the piping bag.

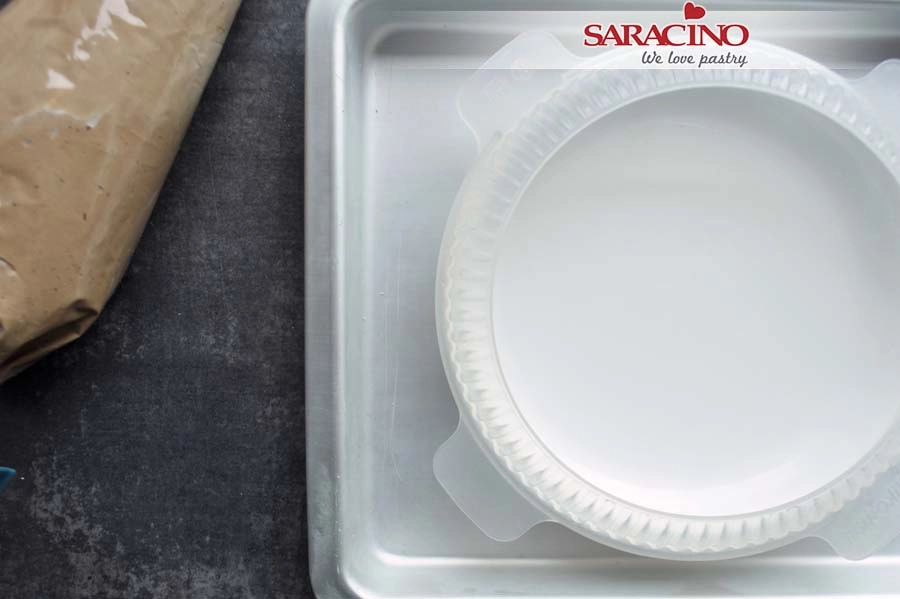
Step 36

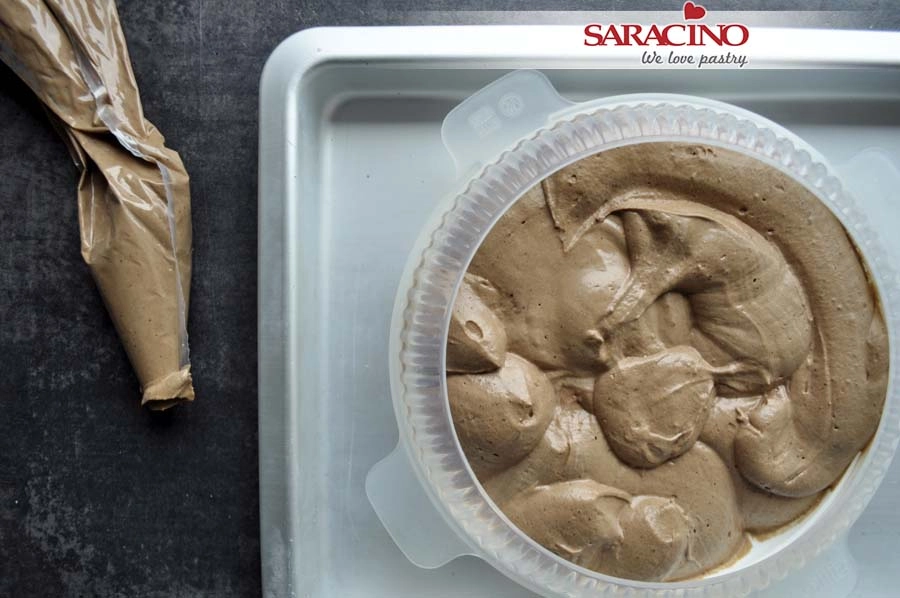
Place the silicone mould on the baking tray.

Step 37

Fill it with about 70% of the mousse.

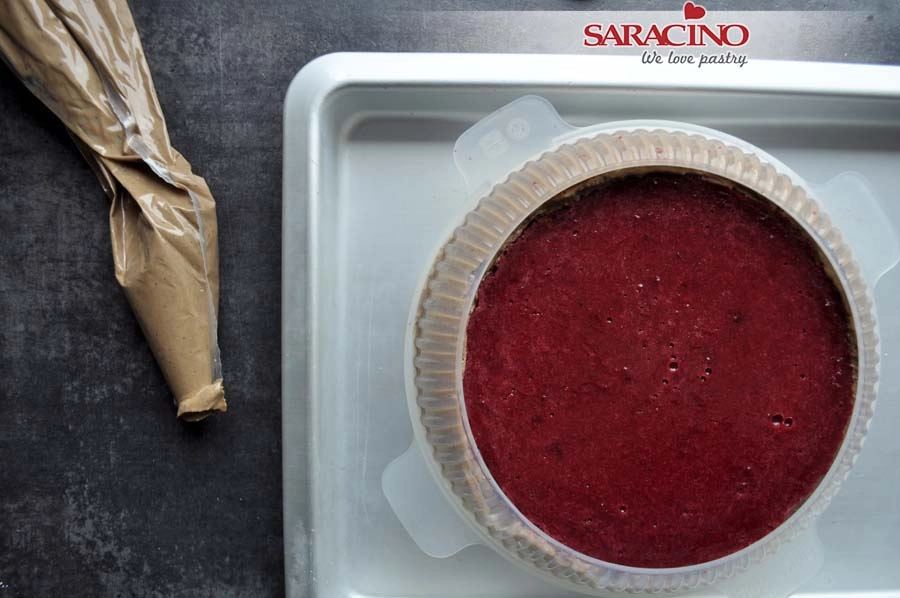
Step 38

Prepare and add the jelly, press it down slightly pushing the mousse up around the edges.

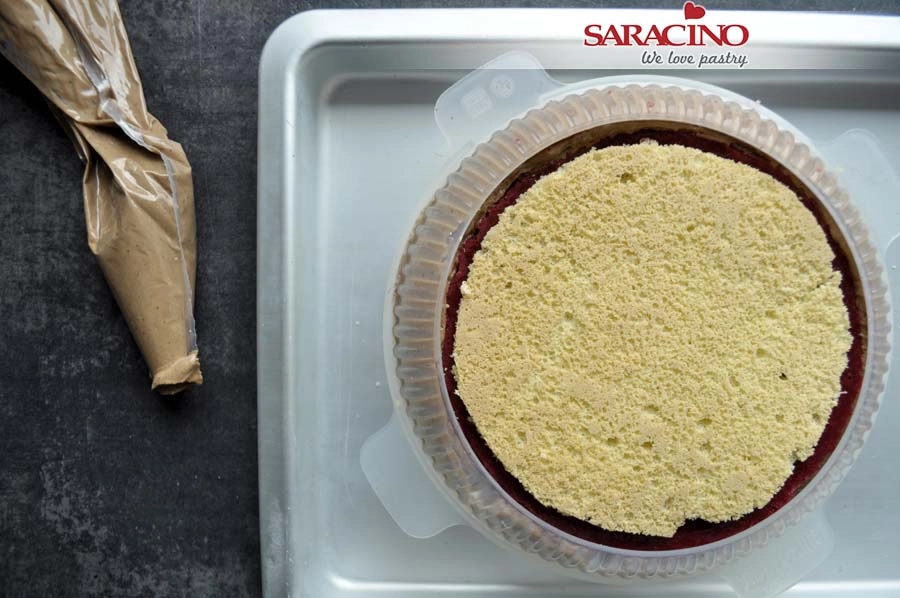
Step 39

Cover with sponge, press lightly again.

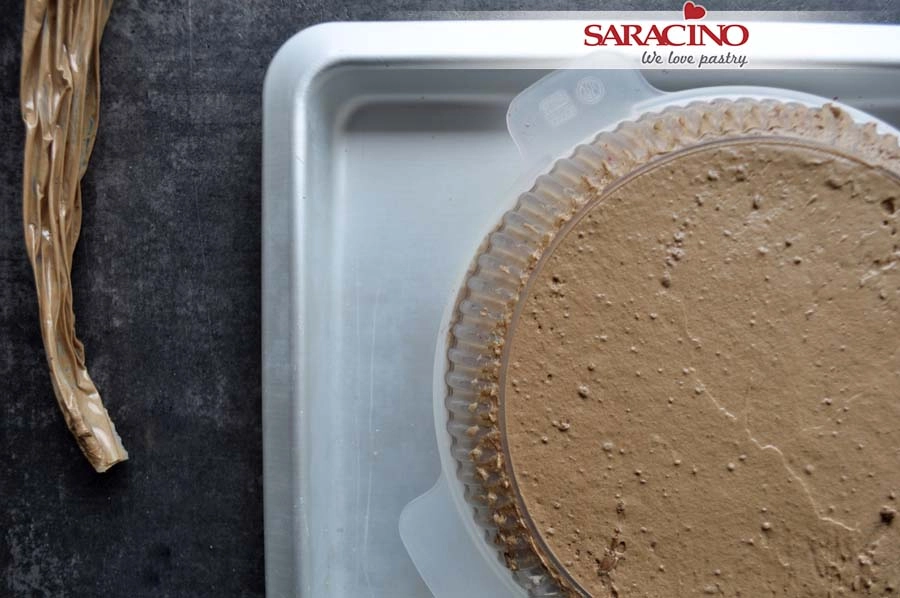
Step 40

Fill the empty spaces around the edge with the mousse and cover the sponge with the rest. Place in the freezer for a few hours.

Step 41

Place the chocolate-nut-corn crisp onto the cake mat.

Step 42

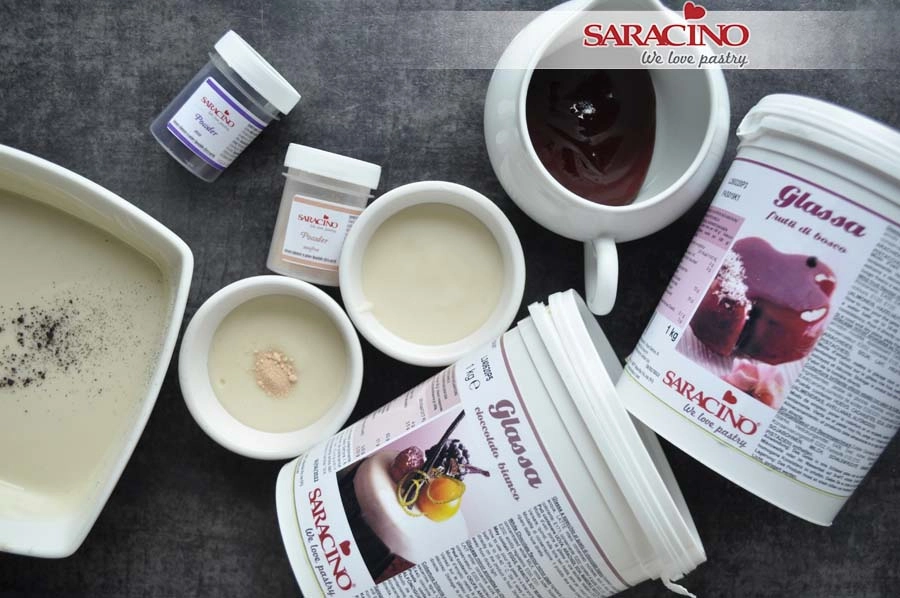
Prepare Mirror Glazes – heat them in a microwave oven to a temperature approximately 40 degrees Celsius. Place the red fruit glaze in a small cup, and pour the white chocolate glaze into three dishes – one larger and two smaller. Colour the mix in the larger bowl with the darker colour you are using (I used pink and purple powders). Add the lighter colour to the second dish with white chocolate and leave the third bowl un-coloured.

Step 43

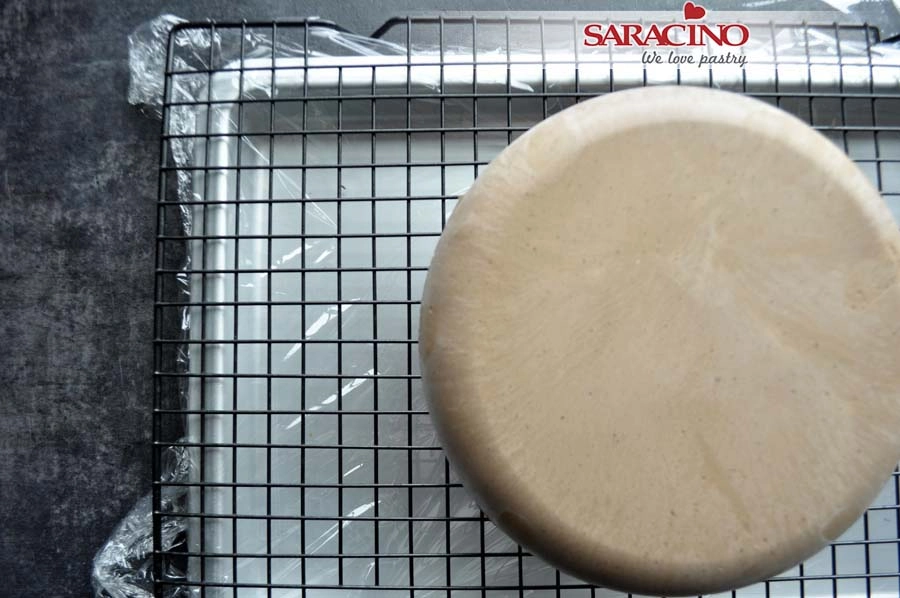
Roll cling film onto a baking tray, place a rack on it and put the frozen cake on the rack.

Step 44

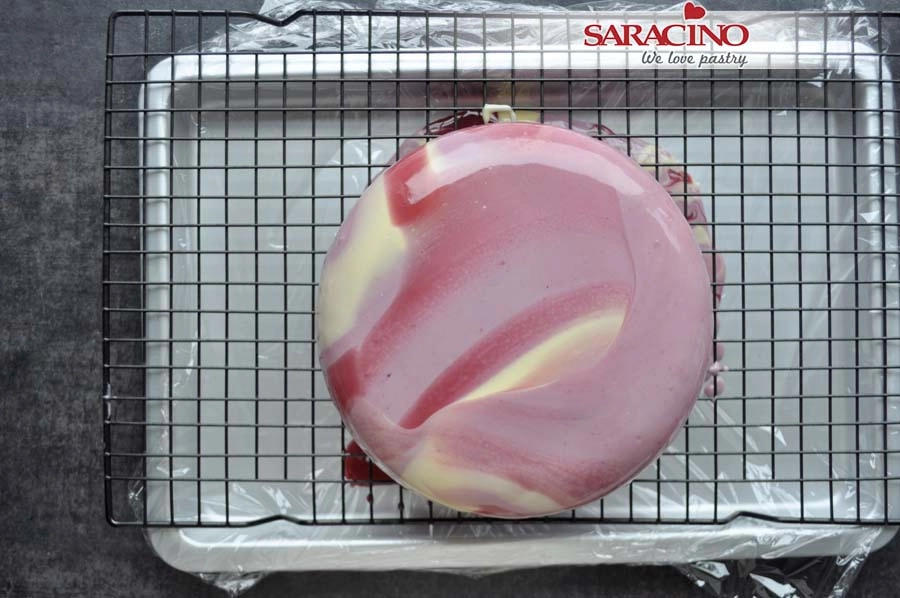
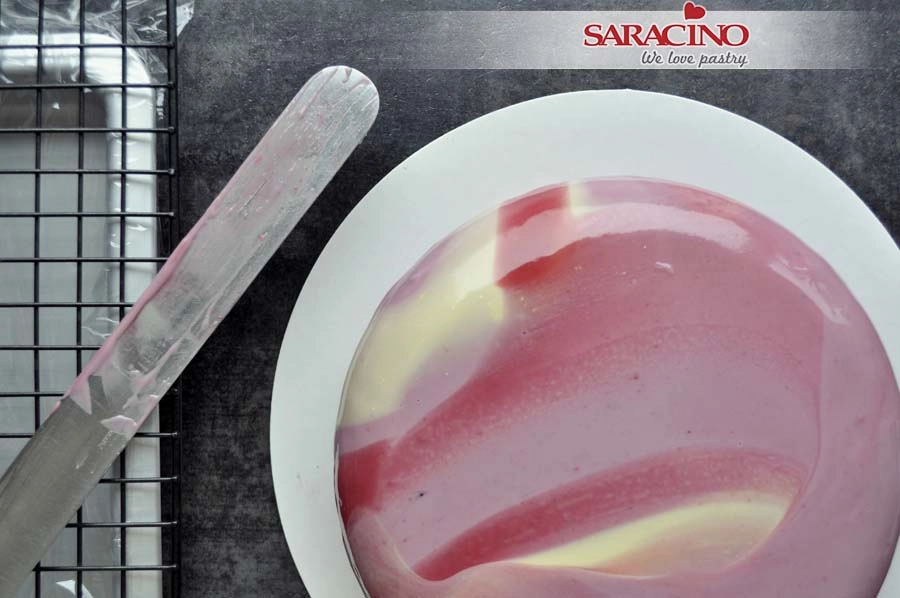
Pour the darkest glaze over the cake. Now quickly pour the other 3 colours onto it as random as you like. Quickly spread the top of the cake with a metal spatula to combine the glazes with each other. Take care not to over blend as we will lose definition.

Step 45

Carefully transfer the cake from the rack onto the chocolate crisp base.

Step 46

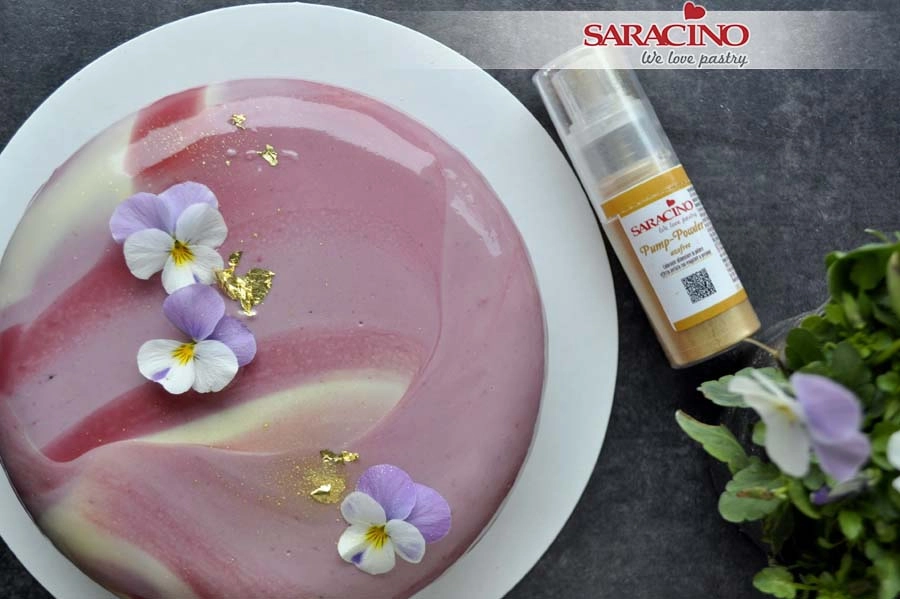
Decorate with edible flowers, edible gold and Saracino gold pump spray.

Et voila! Place for a few hours in the refrigerator and your dessert is ready to serve.

SPRING BEAUTY CAKE TUTORIAL

SPRING BEAUTY CAKE TUTORIAL

Author: MARIA LECHEL

Skill level: BEGINNERS

You will need:

  • Saracino Wafer Paper 0.27
  • Yellow Saracino Pasta Model
  • Saracino powder colours: blue, white, pink, yellow and purple
  • Two tier cake finished off using buttercream to a colour of your choice  (leave some buttercream aside)
  • Flower veiner
  • Flower tape
  • Scissors
  • Pliers
  • Flower wire gauge 30 and 20
  • Paper puncher
  • Brushes
  • Clear alcohol
  • Modelling tool Cerart 502

Step 1

Cut the wafer paper into wide strips starting from the narrow edge.


Step 2

Fold the cut pieces in half.

Step 3

Cut out petals.

Step 4

Repeat for the whole strip.

Step 5

Prepare white and pink Saracino powder colour and a bowl or painting pallet.

Step 6

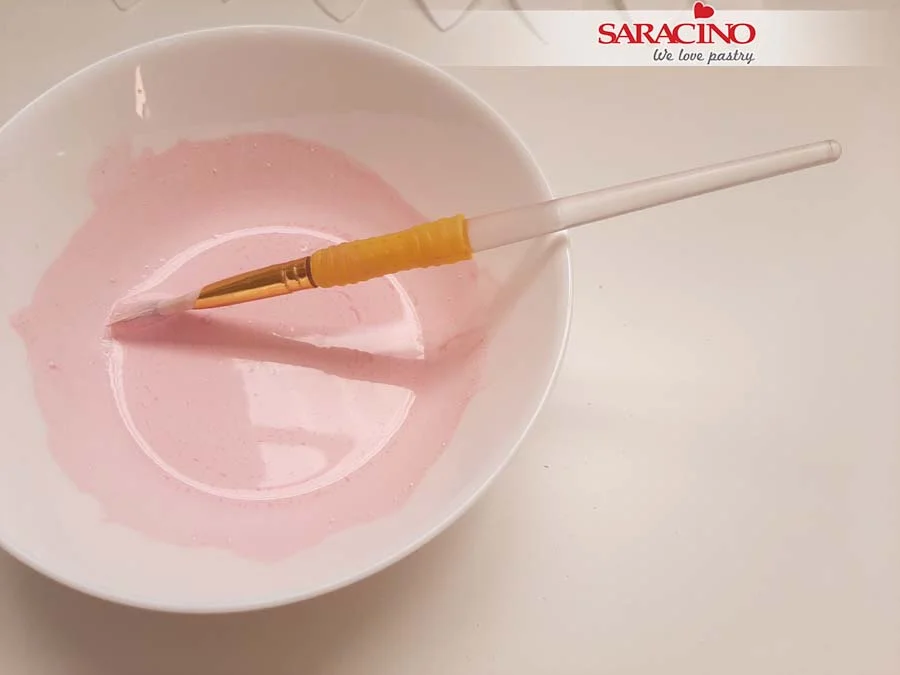
Add a little of the powder colours to the bowl. Add clear alcohol and mix till blended. Keep this colour as we will use it later.

Step 6

Take your 30 gauge wire and cut into small pieces. 

Step 7

Using the colours and brush paint the petal from one side. 

Step 8

Place your wire on the painted petal whilst it is still wet.

Step 9

And cover with another petal so they stick together.  

Step 10

Now you can paint it on both sides.

Step 11

Place your petal on a veiner and press gently to achieve a veined effect.

Step 12

They need to have a natural look. Let them dry on a plate or sponge mat.

TIP: If you are in rush you can dry them in the oven at 50C for 10 minutes.

Step 13

Repeat with all petals. The quantity you make depends on the amount of flowers you need.

Step 14

Cut your 20 gauge wire in half. 

Step 15

Bend your petals as shown.

Step 16

Fix a few petals around the 20 gauge wire. My flower will have 8 petals.

Step 17

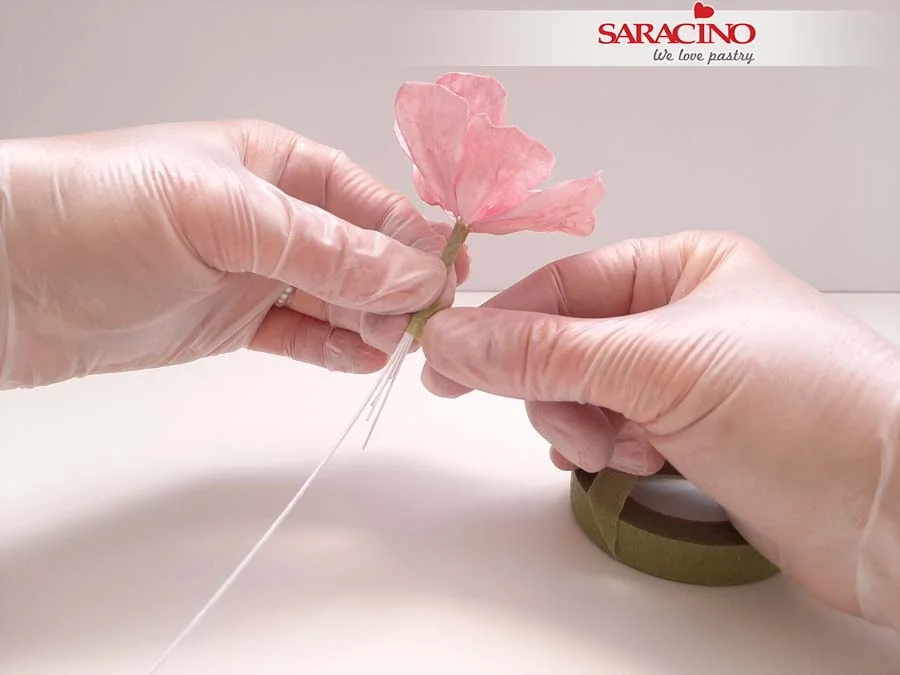
Secure the wires with flower tape.

Step 18

Using yellow Pasta Model, roll a small ball and add to the centre of the flower. Using your modelling tool add texture.

Step 19

Using blue, black and yellow colour powders shade the petals. 


Step 20

For the bottom lace, cut the wafer paper into long strips.


Step 21

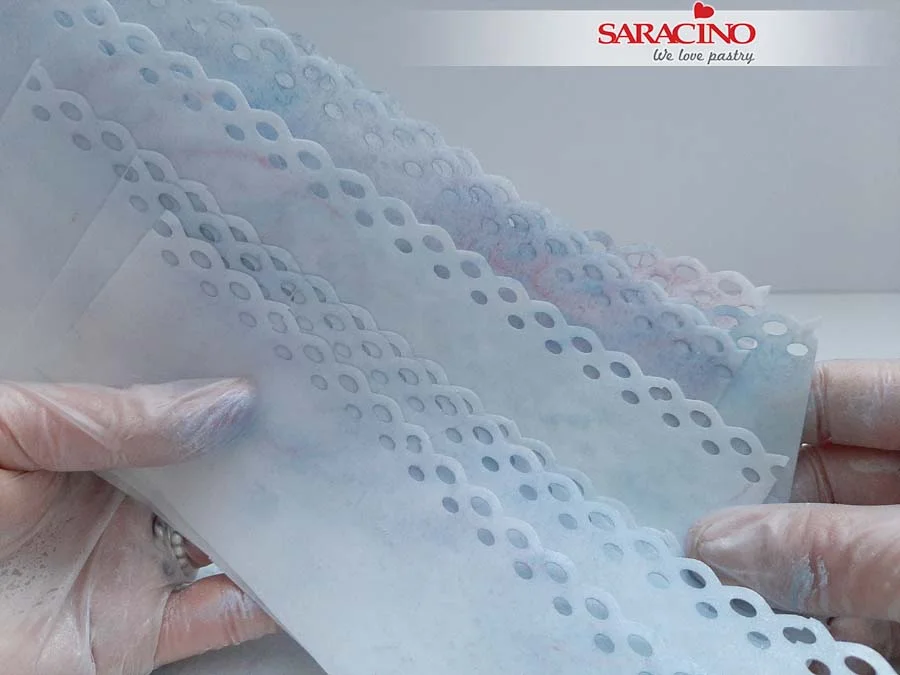
Using a paper puncher of your choice create a pattern along the edge of each paper strip.

Step 22

In a clean bowl put blue, white and pink powder colours. 

Step 23

Using a soft brush shade the edges of the wafer paper.

Step 24

So they look as shown. Don’t aim for all of them to look the same. We want them to look random.

Step 25

Add a tiny bit of water to the bottom edge of the paper and start folding.

Step 26

Connect two pieces together using a little bit of water.

Step 27

Make as many as you require to cover your bottom tier. 

Step 28

Take your cake and cover with buttercream to the same colour. 

Step 29

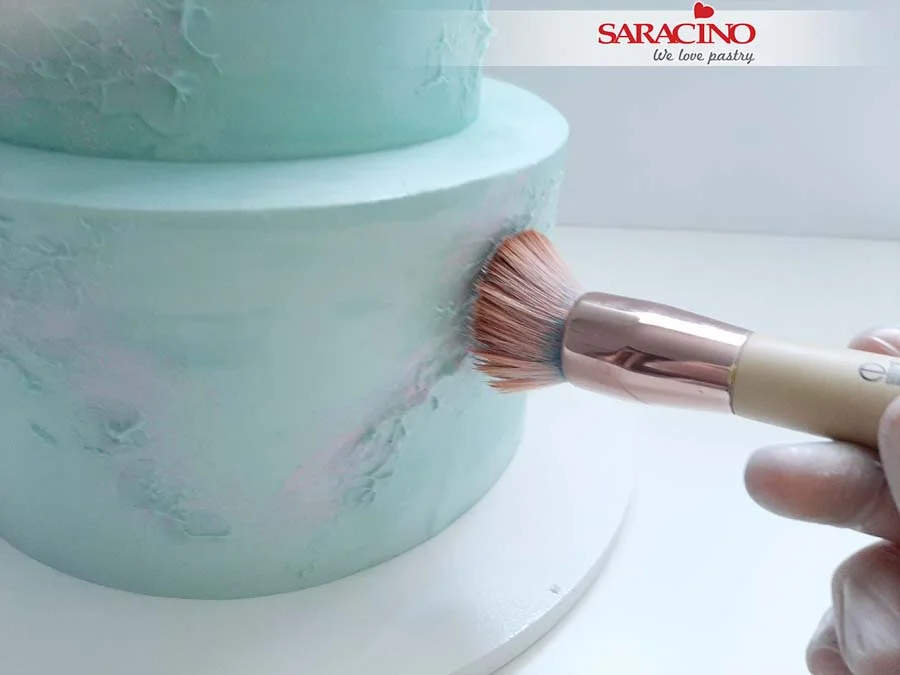
Using a spoon, dip it in the cream and dab over the cake to give the textured look.

Step 30

Take the previously mixed colour. There is no need to add more alcohol as it can be used as a dust.

Step 31

And dab over the cake with the brush.

Step 32

Start adding the paper lace. No need to add water if your cake has a buttercream covering.

Step 33

Continue all around the bottom of the cake. Do this twice to give a fuller look appearance.

Step 34

Add the flower randomly where required.


Step 35

Your spring cake is ready!