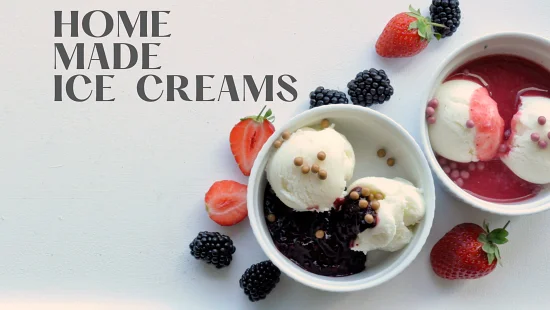

HOME MADE ICE CREAM

HOME MADE ICE CREAM

Author:Ā Justyna Kowal

Skill level: BEGINNERSĀ 

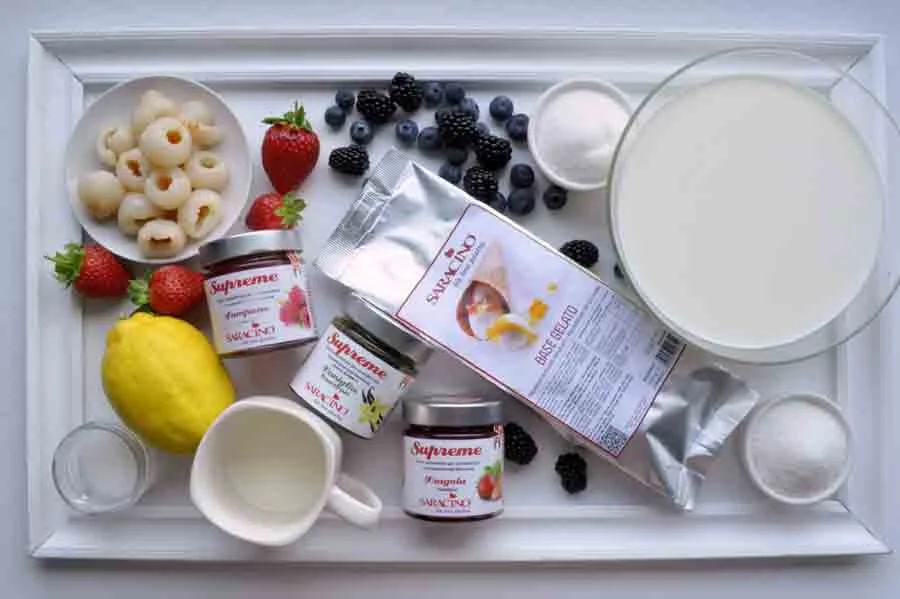
You will need:

  • 800ml warm milk

  • 300ml cream (30-36%)

  • 230g sugar

  • 150g Saracino Base Gelato ice cream base

  • Saracino Le Supreme flavouring – vanilla, raspberry and strawberry

  • 200g fresh strawberries

  • 100g fresh lychee (can be tinned)

  • 160g fresh blueberries

  • 150g fresh blackberries

  • 2 tablespoons of lemon juice

  • 1 heaped tablespoon cornflour dissolved in 4 tablespoons of cold water

  • 1 tablespoon sugar

Step 1

Prepare all your ingredients.Ā 

Step 2

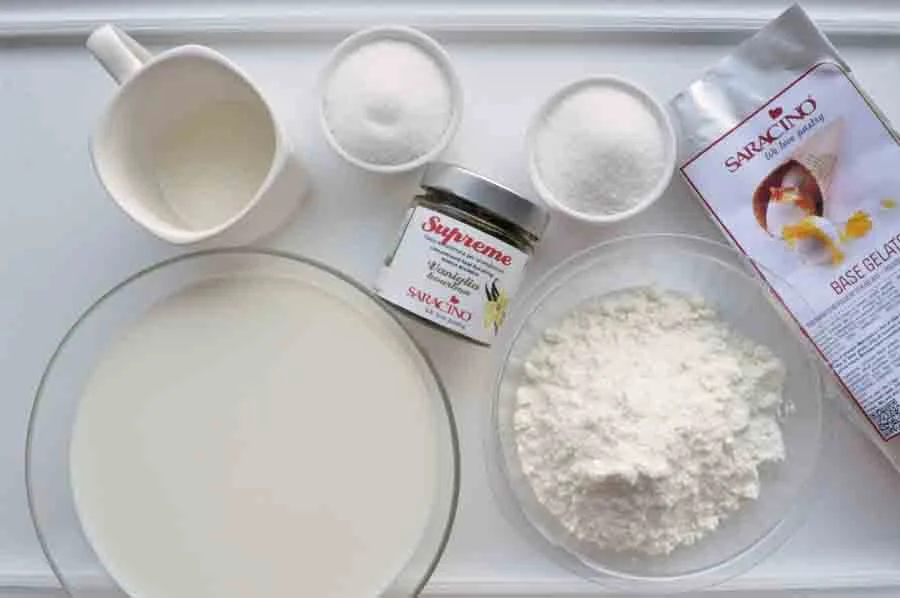
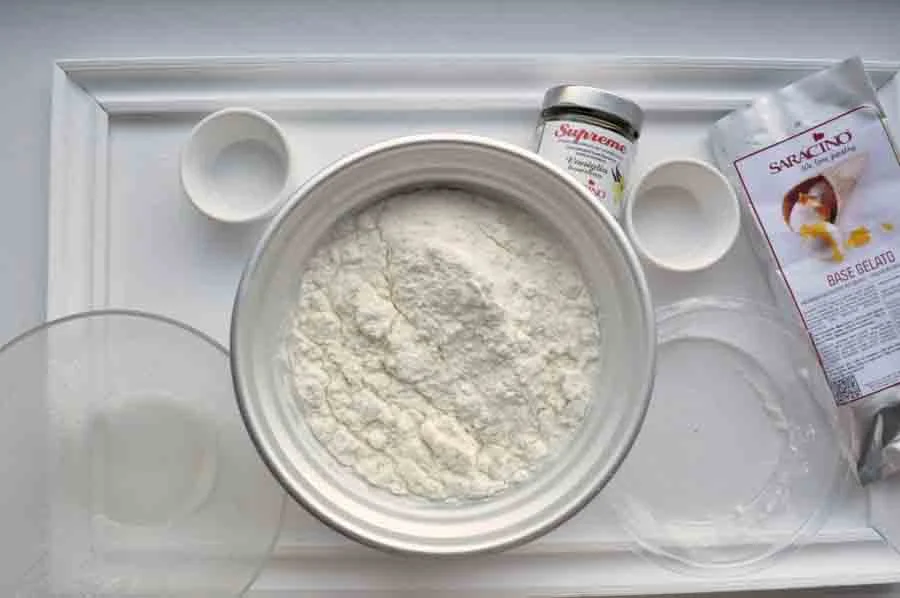
Prepare the ingredients for the ice cream mixture – warm milk, Base Gelato, cream, sugar and Le Supreme vanilla flavouring.
Step 3

Put the warm milk, cream, sugar and Base Gelato in a frozen ice cream making bowl (alternatively use a plain metal or glass bowl).
Step 4

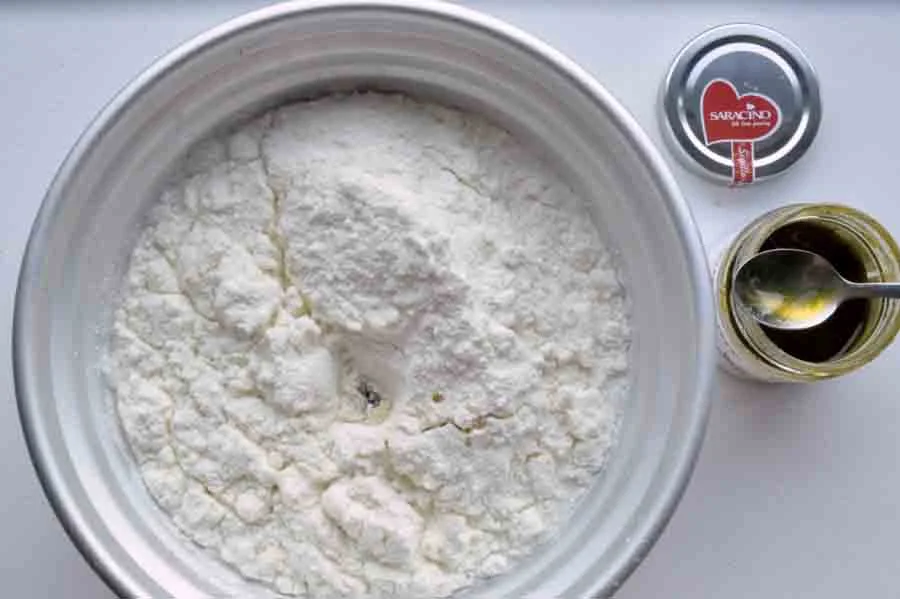
Add 2 tablespoons of Le Supreme vanilla flavouring.
Step 5

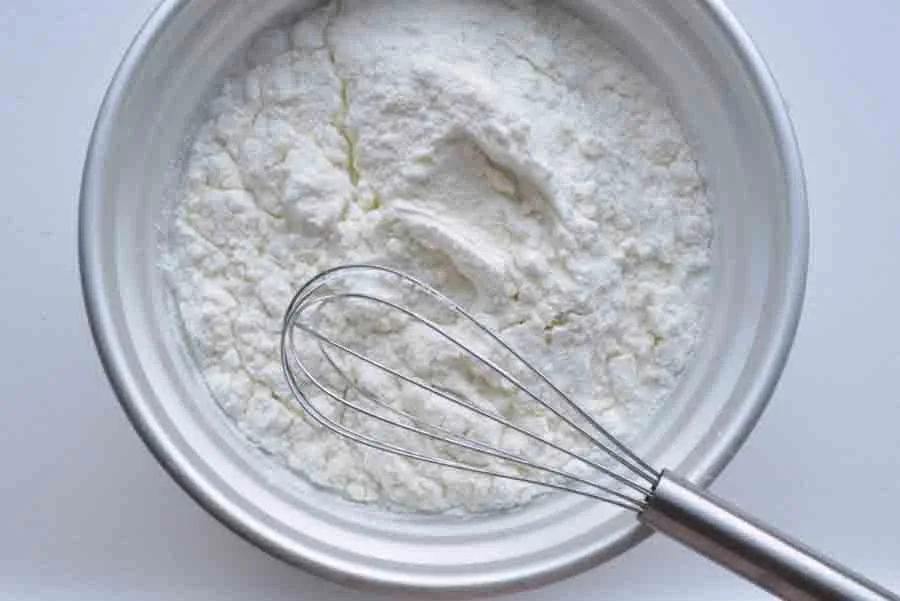
Using a whisk, mix the ingredients thoroughly until the sugar is fully dissolved. If you are using a bowl from an ice cream maker – place it in the machine and mix until it freezes to the desired creamy consistency. When ready put it in the freezer. If you are not using an ice cream maker, after mixing thoroughly, put the mixture in the freezer. After 20 minutes take it out and mix it with a fork to break down the ice crystals that are forming and make the mixture a creamy consistency. Continue mixing every 20 minutes until you get the consistency of ice cream. Place in the freezer.
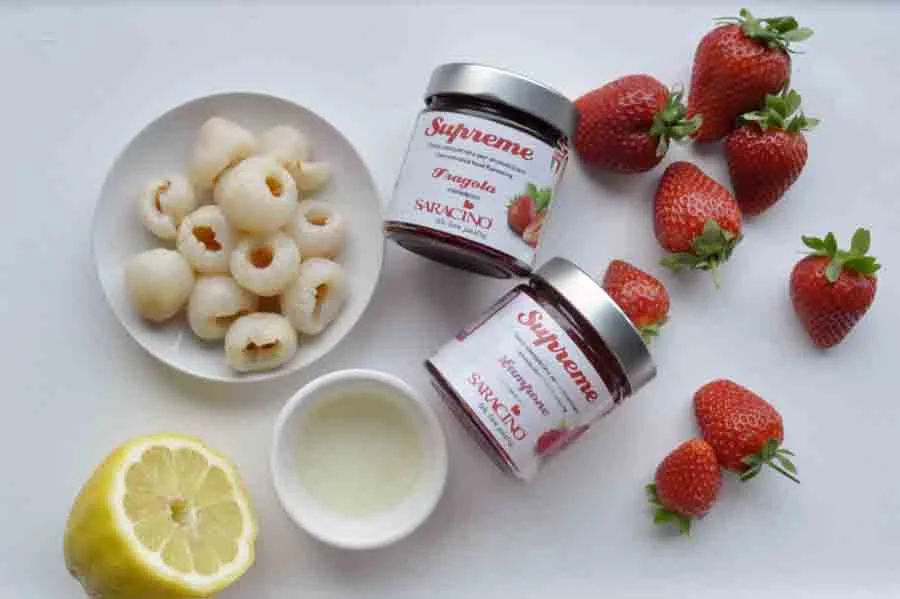
Step 6

Prepare the ingredients for the lychee sauce – you will need the lychees, strawberries, 1 tablespoon of lemon juice and the strawberry and raspberry Le Supreme flavouring.
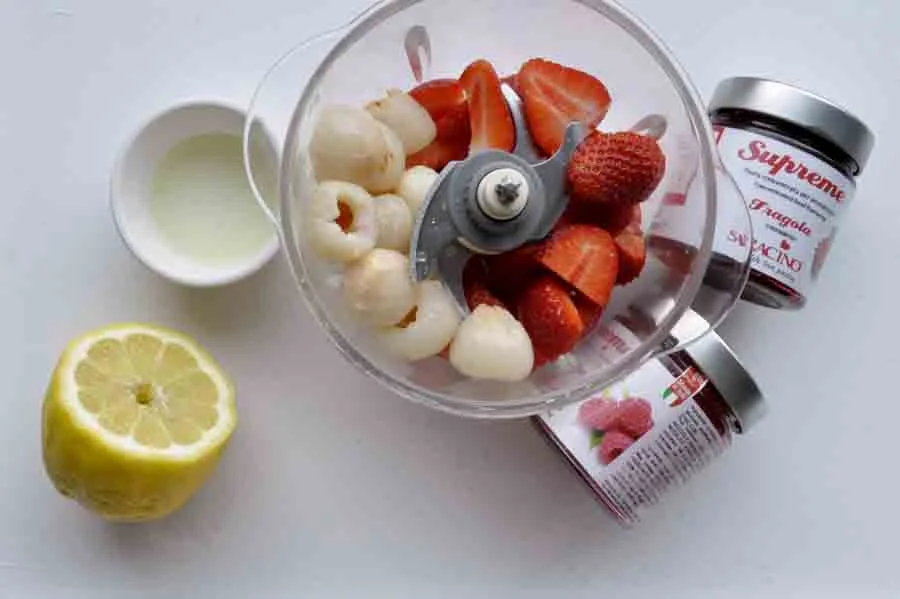
Step 7

Place the fruit in the blender.
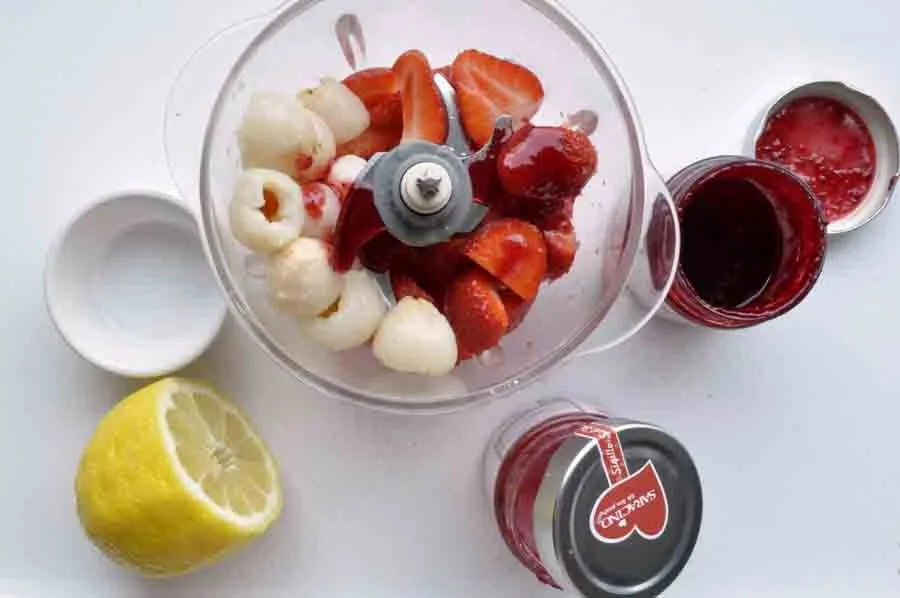
Step 8

Add the lemon juice and one teaspoon of each flavouring.
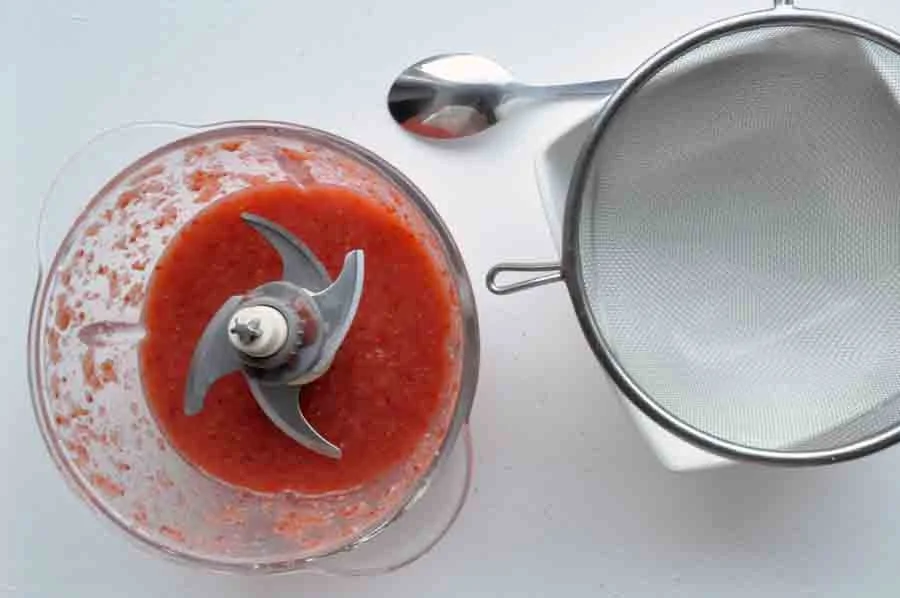
Step 9

Blend thoroughly.
Step 10

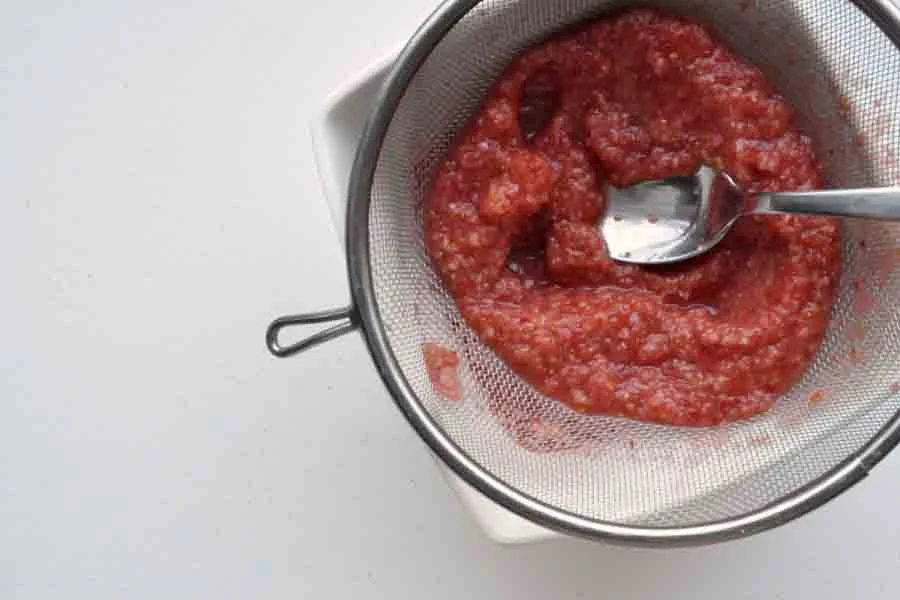
Using a metal sieve and a spoon, push the blended fruit through the sieve into a bowl to give a smooth puree.
Step 11

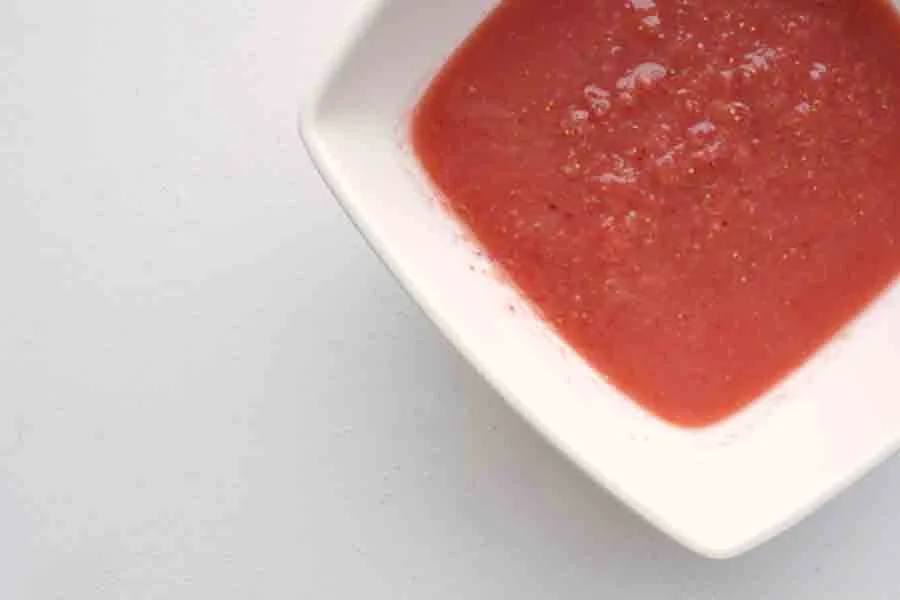
Put the puree into a ceramic bowl and place in the refrigerator.
Step 12

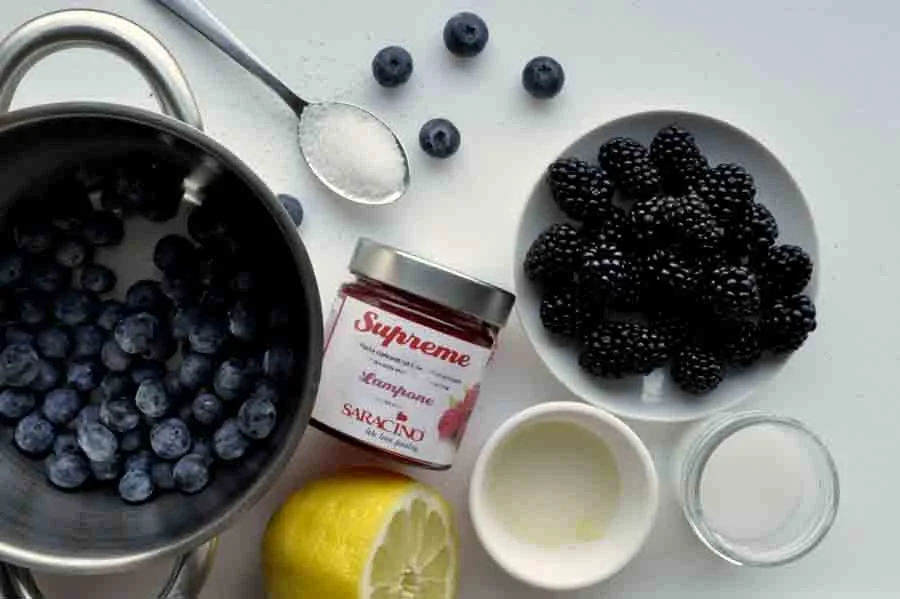
Prepare the ingredients for the forest fruit sauce – blackberries, blueberries, 1 tablespoon of lemon juice, cornflour dissolved in water, raspberry Le Supreme flavouring and a tablespoon of sugar.
Step 13

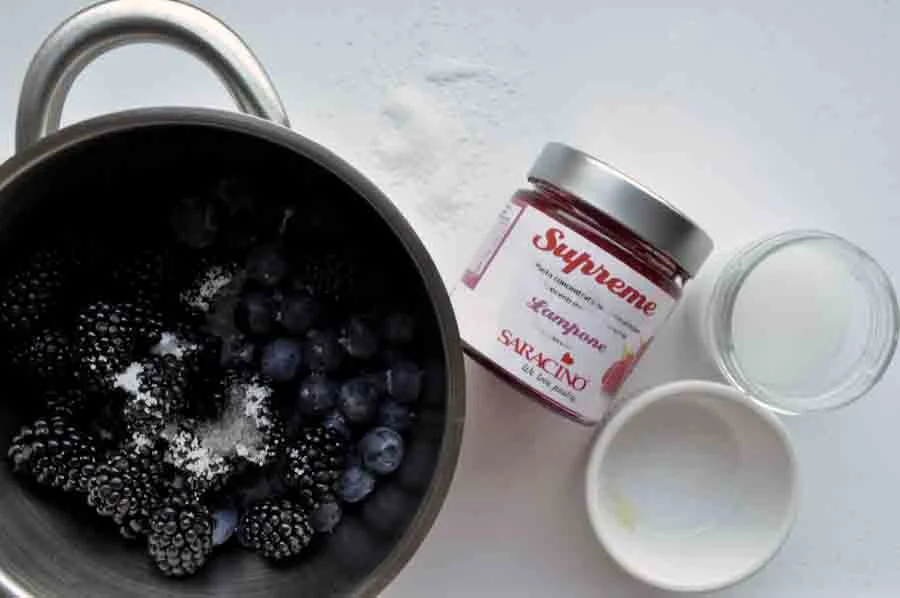
Put fruit, lemon juice and sugar in a pan and mix.
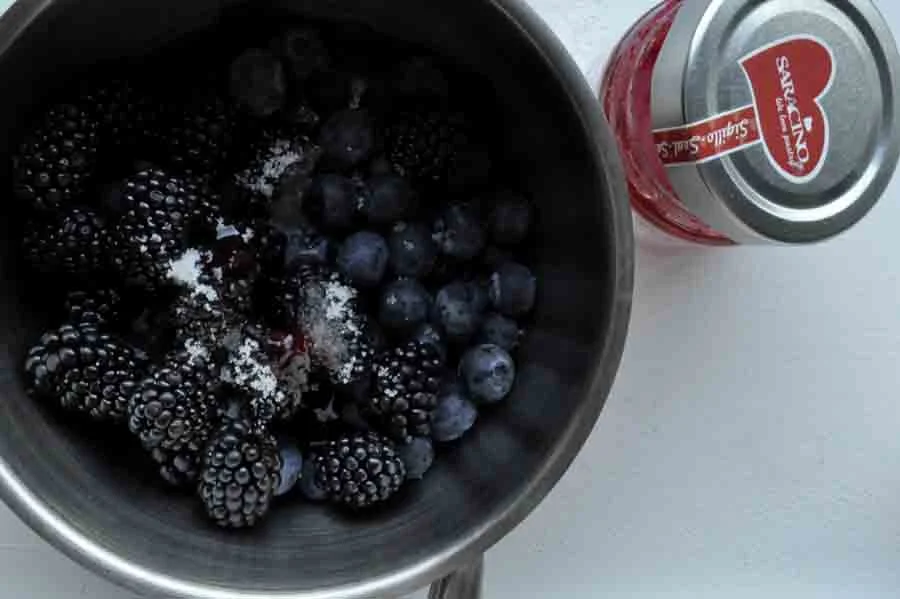
Step 14

Add 1 teaspoon of raspberry Le Supreme food flavouring, mix and bring to the boil. The fruit should not fall apart completely.
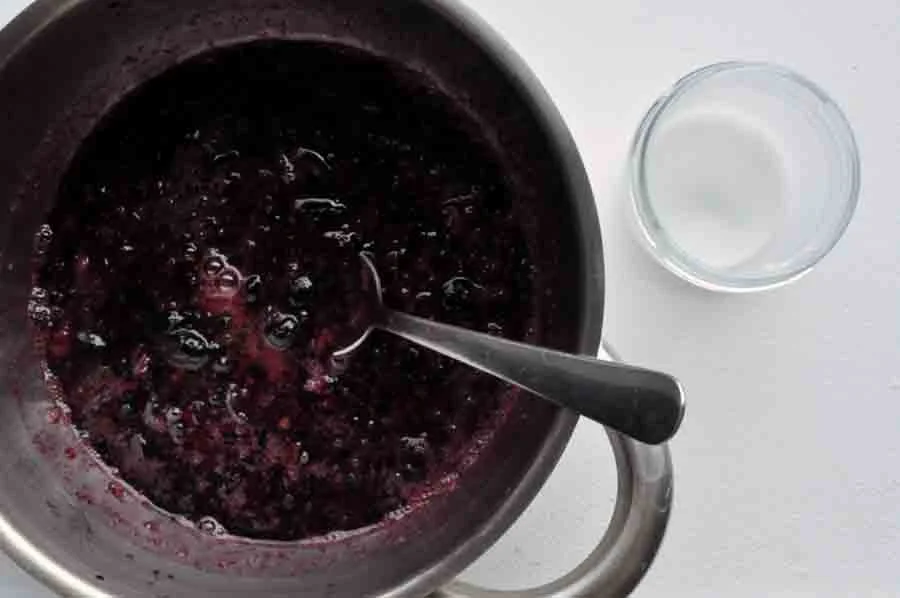
Step 15

Remove the pan from the heat and pour in the cornflour mixed with water. Bring to the boil.
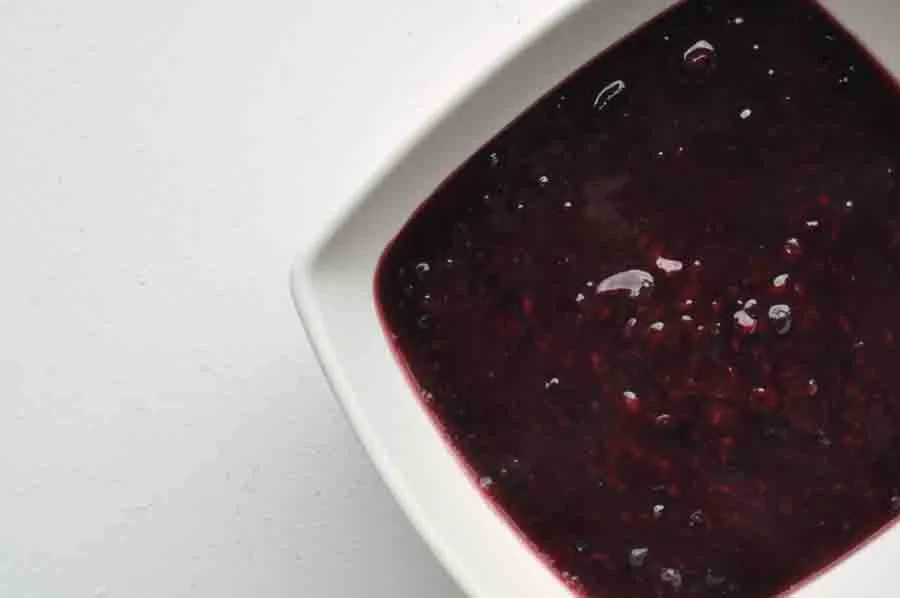
Step 16

Transfer to a ceramic bowl, allow to cool and place in the refrigerator.
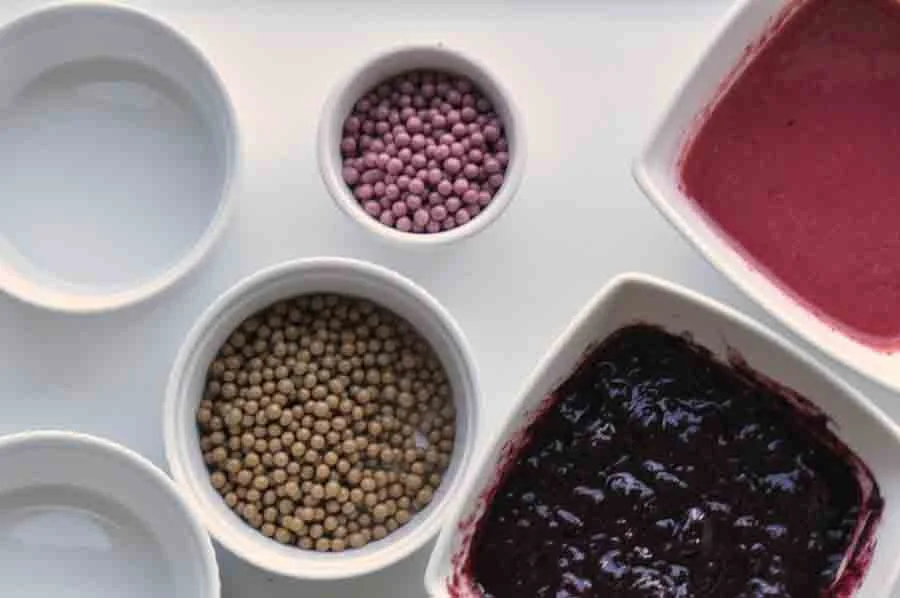
Step 17

Prepare serving bowls for ice cream or waffles, a scoop for ice cream and boiling water.
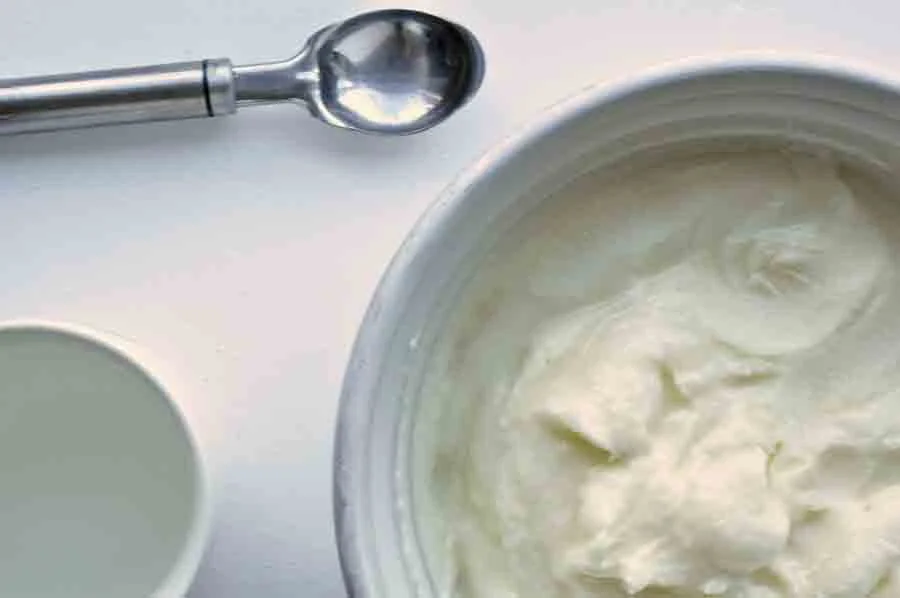
Step 18

Take the ice cream from the freezer, take out the sauces from the fridge, prepare side dishes such as fresh fruit, sprinkles, meringues, chocolate. Use a hot spoon to scoop ice cream into bowls or wafer cones.
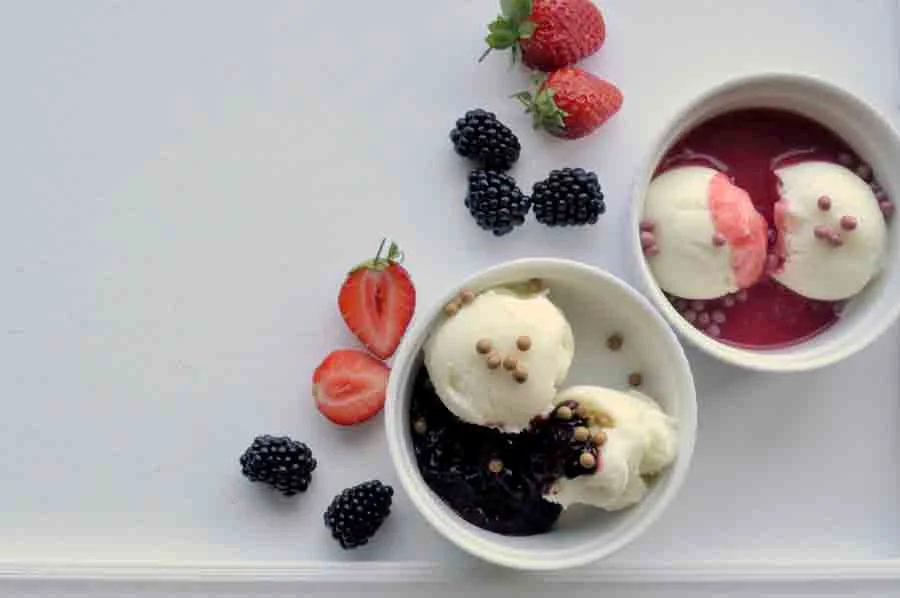
Step 19

Serve the ice cream in a bowl with the toppings and sauce of your choice.
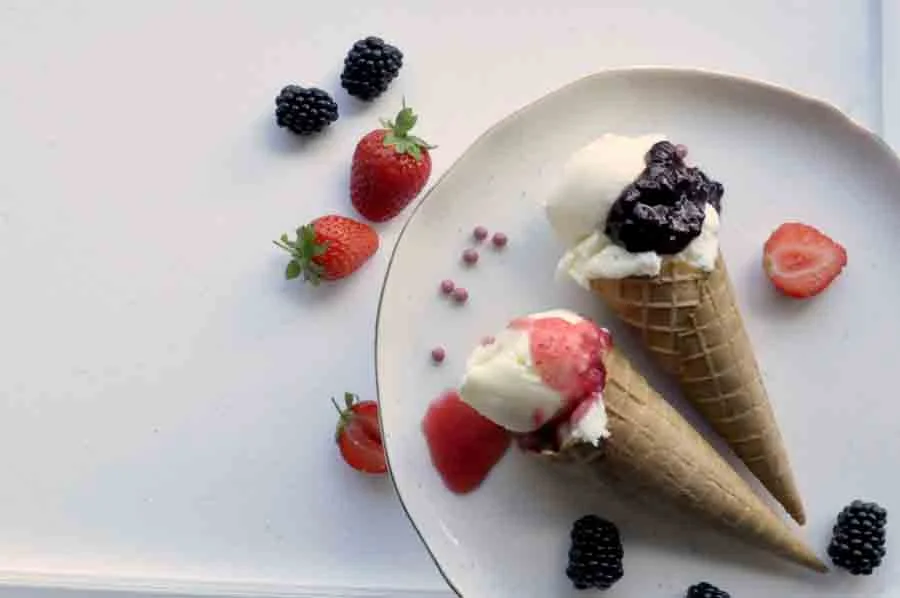
Step 20

Or alternatively serve in the cone.Ā 

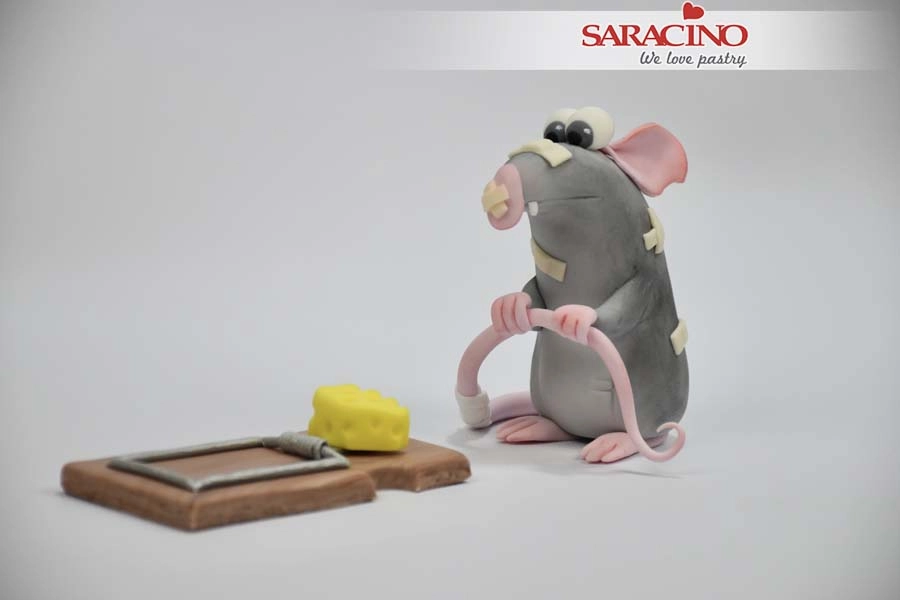
MOUSE IN A TRAP

MOUSE IN A TRAP

You will need:

  • Dresden tool
  • Large brush
  • Exacto knife
  • Rolling pin
  • Small silicone brush
  • Blade
  • Small petal cutter
  • Saracino Pasta Model: white, light skin, black, pink and yellow
  • Edible glue
  • Wooden skewer
  • Ball tool
  • Saracino powder colours: white, red and black

Step 1

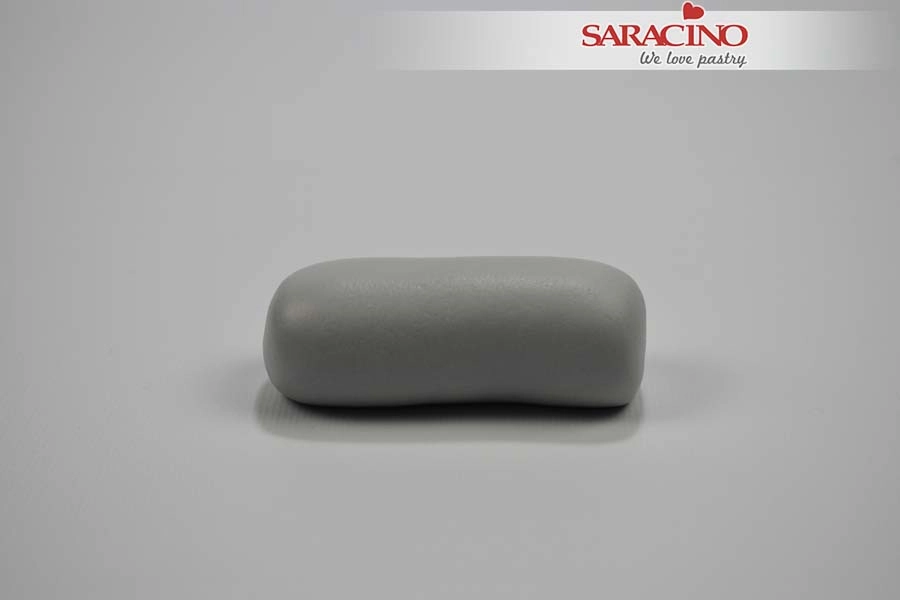
For the mouse use 100g white Saracino Pasta Model and colour it grey using a little black colour.

Step 2

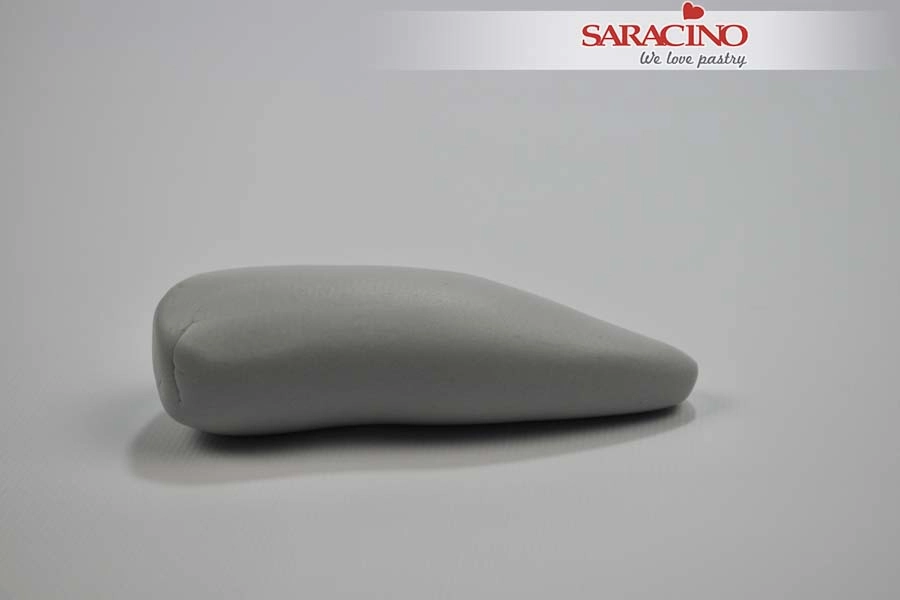
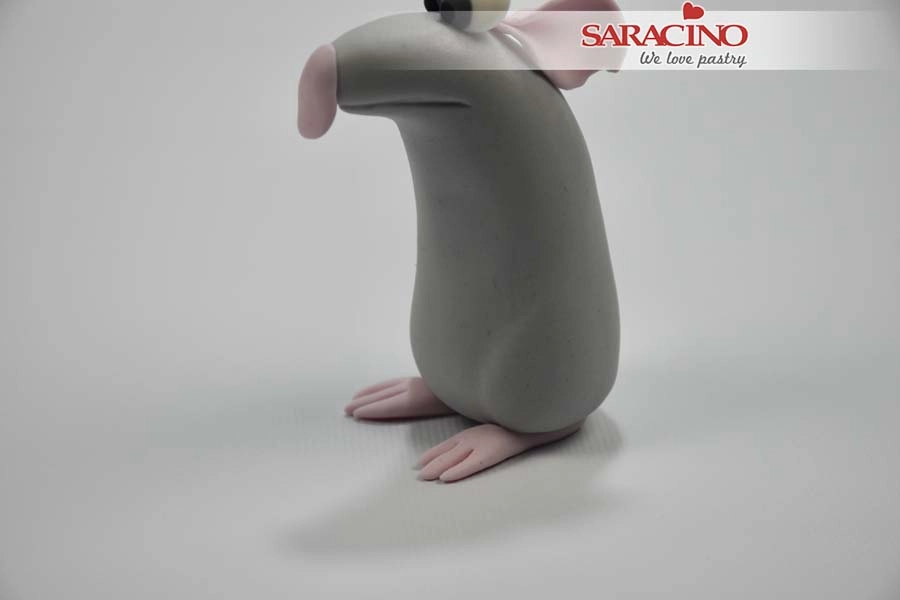
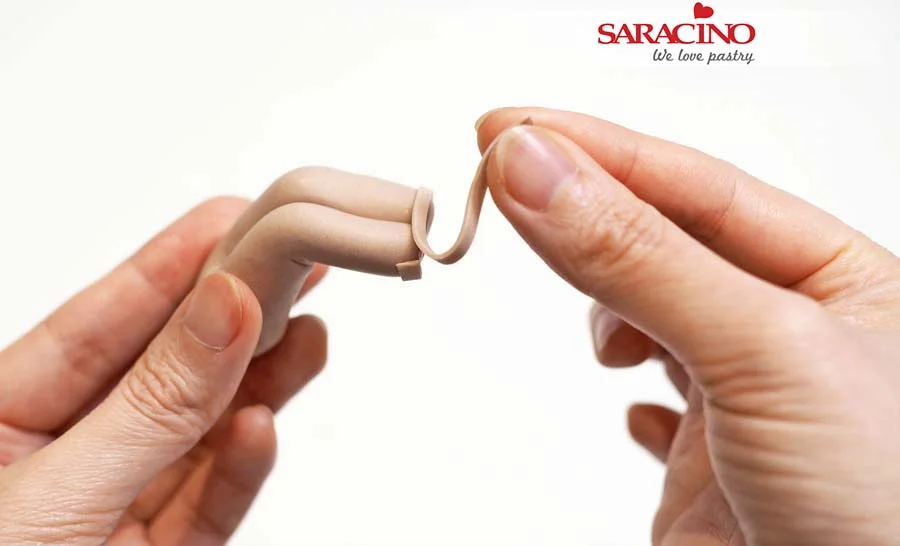
Roll it into a shape thinner at the head and wider at the bottom.

Step 3

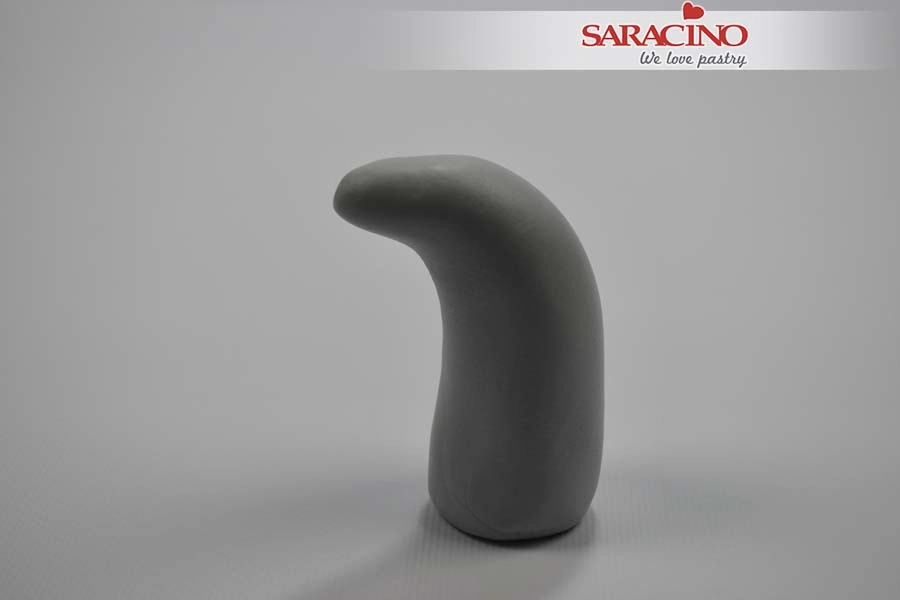
Stand it up and gently bend the thinner end as shown.

Step 4

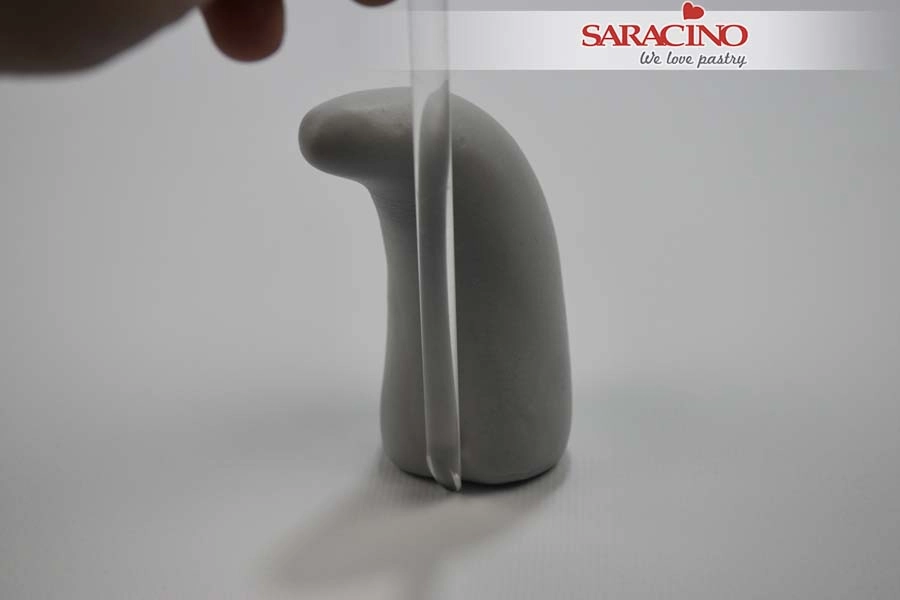
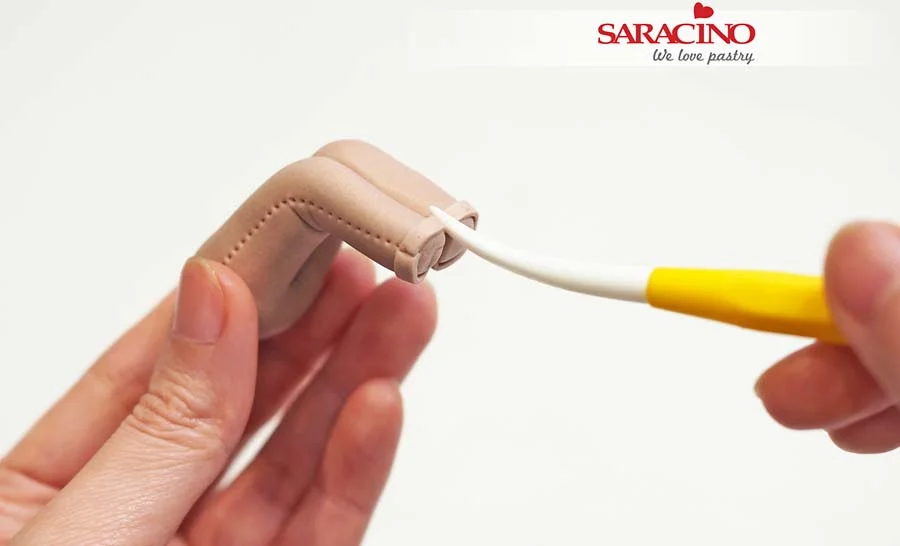
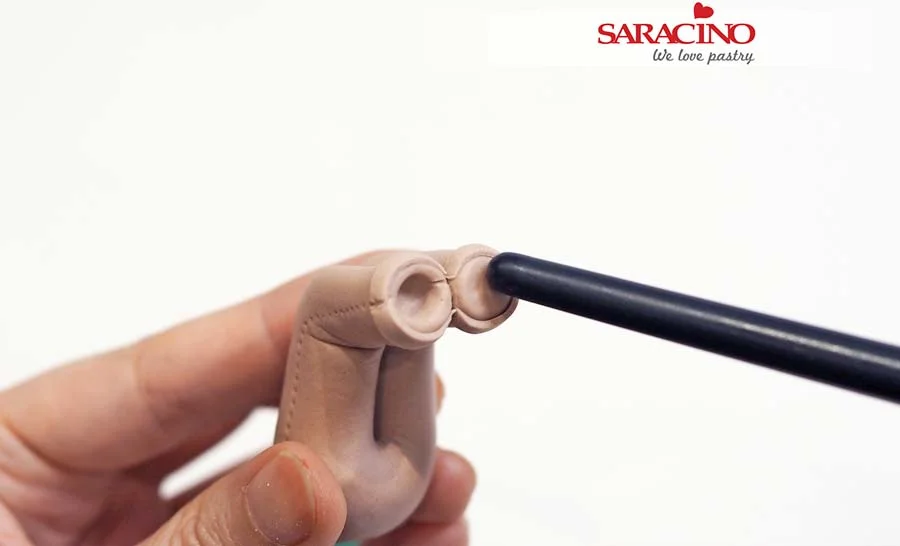
Use a modelling tool or the back of a brush to form a dent either side of the base for the legs.

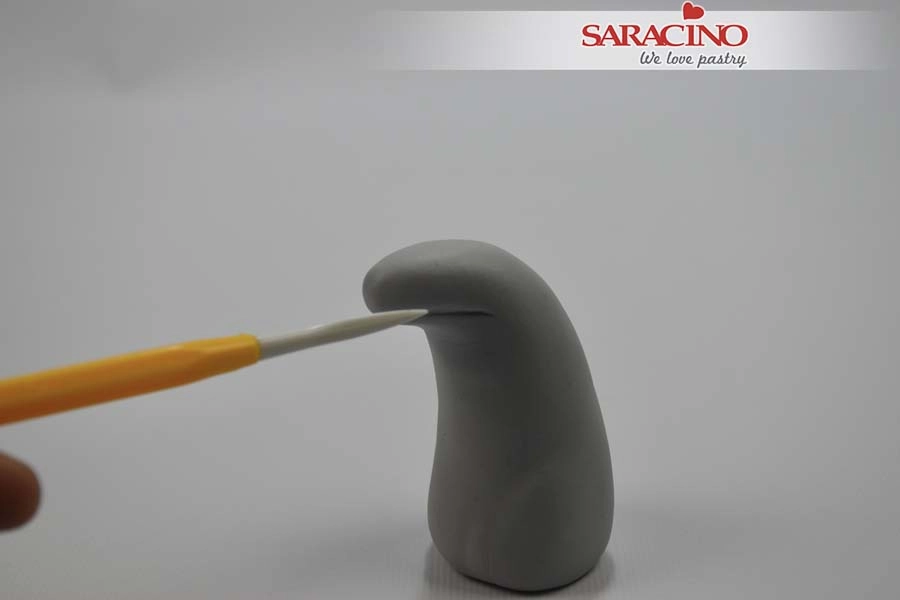
Step 5

Use a Dresden tool to mark the mouth area.

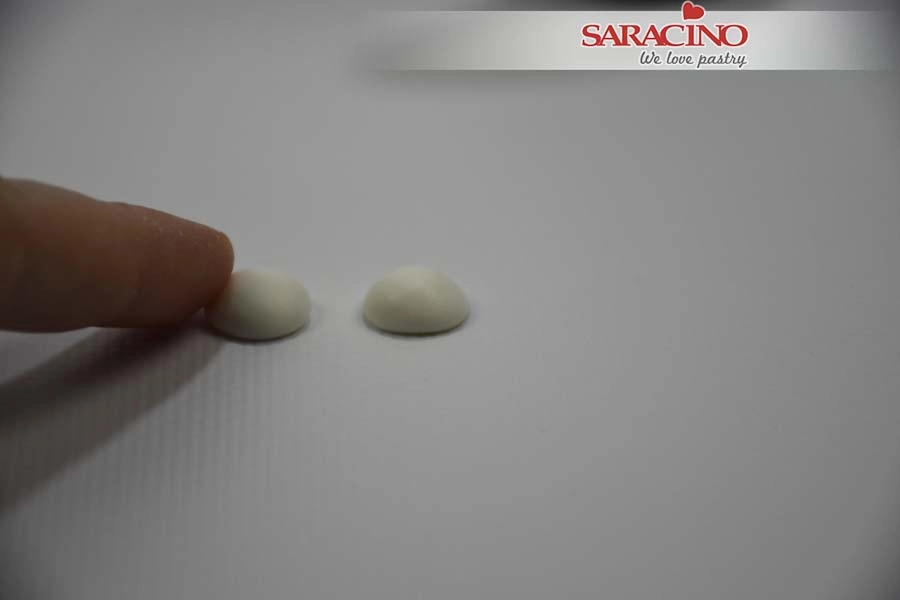
Step 6

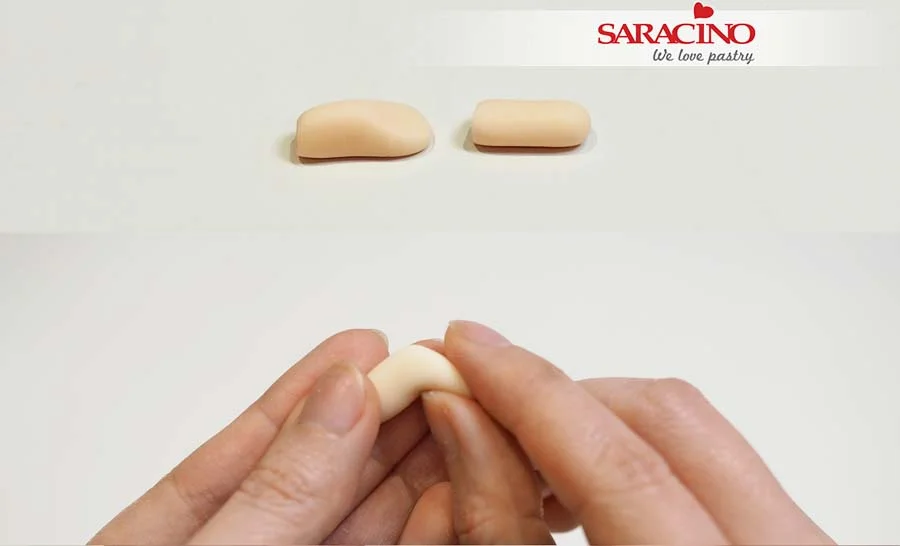
For the eyes roll two small white balls.Ā Press with your finger to achieve the shape shown.

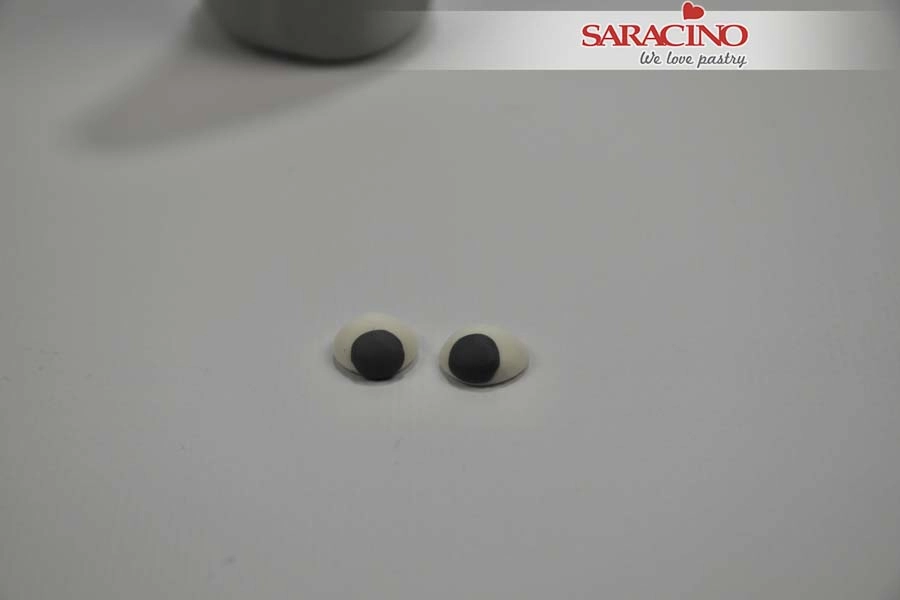
Step 7

Roll dark grey Pasta Model and cut out 2 small circles. Fix them to the eyes.

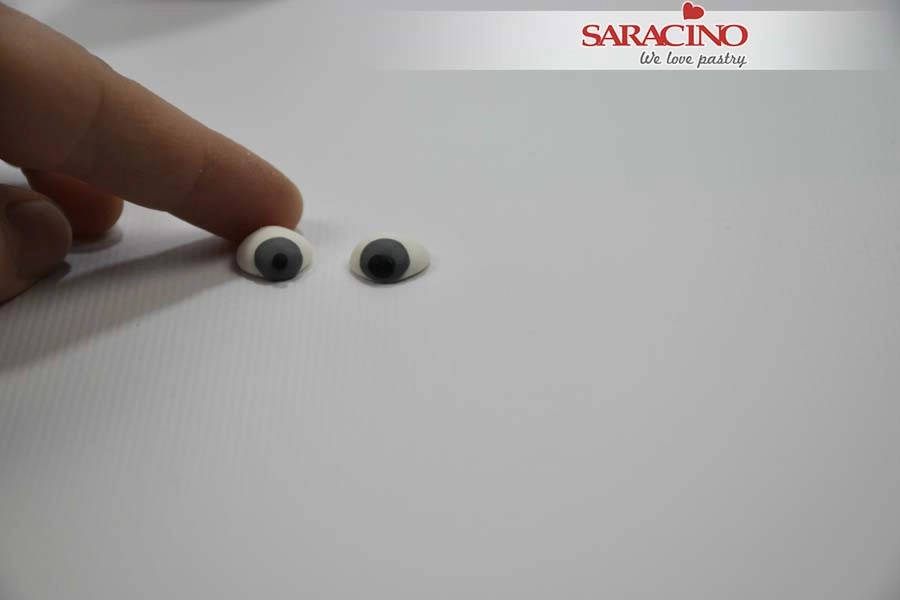
Step 8

Add a small black dot to the center of each eye.

Step 9

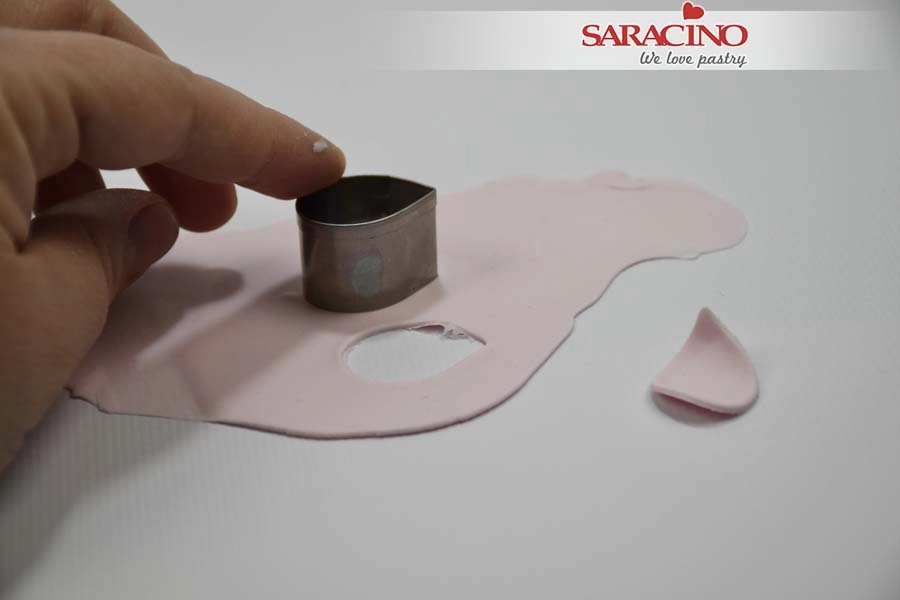
For the ears roll light pink Pasta Model and use a petal cutter to cut out two ears.

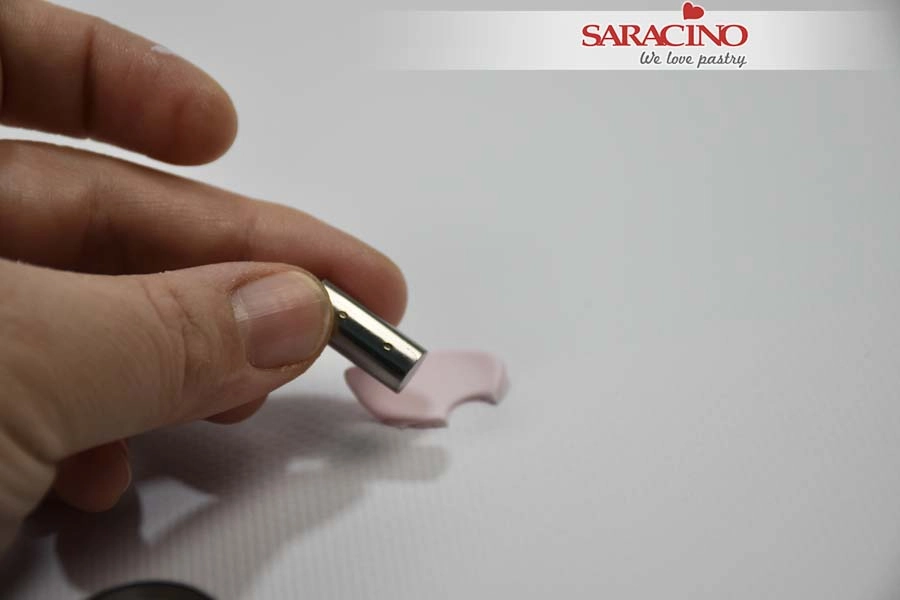
Step 10

Use a small circle cutter to remove a small piece from each ear.

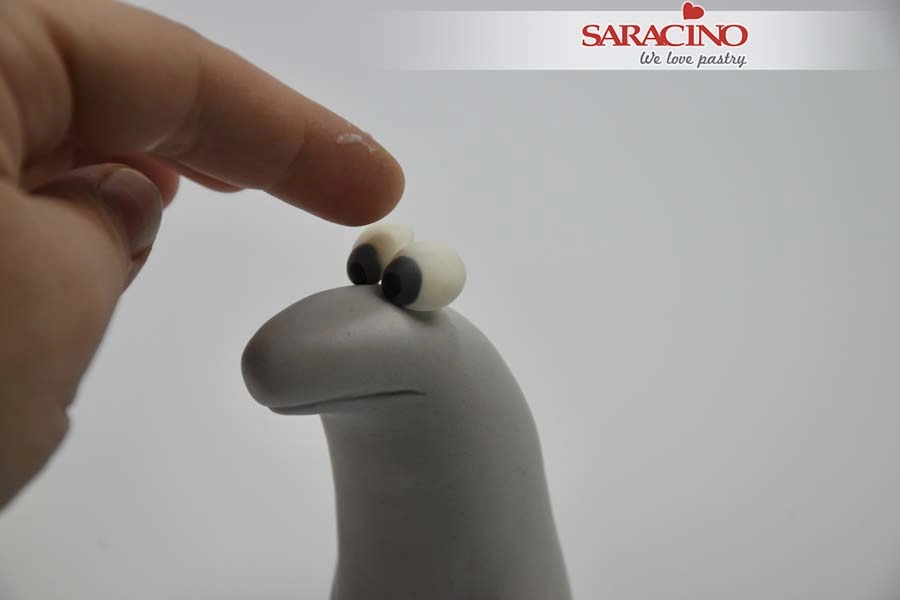
Step 11

Fix the eyes on the top of the head.

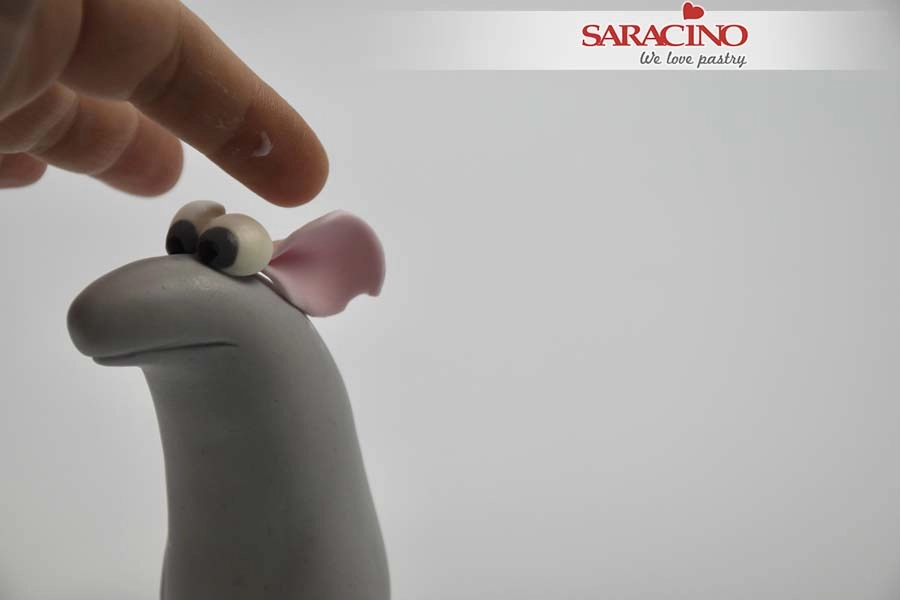
Step 12

Fold the pink ears and fix them behind the eyes.

Step 13

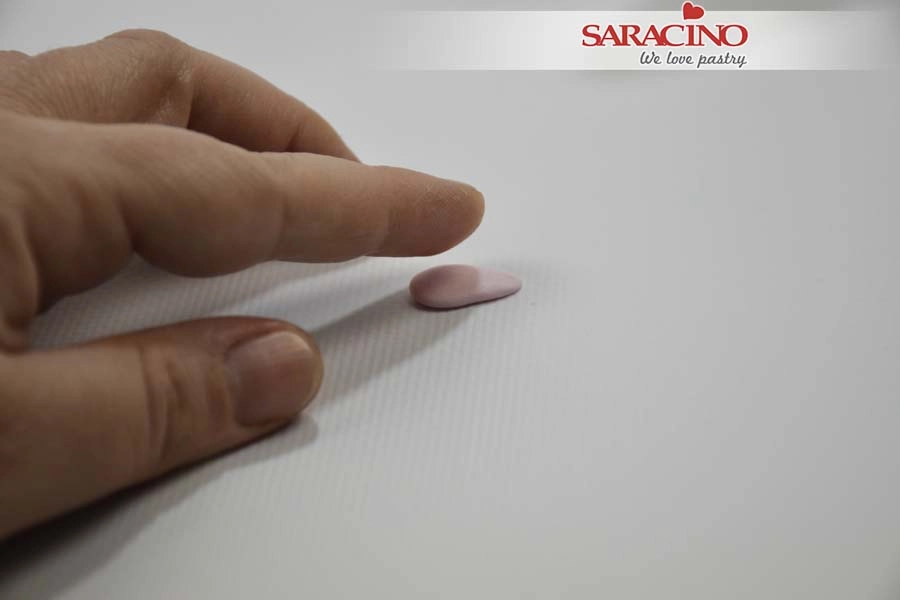
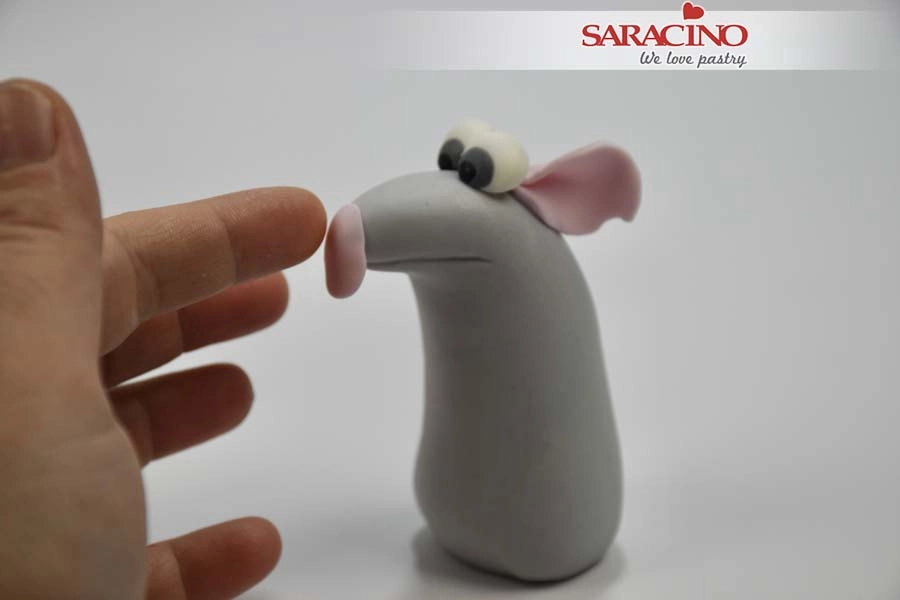
For the nose roll a small amount of pink to a teardrop shape. Flatten with your finger.

Step 14

Fix the nose to the end of the face.

Step 15

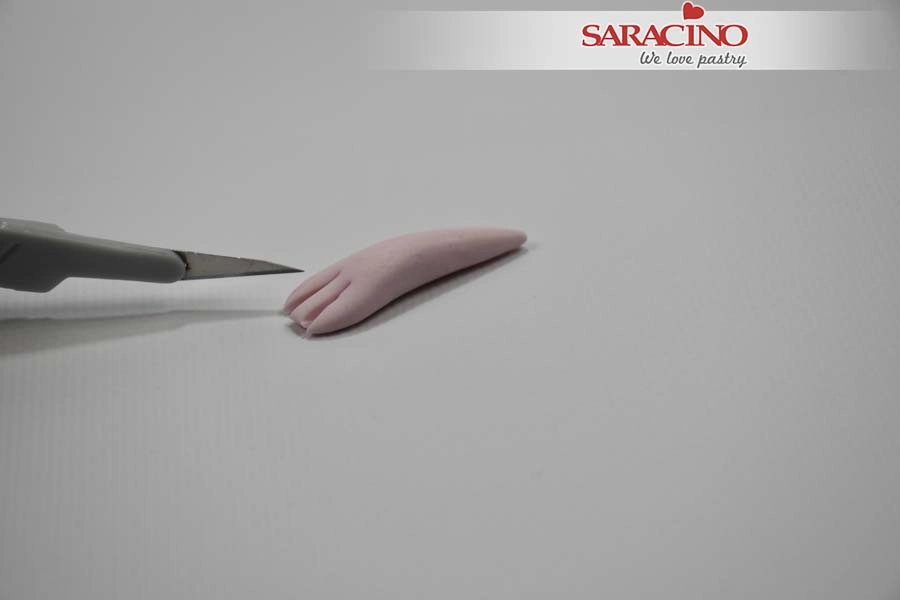
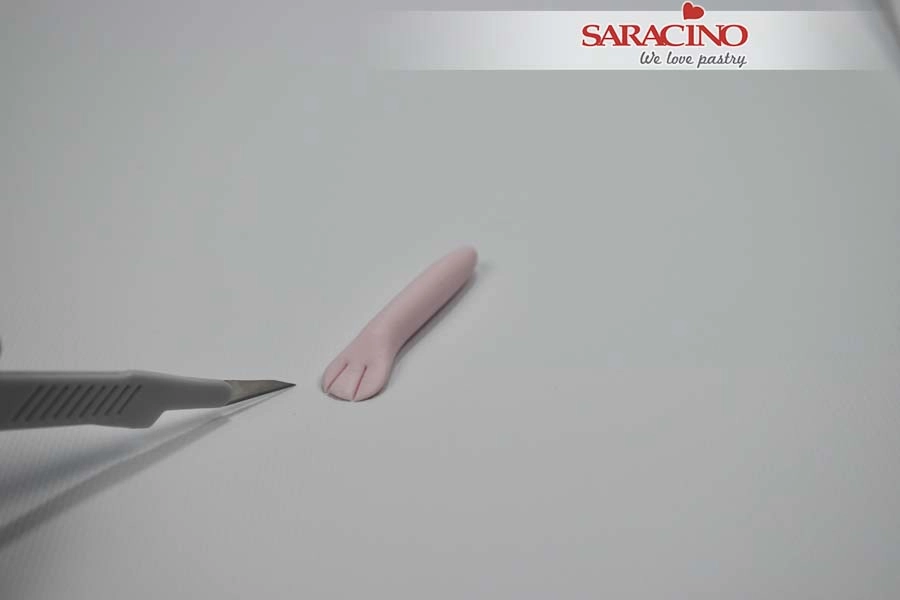
For the feet use a small amount of pink sugar paste and roll it into a long carrot shape.Ā Use your finger to flatten the widerĀ end. Use a sharp knife to cut 3 fingers.

Step 16

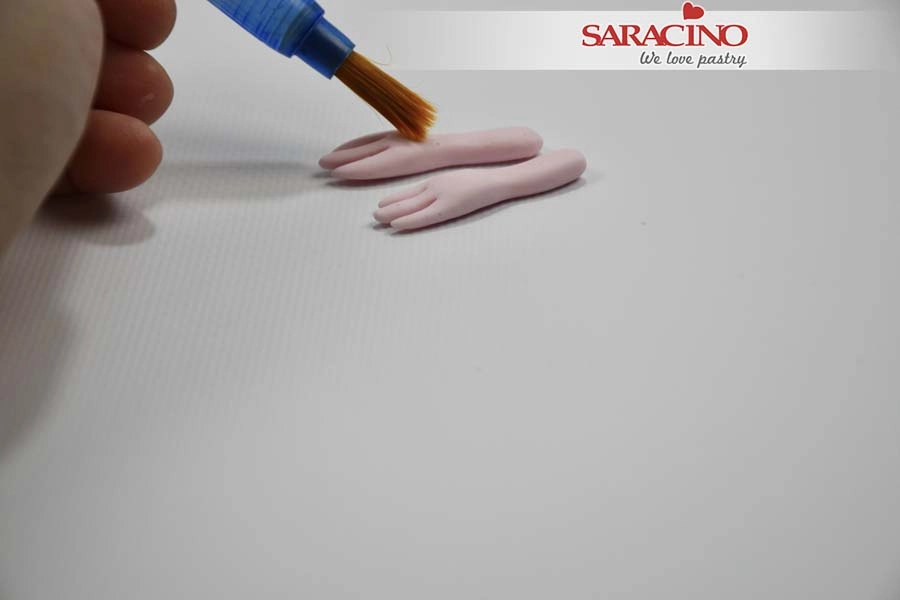
Repeat for the other leg and add a little edible glue to the top where they will be fixed to the body.

Step 17

Place under the body.


Step 18

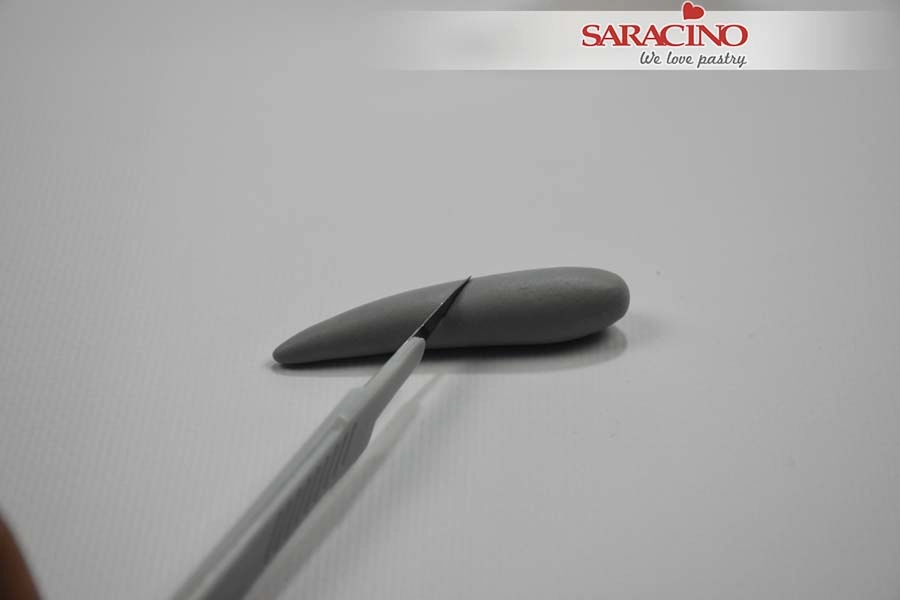
Roll a small piece of the grey paste into a carrot shape and cut to an angle as shown. We will need the thin end for each arm.

Step 19

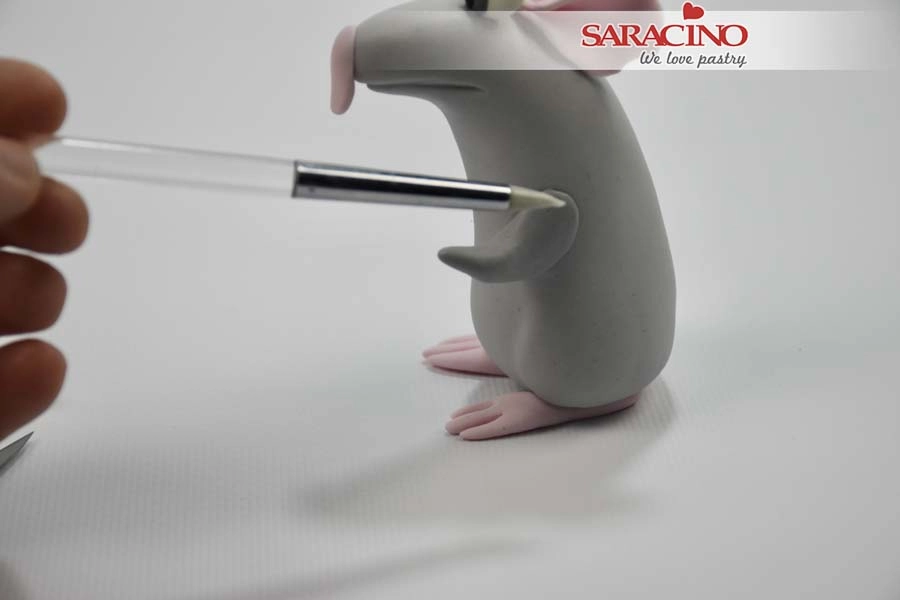
Repeat to make two thin arms. Fix them to the body.Ā Use a modelling tool to smooth the joint.

Step 20

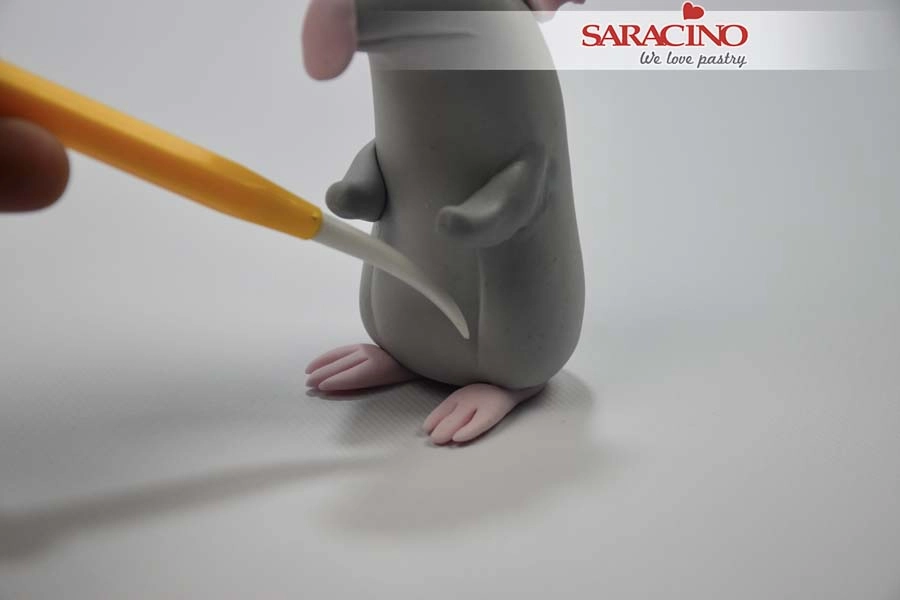
Use the Dresden tool to shape the belly.

Step 21

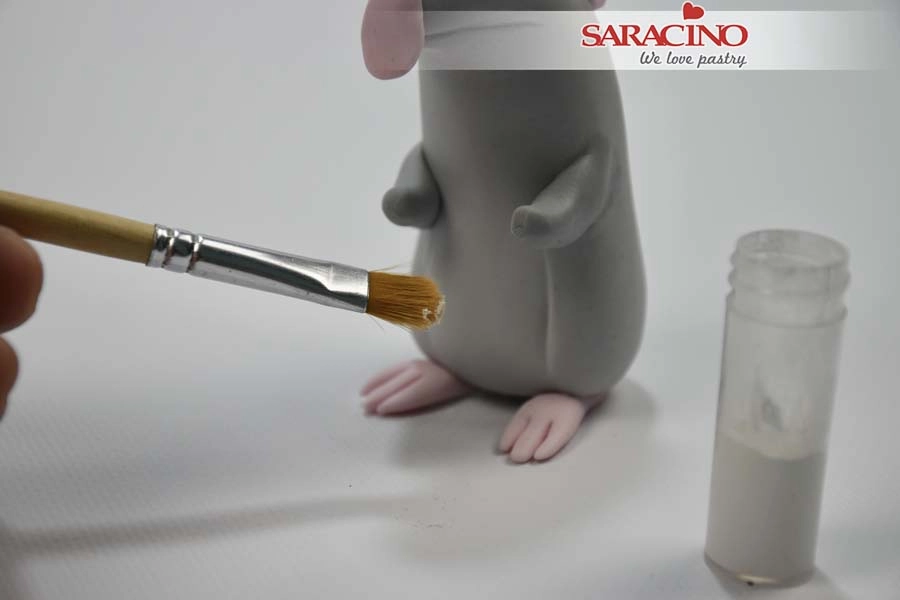
Use a soft brush and white powder colour to dust the belly area.

Step 22

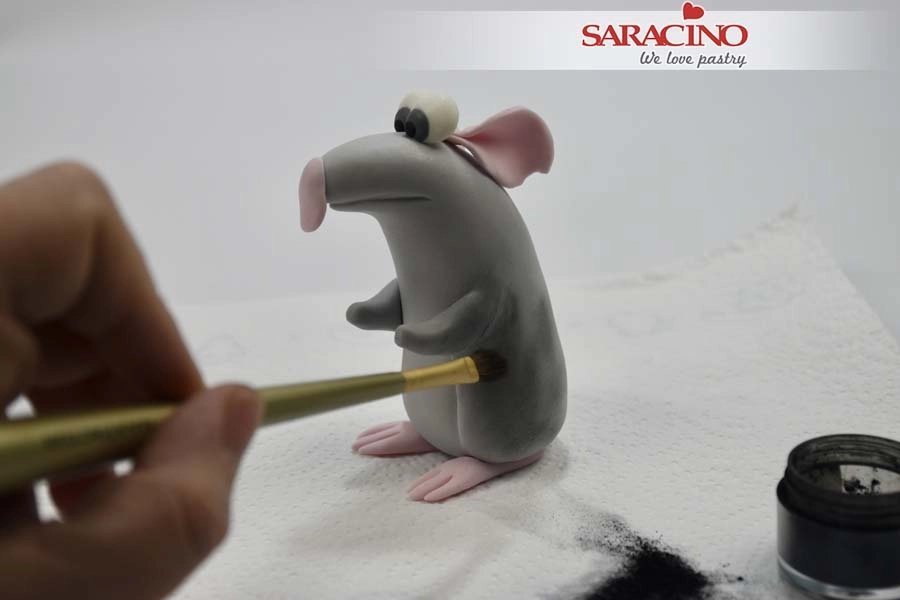
Use black powder colour to dust the rest of the body to make it darker.

Step 23

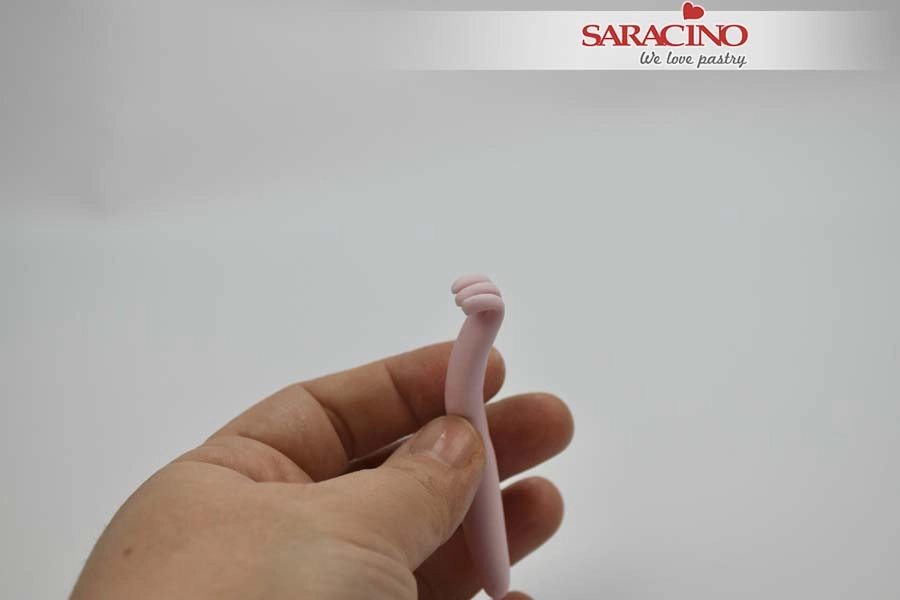
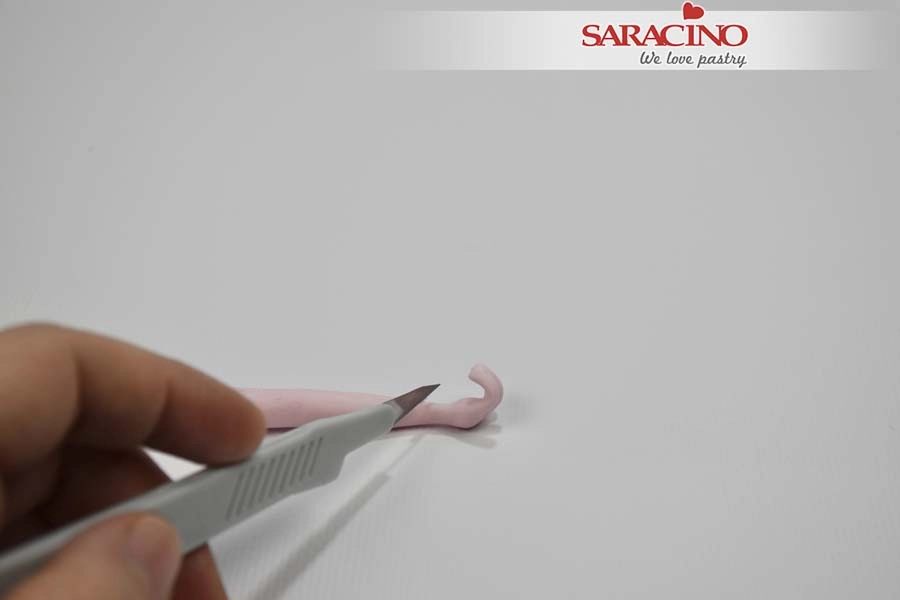
For the hands roll a small piece of pink fondant into a sausage shape.Ā Cut 3 fingers.

Step 24

Bend the fingers. Ā 

Step 25

Use your fingers to roll it thinner at the wrist. Cut with an exacto knife.

Step 26

Fix each hand to the arms.

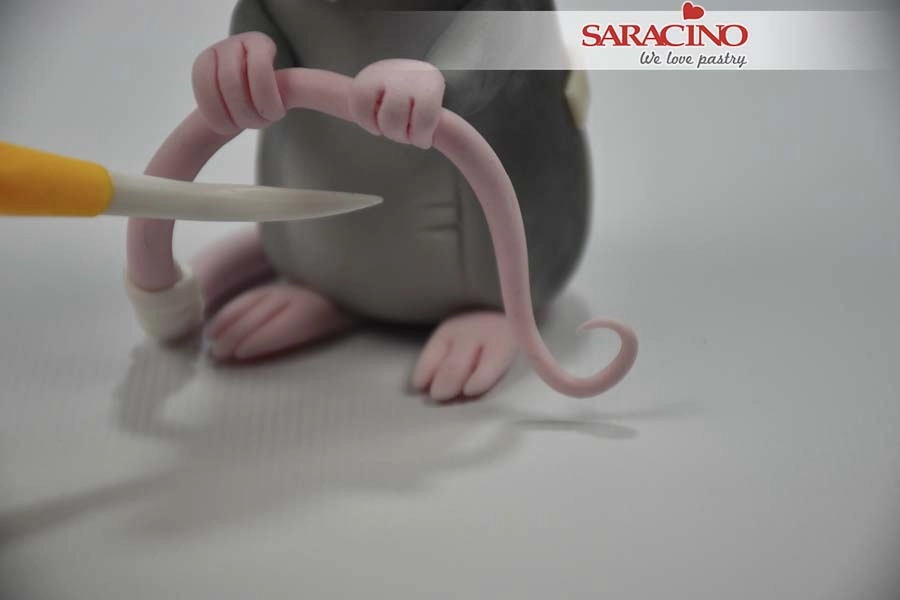
Step 27

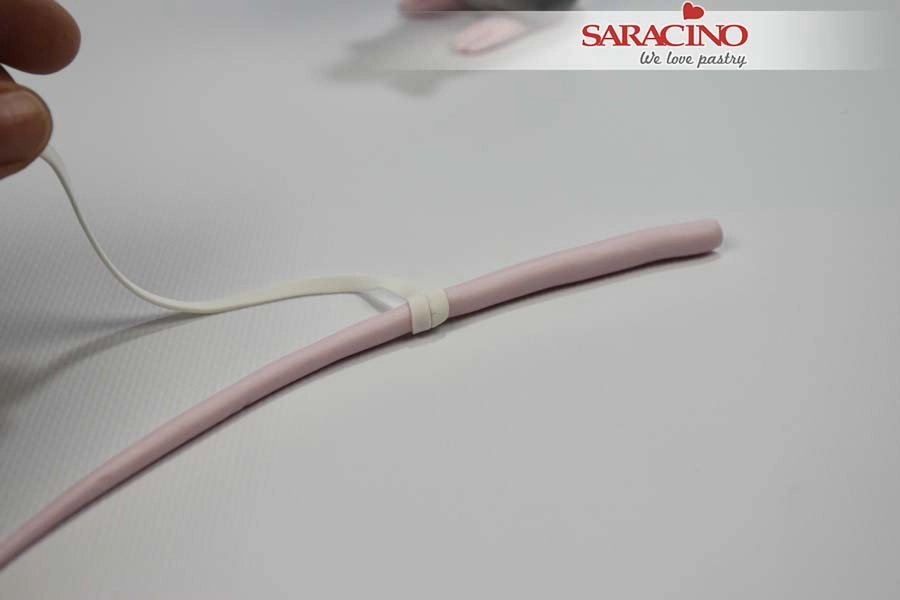
For the tail roll a thin, long piece of pink Pasta Model. For the bandage roll a white strip and wrap the tail.

Step 28

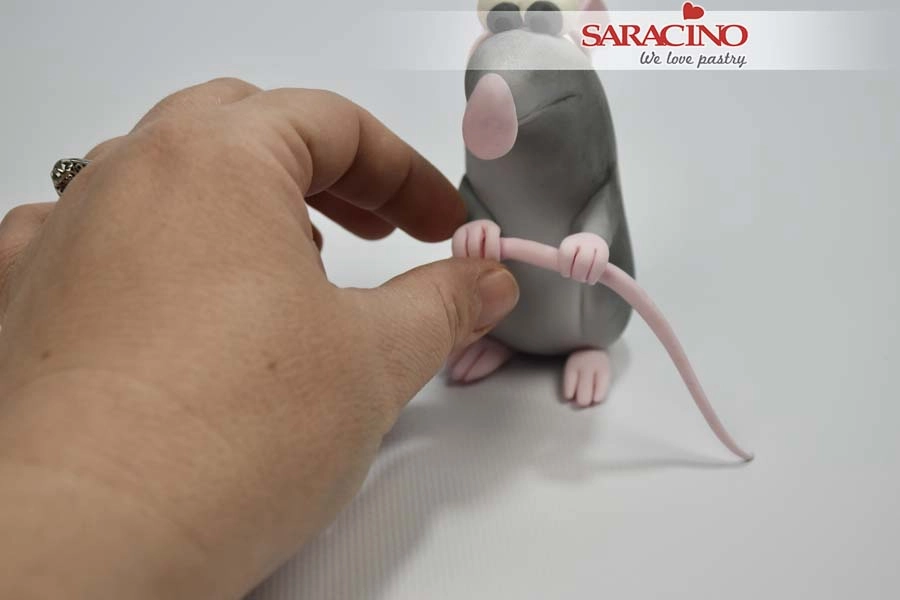
Place the tail to the back of the body and into the hands. Use a little edible glue to fix.


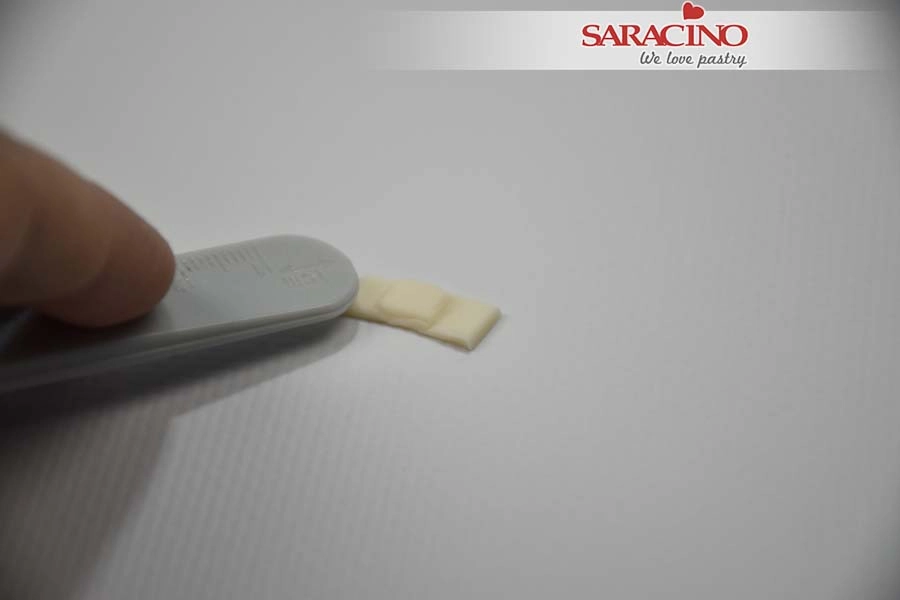
Step 29

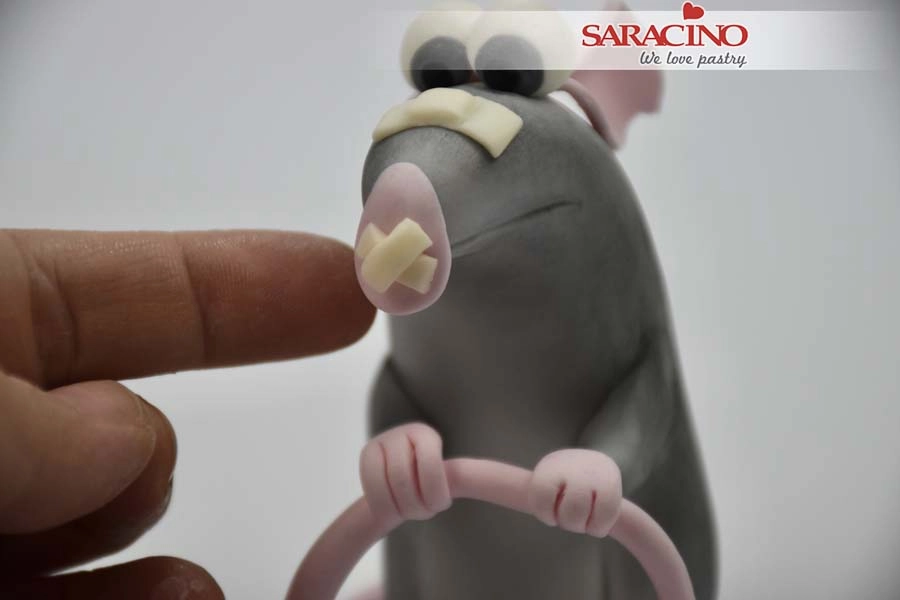
For the plasters cut a small strip of light skin colour Pasta Model.Ā Flatten the edges.

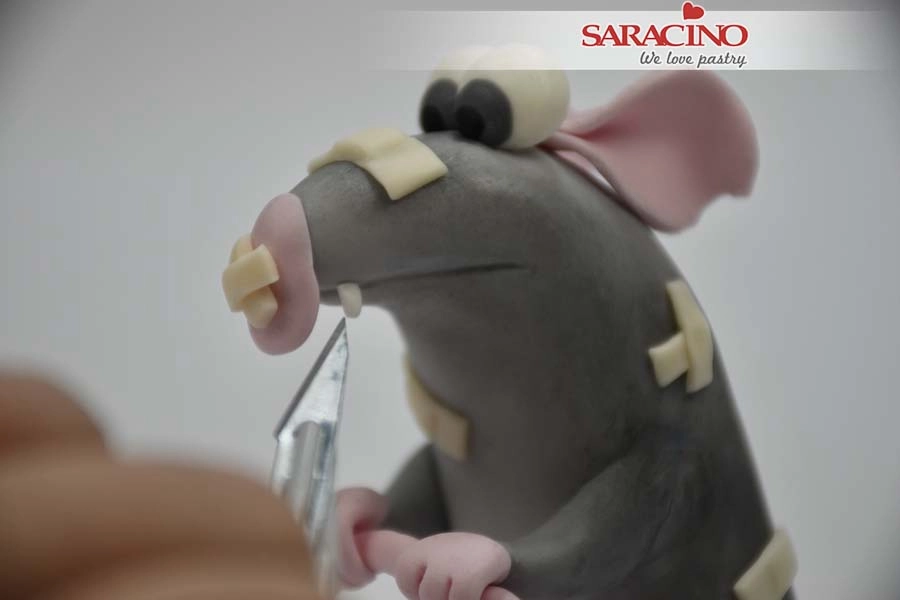
Step 30

Ā Fix to the top of the nose. Ā Cut two more strips and place them in an X shape on the end of the nose.


Step 31

Use the Dresden tool to make some marks around the edge of the belly.

Step 32

Add more plasters to different places of the body.Ā Cut a tiny piece of white paste and place it in the side of the mouth for a tooth.Ā 


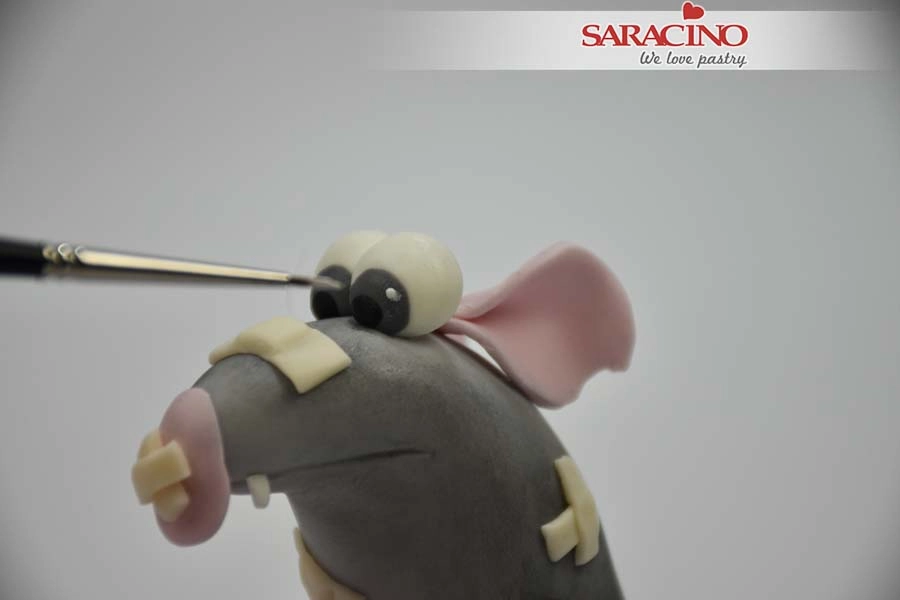
Step 33

Using white gel colour add small dots to the eyes.

Step 34

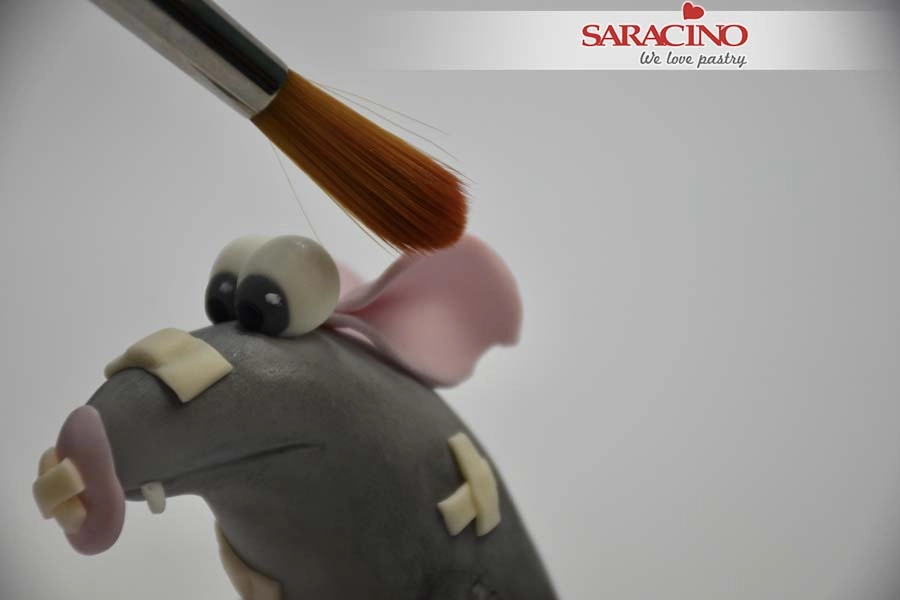
Using a soft brush and red powder colour dust the pink areas.


Step 35

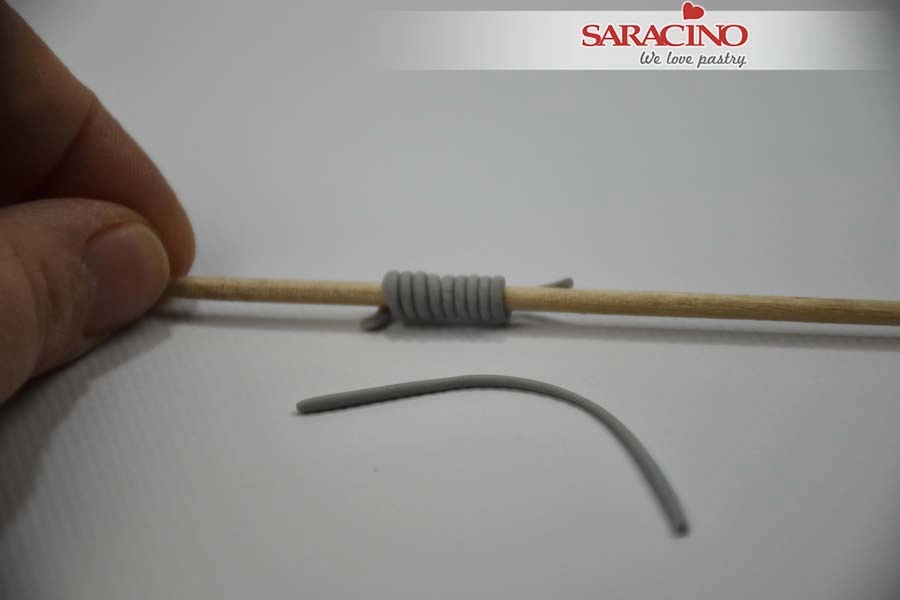
For the trap spring, roll a very thin strip and wrap it around a wooden skewer. Allow to dry.

Step 36

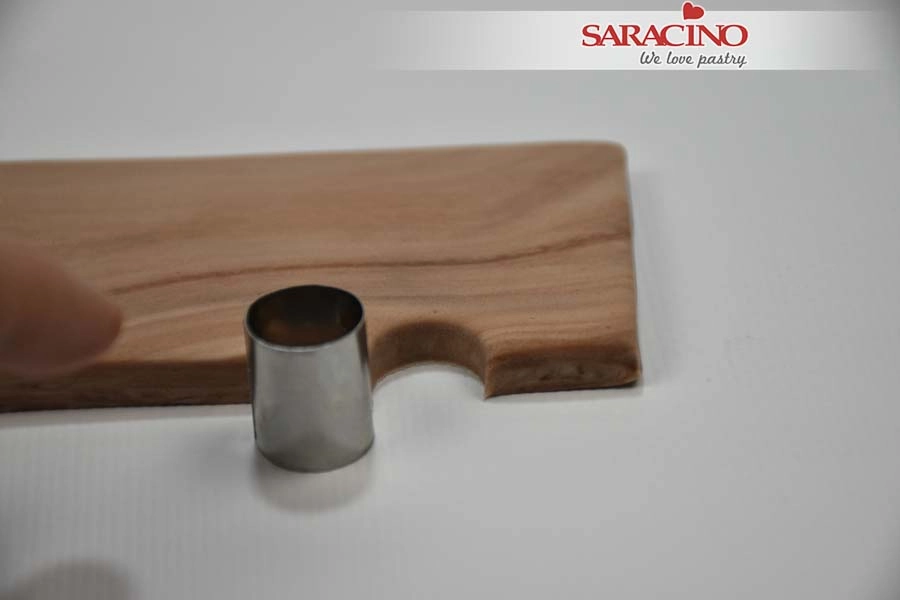
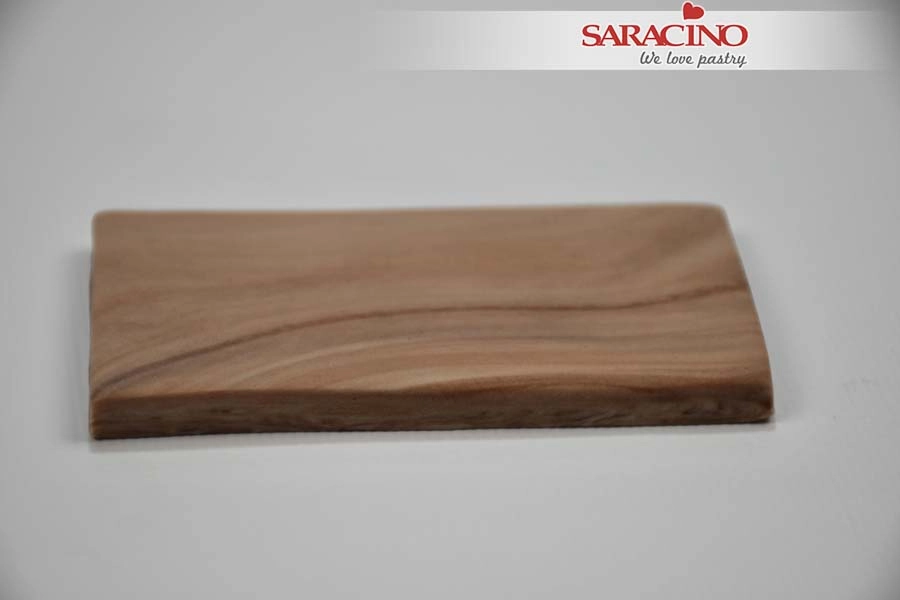
For the wood effect mix brown and light beige colour Pasta Model. Do not mix too well to give the wood effect. For the base cut it into a rectangle shape.


Step 37

Use a circle cutter to cut the dents from the sides of the trap.

Step 38

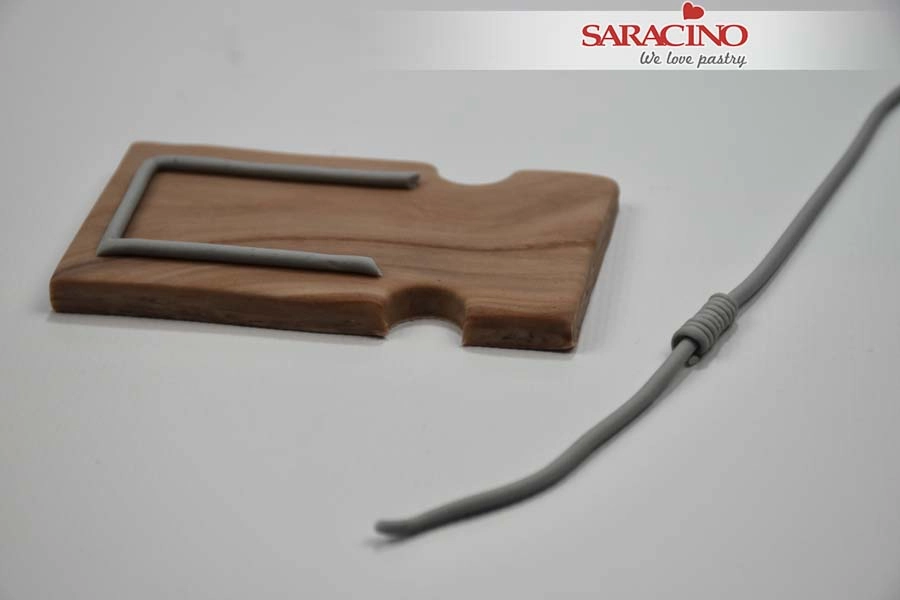
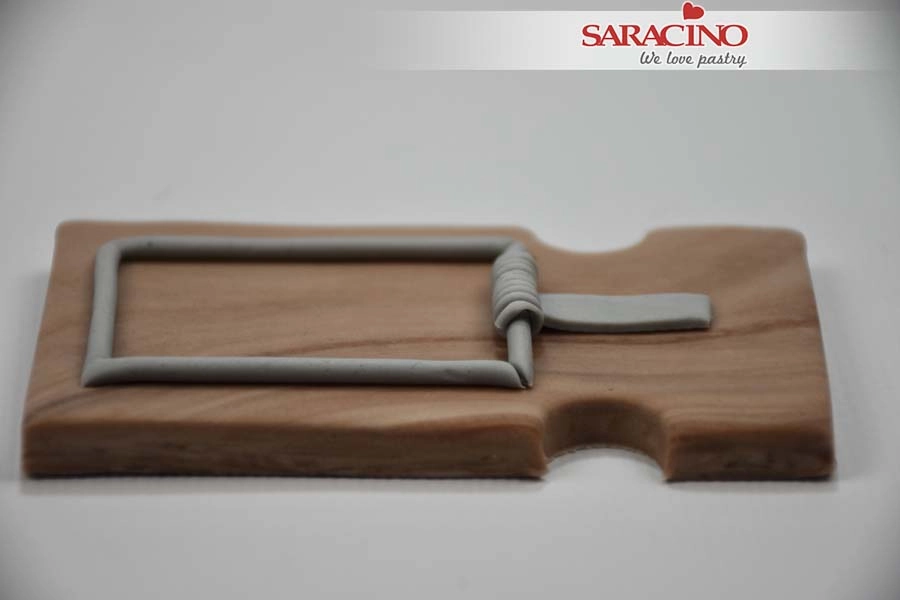
Roll some more thin grey strips to the same diameter as the wooden skewer. Take one strip and pass it through the centre of the spring. Fix the rest of them as shown.


Step 39

Fix the length with the spring to the centre. Cut the excess ends. Add one more larger piece of grey paste in the centre of the trap.

Step 40

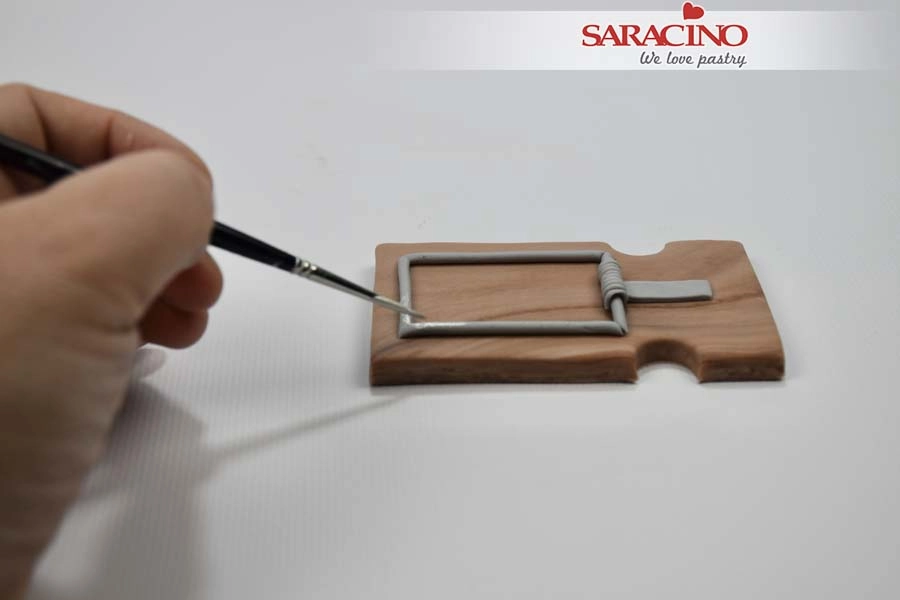
Using silver powder mixed with clear alcohol paint the grey areas to look like metal.


Step 41

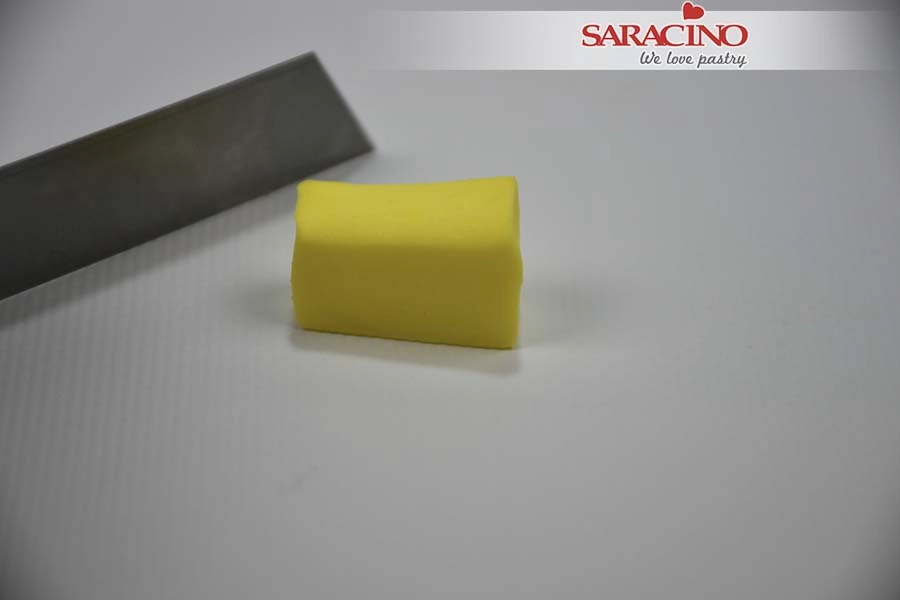
For the cheese use a small amount of yellow Pasta Model.Ā With a blade cut into a random ‘cheese’ shape.

Step 42

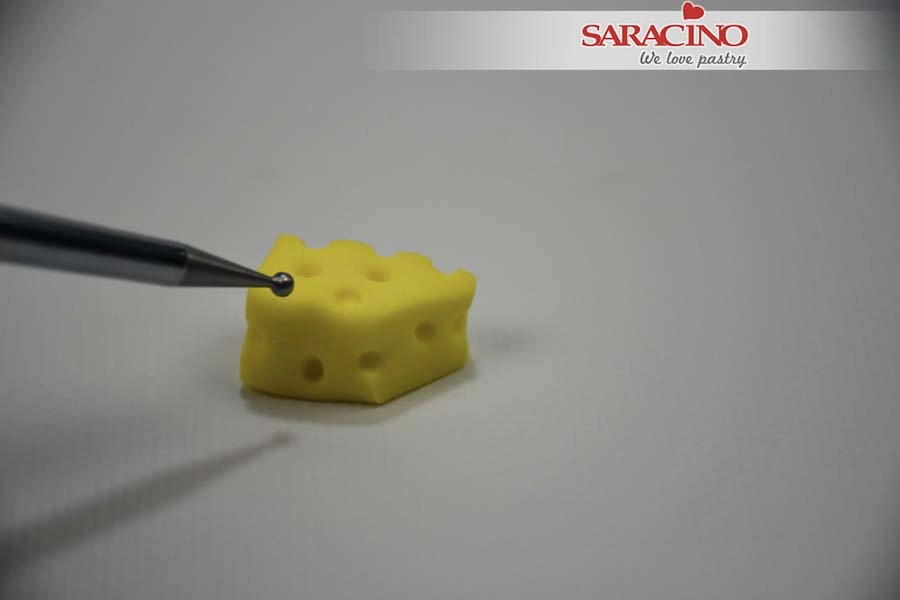
Use a small ball tool to press some holes to make it look like cheese.Ā 


Step 43

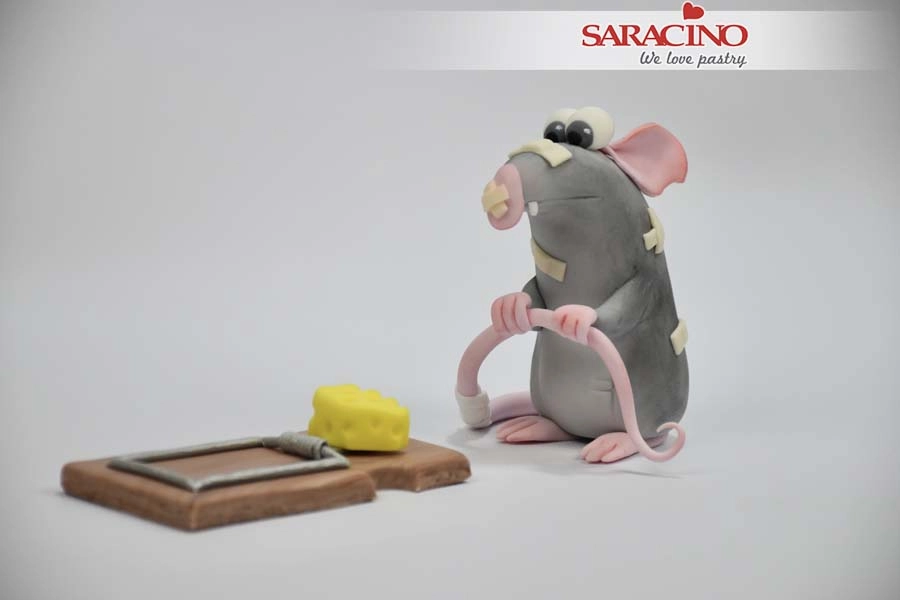
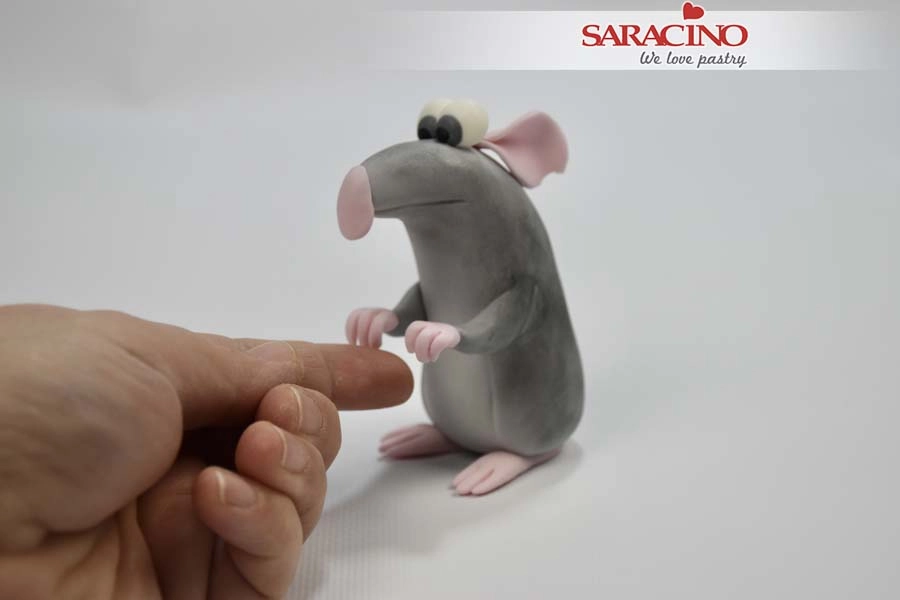
Fix the cheese on the trap. Our hero mouse is ready!

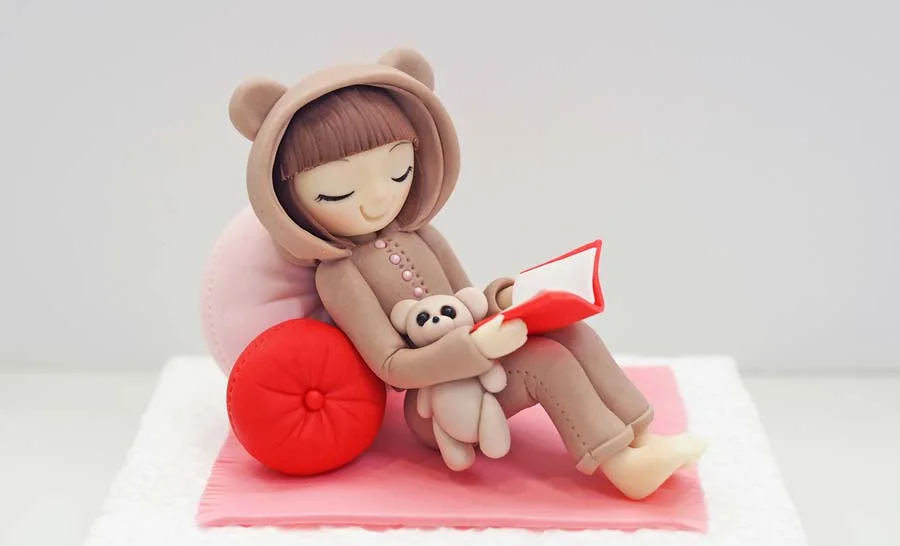
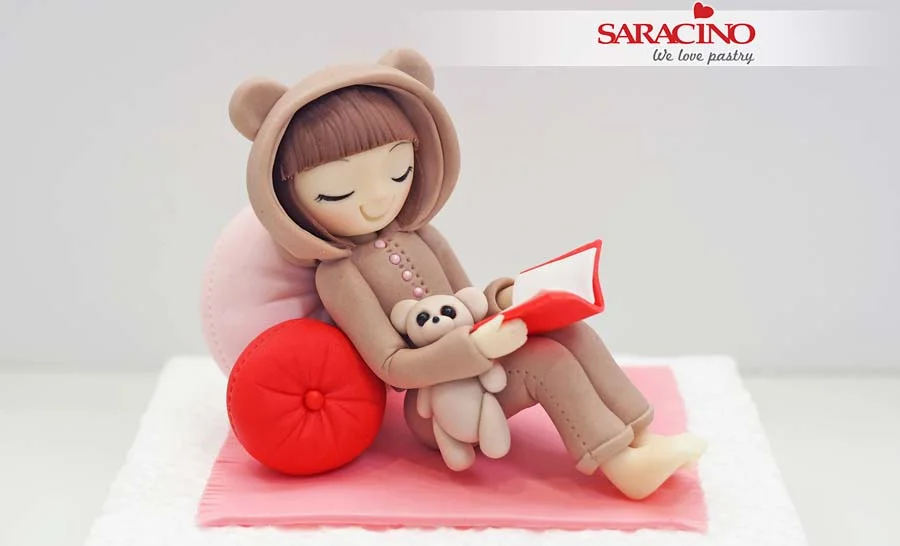
SLEEPY GIRL MODELLING TUTORIAL

SLEEPY GIRL MODELLING TUTORIAL

Author: ZEE CHIK

Skill level: BEGINNERS

You will need:

  • Saracino Pasta Model: black, white, brown, red, pink, light skin
  • Saracino black gel colour
  • Saracino pink powder colour
  • Dragees: black, pink
  • Polystyrene foam
  • Knife
  • Dresden tool
  • Tapered cone tool
  • Quilting tool
  • 24 gauge wire
  • Cocktail sticks

Step 1

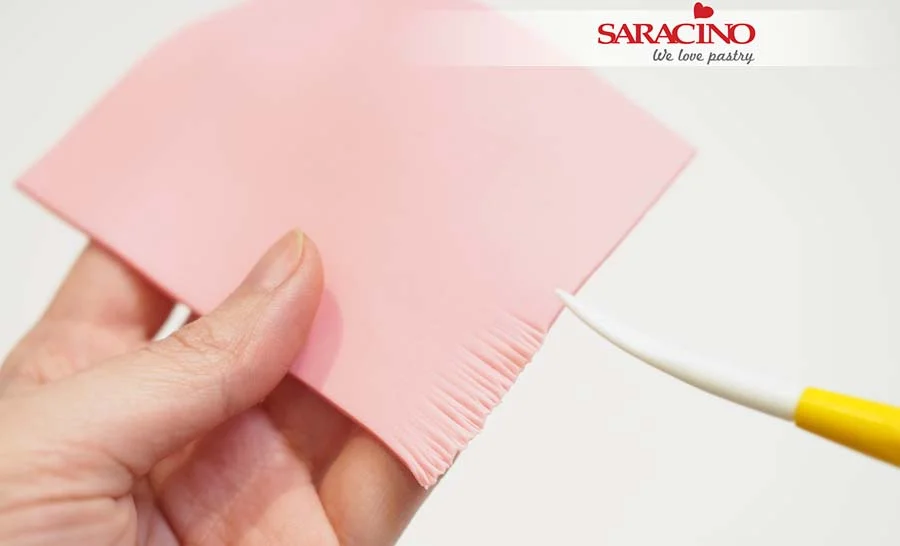
For the rug roll a rectangle of pink modelling paste and use a Dresden tool to mark lines on both ends of the rectangle. Set aside to dry.

Step 2

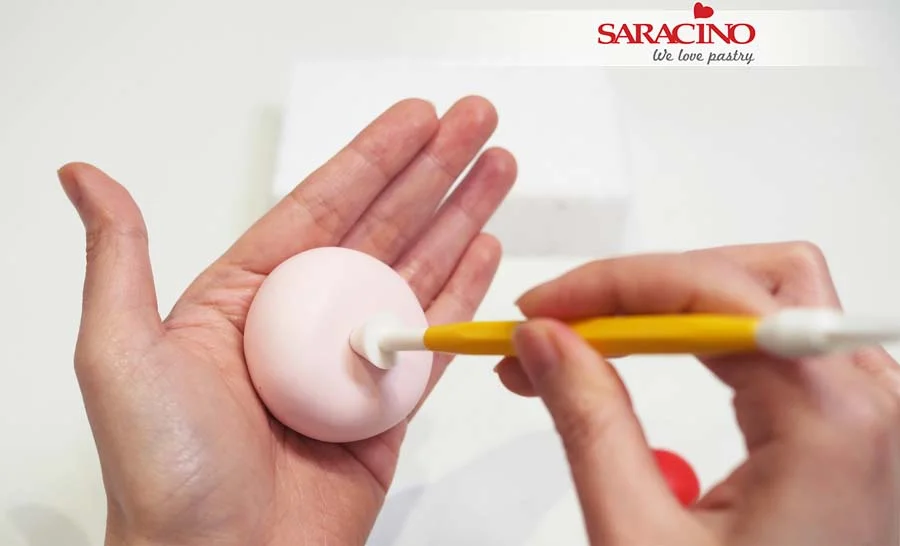
For the cushions roll a large ball of light pink modelling paste then slightly flatten it using your hands. Use the tapered cone tool to indent the centre of the flattened circle.

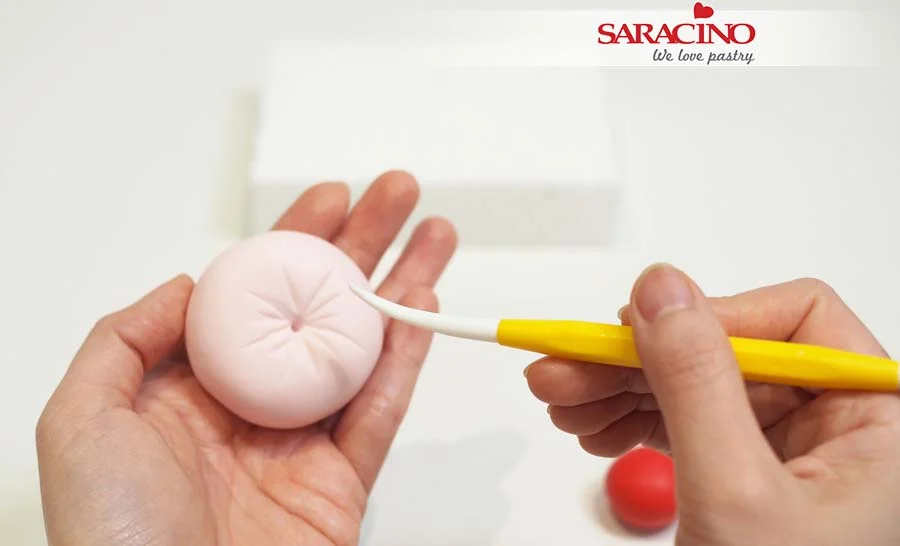
Step 3

Use a Dresden tool to mark some short and long lines from the centre outwards.

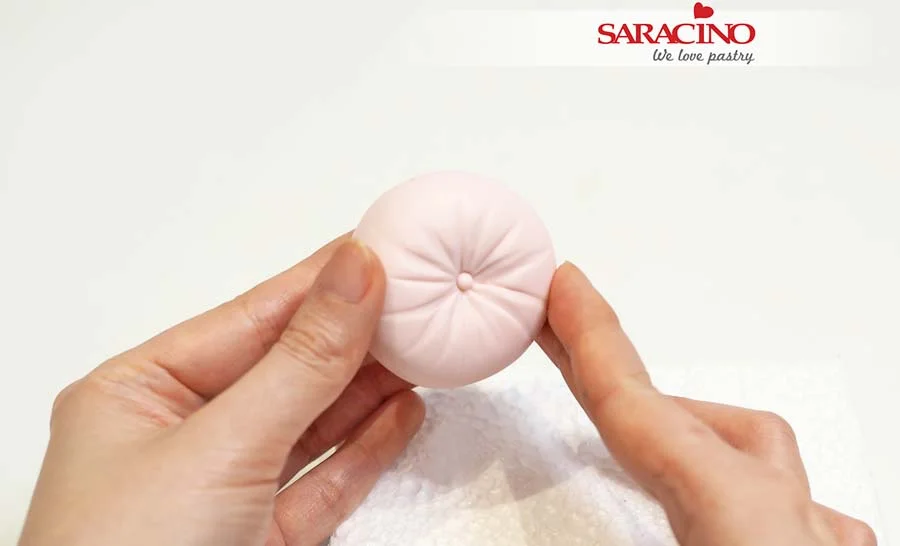
Step 4

Roll out a tiny ball and put some edible glue or water and stick it to the centre.

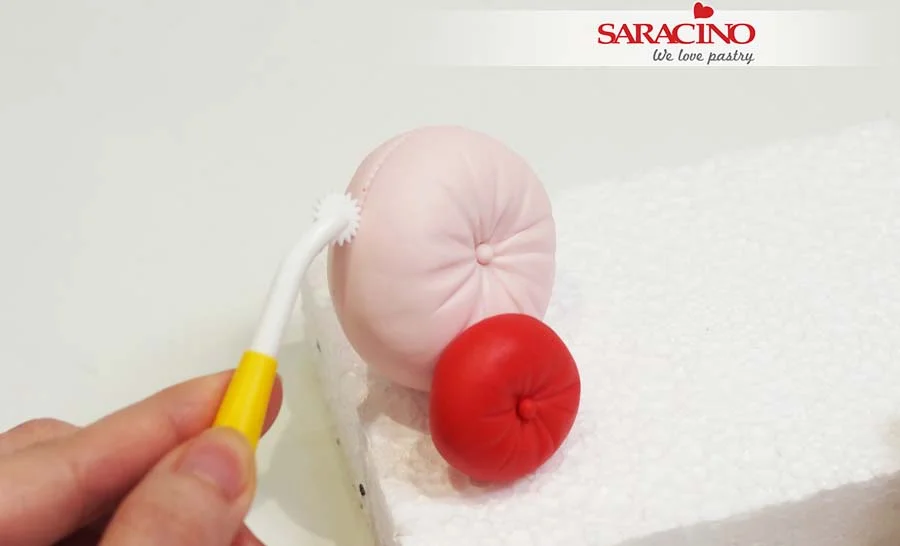
Step 5

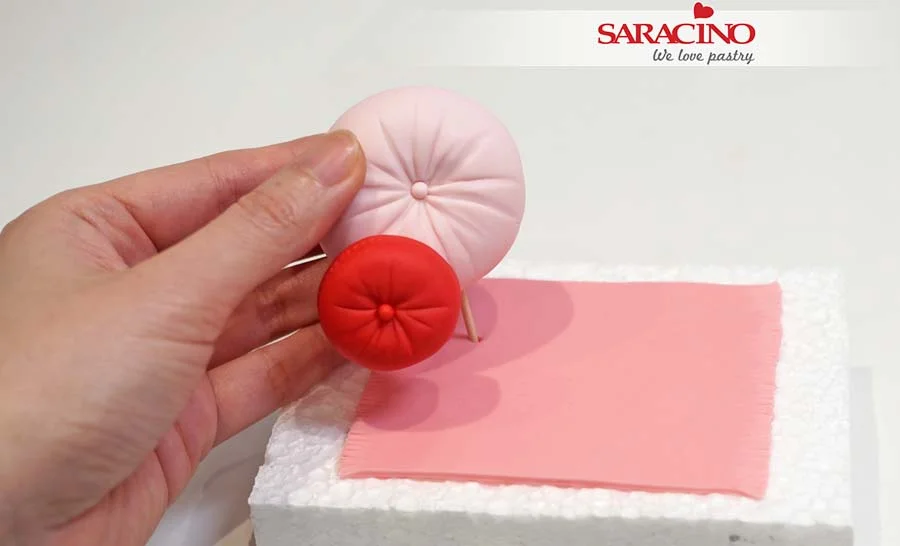
Use the same method to make a small cushion using red modelling paste and fix it to the front of the pink cushion.Ā Use a quilting tool to add stitch lines on both cushions.

Step 6

Insert a cocktail stick through the pink rectangular paste rug into the polystyrene foam base then push the cushions onto the cocktail stick.

Step 7

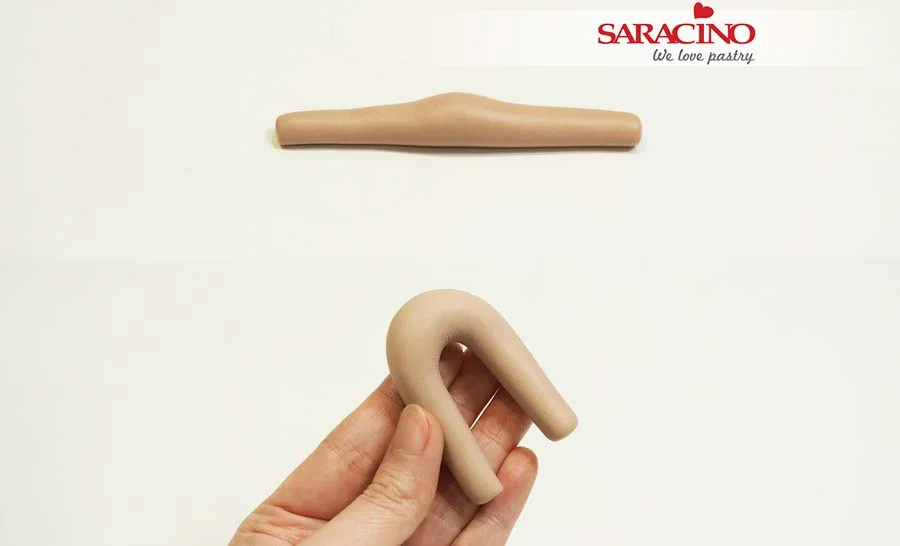
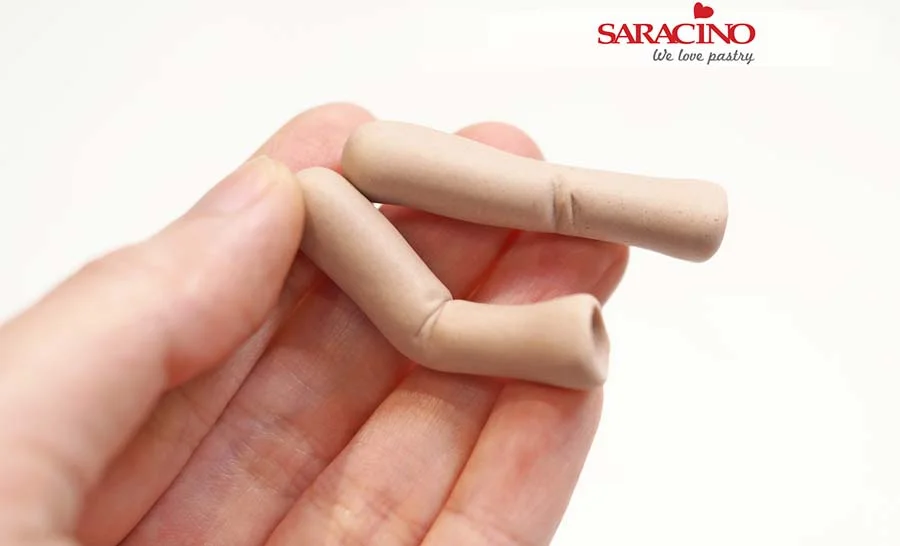
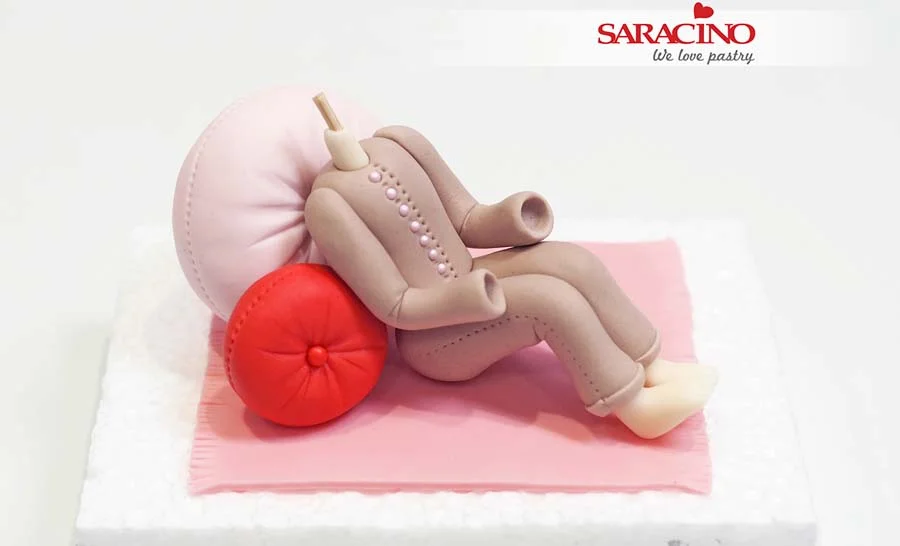
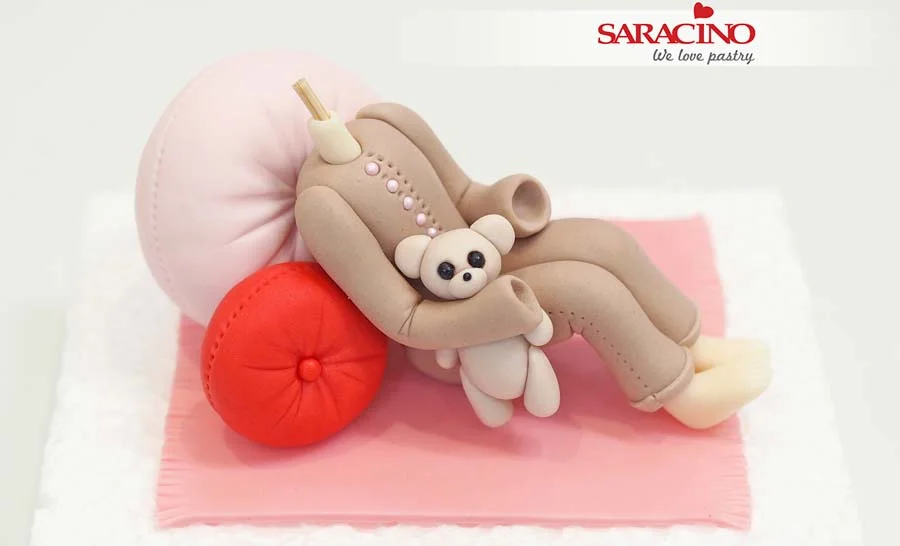
For the pyjama bottom mix brown and white modelling paste to give the required colour then roll out a sausage shape slightly thicker in the centre. Bend both ends / legs towards each other.Ā 

Step 8

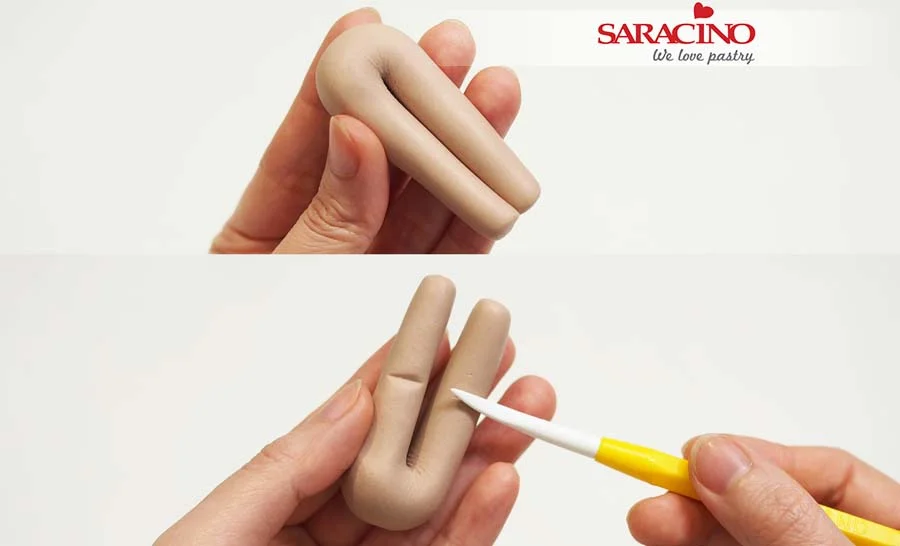
On the back use a Dresden tool to form lines at the back of the knee.

Step 9

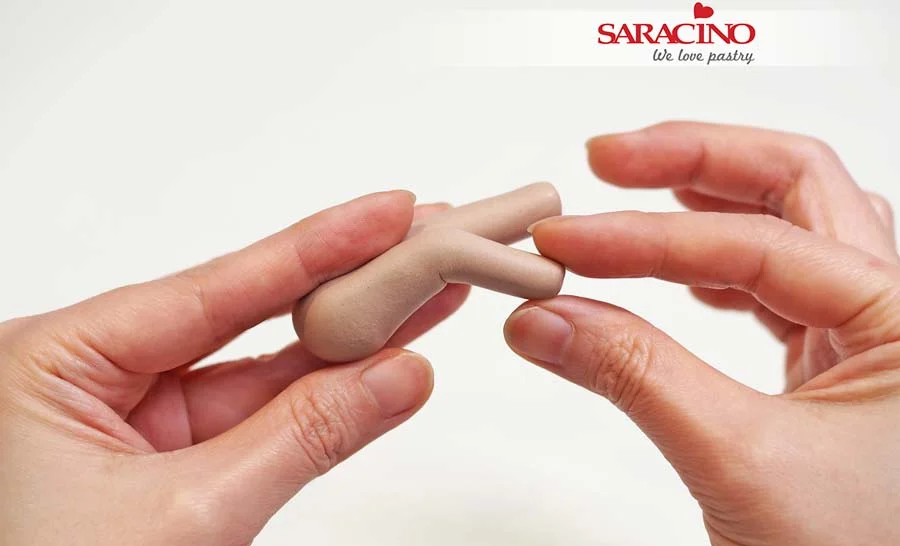
Bend both legs and set aside to dry in that position.

Step 10

For the pyjama cuffs roll out a thin strip of paste and fix it around the end of the legs as shown.

Step 11

Use a Dresden tool to shape the cuff line and add some stitching detail to the side of each leg.

Step 12

Use the end of a paint brush to indent the end of each leg.

Step 13

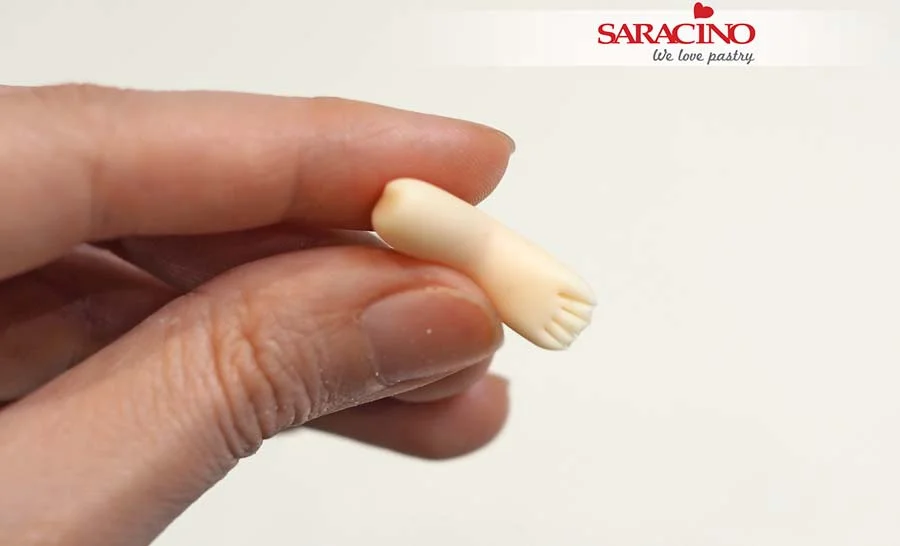
For the feet and ankles use some light skin colour modelling paste and roll out a small sausage shape. Press on one end and bend it forward.

Step 14

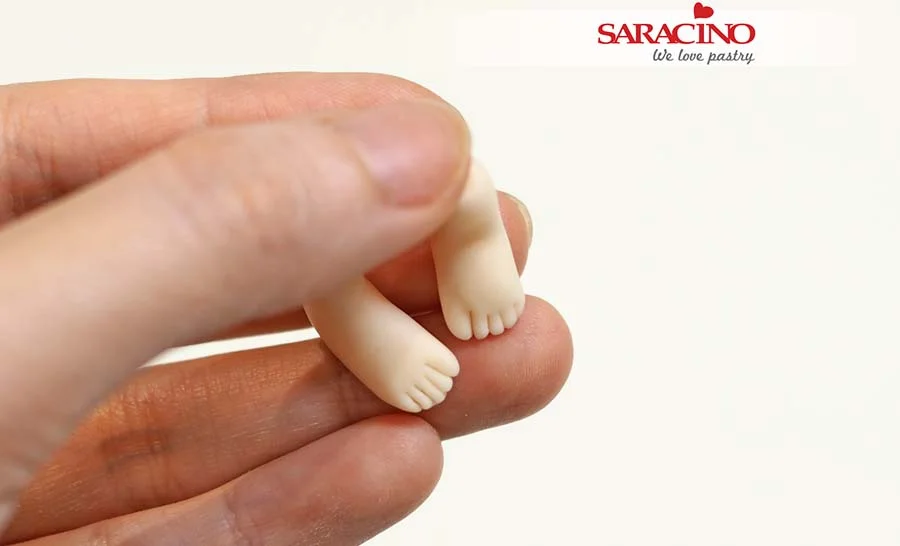
Using a sharp knife cut four lines for the toes.

Step 15

Use the same method to make the other foot and round off all the edges. Remember to make a left and right foot!

Step 16

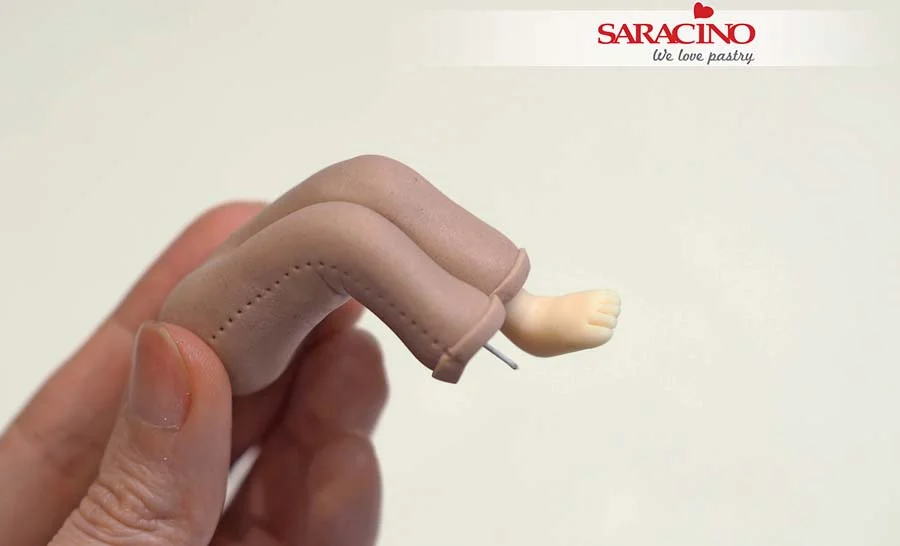
Insert a short length of 24 gauge flower wire into the bottom of each leg and fix the feet. Set aside to dry.

Step 17

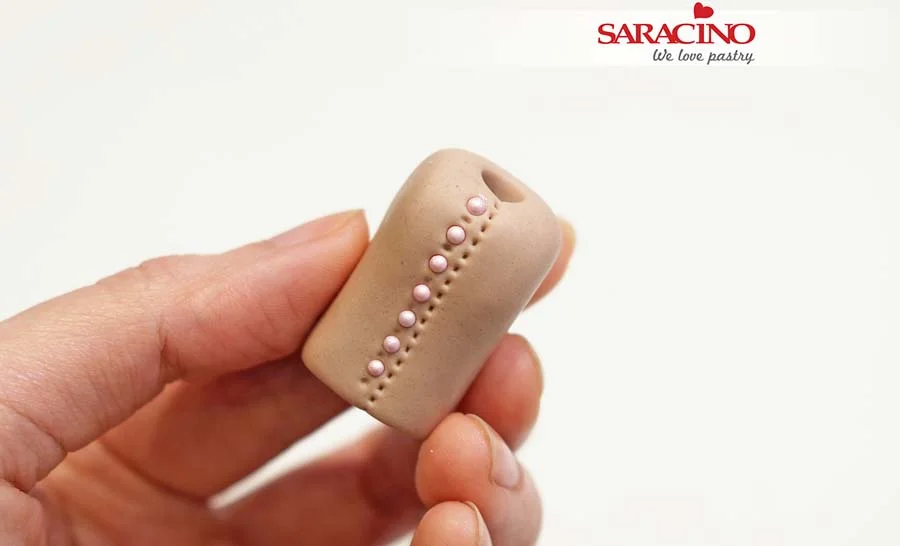
For the body use the same colour paste as the trousers. Roll out a sausage shape as wide as the waist of the pyjama bottoms and flatten one of the ends for the shoulders.

Step 18

Cut it to length. Use the back of a paint brush to add an indent for the neck. Add some stitching and fix some small pink dragees for buttons.

Step 19

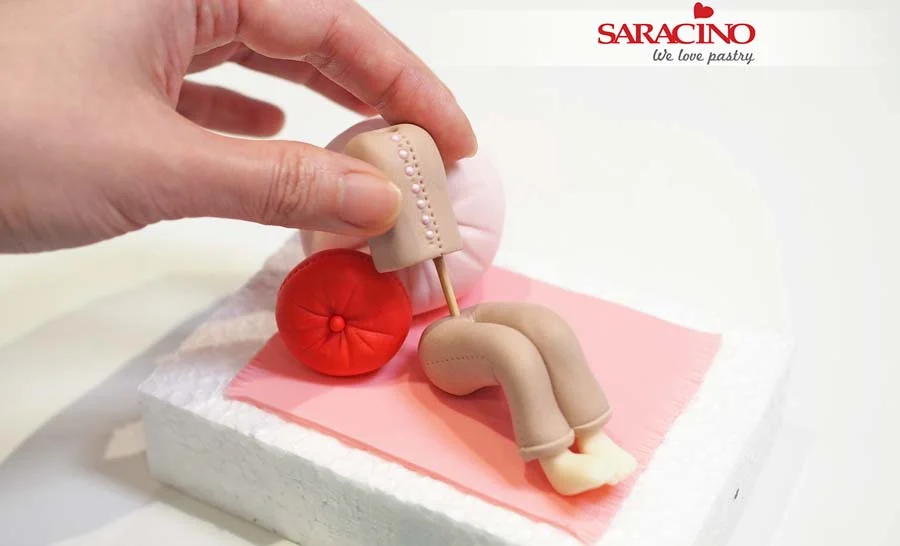
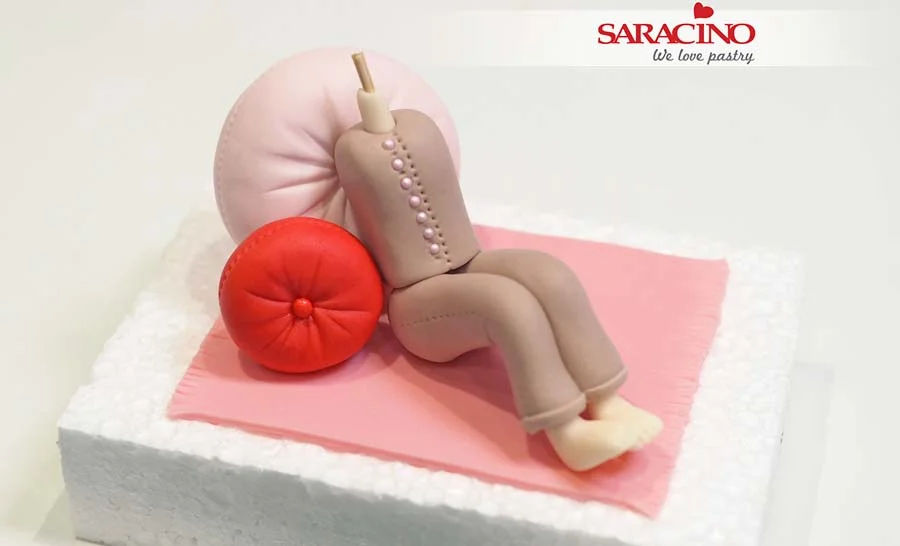
Insert a cocktail stick through the bottom into the foam base then attach the body.Ā 

Step 20

For the neck roll a small light skin colour sausage shape and add into the neck indent.

Step 21

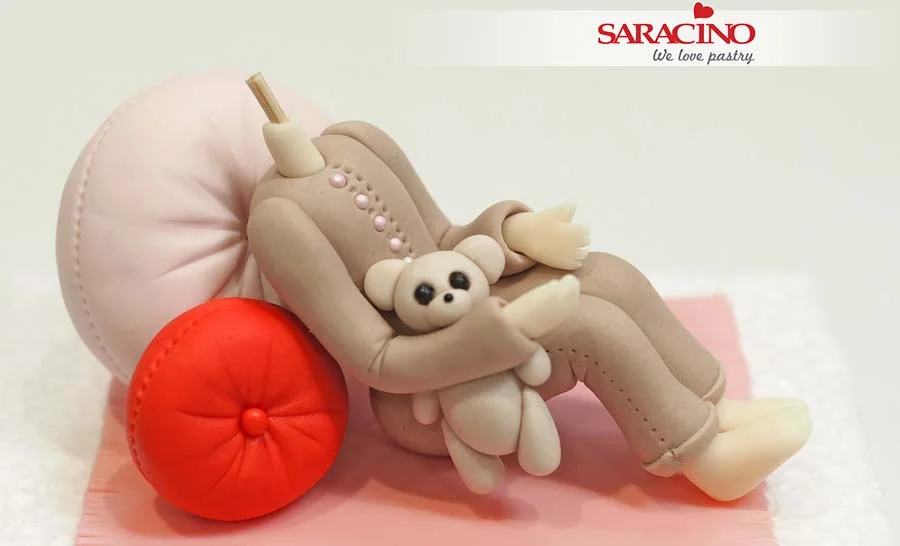
For the arms roll out two sausage shapes. Using the back of a paint brush or your Dresden tool indent the sleeves and mark lines for creases. Bend both arms to shape.

Step 22

Attach both arms to the body using a little edible glue if required.

Step 23

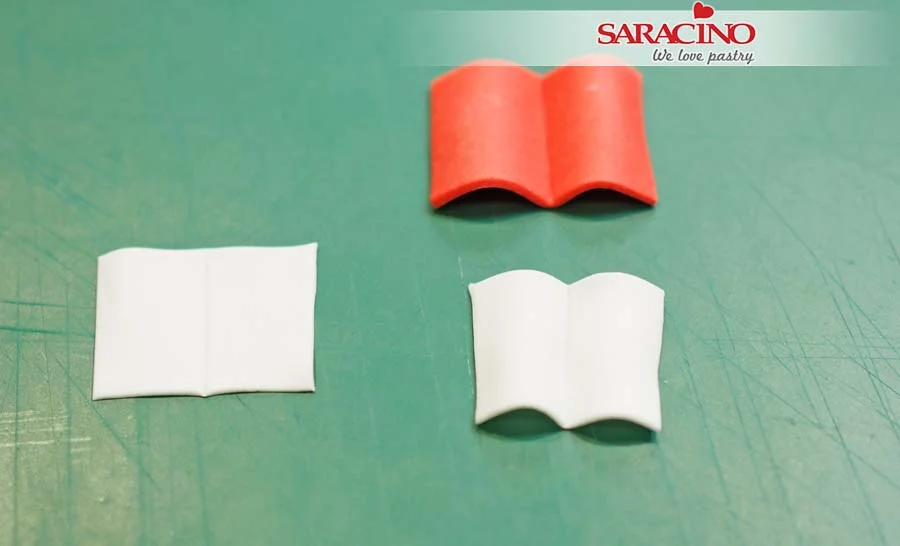
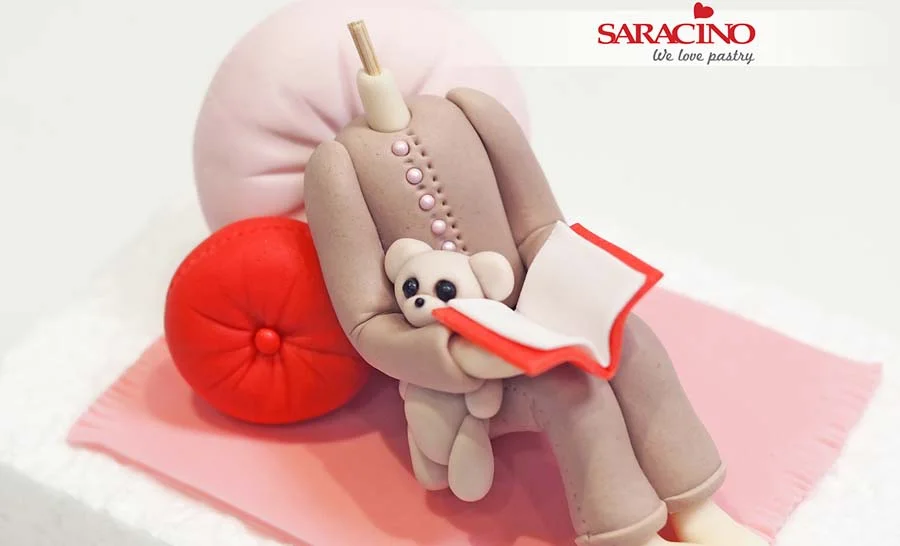
For the book cut out 2 rectangular pieces of white modelling paste and one larger red rectangle. Mark a line in the centre and shape them like a letter ā€˜M’. Fix them on top of each other.

Step 24

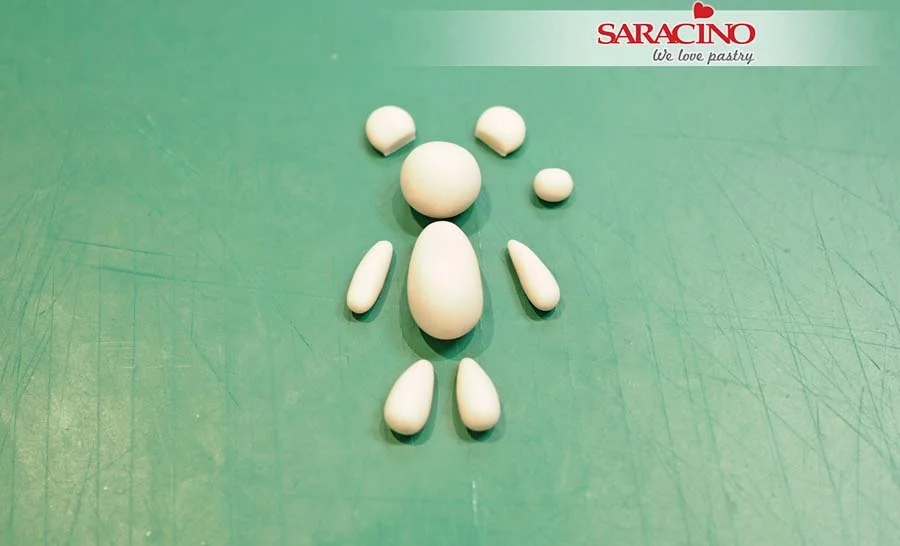
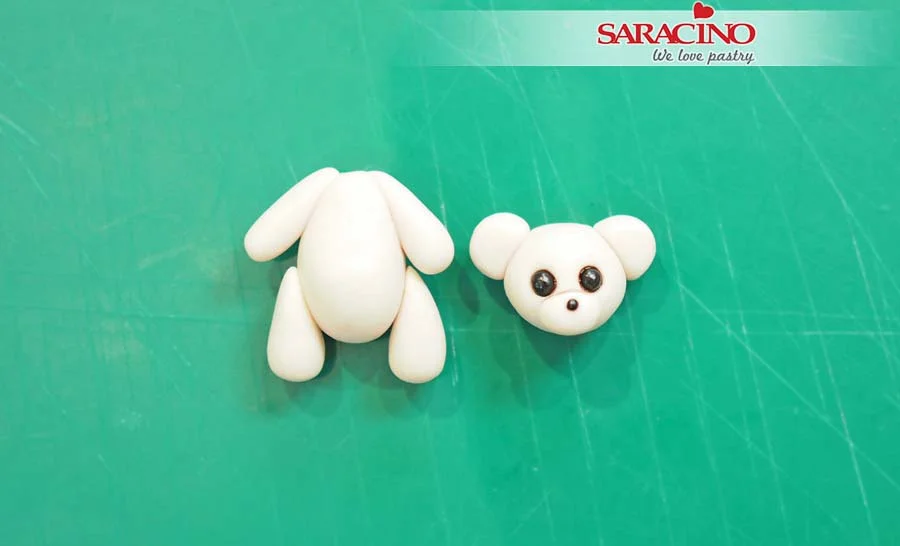
For the bear use a lighter brown modelling paste. Roll one large ball for the head, a small oval for the nose, a large teardrop shape for the body, 4 small teardrops for the arms and legs.Ā ForĀ the ears, roll out two small balls and slightly flatten them. Cut off 1/3 of the circle where the ears attach to the head.

Step 25

Fix them together using a little glue. Add two small black dragees for the eyes and one small black dragee for the nose.

Step 26

Flatten the top of the bear body and stick it in between the arm and leg.

Step 27

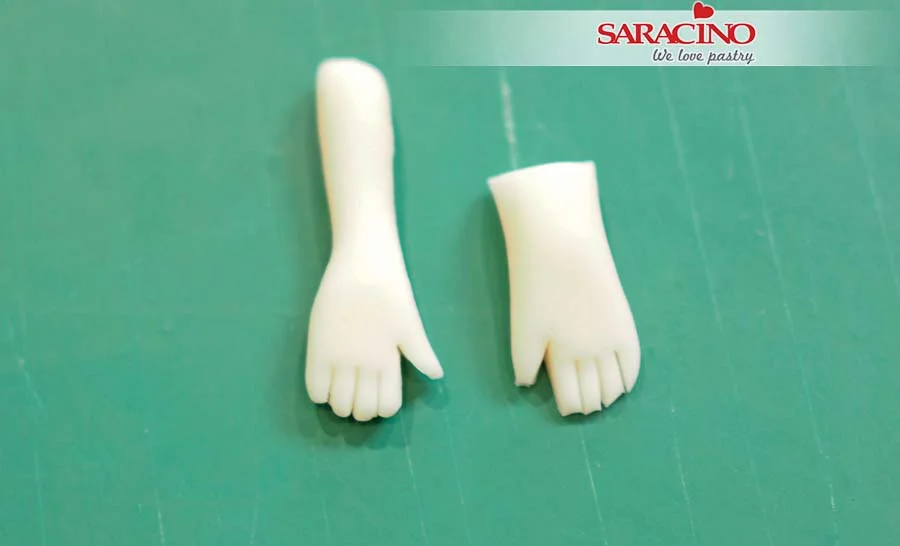
For the hands and wrists roll out a sausage shape and flatten the palm. Cut four lines for the fingers and round off all the edges.

Step 28

Fix the hands into the sleeves.

Step 29

Fix the book onto the hands.

Step 30

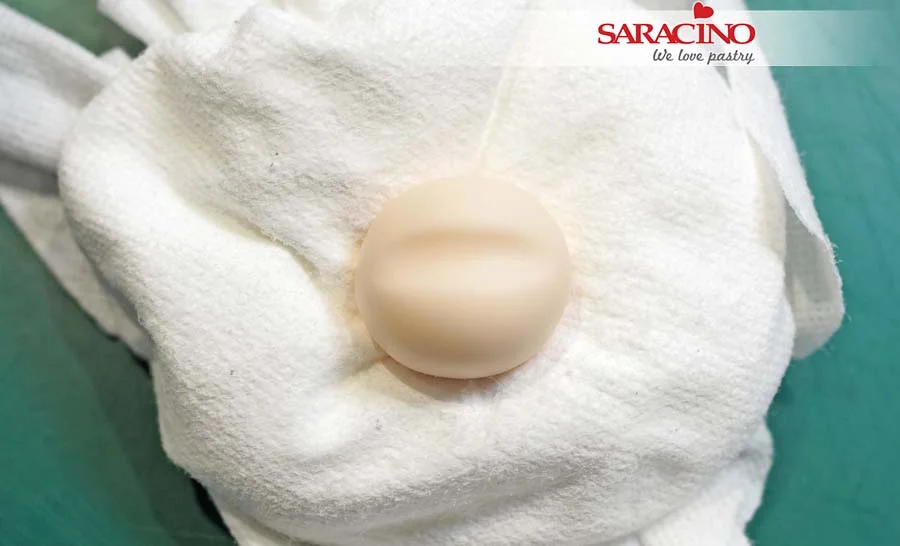
For the head roll a light skin colour ball and indent across with the back of a paint brush.

Step 31

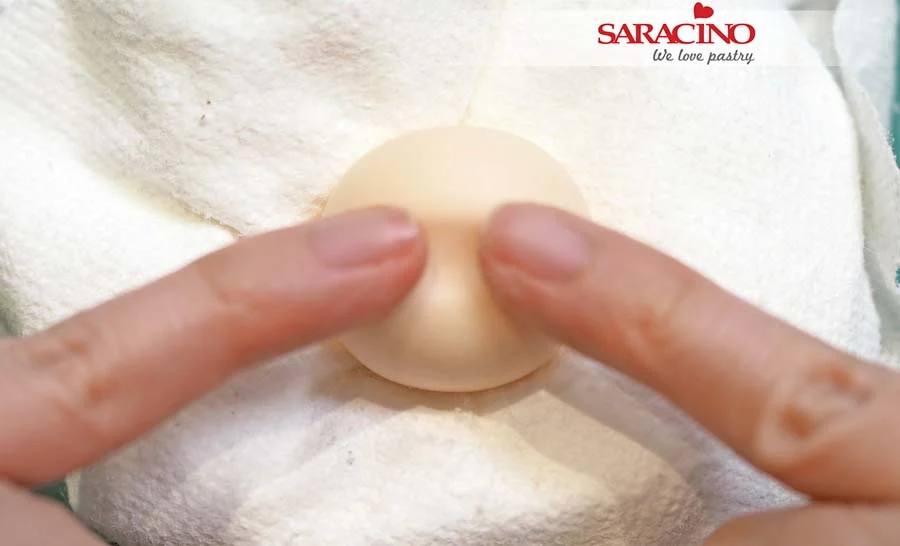
Use your little fingers or ball tools to indent the eyes and to form the bridge of the nose.

Step 32

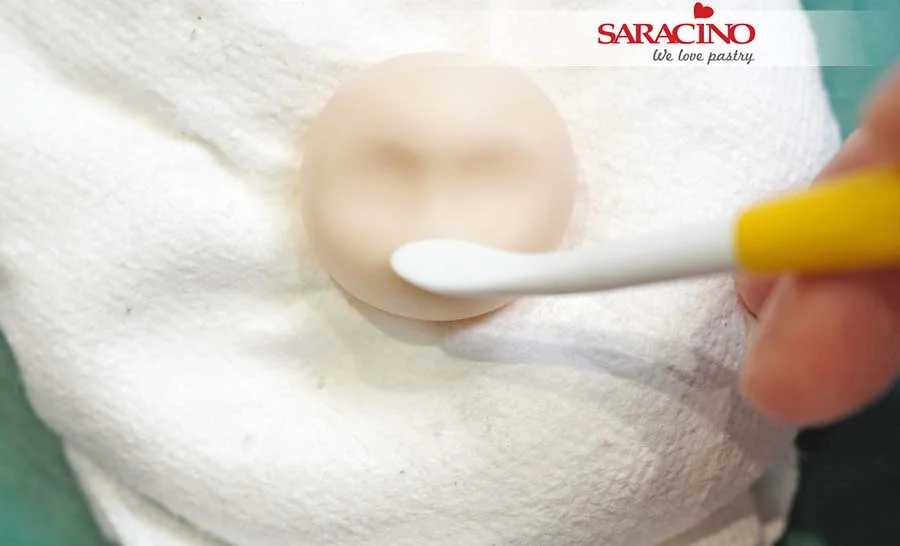
Use the Dresden tool to press down at the end of the nose and push up slightly to form the raised nose.

Step 33

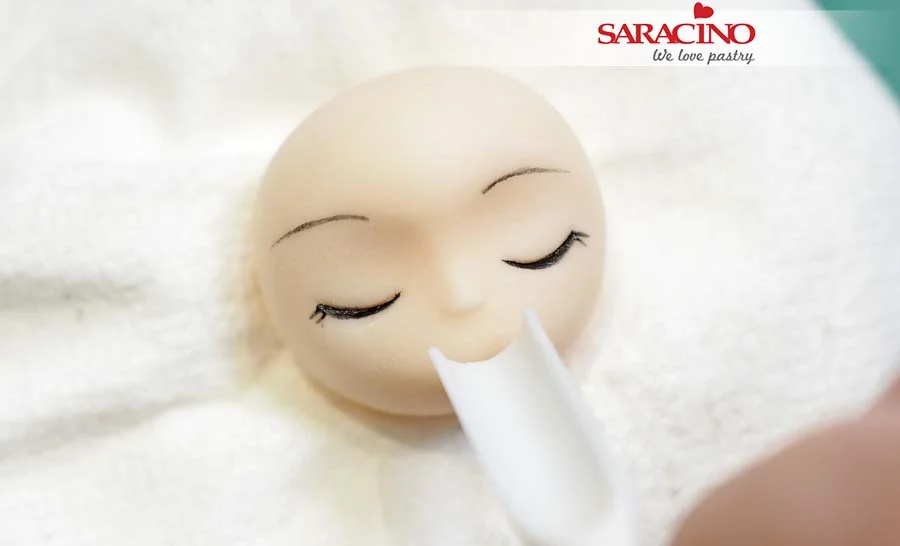
Use the smile tool to indent the eyes and mouth then use black edible paint and a fine brush to paint the eye lashes and eyebrows.

Step 34

Lightly dust the cheeks using pink powder and a soft brush. Fix the head onto the neck at your chosen angle.

Step 35

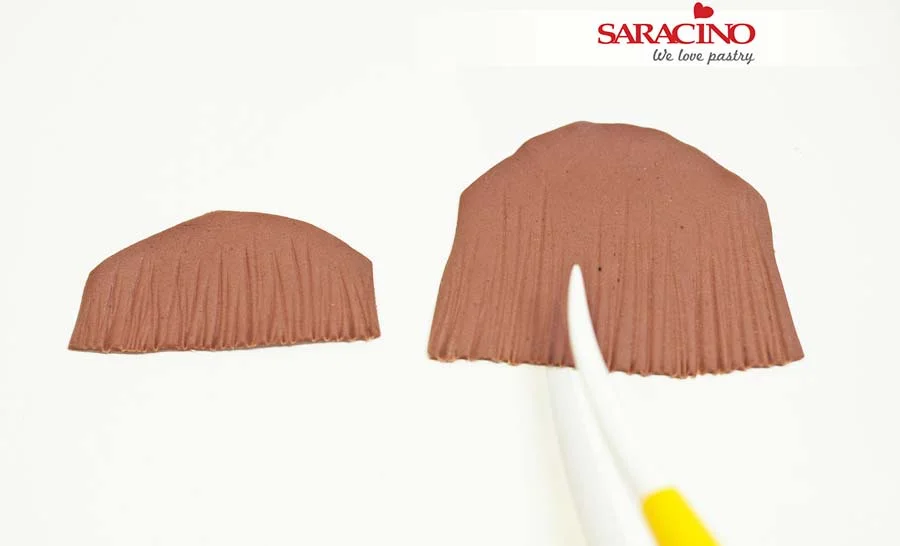
For the hair use the brown modelling paste and roll thinly. Cut out two shapes. One for the fringe and one for the longer hair. Use a Dresden tool to mark lines for the hair.

Step 36

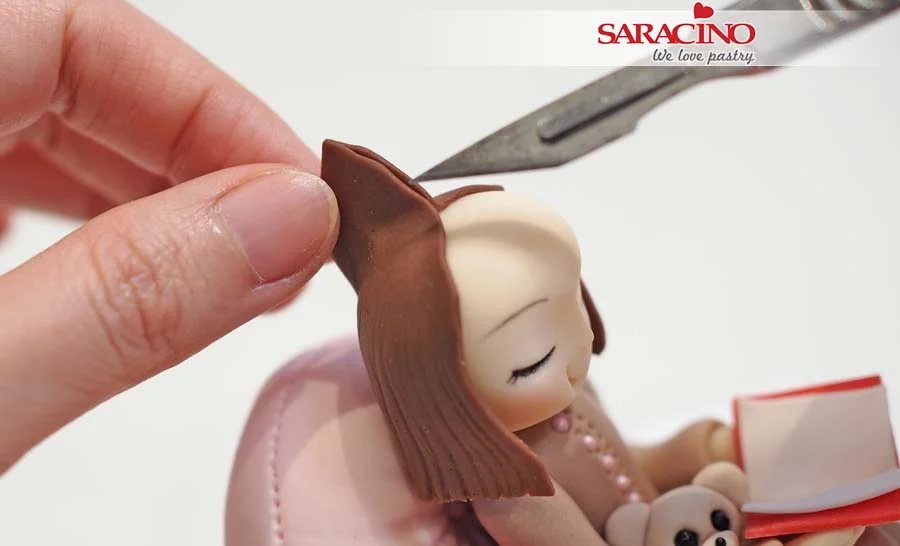
Fix the larger piece around the head and gather the paste in the centre of the head. Cut off any excess paste and add the smaller fringe piece onto the front of the head.

Step 37

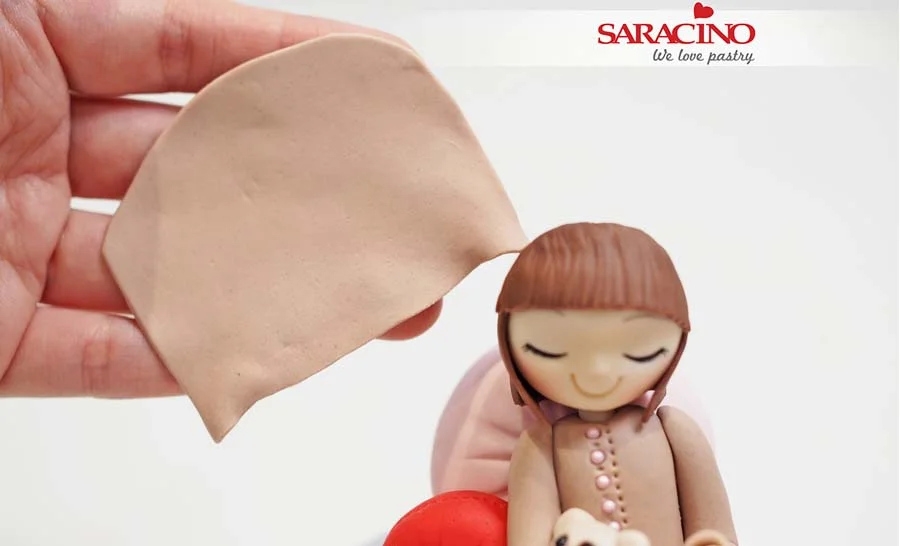
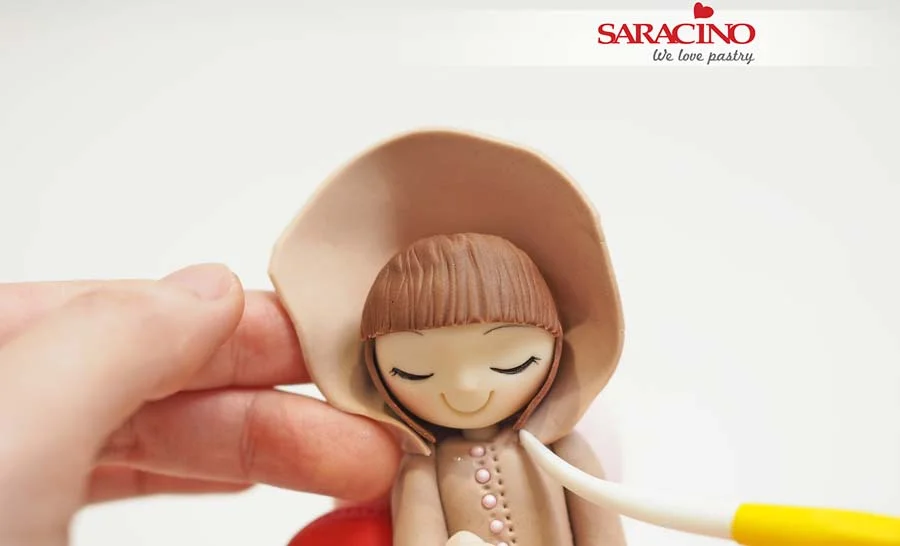
For the hood use the same colour paste as the pyjamas. Roll thinly and cut into shape.

Step 38

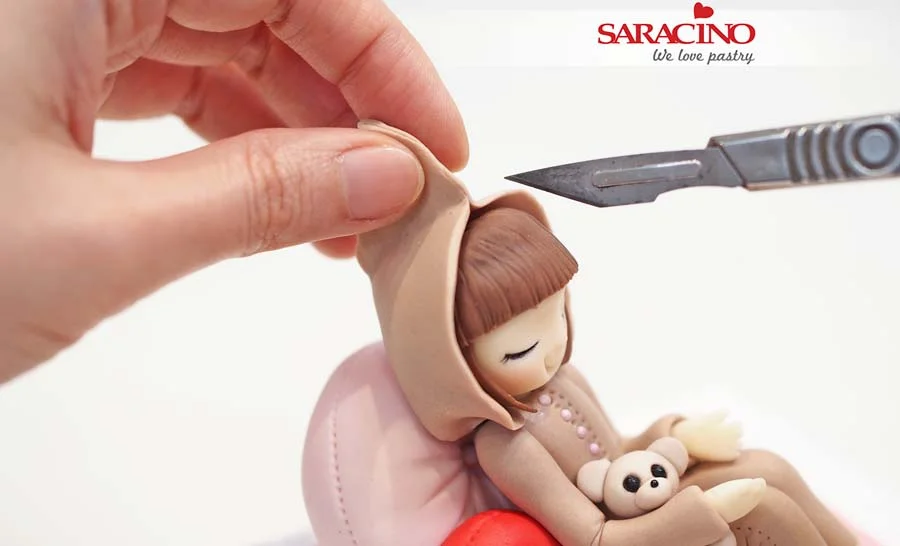
Fix the hood to the back of the head and to the shoulders. Press the joint with your Dresden tool to attach well to the shoulders.

Step 39

Gather the excess paste at the top centre of the head and cut off the excess.

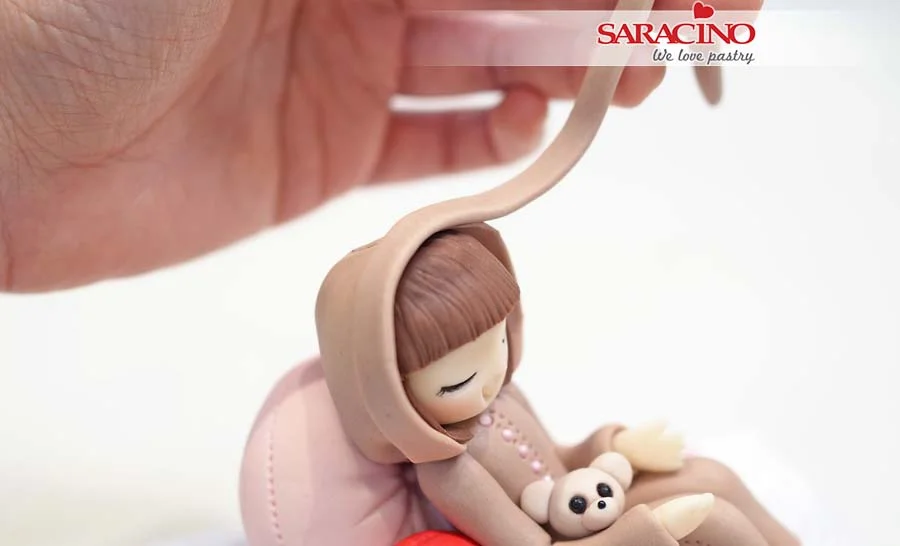
Step 40

For the hood trim roll a thin sausage shape and flatten. Fix it to the edge of the hood and cut off any spare length.

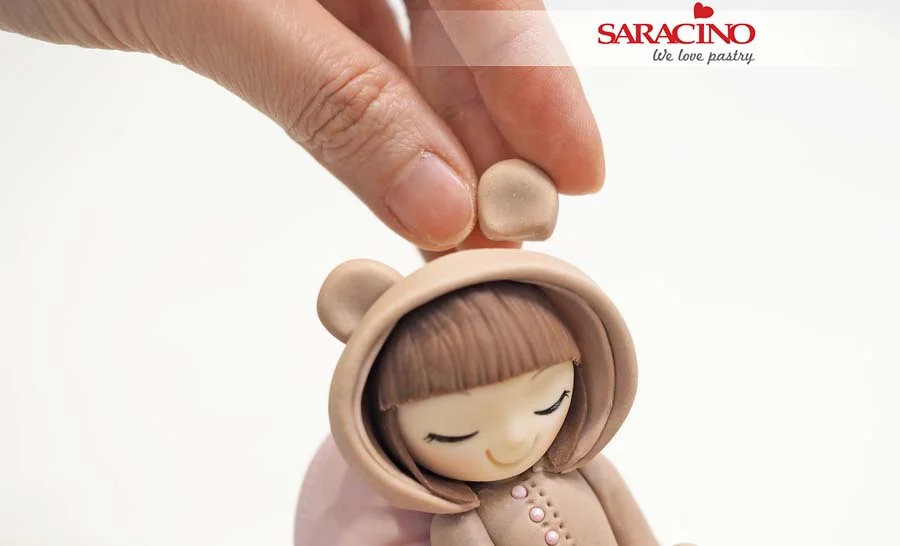
Step 41

For the hoody ears roll two balls and slightly flatten them. Cut off 1/3 and fix to the hood.

Step 42

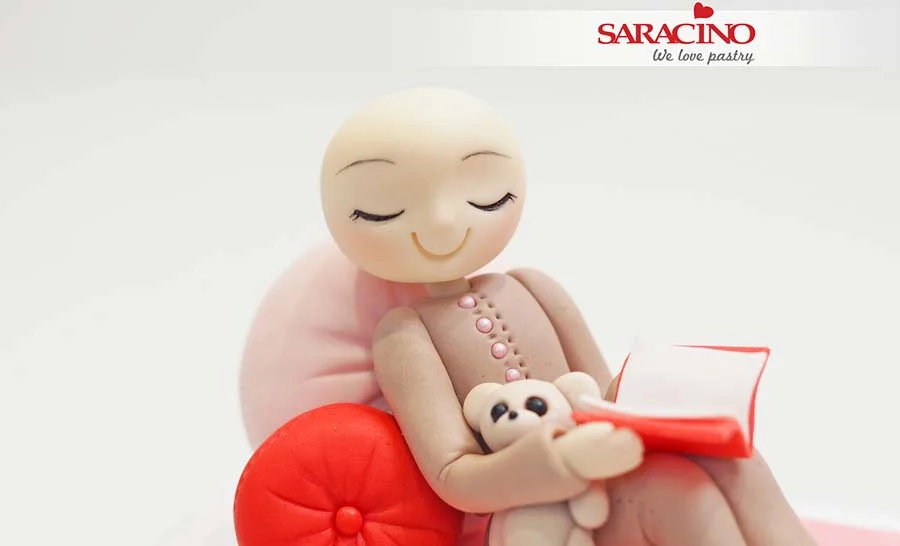
Your sleepy girl is ready.

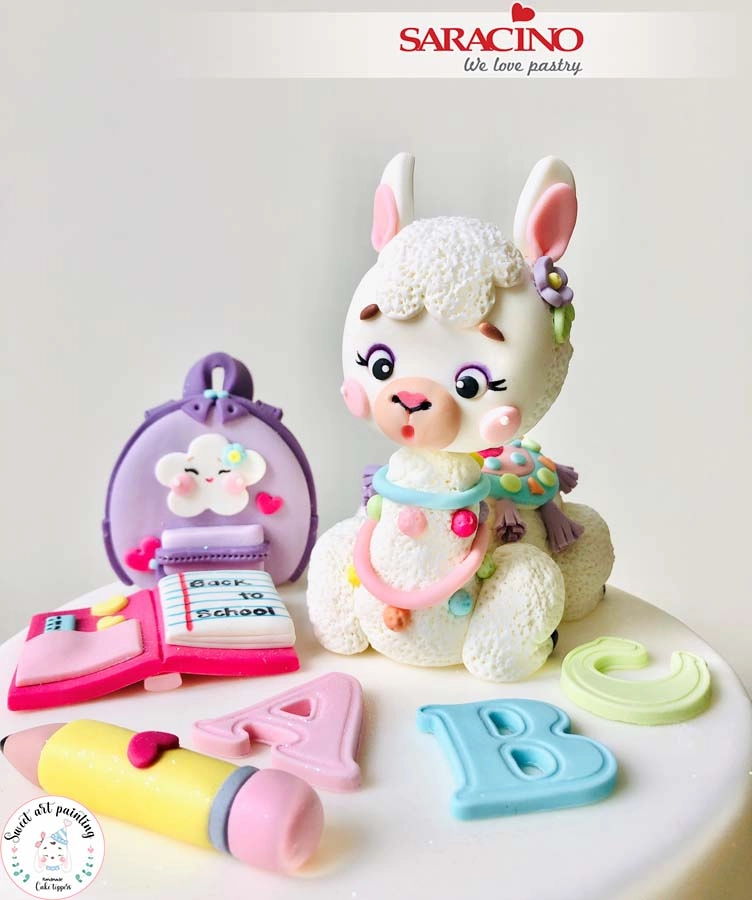
LLAMA GOES BACK TO SCHOOL

LLAMA GOES BACK TO SCHOOL

Author: ZULY XIOMARA

FACEBOOK:Ā SWEET ART PAINTING

Skill level: BEGINNERS

You will need:

  • Saracino Pasta Model: white, green, violet, tiffany, orange, pink, fuchsia, yellow, brown and black
  • Saracino white Pasta Top
  • Saracino powder colours: pink, violet
  • Saracino Liquid Shiny confectioners glaze
  • Saracino gel colours: black and light skin
  • Icing sugar
  • Dummy or edible cake
  • Edible markers: black, brown, red, blue and pink
  • Oval cookie cutters
  • Ball tools of different sizes
  • Flower and heart plunger cutters
  • Modelling tools
  • Scalpel
  • Digital scales
  • Knife
  • Baking paper
  • Small scissors
  • Pencil
  • Snips for cutting
  • Small rolling pin
  • Letter plunger cutters
  • Oval plunger cutter
  • Small teardrop cutter
  • Plastic knife
  • Artists brushes
  • Silicone tip brush
  • Silicone bow mould
  • Clear alcohol
  • Piping nozzles: 1.8cm, 1.5cm, 1cm, 7mm, 5mm, 1mm, 2mm, 4mm
  • Chopsticks
  • Bamboo stick 20cm long
  • Corn flour

Step 1

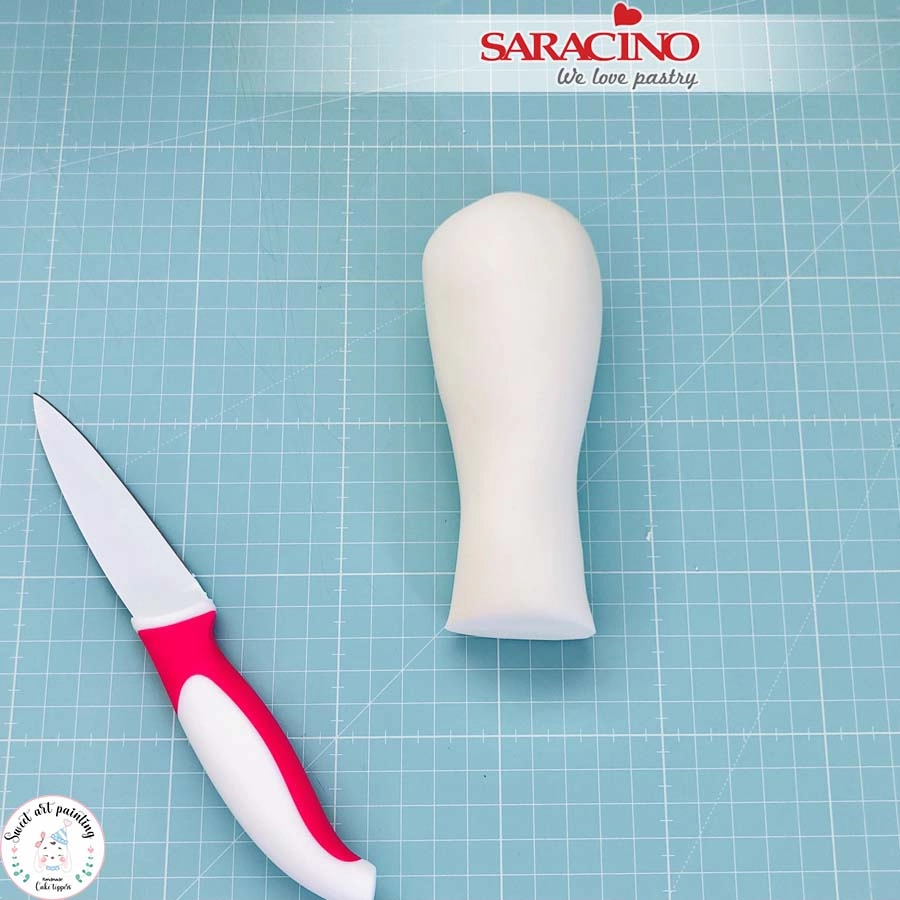
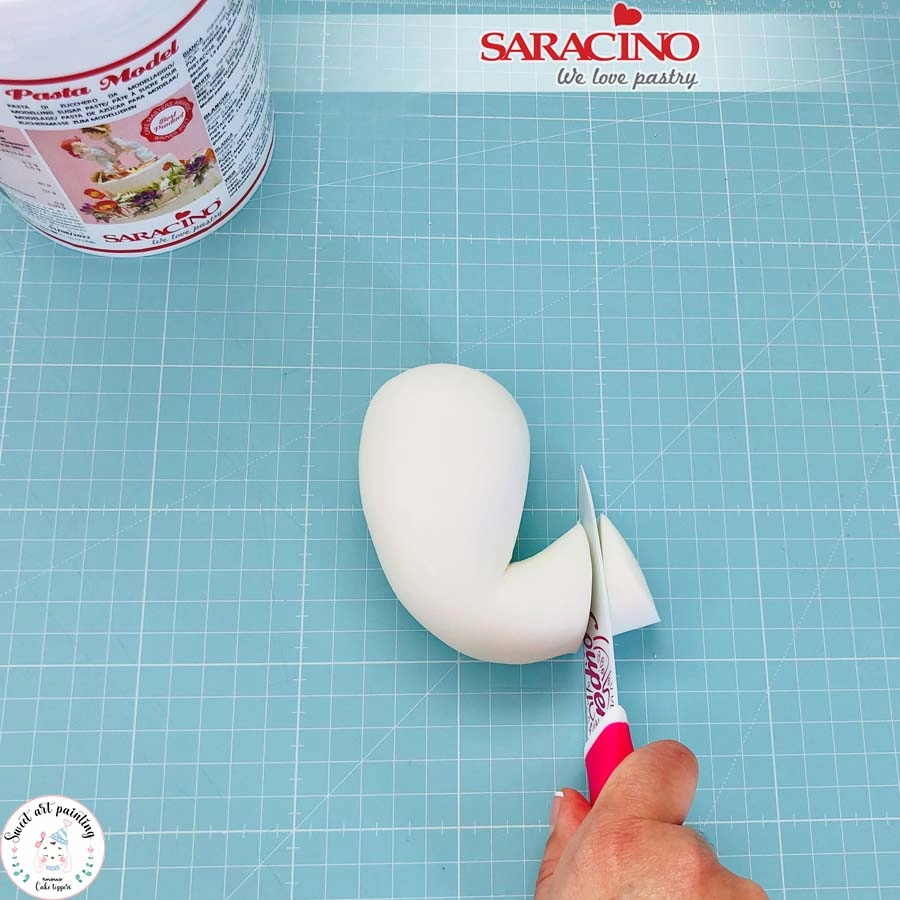
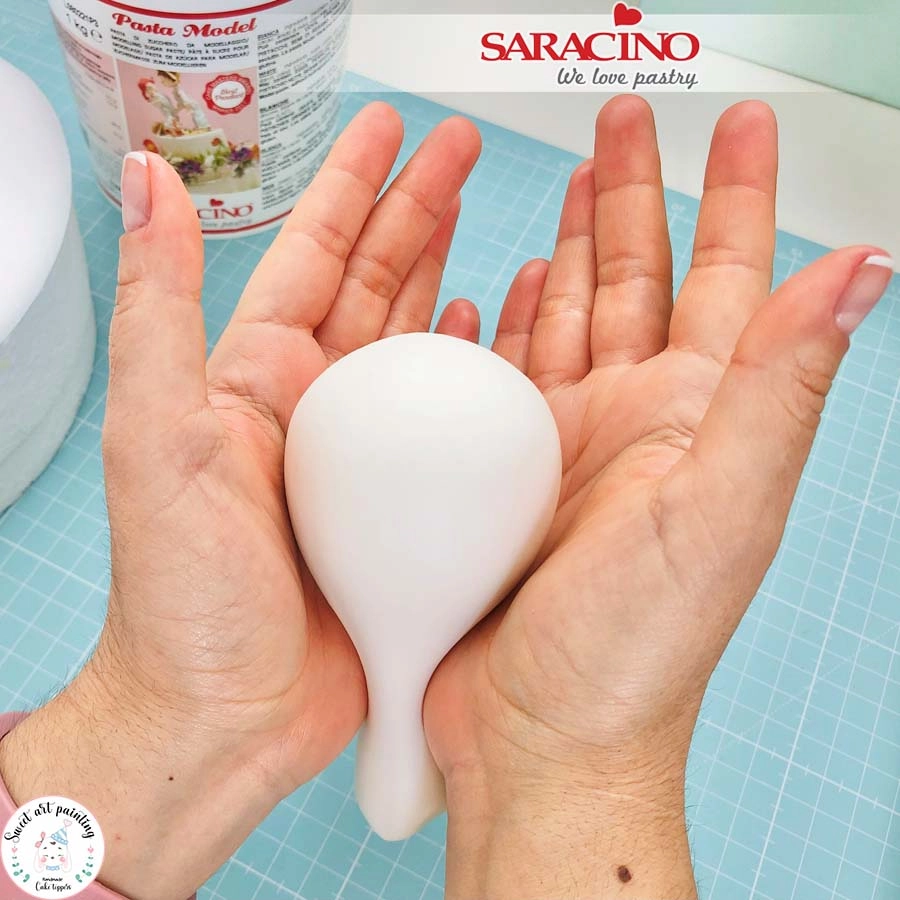
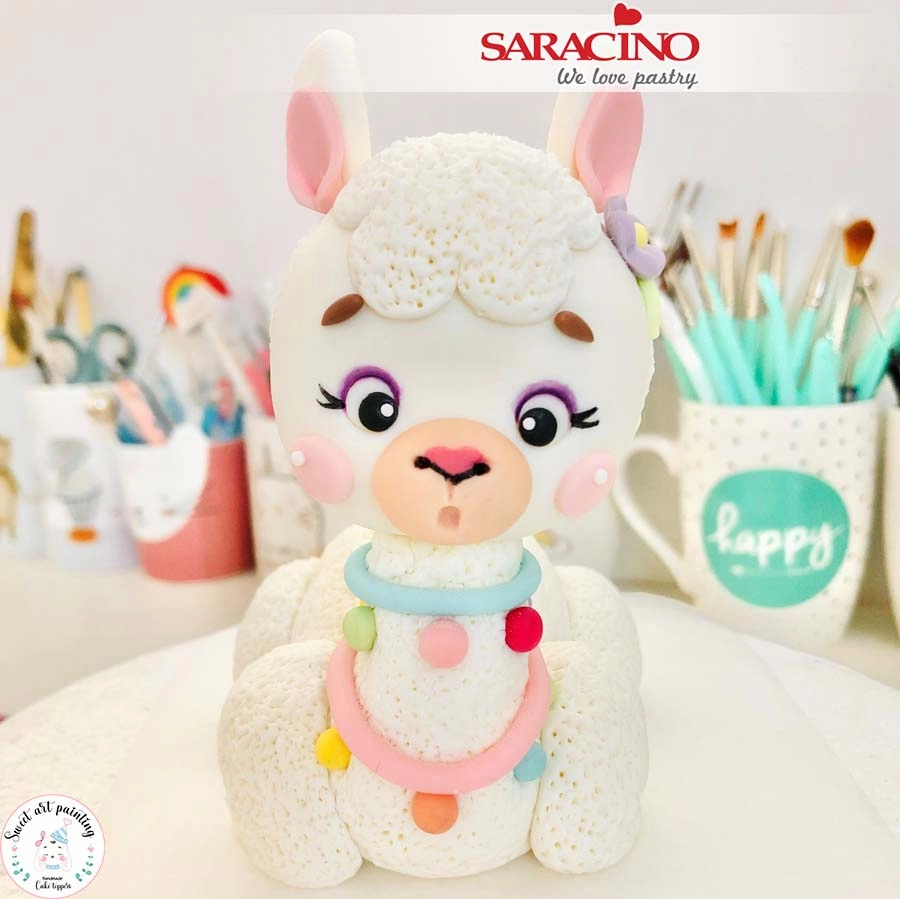
Using 400g of white Saracino Pasta Model knead and form a ball. Modelling with your hands shape the body of the Llama and cut off the excess at the neck.

Step 2

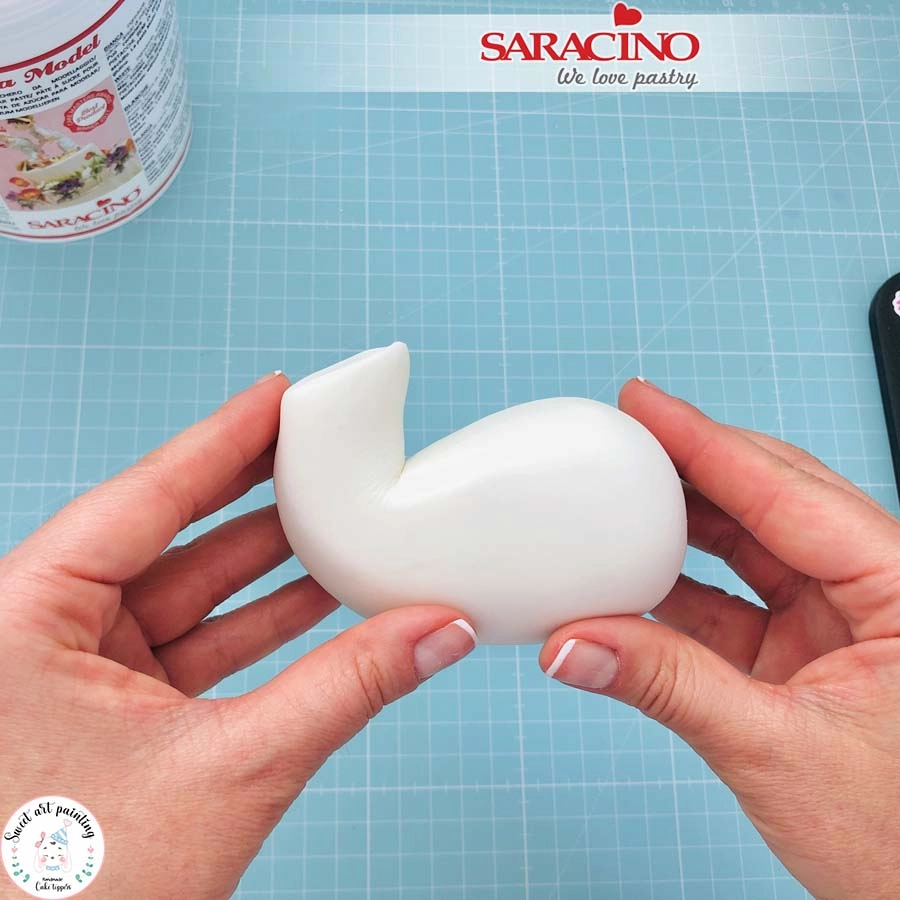
Bend at the neck and cut off more excess diagonally to get the top of the neck.

Step 3

Your body and neck shape should look like this from the side.

Step 4

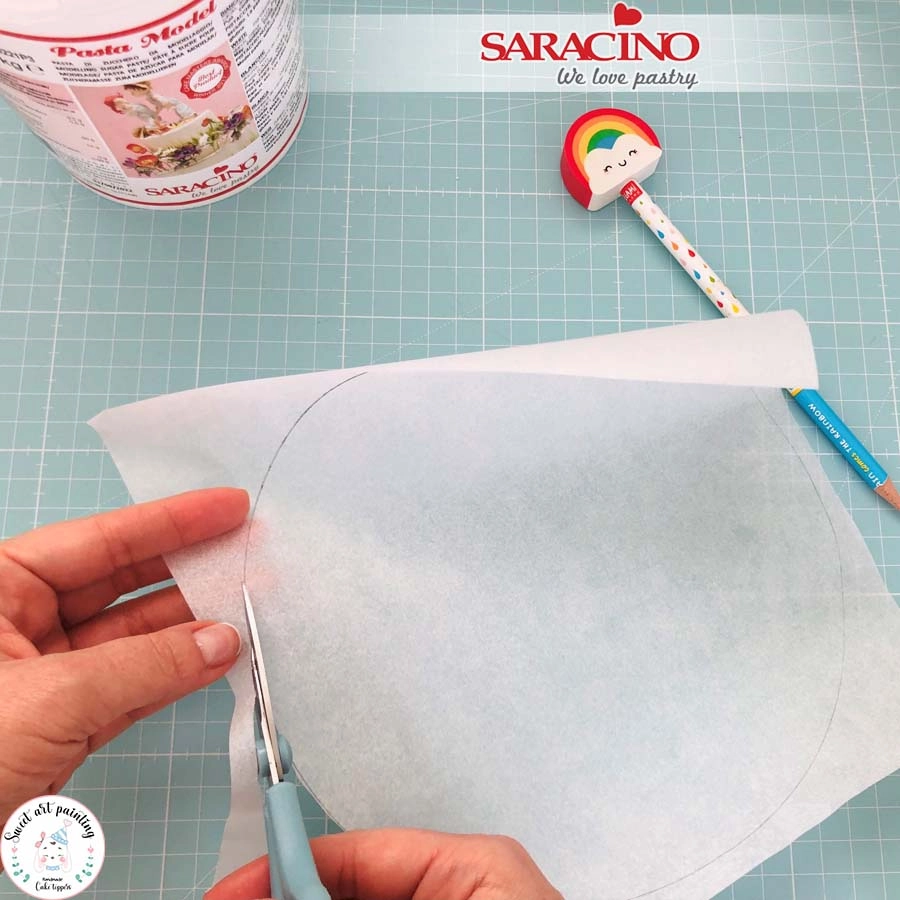
Cut a piece of greaseproof paper to the same diameter as your dummy.

Step 5

Place the body on the base and add a little glue or water in the back crease of the neck.

Step 6

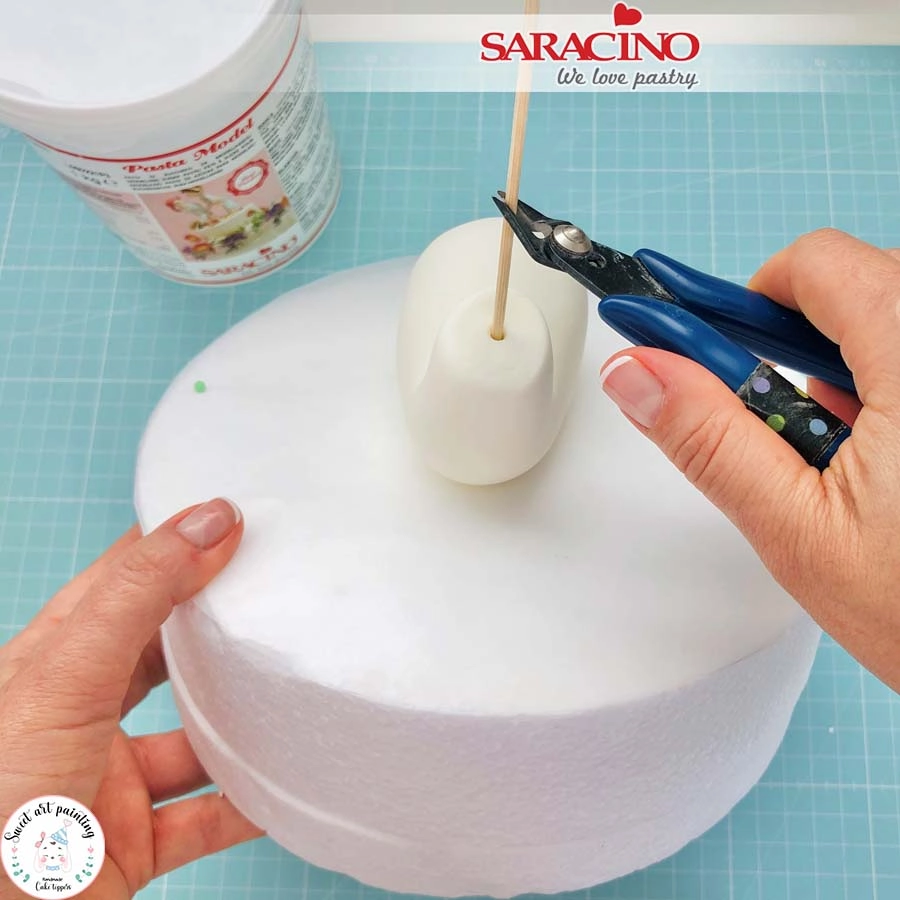
Moisten the bamboo skewer with water. Insert it through the center of the neck and into the polystyrene base. Cut the skewer using snips so you have approximately 4cm projecting for the head.

Step 7

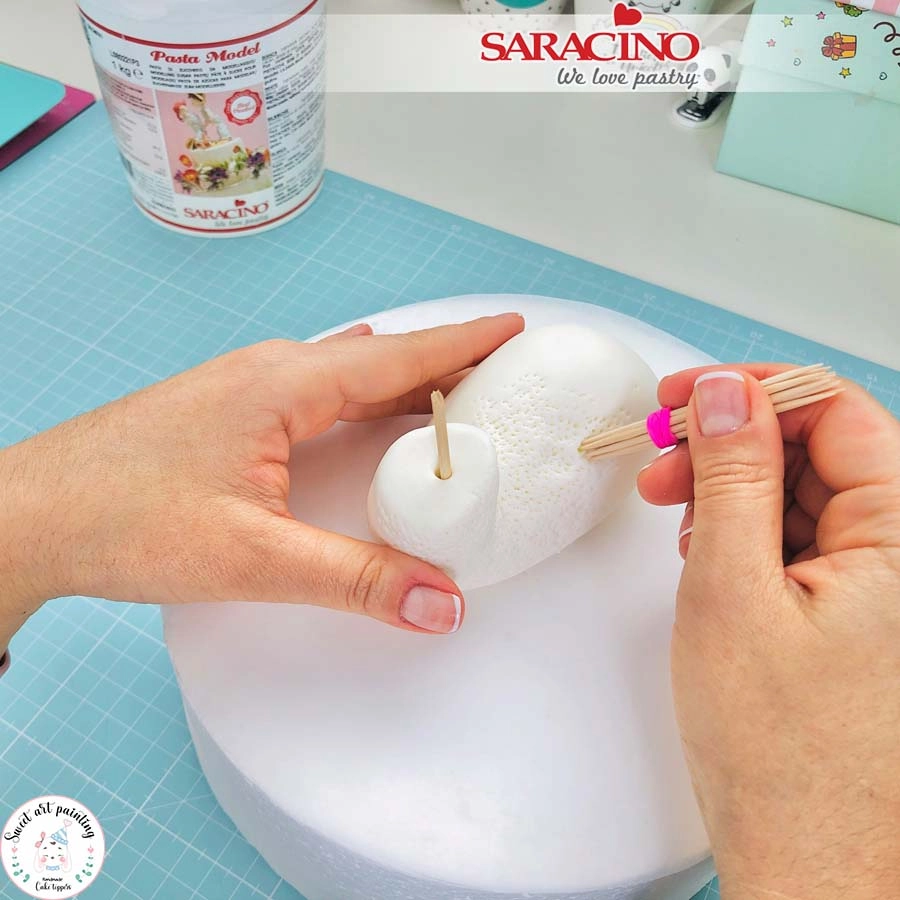
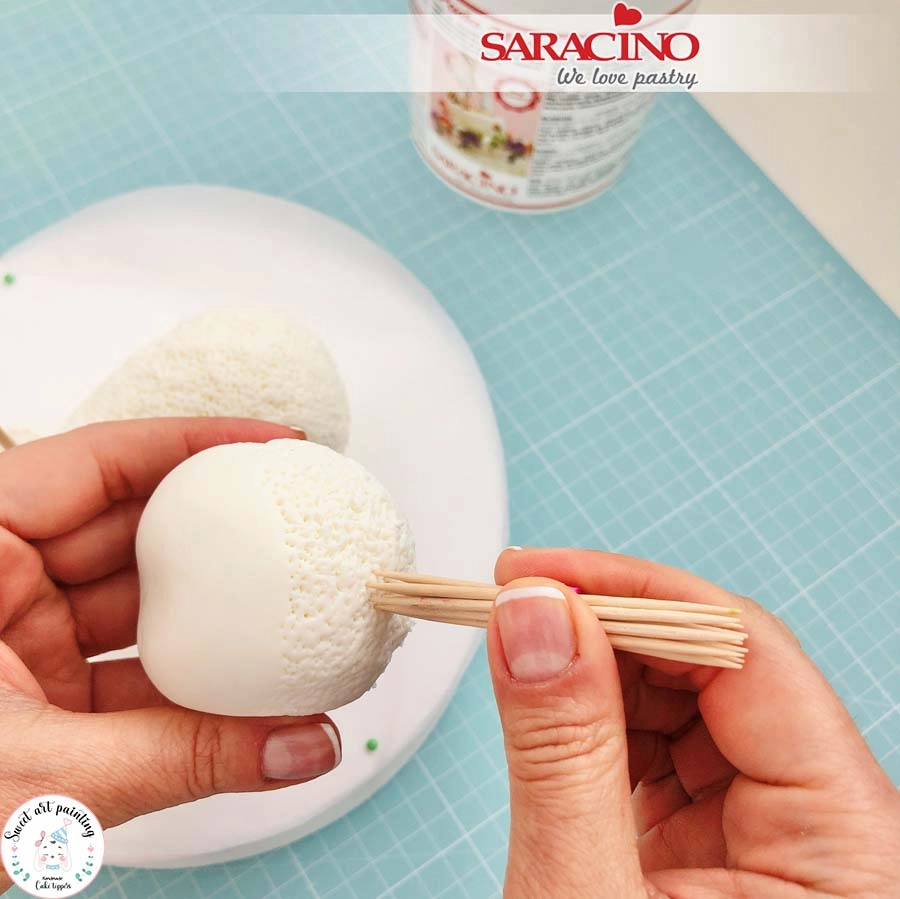
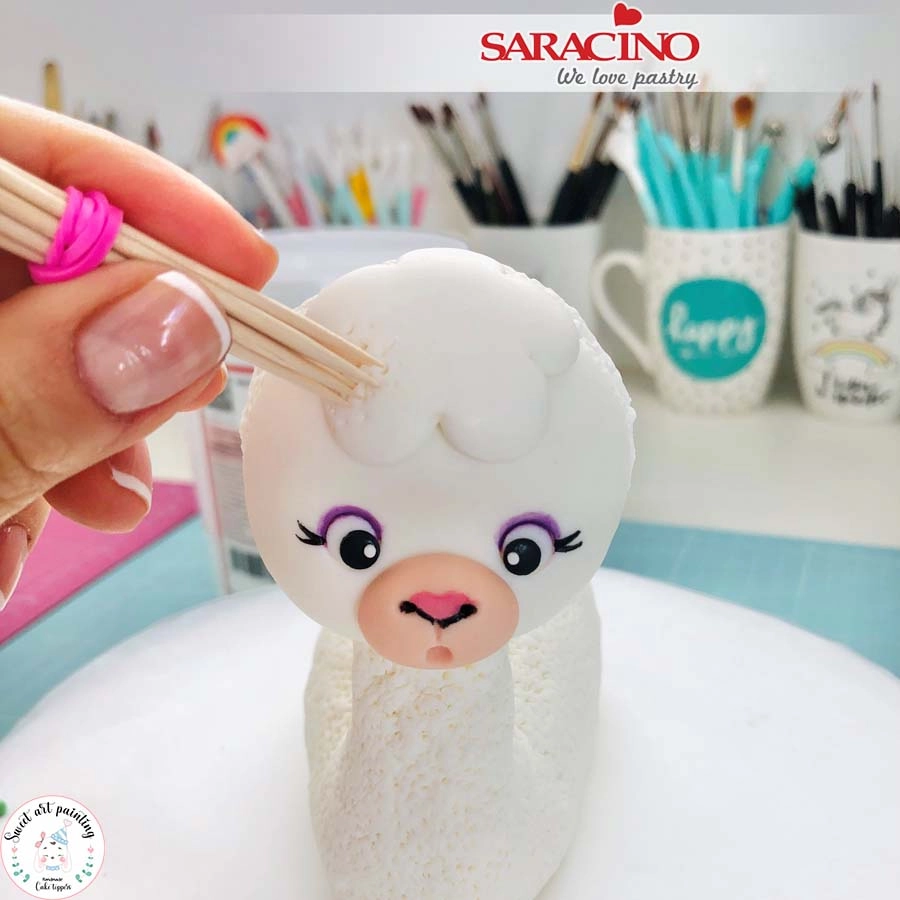
Join several toothpicks with an elastic band or with adhesive tape and add the texture of the wool.

Step 8

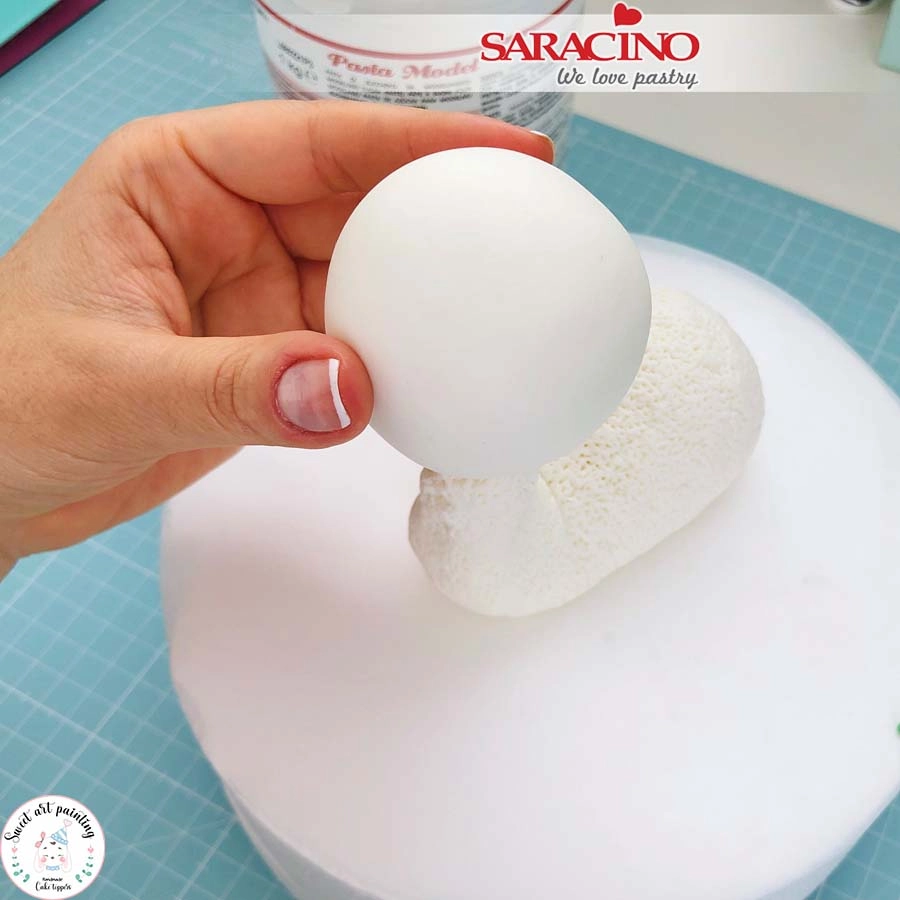
Take 110g of white Pasta Model and roll a ball to create the head.

Step 9

Position the head on the skewer without adding glue.

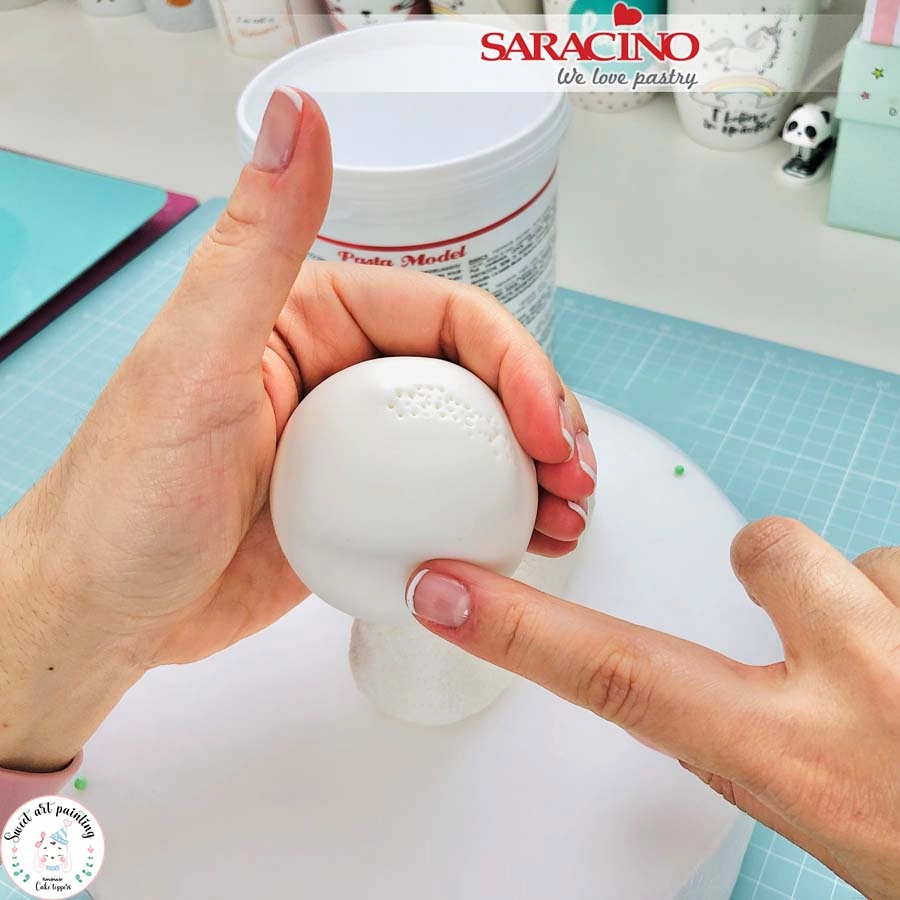
Step 10

Use your finger to press a dent across the face in the eye location.

Step 11

Remove the head and create the wool effect on the back with our cocktail stick tool. Using a little glue or water fix the head to the neck.

Step 12

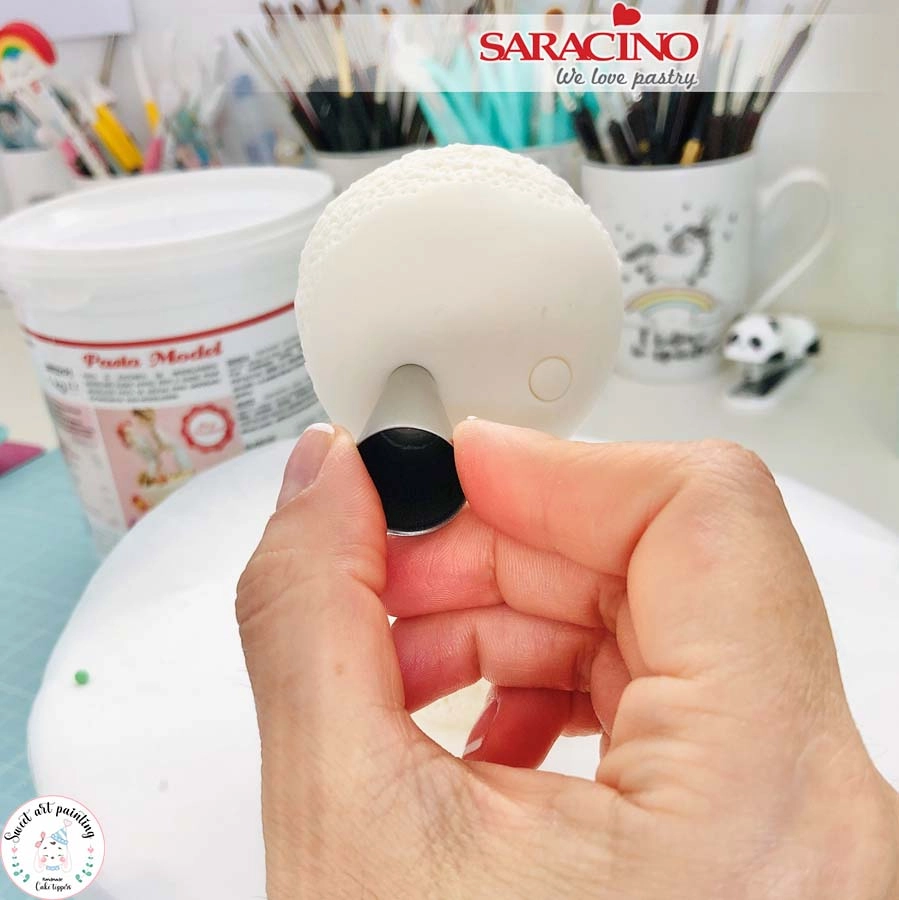
Using a 7mm diameter piping nozzleĀ mark the eyes.

Step 13

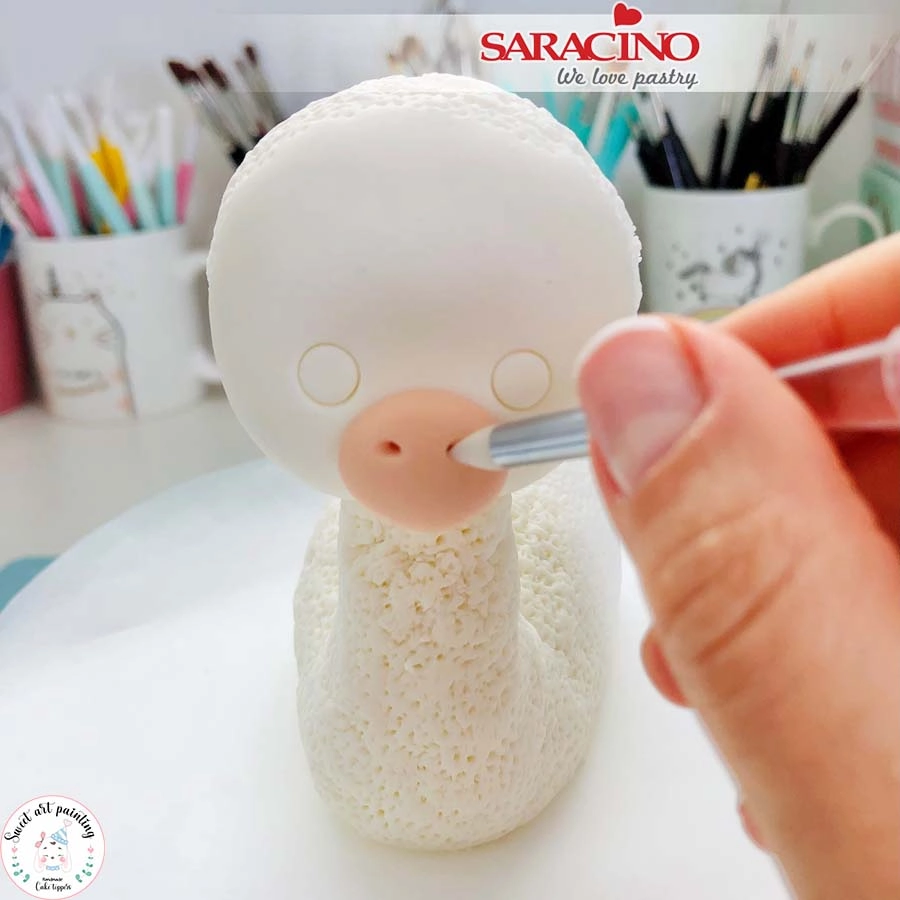
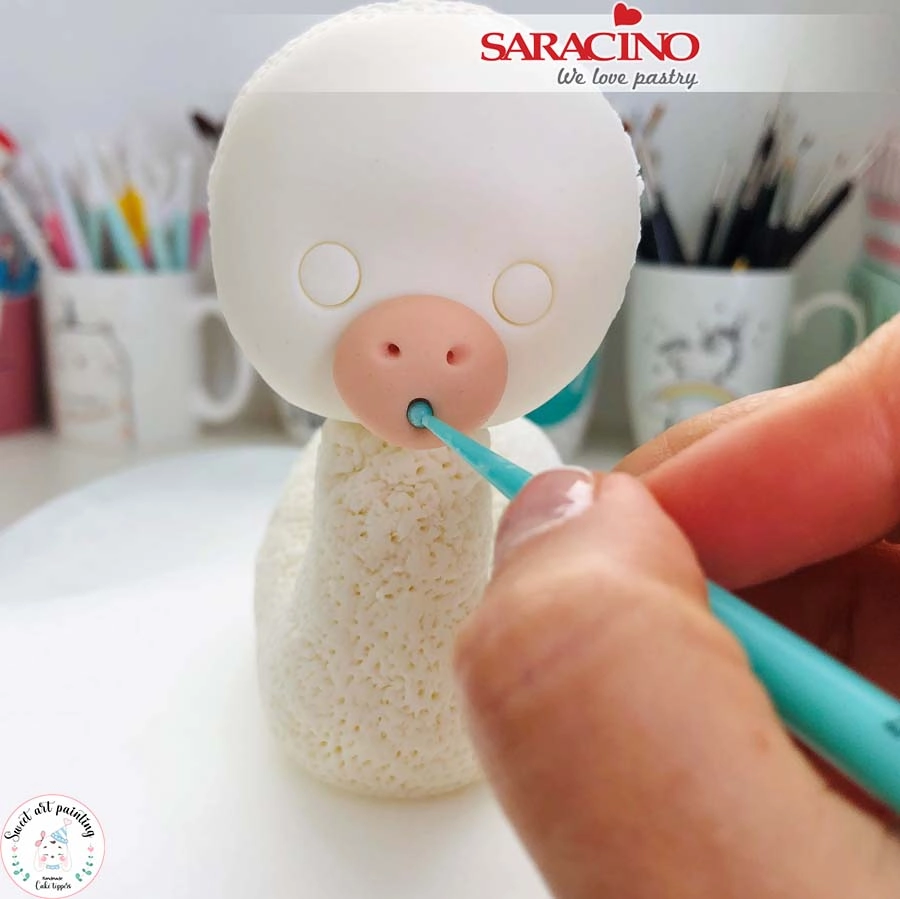
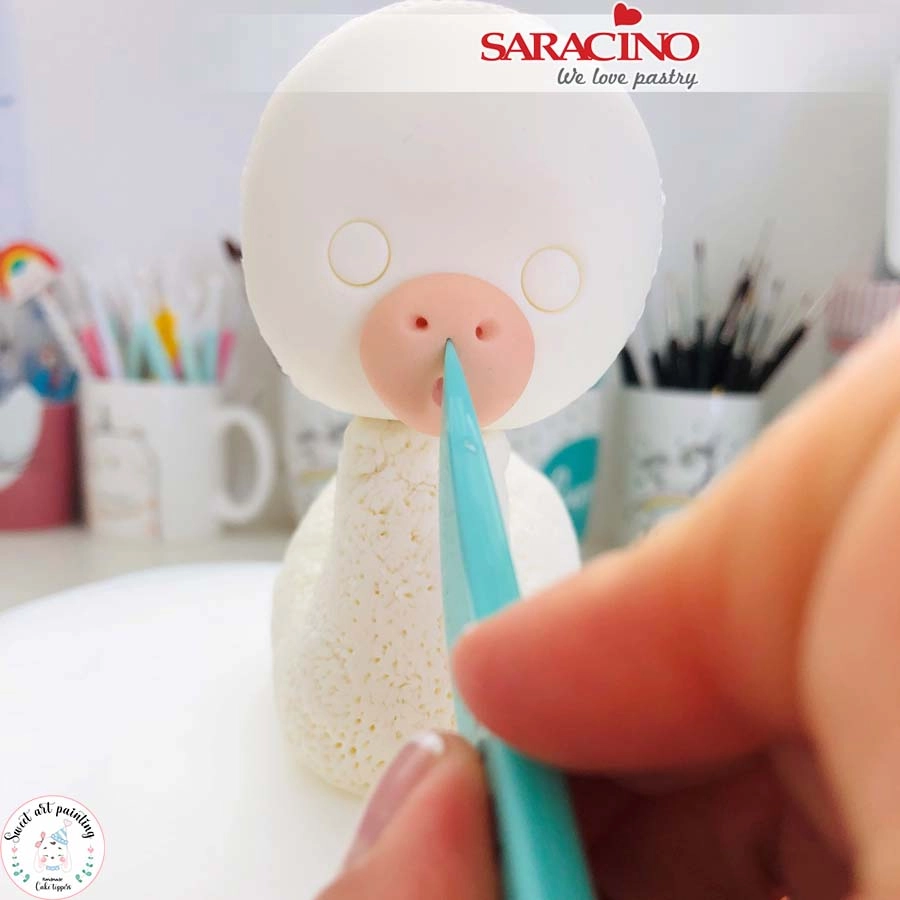
For the mouth and nose area mix a little light skin and pink colour Pasta Model. Roll into a ball and flatten the back face. Use a 1.8cm diameter piping nozzle to cut out the mouth and nose area. Fix to the faceĀ and add the nostrils Ā using a silicone pointed tool.

Step 14

Using a small ball tool add the mouth.

Step 15

Using a modelling tool or knife mark the central division that joins the nose and mouth.

Step 16

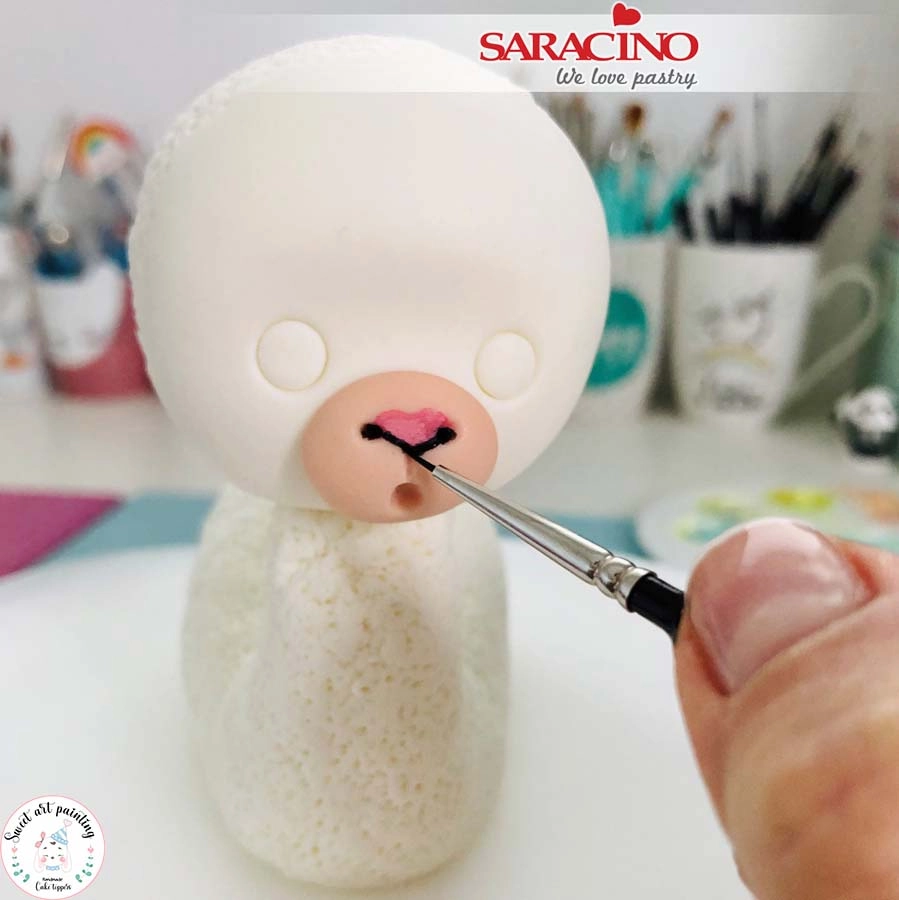
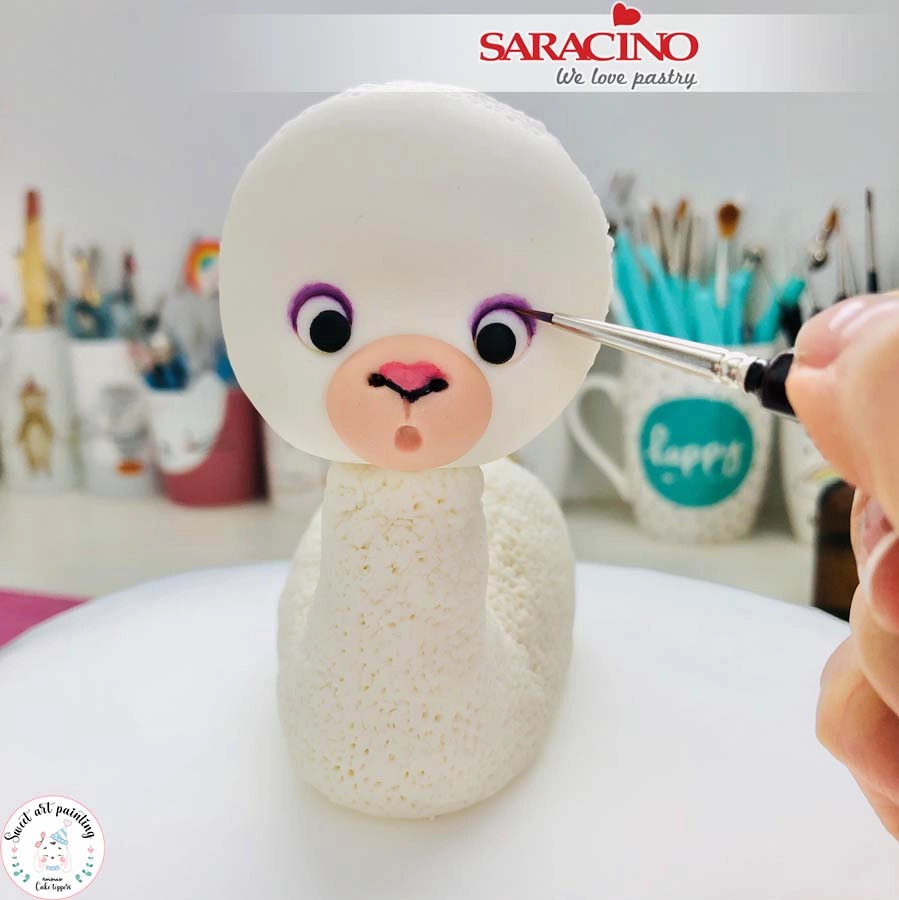
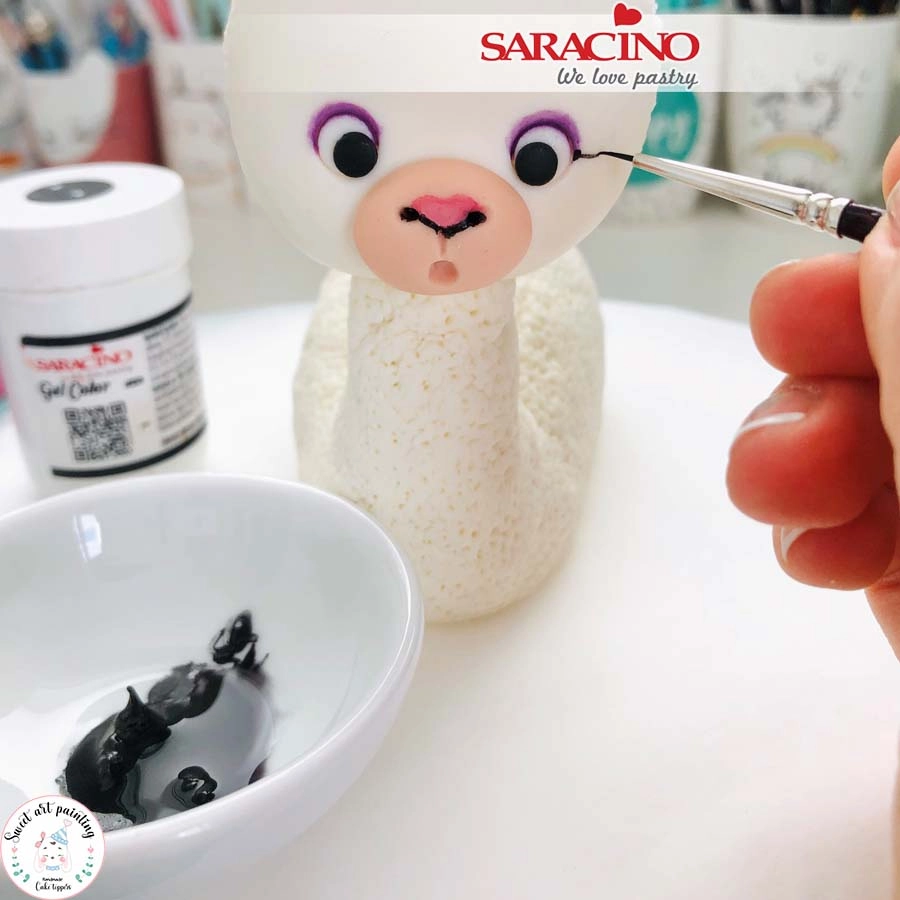
Dilute a little pink powder colour with clear alcohol and using a fine brush paint the nose in the shape of a triangle. Dilute a little black gel colour with a little water and use a fine brush to paint the shape of the nose.

Step 17

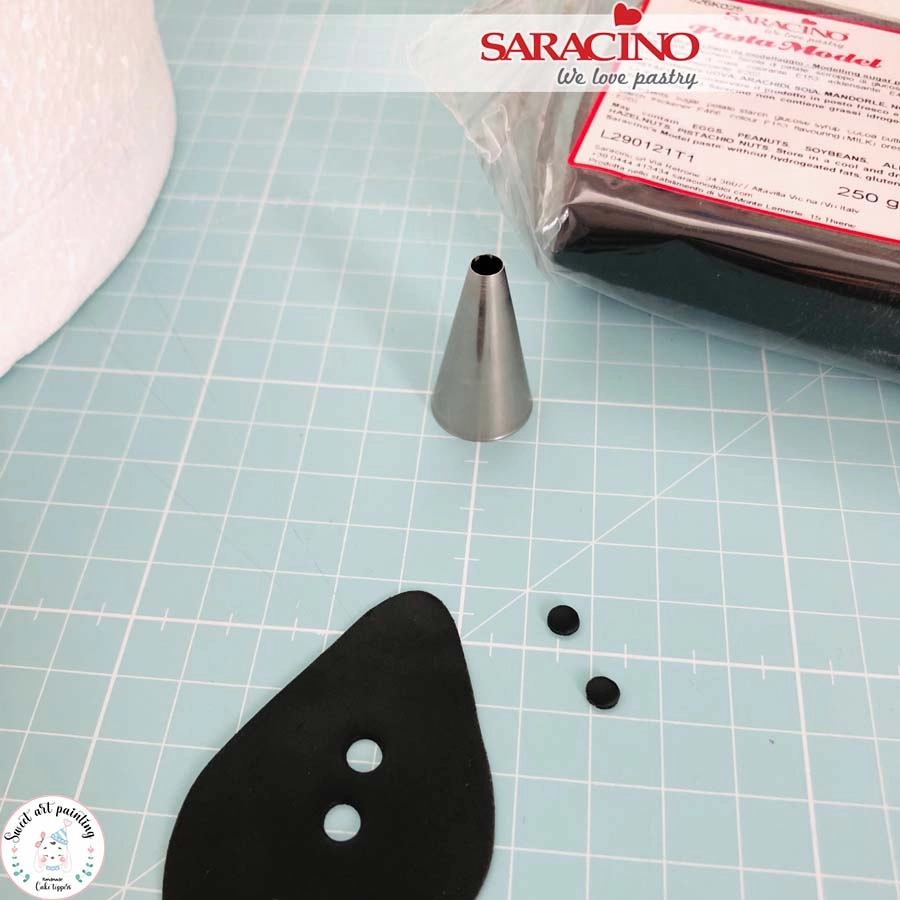
Roll a little black Pasta Model until it is 1mm thick. Cut two circles with the 4mm diameter piping nozzle and glue them to the inside of the eyes.

Step 18

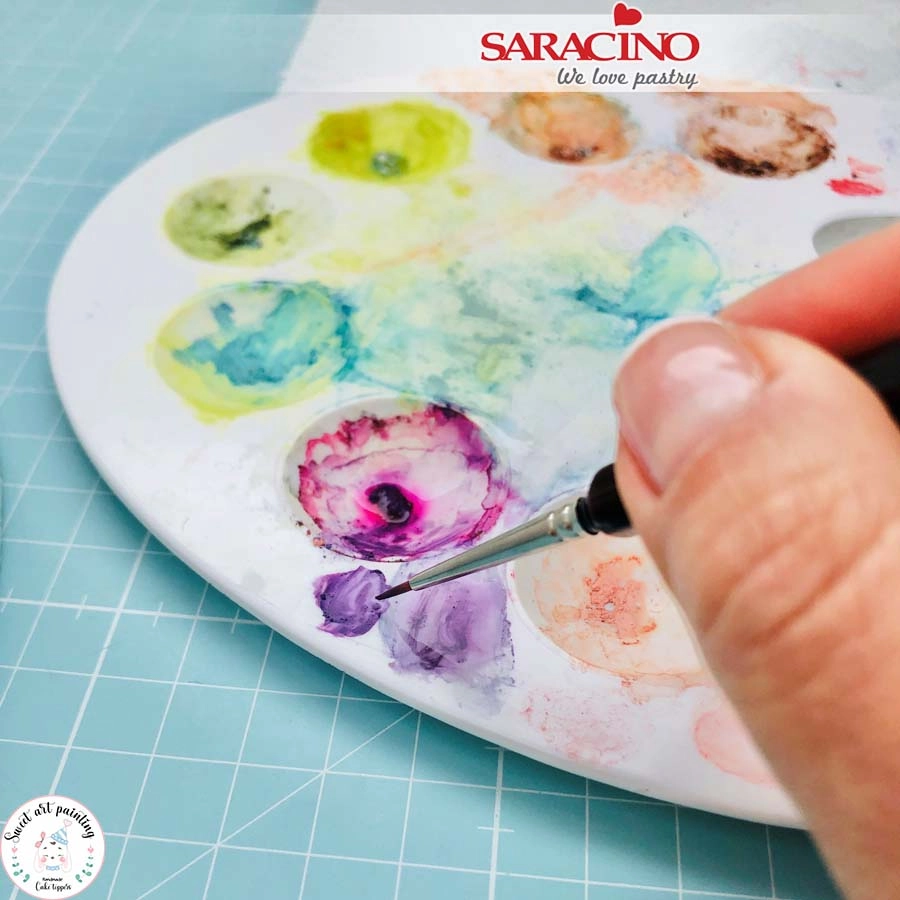
Dilute a little purple powder colour with clear alcohol.

Step 19

Use a fine brush to paint the eyelid area.

Step 20

Using black paint the eye lashes with a thinner brush.

Step 21

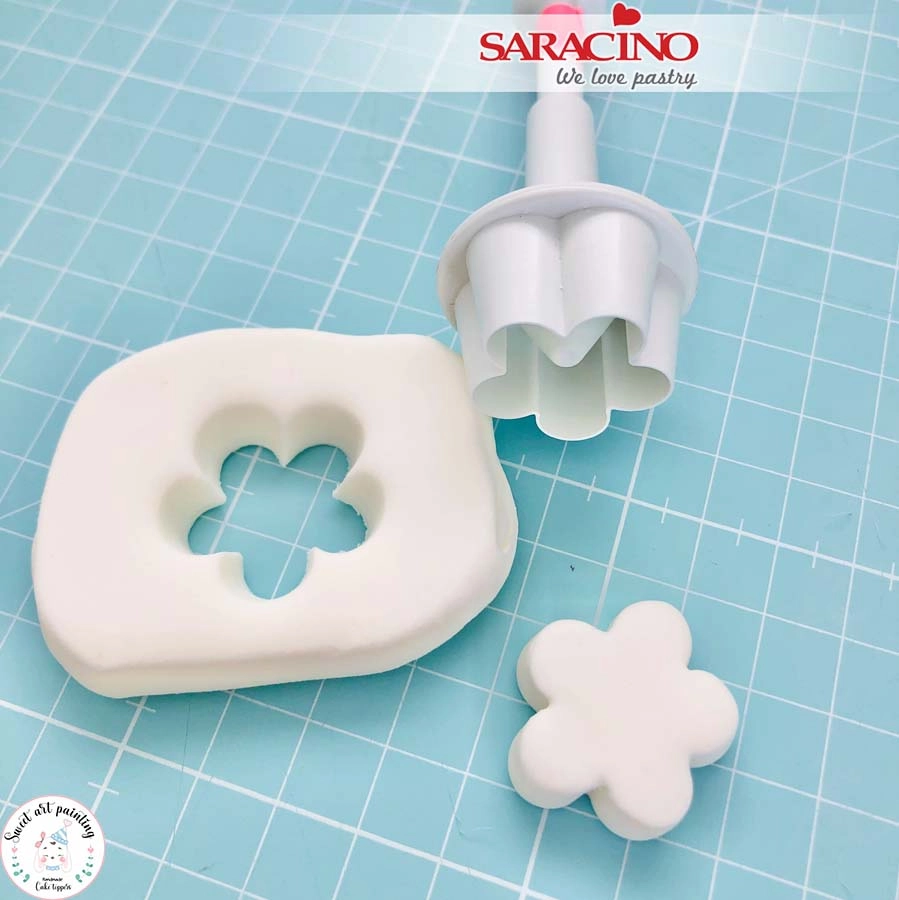
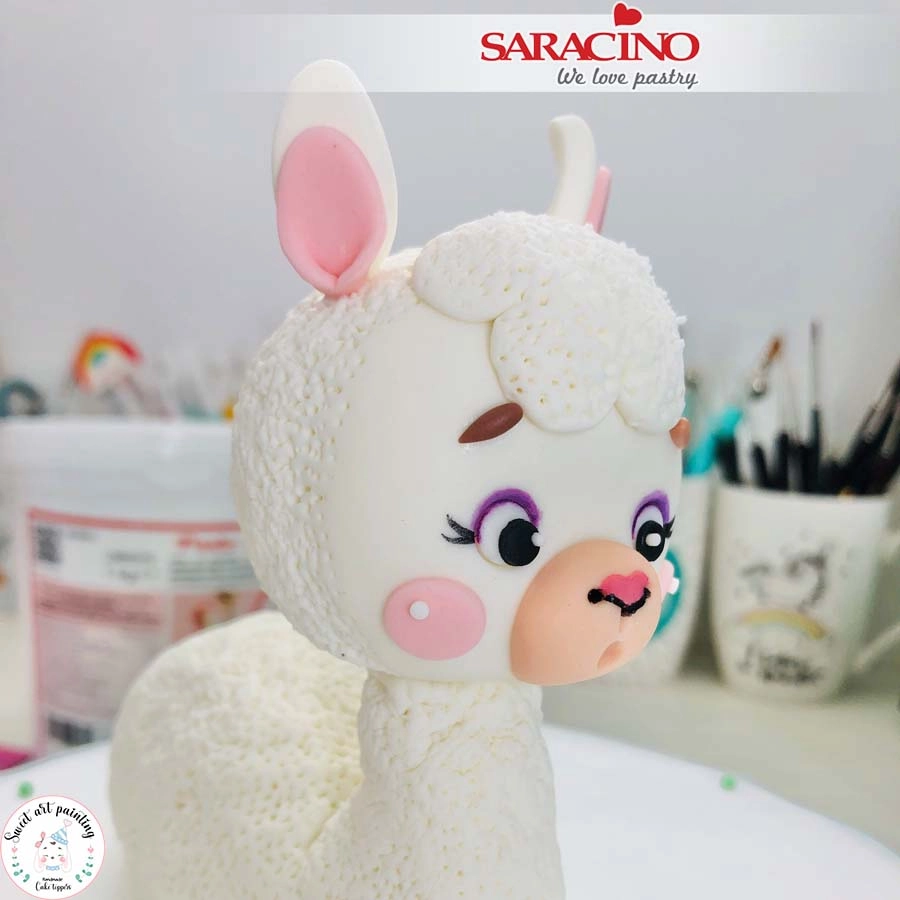
For the hair on the top of our Llama’s head roll white Pasta Model to a thickness of 0.5cm. Use a large flower cutter to cut out the required shape.

Step 22

Use a little glue to fix the hair into place and add the wool texture. Using white Pasta ModelĀ cut two circles with the 1mm diameter piping nozzle and stick them on the black eye circles.

Ā 

Step 23

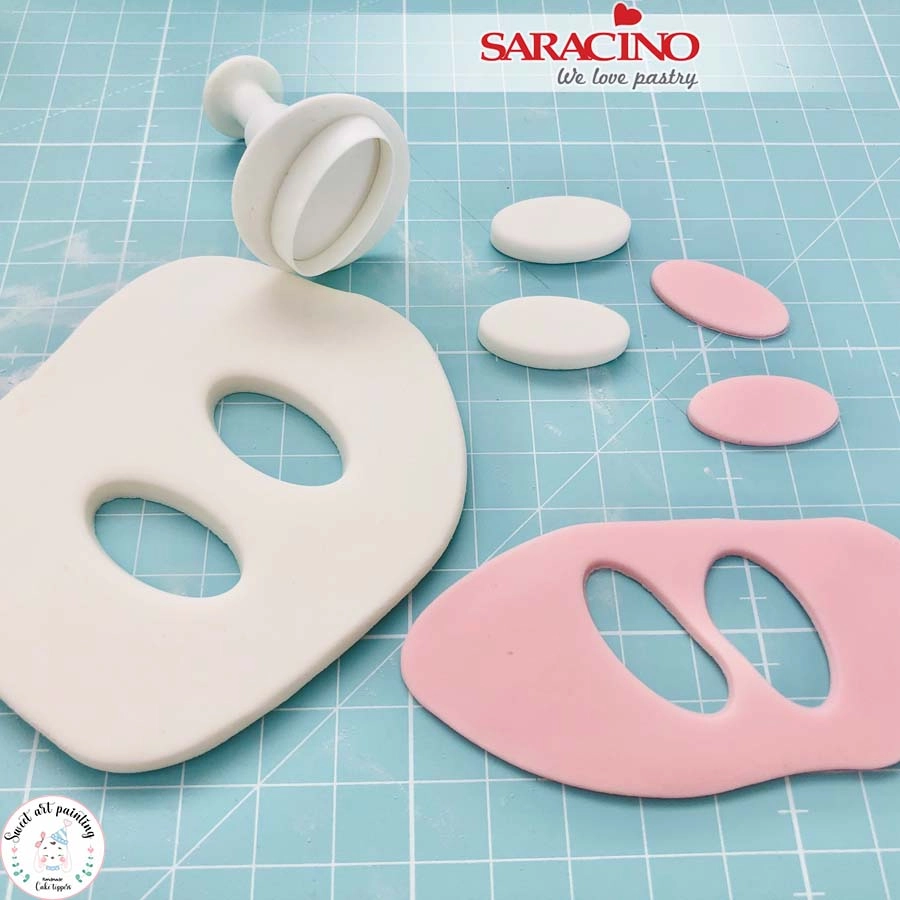
For the ears roll a little pink and white Pasta Model. the white needs to be thicker than the pink. Use the oval plunger cutter to cut out two oval shapes from each colour.

Step 24

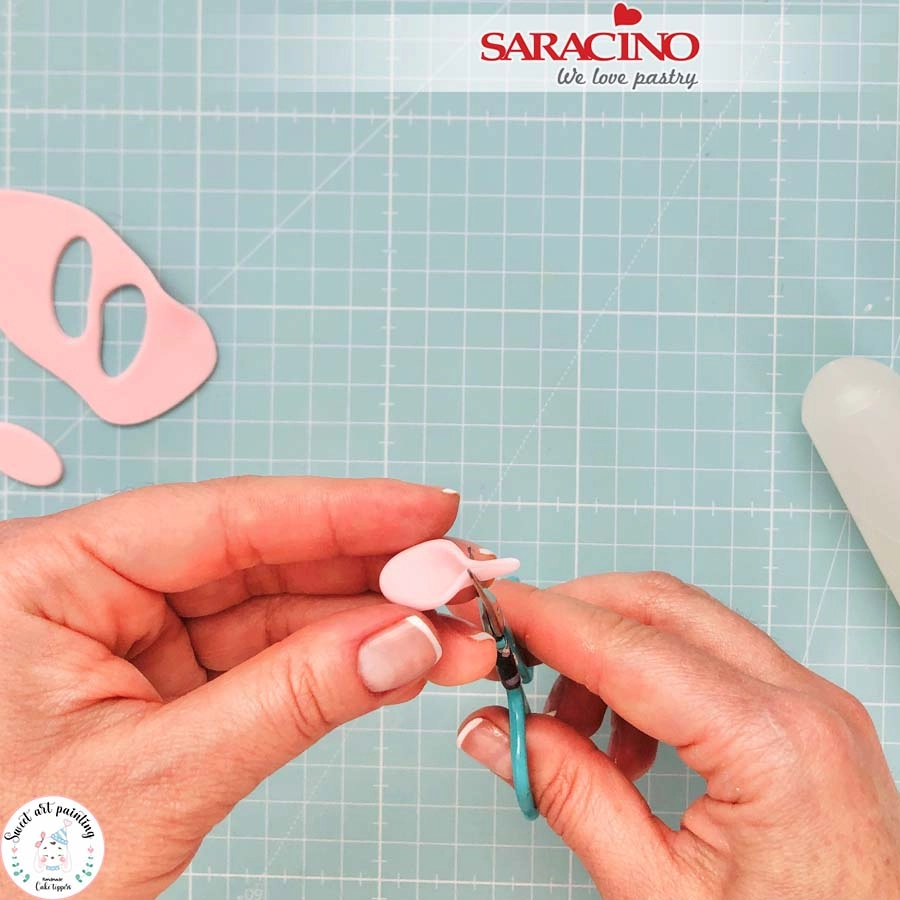
Fold the pink pieces at the end and cut off the excess.Ā 

Step 25

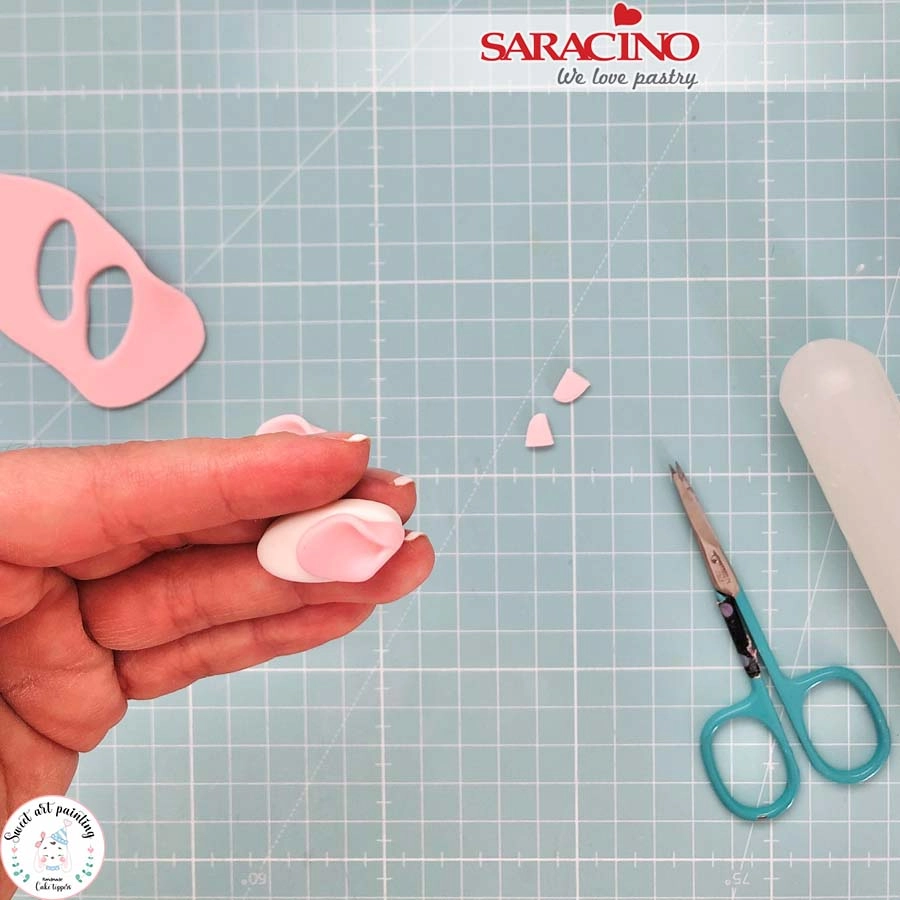
Fix the pink to the white as shown.Ā 

Step 26

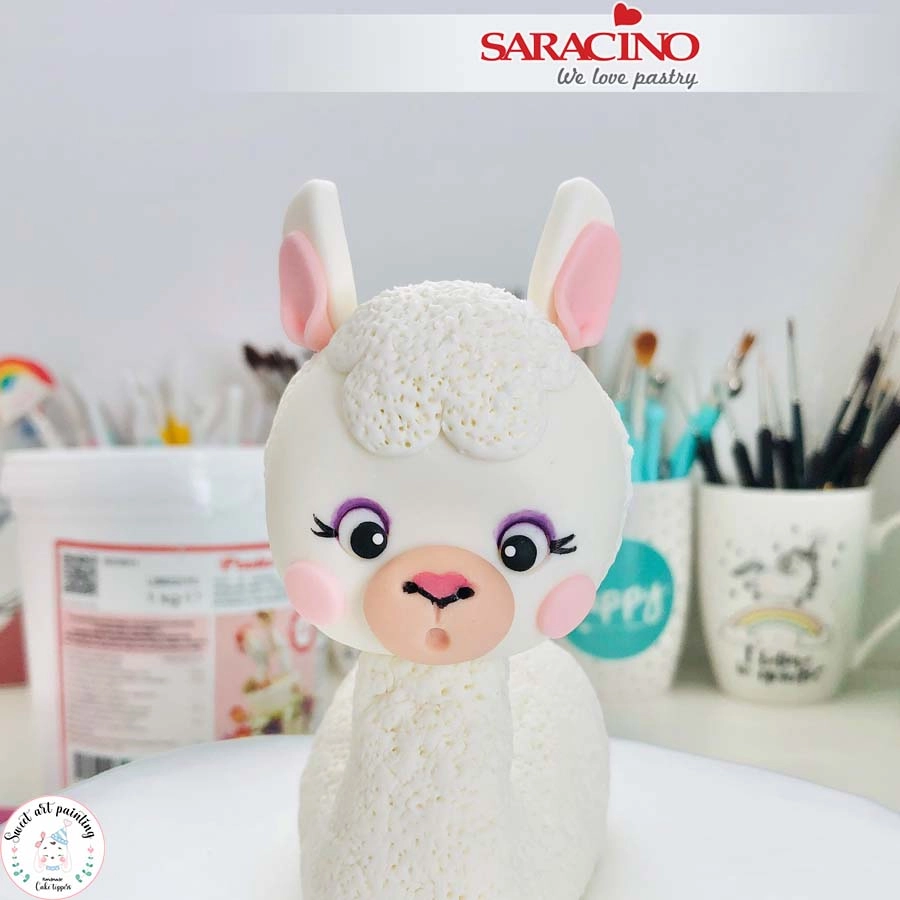
Fix both ears using a little glue (if required you can add a small piece of cocktail stick into each ear to help secure). Using pink Pasta Model cut two circles and fix to the cheeks.Ā 

Step 27

For the eyebrows mix white and brown Pasta Model and roll small teardrop shapes. Fix to the head. Using your 1mm diameter piping nozzle create two small white circles and fix to the pink cheeks.Ā 

Step 28

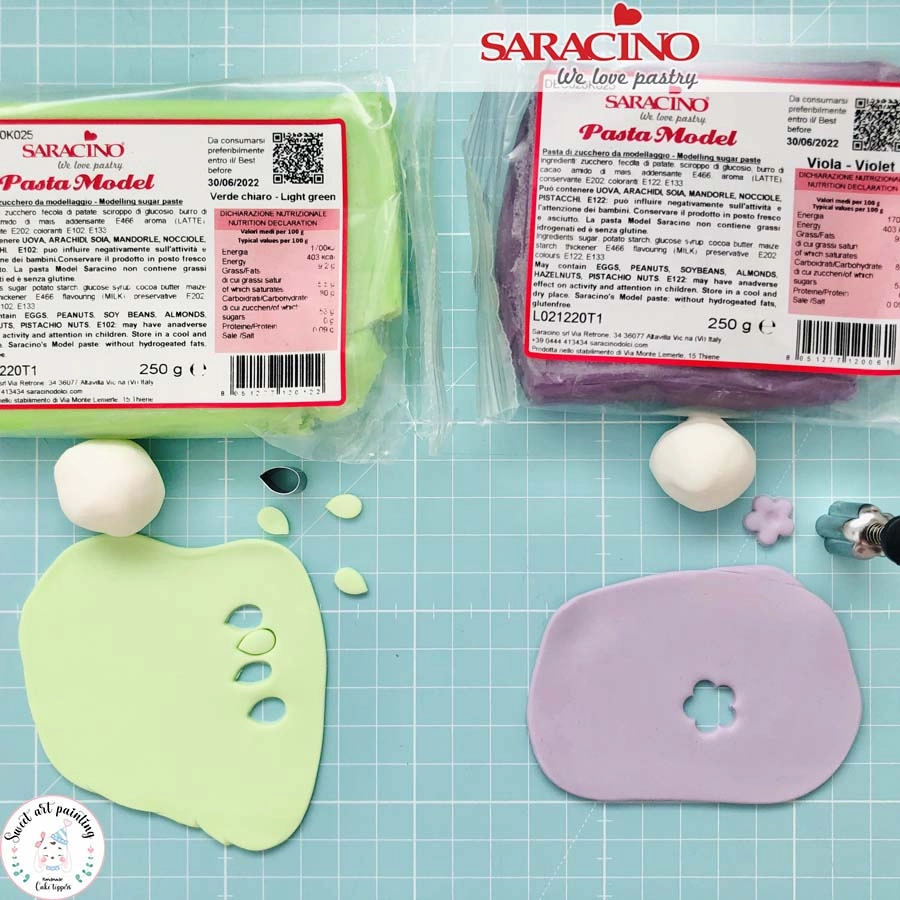
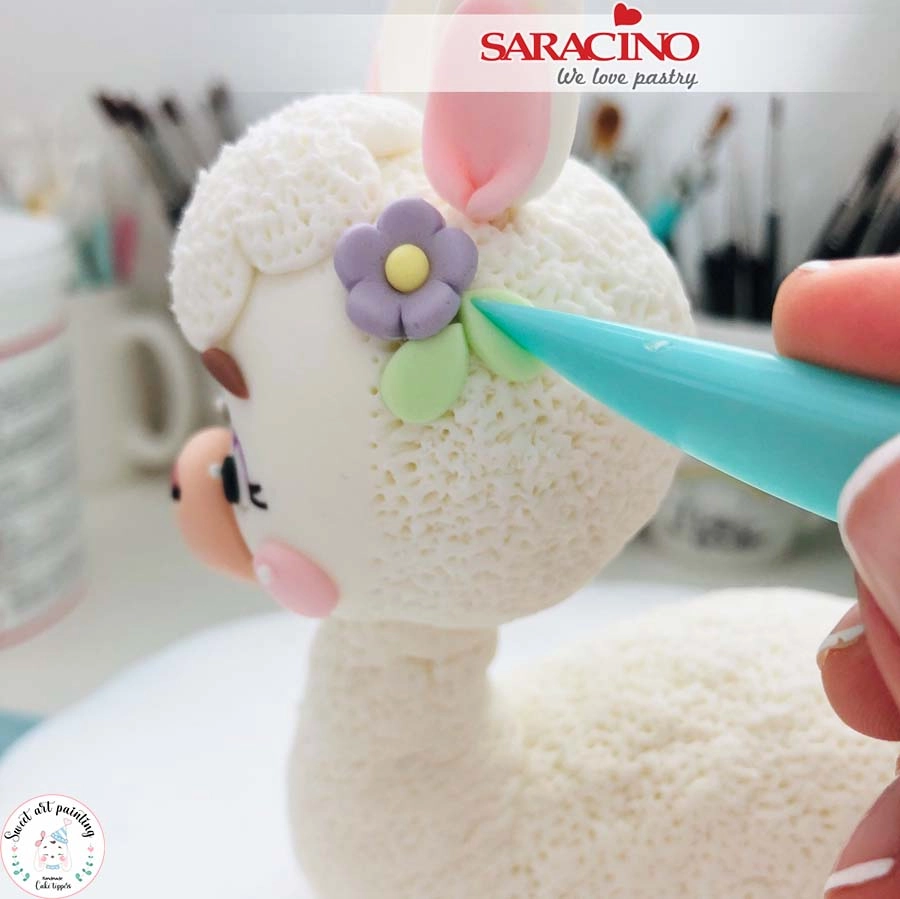
For the flower and leaves mix a small amount of violet and light green Pasta Model with white to achieve pastel colours. Cut out the flower and small leaves.Ā 

Step 29

Use a little glue to fix to the head. Add a small ball of yellow to the centre.Ā 

Step 30

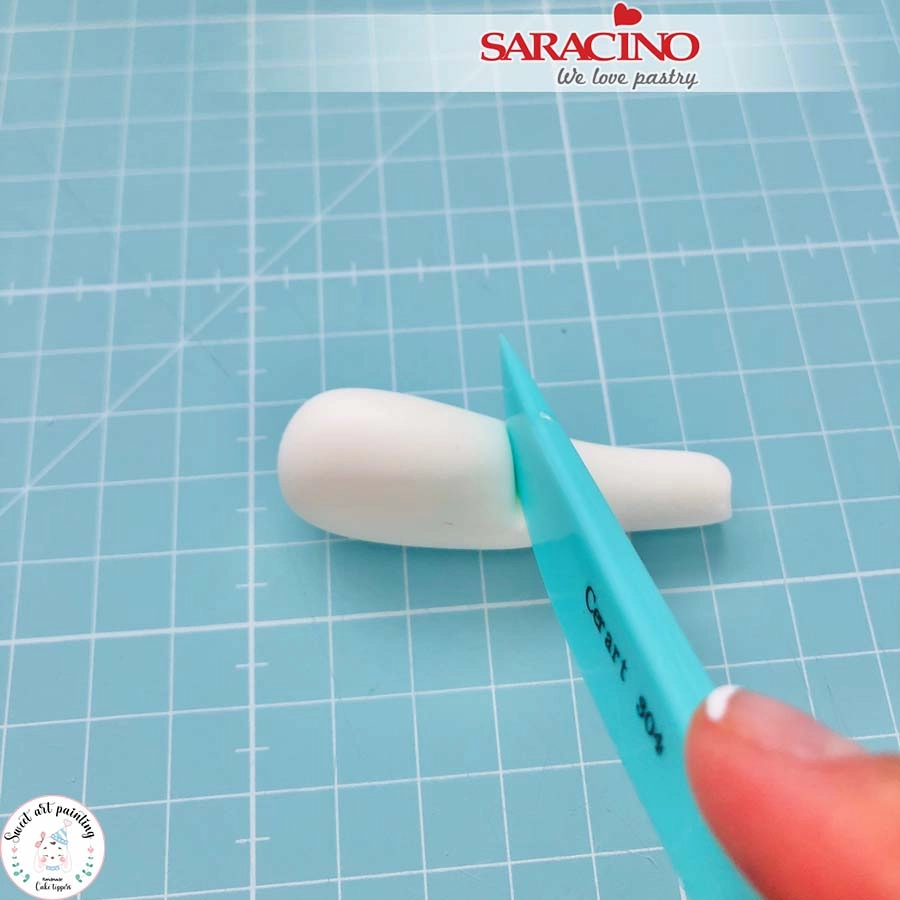
To form the legs roll white Pasta Model to a sausage shape as shown in the photo. Each leg will weigh approximately 13g. Bend approximately in the middle to give the shape of the leg.Ā 

Step 31

Repeat this step for all the legs (the front legs should be slightly smaller). Create the wool texture effect on all of them. Do not add texture to the hoof area as we will paint this later.

Step 32

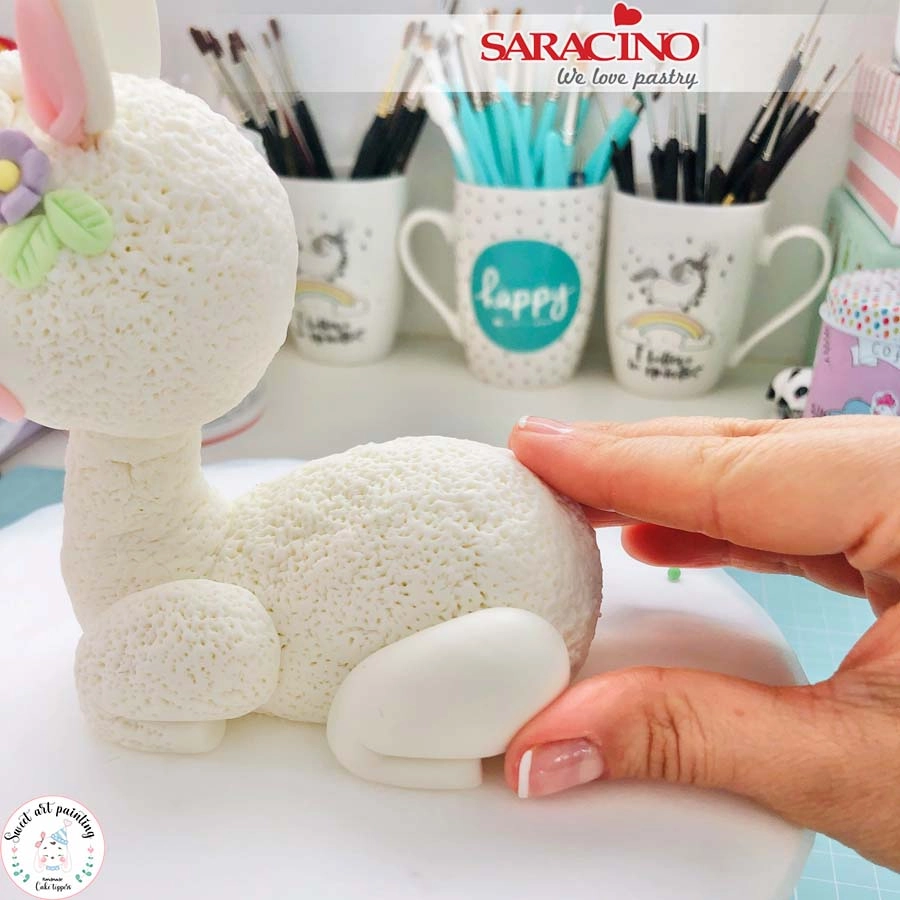
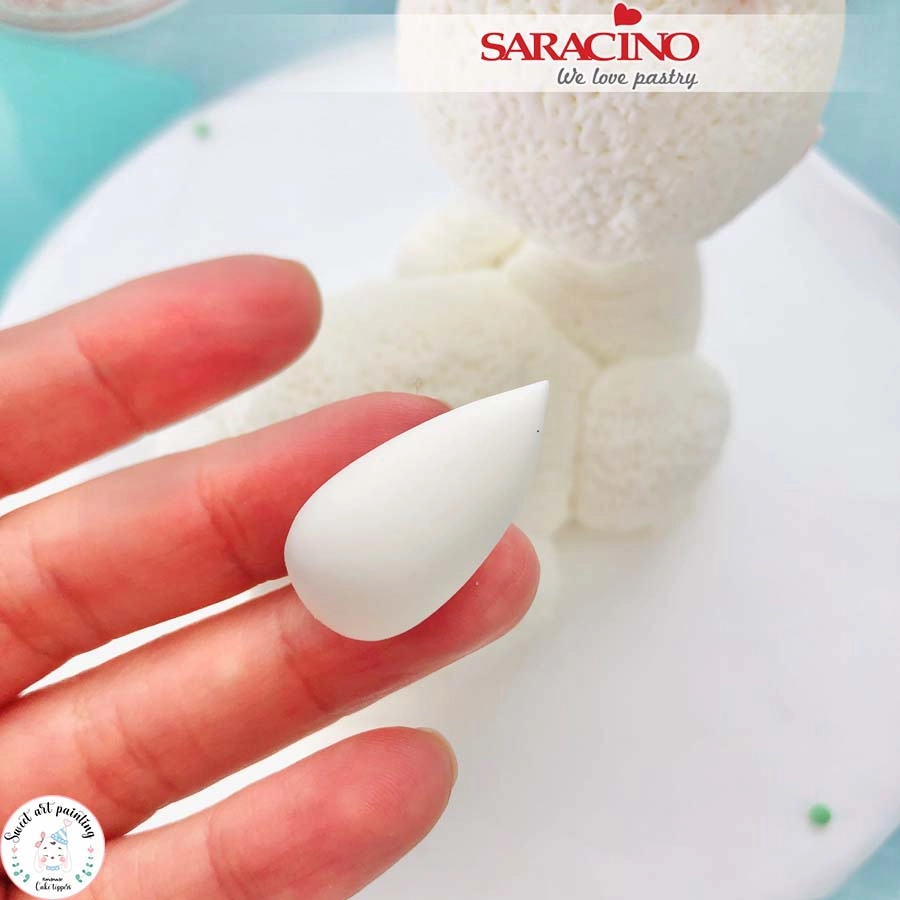
For the tail roll a teardrop shape of white Pasta Model. Fix to the Llama and add the wool effect.Ā 

Step 33

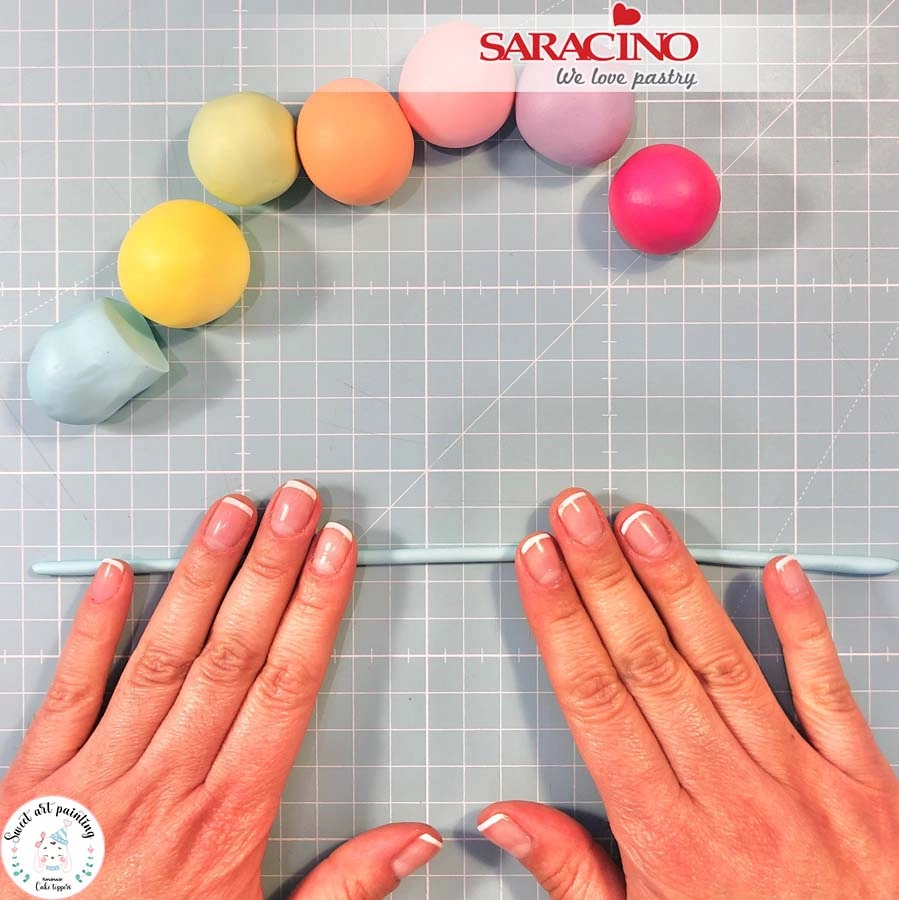
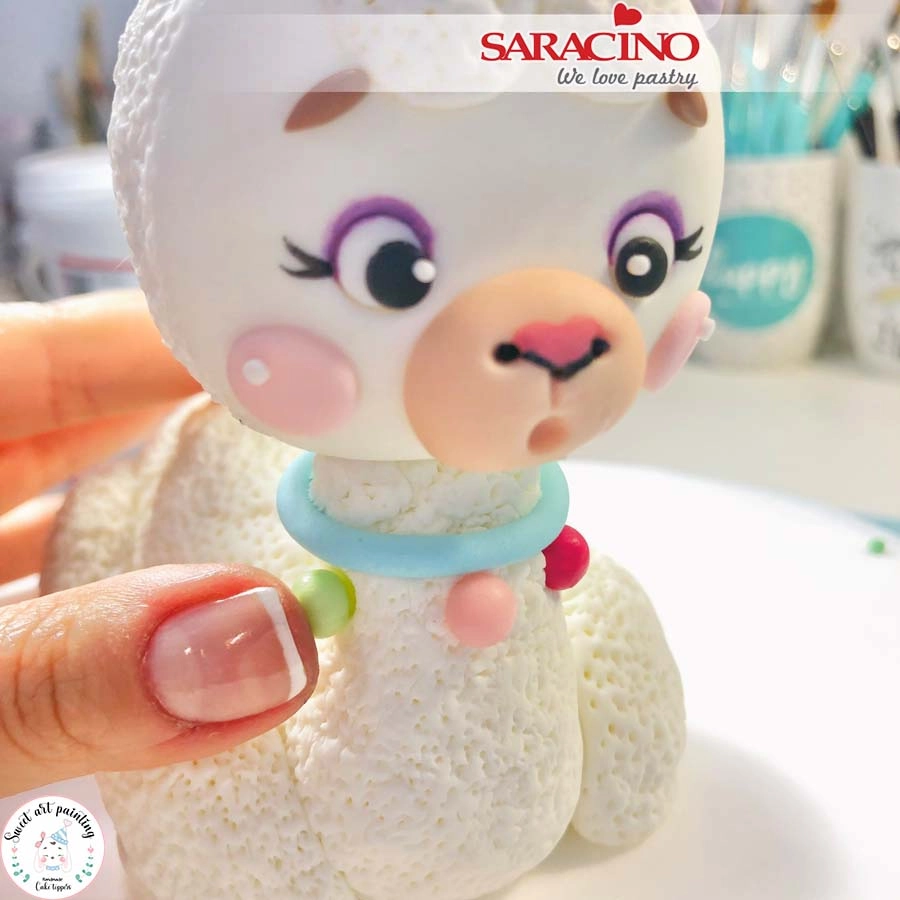
For the necklace collar prepare pastel colors using Pasta Model: light blue, yellow, green, orange, pink, lilac (adding a little white paste to each colour) and fuchsia which does not need white adding. Roll the light blue paste until it forms a long thin sausage.

Step 34

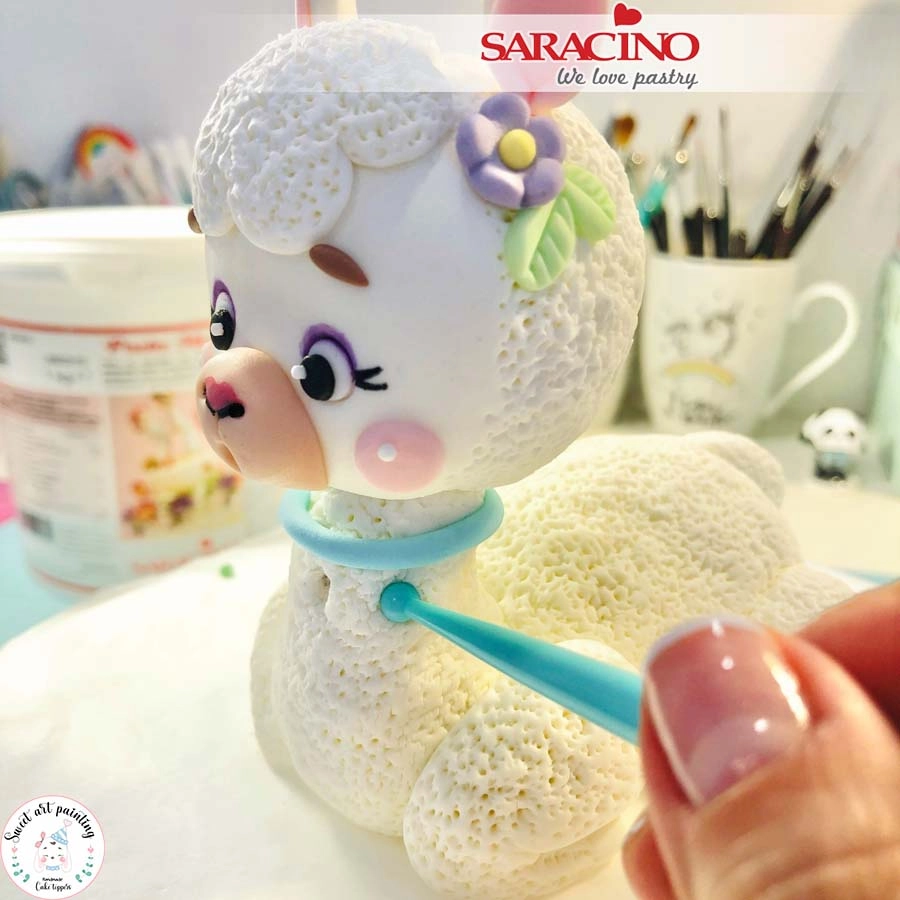
Fix the light blue around the Llama’s neck. Using aĀ ball tool create the holes where the pompoms will go.

Step 35

Take a small equal part of each colour. Roll the balls using your index finger on the palm of the hand. Glue the balls into place.

Step 36

Repeat the steps to create another neckless.

Step 37

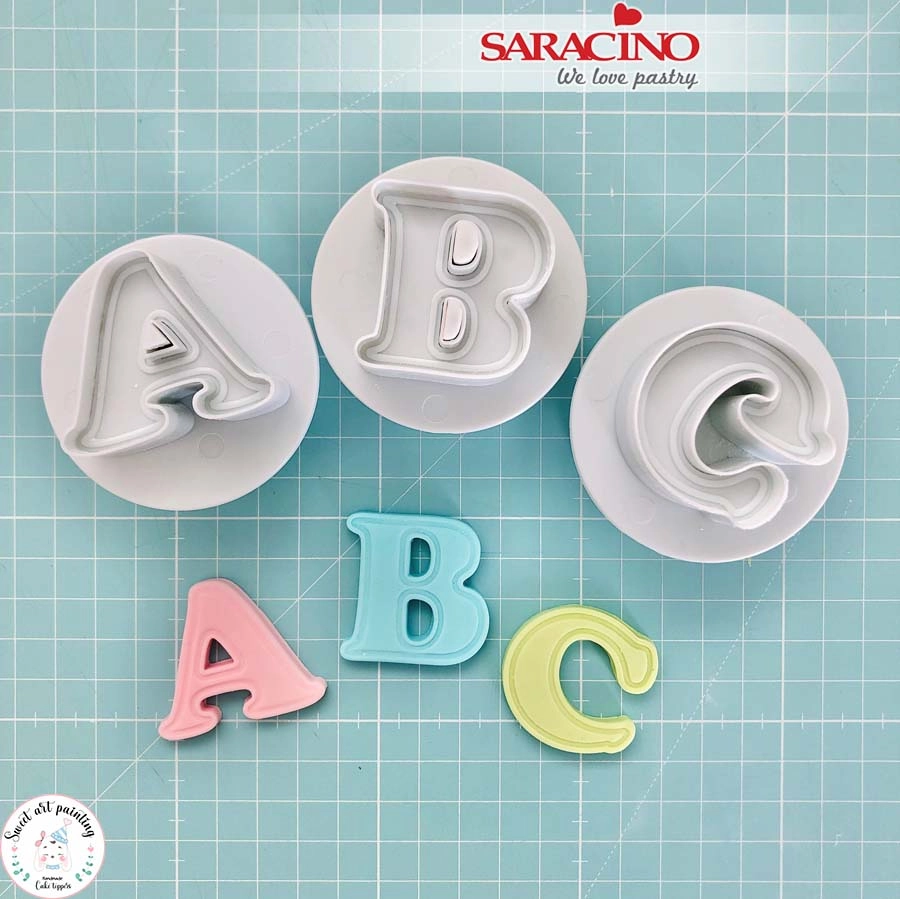
Using the letter plunger cutters cut out the letters you would like using your required colours. Leave aside.Ā 

Step 38

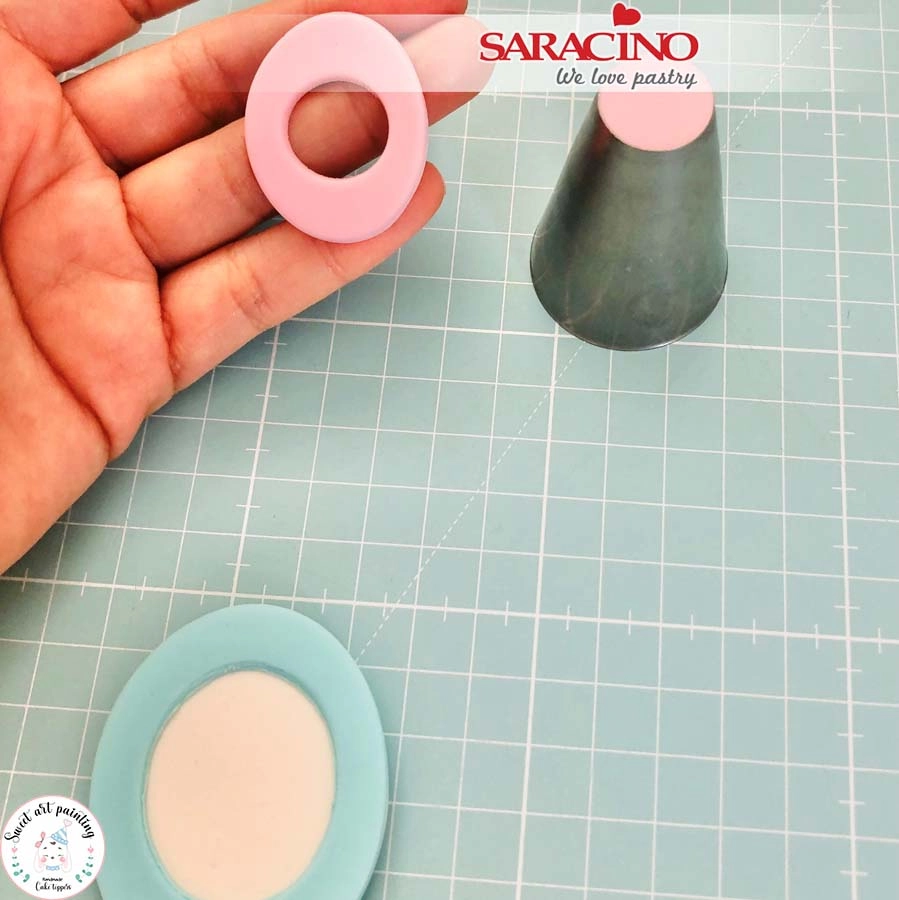
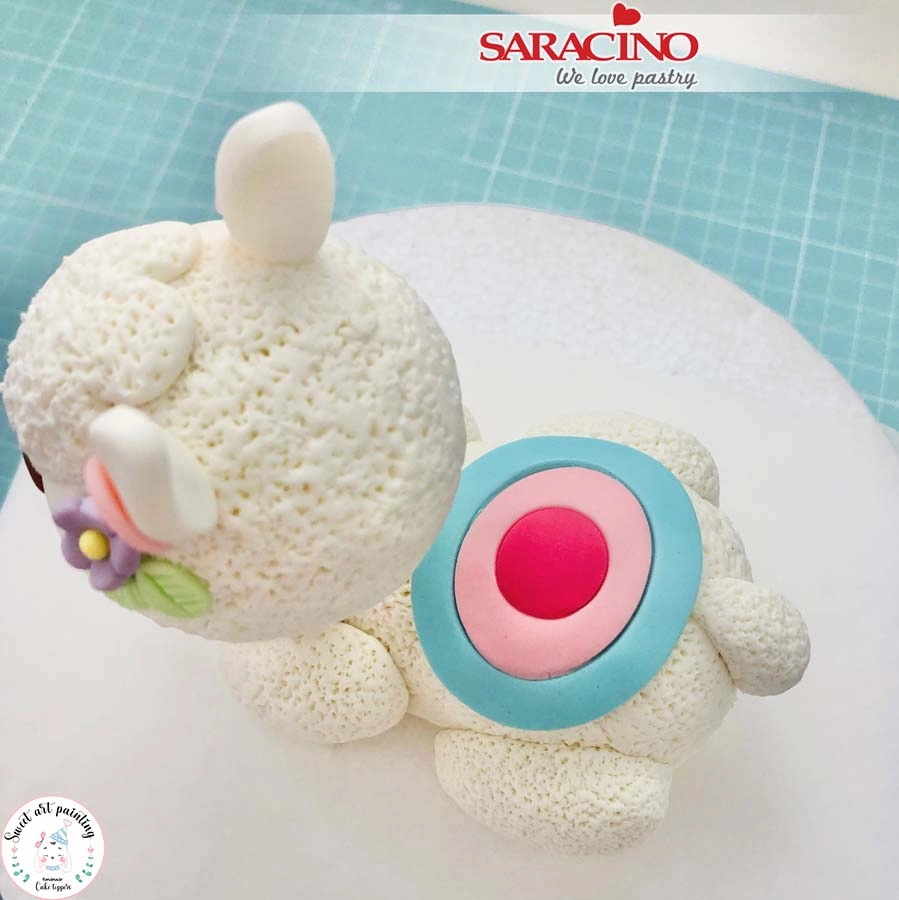
For the blanket use a large ovel cutter to cut out a thinly rolled piece of white Pasta Model. Use the same cutter to cut a thin piece of light blue paste. Use a smaller cutter to cut out the centre of the blue. Use the same smaller cutter to cut out a thin piece of pink paste and add to the centre of the blue. Cut out a circle from the centre of the pink. Use the same circle cutter to cut out a thin piece of fuchsia paste. Add the fuchsia circle to the centre of the pink.

Step 39

Fix the blanket to the Llama’s back.

Step 40

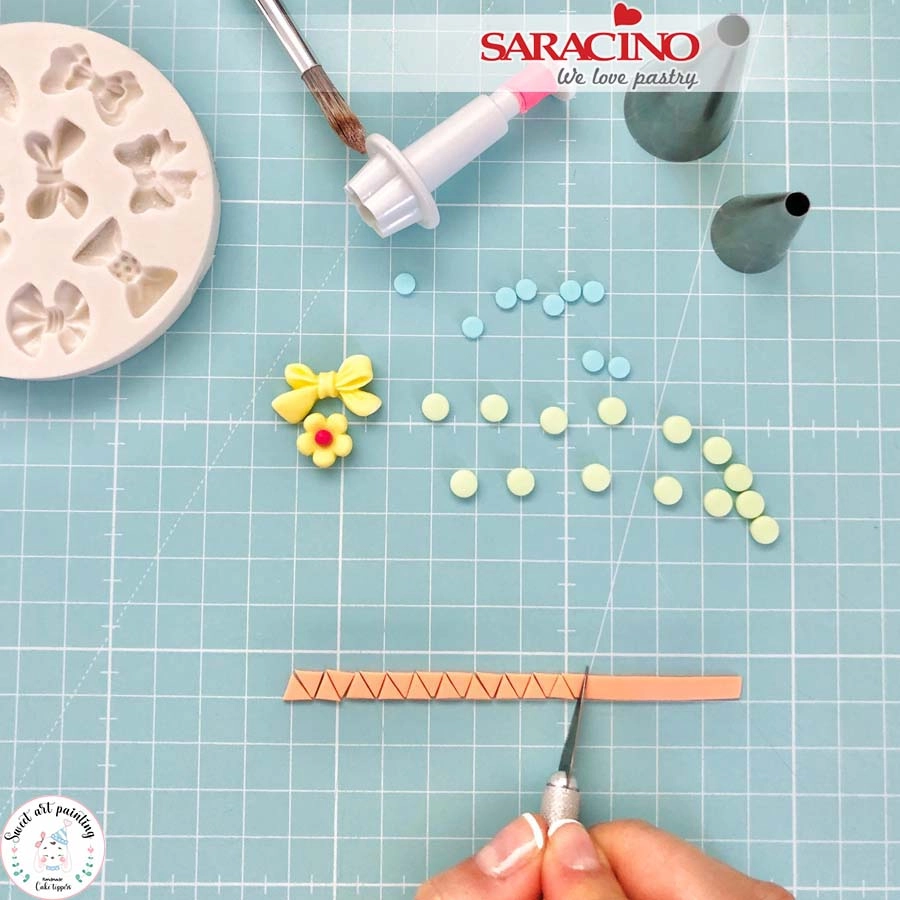
Use a silicone bow mould to make a small yellow bow. Add a little corn flour to the mould to prevent the paste from sticking. Use a flower plunger cutter to make a small flower. Cut out circles and triangles using colours of your choice.Ā 

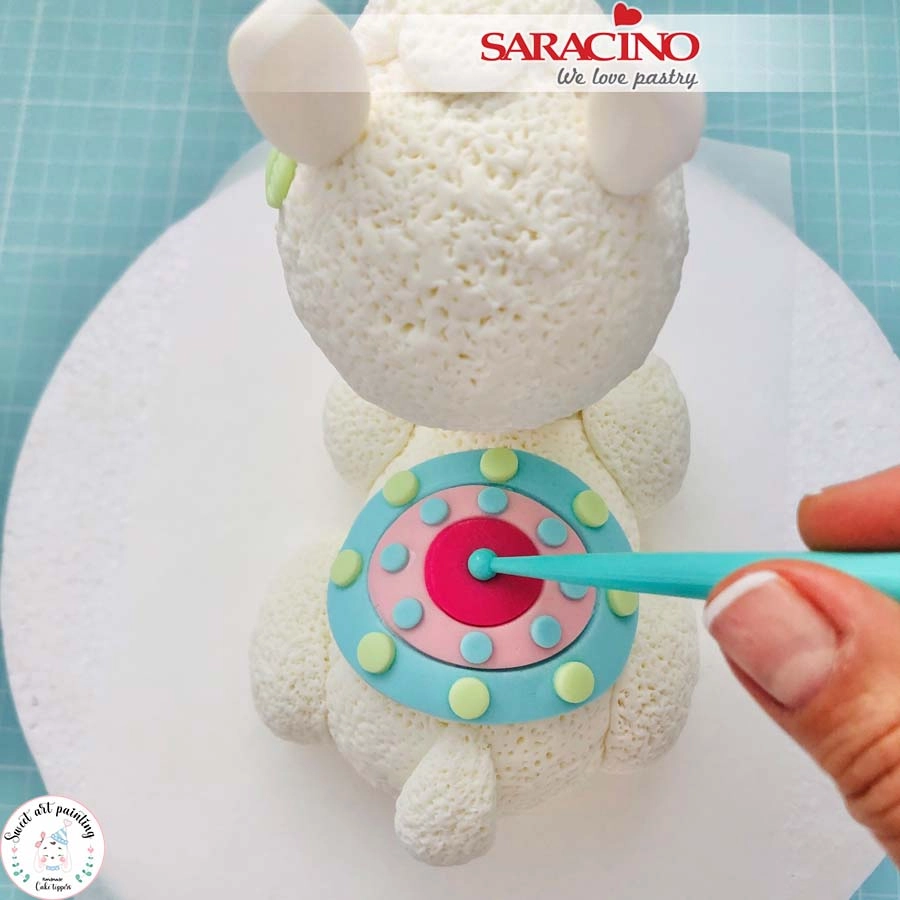
Step 41

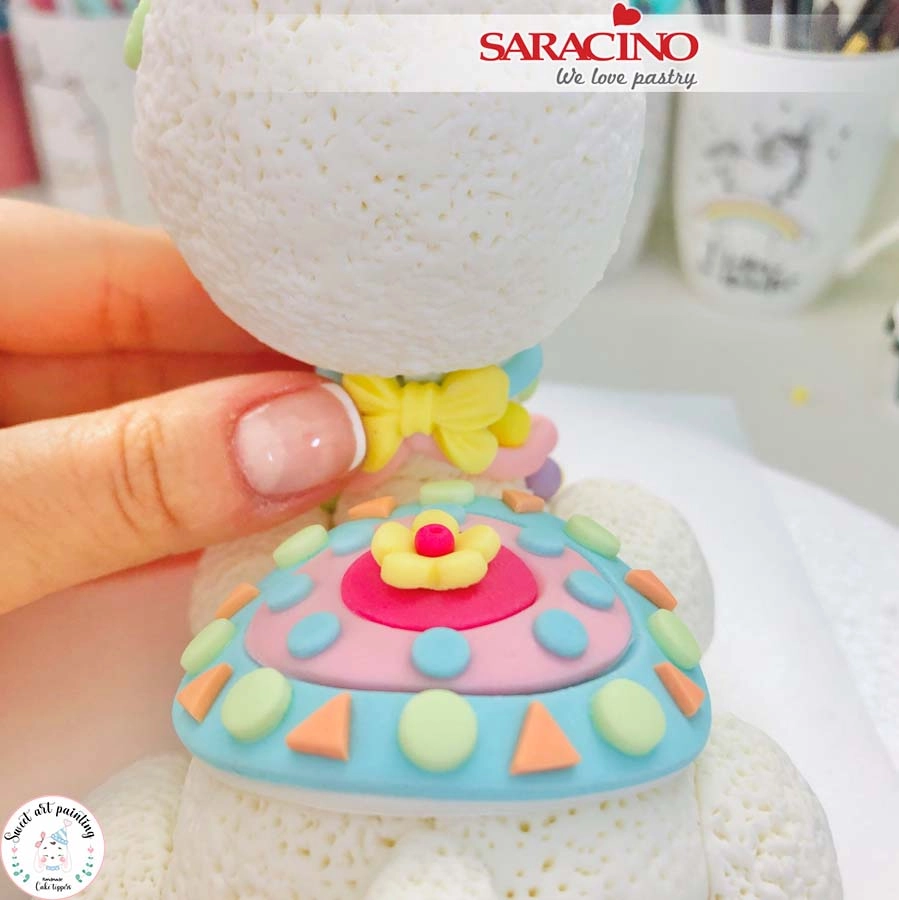
Add the decorations as shown using a little glue if required.Ā 

Step 42

Attach the flower to the centre of the blanket and the bow to the back of the neck.Ā 

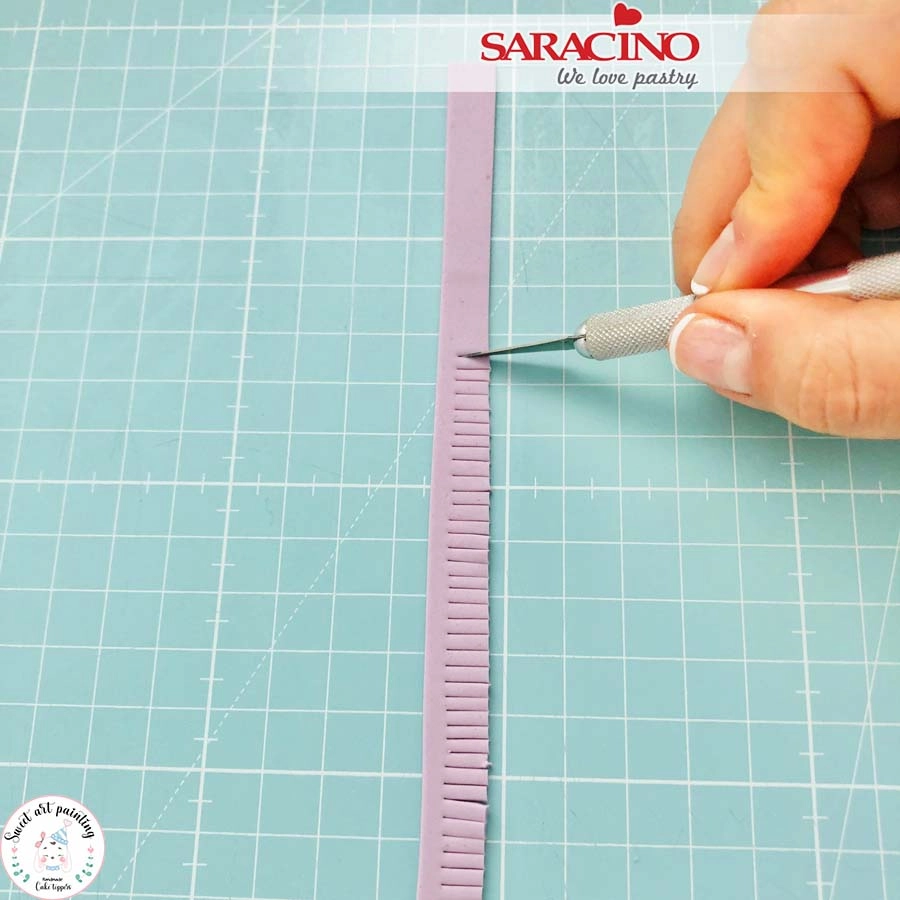
Step 43

For the tassels rollĀ light purple coloured paste thinly and cut a long 1cm wide strip. Use a scalpel to cut small strands.Ā 

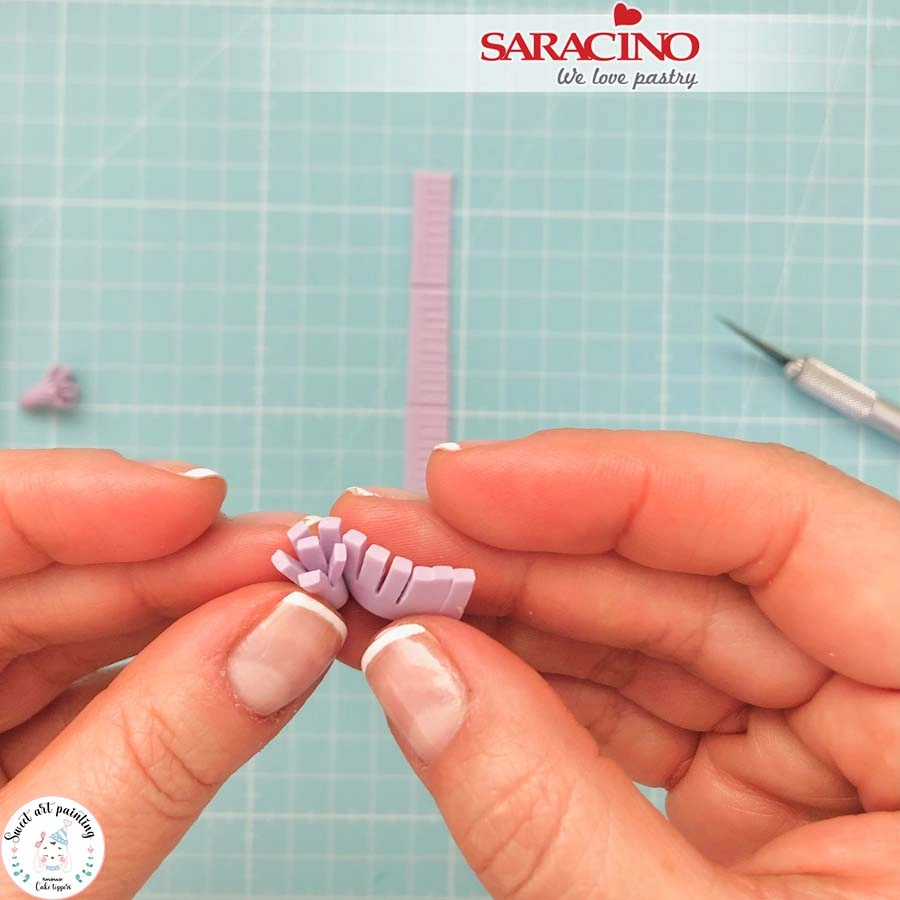
Step 44

Cut in equal lengths and roll up as shown.

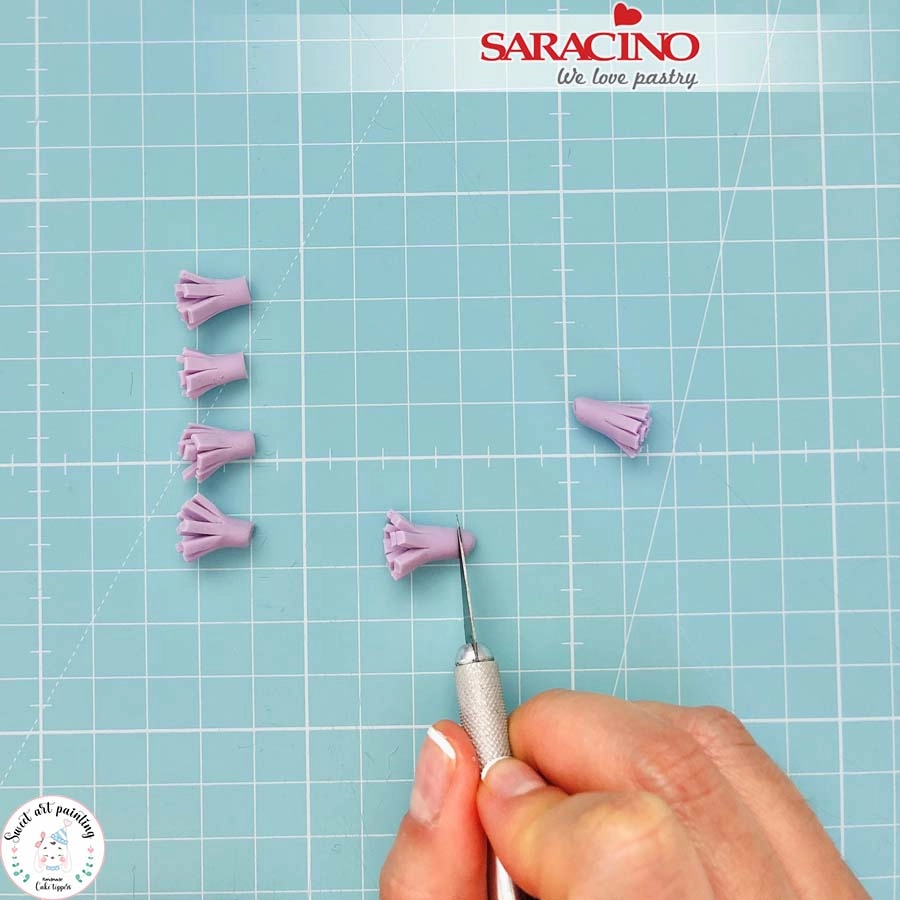
Step 45

Make as many as you require. Cut off the escess paste from the end.

Step 46

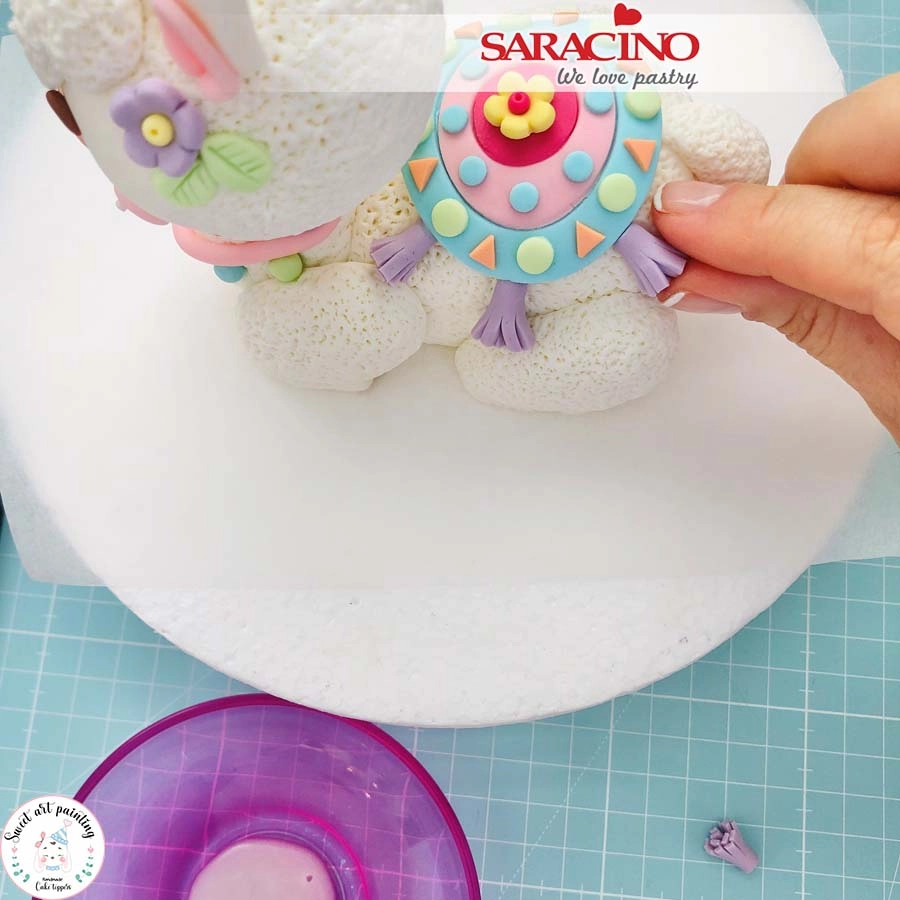
Using a little glue or water fix the tassles around the edge of the blanket.

Step 47

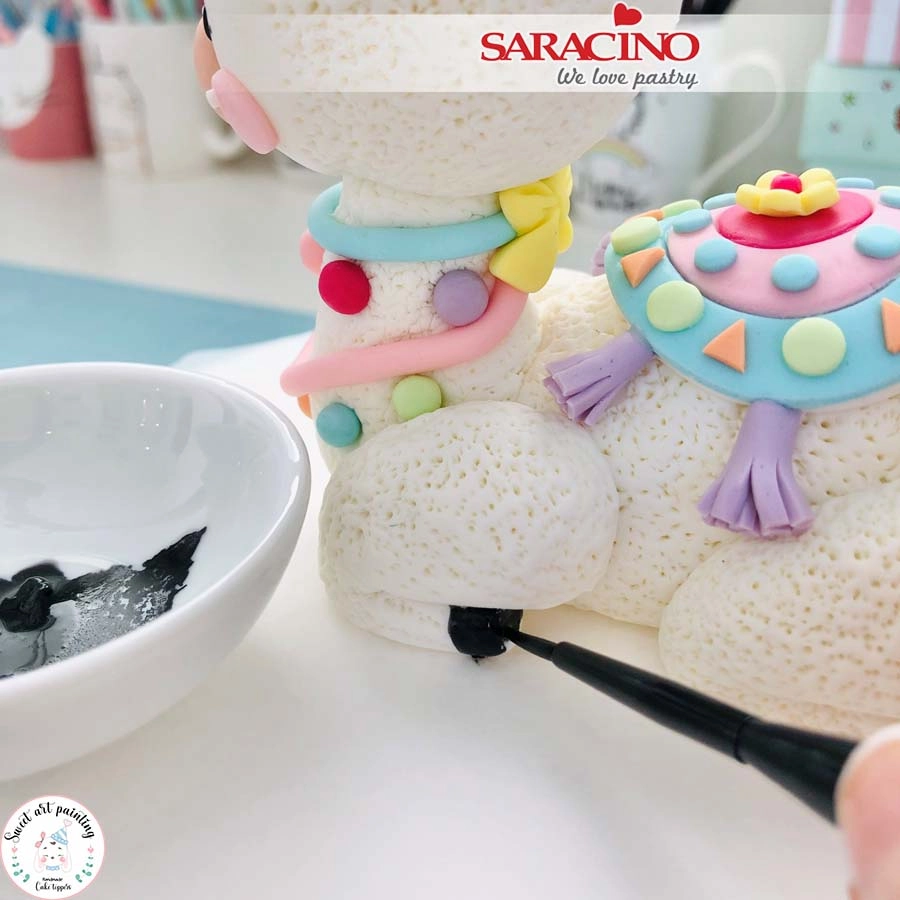
Dilute black colour with clear alcohol. Use a small brush to paint the hoof on each leg.

Step 48

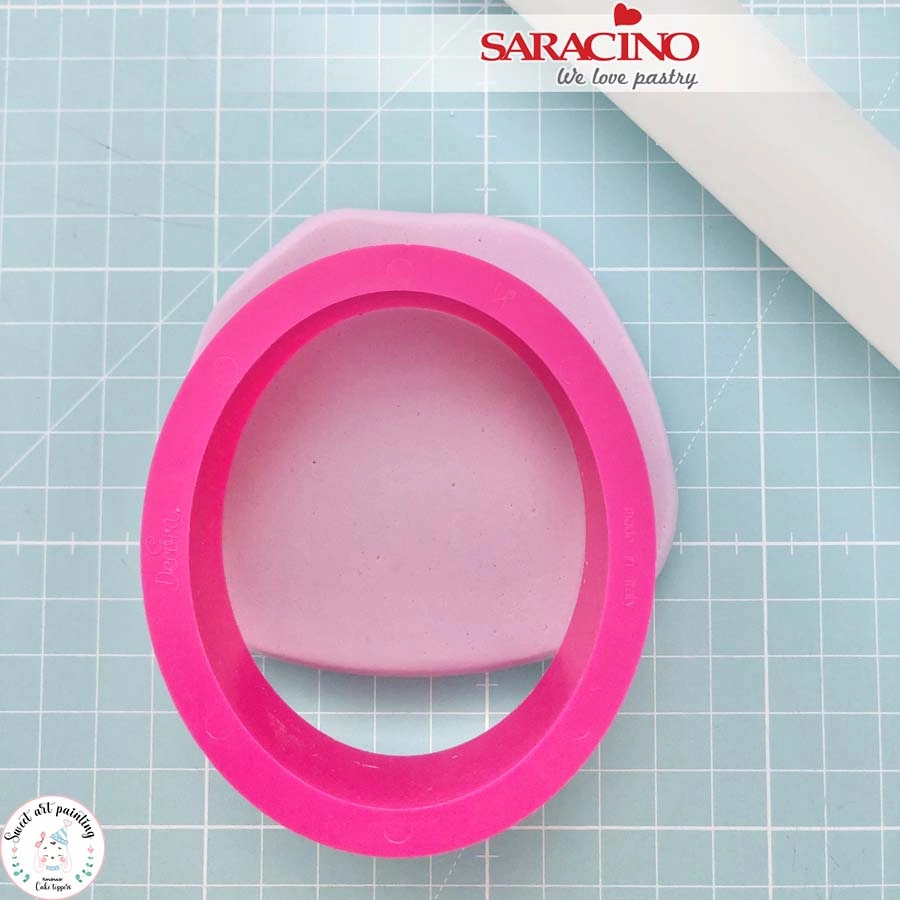
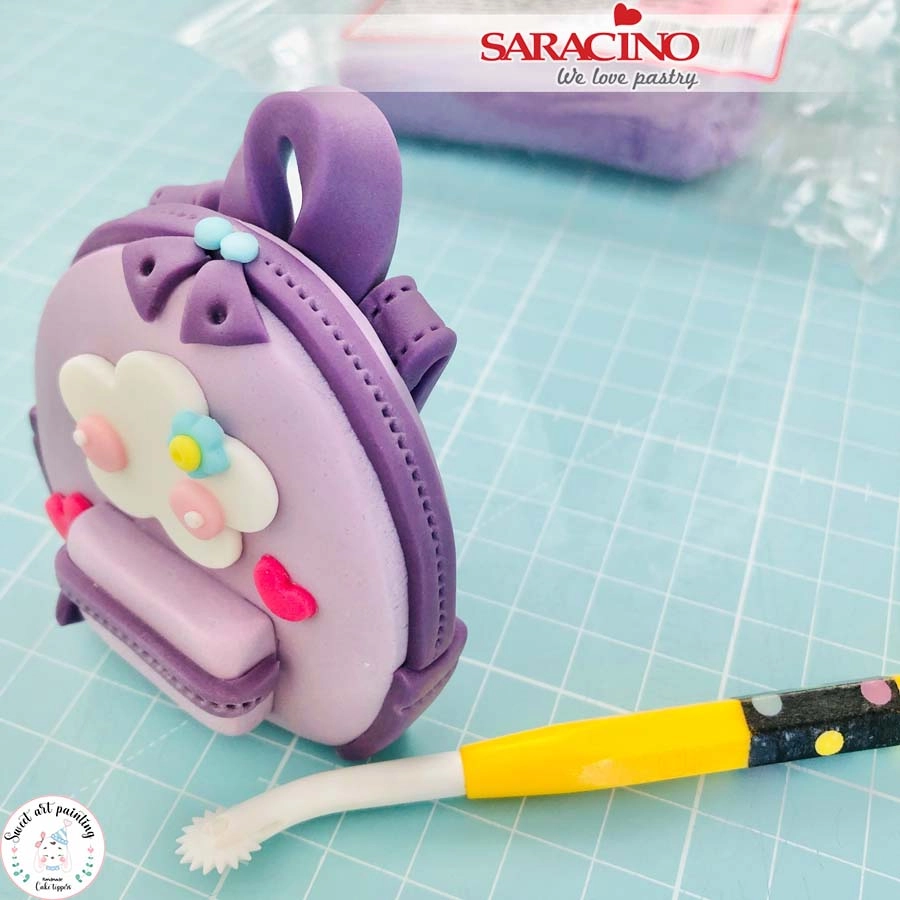
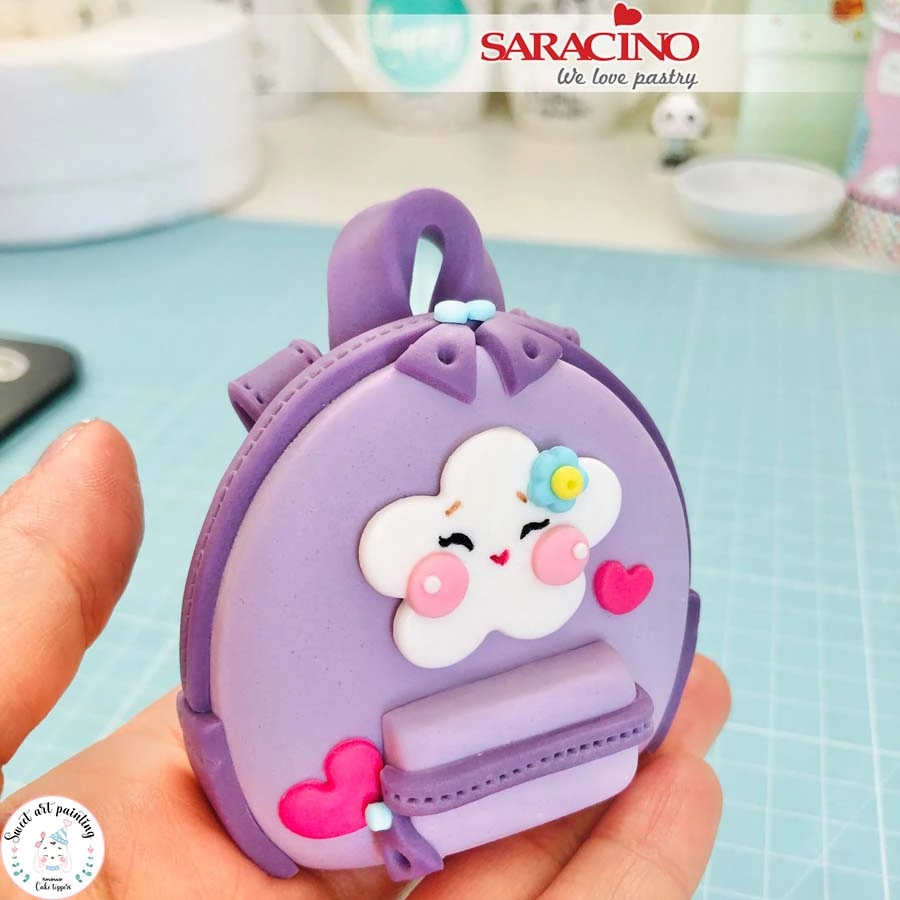
For the school bag – Roll lilac coloured Pasta Model to approximately 2cm thickness. Cut out the bag shape using a large ovel cutter.

Step 49

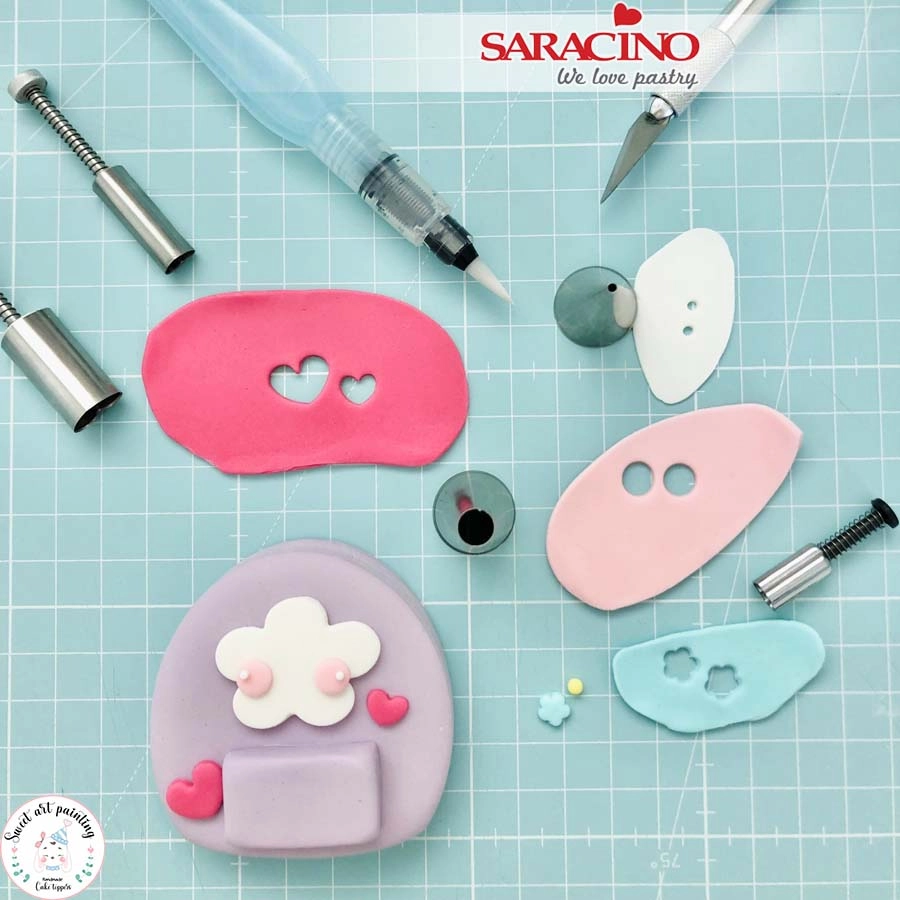
Using various shaped cutters and coloured Pasta Model decorate the front of the bag. Use the same colour as the bag add a rectangle shape for the front pocket.Ā 

Step 50

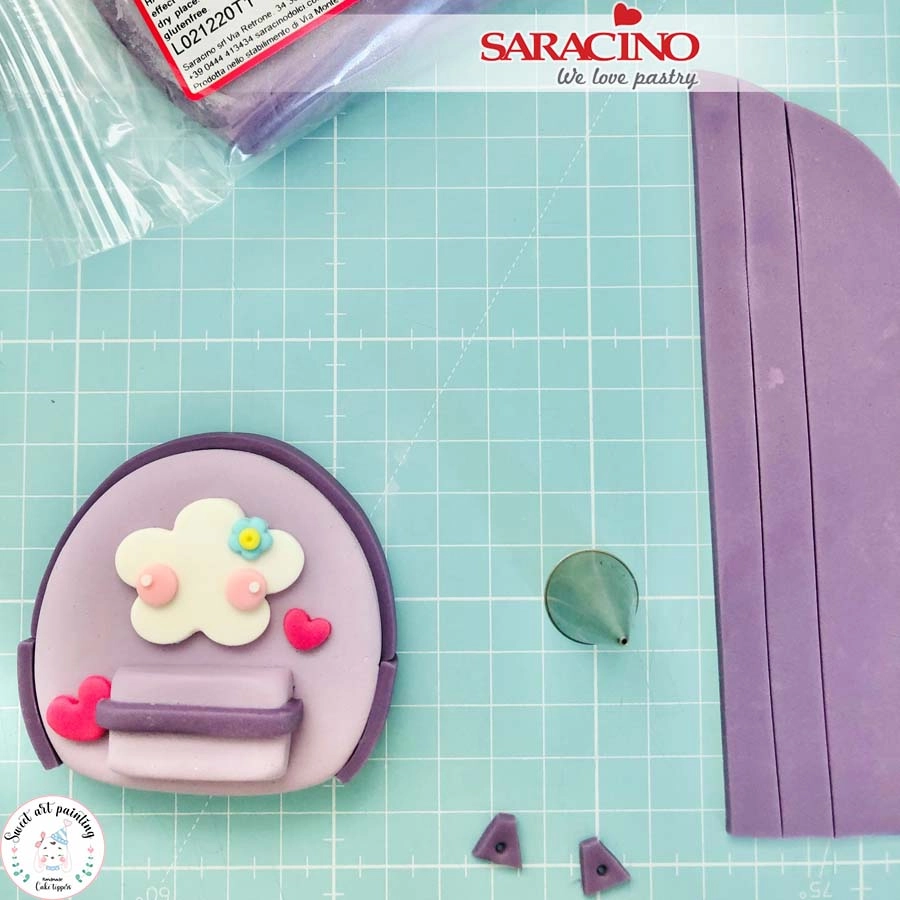
For the bag zip roll purple Pasta Model thinly and cut into strips. Fix to the bag. Repeat using a thinner strip for the zip to the front pocket. For the fastener cut out two triangle shapes. Use a thin piping nozzle to add the centre circle. We will need strips cut ready for the straps to the bag.


Step 51

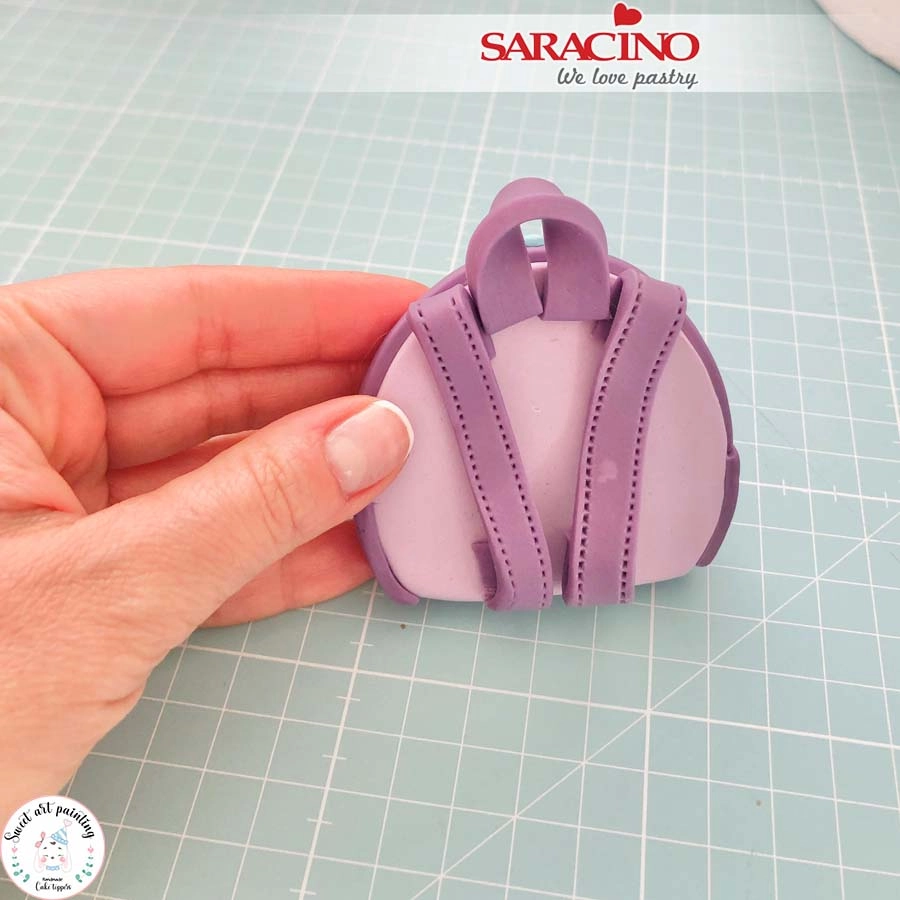
Use a stitching tool to add a zipper effect as shown. Fix the triangle fasteners. Add two small light blue circles to the top of the fasteners. Use a little glue to add the straps and the bag handle.Ā 


Step 52

For the zipper and side pockets of the briefcase cut purple pasye and glue


Step 53

Using edible pens paint the eyes and lips.


Step 54

The straps should be fixed as shown.Ā 


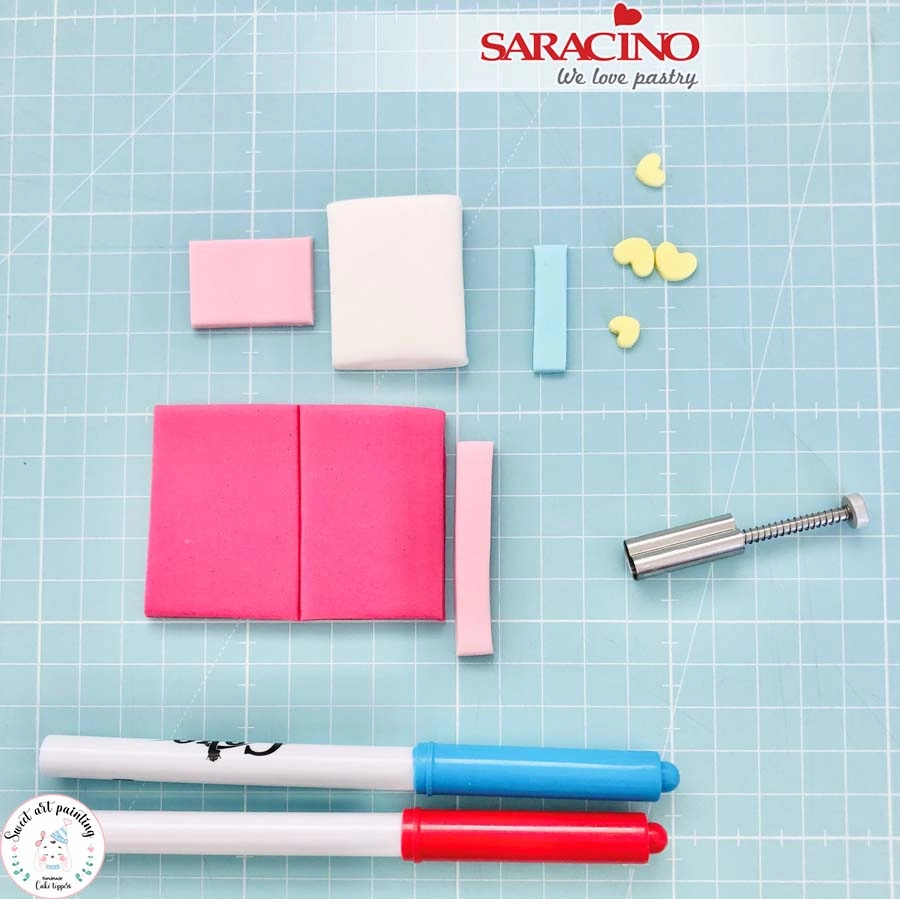
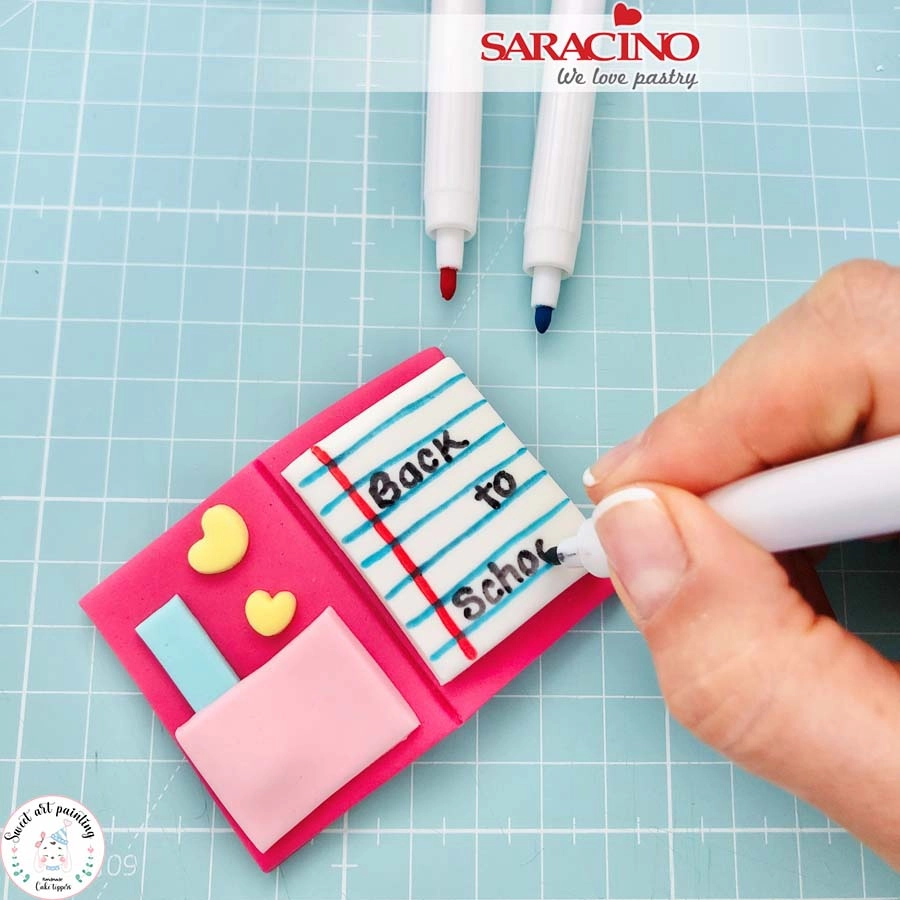
Step 55

To create our notebook cut a rectangle 7cm x 5cm using fuchsia Pasta Model and mark a line down the centre. Cut all the pieces and decoration needed for the book.


Step 56

Glue each of the pieces and decoration. Using the edible pens draw the lines of the page and add the text.


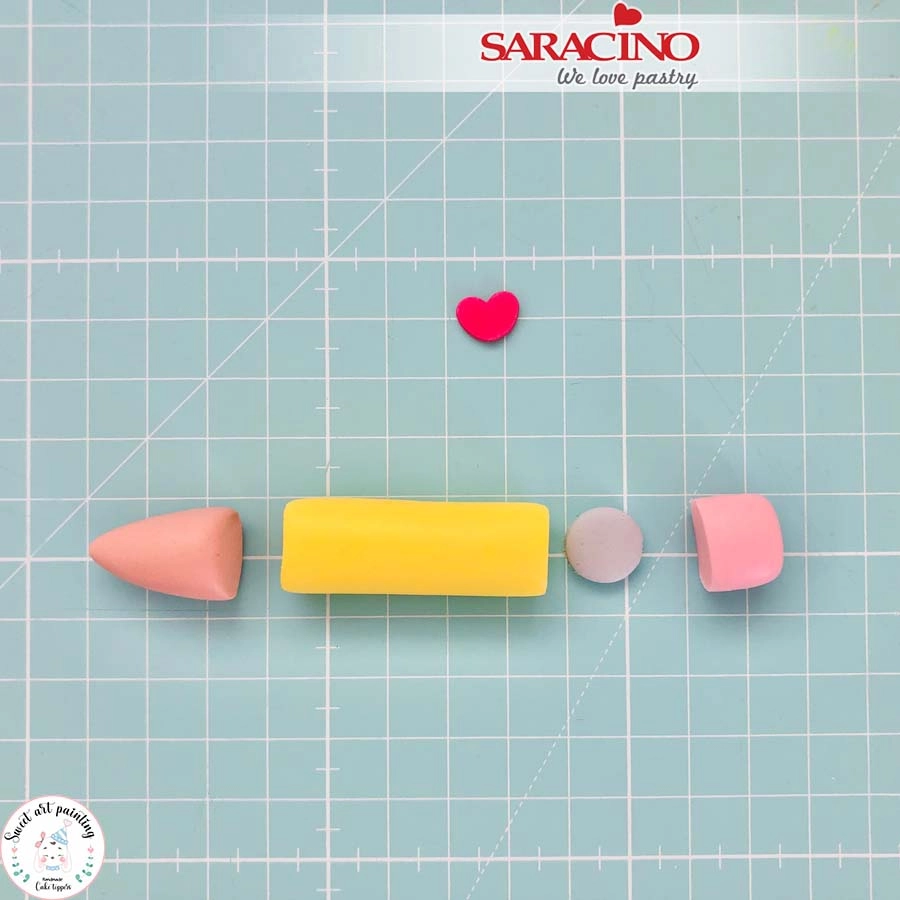
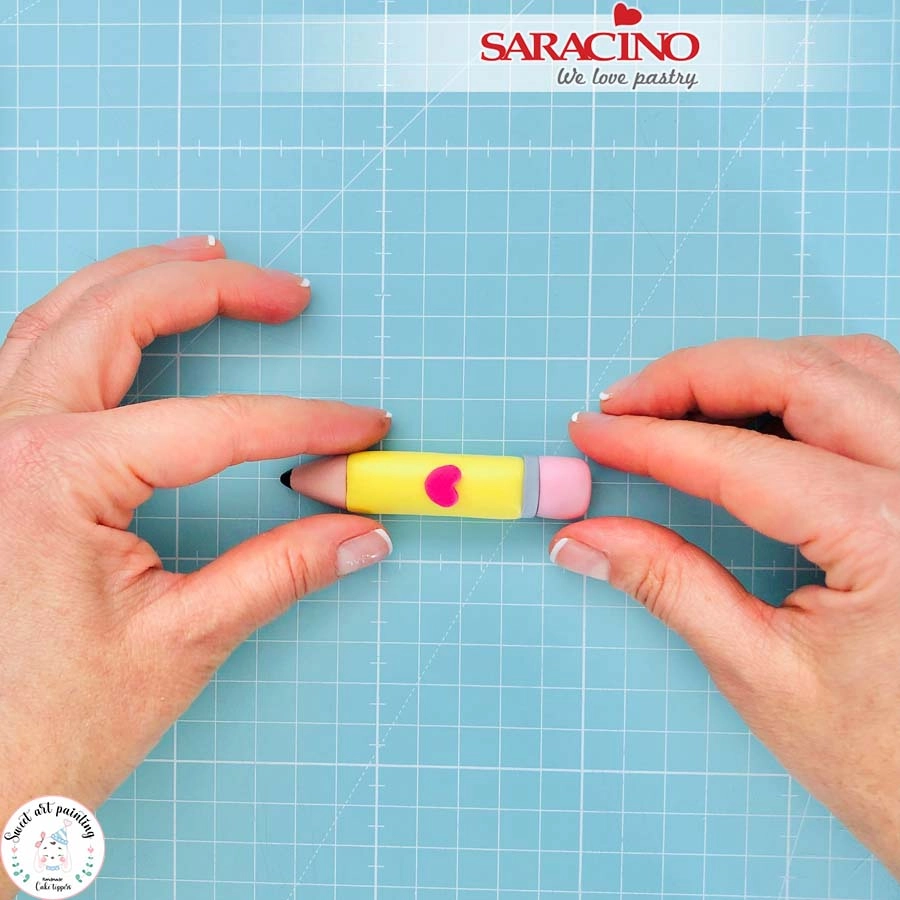
Step 57

For the pencil roll a small 4cm long cylinder using yellow Pasta Model and model the other parts using grey, beige, pink and fuchsia.

Step 58

Glue the pieces together as shown. Paint the end tip of the pencil using black colour.


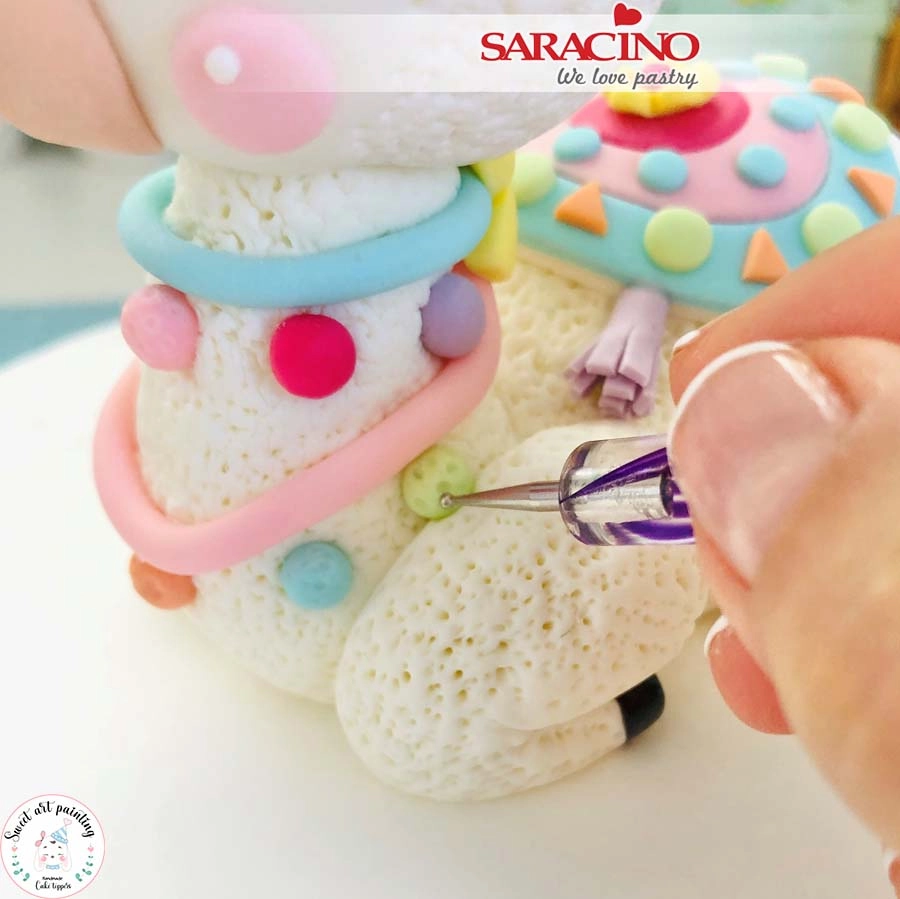
Step 59

Using a small ball tool add texture to the pompoms.

Step 60

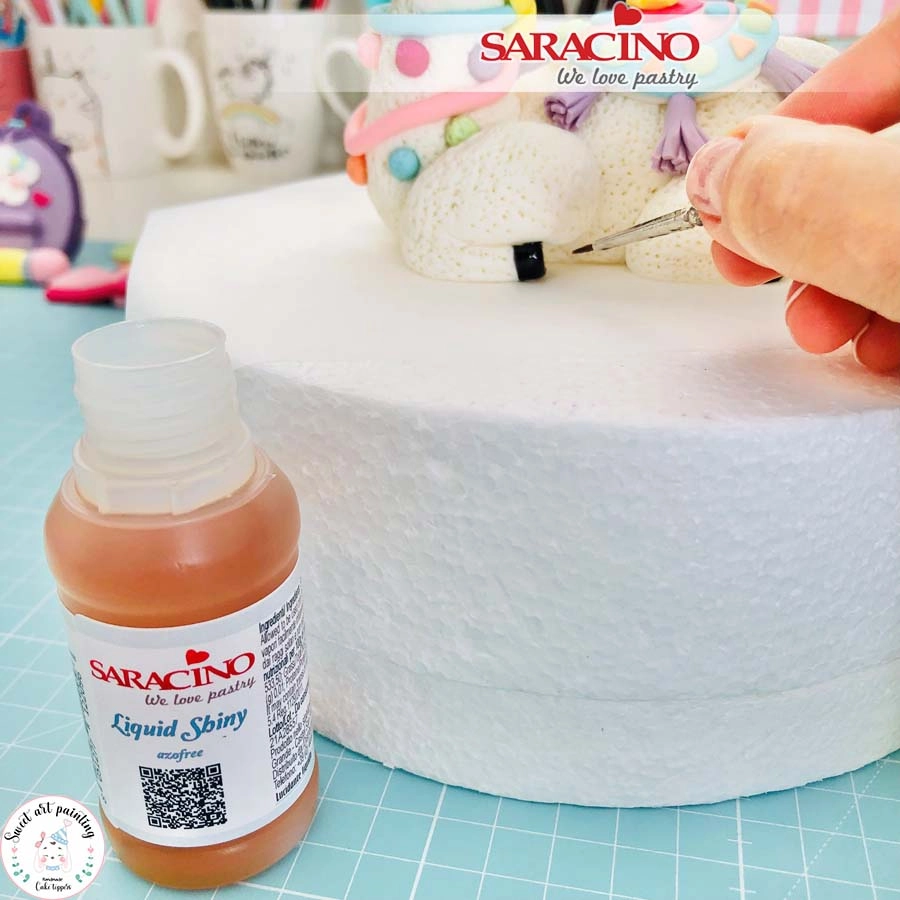
Paint the hooves using Liquid Shiny.


Step 61

Cover your cake using Pasta Top. Add the decorations as required to the cake.

KAWAII PENCIL HOLDER CAKE

KAWAII PENCIL HOLDER CAKE

Skill level: BEGINNERS

You will need:

For the cakeboard:

  • Cake board 20x20cm
  • 200g Ā Saracino white Pasta Top
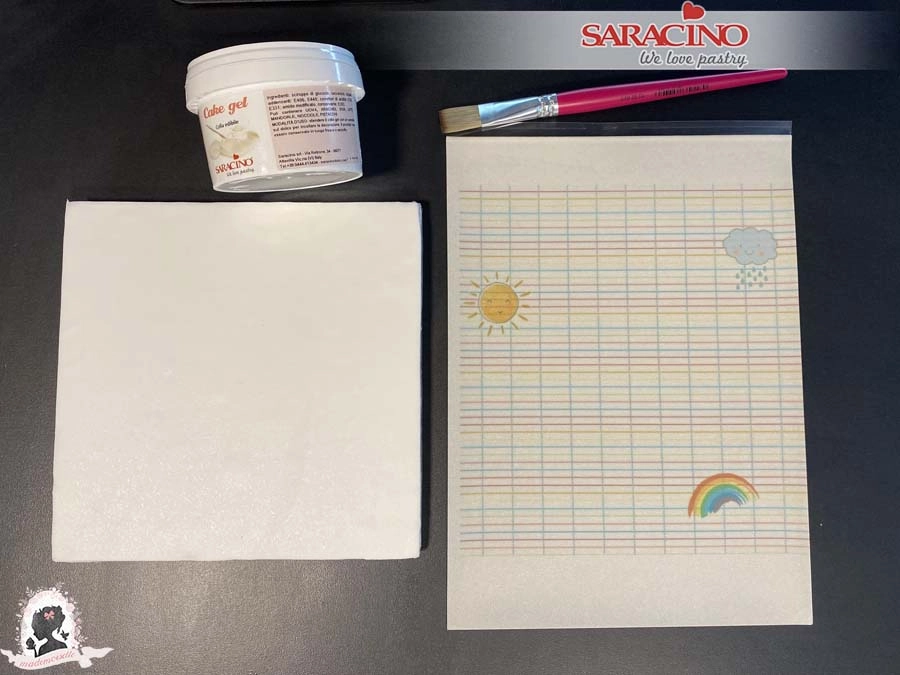
  • Edible glue – Ā SaracinoĀ Cake GelĀ 
  • Big brush
  • PDF print on Saracino wafer paper or icing sheet – download HERE

For the cake:

  • Print the template – download HERE
  • Two cakes of 15cm wide and 8cm deep minimum
  • 600g of chocolate ganache
  • A knife and a cake leveler
  • Two large round cookie cutters 10cm and 8cm each
  • Saracino Pasta Top sugar paste: 500g pastel yellow (mix 250g yellow with 250g white),Ā 200g dark pink, 100g black

To make the pencils:

  • Saracino Pasta Model:Ā 20g of each following colour: purple (dark), mauve (mix purple with a little white), yellow, orange, green, 50g blue and 50g pinkĀ (for pastel colors, always mix the colors with a bit of white), 50g beige (mix a little brown with white, and make two different beiges)
  • Modelling tools
  • Extruder
  • Rolling pin
  • Small circle 2cm and oval 2cm cookie cutters
  • Piping nozzles No. 5 and No. 3
  • 5 flower wires #18
  • Black marker
  • Dark pink powder colour and gold colour
  • Clear alcohol for mixing powder colours

Step 1

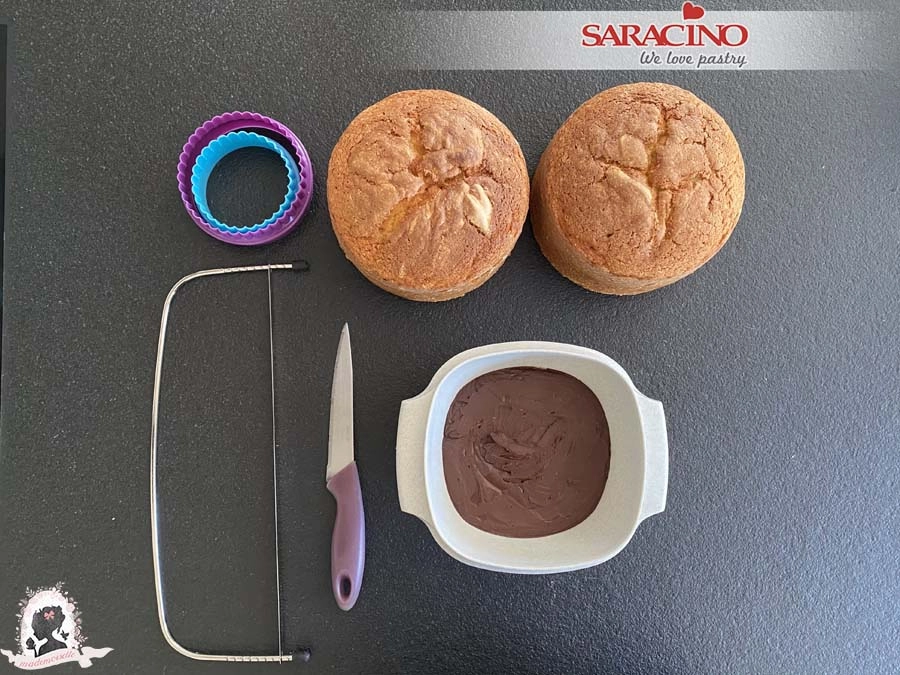
Bake two cakes of 15cm (12cm is fine too!) by 8cm deep and prepare a chocolate ganache the day before.


Step 2

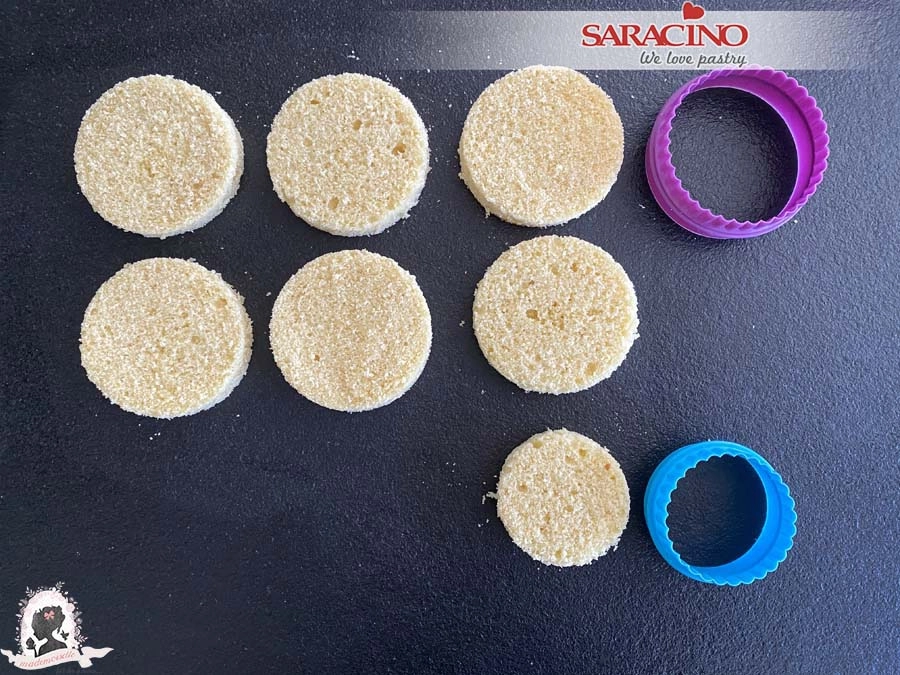
Cut the cakes into 2cm deep layers, then using the round cutters, cut 6 disks 10cm wide and 1 disk 8cm wide.

Step 3

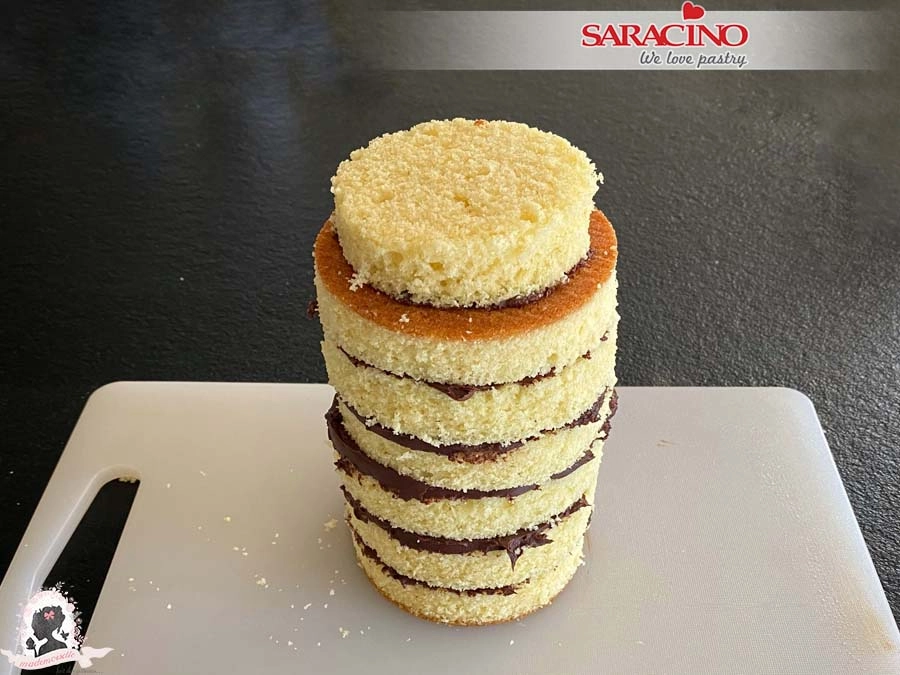
Assemble the cake by layering with ganache. The small disk is to be on top.

Step 4

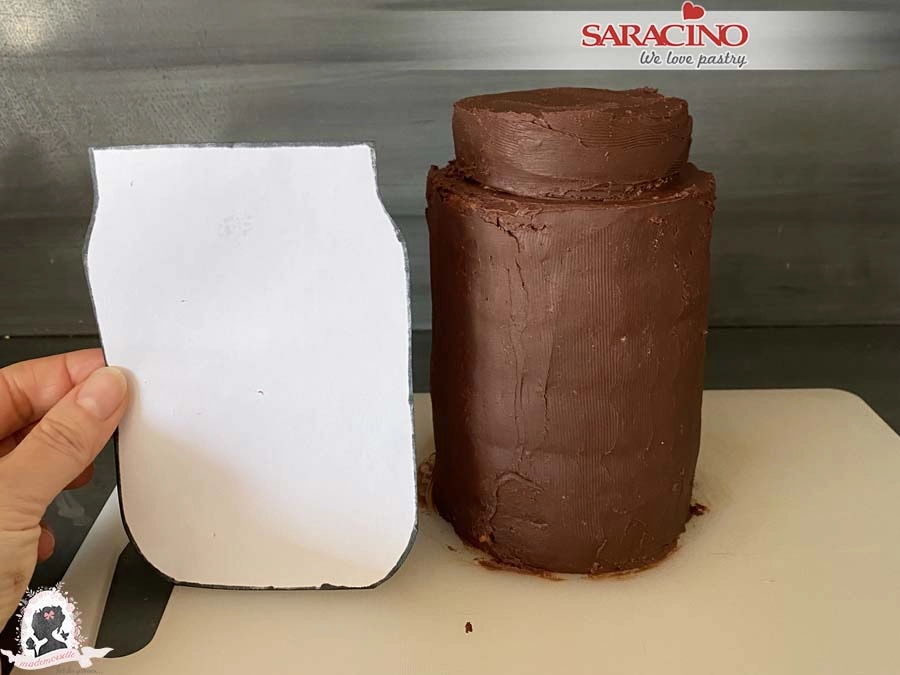
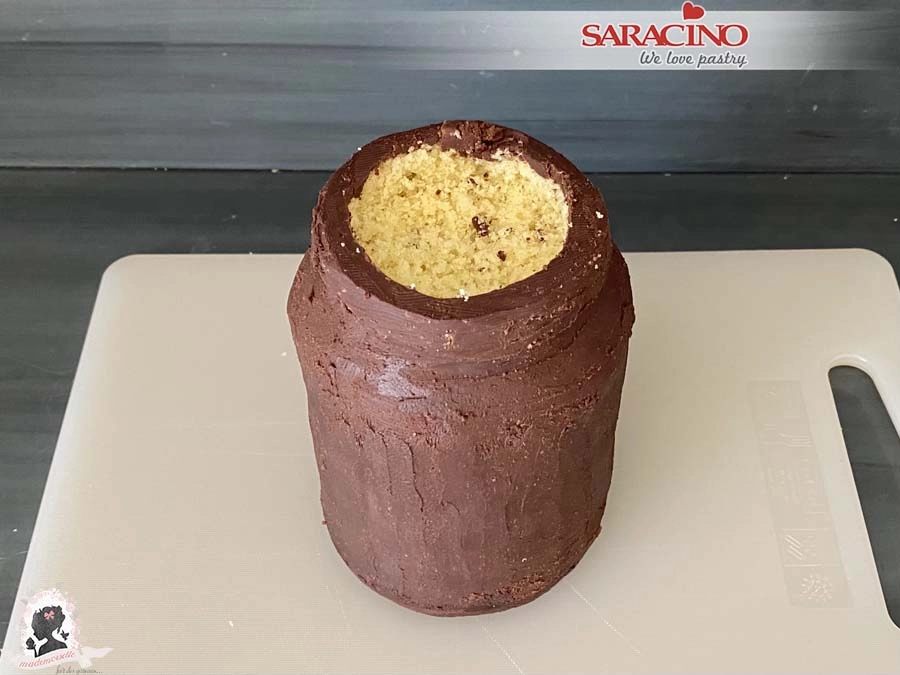
Ganache the cake roughly to the shape of the template.

Step 5

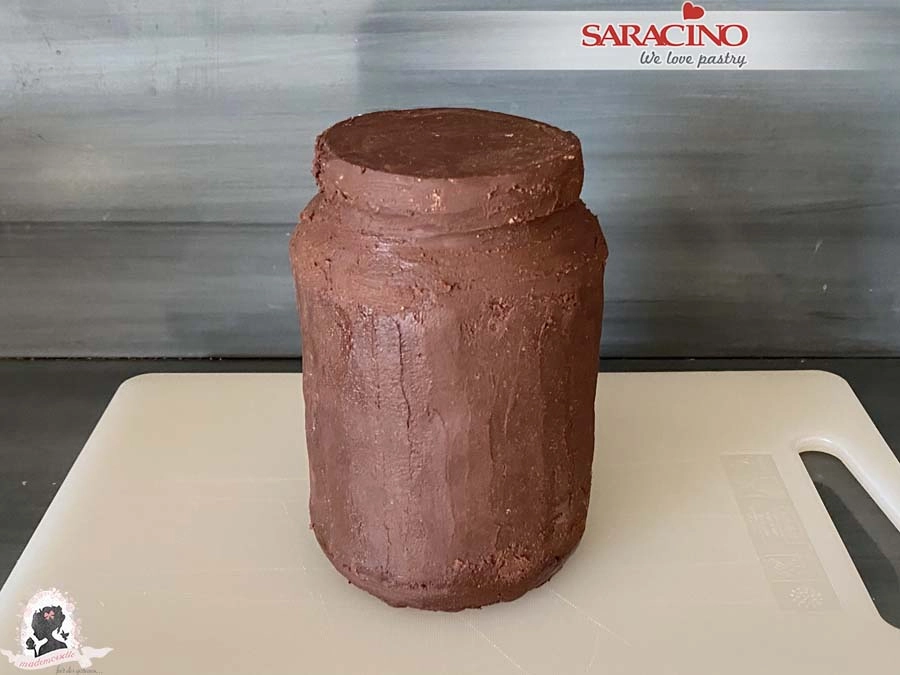
Cut the top and bottom edge of the cake at an angle. Mix the scraps of the cake with ganache to make a “dough” which we will use to shape the rounded edges of the pot (at its base and at the top).Ā Sculpt the cake until you get the desired shape (use the template). Be careful not to cut too much. Once you have the right shape, let the cake set in the fridge for at least 1 hour.

Step 6

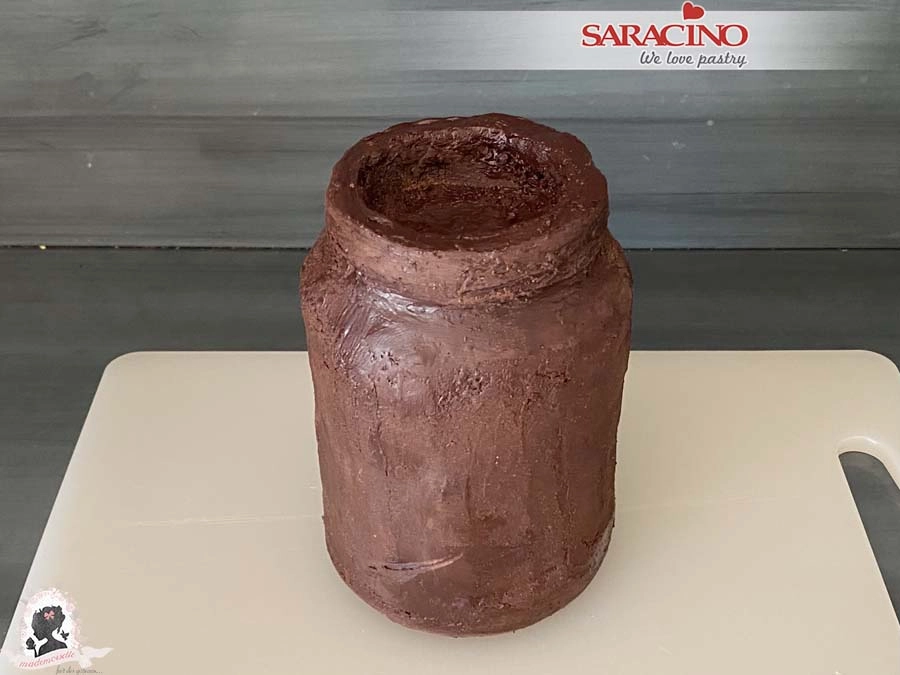
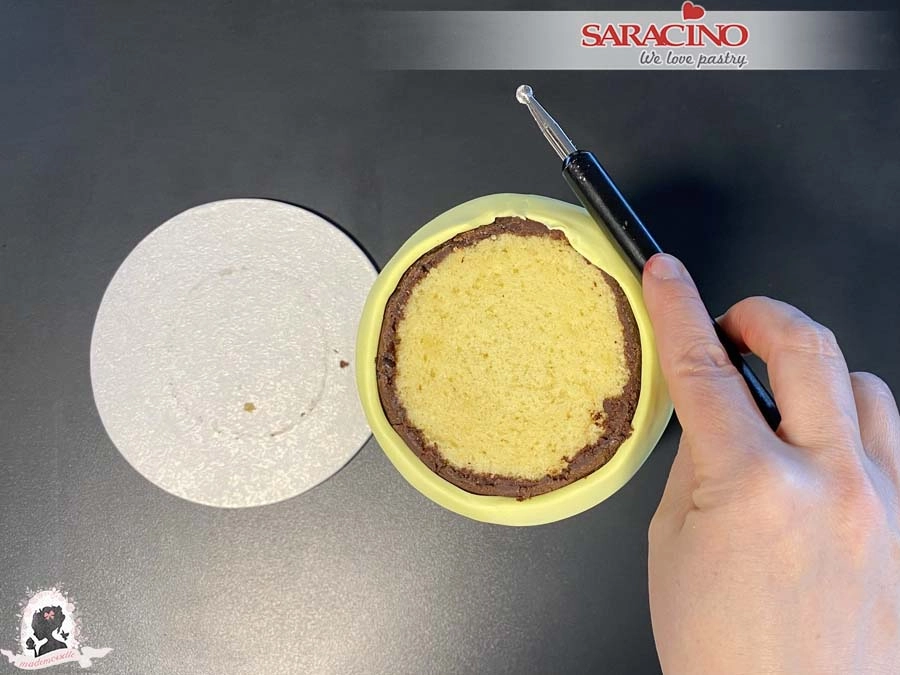
When it has set cut off the top. Using a knife hollow out the top of the cake to approximately 1.5cm deep. The circle needs to be approx. 6cm diameter.

Step 7

Cover with ganache and put back in the fridge for about 30 minutes.


Step 8

Print the PDF for the cake board on a wafer paper sheet or on an icing sheet and cover a 20×20 cm cake board with white Pasta Top.

Step 9

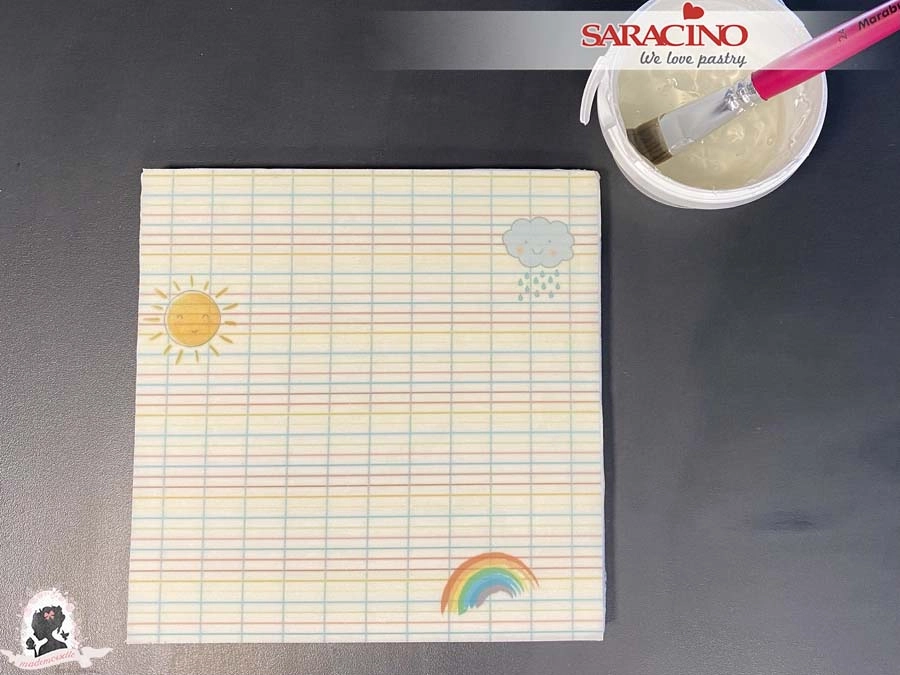
Cut the printed sheet to the correct size. Use edible glue to fix the wafer paper or icing sheet to the cakeboard. Be careful to distribute the glue over the entire surface of the cakeboard without using too much.Ā Let the cakeboard dry for about 15 minutes before placing the cake onto it.

Step 10

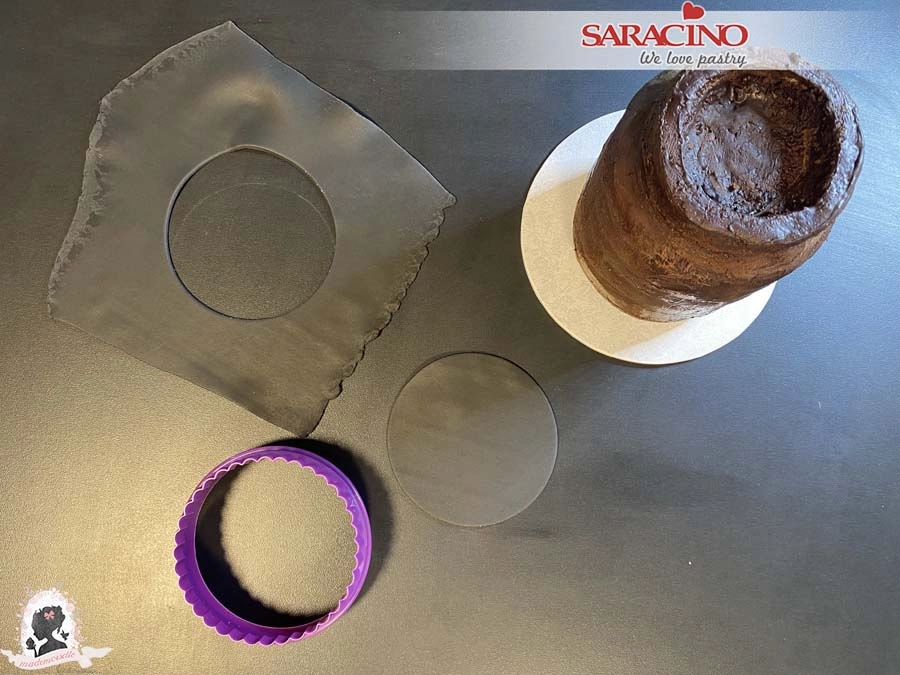
For the inside top of the jar roll the black Pasta Top and cut out a circle of 10cm diameter.


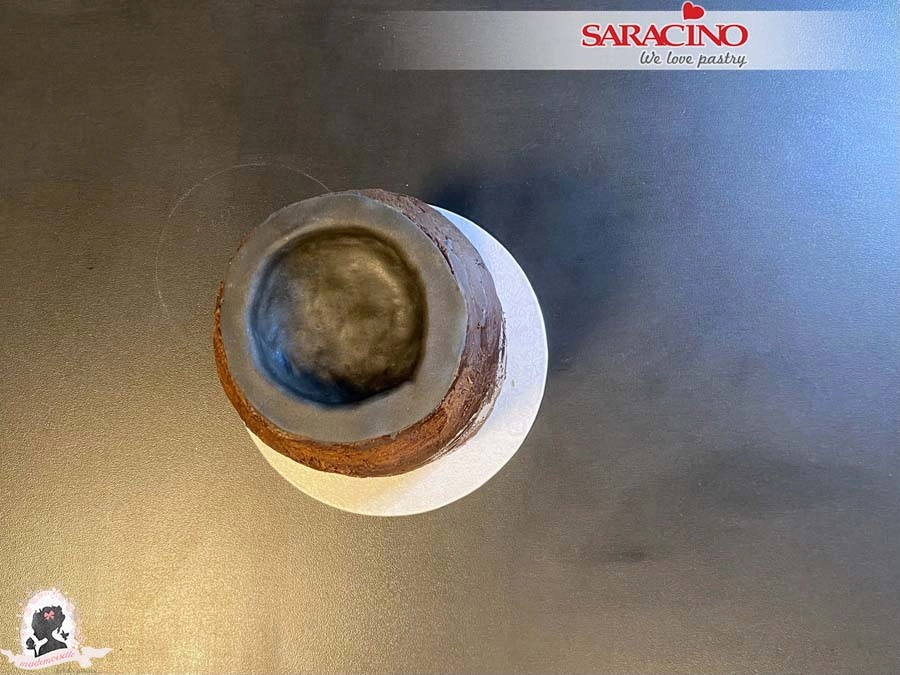
Step 11

Place the black circle on top of the cake. FixĀ well following the shape of the pot. Smooth as much as possible.

Step 12

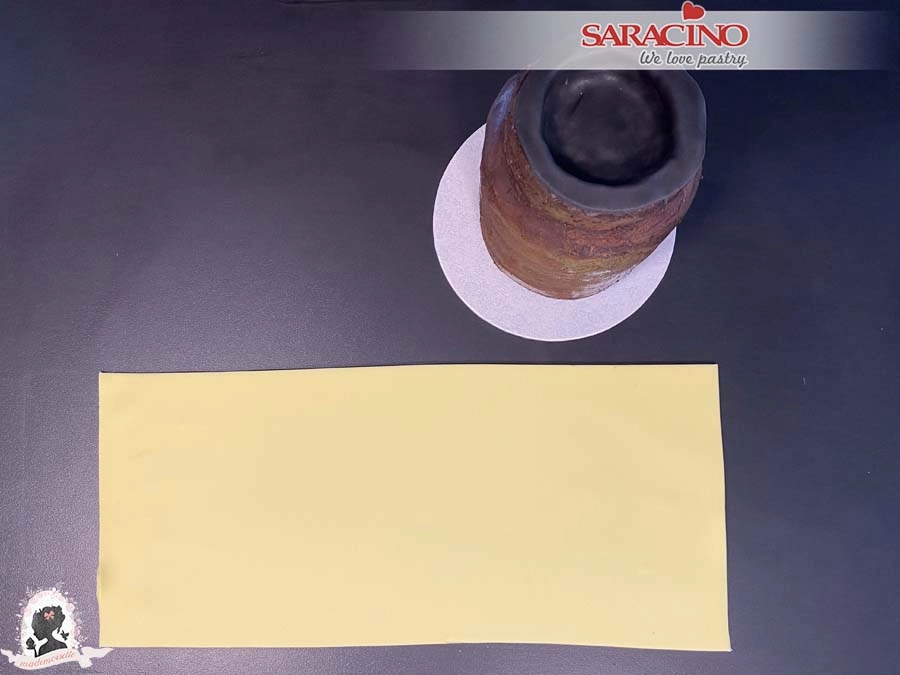
Roll the yellow Pasta Top and cut a strip 38cm long by 16.5cm wide.


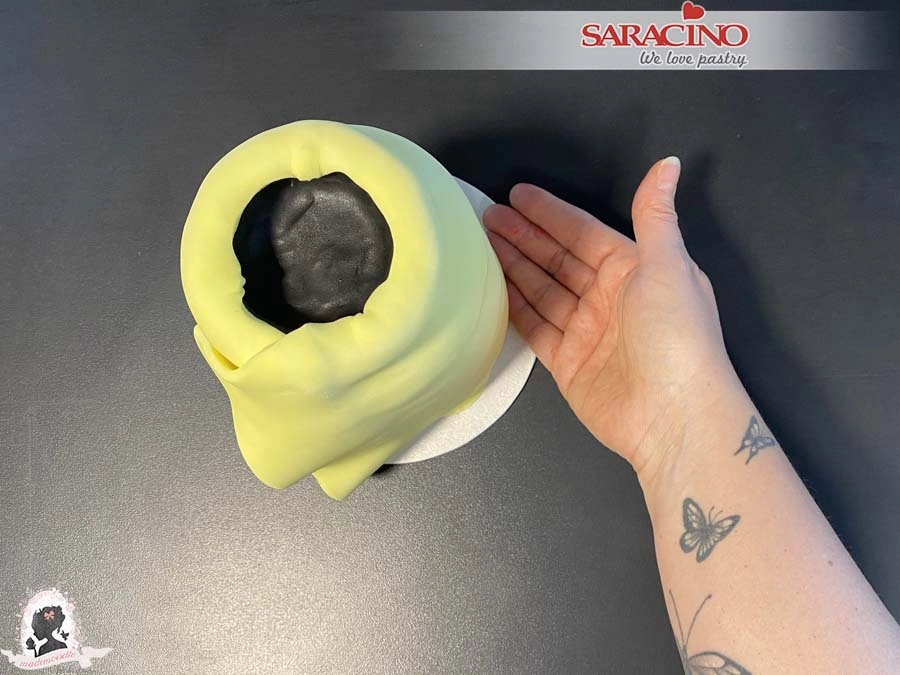
Step 13

Cover the sides of the cake making sure the paste adheres well. It is important to keep the shape of the cake with rounded edges top and bottom.

Step 14

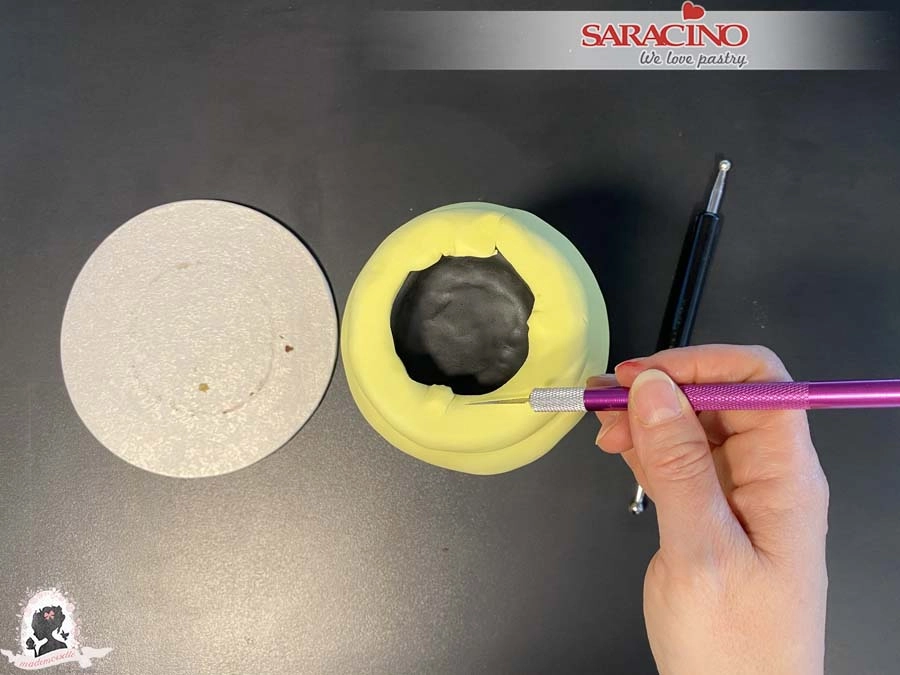
Once the cake is covered and the excess paste has been removed turn the cake over to form the base. I used a modelling tool to roll the paste to the inside for a neat finish.

Step 15

Sculpt and smooth the cake until you are satisfied.Ā Turn the cake the right side up. Cut and finish the top of the pot removing any irregularities in the paste.

Step 16

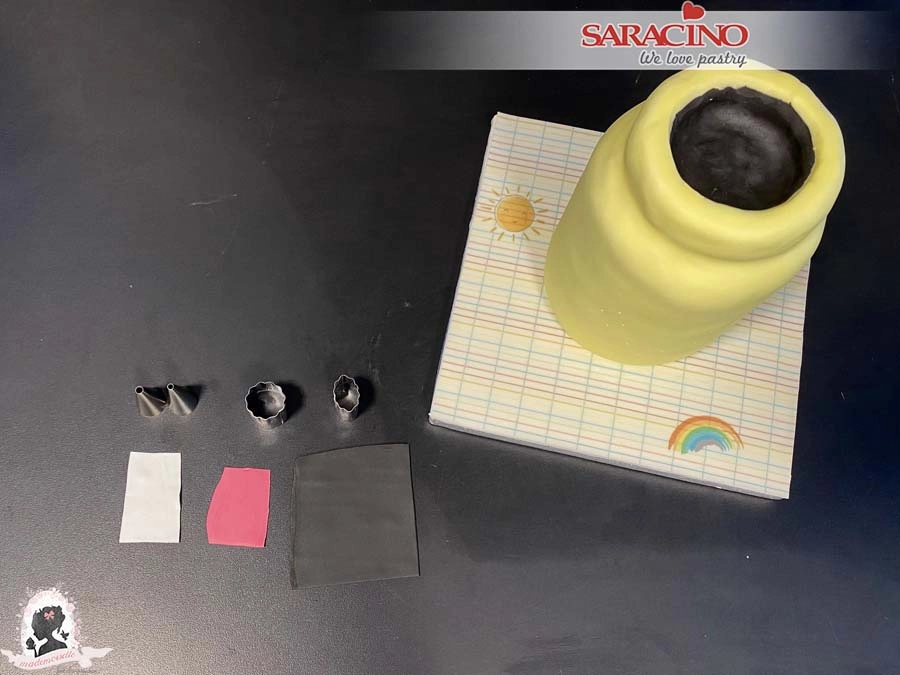
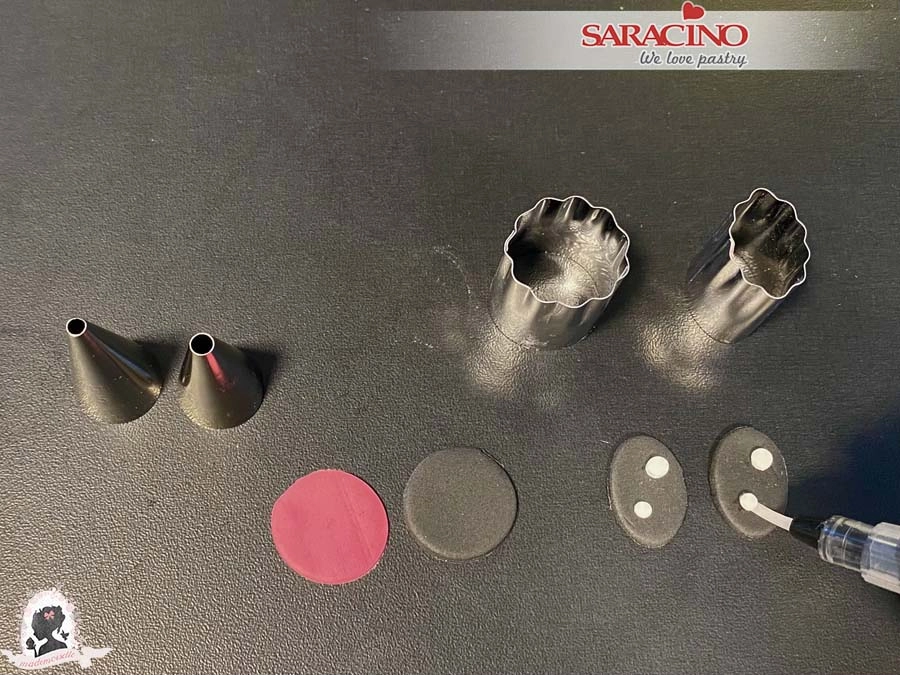
For the mouth and eyes roll black, white and pink Pasta Top to small squares.

Step 17

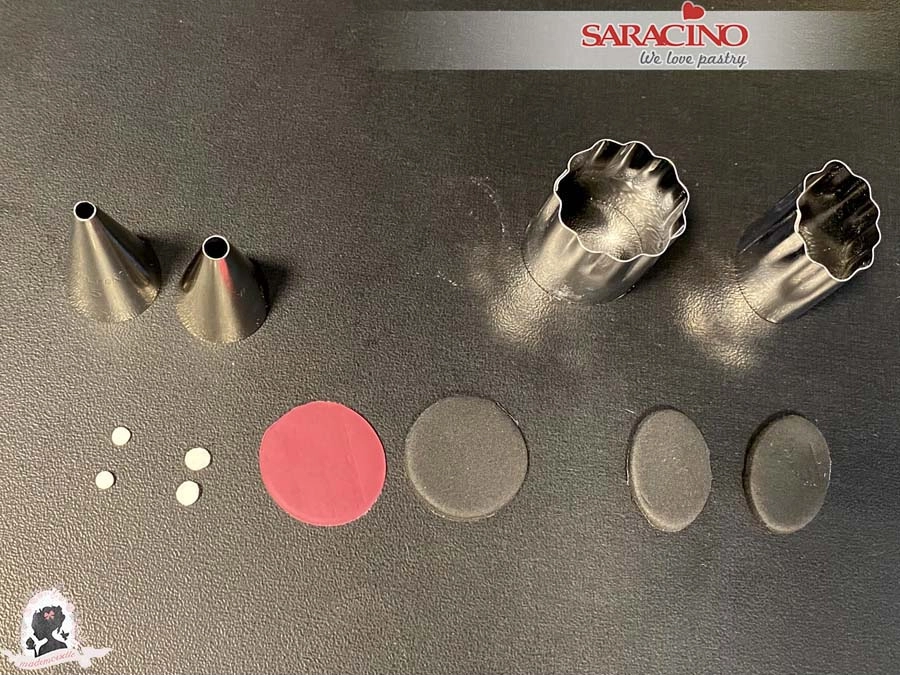
Using the cookie cutters cut two black ovals, one black circle and one pink circle. Using the round piping nozzles cut two white circles of each size.


Step 18

With a little water fix the small circles to the black ovals.


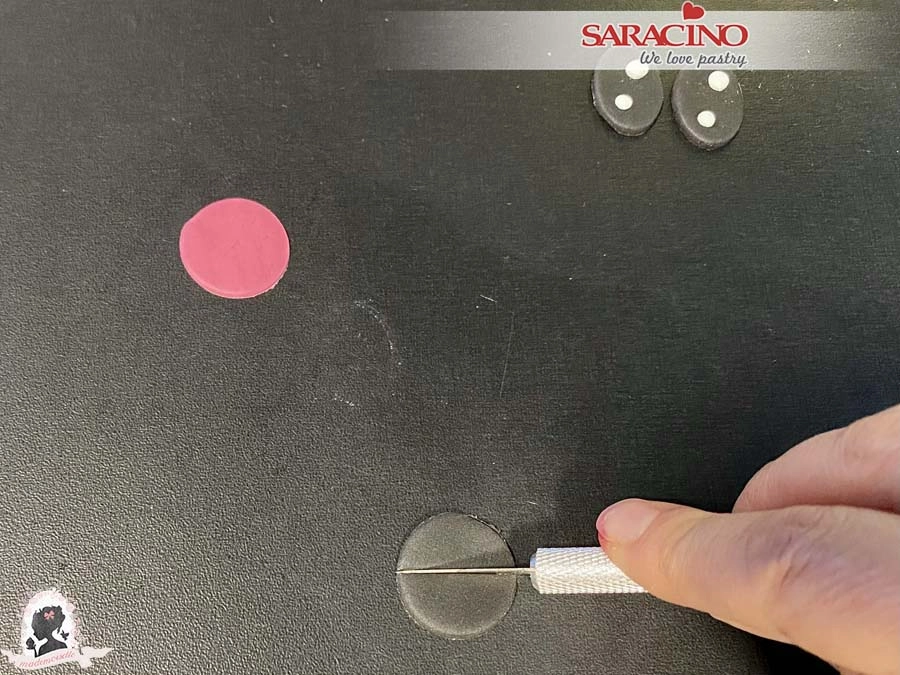
Step 19

Cut the black circle in half.


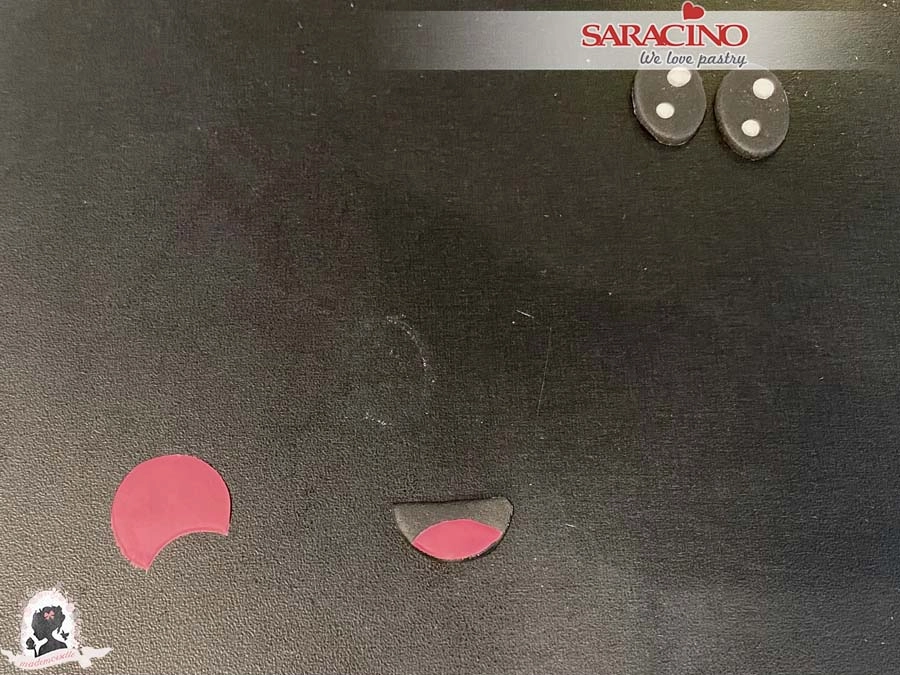
Step 20

With the circular cookie cutter cut a small pink crescent. Fix to the black half circel as shown.

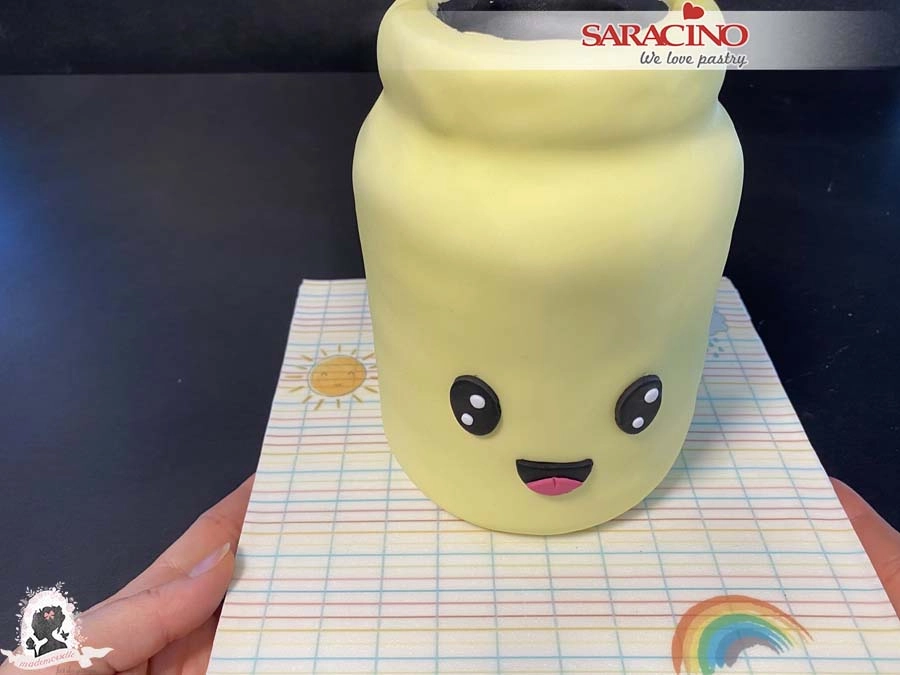
Step 21

Use a little water to fix the eyes and the mouth to the jar. Use the template to place them in the correct position.

Step 22

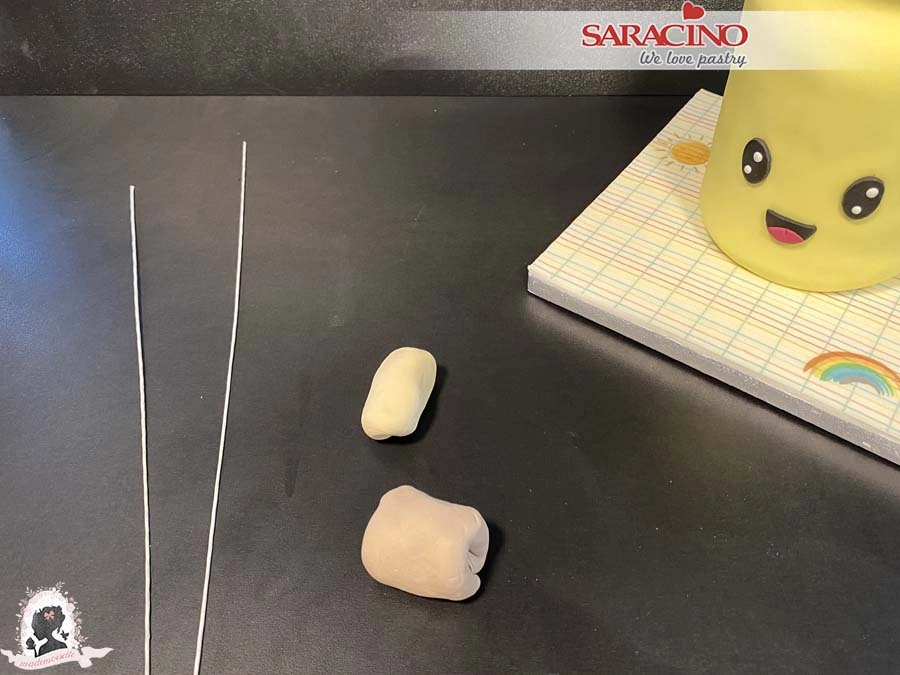
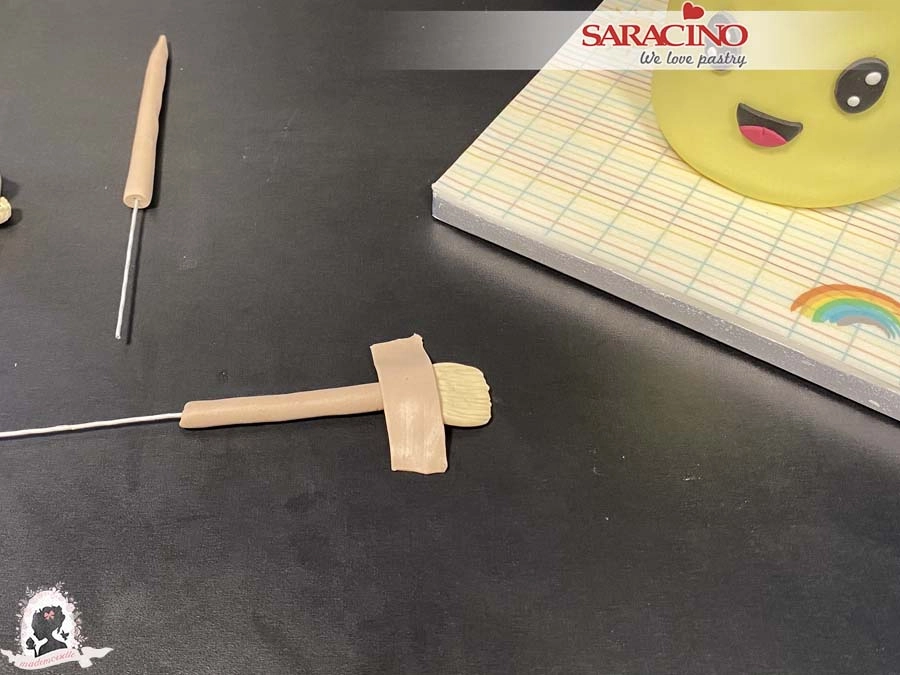
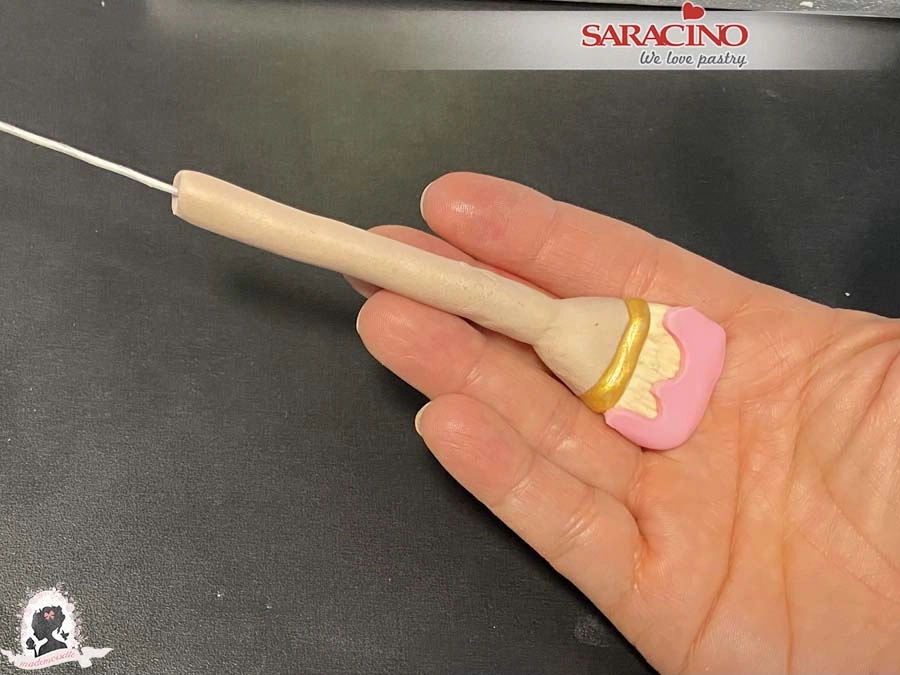
For the brushes prepare two shades of beige (by mixing dark brown and white). You will need two 18 gauge wires.

Ā 

Step 23

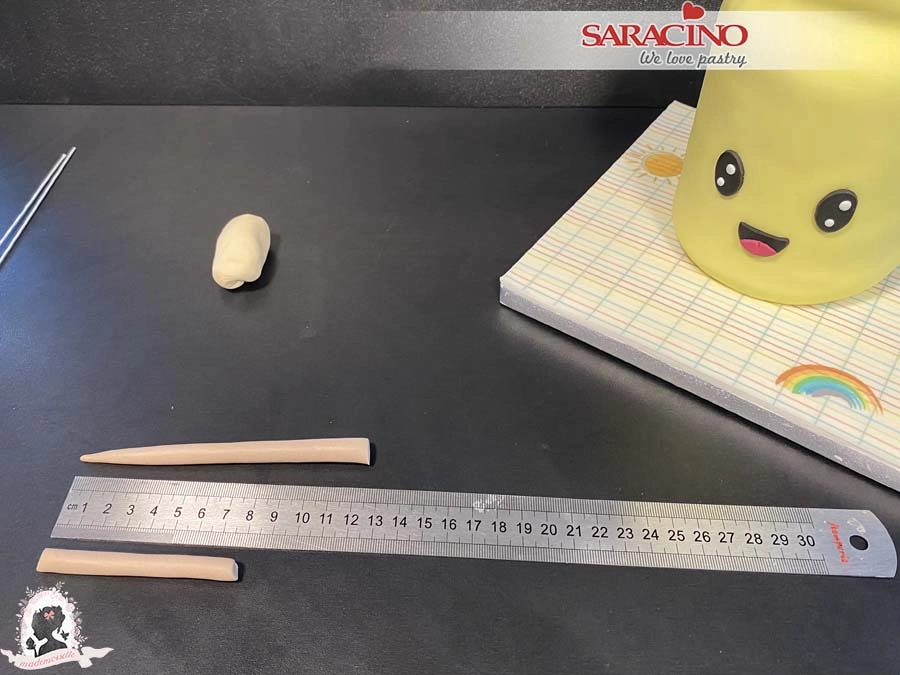
Roll a long sausage shape to approxiamtely 12cm. Roll to give a point on one end. Roll a smaller sausage shape to 8cm.

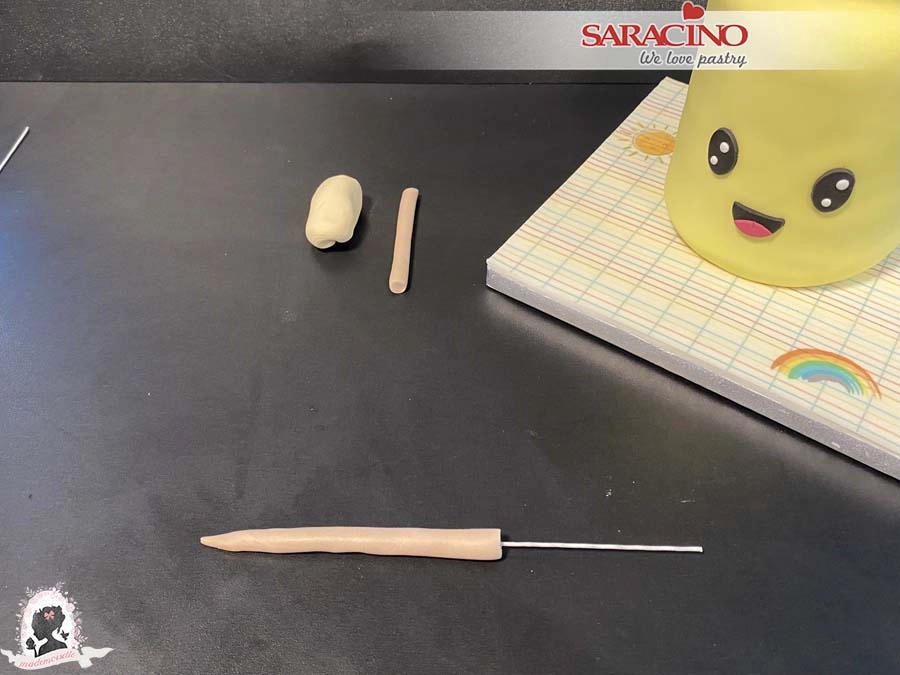
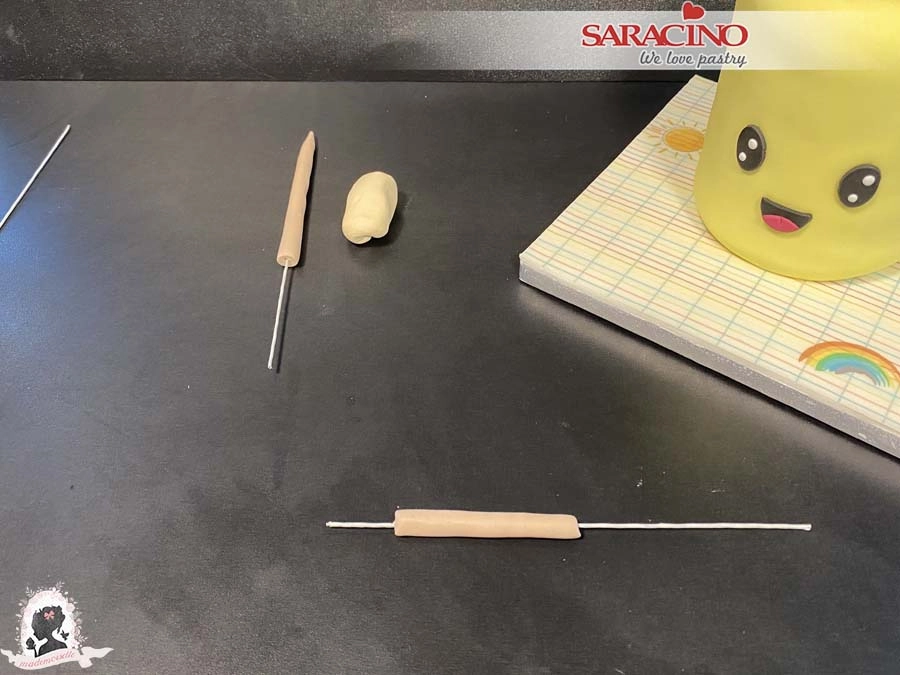
Step 24

Insert a wire into each sausage.

Step 25

In the shorter sausage the wire needs to project approxiamtely 2cm.

Step 26

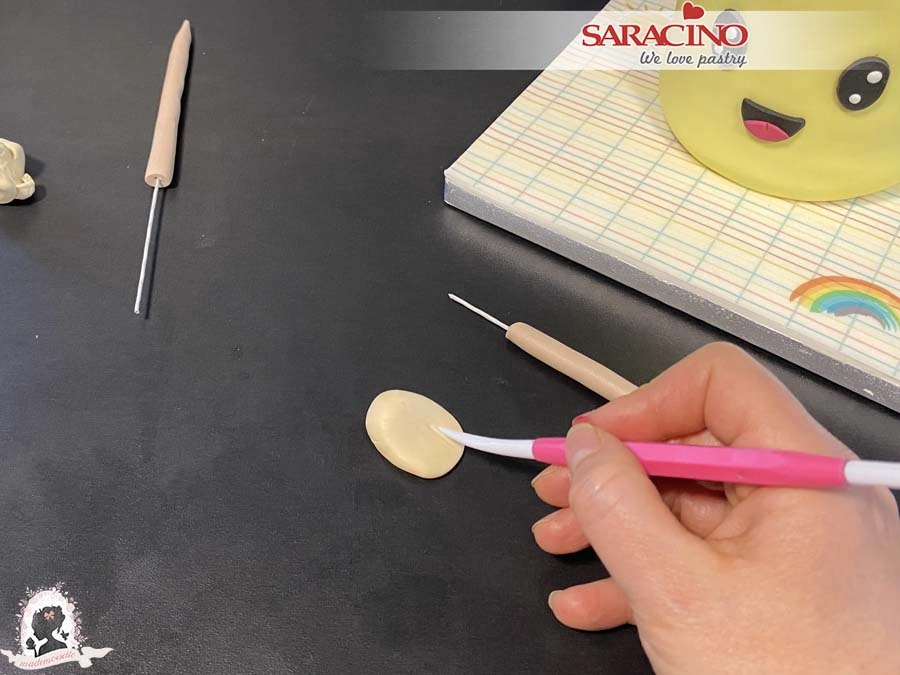
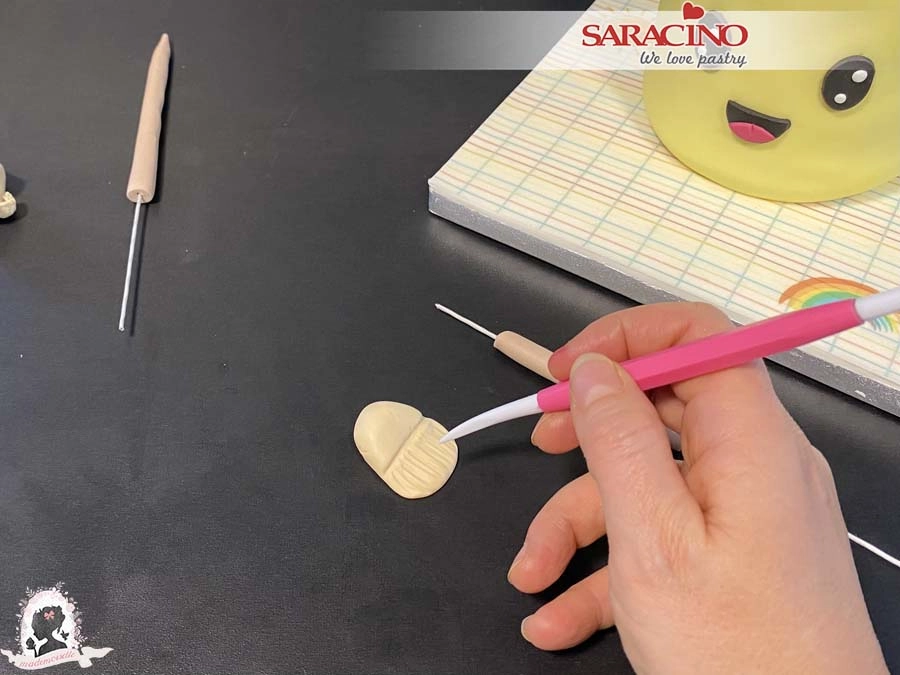
Using the lighter beige roll a ball and flatten it on one side. Use a modelling tool to mark the bristles on the flat end.

Step 27

Model the bristles of the brush.

Step 28

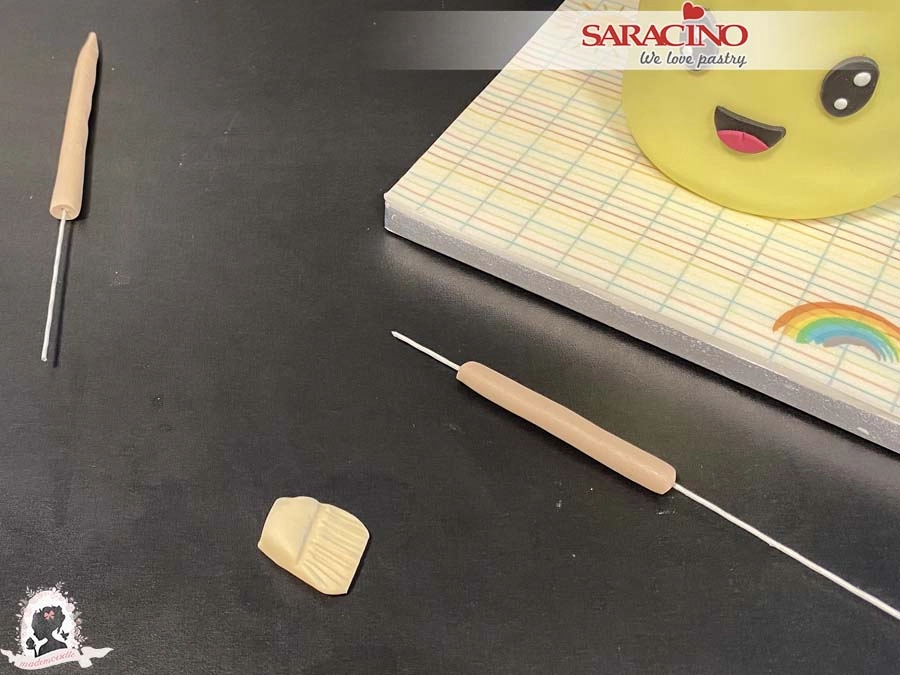
Cut off the top and flatten a bit if necessary where it will connect to the handle.

Step 29

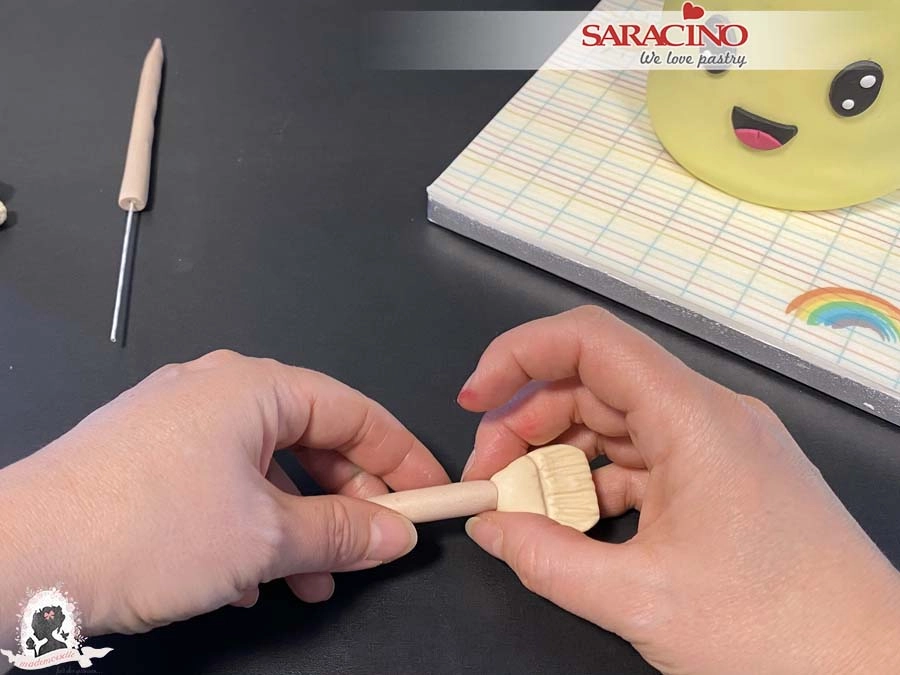
Press the top of the brush onto the wire of the handle. Model to make sure it fits well with the handle.

Step 30

Cut a small beige strip of paste and cover the joint.

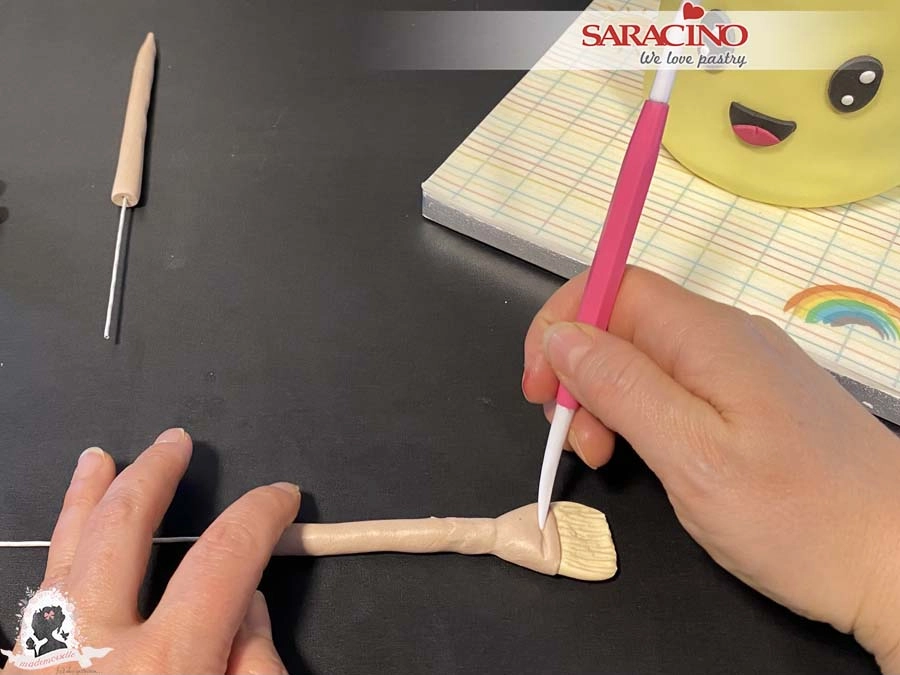
Step 31

Smooth and blend well to hide the joint. Using aĀ Dresden tool mark a groove around the brush.

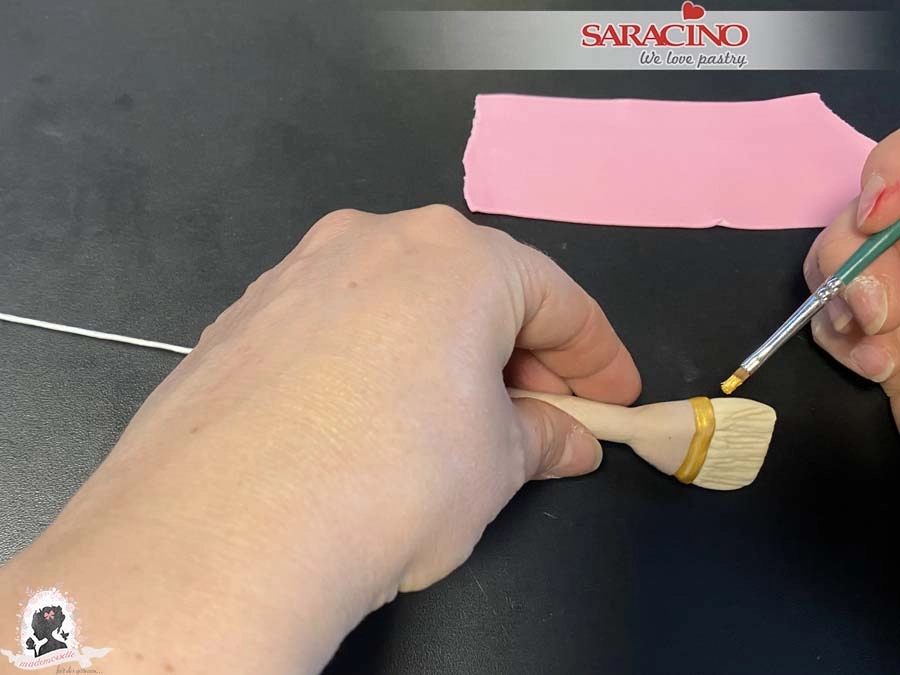
Step 32

Mix gold powder colour with clear alcohol and paint a stripe on the handle at the base of the brush.

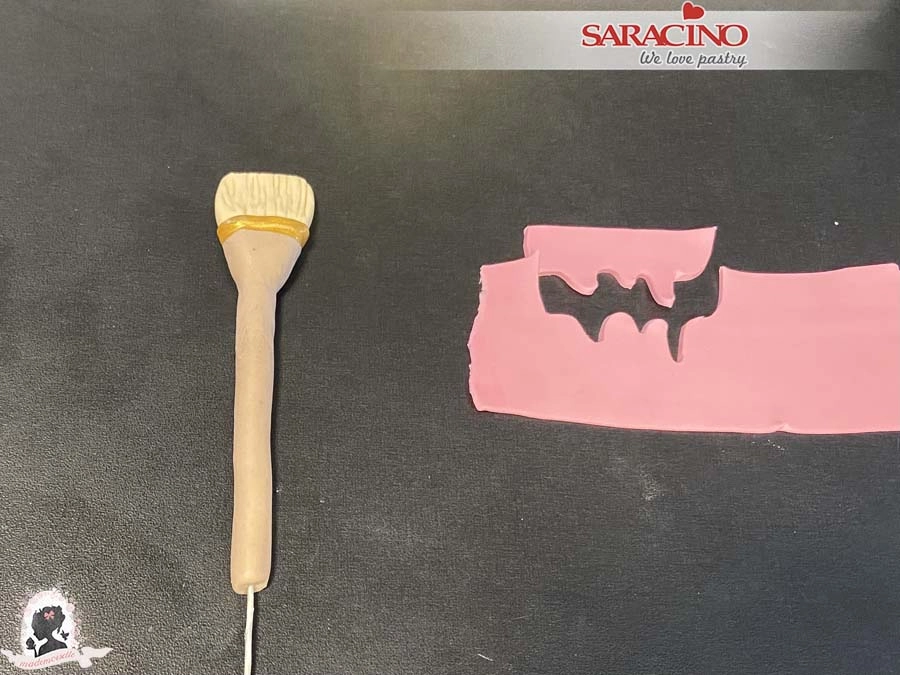
Step 33

Roll a little pink paste and cut out paint drips.

Step 34

Using a little water fix the drips on the bristles of the brush.

Step 35

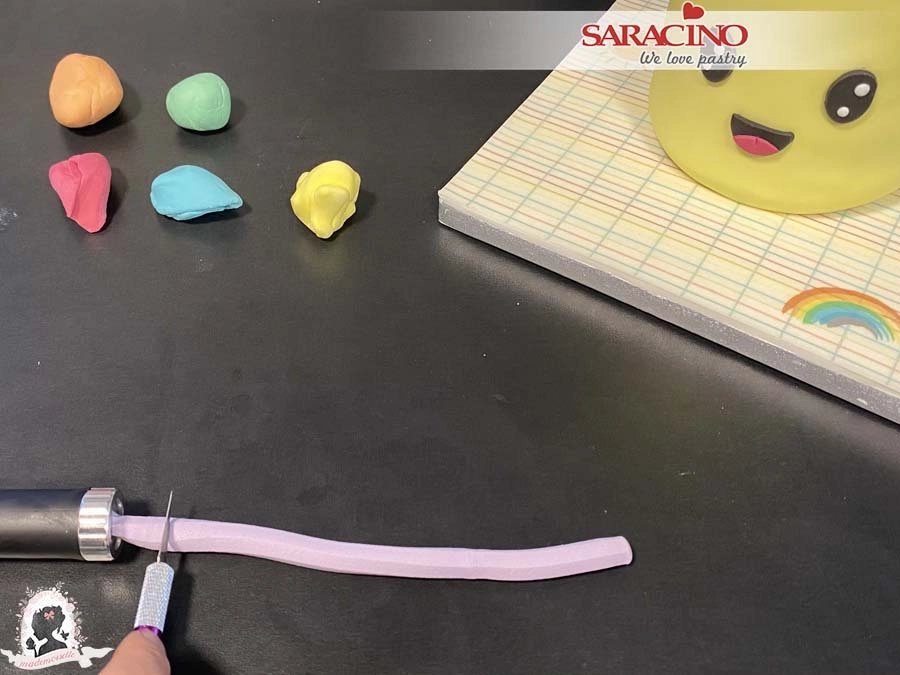
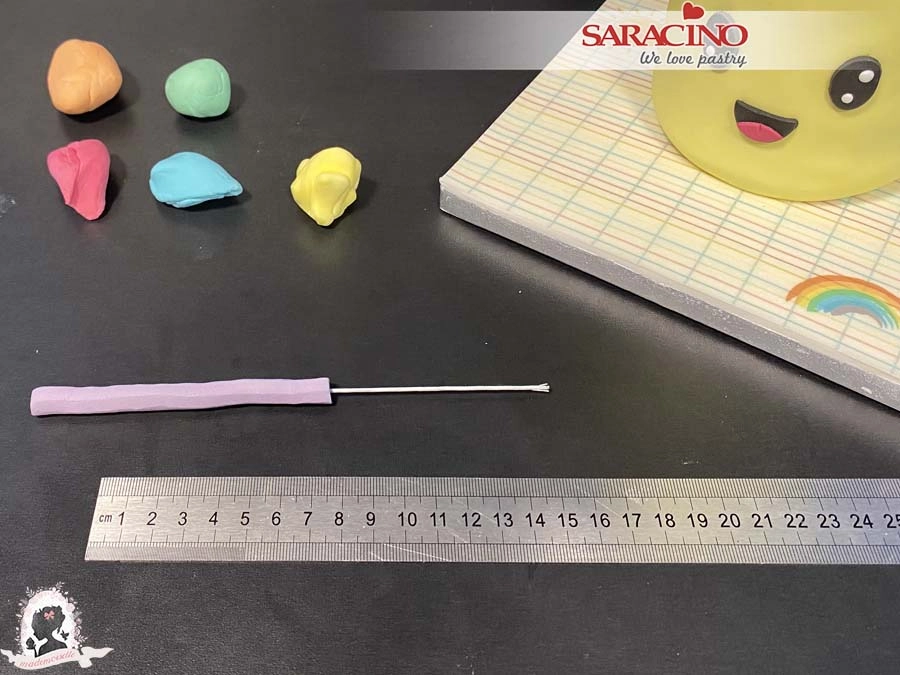
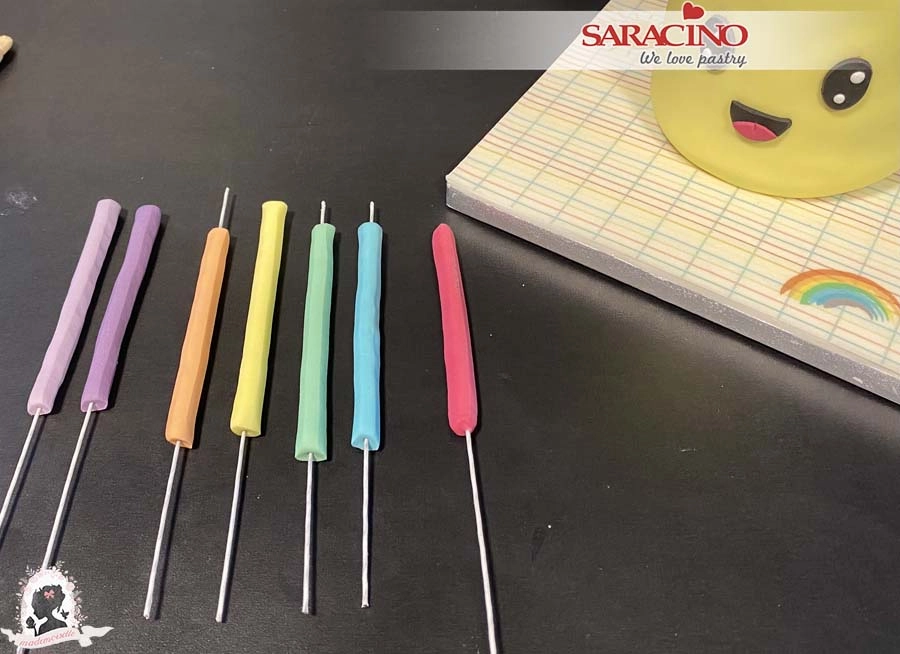
For the pencils prepare 7 different colours and the extruder. You can use a circle or hexagon shape.Ā Insert a little coloured paste into the extruder and press. Cut a length approximately 10-12cm long.

Step 36

Insert a wire in the center.

Step 37

Repeat for the 7 colours. Some wires need to be inserted all the way through.

Step 38

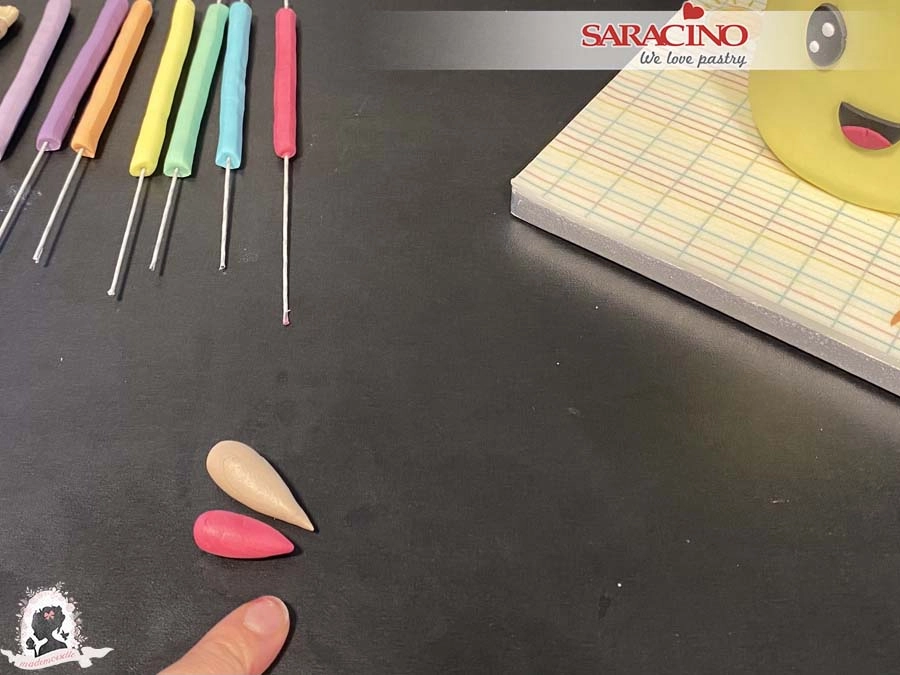
Using the beige and pink paste roll pointed cones.

Step 39

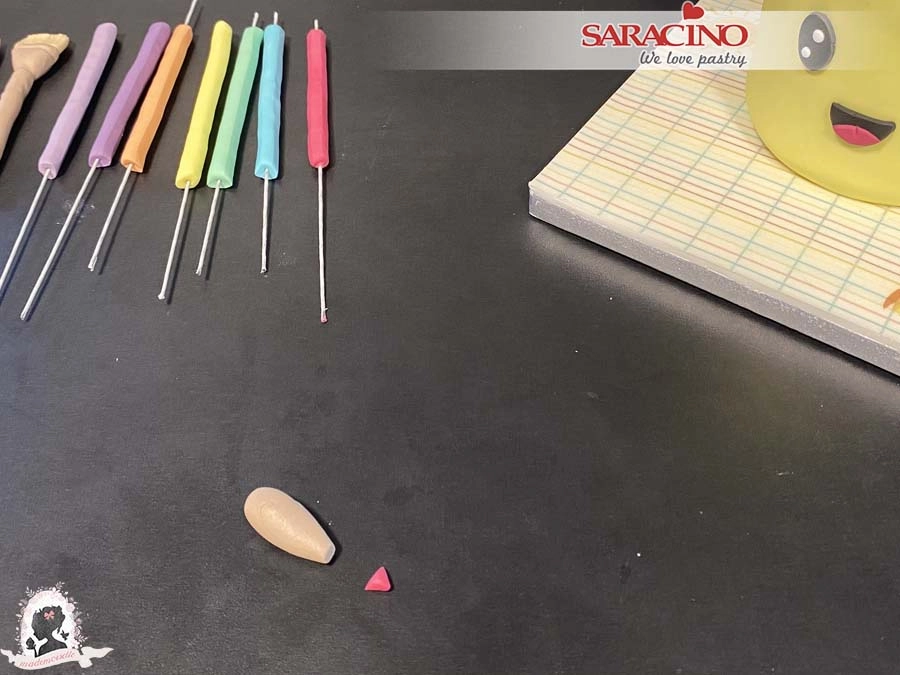
Cut a small pink point from the pink cone. Cut off the same length from the beige cone.
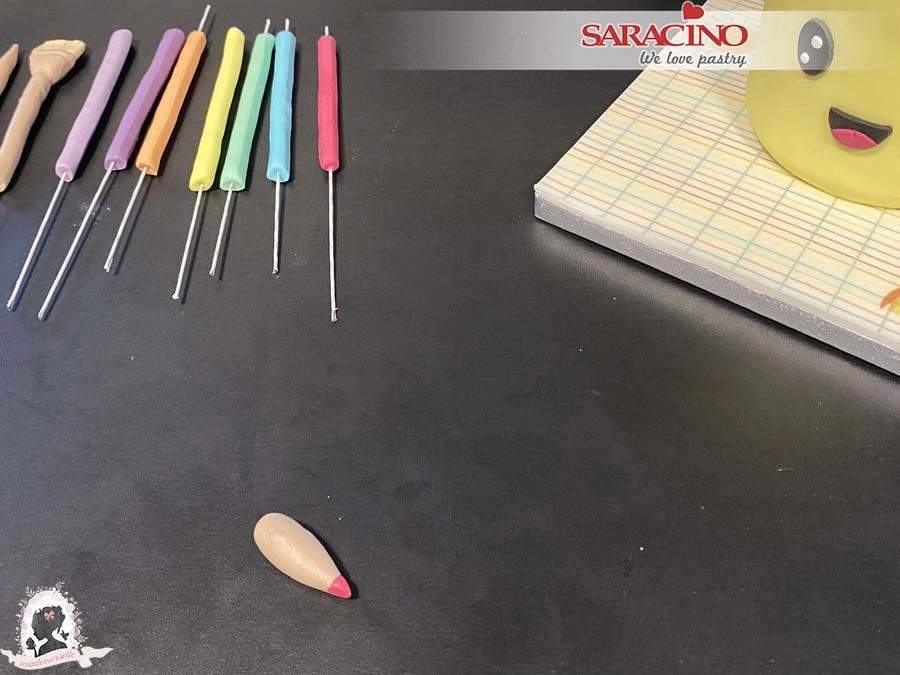
Step 40

Use a little water to fix the coloured tip to the beige part.
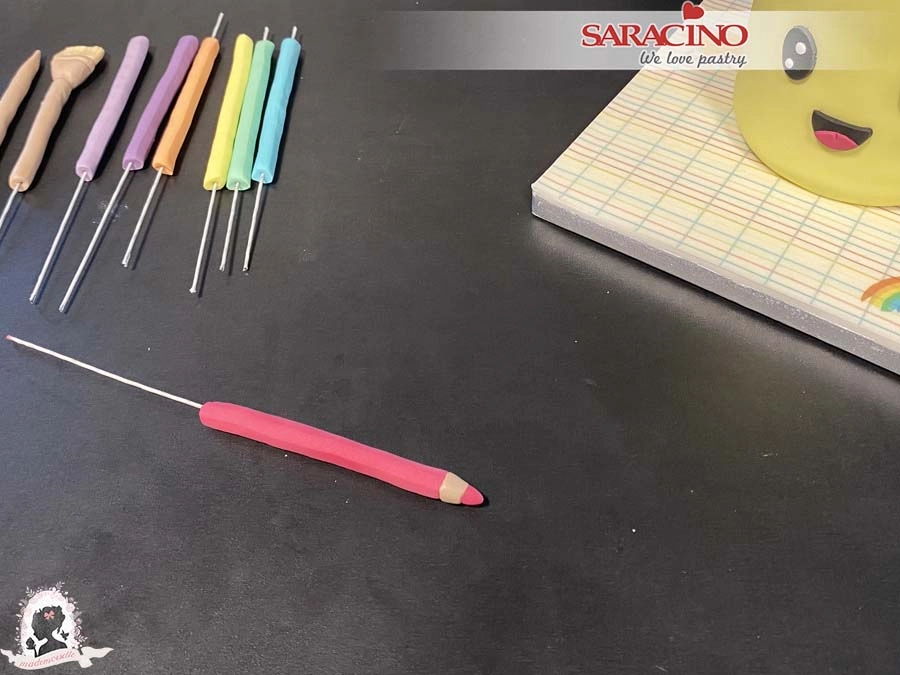
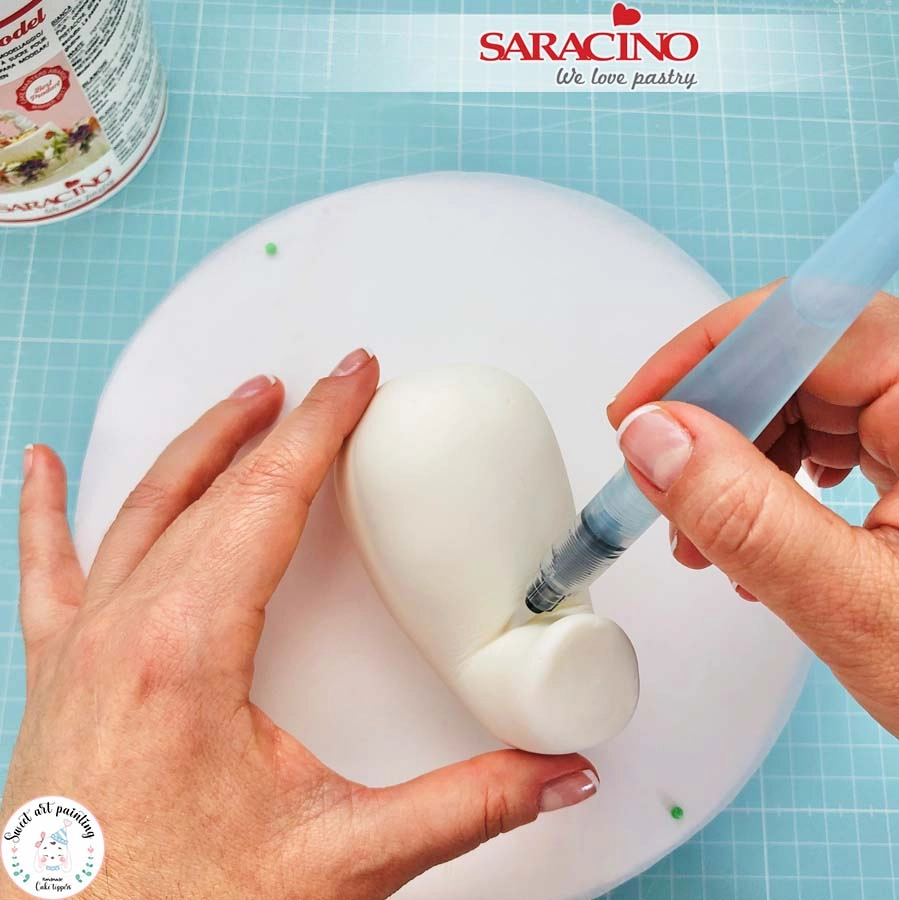
Step 41

Cut the wide end of the beige tip to give a flat end and fix it to the pencil of the same colour.Ā Repeat using 3 or 4 different colours.
Step 42

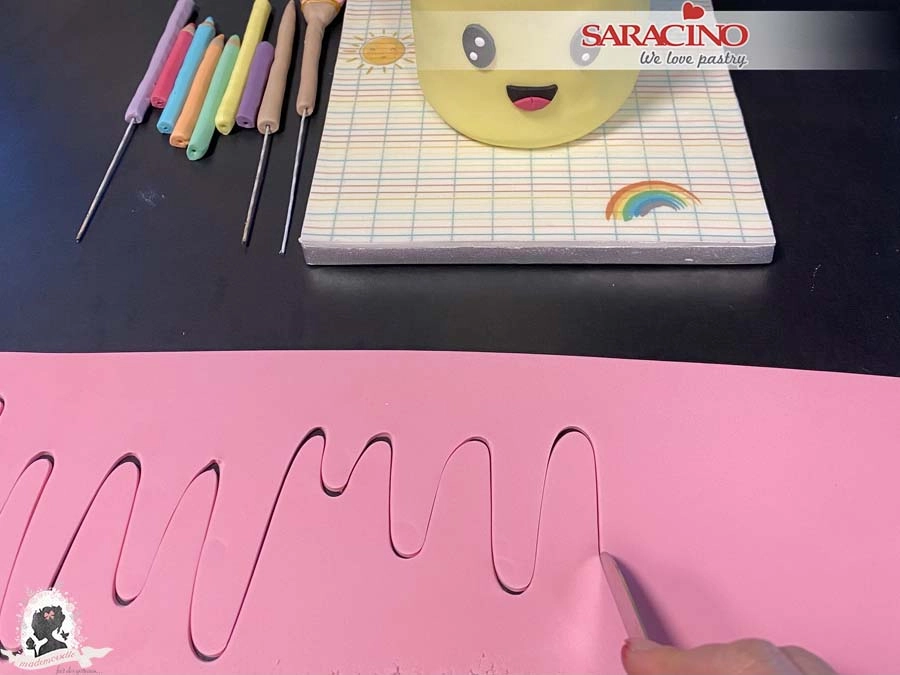
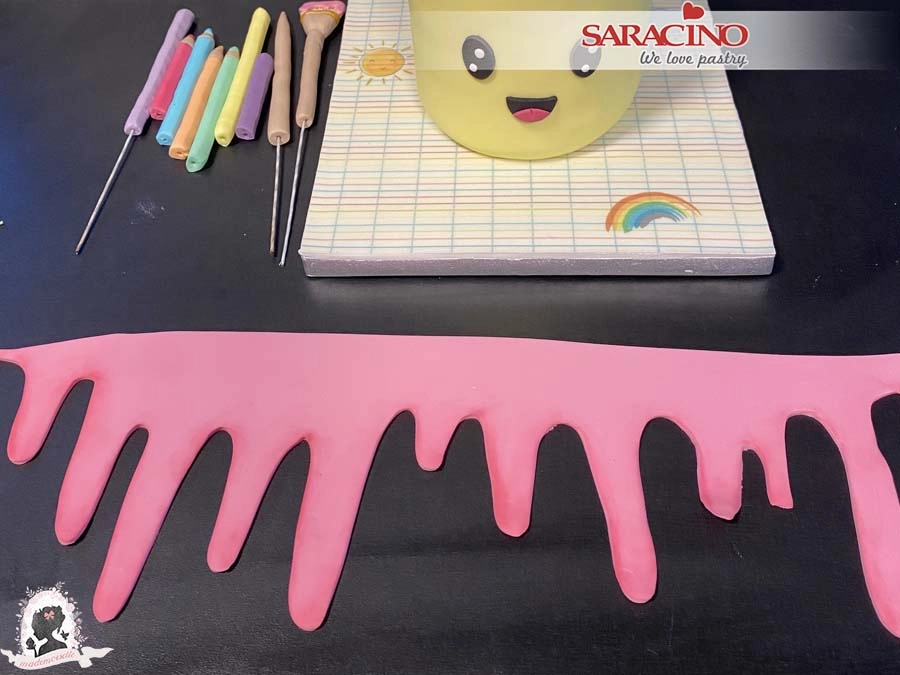
Roll a pink strip approximately 38cm long by 12cm high. Use a sharp knife to cut the drips.

Step 43

Using a soft brush and dark pink powder dust the edge of the drips.

Step 44

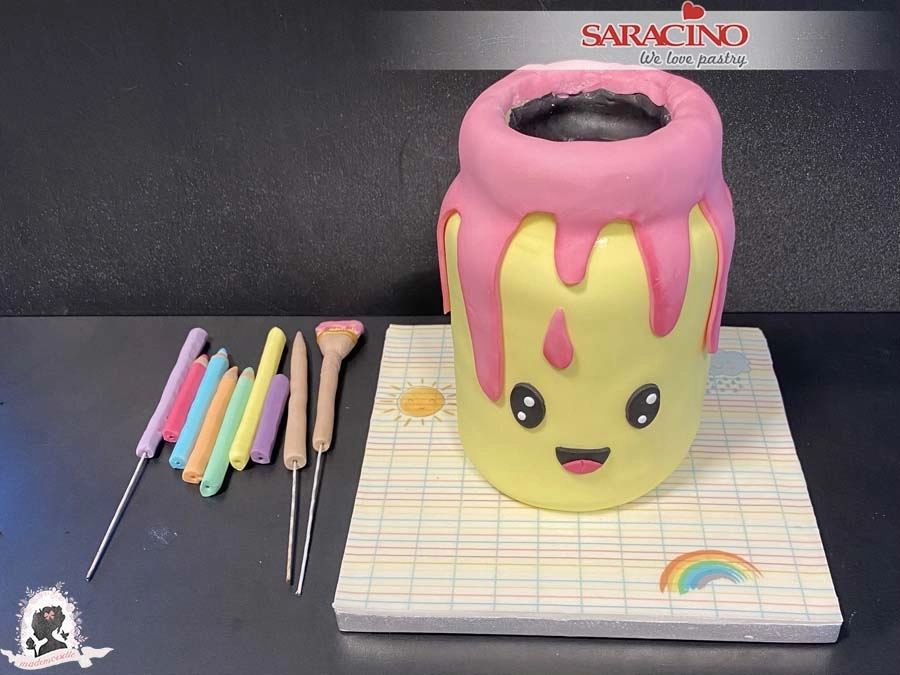
Use a little water to fix the drips to the top of the jar. Make sure the drips fix well and cut the excess from the top of the pot. Using the same pink paste roll a teardrop shape and fix for more drips.Ā 

Step 45

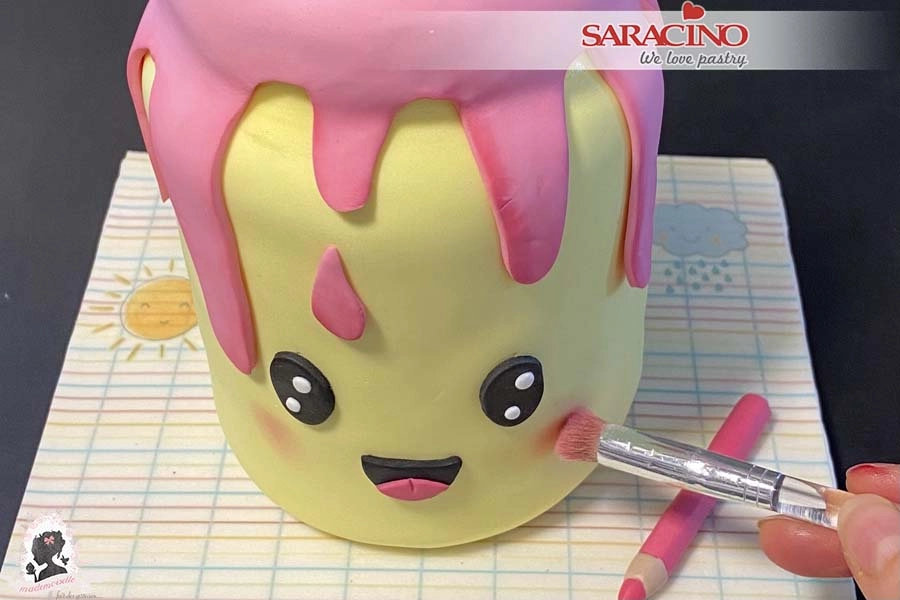
Using a soft brush and pink powder colour dust the cheeks.

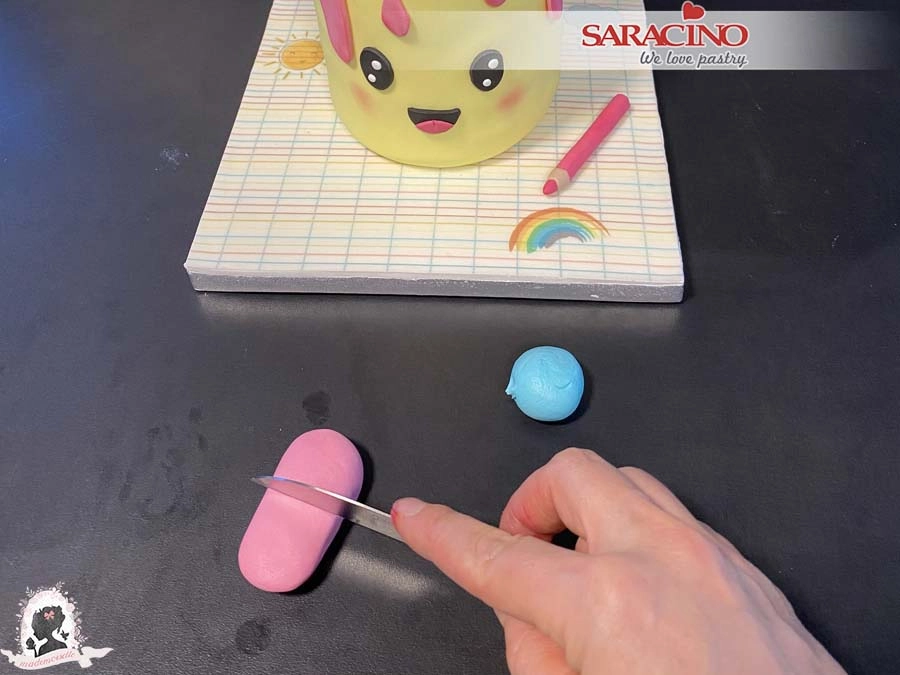
Step 46

For the eraser prepare pink and blue Pasta Model.

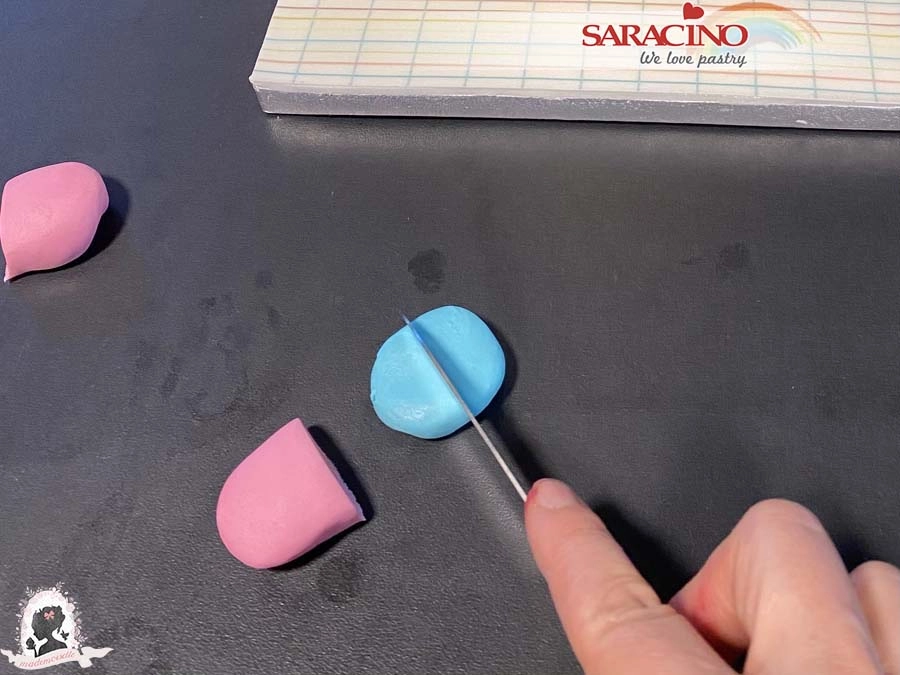
Step 47

Roll an oval shape from each colour. Cut the pink oval in half and the blue slightly smaller.

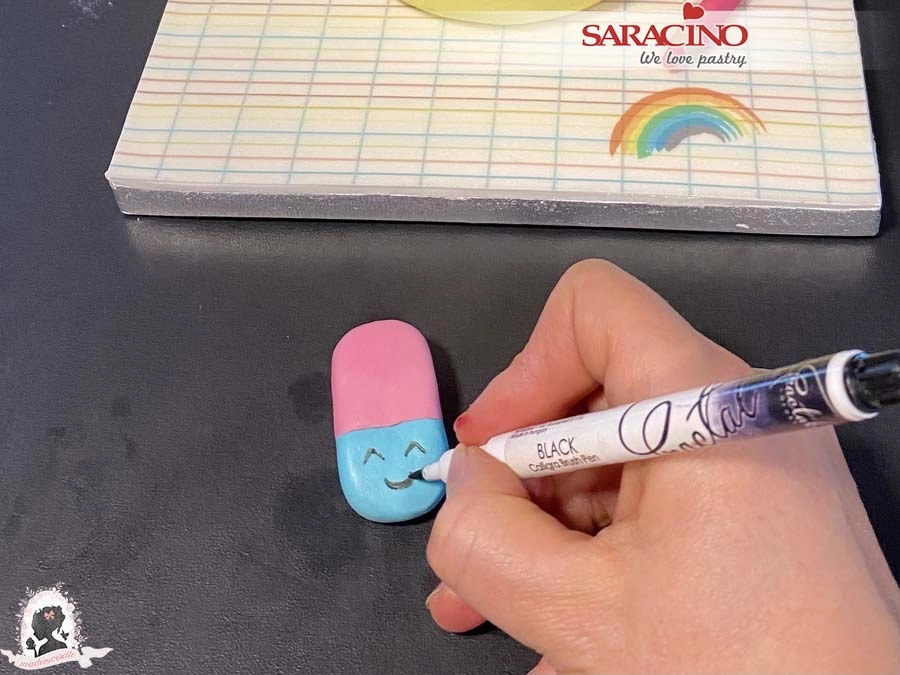
Step 48

Using a little water fix the two parts together. With a black marker draw the eyes and the smiling mouth.


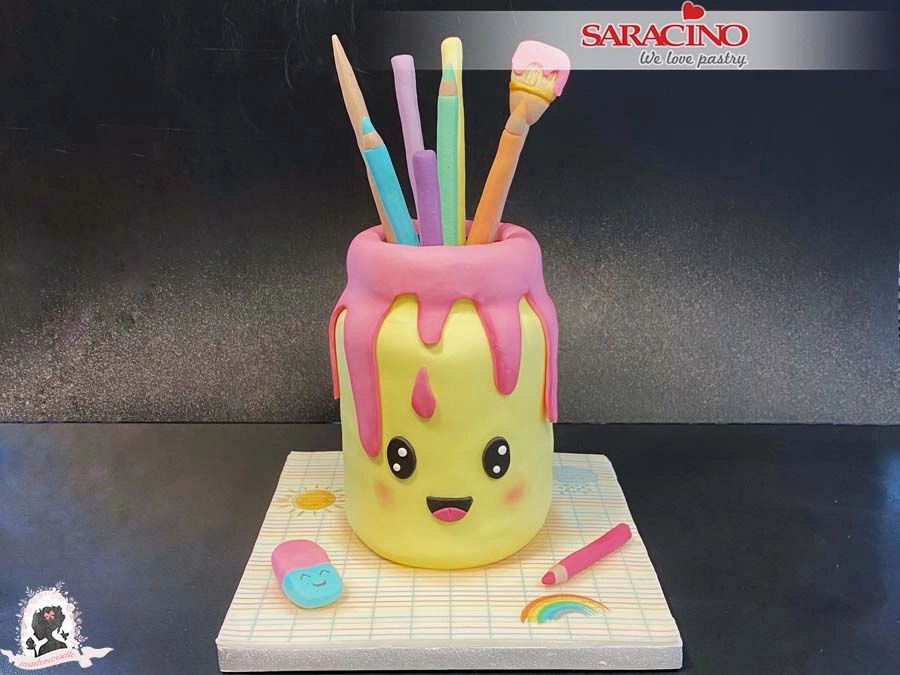
Step 49

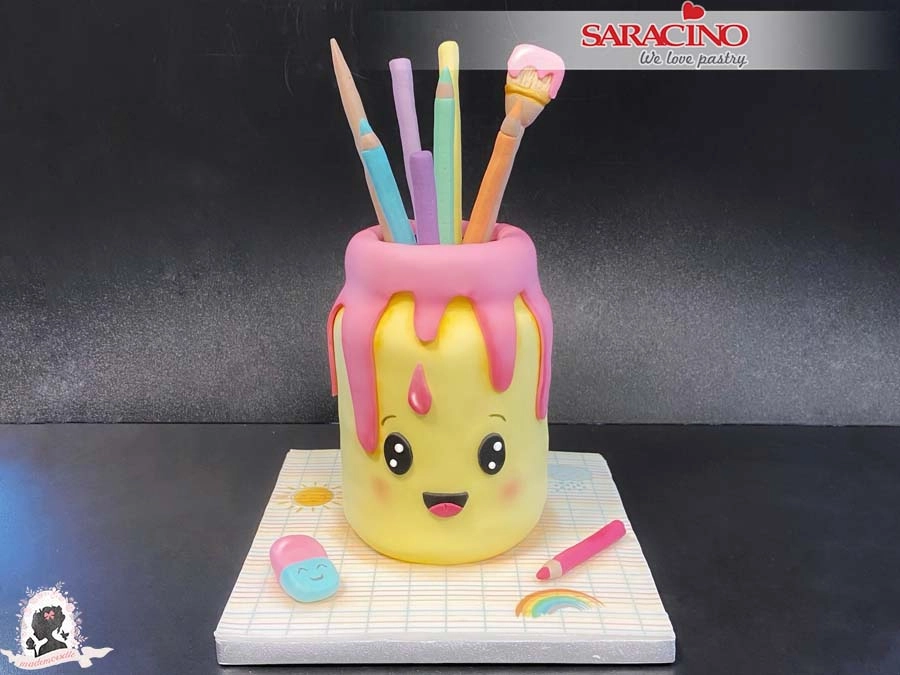
Insert the pencils and brushes into the top of the pot. If necessary shorten some pencils so that they are not all the same height. Fix the eraser and a small pencil to the cakeboard.


Step 50

Use the black marker to draw the eyebrows. You can add a little white highlighting to the brush, the paint drop and on the eraser for a cute look. The pencil pot cake is now ready!