BLUE & GOLD ELEGANCE WEDDING CAKE

BLUE & GOLD ELEGANCE WEDDING CAKE
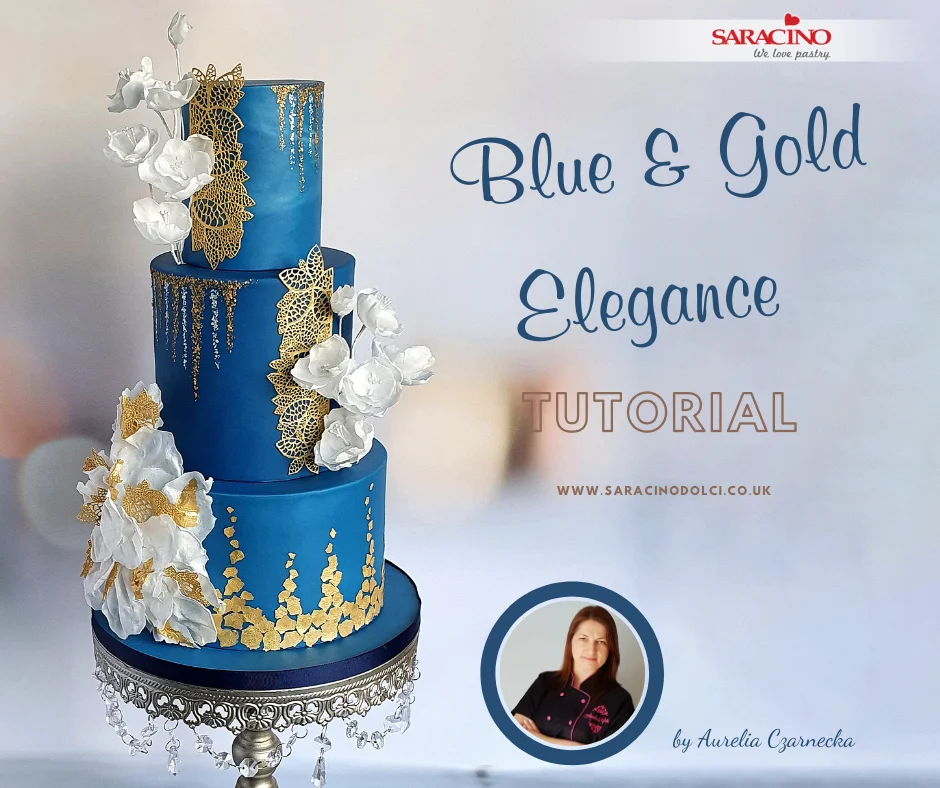
Skill level: BEGINNERS

You will need:

  • Saracino Blue Pasta Top
  • Saracino White Pasta Top
  • Saracino Wafer Paper 0.27mm thick
  • Saracino Gold Glitter
  • Saracino Silver Glitter
  • Saracino Gold Ready to Use Lace Paste
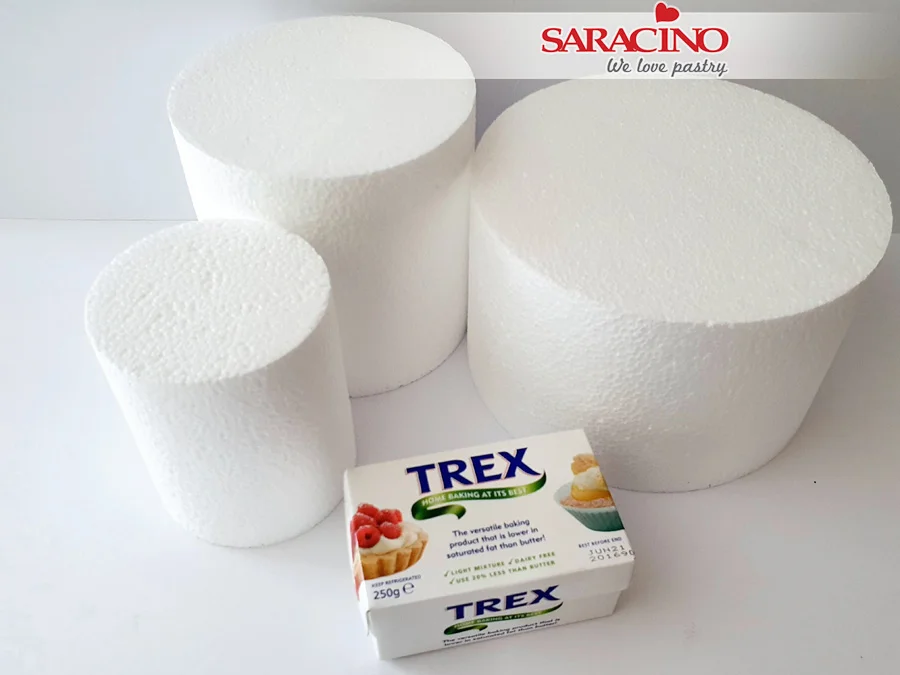
  • 4in, 6in, 8in cakes or cake dummies top and bottom 5in deep, middle 6in deep
  • Cake lace mat
  • Cake lace spreader or spatula
  • Rolling pin
  • Cake steamer
  • Scalpel or sharp knife
  • Cake smoothers
  • Ball modelling tools
  • Paintbrushes: wide flathead, medium flathead, small pointed
  • Edible glue, wafer paper glue or water
  • Clear alcohol
  • Cake drum
  • Scissors
  • Cooled, boiled water or Trex
  • Flower stamen – medium round in pearl white
  • 24 gauge white flower wires
  • White florist tape
  • Saracino ready to mix royal icing

Step 1

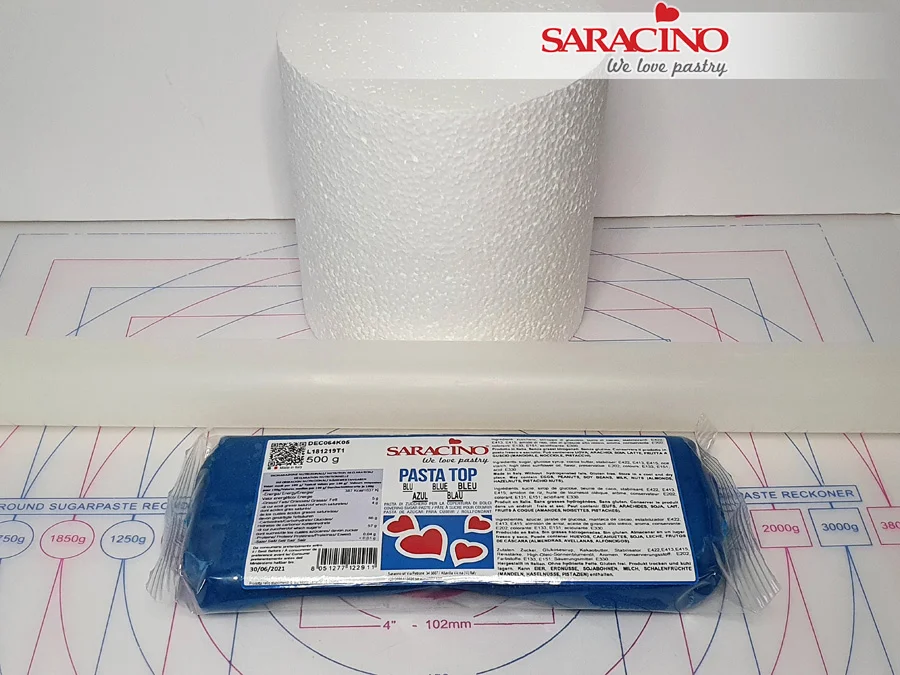
Prepare your cakes or dummies. Brush each one before covering with boiled, cool water or Trex to help the fondant to stick.
 

Step 2

Place the Saracino Blue Pasta Top on your work surface, knead until smooth and pliable.

Tip : Pasta Top is Vegan, Gluten free and has NO hydrogenated fats. It’s very stretchy and can be rolled very thin.
Step 3

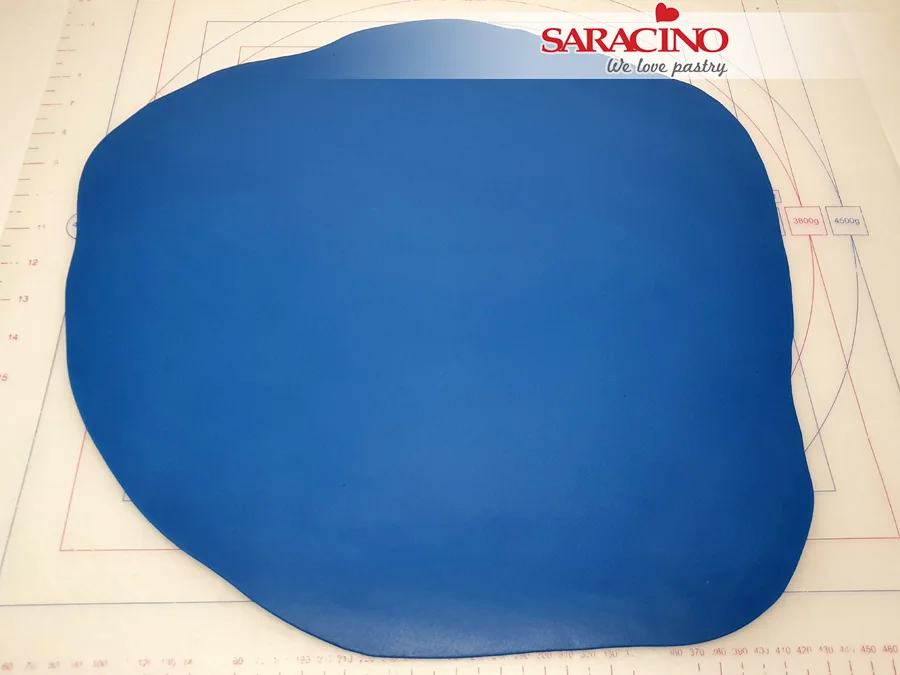
Roll out the fondant to your preferred thickness (Saracino Pasta Top can be rolled thin and is very stretchy, perfect to cover even tall cakes).
Step 4

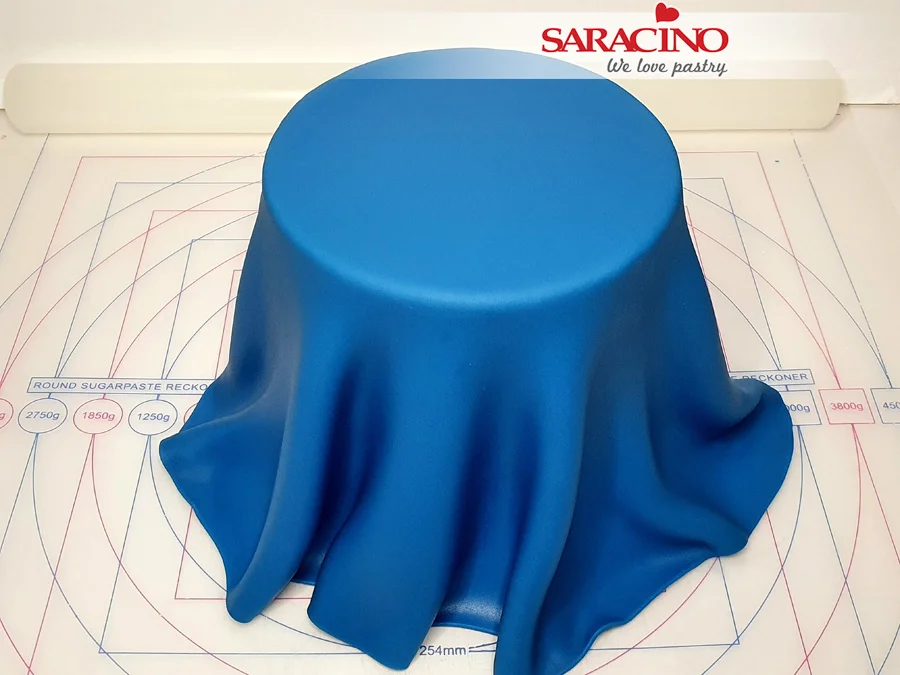
Place the fondant gently over your 6in cake (or dummy). Smooth over the top and edges with your hand. Gently pull out the folds and smooth down with your hand fixing the fondant to the cake until all folds and pleats are gone.
Step 5

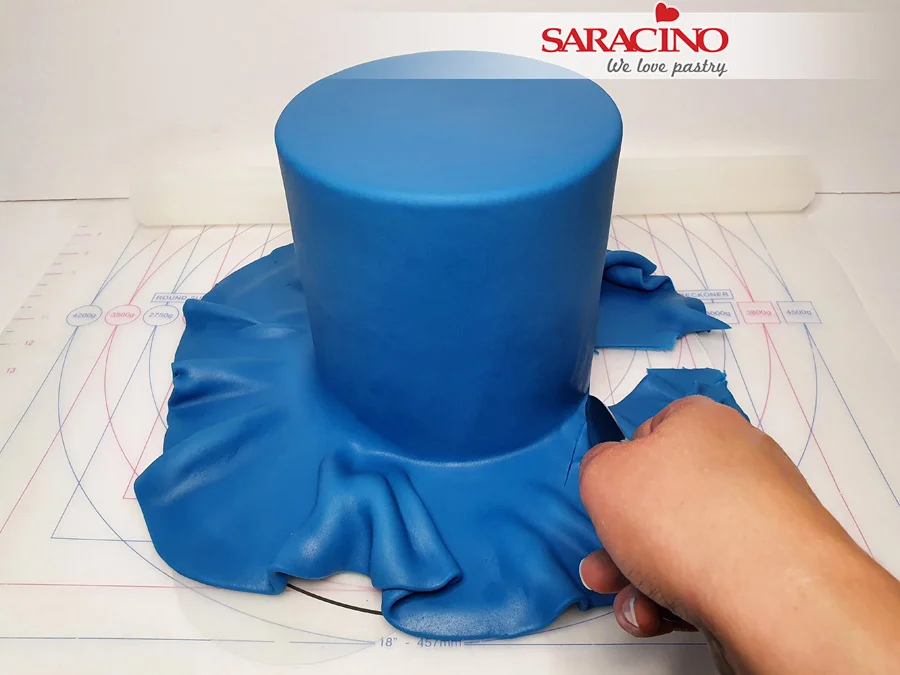
Trim off the excess fondant with a sharp knife. You can keep the trimmed fondant for later use.
Step 6

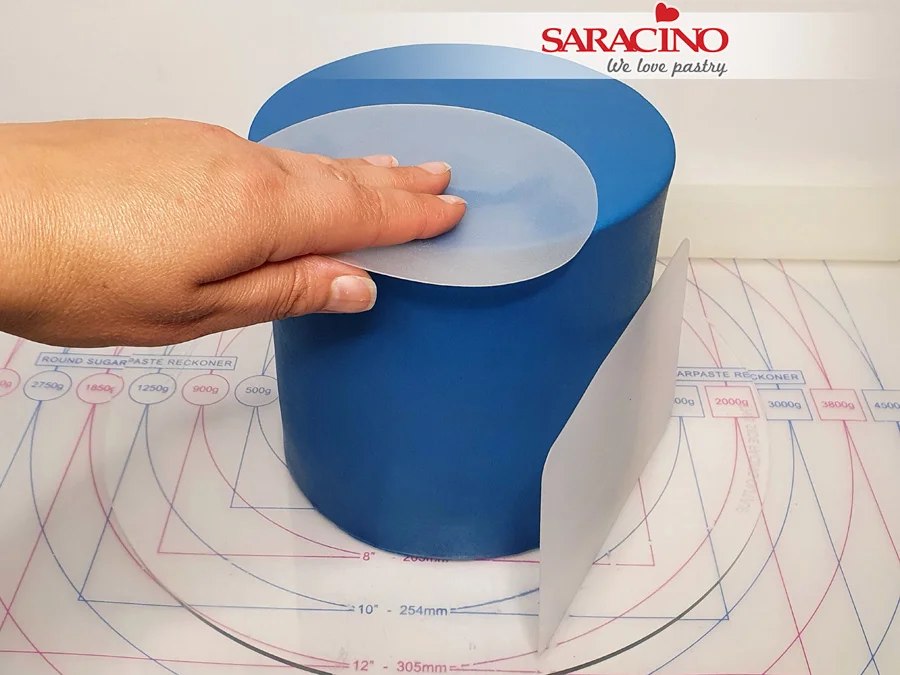
Use cake smoothers around the side and top of the cake. Smooth until you have a sharp edge. Repeat step 4, 5 and 6 with 8in cake (dummy).
Step 7

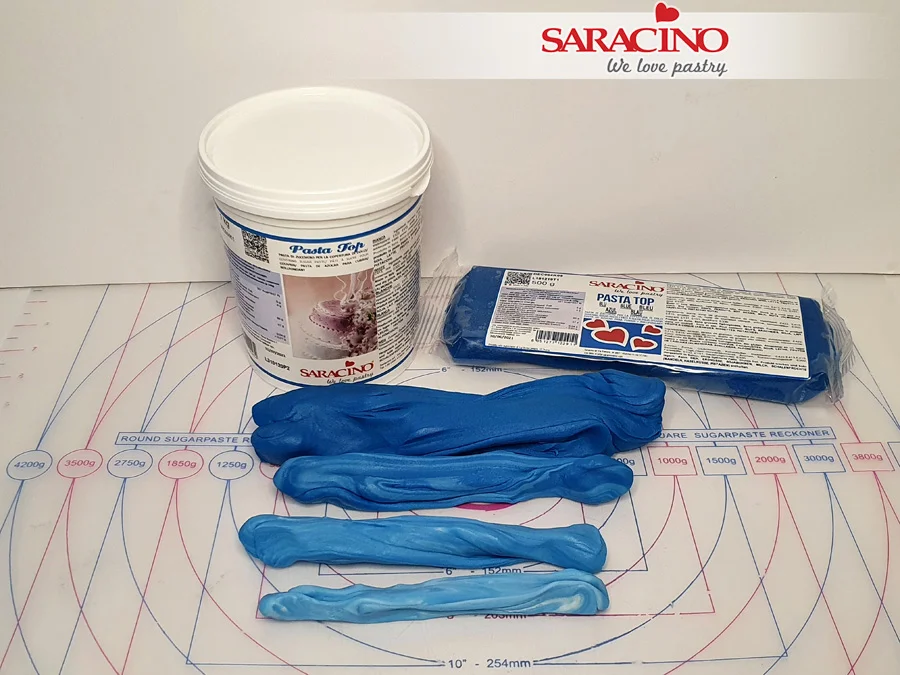
Knead the white and blue Pasta Top separately until smooth. Combine the white and blue fondant to create paler blue. Roll each colour into separate sausage shapes.
Step 8

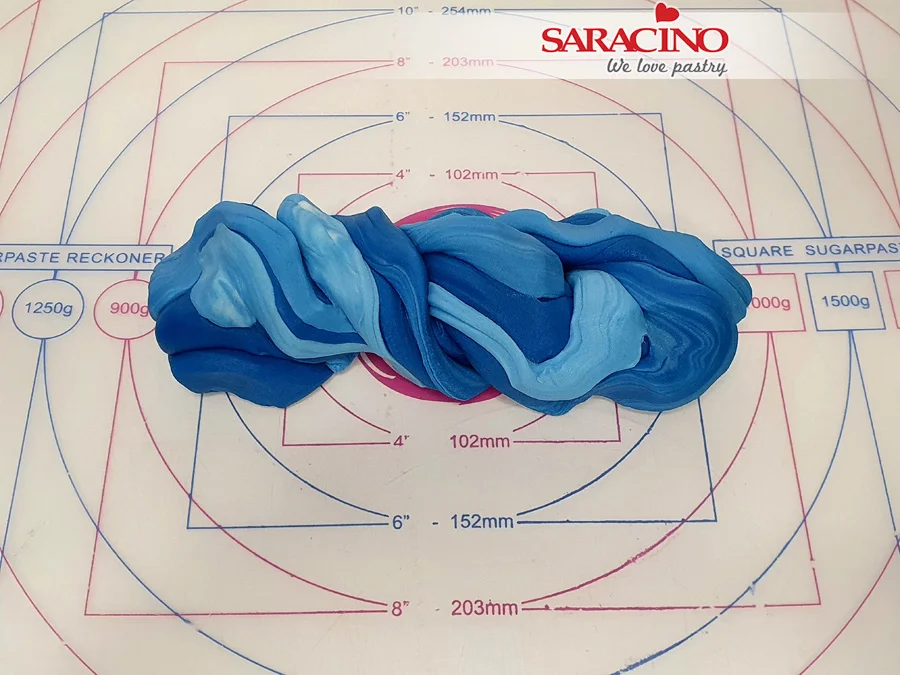
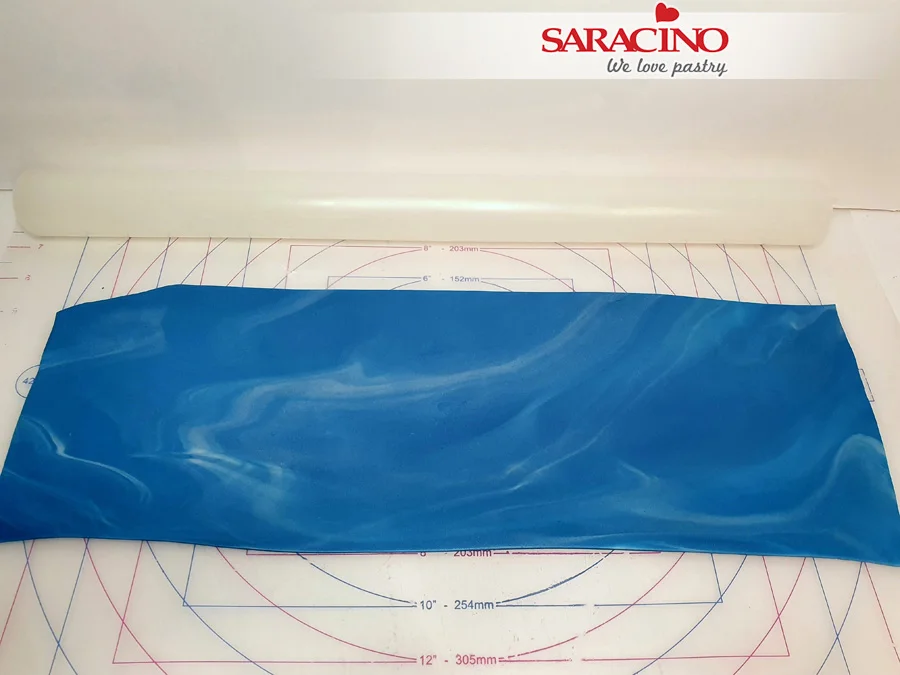
Place the colours together then twist, fold in half and repeat until the desired level of marble is reached.
Step 9

Take the 4in cake (dummy) and brush with cooled, boiled water or trex. Use panelling method to cover your cake at this time (panelling method works well to achieve sharp edges). Roll the fondant into a rectangle, enough to cover the top and the side of your cake.
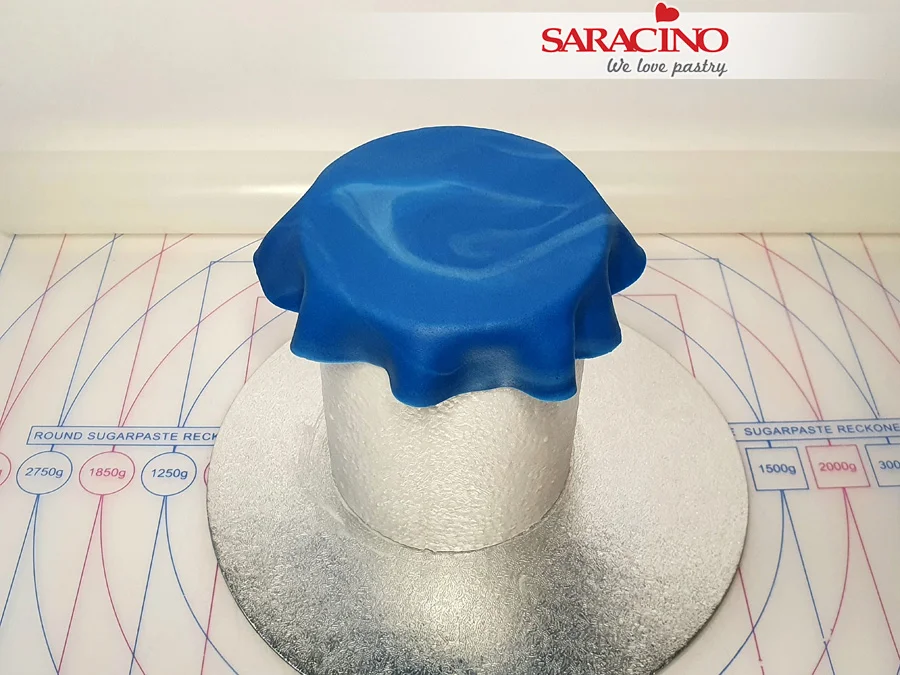
Step 10

Cut out a 11 cm circle and place it on the top surface of the cake (dummy). Cut a rectangle, take the height and length of your cake into account.
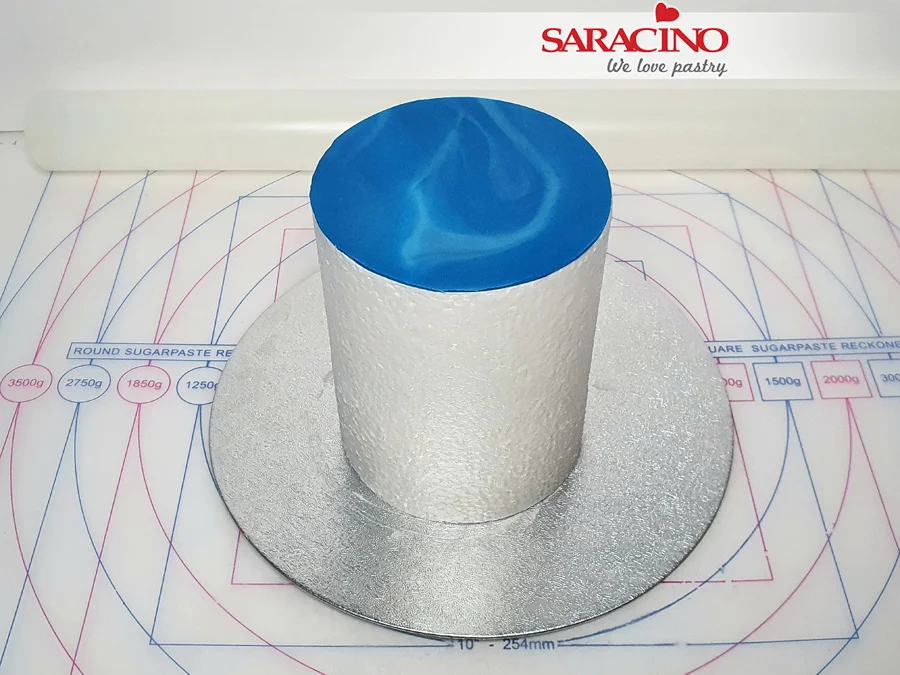
Step 11

Smooth the top using a cake smoother and trim off the excess fondant with a sharp knife.
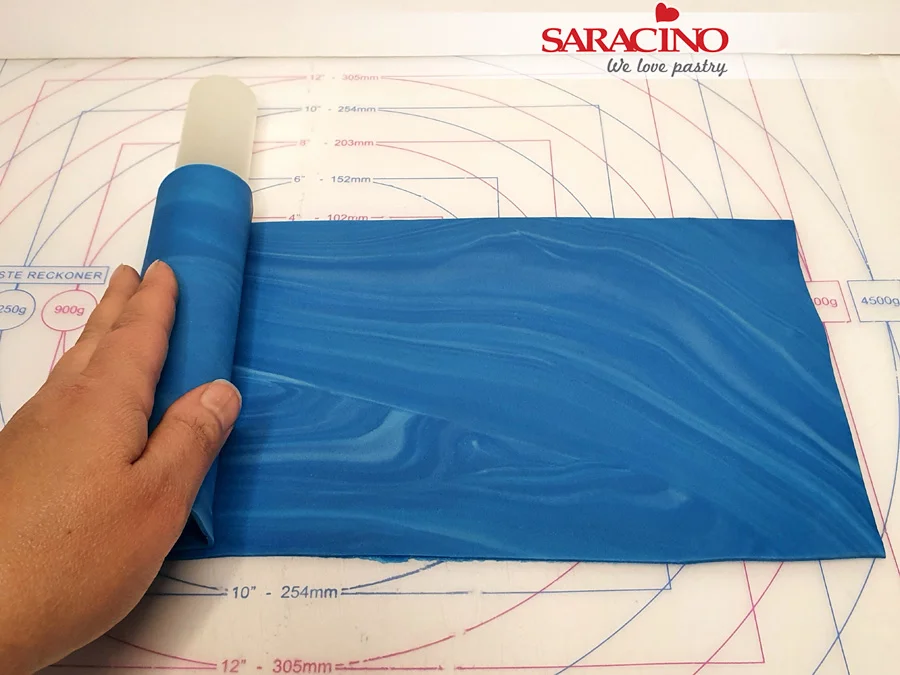
Step 12

Roll the rectangle piece onto the rolling pin.
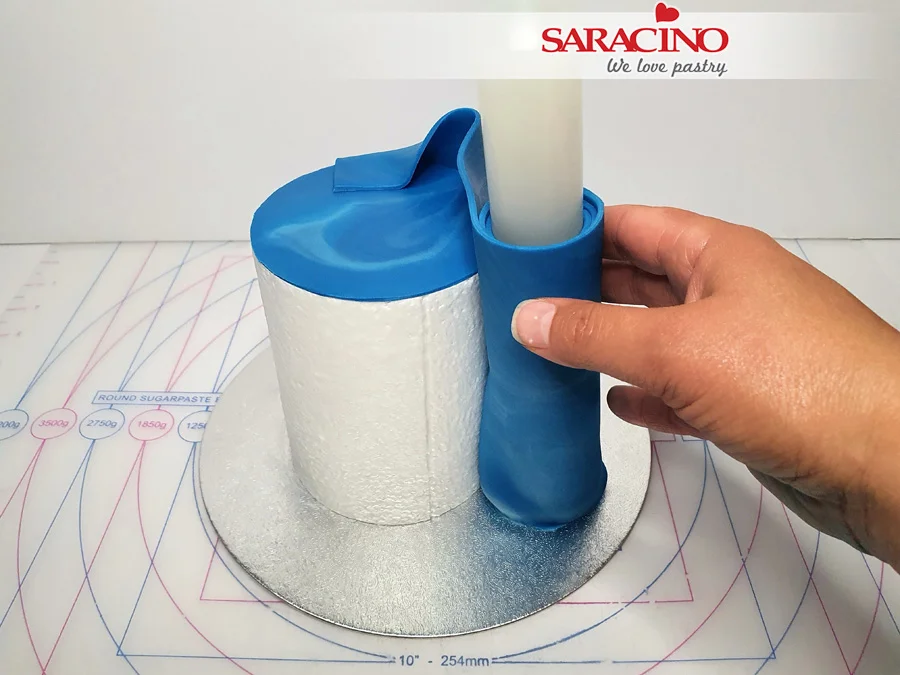
Step 13

Wrap the piece around your cake making sure to press it firmly against the cake sticking it all the way around.
Step 14

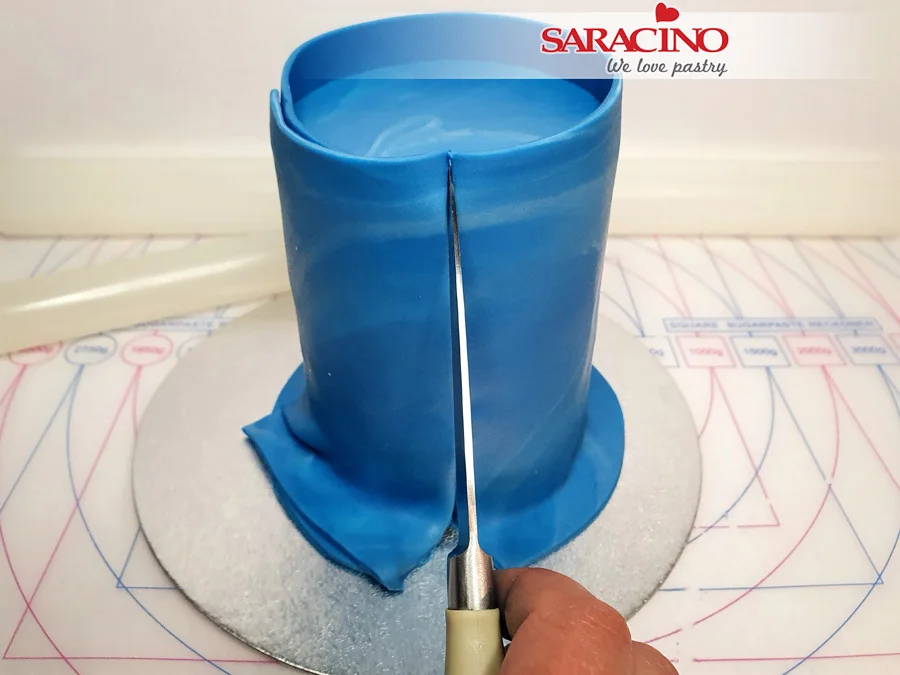
With a sharp knife cut the fondant where the two ends overlap. Cut a nice straight line through both pieces of fondant. Push the panel ends together, the ends should line up perfectly giving you a nice straight seam. Take sharp knife once again and keeping it flat on top of your cake, cut off the excess fondant from the top and then cut excess on the bottom of the cake as well.
Step 15

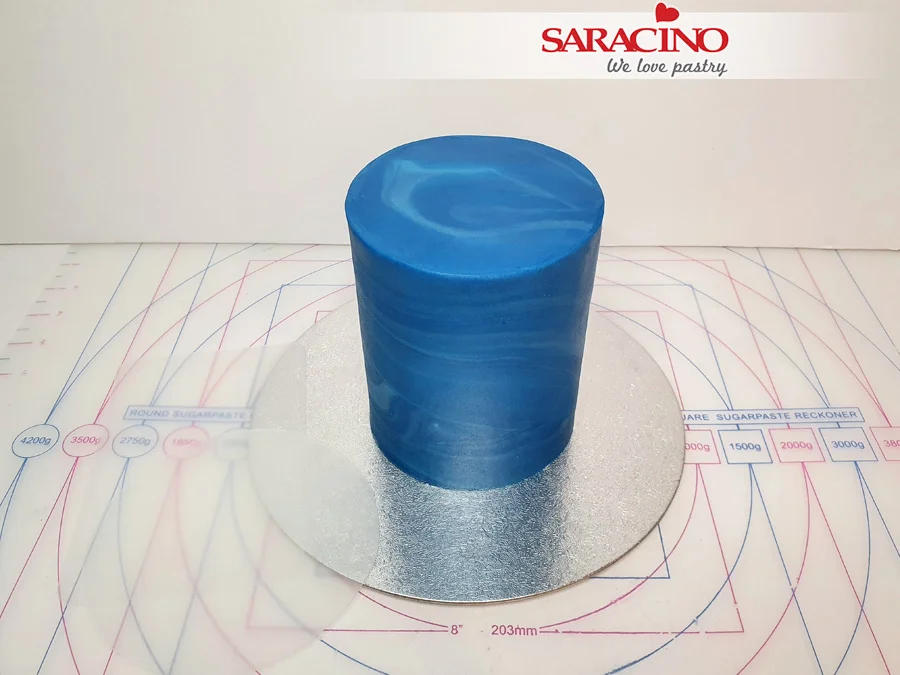
Secure seams with water and brush. Use a cake smoother to smooth out fondant and to push the seam together and smooth it until its unnoticeable. Saracino Pasta Top is ideal for seamless smoothing and blending.
Step 16

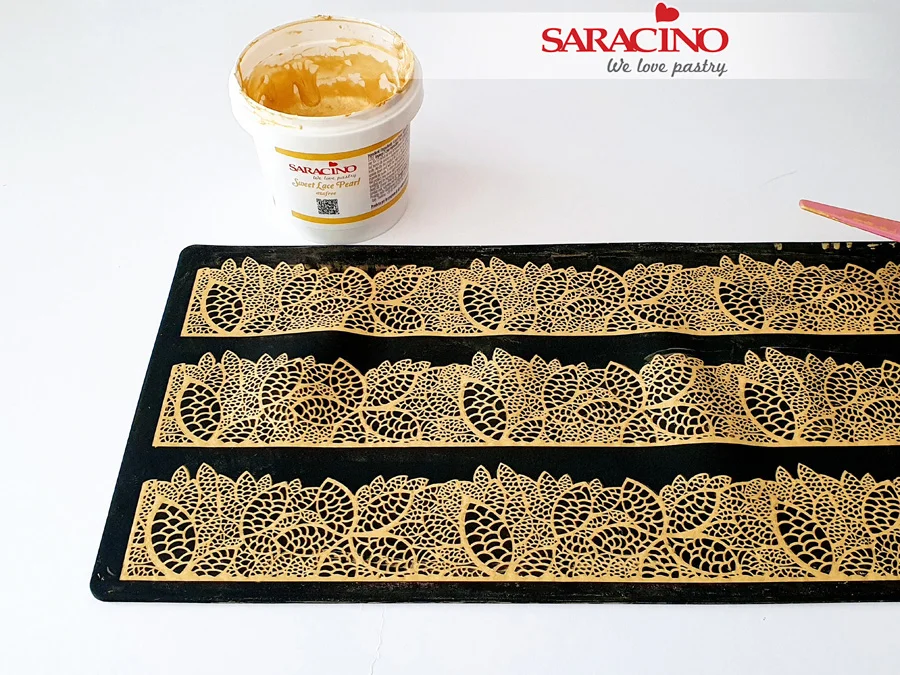
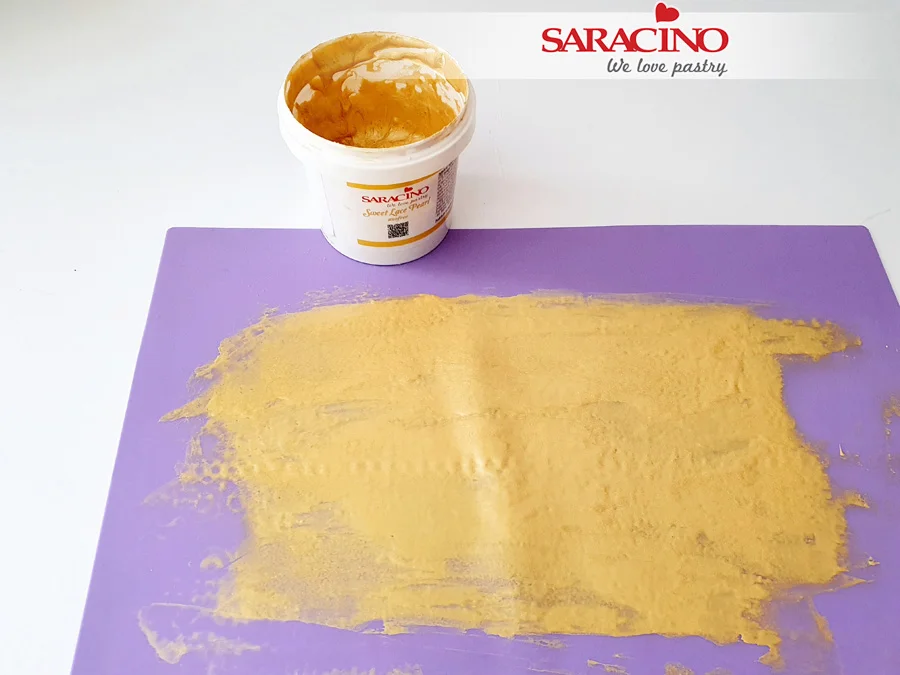
Place a lace mat of your preferred  pattern on a flat surface. Take a small amount of the Saracino Gold Ready to Use Lace Paste from the container and place on the lace mat. Take a lace spreader and use back and forth strokes to fill the design on the mat and when the mat is filled, use the edge of the lace spreader to remove the excess mix. This may need to be repeated a few times so that all the design is covered and there are no little holes left in the design. Bake it according to the instructions on the container. When ready it should pull away from the mat easily without sticking, if it feels tacky leave for another 5 min and check again.
Step 17

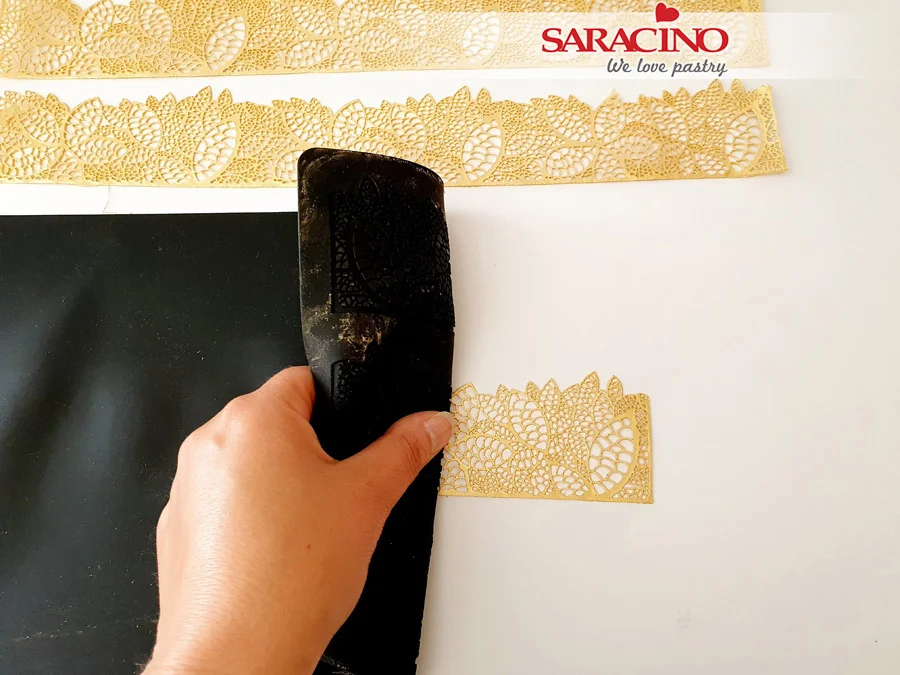
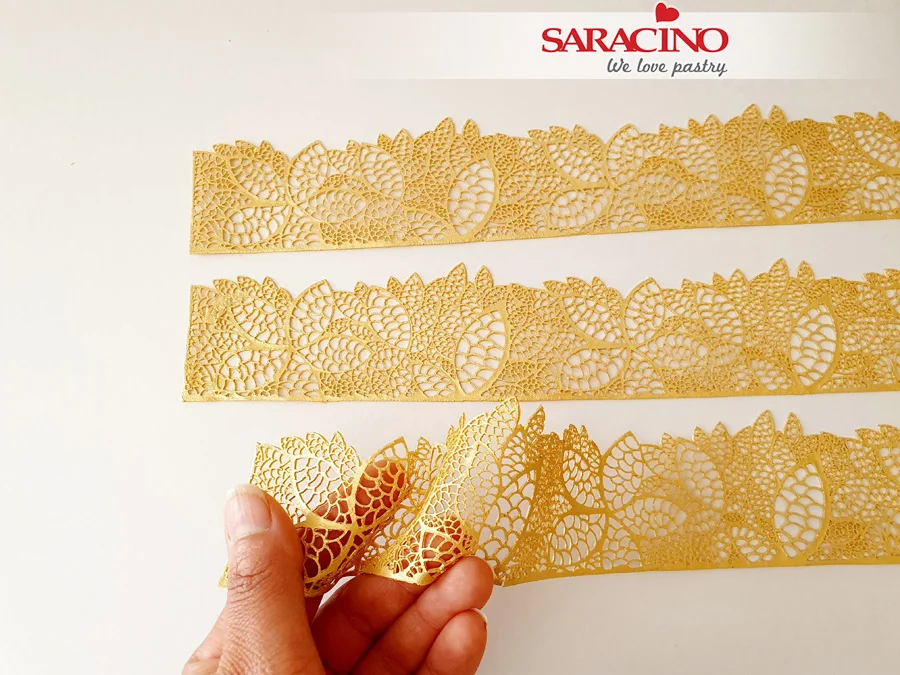
To remove the lace, place the mat face down onto a tabletop, gently peel the lace design from the mat, do this slowly to avoid tearing the lace.
Step 18

Once removed from the mat, you will have a nice flexible piece of cake lace. If your lace feels too stiff and dry, run it through a path of steam, or place briefly onto a damp towel, patting gently to allow the decoration to slightly absorb moisture from the towel. After a minute or so, flexibility should be restored.
Step 19

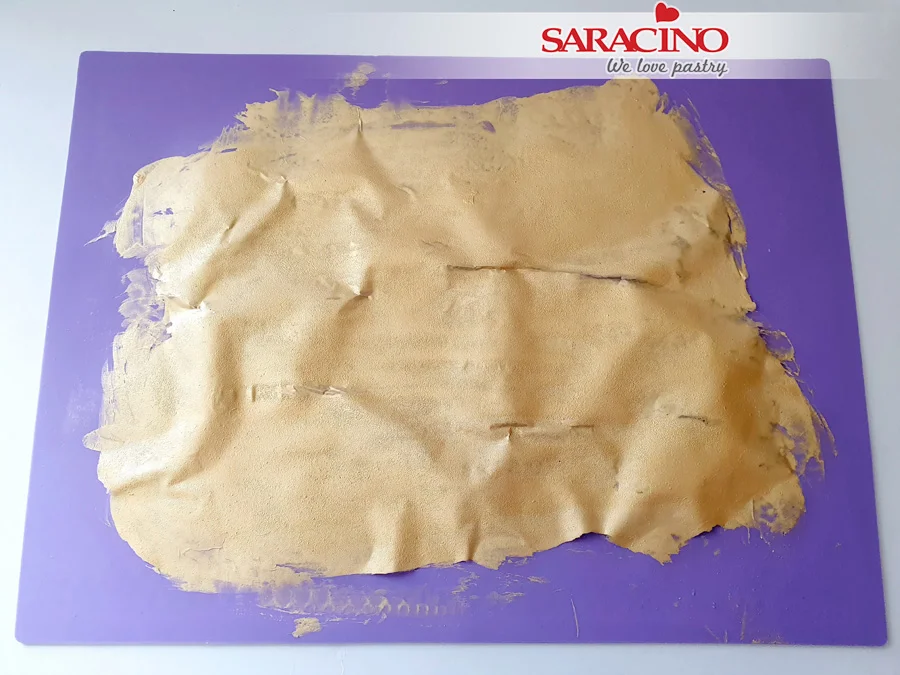
Take the lace mat again and turn it over and use the reverse smooth side of the mat. Spread a layer of the Saracino Gold Ready to Use Lace Paste to create an edible gold sheet.
Step 20

Bake it until the gold sheet is firm and pulls off the mat by itself.
Step 21

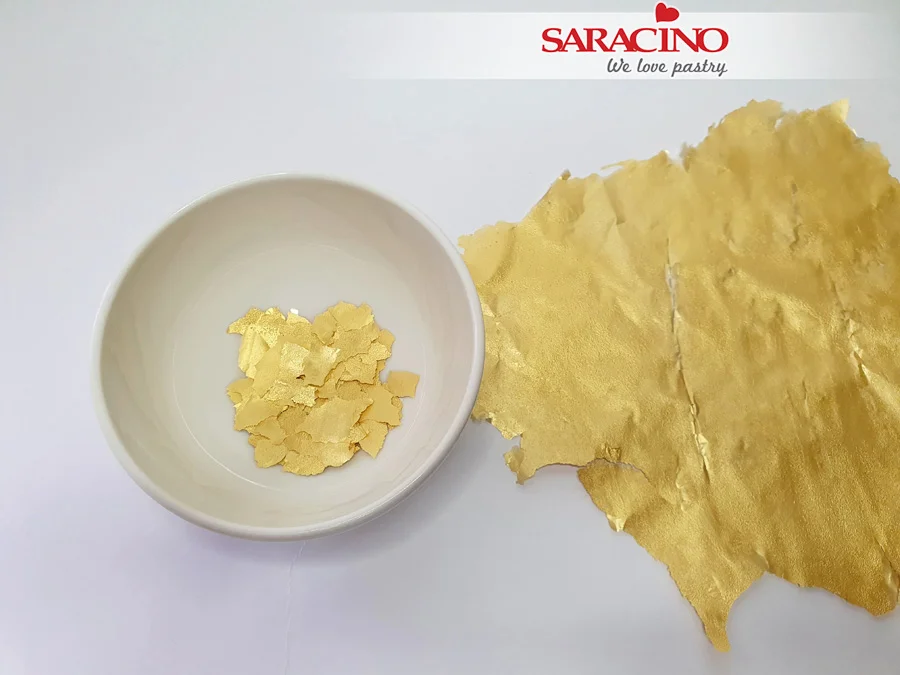
Break/tear various sized pieces from the gold sheet.
Step 22

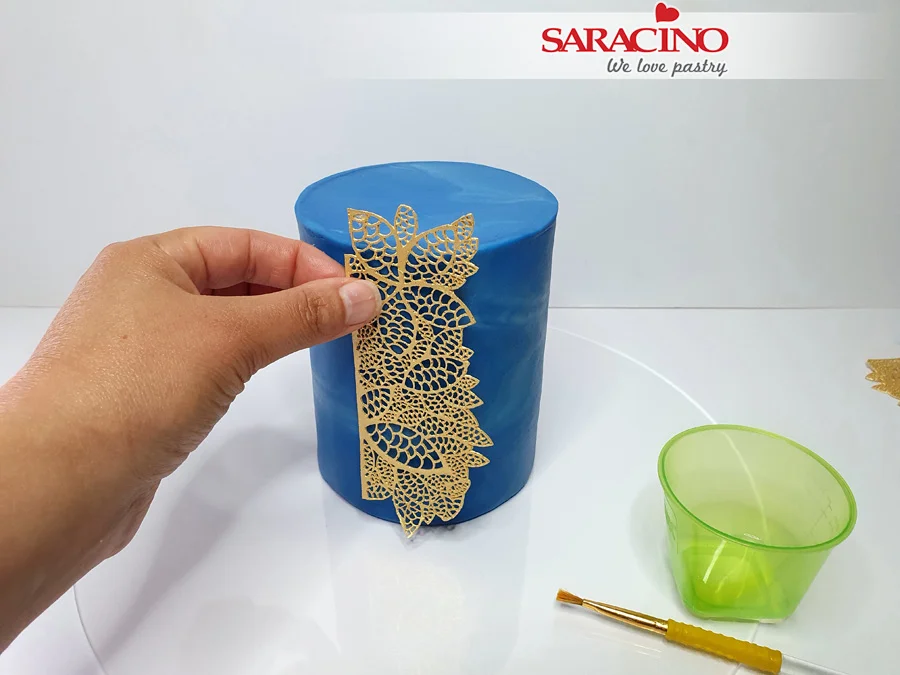
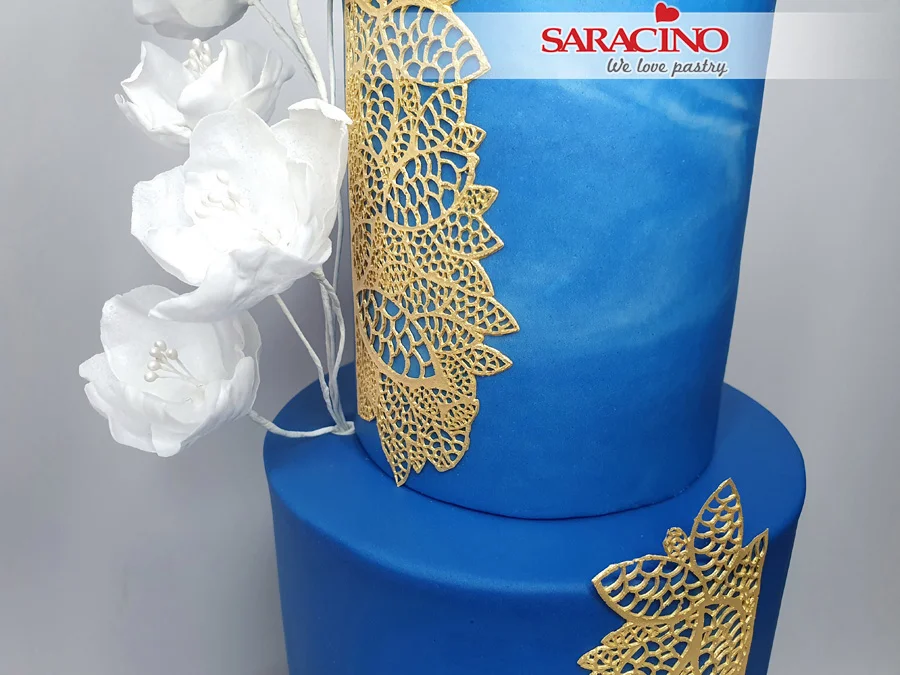
Using scissors, cut 2 pieces of lace to the desired shape and length. Brush a small amount of cooled, boiled water or edible glue onto the reverse of your cake lace. Attach one piece vertically on the top tier and one piece on the middle tier the opposite way.
Step 23

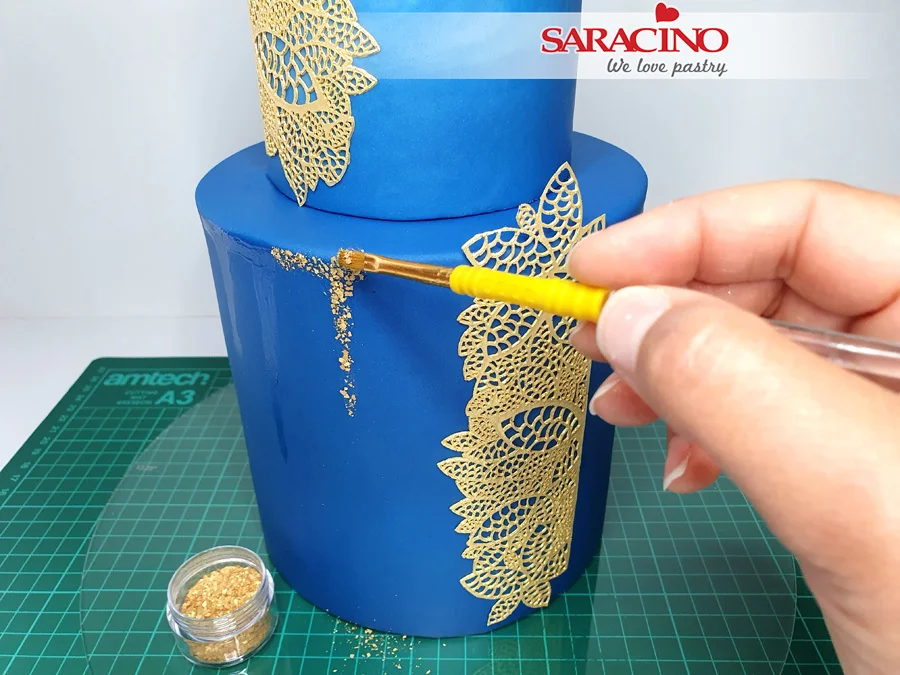
Make a few wide and various length vertical streaks using edible glue or cooled, boiled water on the top and middle tier, next to the attached lace, leaving a gap between each one, then using small flat brush, transfer and stick the Saracino Gold Glitter to the wet places creating  something looking like glitter drip design.
Step 24

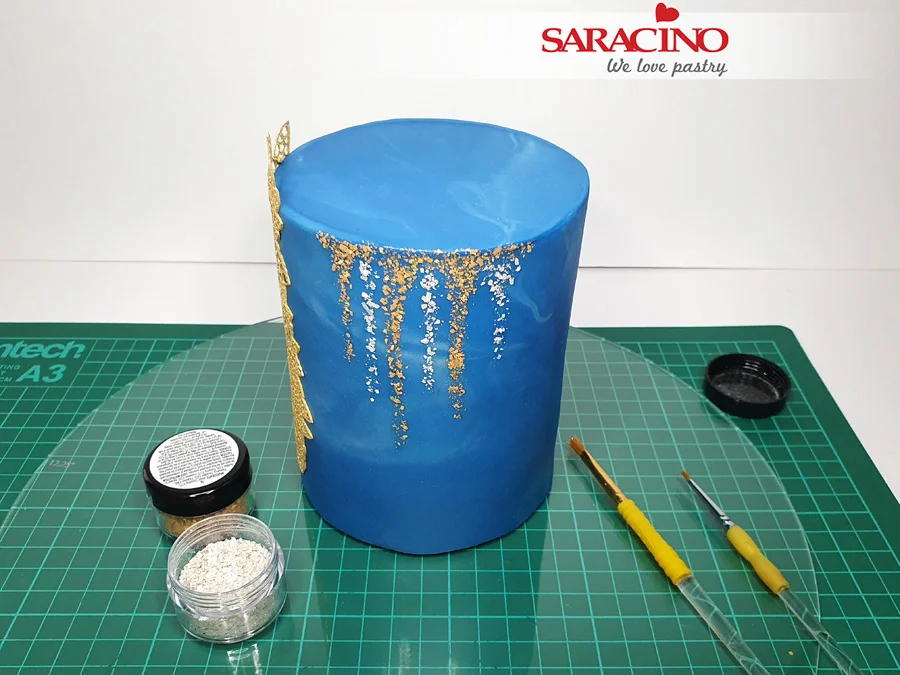
Repeat the process with the Saracino Silver Glitter, creating additional silver glitter drip in the gaps.
Step 25

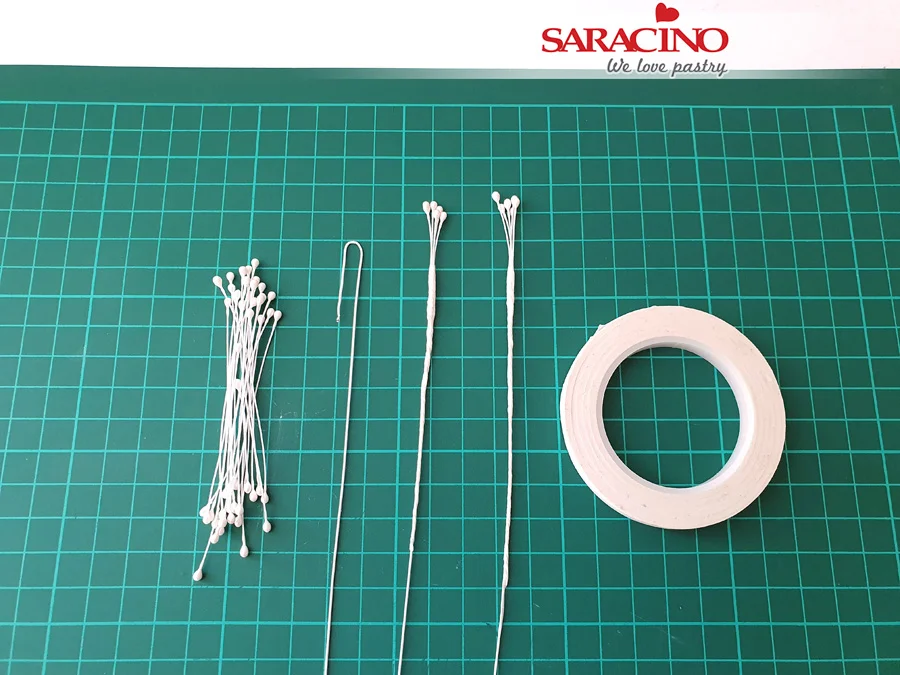
For the simple wafer paper flowers, take 3-6 stamens (medium round in pearl white), fold in half and loop a 24 gauge white wire over. Use white floral tape to secure, starting 3-4mm above the wire. Prepare 10 wires like this.
Step 26

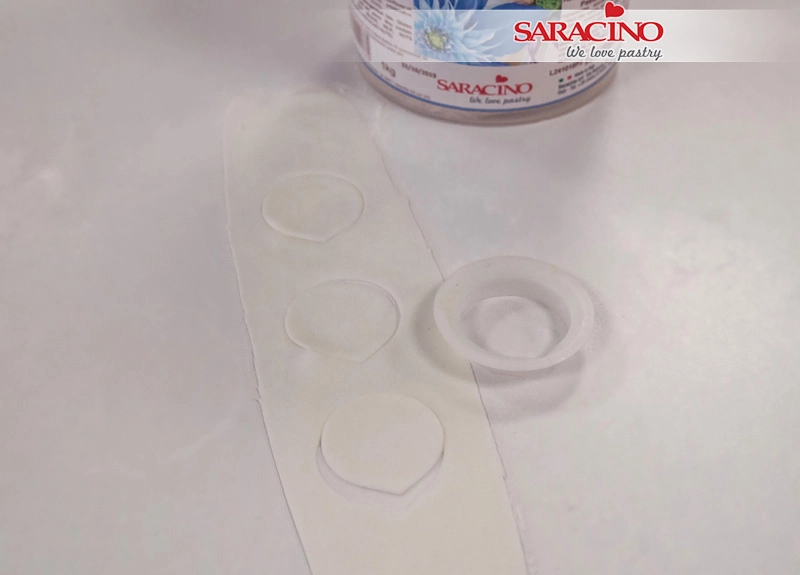
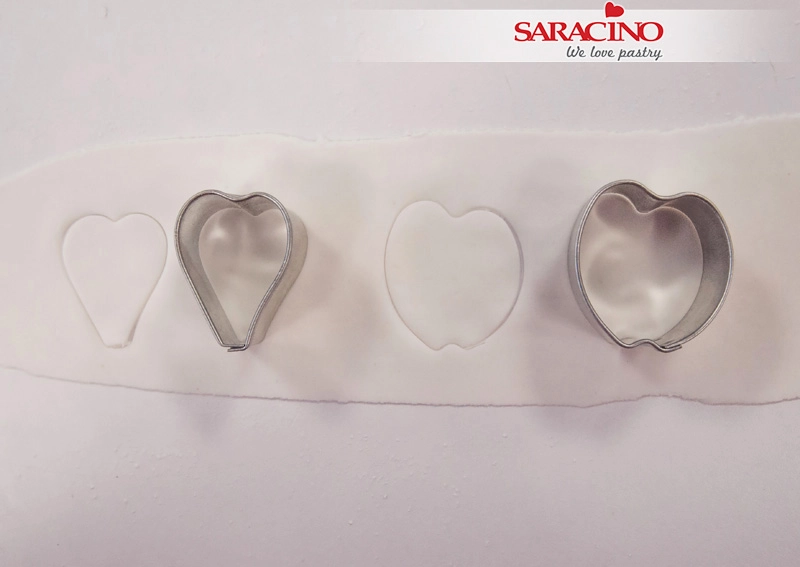
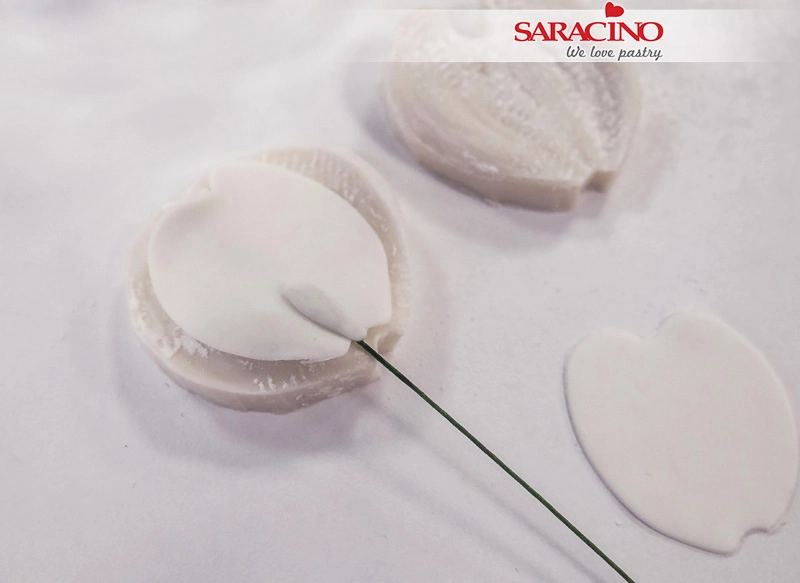
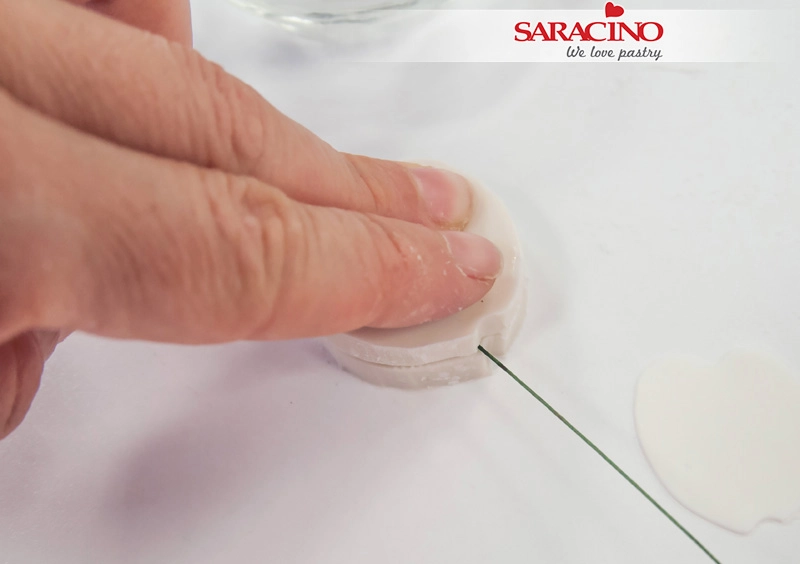
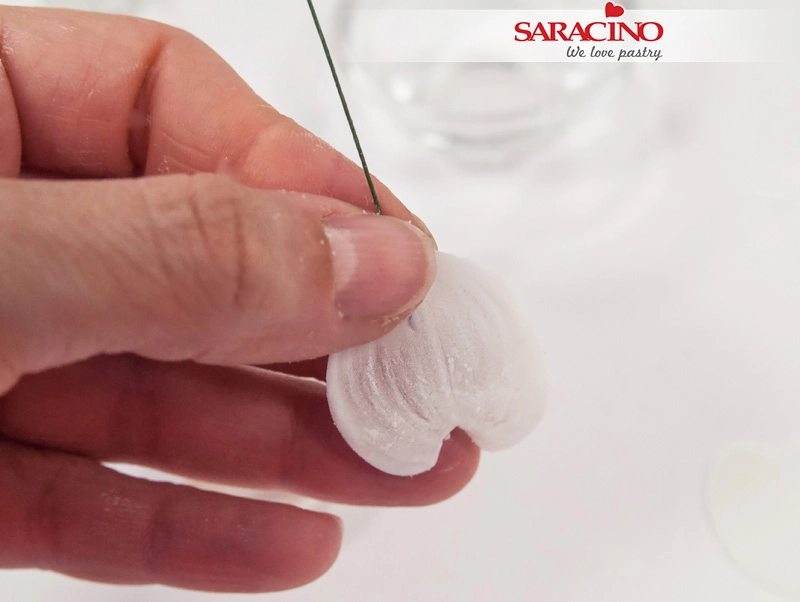
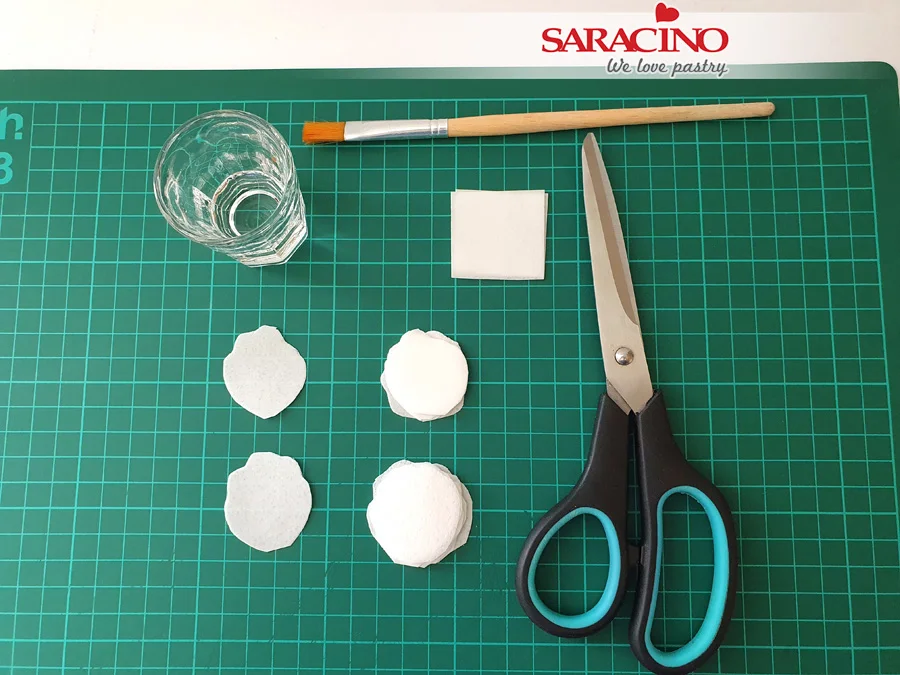
Start cutting the Saracino wafer paper (0.27mm thick) into strips first, then into squares slightly larger than your petal. No special cutters or templates are needed, it’s really up to you how big you want your petals and flowers to be, so cut free-hand squares into tulip/peony shape petals. You will need 3 medium and 3 large petals for each flower and 3-4 small petals for the flower bud, in total you will need to prepare 8 small, 40 medium and 40 large petals.
Step 27

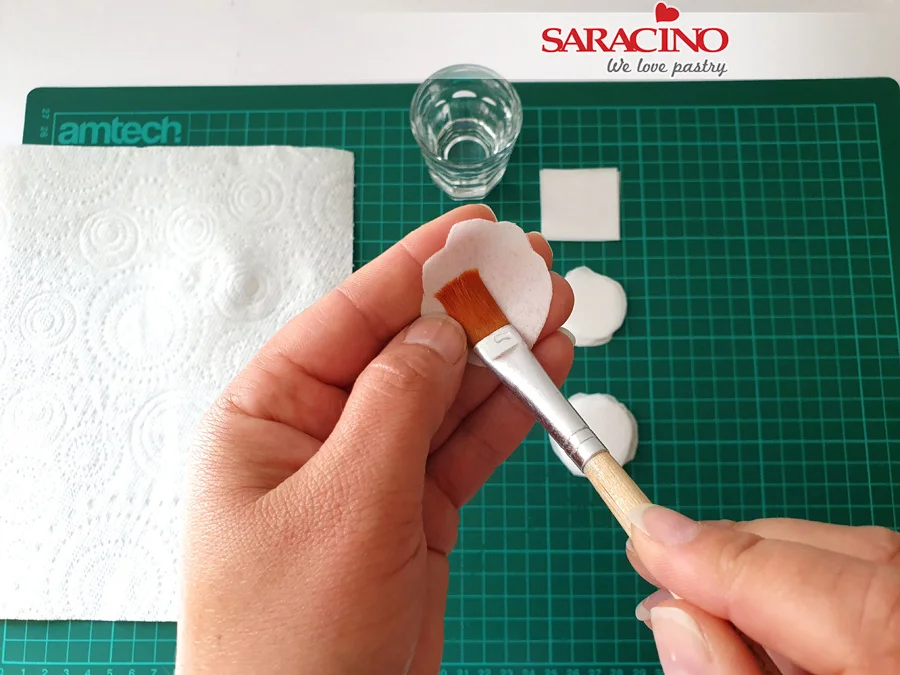
Brush the wafer paper petal with the alcohol using wide flathead brush (not too much alcohol otherwise the petal will damage). If you like your flowers to be in certain colour, add a Saracino gel food colour to the alcohol at this stage.
Step 28

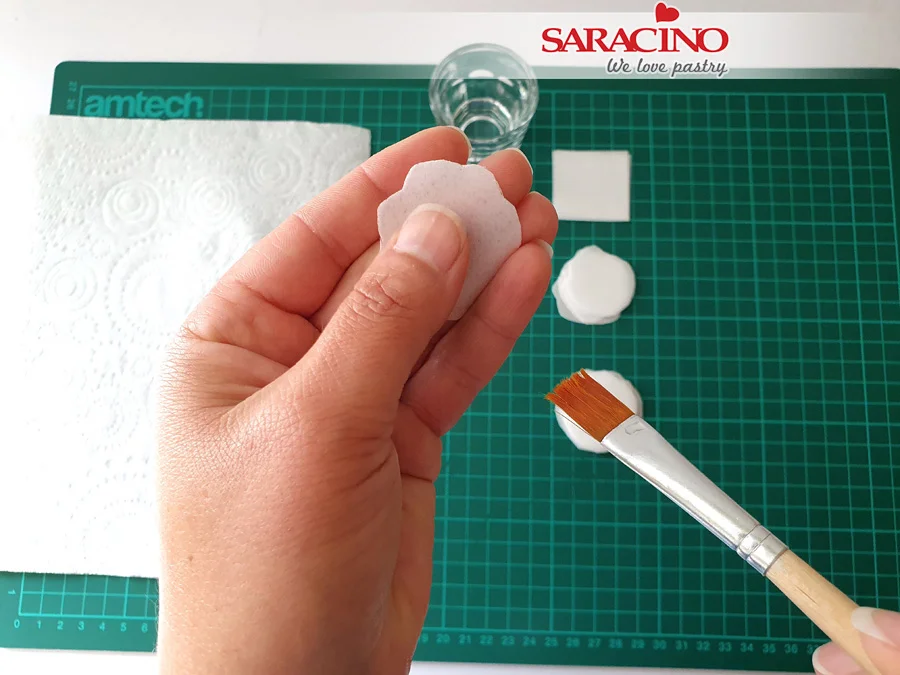
Spread the alcohol evenly with your fingers, making sure the whole surface of the petal is covered and softened.
Step 29

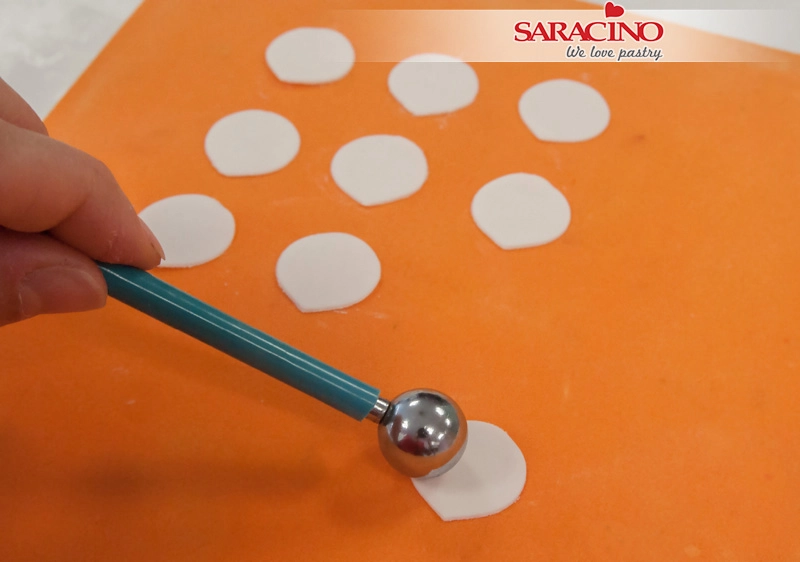
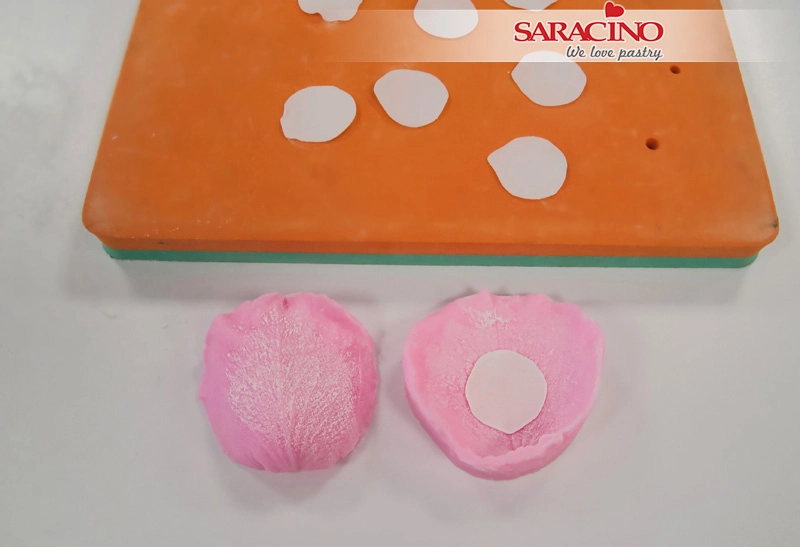
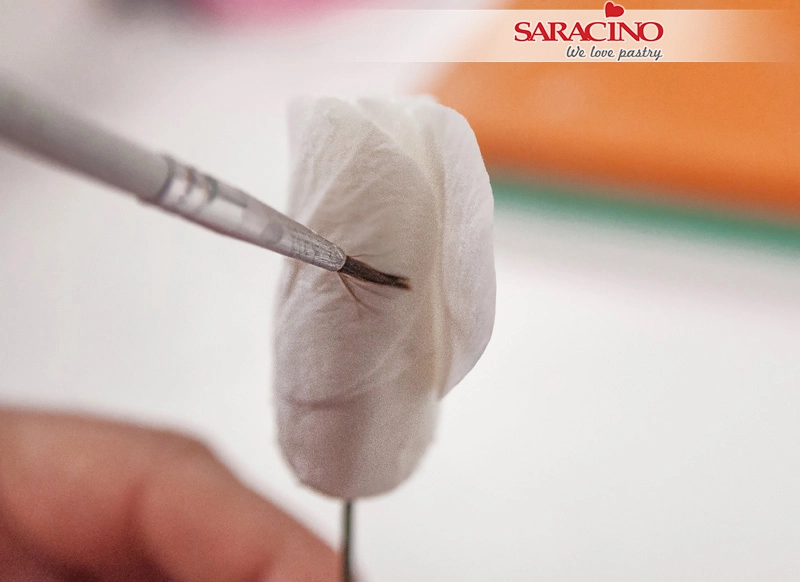
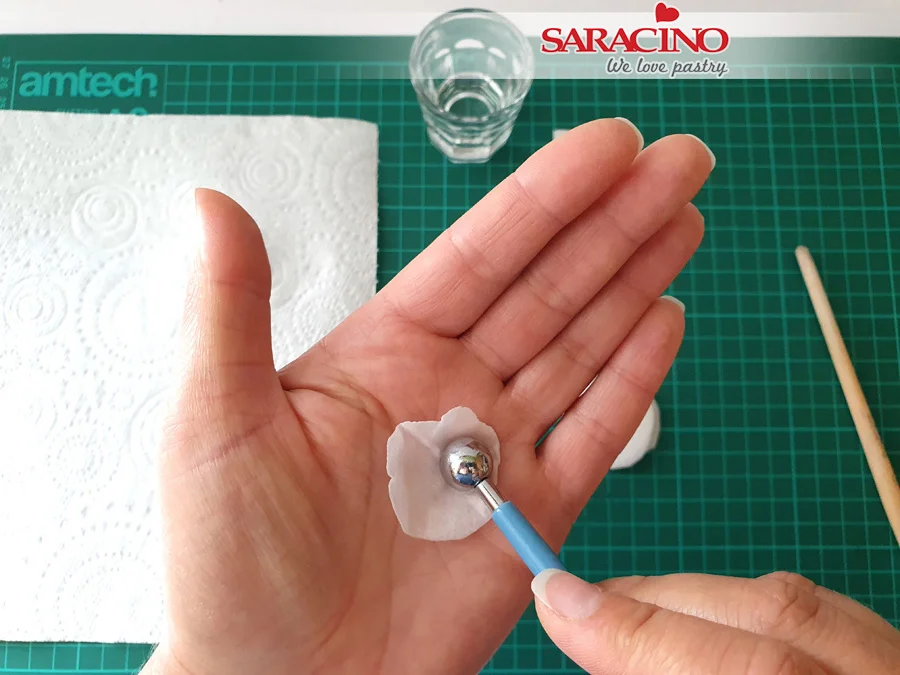
Place the petal on your palm, take the ball tool and press the petal in a few places to indent petal and add extra volume to it. If petals break under the pressure of a ball tool, it means that you haven’t applied enough alcohol to the petal. Petals should curl on the edges themselves,  but if not, add a small amount of alcohol on the edges again and help to curl with your fingers.
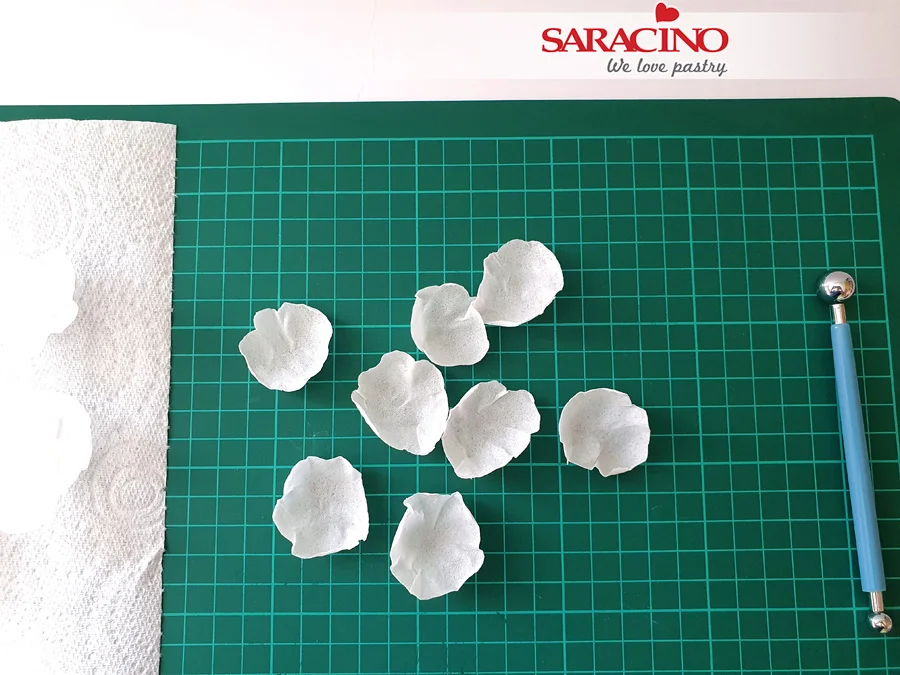
Step 30

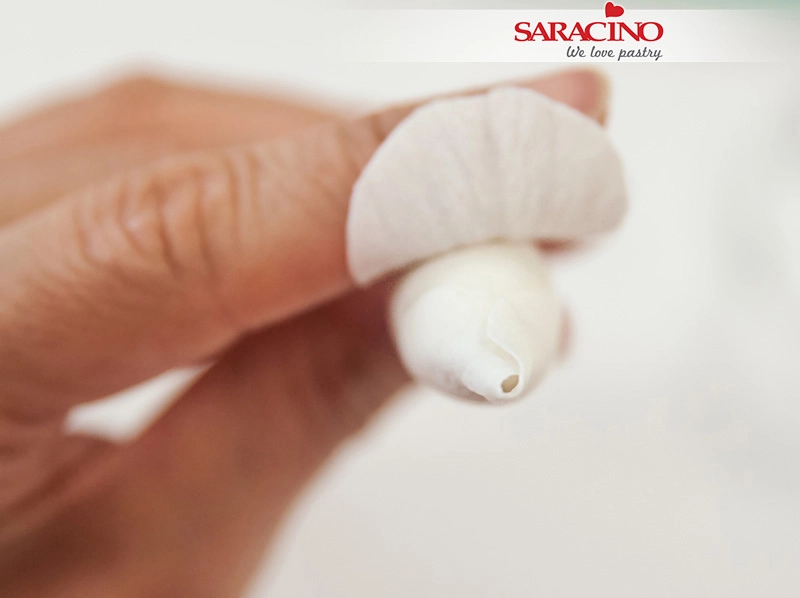
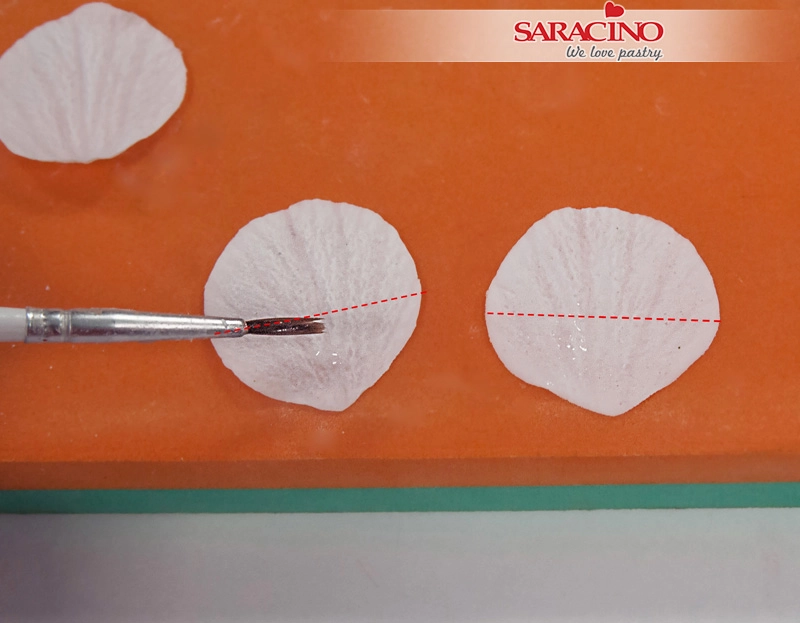
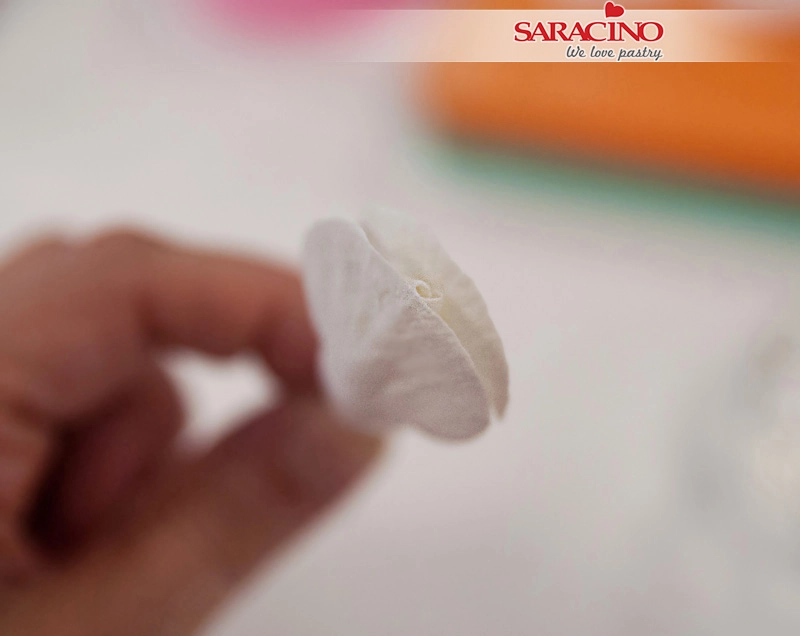
Repeat step 28, 29 and 30 with all petals. Cut a slit on the bottom of each petal (3/4 to the centre), brush a small amount of cooled, boiled water, overlap the slit to form a cup shape to the petal, you can add 28 or 30 gauge wire at this stage if you need every petal to be wired.
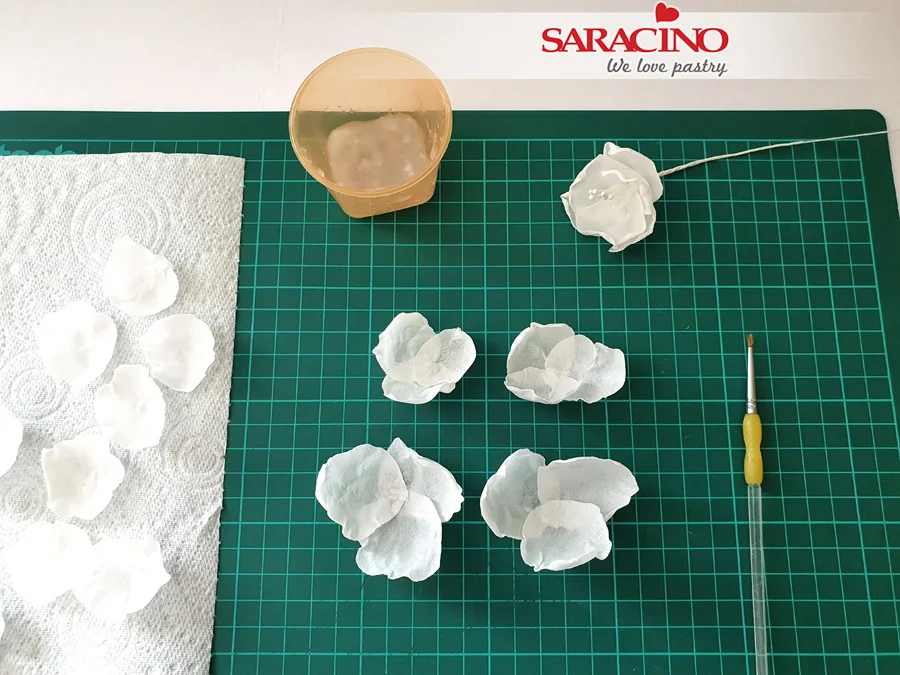
Step 31

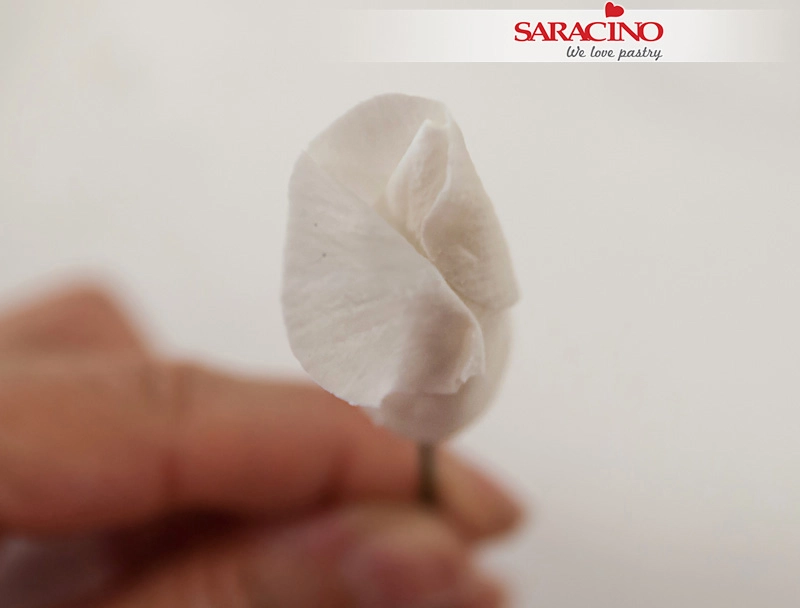
Select medium petals first and using a small amount of wafer paper glue or cooled, boiled water, adhere them together in a group of three, do the same with larger petals. If you wired your petals, skip this step.

TIP- To make wafer paper glue, cut fine, tiny pieces of leftover scraps of wafer paper and add to a container, cover with boiled water and leave it for a few hours for the paper to dissolve and turn into a glue.

Step 32

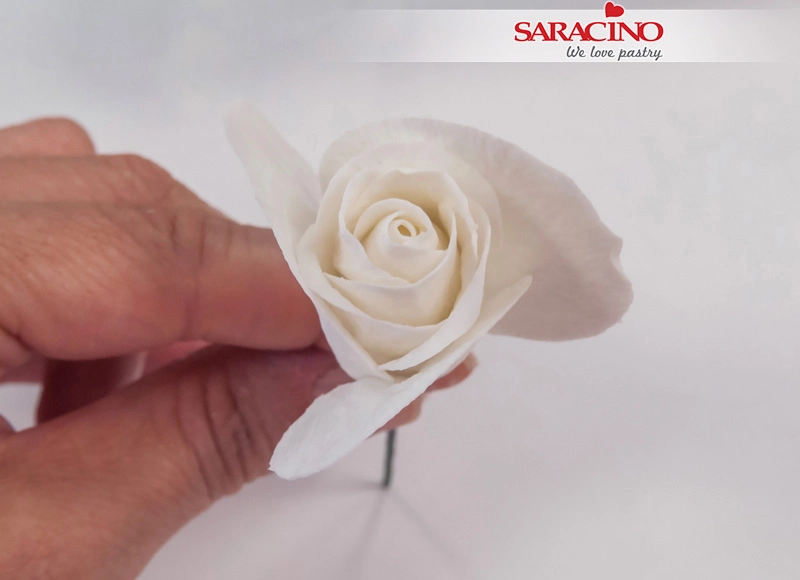
Using a small amount of wafer paper glue or cooled, boiled water, glue together the medium and large petals.
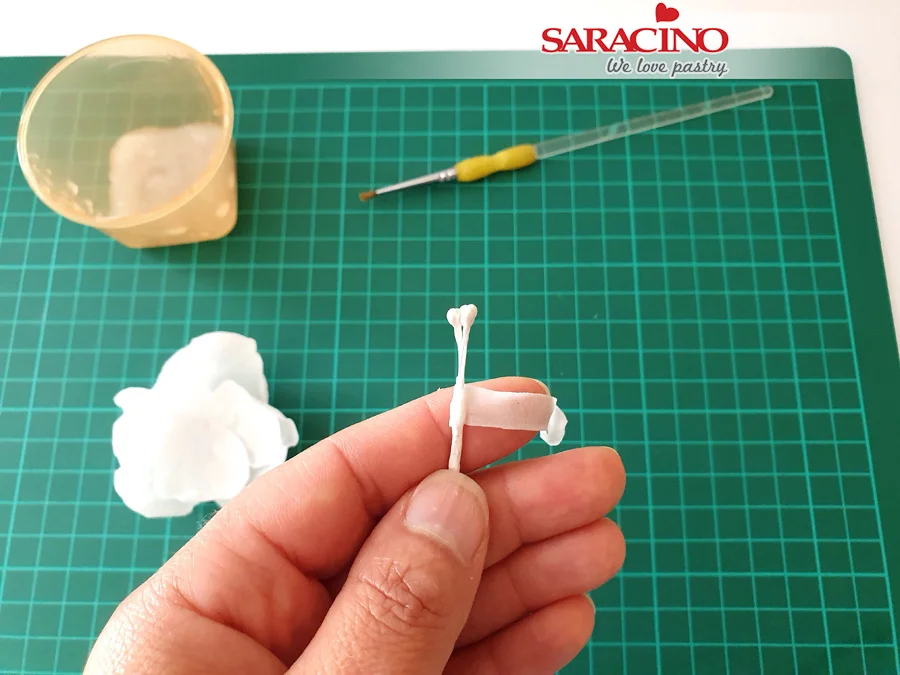
Step 33

Take the flower middle, brush a small amount of wafer paper glue or cooled, boiled water on the tape underneath the stamen, add a thin strip of wafer paper, (brush the strip first with wafer paper glue or water), this will help the flower middle stick to the petals easier. Leave it for a few minutes to dry. If you wired your petals, skip this step.
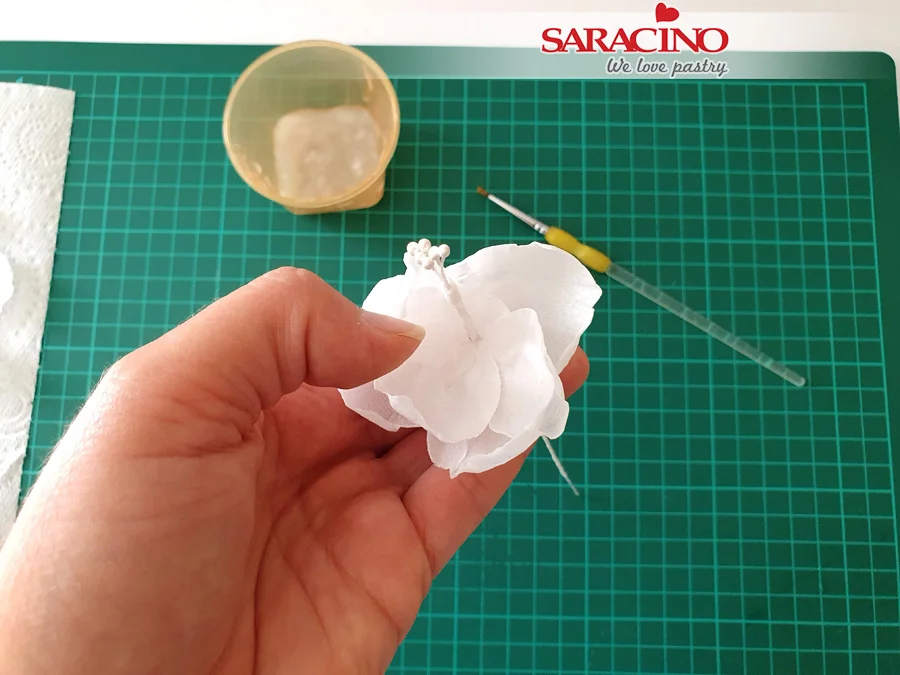
Step 34

Take the petals, if still soft in the centre, thread the flower wire middle through the centre, if the wafer paper has already dried and hardened, dab a small amount of water or wafer paper glue in the centre of the flower to soften the wafer paper. If you wired your petals, take the flower middle, place 3 medium petals directly underneath the stamen, secure petals with white floral tape, then add another layer of 3 larger petals, one by one, continue securing with floral tape all the way down the wire.
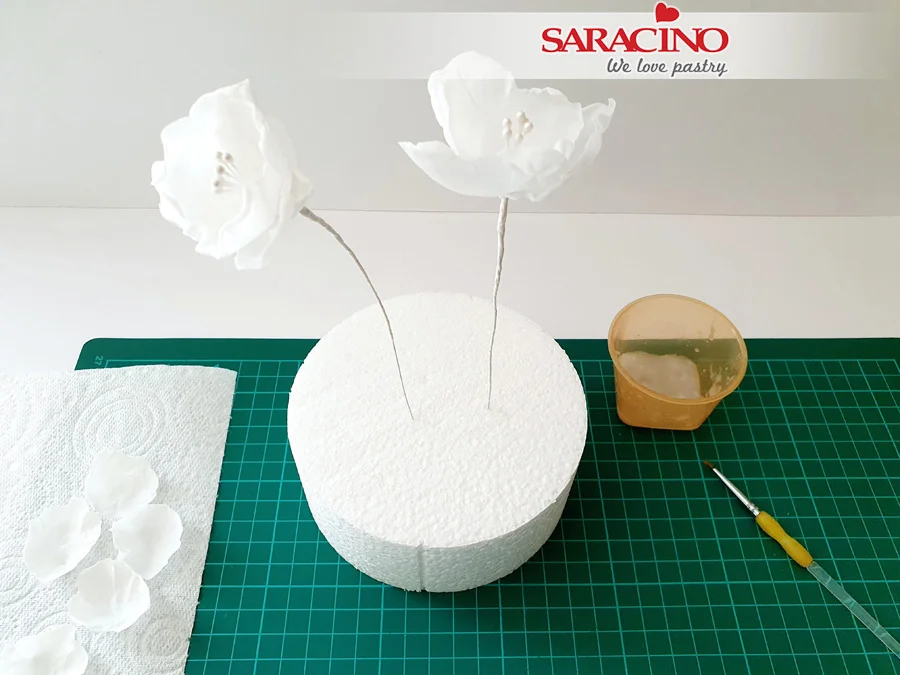
Step 35

Insert your flowers into a dummy and allow to dry.
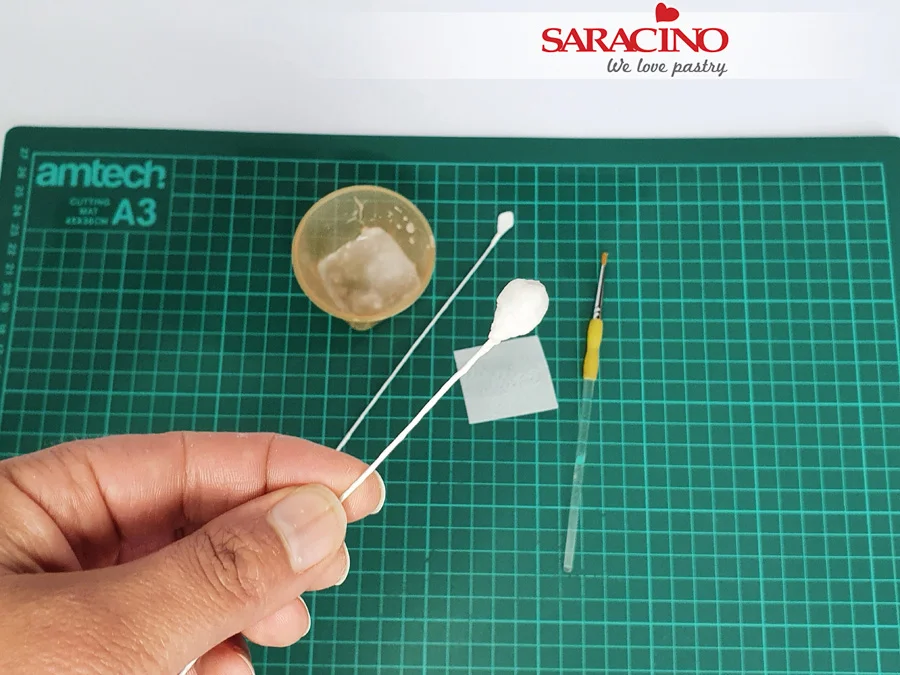
Step 36

For the flower buds, take the 24 gauge white wire, cut in half, make a loop at the end of the wire, wrap a floral white tape over the loop and all the way down the wire. Brush with a glue or cooled, boiled water, wrap a piece of wafer paper, creating a ball shape on the loop.
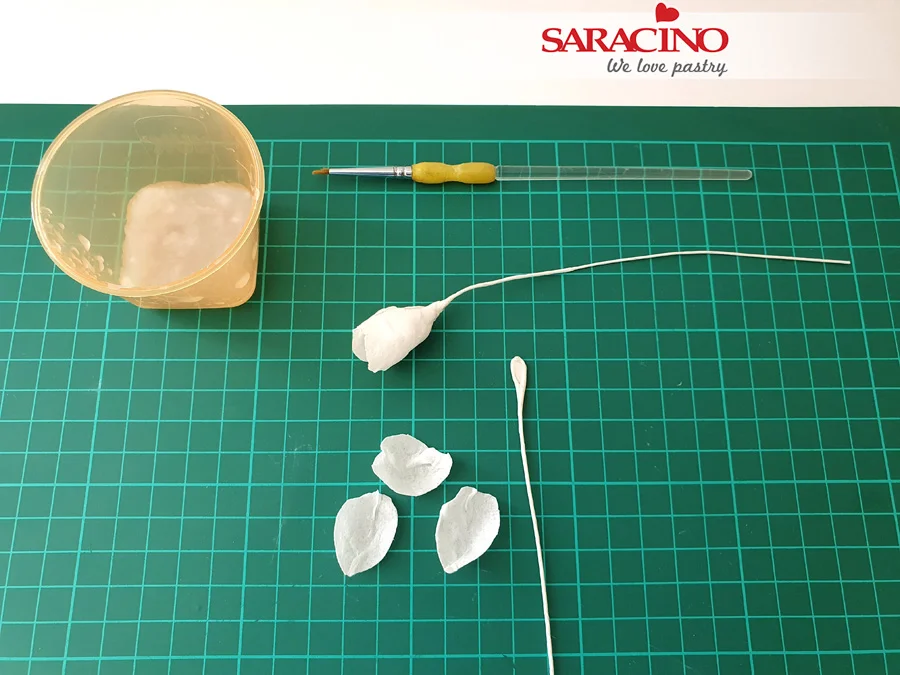
Step 37

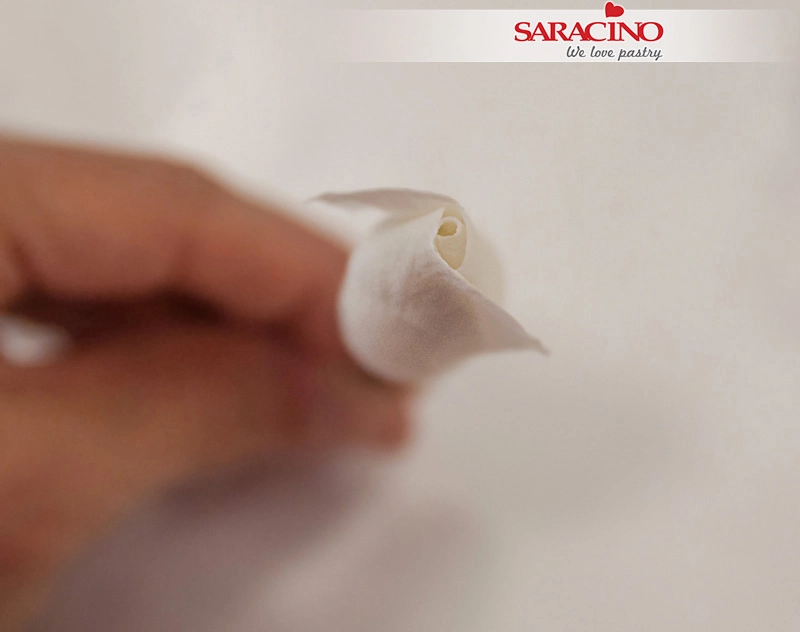
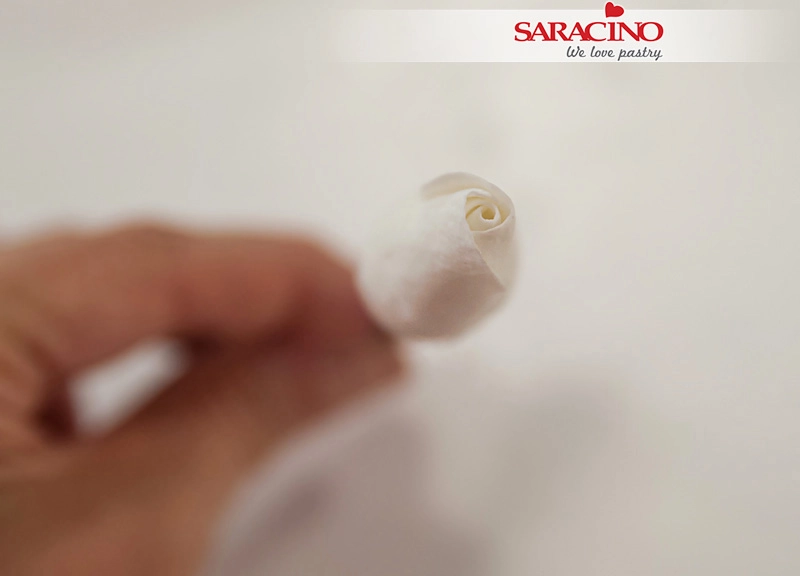
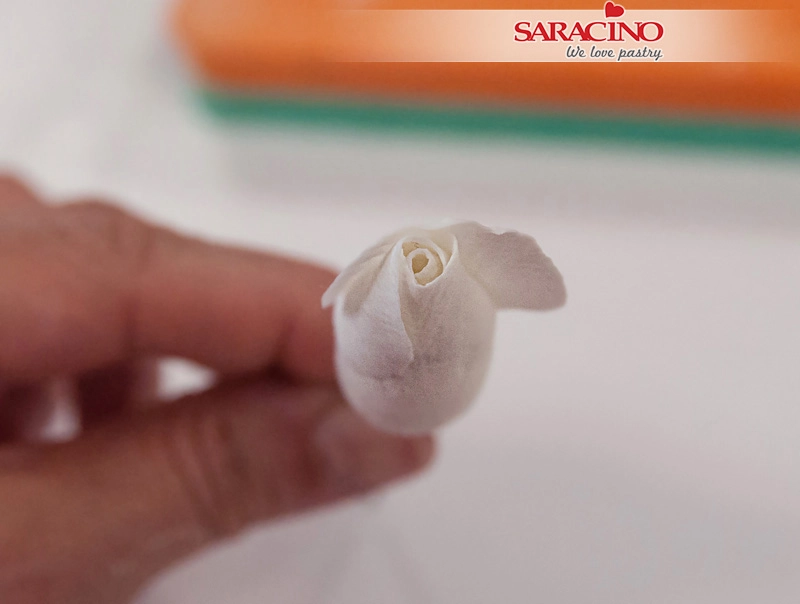
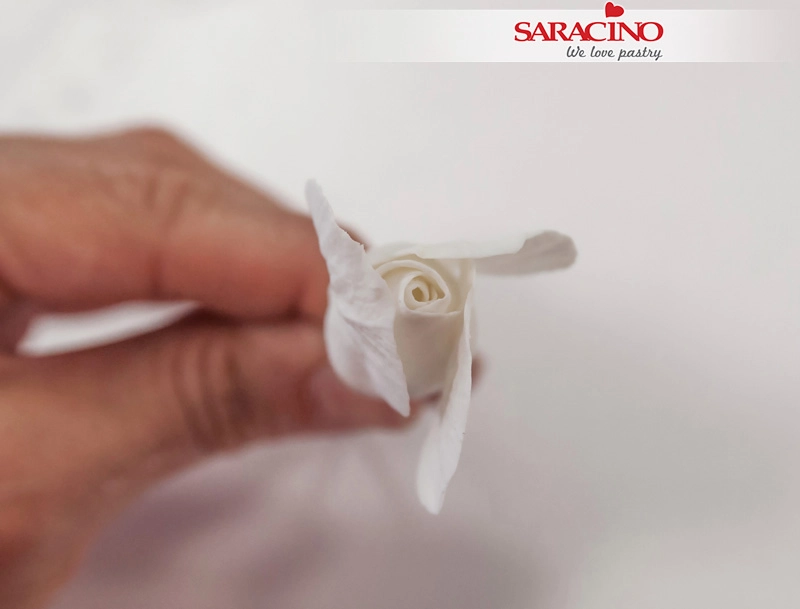
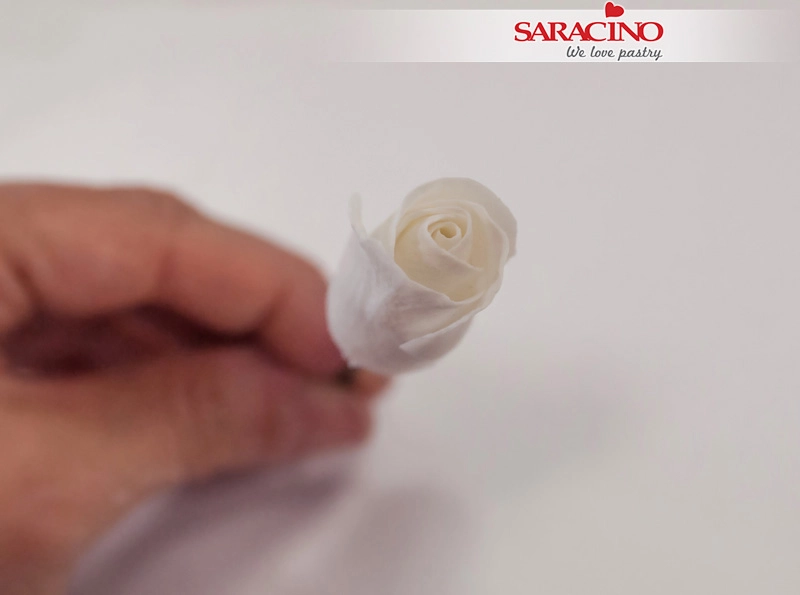
Take 3-4 small petals, attach them to the ball with wafer paper glue or cooled, boiled water,  creating a flower bud.
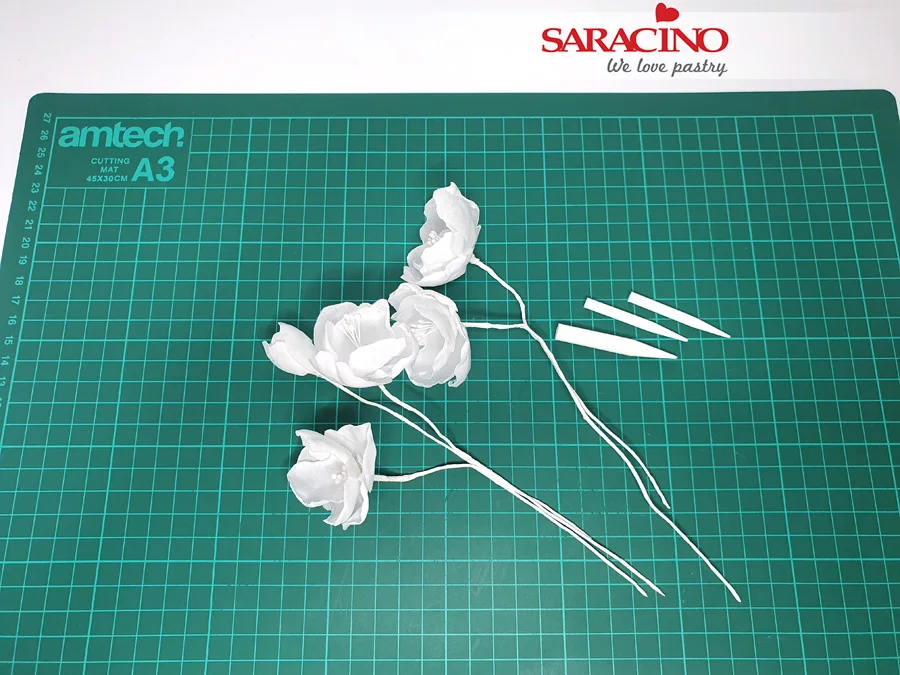
Step 38

Dowel and stack the cakes. Tape the wafer paper flowers in pairs or keep them separate if you prefer. Insert flower picks into the cake where you would like flowers to be placed.
Step 39

Insert the stems into the flower picks, bending the wires to arrange as desired.
Step 40

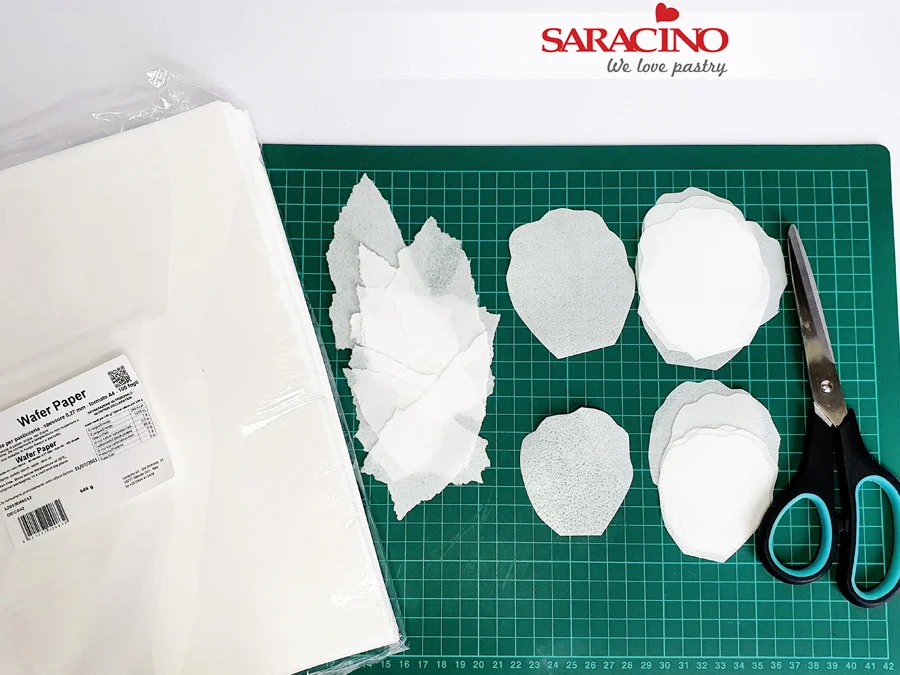
For the wafer paper sail cluster, take 2-3 sheets of the Saracino wafer paper (0.27mm thick). Use scissors to cut free-hand about 20 tulip shape petals, various sizes, approximately between 5 and 8cm long. Take another two sheets of the wafer paper and tear free-hand some irregular pieces for a more jagged edged look.
Step 41

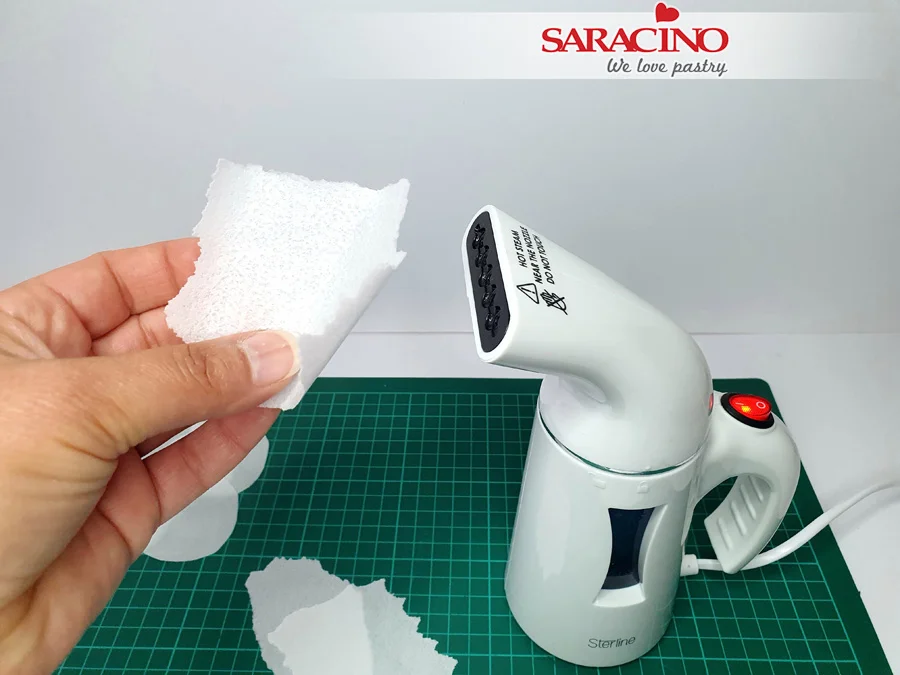
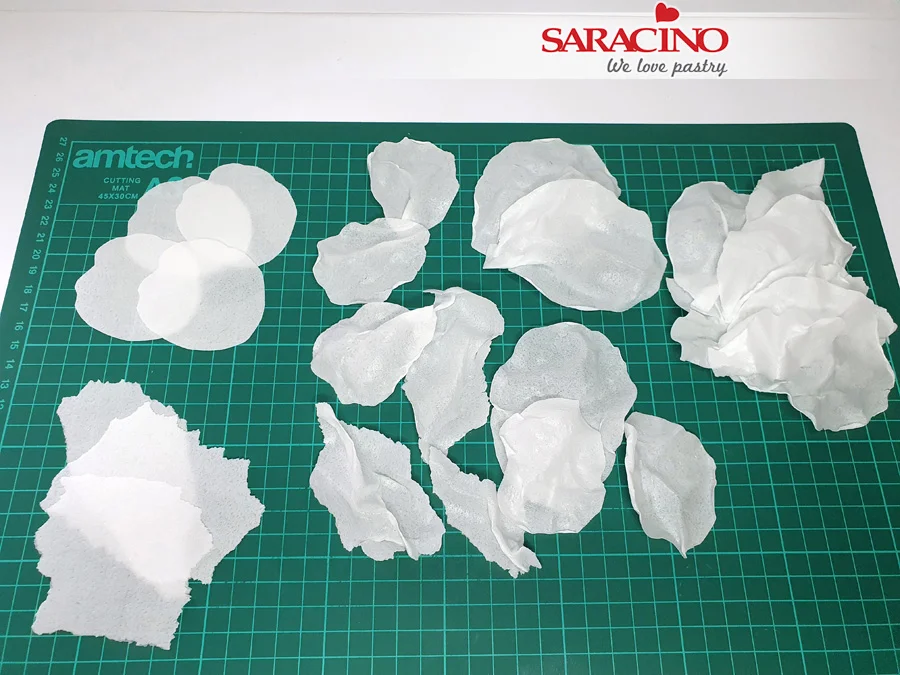
Take prepared pieces of the wafer paper and carefully (do not burn yourself), briefly pass each piece through a path of steam from a cake steamer, form the shape you require.
Step 42

If you don’t have a steamer, you can use the steam from a kettle or a pot of boiling water or brush every piece with alcohol (like we did for the petals) and shape, put to dry on a piece of parchment paper.
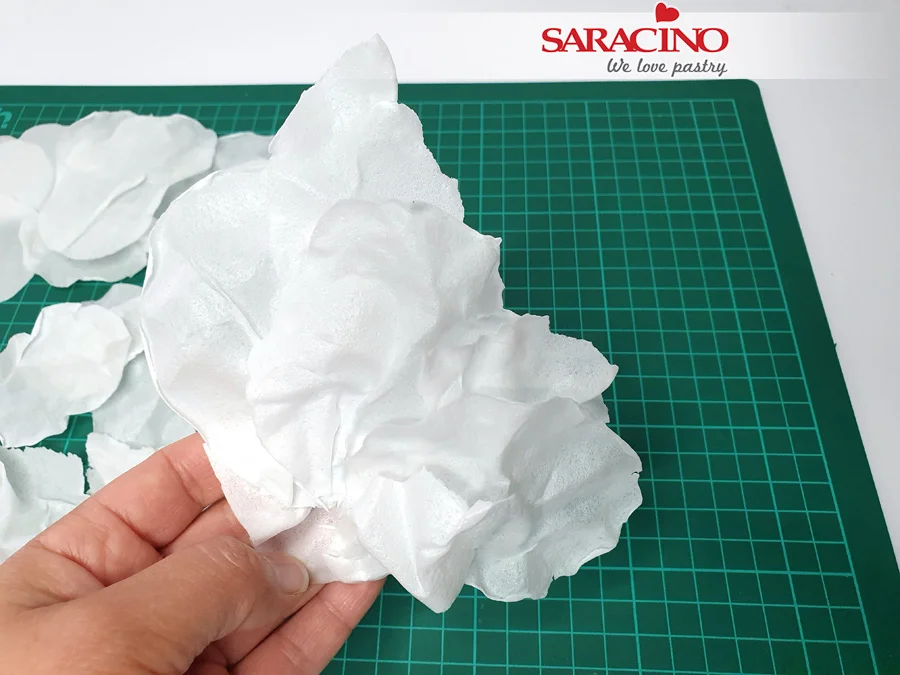
Step 43

Once all the wafer paper sails are ready, using cooled, boiled water or wafer paper glue arrange them in clusters. Leave some single sails for filling the gaps later on.
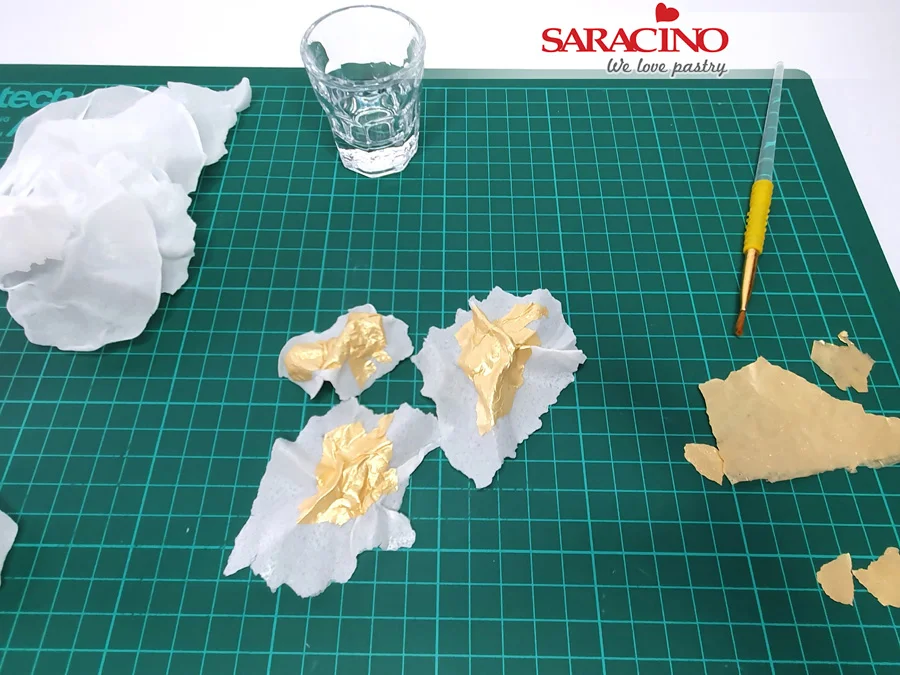
Step 44

Tear some pieces from the gold sheet made from the Saracino Gold Ready to Use Lace Paste and attach with a small amount of cooled, boiled water to a few wafer paper sails.
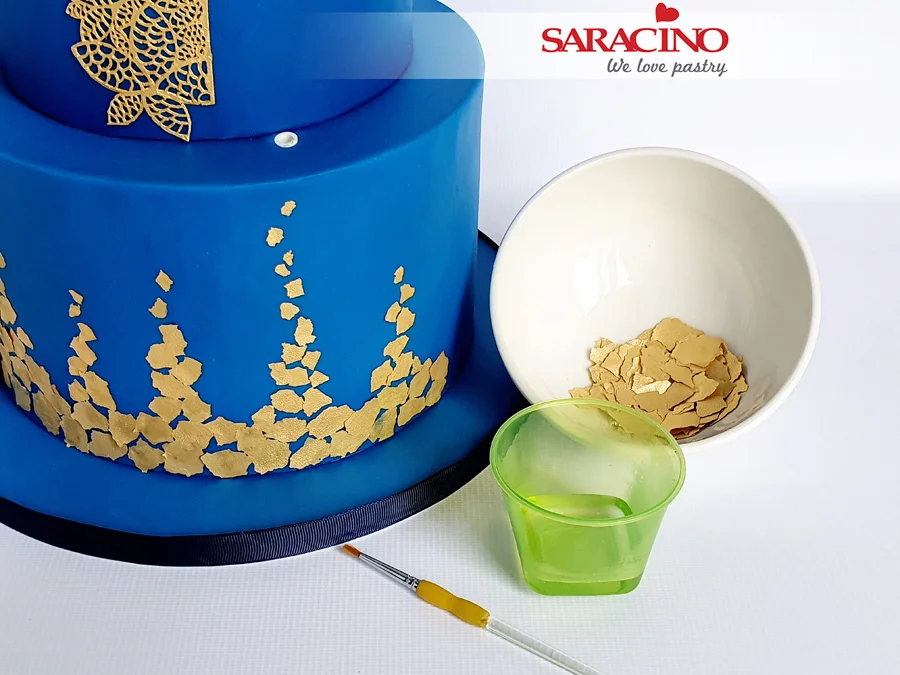
Step 45

Take the 8in cake and the edible gold pieces we prepared earlier (made from Saracino Gold Ready to Use Lace Paste). Use small amount of cooled, boiled water or edible glue to attach pieces to the cake, starting from bigger pieces at the base reducing gradually to smallest ones creating the pattern.
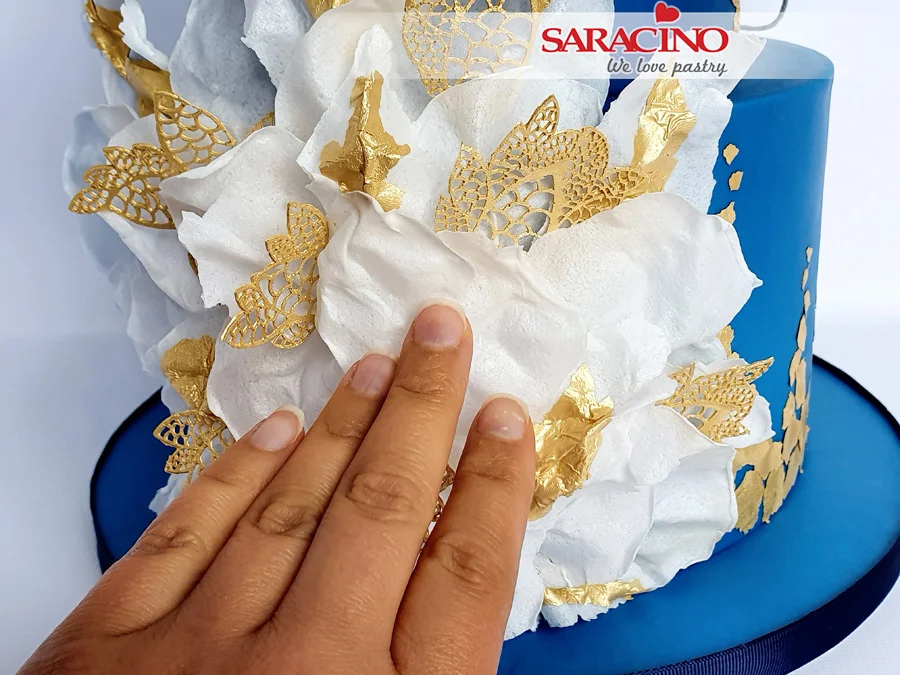
Step 46

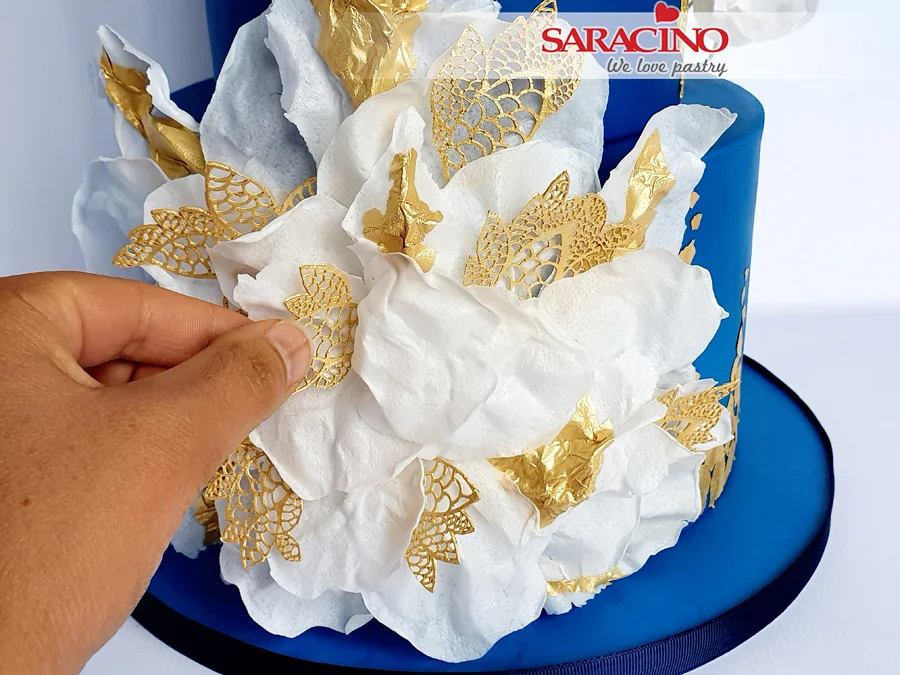
Mix a small amount of Saracino Royal Icing. Apply royal icing to the 8in cake in the place you would like the wafer paper clusters to be. Hold the wafer paper clusters in place for a few seconds to allow to fix.
Step 47

Fill the gaps with single sails and nice pieces of left over edible lace.
Step 48

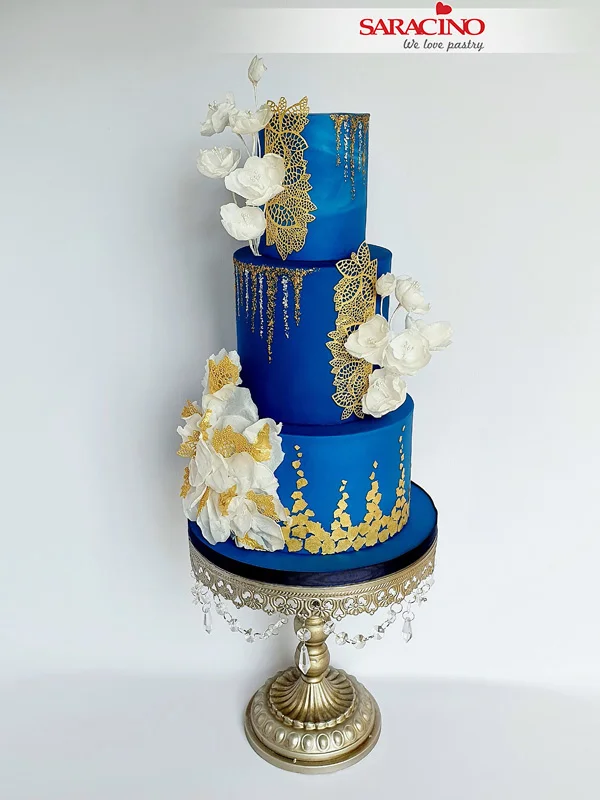
Your cake is complete!

BRITISH FANTASY COLLABORATION

BRITISH FANTASY COLLABORATION

We are 53 sugar artists from all over the world and we would like to introduce to you to our take on British Fantasy genre, and all the incredible authors and their creations.


Fee Kakes

 
Congratulations On Your Amazing Creations!

Take Your Time And Visit Their Facebook Page BRITISH FANTASY COLLABORATION To View All The Amazing Creations!


Join Our Newsletter

We’d love to send you the latest news, discounts & exclusive offers via email! By signing up below you are confirming you are happy for Saracino to send you marketing emails. We will always treat your personal details with the upmost respect & will never sell your details to other companies for marketing purposes.

• All the latest industry news   • FREE video tutorials   • Exclusive product offers

Products         Tutorials          Ambassadors           Events           Blog           Showcase         Contact


TWISTED CHAIN PATTERN CAKE

TWISTED CHAIN PATTERN CAKE

FB: DELICE

Skill level: BEGINNERS

You will need:

  • Saracino white sugarpaste  – Pasta Top
  • Saracino white flower paste – Pasta Bouquet
  • Saracino gold spray powder
  • Saracino Airbrush mother of pearl liquid colour
  • Edible glue 
  • Lemon extract or few drops of clear alcohol
  • Chain mould
  • Cutting wheel
  • Ruler
  • Tailor’s measuring tape or piece of ribbon
  • Rolling pin with spacers
  • Exacto knife 
  • Clean brushes
  • Fondant smoother
  • 18 gauge wire
  • Airbrush

Step 1

Cover your cakes using the white Pasta Top.

Tip : Pasta Top is Vegan, Gluten free and has NO hydrogenated fats. It’s very stretchy and can be rolled very thin.

Step 2

Stack the cake and measure the diameter of your bottom tier with a piece of ribbon or tailor’s measure.

Step 3

Now you can calculate how long each piece will be in order to finish the design seamless. For example: If the circumference of the cake is 60cm, one section will be 6cm and you will have 10 sections.

Step 4

Using a chain mould make a few lengths of chain. Bear in mind you cannot finish the design all at once because the pieces of fondant will dry out too much and it is possible they could break or tear. You can make 25-30 pieces each time, place them on the cake and repeat until the design is finished.

Step 5

Roll some Saracino pasta top and cut some strips.

Step 6

Leave them for about 30 min to dry a little bit.

Step 7

For this cake we need to cut the strips to 6cm length. We already have calculated that one section of our design will be 6cm long. You should cut your strips to the length you require.

Step 8

Leave your strips of fondant aside while you paint the chains in gold.

Step 9

Use Saracino pump powder gold dust and mix it with some lemon extract or a few drops of vodka.

Step 10

Paint the chains with the mixture. For a more metallic colour, paint again after the alcohol evaporates. This time you can use the pump powder gold directly onto the chains.

Step 11

We cut the gold chains to 6cm long pieces. You cut them to your required length.

Step 12

Brush a little bit of edible glue on the white fondant strips and place the fondant chain in the middle of the strip.

Step 13

Finish all the pieces you have prepared. If you have some longer parts of chain, trim the excess.

Step 14

Chain must be exactly the length of the fondant strip.

Step 15

Use a fondant smoother and press each piece slightly over the chain.

Step 16

Now you have flattened your strips for easier twisting.

Step 17

Take one piece, approximately find the middle and put your left thumb on top (forefinger at the back) and right forefinger on top (thumb at the back).

Step 18

Twist in opposite directions until your strip is half chain, half plain.

Step 19

Each piece should look like this

Step 20

Continue to twist until you finish all parts you have cut. Remember you may need to prepare more later as we don’t want to make too many just in case they dry out.

Step 21

Start attaching the pieces to the cake. Take one piece and brush the back with edible glue (half plain, half chain) and attach to the cake. Repeat until you finish the first row.

Step 22

Then start the second row by adding another piece making sure the chains line up from the row below.

Step 23

Continue until all pieces are placed on the cake.

Step 24

When you finish all the pieces you have prepared, repeat steps 5 to 20 until you finish the design.

Step 25

Your finished bottom tier should look like this.

Step 26

Bend 18-gauge wire to create the chain branches.

Step 27

Roll some 50:50 mixture of Pasta bouquet and Pasta top or just Pasta top mixed with a little bit of tylo powder. 

Step 28

Brush the wire with some water or edible glue and place it onto the rolled fondant. Fold the fondant over the wire as shown.

Step 29

Roll over with the rolling pin.

Step 30

Use your exacto knife and cut along the length of the wire to a width of 1cm.

Step 31

Now we have one branch.

Step 32

For the second branch using 18 gauge flower wire bend to the shape shown, this part will be shorter than the previous branch. Roll a mixture of pasta top and pasta bouquet or just pasta top mixed with tylo powder.

Step 33

Brush the wire with some edible glue or water and place it onto the fondant. Fold the fondant over the wire.

Step 34

Roll over the fondant with the rolling pin.

Step 35

Using your exacto knife cut along the length of the wire again to give yourself a 1cm strip. Now we have the back for our branches.

Step 36

Again, using the chain mould and the Gold pump powder paint two pieces of chain in gold.

Step 37

Brush the branches with some edible glue and place the chain over the wired strip of fondant. Leave to dry overnight.

Step 38

Prepare your airbrush and Saracino liquid airbrush mother of pearl food colour to add some shimmer to your cake.

Step 39

Try to avoid overspray onto the gold chain as the gold colour may change.

Step 40

Place the chain branches and arrange some flowers of your choice.

TIP – If you are inserting flower wires into your cake you should always use a flower pick or something similar.

HAZELNUT POPS IN DARK CHOCOLATE

HAZELNUT POPS IN DARK CHOCOLATE

Author: Justyna Kowal

Skill level: BEGINNERS 

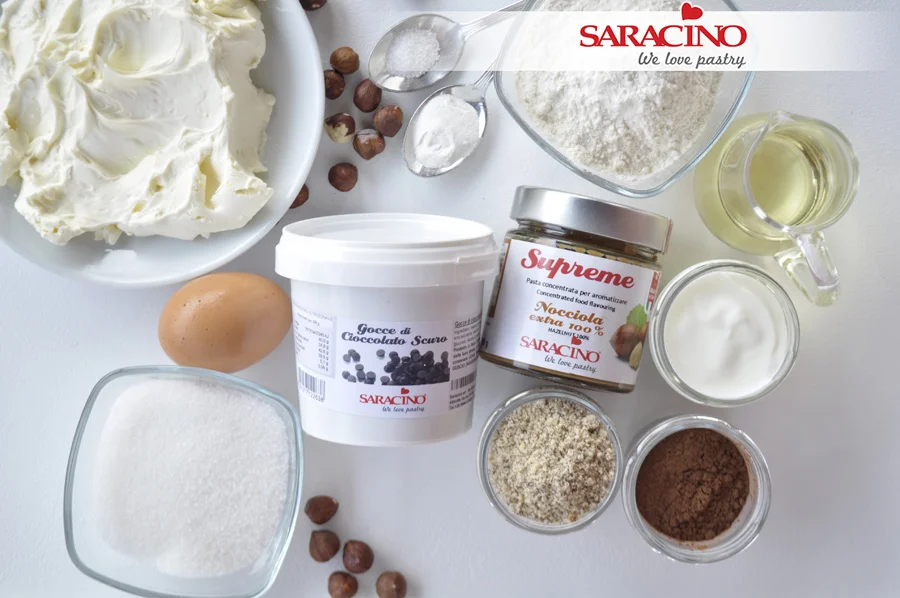
You will need:

  • 100g natural yoghurt
  • 1 egg
  • 50g vegetable oil
  • 100g sugar
  • 80g wheat flour
  • 40g roasted hazelnut flour
  • 20g cocoa powder
  • ¾ teaspoon of baking powder
  • pinch of salt
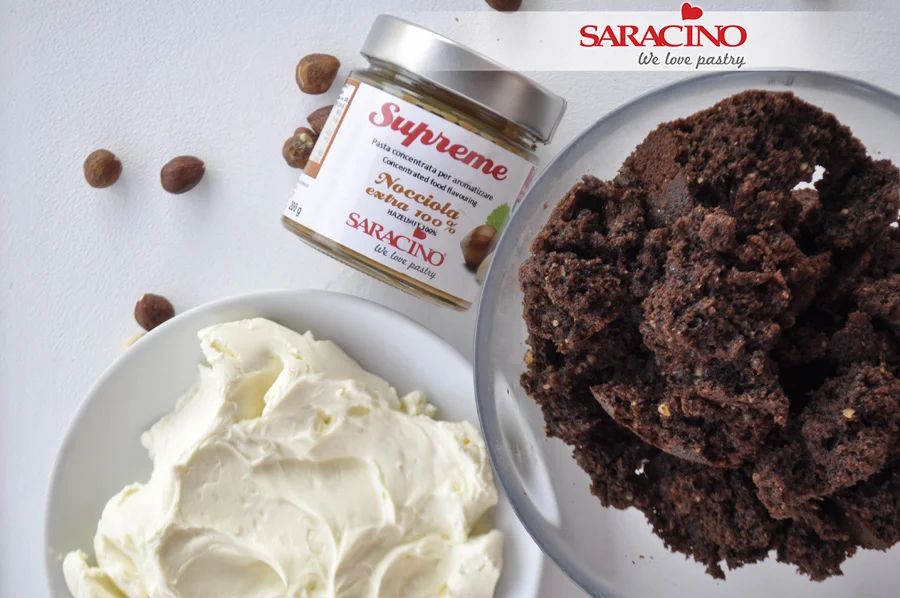
  • 3 teaspoons Saracino Supreme hazelnut paste
  • 100g mascarpone cheese
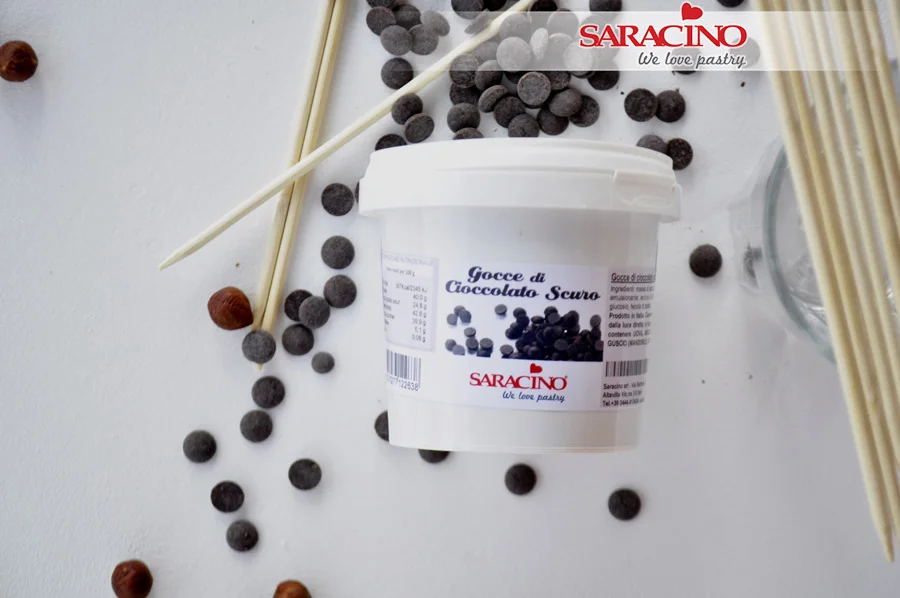
  • Saracino dark chocolate drops
  • Chopped hazelnuts for decoration
 

Step 1

Bring all the ingredients to room temperature.

Step 2

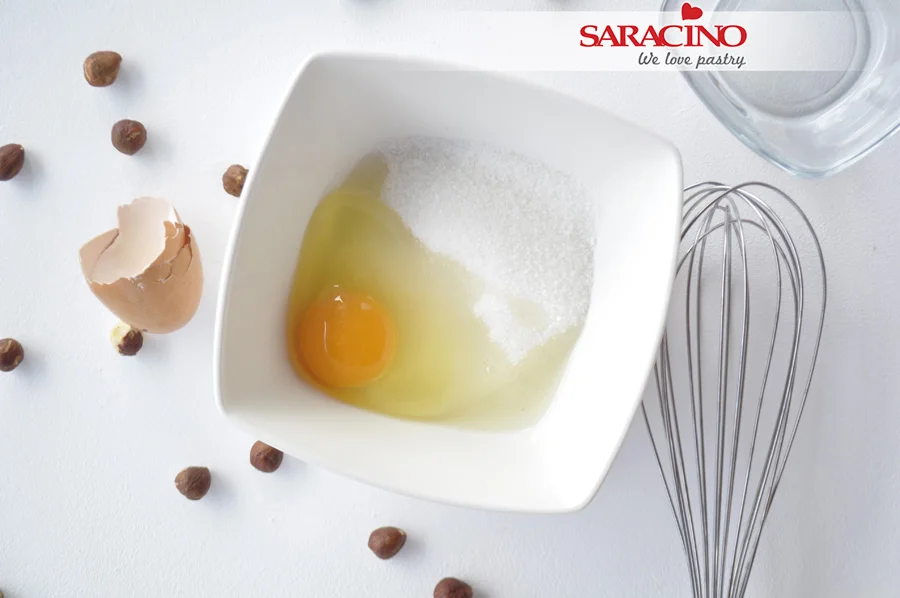
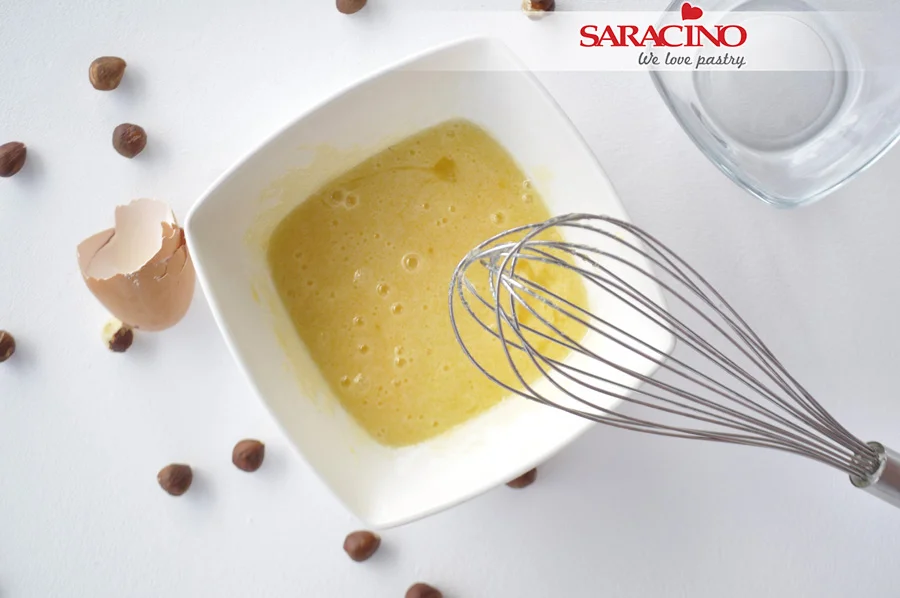
Put the egg and the sugar into a small bowl

Step 3

Mix until a smooth consistency is achieved. 

Step 4

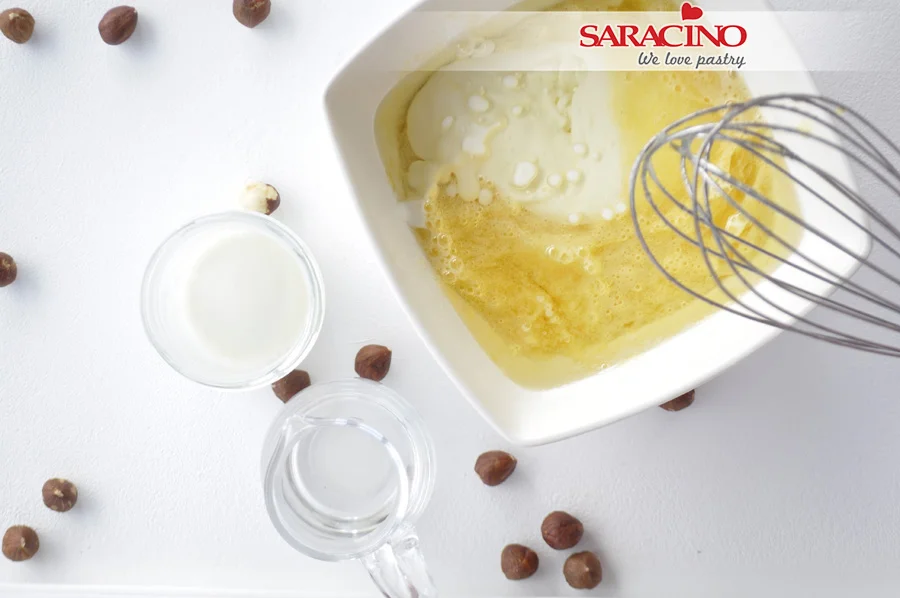
Add the yogurt and the oil.

Step 5

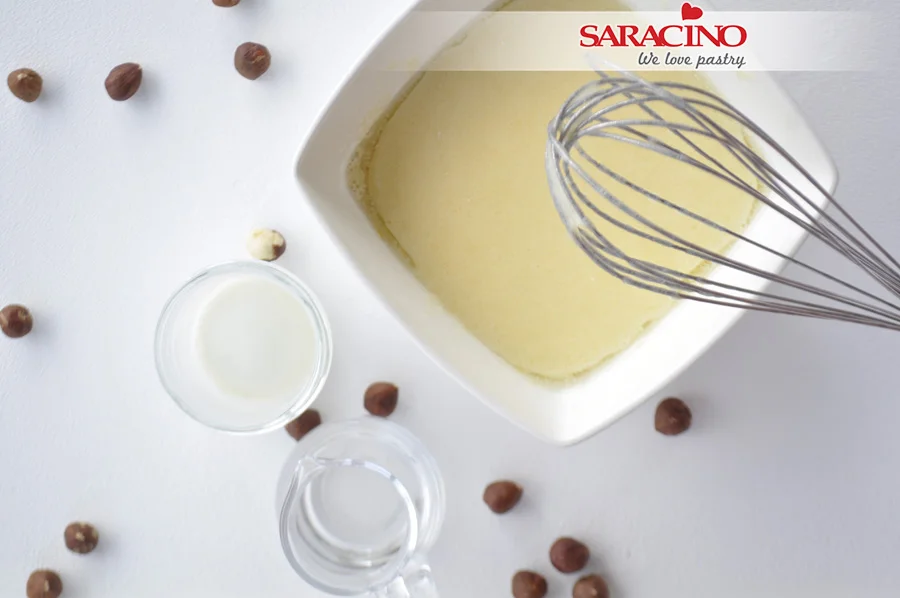
Mix until smooth

Step 6

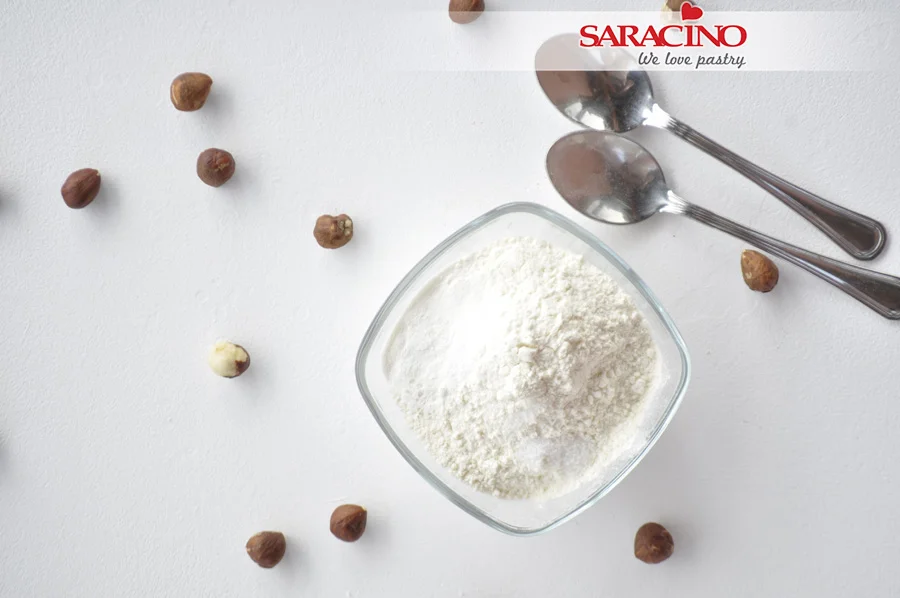
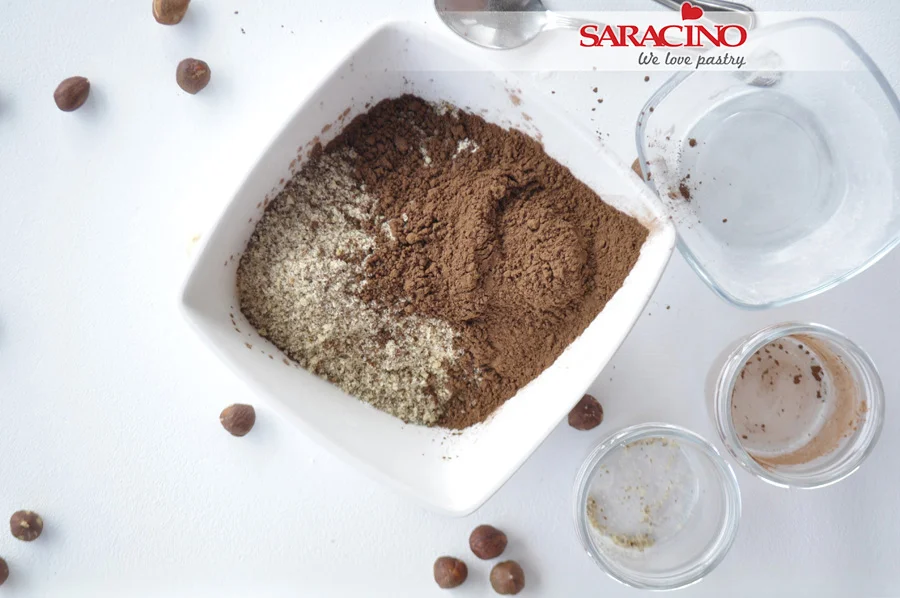
Add flour and baking powder to the next bowl.

Step 7

Add cocoa powder and roasted hazelnut flour

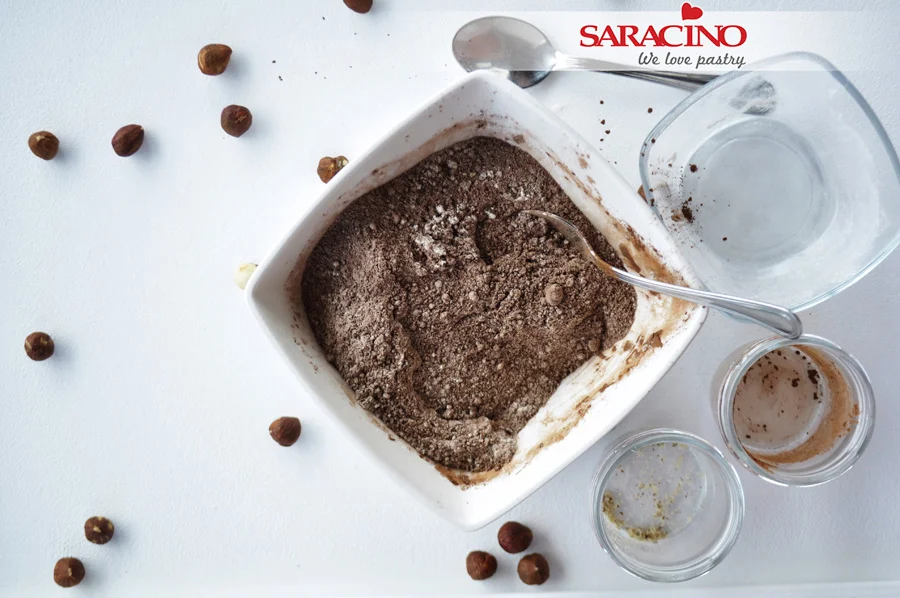
Step 8

Mix all ingredients together

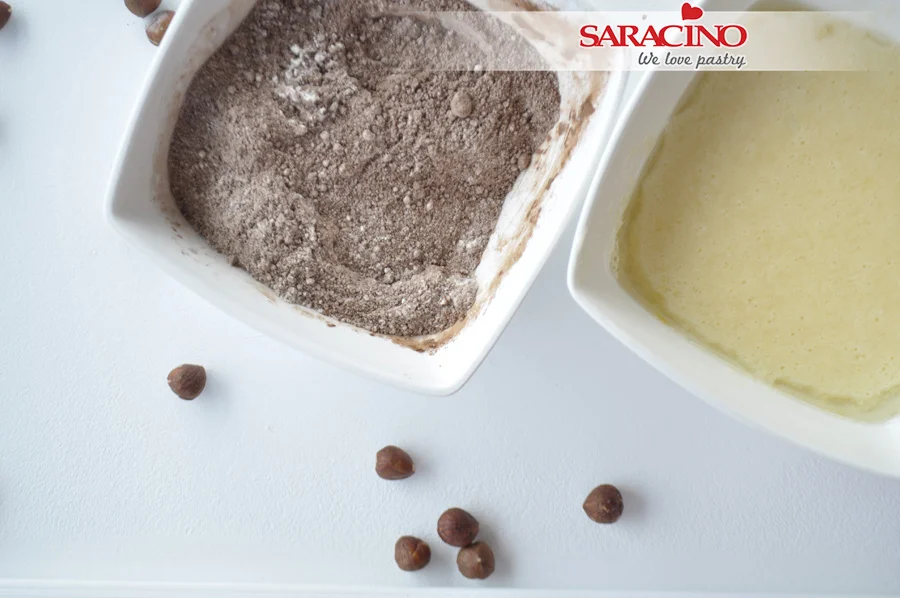
Step 9

The two bowls are ready to be combined

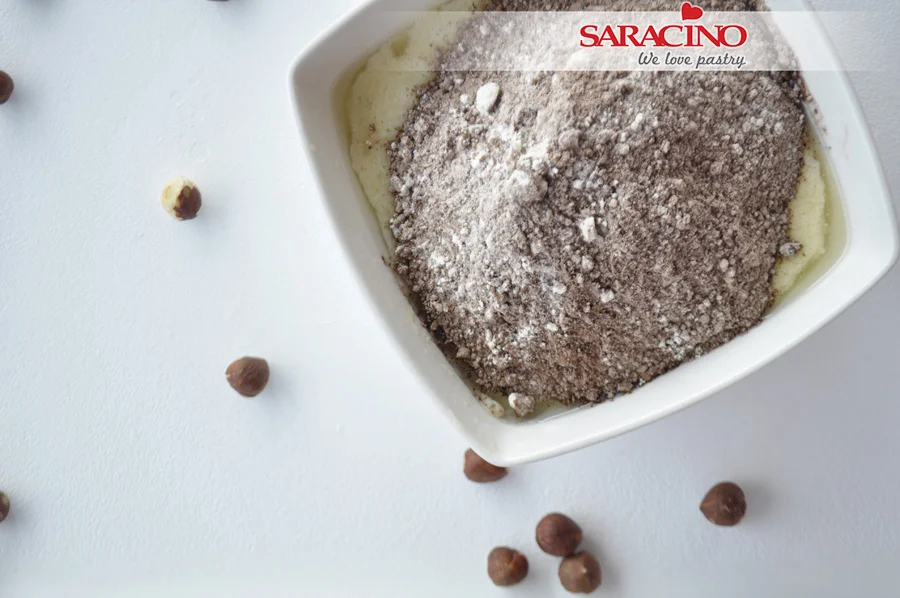
Step 10

Add the dry ingredients to the liquid mixture and gently mix

Step 11

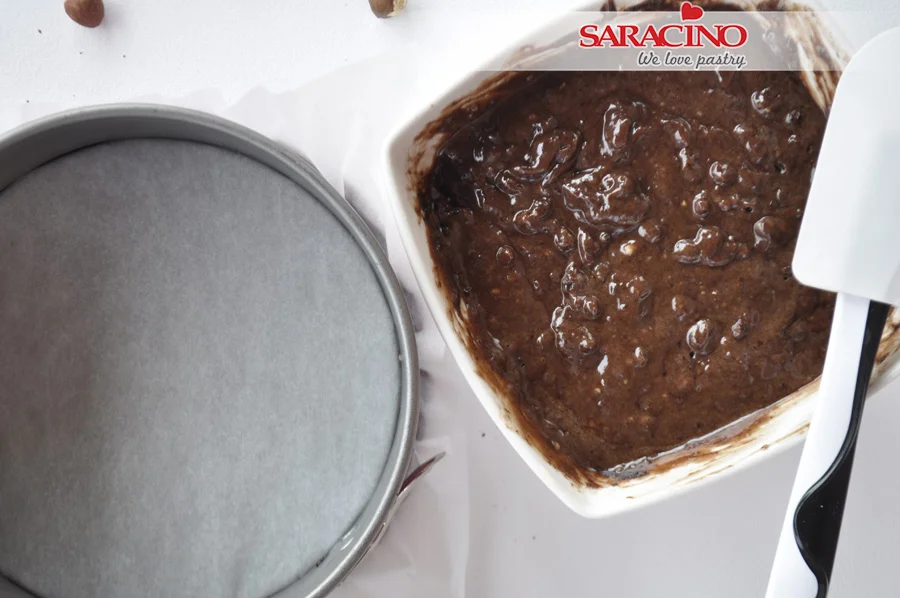
Line your baking tin with the baking paper 

Step 12

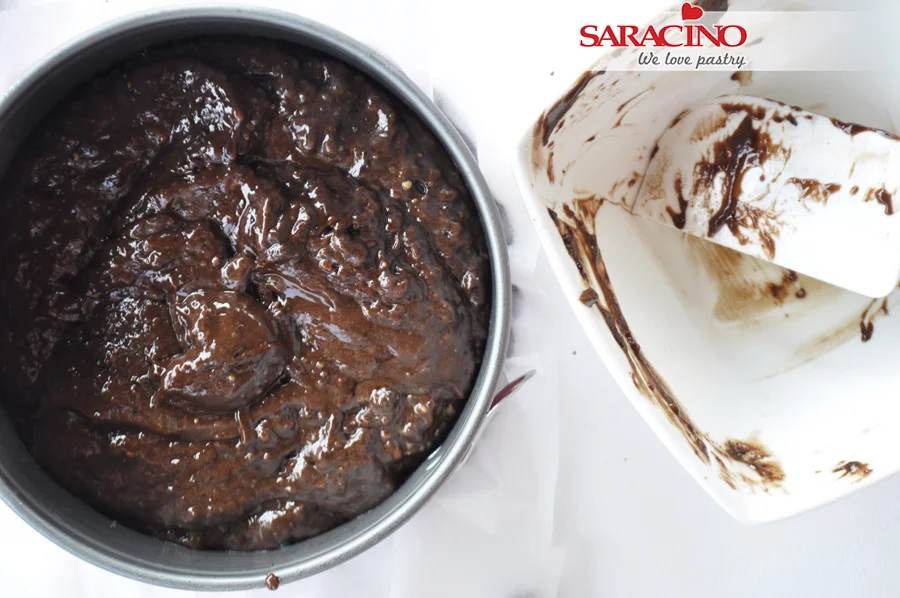
Add the mixture

Step 13

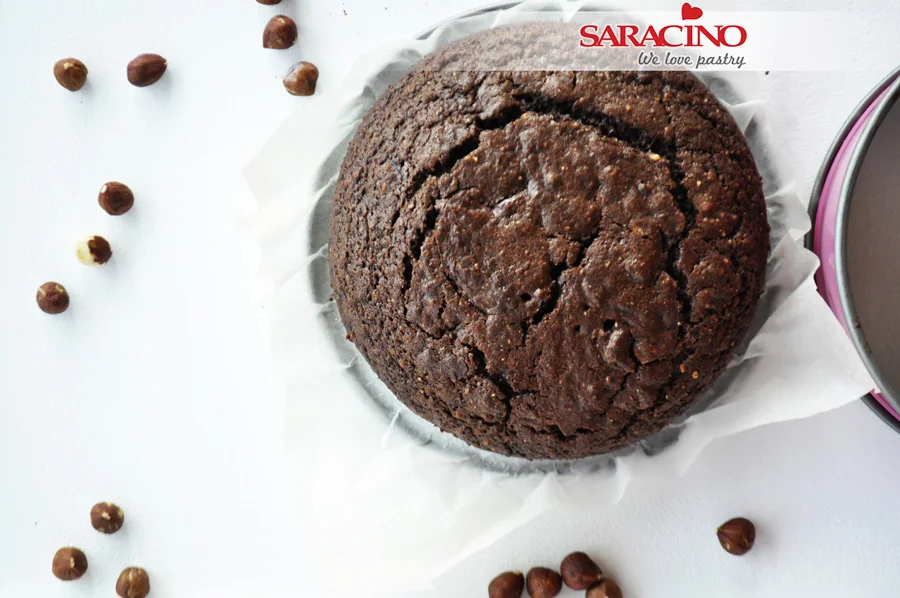
Bake for 30 minutes at 170C

Step 14

Remove the cake from the tin and allow to cool down

Step 15

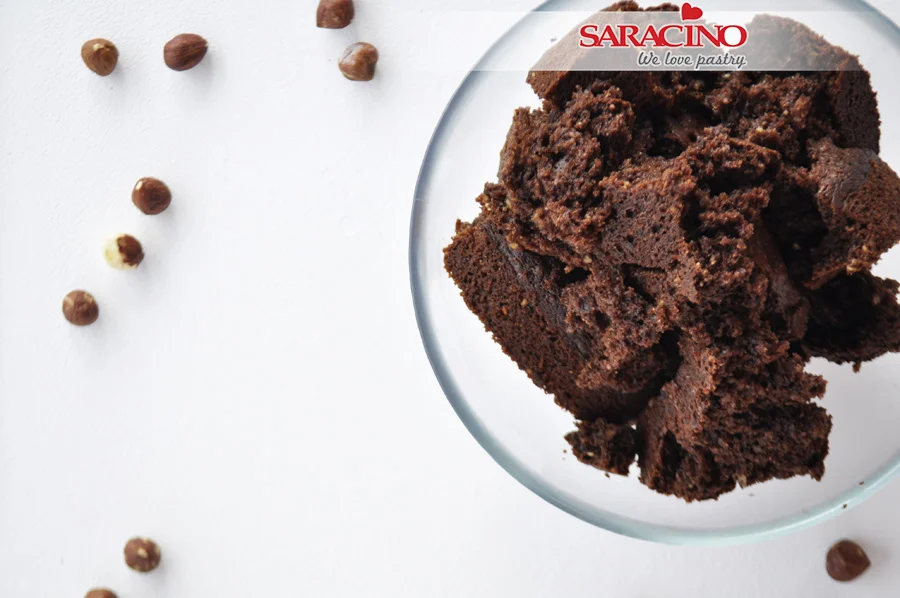
Break up the cake into small pieces

Step 16

Prepare the mascarpone cheese and Saracino hazelnut food flavouring

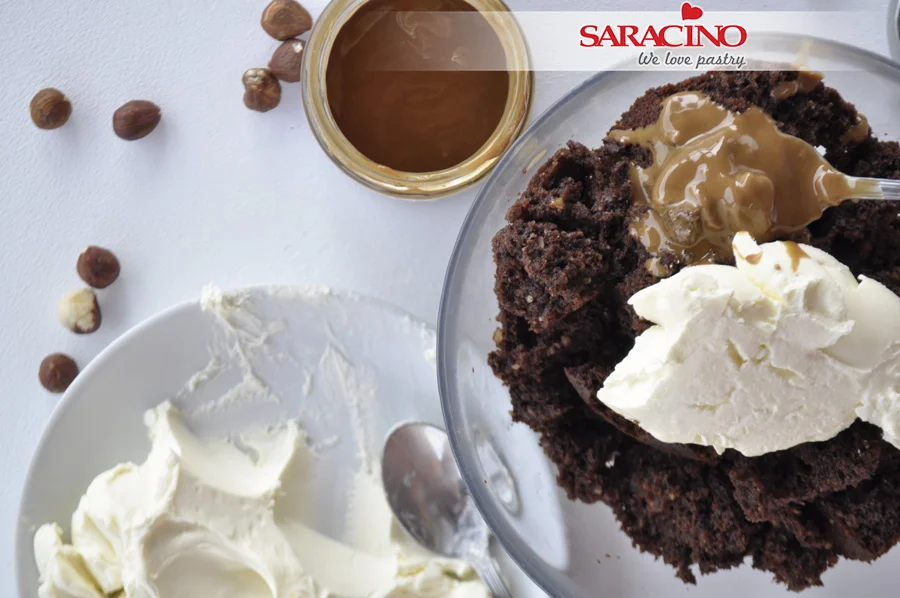
Step 17

Add the mascarpone and the Saracino hazelnut paste to the cake

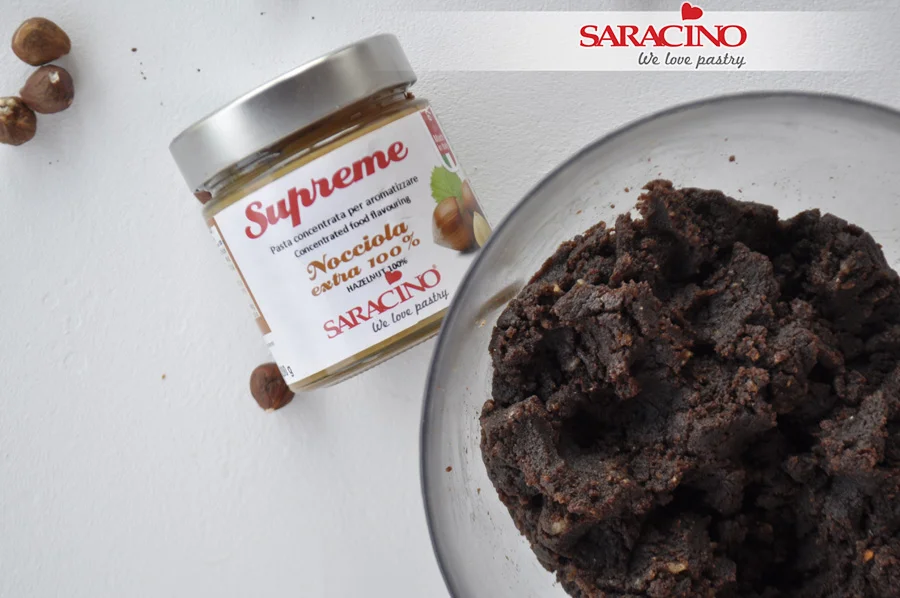
Step 18

Using your hands mix all together 

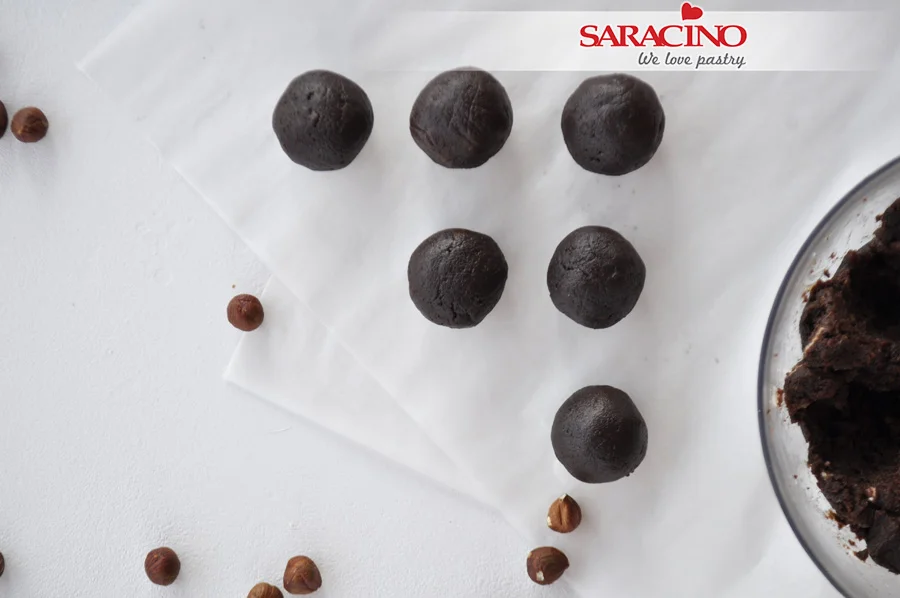
Step 19

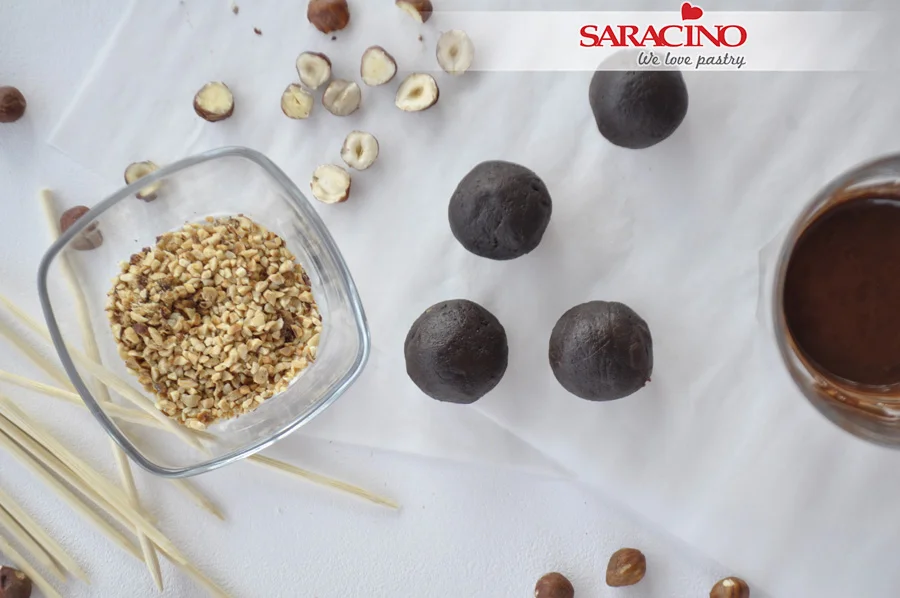
Roll small balls and place them on baking paper. Use the same amount of mixture for each ball so they are the same size. When ready place in the fridge for 30 minutes.

TIP – Use a digital scale to achieve the correct amount of mixture for each ball.

Step 20

Get the lollipop sticks and Saracino chocolate drops ready. 

Step 21

Melt the chocolate over water or microwave and add to a tall jug or glass. You can add cocoa butter or sunflower oil to achieve a more liquid consistency. Prepare nuts for decorating 

Step 22

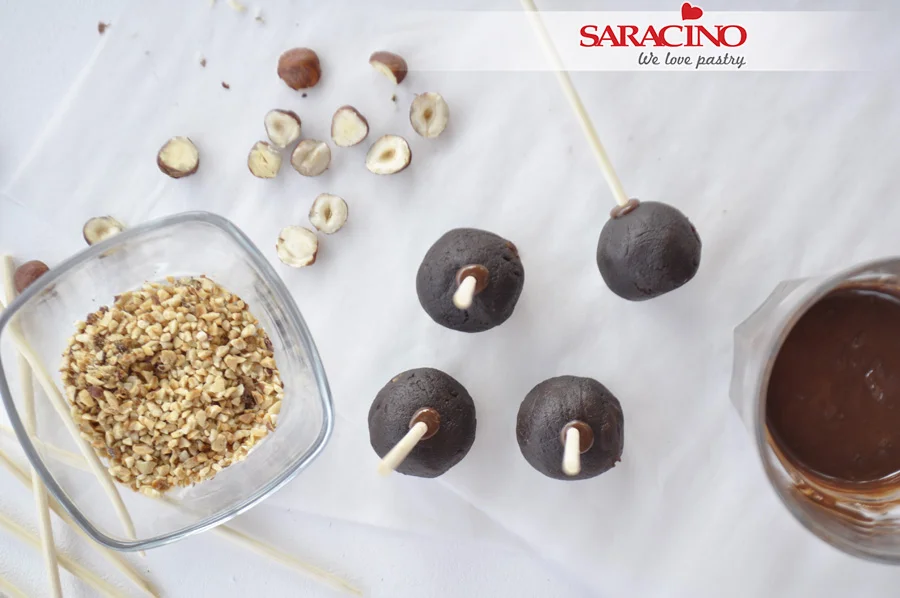
Dip the end of the stick into the melted chocolate and insert into the ball. Let it set

Step 23

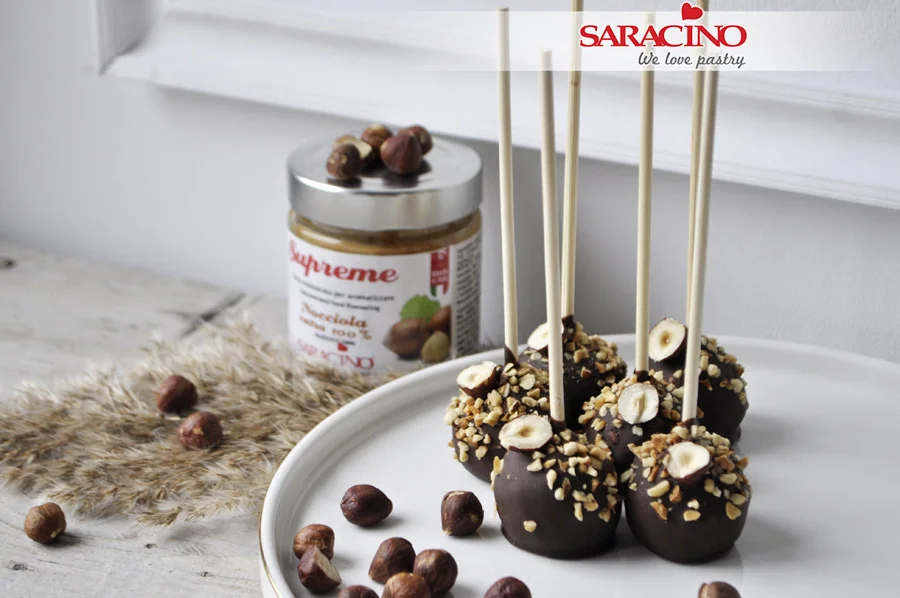
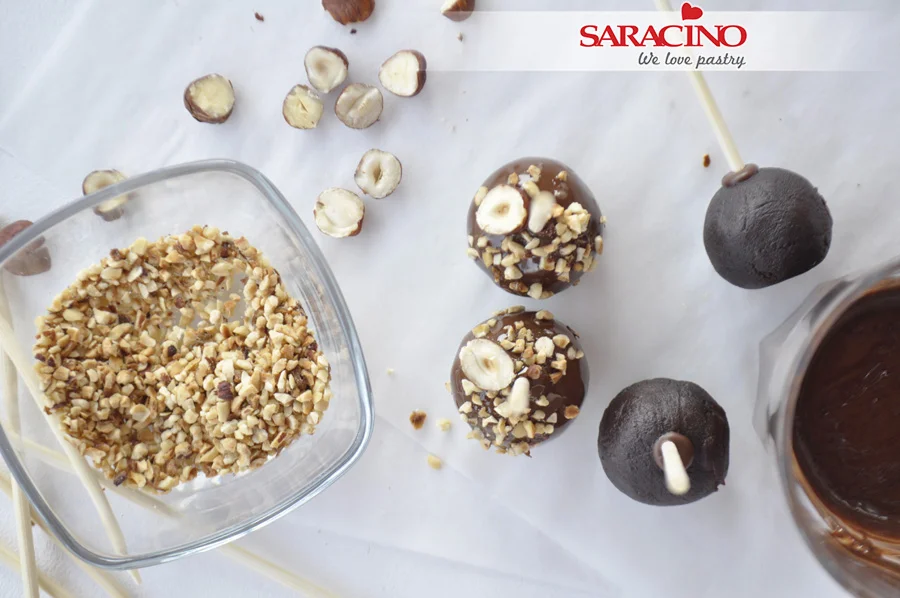
Holding the stick, dip the ball in the chocolate, allow the excess to drain into the glass, and before it sets firm, sprinkle with the crushed nuts. Place the half hazelnut on top, next to the stick.

Step 24

You can now serve and try your hazelnut cake pops! 🙂

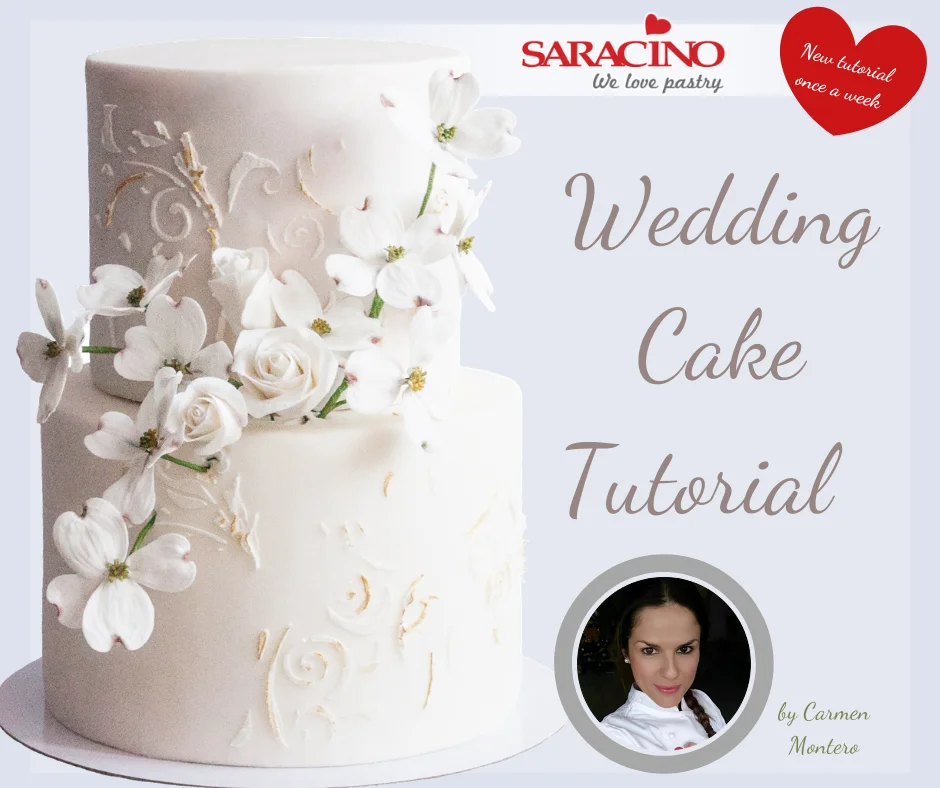
BEAUTIFUL WEDDING CAKE TUTORIAL

BEAUTIFUL WEDDING CAKE TUTORIAL

Author: Carmen Montero

Skill level: INTERMEDIATE

TIP – You can cover your two tiers with Saracino Pasta Top. To learn how to cover your cakes and create sharp edges follow the link

HERE – for picture tutorial 

HERE – for video tutorial 

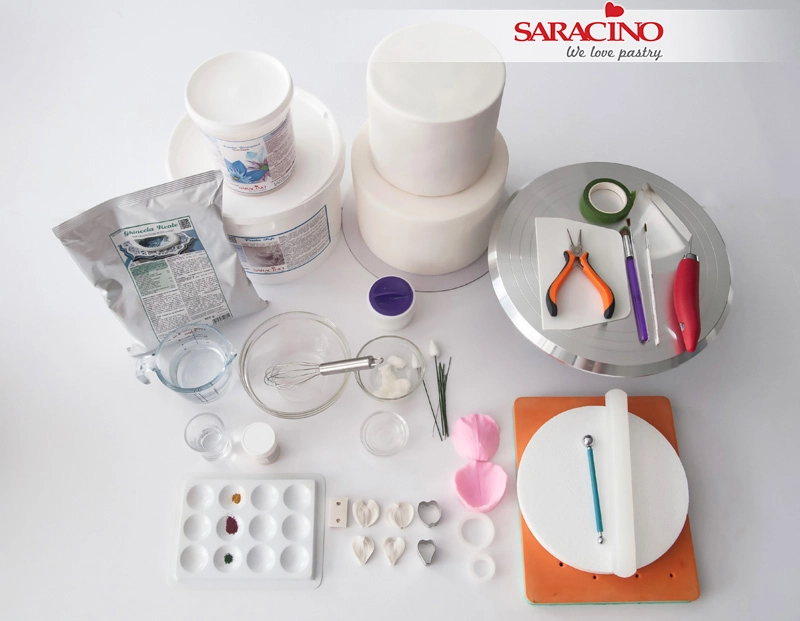
You will need:

  • Saracino Royal Icing 

  • Saracino white flower paste – Pasta Bouquet

  • Saracino sugar paste/fondant – Pasta Top

  • 2 dummies of 15 and 20cm or a cake of 2 tiers

  • Rotating base

  • Scraper

  • Floral ribbon

  • Pliers

  • Brushes

  • Spatula

  • Water

  • Bowl and whisk

  • Cornstarch

  • Vegetable fat

  • 18 or 20 gauge floral wire

  • 30 gauge floral wire

  • Edible glue

  • Clear alcohol

  • Powder colours: gold, yellow, green and dark pink 

  • Dogwood cutters set

  • Set of dogwood veiners

  • Set of rose cutters

  • Rose texturizer

  • Foam pad

  • Porexpam to puncture the flowers

  • Ball tool

  • Rolling pin

  • Cake stencil with a pattern of your choice

Step 1

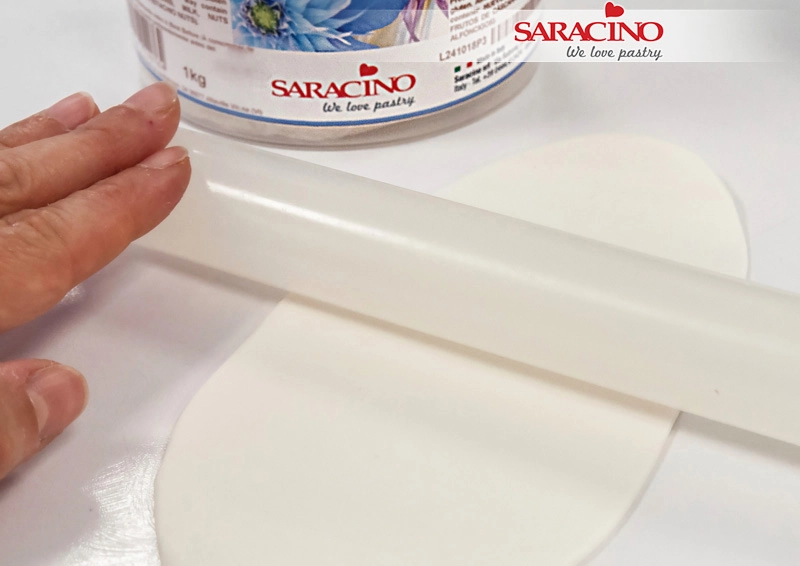
To make the roses, start by rolling a piece of Pasta Bouquet to cover the center we are going to use. It does not need to be too thin.

Step 2

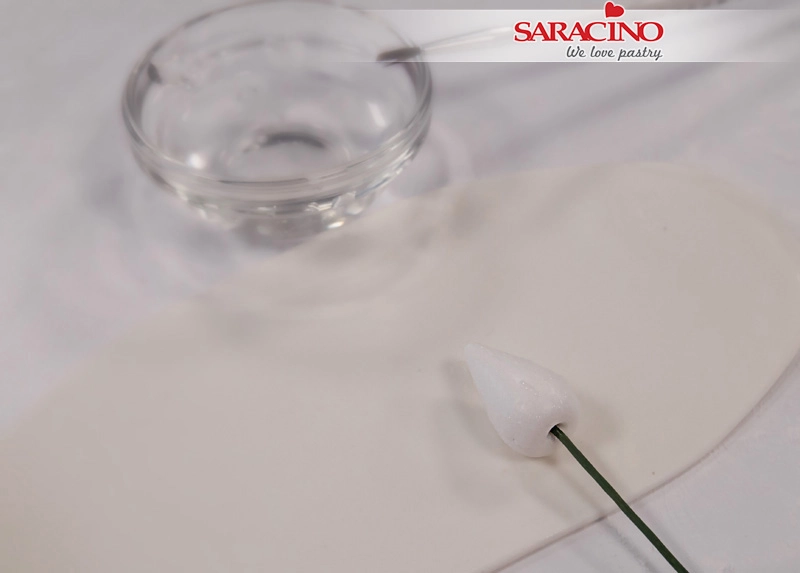
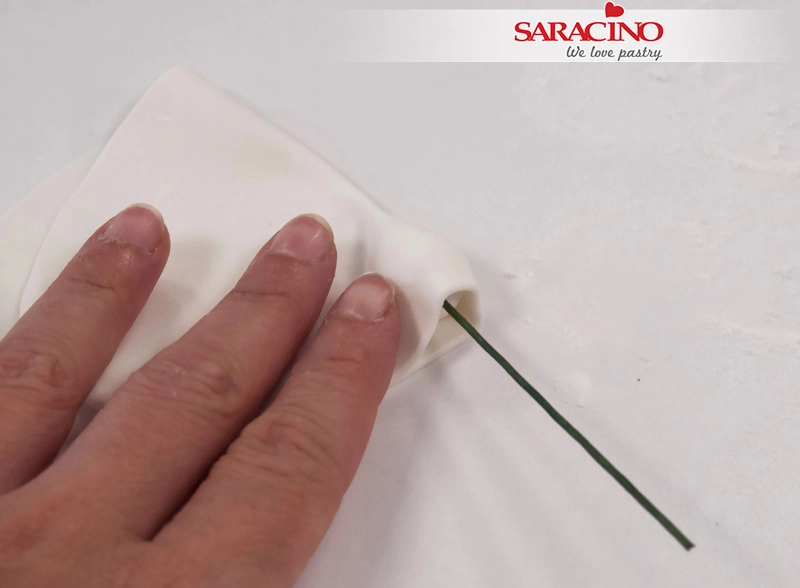
Insert a 18 or 20 gauge floral wire into a center for roses (a porexpam cone can be used) and coat it with a little edible glue.

Step 3

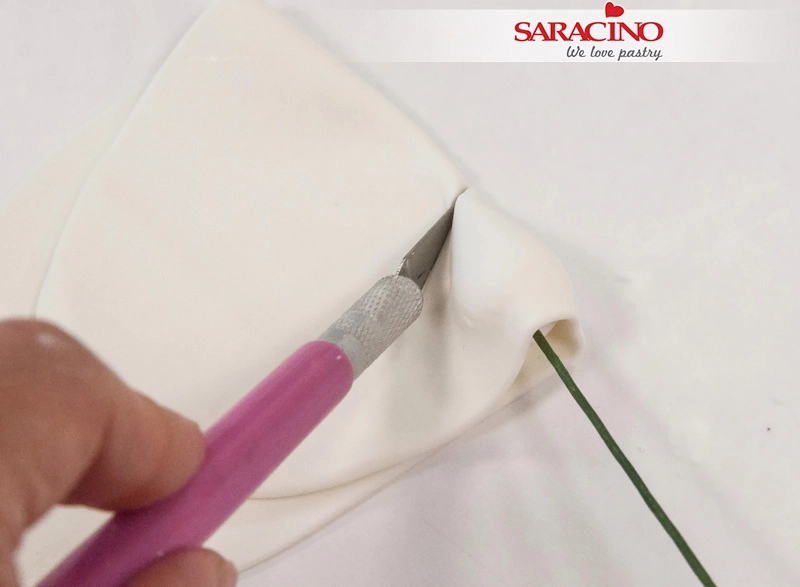
Cover the rose centre with the rolled out Pasta Bouquet as shown

Step 4

Cut off the excess and adjust well.

Step 5

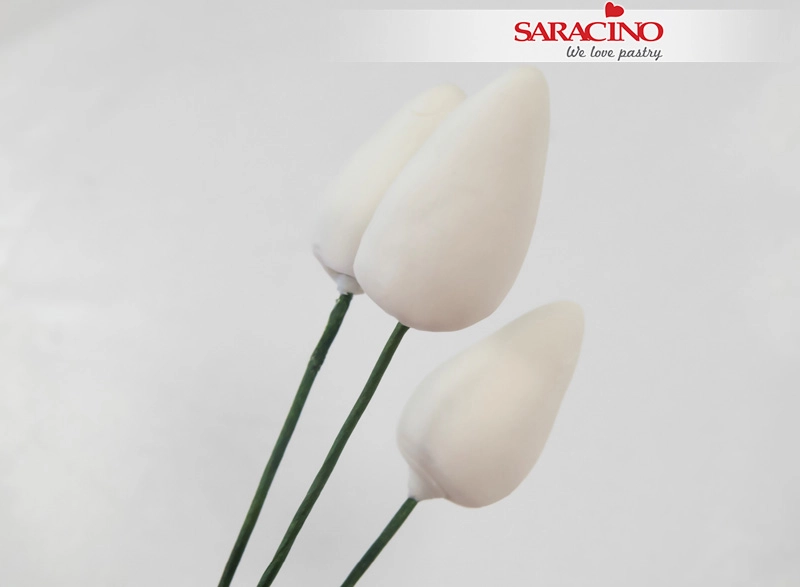
We will need 3 centres.

Step 6

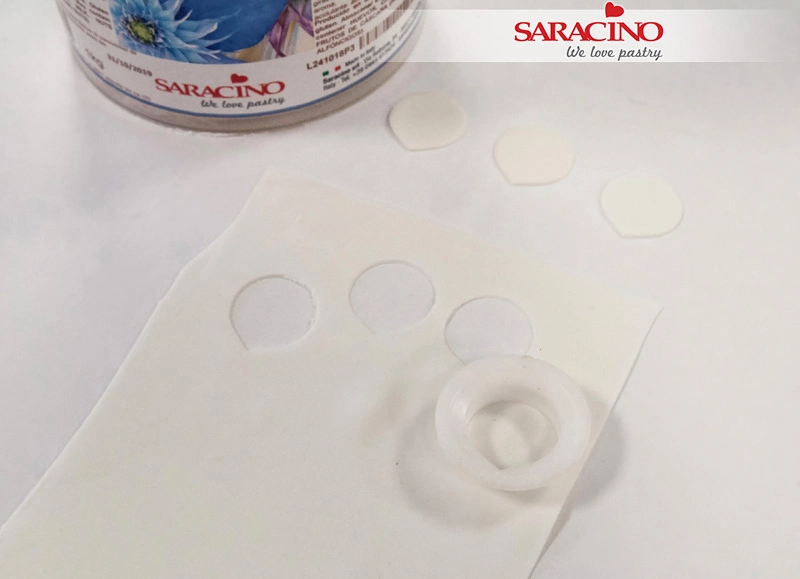
Roll a little Pasta Bouquet with a rolling pin until it is very thin (it needs to be as thin as possible so that the petals turn out to be realistic). We will need to cut out 9 small petals.

Step 7

Place the petals on your foam pad and using a ball tool thin the edges

Step 8

Add texture to the petals using a veining mould. Sprinkle a little cornflour on the veiner’s before use to stop the petals sticking.

Step 9

Cover the rose bud with edible glue

Step 10

Place the first petal, leaving a little height over the center.

Step 11

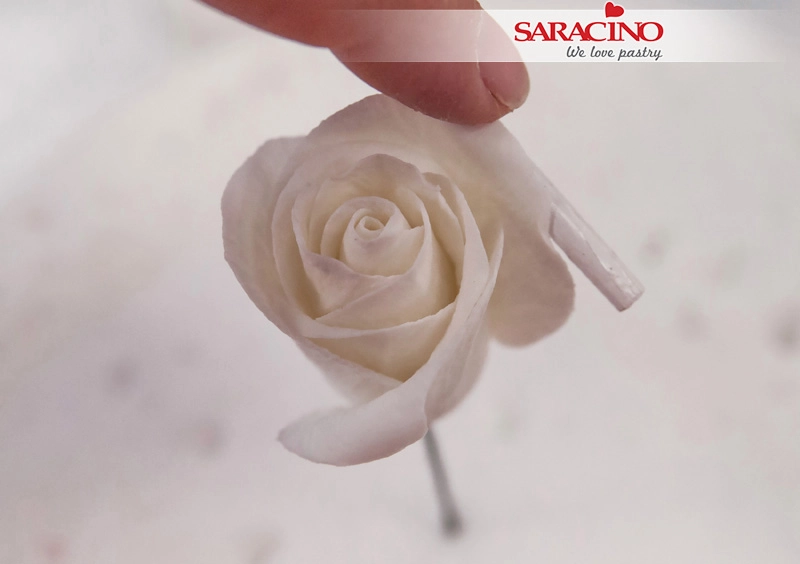
Wrap the petal around the bud so it is tightly closed like the centre in the picture

Step 12

Apply a little glue to the lower half of 2 petals.

Step 13

Place the first of those 2 petals over the fold of the centre petal and at the same height.

Step 14

Fix the second petal directly opposite

Step 15

Pull one edge away from the bud. Insert the opposite petal below and fix to the bud.

Step 16

Turn the flower around and repeat so the two petals are overlapping and look as shown

Step 17

Adjust the sides well so that it is closed.

Step 18

Now we start fixing the next row of petals. We take the first one and place it over the joint of the previous 2 and at the same height as these.

Step 19

From the middle of the petal fix another petal perpendicular to it, then fix the third petal.

Step 20

Put a little edible glue on the side that remains free.

Step 21

Adjust to close over the center but without squeezing too much, so that it gets volume.

Step 22

Cut 3 petals of the largest size and perform the same operation as with the previous ones. We texture and thin the edges with a ball tool as previous petals.

Step 23

Fix this layer of petals as with the previous layer

Step 24

Apply a little glue on the free side and tighten over the center, closing each petal less and less. Curl the top using the handle of a brush to give it movement. 

Step 25

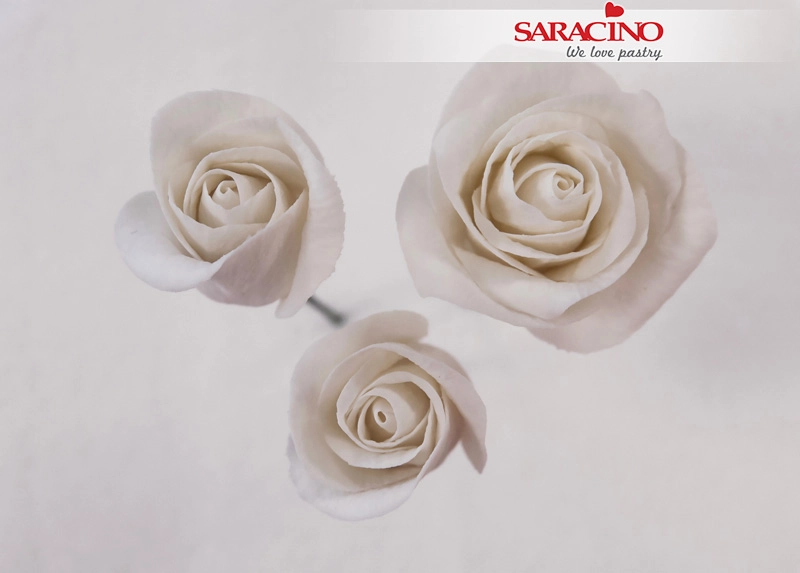
Make as many rounds of petals as you want, depending on whether you want a more open or more closed flower. 

Step 26

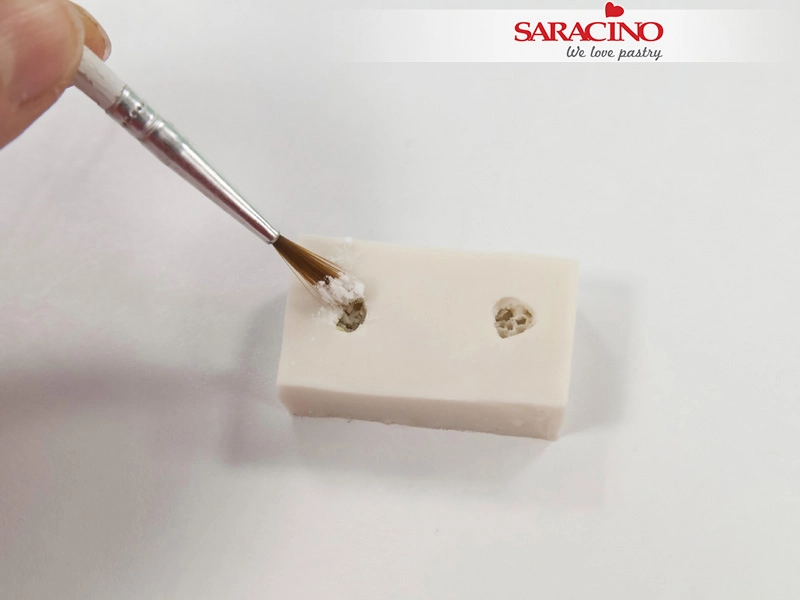
Using a brush put a little cornflour in the dogwood mould so that the Pasta Bouquet does not stick and we can remove it easily.

Step 27

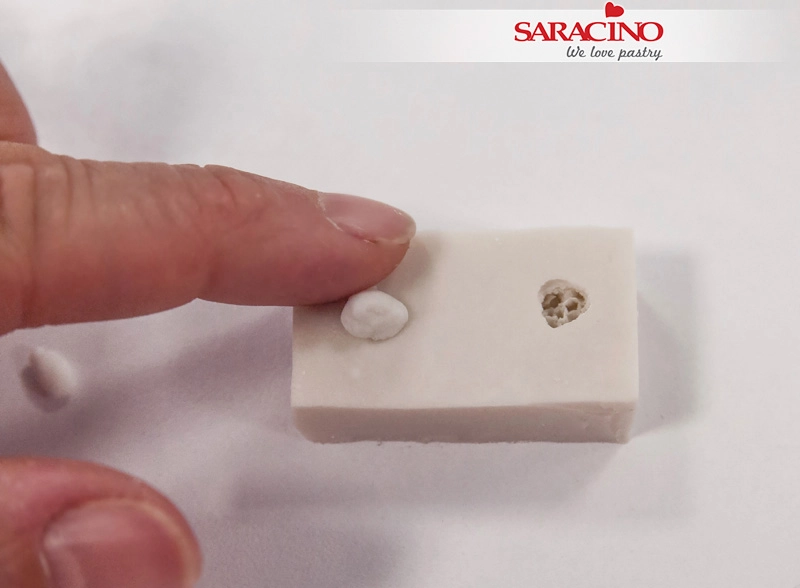
Press a small ball of Pasta Bouquet into the moulds

Step 28

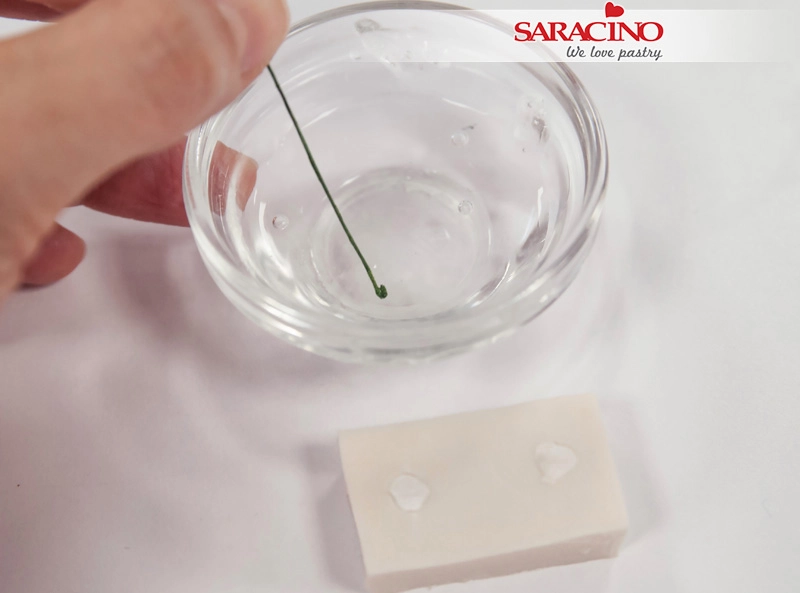
Dip the end of a 26 gauge floral wire into edible glue.

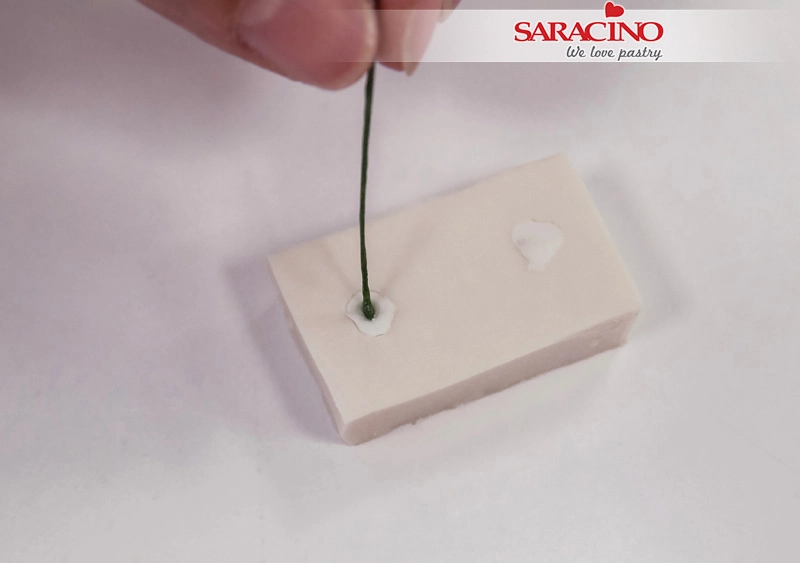
Step 29

Insert the wire into the center of the dogwood.

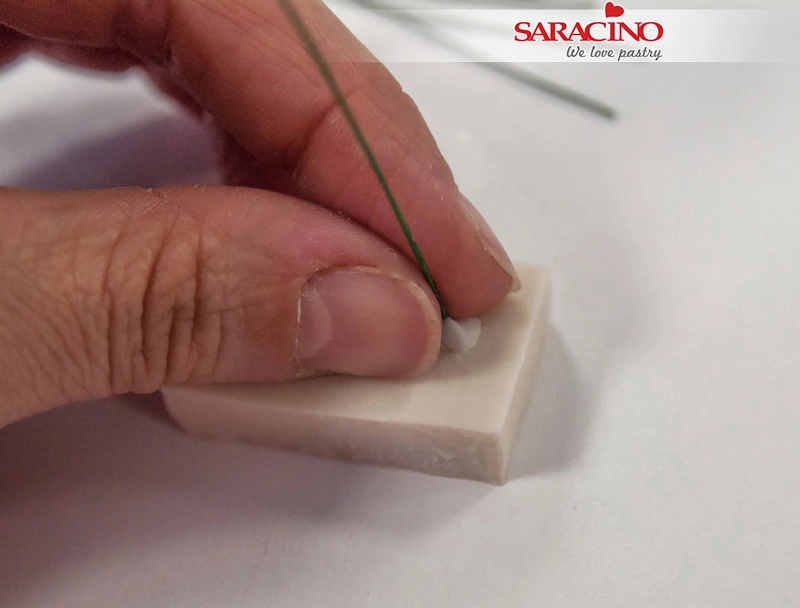
Step 30

Press the base of the wire so that the center is well attached before removing it from the mould.

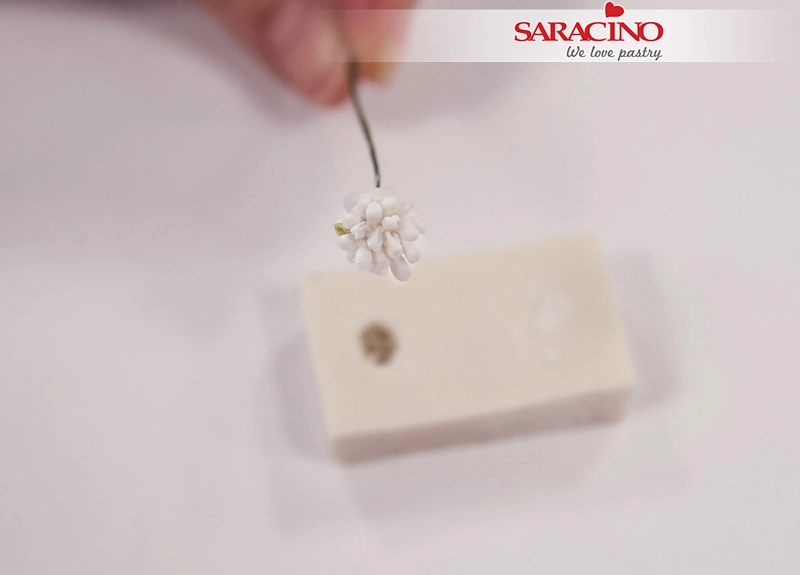
Step 31

Carefully, we extract the center. Let’s do about 10 centers to have 10 flowers.

Step 32

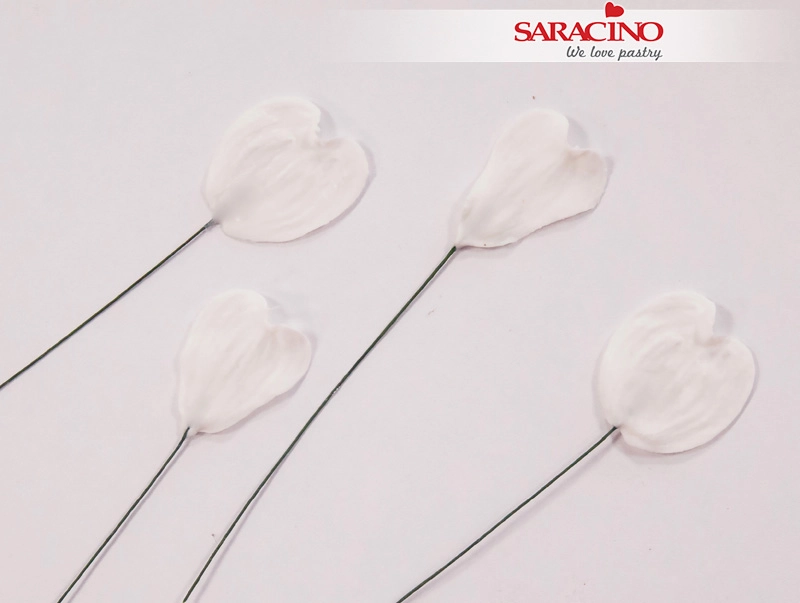
Roll out some Pasta Bouquet and cut 2 wide and 2 narrow petals for our dogwood flower.

Step 33

We now need to wire the petals. Place a petal in the veiner, dip the end of a 30 gauge floral wire in edible glue and cover it with a small piece of pasta bouquet to fix it to the petal.

Step 34

Press with the other side of the veiner

Step 35

Press well on the base to fix the petal to the wire and secure it well.

Step 36

Perform the same operation with all the petals.

Step 37

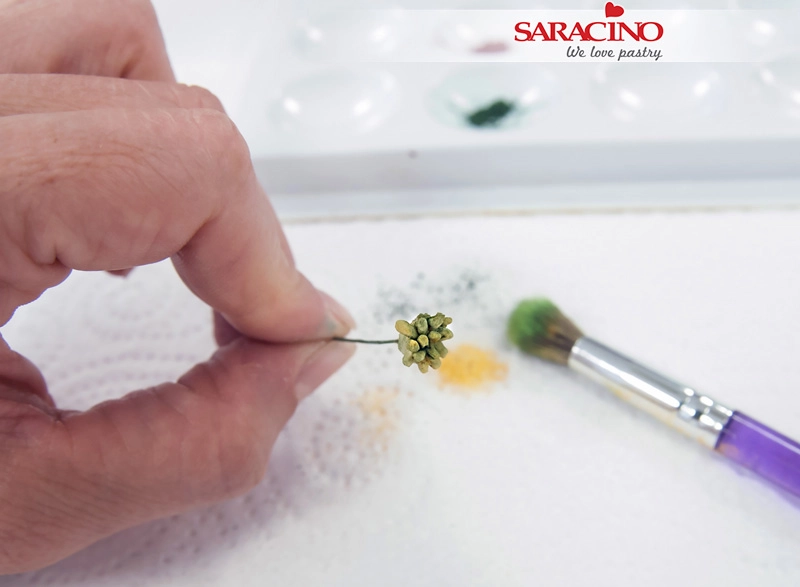
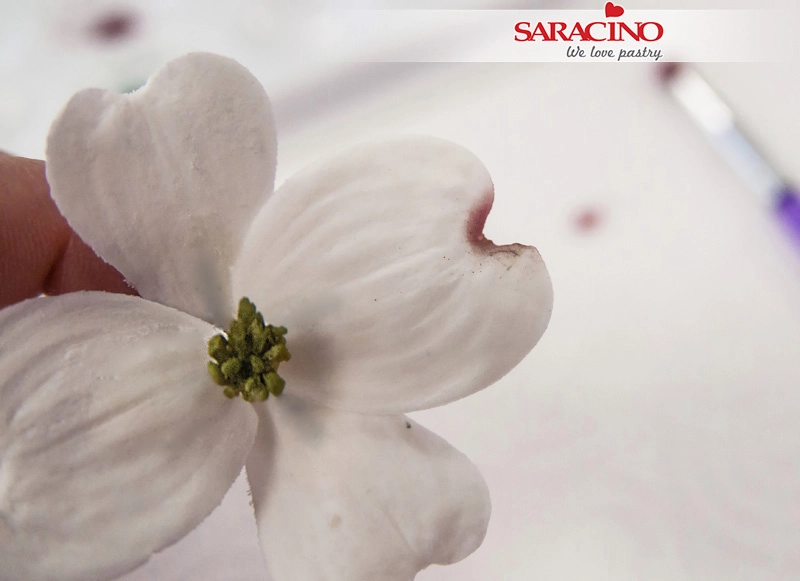
Using a soft brush dust the flower centre with yellow powder. Then using the same brush dust with green powder

Step 38

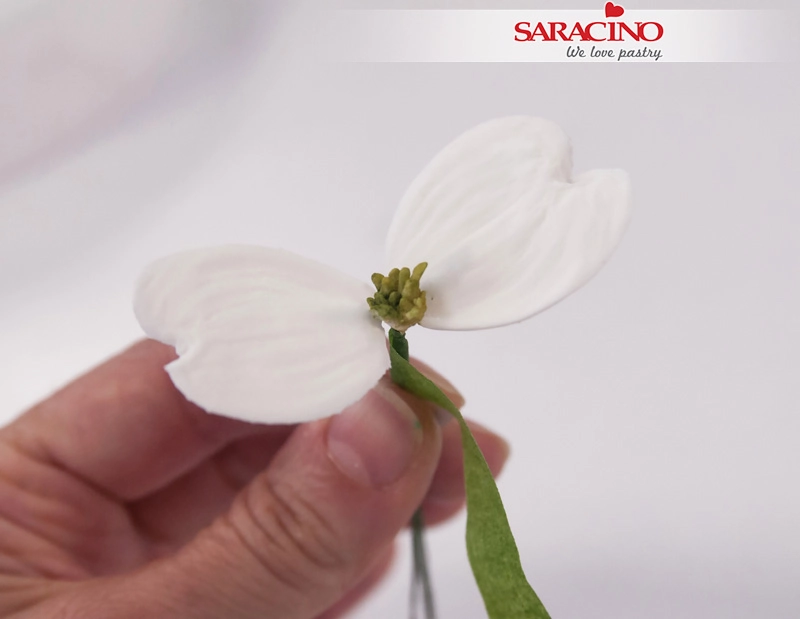
Attach the first 2 petals of the same size to the centre using floral tape. The petals should be directly opposite each other.

Step 39

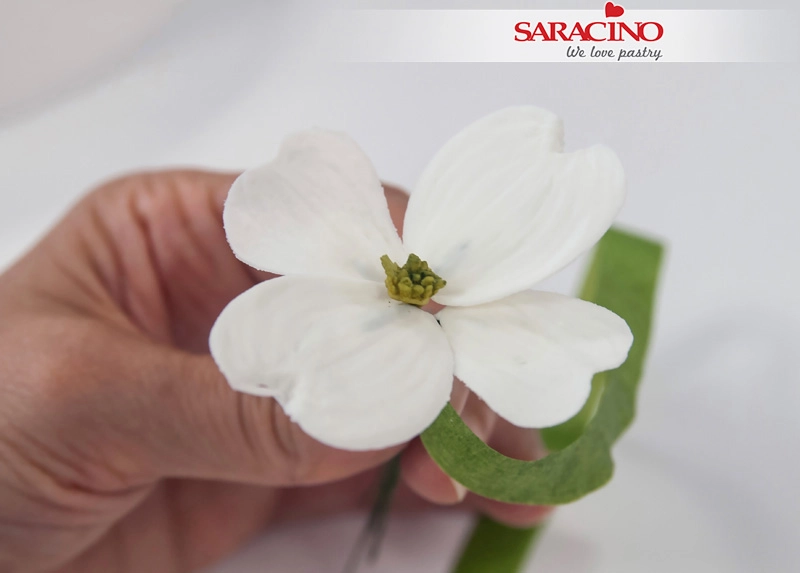
Attach the other 2 petals so they are directly opposite each other.

Step 40

Dust the upper end of each petal with dark pink powder colour and then with a little green.

Step 41

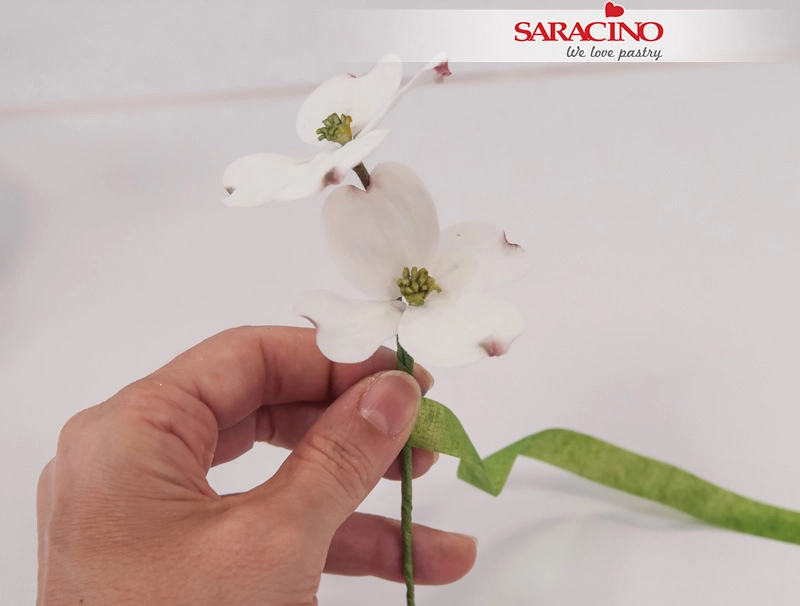
Fix the flowers to each other using florist tape

Step 42

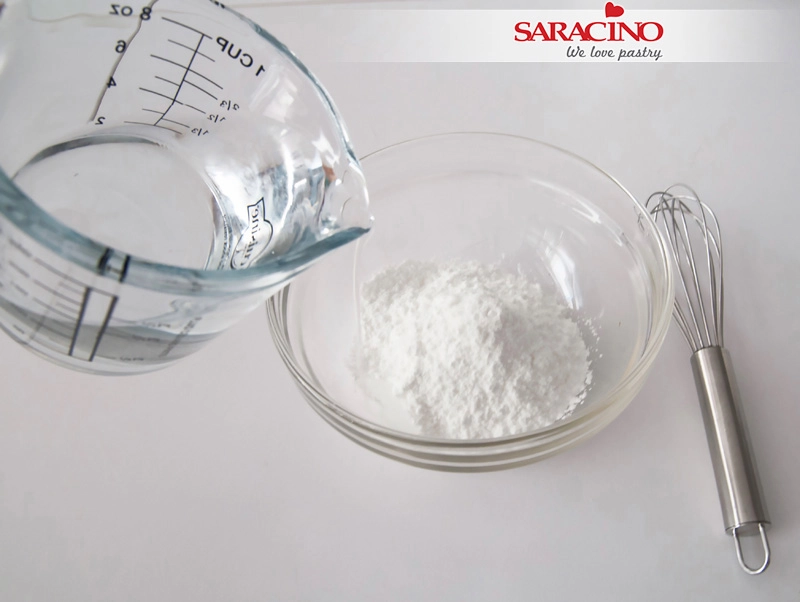
Prepare the royal icing (follow the instructions on the package) 

Step 43

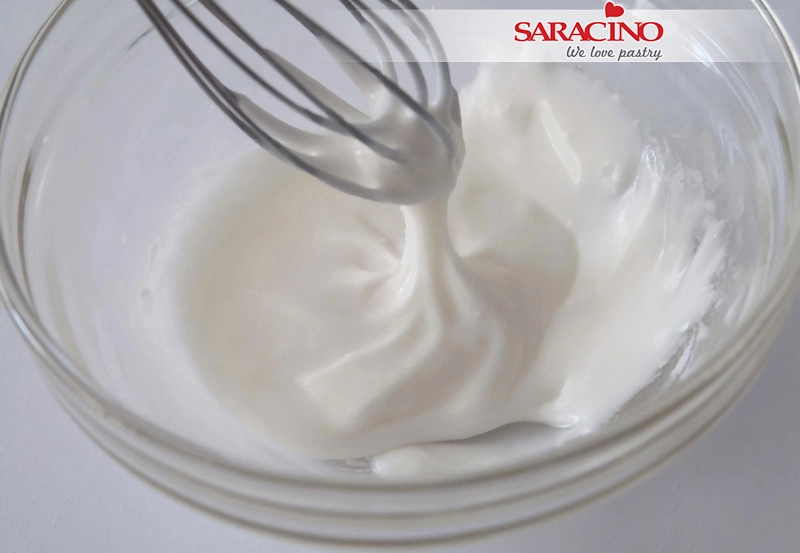
You will need a consistency that is slightly runnier than the texture of toothpaste.

Step 44

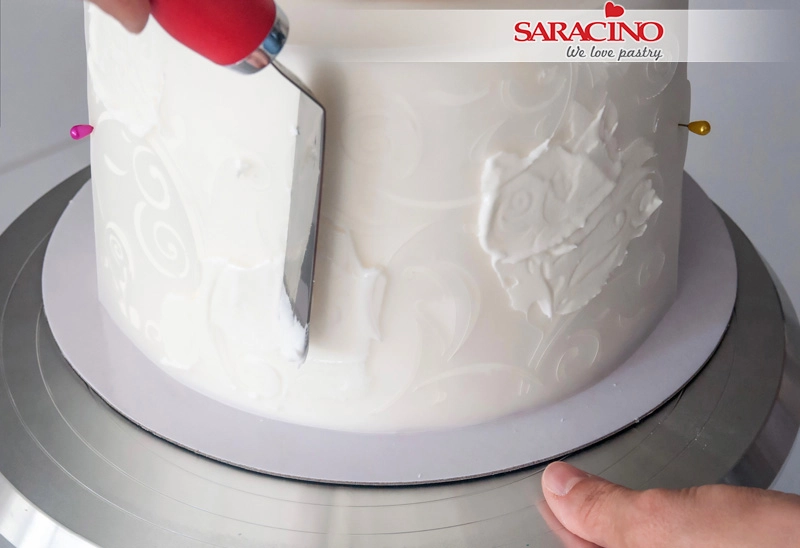
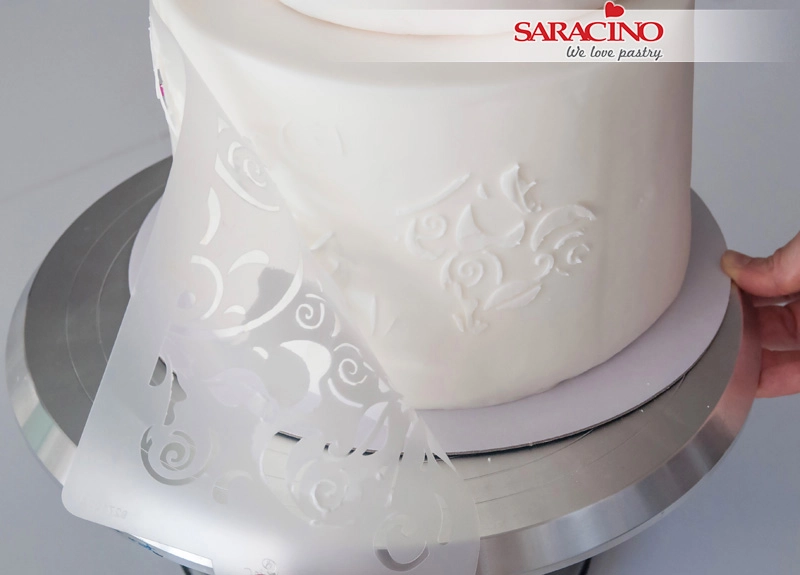
Fix the chosen stencil on the cake and spread the royal icing with a spatula

Step 45

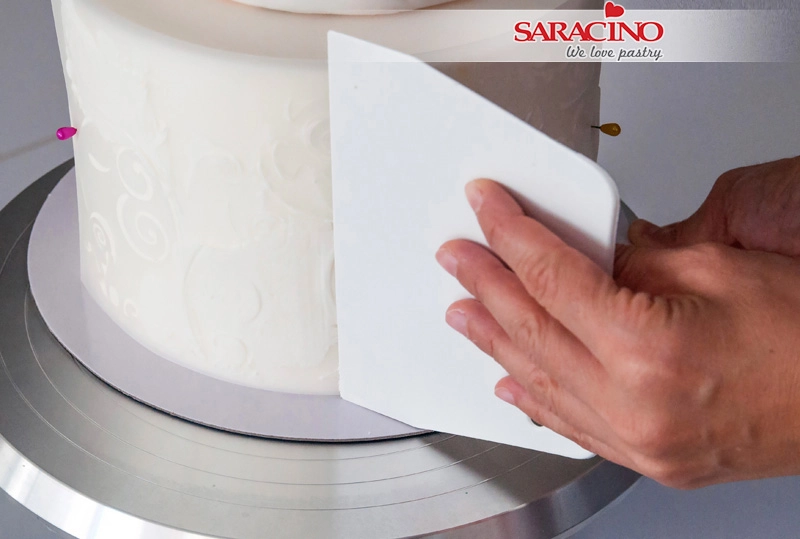
Remove the excess with a scraper.

Step 46

Carefully remove the stencil. Let the royal icing dry

Step 47

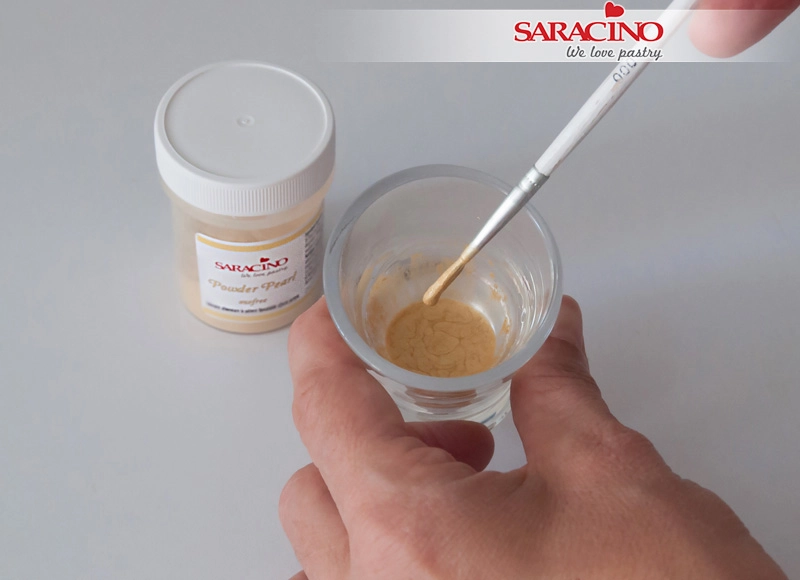
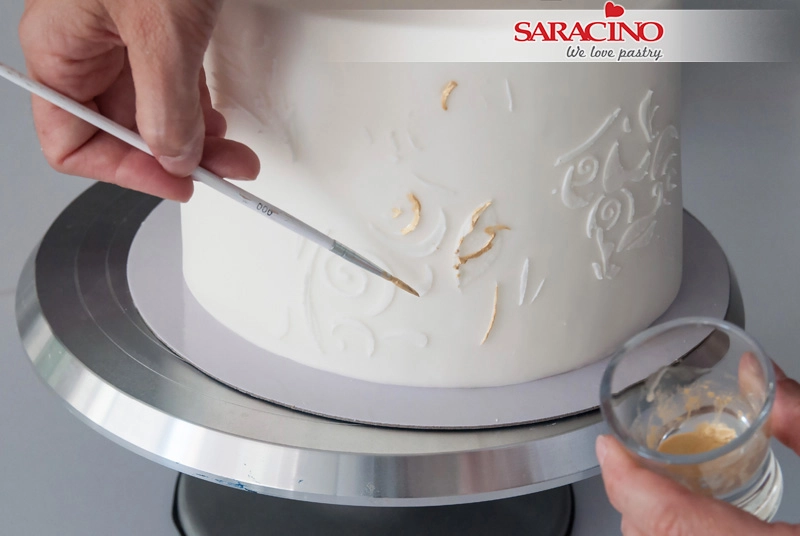
Prepare a small amount of gold paint by mixing the gold powder colour with a few drops of clear alcohol.

Step 48

Paint only a few parts to give a worn effect.

Step 49

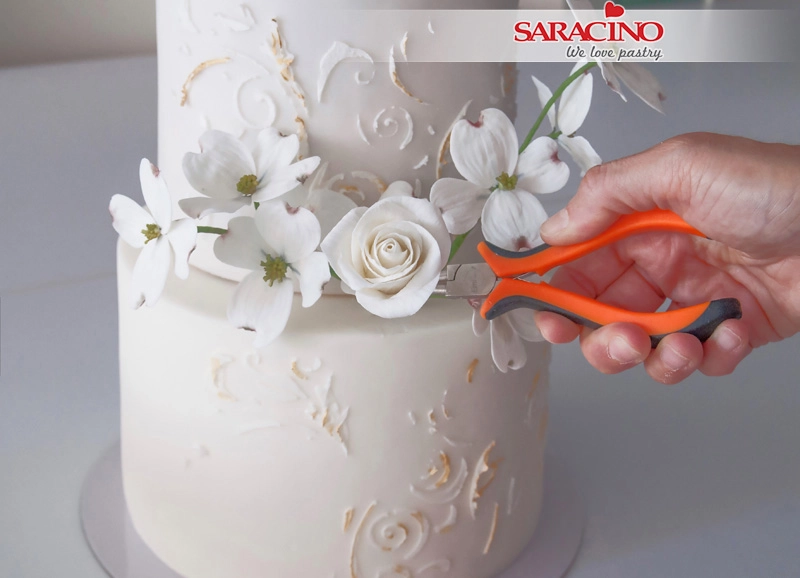
Put the flowers on the cake. Use your pliers to bend the wires so they curve around the cake without the need to insert a flower pick.

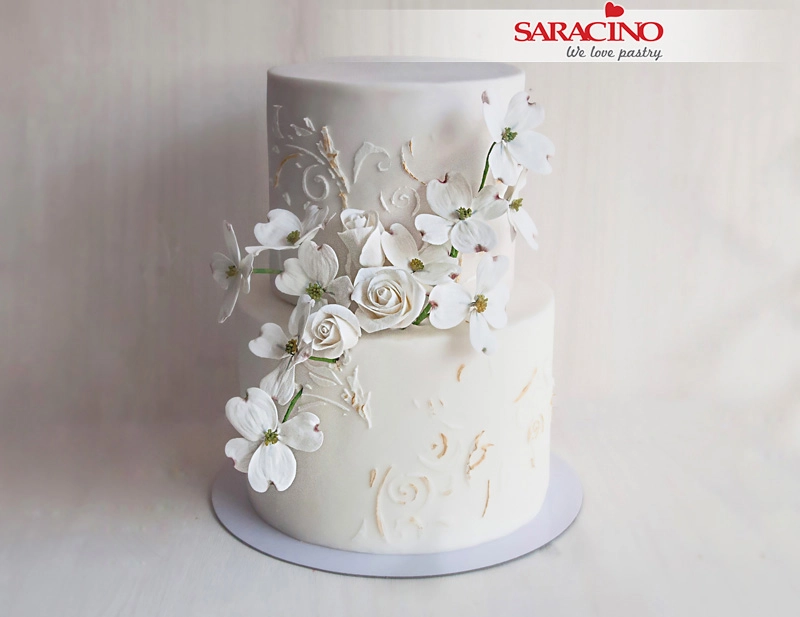
Step 50

Your cake is readyÂ