SKINNER BLEND TECHNIQUE

SKINNER BLEND TECHNIQUE

Skill level: INTERMEDIATE

TIP:

Remember to use gloves. Always protect the pieces of paste from drying out. Always pack them in foil or cling film– if you are mixing colours to make it very dark, do it a few hours in advance. Freshly mixed colour will be too soft to use immediately

You will need:

  • Saracino white modelling paste

  • Saracino white modelling chocolate

  • Saracino red powder colour

  • Saracino orange powder colour

  • Saracino white powder colour

  • Saracino black powder colour

  • Saracino green powder colour

  • Saracino brown powder colour

  • Rolling pin

  • Sharp blade

  • Wooden skewer

Step 1

Prepare a mix of Pasta Model and white modelling chocolate 2:1 (2 parts paste and 1 part chocolate). Mix them with a small amount of white powder colour.

Step 2

Colour pieces of the mixed paste with the powdered colours visible on the photo. Leave a larger piece white colour

Step 3

Start by making a flower. Use white, red and orange colour paste. Roll out into strips as shown in the picture. The colours may be different (to your choice), but it is important that each colour is of the same thickness and width.

Step 4

Fold the rolled out strips in half making sure the boundary of each colour overlaps the lighter colour next to it. Roll out again. 

Step 5

Repeat this a number of times to achieve the blended look.

Step 6

When we roll colours the length automatically wants to increase. Each time you roll out the paste remember to push back to the original width using your fingers (look at the arrows)

Step 7

Using your fingers pinch the ends of the fat sausage shape.

Step 8

Gently press and elongate the piece using finger pressure. Be gentle as we don’t want to ruin the blended effect we have achieved.

Step 9

Your paste should be formed to a roll shape like this. The cross section will show the transition blending of the colours.

Step 10

Roll a thin sheet of white paste and fix around the roll by pressing gently.

Step 11

On your work surface roll to extend the paste to a long and thin sausage shape. Divide the length into 4 equal parts. Each part will have to be divided into different lengths as described in the next step.

Step 12

The first piece should be cut into two unequal lengths. One quarter : three quarter (the smallest piece is the centre and the largest is the last largest flower petal)

The second piece should be cut in half (2 pieces)

The third piece should be cut into third’s (3 pieces)

The fourth piece should be cut into quarter’s (4 pieces)

Roll each piece again. They will have different thicknesses but should all be the same length.

Step 13

Then press down on each roll to form a semi circular shape.

Step 14

Keep the two outer edges thin.

Step 15

Repeat to all pieces.

Step 16

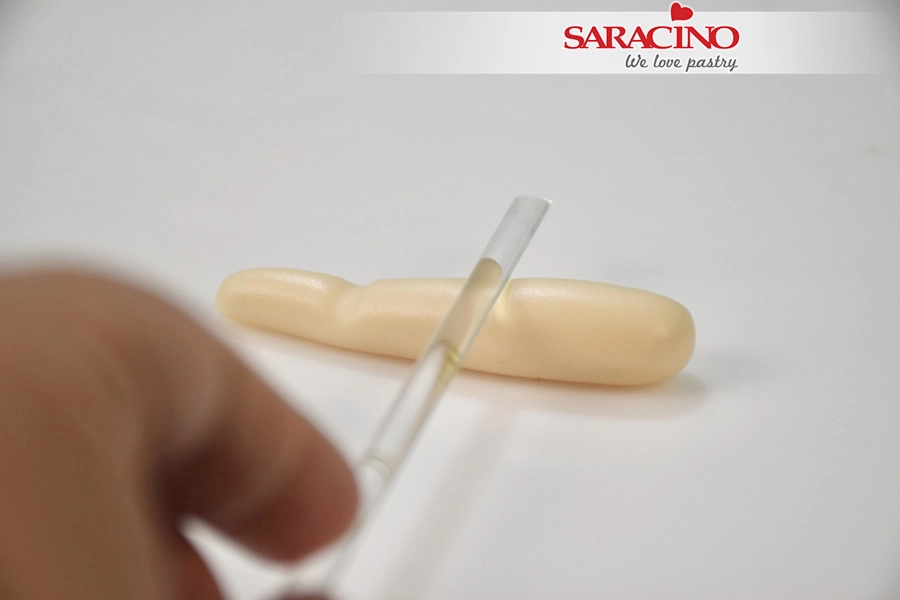
Starting with the smallest pieces form around a wooden skewer to curve and form the centre of the flower.

Step 17

Roll up tightly.

Step 18

Add the next piece over the joint of the centre bud.

Step 19

Keep adding more petals with an overlap

Step 20

Repeat until you have used all sizes. You should finish with the largest pieces.

Step 21

Roll a thin length of white paste and fix over the join of the larger petal.

Step 22

Repeat on all of the outer petal joints.

Step 23

Using your hand roll out to give a smooth surround.

Step 24

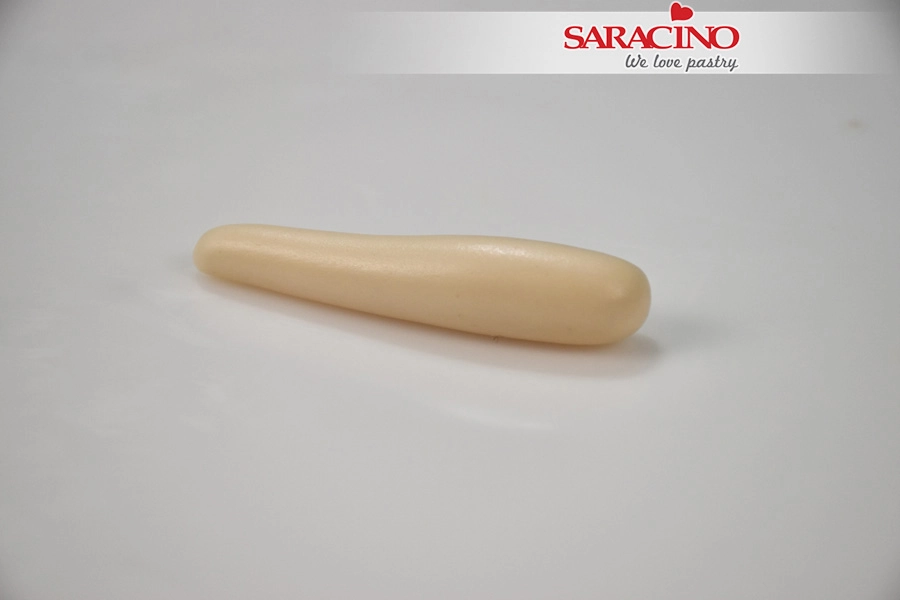
Cut into two pieces. Set one aside for the larger flowers. Continue rolling the other piece to form a narrower sausage shape (smaller flowers)

Step 25

When you cut make sure you use a very sharp blade to ensure the pattern stays visible and doesn’t ‘blend’.

Step 26

You can repeat all of the above steps to create different flowers if required.

Step 27

The next steps are for the leaves.

Prepare four pieces of green paste in different shades. You will also need a small amount of white and brown paste. Roll the lightest green colour into a sausage shape then press down to form the semi circle shape shown in the picture.

Step 28

Roll out the brown thinly and cover the light green shape previously formed. Trim off any excess paste.

Step 29

Add next green layer (darker shade)

Step 30

Using a sharp blade make two cuts along the length of the piece. The cuts need to be at an angle.

Step 31

Roll out your white paste thinly. Cut into strips. Place a strip of white in each cut.

Step 32

Push together to sandwich the white and then cover using thinly rolled white paste.


Step 33

Use a sharp blade to cut in half.

Step 34

Now put them together. And press gently making sure the patterns line up. 

Step 35

Gently press the shape together to make sure there are no voids or air gaps. 

Step 36

Making it longer as you work it.

Step 37

Pinch into a leaf shape.

Step 38

Squeeze it along the entire length as shown in the photo

Step 39

Work the two lengths differently to give you two sizes.

Step 40

Once made the rolls can be stored ready to be used whenever you need them. To prevent drying out wrap them well in cling film and store in an airtight container.

Step 41

If you intend to use patterns to decorate skirts, for example, roll out a piece of white paste

Step 42

You can then fix the pattern to the white paste to the design you require. Use a sharp blade to cut the flowers very thinly.

Step 43

When you have arranged your pattern roll gently with a rolling pin to smooth out. Do not apply too much pressure or it may ruin the blended look of the flowers and leaves.

Step 44

Cut and trim to the size you require.

Step 45

Shape the frills along the entire length

Step 46

Your frilly skirt is now ready to use.

YOGA GIRL MODELLING TUTORIAL

YOGA GIRL MODELLING TUTORIAL

You will need:

  • Dresden tool
  • A thin brush
  • A large brush
  • Exacto knife
  • Rolling pin
  • A small silicone brush
  • A blade
  • Metallic spatula
  • Saracino modelling paste skin color
  • Saracino modelling paste tiffany color
  • Saracino modelling paste light green color
  • Saracino modelling paste brown color
  • Edible glue
  • Wooden skewer
  • Saracino dust colors red, white, green and brown
  • Clear alcohol

Step 1

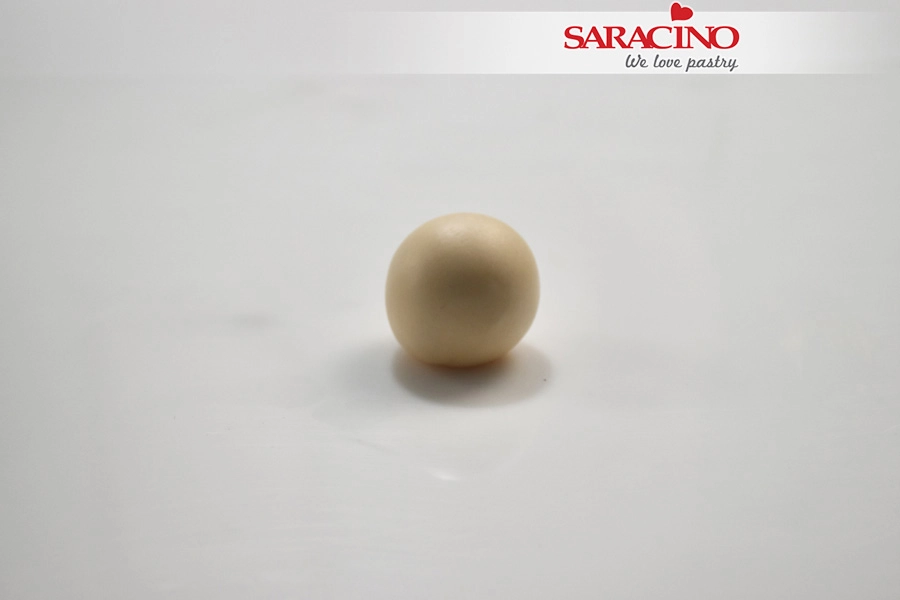
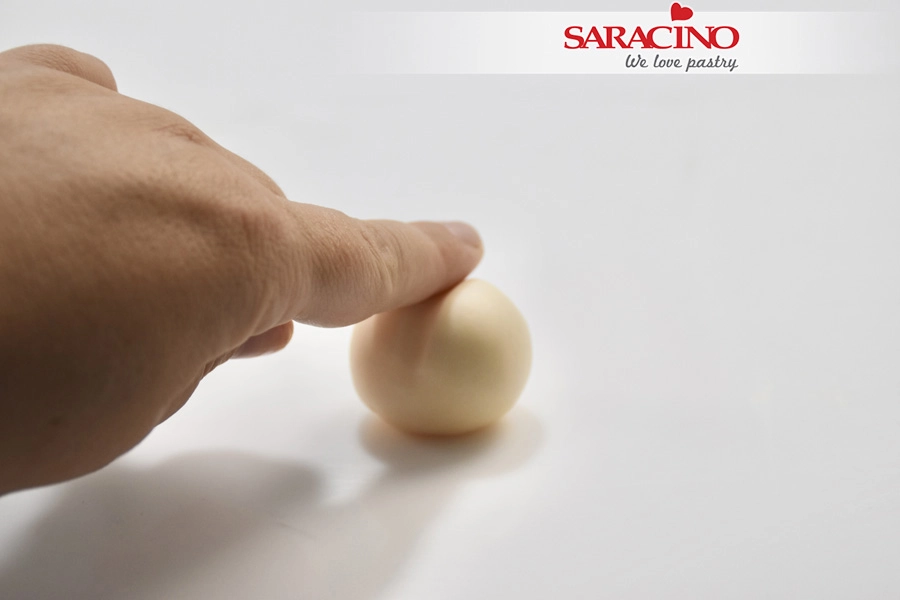
Take 35g of skin tone Saracino modelling paste and roll it to a nice even ball shape

Step 2

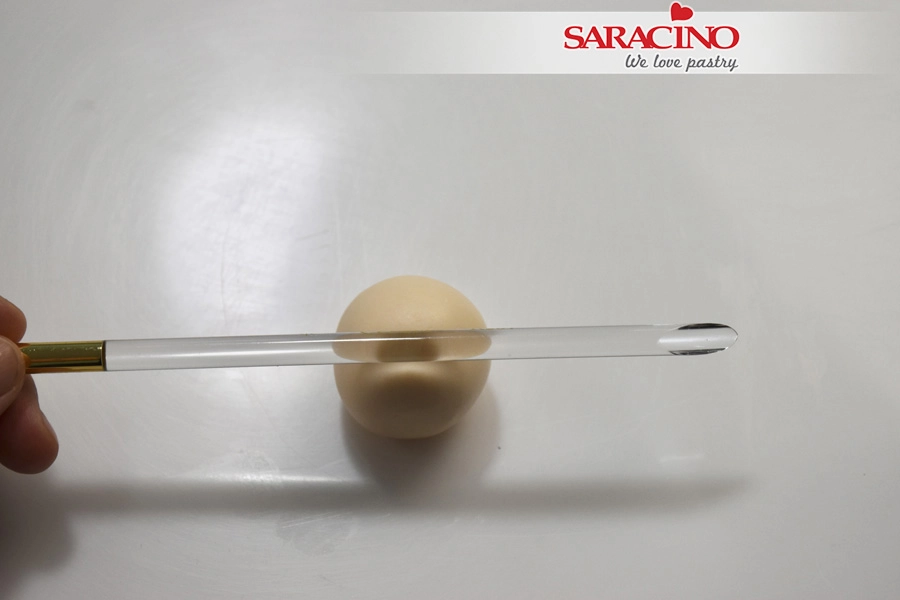
Use the back side of your brush to create a dent in the middle of the ball.

Step 3

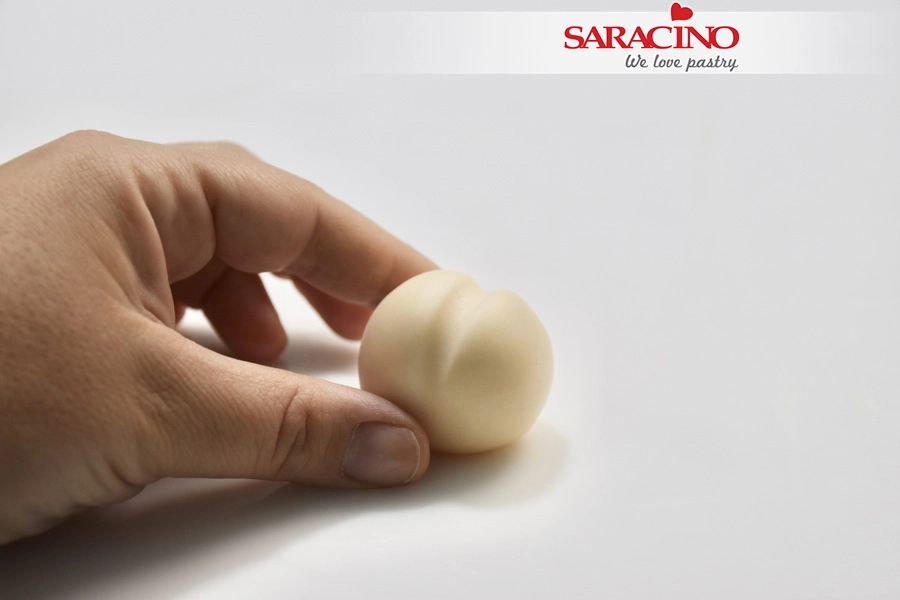
Don’t push too much or too little. You should end up with a result like seen in the picture

Step 4

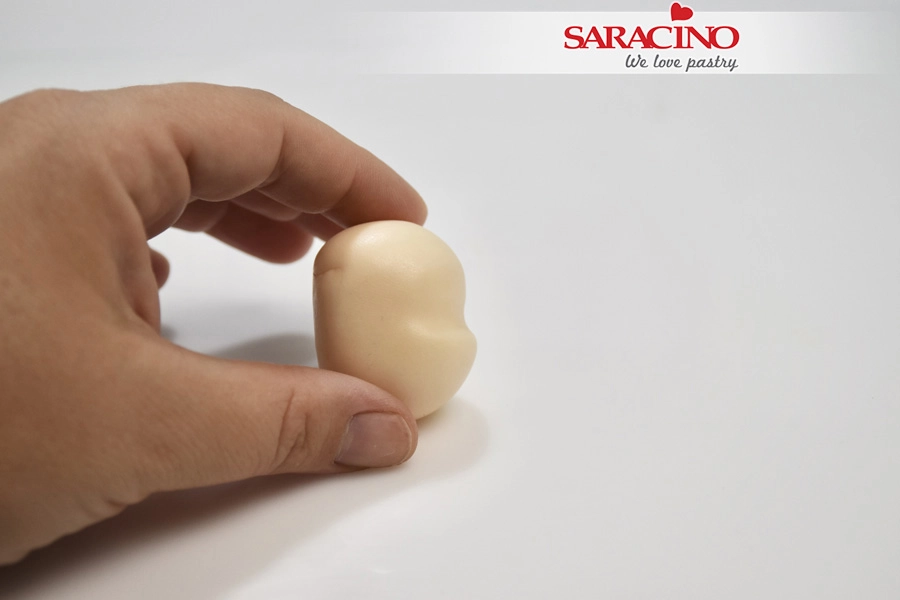
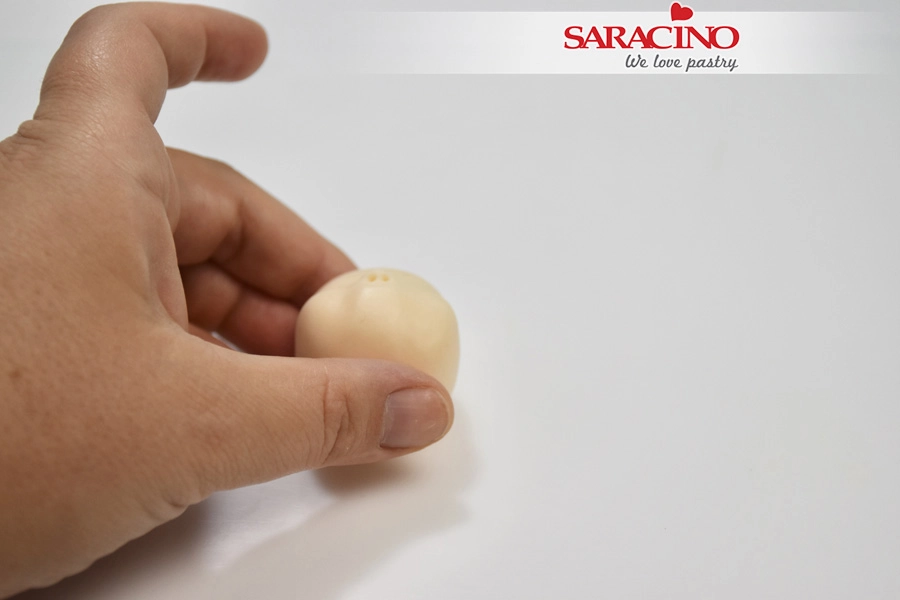
Use your finger to flatten the upper part of the ball

Step 5

You should end up with a result like seen in the picture

Step 6

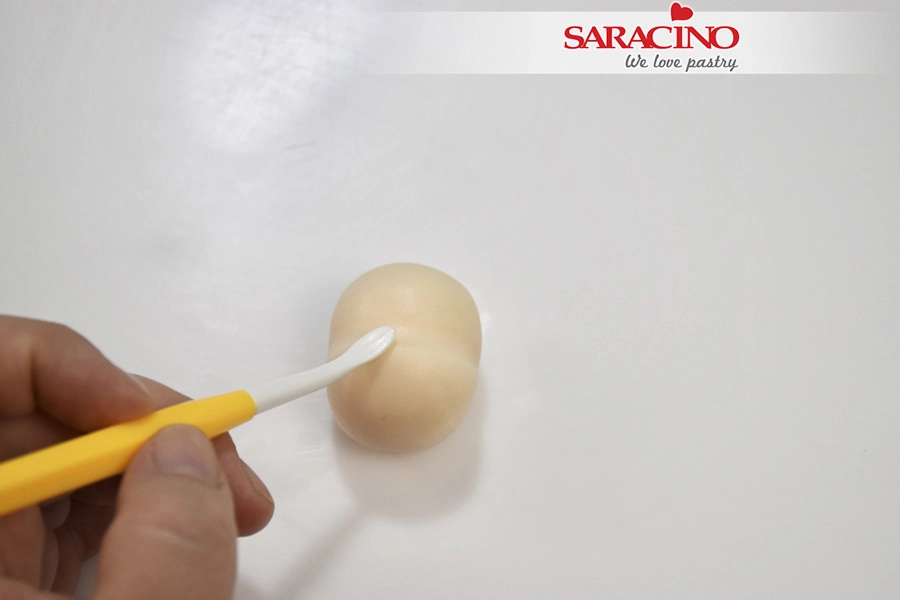
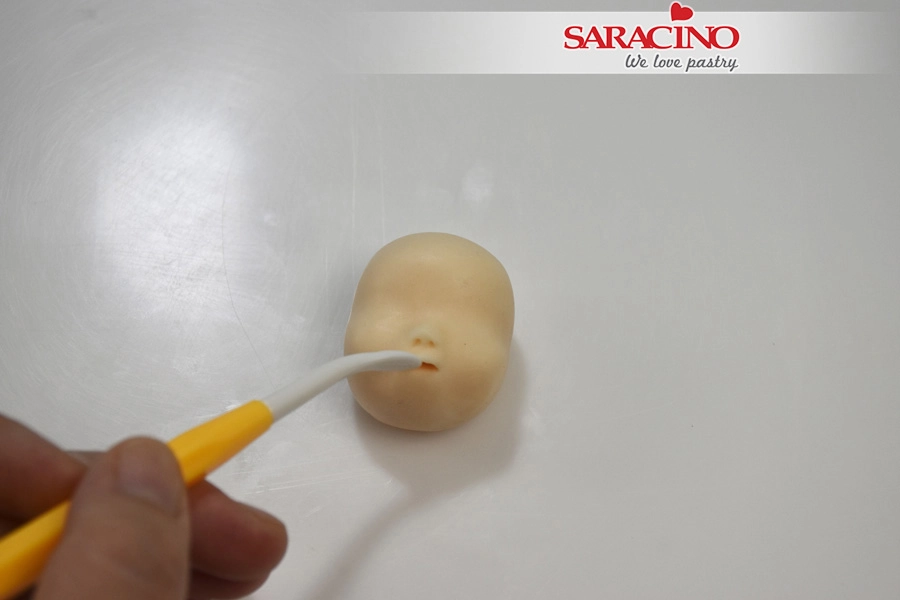
Use your dresden tool to shape  the nose

Step 7

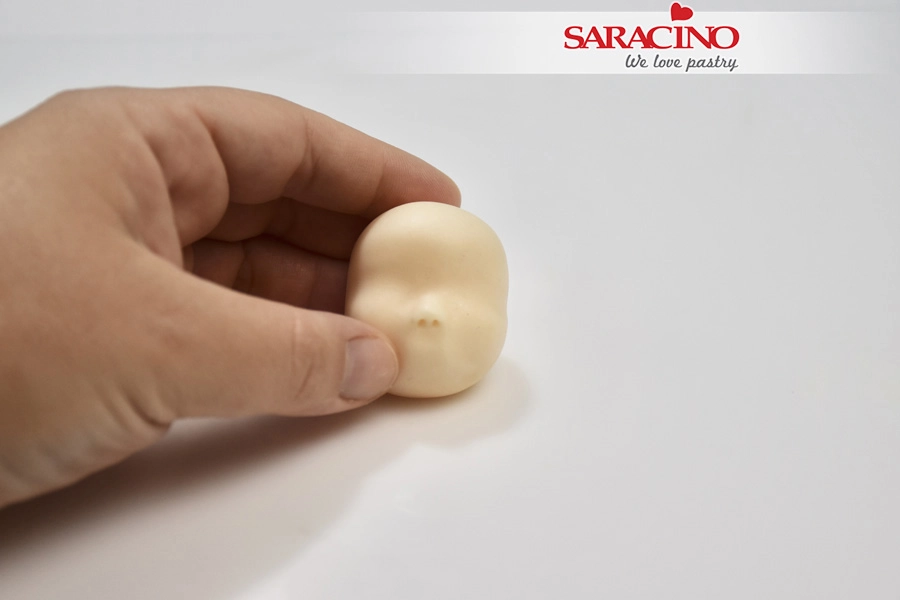
The nose should be a triangle shape

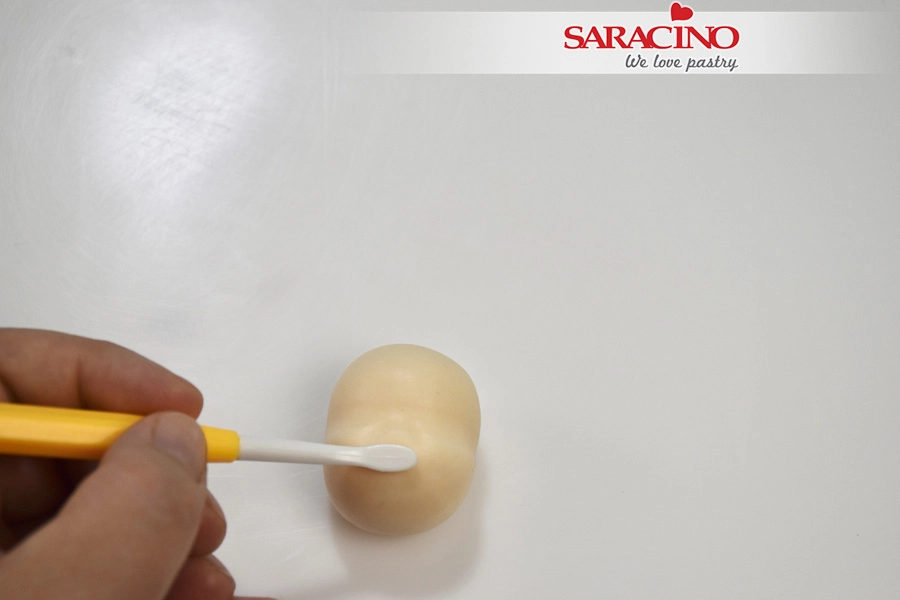
Step 8

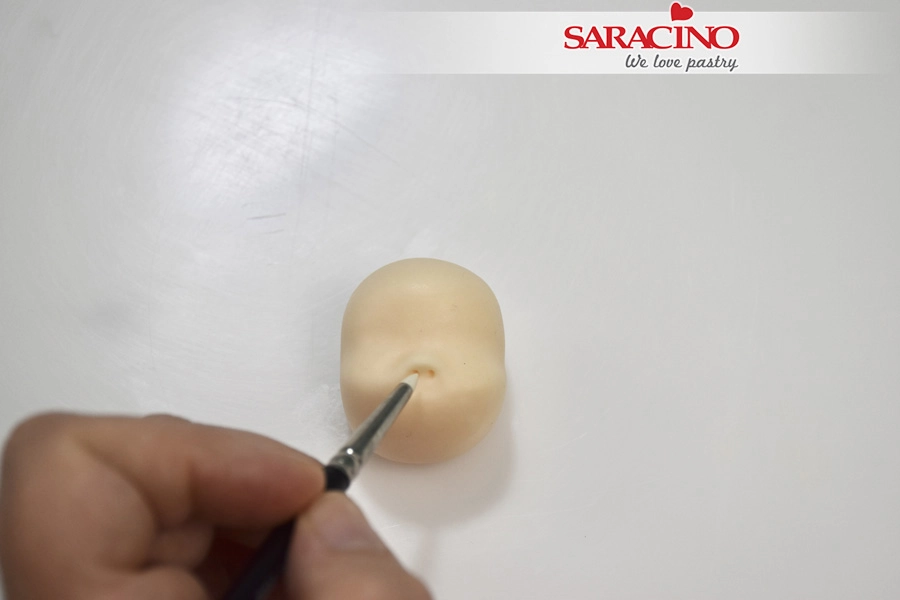
With a small silicone brush define the nostrils

Step 9

Using your finger pressure shape the cheeks

Step 10

Make 2 dots to mark the corners of the mouth

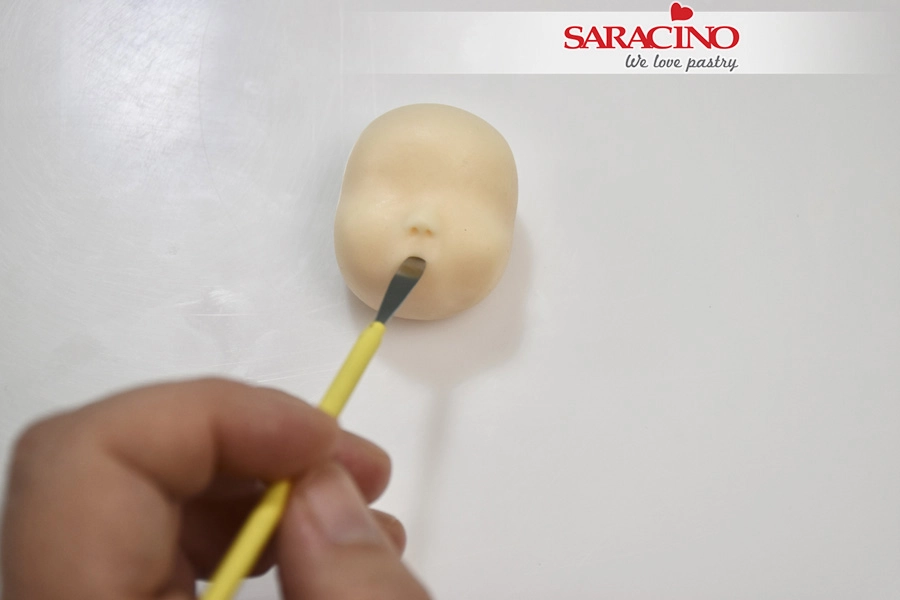
Step 11

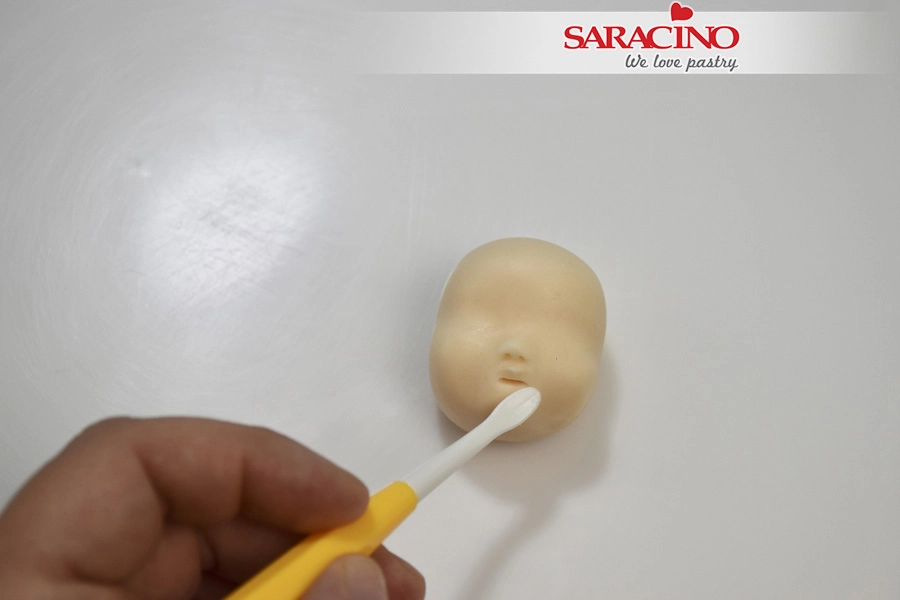
Use a metallic spatula to cut the mouth

Step 12

Using the dresden tool shape the upper lip

Step 13

Using the dresden tool shape the lower lip

Step 14

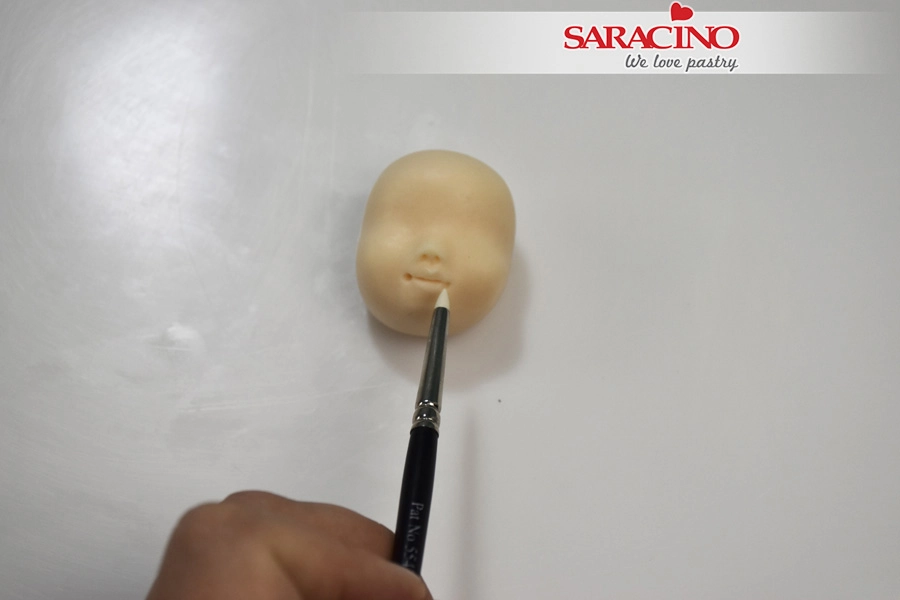
Use the small silicone brush to make 2 small indents at the edge of the mouth

Step 15

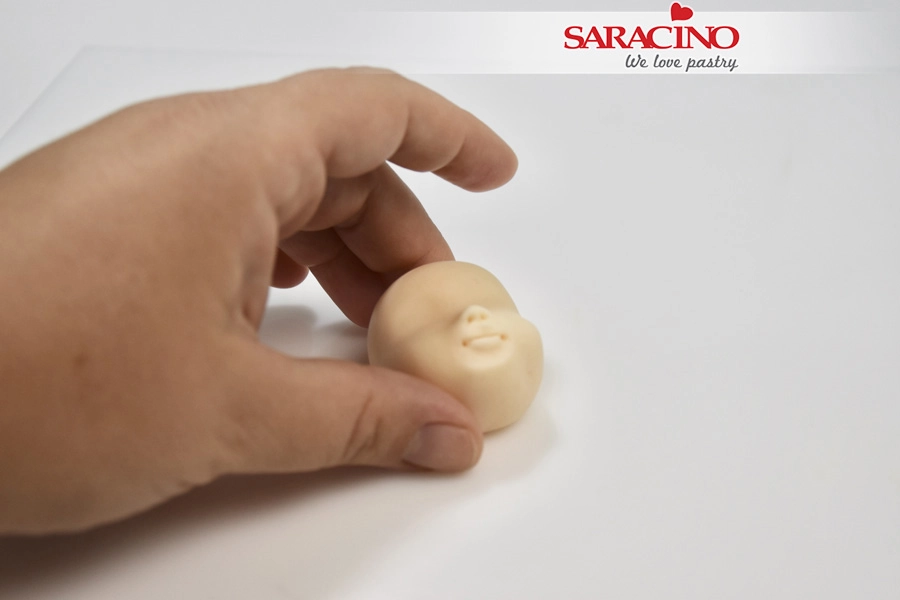
The mouth should look like the picture

Step 16

Use your fingers to shape the chin

Step 17

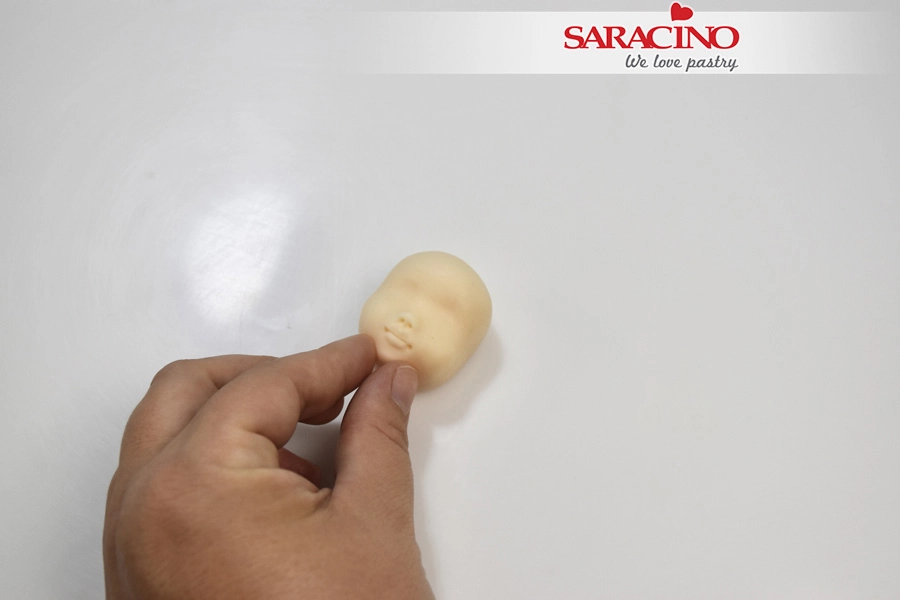
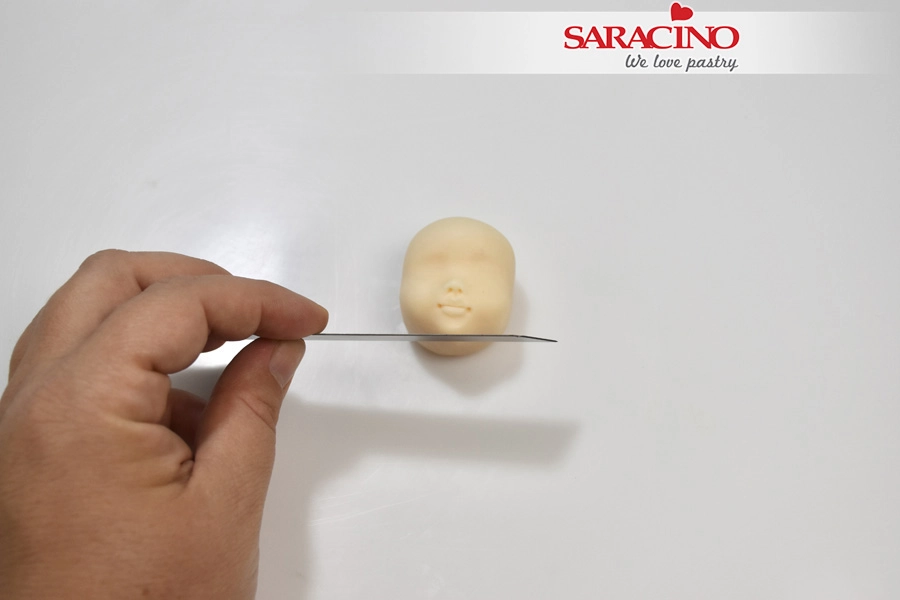
Take a blade and cut off the excess paste


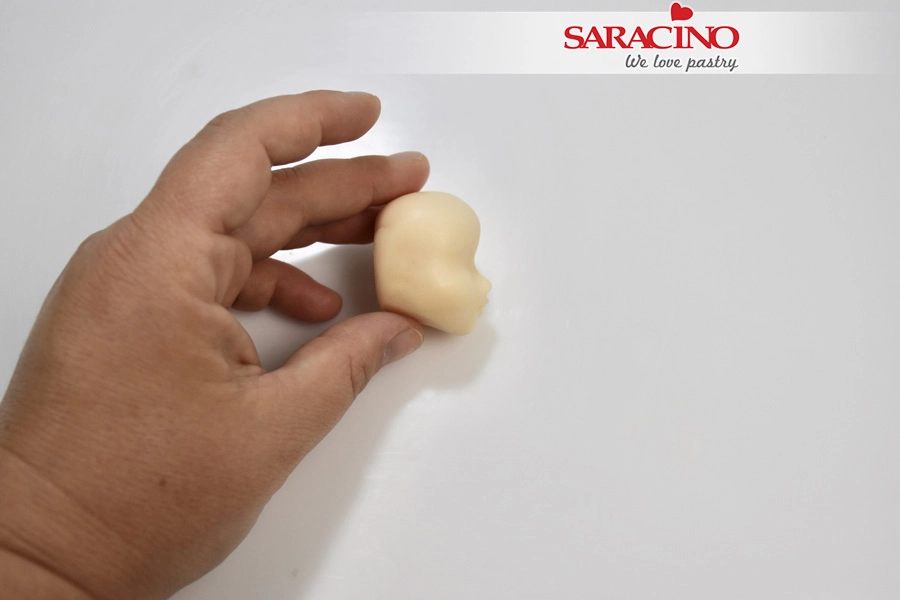
Step 18

The profile of the face should look as seen in the picture

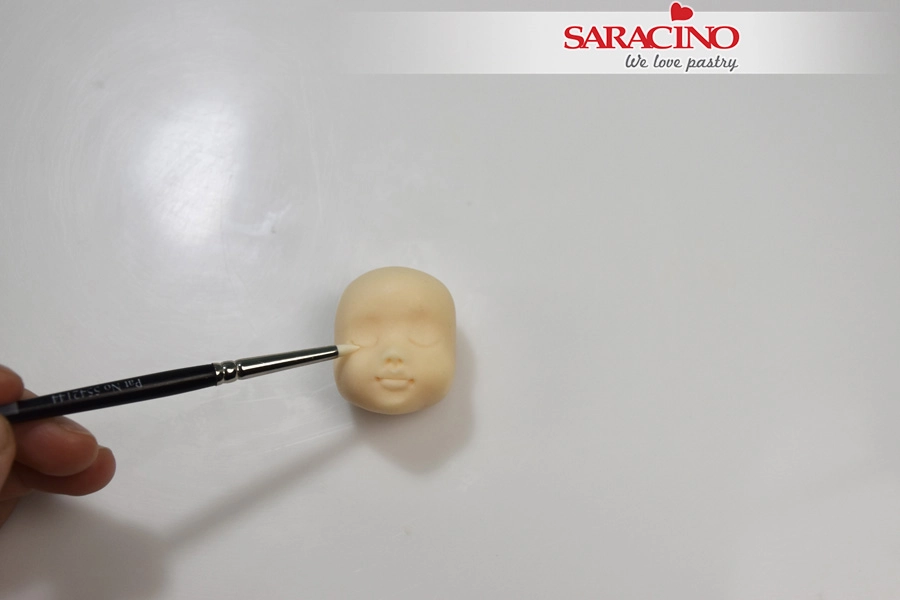
Step 19

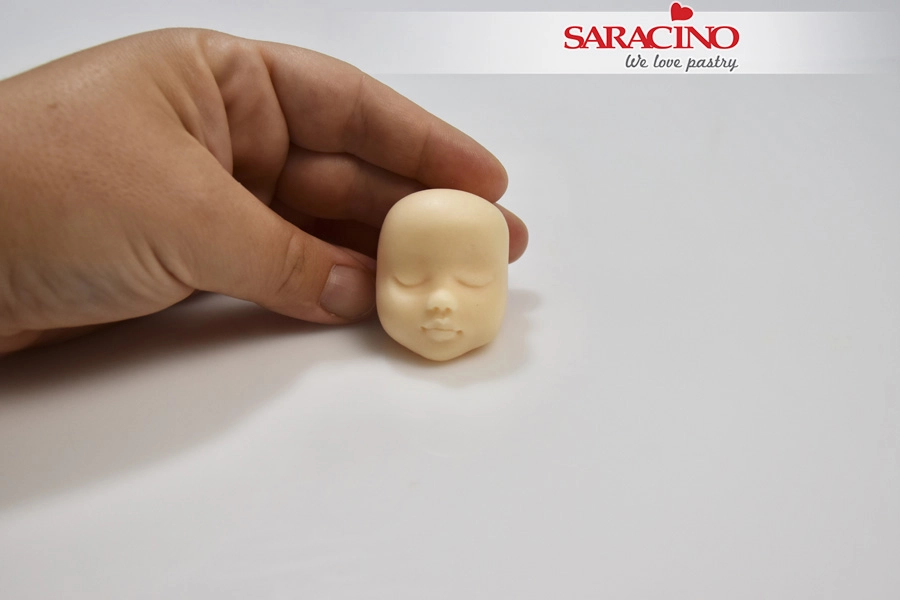
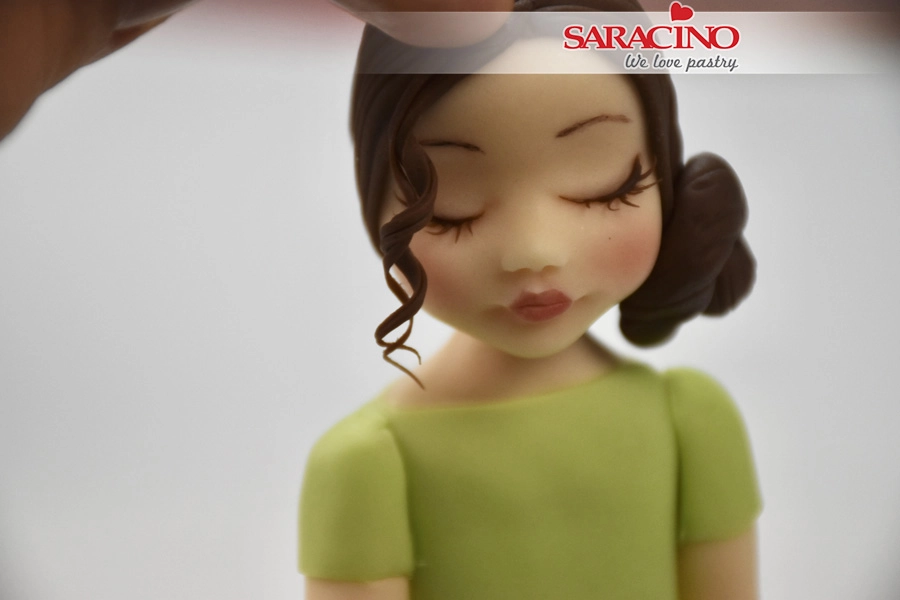
Our girls eyes are closed so we need to define the eyelids with a small silicone brush.

Step 20

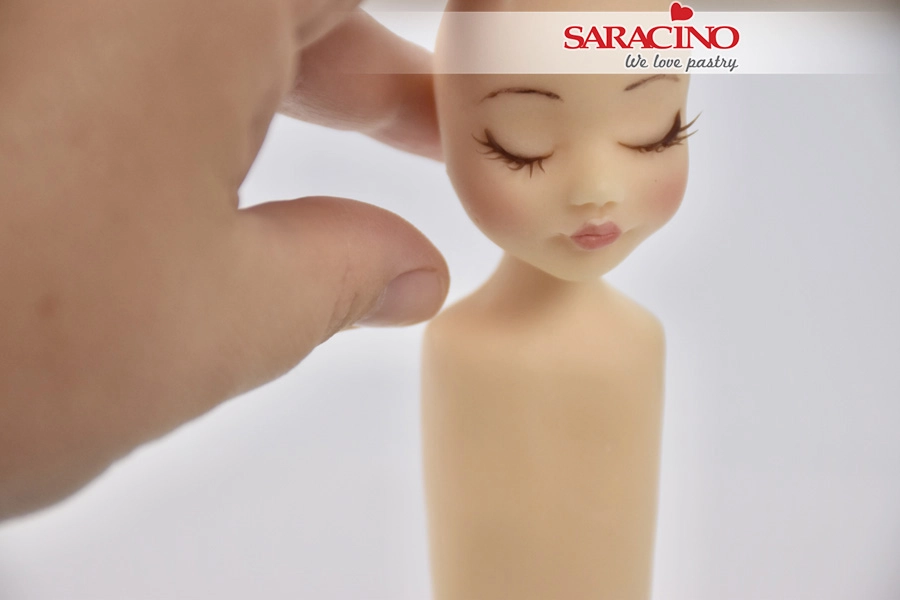
The face is ready

Step 21

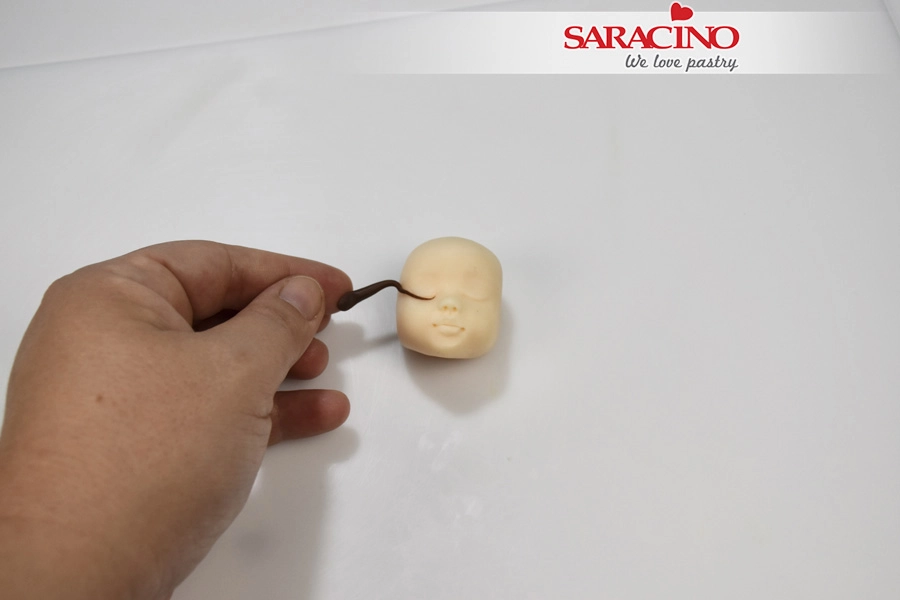
Roll a small piece of brown modelling paste very thinly to make the eyelashes 

Step 22

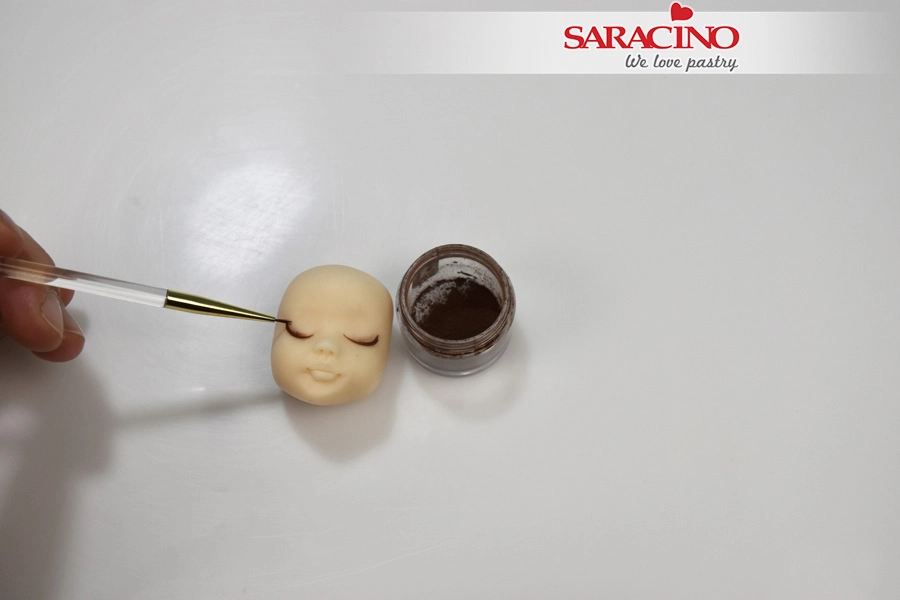
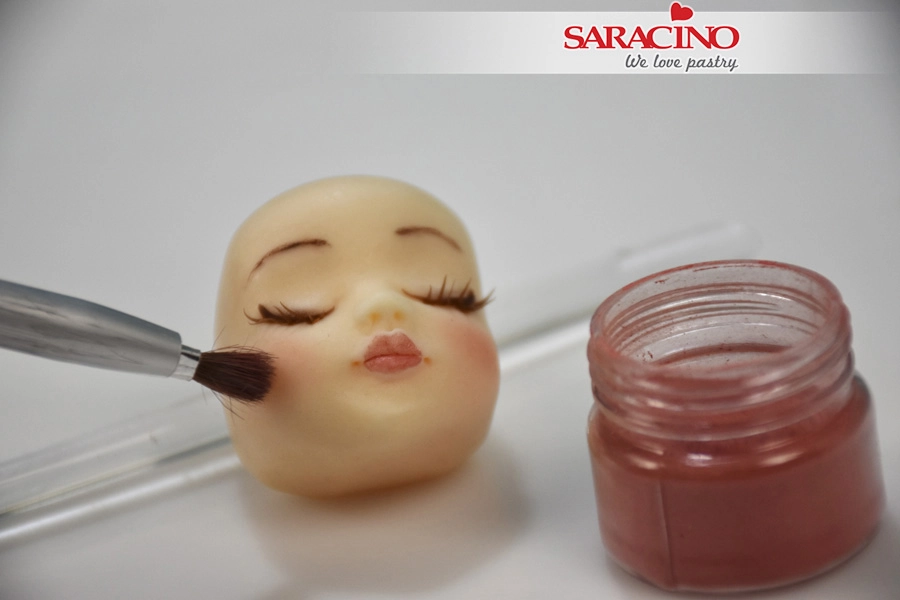
Using a soft brush dust lightly brown color on the eyelids

Step 23

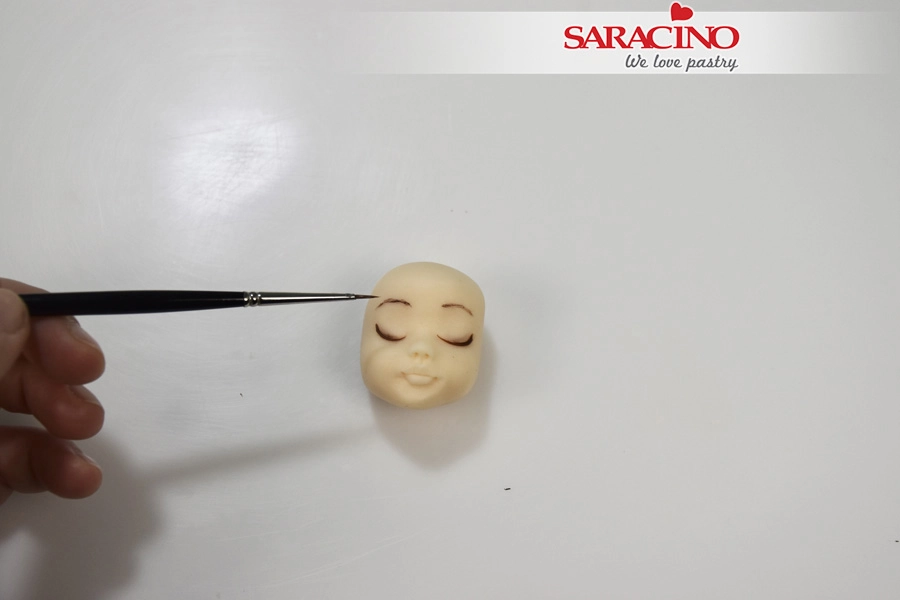
Paint the eyebrows with brown dust mixed with alcohol 

Step 24

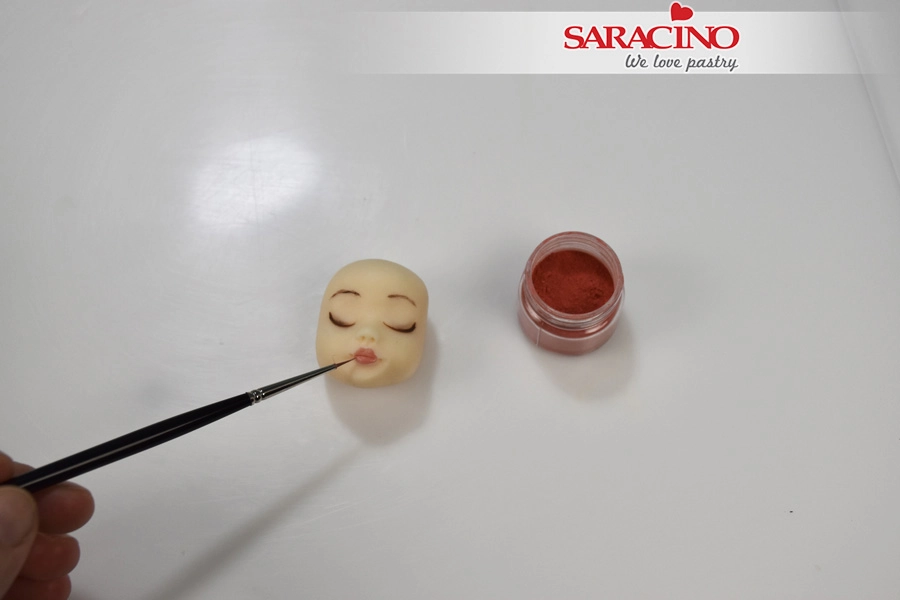
Paint the lips with red dust mixed with alcohol 

Step 25

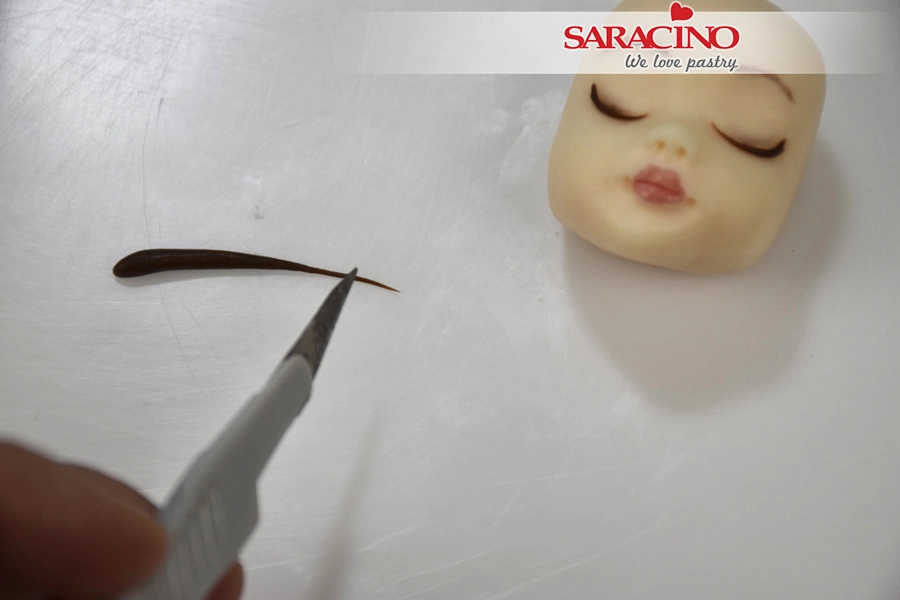
Roll a small piece of brown modelling paste and cut the edge

Step 26

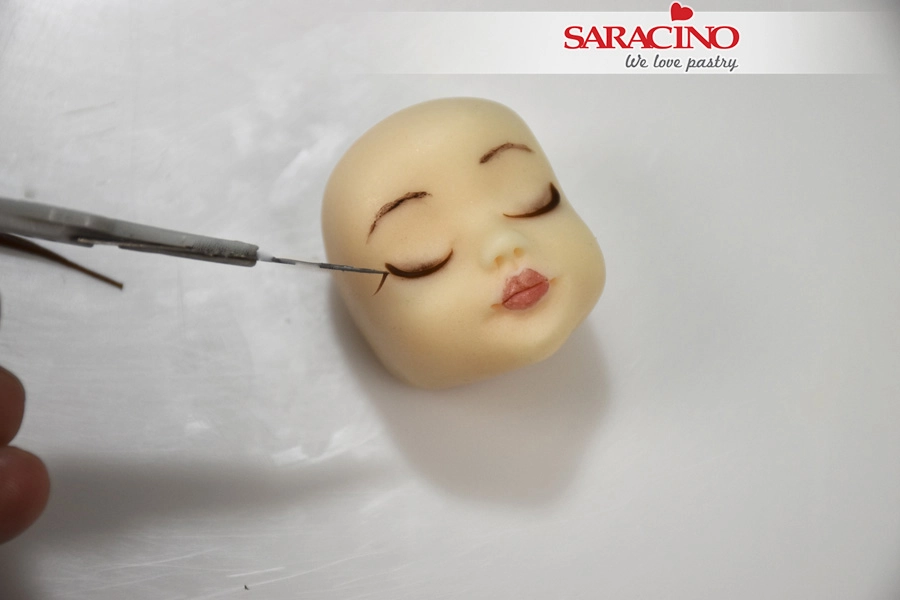
With the help of the exact knife place the pieces on the eyelids

Step 27

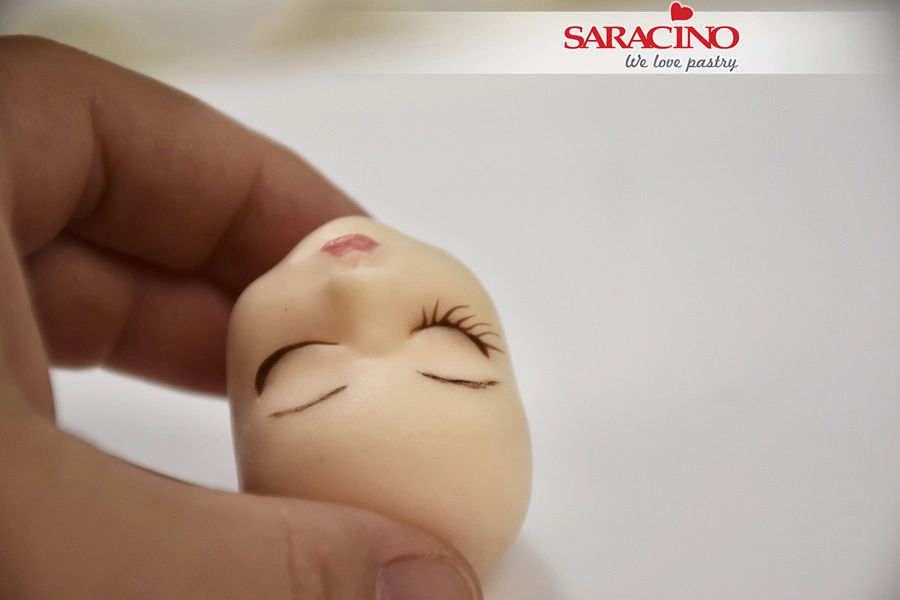
Continue this for all eyelashes until you have a result as seen in the picture

Step 28

Using a soft brush and red dust lightly brush the cheeks


Step 29

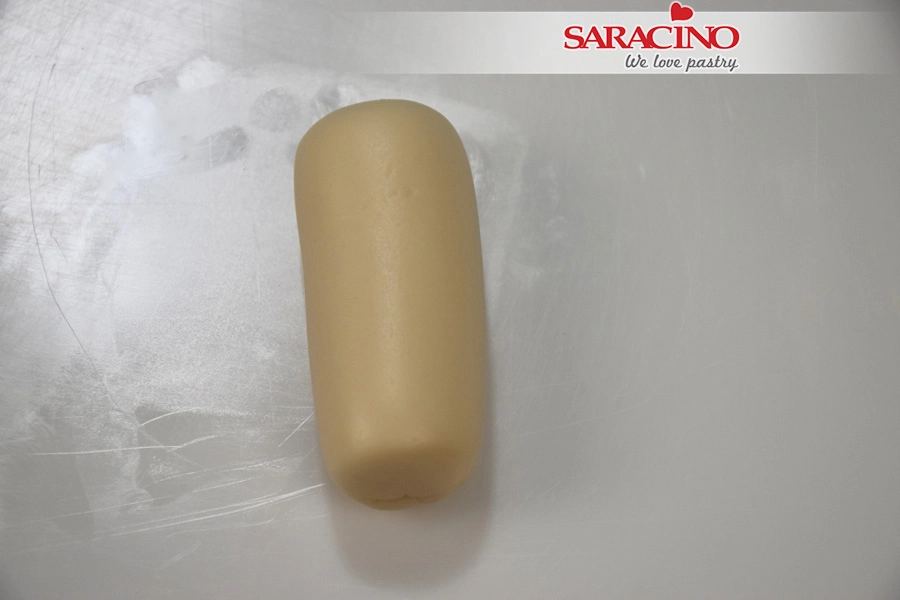
For the body take 45g of skin color modelling paste and roll it into a sausage shape


Step 30

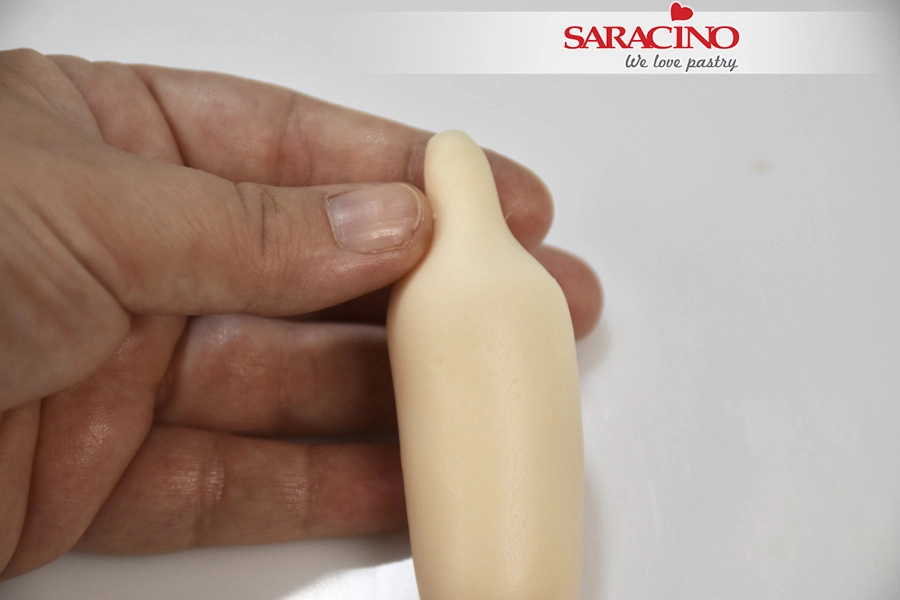
Use your fingers to shape the neck


Step 31

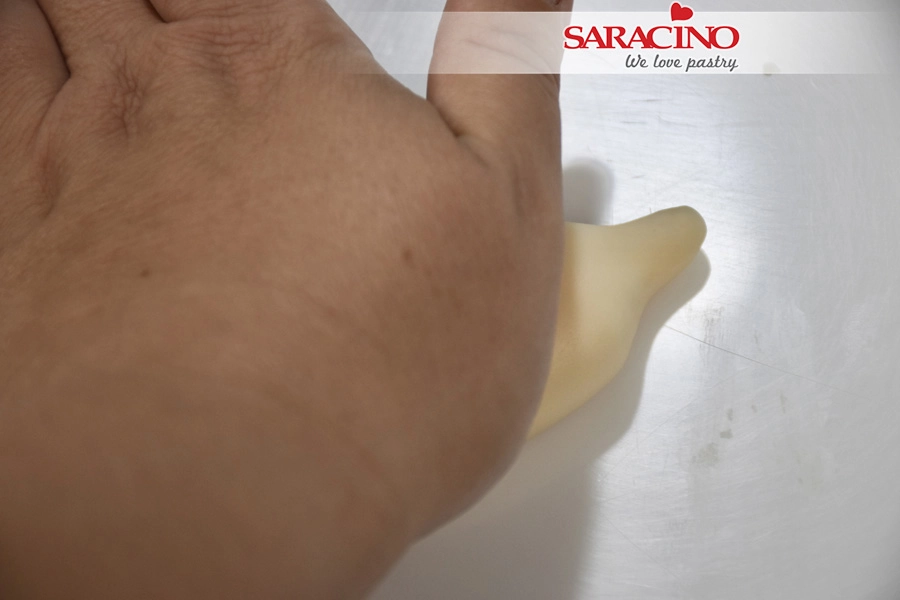
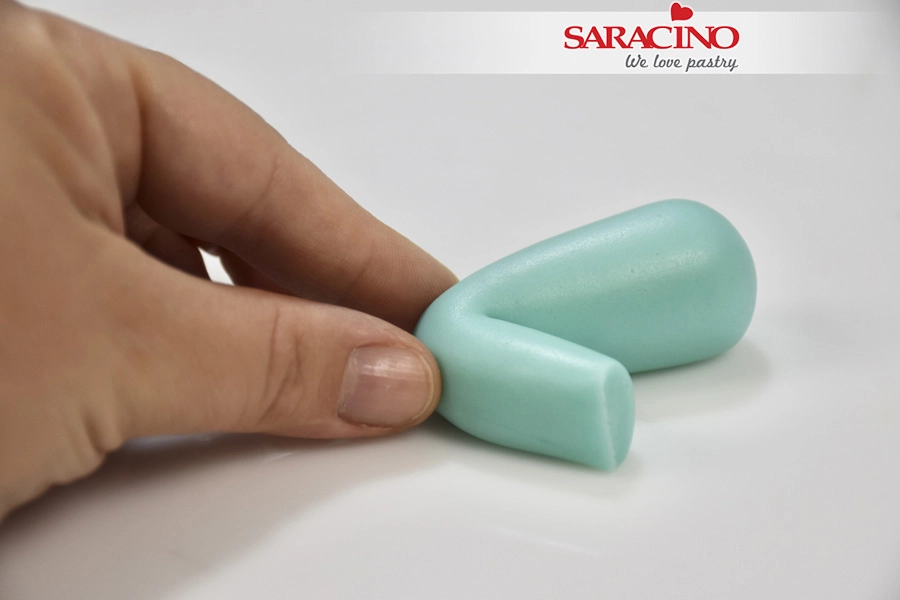
Press with your palm gently to flatten slightly 


Step 32

Use your finger to shape the shoulders


Step 33

Cut the top of the neck to give your required length


Step 34

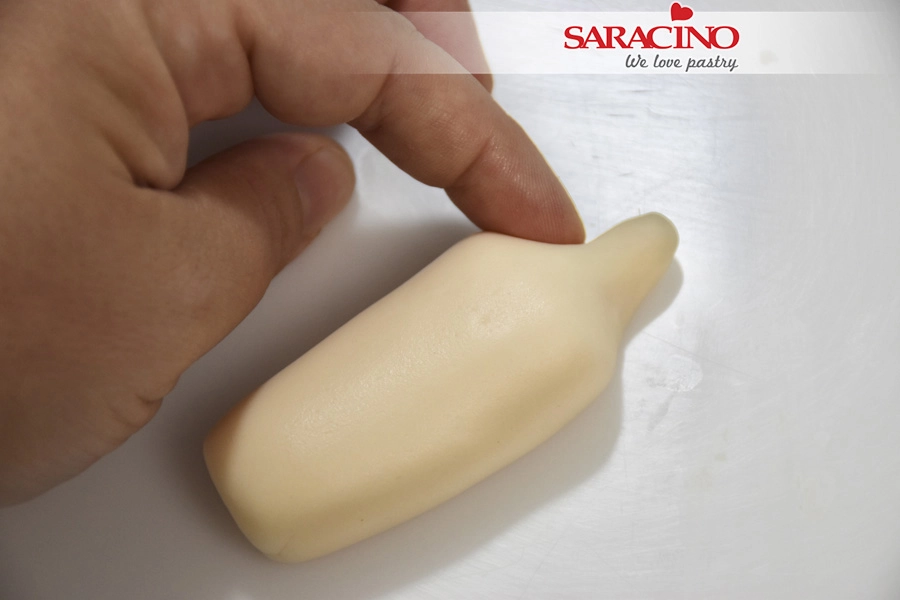
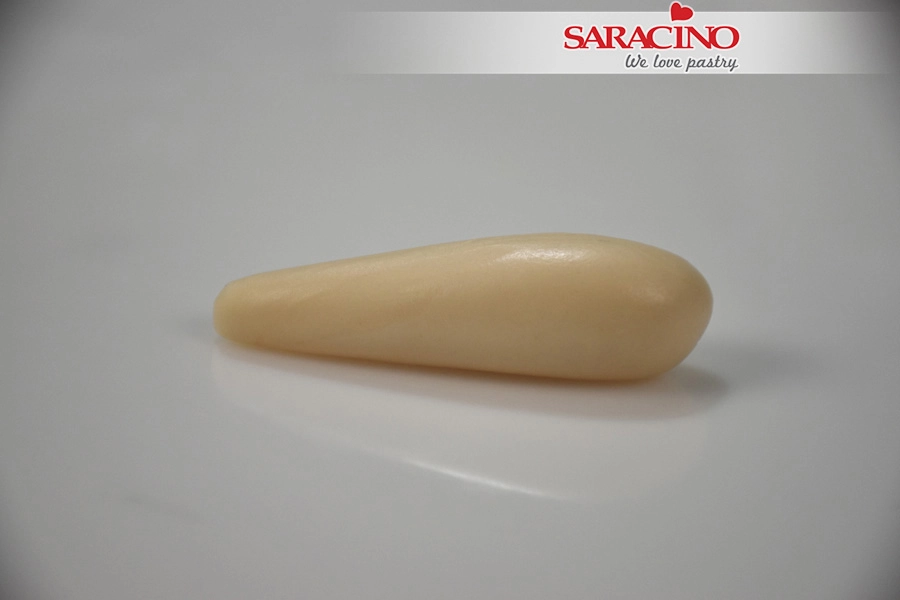
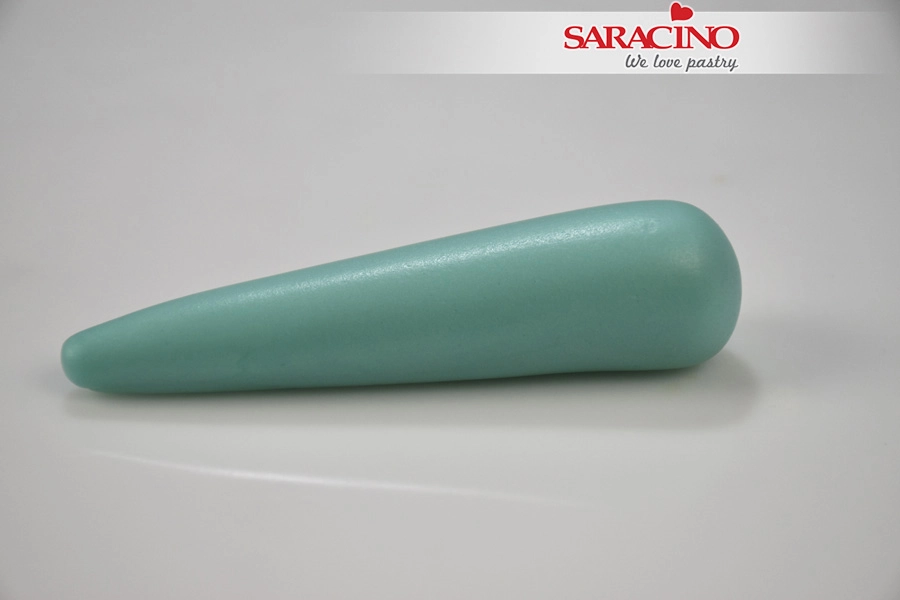
For the leggings roll 35g of Tiffany colour modelling paste into a carrot shape


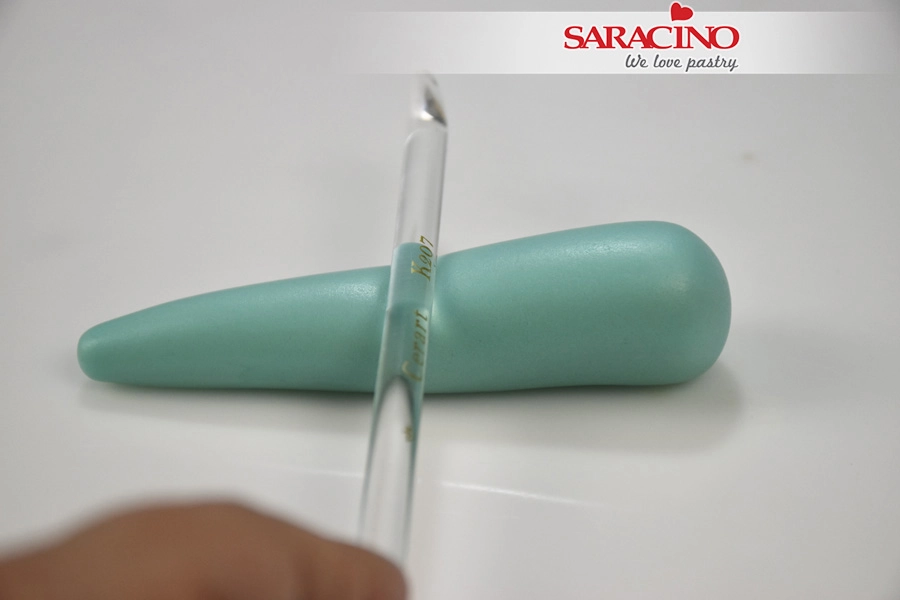
Step 35

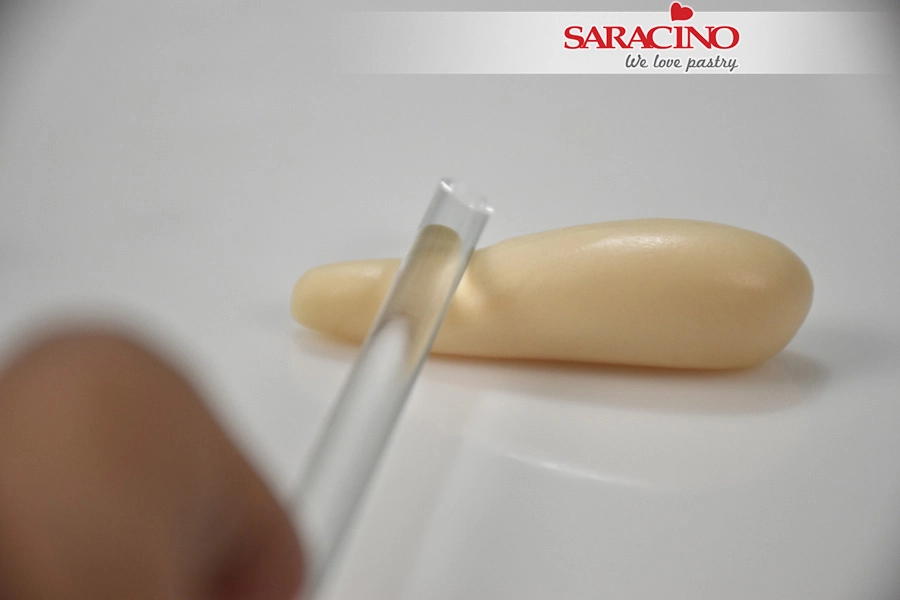
Use the back side of your brush to create a mark on the leg for the back of the knee.


Step 36

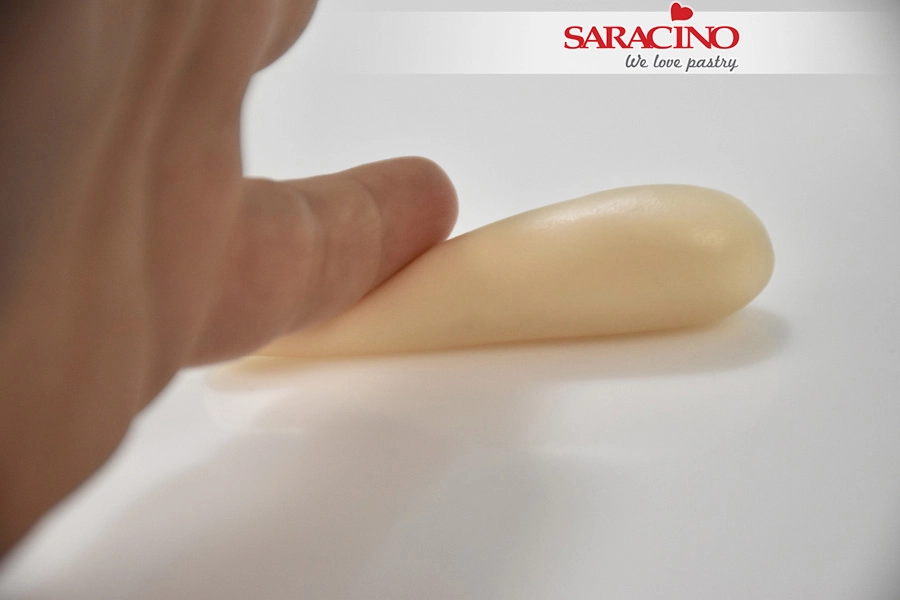
Roll again using your finger to form the shape of the leg


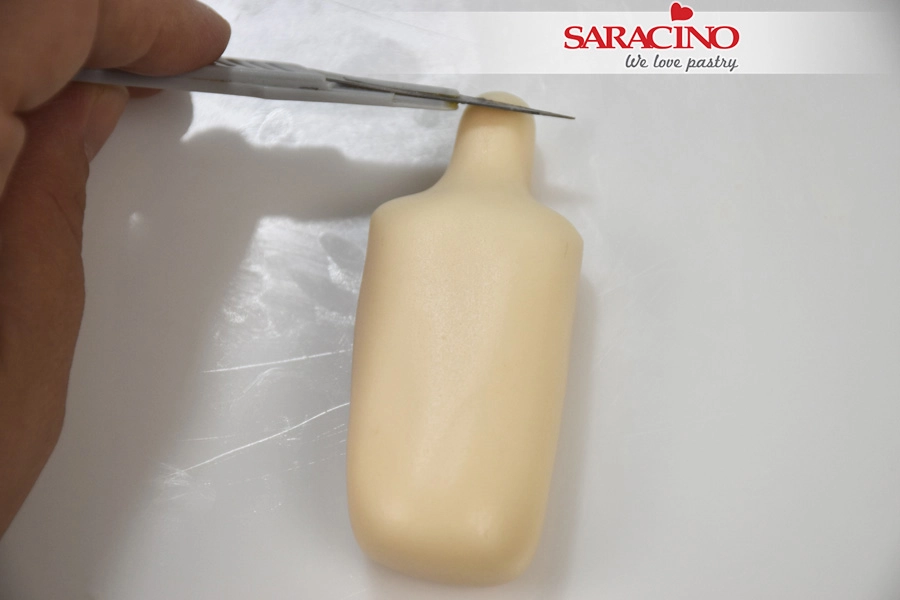
Step 37

With a blade cut the lower part of the leg


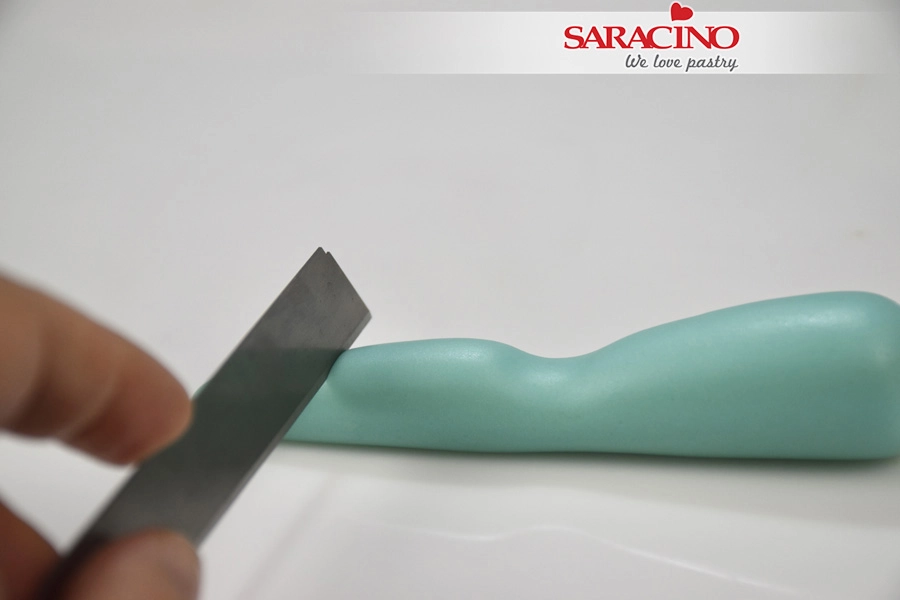
Step 38

Use your fingers to pinch the paste and define the knee


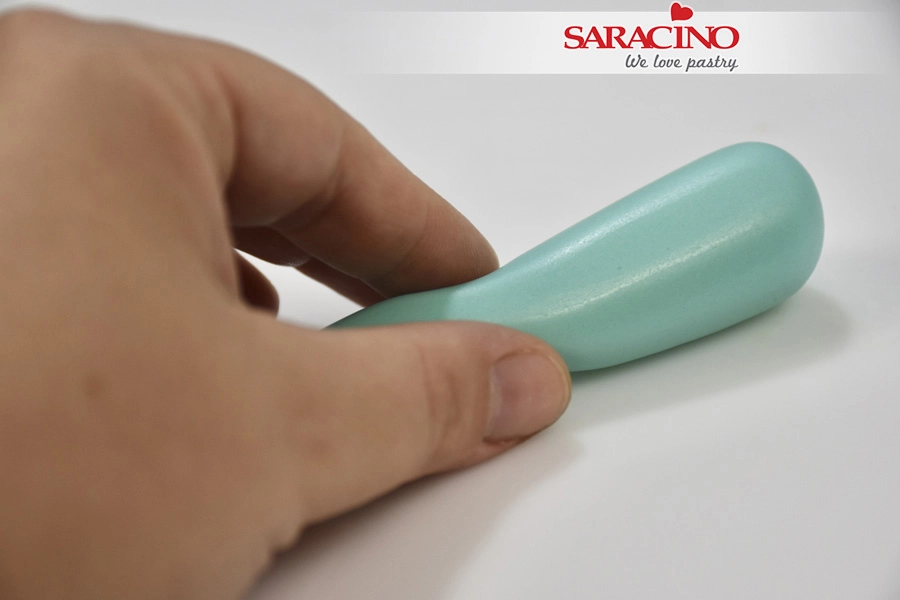
Step 39

Bend the leg and shape the knee


Step 40

For the lower leg and foot roll 8g of modelling paste into a carrot shape


Step 41

Use the back side of your brush to create a mark on the back of the leg for the foot


Step 42

Roll again using your finger to make it like a carrot shape.


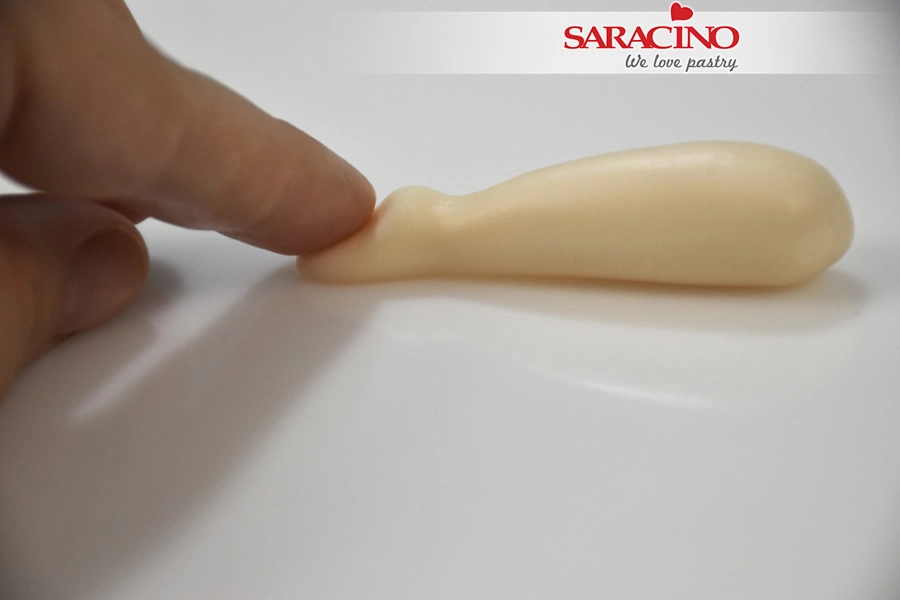
Step 43

Press with your finger to create the foot and the heel


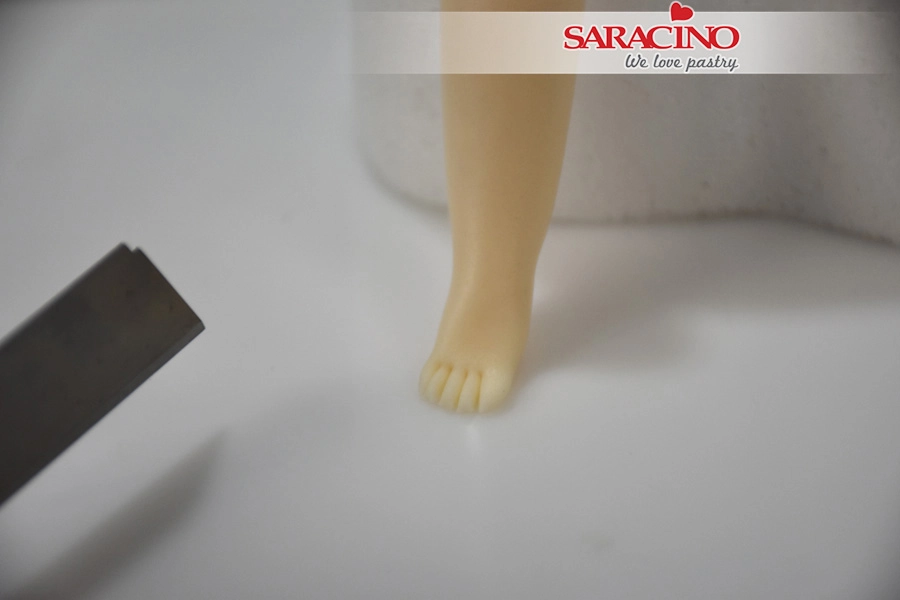
Step 44

Use a blade to form the toes


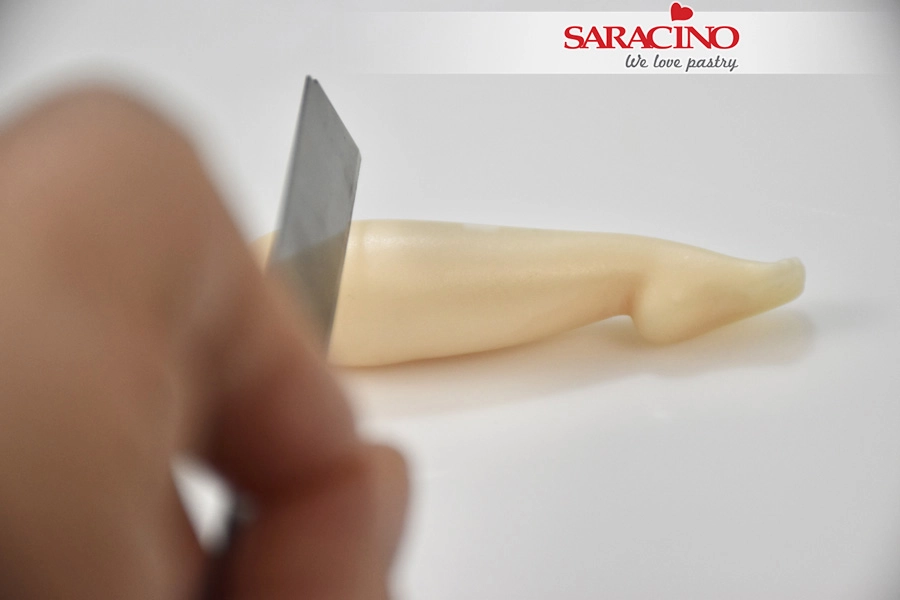
Step 45

With a blade cut the top of the leg to the required length


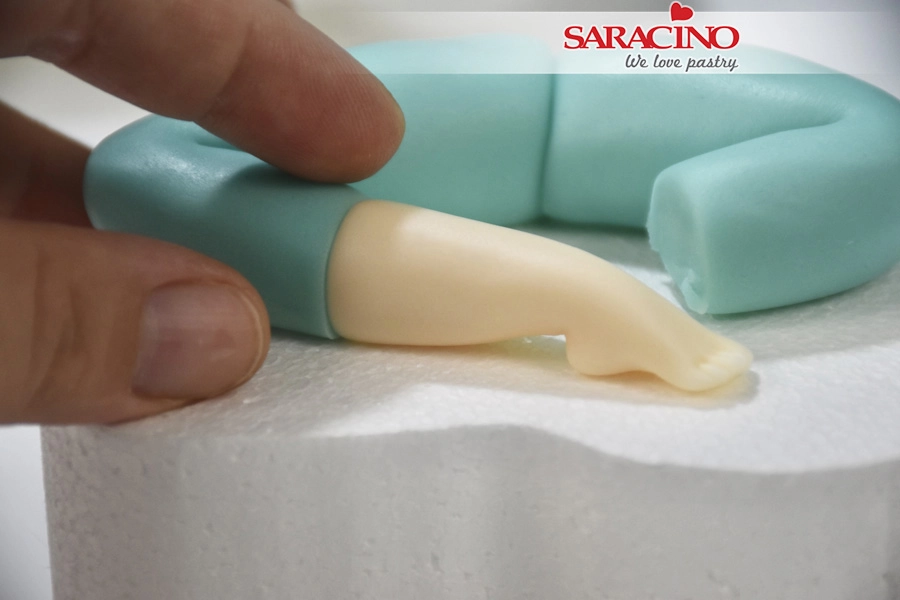
Step 46

Form the pieces of the legs as seen in the picture. Repeat to make the other leg.


Step 47

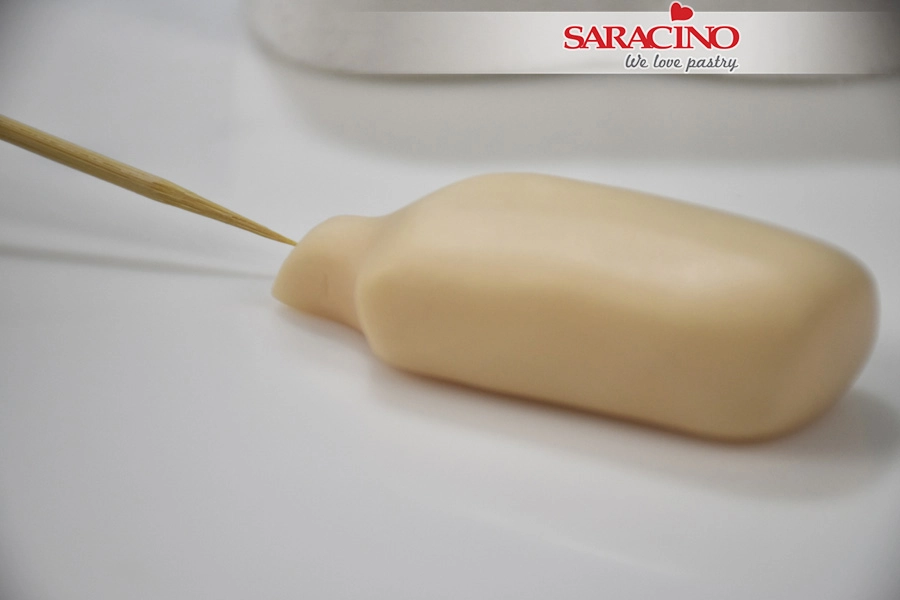
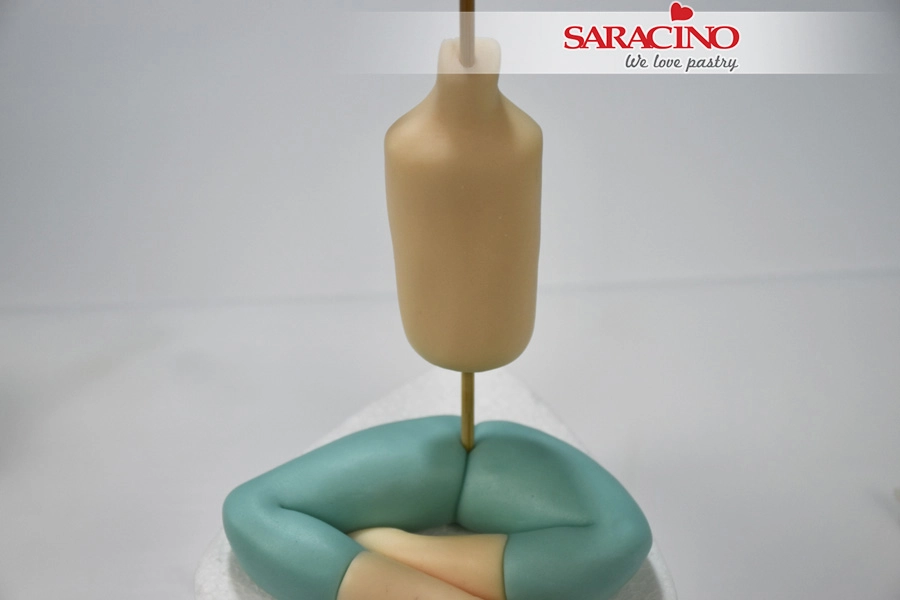
Take a wooden skewer and insert through the body from the neck and out through the lower end 


Step 48

Place the body on top of the legs exactly in the middle 


Step 49

Place the head on the skewer 


Step 50

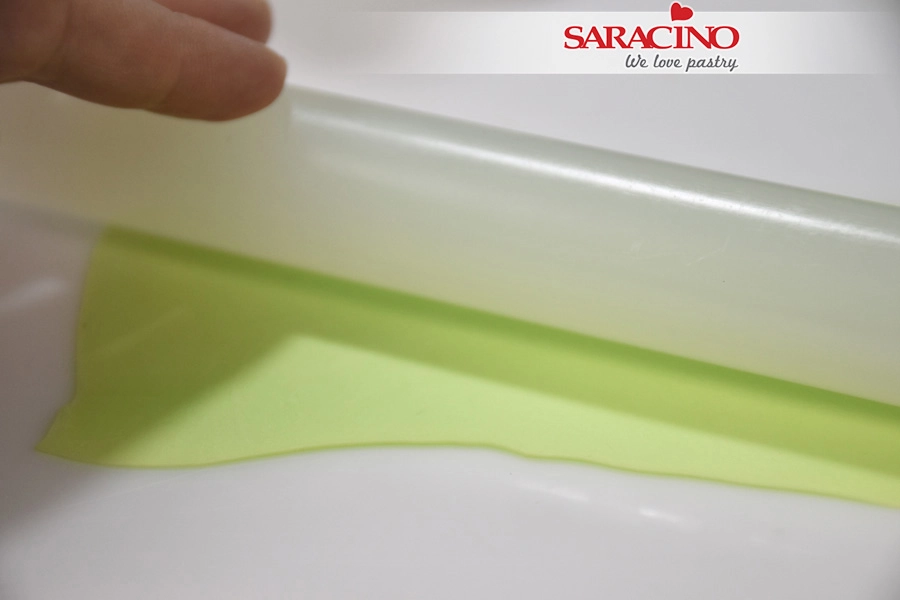
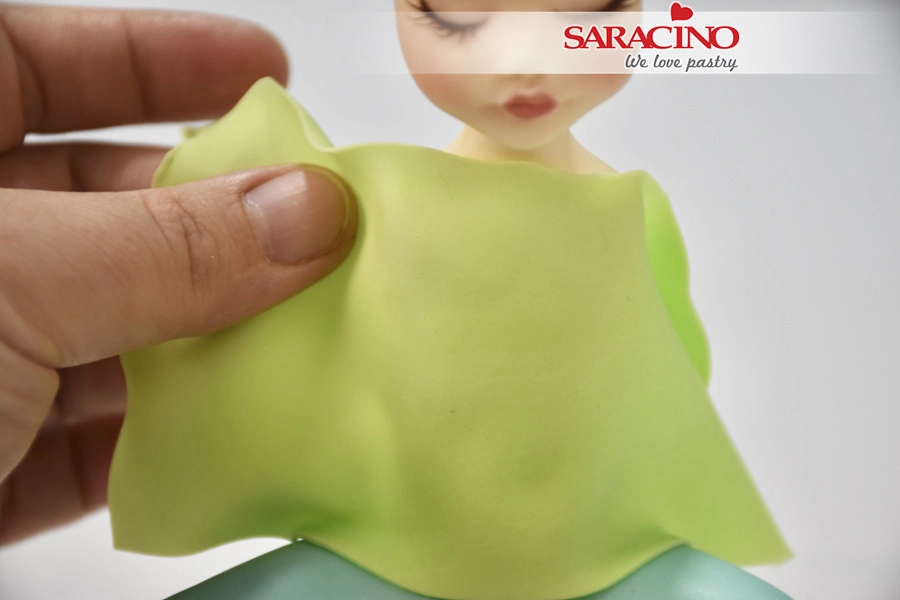
For the T shirt roll a piece of light green modelling paste


Step 51

Wrap the body with the paste


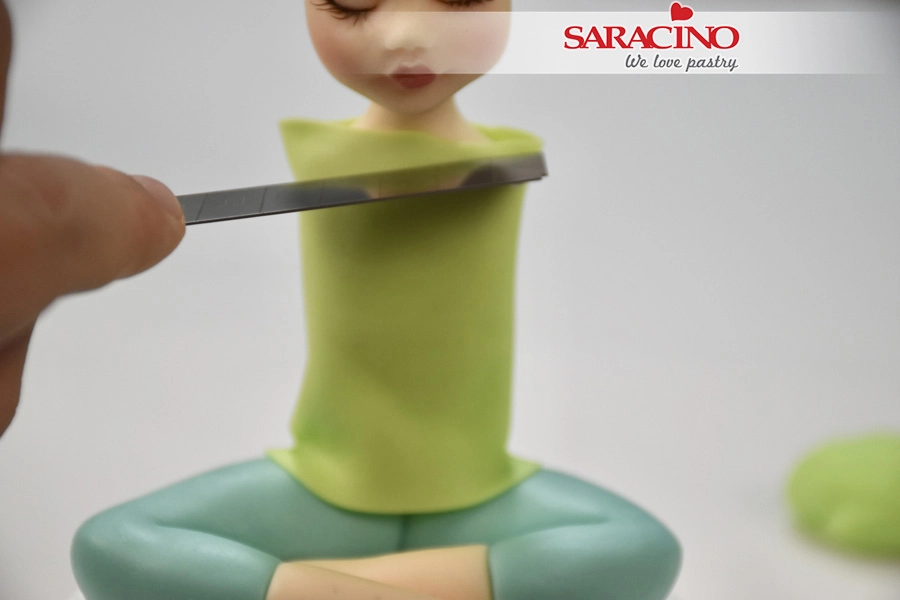
Step 52

Cut any excess paste with a sharp blade


Step 53

For the arms roll 8g of sugar paste into a carrot shape 


Step 54

Use your brush to create a mark for the wrist and elbow joints


Step 55

Roll again using your fingers to make each part a carrot shape


Step 56

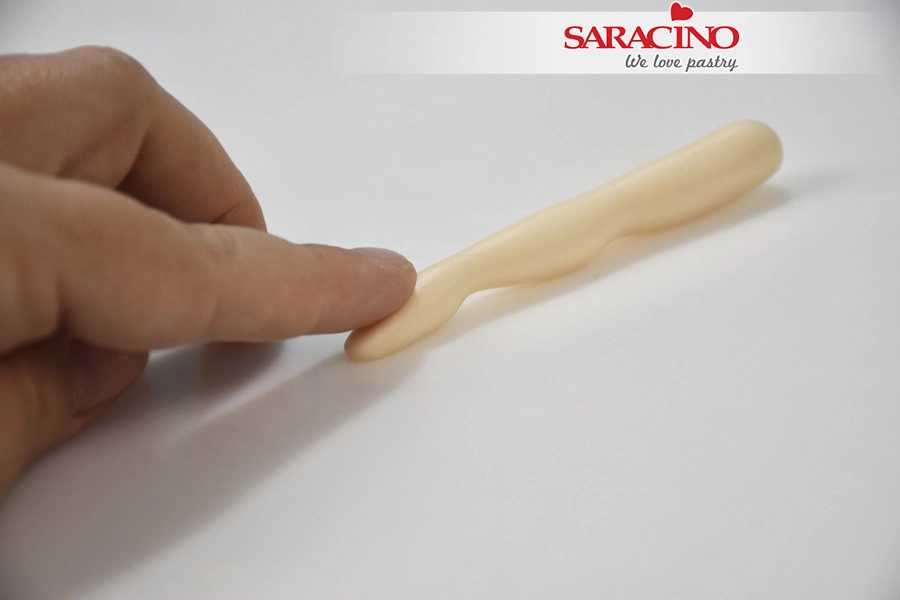
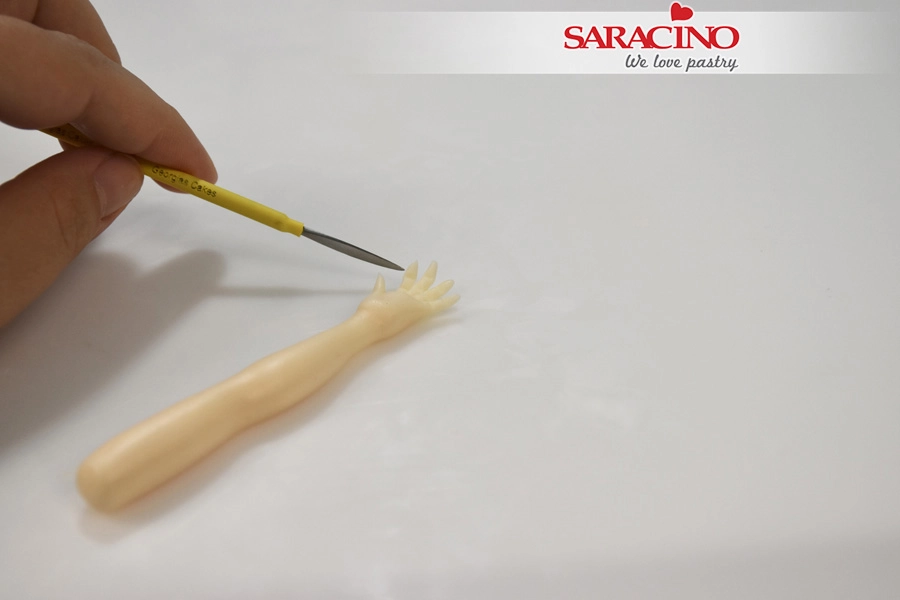
Turn the arm upside down and press with your finger to shape the palm


Step 57

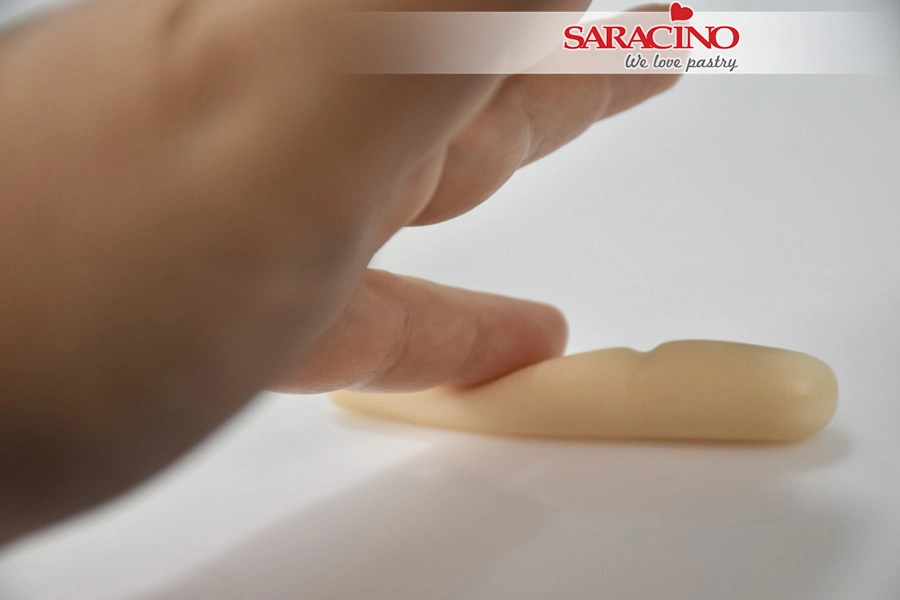
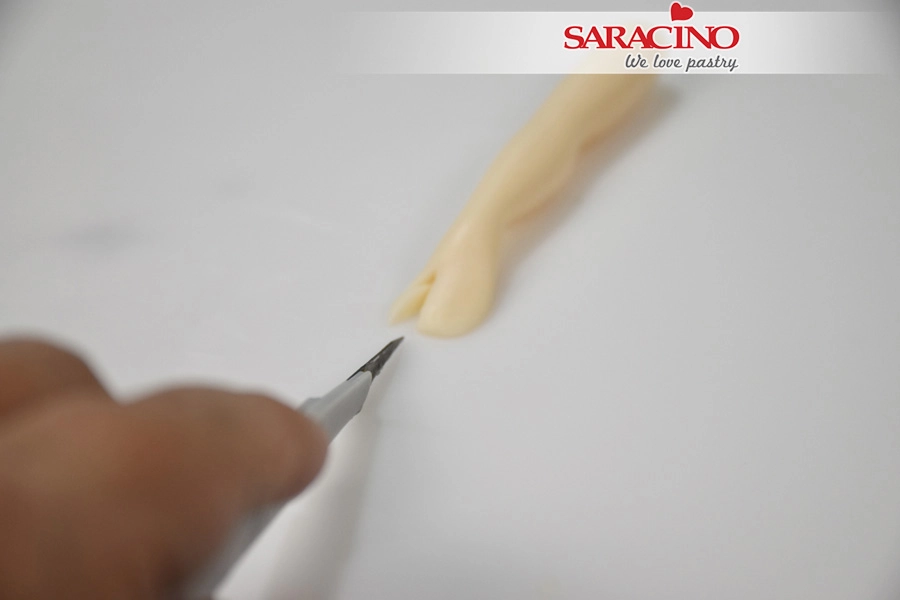
Use your exacto knife to cut the thumb as seen in the picture


Step 58

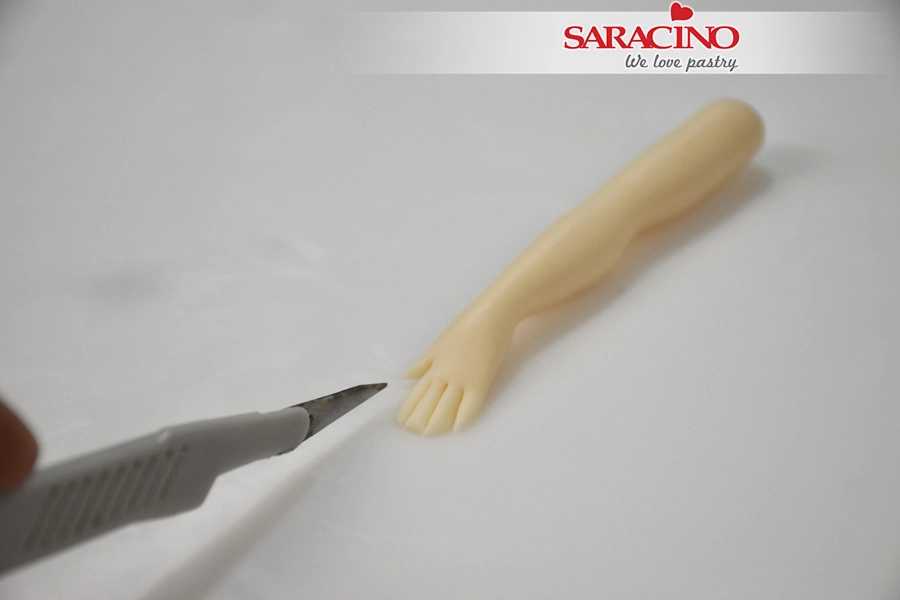
Repeat for the fingers by first cutting in the middle and then each part again in the middle. This way you will end up with 4 equal fingers


Step 59

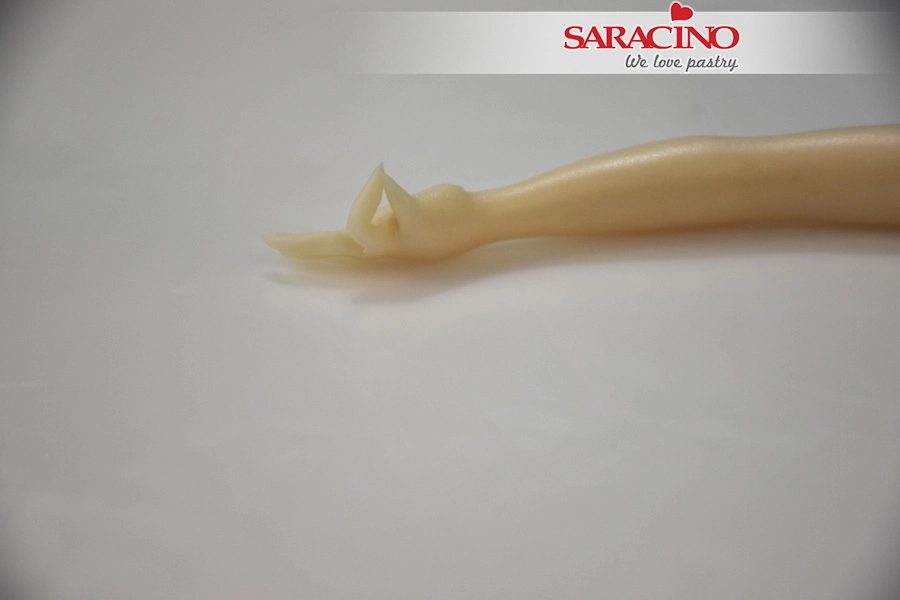
Use a metalic spatula to add details in the fingers


Step 60

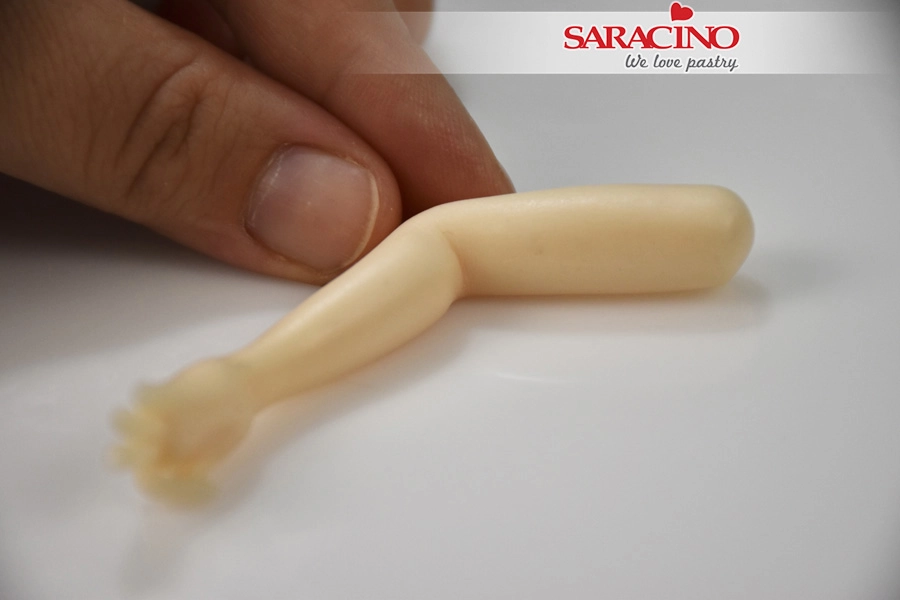
Bend the thumb and index finger


Step 61

With your fingers shape the elbow. Repeat the previous steps to make another arm.


Step 62

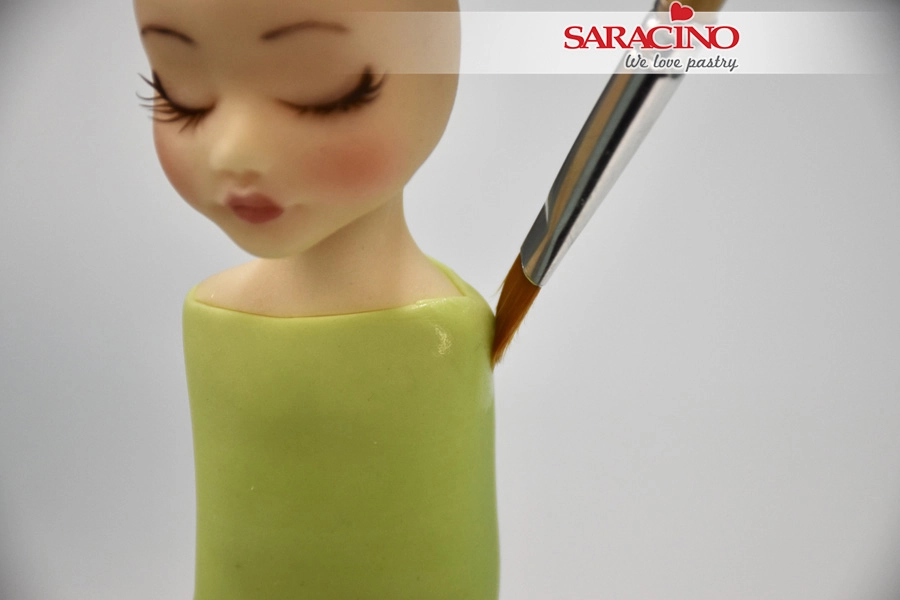
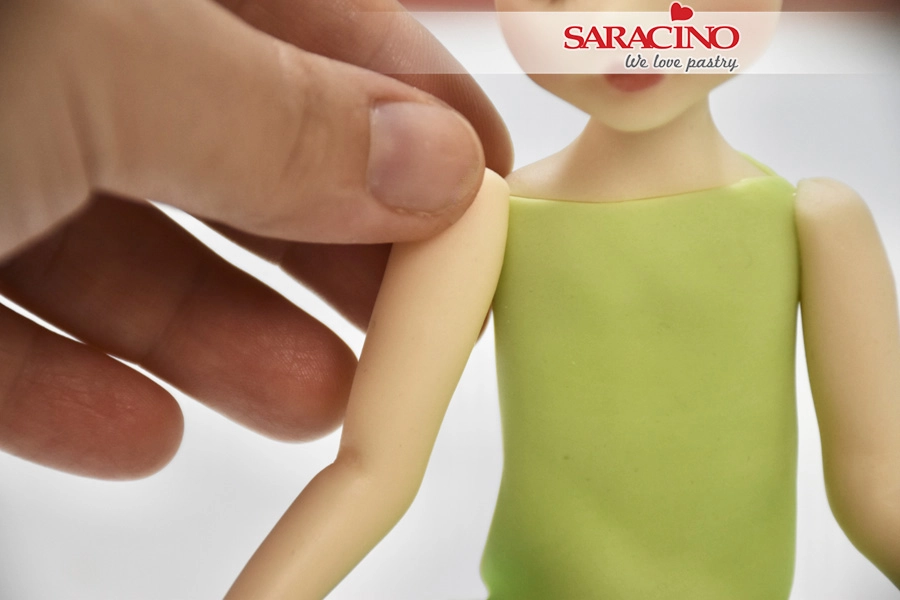
Add some edible glue on the shoulders


Step 63

Glue the arms to the body 

Step 64

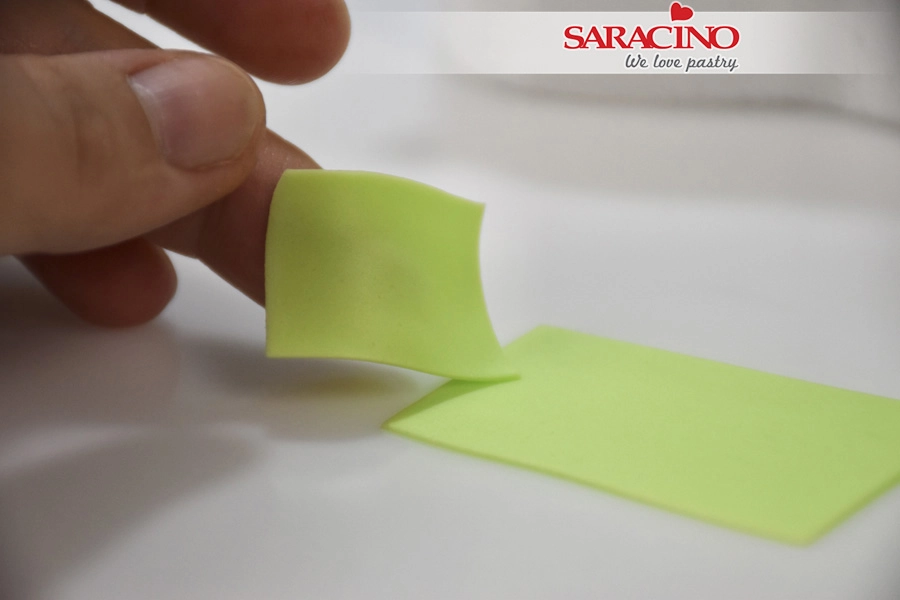
To make the sleeves of the T shirt cut a small piece of rolled paste


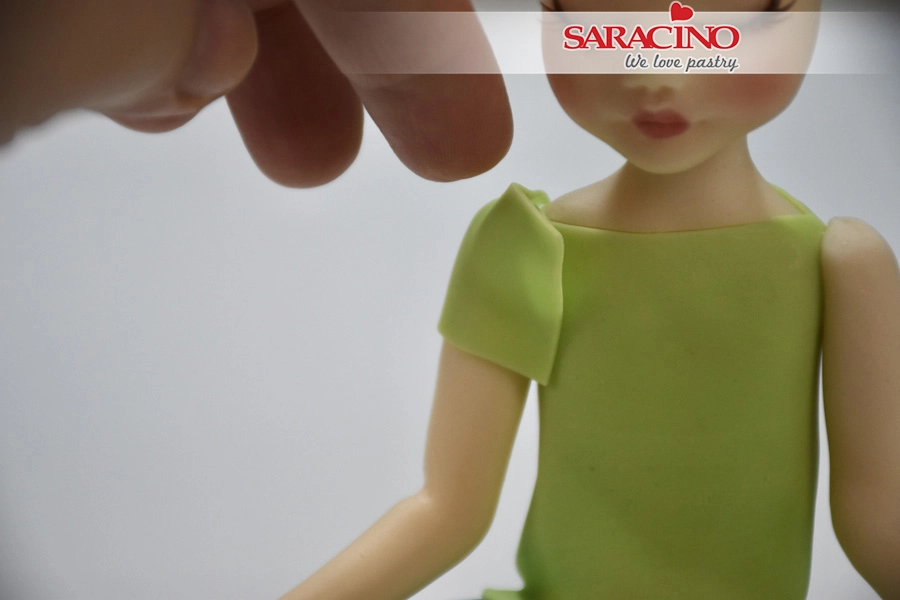
Step 65

Place the piece on the shoulders to make the sleeves


Step 66

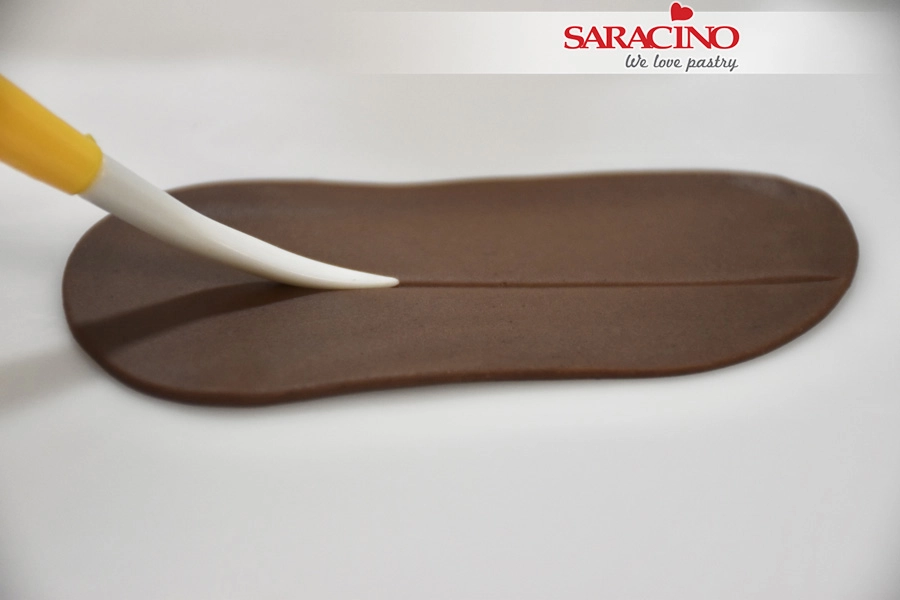
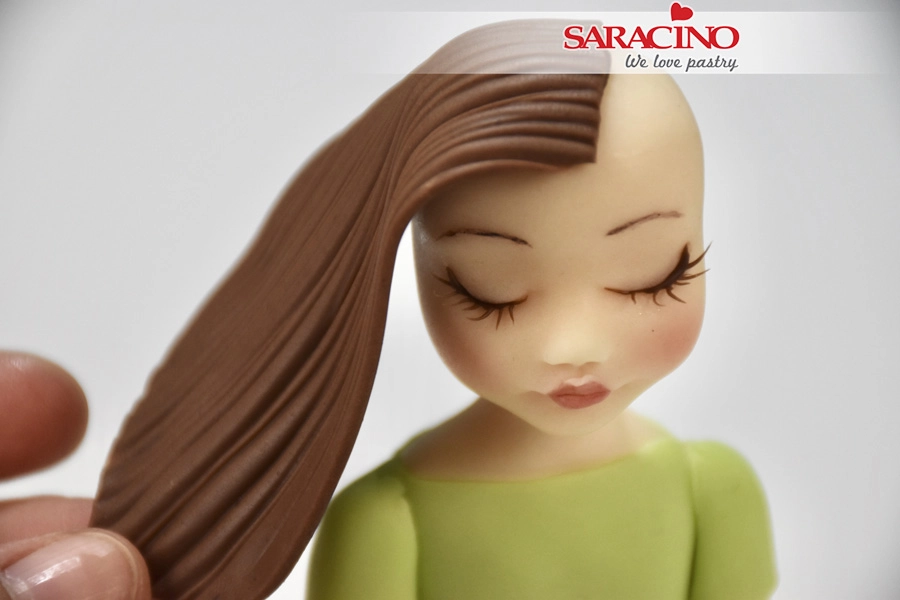
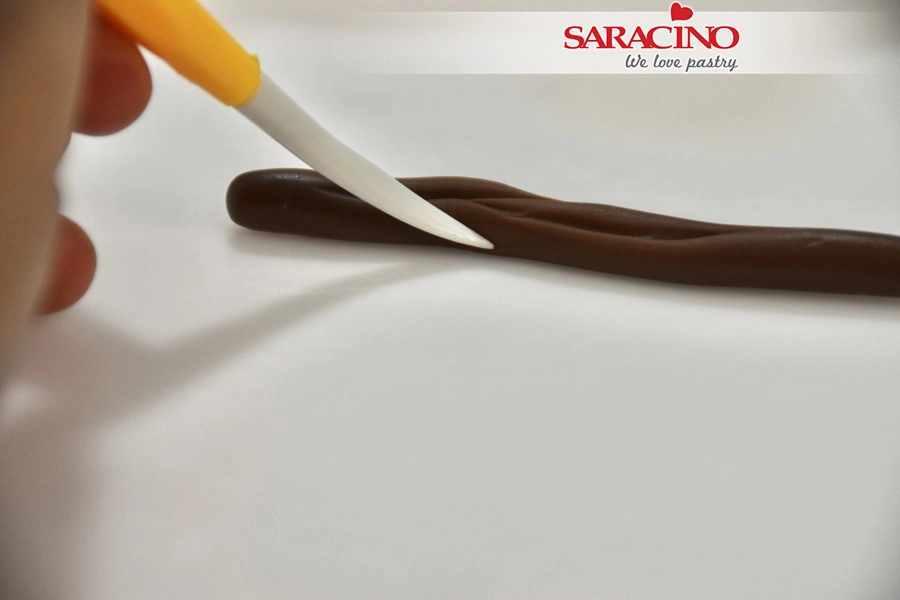
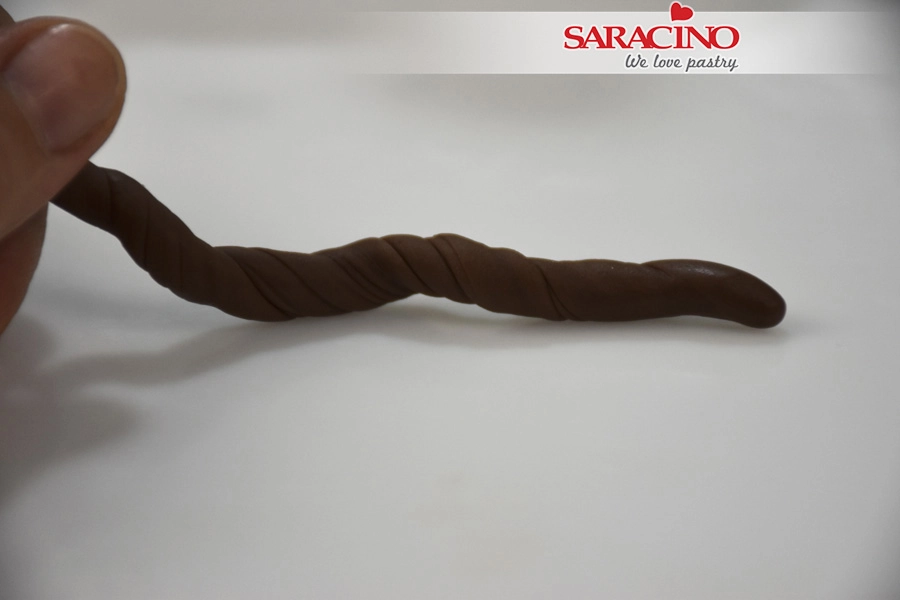
For the hair roll brown modelling paste and use the dresden tool to make lines


Step 67

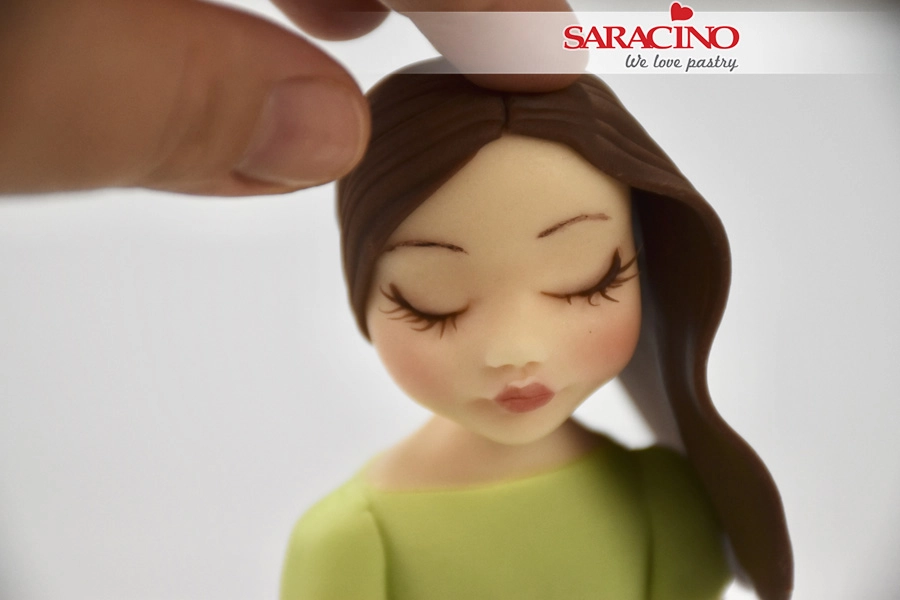
Cut a straight line at one end for the hair parting. Fix the paste on the head with a little glue to create the hair 


Step 68

Repeat the same to the other side of the head


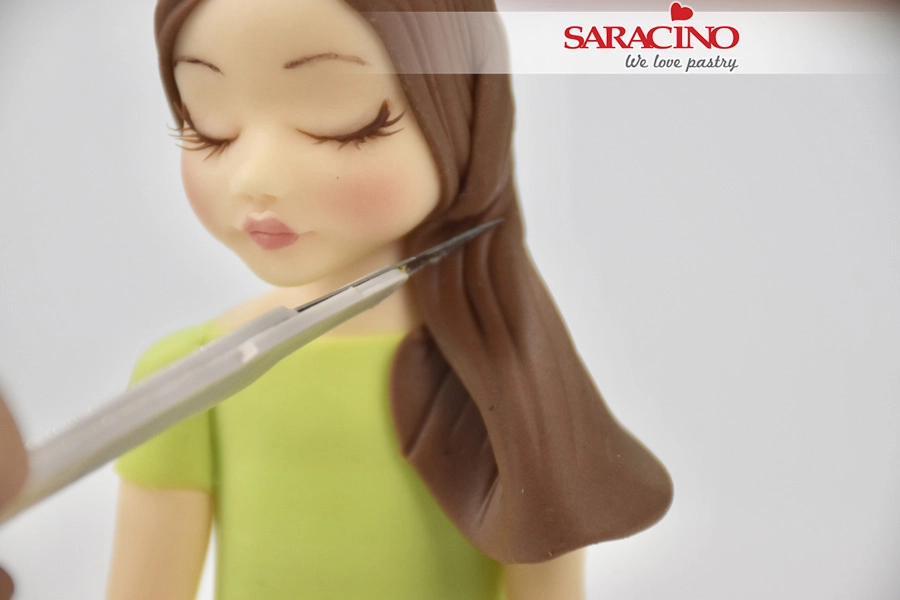
Step 69

Cut any excess 


Step 70

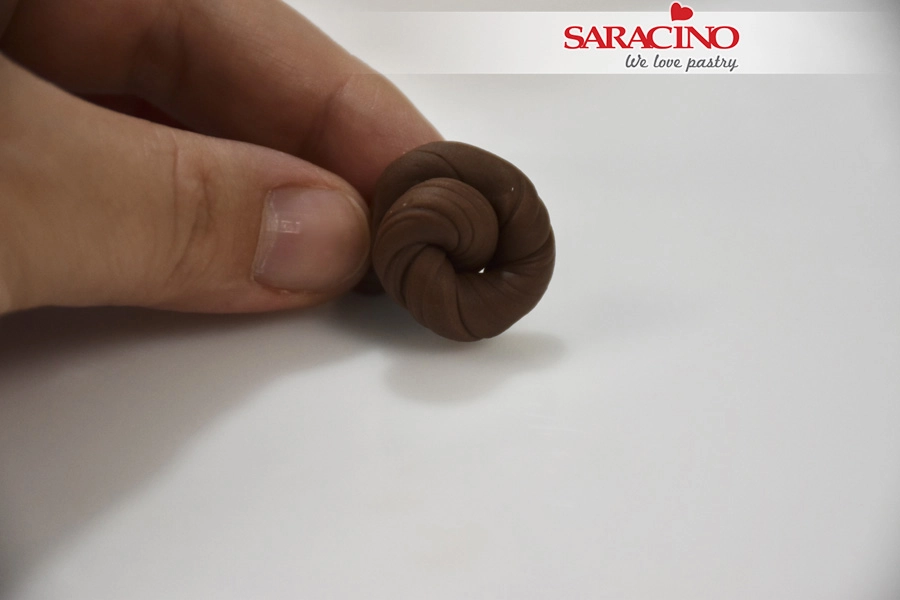
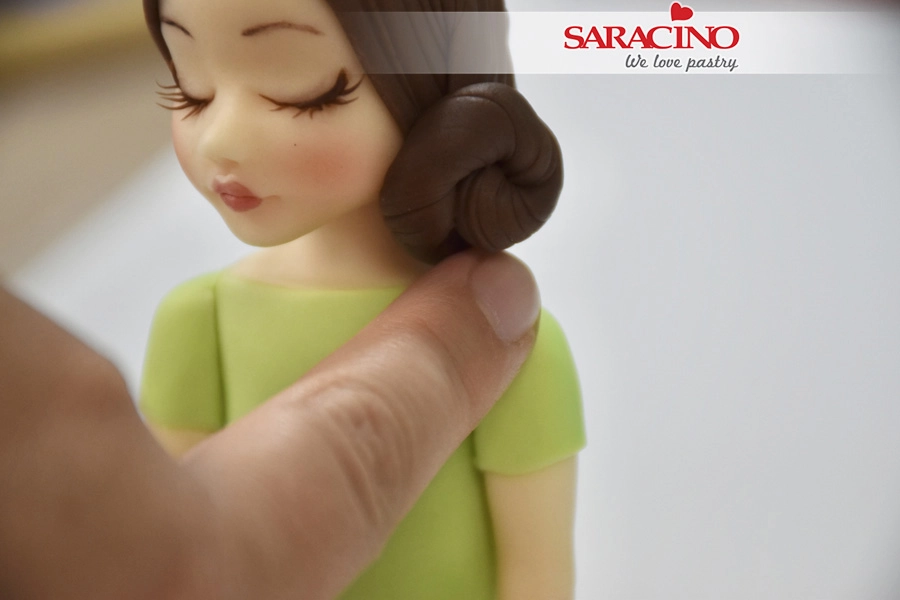
For the hair bun roll brown paste and use the dresden tool to make lines


Step 71

Twist the paste as seen in the picture


Step 72

Roll to shape a bun


Step 73

Fix the bun on the head with a little glue


Step 74

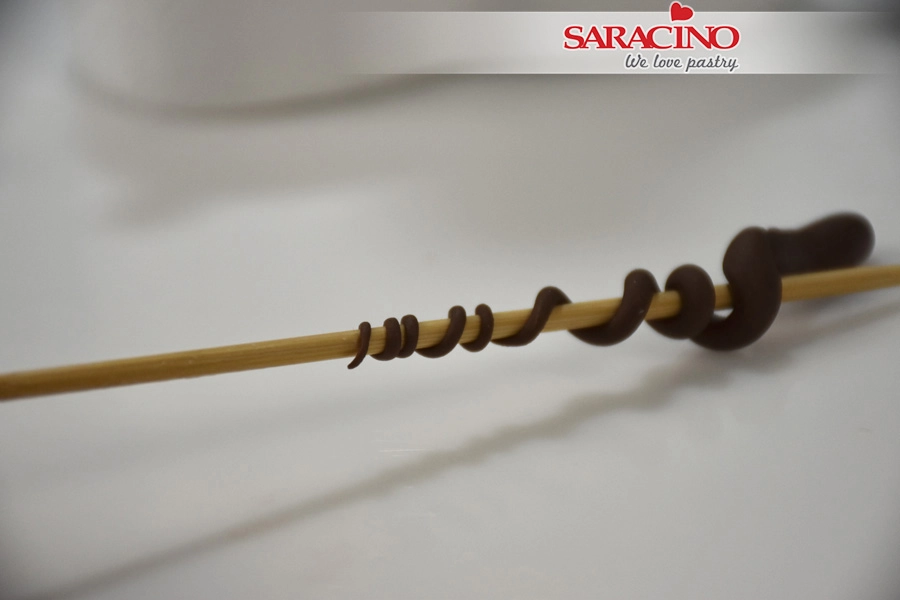
To create the curls roll a tiny piece of brown paste to a carrot shape and twist it on a toothpick


Step 75

Fix the curls on the head


Step 76

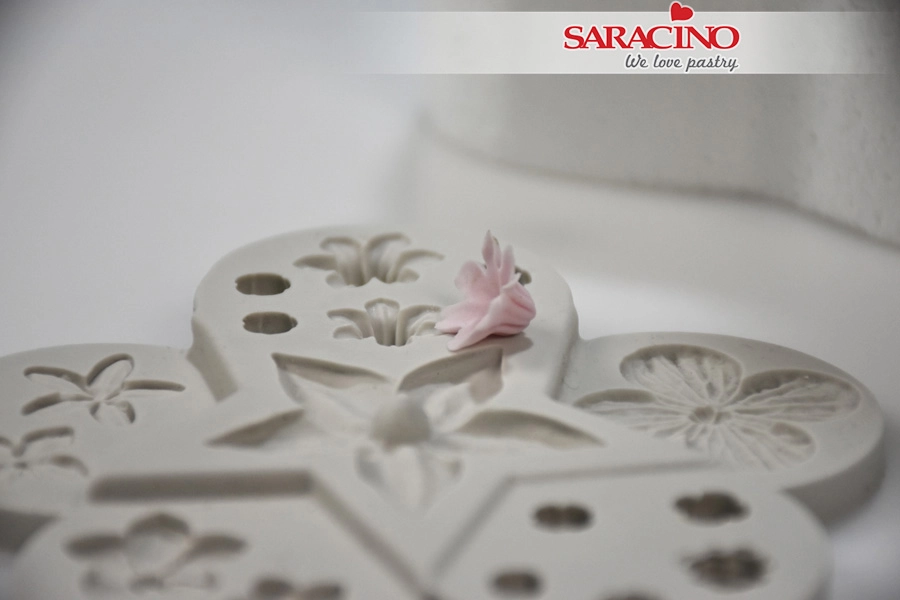
Use a silicone mould to make some flowers for fixing in the girls hair


Step 77

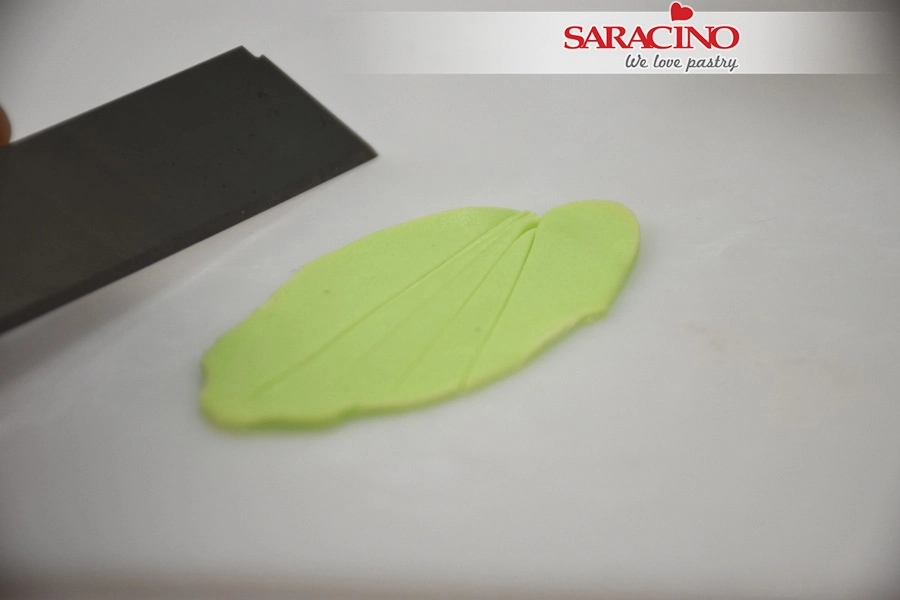
For some small leaves roll and cut some strips of green modelling  paste. Fix them on the head with the flower


Step 78

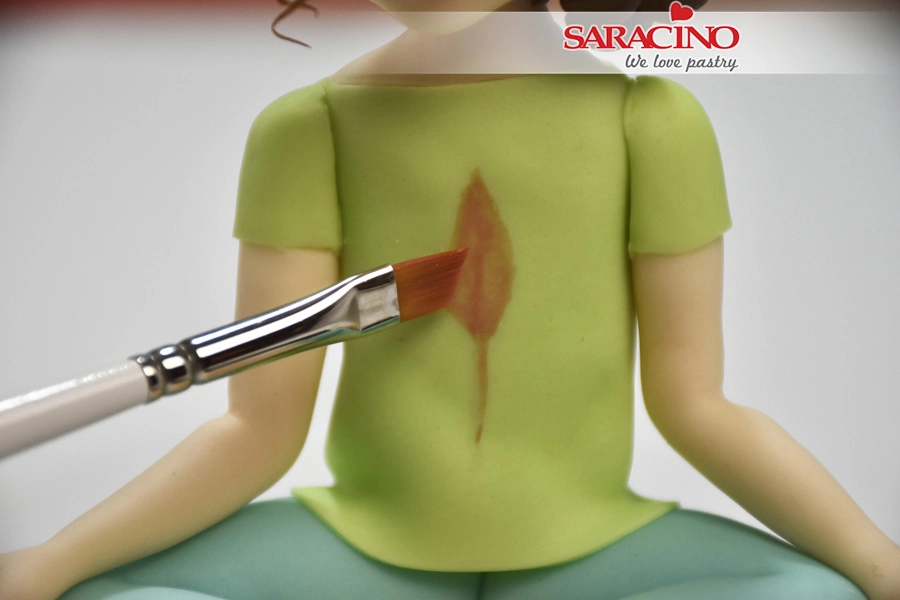
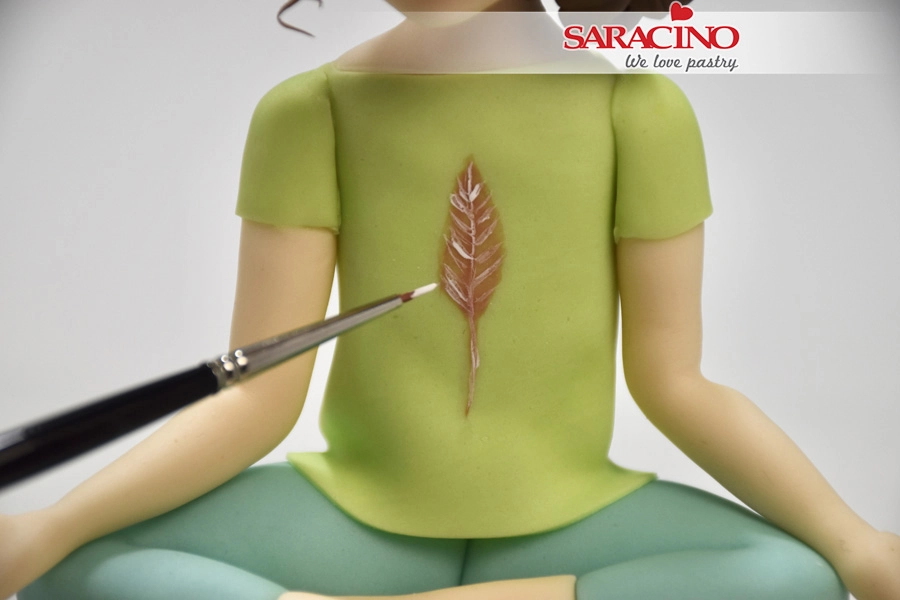
Draw a feather with red color dust mixed with alcohol


Step 79

Draw some extra lines with extra white color


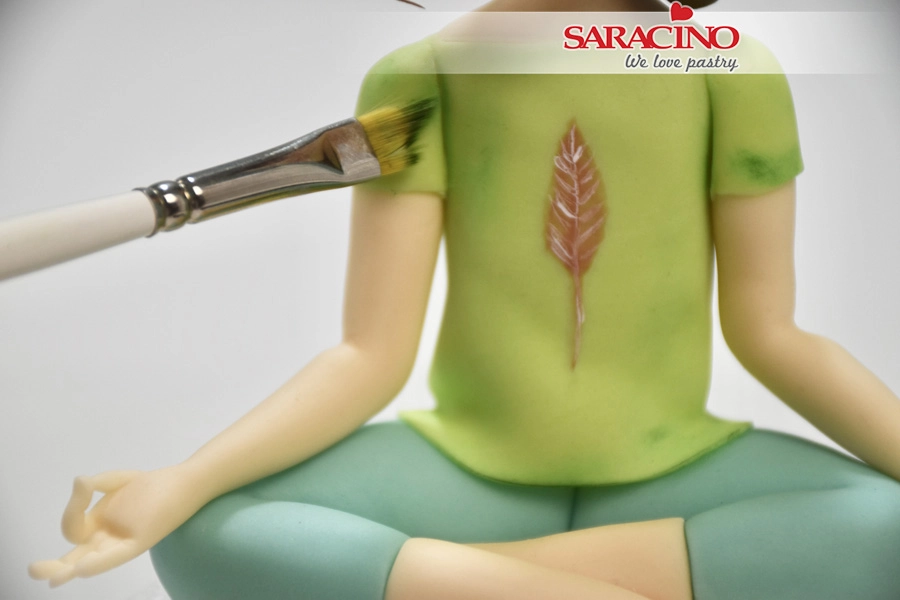
Step 80

Add some shadows with green dust 


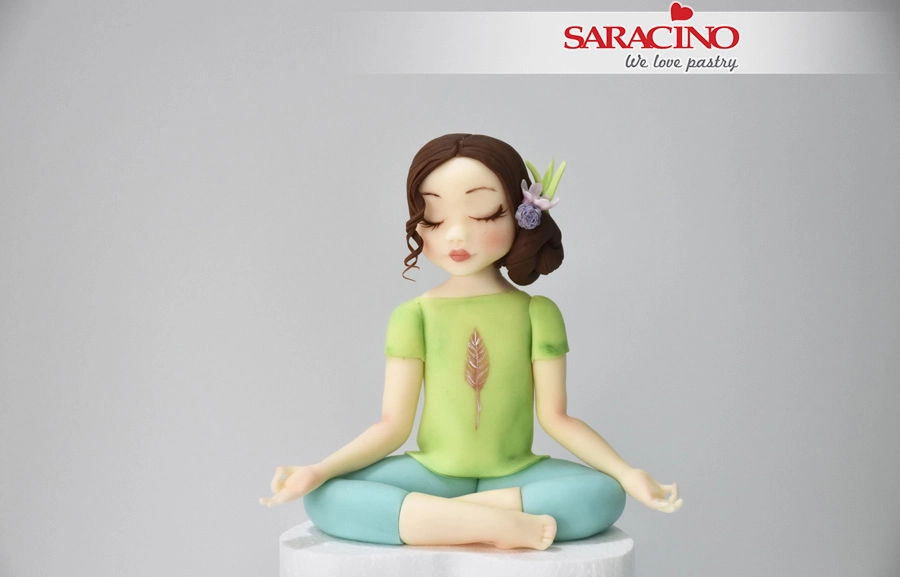
Step 81

Your figurine is ready


LISIANTHUS FLOWER TUTORIAL

LISIANTHUS FLOWER TUTORIAL

Skill level: BEGINNERS

You will need:

  • Flower paste Saracino – Pasta Bouquet
  • Non stick board
  • Small rolling pin
  • Ball tool
  • Foam pad
  • Groove board
  • Corn flour for dusting
  • Green and yellow Saracino gel colours
  • Green and Pink Saracino powder colours
  • Peony petal cutter
  • Leaf cutter and veiner
  • Flower wire gauge 20, 22 and  26
  • Flower tape green
  • Saracino edible glue
  • Wire cutter
  • Paint brushes
  • Kitchen paper

Step 1

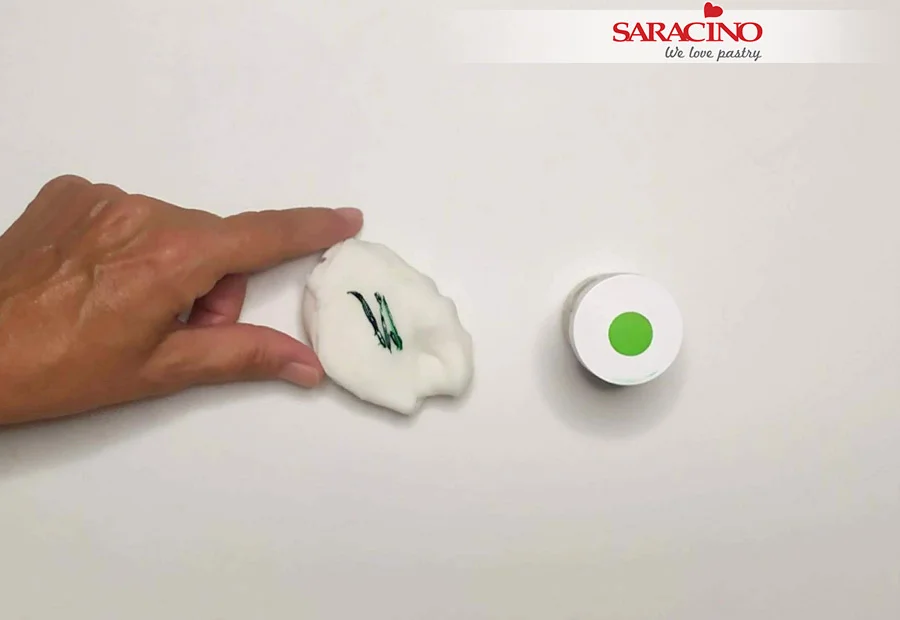
To make the centre of the flower, knead some flower paste with a small amount of Saracino green gel colour

Step 2

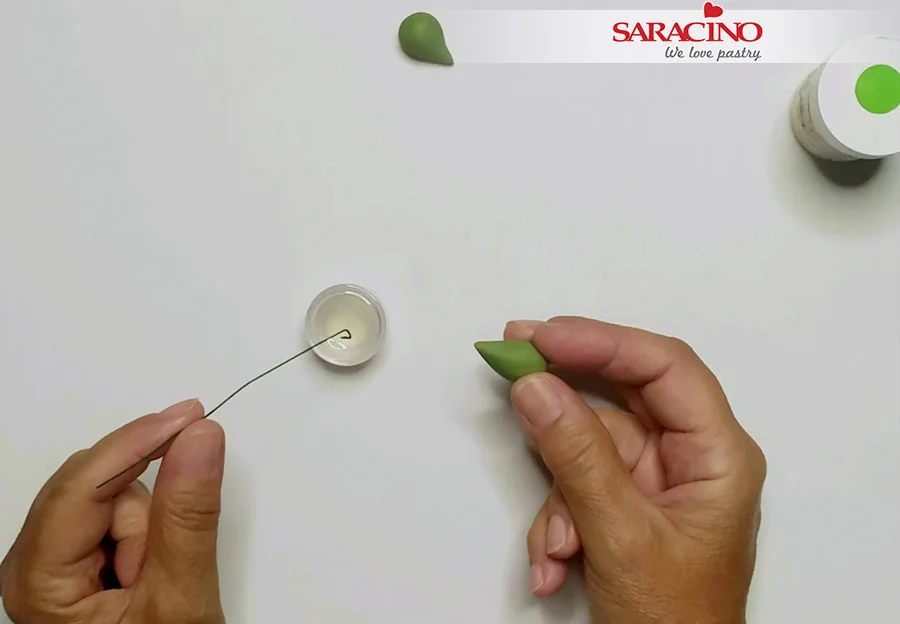
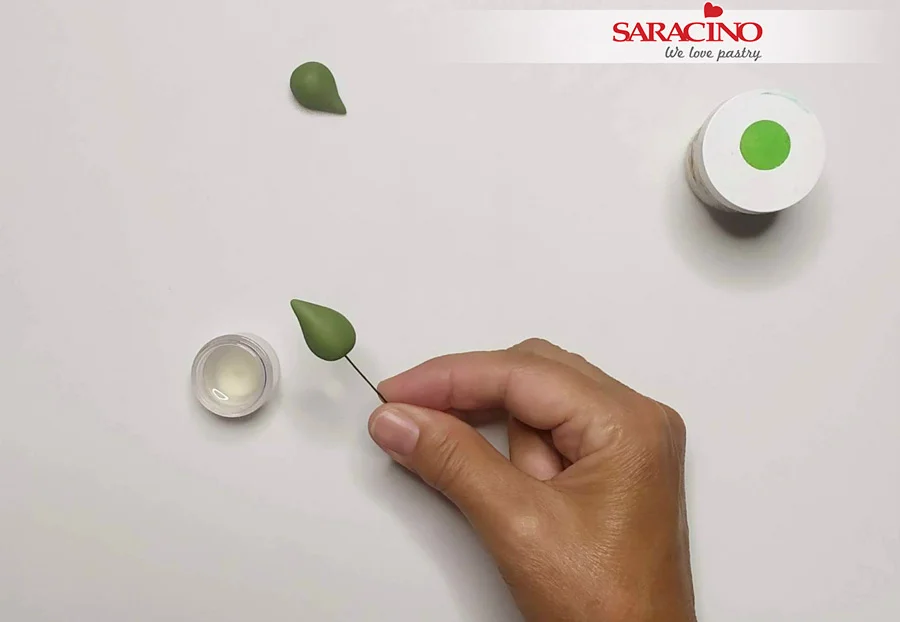
Make a small ball of paste and form it into a cone shape to create the bud. Take a 22 gauge wire and make a hook at the end of the wire

Step 3

Put some glue on the hook and insert into the cone. Pinch the bottom of the cone to secure it to the wire. Let it dry overnight.

Step 4

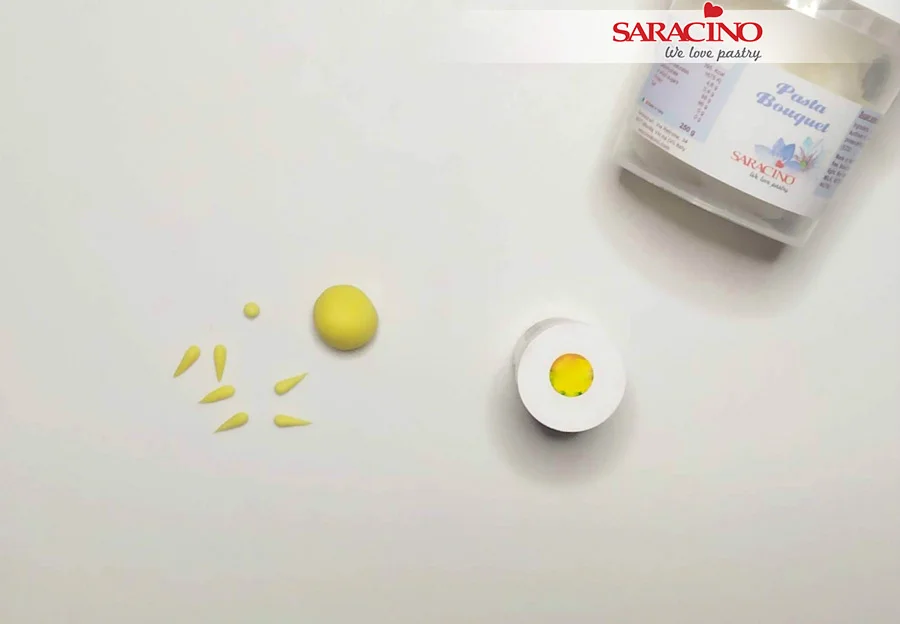
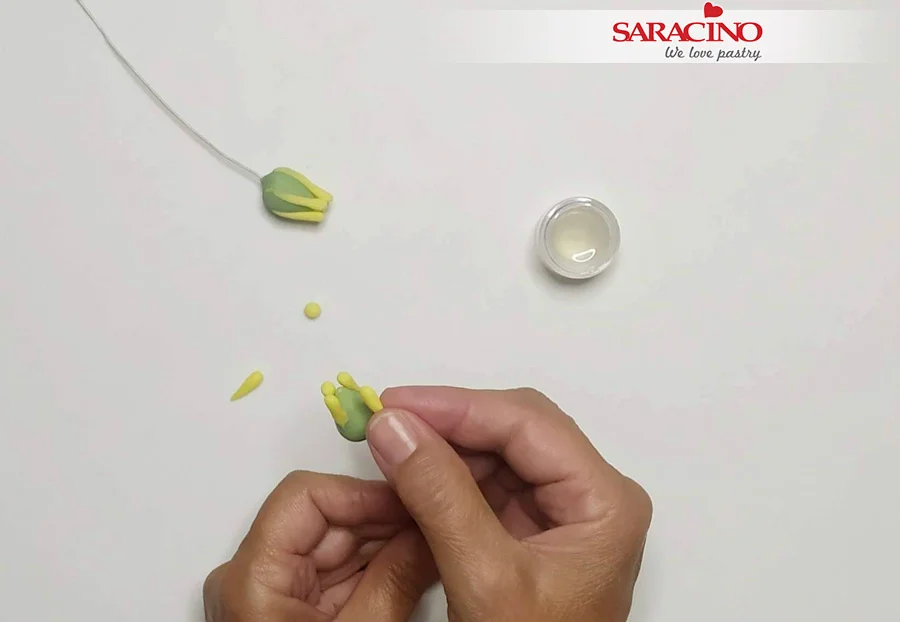
Take some yellow flower paste and make 5 tiny stamens for each flower.

Step 5

Fix the stamens around the green bud using edible glue. Let them dry.

Step 6

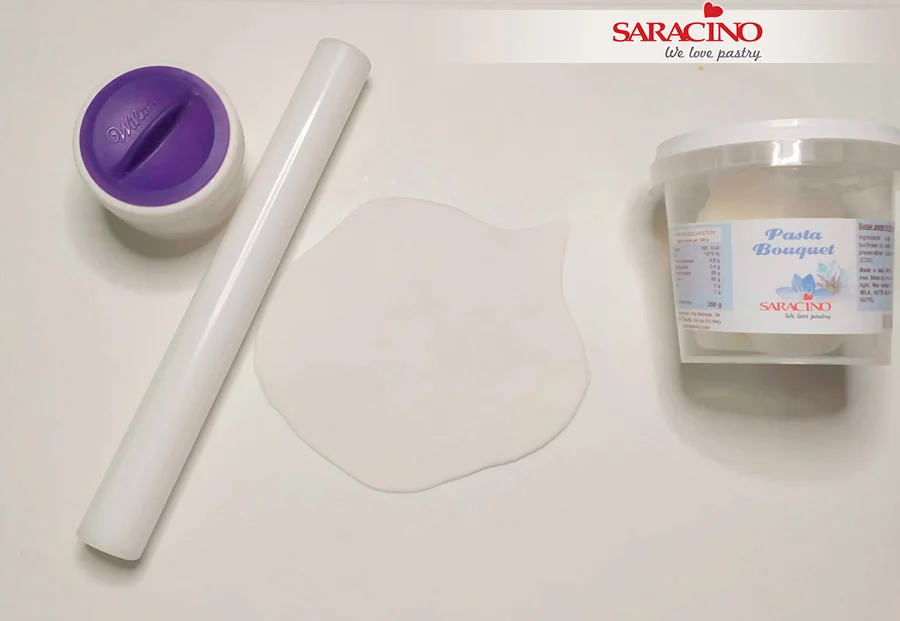
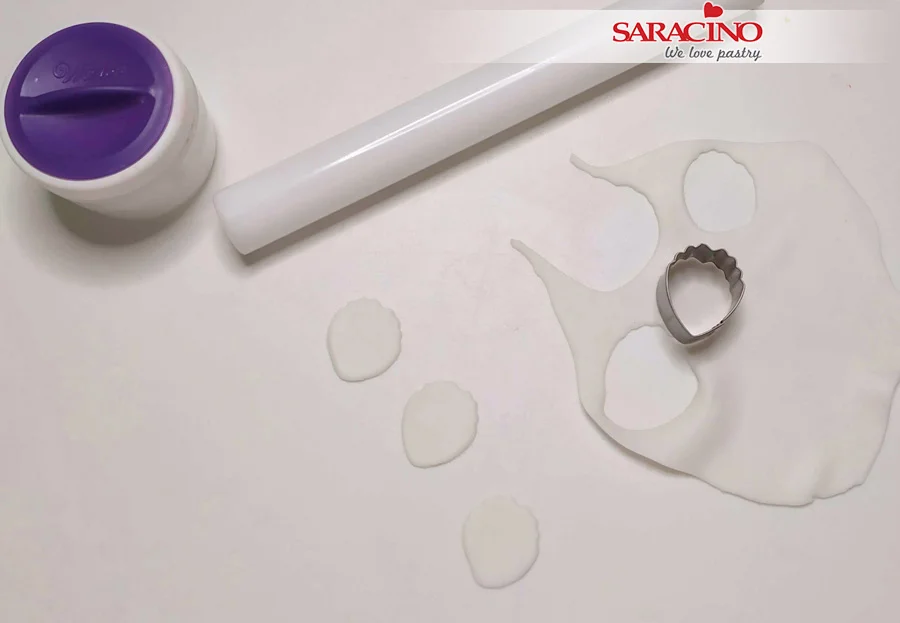
To make the petals. Dust your board with some cornflour and roll out the paste with a small rolling pin.

Step 7

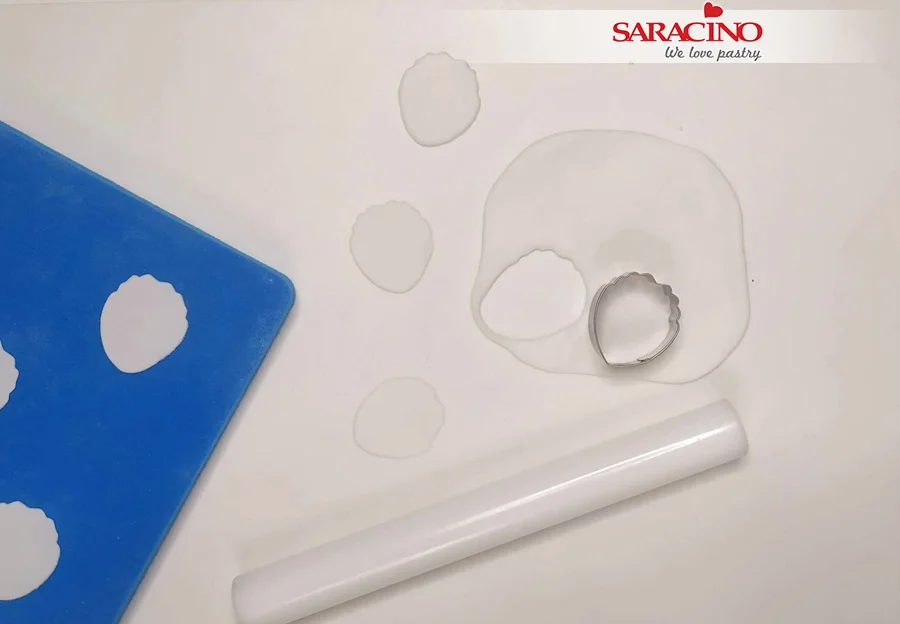
Cut out 5-6 petals for each flower with a medium size  peony cutter.

Step 8

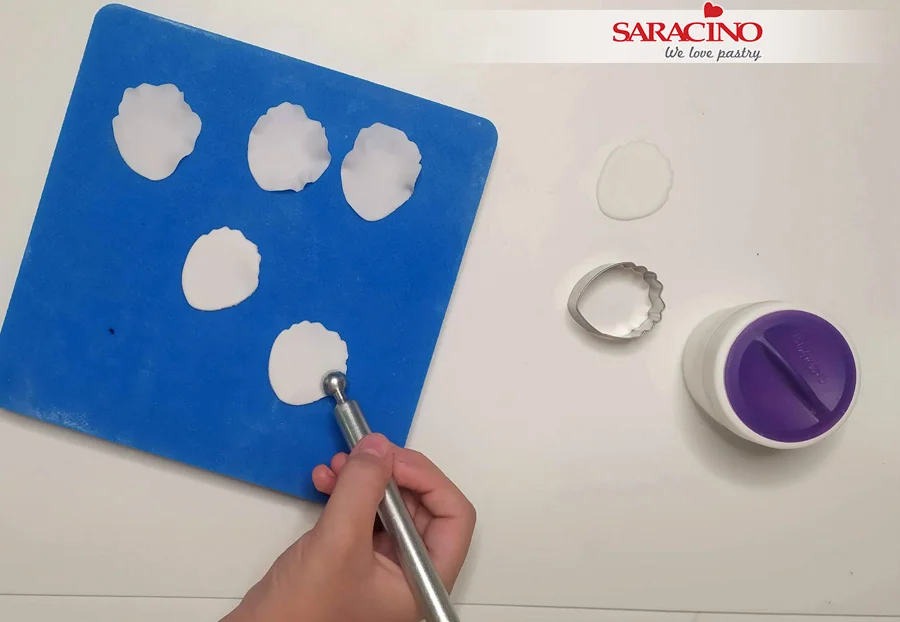
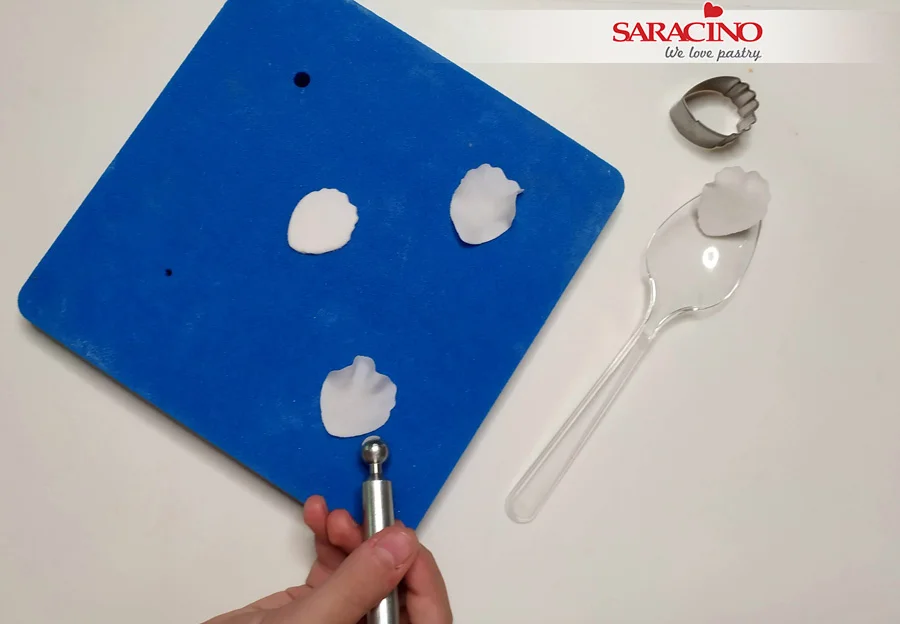
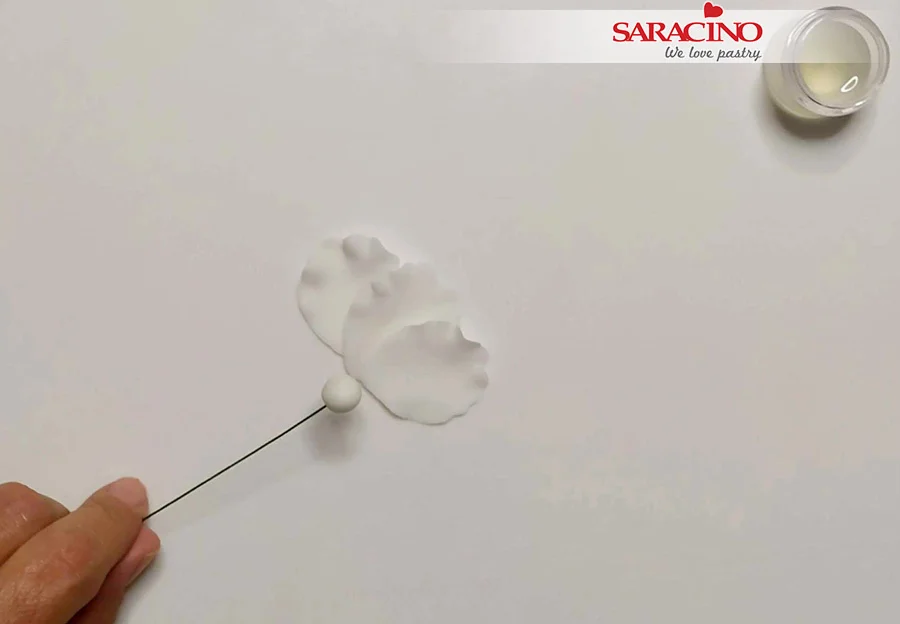
Move the petals onto a foam pad and thin the edges of the petals with a balling tool.

Step 9

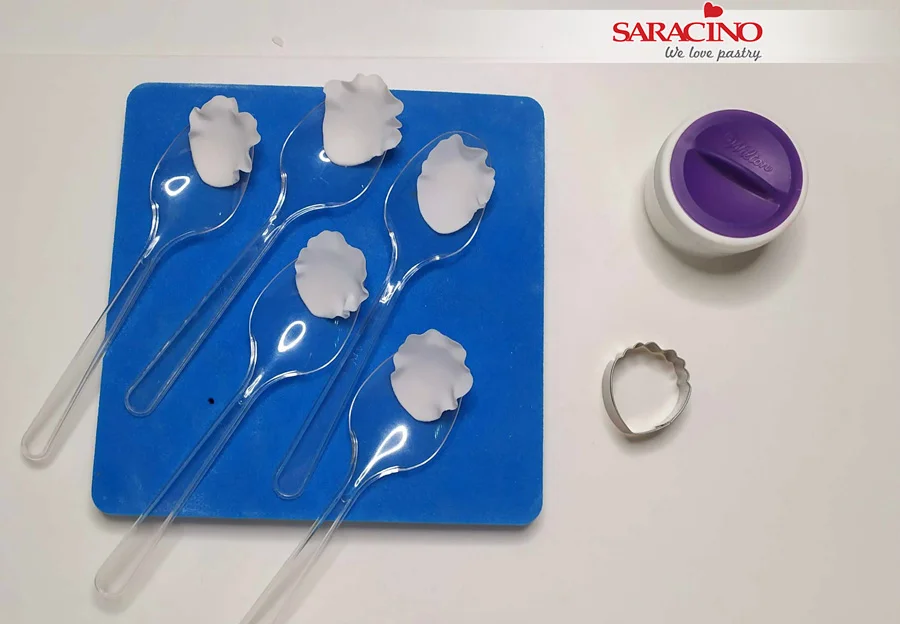
Place the petals into spoons to let them dry and form for 10-15 minutes

Step 10

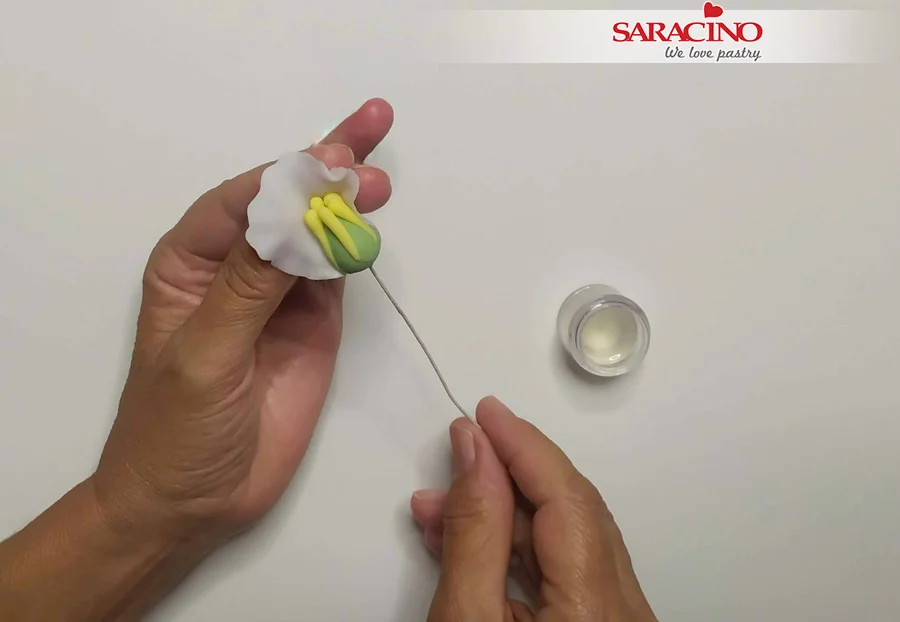
Put some glue at the bottom of the petal and add the first petal on the bud

Step 11

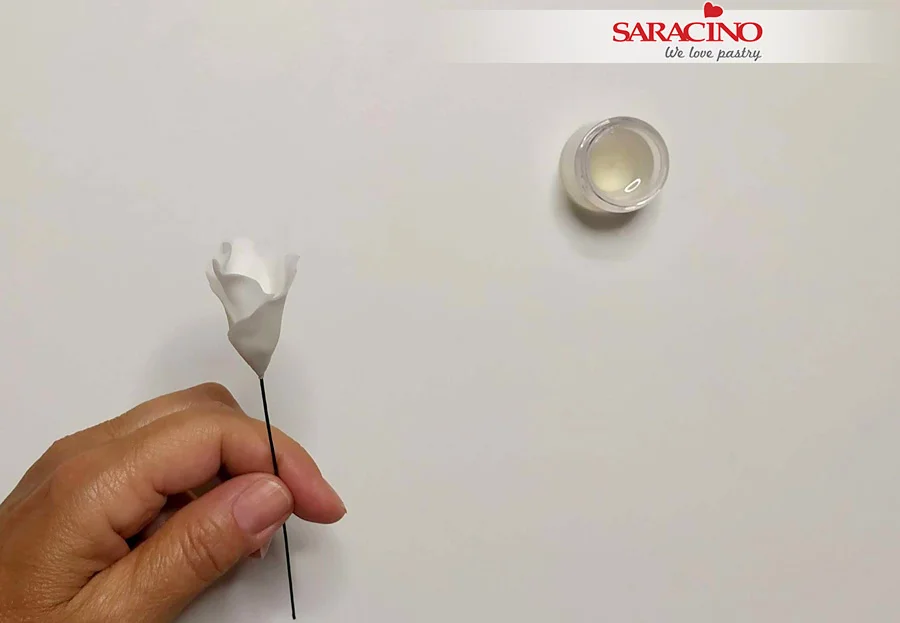
Attach the second petal just behind the first. Continue the same way with the rest of the petals.

Step 12

To close the flower insert the last petal into the first.

Step 13

To make the small flower. Use your small peony cutter to cut out 3 petals for each flower.

Step 14

Move the petals onto the foam pad. Thin the edges and let them dry on the spoons for a while.

Step 15

To make the center. Make a small ball with white flower paste. Insert a 22 gauge wire and let it dry

Step 16

Add the 3 petals around the bud as before and close.
Step 17

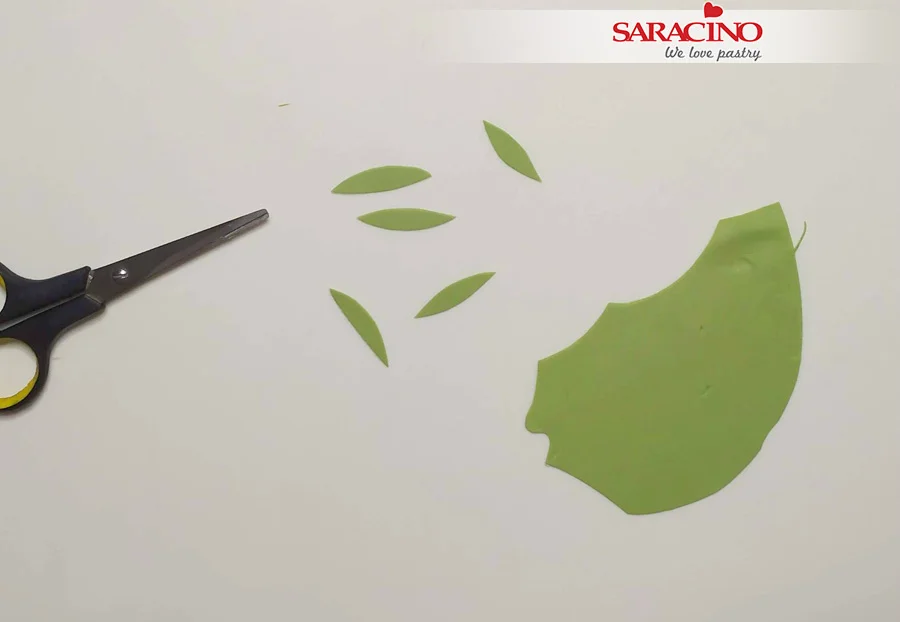
To make the calyx. Roll out green flower paste and cut out small leaves with scissors

Step 18

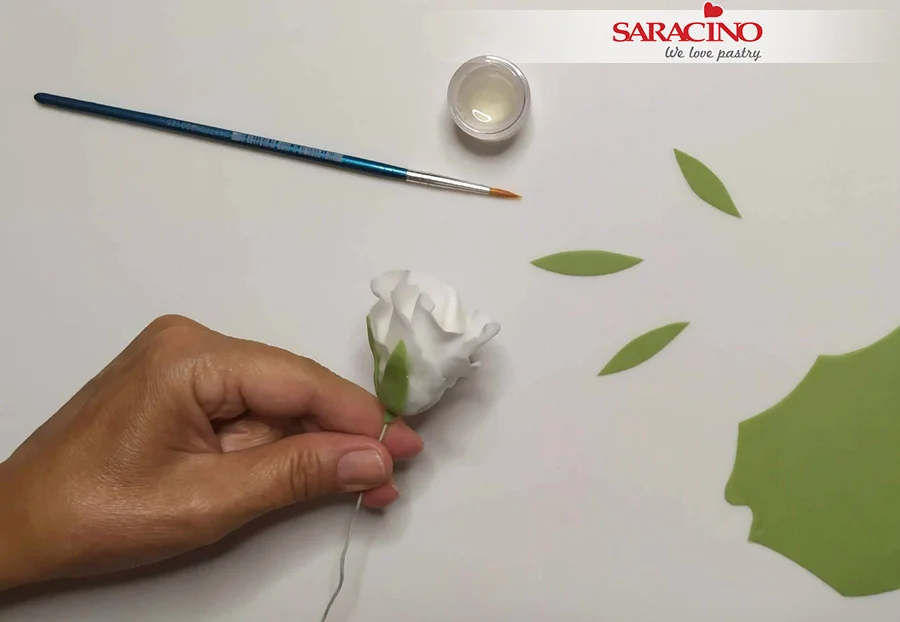
Put some glue and add 4-5 leaves onto the base of the flower.

Step 19

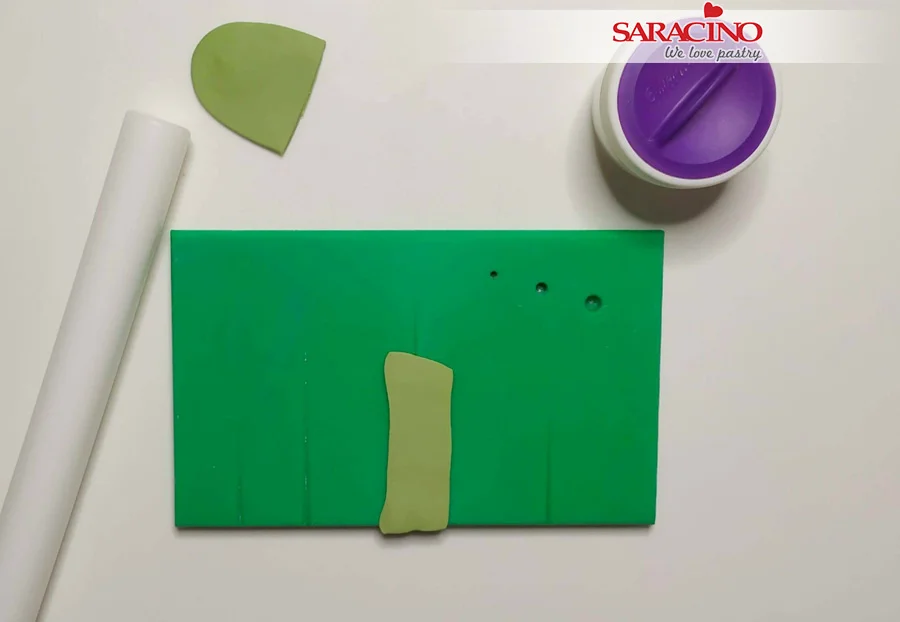
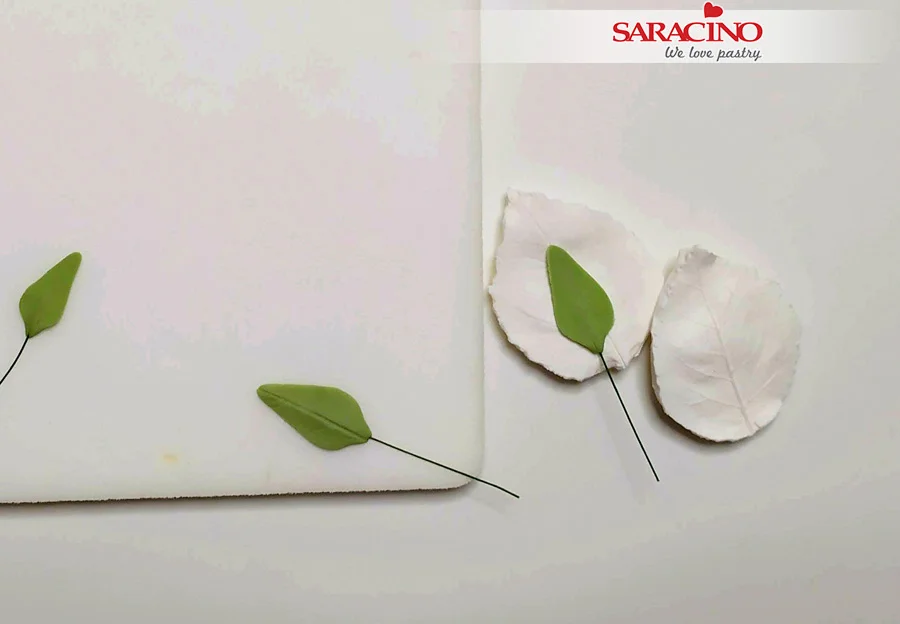
To make the leaves. Roll out a small amount of green flower paste over the groove board.


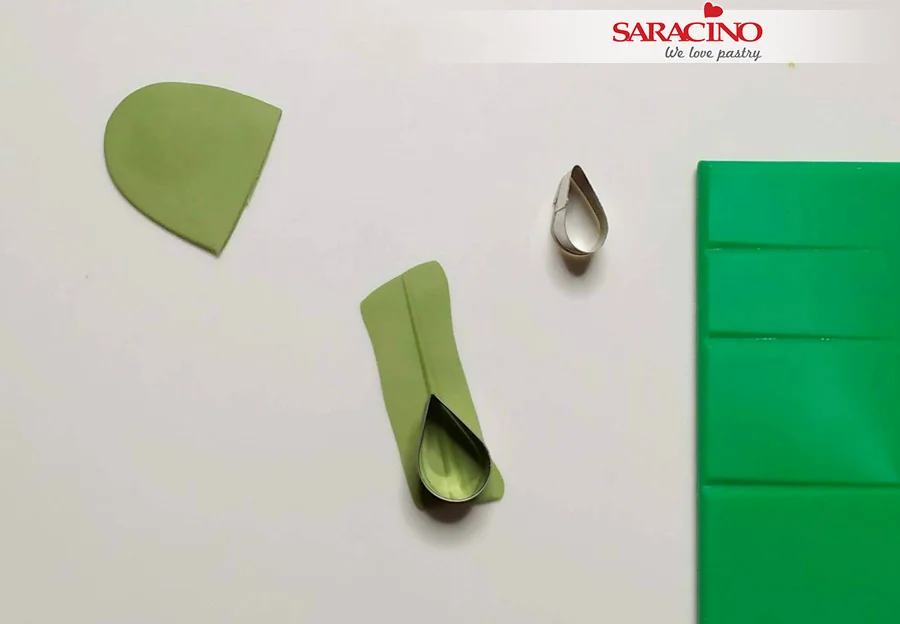
Step 20

Cut out leaves using a leaf cutter in two different sizes.

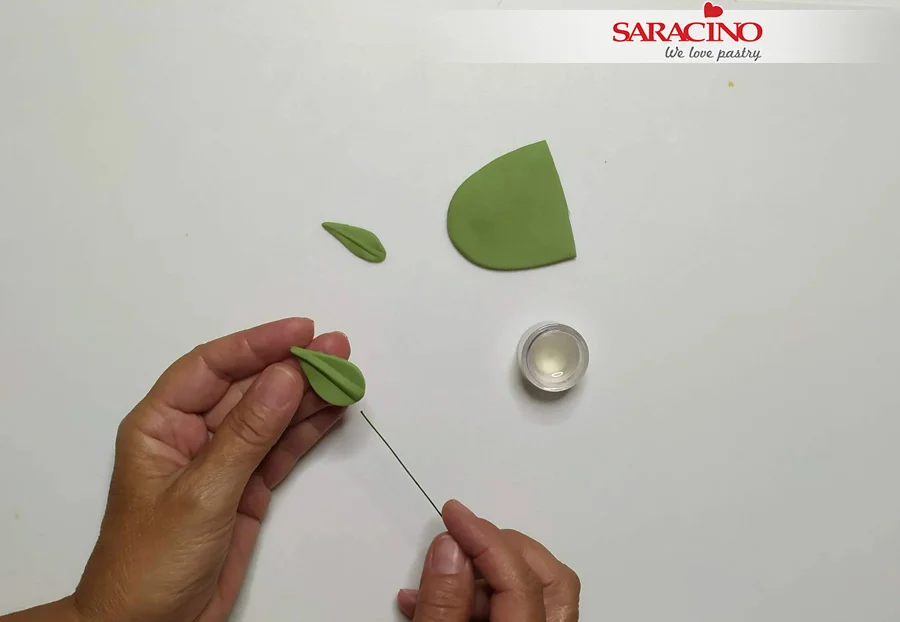
Step 21

Add some glue at the end of a 26 gauge wire and insert into the ridge of the leaf


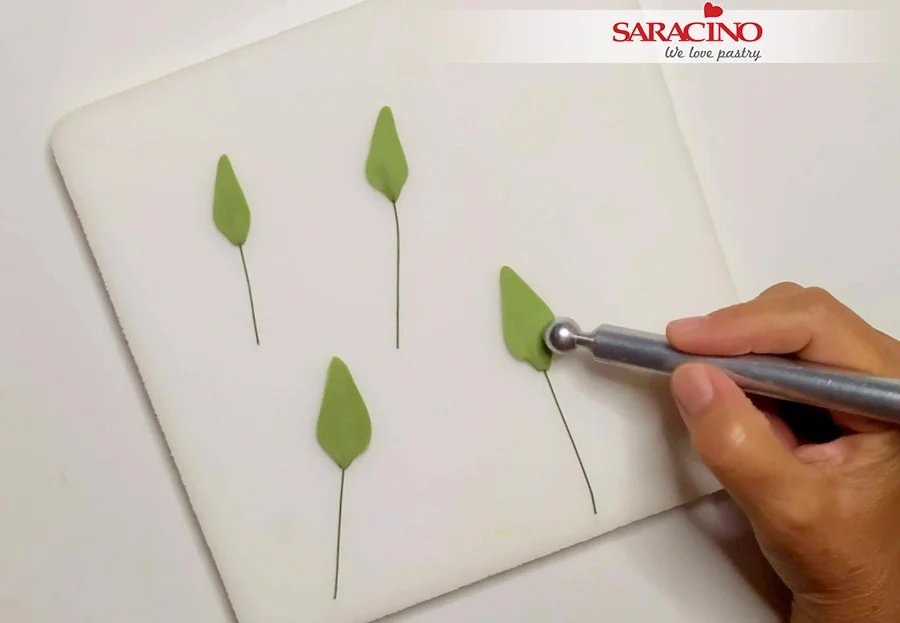
Step 22

Move the leaves onto a foam pad and thin the edges with the ball tool.

Step 23

Move onto the veiner and press firmly to shape the pattern. Let them dry on a foam.


Step 24

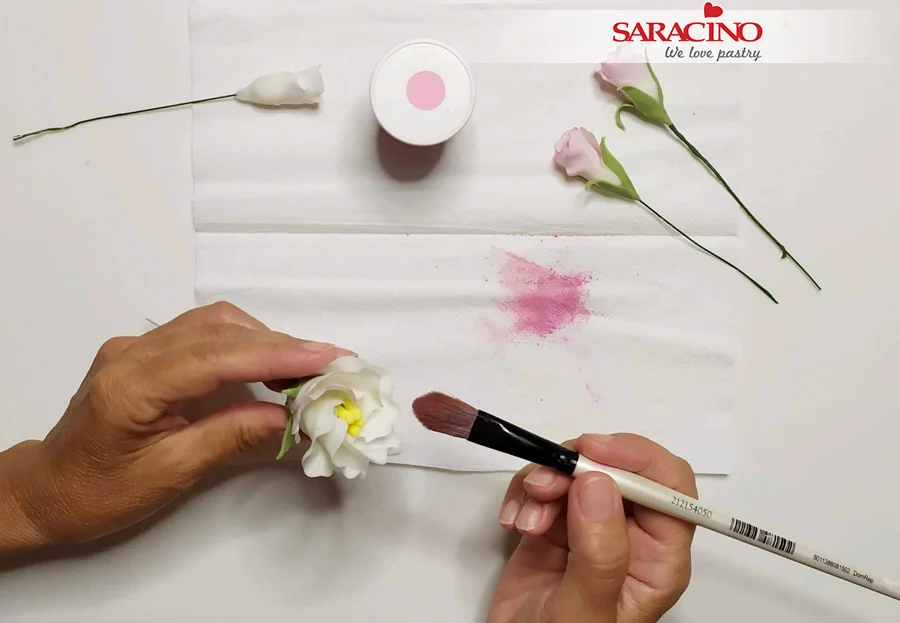
To dust the flowers use pink Saracino powder colour. Dust the edges of the petals using a soft brush.

Step 25

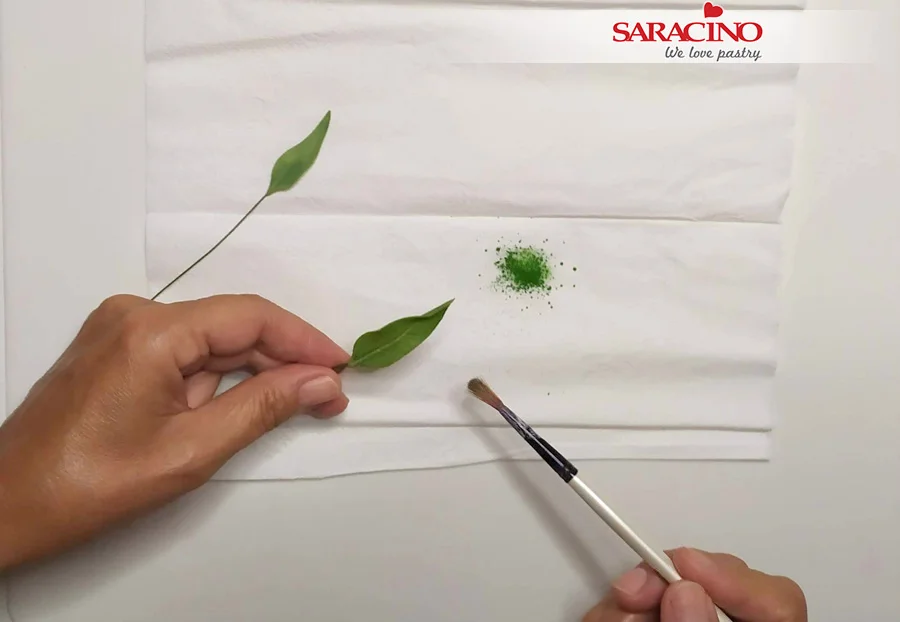
To colour the leaves dust with Saracino green powder colour. You can also use confectioner glaze to shine the leaves.


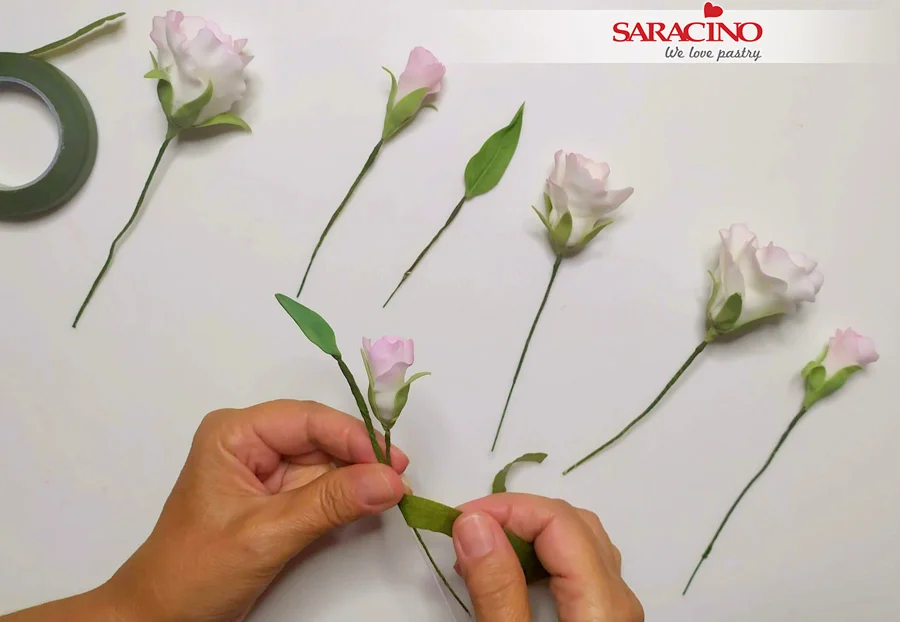
Step 26

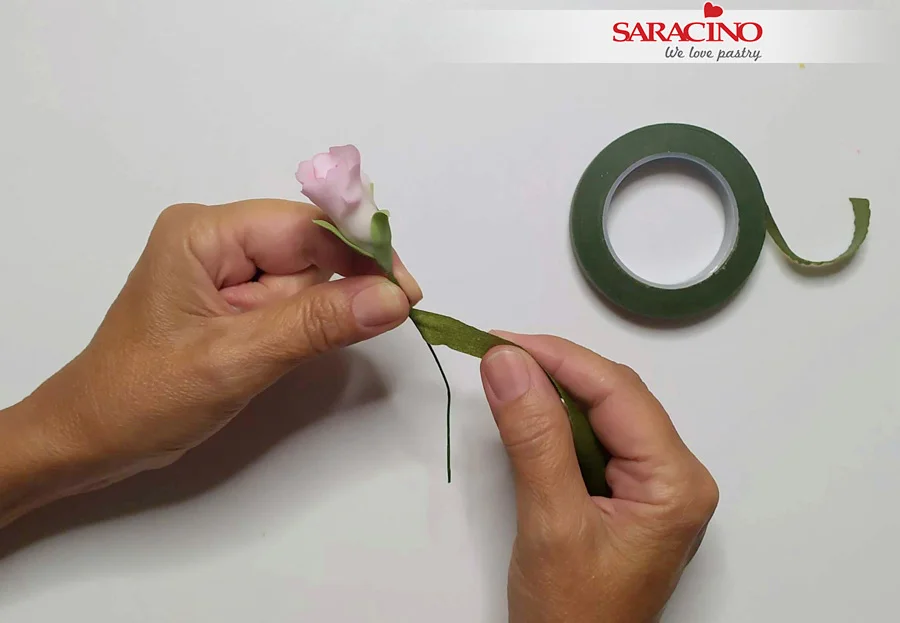
Tape the leaves and the flowers using green florist tape

Step 27

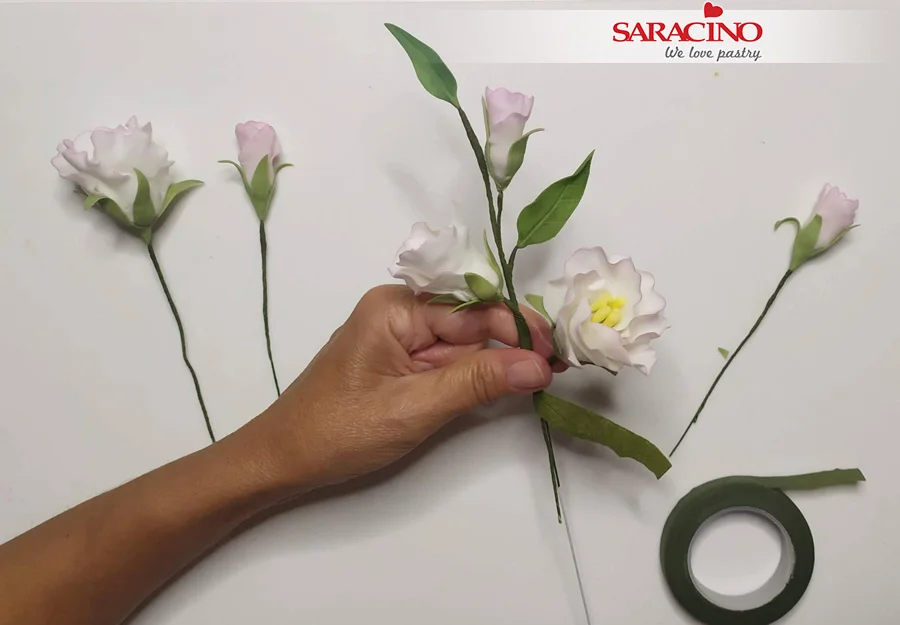
Using a 20 gauge wire and green florist tape start arranging the branch


Step 28

Start with a small leaf and a small flower

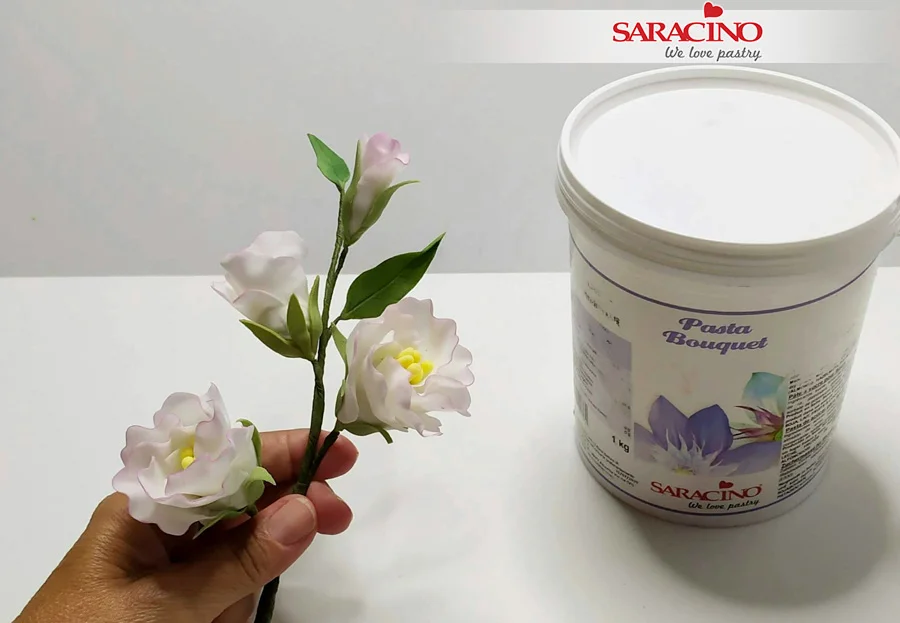
Step 29

Continue adding flowers and leaves along the branch


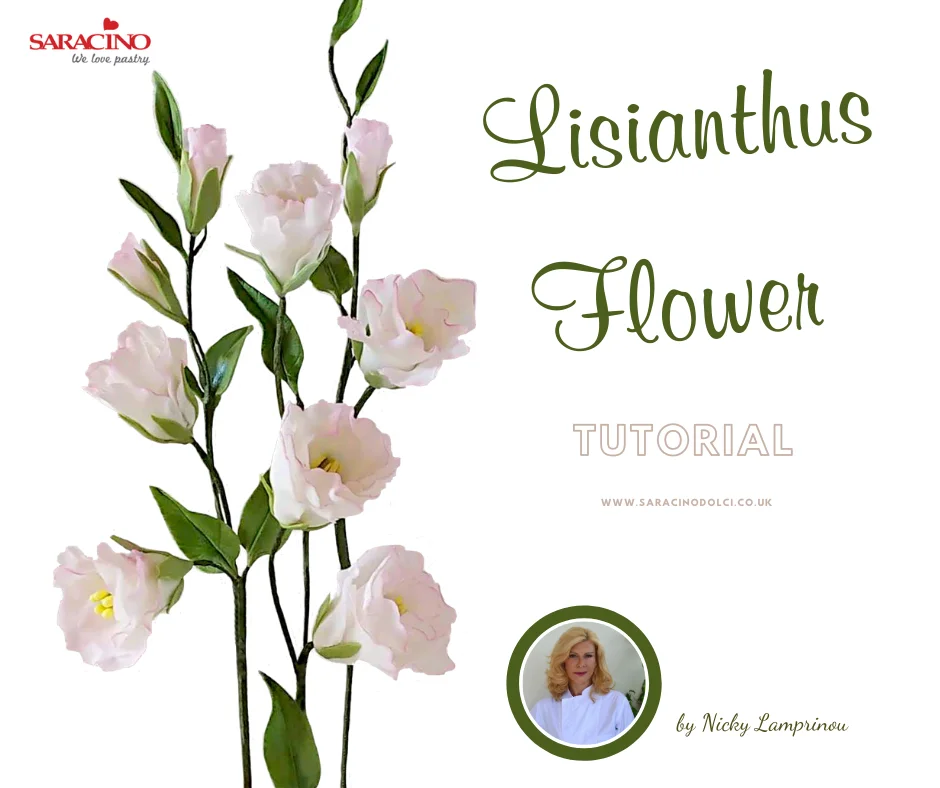
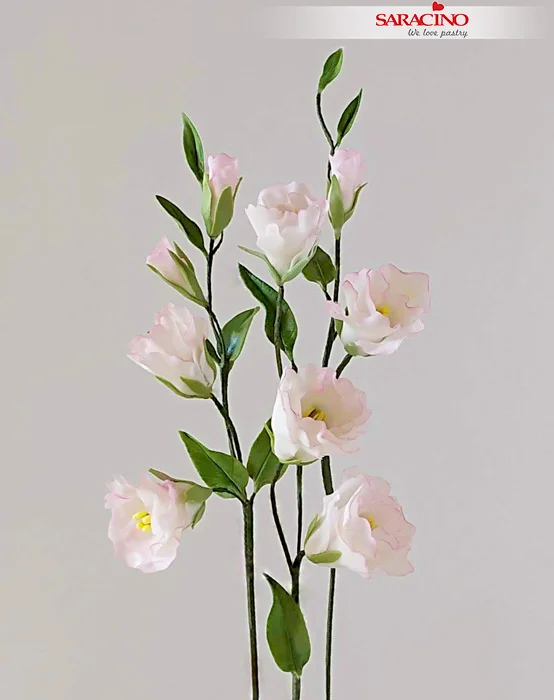
Step 30

This is the bouquet I created. Feel free to be creative with your composition.

CHOCOLATE BAS RELIEF TULIPS

CHOCOLATE BAS RELIEF TULIPS

Skill level: BEGINNERS

You will need:

Step 1

Modelling chocolate is firm to use so you need to heat it up first to make it possible for rolling. In warm weather your hands should be enough, but if required it can be put in the microwave for a few seconds to soften.

Step 2

Roll the chocolate to about 2mm thickness and cut out two sizes of petals

Step 3

Squeeze the petal into the mould. Pattern well with the veiner section of the mould.

Step 4

Make two sizes of petals for variety. Make as many as you want for your cake.
Step 5

Roll an egg shape for the center of the tulips.
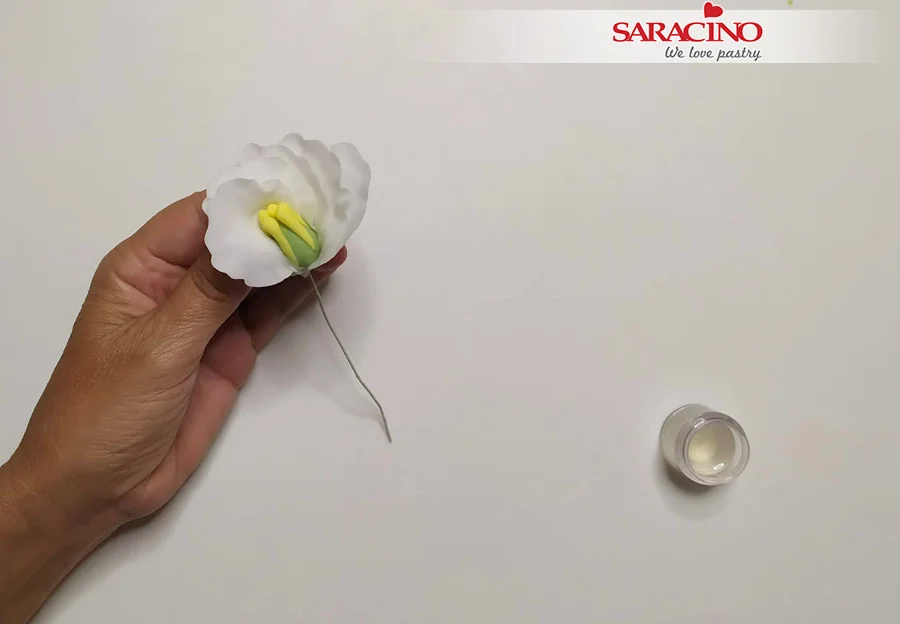
Step 6

Match the petals you have made with the centre oval shape.
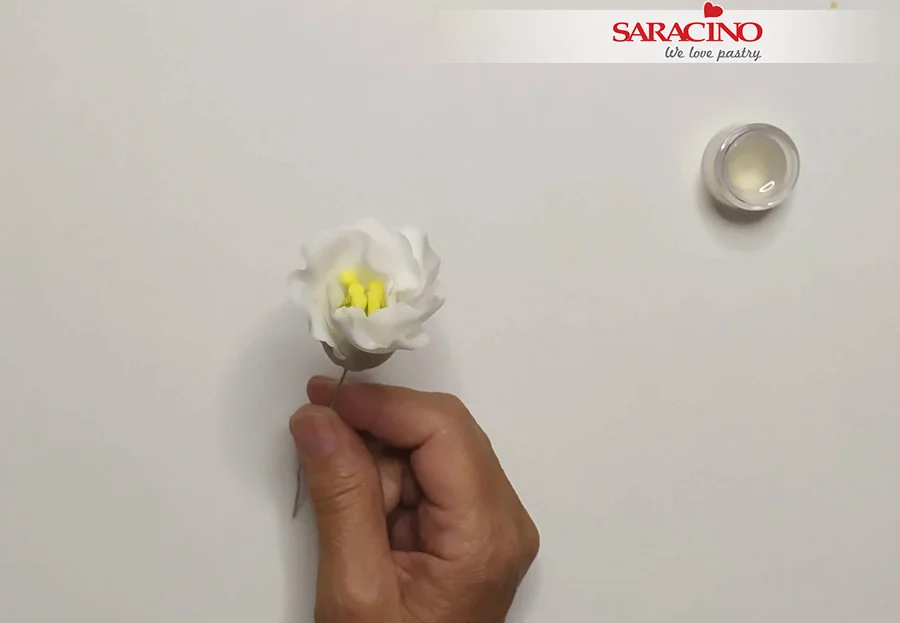
Step 7

Use two sizes of petals for variety around your tulip.
Step 8

To fix your petals you can use a little watered down Saracino CMC.

Step 9

Glue the flowers on at different heights

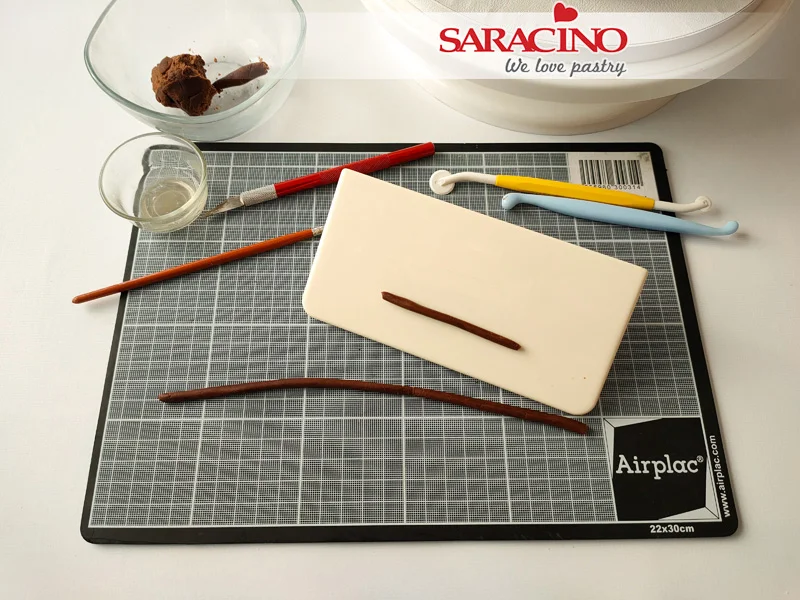
Step 10

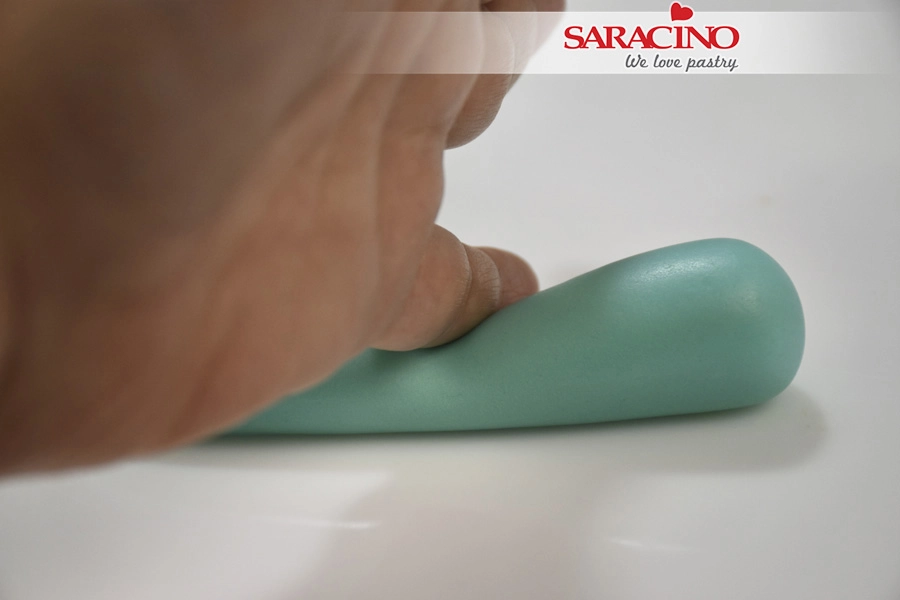
Roll the stalks using a side smoother on your non stick mat.

Step 11

Glue stalks to the sides of the cake below each flower and cut off the excess chocolate

Step 12

Roll more of your chocolate and cut out leaves of different sizes.

Step 13

Apply the watered down CMC glue

Step 14

Stick one or two leaves to each stalk.

Step 15

Bend the leaves to achieve more natural look

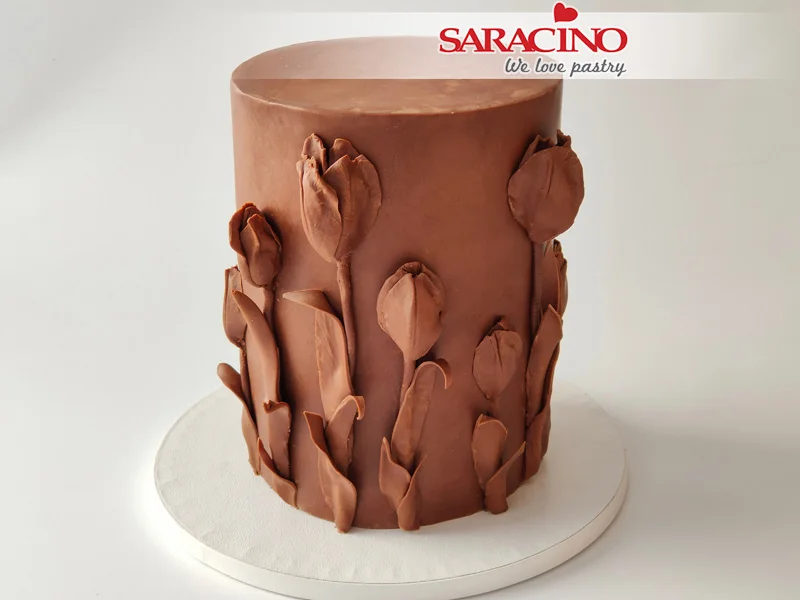
Step 16

Tulips glued on at different heights to achieve the look you would like.

Step 17

Finally, mix Powder Pearl Light Gold with the clear alcohol. Now paint the edges of the leaves and petals as required.

Step 18

Your cake is ready