SPRING BEAUTY CAKE TUTORIAL

SPRING BEAUTY CAKE TUTORIAL
Author: MARIA LECHEL

Skill level: BEGINNERS

You will need:

  • Saracino Wafer Paper 0.27
  • Yellow Saracino Pasta Model
  • Saracino powder colours: blue, white, pink, yellow and purple
  • Two tier cake finished off using buttercream to a colour of your choice  (leave some buttercream aside)
  • Flower veiner
  • Flower tape
  • Scissors
  • Pliers
  • Flower wire gauge 30 and 20
  • Paper puncher
  • Brushes
  • Clear alcohol
  • Modelling tool Cerart 502

Step 1

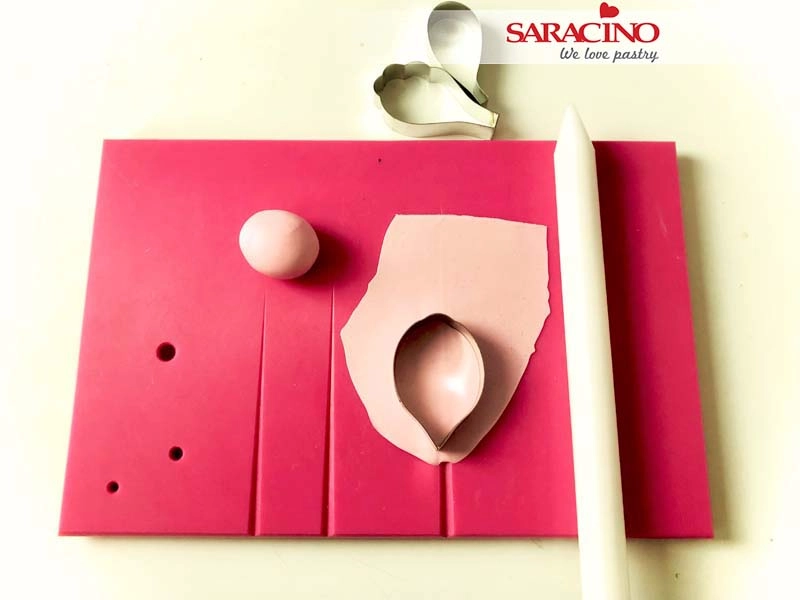
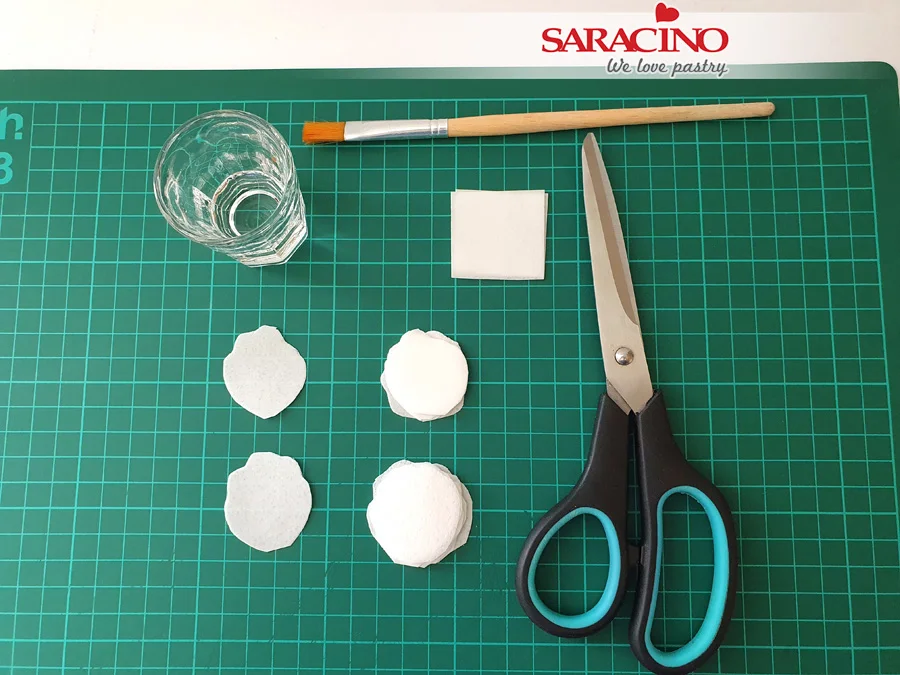
Cut the wafer paper into wide strips starting from the narrow edge.


Step 2

Fold the cut pieces in half.

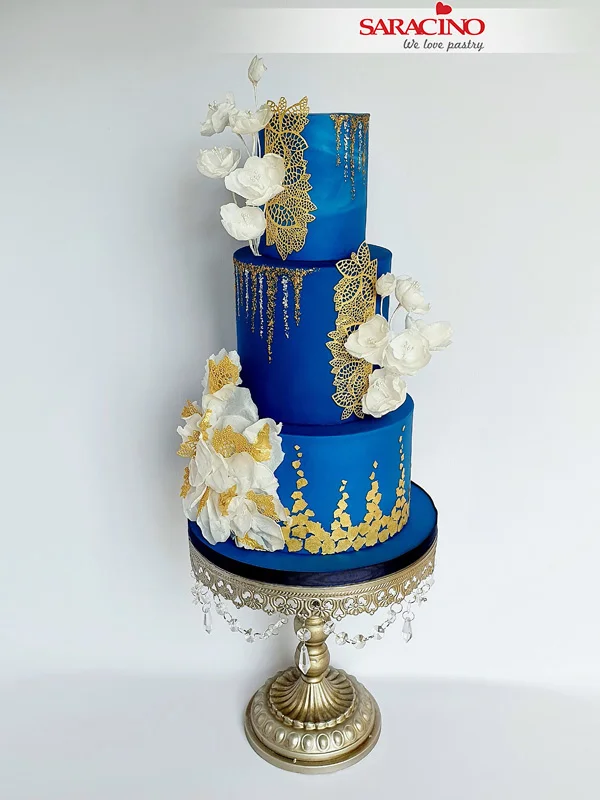
Step 3

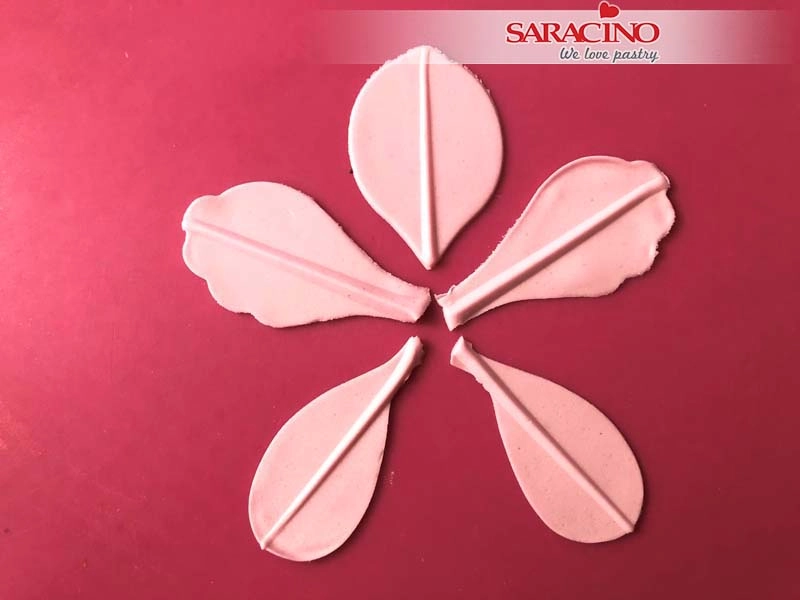
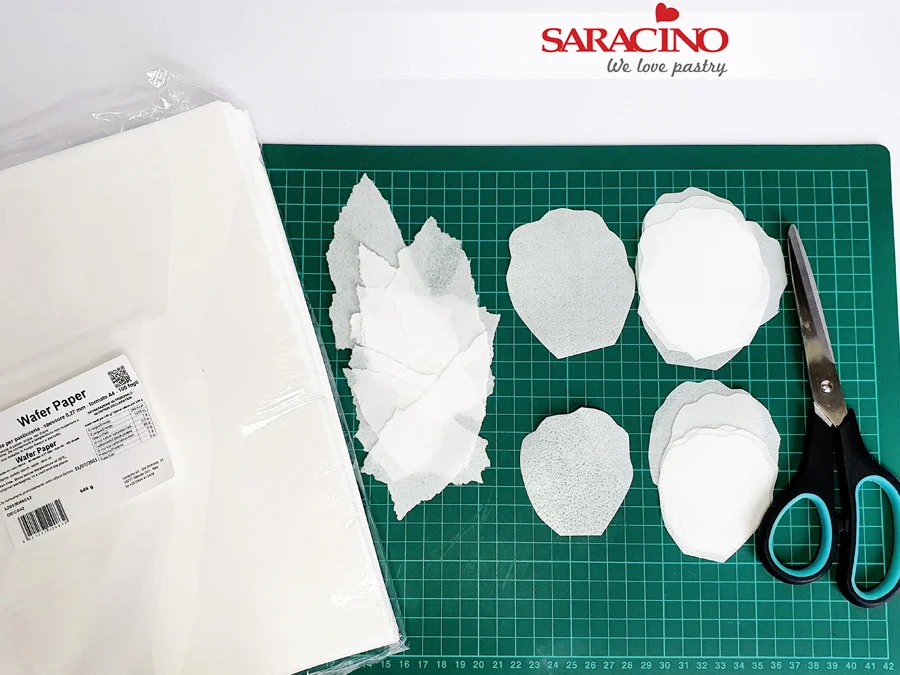
Cut out petals.

Step 4

Repeat for the whole strip.

Step 5

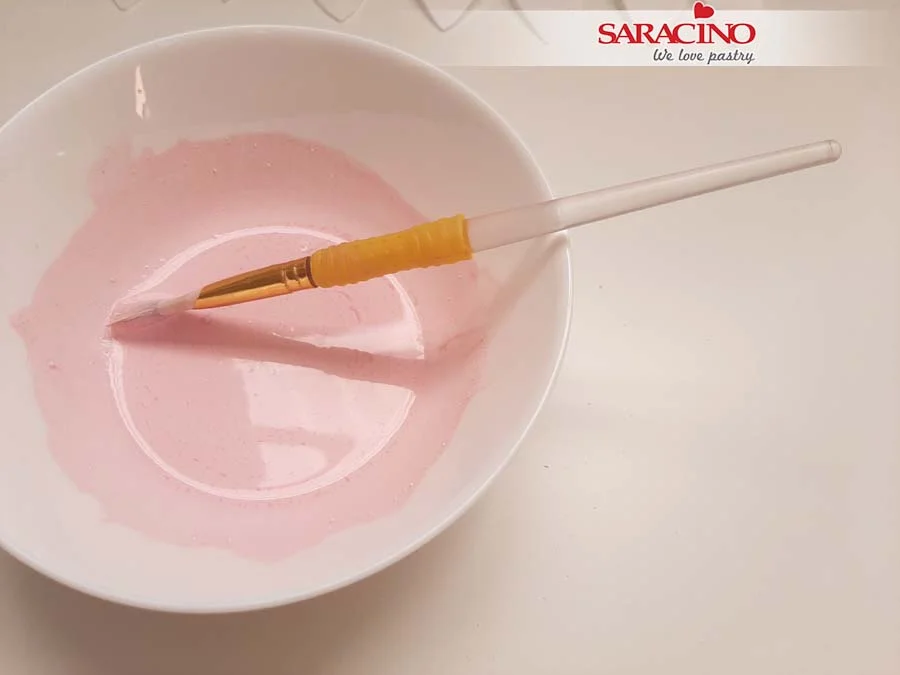
Prepare white and pink Saracino powder colour and a bowl or painting pallet.
Step 6

Add a little of the powder colours to the bowl. Add clear alcohol and mix till blended. Keep this colour as we will use it later.

Step 6

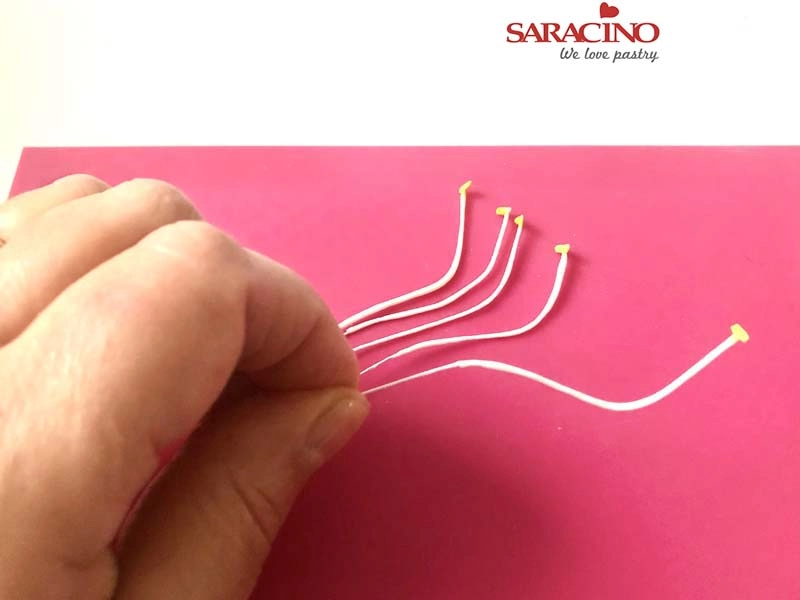
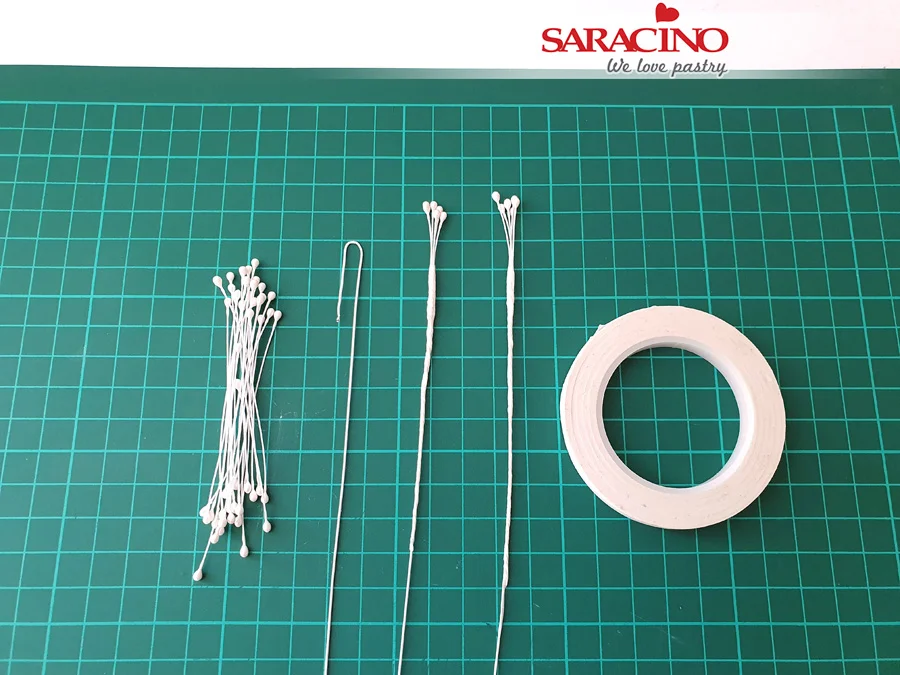
Take your 30 gauge wire and cut into small pieces. 

Step 7

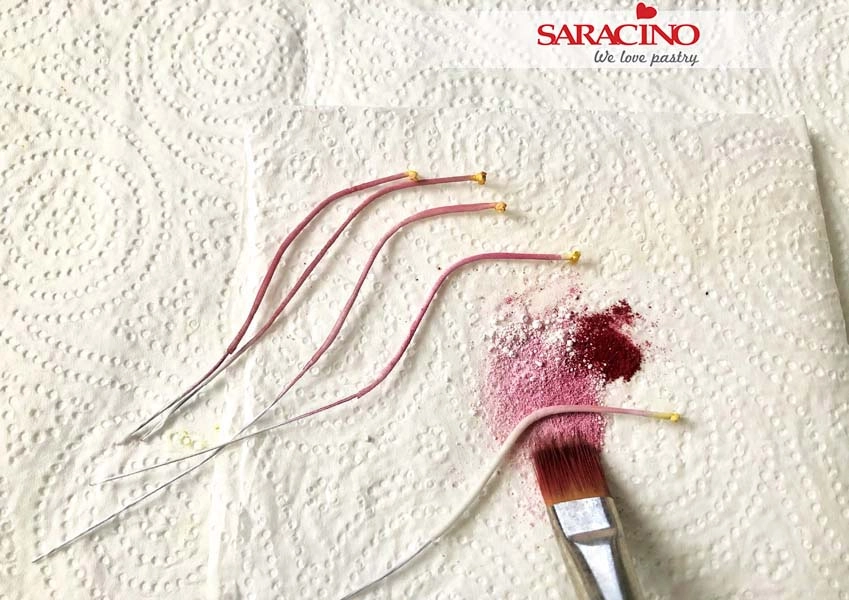
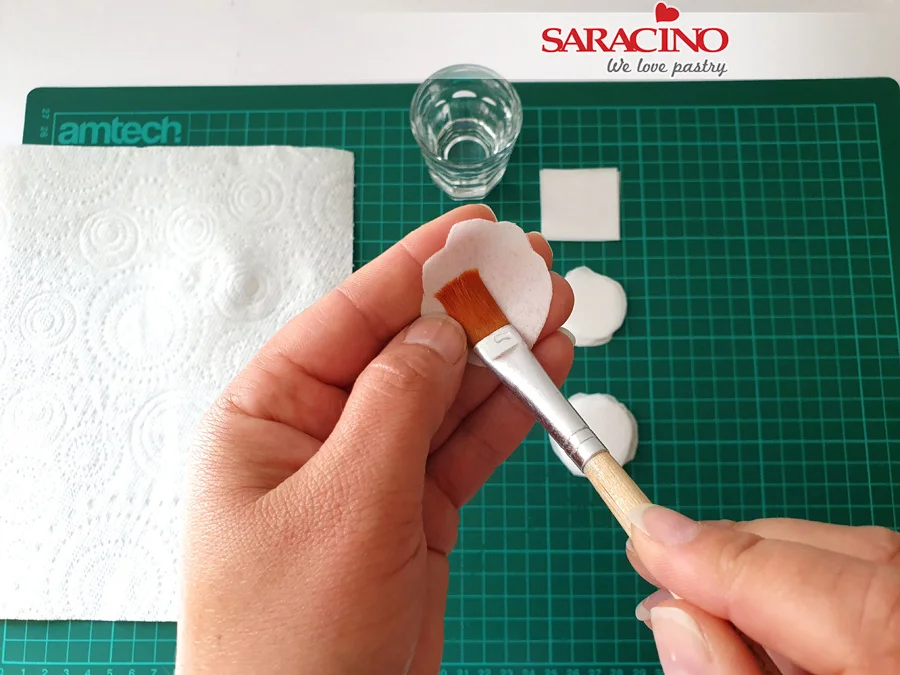
Using the colours and brush paint the petal from one side. 

Step 8

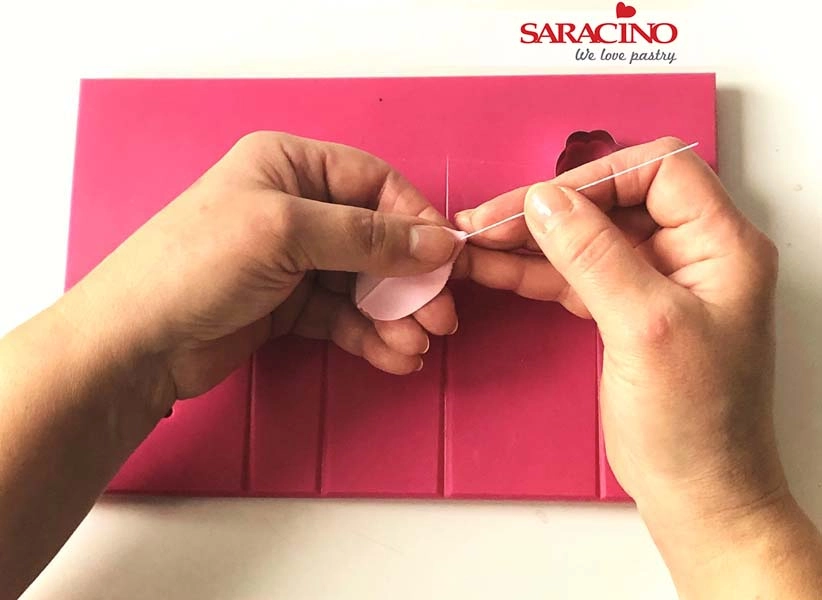
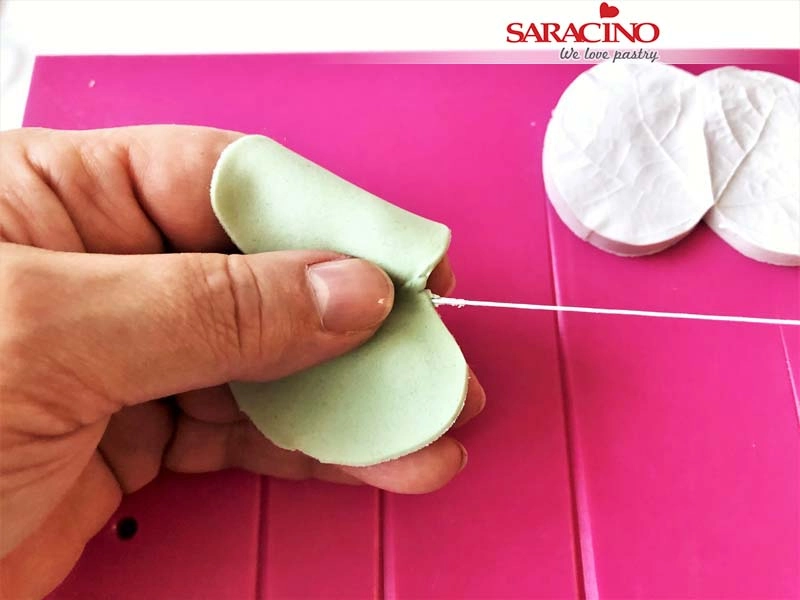
Place your wire on the painted petal whilst it is still wet.

Step 9

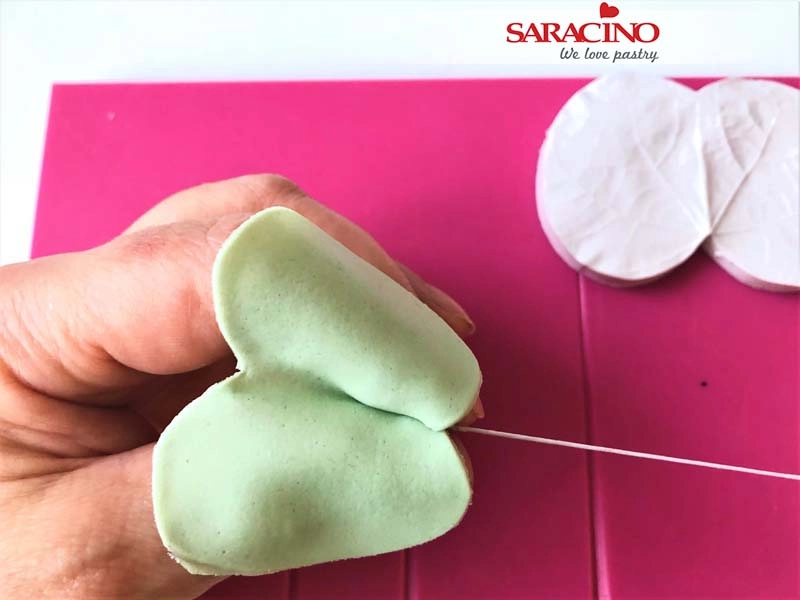
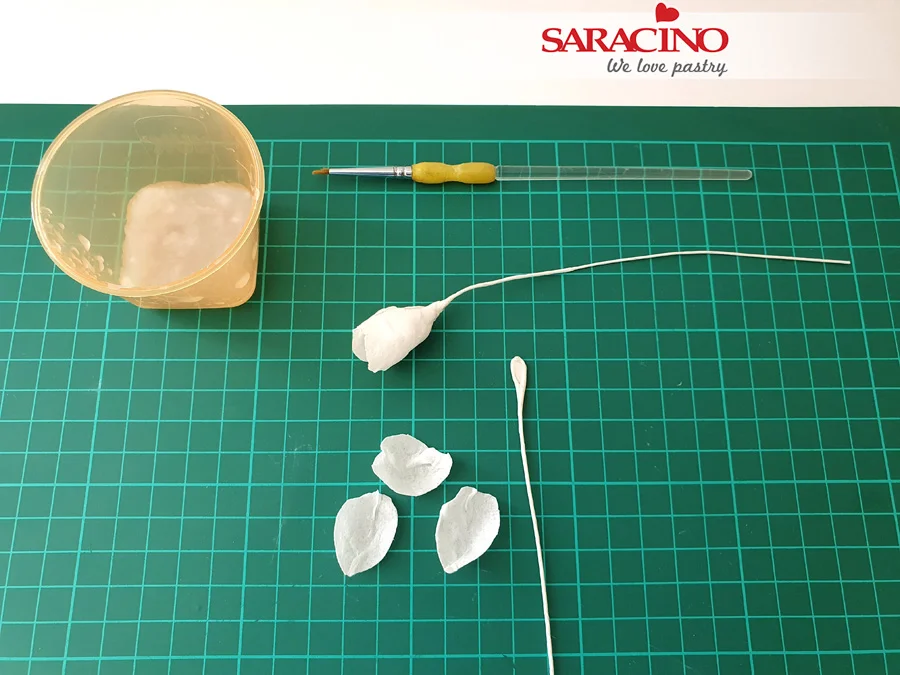
And cover with another petal so they stick together.  

Step 10

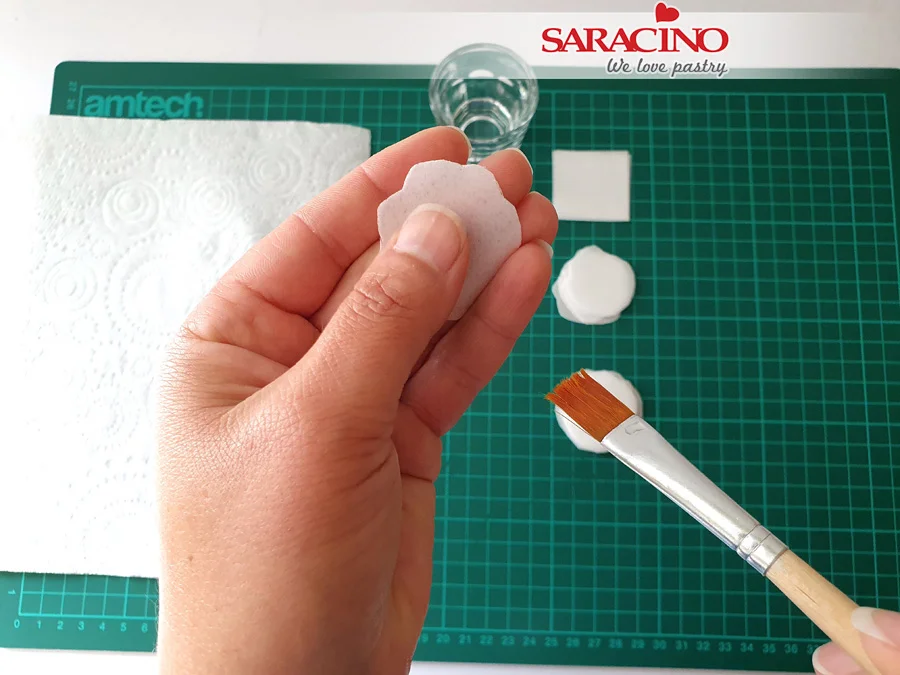
Now you can paint it on both sides.

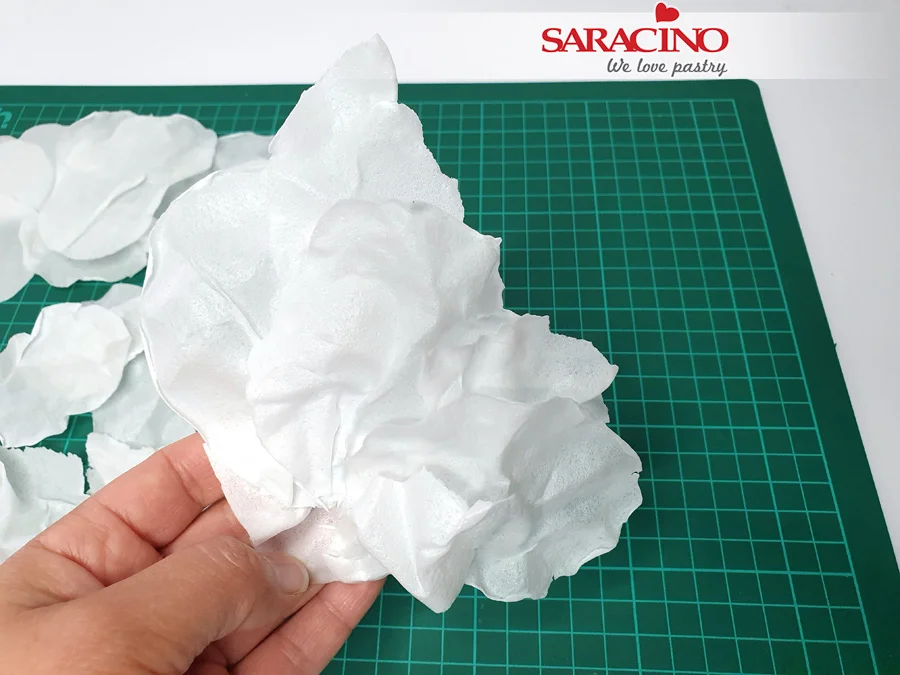
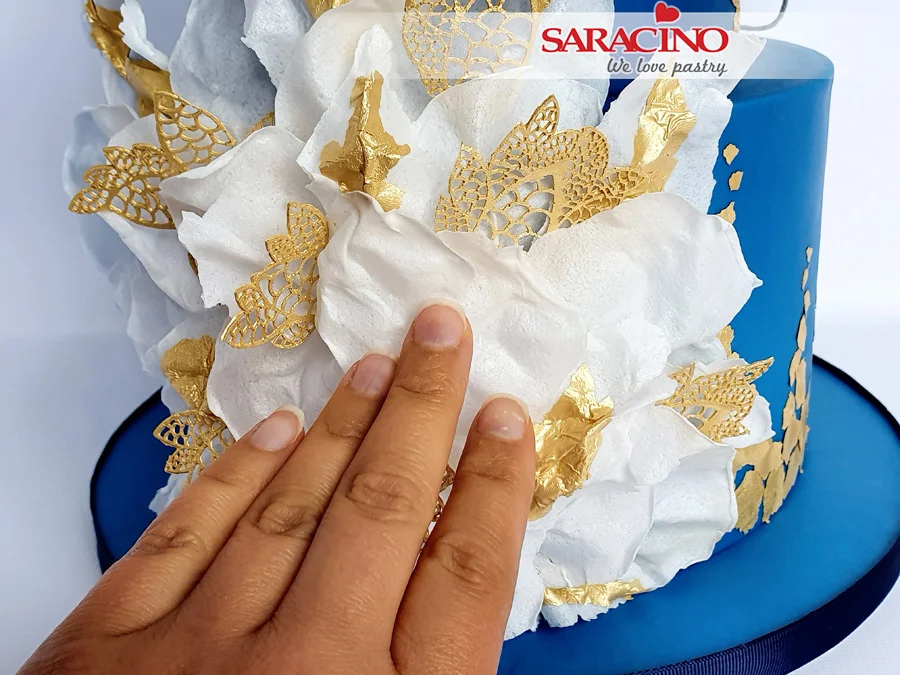
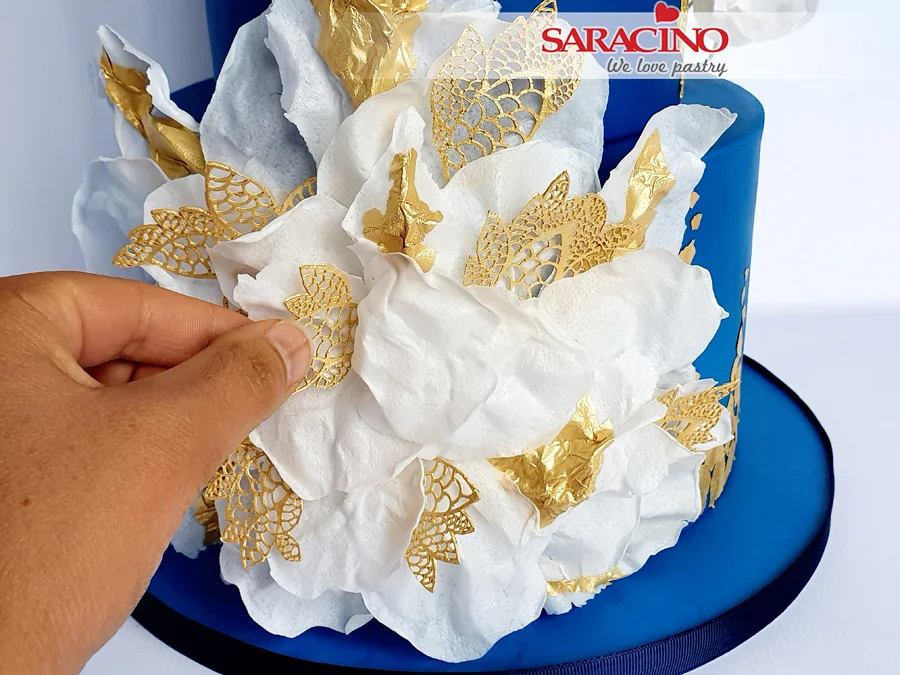
Step 11

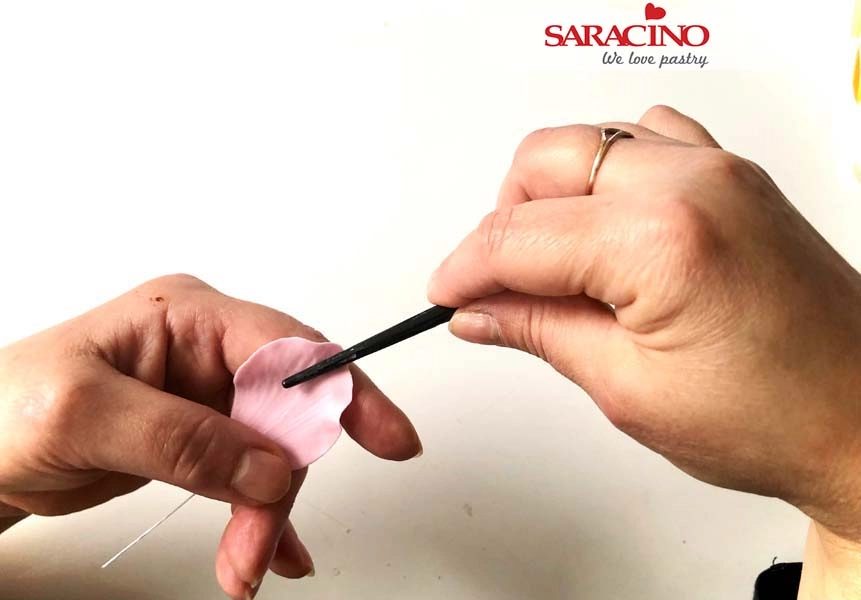
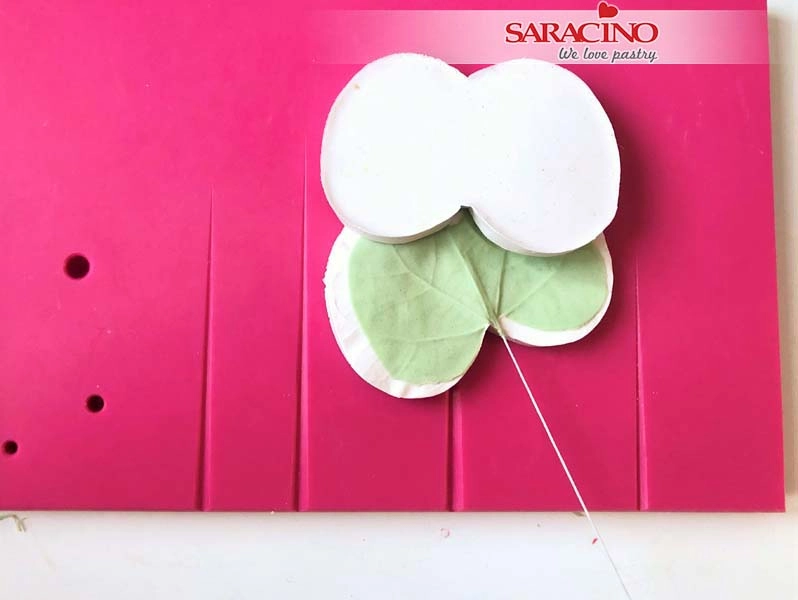
Place your petal on a veiner and press gently to achieve a veined effect.

Step 12

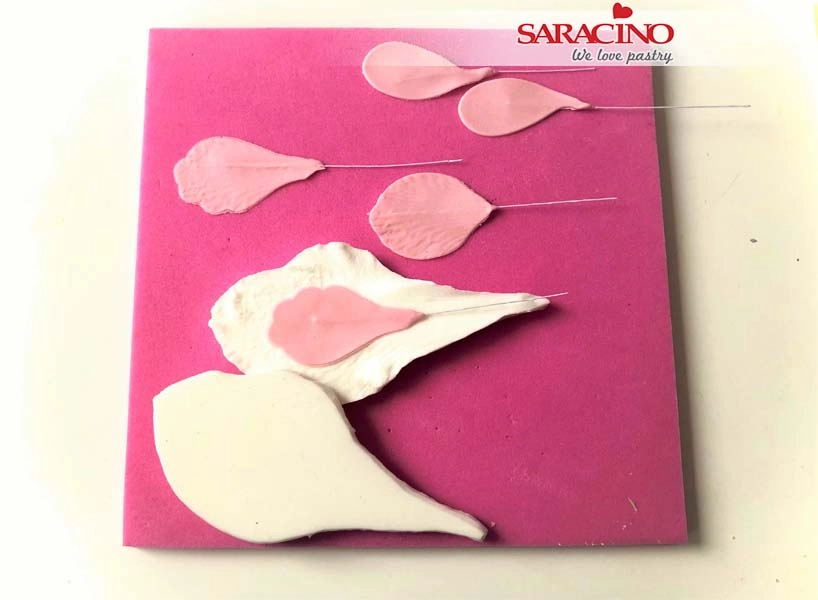
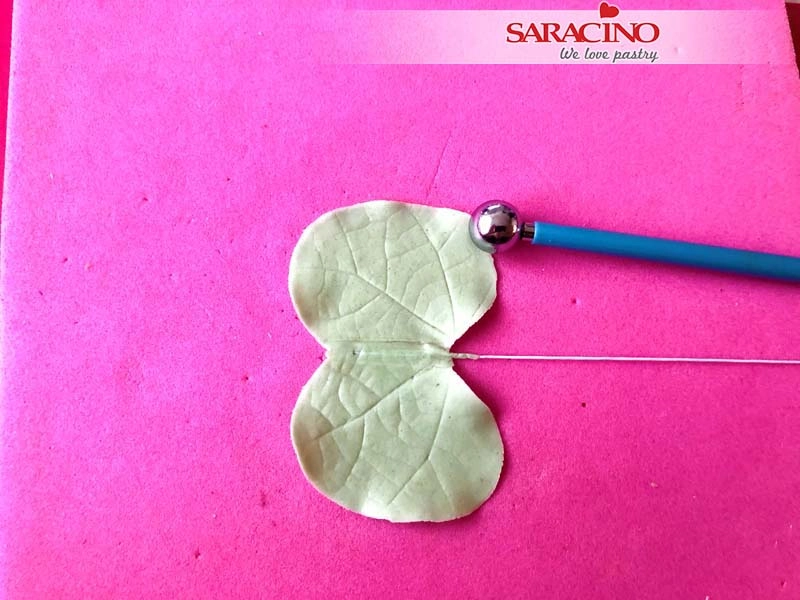
They need to have a natural look. Let them dry on a plate or sponge mat.

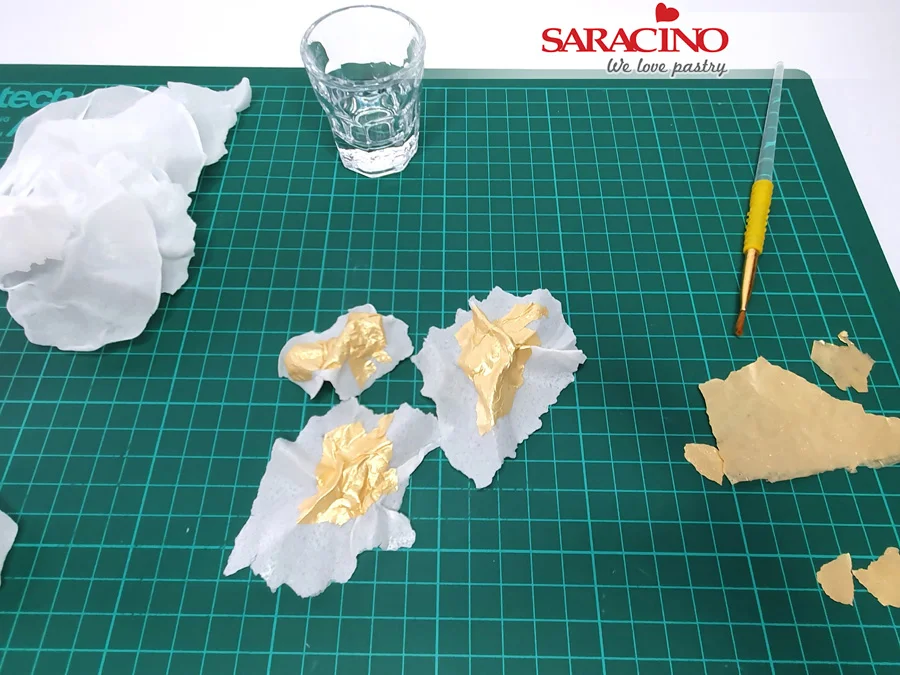
TIP: If you are in rush you can dry them in the oven at 50C for 10 minutes.

Step 13

Repeat with all petals. The quantity you make depends on the amount of flowers you need.

Step 14

Cut your 20 gauge wire in half. 

Step 15

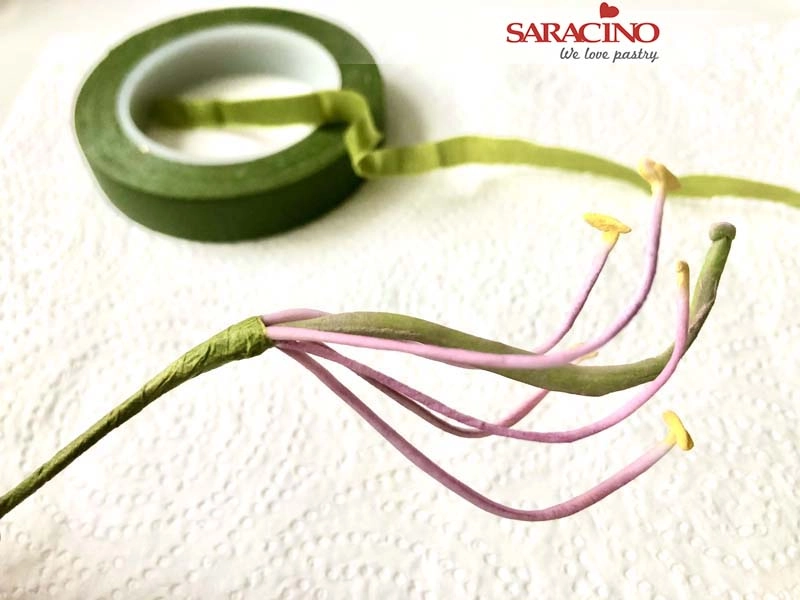
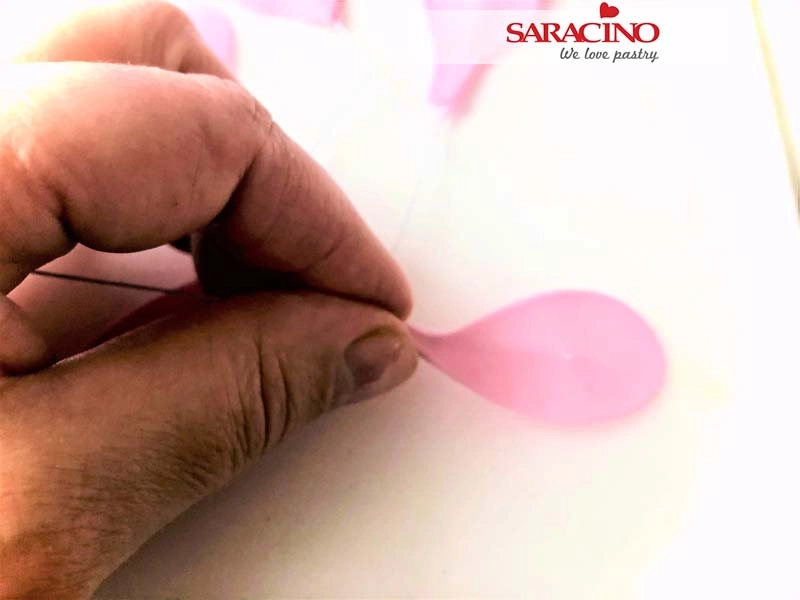
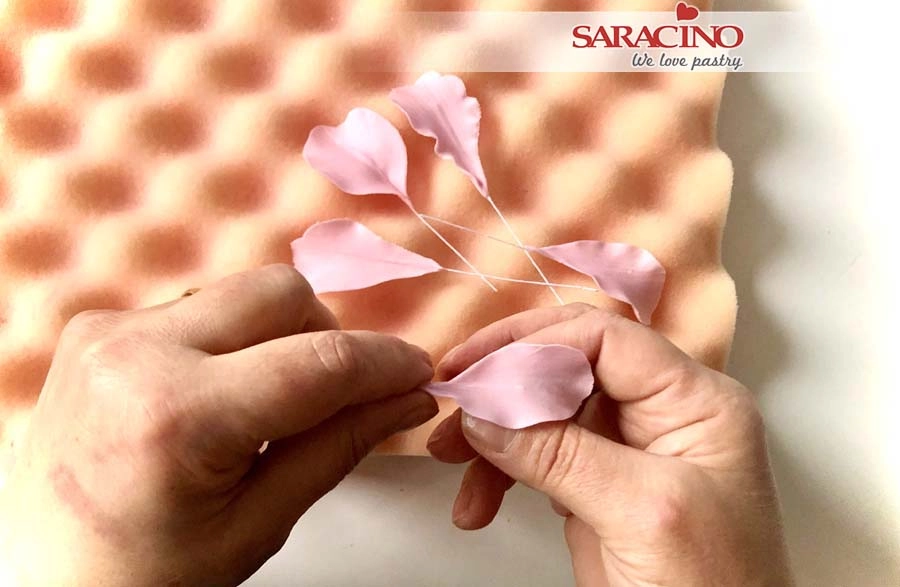
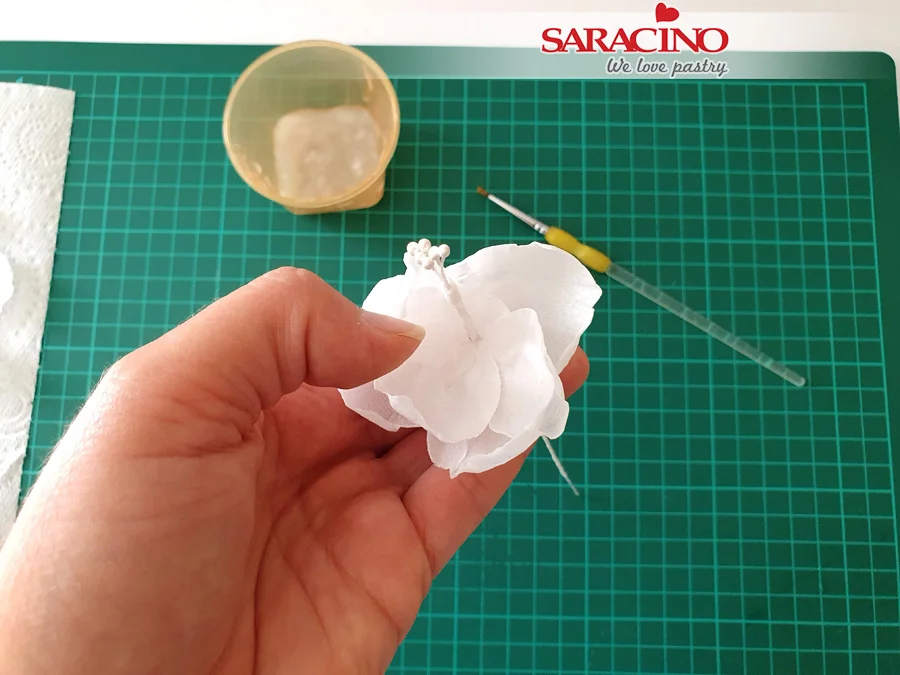
Bend your petals as shown.

Step 16

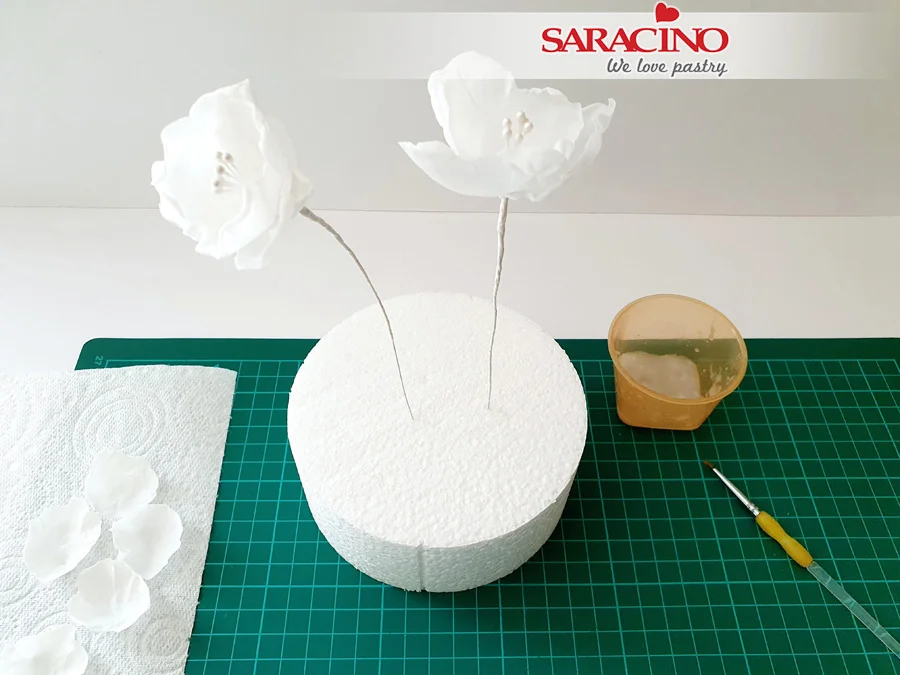
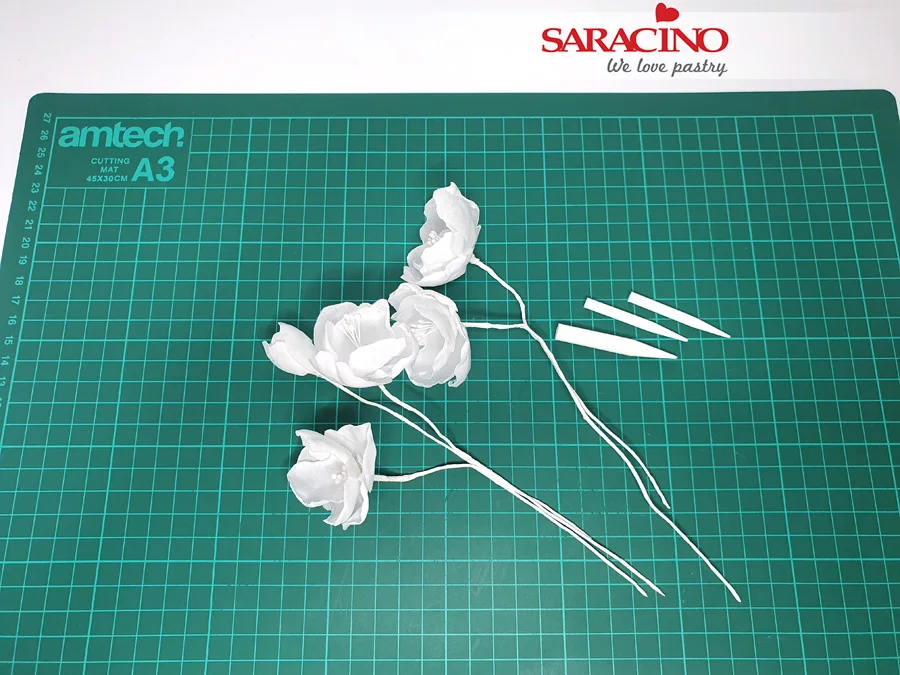
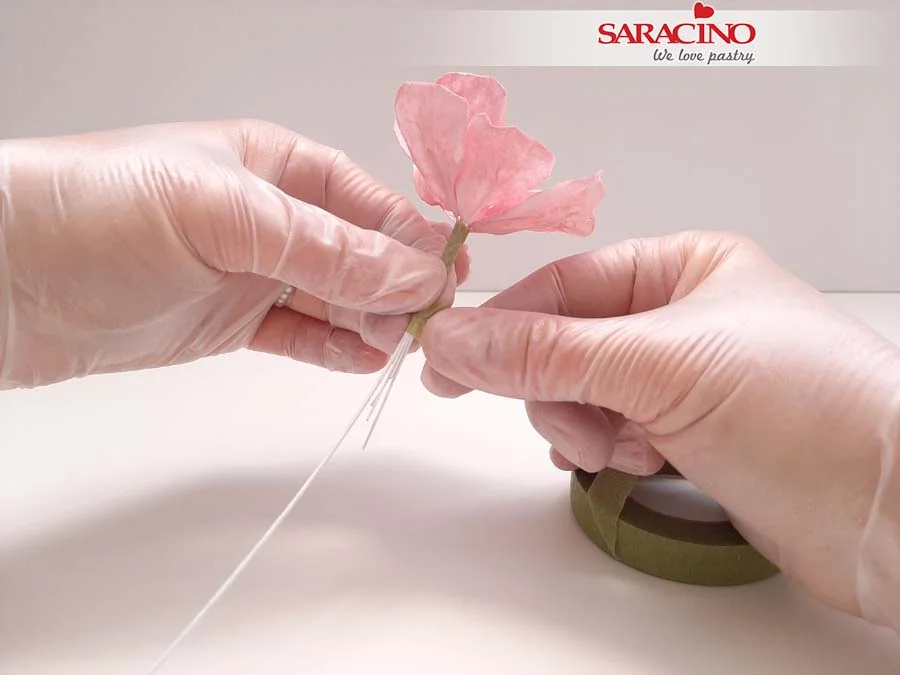
Fix a few petals around the 20 gauge wire. My flower will have 8 petals.
Step 17

Secure the wires with flower tape.

Step 18

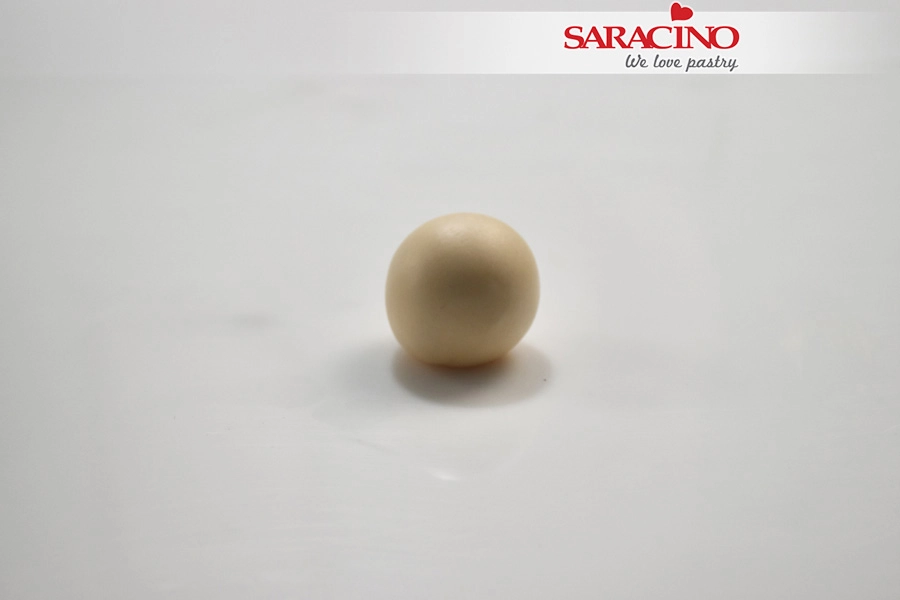
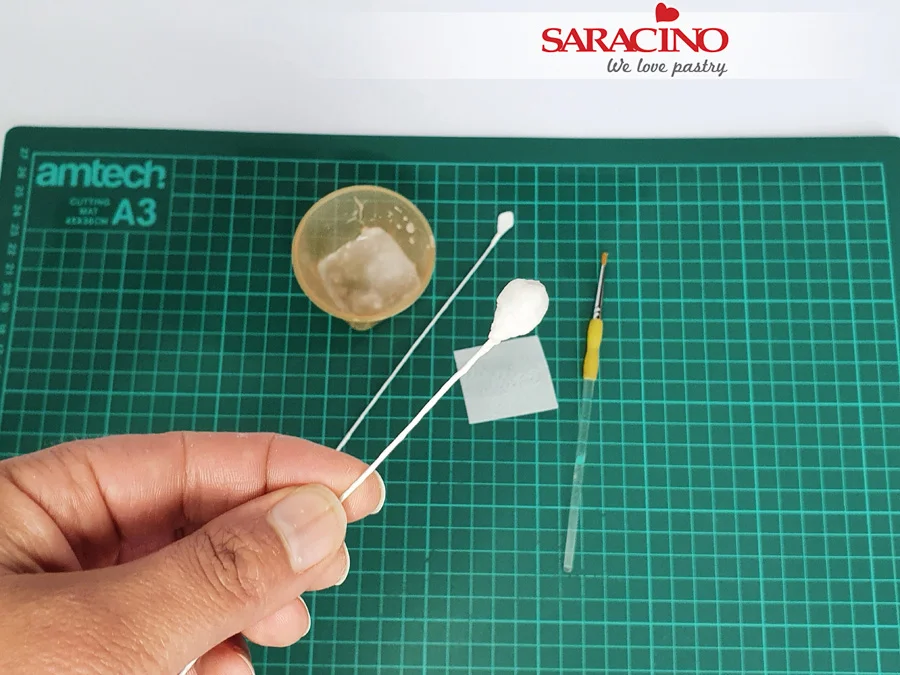
Using yellow Pasta Model, roll a small ball and add to the centre of the flower. Using your modelling tool add texture.

Step 19

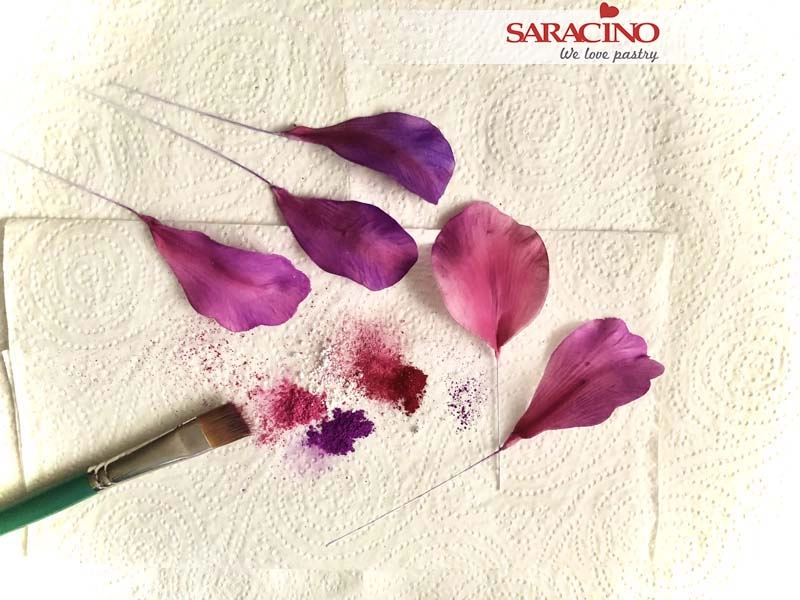
Using blue, black and yellow colour powders shade the petals. 


Step 20

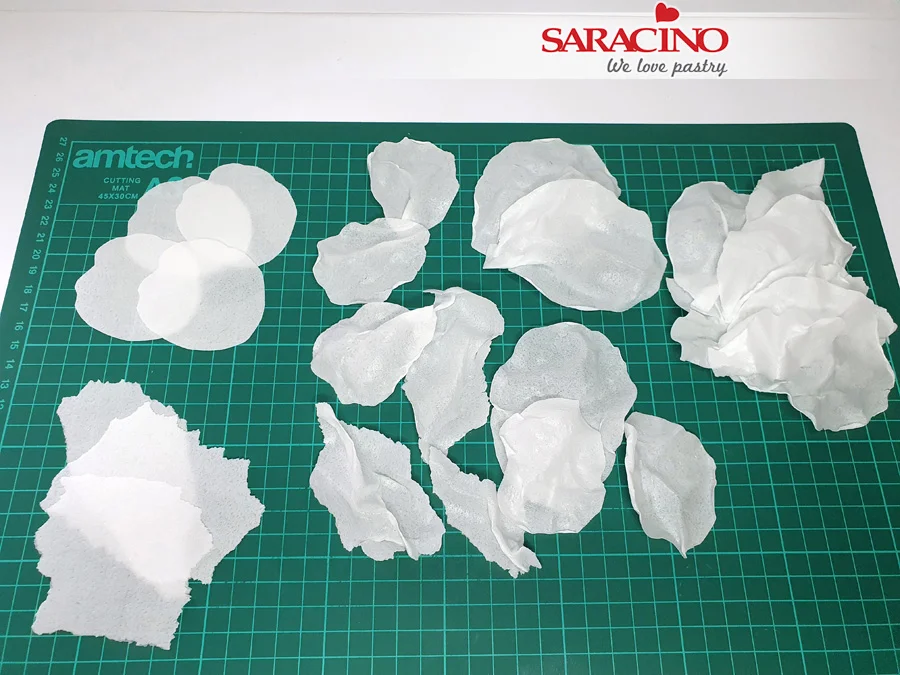
For the bottom lace, cut the wafer paper into long strips.


Step 21

Using a paper puncher of your choice create a pattern along the edge of each paper strip.

Step 22

In a clean bowl put blue, white and pink powder colours. 

Step 23

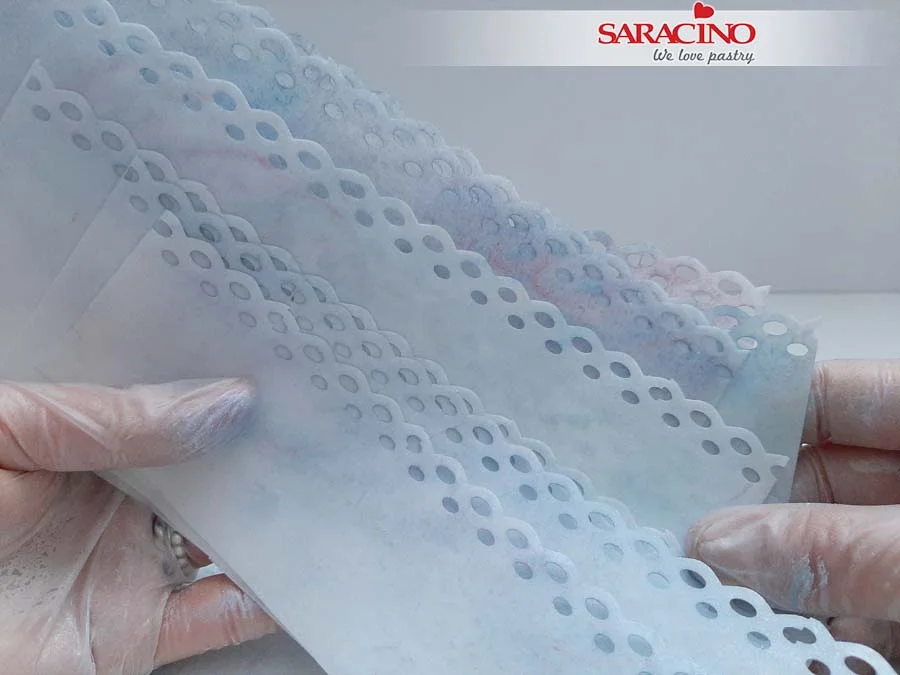
Using a soft brush shade the edges of the wafer paper.
Step 24

So they look as shown. Don’t aim for all of them to look the same. We want them to look random.

Step 25

Add a tiny bit of water to the bottom edge of the paper and start folding.

Step 26

Connect two pieces together using a little bit of water.

Step 27

Make as many as you require to cover your bottom tier. 

Step 28

Take your cake and cover with buttercream to the same colour. 

Step 29

Using a spoon, dip it in the cream and dab over the cake to give the textured look.

Step 30

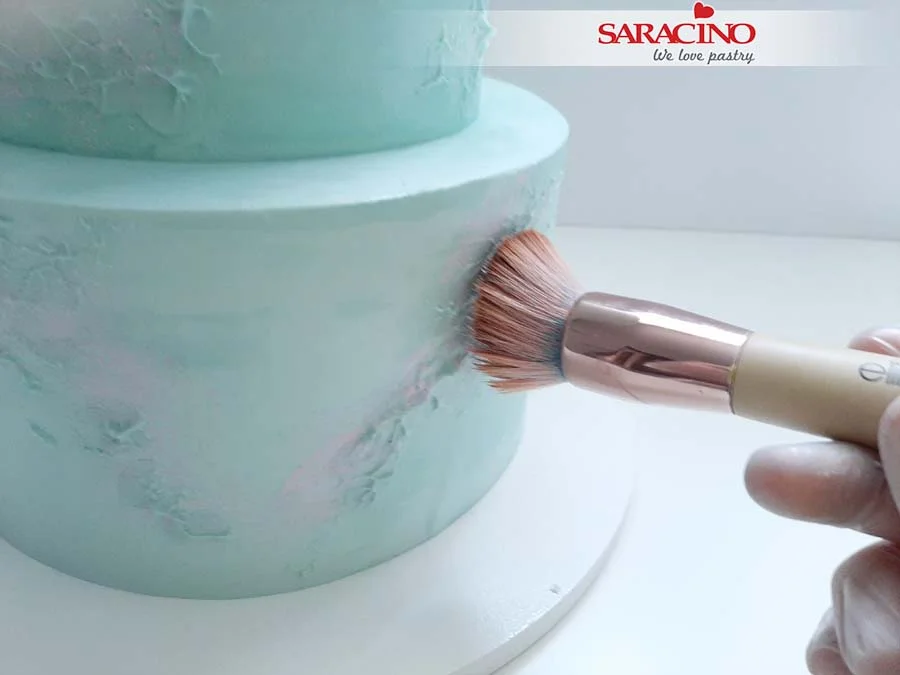
Take the previously mixed colour. There is no need to add more alcohol as it can be used as a dust.
Step 31

And dab over the cake with the brush.

Step 32

Start adding the paper lace. No need to add water if your cake has a buttercream covering.

Step 33

Continue all around the bottom of the cake. Do this twice to give a fuller look appearance.

Step 34

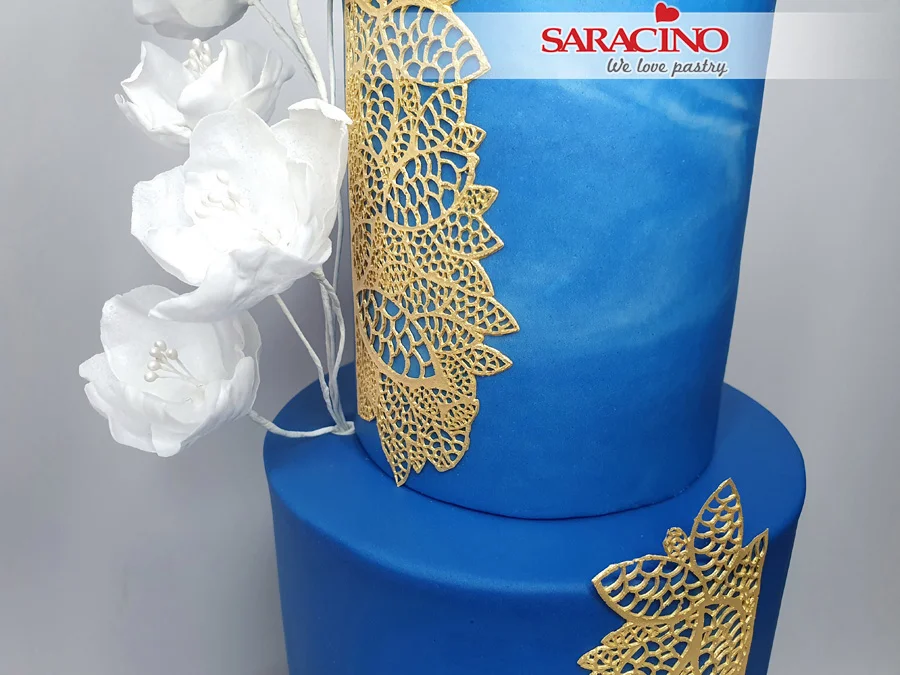
Add the flower randomly where required.


Step 35

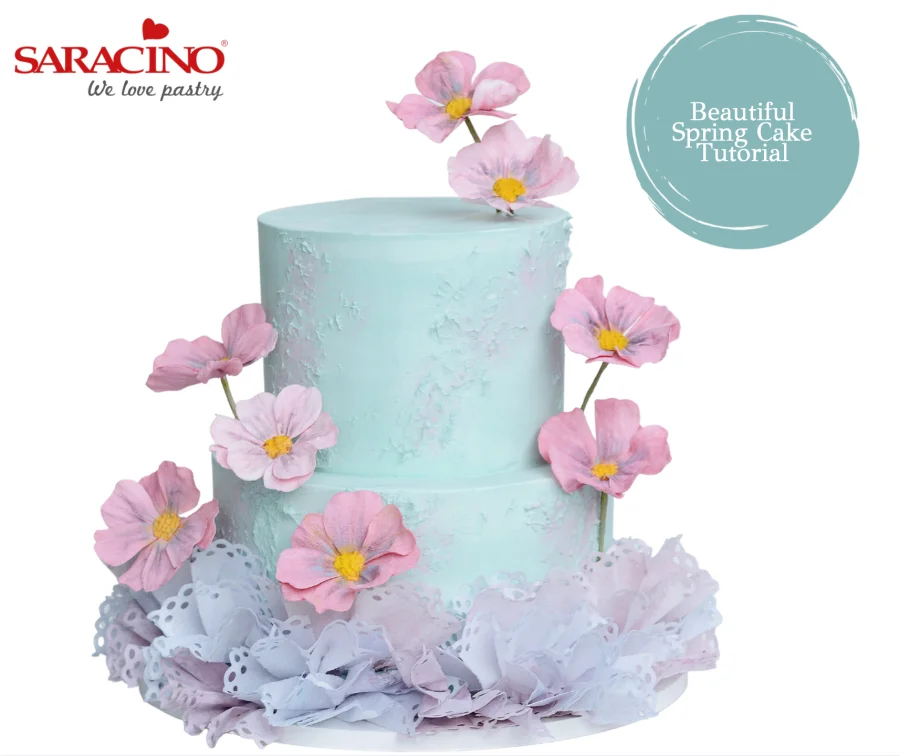
Your spring cake is ready! 

BAUHINIA FLOWER TUTORIAL

BAUHINIA FLOWER TUTORIAL

Skill level: BEGINNERS

FROM ZLATINA

Note: There are many different varieties of Bauhinia and the plant can vary in shape, size, colour and form. 

I’ve made the flower as near to nature as possible, although it is not 100% botanically accurate.

You will need:
  • Saracino Pasta Bouquet (coloured in pale green & pink colour)
  • Florist wires white (20,24,26,28 gauge)
  • Florist tape – mid-green
  • Edible colour gel (green & pink)
  • Edible colour dusts (yellow, pink, plum, violet, white, burgundy, Light green, deep green, dark green)
  • Edible glue
  • Edible glaze
  • Alcohol or lemon extract for mixing with dust colour
  • Mimosa or yellow coloured semolina
  • Cornflour for dusting
  • Balling tool
  • Dresden tool
  • Veining tool
  • Cutting wheel
  • Scalpel
  • Non-stick rolling pin
  • Grooved Board
  • Foam Pad
  • Bauhinia cutter (Tinkertech Two)
  • Amaryllis or Lily veiner
  • Bauhinia leaf veiner (Aldaval)
  • Paint brushes (Flat for dusting, thin brush for making the markings )
  • Wire cutter
  • Scissors
  • Drying shapers or sponge

Step 1

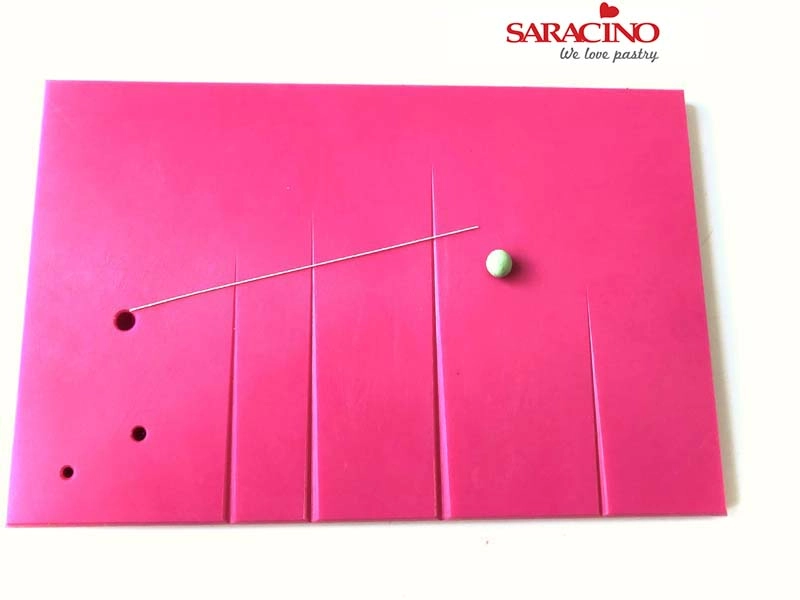
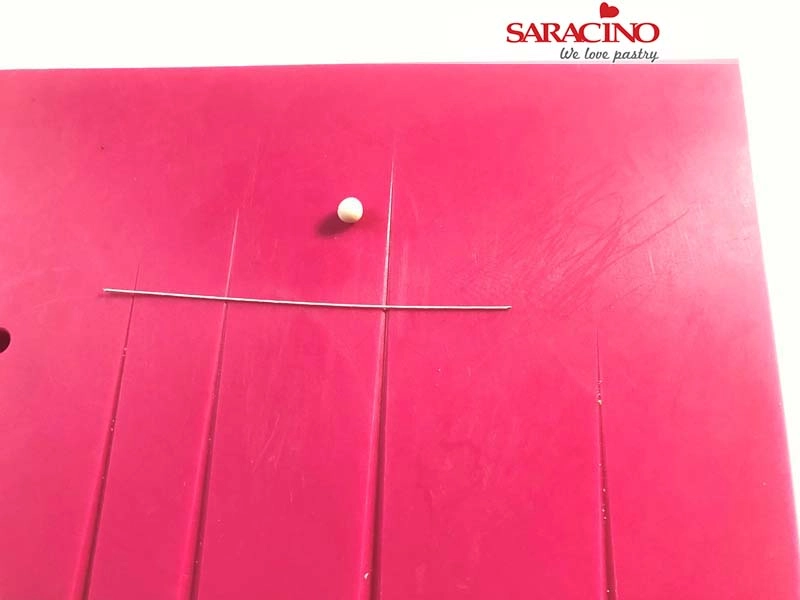
Making the Pistil – you will need 1/3 length of 26 gauge wire and a small pea size of pale green Pasta Bouquet.

Step 2

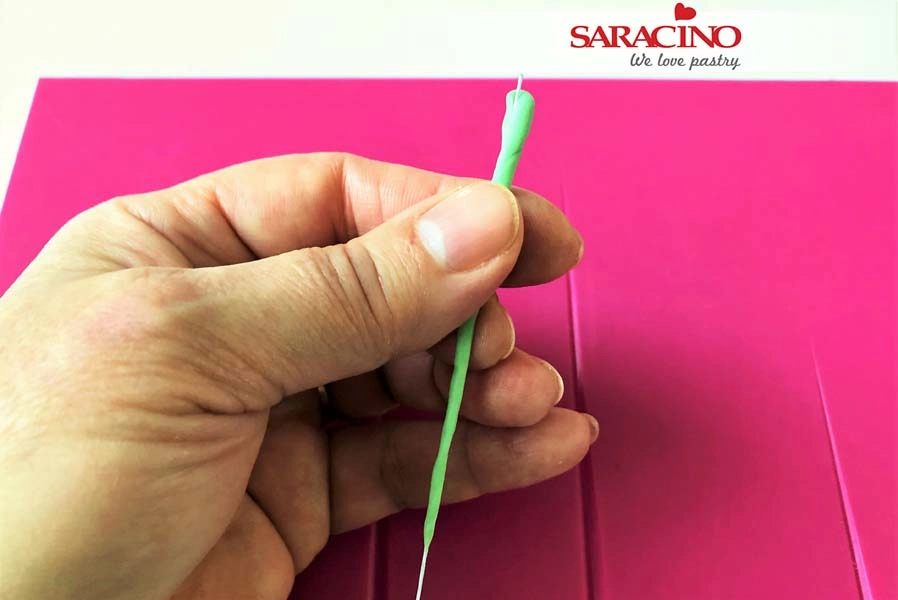
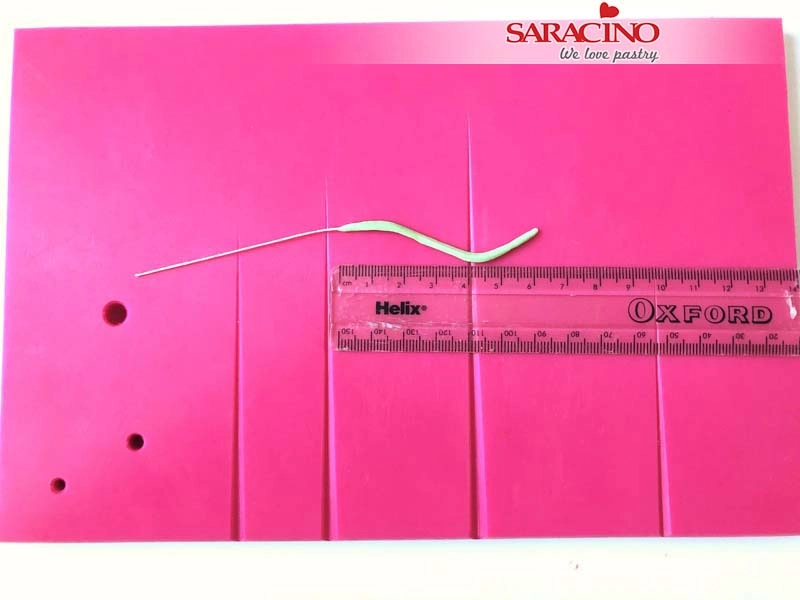
Hold the paste between your fingers and work it down the wire to cover half of its length (between 5-6cm).

Step 3

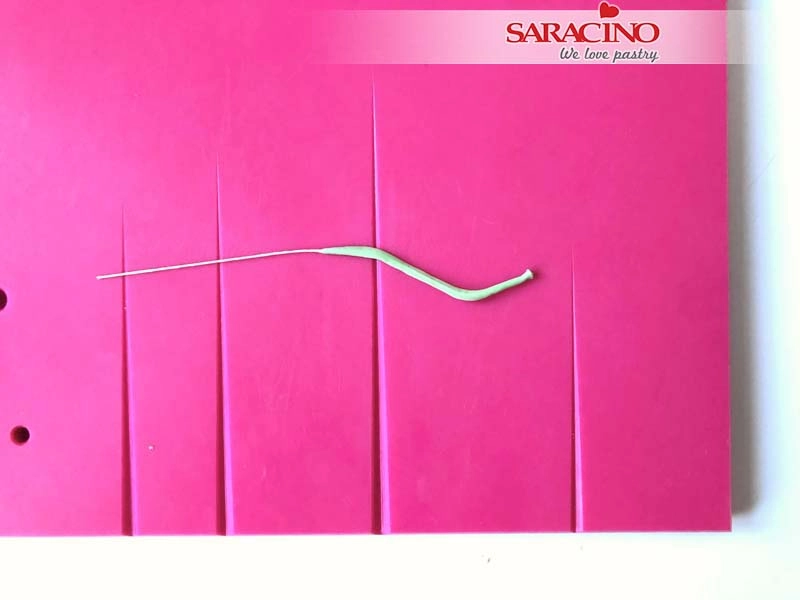
Flatten the sides gently and bend to form an ‘S’ shape curve.

Step 4

Slightly flatten the tip of the pistil and leave it to dry.

Step 5

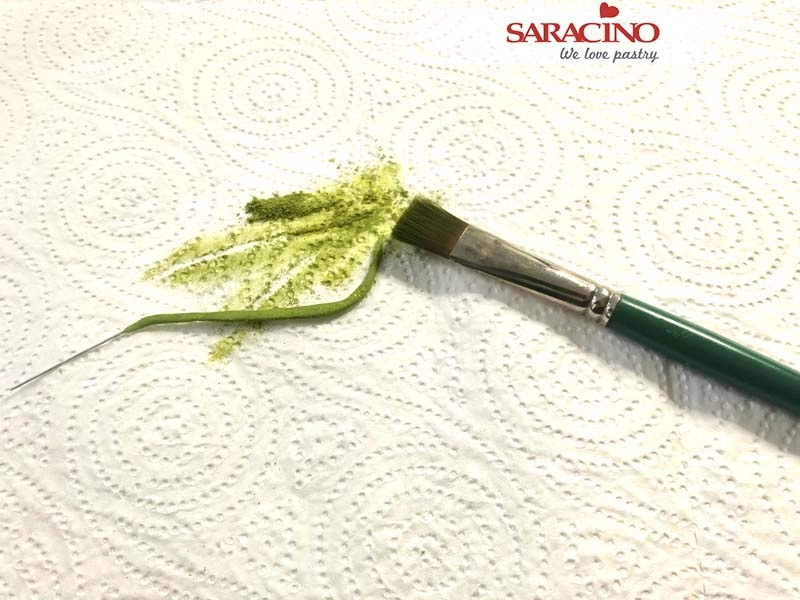
Dust the pistil with light green powder colour.

Step 6

To make the stamens, you will need 1/3 length of 28 gauge wire and a small ball of white Pasta Bouquet.

Step 7

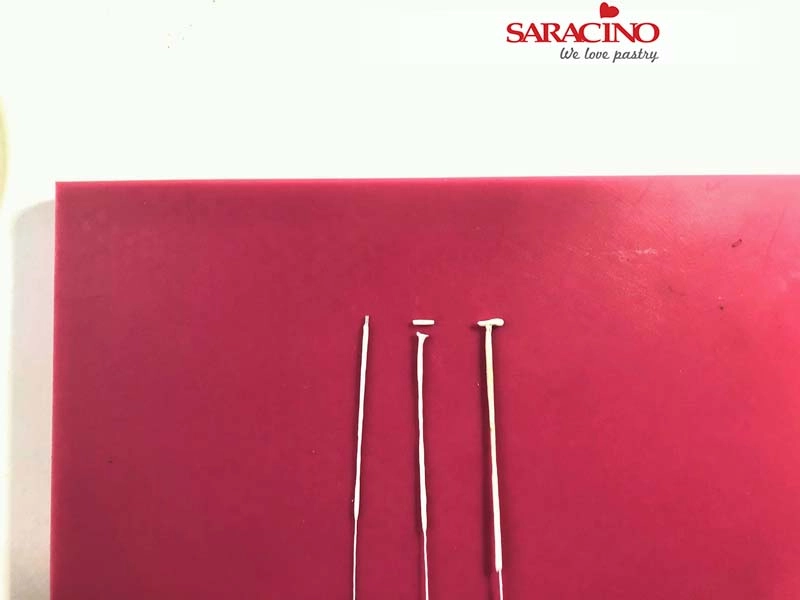
Wrap the paste around the wire leaving the very end exposed. For the ‘T’ anther bend the end of the wire and attach a tiny sausage shape piece of white paste.

Step 8

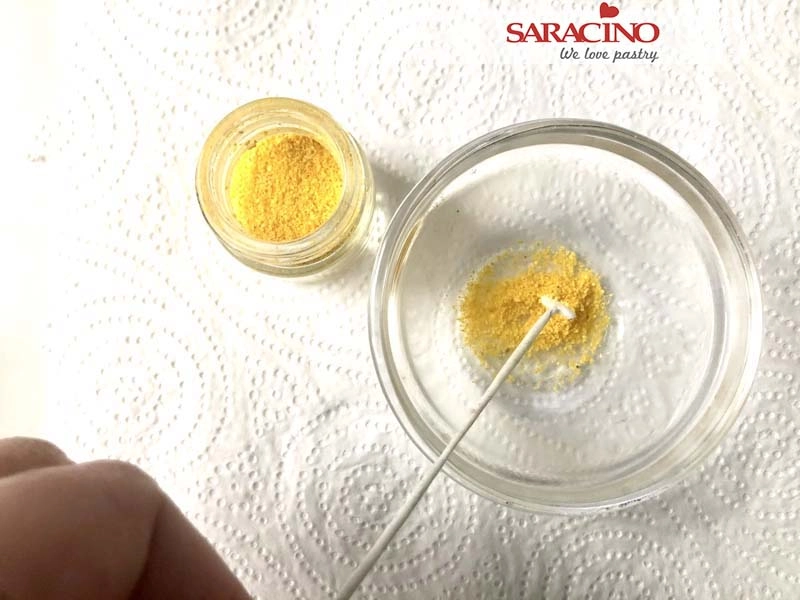
Moisten the end with edible glue and dip into mimosa or yellow coloured semolina to look like the pollen.

Step 9

Make 5 stamens. Bend the stamens gently into an S shape to create a curve.

Step 10

Dust the stamens with a pale mix of violet and white colour.

Step 11

Tape the pistil and stamens together with ¼ width of Nile green florist tape. Position the pistil slightly above the stamens to resemble the form of open palm.

Step 12

To make the petals – Colour a small amount of Pasta Bouquet with pink gel colour to achieve a pale pink. Roll out some of the paste using a thin none stick rolling pin and a grooved board.

Step 13

For the Bauhinia you need five petals – Cut out one petal using the main middle cutter (the widest of the set). Cut out two petals of each of the other cutter shapes (left and right for each petal shape).

Step 14

Insert a ¼ length of 26 gauge florist wire into the grove of the petal inserting at least half way. 

Step 15

Pinch the narrow end and roll gently between your fingers to make sure that the paste is securely connected to the florist wire.

Step 16

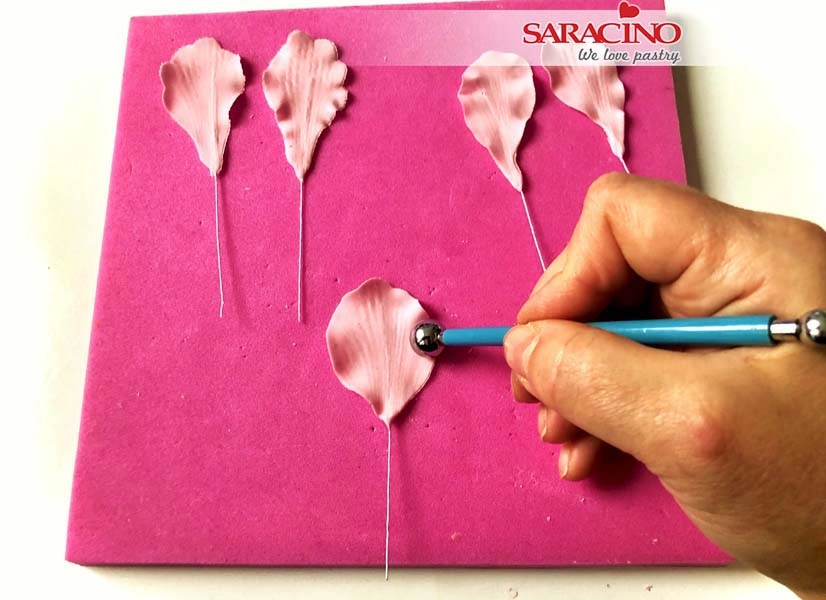
Vein the petals using the Lily/Amaryllis veiner.

Step 17

Place the petals on the foam pad and thin the edges using a ball tool.

Step 18

Frill the edges of the Bauhinia petals with the veining tool.

Step 19

Gently pinch the back of the petals to create a central vein, shape them and leave them to dry 20-30 minutes.

Step 20

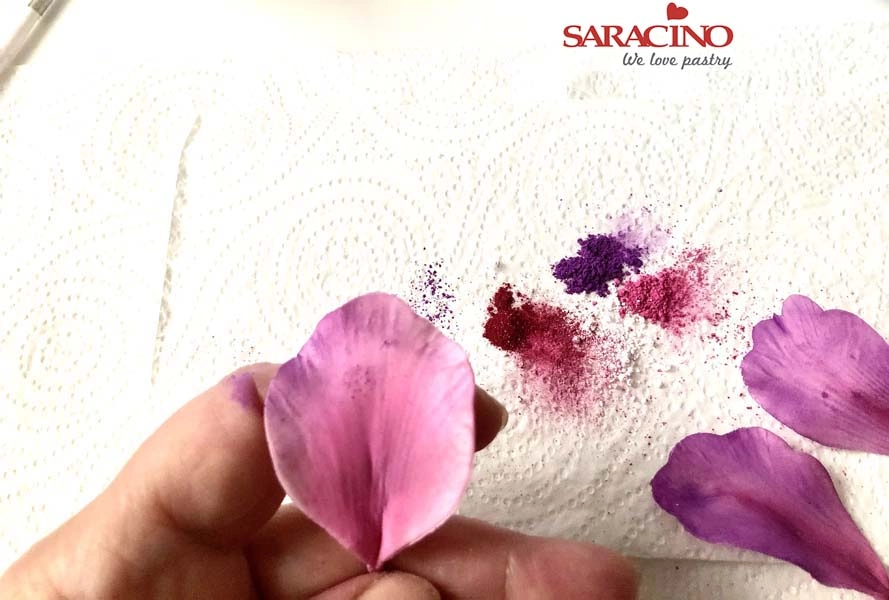
Using your flat headed brush dust each petal, working from the edges towards the base of the petal with a mix of pink, violet and white dust colours.

Step 21

At the base of the petals dust with plum colour to accentuate it and give it depth.

Step 22

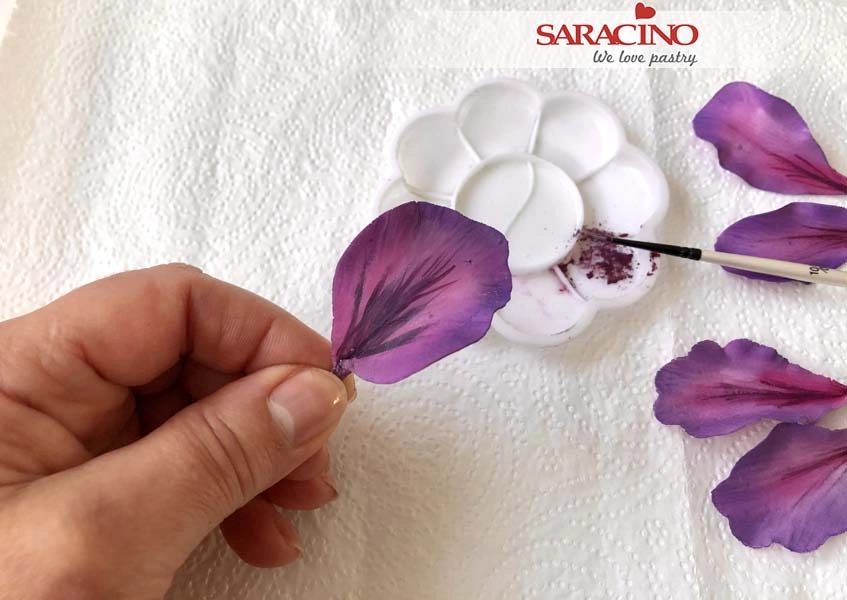
Mix a few drops of clear alcohol or lemon extract with violet/plum dust colour. Using a thin brush paint lines resembling a fan formation on the central petal and leave a few minutes to dry.

Step 23

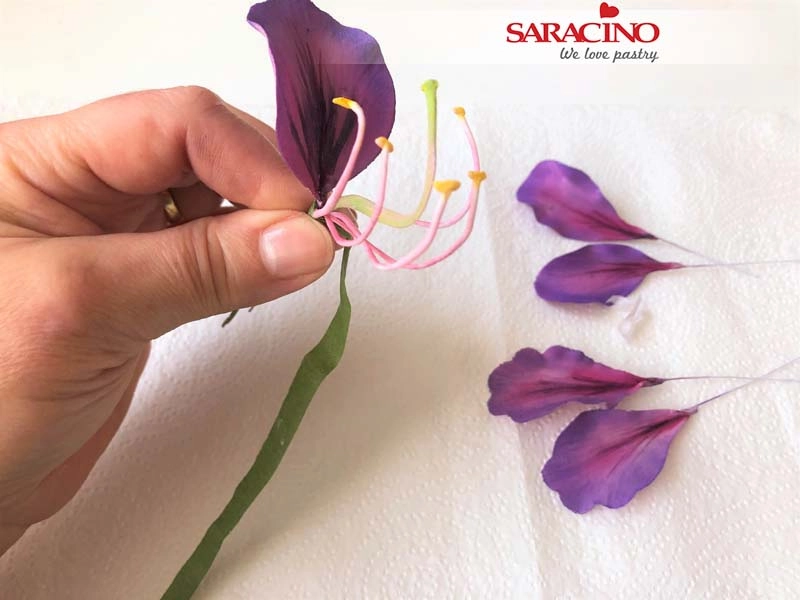
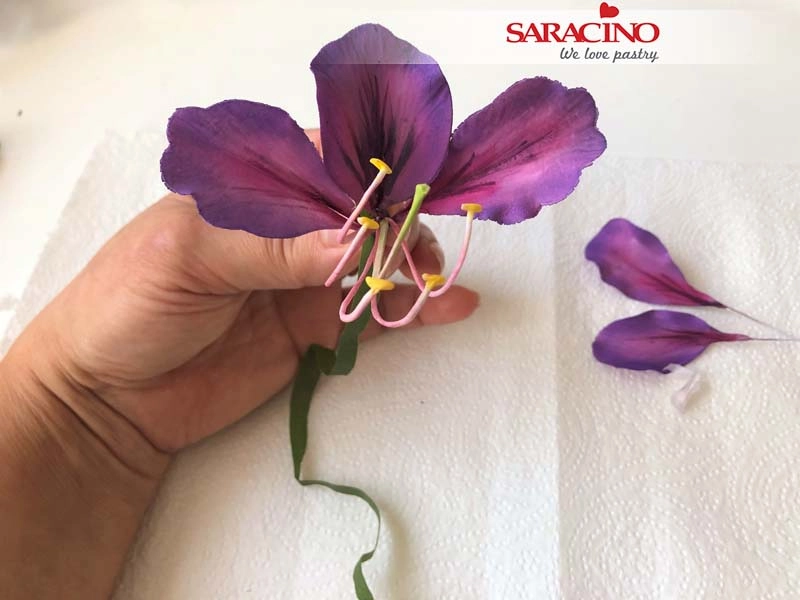
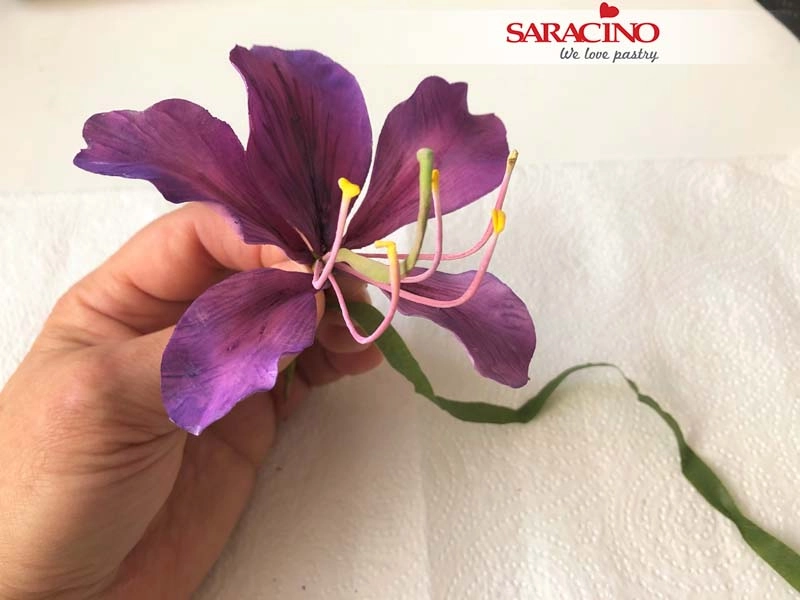
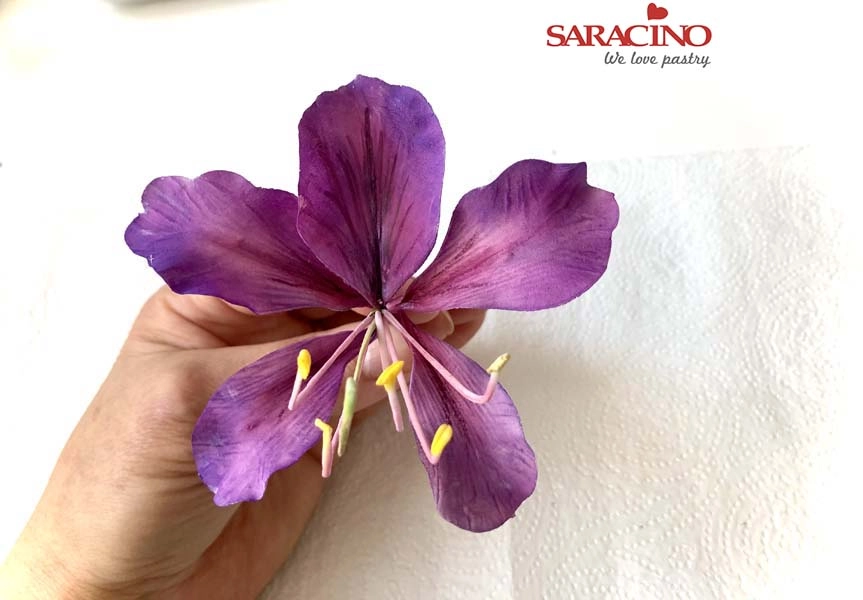
Assemble the petals around the pistil and stamens using ½ width Nile green florist tape.

Step 24

Start with the middle (central) petal, attach the left and right petals of the top (frilly) set slightly behind the middle petal. 

Step 25

To the base of the flower attach the left and right petals of the bottom set cutter.

Step 26

Gently form your petals to the position you want them to take whilst they are workable and not dry.

Step 27

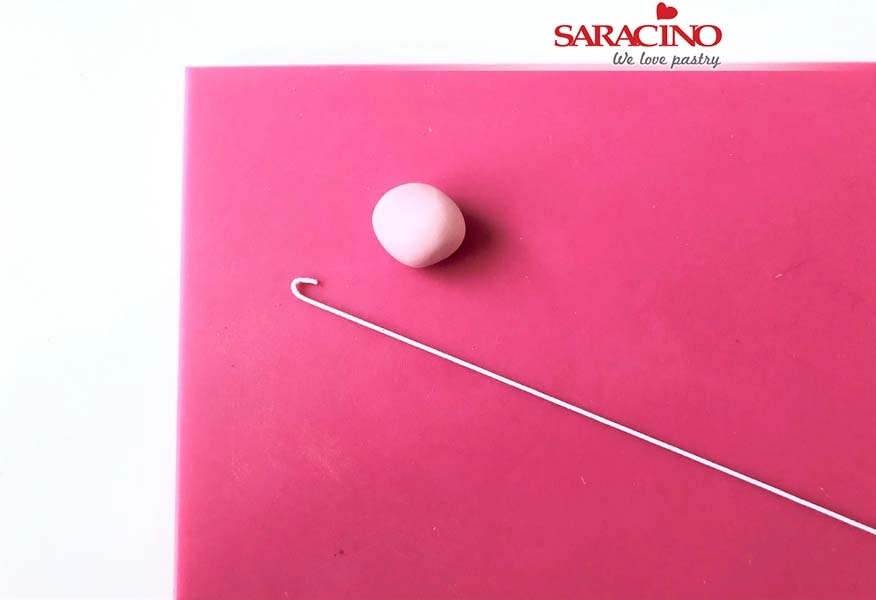
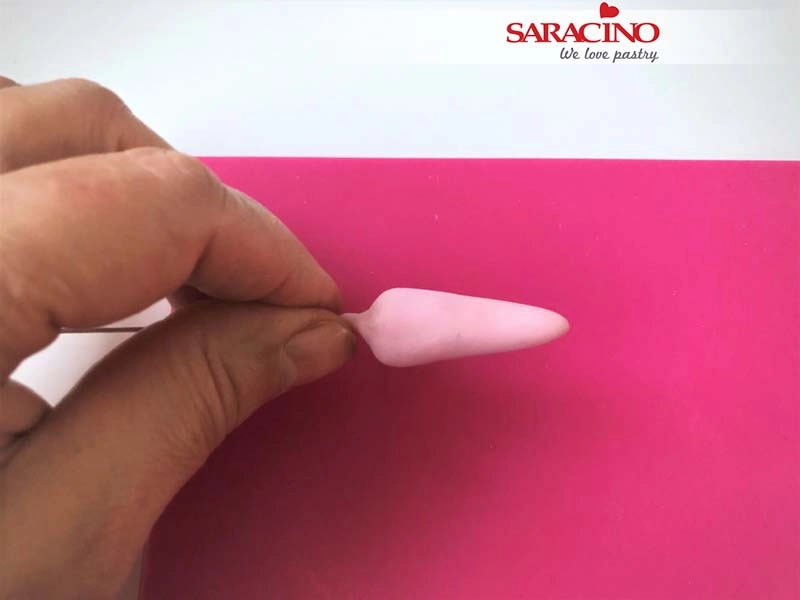
To make a bud – You need a small ball of pale pink paste and ½ length 20 gauge wire. Make a small hook at the end of the wire.

Step 28

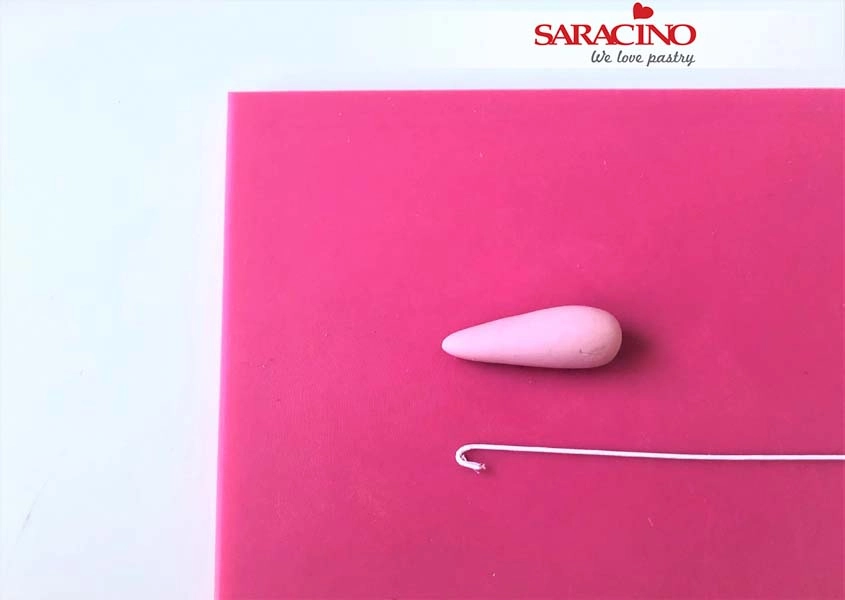
Roll the paste into a cone shape and insert the wires turning the paste gently. When we twist the paste the hook will attach itself well.

Step 29

Pinch the end of the cone shape to attach it well to the wire.

Step 30

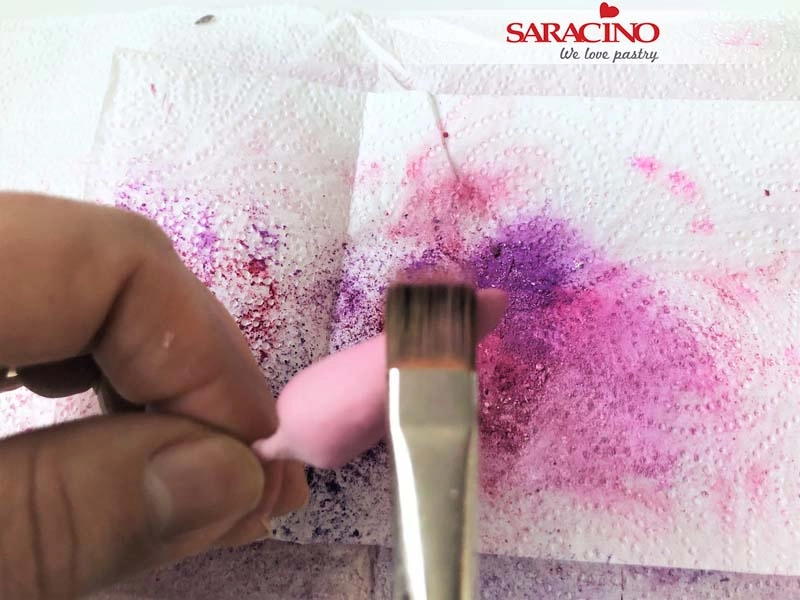
Make three grooves along the length of the bud to line with the outer petals. Dust the bud gently with a mix of pink and violet dust colours.

Step 31

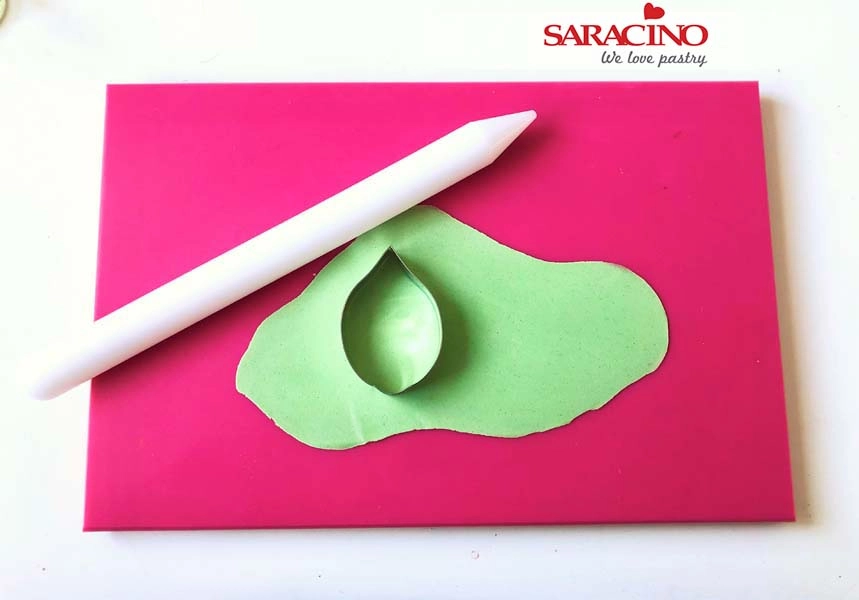
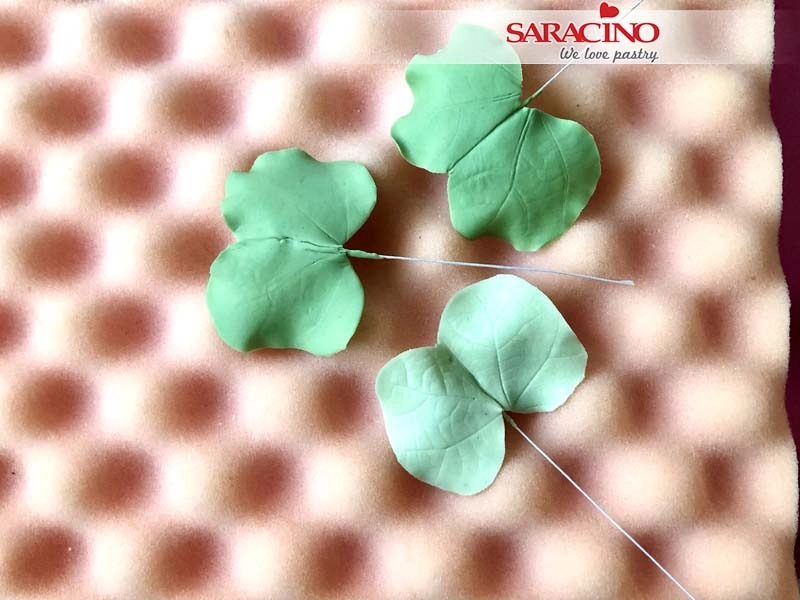
To make the bract – Roll out pale green coloured Pasta Bouquet and cut out a leaf shape using a cutting wheel, scalpel or with the central Bauhinia cutter.

Step 32

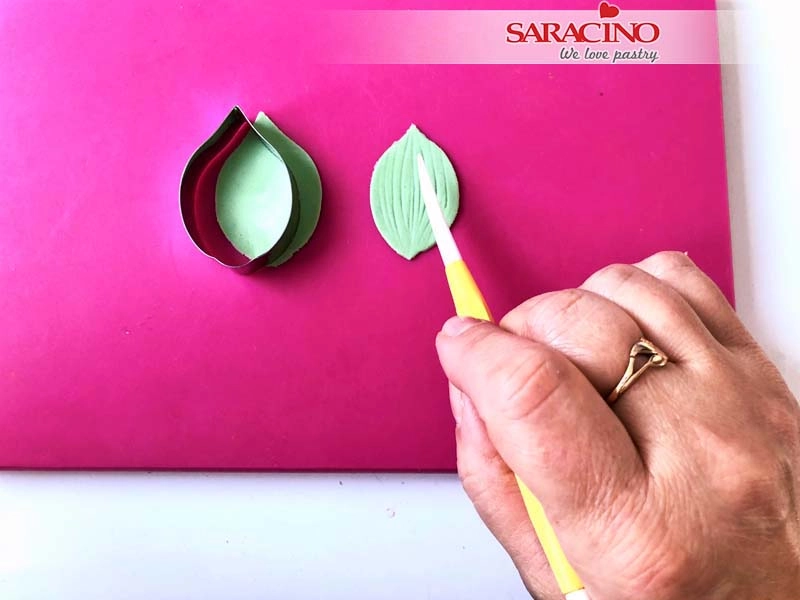
Mark veins using a Dresden tool and attach the bract at the base of the flower.

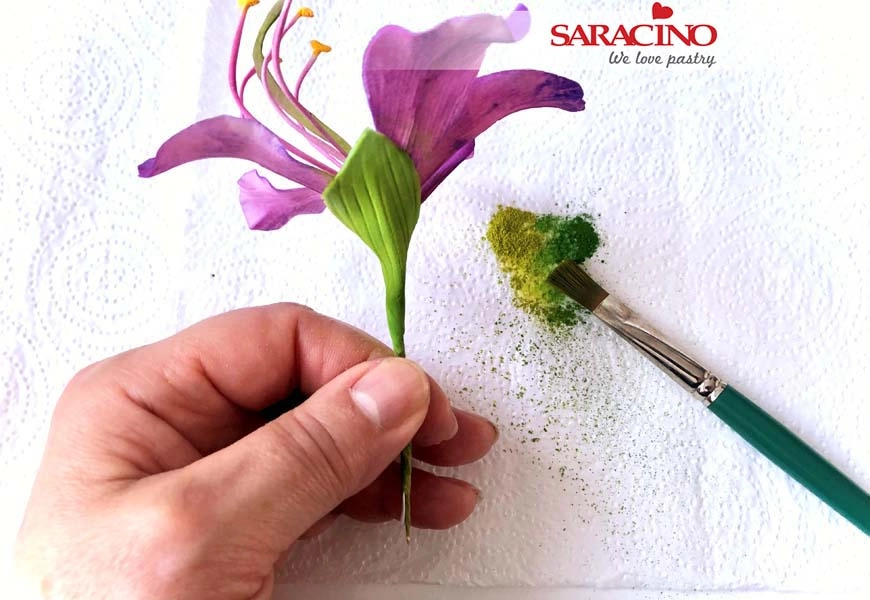
Step 33

Dust colour it with a mix of light and deep green dust colours.

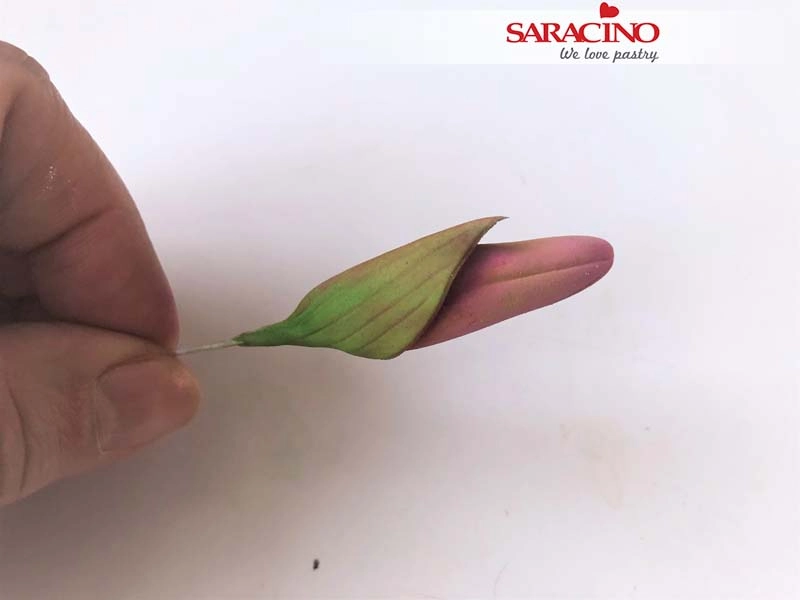
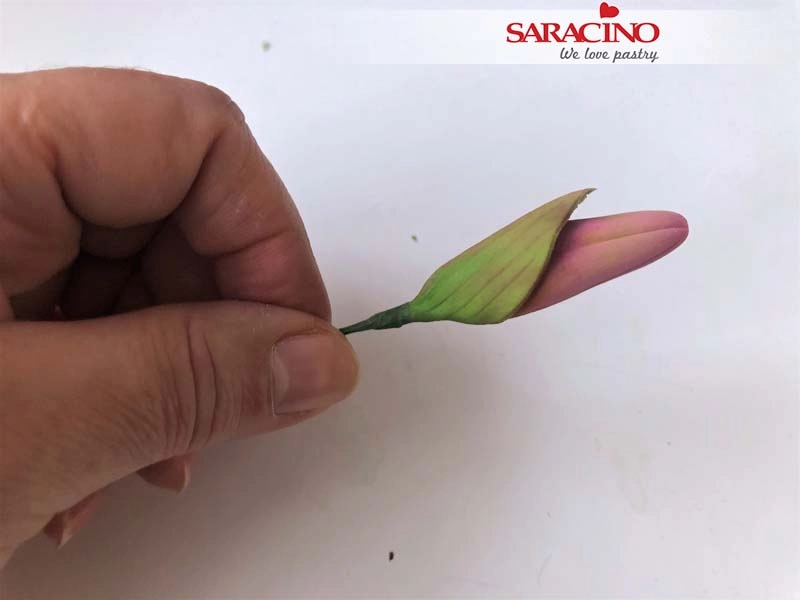
Step 34

Attach the bract around the bud and dust it with the mix of green colours.

Step 35

Wrap the wire of the bud with ½ width Nile green florist tape

Step 36

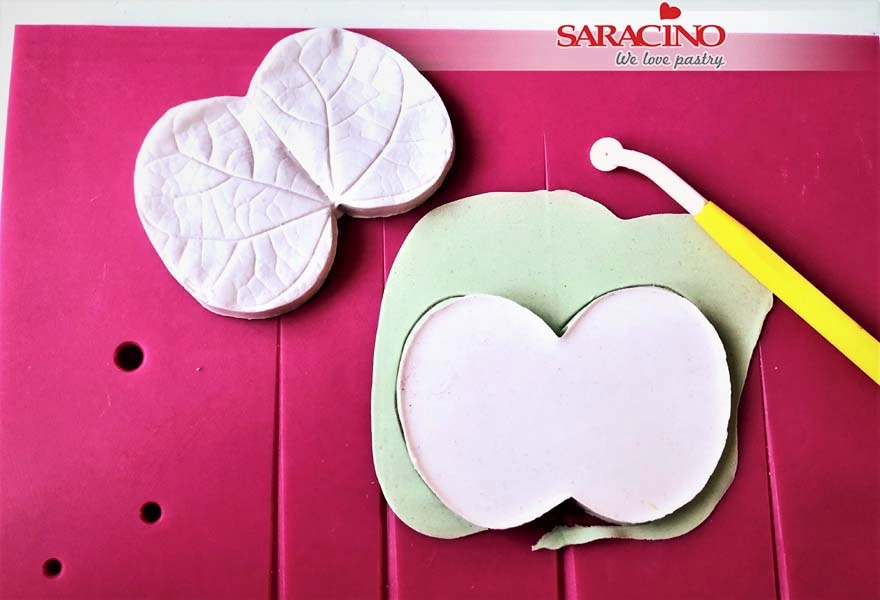
To make the leaves – Roll pale green coloured Pasta Bouquet using a none stick rolling pin and a grooved board.

Step 37

Using the shape of the Bauhinia leaf veiner cut a leaf shape using a cutting wheel or a scalpel.

Step 38

Insert ¼ length 24 gauge florist wire into the grove of the petal to at least half way. 

Step 39

Pinch the end to ensure that the paste is securely connected to the florist wire.

Step 40

Vein the leaf using the Bauhinia leaf veiner.

Step 41

Place each leaf on the foam pad and thin the edges using a ball tool.

Step 42

Make 4-5 leaves. Form them to add shape and leave them to dry on a drying shaper or sponge.

Step 43

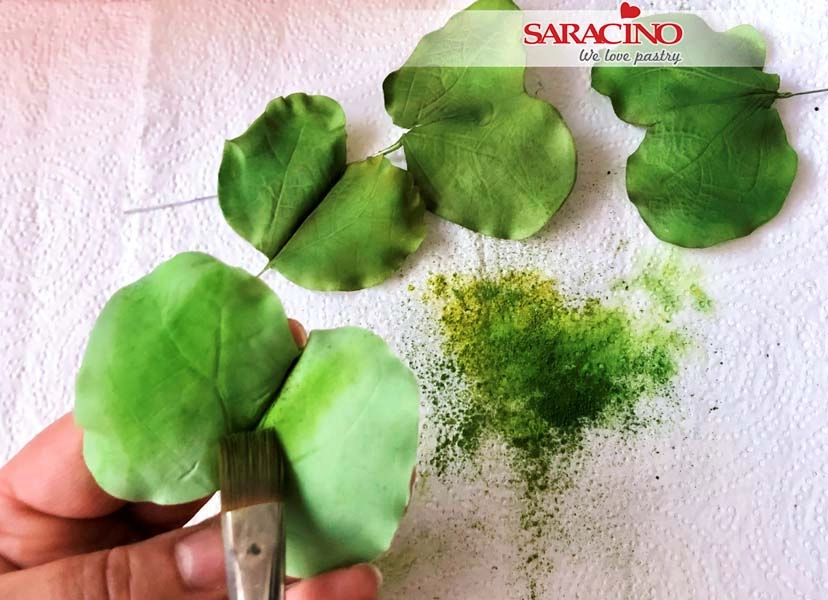
Dust each leaf with a deep green dust colour and over-dust the edges with dark green dust colour.

Step 44

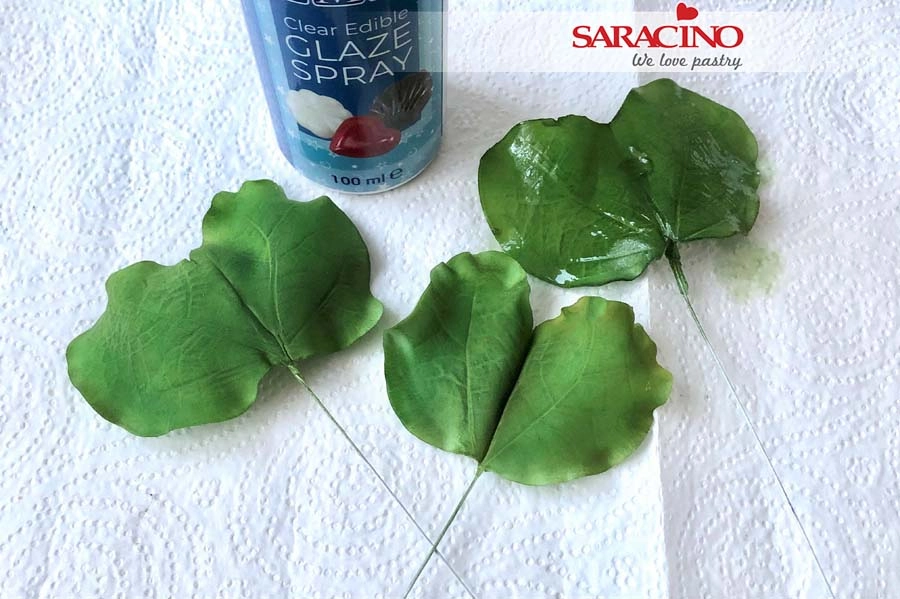
Glaze the leaves with edible spray glaze and leave to dry.

Step 45

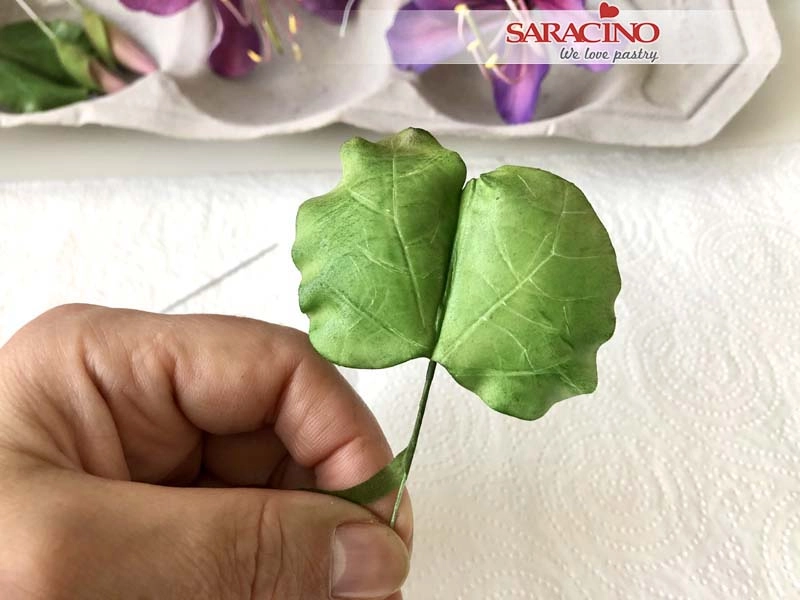
Wrap the wire of the leaves with ½ width Nile green florist tape.

Step 46

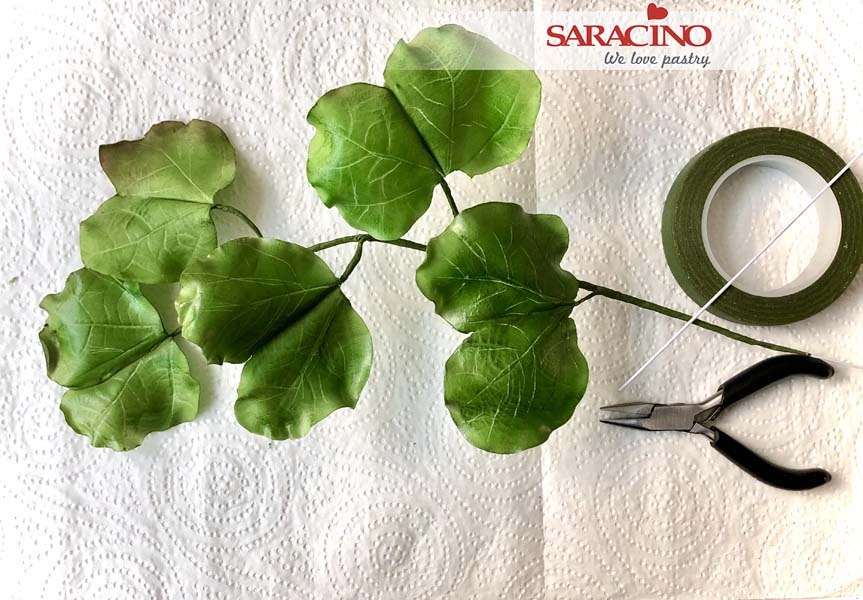
Assemble the leaves into a small branch using ½ width Nile green tape and a 20 gauge florist wire.

Step 47

Attach a few leaf branches and blossoms together to make a beautiful arrangement.

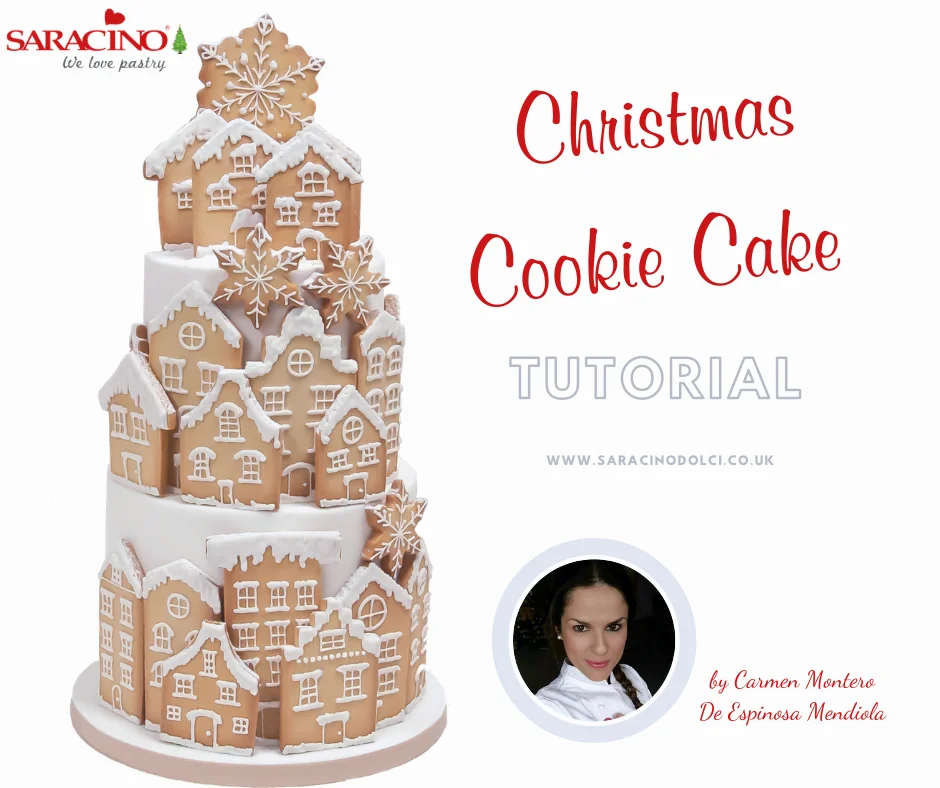
CHRISTMAS COOKIES CAKE

CHRISTMAS COOKIES CAKE

Skill level: INTERMEDIATE

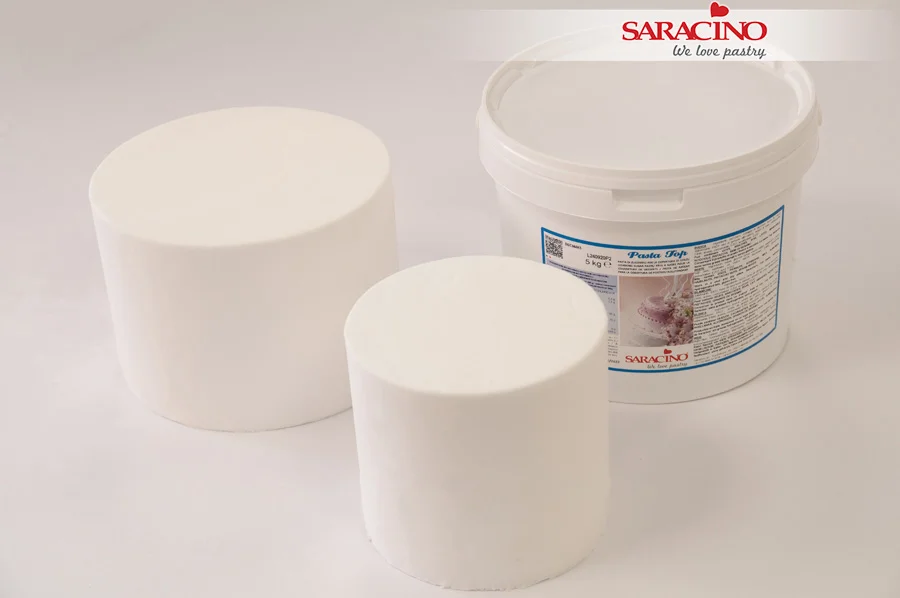
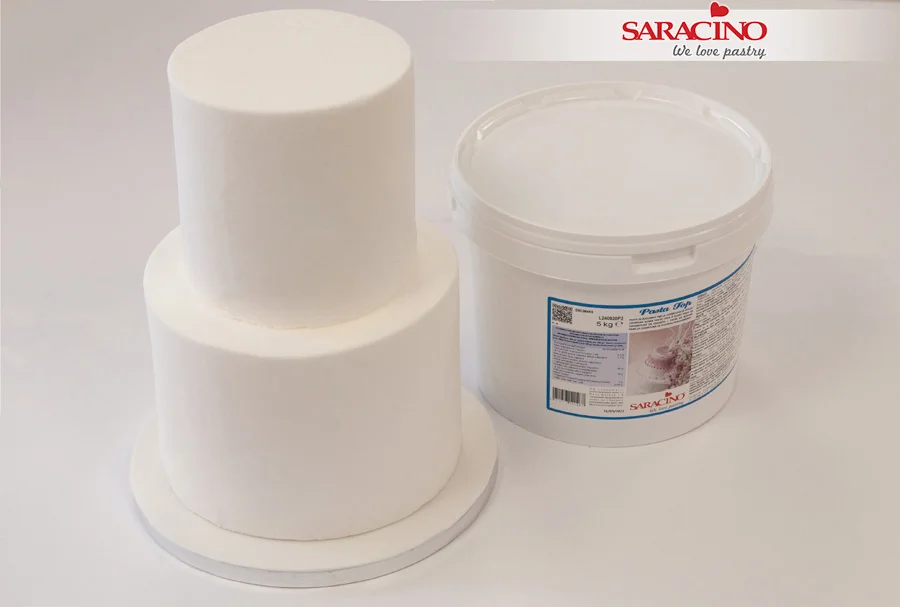
TIP – You can cover your two tiers with Saracino Pasta Top. To learn how to cover your cakes and create sharp edges follow the link

HERE – for picture tutorial 

HERE – for video tutorial 

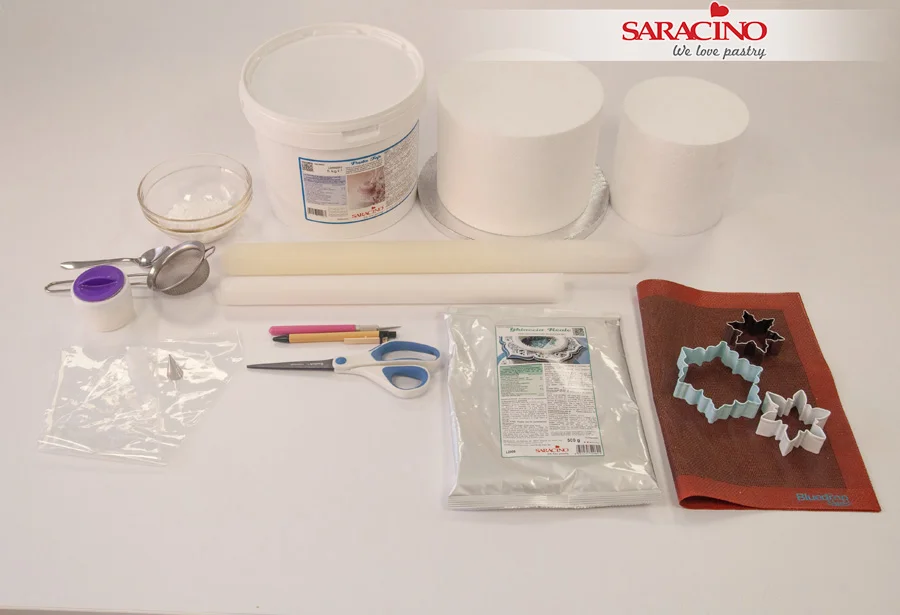
You will need:

  • 2 dummies of 15 and 20cm or 2 cakes (you can make a cake decorated with cookies or simply present the cookies in a more original way, on the dummies instead of on a classic tray)

  • Cake drum

  • Saracino fondant Pasta top to cover dummies or cakes

  • Saracino Royal Icing Mix

  • Sieve

  • Corn starch

  • Rolling pin

  • Baking paper

  • Piping bag

  • Number 1 piping nozzle

  • Scissors

  • Pencil

  • Micro-perforated mat

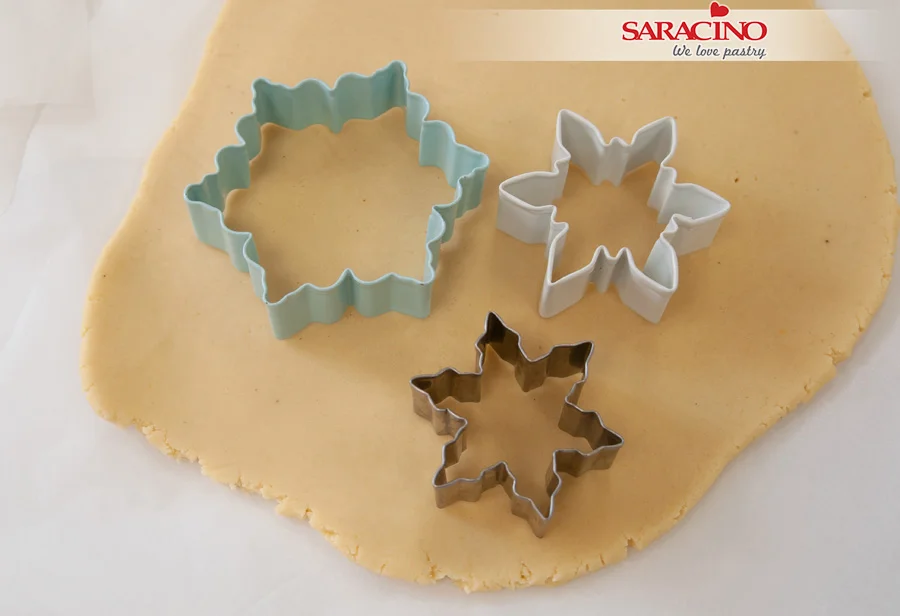
  • Snowflake cutters

Step 1

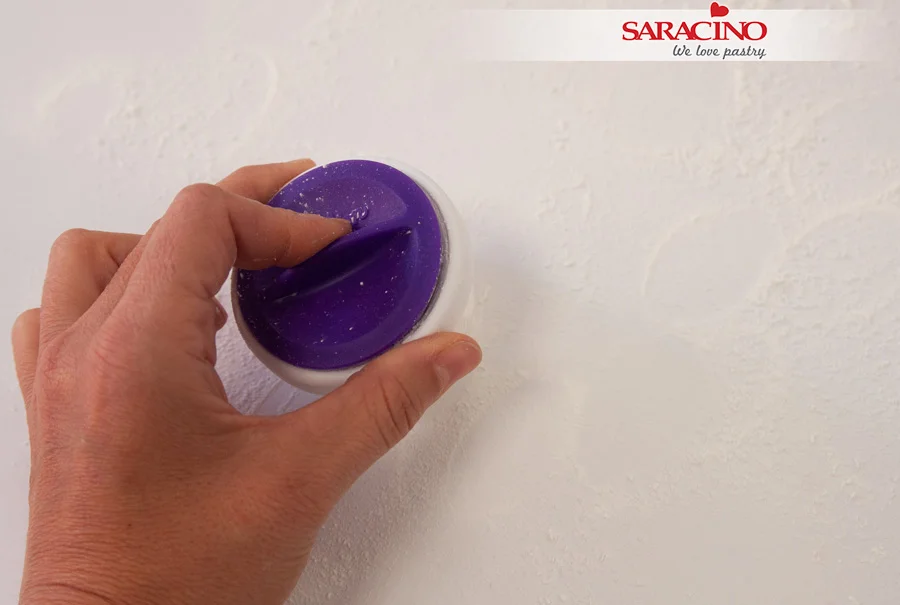
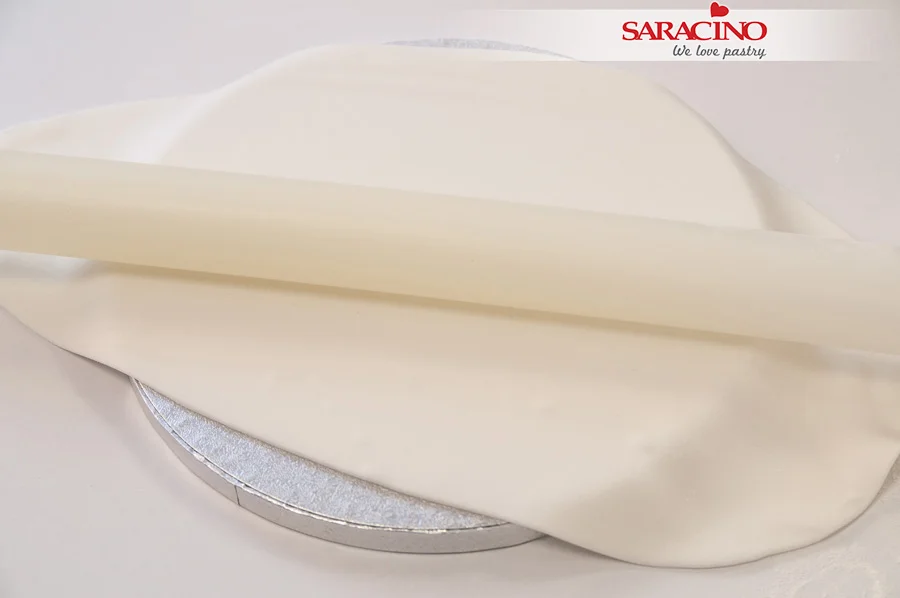
Sprinkle the work surface with corn starch to roll the fondant and keep it from sticking.

Step 2

Place the layer of fondant on a cake drum that has a small amount of water so that it sticks.

Step 3

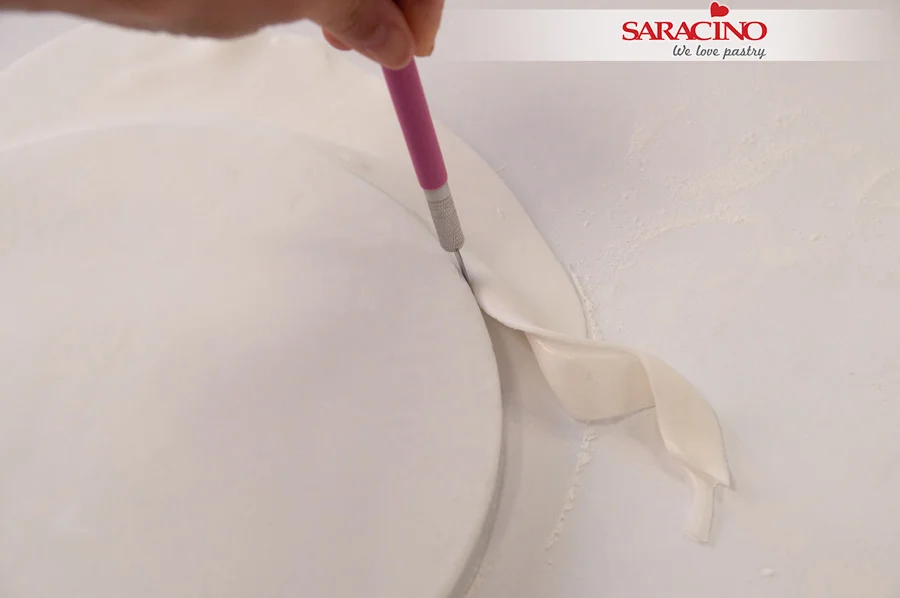
Trim excess edge.

Step 4

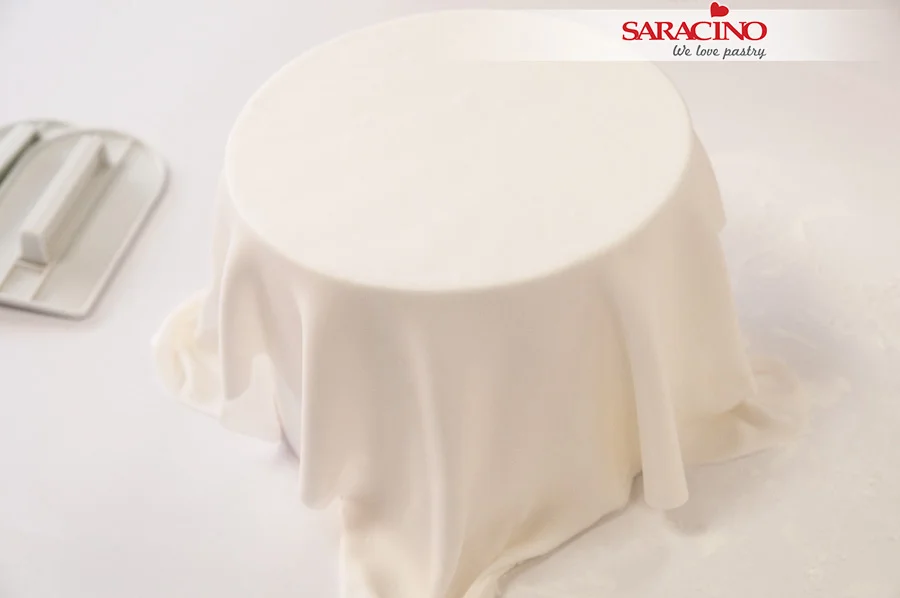
Roll out more Saracino Pasta Top and cover the dummies or cakes. Remember to always sprinkle the work surface before rolling the fondant so that it does not stick. Remember to also moisten the dummies or cake so that the fondant sticks. No need to over wet it, just moisten it lightly.

Step 5

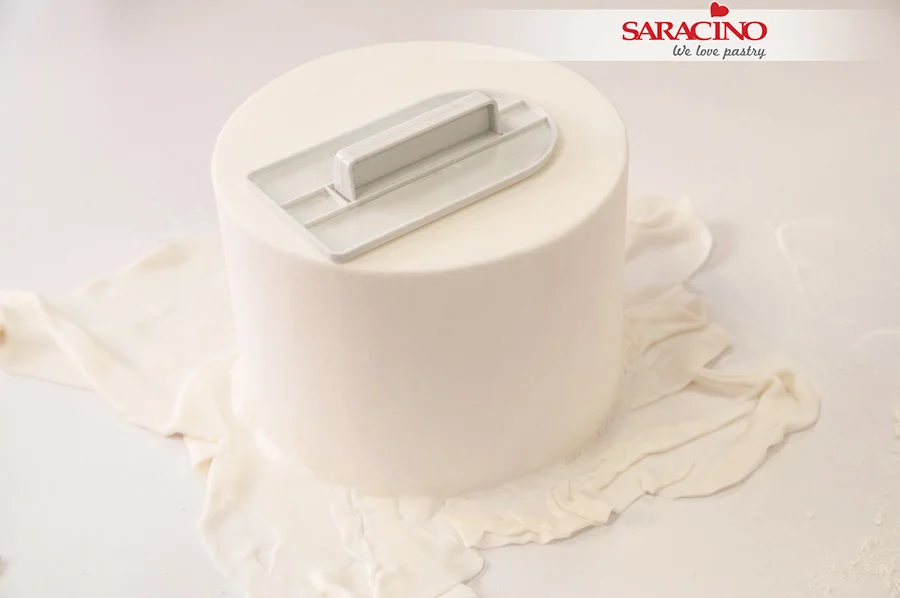
Smooth and apply the fondant to the surface of the dummy or cake using cake smoothers. Trim off the excess from around the bottom.

Step 6

Don’t worry if the surface isn’t perfect. The imperfections will be covered for the most part by the decoration that we will make with the cookies.

Step 7

Place one tier on top of the other. If you have used dummies, just stick them together with a little corn syrup (you can include a cocktail stick or dowel to fix it better). If you are using real cakes, remember to place a cake board beneath the top tier and use dowels for support.

Step 8

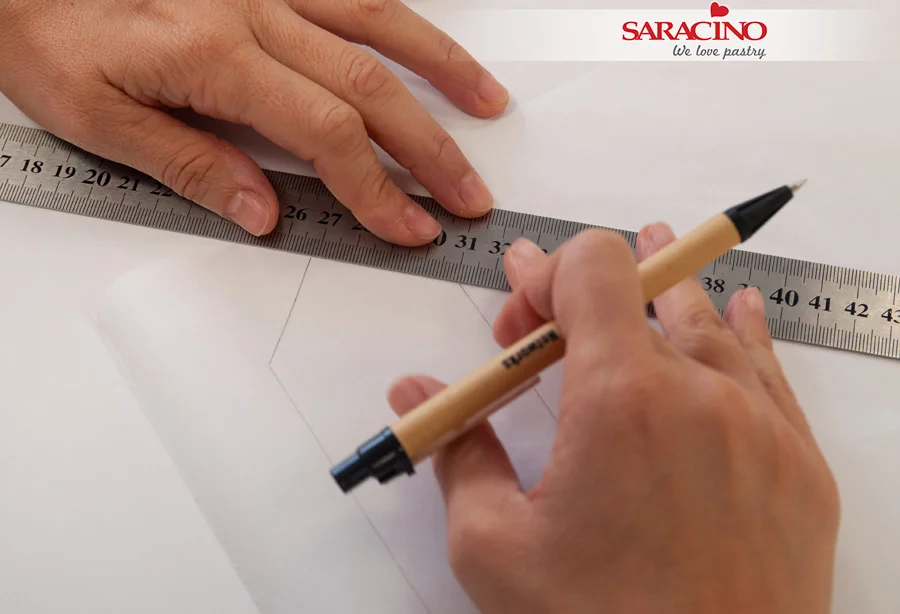
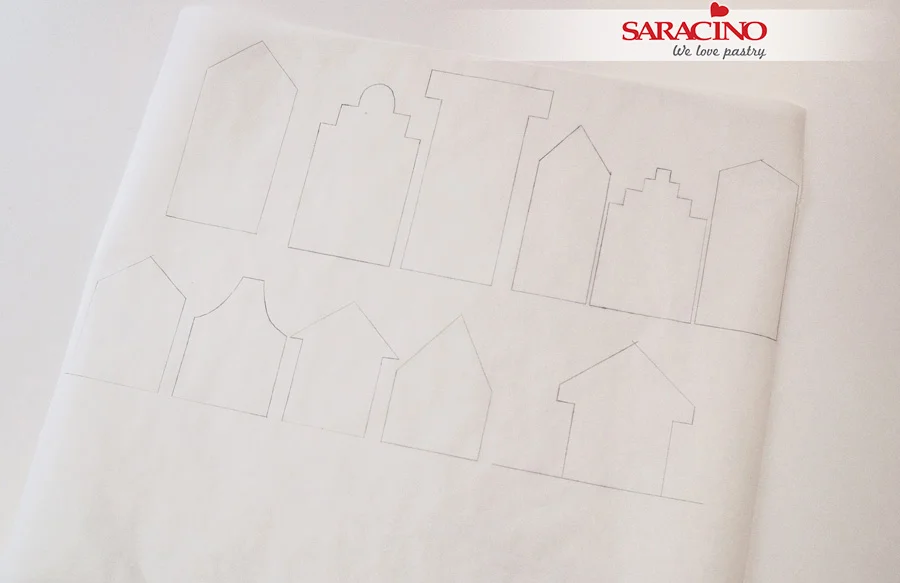
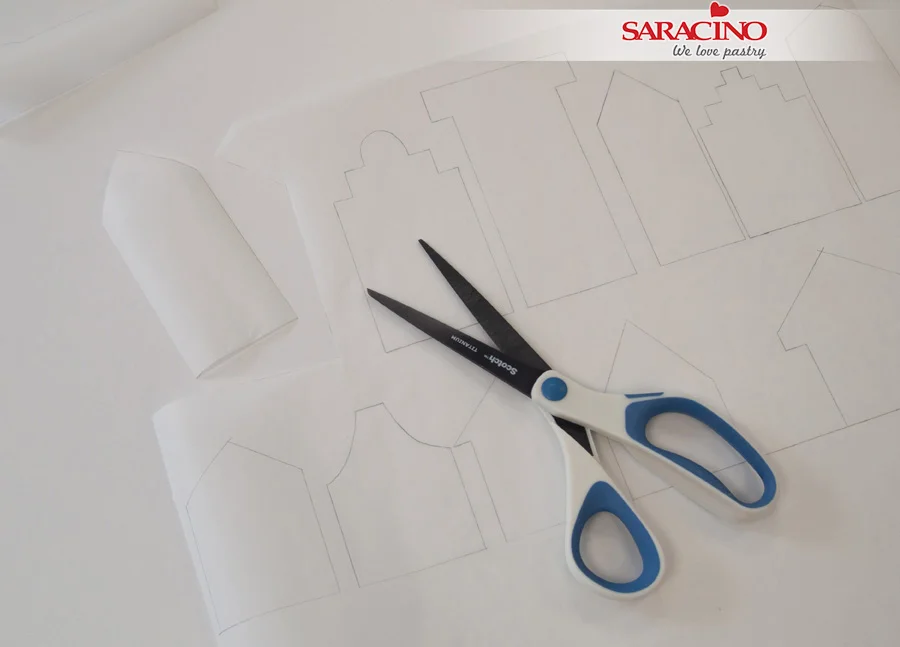
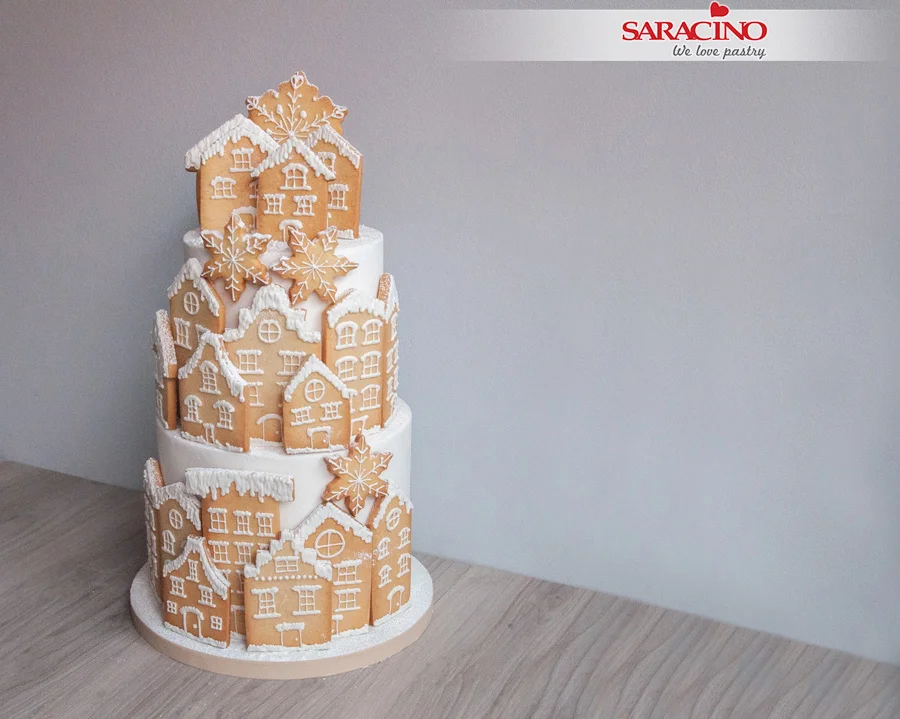
Draw little houses on the baking paper. Bear in mind the height of your tiers and decide on the sizes you would like.

Step 9

You can make as many shapes and sizes as you want but remember that you can repeat patterns (otherwise you will spend a lot of time cutting out shapes). You must bear in mind that you should not make them excessively wide so that they adapt better to the curvature of the cake.

Step 10

Cut out the little houses that you have drawn

Step 11

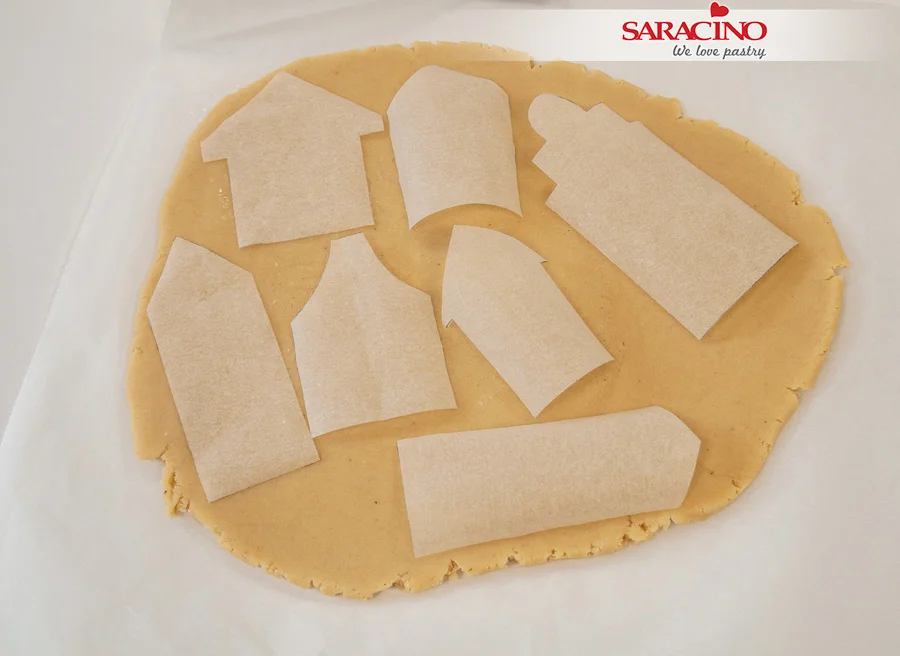
Roll out the cookie dough to an even thickness (5mm thick). Place the shapes you have cut out on the cookie dough. You can use the classic shortbread dough, gingerbread cookie dough, honey cookie dough … But don’t forget that the dough must always be very cold to handle.

Step 12

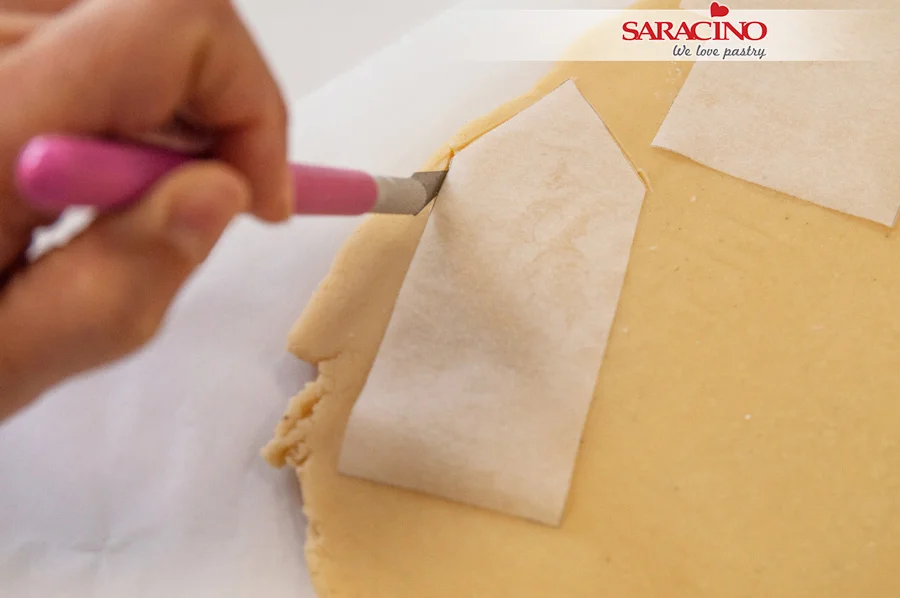
Cut the houses using a sharp blade.

Step 13

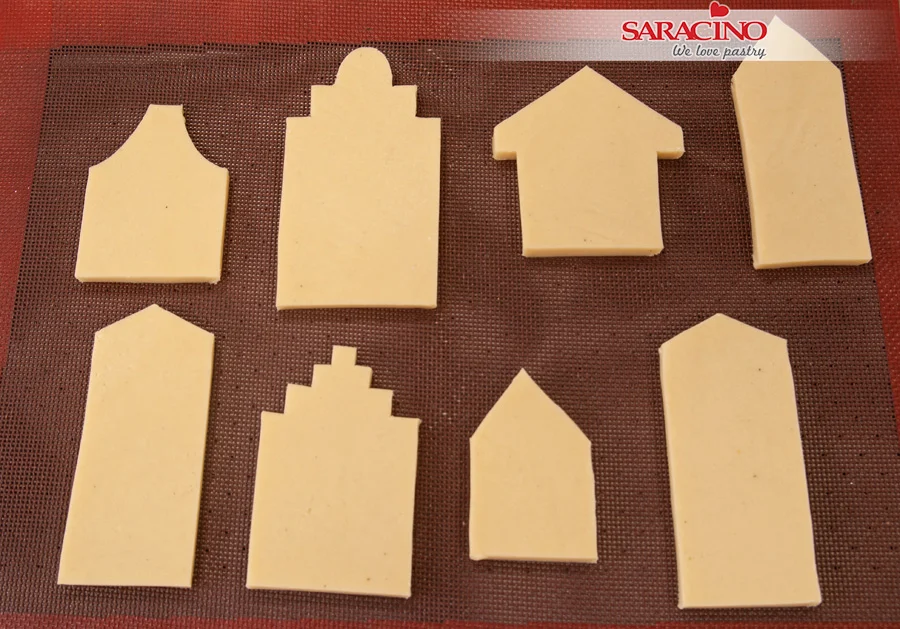
Place the cut cookies on a cookie sheet with a micro-perforated mat and put them in the freezer for 5-10 minutes. This will prevent them from losing their shape during baking. Meanwhile, preheat the oven to 180ºC (356 ° F).

Step 14

Also cut some snowflakes and do the same, put them in the freezer for a few minutes.

Step 15

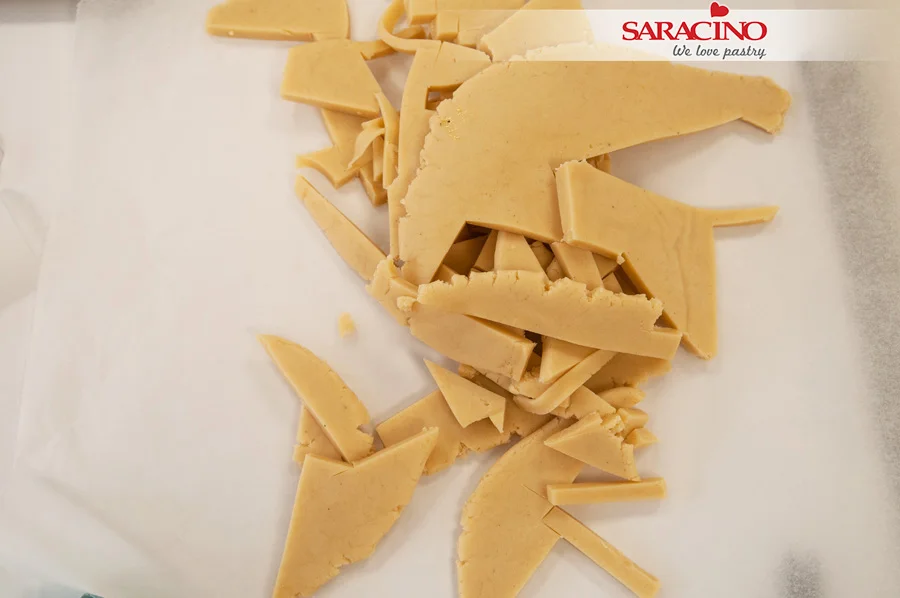
Don’t throw out the dough scraps! Knead them again (not too much so that the gluten does not develop and the cookies are puffed in the oven) and roll them again. Remember to cool the dough very well before using it.
Step 16

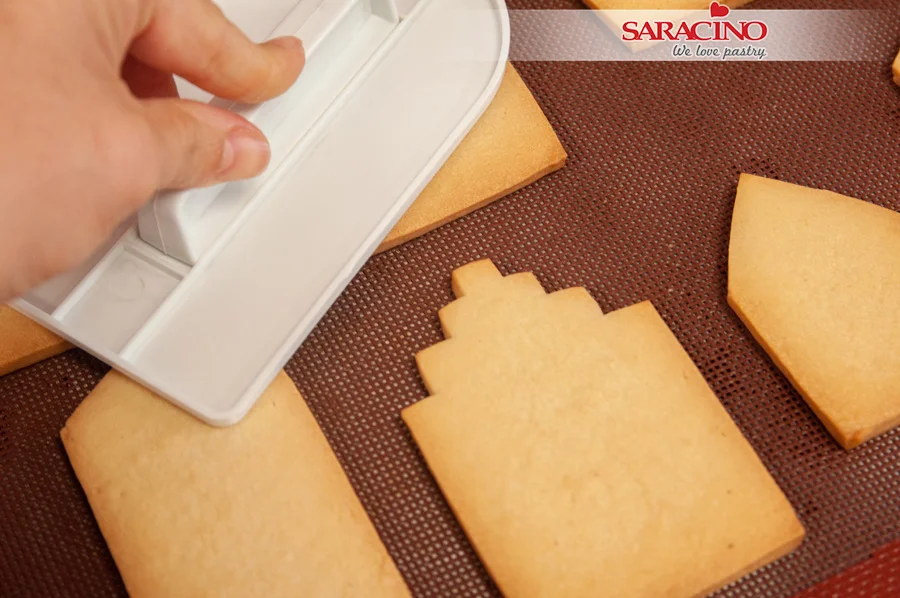
Bake the cookies at 180ºC (356 F). Baking time depends on the size of the cookies. It usually ranges between 10 and 15 min. It depends on how dark and crisp you like them. When you take them out of the oven, flatten them with a smoother. You must do it as soon as you remove them, before they harden completely.

Step 17

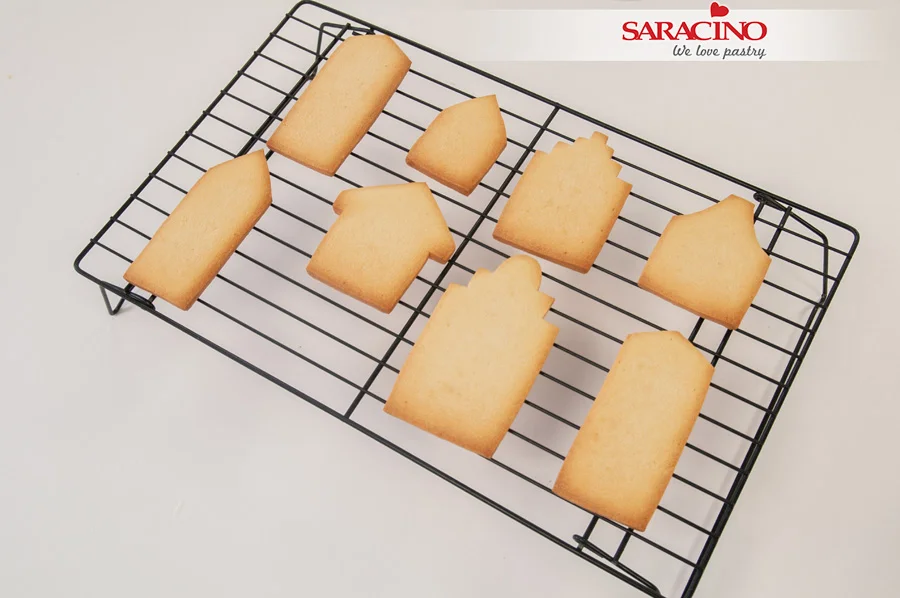
Transfer the cookies to a cooling rack and wait until they are completely cool before decorating.

Step 18

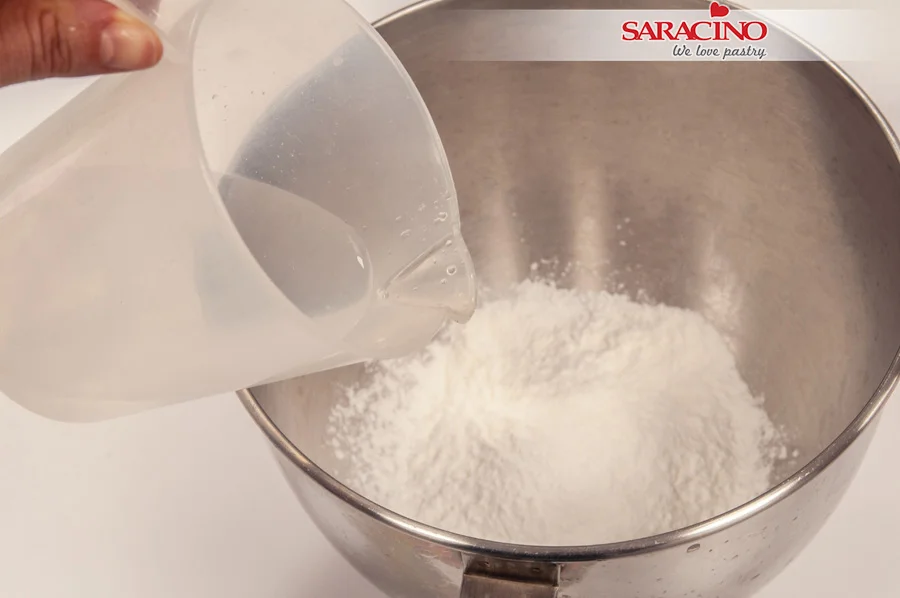
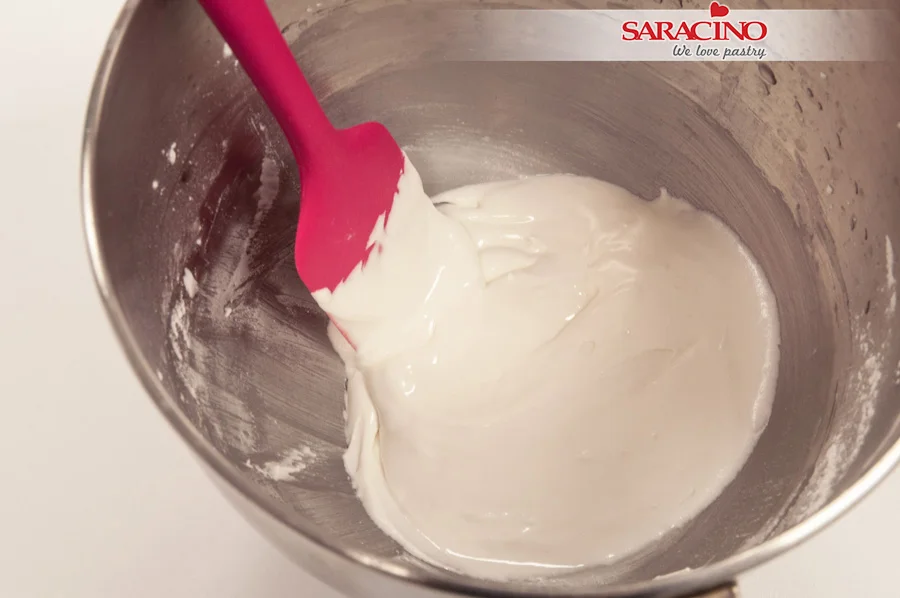
Make the royal icing. Follow the instructions on the package (we must make a rather firm royal icing so that it does not flow when piped). It is not necessary to add flavors as it is delicious as is.

Step 19

Beat with the paddle at low speed so that it does not air too much and check that it is well uniform, white and shiny.

Step 20

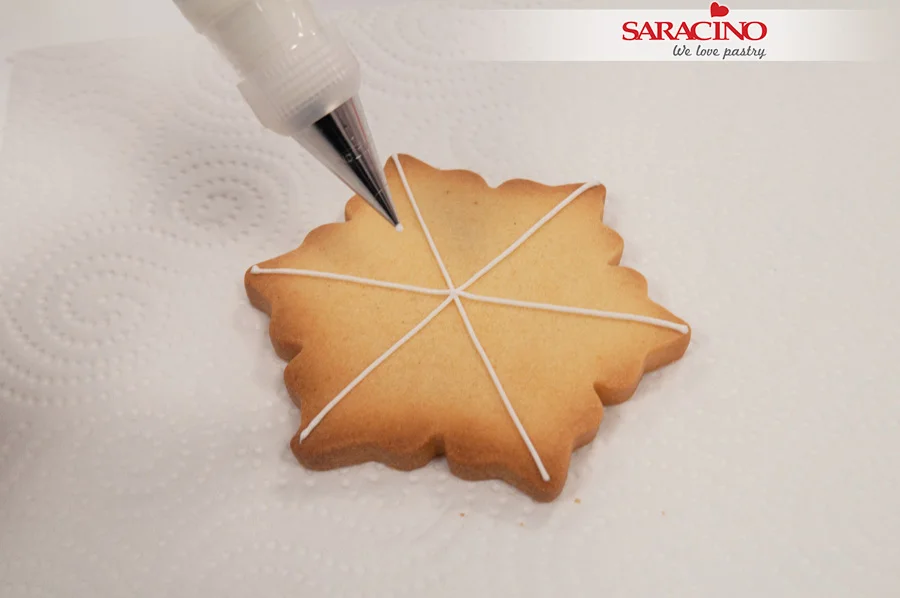
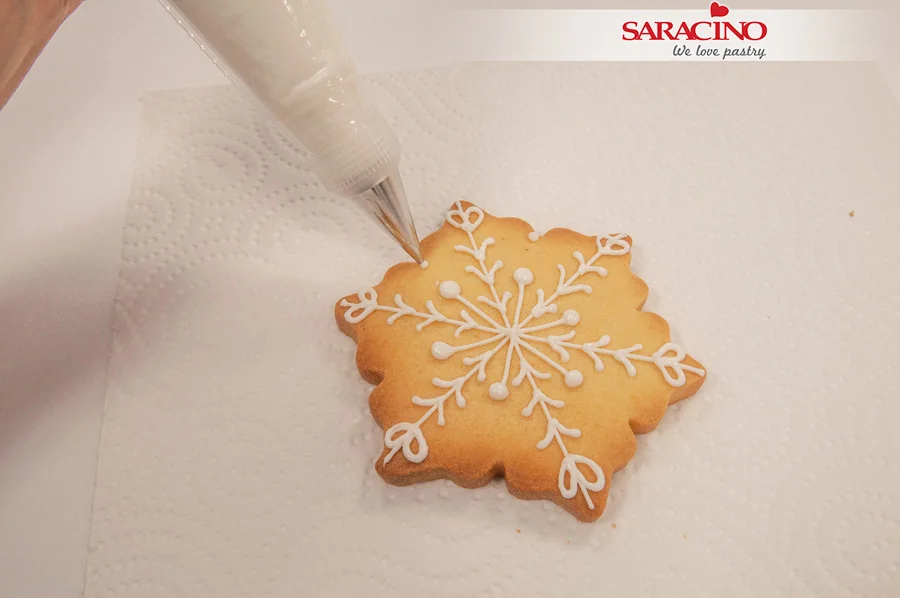
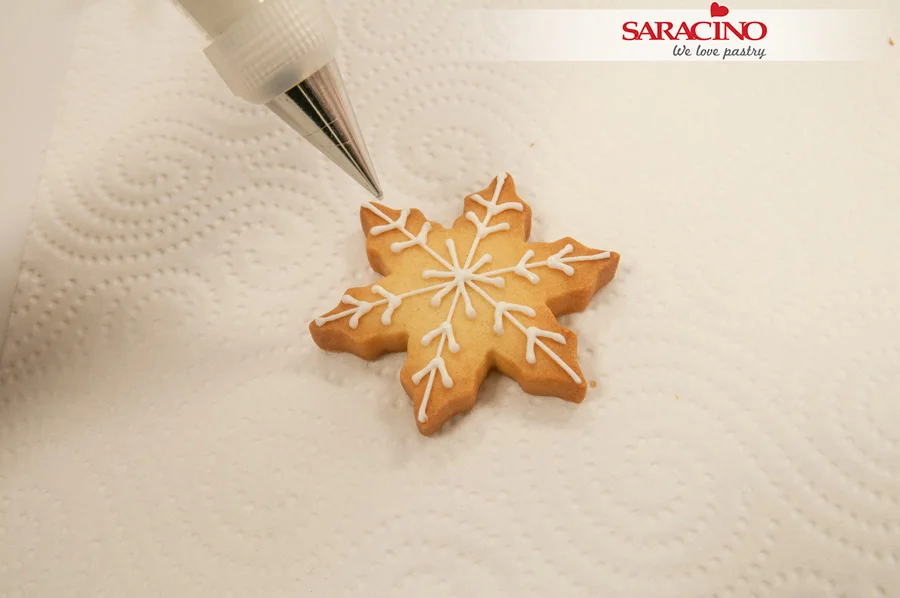
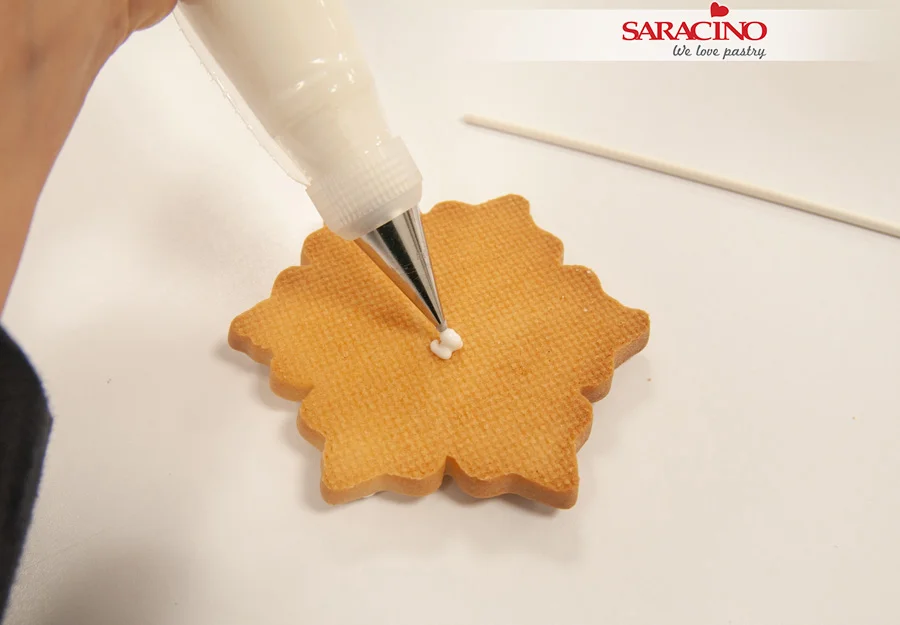
Place the nozzle in the piping bag and fill with the royal icing. Start decorating the cookies. Make a large snowflake to place on top. Let yourself go with imagination! Make the shapes and decorations that you like the most on the cookie.
Step 21

You can make lines, dots … but for that shape to be maintained remember that it is important to have a good piping consistency with your royal icing. We dont want it too runny so it runs.

Step 22

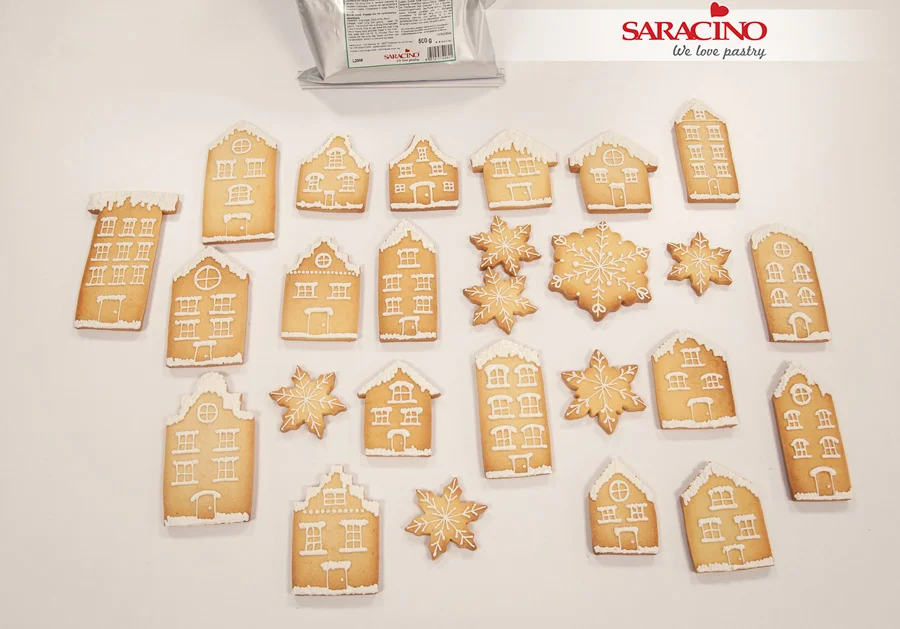
Make other sizes of snowflakes, some smaller to fit in the spaces between houses

Step 23

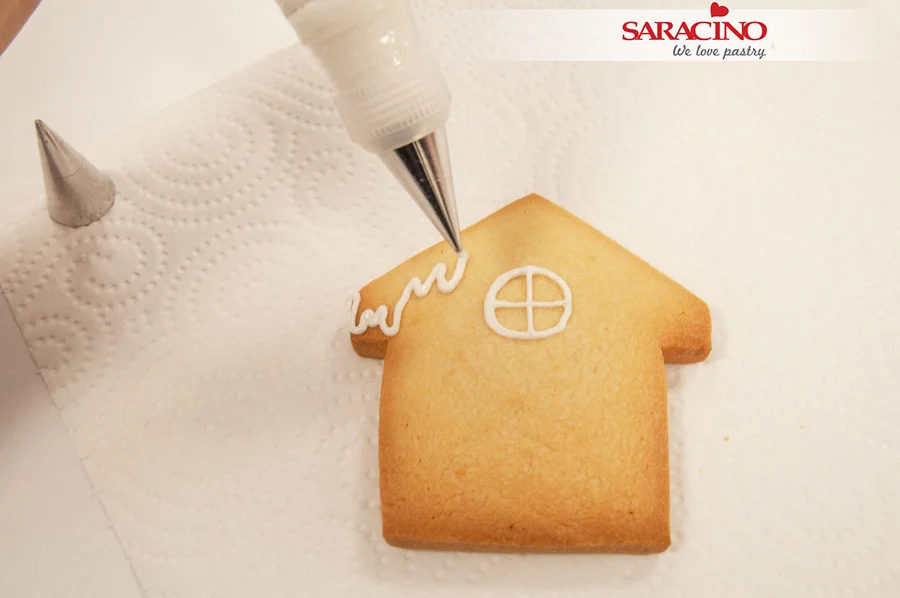
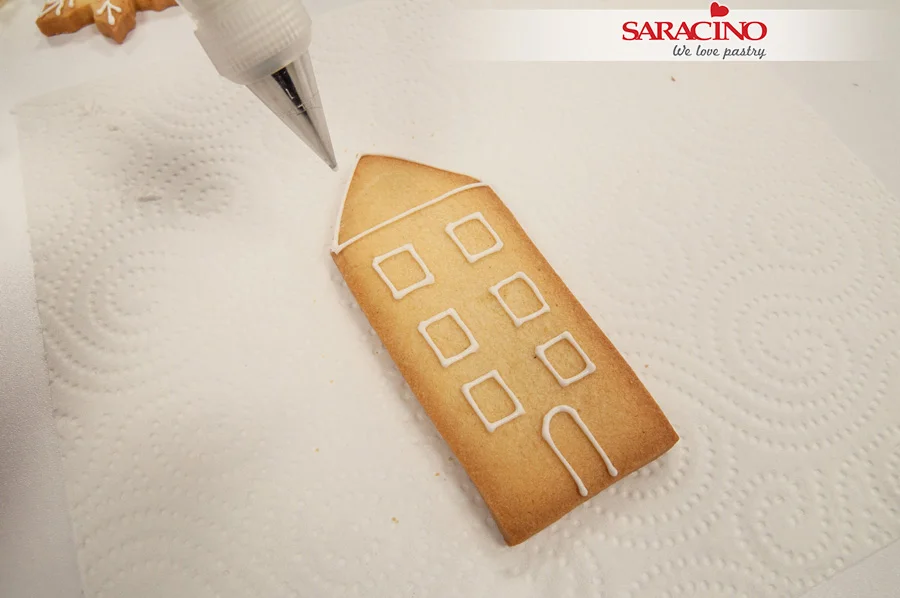
Decorate the houses. Outline the area of the roof to later fill and simulate snow.

Step 24

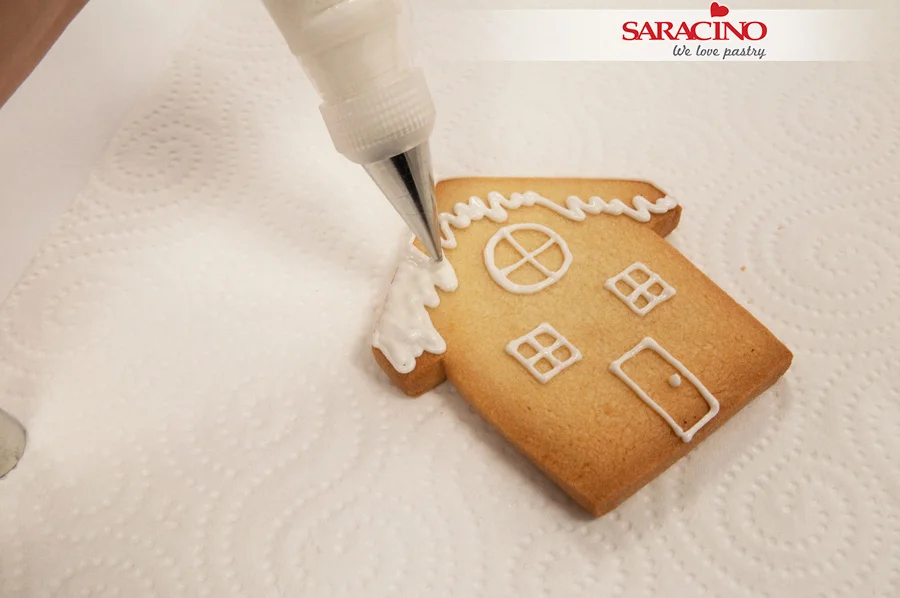
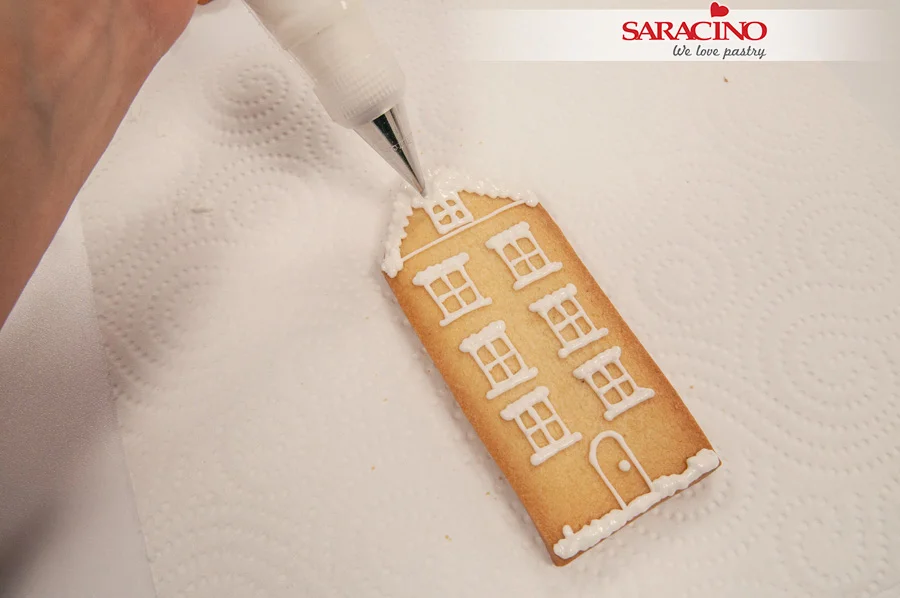
Fill in the roof and make windows and a door

Step 25

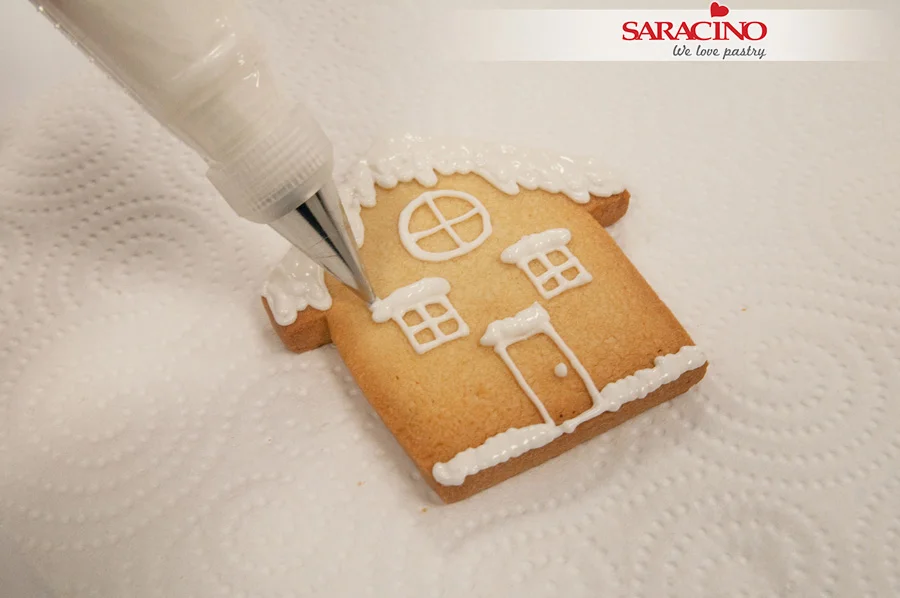
Put some royal icing on the windows, it will give more winter and Christmas feeling.

Step 26

Do the same with the other houses. Make up different decorations!

Step 27

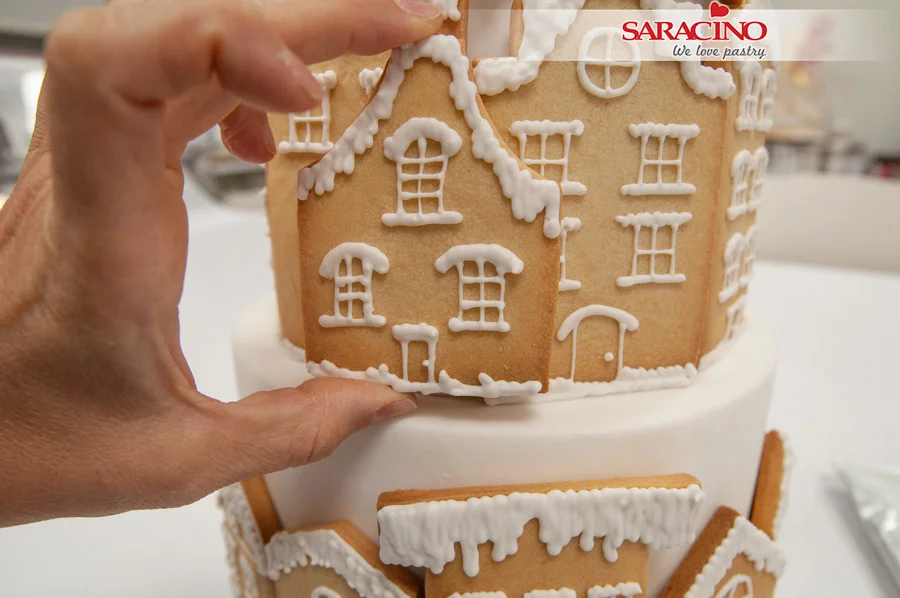
You can also add royal icing to the base of the cookie, it will look like the ground is snowy when you place them on the cake.

Step 28

Let the royal icing dry well before placing the cookies on the cake.

Step 29

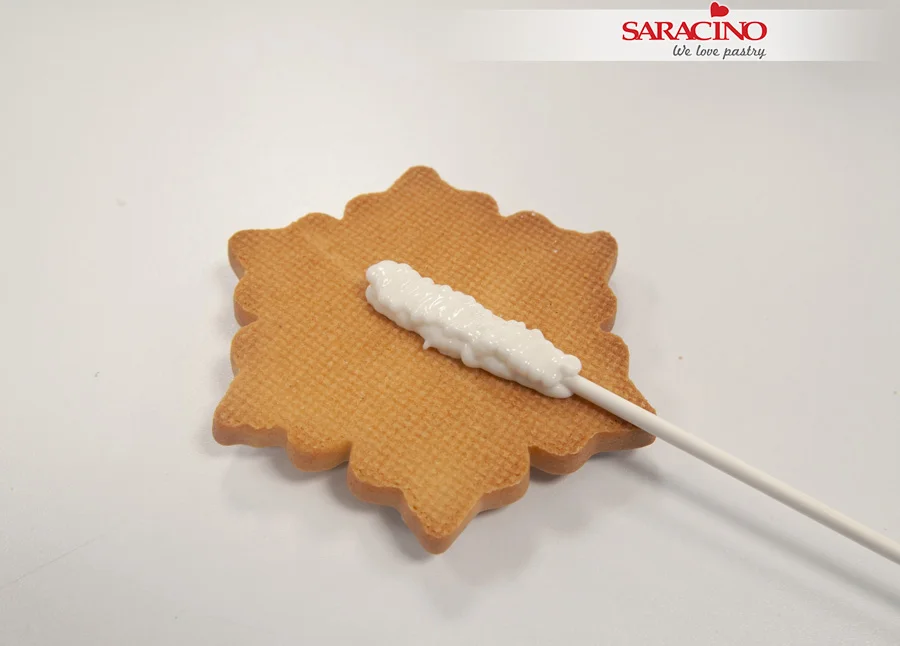
As the large snowflake will be placed on top of the cake, we must fix a wooden skewer to the back of the cookie. We will stick it with icing. We put a little on the back of the cookie.

Step 30

Then we will place the top of the skewer onto the cookie and finish covering it with more royal icing. Let it dry very well before using it so that it does not come off.

Step 31

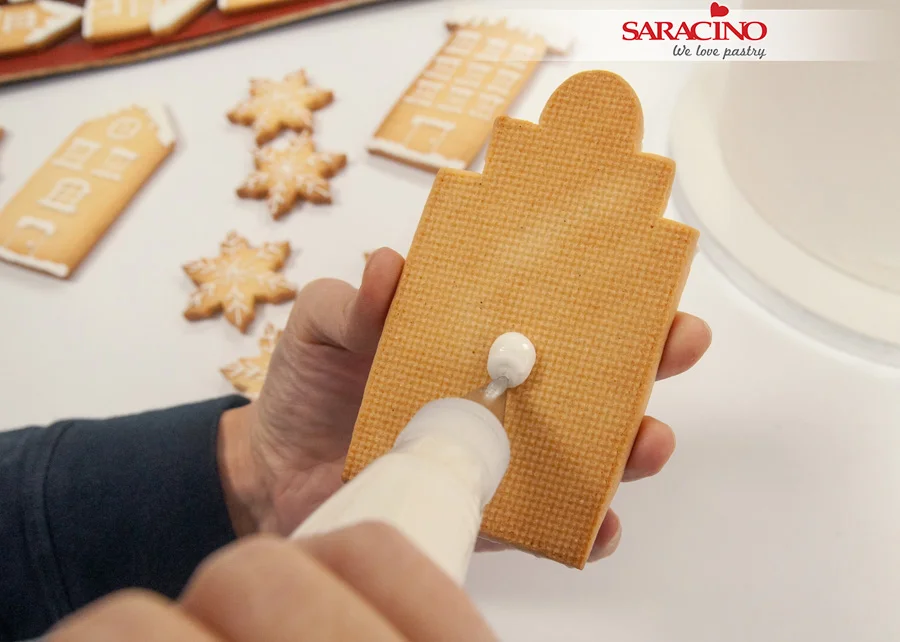
To stick the cookies to the cake, we will put a little royal icing on the back of each one. It will be enough to keep it glued but remember that you must let it dry so that it does not fall off.

Step 32

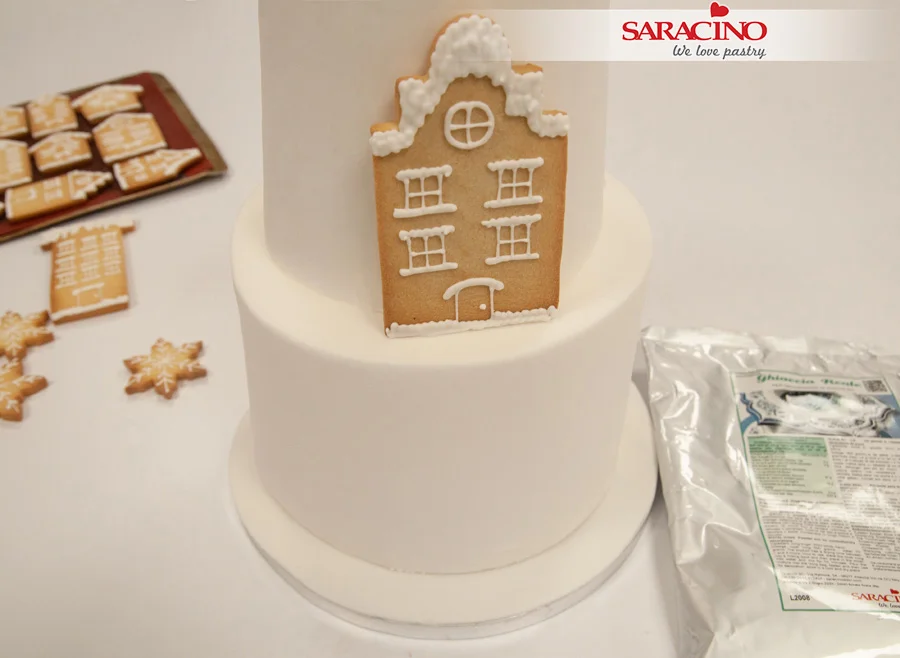
Place the first cookie and press lightly to set it.

Step 33

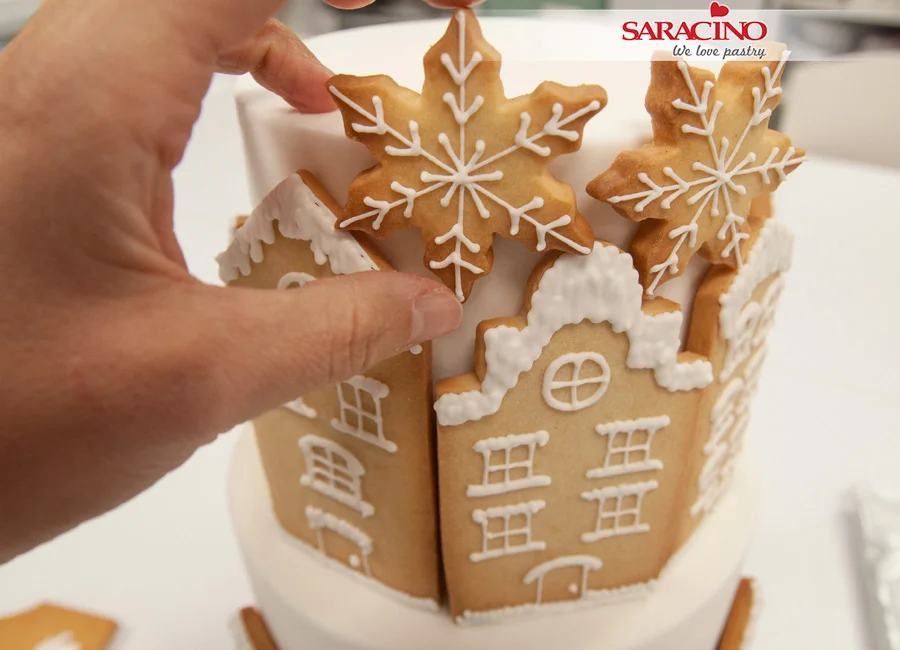
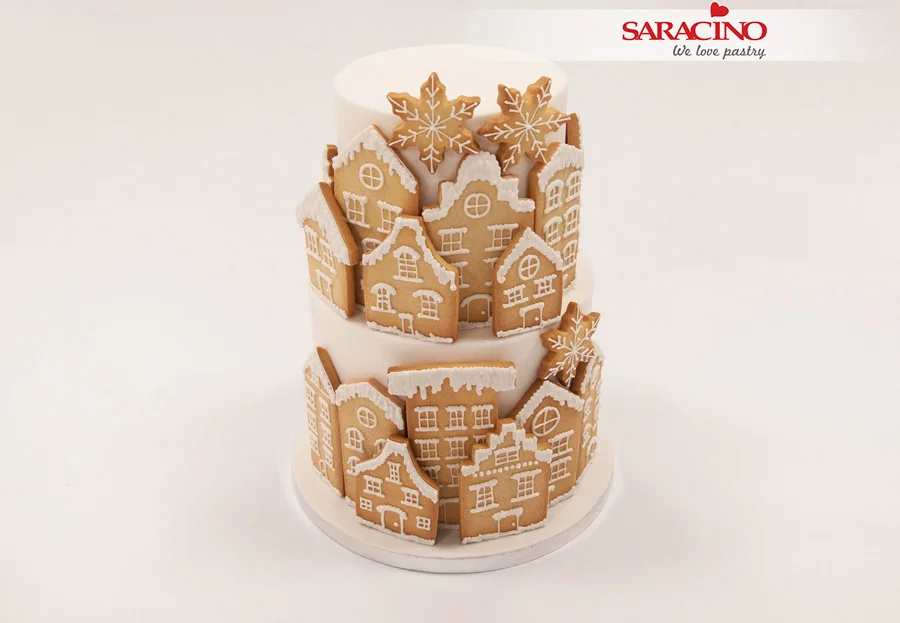
Continue placing the other houses, as well as the snowflakes. Keep the flakes pressed for a few seconds since they are not supported on the base of each tier, they could slip.

Step 34

To give a volume effect, place some lower houses in front of the tall ones.

Step 35

Let dry so that they do not fall when moving the whole set.

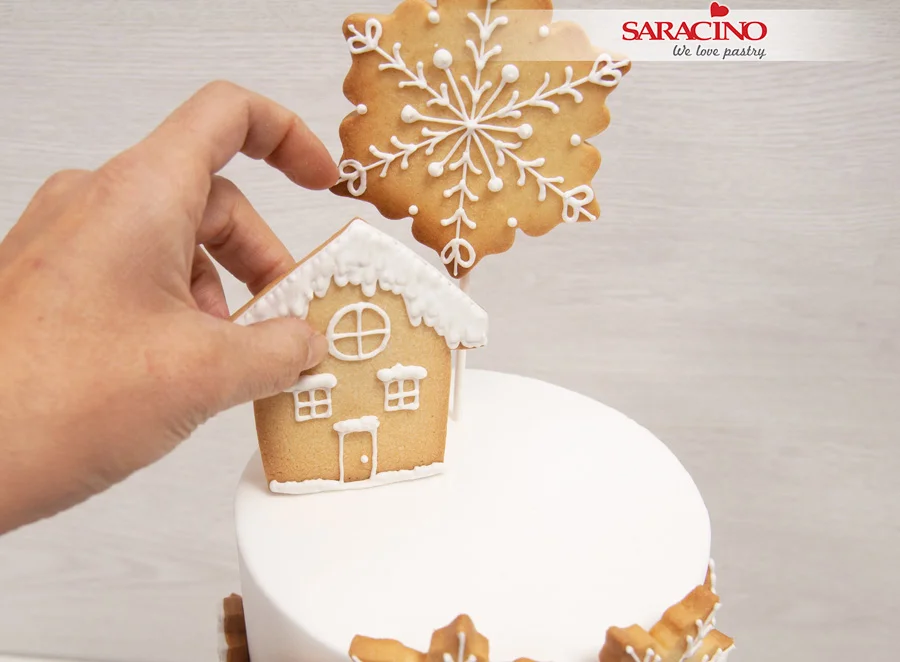
Step 36

Insert the large snowflake and place the houses on the top. You can put skewers on the back of the houses in the same way you did with the large snowflake. This will make it easier for you to keep them standing.

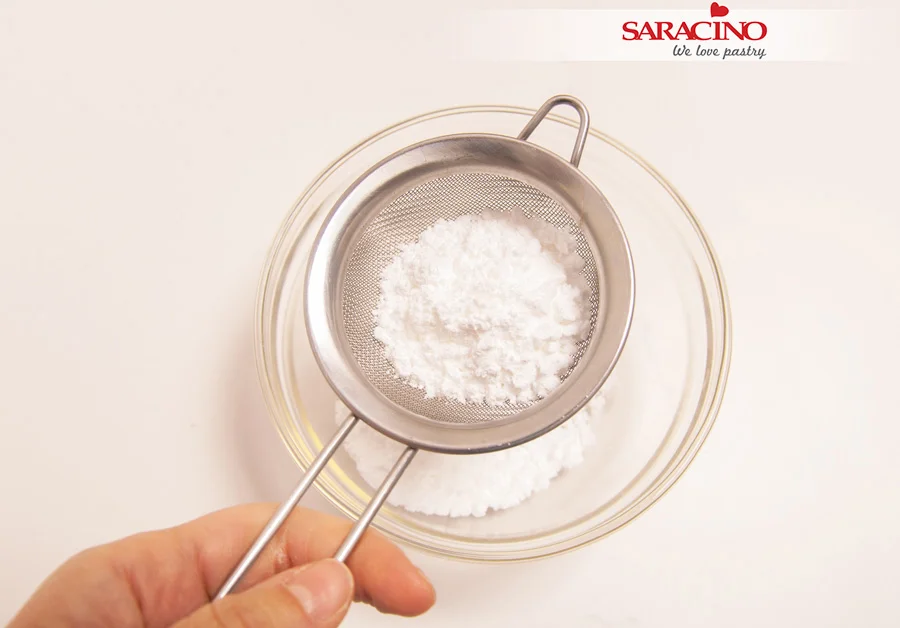
Step 37

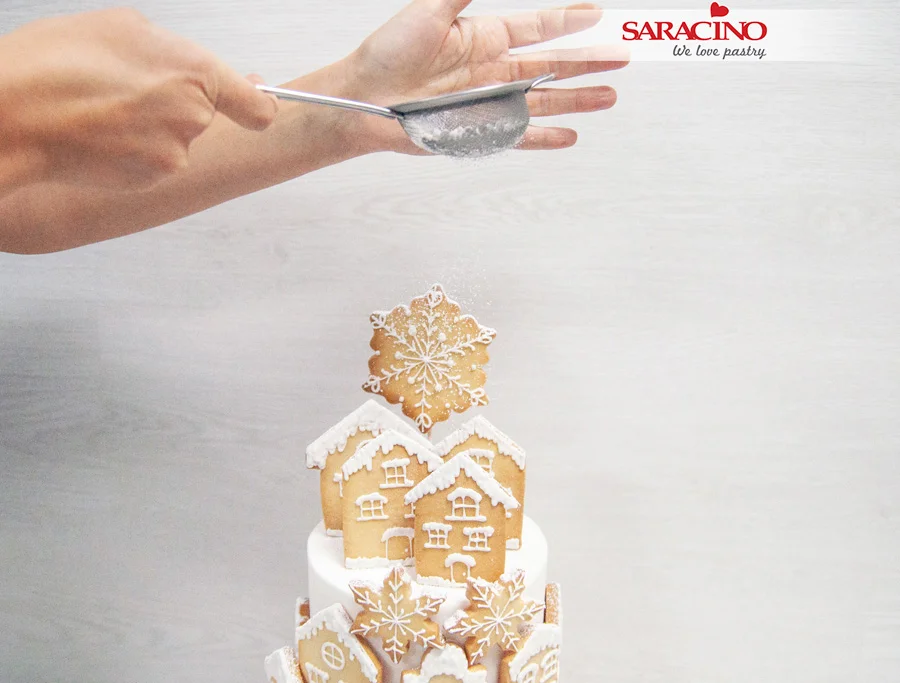
Put some royal icing on a sieve

Step 38

Do your Christmas magic! Sprinkle on the cake and contemplate the beautiful effect you get!

Step 39

Your cake is ready to be served. Enjoy and Merry Christmas!

YOGA GIRL MODELLING TUTORIAL

YOGA GIRL MODELLING TUTORIAL

You will need:

  • Dresden tool
  • A thin brush
  • A large brush
  • Exacto knife
  • Rolling pin
  • A small silicone brush
  • A blade
  • Metallic spatula
  • Saracino modelling paste skin color
  • Saracino modelling paste tiffany color
  • Saracino modelling paste light green color
  • Saracino modelling paste brown color
  • Edible glue
  • Wooden skewer
  • Saracino dust colors red, white, green and brown
  • Clear alcohol

Step 1

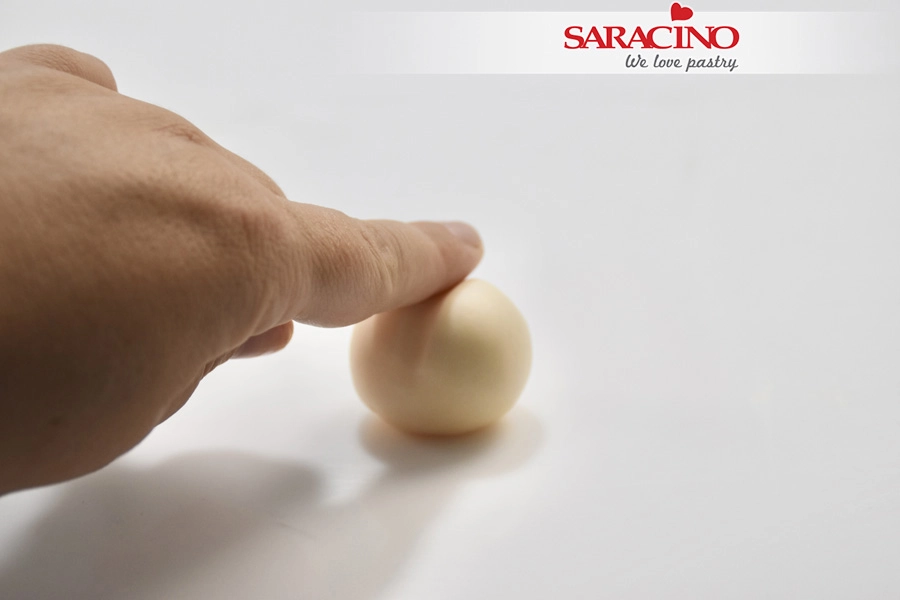
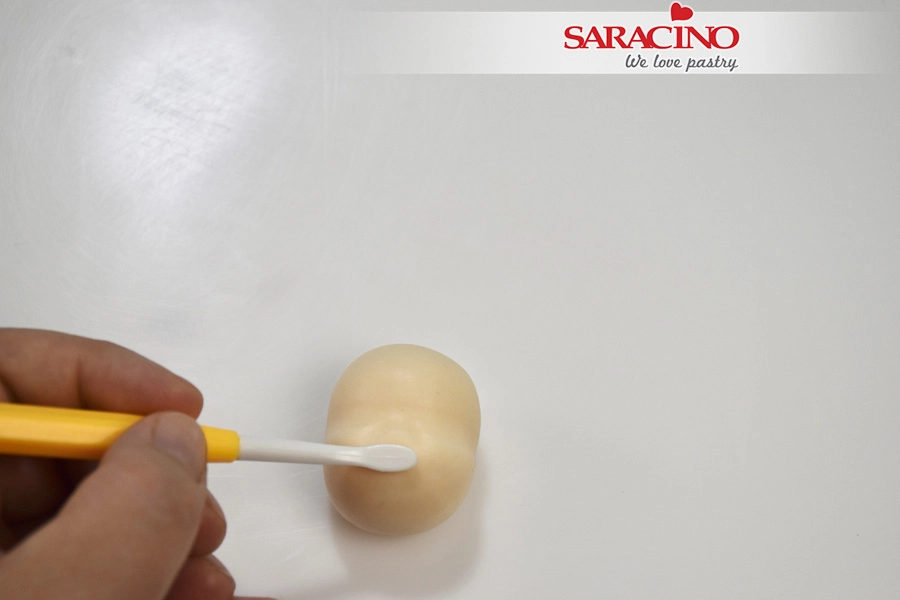
Take 35g of skin tone Saracino modelling paste and roll it to a nice even ball shape

Step 2

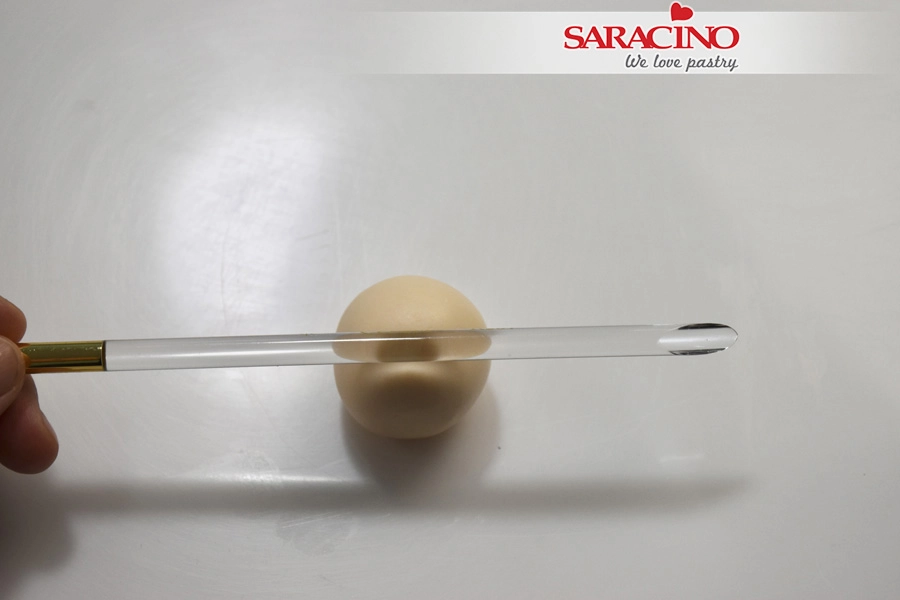
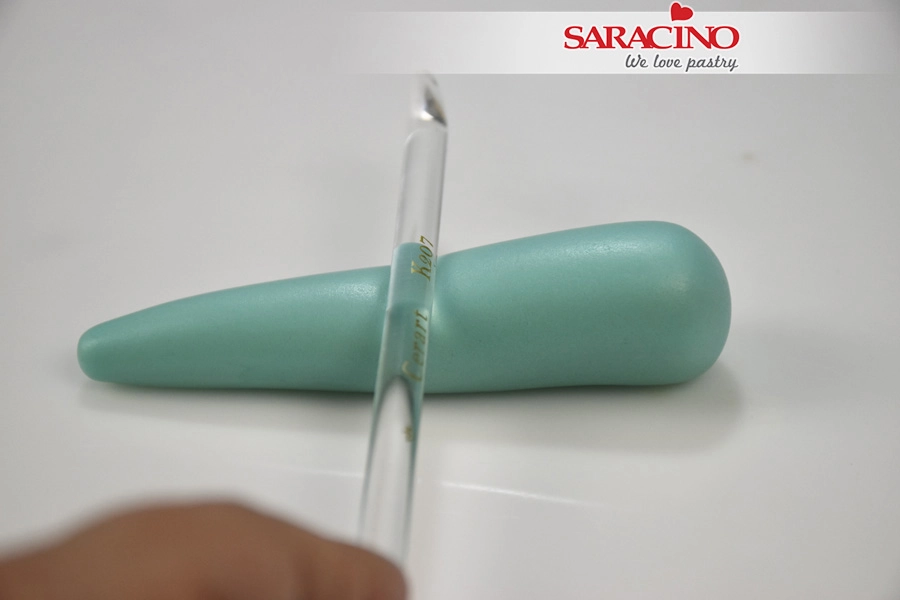
Use the back side of your brush to create a dent in the middle of the ball.

Step 3

Don’t push too much or too little. You should end up with a result like seen in the picture

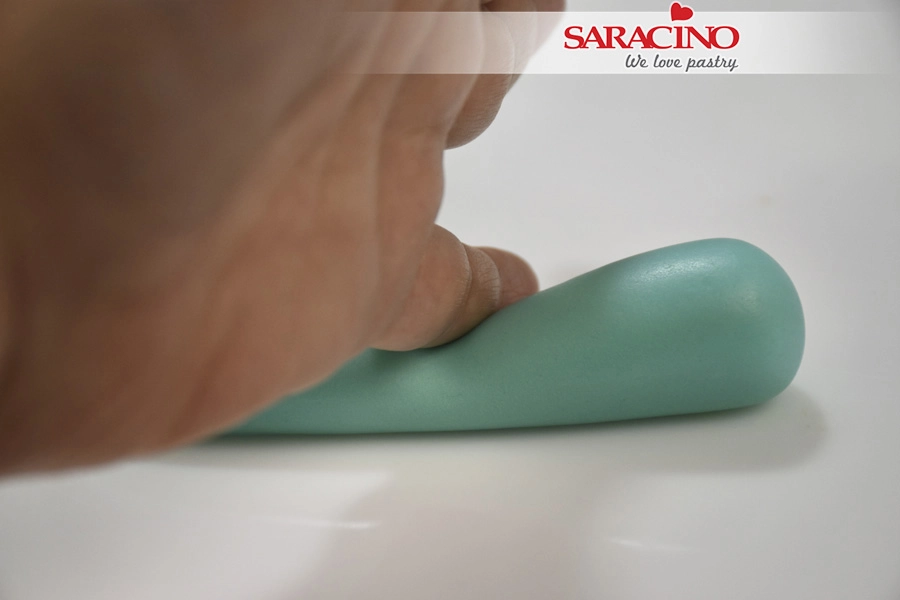
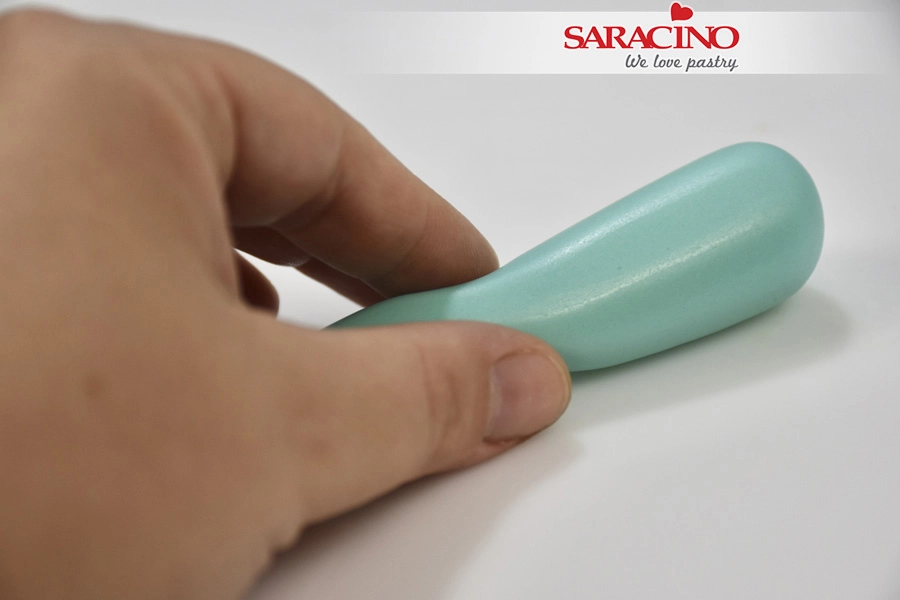
Step 4

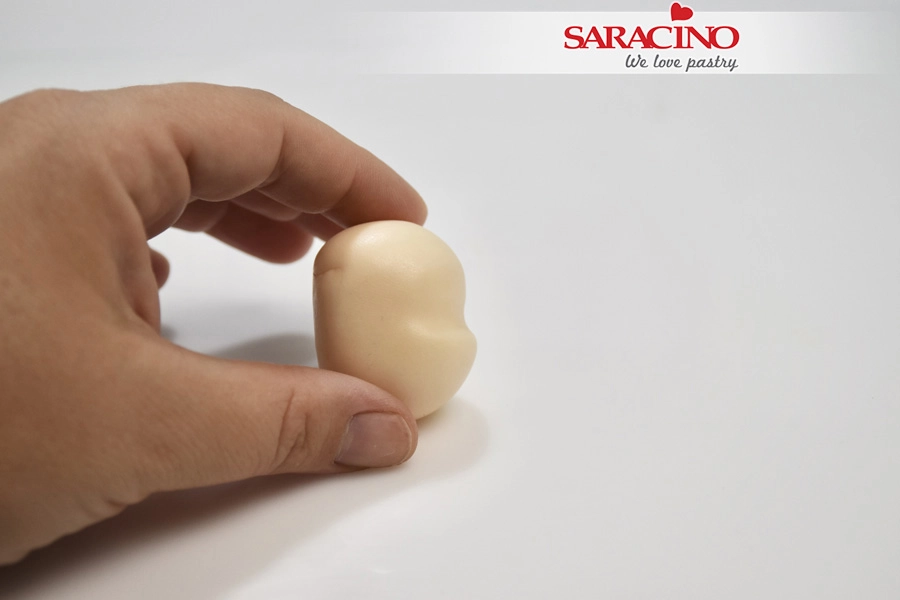
Use your finger to flatten the upper part of the ball

Step 5

You should end up with a result like seen in the picture

Step 6

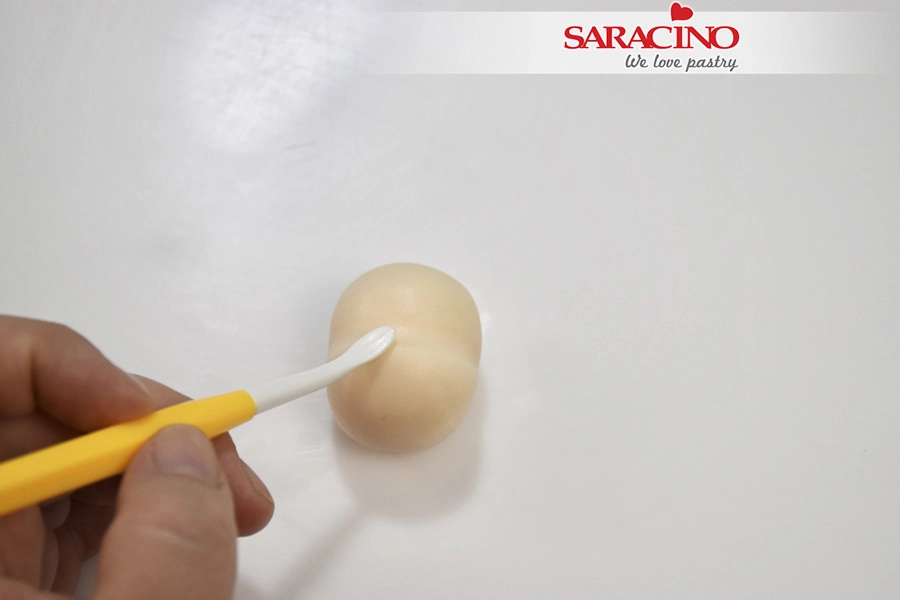
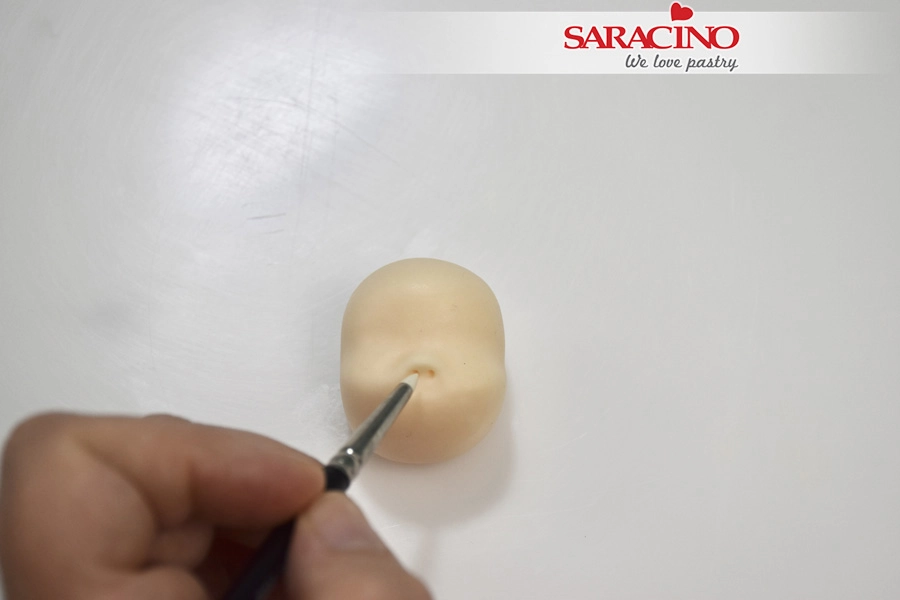
Use your dresden tool to shape  the nose

Step 7

The nose should be a triangle shape

Step 8

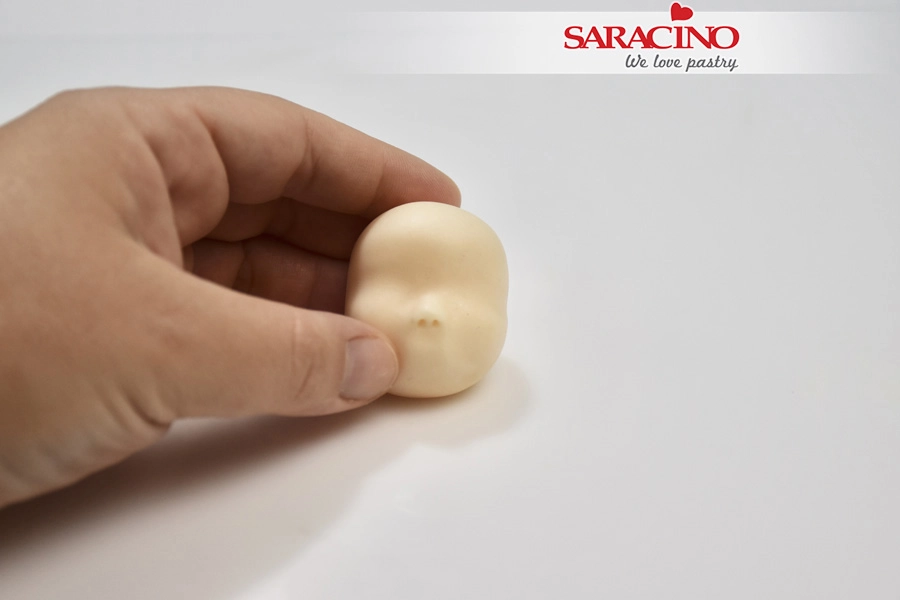
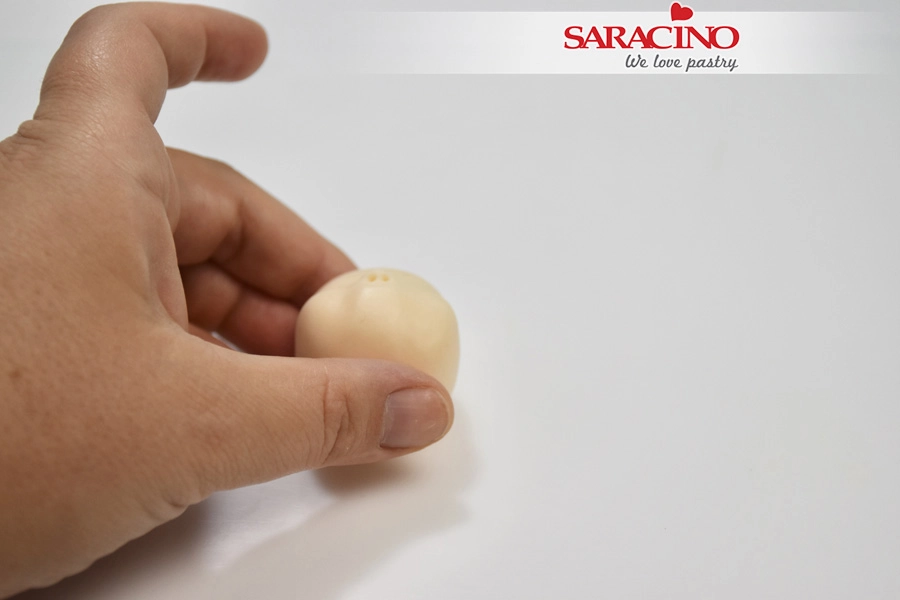
With a small silicone brush define the nostrils

Step 9

Using your finger pressure shape the cheeks

Step 10

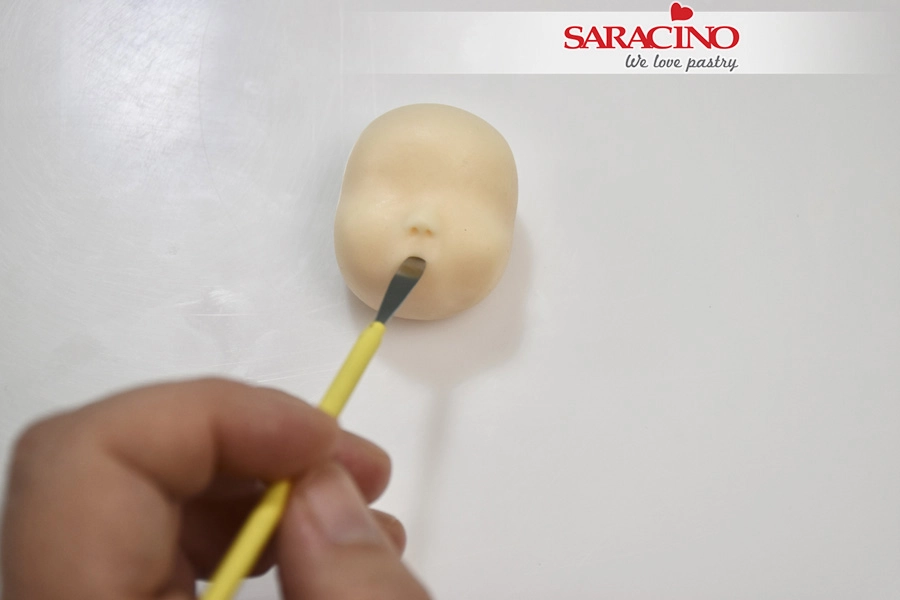
Make 2 dots to mark the corners of the mouth

Step 11

Use a metallic spatula to cut the mouth

Step 12

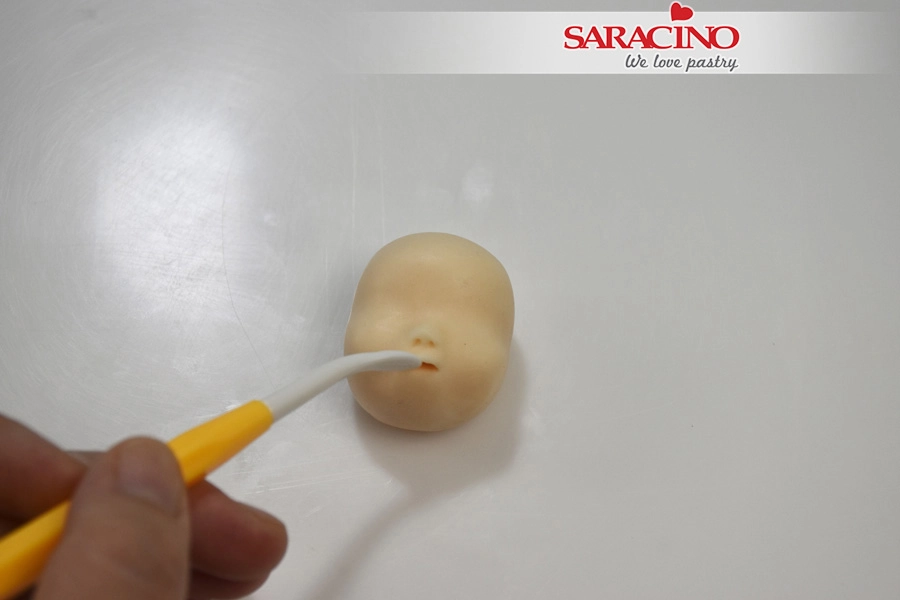
Using the dresden tool shape the upper lip

Step 13

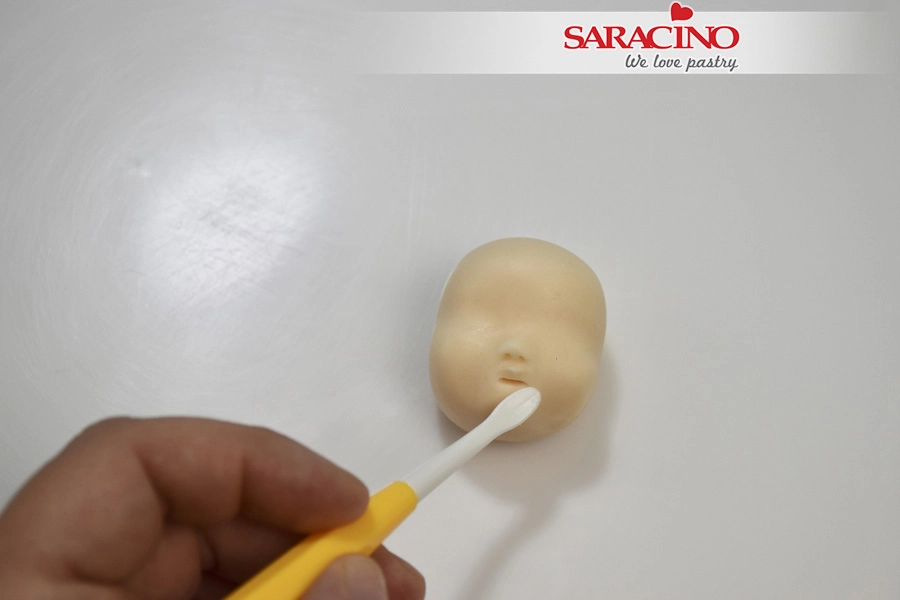
Using the dresden tool shape the lower lip

Step 14

Use the small silicone brush to make 2 small indents at the edge of the mouth

Step 15

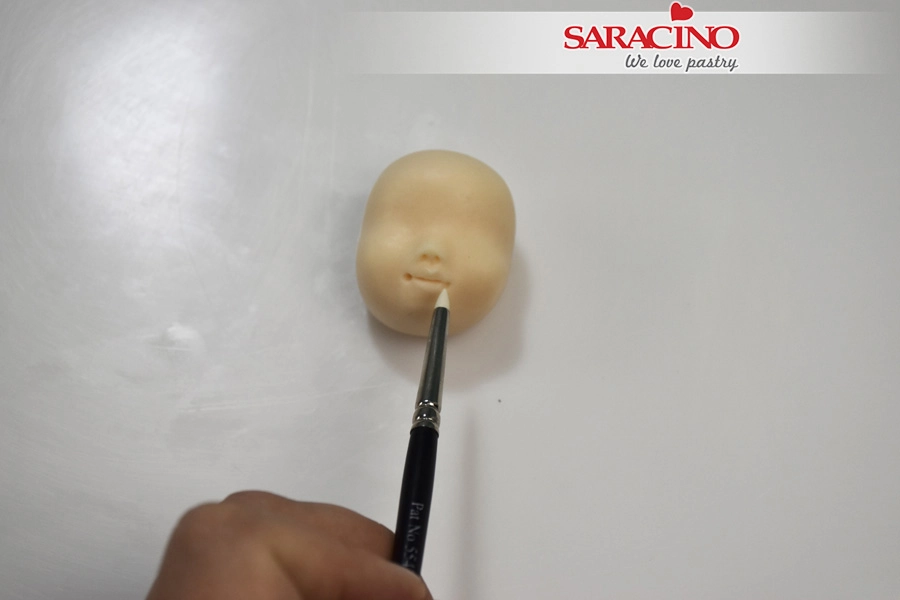
The mouth should look like the picture

Step 16

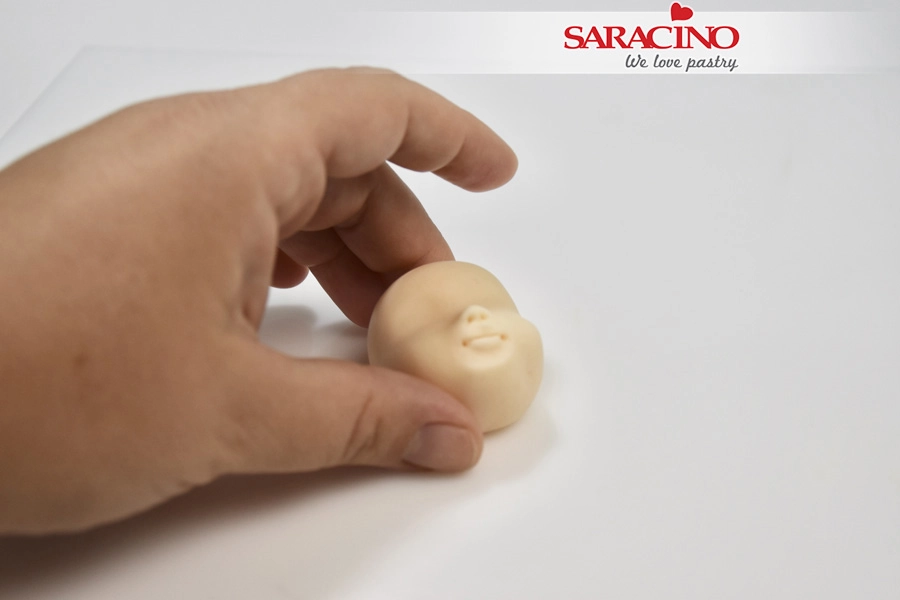
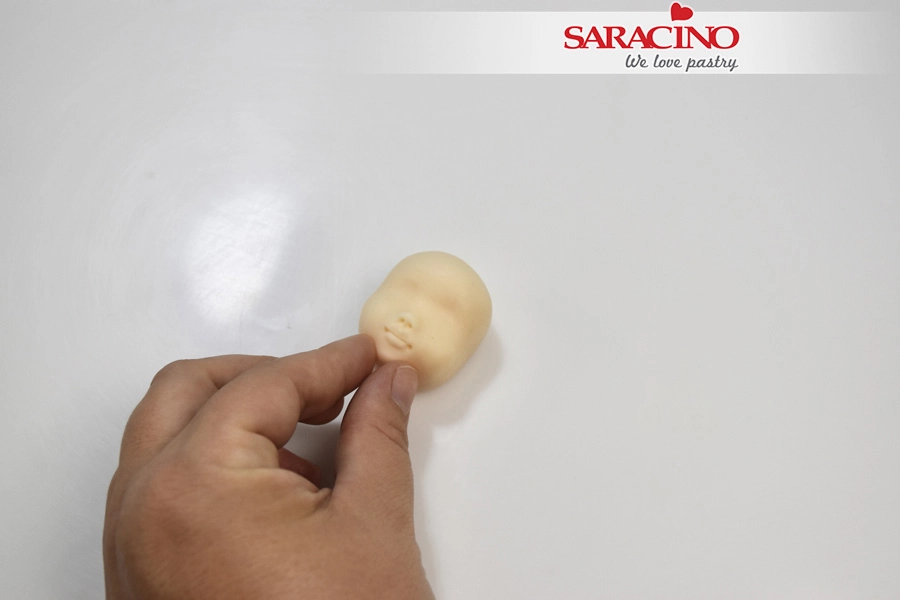
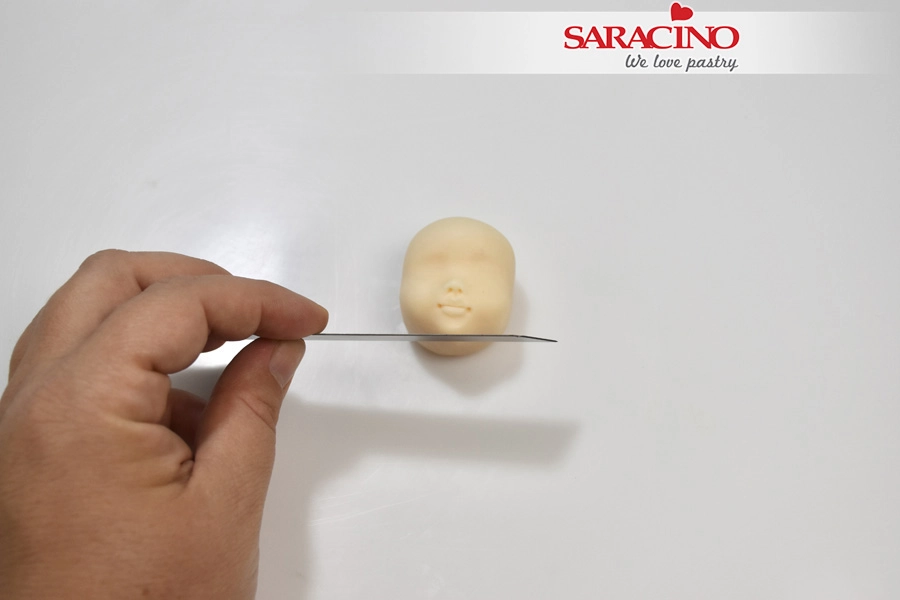
Use your fingers to shape the chin

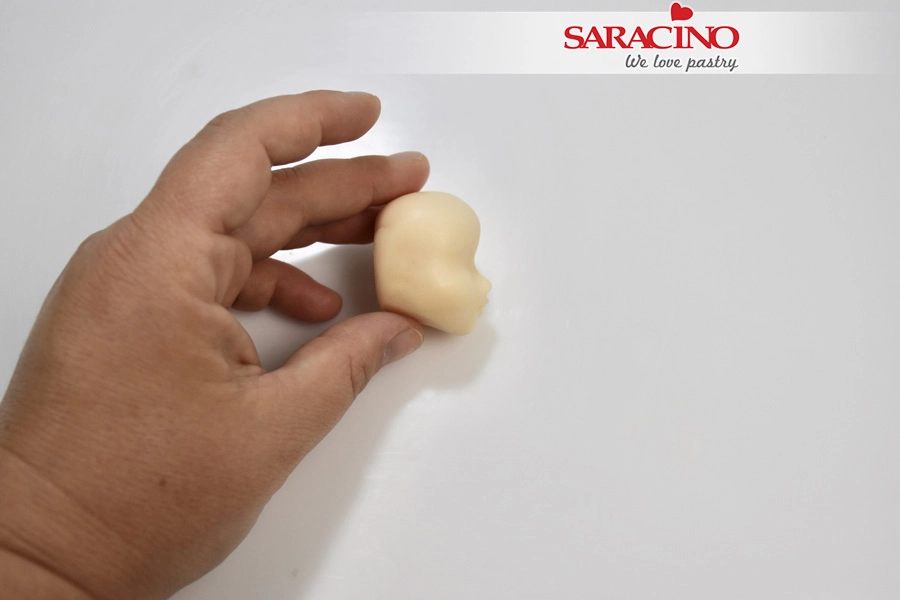
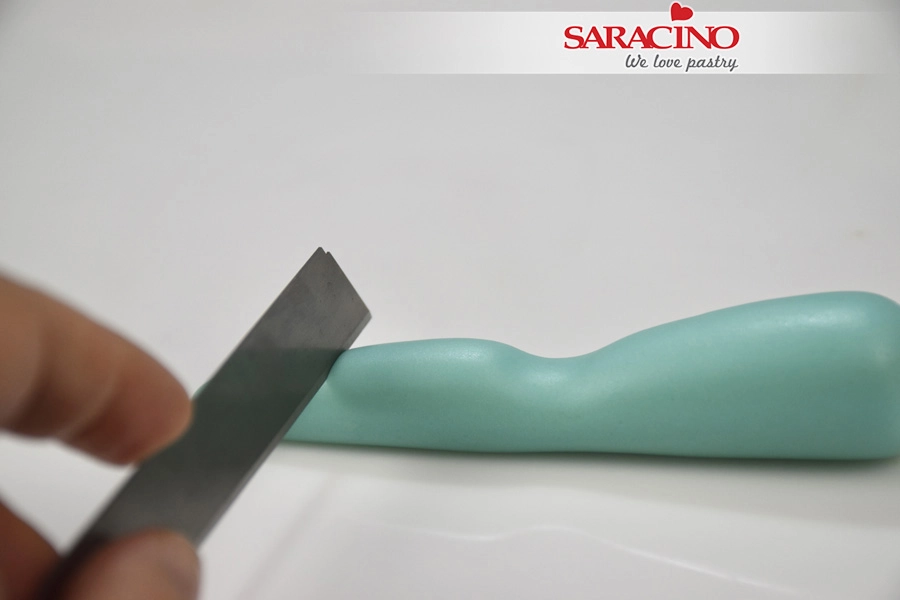
Step 17

Take a blade and cut off the excess paste


Step 18

The profile of the face should look as seen in the picture

Step 19

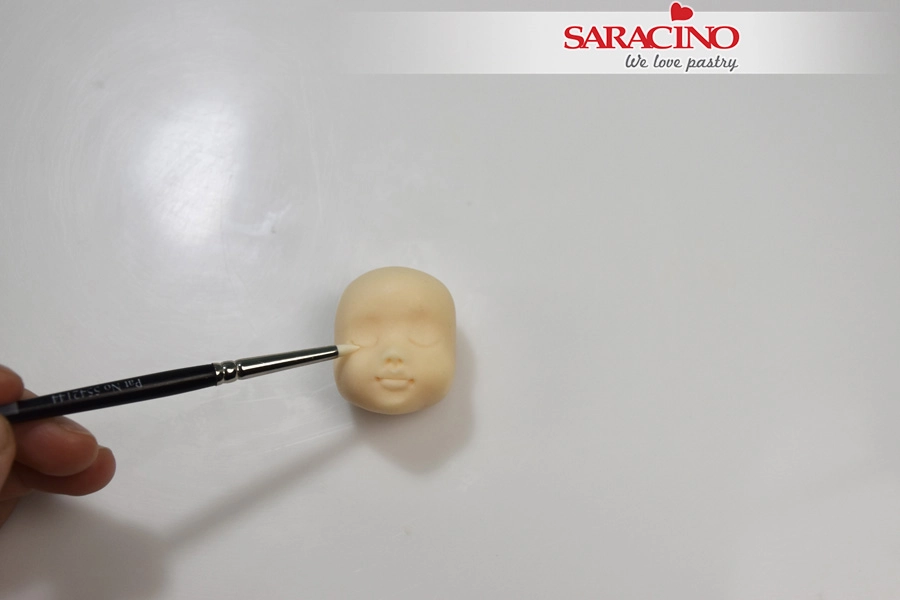
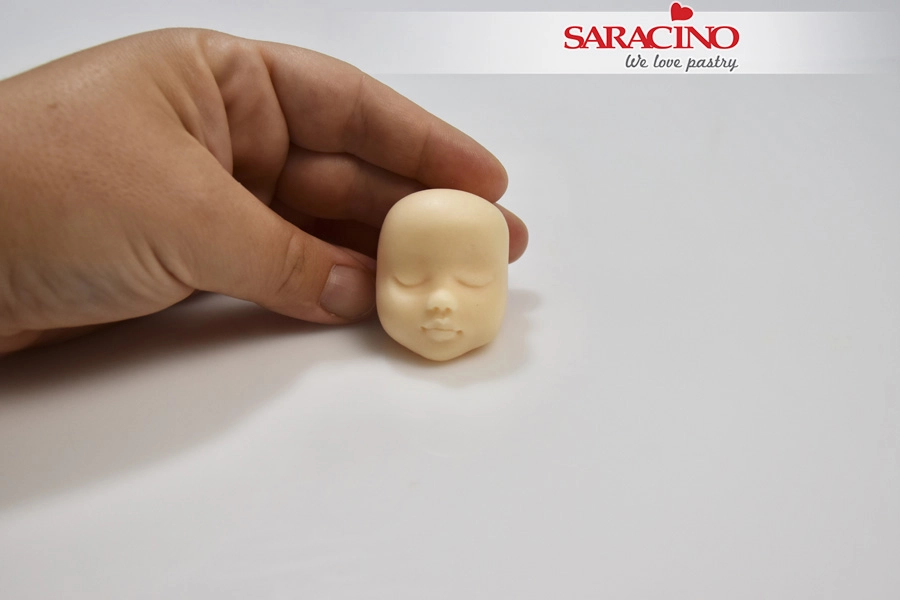
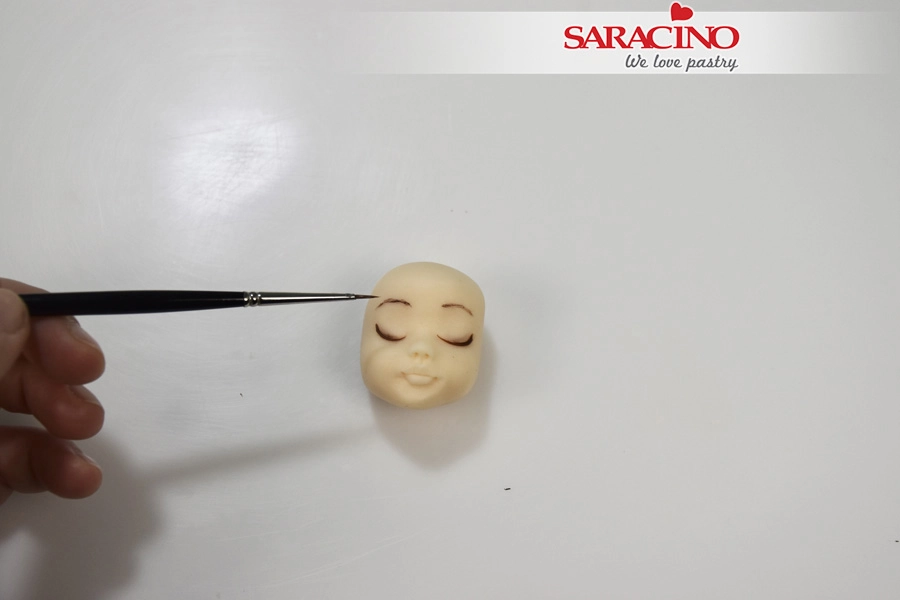
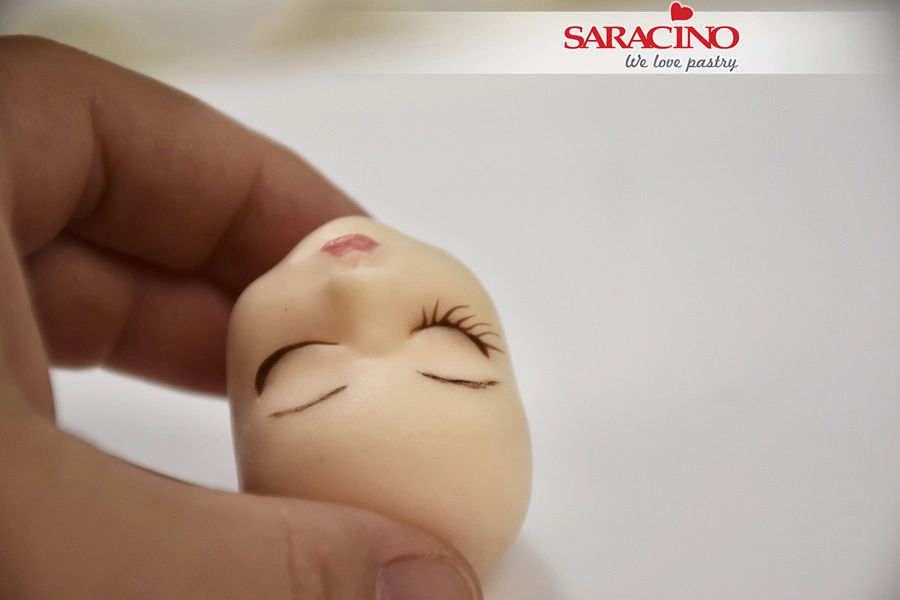
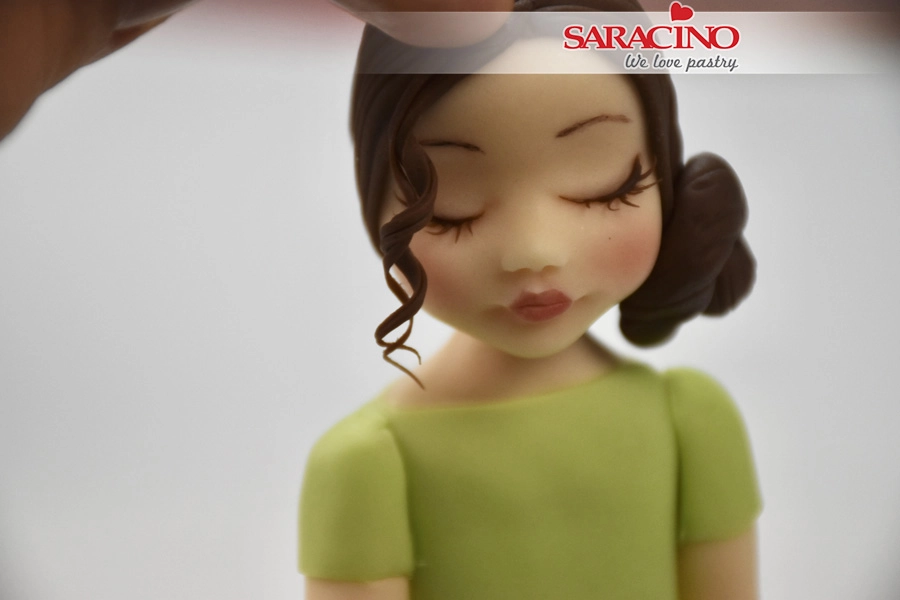
Our girls eyes are closed so we need to define the eyelids with a small silicone brush.

Step 20

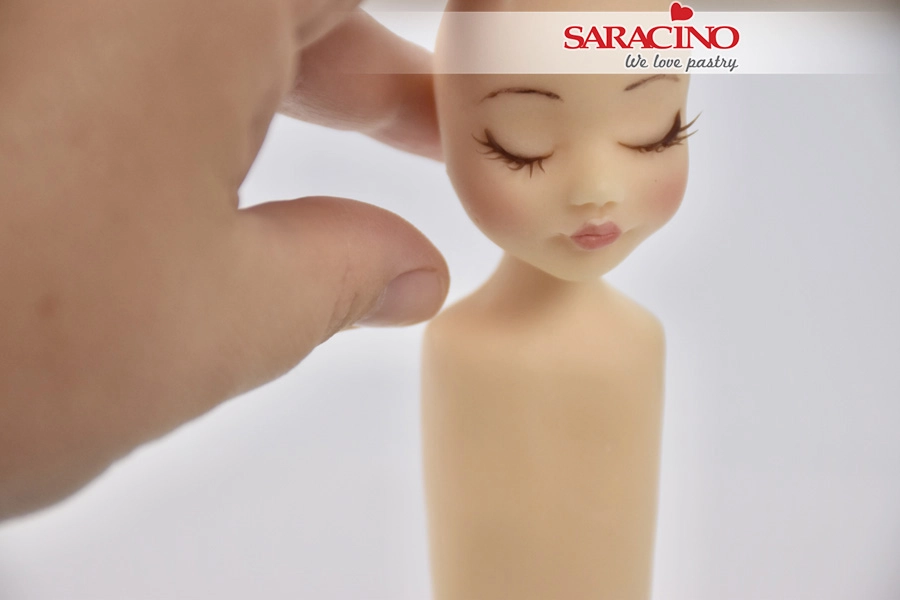
The face is ready

Step 21

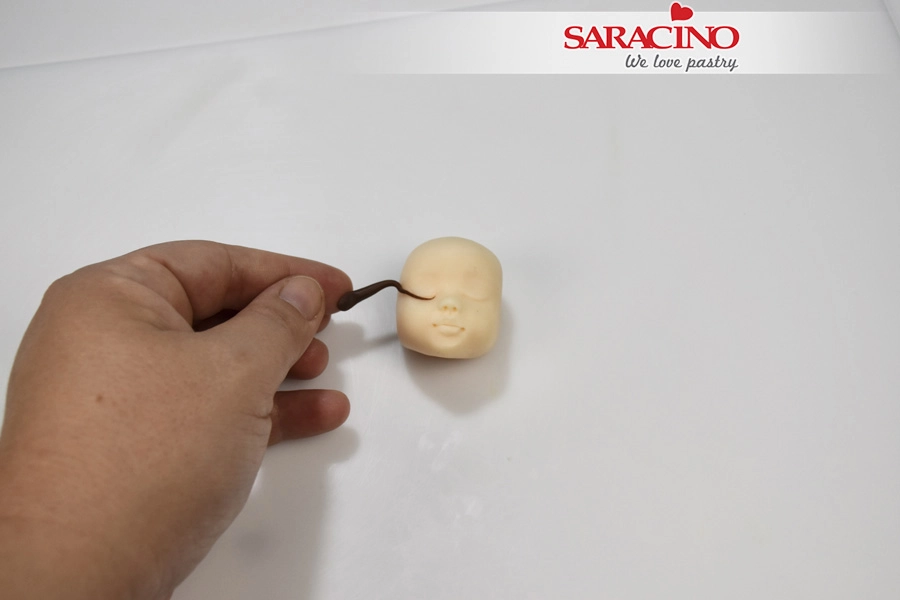
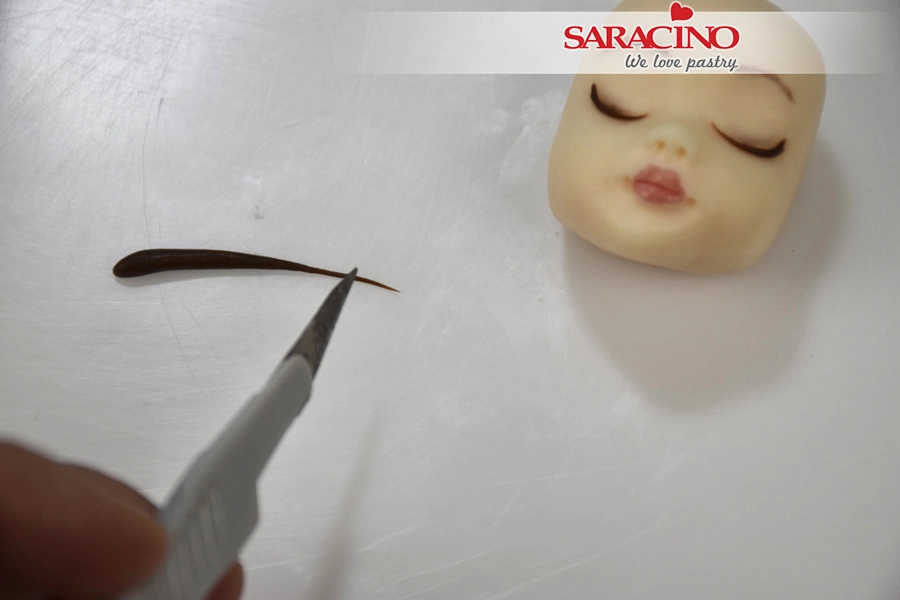
Roll a small piece of brown modelling paste very thinly to make the eyelashes 

Step 22

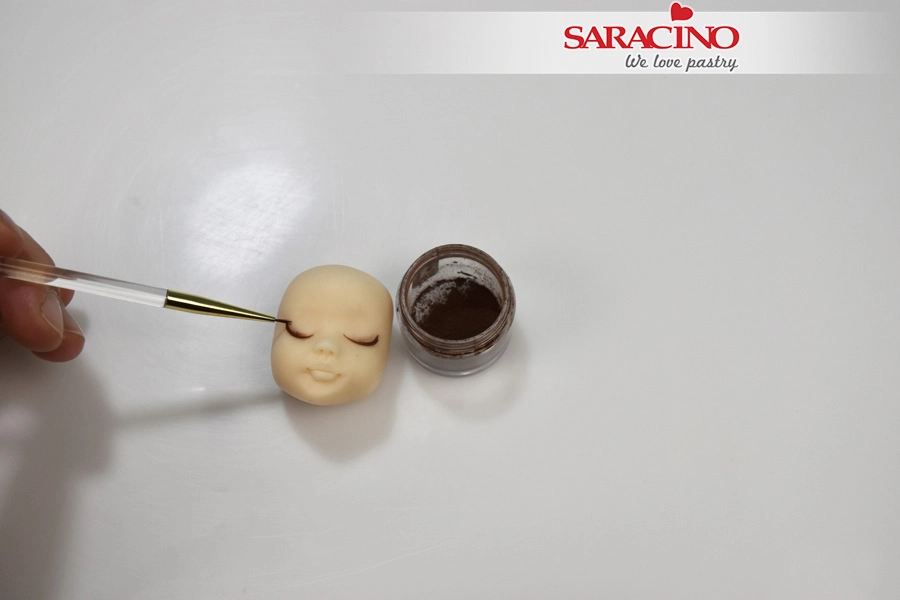
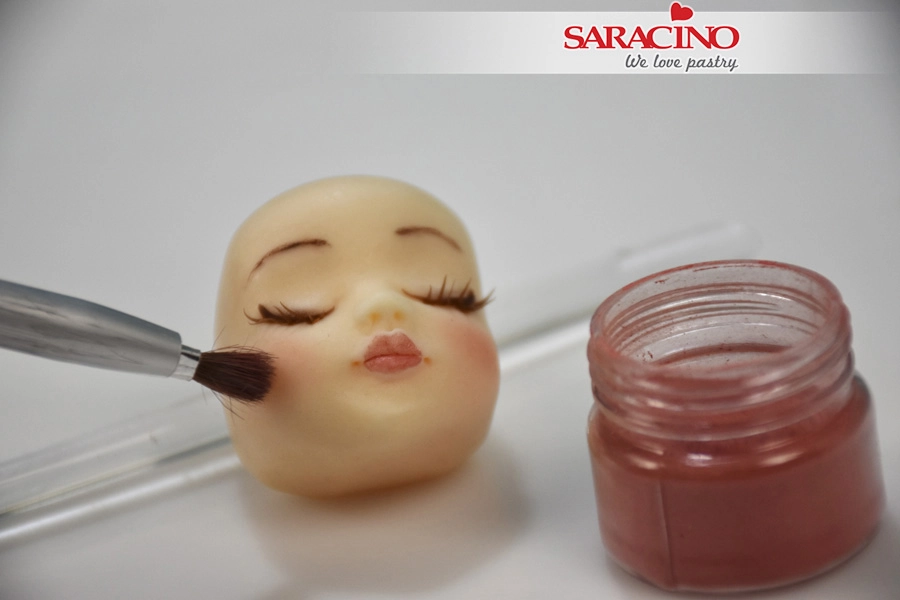
Using a soft brush dust lightly brown color on the eyelids

Step 23

Paint the eyebrows with brown dust mixed with alcohol 

Step 24

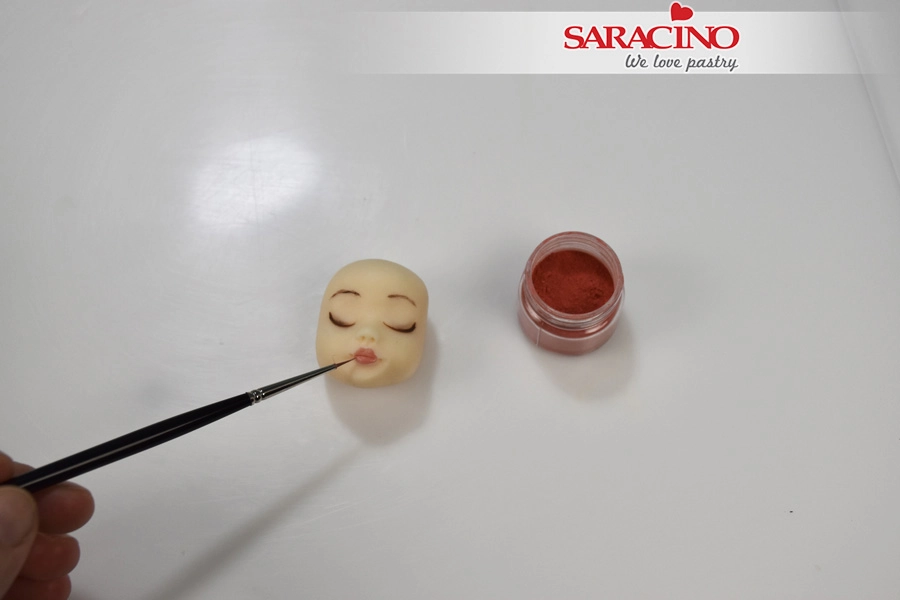
Paint the lips with red dust mixed with alcohol 

Step 25

Roll a small piece of brown modelling paste and cut the edge

Step 26

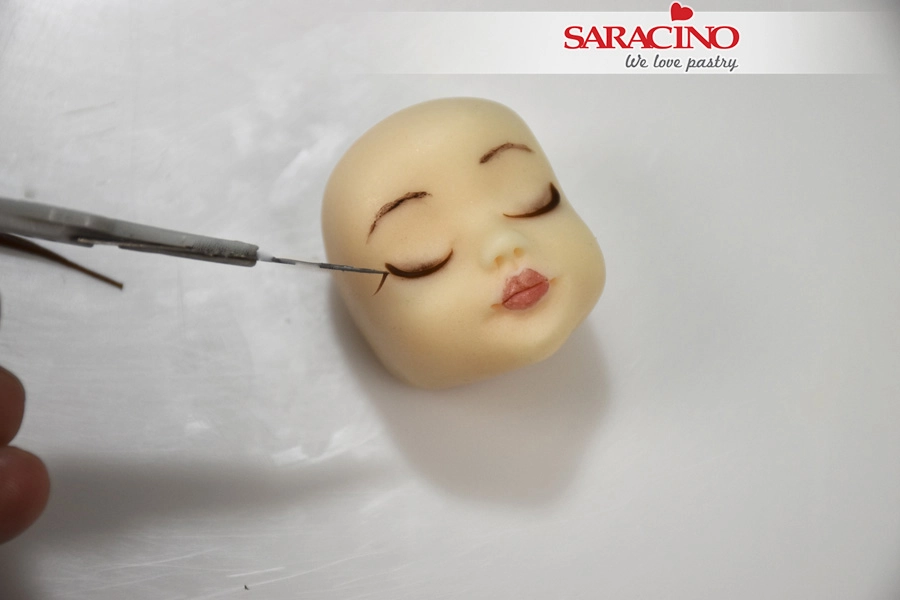
With the help of the exact knife place the pieces on the eyelids

Step 27

Continue this for all eyelashes until you have a result as seen in the picture

Step 28

Using a soft brush and red dust lightly brush the cheeks


Step 29

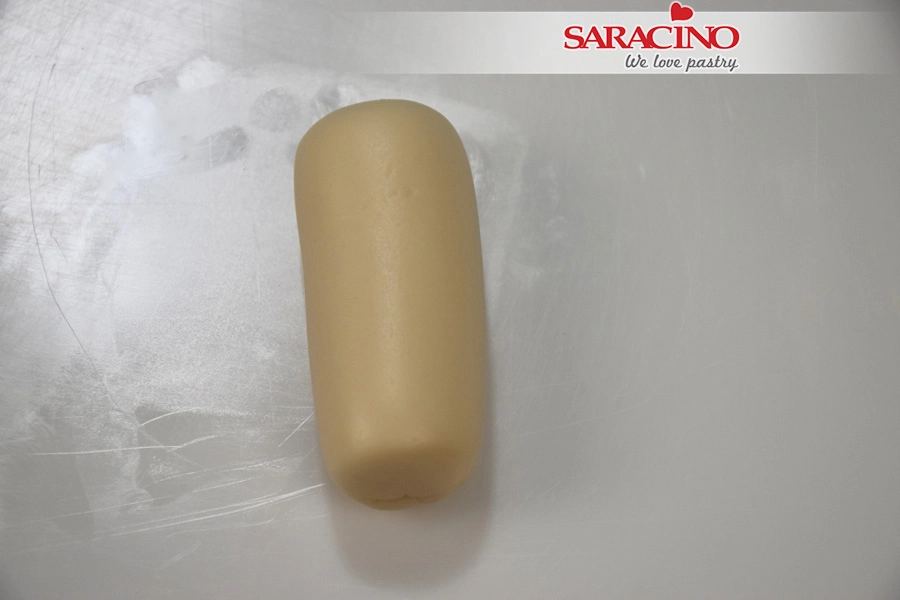
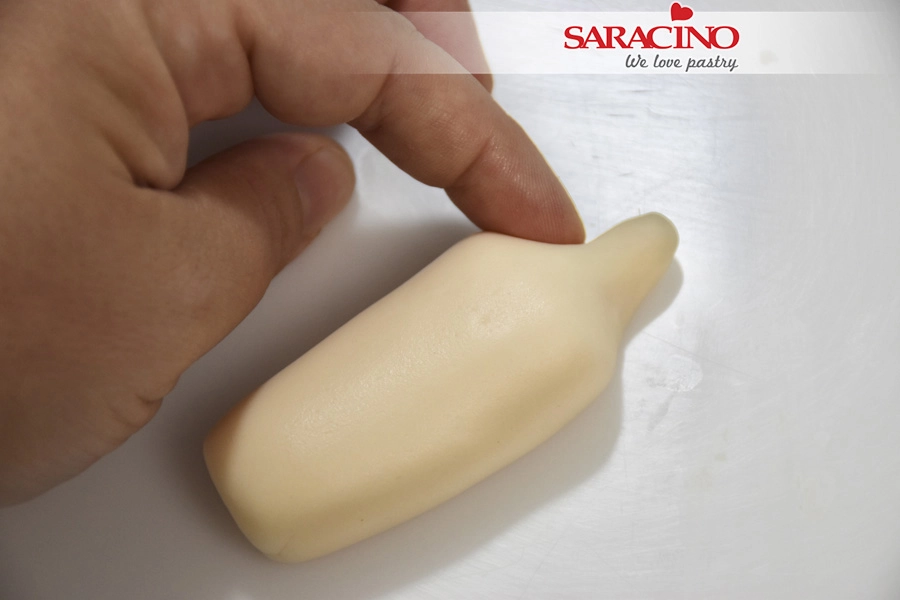
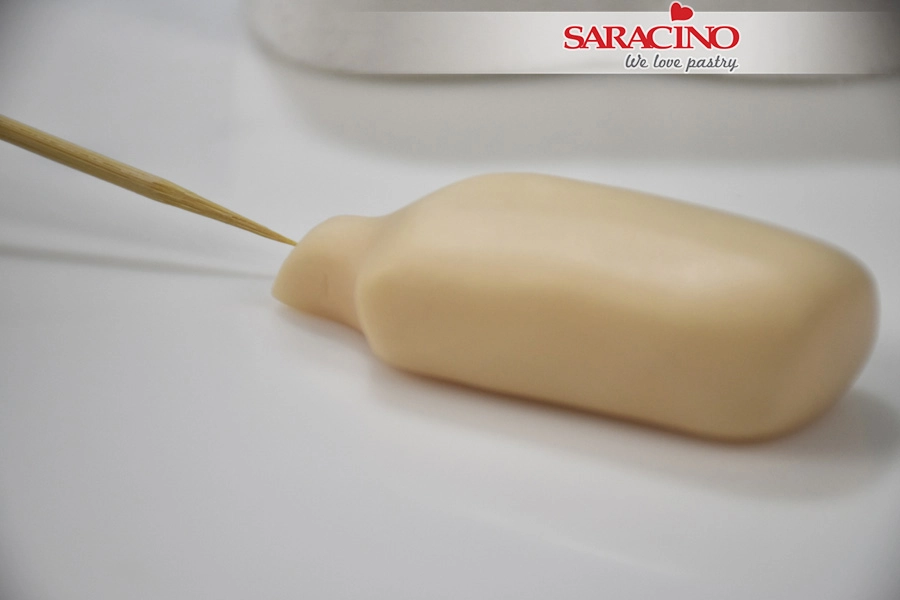
For the body take 45g of skin color modelling paste and roll it into a sausage shape


Step 30

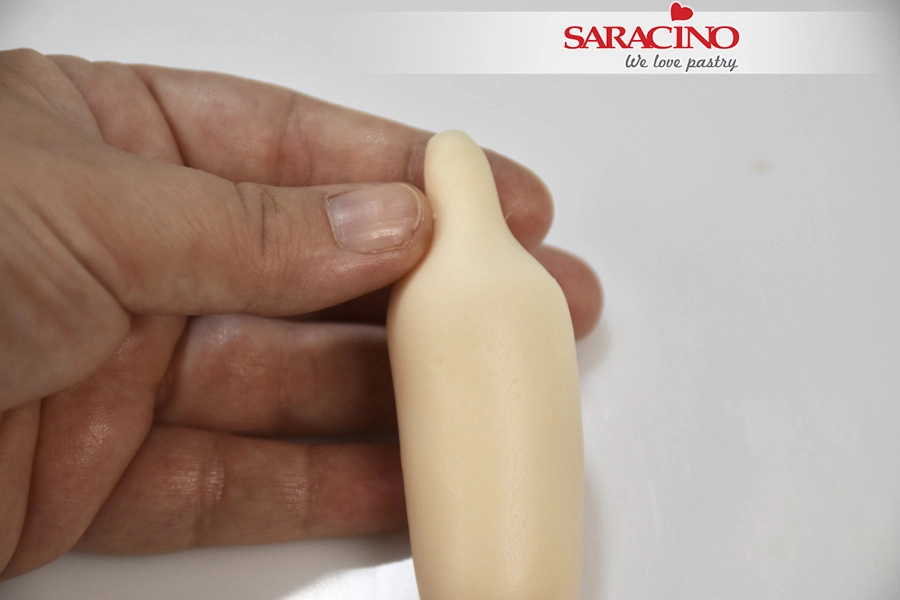
Use your fingers to shape the neck


Step 31

Press with your palm gently to flatten slightly 


Step 32

Use your finger to shape the shoulders


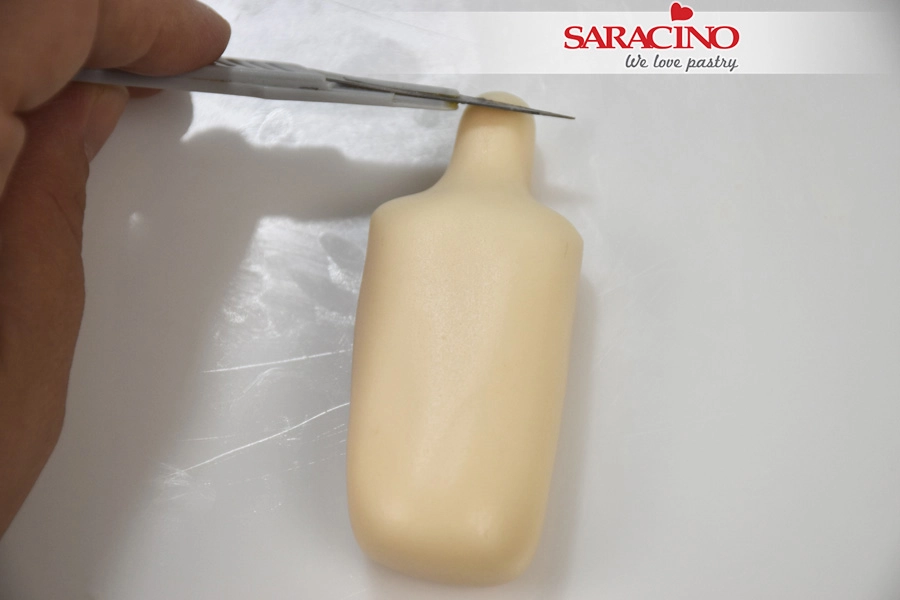
Step 33

Cut the top of the neck to give your required length


Step 34

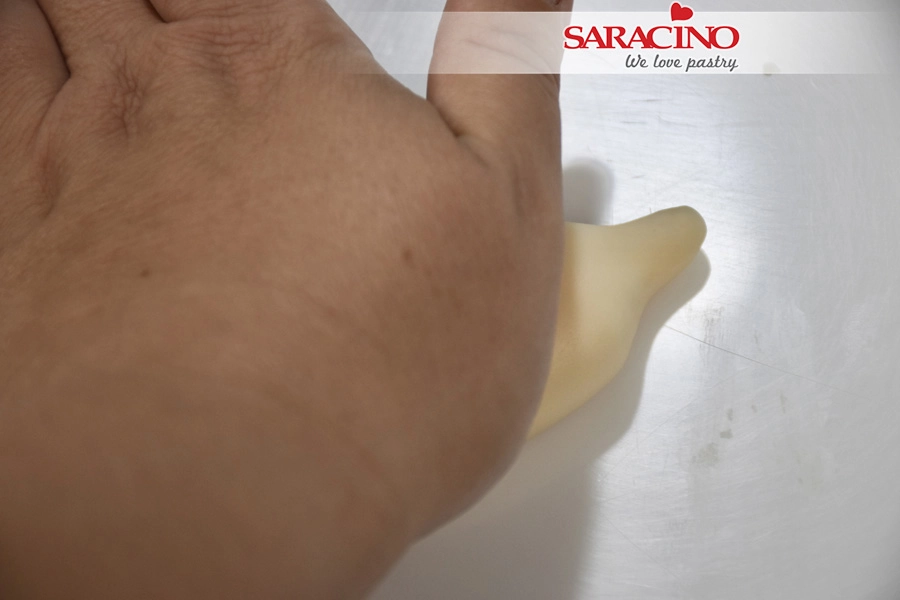
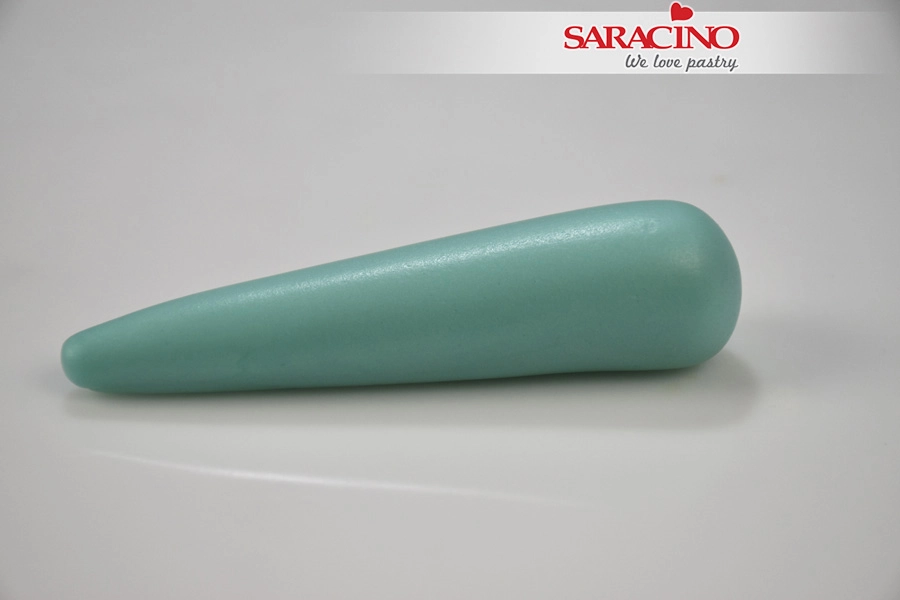
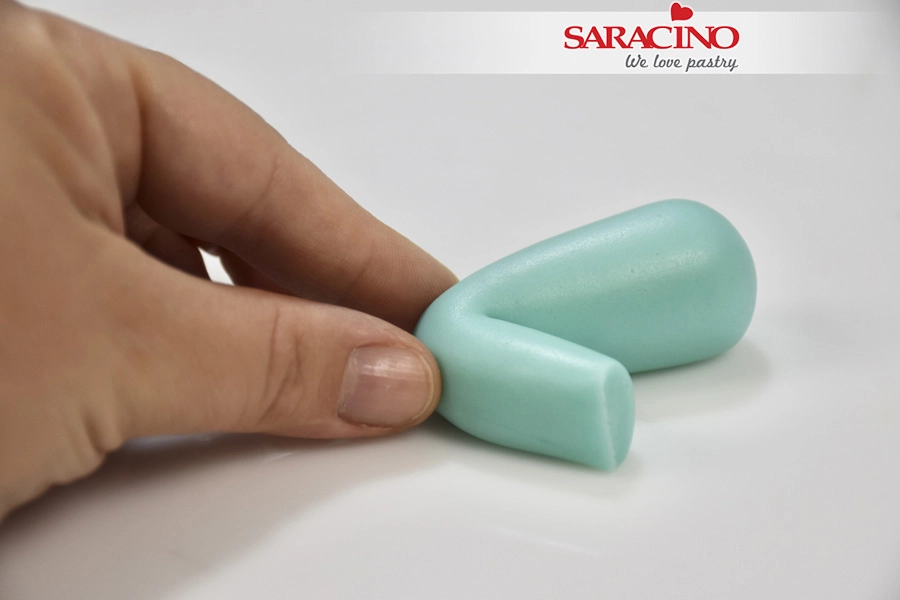
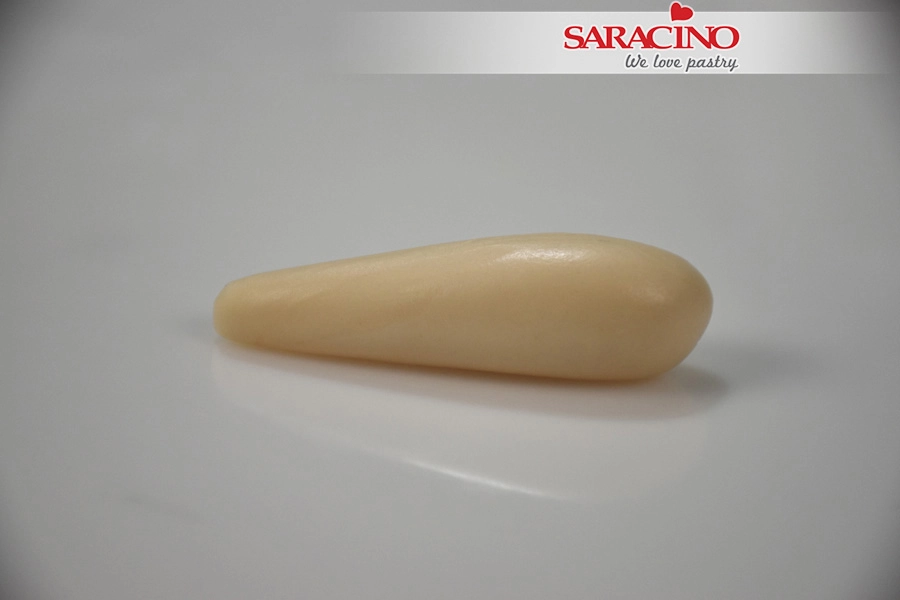
For the leggings roll 35g of Tiffany colour modelling paste into a carrot shape


Step 35

Use the back side of your brush to create a mark on the leg for the back of the knee.


Step 36

Roll again using your finger to form the shape of the leg


Step 37

With a blade cut the lower part of the leg


Step 38

Use your fingers to pinch the paste and define the knee


Step 39

Bend the leg and shape the knee


Step 40

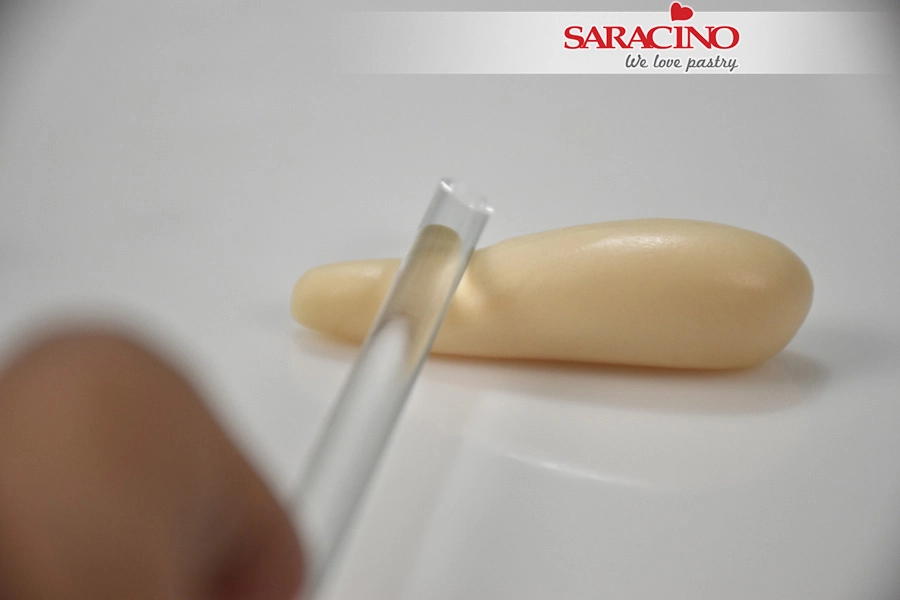
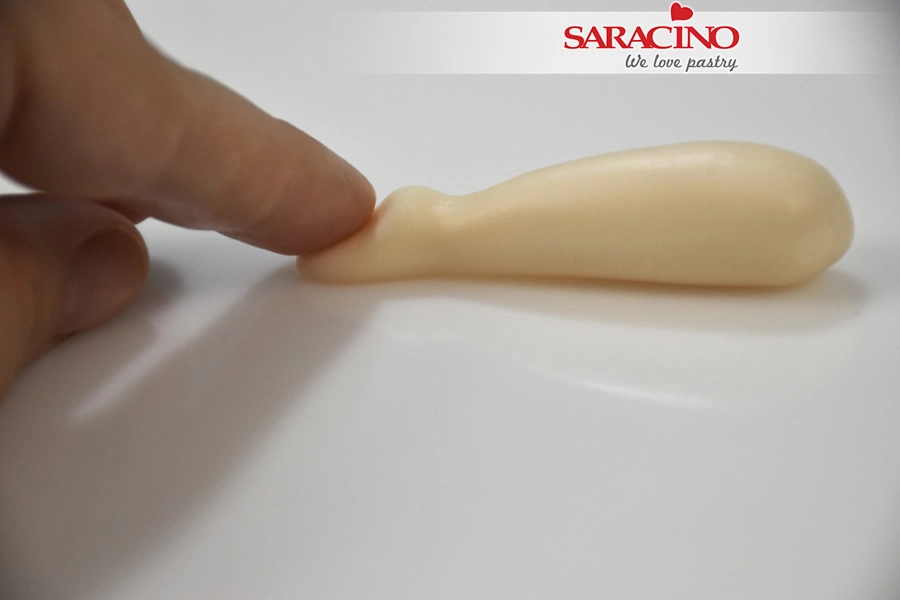
For the lower leg and foot roll 8g of modelling paste into a carrot shape


Step 41

Use the back side of your brush to create a mark on the back of the leg for the foot


Step 42

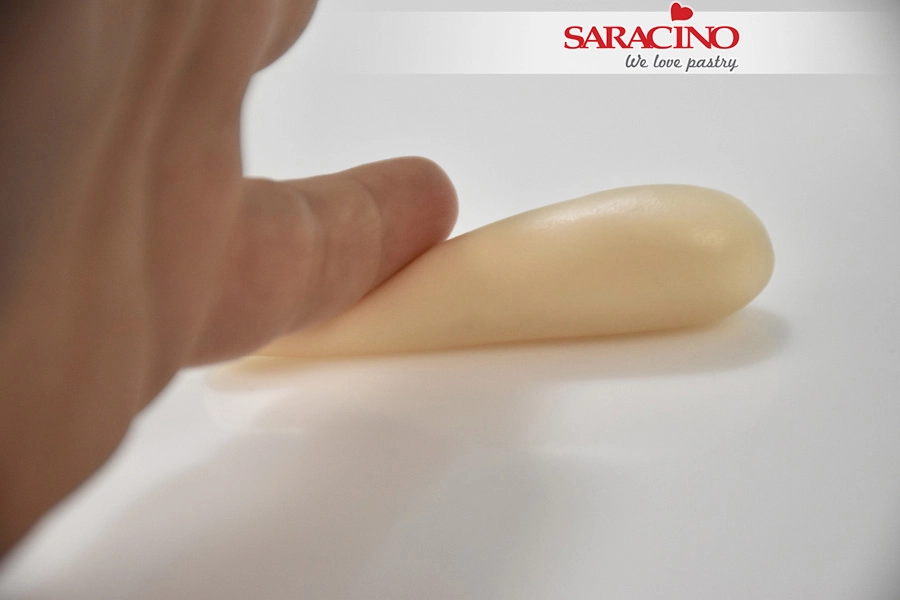
Roll again using your finger to make it like a carrot shape.


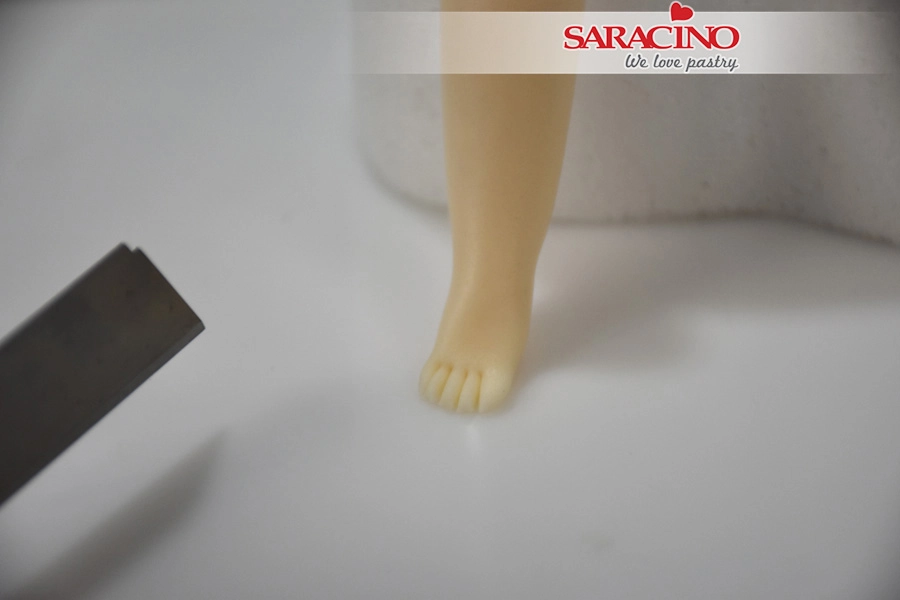
Step 43

Press with your finger to create the foot and the heel


Step 44

Use a blade to form the toes


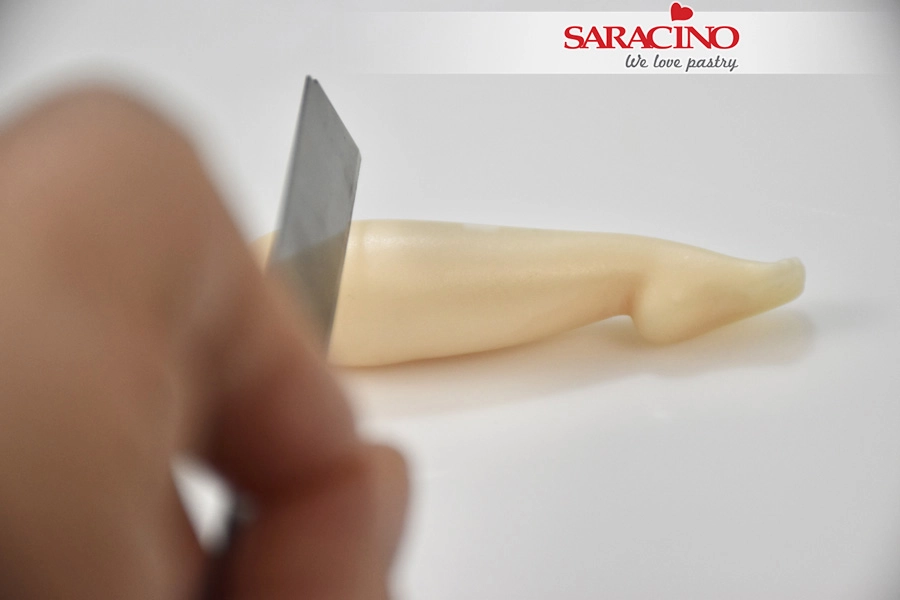
Step 45

With a blade cut the top of the leg to the required length


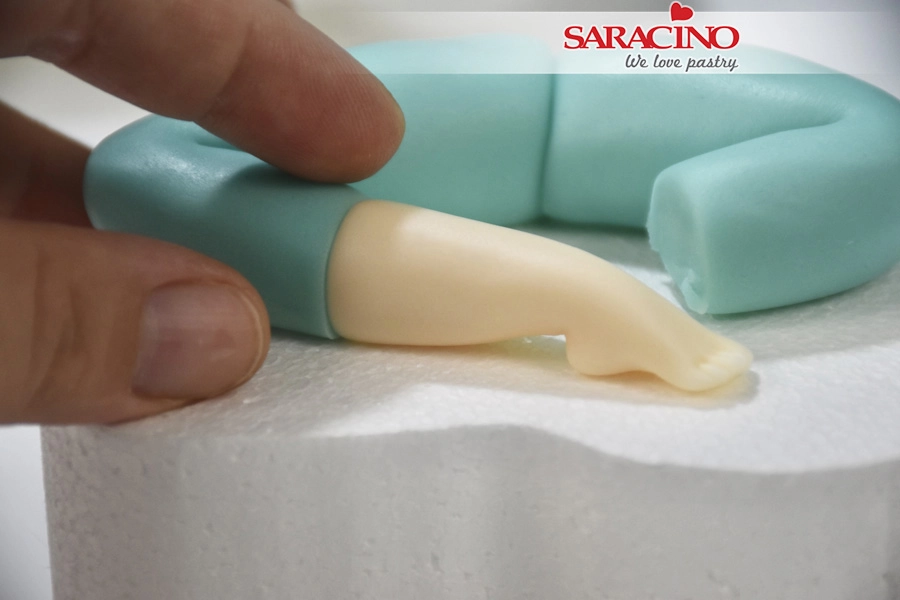
Step 46

Form the pieces of the legs as seen in the picture. Repeat to make the other leg.


Step 47

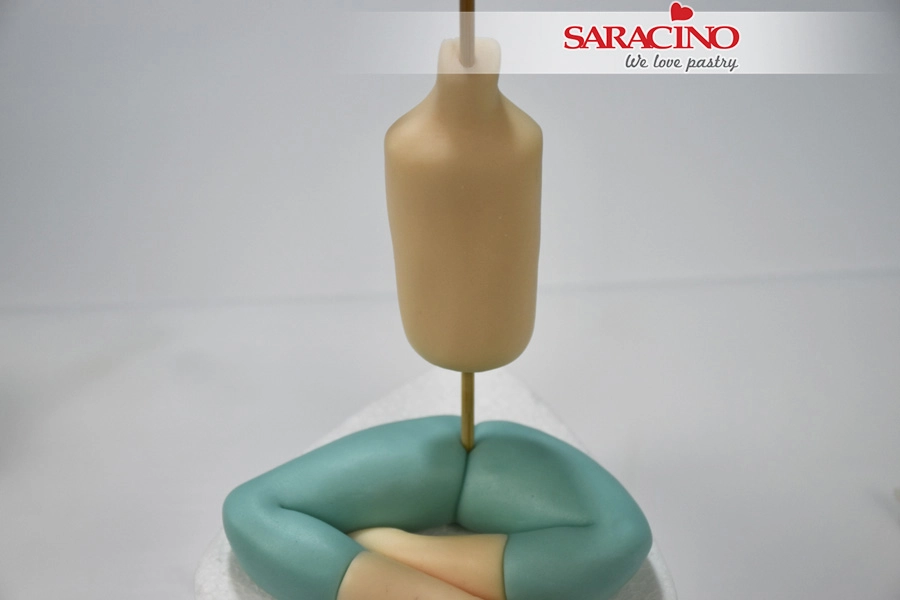
Take a wooden skewer and insert through the body from the neck and out through the lower end 


Step 48

Place the body on top of the legs exactly in the middle 


Step 49

Place the head on the skewer 


Step 50

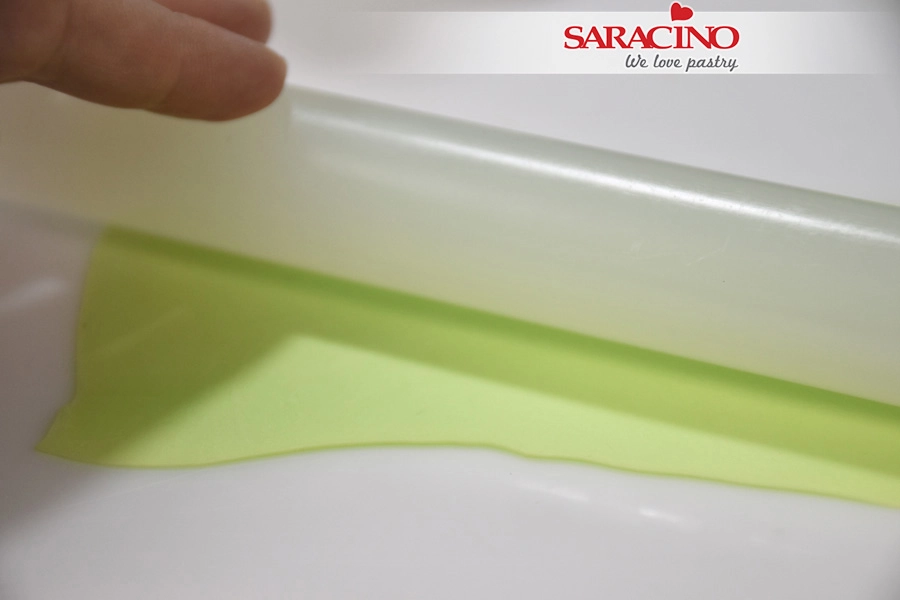
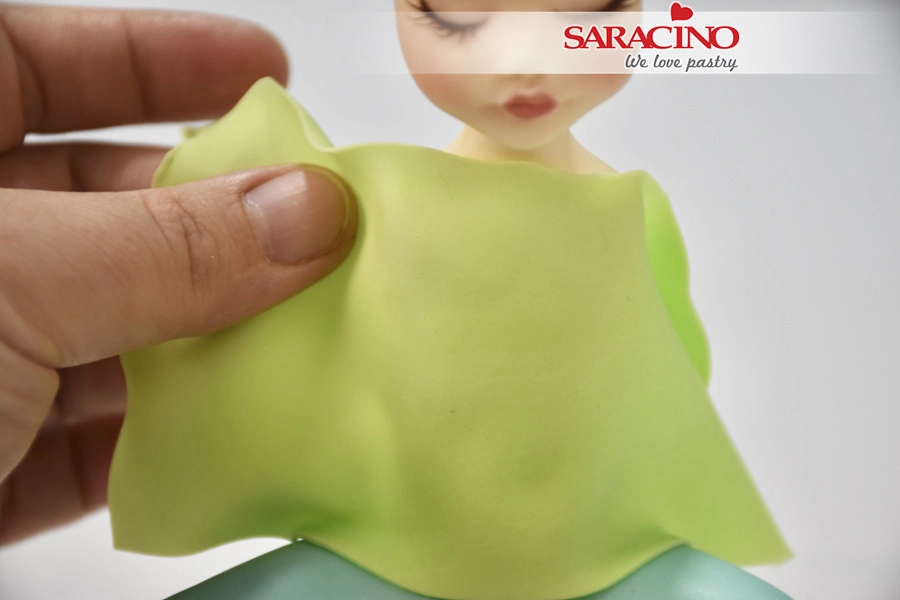
For the T shirt roll a piece of light green modelling paste


Step 51

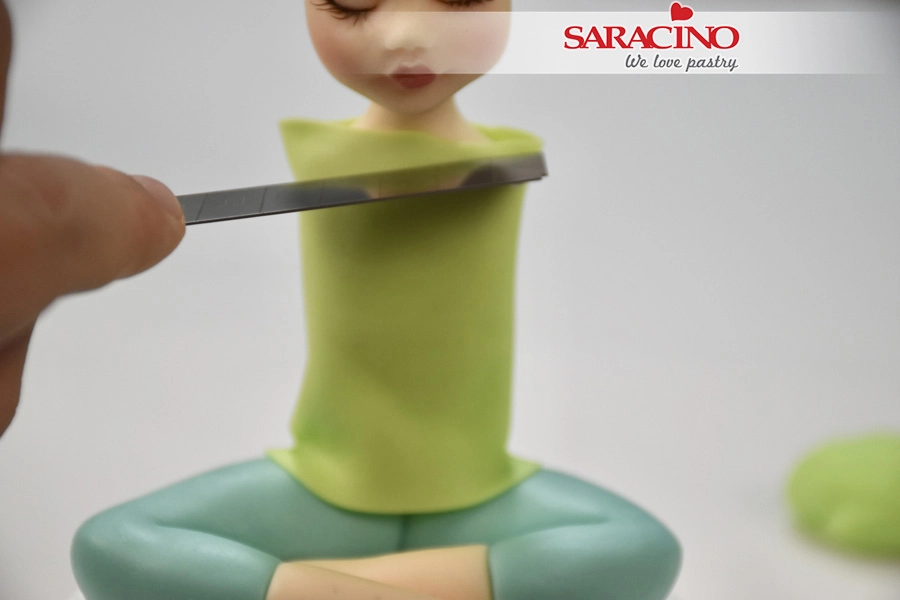
Wrap the body with the paste


Step 52

Cut any excess paste with a sharp blade


Step 53

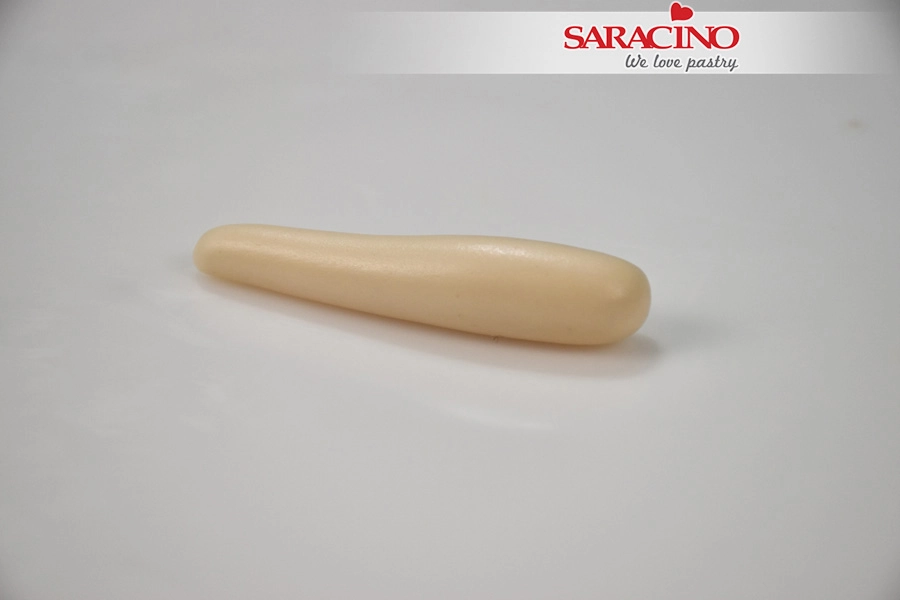
For the arms roll 8g of sugar paste into a carrot shape 


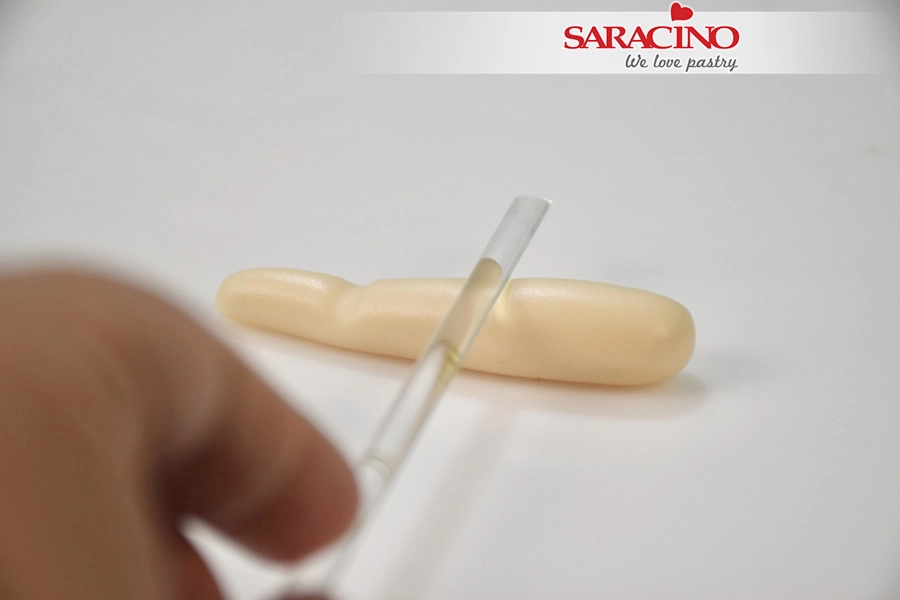
Step 54

Use your brush to create a mark for the wrist and elbow joints


Step 55

Roll again using your fingers to make each part a carrot shape


Step 56

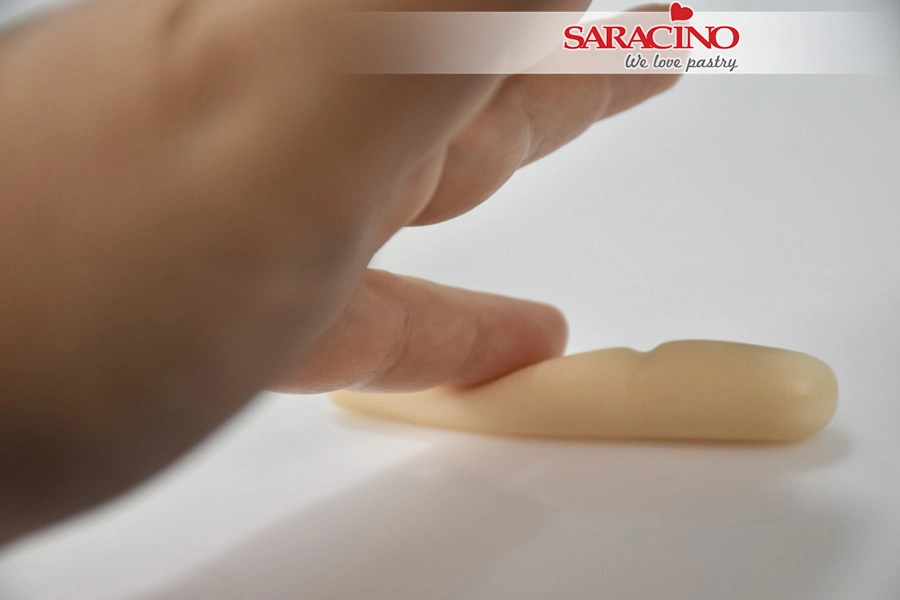
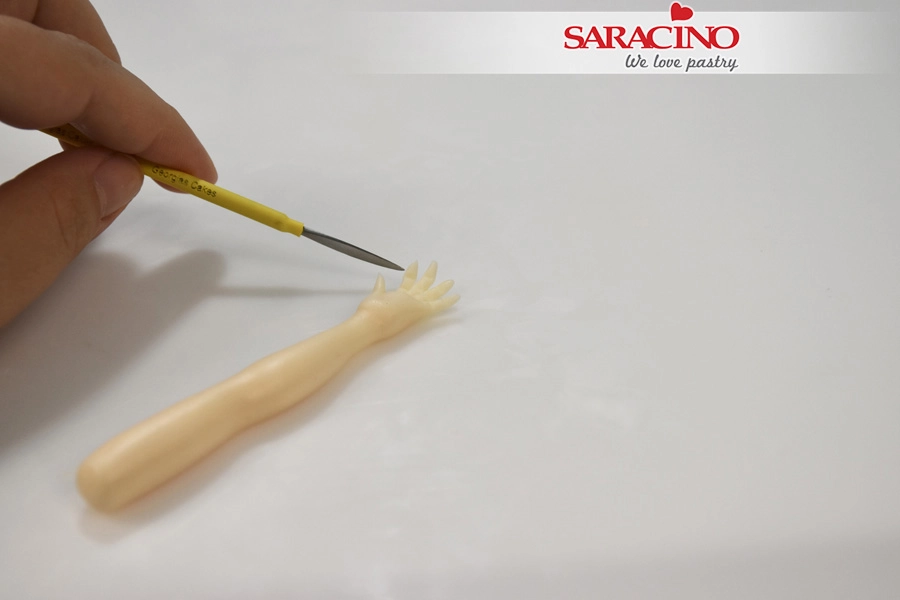
Turn the arm upside down and press with your finger to shape the palm


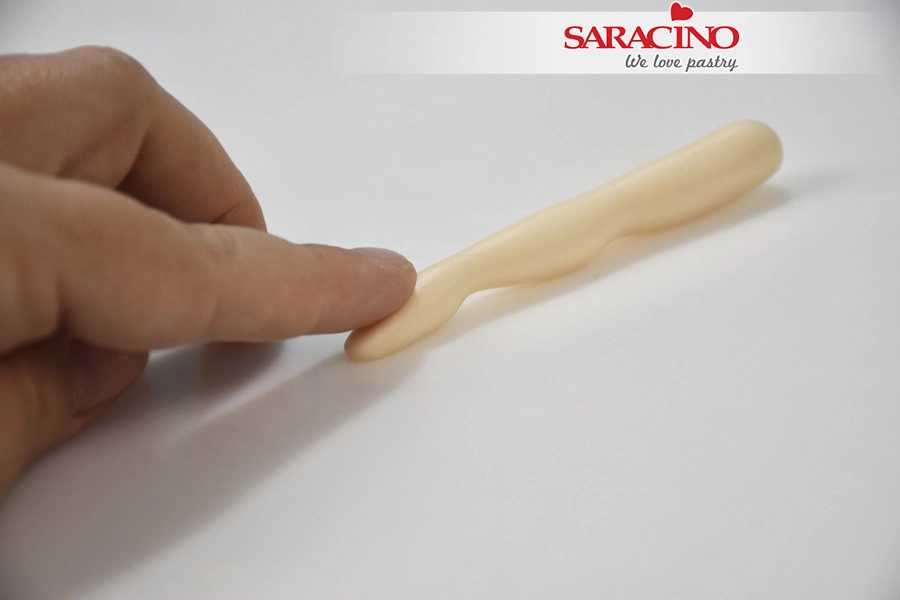
Step 57

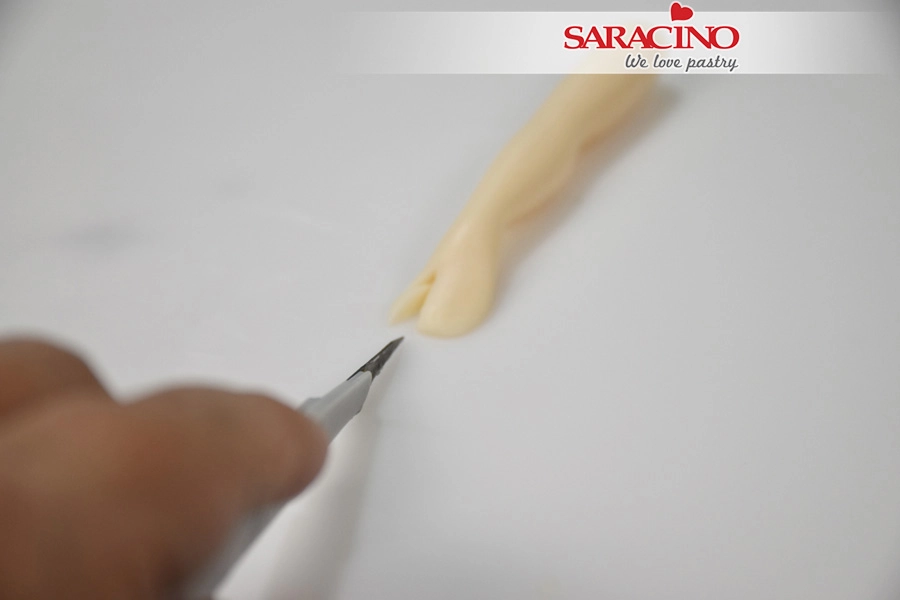
Use your exacto knife to cut the thumb as seen in the picture


Step 58

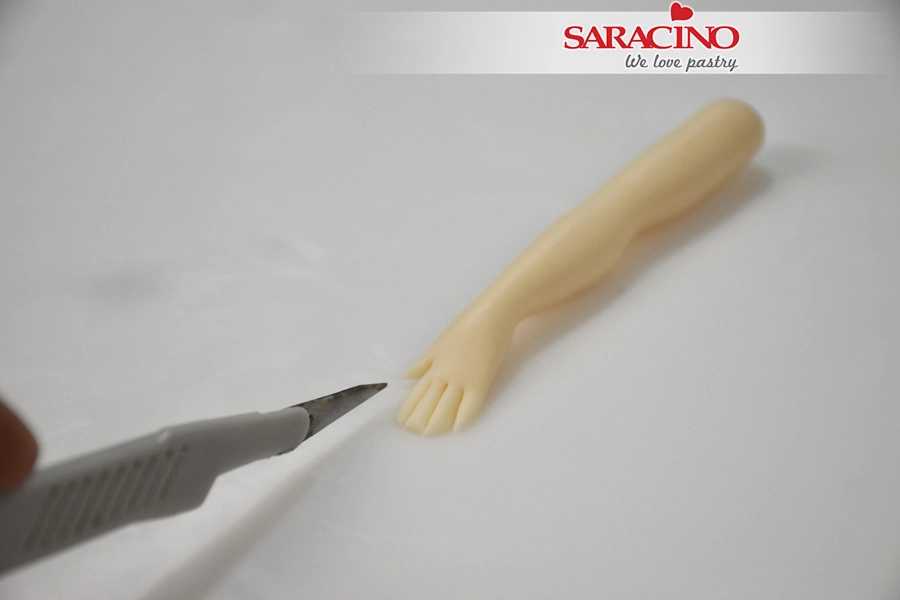
Repeat for the fingers by first cutting in the middle and then each part again in the middle. This way you will end up with 4 equal fingers


Step 59

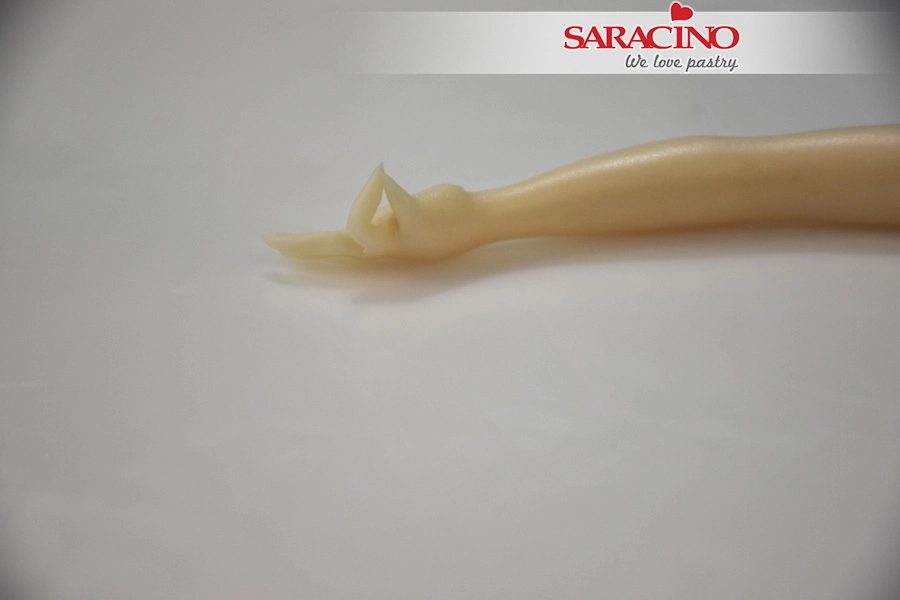
Use a metalic spatula to add details in the fingers


Step 60

Bend the thumb and index finger


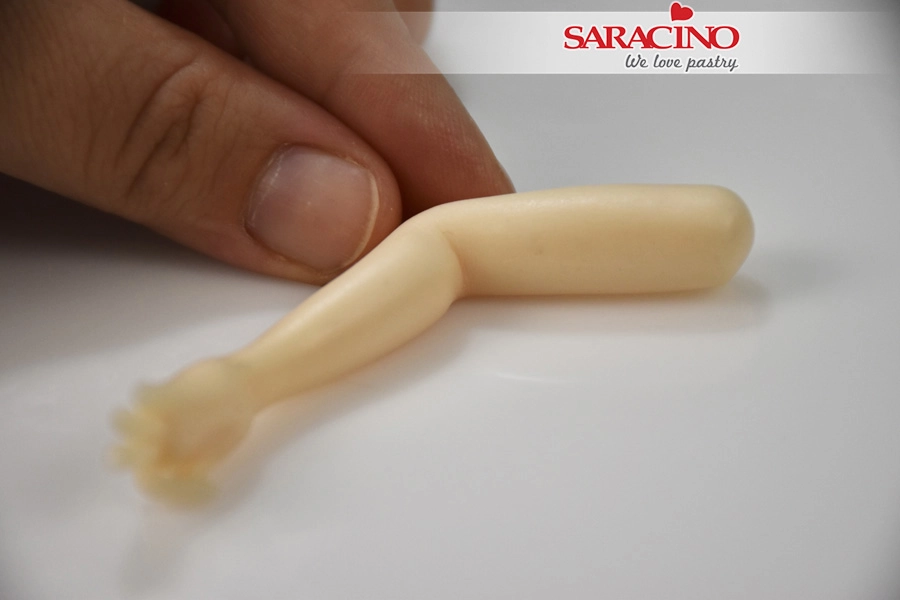
Step 61

With your fingers shape the elbow. Repeat the previous steps to make another arm.


Step 62

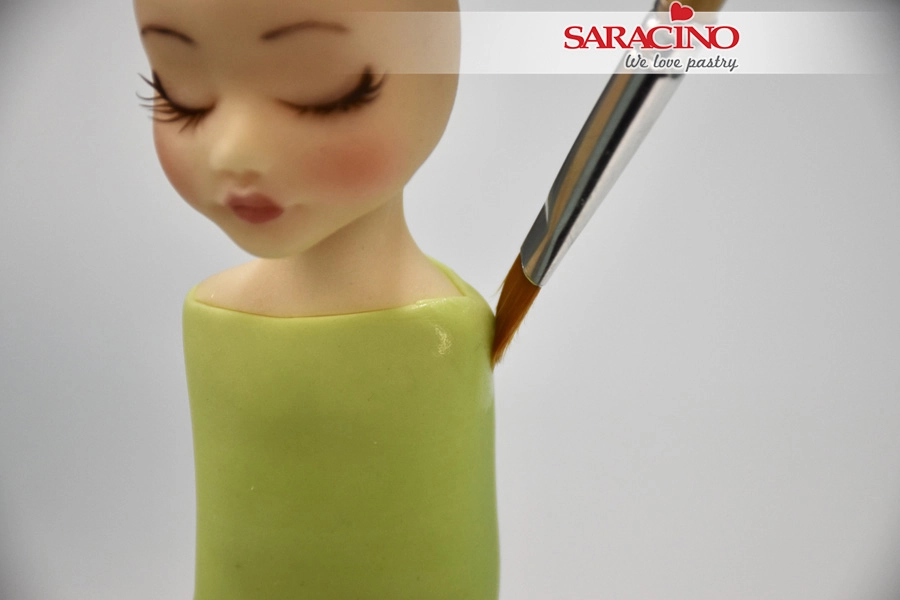
Add some edible glue on the shoulders


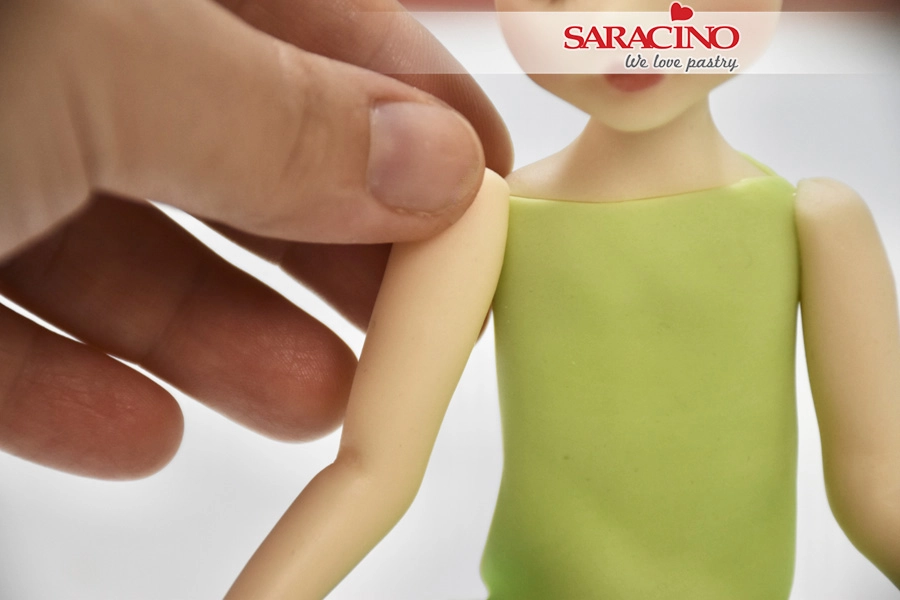
Step 63

Glue the arms to the body 

Step 64

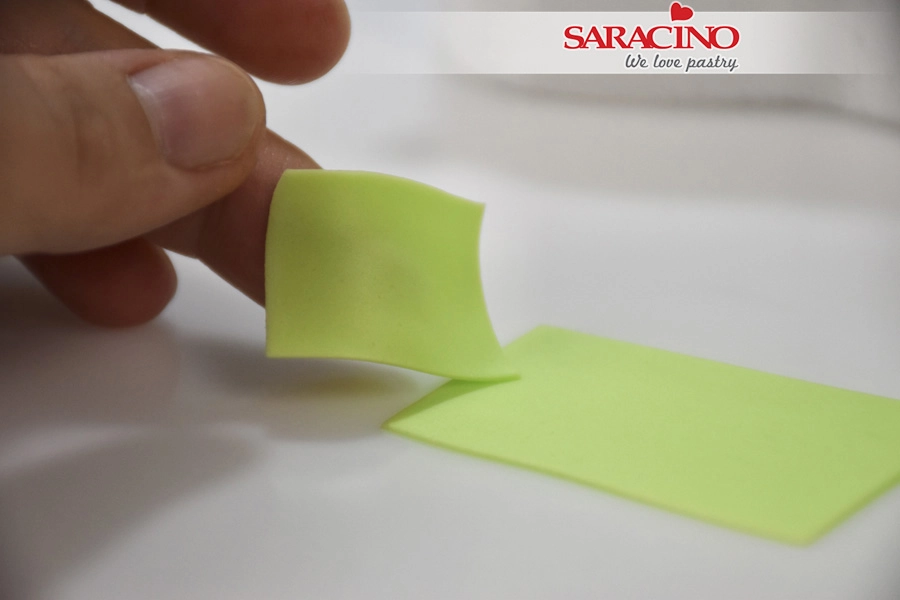
To make the sleeves of the T shirt cut a small piece of rolled paste


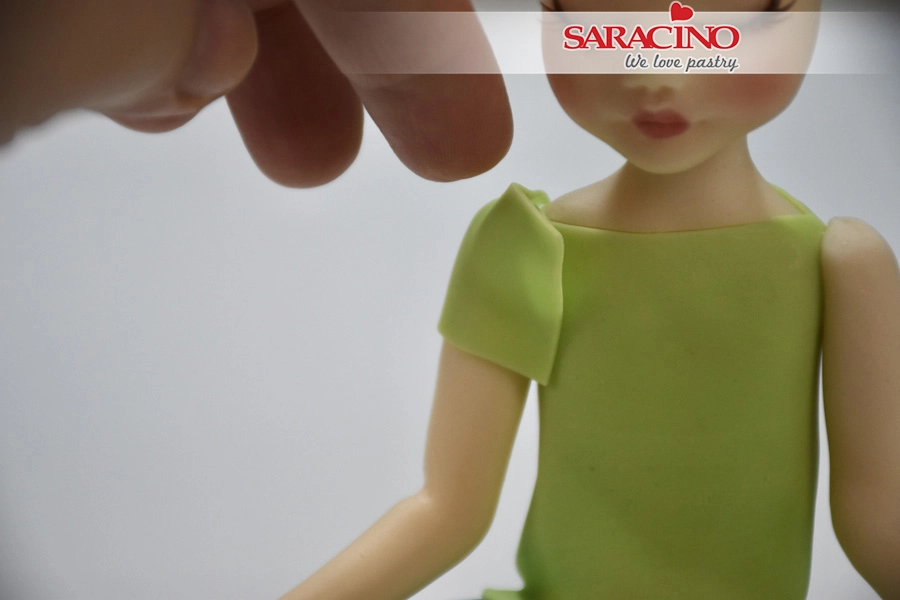
Step 65

Place the piece on the shoulders to make the sleeves


Step 66

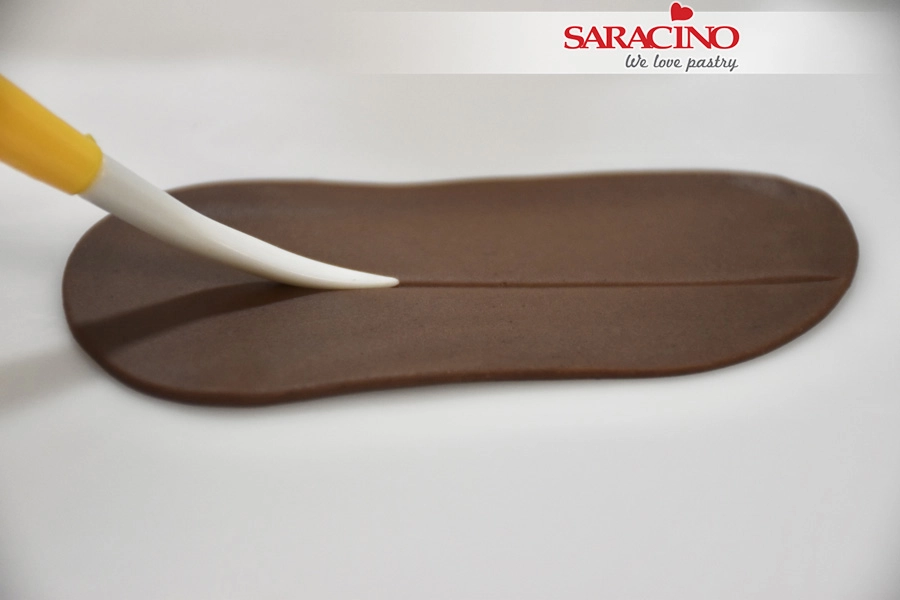
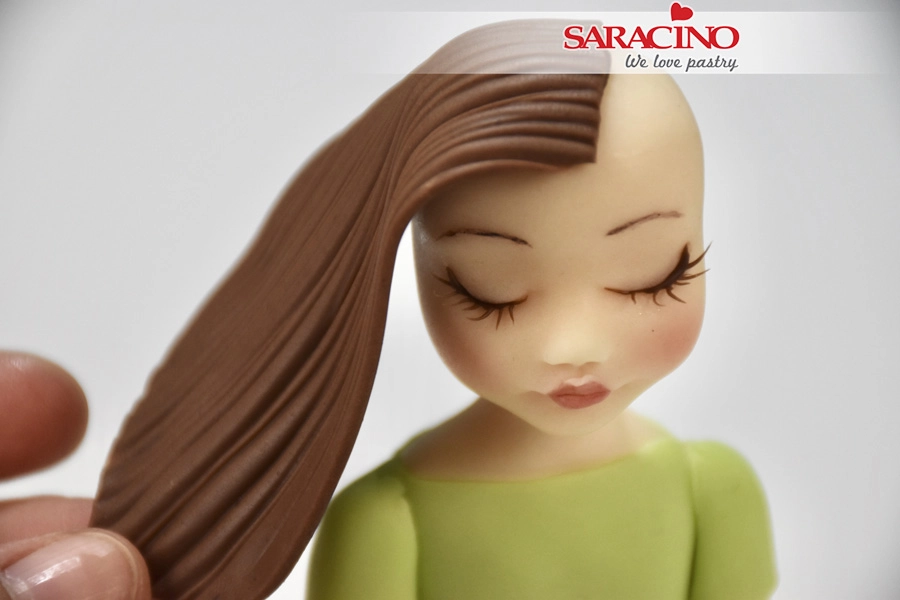
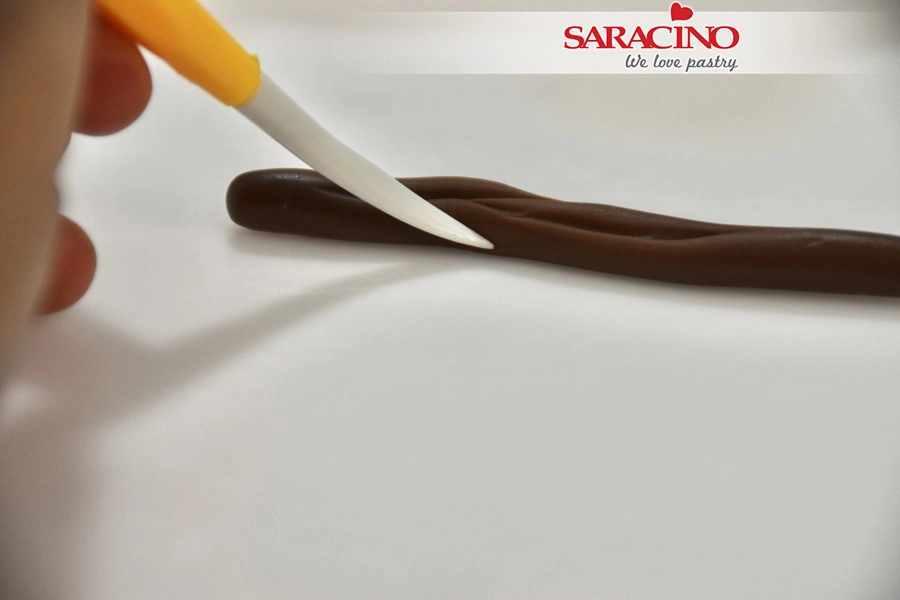
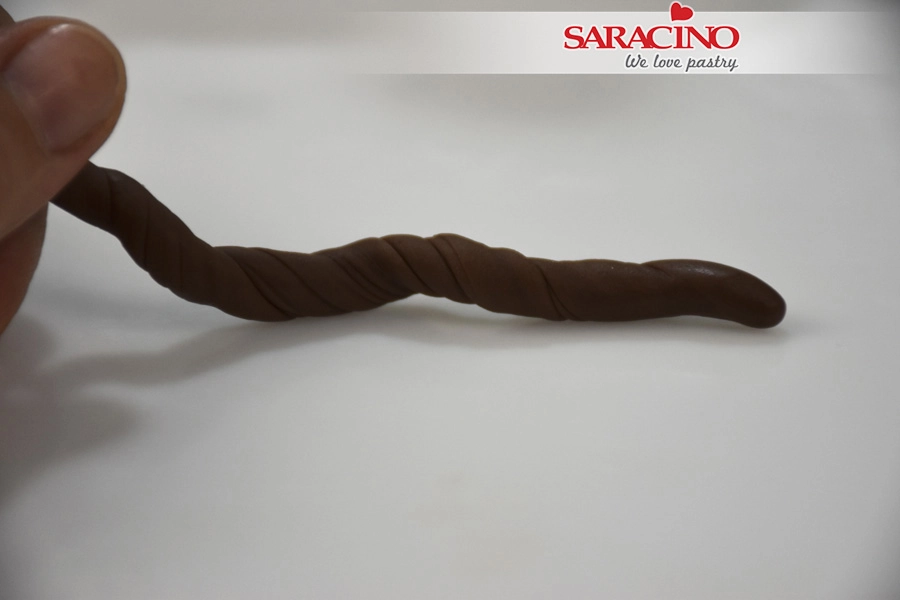
For the hair roll brown modelling paste and use the dresden tool to make lines


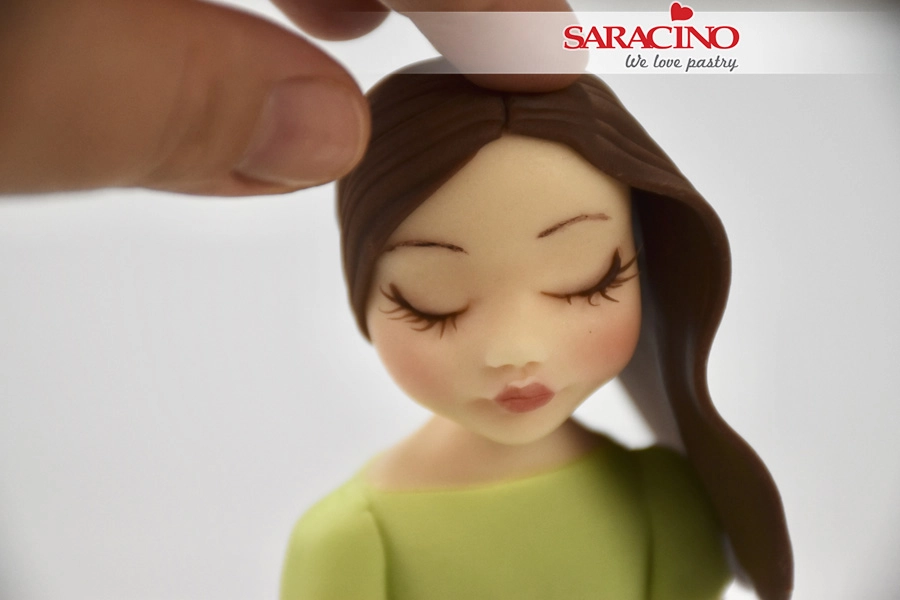
Step 67

Cut a straight line at one end for the hair parting. Fix the paste on the head with a little glue to create the hair 


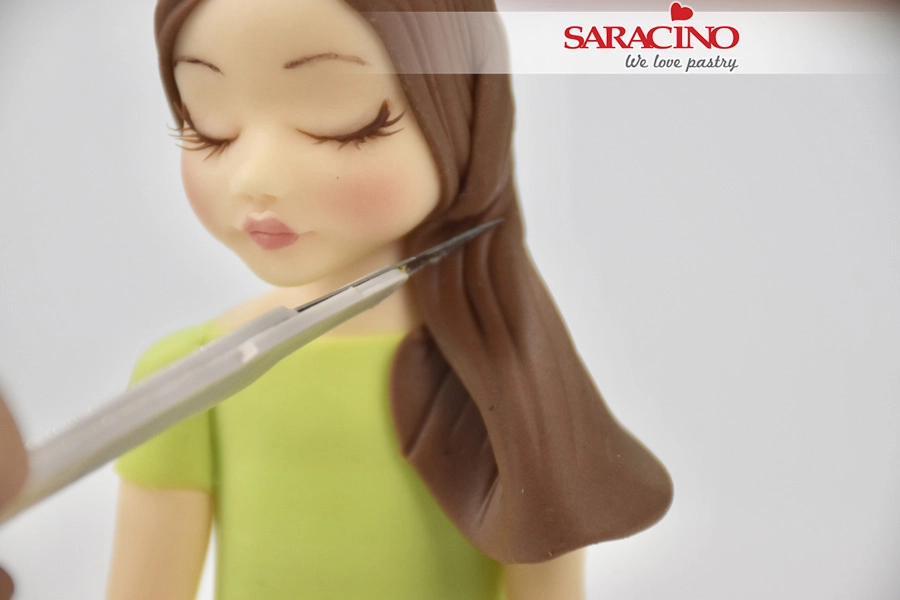
Step 68

Repeat the same to the other side of the head


Step 69

Cut any excess 


Step 70

For the hair bun roll brown paste and use the dresden tool to make lines


Step 71

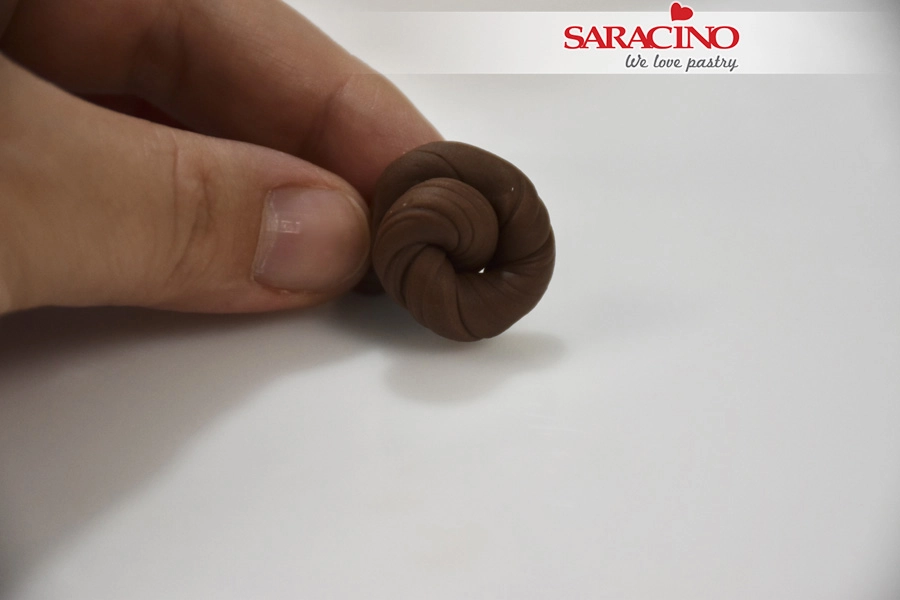
Twist the paste as seen in the picture


Step 72

Roll to shape a bun


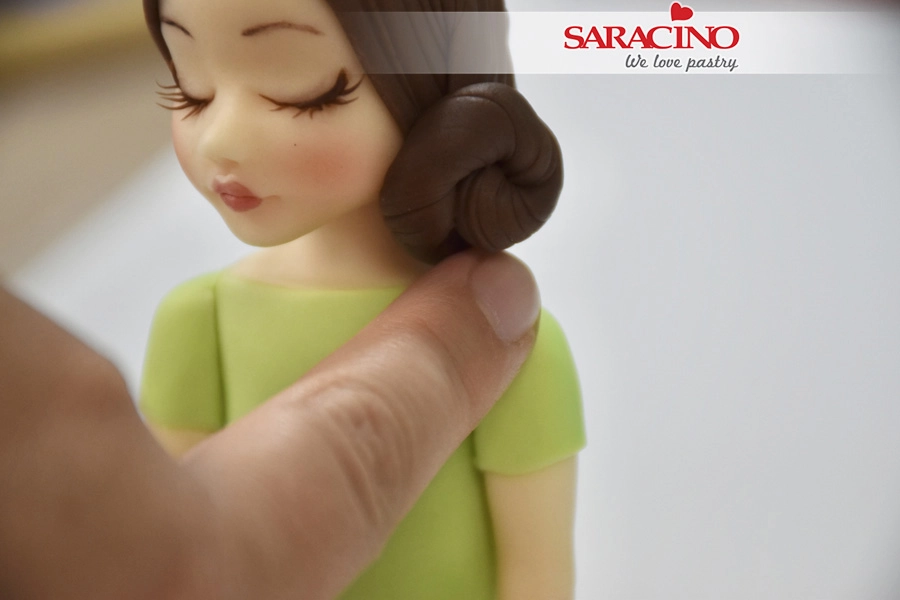
Step 73

Fix the bun on the head with a little glue


Step 74

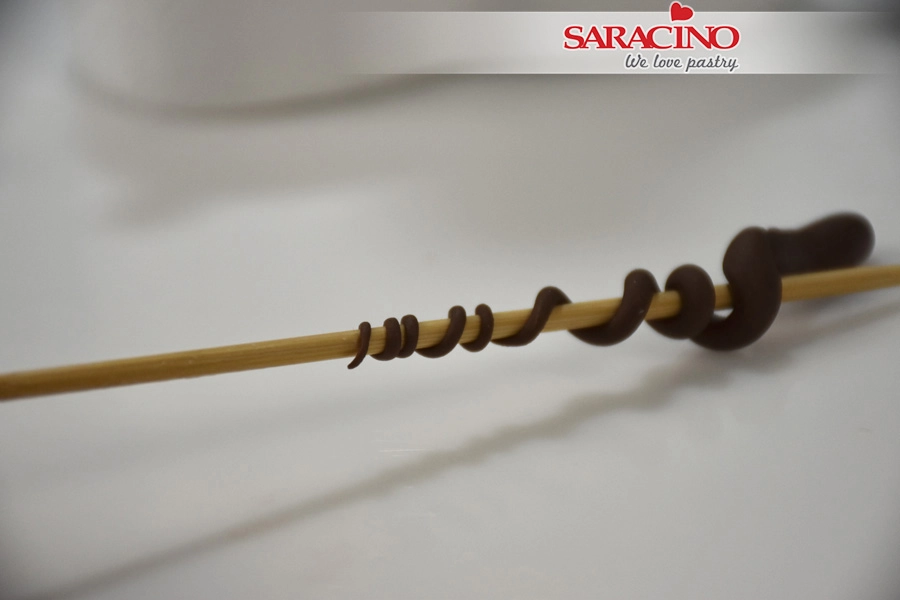
To create the curls roll a tiny piece of brown paste to a carrot shape and twist it on a toothpick


Step 75

Fix the curls on the head


Step 76

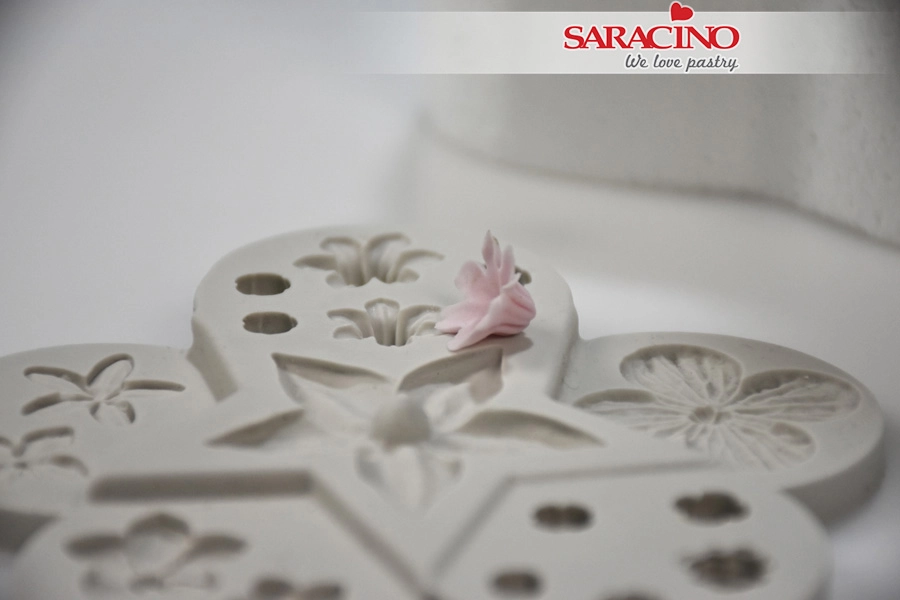
Use a silicone mould to make some flowers for fixing in the girls hair


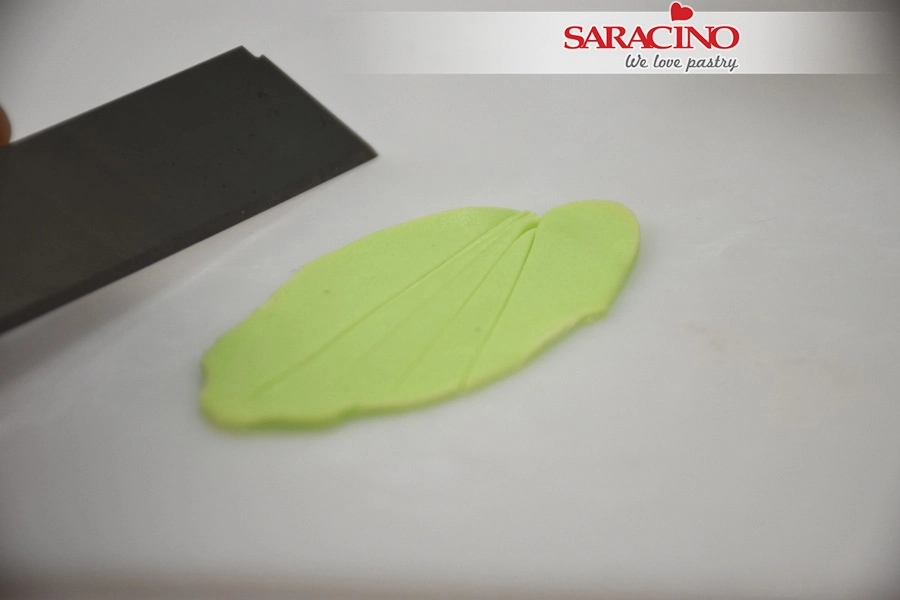
Step 77

For some small leaves roll and cut some strips of green modelling  paste. Fix them on the head with the flower


Step 78

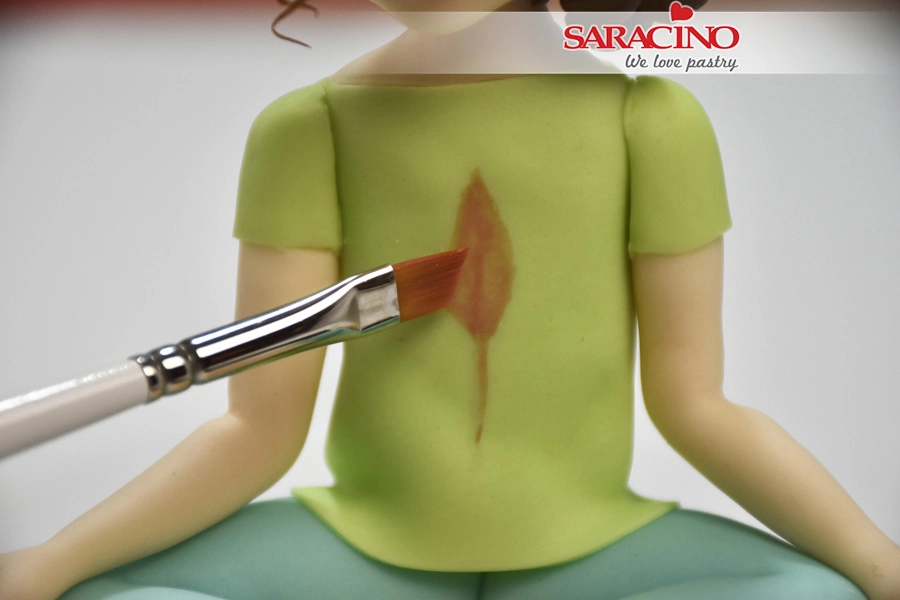
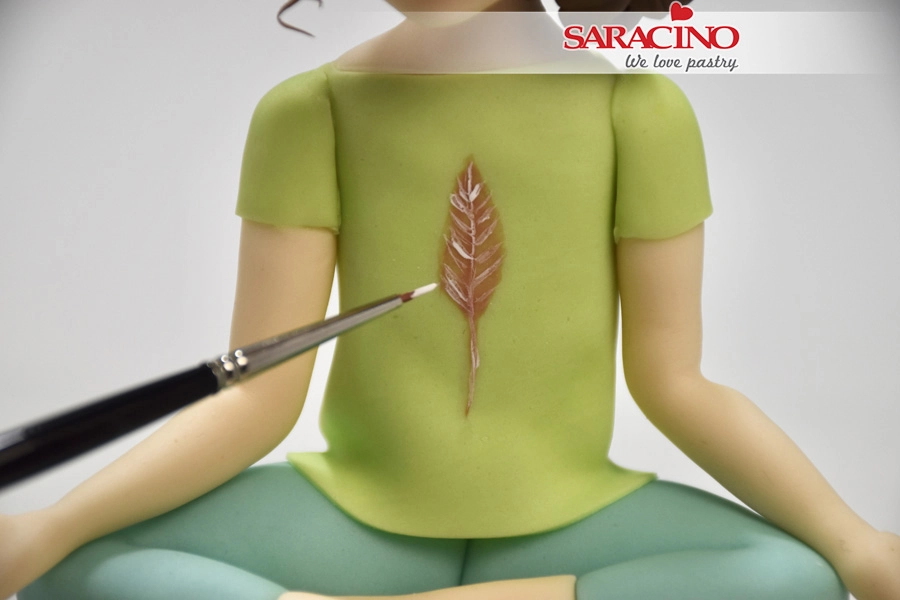
Draw a feather with red color dust mixed with alcohol


Step 79

Draw some extra lines with extra white color


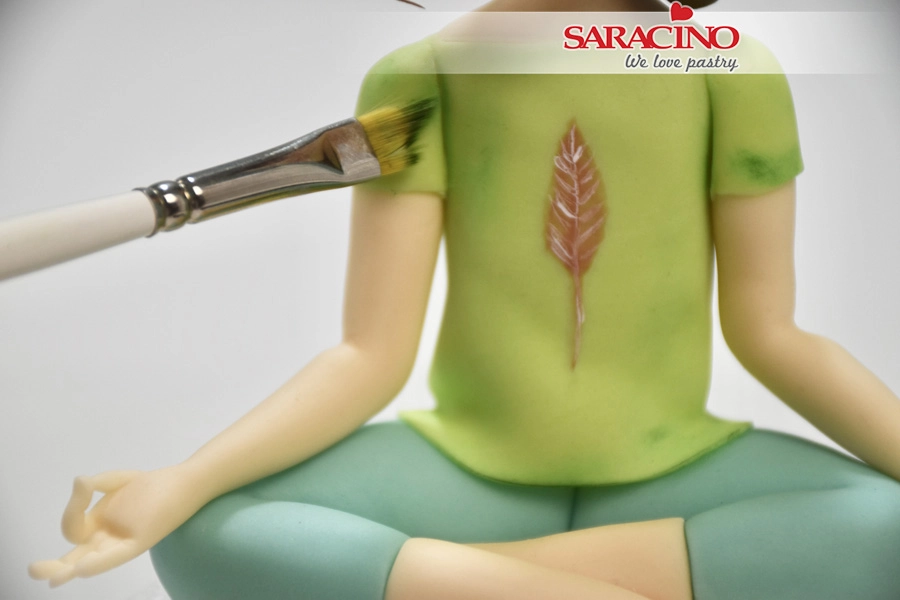
Step 80

Add some shadows with green dust 


Step 81

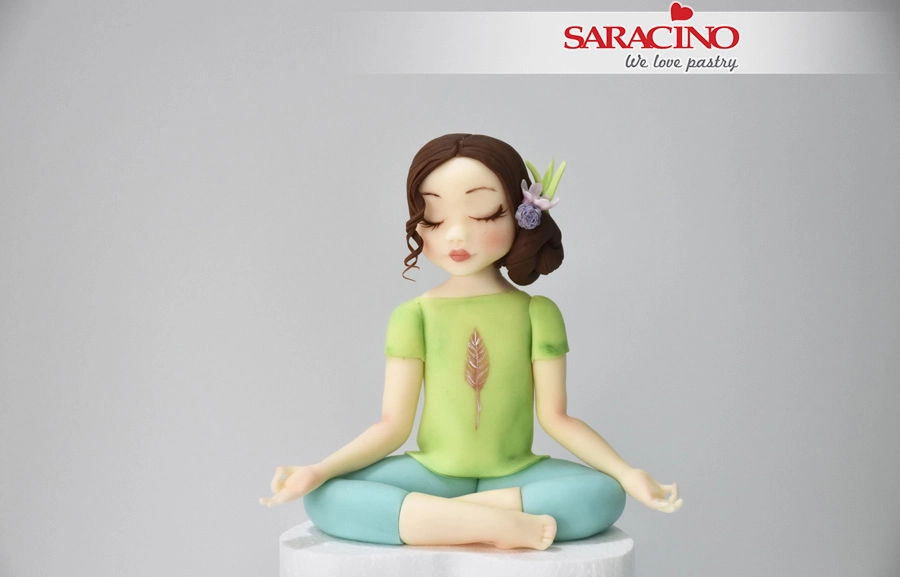
Your figurine is ready


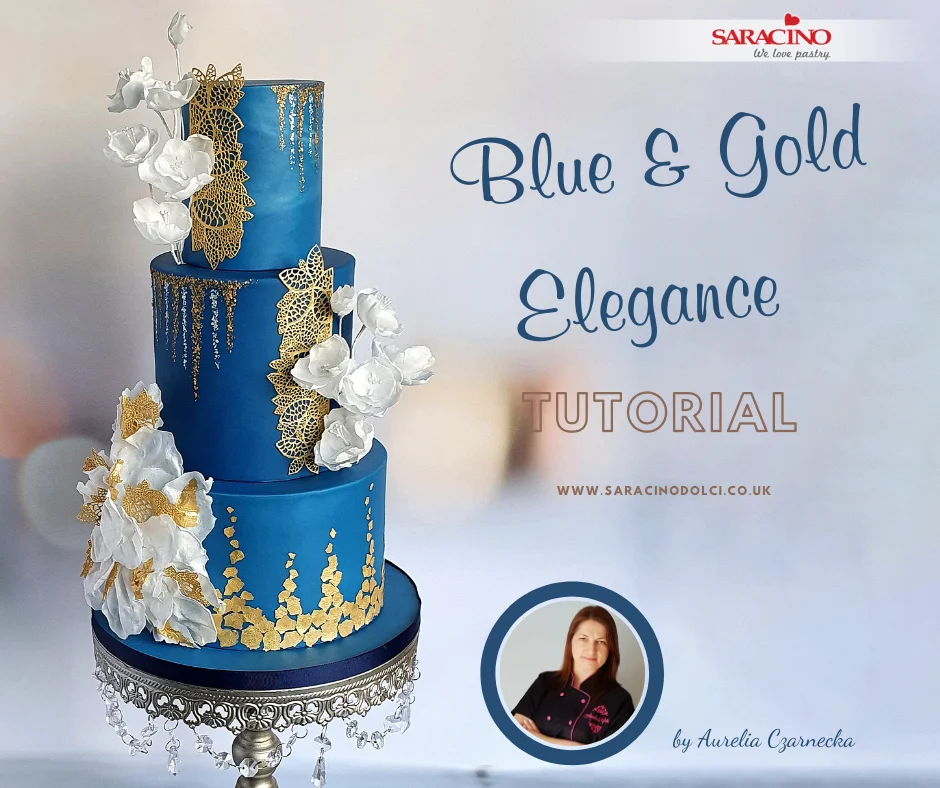
BLUE & GOLD ELEGANCE WEDDING CAKE

BLUE & GOLD ELEGANCE WEDDING CAKE

Skill level: BEGINNERS

You will need:

  • Saracino Blue Pasta Top
  • Saracino White Pasta Top
  • Saracino Wafer Paper 0.27mm thick
  • Saracino Gold Glitter
  • Saracino Silver Glitter
  • Saracino Gold Ready to Use Lace Paste
  • 4in, 6in, 8in cakes or cake dummies top and bottom 5in deep, middle 6in deep
  • Cake lace mat
  • Cake lace spreader or spatula
  • Rolling pin
  • Cake steamer
  • Scalpel or sharp knife
  • Cake smoothers
  • Ball modelling tools
  • Paintbrushes: wide flathead, medium flathead, small pointed
  • Edible glue, wafer paper glue or water
  • Clear alcohol
  • Cake drum
  • Scissors
  • Cooled, boiled water or Trex
  • Flower stamen – medium round in pearl white
  • 24 gauge white flower wires
  • White florist tape
  • Saracino ready to mix royal icing

Step 1

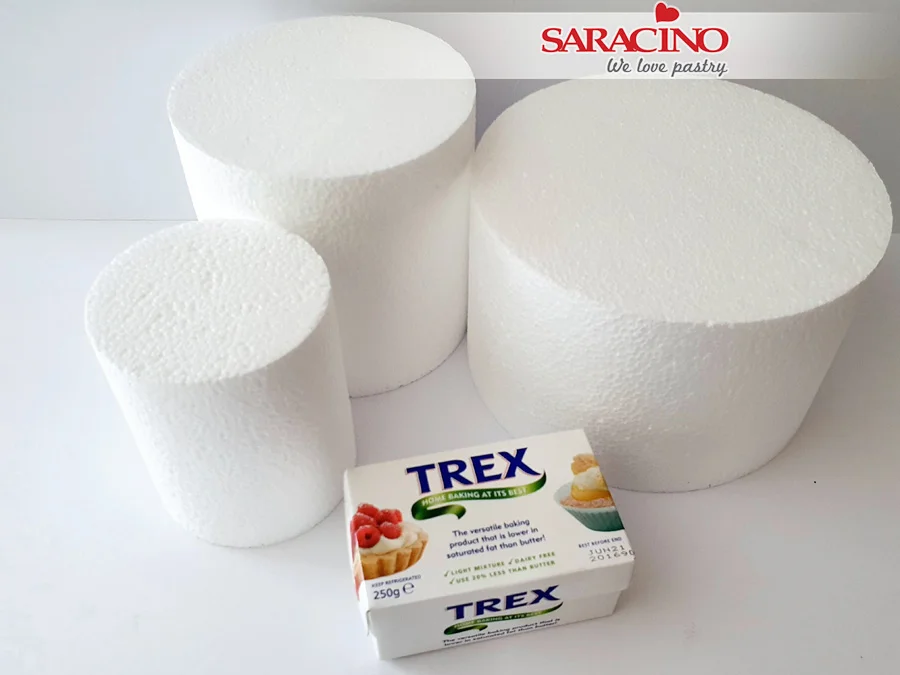
Prepare your cakes or dummies. Brush each one before covering with boiled, cool water or Trex to help the fondant to stick.


Step 2

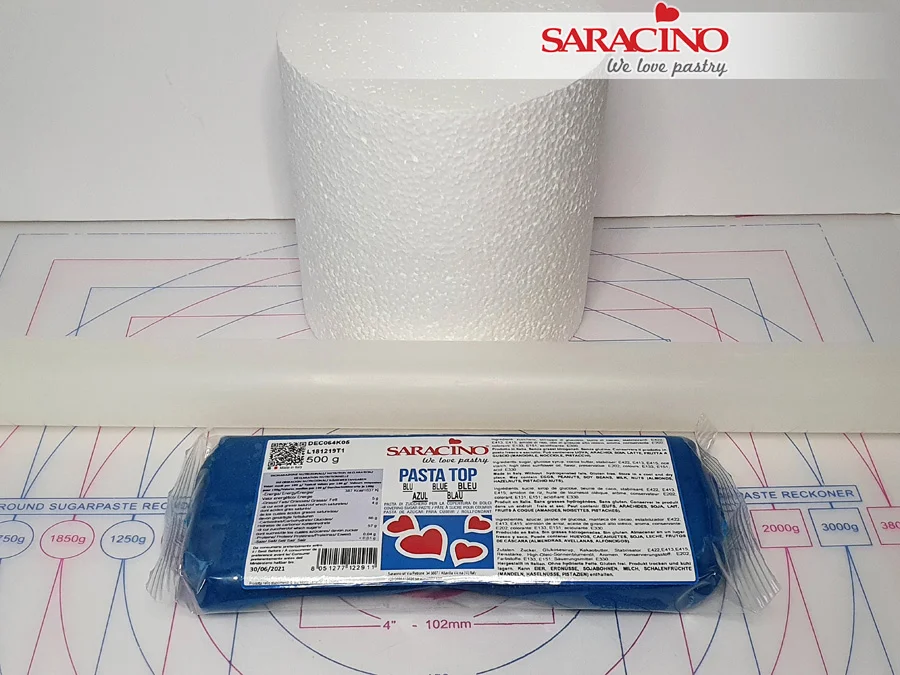
Place the Saracino Blue Pasta Top on your work surface, knead until smooth and pliable.

Tip : Pasta Top is Vegan, Gluten free and has NO hydrogenated fats. It’s very stretchy and can be rolled very thin.

Step 3

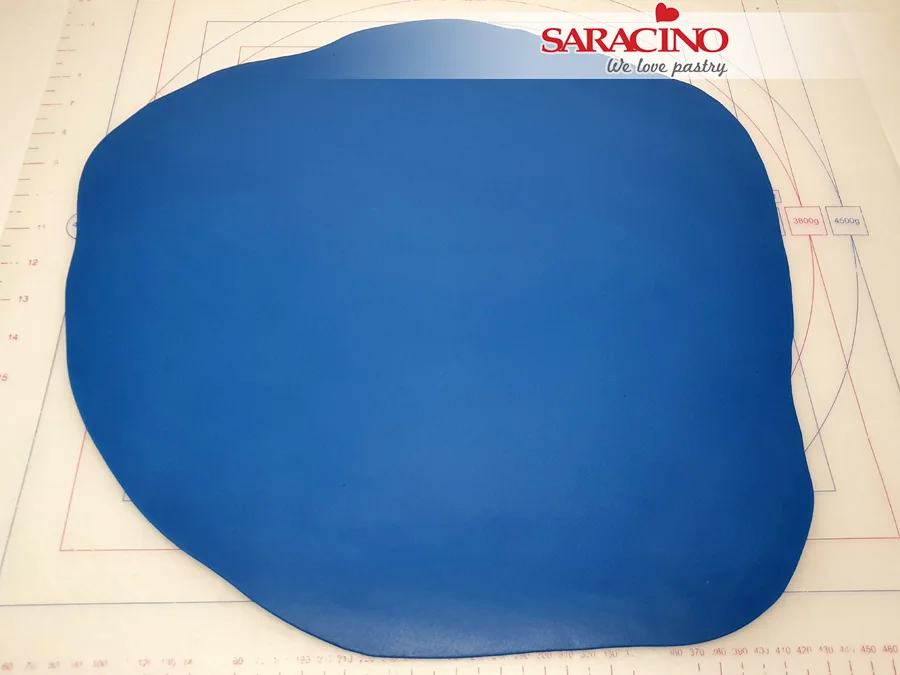
Roll out the fondant to your preferred thickness (Saracino Pasta Top can be rolled thin and is very stretchy, perfect to cover even tall cakes).

Step 4

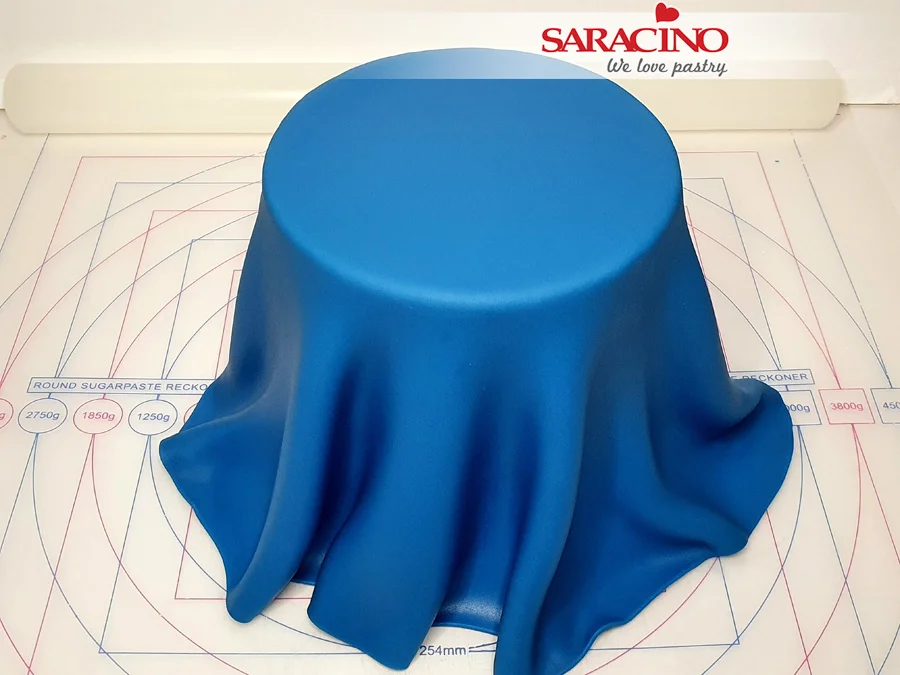
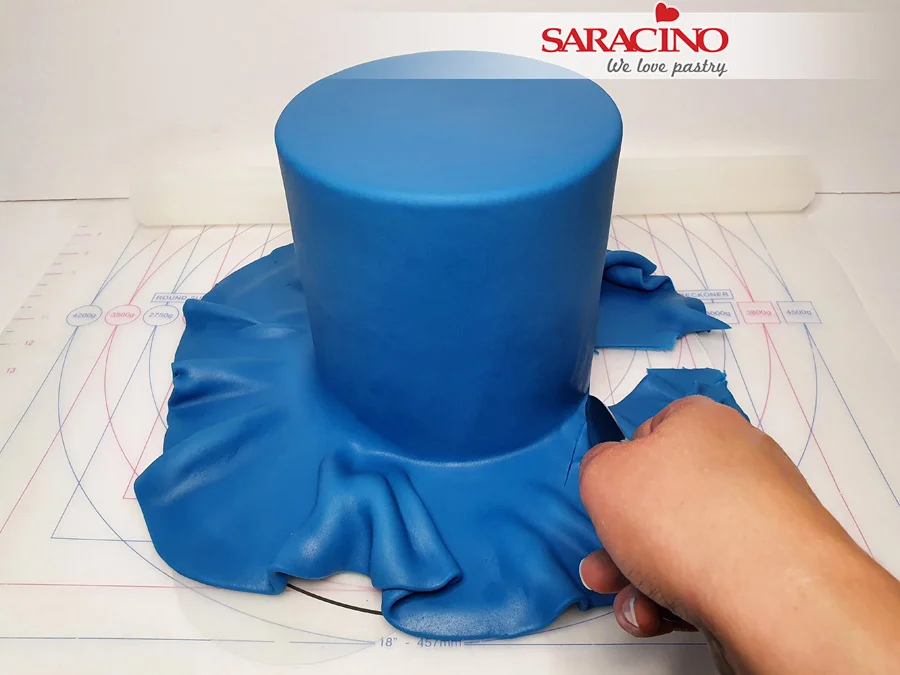
Place the fondant gently over your 6in cake (or dummy). Smooth over the top and edges with your hand. Gently pull out the folds and smooth down with your hand fixing the fondant to the cake until all folds and pleats are gone.

Step 5

Trim off the excess fondant with a sharp knife. You can keep the trimmed fondant for later use.

Step 6

Use cake smoothers around the side and top of the cake. Smooth until you have a sharp edge. Repeat step 4, 5 and 6 with 8in cake (dummy).

Step 7

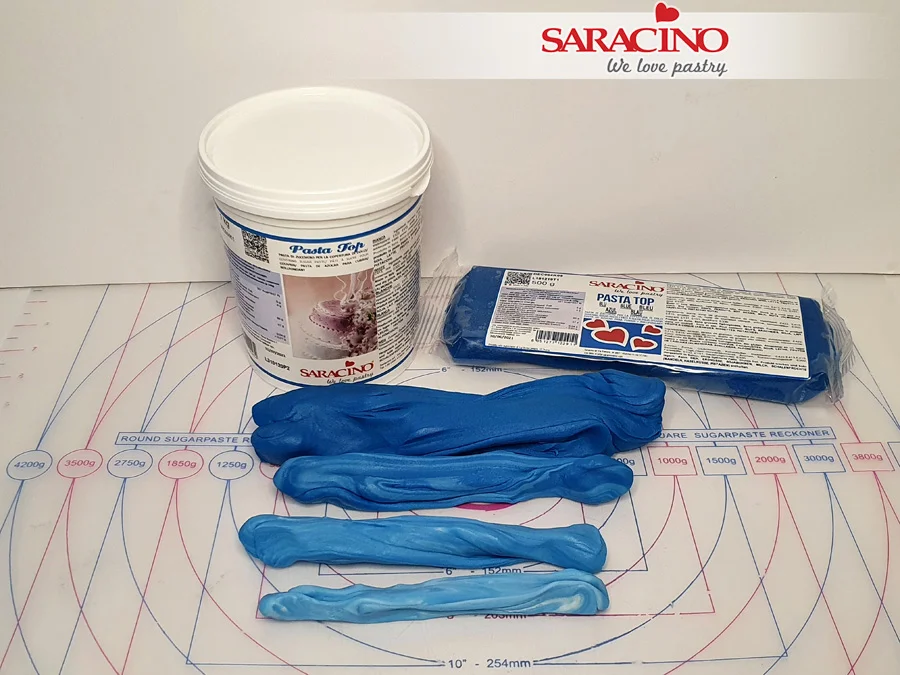
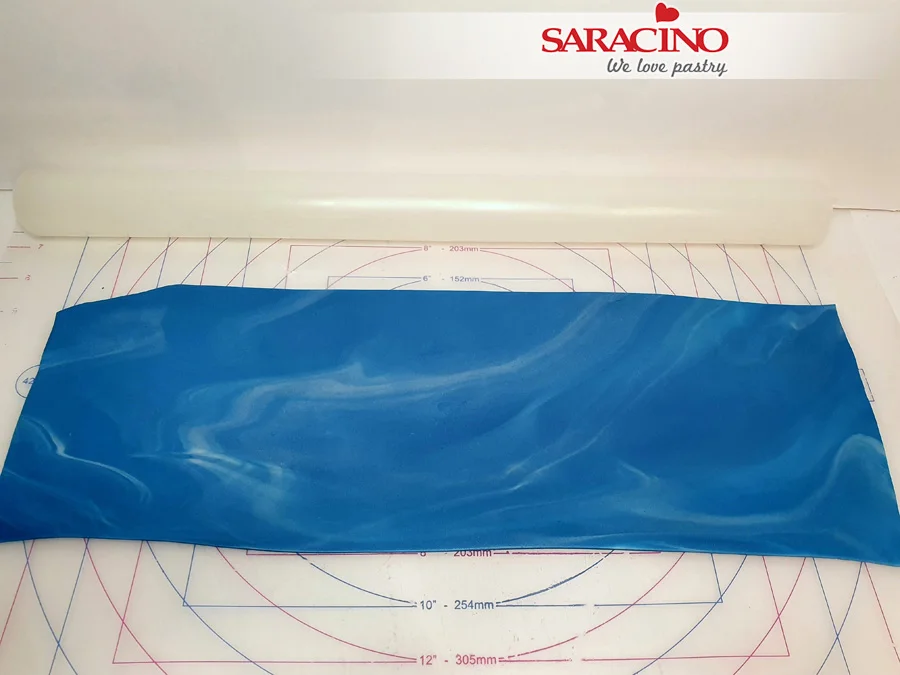
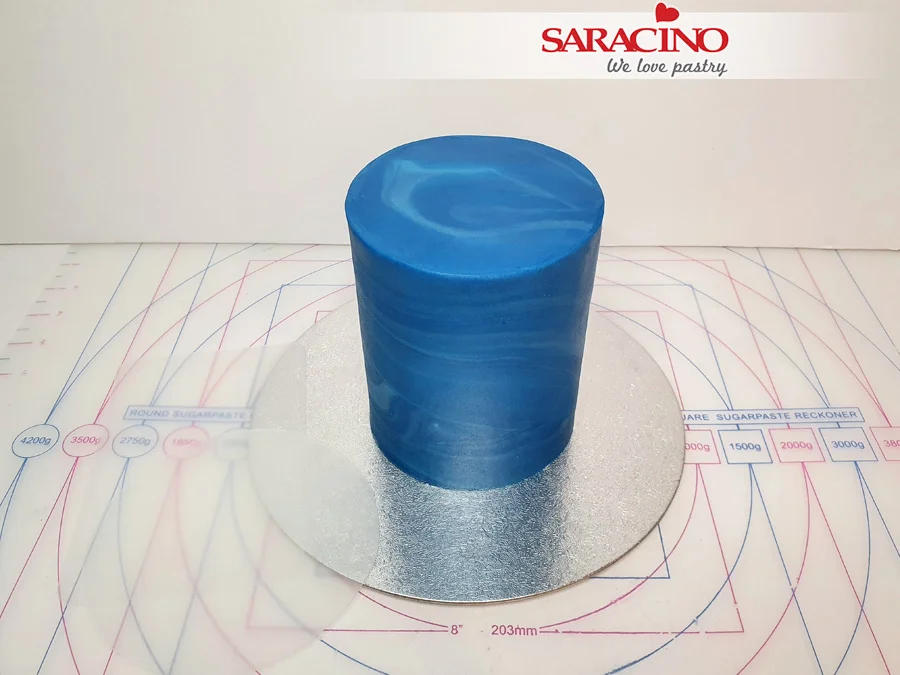
Knead the white and blue Pasta Top separately until smooth. Combine the white and blue fondant to create paler blue. Roll each colour into separate sausage shapes.

Step 8

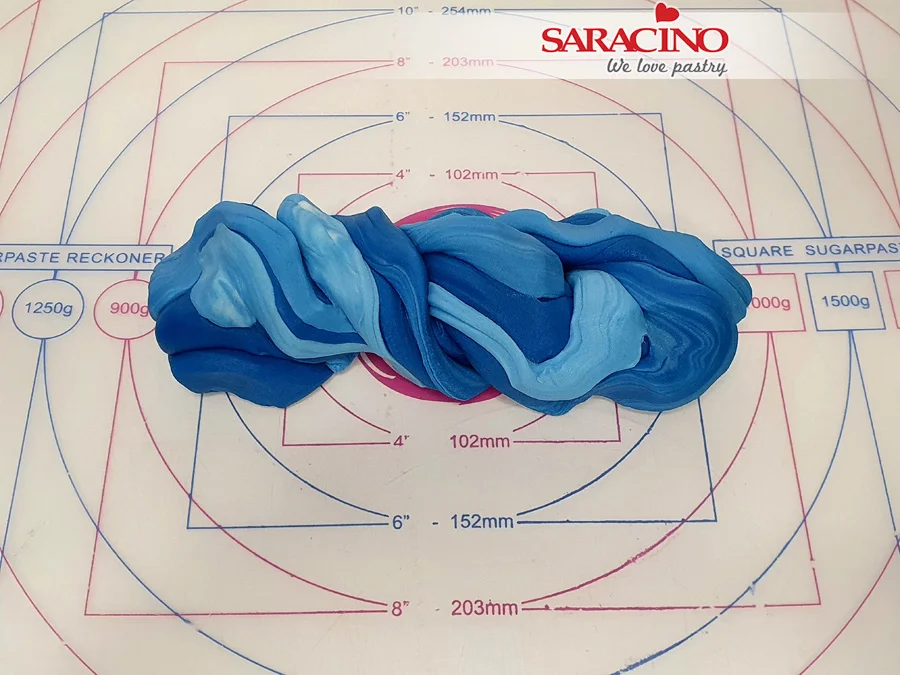
Place the colours together then twist, fold in half and repeat until the desired level of marble is reached.

Step 9

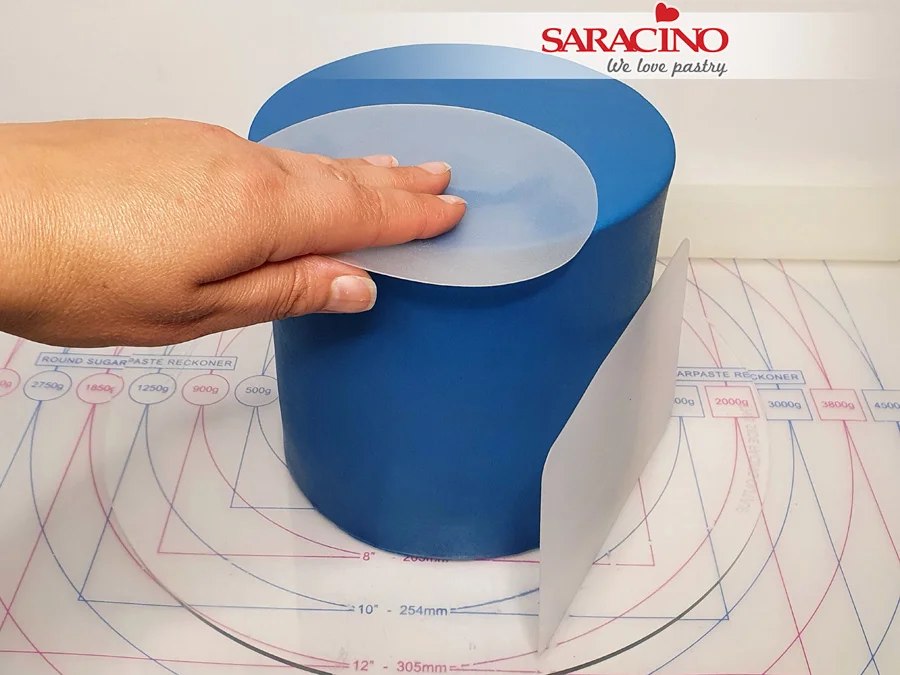
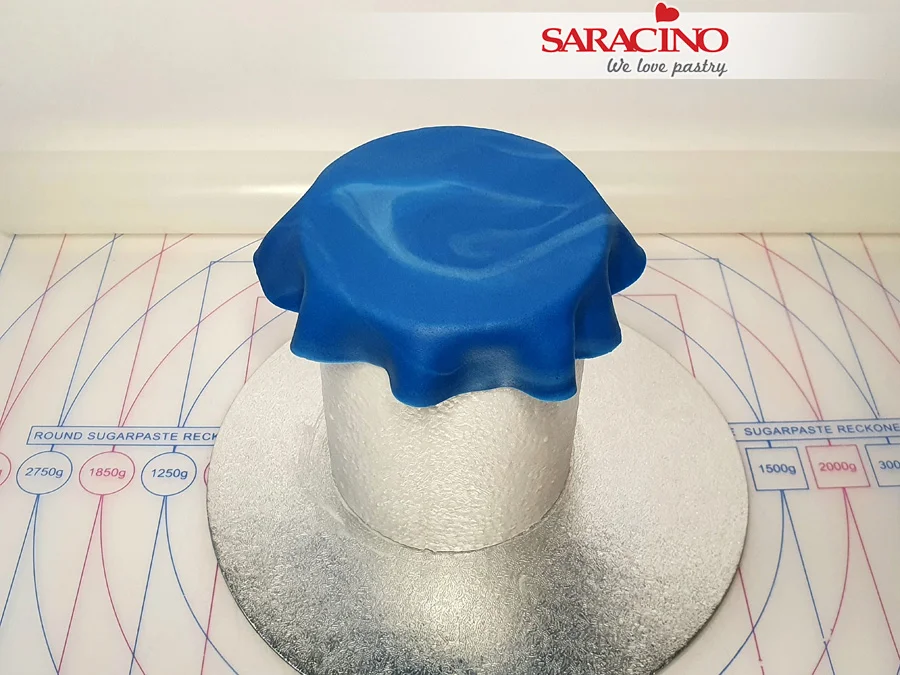
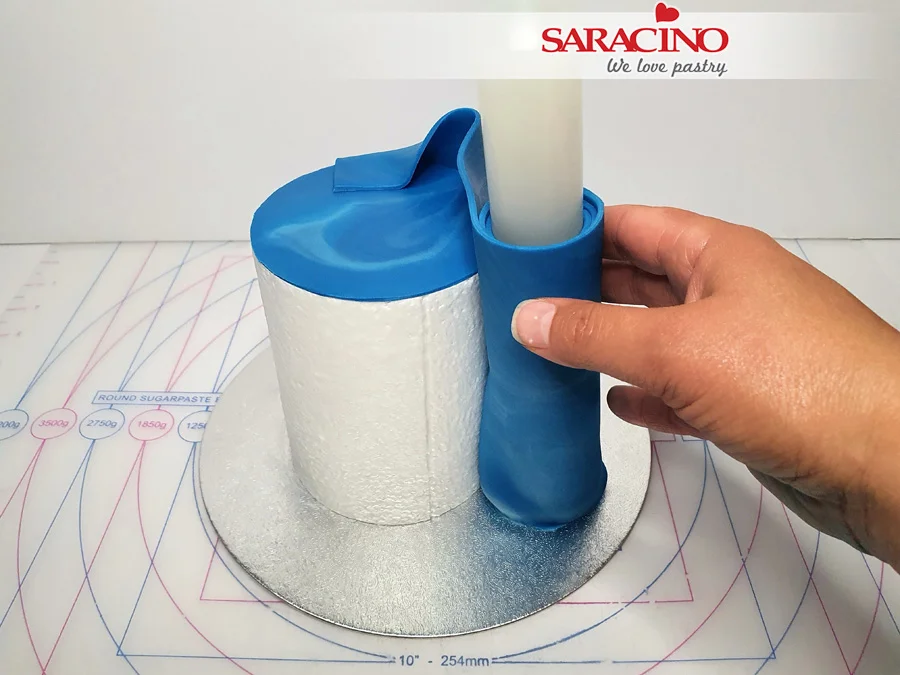
Take the 4in cake (dummy) and brush with cooled, boiled water or trex. Use panelling method to cover your cake at this time (panelling method works well to achieve sharp edges). Roll the fondant into a rectangle, enough to cover the top and the side of your cake.

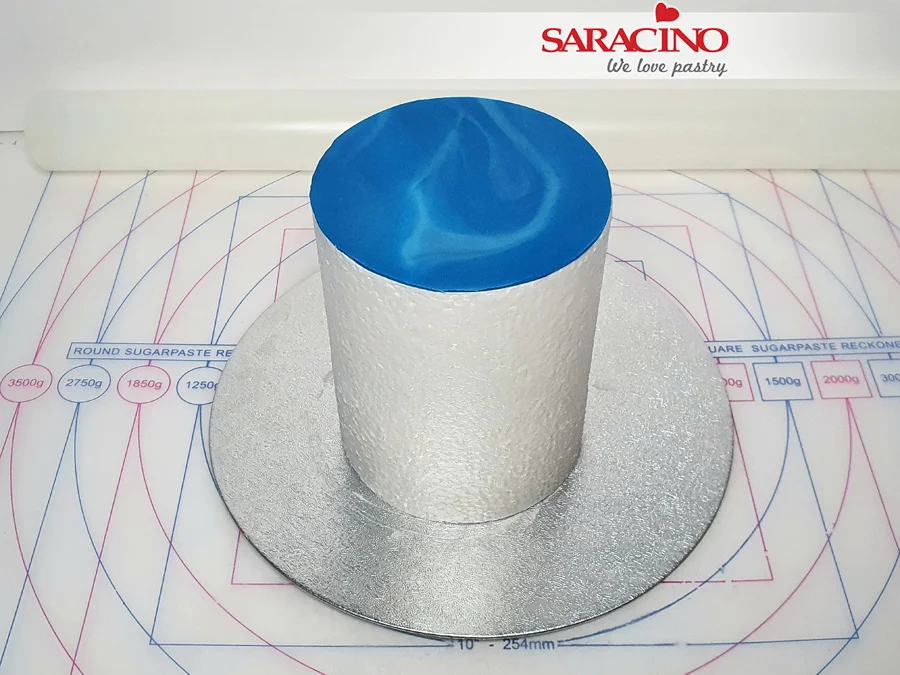
Step 10

Cut out a 11 cm circle and place it on the top surface of the cake (dummy). Cut a rectangle, take the height and length of your cake into account.

Step 11

Smooth the top using a cake smoother and trim off the excess fondant with a sharp knife.

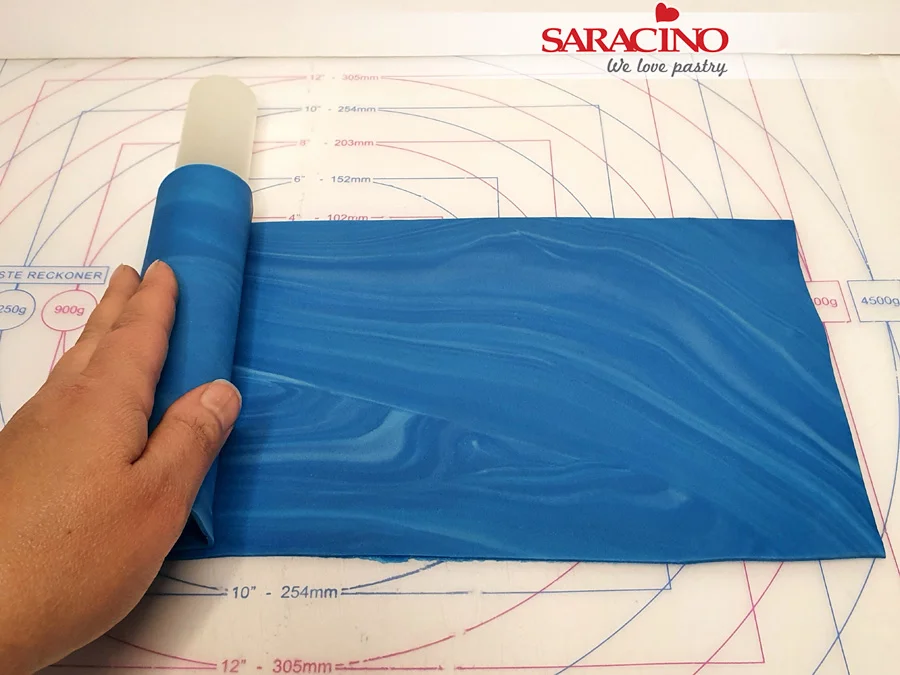
Step 12

Roll the rectangle piece onto the rolling pin.

Step 13

Wrap the piece around your cake making sure to press it firmly against the cake sticking it all the way around.

Step 14

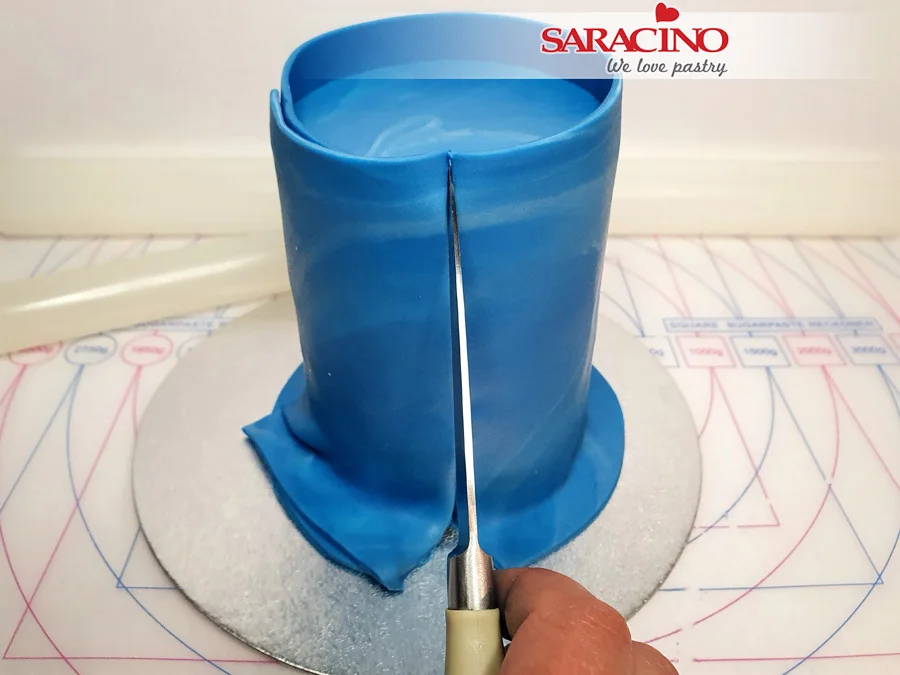
With a sharp knife cut the fondant where the two ends overlap. Cut a nice straight line through both pieces of fondant. Push the panel ends together, the ends should line up perfectly giving you a nice straight seam. Take sharp knife once again and keeping it flat on top of your cake, cut off the excess fondant from the top and then cut excess on the bottom of the cake as well.

Step 15

Secure seams with water and brush. Use a cake smoother to smooth out fondant and to push the seam together and smooth it until its unnoticeable. Saracino Pasta Top is ideal for seamless smoothing and blending.

Step 16

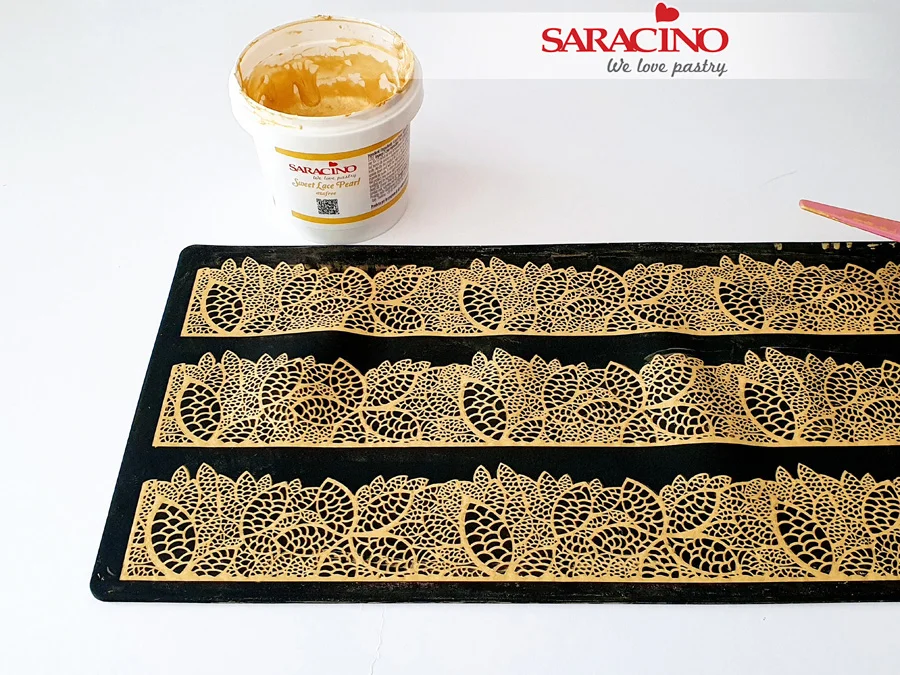
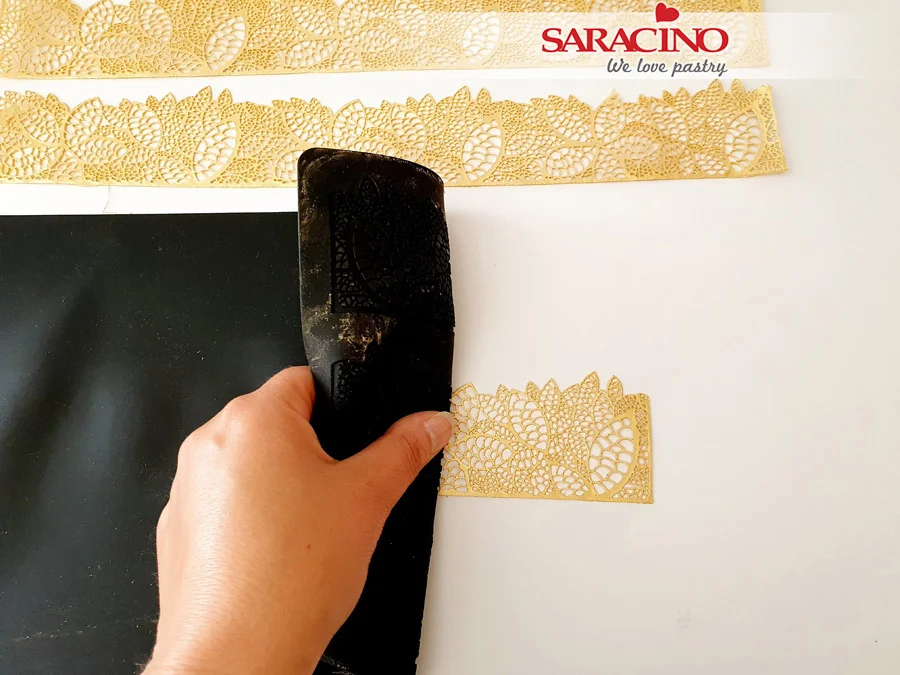
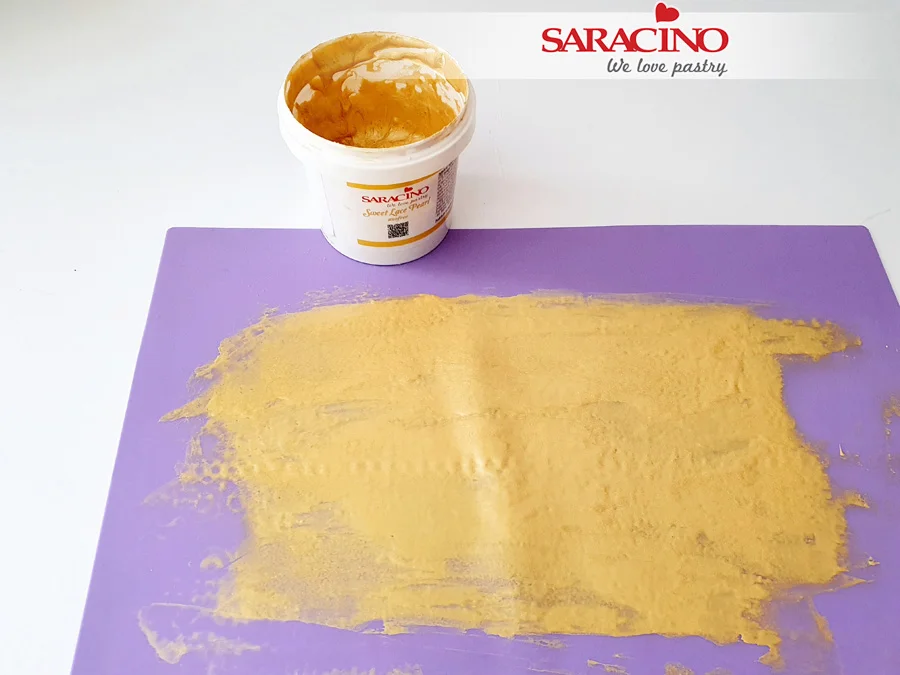
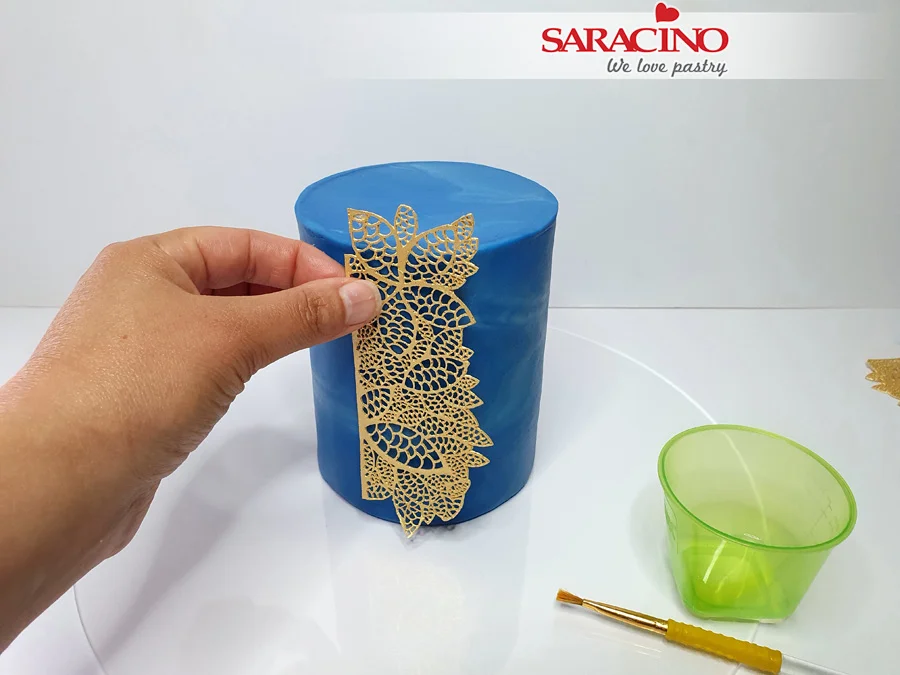
Place a lace mat of your preferred  pattern on a flat surface. Take a small amount of the Saracino Gold Ready to Use Lace Paste from the container and place on the lace mat. Take a lace spreader and use back and forth strokes to fill the design on the mat and when the mat is filled, use the edge of the lace spreader to remove the excess mix. This may need to be repeated a few times so that all the design is covered and there are no little holes left in the design. Bake it according to the instructions on the container. When ready it should pull away from the mat easily without sticking, if it feels tacky leave for another 5 min and check again.

Step 17

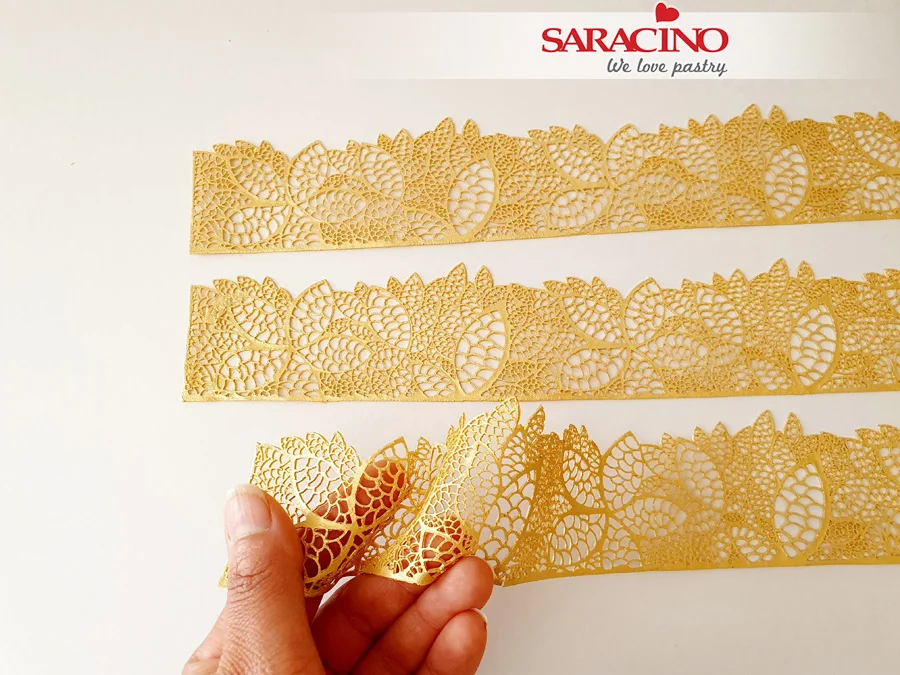
To remove the lace, place the mat face down onto a tabletop, gently peel the lace design from the mat, do this slowly to avoid tearing the lace.

Step 18

Once removed from the mat, you will have a nice flexible piece of cake lace. If your lace feels too stiff and dry, run it through a path of steam, or place briefly onto a damp towel, patting gently to allow the decoration to slightly absorb moisture from the towel. After a minute or so, flexibility should be restored.

Step 19

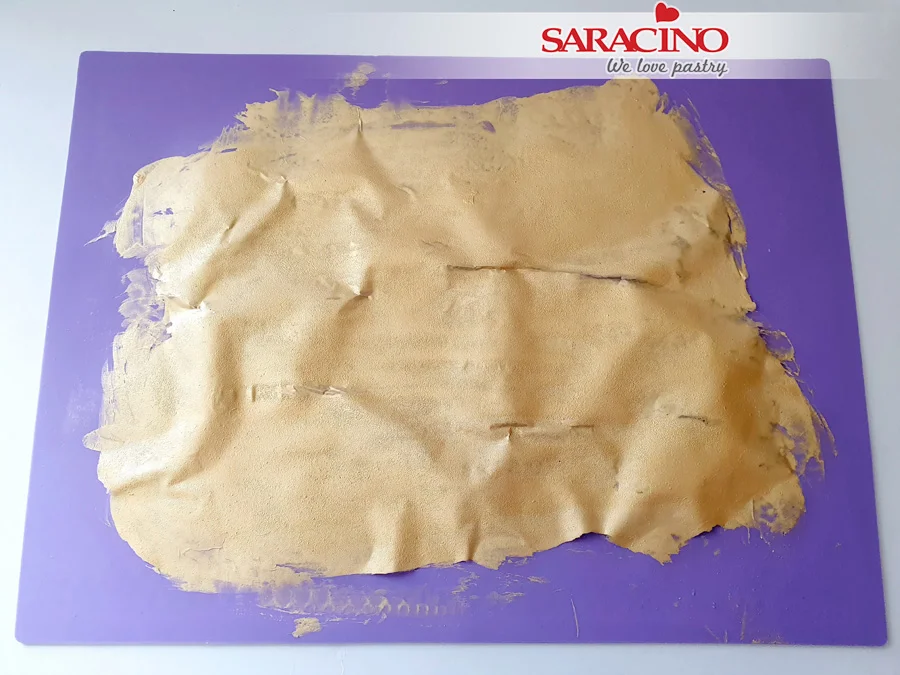
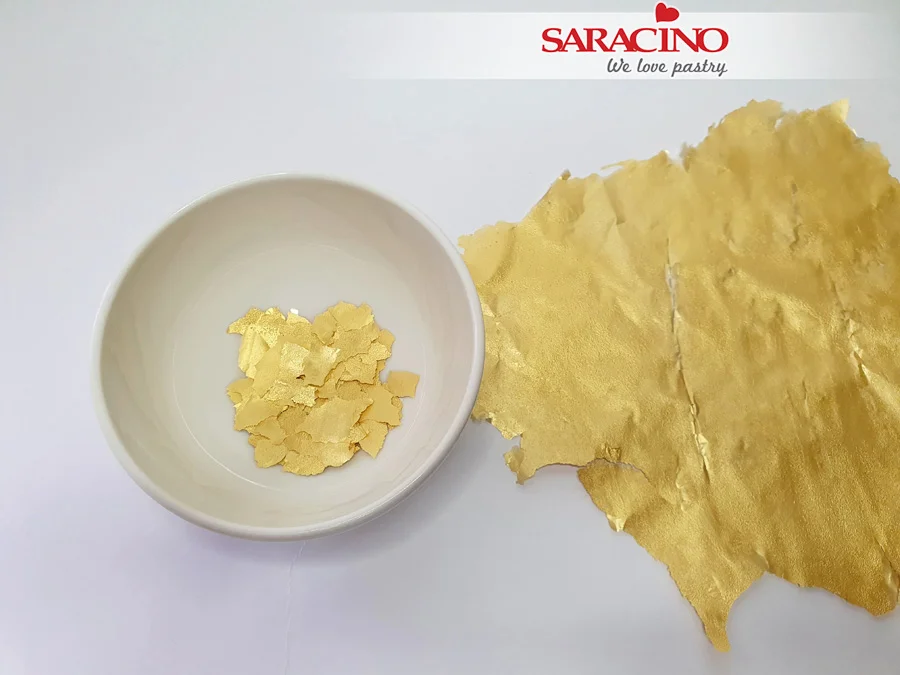
Take the lace mat again and turn it over and use the reverse smooth side of the mat. Spread a layer of the Saracino Gold Ready to Use Lace Paste to create an edible gold sheet.

Step 20

Bake it until the gold sheet is firm and pulls off the mat by itself.

Step 21

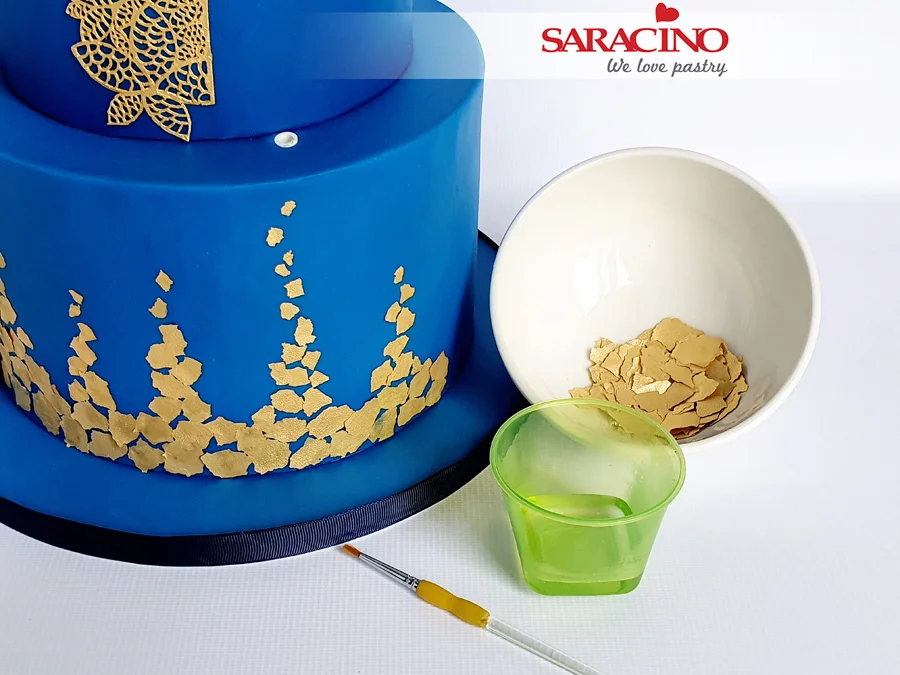
Break/tear various sized pieces from the gold sheet.

Step 22

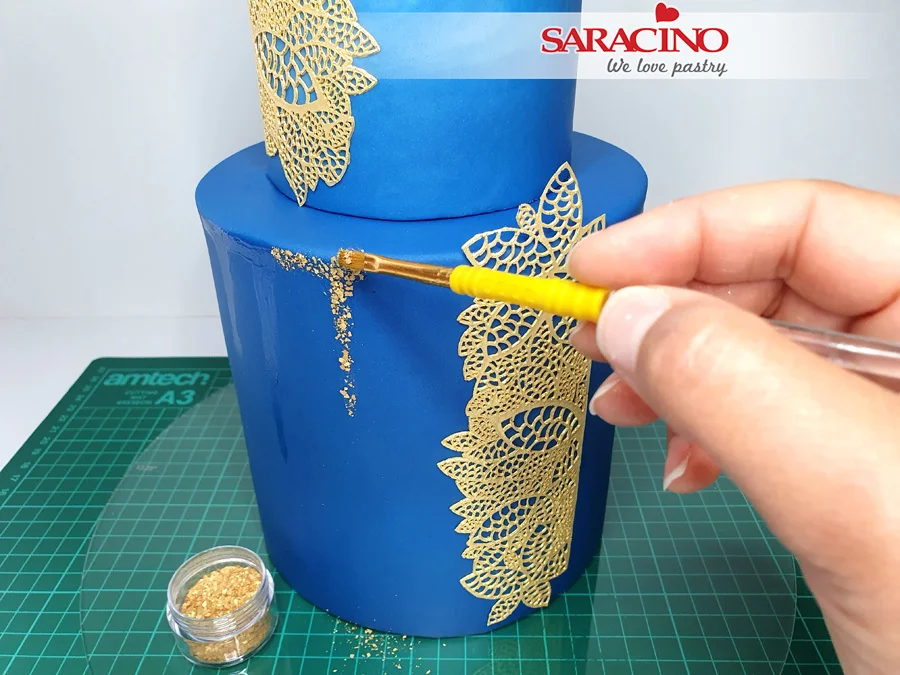
Using scissors, cut 2 pieces of lace to the desired shape and length. Brush a small amount of cooled, boiled water or edible glue onto the reverse of your cake lace. Attach one piece vertically on the top tier and one piece on the middle tier the opposite way.

Step 23

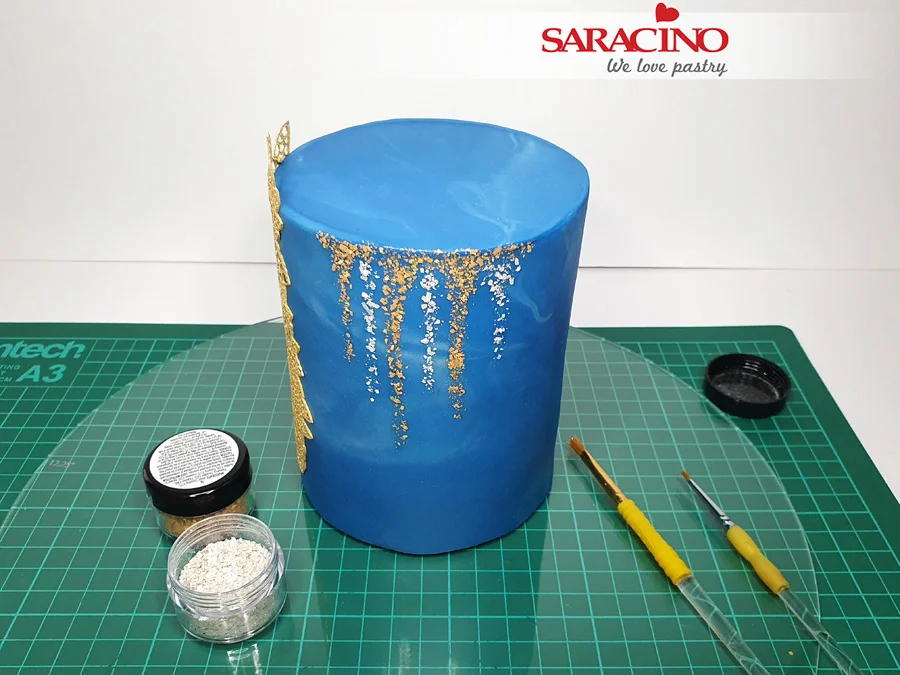
Make a few wide and various length vertical streaks using edible glue or cooled, boiled water on the top and middle tier, next to the attached lace, leaving a gap between each one, then using small flat brush, transfer and stick the Saracino Gold Glitter to the wet places creating  something looking like glitter drip design.

Step 24

Repeat the process with the Saracino Silver Glitter, creating additional silver glitter drip in the gaps.

Step 25

For the simple wafer paper flowers, take 3-6 stamens (medium round in pearl white), fold in half and loop a 24 gauge white wire over. Use white floral tape to secure, starting 3-4mm above the wire. Prepare 10 wires like this.

Step 26

Start cutting the Saracino wafer paper (0.27mm thick) into strips first, then into squares slightly larger than your petal. No special cutters or templates are needed, it’s really up to you how big you want your petals and flowers to be, so cut free-hand squares into tulip/peony shape petals. You will need 3 medium and 3 large petals for each flower and 3-4 small petals for the flower bud, in total you will need to prepare 8 small, 40 medium and 40 large petals.

Step 27

Brush the wafer paper petal with the alcohol using wide flathead brush (not too much alcohol otherwise the petal will damage). If you like your flowers to be in certain colour, add a Saracino gel food colour to the alcohol at this stage.

Step 28

Spread the alcohol evenly with your fingers, making sure the whole surface of the petal is covered and softened.

Step 29

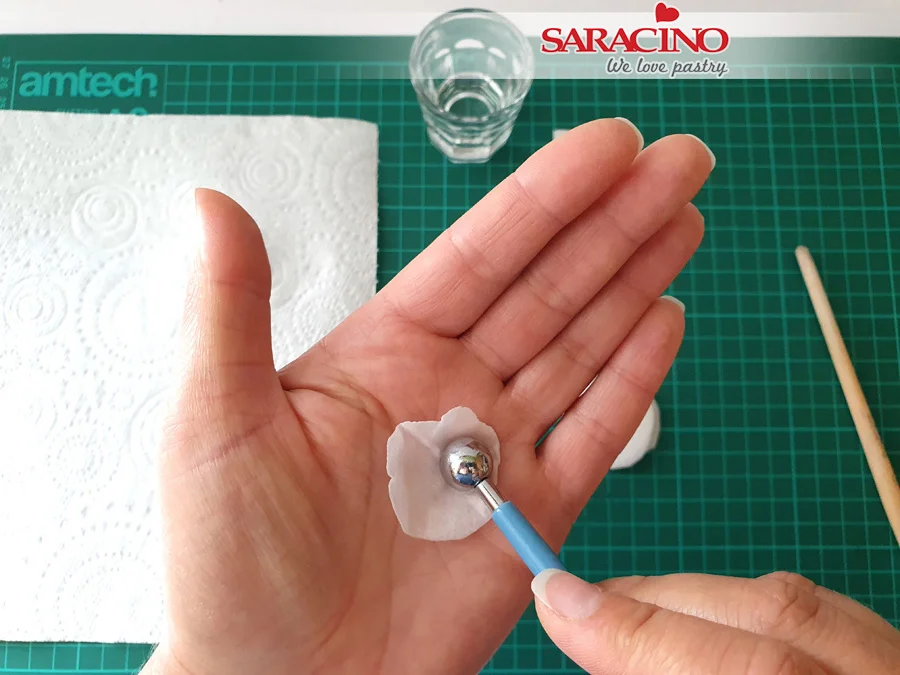
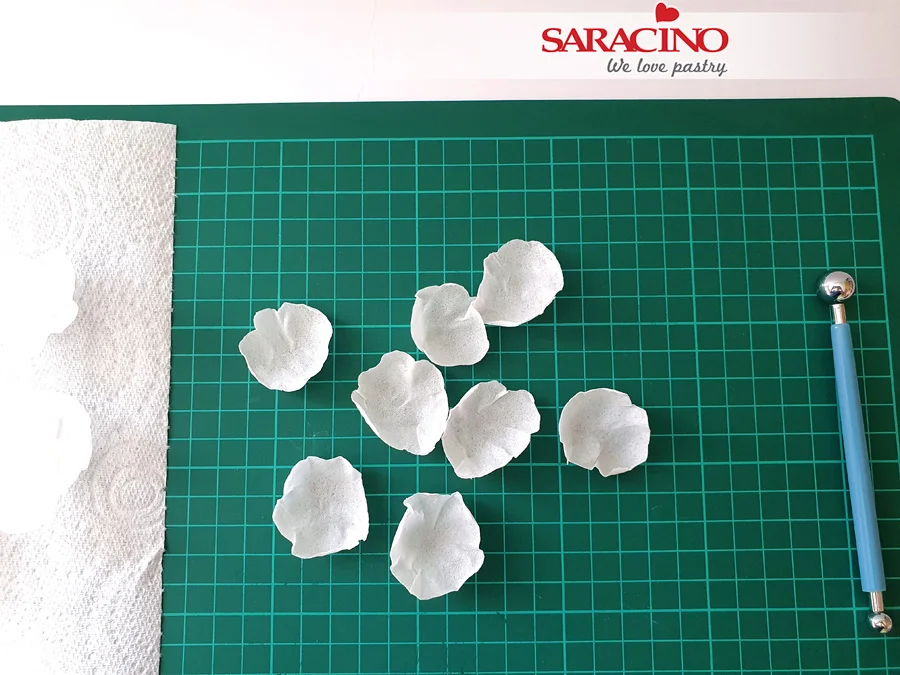
Place the petal on your palm, take the ball tool and press the petal in a few places to indent petal and add extra volume to it. If petals break under the pressure of a ball tool, it means that you haven’t applied enough alcohol to the petal. Petals should curl on the edges themselves,  but if not, add a small amount of alcohol on the edges again and help to curl with your fingers.

Step 30

Repeat step 28, 29 and 30 with all petals. Cut a slit on the bottom of each petal (3/4 to the centre), brush a small amount of cooled, boiled water, overlap the slit to form a cup shape to the petal, you can add 28 or 30 gauge wire at this stage if you need every petal to be wired.

Step 31

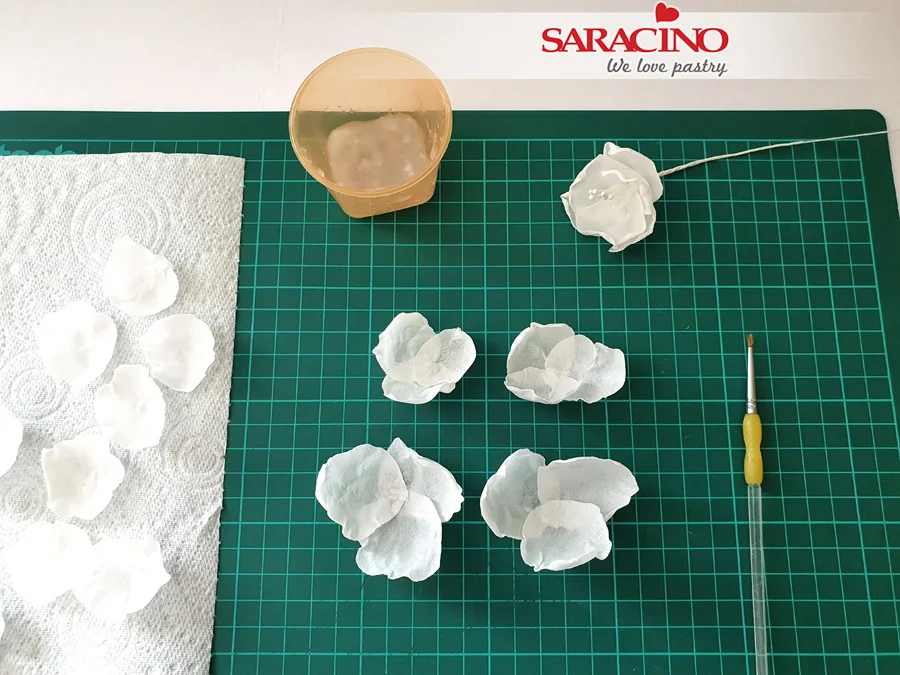
Select medium petals first and using a small amount of wafer paper glue or cooled, boiled water, adhere them together in a group of three, do the same with larger petals. If you wired your petals, skip this step.

TIP- To make wafer paper glue, cut fine, tiny pieces of leftover scraps of wafer paper and add to a container, cover with boiled water and leave it for a few hours for the paper to dissolve and turn into a glue.

Step 32

Using a small amount of wafer paper glue or cooled, boiled water, glue together the medium and large petals.

Step 33

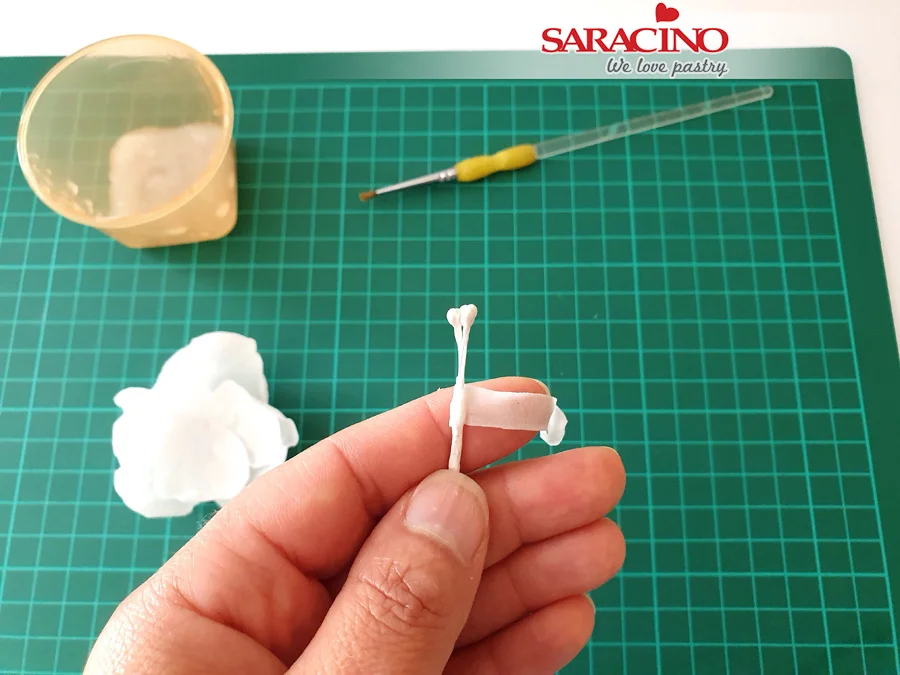
Take the flower middle, brush a small amount of wafer paper glue or cooled, boiled water on the tape underneath the stamen, add a thin strip of wafer paper, (brush the strip first with wafer paper glue or water), this will help the flower middle stick to the petals easier. Leave it for a few minutes to dry. If you wired your petals, skip this step.

Step 34

Take the petals, if still soft in the centre, thread the flower wire middle through the centre, if the wafer paper has already dried and hardened, dab a small amount of water or wafer paper glue in the centre of the flower to soften the wafer paper. If you wired your petals, take the flower middle, place 3 medium petals directly underneath the stamen, secure petals with white floral tape, then add another layer of 3 larger petals, one by one, continue securing with floral tape all the way down the wire.

Step 35

Insert your flowers into a dummy and allow to dry.

Step 36

For the flower buds, take the 24 gauge white wire, cut in half, make a loop at the end of the wire, wrap a floral white tape over the loop and all the way down the wire. Brush with a glue or cooled, boiled water, wrap a piece of wafer paper, creating a ball shape on the loop.

Step 37

Take 3-4 small petals, attach them to the ball with wafer paper glue or cooled, boiled water,  creating a flower bud.

Step 38

Dowel and stack the cakes. Tape the wafer paper flowers in pairs or keep them separate if you prefer. Insert flower picks into the cake where you would like flowers to be placed.

Step 39

Insert the stems into the flower picks, bending the wires to arrange as desired.

Step 40

For the wafer paper sail cluster, take 2-3 sheets of the Saracino wafer paper (0.27mm thick). Use scissors to cut free-hand about 20 tulip shape petals, various sizes, approximately between 5 and 8cm long. Take another two sheets of the wafer paper and tear free-hand some irregular pieces for a more jagged edged look.

Step 41

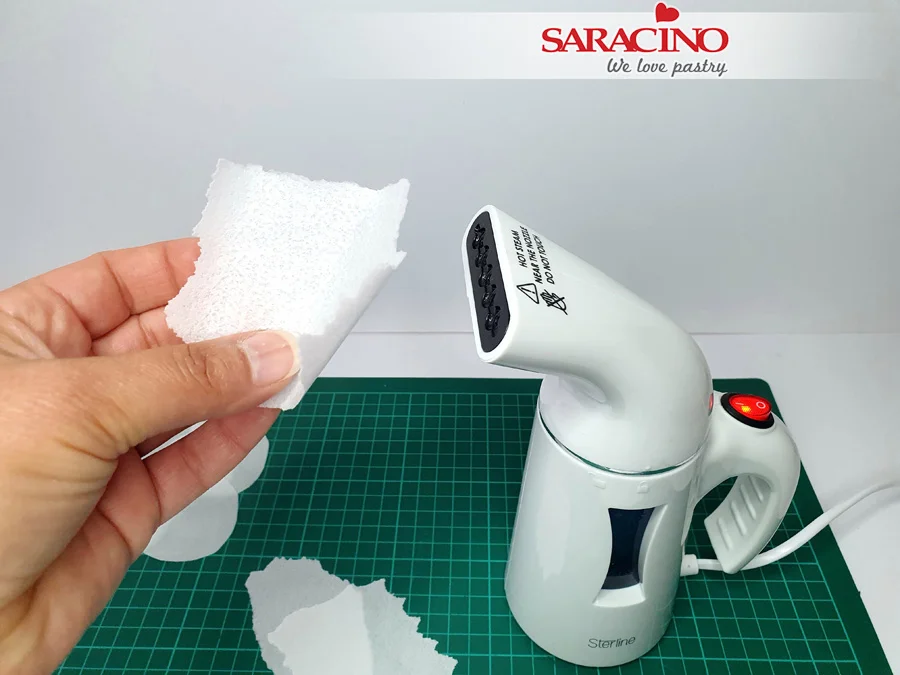
Take prepared pieces of the wafer paper and carefully (do not burn yourself), briefly pass each piece through a path of steam from a cake steamer, form the shape you require.

Step 42

If you don’t have a steamer, you can use the steam from a kettle or a pot of boiling water or brush every piece with alcohol (like we did for the petals) and shape, put to dry on a piece of parchment paper.

Step 43

Once all the wafer paper sails are ready, using cooled, boiled water or wafer paper glue arrange them in clusters. Leave some single sails for filling the gaps later on.

Step 44

Tear some pieces from the gold sheet made from the Saracino Gold Ready to Use Lace Paste and attach with a small amount of cooled, boiled water to a few wafer paper sails.

Step 45

Take the 8in cake and the edible gold pieces we prepared earlier (made from Saracino Gold Ready to Use Lace Paste). Use small amount of cooled, boiled water or edible glue to attach pieces to the cake, starting from bigger pieces at the base reducing gradually to smallest ones creating the pattern.

Step 46

Mix a small amount of Saracino Royal Icing. Apply royal icing to the 8in cake in the place you would like the wafer paper clusters to be. Hold the wafer paper clusters in place for a few seconds to allow to fix.

Step 47

Fill the gaps with single sails and nice pieces of left over edible lace.

Step 48

Your cake is complete!