





APPLE BLOSSOMS TUTORIAL

You will need:
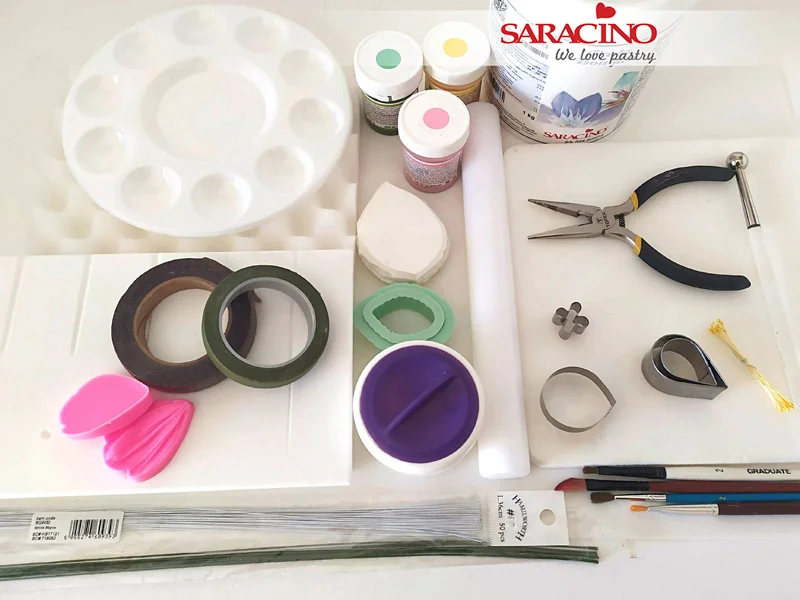
- Flower paste Saracino – Pasta Bouquet
- Non stick board
- Small rolling pin
- Ball tool
- Foam pad
- Groove board
- Corn flour for dusting
- Saracino Green gel colour
- Saracino powder colours. Green – Pink – Yellow
- Petal cutter and veiner
- Leaf cutter and veiner
- White flower wire gauge 28
- Green flower wire gauge 26
- Flower tape green – brown
- Small head stamens
- Saracino edible glue
- Wire cutter
- Paint brushes
- Kitchen paper
Step 1
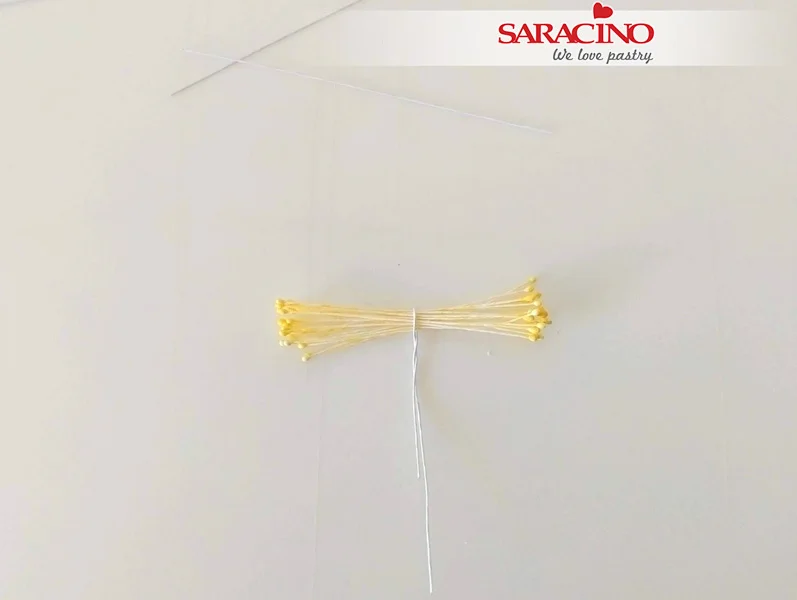
To make the centre of the blossom take about 12 small head stamens and twist a 28 gauge wire to secure at the centre.
Step 2
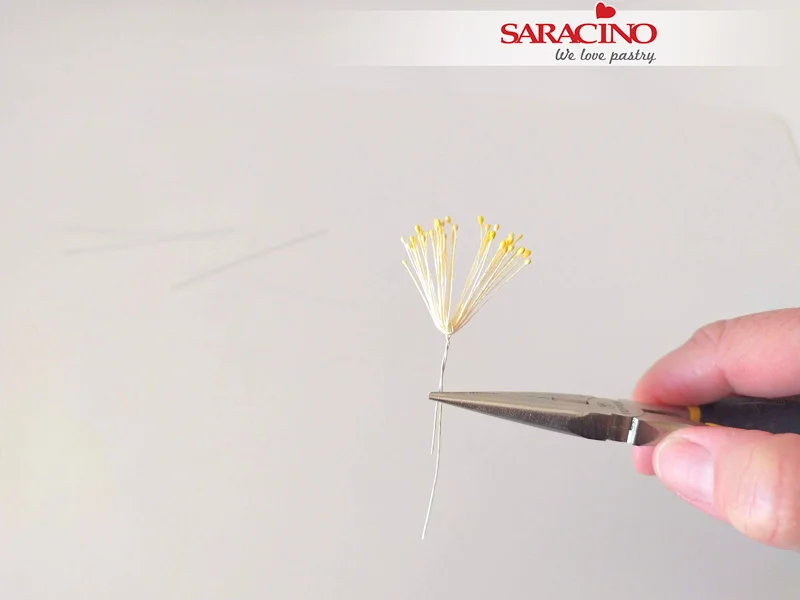
Lift the two sides up and twist the wire firmly with the wire cutter to keep the sides in shape.
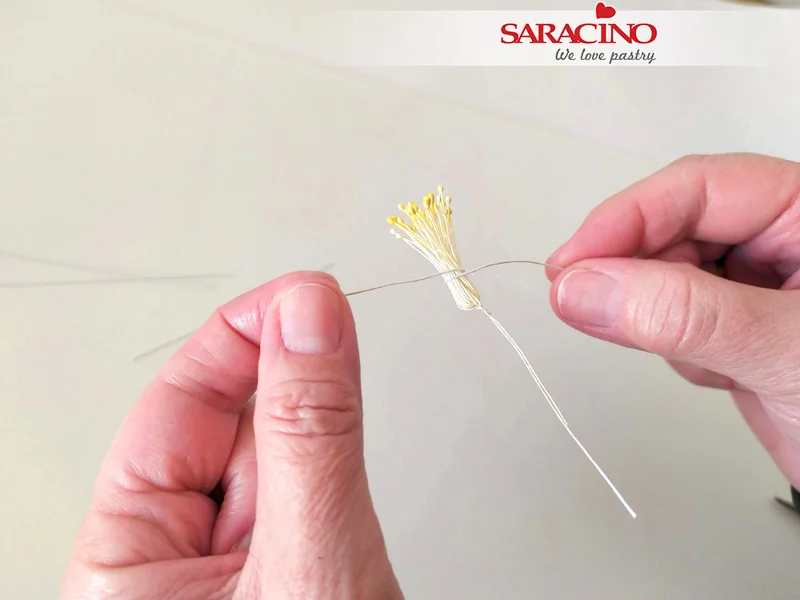
Step 3
Take another small length of wire and wrap around the stamens as it is shown in the picture.
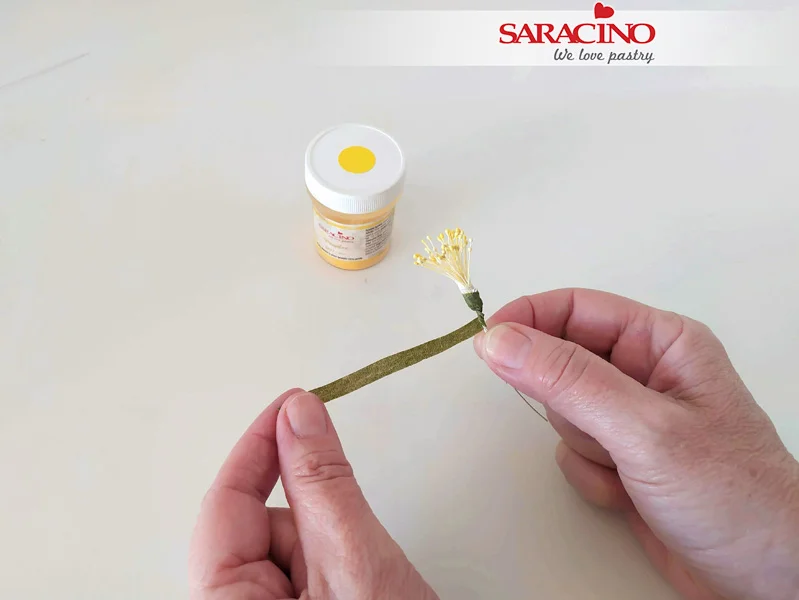
Step 4
Wrap the stamens and the wire with green florists tape.
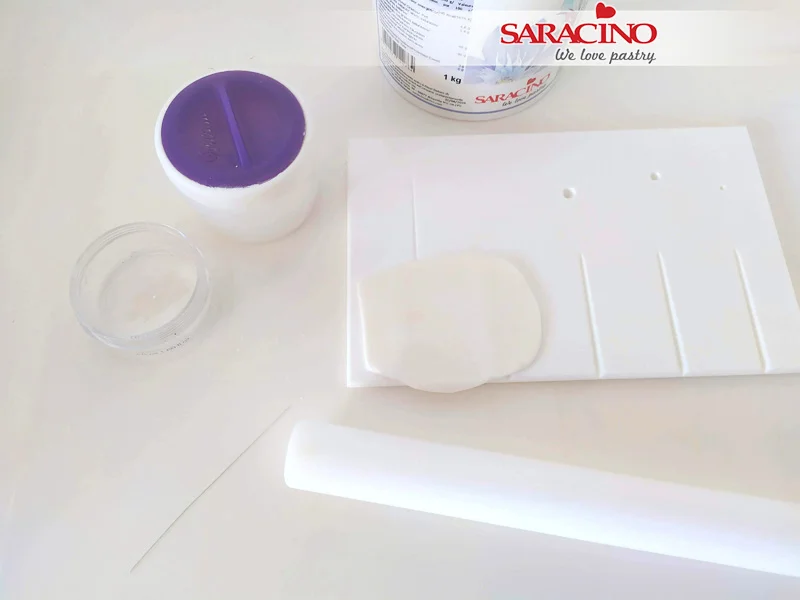
Step 5
To make the petals dust the board with a small amount of corn flour. Roll out the flower paste with a rolling pin on the board over one of the grooves.
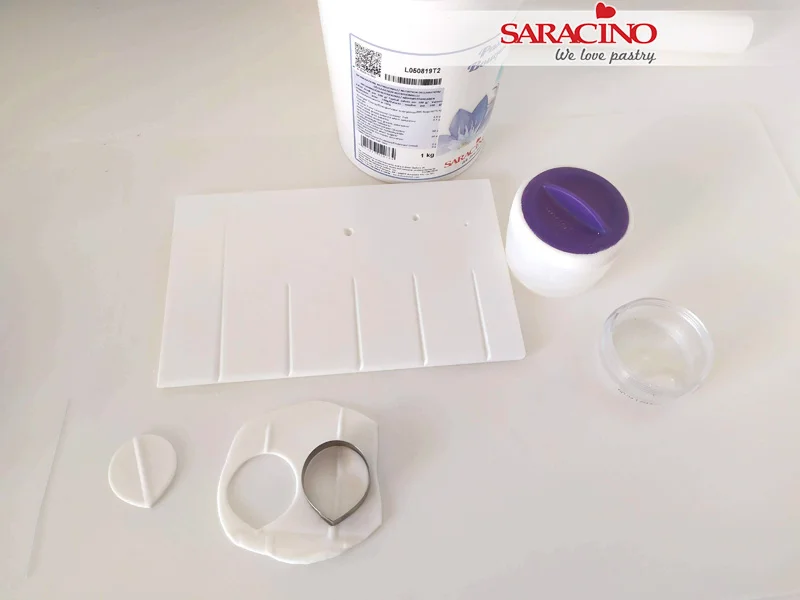
Step 6
Cut out 5 petals for each flower with a leaf cutter.
Step 7
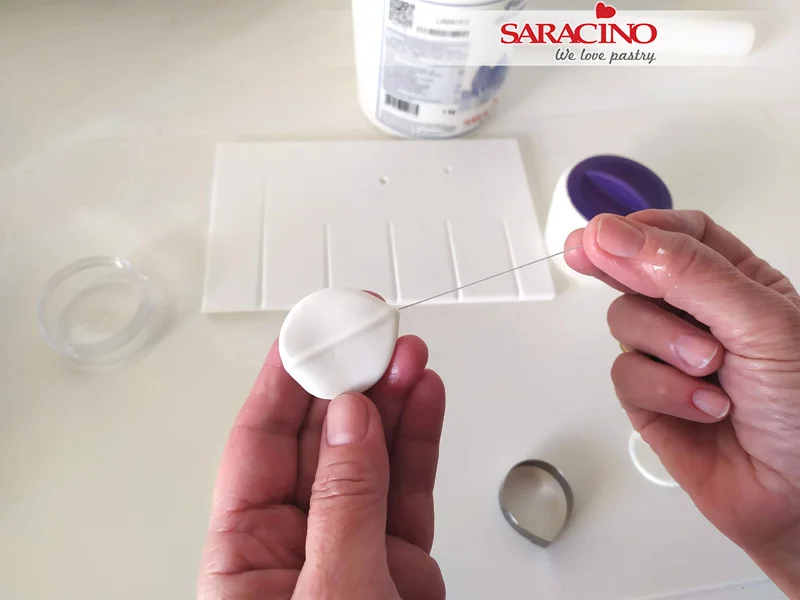
Add some edible glue at the end of the 28 gauge wire. Insert the wire into the groove. Pinch the bottom of the petal gently to secure it to the wire.
Step 8
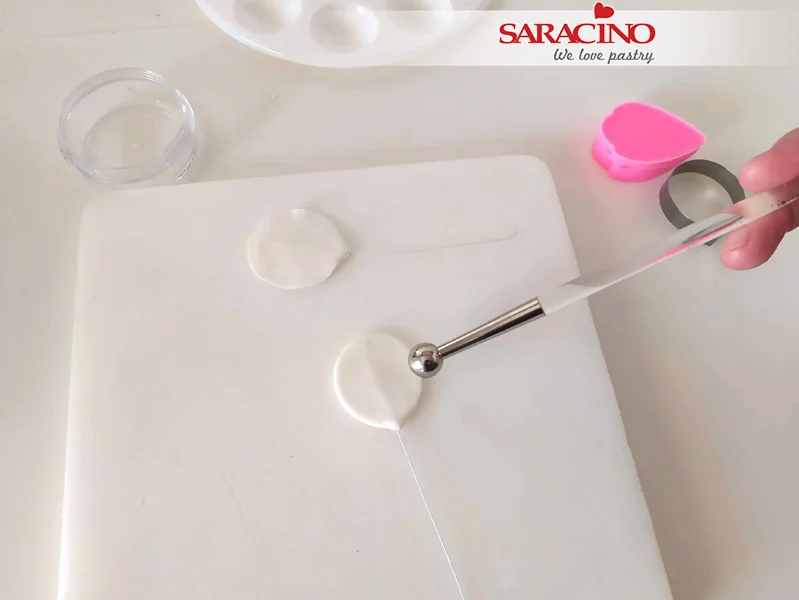
Move the petal onto a foam pad and thin the edges of the petal with a ball tool.
Step 9
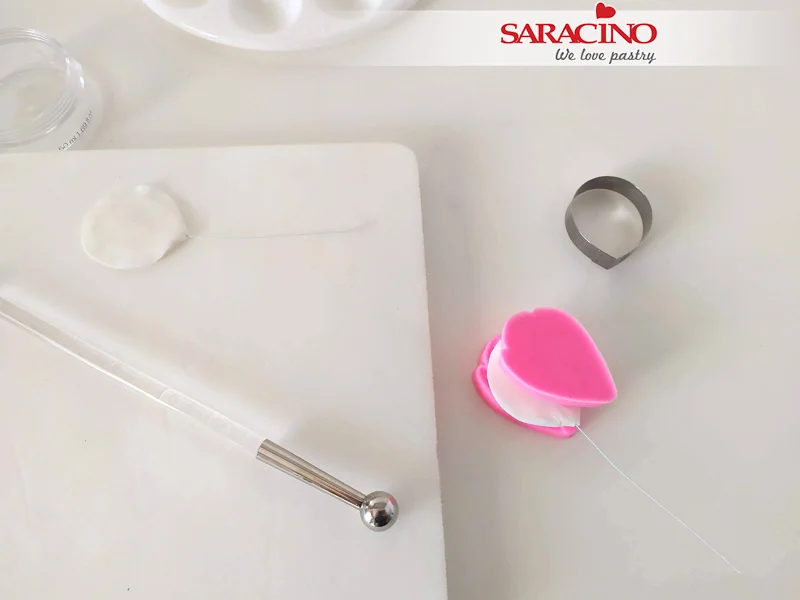
Press each petal firmly into the veiner to form the veiner pattern.
Step 10
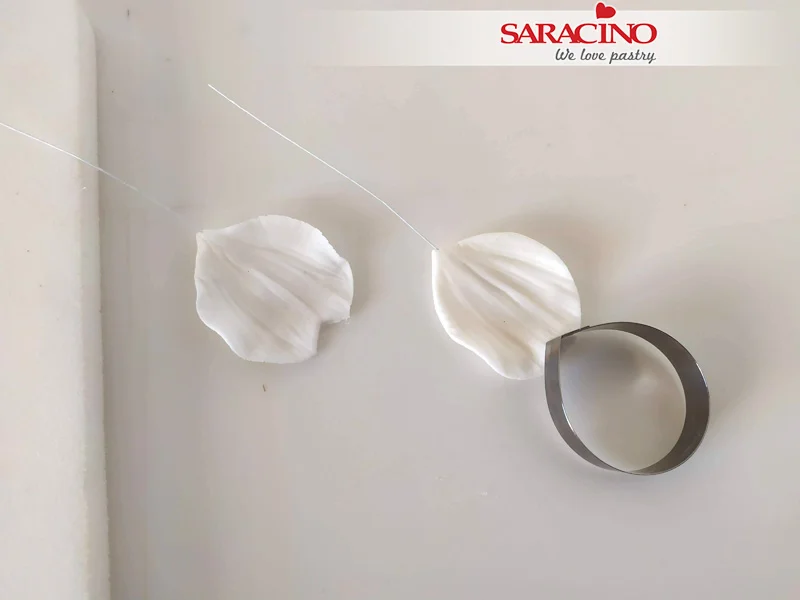
By using the corner of your cutter cut a small notch at the top of the petal.
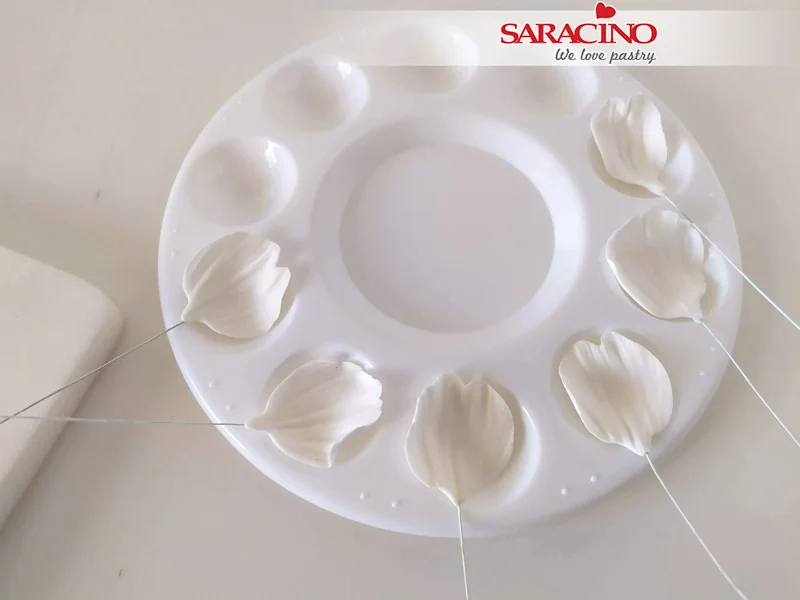
Step 11
Let the petals dry overnight on a former to give definition and shape (we do not want flat petals)
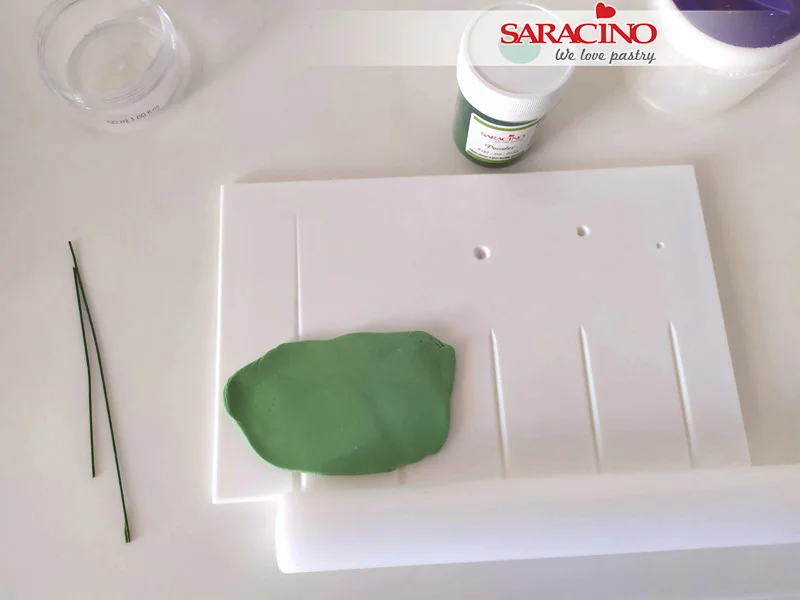
Step 12
To make the leaves roll out a small amount of green flower paste on the groove board
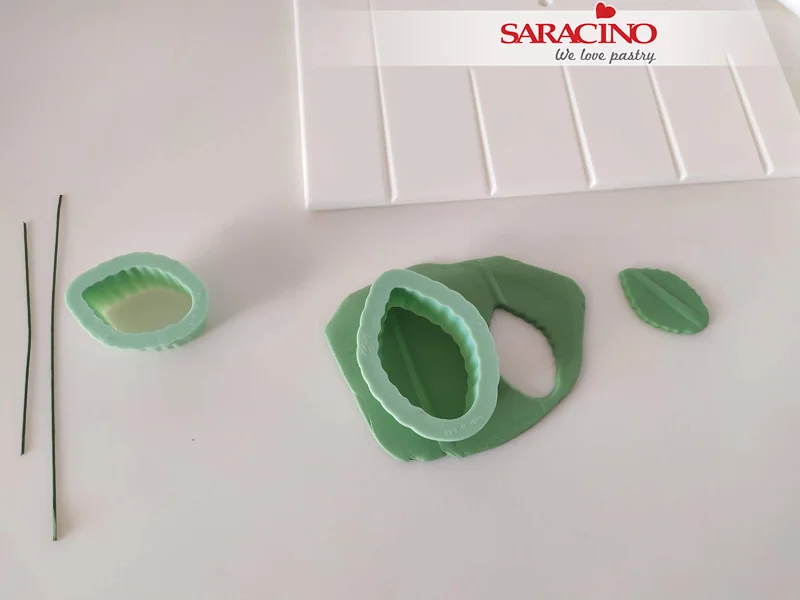
Step 13
Cut out leaves using the leaf cutter in two different sizes.
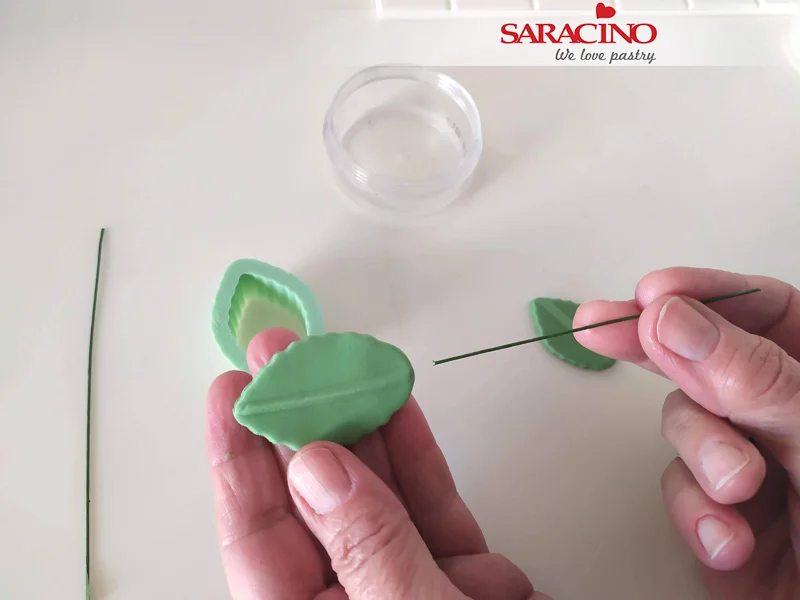
Step 14
Add some edible glue at the end of the wire insert into the groove of the leaf.
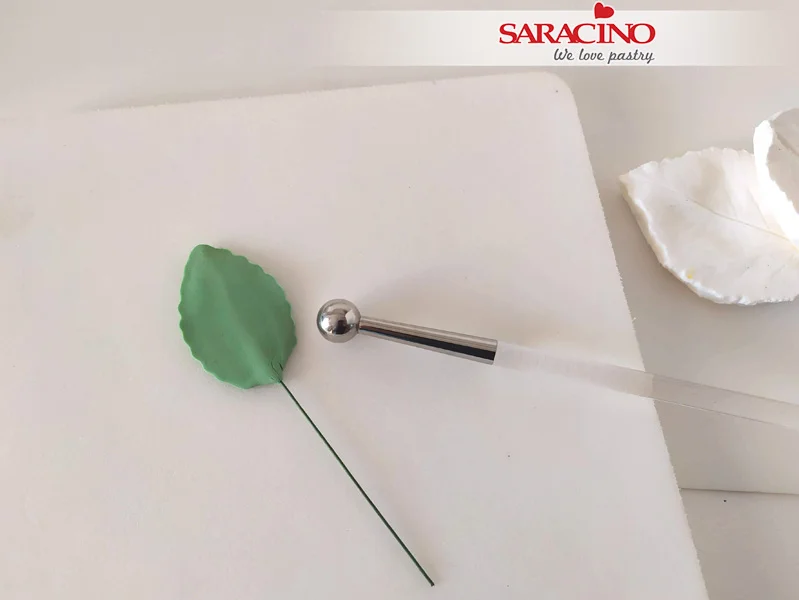
Step 15
Move the leaf onto a foam pad and thin the edges with the ball tool.
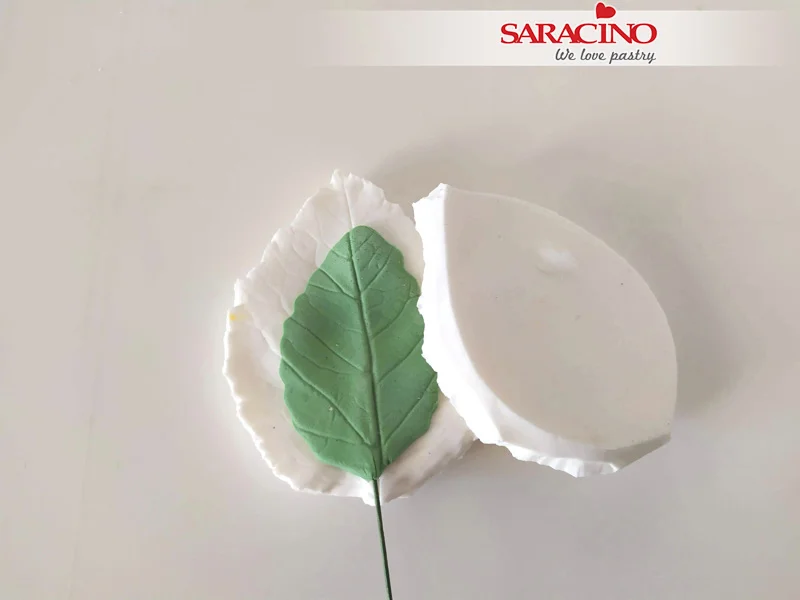
Step 16
Move the leaf onto the veiner and press firmly to shape the pattern
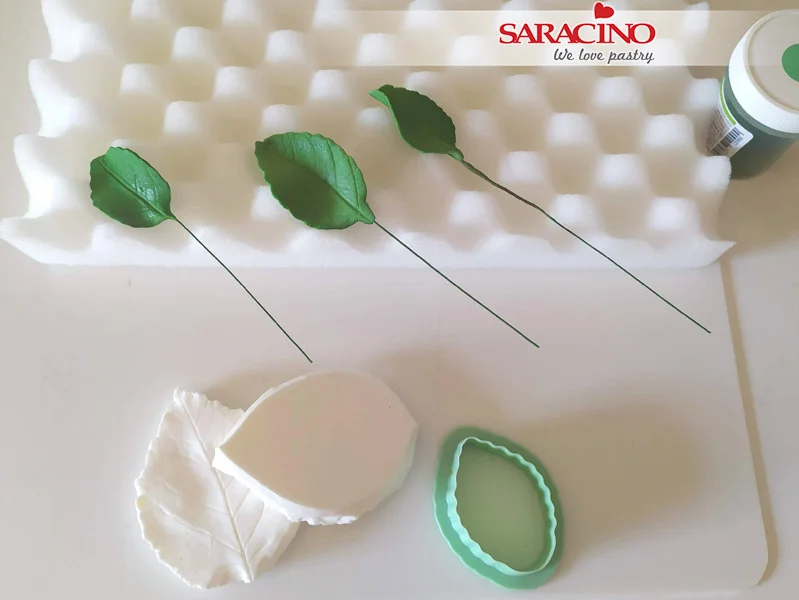
Step 17
Let them dry on a foam. If you wish you can also dust the leaves with Saracino green powder or you can use confectioner glaze, to shine the leaves.
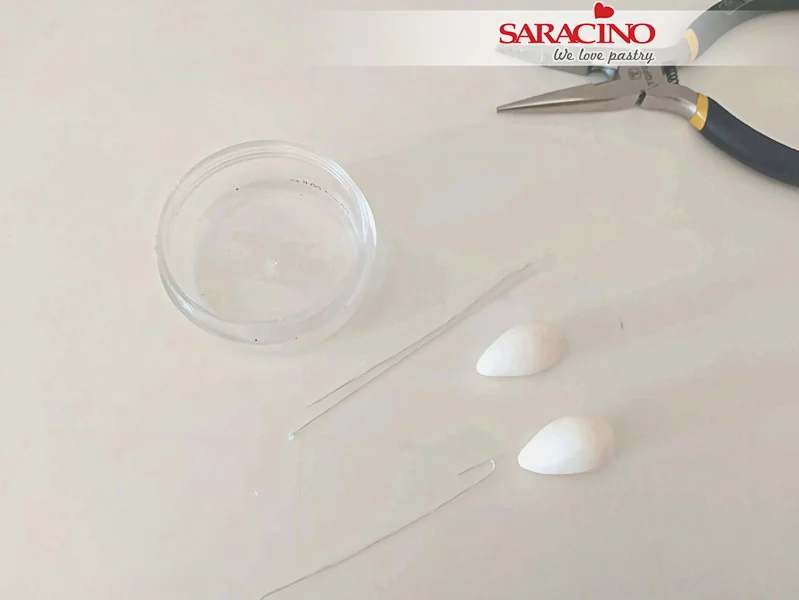
Step 18
To make the buds take a 24 gauge wire and make a small hook at one end. Roll a small ball of white paste and form a cone shape to create the bud. Add some edible glue to the hook and insert it into the bud. Press the bud onto the wire to secure it
Step 19
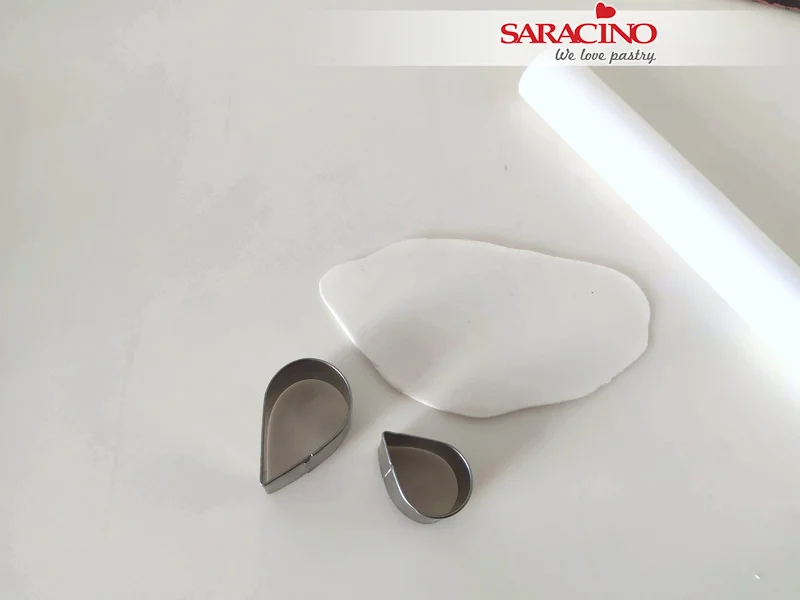
For the ‘blooming’ flowers roll out white flower paste and cut out 3 small and 3 large petals for each bud.
Step 20
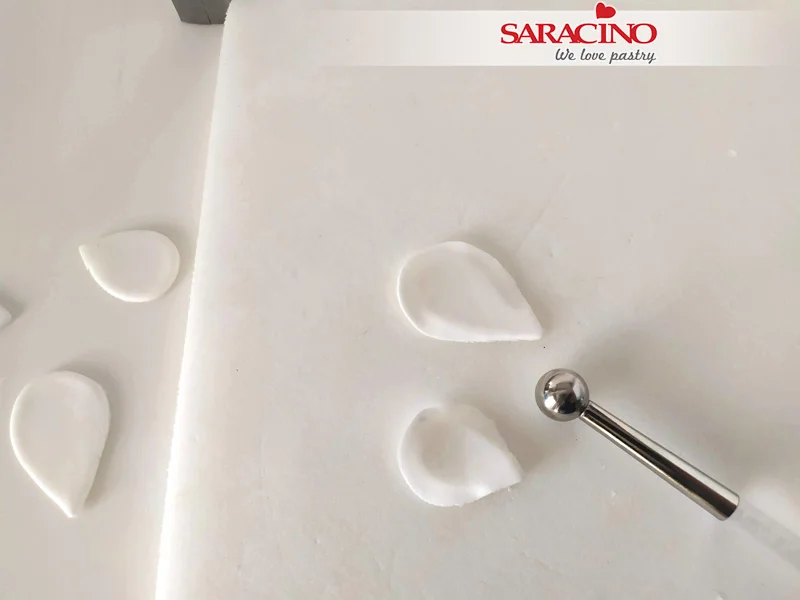
Thin the edges with the ball tool
Step 21
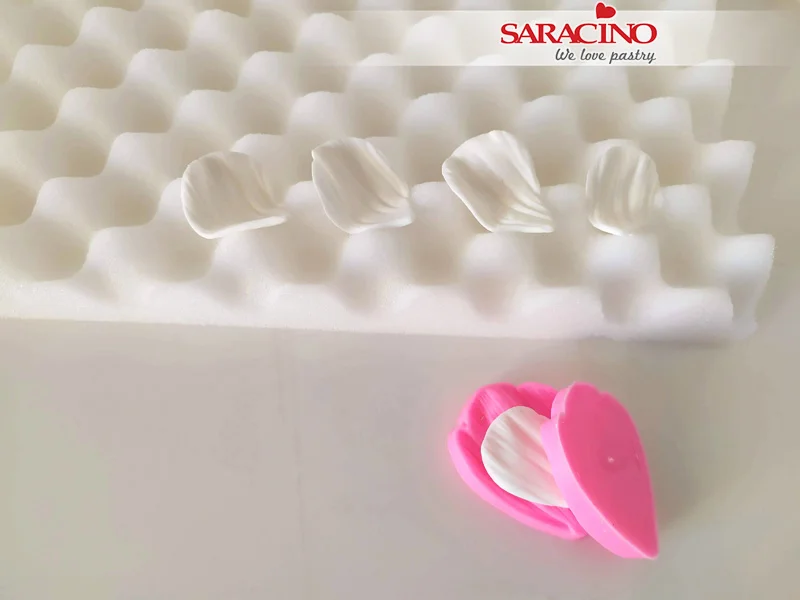
Press the petals into the veiner and let them dry and form for 10 minutes
Step 22
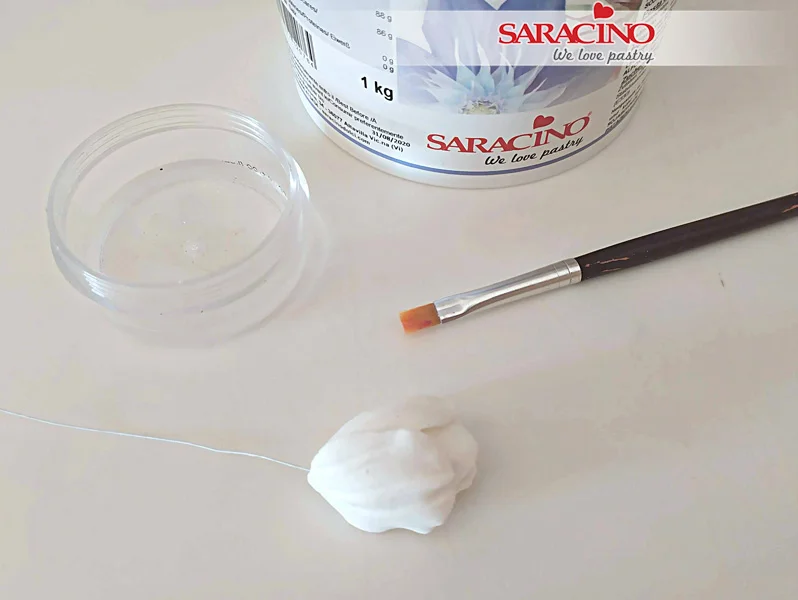
Fix the 3 small petals around the bud and then the 3 large ones over the smaller petals. Use a little edible glue on each petal.
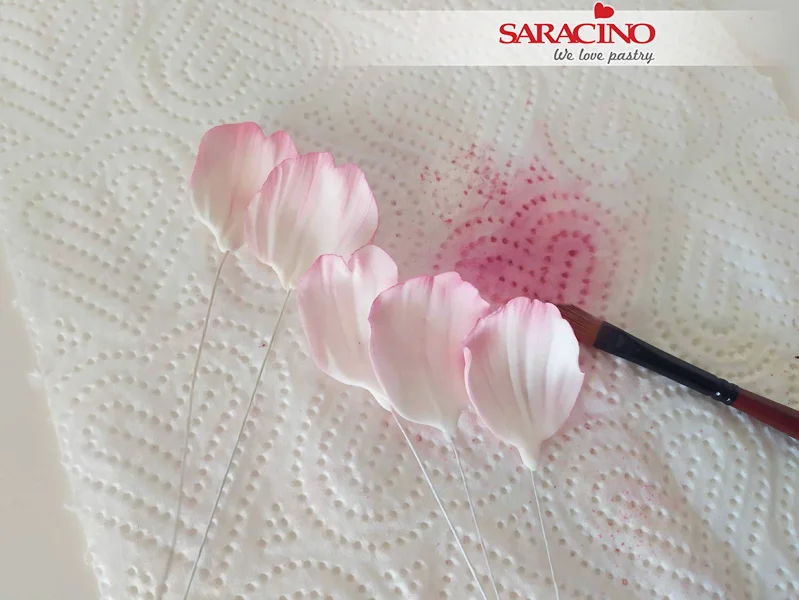
Step 23
For the flowers already ‘bloomed’ dust the petals using pink powder colour and a soft brush.
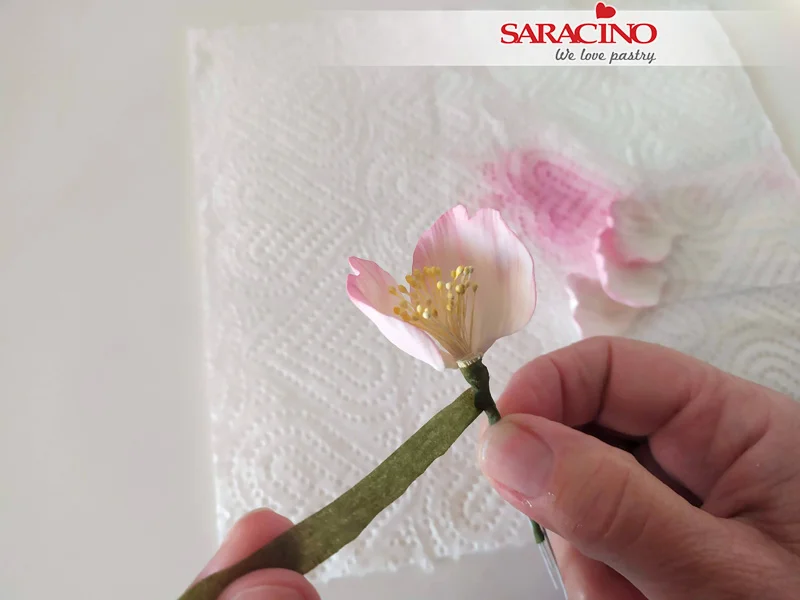
Step 24
Using green florist tape attach 2 petals to the stamens.
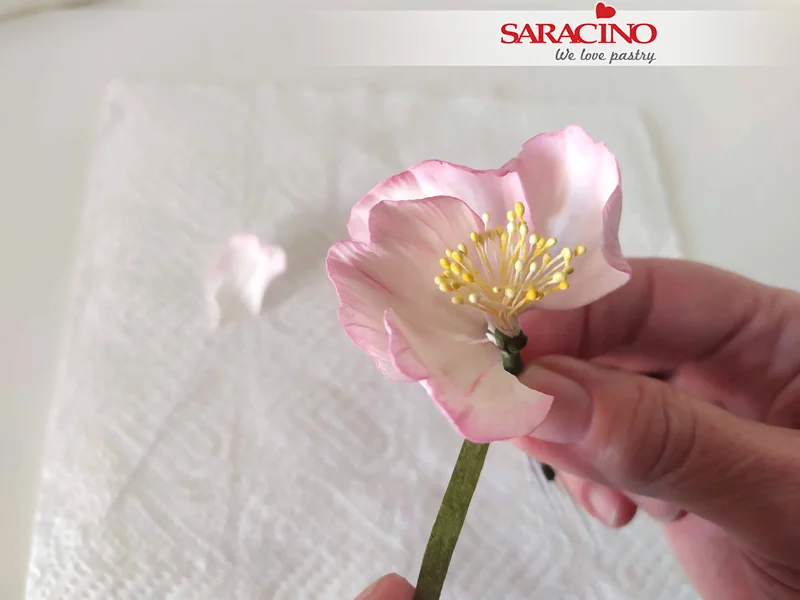
Step 25
Add the other 3 petals around and bind them one by one.
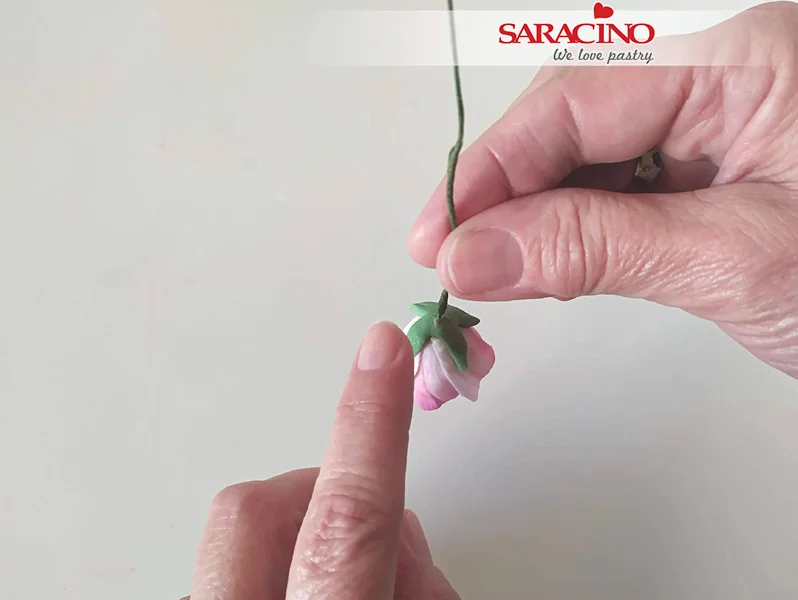
Step 26
For the ‘Blooming’ bud dust with pink powder colour and a small soft brush. Add a small green calyx onto the base of the bud.
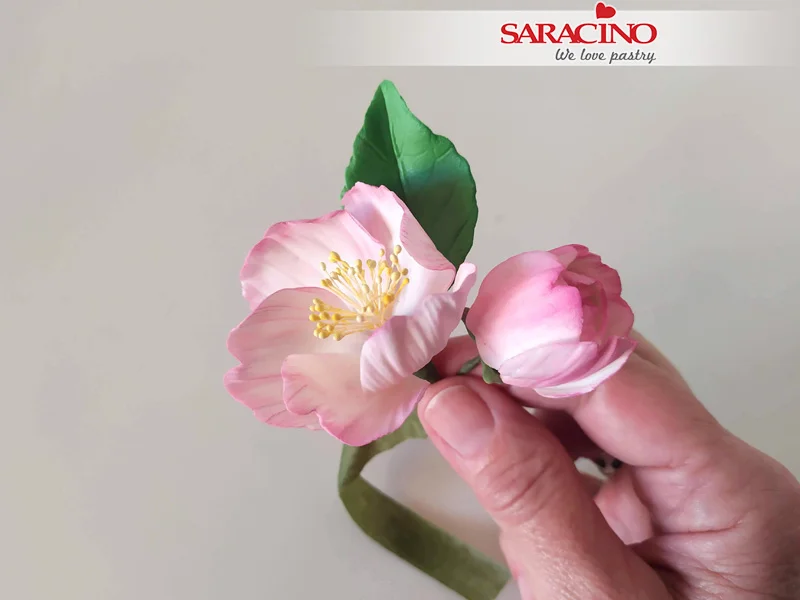
Step 27
Tape one blossom with a bud and one leaf or more, using green tape
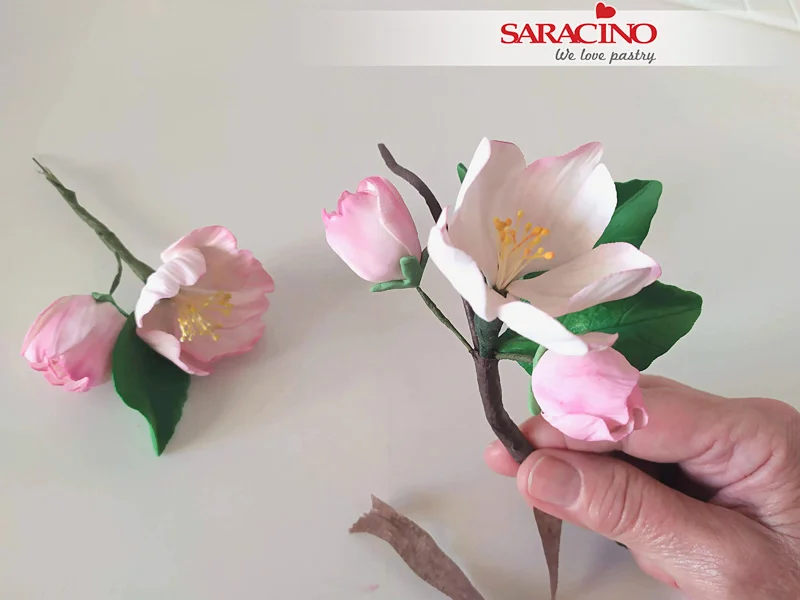
Step 28
Add the rest of the leaves and flowers
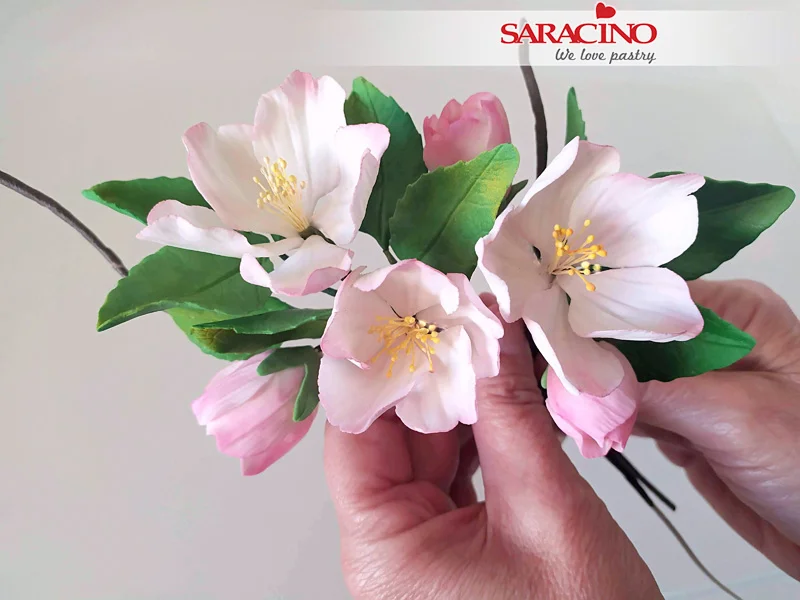
Step 29
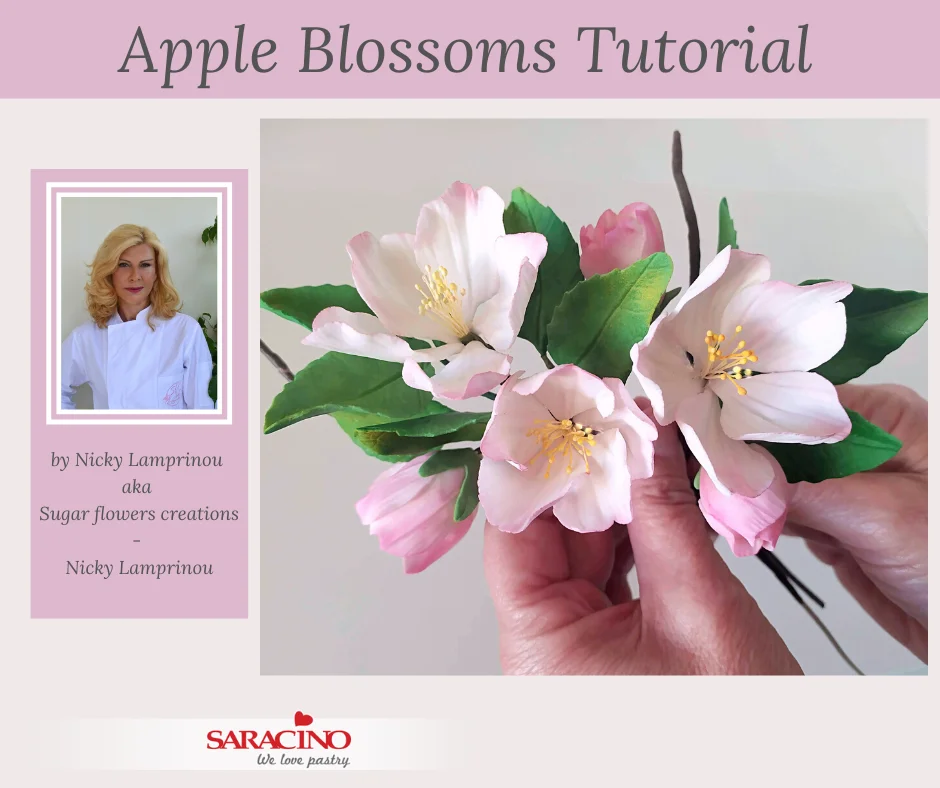
I have made this branch of apple blossoms. Feel free to create your own arrangement.

BIRTHDAY BUNNY TUTORIAL


You will need:
- Saracino modelling paste – White
- Saracino gel colours: Brown, Pink(Soft Pink), Orange, Yellow
- Cocktail sticks
- Two edible black pearls
- Edible glue
- Soft Pink dust
- Round cutter
- Ball tool
- Small brush for glue
- Small brush for dusting
- Foam pad
- Pointed silicone modelling tool
- Scapel / sharp knife
- Rolling pin
- Spatula

Step 1
Use Saracino Brown gel colour to colour white modelling paste. Roll the brown model paste about 4 – 5mm thick.

Step 2
Cut out 3 triangle pieces.

Step 3
The triangles must be the same size

Step 4
Use a little bit of edible glue to fix the three triangles together

Step 5
Use pink gel colour to colour white modelling paste. Roll the pink paste to a long thin string (you can also use an extruder to make the string)

Step 6
Put a little glue between the brown triangle layers and fix the pink between the brown layers, so it looks like the buttercream filling in the ‘piece of cake’

Step 7
Use white modelling paste and roll out a thick sausage shape to create the legs. Cut the sausage in half to give two equal pieces

Step 8
Use your fingers to form the rounded feet

Step 9
Bend the paste at approximately one third of the leg to make the foot / ankle. Push the paste towards the heel with your fingers to blend. Repeat this for both legs

Step 10
Put a little glue on two lengths of cocktail sticks. Stand the legs upright and put a stick in each leg. The sticks should be sticking out of the top of the legs.

Step 11
Take the piece of brown ‘cake’ we made earlier and put the ‘cake’ on top of the legs. It’s important to divide the weight of the ‘cake’ over the legs so it balances. If necessary support with sponges until dry enough to support itself.

Step 12
Use some of the colored pink paste and mix some white paste to it to lighten the darker pink paste. When the pink and white is mixed, roll it with a rolling pin until you have a thin layer. Cut a triangle out of the paste. This pink triangle is to be slightly larger than the brown ‘cake’. Glue the pink triangle onto the brown ‘cake’. The pink paste is to look like a pink frosting on the ‘cake’.

Step 13
For the head roll a ball of white modelling paste. The size must fit on top of the ‘cake’.

Step 14
Using your fingers roll one end of the ball so it forms an egg shape.

Step 15
Make a sausage of white model paste to make the arms (not to thick), cut the roll in two pieces.

Step 16
Flatten one end of the two pieces.

Step 17
Put a little glue on the flattened sides

Step 18
Put the head on top of the two flattened pieces.

Step 19
Put a little glue on the ‘cake’. Position the head on the ‘cake’ (make sure that you glue the head directly above the legs)

Step 20
Roll out soft pink modelling paste (1-2mm thick) and cut out a circle that’s a little bigger than the top of the head.

Step 21
Using your fingers make ‘pointy’ edges around the circle, so it looks like pink drip.

Step 22
Using a little edible glue fix the pink ‘drip’ on top of the head (so it looks like the head is covered with pink dripped glaze).

Step 23
Use the pointed silicone modelling tool to form two holes in the top of the head, the holes need to be large enough to fix the ears into later.

Step 24
Roll out white modelling paste to a thin sausage shape, make sure the ends of the sausage are slightly pointed.

Step 25
The sausage is to make the ears, use a knife to cut the sausage in half

Step 26
Use your ball tool to flatten the ears slightly and to create the inside of the ear

Step 27
Using your fingers squeeze the end of each ear to fit the holes previously formed in the head

Step 28
Put a little glue in the holes in the head

Step 29
Put the ears in the holes and bend them in the shape you want them to be

Step 30
Make a small ball out of the pink coloured modelling paste

Step 31
Roll the ball to form a thin sausage. This is to make the candle on top of the head.

Step 32
Put a cocktail stick in the sausage, roll the stick back and forth while putting the stick in the paste.

Step 33
Leave a small piece of the cocktail stick sticking out of the bottom of the candle and fix into the top of the head.

Step 34
The candle should be inserted until no cocktail stick is visible. Use a little piece of the pink modelling paste to create a small triangle nose and fix it to the front of the face.

Step 35
Use the pointed silicone tool to form two small holes in the head to create the eye sockets and push the black pearls in the holes (you don’t want them to stick out of the head)

Step 36
Use a little yellow and orange paste and mix them together slightly to give a marbled effect. Roll out to form a teardrop shape for the candle flame. Put the flame on top of the candle, using a little glue.

Step 37
Roll long white teardrops. Twist each of them up to form the ‘whipped cream’. Fix on top of the pink ‘cake’ covering. Roll small pink balls as cherries and fix on top of the whipped cream.

Step 38
The ‘whipped cream’ with ‘cherries’ should be fixed as shown.

Step 39
Use a small brush with soft pink dust colour and lightly brush the cheeks and the inner ears. Make sure you don’t use too much dust as this will over colour. If you want to add an extra touch you can roll long drops of pink modelling paste, and fix it to the candle (so it looks like the candle is melting).

Step 40
Your happy birthday bunny is now ready!

DUTCH GIRL TUTORIAL


You will need:
- Saracino modelling paste white
- Saracino modelling paste skin tone
- Saracino modelling paste black
- Saracino modelling paste red (optional)
- Saracino powder colours Orange, Blue, Light Blue, Red, Green and Black
- Small rolling pin
- Circle cutter
- Frill tool
- Ball tool
- Dresden tool
- Silicone modelling tools
- Small paintbrushes
- Exacto knife
- Edible glue
- Clear alcohol
- Skewers or uncooked spagetti

Step 1
For the legs take two lengths of skin tone modelling paste (about 10cm each). Roll the knee cavity in the middle with your finger.

Step 2
Model the foot and bend the leg at the knee. Put a skewer in the top of the leg.

Step 3
Place the legs on a surface. Cross the feet.

Step 4
Form a 3cm ball of white modelling paste and cut the top off with a knife.

Step 5
Attach to the legs with the flat side up.

Step 6
Thinly roll out white modelling paste approximately 30cm long x 6cm wide. Frill with the veining tool.

Step 7
Attach to the lower body

Step 8
Roll out two lengths of blue modelling paste. 30cm and 15cm.

Step 9
Roll this wafer thin to a width of approximately 5cm.

Step 10
Insert a skewer in the middle of the body. Attach the shorter 15cm strip of blue modelling paste to the back. Make folds.

Step 11
Attach the 30cm length of rolled out blue paste to the front and make folds here too.

Step 12
Form a ball of blue modelling paste and flatten slightly to form a torso. The piece needs to be approximately 5cm high.

Step 13
Attach the Torso to the lower body.

Step 14
Form two 2cm balls of blue modelling paste. Press lines into the balls with the Dresden tool. Form two smaller balls of white modelling paste and press flat. Frill the edge with a ball tool to create a lace border. Press the white lace into the blue sleeve with the ball tool.

Step 15
Attach the puff sleeves to the torso with edible glue

Step 16
Cut out a triangular piece of thinly rolled white modelling paste for the apron. Using a round cutter remove the top of the triangle. From the rolled out white paste cut a thin strip 8mm wide for the belt of the apron.

Step 17
Attach the apron and thin strip to the torso.

Step 18
Using thinly rolled out white modelling paste cut out a 7cm long x 2.5cm wide rectangle. Make a patterned border with the ball tool.

Step 19
Draw a line around with the silicone modelling tool.

Step 20
Press in the middle of the skewer.

Step 21
For the cheese take a 1.5cm thick piece of yellow modelling paste and cut out a circle with the circle cutter. Dust with orange dust powder.

Step 22
Roll out skin tone modelling paste for the arms. You will need two at 6.5cm long. Press to form the wrist and hand shape. Cut out fingers to make the hand.

Step 23
Attach the arms in the puff sleeve with edible glue. Place the cheese on the apron between the hands.

Step 24
Roll a 4.5cm ball using skin tone modelling paste. Using your fingers form the neck.

Step 25
Flatten the centre of the ball slightly with your finger

Step 26
Make the eye recess with the ball tool

Step 27
Cut a 1.5cm slit for the mouth with a knife. Press with the Dresden tool from the corners of the mouth to form the chin.

Step 28
Make the lower lip

Step 29
Take two 8mm balls of white modelling paste and press them into the eye sockets.

Step 30
For the teeth, make a small half moon shape of the white modelling paste and place it in the mouth. Smooth with the modelling tool.

Step 31
Mix blue dust powder with clear alcohol and paint the irises with a fine paintbrush.

Step 32
Take a small piece of black modelling paste and roll out to make the eyelashes.

Step 33
Fix the eyelashes to the lid of the eyes. Take black dust mixed with clear alcohol and paint the pupils.

Step 34
Make a nose using a 5mm ball of skin tone modelling paste.

Step 35
Fix the nose to the face and blend using your tool. Repeat Step 32 with black modelling paste to make the eyebrows. Fix each brow to the forehead.

Step 36
Colour the white pasta model with yellow gel colour. Form tear drop shapes and mark the hair with the Dresden tool.

Step 37
Attach the hair to the head.

Step 38
Roll out thinly a 12cm x 4cm rectangular piece of white modelling paste for the hat. Cut out a semicircle on one side.

Step 39
Fold a seam in the middle.

Step 40
Stick the straight sides together. Fully at the back and a small section at the front.

Step 41
Attach the hat to the head.

Step 42
Cut out two triangles with sides of 4cm. Apply texture on both sides with the ball tool.

Step 43
Attach the triangles to the front of the hat.

Step 44
Using the steps shown on this example. We will paint tulips using Saracino green and red colour dust. Mix the powder colour with clear alcohol.

Step 45
Paint tulips on the bib

Step 46
Paint tulips on the apron

Step 47
Using tiny white balls of white modelling paste apply highlight to the eyes.

Step 48
Tah Dah! Your pretty Dutch Girl is complete…….

CUTE BABY HIPPO

Author: Tina Scott Parashar

Skill level: BEGINNERS
TIP:
Tina recommends drying the parts before attaching them to each other. The body especially should dry a couple of hours before you place the head so that it can support the head. Also, if you pre-make the hole where the stick will go in, it helps with drying out the centre of the body faster.
You will need:
- Saracino modelling paste white coloured with grey
- Light pink dust for dusting
- Pre-coloured red wafer paper
- Red colour gel
- Wooden cocktail stick
- Ball tools
- Dresden tool
- Sugar shaper
- Pointed tool
- Fine paint brush
- Brush for dusting


Step 1
Take a ball of the coloured Saracino modelling paste, roll it into a sausage shape and then make one end thinner than the other.

Step 2
Use your hands to shape the piece to give the tummy its rounded shape.

Step 3
Using your tool, mark a little V at the bottom to shape it’s cute bottom. 😉

Step 4
Using your sugar shaper, mark the line on the back.

Step 5
Cut the top to get a flat shape for the head to sit on. Insert the skewer and remove it, so that when you leave it to dry, it dries faster in the centre as well.

Step 6
Using your sugar shaper, mark the hip and leg joint.

Step 7
Take two sausage shapes (one thicker for the legs and one thinner for the arms). Cut both into half.

Step 8
Using your fingers shape the ankle, thighs and feet.

Step 9
Use your tool to shape the feet further.

Step 10
Attach the legs to the body. Blend to hide the joint.

Step 11
This is how it will look. You can now adjust the feet the way you would like.

Step 12
Now for the arms, bend the sausage shape to get an almost ‘U’ shape. Use your tool to mark the hand and shape it.

Step 13
Attach the arms to the body. Blend the paste to hide the joint.

Step 14
Take a thin sausage shape of the paste and flatten it at one end to make the tail.

Step 15
Attach the tail to the body and blend the joints. Now let the body dry for at least an hour before placing the head on so that it will support the weight of the big head.

Step 16
Take a big ball of paste. Make sure its bigger than the body.

Step 17
Using your little finger shape the face.

Step 18
Use your tool to mark the lines for the face.

Step 19
Place the head at the required angle on the body. Make your baby Hippo smile using your tool.

Step 20
Using your tool, make the nostrils. Make a hole and then pull the paste out a little to form the flare of the nostrils

Step 21
Smooth the paste around the nostrils with your fingers.

Step 22
Using your ball tool, mark the eyes.

Step 23
Mark the eyebrows. We will paint it later, but it helps to first mark it so that you are happy with the placement of the brows.

Step 24
Mark little dots above the mouth.

Step 25
Take a small piece of paste and cut it into two.

Step 26
Use your tool to shape the ears.

Step 27
Attach the ears to the head, folding it a little at the base to shape it.

Step 28
Insert two black balls of paste into the eye sockets to form the eyes.

Step 29
Using your ball tool, mark two small holes for the twinkle in the eyes!

Step 30
Dust the baby rhino with pink for the cheeks, ears and the other details on the face and body.

Step 31
Take a tiny piece of paste and form it into a V shape for the hair.

Step 32
Attach the V to the head and shape it the way you would like it to sit on the baby rhino.

Step 33
Using a thin brush, paint the eyebrows and other details.

Step 34
Add the twinkle to the eyes by taking two tiny white balls and filling the holes made using the tiny ball tool.

Step 35
Using red gel colour and a fine brush paint the little heart on the baby hippo’s bottom.

Step 36
Take a thin flower wire and two red pieces of wafer paper and cut it into two equal heart shapes. Attach a piece either side of the wire and paint the paper to give a light and shadow 3d effect. Add tiny triangle shapes at the bottom of the hearts to look like a balloon tied at the bottom. Alternatively, you could also make the balloon with modelling paste.