WILD MEADOW WAFER PAPER CAKE

WILD MEADOW WAFER PAPER CAKE
Skill level: BEGINNERS

You will need:

  • Sharp scissors
  • Dresden tool
  • Variety of brushes
  • Fluffy makeup brush
  • Floral modelling foam pad
  • Petal formers or spoons
  • Peony petal veiner (sugarartstudio.com)
  • Small mixing bowls/palette
  • Saracino Wafer Paper (0.27mm)
  • Powder colour: moss green, dusty pink
  • Airbrush colour / gel colour (soft pink, juniper green)
  • Food grade glycerin
  • Corn flour
  • Floral wire: 22 gauge to make the stem and 28 gauge to make leaves
  • Floral tape: light green and white
  • TEMPLATE  – dowlnload HERE

Step 1

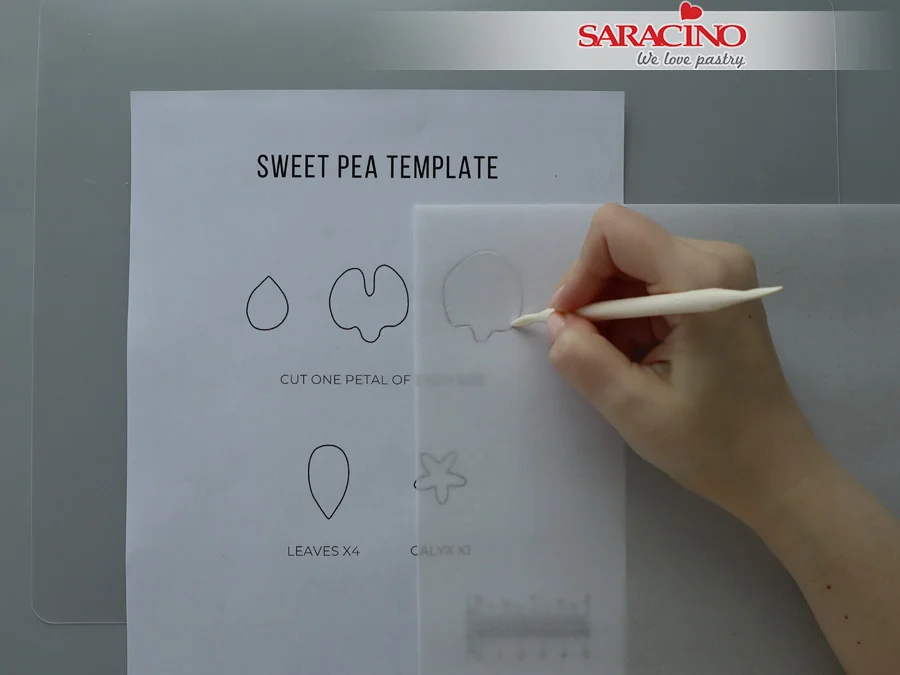
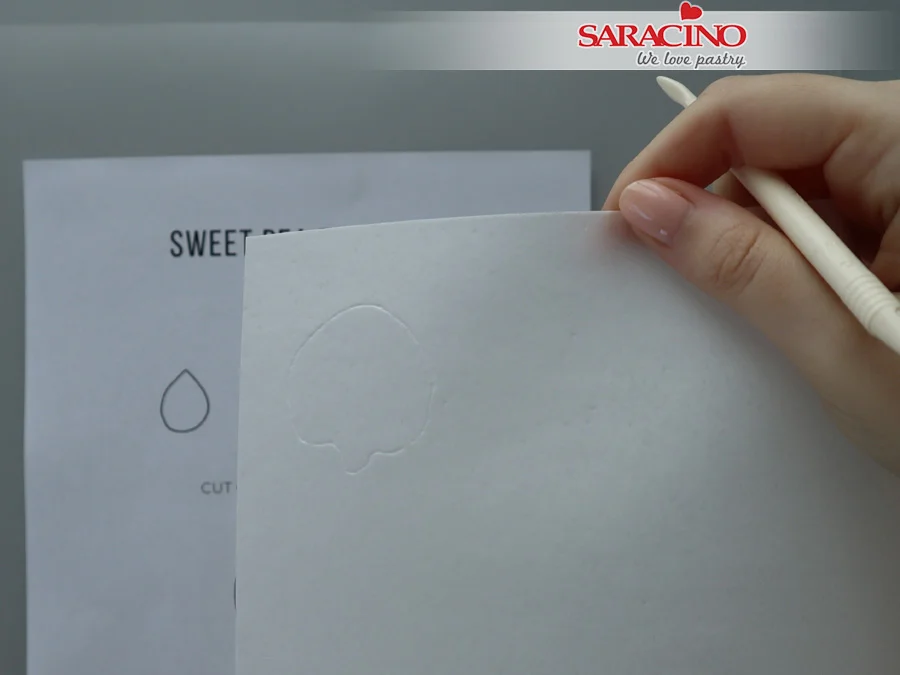
Place one sheet of wafer paper on top of your template. Use the dull end of the Drezden tool and transfer the impression of the shape onto the wafer paper.
Step 2

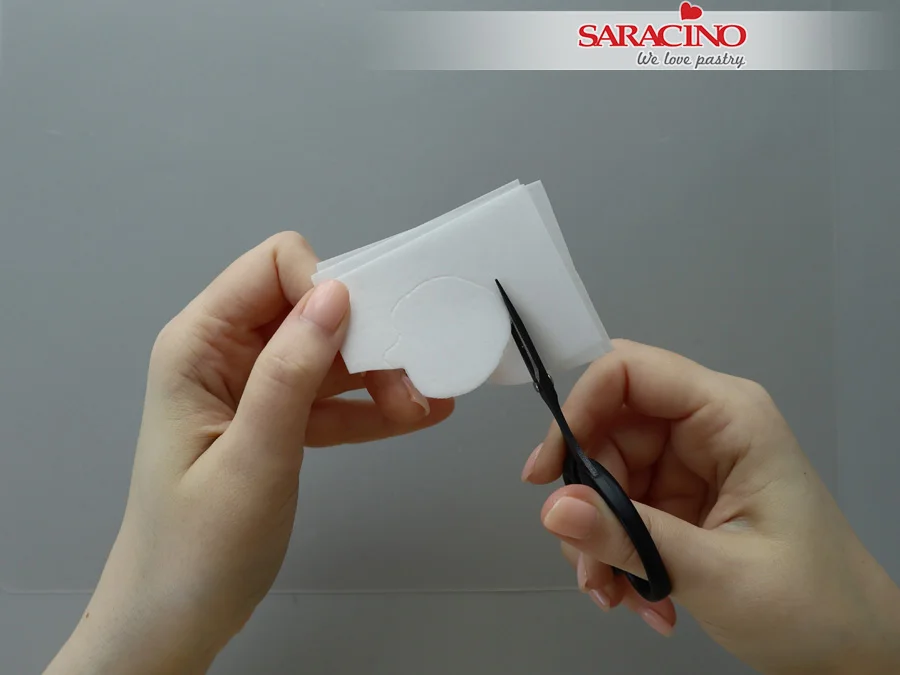
Alternatively, you can use a pencil or light-coloured edible marker to transfer the petal outline onto the wafer paper.
Step 3

Using sharp scissors, cut out your petals. To save time, you can cut up to 3 sheets of wafer paper at the same time.
Step 4

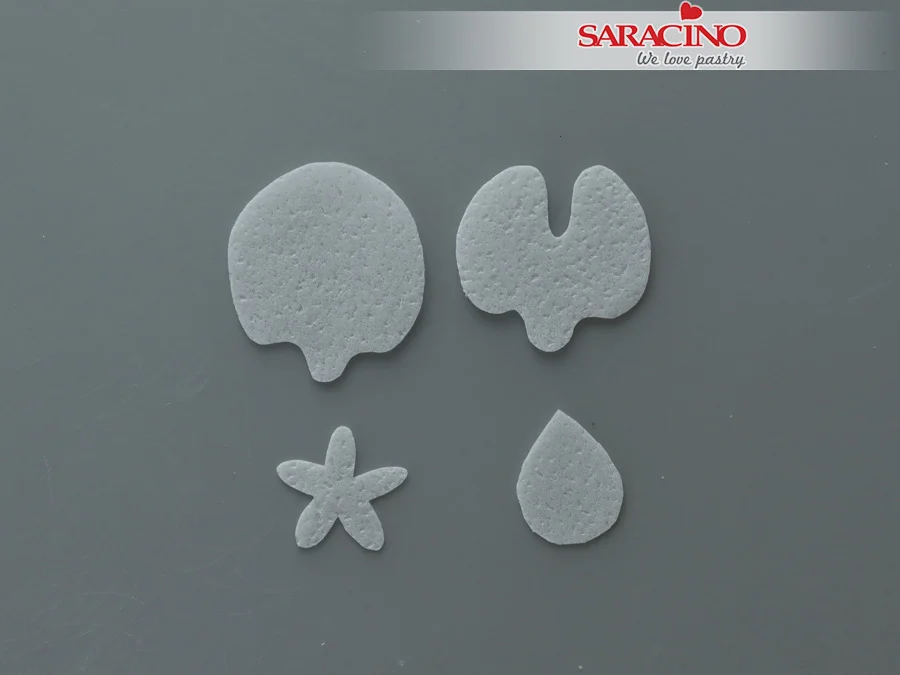
Prepare three petals and one calyx.
Step 5

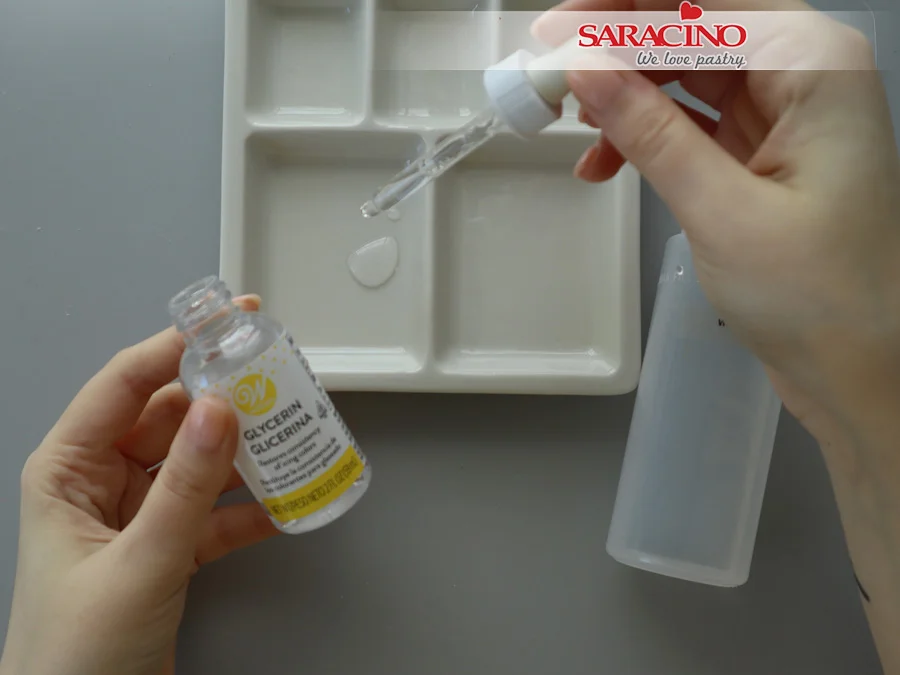
To make AC Tonic™ wafer paper conditioner, mix ½ tsp food-grade glycerin and 2 tbsp water (preferably distilled).
Step 6

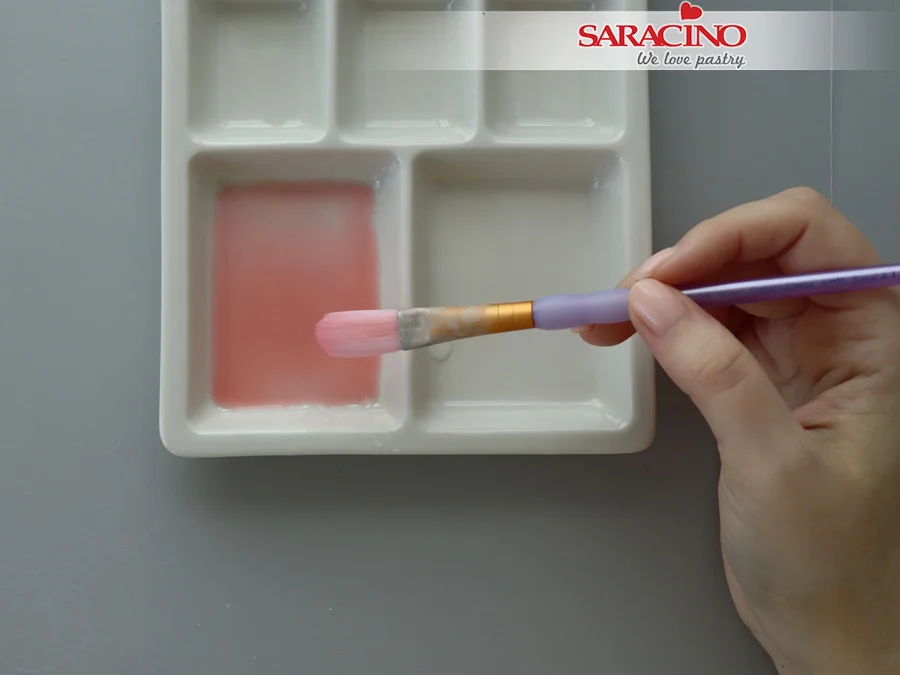
Add soft pink gel colour to your mixture. Add more conditioner or gel colour to get your preferred shade of pink.
Step 7

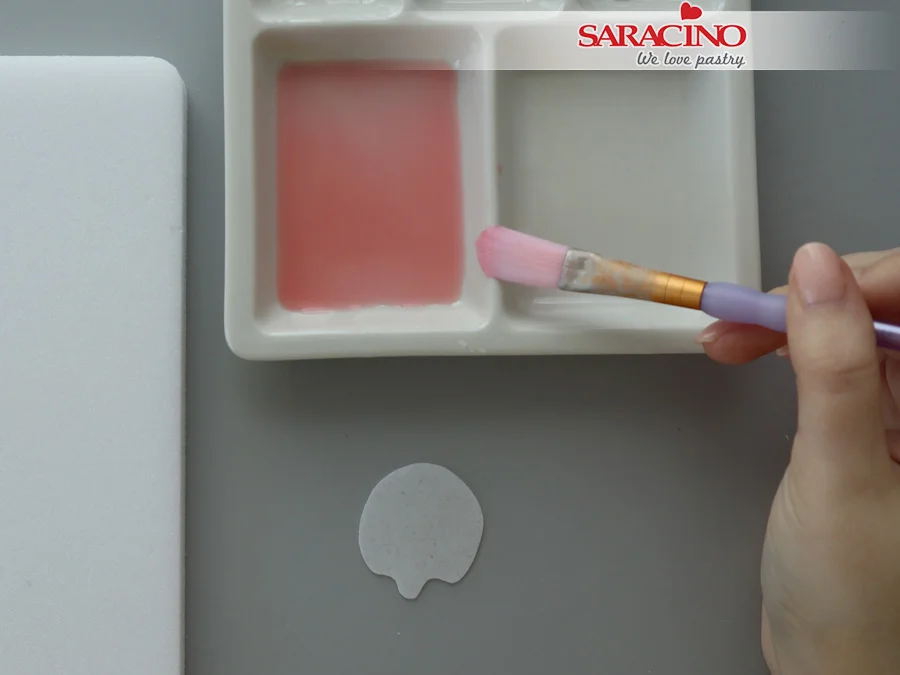
To condition wafer paper, gently press your brush on the side of the palette to remove excess moisture.
Step 8

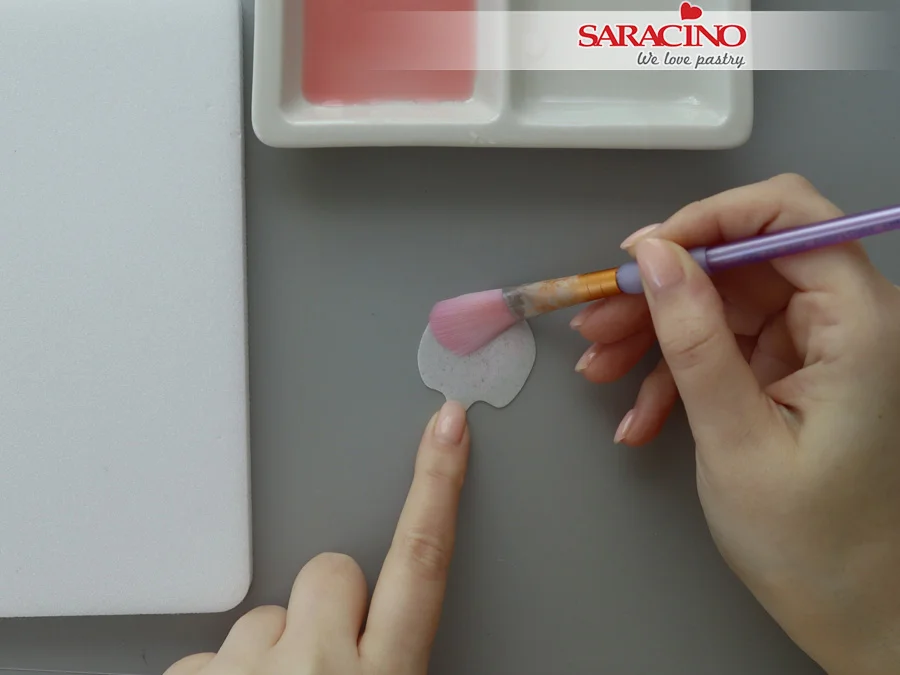
Apply AC Tonic™ conditioner on the smooth side of your petal first.
 

Step 9

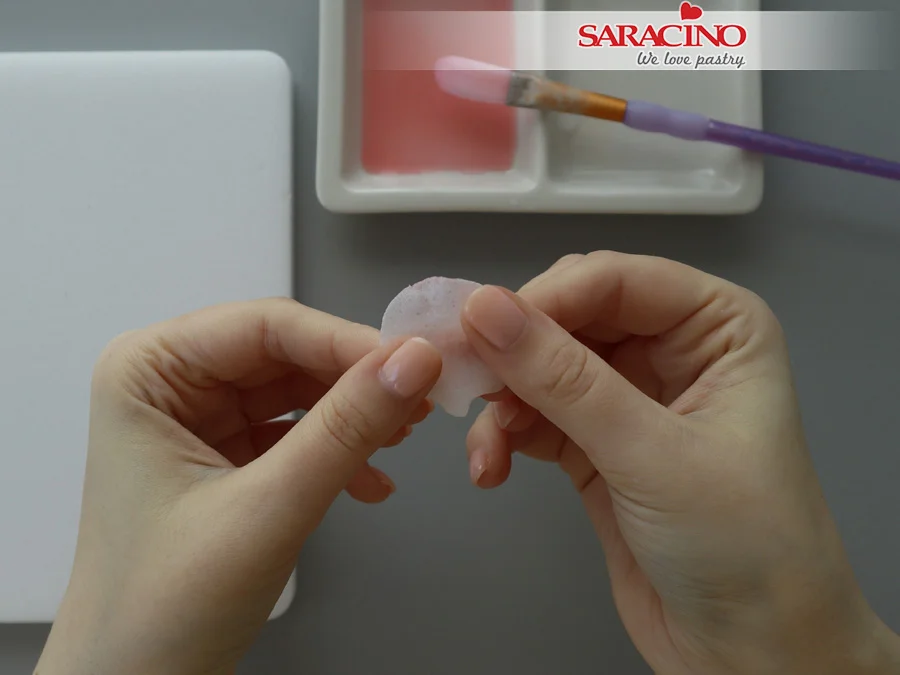
Gently press the conditioner into the wafer paper to get a soft and flexible petal.
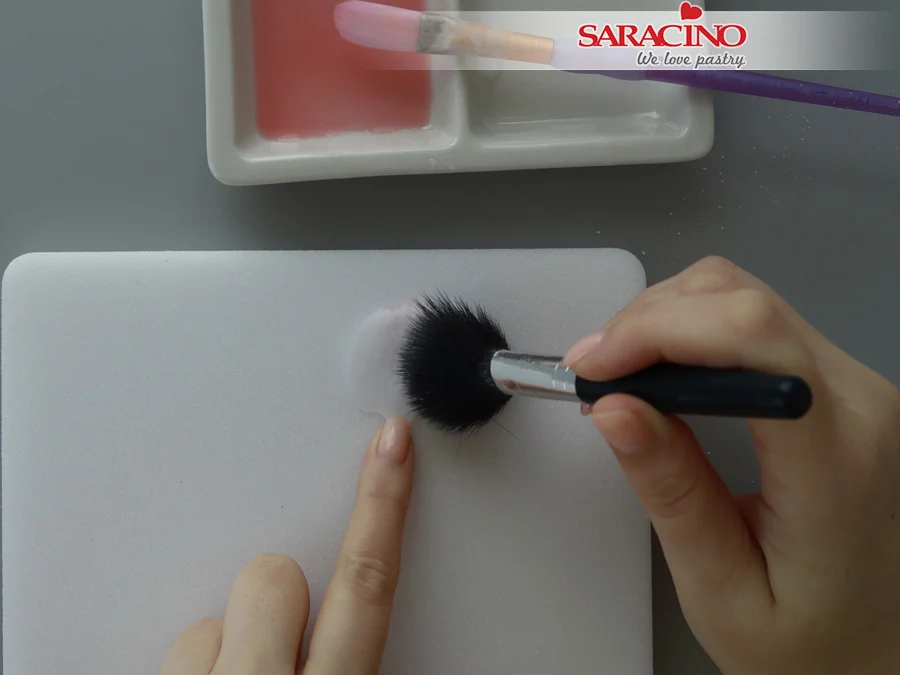
Step 10

If your wafer paper is melting or gets sticky, use a fluffy brush and apply a small amount of cornstarch.
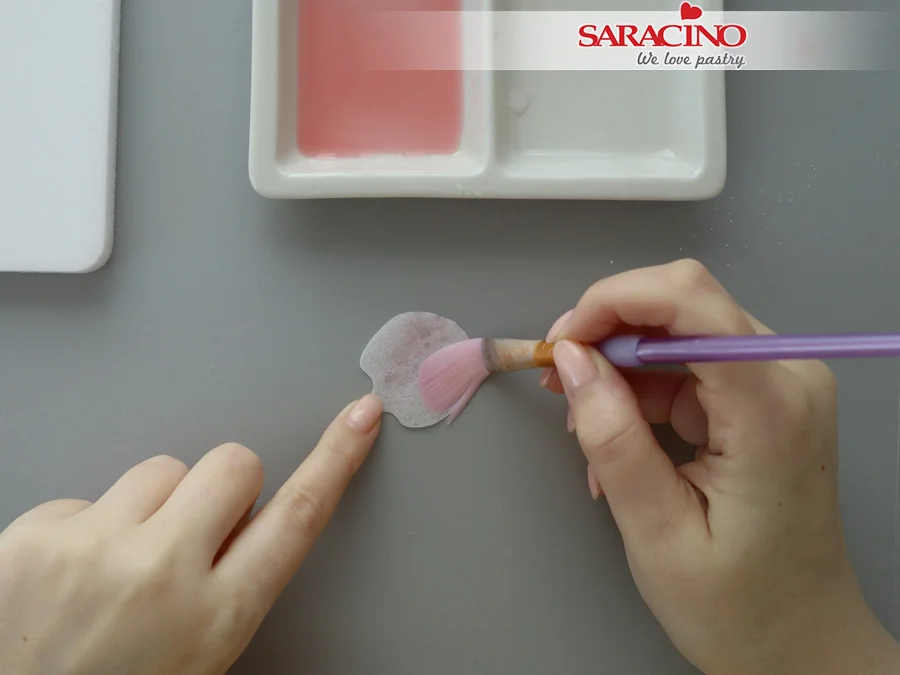
Step 11

Apply the same treatment to the other (rough) side of the petal.
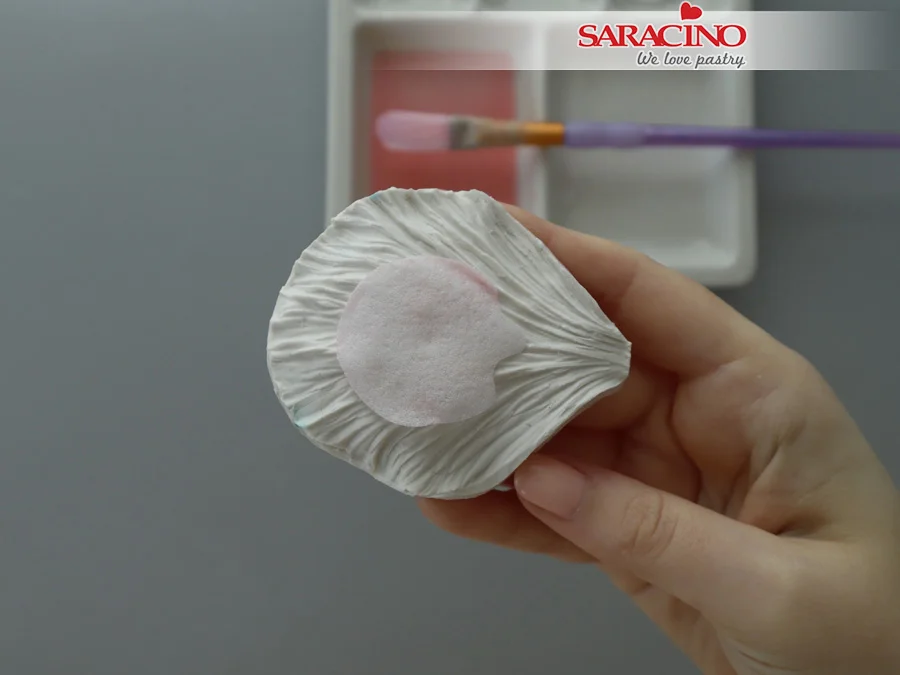
Step 12

Place your conditioned petal in the silicone veiner with the rough side up. Keep your veiner on the table and firmly press, hold for 5-10 seconds.
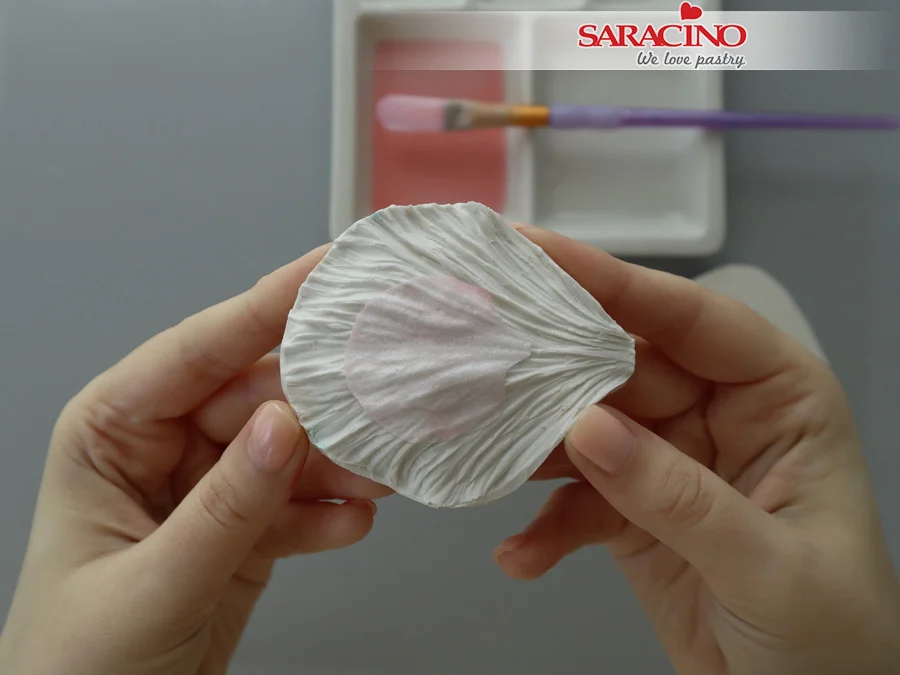
Step 13

You should get a soft textured wafer paper petal.
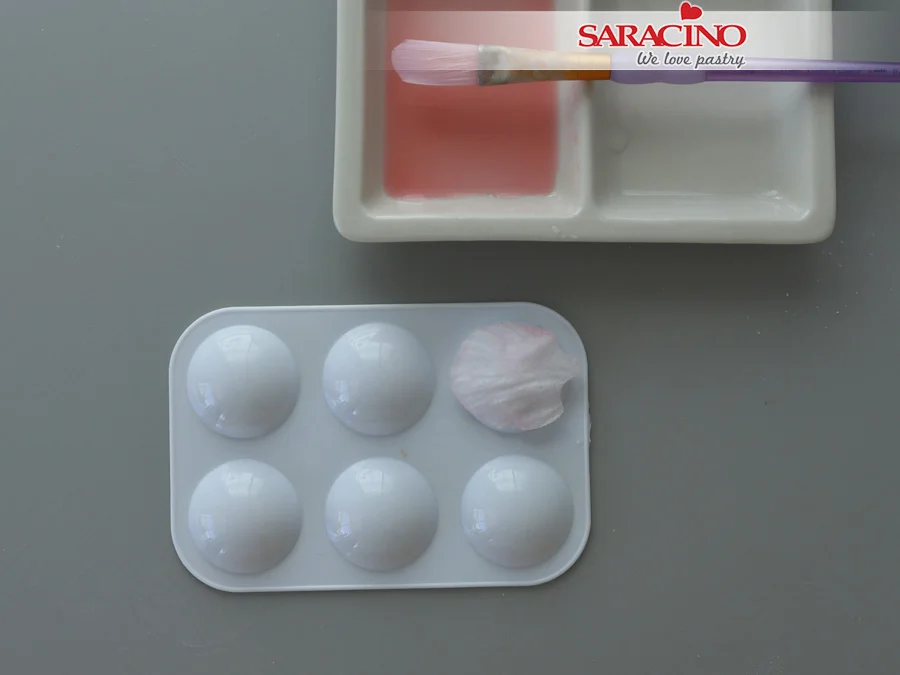
Step 14

Place your petal on a petal former or a spoon. Set aside to dry completely.
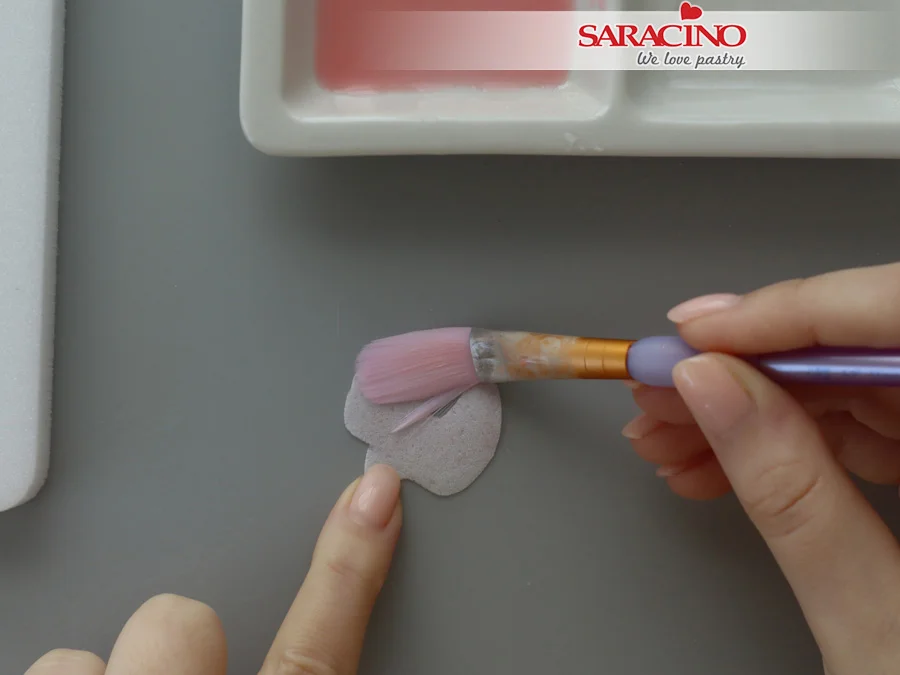
Step 15

Repeat the previous steps to condition the medium size petals.
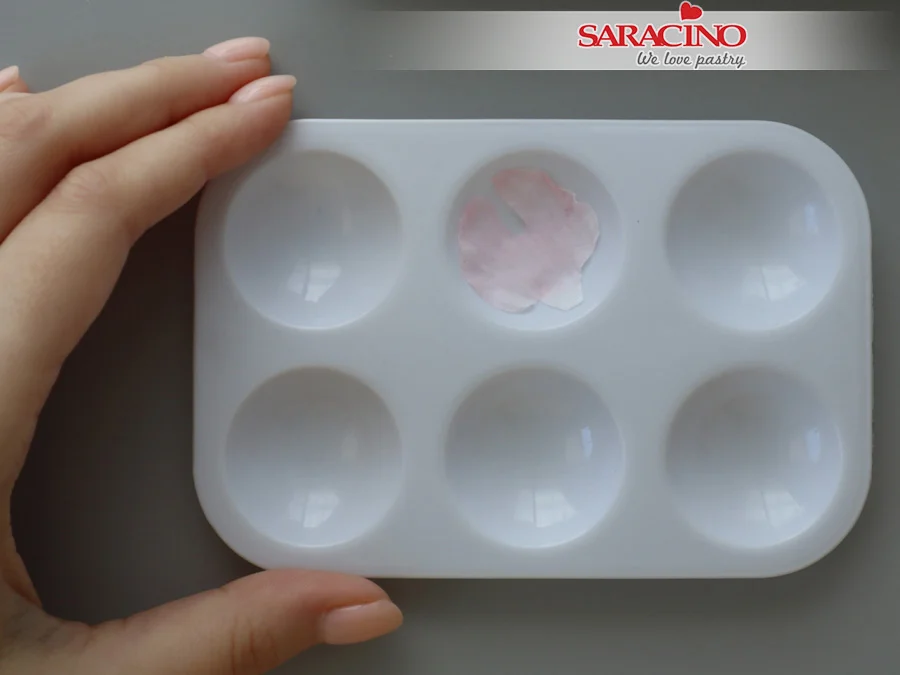
Step 16

Press the petals in the veiner with the rough side up. Place a medium-side petal into a former to create a cupped shape. Set aside to dry.
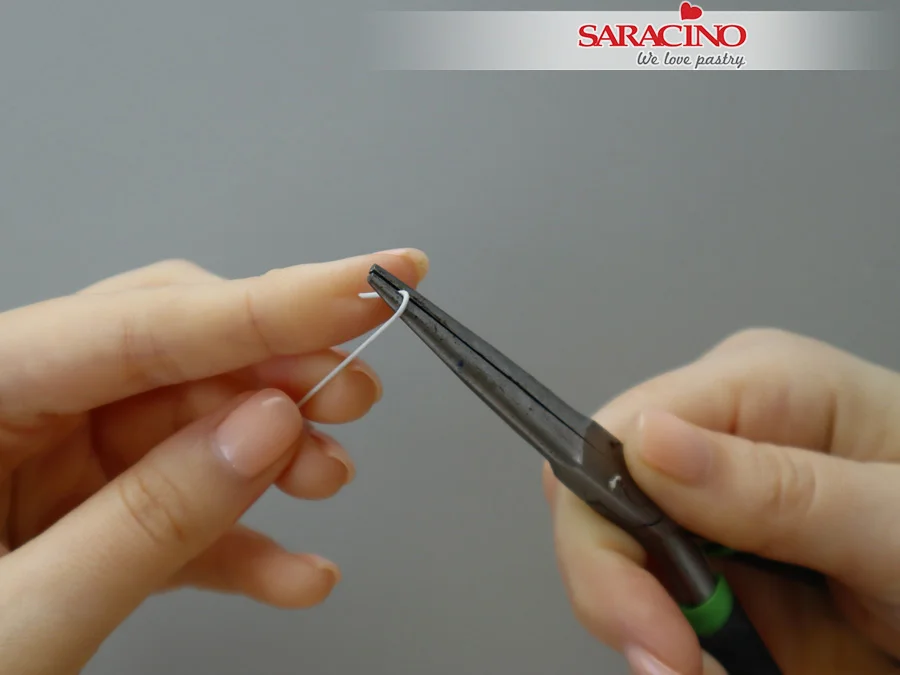
 

Step 17

Cut 22 gauge white wire in half. Using needle-nose pliers, create a large closed hook.
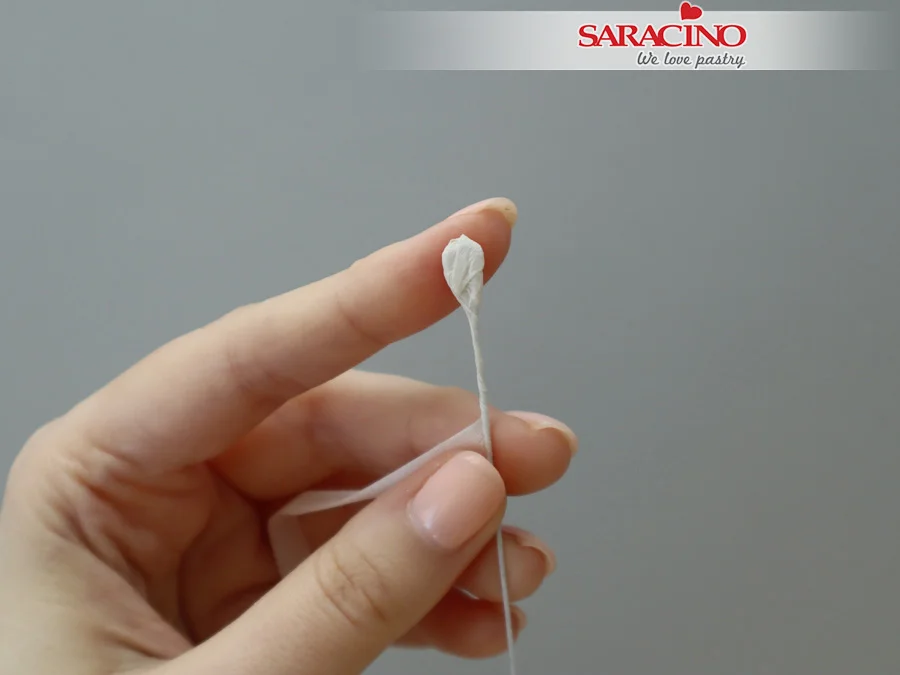
 

Step 18

Take half-width white floral tape, stretch and start shaping a bud. Add 10-15 layers of floral tape to make the base for the sweet pea flower.
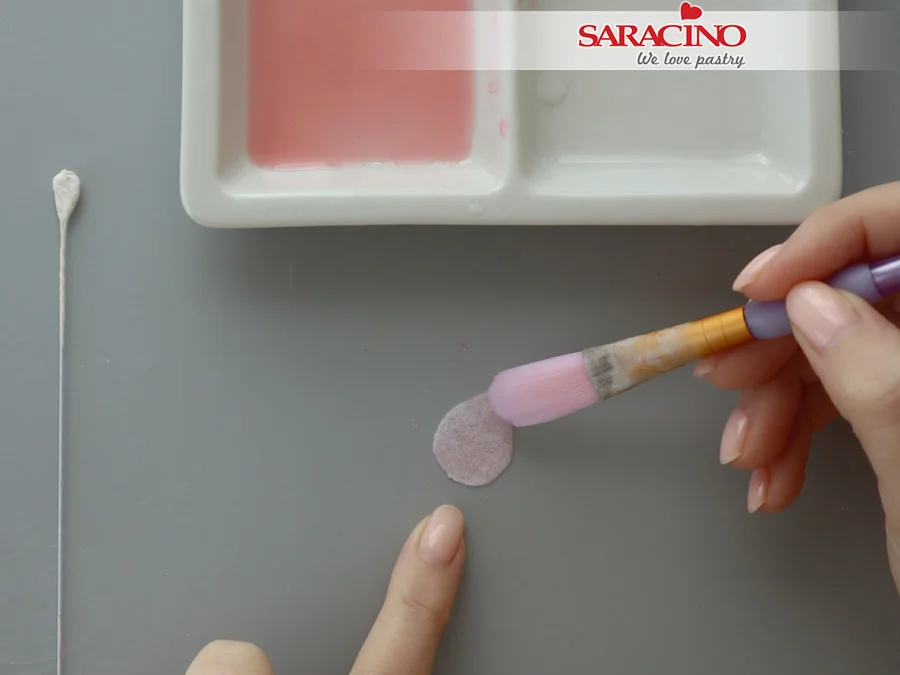
 

Step 19

Take a small petal with the rough side up. Apply the conditioning mixture to get a saturated, even coverage.
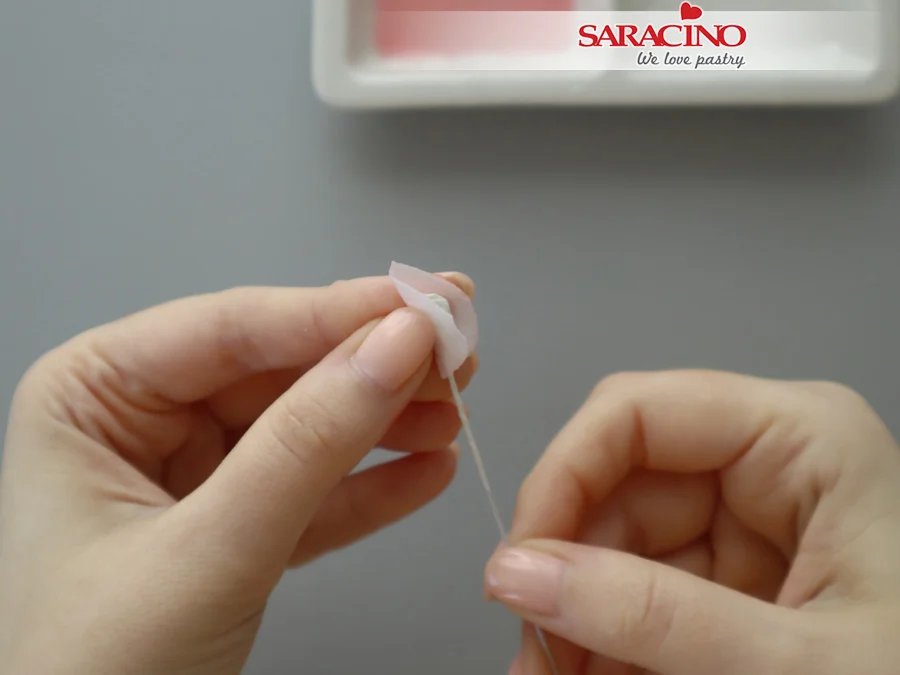
Step 20

Place your sweet pea bud inside a small petal.
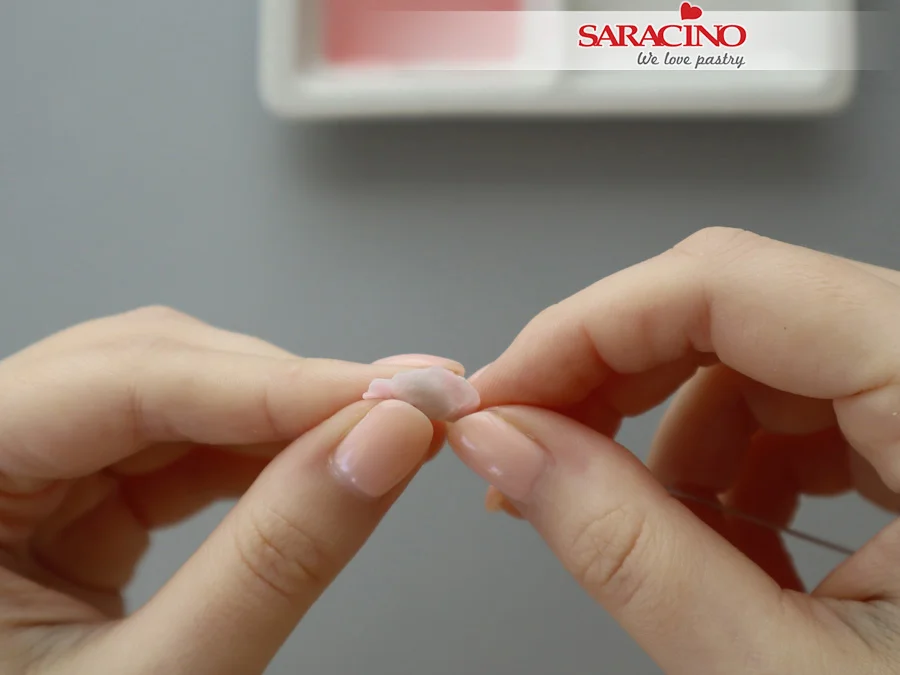
Step 21

Pinch both sides of the small petal to create the center. Set aside to dry.
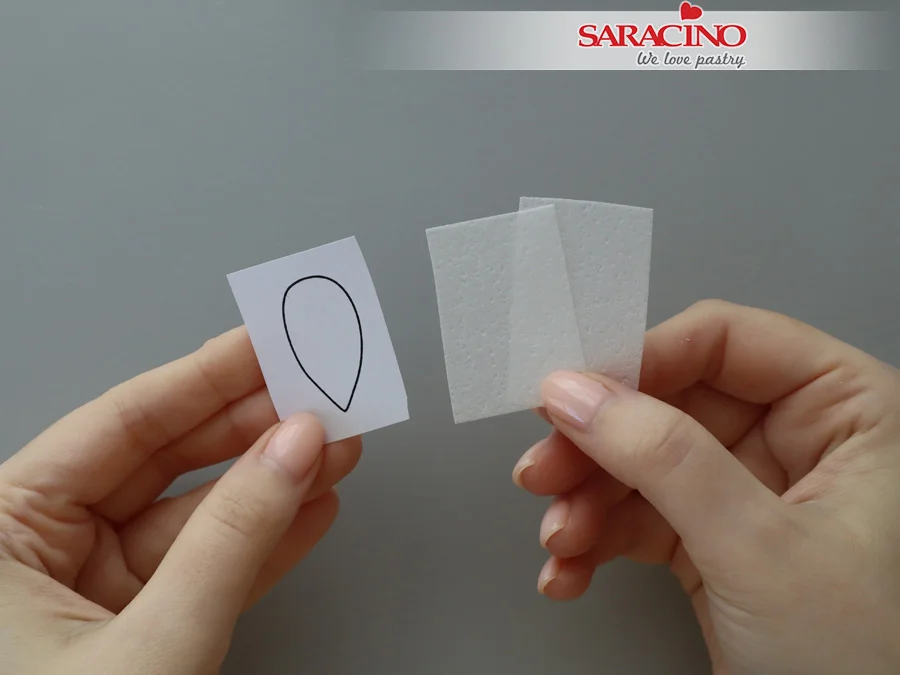


Step 22

For leaves, cut two pieces of wafer paper, roughly the size of your template.
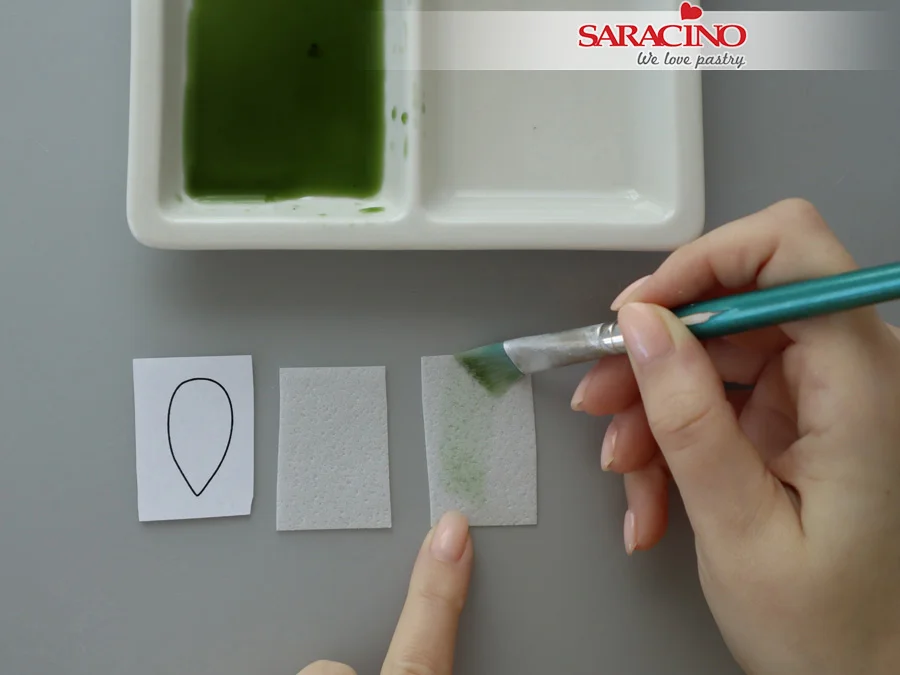
Step 23

Mix AC Tonic™ with the green gel colour of your choice. Apply a thin layer of conditioning mixture to one piece of wafer paper.

TIP: Use a scrap piece of wafer paper to check the colour and saturation of your mixture.
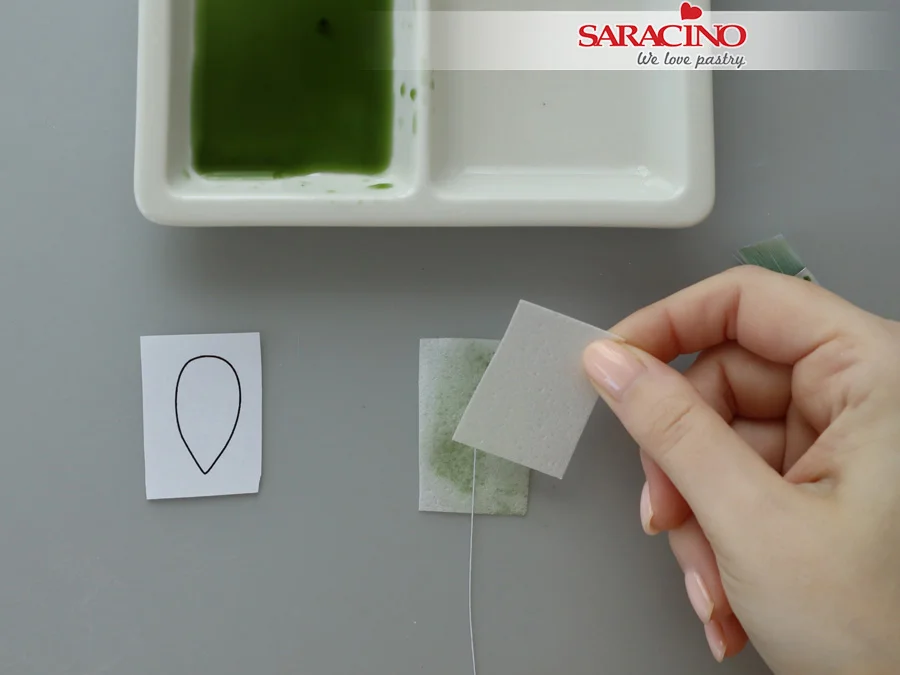
Step 24

Take a piece of 28 gauge white wire and press in the middle of the wafer paper. Sandwich with another piece of wafer paper.
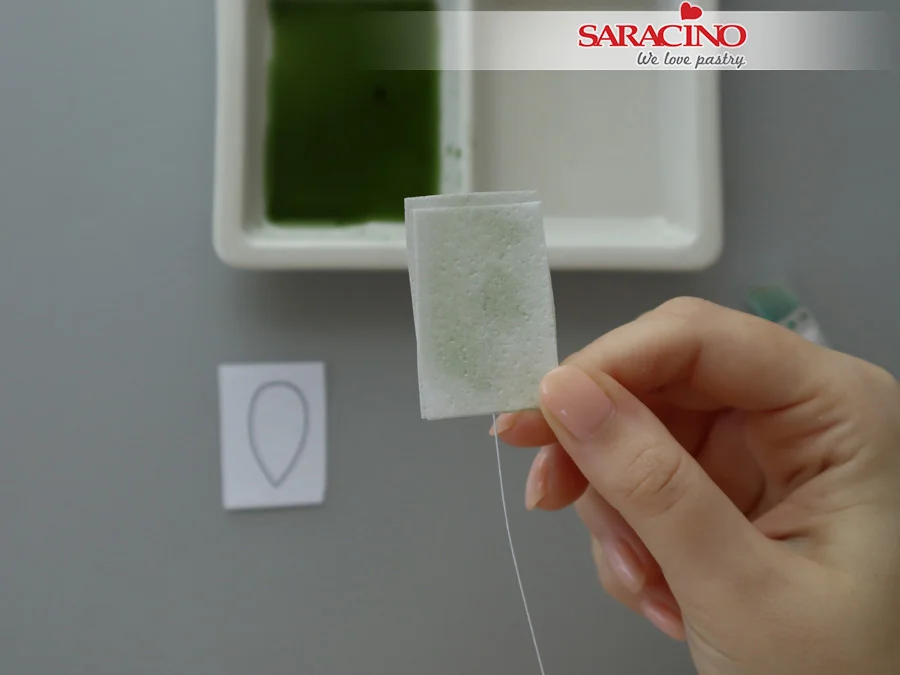
Step 25

Press both layers together to make sure that the wire is secured in the middle.
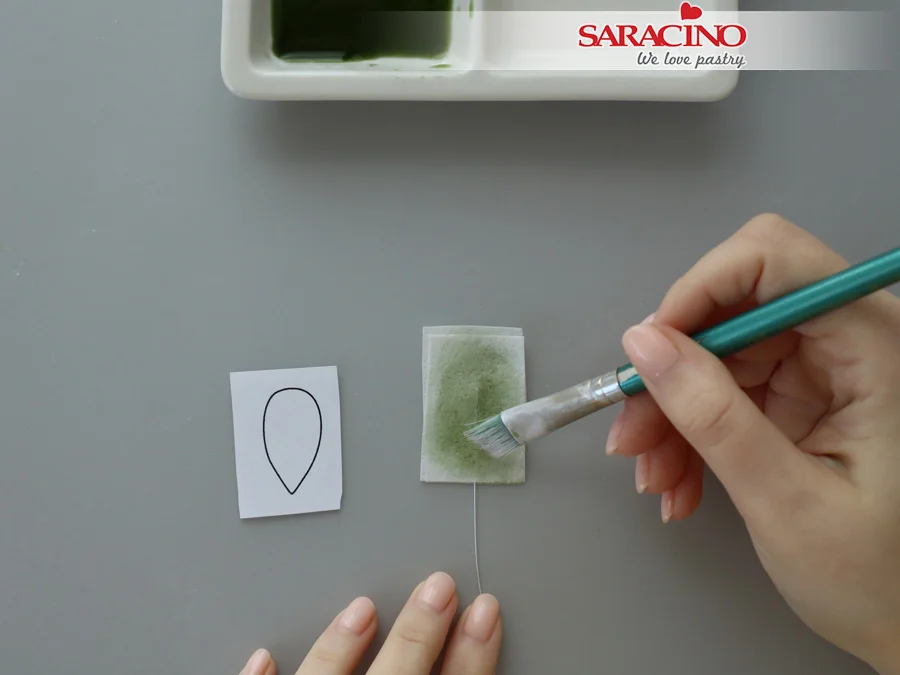
Step 26

Using the same conditioning mixture, colour the wafer paper.
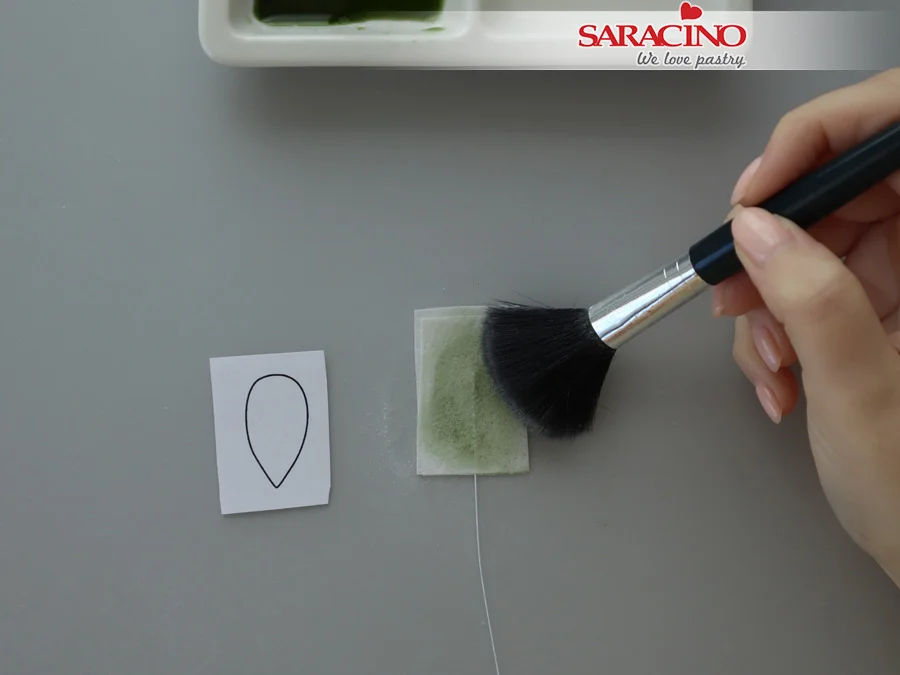
Step 27

To prevent wafer paper from sticking, apply a small amount of corn flour with a large fluffy brush.
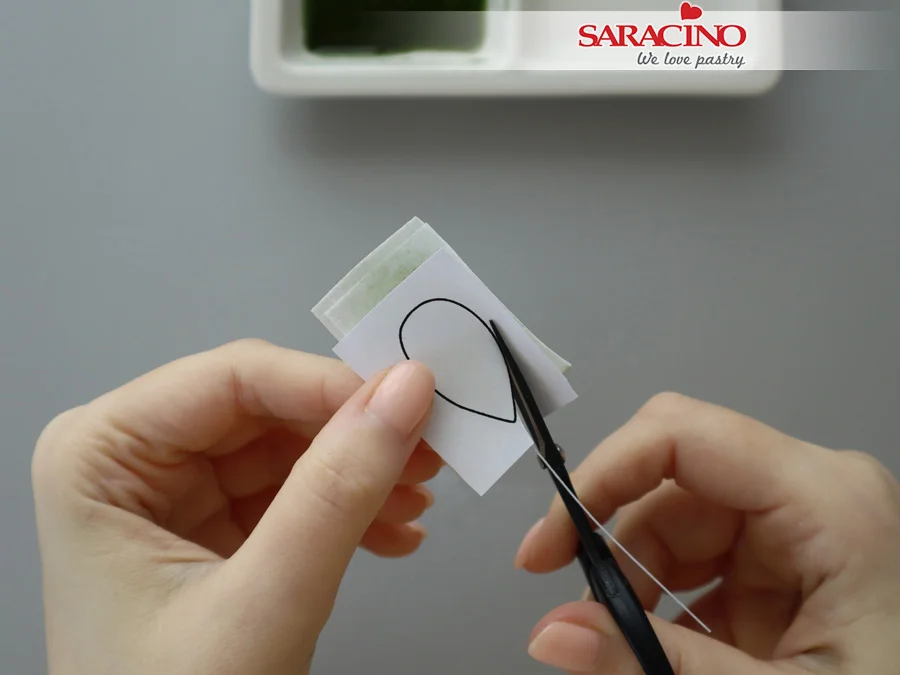
Step 28

Place your leaf template on top of the coloured wafer paper. Narrow end pointing the wire. Using sharp scissors, cut out the wafer paper leaf.
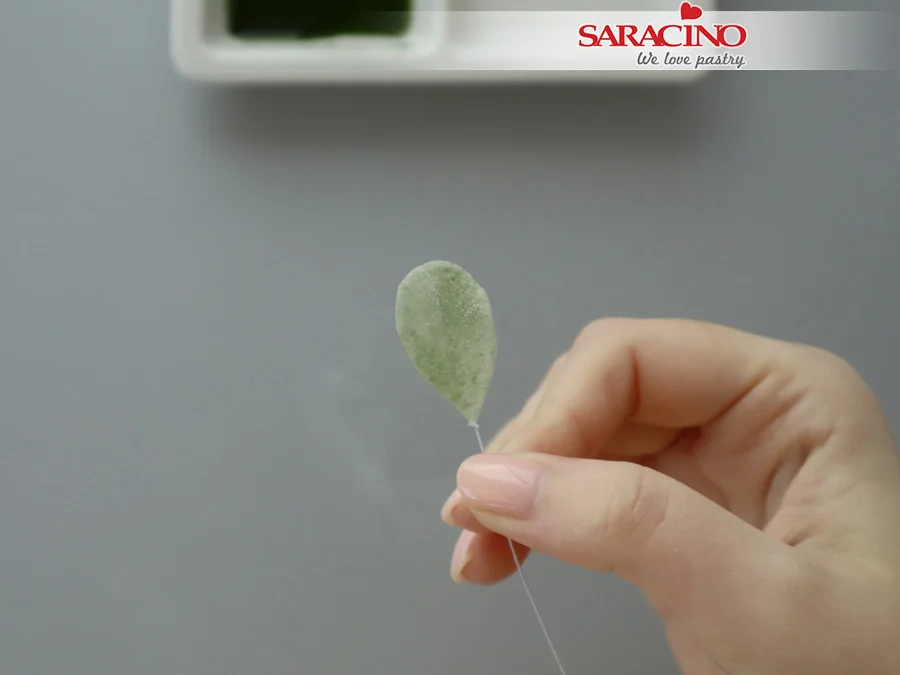
 

Step 29

Gently peel off the paper template. You should have a teardrop-shaped leaf with the wire in the middle.
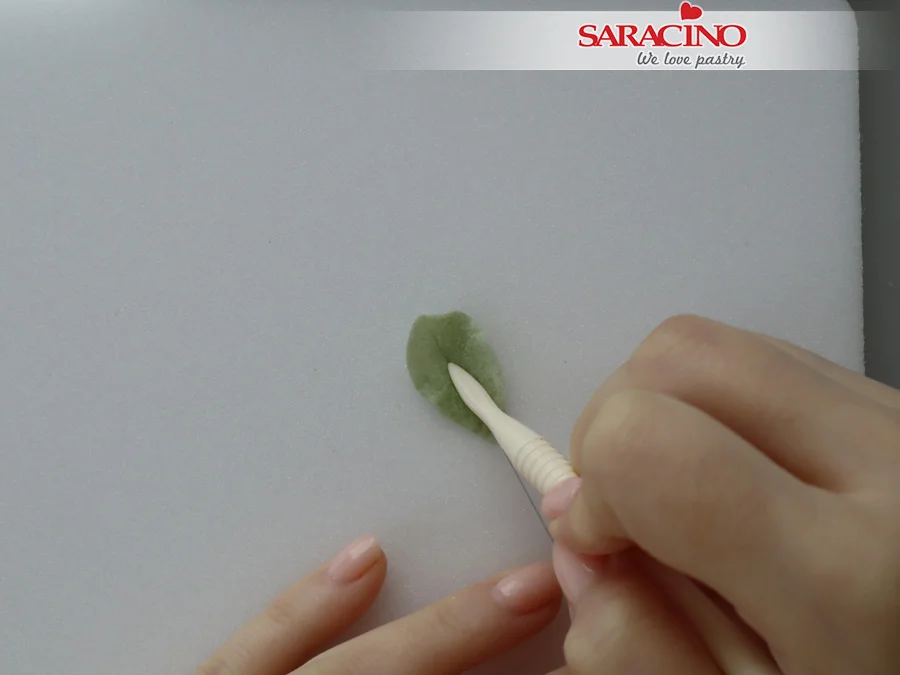
Step 30

Place your wafer paper leaf on a floral foam pad and press with the dull end of the Dresden tool.
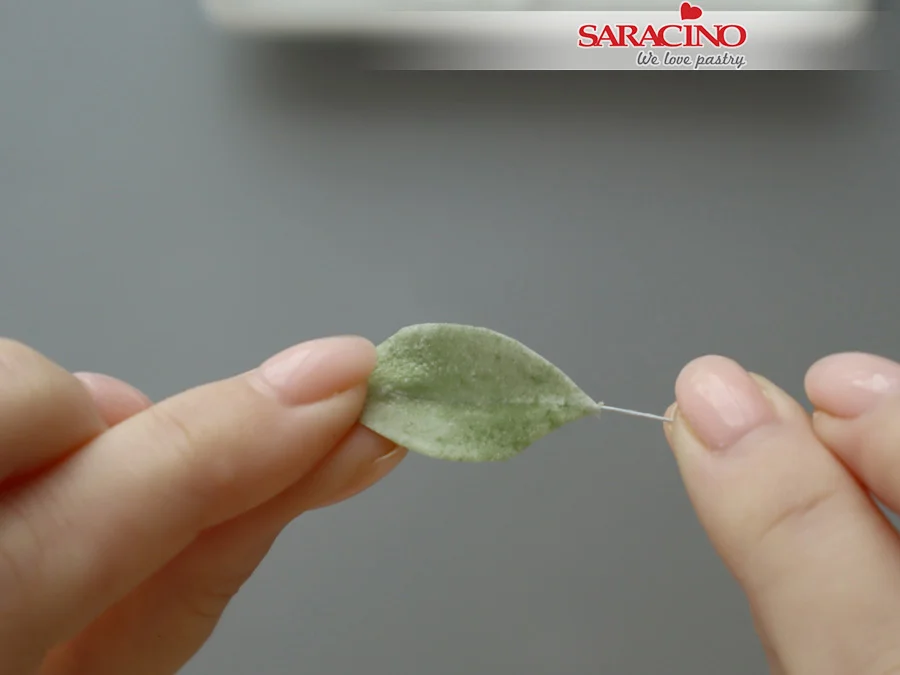
Step 31

You can curl and shape your leaf to give it some movement. Set aside to dry.
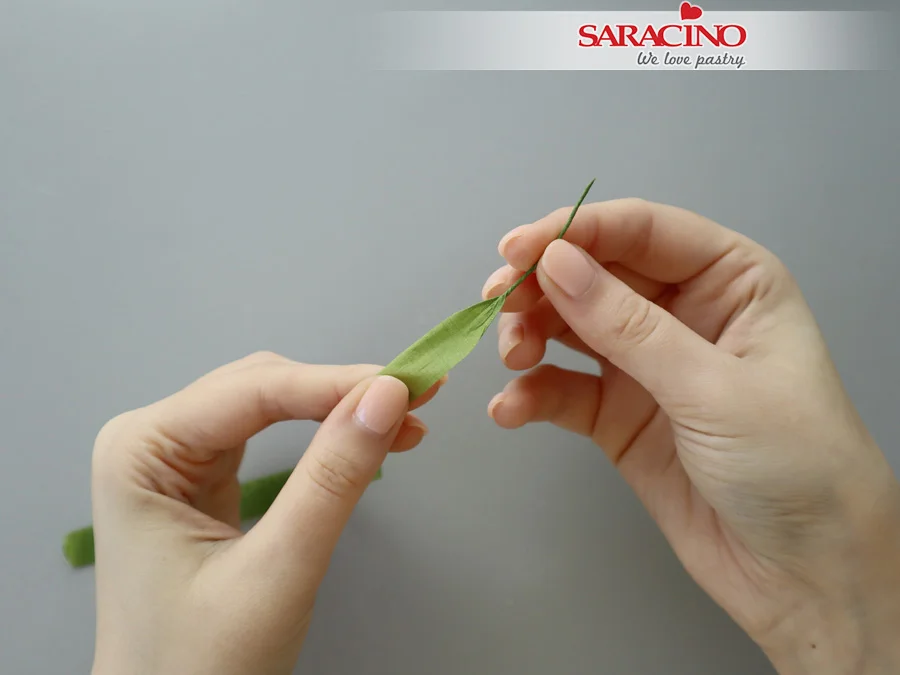
Step 32

To make tendrils take a piece of light green floral tape and stretch to activate the glue. Start twisting the tape to create the base for the tendrils. 
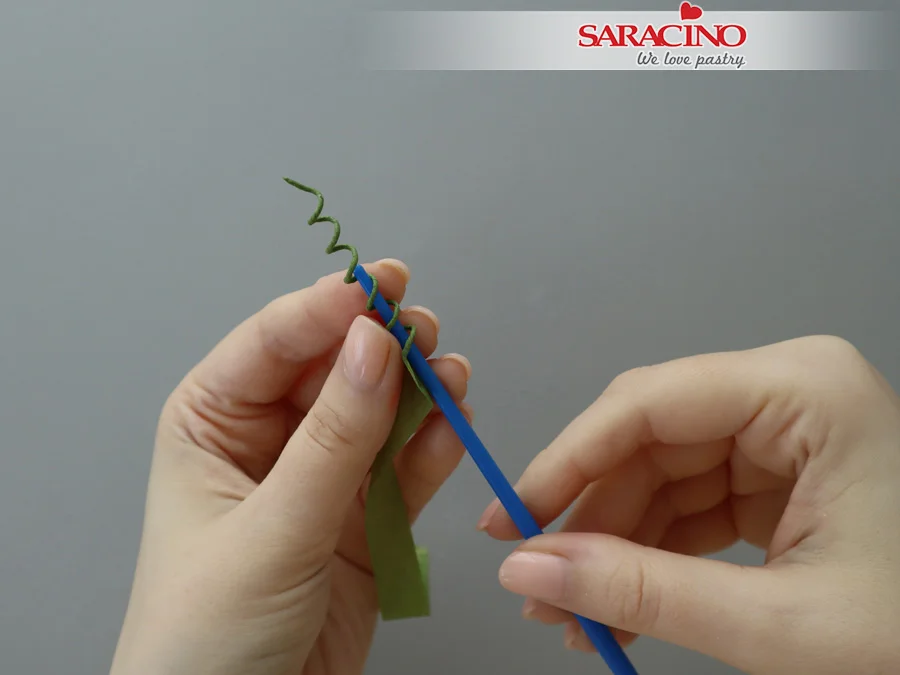
 

Step 33

Using a thin paintbrush, shape your floral tape onto the handle to make the spiral tendril. Gently twisting the brush, remove the tendril from the handle. 
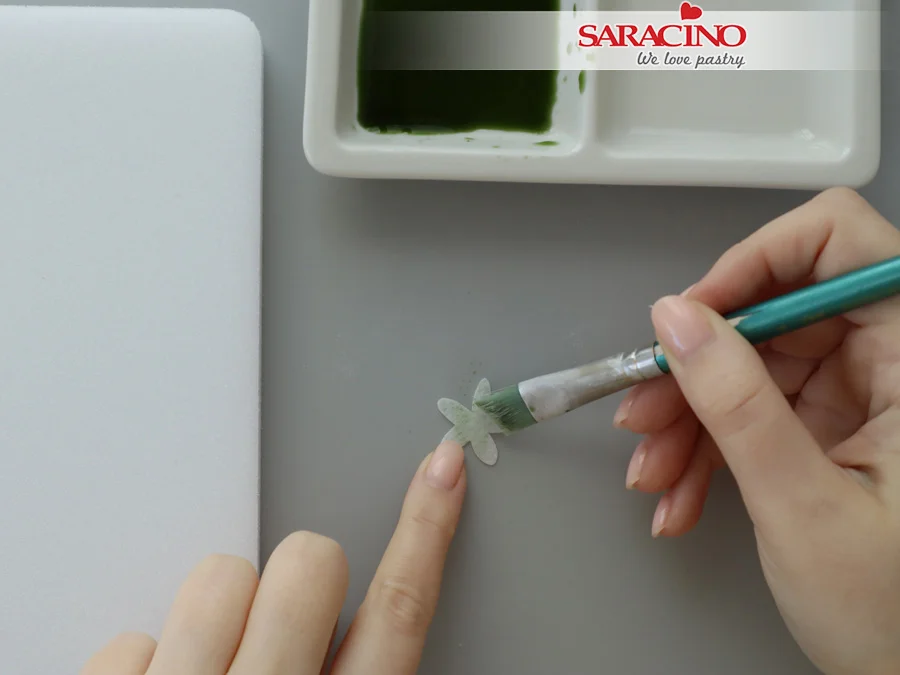
Step 34

For the calyx condition the rough side of the wafer paper with the green AC Tonic™ mixture.
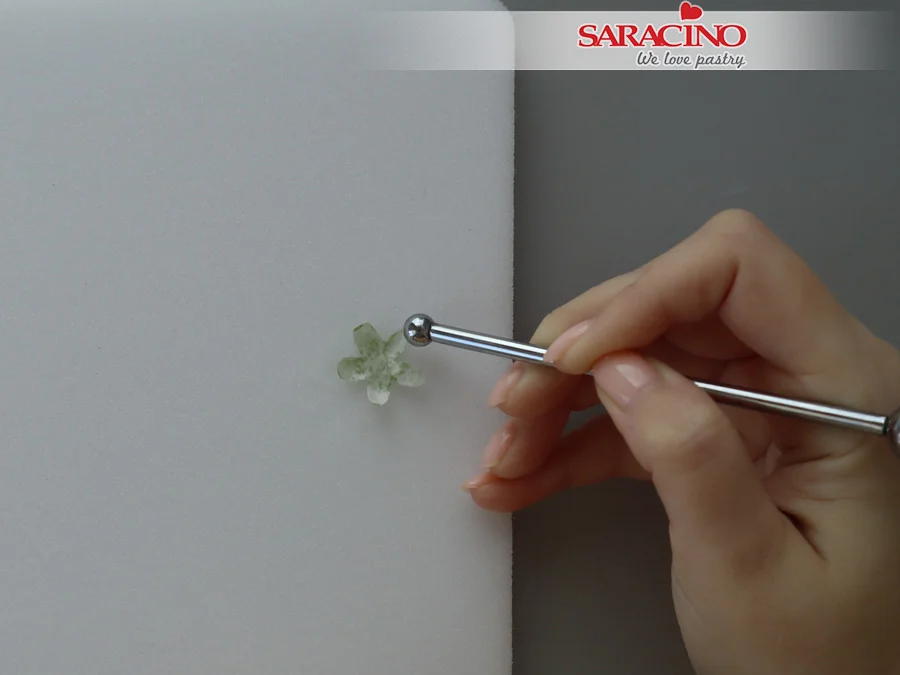
 

Step 35

Place your conditioned calyx on the floral foam pad with the smooth side up. Use a ball tool to add shape to the calyx.
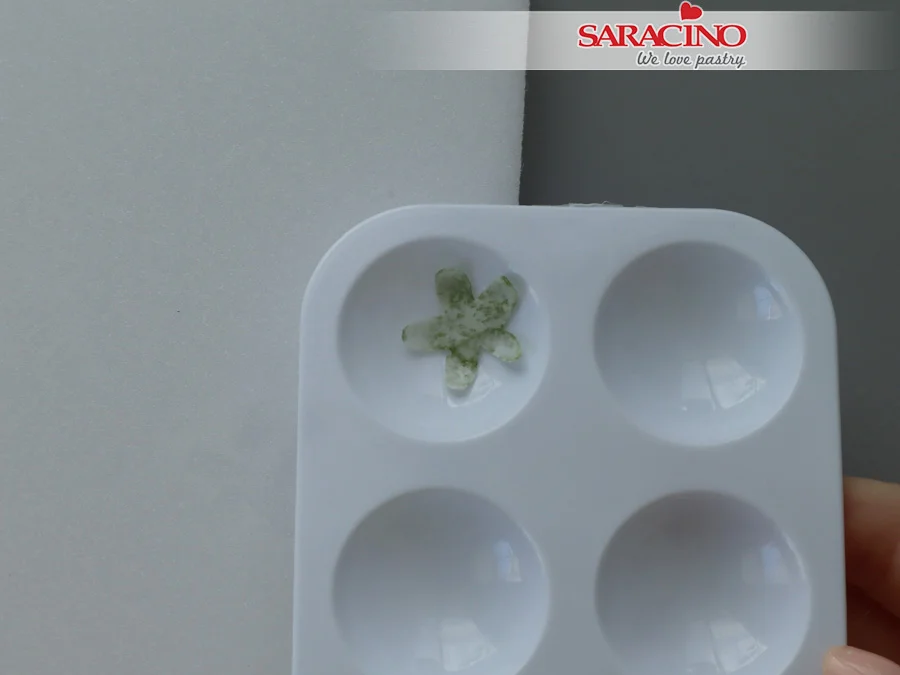
Step 36

Place it in a petal former and leave it to dry completely before assembling.
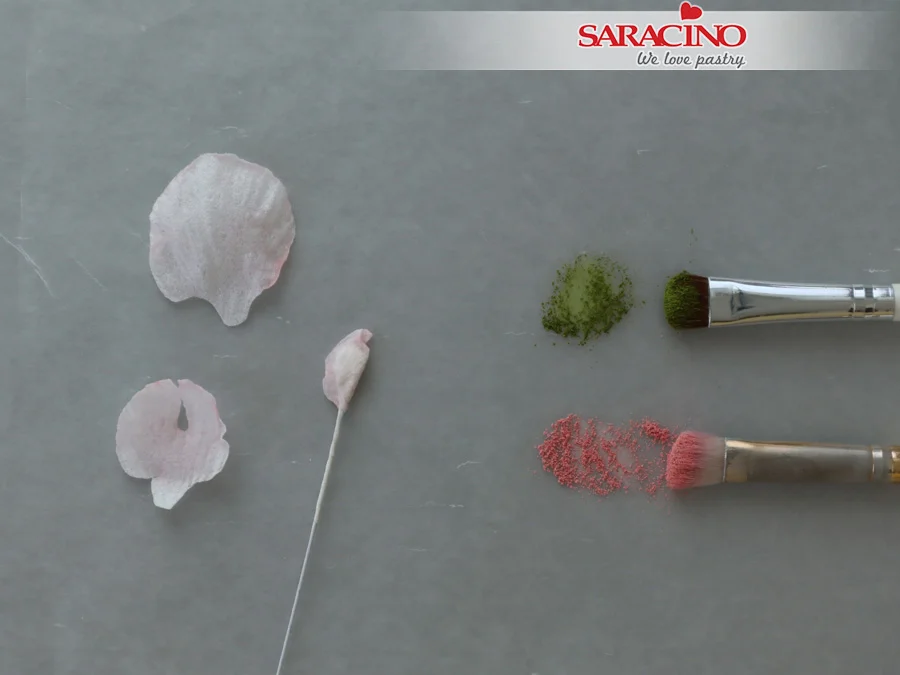
Step 37

Dusting petals – Make sure that all your petals are dry before dusting the flower.
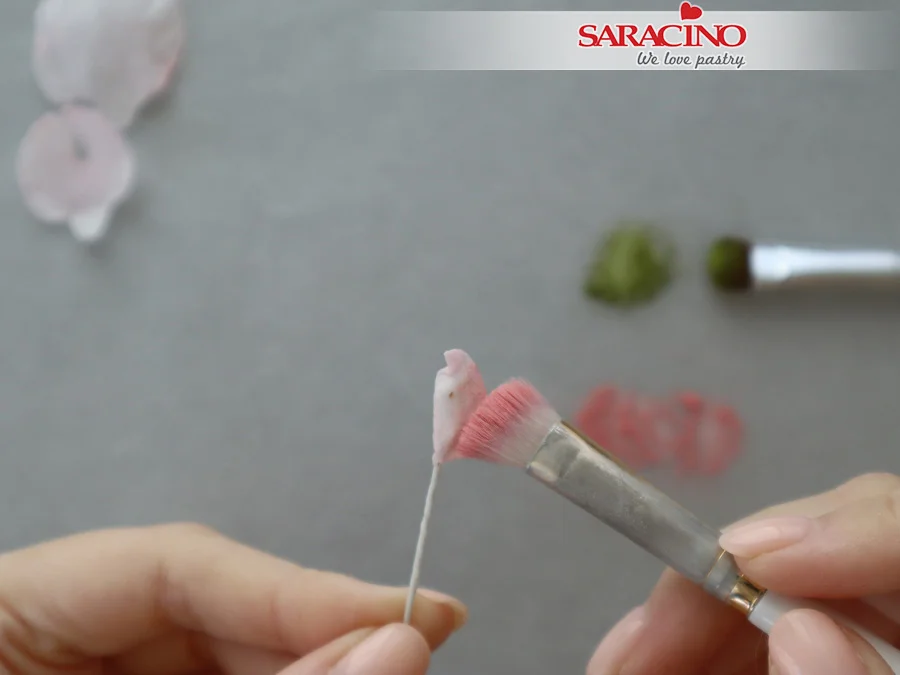
Step 38

Apply a generous amount of dusty pink powder colour to the outside part of the sweet pea center.
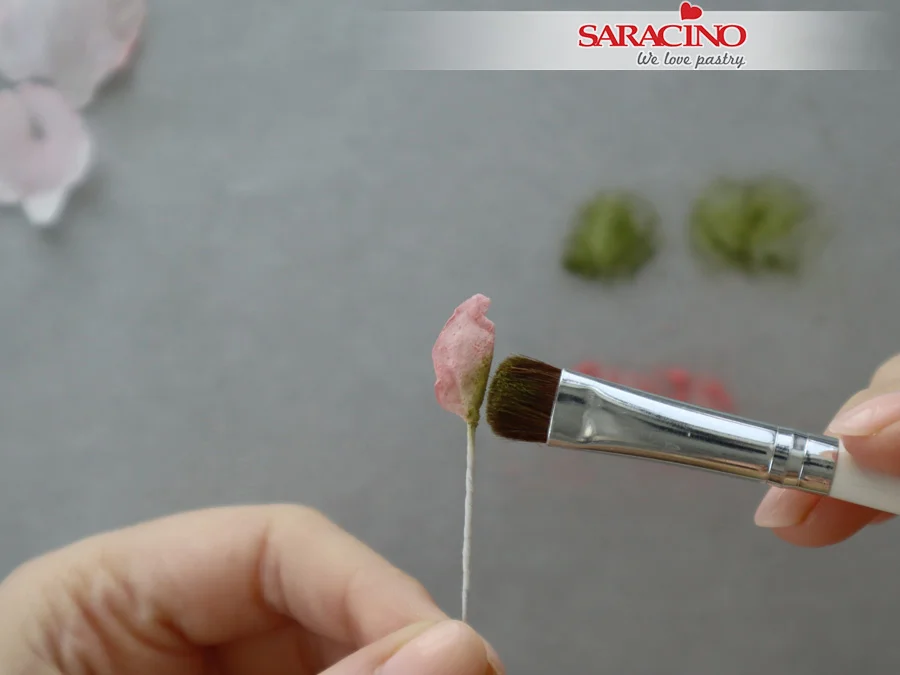
Step 39

Add moss green powder colour at the inner base of the center.
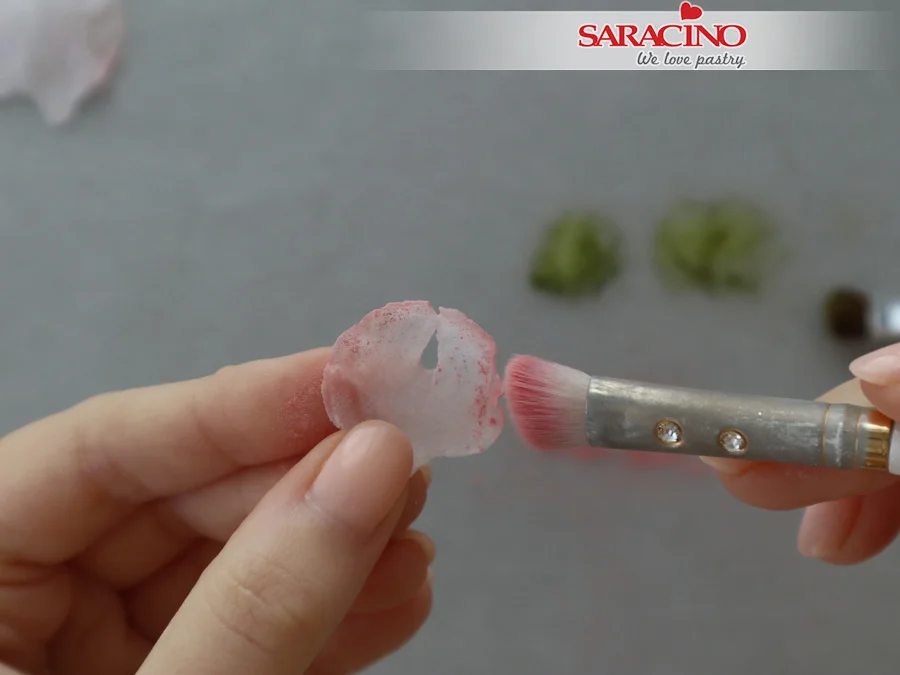
Step 40

Apply dusty pink powder colour to the outer edge of the medium petal.
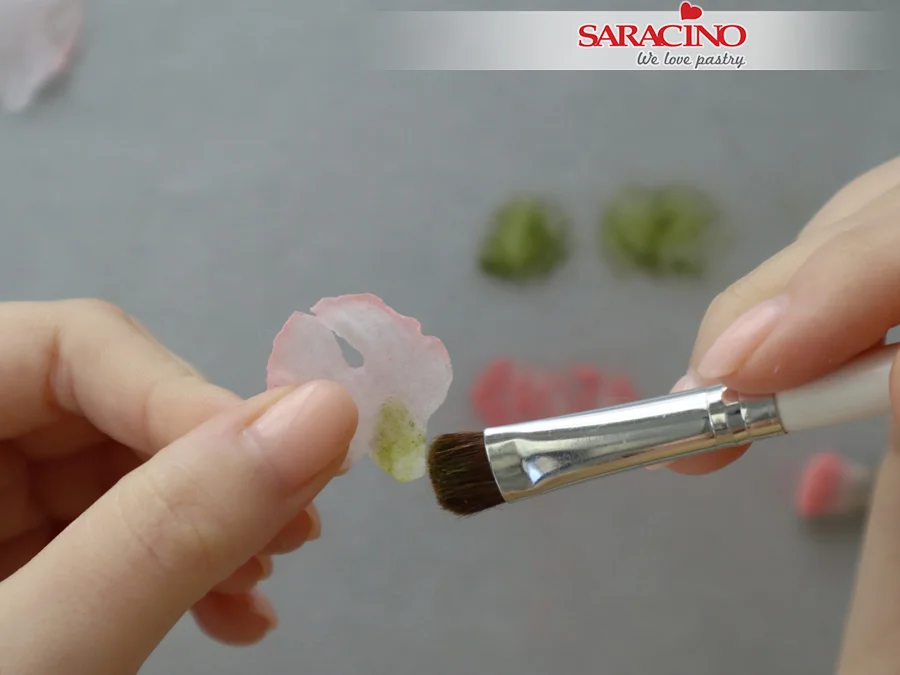
 

Step 41

Add moss green powder colour at the base.
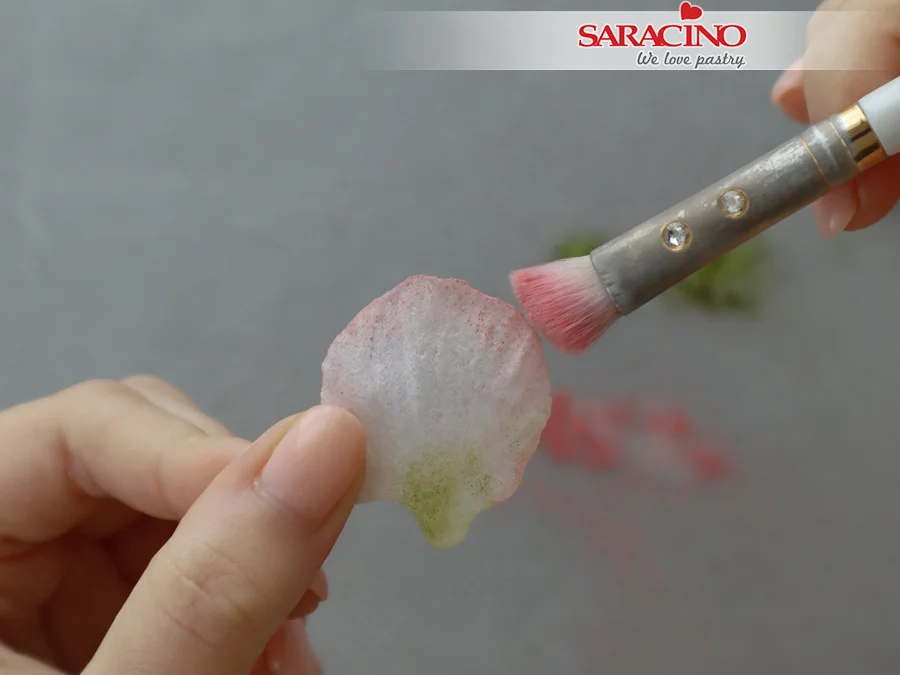
Step 42

Dust your large petal using the same colours and patterns.
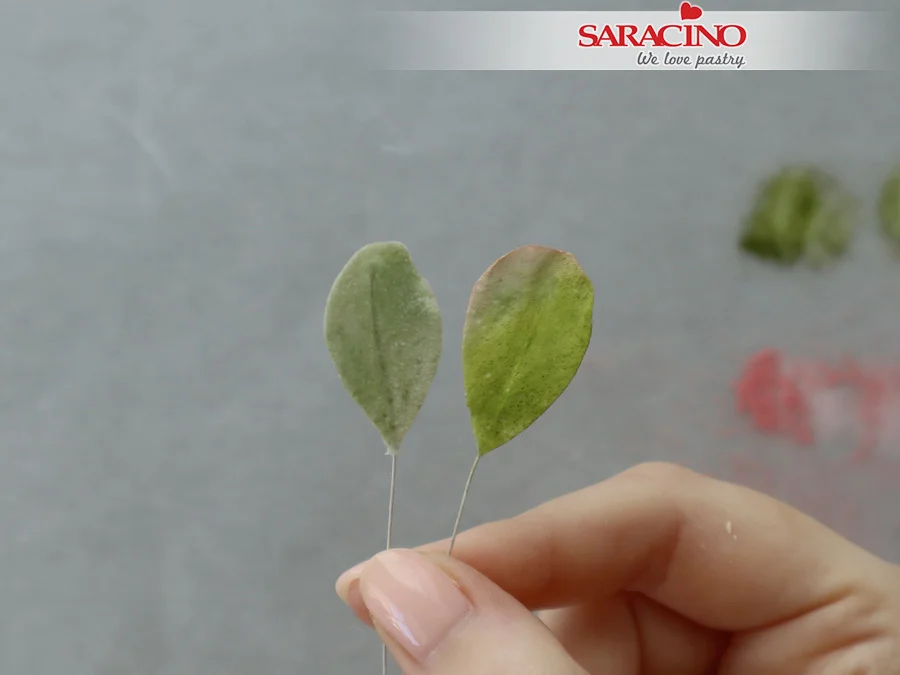
Step 43

Using moss green powder colour, dust your leaves. To make it more dimensional, add a touch of dusty pink. The petal on the left is before dusting and on the right dusted with moss green and dusty pink.
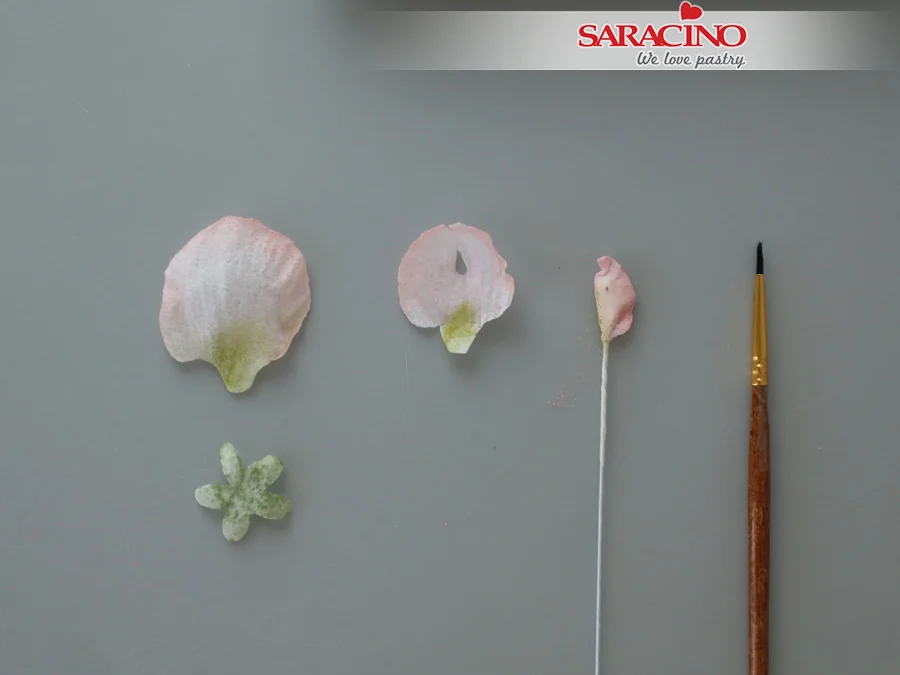
Step 44

Prepare all the dusted petals and calyx before starting assembly.
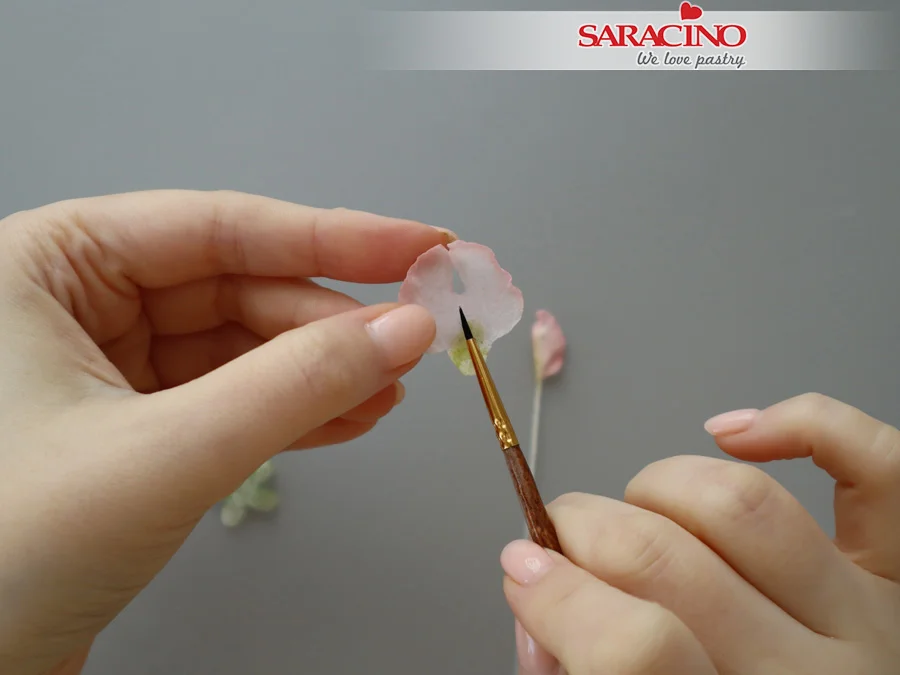
Step 45

Using a small brush, apply water in the middle of medium size petal to make it sticky.
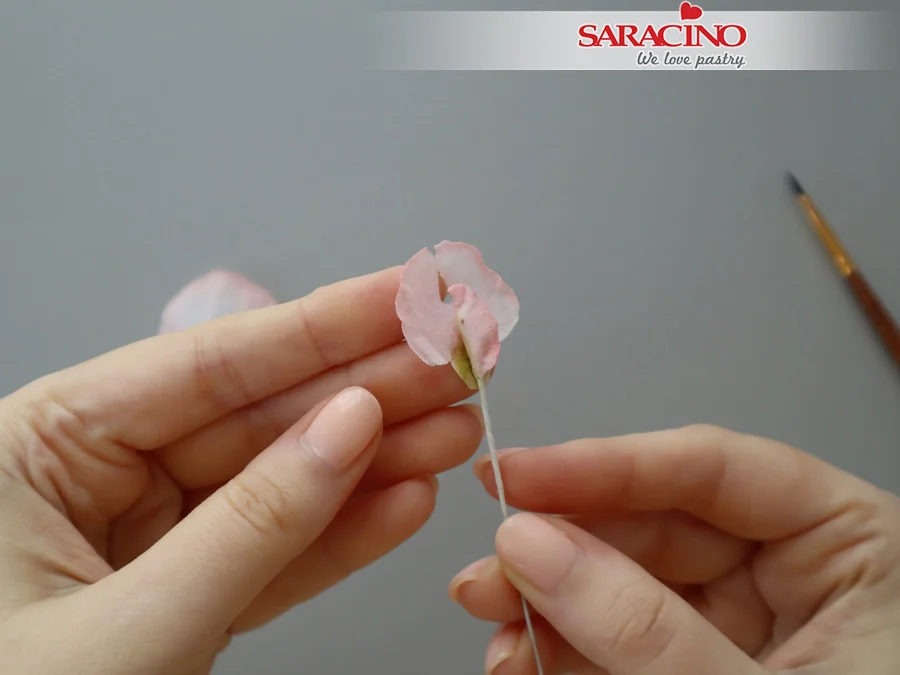
Step 46

Attach your sweet pea center to the medium size petal and hold for a few seconds. 
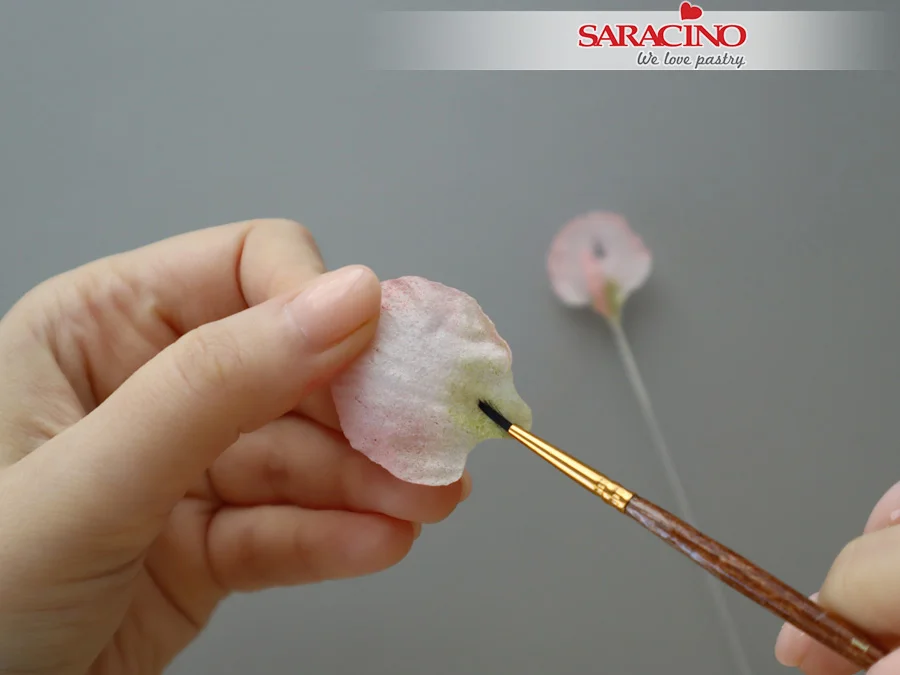
Step 47

Repeat with the large petal applying a little water in the centre.
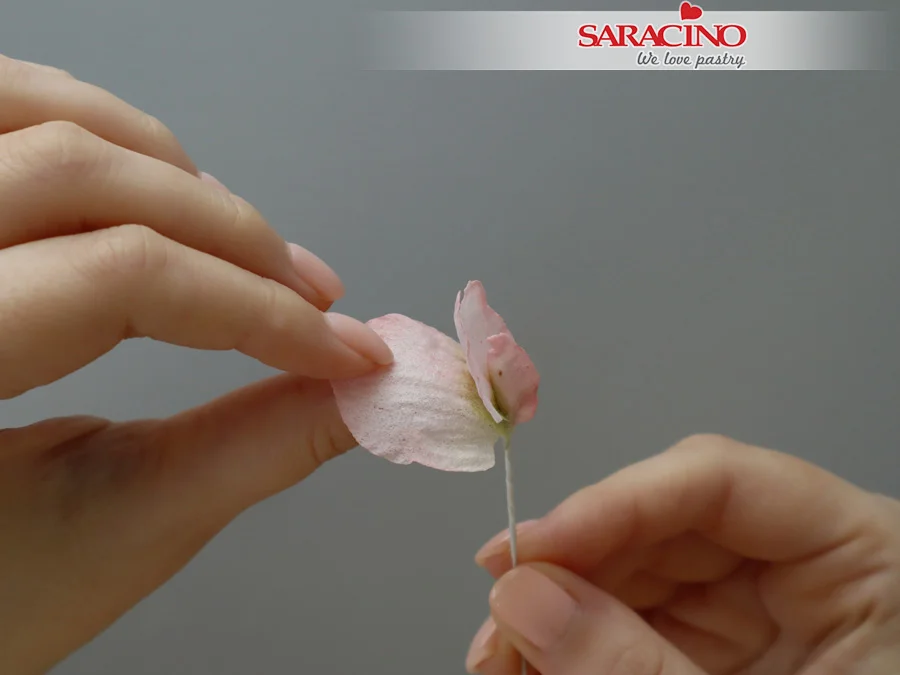
Step 48

Attach to the sweet pea flower. Hold for a few seconds.
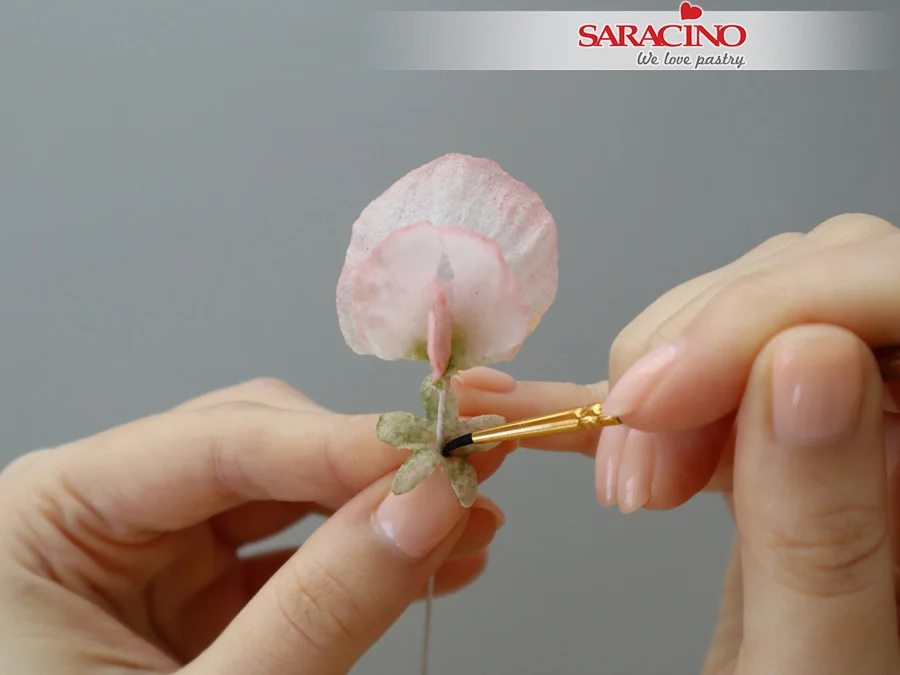
 

Step 49

Add the calyx to the flower. Apply a small amount of water as glue.
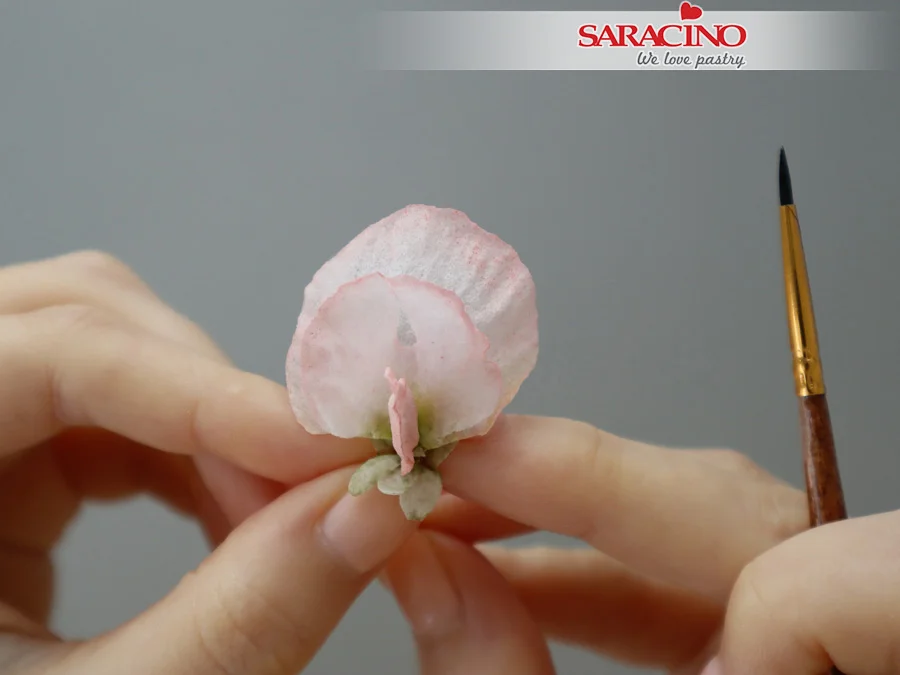
Step 50

Gently press the calyx onto the sweet pea flower.
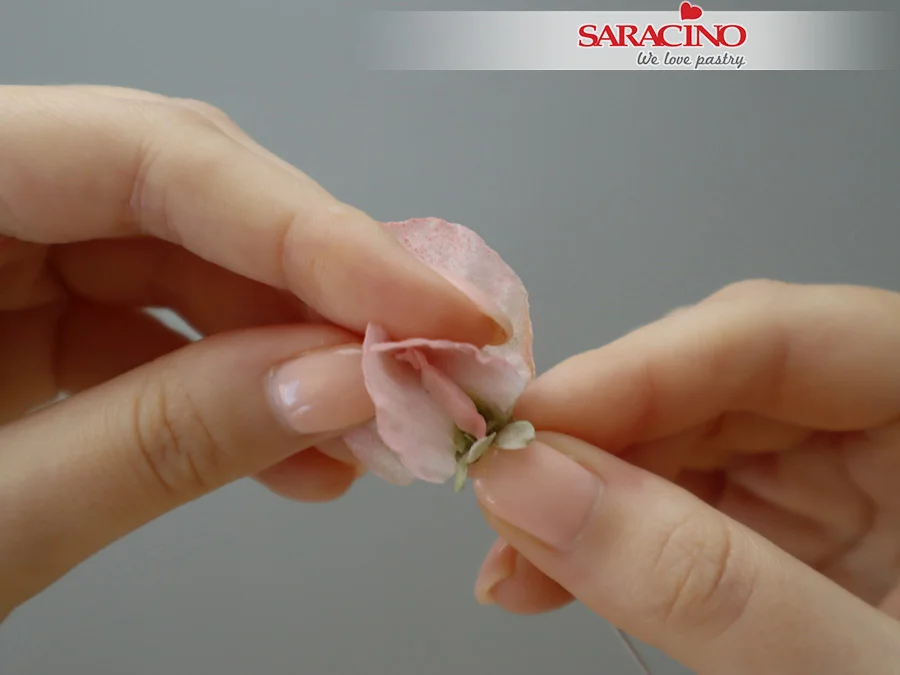
Step 51

You can reshape and form the flower while it is still soft.
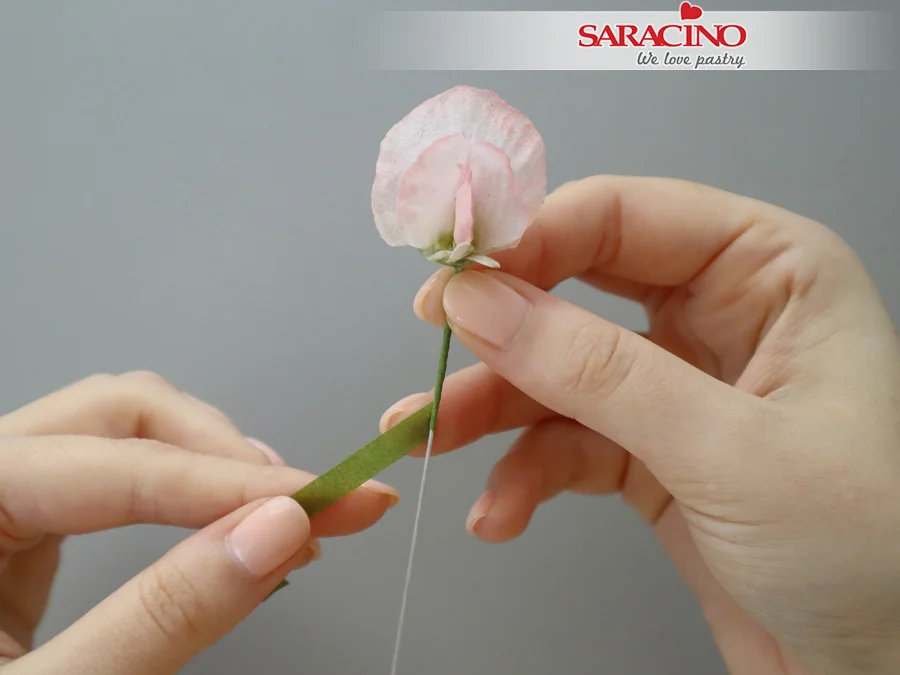
 

Step 52

Use a half-width light green floral tape to cover the stem.
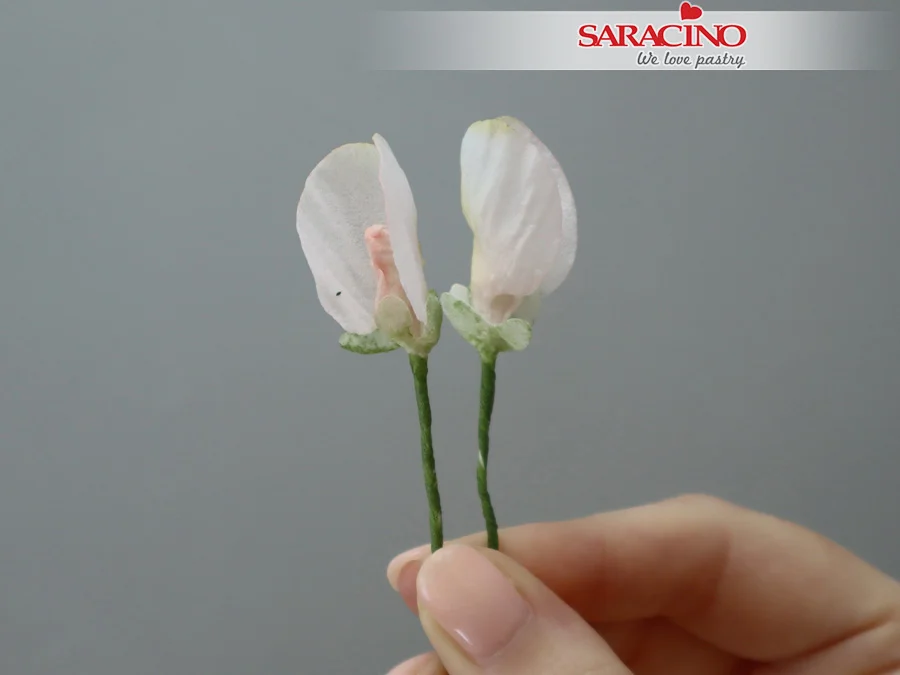
Step 53

To make sweet pea buds, use small and medium size petals. Shape the petals to a more closed look.
 

Step 54

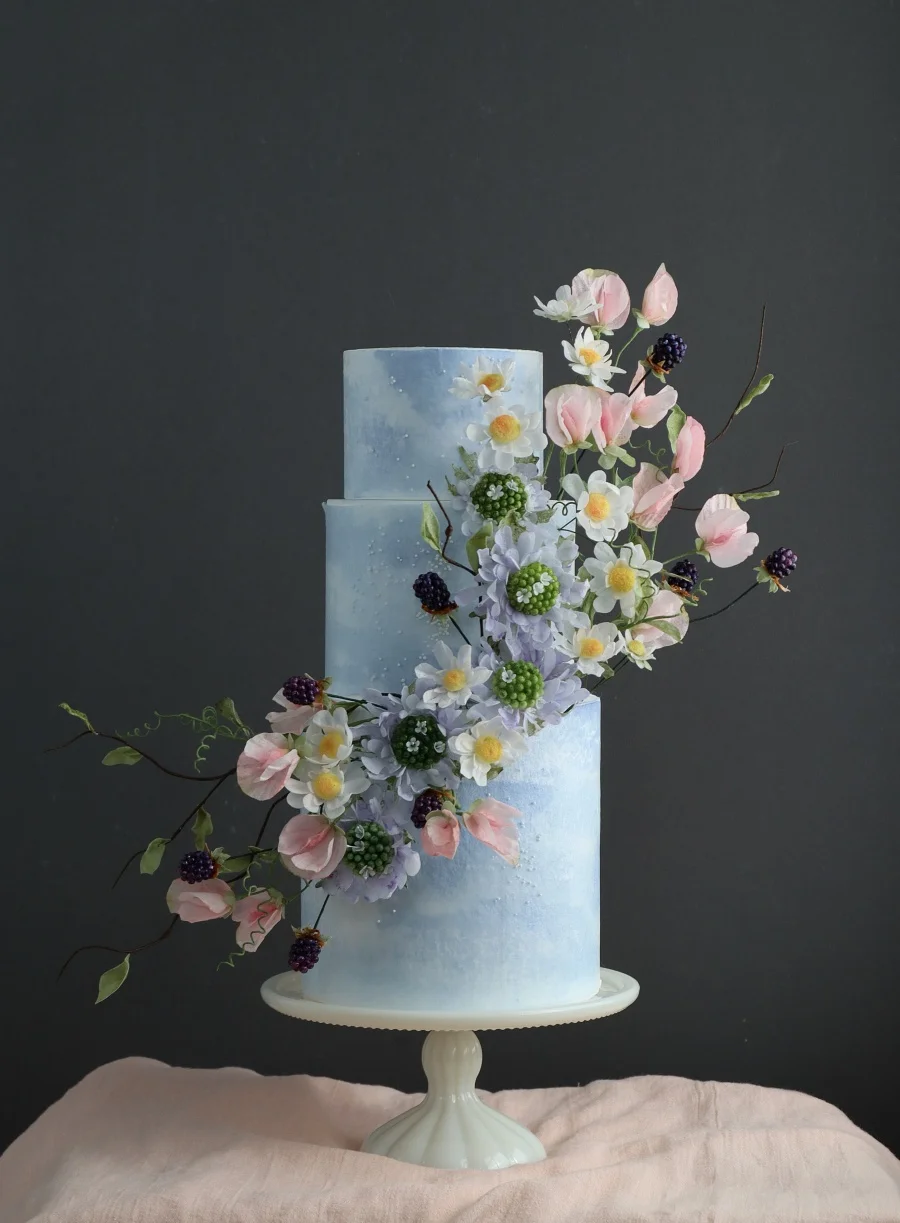
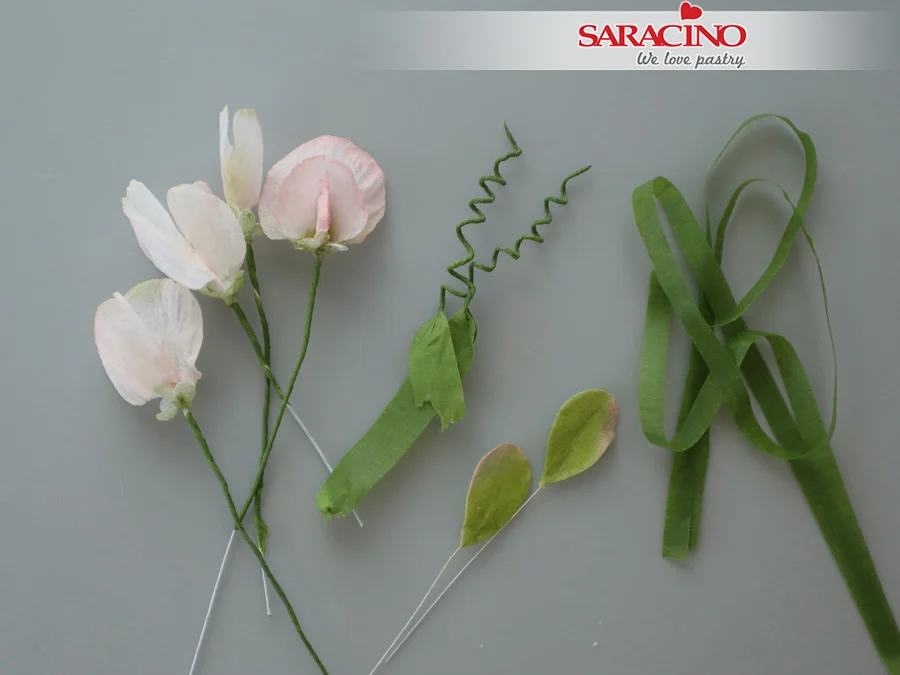
Make sweet pea flowers at different stages of bloom, leaves and tendrils to create a full branch.
Step 55

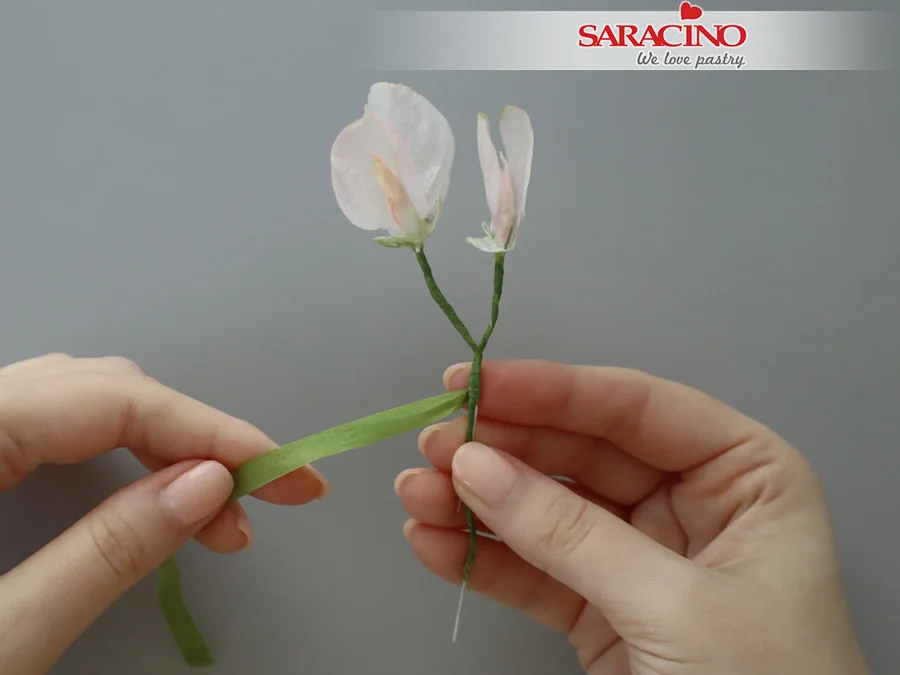
Start by grouping and taping flowers together.


Step 56

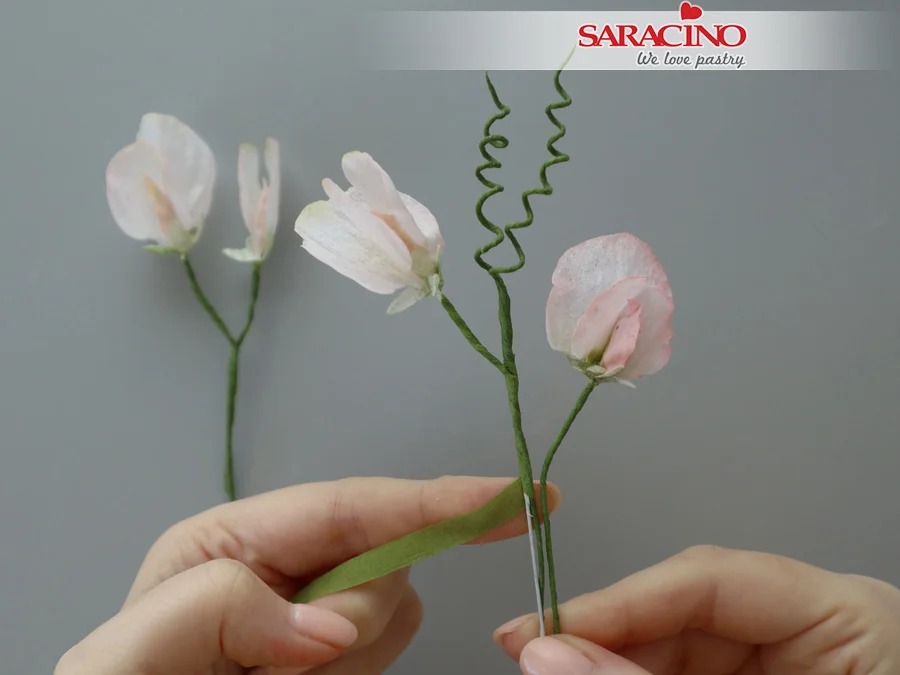
Tape a few tendrils and flowers to another piece of 22 gauge wire. Add flowers every 3-4cm.
Step 57

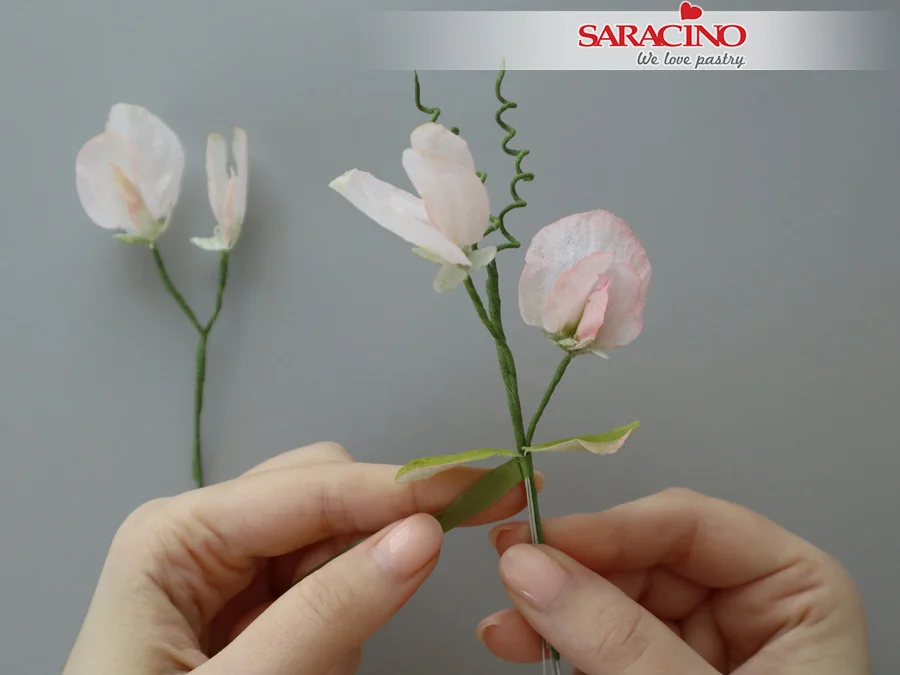
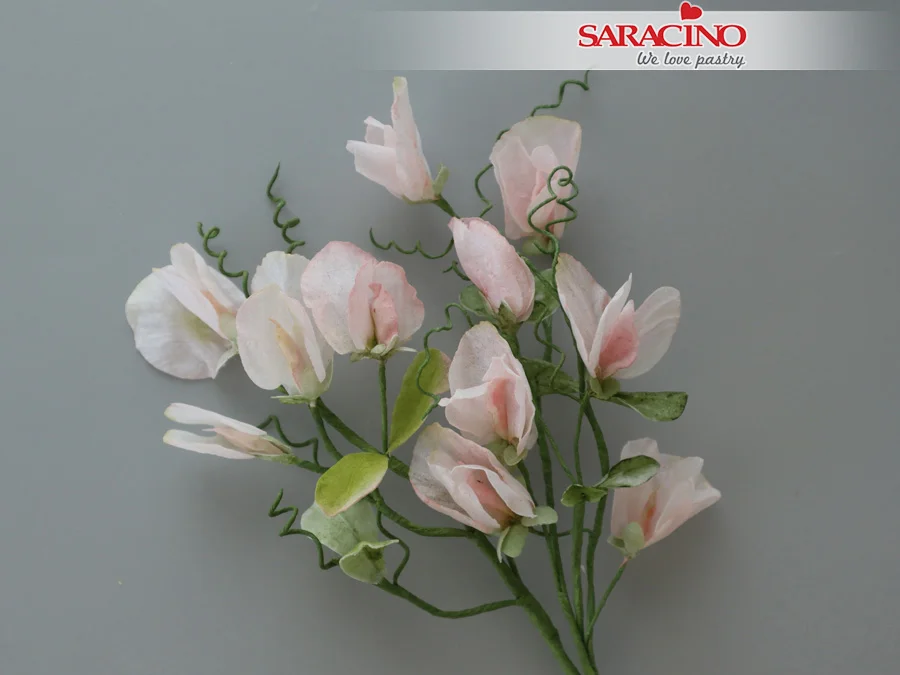
At the base of the flower, add two leaves on the opposite sides of the stem. Use light green floral tape to assemble the sweet pea.
 

Step 58

Add more flowers, leaves and tendrils to achieve the desired look.

TIP: Use posy picks to insert your flowers into an edible cake. Floral wires should never be exposed inside the cake. 
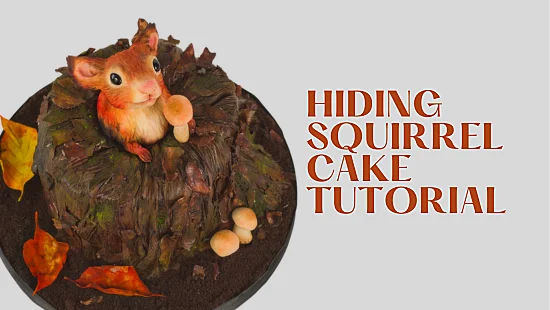
HIDING SQUIRREL CAKE TUTORIAL

HIDING SQUIRREL CAKE TUTORIAL

Author: INA DANDAROVA

Skill level: BEGINNERS

You will need:

Vanilla Cake

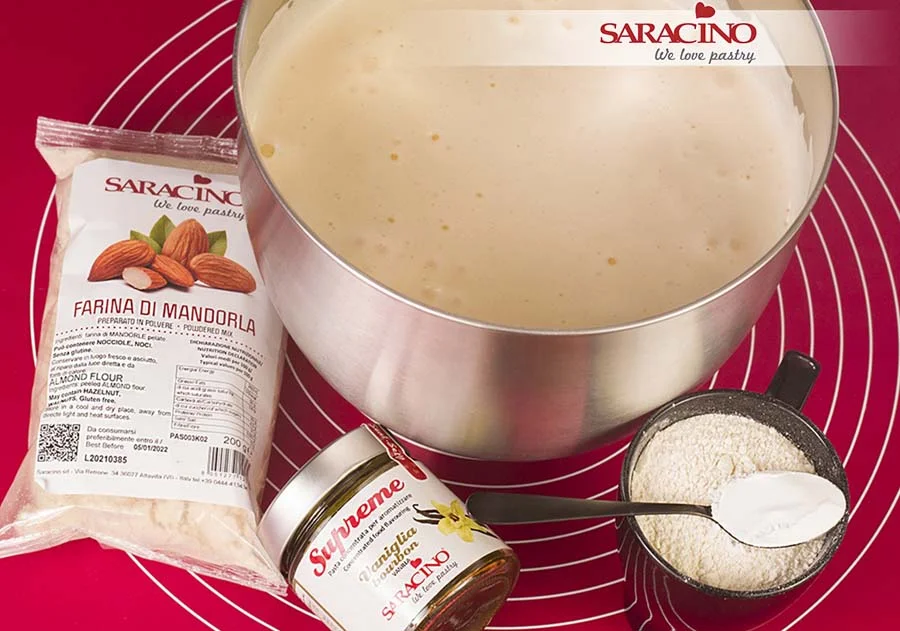
  • 8 eggs
  • 1 ½ cups caster sugar
  • 1 cup flour
  • 1 cup Almond Flour
  • 2 tsp baking powder
  • 1 tsp Vanilla Le Supreme food flavouring

Mascarpone cream

  • 500 gr mascarpone cheese
  • 400ml cream
  • 1 cup caster sugar
  • 4 tsp Hazelnut Le Supreme food flavouring

Chocolate Ganage

  • 250gr dark chocolate drops
  • 150ml cream
  • Biscuit crumbs

Other

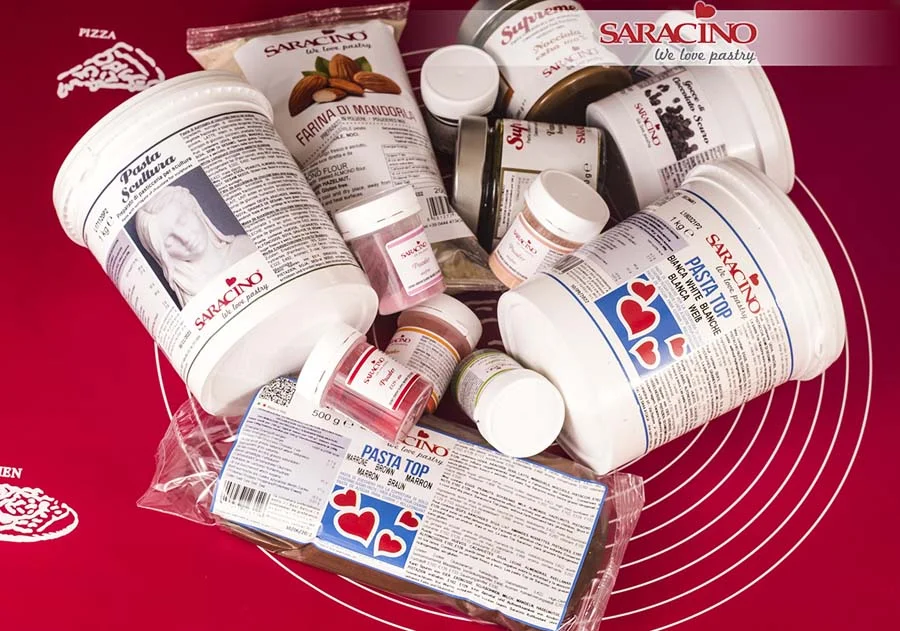
Saracino Pasta Scultura
Saracino Pasta Top: brown and white
Saracino Wafer Paper 0.60mm
Saracino powder colour: orange, white, yellow, light skin tone, green, pink, red, brown and black  

Step 1

Prepare your ingredients.

Step 2

Whisk the eggs until fluffy then add the sugar and vanilla food flavouring. Mix the dry ingredients seperately. Add them to the wet ingredients and mix briefly. Spread the mixture in a flat baking tray lined with baking paper (my tray is 43cm x 35cm). Place in an oven preheated to 180°C. Bake for 15-17 minutes.

Step 3

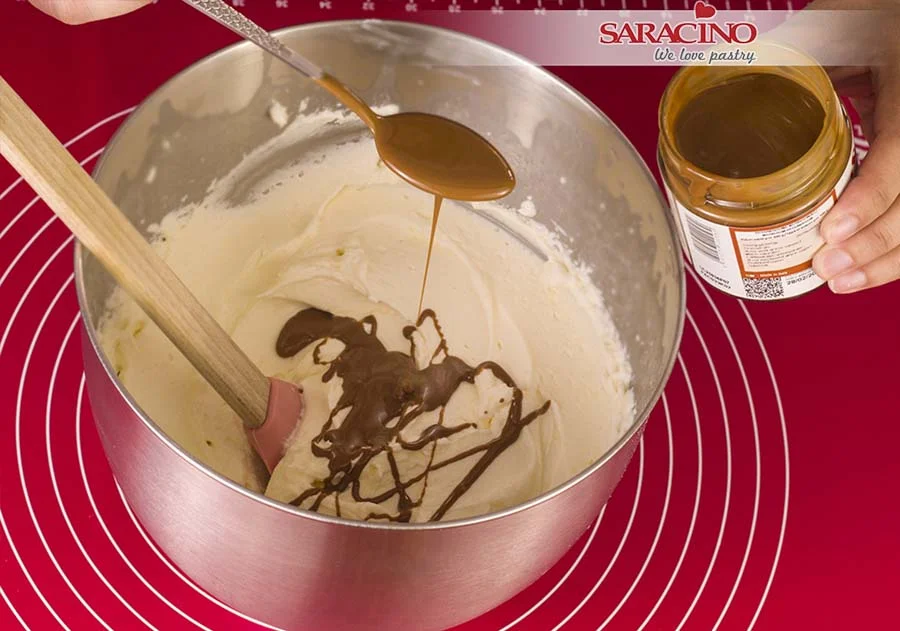
Whisk the mascarpone cream, the cream and the sugar together then add the hazelnut food flavouring.

Step 4

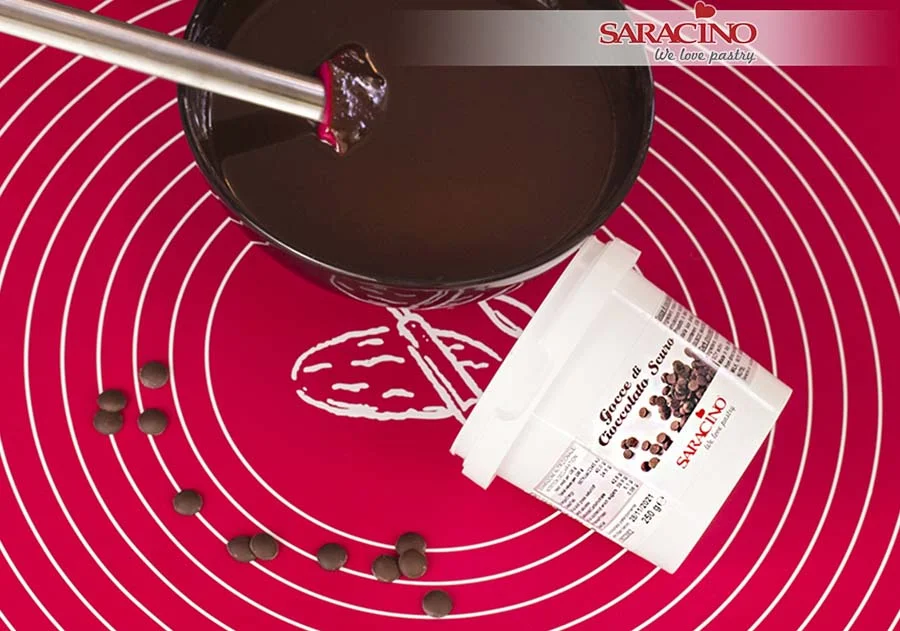
For the ganache add the chocolate drops to hot cream and mix well.

Step 5

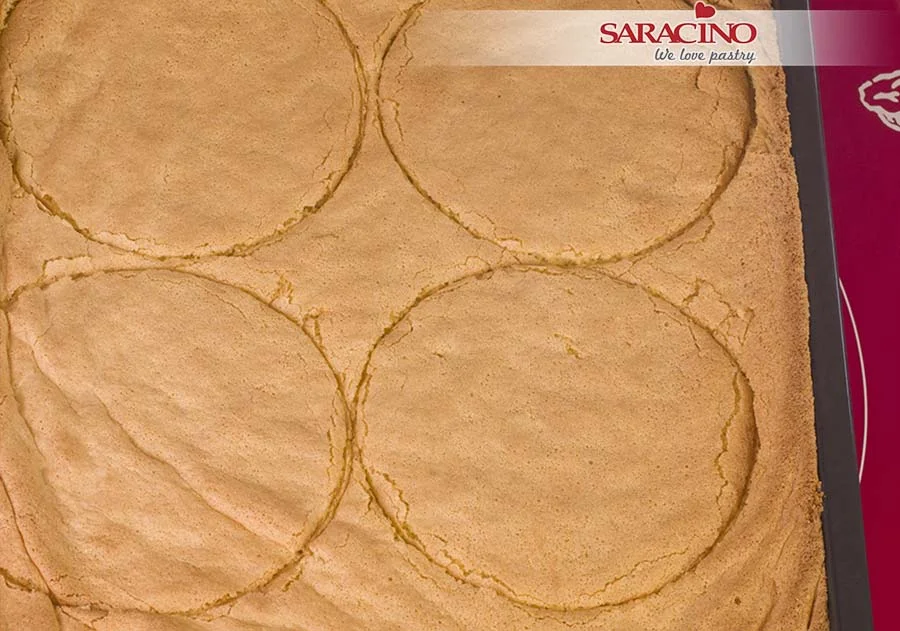
Cut four 16cm diameter circles from the cake when cooled.

Step 6

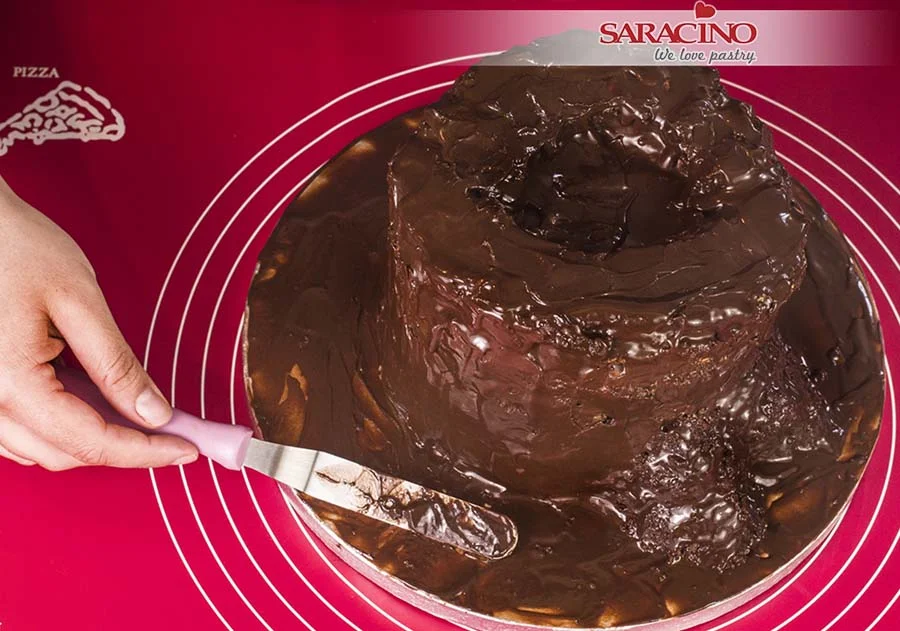
Stack the cake layered with the mascarpone cream. From the left over sponge you can add roots on one side and cut a few pieces to add on top of the cake to form a hole. Coat the outside with the ganache (it does not need to be perfect as it will look more natural if it is not).

Step 7

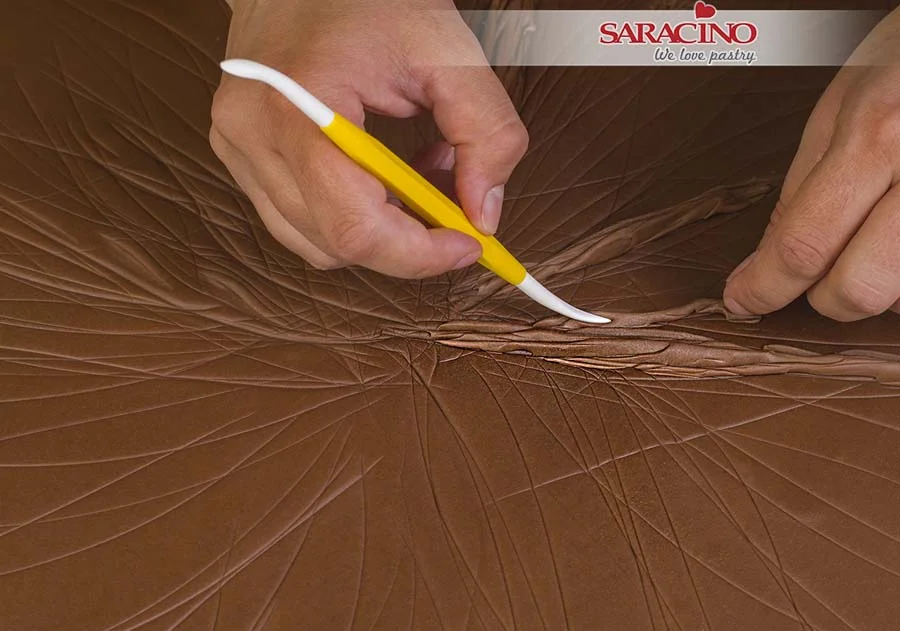
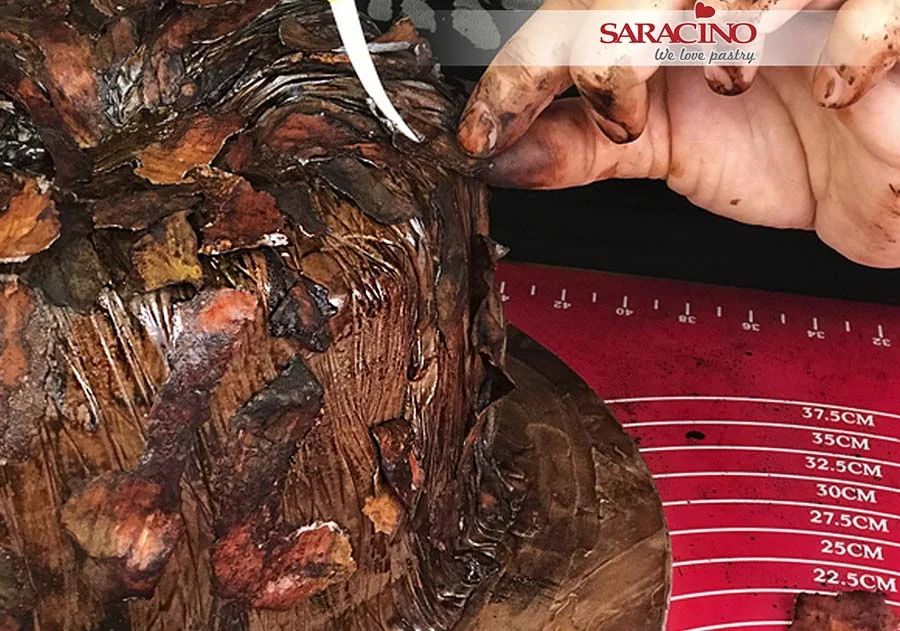
Roll enough Saracino brown Pasta Top to cover the cake. Add some more paste randomly to a few places and use your modelling tool to add texture so it looks like bark. Cover the cake. 
Step 8

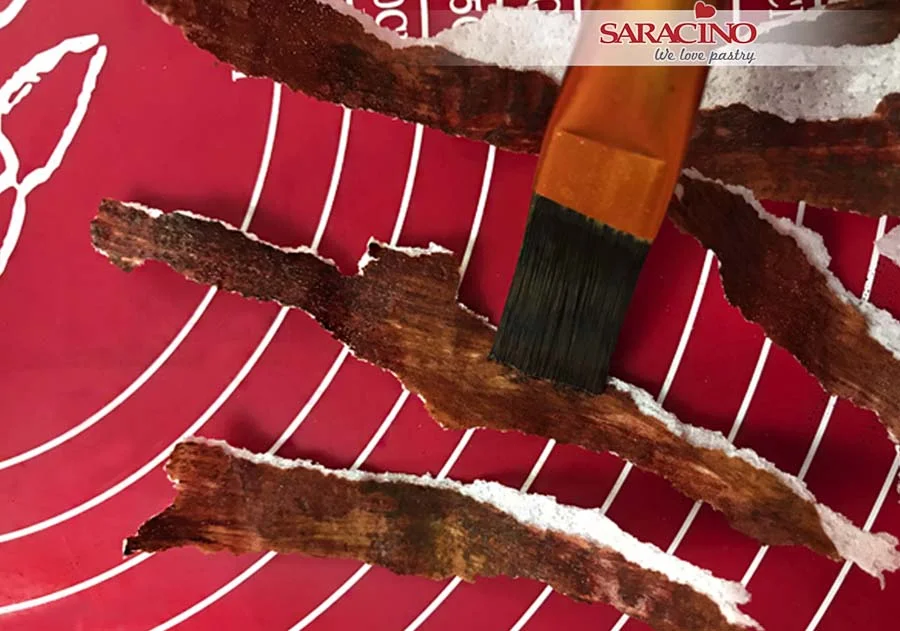
For the bark of the log tear wafer paper into thin long strips. Mix brown powder colour with clear alcohol and paint the strips brown.

Step 9

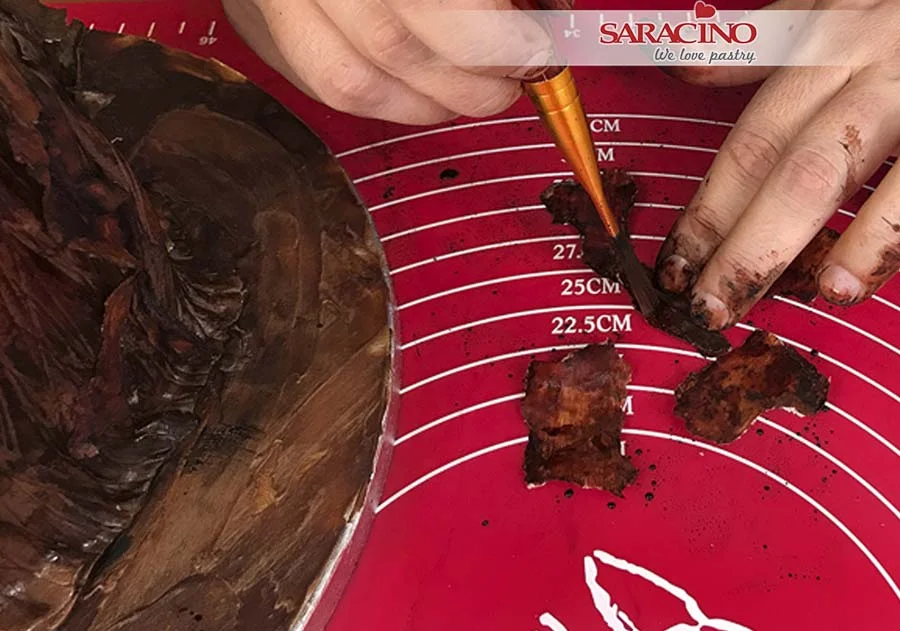
Use the same process to add black to the bark to give a two tone effect. This stage can be messy so you can use gloves.

Step 10

Add the wafer paper strips to the cake when they are still wet as they will easily stick.

Step 11

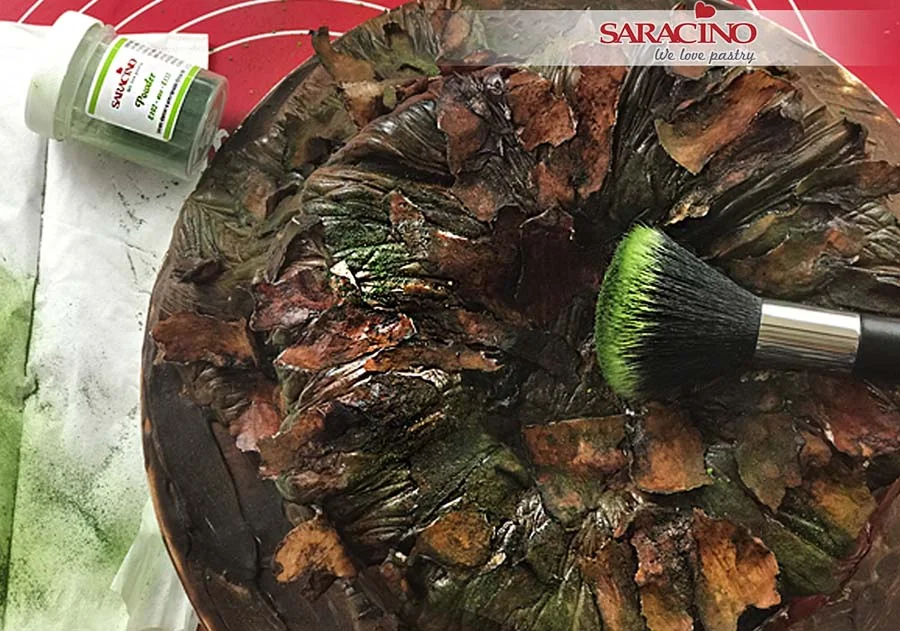
Use a soft large brush and geeen powder colour to add moss shades. 

Step 12

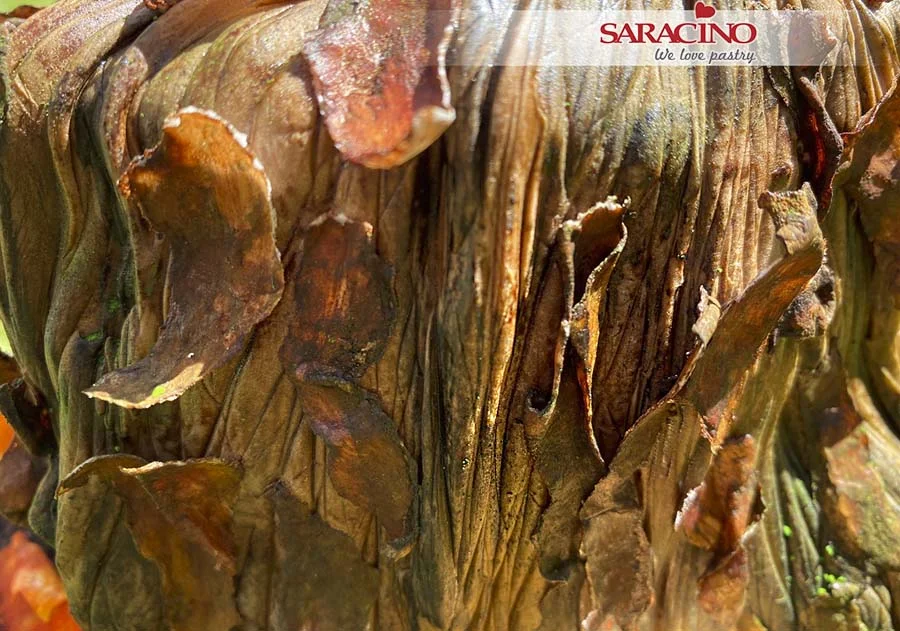
The final result of the bark texture should look as shown.

Step 13

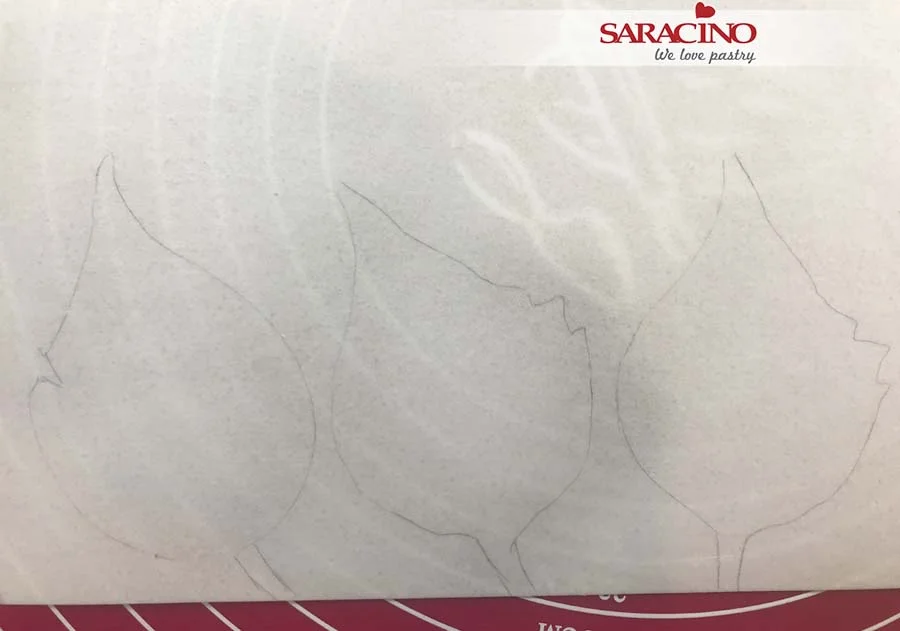
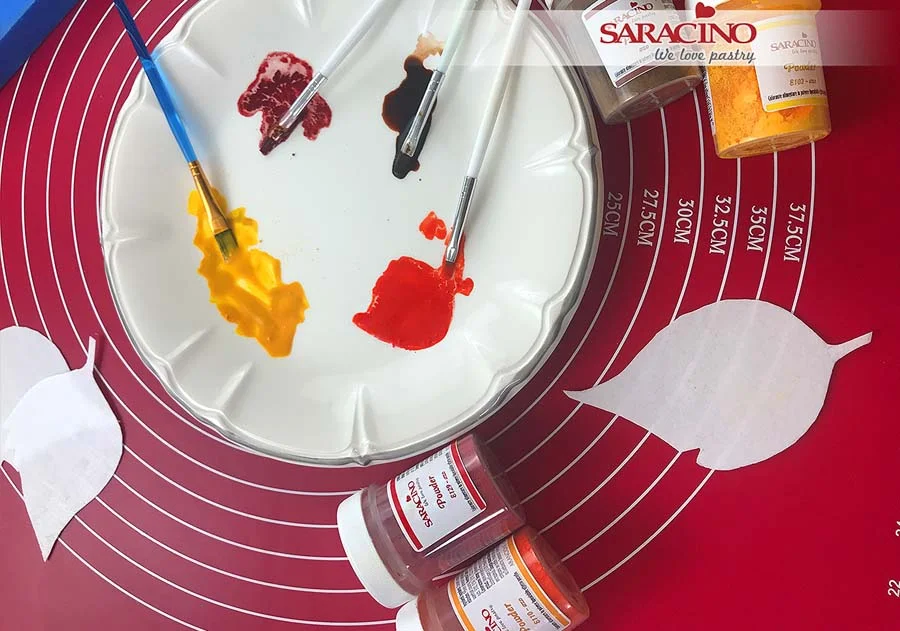
Draw a few free hand leaves onto wafer paper.

Step 14

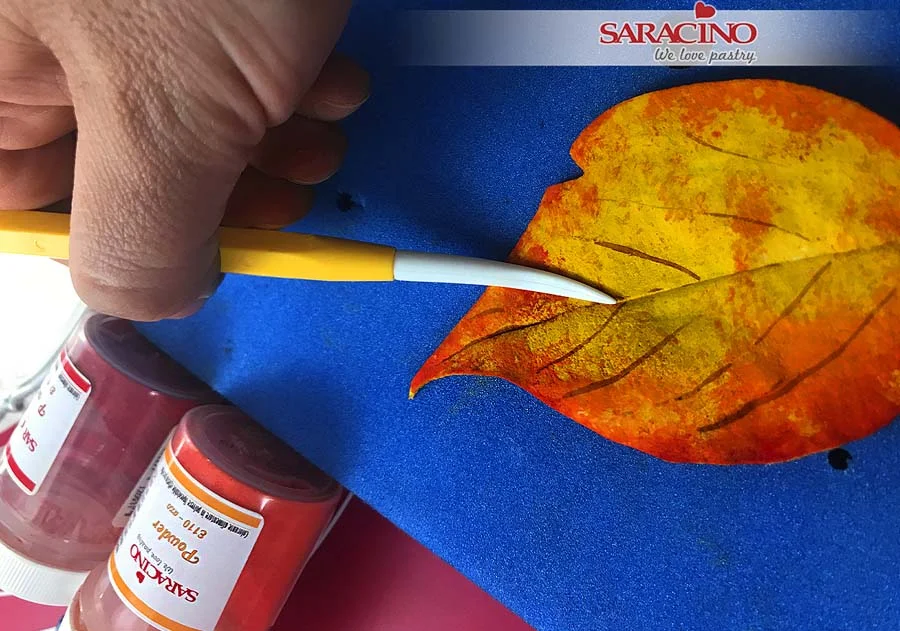
Cut out the leaves. Mix orange, yellow, red and brown powder colour with clear alcohol and paint the leaves starting with the lighter colours.

Step 15

Use your Dresden tool to add lines to the leaves.

Step 16

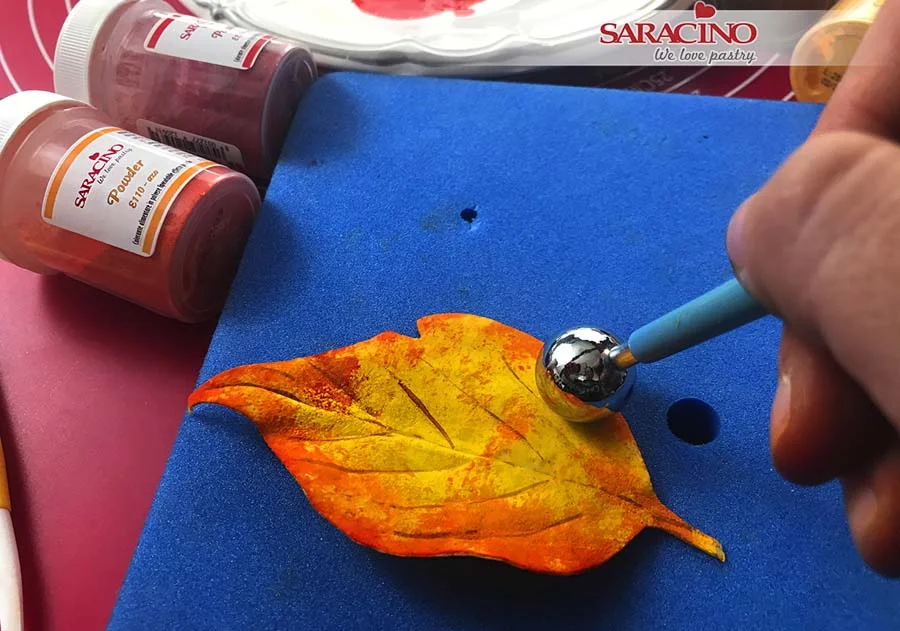
Use your ball tool to curve the leaves on a foam mat.

Step 17

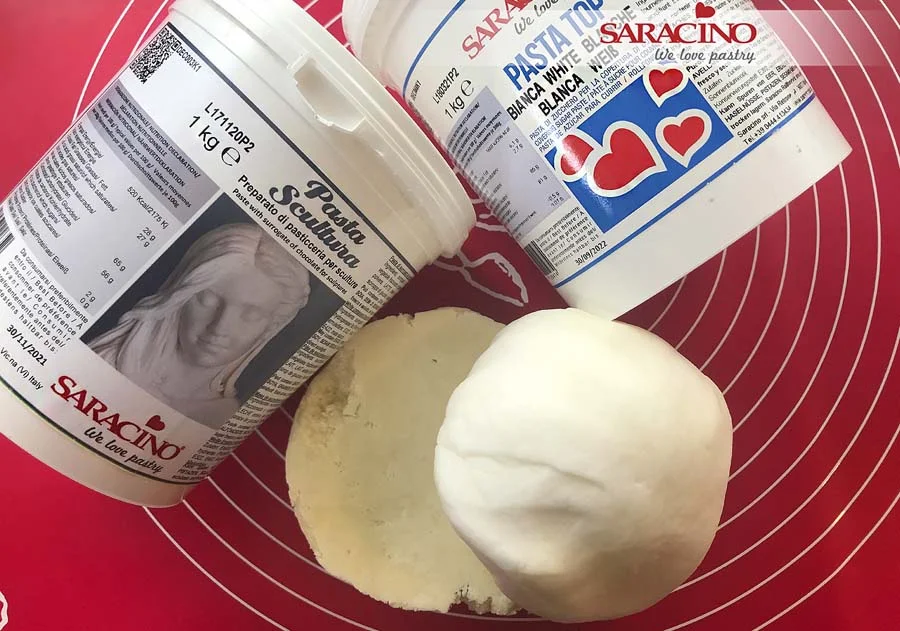
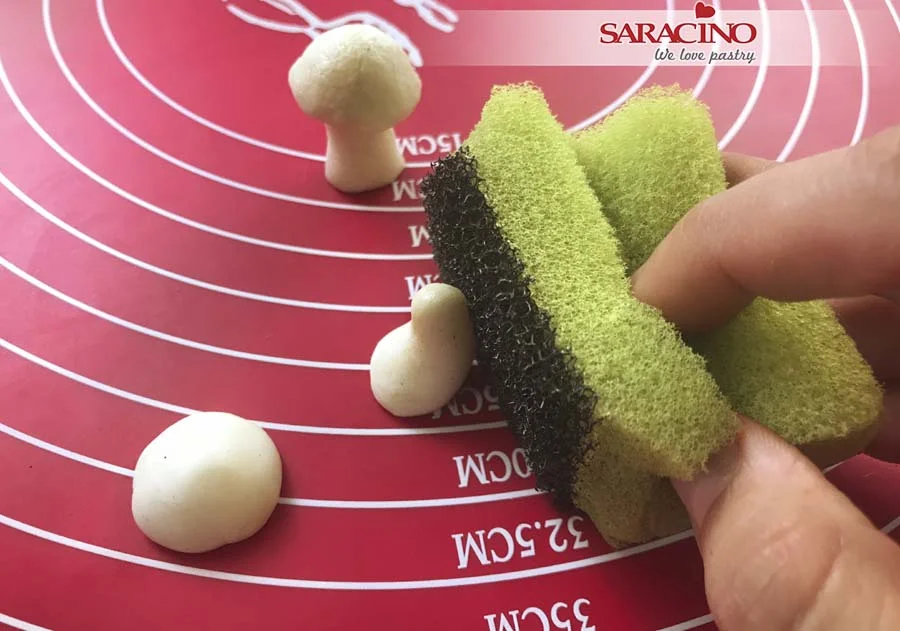
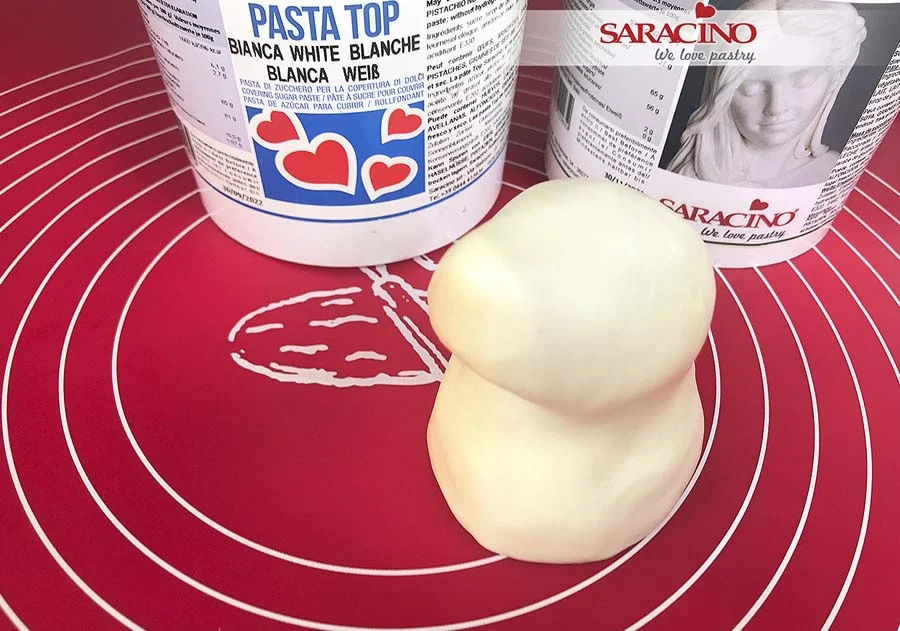
Mix together equal parts of Pasta Scultura and white Pasta Top for the mushrooms and squirrel modelling.

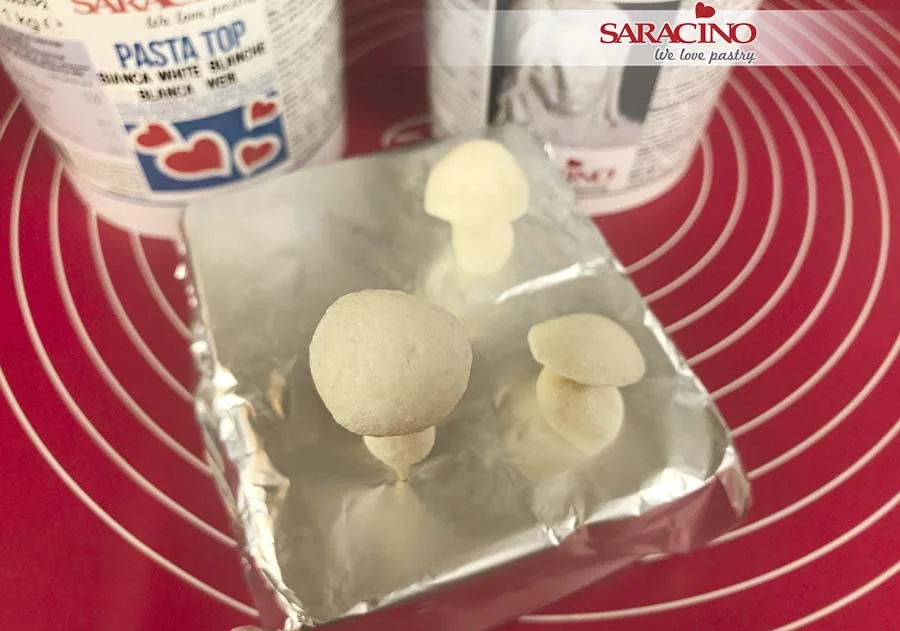
Step 18

Model mushroom stems and caps and use a new clean rough dishwashing sponge to add texture.

Step 19

Insert a toothpick in one of the mushrooms so we can fix it in front of the squirrel.

Step 20

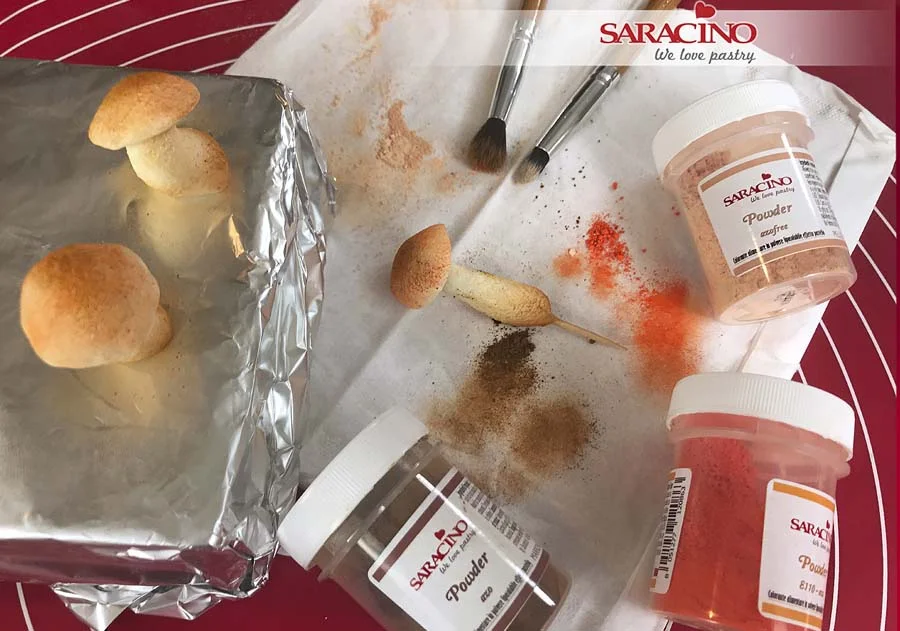
Use a soft brush and light skin tone, orange and brown powder colours to dust the mushrooms.

Step 21

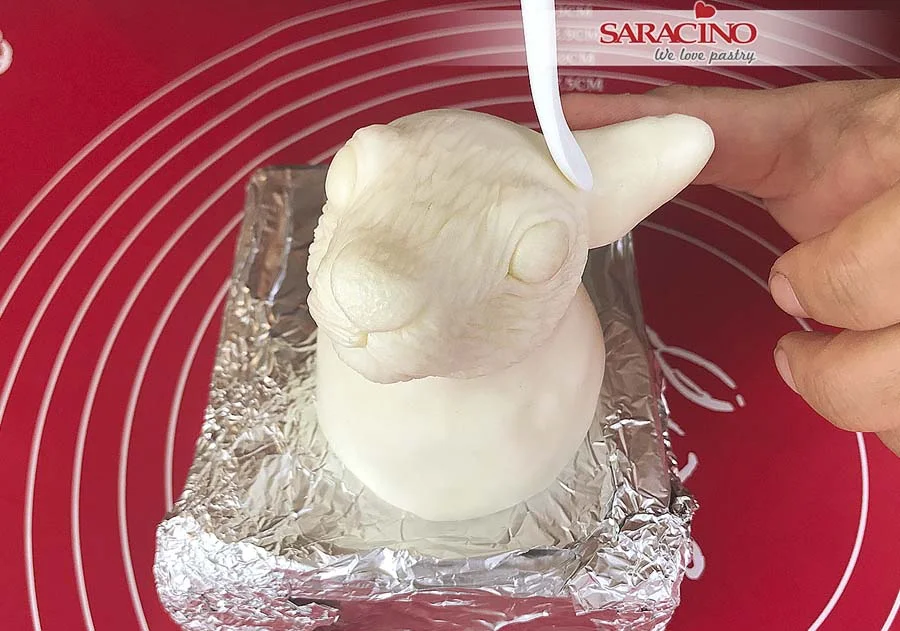
Using the paste mixture model the shape of the squirrel with your hands. The squirrel needs to be to the right proportions to the hole in the top of our cake. 
Step 22

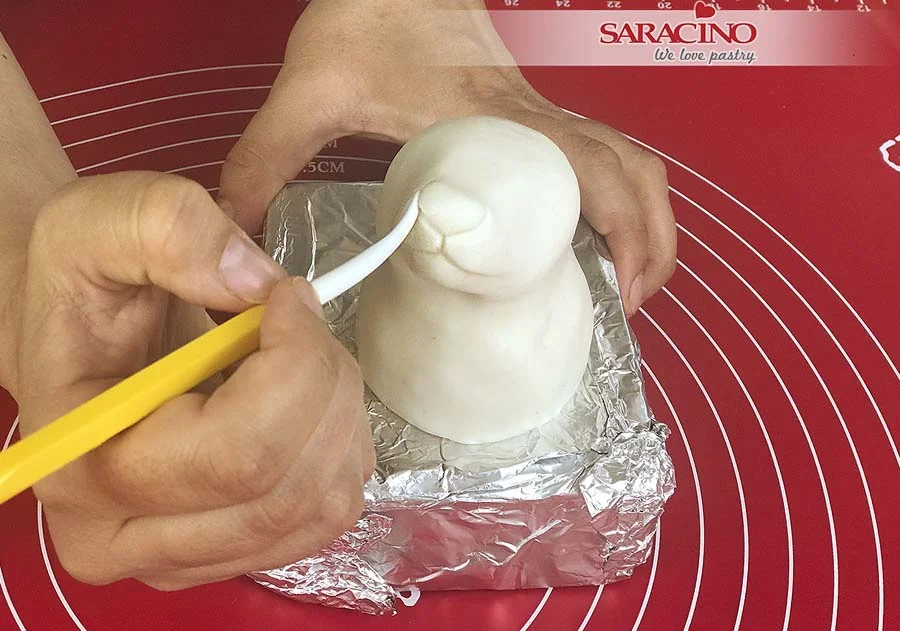
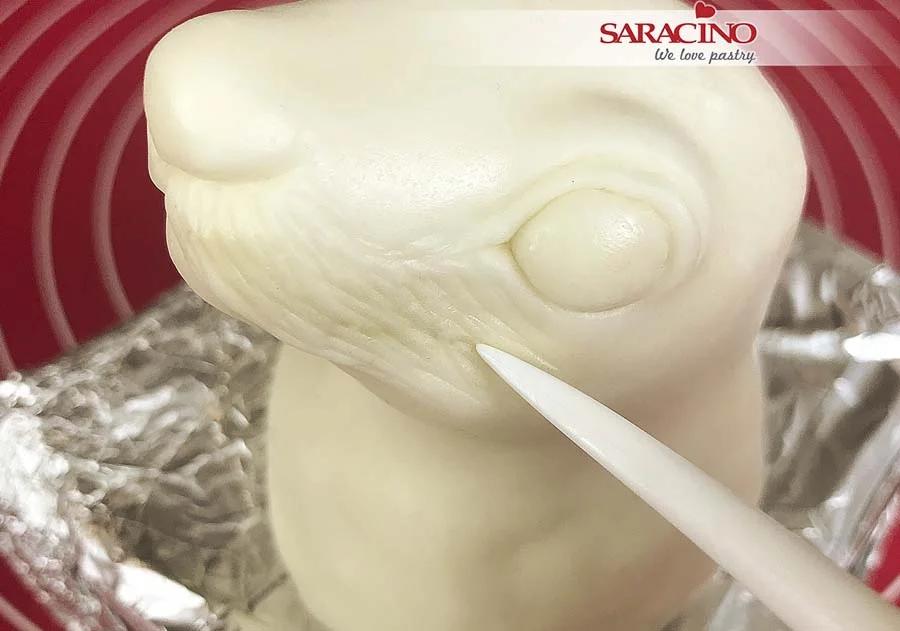
Use your Dresden tool to mark the nose and the mouth.

Step 23

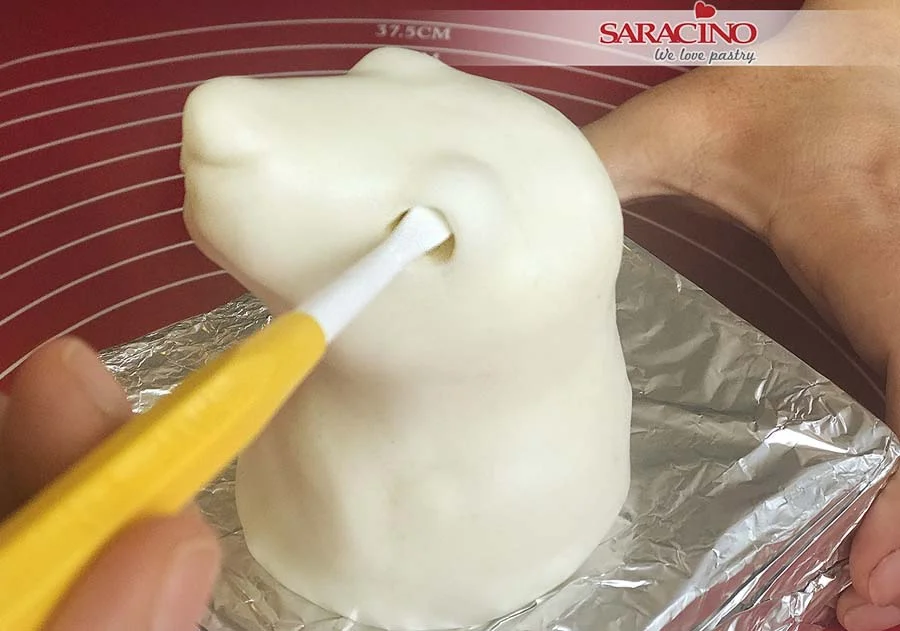
Use the Dresden tool to form ete sockets. Push up to form the eye brow area.

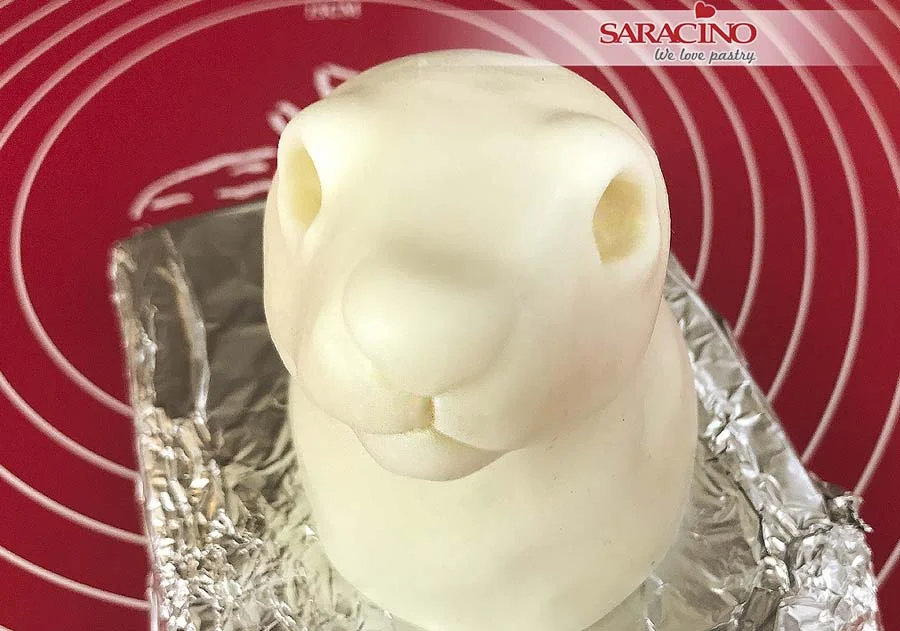
Step 24

Make sure the eyesockets are at the same position on both sides of the head.

Step 25

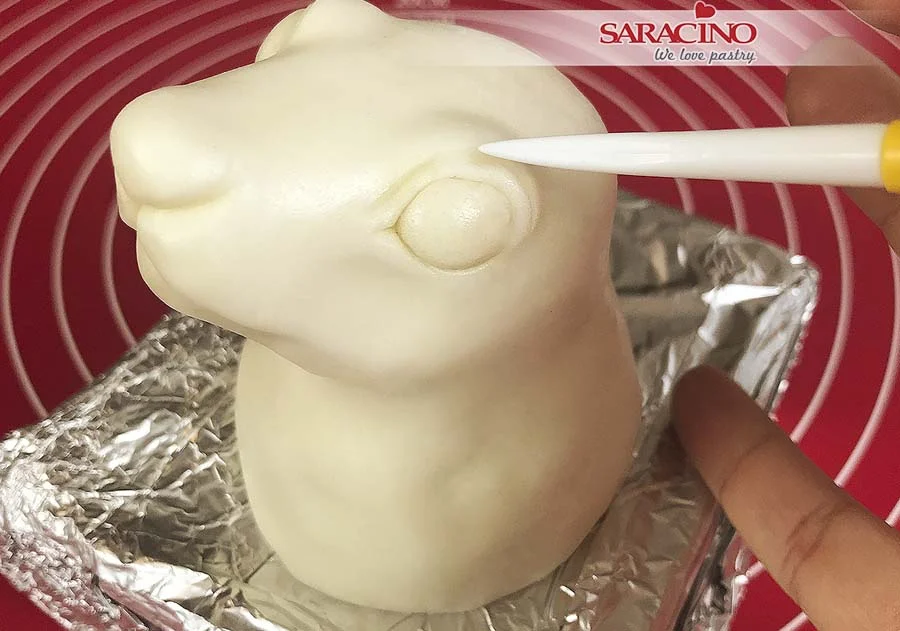
Roll two equal size balls for the eyes and fix them in the sockets. Define the line over the eyes with your Dresden tool.

Step 26

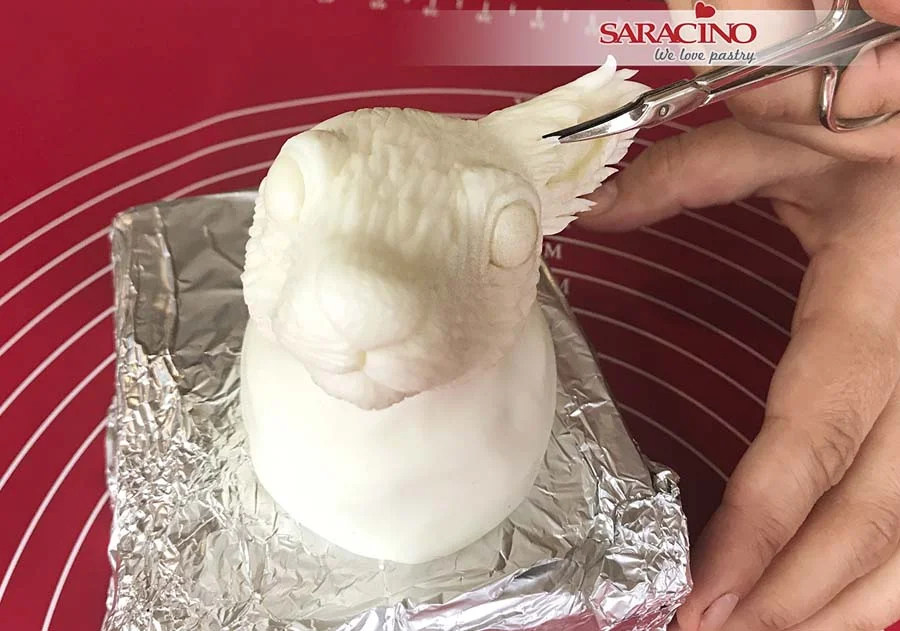
Use the sharp end of the Dresden tool to add a fur texture. 

Step 27

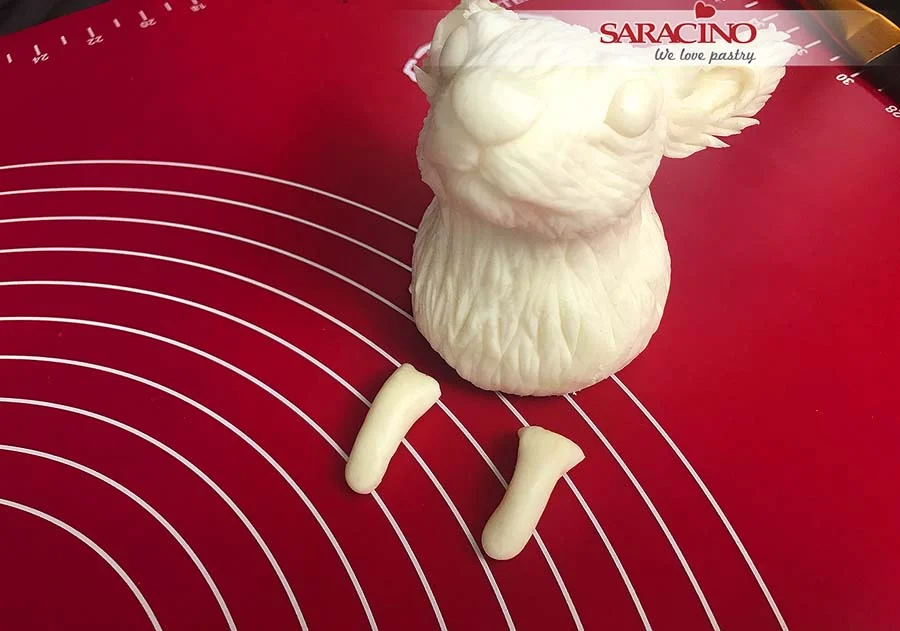
Make two triangles for the ears and blend them to the head with your Dresden tool.

Step 28

Use scissors and Dresden tool to cut and add the fur texture to the ears.

Step 29

For the arms roll a sausage shape and cut it in half.

Step 30

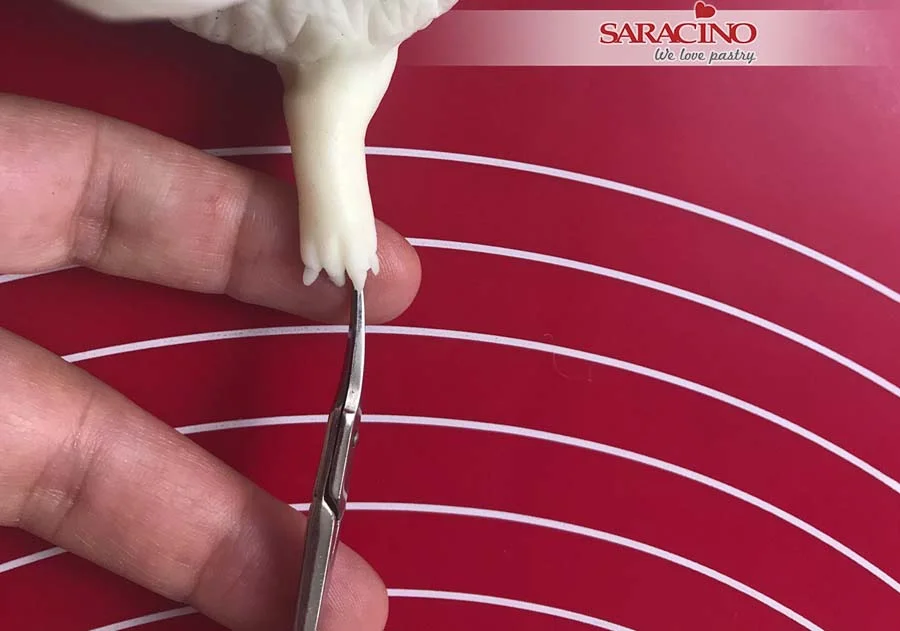
Fix the arms to the body and use scissors to cut the fingers.

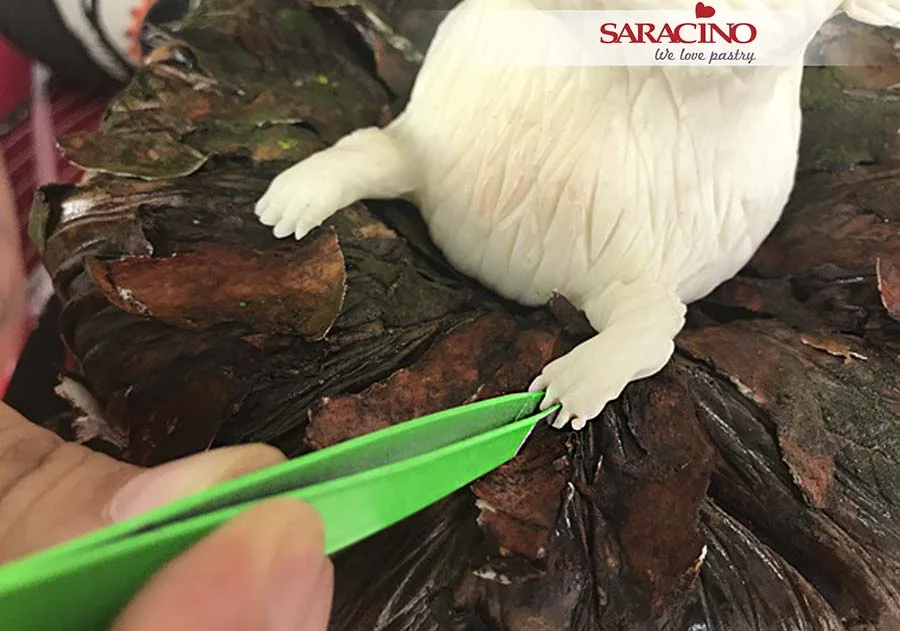
Step 31

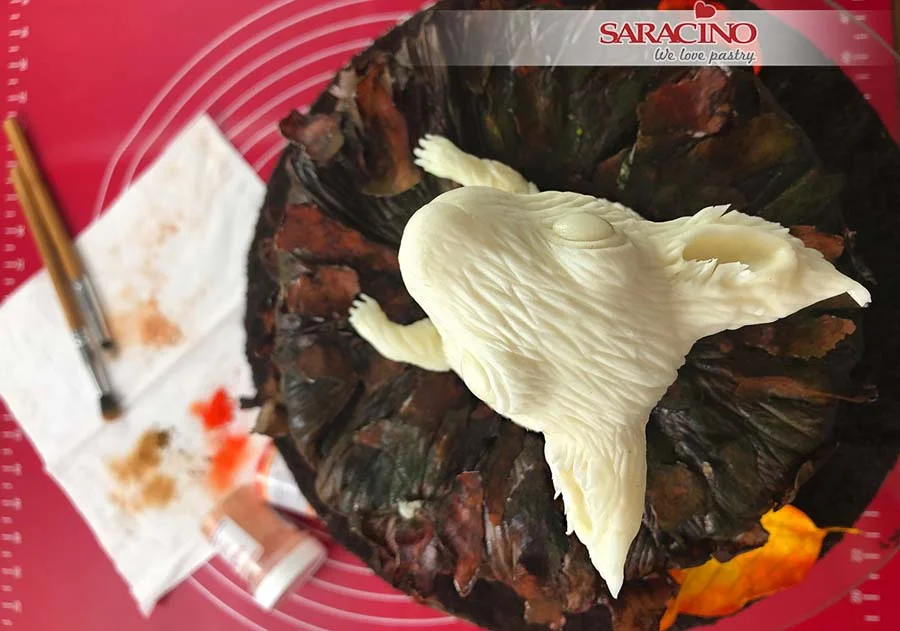
Add the squirrel to the cake to check it is the correct size and use tweezers to shape the fingers.

Step 32

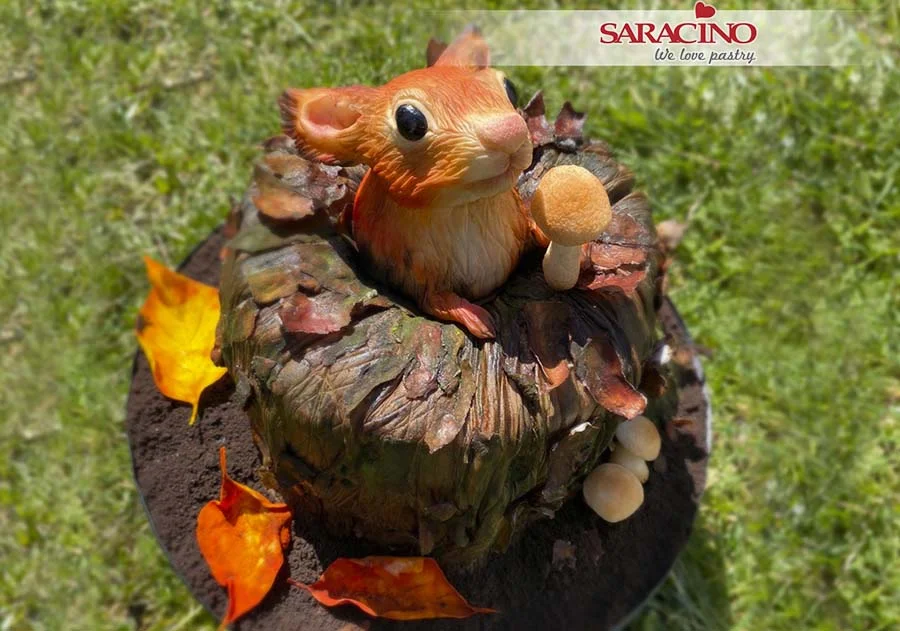
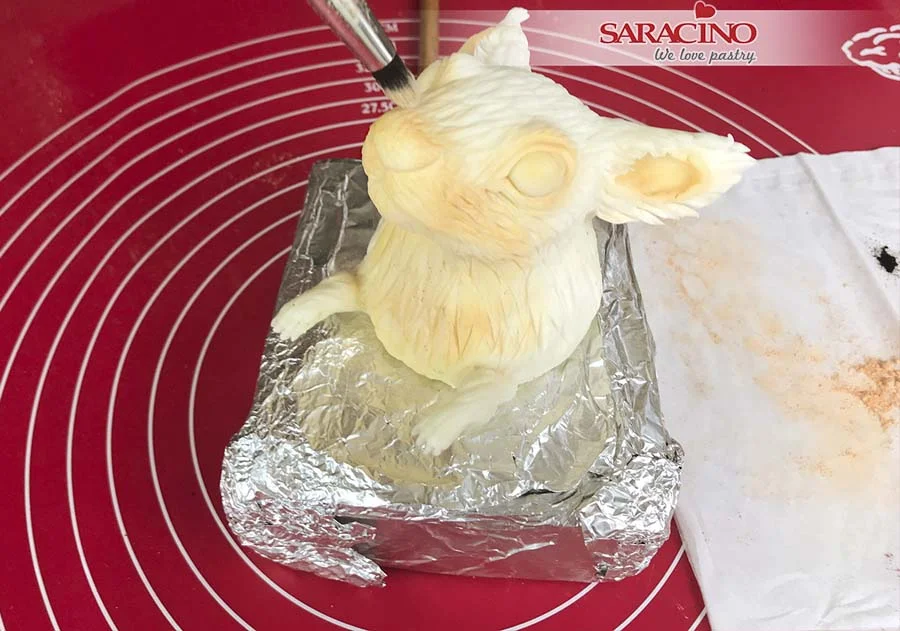
Your squirrel should look like this.

Step 33

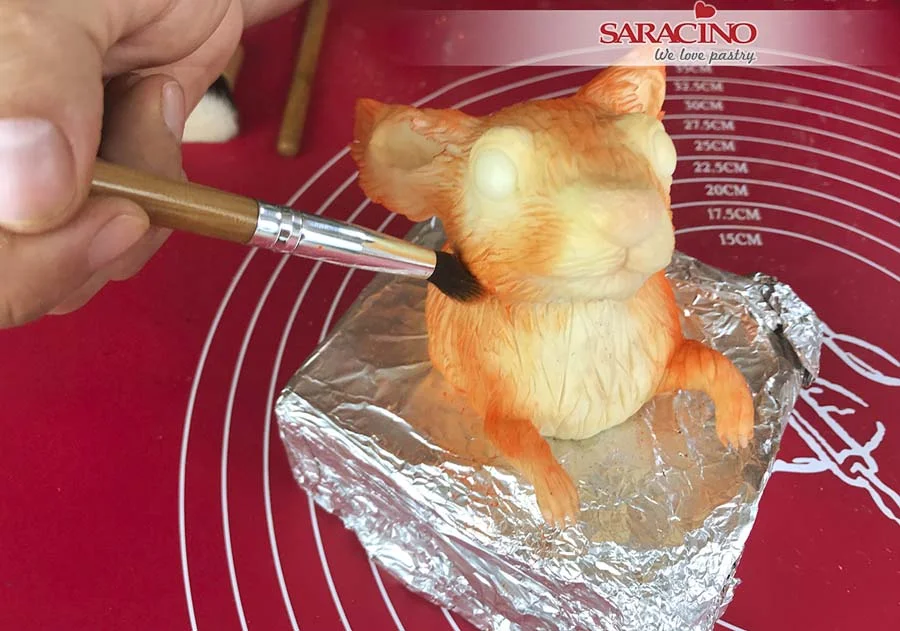
Remove the squirrel and place on a work board. Dust the squirrel with light skin tone powder colour (always start with the lighter colours and add little by little).

Step 34

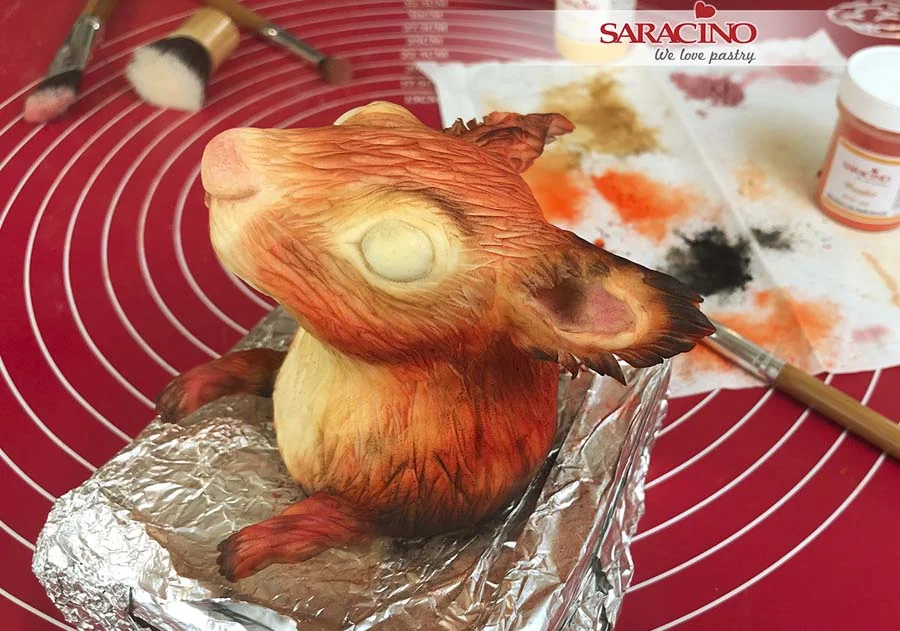
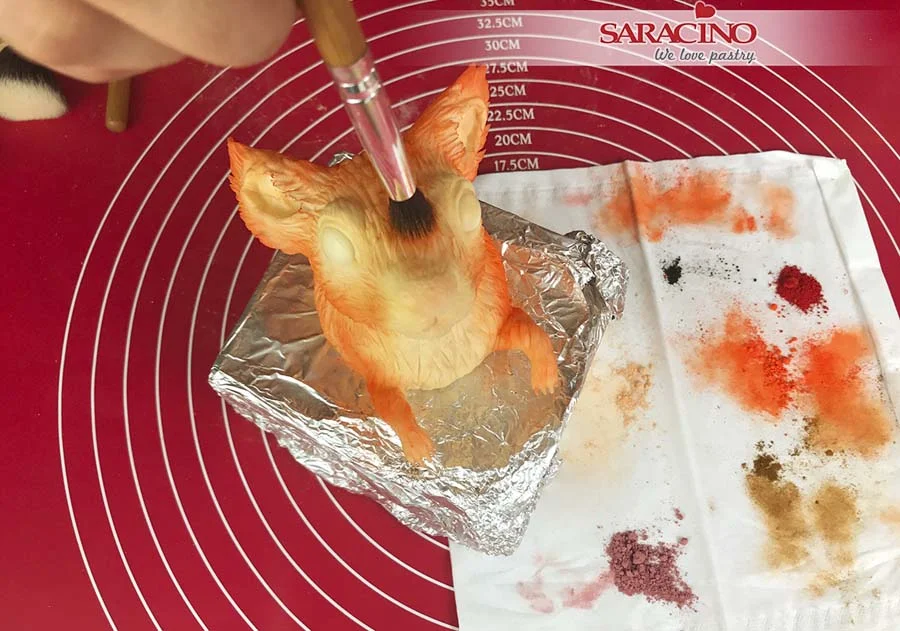
Dust the squirrel with orange powder colour.

Step 35

Dust with brown powder colour.

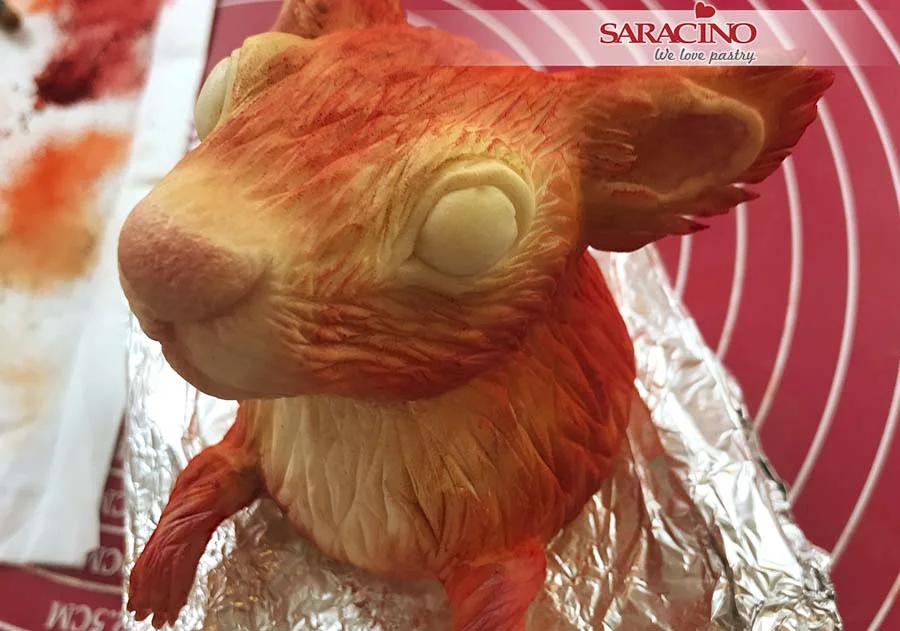
Step 36

Dust with red powder colour and use pink for the nose.

Step 37

Dust the bottom of the body, the ends of the paws and the tips of the ears with the black powder colour. 

Step 38

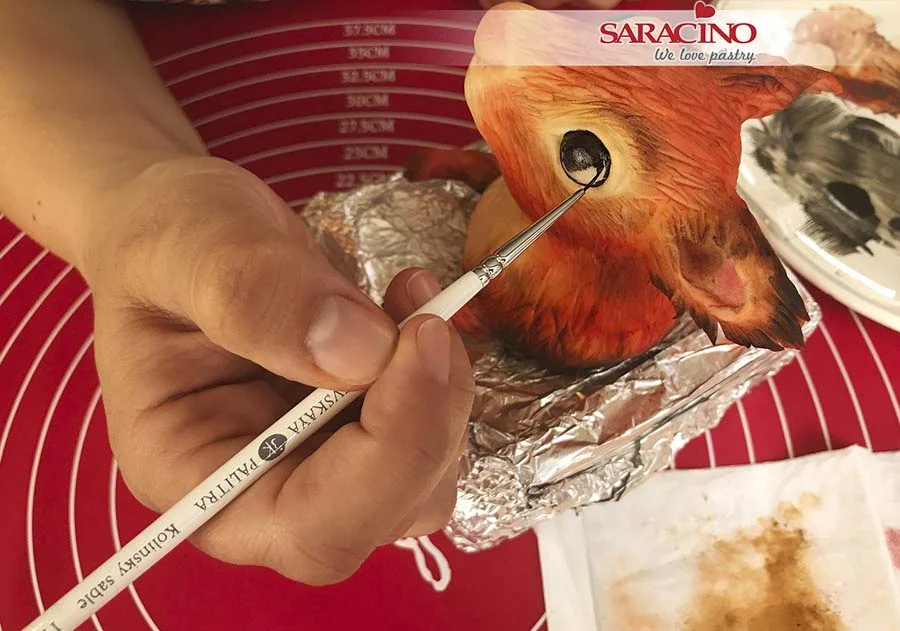
Mix black powder colour with clear alcohol and paint the eyes using a fine brush. 

Step 39

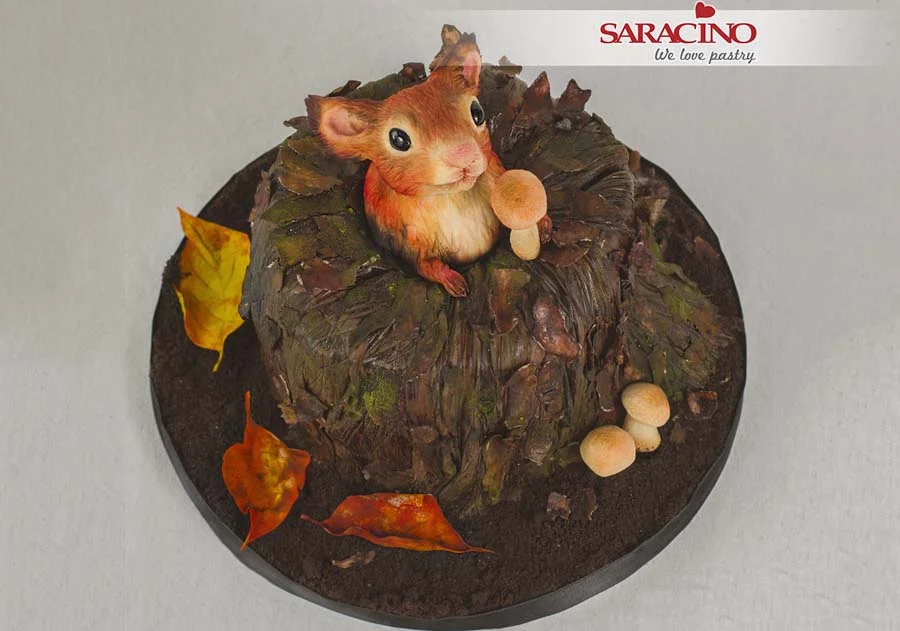
Add all the elements to the cake – put the biscuits crumbs on the base around the log, fix the squirrel in the hole on the log, fix two mushrooms on the base and the one with the toothpick in front of the squirrel and leaves on the base.

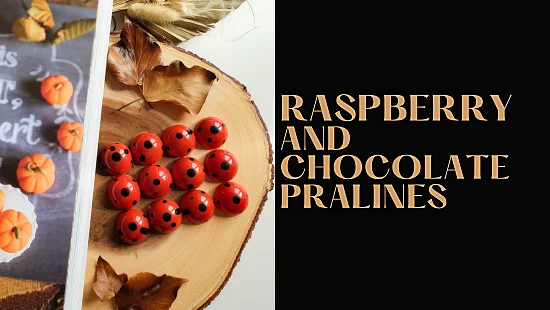
RASPBERRY AND CHOCOLATE PRALINES

RASPBERRY AND CHOCOLATE PRALINES

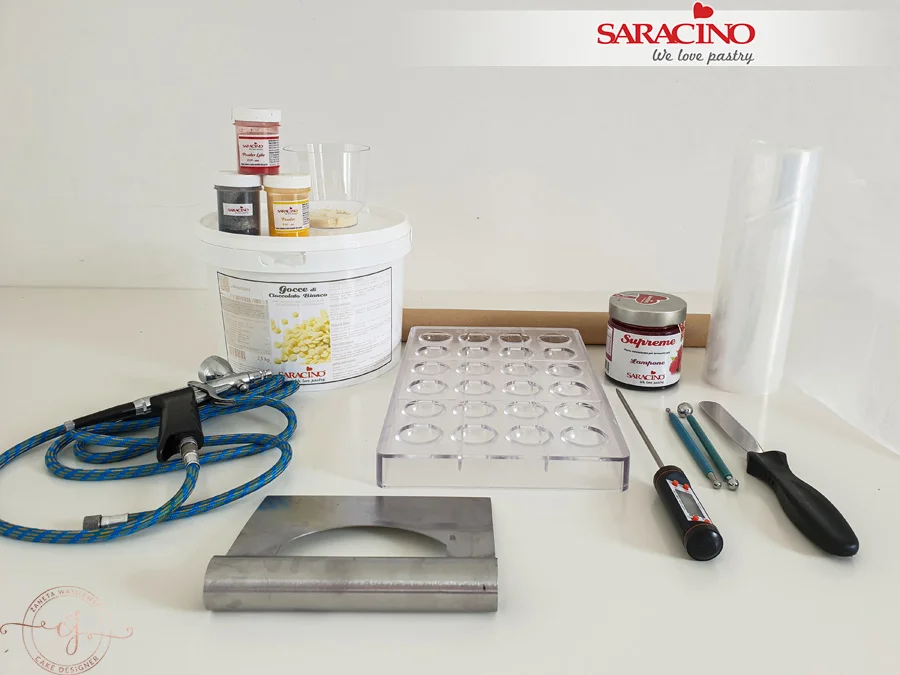
You will need:

Raspberry Ganache

  • 65g double cream
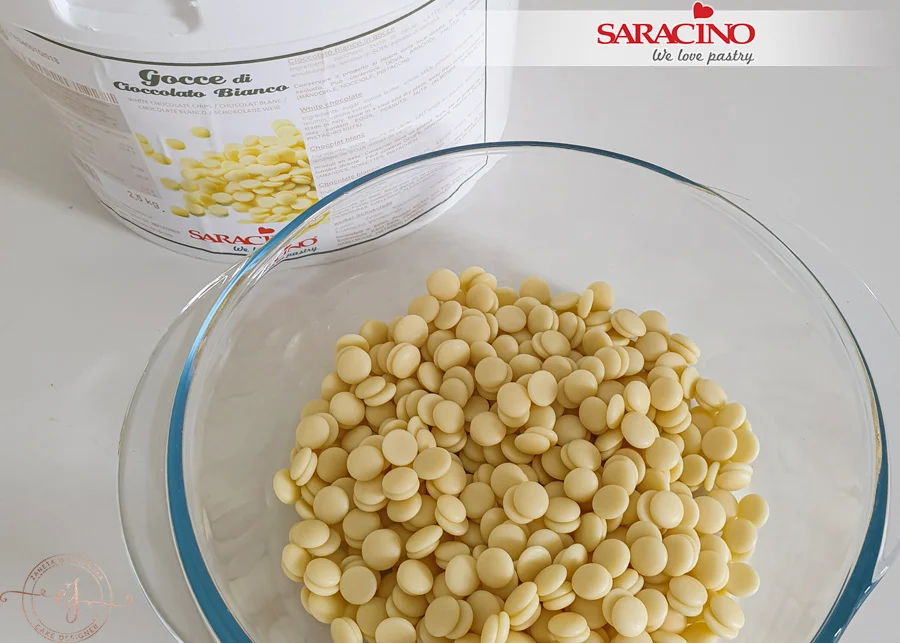
  • 150g Saracino white chocolate drops
  • 60g Saracino Le Supreme raspberry flavour paste
  • 18g of white rum (optional)
  • Saracino cocoa butter
  • Saracino colour powder (red, yellow, black)
  • Silicone spatula
  • Baking paper
  • Food thermometer
  • Airbrush with 0.8 nozzle
  • Piping bags
  • Polycarbonate mould
  • Microwave
  • Scraper
  • Glass or plastic bowl
  • Small pot
  • Blender
  • Metal ball tools
 

Step 1

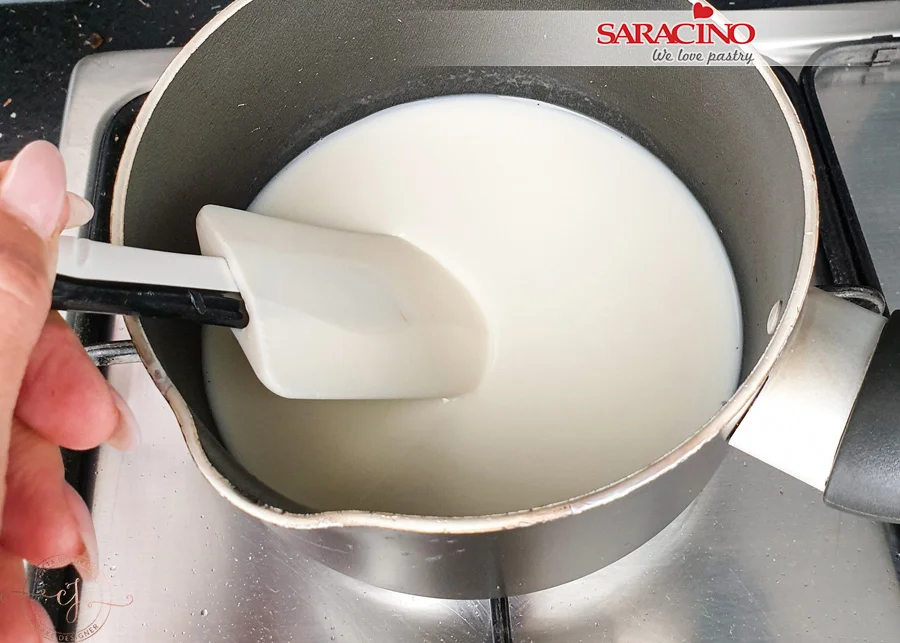
Pour the cream into a saucepan and heat it to about 40-50 ° C. Remove from the heat

Step 2

For the ganache put your white chocolate drops into a bowl. This amount will made approximately 24 pralines.

Step 3

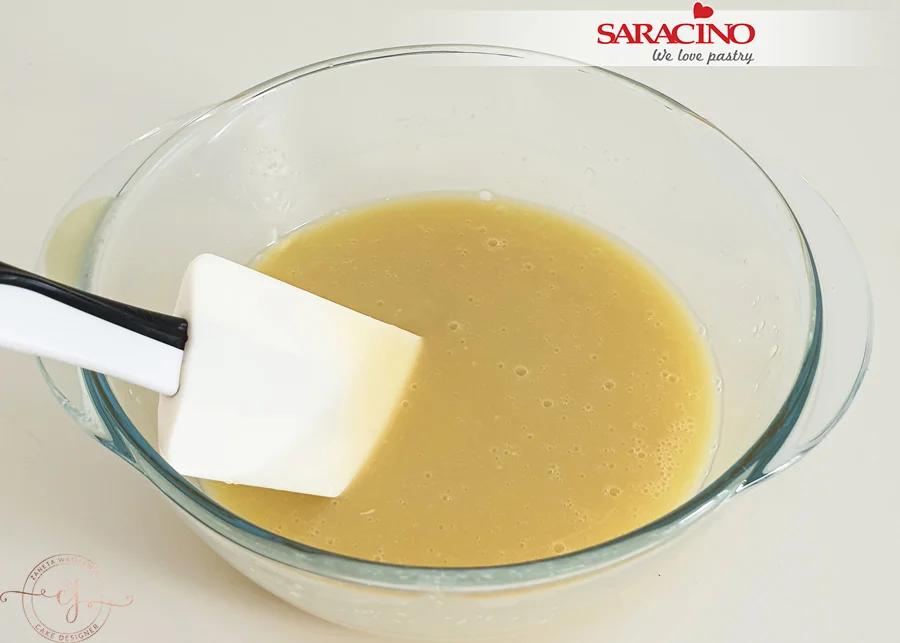
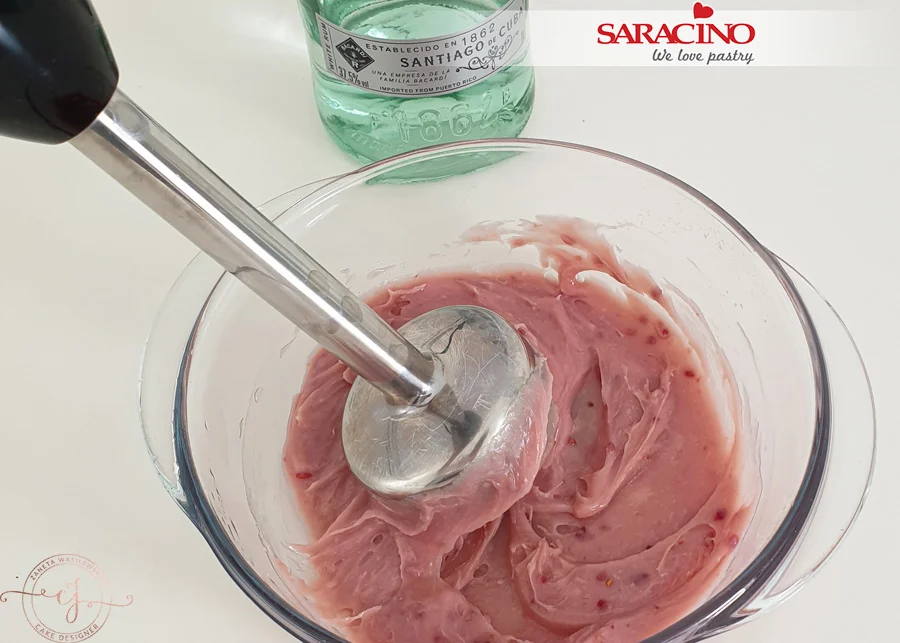
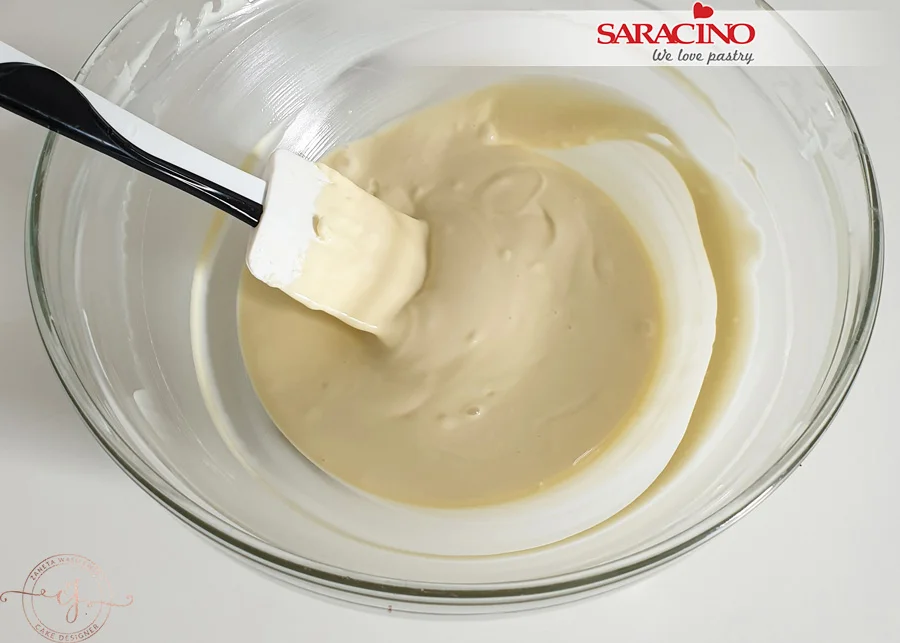
Pour warm cream onto the chocolate and combine until a smooth consistency is achieved.

Step 4

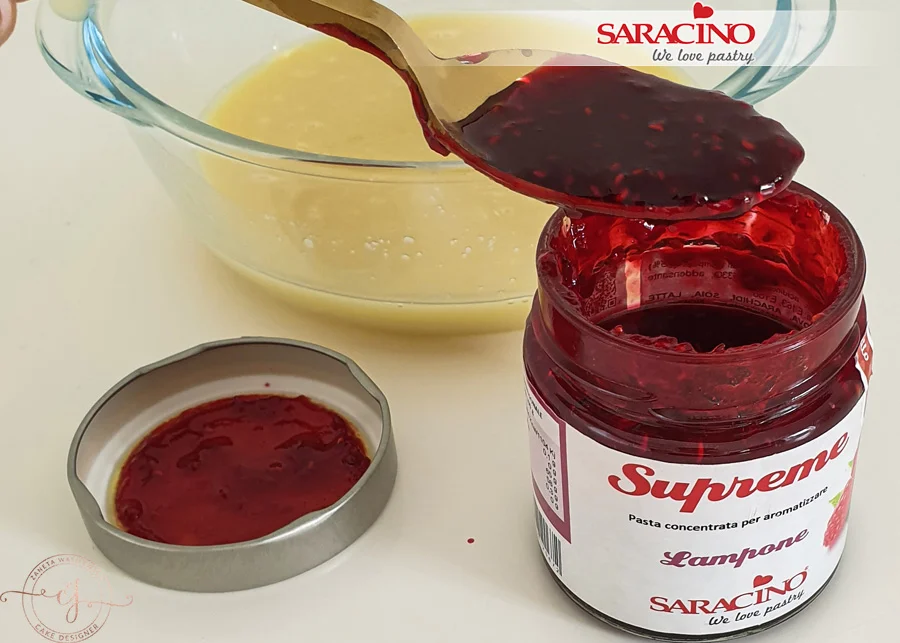
Add your Saracino raspberry flavour paste to the chocolate mix. 

TIP: If you want the flavour to be stronger use more food flavouring.

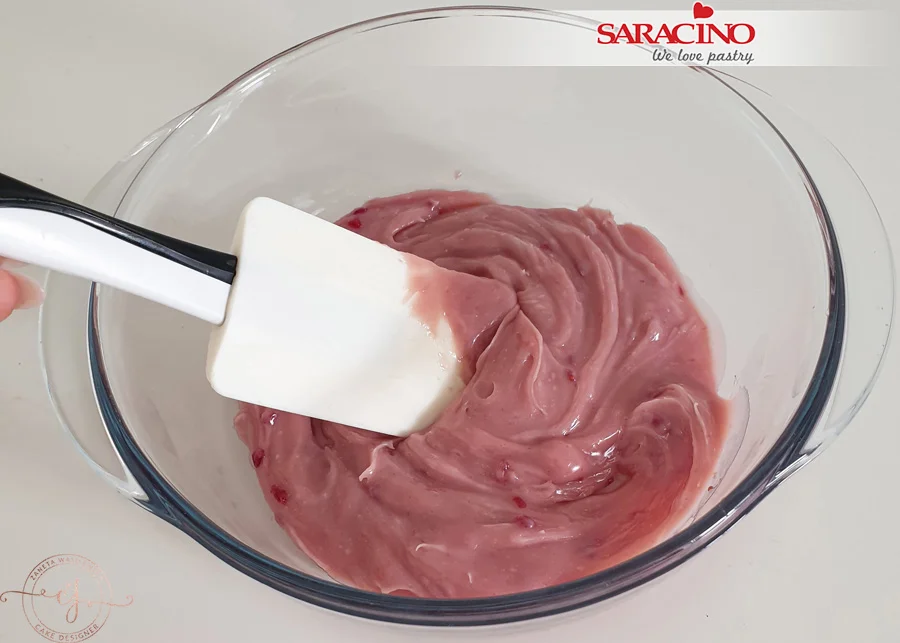
Step 5

Mix until smooth

Step 6

Optional to add white rum at this stage and mix to combine

Step 7

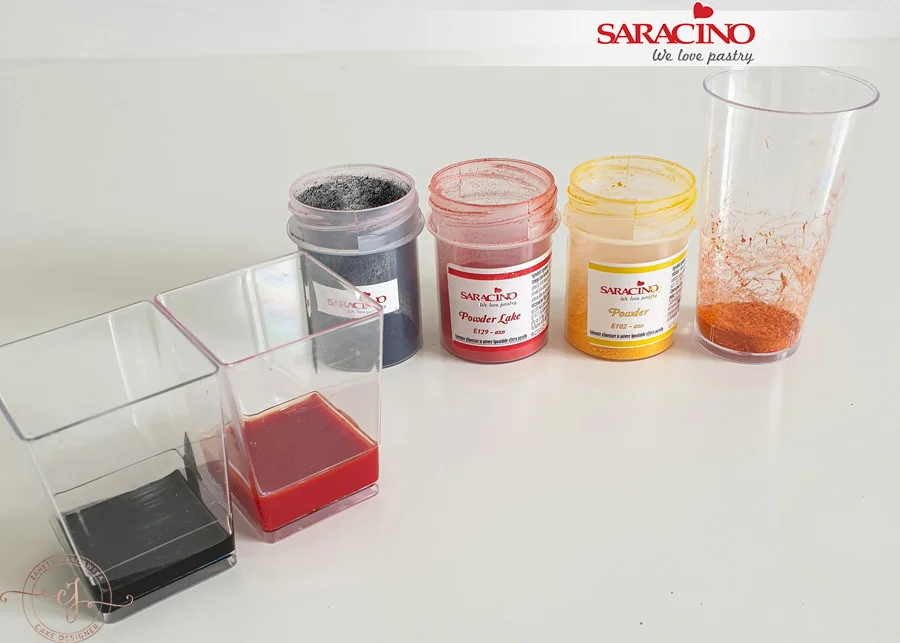
Melt Saracino cocoa butter in a microwave and mix with powder colours. The orange colour can be obtained by mixing the red and yellow powders.

Step 8

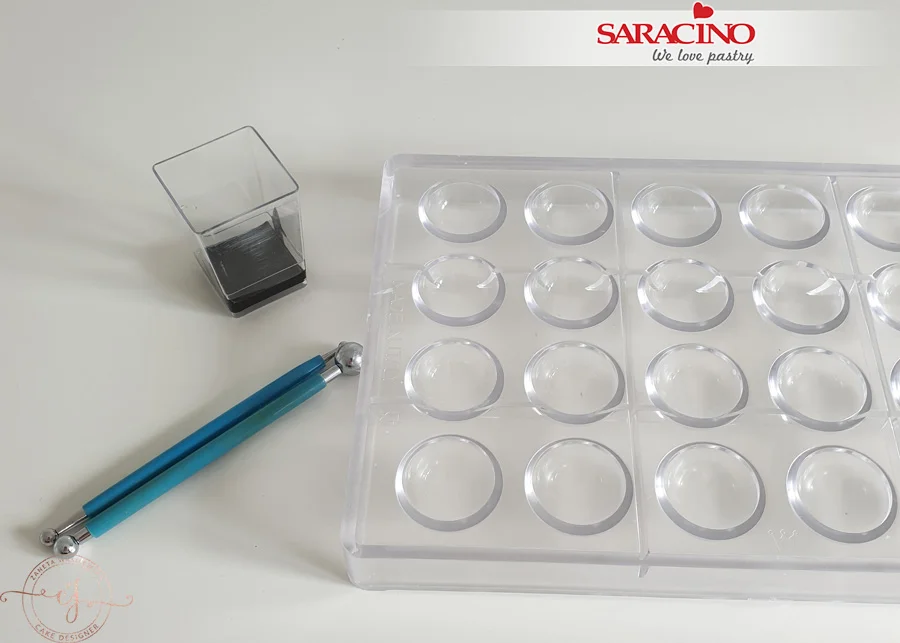
Prepare a polycarbonate mould (make sure that it does not contain any traces of fat), metal ball tool and ready-made cocoa butter mixed with black powder

Step 9

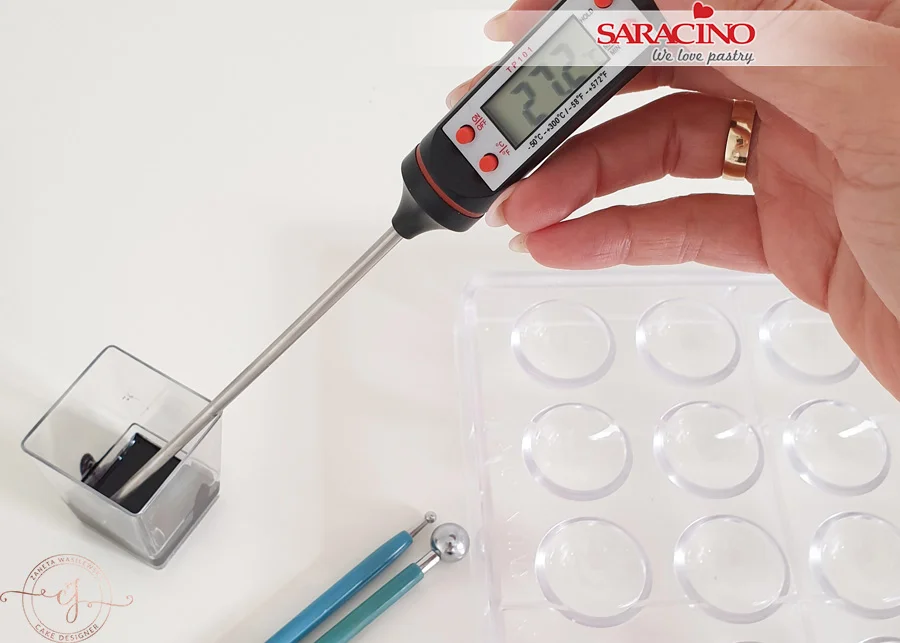
Temper the coloured cocoa butter (around 27-28°C)

Step 10

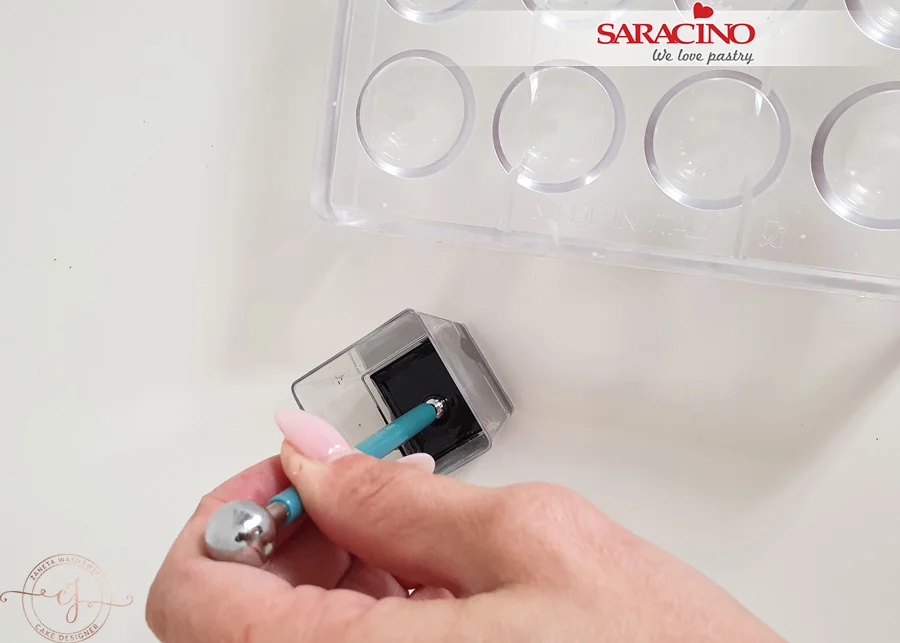
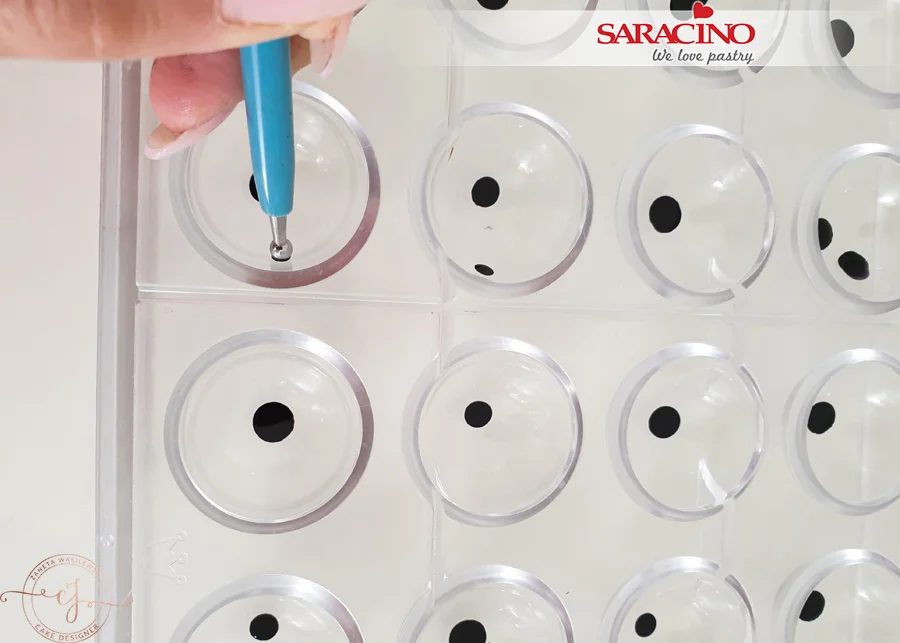
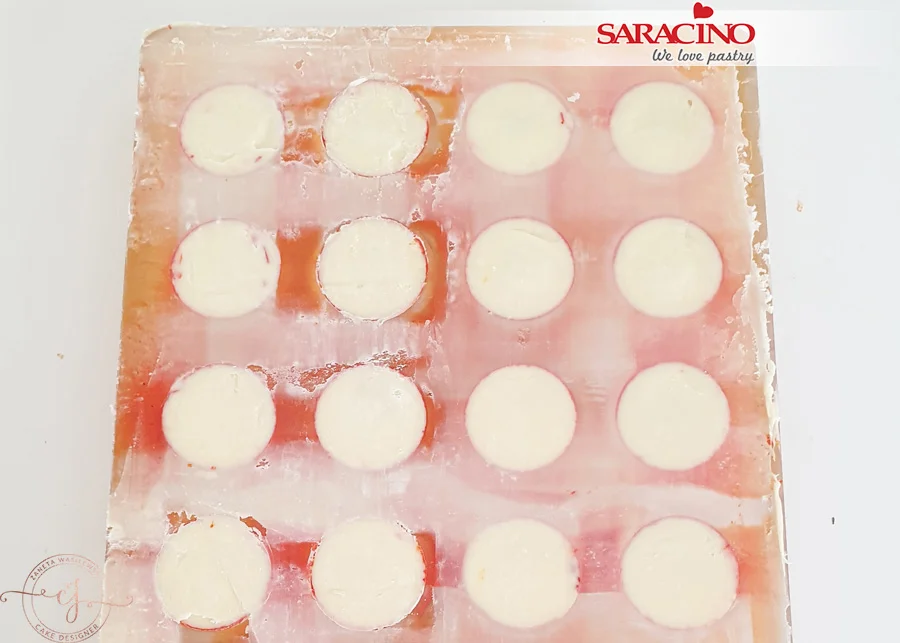
Dip the metal ball into the black cocoa butter and gently press it into the mould.

Step 11

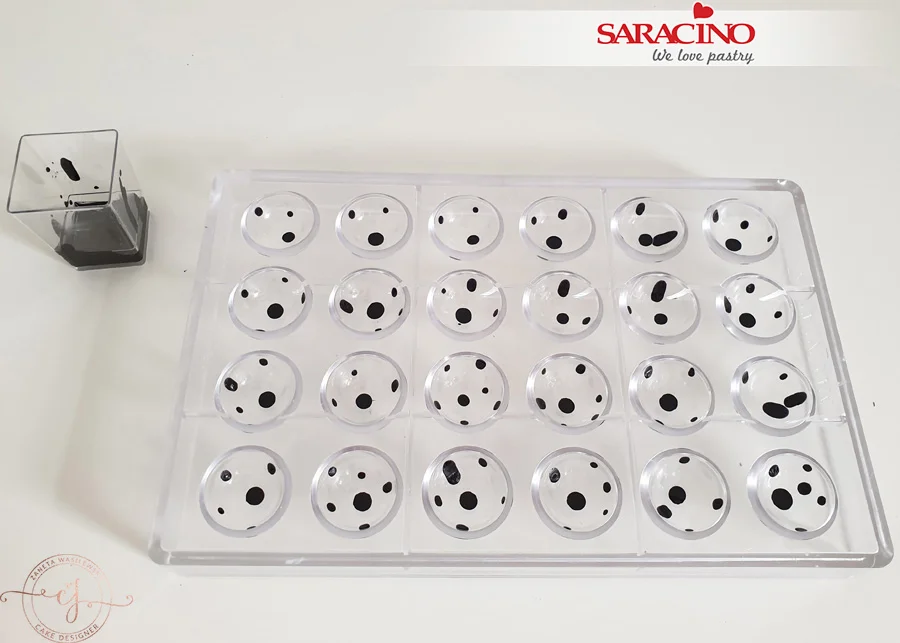
We repeat this activity many times and use different sizes of balls to get different sized dots.

Step 12

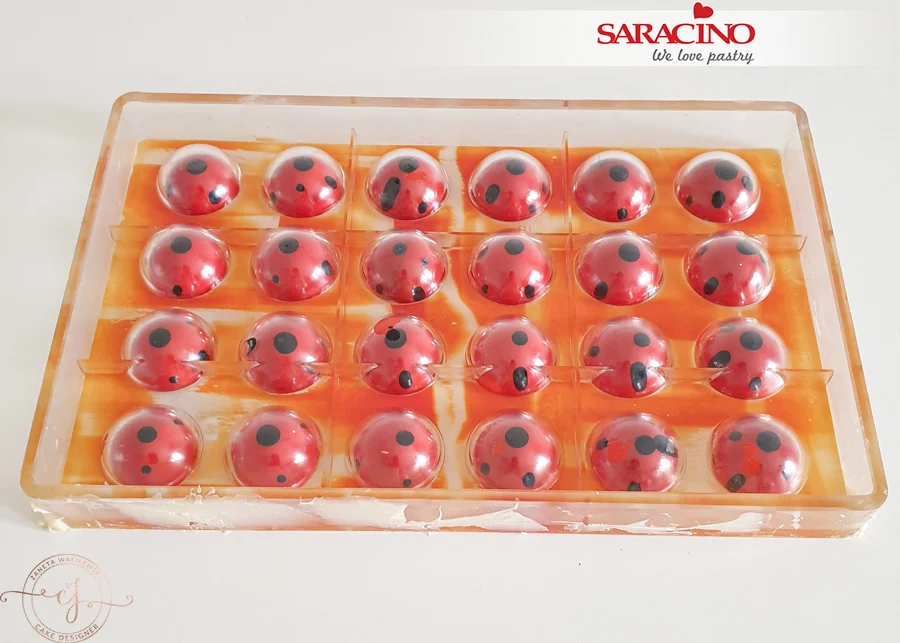
Place aside to allow to set.

Step 13

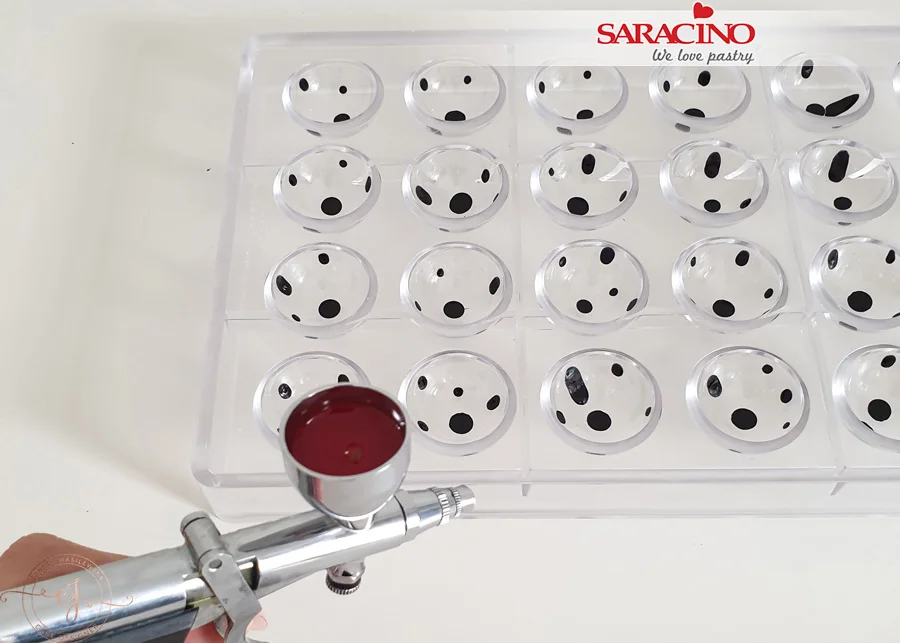
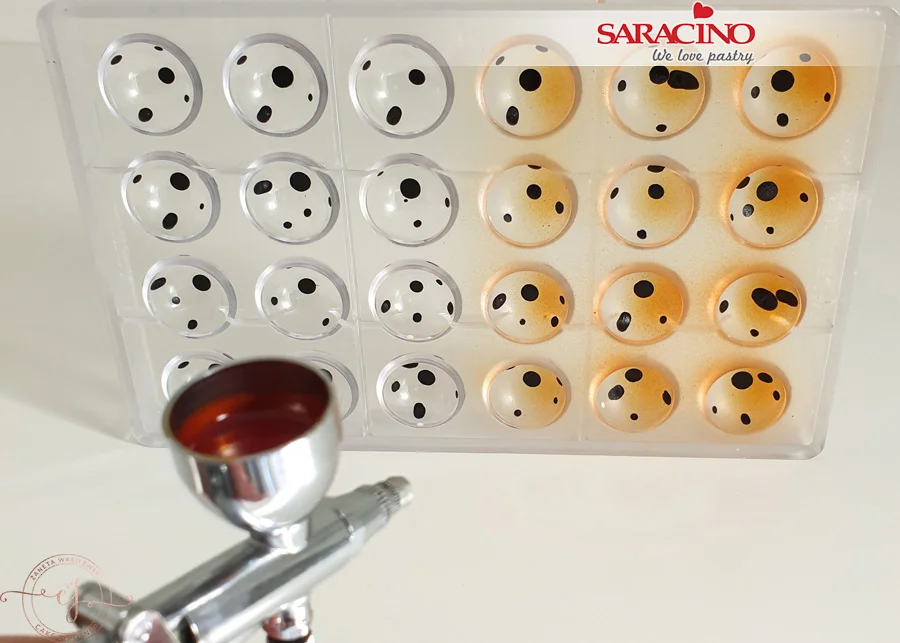
Prepare an airbrush and pour in tempered orange-coloured cocoa butter.

Step 14

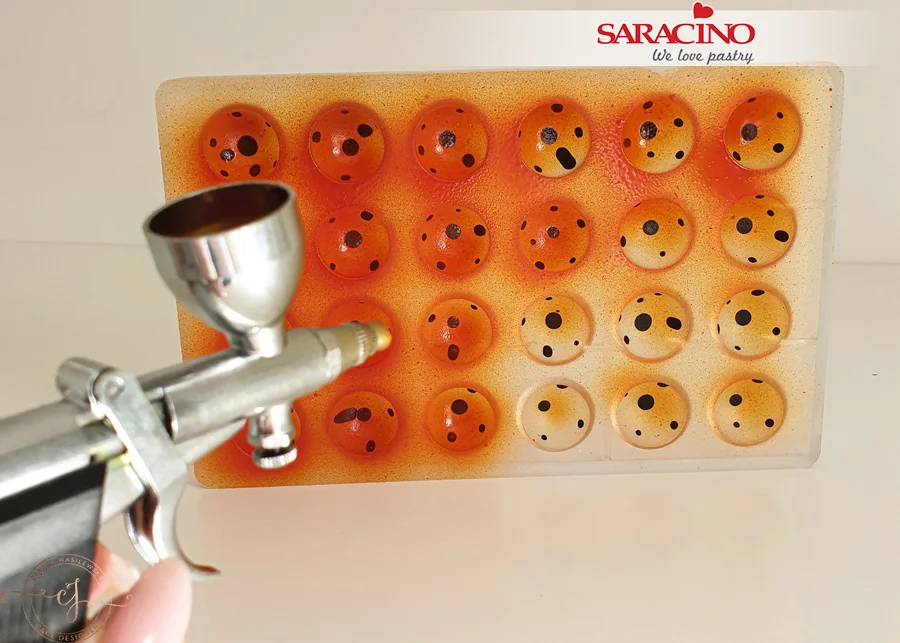
Spray the mould.

Step 15

Spray over again to achieve darker colour 

Step 16

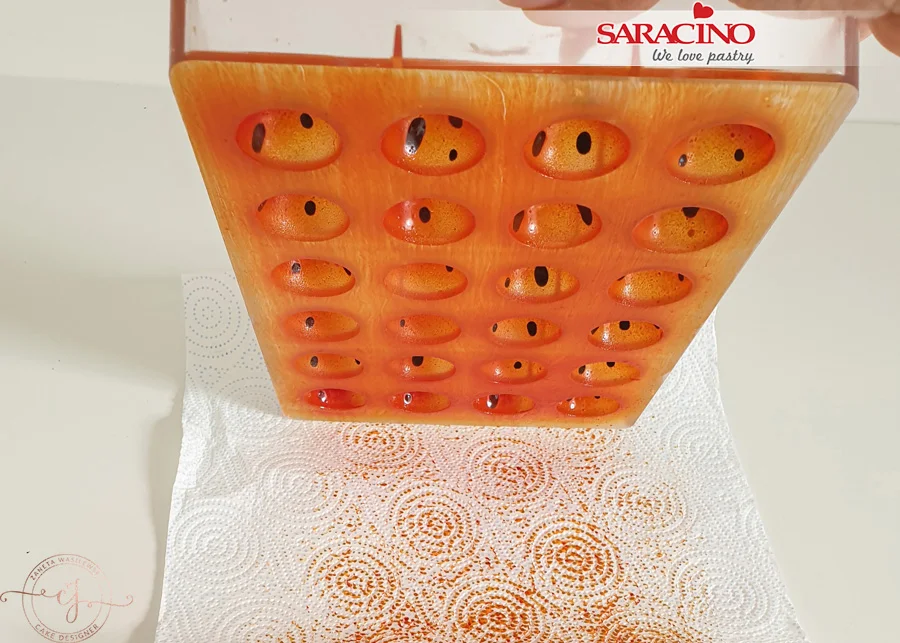
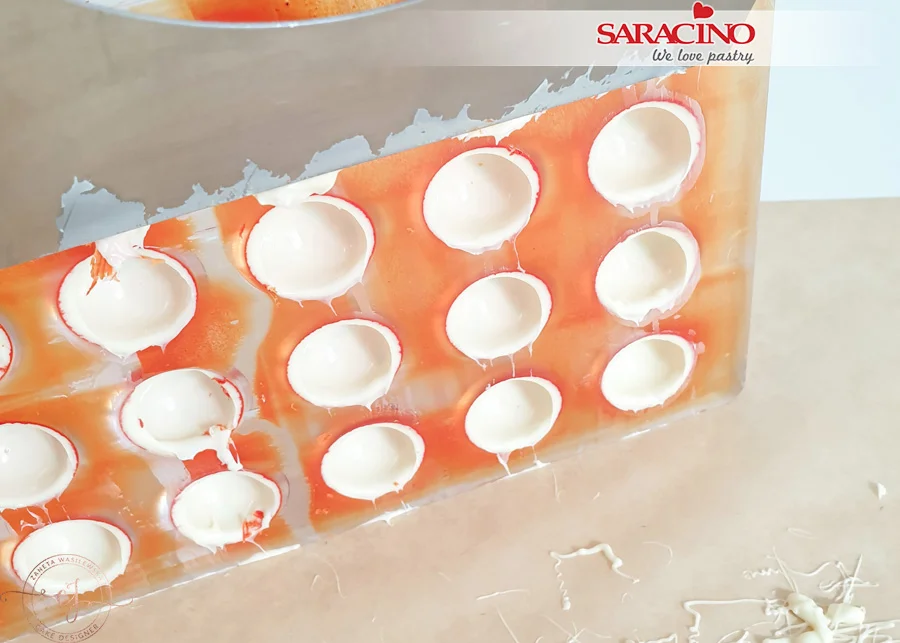
Turn the mould over and tap over a paper towel to remove the excess colour.

Step 17

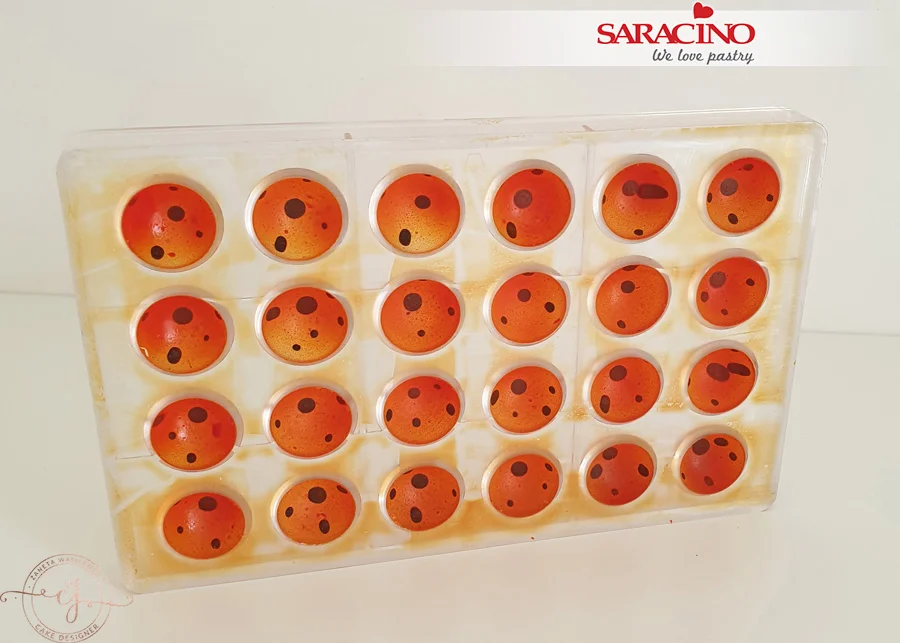
Wipe the mould clean and put aside until the butter sets.

Step 18

Meanwhile, melt approximately 250-300g of white chocolate drops in a microwave to temper it. You will need a temperature of 27-28°C


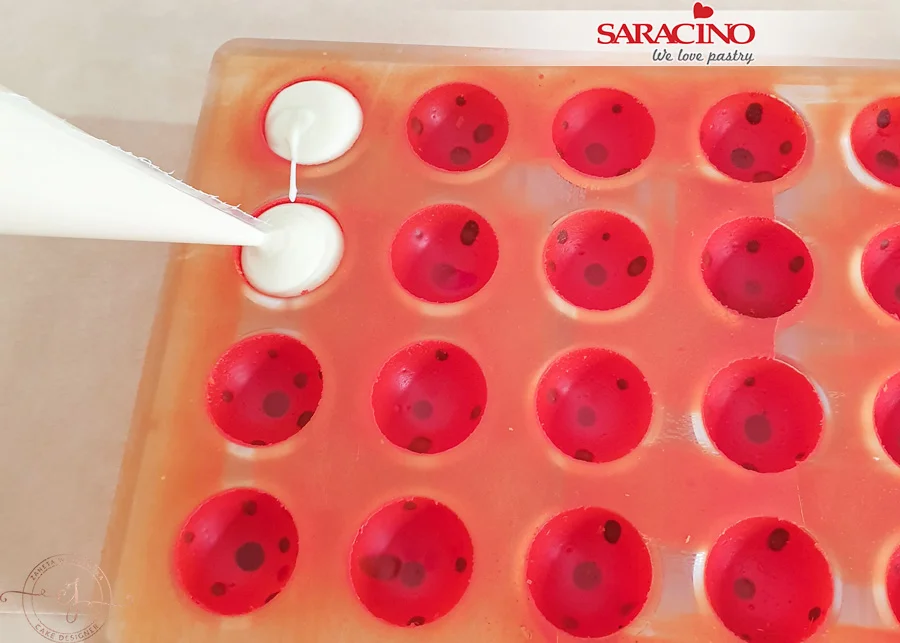
Step 19

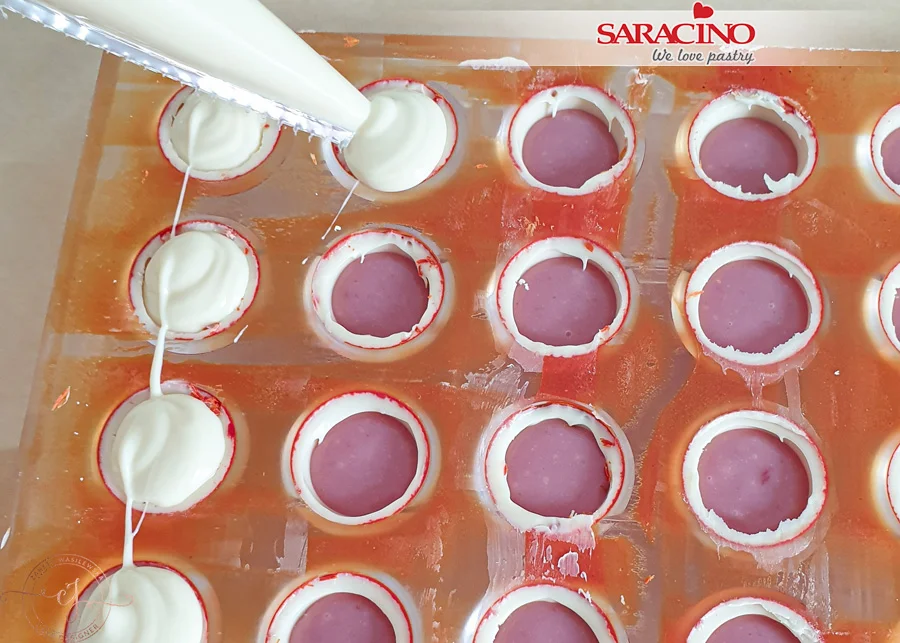
Pour the ready chocolate into the piping bag and fill the mould.

Step 20

Gently tap the mould against the table to get rid of air bubbles

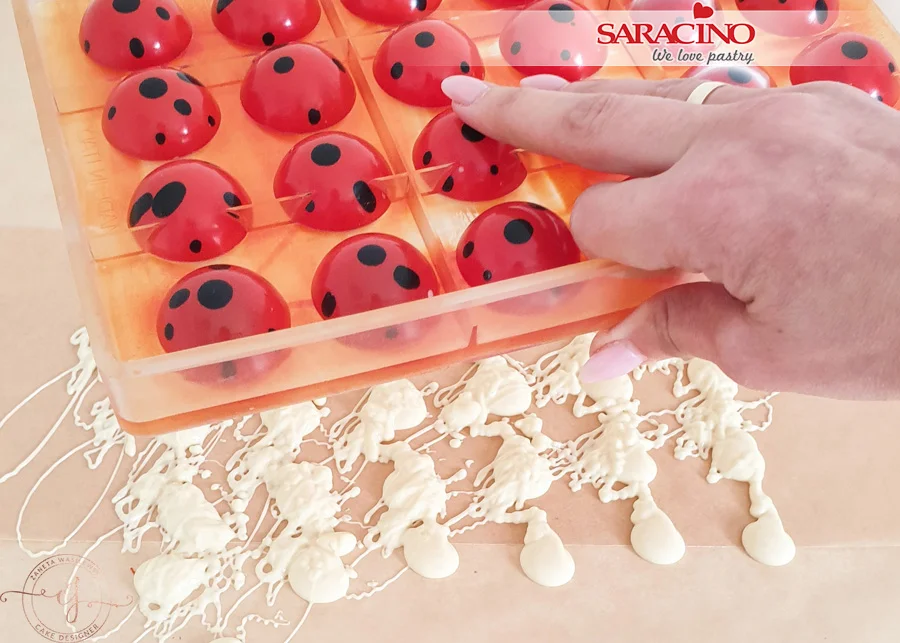
Step 21

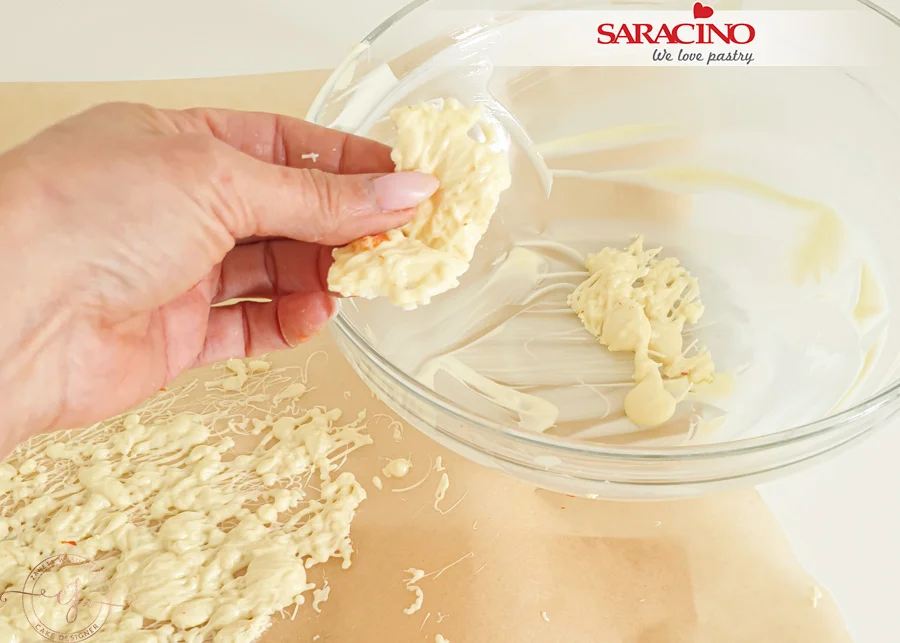
Place your sheet of baking paper on the table and turn the mould upside down over it to remove the excess chocolate. Gently tap the mould. Don’t throw the remaining chocolate away as we will be reusing it. 

Step 22

Use a scraper to remove the excess

Step 23

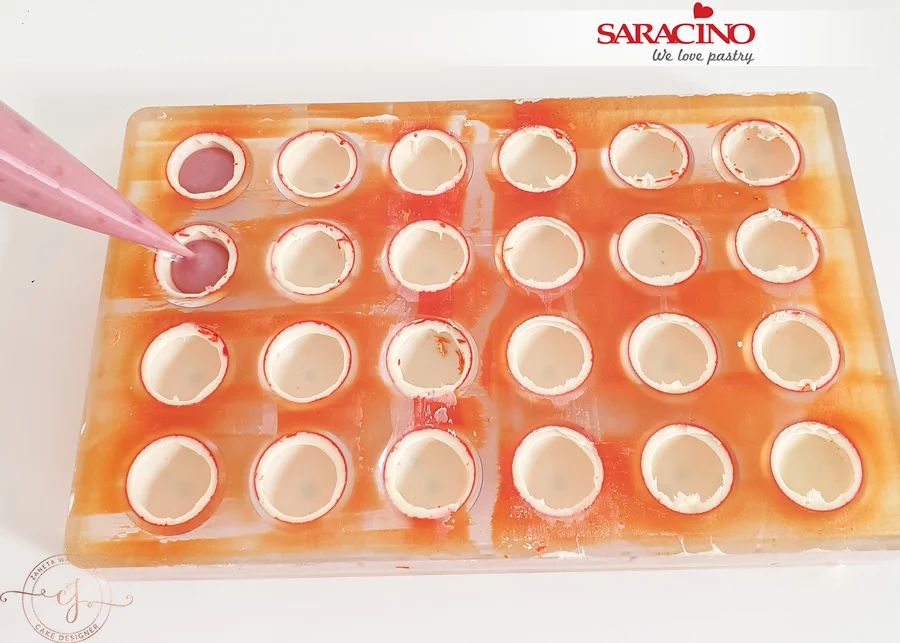
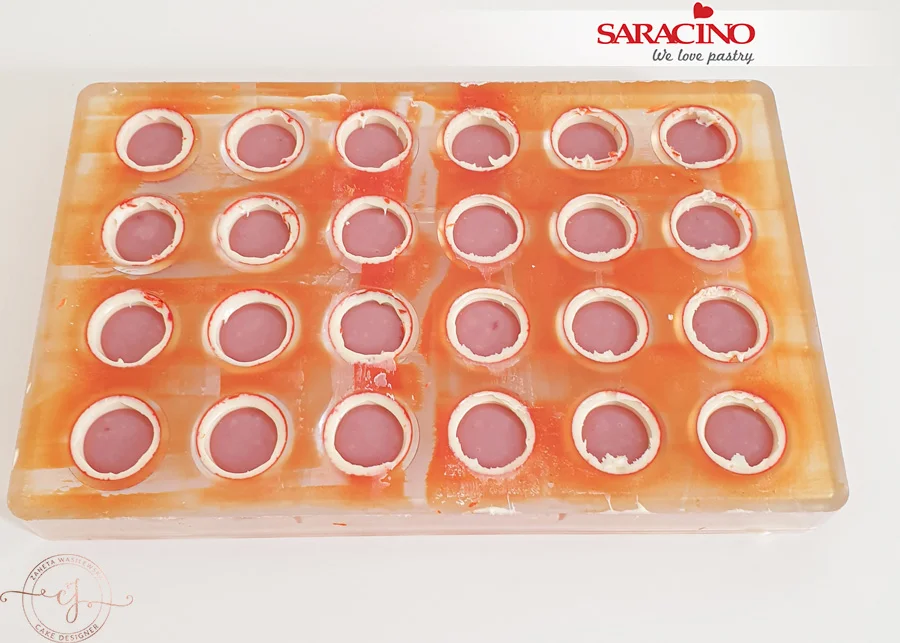
Fill each with the raspberry ganache we prepared earlier. Do not fill to the top as you will need to leave room to add chocolate over.

Step 24

Once all are filled put the mould into the fridge for 10-15 minutes. 

Step 25

Meanwhile, remove the remaining chocolate from the paper and put it into a bowl.

Step 26

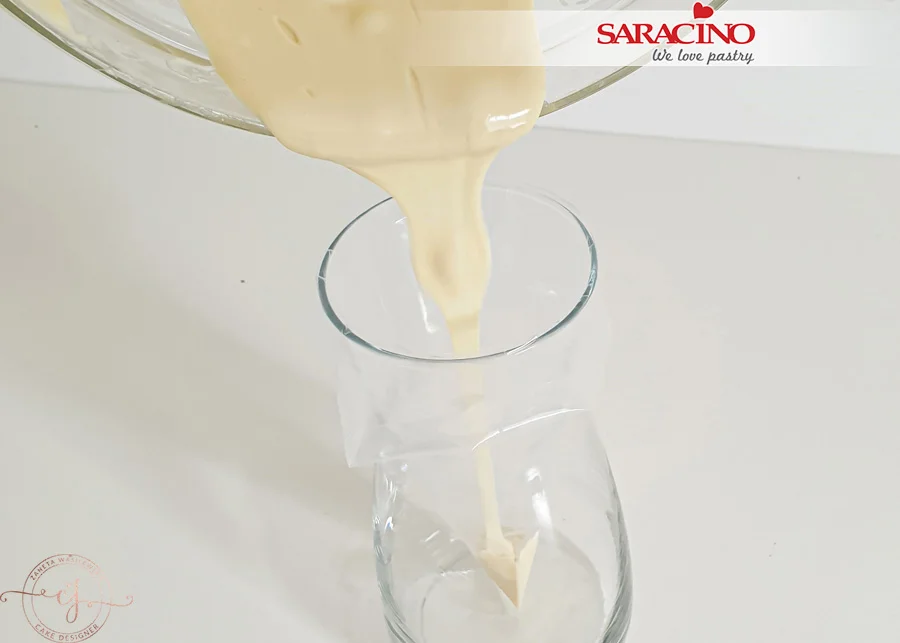
Temper the chocolate and pour into a piping bag.

TIP: I place my piping bag in a glass to hold it open. 

Step 27

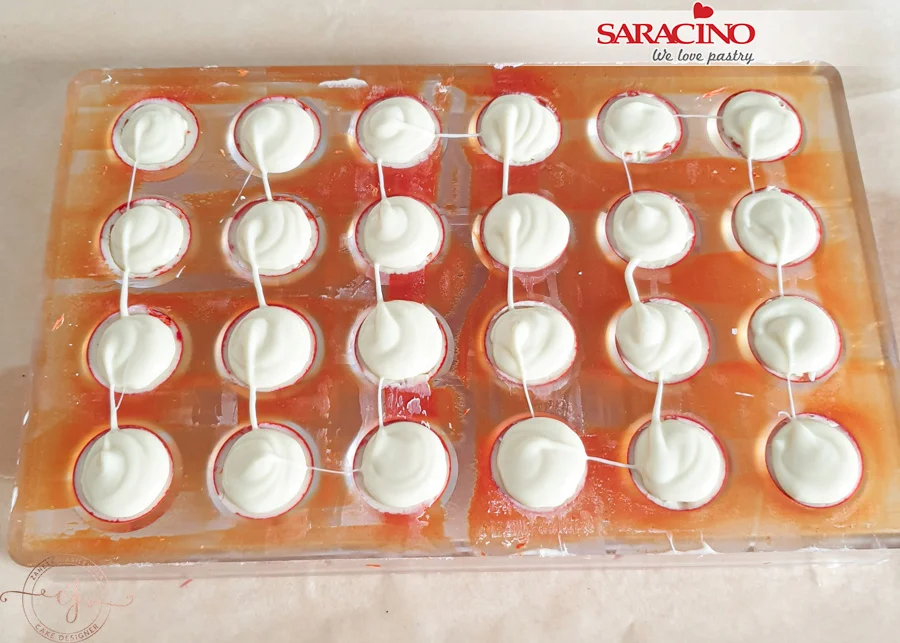
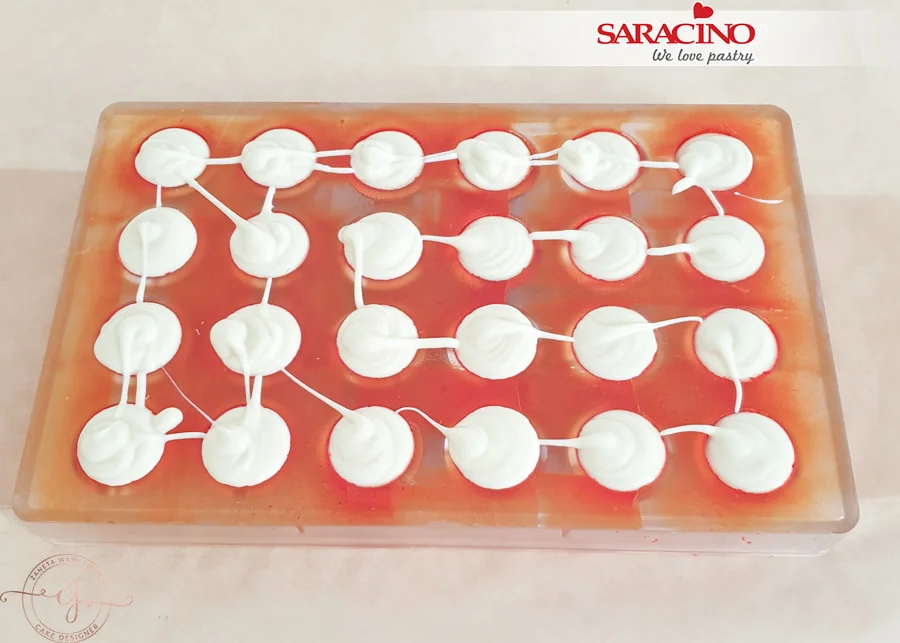
Remove your pralines from the fridge and pipe chocolate on the top

Step 28

Tap the mould over the table to remove any air bubbles 

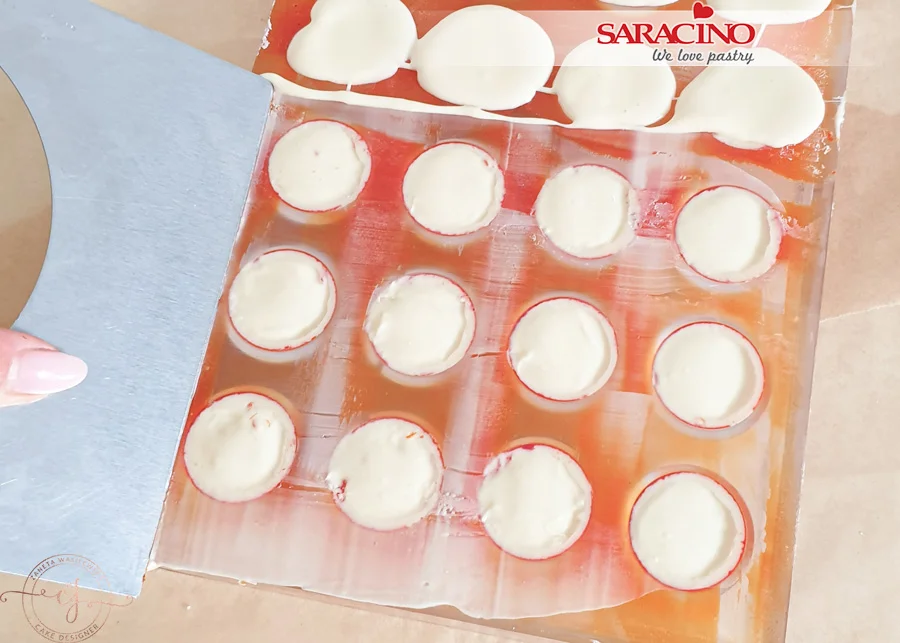
Step 29

Use your scraper to remove the excess

Step 30

When ready, place your mould into the fridge for 15-20 minutes

Step 31

Turn the mould upside down and tap over the table to realise the pralines from the mould

Step 32

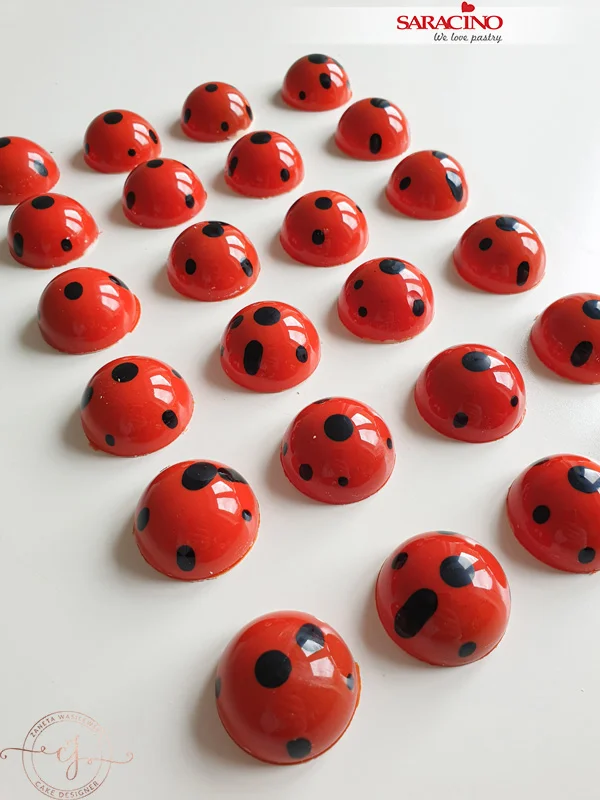
Your pralines are ready! Bon appetite 

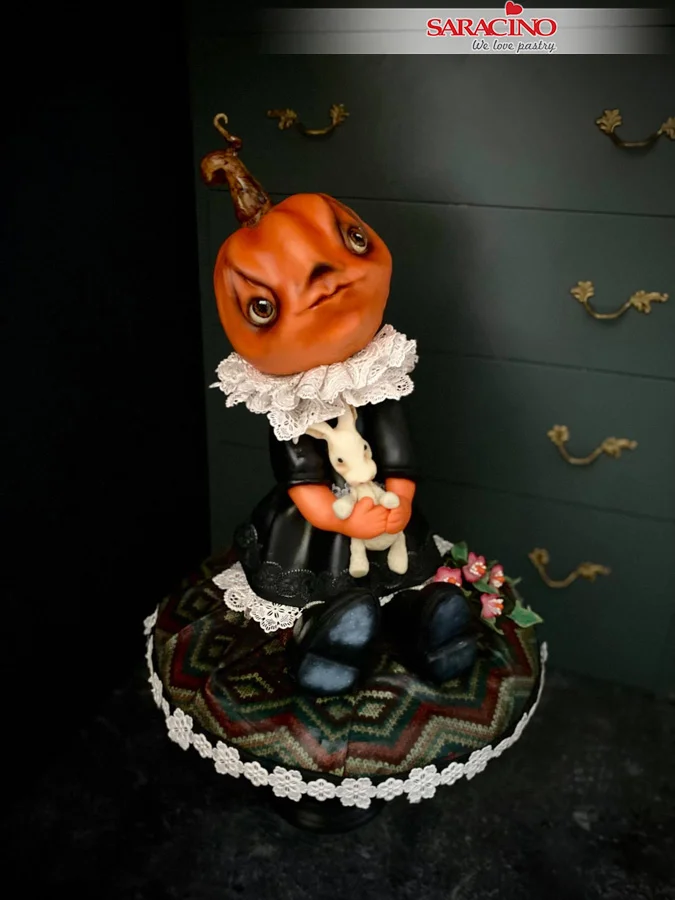
3D HALLOWEEN PUMPKIN DOLL

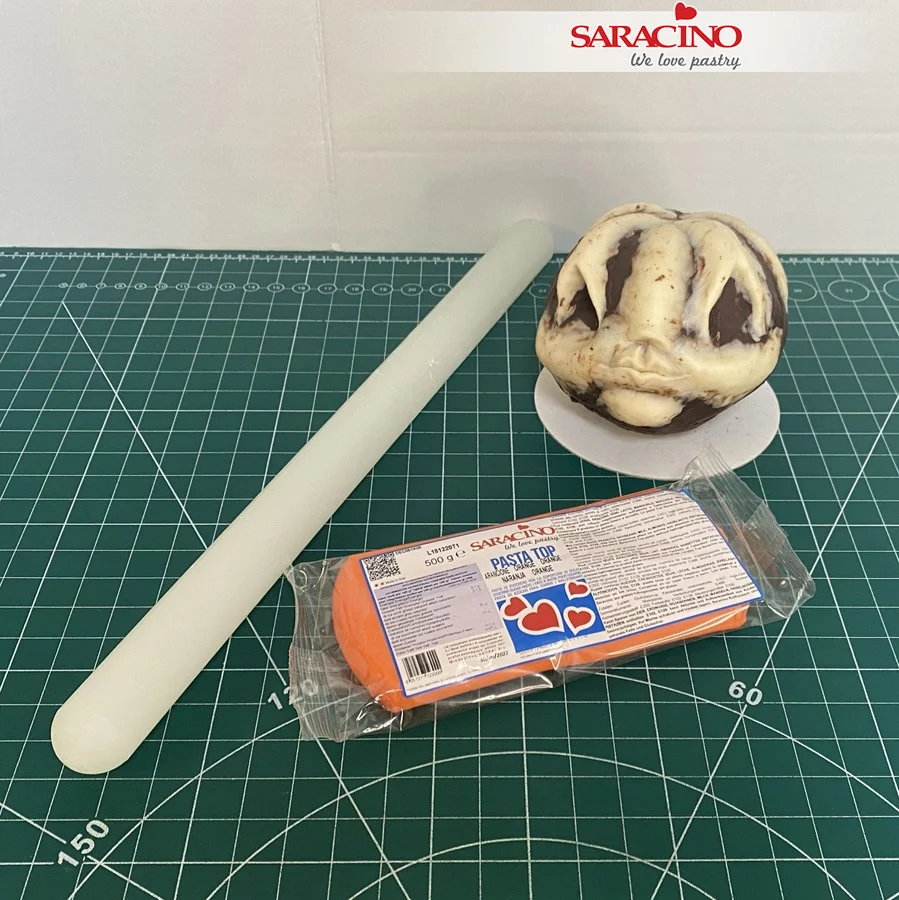
3D HALLOWEEN PUMPKIN DOLL

Skill level: BEGINNERS

You will need: 

  • Saracino black Pasta Top
  • Saracino orange Pasta Top
  • Saracino white modelling chocolate
  • Saracino pearl ready to use lace paste
  • Saracino black ready to use lace paste
  • Saracino powder colours: Black, orange, brown, yellow, pink, white
  • Saracino cocoa butter
  • Saracino Liquid Shiny confectioners glaze
  • Saracino cake gel
  • Saracino Pasta Bouquet
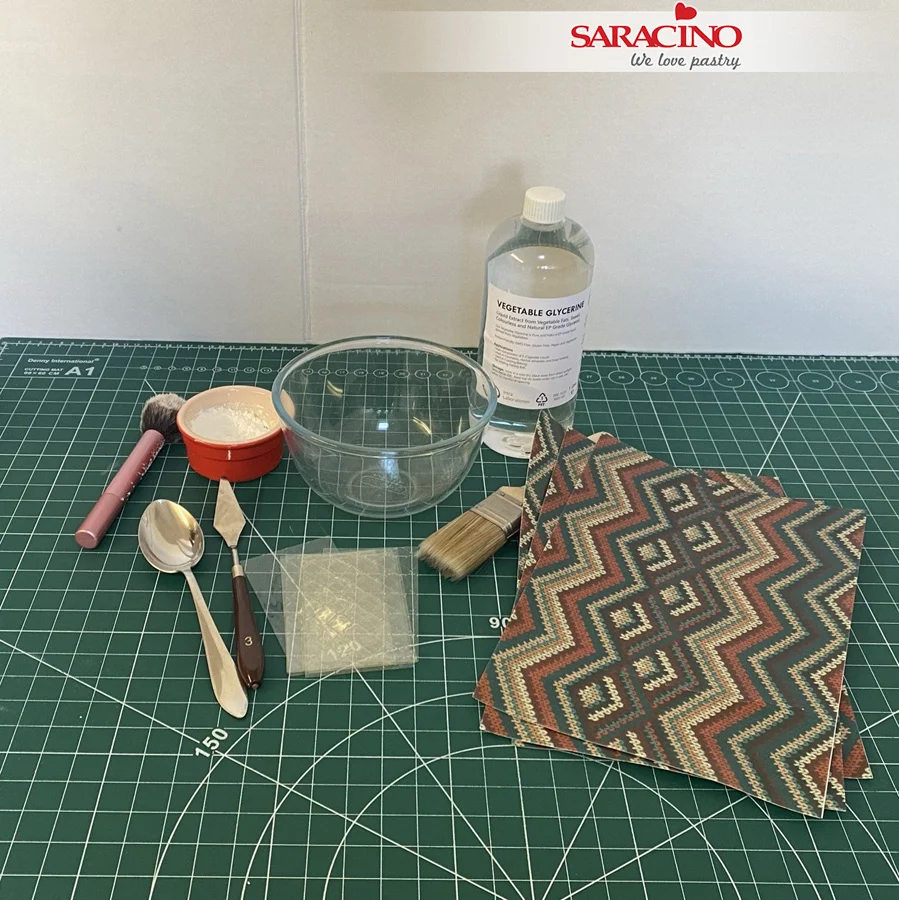
  • Printed wafer paper sheets with chosen design
  • Glycerine
  • Corn flour
  • Gelatine sheets
  • Dark chocolate ganache
  • Rice Krispies
  • Marshmallows
  • Oil

EQUIPMENT:  

  • Non stick cutting board
  • Rolling pins
  • Paint brushes
  • Silicone brushes
  • Knife
  • Plastic cake dowel
  • Airbrush
  • Bowls
  • Large cake drum
  • Lace mat
  • Cup with hot water and small plate

Step 1

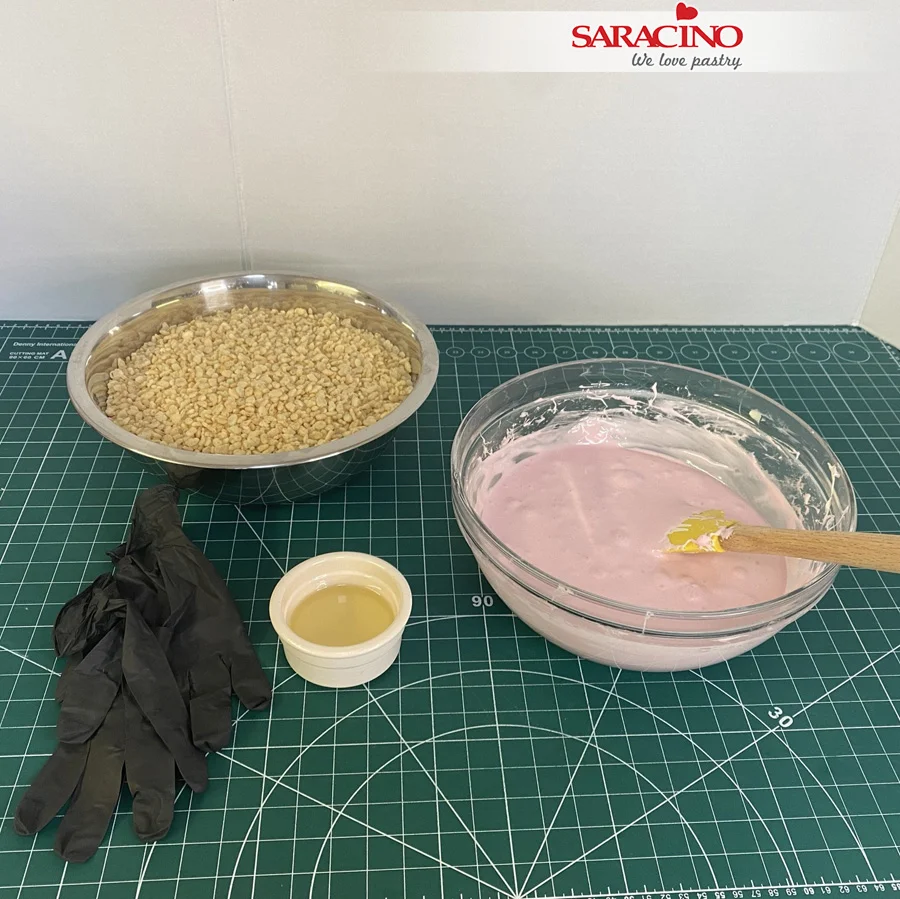
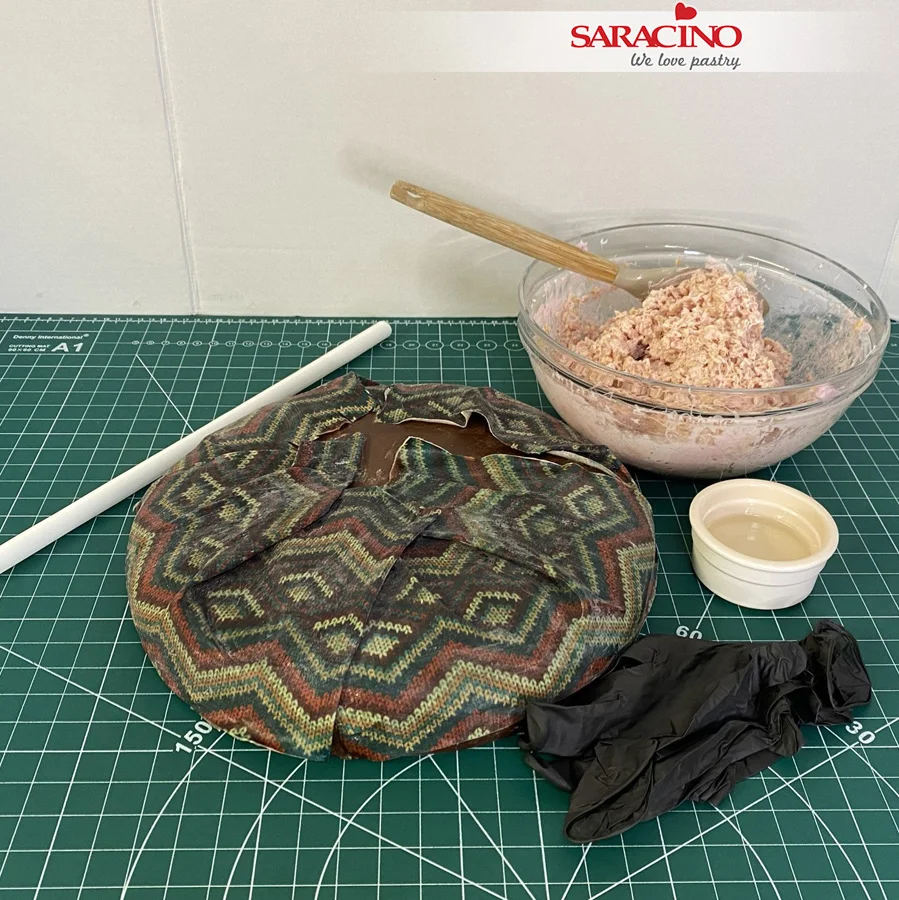
For the base cushion add marshmallow and the butter to a heatproof bowl and melt in a microwave or over a bain marie. Once melted combine with the rice. I try to use a spatula as long as I can. This mixture is extremely sticky so once you put your hand in there is no going back!

TIP: When you put your hand in it, put some vegetable oil on your hand first, it will help against stickiness.

Step 2

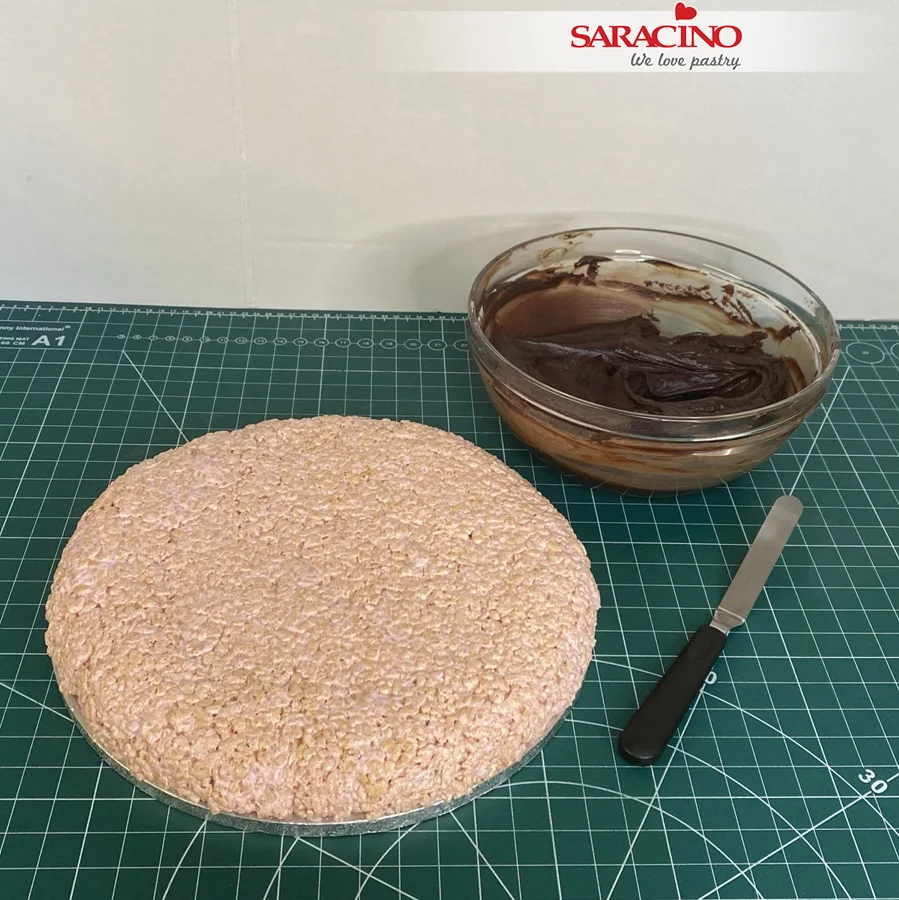
Place your rice krispie mixture on the cake board and spread all over. Try to flatten and smooth. The rice on the board should be thick enough to look like a cushion. Make a chocolate ganashe and smooth the surface of the cushion. I used a dark chocolate with a ratio of 2:1 chocolate to cream. Simply chop the chocolate, heat the cream and pour over the chocolate. Wait a minute or two and stir well.

Step 3

Smooth using a spatula or anything similar you like to work with.

Step 4

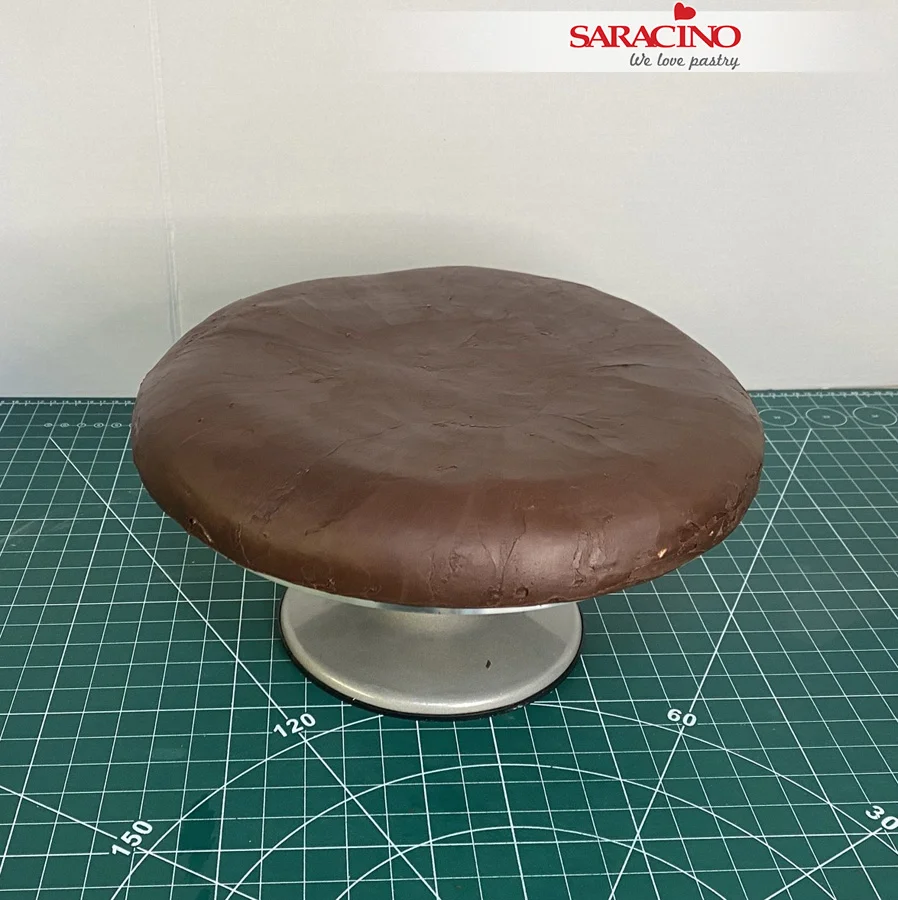
Now to cover the ganache. Prepare everything you will need as because when your mixture of glycerine and gelatine is ready you will have to work fast.


Step 5

Cut the gelatine sheets into small pieces and add to a heatproof bowl. Cover with water. Leave to soak for 5 minutes then turn the leaves over and soak for a further 5 minutes. Make sure all the pieces are soft, otherwise soak for a few more minutes. Microwave in 10 or 15 second bursts stirring after each time until completely dissolved. Repeat 2 – 4 times depending on the power of your microwave. Do not let it boil. Stir in the glycerine and mix well. Microwave again for 10 – 15 seconds. It should be liquid and hot.It is now ready to use but will start to turn to jelly as it cools. If that happens you can microwave it again in 10 or 15 second bursts to keep it fluid.
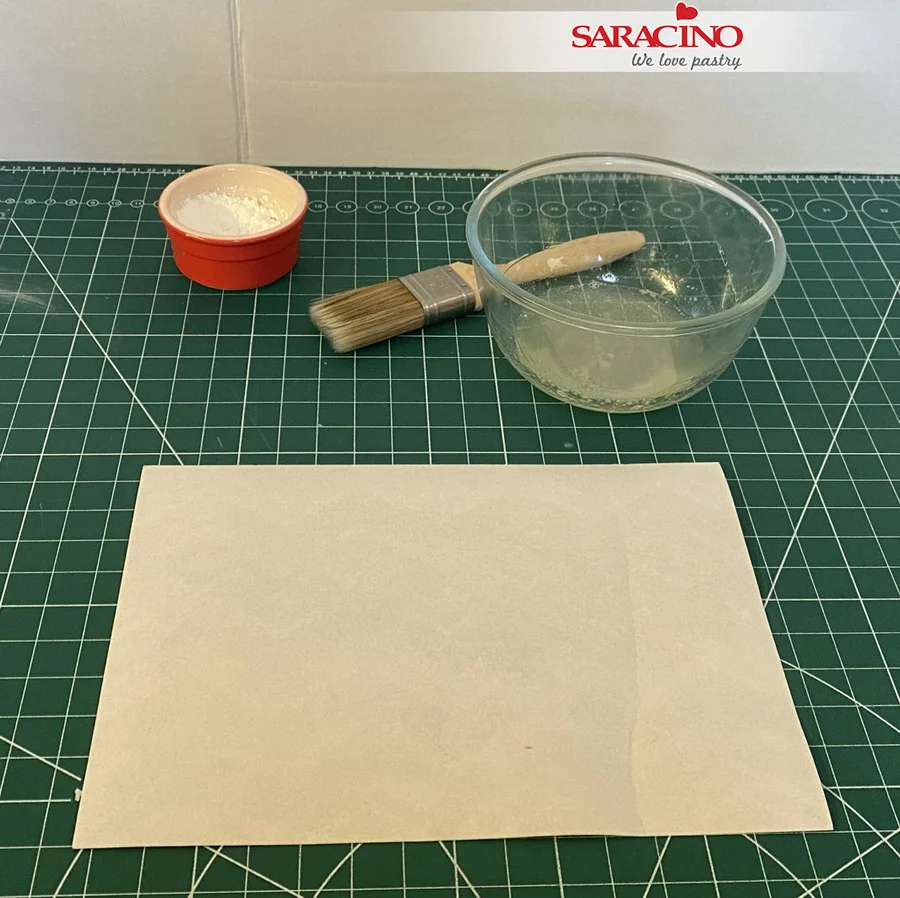
When your mixture is ready it’s time to put this on your paper. Put your paper on the working mat, take a wide brush and add your gelatine mixture all over trying to make light and smooth strokes. Immediately and carefully flip over your paper and repeat covering with the gelatine mixture. Leave to dry at least 20-30 minutes.


Step 6

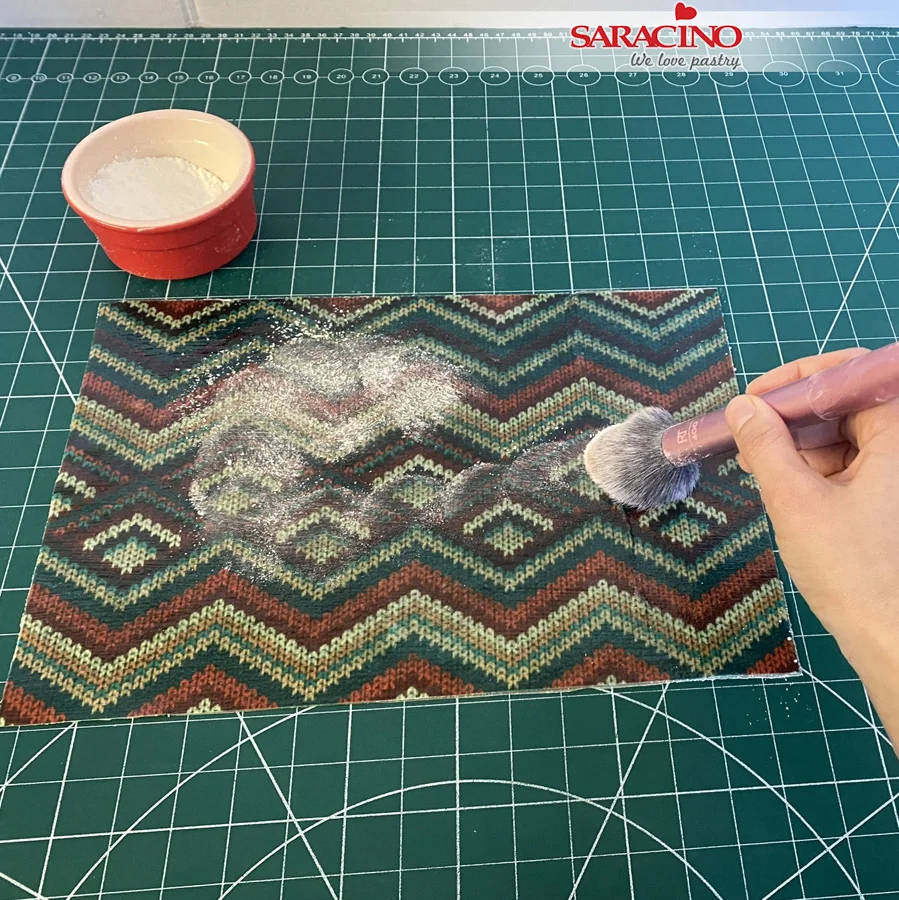
Once dried it will be a little sticky so I use a big brush and cornflour to dust the paper. You can trim it to your size as it is ready to use. Don’t worry to fold it as it will not break. You can stretch it like real fabric.

Step 7

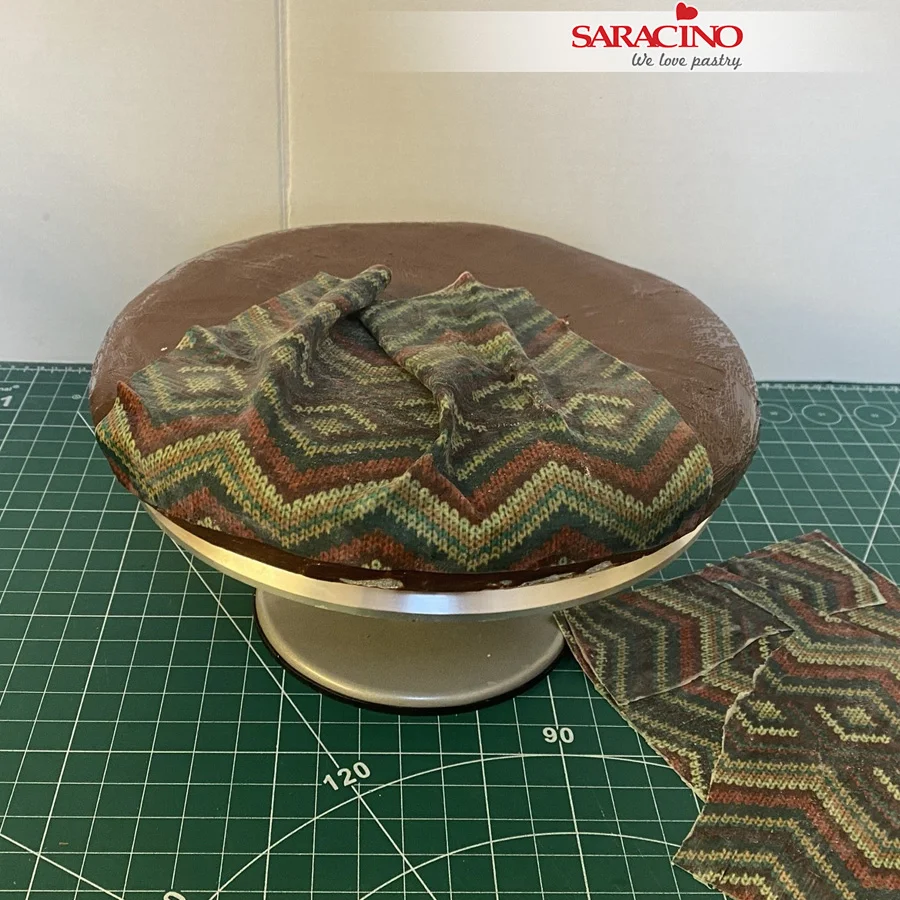
Add some cake gel to the ganached cushion. Starting on the side, stick the fabric to the ganache folding it into the center of the board. Use scissors if you have to cut any excess. Remember, we want a fabric look so it does not have to be perfect and equal on every side.

Step 8

Prepare some more Rice Krispie mix just like before. 


Step 9

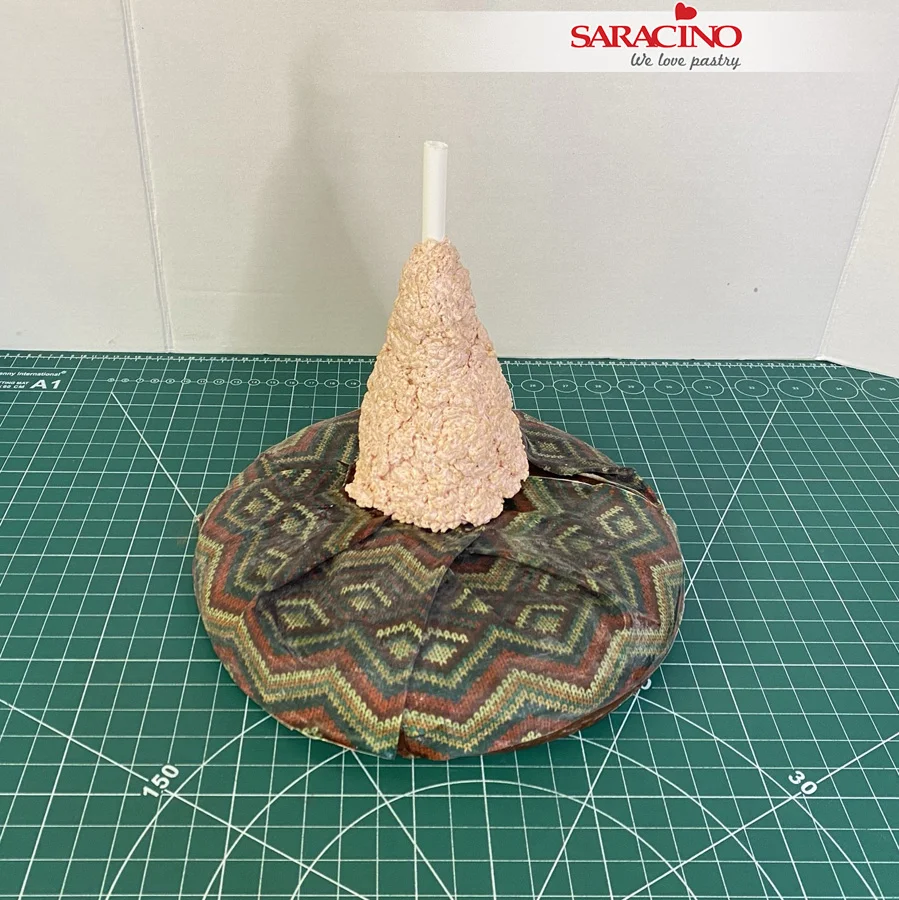
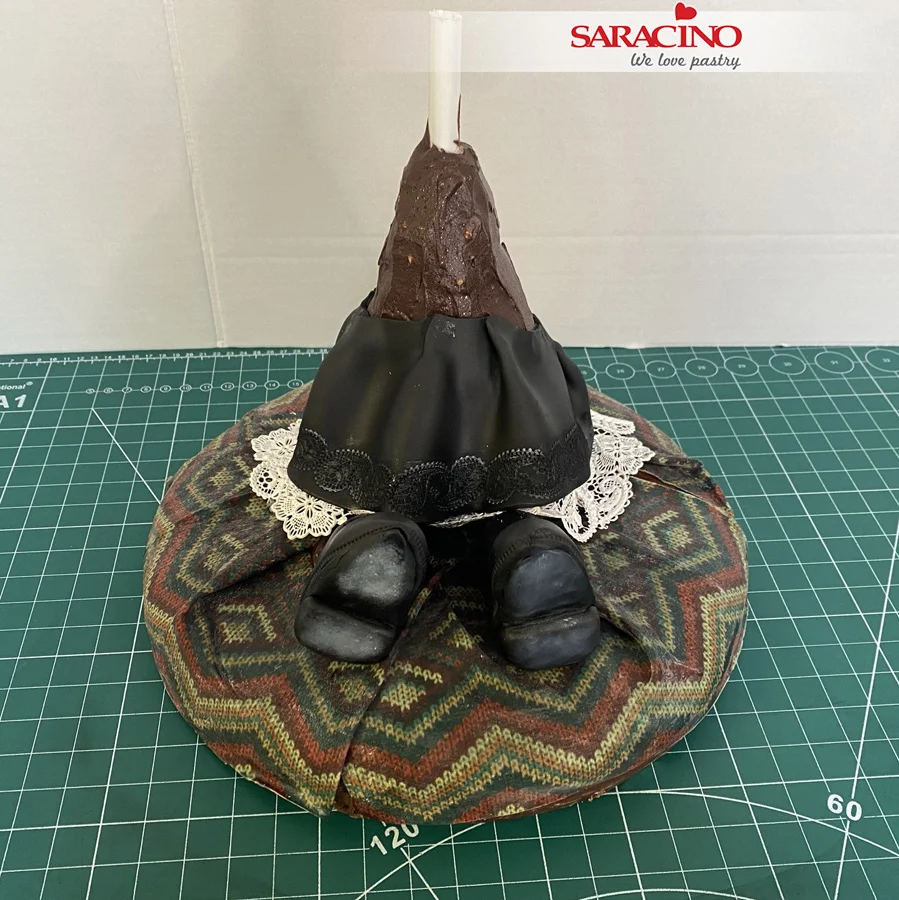
Insert the cake dowel where you want the dolls bottom to be. Oil your hands and press the rice mix around the dowel. Form it to a cone shape and try to squeeze it hard to make it more stable.

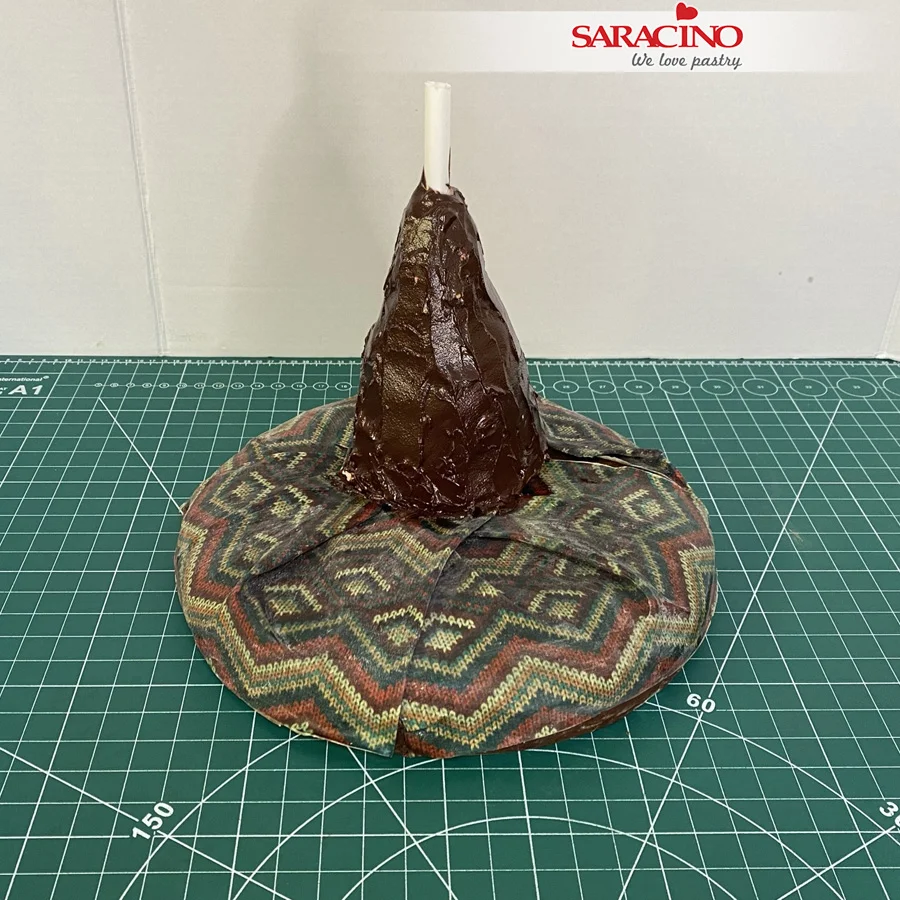
Step 10

Cover the Krispie mix with ganache.

Step 11

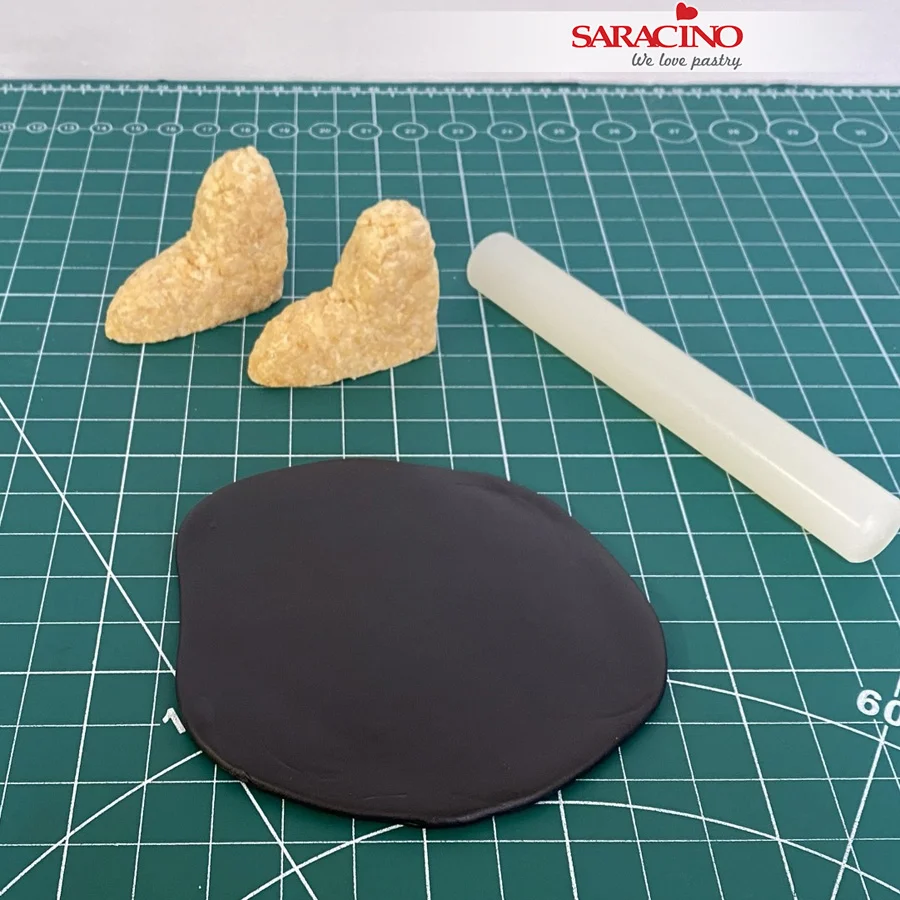
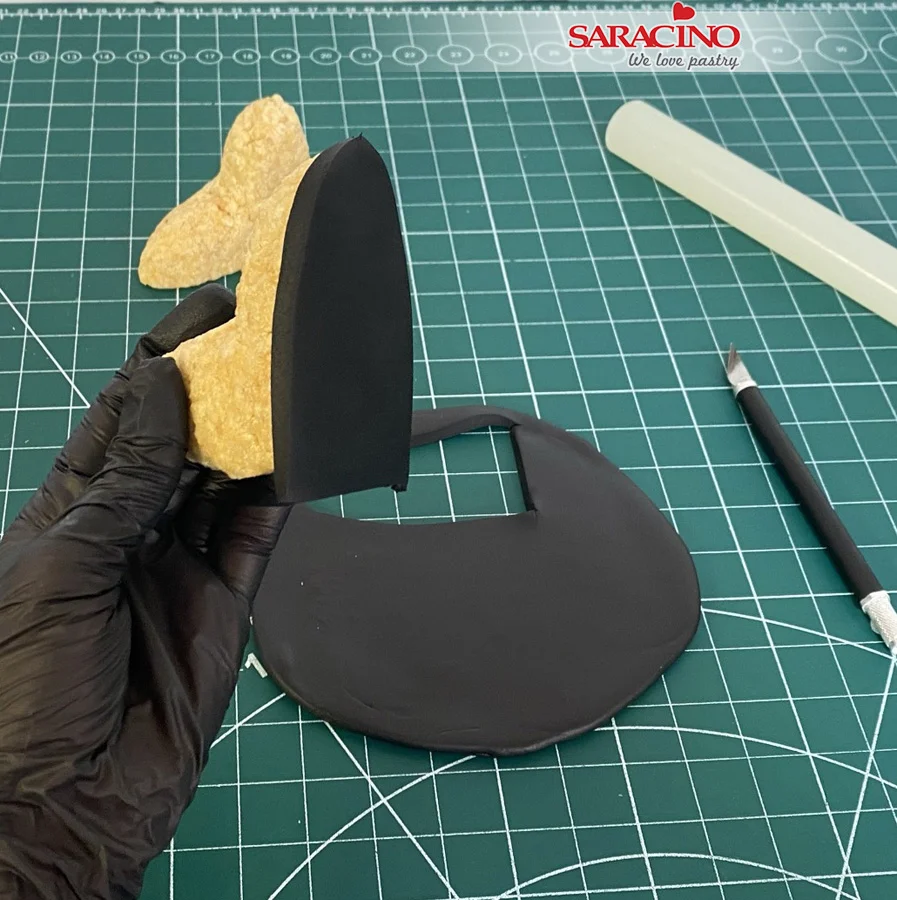
Use the Krispie mix to model two boots. Roll black Pasta Top thick. We do not want it too thin.

Step 12

Cut out the sole shape. Fix it to the boot with cake gel if you need. Repeat this with the second boot.

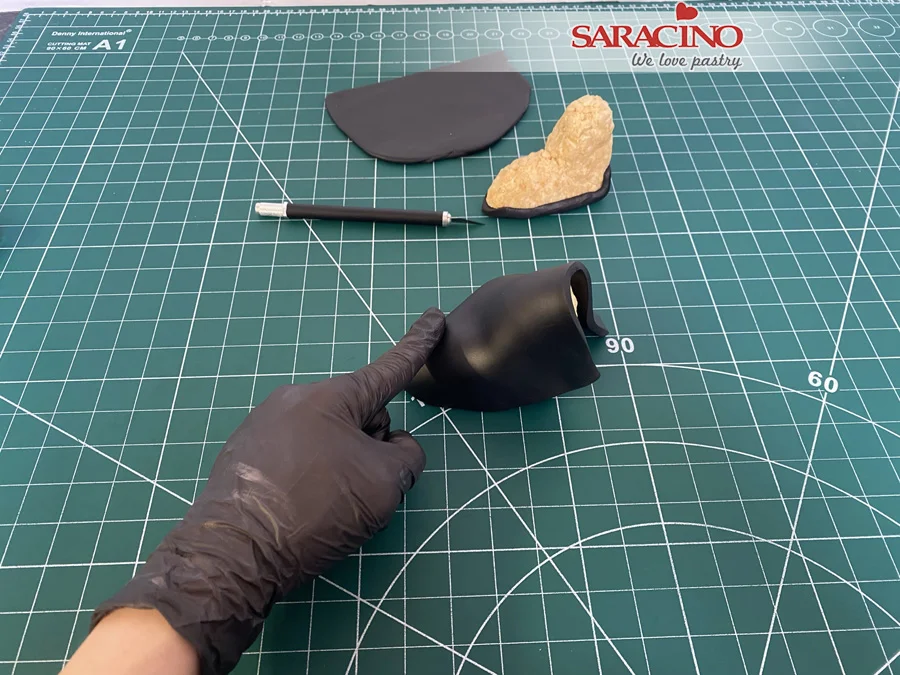
Step 13

Roll more black Pasta Top. I use a quite thick layer as I don’t want to see the structure of the rice through. Smooth it using your hand.

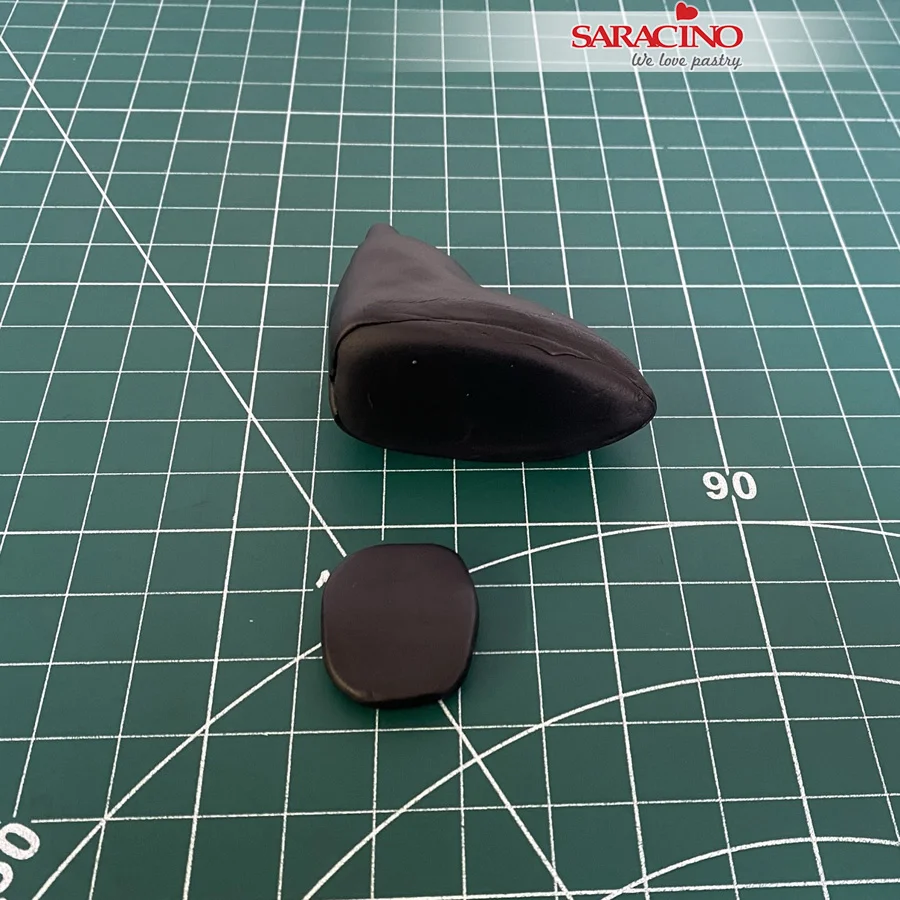
Step 14

Cut out a flat piece of black Pasta Top and fix it for the heel.

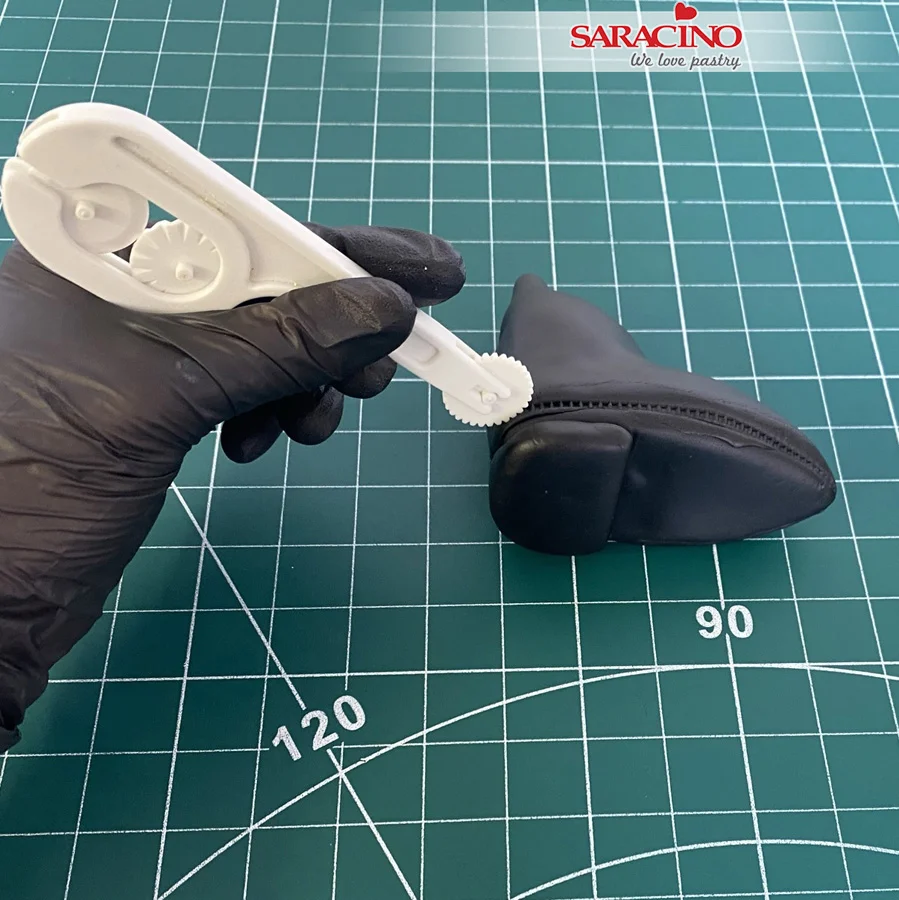
Step 15

Use a stitching tool to add a pattern around the boots.

Step 16

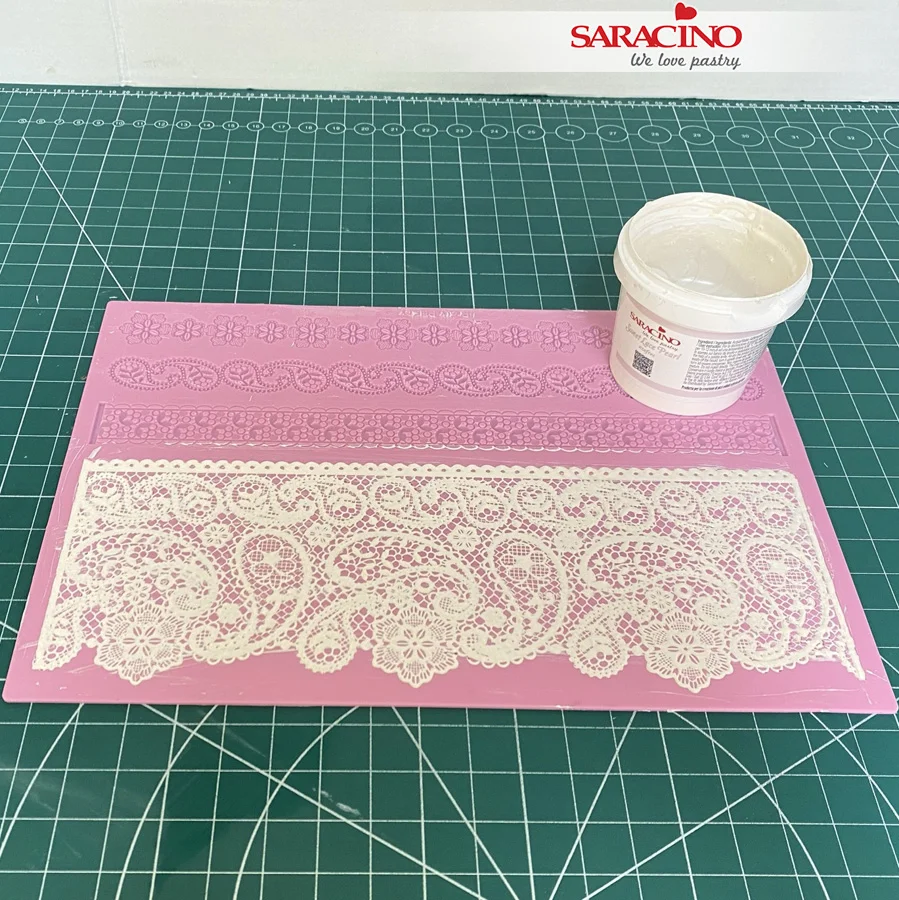
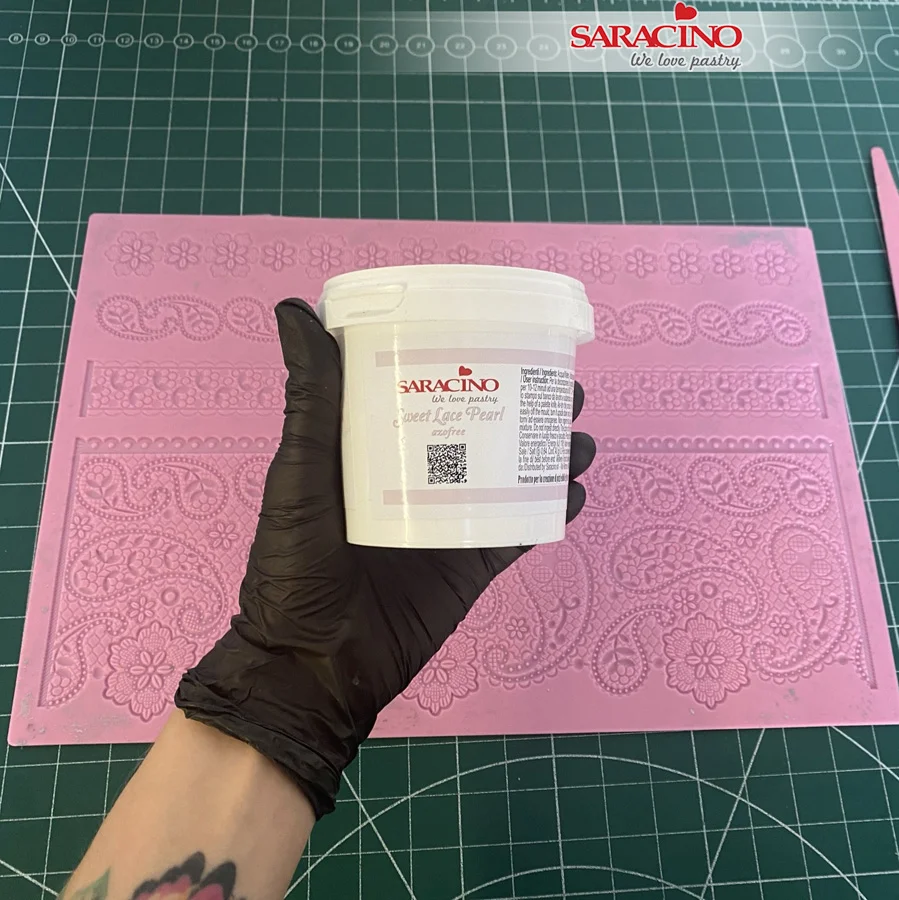
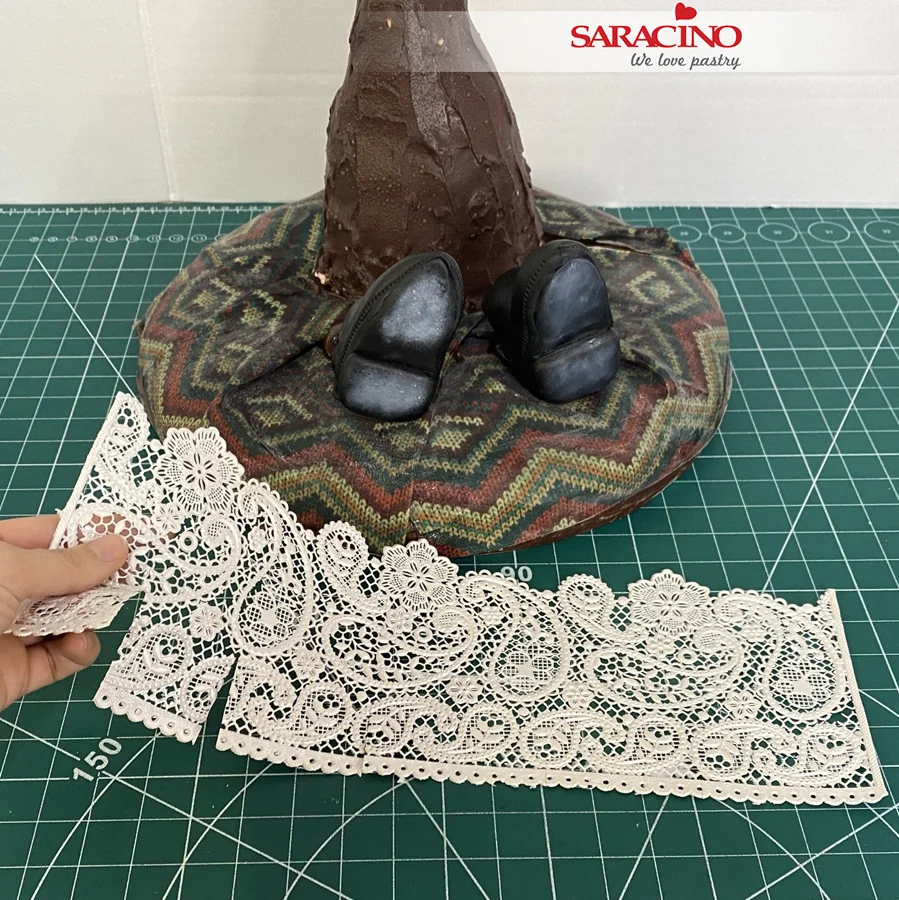
Using a cake lace mat pattern of your choice and the pearl ready made lace mix make the edible lace. Mix well and spread the mixture onto the mat. Bake it according to the instructions on the packaging.

Step 17

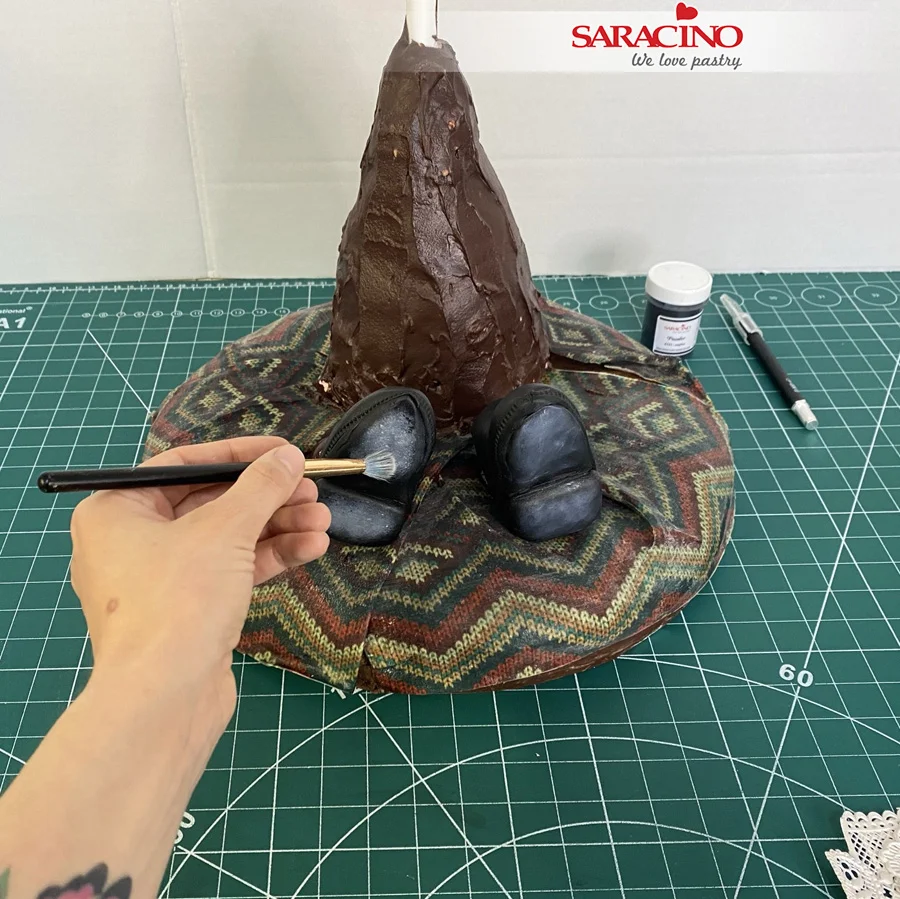
Fix the boots on the board. You can stick them using a little ganache. Dust the soles of the boots with white powder to give a worn look. 

Step 18

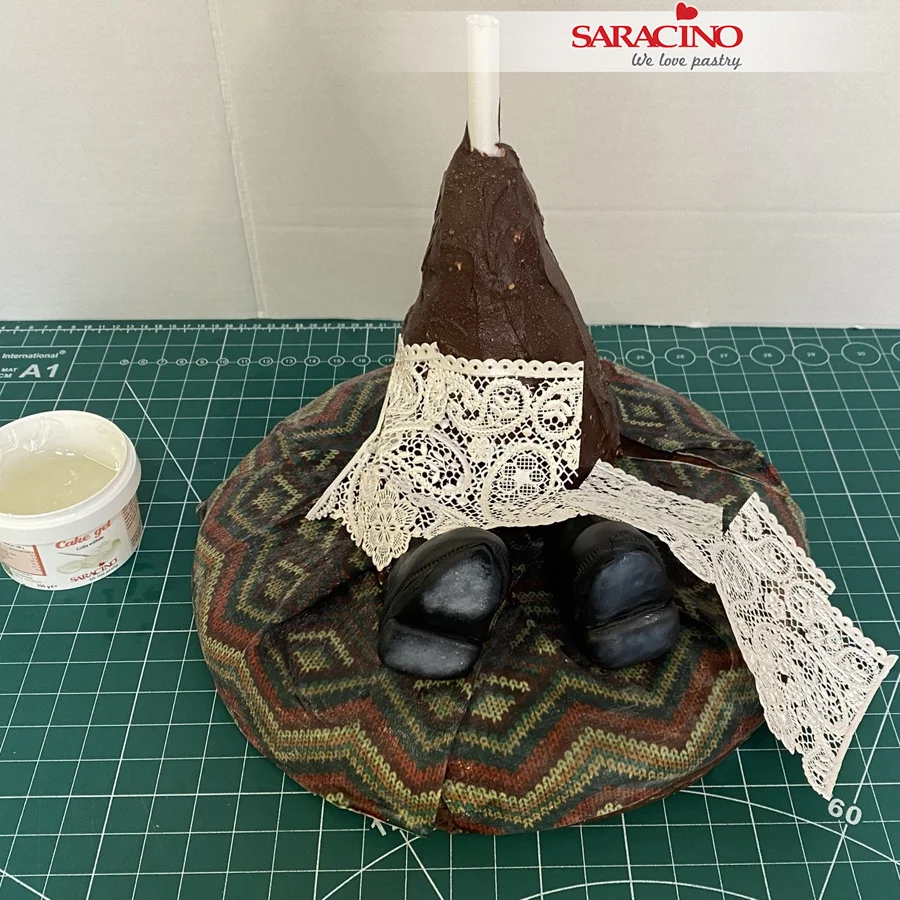
For the frill to the underskirt make some cuts in the lace. This will help to fix it around the base of the ganached skirt.

Step 19

Fix with cake gel overlapping the cuts.

Step 20

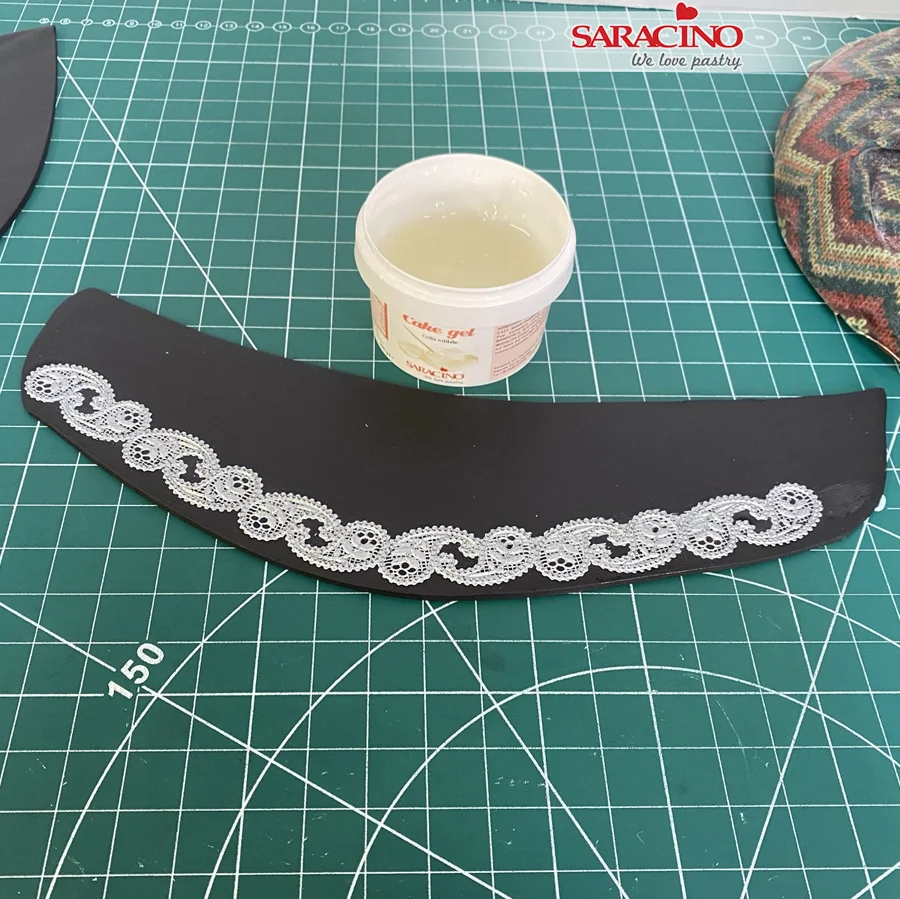
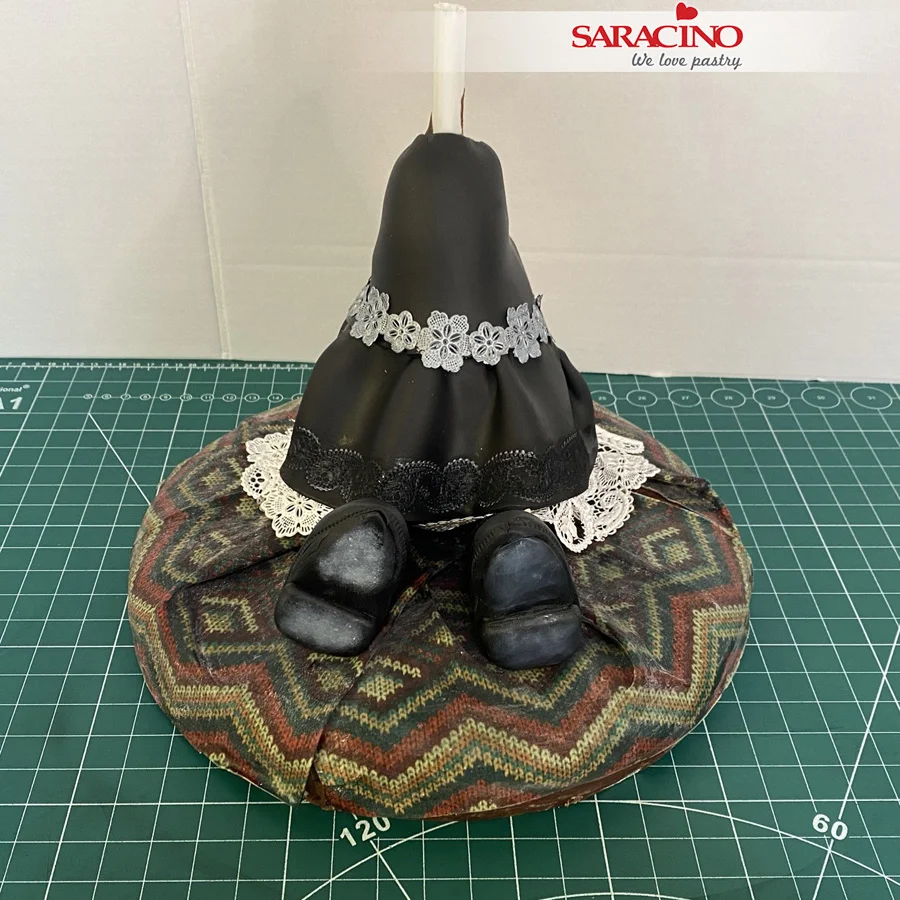
For the skirt roll a long piece of black Pasta Top. Cut the shape of the skirt and fix lace around the base.

Step 21

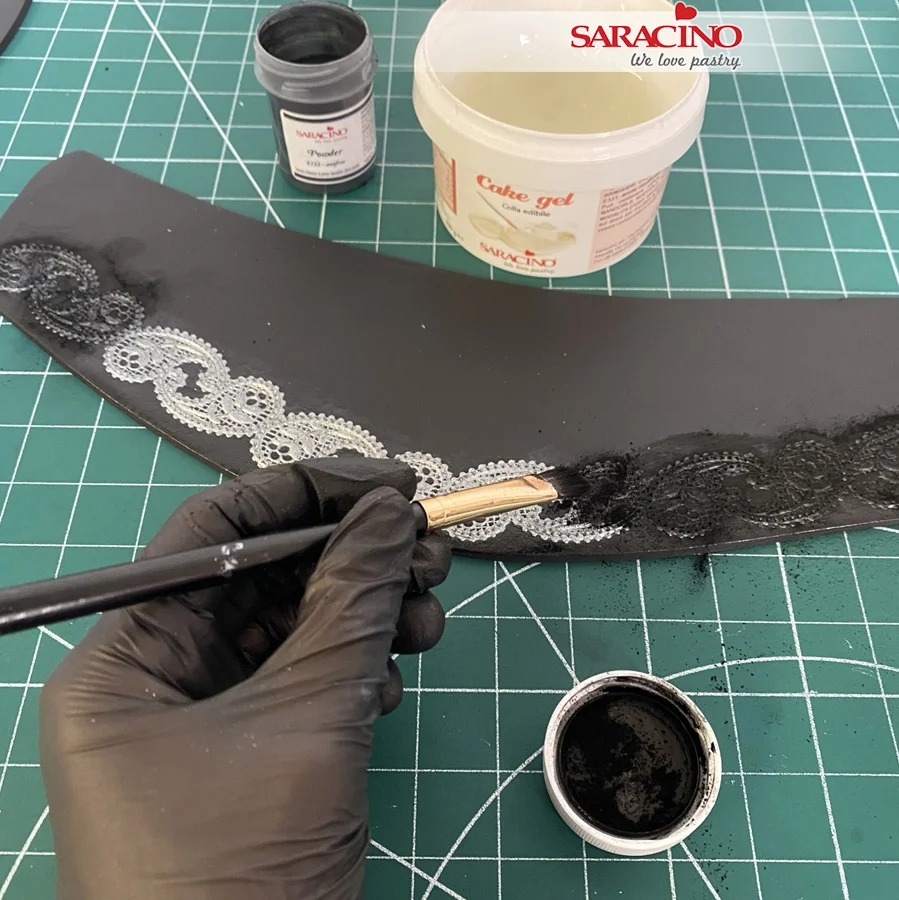
Dust the lace with black powder.

Step 22

Fix the skirt to the ganache using cake gel. When fixing try to make ‘waves’ just like a fabric would appear.

Step 23

Using black Pasta Top cover the top of the dolls body. Fix another piece of lace to cover the joint.

Step 24

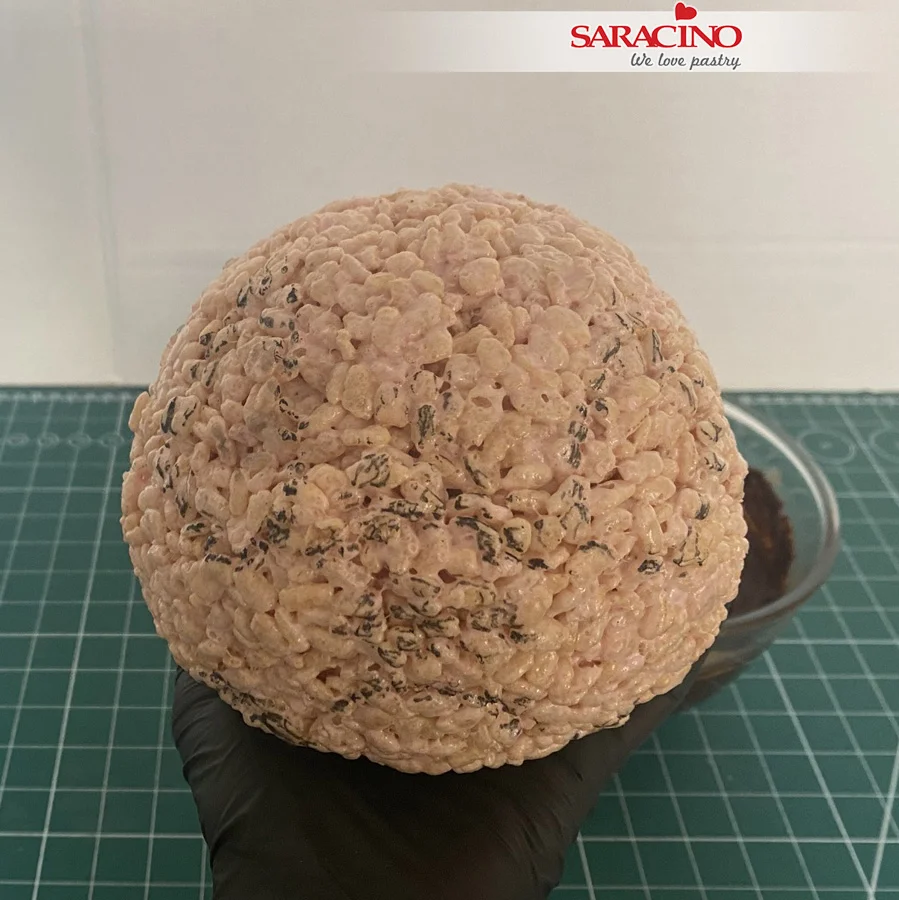
For the head make more Krispie ricde mix and shape this into a ball. Use a pencil to roughly draw the position of the nose, eyes and mouth.


Step 25

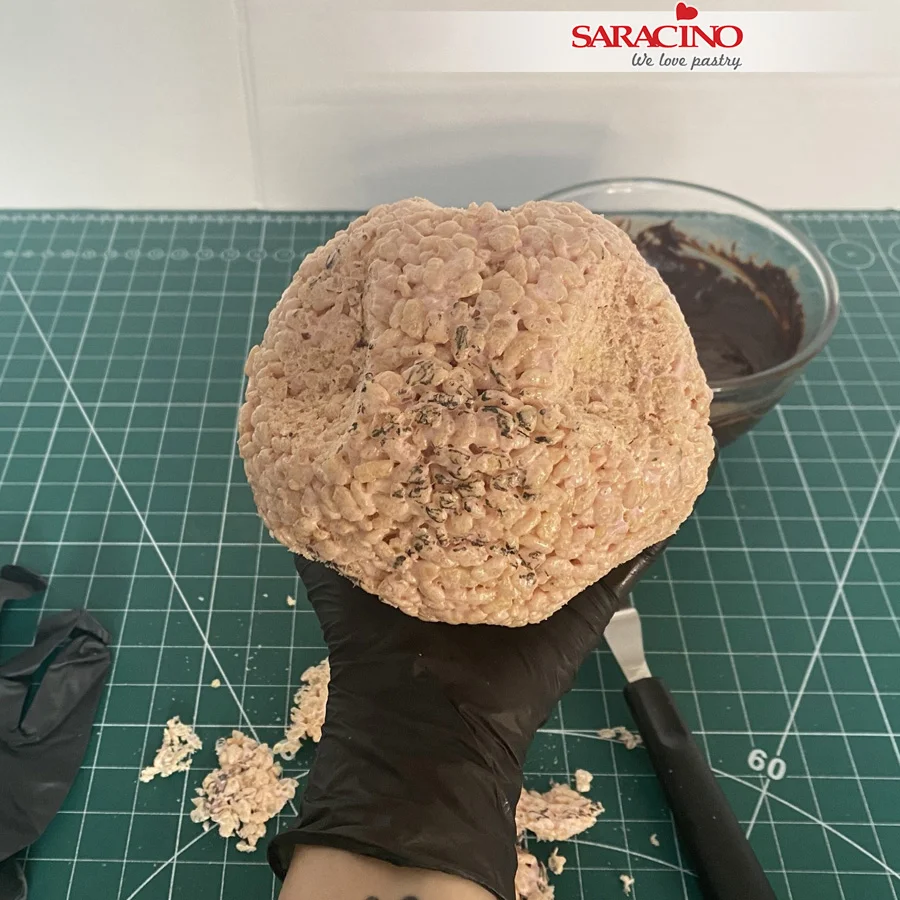
Cut out the eye sockets.

Step 26

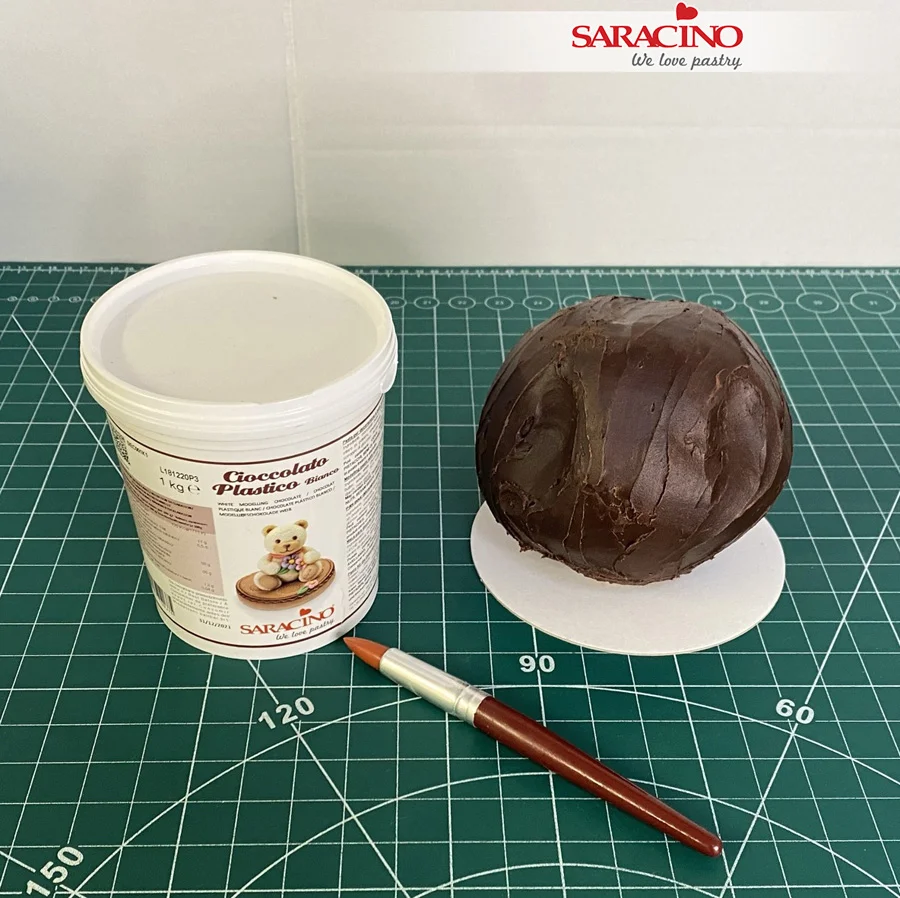
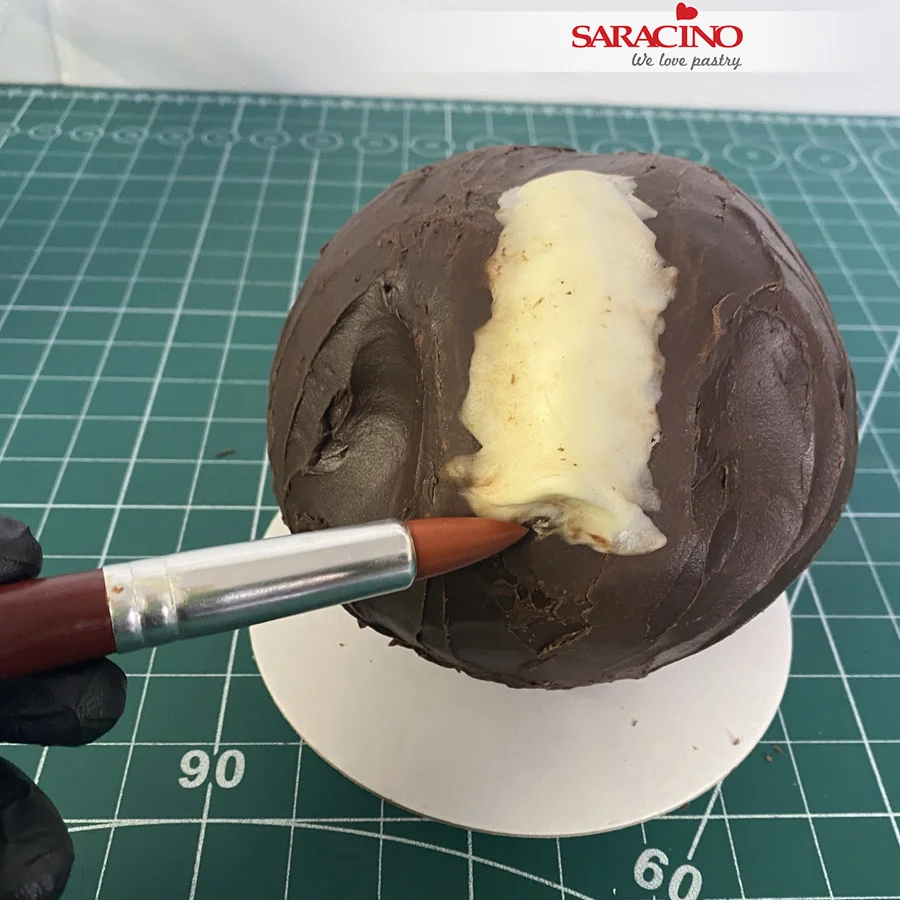
Cover the head with ganache. Using a silicone shaping brush and white modelling chocolate add the shape of the face. First knead and roll a small sauasage shape and put it in the middle of the forehead.


Step 27

Using the silicone brush smooth the edges and shape a nose.

Step 28

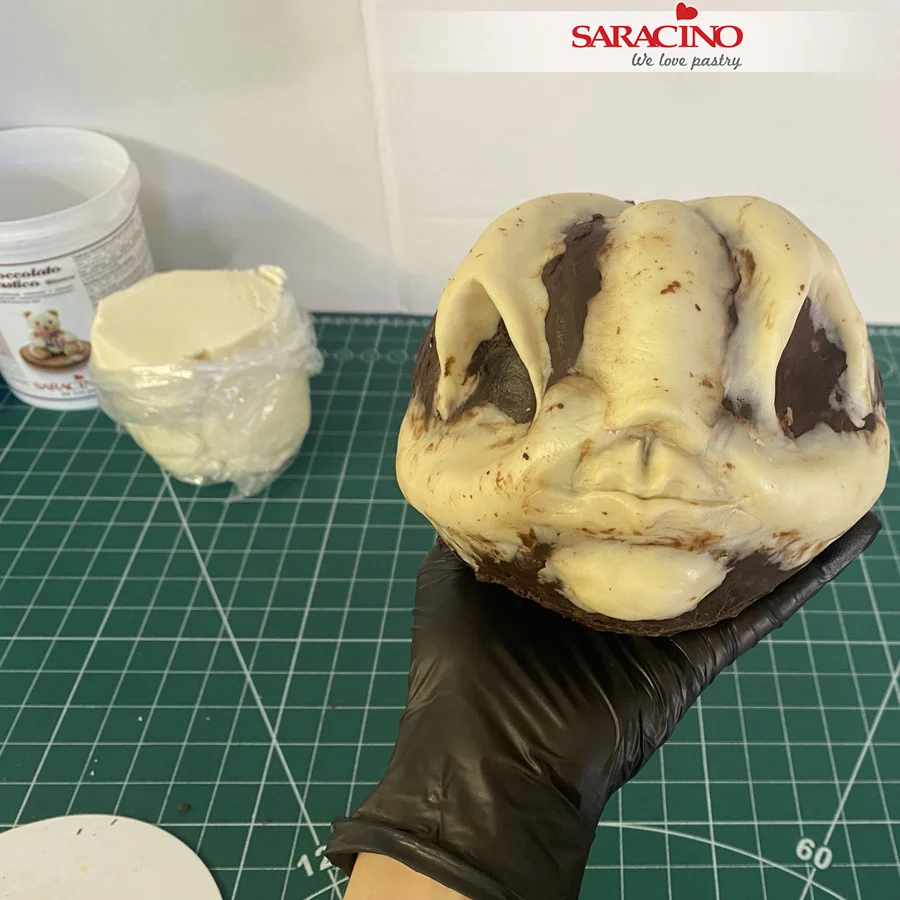
Repeat this step for the eyes, mouth and cheeks. Use a small amount of modelling chocolate and smooth it with the silicone brush. You will see where you need to add more to achieve the shape. Allow to harden. 


Step 29

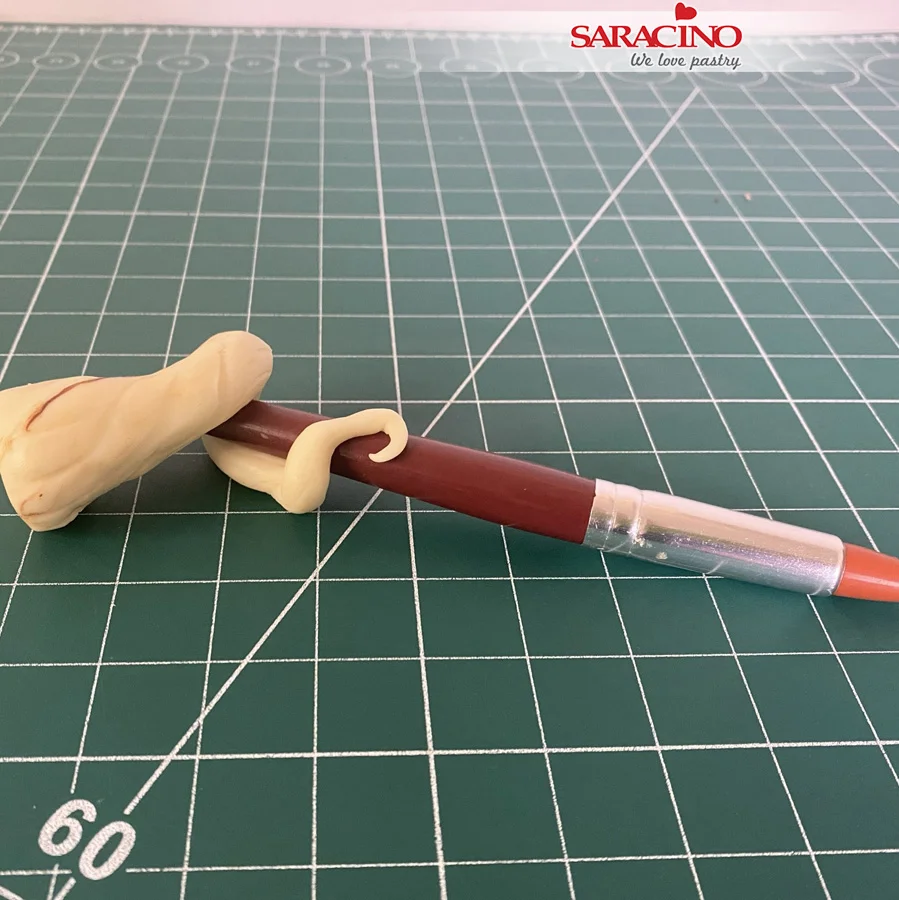
Using the modelling chocolate shape it to a pumpkin stem. I used my brush handle to hold the shape. Leave it to harden.

Step 30

Prepare everything you need to cover the head.


Step 31

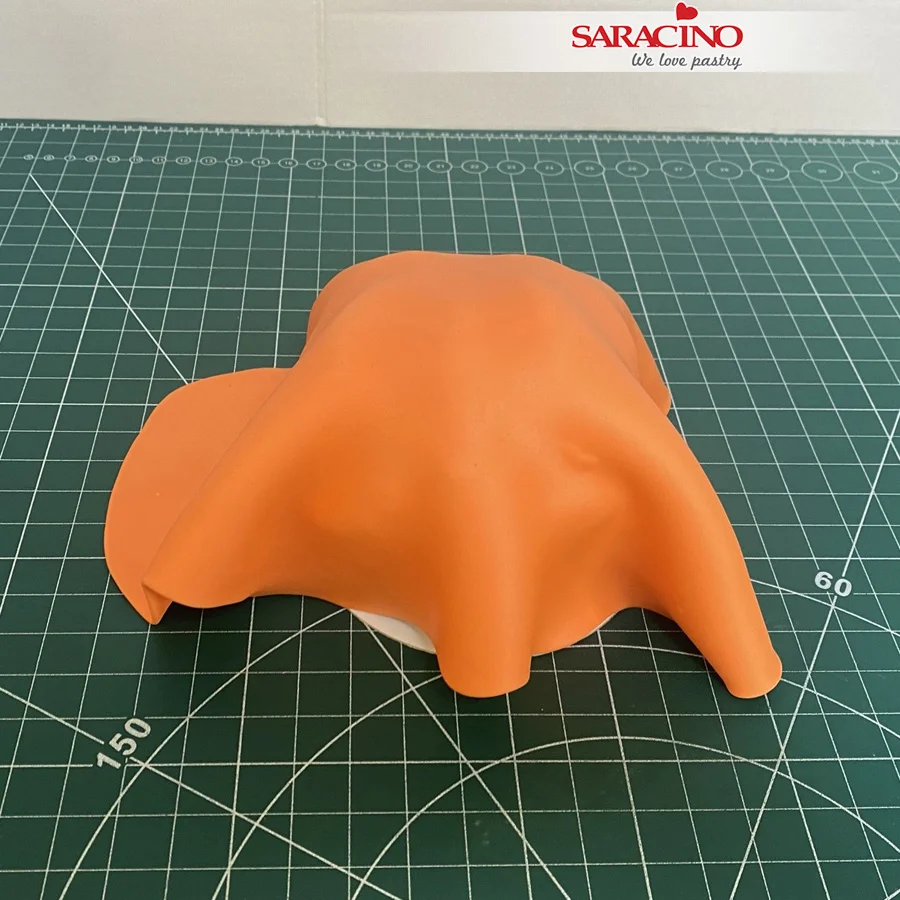
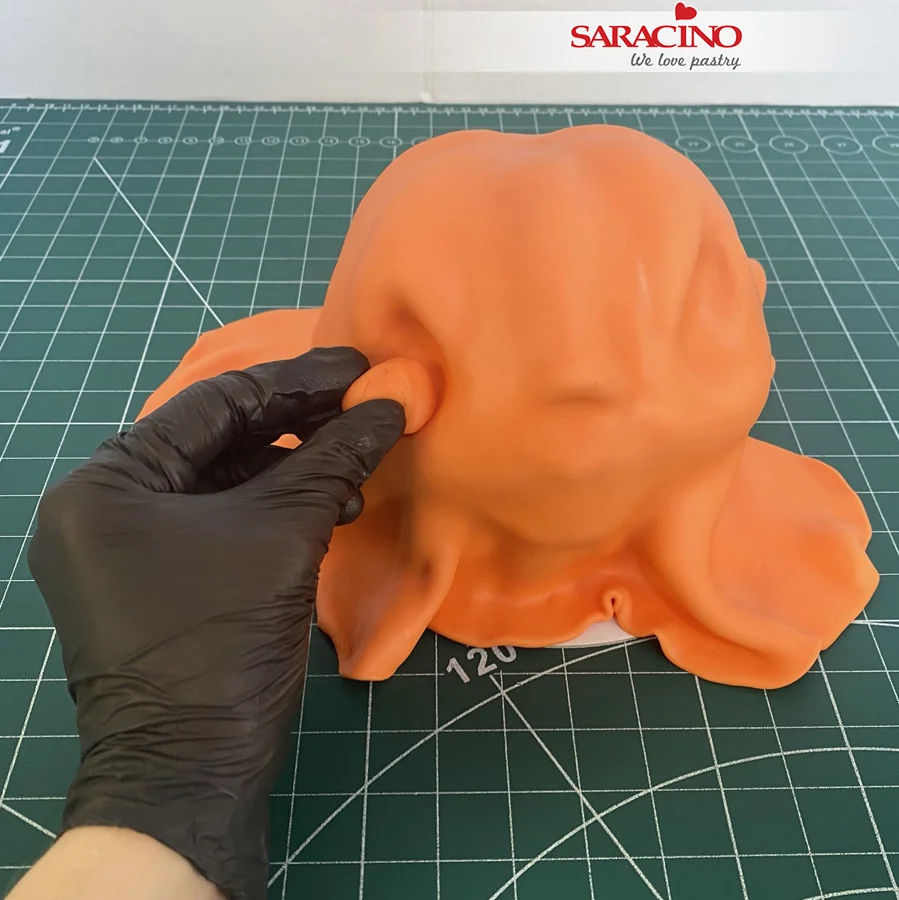
Roll orange Pasta Top. Use a small ball of the paste to carefully push it into all the curves.

Step 32

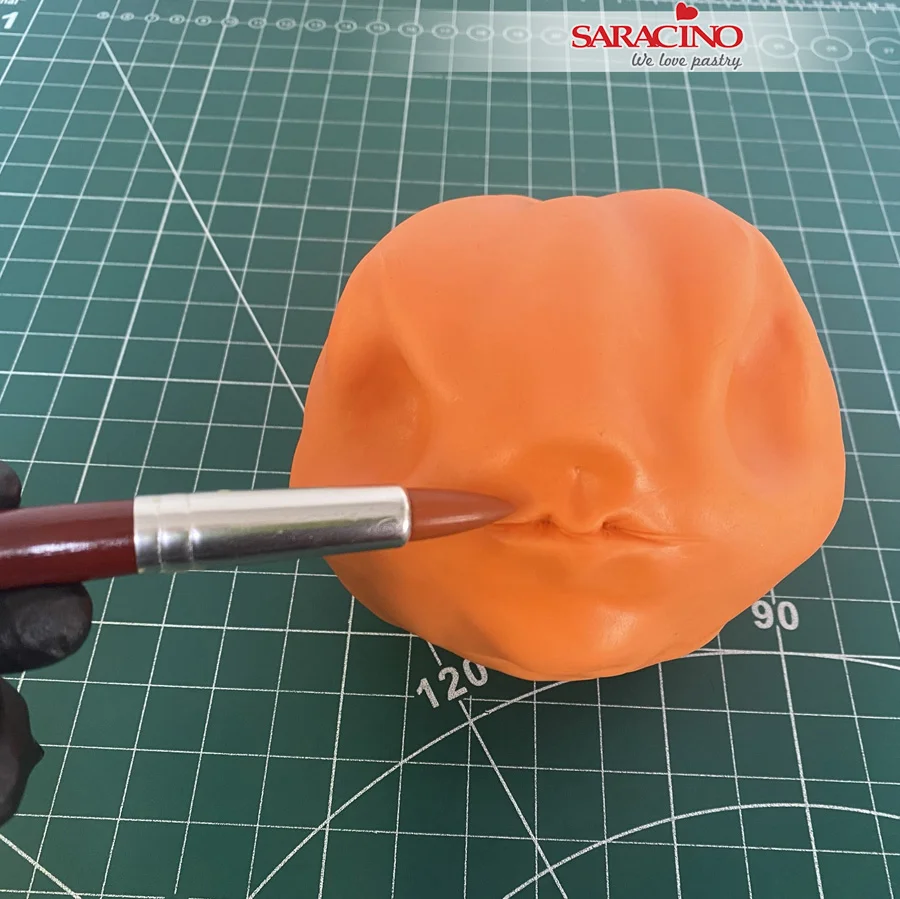
Form the eye sockets.


Step 33

Using the silicone brush shape the lips and cheeks.

Step 34

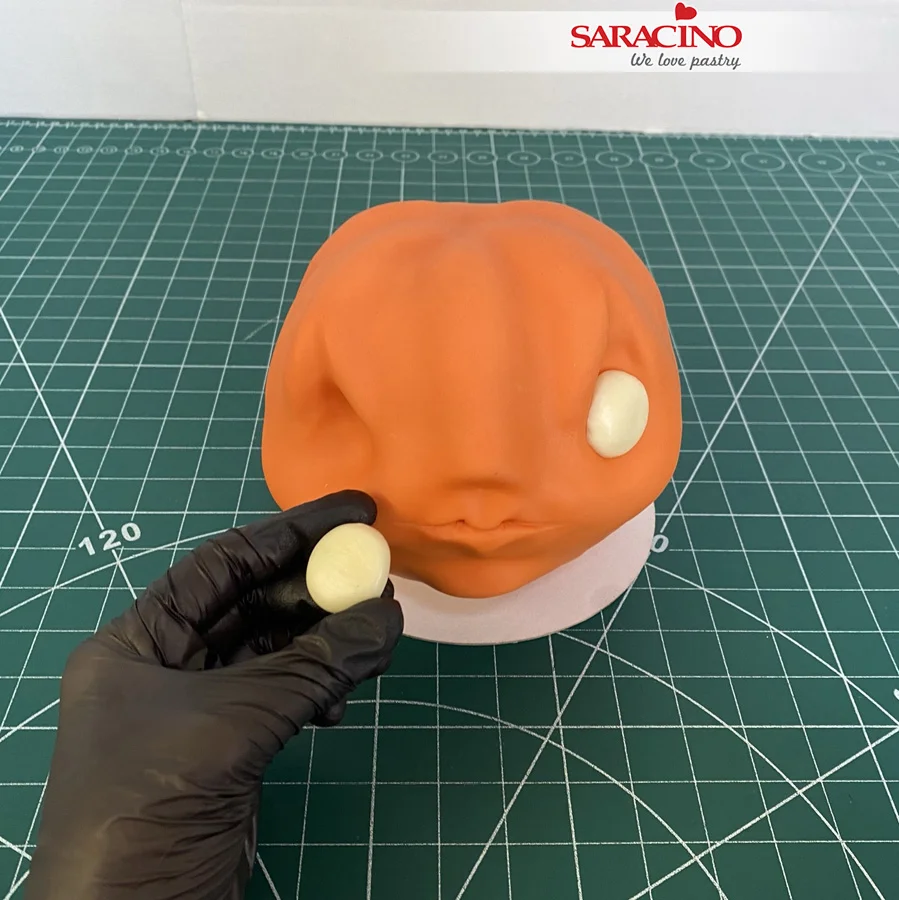
Knead white modelling chocolate and roll into two small balls. Add them to the eye sockets.


Step 35

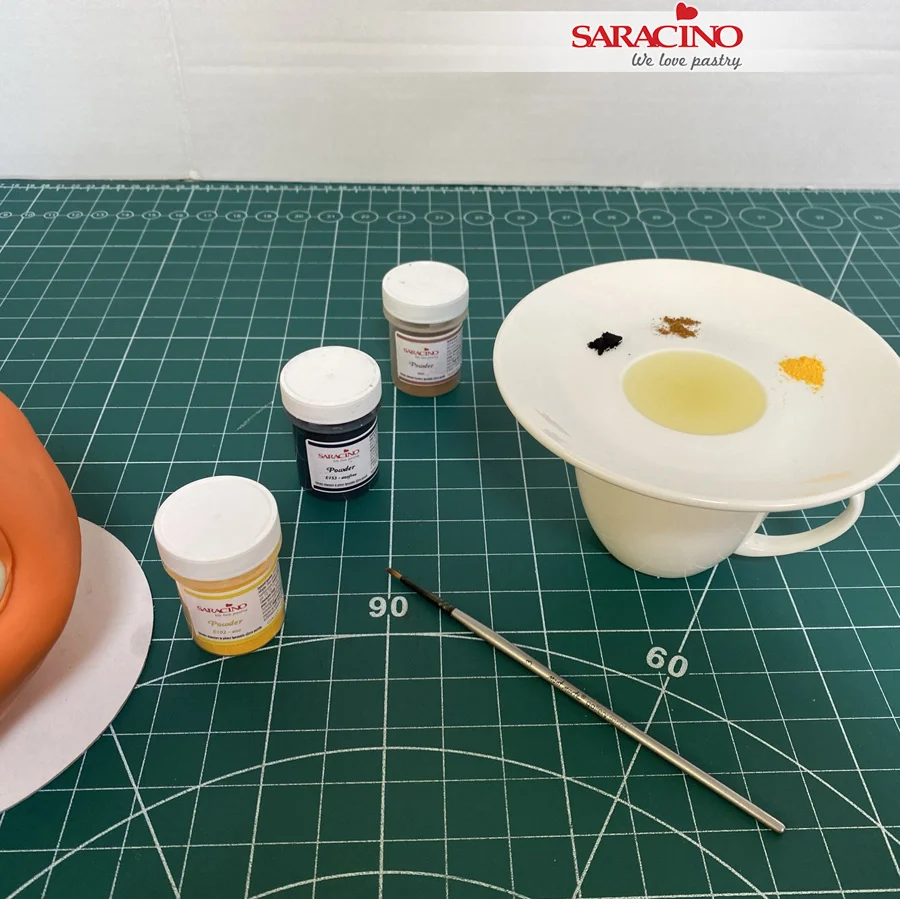
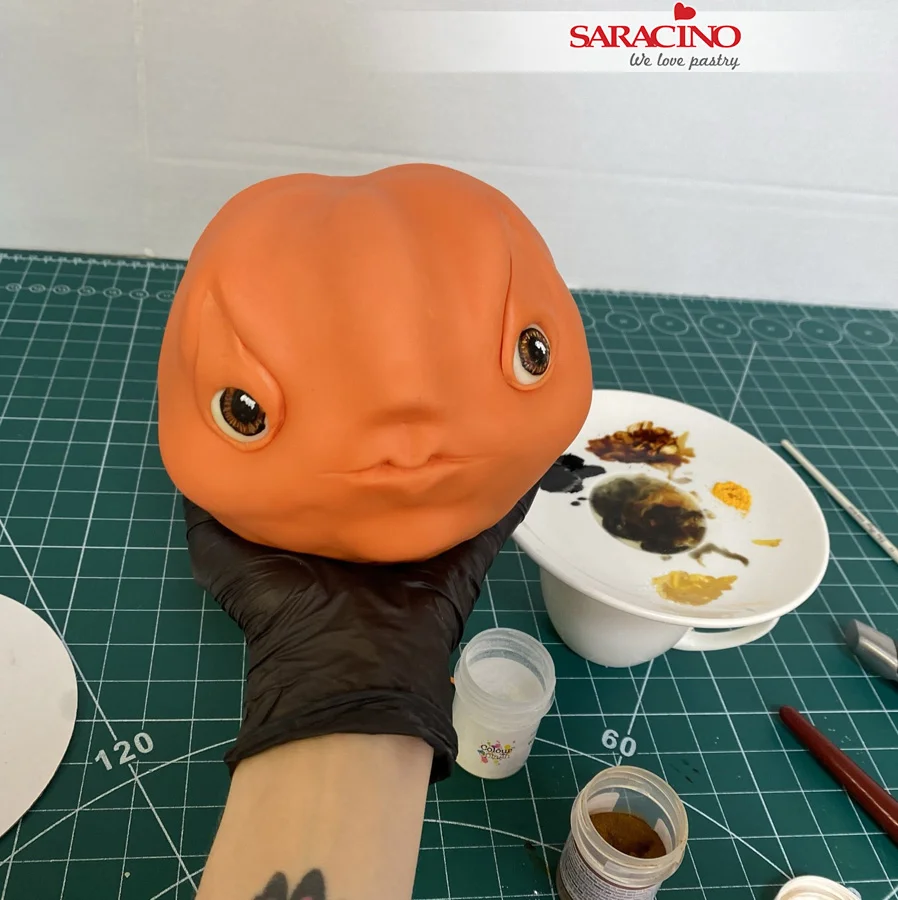
For painting the eyes, boil water and pour it into a small cup, put a plate over it and place a small amount of cocoa butter and allow to melt. Prepare your dust colours.

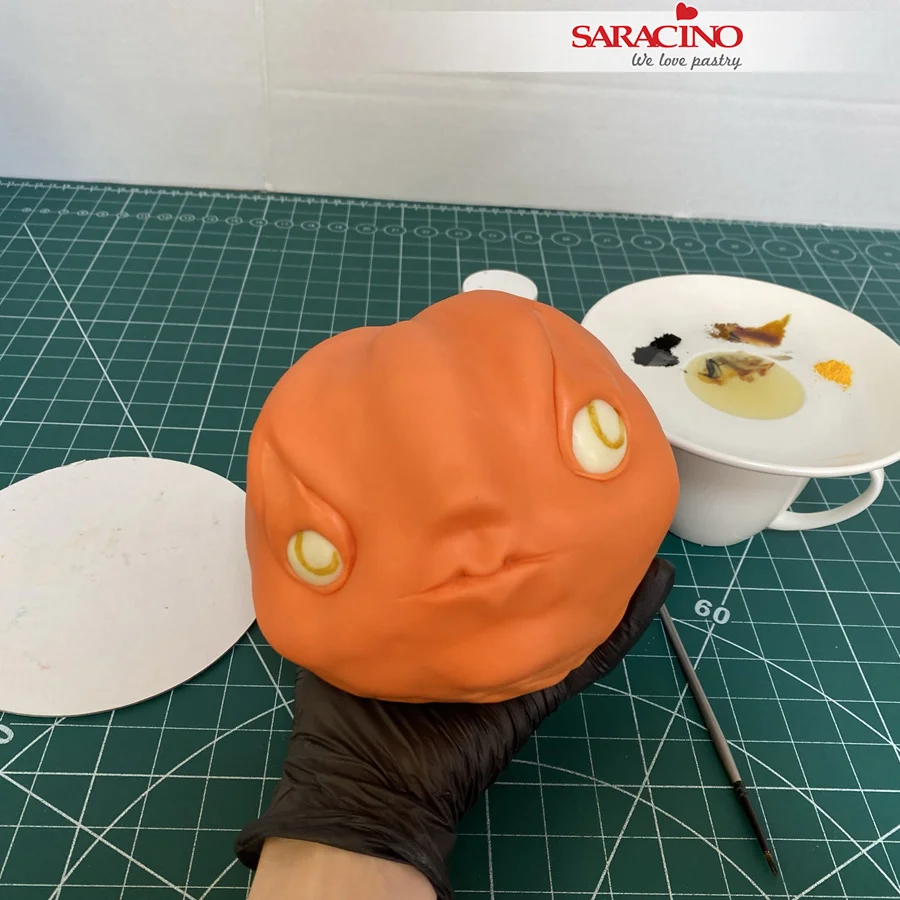
Step 36

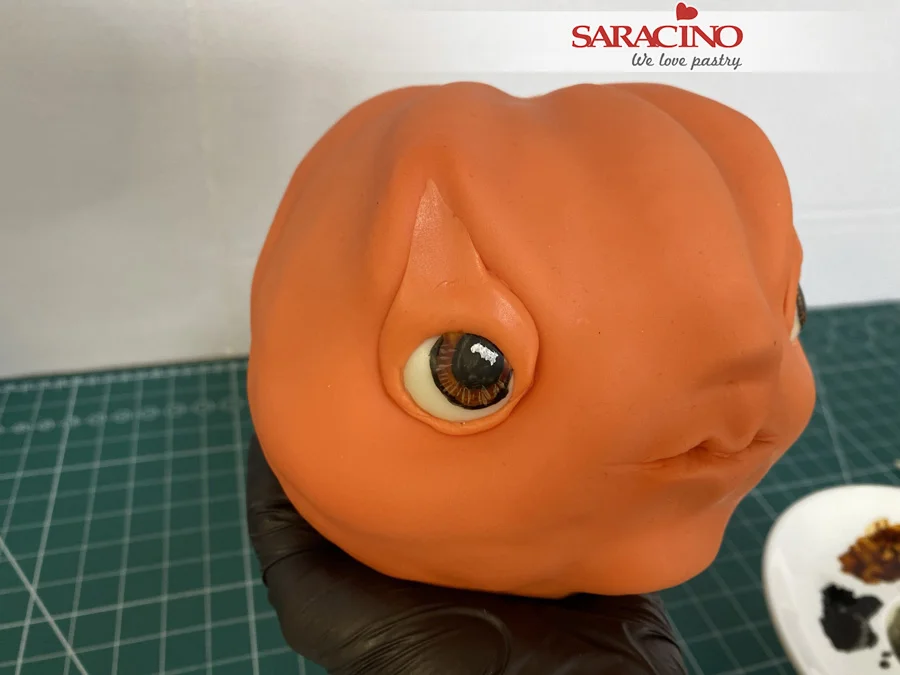
Knead orange Pasta Top well and shape it to add eye lids. Use your finger to smooth it out. Mix brown powder with the cocoa butter and paint the iris. Let it dry

Step 37

Mix black powder colour with cocoa butter and paint the pupil and let it dry for a second. With the brown and yellow colours paint the remainder of the iris. Use a little white paint to add reflection.

Step 38

Your eyes should look like this.

Step 39

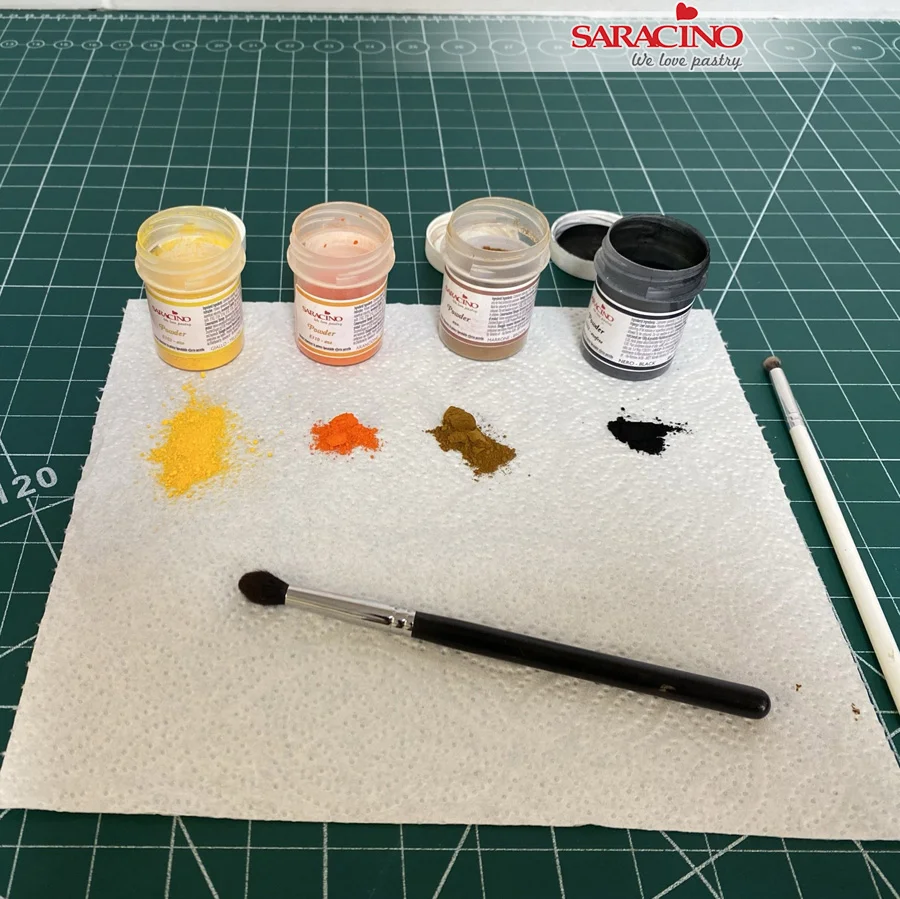
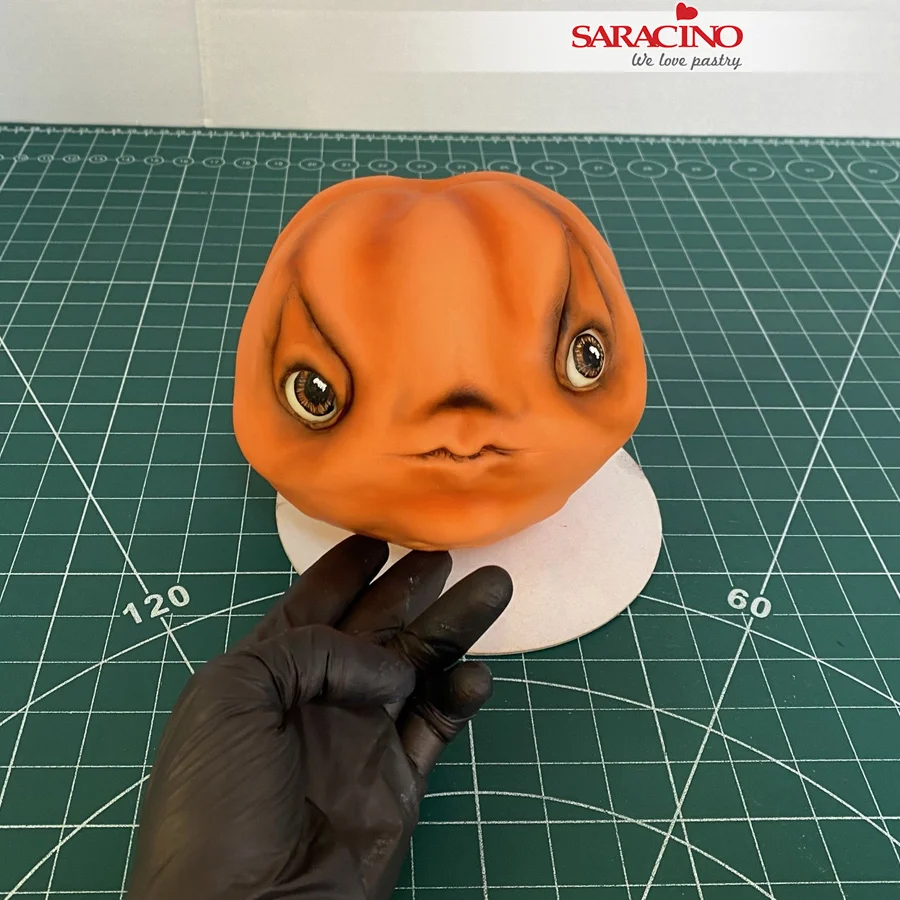
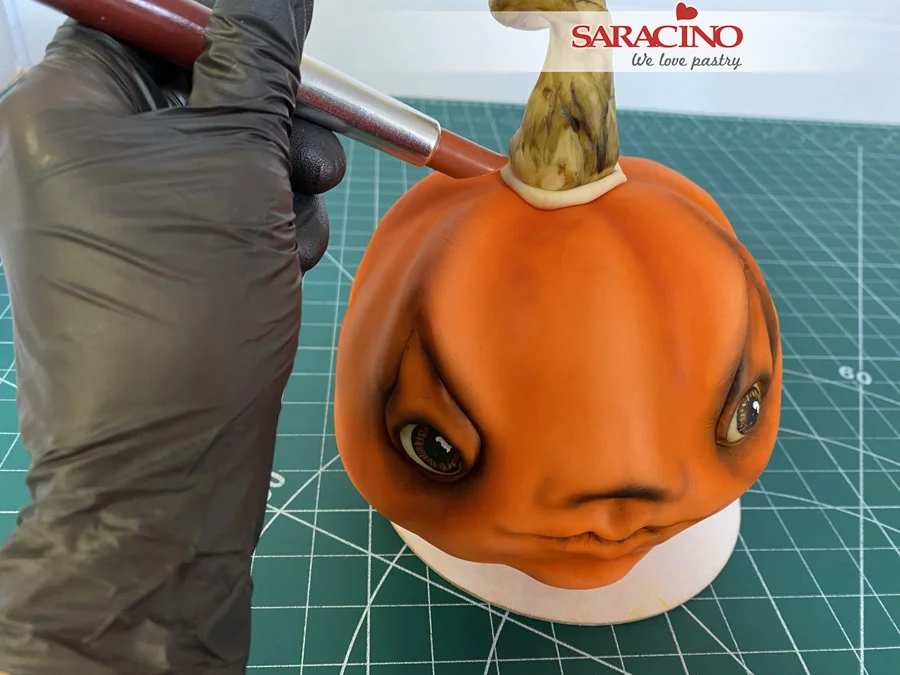
Prepare dust colours for shading the face. Use your imagination and add colours where you feel they should be. I used orange colour in all the creases and added darker shades.

Step 40

We want to achieve a shaded look as shown.

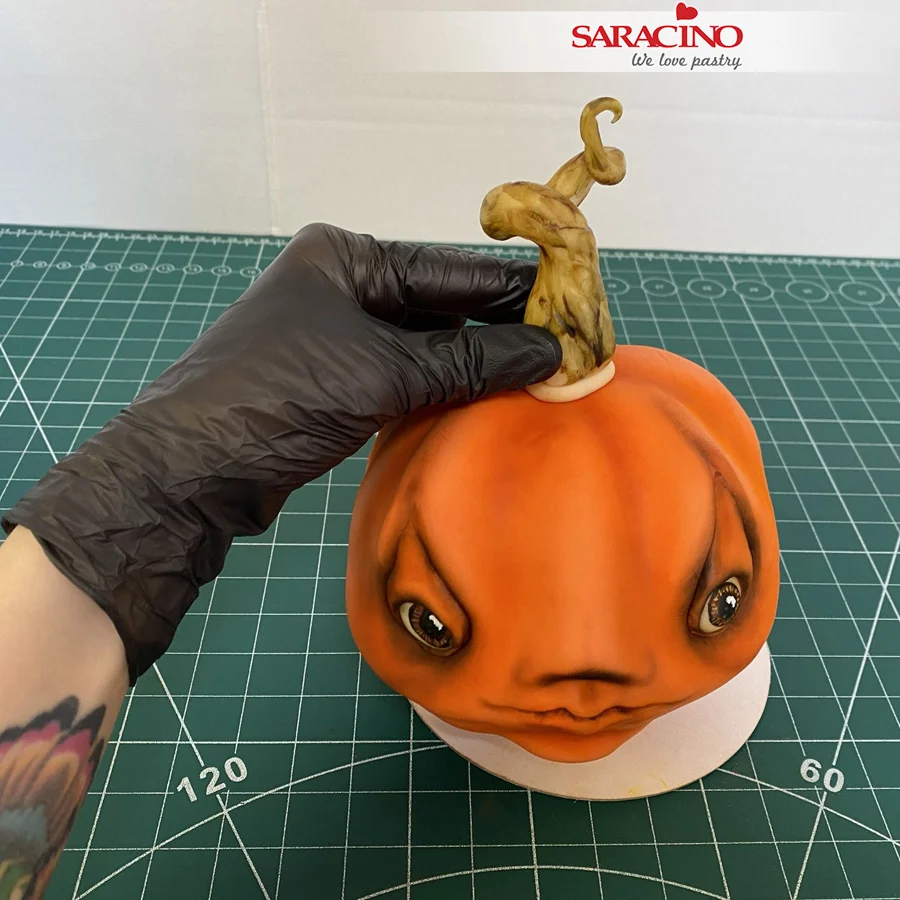
Step 41

Dust the pumpkin stem. When the face is ready, fix the stem to the top of the head with a small piece of well kneaded white modelling chocolate.

Step 42

Use a silicone brush to smooth it out and blend to the head.

Step 43

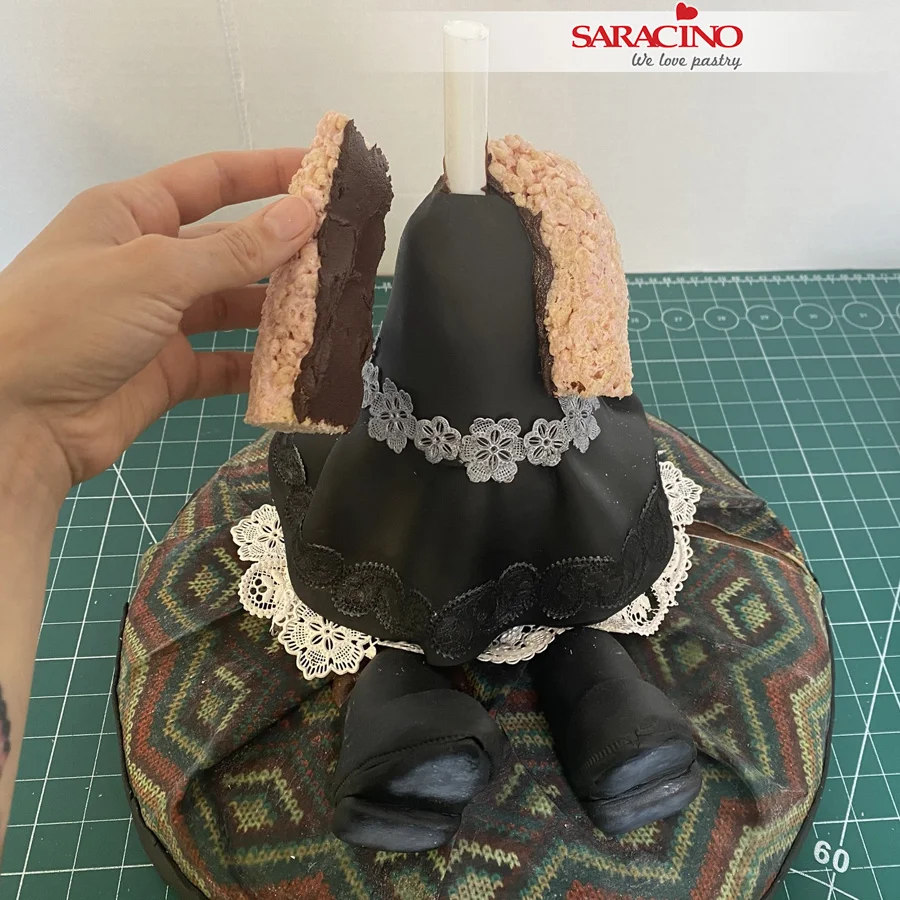
For the arms make more Krispie rice mix and shape them as shown. Fix them with chocolate ganache.

Step 44

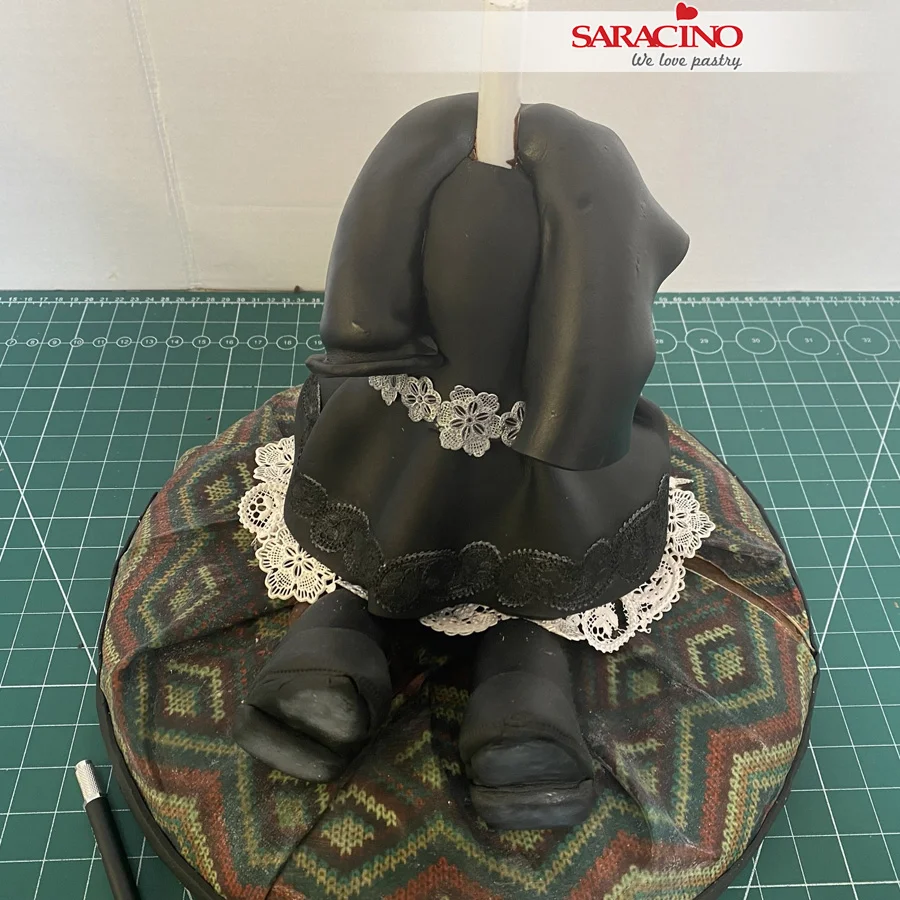
Roll black Pasta Top and cut a rectangle shape. Cover the arms. Roll the edge up to form an egde to the sleeve.

Step 45

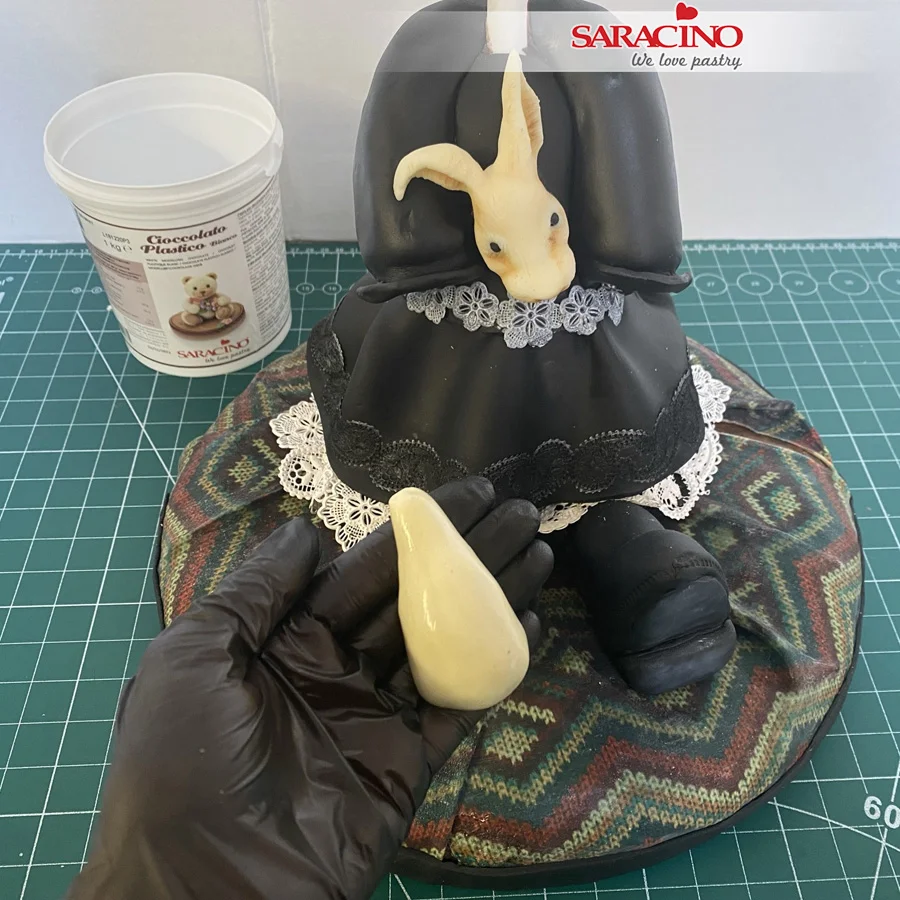
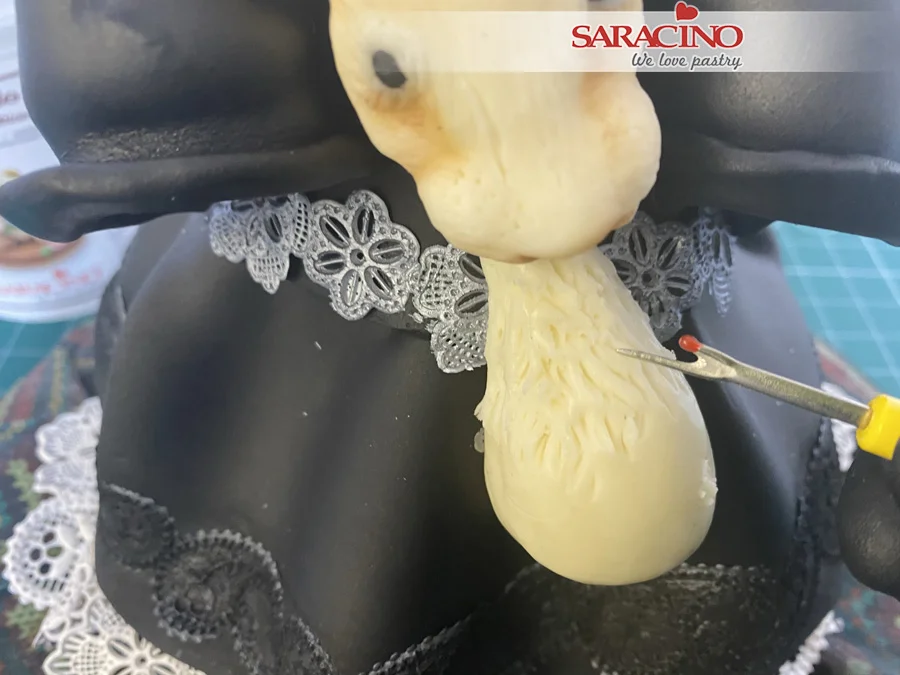
I made a rabbit toy for my pumpkin doll. I fixed the head with chocolate ganache. I then modelled a bigger piece of the chocolate into a teardrop shape and fixed it under the head.

Step 46

Using a sharp ended tool add a fur texture.

Step 47

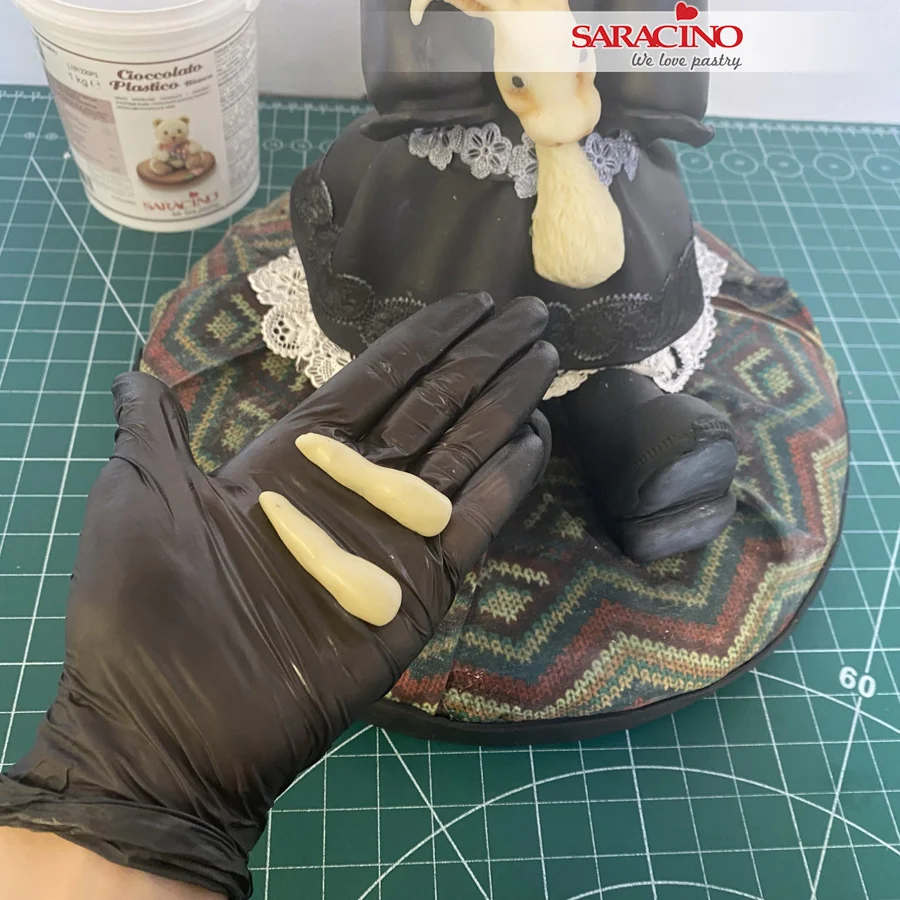
Repeat the process for the two rabbit legs.

Step 48

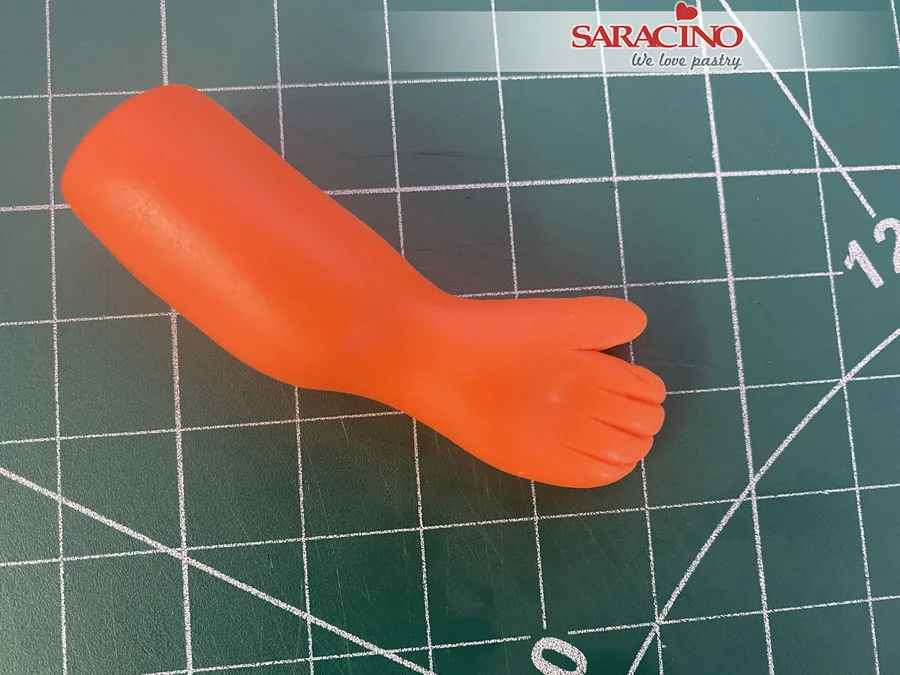
For the pumpkin dolls glove roll orange Pasta Top into two sausage shapes. Model two ends to make it look like hands. Cut out a small triangle to form a thumb. Mark the fingers.

Step 49

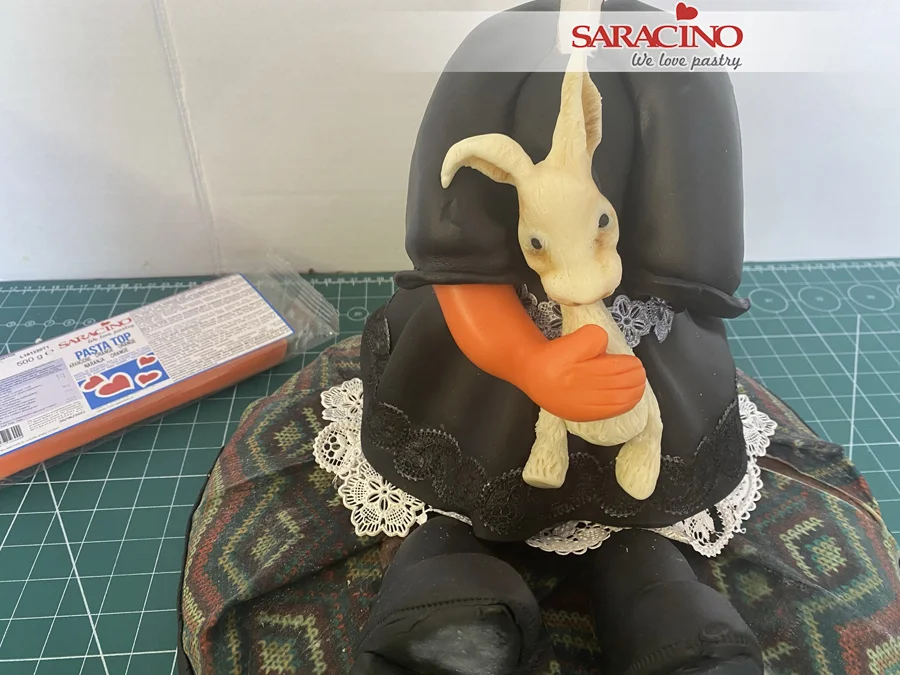
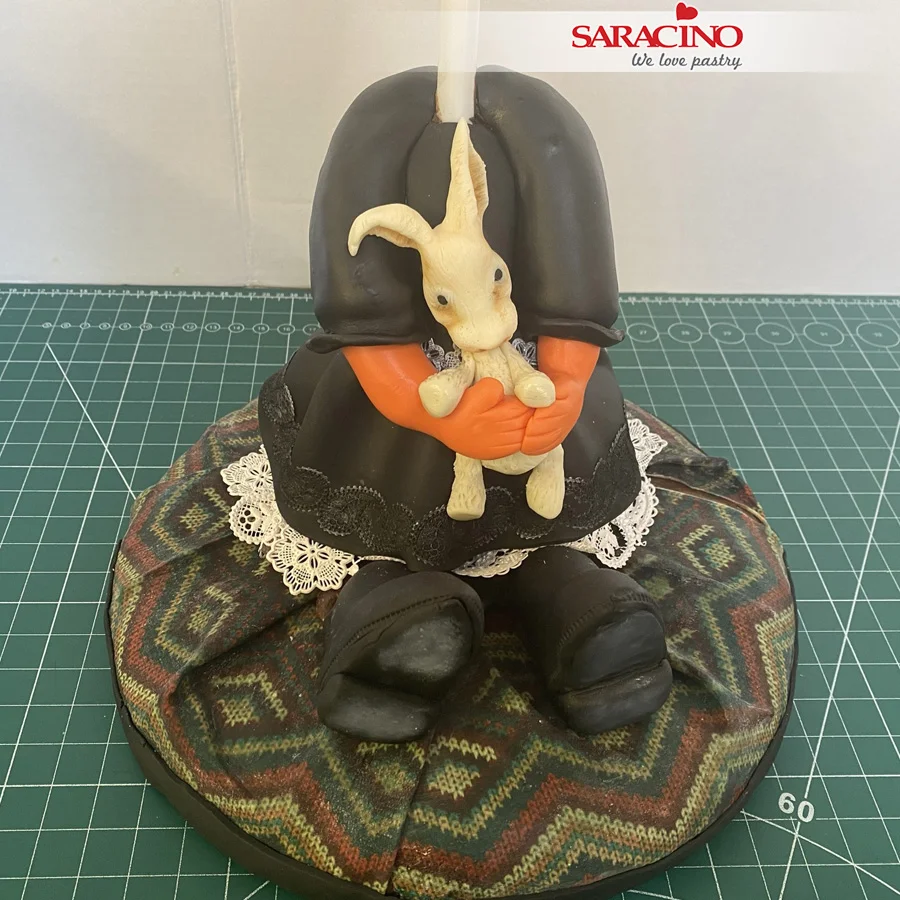
Fix the gloved hand in position so it looks like she is holding the rabbit.

Step 50

Repeat for the other hand. Now make and fix the hands of the rabbit.

Step 51

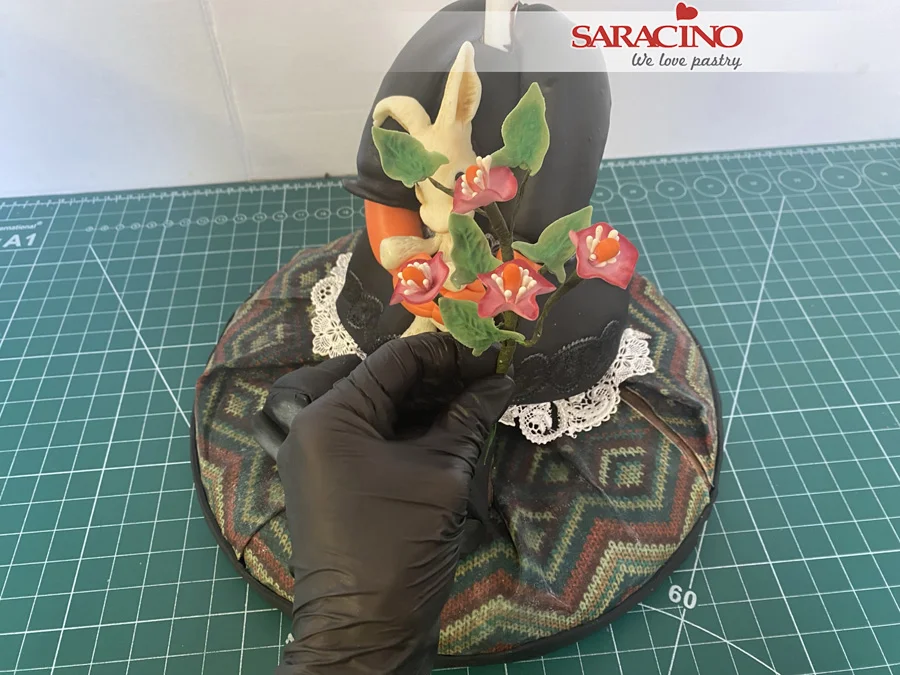
If you find any imperfections in your pillow these can always be disguised by adding flowers or foliage. 

Step 52

The head should be dry enough so when you push it onto the dowel it will not break. First step is to position where you want the head. I then made a small hole with a knife. Place over the dowel and gently push the head down until it meets the body.

Step 53

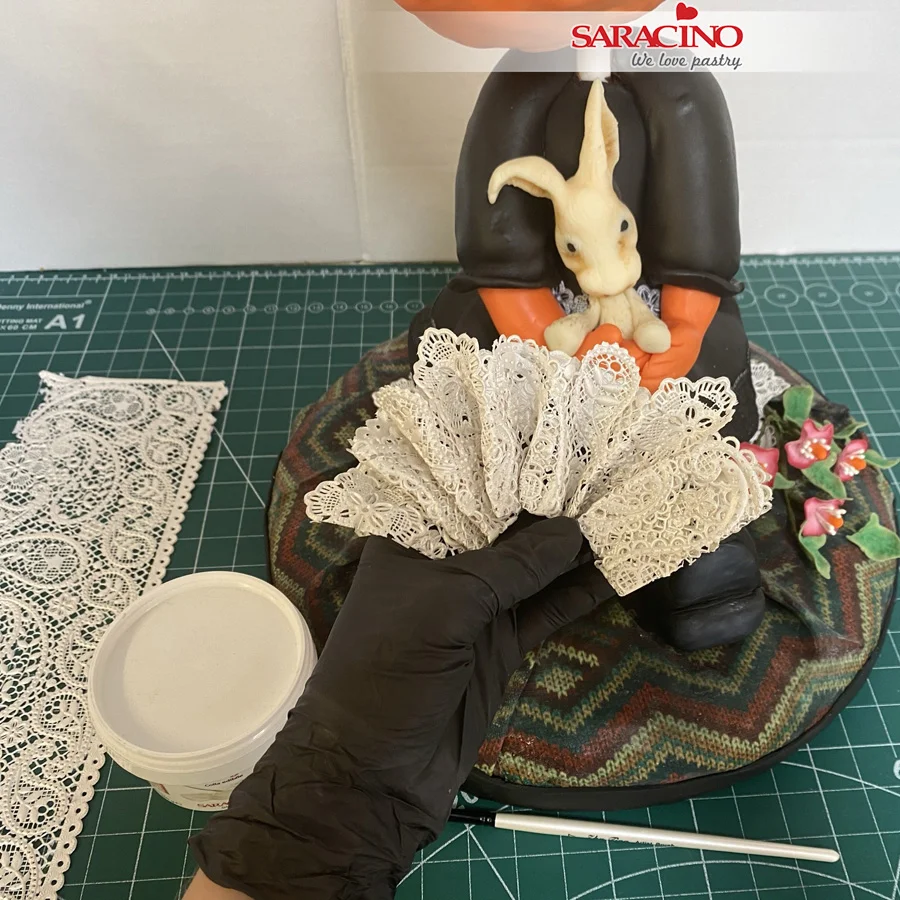
For the collar make some white pearl lace. 

Step 54

Fold it over in half and shape to a fan.

Step 55

Add a little cake gel between the body and the head and fix the first layer of lace. I made two layers to give it a fuller look.

Step 56

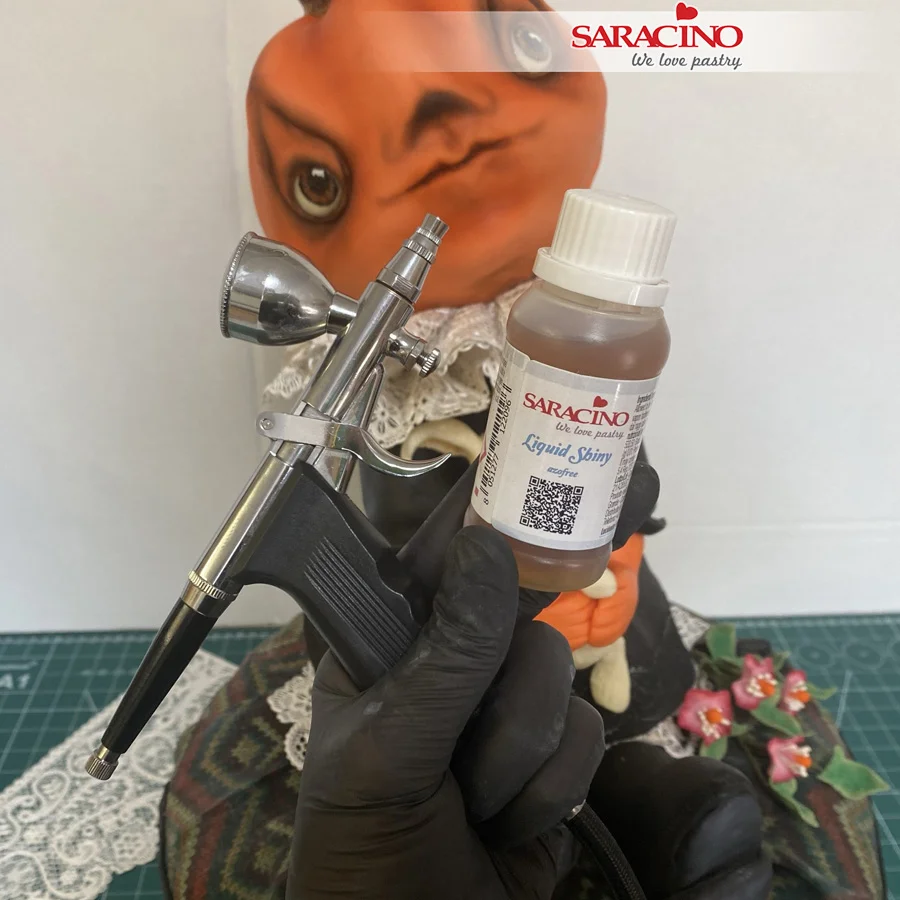
And for my final step I used an airbrush to apply a layer of Liquid Shiny glaze to the whole piece. This is not essential but gives a lovely finished look. 

Step 57

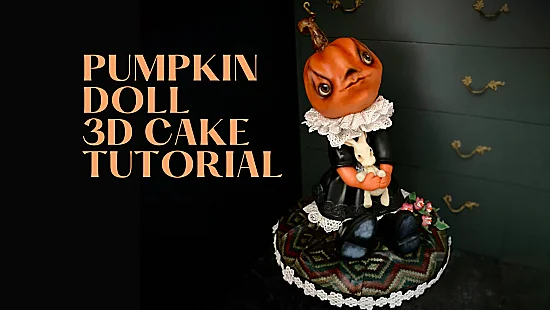
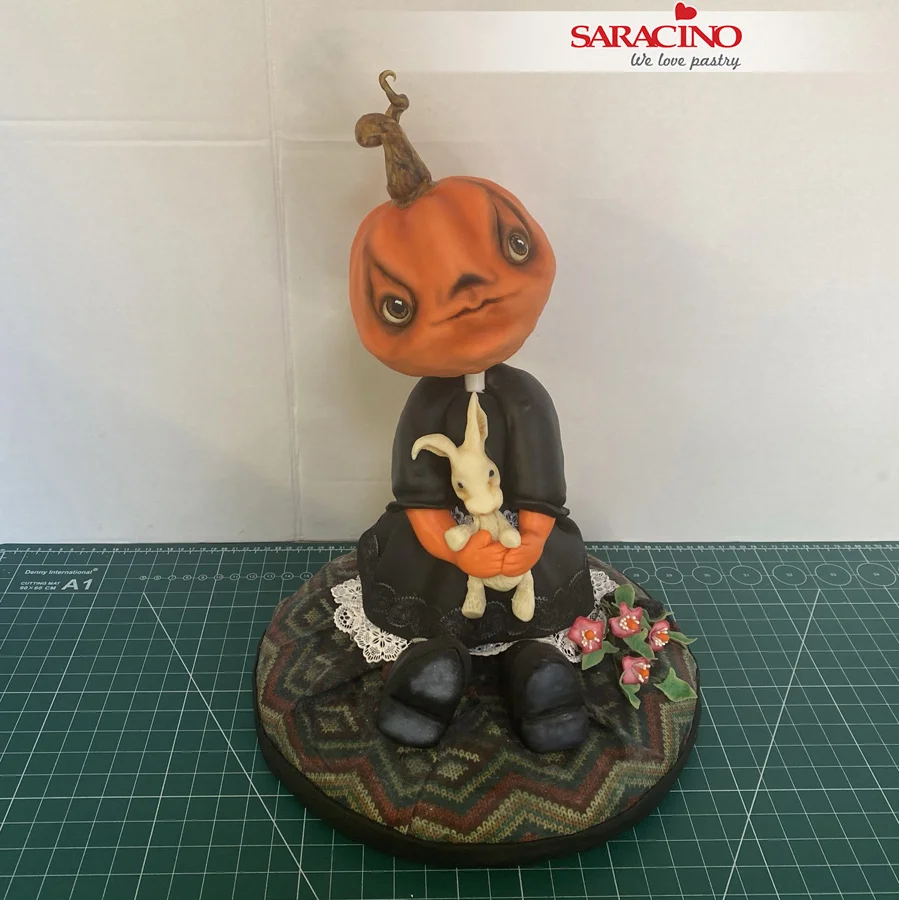
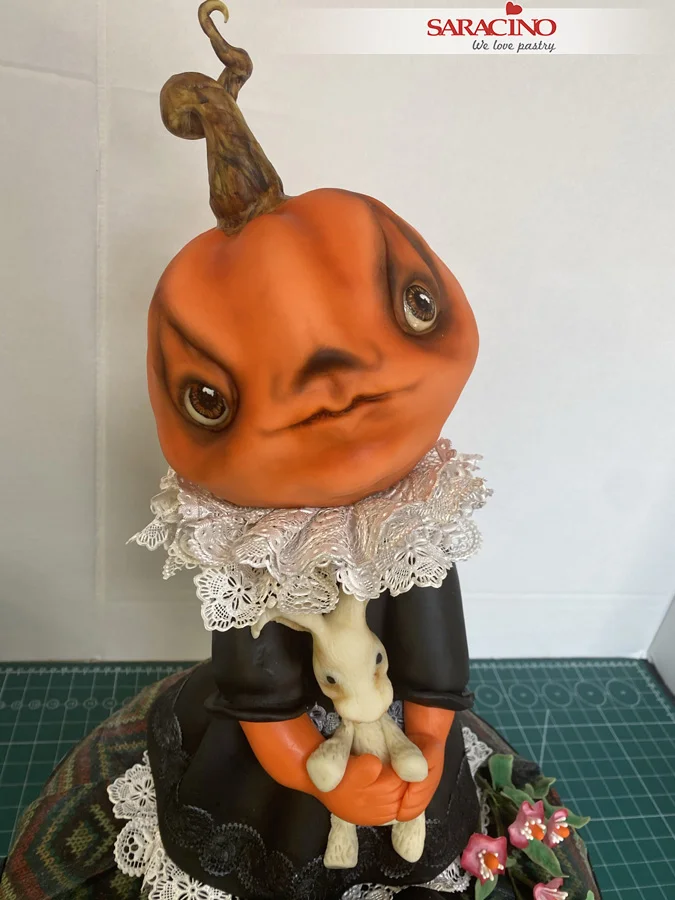
Voila! Your amazing 3D pumpkin girl doll is ready!

RASPBERRY SWISS ROLL CAKE

RASPBERRY SWISS ROLL CAKE

Author: Mabanuby

Skill level: INTERMEDIATE

You will need:

  • Saracino powder colours: pink, purple, yellow, green

  • Saracino Royal Icing mix

Ingredients for Pate Decor: 

  • 80g soft butter
  • 80g icing sugar
  • 60g egg whites
  • 70g plain flour

Ingredients for Swiss Roll Mixture: 

  •  200g eggs
  • 100g sugar
  • 150g Saracino Almond flour,
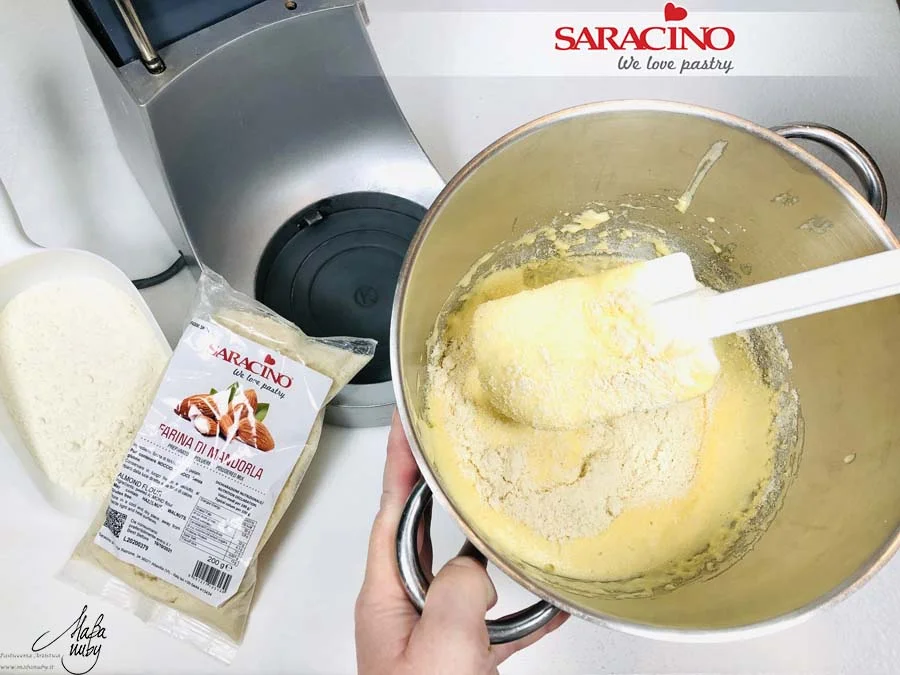
  • 40g plain flour
  • 2g salt
  • 60g almond paste
  • 140g egg whites
  • 70g sugar

Ingredients for Filling:

  • 250g butter
  • 200g condensed milk
  • 60g Le Supreme Raspberry food flavouring paste
  • 250g fresh raspberries
  • Raspberry jam

Equipment:

  • Food mixer

  • Baking paper

  • Baking film

  • Silkomart 01 silicone tray

  • Spatulas

  • Fine sieve

  • Bowls of various sizes

  • Royal icing piping nozzle (Wilton 125 for rose petals and Wilton 352 for leaves)

  • Round piping nozzle number 2

  • Royal Icing flower nail

  • Parchment paper

Step 1

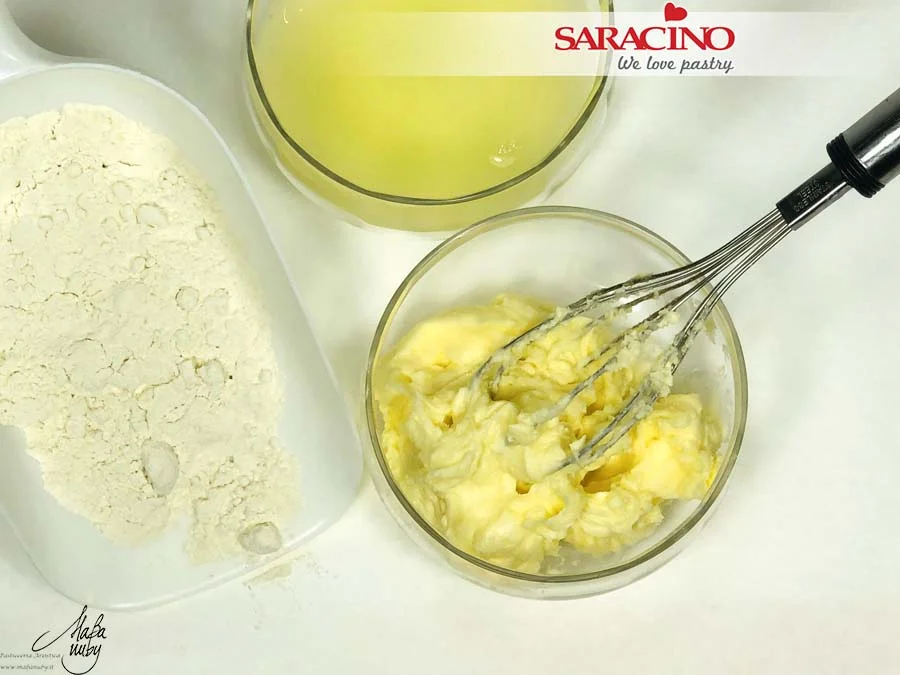
Prepare the ingredients for the pate decor. You will need the butter, icing sugar, egg whites, flour and Saracino powder colours (purple, green, yellow and pink).

Step 2

Combine the butter with the icing sugar until you have a fluffy consistancy.

Step 3

Gradually add the egg whites and the flour alternatively until the mixture is smooth and well blended.

Step 4

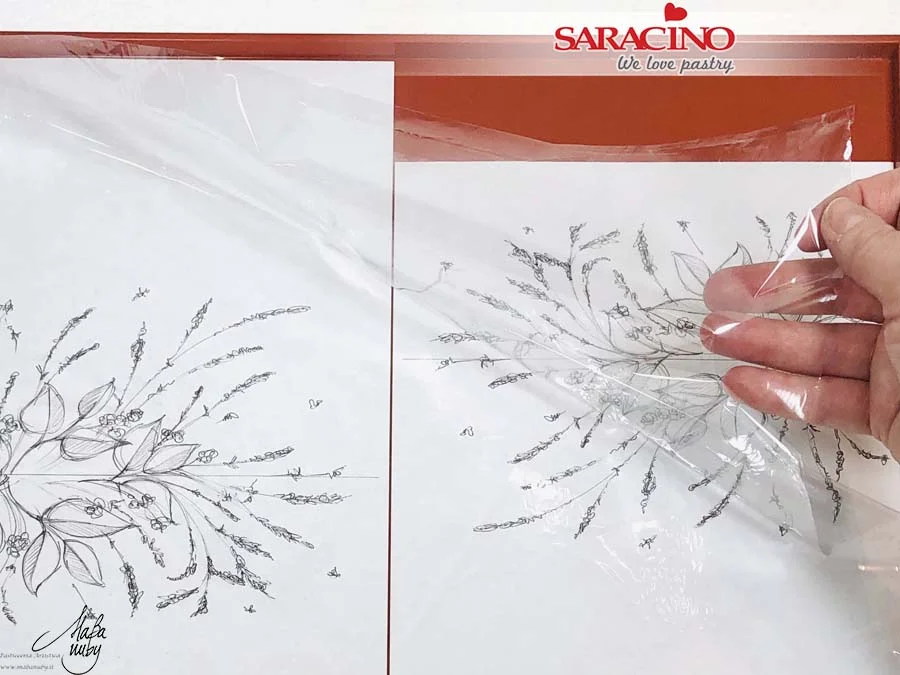
Prepare the required design on to a piece of paper.

Step 5

Prepare the silicone swiss roll tin / mould and cut transparent film (it is important the film is suitable for baking) to the same size as the mould.

Step 6

Place the design face up on the silicone swiss roll tray and cover it with the baking film. I am adding two templates which will make two smaller Swiss rolls.

Step 7

Divide the pate decor into 5 equal parts and colour with powder colours : pink, lilac, light green, dark green and yellow.

Step 8

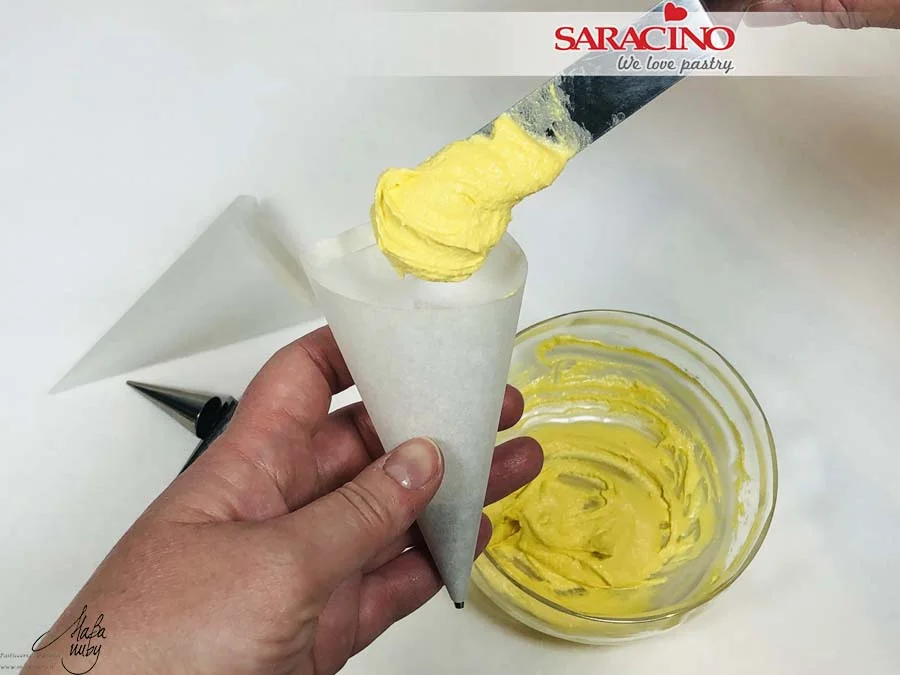
Add a number 2 piping nozzle to a piping bag and fill with the yellow pate decor. 

Step 9

Repeat for the lilac colour.

Step 10

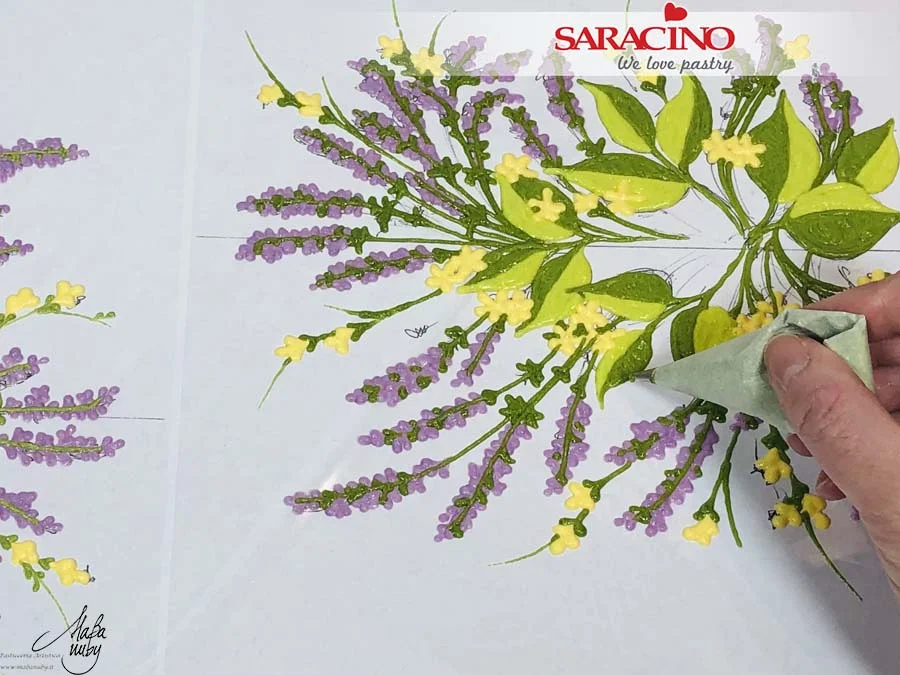
Pipe to make the flowers as shown.

Step 11

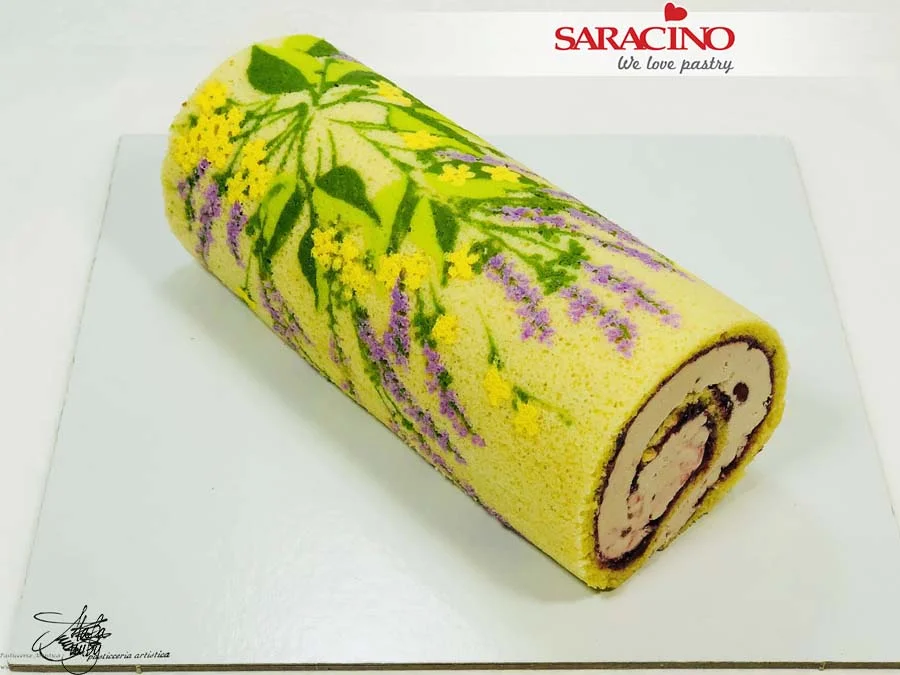
Using a number 2 nozzle again add light green and dark green to piping bags. Using the dark green pipe small stems and twigs. 

Step 12

Pipe some of the larger leaves with light green.

Step 13

Finish the larger leaves with dark green. Place in the refrigerator to cool well.

Step 14

Prepare the ingredients for the Swiss roll mixture: whole eggs, sugar, Saracino almond flour, plain flour, almond paste, egg whites, a pinch of salt.

Step 15

Whisk the eggs and a first part of the sugar in the mixer until light and fluffy.

Step 16

Mix the almond flour and salt well.

Step 17

Using a sieve add the flours to the whipped mixture.

Step 18

Combine gently with a spatula (from top to bottom) without overworking the mixture.

Step 19

Gently combine the almond paste.

Step 20

Whip the egg white until stiff and add the second part of sugar.

Step 21

Gently combine the two mixtures without losing the entrained air.

Step 22

Remove the paper template from uder the baking film sheet. Add the Swiss roll mixture evenly over the painted design. Take care not to damage your design.

Step 23

Using an elbow spatula fill the silicone pan completely evenly taking care not to overwork and lose the air. Place in the oven and bake at approximately 170° for 10 minutes.

Step 24

Once cooked, turn the Swiss roll over onto a baking sheet and allow to cool. Once cold, gently remove the silicone mould.

Step 25

Remove the bakable film.

Step 26

Cut to the length of Swiss roll you would like.
Step 27

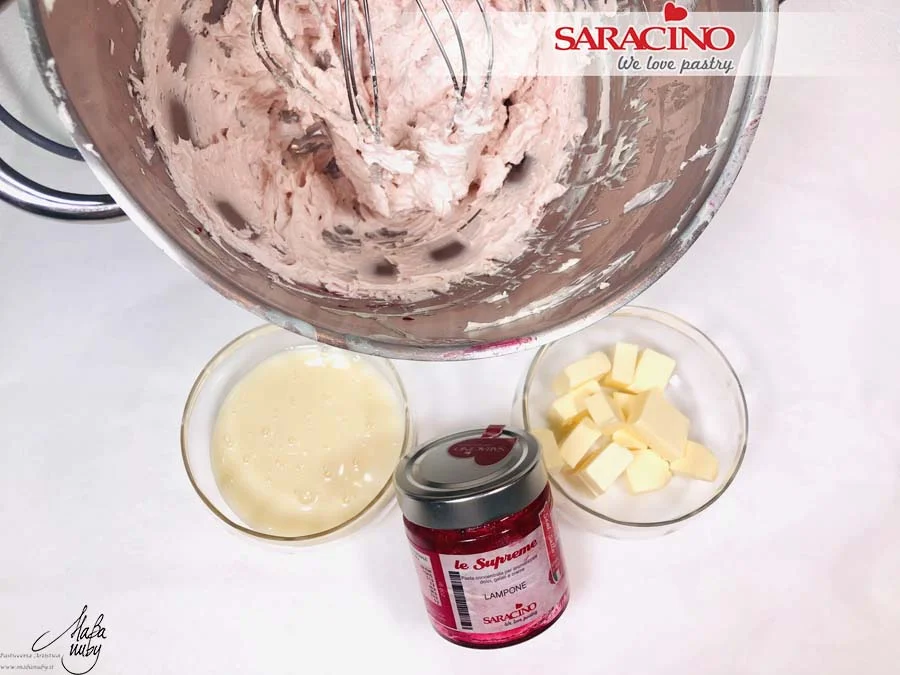
Prepare the ingredients for the filling : butter, condensed milk, Saracino Supreme Raspberry food flavouring.

Step 28

Whip the butter in a mixer.

Step 29

Add the condensed milk and continue to whisk until a soft cream is obtained.

Step 30

Add the Supreme Raspberry to give taste and colour. Mix well.

Step 31

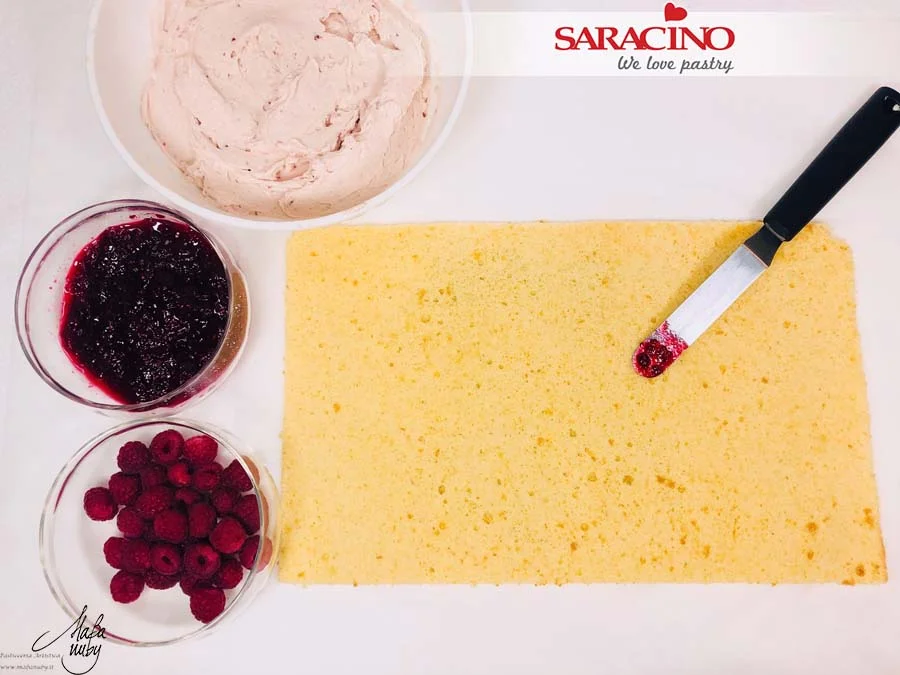
Turn the sponge upside down by placing it on parchment paper cut to size and prepare the ingredients for the filling.

Step 32

Spread a very thin layer of raspberry compote.
Step 33

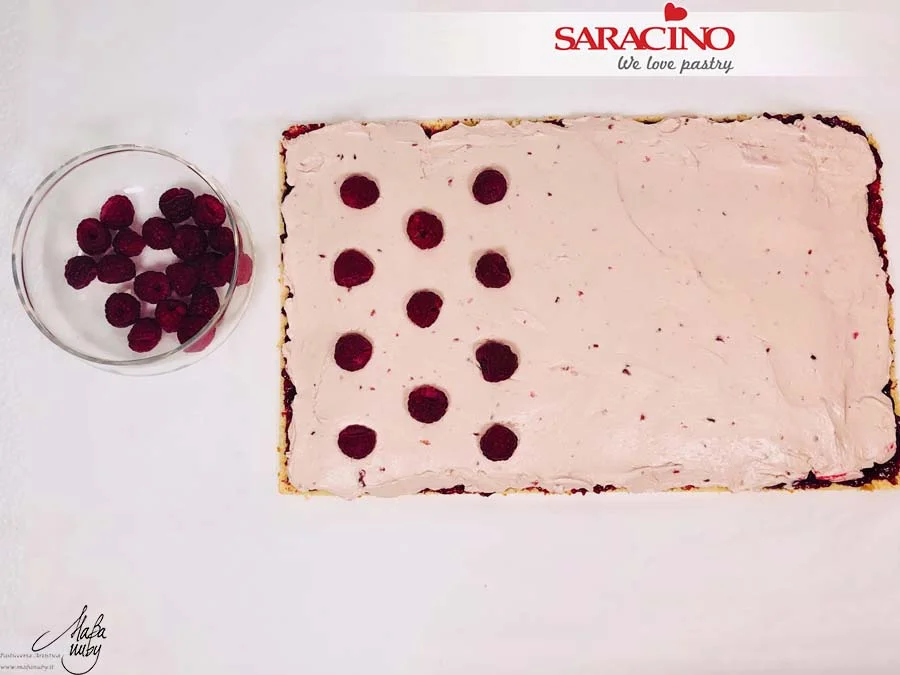
Spread a thick layer of our raspberry flavour cream filling on top of the jam.
Step 34

Add the fresh raspberries on the cream evenly.

Step 35

Using the baking paper roll up the Swiss roll.

Step 36

Finish the roll so that the design is on top and allow to cool in the refrigerator.

Step 37

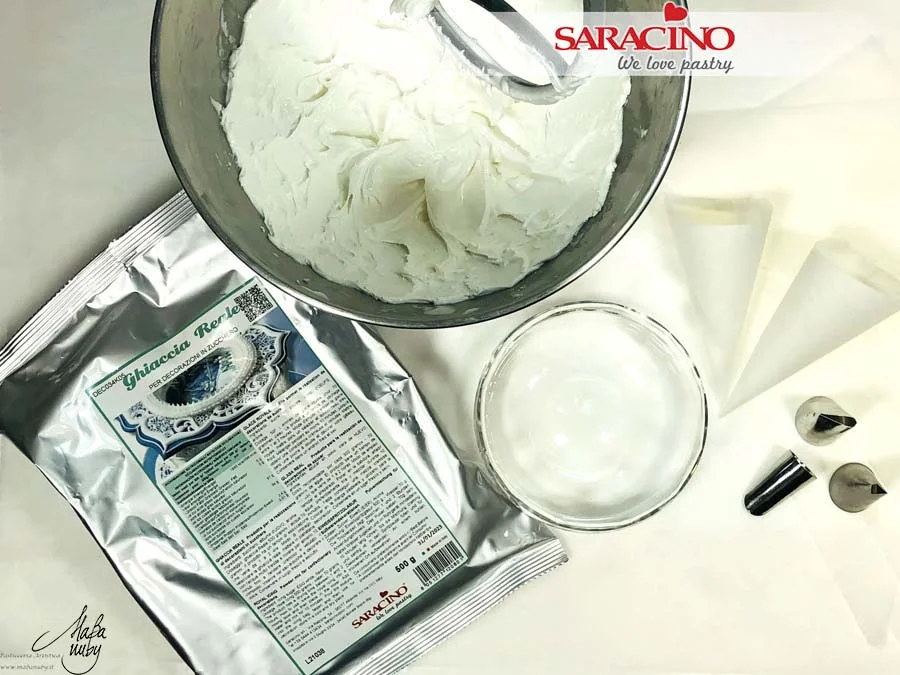
Use a mixer to prepare the Saracino royal icing in accordance with the instructions on the packaging (just add water and mix).

Step 38

Divide the royal icing into 3 equal parts and colour with Saracino powder colours (pink and green) to obtain light pink, pink and green.


Step 39

Remove the parchment paper from the roll.

Step 40

Use a sharp long bladed knife to trim the ends precisely to highlight the internal filling.

Step 41

Add light pink royal icing to a piping bag that has a petal piping nozzle. 
Step 42

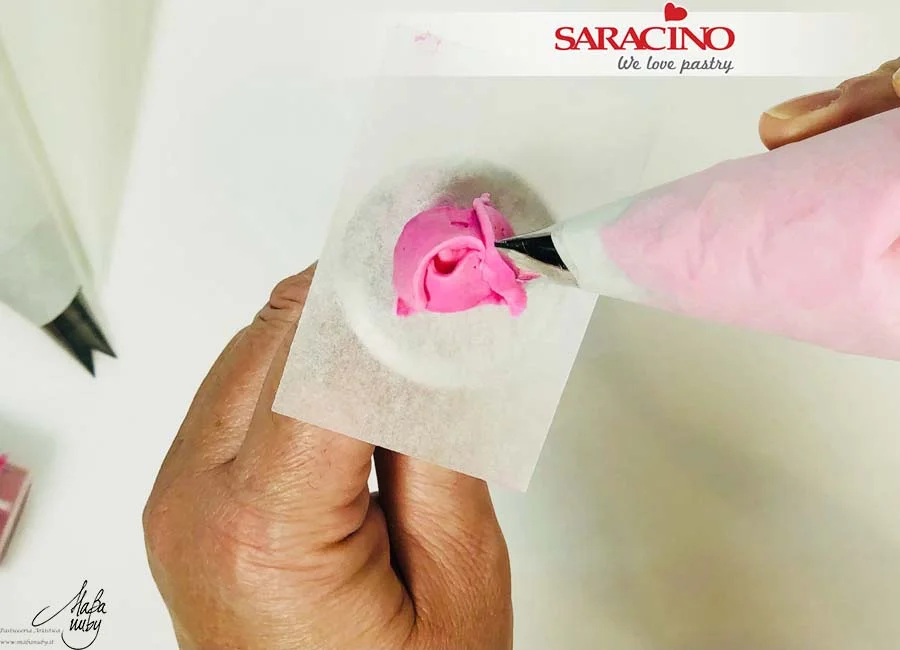
Fix a small square of parchment paper to the top of a flower nail. Pipe a cone of royal icing in the centre. 
Step 43

Pipe the inner 3 petals and allow to dry.

Step 44

Pipe the second layer of 5 petals and dry.

Step 45

Pipe the final circle of petals and dry. Repeat to create other buds and roses in light and dark pink.

Step 46

Add green royal icing to a piping bag with a leaf nozzle. Add a small amount of royal icing to the top of the Swiss roll as shown. 

Step 47

Remove the royal icing flower from the flower nail. Remove the parchment paper. 

Step 48

Place the rose on the green royal icing to fix into place.

Step 49

Continue decorating the roll with the other roses and buds following the design created on the sponge.

Step 50

Finish by piping leaves around and between the roses.