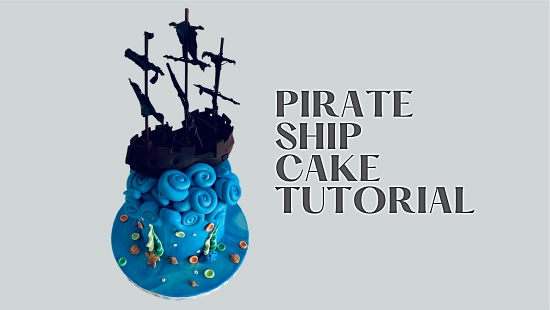
PIRATE SHIP CAKE TUTORIAL


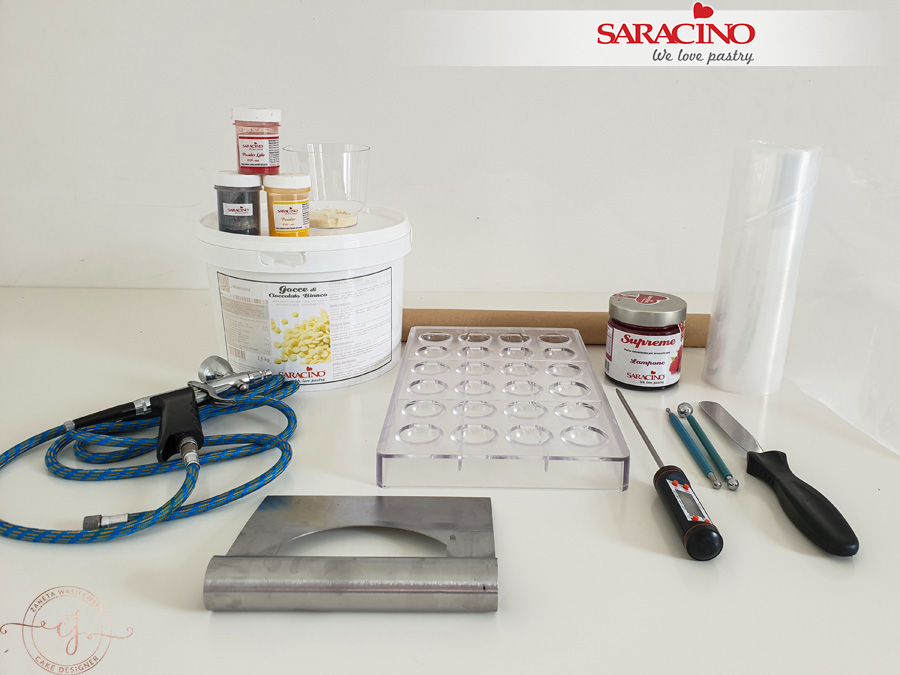
You will need:
- A dummy or cake
- Cake drum
- Saracino Pasta Top (blue, tiffany, white) to cover dummy / cake and cake drum
- Saracino Pasta Model (brown, orange, blue, green)
- Airbrush
- Airbrush colours (brown, black)
- Rolling pin
- Modelling tools
- Smoother
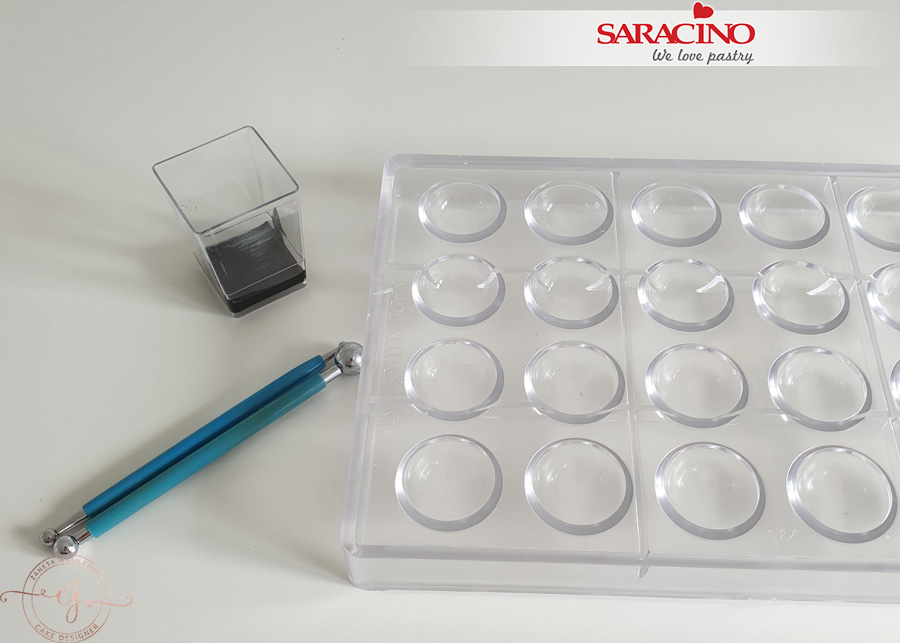
- Silicone mould shells
- Scalpel
- Long and short toothpicks
- Saracino Wafer Paper 0.27
- Water
- Brush

Step 1
Combine the white, tiffany and blue Pasta Top and mix. Dont worry about mixing too well as we want a marble effect.

Step 2
Cover the cake board.

Step 3
To cover the dummy / cake use the coloured Pasta Top. If you need to dust the work surface with cornflour before rolling the fondant to prevent it sticking. Lightly moisten the dummy or cake using water or cake gel so that the fondant sticks.

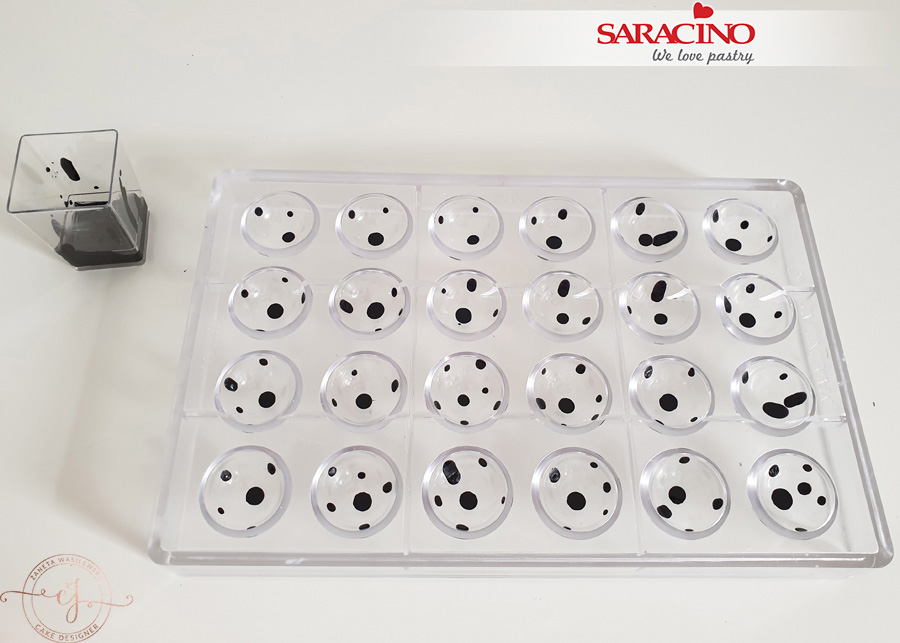
Step 4
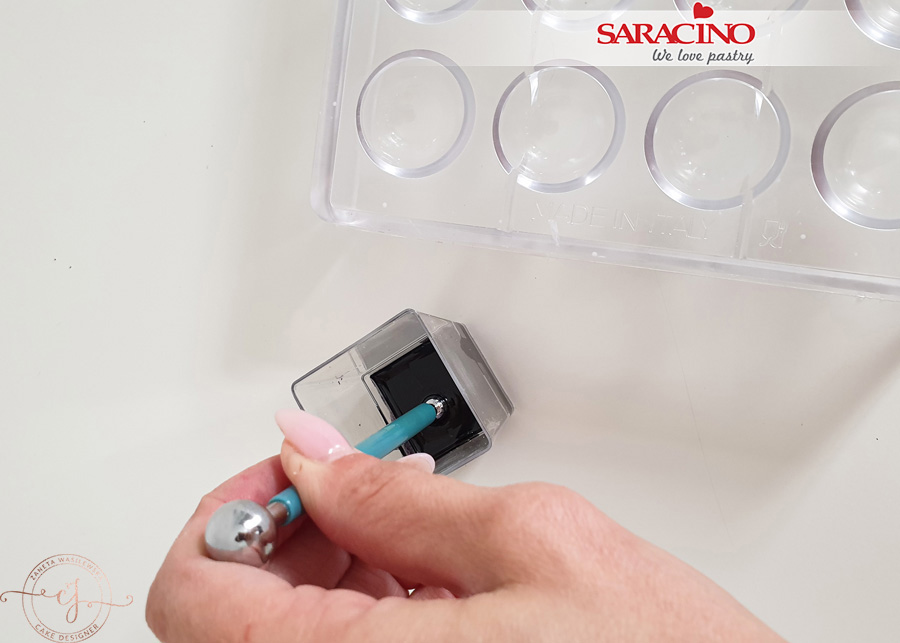
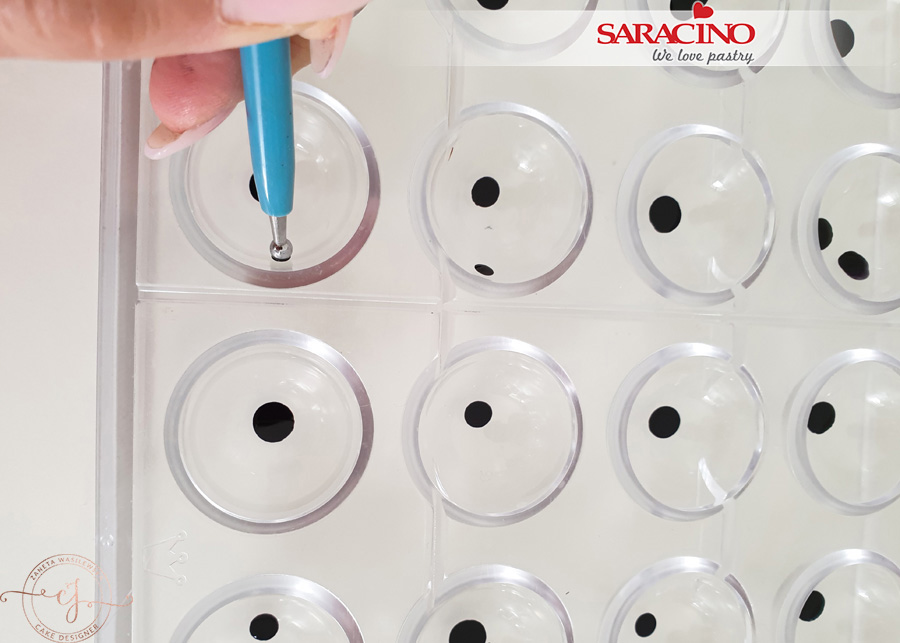
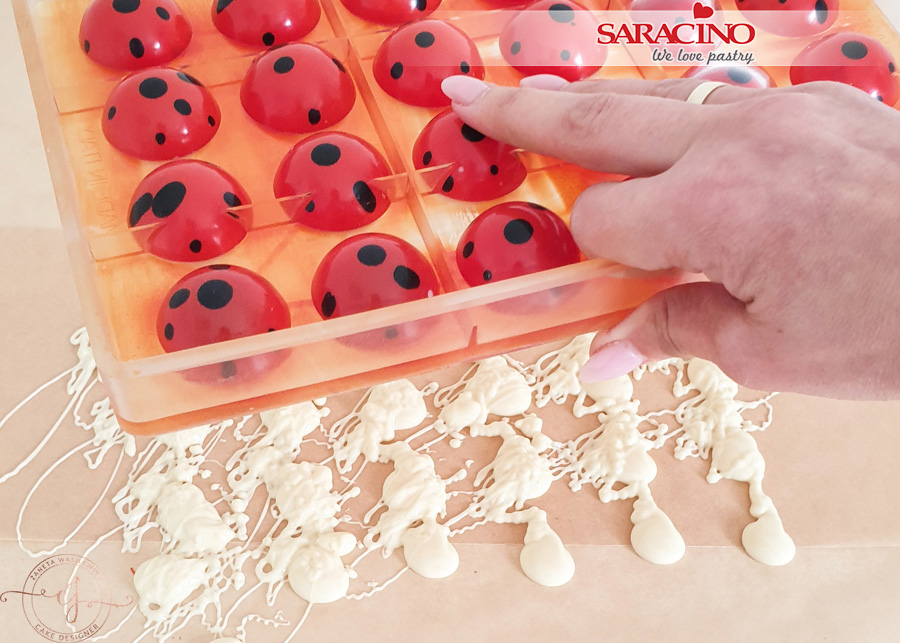
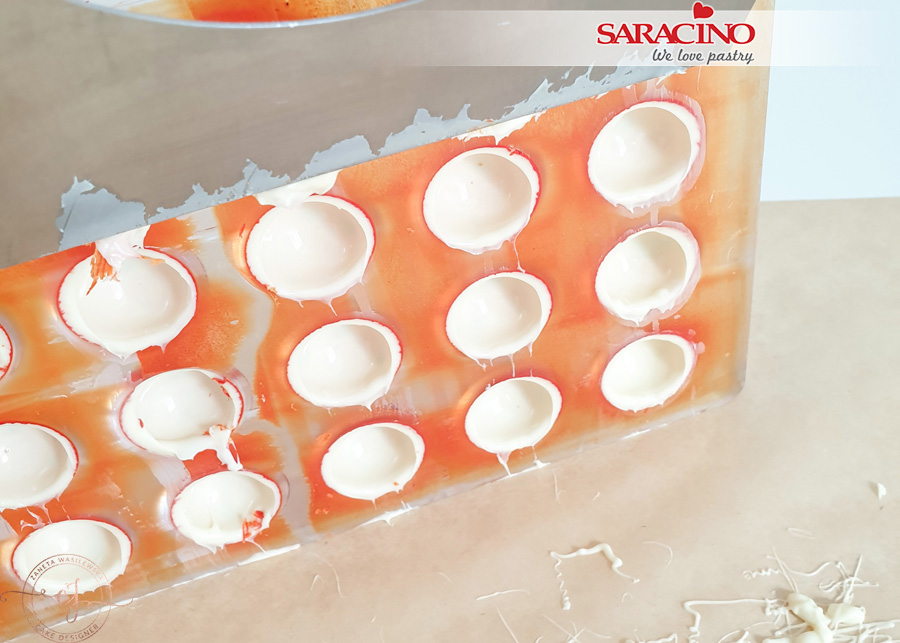
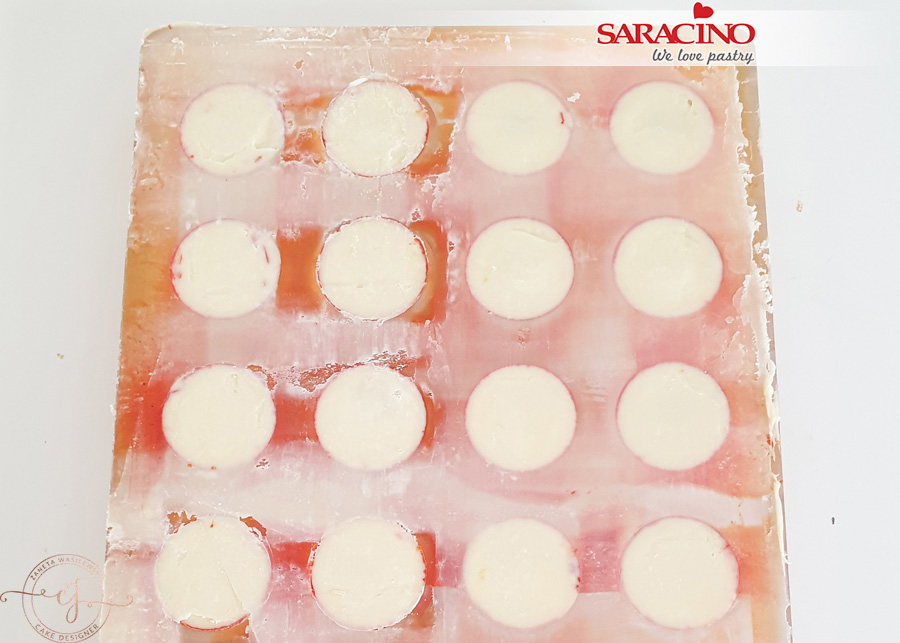
For the shells to the side of the cake roll small balls using three different colours. Use your ball tool to create an indent and hollow out to form the curved shape.

Step 5
Attach them randomly to the cake and board.

Step 6
For the seaweed roll long sausage shapes from two shades of green Pasta Model. Use your fingers to flatten.

Step 7
Twist them into a seaweed shape. Fix them to the cake as you wish.

Step 8
For the waves use the remaining coloured Pasta Top. Weigh out pieces of 18-30g and roll each of them to a long teardrop shape. Again this does not have to be perfect as we want to achieve a random sea look.

Step 9
From the narrow end roll into a snail shell shape.

Step 10
Bend and shape the waves randomly to give a flowing sea feel. Fix to the top and sides of the cake using a little water or edible glue.

Step 11
Using 500g brown Pasta Model model the shape of the boat.

Step 12
Use your scalpel to cut out a rectangle shape for the hollowed out deck area.

Step 13
Roll thin strands of brown paste. Flatten gently and cut into strips to attach to the back of the deck area. We want to achieve a wooden plank effect.

Step 14
Use your Dresden tool to apply a wood look texture to the ship.

Step 15
Roll out a 3cm wide strip of brown Pasta Model. Use a sharp knife to form a turret shape across the top.

Step 16
Using a little water fix to the bow and stern of the ship cutting the piece to the length you need. Using a ball tool make indentations in the front for the port holes.

Step 17
For the cannon shutters shape 8 small squares and fix them to the sides of the ship pressing with point shapers.

Step 18
Roll a 3cm long sausage shape and cut into two. Fix vertically on the back end of the ship. Roll a thinner sausage shape and fix over the two vertical pieces.

Step 19
For the mast pads roll 1.5cm long sausage shape and divide into three equal parts. Roll a thin strip and fix around the top of each mast base. Fix the mast bases to the front, middle and back as shown.

Step 20
For the two front handrails roll a 1cm diameter sausage shape 3cm long and cut in half fix to the deck as shown. Roll a thinner piece and divide into two and stick to the top of each post to form the handrail.

Step 21
For the steering wheel support roll a 3cm long sausage shape slightly narrower at the top end. Mark 3 grooves around it. Fix between the handrails.

Step 22
Using a thin line of rolled paste form a round steering wheel.

Step 23
Add 8 small lengths of thin brown paste to the wheel meeting in the centre. Use a sharp modelling tool to mark small holes at the joining points.

Step 24
Attach the wheel to the upright column.

Step 25
Work your brown paste until it is soft. Cover three wooden skewers with the paste.

Step 26
Insert each mast into the three bases we fixed earlier.

Step 27
Now prepare the horizontal mast pieces. Cover lengths of wooden skewer and toothpick with the soft brown paste. For this ship I have used 7 mast pieces.

Step 28
Using a little water or edible glue fix each horizontal member to the vertical mast. Roll or extrude a thin line of brown paste. Twist around to give the rope look.

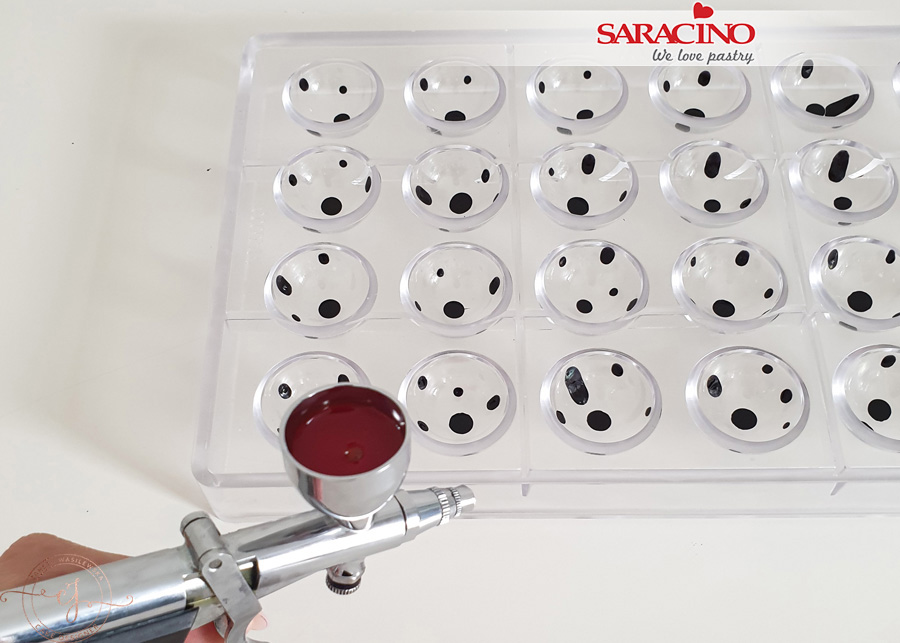
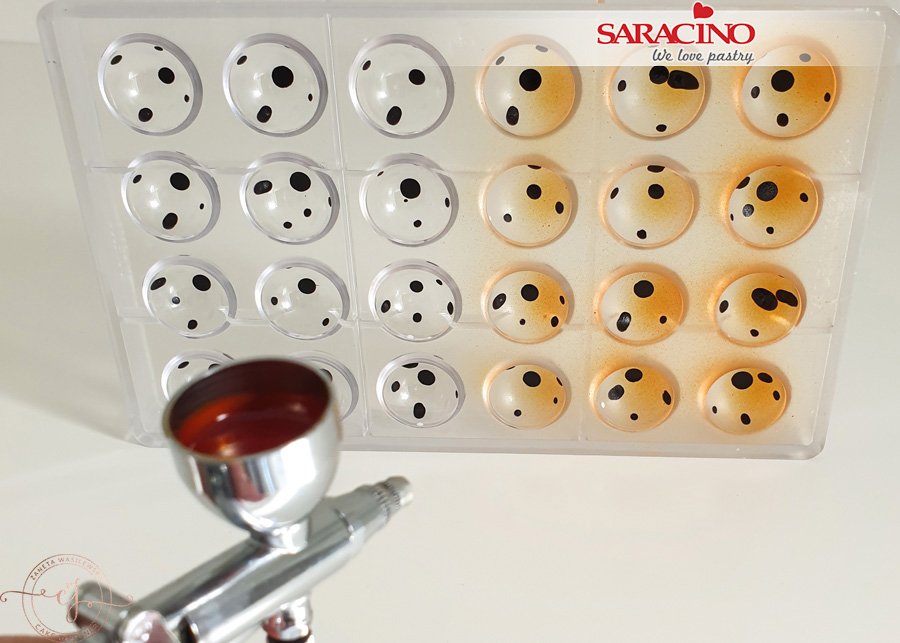
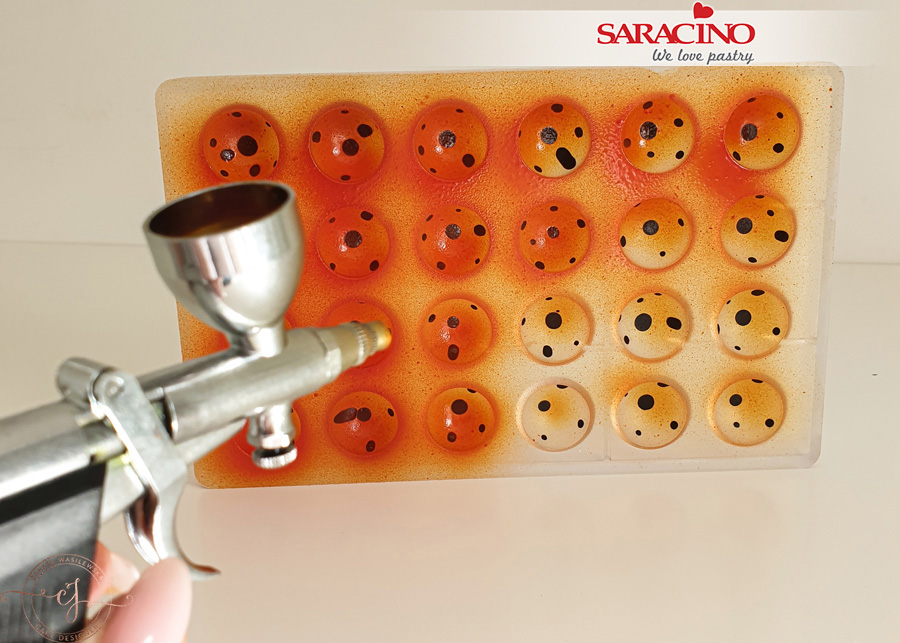
Step 29
Using an airbrush spray with a dark brown. We want to achieve a shipwrecked derelict look.

Step 30
For the sails we need to rip pieces of 0.27 wafer paper to give a torn rough look. Use your airbrush to spray both sides black.

Step 31
Using a little water or edible gluse fix the sails to the masts randomly. We want to achieve a ripped, ghostly, random look.

Step 32
Place the ship on the cake so that it sits against the waves. If the ship is not sitting well use a little spare paste underneath were it is not seen.

Step 33
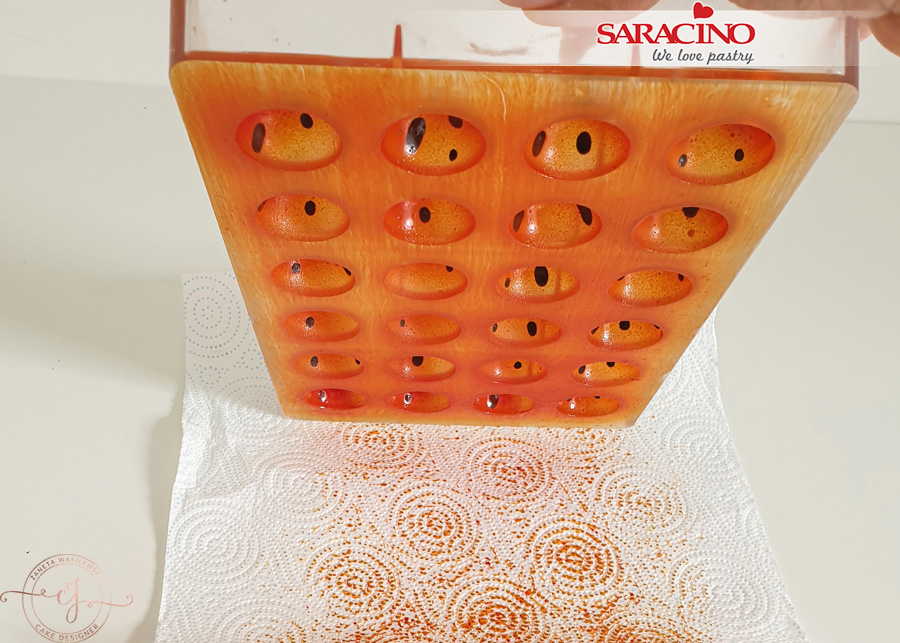
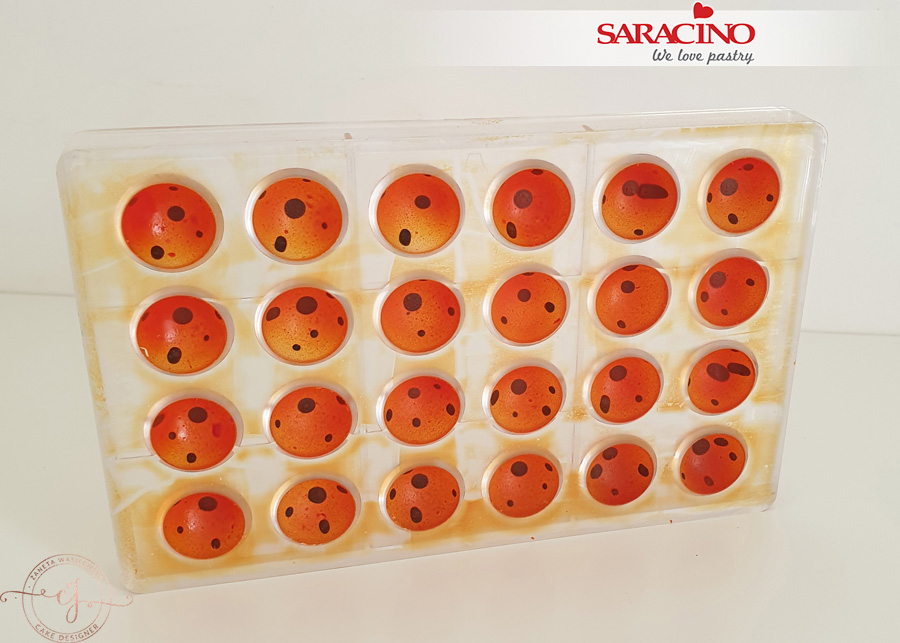
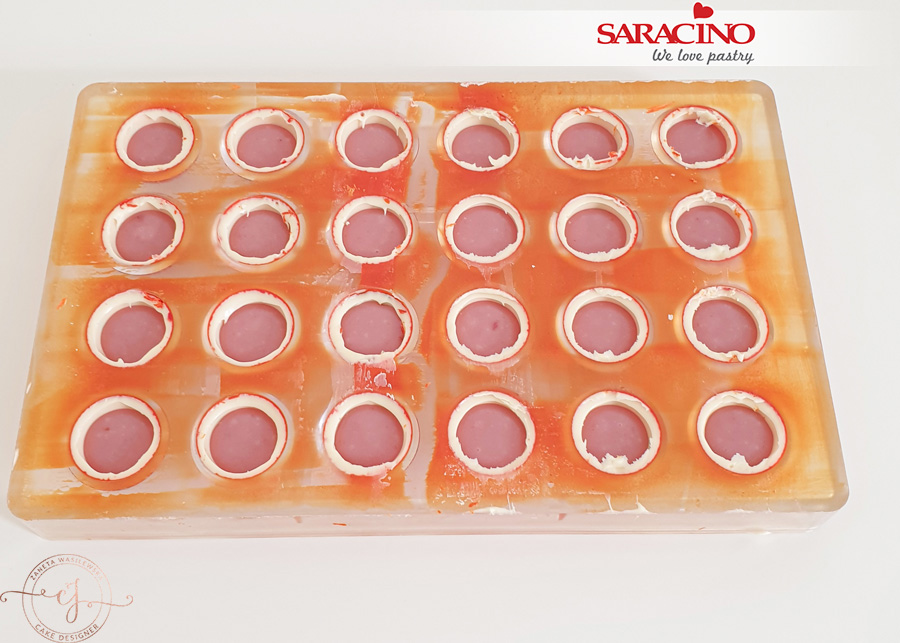
To give added dimension and character to the cake add shells. Mix orange and brown pasta model to give a marble effect.

Step 34

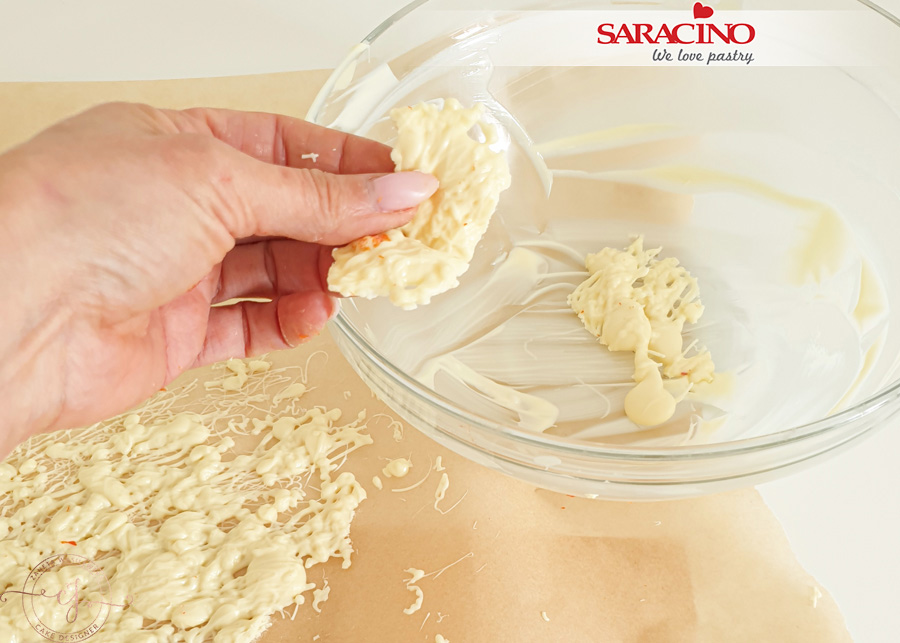
Step 35
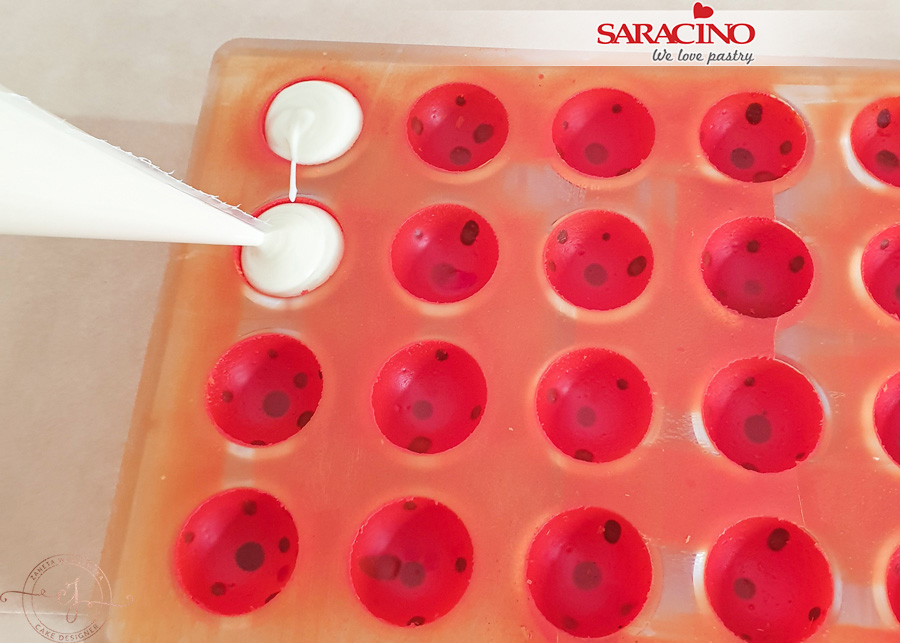
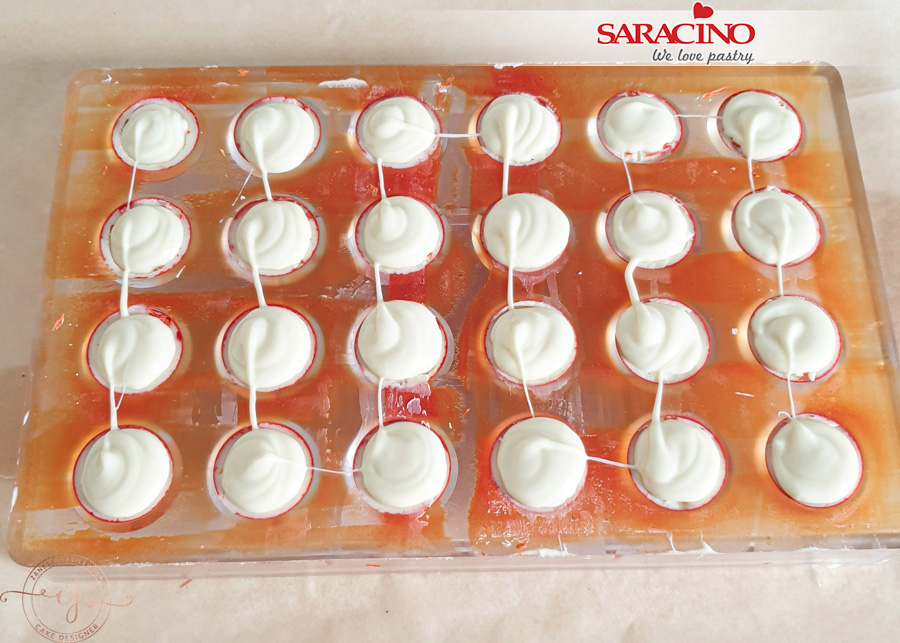
Add to the look by fixing a few random white ‘bubbles’.

Step 36
AHOY!! We are ready to set sail.