


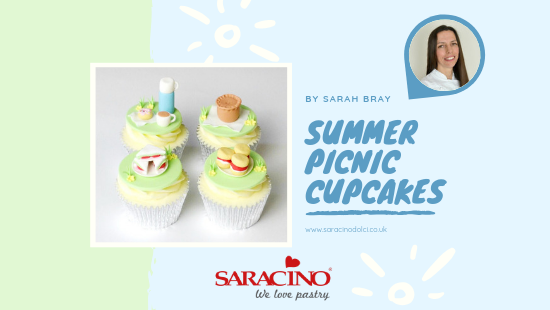
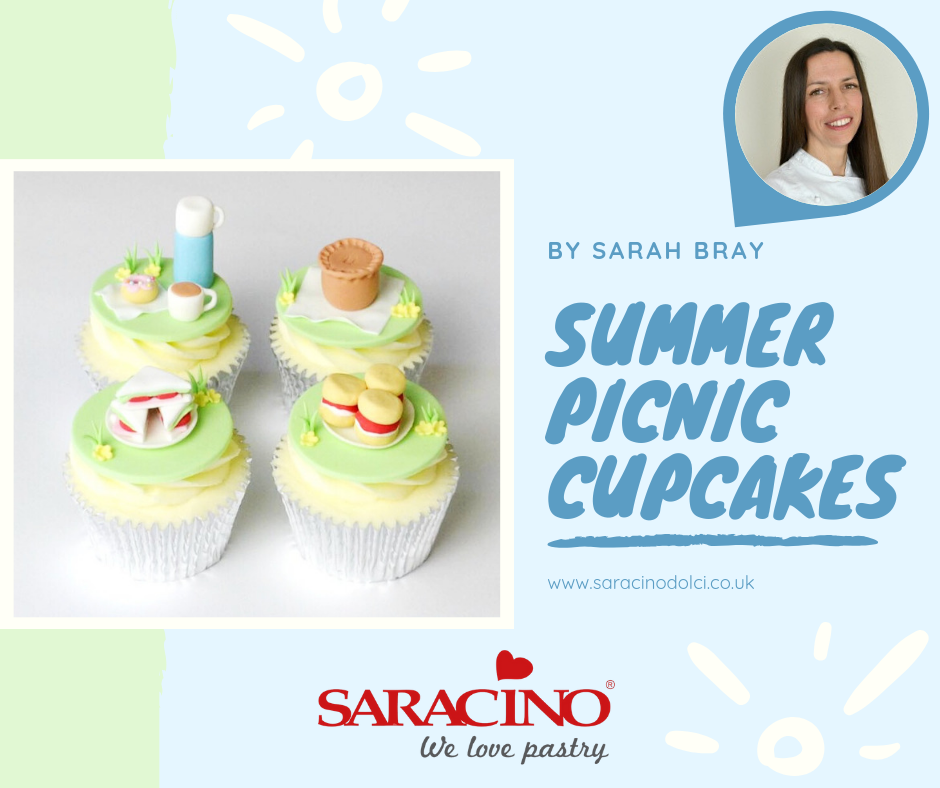
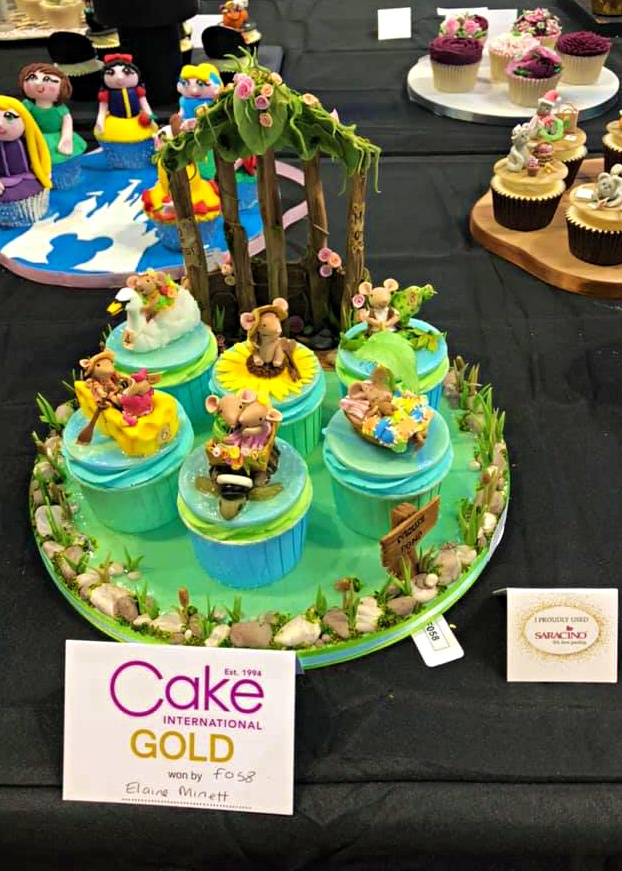
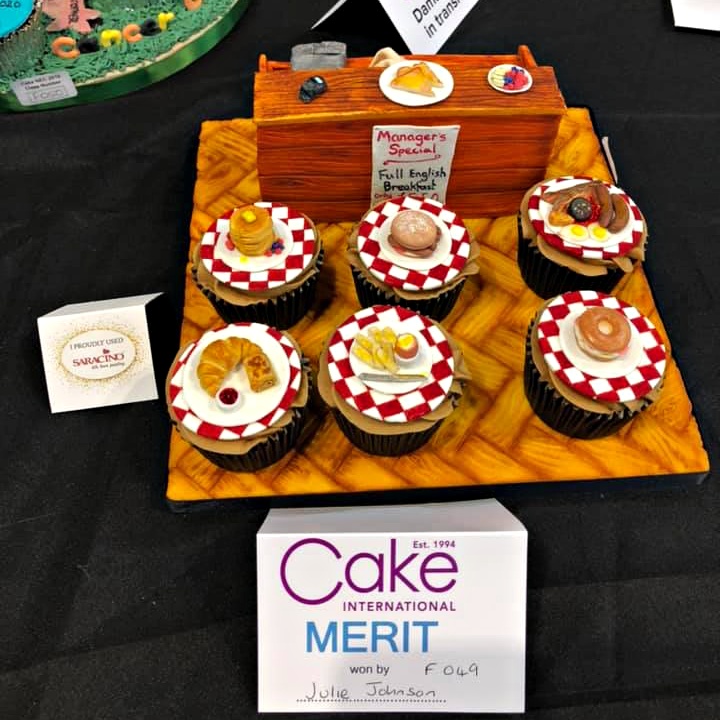
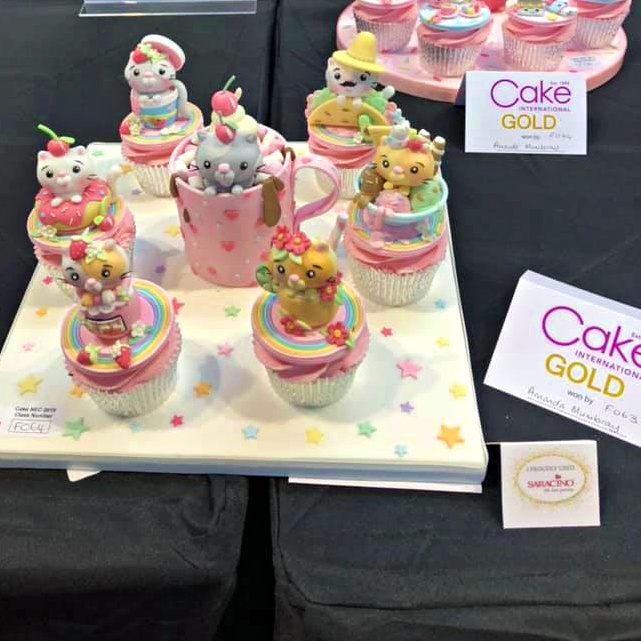
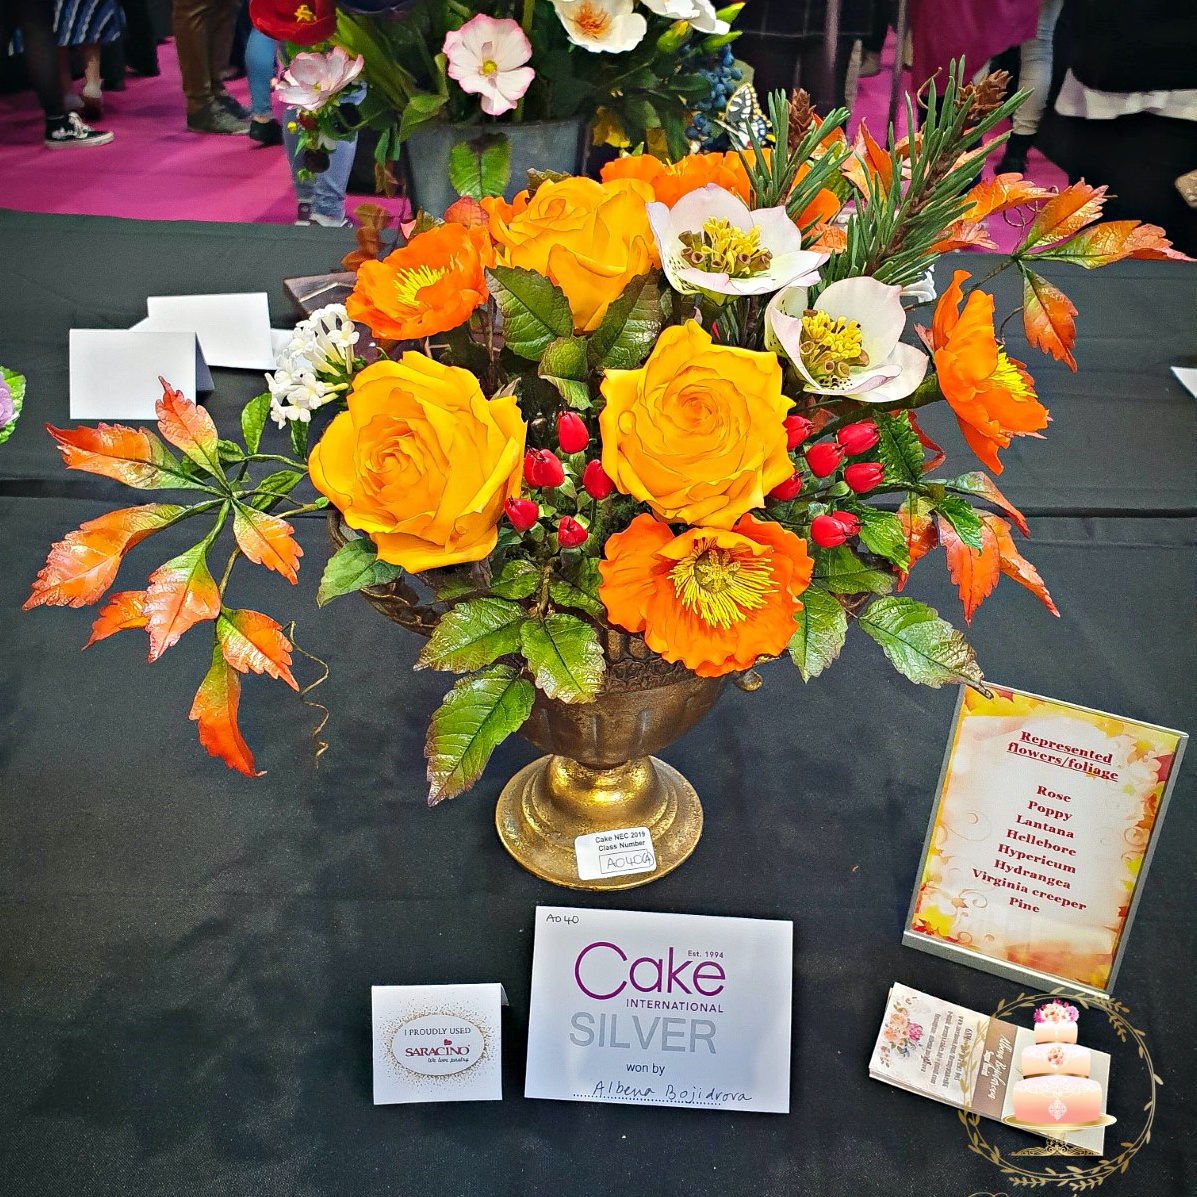
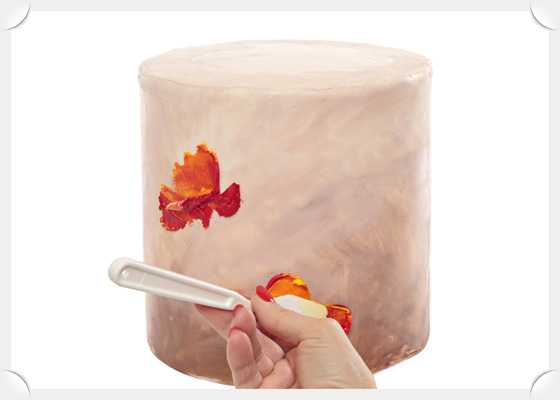
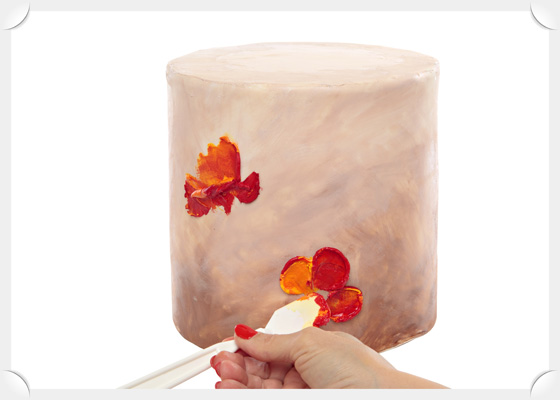
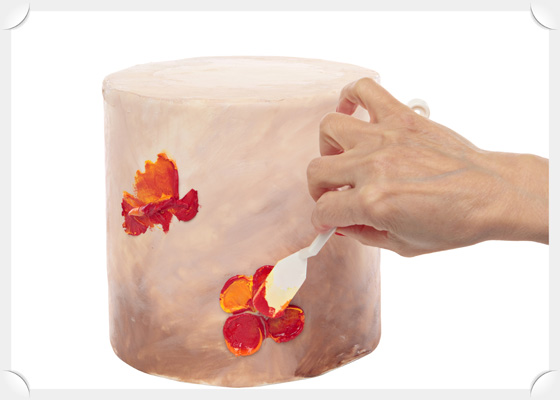
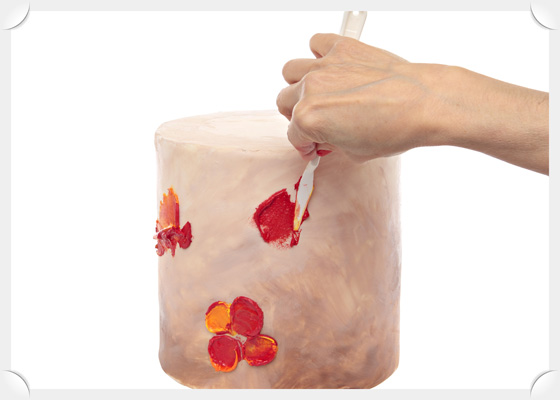
SUMMER PICNIC CUPCAKES

You will need:
- Green sugarpaste with gum trag added
- Sugar glue
- White flower paste
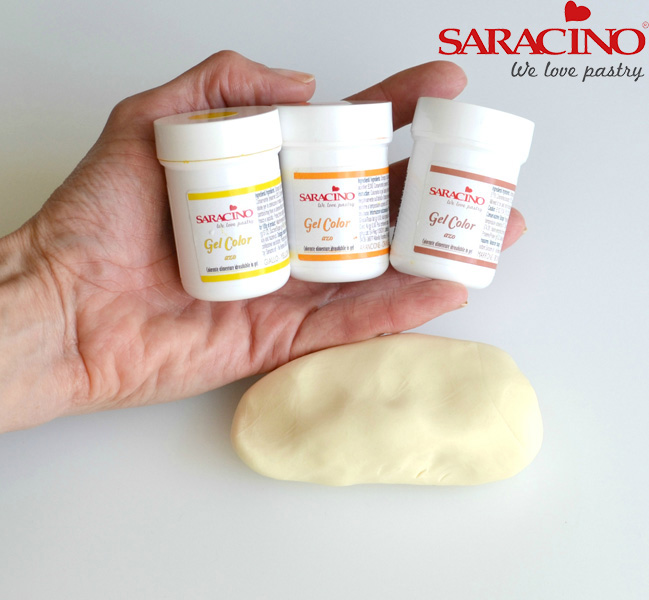
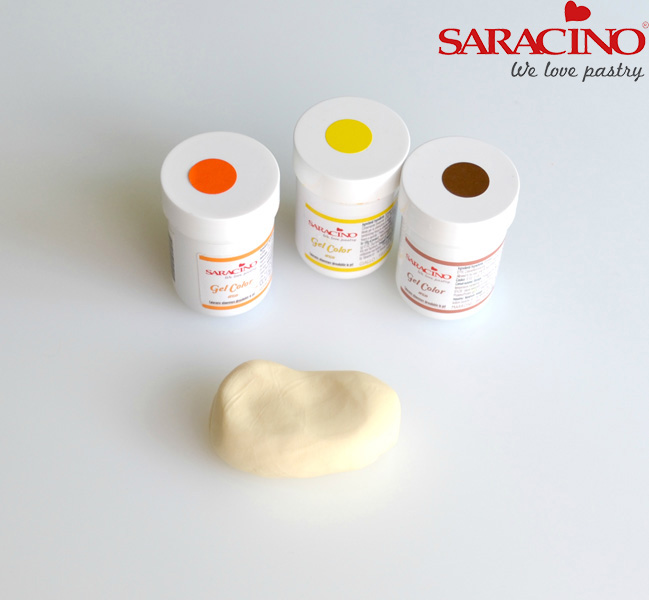
- Golden brown modelling paste (white paste coloured using Saracino yellow, orange and brown gel colours)
- Saracino white modelling paste
- Saracino red modelling paste
- Saracino pink modelling paste
- Saracino light green modelling paste
- Ginger modelling paste (white paste coloured using Saracino orange and brown gel colours)
- Saracino yellow modelling paste
- 100s and 1000s
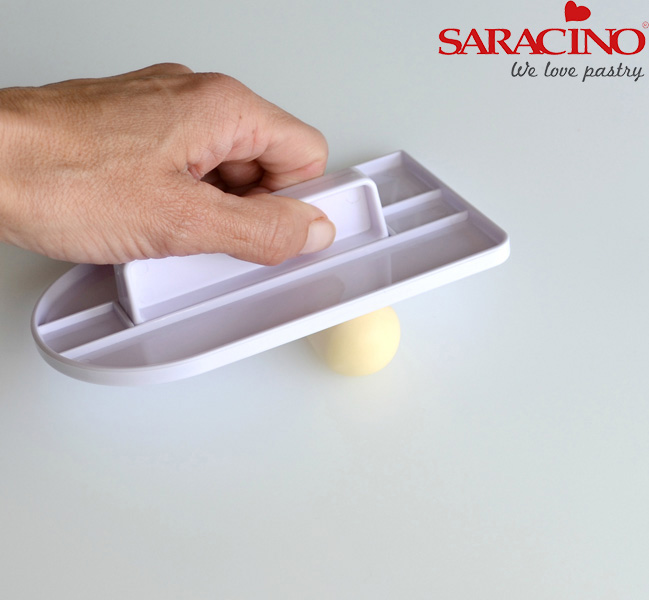
- Work-board
- Rolling pin
- Paintbrush
- 58mm round cutter
- Sponge drying mat
- 32mm round cutter
- Ball tools (large and small)
- 2cm square cutter
- 1cm round plunger cutter
- Craft knife
- 4cm square cutter
- Smoother
- Sharp knife
- 2.5cm square cutter
- 12mm blossom plunger cutter
- 6mm blossom plunger cutter
Step 1
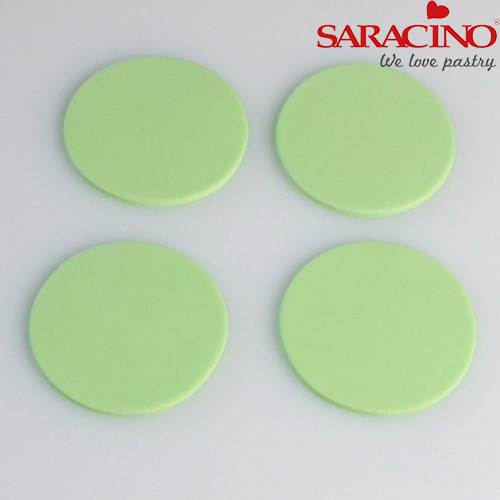
Cut out four green circles using a 58mm round cutter and leave to dry completely.
Step 2
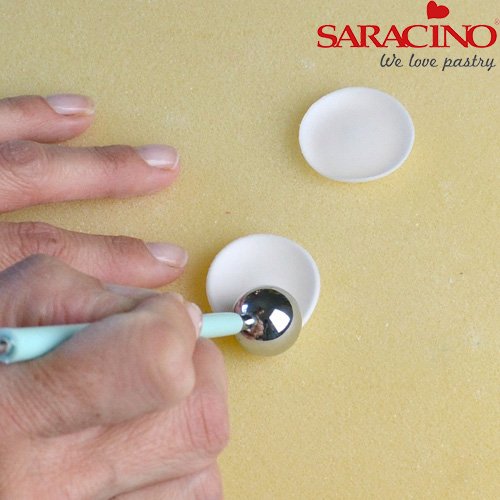
To make the plates cut out a thin circle of white flower paste using a 32mm round cutter and soften edges using a ball tool on a piece of sponge. Flatten slightly and leave to dry completely.
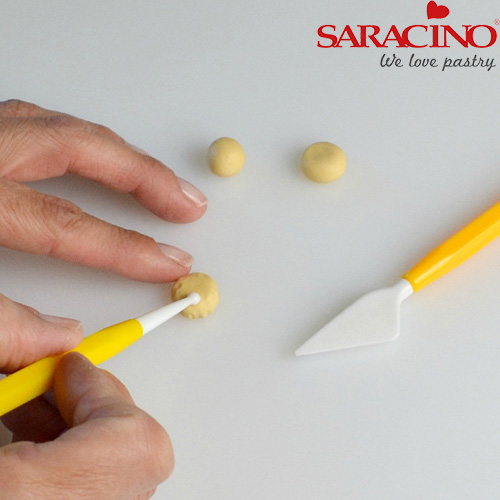
Step 3
To make the scones, roll out a 1cm ball of golden paste and flatten slightly with your finger. Use a ball tool to add texture.
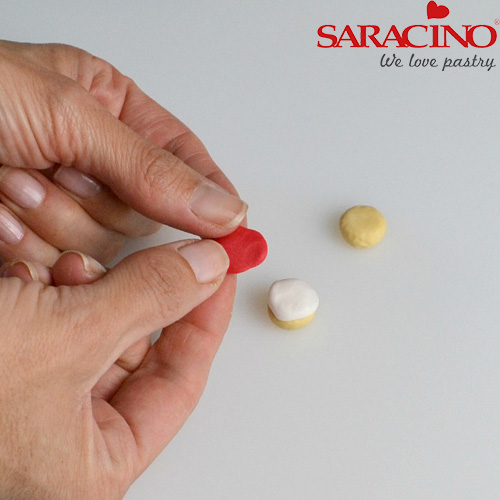
Step 4
Pull off a small pea sized piece of white paste and use your thumb and forefinger to soften the edges. Stick to the bottom part of the scone. Repeat process with red paste (jam) and stick on top.
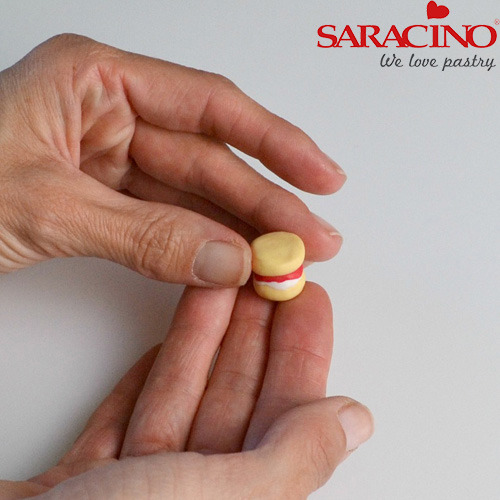
Step 5
Lastly use your thumb and forefinger to shape a 1cm ball of golden paste for the top half of the scone and secure using sugar glue.
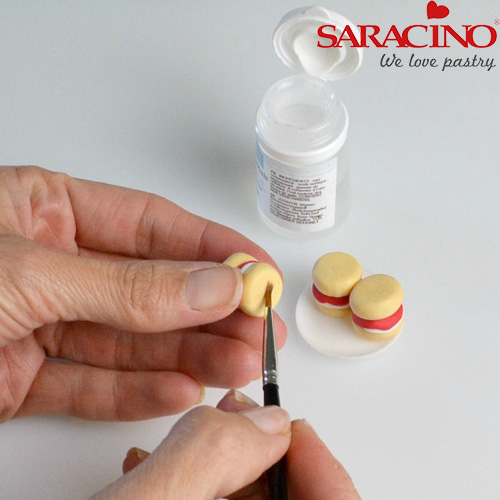
Step 6
Make 3 scones like this and stick them onto the plate with sugar glue. Attach to the centre of one green topper
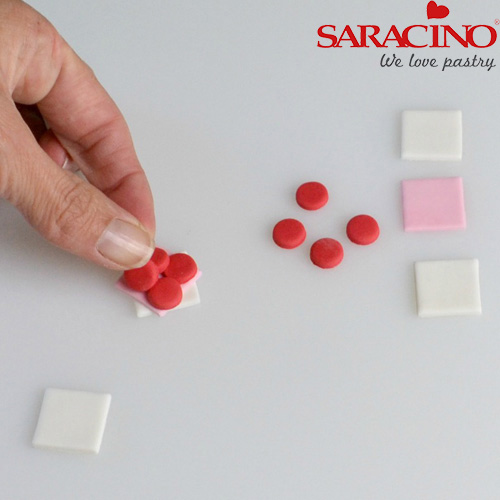
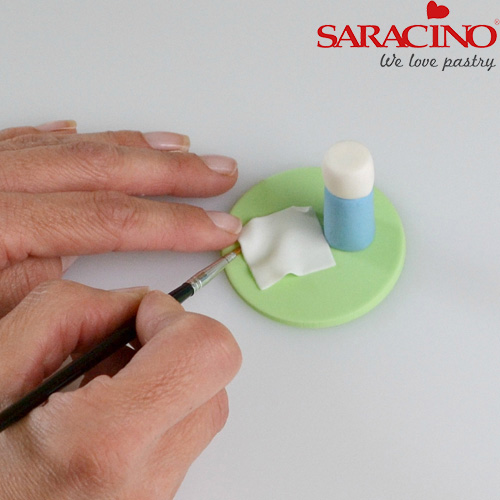
Step 7
To make the sandwiches cut out 4 x 2cm squares of white paste (approx. 2mm thick) Cut out 2 x 2cm squares of pink paste (approx.. 1mm thick) and 8 x 1cm circles of red paste using a round plunger cutter. Construct the sandwiches filling each with a piece of ham (pink square) and 4 x red circles (tomatoes) securing with sugar glue if necessary.
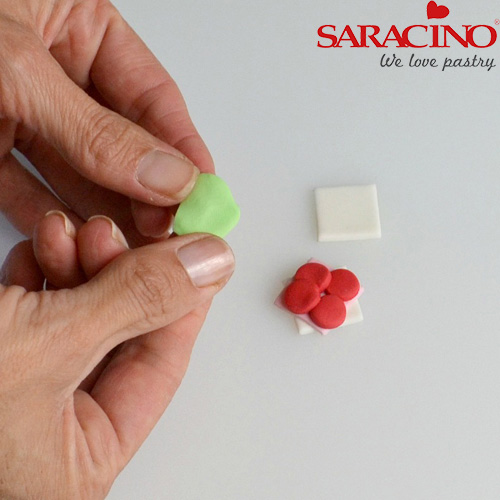
Step 8
For the lettuce take a small piece of light green paste and soften edges with thumb and index finger. Attach to the top of the slices of tomato
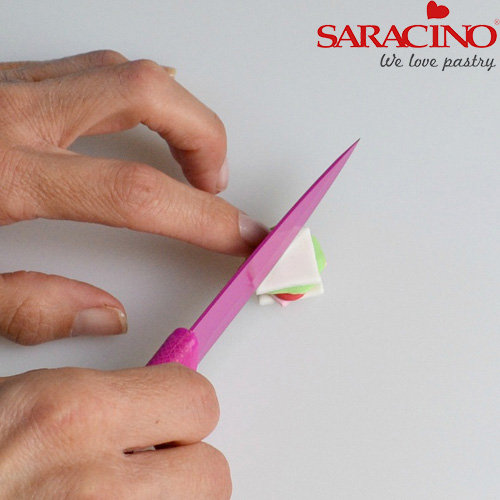
Step 9
Finish with the other white square (slice of bread) and cut in half diagonally with a sharp knife.
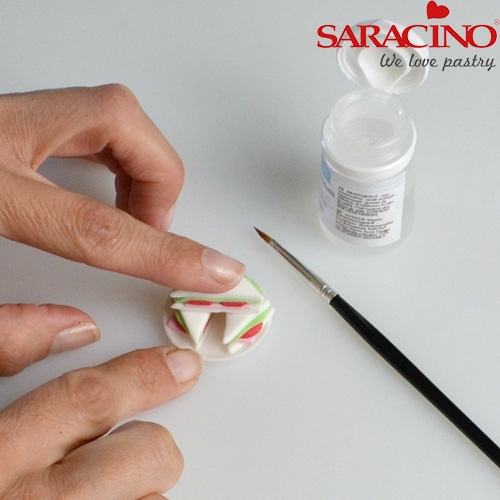
Step 10
Arrange on one of the plates securing with sugar glue.
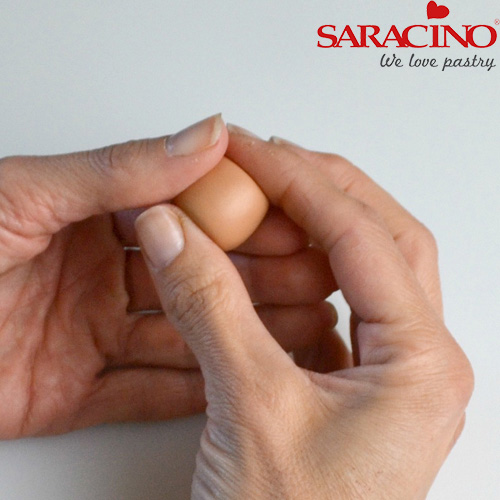
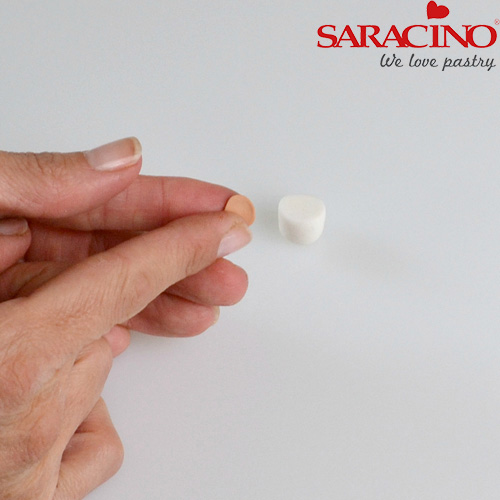
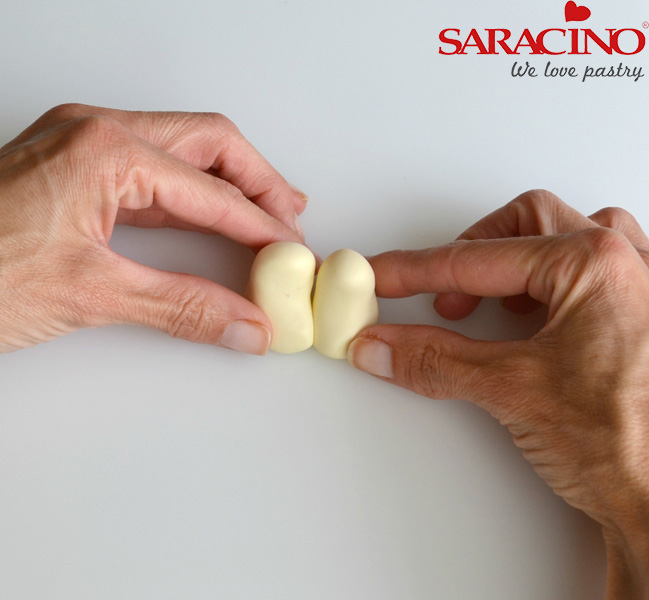
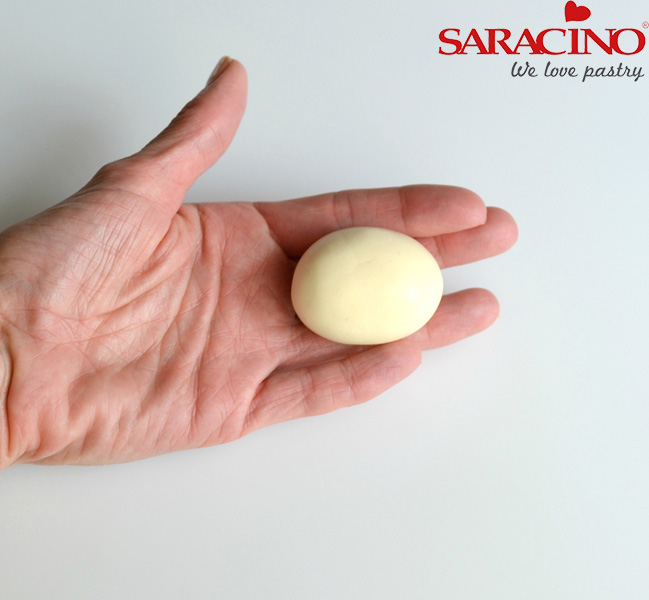
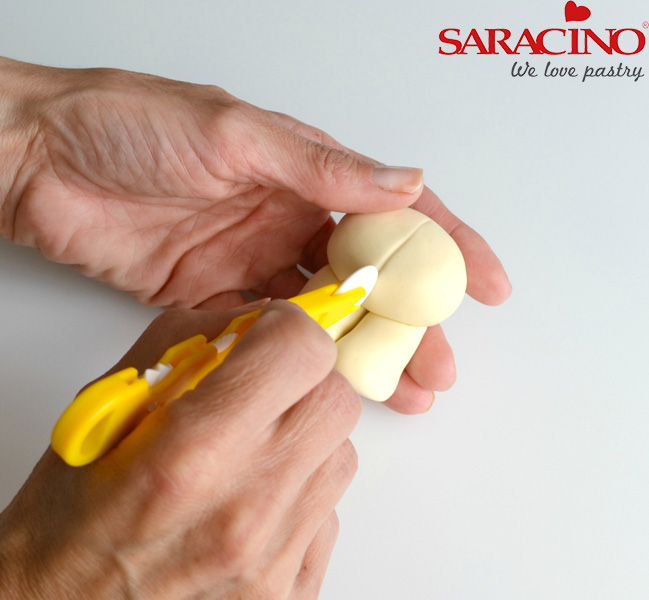
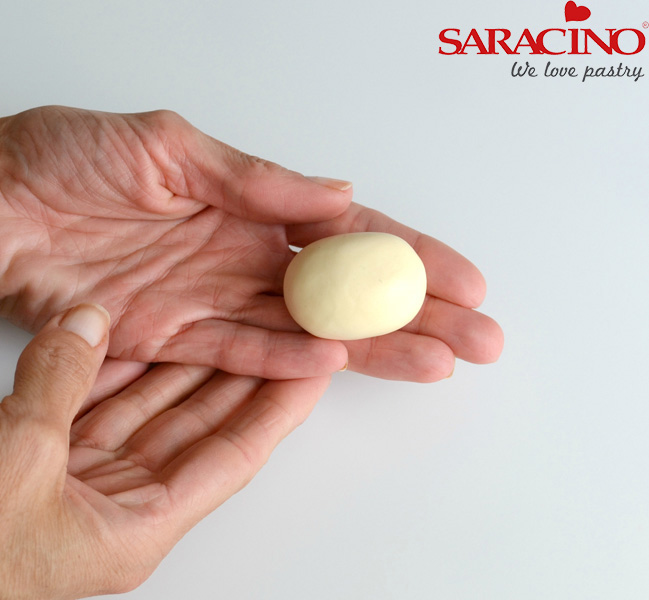
Step 11
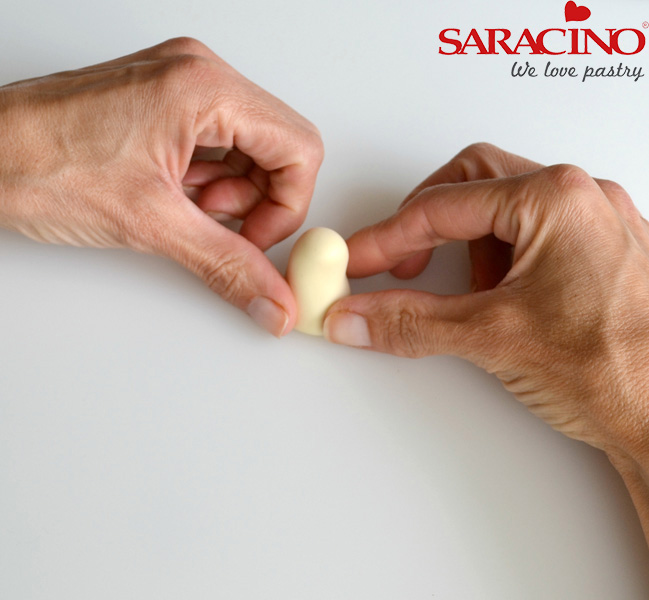
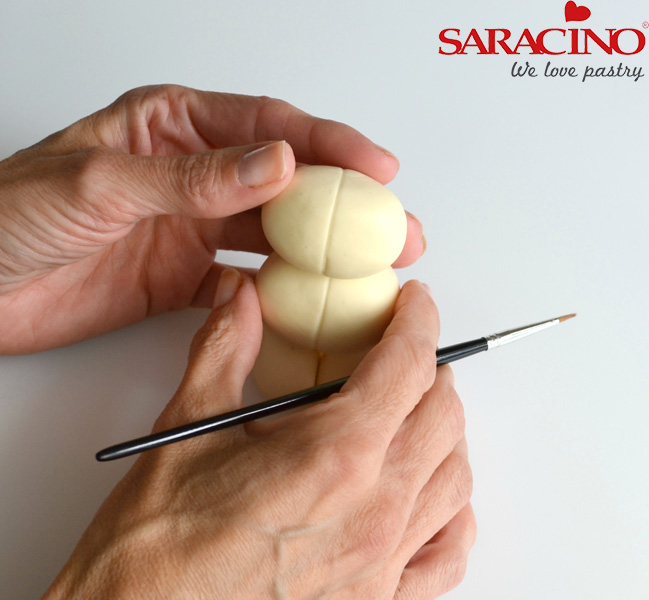
To make the pork pie roll a cherry tomato sized piece of ginger paste into a ball in the palms of your hands. Holding the ball of paste between your thumb and forefinger, use your other hand to rotate the paste round to create a pie shape.
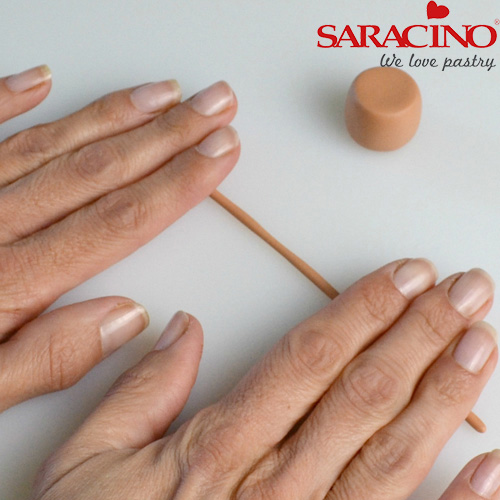
Step 12
Roll out a thin sausage of ginger paste using the palms of your hands.
Tip: I use a smoother to even out any bumps made from rolling with the palms of your hands)
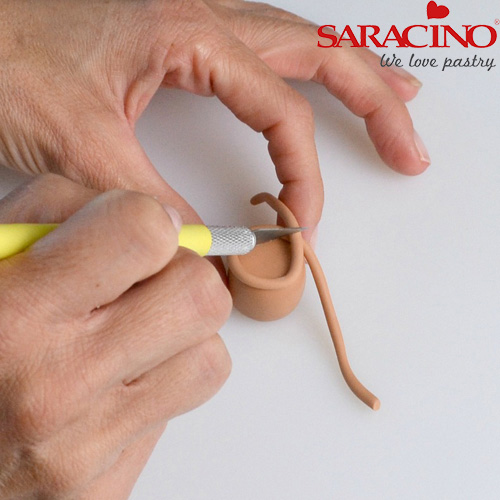
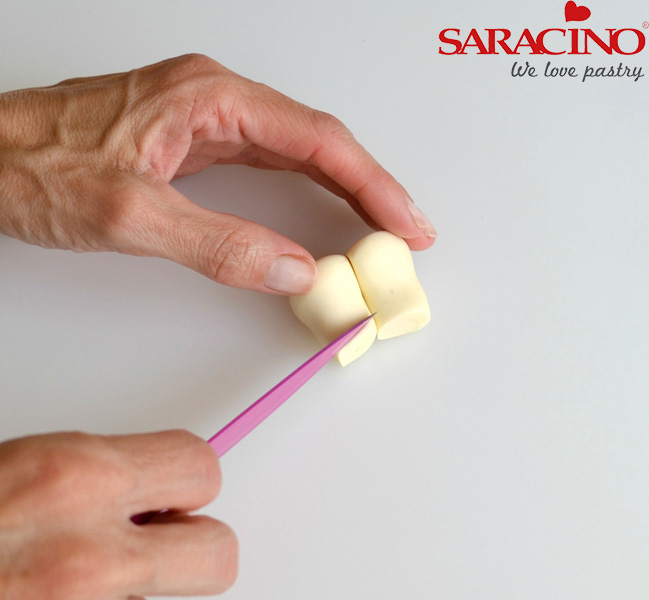
Step 13
Wrap this sausage around the top of the pie to create the crust, cutting off the excess with a craft knife and securing with sugar glue if necessary.
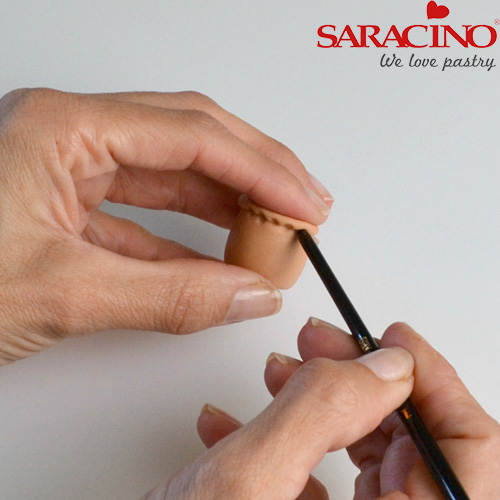
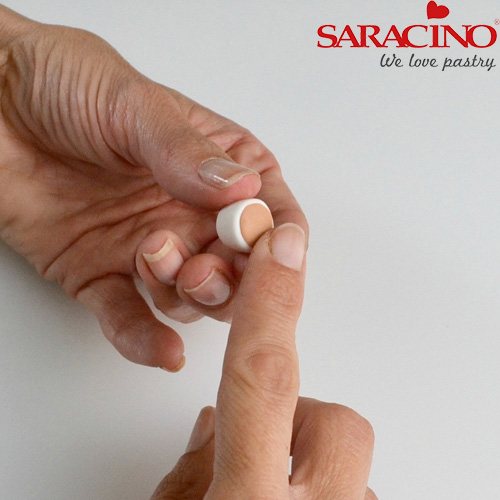
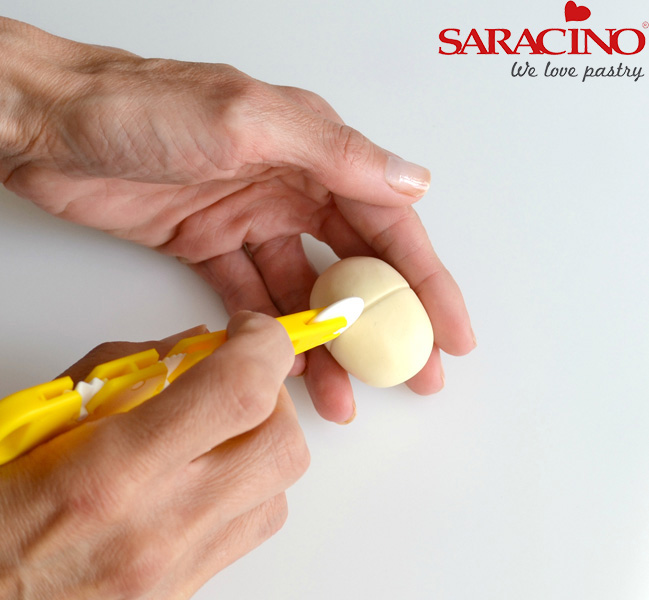
Step 14
Use the bottom end of a paintbrush to push gently upwards on the rim of the pie to create a pattern.
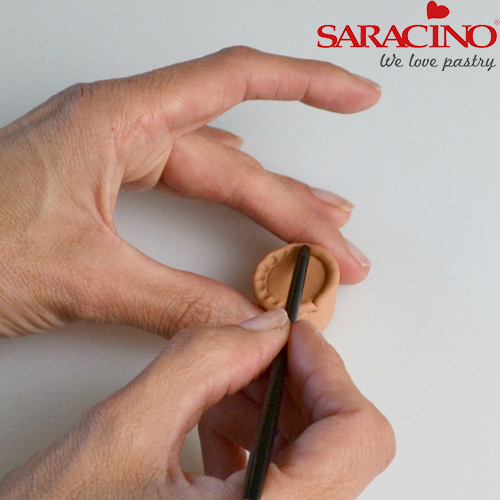
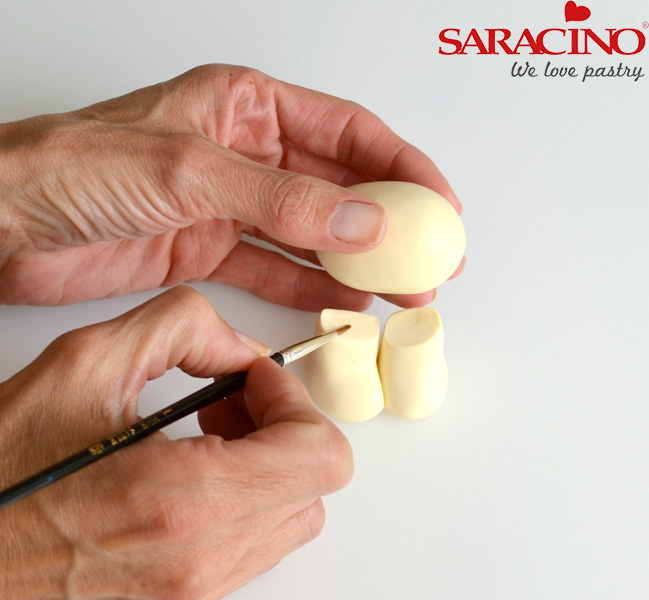
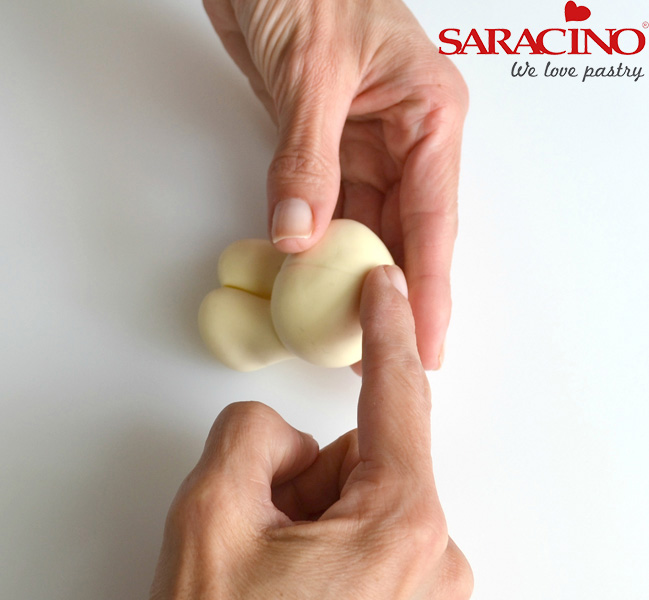
Step 15
Push down on the top with the end of a paintbrush to create the pattern around the top edge of the pork pie.

Step 16
Roll out a thin piece of white paste and cut a 4cm square. Use your thumb and forefinger to push in slightly at the sides.
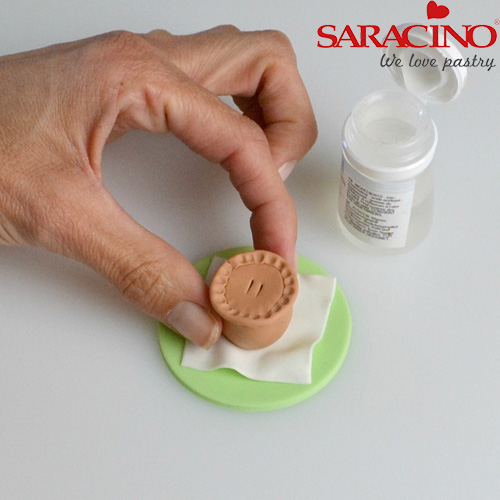
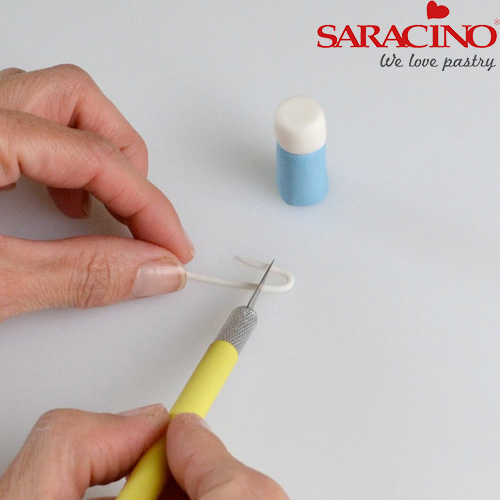
Step 17
Secure the pork pie to the white paper and attach to one of the green toppers. Add two little slits on the top of the pork pie for decoration.
Step 18
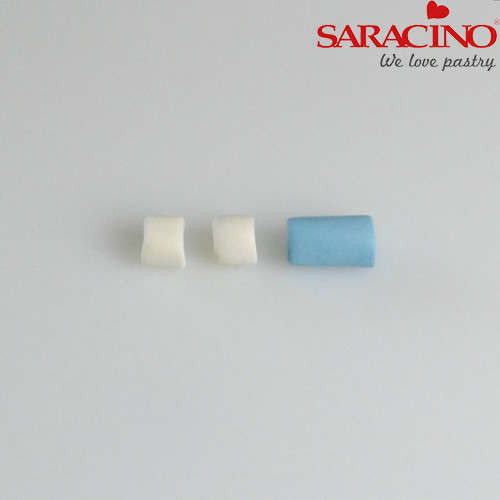
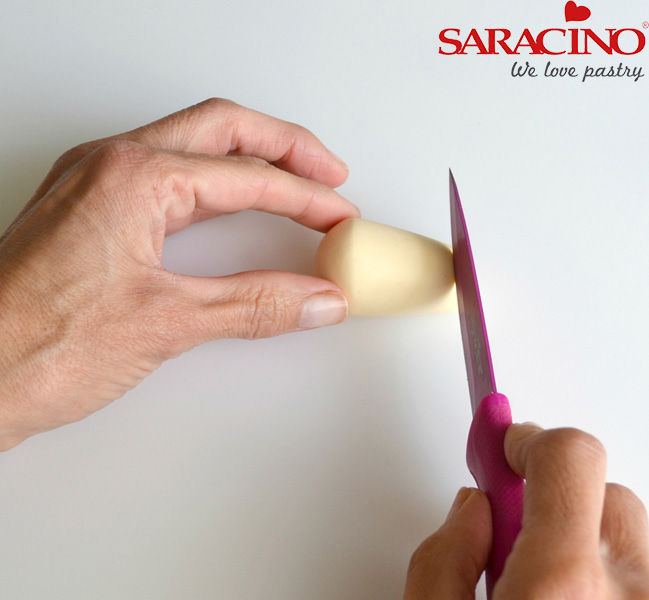
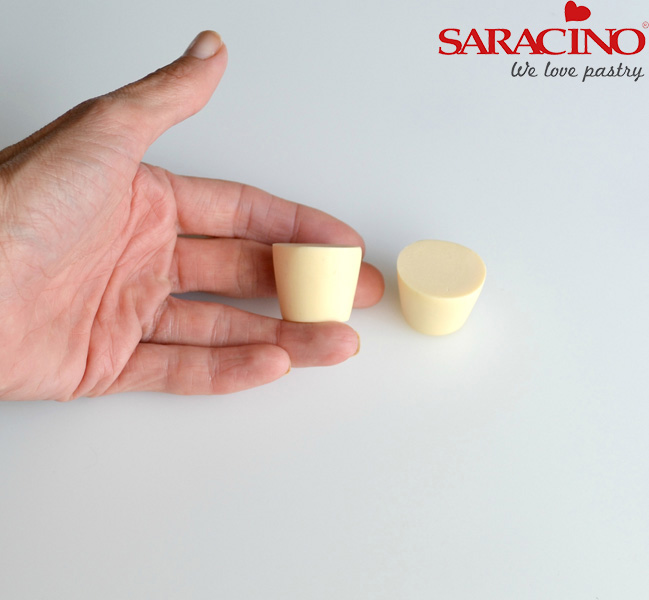
To make the flask use a smoother to roll out a sausage of blue paste and a sausage of white paste approx. 15mm in diameter. Cut off a piece of blue approx. 25mm in length and two pieces of white approx. 12mm in length.
Step 19
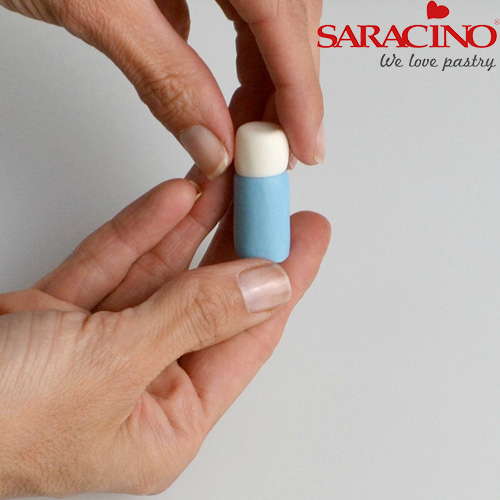
Use your thumb to soften one end of each of the white pieces and attach one to the blue piece with sugar glue. Put the other white piece aside for now to firm up. This will be the second cup.
Step 20
Roll out a thin piece of white paste and cut out a 2.5cm square. With your thumb and forefinger push gently on the sides as you did before. Attach this to one of the green toppers. Also attach the flask with sugar glue.
Step 21
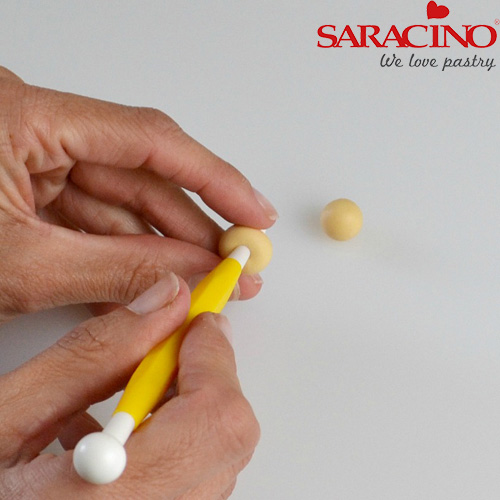
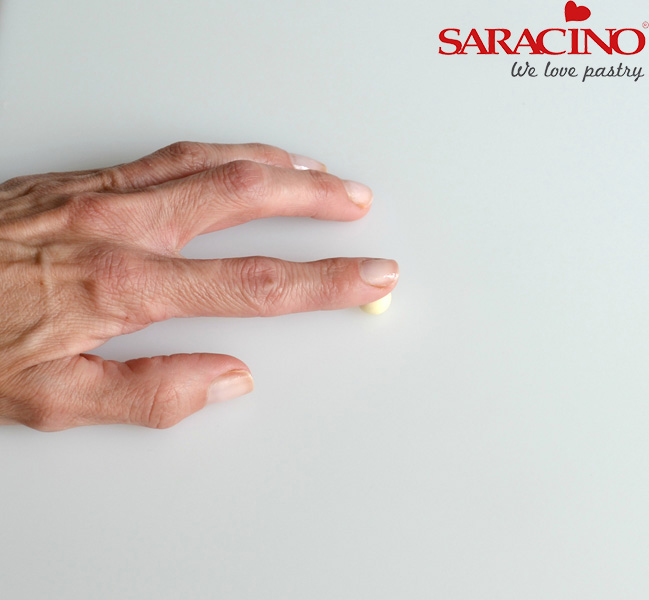
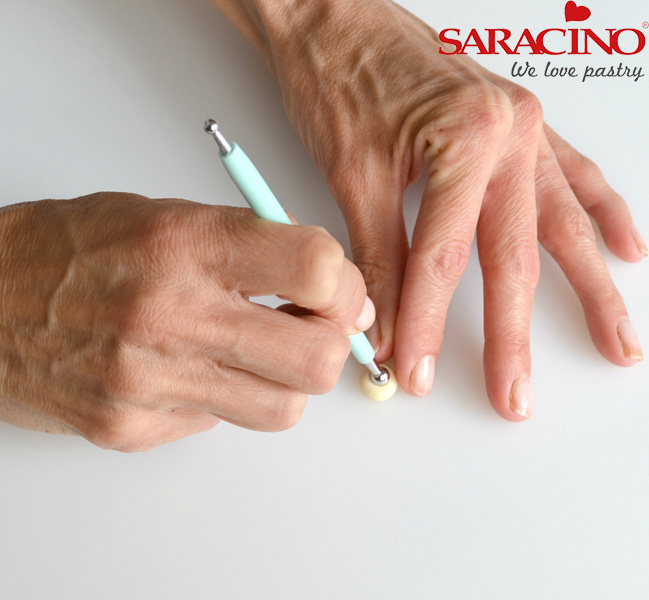
To make the doughnut roll a small pea sized piece of golden paste in the palms of your hands. Using the small end of the ball tool, push through the paste creating a hole in the centre. Push the tool two thirds of the way through to make the hole bigger.
Step 22
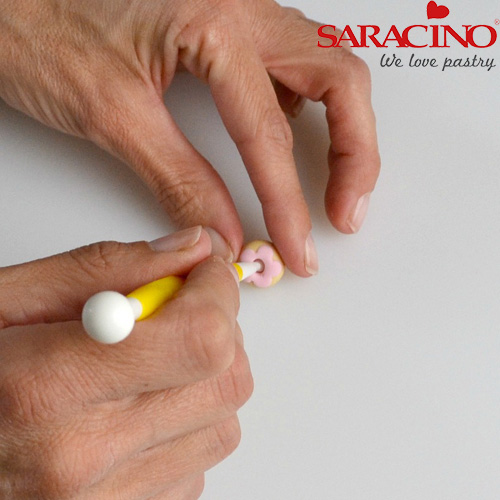
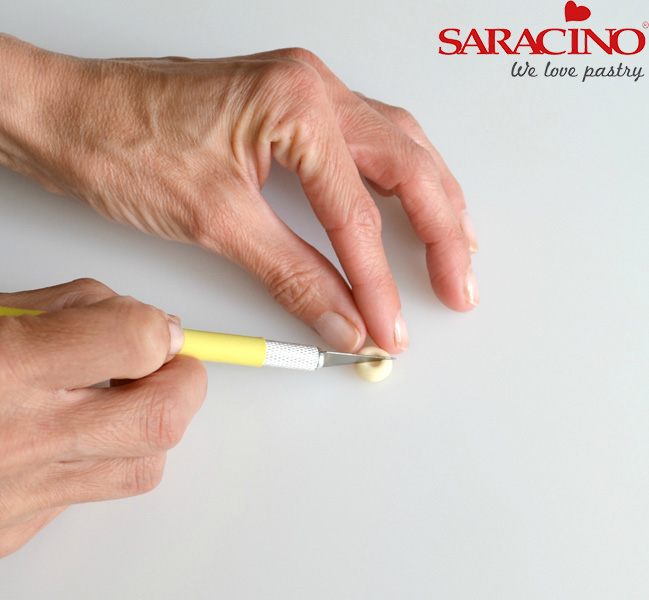
Roll out a small piece of pink paste and cut out a 12mm flower using a blossom plunger cutter. Press this onto the top of the doughnut (using sugar glue if necessary to secure) Use the ball tool again to add the hole back in.
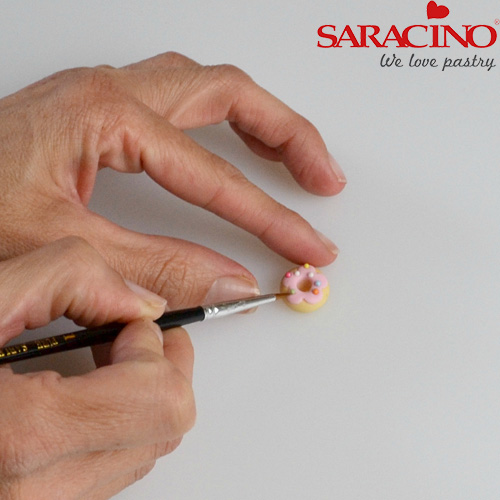
Step 23
Decorate the doughnut with a few 100s and 1000s. Attach to the white square on the topper.
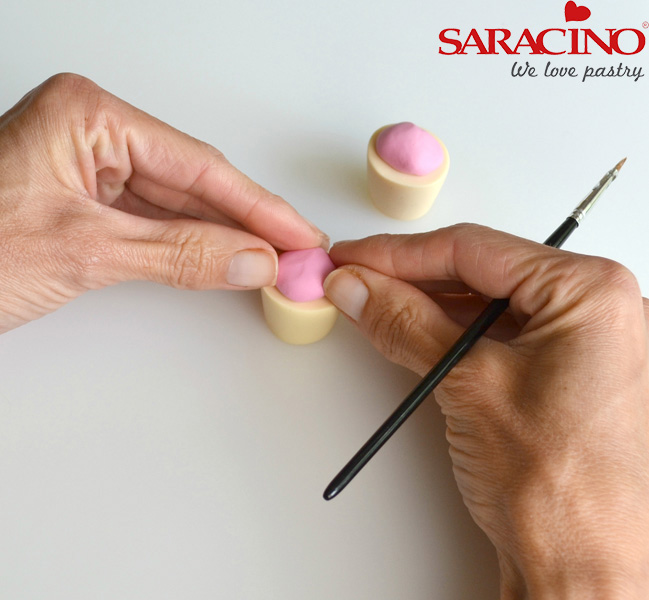
Step 24
To make the cup with tea, take a small piece of ginger paste and flatten in your fingers so it is the same size as the top of the cup made earlier.
Step 25
Press onto the top of the cup made earlier and secure with sugar glue if necessary.
Step 26
Roll out a small piece of white paste into a thin sausage. Curve into a handle shape, cut with a craft knife and glue to the cup. Repeat for the other cup.
Step 27
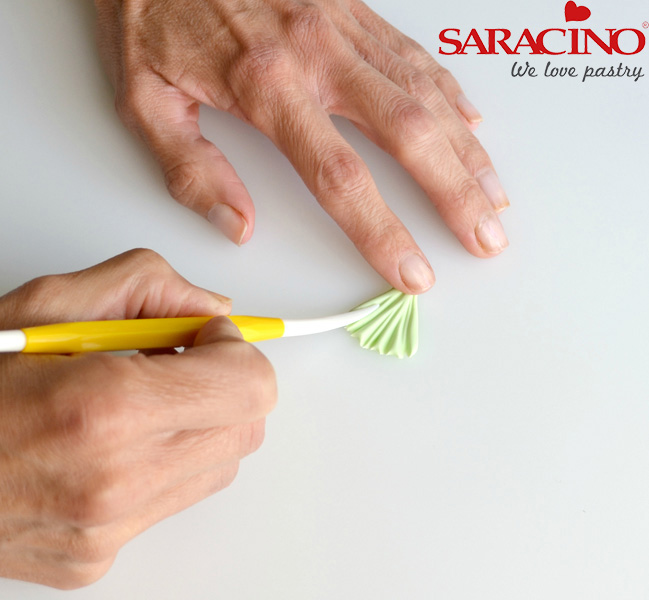
To make the grass roll three pea sized balls of light green paste into tear drop shapes in the palm of your hand with your finger.
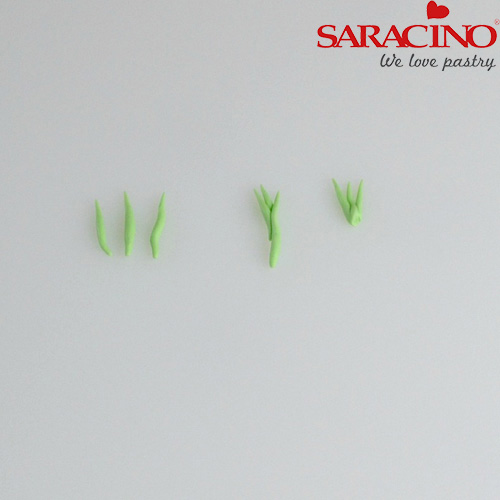
Step 28
Stack them on top of each other and use a craft knife to trim off the excess.
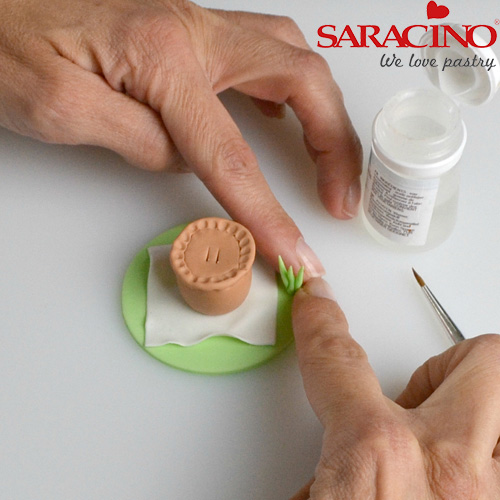
Step 29
Attach the clumps of grass to the toppers with sugar glue making two for each topper.
Step 30
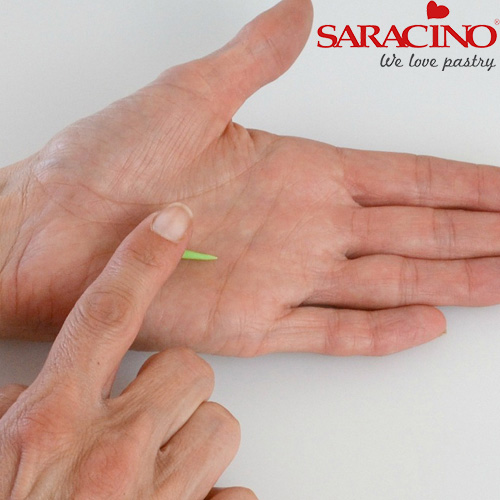
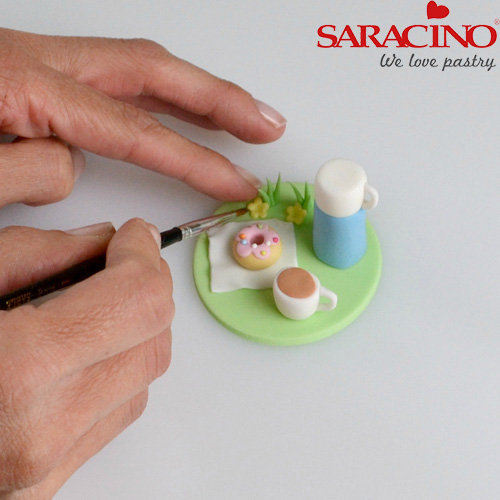
Finally using a small plunger cutter cut out little yellow flowers and add these to the toppers next to the grass (approx. 3 per topper)


