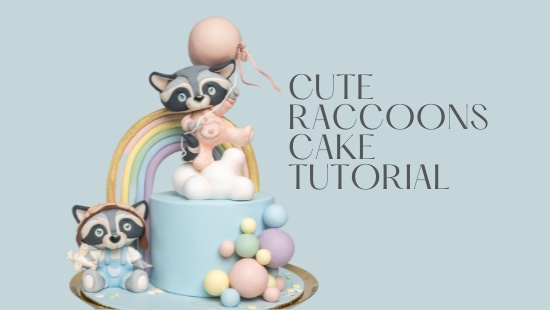
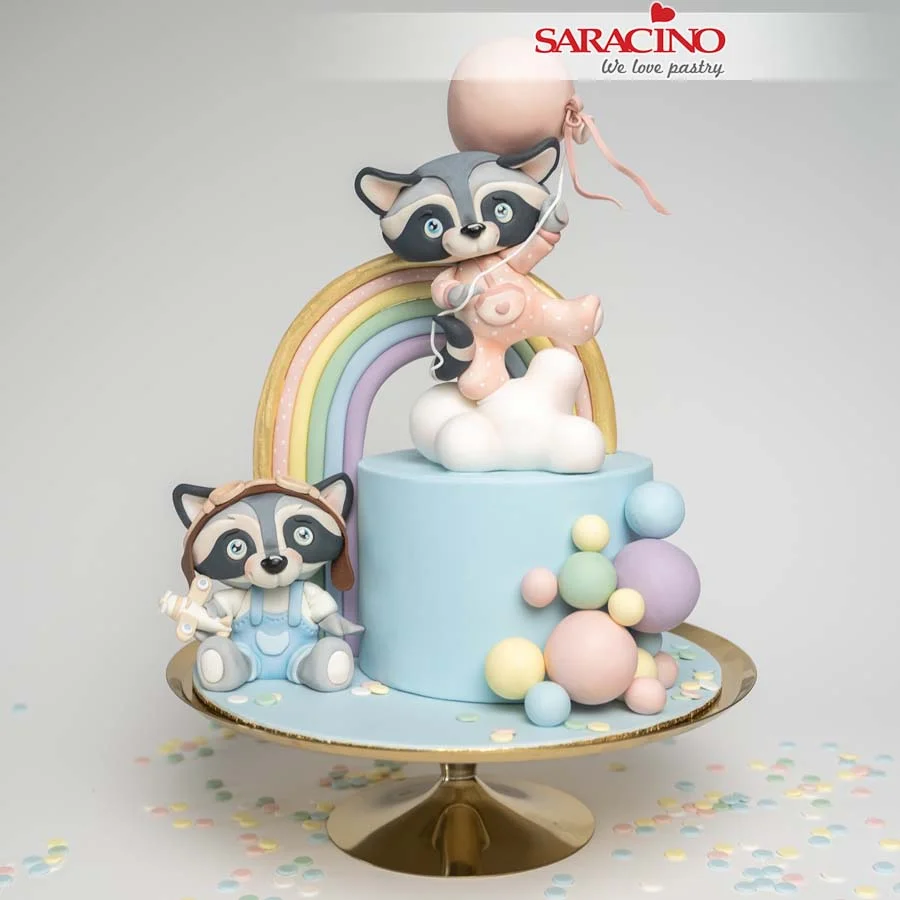
CUTE RACCOONS BABY SHOWER CAKE

CUTE RACCOONS BABY SHOWER CAKE
INSTAGRAM: MADZIOWKA

Skill level: BEGINNERS

Inspiered by Tanyi Bonya

You will need:

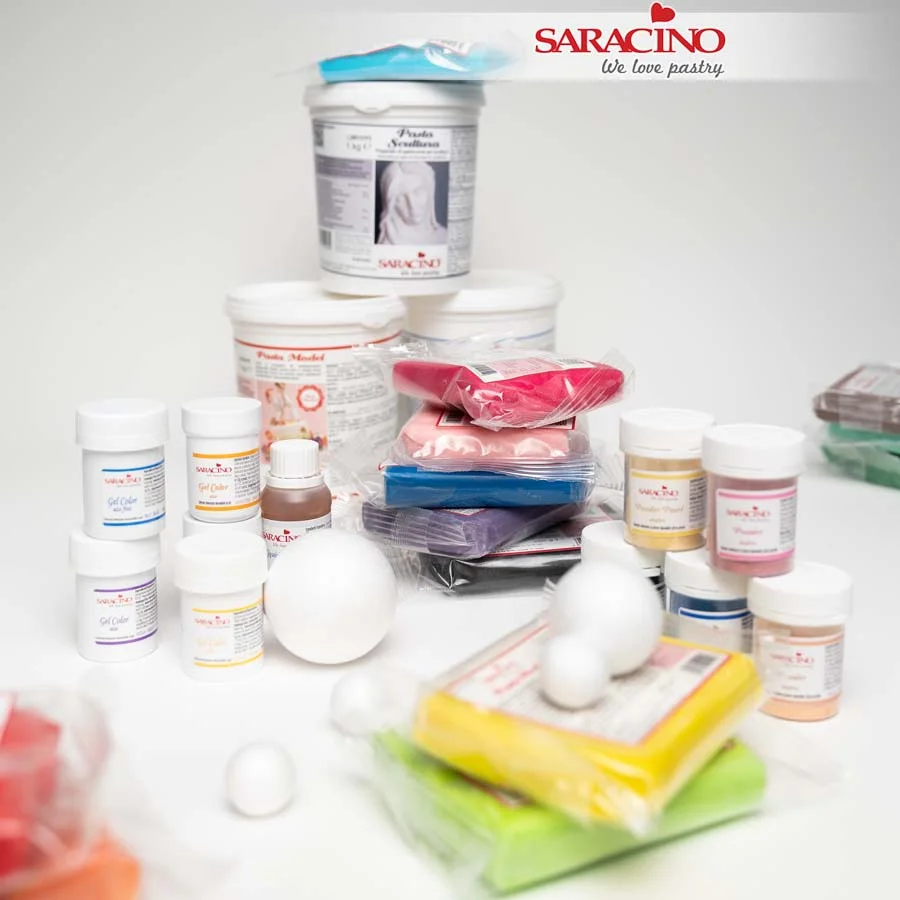
  • Saracino Pasta Model: white, black, light blue, pink, yellow, violet, light green, brown
  • Saracino white Pasta Top
  • Saracino baby blue Pasta Top
  • Saracino powder colour: light gold, black, sky blue, pink, light skin tone
  • Saracino shiny effect confectioners glaze
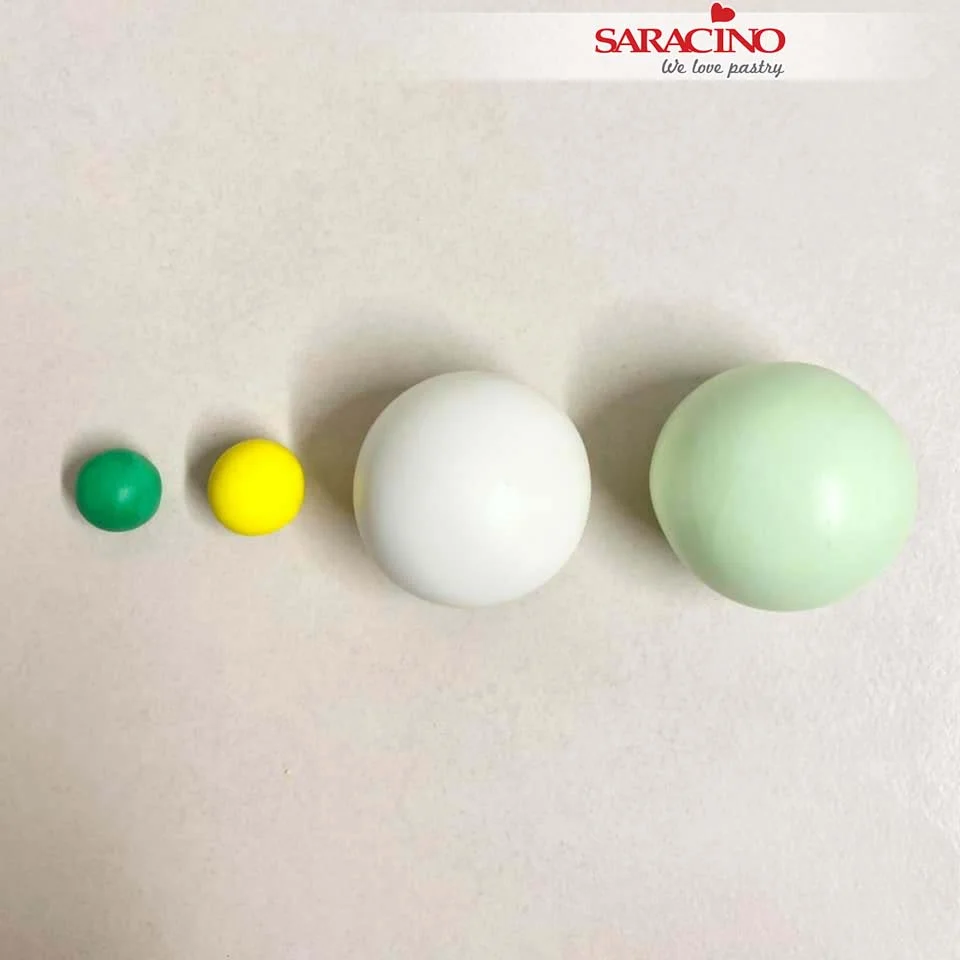
  • Polystyrene balls: 1 x 6cm in diameter, 4 x 4cm in diameter, 7 x 2cm in diameter
  • Dummy cake or cake
  • Clear alcohol
  • Dresden tool
  • Ball tool
  • Rolling pin
  • Brushes
  • Fondant smoother
  • Cake drum
  • Toothpicks
  • Circle cutters

Step 1

Prepare all the necessary products and tools.
Step 2

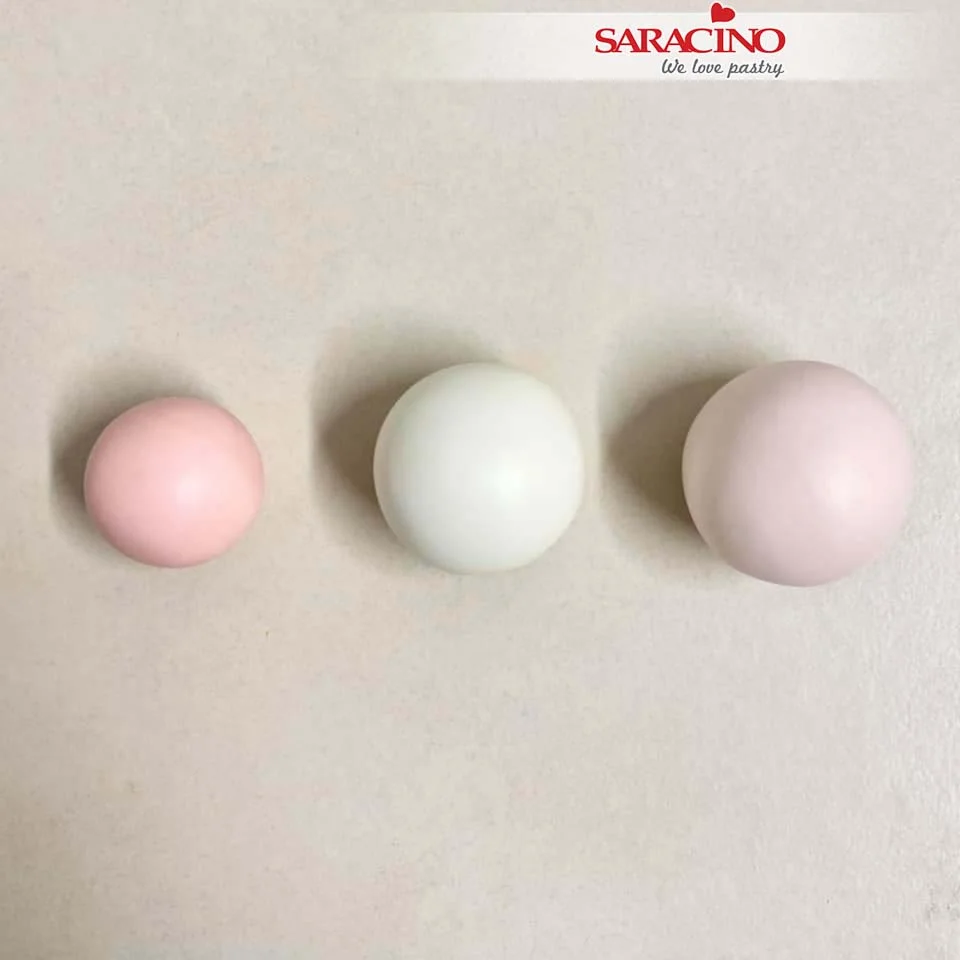
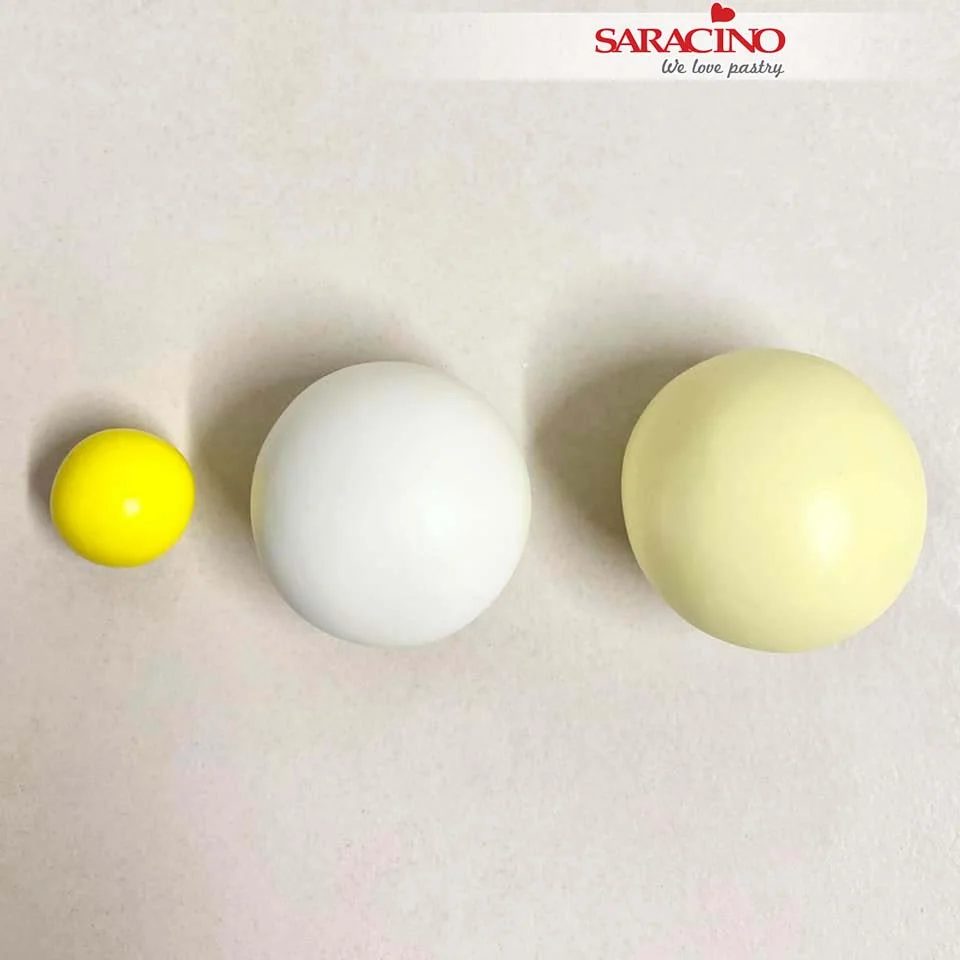
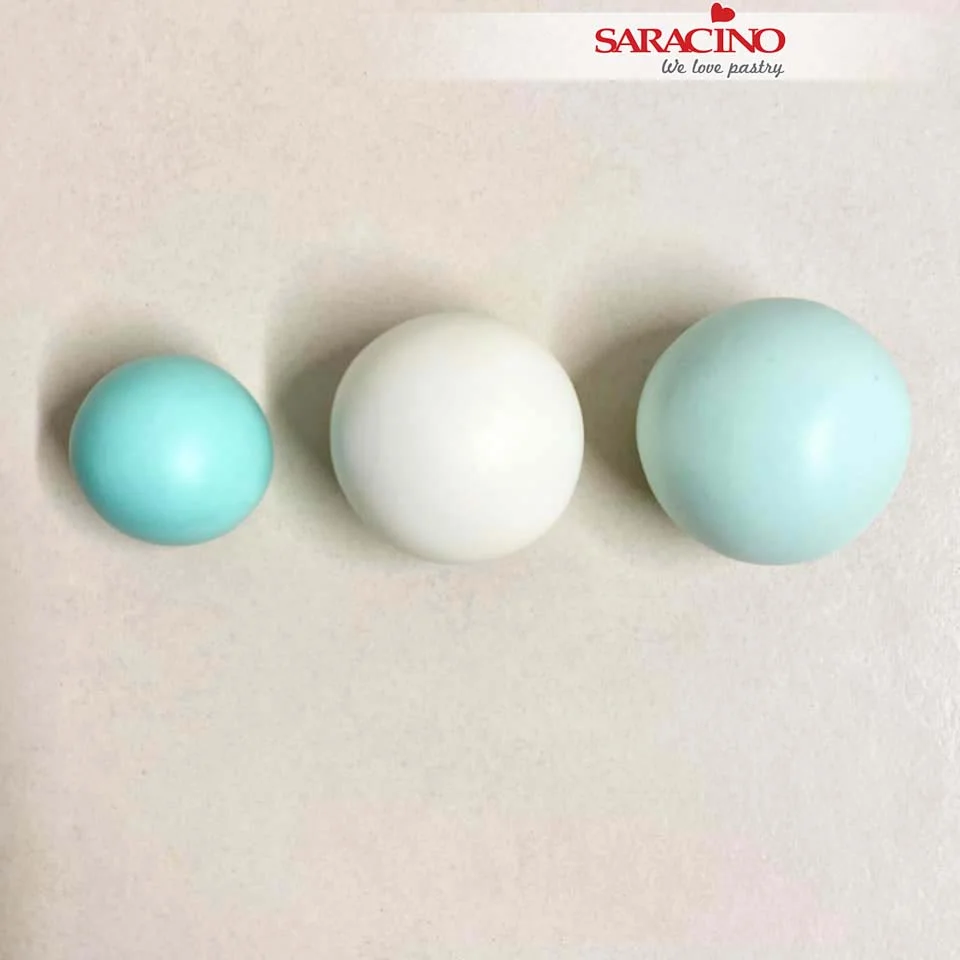
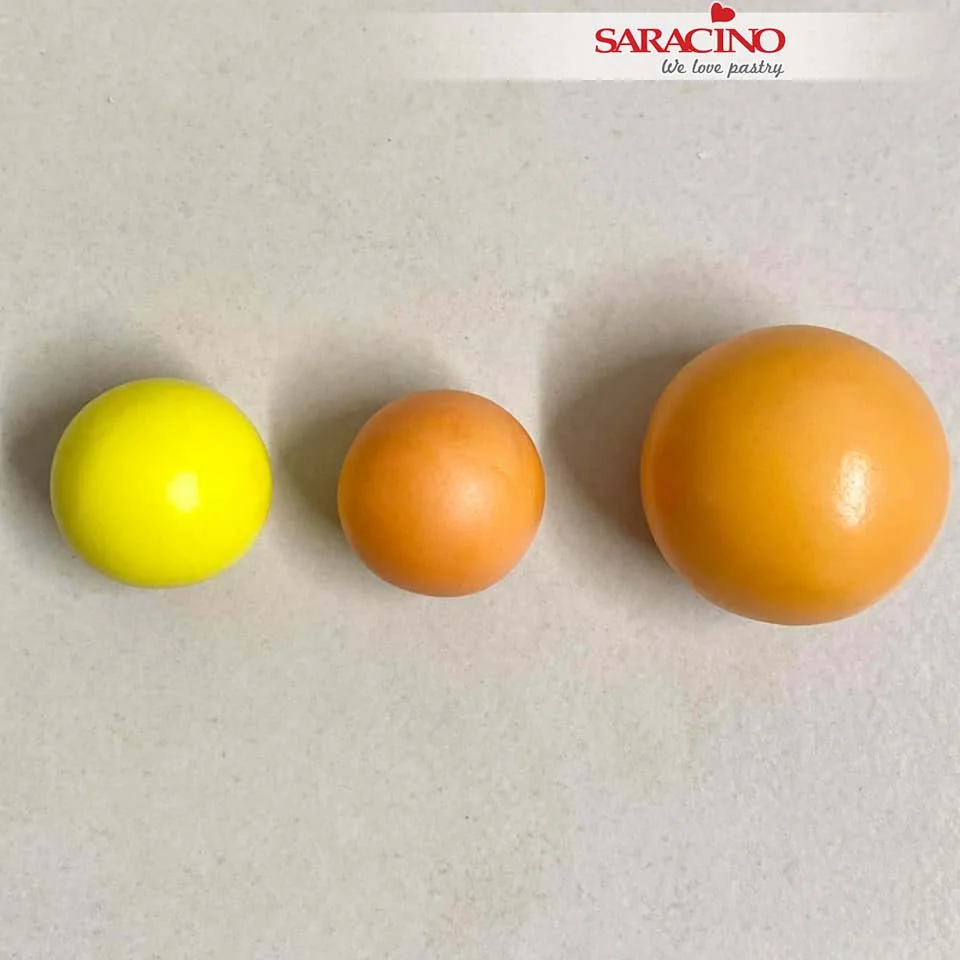
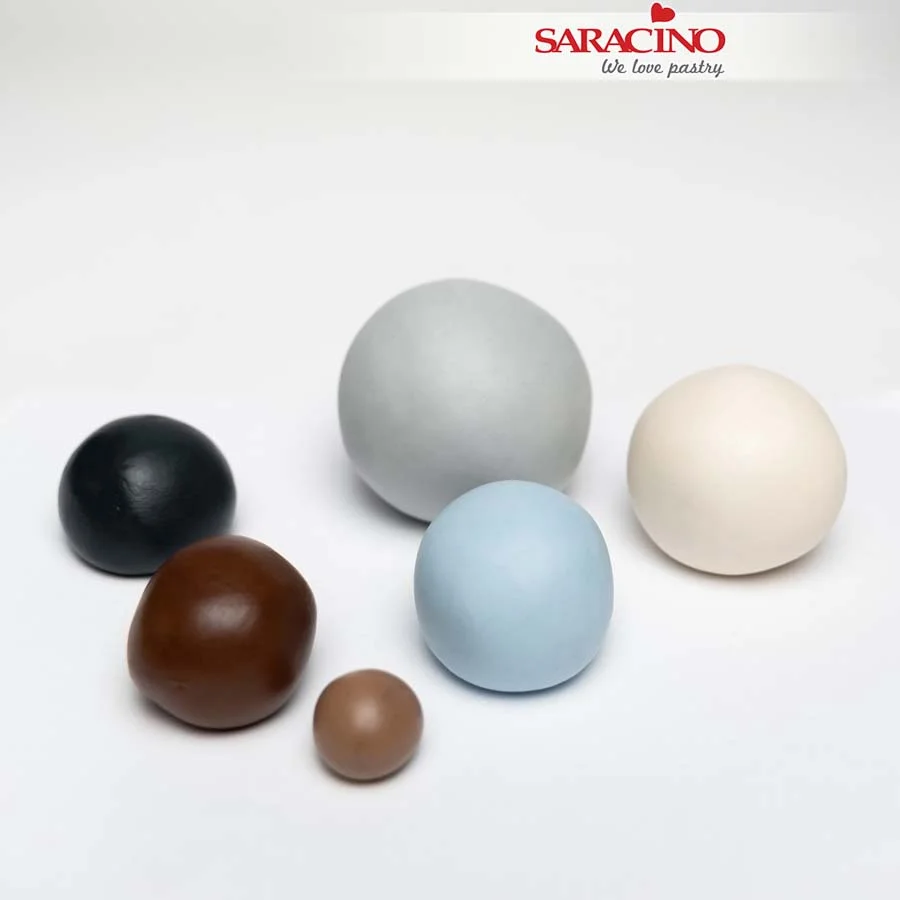
Start by working the pastes to make them soft. You can start working right away with the pre-coloured pastes. For a soft and “dusty” sky blue, mix light blue Pasta Model with white and a little brown. Don’t be afraid to experiment until you get the colour you like.
Step 3

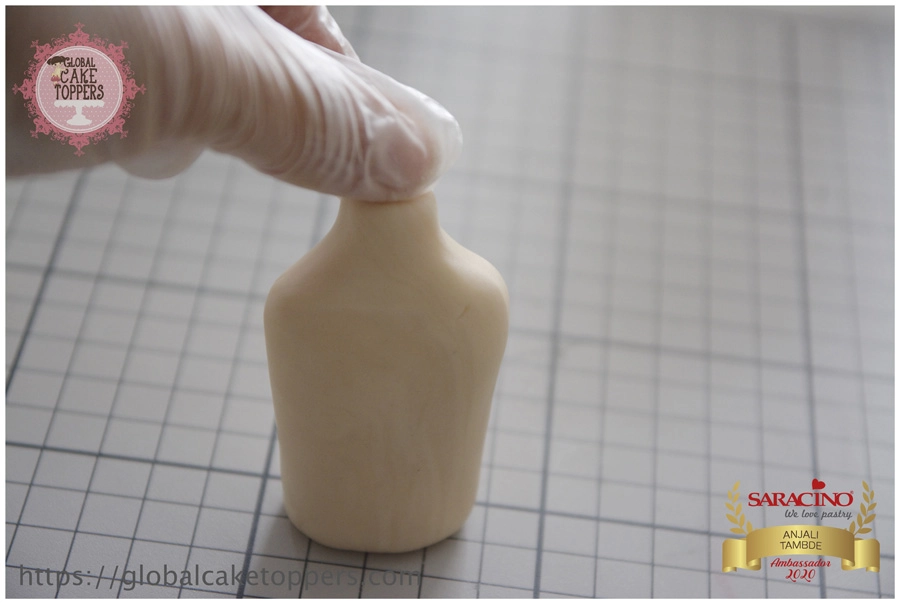
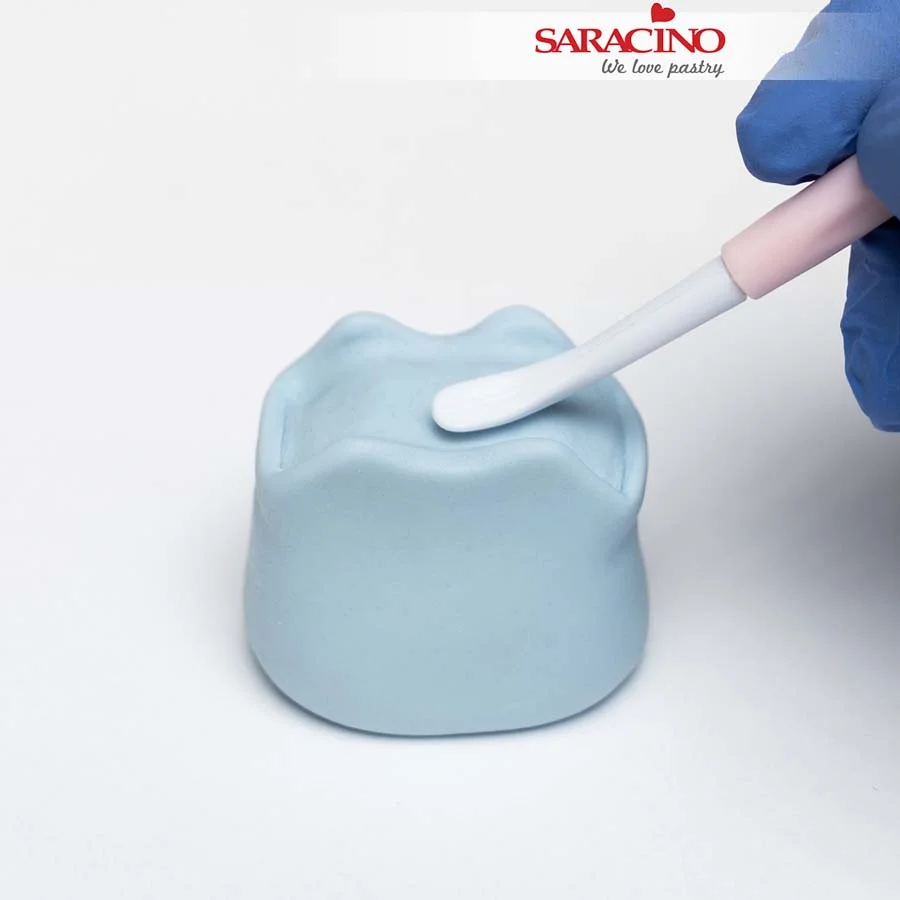
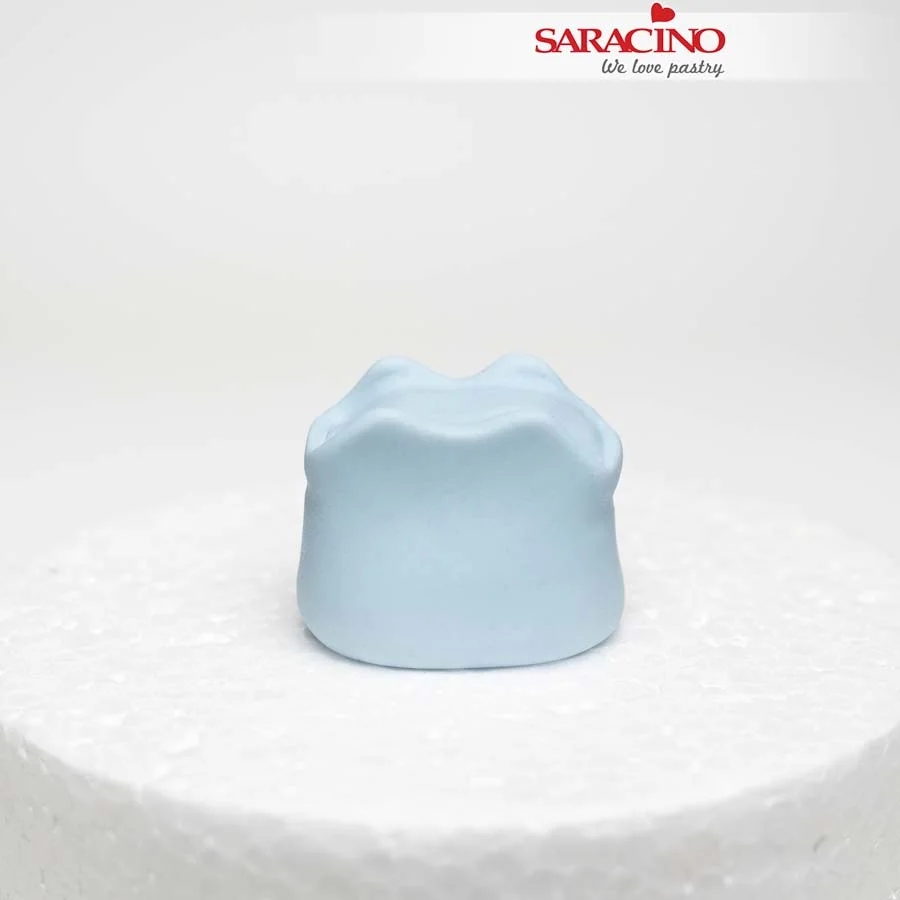
For the body roll and form the paste into a cylinder shape. Use the Dresden tool to shape into overalls.
Step 4

Place on a dummy and allow to dry slightly.
Step 5

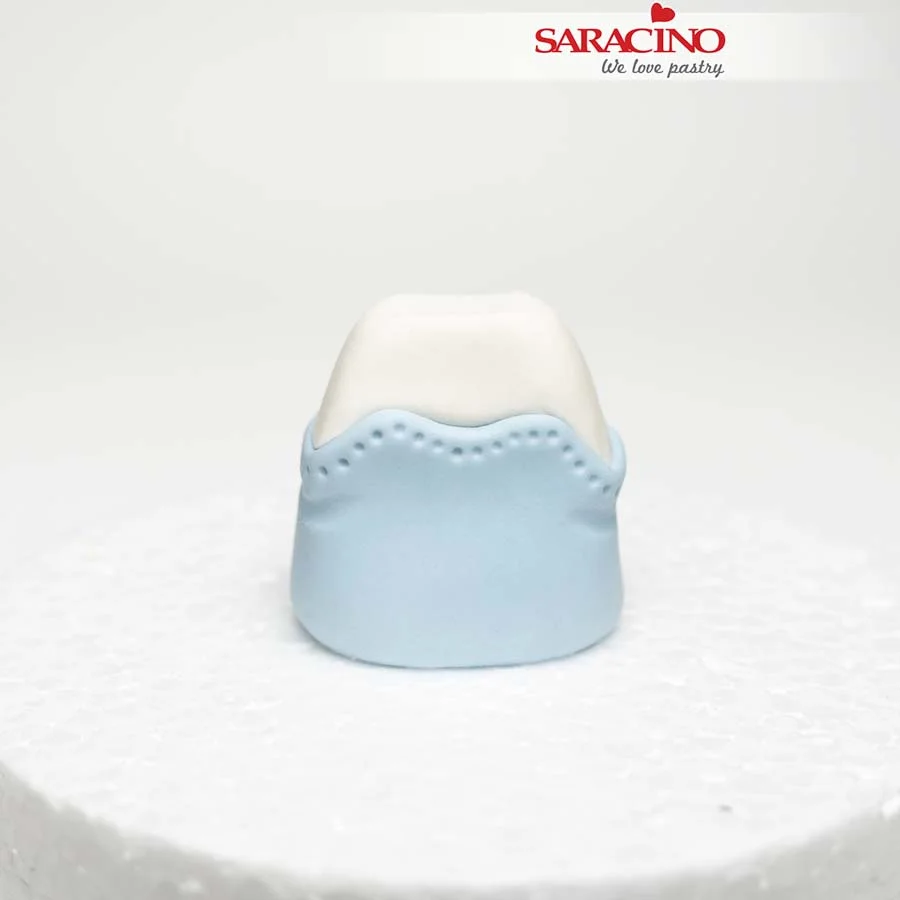
Using white Pasta Model add the upper part of the torso inside the overalls. Using a ball tool add stitching to the edge of the dungarees and creases below the armpit areas.
Step 6

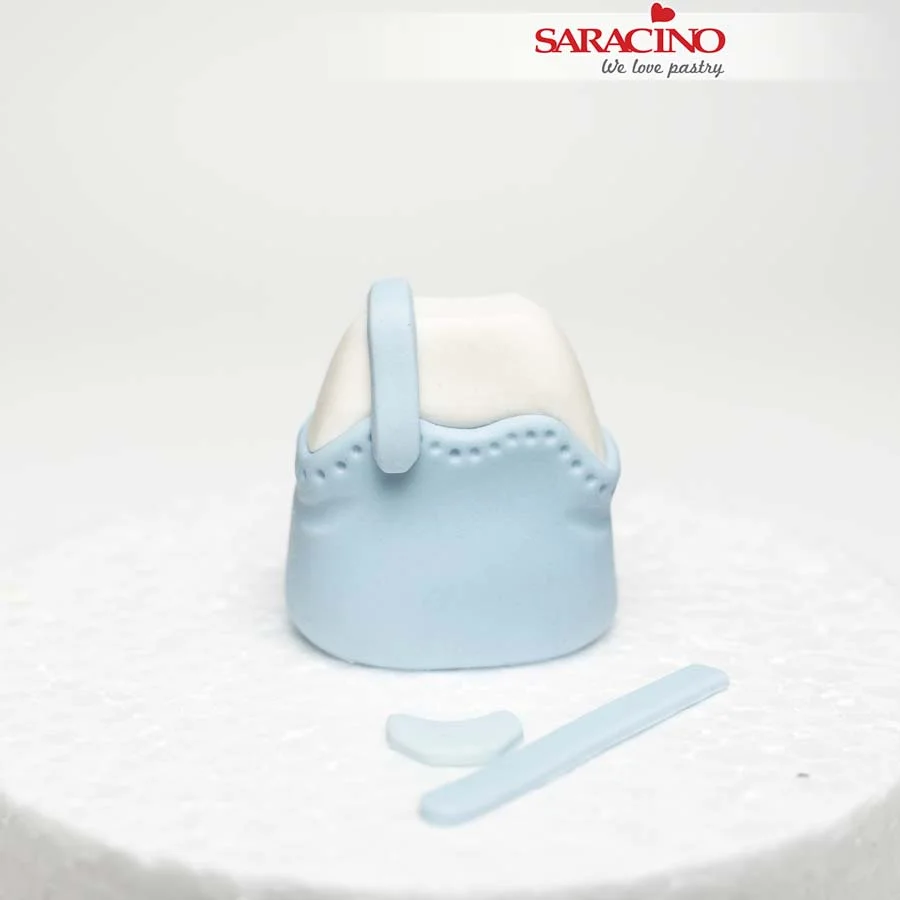
Using light blue paste roll two strips and round at each end for the straps. Cut out a small circle and cut out a semi circle – this will be a pocket.
Step 7

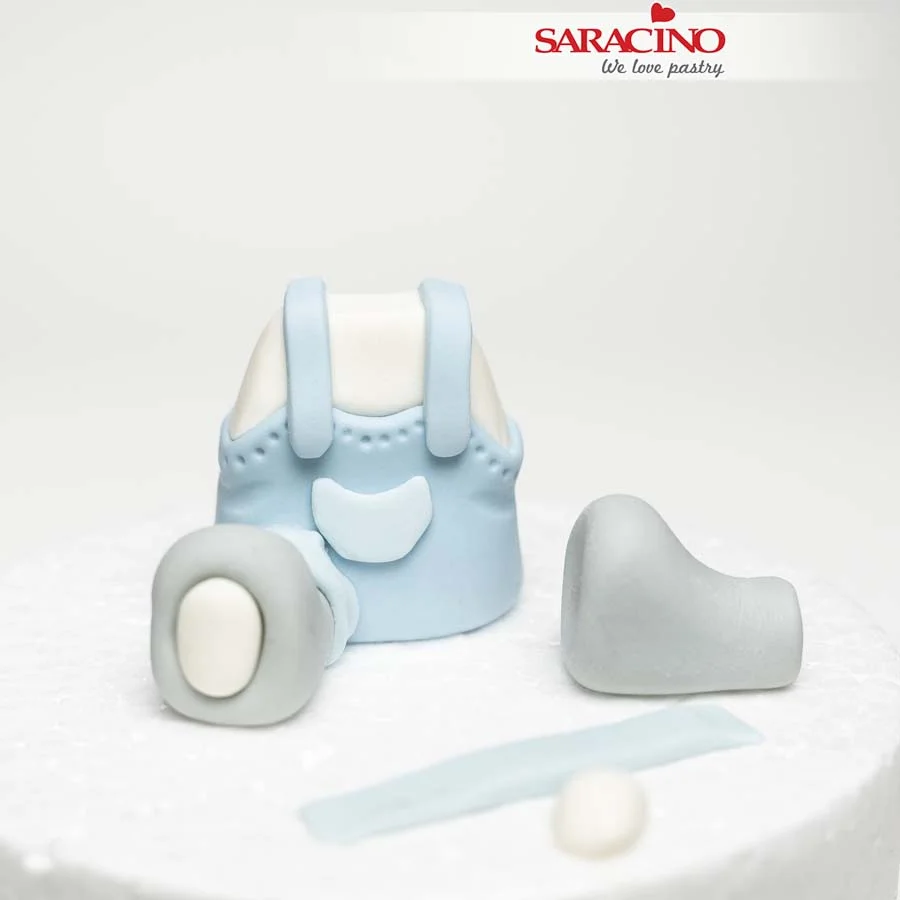
Fix the straps and pocket. Use the grey icing to model two legs as shown. Roll two strips of blue icing for the trouser legs. Roll two oval shapes from the white paste and attach to the soles of the feet.
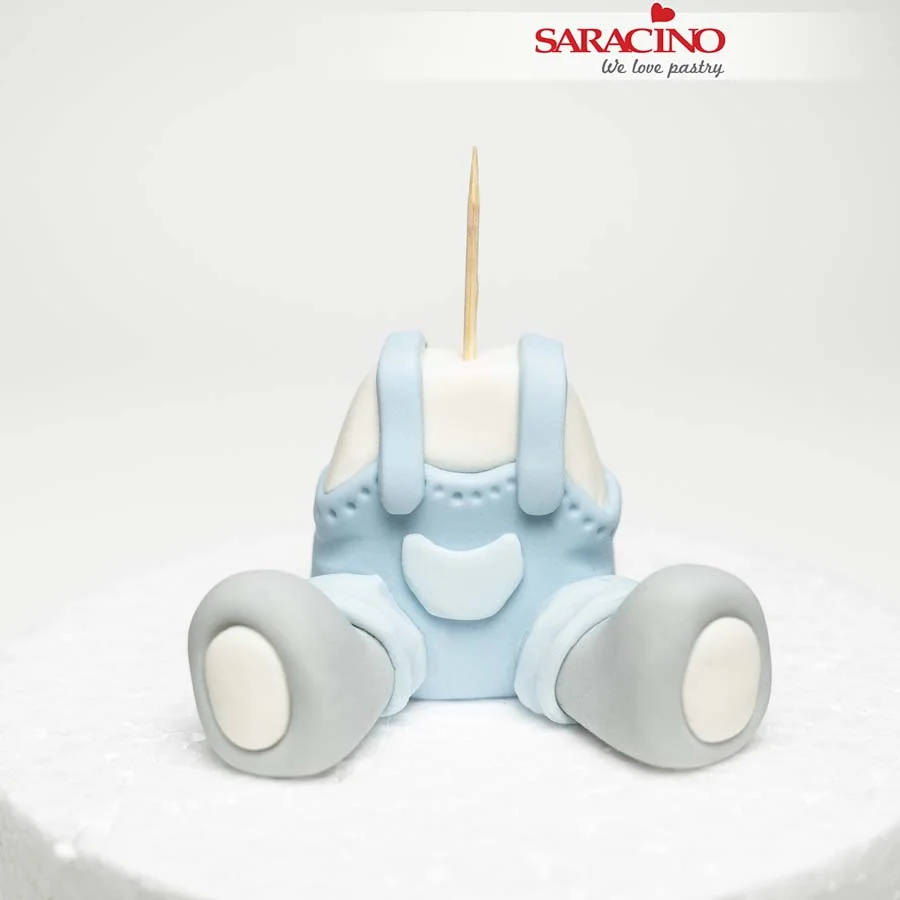
Step 8

Fix the legs to the shorts and then wrap the trousers around the top of each leg. Use the Dresden tool to add creases to the trousers. Insert a short toothpick into the torso at the neck.
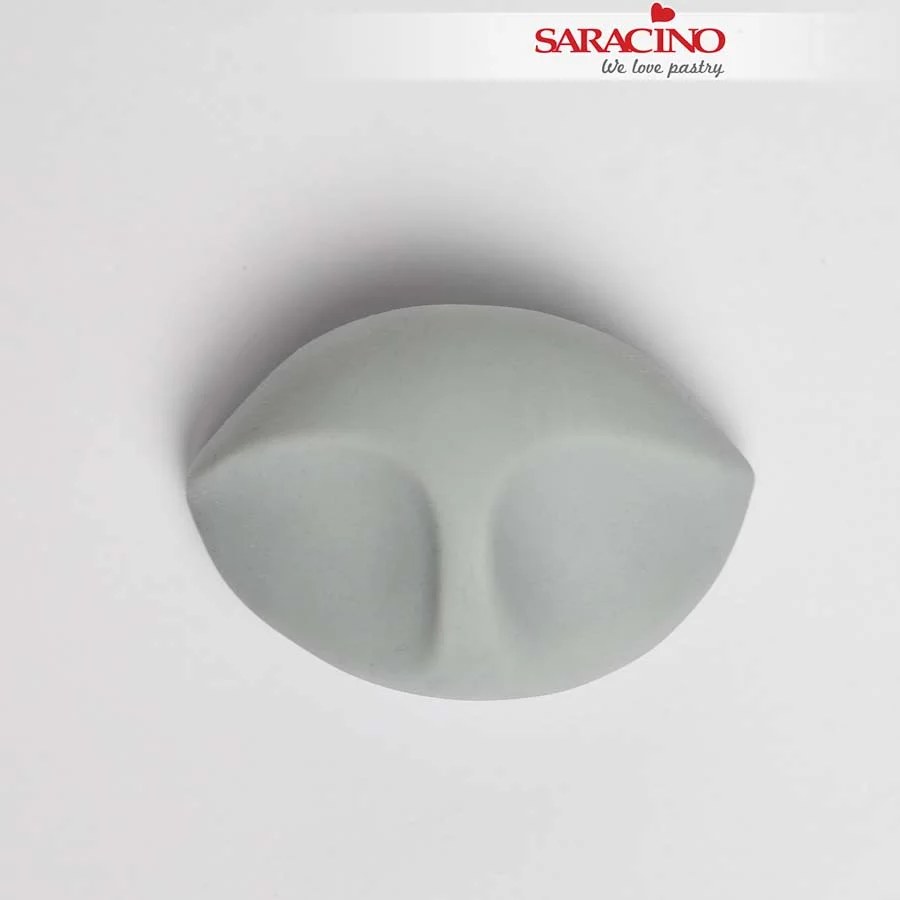
Step 9

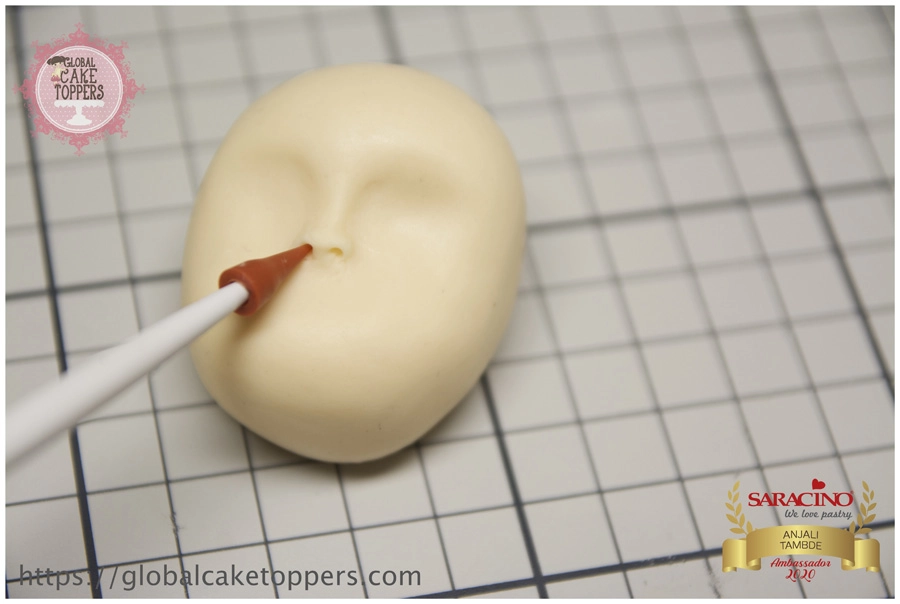
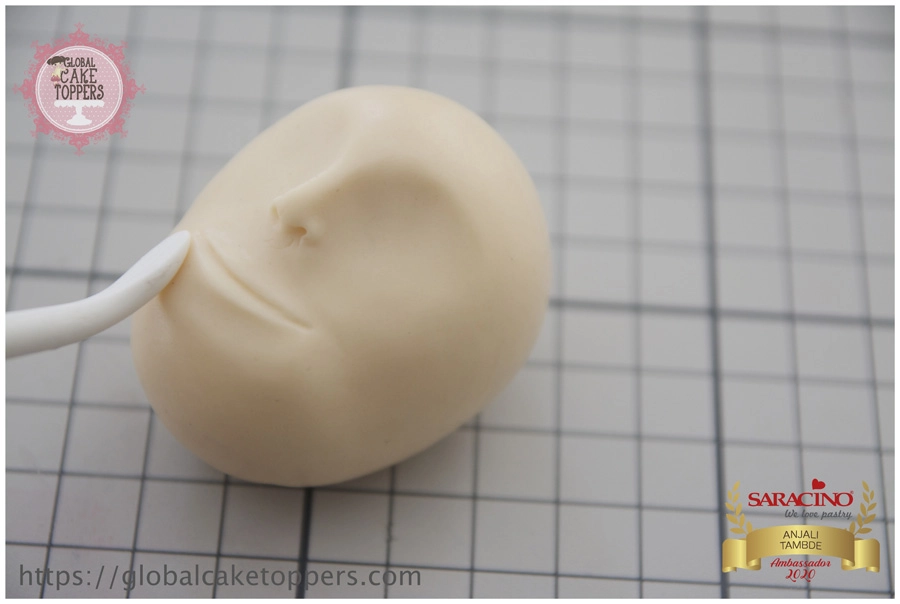
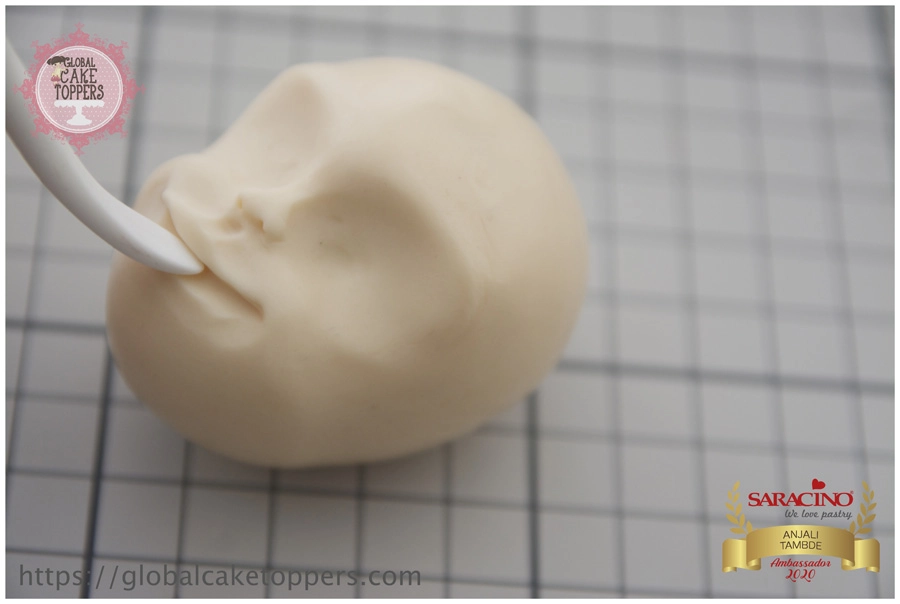
For the head roll the shape shown. Use your index fingers or a ball tool to make two recesses for the eyes leaving a gap between them.
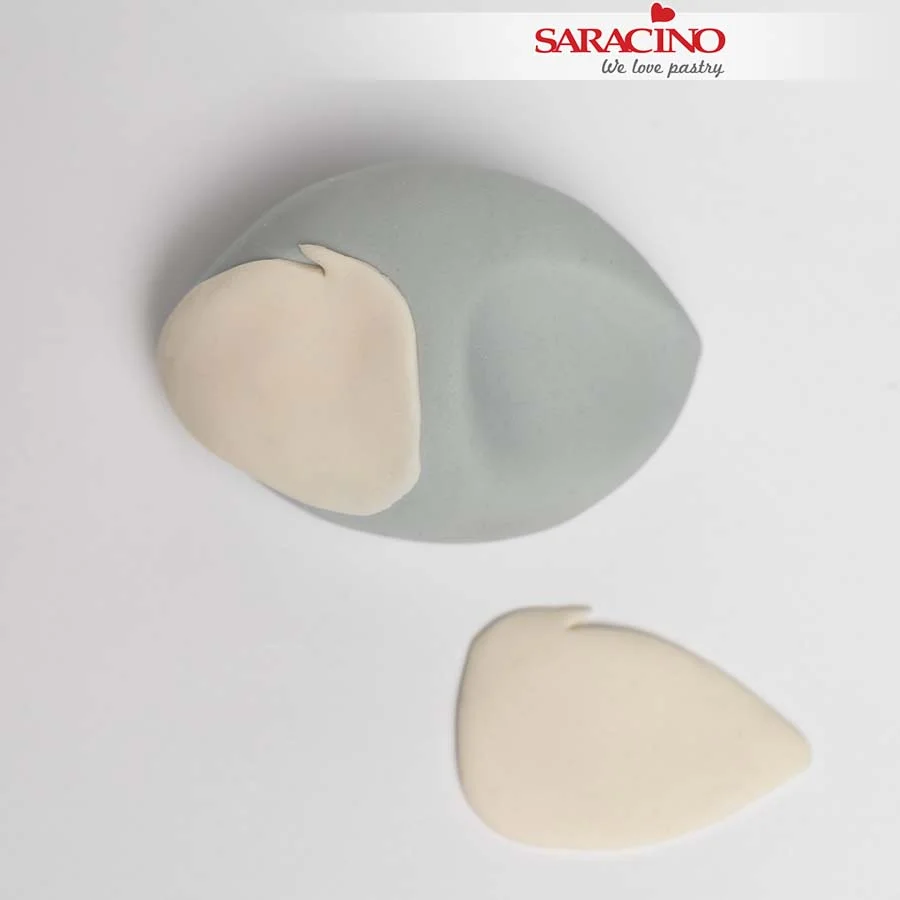
Step 10

Using white paste cut out terdrop shapes simialr size to the eye sockets. Use a knife or scalpel to cut off the small triangles at the top – they will look like fur. Glue both into the previously prepared recesses.
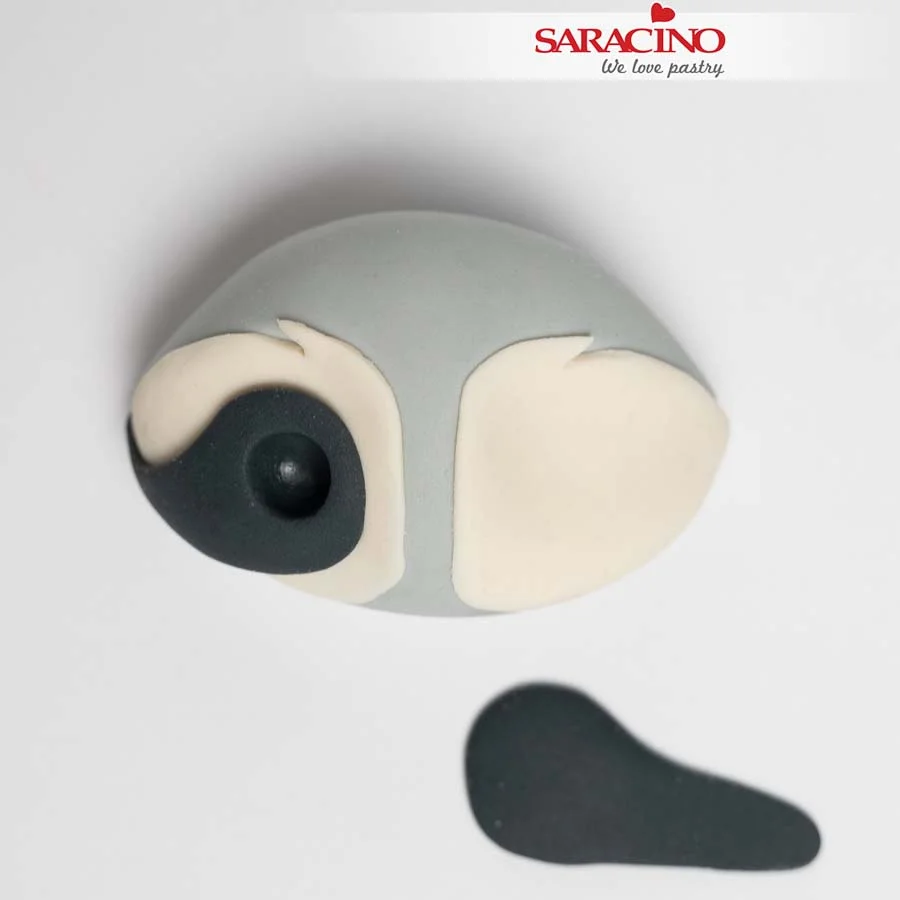
Step 11

Using a dark grey paste prepare elongated teardrop shapes, thinner on one side. Fix to the head and use the ball tool to make sockets for the eyes.
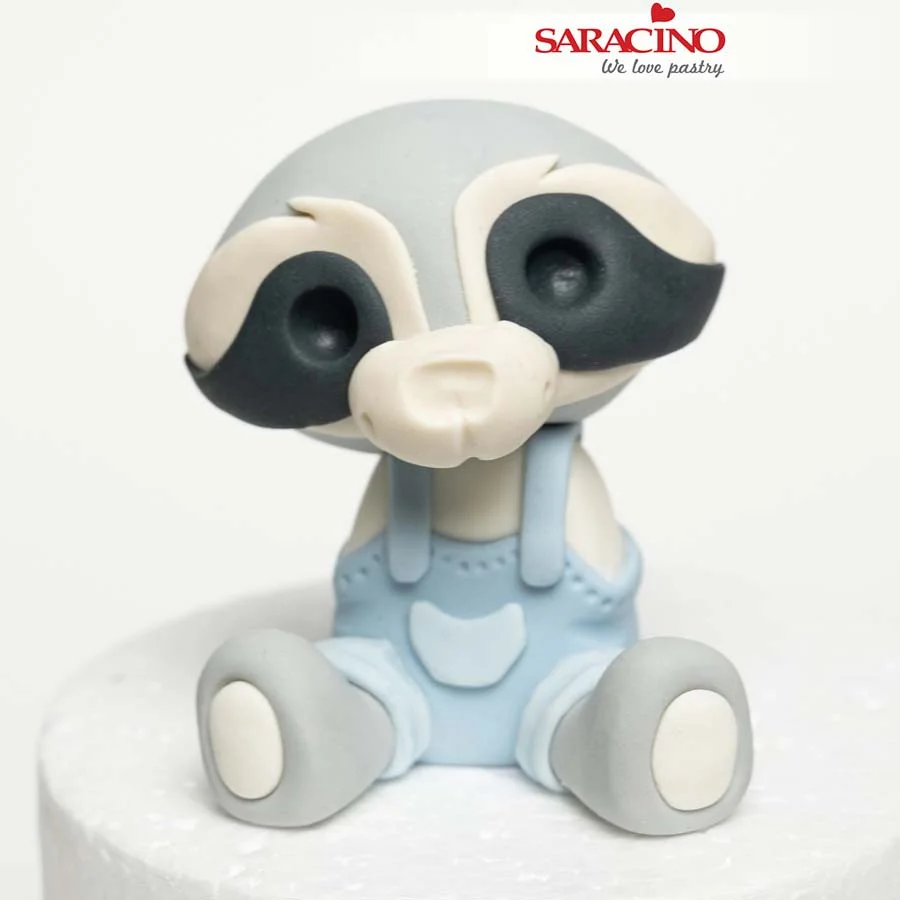
Step 12

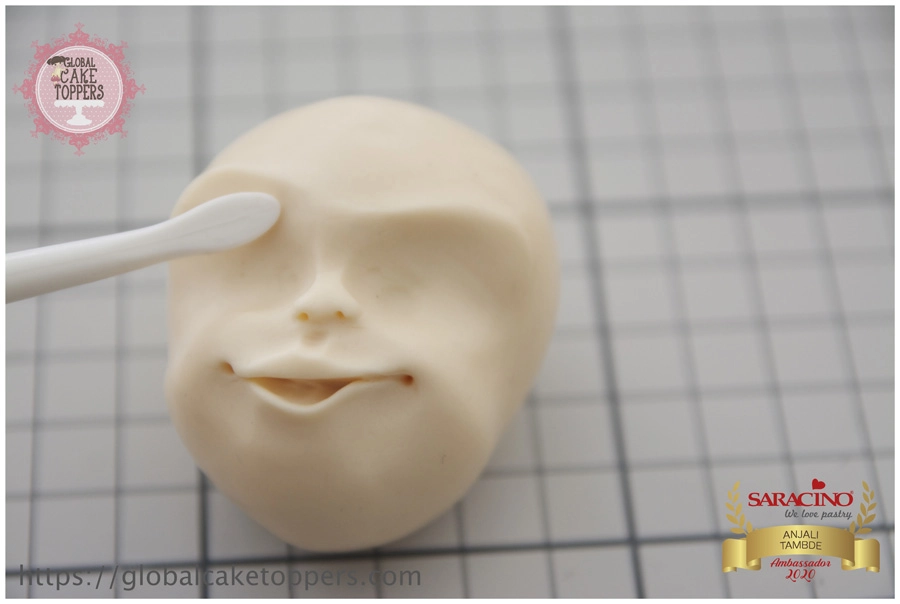
Place your head onto the torso by sticking it onto the toothpick. Add a flattened oval shape as a snout. Mark the nose and add a smile.
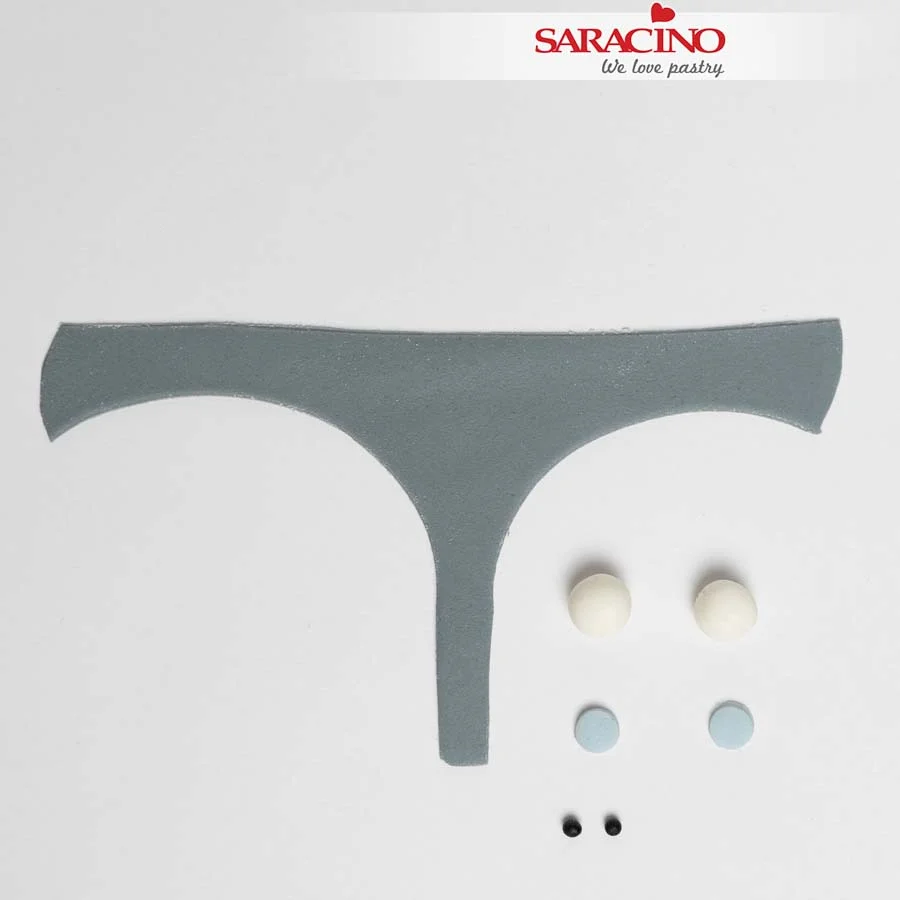
Step 13

Using the dark grey paste cut out a shape as shown for the dark fur on the raccoon’s head. Prepare two white balls for the eyes, two blue balls for the irises, and two smaller black balls for the pupils.
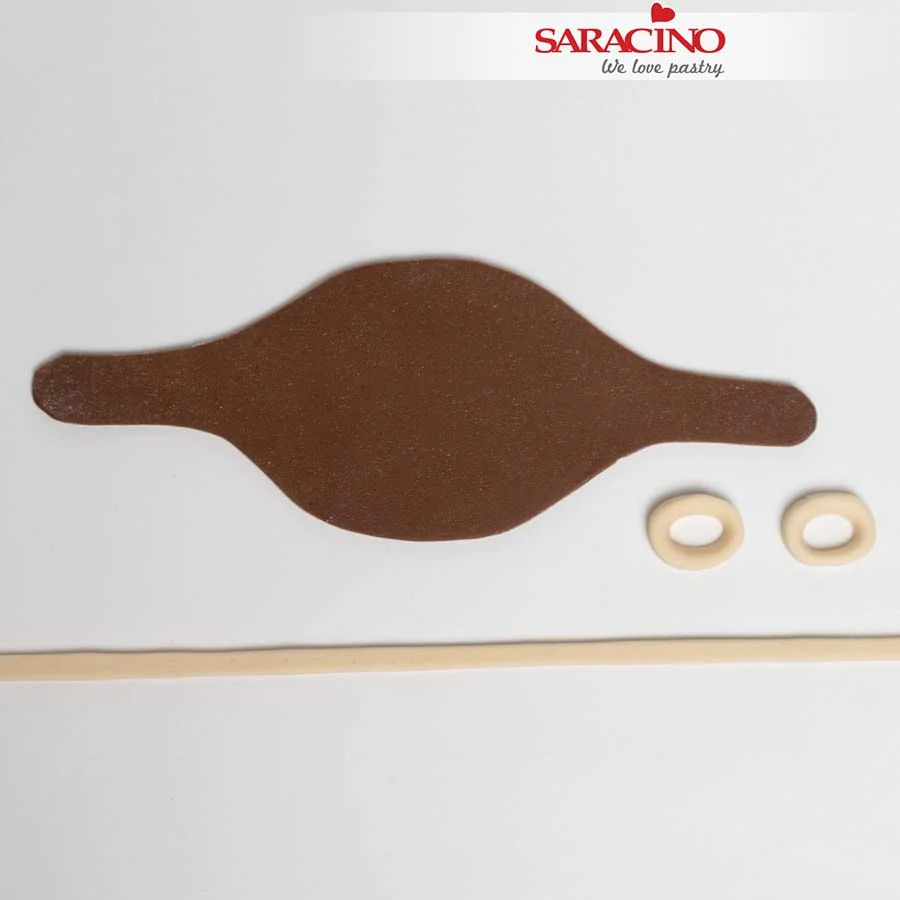
Step 14

Roll out some brown paste and using a scalpel cut out the shape as shown to form the pilot cap. Prepare a strip of beige color and two circles with holes in the center. Gently flatten the circles into an egg shape. These elements will make the goggles.
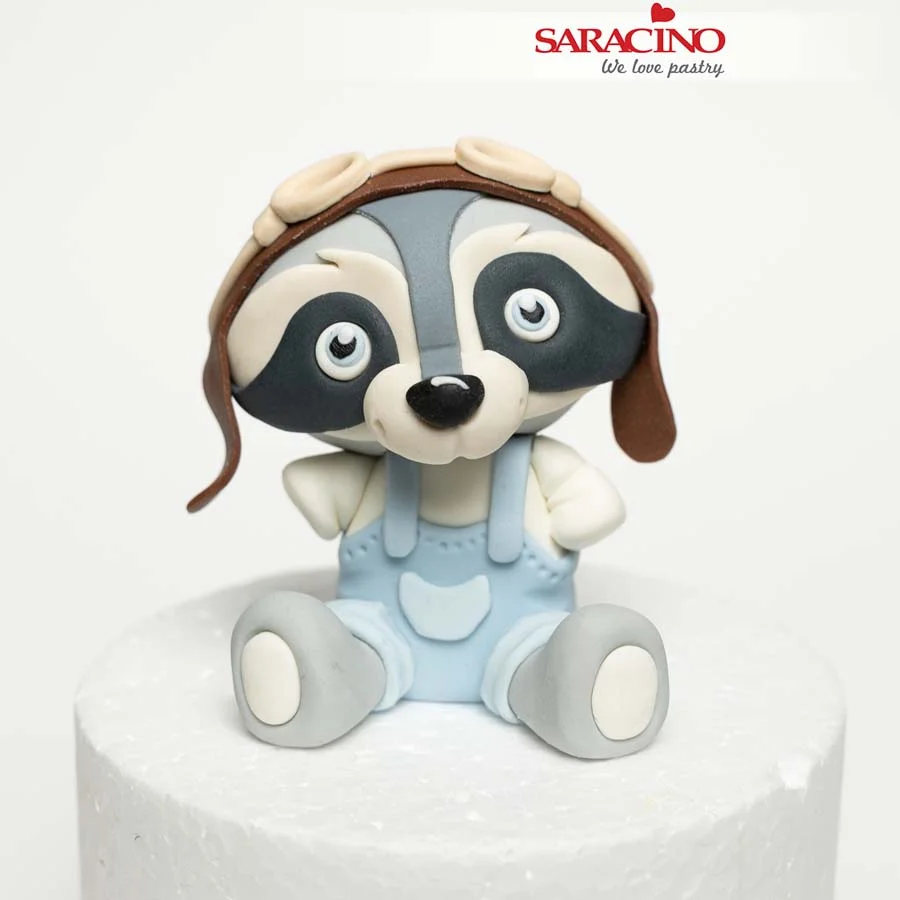
Step 15

Add the eyes. Use tiny white beads to add a “sparkle” to each eye. Add the grey ‘fur’ piece. Add a black nose with a white ‘sparkle’. Fix the brown paste ‘helmet’ to the raccoon’s head. Add the elements to form the goggles. Add two sleeves using white paste.
Step 16

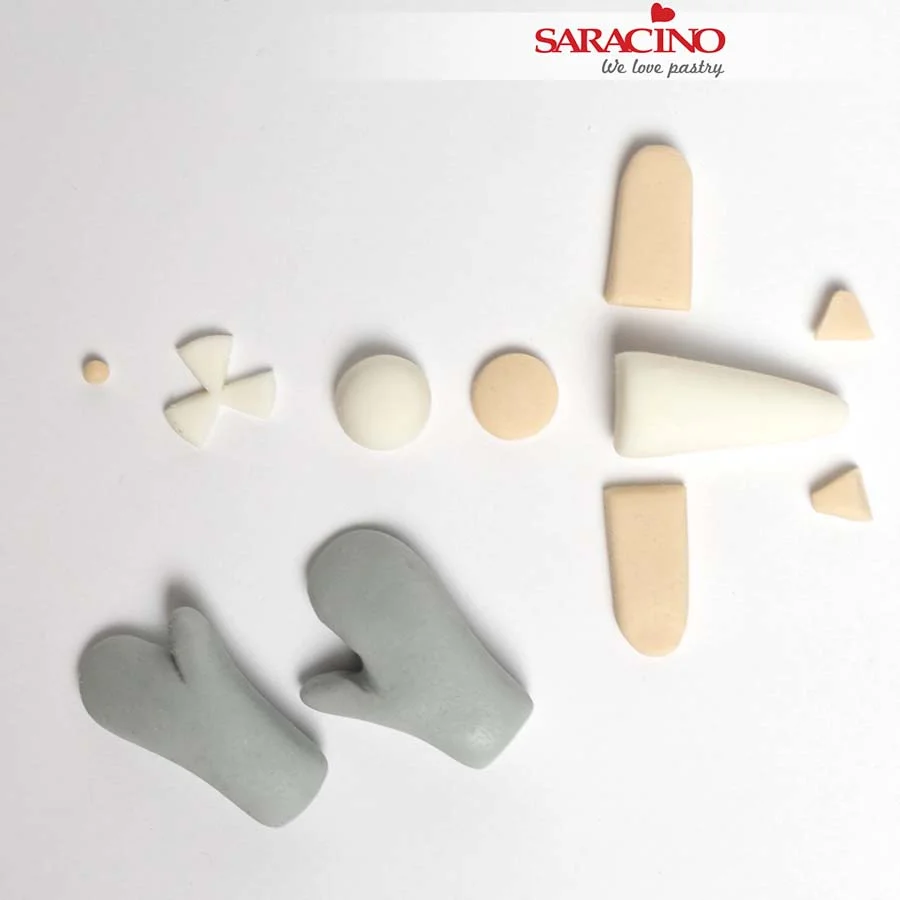
Prepare two paws from the dark grey paste as shown. Model small elements that will create the toy airplane. Let them set slightly and then glue together.
Step 17

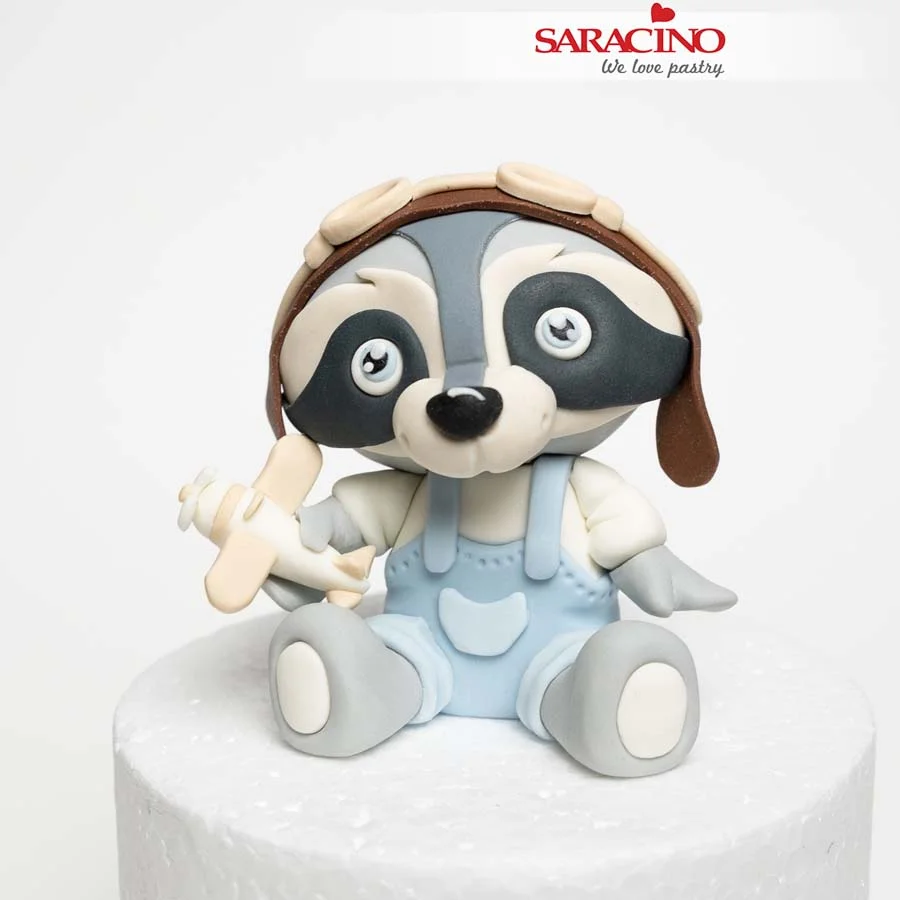
Fix both paws to the arms. Add the toy airplane to the right paw.
Step 18

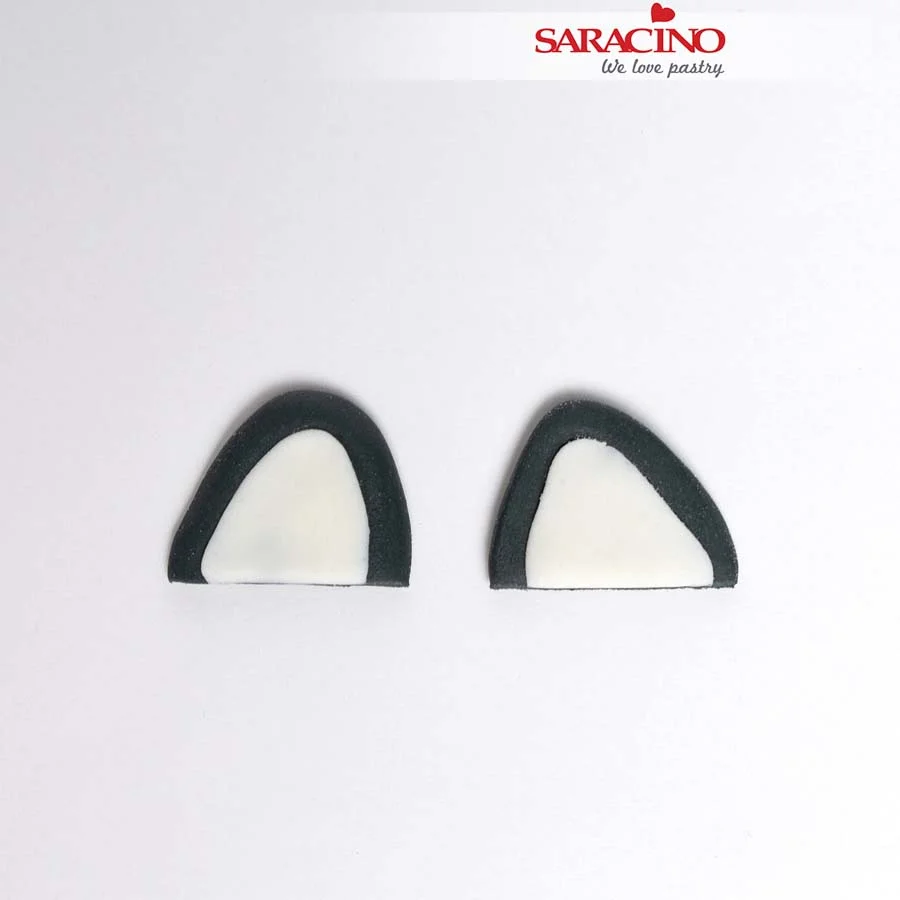
Form the shape of the ears from the black paste, stick the white centers to them (the same shape, only smaller).
Step 19

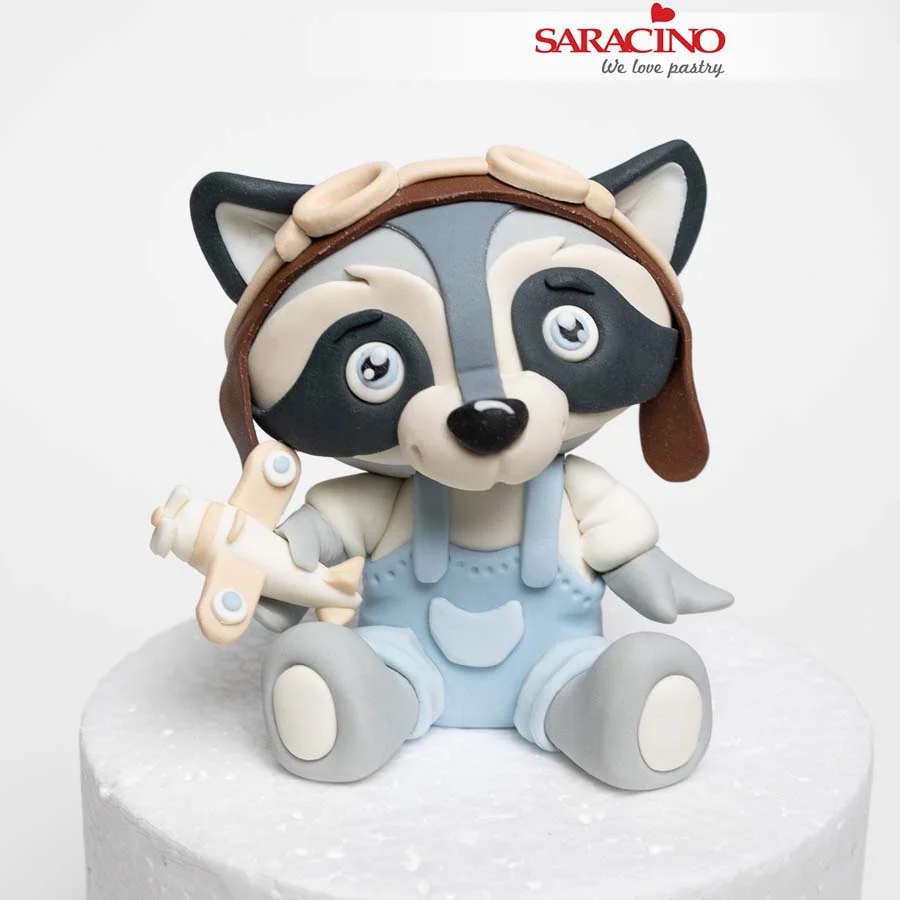
Place the ears on the raccoon’s head, gently bend them with your fingers to give character and form.
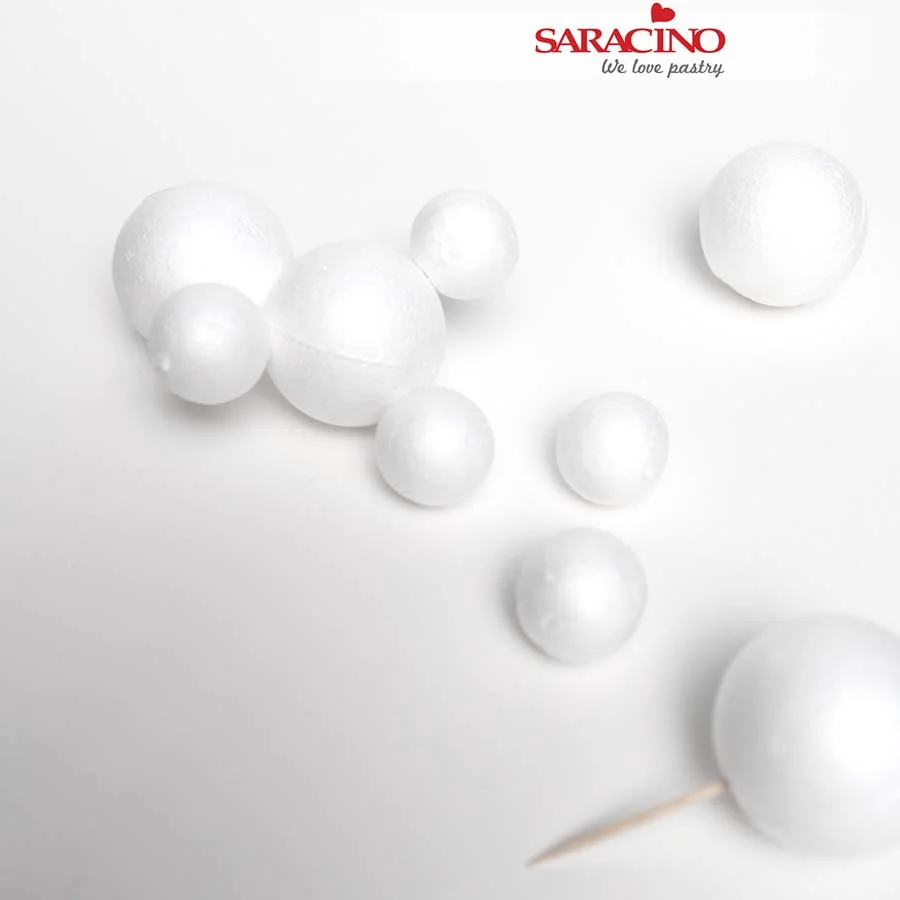
Step 20

For the cloud prepare polystyrene balls connected together with toothpicks.
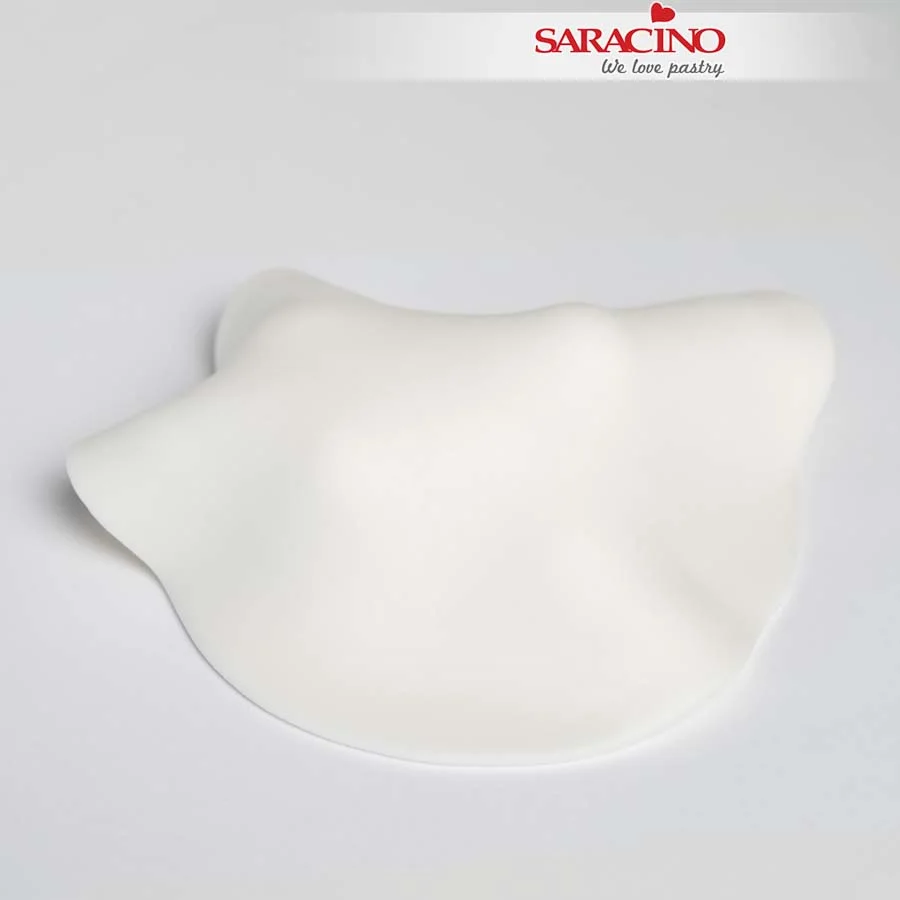
Step 21

Roll out the white paste and put it over the balls. To help the paste stick you can moisten the polystyrene with a little water and a brush.
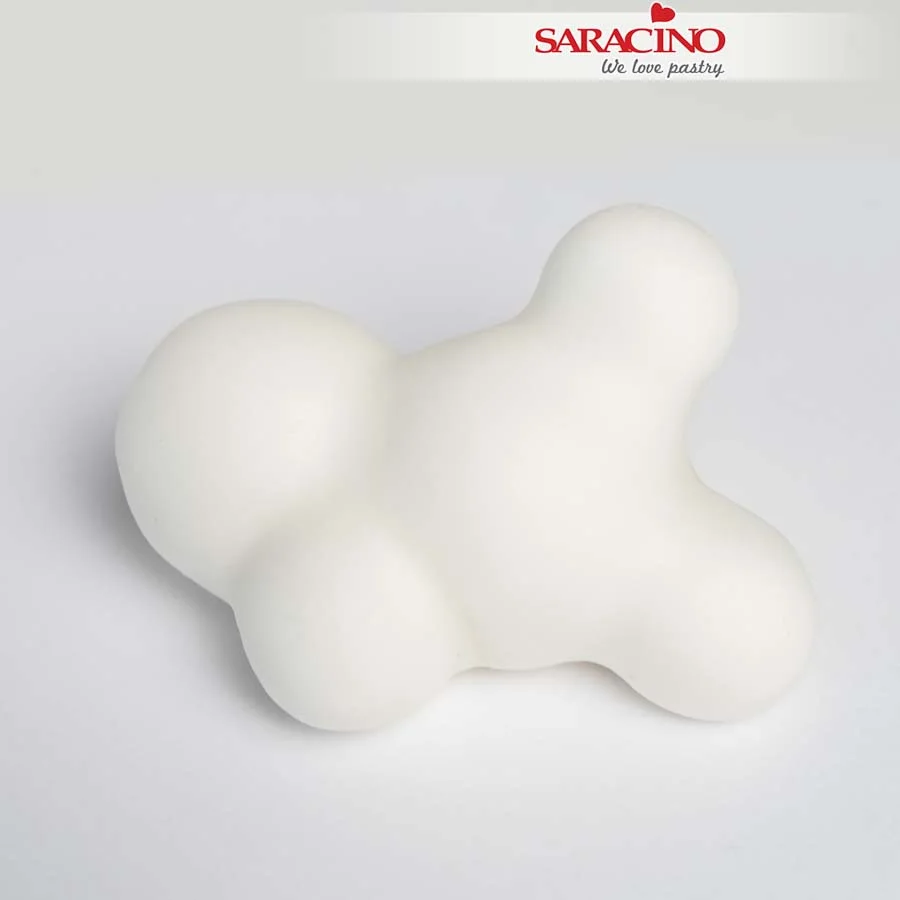
Step 22

Gently press down and pull the paste to cover the ball structure.
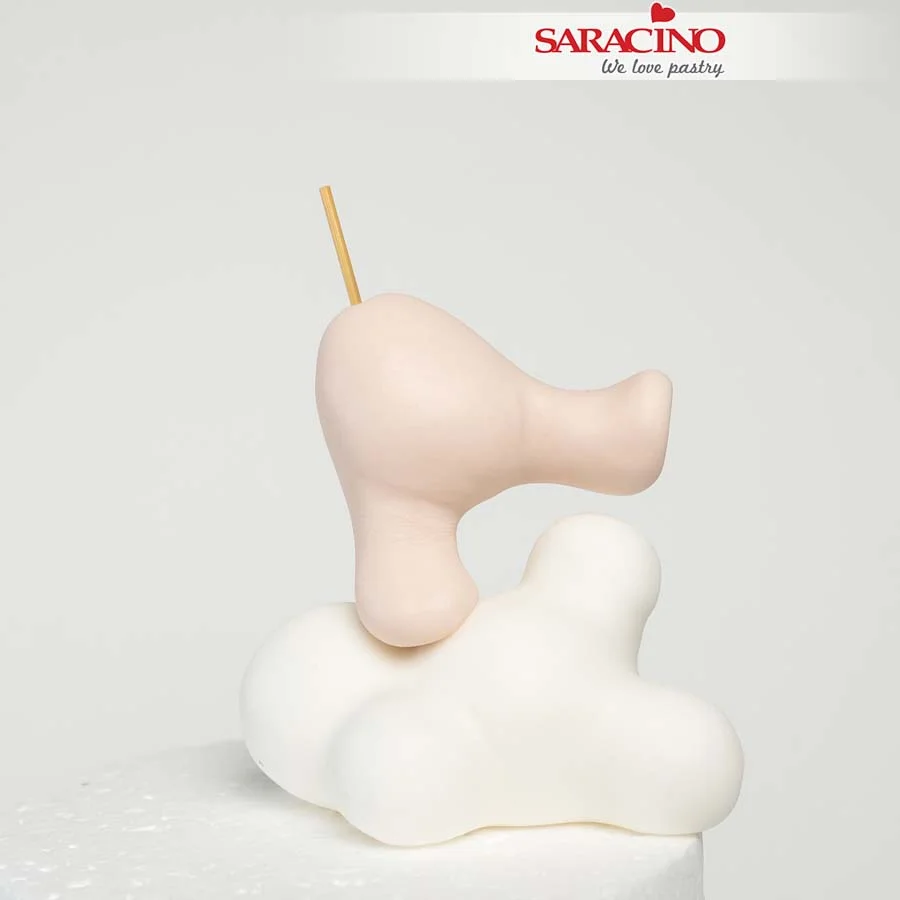
Step 23

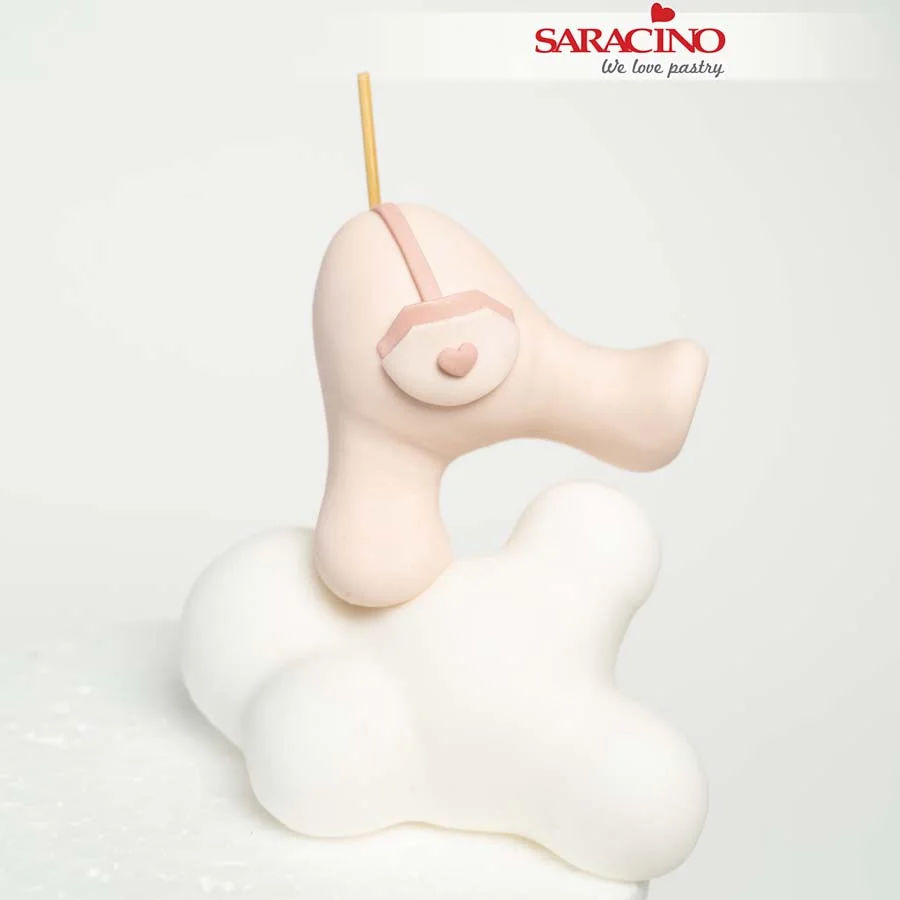
Combine light pink paste with white paste, add a little brown for a soft colour. You can of course use the pre-coloured pastes if you wish. Model the shape of the tummy with the legs. Attach it to the cloud with a toothpick. If the raised leg is not set enough and drops you can insert a toothpick into it to keep it straight.
Step 24

Prepare a slightly darker shade of paste. Make a thin strap, a pocket shape and a mini heart. Using the lighter colour paste make a pocket shape. Fix the elements on the character’s tummy with a little glue if required.
Step 25

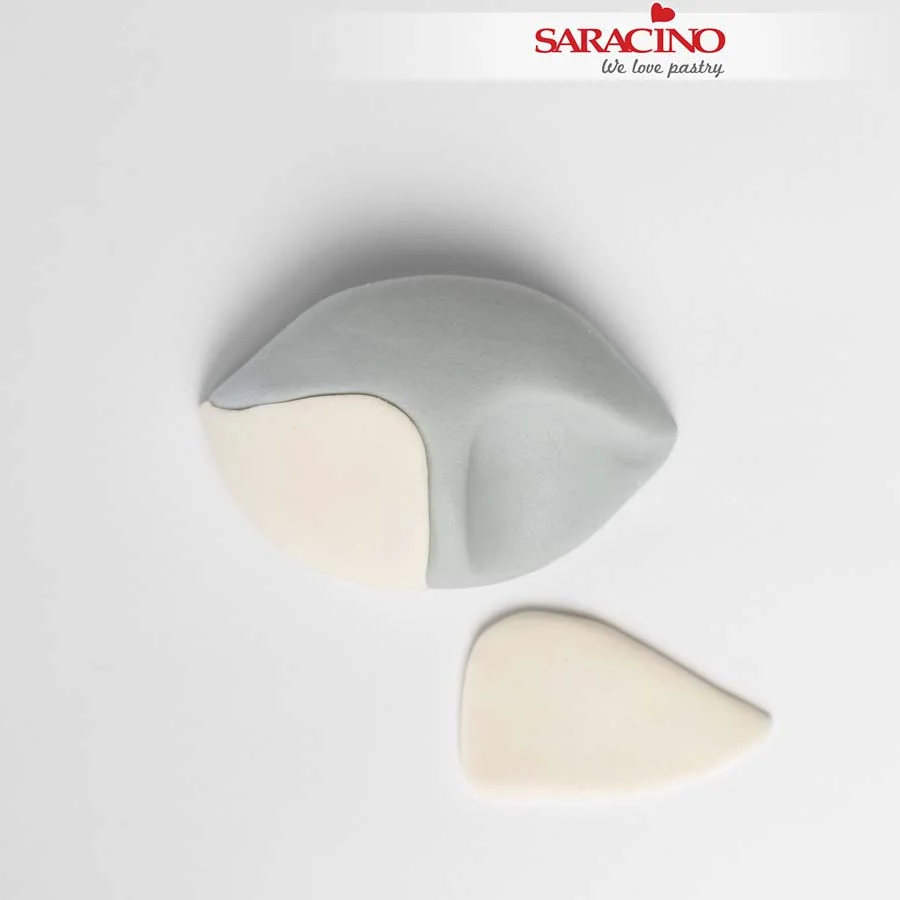
As with the previous racoon use grey paste to form the shape of the head. Use your finger or a ball tool to form recesses. Fill the recesses with lighter pieces of paste cut into a tear drop shape.
Step 26

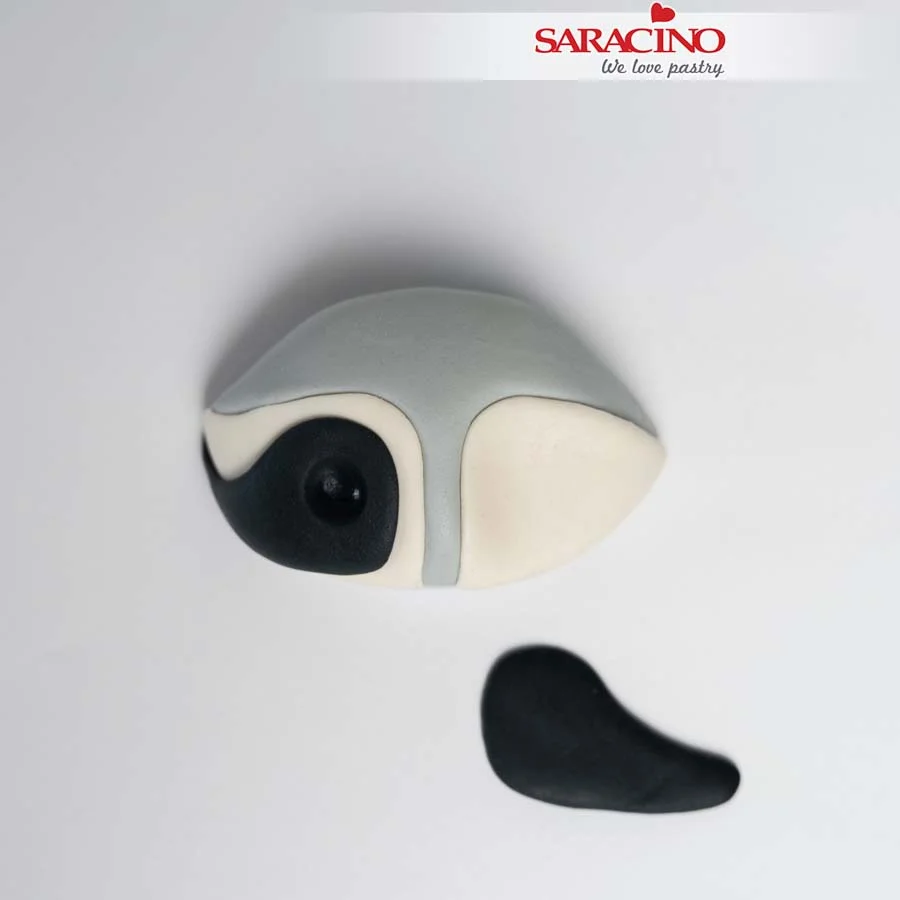
Using a dark grey paste prepare an elongated teardrop shape flattened on one side. Fix to the face. Use a ball tool to make eye sockets.
Step 27

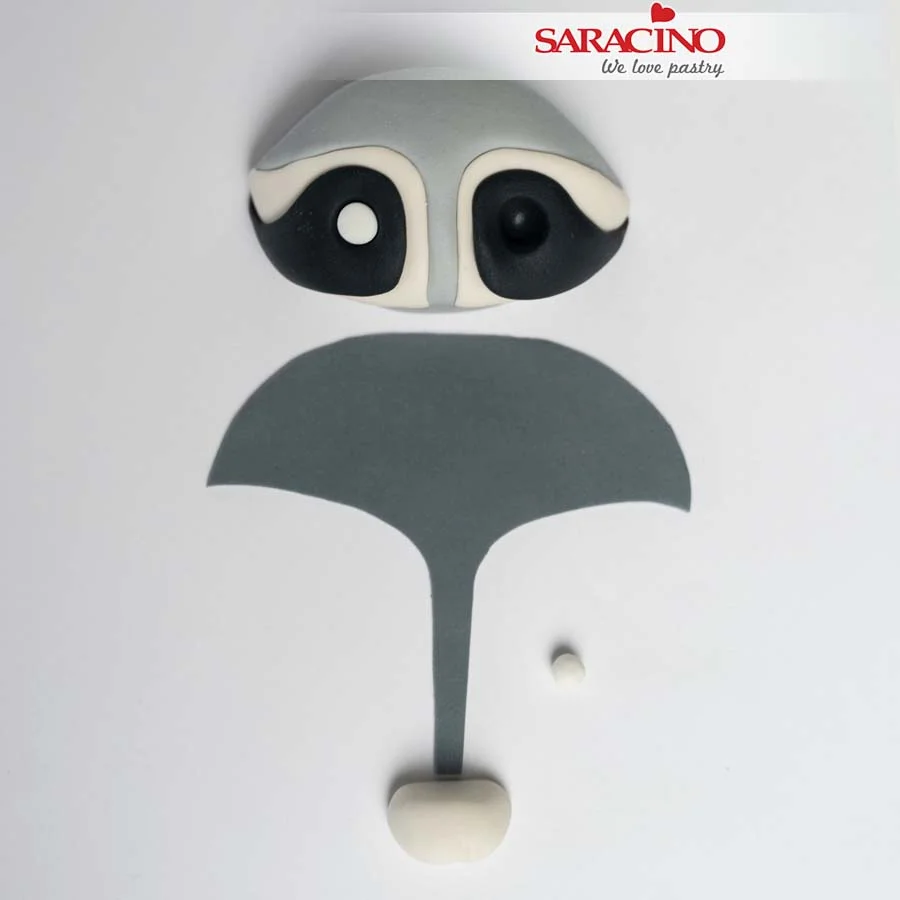
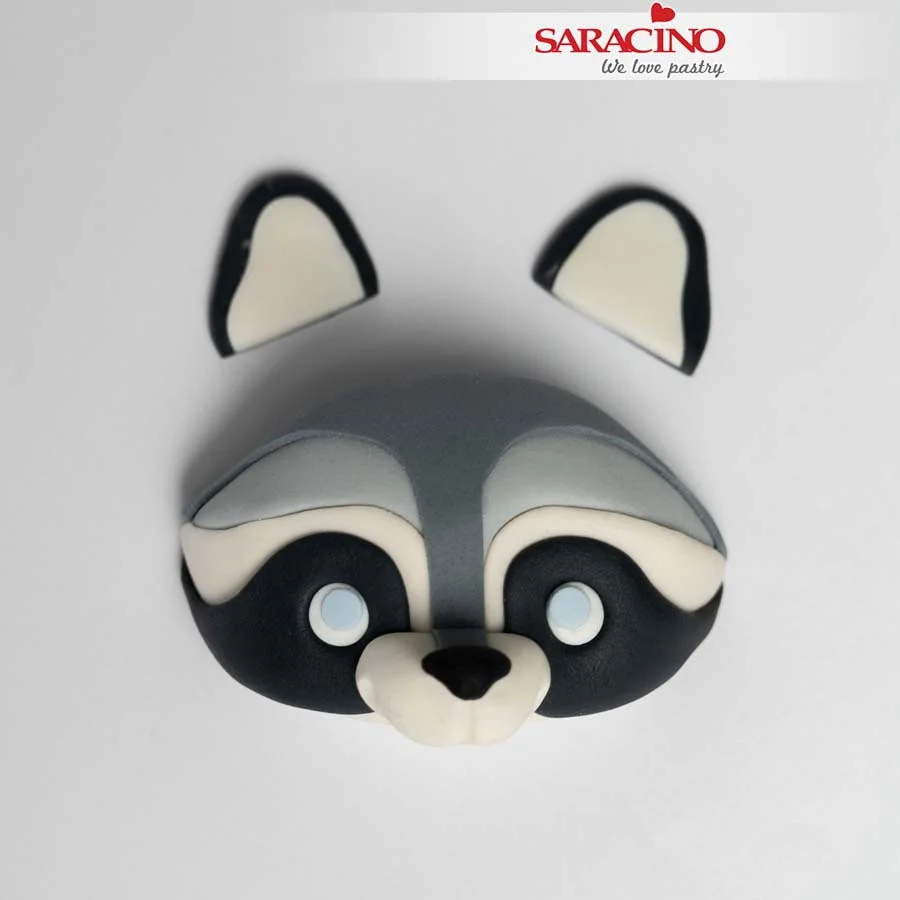
For the dark fur on the racoons head roll out a mid grey and cut out to the pattern shown. Roll two balls of white paste for the eyes. Using white paste shape the mouth area.
Step 28

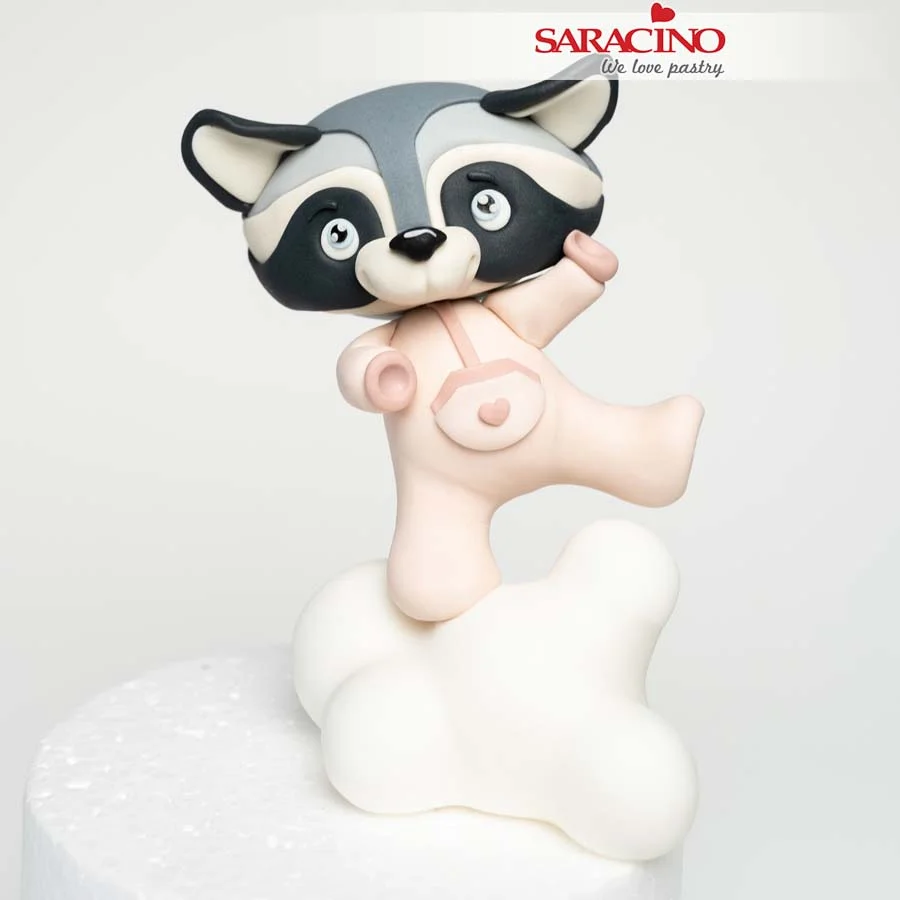
Fix the dark fur on the head and cut to length by the nose. Add the mouth, nose, irises and ears as before. Use a Dresden tool to form the mouth and snout.
Step 29

Attach the head to the torso using a cocktail stick if required. Add two sausage shapes for the arms. Using the darker pink roll two small balls and press to a cuff shape. Fix to the end of the arms. Use a ball tool to form a recess in each cuff ready to fix the hands. Apply two small dots of white paste to each eye.
Step 30

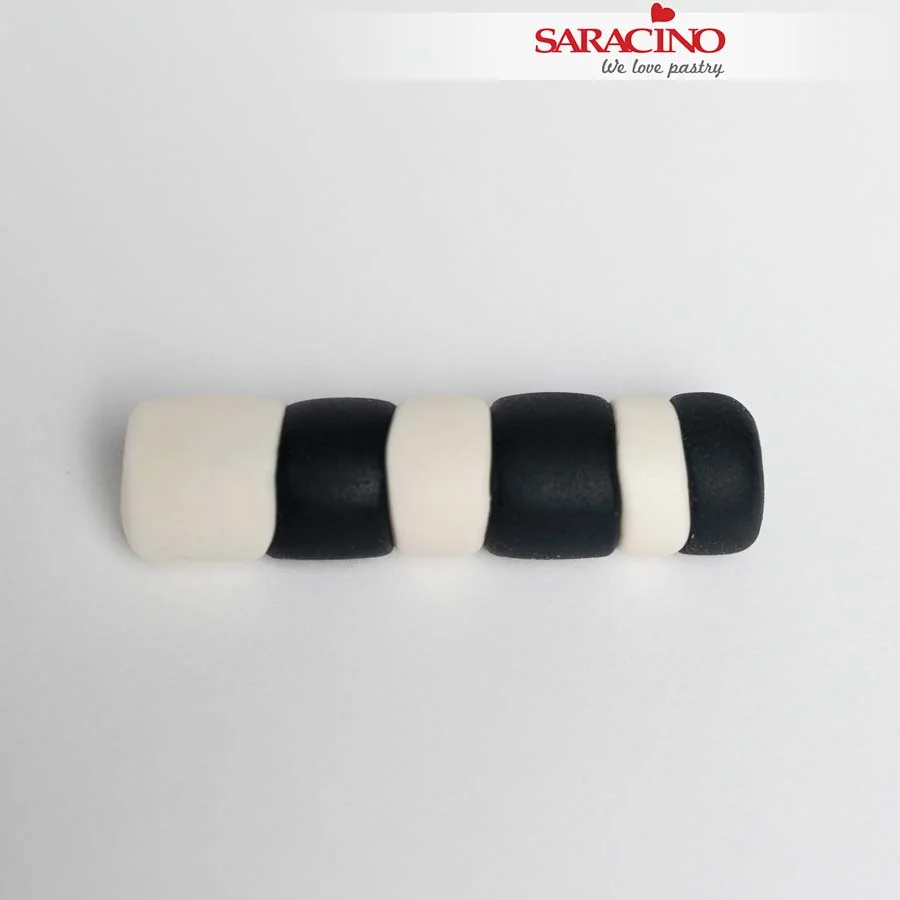
Prepare balls of dark grey and cream paste. 3 different sized pieces of each colour. Arrange from the smallest to the largest alternately. Carefully press them together to form a roll shape.
Step 31

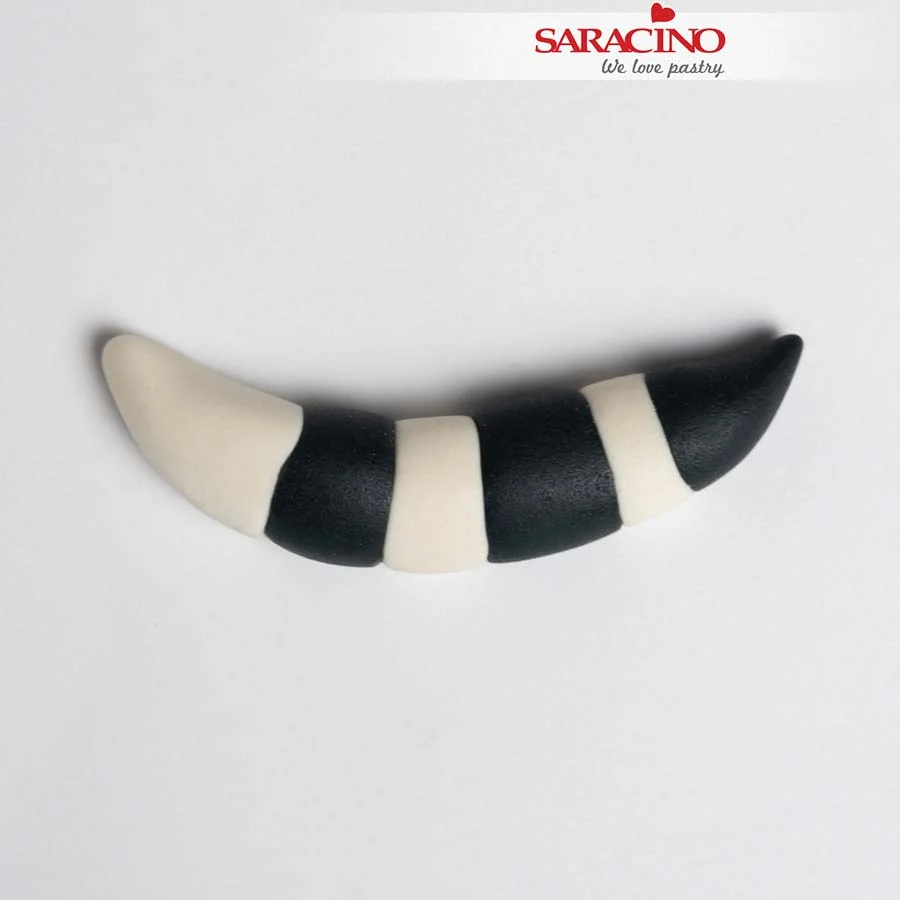
Roll the tail to give a point at each end.
Step 32

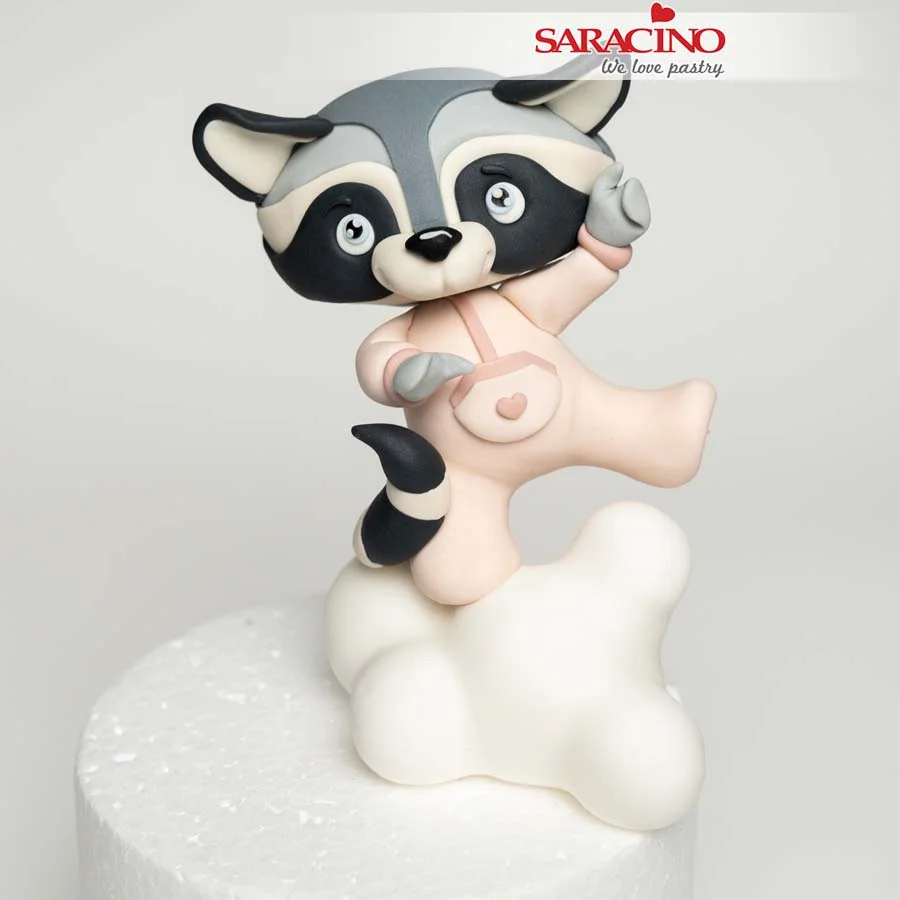
Fix the tail with a little glue. Model the hands and fix to each cuff.
Step 33

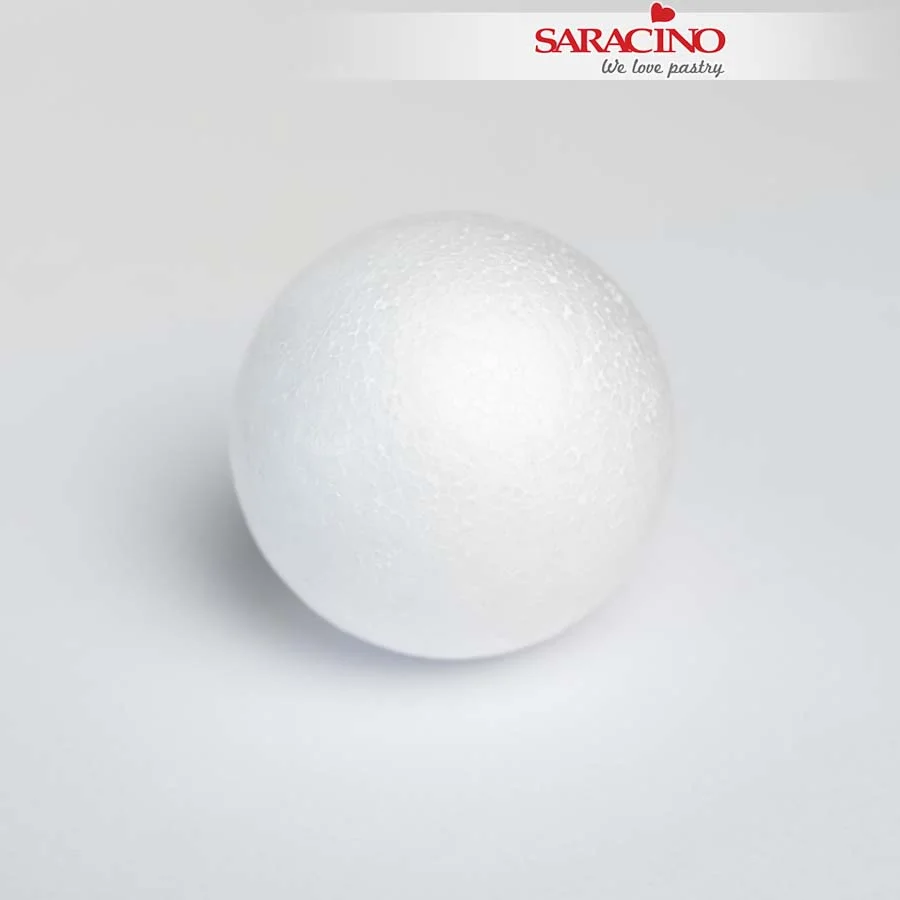
Apply a little water to the 6cm polystyrene ball.
Step 34

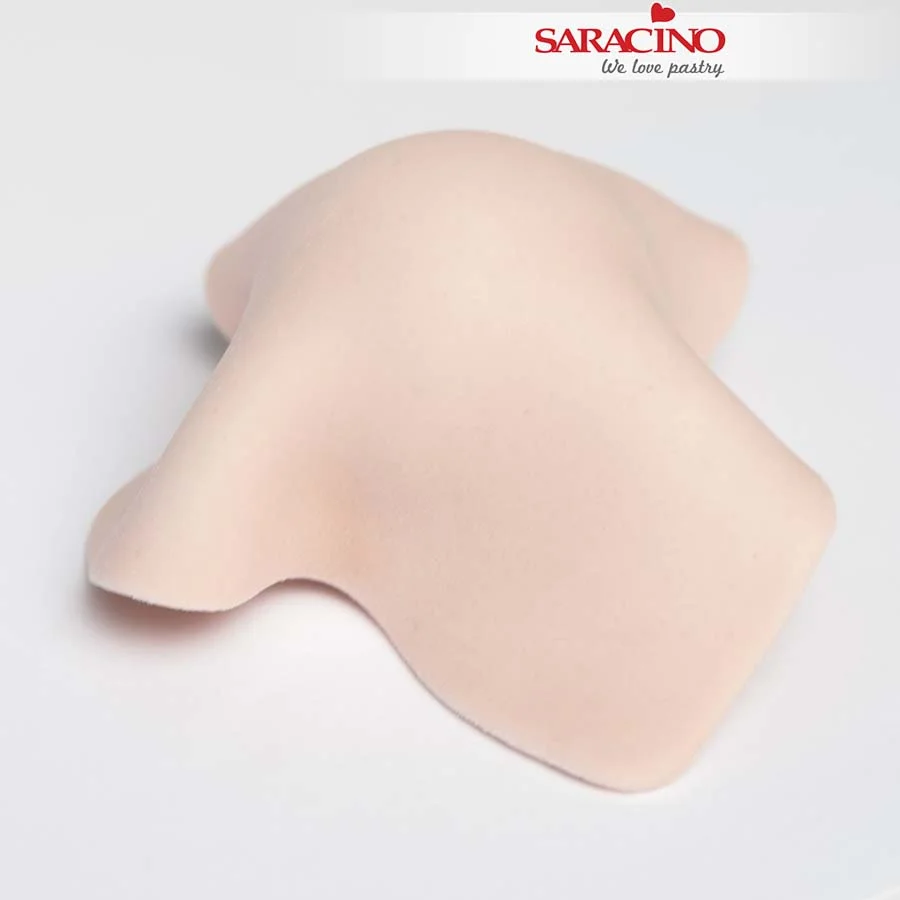
Roll out the dusty pink paste. Carefully cover the ball and smooth.
Step 35

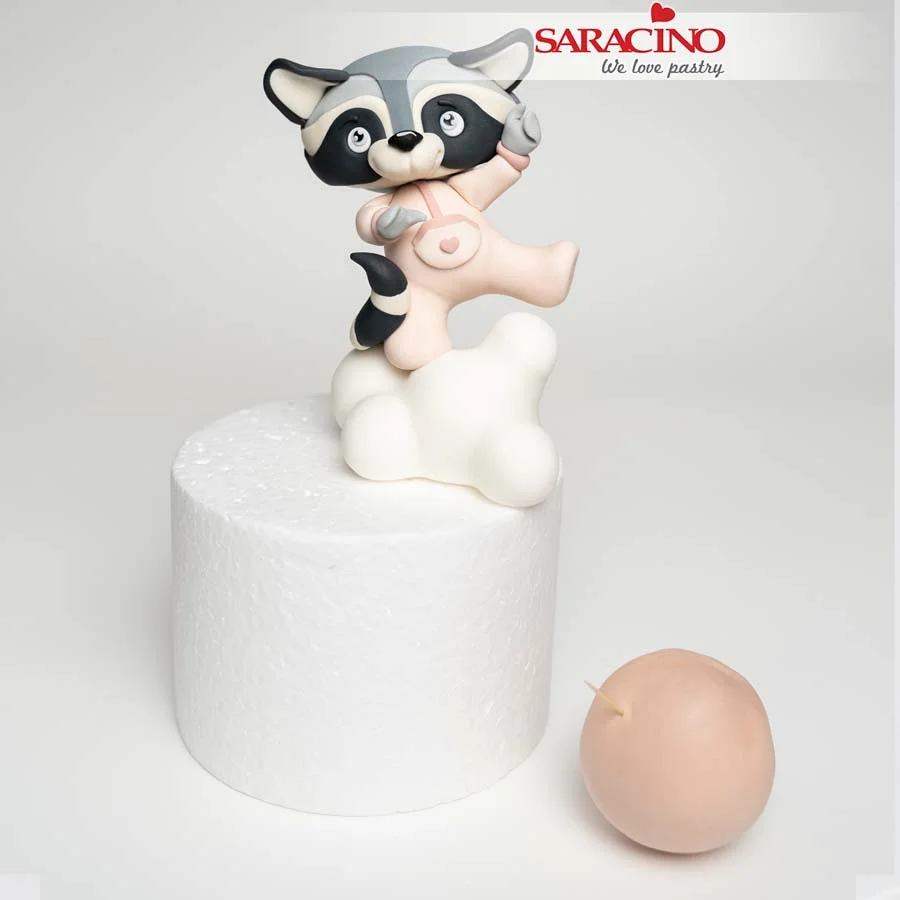
Stick a toothpick into the ball.
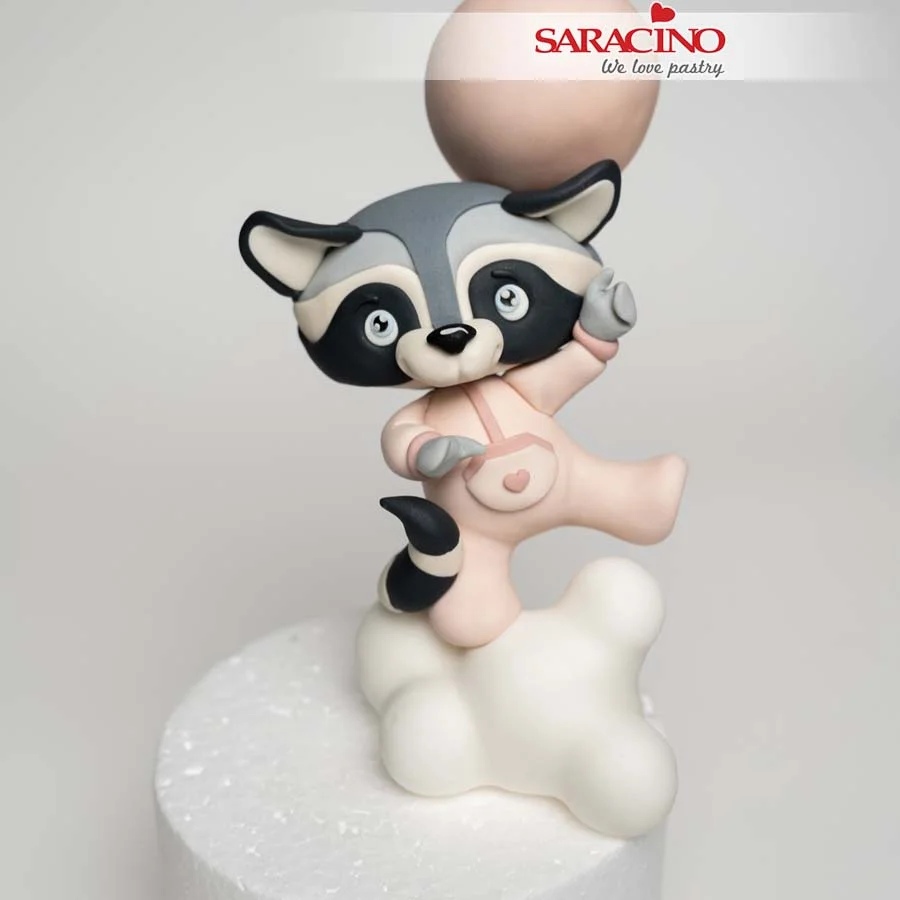
Step 36

When the figurine is set and firm stick the toothpick into the top of the raccoon’s head. Take your time with this step as if the figurine is not firm enough the ball maybe too heavy.
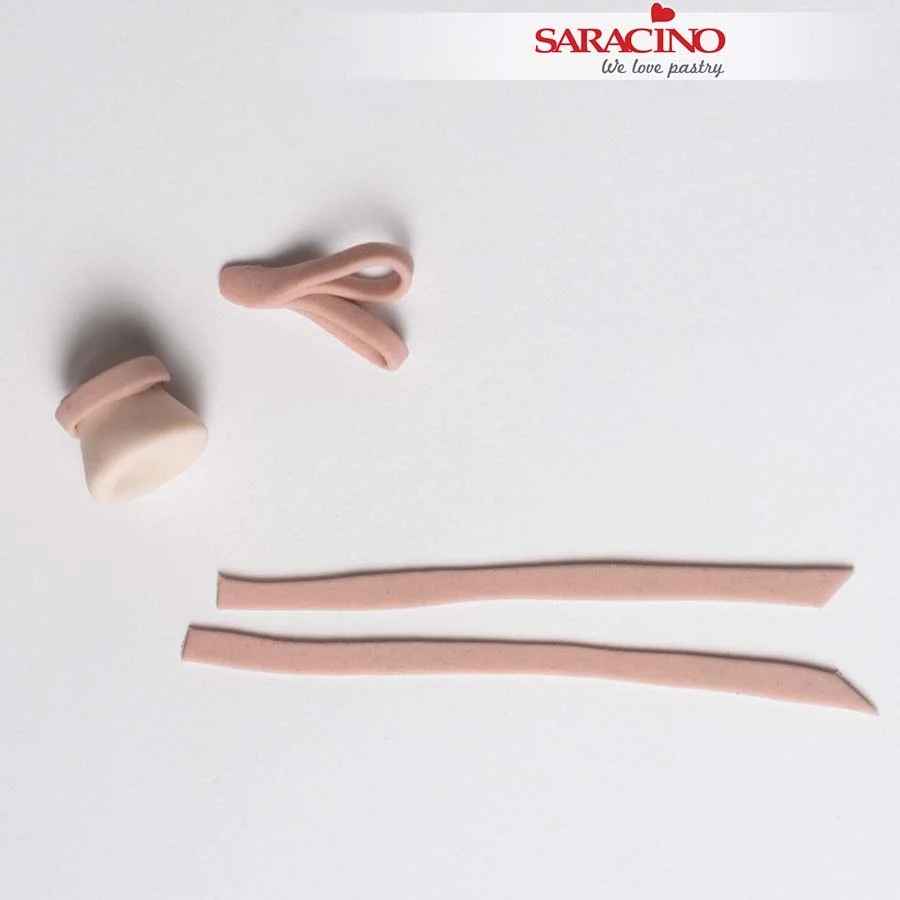
Step 37

For the end piece of the balloon model a small cone shape. Prepare thin strips of the dusty pink paste. Two longer ones for the ribbons and two shorter ones for the bow. Fold in half and join them together as shown. Wrap a fifth piece around the end piece of the balloon.
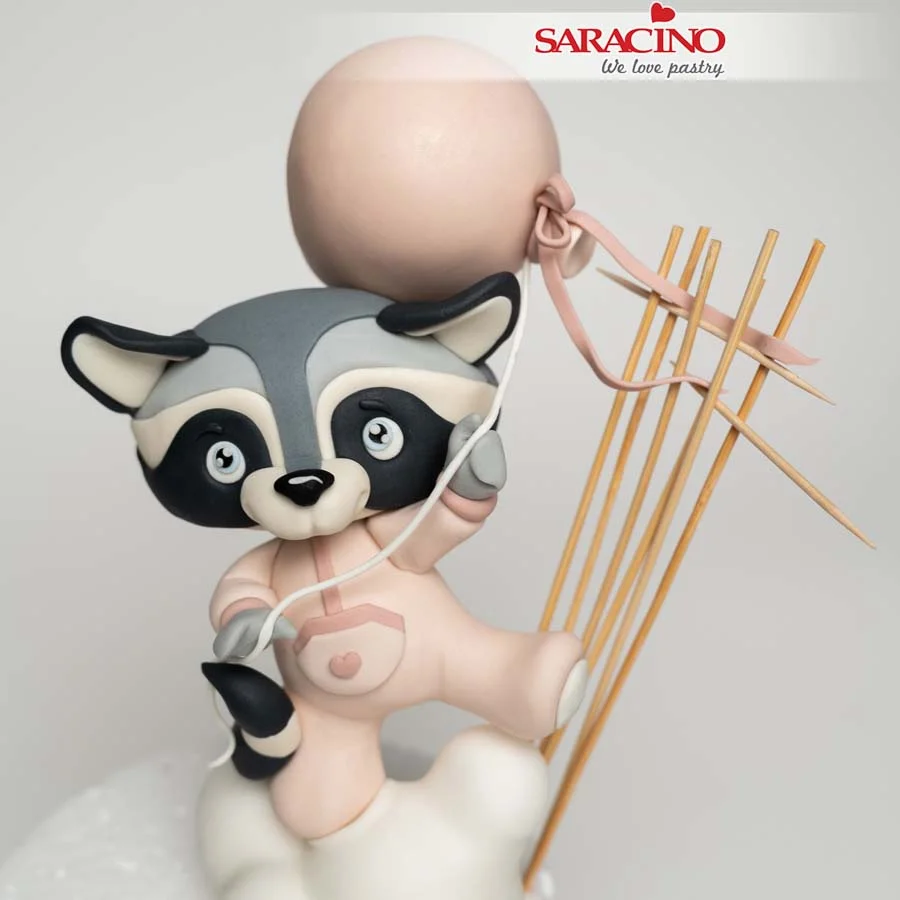
Step 38

Fix to the balloon. Add a thin white strand of paste and place it in the raccoon’s hands. To obtain the effect of ribbons blowing in the wind use a construction of skewers and toothpicks as I have shown. Support the ribbons off the structure until they are set. Carefully remove the sticks checking that the ribbons are holding their shape.
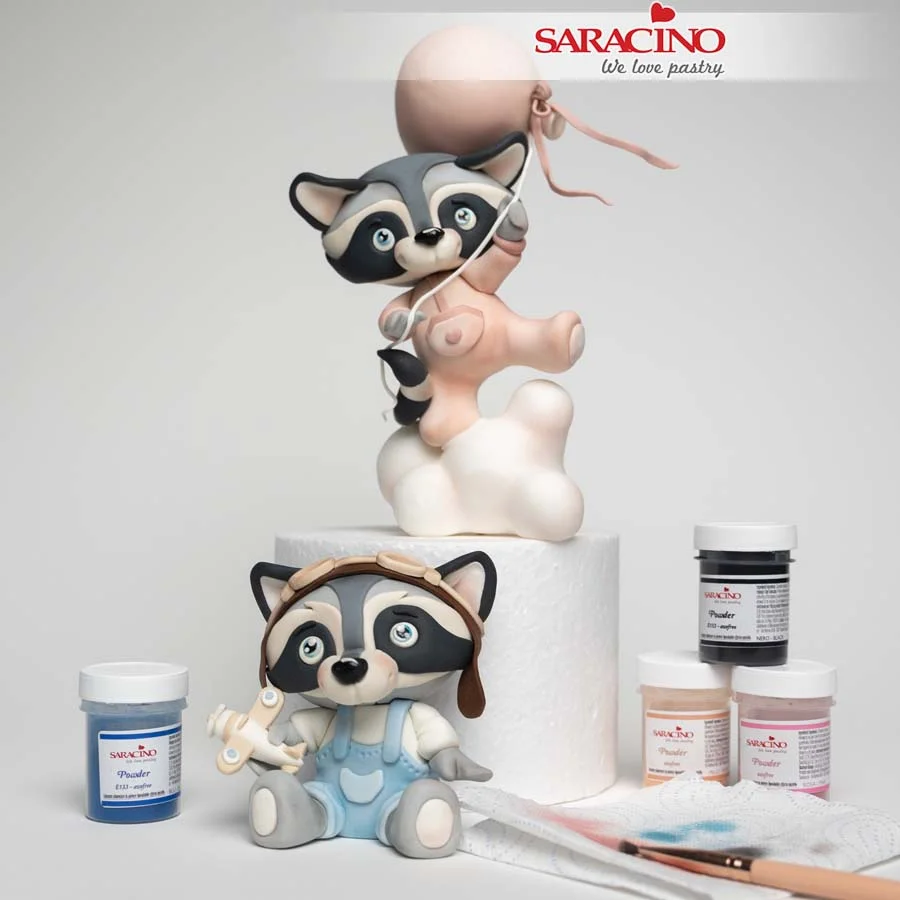
Step 39

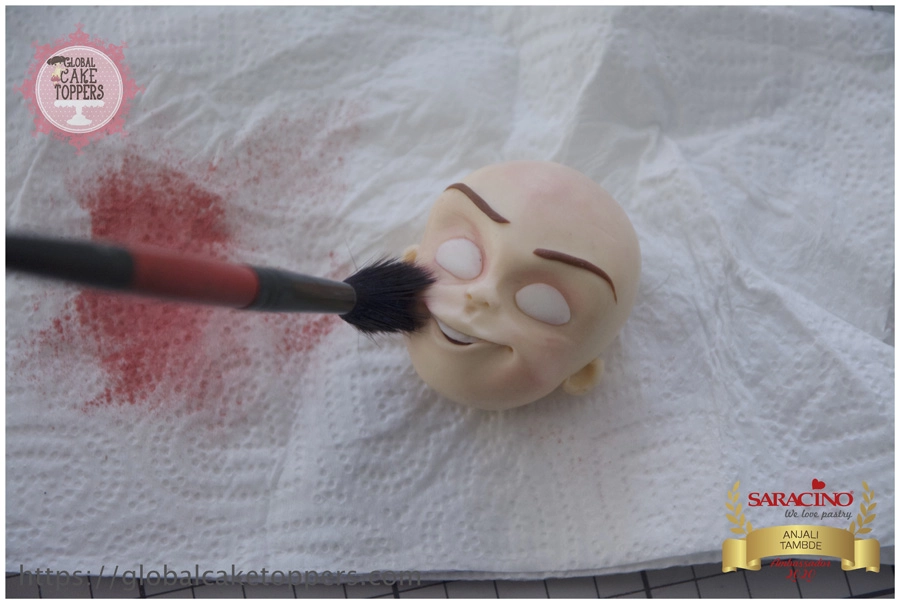
Finish off the characters by painting the eyes and noses with the Liquid Shiny confectioners glaze. Using a soft brush and the powder colours lightly dust the figures. Black for fur, blue for dungarees and the combination of pink and skin tone for the balloon and girl’s jumpsuit. To make the figures even cuter add a slight blush to the faces. Remember to control the amount of powder on the brush, apply the dust each time and then wipe the excess off the brush onto a paper towel.
Step 40

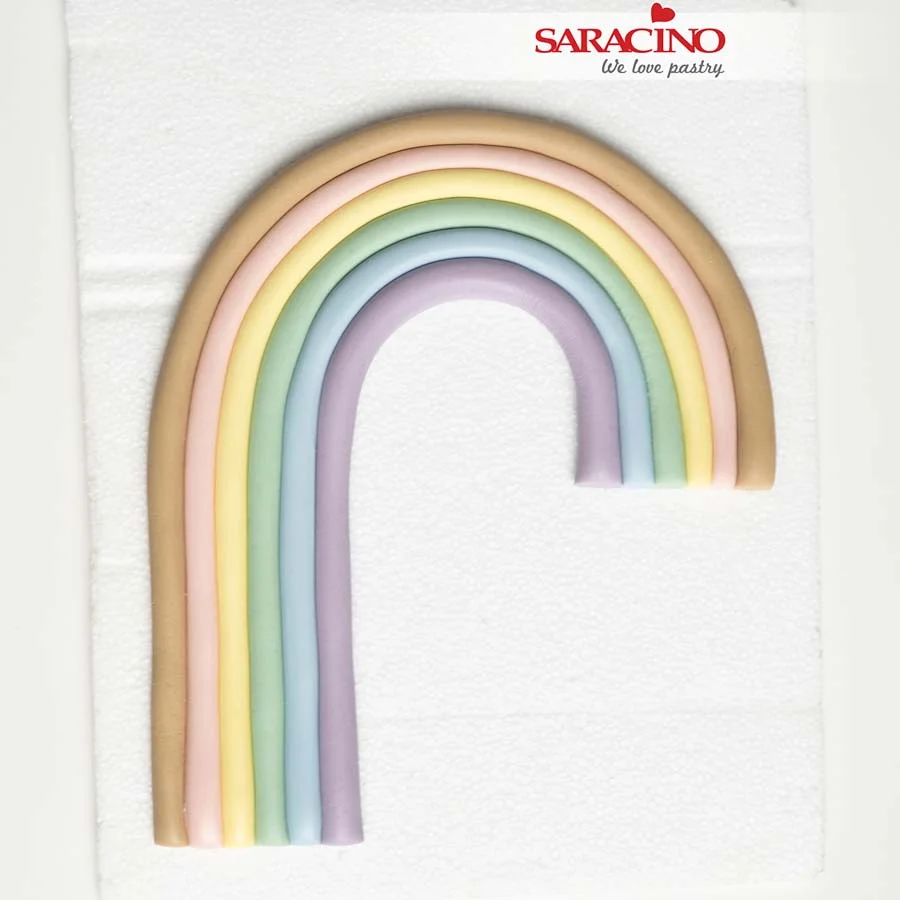
Prepare and work the purple, sky blue, green, yellow, powder pink and very light brown colour pastes. Add white paste to the pre-coloured paste to make the softer shades. Roll a long sausage shape of each colour and shape them into a rainbow. Trim the ends with a knife. Leave to set.
Step 41

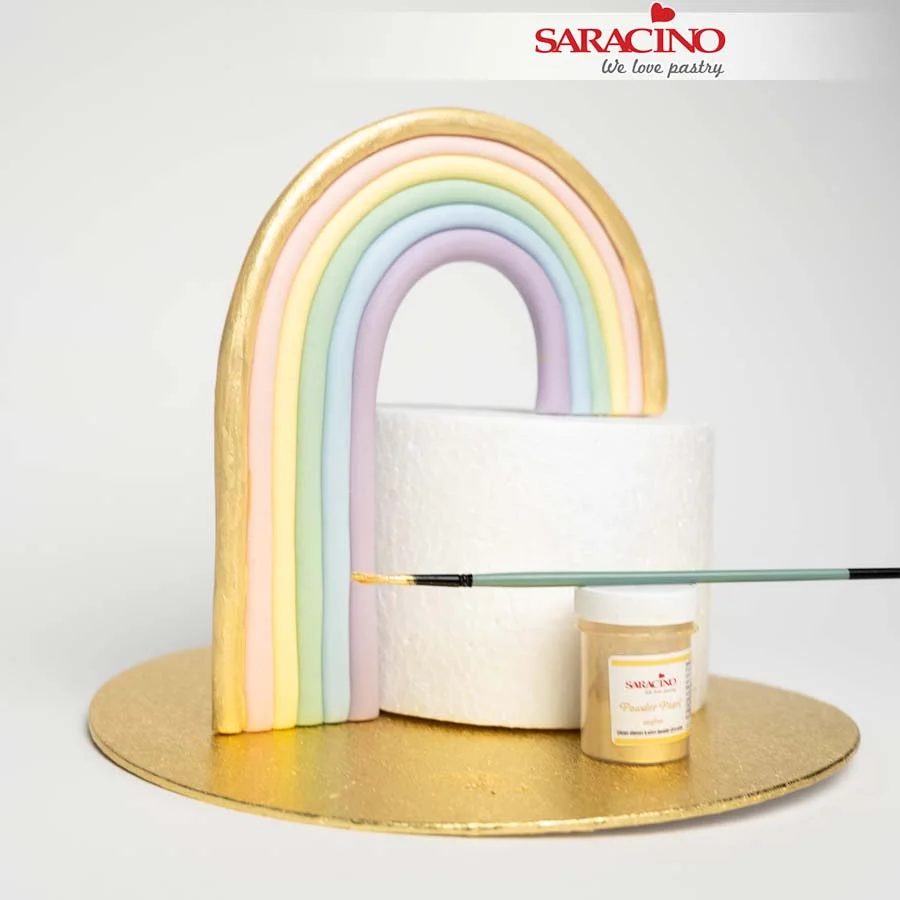
Using Light Gold powder pearl colour mixed with clear alcohol carefully paint the light brown colour. Painting the gold over the brown makes coverage easier.
Step 42

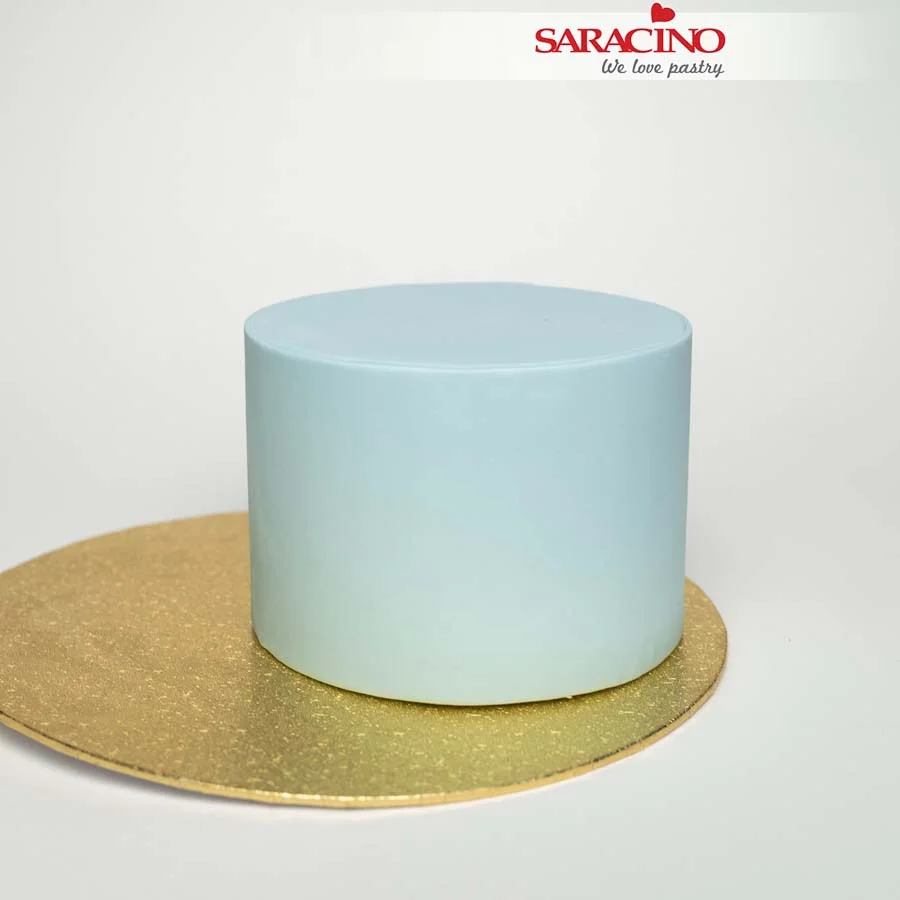
Using baby blue Pasta Top cover the dummy or the finished cake.
Step 43

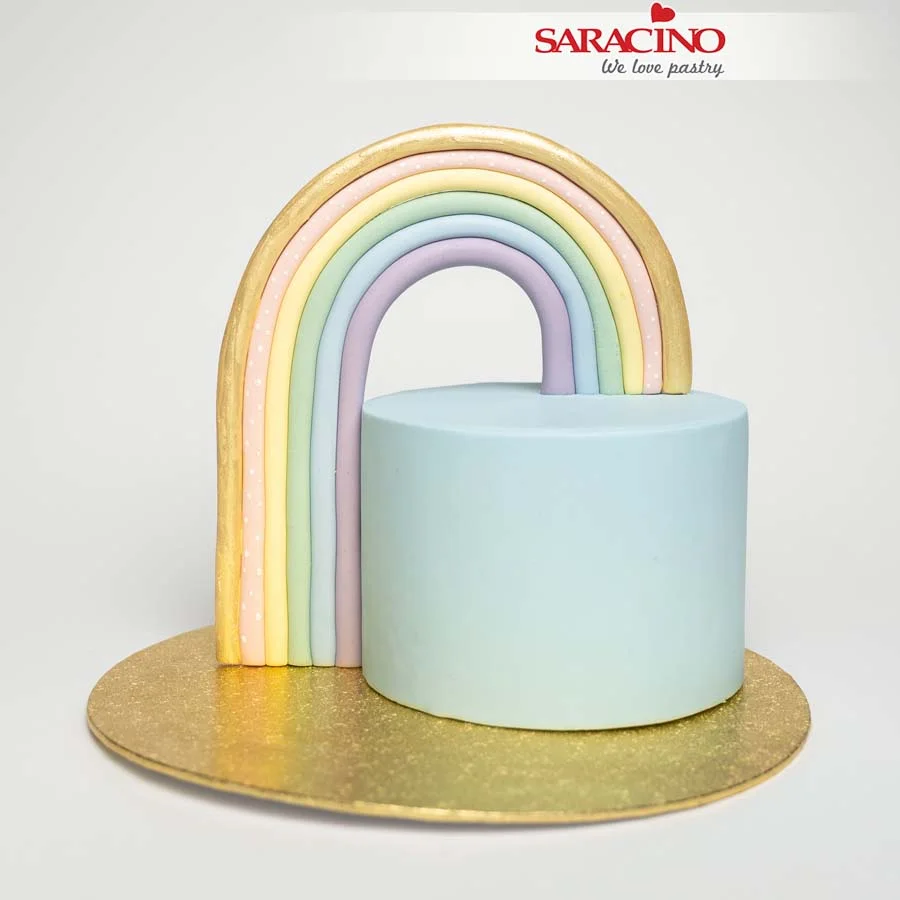
Glue the rainbow to the side of the cake and to the top. Optionally add white dots on the pink rainbow strip.

Step 44

Place the boy raccoon on the cake board and the girl raccoon on top of the cake. You may want to add additional decoration to the cake such as sprinkles or hand-cut confetti. On the side of the cake you can add paste covered polystyrene balls (these can also be cake pops or chocolate balls depending on your skills).

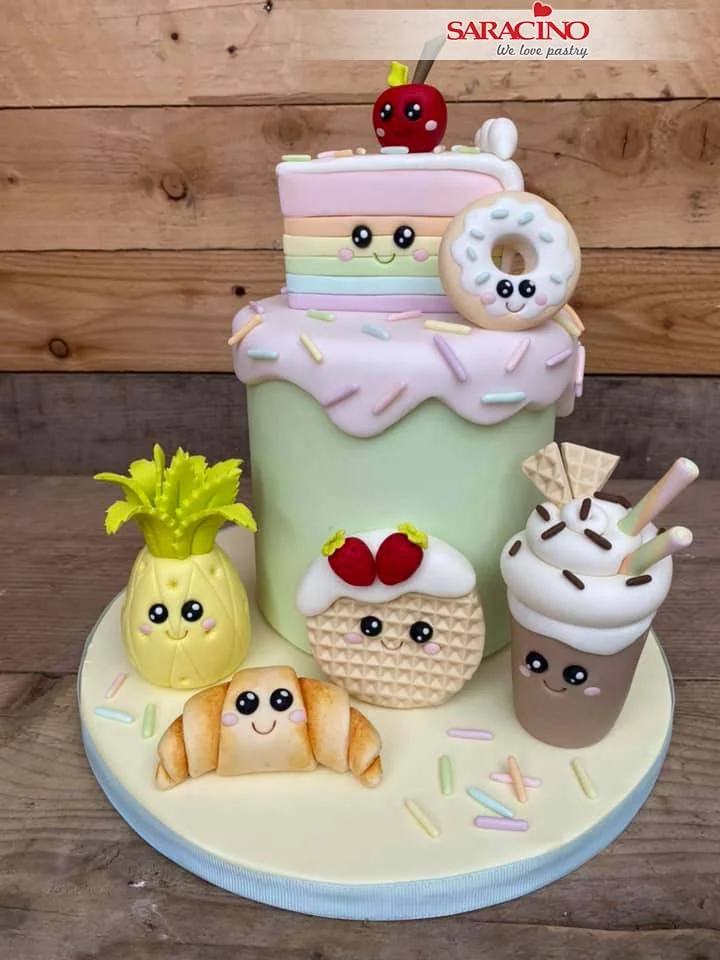
KAWAII BIRTHDAY CAKE

KAWAII BIRTHDAY CAKE

Skill level: BEGINNERS

You will need:

  • Saracino Pasta Model
  • Saracino white Pasta Top
  • Waffle Texture Mat
  • Ball tools large, medium & Small
  • Scallop tool
  • Craft Knife
  • Dresden Tool
  • Small Blossom Cutter
  • Flower veiner mould
  • Ribbon Cutter
  • Serrated cone tool
  • Rose Leaf Cutter
  • Heart Cutter
  • Paint Brush
  • Lemon Extract
  • Circle Cutters
  • Sugar Glue
  • Heart cutter

Step 1

Cover your cake board with Pasta Top coloured in pale yellow and your cake with Pasta Top coloured in light shade of mint green.

Step 2

For the top part, colour Pasta Top pale pink. Roll the paste to about 4mm thick (we dont want it too thin). Place a cake board the size of your cake in the middle of the icing and cut your ‘drip’ part around the board, leaving space so it hangs down the side of the cake.
Step 3

Place the drip part on the cake after brushing the cake with some sugar glue. Apply a little glue under each ‘drop’ part and the press against the cake.

Step 4

Use the inside of your thumb to run over the edges to smooth them off and round them nicely.

Step 5

Here’s a guide on how to create some pastel colours and extra colours using ready coloured Saracino Pasta Model.

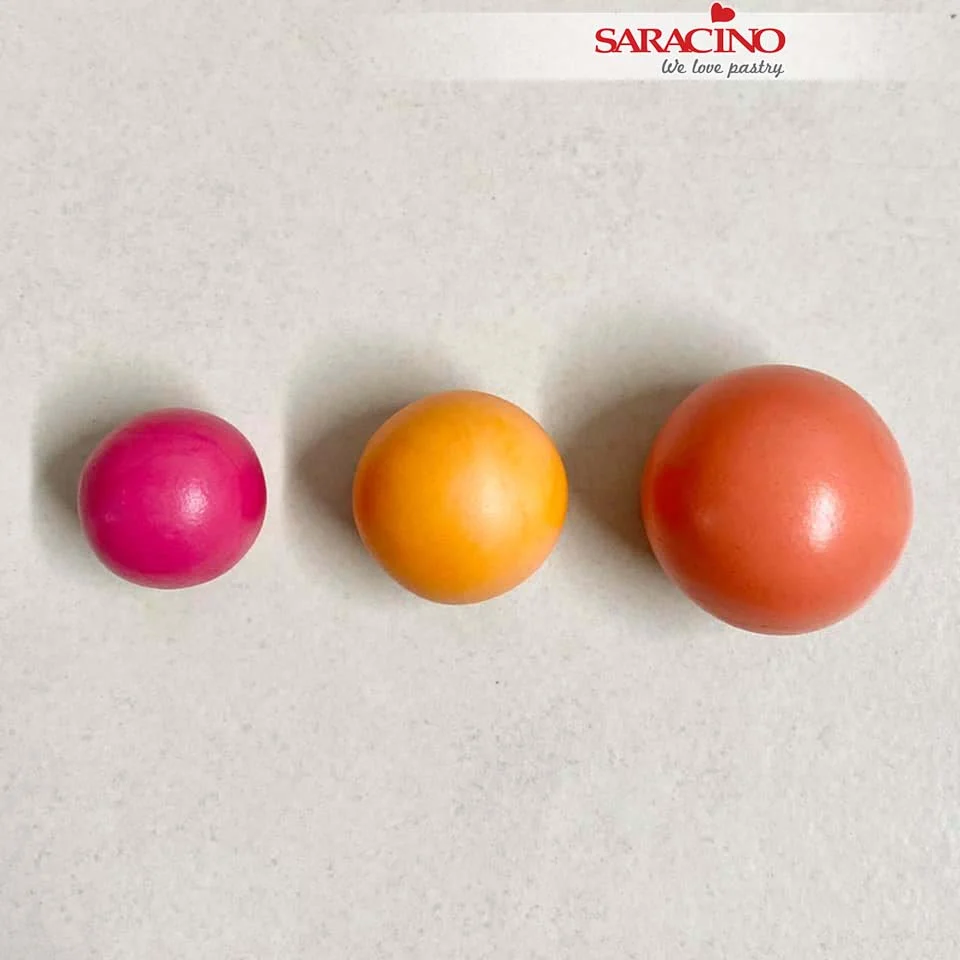
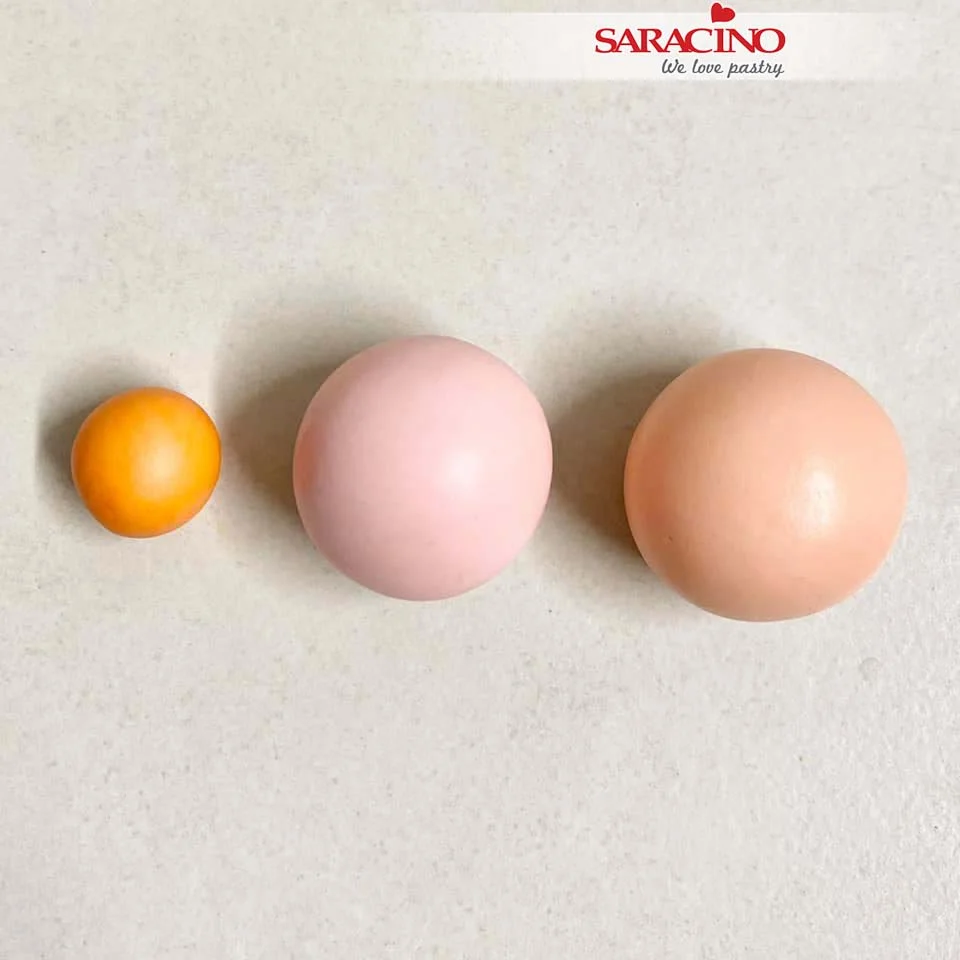
Peach – mix 2g yellow with 3g orange and 50g white, for a darker peach just add more orange.

Step 6

Mint green – mix 2g green with 3g yellow and 50g white, for a darker green just add more green

Step 7

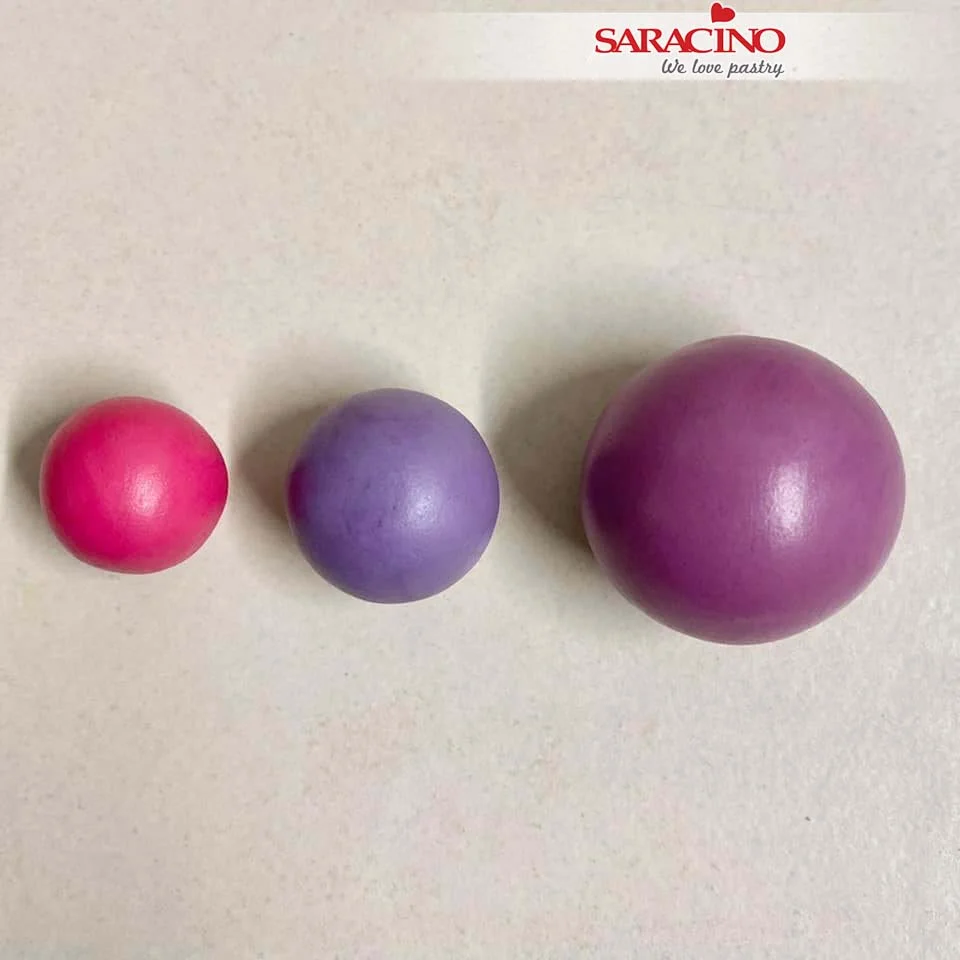
Pale purple – mix 2g dark pink with 3g purple and 50g white. I always add pink to my purple as it just lifts the colour a bit.

Step 8

Baby pink – Mix 25g light pink with 50g white. You can add more pink for a slightly darker shade or just use a dark pink mixed with white for different shades too.

Step 9

Light yellow – mix 15g yellow with 50g white. Add more yellow if you would prefer a darker yellow.

Step 10

Pale blue – mix 25g tiffany with 50g white. Add more tiffany if you’d like a darker shade

Step 11

Lime green – mix 10g dark green with 25g yellow for a lovely bright lime green, more yellow will give it a more vivid green look or more green will tone down the brightness.

Step 12

Bright orange – mix equal portions of yellow and orange

Step 13

Dark coral – mix 15g fuschia with 25g orange.

Step 14

Rich purple – mix 15g dark pink with 20g purple.

Step 15

Light coral – mix 3g orange with 25g light pink

Step 16

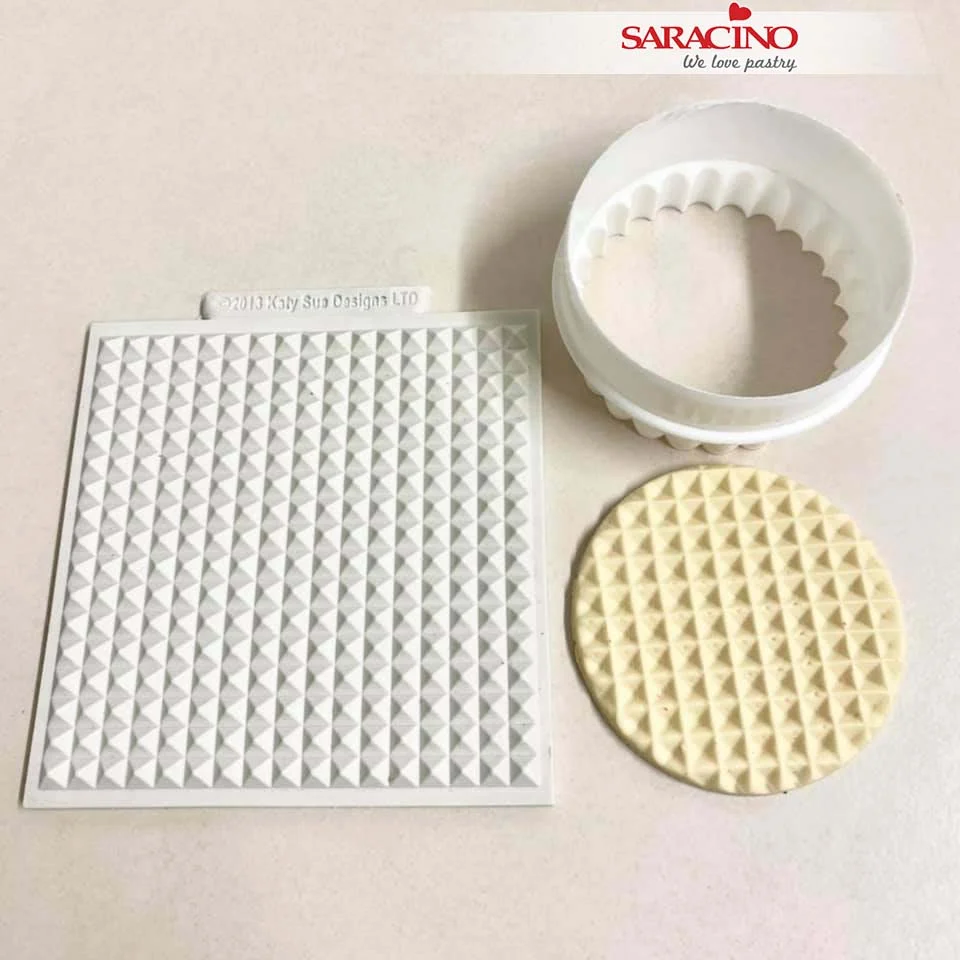
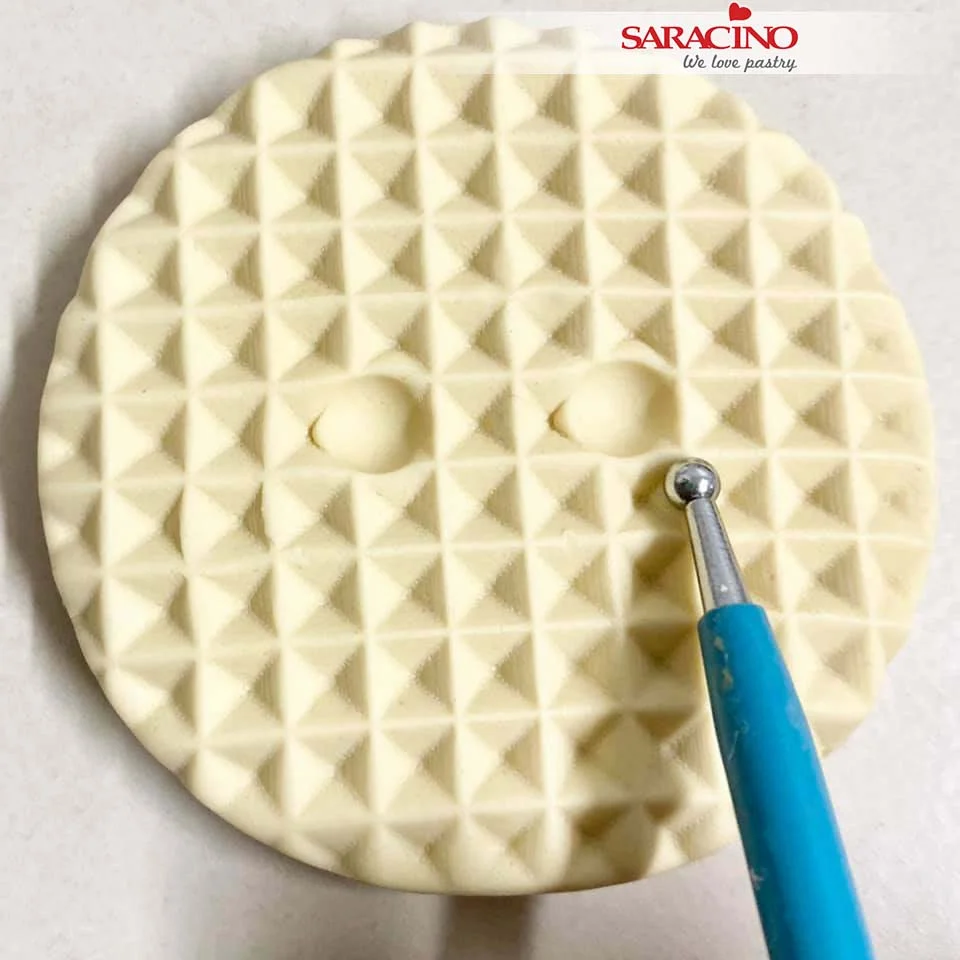
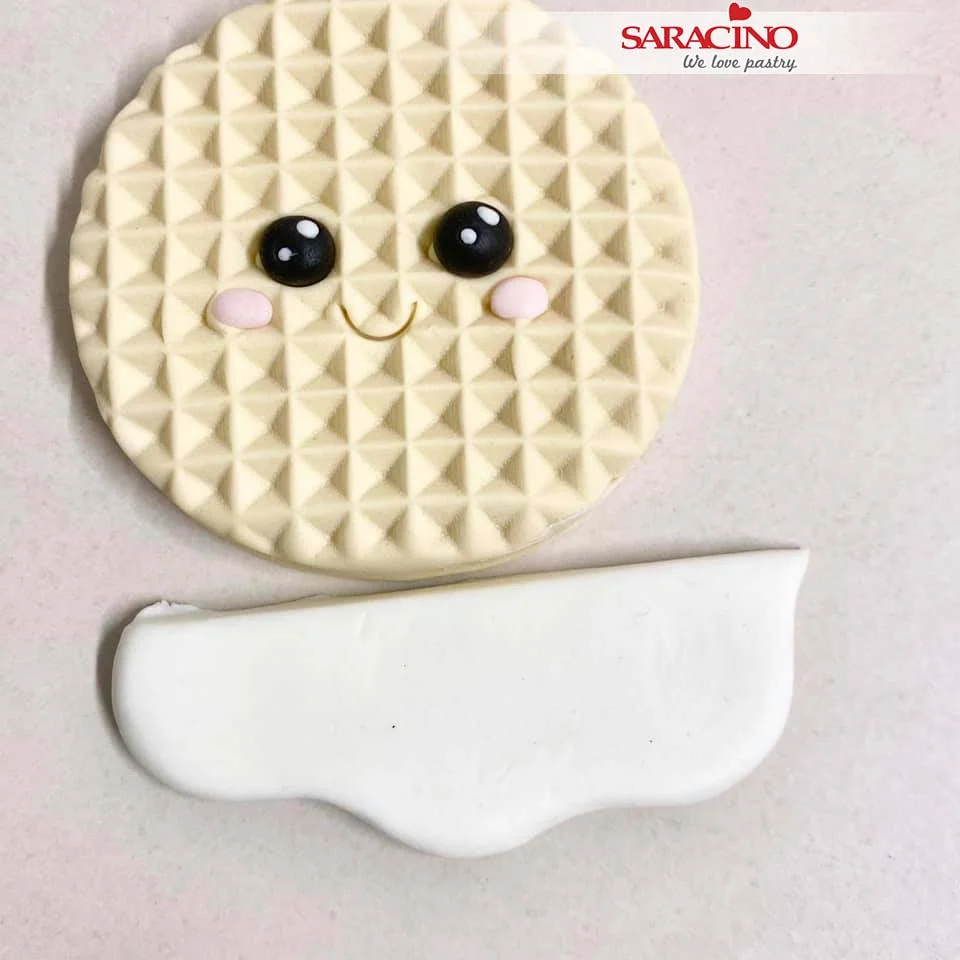
Use the waffle texture mat to texture some Pasta Model, the paste must be 5-6mm thick so it can stand up properly when dry. Cut out a circle for the waffle. I coloured this paste with a little bit of caramel and autumn leaf colours.

Step 17

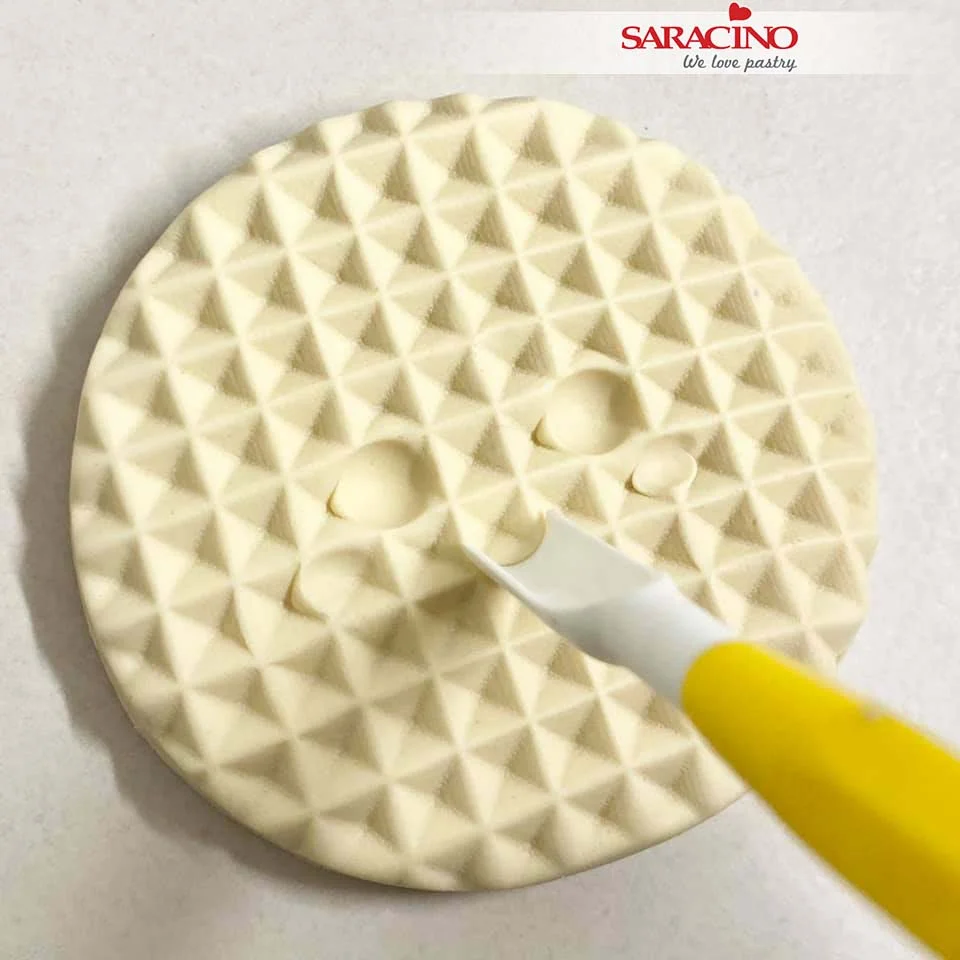
Use a medium ball tool to make some sockets for eyes. All the character faces are made exactly the same as this. Use a small ball tool to shape a small oval socket for the cheeks.

Step 18

To make a small mouth use a PME scallop tool and press it in fairly deep (not all the way through).

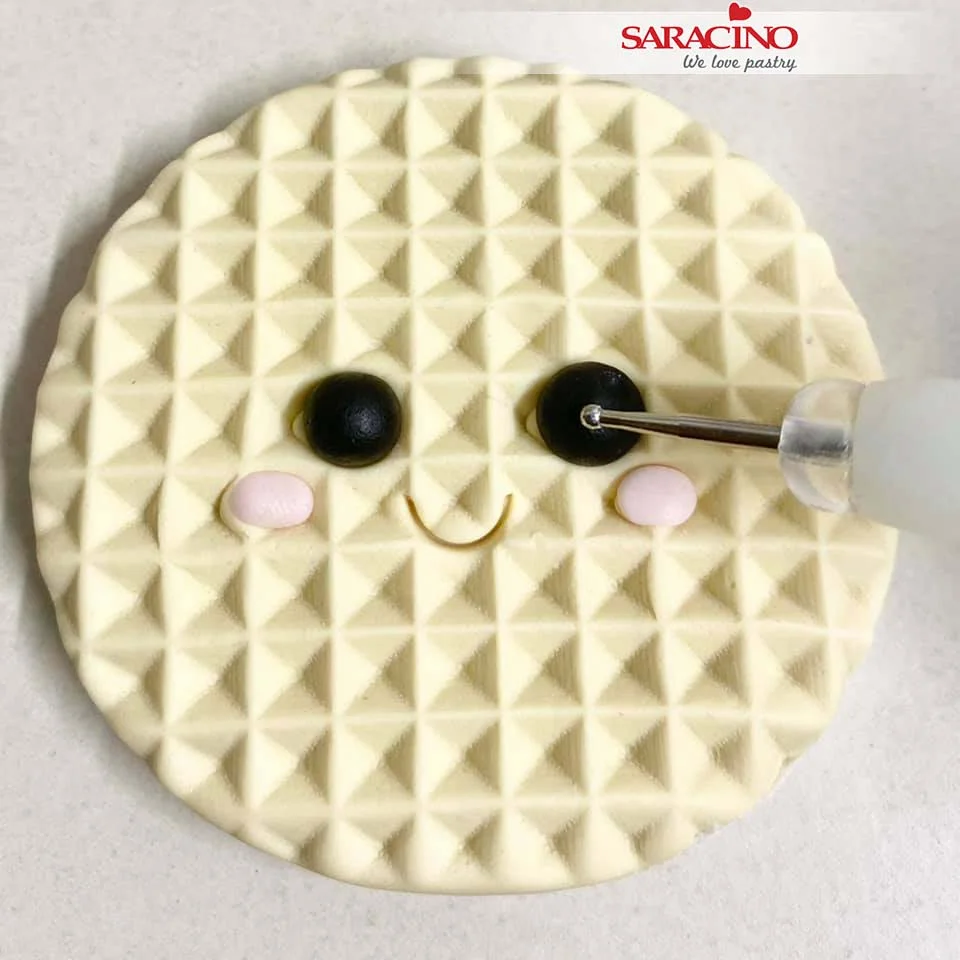
Step 19

Using black Pasta Model add two eyes and then mark small sockets on each eye. Add two tiny sockets to each eye. Add two small balls of white Pasta Model to the cheeks.

Step 20

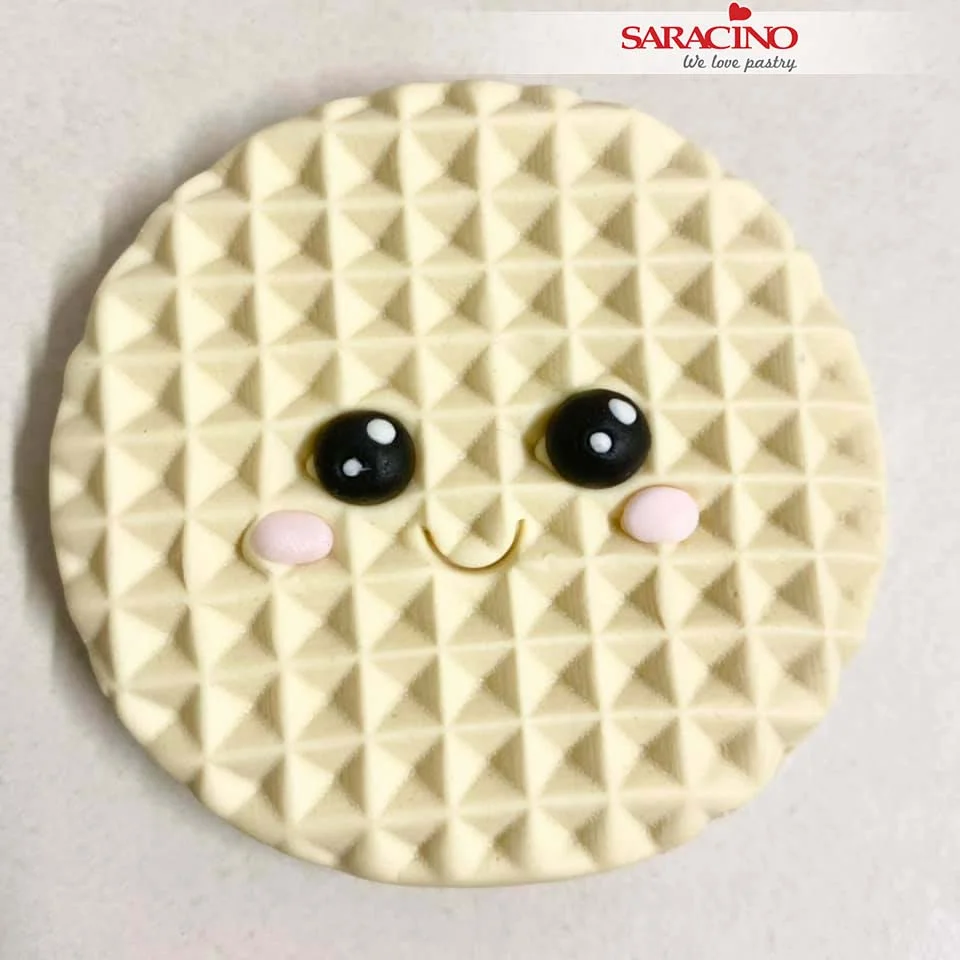
Add two different sized white dots to each eye to finish the face of the little character.

Step 21

To make an icing drip, roll out white Pasta Model and shape with your fingers. Trim off the top before adding to the waffle.

Step 22

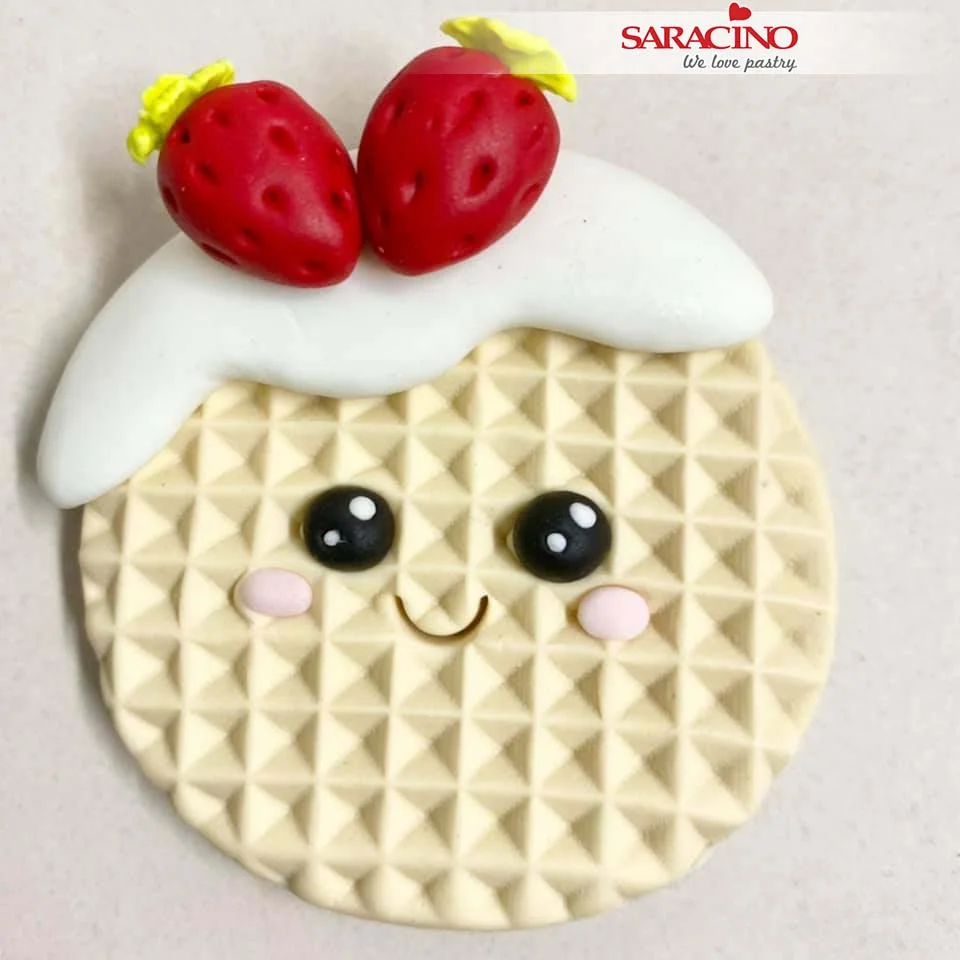
Add the icing drip to one side of the top of the waffle.

Step 23

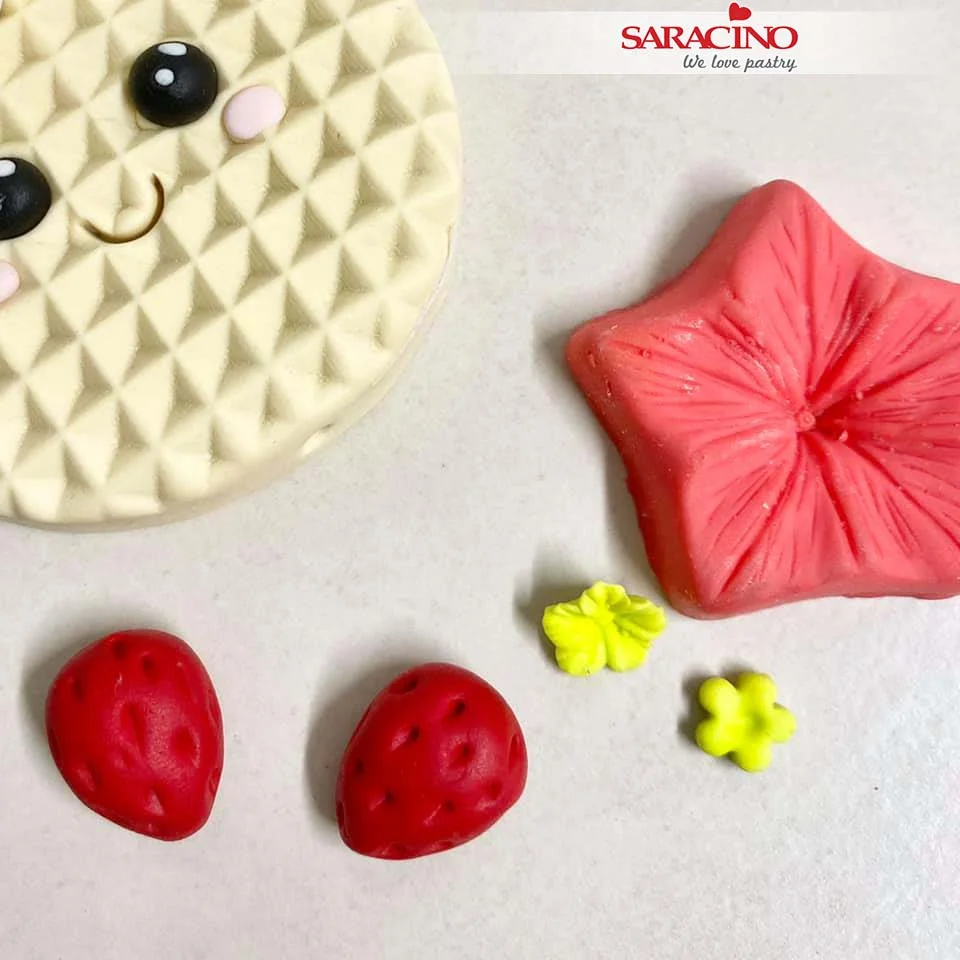
Make some strawberries for some extra decoration. Roll the strawberry shape using red Pasta Model and use a Dresden tool to mark the little seeds on the fruit.

Step 24

For the top of the strawberry use a small blossom cutter to cut 2 bright green leaves and use the veining mould to give these some texture.

Step 25

Add the strawberries at the top. Your little waffle is complete. Let it dry. 

Step 26

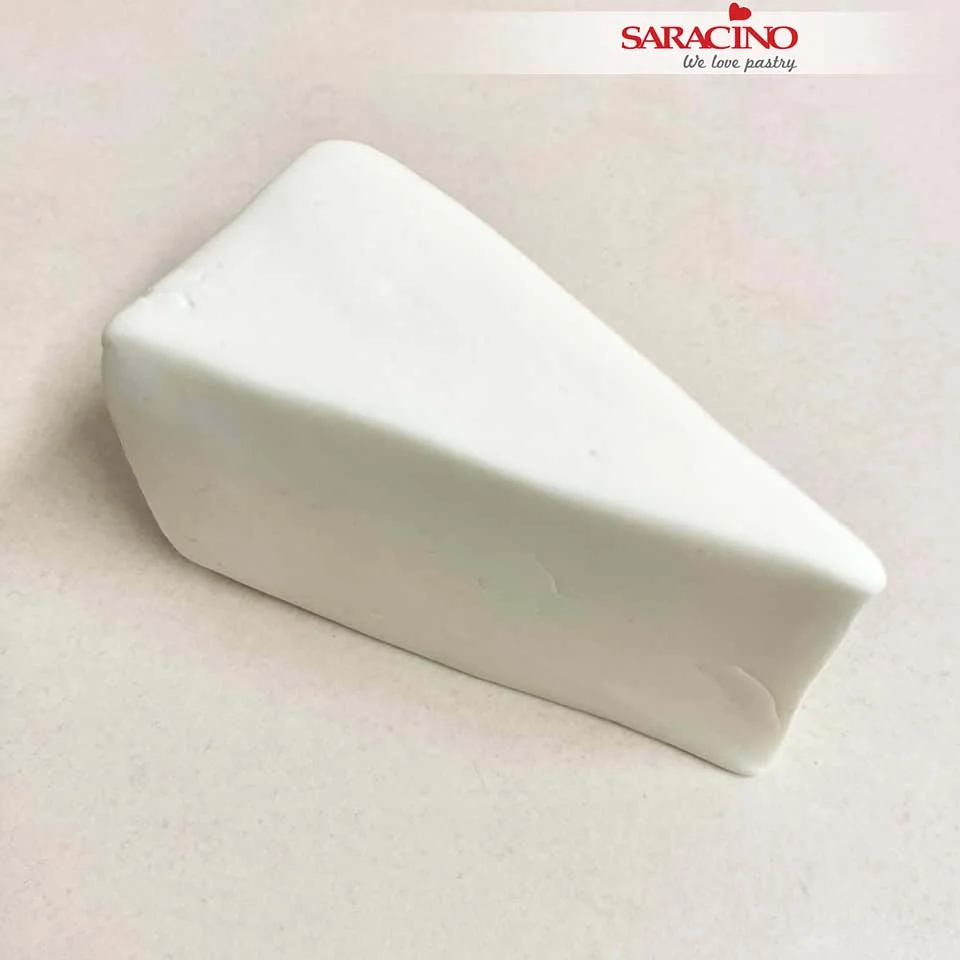
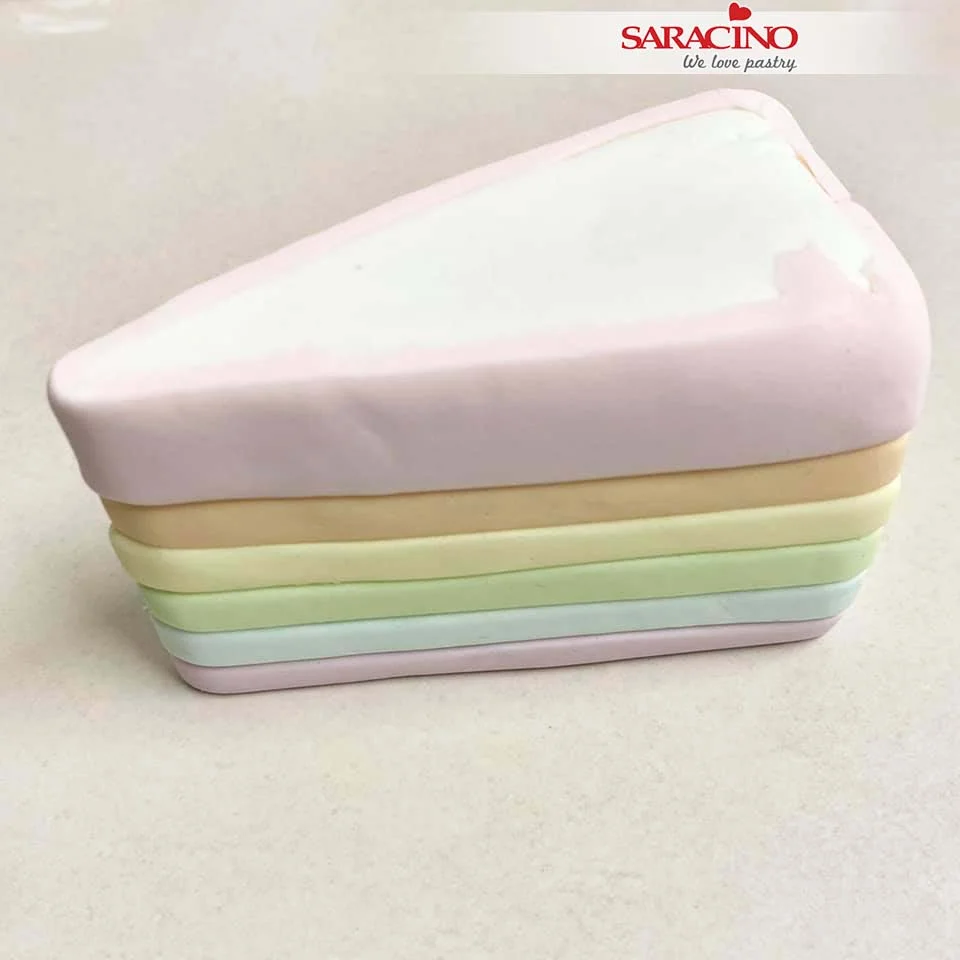
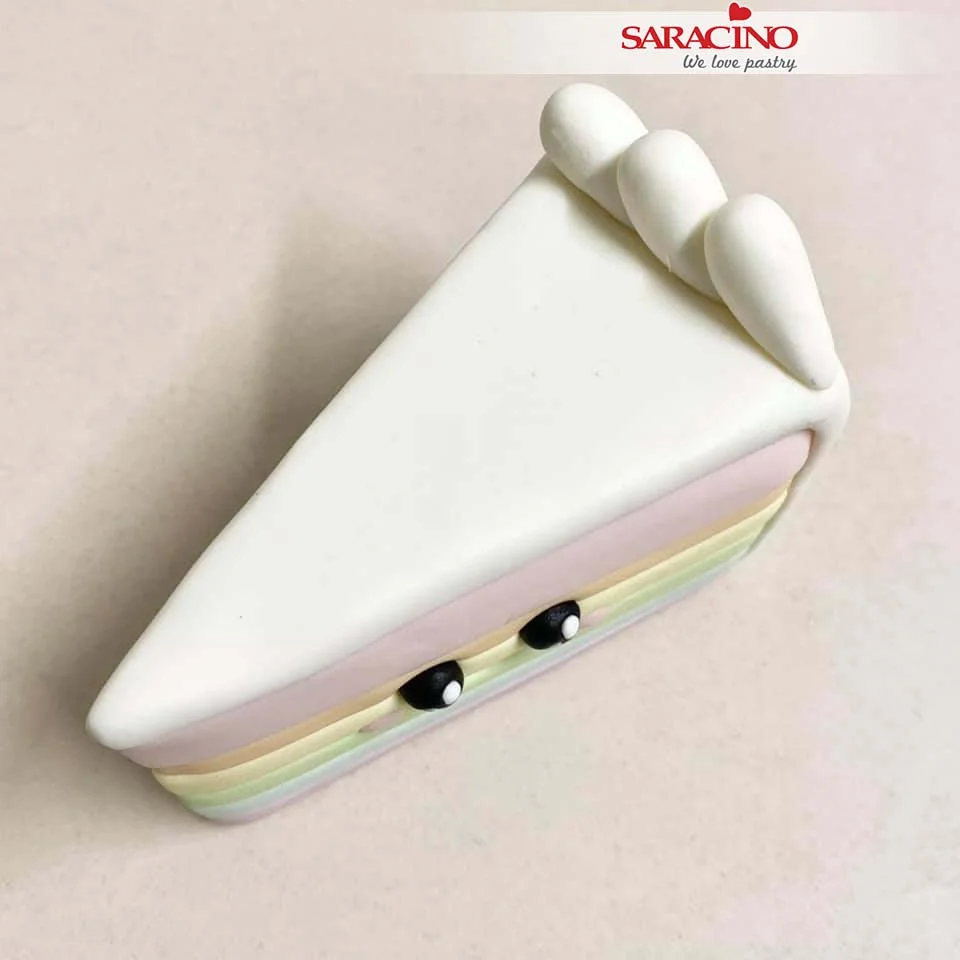
For the cake slice use Pasta Model to form a square in your hands and then roll one side thinner. Trim your shape to create a cake slice shape.

Step 27

We will be using the pastel coloured pastes we mixed earlier. Roll out the paste and using a ribbon cutter cut strips of each colour.

Step 28

Start adding the stripes from the bottom and work your way up. I always finish with a wider band of colour as this allows me to add drippy icing over the top if I want to. Finished colour stripes

Step 29

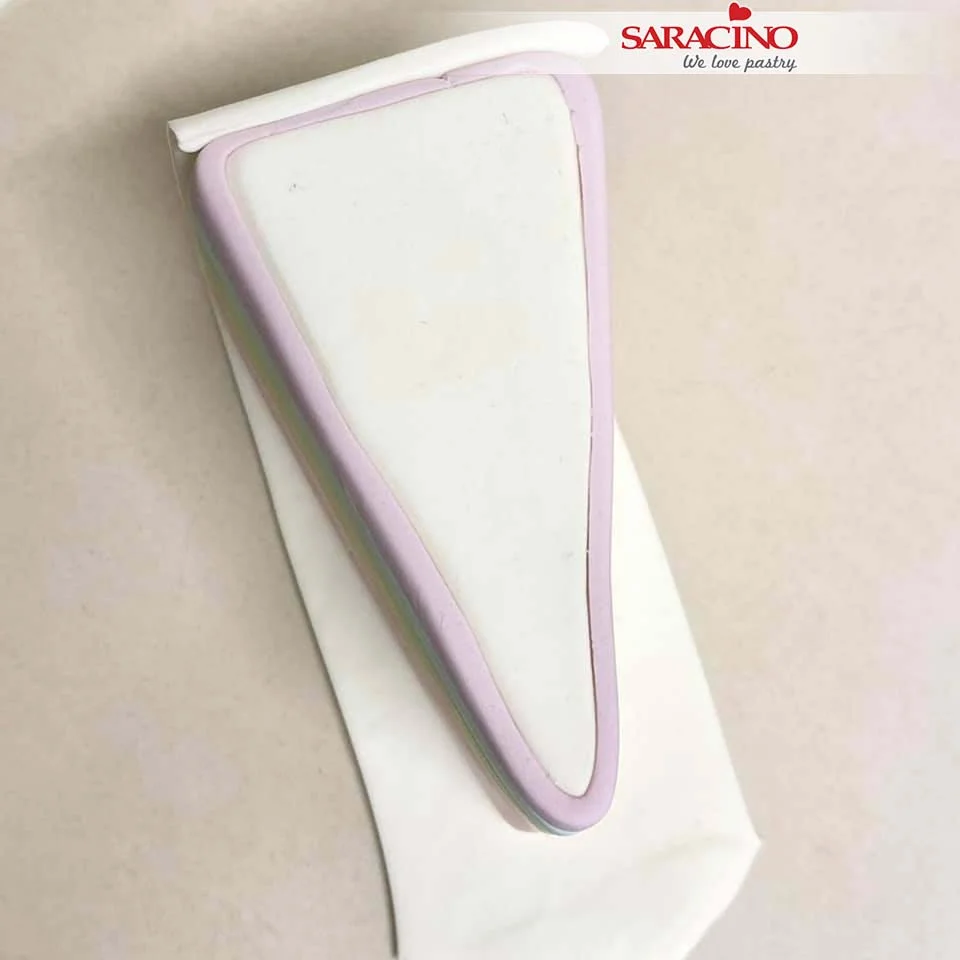
For the ‘icing’ covering roll out some white Pasta Model to approx. 3mm thick. It needs to be long enough to cover the top and side of the cake slice. Now glue the back of your cake slice on to the piece of paste.

Step 30

Trim excess icing off each side of the cake slice but keep the long piece to go over the top of the cake.

Step 31

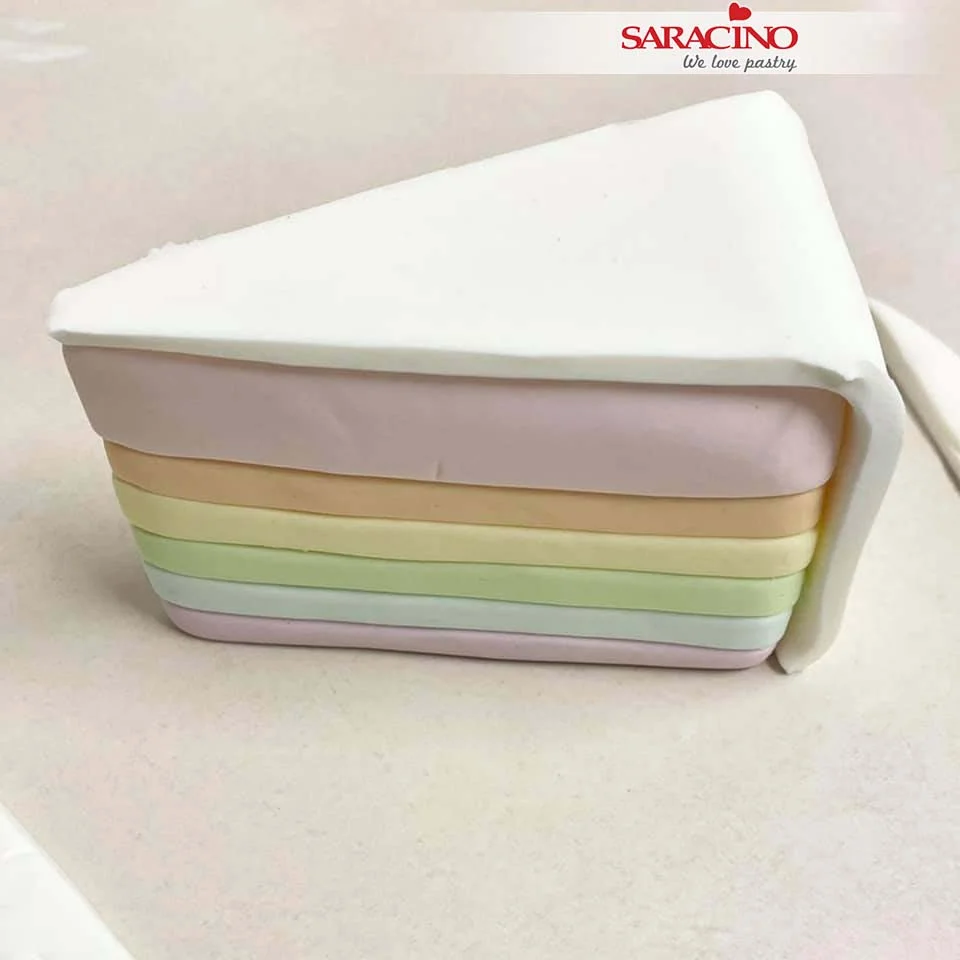
Flip the slice over and brush the top with glue and bring the rest of the white paste up over the top.

Step 32

Now turn the slice upside down so you can see where you need to trim each side of the triangle top shape.

Step 33

Once trimmed flip back upright.

Step 34

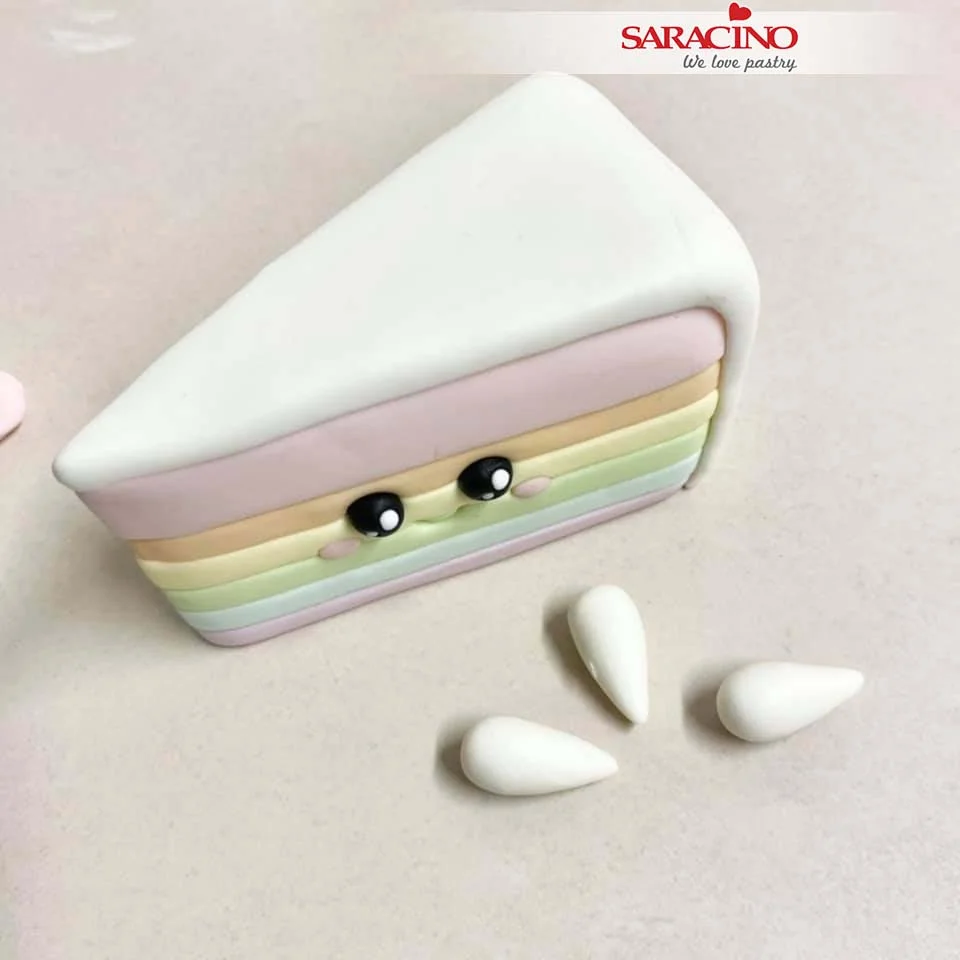
Smooth off the edges nicely. Add eyes, cheeks and mouth like you did with the waffle. Roll out some little teardrop shapes for icing.

Step 35

Add the icing decoration to the top of the cake slice.

Step 36

For the chocolate milk shake character use light brown Pasta Model to shape a cup.

Step 37

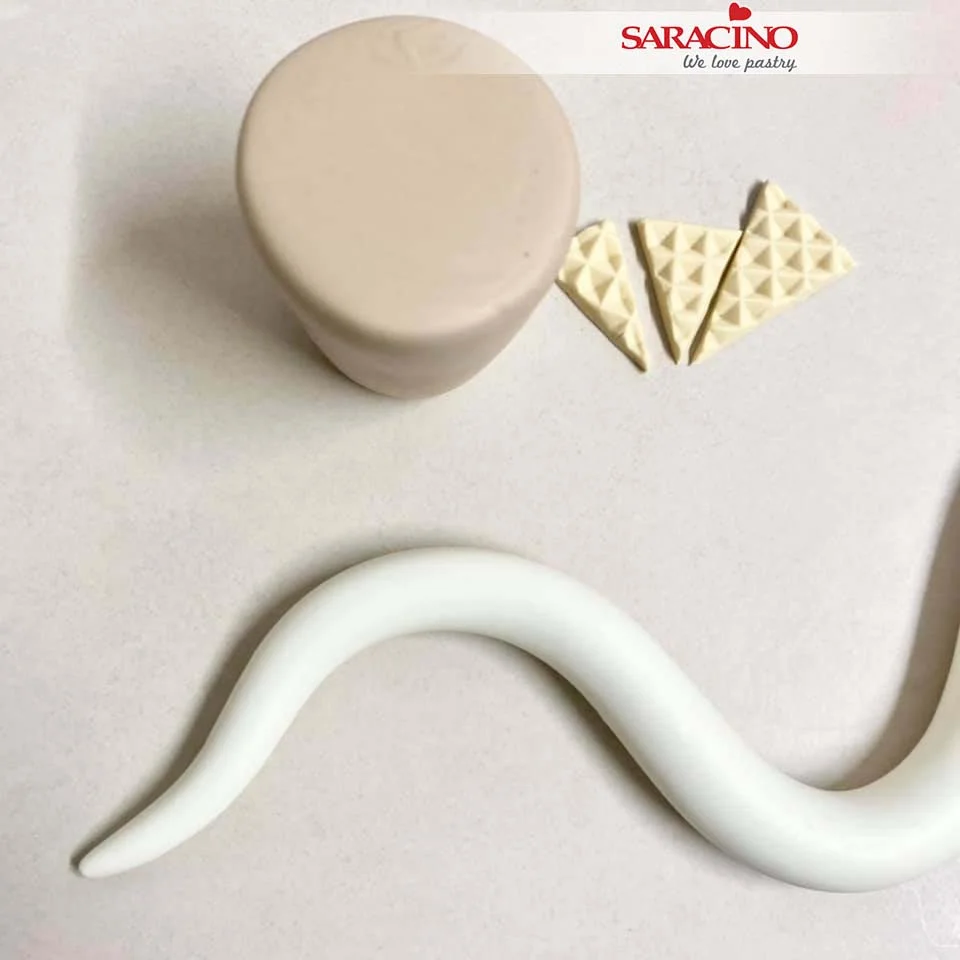
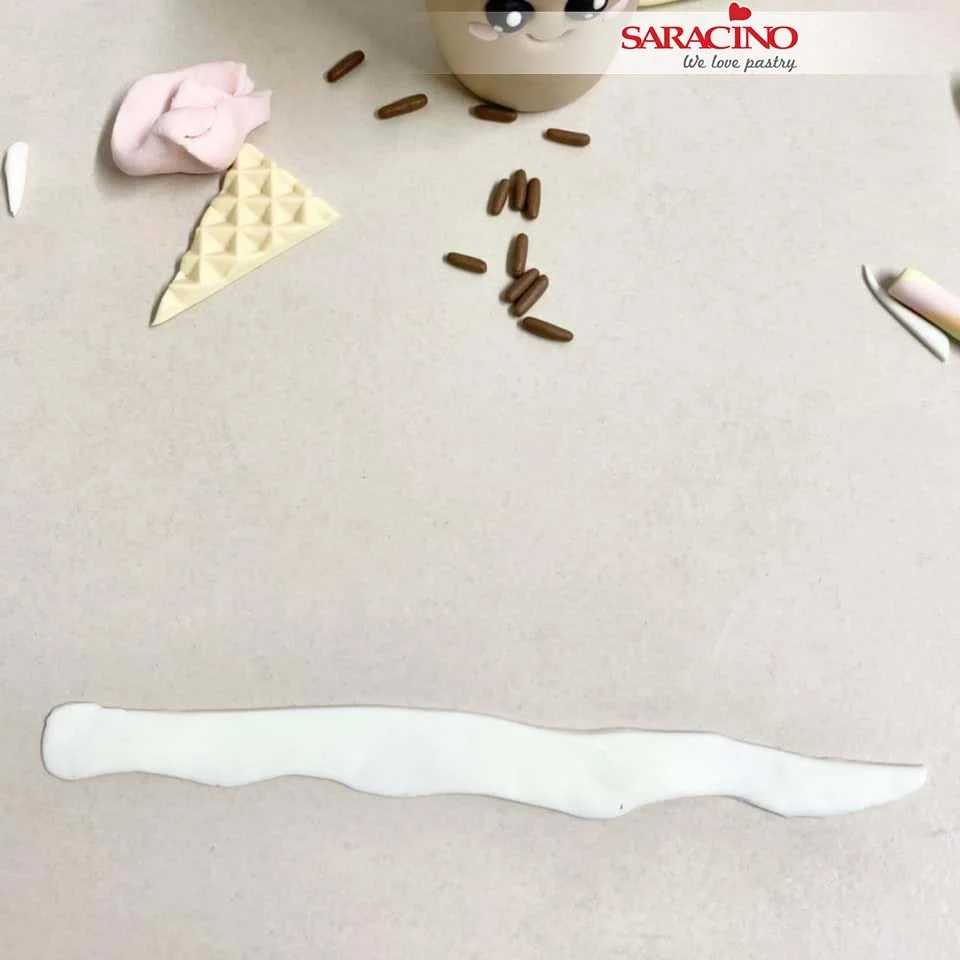
Roll out some white Pasta Top. Keep it fatter one end and then roll thinner and thinner to create a nice swirl of cream on your shake. Make some little wafers for the shake too, use the waffle mat again, cut a circle and then cut some wedge shapes.

Step 38

Add your ‘cream’ swirl to your shake.

Step 39

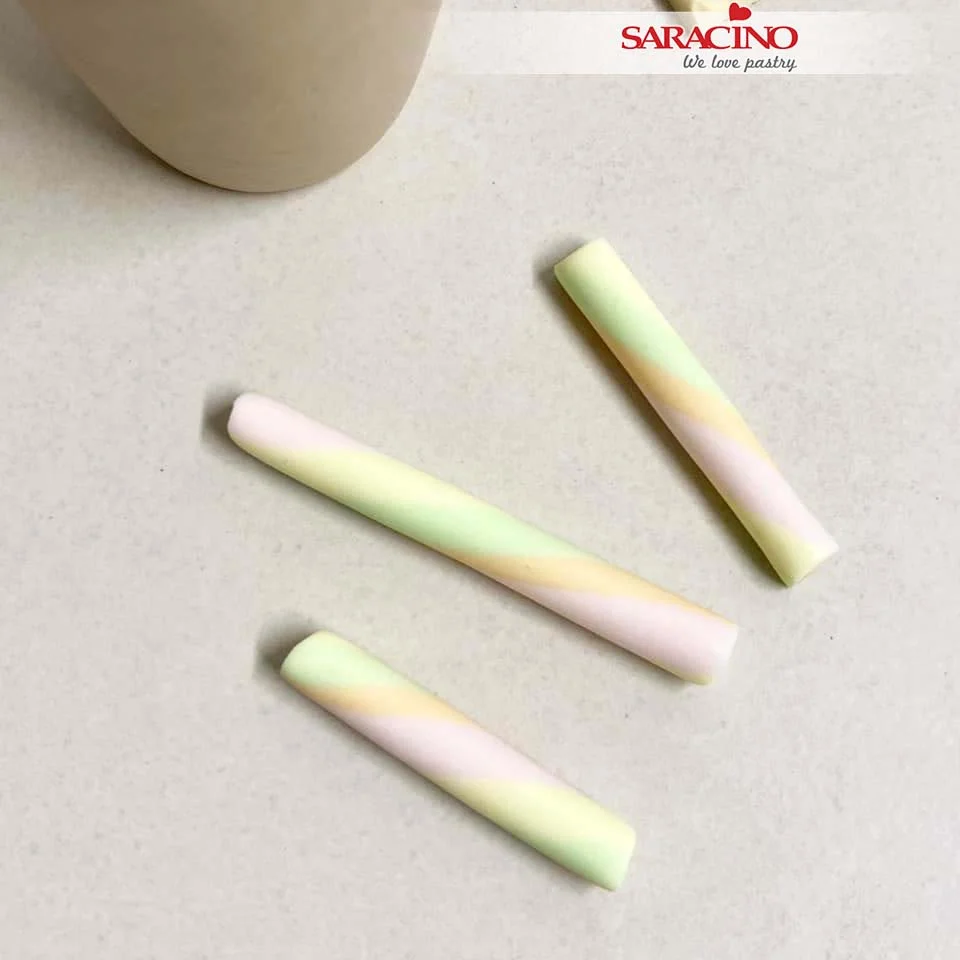
For the straw roll 2, 3 or 4 colours to a thin long sausage shape.

Step 40

Place your colours together and twist them, after a gentle twist, roll out under the palm of your hand on your mat. Twist again and roll until you have a smooth long colourful sausage shape to cut into straws.

Step 41

Cut some straws in different sizes.

Step 42

Following the steps we used previously add eyes, cheeks and mouth. Roll some little dark brown sprinkles and use a ball tool to make holes for the straws to go in to.

Step 43

Thinly roll out some white Pasta Model and cut out a drip shape. Add around the top of the cup.

Step 44

Add the wafers, sprinkles and straws to finish your character.

Step 45

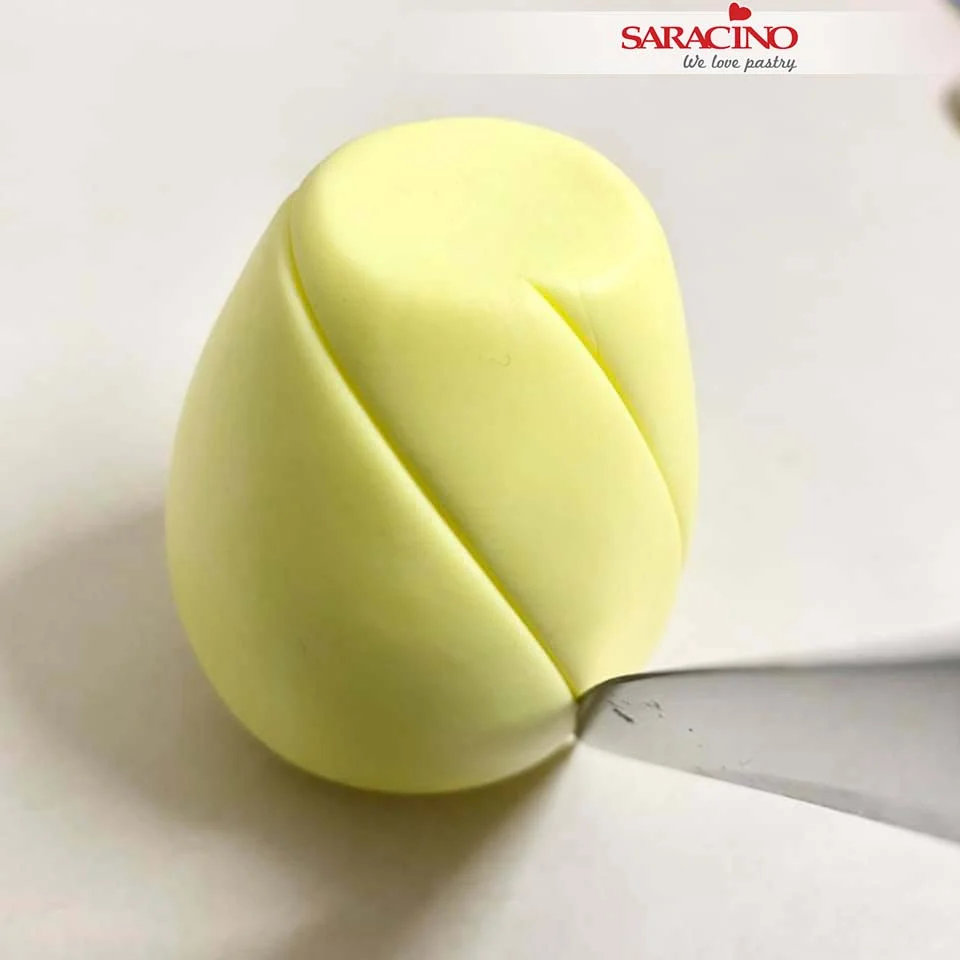
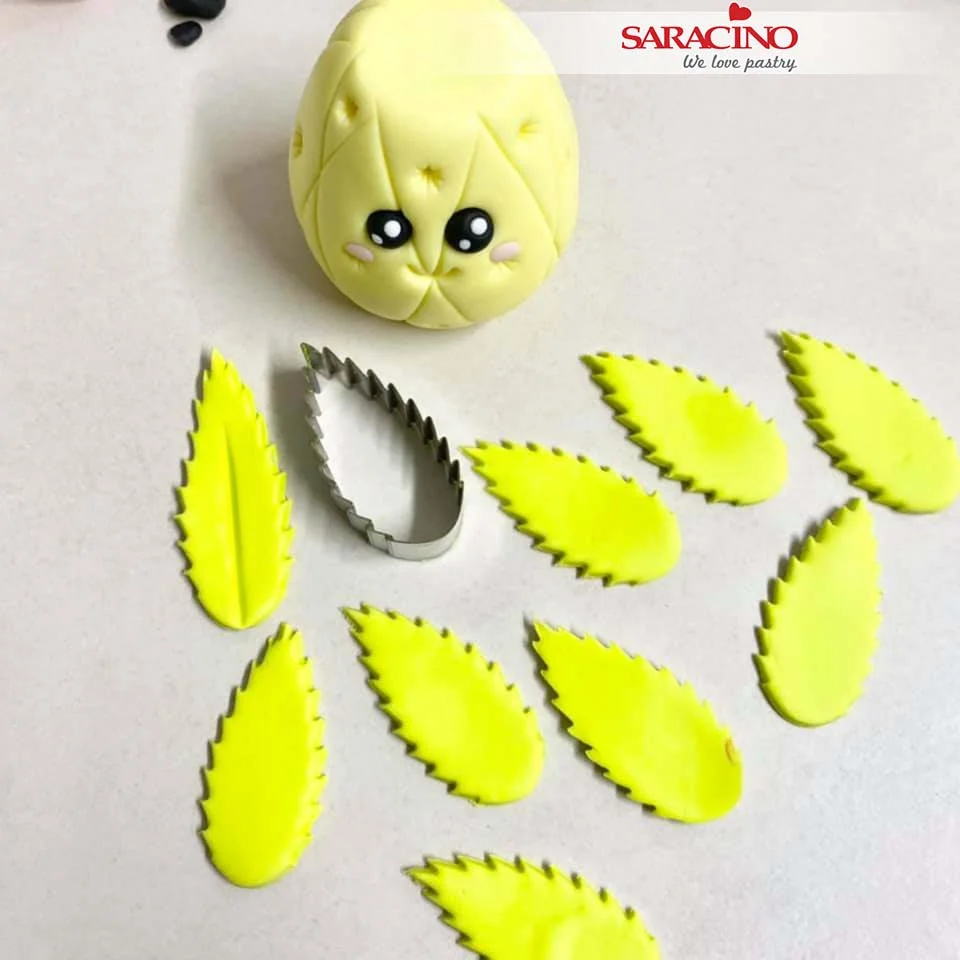
For the pineapple, use yellow Pasta Model and roll an egg shape then trim off the top. Use a long sharp knife too make some lines on the egg shape.

Step 46

I made bigger diamond shapes as they are easier to create around this pineapple shape. Use a serrated cone tool to make the little star dents inside each diamond shape.

Step 47

The little star shapes in the centre of each diamond shape.

Step 48

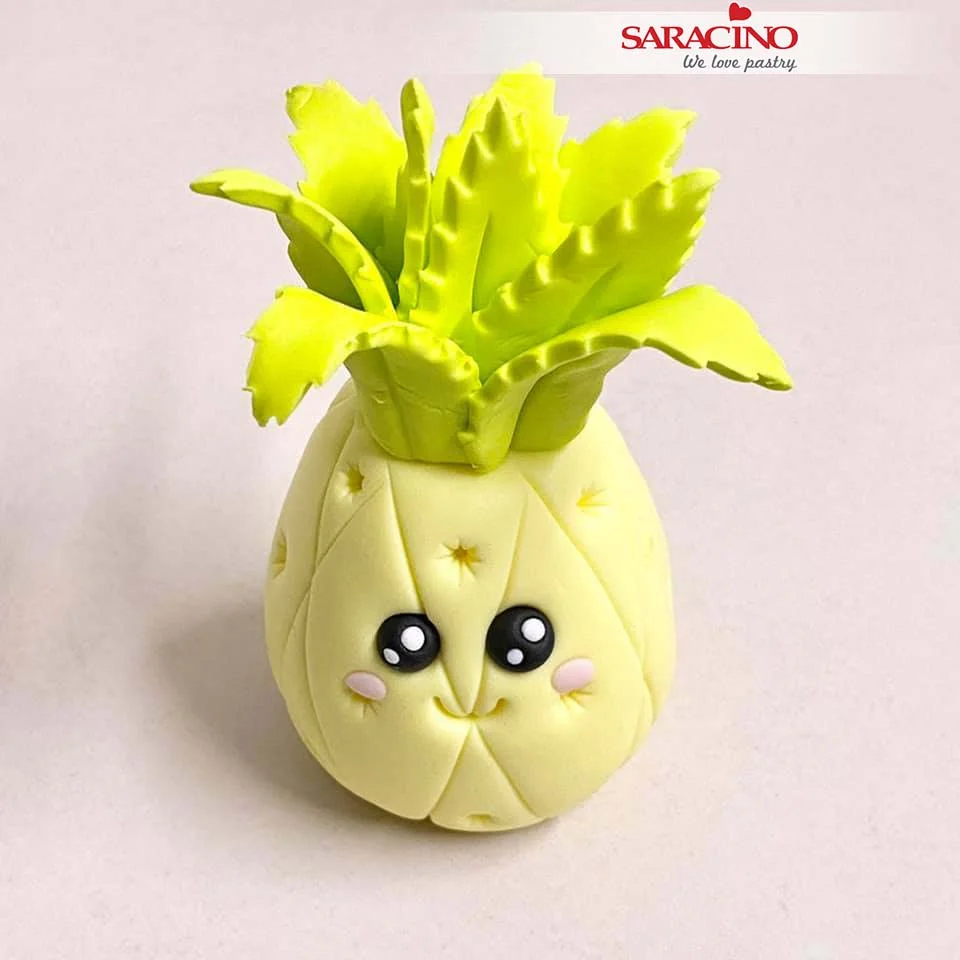
Add the eyes, cheeks and mouth. For the top leaves of the pineapple, use green Pasta Model and cut out some leaves using a rose petal cutter. Use a Dresden tool to mark a line in the centre of the leaf. As Pasta Model is so flexible, stretch each leaf out longer and as it stretches also thin the ends with your fingers.

Step 49

Start putting your leaves together starting in the centre.

Step 50

Once you have put all the leaves together trim off the base so they sit flush on top of the pineapple and you have another completed character.

Step 51

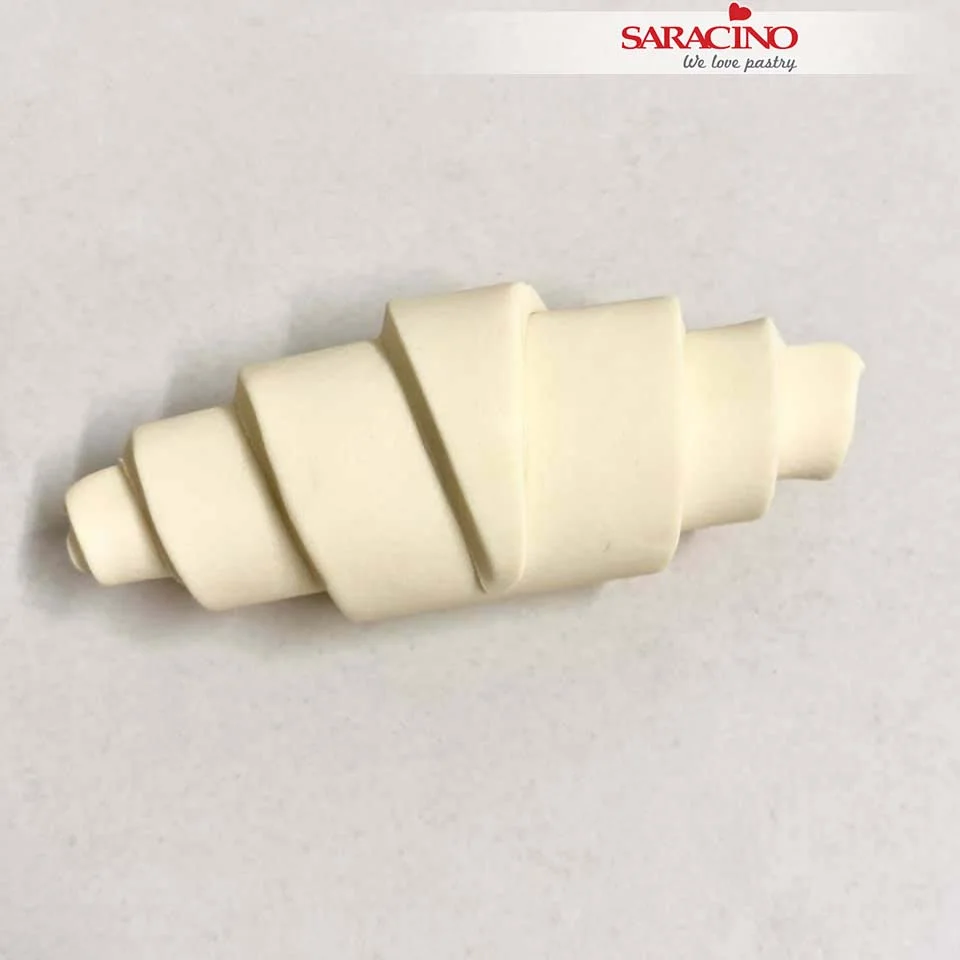
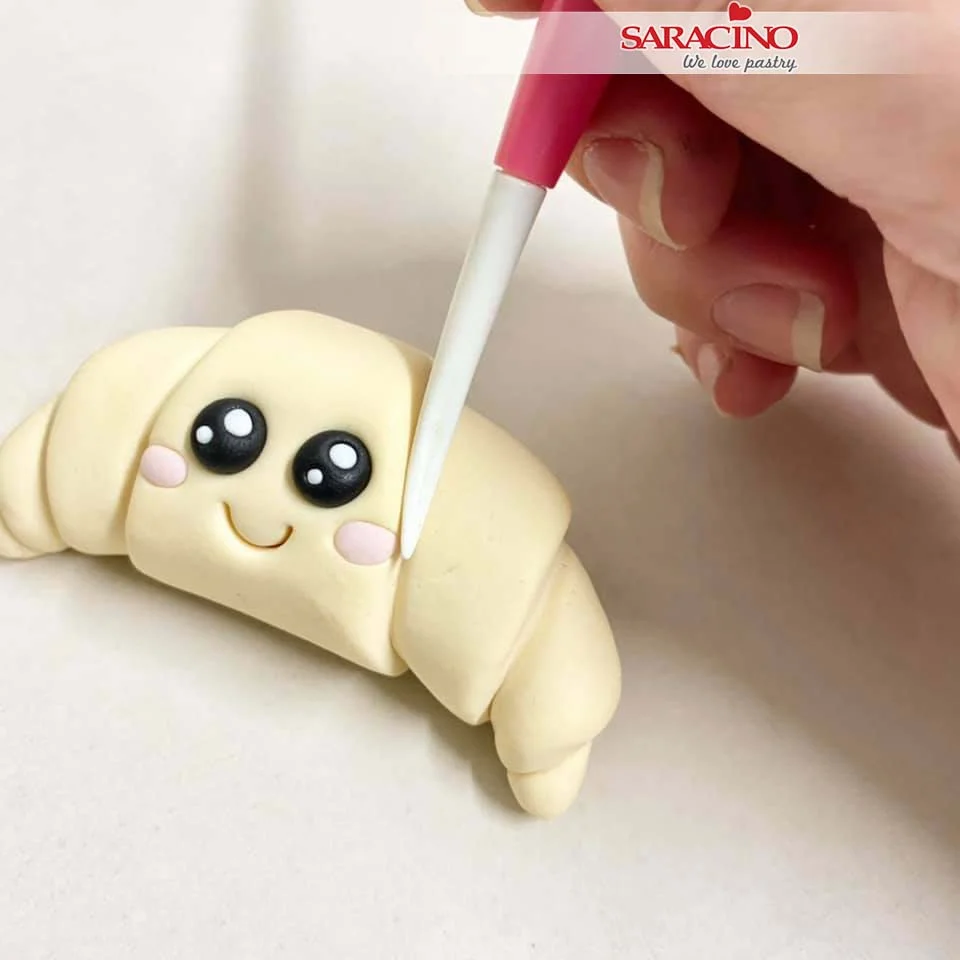
For the croissant roll out Pasta Model (the same colour as your waffle) and cut out a long triangle shape.

Step 52

Start rolling this from the larger side. Roll right to the end.

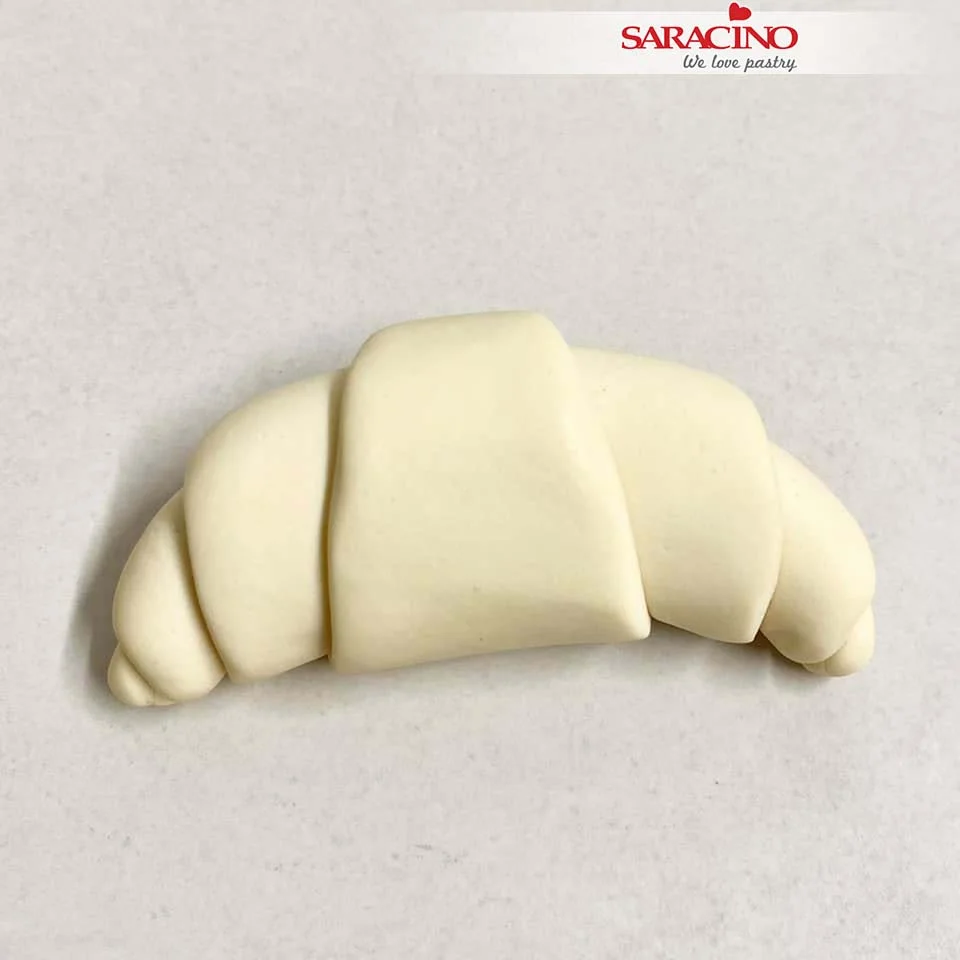
Step 53

Turn this over and press together nicely. Smooth the edges and shape the ends to make your croissant.

Step 54

Add the little face and use the Dresden tool to indent slightly along each line.

Step 55

I used a little bit of lemon extract and autumn leaf colouring to add some colour on the croissant.

Step 56

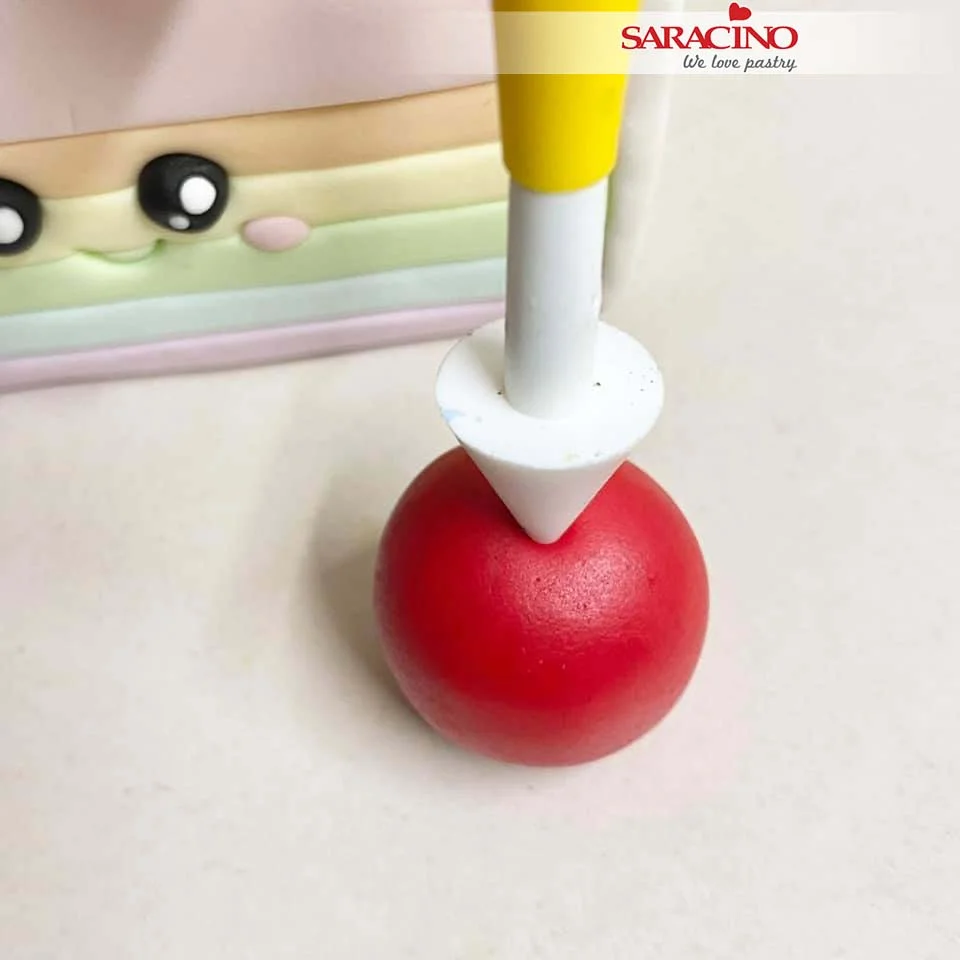
For the cherry use red Pasta Model. Roll it into a ball. Use a cone tool to make the dent in the top of the cherry.

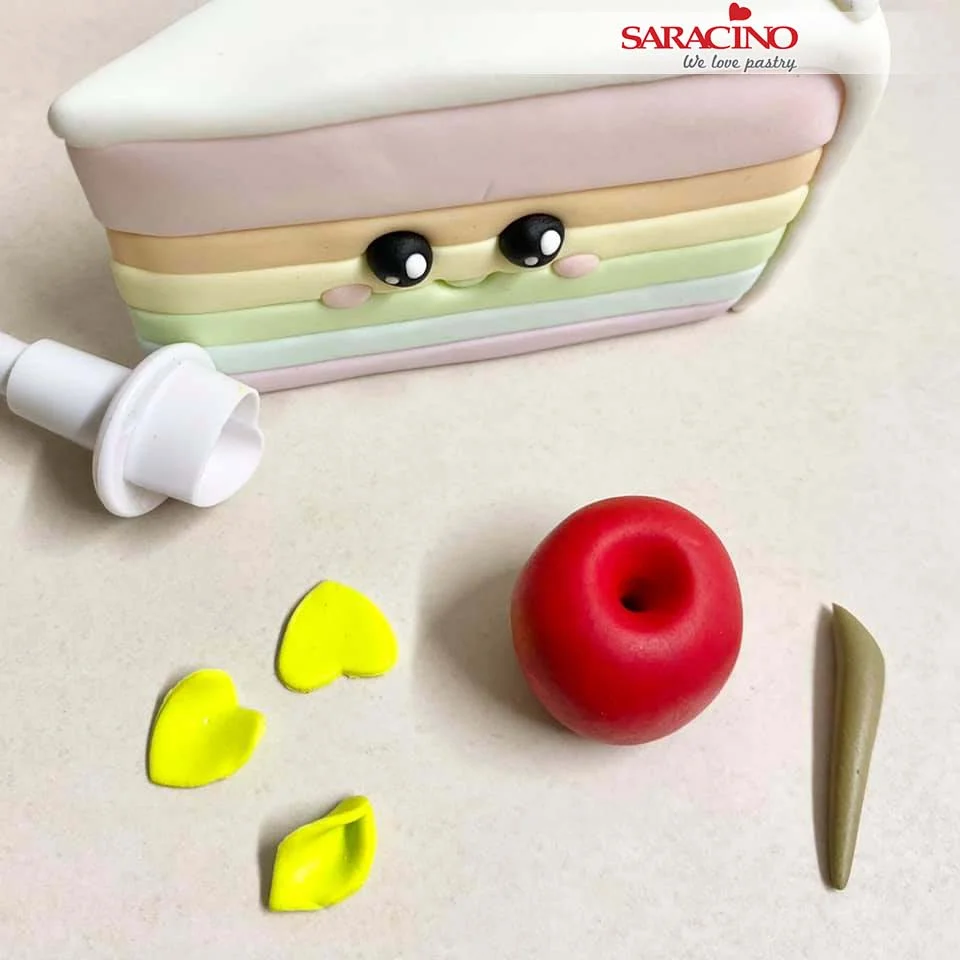
Step 57

Use a small heart cutter to cut out some leaves and fold in on the rounded side and pinch together. Create a stalk for the cherry.

Step 58

Add the face and complete your little cherry for the top of the cake slice.

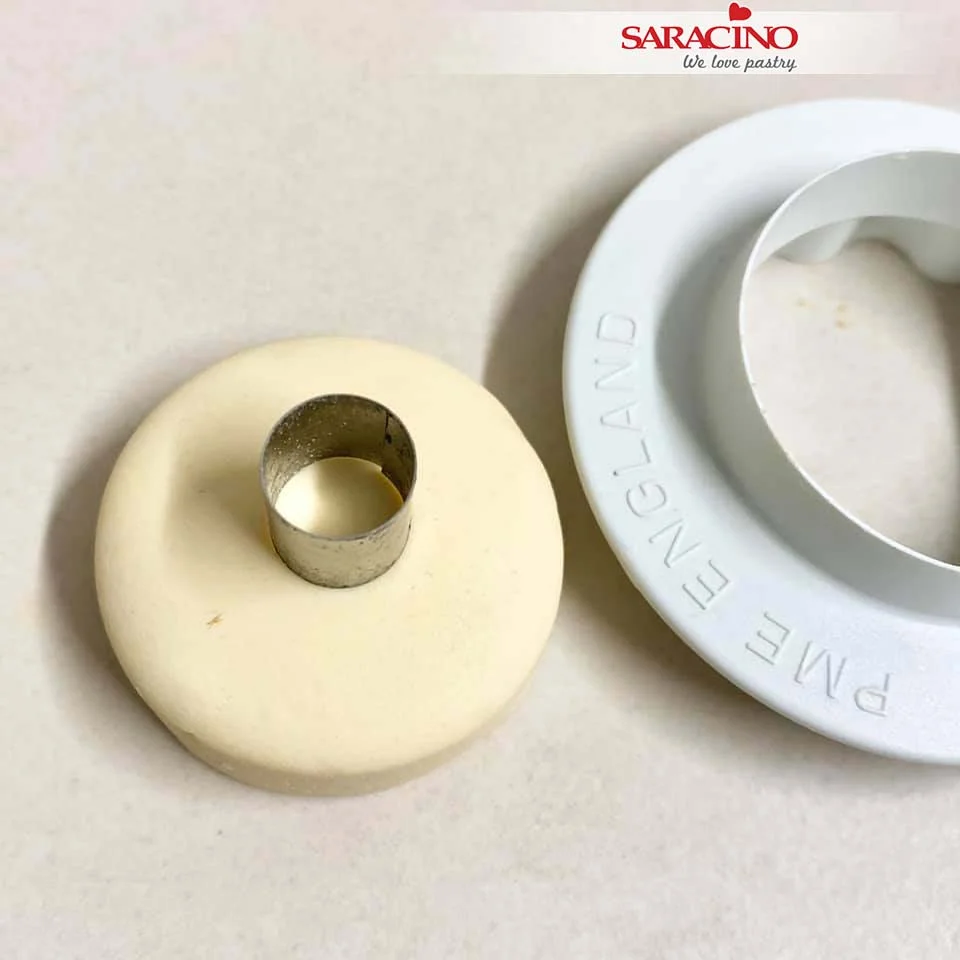
Step 59

To make the donut character cut out a circle from light brown Pasta Model. Use a smaller circle cutter to remove the centre from the donut.

Step 60

Roll out some white Pasta model. Cut a wavy edge around the outside slightly smaller than your donut. Place on top of the donut.

Step 61

Use a ball tool to press the white through the centre of the donut so it fills the side of the centre hole.

Step 62

Add the happy face and finish off with some sprinkles.

Step 63

Using the pastel colours roll lots of sprinkles. Add to the top of your cake and to the cake board.

Step 64

Add your kawaii characters to the cake. Ta Da! It’s ready.

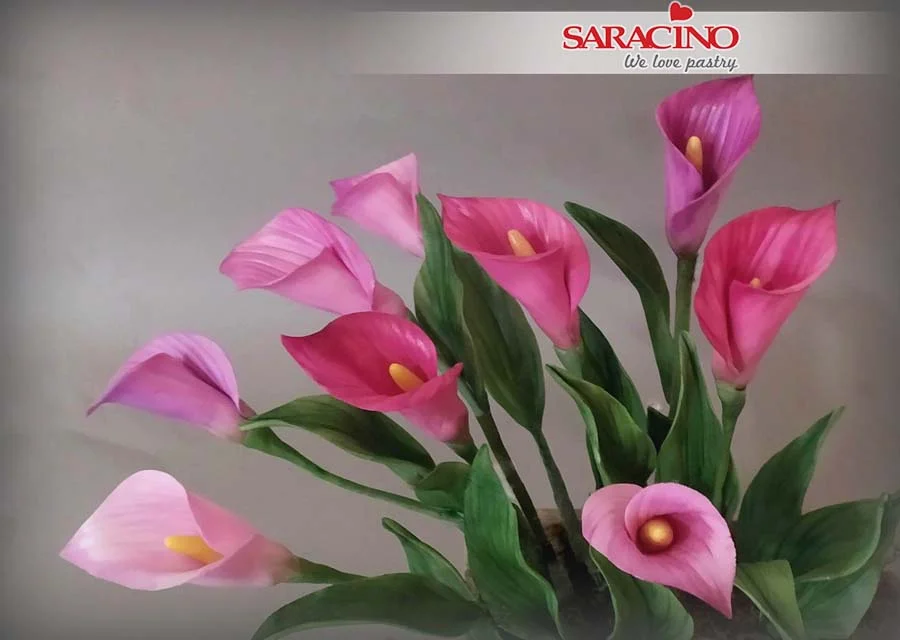
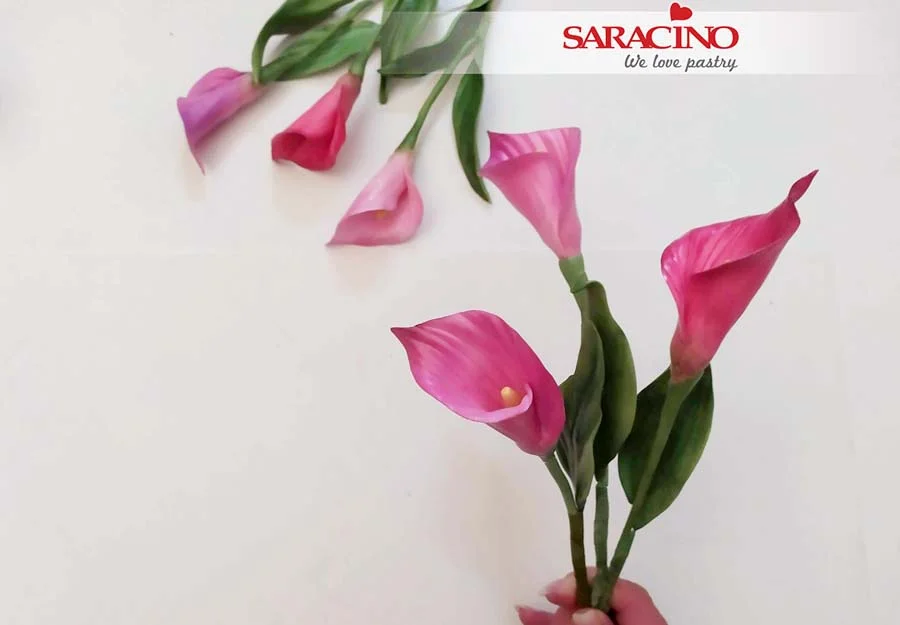
CALLA LILY FLOWER TUTORIAL

CALLA LILY FLOWER TUTORIAL

Skill level: BEGINNERS

You will need:

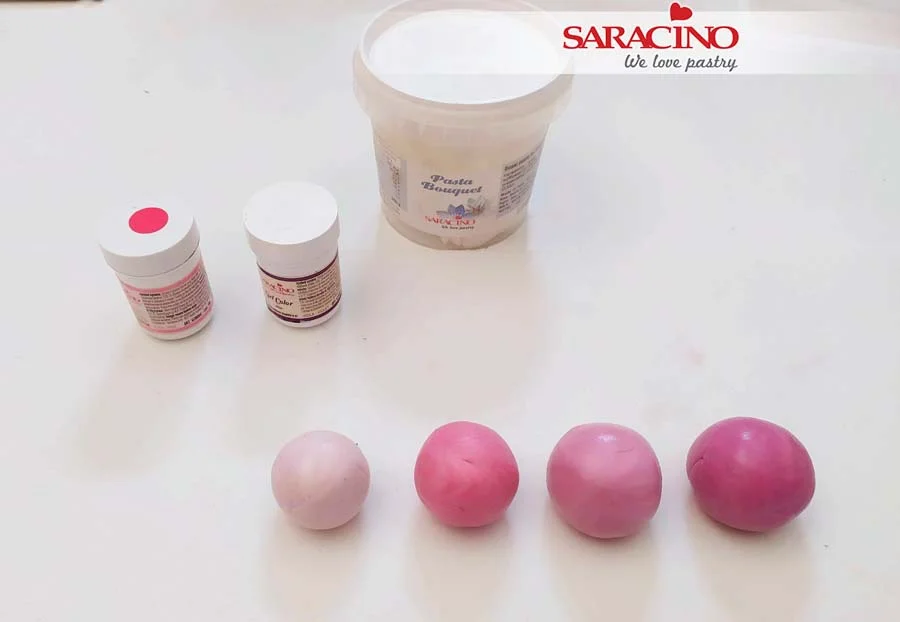
  • Saracino Pasta Bouquet flower paste
  • Saracino gel colours: pink and violet
  • Florist wires white (18 and 20 gauge)
  • Florist tape green
  • Edible Saracino colour powder dusts: yellow, pink, fuchsia violet, white, black, green
  • Edible glue
  • Cornflour for dusting
  • Ball tool
  • Dresden tool
  • Non-stick rolling pin
  • Groove board
  • Foam Pad
  • Calla lily cutter large
  • Leaf cutters large
  • Paint brushes (flat for dusting)
  • Wire cutter
  • Drying shapers or sponge
  • Kitchen paper

Step 1

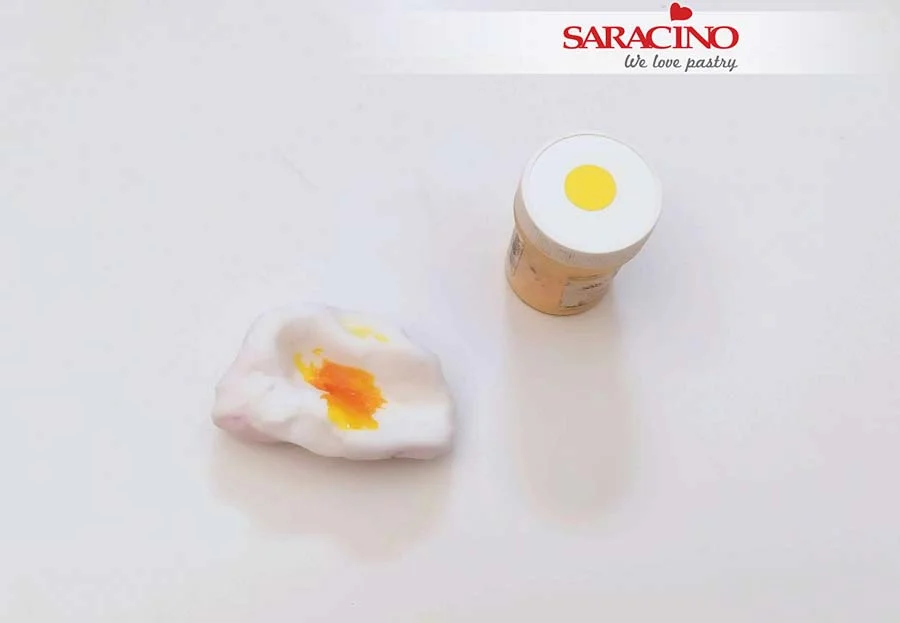
To make the spadix of the flower, knead some flower paste with a small amount of Saracino yellow powder colour.

Step 2

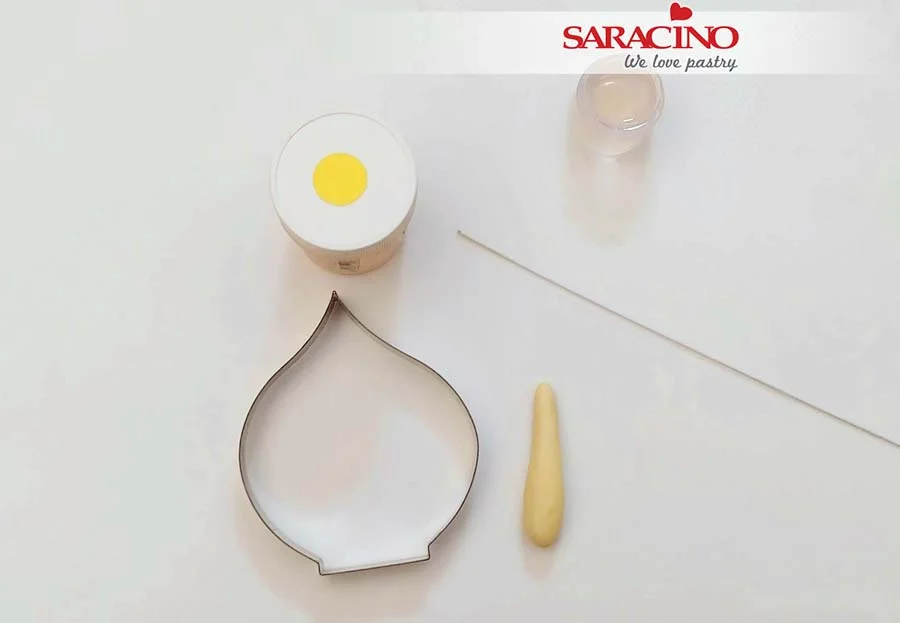
Roll out a small piece of yellow paste into a sausage. It’s size should be around ⅔ of the cutter.

Step 3

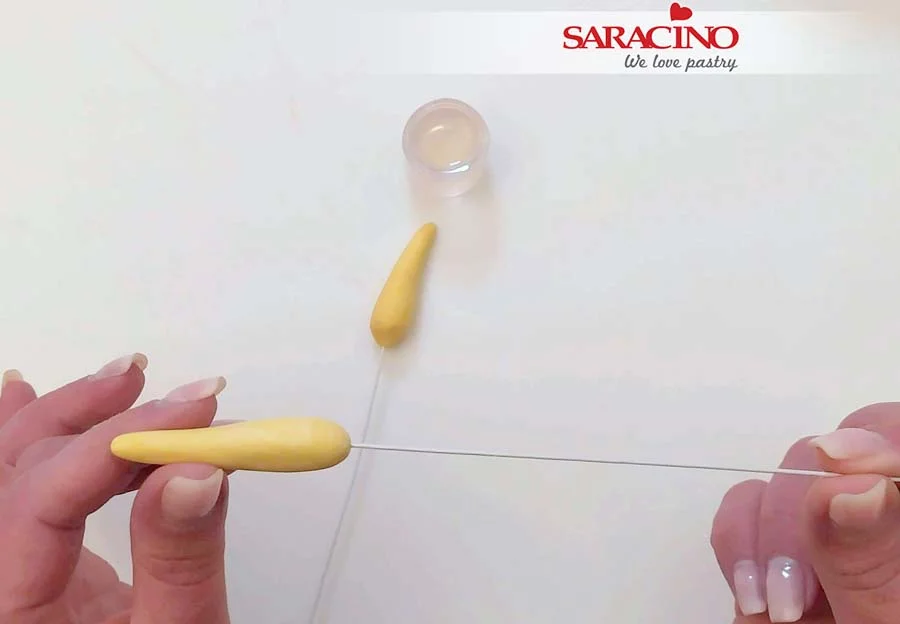
Τake a wire gauge 18 put some glue at the end of the wire and insert into the spadix,  place it firmly on the base and let it dry overnight.

Step 4

To make the spath, using pink and violet cake gel colour create 4 different shades of flower paste.

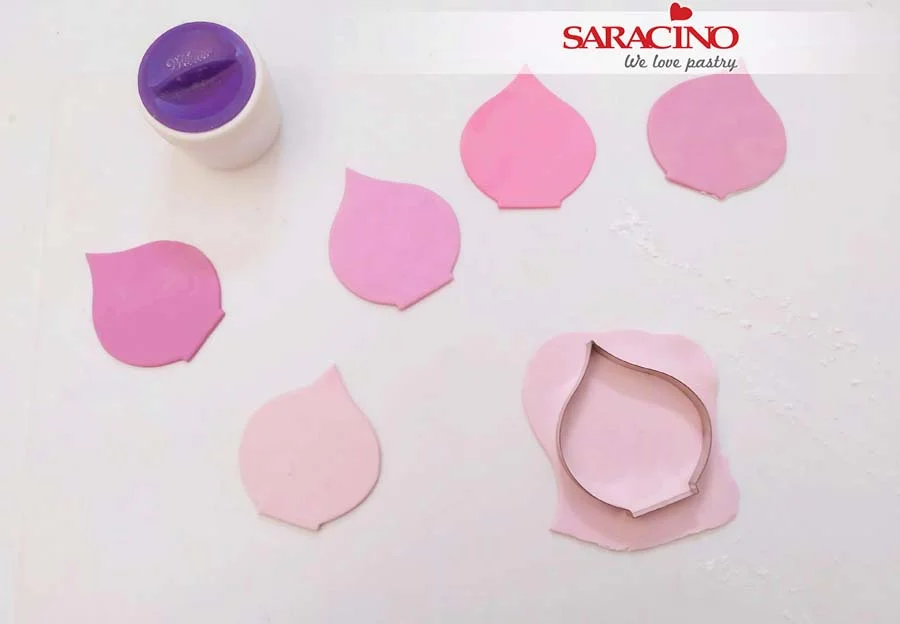
Step 5

Dust the board with a small amount of corn flour and roll out the paste. Using your cutter cut out petals. 

Step 6

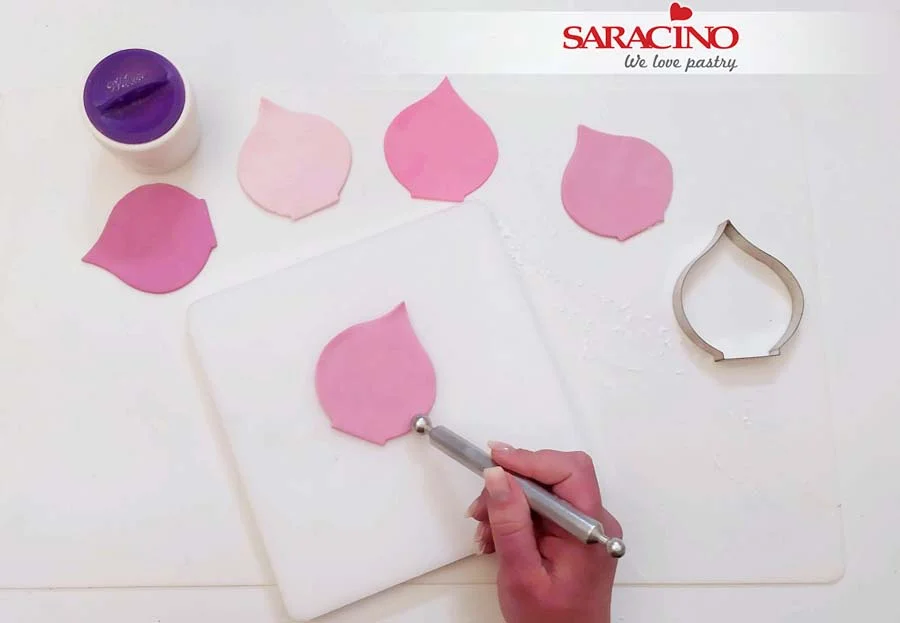
Move the spath onto the foam pad and thin the edges with a balling tool. Gently roll the ball tool over the edge of the spath (half on the foam mat half on the spath) and thin the edges.

Step 7

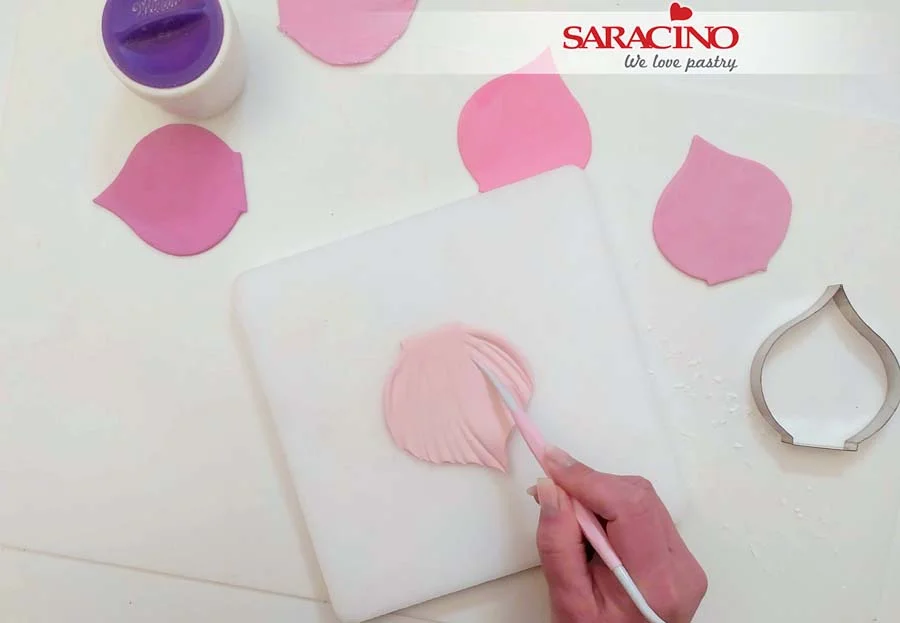
Using Dresden tool make gentle strokes on the inner side of the petal.

Step 8

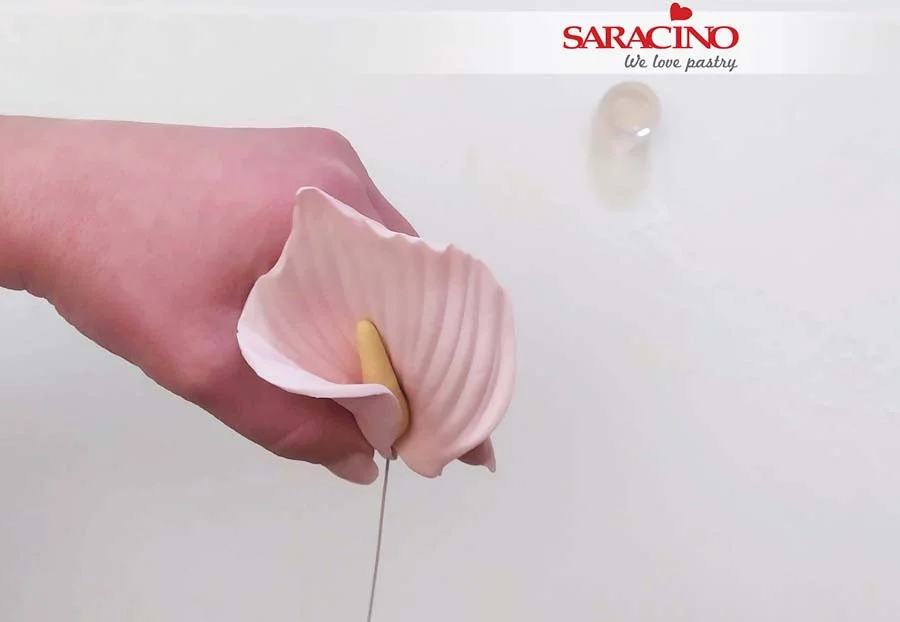
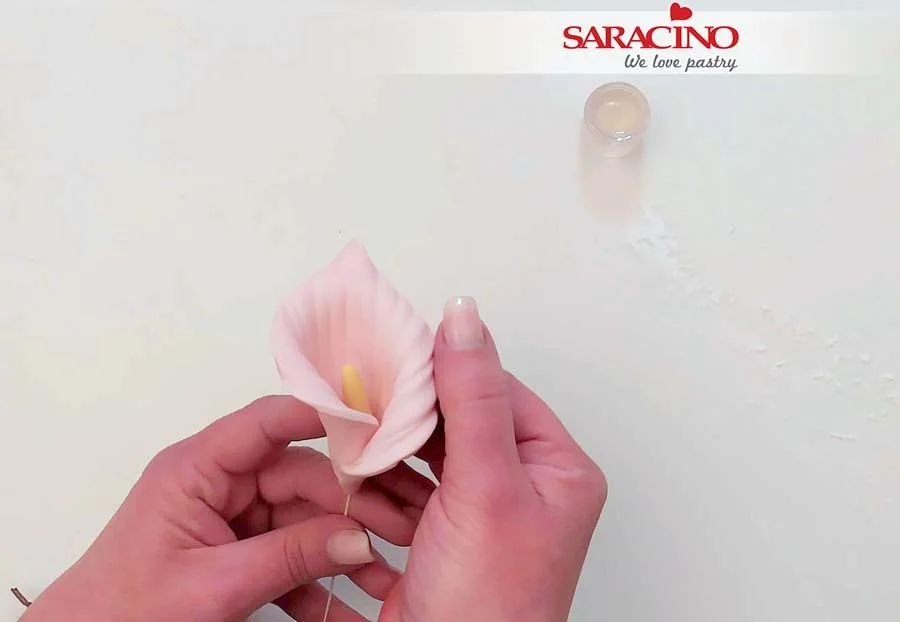
Apply some glue and wrap the spath around the spadix.

Step 9

Shape it by folding the edges, let it dry until it is firm. Place on a foam mat or hang upside down.

Step 10

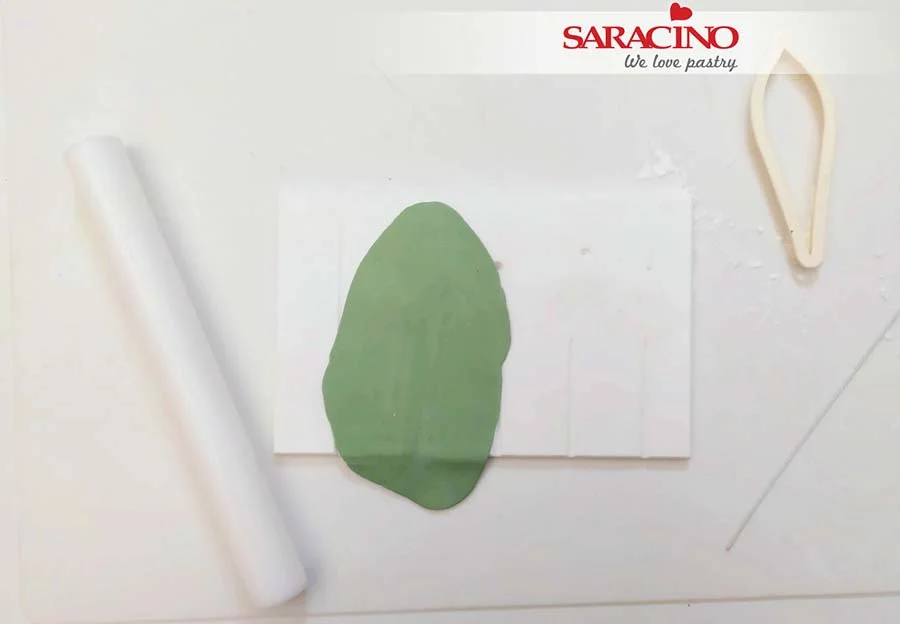
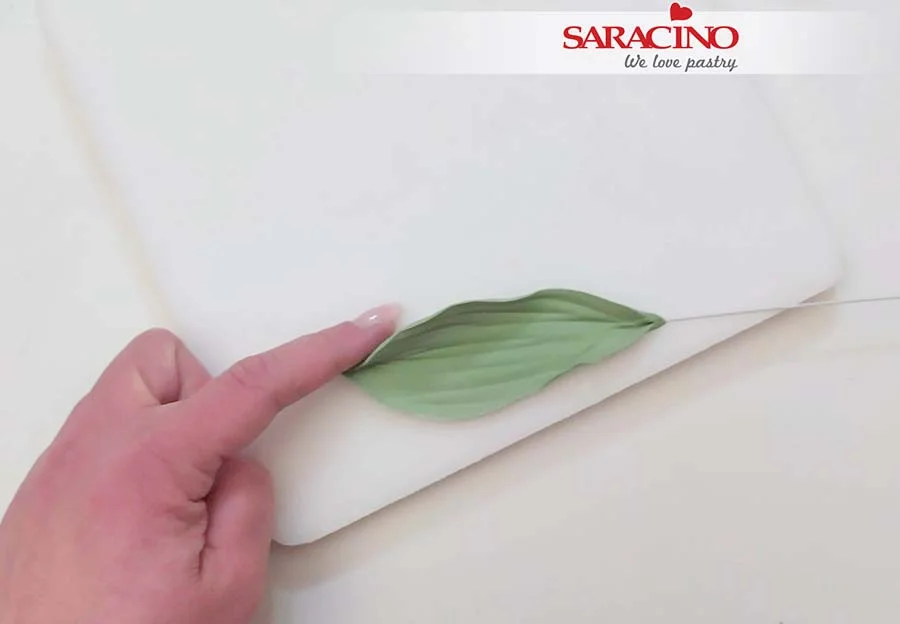
To make the leaves roll out a piece of flower paste with a small rolling pin on the groove board.

Step 11

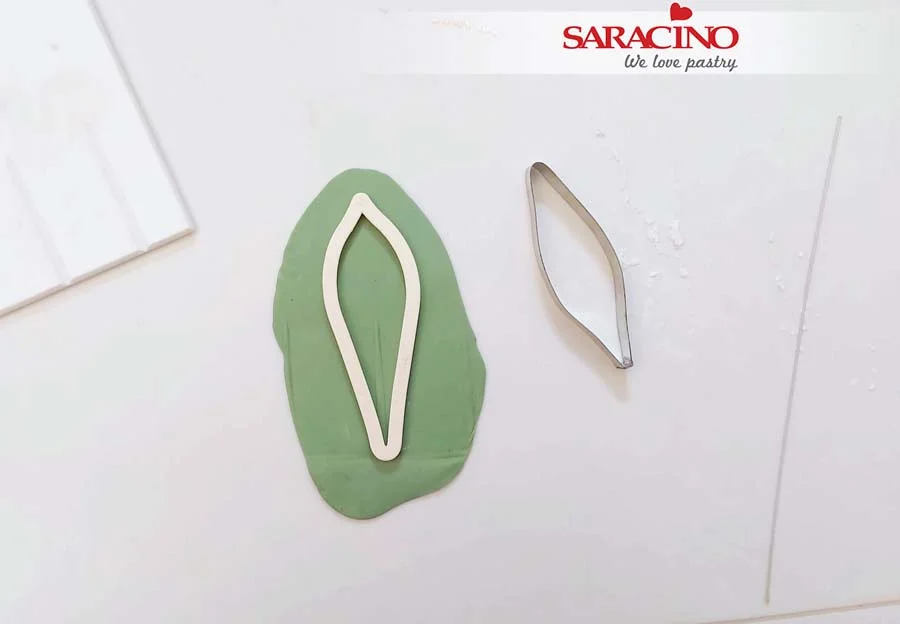
Cut out with a leaf cutter in 2-3 different sizes. Make sure that the ridge is in the centre of the leaf.

Step 12

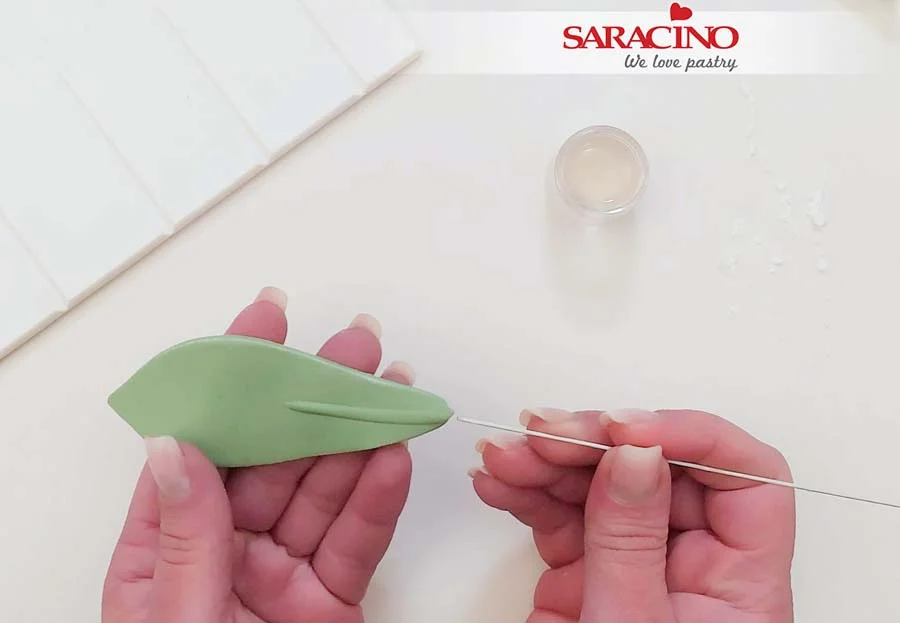
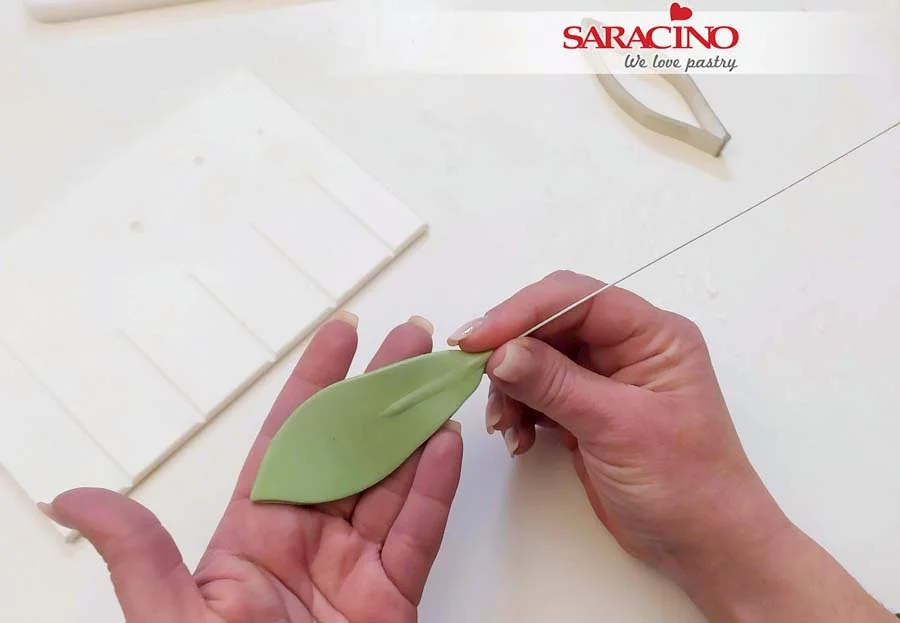
Add some glue at the end of a 20  gauge wire and insert into the ridge of the leaf. Insert the wire half way into the leaf.  A slow twisting motion helps to insert the wire.

Step 13

Pinch the end of the leaf gently to secure it to the wire.

Step 14

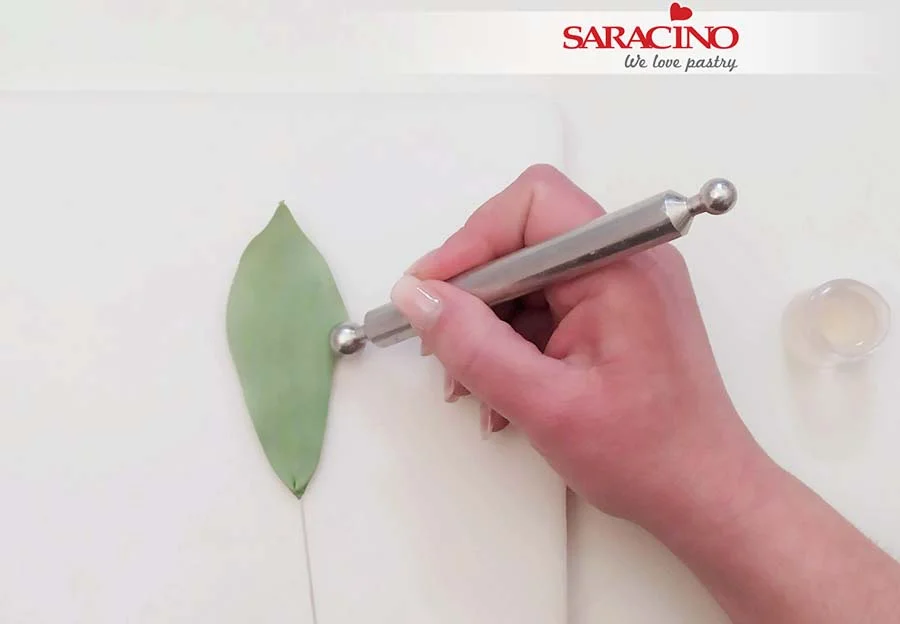
Move the leaves onto a foam pad and thin the edges with the ball tool.

Step 15

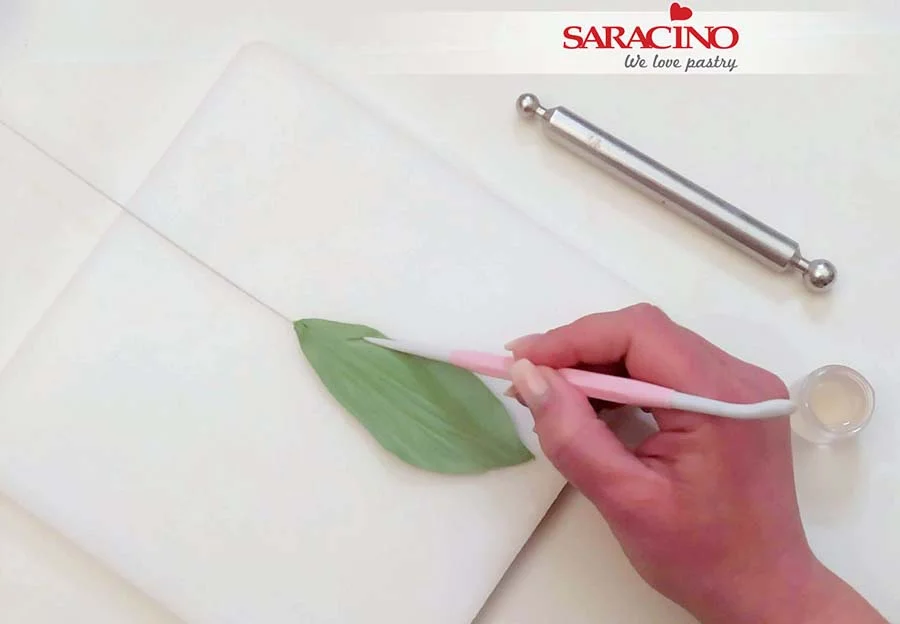
Make gentle strokes on the leaf  with the Dresden tool.

Step 16

Try to give the leaf a realistic shape with natural movement and let it dry on a foam mat.

Step 17

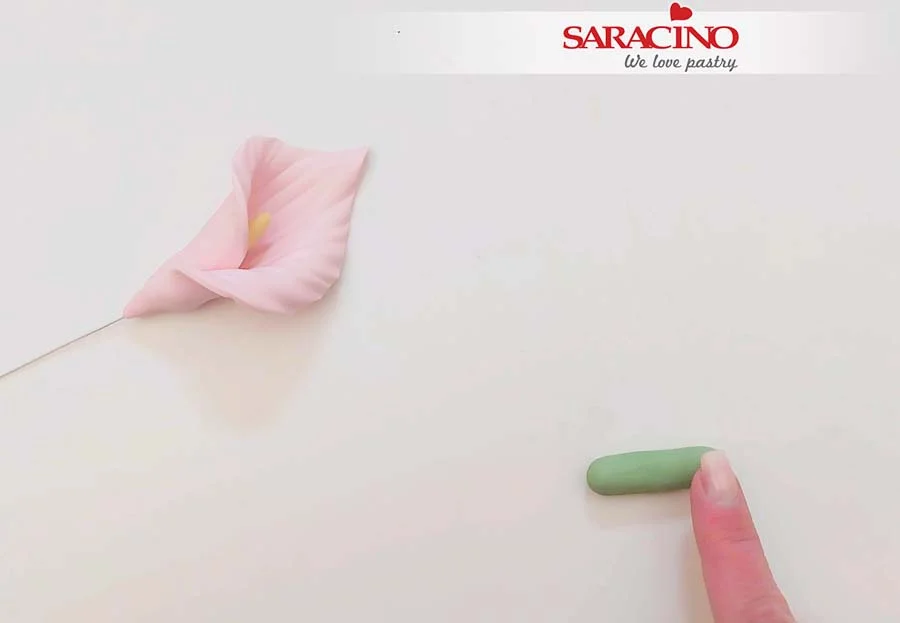
For the stem roll a small amount of Pasta Bouquet coloured with green powder colour.

Step 18

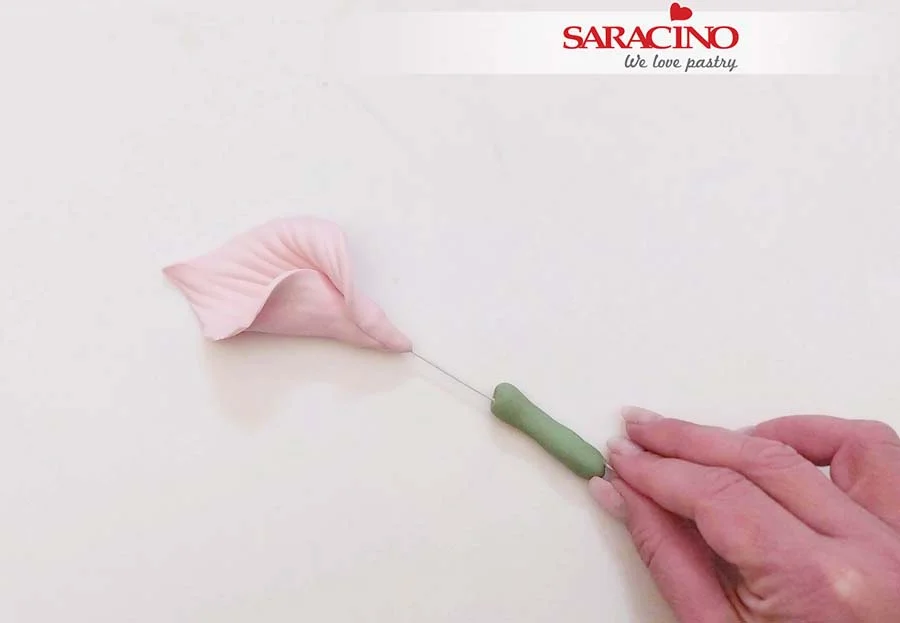
Insert it onto the flower wire.

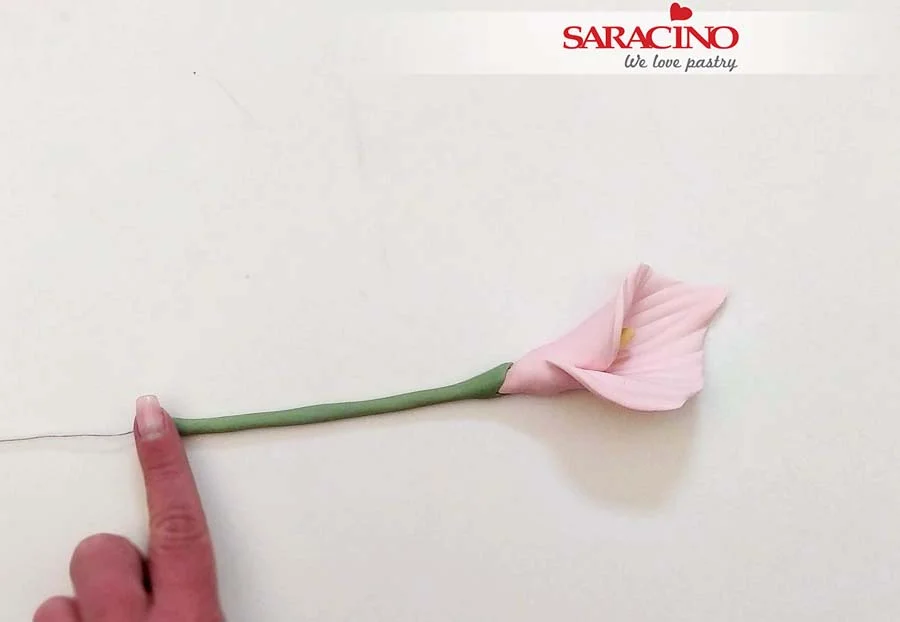
Step 19

Starting from the base of the flower move gently downwards to cover the wire using a rolling motion working down.

Step 20

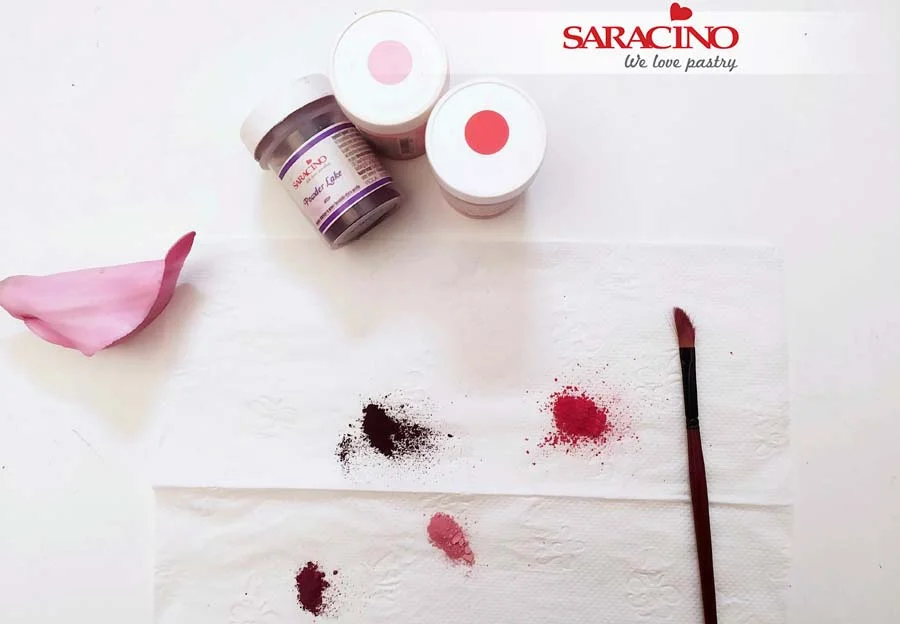
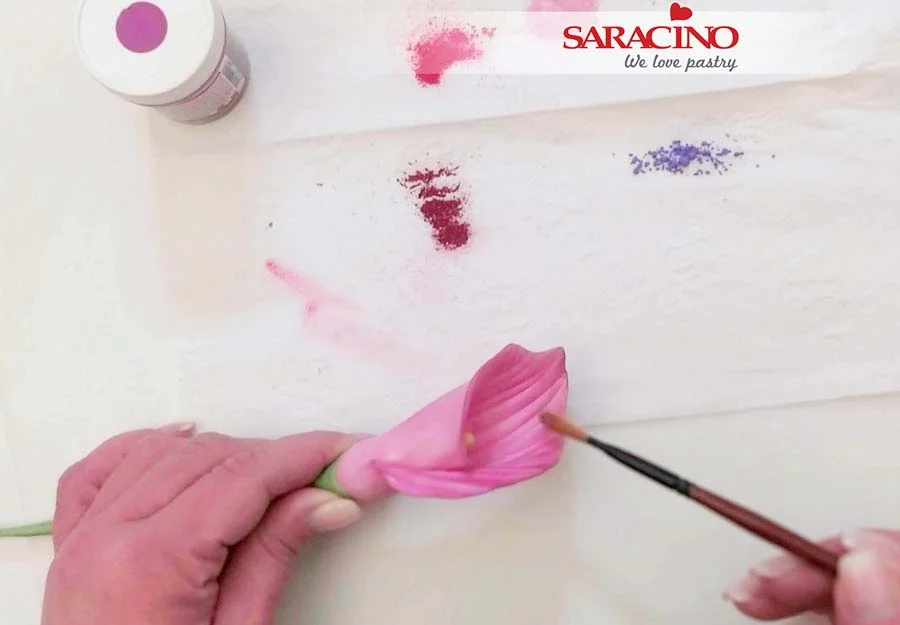
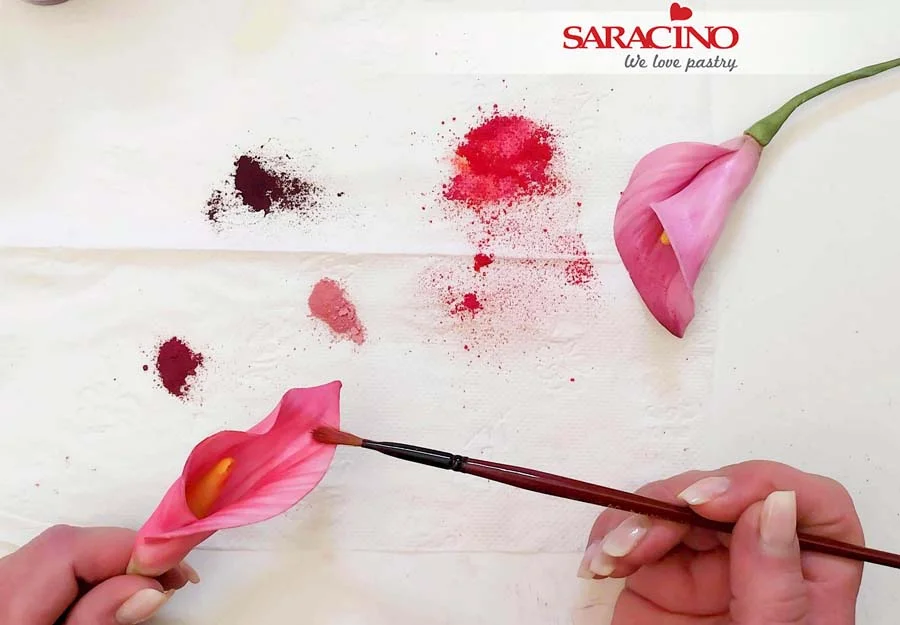
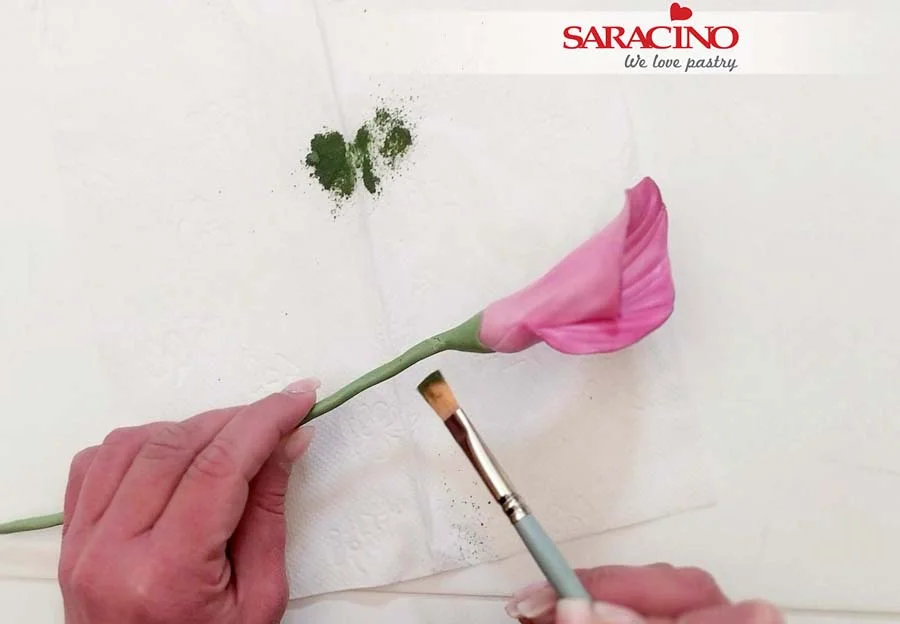
Τo colour the flowers start with the spath. Use pink, violet, white and fuchsia powder colours. Mix them to make different combinations.

Step 21

Use a soft, wide brush to start dusting shade with light colours.

Step 22

Continue dusting shade with darker colours.

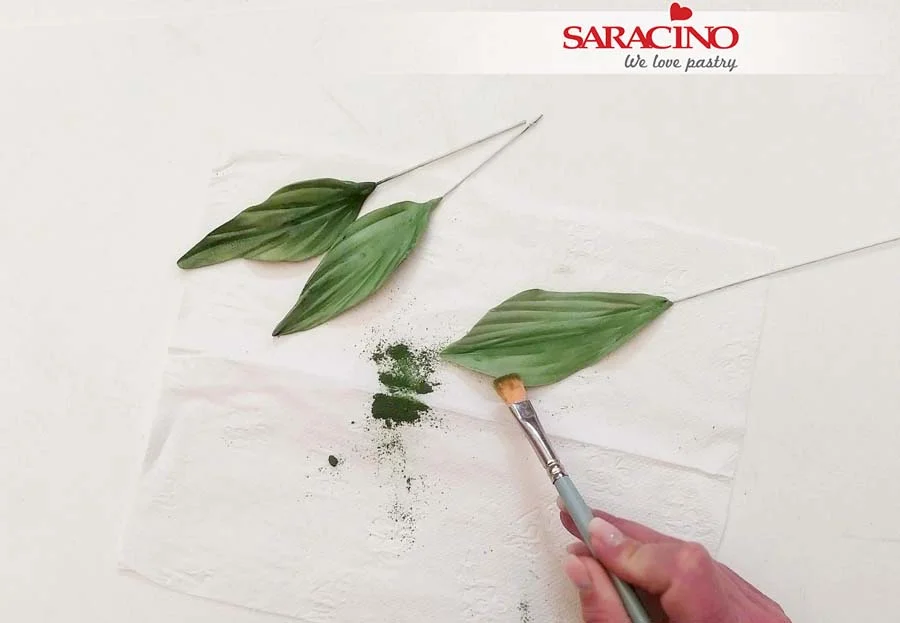
Step 23

To dust the leaves use green powder colour to make shade.

Step 24

Use the same colour to dust the stem.

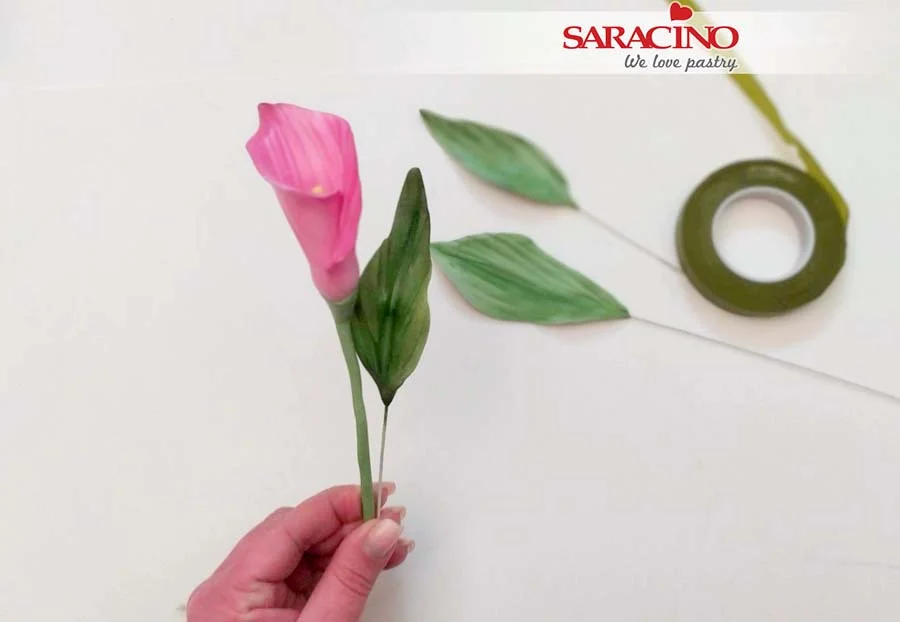
Step 25

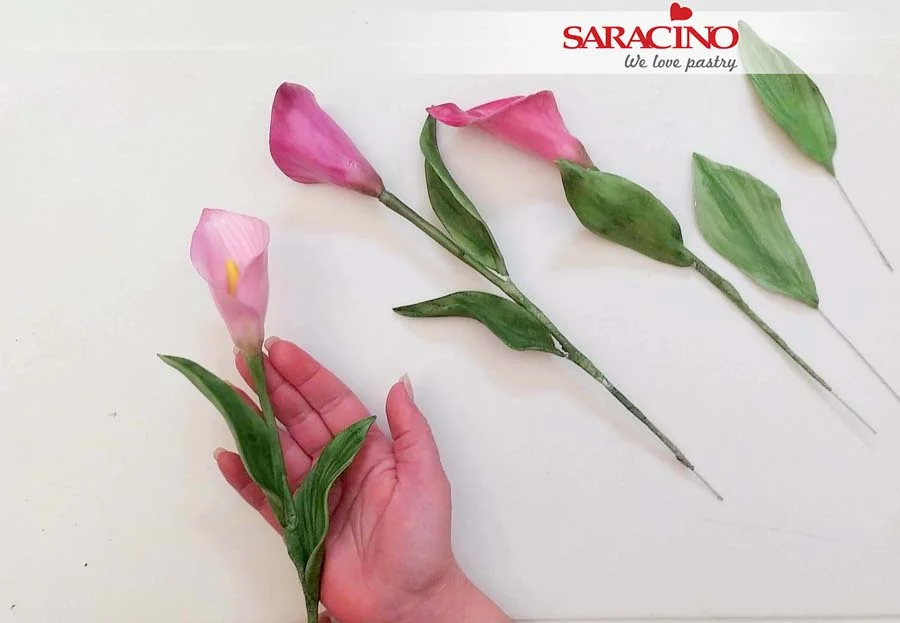
Tape the leaves and the flowers  together using green florist tape.

Step 26

Continue with the rest of the flowers, adding one or two leaves for each flower.

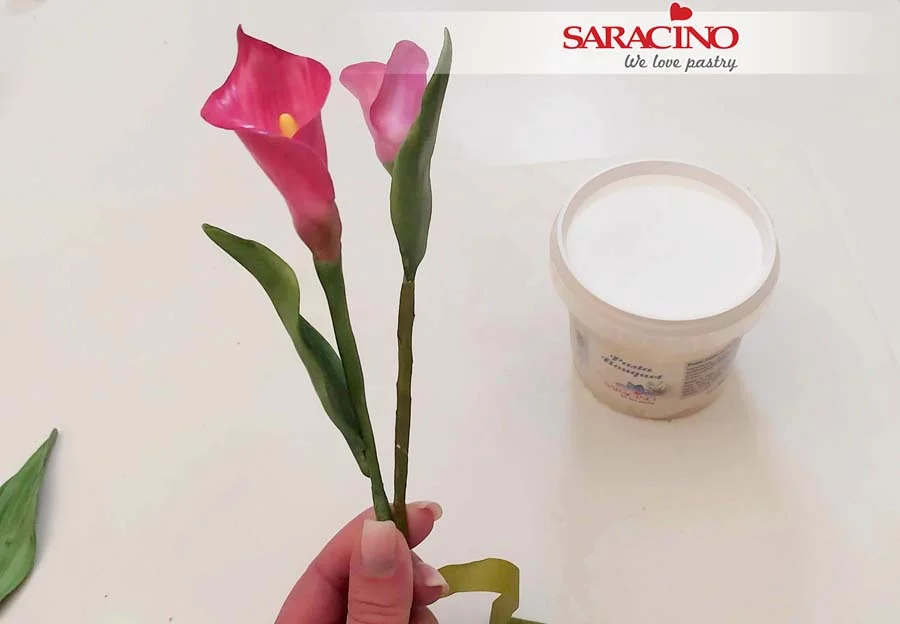
Step 27

Assemble the flowers to make a bouquet.

Step 28

Feel free to be creative with your composition. Good luck!

HAND PAINTED WEDDING CAKE TUTORIAL

HAND PAINTED WEDDING CAKE TUTORIAL

Author: ANGELA PENTA

Skill level: ADVANCED

You will need:

INGREDIENTS: 

  • Pasta Top Black

  • Pasta Model White, Red, Light blue and Yellow

  • Powder colours Skin tone, Black, Yellow, Red, Sky blue, Blue and White

  • CMC

  • Cake gel glue

  • Shiny Effect Confectioners Glaze

EQUIPMENT: 

  • 4×4″ round cake or dummy

  • 6×8″ round cake or dummy

  • 9″ round cake board

  • Black ribbon

  • Large and small rolling pins

  • Fondant Smoother

  • Flexible fondant smoothers

  • Ruler

  • Knife

  • Craft knife

  • Palette knife

  • Stars and heart plunger cutters 

  • Small ball tool

  • Brushes

  • Paintbrushes

  • Cocktail sticks

  • Small plastic dishes

  • Clear alcohol

  • Corn starch

Step 1

For this project we need 2 dummies (or cakes) 4×4″ round, 6×8″ round and a 9″ round cake board that will be covered with black Pasta Top.

TIP 1: Pasta Top is Vegan, Gluten free and has NO hydrogenated fats. It’s very stretchy and can be rolled very thin.

Step 2

Roll out the paste large enough to cover each tier.

Step 3

Roll the black Pasta Top thinly. You can use a little corn starch on your work surface so it doesn’t stick (but not too much to stain the black paste)

Step 4

Brush the dummy with water and put the paste on top of the dummy as shown

Step 5

Using a smoother press on top to make it smooth and with the hands smooth the paste down the sides of the cake

Step 6

Use the same process to cover the other tier and create sharp edges using flexible fondant smoothers

Step 7

Brush the cake board  with water, roll out the black Pasta Top and cover the cake board

Step 8

Smooth the surface with a smoother to remove any air bubbles

Step 9

Trim the excess paste from around the board using a craft knife

Step 10

Add the black ribbon around the cake board

Step 11

Assemble the cake as shown in the picture

Step 12

Use a ruler to measure the size of the pop art inspired illustrations and print them, these images will be used as a template

Step 13

Let’s start with the painting, we need the printed illustration, Pasta Model white, CMC and powder colours skin tone, black, yellow, red, sky blue, blue and white

Step 14

Add a little bit of CMC to the paste to help it become firmer.

Step 15

Roll out Pasta Model to about 3 mm thick, it must be larger than the printed image

Step 16

Place the printed image over the paste and using a small ball tool, trace outlines on the paste

Step 17

Use craft knife to cut out the shape

Step 18

Begin by painting light colours, mix skin tone and white powder colours with alcohol and paint faces and hands

Step 19

Continue painting with light colours, for yellow mix yellow and white powder colours and dilute with alcohol

Step 20

Mix sky blue and white powder colours with alcohol and paint the bright reflections of the hair, you don’t need to be precise because we will define the design later with black

Step 21

Complete by painting the red and blue areas using the red and blue powder colors diluted with alcohol

Step 22

Mix black powder colour with alcohol and paint using a fine brush

Step 23

Using the picture as reference paint the design on the paste using the black powder colour mixed with alcohol

Step 24

Once the painting is complete, paint the sides with black powder colour diluted with alcohol

Step 25

When the painting is dry we can glue the piece on the cake using Cake gel glue

Step 26

Glue the piece on the bottom tier being careful not to touch it too much with your hands as this may damage or smudge the painting

Step 27

Roll out red Pasta Model and cut out a heart using the heart plunger cutter. Set aside.

Step 28

Mix red Pasta Model with a little bit of CMC

Step 29

Roll out red Pasta Model to about 3 mm thick

Step 30

Place the printed image on the paste and, using a small ball tool, trace the outlines of the red heart on the paste

Step 31

Do the same using the white and yellow paste

Step 32

Roll out light blue Pasta Model to about 2 or 3 mm thick and using a small ball tool, trace the outlines of the word LOVE

Step 33

Once all the shapes are traced use a craft knife to cut them out, these are all the pieces needed to make the comic heart

Step 34

Using a thin brush paint a black line on the outline and sides of the heart shape

Step 35

Do the same for all shapes

Step 36

Glue all the pieces of the comic using Cake gel glue

Step 37

Glue the word LOVE using the printed image as a reference

Step 38

Add a layer of Cake gel glue to the back of the big red heart

Step 39

Stick the comic onto the top tier, support with toothpicks if necessary until dry and then they can be removed.

Step 40

Roll out the white Pasta Model and cut out some stars with 2 sizes of stars plunger cutters 

Step 41

Using the black powder colour diluted with alcohol paint the sides of the stars

Step 42

Make about 35 stars of different sizes

Step 43

Using a brush add a little bit of Cake gel glue to the back of each star

Step 44

Glue the stars to the cake and cake board randomly

Step 45

Add a shine to the word LOVE with the Shiny Effect Confectioners Glaze

Step 46

Your cake is ready <3 

VALENTINE MODELLING TUTORIAL

VALENTINE MODELLING TUTORIAL

Skill level: BEGINNERS

TIPS:

Tip 1: If you are not confident enough to write directly on the cake using edible pens then use a needle tool to write on the cake and then write with the pen over it, this will avoid any spelling mistakes and save time re-doing things  

Tip 2: Use tooth picks or cocktail sticks to secure the figurines on the cake along with some glue, this keeps the figurines safe while travelling with the cakes.

You will need:

INGREDIENTS: 

  • Saracino pasta model pink
  • Saracino pasta model blue
  • Saracino pasta model red
  • Saracino pasta model skin
  • Saracino modelling chocolate brown
  • Saracino modelling paste white
  • Saracino modelling paste black
  • Edible glue
  • Pink dust powder colour
  • Gel colours: white, brown, black, pink
  • Black edible pen
  • Cornflour

EQUIPMENT: 

  • 10” Round cake or dummy
  • Polystyrene cone
  • Envelope template
  • Rolling pin
  • Craft knife
  • Ball tool
  • Dresden tool
  • Shell tool
  • Soft modelling tools
  • Brushes
  • Mat
  • Heart cutter

Step 1

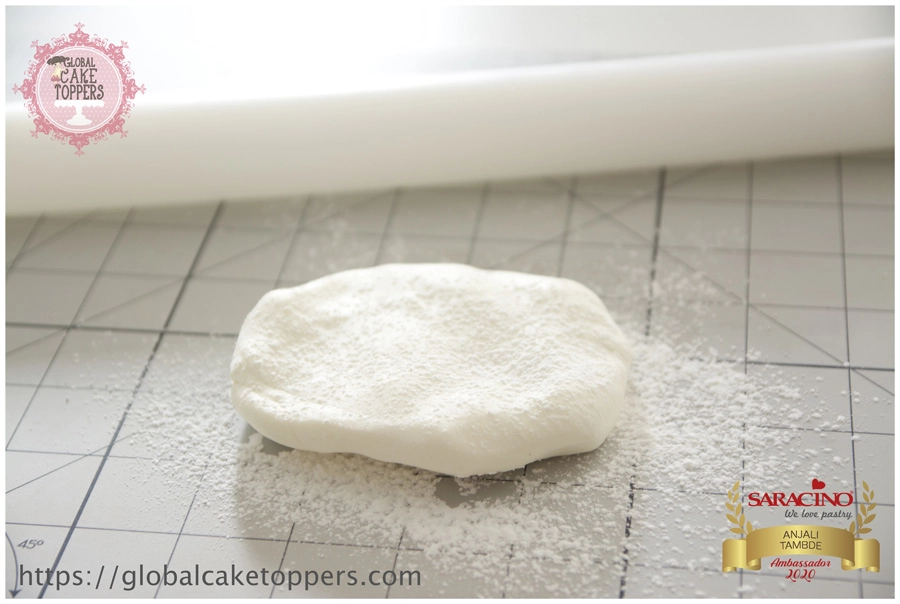
To make an envelope knead some white Saracino Modelling Paste until workable.

Step 2

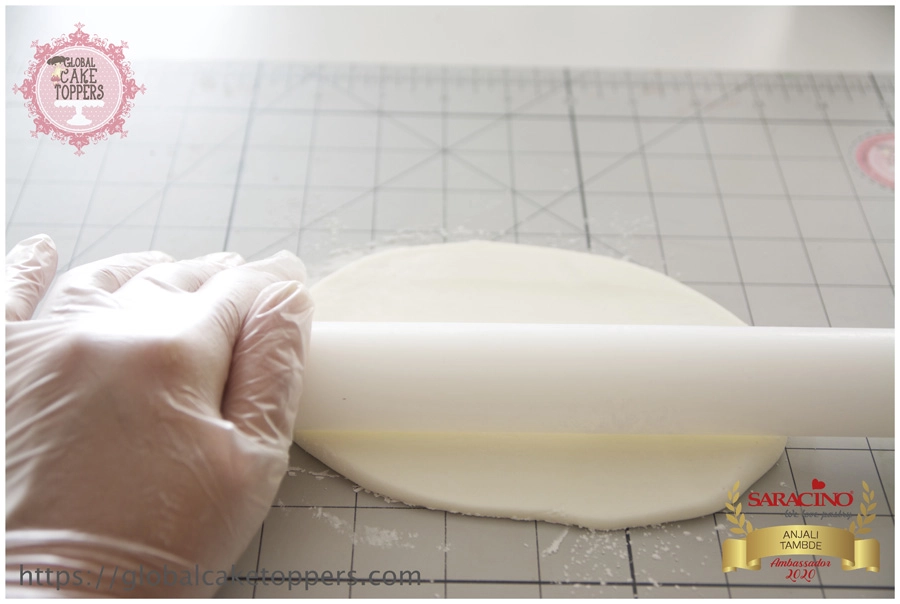
Using rolling pin roll it thinly.

Step 3

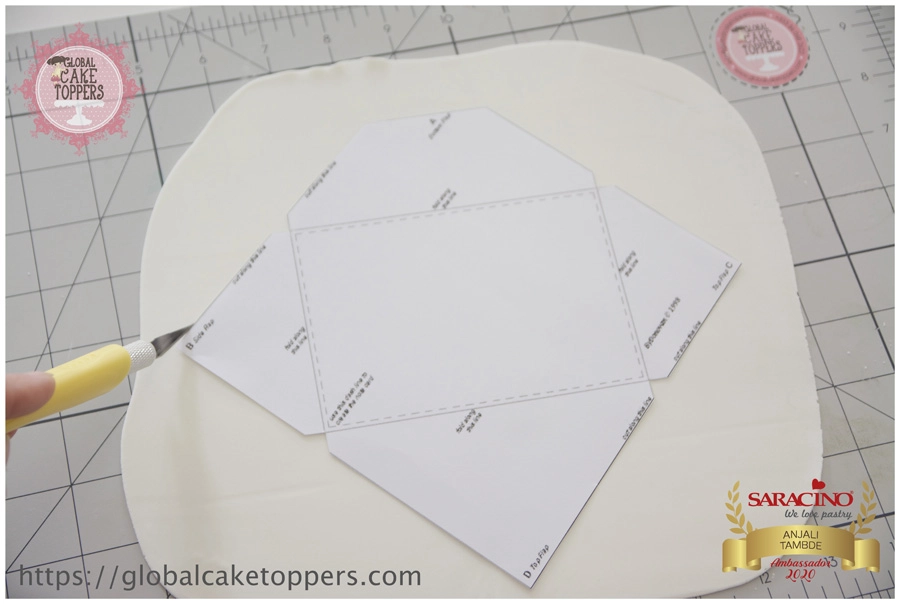
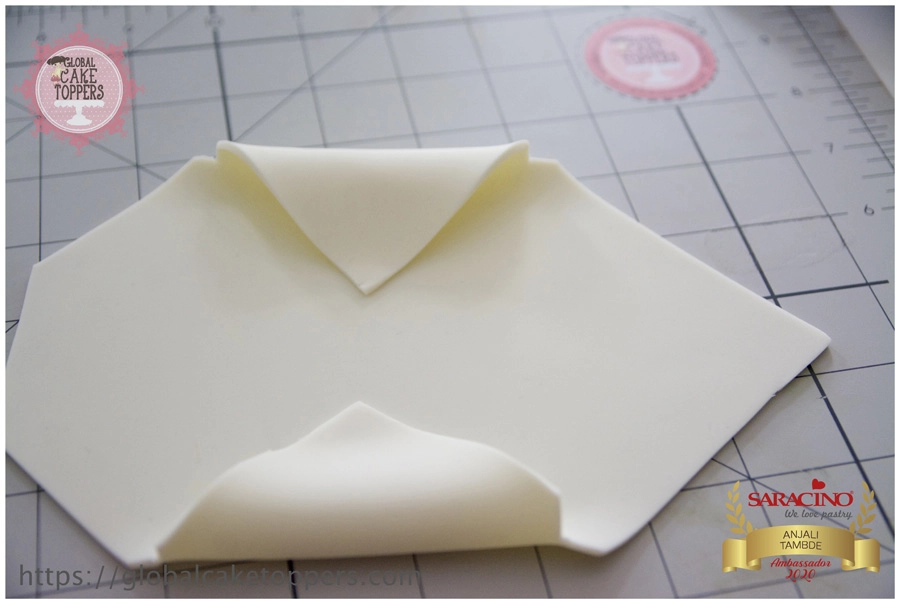
Cut out the envelope template. You can download it HERE. Place on the rolled icing ready for cutting.

Step 4

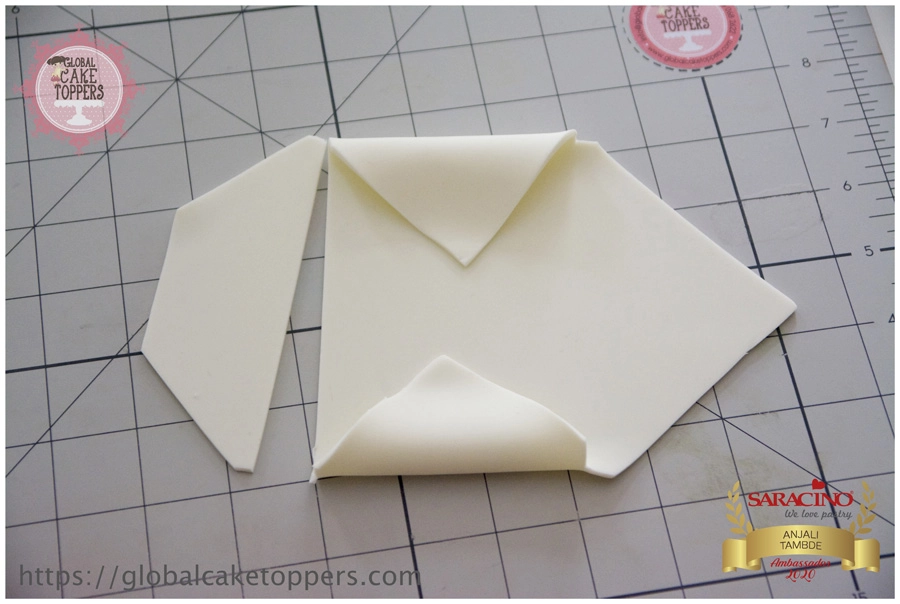
Fold both sides

Step 5

Cut the bottom piece and keep aside

Step 6

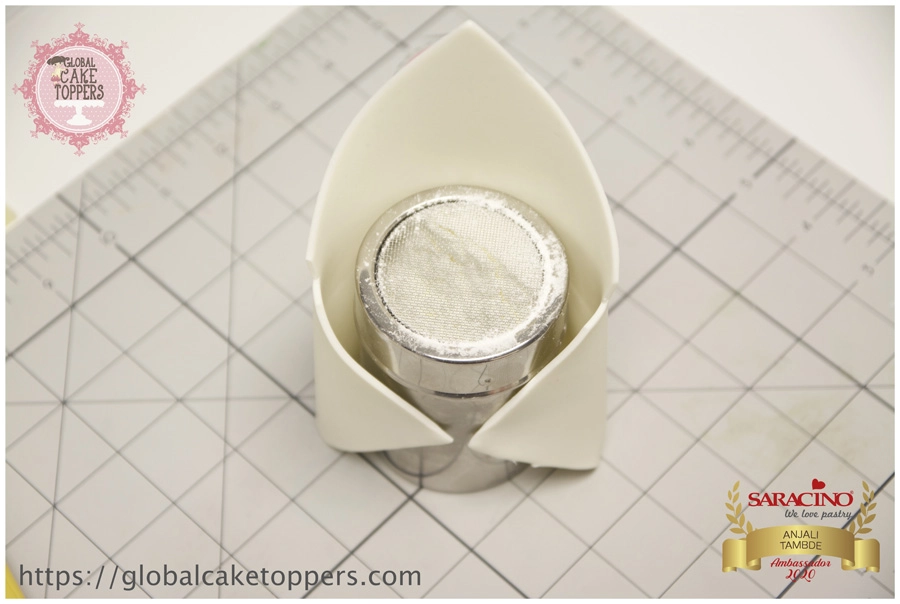
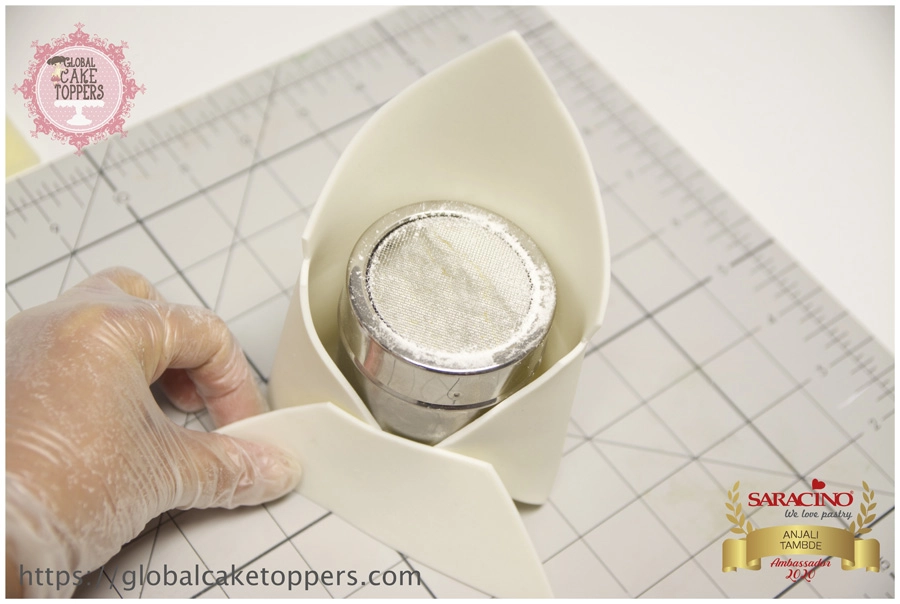
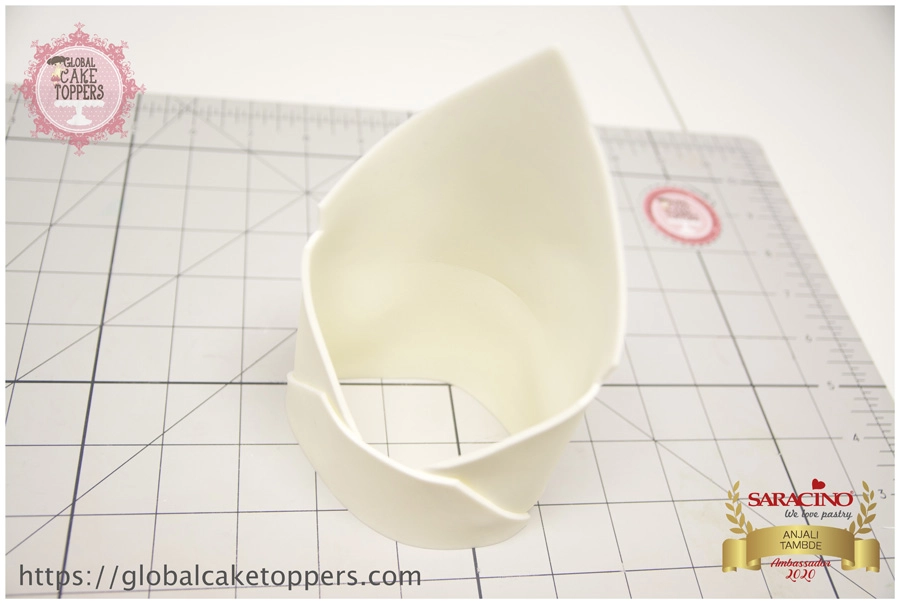
Use any cylindrical shape and mould the envelope around 

Step 7

Glue the left over piece in such a way that the base is left hollow 

Step 8

Remove the cylinder once the envelope is dry 

Step 9

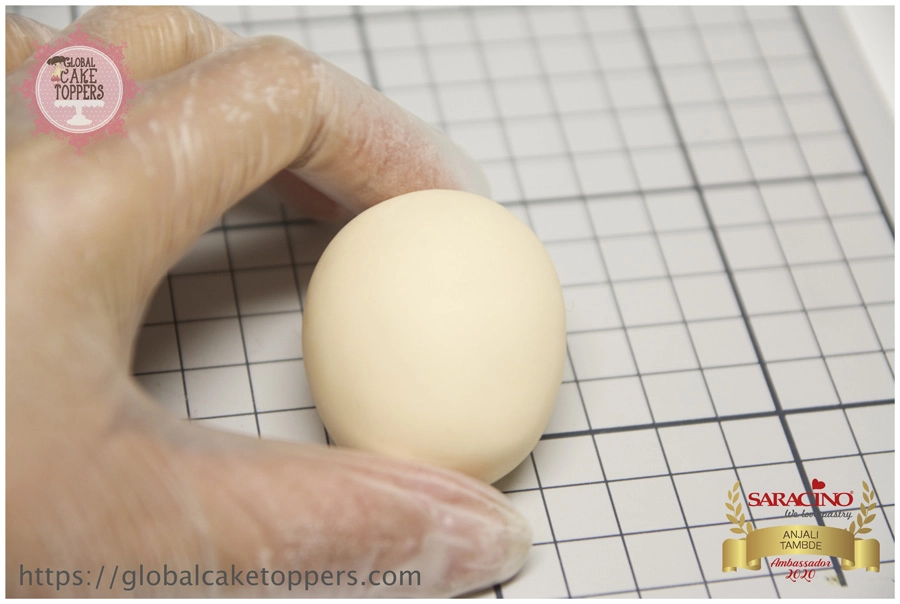
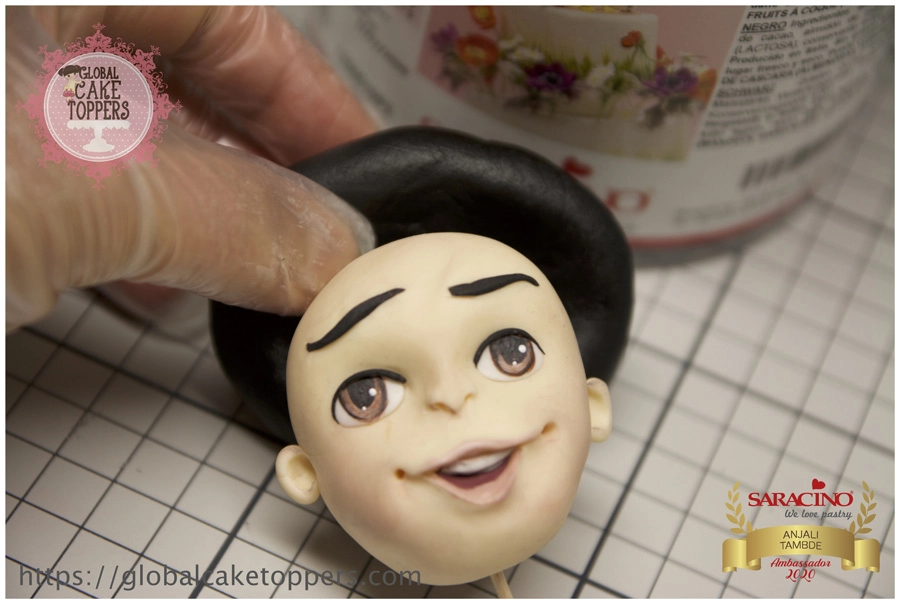
For the head knead Saracino skin tone modelling paste. Roll it into an egg shape.

Step 10

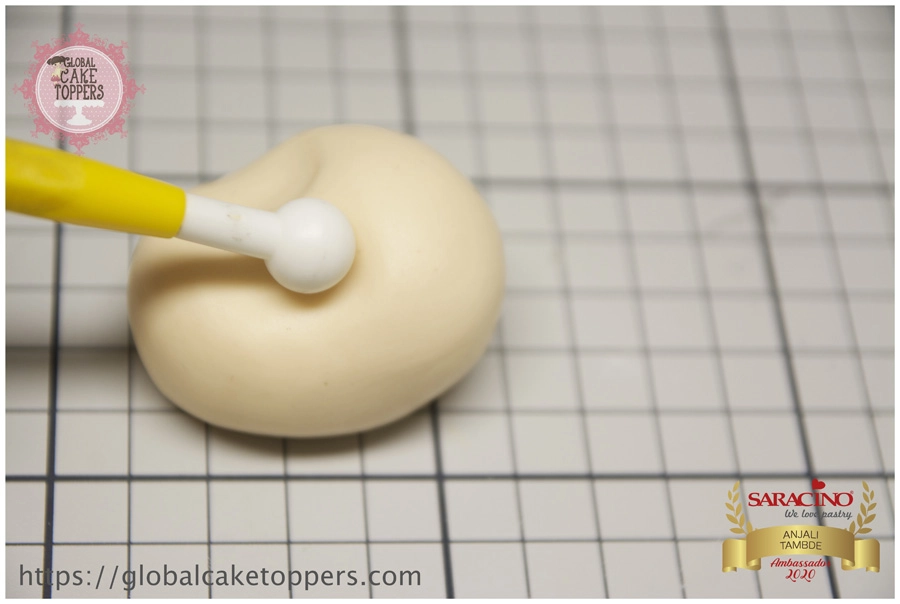
Using the ball tool make indents on either side.

Step 11

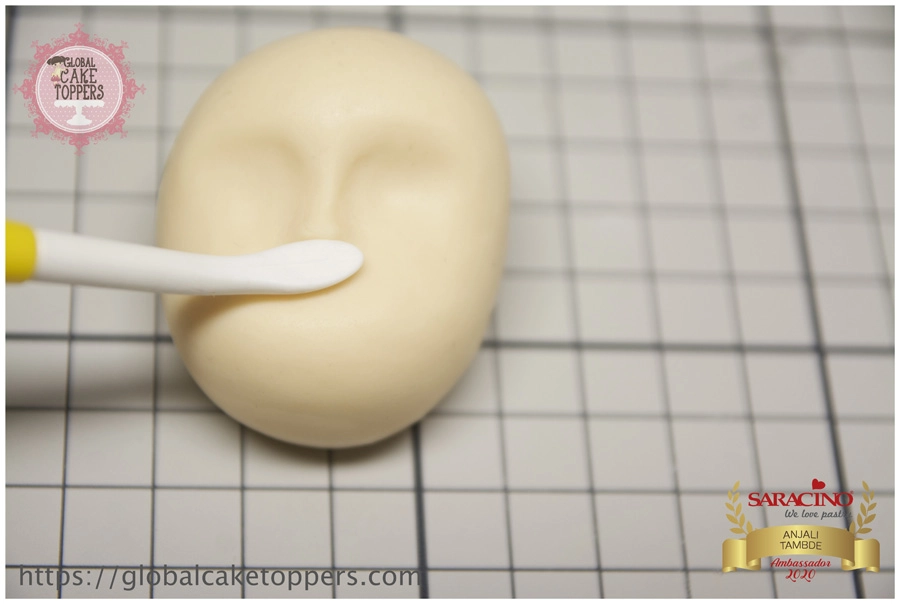
With the dresden tool shape the nose 

Step 12

Mark the nostrils 

Step 13

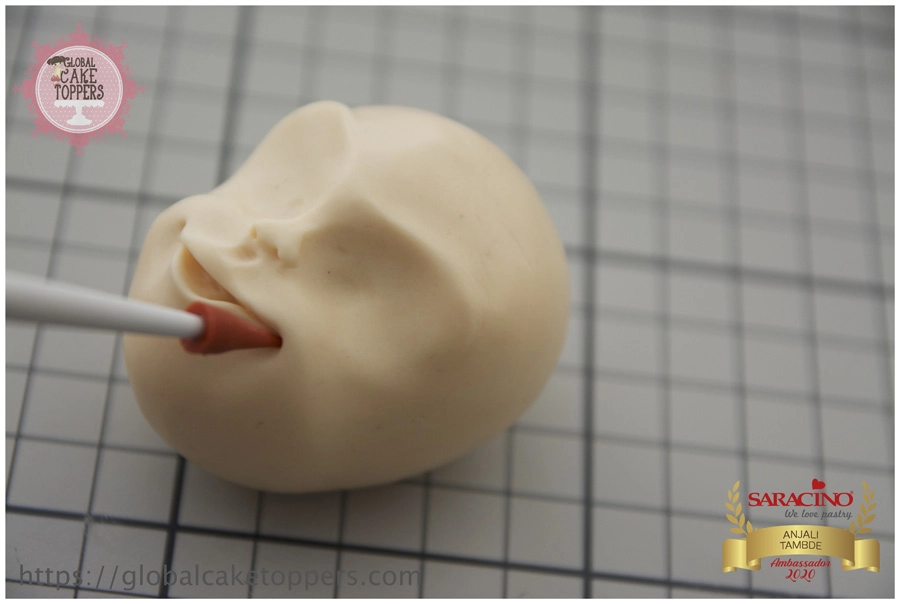
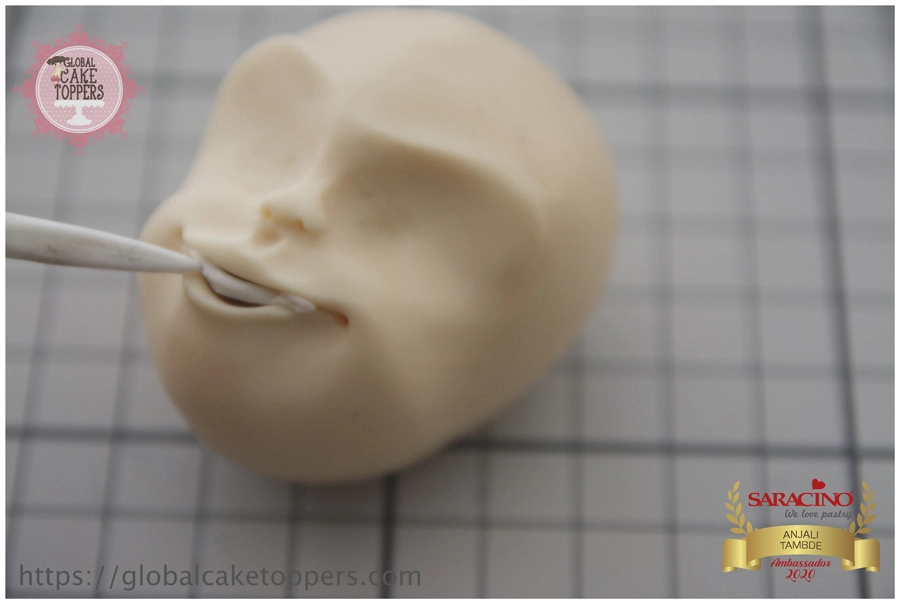
Using your dresden tool gently shape the lower lip and then the upper lip 

Step 14

With a dresden tool or sharp knife open up the mouth to give that depth

Step 15

Shape the forehead and eyebrow to create expressions 

Step 16

Finally finish the lips and make two dimples on either sides 

Step 17

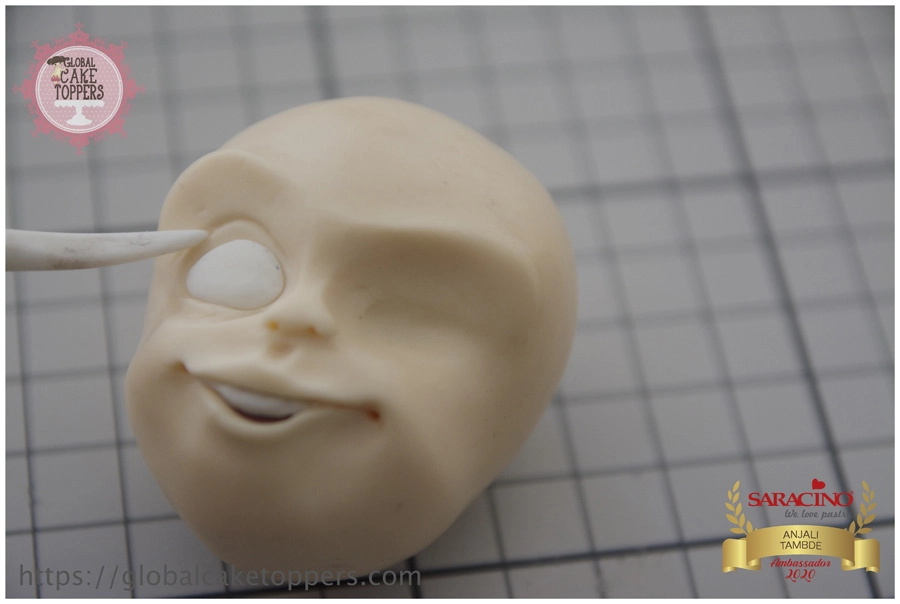
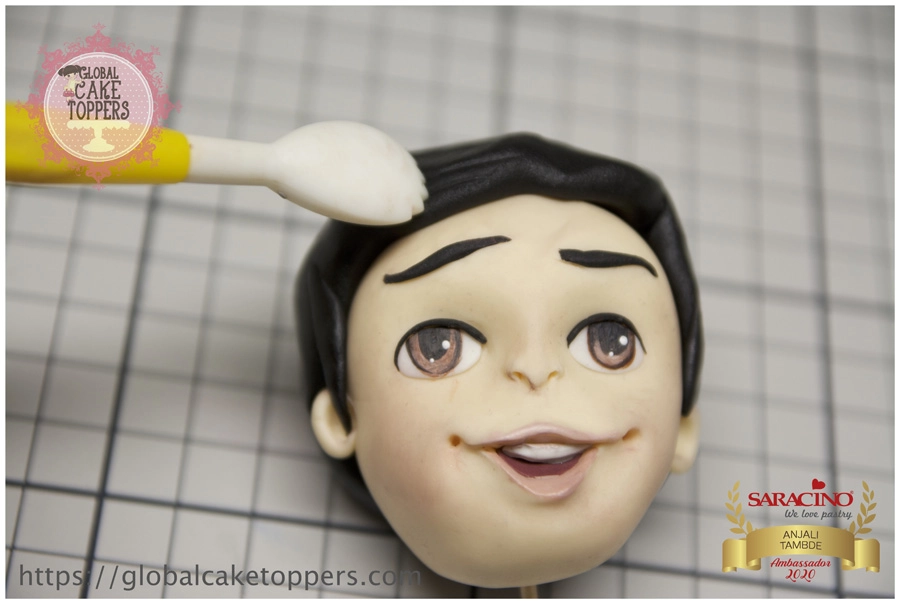
Add small amount of white modelling paste for the teeth 

Step 18

Add small white balls of white paste for the eyes and blend well, mark the eye lids with the sharp end of your Dresden tool.

Step 19

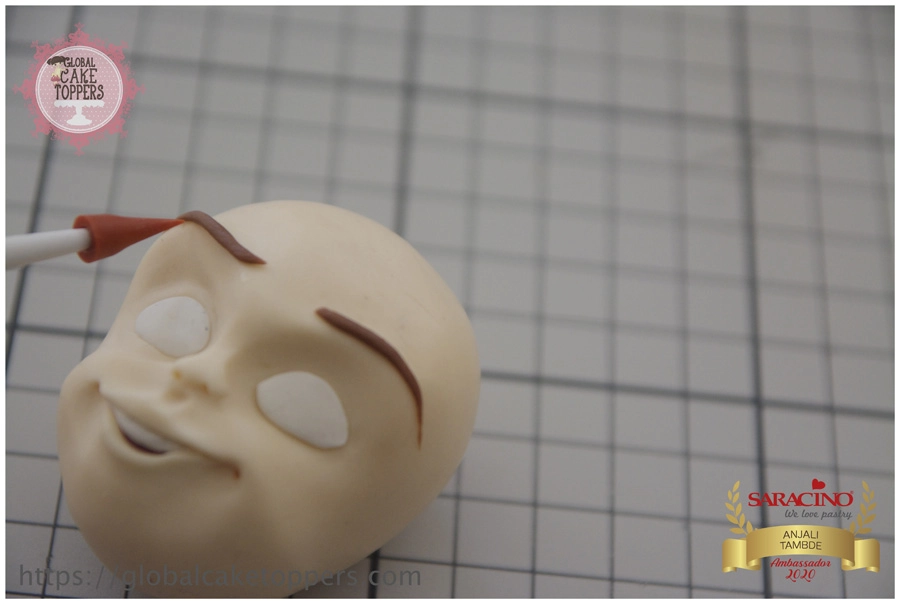
Using brown modelling chocolate make tiny eyebrows by rolling thinly and use a small ball tool or needle tool to place them, apply a small amount of edible glue if required

Step 20

Blush the cheeks, forehead and nose with pink powder colour. Be careful to dust lightly.

Step 21

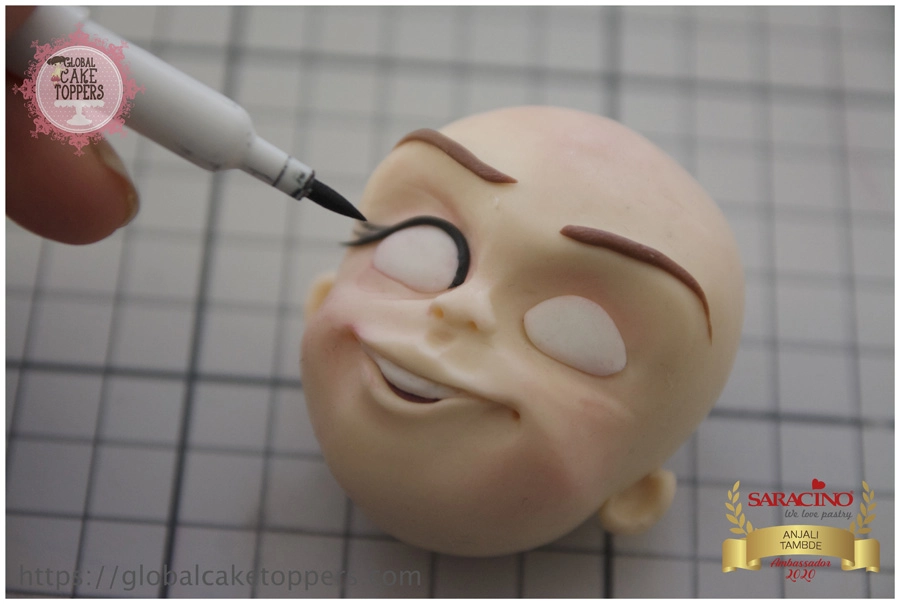
Make thin eyelashes and eyelids using edible black pen 

Step 22

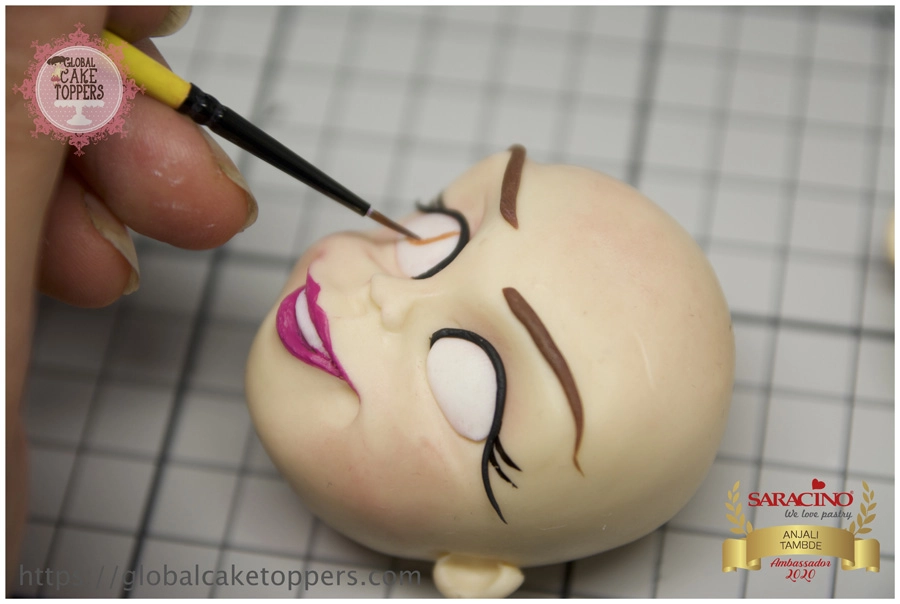
Paint the iris of the eyes with light brown and white edible gel colours

Step 23

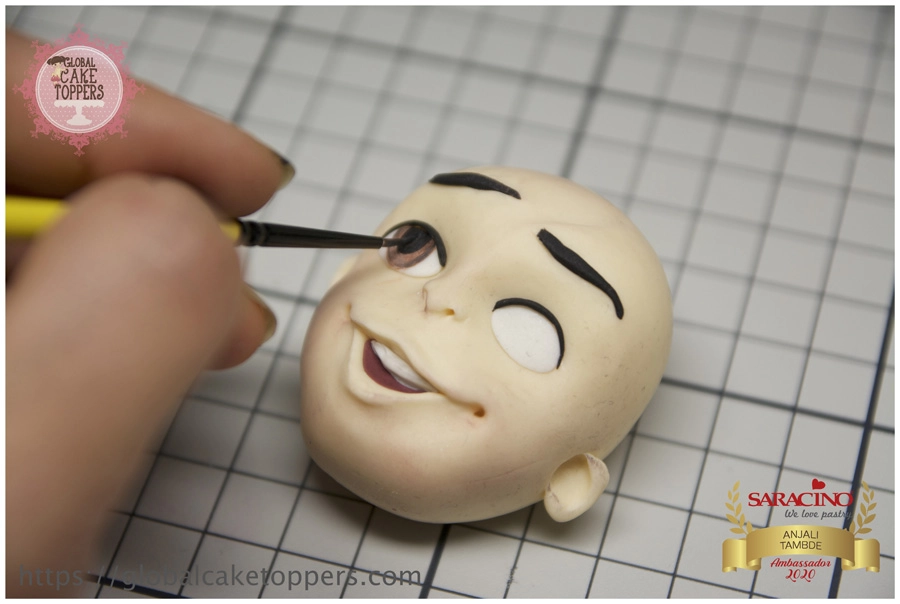
Paint the pupil of the eyes in black

Step 24

Finish the male and female heads and add a bit of gloss on lips if required using red for the female. 

Step 25

Using skin tone modelling paste model the body for both the male and female

Step 26

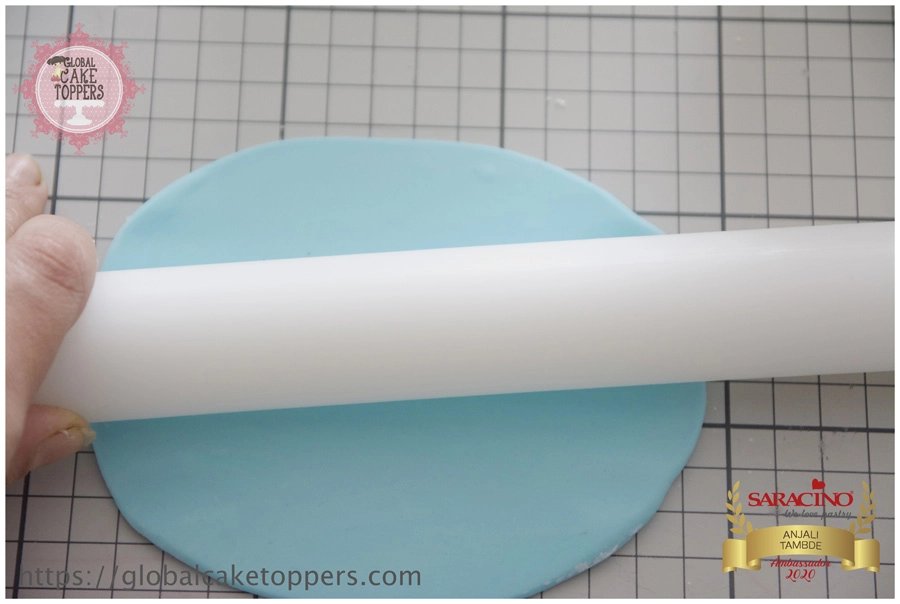
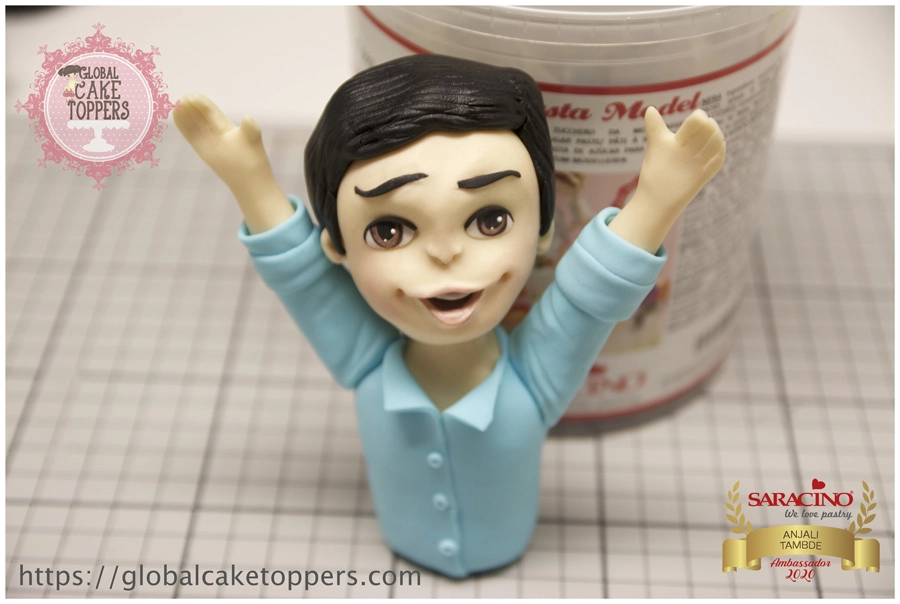
Roll some light blue modelling paste into a thin sheet

Step 27

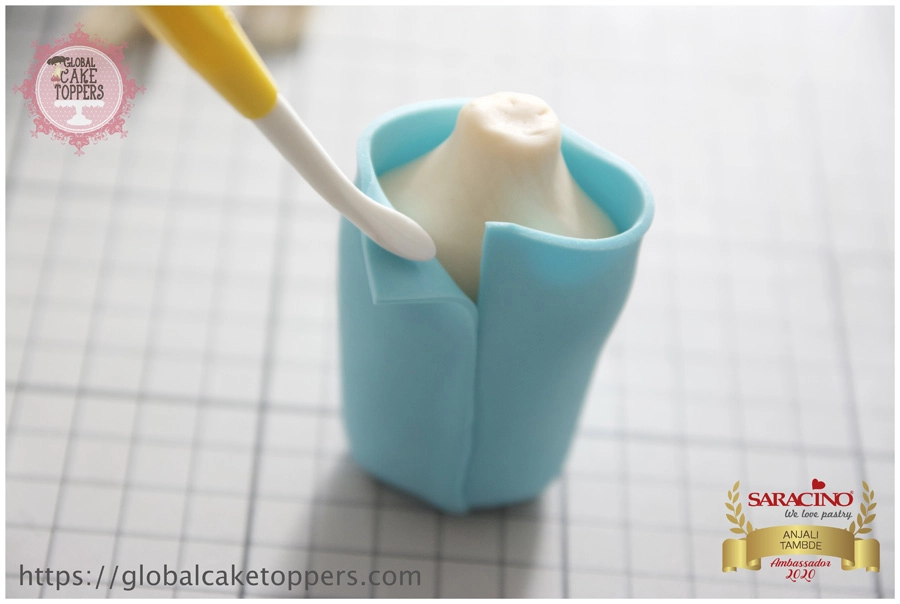
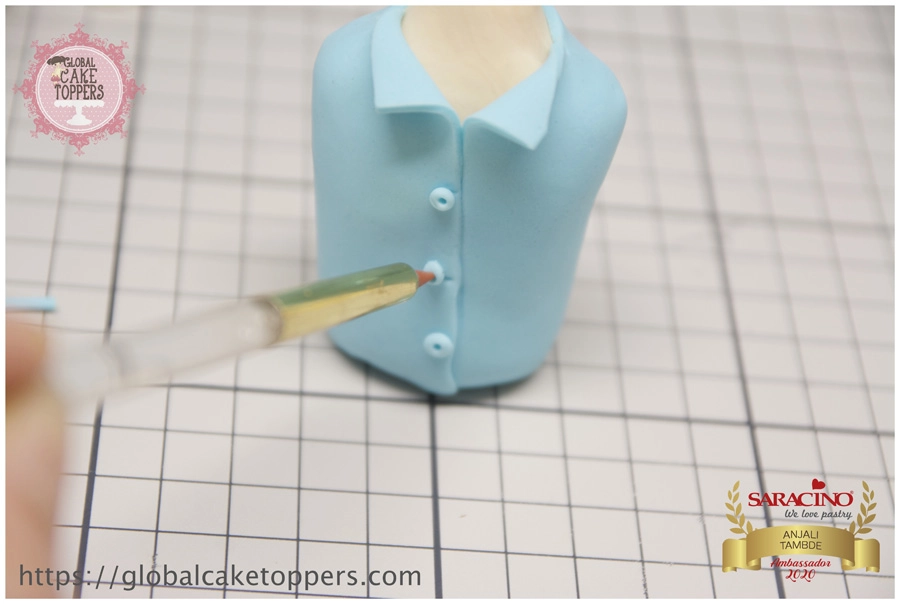
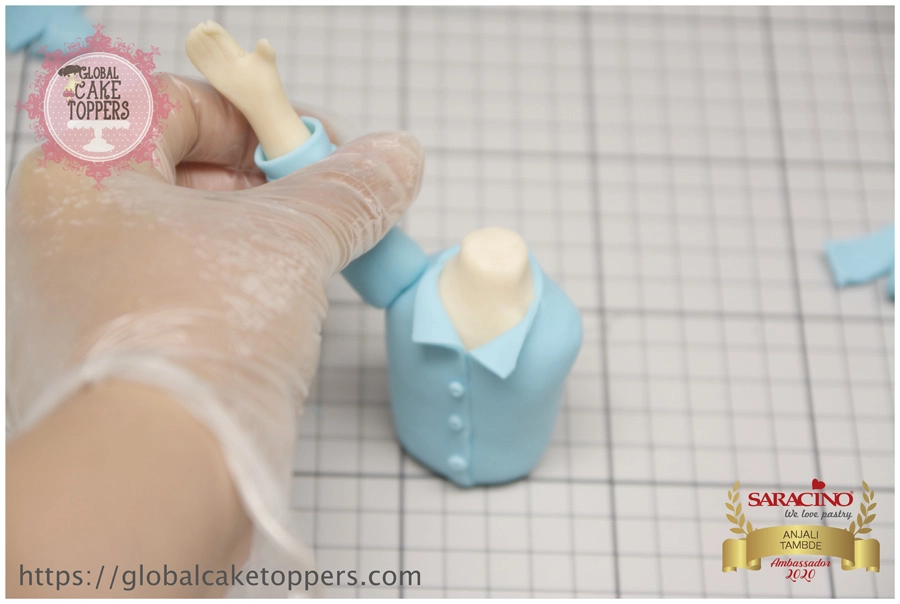
Wrap around the male body to form the shirt and fold edges to make collar 

Step 28

Add small balls of white paste for buttons and press with a sharp modelling tool.

Step 29

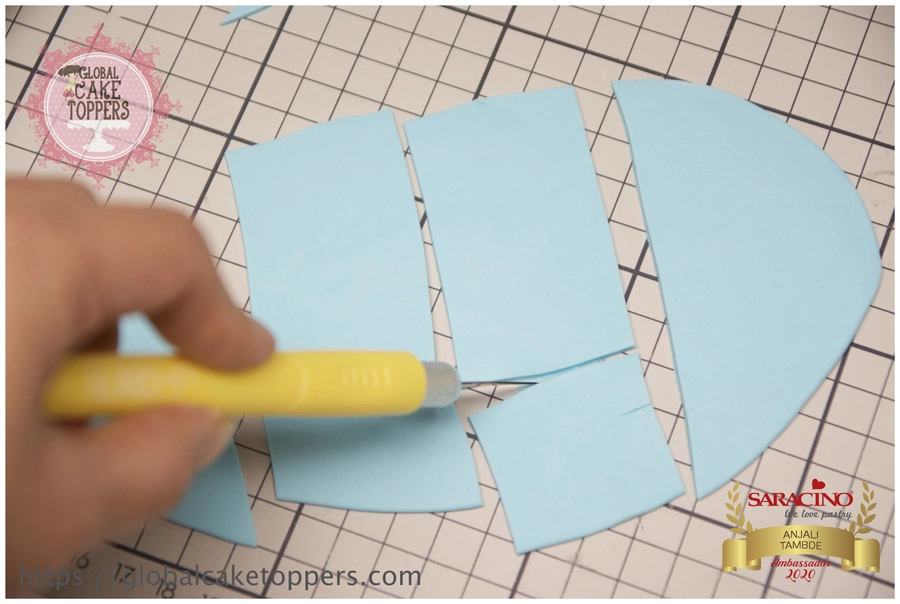
Cut two rectangular pieces for the sleeves out of the same blue sheet 

Step 30

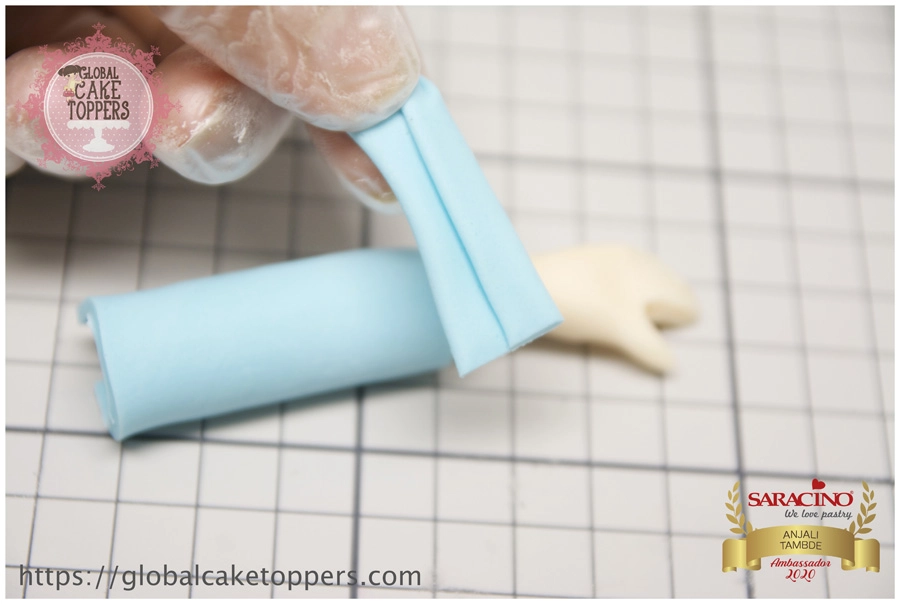
Using skin tone paste form a hand by making a ball, press down and cut out the thumb. Then shape to give a natural look. Roll the blue modelling paste to create arms and attach the hand. Add folded thin cuffs to finish off the sleeves. 

Step 31

Attach the arms over the shoulders and blend the joint. You can use dry pasta inserted into the arm to secure in place.

Step 32

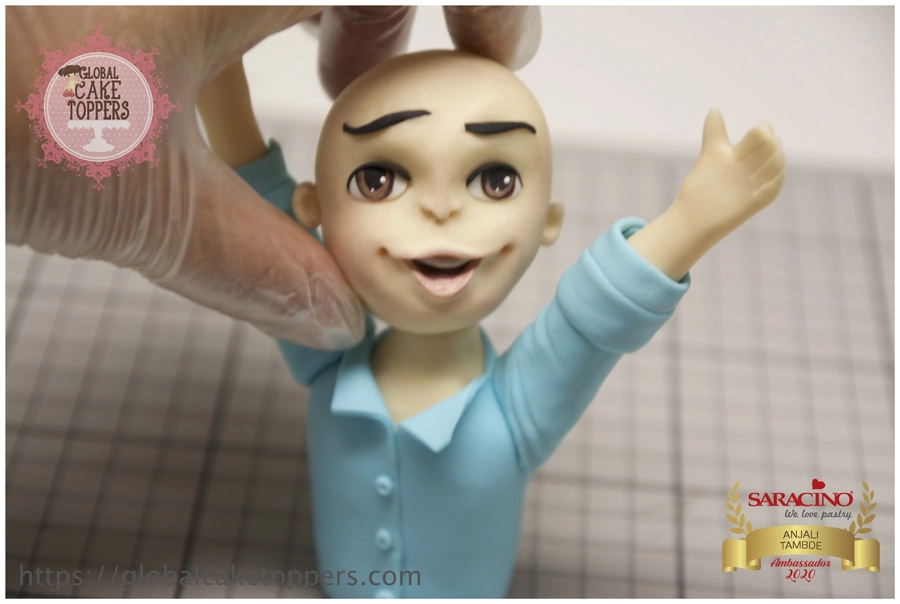
Attach the head to the neck, use a toothpick to keep it in place 

Step 33

Add a small thick circular piece of black modelling paste over the head to make the hair 

Step 34

Use a shell tool to make the texture of the hair 

Step 35

Keep the figurine upright and let it set

Step 36

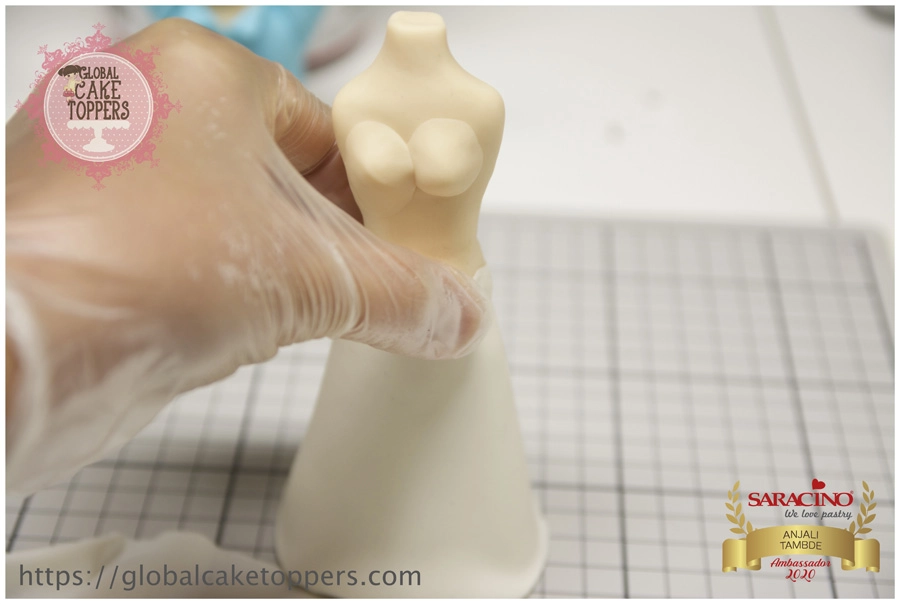
Form the female chest and fix to the body. Glue the female body to the polystyrene cone and cover the cone with white modelling paste to make the skirt 

Step 37

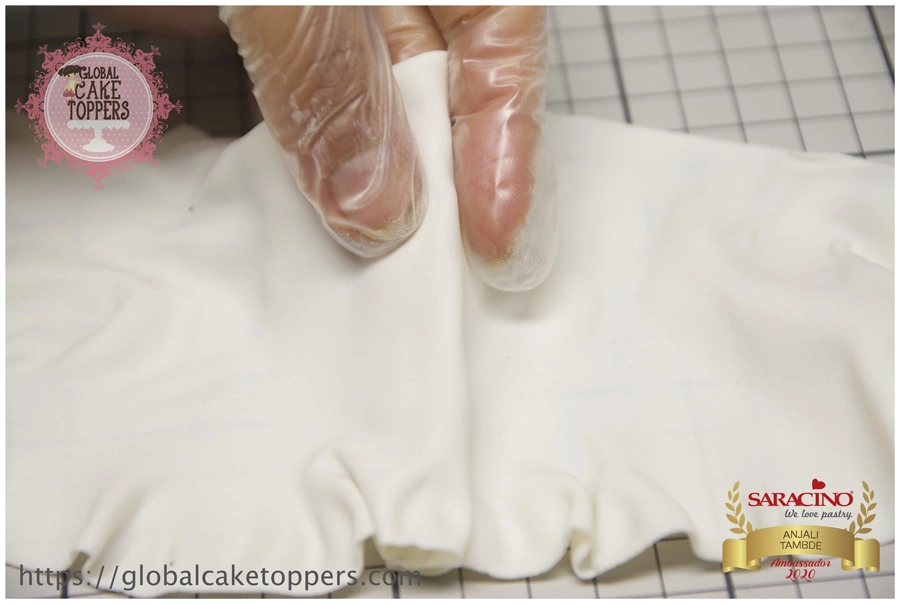
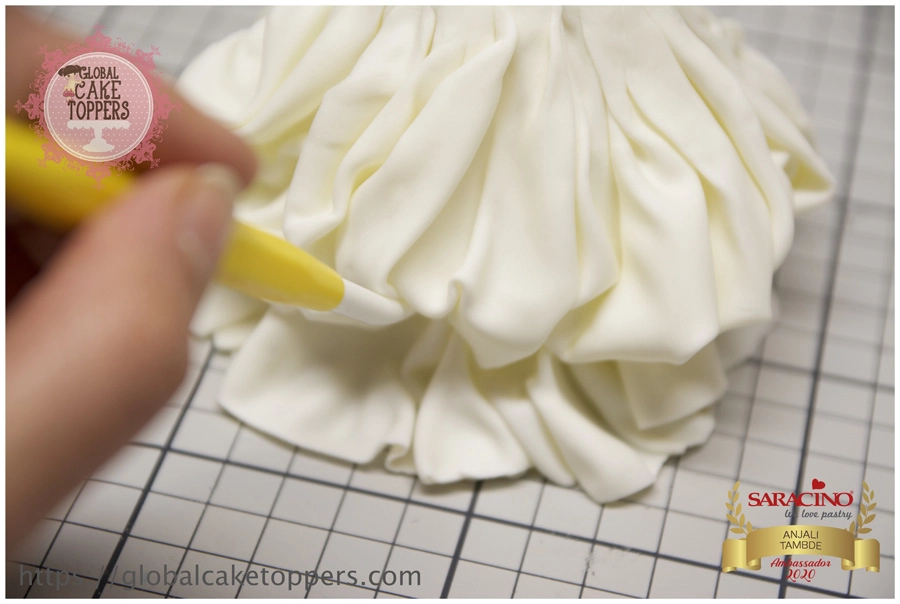
Now roll a thin sheet of white modelling paste and form some frills and pleats 

Step 38

Glue the pleated skirt around the waistline and add shape and form with a modelling tool.

Step 39

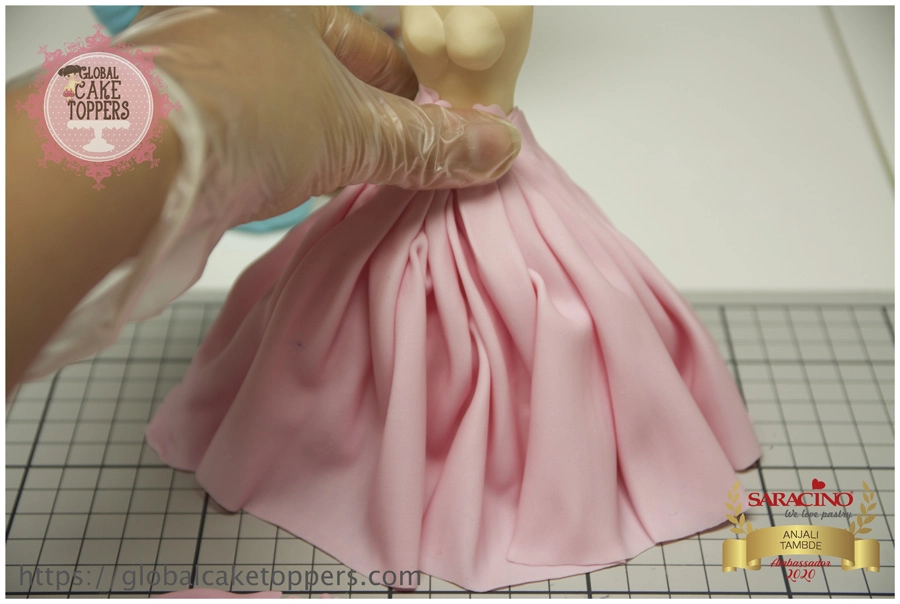
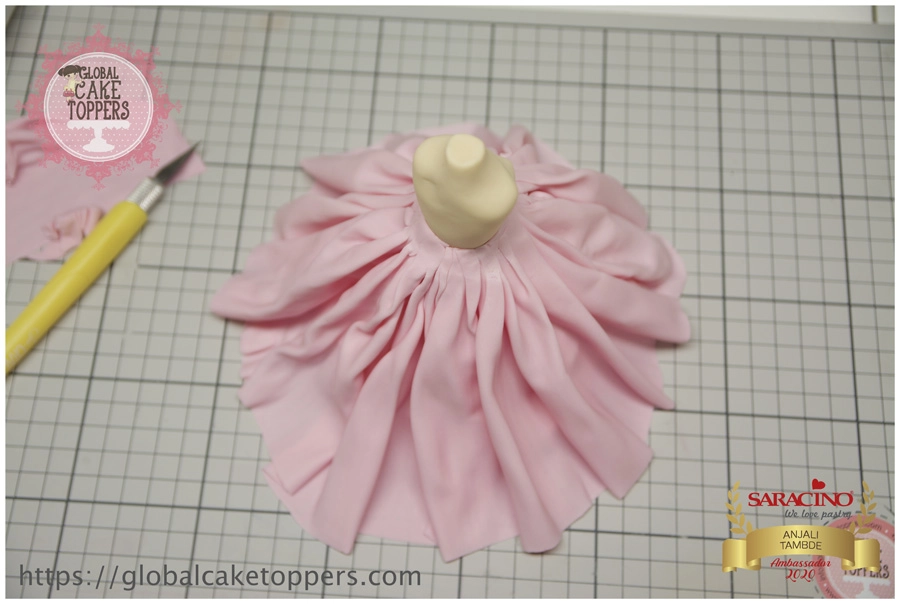
Now pleat a pink sheet of modelling paste and cover the white skirt

Step 40

Blend the skirt well with the upper body 

Step 41

Cut a rectangular piece in pink with sweetheart neckline to make the bodice and glue it to the upper body, blend well at the back

Step 42

Make the hands and form the fingers.

Step 43

Glue the arms on the body and blend it over the shoulders 

Step 44

Take some brown modelling chocolate and roll an elongated piece, then cut thin triangular strips and twist for the hair.

Step 45

Secure it over the head with some glue 

Step 46

Using the same chocolate paste add fringes.

Step 47

Texture the hair with the Dresden tool. Roll a thin white strip and add a bow around the waist.

Step 48

Add some edible red gel colour to white modelling paste to make red or use pre-coloured modelling paste 

Step 49

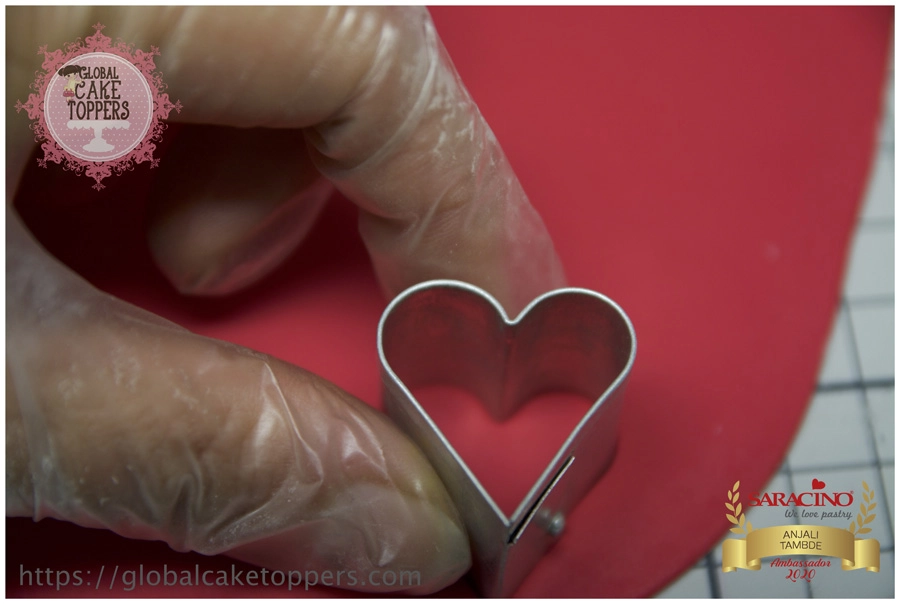
Roll a thin sheet of the red paste and cut heart shapes using heart cutter 

Step 50

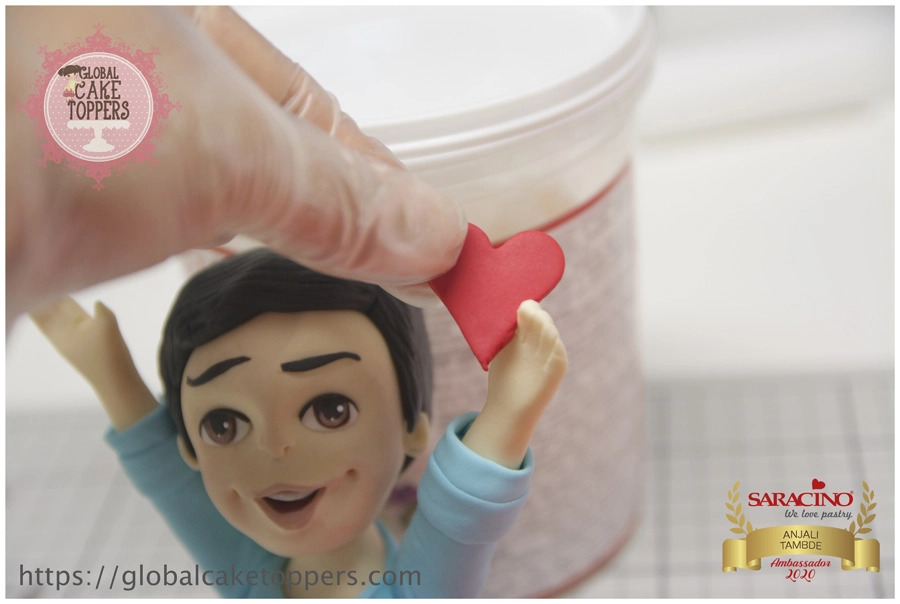
Glue the hearts on the hands of the man

Step 51

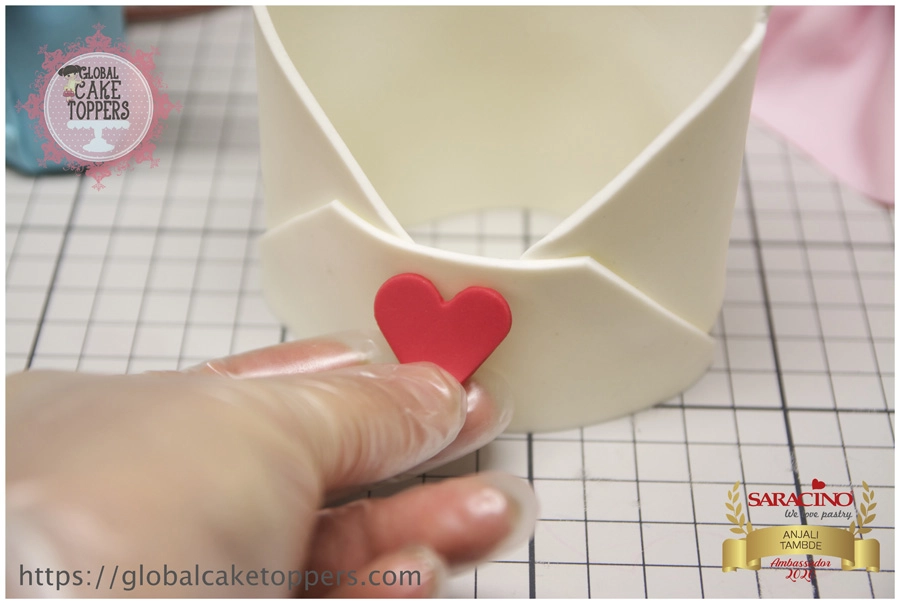
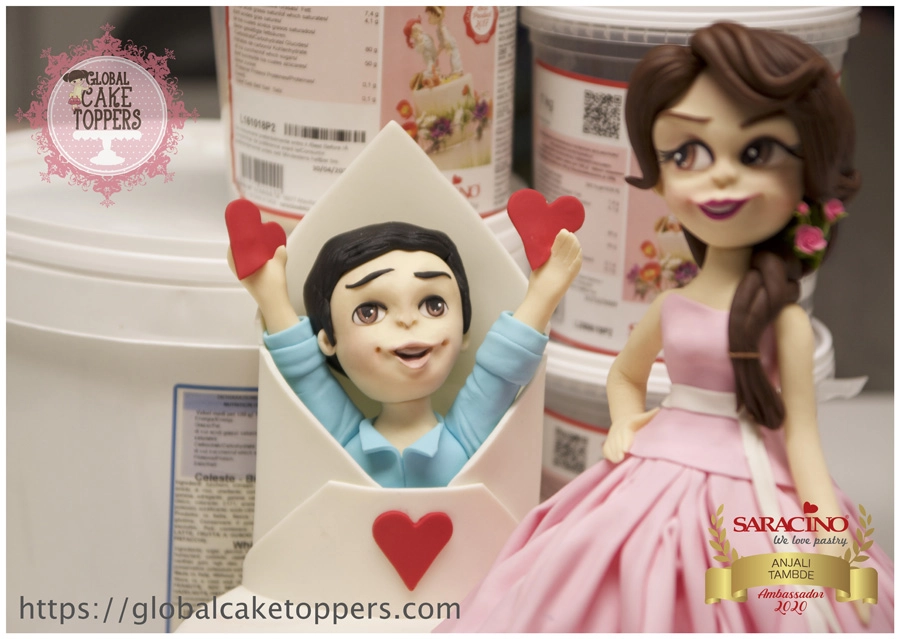
Glue one heart on the envelope 

Step 52

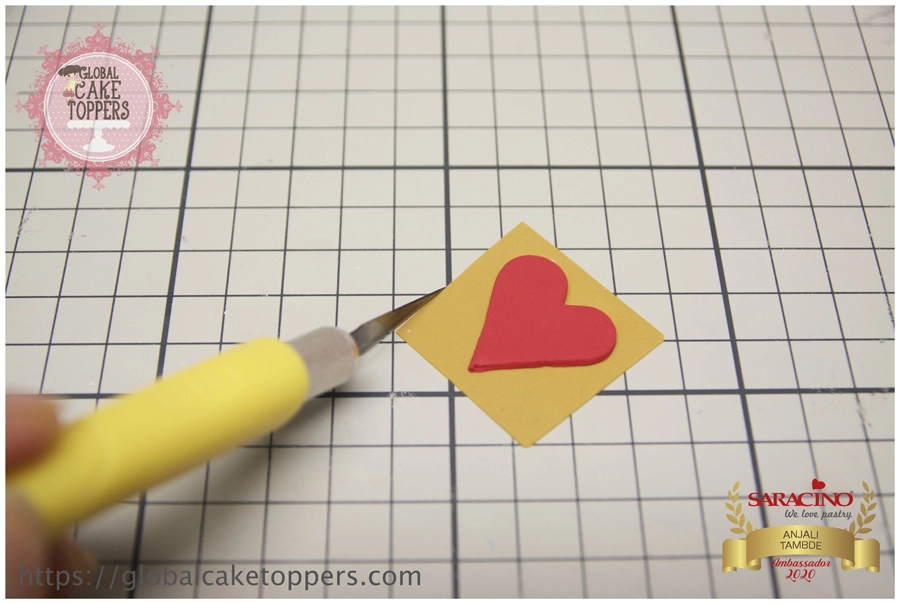
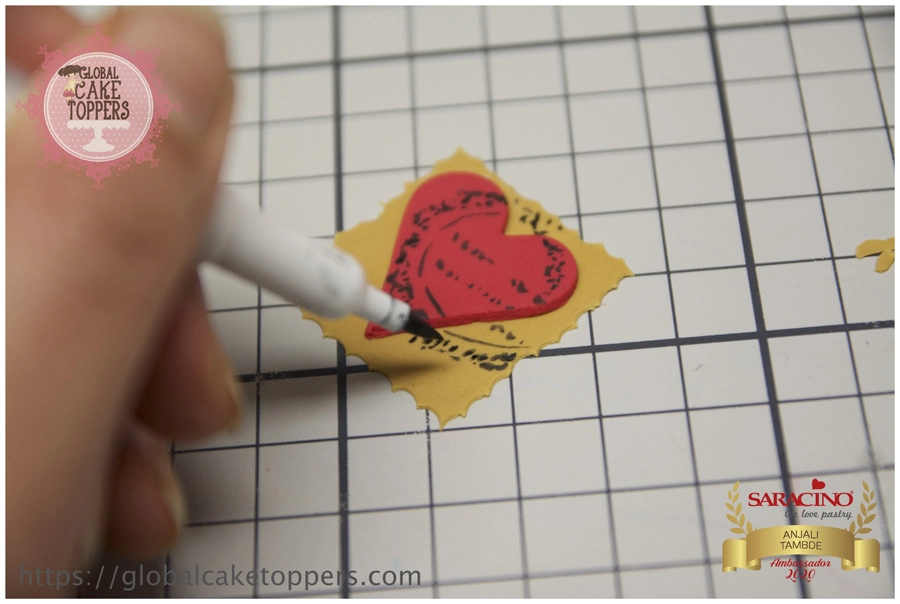
Place one heart over a brown square made with modelling paste to make the stamp 

Step 53

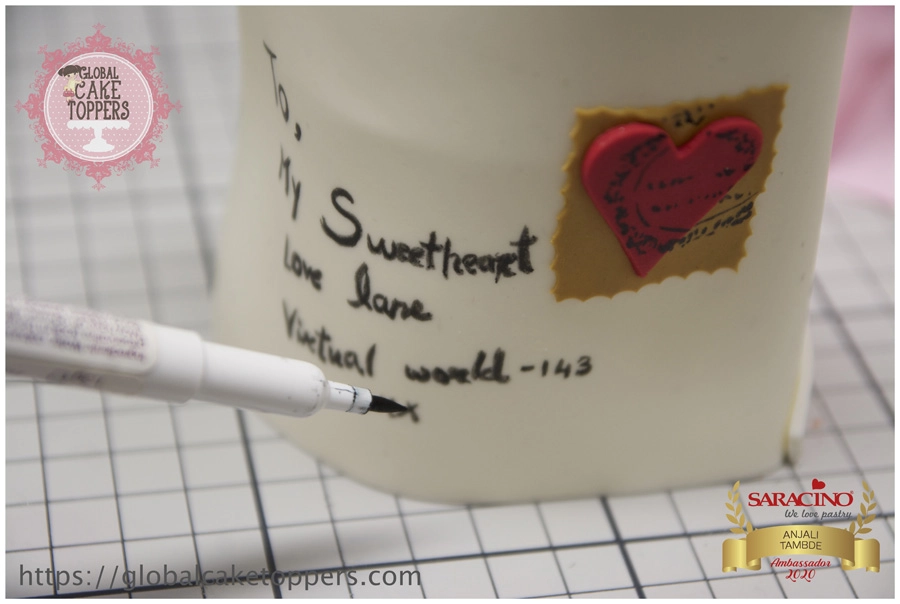
Using black edible pen paint the print over the stamp and crimp the edges.

Step 54

Write any imaginary address to give a personal touch 

Step 55

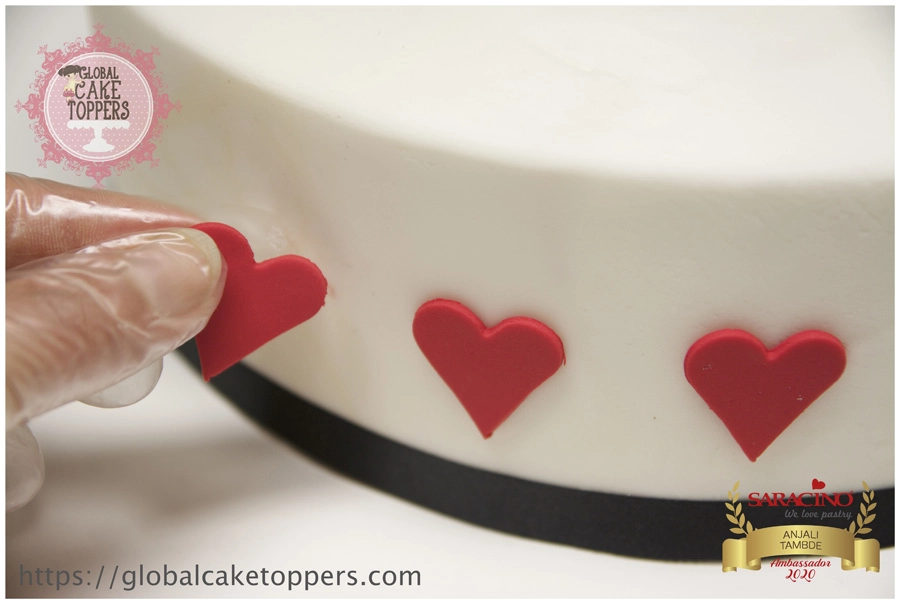
Cover a 10” round cake with Saracino Pasta Top and decorate with some hearts 

Step 56

Now place the male figurine in the envelope and glue it over the cake, place the female figurine beside him and your “Valentine Cake” is now ready to be served with love