SUEDE EFFECT VALENTINE CAKE TUTORIAL

SUEDE EFFECT VALENTINE CAKE TUTORIAL

You will need:

Chocolate cake 

  • 130g plain flour
  • 150g caster sugar
  • 65 g cocoa powder
  • 1/2 tsp of baking powder
  • 1/2 tsp of soda powder
  • pinch of salt
  • 100g buttermilk
  • 50ml vegetable oil
  • 1tsp Saracino Vanilla food flavouring
  • 1 large egg
  • 2 tsp of instant coffee diluted in 250ml boiled water

Jelly

  • 250g cherry puree
  • 6g gelatine
  • 20g cold water 

Crunchy base

  • 100g milk chocolate with nuts 
  • 60g Feuilletine
  • 30g Saracino hazelnut and chocolate food flavouring
  • 30g Saracino peanut food flavouring 

Tiramisu mousse with coffee

  • 8g gelatine 
  • 20g water
  • 3g instant coffee
  • 50g icing sugar
  • 60g Saracino tiramisu food flavouring 
  • 500ml double cream 

Suede effect 

  • 150g Saracino cocoa butter melted with 150g Saracino white chocolate drops
  • 0.5g Saracino red powder colour 

Equipment

  • food safe paint spray
  • bowls
  • whisk
  • 7′ cake tins
  • spoons
  • baking paper
  • confectionery mould with a diameter of 12-13 cm
  • heart silicone mould
  • blender 

Step 1

For the chocolate cake. Sift the dry ingredients into one bowl (flour, sugar, cocoa, powder with soda and salt). In the second bowl, add the wet ingredients (oil, egg, buttermilk)

Step 2

Add the dry ingredients to the wet ingredients and mix briefly. Get your hot coffee and a whisk ready.

Step 3

With a slow stream, pour the coffee and mix it together.

Step 4

Pour the mixture into two low 7-inch cake tins, lined with paper for baking.

Step 5

Place in an oven preheated to 160 ° (fan oven). Bake for 25 minutes.

Step 6

After baking, cool the cakes on a wire rack.

Step 7

Now for the jelly get all your ingredients ready.

Step 8

Heat the fruit purée to about 50°C, mix the gelatine with water. Prepare a 7 inch shallow dish and cover it with cling film. Heat the gelatine mix in the microwave and add it to the puree. Combine the ingredients.

Step 9

Pour into the dish and put it in the freezer for a minimum of 6 hours.

Step 10

Prepare your ingredients for the crunchy base.

Step 11

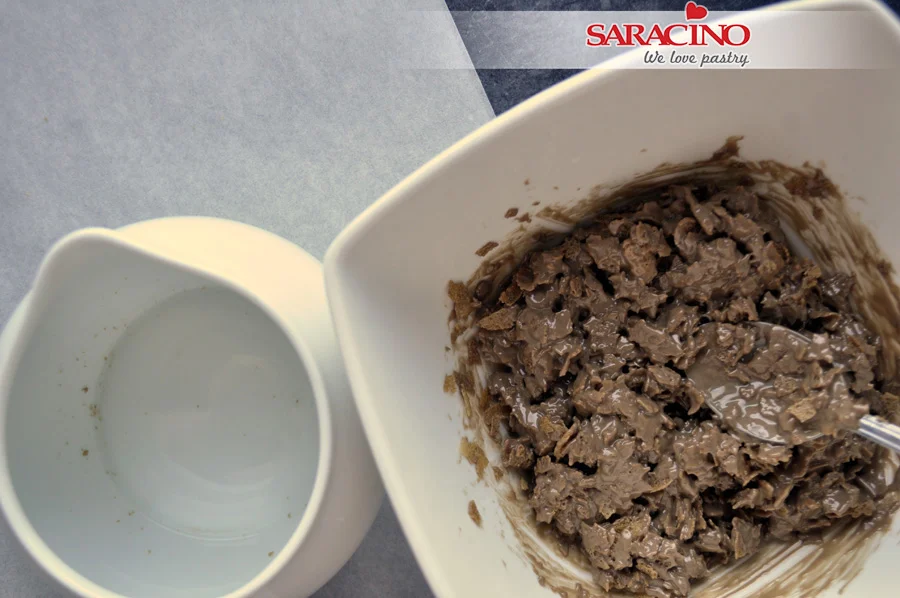
Melt the chocolate over a water bath or in a microwave oven. Add both flavour pastes and the Feuilletine. Mix to combine the ingredients.

Step 12

We prepare a circular confectionery mould with a diameter of 12-13 cm, baking paper and a baking tray.

Step 13

Line the bottom with baking paper, then transfer the mixture. Put in the freezer for a minimum of 8 hours.

Step 14

 Get all your ingredients ready for the mousse.

Step 15

Mix gelatine with water and set aside. Measure 100ml of cream and heat it with chocolate and coffee. Stir until dissolved and combined.

Step 16

Heat the gelatine in a microwave and add to the finished chocolate and coffee mixture and combine.

Step 17

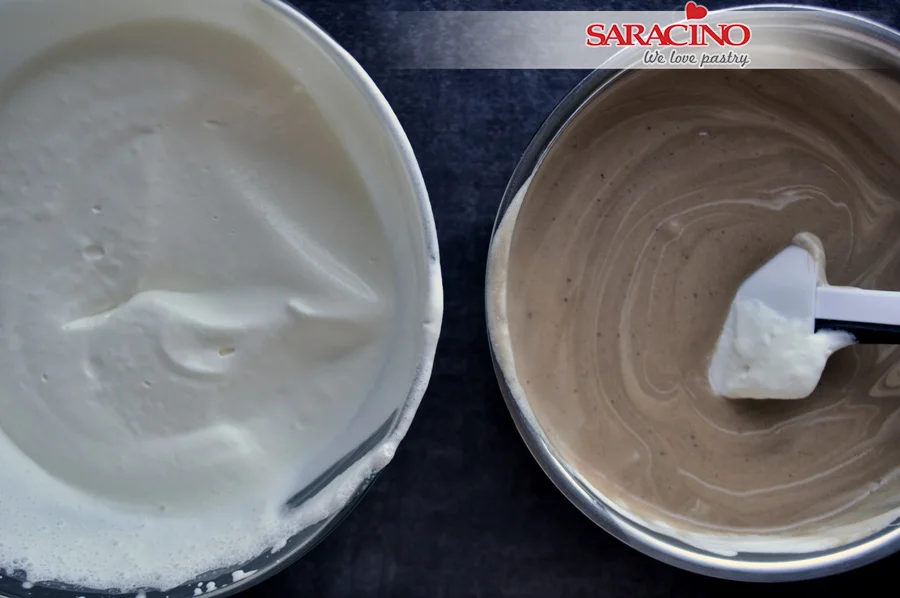
In a mixing bowl, beat the remaining cream with icing sugar and Tiramisu flavouring paste to a semi-stiff consistency.

Step 18

Then, in a slow stream, add the previously prepared chocolate-coffee mixture and gently combine with the cream.


Step 19

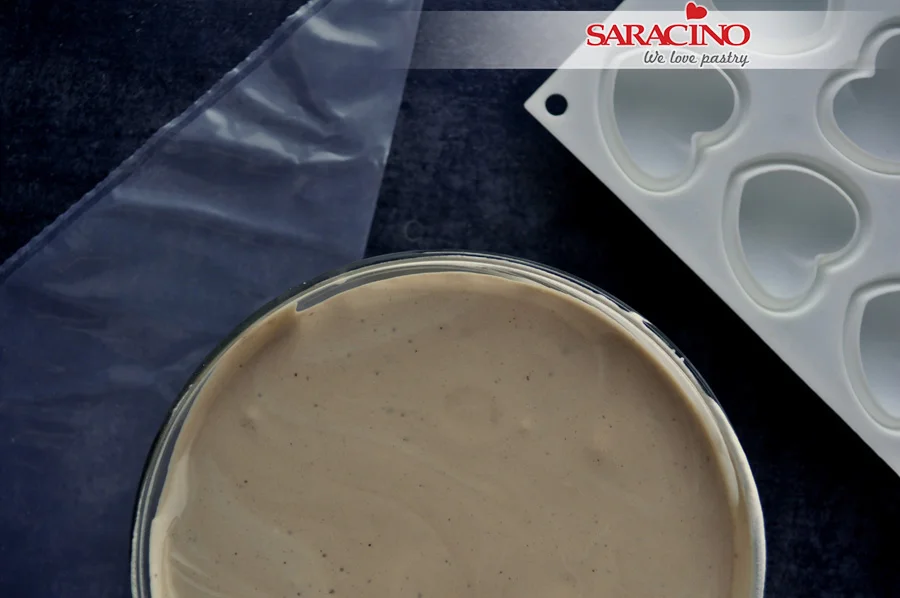
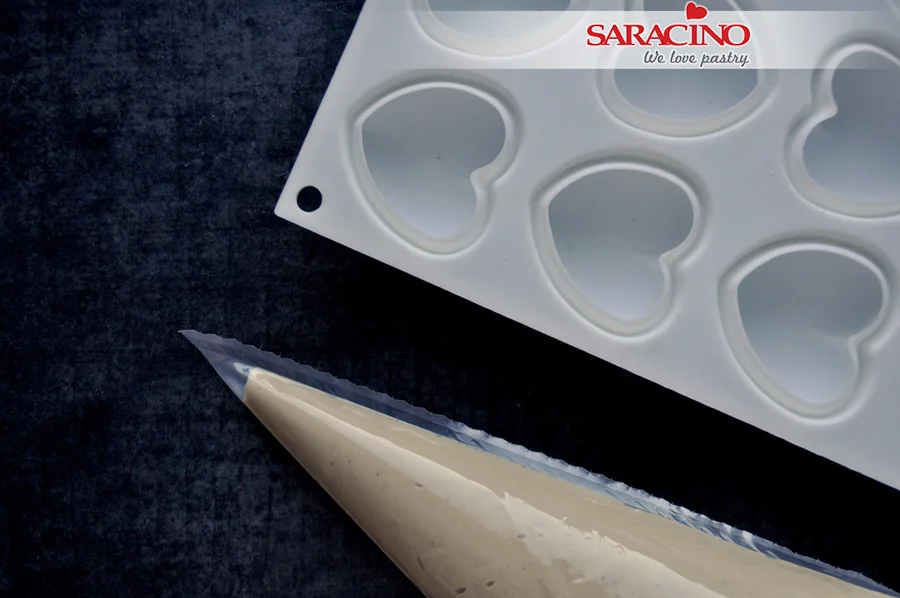
Now for stacking the cake. Pour the mousse mixture into a jug. Prepare a heart shaped silicone form, your frozen jelly, crisp base, cake and baking paper.

Step 20

Cut out a heart shape from the paper that matches the size of our mould. Place the template and cut out the heart shape in our cake and jelly.

Step 21

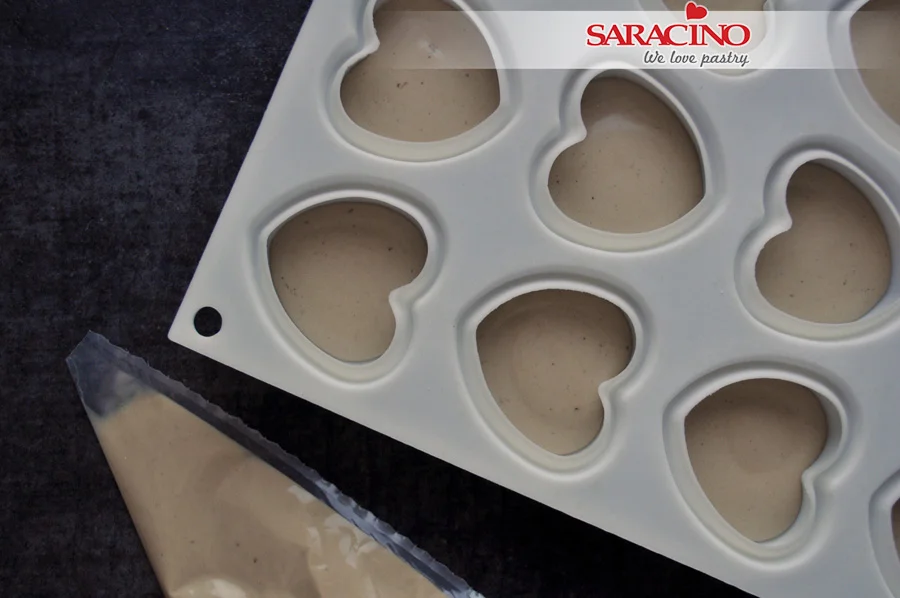
To assemble the cake. Place the silicone mould on a rigid base or board. Now prepare the cut jelly, cake and crispy base. Pour a little mousse into the bottom of the mould.

Step 22

First we place the frozen jelly.

Step 23

Cover the jelly with a little mousse and place the crispy base over.

Step 24

Add more mousse and place the cakes. Gently press them down and remove any excess mousse.

Step 25

Cover the finished cake with cling film and put it in the freezer for a minimum of 12 hours.

Step 26

To make a suede effect we measure out all the necessary ingredients.


Step 27

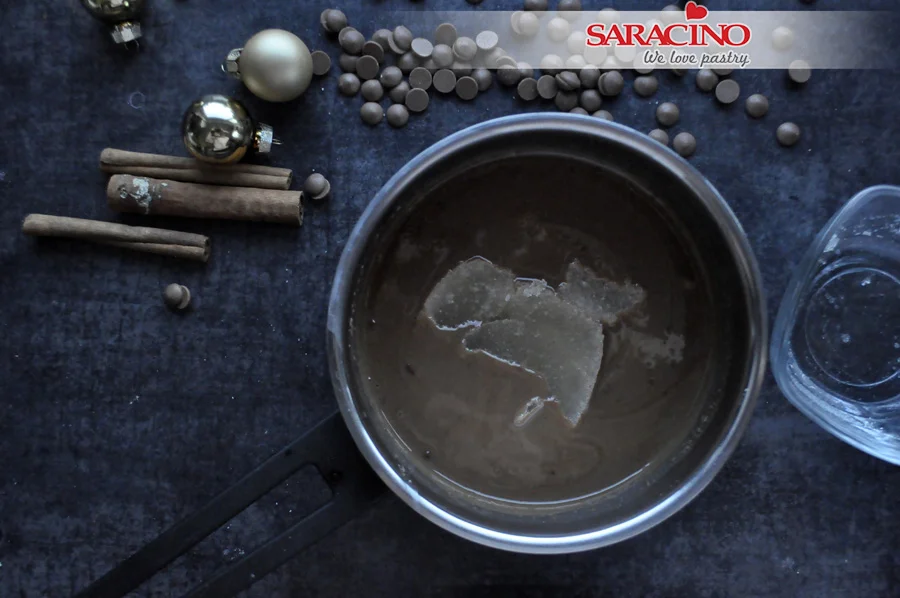
Melt the cocoa butter, put the chocolate in a tall dish

Step 28

Pour hot cocoa butter over the chocolate.

Step 29

Blend until combined.

Step 30

Add the red powder colour and combine with a blender.

Step 31

We are preparing our Spray Gun. Hire one from Andy. He has everything.

Step 32

Check the temperature of the mixture (it needs to be between 40-50°C).

Step 33

Take the frozen cake out of the mould.

Step 34

Pour the mixture into the tank of the spray gun.

Step 35

Spray from a distance of about 10-15 cm.

Step 36

Your cake is ready, you can also add edible gold if you want to give a different effect.

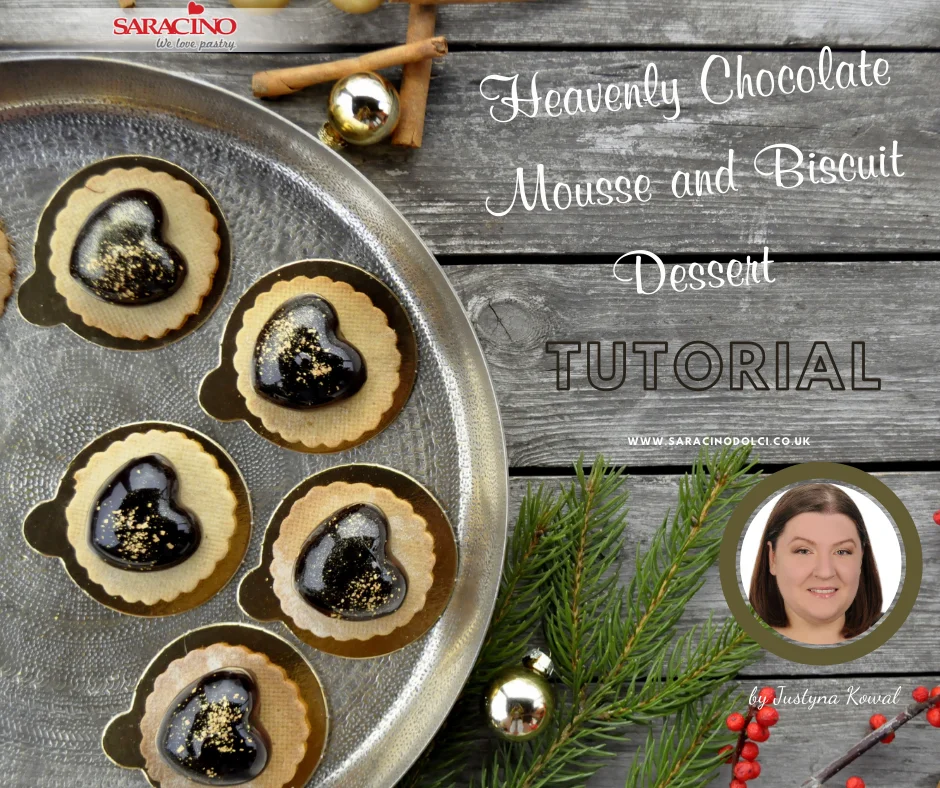
CHOCOLATE MOUSSE AND BISCUIT DESSERT

CHOCOLATE MOUSSE AND BISCUIT DESSERT

Author: Justyna Kowal

Skill level: BEGINNERS 

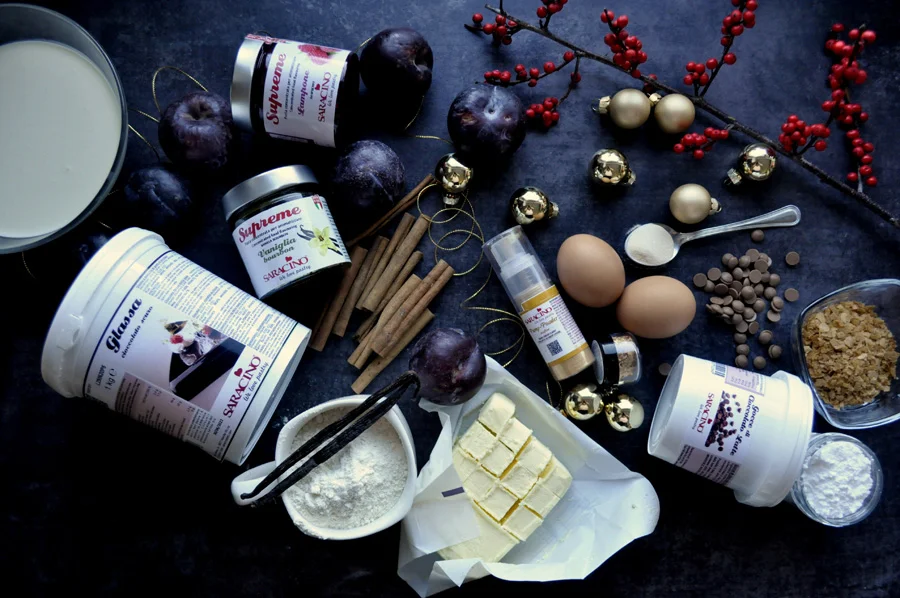
You will need:

  • Saracino raspberry food flavouring La Supreme
  • Saracino vanilla food flavouring La Supreme
  • Saracino milk chocolate drops
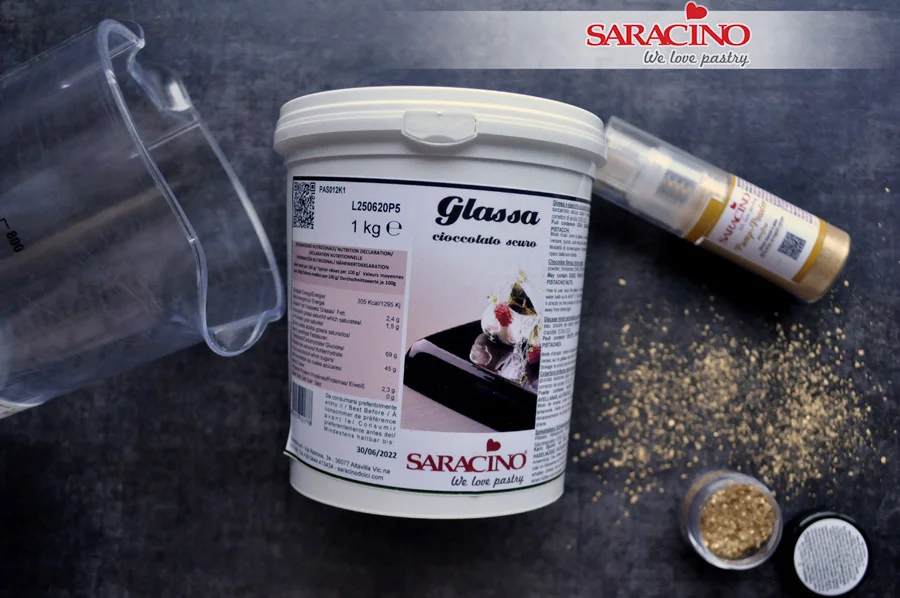
  • Saracino dark chocolate mirror glaze
  • Saracino gold push pump powder
  • Saracino gold glitter
  • butter
  • icing sugar
  • sugar
  • cinnamon
  • egg
  • plain flour
  • double cream
  • gelatine
  • Rice Krispies
  • plums
  • pectin (jam sugar)
 

Step 1

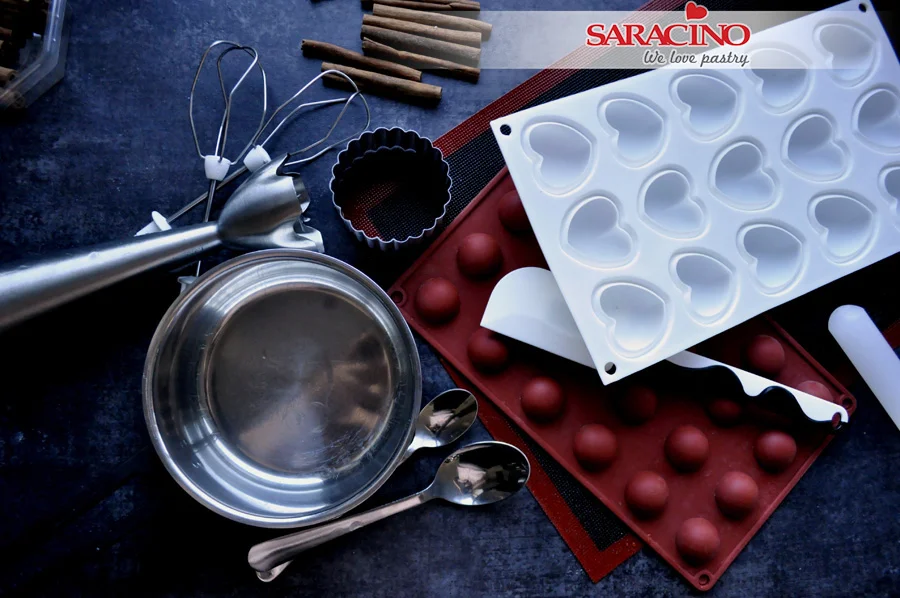
Prepare all your ingredients. Make sure they are all at room temperature. For the equipment you will need a small pan, spoons, 2 silicone moulds (one for the centre and one for the heart mousse), baking paper, food mixer, blender, circular cookie cutter, silicone spatula, piping bag, rolling pin, cup, sugar thermometer, wood skewers, sieve and a kitchen scale.  

Step 2

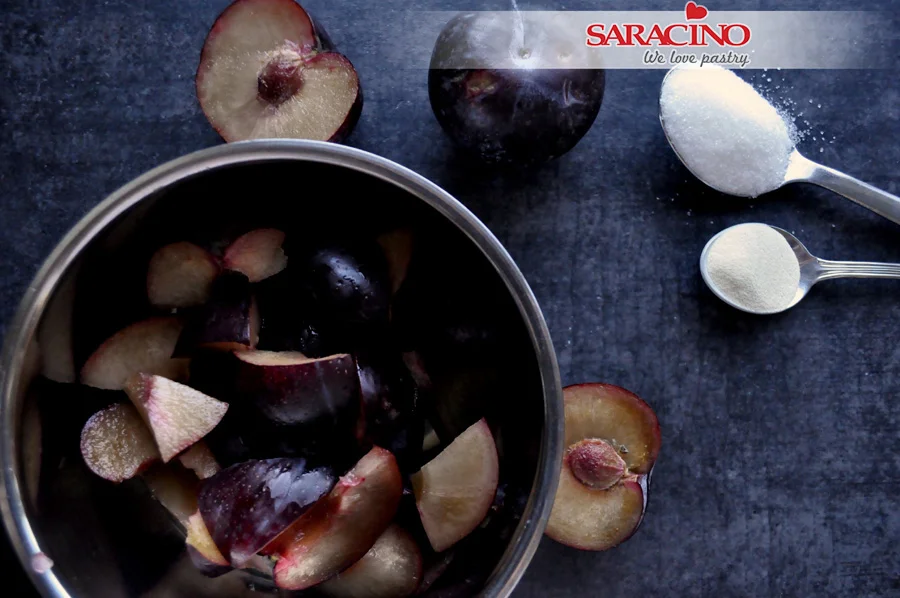
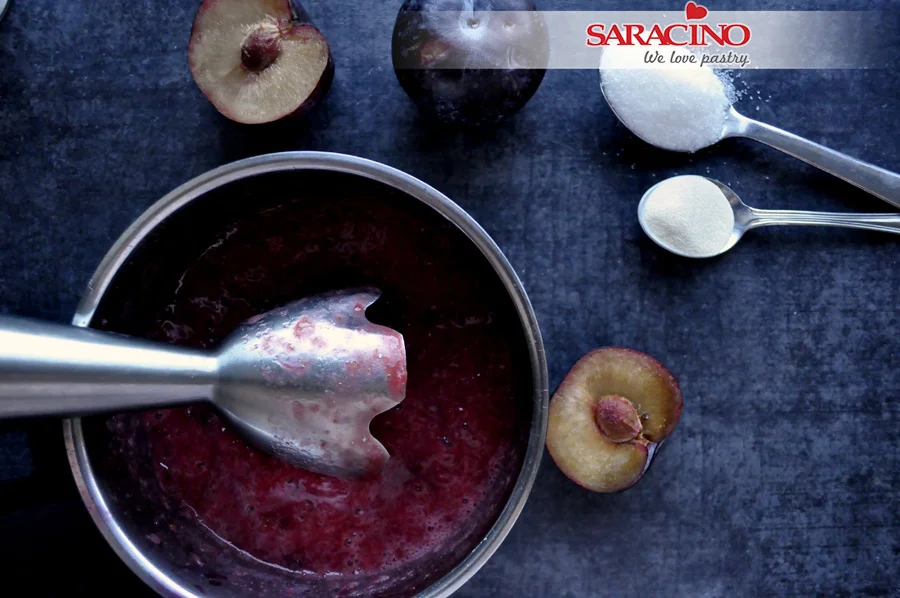
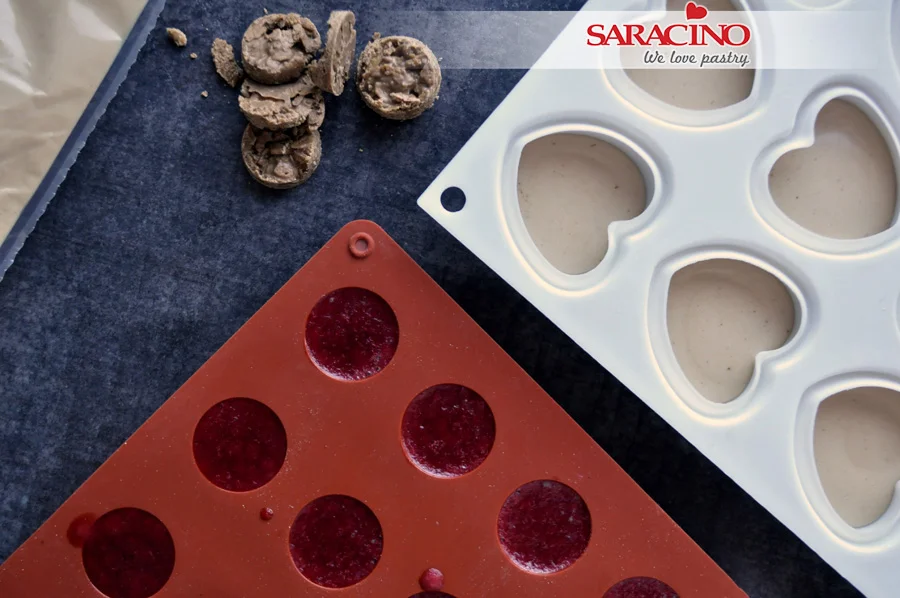
Add 250g plums to the pan.

Step 3

Cook and blend plums until a smooth consistency is achieved. 

Step 4

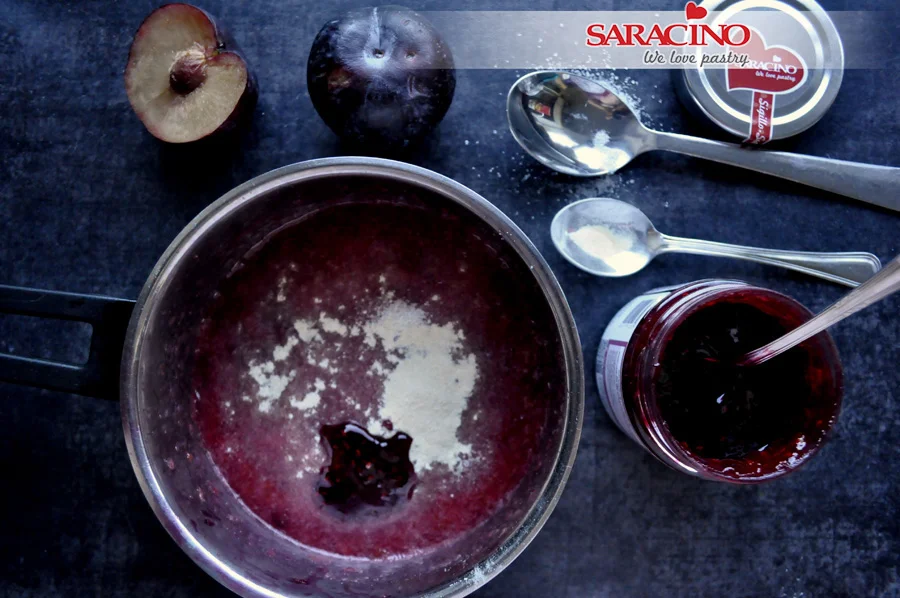
Add a table spoon of sugar, a tea spoon of pectin and a tea spoon of La Supreme vanilla flavouring. Bring to the boil for a few minutes stirring the mixture so it does not burn.  

Step 5

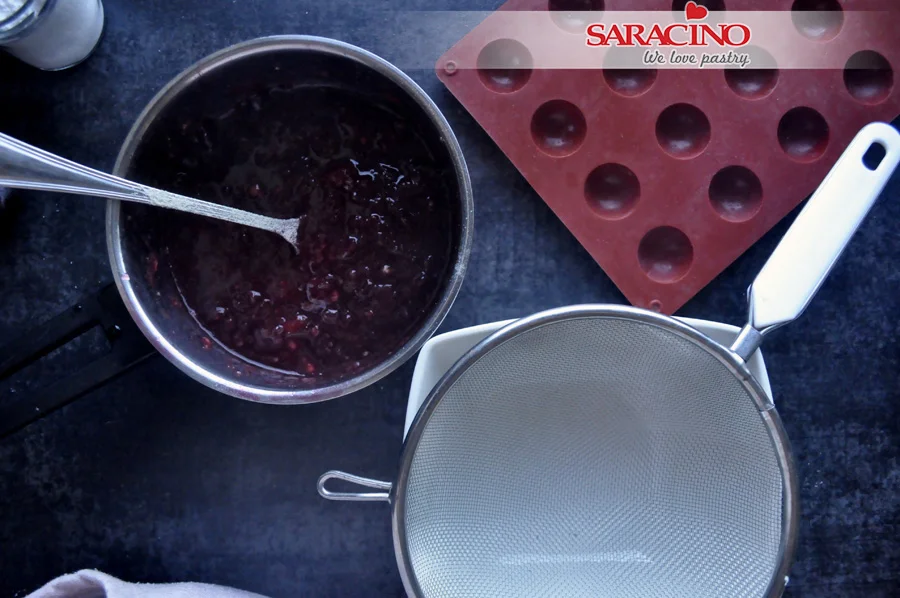
Pass the cooked mixture through the sieve to remove any lumps and plum skin.

Step 6

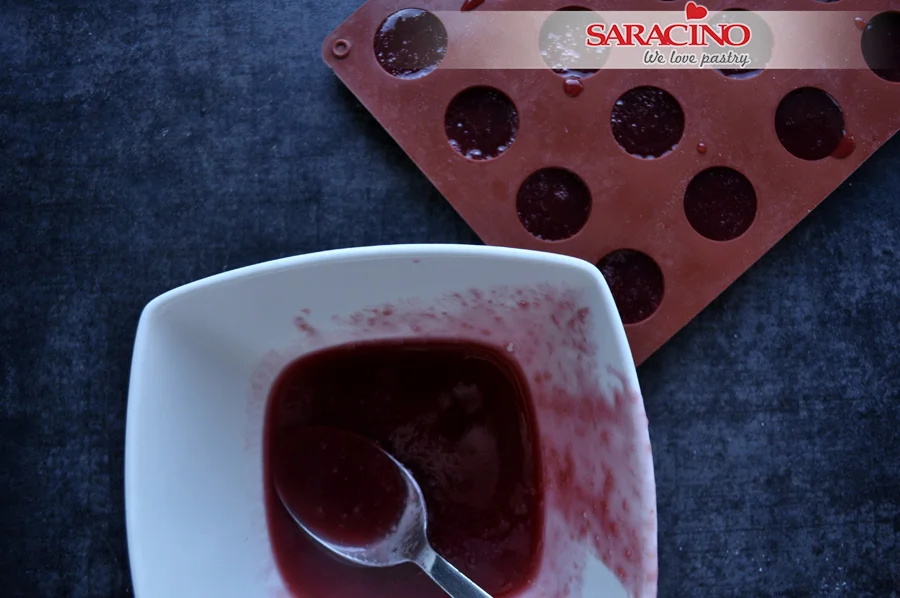
We will be using this mixture for the centre part. Fill the small mould and freeze. 
Step 7

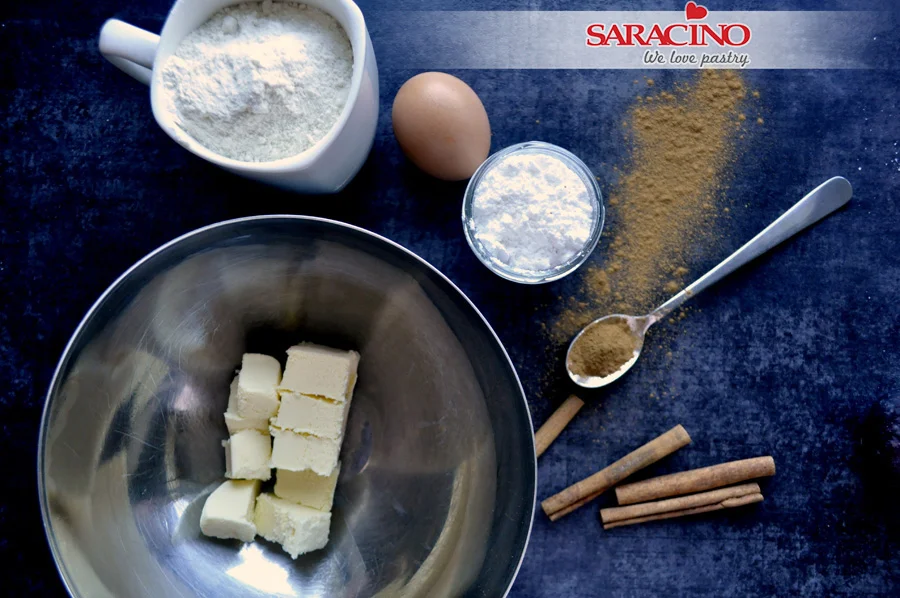
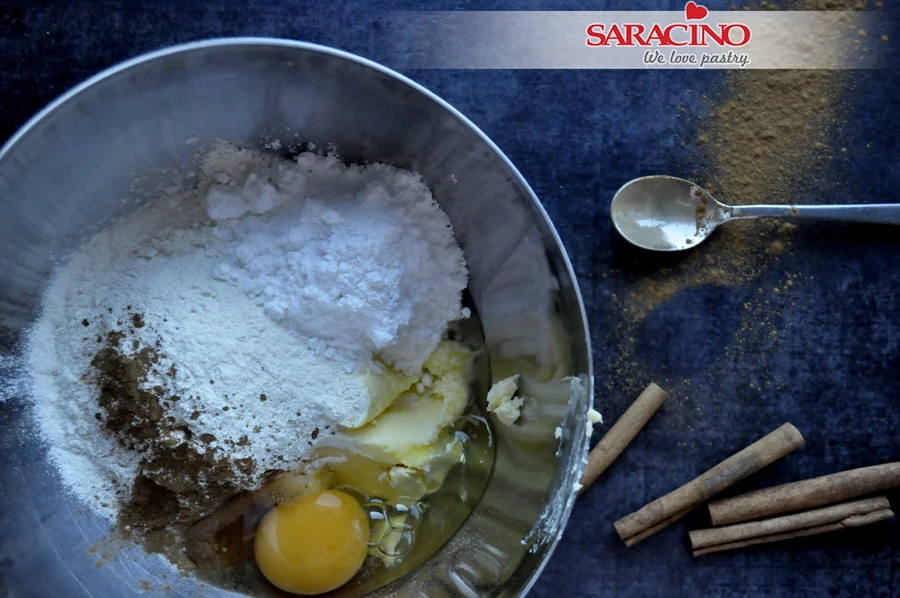
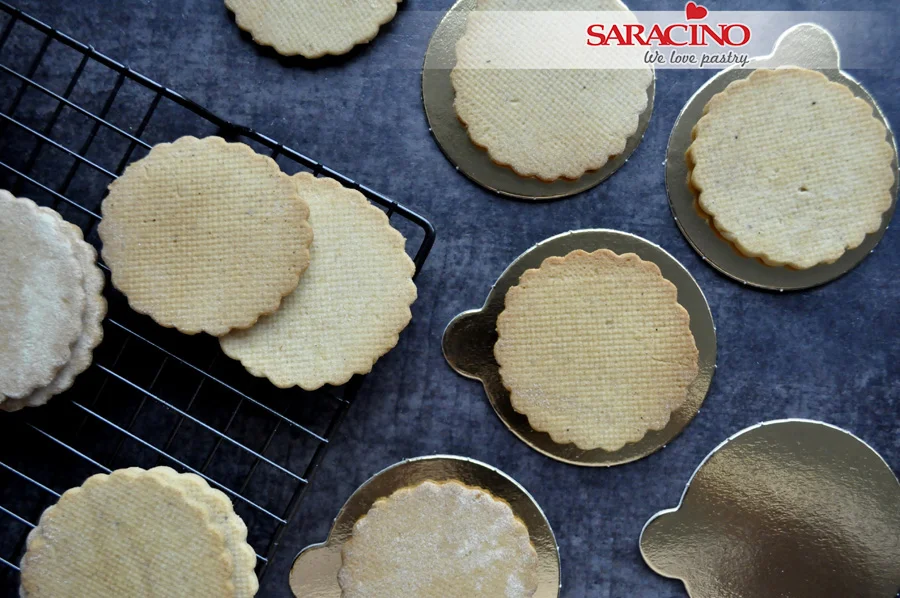
For the cookies (base) prepare 170g plain flour, 20g icing sugar, tea spoon of cinnamon, 1 egg, 100g soft butter. Put the oven on to 190C
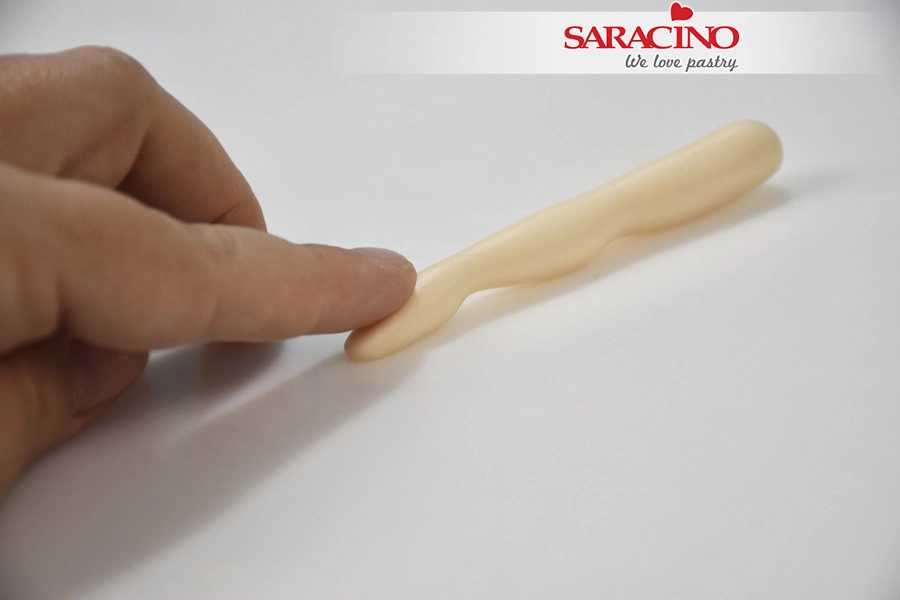
Step 8

Place all the ingredients in the bowl

Step 9

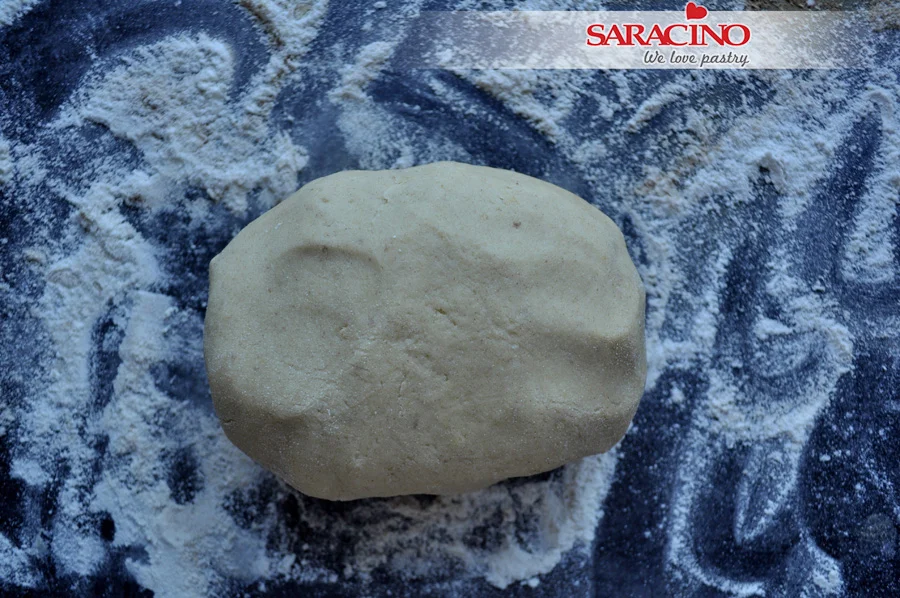
It is important not to over knead mix. The ingredients just need to be combined.

Step 10

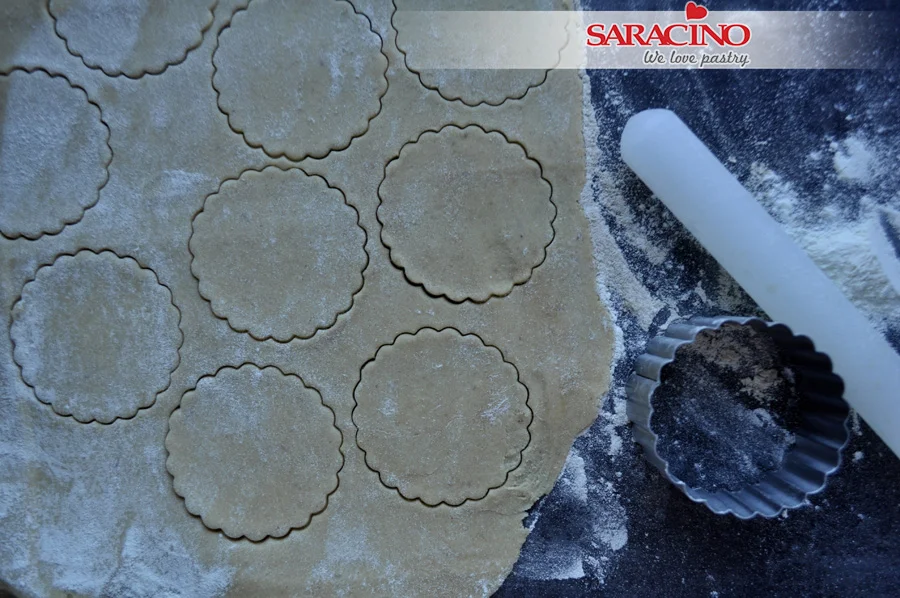
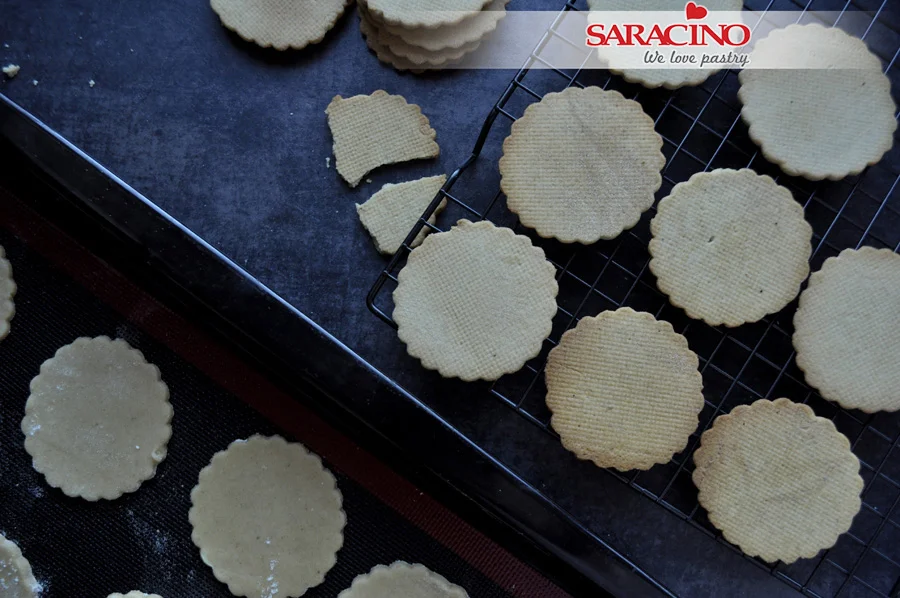
Roll the dough and cut the circles using your cookie cutter

Step 11

Bake at 190C for about 10-12 minutes until a gold colour is achieved. Cool them on a rack.

Step 12

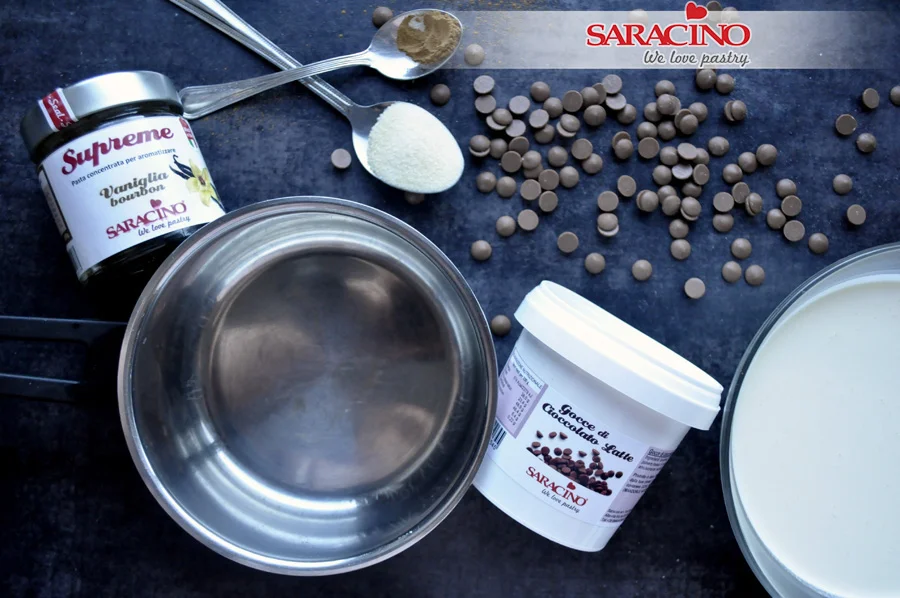
Now to get the ingredients ready to make the mousse. You will need 150g milk chocolate drops, 2 tea spoons of gelatine, 700g double cream, half a tea spoon of cinnamon, Vanilla food flavouring La Supreme. 

Step 13

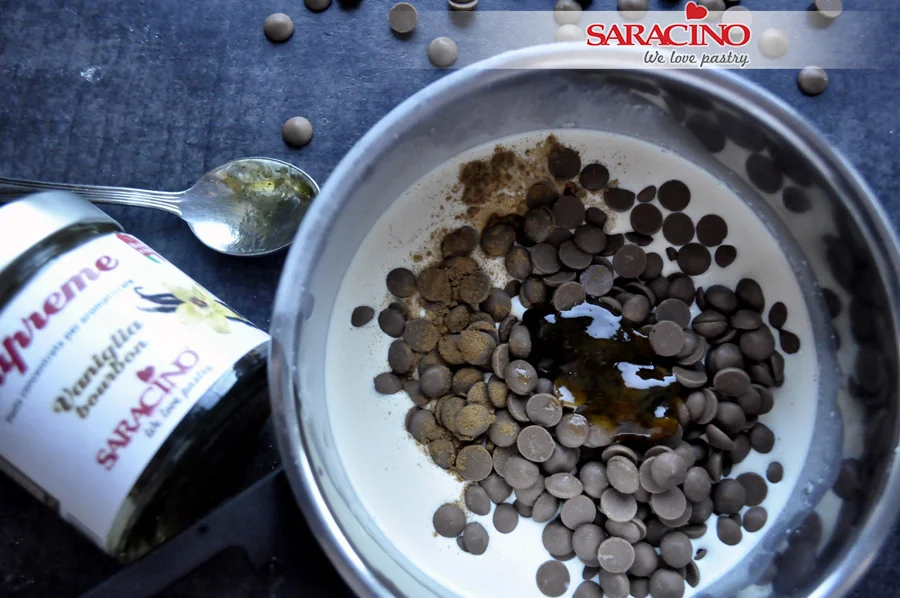
Pour 200g of cream into a pan, add chocolate drops, cinnamon, and a tea spoon of vanilla food flavouring. Heat and stir until the chocolate is fully melted. 

Step 14

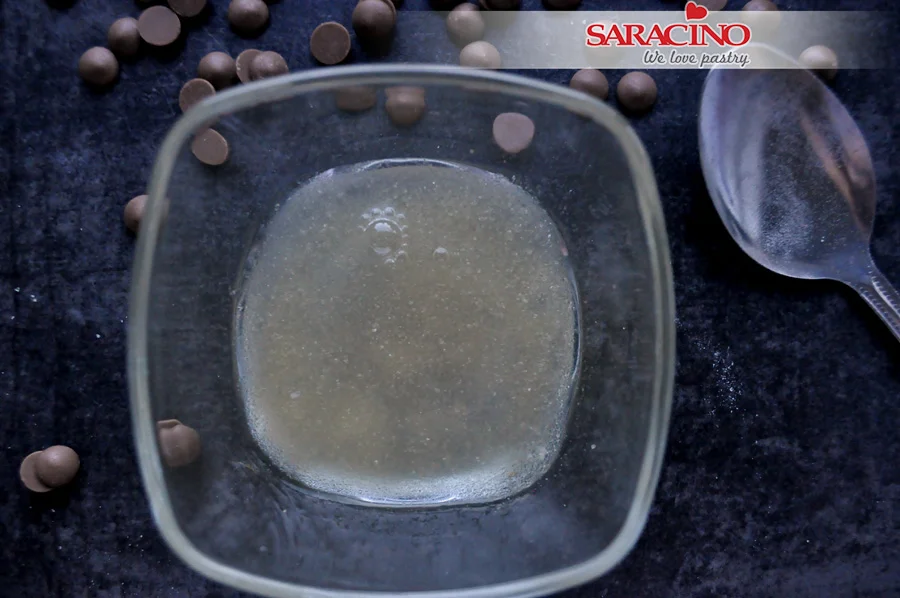
Add 2 tea spoons of gelatine to a bowl and add 2 table spoons of cold water. 

Step 15

Add the melted gelatine to the pan with the chocolate. Stir and let it cool down. 

Step 16

For the base of our mousse prepare 150g of milk chocolate drops and 20g of cornflakes 

Step 17

Melt the chocolate in the microwave or over a water bath and allow to cool down. 

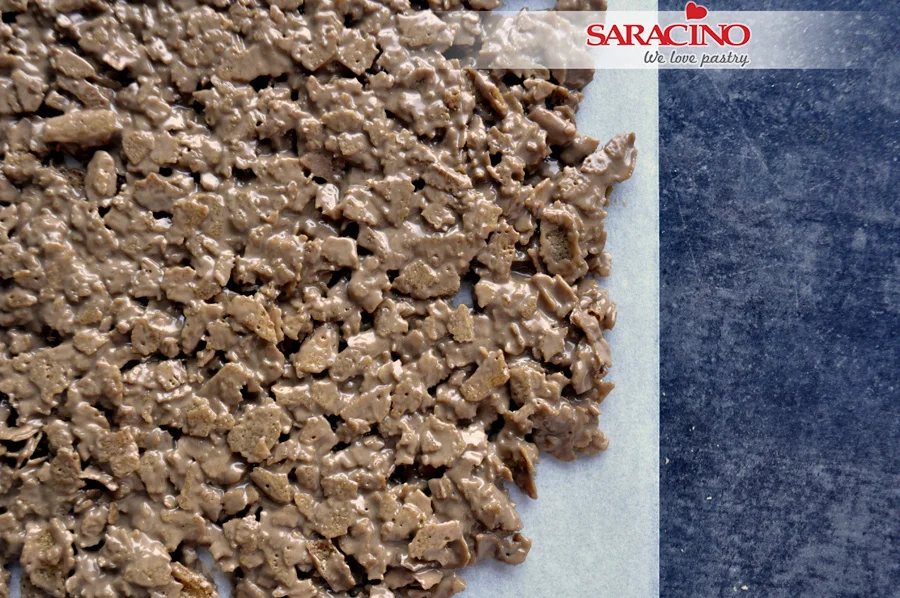
Step 18

Add cornflakes and stir quickly. 

Step 19

Pour the mixture on to a sheet of baking paper, flatten and put into the fridge. 

Step 20

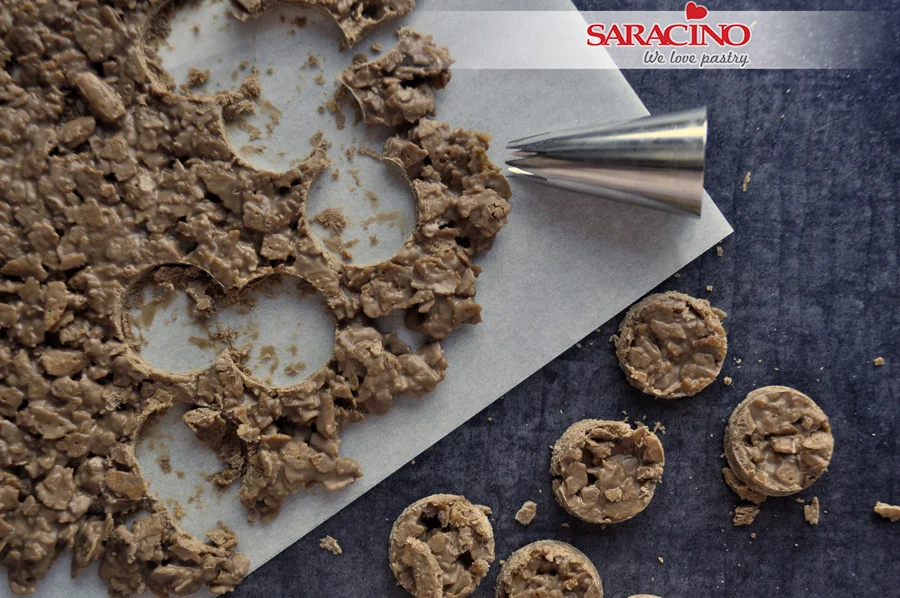
Allow to set and then remove from the fridge to cut circle bases. You want the base to be slightly smaller than plum mixture circle. 

Step 21

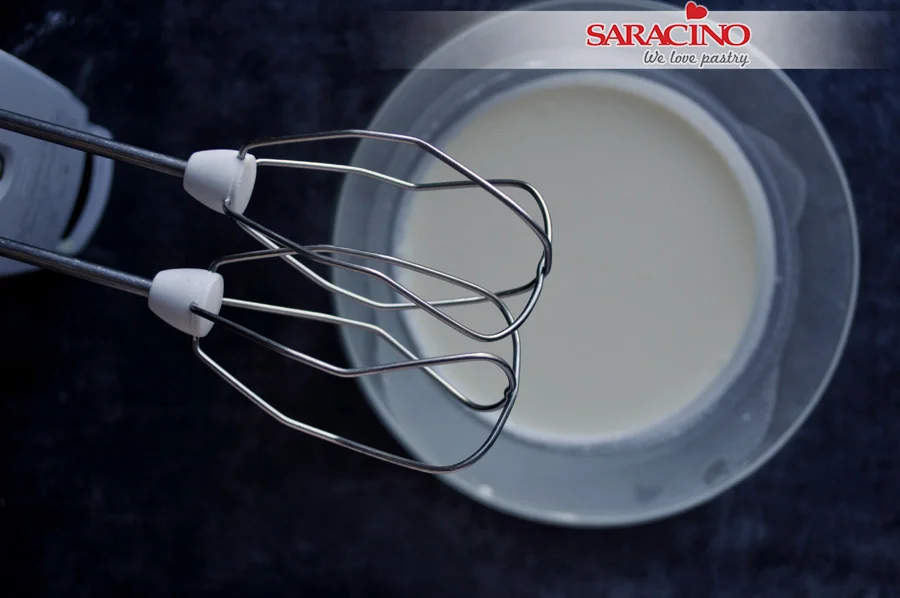
For the mousse pour 500g of double cream into a bowl and mix until it has thickened.

Step 22

Get the chocolate and spatula ready 

Step 23

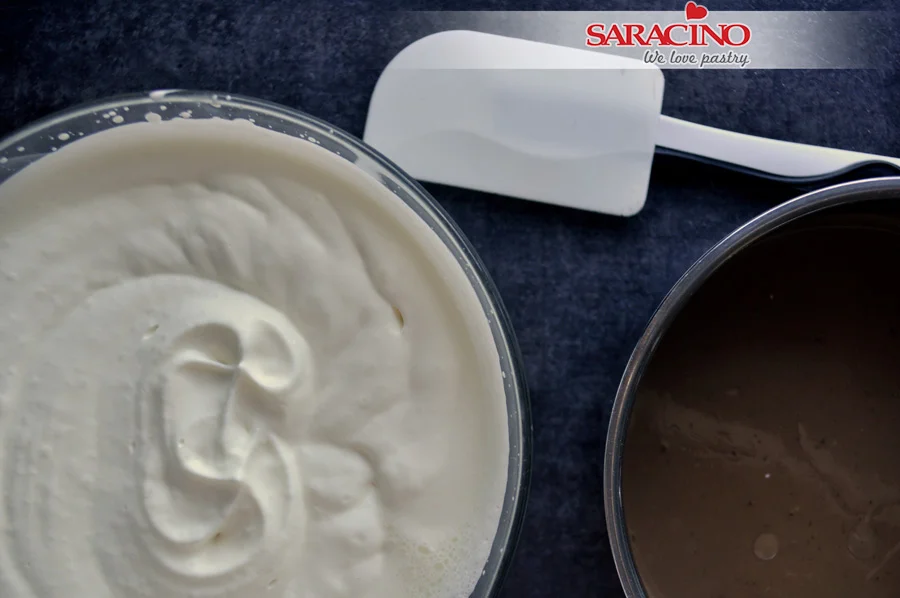
Add half of the cream into your chocolate and using your spatula stir. 

Step 24

Add the other half of the mixture and stir

Step 25

Pour the mixture into the piping bag

Step 26

Add to the heart shaped moulds up to two thirds height in the mould. 

Step 27

Remove your frozen plum mixture and get the crunchy bases ready. 

Step 28

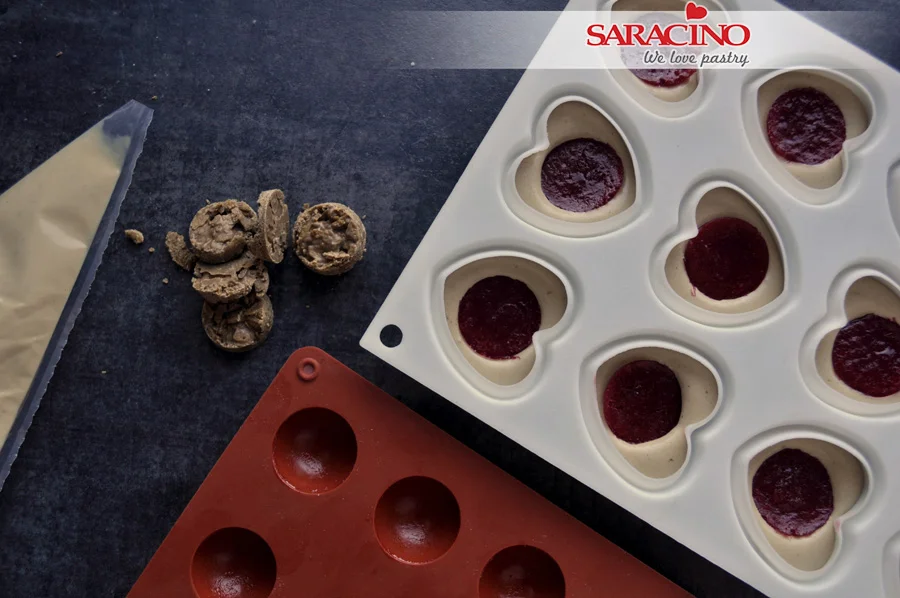
Add the frozen plum mixture to the mousse. 

Step 29

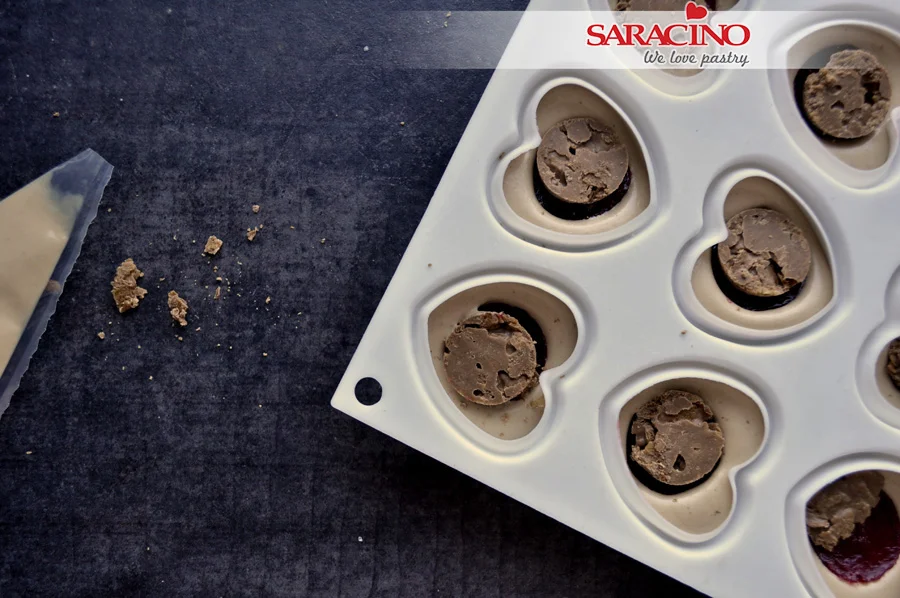
Add the crunchy base over the plum mixture and gently press. 

Step 30

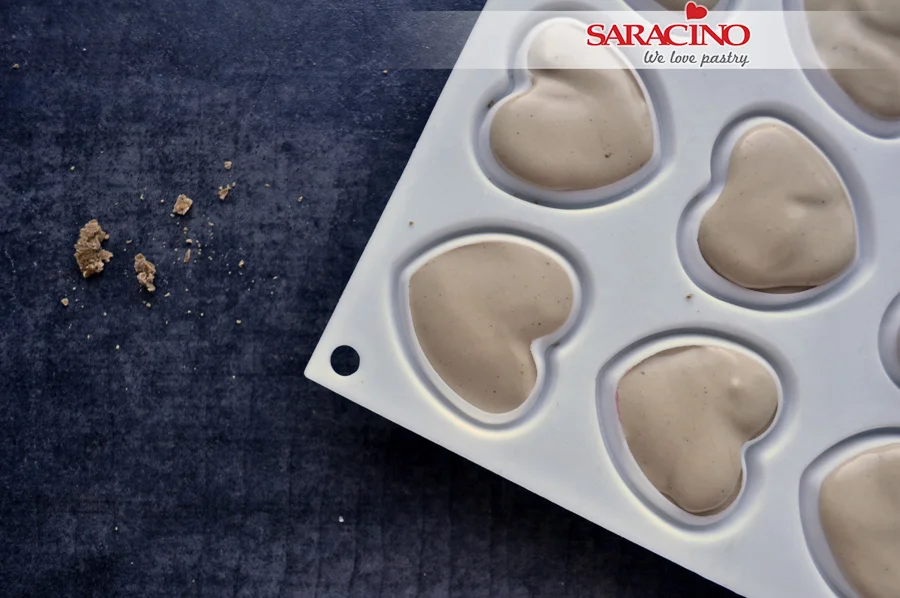
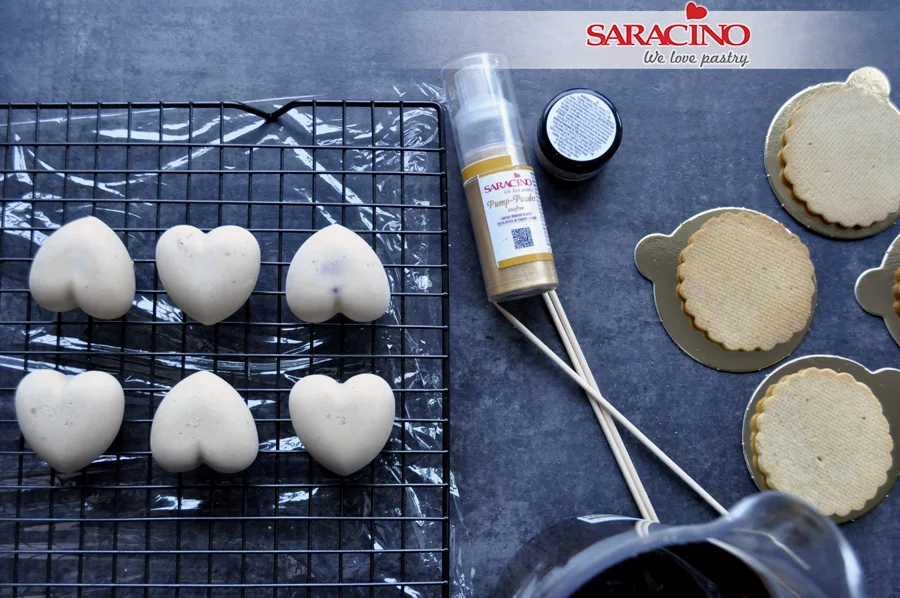
Pipe more mousse mixture to fill each mould. Place in the freezer.

Step 31

Place your cookies on the mini cake boards. You can add a bit of jam at the bottom to stop them moving. 

Step 32

Prepare your mirror glaze, gold pump spray and glitter.

Step 33

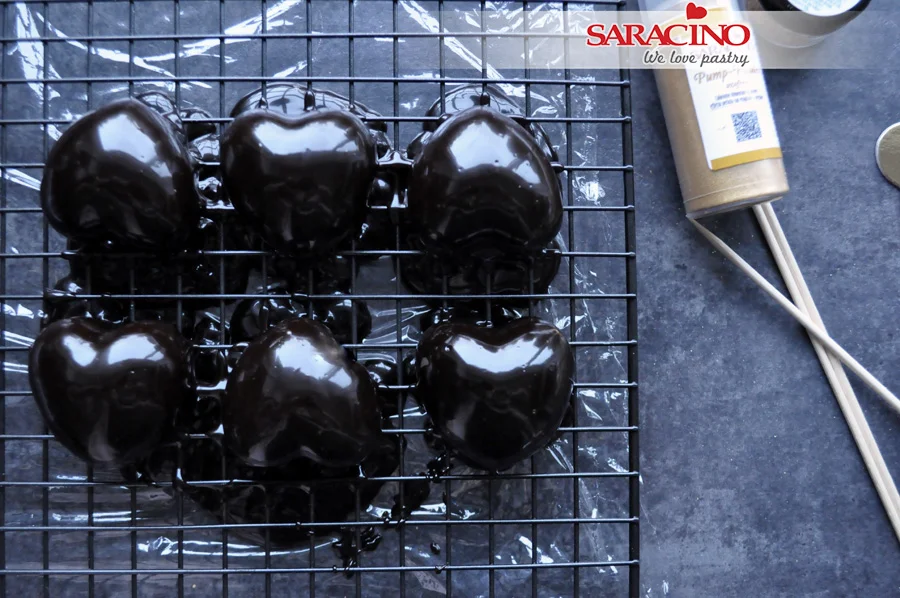
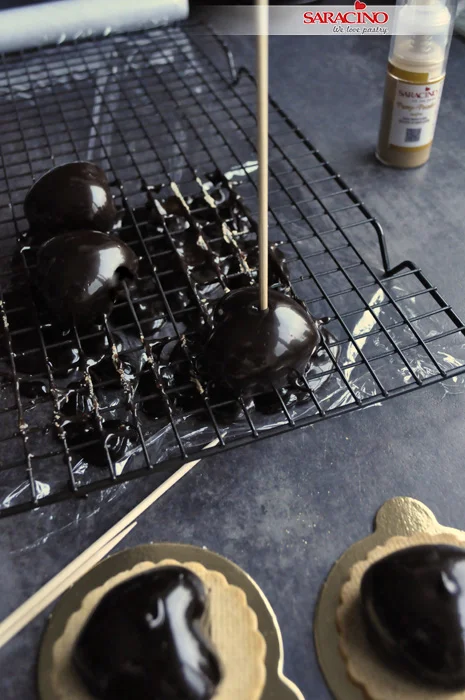
Place a sheet of foil on your table and position your cooling rack over. Place the frozen hearts on the rack. 

Step 34

Heat the mirror glaze to a temperature of 40C. Heating slowly. Pour heated mirror glaze over each heart making sure they are fully covered. 

Step 35

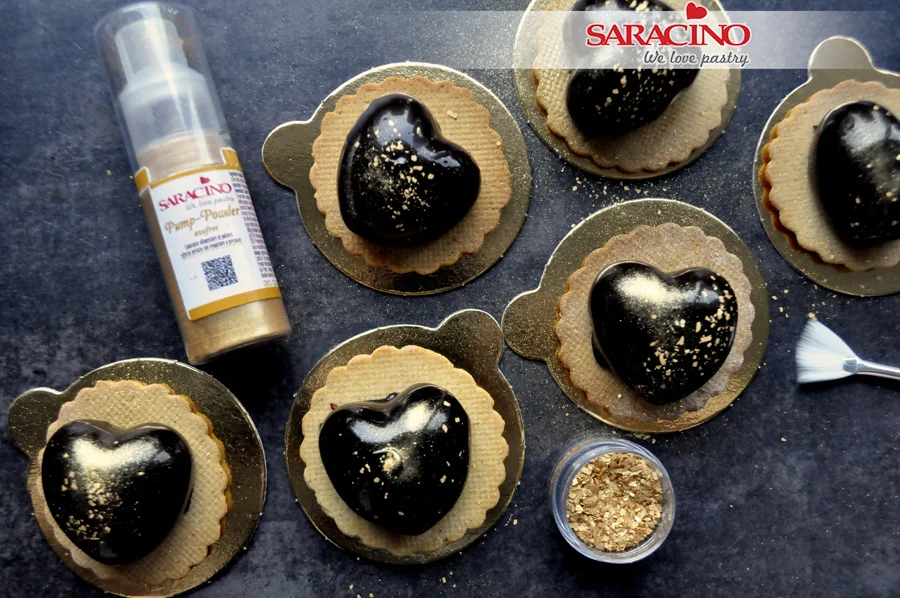
Using your wood skewer keep moving the hearts over the rack to remove any excess mirror glaze. Then place each heart on a cookie. 

Step 36

Decorate using Saracino gold pump spray and gold glitter  

YOGA GIRL MODELLING TUTORIAL

YOGA GIRL MODELLING TUTORIAL

You will need:

  • Dresden tool
  • A thin brush
  • A large brush
  • Exacto knife
  • Rolling pin
  • A small silicone brush
  • A blade
  • Metallic spatula
  • Saracino modelling paste skin color
  • Saracino modelling paste tiffany color
  • Saracino modelling paste light green color
  • Saracino modelling paste brown color
  • Edible glue
  • Wooden skewer
  • Saracino dust colors red, white, green and brown
  • Clear alcohol

Step 1

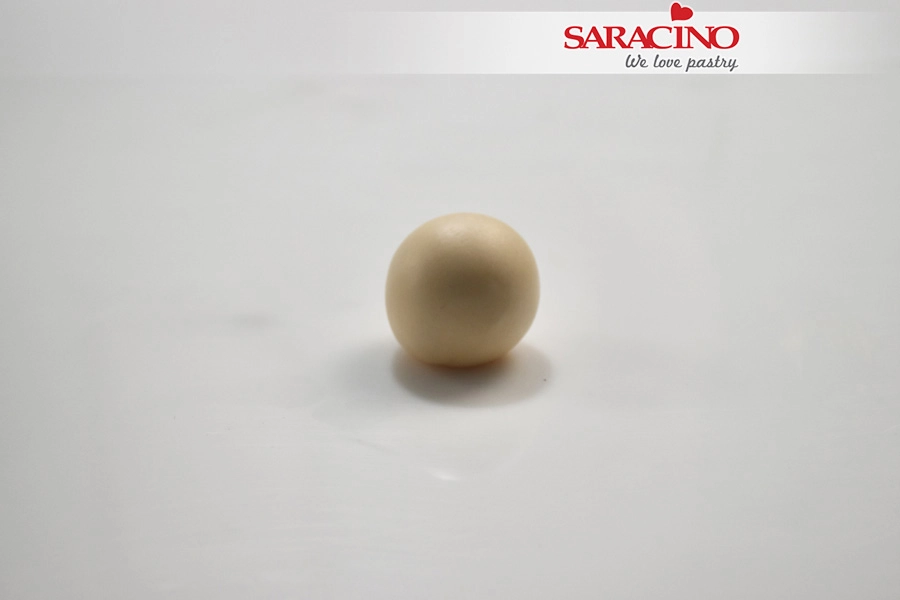
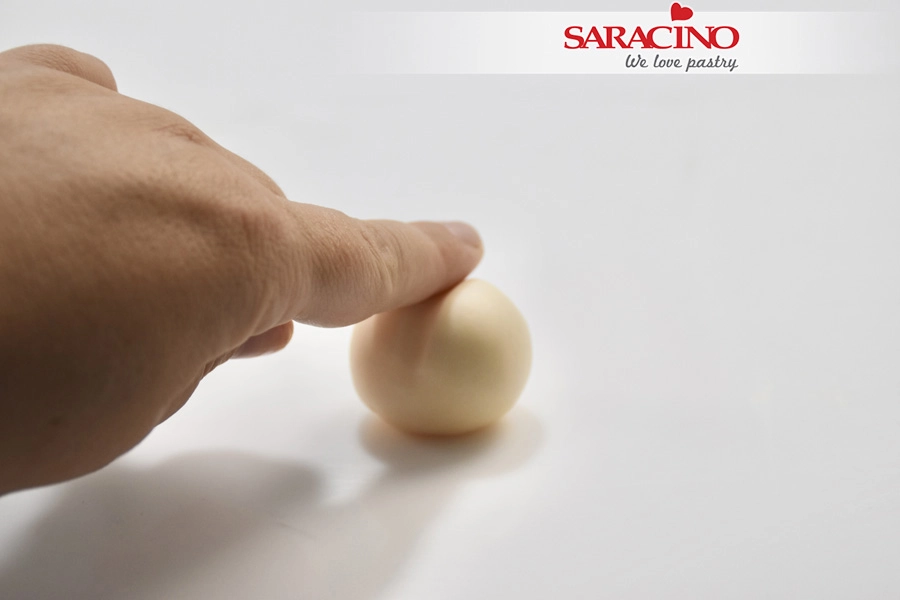
Take 35g of skin tone Saracino modelling paste and roll it to a nice even ball shape

Step 2

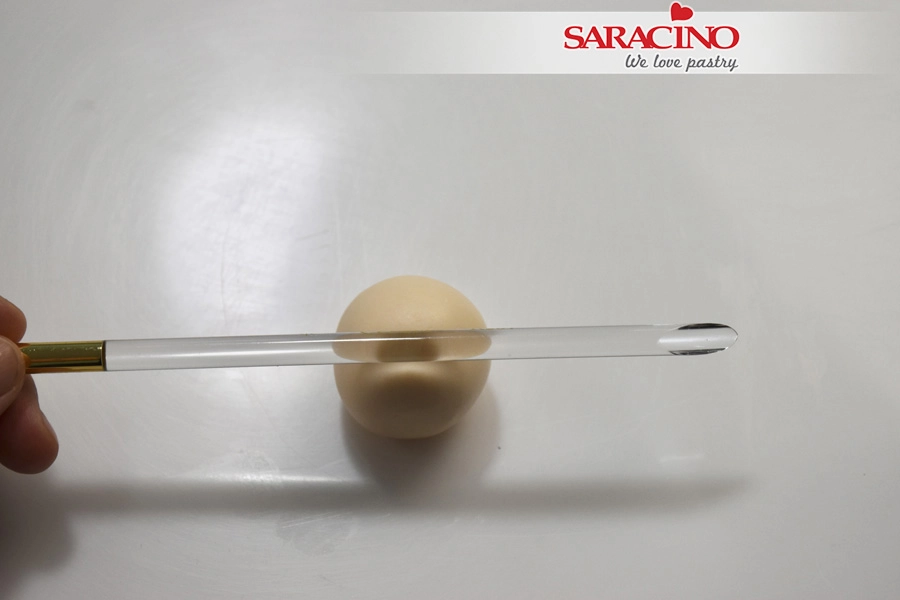
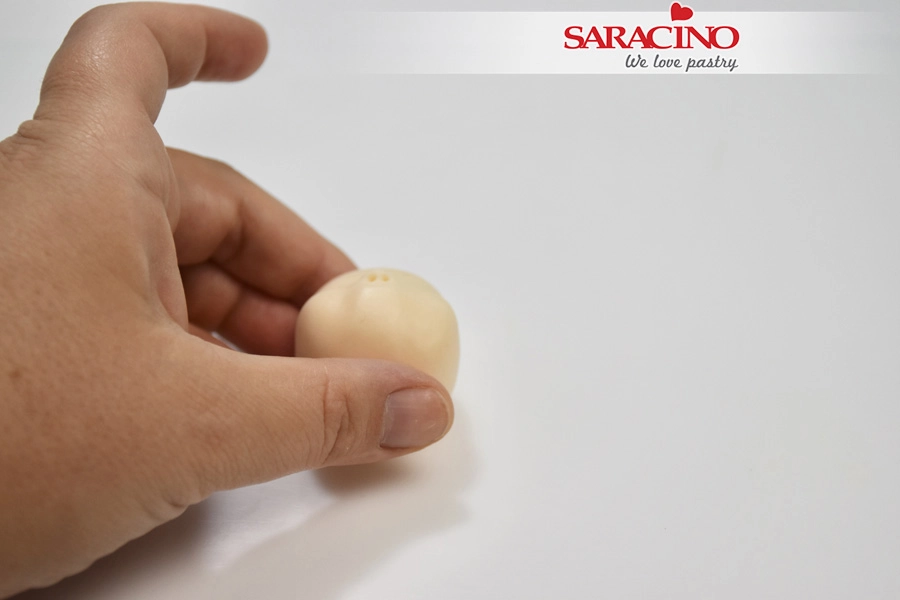
Use the back side of your brush to create a dent in the middle of the ball.

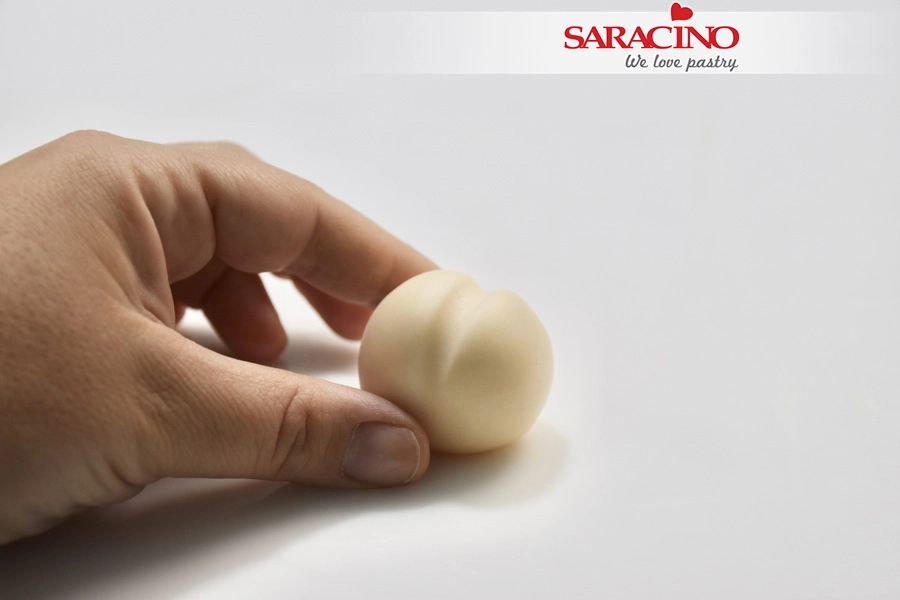
Step 3

Don’t push too much or too little. You should end up with a result like seen in the picture

Step 4

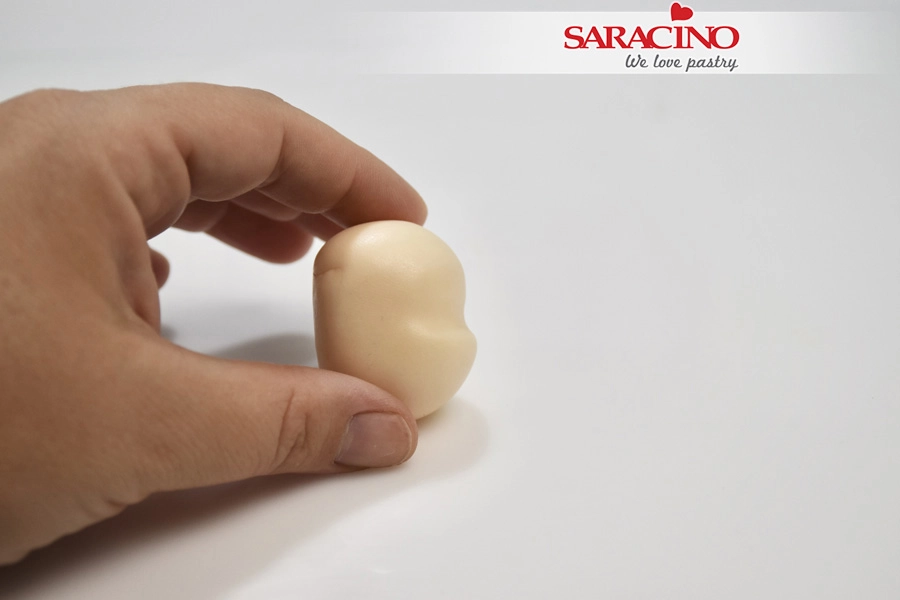
Use your finger to flatten the upper part of the ball

Step 5

You should end up with a result like seen in the picture

Step 6

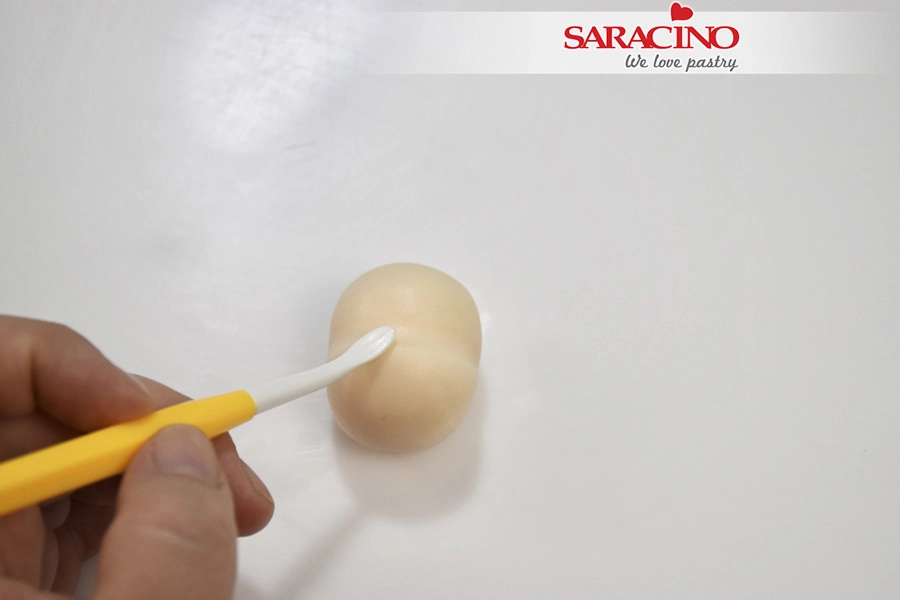
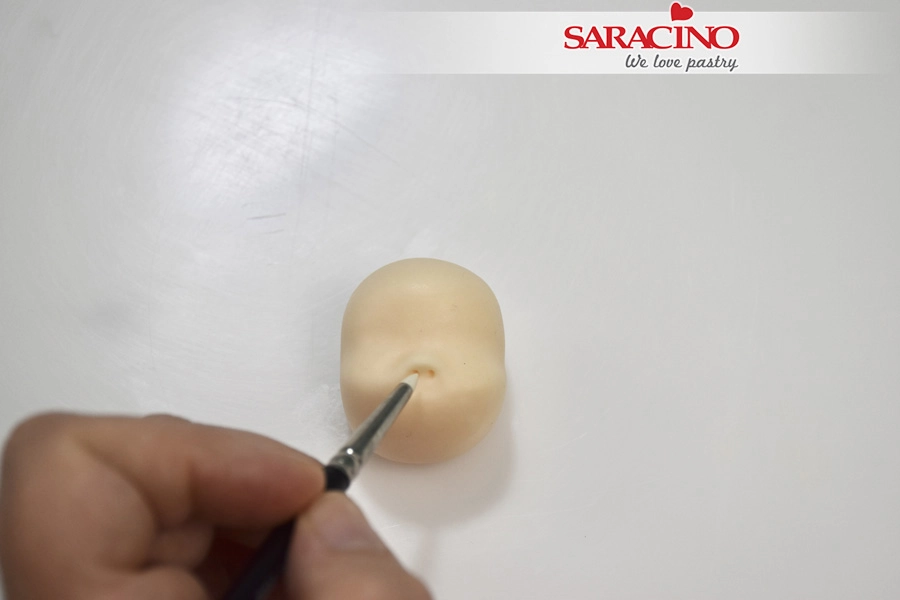
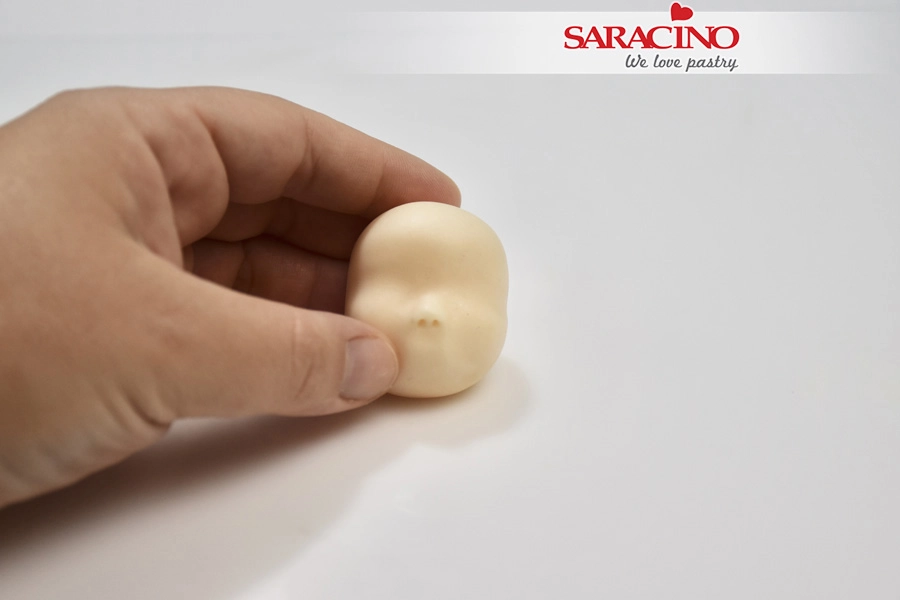
Use your dresden tool to shape  the nose

Step 7

The nose should be a triangle shape

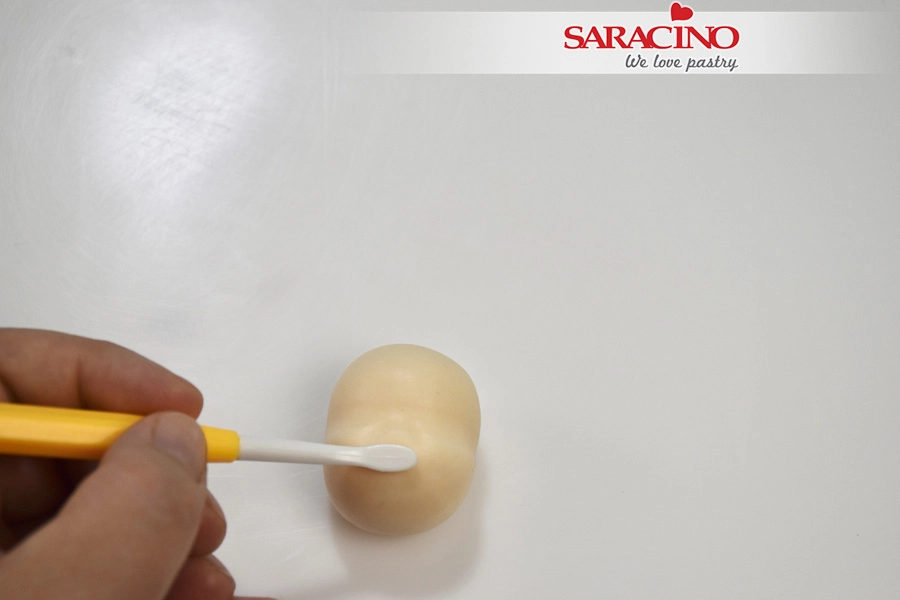
Step 8

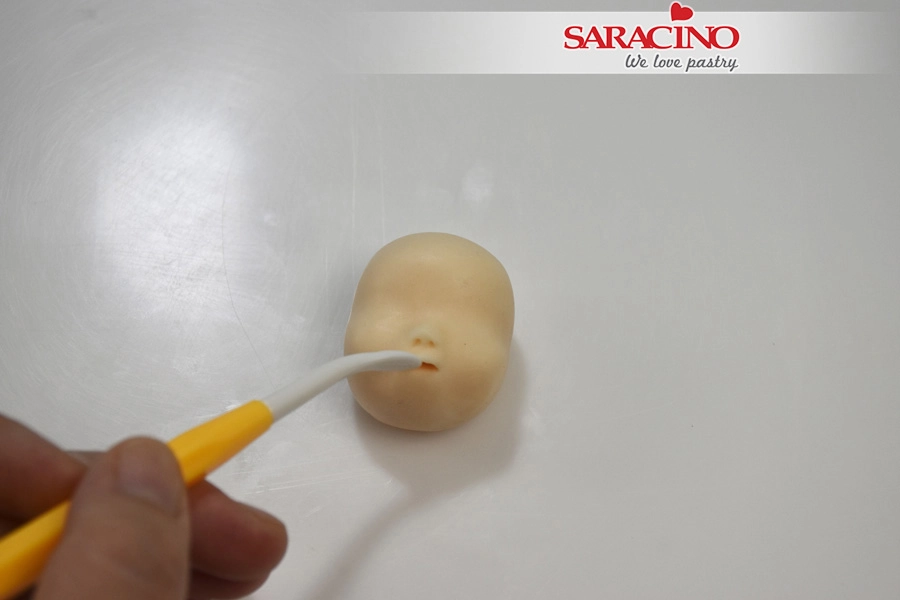
With a small silicone brush define the nostrils

Step 9

Using your finger pressure shape the cheeks

Step 10

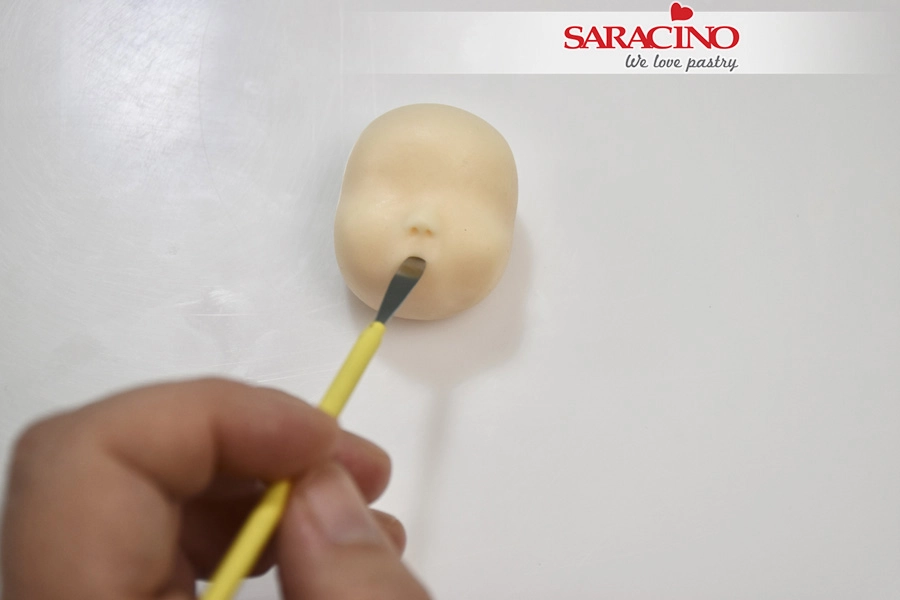
Make 2 dots to mark the corners of the mouth

Step 11

Use a metallic spatula to cut the mouth

Step 12

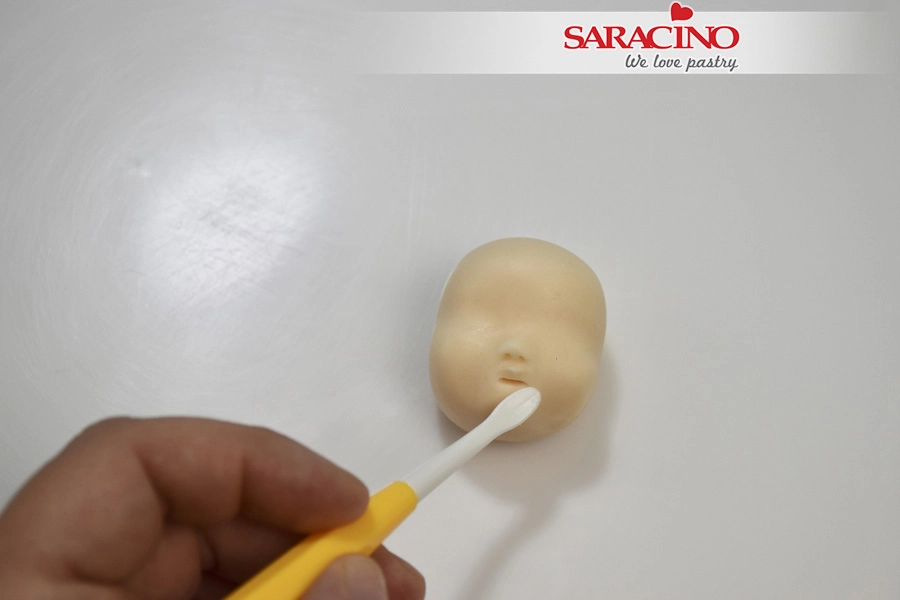
Using the dresden tool shape the upper lip

Step 13

Using the dresden tool shape the lower lip

Step 14

Use the small silicone brush to make 2 small indents at the edge of the mouth

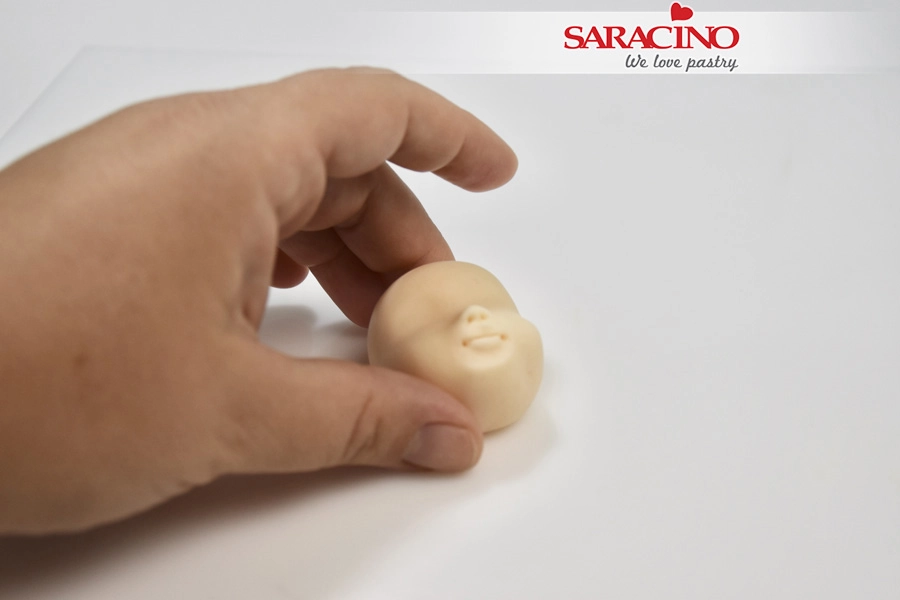
Step 15

The mouth should look like the picture

Step 16

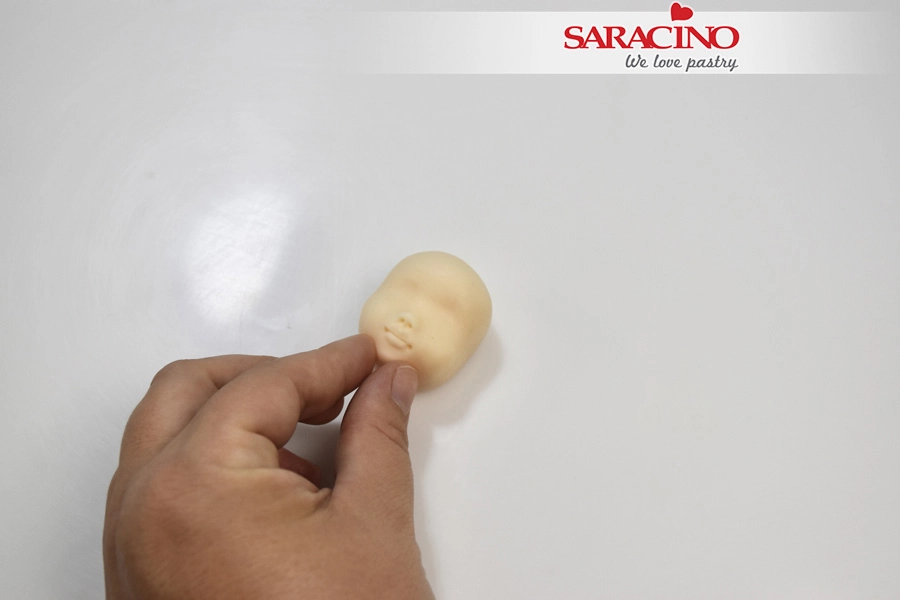
Use your fingers to shape the chin

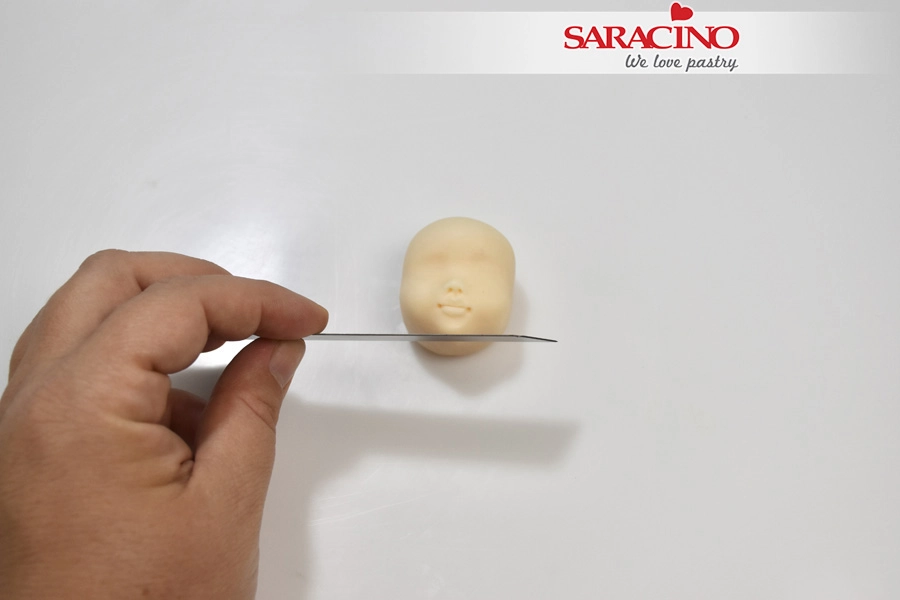
Step 17

Take a blade and cut off the excess paste


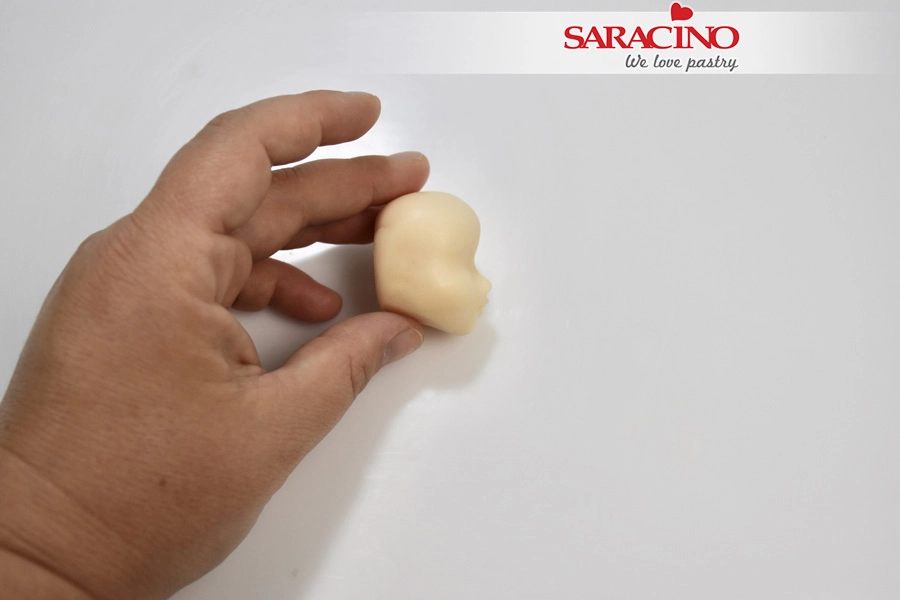
Step 18

The profile of the face should look as seen in the picture

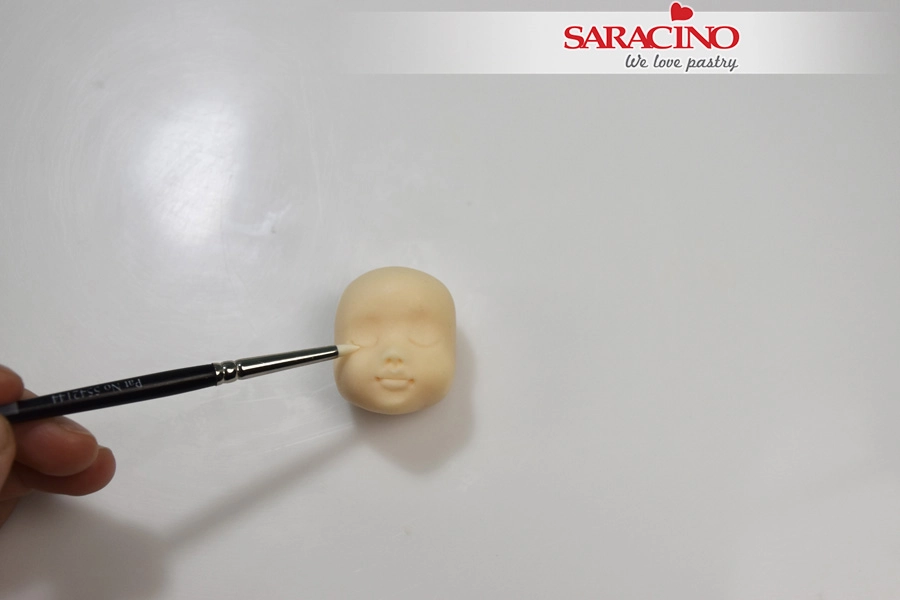
Step 19

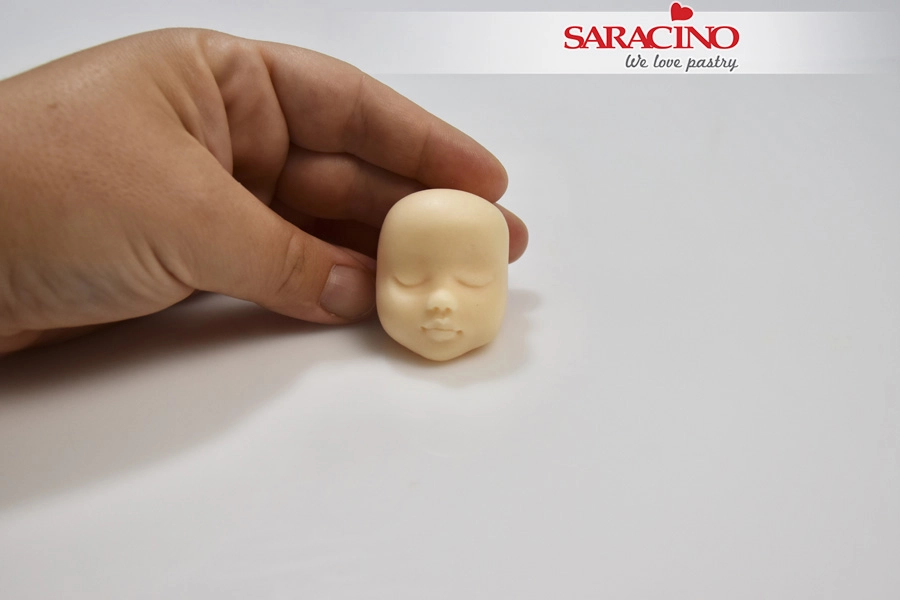
Our girls eyes are closed so we need to define the eyelids with a small silicone brush.

Step 20

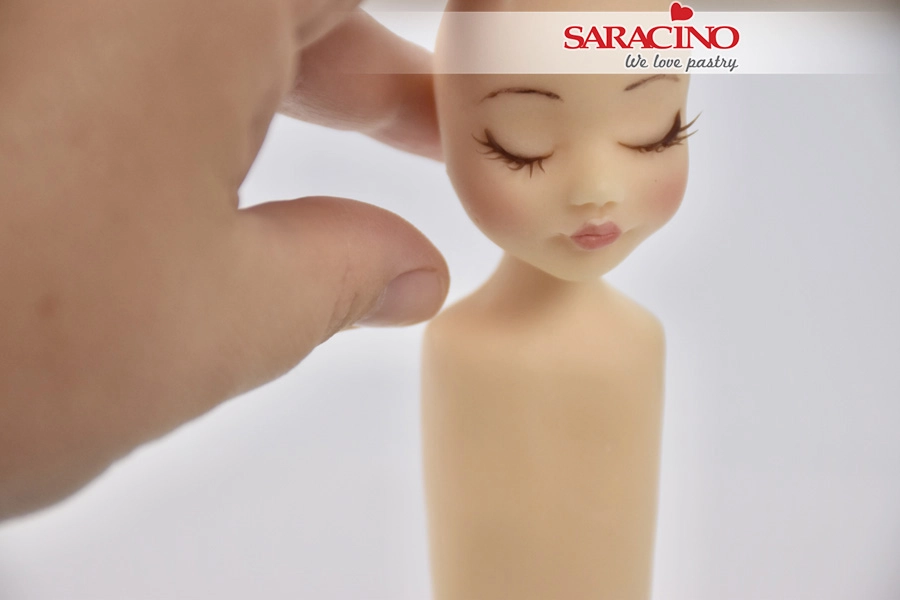
The face is ready

Step 21

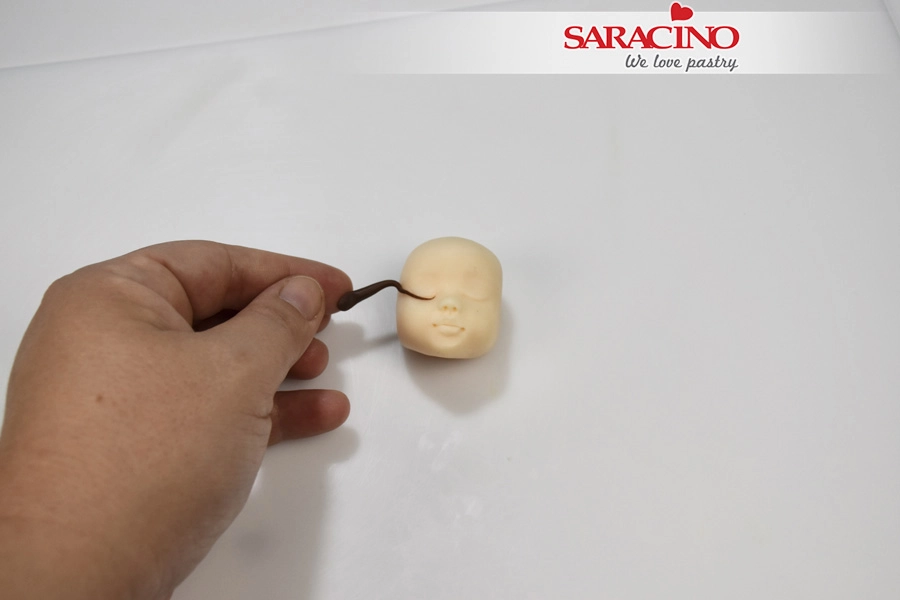
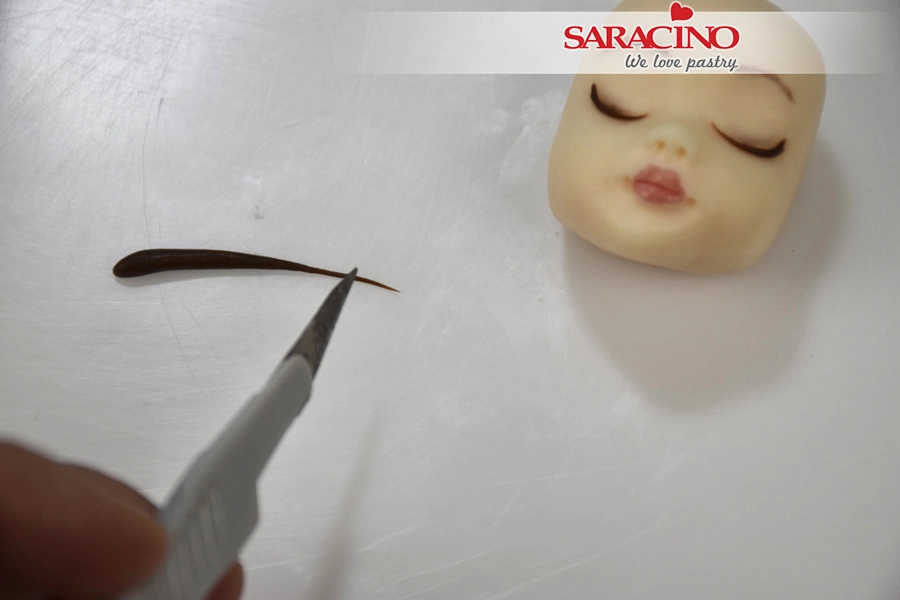
Roll a small piece of brown modelling paste very thinly to make the eyelashes 

Step 22

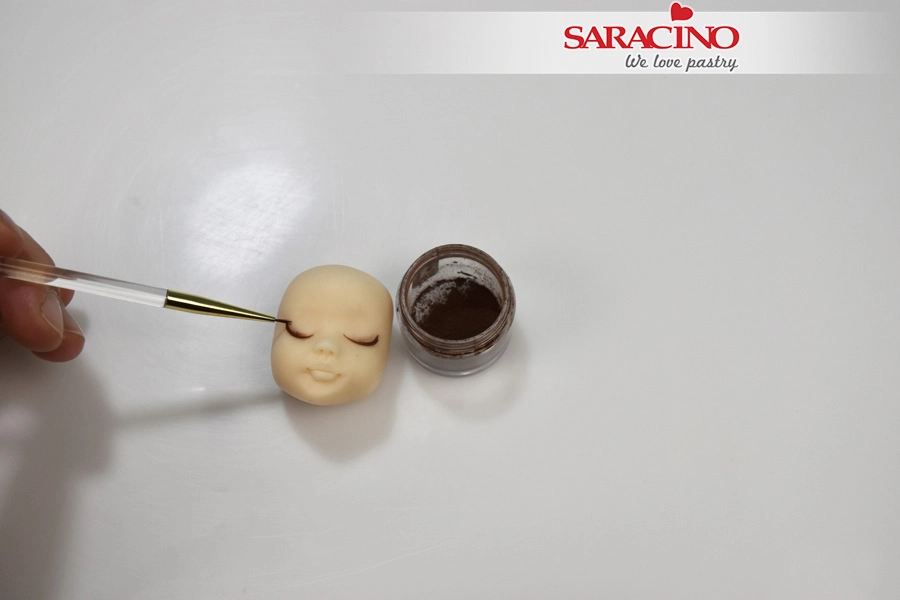
Using a soft brush dust lightly brown color on the eyelids

Step 23

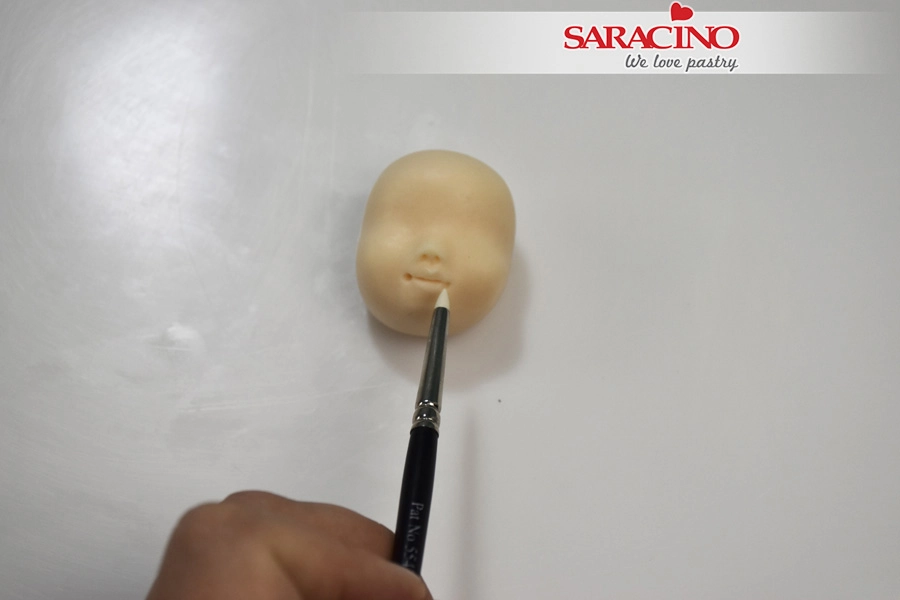
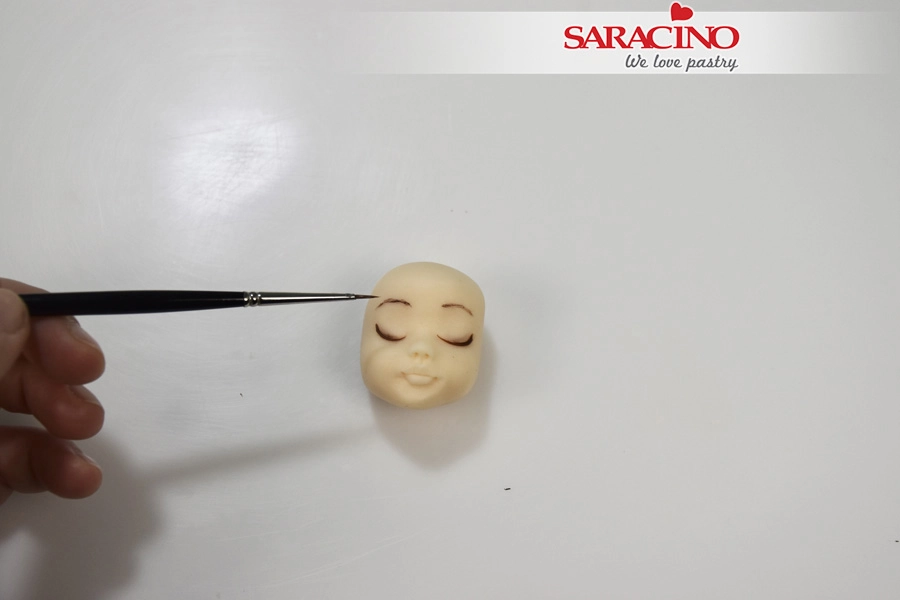
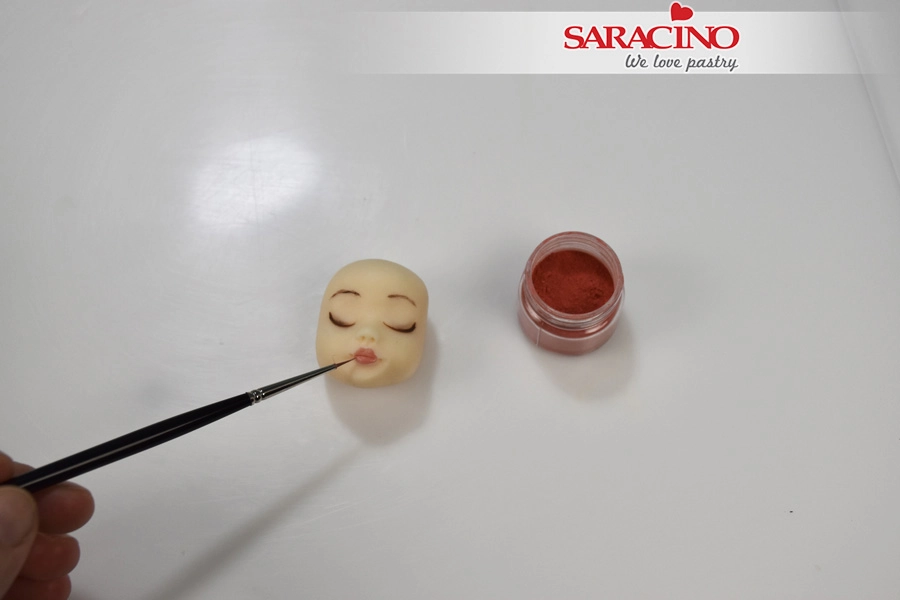
Paint the eyebrows with brown dust mixed with alcohol 

Step 24

Paint the lips with red dust mixed with alcohol 

Step 25

Roll a small piece of brown modelling paste and cut the edge

Step 26

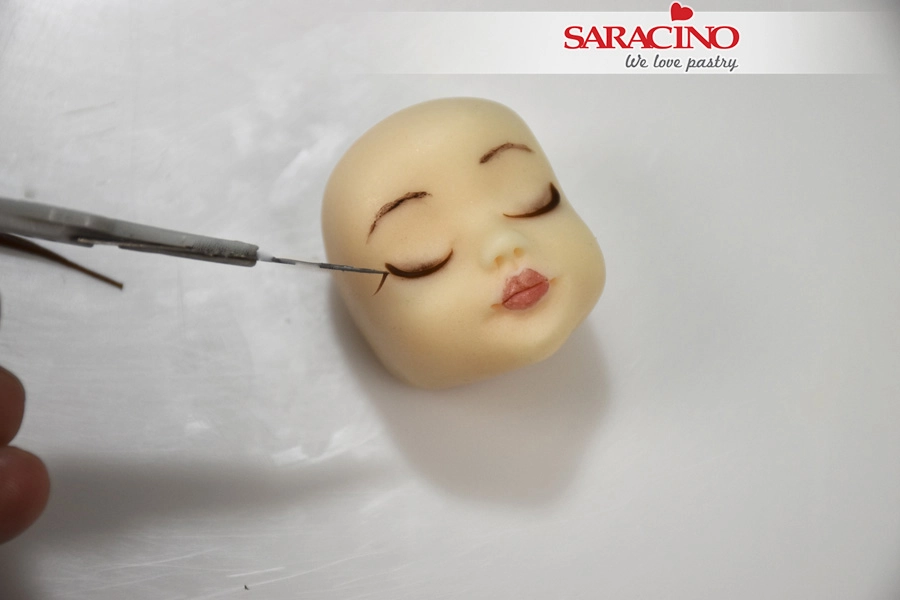
With the help of the exact knife place the pieces on the eyelids

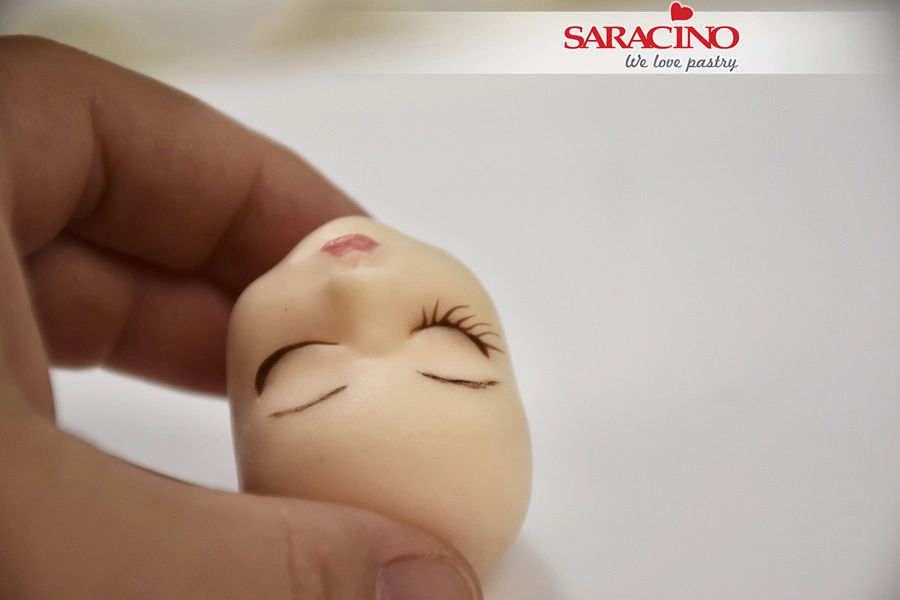
Step 27

Continue this for all eyelashes until you have a result as seen in the picture

Step 28

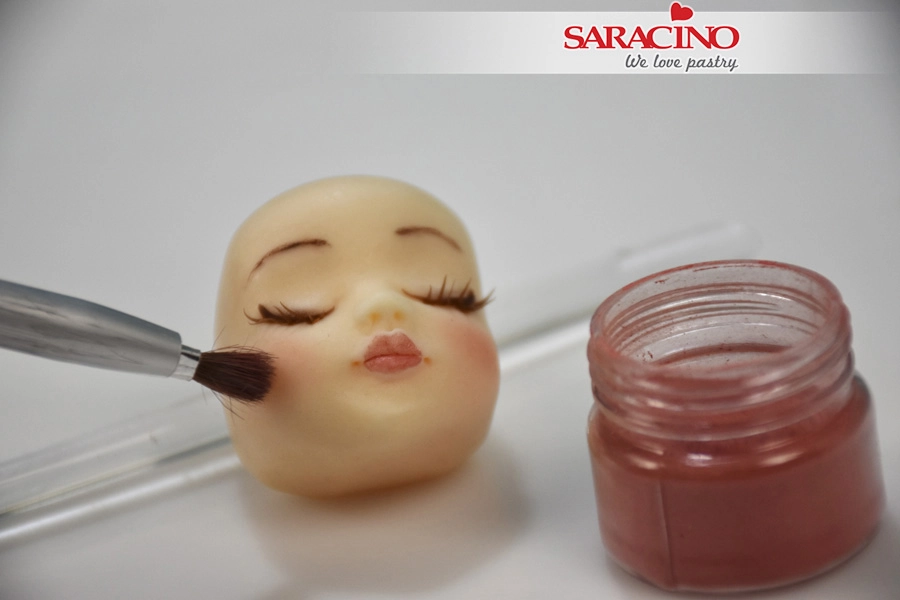
Using a soft brush and red dust lightly brush the cheeks


Step 29

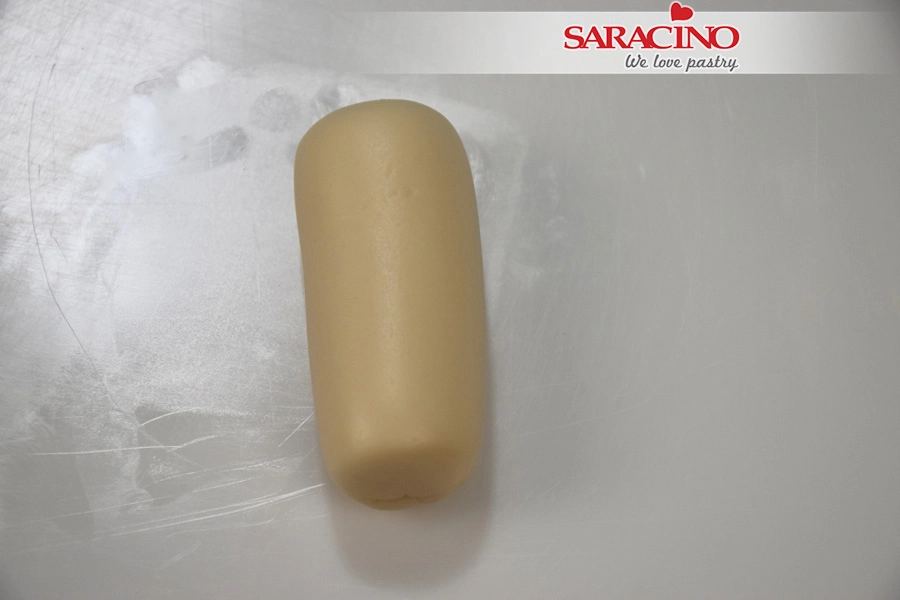
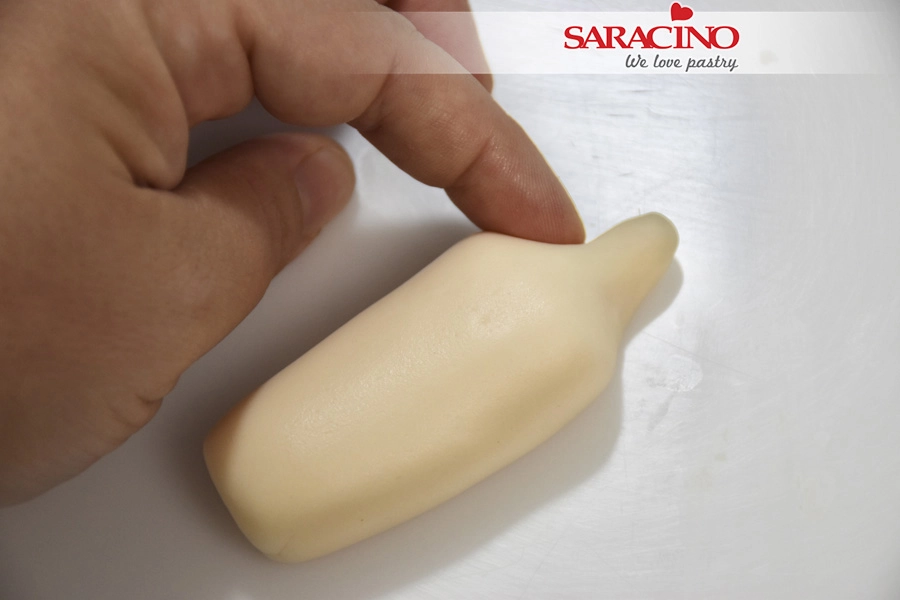
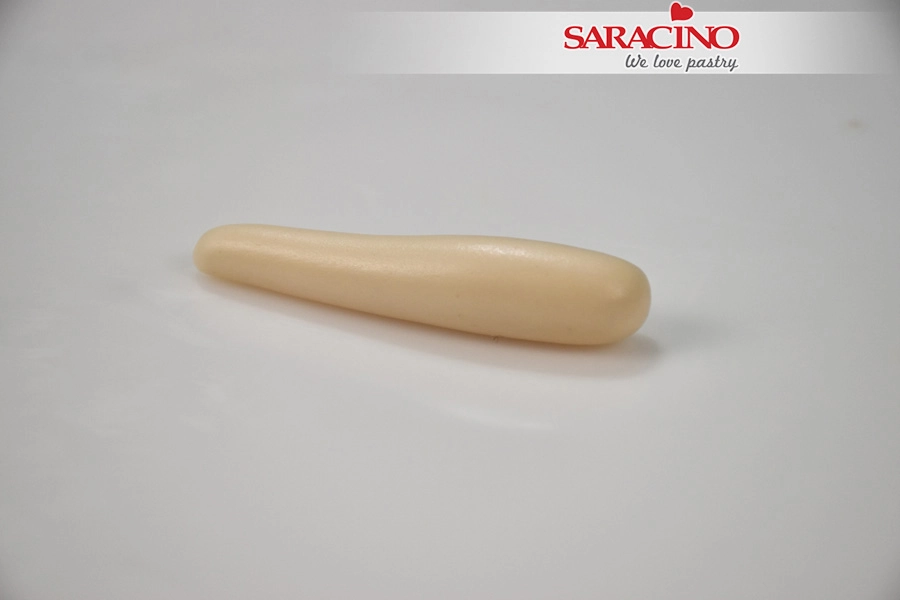
For the body take 45g of skin color modelling paste and roll it into a sausage shape


Step 30

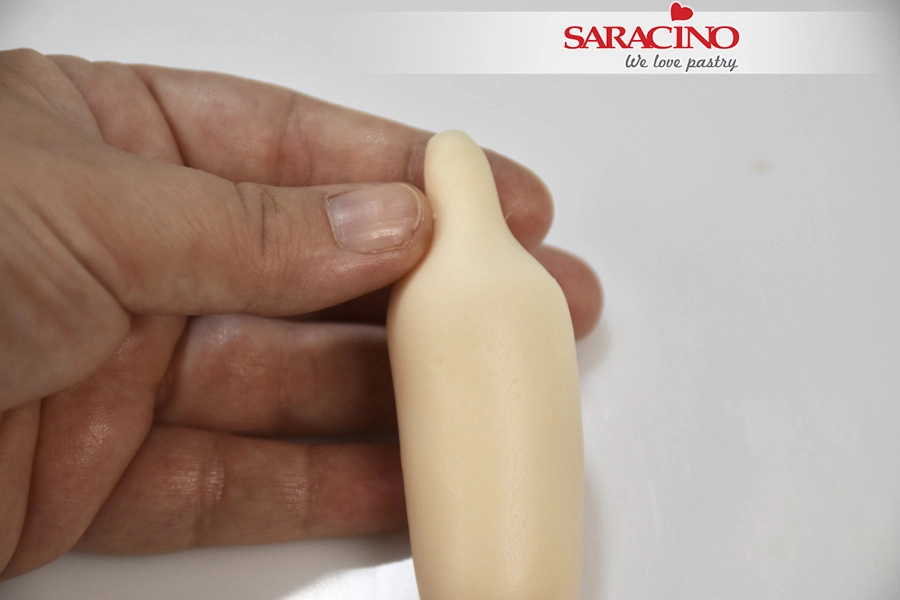
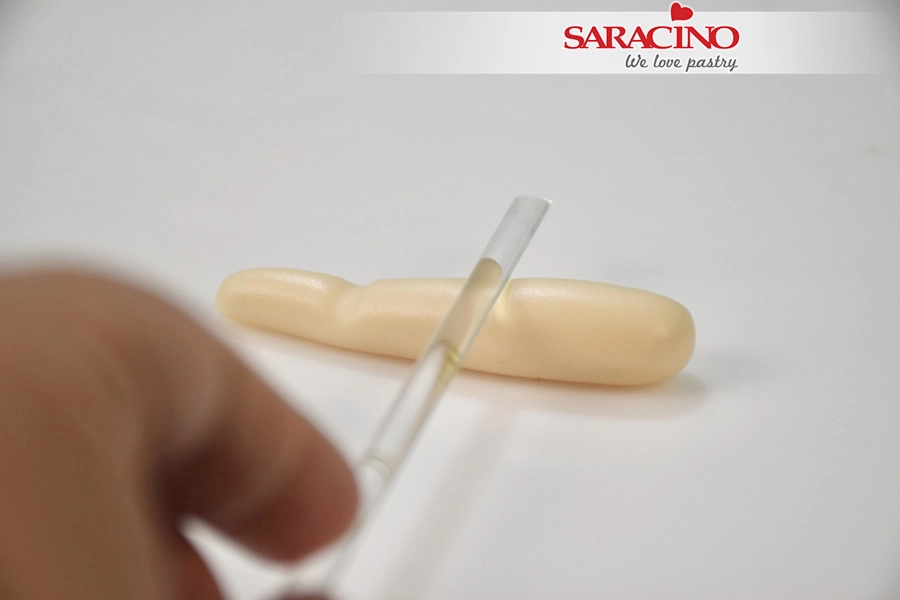
Use your fingers to shape the neck


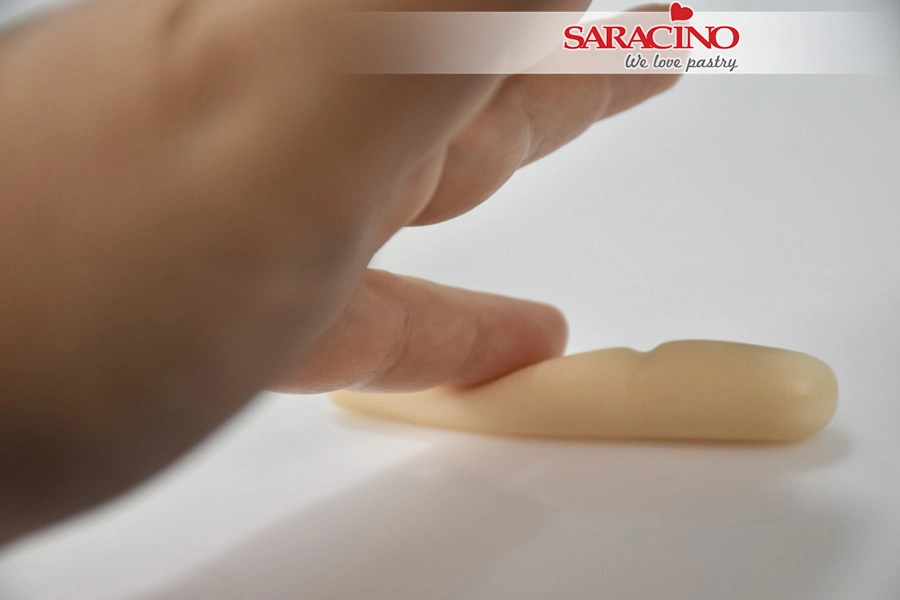
Step 31

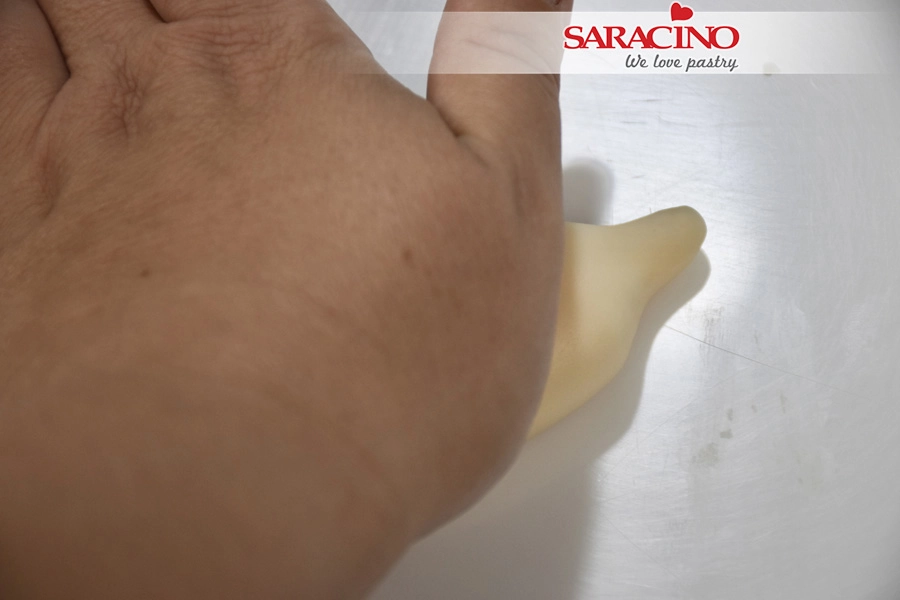
Press with your palm gently to flatten slightly 


Step 32

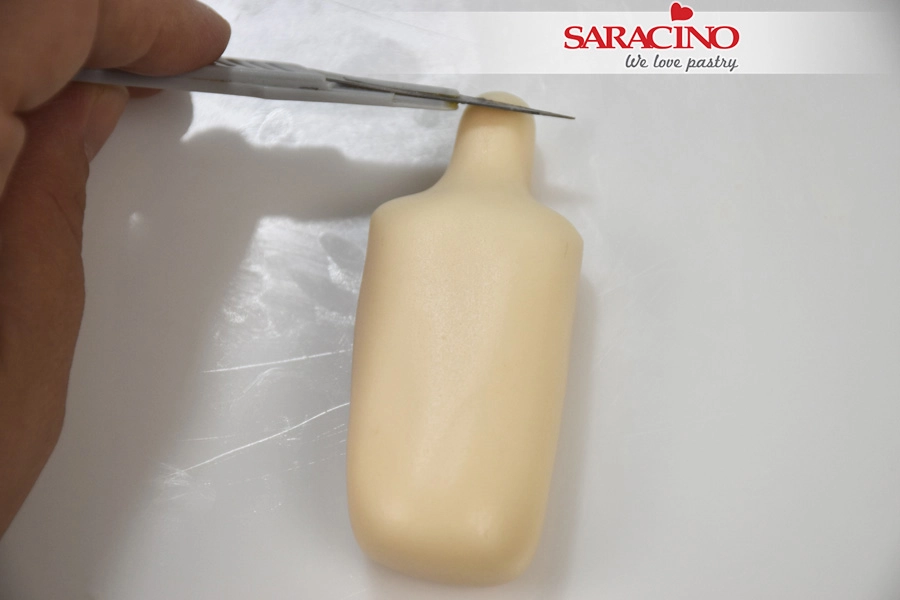
Use your finger to shape the shoulders


Step 33

Cut the top of the neck to give your required length


Step 34

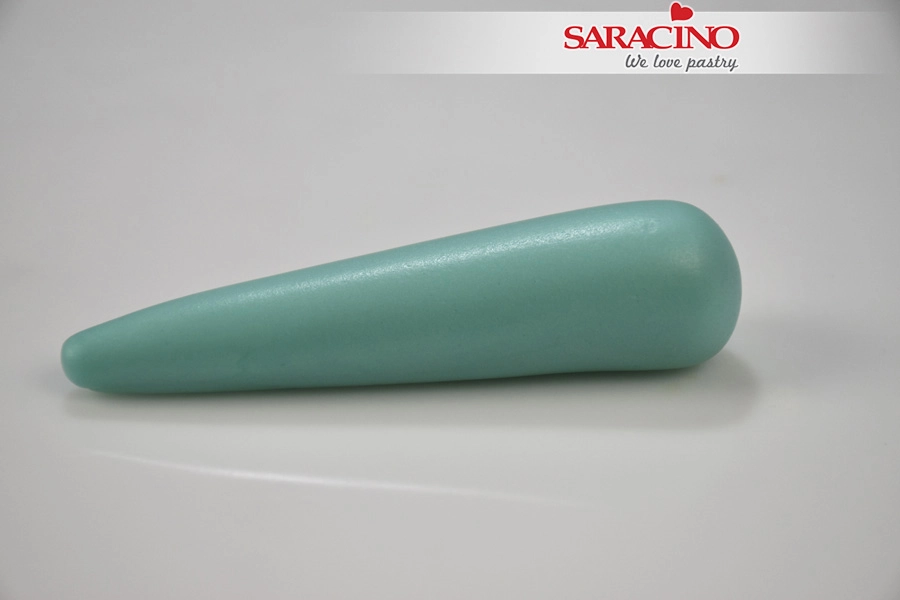
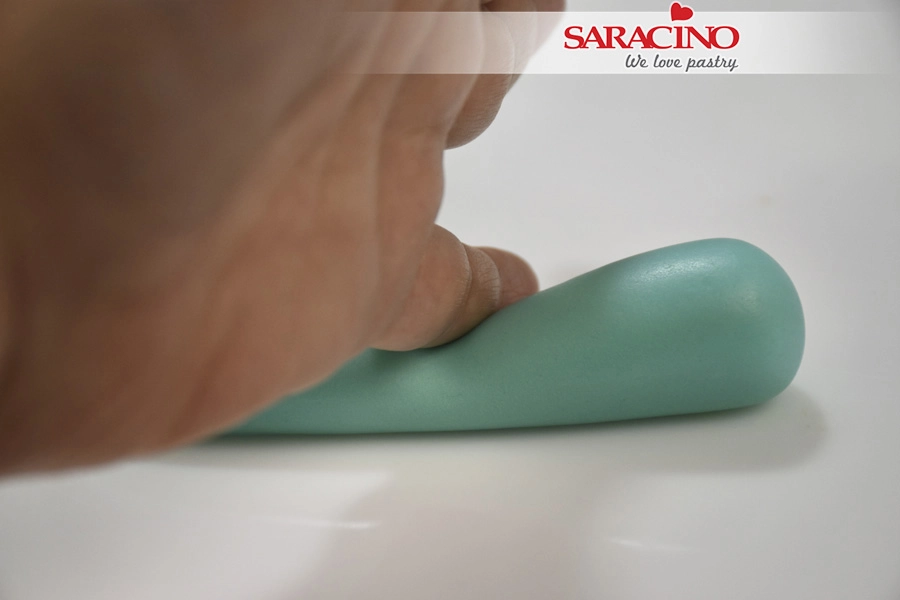
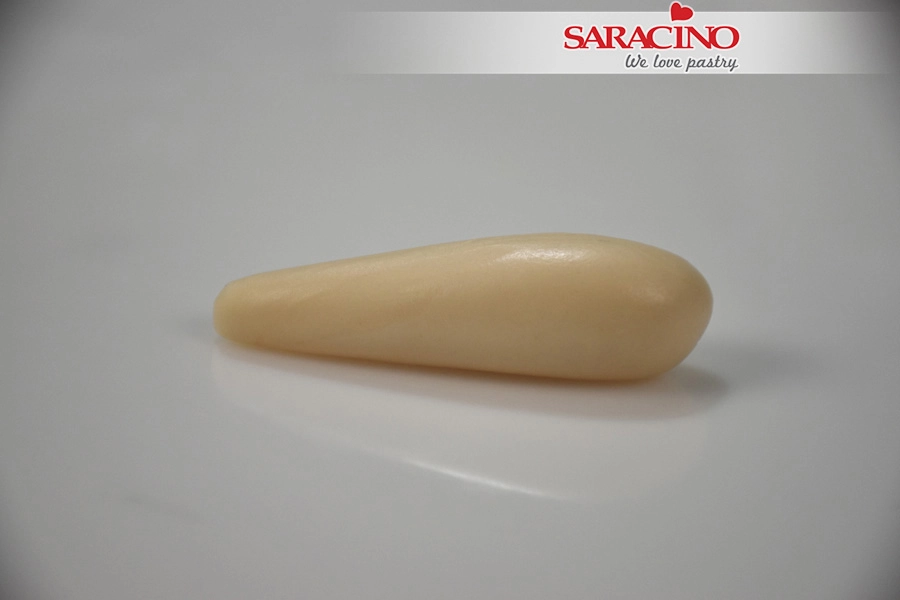
For the leggings roll 35g of Tiffany colour modelling paste into a carrot shape


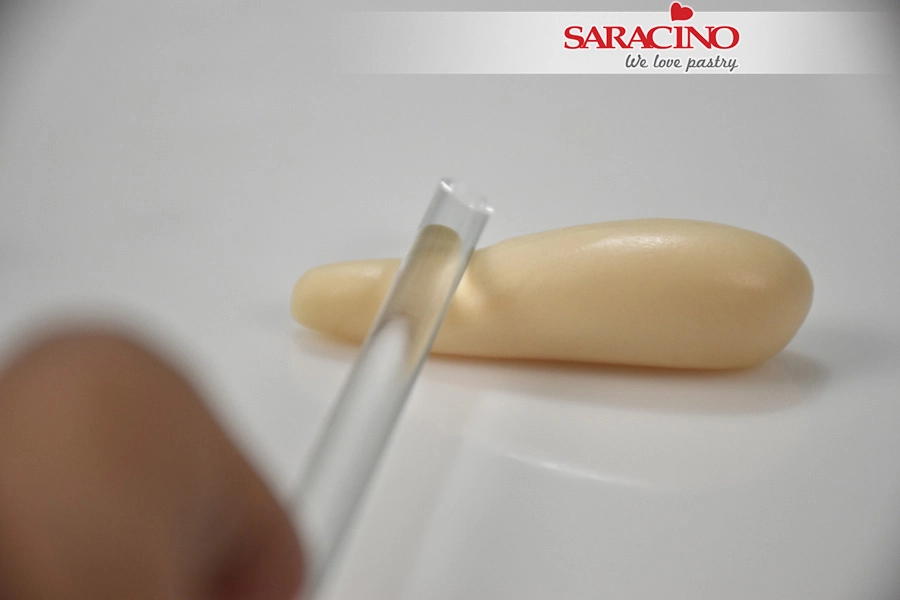
Step 35

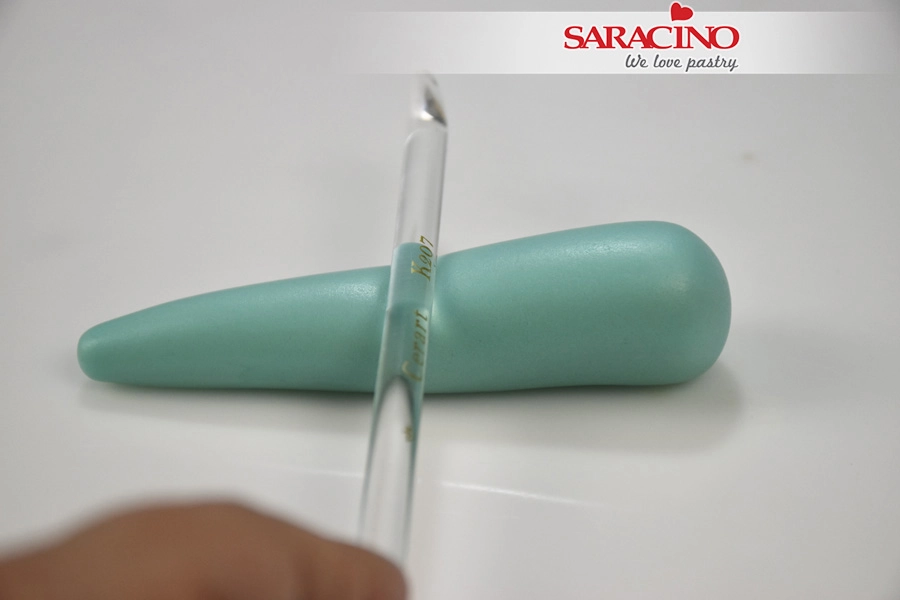
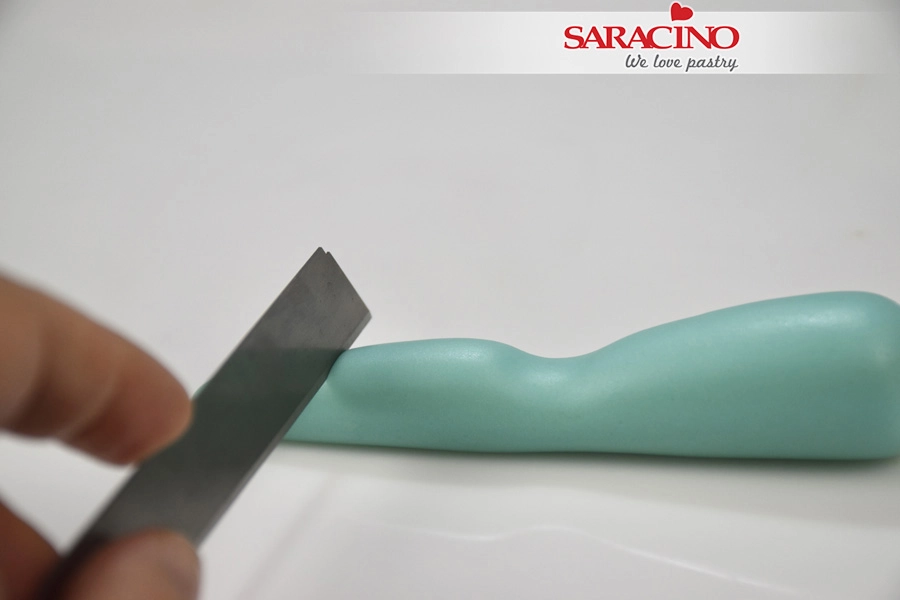
Use the back side of your brush to create a mark on the leg for the back of the knee.


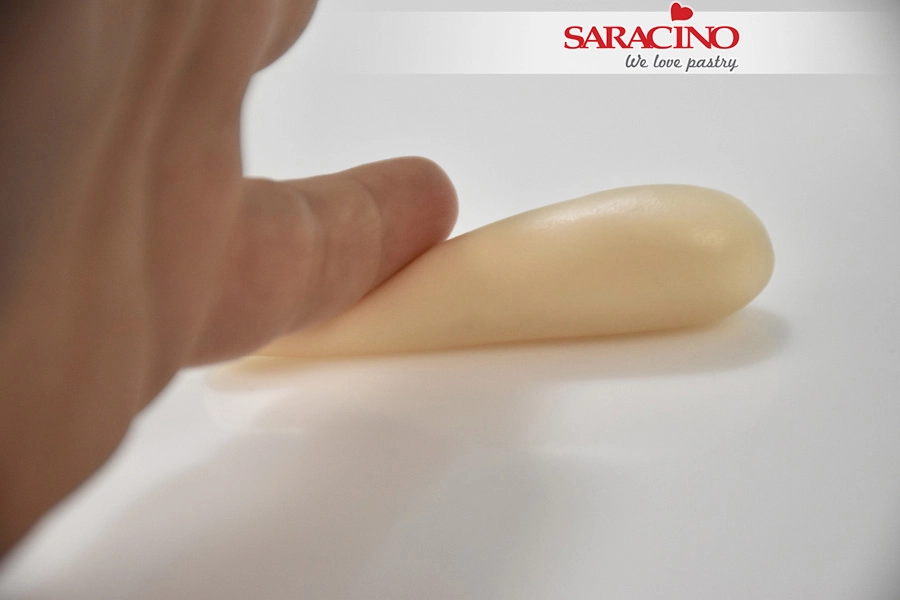
Step 36

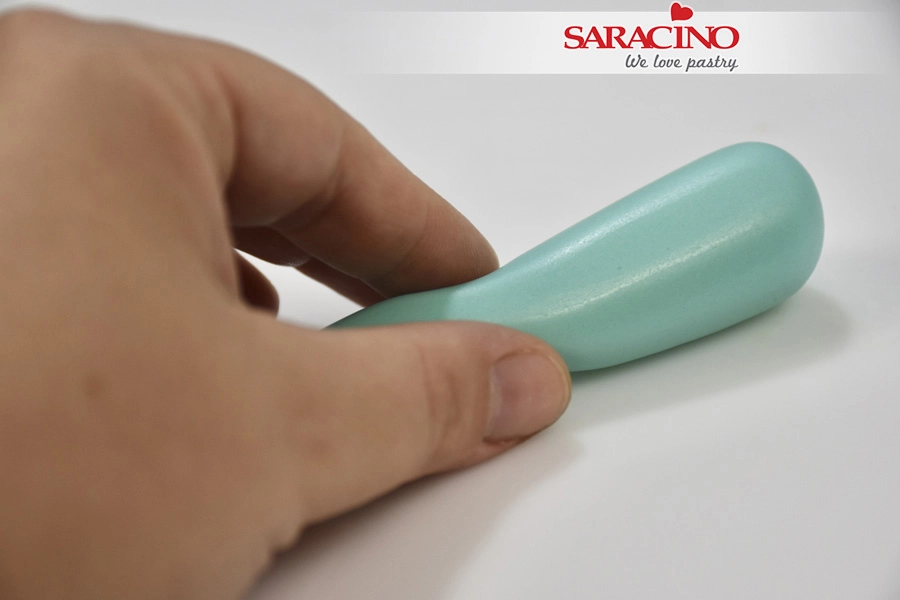
Roll again using your finger to form the shape of the leg


Step 37

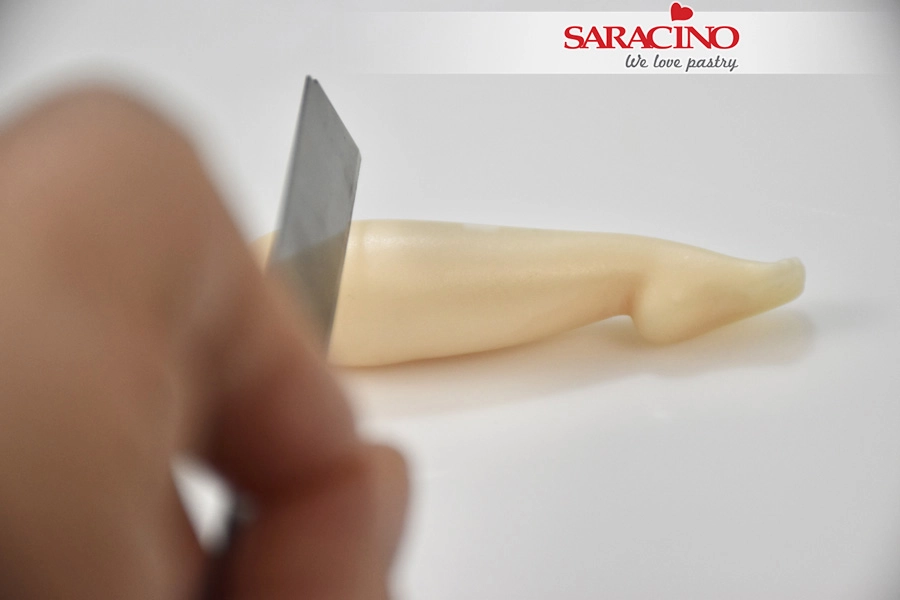
With a blade cut the lower part of the leg


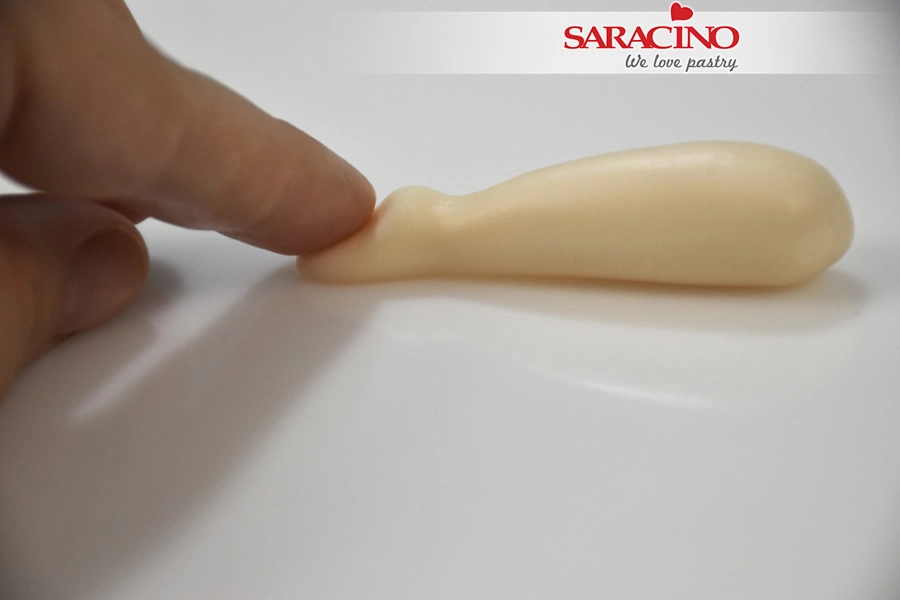
Step 38

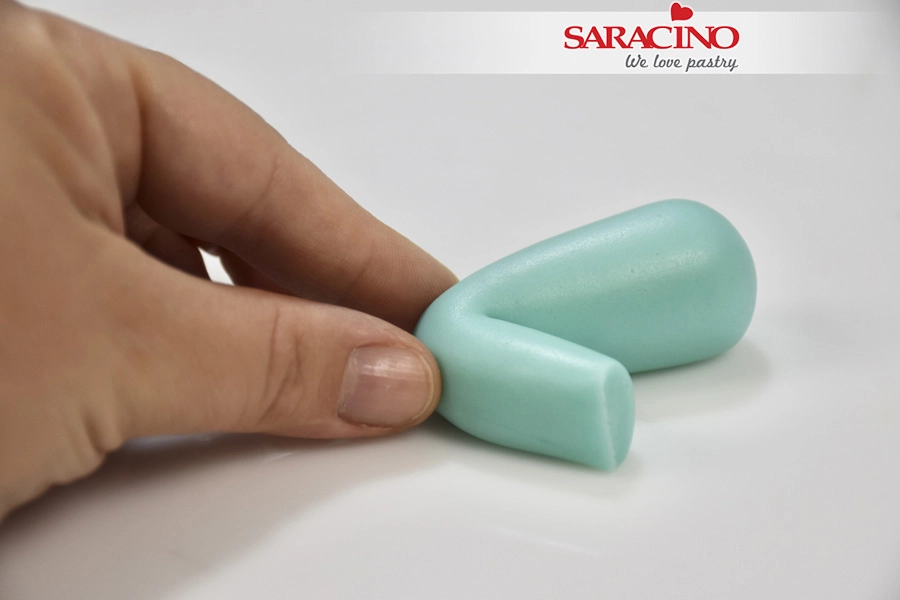
Use your fingers to pinch the paste and define the knee


Step 39

Bend the leg and shape the knee


Step 40

For the lower leg and foot roll 8g of modelling paste into a carrot shape


Step 41

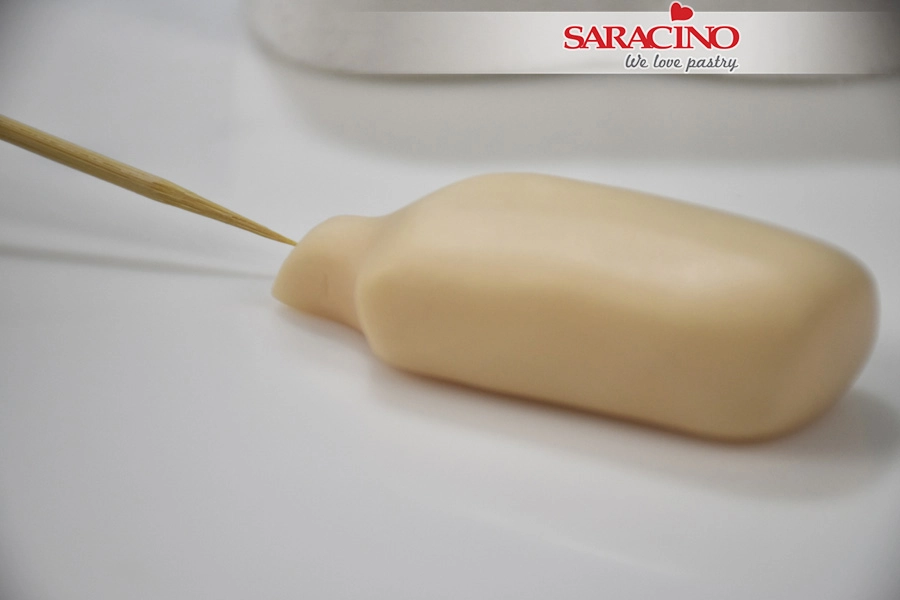
Use the back side of your brush to create a mark on the back of the leg for the foot


Step 42

Roll again using your finger to make it like a carrot shape.


Step 43

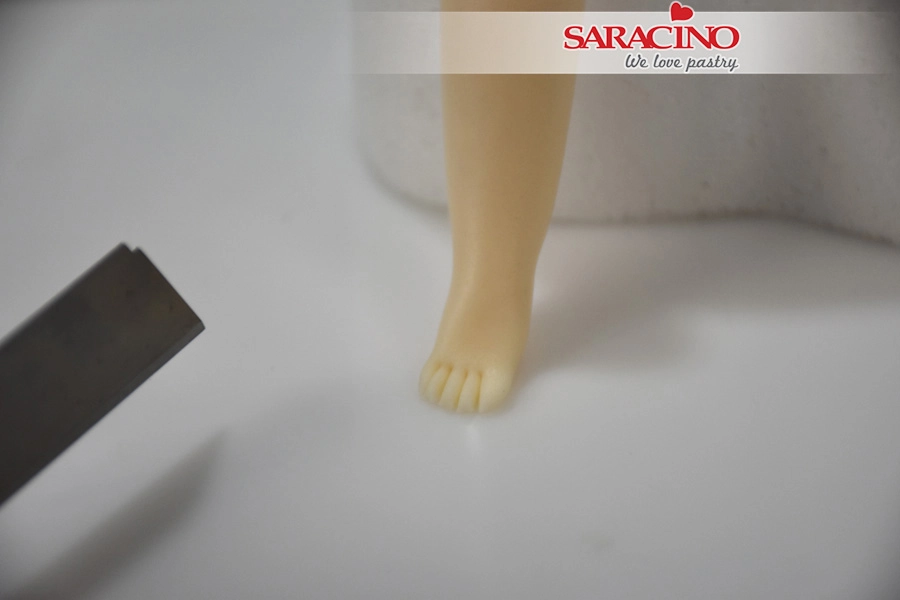
Press with your finger to create the foot and the heel


Step 44

Use a blade to form the toes


Step 45

With a blade cut the top of the leg to the required length


Step 46

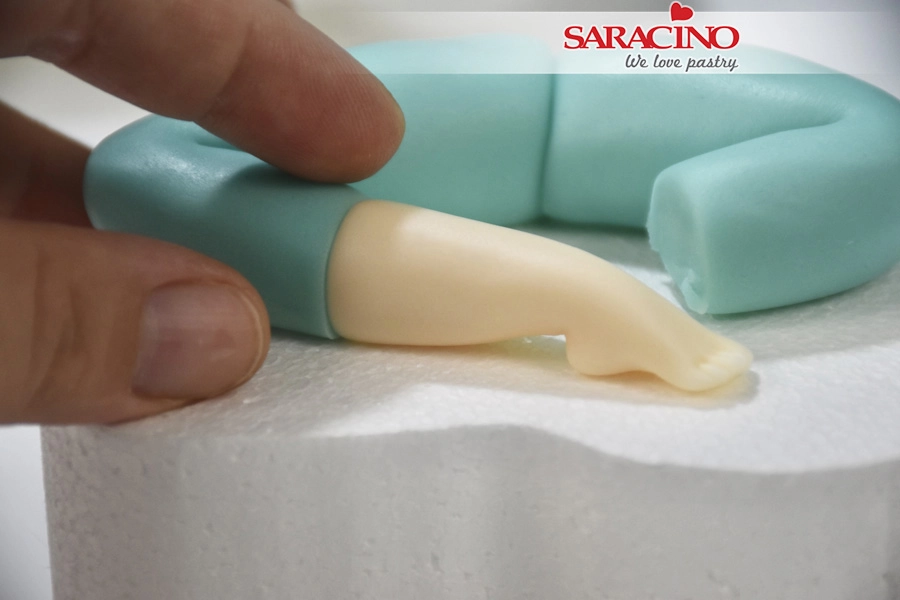
Form the pieces of the legs as seen in the picture. Repeat to make the other leg.


Step 47

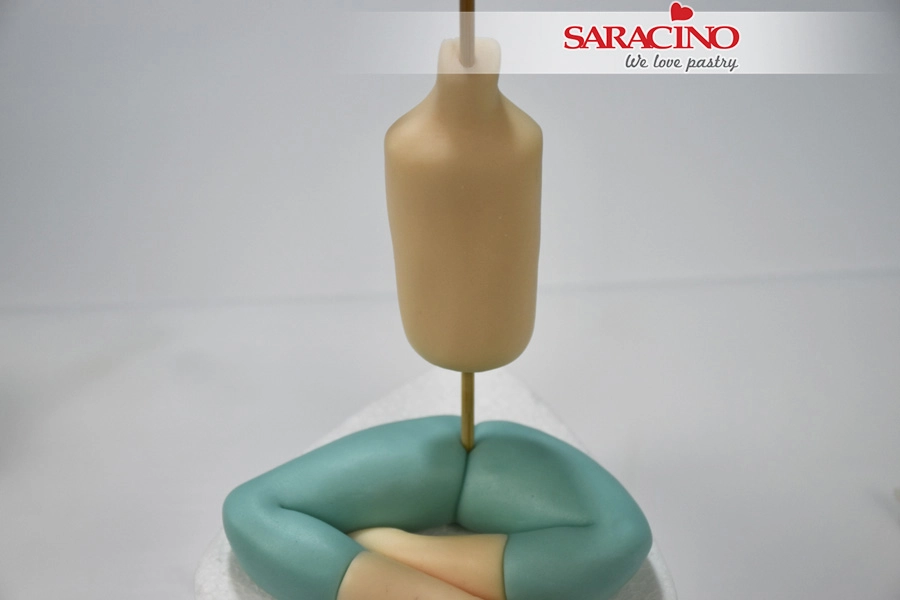
Take a wooden skewer and insert through the body from the neck and out through the lower end 


Step 48

Place the body on top of the legs exactly in the middle 


Step 49

Place the head on the skewer 


Step 50

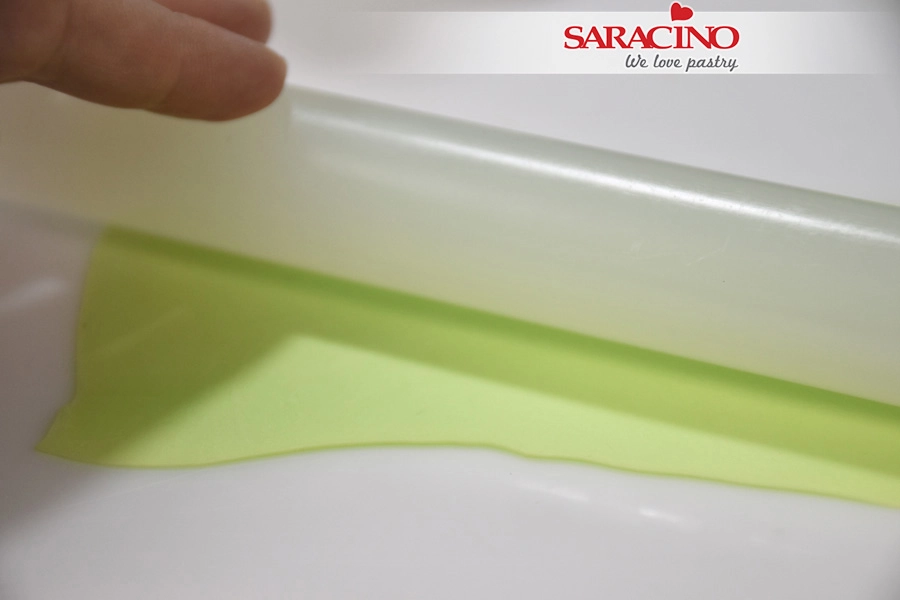
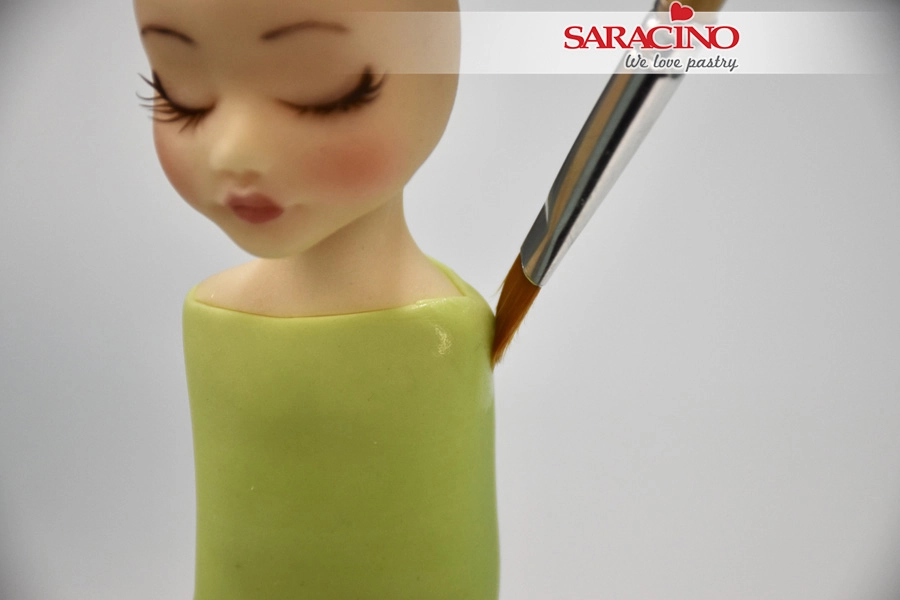
For the T shirt roll a piece of light green modelling paste


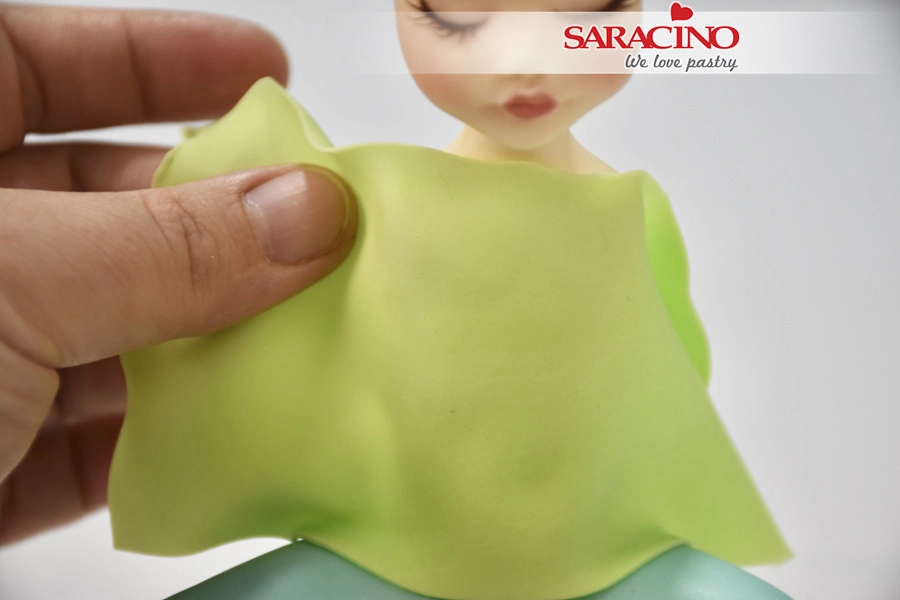
Step 51

Wrap the body with the paste


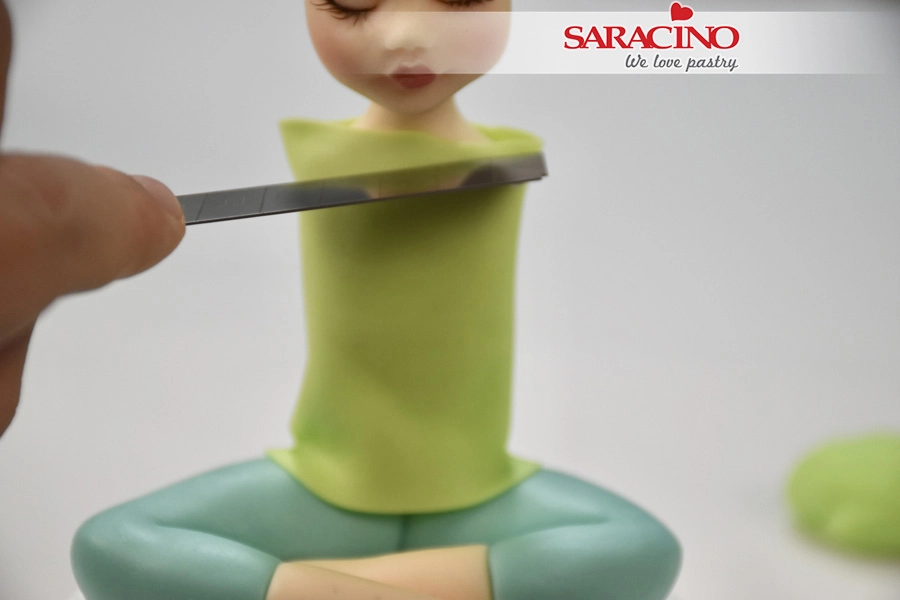
Step 52

Cut any excess paste with a sharp blade


Step 53

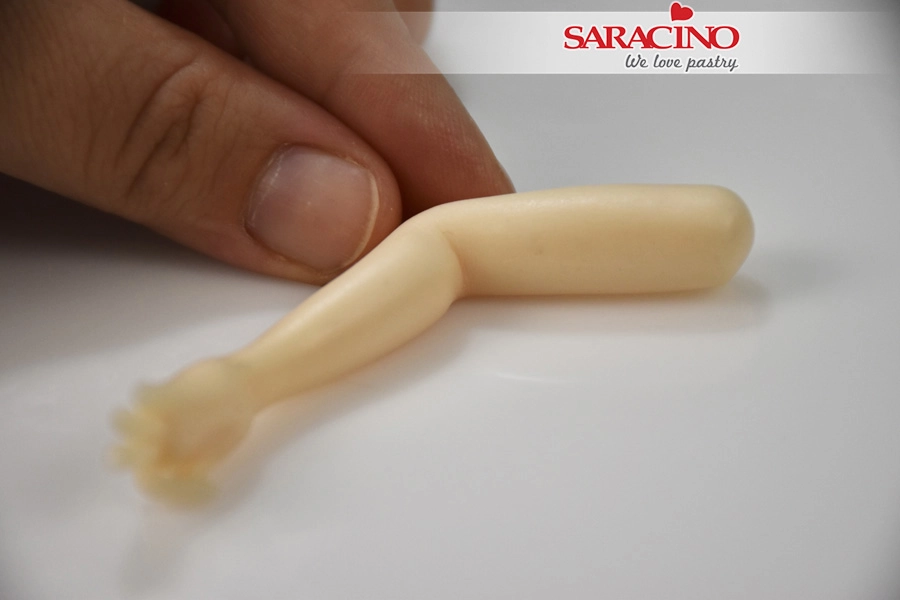
For the arms roll 8g of sugar paste into a carrot shape 


Step 54

Use your brush to create a mark for the wrist and elbow joints


Step 55

Roll again using your fingers to make each part a carrot shape


Step 56

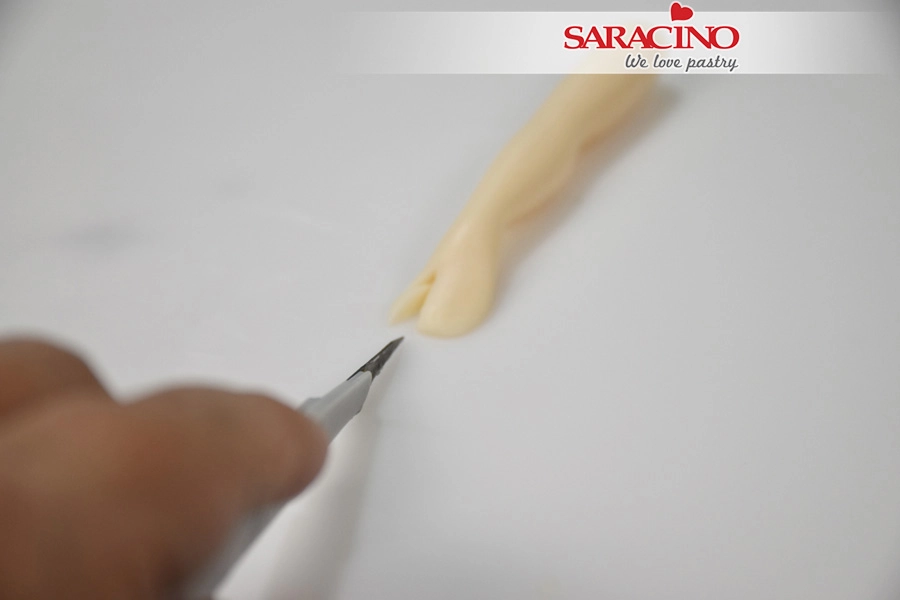
Turn the arm upside down and press with your finger to shape the palm


Step 57

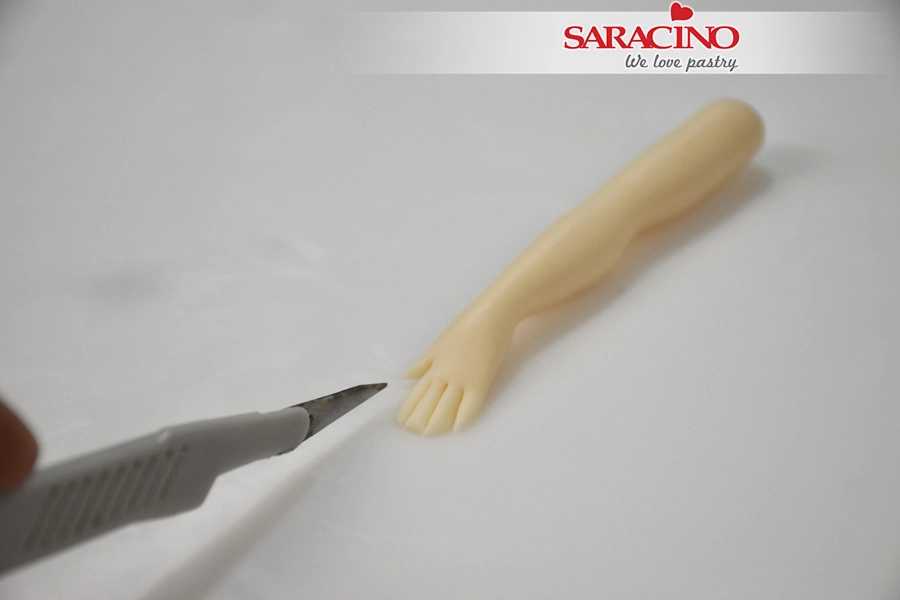
Use your exacto knife to cut the thumb as seen in the picture


Step 58

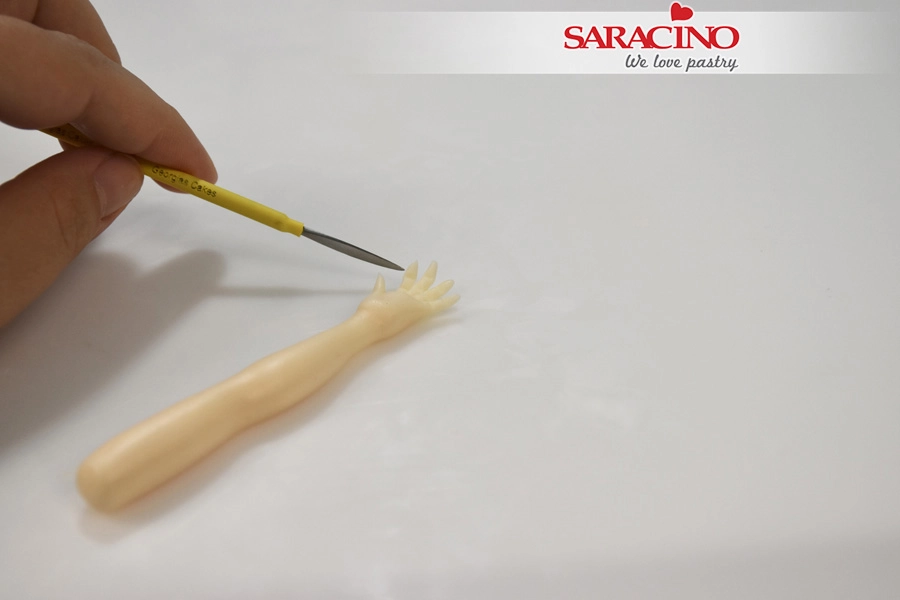
Repeat for the fingers by first cutting in the middle and then each part again in the middle. This way you will end up with 4 equal fingers


Step 59

Use a metalic spatula to add details in the fingers


Step 60

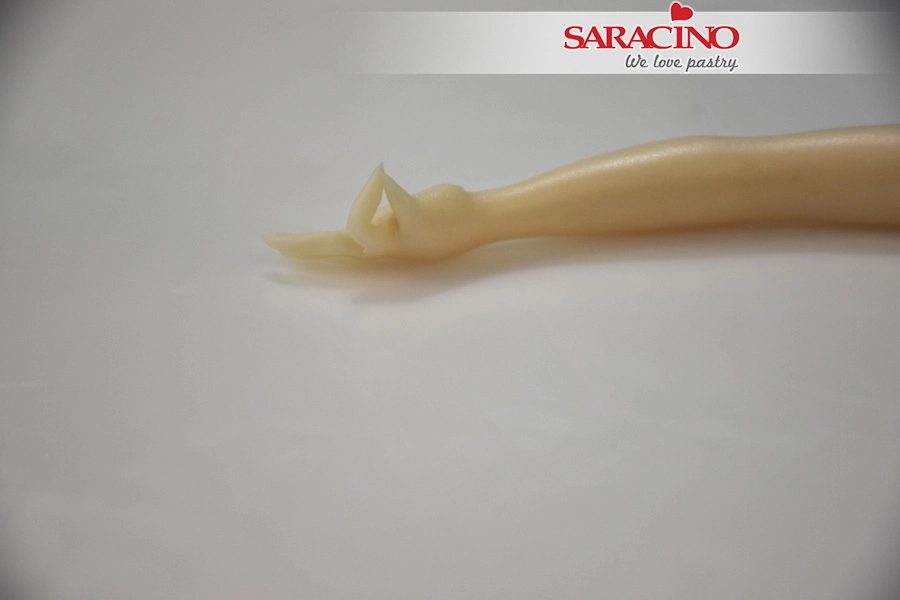
Bend the thumb and index finger


Step 61

With your fingers shape the elbow. Repeat the previous steps to make another arm.


Step 62

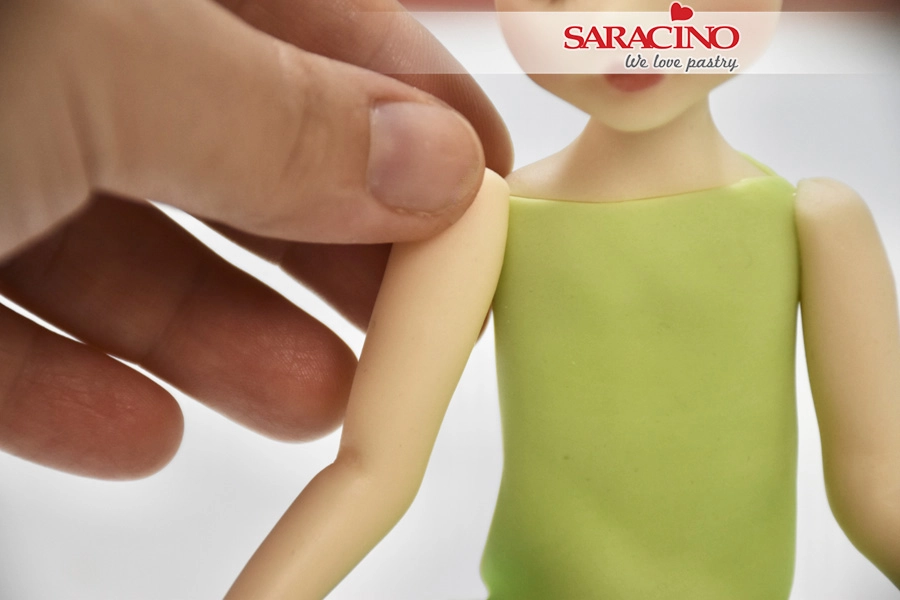
Add some edible glue on the shoulders


Step 63

Glue the arms to the body 

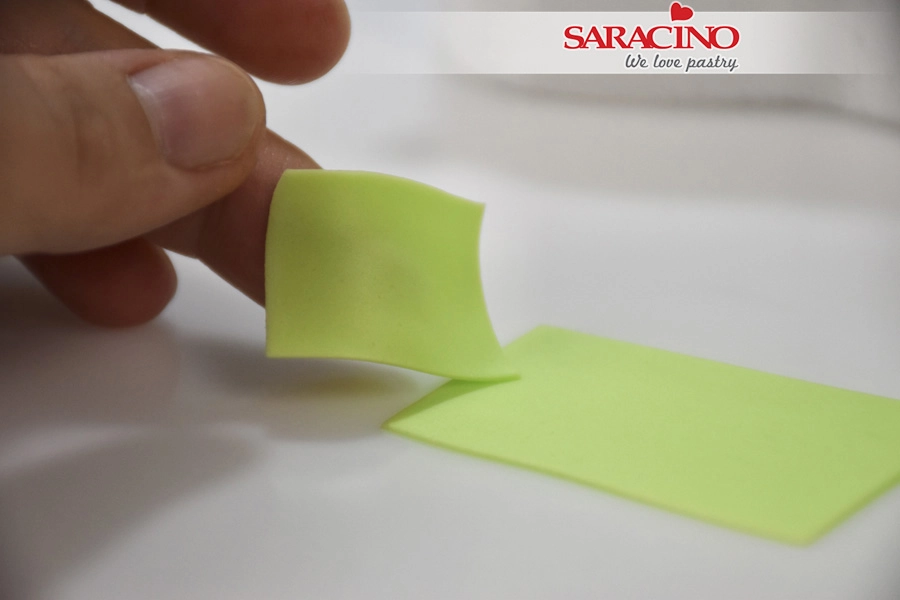
Step 64

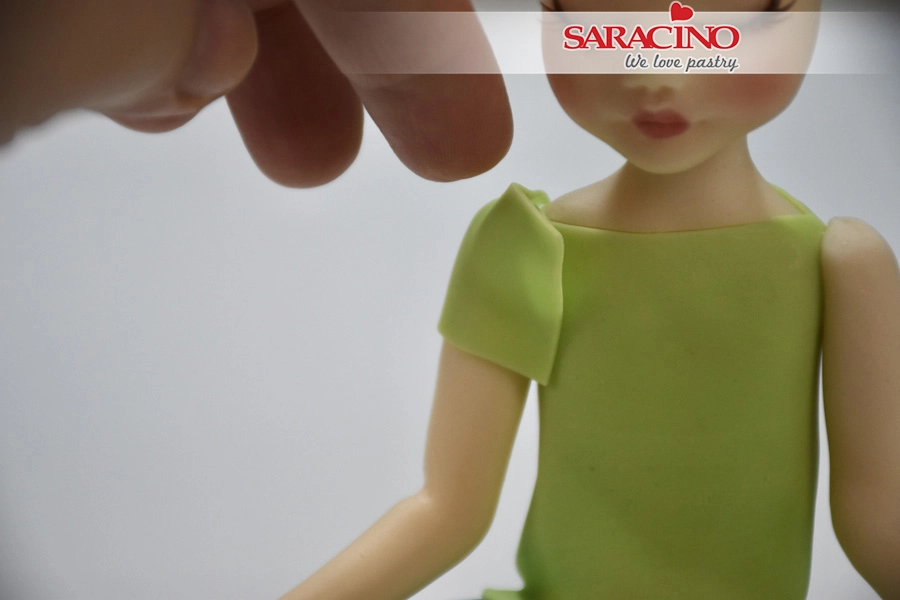
To make the sleeves of the T shirt cut a small piece of rolled paste


Step 65

Place the piece on the shoulders to make the sleeves


Step 66

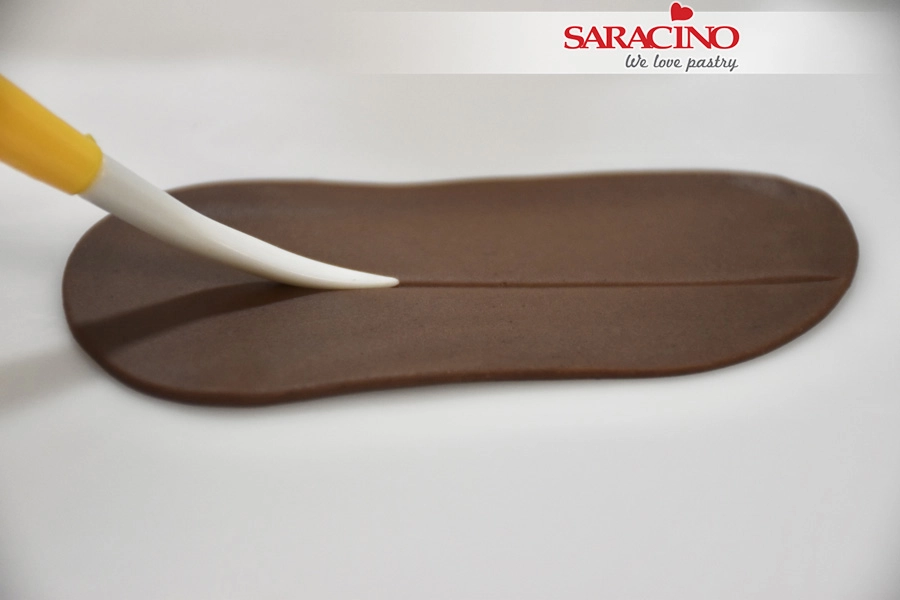
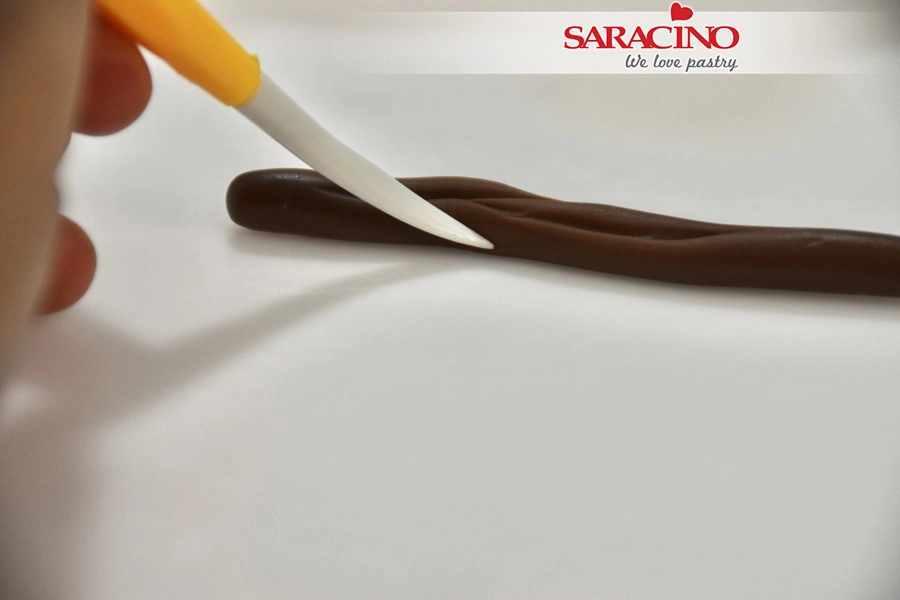
For the hair roll brown modelling paste and use the dresden tool to make lines


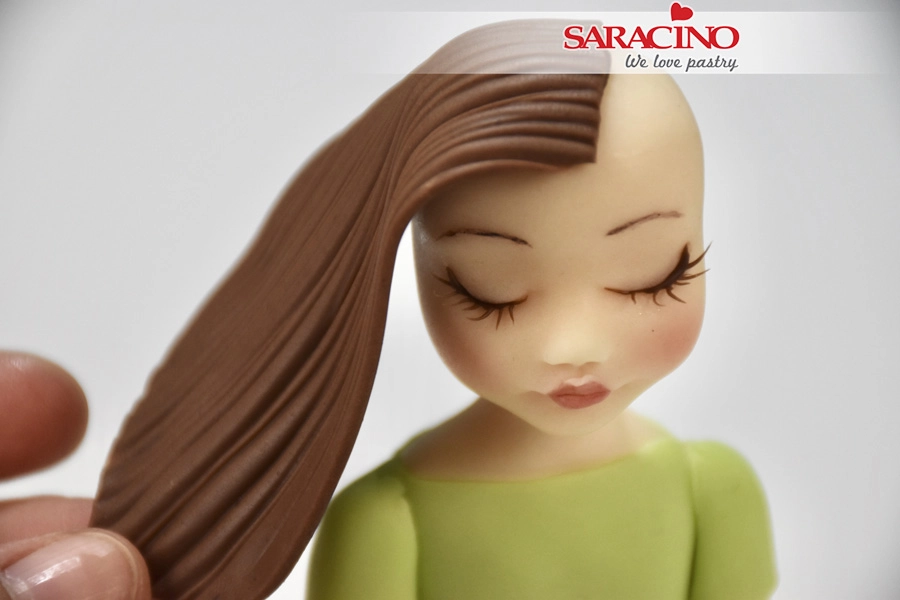
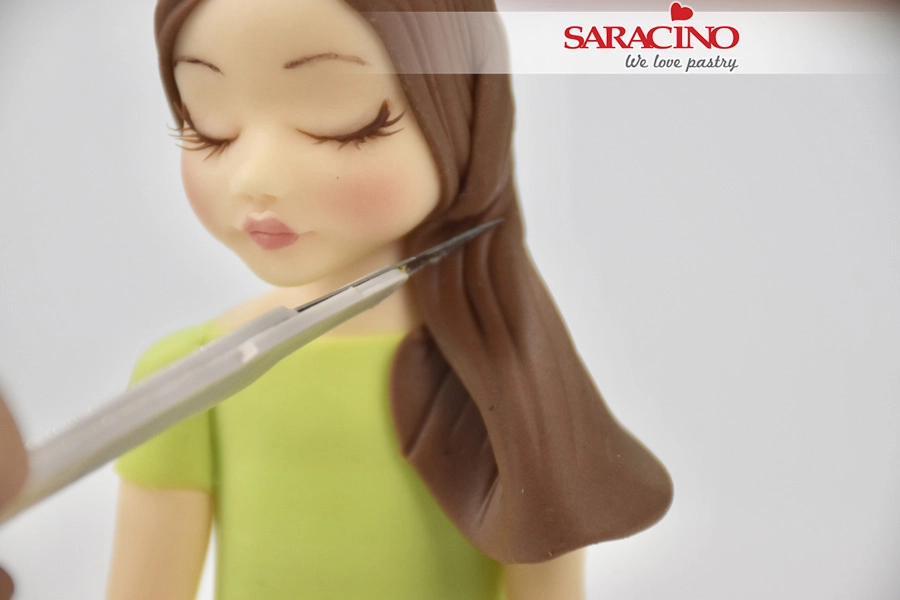
Step 67

Cut a straight line at one end for the hair parting. Fix the paste on the head with a little glue to create the hair 


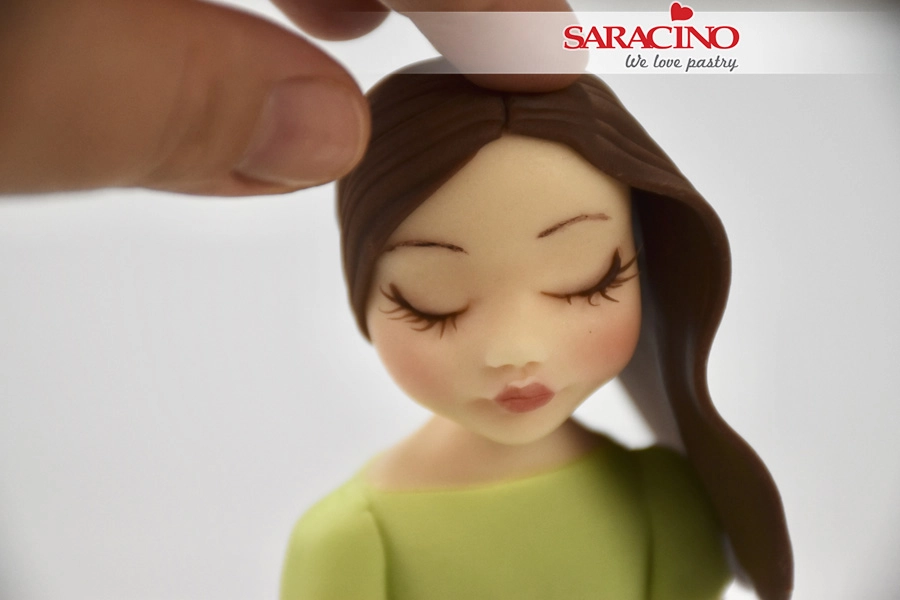
Step 68

Repeat the same to the other side of the head


Step 69

Cut any excess 


Step 70

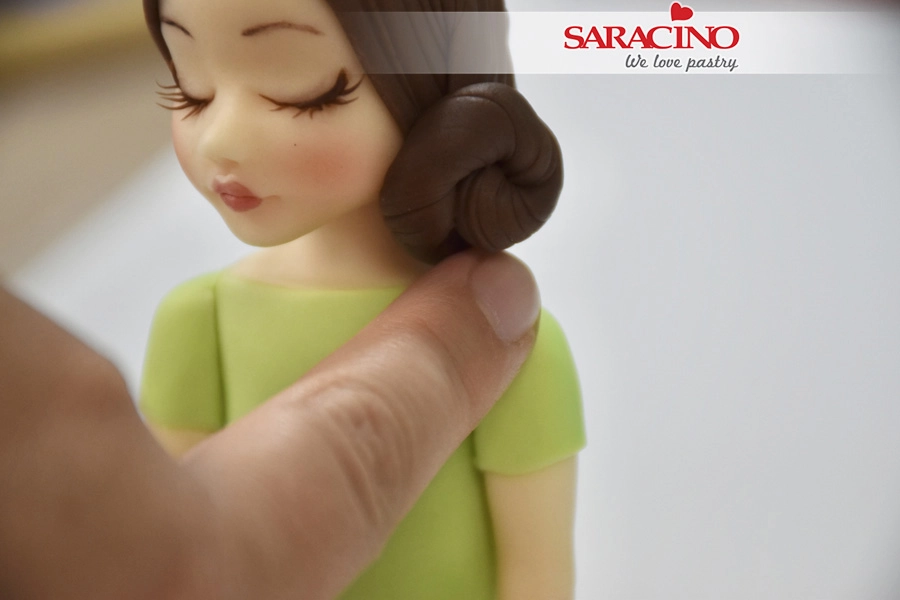
For the hair bun roll brown paste and use the dresden tool to make lines


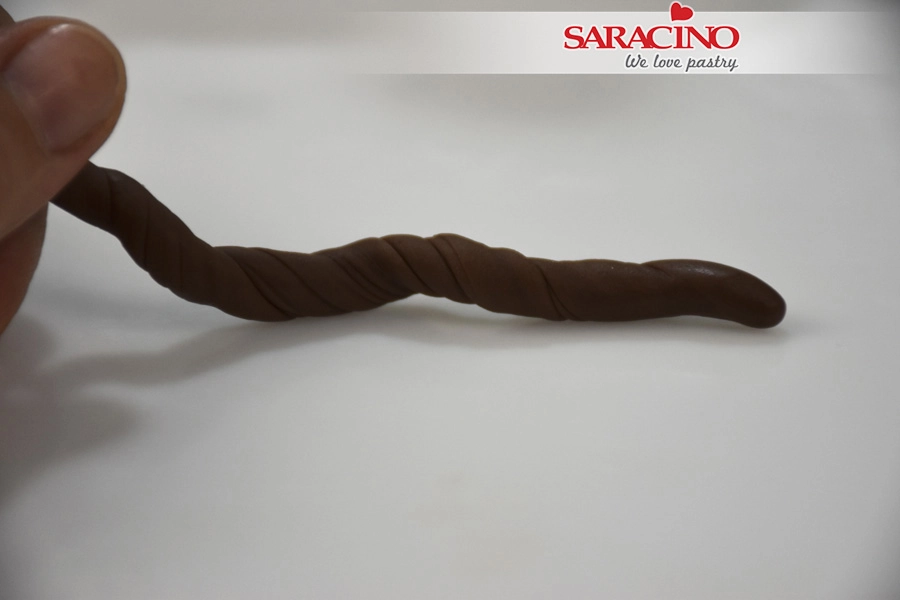
Step 71

Twist the paste as seen in the picture


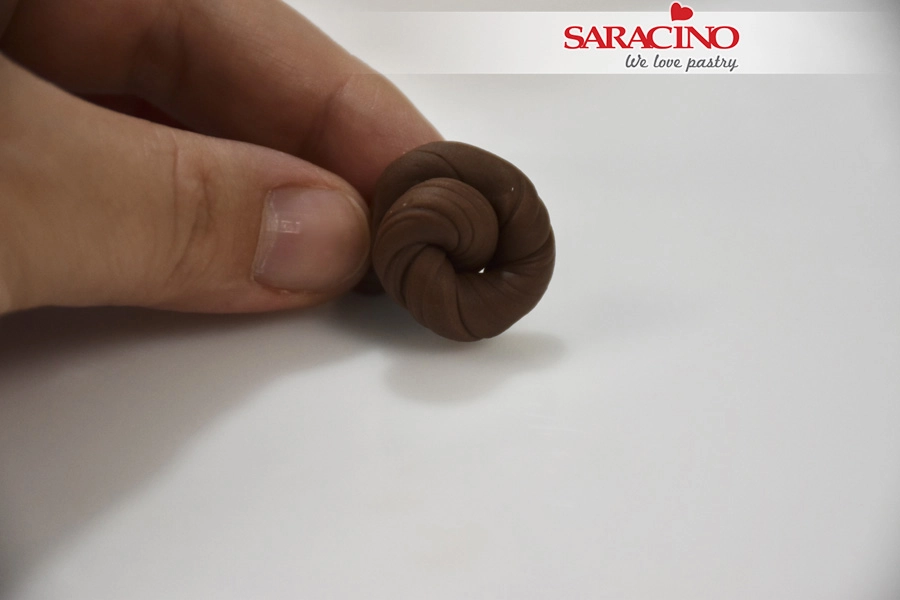
Step 72

Roll to shape a bun


Step 73

Fix the bun on the head with a little glue


Step 74

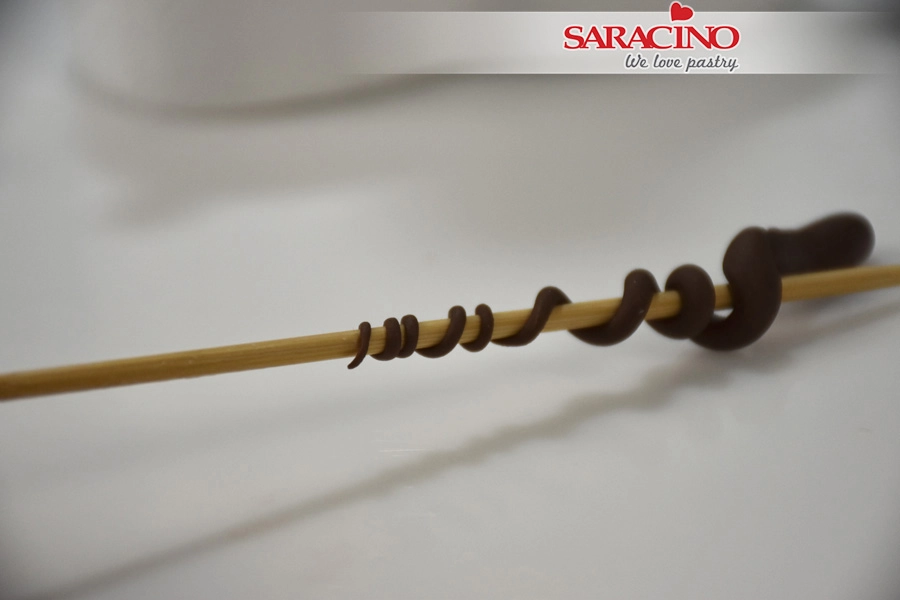
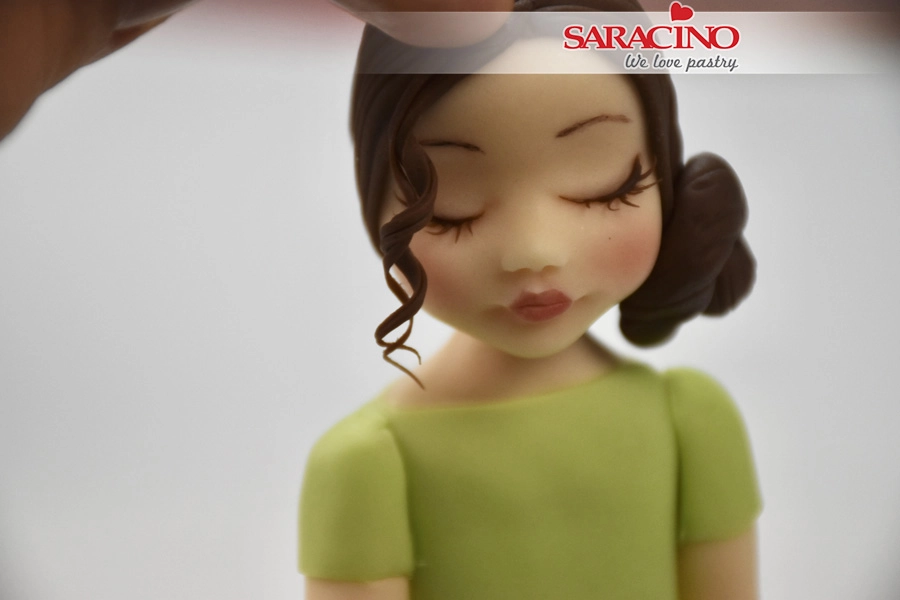
To create the curls roll a tiny piece of brown paste to a carrot shape and twist it on a toothpick


Step 75

Fix the curls on the head


Step 76

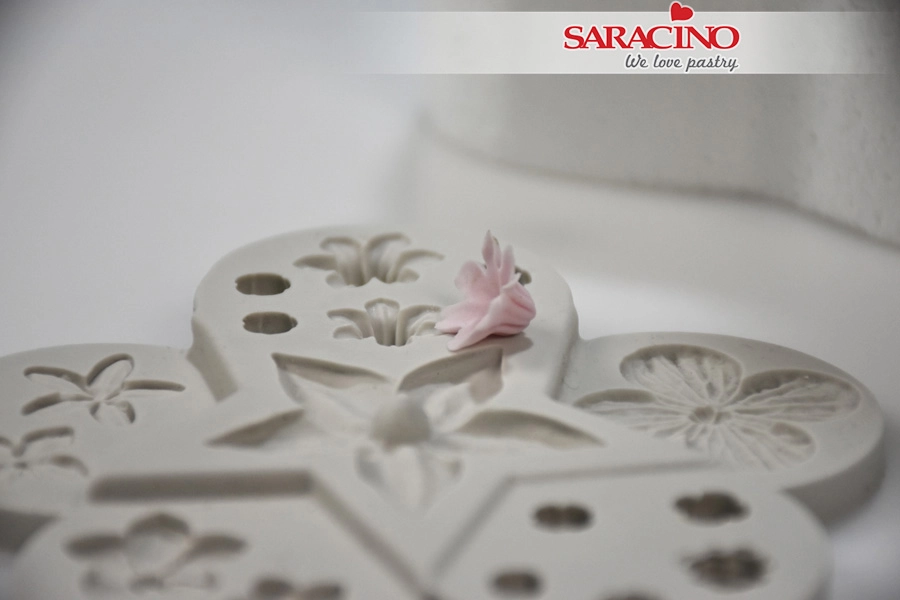
Use a silicone mould to make some flowers for fixing in the girls hair


Step 77

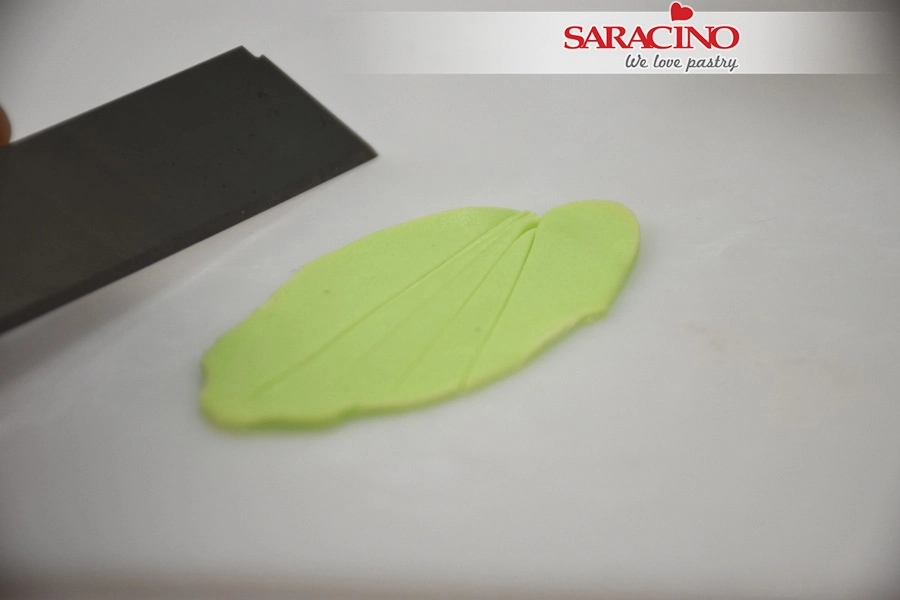
For some small leaves roll and cut some strips of green modelling  paste. Fix them on the head with the flower


Step 78

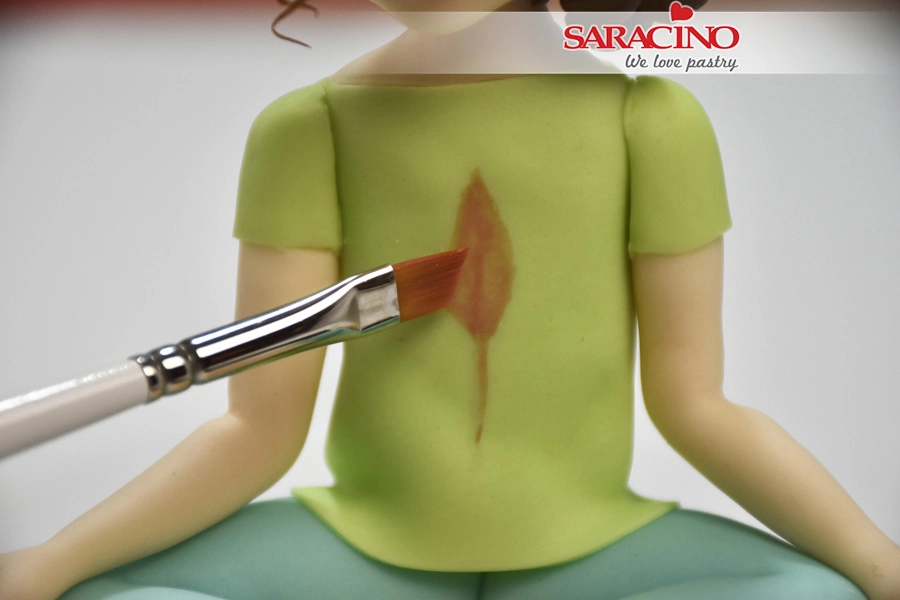
Draw a feather with red color dust mixed with alcohol


Step 79

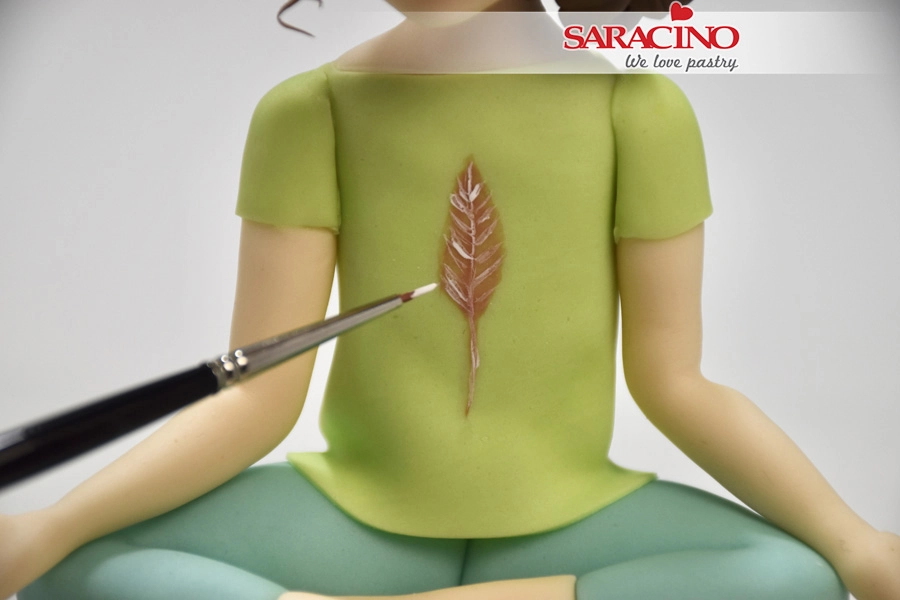
Draw some extra lines with extra white color


Step 80

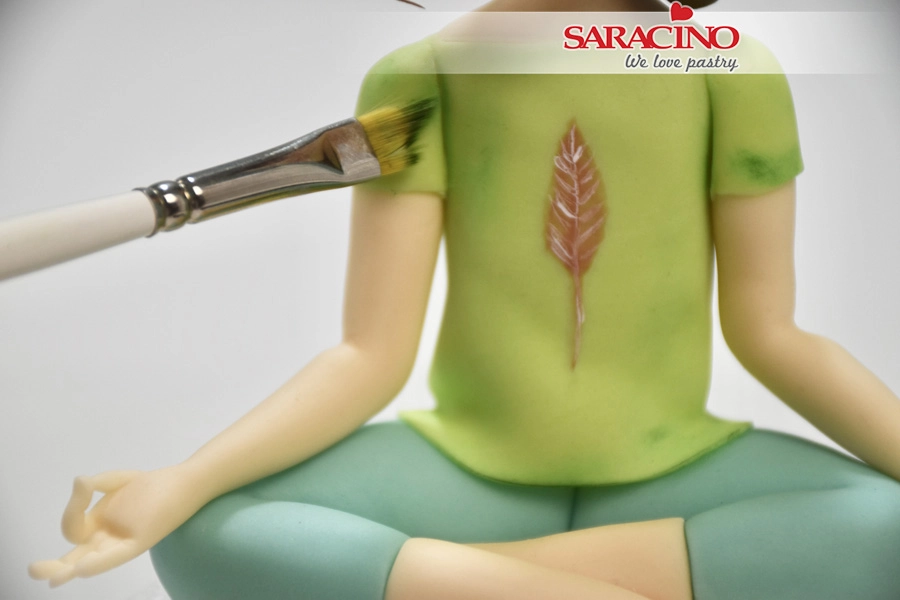
Add some shadows with green dust 


Step 81

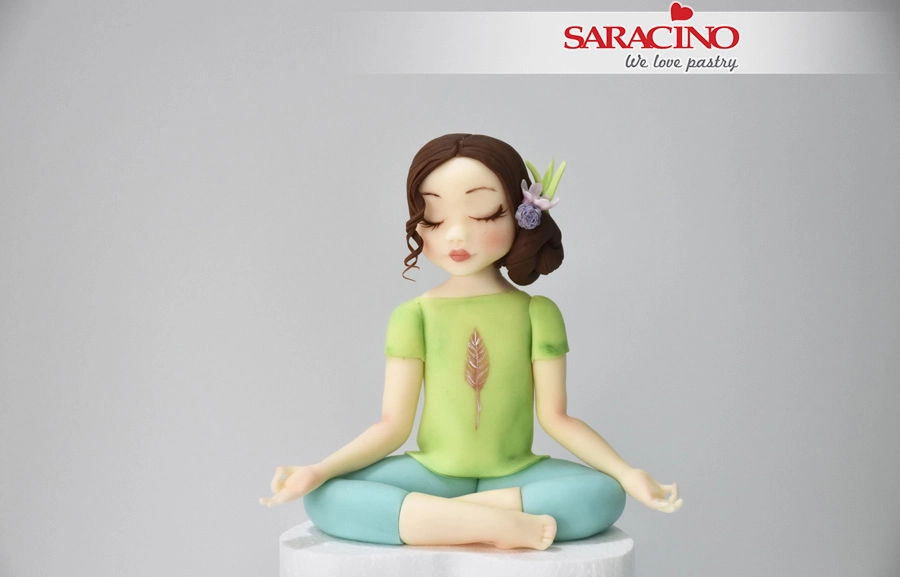
Your figurine is ready


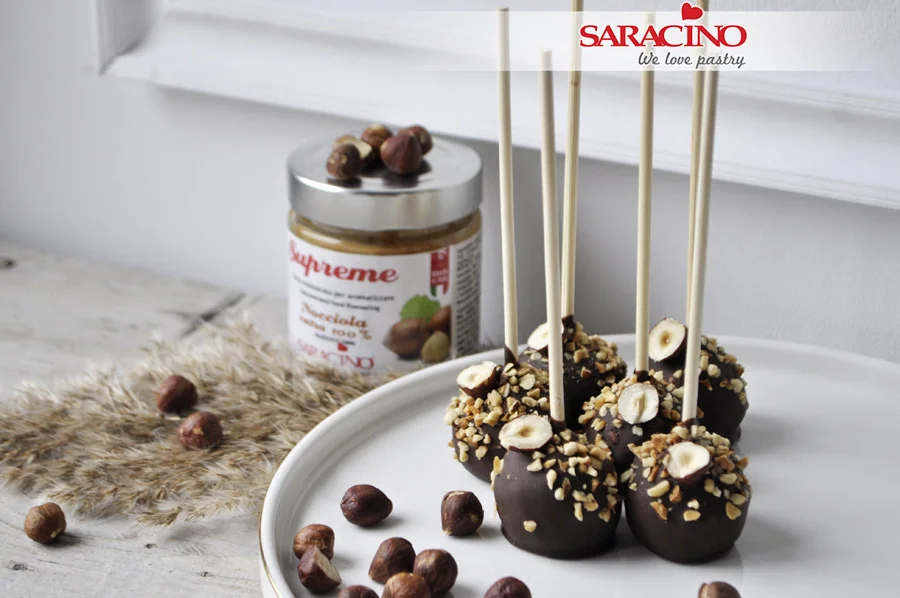
HAZELNUT POPS IN DARK CHOCOLATE

HAZELNUT POPS IN DARK CHOCOLATE

Author: Justyna Kowal

Skill level: BEGINNERS 

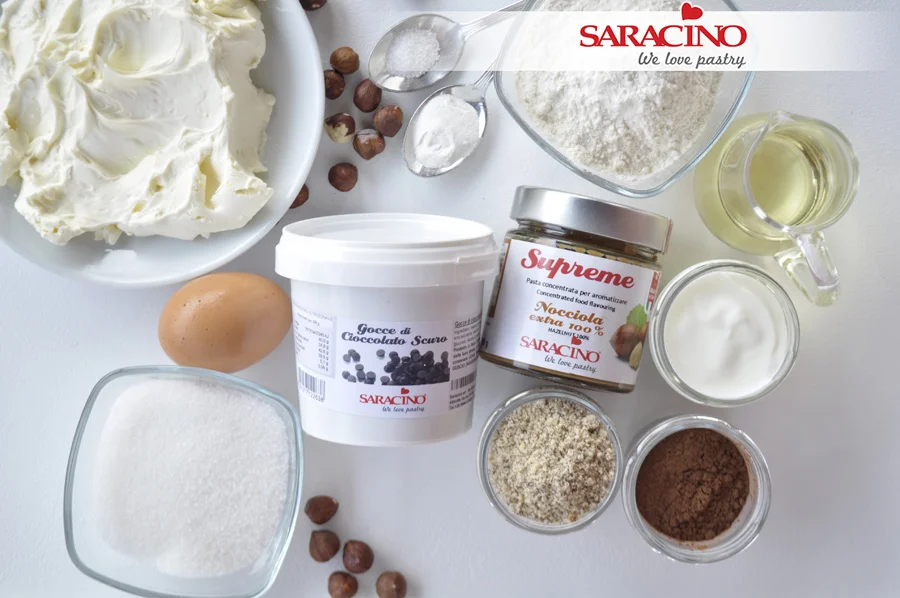
You will need:

  • 100g natural yoghurt
  • 1 egg
  • 50g vegetable oil
  • 100g sugar
  • 80g wheat flour
  • 40g roasted hazelnut flour
  • 20g cocoa powder
  • ¾ teaspoon of baking powder
  • pinch of salt
  • 3 teaspoons Saracino Supreme hazelnut paste
  • 100g mascarpone cheese
  • Saracino dark chocolate drops
  • Chopped hazelnuts for decoration
 

Step 1

Bring all the ingredients to room temperature.

Step 2

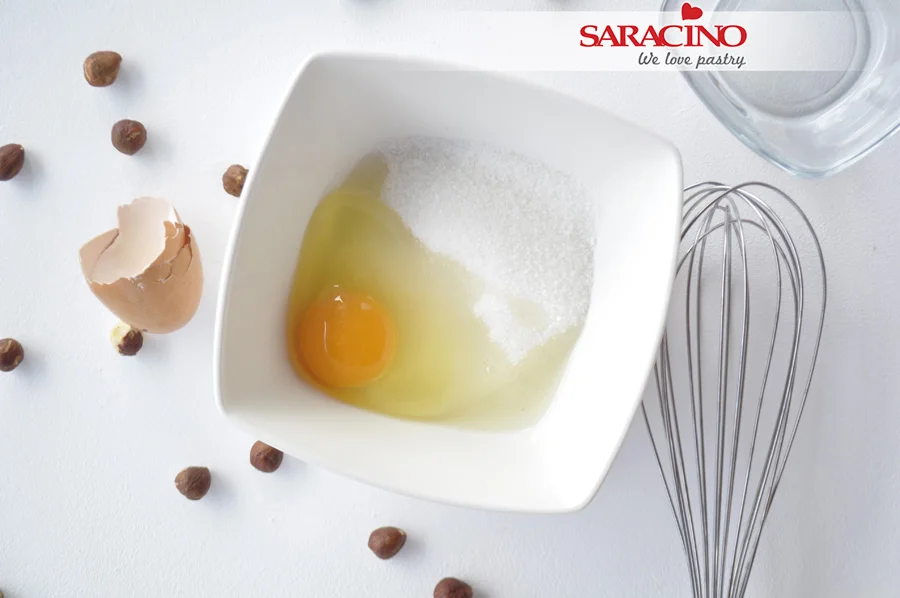
Put the egg and the sugar into a small bowl

Step 3

Mix until a smooth consistency is achieved. 

Step 4

Add the yogurt and the oil.

Step 5

Mix until smooth

Step 6

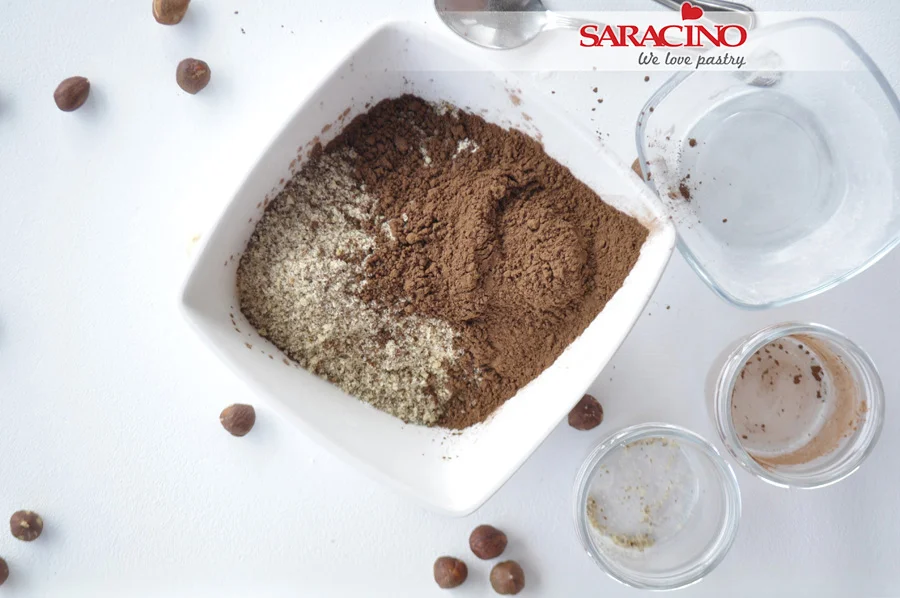
Add flour and baking powder to the next bowl.

Step 7

Add cocoa powder and roasted hazelnut flour

Step 8

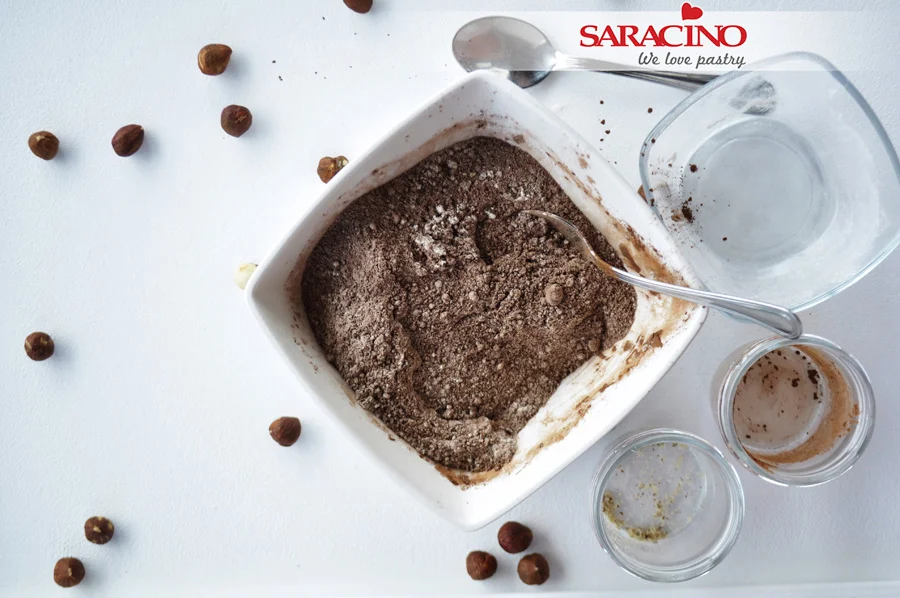
Mix all ingredients together

Step 9

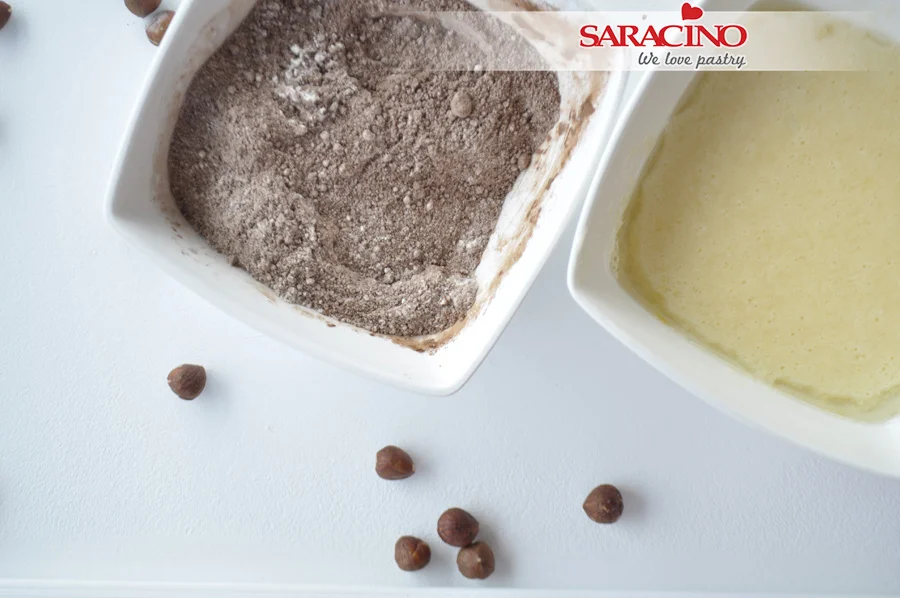
The two bowls are ready to be combined

Step 10

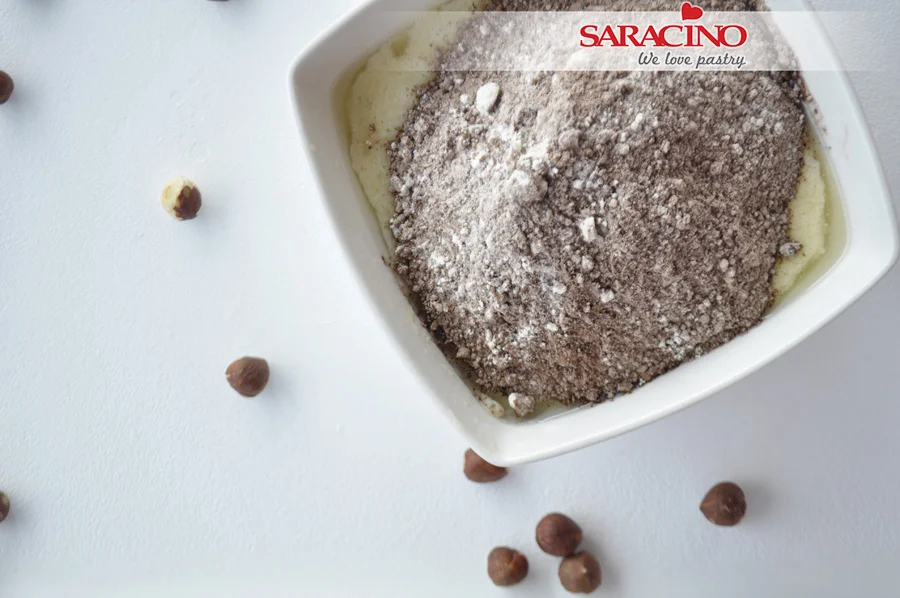
Add the dry ingredients to the liquid mixture and gently mix

Step 11

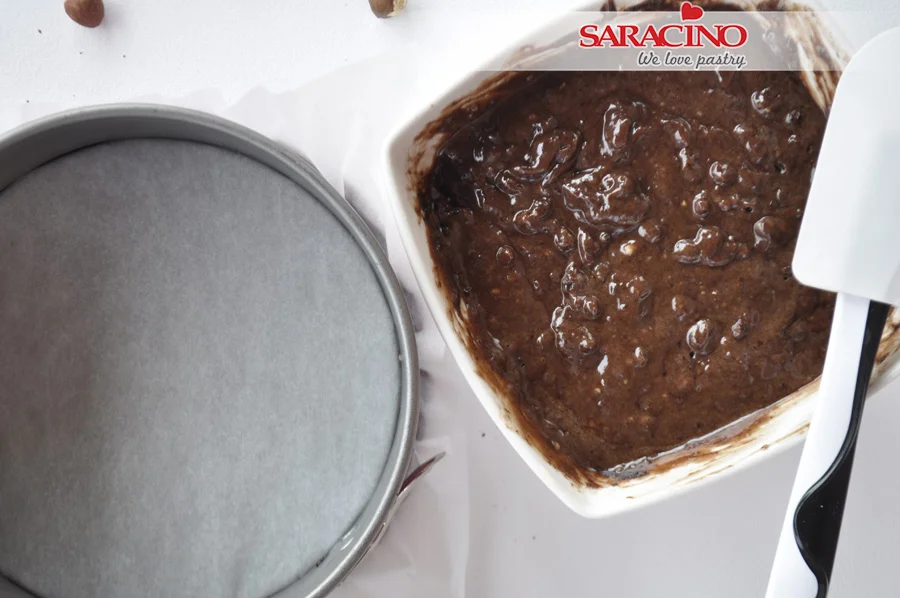
Line your baking tin with the baking paper 

Step 12

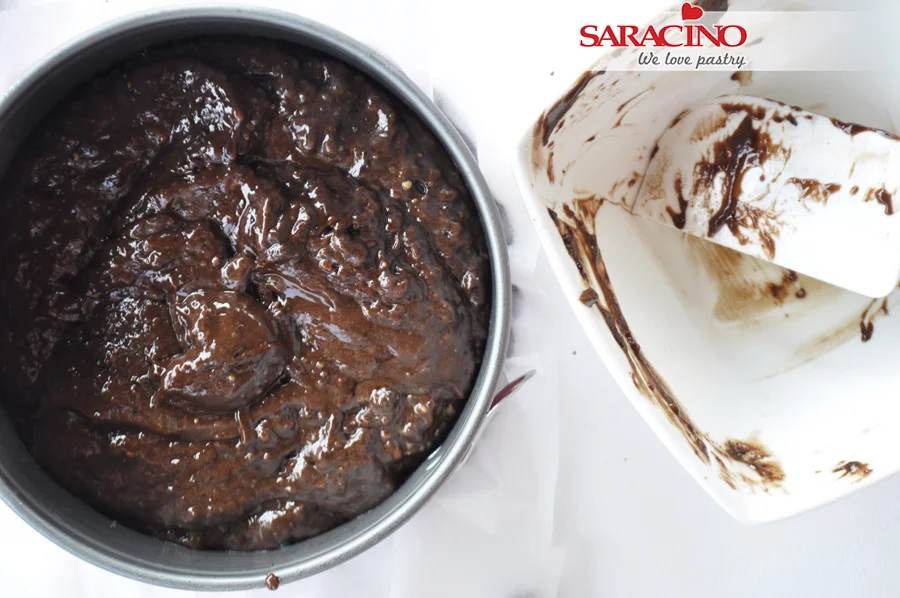
Add the mixture

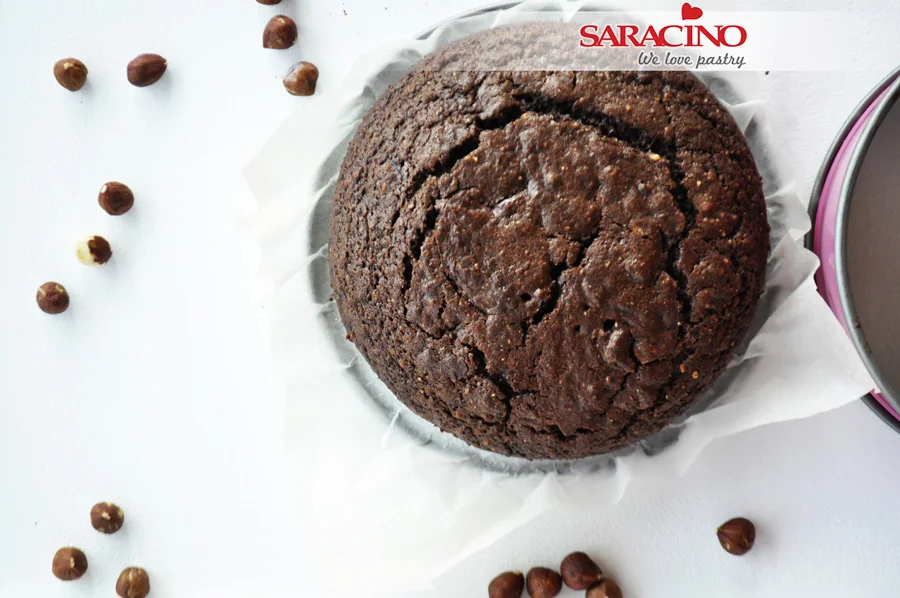
Step 13

Bake for 30 minutes at 170C

Step 14

Remove the cake from the tin and allow to cool down

Step 15

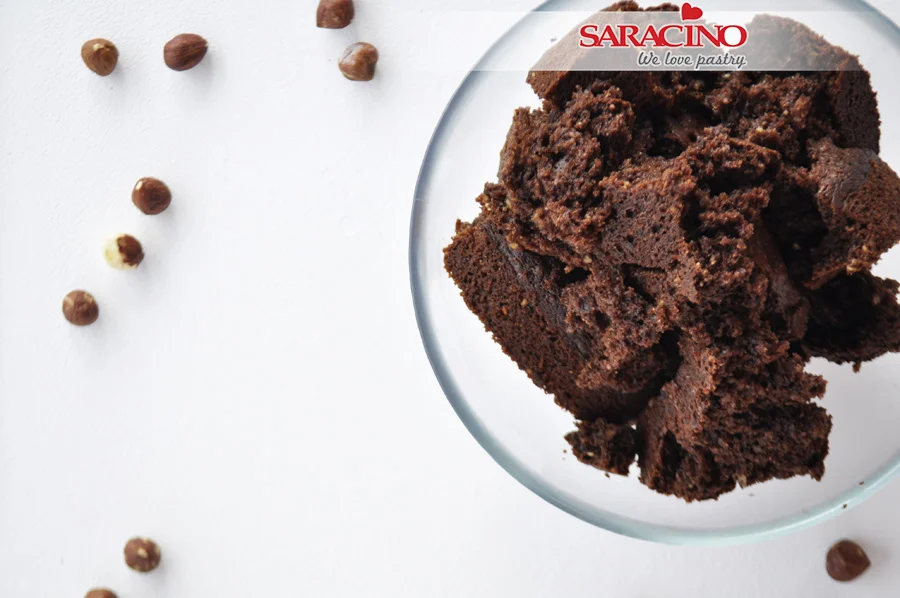
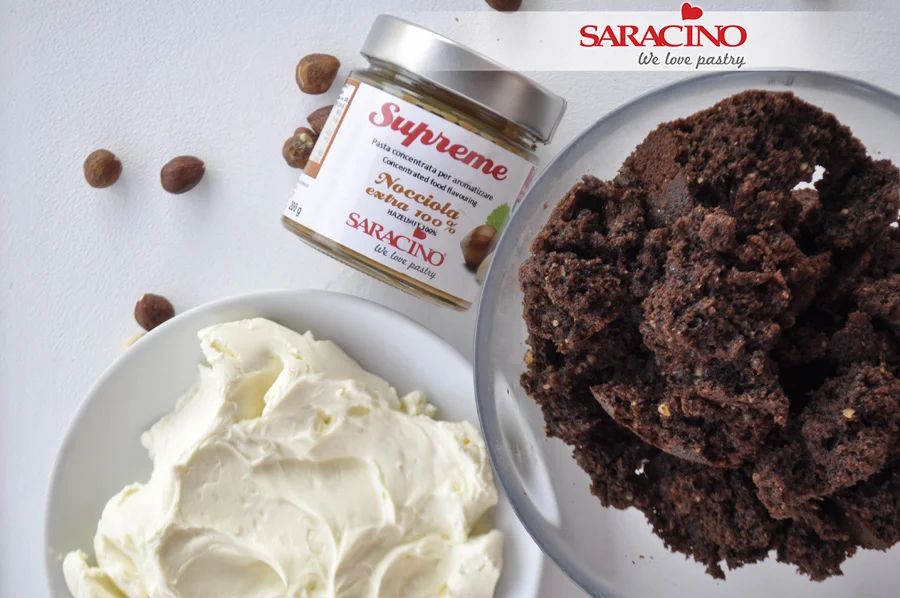
Break up the cake into small pieces

Step 16

Prepare the mascarpone cheese and Saracino hazelnut food flavouring

Step 17

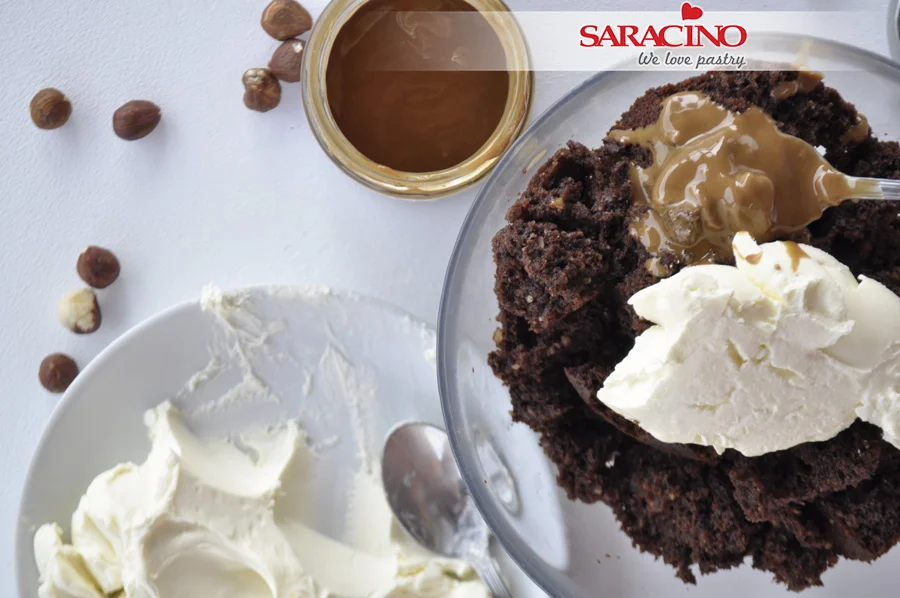
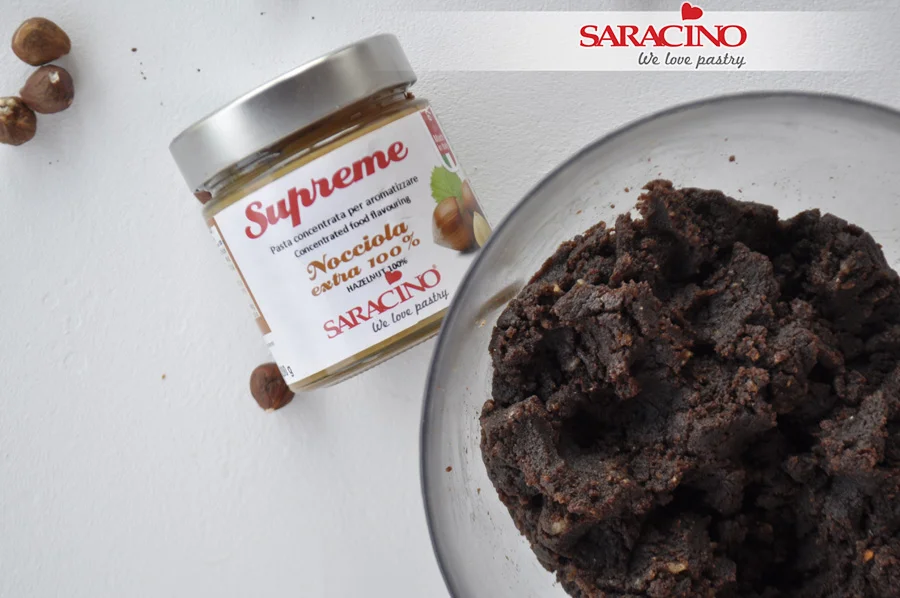
Add the mascarpone and the Saracino hazelnut paste to the cake

Step 18

Using your hands mix all together 

Step 19

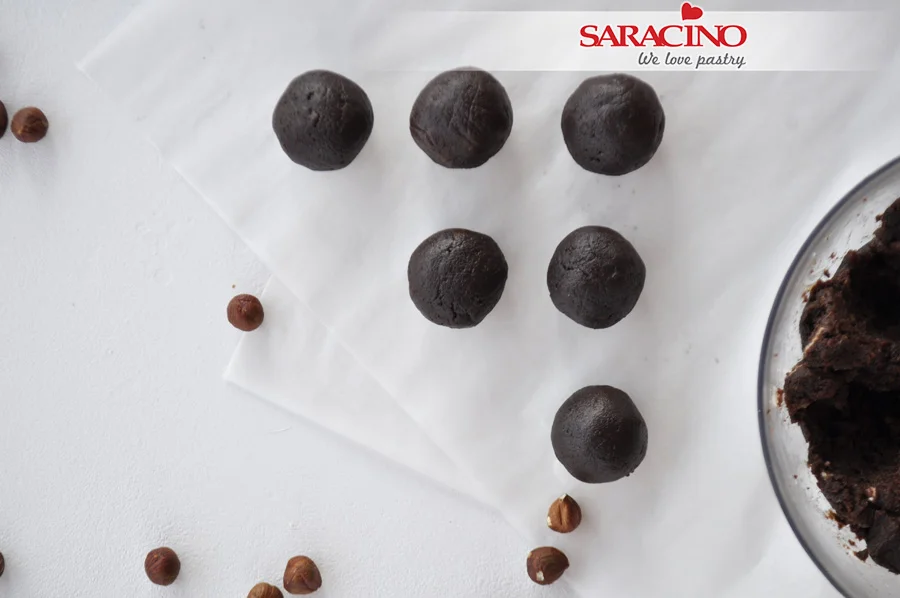
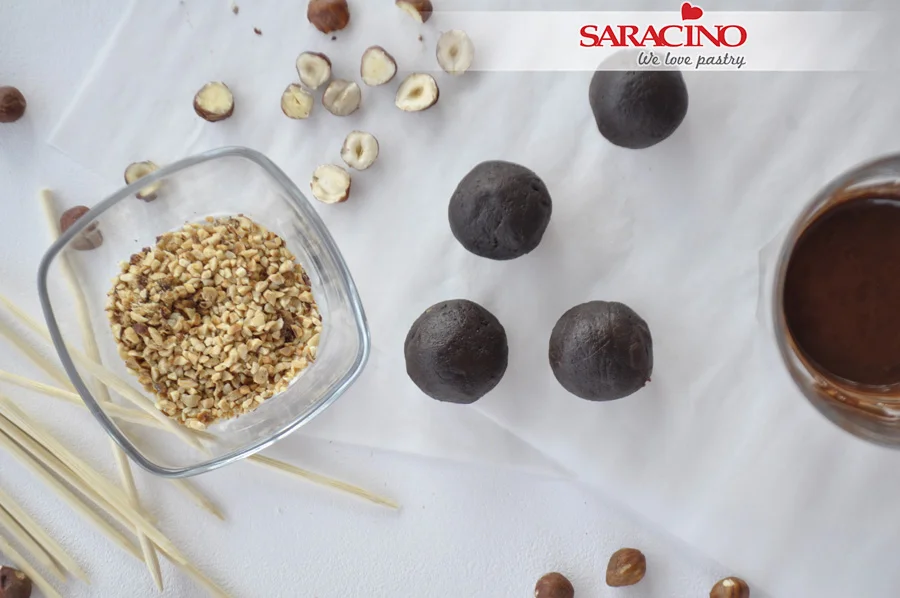
Roll small balls and place them on baking paper. Use the same amount of mixture for each ball so they are the same size. When ready place in the fridge for 30 minutes.

TIP – Use a digital scale to achieve the correct amount of mixture for each ball.

Step 20

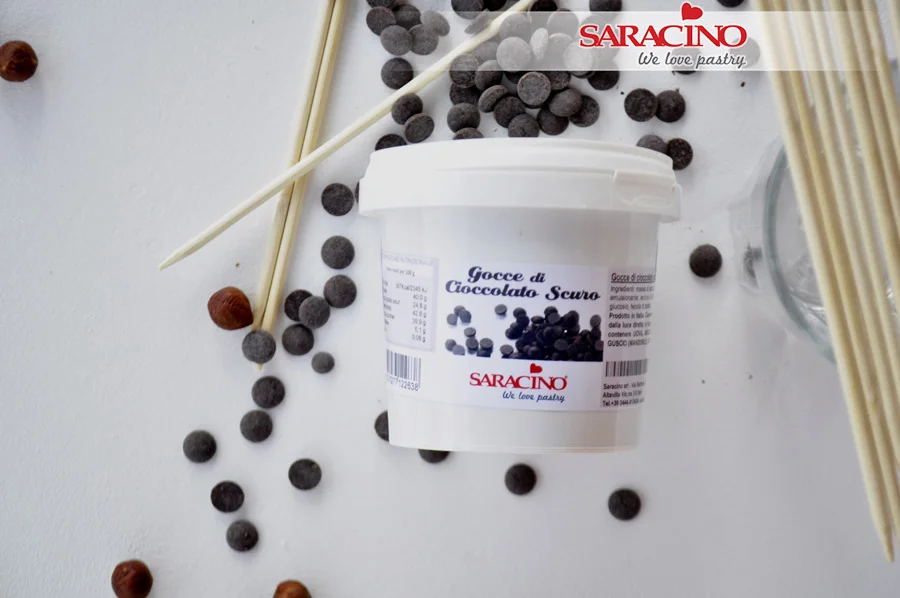
Get the lollipop sticks and Saracino chocolate drops ready. 

Step 21

Melt the chocolate over water or microwave and add to a tall jug or glass. You can add cocoa butter or sunflower oil to achieve a more liquid consistency. Prepare nuts for decorating 

Step 22

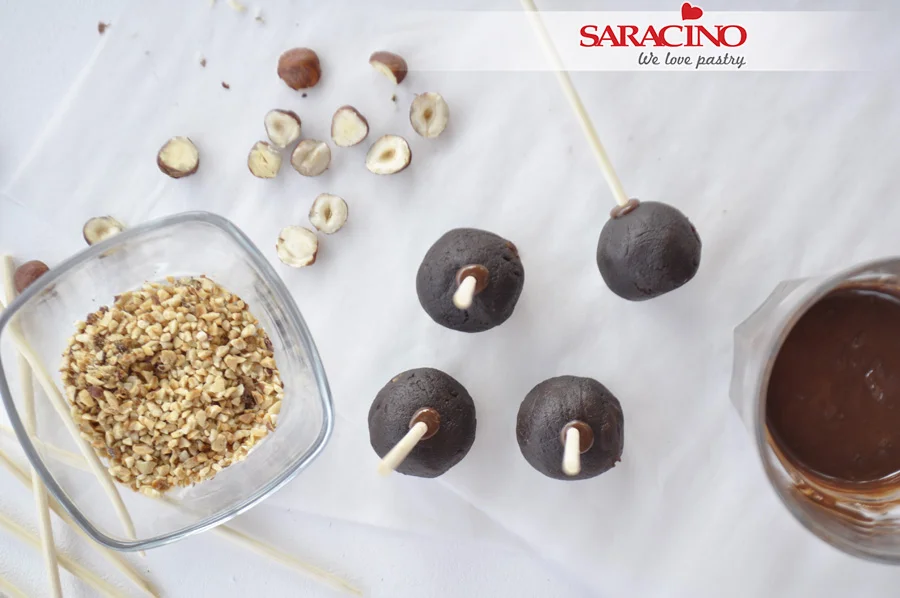
Dip the end of the stick into the melted chocolate and insert into the ball. Let it set

Step 23

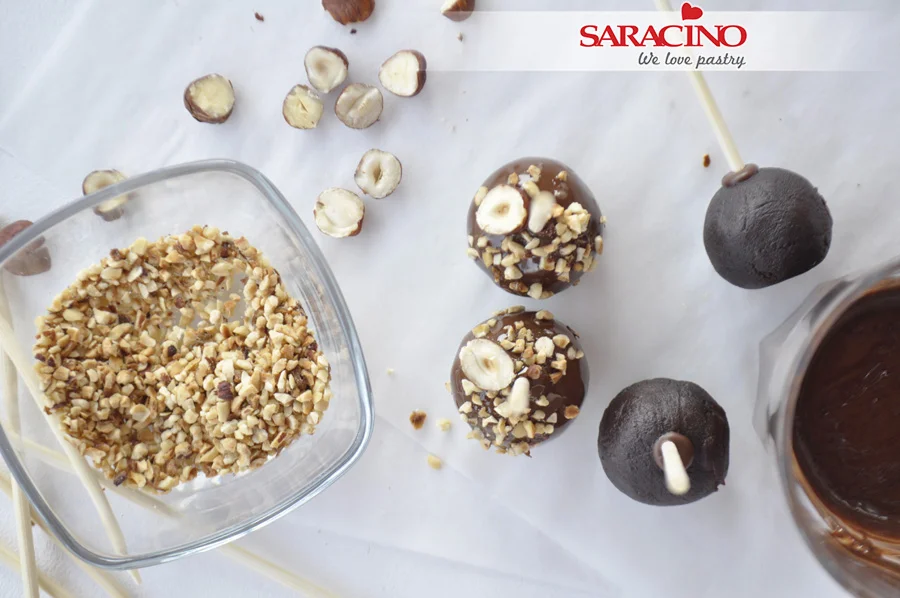
Holding the stick, dip the ball in the chocolate, allow the excess to drain into the glass, and before it sets firm, sprinkle with the crushed nuts. Place the half hazelnut on top, next to the stick.

Step 24

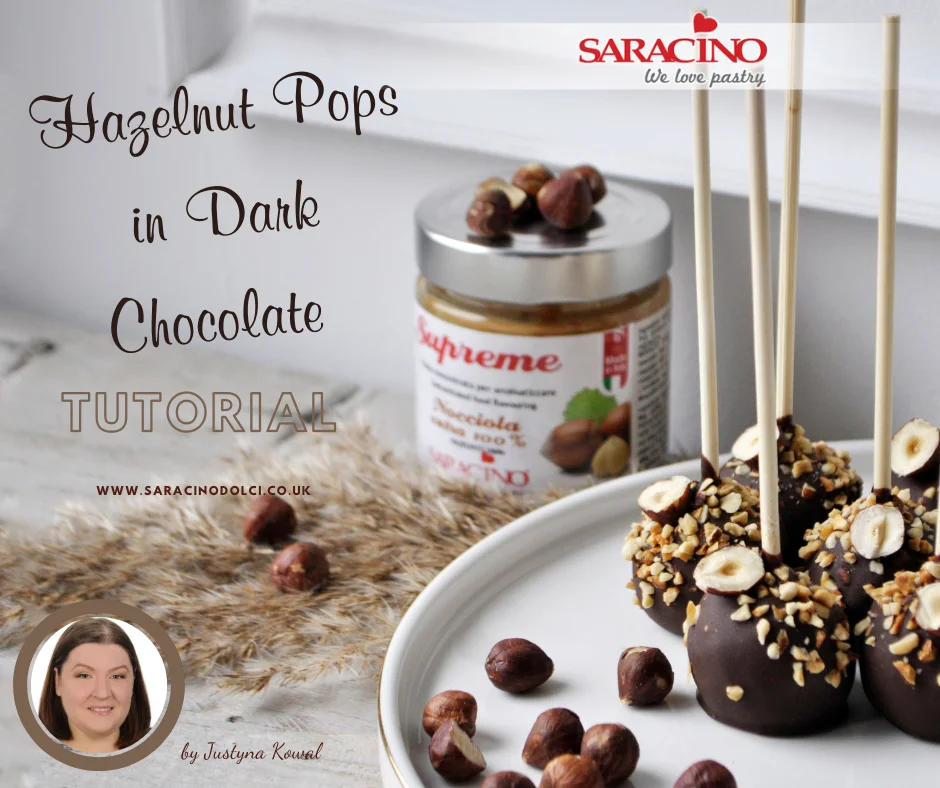
You can now serve and try your hazelnut cake pops! 🙂