PASTA MODEL

PASTA MODEL

PASTA MODEL – gum paste designed for modelling


It is a READY TO USE product so NO need to add CMC to create your piece.

When you unwrap the paste it will be very firm,

Don’t worry as this is how it is supposed to be!

Simply cut off a small piece and knead it in your hands. Your hands warmth will make the paste workable and stretchy.

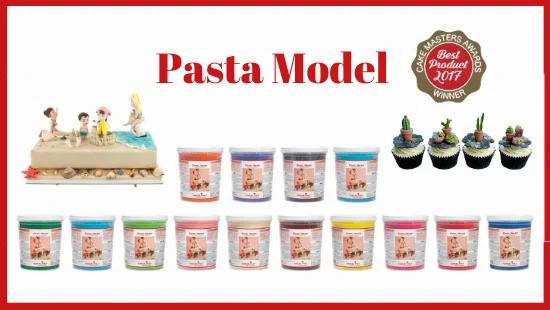
Saracino Pasta Model, the winner of the ‘Best Product’ Cake Master Award in 2017, is the ideal fondant for modelling and creating 3D images.

The perfect balance of sugars and cocoa butter ensures perfect results in most climates and gives a brilliant effect to every occasion. Once you try this product, you just won’t be able to resist Pasta Model for making your decorations. Our modelling paste is extremely elastic and strong. It can be modelled without cracking. When worked it maintains its form and you can work on the project for hours. You can also blend the joints beautifully by simply smoothing the surface with your fingers or modelling tool.

It can be finely moulded which assists with delicate work such as laces, moulds and small flowers. It also has a subtle aroma and taste.

Saracino Pasta Model currently comes in 15 different colours: white (available in 5kg, 1kg and 250g packs) and orange, blue, light blue, skin tone, yellow, Tiffany, light green, green, fuchsia, brown, black, pink, red and violet (available in 1kg and 250g packs). This means there is plenty for you to choose from. Pasta Model is also easily coloured with gel and powder colours of your choice.

 

If you have not tried this product yet, it is the way to go. We promise you will not go back.

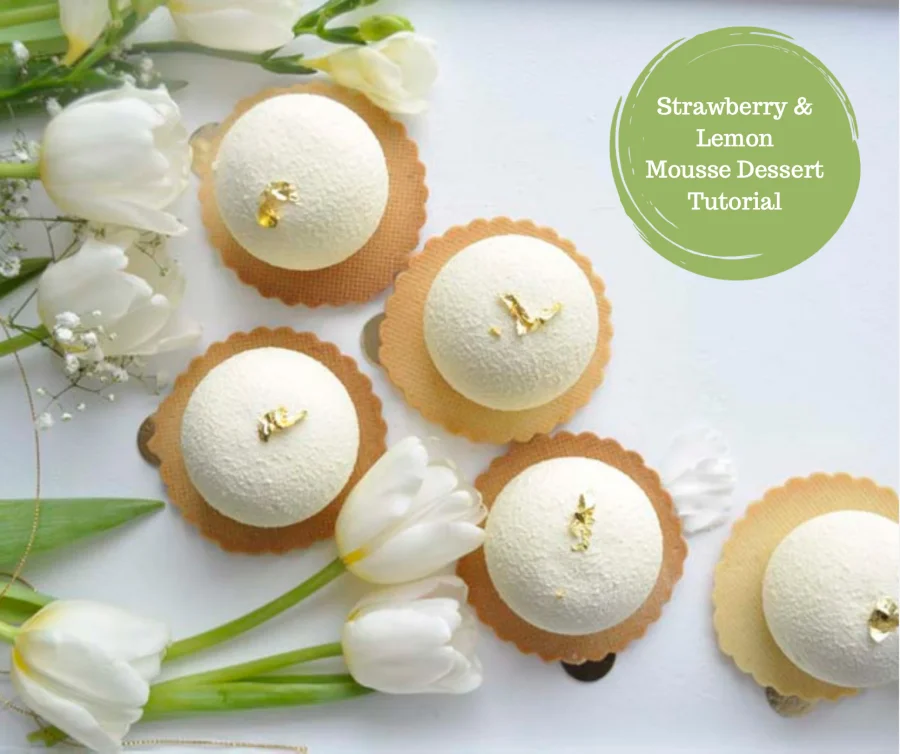
STRAWBERRY & LEMON MOUSSE DESSERT

STRAWBERRY & LEMON MOUSSE DESSERT

Author: Justyna Kowal

Skill level: BEGINNERS 

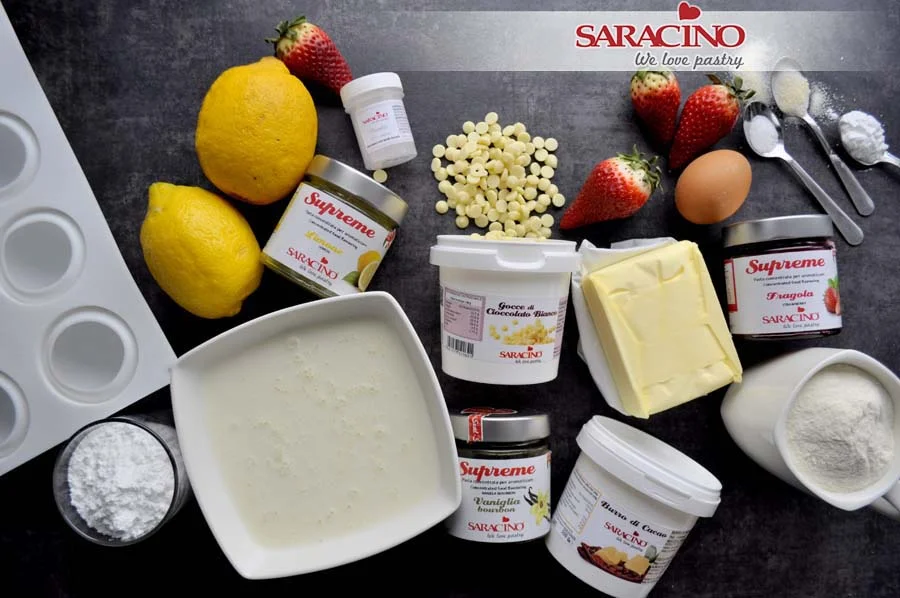
You will need:

Wedding lemon mousse and strawberry coulis on butter cookie desserts – approx 15-20 pieces

COULIS

  • Saracino La Supreme strawberry food flavouring
  • 500g fresh strawberries
  • 2 table spoons of lemon juice
  • 2 table spoons of corn flour
  • 4 table spoons of water

LEMON MOUSSE

  • Saracino La Supreme lemon food flavouring
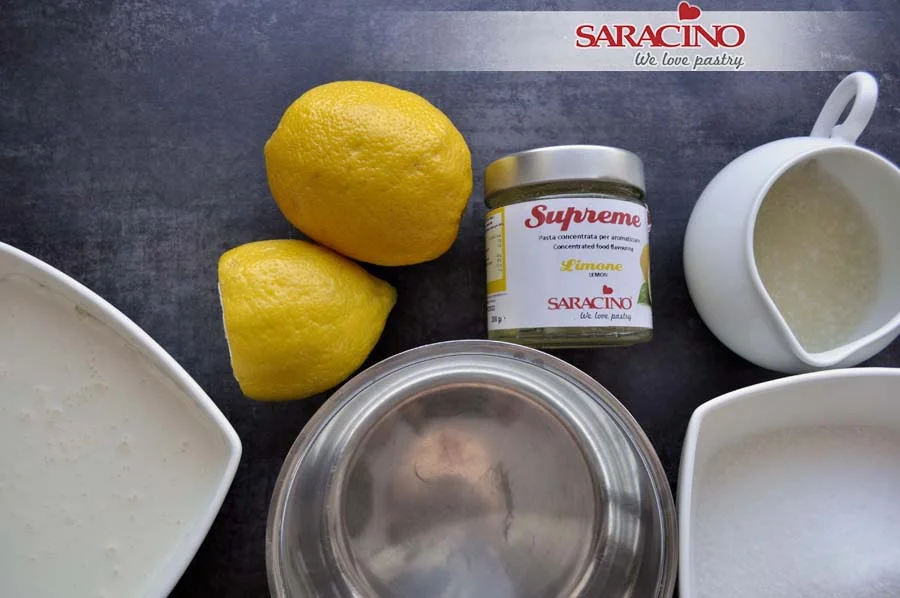
  • 130g lemon juice
  • 110g sugar
  • 450g double cream-  30%
  • 3 tsp gelatine disolved in 100g cold water 

BUTTER BISCUITS

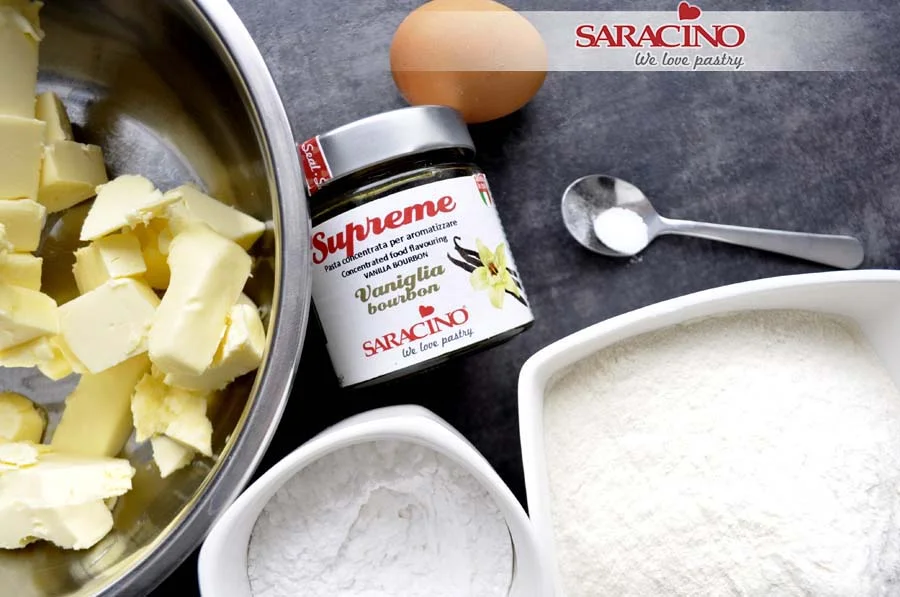
  • Saracino La Supreme vanilla food flavouring
  • 360g plain flour
  • 30g sugar powder
  • 1 egg
  • 200g soft butter
  • pinch of salt

SUEDE EFFECT

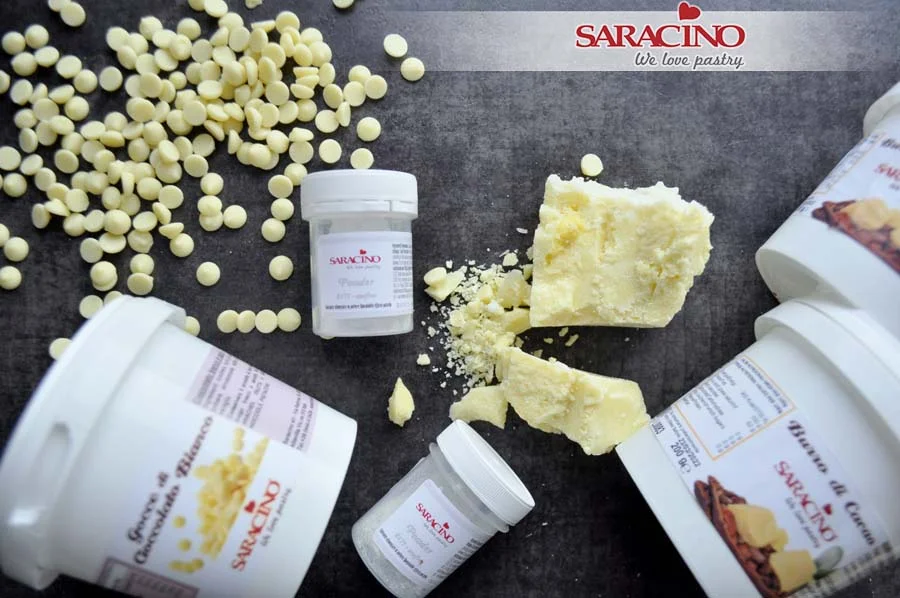
  • Saracino cocoa butter – aprox 200g
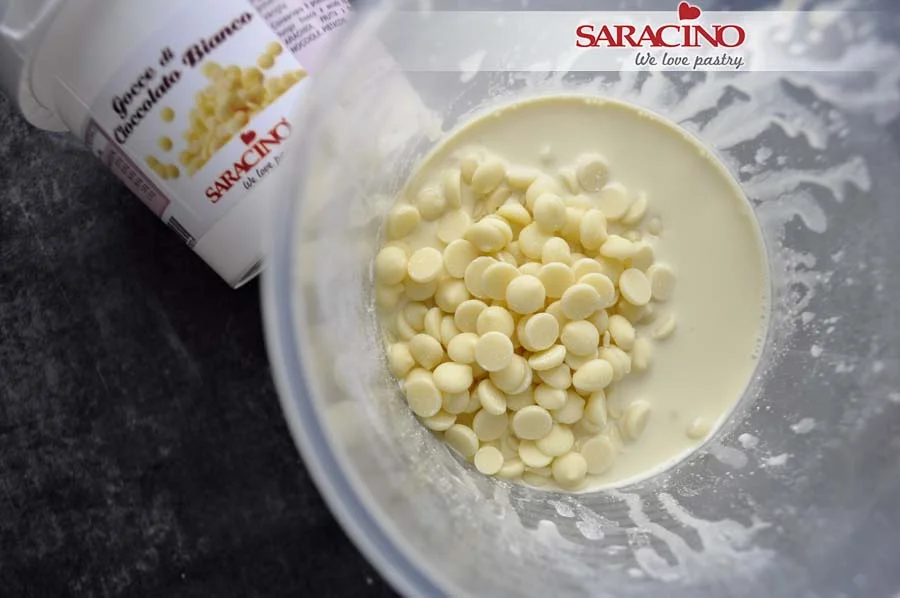
  • Saracino white chocolate drops – approx 200g
  • Saracino white powder colour 


    Step 1

    Prepare all your ingredients. Make sure they are all at room temperature.

    Step 2

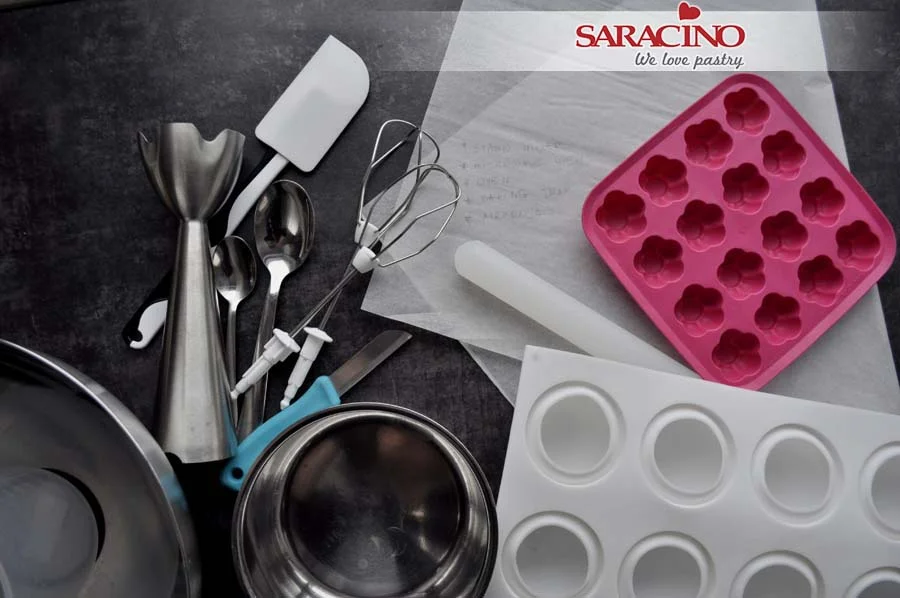
    Prepare basic confectionery equipment – bowls, spoons, teaspoons, blender, small saucepan, mixer, rolling pin, baking paper, two silicone moulds (for mousses and inserts), a small knife and an airbrush with a wider nozzle (for cocoa butter) and turntable.

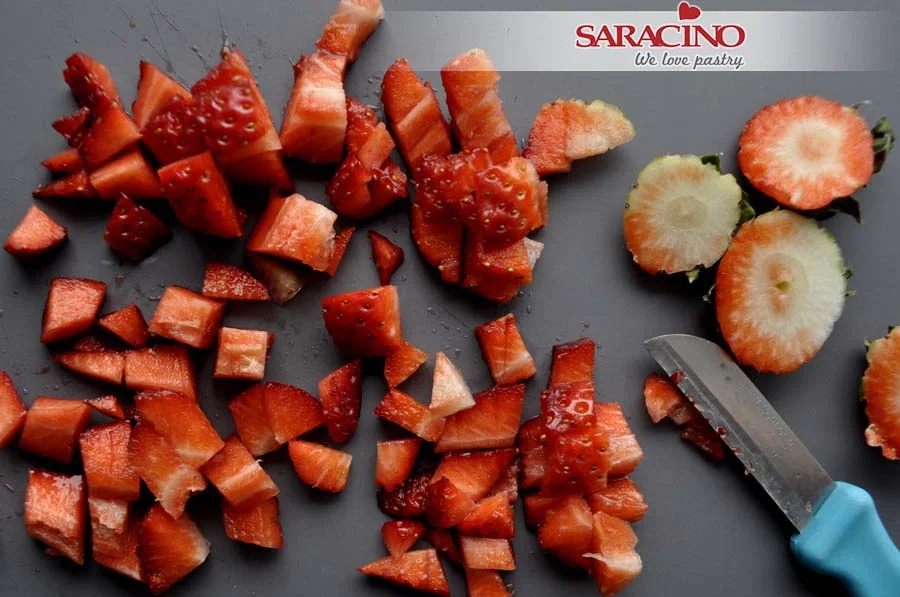
    Step 3

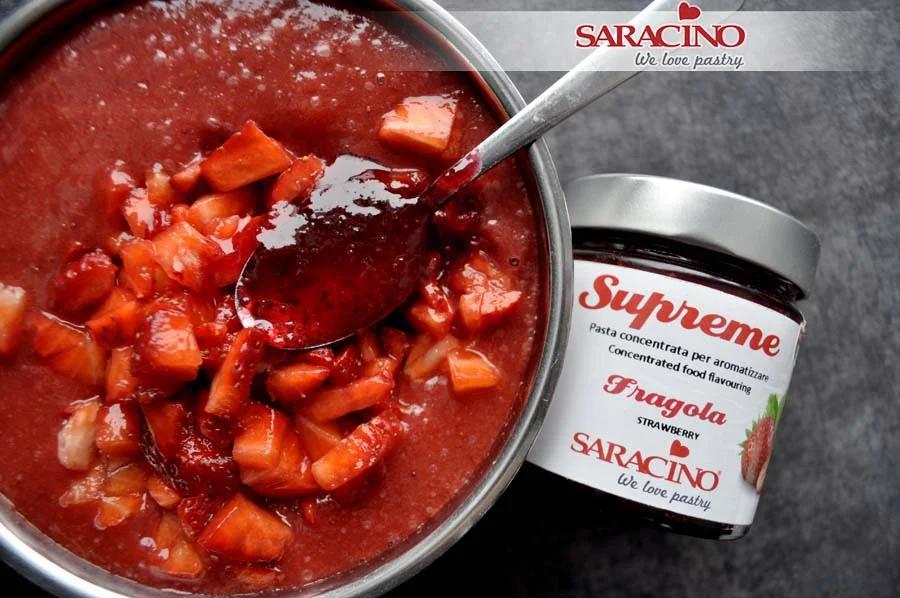
    Cut your strawberries into small pieces. 

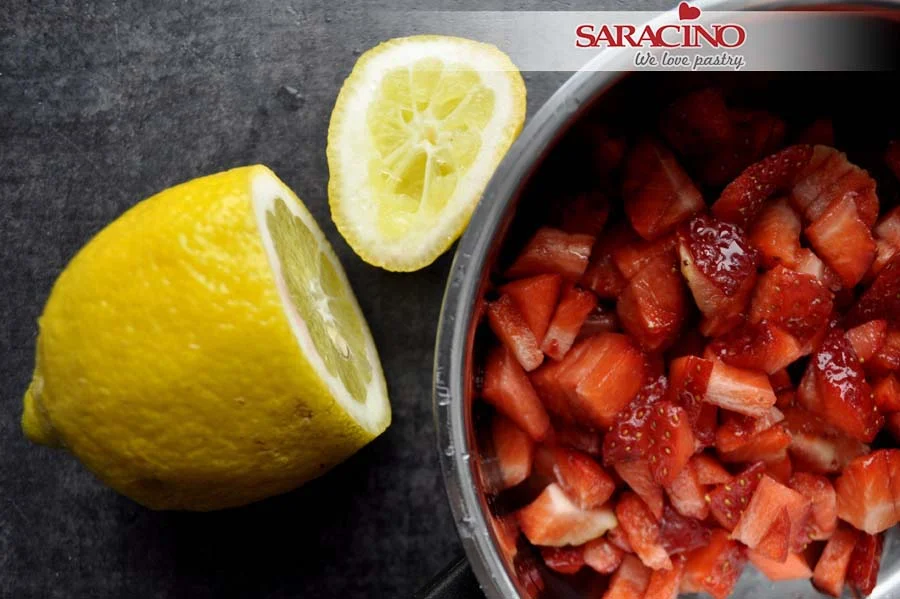
    Step 4

    Put half of the chopped strawberries in a saucepan and add lemon juice.

    Step 5

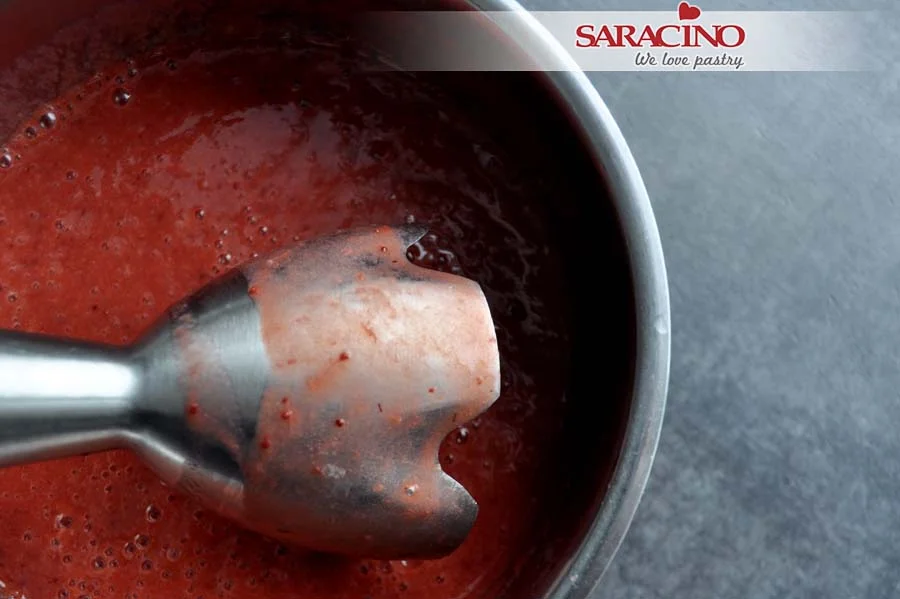
    Blend until smooth.

    Step 6

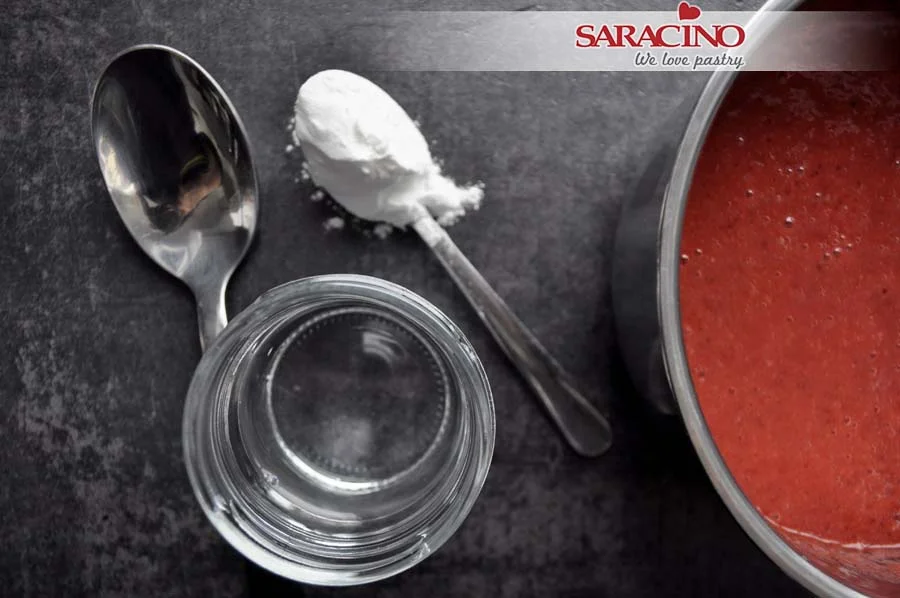
    Prepare a cup of water and cornflour.

    Step 7

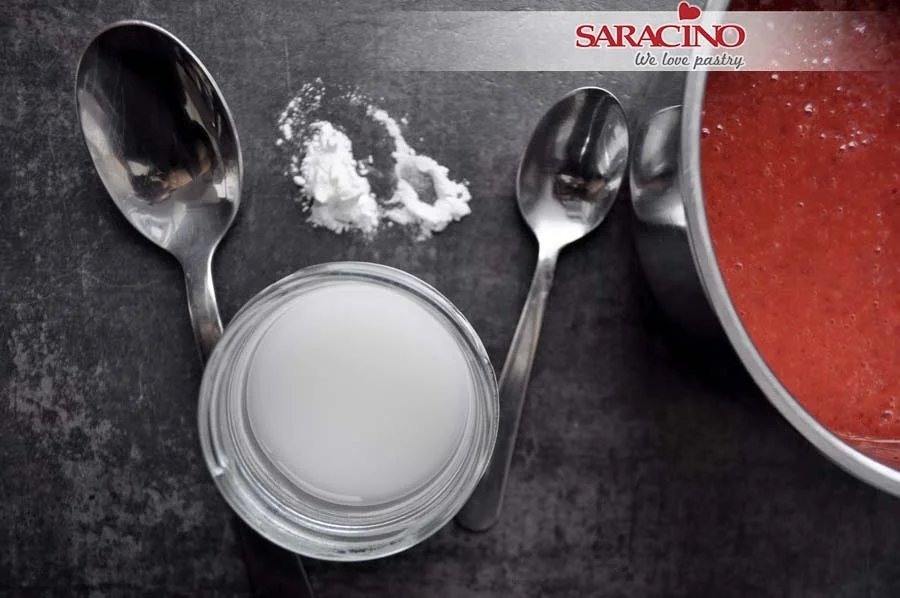
    Mix the cornflour and water thoroughly.

    Step 8

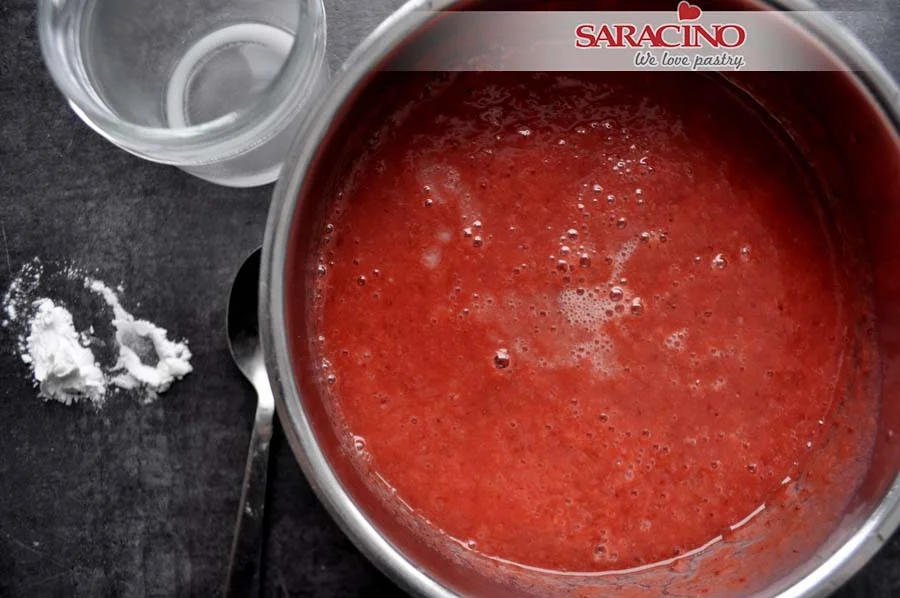
    Pour the cornflour mixture into the strawberry, mix and bring to a boil.

    Step 9

    Add the remaining strawberries and 2 teaspoons of strawberry flavour.

    Step 10

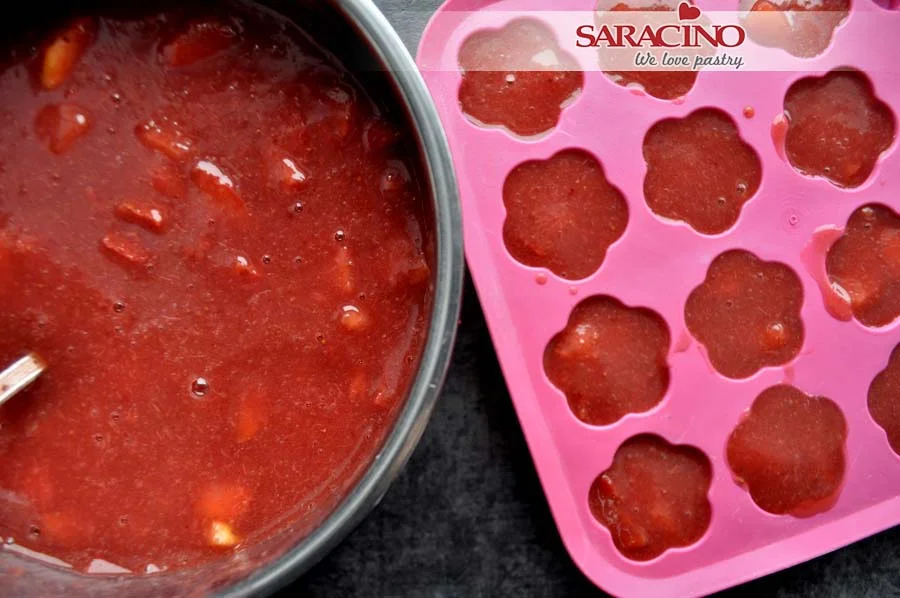
    Mix thoroughly and add into a small silicone mould. Freeze over night.

    Step 11

    Prepare the ingredients for the shortbread cookies.

    Step 12

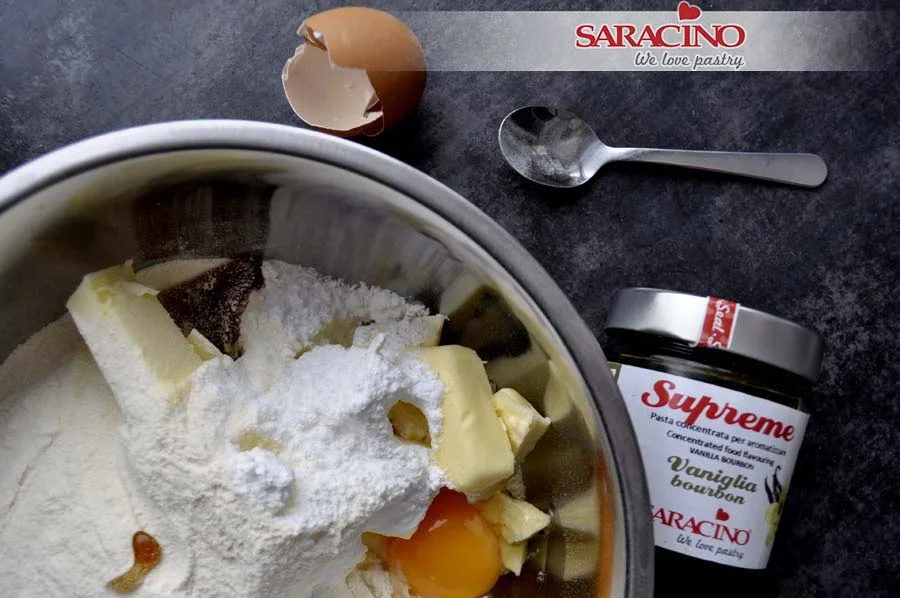
    Put all ingredients in a bowl, add 1 teaspoon of vanilla flavour.

    Step 13

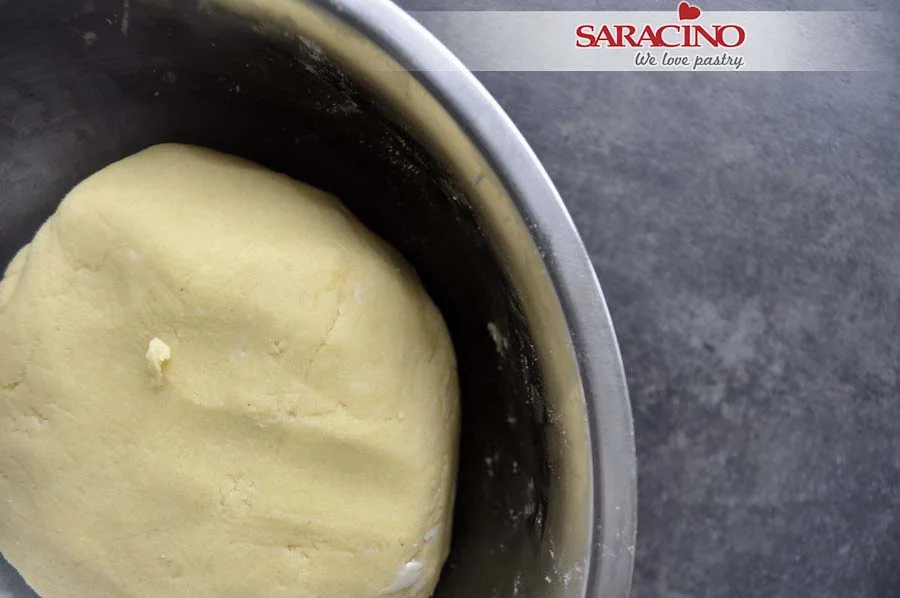
    Manually knead the dough to a uniform consistency.

    Step 14

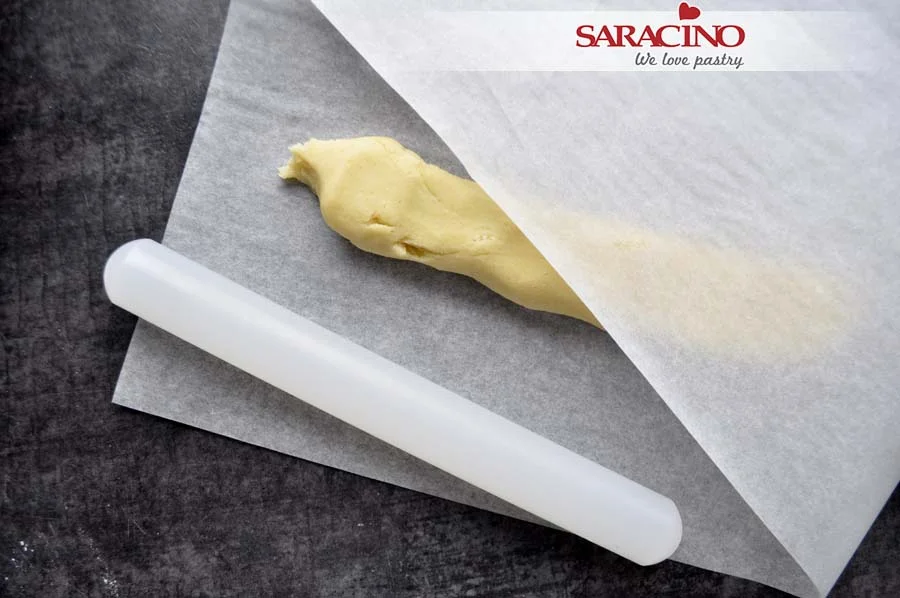
    Roll the dough to a sausage shape and place it between two layers of baking paper.

    Step 15

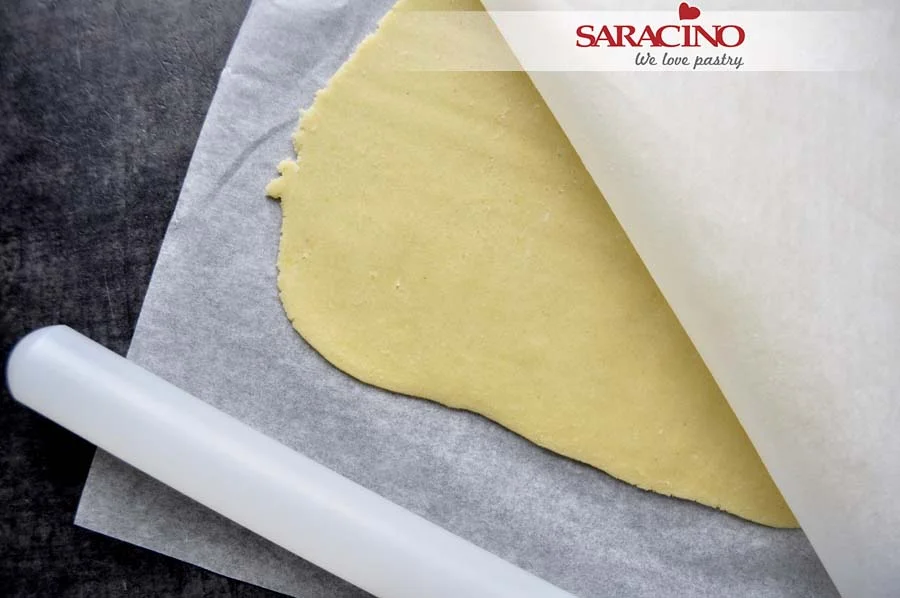
    Roll out into an even, thin layer, approx. 2-3mm.

    Step 16

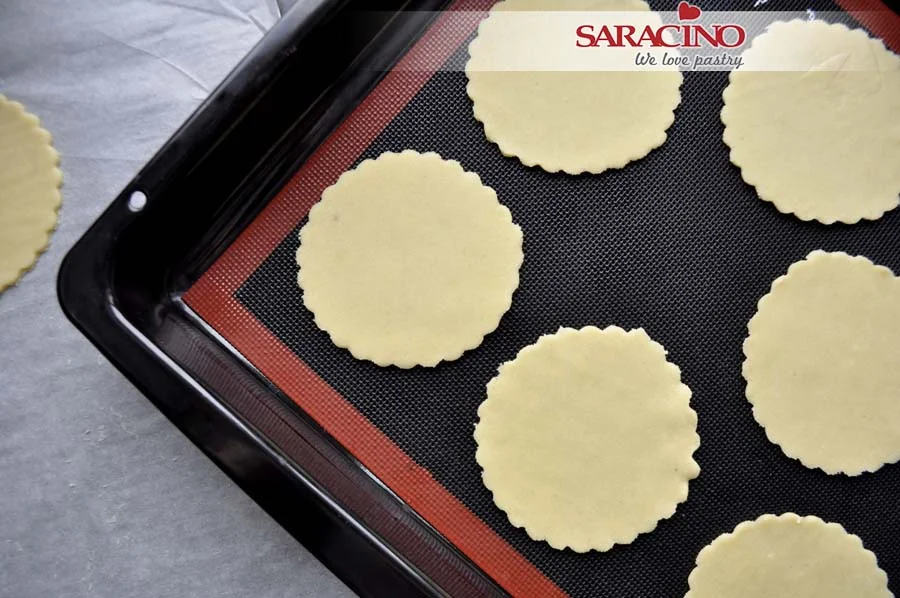
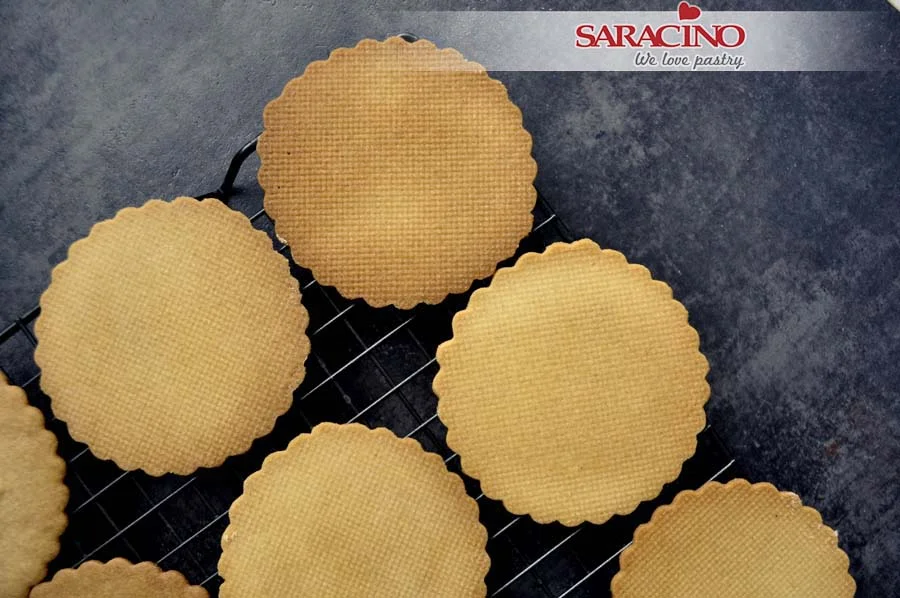
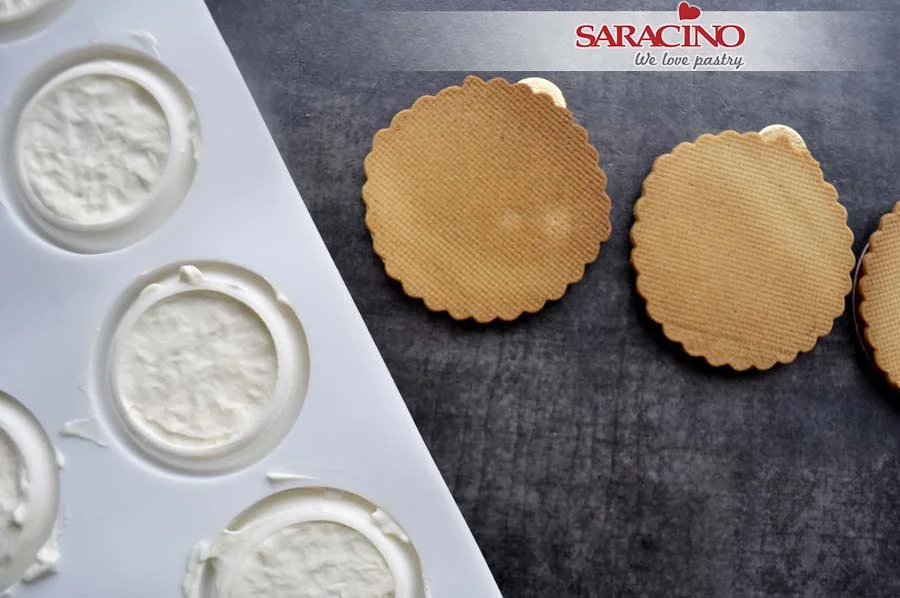
    Using a cookie cutter, cut out shapes approx. 3cm wider than the diameter of the mousse moulds, bake at 190 degrees for approx. 12-15 minutes.

    Step 17

    Allow to cool on a wire rack.

    Step 18

    Prepare the ingredients for the lemon mousse.

    Step 19

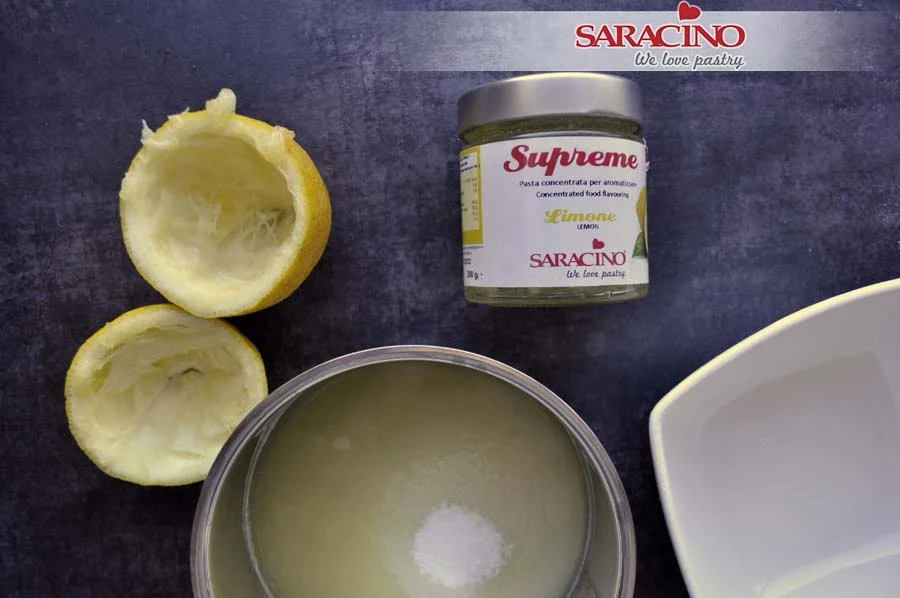
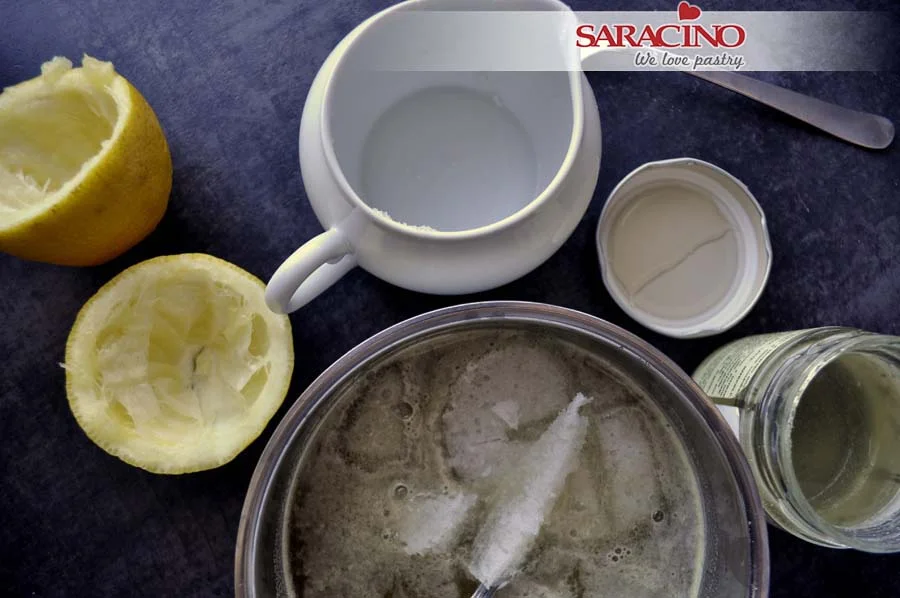
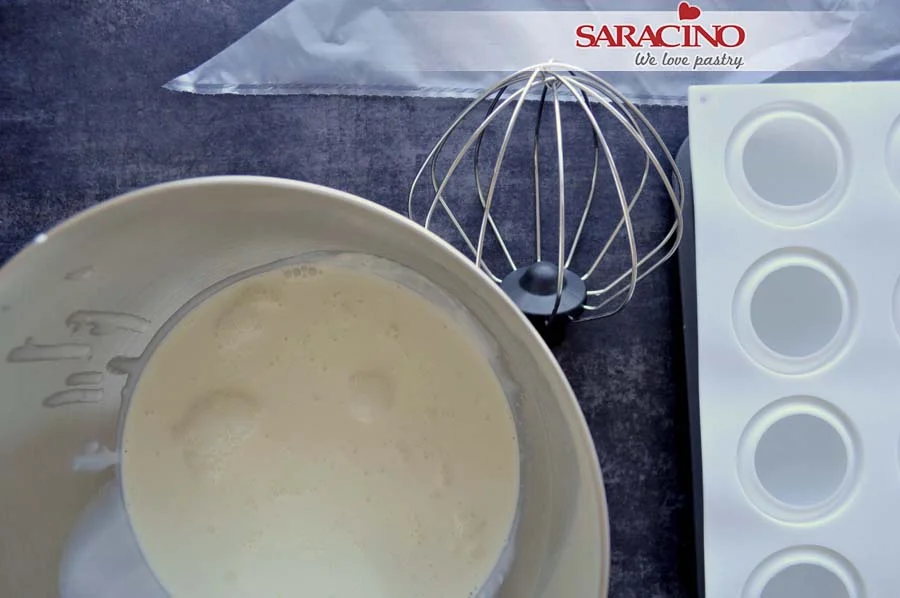
    Put lemon juice and sugar in a saucepan, bring to a boil until sugar is dissolved.

    Step 20

    Add soaked gelatin and 1 teaspoon of Saracino lemon flavour to the hot juice, mix thoroughly and allow it to cool to room temperature.

    Step 21

    Prepare a piping bag and mousse moulds.

    Step 22

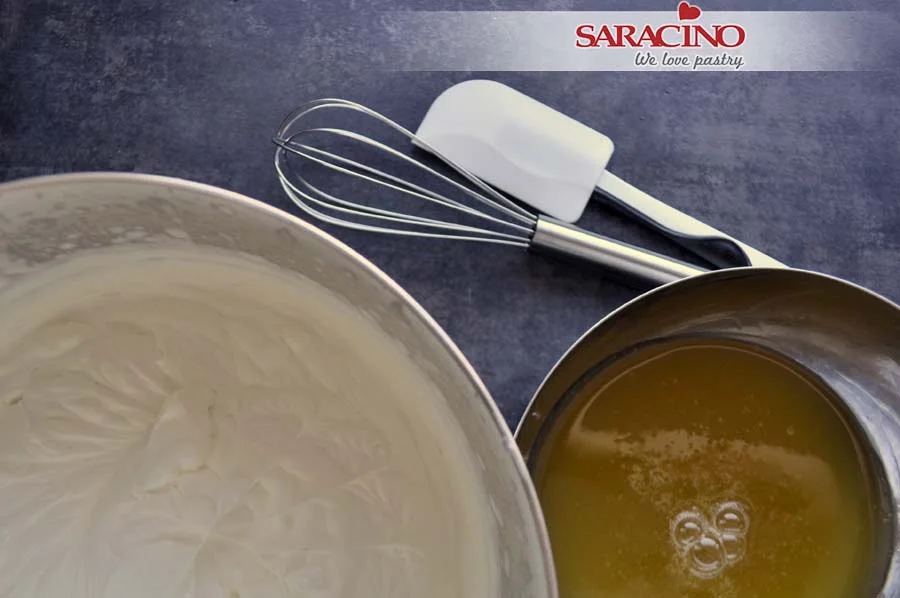
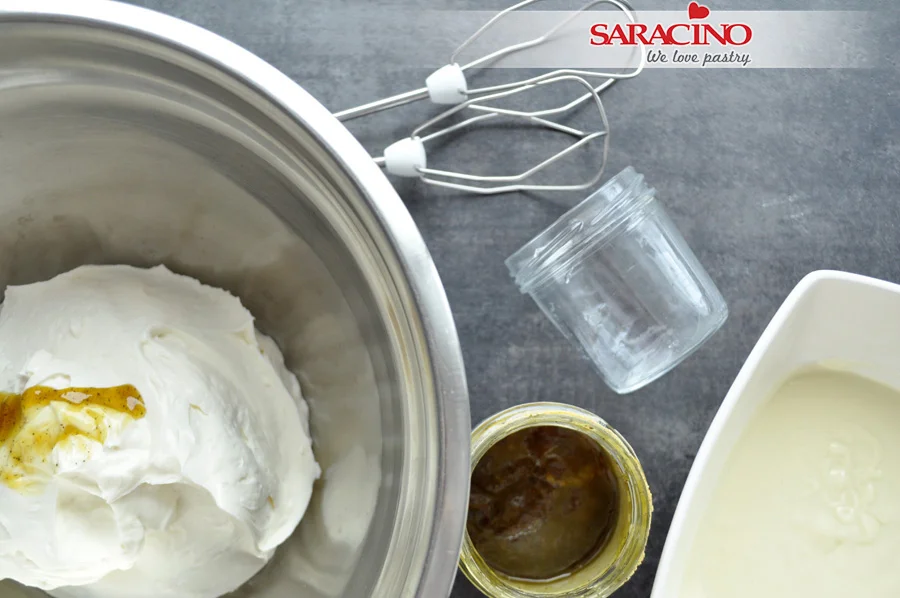
    Whip the cream.

    Step 23

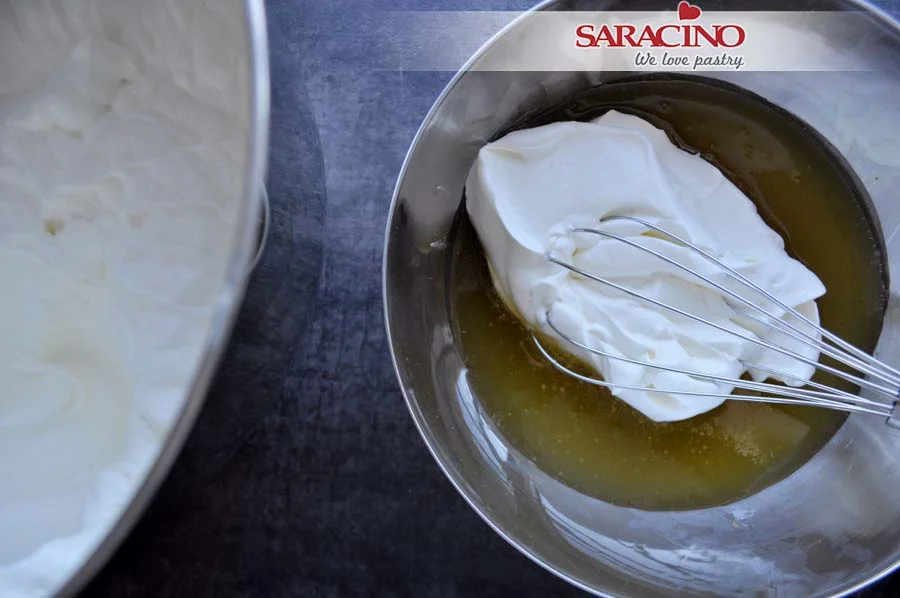
    Mix 2-3 tablespoons of whipped cream with lemon juice.

    Step 24

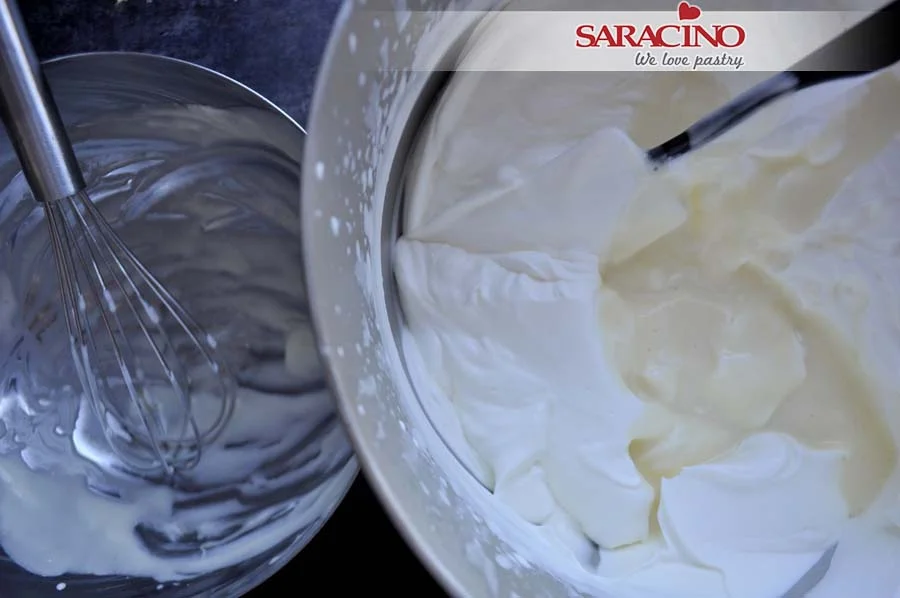
    Pour the mixture into the remaining cream and mix very thoroughly with a silicone spatula.

    Step 25

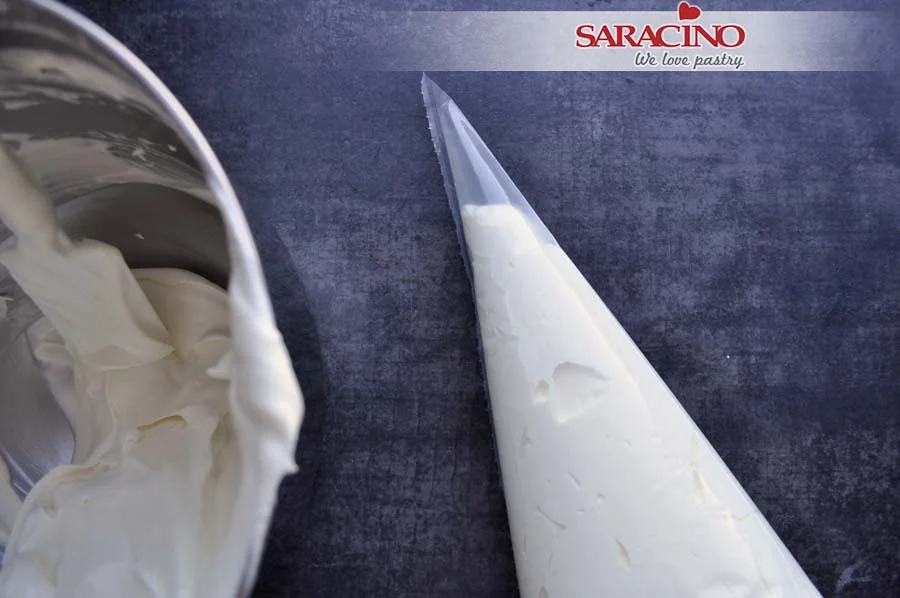
    Put the mousse into the piping bag.

    Step 26

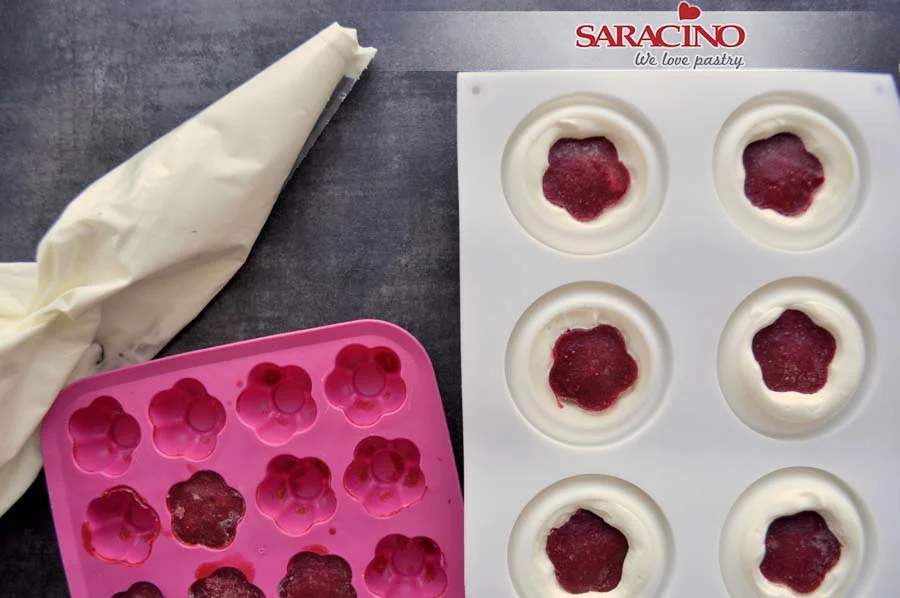
    Remove the frozen strawberry from the freezer. Pipe some of the mousse into a mould, placing a strawberry filling into each, fill each to the top with mousse and freeze.

    Step 27

    Prepare the suede effect ingredients – cocoa butter and Saracino white chocolate drops.

    Step 28

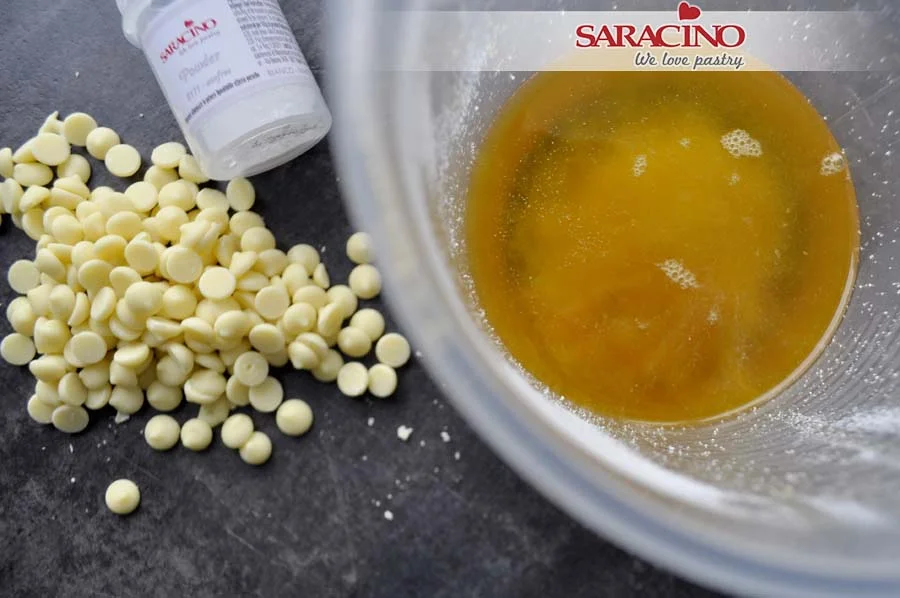
    In a microwave oven melt the cocoa butter on low power.

    Step 29

    Add Saracino powder colour as needed until the desired colour is achieved and blend well.

    Step 30

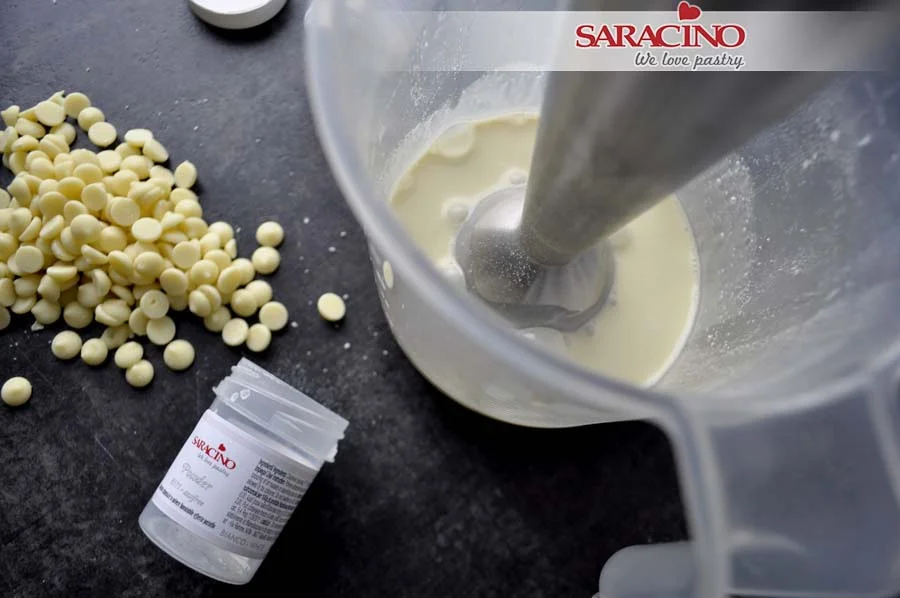
    Add white chocolate and mix to a smooth consistency (use a blender if necessary), cool to approx. 35 degrees Celsius. Pour the cocoa butter and chocolate mix into the airbrush reservoir.

    Step 31

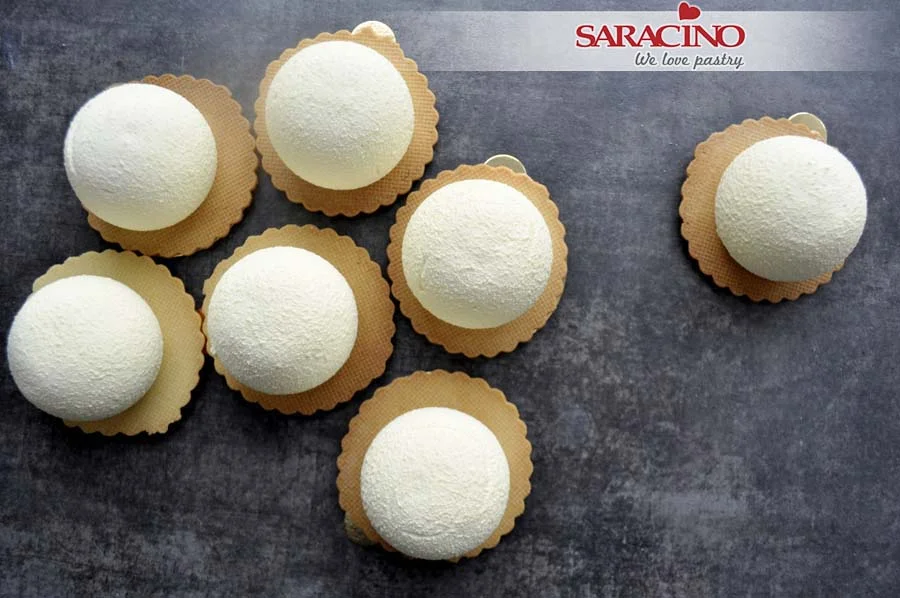
    Prepare shortcrust biscuits (you can put them on the placemats) and remove the frozen mousses. Remove the mousses from the mould. Using an airbrush, spray the frozen mousses to give a suede effect. Use your turntable and twist the plate while applying so that the mousse is applied evenly in a thin layer.

    Step 32

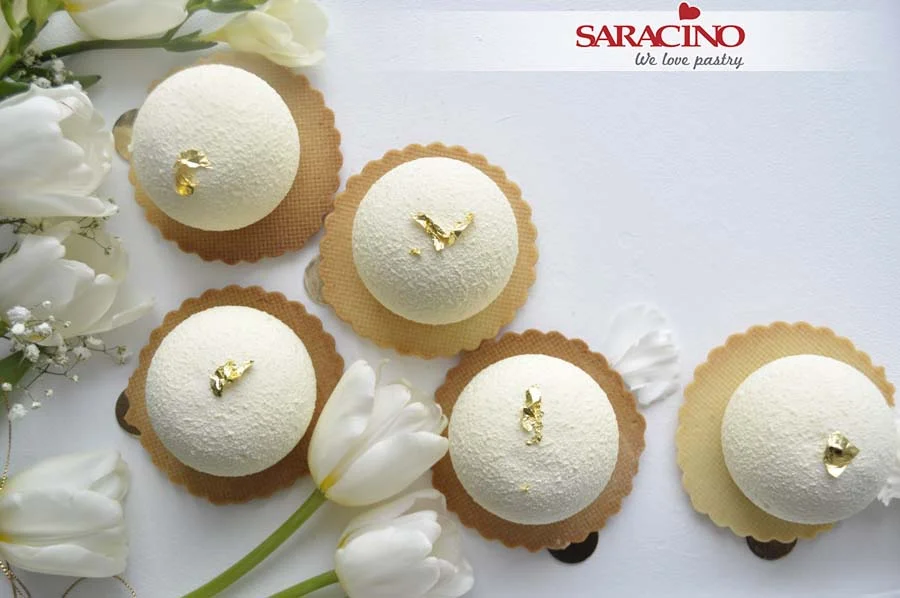
    Using a spatula, carefully transfer the mousses to the biscuits.

    Step 33

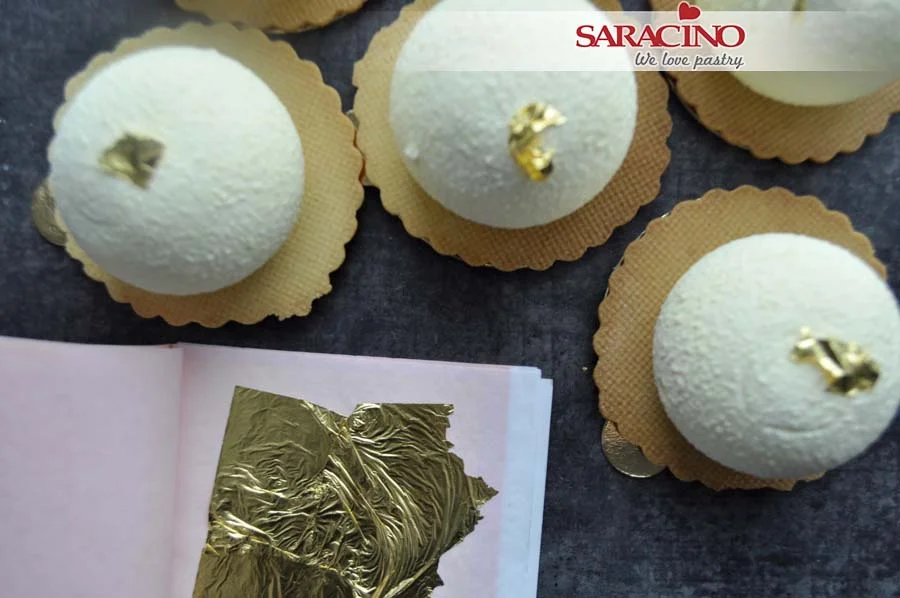
    Decorate with pieces of edible gold or another decoration of your choice.
    Step 34

    ET VOILA! Enjoy your mousses.

    COCONUT CHEESECAKE TUTORIAL

    COCONUT CHEESECAKE TUTORIAL

    Author: Justyna Kowal

    Skill level: BEGINNERS 

    You will need:

    For 10 cheesecakes 120ml each

    • 600g cream cheese
    • 90g desiccated coconut
    • 320g coconut milk or coconut cream
    • 40g butter cookies
    • 30g cream (30-36%)
    • 20g coconut liquor 
    • 300g Saracino white chocolate drops
    • 150g Saracino milk chocolate drops
    • Saracino Supreme Coconut food flavouring 
    • Saracino Supreme Vanilla food flavouring 


      Step 1

      Prepare all your ingredients. Make sure they are all at room temperature.  

      Step 2

      Pour 220ml of coconut milk into the pan and bring to boil.

      Step 3

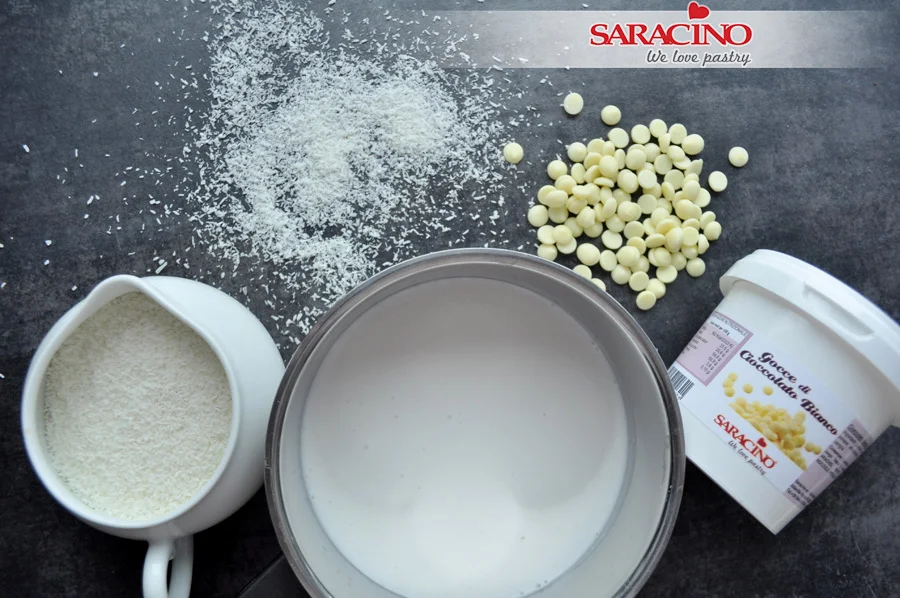
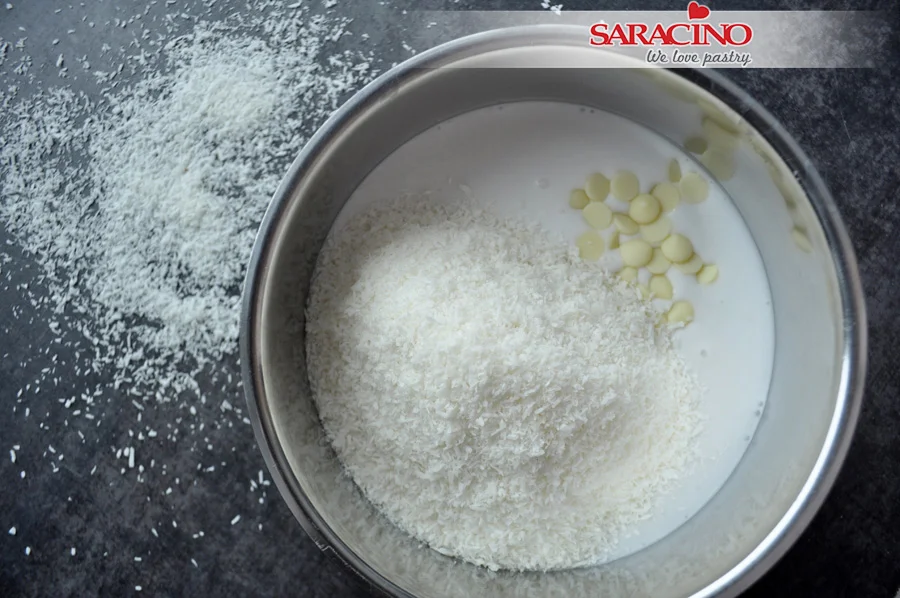
      To the hot milk add 70g desiccated coconut and 100g Saracino white chocolate drops

      Step 4

      Add one teaspoon of Saracino Supreme coconut food flavouring. 

      Step 5

      Stir until combined and boil for another 5 minutes on a slow rolling boil, stirring continuously. 

      Step 6

      Cover with cling film making sure it touches the cream. Let it cool down in the fridge over night. 

      Step 7

      Add 20g of desiccated coconut to a heavy based pan.

      Step 8

      Fry until a golden colour is achieved. Make sure you do not burn them. Let them cool down.

      Step 9

      To the blender add 40g butter biscuits and blend until they achieve a sand texture. 

      Step 10

      Add the toasted coconut and mix together. 

      Step 11

      For the cheesecake mixture make sure all the ingredients are at room temperature. 

      Step 12

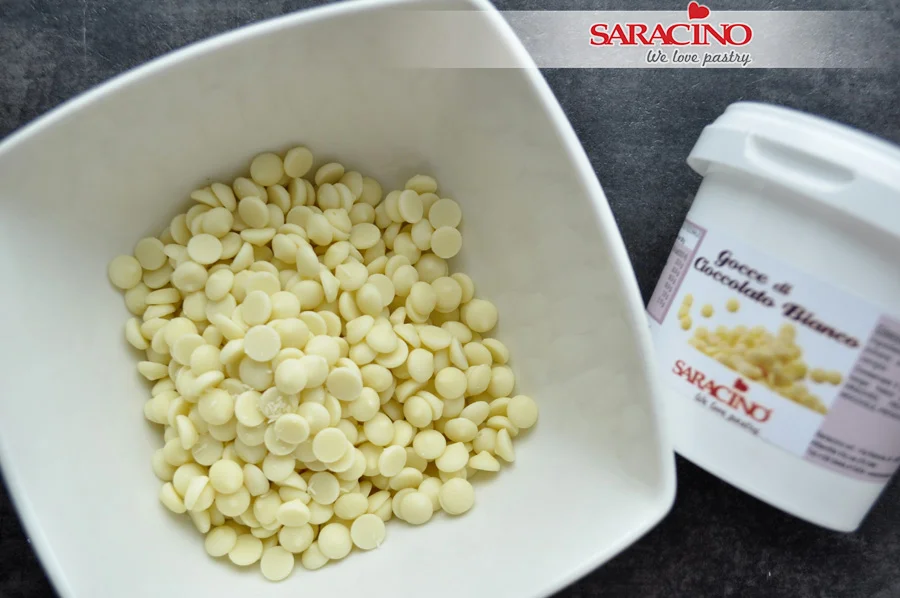
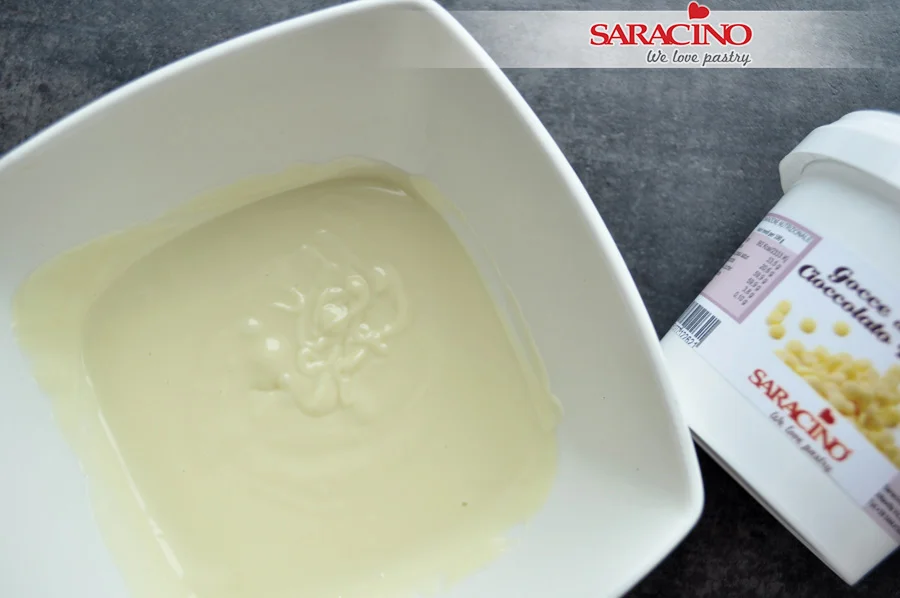
      Prepare 200g of Saracino white chocolate drops and melt.

      TIP: I use a glass bowl if melting in the microwave and metal bowl if melting over a water bath. Be careful not to over heat. 

      Step 13

      Let the melted chocolate cool down a little bit. 

      Step 14

      Prepare your food mixer, Saracino Supreme Vanilla food flavouring and 20ml coconut liquor.

      Step 15

      Add food flavouring and liquor to your cheese mixture.

      Step 16

      Gently combine on a slow motion. Slowly add the melted chocolate. 

      Step 17

      When all the ingredients are combined. Prepare a piping bag with a star nozzle.

      Step 18

      Add the cheesecake mix to the bag and place in the fridge.

      Step 19

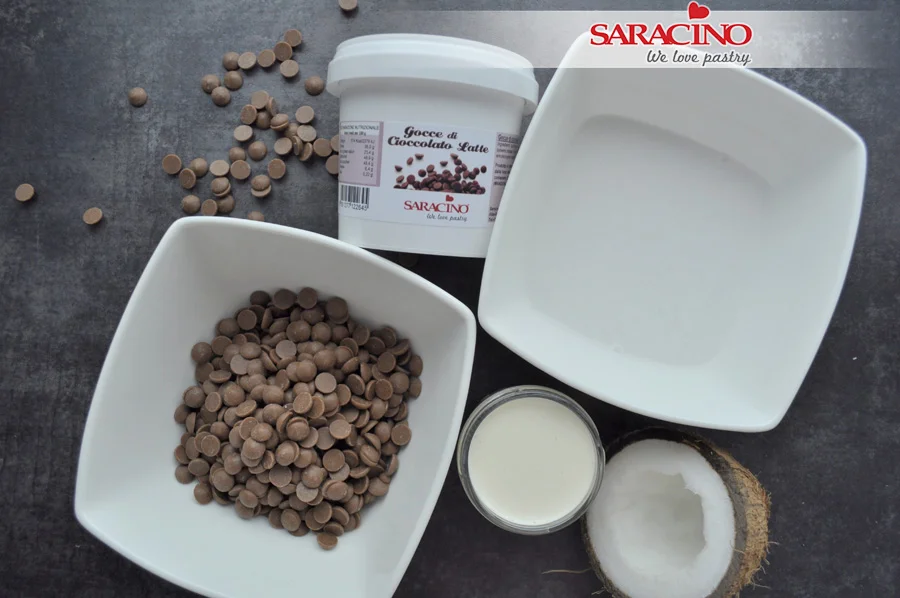
      For the chocolate to go on the top prepare 150g of Saracino milk chocolate drops, 100ml coconut milk and 30g double cream (30-36%)

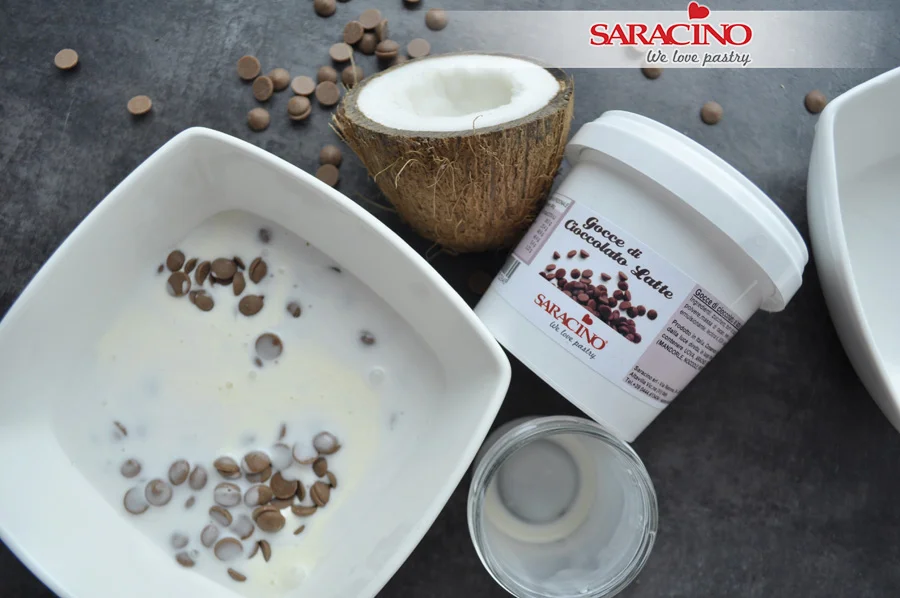
      Step 20

      Pour milk and cream into the bowl, add chocolate and melt.

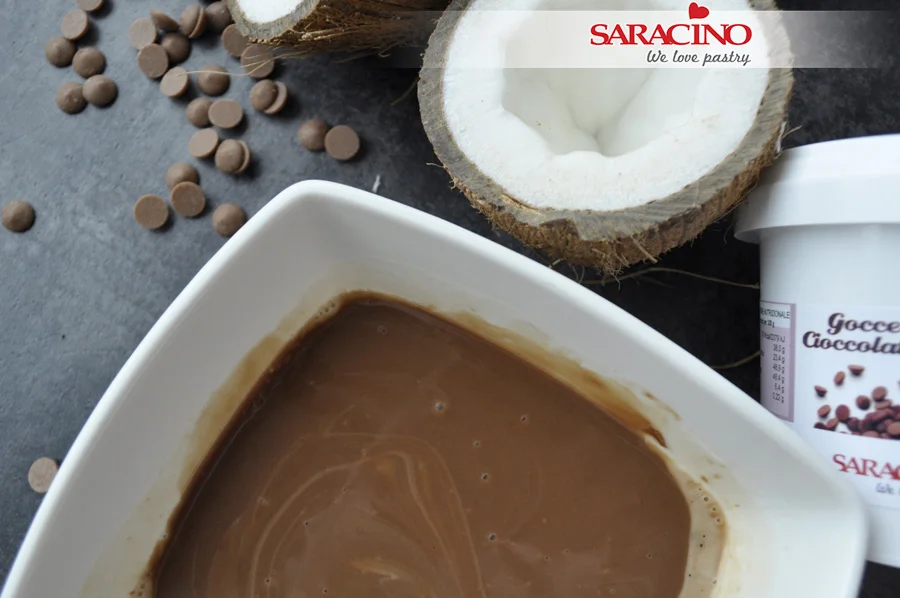
      Step 21

      Make sure all the chocolate is melted. Allow to cool down. 

      Step 22

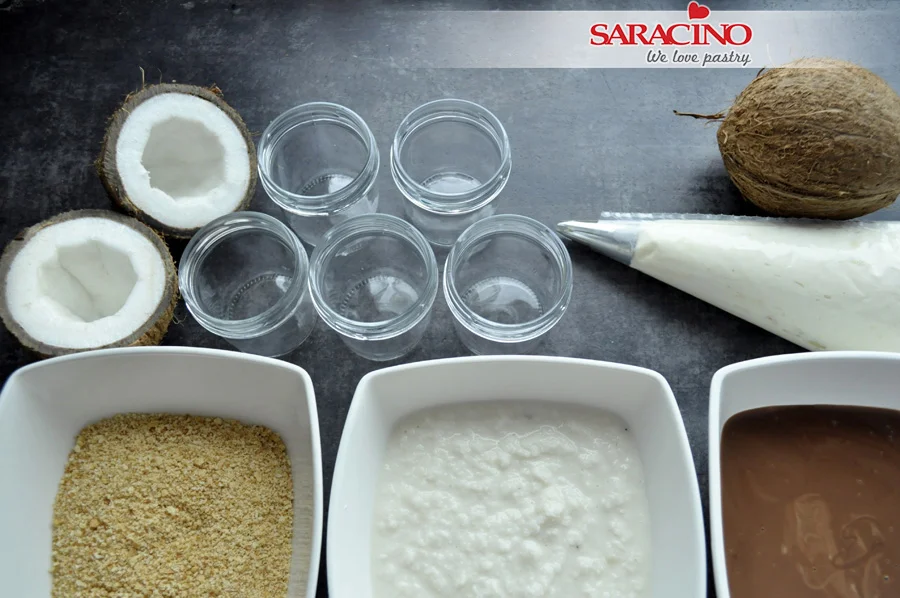
      Prepare small jars, biscuits, cream and chocolate. 

      Step 23

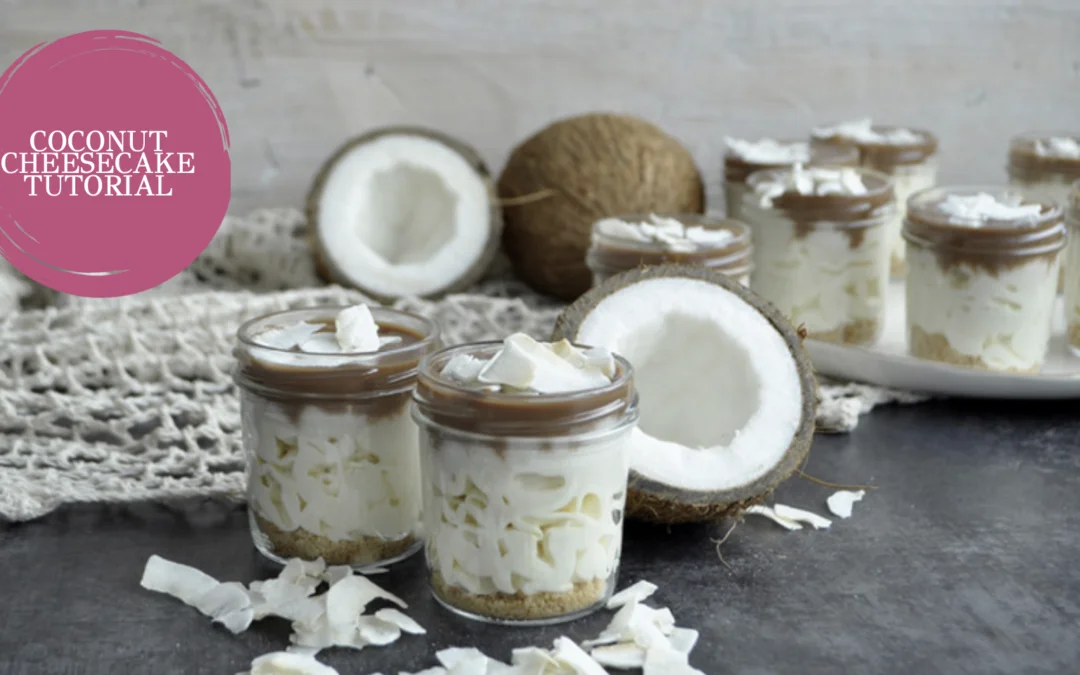
      At the bottom of each jar add biscuits.

      Step 24

      Add the cream cheese mix.

      Step 25

      Add the coconut cream.

      Step 26

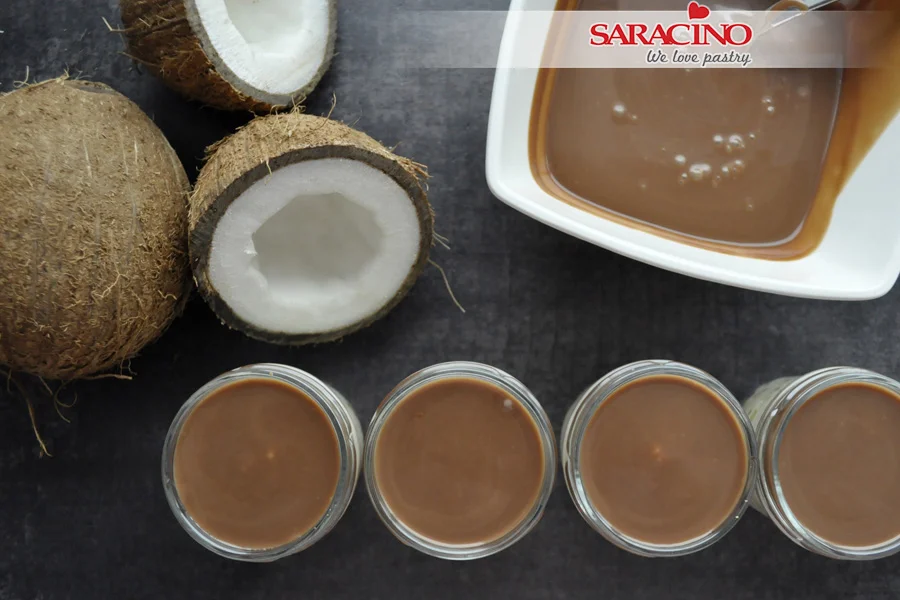
      Finish with a layer of melted chocolate.

      Step 27

      Decorate with coconut flakes and ENJOY! 

      BANANA & CHOCOLATE BUNS

      BANANA & CHOCOLATE BUNS

      Author: Justyna Kowal

      Skill level: BEGINNERS 

      You will need:

      For dough: 

      • 600g plain flour
      • 15g dry yeast
      • 60g sugar
      • 80g butter
      • 4 egg yolks
      • 270g milk
      • pinch of salt
      • 2 tsp of Saracino Le Supreme Vanilla food flavouring

      For filling: 

      • 4 large well ripened bananas
      • 120g butter
      • 90g sugar
      • 130g Saracino milk chocolate drops
      • 130g Saracino dark chocolate drops
      • 2 tsp of Saracino Le Supreme Banana food flavouring

      For icing: 

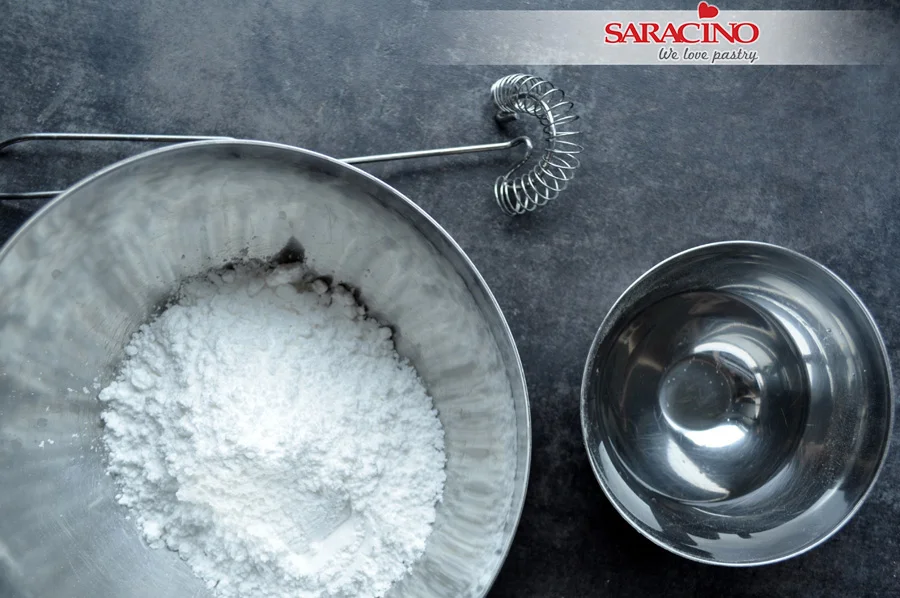
      • 200g icing sugar
      • 30g water

      Step 1

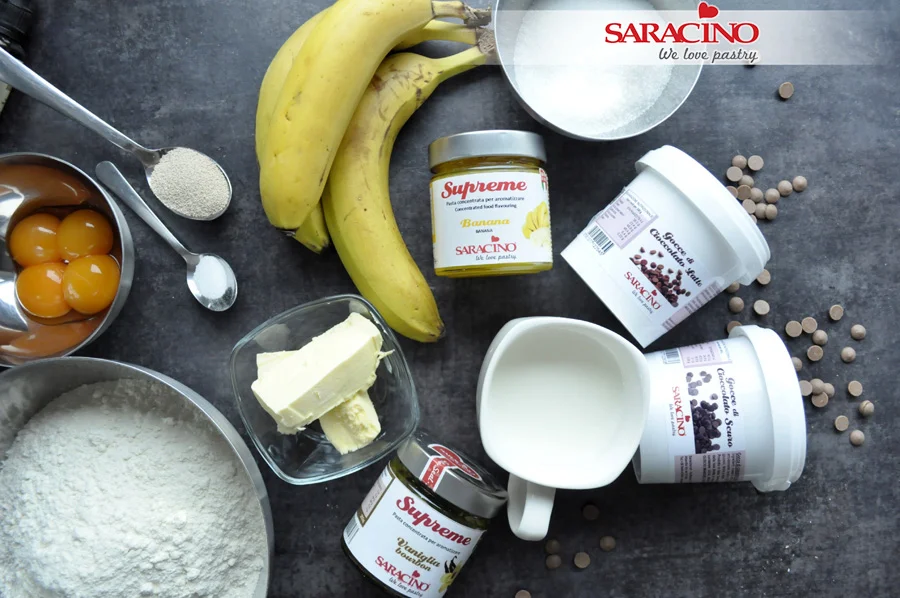
      Prepare all your ingredients. Make sure they are all at room temperature.  

      Step 2

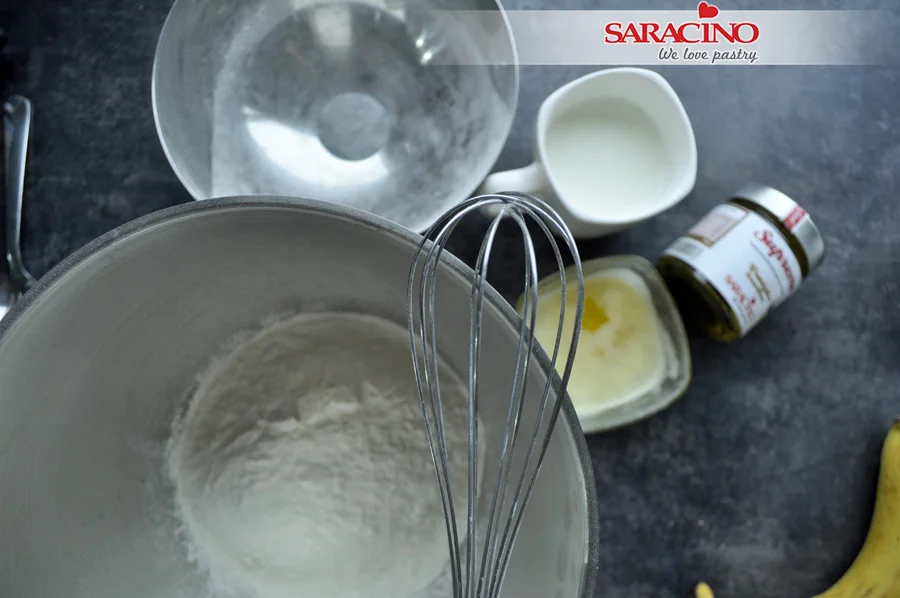
      Pour flour to a big bowl

      Step 3

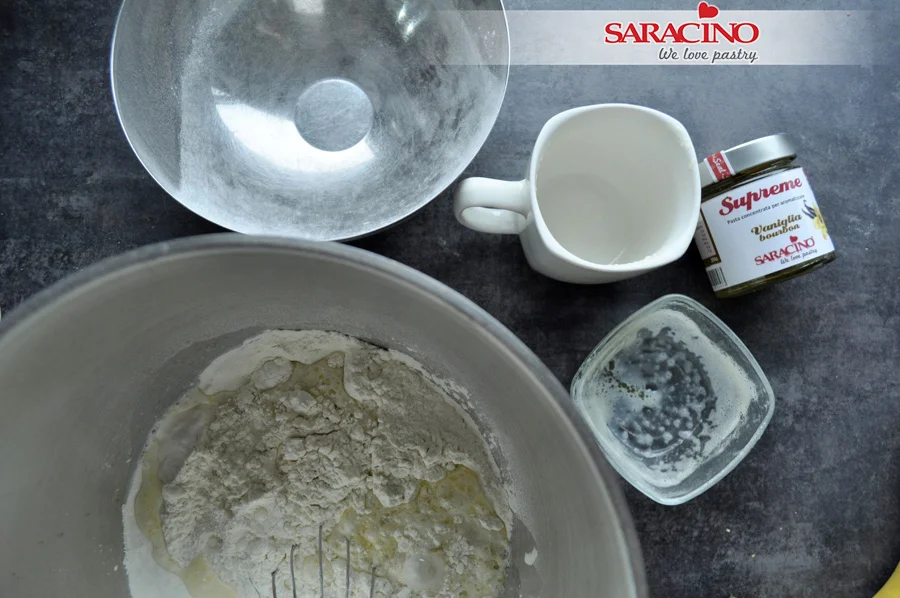
      Add yeast and salt

      Step 4

      Add sugar

      Step 5

      Melt butter and let it cool down. Warm your milk but don’t boil it.

      Step 6

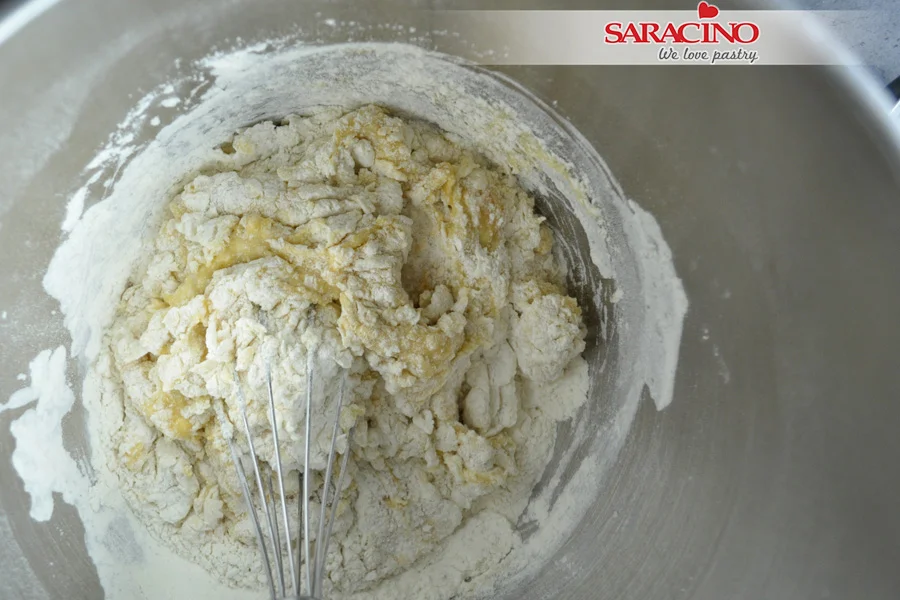
      Add all the dry ingredients to your food mixer bowl and combine. 

      Step 7

      Add milk and melted butter

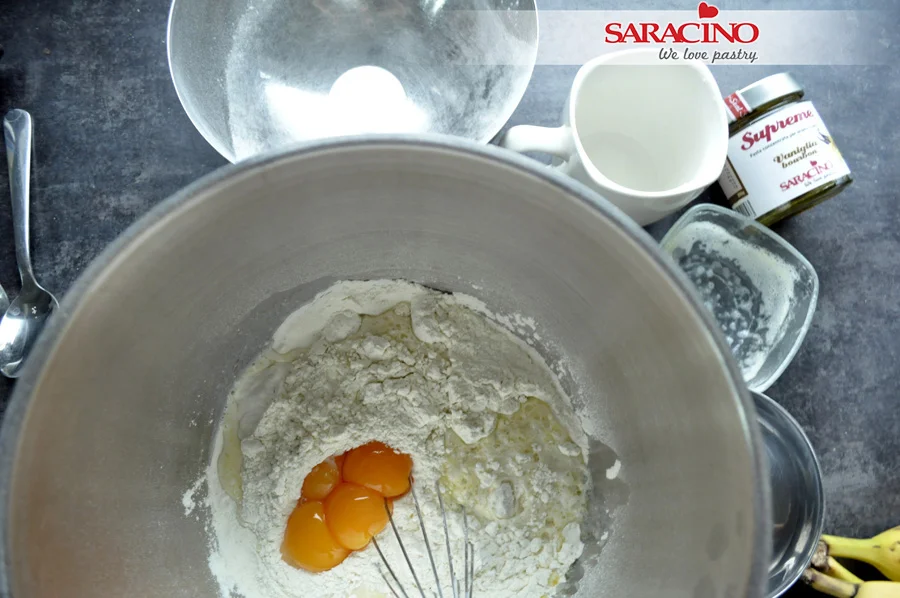
      Step 8

      Add egg yolks

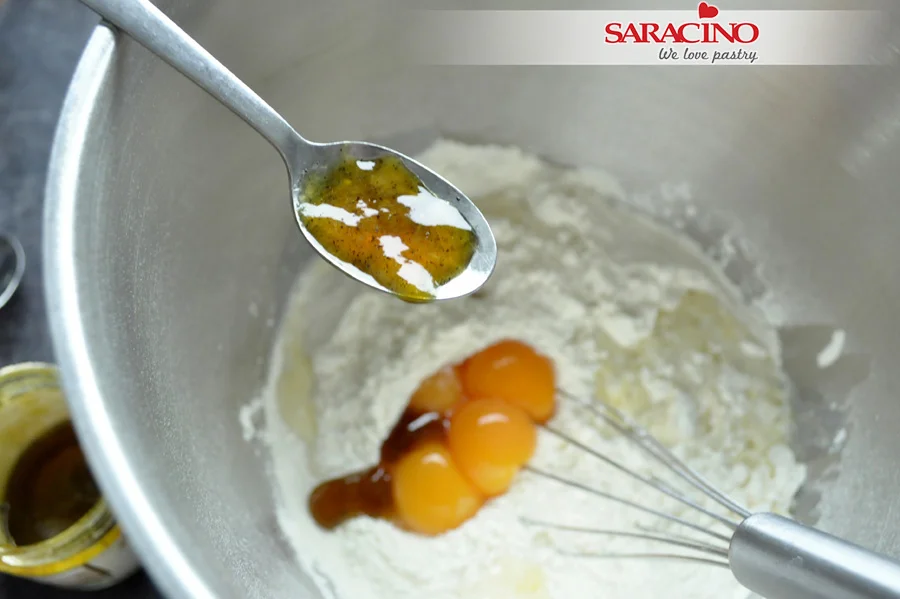
      Step 9

      Add two spoons of vanilla food flavouring Le Supreme 

      Step 10

      Mix all the ingredients for around 10 minutes until well combined 

      Step 11

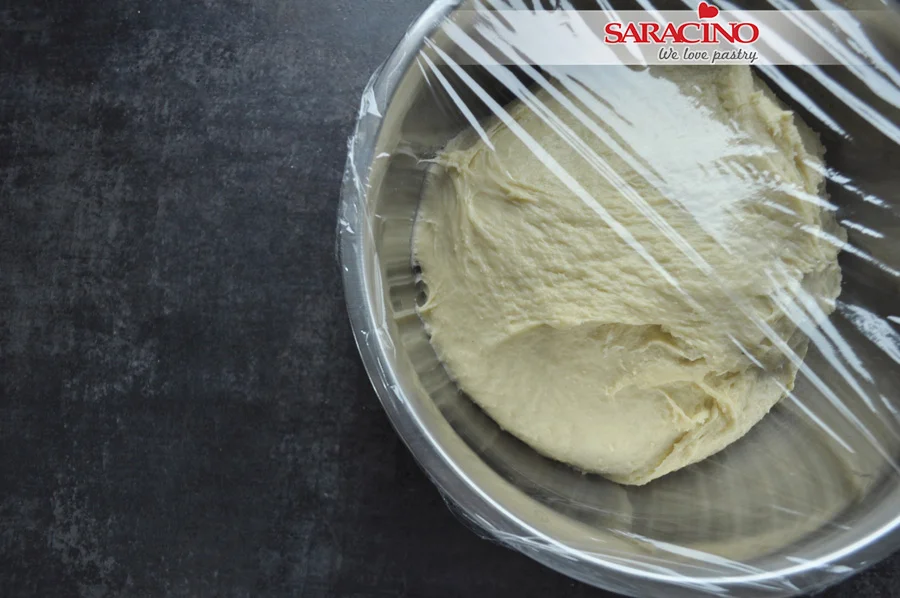
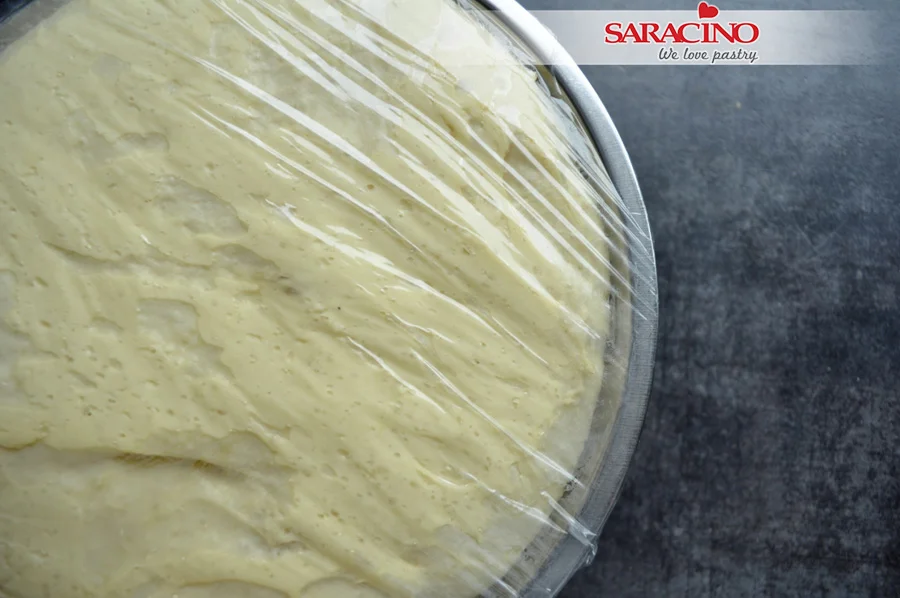
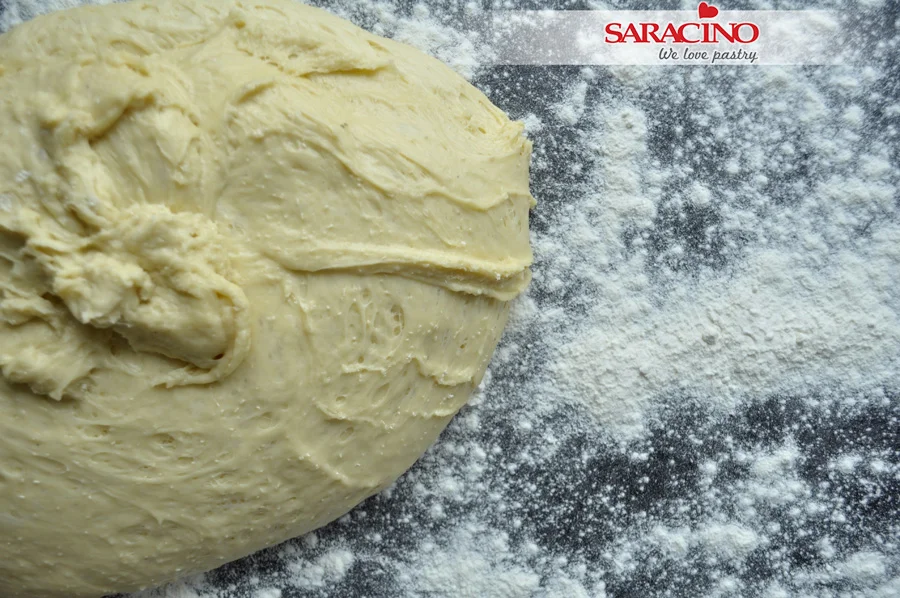
      Dust a bowl with flour and add the dough. Cover with cling film. Leave it in a warm place until it doubles in size. 

      Step 12

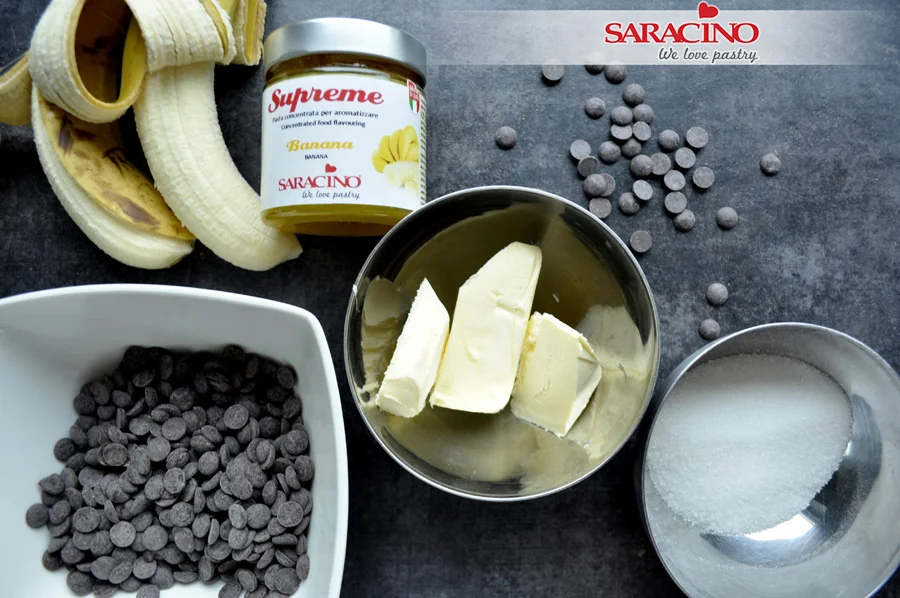
      Prepare all your ingredients for the filling

      Step 13

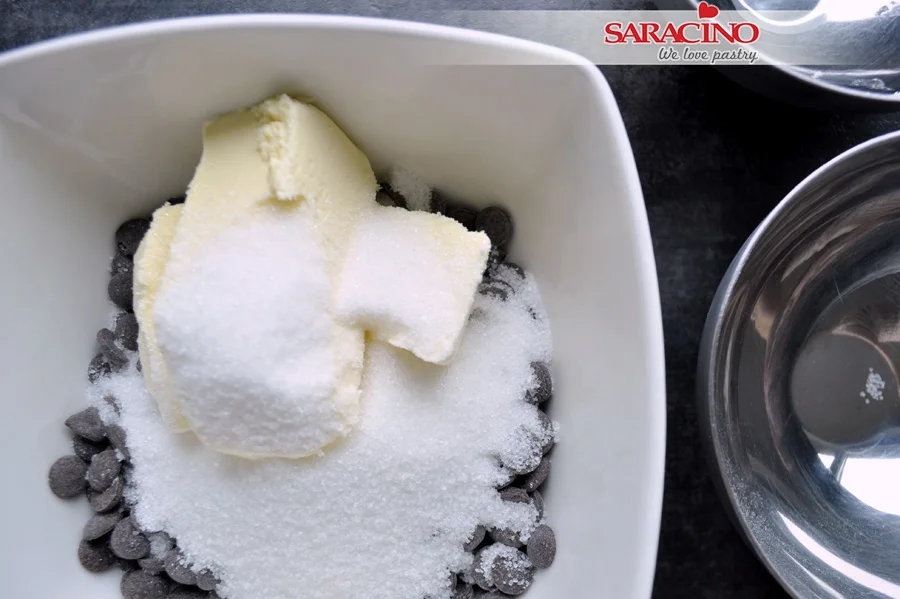
      To a ceramic or glass bowl add chocolate drops, butter and sugar. Melt everything in the microwave or over a pan of boiling water. Let it cool down

      Step 14

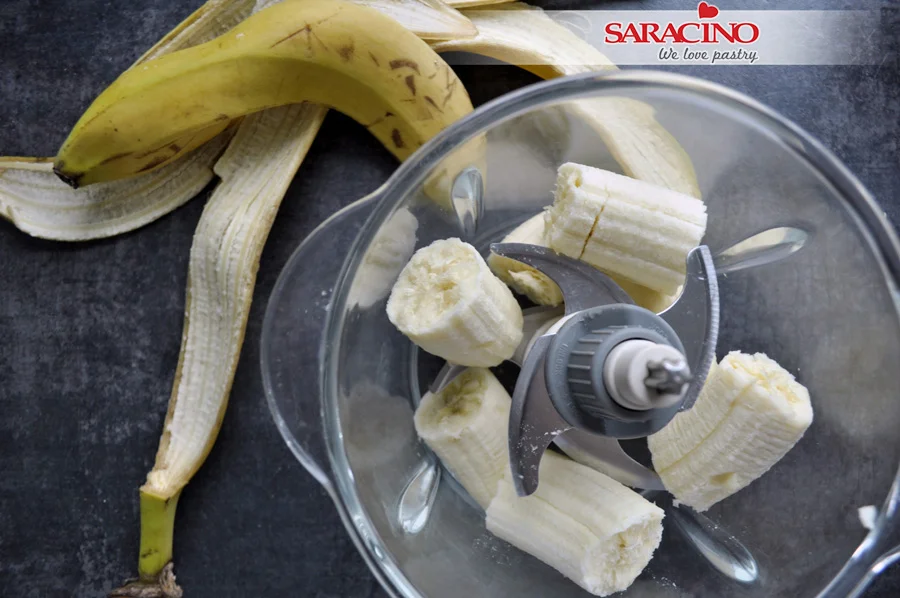
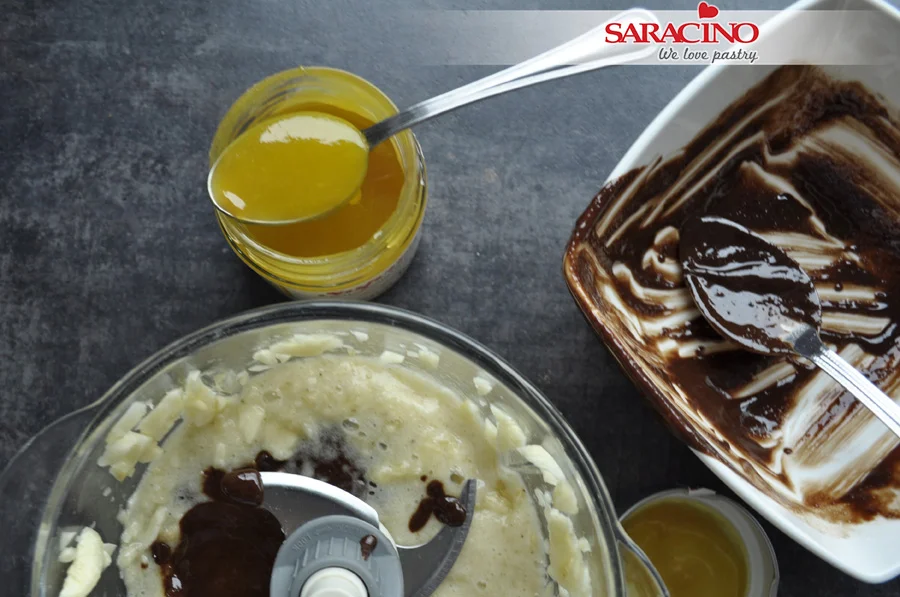
      Add bananas to your blender

      Step 15

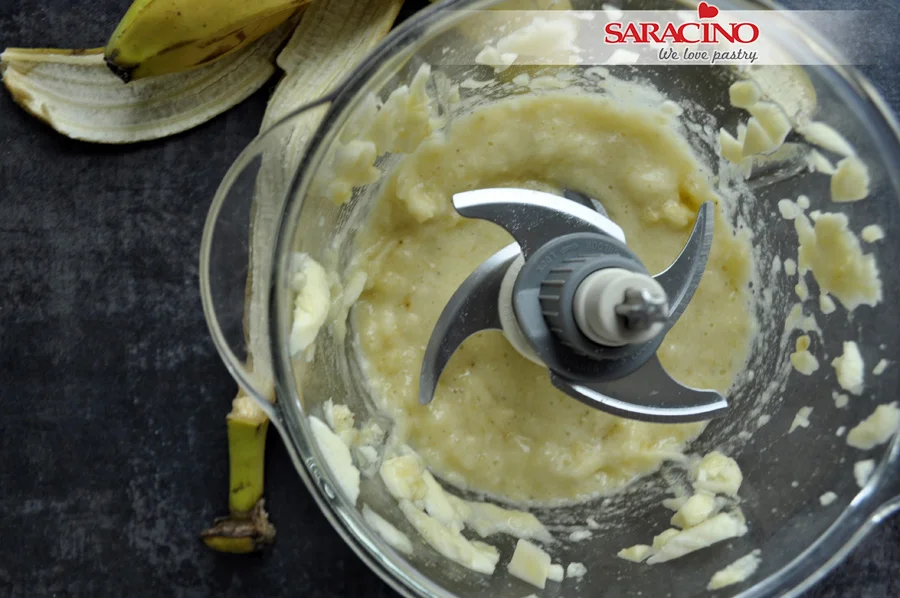
      Blend until smooth

      Step 16

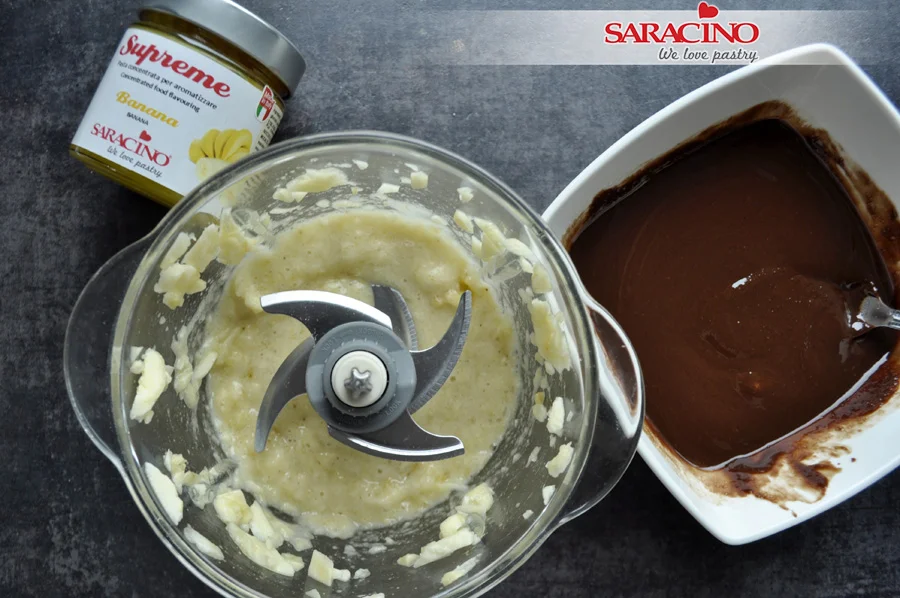
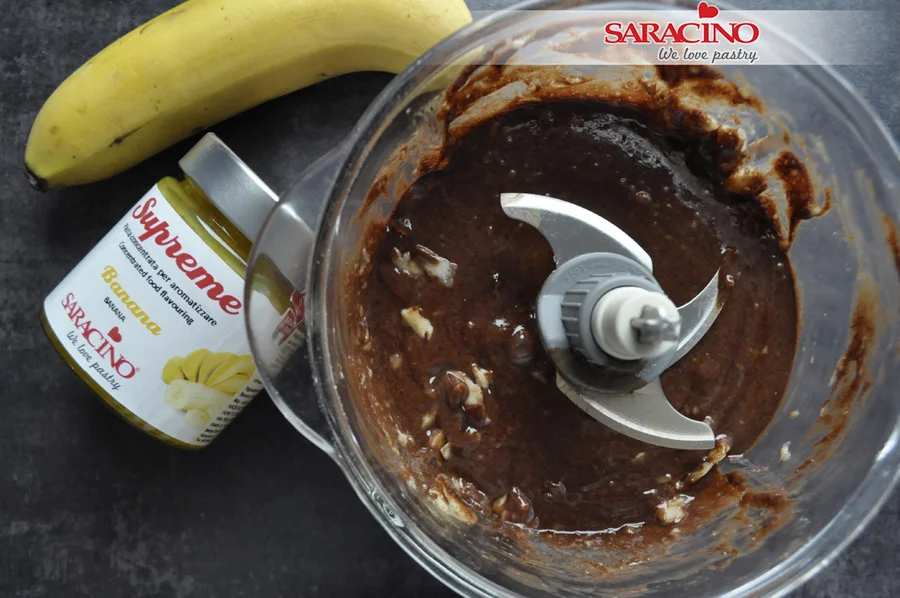
      Get your chocolate mix ready and Saracino Le Supreme banana food flavouring 

      Step 17

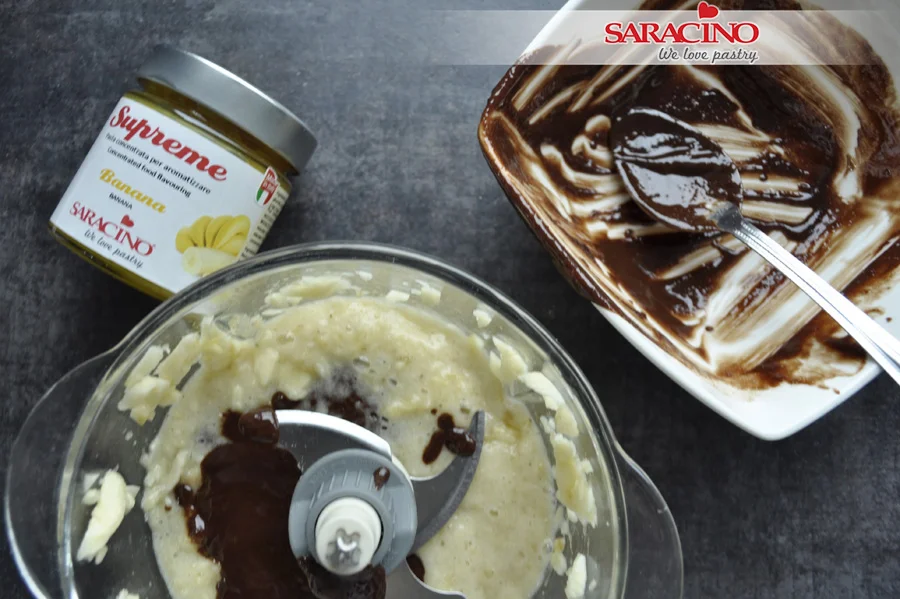
      Add the chocolate to the blended bananas

      Step 18

      Add 2 tsp of banana food flavouring.

      Step 19

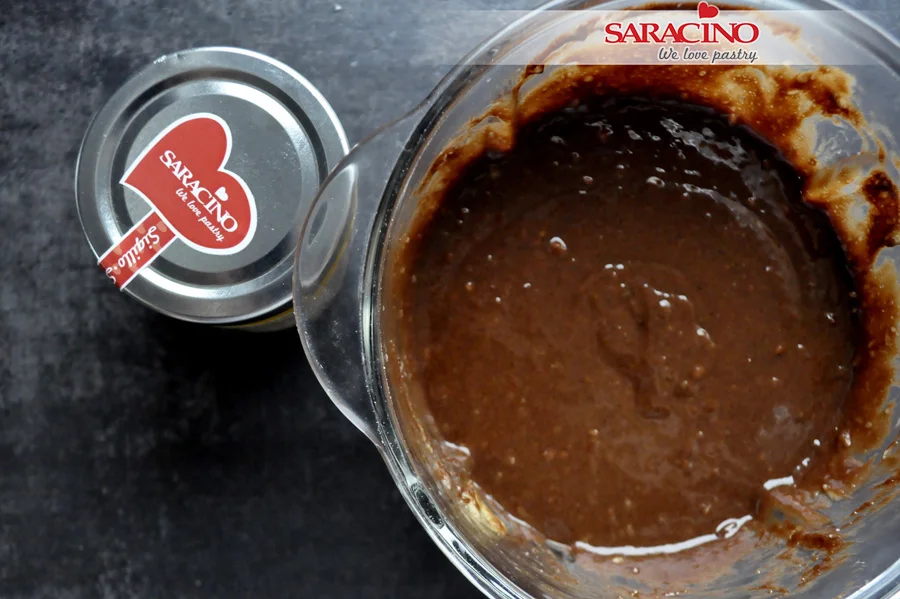
      Blend all together 

      Step 20

      Leave it aside and allow it to thicken

      Step 21

      Remove the film from the bowl and place the dough on a floured surface

      Step 22

      Knead it but not for long

      Step 23

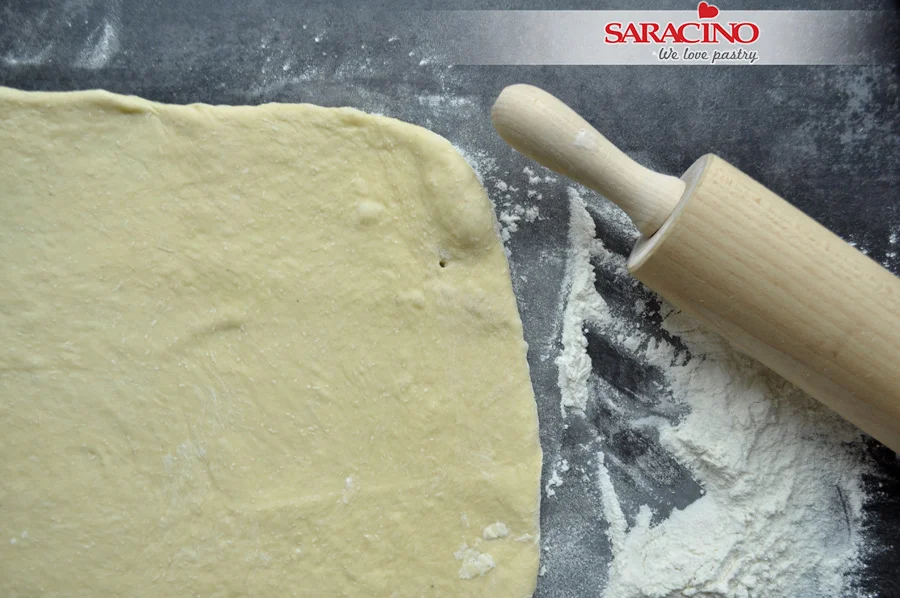
      Roll it to a rectangle so the length is double the width.

      Step 24

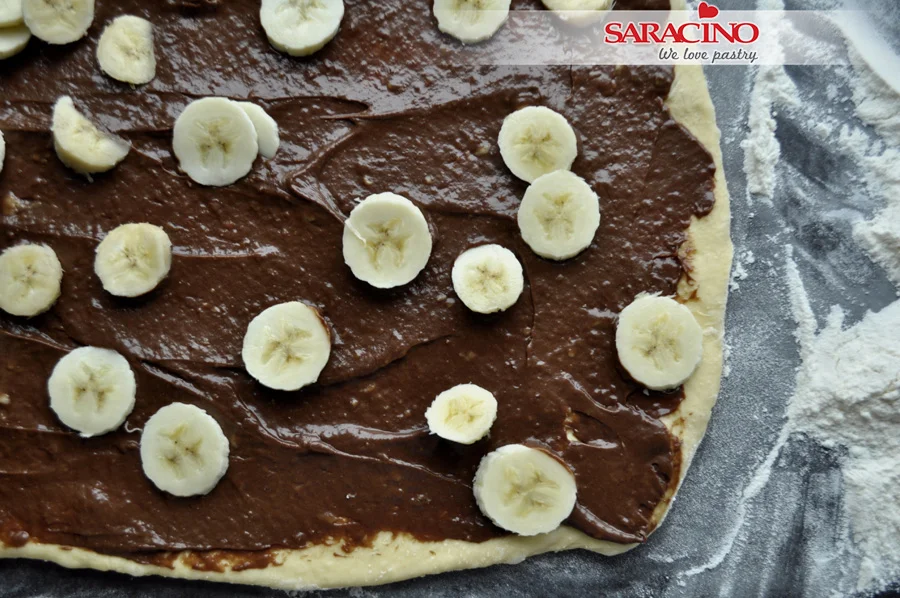
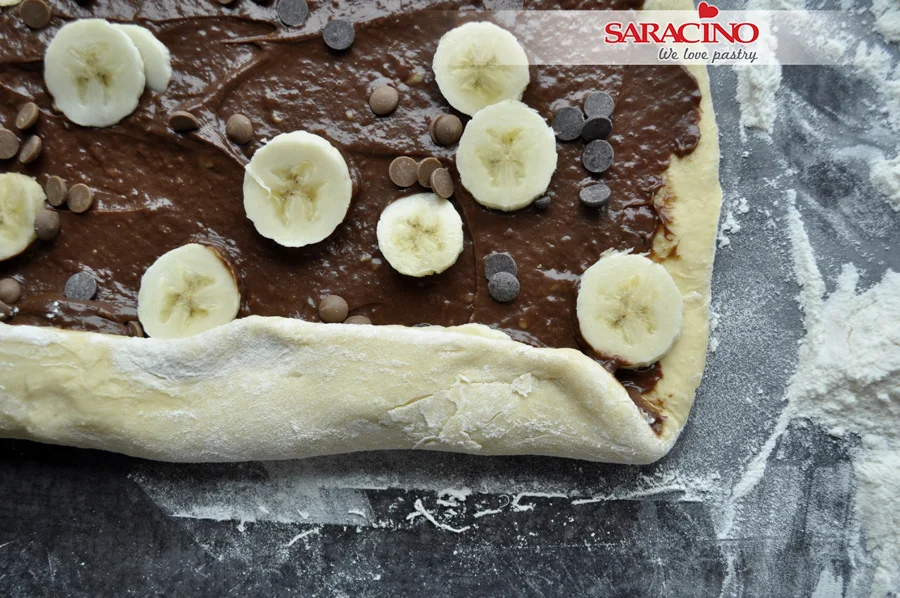
      Spread a layer of the chocolate mixture and add slices of fresh banana

      Step 25

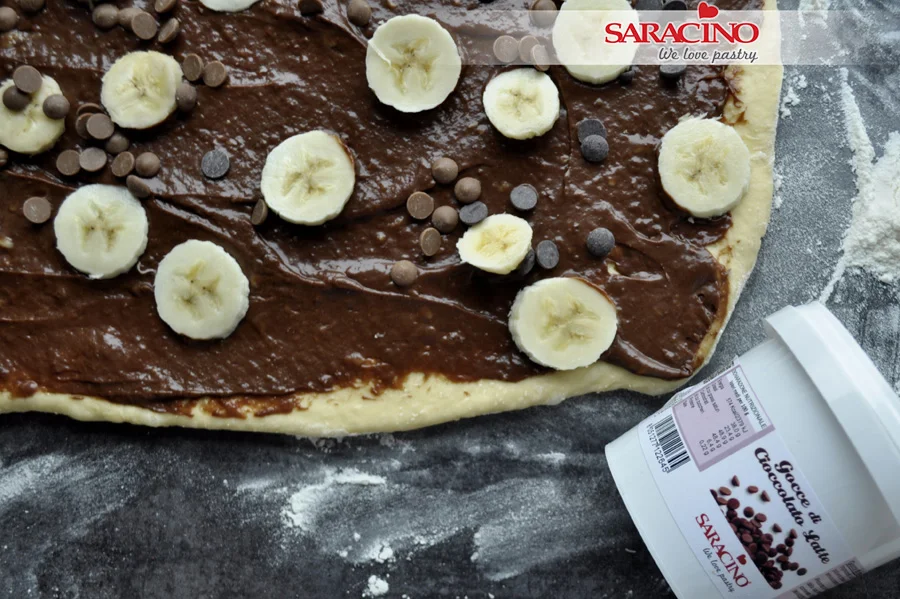
      Add milk and dark Saracino chocolate drops 

      Step 26

      Roll the dough starting from the shorter side. Be careful not to rip the dough

      Step 27

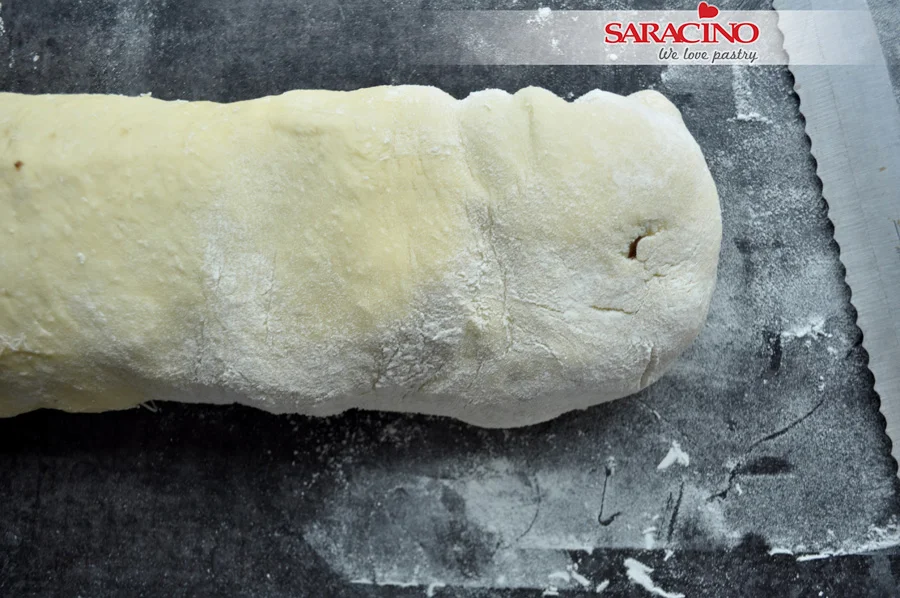
      Keep rolling until fully rolled with the joint at the bottom.

      Step 28

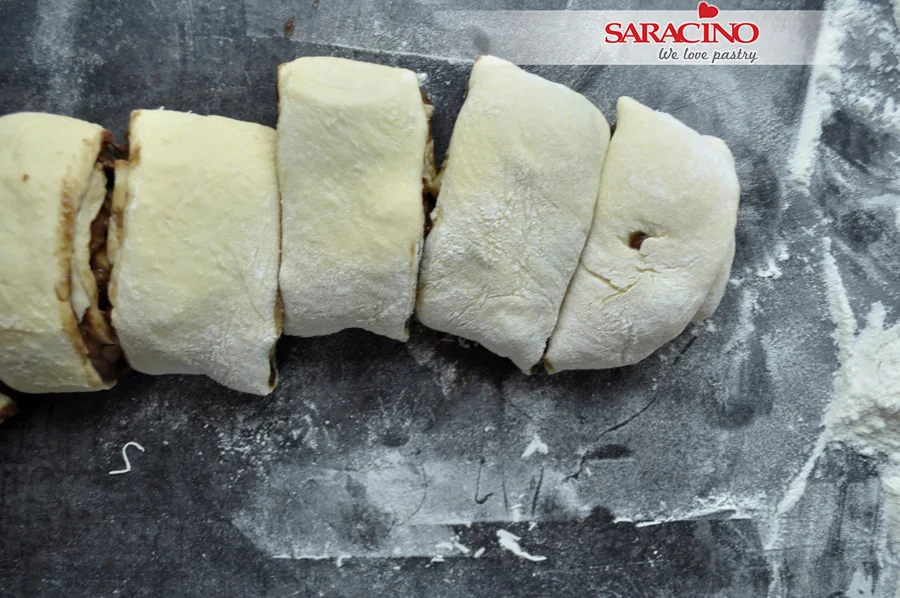
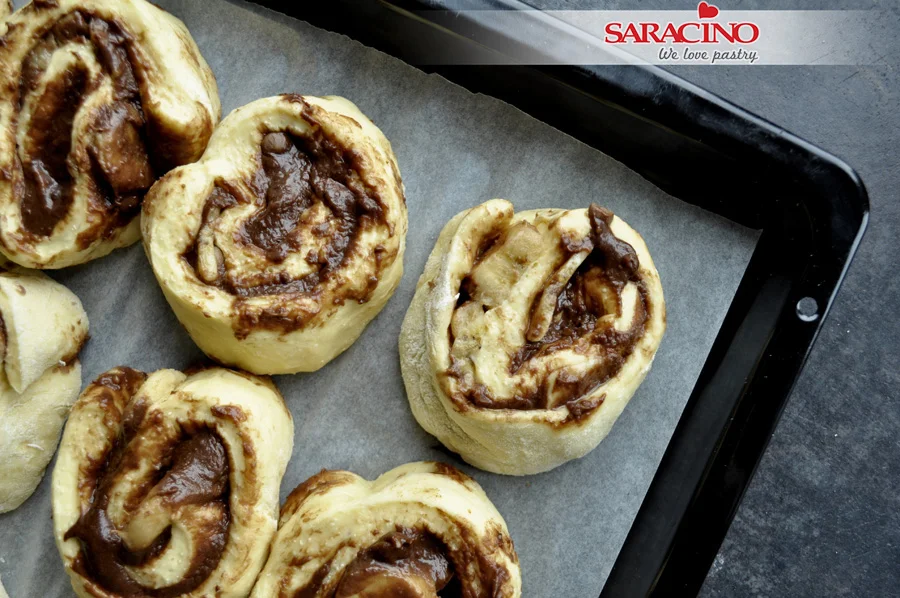
      With the knife cut slices around 3cm thick

      Step 29

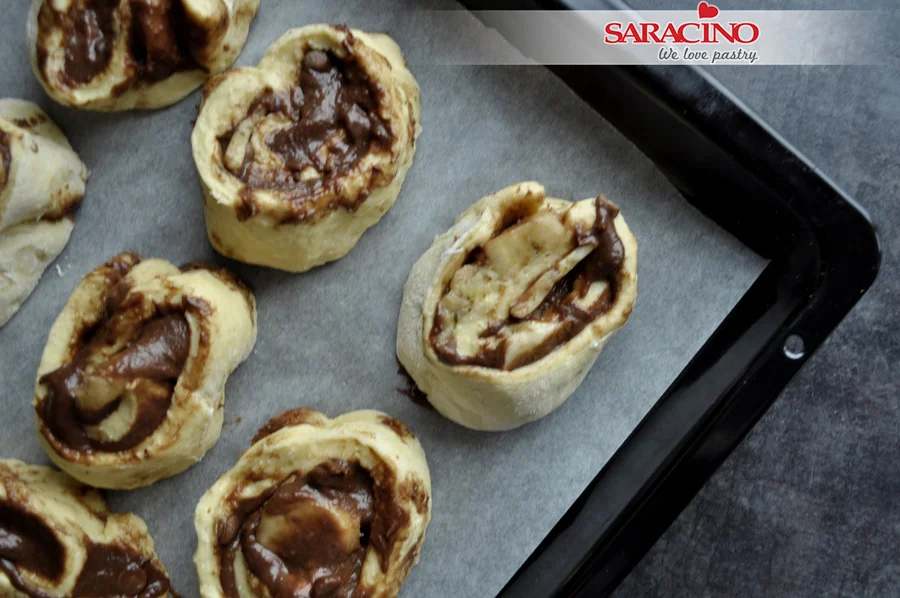
      Put baking paper on your baking tray. Place the buns remembering to leave sufficient space between them as they will increase in size. Apply cling film over the top (don’t press) and leave it for 30 minutes in a warm place

      Step 30

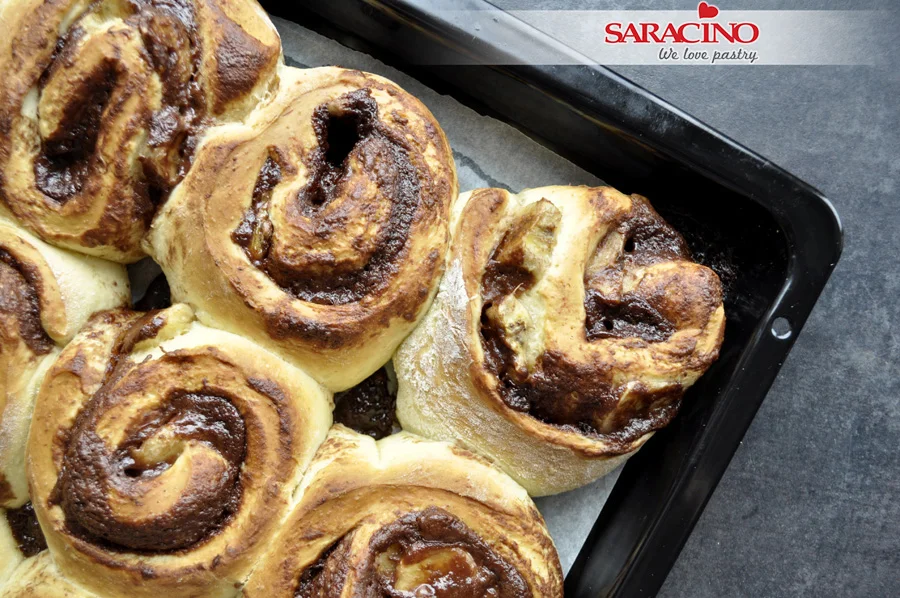
      Remove the film. Place them in a pre warmed oven at 190C and bake for 25 minutes

      Step 31

      They should be baked until a golden colour

      Step 32

      Prepare icing sugar and water

      Step 33

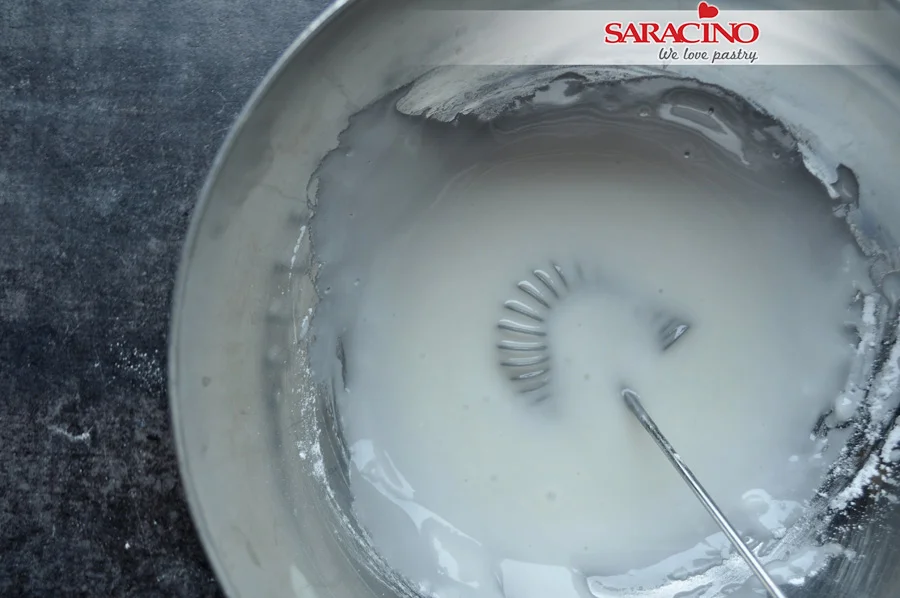
      Mix until a medium consistency is achieved. If it is too runny add some more icing, if it is too thick add a drop of water

      Step 34

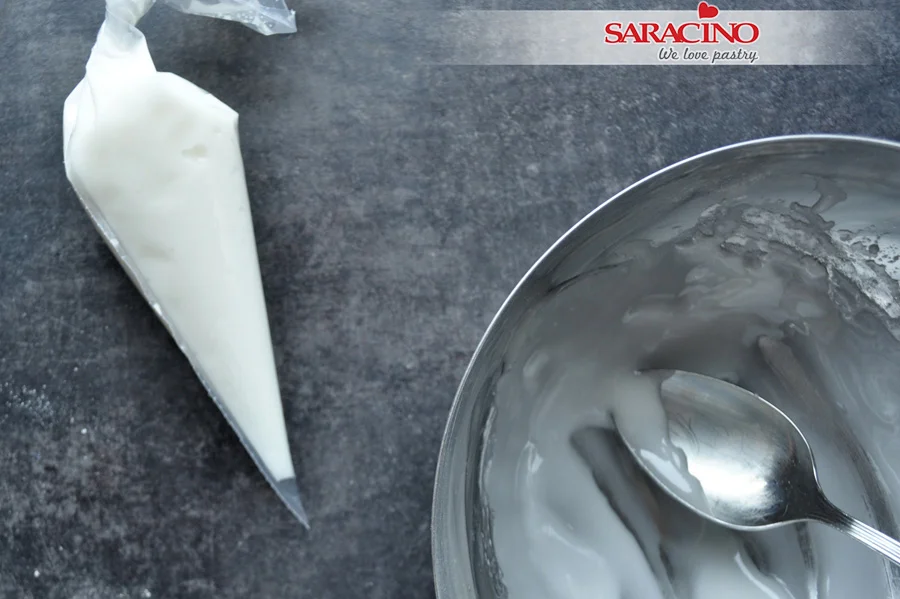
      Add to the piping bag and cut the end

      Step 35

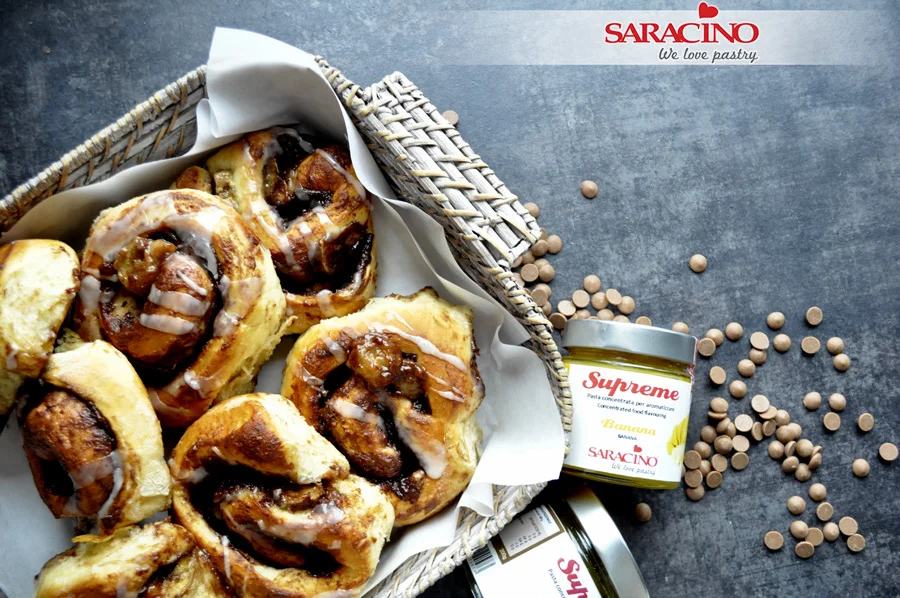
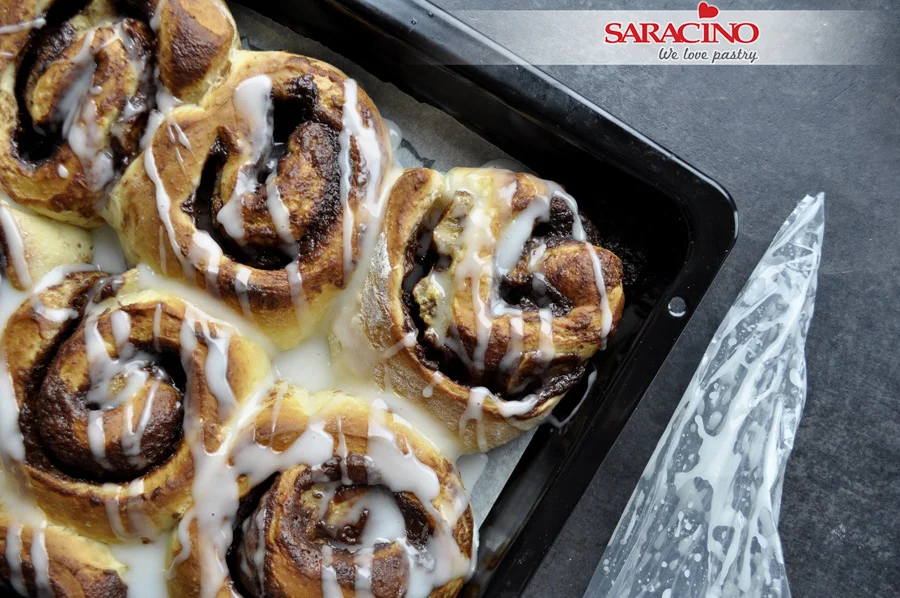
      Pipe the icing over the top of the buns

      Step 36

      Voila they are ready!

      VALENTINE CUTE GOBLIN MODELLING TUTORIAL

      VALENTINE CUTE GOBLIN MODELLING TUTORIAL

      Author: Goda Laivyte

      Inspired by Patricia Hedegaard

      Skill level: BEGINNERS 

      You will need:

      INGREDIENTS:

      • Purple Saracino modelling paste mixed with white paste to make a pastel colour
      • Red Saracino modelling paste
      • White and pink powder colour
      • Black Saracino modelling paste

      EQUIPMENT: 

      • Cake and board covered with white Saracino Pasta Top sugar paste
      • Rolling pin
      • Modelling tools including Dresden tool
      • Heart cookie cutters
      • Brushes for edible dust colours

      Step 1

      Roll a 35g ball of the pastel purple Saracino modelling paste for the body of the goblin.

      Step 2

      Roll the ball into a longer shape like shown in the picture (around 5cm long).

      Step 3

      Press it down with the palm of your hand to flatten it so you can easily attach it to the surface of the cake.

      Step 4

      Hold the shape with one hand and press from both sides at the bottom of the shape making space for attaching legs. Put aside to dry.

      Step 5

      For the legs we will need 2 x 18g balls of the same colour Saracino modelling paste.

      Step 6

      Roll one ball into a longer sausage shape.

      Step 7

      Roll one end of sausage shape to make it thinner.

      Step 8

      Bend the thicker part for the foot.

      Step 9

      Shape it with your fingers like in the picture for a natural look for the foot.

      Step 10

      Make a deep indent under the foot with your Dresden tool.

      Step 11

      Using your fingers roll the tip of the foot to make it sharp and bend it a bit.

      Step 12

      Attach the body and legs with water or edible glue to the cake.

      Step 13

      For the arms you will need 2 x18g balls of purple modelling paste.

      Step 14

      Roll two sausage shapes the same length.

      Step 15

      Roll one end of the sausage thinner leaving thicker part for palm of the hand

      Step 16

      Flatten the thicker part so you can cut and shape fingers.

      Step 17

      For the thumb cut a piece as shown in the picture.

      Step 18

      Cut to make 3 fingers. Shape fingers and palm of the hand using Dresden tool and your fingers. Repeat the same steps for the other hand.


      Step 19

      For the heart roll a ball of 20g red Saracino modelling paste.

      Step 20

      Roll the ball with a small rolling pin to approximately 0.4cm thick.

      Step 21

      Cut a petal shape, you can use a heart cutter if you have the right size, for this I needed a special size so I used a petal cutter instead.

      Step 22

      Cut a little triangle on top of the shape.

      Step 23

      Blend the edges and shape it to look like a heart.

      Step 24

      Attach the arms to the body holding the heart. Use a sharp tool to form a belly button.

      Step 25

      For attaching the head to the cake cut a short piece of wooden skewer and insert it into the cake where the head will be attached.

      Step 26

      For the head roll a ball of 70g Saracino purple modelling paste.


      Step 27

      Shape the head to 5cm height with 6.5cm width at the bottom and 3cm width at the top. For the mouth and chin press an indent with your finger approximately 2cm wide.

      Step 28

      Roll a 1cm size ball for the nose, shape and attach to the face.
      Step 29

      Start shaping the lips and nose using your Dresden tool.

      Step 30

      Using the back of your finger press across the face where the eyes will be to form the forehead shape.
      Step 31

      With your Dresden tool make incisions where the eyes start and finish.

      Each eye is approximately 2cm wide with a 1.5cm gap between them. We want each eye 1cm tall at it’s tallest part.

      Step 32

      Once you have shaped the eyes cut out the residue from inside of them. Smooth the surface inside the eyes with your Dresden tool.

      Step 33

      For the eyes you will need to roll two balls of the same size using the black Saracino paste. 
      Step 34

      Roll the balls into teardrop shapes. Using your Dresden tool shape them into the eye sockets. Form the wrinkles around the eyes with your Dresden tool. Shape the lower eye lids.
      Step 35

      To give expression use your finger to press down the top of the eye as shown in the picture. We want to achieve a sad expression.

      Step 36

      For the ears you will need 2 x 15g balls of purple Saracino modelling paste.

      Step 37

      Roll the balls with a rolling pin to make two flat oval shapes.

      Step 38

      Using your Dresden tool model the ears and attach them to the head. Dust the face using pink edible dust colour and a soft brush as you can see in picture. Use your Dresden tool to give the face more feature and character. 

      Step 39

      Mix a small amount of the white powder colour with water. Using a very fine brush paint highlights to the eyes.

      Step 40

      Dust the body with the same pink edible dust as we used in step 38.

      Step 41

      Attach the head to the body and the cake.

      Step 42

      Roll and cut out two different sizes of hearts as desired for the cake and dust them with the edible dust colour. Set aside to dry. Now roll two small pieces for the tiny horns that will go on his head.

      Step 43

      Attach the hearts on the cake as shown. Attach the horns with a little glue or water on to the top of his head.

      Step 44

      Stick the double sided tape around the edge of the board.

      Step 45

      Stick pastel purple colour satin ribbon around the cake board. All done!

      Happy Valentines day!