STEPHANOTIS FLOWER TUTORIAL

STEPHANOTIS FLOWER TUTORIAL
FB: CALLI CREATIONS

Skill level: BEGINNERS


FROM CALLI:

I’ve made the flower as near to nature as possible, but used artistic licence so not botanically accurate.


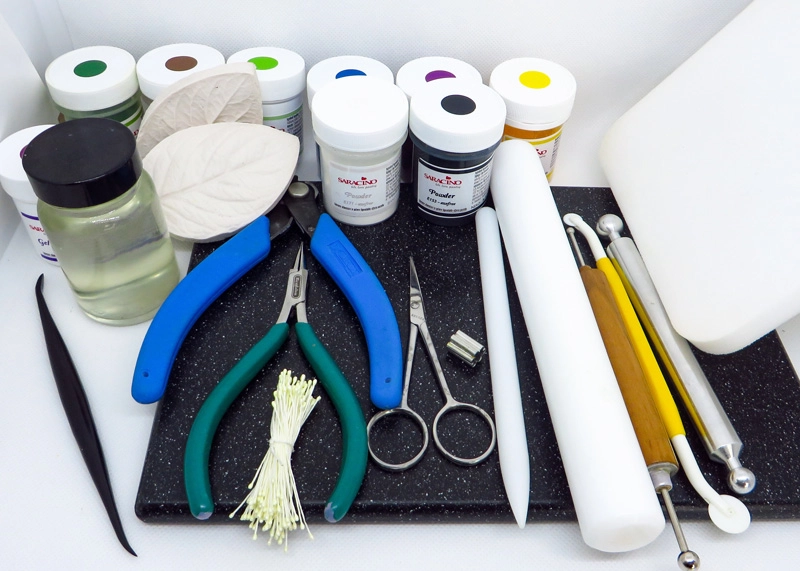
You will need:
  • Saracino Flower Pasta Bouquet
  • Saracino Colour Dusts white, yellow, green, brown
  • Saracino Colour Paste (green)
  • Florist Wires (26, 22, 18)
  • Florist Tape (Nile Green – ΒΌ inch)
  • Edible Glue
  • Cornflour for dusting
  • Balling tool
  • Non stick rolling pin (I use 9”)
  • Cel Pad
  • Cel Board
  • Dresden tool or cutting wheel
  • Paint brushes (Flat for dusting (size 2 – 4 and one fine line brush [eg 000 size])
  • Small blossom cutter (I used tinkertech metal, 1cm)
  • Wire Cutter

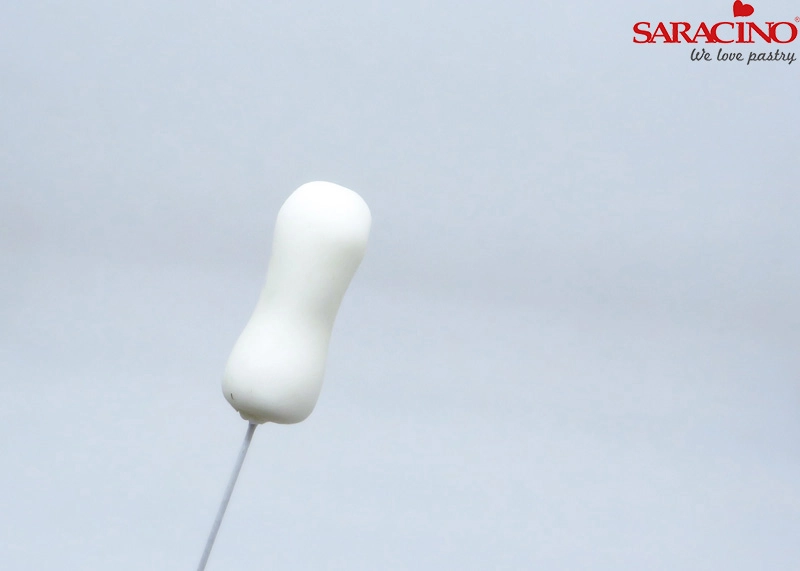
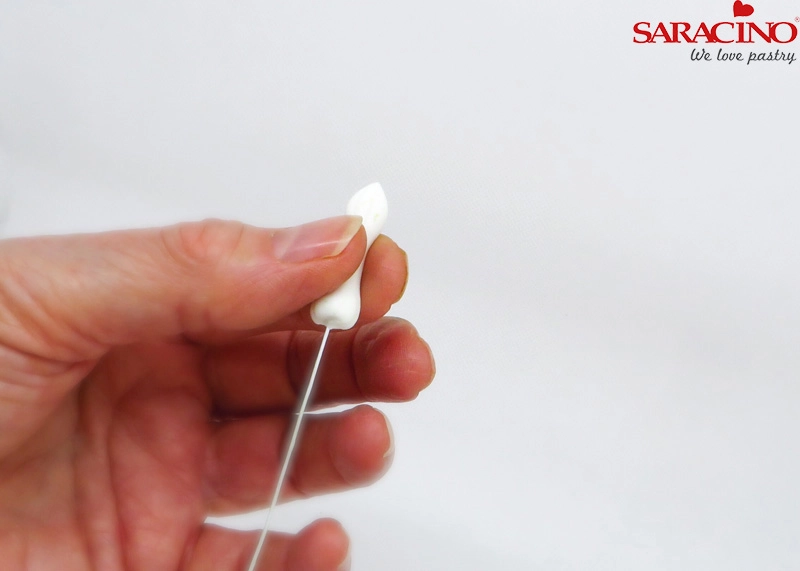
Step 1

Roll out a ball of Saracino flower paste (about the size of a large pea) onto a 26 gauge wire and roll the middle gently between thumb and forefinger to narrow centre
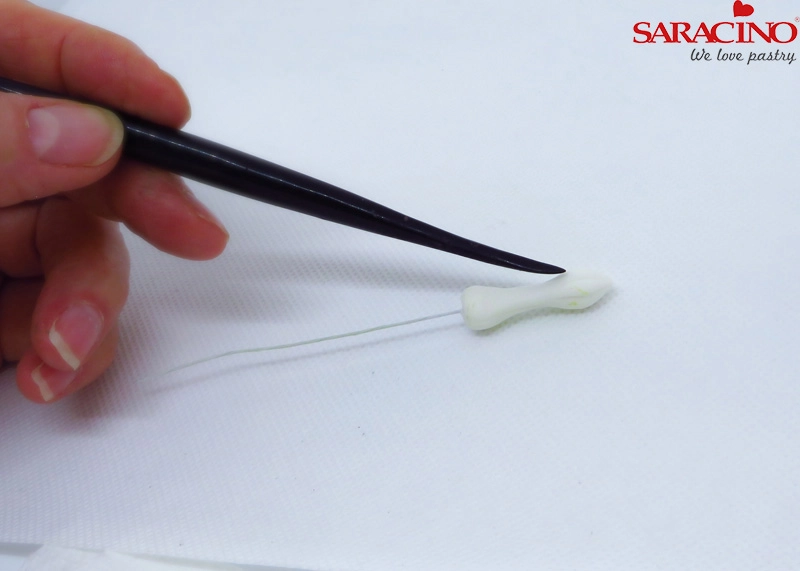
Step 2

Roll the tip of one end to form a point
Step 3

Using your dresden tool or cutting wheel, scribe in a few random grooves.
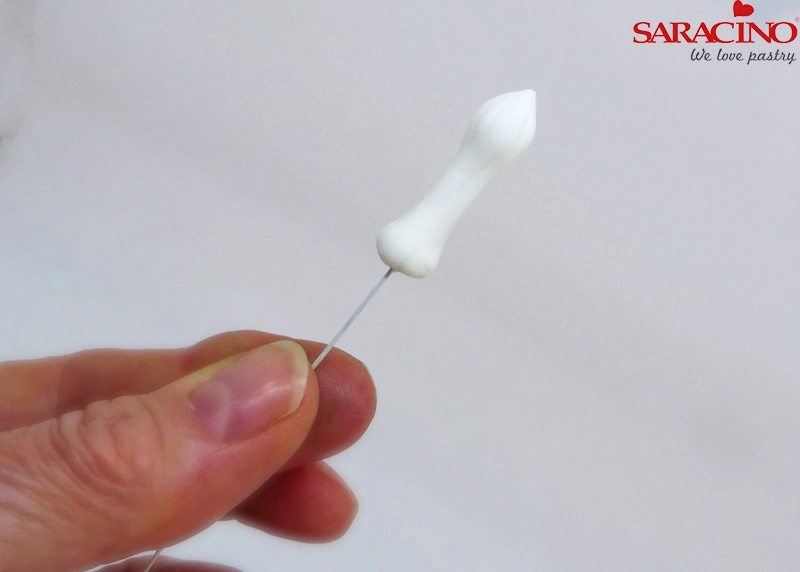
Step 4

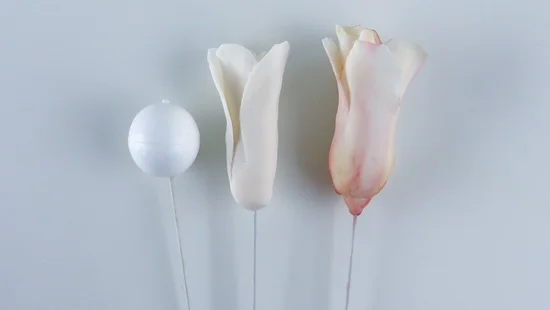
Here is how it looks before colouring, the grooves are just there to indicate where petals are forming.
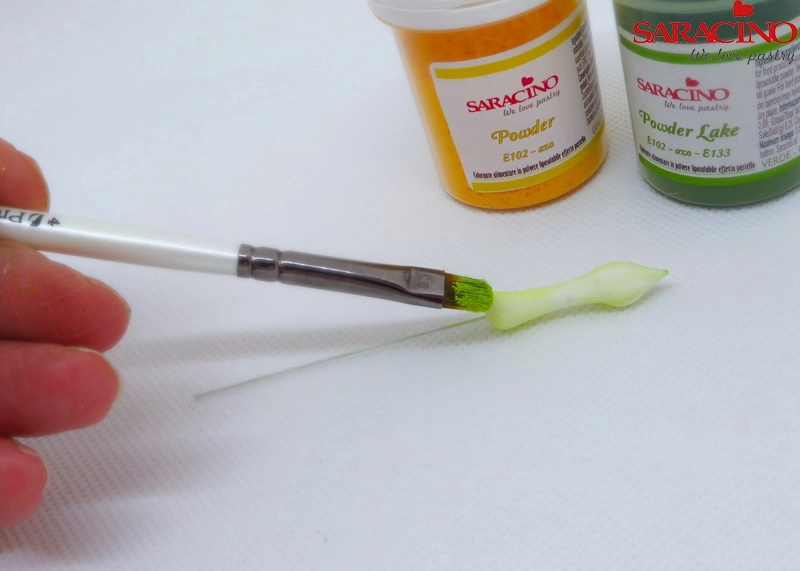
Step 5

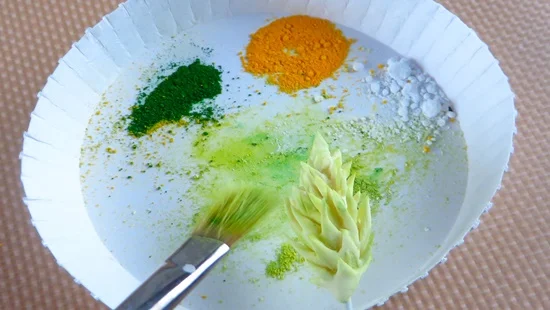
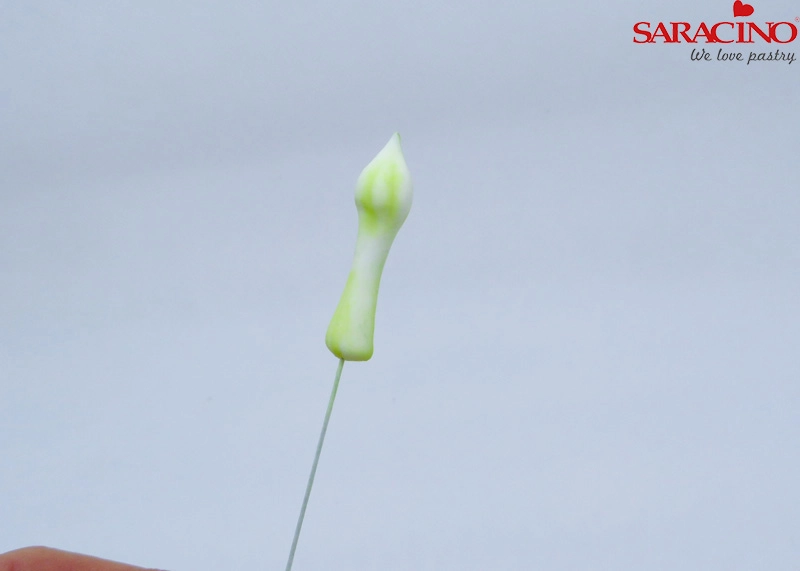
Mix green and yellow dust colour to make a lime green. Brush lightly over base and tip of bud.
Step 6

Close up showing light green on bud and in groves. Make sure to leave white bits as the bud is not all green.
Step 7

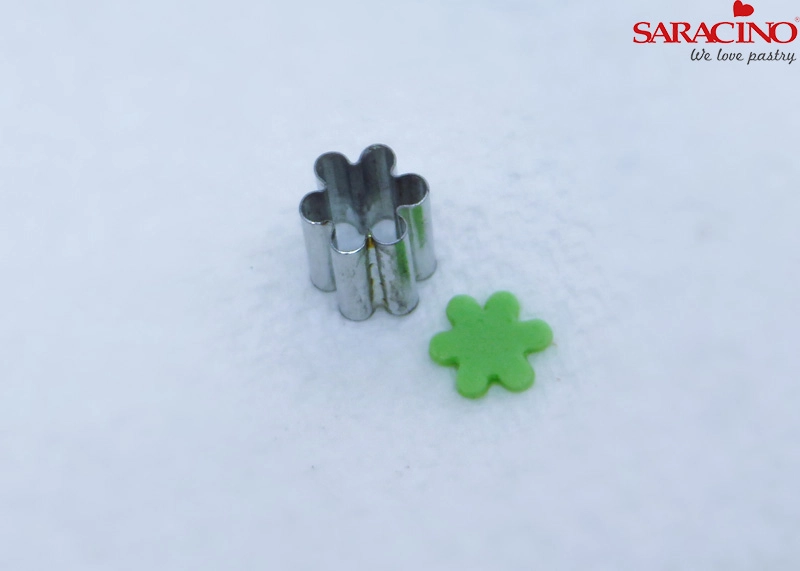
To make the sepal (leafy part at base of buds and flowers) Roll out green flower paste quite thinly and cut with blossom cutter
Step 8

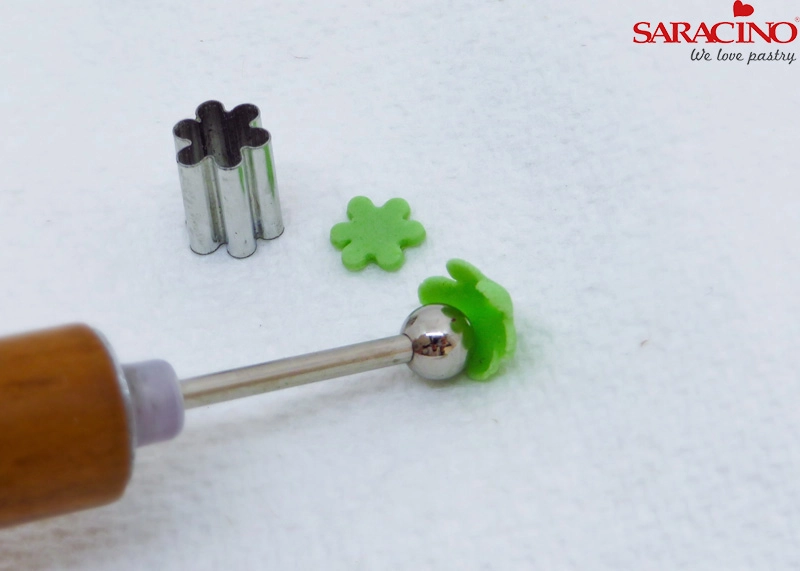
Using Ball tool, roll out each part of sepal.
Step 9

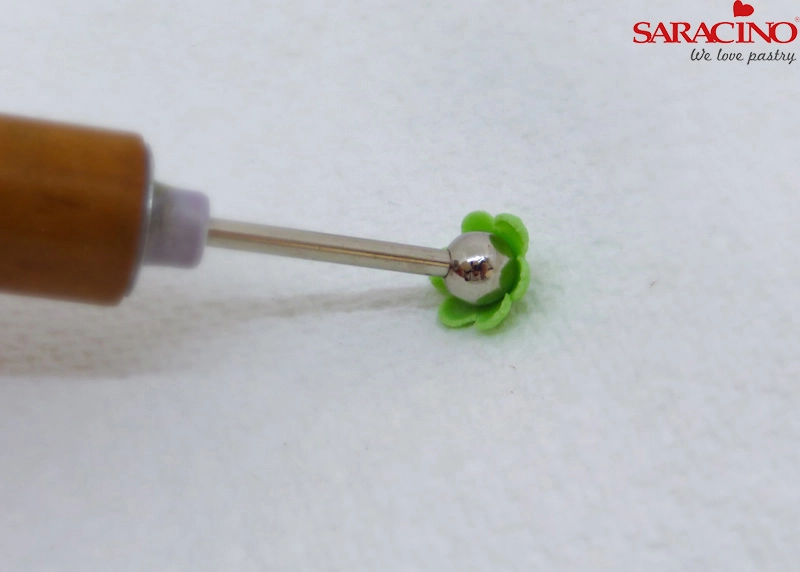
As well as centre so it curls inwards
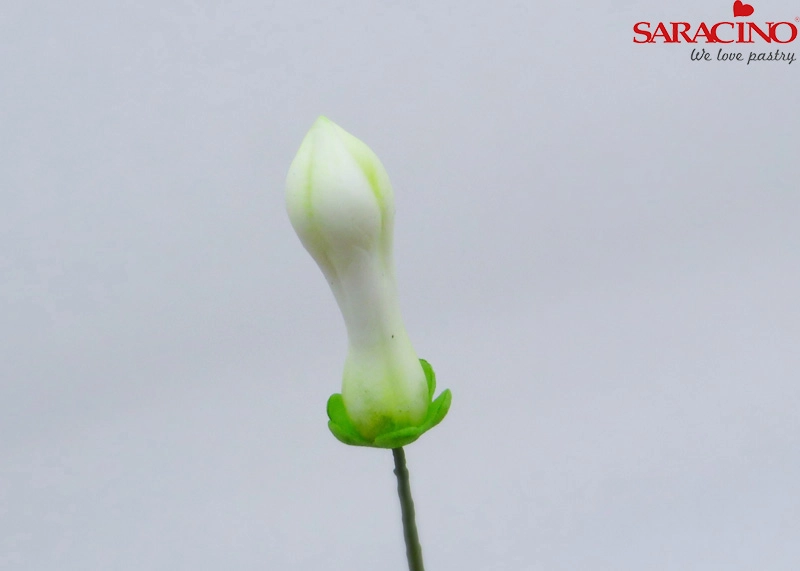
Step 10

Place a hole in the centre with toothpick and insert onto the base of bud
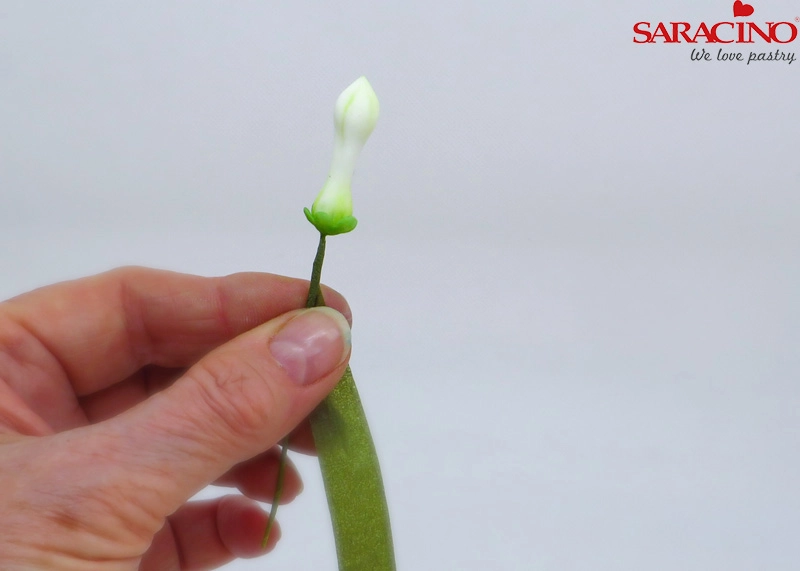
Step 11

Tape the wire with nile green tape.
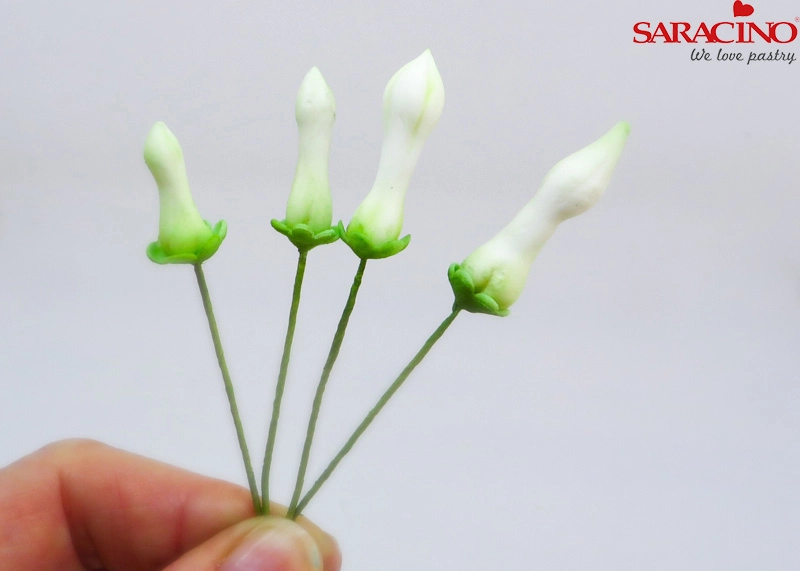
Step 12

Make quite a few different sized buds
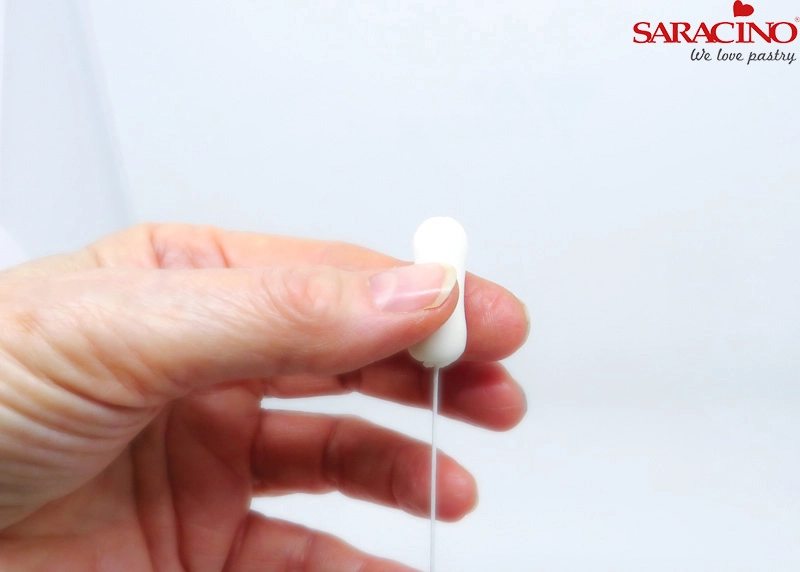
Step 13

Start same as making buds, using 26 gauge wireΒ 

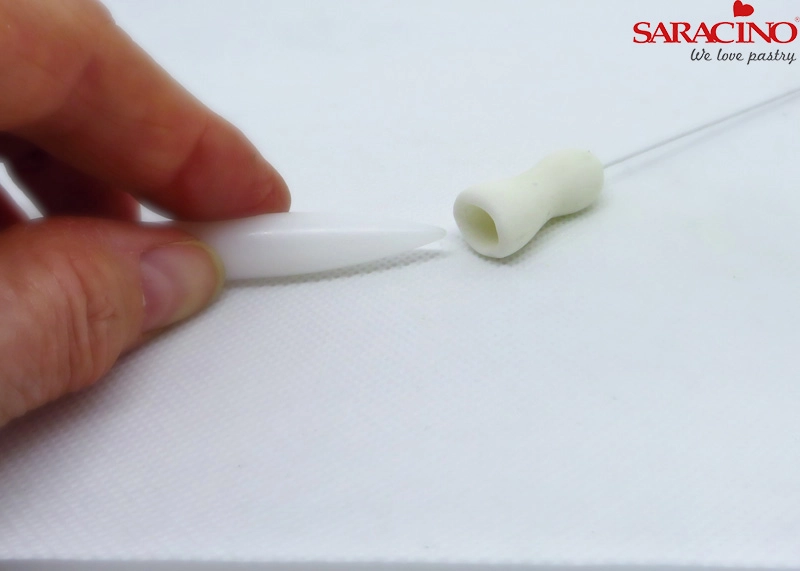
Step 14

Using cel stick, make a hole in centre.
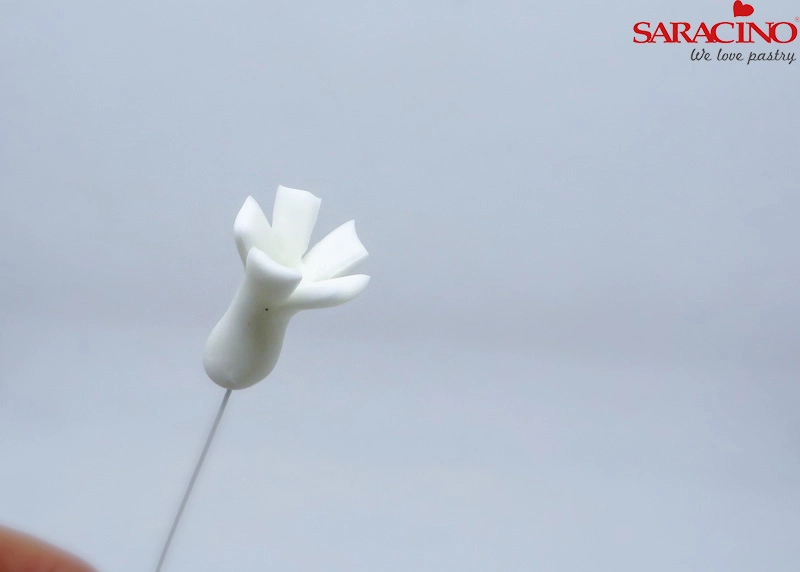
Step 15

Using small scissors, cut five petals Β 
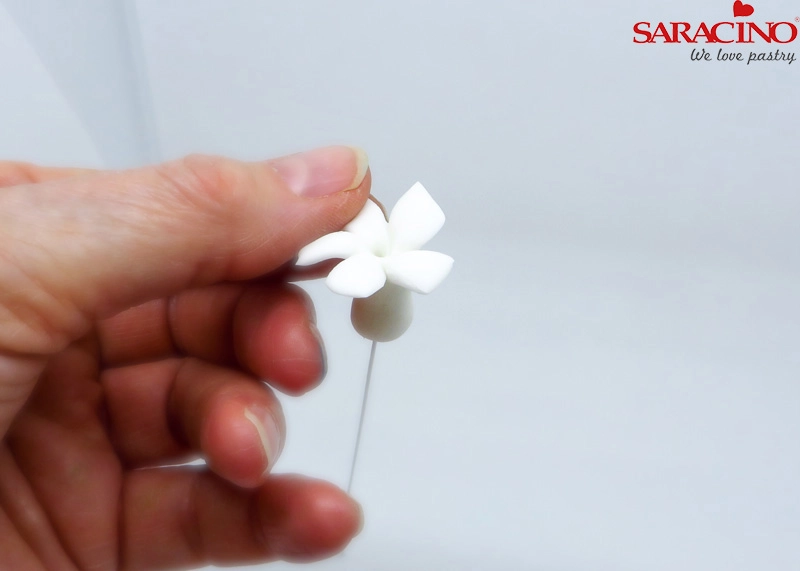
Step 16

Gently press the ends of each petal, between thumb and forefinger,Β to thin and form petal shape of the flower.Β 

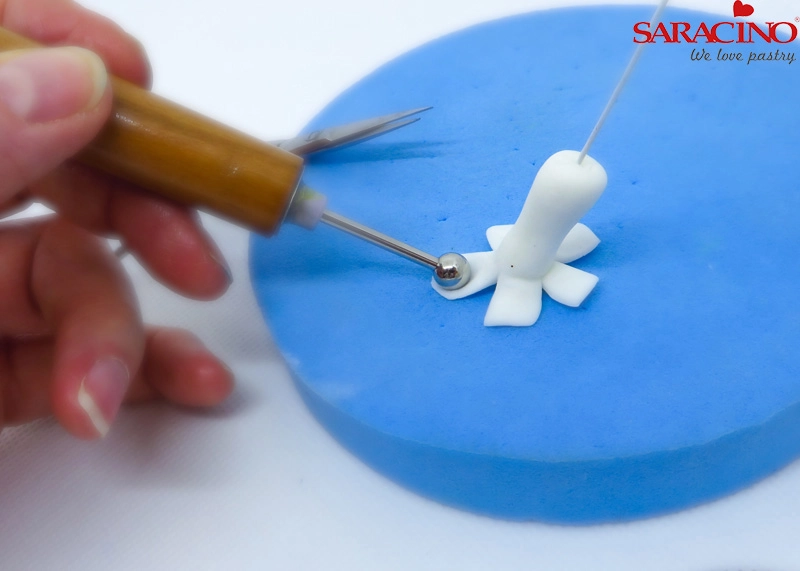
Step 17

Turn flower upside down onto a foam pad and gently press and roll out each petal, this aids in shaping the petals
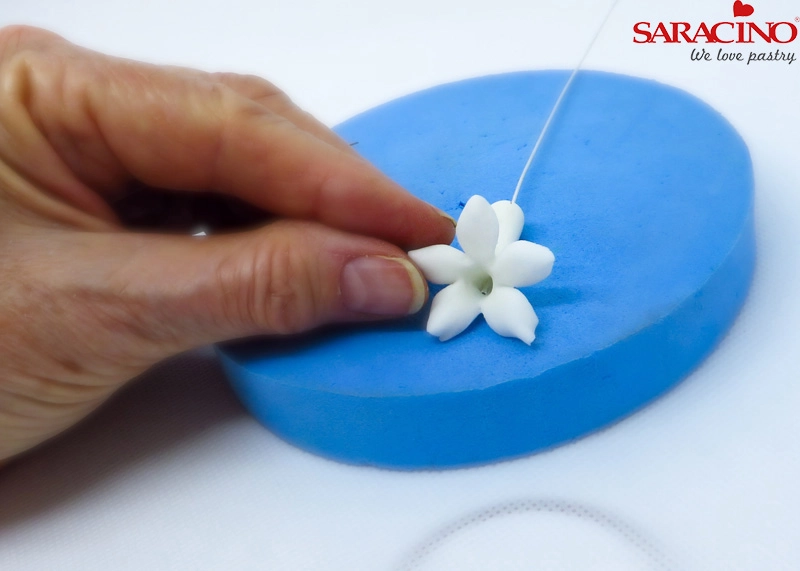
Step 18

Gently form edge of each petal tip between thumb and forefinger
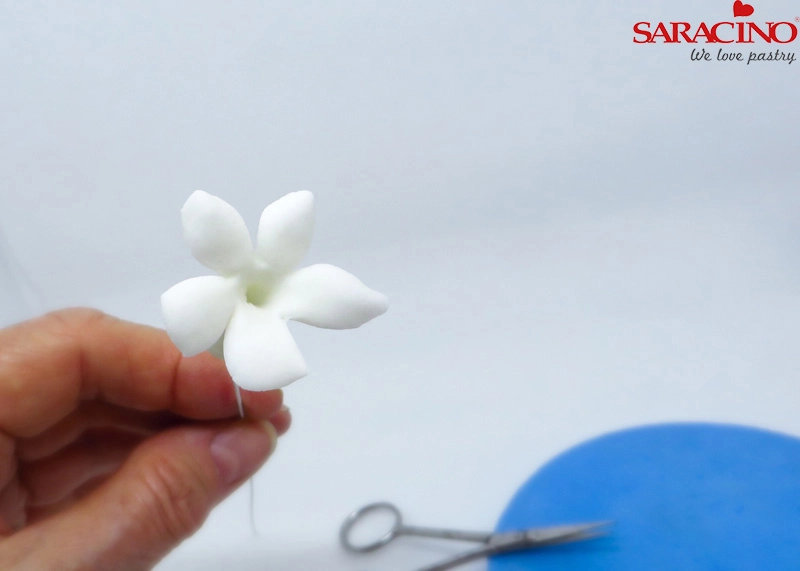
Step 19

This progress photo shows the flat petal as well as formed petals.
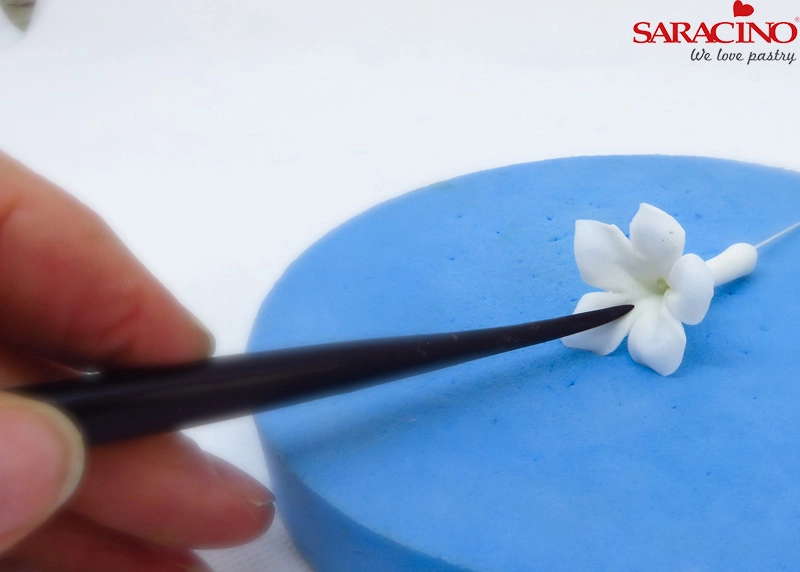
Step 20

Make a small groove in the centre base of each petal, using dresden tool.
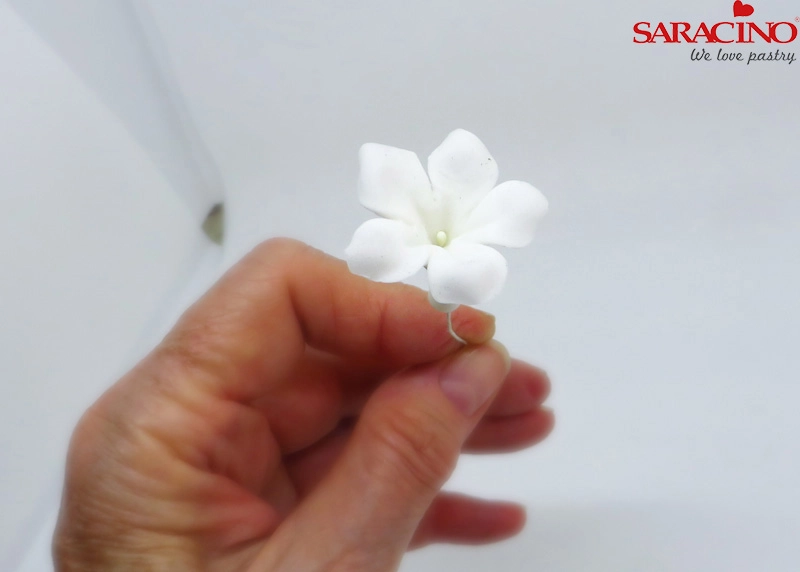
Step 21

Insert a small stamen in the centre.
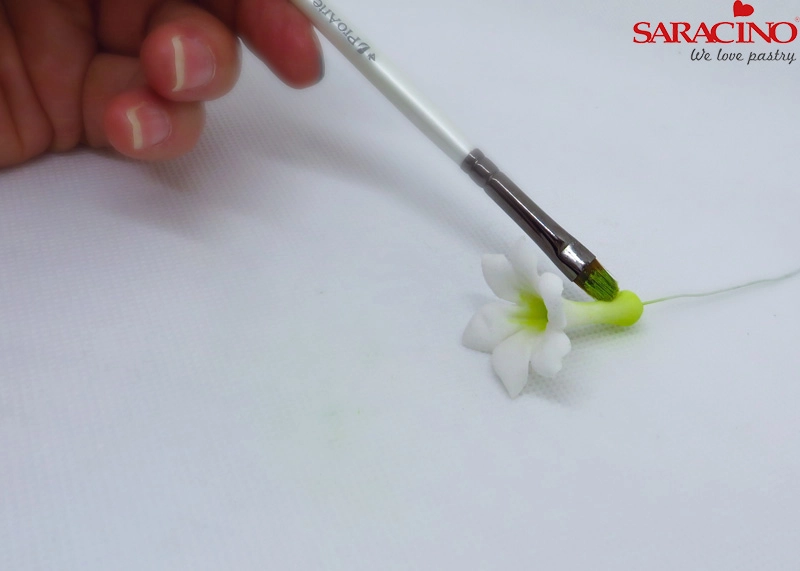
Step 22

Using same lime green as buds, lightly brush the base of the flower and a little in the centre.
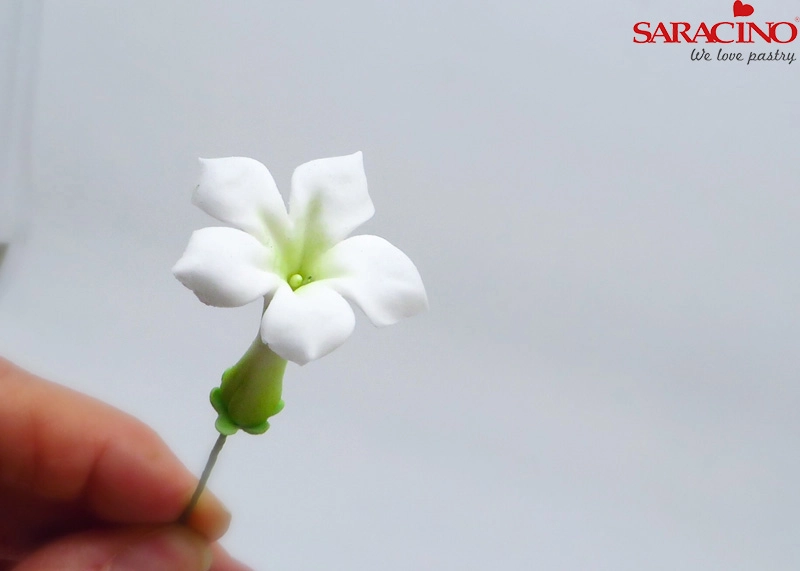
Step 23

As with buds, add the green sepal at base of flower
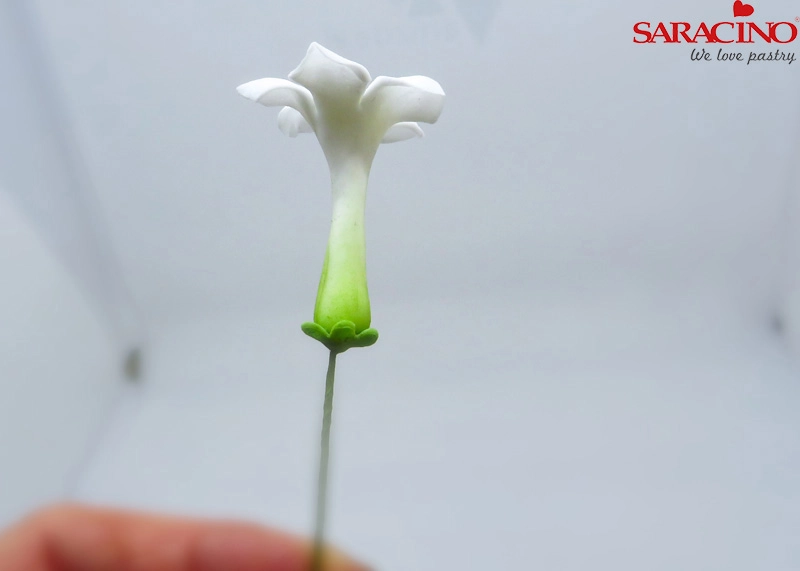
Step 24

As a guide, make enough flowers for approximately 1-2 flowers to about 3-6 buds
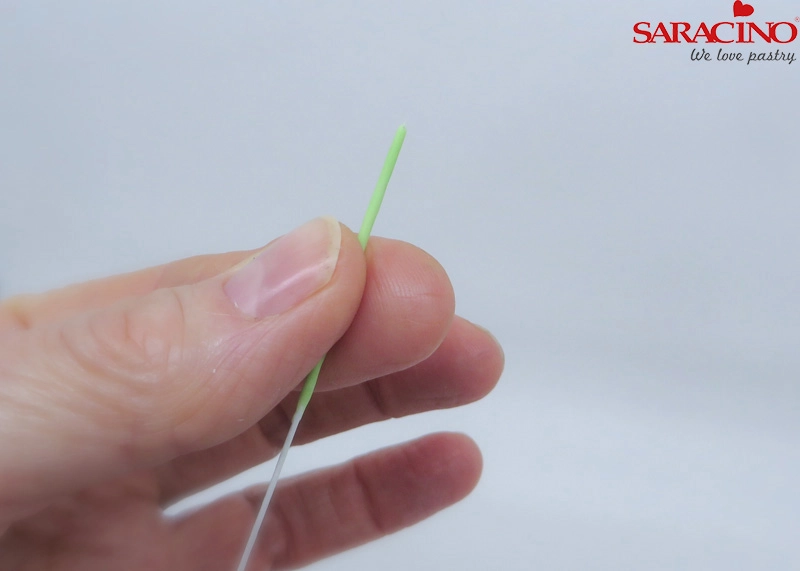
Step 25

You will need to make quite a few leaves of about 4-5 different sizes.

Place a small ball of green paste onto a 26 gauge wire (larger leaves use 22 gauge wire) and taper it down so that length will be just short of what the leaf will be.
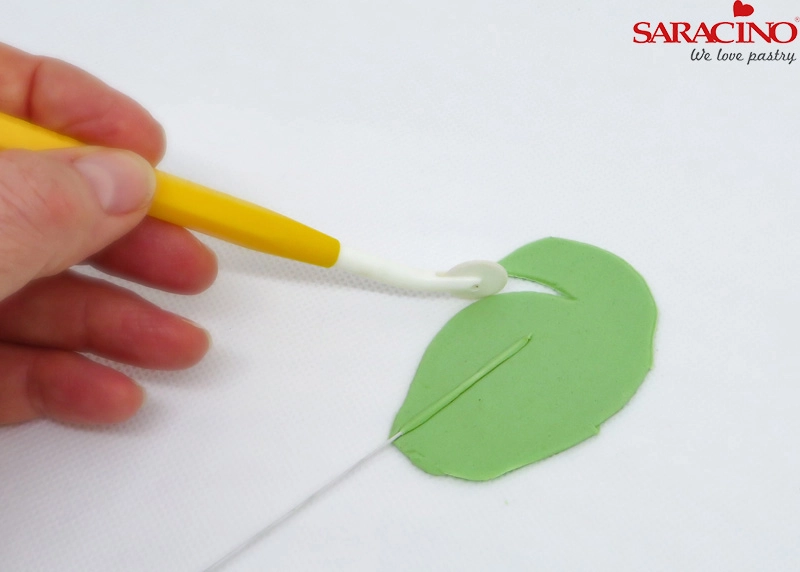
Step 26

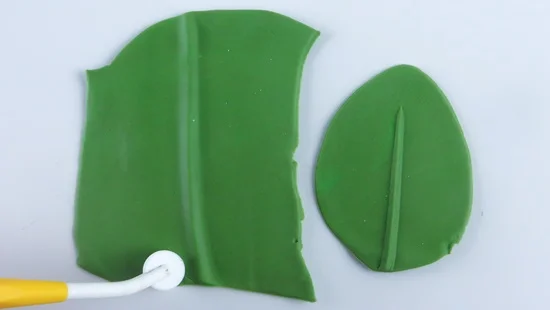
Place ontoΒ  rolled out paste and cut a leaf shape with cutting wheel.
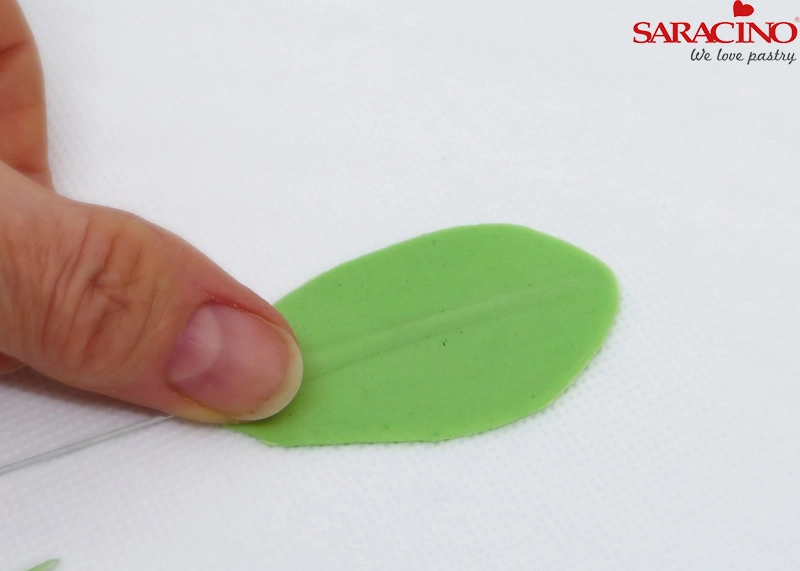
Step 27

Gently smooth the green covered wireΒ  into the leaf.

Step 28

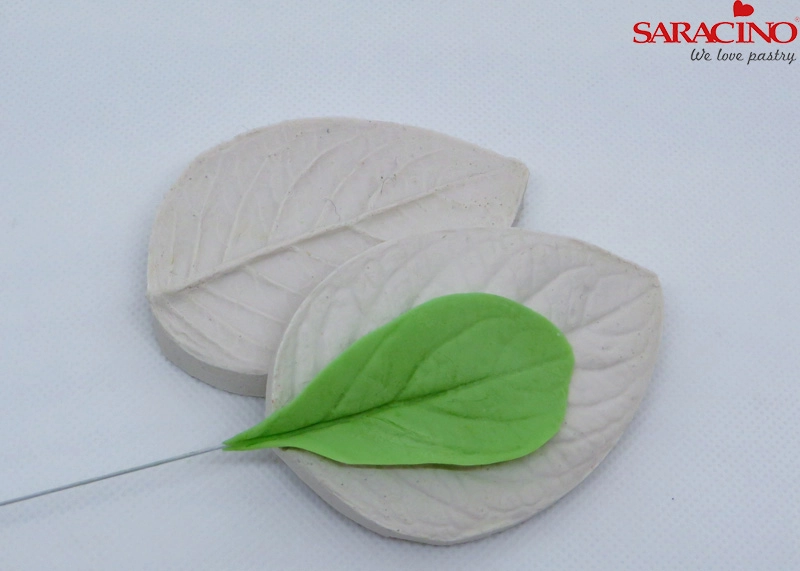
Press gently into a universal leaf veiner and form a gentle shape
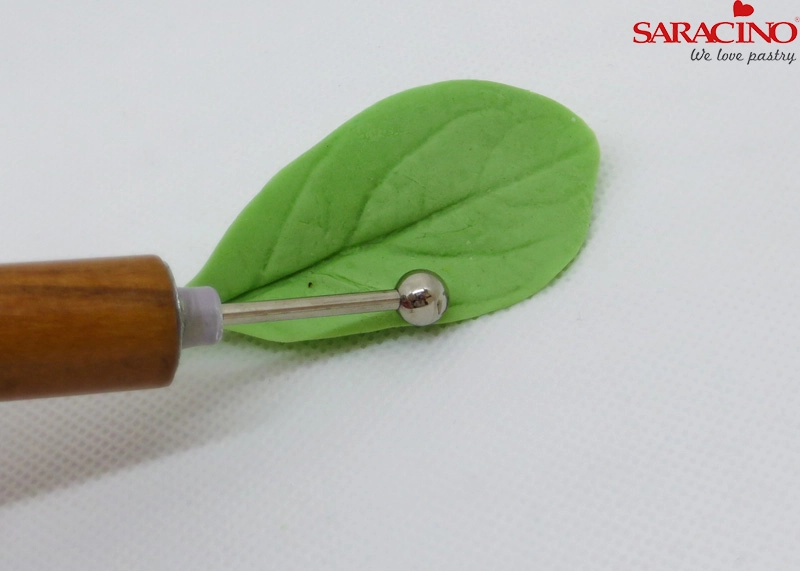
Step 29

Thin the edge with a balling tool
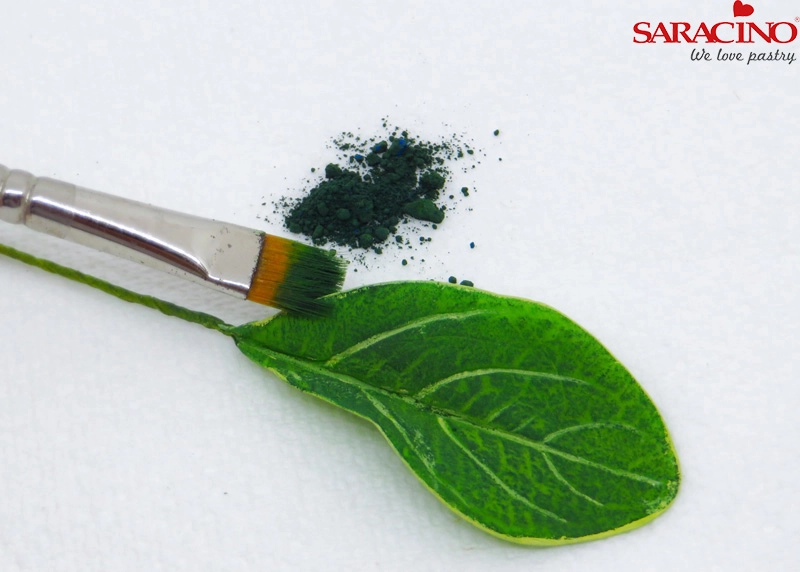
Step 30

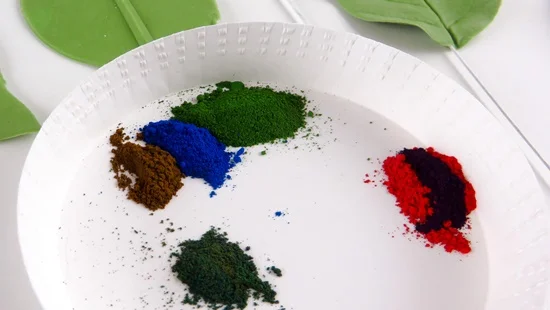
Brush with Saracino green dust and over dust again with green/brown mix dust
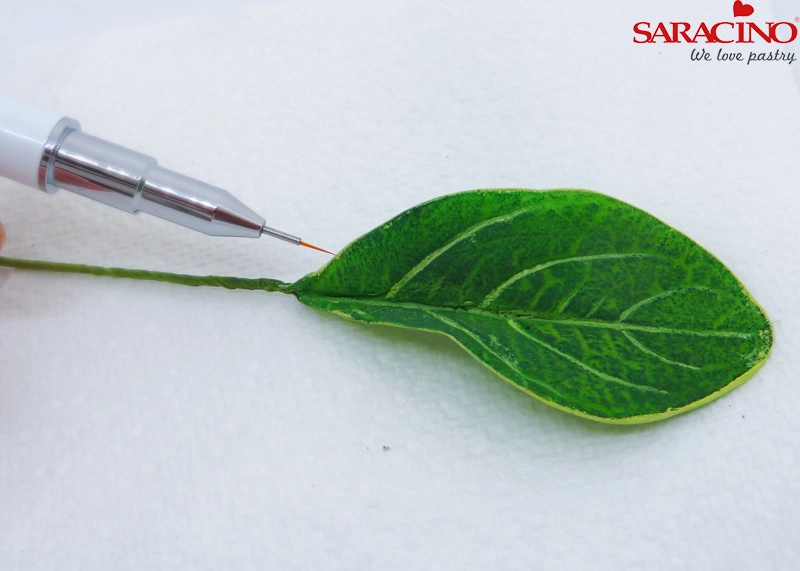
Step 31

Using a fine brush (size 00000) paint a thin line on edge and veins top of leaf
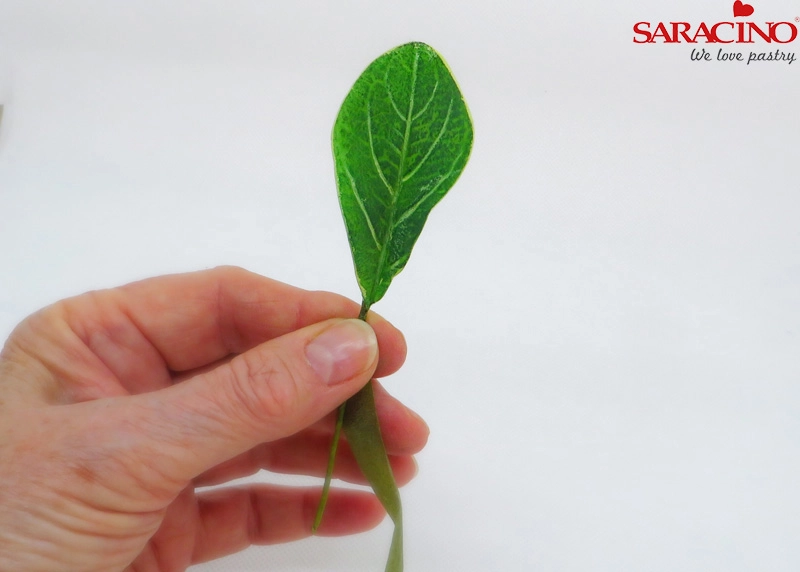
Step 32

Tape the leaves with nile green tape.
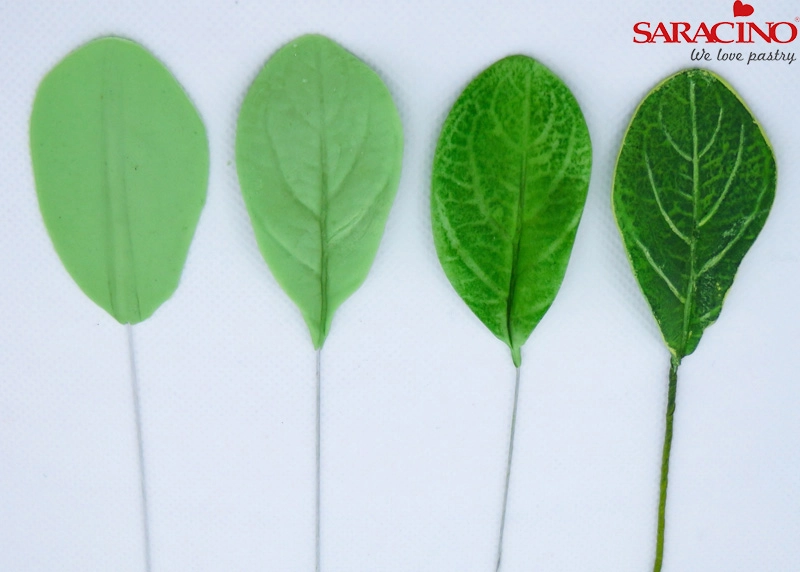
Step 33

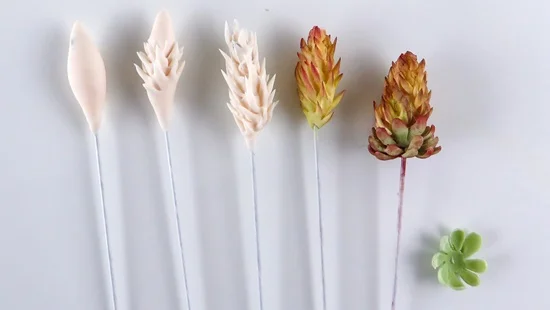
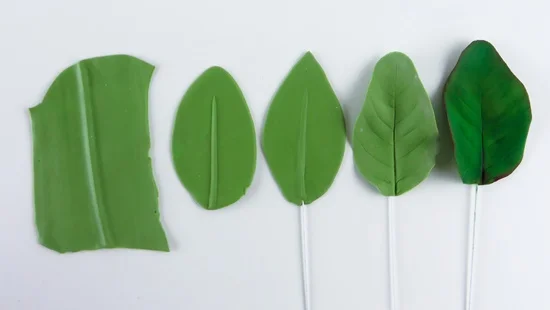
This photo shows you the stages I just described
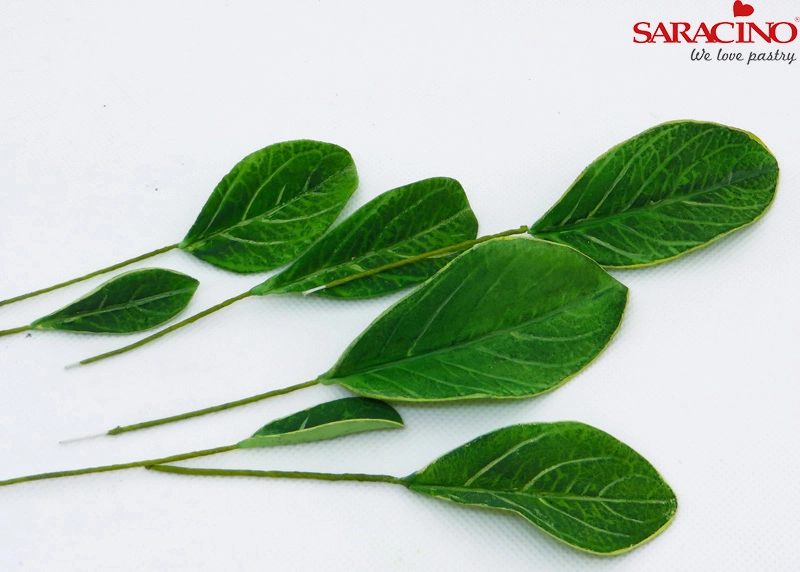
Step 34

Here are several sizes that I made a few of
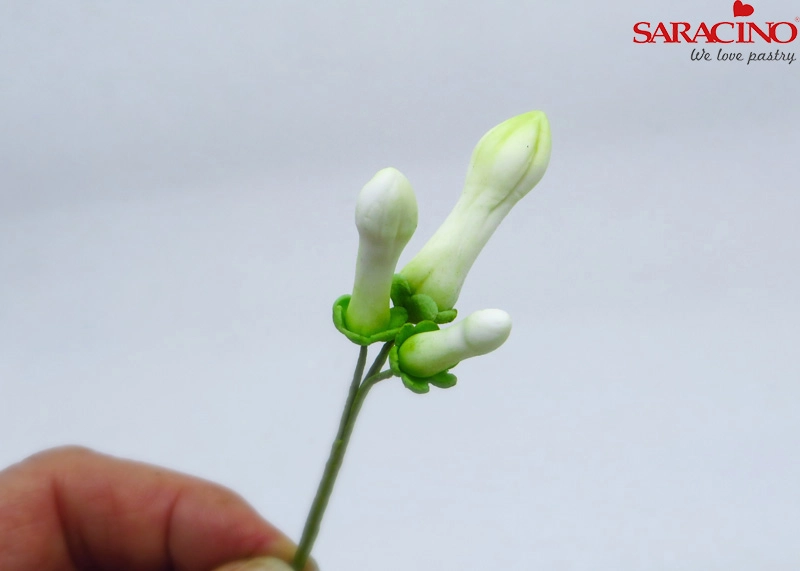
Step 35

Tape together groups of different size buds.
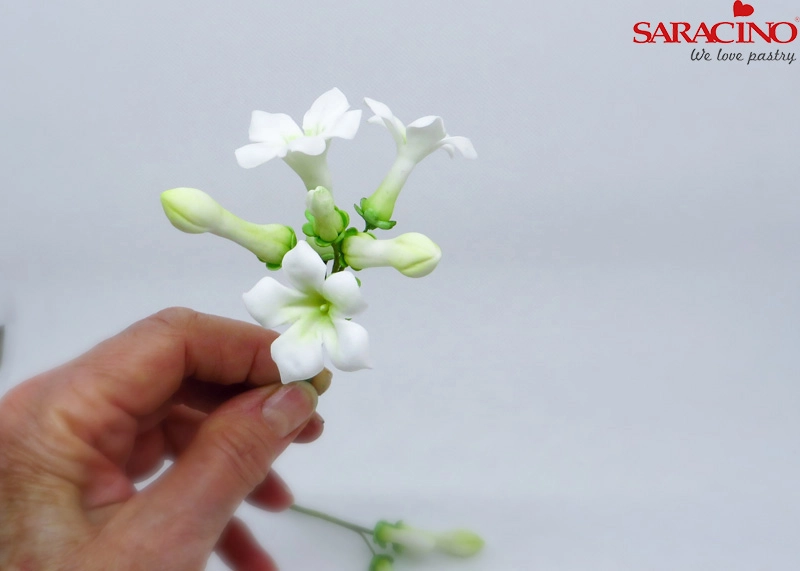
Step 36

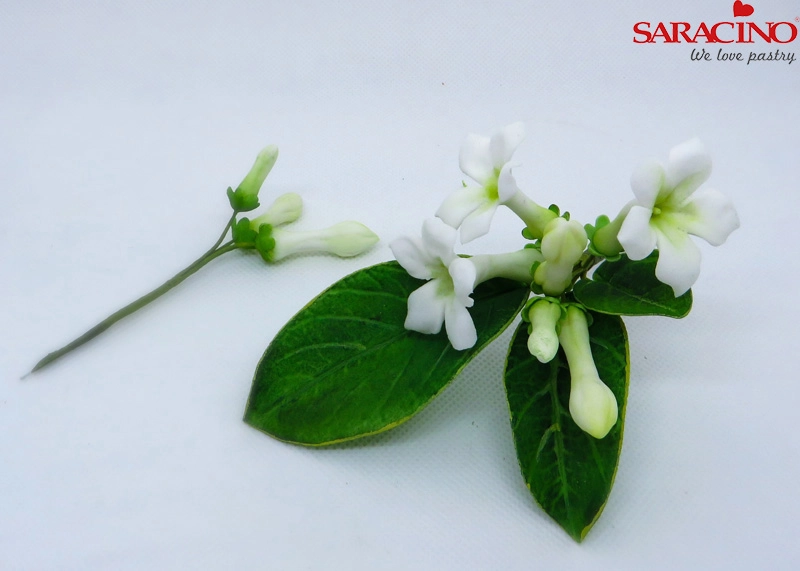
Add a few flowers
Step 37

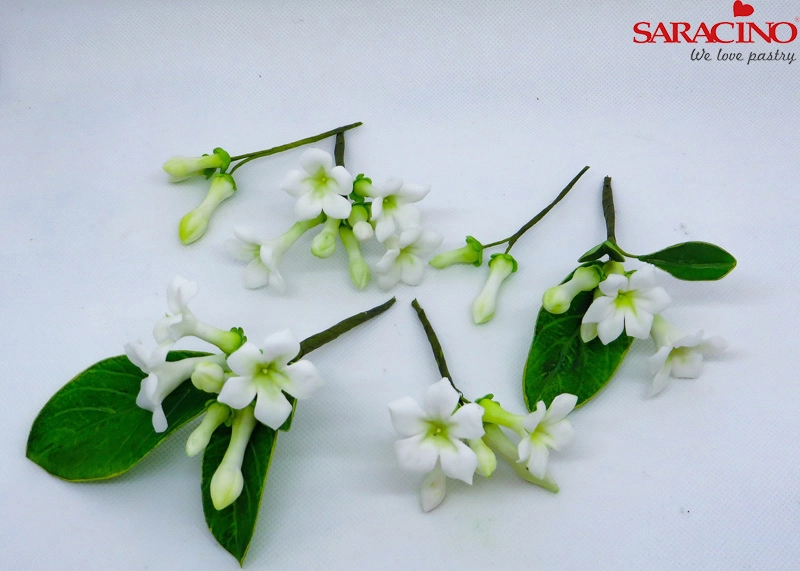
Add a few different size leaves
Step 38

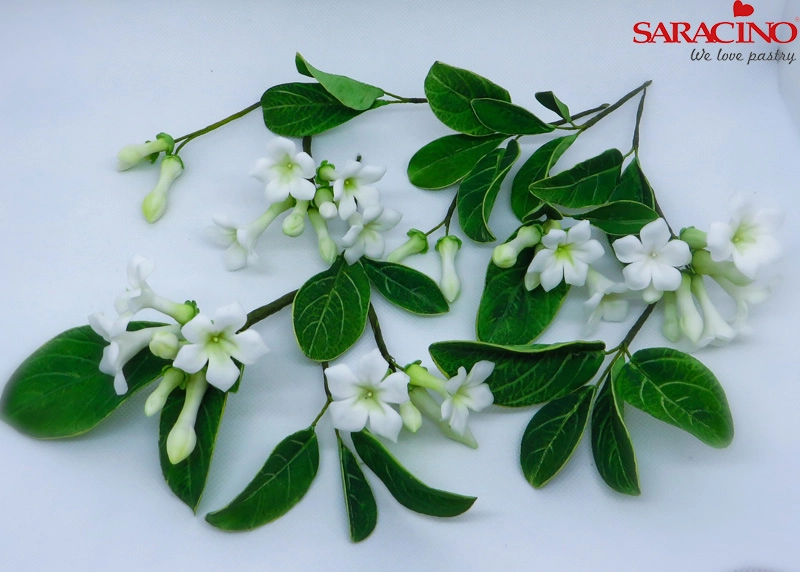
This photo shows varied clusters of flowers, buds and leaves I taped together
Step 39

Then (using an 18 gauge wire) start taping the clusters in a formation to suit the sugar flower arrangement you may be adding this too.

These are relatively quick to make and are a great addition to any floral arrangement, making for a lovely contrast and adding a bit of freshness. I do hope you enjoy the tutorial.
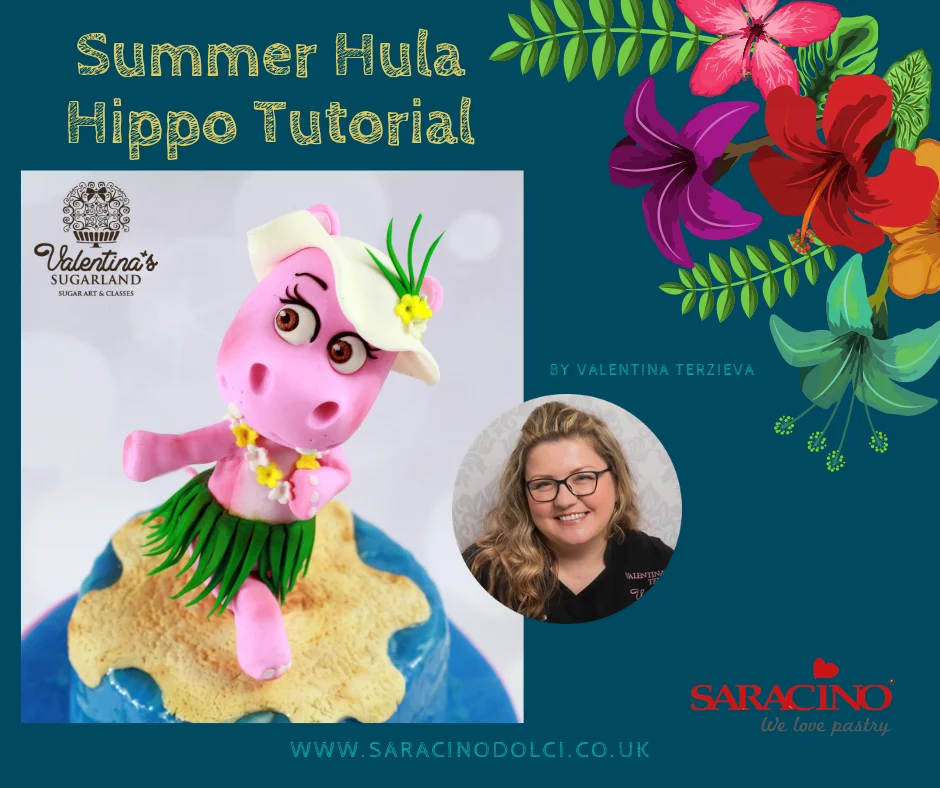
SUMMER HULA HIPPO

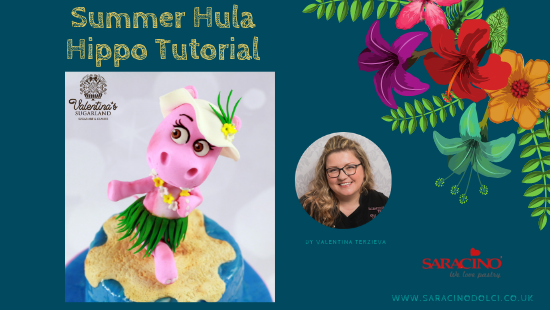
SUMMER HULA HIPPO

Skill level: BEGINNERS

You will need:

  • Saracino Modelling Paste – 50g fuchsia, 100g white, 20g green, 10g brown, 10g black and 10g yellow
  • Saracino Dust Colours – pink, brown, green, bronze and white
  • Saracino Cake Gel
  • Cake Dummy
  • Modelling Tools and brushes
  • Knife
  • Round cutter 3cm and 5.5cm
  • Wooden skewer/Barbecue skewer
  • Lemon extract/alcohol

Step 1

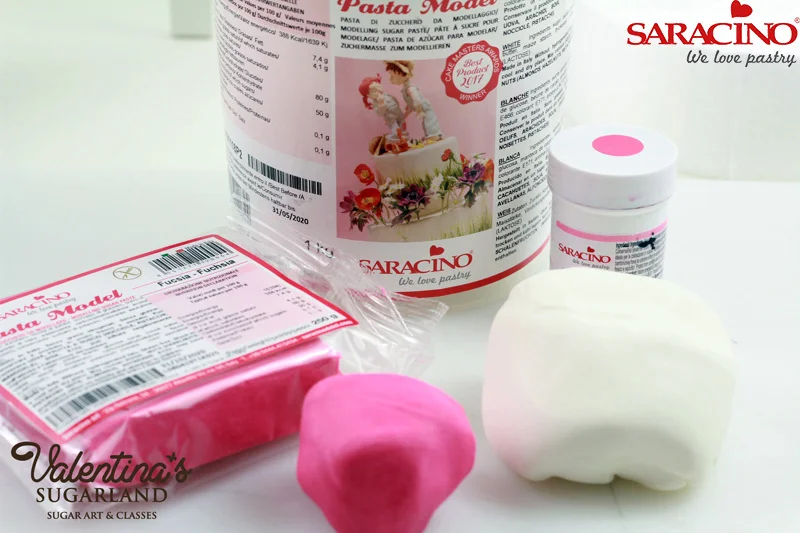
Prepare the Saracino Modelling Paste required for the Hippo. I used 40g fuchsia and 60g white modelling paste mixed together to get the pink colour paste, take 2g from this colour and mix it with 10g white to achieve the brighter pink for details.

Step 2

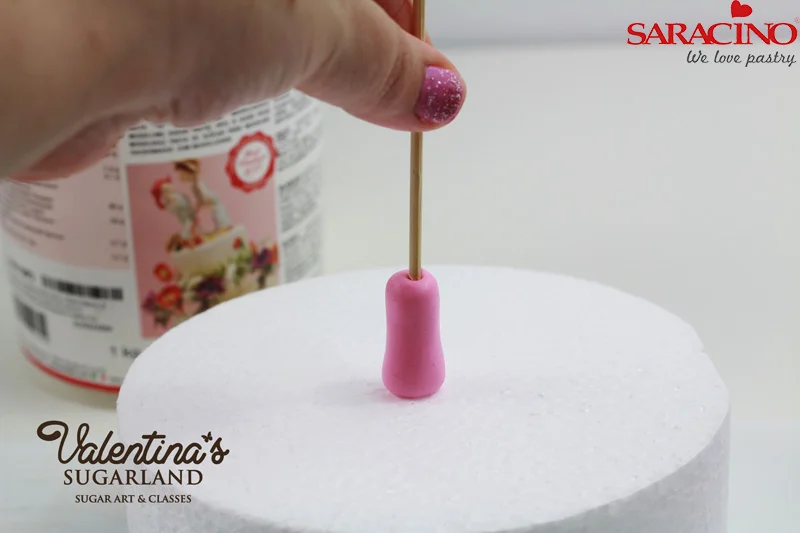
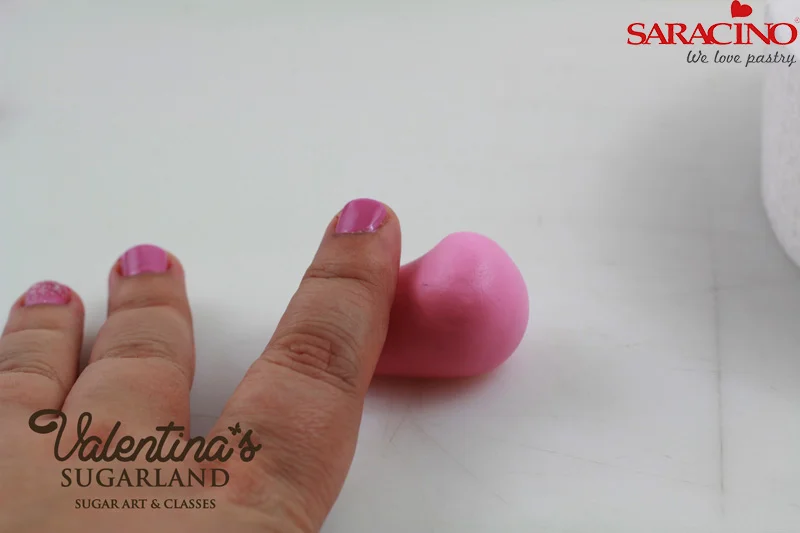
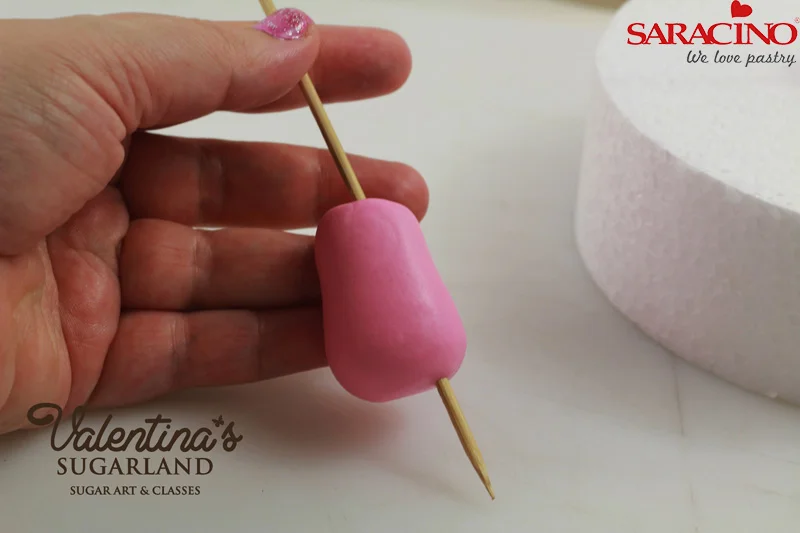
You will need 5g pink paste for one leg. Knead the paste thoroughly until pliable. Form a ball and roll it between your hands to a 3cm long sausage. Pierce it with a wooden skewer from one end to the other. Place it on a cake dummy and push the skewer into the styrofoam to be able to hold the hippo upstanding.

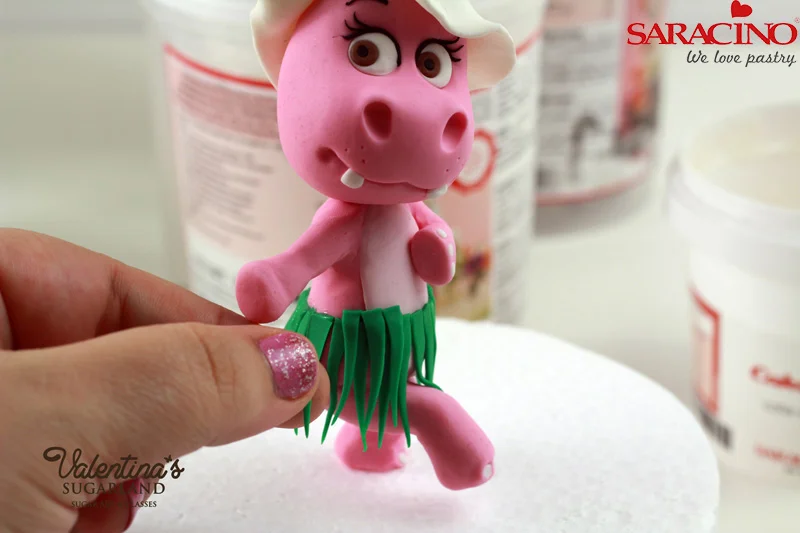
Step 3

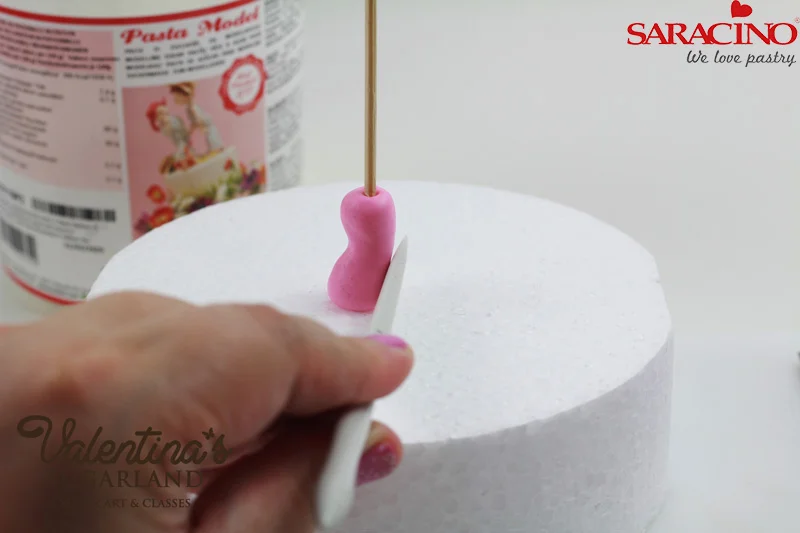
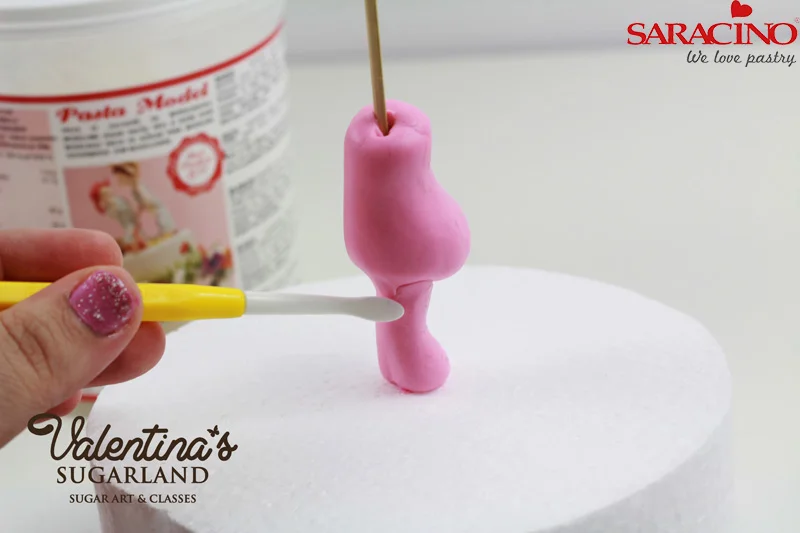
Using a blade side of a modelling tool form the sausage as leg. Press with your finger or with a tool in the middle of the leg to get the hollow of the knee. On the front side press the front lower side of the leg backwards.

Step 4

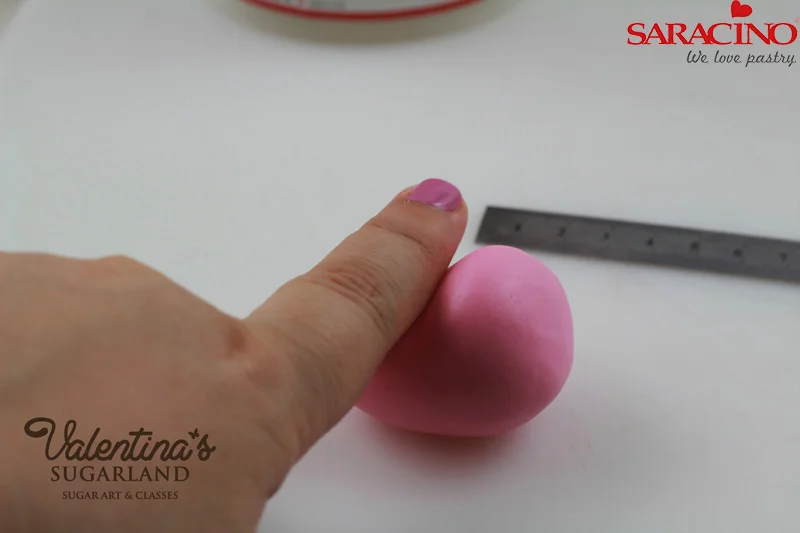
Use 25g pink modelling paste and form it to a pear shape – make a ball and then roll one side of the ball few times between a modelling pad and your finger. The body should be about 5cm long.

Step 5

Use a second skewer to pierce diagonally through the body and the tip should come out sidewise on the thicker end of the pear.

Step 6

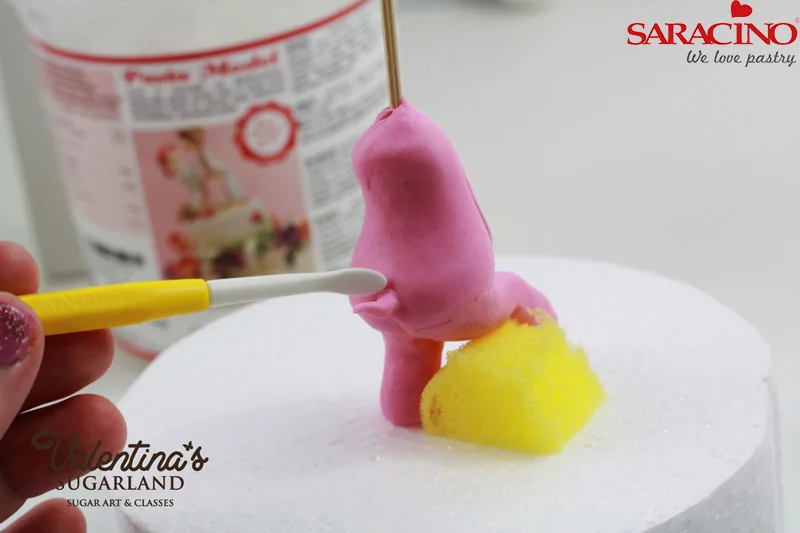
Take out the skewer and place the body on the skewer attached to the leg and the cake dummy. Apply water on the joining seam between leg and body and using a Dresden tool or silicon brush smooth the seam.

Tip:I use only water to join and smooth two pieces of Saracino modelling paste together. You don’t need sugar glue or piping gel for that. Apply water and go a few times with your tool over the seam.

Step 7

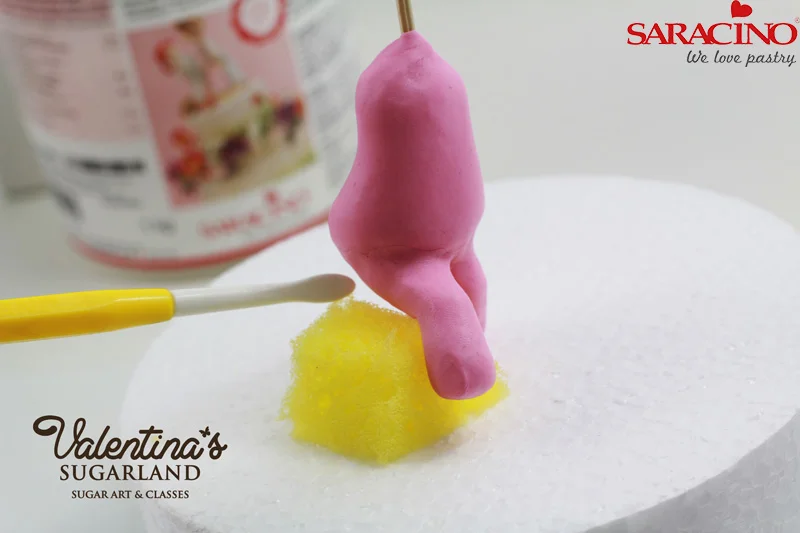
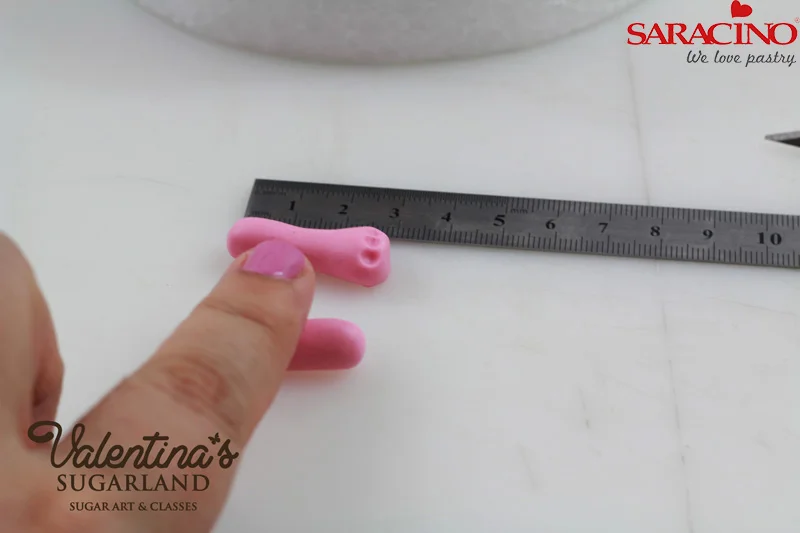
For the second leg use 5g paste and roll it to a sausage 3cm long. Roll in the middle between two fingers to thin it for the knee area and attach with water to the body. Use piece of sponge to support the leg while working on it and until it dries and can hold itself in the air.

Step 8

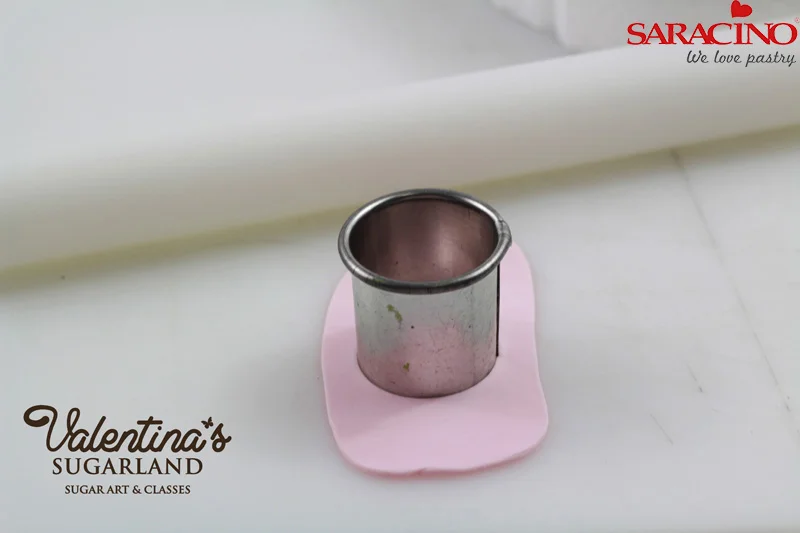
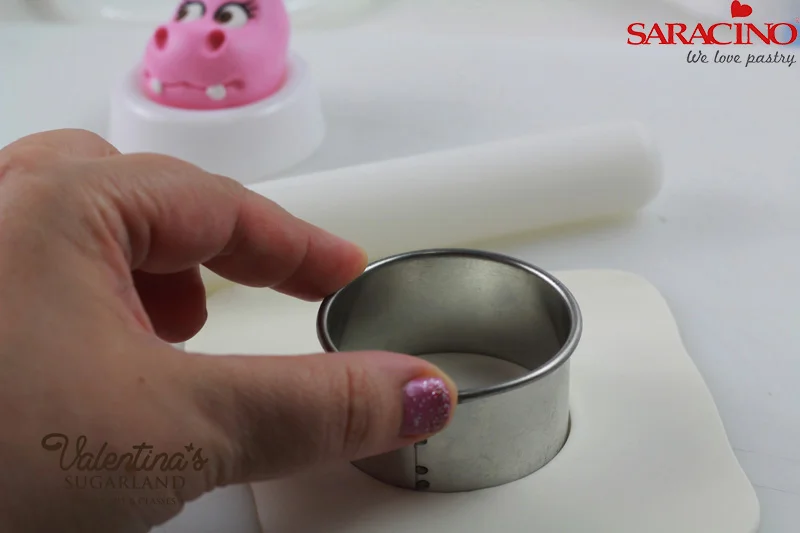
Roll out thin bright pink paste and cut a circle with a 3cm cutter

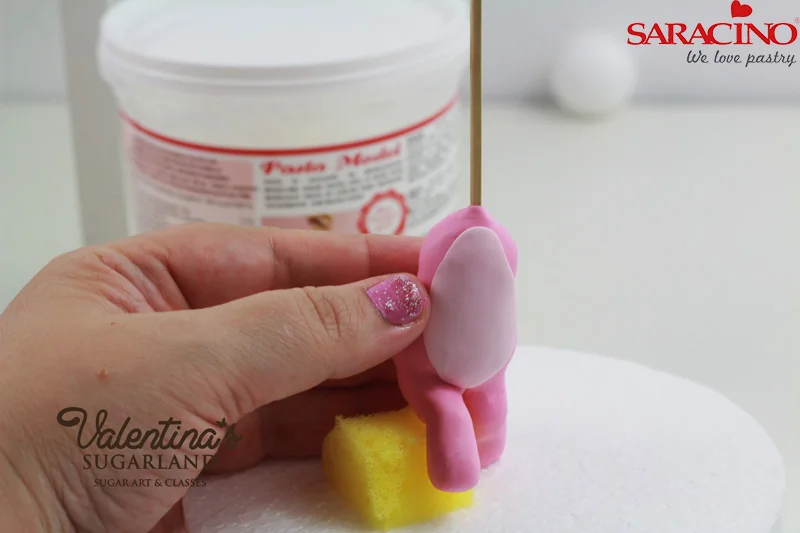
Step 9

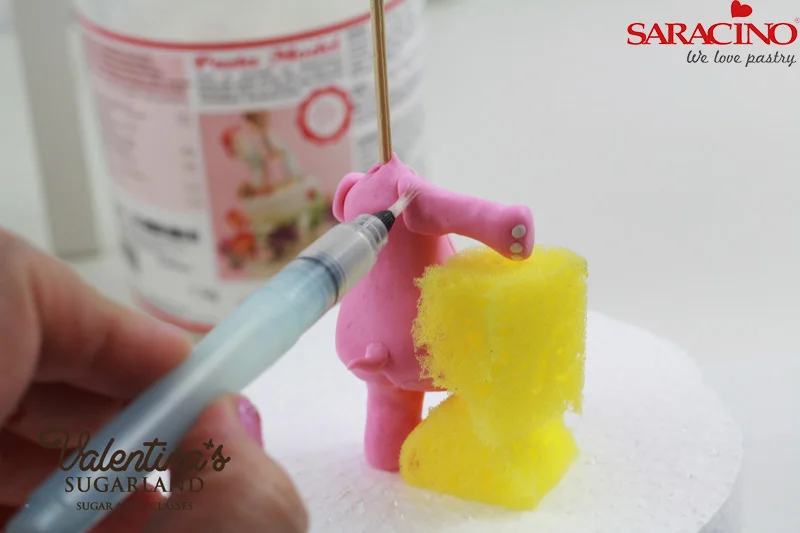
Strech it between your fingers to get an oval shape and place it over the hippo belly. Use water on the back side so its sticks to the body.

Step 10

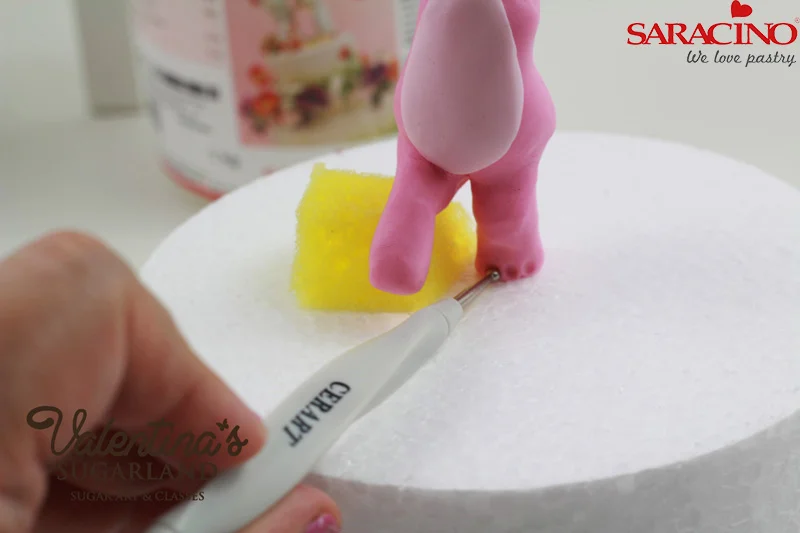
Use a small ball tool to indent three holes on the toes of both feet.

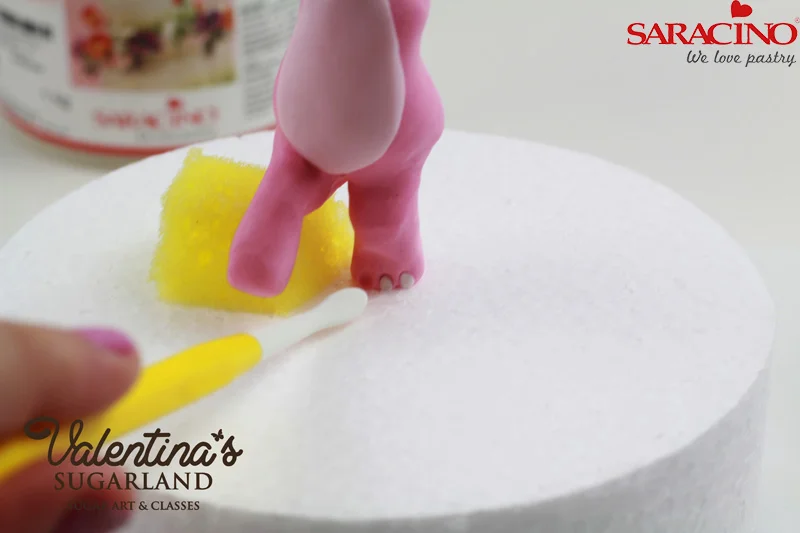
Step 11

Fill the holes with small Β balls of white modelling paste and press them flat with your finger or a tool.

Step 12

Form a small pointy sausage and place it on the back for a tail. Smooth with the Dresden tool.

Step 13

For each of the arms knead well and shape 2.5g Saracino Modelling Paste into a 3cm long sausage. Indent on each hand three holes for the finger nails and put in each hole a small ball of white modelling paste.

Step 14

Attach the arms to the body. One arm is streched out to the side, one is bent and is resting on the belly. Use water to blend the seams. Support the arm with a piece of sponge and leave the body over night to dry.

Step 15

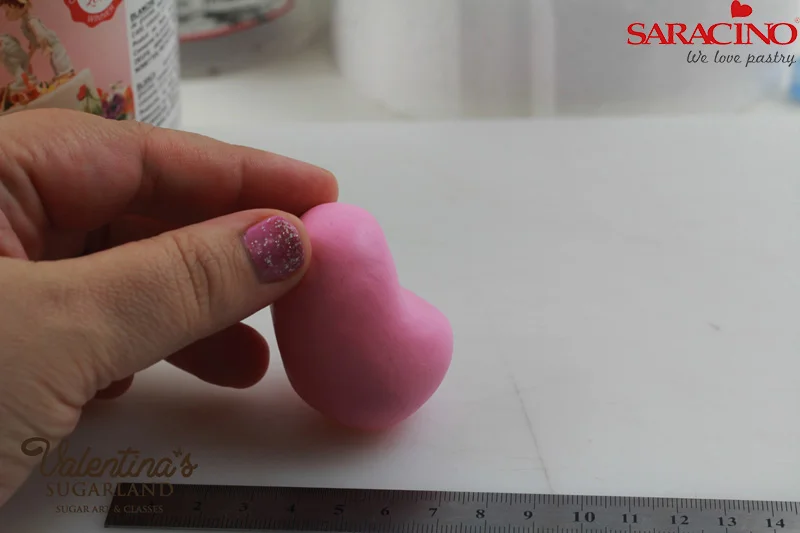
For the head you will need 40g pink Saracino modelling paste. Knead well and form a ball. Roll the ball on the modelling pad with one finger on one side and thin this area a bit. The head should be about 5cm long.

Step 16

From the side it should look like this.

Step 17

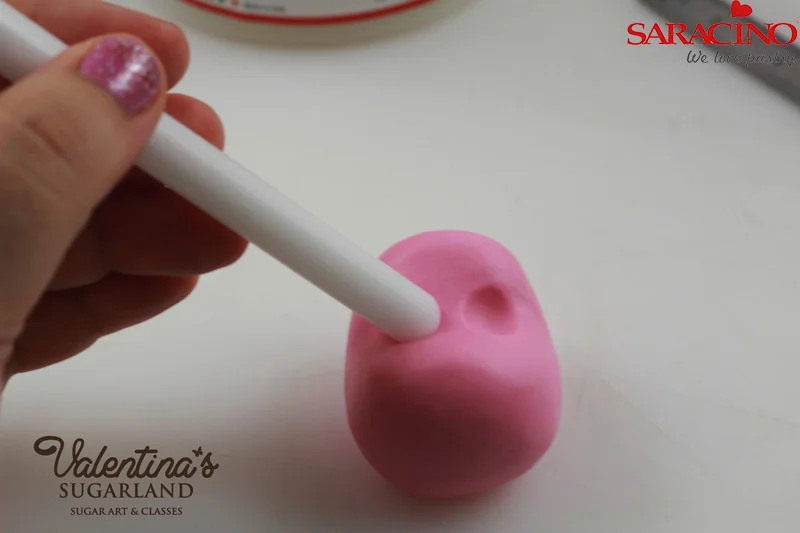
Using a ball tool or a CelPin make two dents for the eyes in the middle of the head length.

Step 18

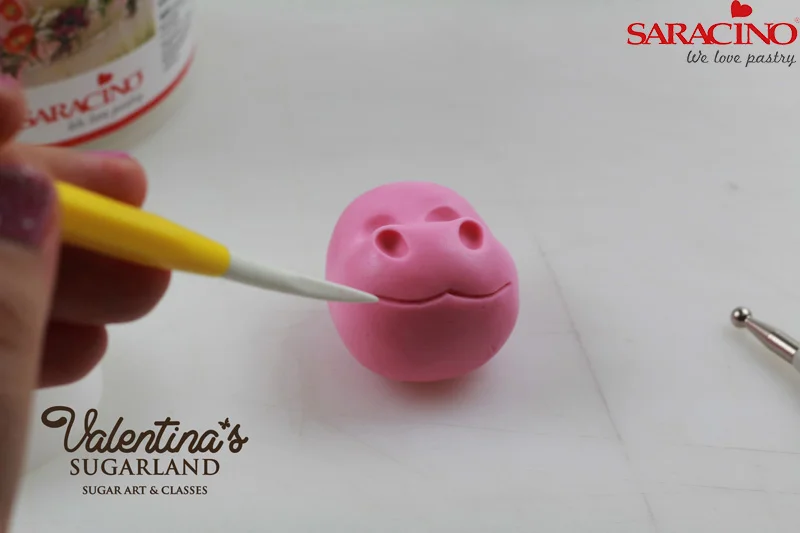
Using a smaller ball tool make the nostrils. With the smaller side of the Dresden Tool draw the lines of the mouth. Impress two smaller holes on both sides of the mouth line.

Step 19

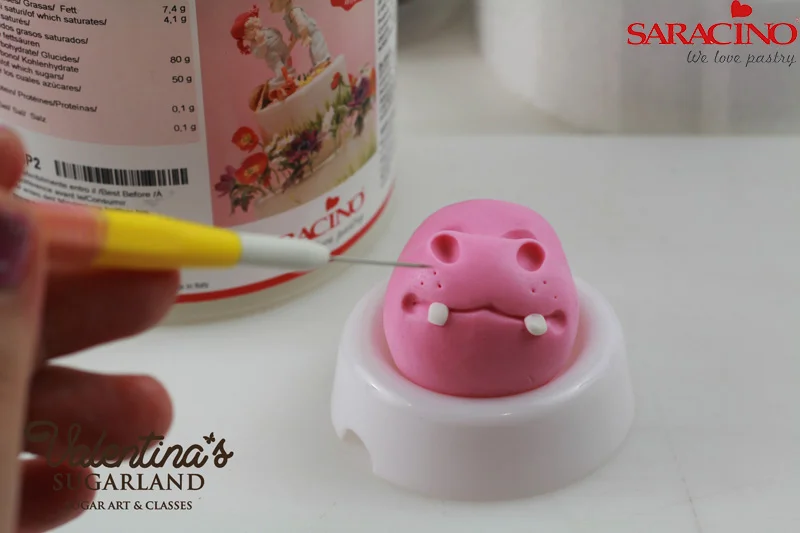
Form two teeth out of white modelling paste and place them on the mouth line. With the needle tool make a few holes on both sides underneath the nostrils.

Β 

Step 20

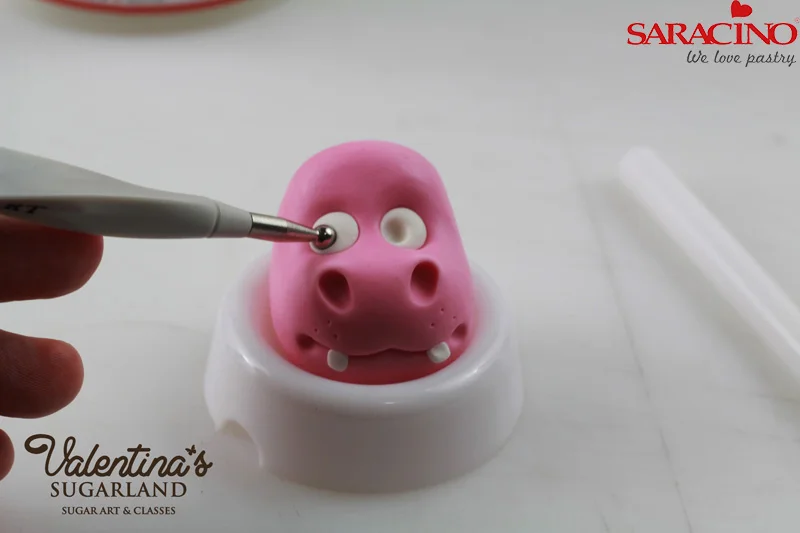
Fill the eye dents with small white balls and press them flat with your finger tips. Make holes in the white balls using small ball tool. Important here is to pay attention where you put these holes. It depends in which direction your hippo is going to look.

Tip:Β I am using small plastic or styrofoam cups that are usually used to dry sugar flowers in them so the head is not becoming flat on the back while I am working on it or while it is drying.

Step 21

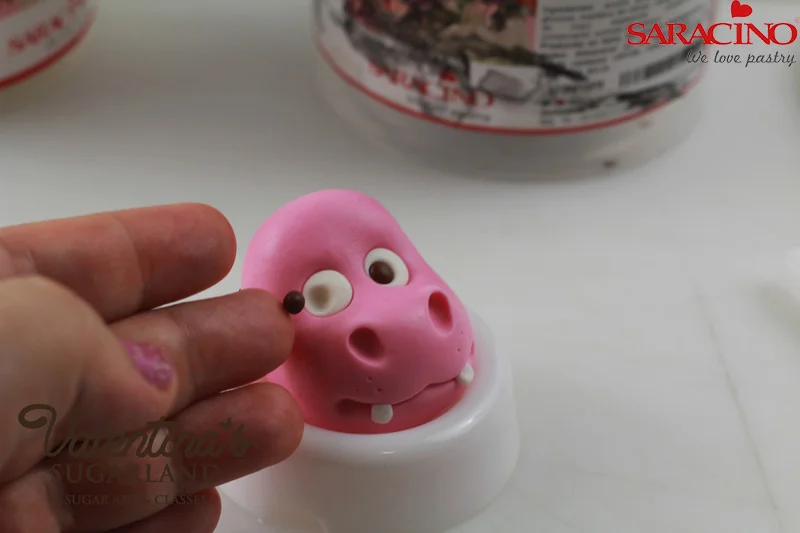
Put small brown ball of Saracino modelling paste into the holes. Press with your finger over it.

Β 

Step 22

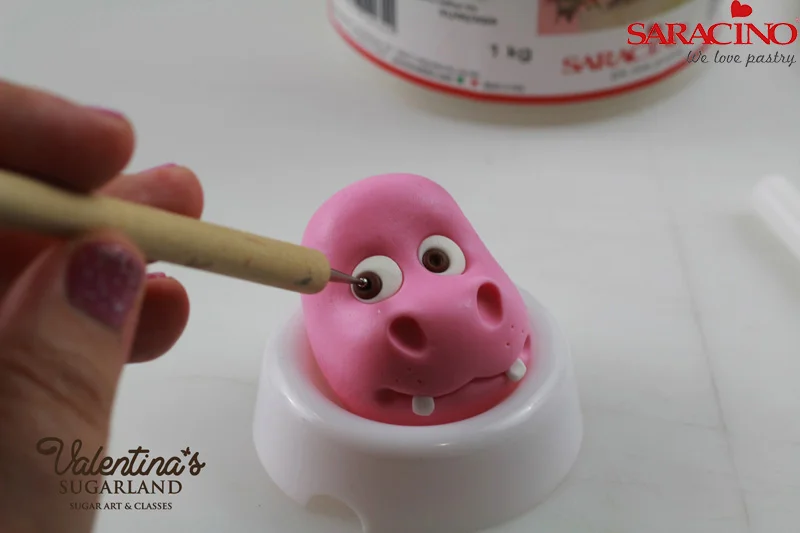
Makes holes in the middle of the brown circle with smaller ball tool.

Step 23

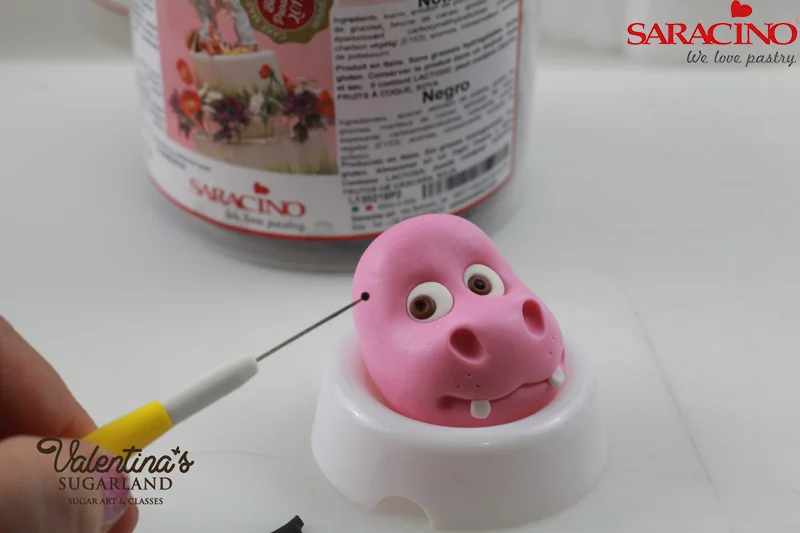
Make tiny black balls and put them in the middle of the brown circle.

Β 

Step 24

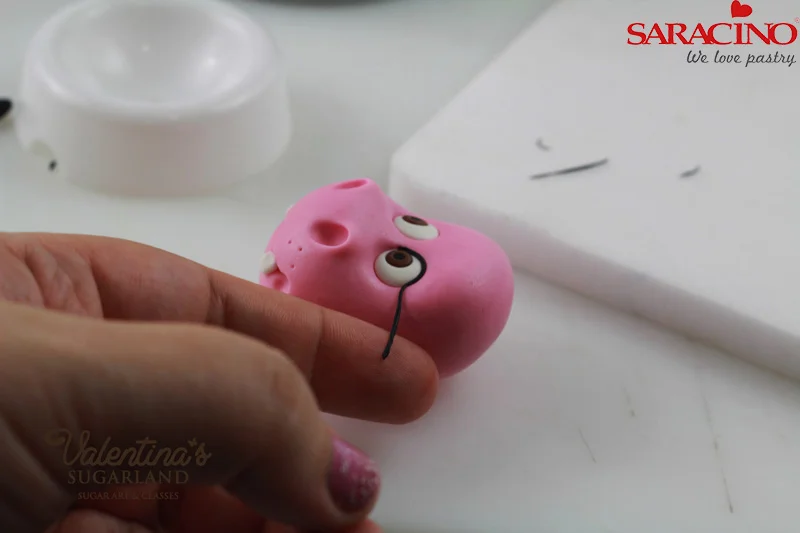
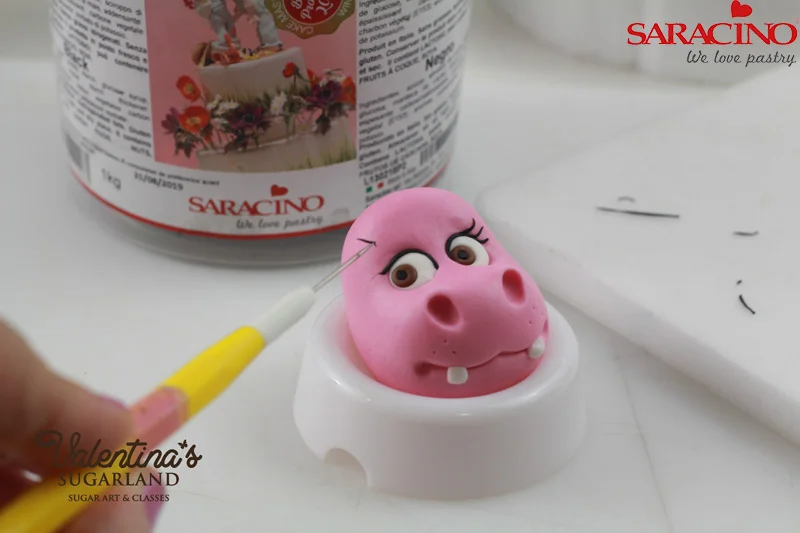
Roll small amount black modelling paste into a very thin strand and put it as eye liner on the upper eye lid. Use little water to make it stick.

Step 25

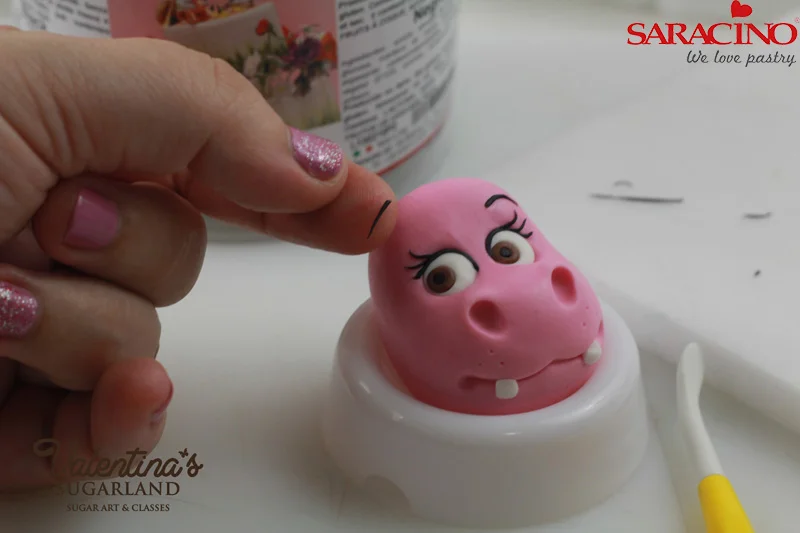
If you like put 2-3 tiny pointy strands for eye lashes.

Β 

Step 26

Put two black strands for eyebrows.

Step 27

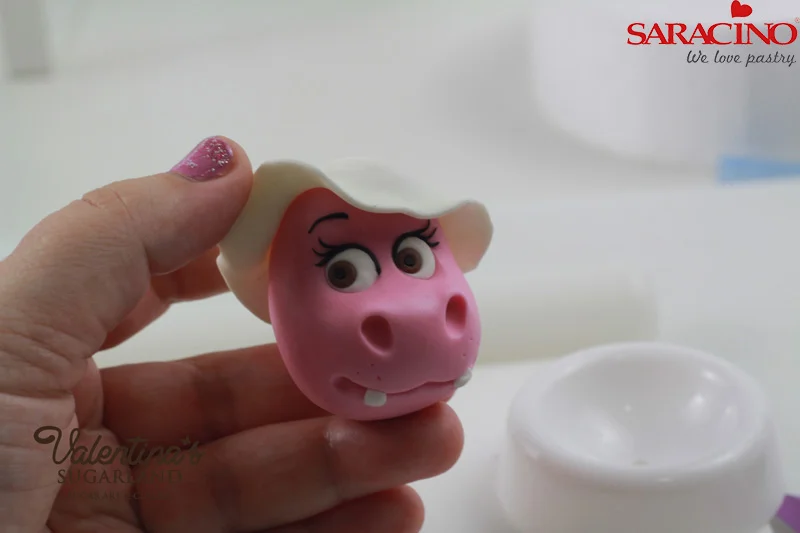
Roll out white modelling paste and cut a 5.5cm circle.

Β 

Step 28

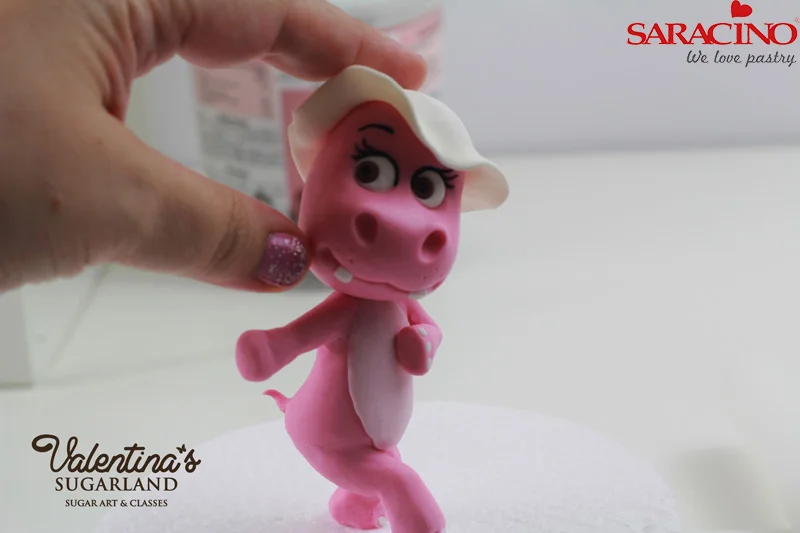
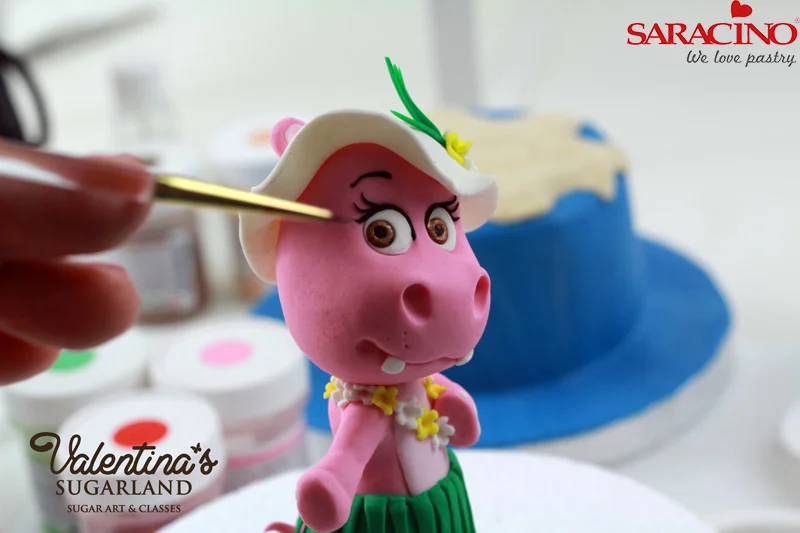
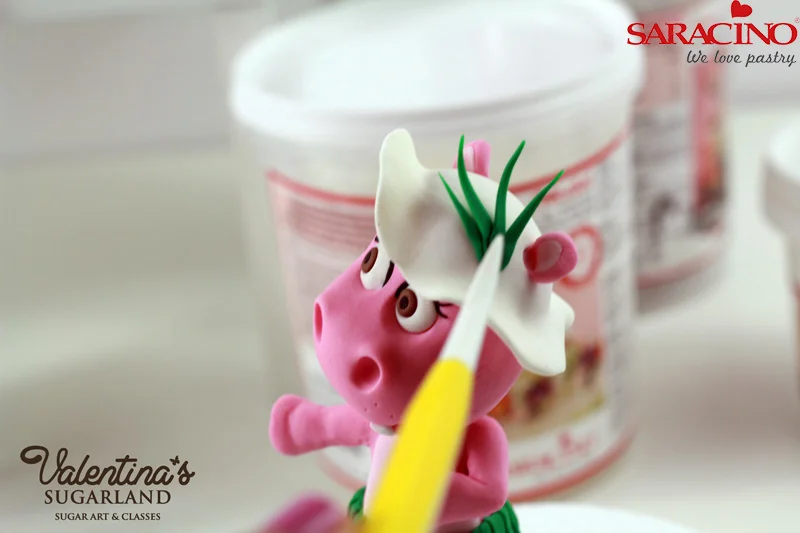
Place it on the head as hat and curl one side upwards so it looks like a textile summer hat.

Step 29

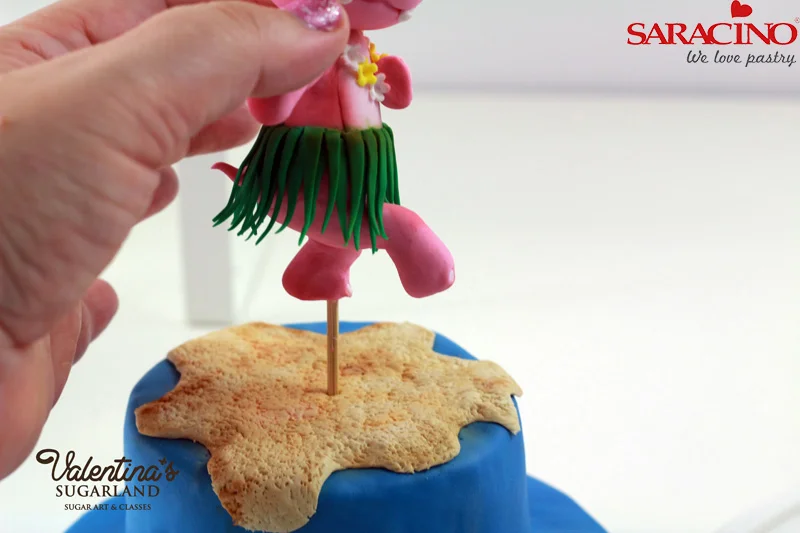
Cut the wooden skewer so it projects about 2-3 cm above the shoulders. Apply cake gel or piping gel in the middle of the shoulders and put the head on the shoulders using the wooden skewer as support.

Β 

Step 30

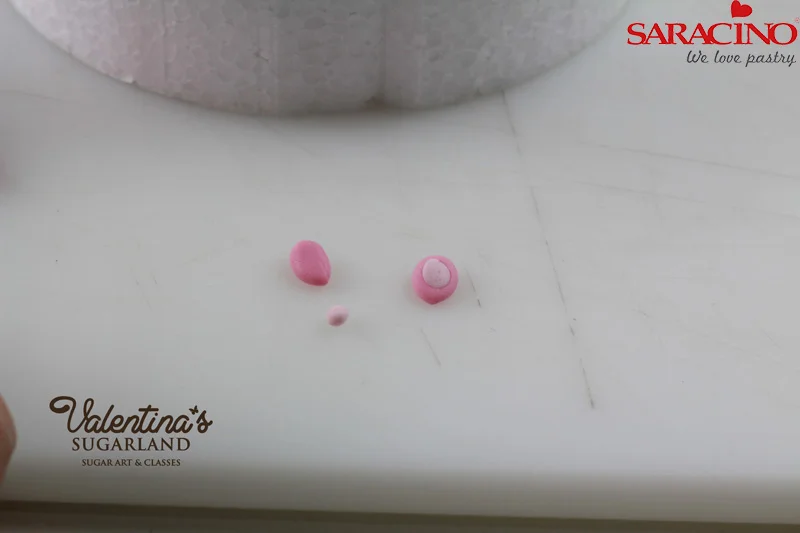
For the ears make two teardrops out of pink modelling paste and a much smaller teardrops out of the bright pink paste. Place the smaller drops on to the bigger one and press them together.

Step 31

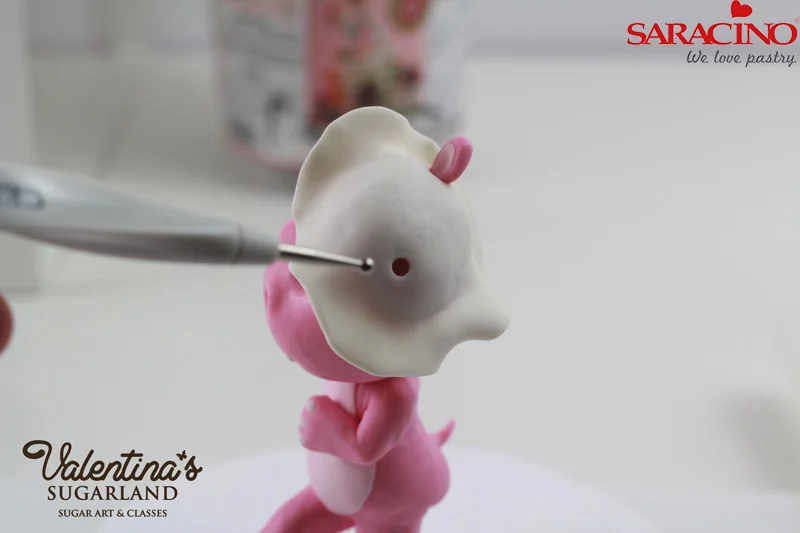
Make two holes into the head and insert the pointier end of the ears into them.

Β 

Step 32

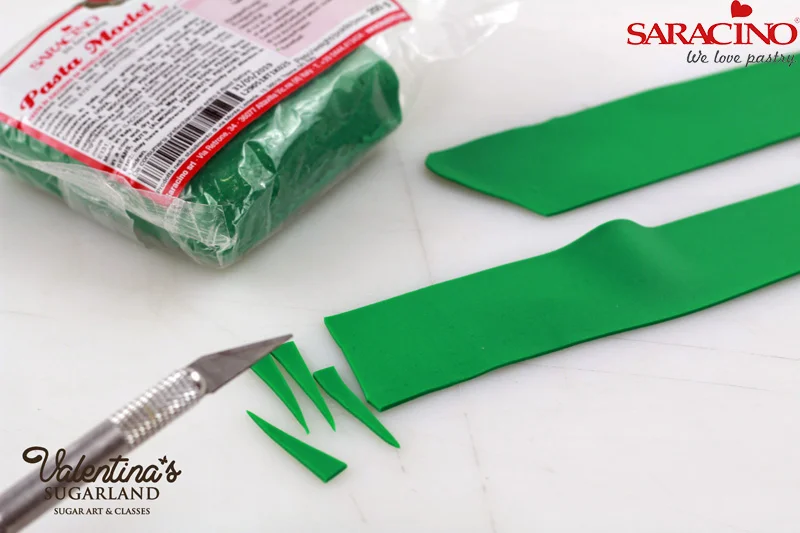
Roll out thin green Saracino modelling paste and cut with little sharp triangles with a craft knife.

Step 33

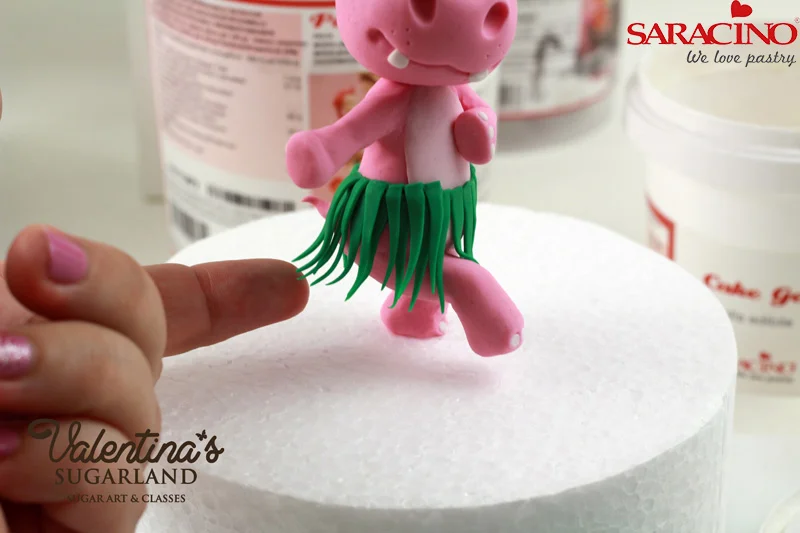
Apply Saracino cake gel on the waist and place the triangles around the waist. I put them in three layers.

Β 

Step 34

You can curve the tips of the triangles on one side so it seems as they move with the Hippo’s “dancing” moves.

Step 35

Use few triangles as hat decoration.

Β 

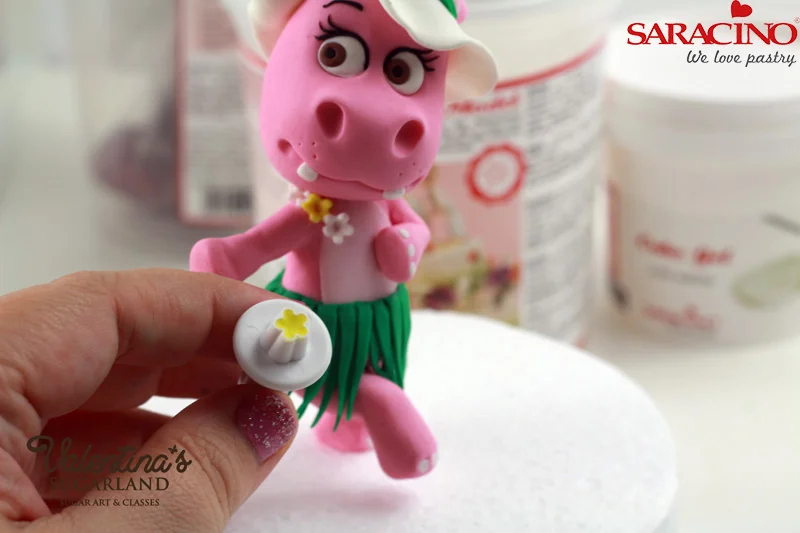
Step 36

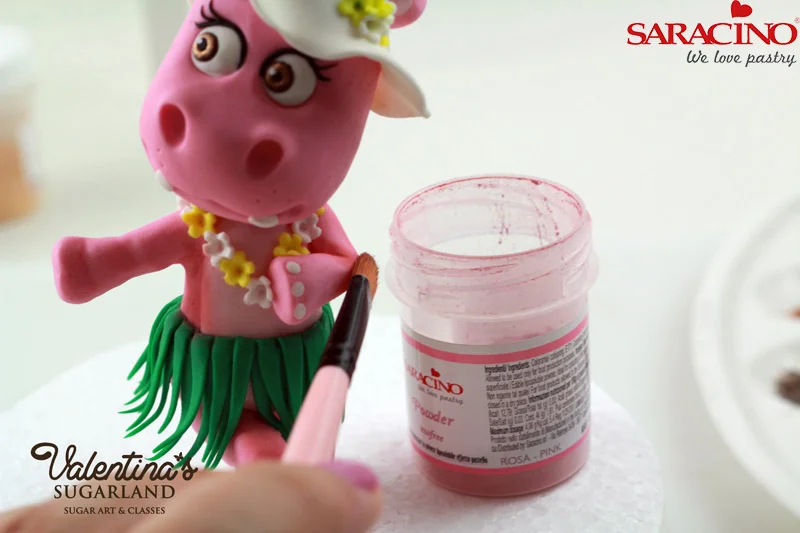
Cut small flowers out of white and yellow Saracino modelling paste and decorate the hat and the neck of the hippo.

Step 37

Mix Saracino bronze powder with lemon extract or alcohol and paint the brown of the eyes with the mixture. Mix white Saracino powder with lemon extract and put one white spot into each eye.

Β 

Step 38

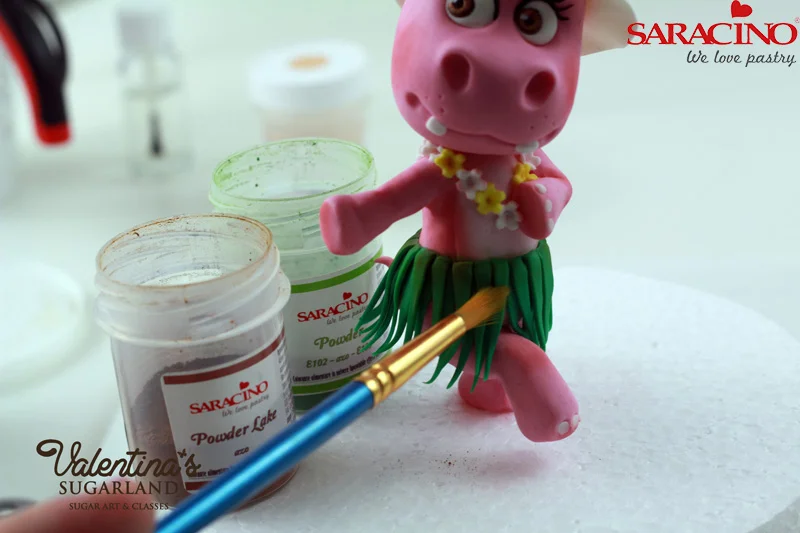
Use pink Saracino powder and a soft brush to add shadows on the elbows, on the cheeks, on the knees and on the nostrils.

Step 39

Add shadows on the skirt with brown and green Saracino dust powder

Β 

Step 40

Leave the Hippo to dry for at least 2-3 days before using it on a cake.

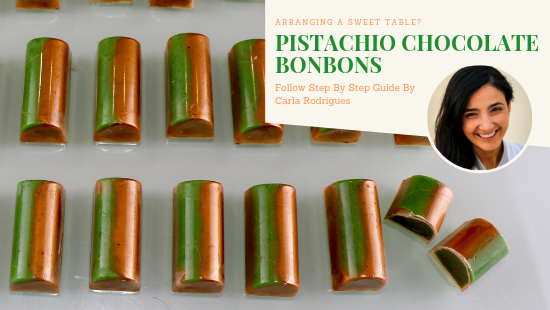
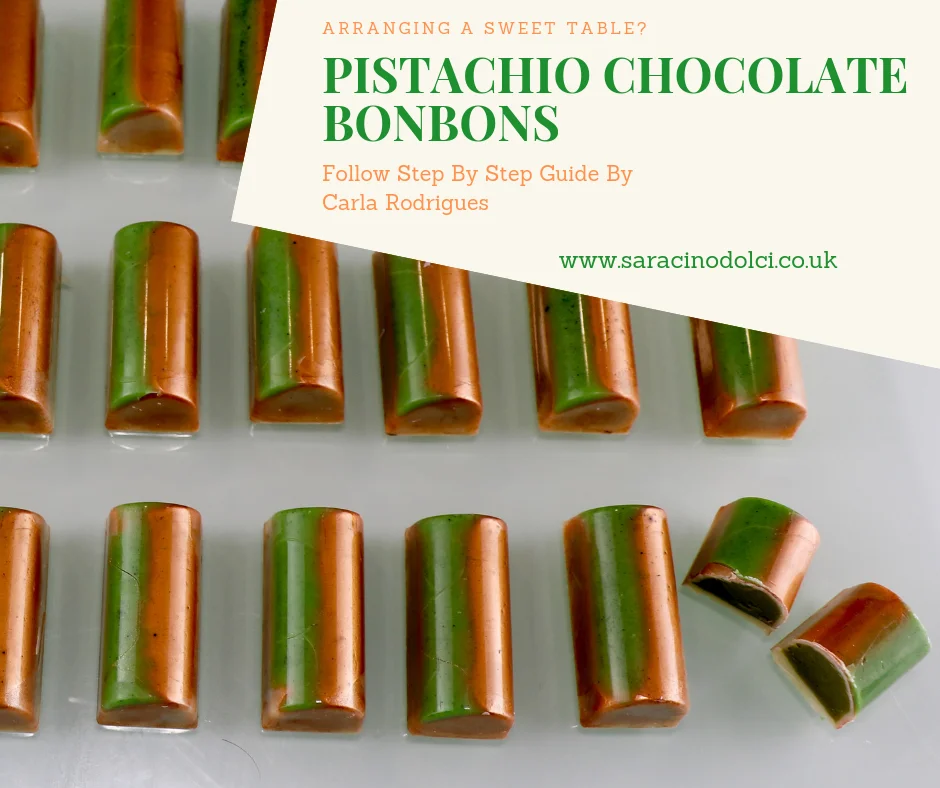
PISTACHIO CHOCOLATE BONBONS

PISTACHIO CHOCOLATE BONBONS

Skill level: BEGINNERS

Pistachio Ganache

80 ml whipping cream (35% fat)

22 ml honey

350 g white Saracino chocolate

120 g Saracino Le Supreme pistachio flavouring

38 g salted butter, chopped and softened

Β Note:Β This recipe yields for at least 3Β mouldsΒ like the one used at this tutorial.
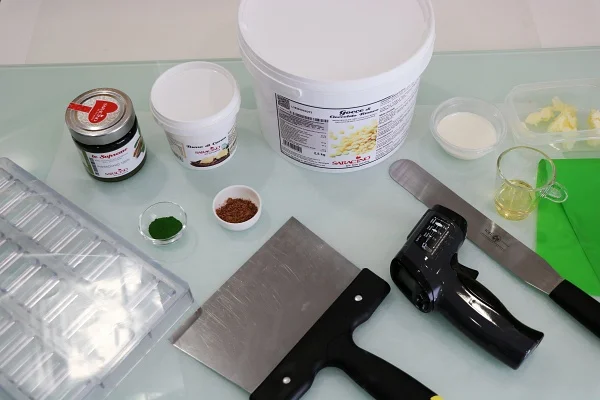
You will need:

  • Saracino white Chocolate
  • Saracino Le Supreme pistacchio flavouring
  • Saracino cocoa butter
  • Green colour dust
  • Metallic bronze colour dust
  • Guitar sheet
  • Spatulas
  • Digital thermometer
  • Salted butter
  • Double cream
  • Honey
  • Sponge to paint
  • Brush
  • Piping bags
  • Polycarbonate chocolate bombons mould
  • Blender
  • Microwave
  • Cling film
  • Scraper
  • Bowls
  • Silicon paper

Step 1

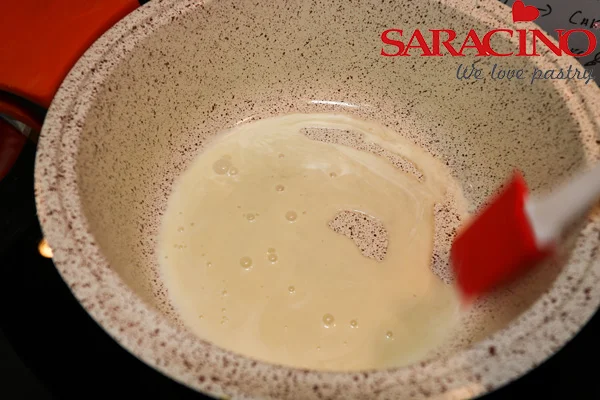
Put the cream and the honey in a a saucepan over a medium heat and bring it to the boil.

Step 2

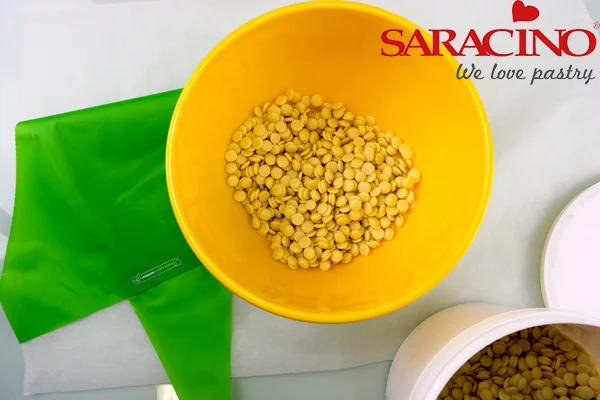
Put the chocolate in a bowl and heat it in the microwave for 30 seconds.

Step 3

Stir the chocolate then return it to the microwave for another 30 seconds. Repeat this as many times as required until the chocolate is melted.

Step 4

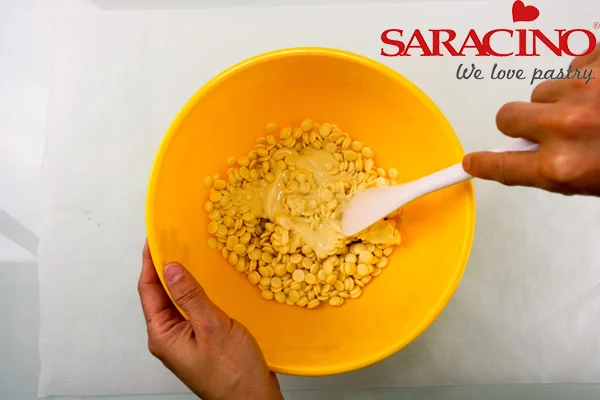
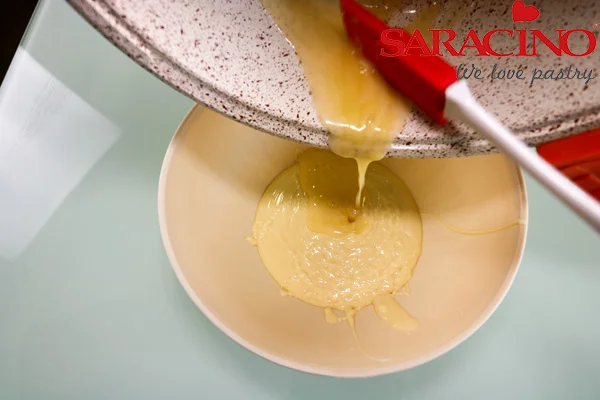
Pour the cream mixture over the chocolate and stir.

Step 5

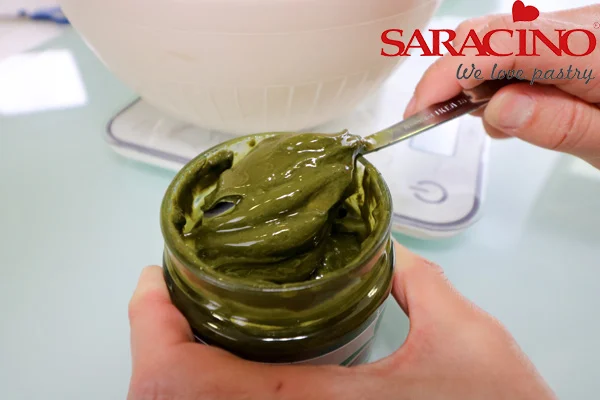
Open the jar and stir food flavouring. Β 

Step 6

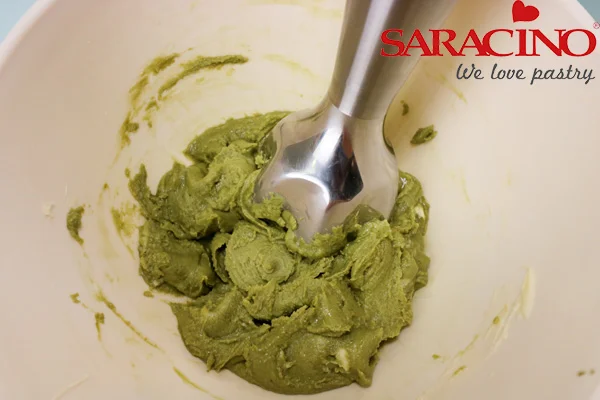
Incorporate the pistachio flavouring and the butter with the help of a blender until you get aΒ smooth ganache. Cover the bowl with cling film and set aside to cool until required.

Step 7

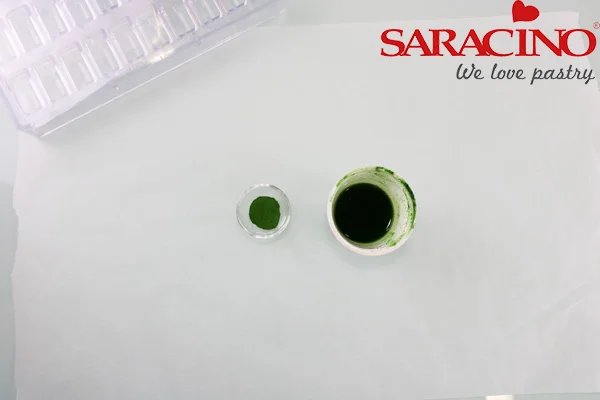
Melt enough quantity of cocoa butter in a bowl (in a microwave), add a small amount of green colour dust and stir.

Step 8

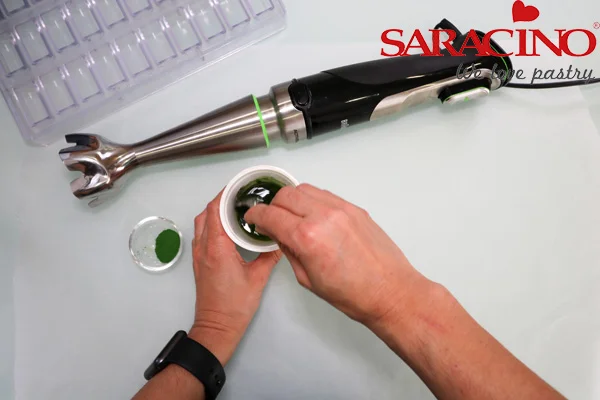
Add colour until you get the tone of green you want and use a blender to get an even colour.

Step 9

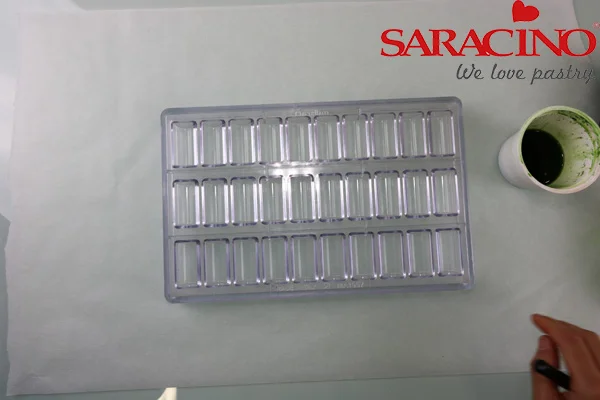
Make sure the mould is clean and free from grease and water. Line your worktop with silicon paper to help protect it from the cocoa butter splatters and later from the chocolate.

Step 10

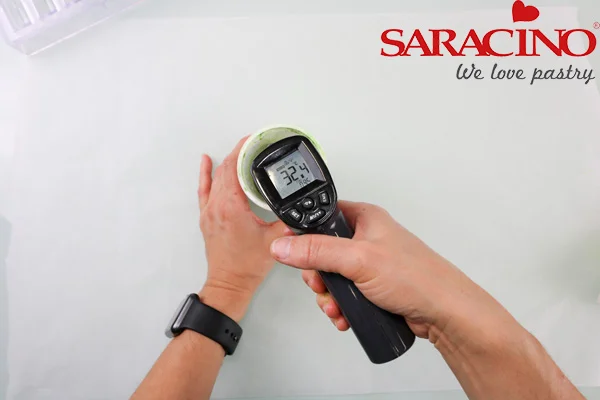
Bring your coloured cocoa butter to a temperature around 32ΒΊC.

Step 11

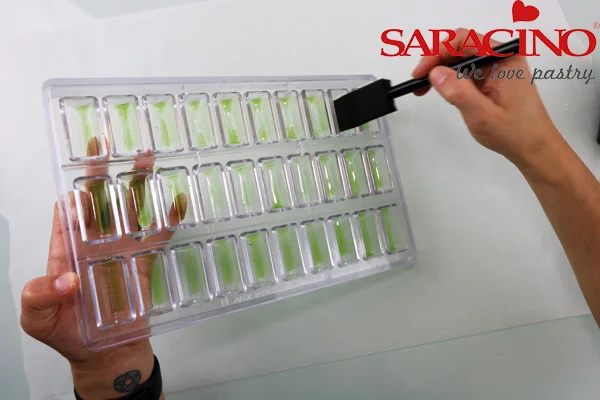
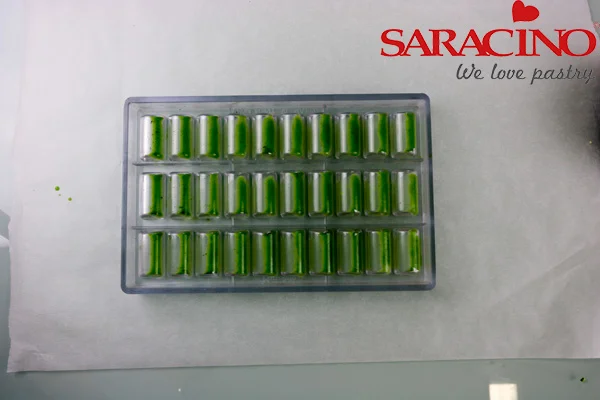
Use a sponge to colour a green stripe at each cavity of the mould.

Step 12

Leave to dry and go matt.

Step 13

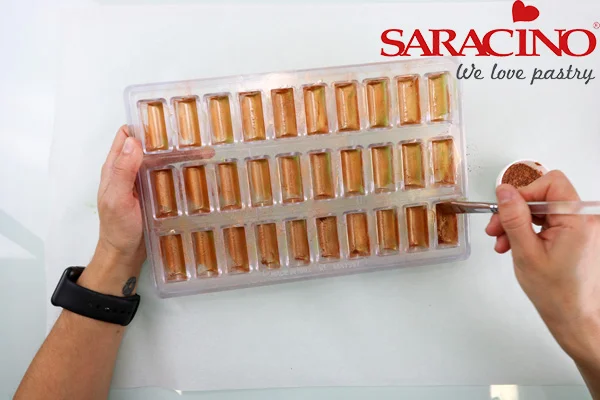
Dust all the cavities with the metallic bronze colour.

Step 14

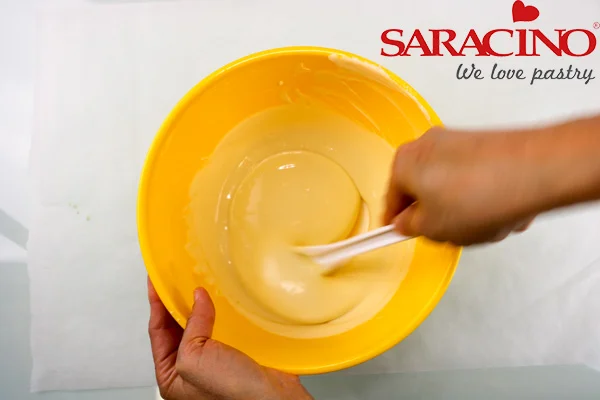
Temper 400g of white chocolate (27 – 28 ΒΊC).

Step 15

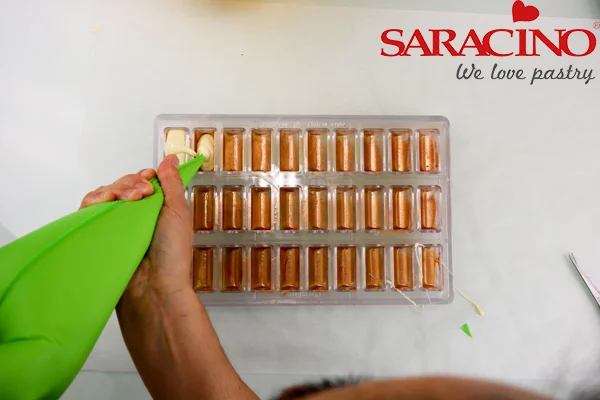
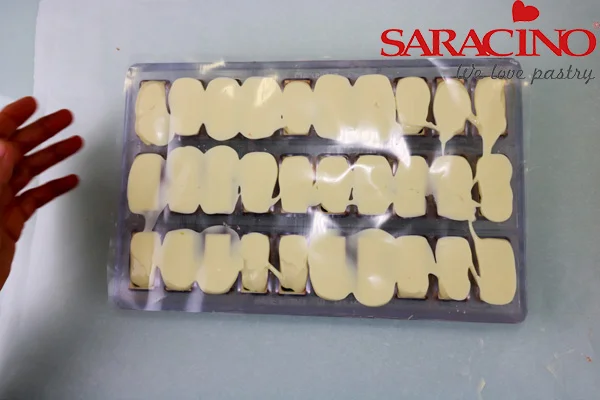
Transfer to a large piping bag, snip off the end and pipe the chocolate into each cavity of the mould as quickly as you can.

Step 16

Tap the mould on the worktop to release any air bubbles from the surface of the mould.

Step 17

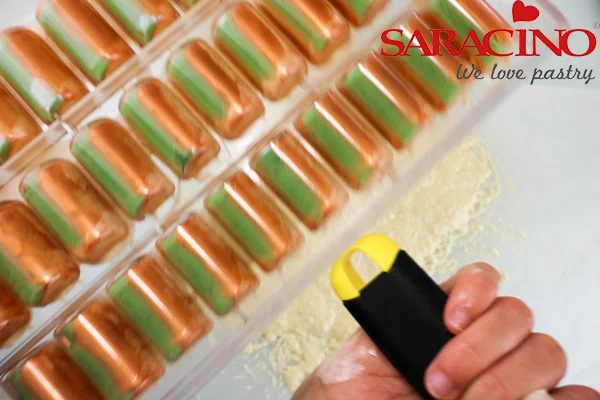
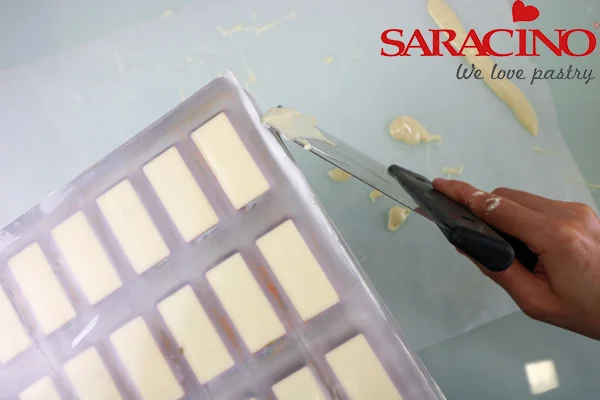
Turn the mould upside down and tap the side of the mould with a scraper to pour out the excess of chocolate.

Step 18

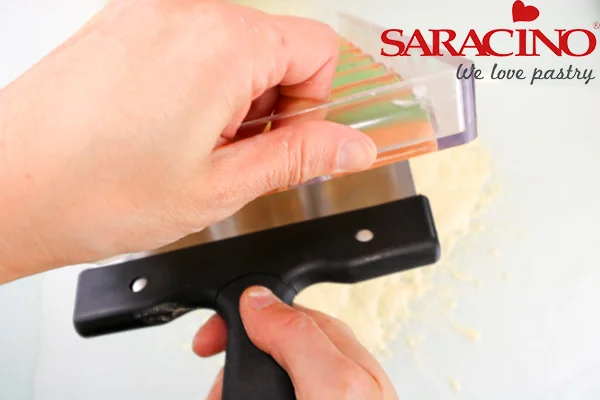
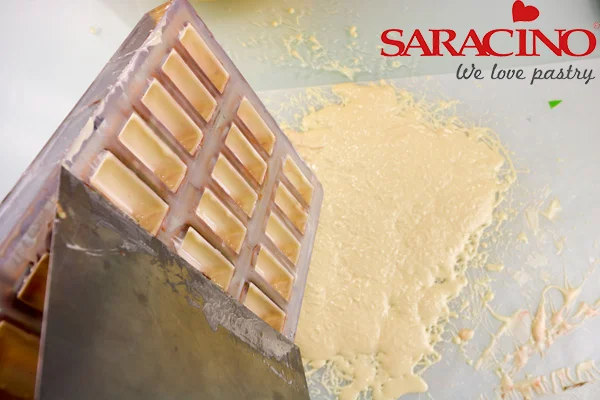
Once the chocolate has stopped dripping, scrape the mould whilst the mould is upside down, so the excess chocolate falls out of the mould.

Step 19

Turn the mould upright and clean with scraper again.

Step 20

Place the mould upside down on a sheet of silicone paper until the chocolate is touch-dry, then place in the fridge to fully set for no more than 30 minutes.

Step 21

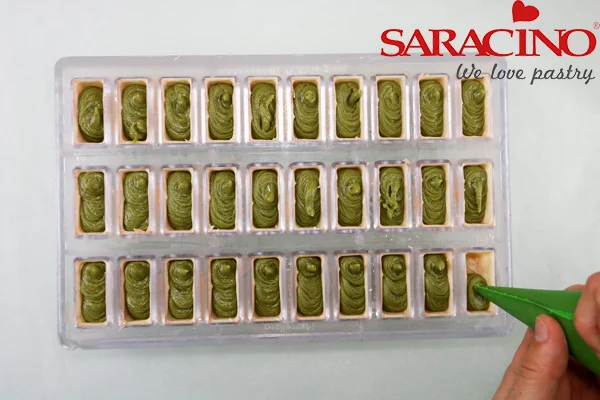
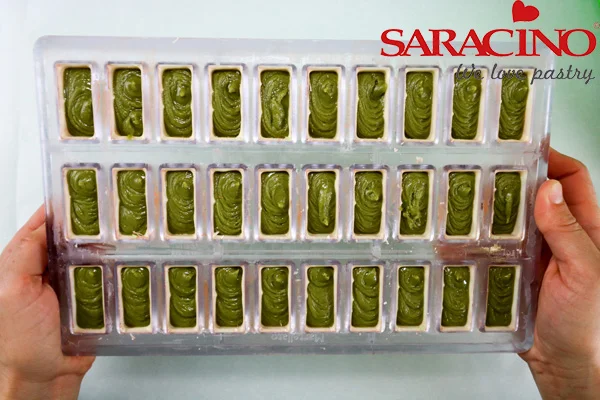
Transfer the ganache to a large piping bag, snip off the end and pipe into the chocolate shells, filling them to 2 mm from the top.

Step 22

Tap the mould gently on the worktop to release any air bubbles from the ganache and leave it evenly spread inside the shells. Let it set.

Step 23

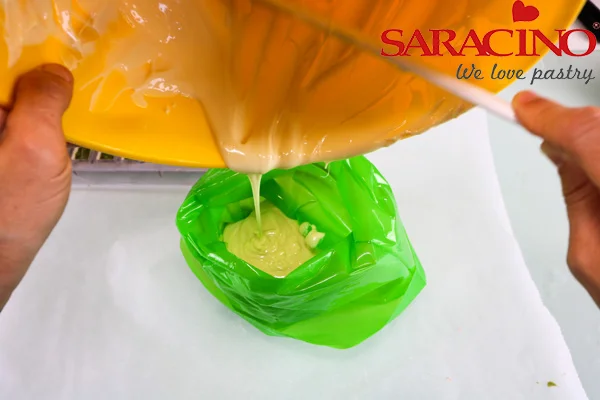
Temper approximately 200g of the leftover white chocolate and transfer it to a large piping bag.

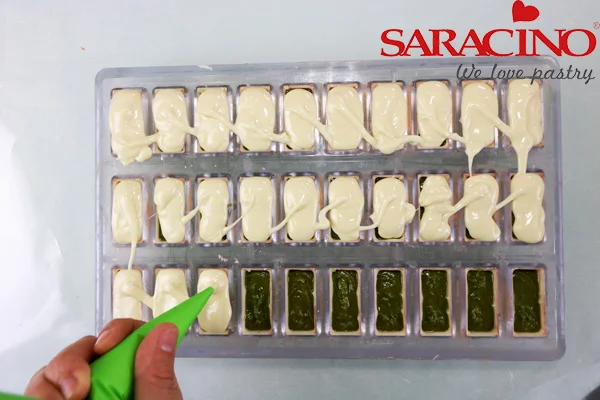
Step 24

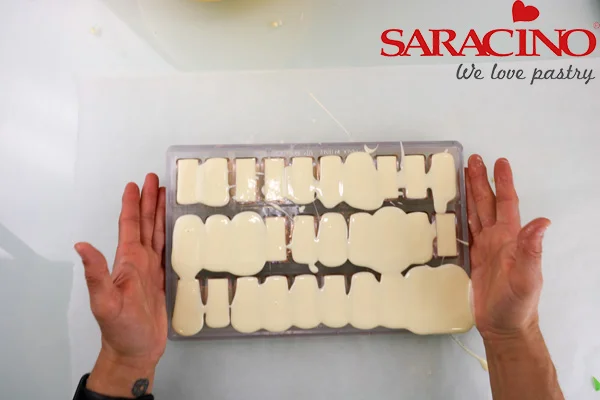
Pipe the chocolate over all the chocolates as fast as you can.

Step 25

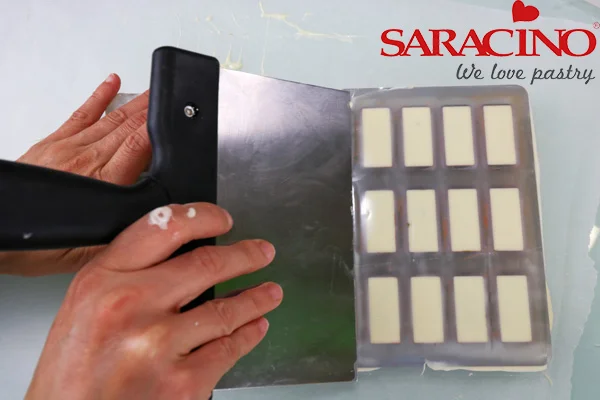
Place a guitar sheet over the top of the mould (previously cut to the size of the mould).

Step 26

Scrape downwards the excess of chocolate under the guitar sheet.

Step 27

Clean off the sides of the mould.

Step 28

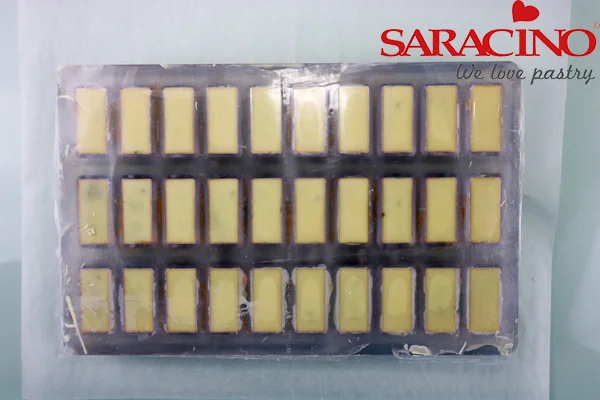
Set aside at room temperature until the freshly piped chocolate is touch-dry, then place in the refrigerator for 20 minutes to set.

Step 29

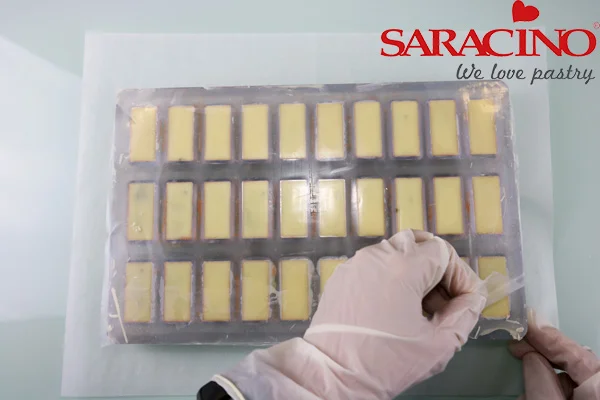
Remove the mould from the refrigerator and peel off the guitar sheet.

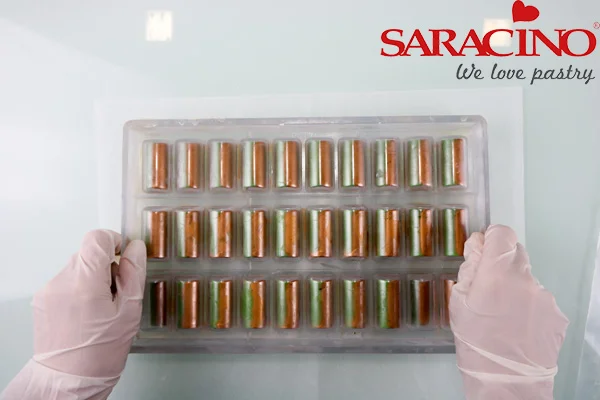
Step 30

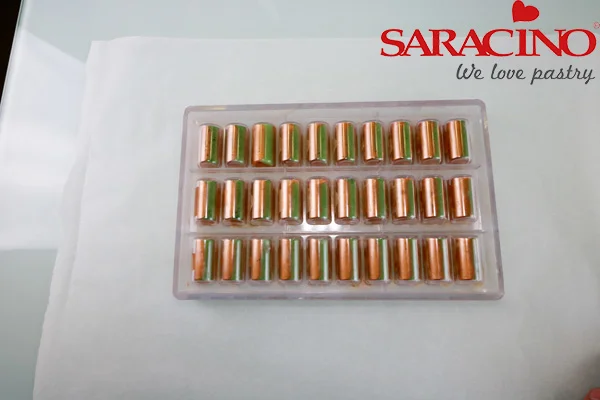
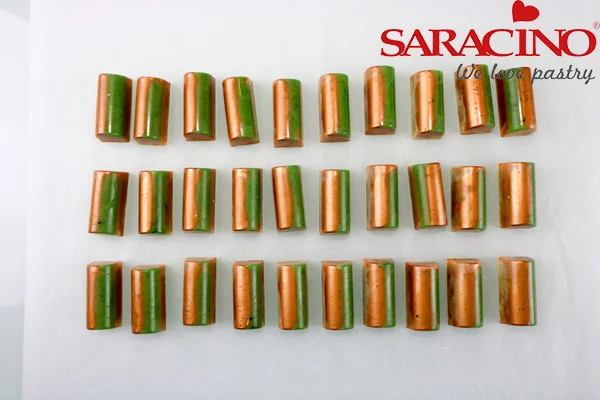
Remove the chocolates by turning over the mould and tapping the edge furthest away from you on the work surface.

Step 31

Tap different edges until the mould is empty.

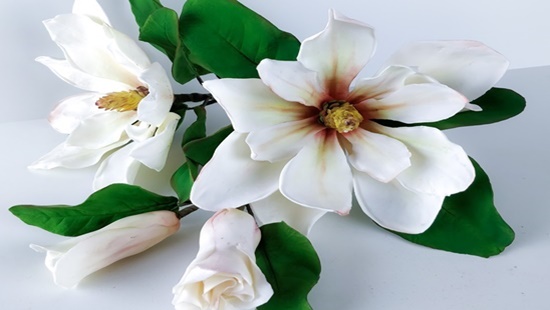
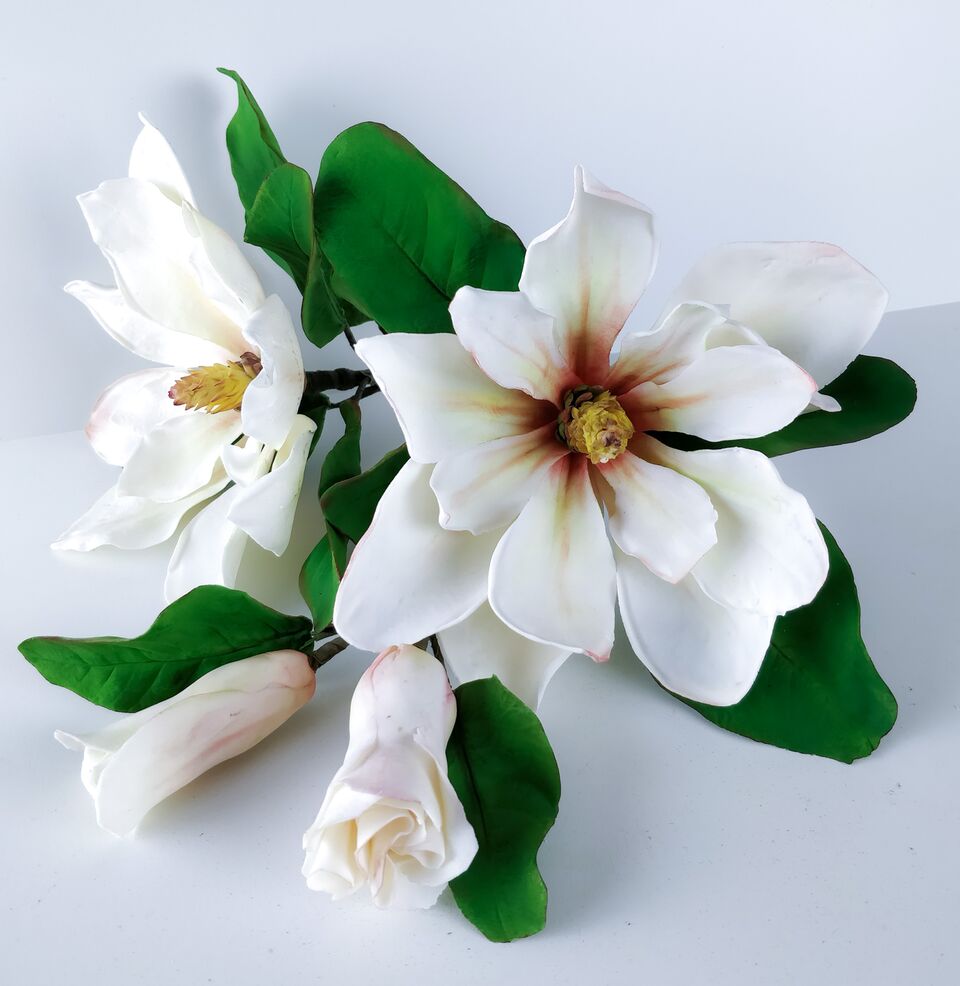
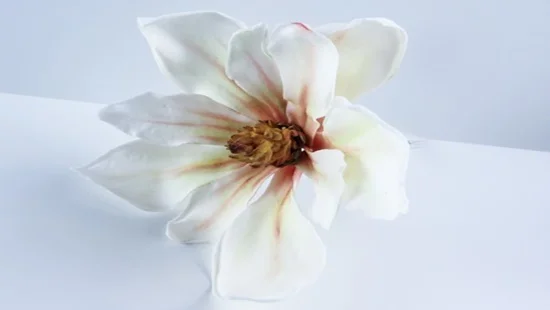
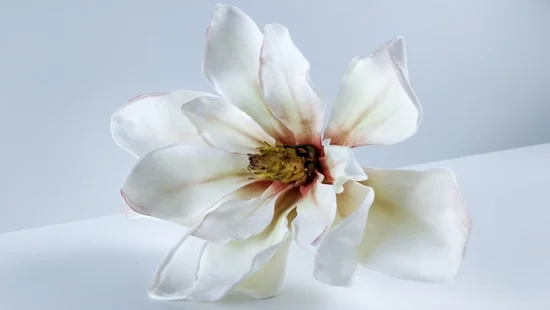
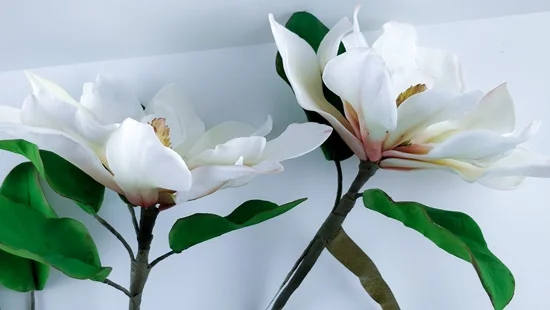
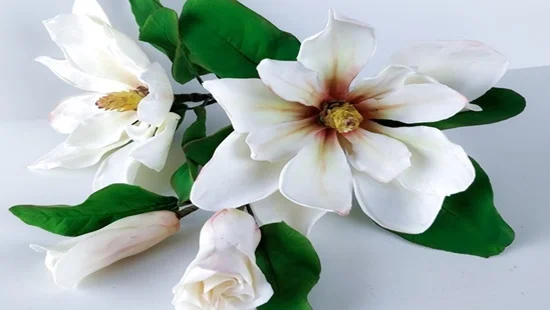
FANTASY MAGNOLIA BY CALLI HOPPER

FANTASY MAGNOLIA BY CALLI HOPPER

Author: Calli Hopper


FB: CALLI CREATIONS


.

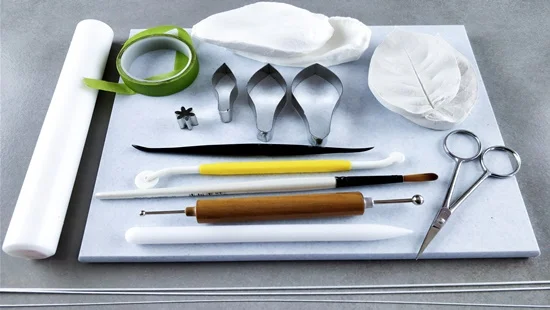
You will need:
  • Saracino White Modelling Chocolate
  • Saracino White Modelling Paste
  • Edible Glue
  • White Florist Wires: Gauge 18,22,24
  • Brown or Green FLorist Tape
  • Saracino Colour Dusts: Red, Pink, Purple, White, Yellow, Green, Brown
  • Saracino Green Paste
  • Cel Board
  • Foam Pad
  • Non Stick Rolling Pin (preferably 9”)
  • Dresden Tool
  • Cel Stick
  • Wire Cutter
  • Small scissors
  • Cutting Tool
  • Soft Paint brushes (Teflon or real hair, like sable)
  • Balling Tool
  • Magnolia Cutters (3 sizes)
  • Leaf Veiner
  • Magnolia Veiner
  • Small daisy/blossom cutter
  • Tin Foil or kitchen paper sheets
  • Corn Flour for dusting if needed
  • Plastic sleeve

Mix the two pastes together, approximately 2 parts modelling paste to one part modelling chocolate

Centre:

  1. Mix the two pastes together, approximately 2 parts modelling paste to one part modelling chocolate
  2. Take an 18 gauge wire, dipped in edible glue, and place small amount of paste on the end and taper into a tear drop shape with point at the top and base.
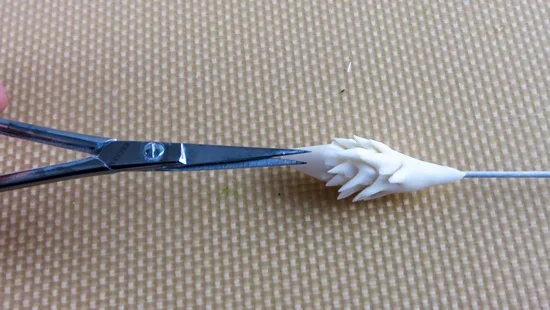
  3. Taking small scissors, snip spikes into the paste to form spikes all the way down. Leave to dry.
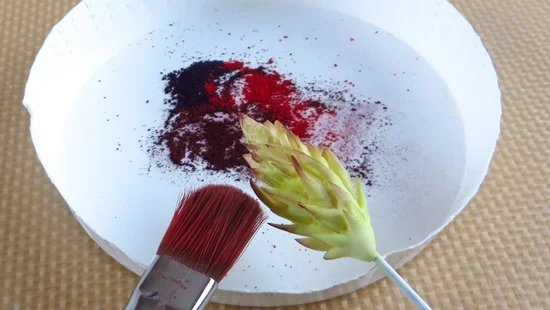
  4. Mix yellow, white and green dust colours together and using a soft paint brush, dust all over, then using a little of the darker green add darker areas and finish off with dusting tips with a mix of red and purple colour dusts.
  5. Colour your mixed paste, green. Roll out and using daisy cutter, cut out three daisies. Ball out the edges and slide up wire to base of magnolia centre, using a little edible glue. Dust a little, using the same red and purple mix. The picture below shows the stages from start to finish.

Magnolia Petals

  1. Roll out the white paste, then using your cel stick, roll centre of paste to form a ridge.
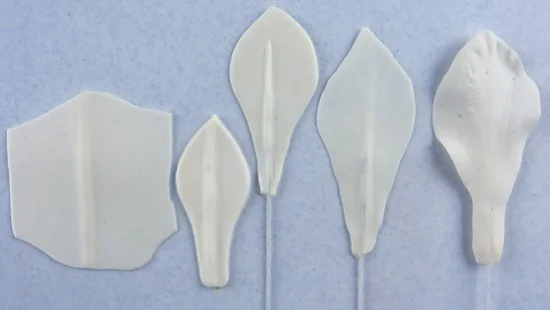
  2. Cut out petals with your magnolia cutters. You will need three of each, nine in total. Keep them in a plastic sleeve to stop them from drying out. OF do them is sets of three
  3. Insert wires into the ridge, using a little edible glue: 24 gauge wires for two smallest, 22 gauge wire for largest.Β  Place back in plastic sleeve. Or do in sets of three.
  4. Thin edges of petals with your balling tool, then press in veiner. To create a ridge on edges, drag your dresden tool right at the petal edge.
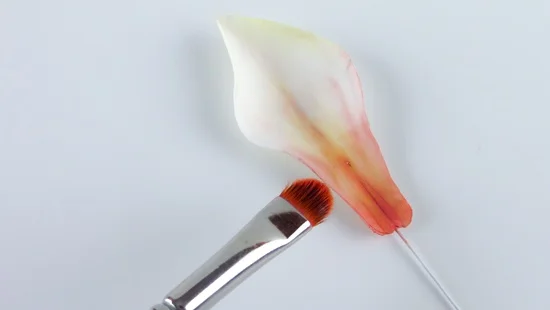
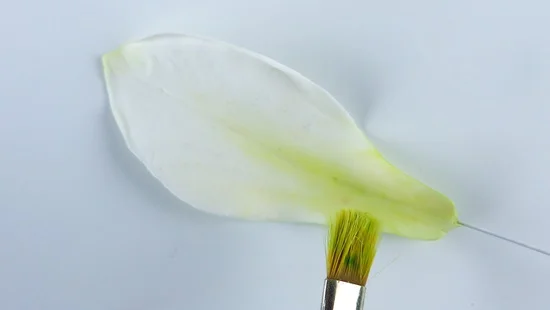
  5. Once dry, or nearly dry, lightly brush green/yellow dust mix at base of each petal, then over brush lightly with red and purple dust mix, at base.
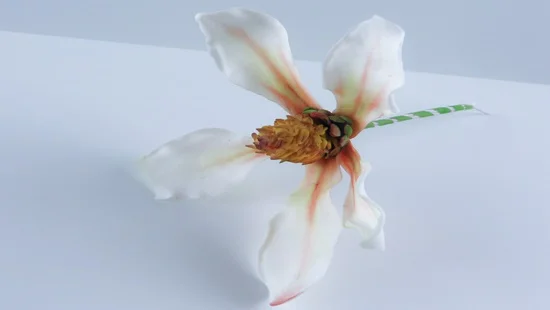
  6. Once completely dry, start to assemble/tape to magnolia centre, starting with smallest three, then next size up, finishing with largest.

Magnolia Buds

  1. You can use paste, but to keep it light, I’ve inserted an 18 gauge wire into a small styro ball (approx 1” diameter).
  2. Cut out a few petals (about three of five) freehand with cutting tool, or use magnolia cutters. Thin edges and fold around ball.
  3. Once dry, brush colour on, same as ones used for the petals.
Leaves:

  1. Roll out Green paste and form a ridge (see steps used for petals). #
  2. Reehand cut out a leaf shape with your cutting tool (or knife) leaving ridge in centre. Insert a 22 gauge wire, tipped with a little edible glue.
  3. Thin out edges with balling tool, then press into veiner. Cut out several sizes (about 6 or seven or more if you wish) and leave to dry.
  4. Brush green over the top of leaf and keep colour on back light. Then over dust with some yellow in places and a little white. Brush the edges with a mix of red and purple dust.

Assembly:

  1. You can fix the colour by swaying carefully, the posy, over the steam from a kettle or boiling pot of water on stove.
  2. Using brown or green florist tape, assemble the flowers, buds and leaves together carefully. Remember these dry petals and leaves are very fragile and brittle.
  3. 3. You can now use to decorate your cake. I hope you enjoy this tutorial and find is useful.
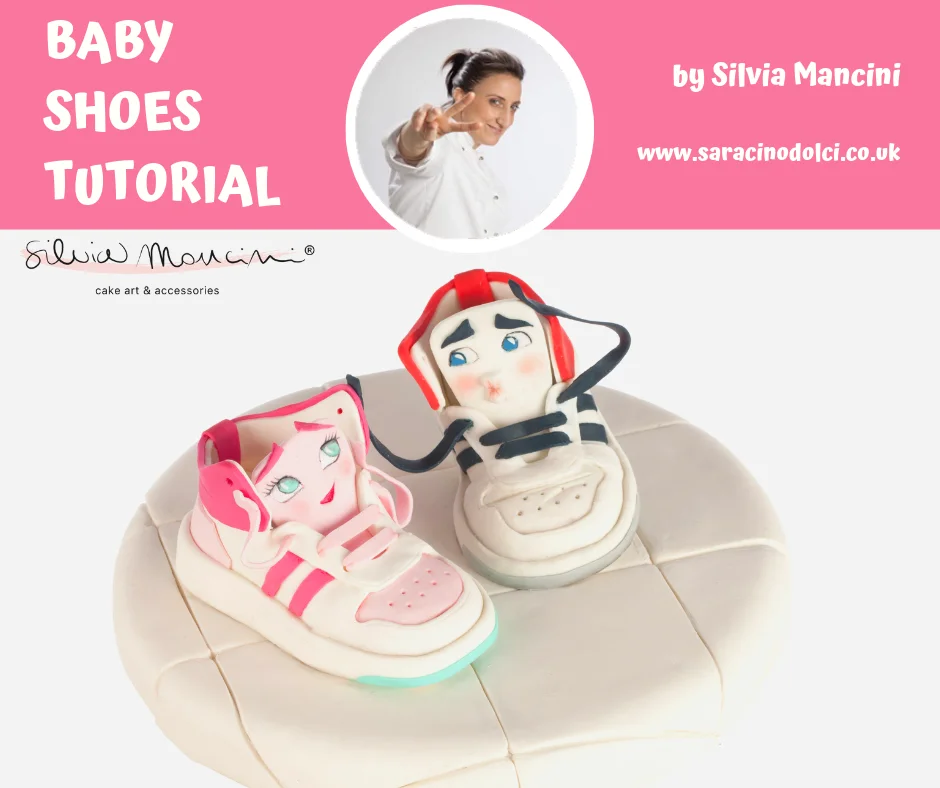
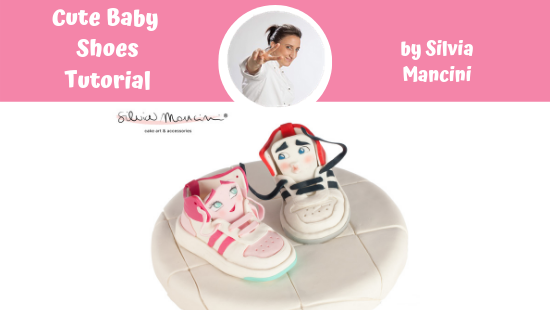
CUTE BABY SHOES TUTORIAL

CUTE BABY SHOES TUTORIAL

Skill level: BEGINNERS

TIP:

Attach all the parts using only a drop of water. You will need toΒ wait until the paste is a little bit harder before you start to assemble the parts you cut off.
You will need:

  • Scalpel
  • Rolling pin
  • Hard pointed brush
  • Straw
  • Pointed tool
  • Flat brushΒ  size 1
  • Pointed brush size 000
  • Saracino edible glue (if required)
  • Easy EyesΒ  – You can use the shapes you like most. I used the pink and yellow shape – small sizes
  • Saracino Modelling Β sugarpaste:Β white, fuchsia, pink, blue, red, Tiffany (it needs only for few details), a little bit of grey and light blue (for the eyes of the boy’s shoes)
  • Saracino black gel colour
  • Saracino white gel colour
  • Clear alcohol
  • Saracino dust pink

Step 1

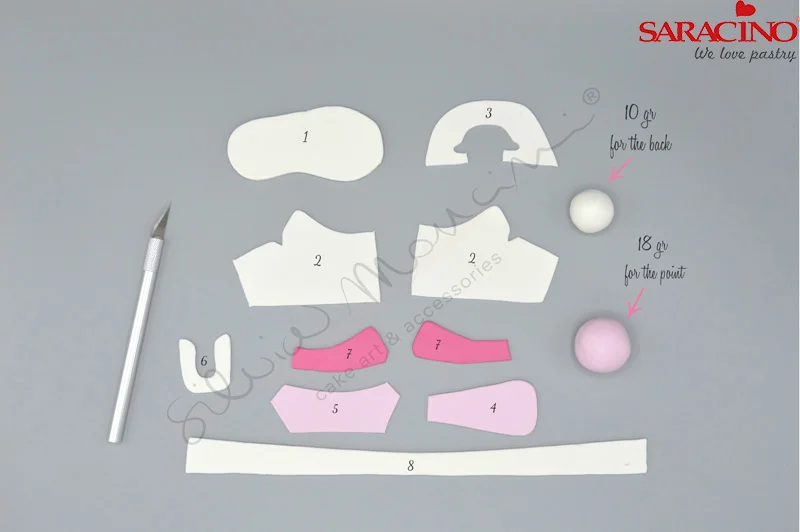
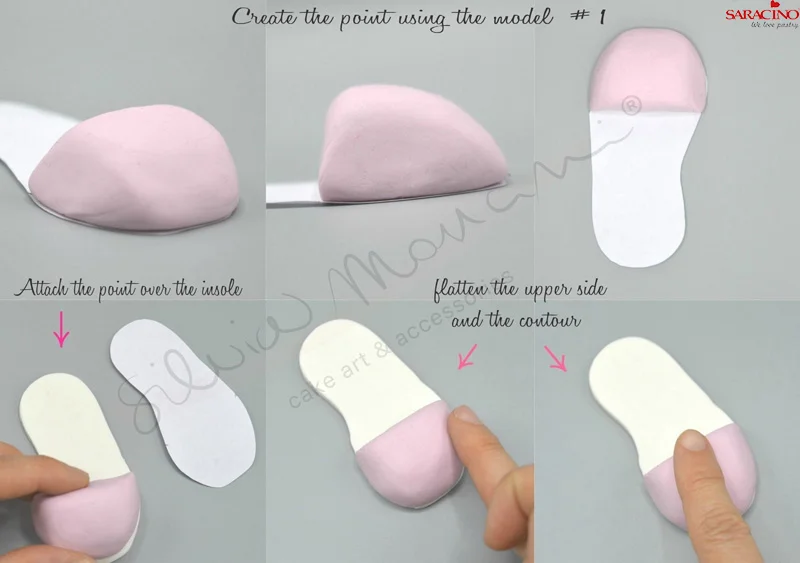
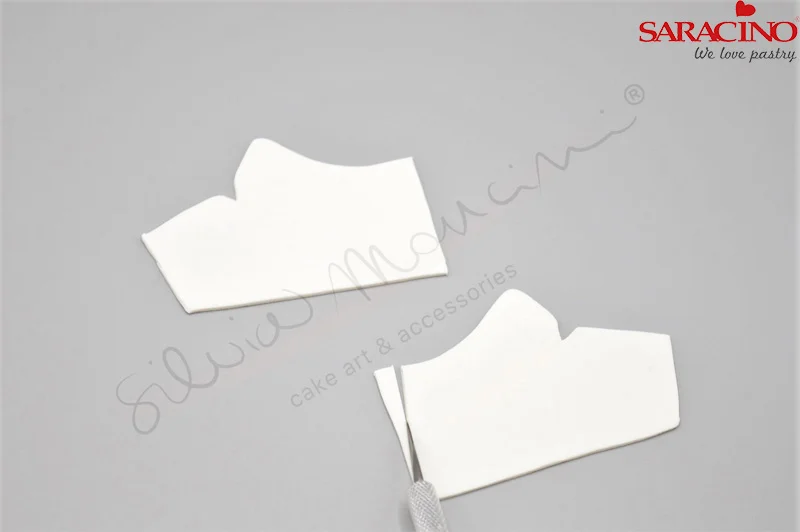
Using the downloaded template cut out all the shapes. Make two balls: white 10g and pink 18g.

Step 2

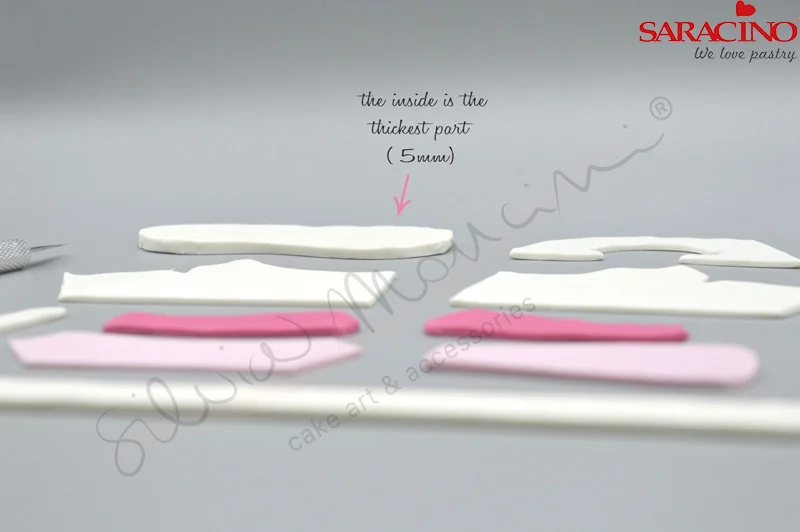
Vary the thickness as shown.

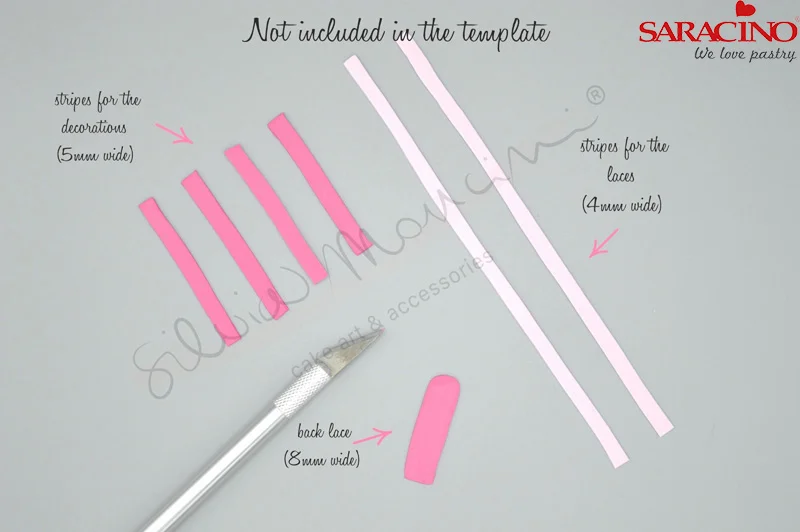
Step 3

You will need to cut out some additional strips that are not on your template.

Step 4

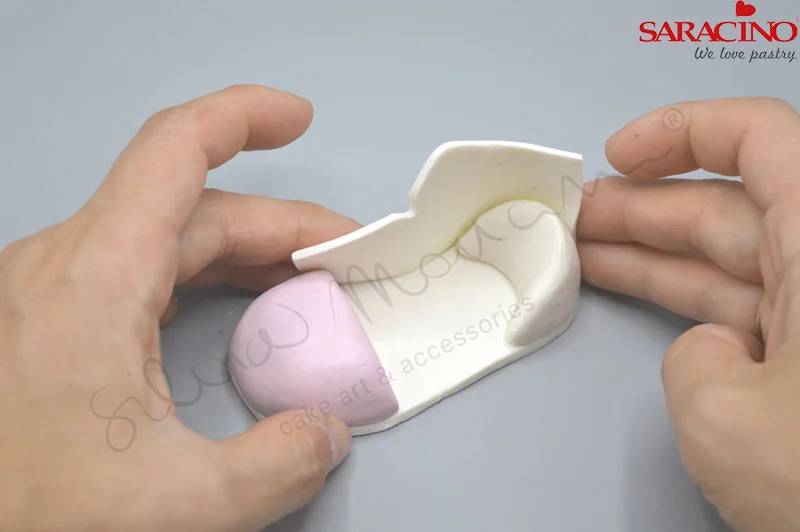
Form the toe of the shoe as shown.

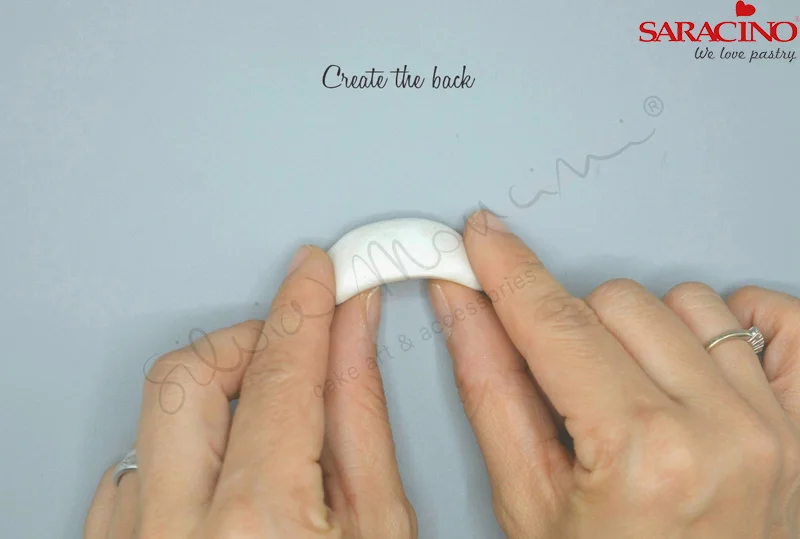
Step 5

Create the heel of the shoe.

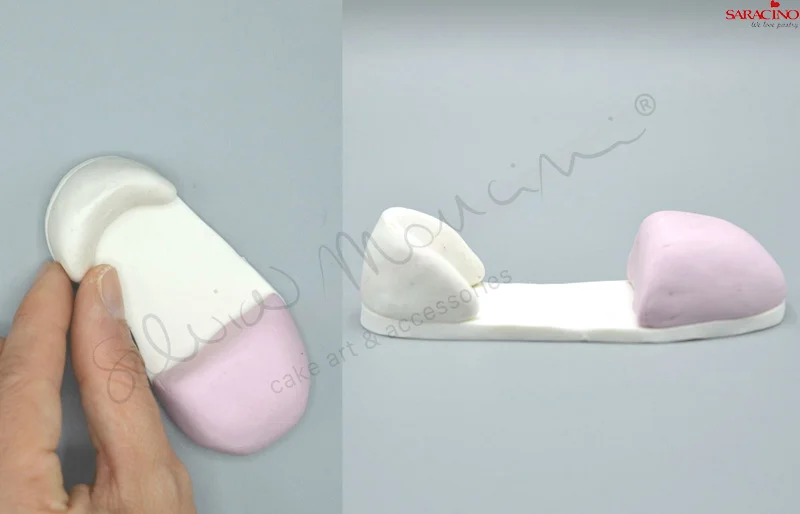
Step 6

Attach the heel as shown using a drop of water.

Step 7

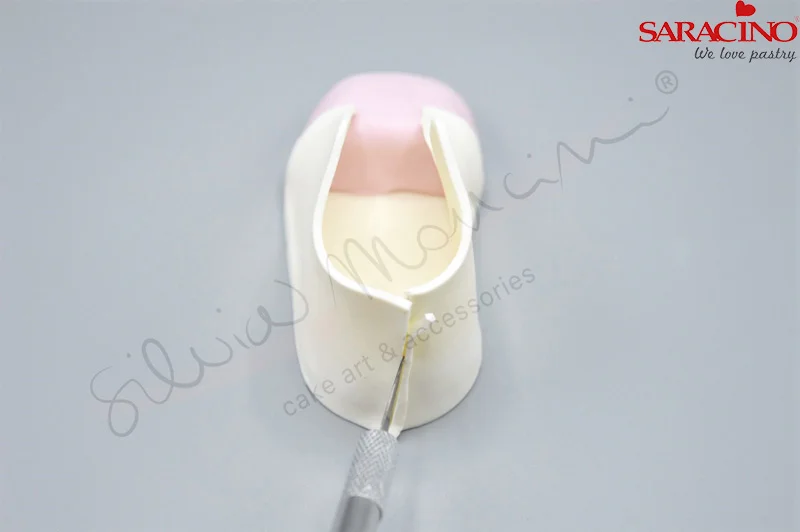
Using a blade trim shape number two

Step 8

Attach shape number 2 to the base.

Step 9

Trim any overlapping excess paste using a scalpel. It doesn’t have to be perfect we can blend as shown in the next step.

Step 10

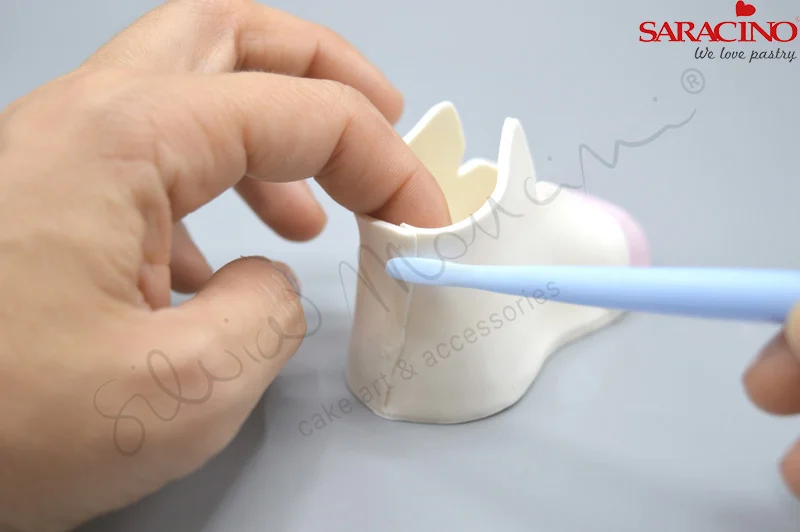
Using a Dresden tool blend the joint.

Step 11

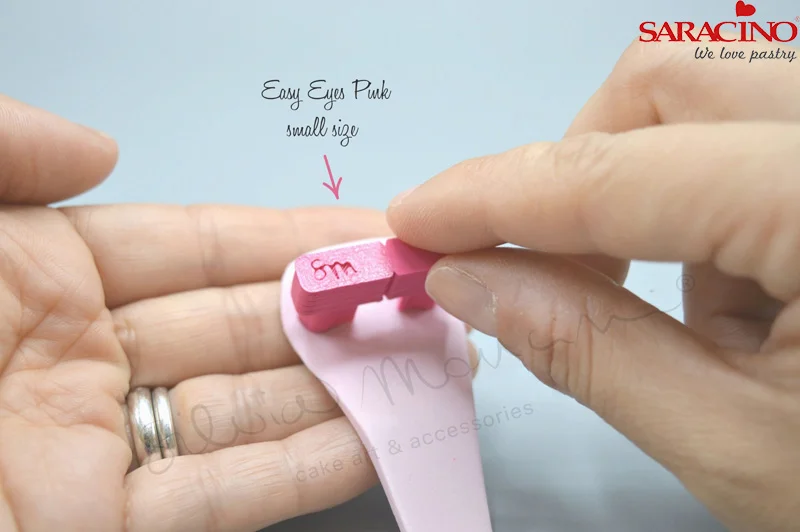
Use the Easy Eye cutter on the tongue.

Step 12

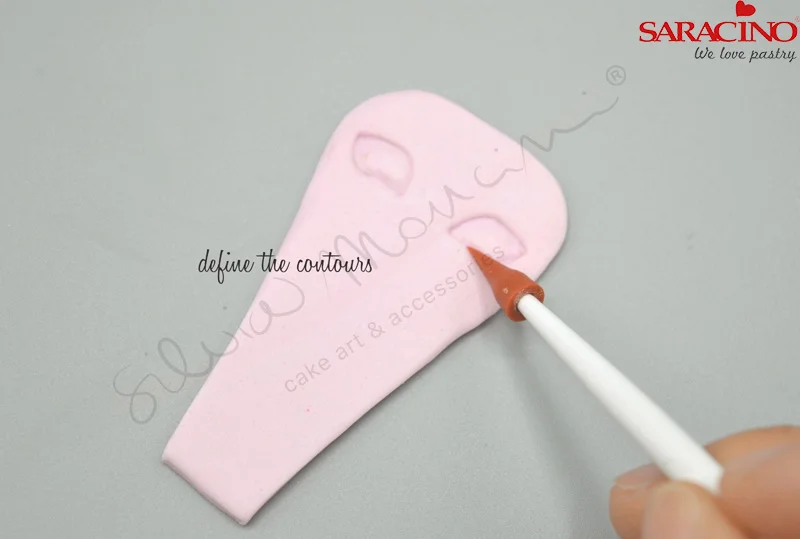
Using your pointed tool define the shape.

Step 13

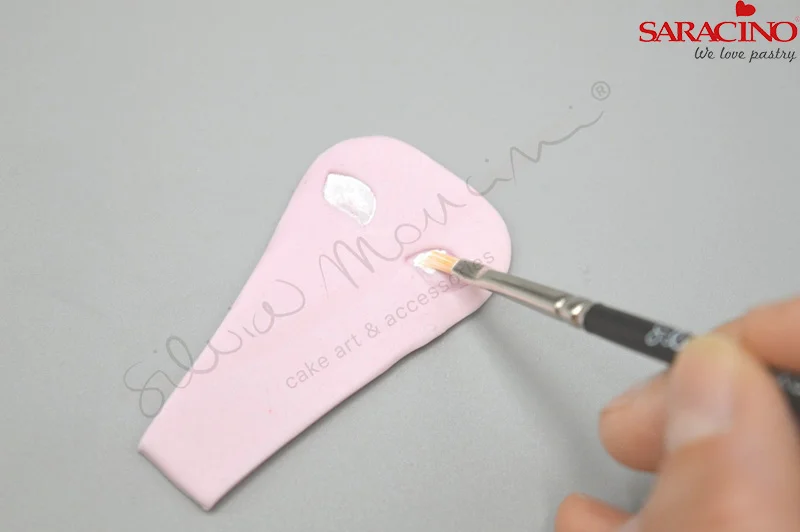
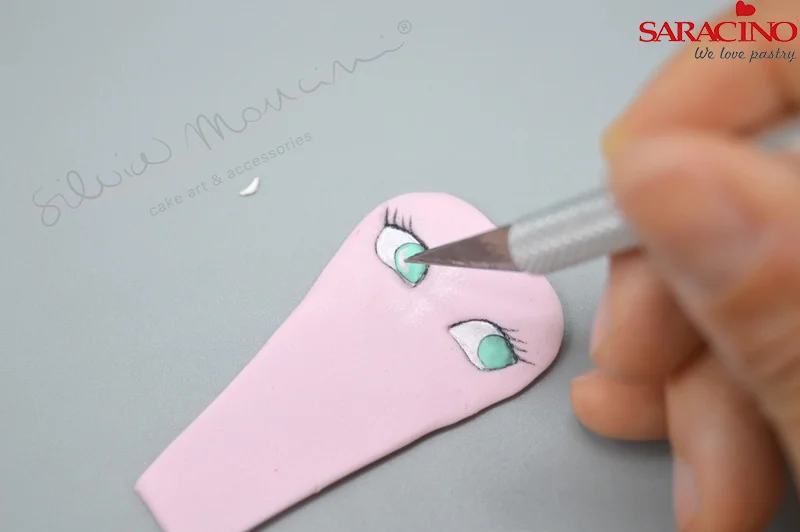
Using the white colours paint inside the defined areas.

Step 14

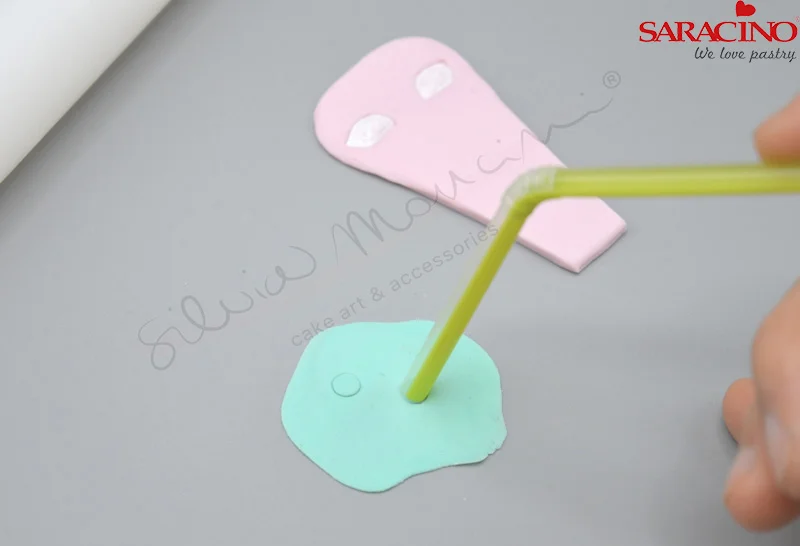
Using the end of a straw cut out the ‘eyes’ from rolled out blue paste.

Step 15

Attach as shown using a drop of water.

Step 16

Blend using a Dresden tool.

Step 17

Using your fine paintbrush draw eye lashes using the black colours. Blend your powder with a clear alcohol as required.

Step 18

Using your straw cut out highlights for the eyes.

Step 19

Attach and blend the highlights to each eye.

Step 20

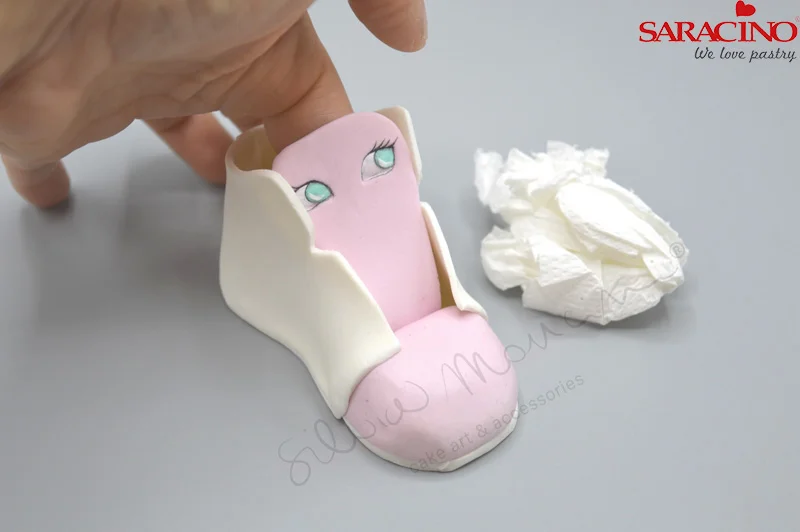
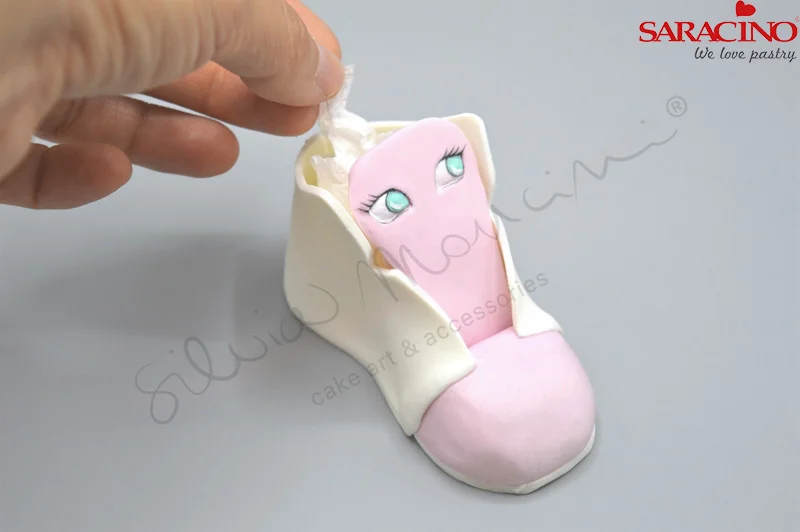
Fix the shoe tongue into place using Saracino edible glue or a drop of water.

Step 21

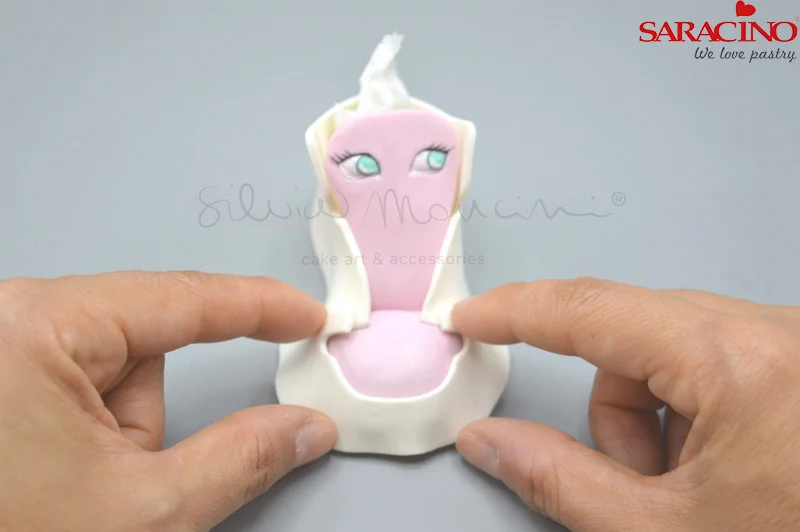
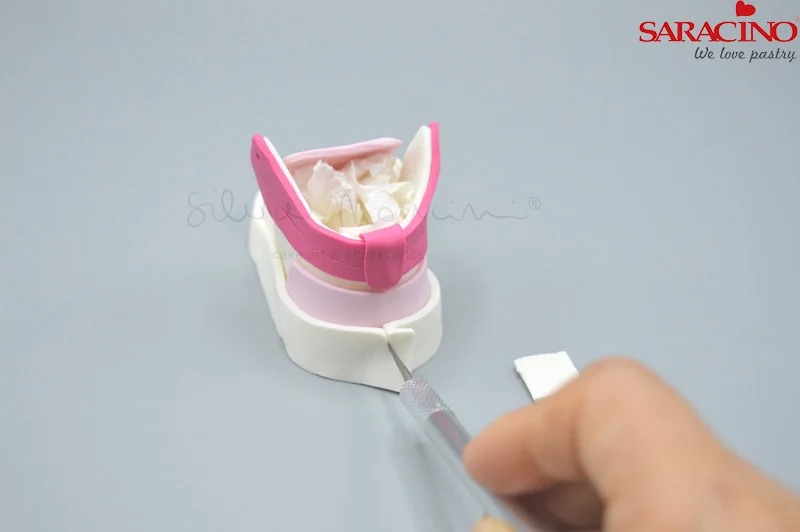
Pack behind the tongue with tissue to keep shape until dry.

Step 22

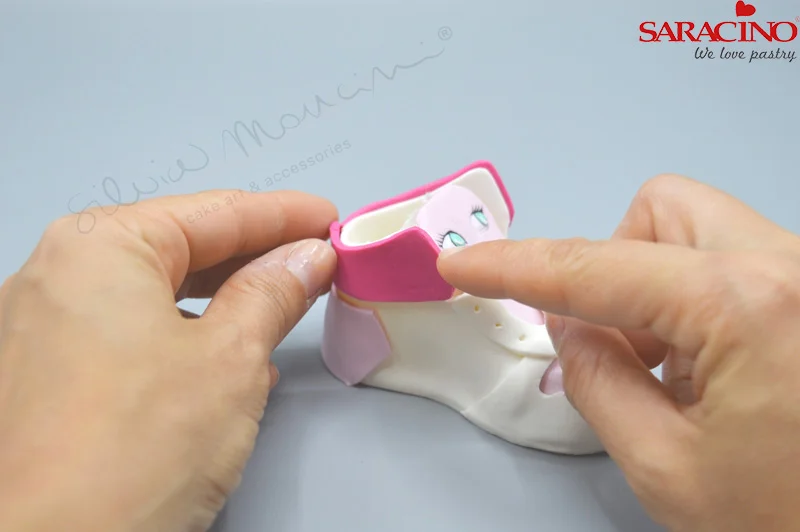
Using shape number three wrap around the front of the shoe.

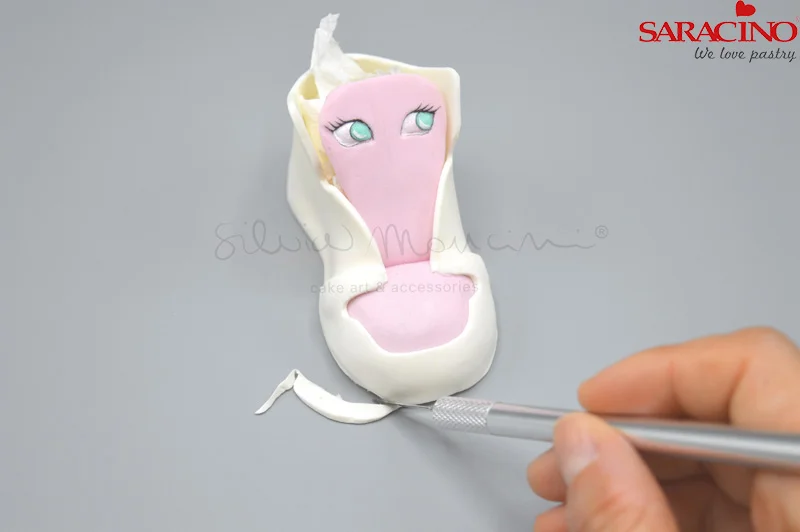
Step 23

Trim any excess with your scalpel.

Step 24

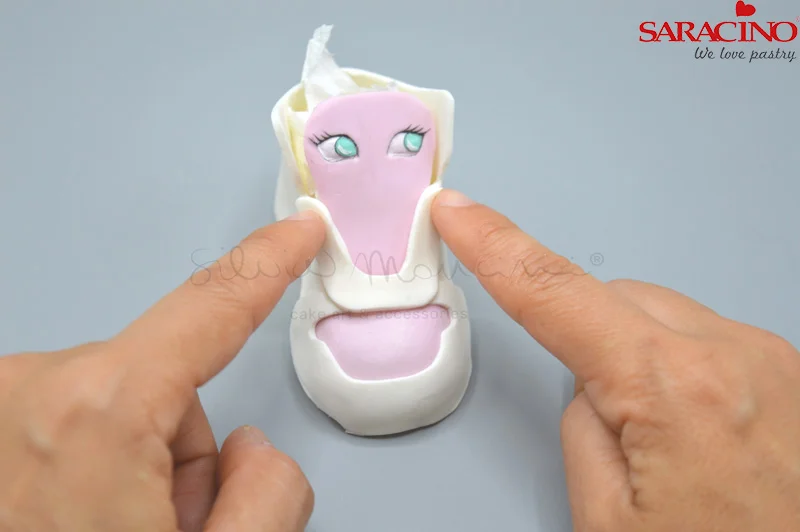
Using shape number six fix as shown.

Step 25

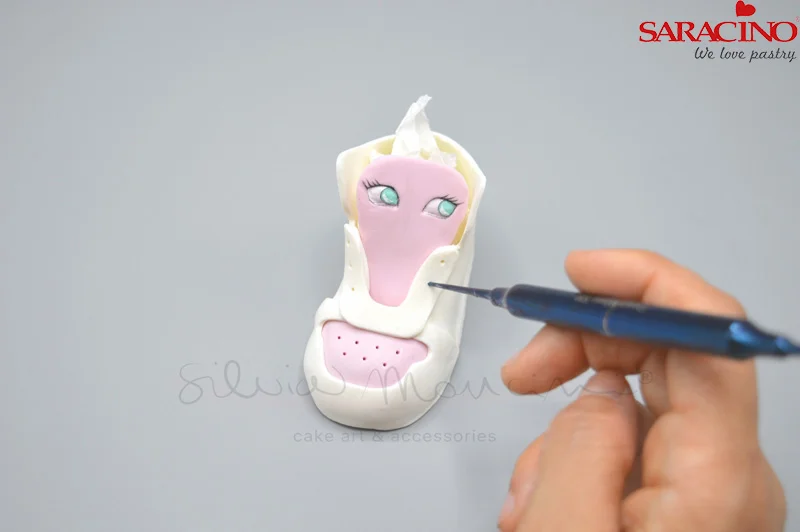
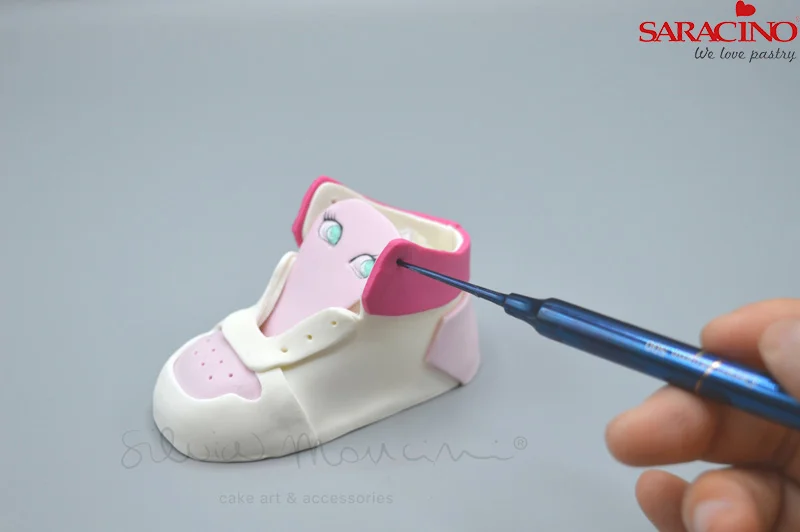
Using a small ball tool make lace holes and pattern on the front of the shoe.

Step 26

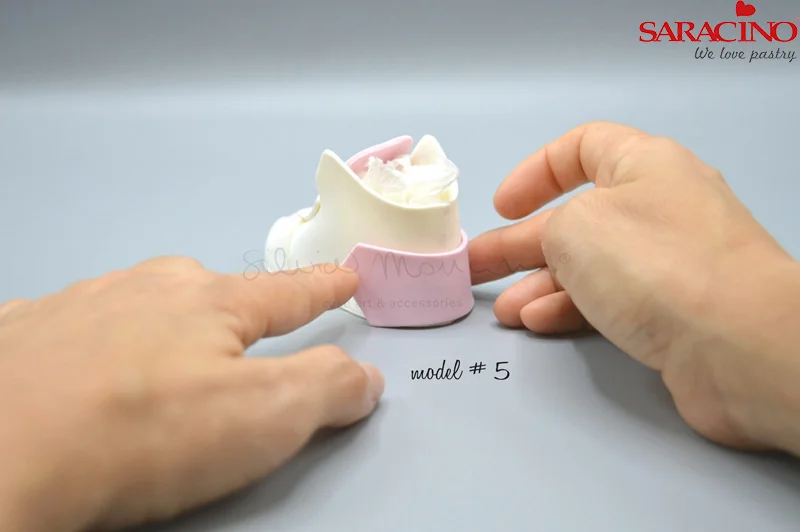
Fix shape number 5 to the heel of the shoe.

Step 27

Fix shapes number 7 to the back of the shoe.

Step 28

Make lace holes using your small ball tool.

Step 29

Make stitch lines using a scalpel or sharp tool.

Step 30

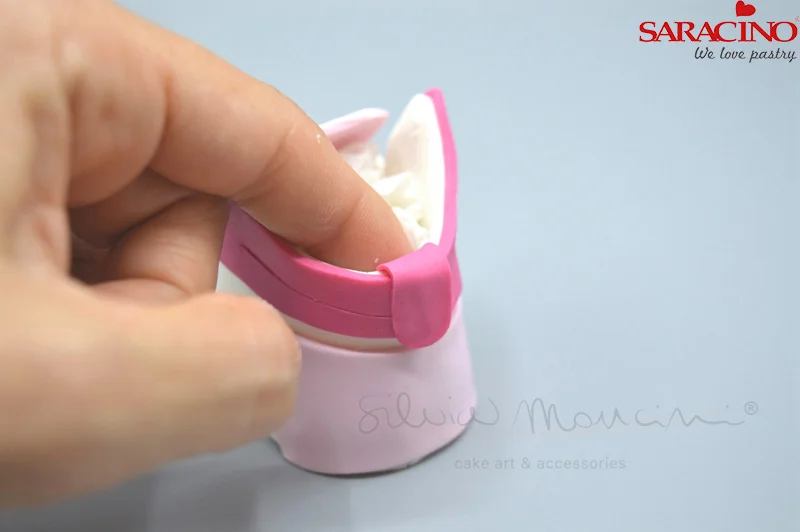
Attach the 8mm back lace as shown.

Step 31

Attach piece number 8 around the sole as shown.

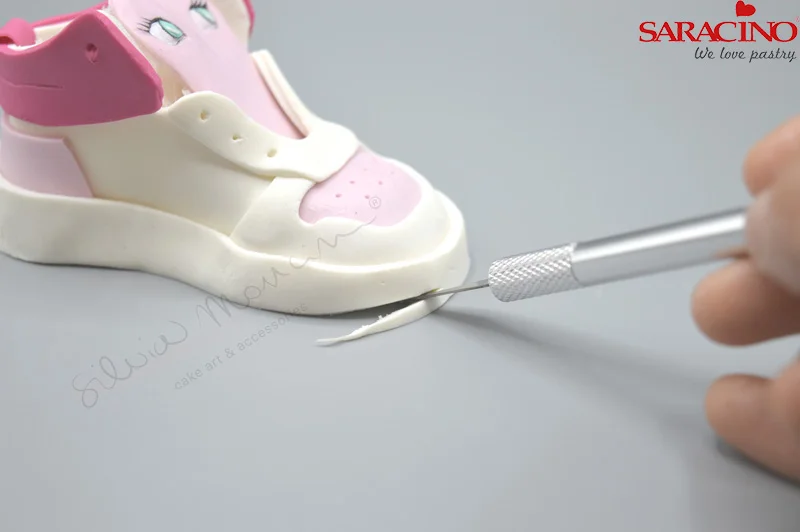
Step 32

Trim any excess at the back using a scalpel.

Step 33

Trim the toe of the shoe as shown to raise off the floor

Step 34

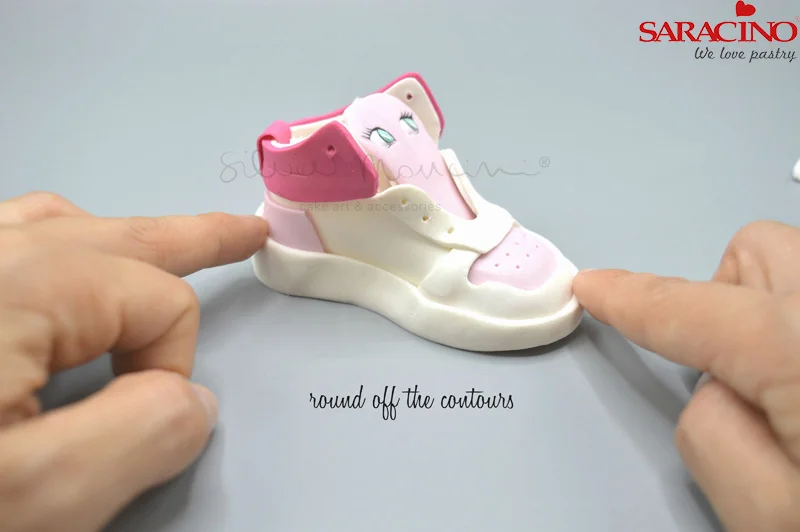
Blend edges to round off.

Step 35

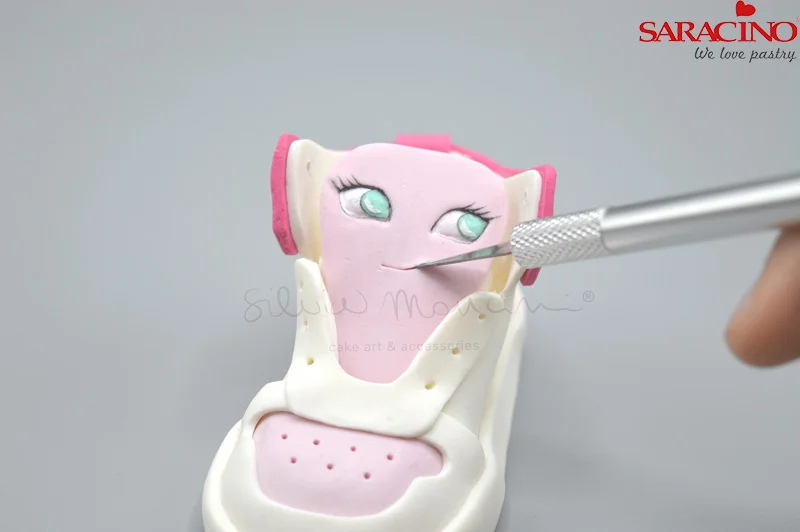
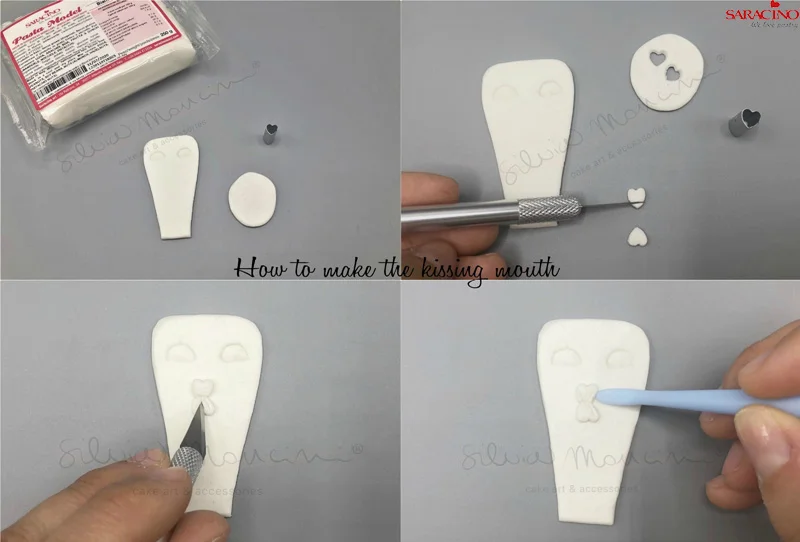
Form a mouth using your scalpel.

Step 36

Add the 5mm strips as shown.

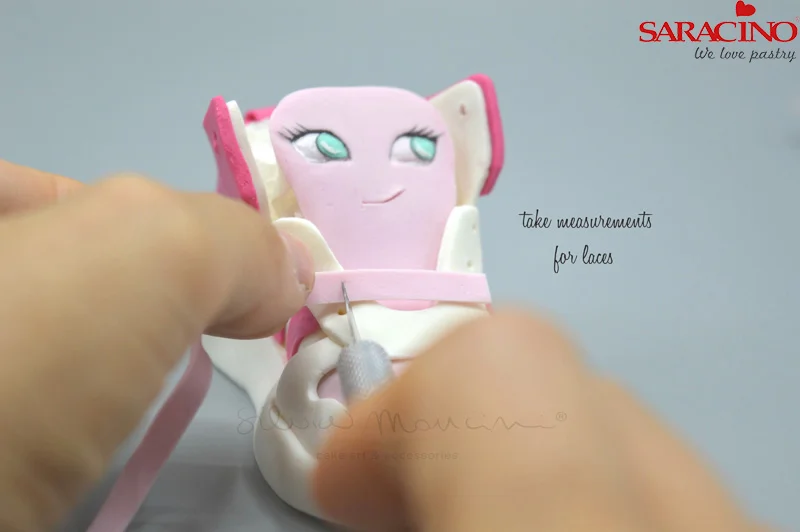
Step 37

Check the length needed for your laces.

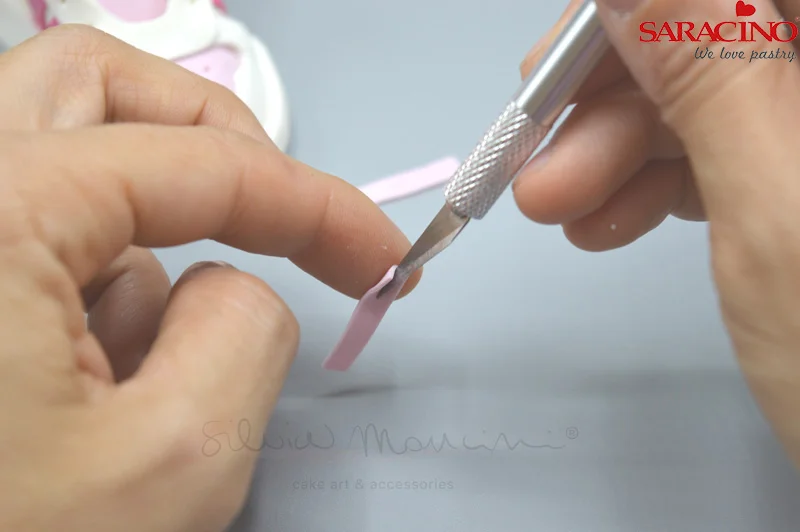
Step 38

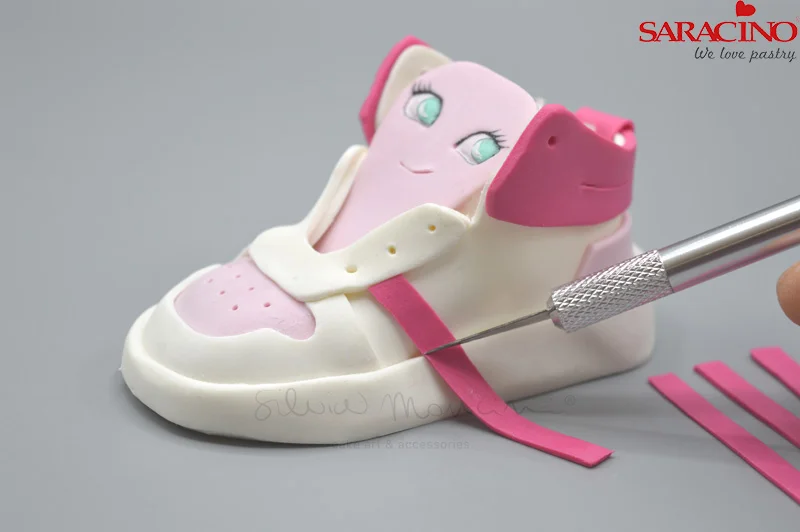
Give the lace definition using the back of a sharp tool.

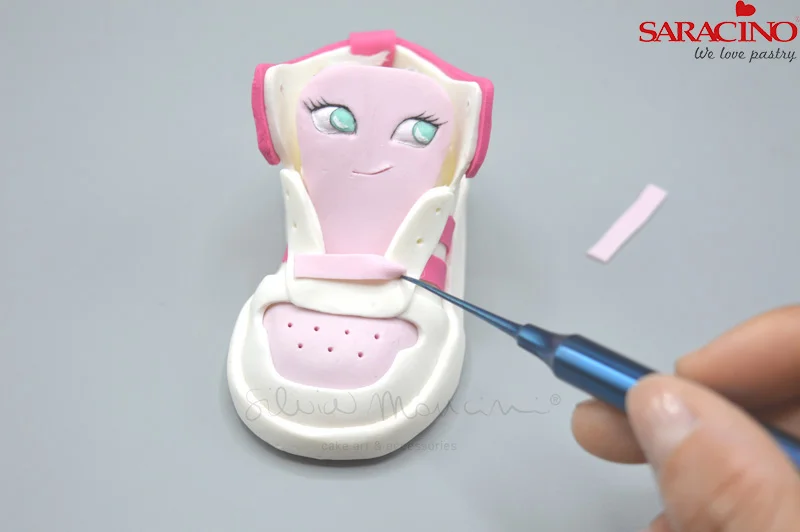
Step 39

Fix the lace into the lace holes previously formed.

Step 40

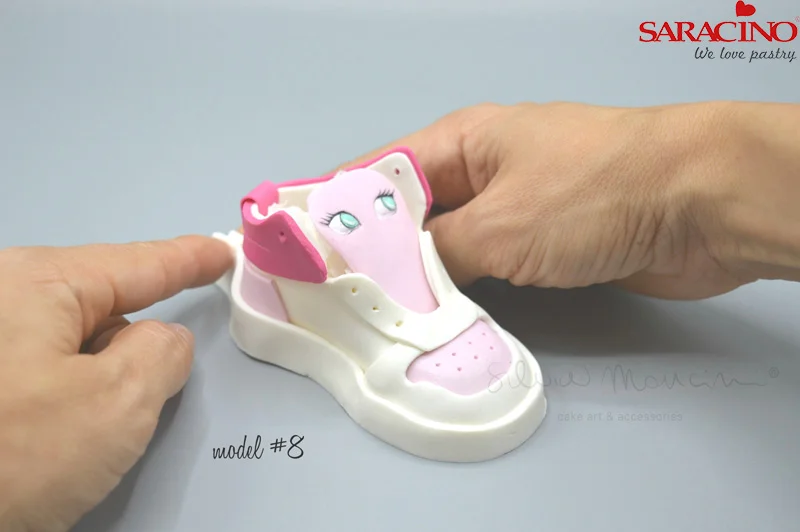
Using the longer laces fix to the side of the shoe as shown.

Step 41

Cut out and fix eyebrows.

Step 42

Use your scalpel to make a stitch line around the shoe.

Step 43

Using Tiffany coloured paste attach the front of the shoe.

Step 44

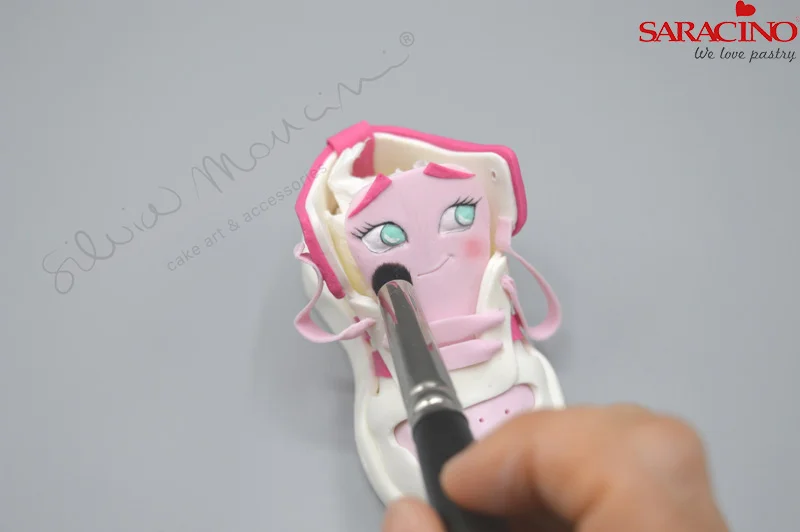
Using pink powder dust give the cheeks some definition with a soft brush.

Step 45

Repeat all the above steps to create the other shoe. You can customise each shoe to look how you want.