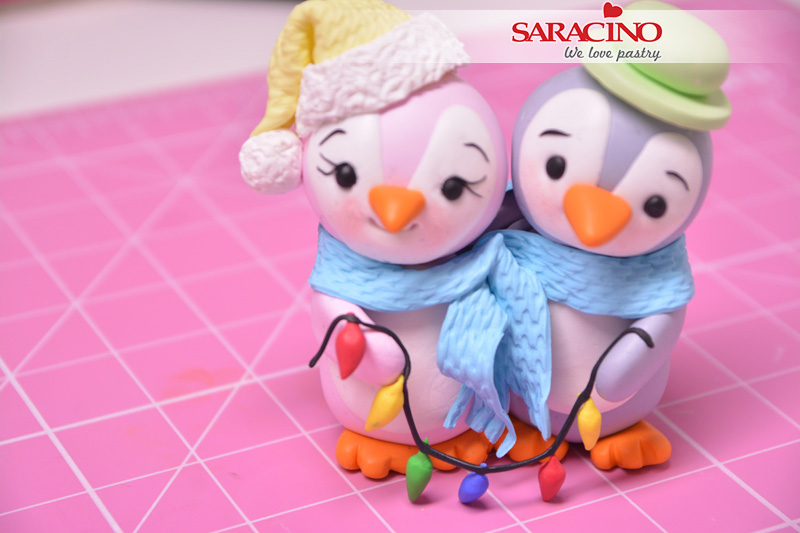
Cute Christmas Penguin’s

Cute Christmas Penguin’s
Skill level: BEGINNERS

TIPS:

Tip 1: You can make a snow man and his family using the same tutorial with a few little tweaks like instead of flippers and feet add some twigs made with wires and modelling chocolate

Tip 2: If you have some left over white Saracino that wasn’t used for a while and is a bit hard then how about crushing it in food processor and using it as snow?

You will need:
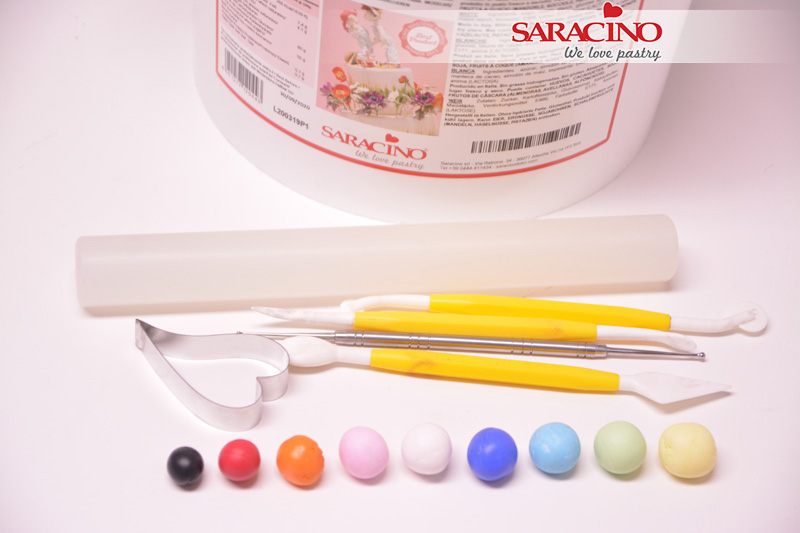
  • Saracino Fuschia sugar paste mixed with white to form light pink
  • Saracino Azure modelling paste
  • Saracino Light Blue modelling paste
  • Saracino Green modelling paste
  • Saracino Yellow modelling paste
  • Saracino Red modelling paste
  • Saracino Black modelling paste
  • Saracino White modelling paste
  • Rolling pin
  • Cutting wheel
  • Heart shape cutter
  • Dresden tool
  • Scallop tool
  • Shell tool 
  • Knit impression mat

Step 1

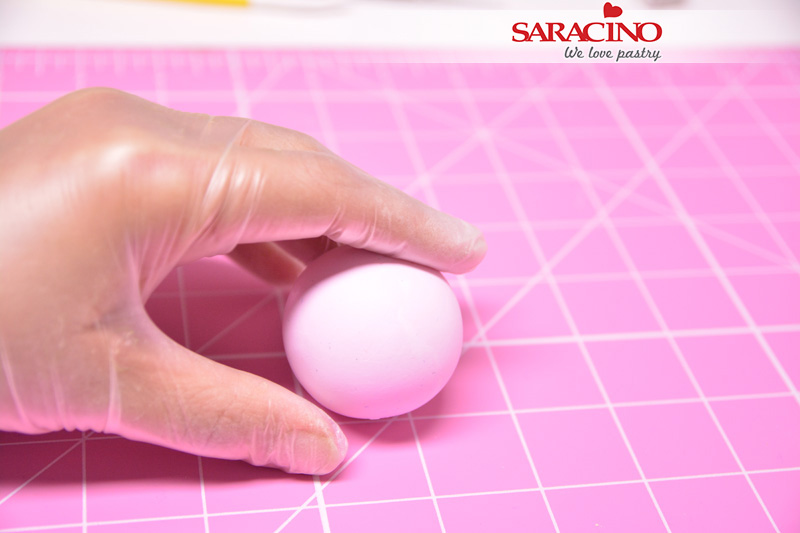
Roll pink Saracino modelling paste into a round ball, roughly 2 inches in diameter.
Step 2

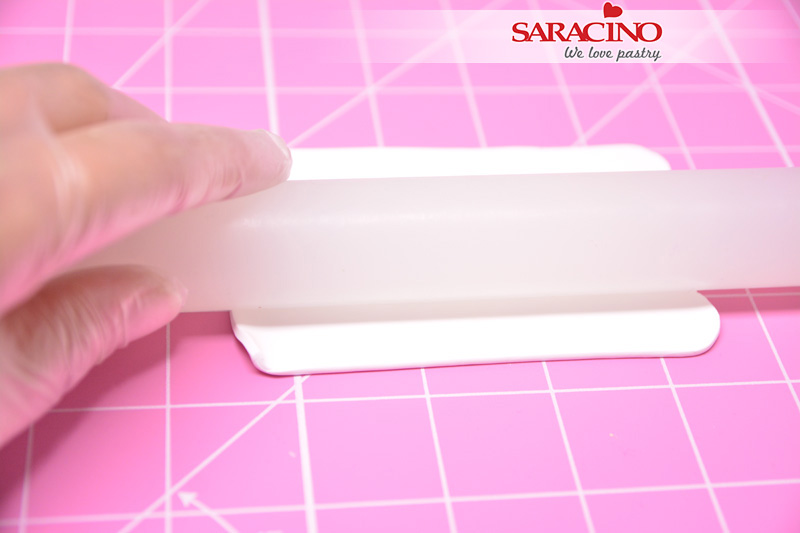
Roll a small amount of white modelling paste into a thin sheet
Step 3

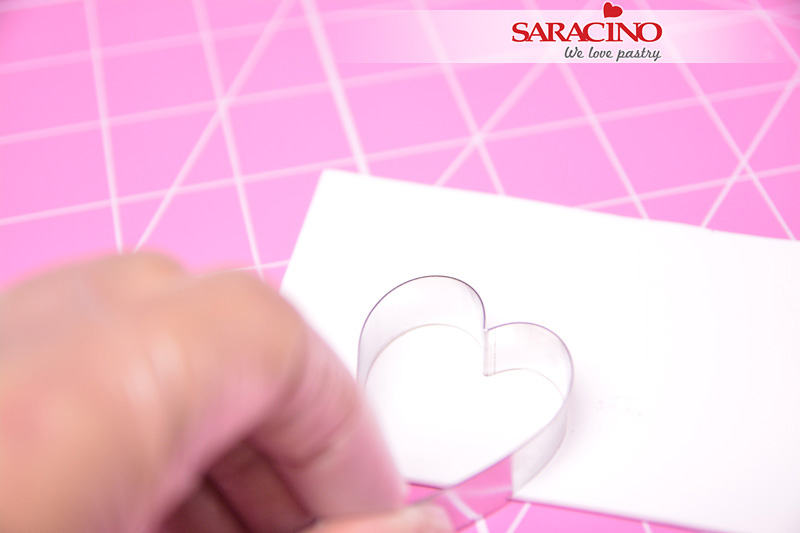
Using a metal heart shape cutter cut a heart shape on the bottom of the sheet to have a flat base instead of a pointy one
Step 4

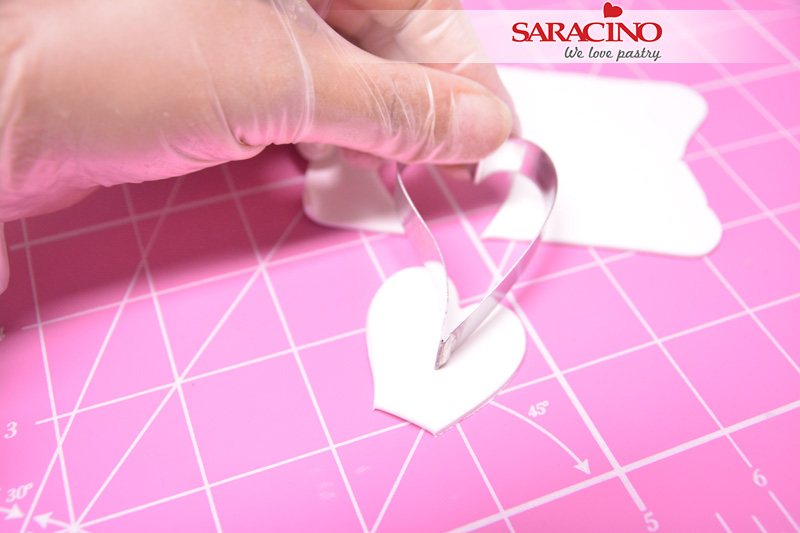
Now give a deeper “V” cut to the heart using the cutter as shown in the picture
Step 5

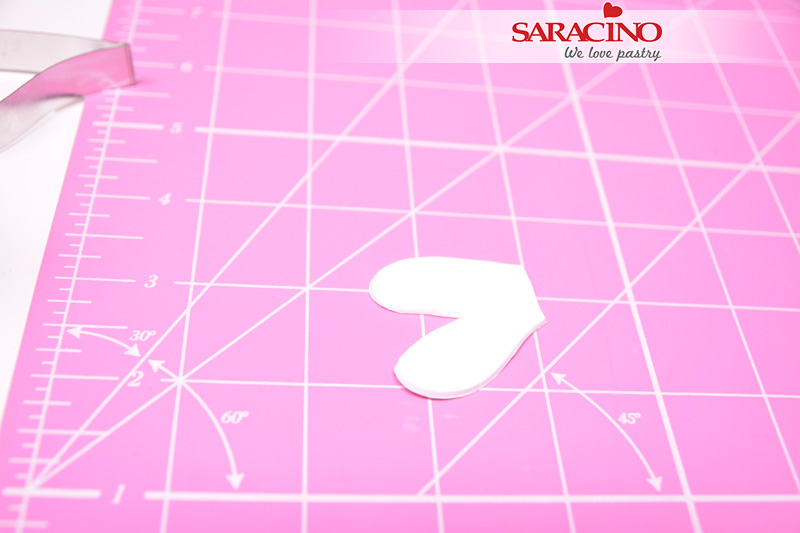
It should look like the photo above
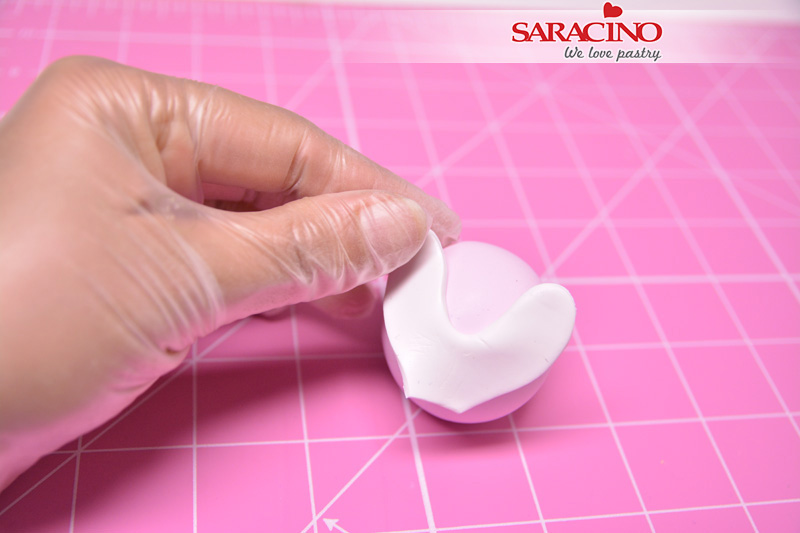
Step 6

Place this heart on the pink ball
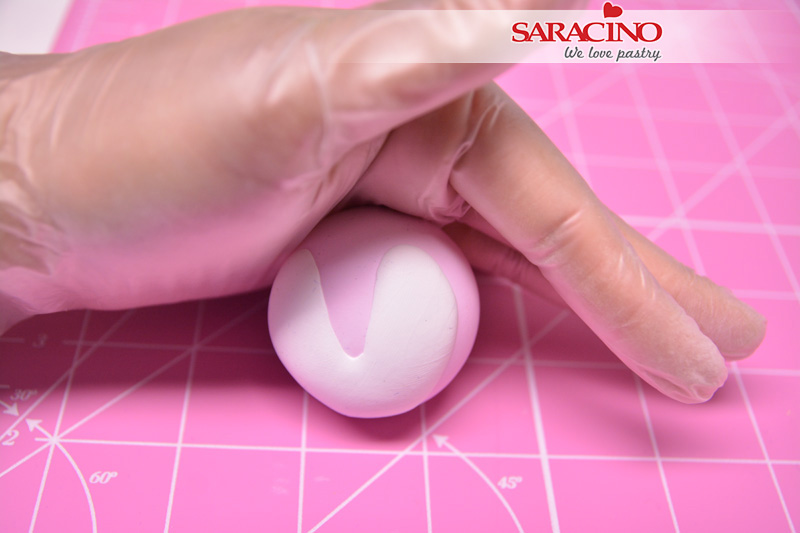
Step 7

Gently roll and blend the edges of the heart well with the pink ball
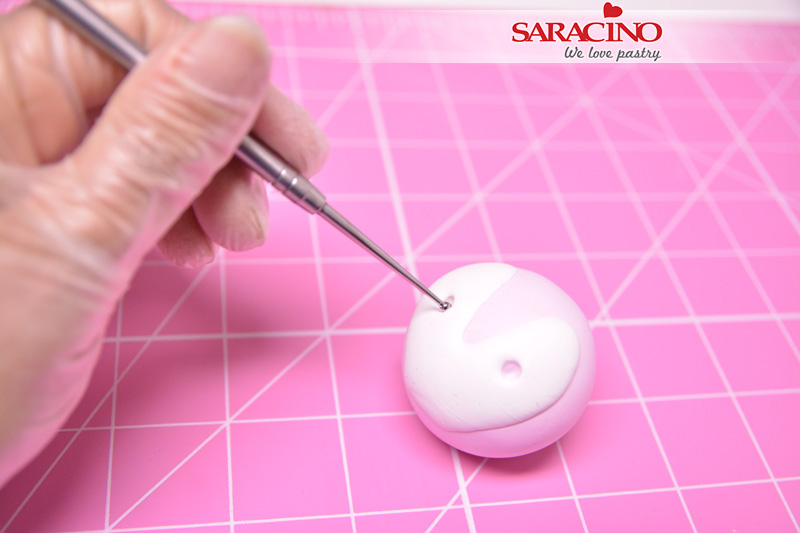
Step 8

Using a ball tool mark the position of the eyes
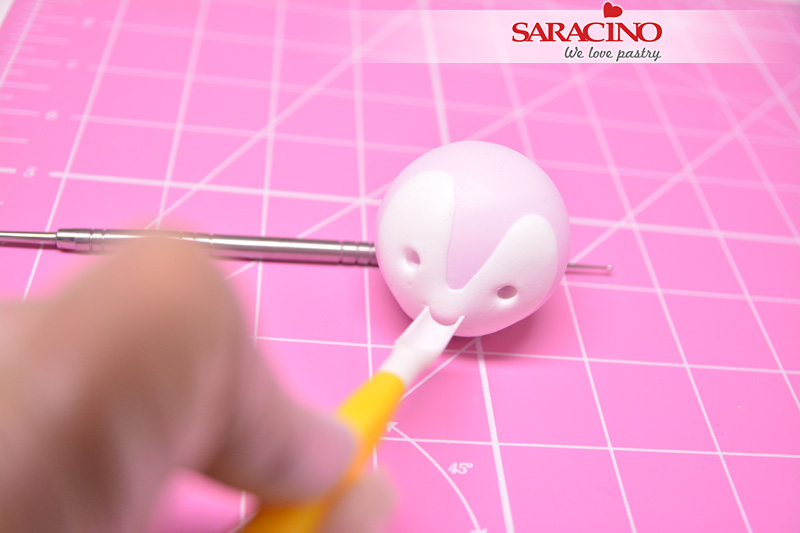
Step 9

Make a lovely smile with the PME scallop tool
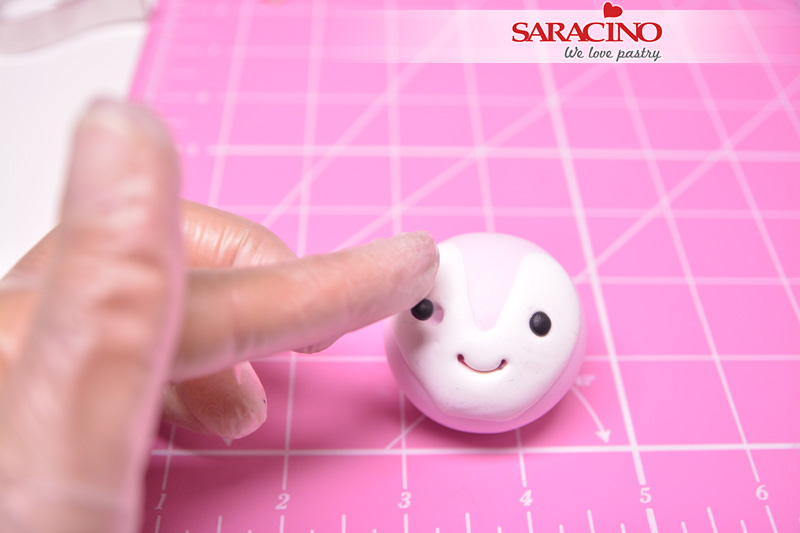
Step 10

Add tiny black eye balls made with Saracino black modelling paste
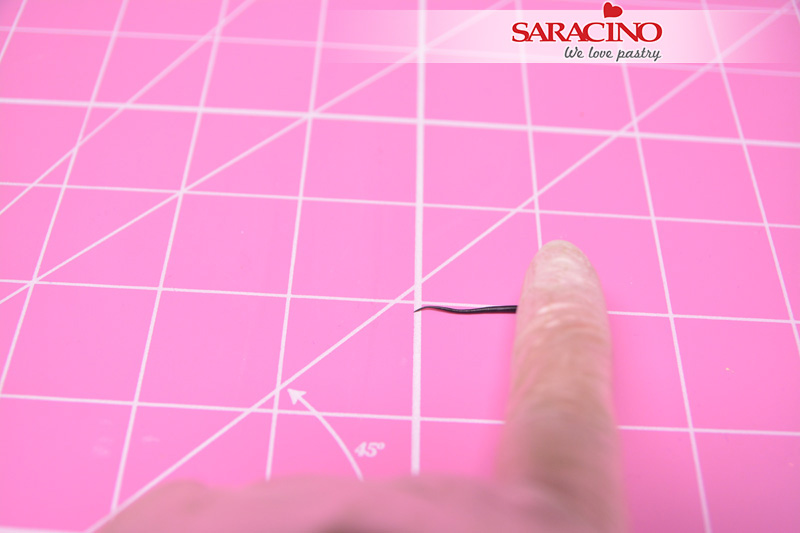
Step 11

To make lashes roll a very small amount of black modelling paste and taper it from one end
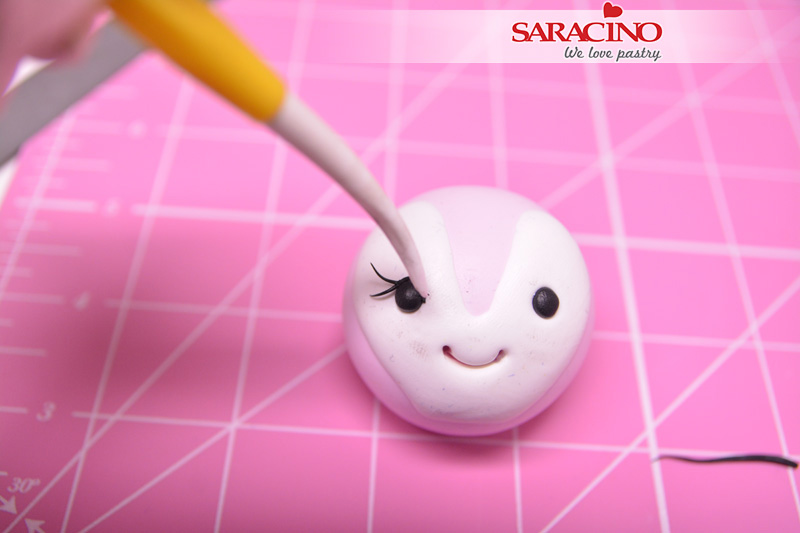
Step 12

Gently place two lashes on each eye using the pointy end of the dresden tool
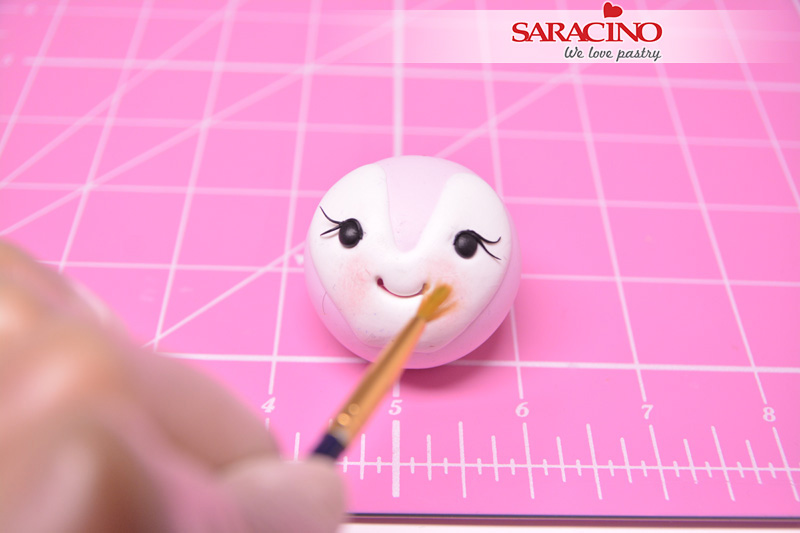
Step 13

Add some blush on the cheeks using Saracino pink dust
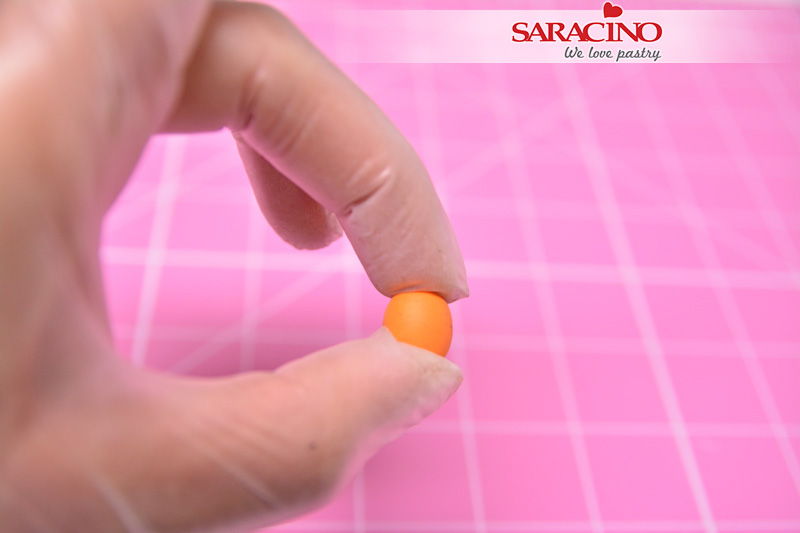
Step 14

For the beak roll a tiny ball of orange modelling paste
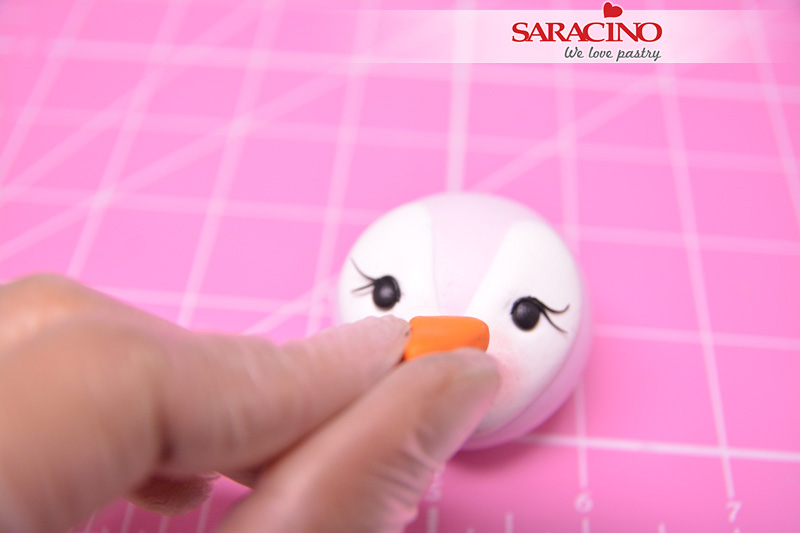
Step 15

Flatten it and pinch from one end to form a beak and then glue it in position like shown in the picture
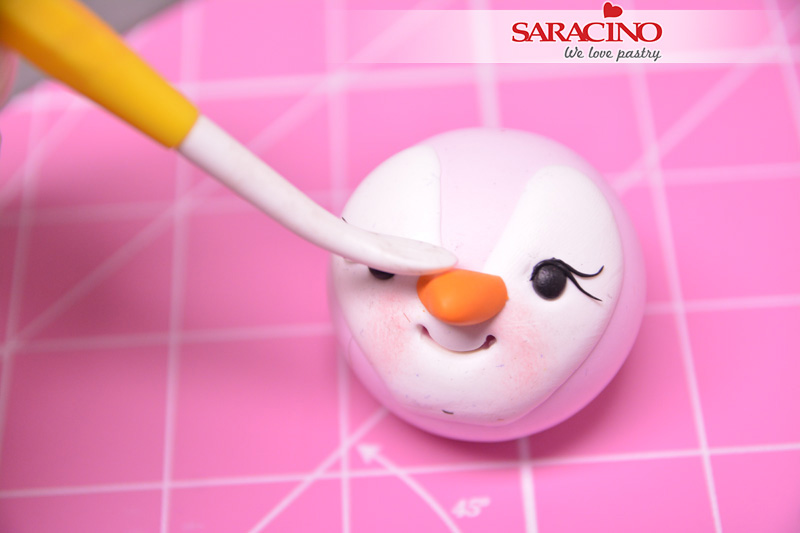
Step 16

Gently blend it onto the head
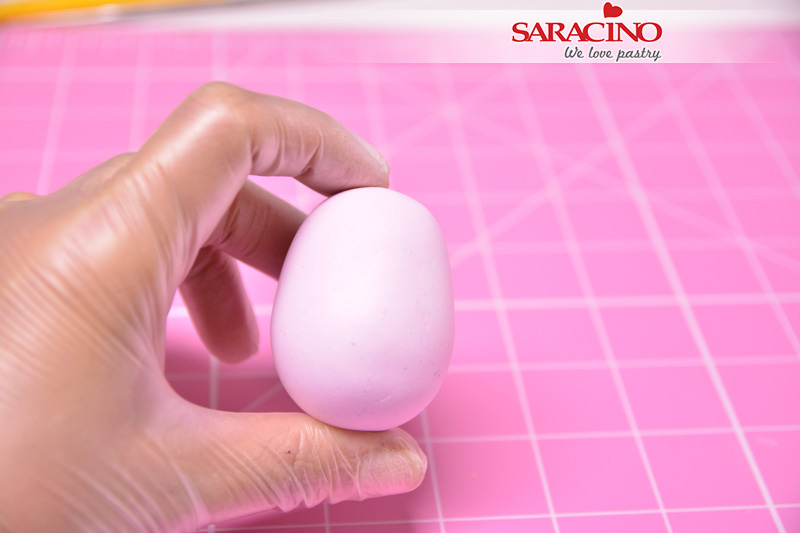
Step 17

For the body roll an oval shape ball out of pink modelling paste
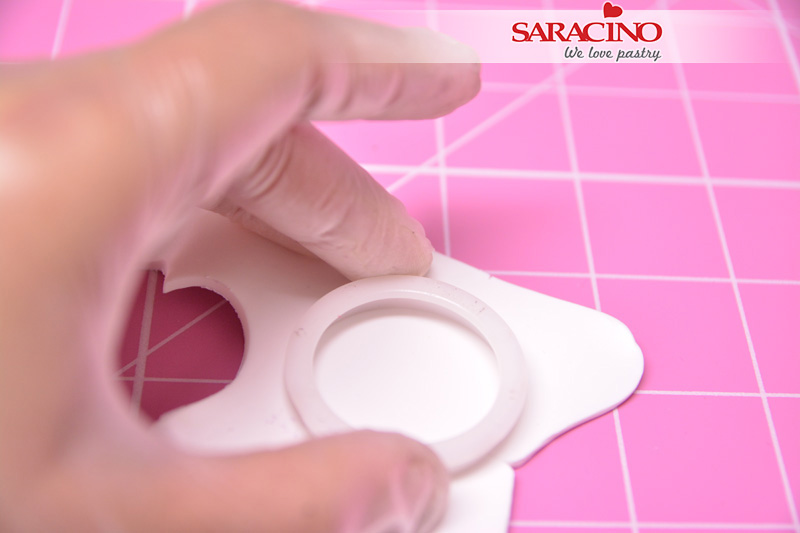
Step 18

Roll out some white sugar paste and cut a small circle (roughly 4cm in diameter)
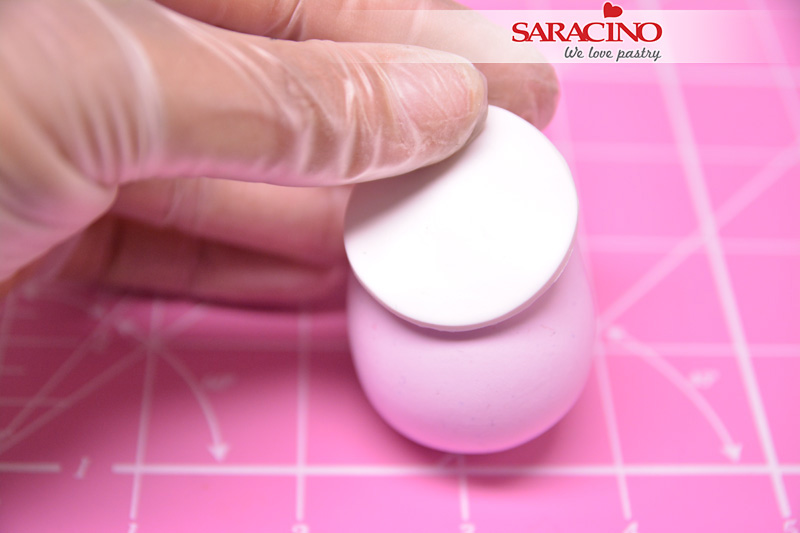
Step 19

Place it on the upper part of the body (oval shape)
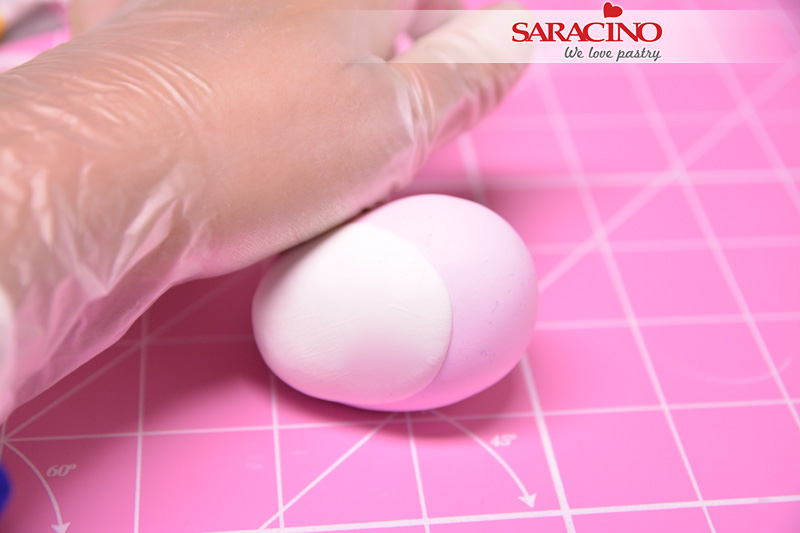
Step 20

Blend it well by gently rolling
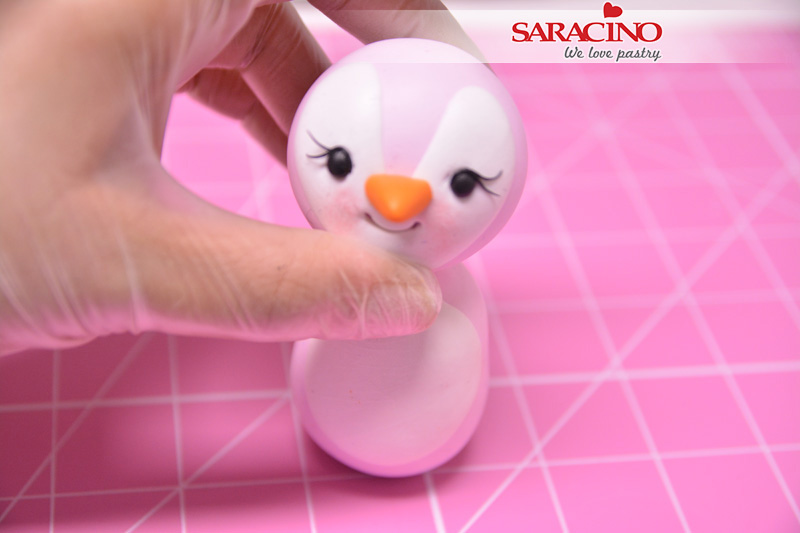
Step 21

Secure the head onto the body, use a tooth pick if required and some edible glue
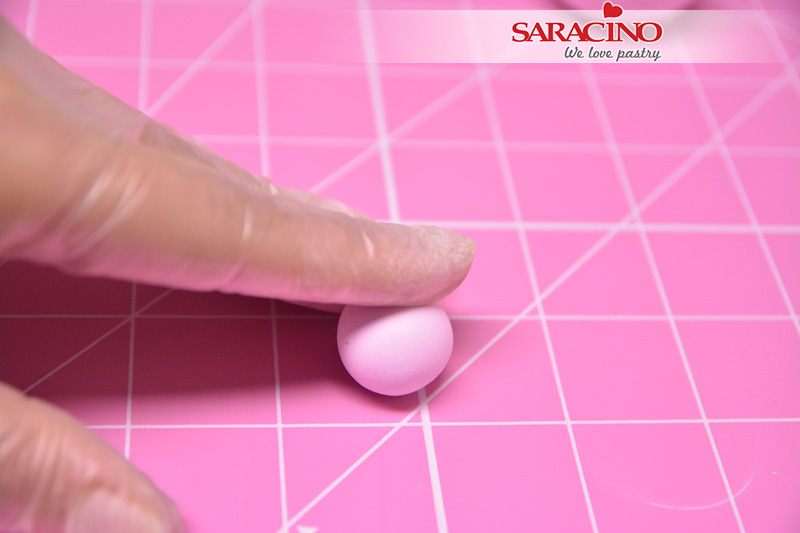
Step 22

For the flippers, roll a small pink ball
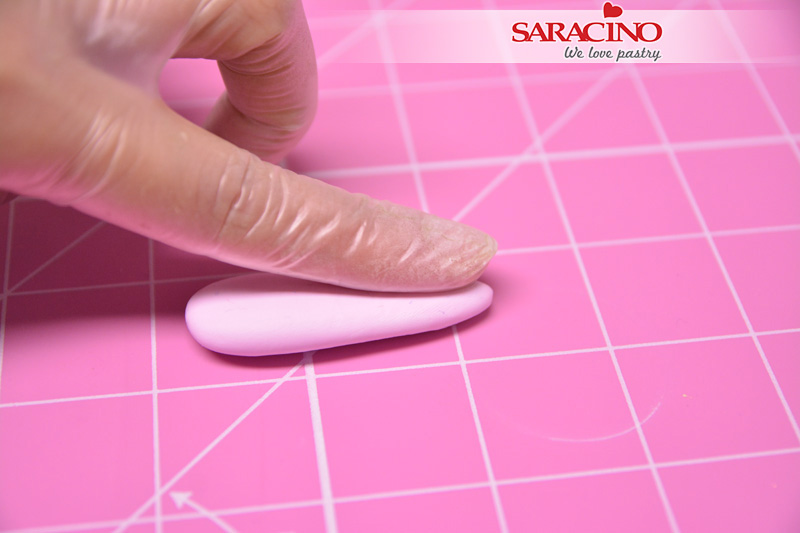
Step 23

Taper this ball to form a drop shape and flatten
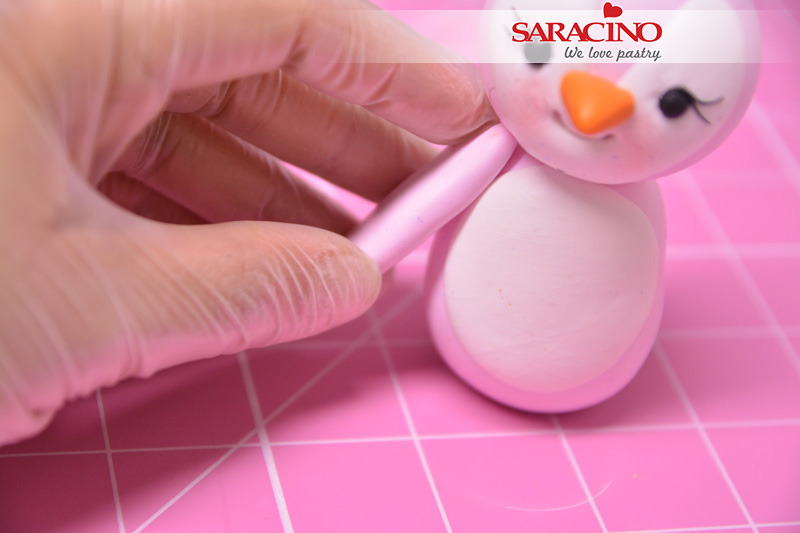
Step 24

Glue the flippers in position as in the picture
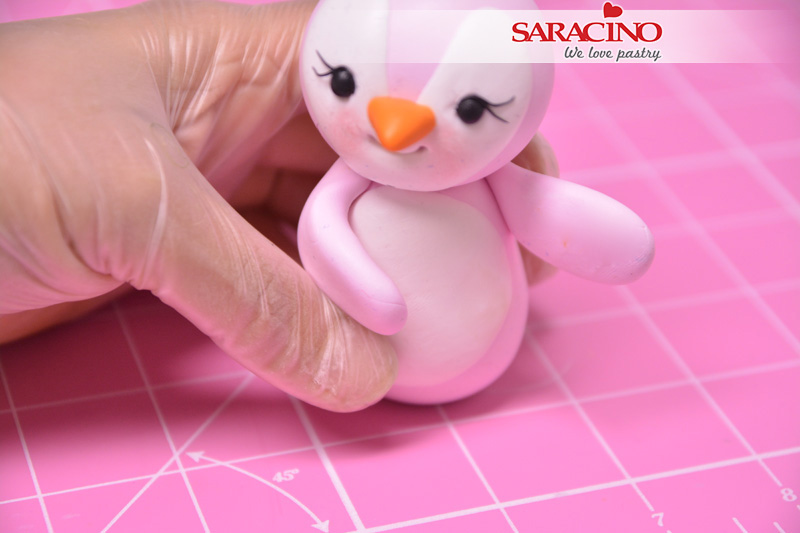
Step 25

Position the flippers at this stage before they dry
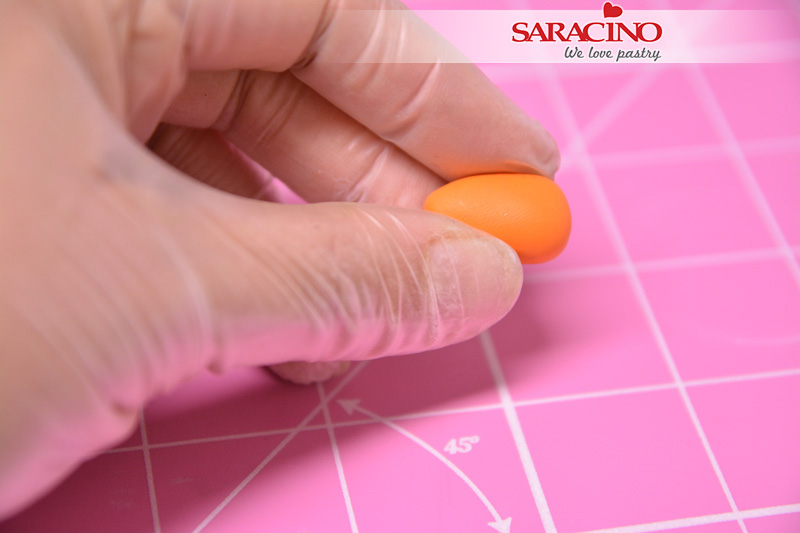
Step 26

To make penguins feet, take a small bit of orange modelling paste and form a drop shape
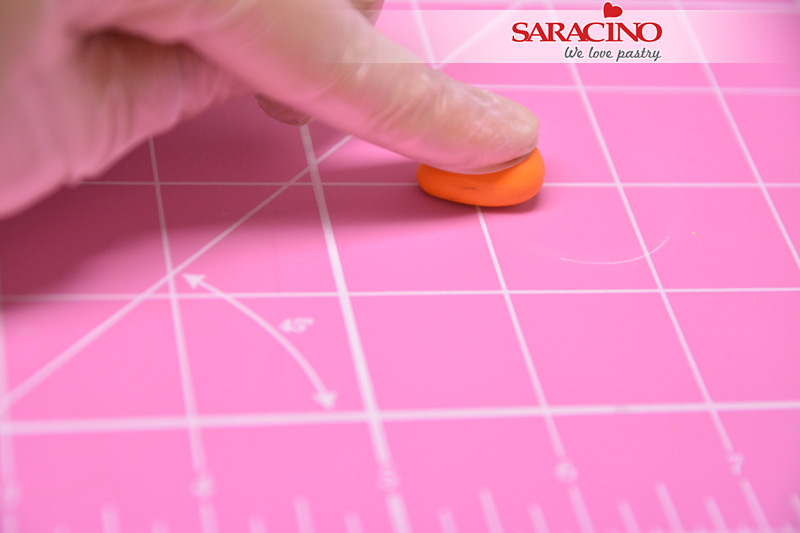
Step 27

Flatten the drop shape
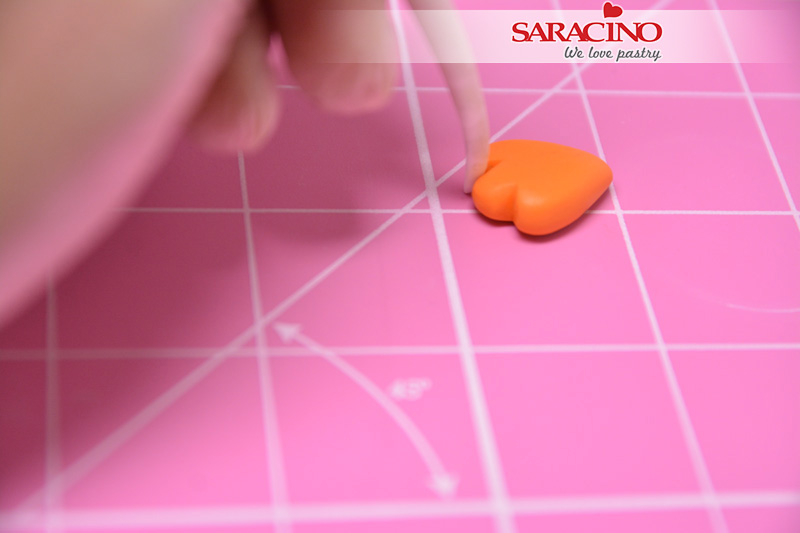
Step 28

Using the pointy end of Dresden tool mark the toes on the feet
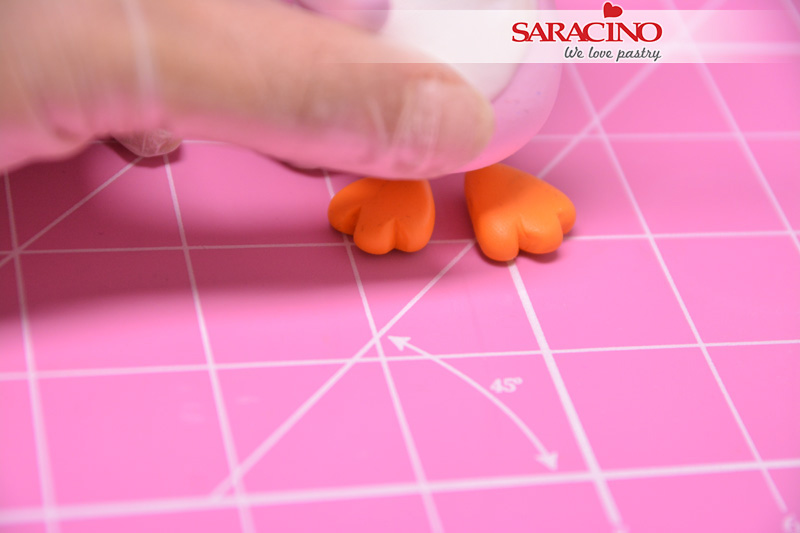
Step 29

Glue the body onto the feet
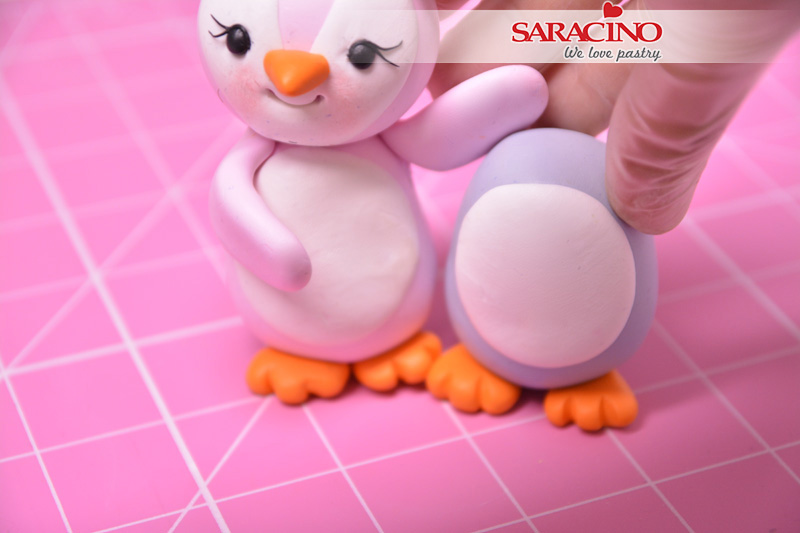
Step 30

Repeat the same for the male penguin. Use a slightly darker colour if you would like them to look different.
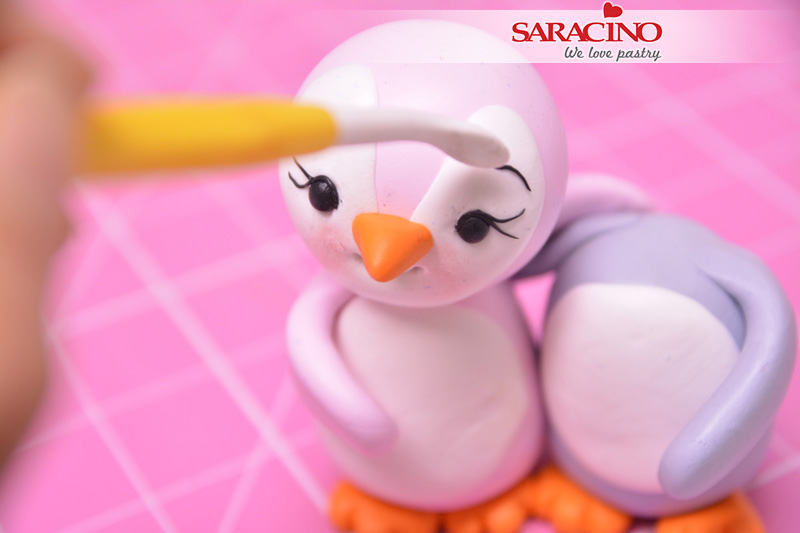
Step 31

Make tiny eyebrows for both the penguins using black modelling paste
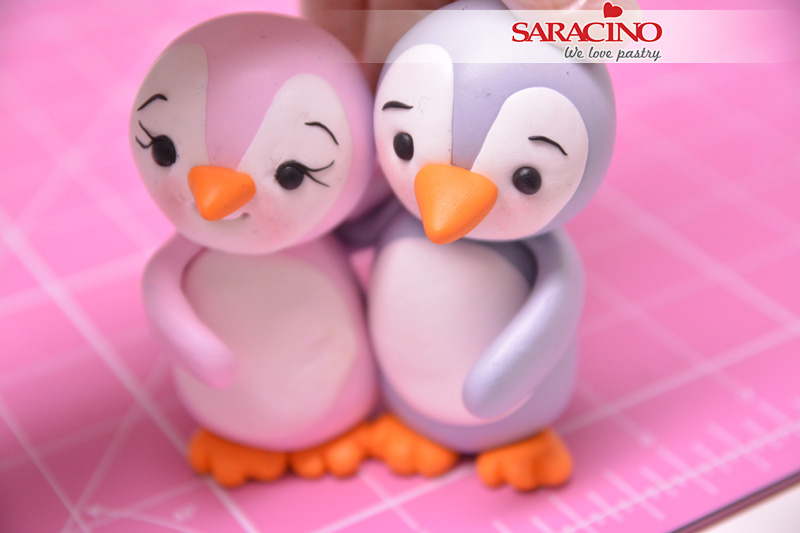
Step 32

Fix the head of the male penguin and glue both of them together in a cuddling position
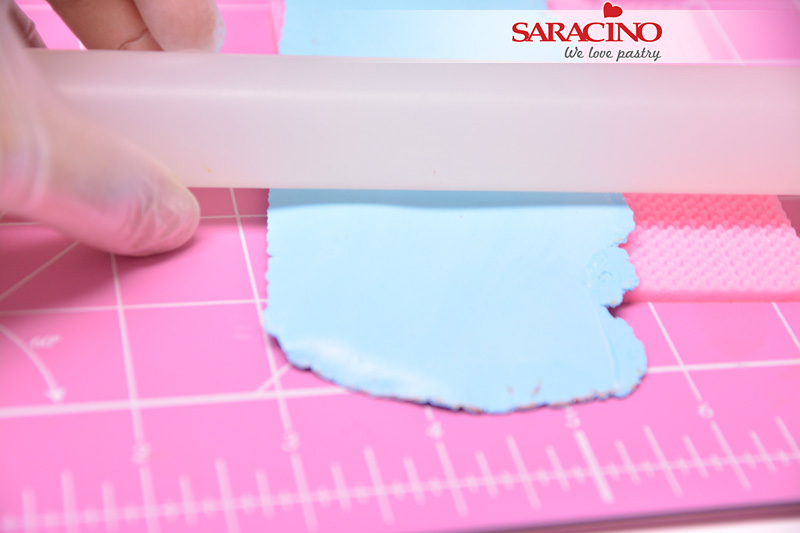
Step 33

For the scarf – roll light blue modelling paste and use the knit impression mat to get the knitted texture
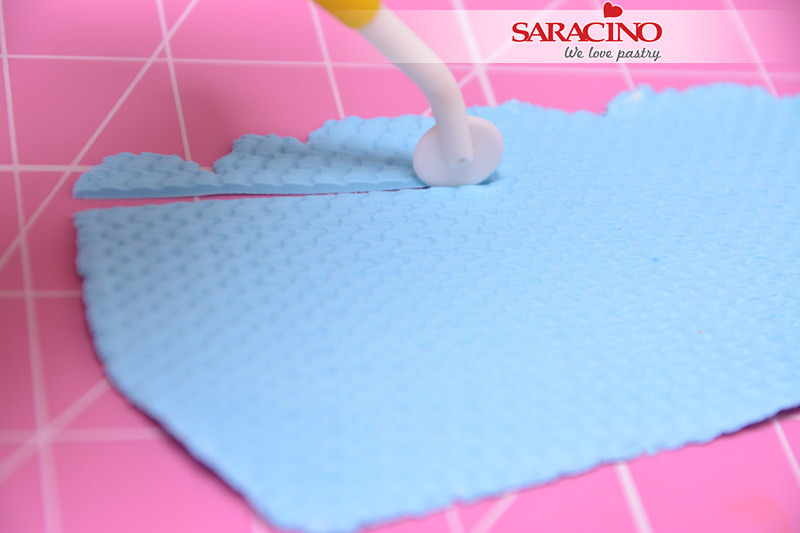
Step 34

With a cutting wheel cut a long strip
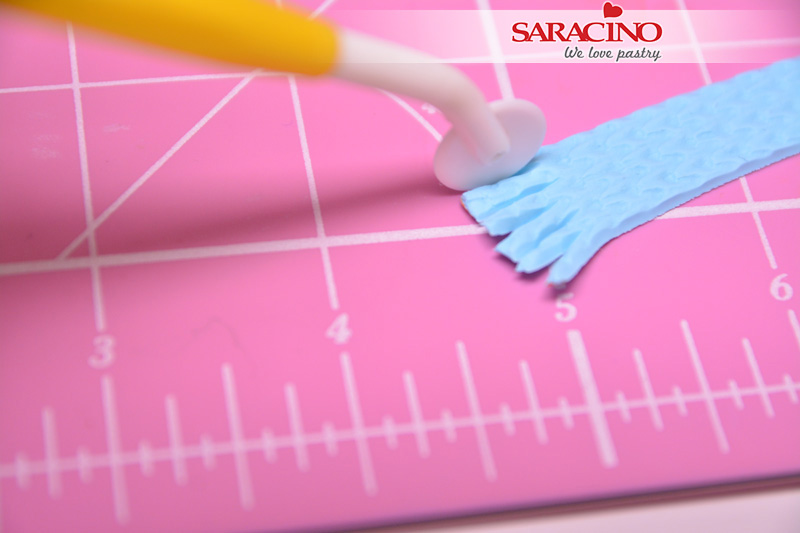
Step 35

At both the ends of the strip make some fringe
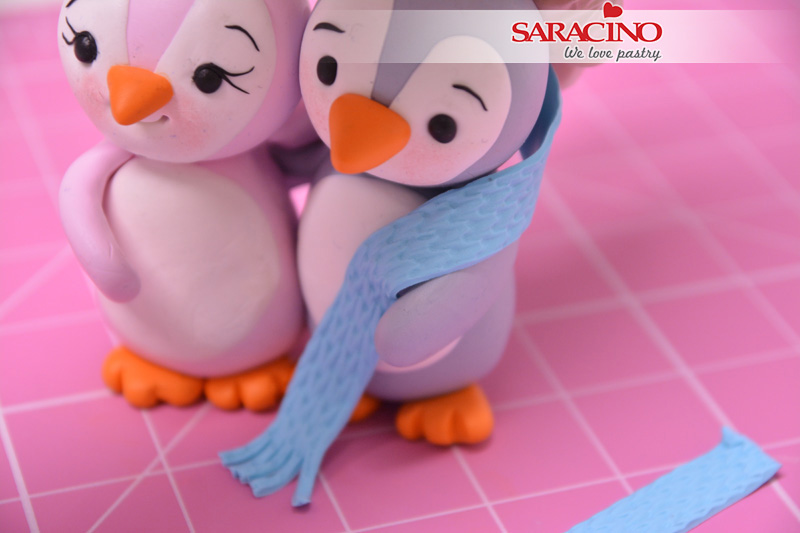
Step 36

Wrap the scarf around both the penguins neck
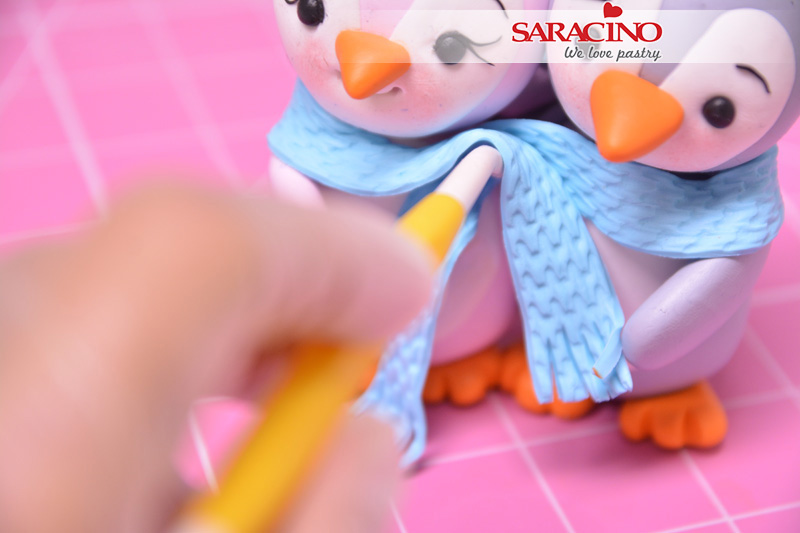
Step 37

With a dresden tool hold it in the centre and gently press
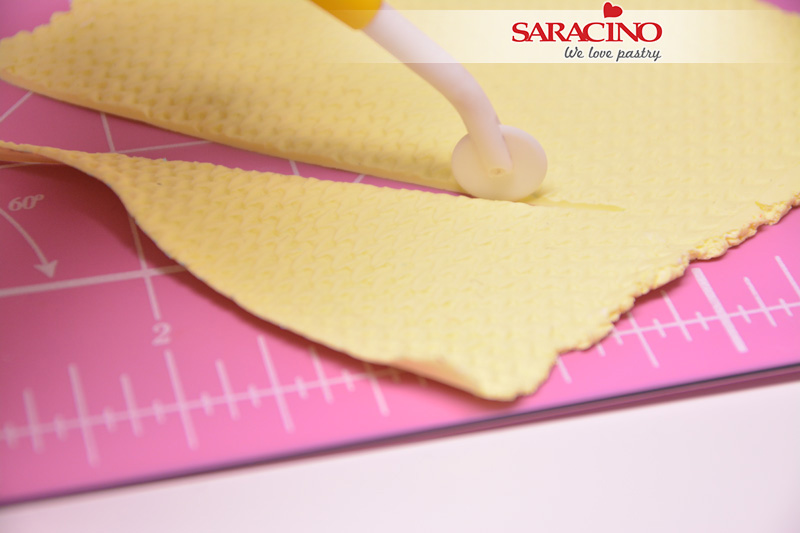
Step 38

To make the hat for our girl penguin roll some yellow modelling paste and texture with the knit mat and start cutting
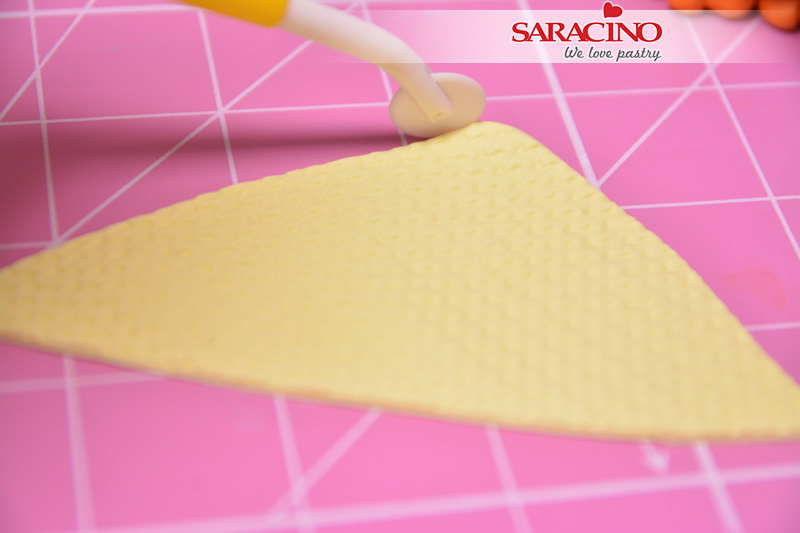
Step 39

Cut a triangular shape out of it
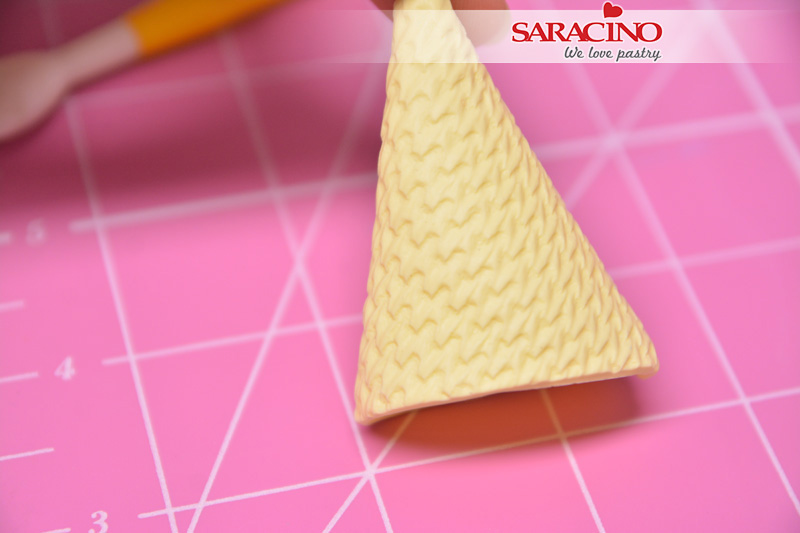
Step 40

Make a cone and seal the ends using edible glue
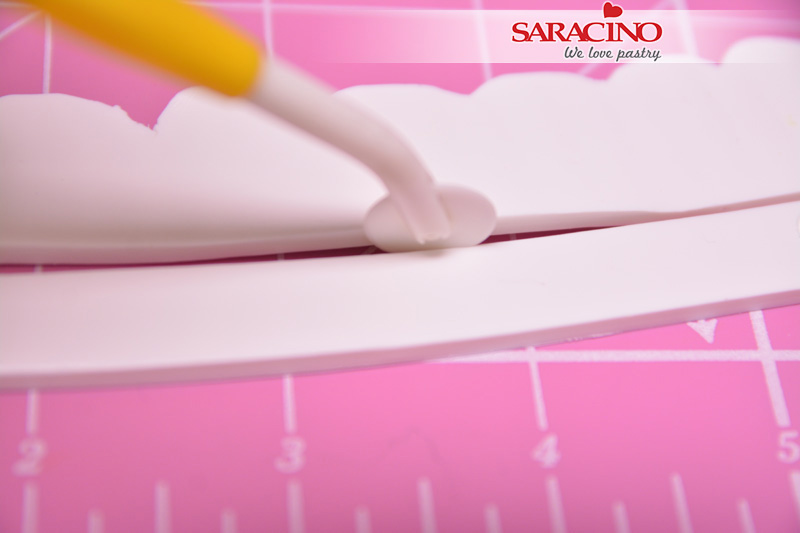
Step 41

Roll some white modelling paste with a rolling pin and cut a thin strip for the rim of the hat
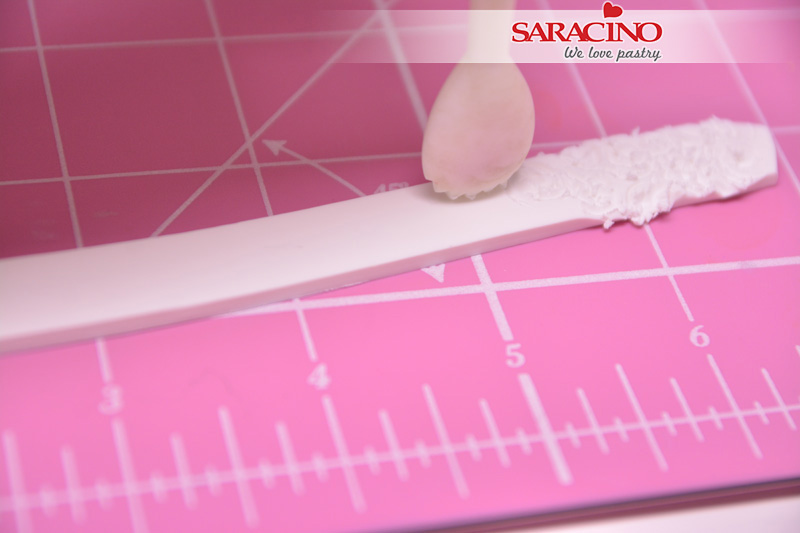
Step 42

Texture with the shell tool
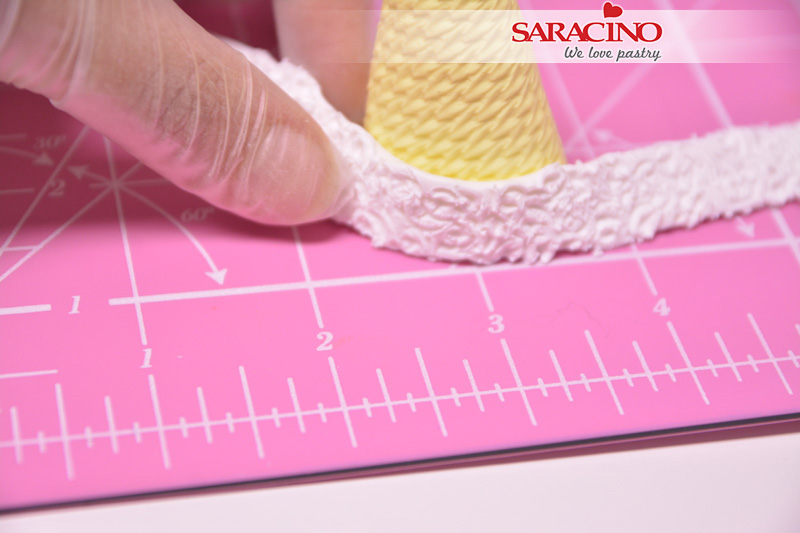
Step 43

Glue the rim on the base of the hat
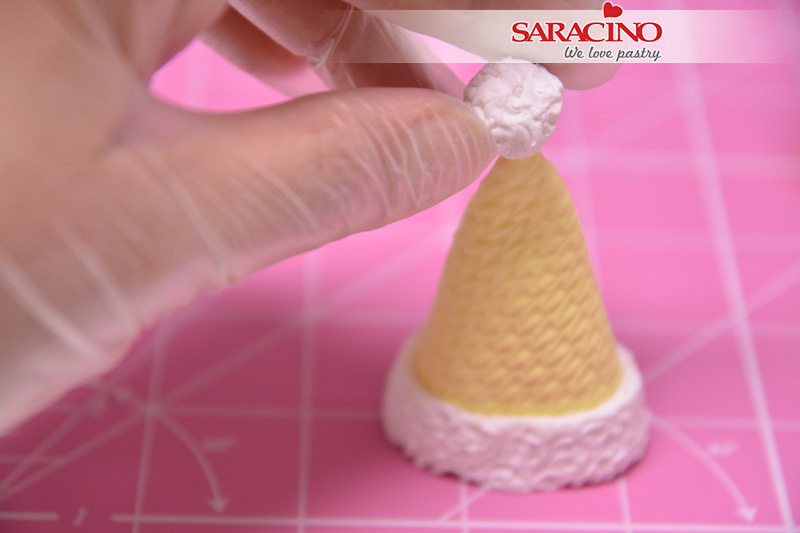
Step 44

Make a tiny pom pom ball out of white modelling paste and glue on top of the hat
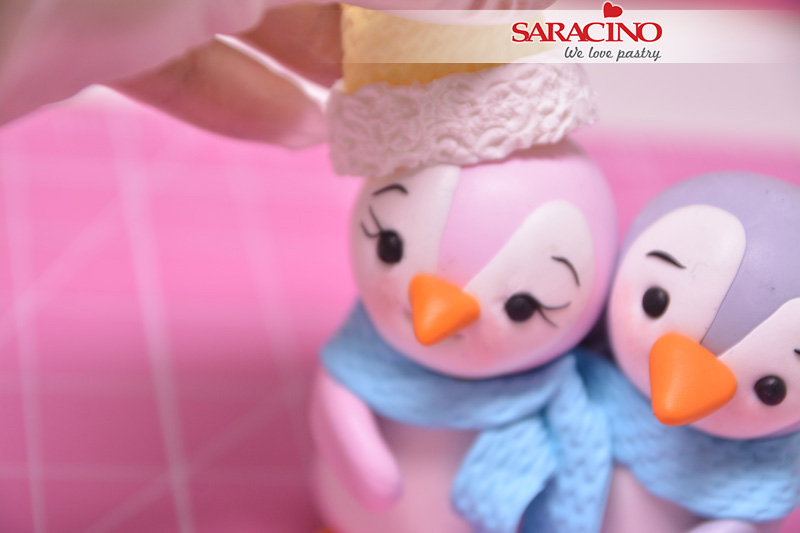
Step 45

Glue the hat on the female penguin
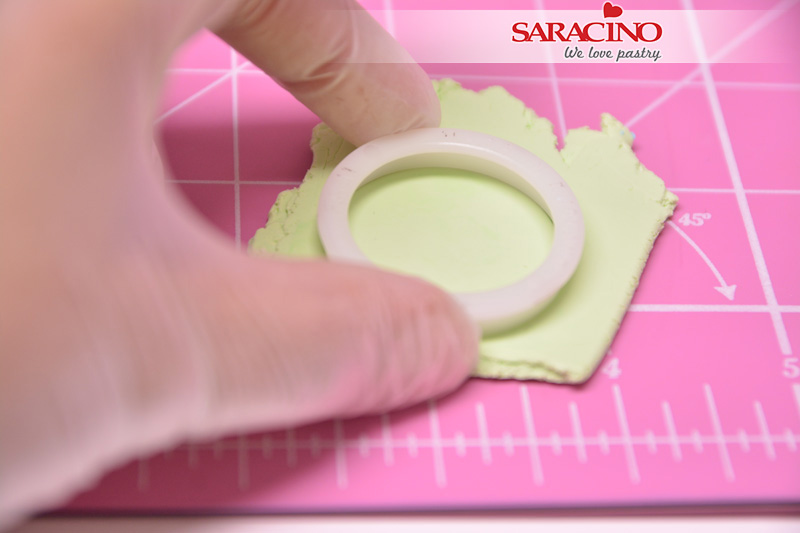
Step 46

To make the hat for our male penguin cut a small light green disk
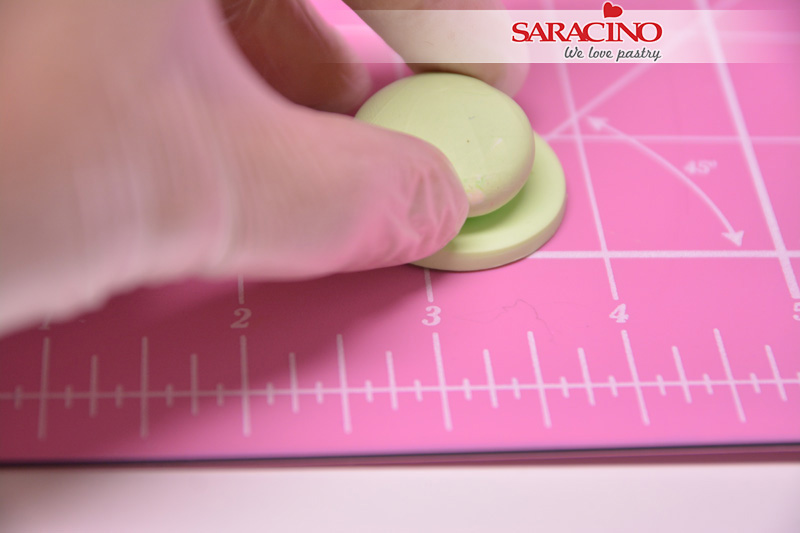
Step 47

Roll a small ball in light green and glue on top of this disk
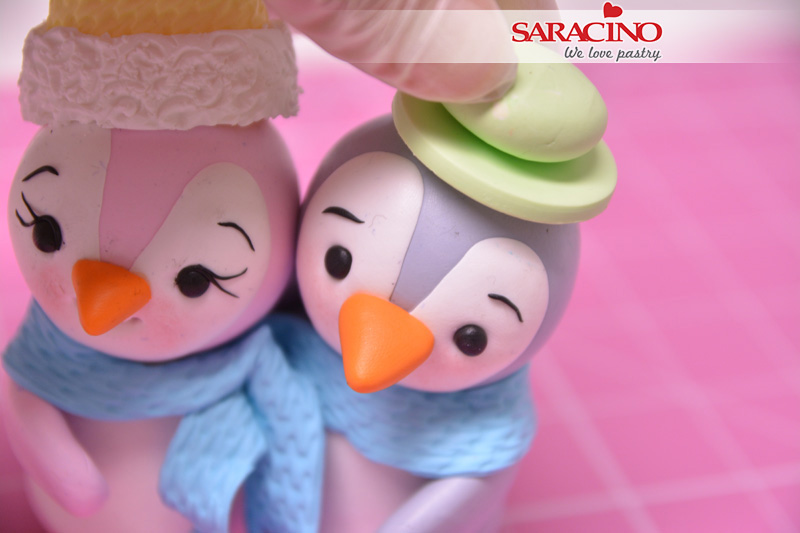
Step 48

Glue the hat on the male penguin
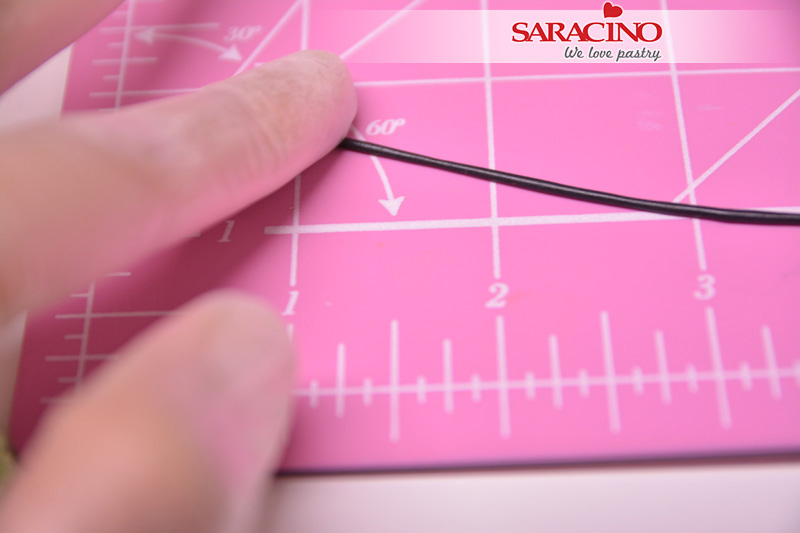
Step 49

Roll a small thin black string for the string lights
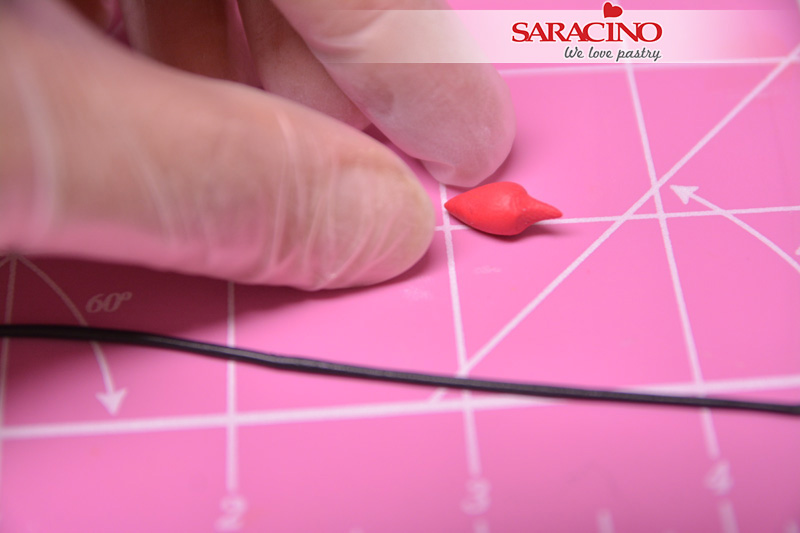
Step 50

Make tiny bulbs as shown in the picture in different colours of sugar paste
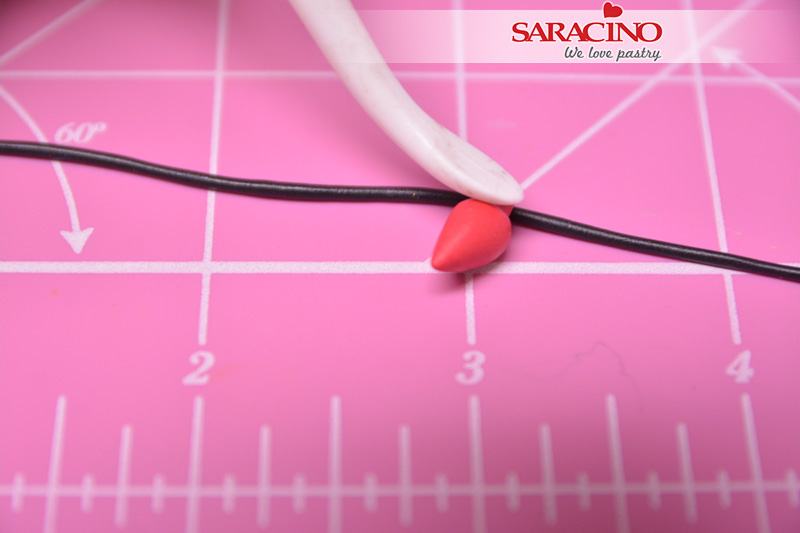
Step 51

Glue the bulbs onto the string
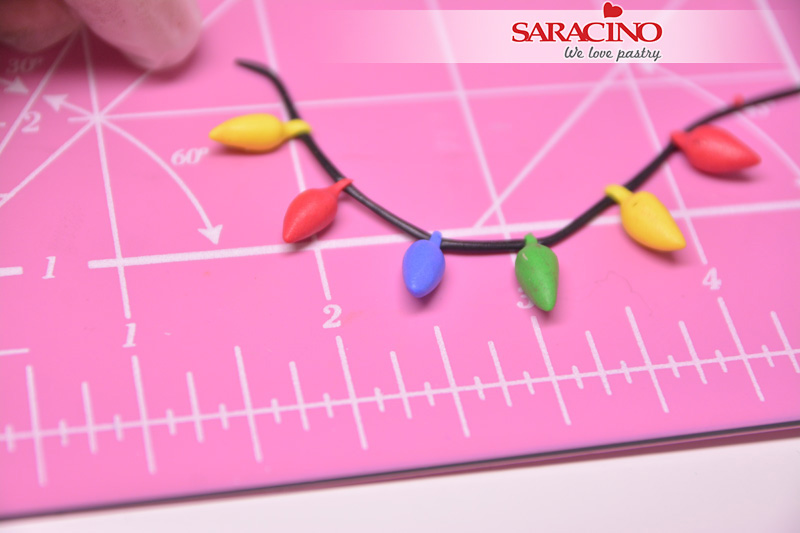
Step 52

Let the bulbs dry for some time on the string before you lift them
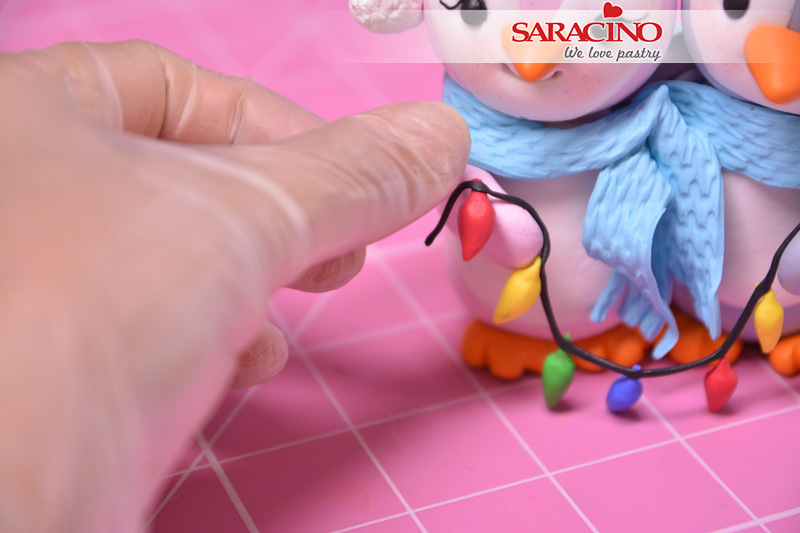
Step 53

Glue one end of the string on the female penguins hand and the other on the male penguins hand
Step 54

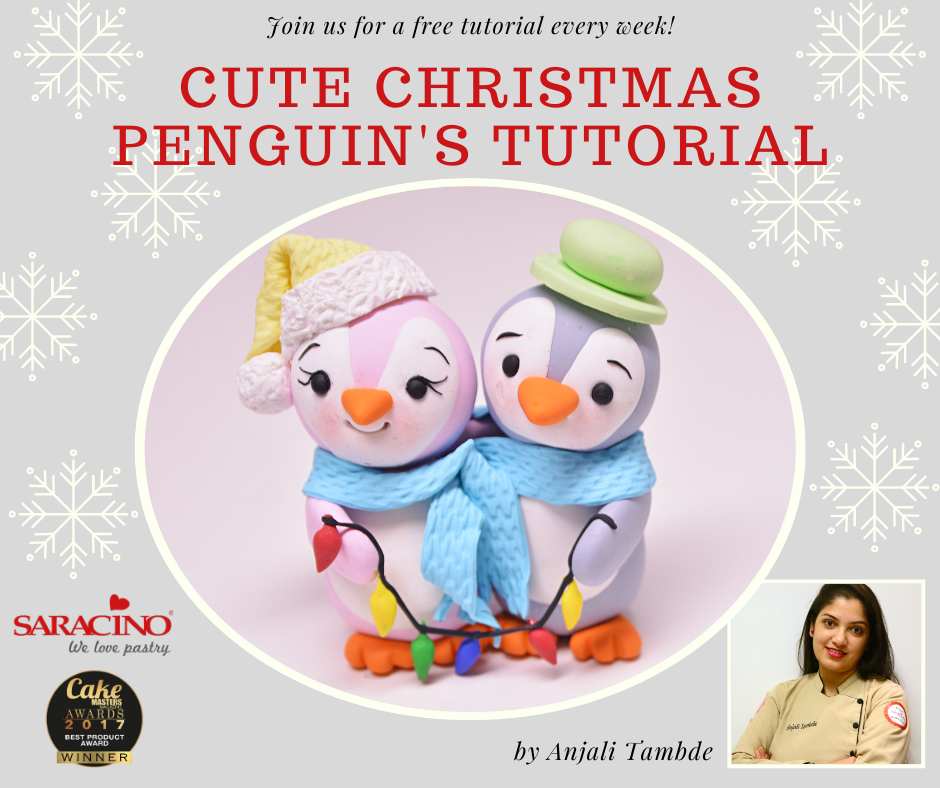
Your cute penguin couple is now ready to chill out on your cake

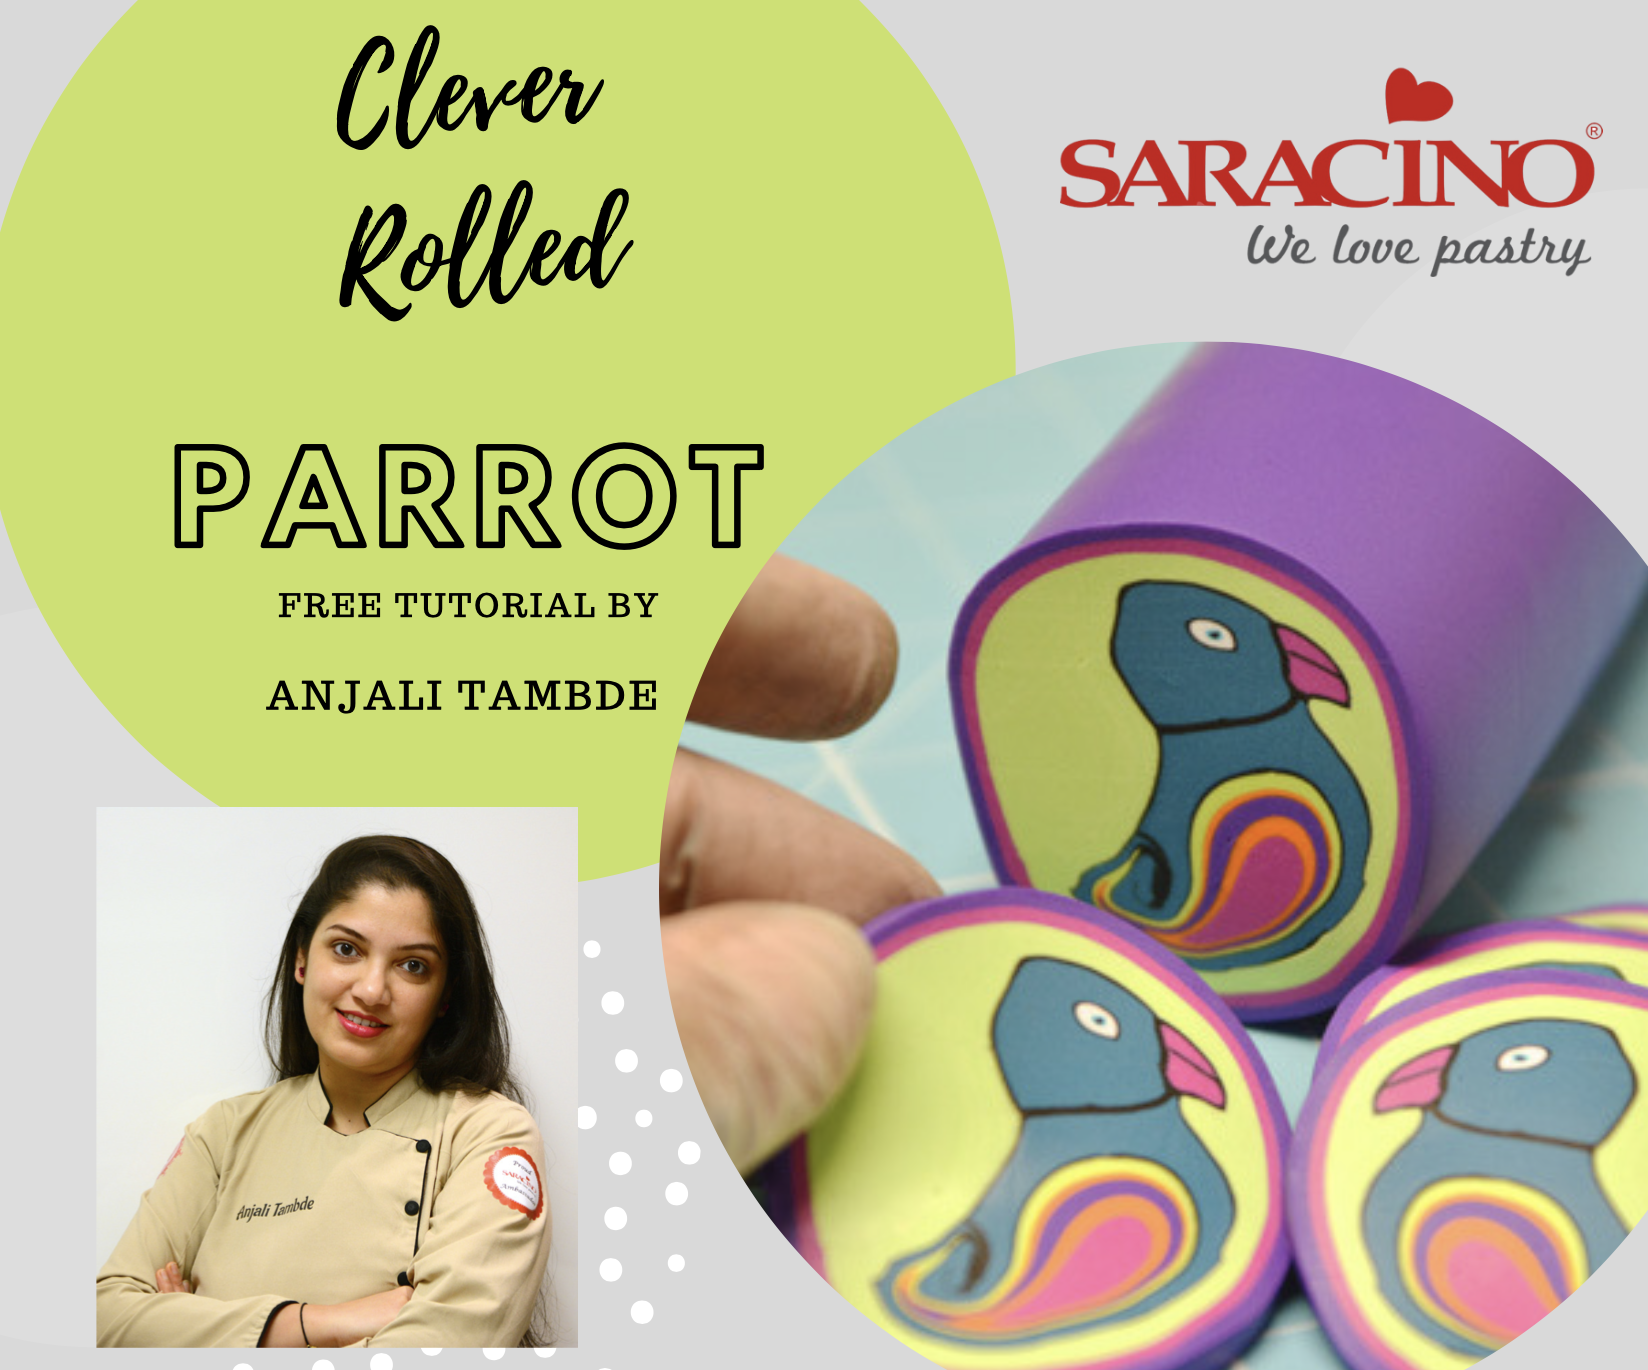
PARROT PATTERN TUTORIAL

PARROT PATTERN TUTORIAL

Skill level: BEGINNERS

You will need:
  • Saracino sugar paste coloured in fuchsia, light green and lilac
  • Pre-coloured Saracino azure sugar paste
  • Pre-coloured Saracino green sugar paste
  • Pre-coloured Saracino yellow sugar paste
  • Pre-coloured Saracino black sugar paste
  • Rolling pin
  • Cutting wheel
  • Crafts knife

Step 1

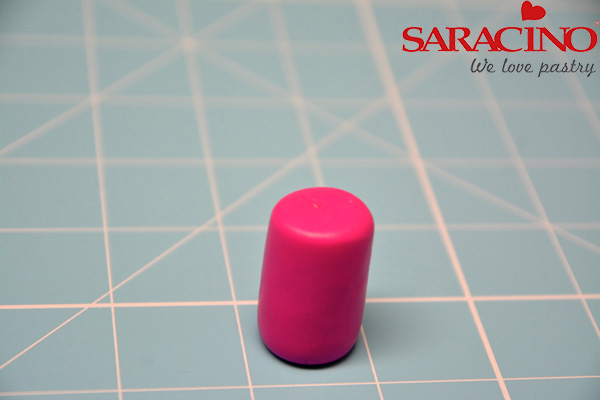
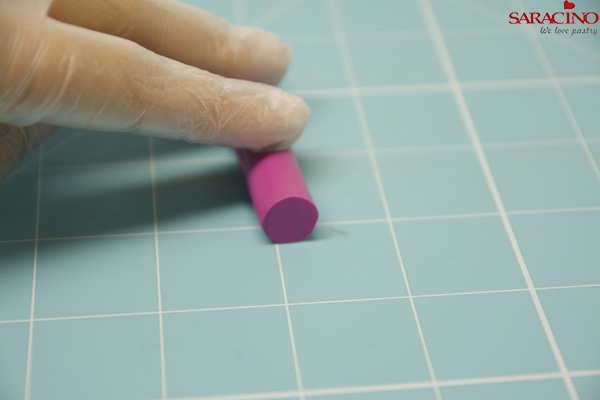
Roll fuchsia Saracino sugar paste into a small sausage, roughly 2 inches long. Be gentle while rolling and make sure you don’t have any air bubbles or air locks in it.

Step 2

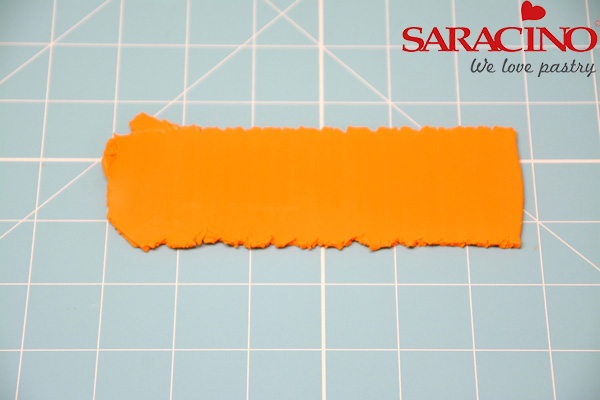
Flatten some orange Saracino with a rolling pin

Step 3

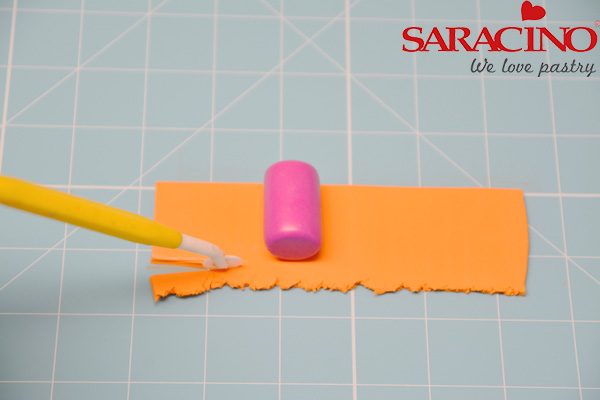
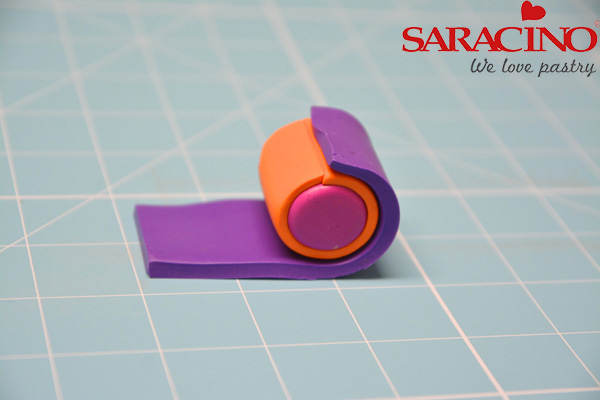
Keep the fuchsia sausage in the center and trim the sides of the orange sheet to the size of the sausage

Step 4

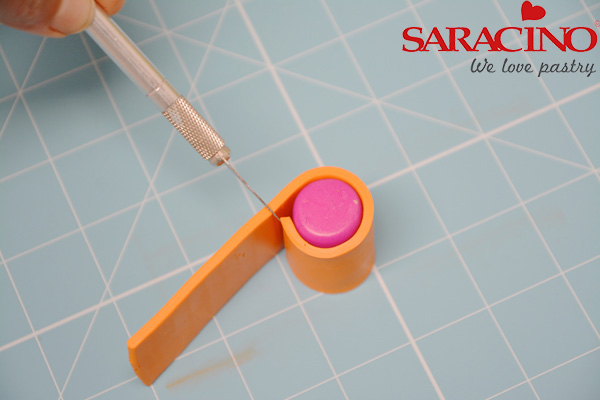
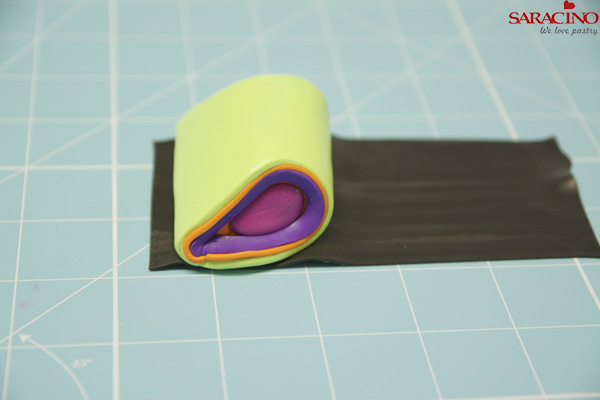
Now roll the orange sheet over the fuchsia as shown in the photo and cut off the extra, make sure that its exactly the same size of the sausage and not over lapping

Step 5

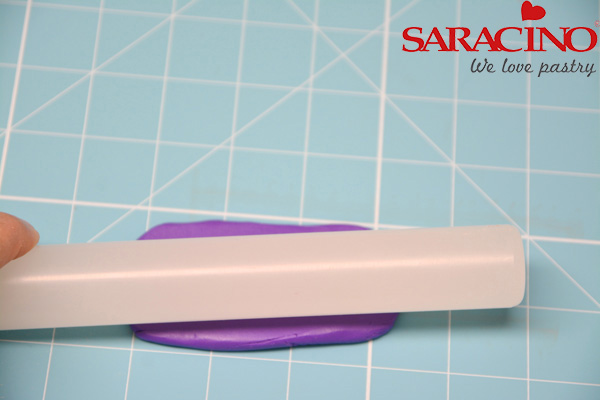
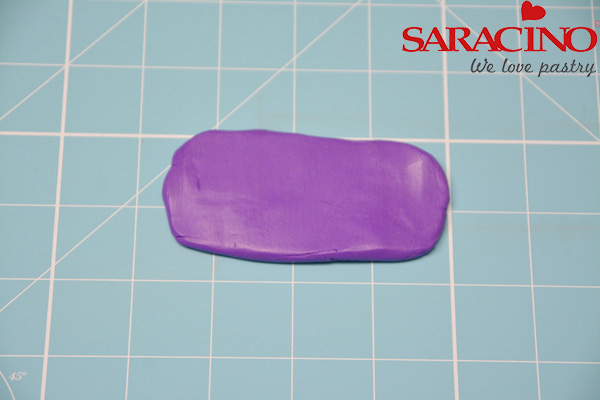
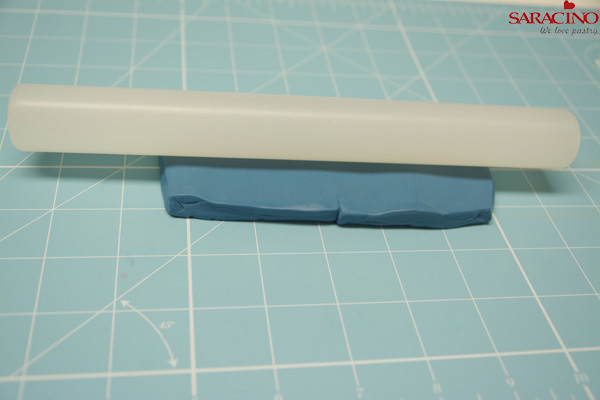
Roll lilac Saracino sugar paste, approximately 0.5cm thick.

Step 6

This has to be thicker than the sheets that were rolled earlier.

Step 7

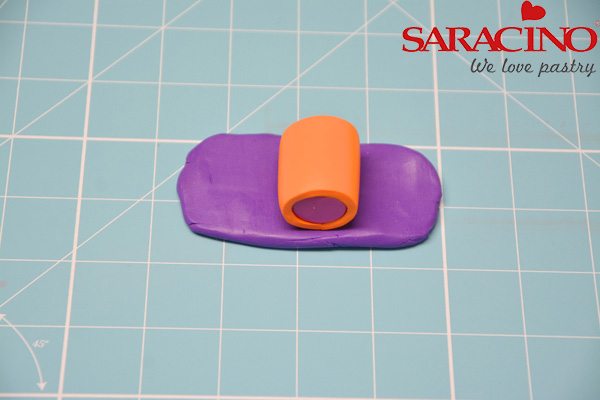
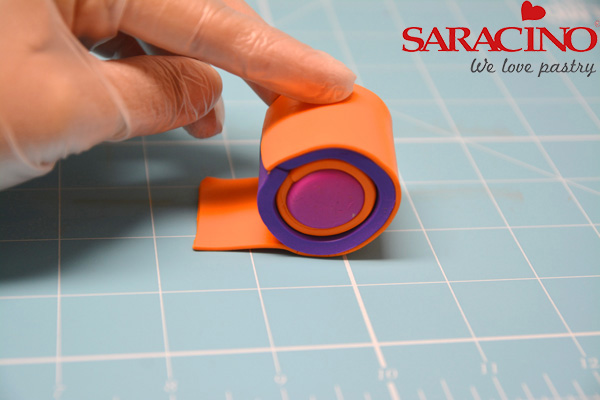
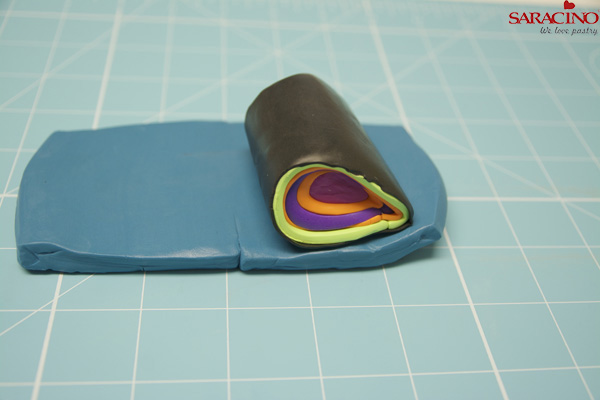
Now place the log over the lilac

Step 8

Cut it to shape exactly the same way the orange sugar paste was cut and roll over the log

Step 9

Again roll a thin orange sheet and cover the log, this will go over the lilac

Step 10

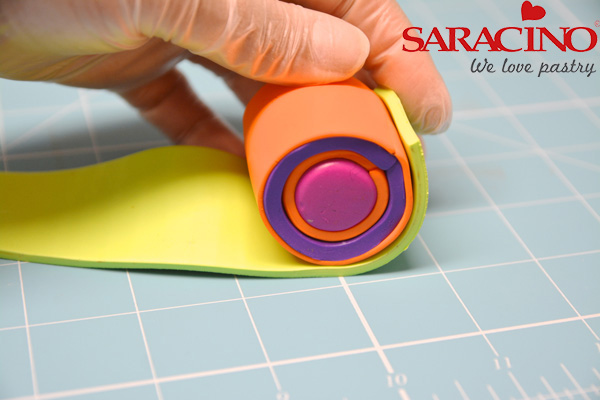
Mix some yellow and light green to make lime green paste and then roll it into a thin sheet, cover the log with the lime green paste

Step 11

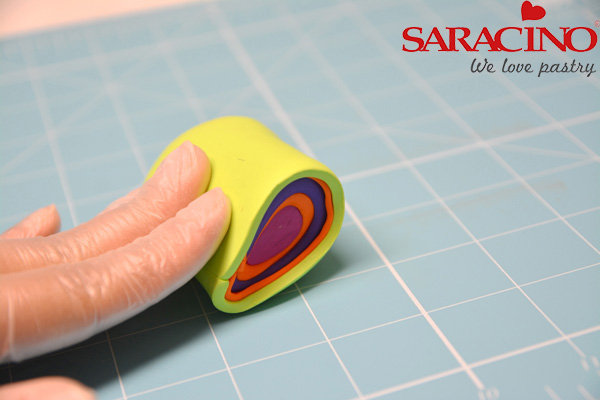
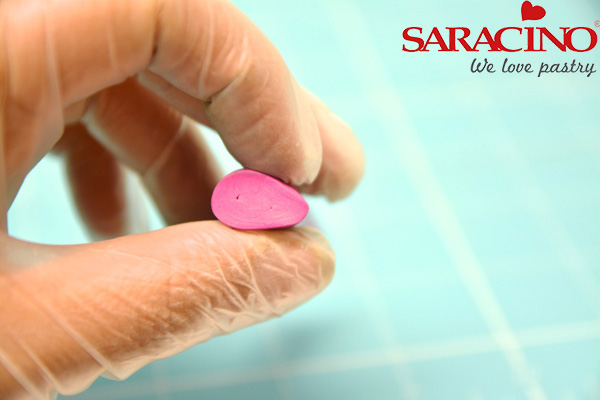
Press this log from one side to make a tear drop shaped log

Step 12

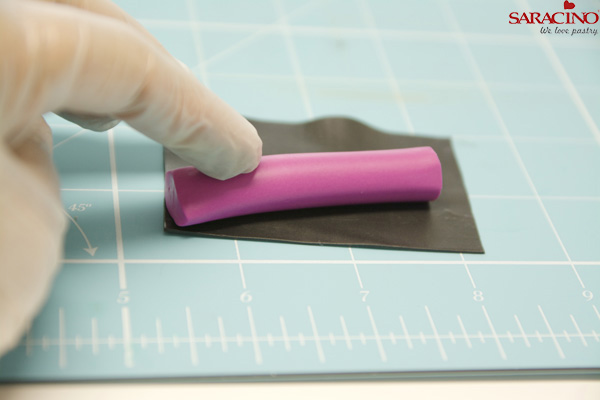
Now roll a very thin black sheet and cover the drop shaped log with it

Step 13

Mix some azure and green sugar paste to make turquoise and roll it

Step 14

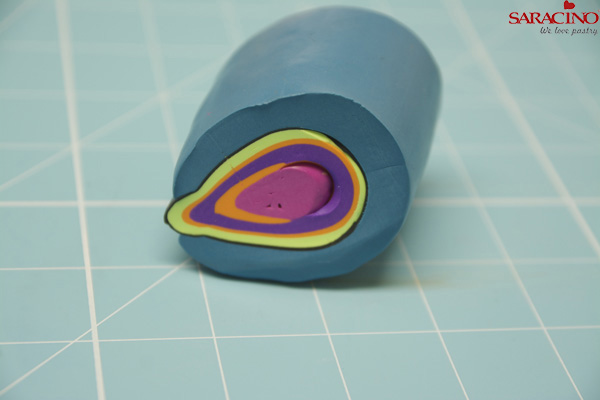
Place the log over the turquoise.

Step 15

Smooth the paste and seal the edges well.

Step 16

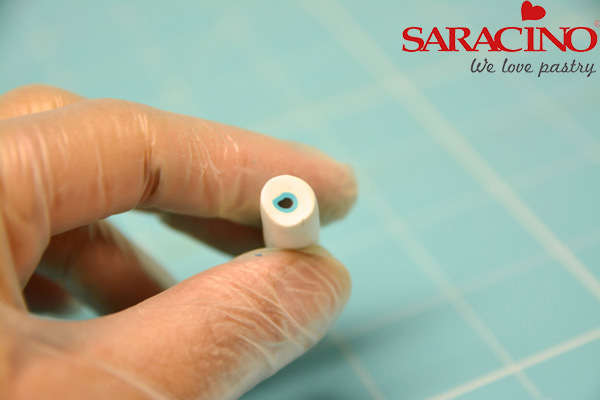
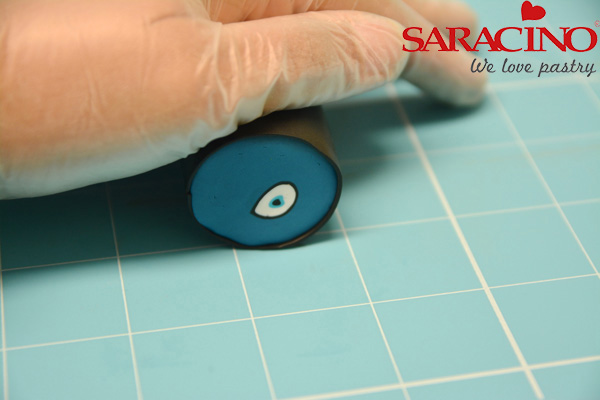
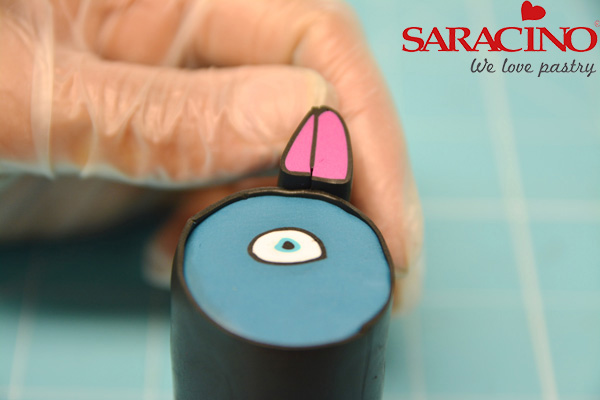
To make the eye roll a small amount of black, cover with blue and the white as shown in the picture

Step 17

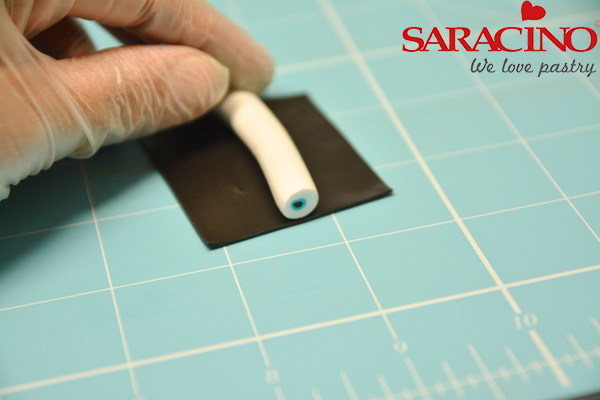
Cover the eye (log) with black sugar paste

Step 18

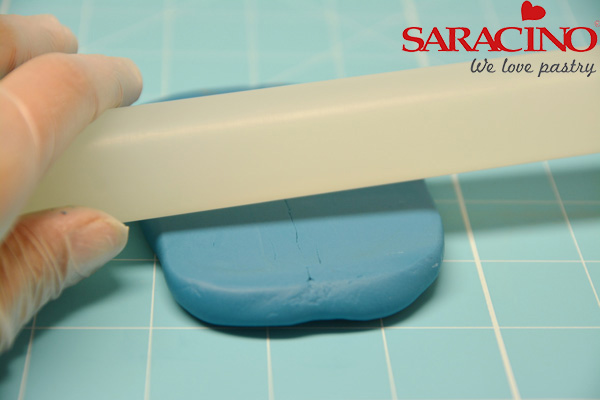
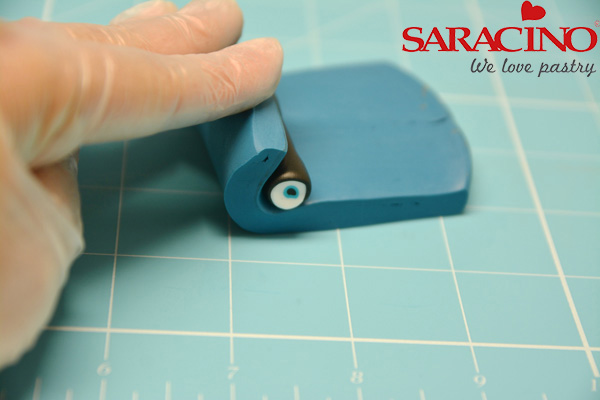
Roll the turquoise sugar paste lengthwise

Step 19

Place the eye log over it and roll it

Step 20

Cover that with thin black sugar paste sheet and make a nice round log.

Step 21

Roll a small amount of fuchsia into a thin log.

Step 22

Press on one side to form a drop shape

Step 23

Cover it with black sugar paste

Step 24

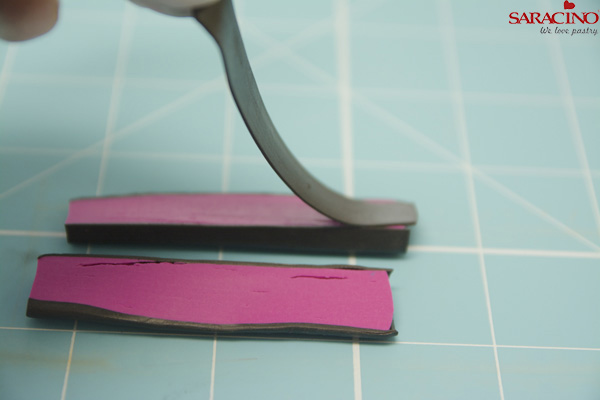
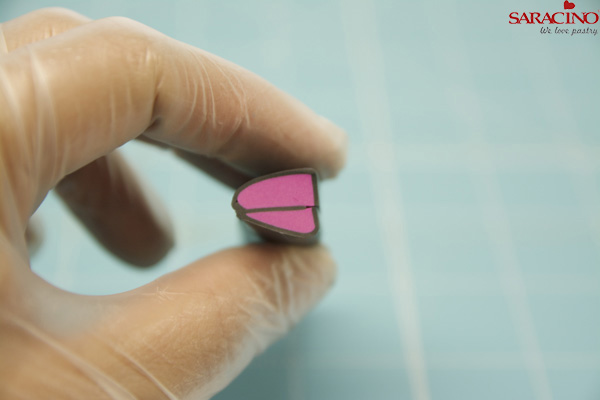
Cut it length way exactly in the centre and place a black strip in between each half.

Step 25

Sandwich those two pieces back together to form the beak

Step 26

Place the beak in position

Step 27

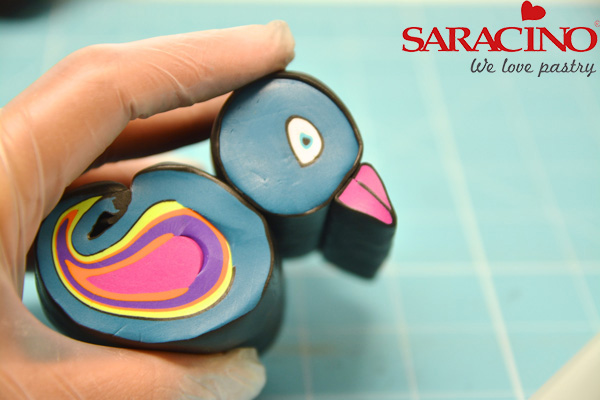
Now slightly curl the tapered end of the body log to form its tail

Step 28

Join the head and the body together

Step 29

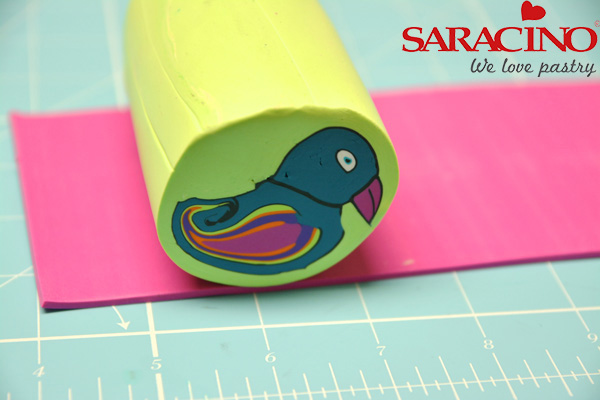
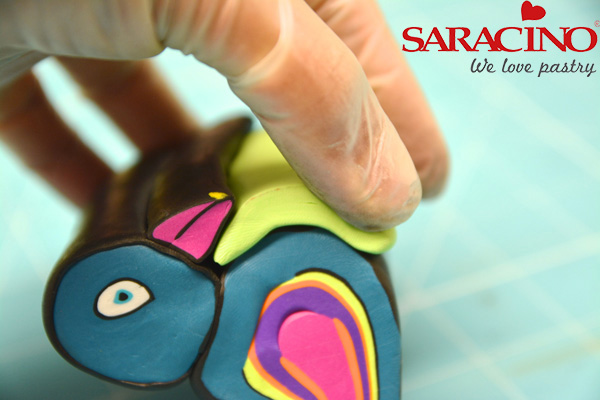
Cover the front of the body with lime green sugar paste

Step 30

Cover the head with the lime green sugar paste

Step 31

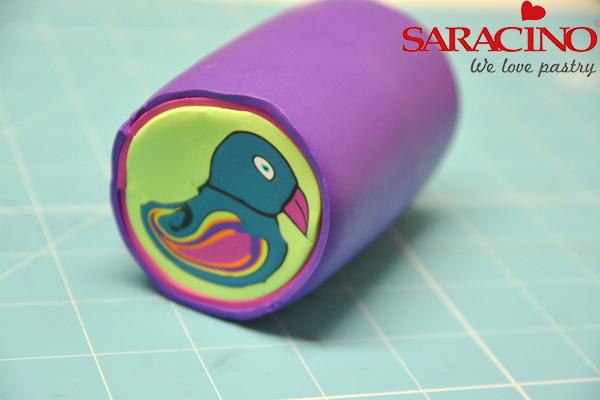
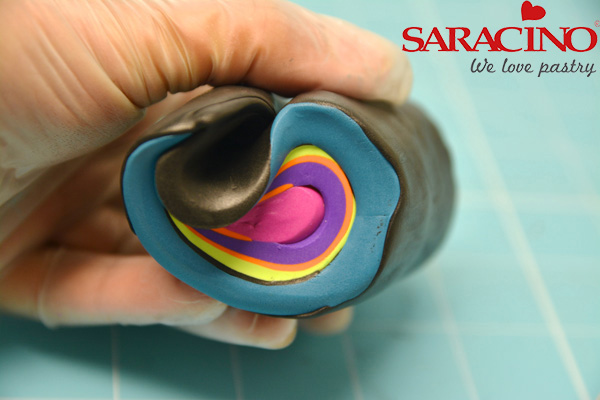
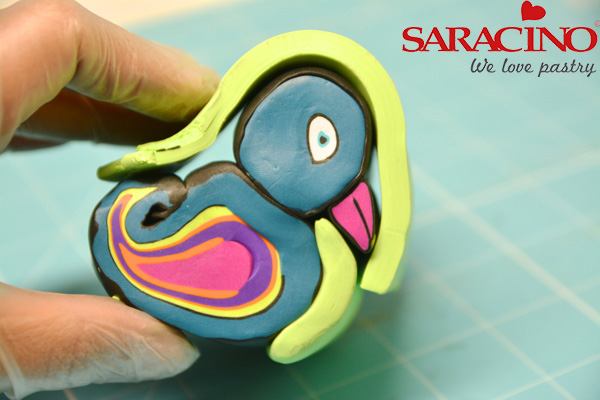
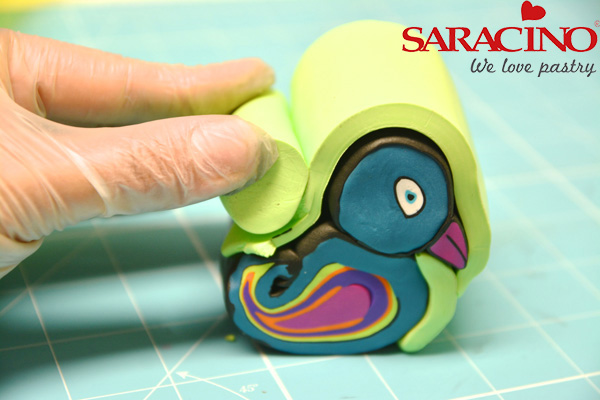
Roll a small sausage with lime green paste and place it exactly where the head finishes, as shown in the picture and then cover the rest with the lime green paste to form a nice round log

Step 32

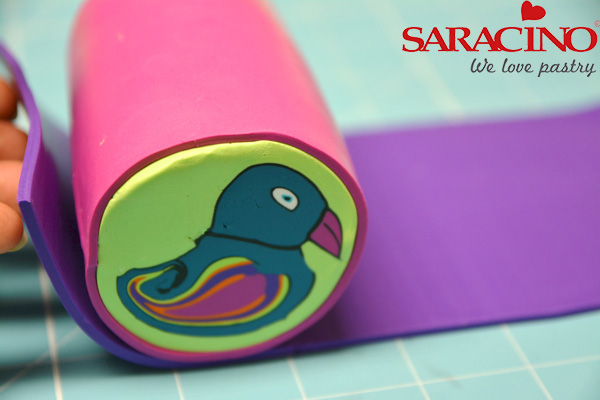
Cover the log with thin fuchsia sugar paste

Step 33

Then cover the log with lilac paste

Step 34

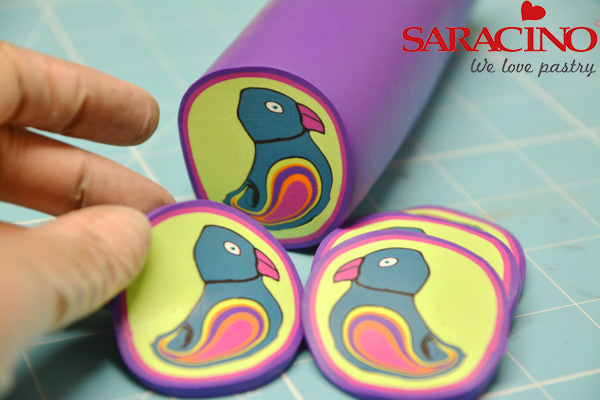
Gently roll everything together and you are ready to slice it

Step 35

Slice using a sharp knife and you are ready to decorate your cake with these parrot patterns
BIRDS IN LOVE – WEDDING CAKE

BIRDS IN LOVE – WEDDING CAKE

Skill level: BEGINNERS

You will need:
  • White Saracino modelling paste
  • Dark Blue Saracino modelling paste
  • Yellow Saracino modelling paste
  • Black Saracino modelling paste
  • Saracino wafer paper 0.27
  • Micro stamens
  • 24 gauge wire
  • Green tape
  • 10”, 8” and 6” round cake dummy with 4” height
  • Saracino cake covering/white
  • Cake drum/board 12” round and some covering
  • Edible paint- hot pink, white, green,red,blue and yellow
  • Round brushes various sizes from thin to thick, say number 0,2,4 and 8 or any equivalent (roughly 4 brushes)
  • Colour palette
  • Vodka (just a table spoon each) or any evaporator
  • Wipes
  • Rolling pin
  • Cake smoother
  • Contrast ribbon to cover the cake and drum and some glue or double sided tape
  • Knife, scissors
  • Some cornstarch required while rolling the cake covering
  • Any small bowl for washing brushes
  • Dresden tool
  • Ball tool
  • Shell tool

Step 1

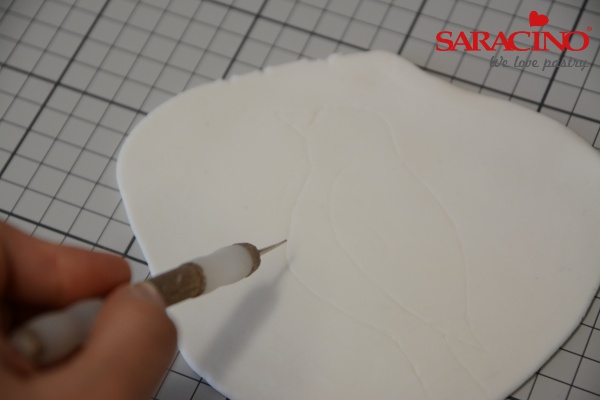
Draw a bird shape using a ball tool on a flat rolled sheet of Saracino sugar paste.

Step 2

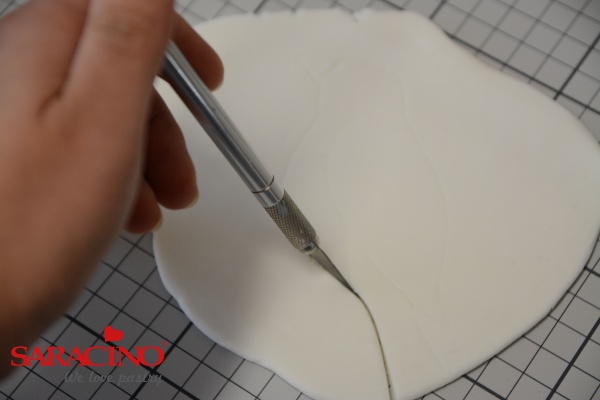
Cut the drawn outline with a knife tool.

Step 3

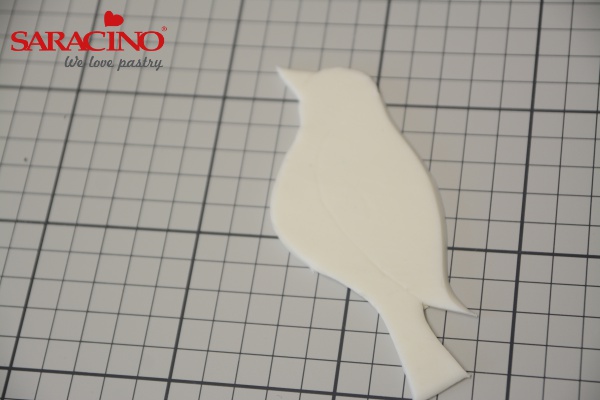
Cut all the edges well and smoothen if any rough or raw edges left.

Step 4

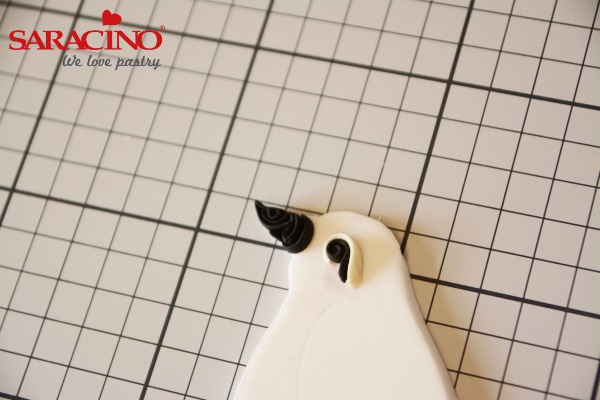
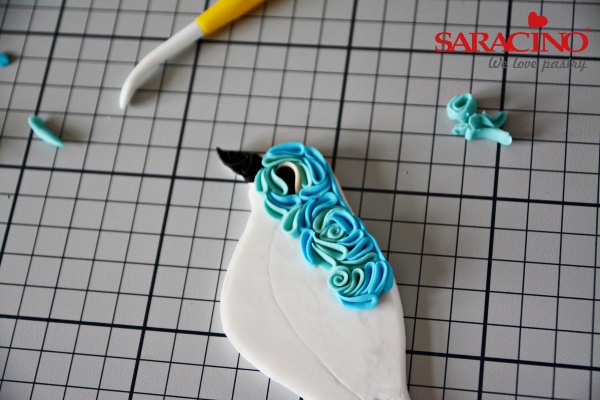
Roll thin strips in black and curl them to form the beak shape and eyes.

Step 5

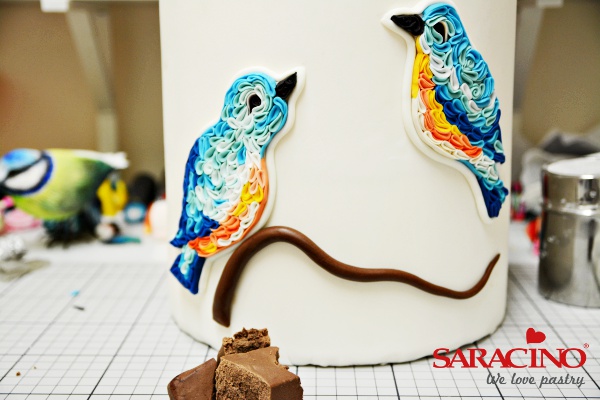
Using the blue and light blue Saracino sugar paste form small droplets and start gluing on the bird base following a pattern and continue using some yellow, white and orange droplets.

Step 6

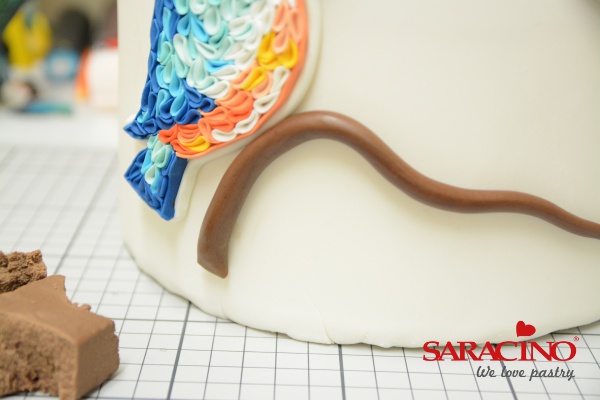
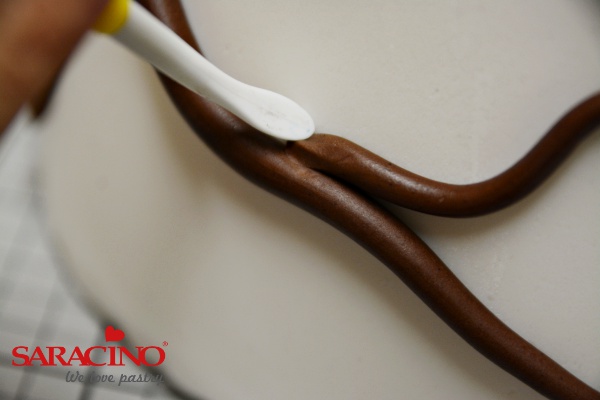
Make the branches with brown paste that is tapered from one end,Glue on the bird over the branches.

Step 7

Make one more bird facing the 1st bird in the same way.

Step 8

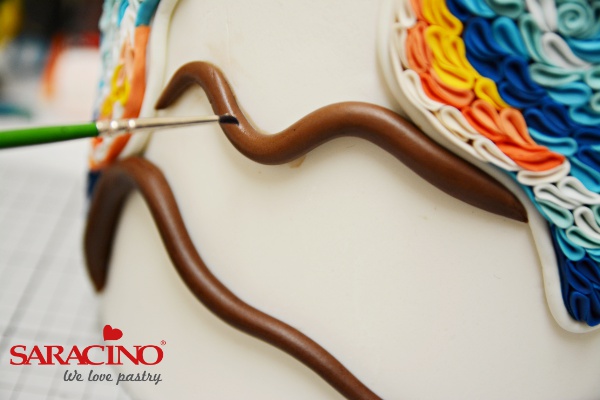
Again make some more branches in brown.

Step 9

Using a leaf tool blend them well.

Step 10

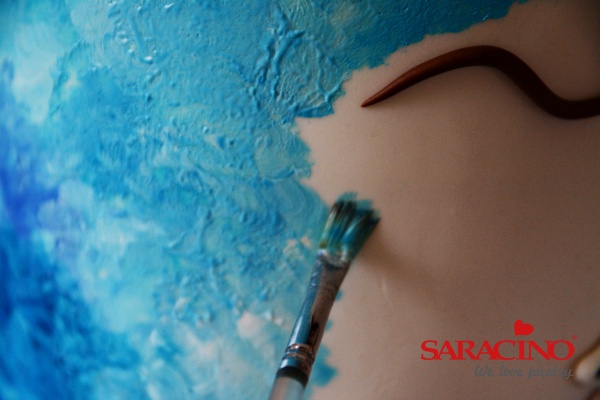
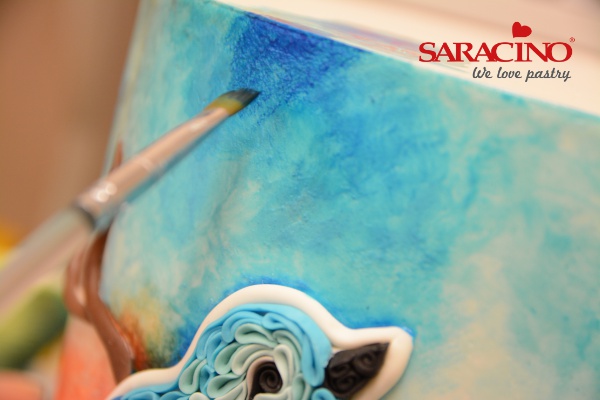
Mix some edible gel colours (blue and dark blue) with evaporators/vodka and start painting on the cake, using a flat brush dab and blend the two shades well, then add a bit of pink, red and orange and blend all the colours well.

Step 11

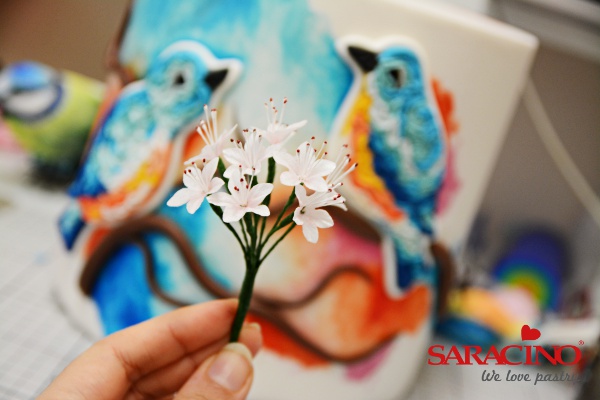
Make tiny wafer paper flowers

Step 12

Add few more highlights in dark blue.

Step 13

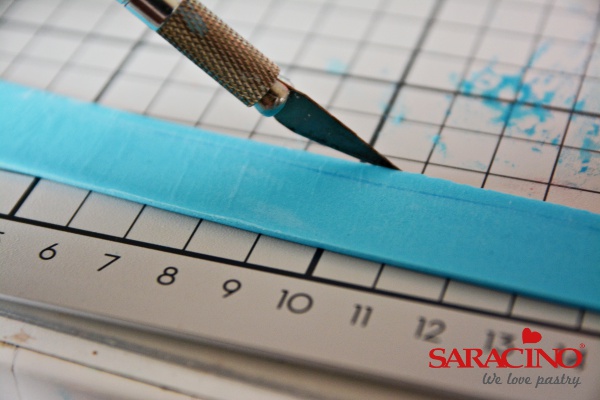
Cut a thin ribbon like strip in light blue sugar paste, approximately 2cm wide

Step 14

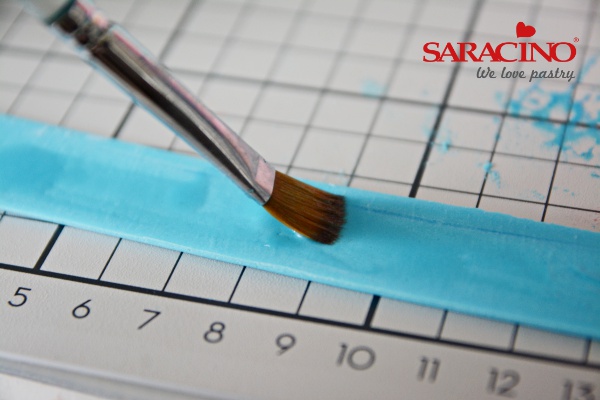
Brush with Saracino glue on one side.

Step 15

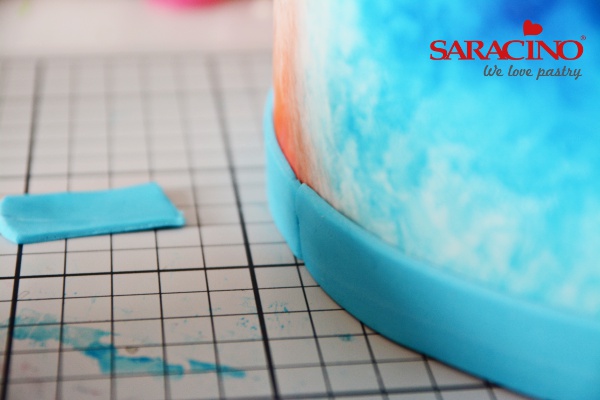
Glue it around the bottom of the cake.

Step 16

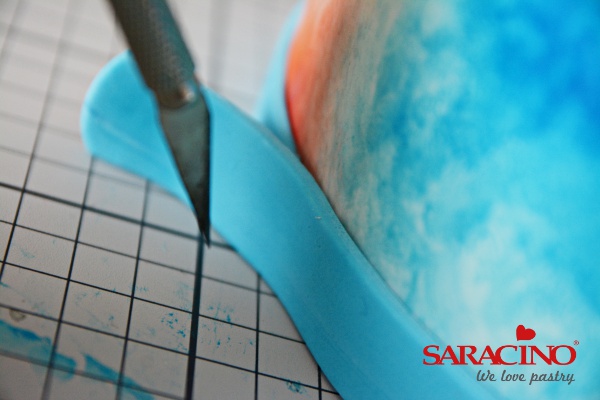
Trim the rest and blend the joints well.

Step 17

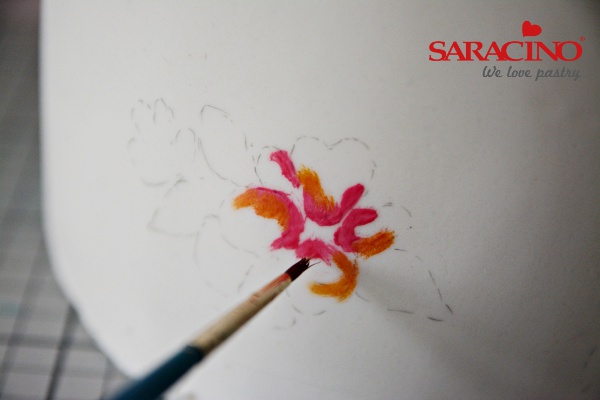
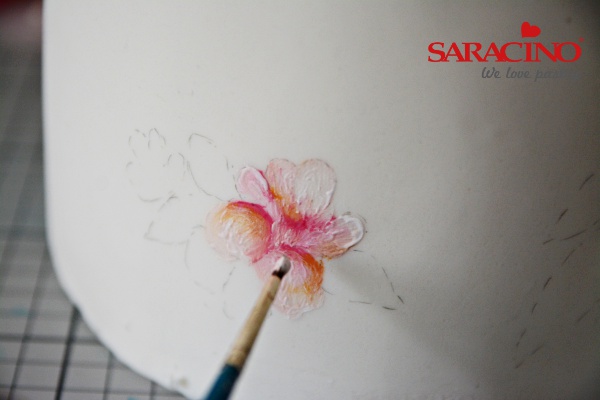
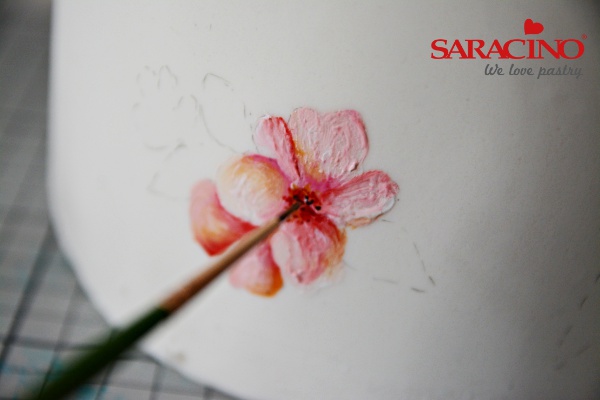
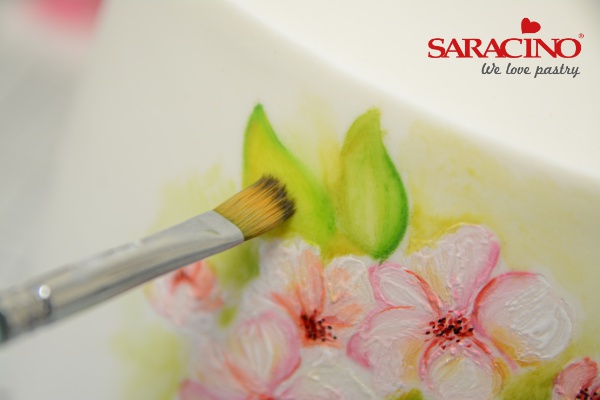
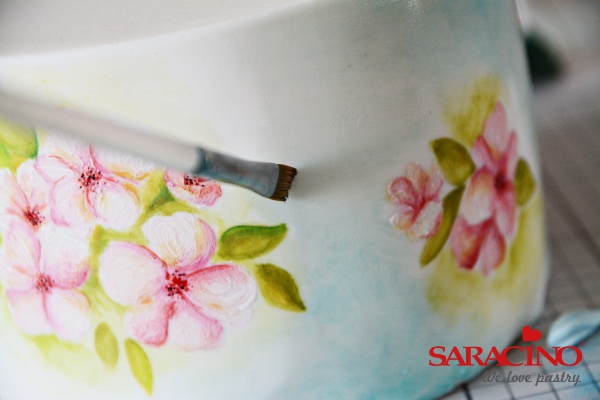
Using the edible marker draw some flowers and leaves on the second tier of the cake, mix some pink and orange edible paint and highlight the edges of the flowers.

Step 18

Blend the colours using white edible paint.

Step 19

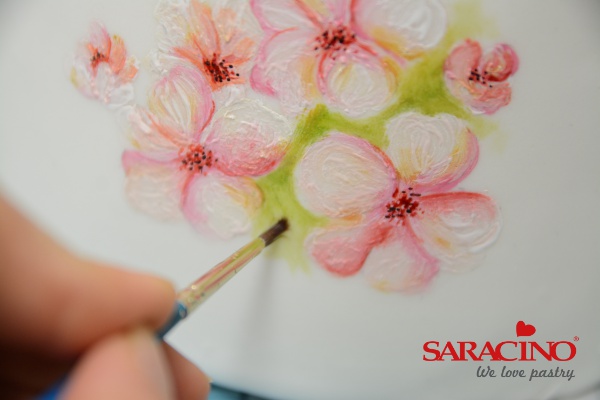
Paint tiny dots in red and black in the center of the flower and blend some green around the flowers.

Step 20

Now with a pointy round brush draw the leaves in green.

Step 21

Blend using some light green and yellow/this can be achieved by mixing white or yellow in dark green.

Step 22

Brush some light blue in the empty spaces left between the flowers and leaves.

Step 23

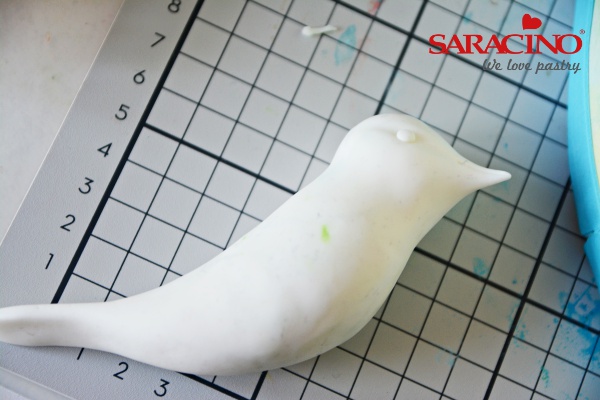
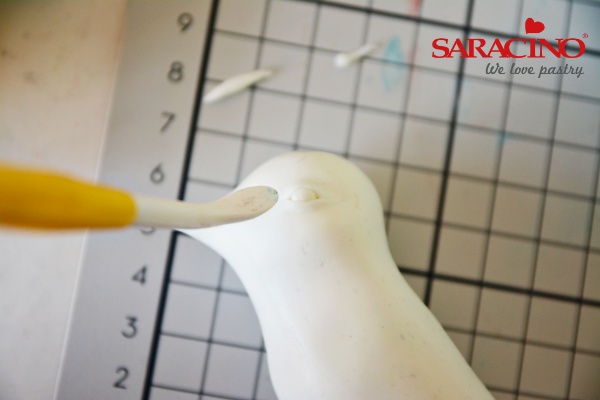
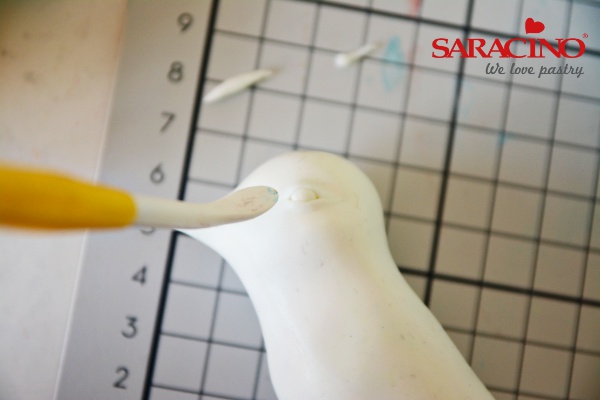
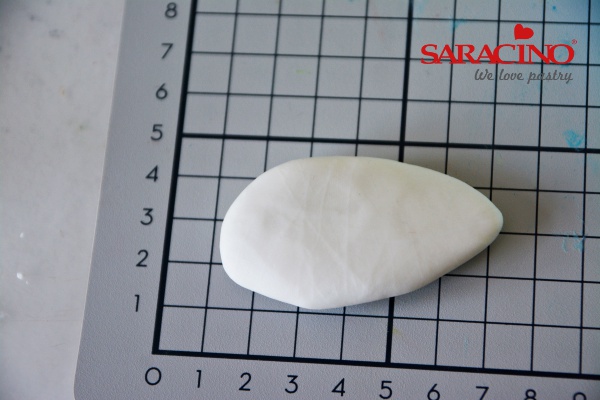
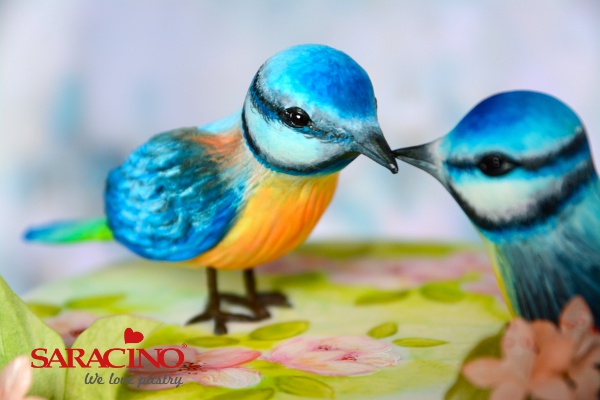
Making the small birds is easy, start with an elongated ball of white modelling paste and taper from one end for the tail white a rounded end on other side for the head, make the eyes with a ball tool and add tiny eye balls.

Step 24

Add two tiny eyelids around the eyes.

Step 25

Blend the eyelids well.

Step 26

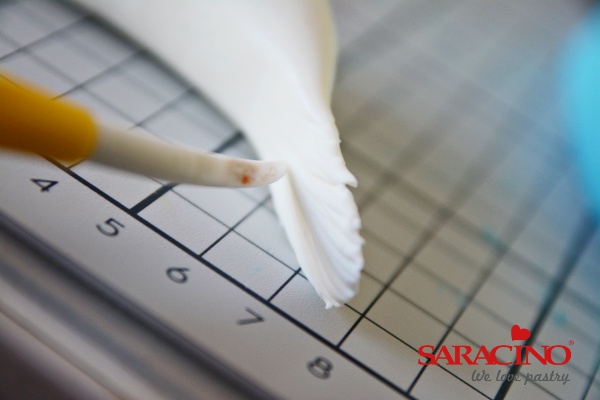
Make some feather texture on the tail with the knife tool or any pointy tool.

Step 27

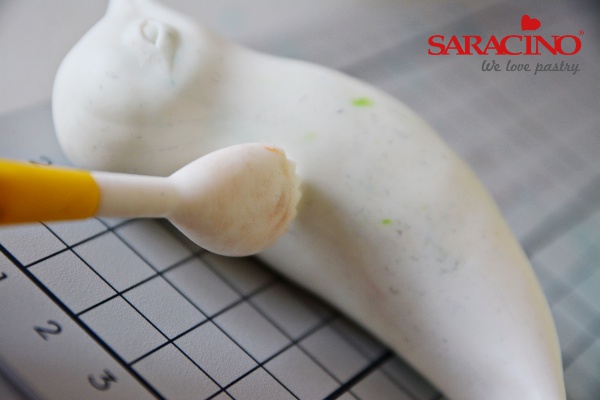
With the shell tool texture the body.

Step 28

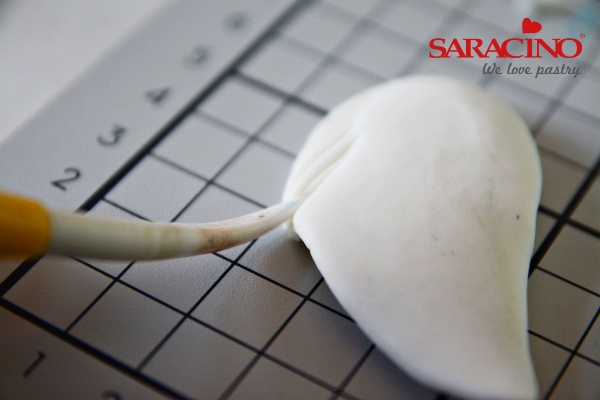
Roll a ball and shape it into a drop shape and flatten it to make the wings.

Step 29

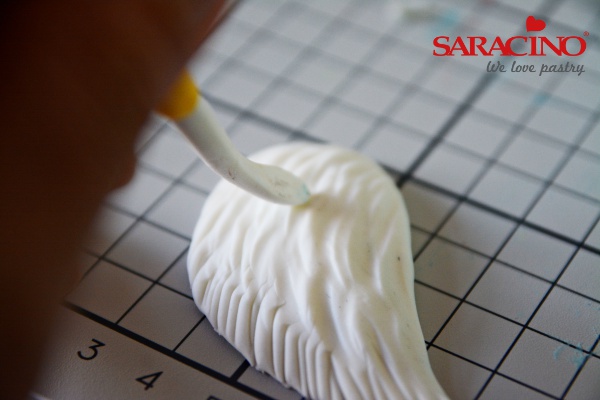
Texture the edges of the wings with the knife tool.

Step 30

Texture the rest using the leaf tool.

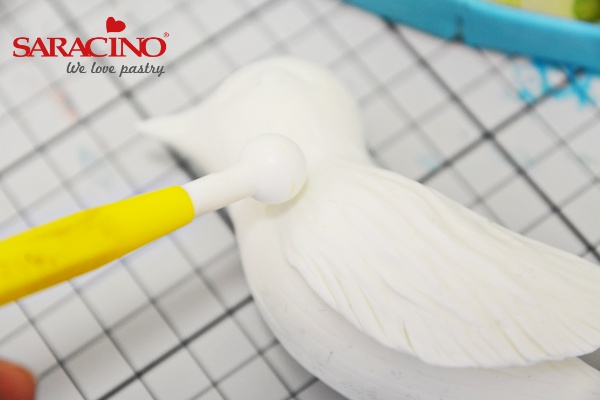
Step 31

Join it to the body and blend with the ball tool

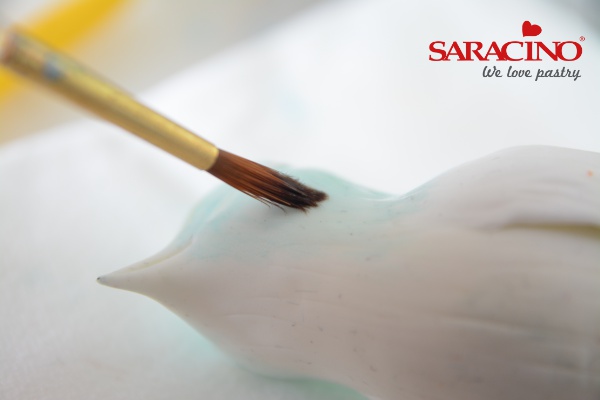
Step 32

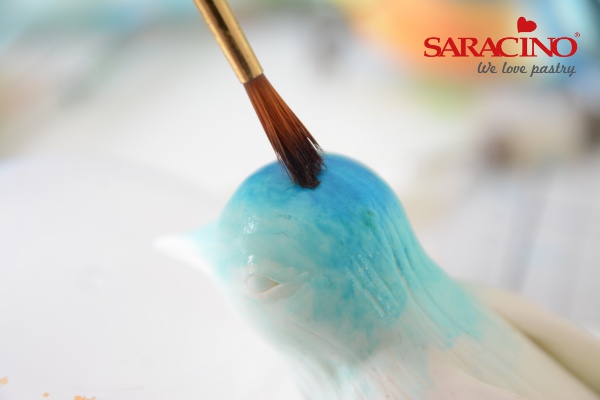
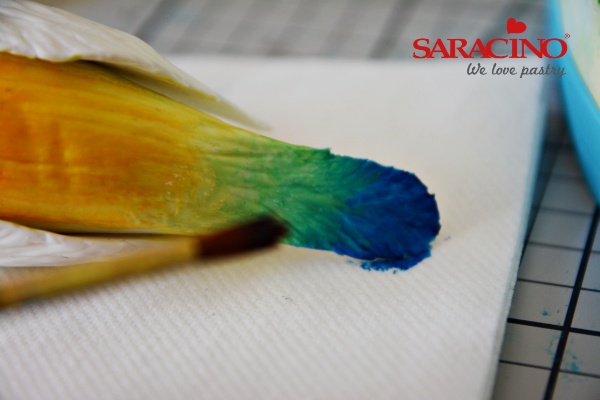
Start painting the body starting with the lightest shade of blue

Step 33

Add a darker shade of blue on the top

Step 34

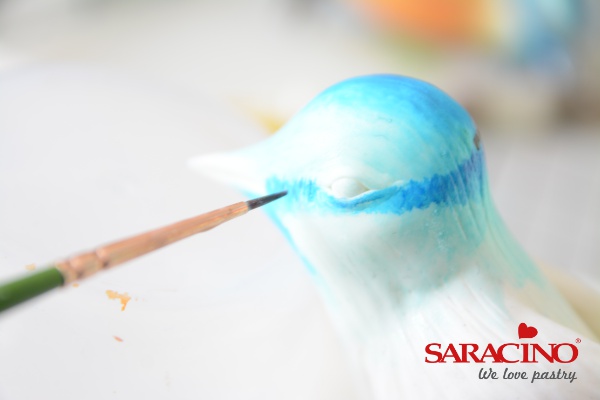
Using a thin brush paint standing strokes around the eyes forming a ring

Step 35

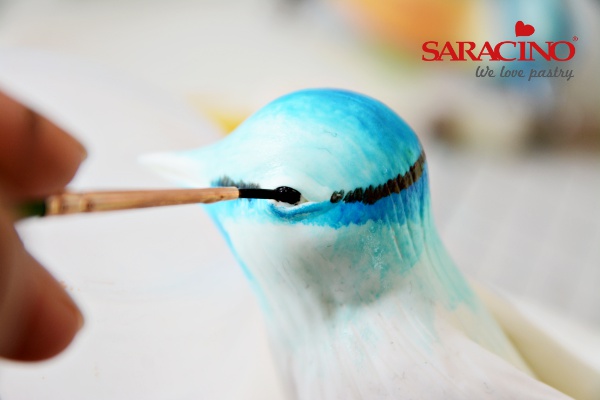
Paint a black ring just below the blue one

Step 36

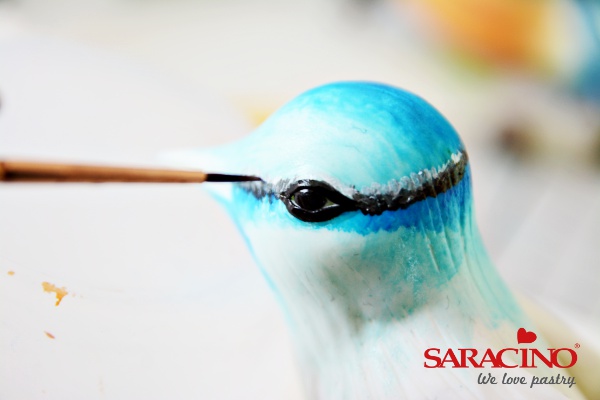
Now paint the the eyes

Step 37

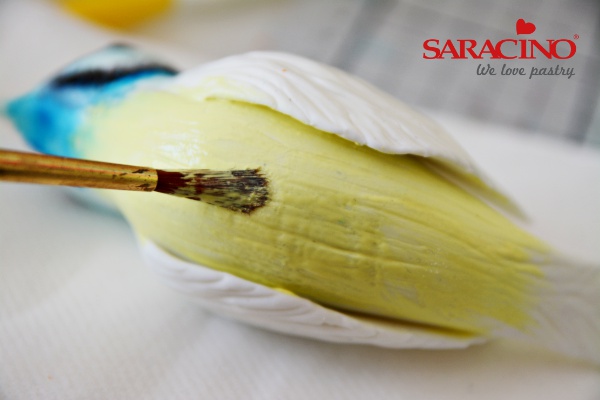
Paint the lower body with a light yellow edible paint

Step 38

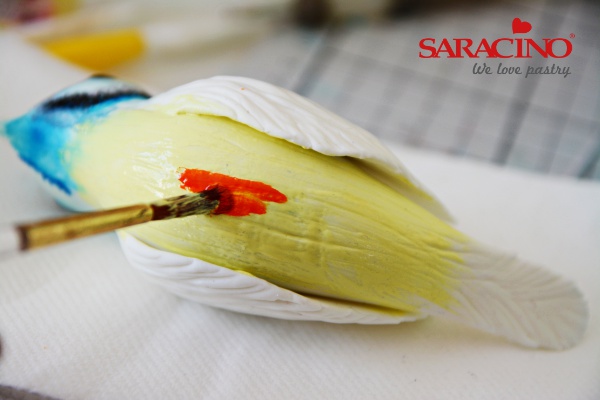
Add some dark yellow and orange edible paint in the center of the lower body and blend well

Step 39

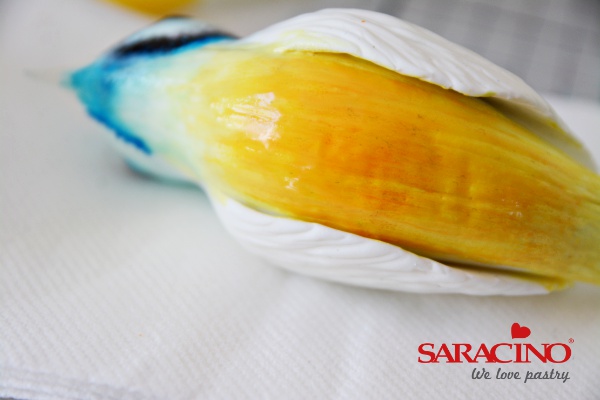
This is how it will look, make sure you keep the light yellow on both ends of the lower body

Step 40

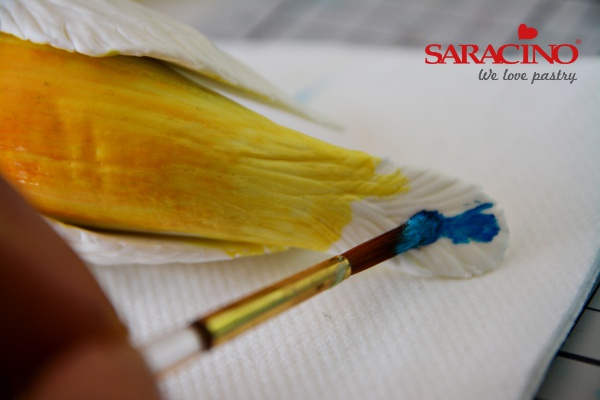
Paint the tail in blue.

Step 41

Blend with the yellow and the blending will show some green on the tail too, make sure you have a bit of blue on the end of the tail and don’t carry the shading right till the end as it will result in a green tail

Step 42

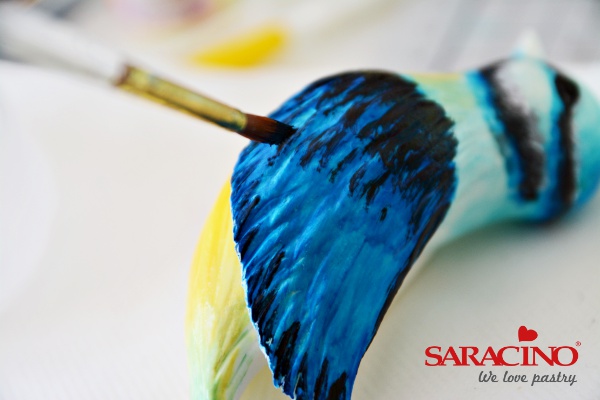
Start painting the wings in shades of blue and then some black strokes

Step 43

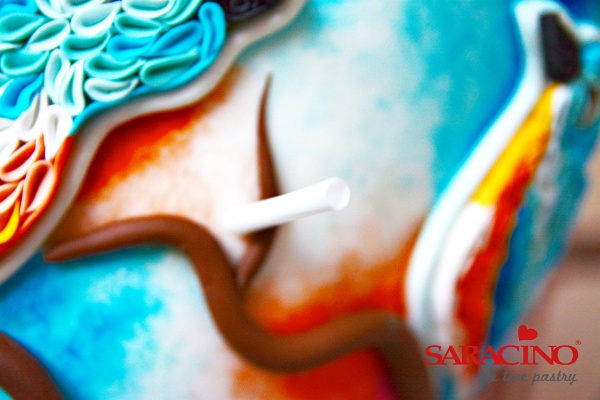
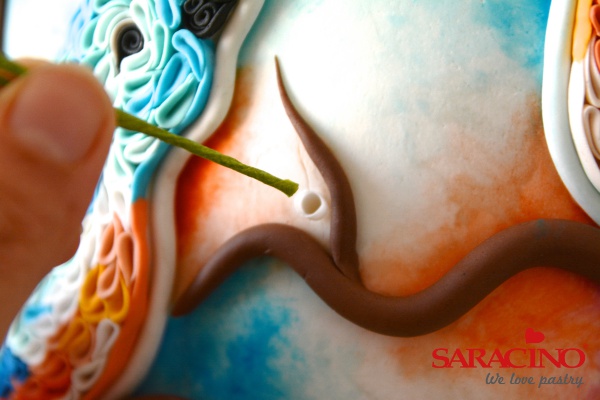
Push a posy pick or a straw in places where you want the flowers

Step 44

Immerse the flower bunch into the straw/posy pick

Step 45

Create more wafer paper leaves around the branches and the flowers. Vein them, dust with green dust and use some Saracino wafer paper glue to glue them on.

Step 46

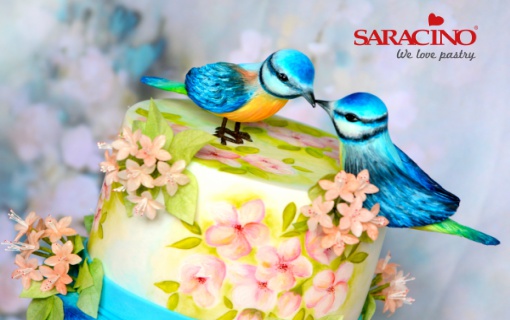
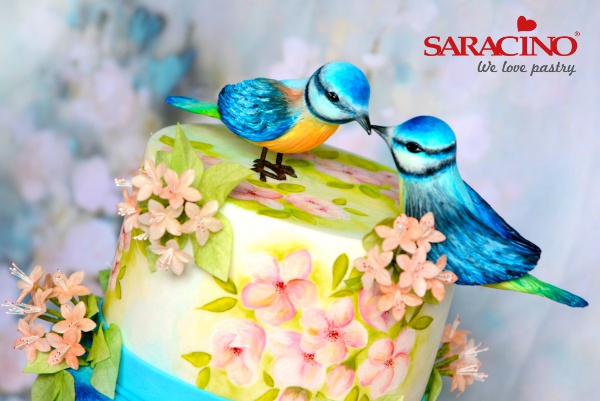
Make the birds legs with a wire and then tape it with brown tape, immerse it when the bird is completely dry. Place both the birds on top of the top tier of the cake

Step 47

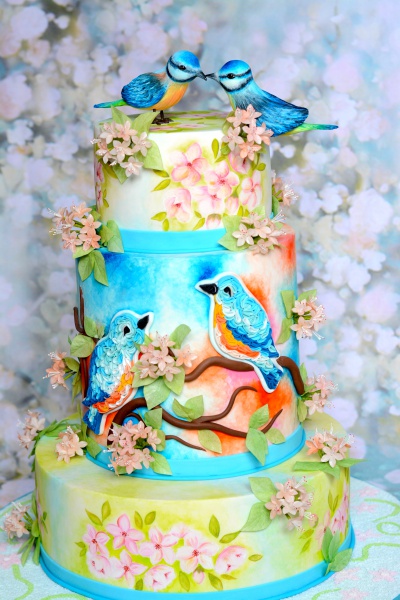
Your bird theme cake is now ready