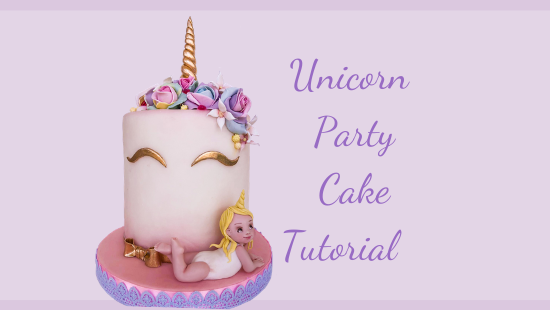
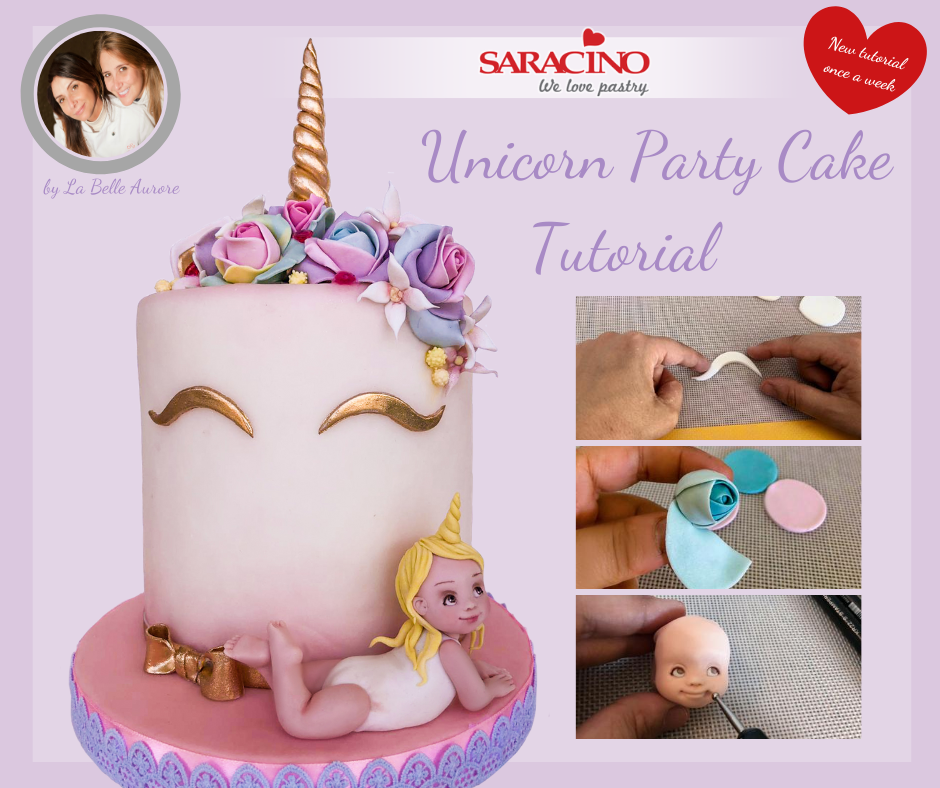
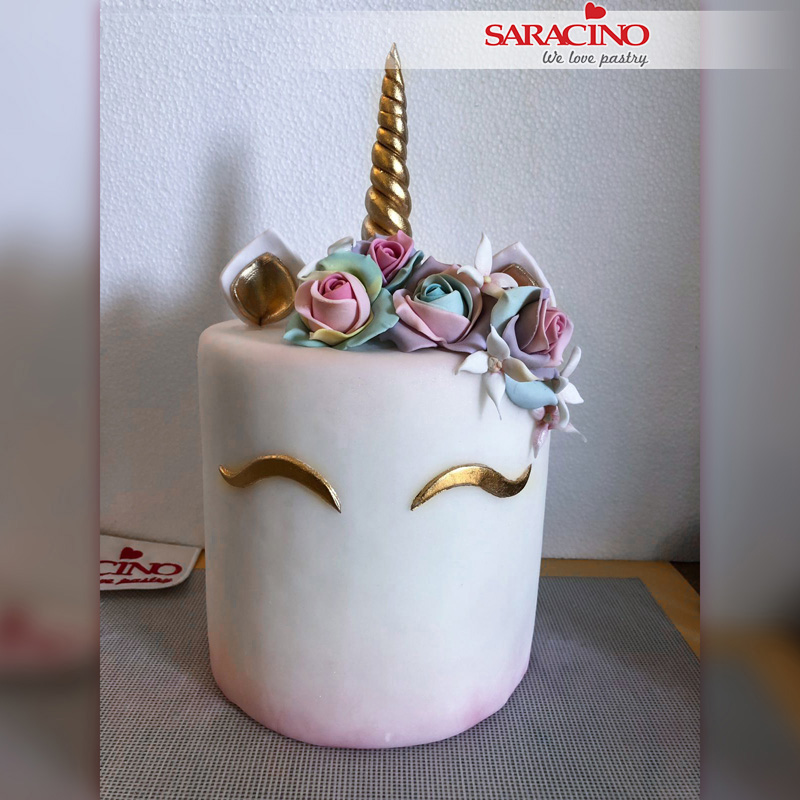
RAIBOW UNICORN GIRL


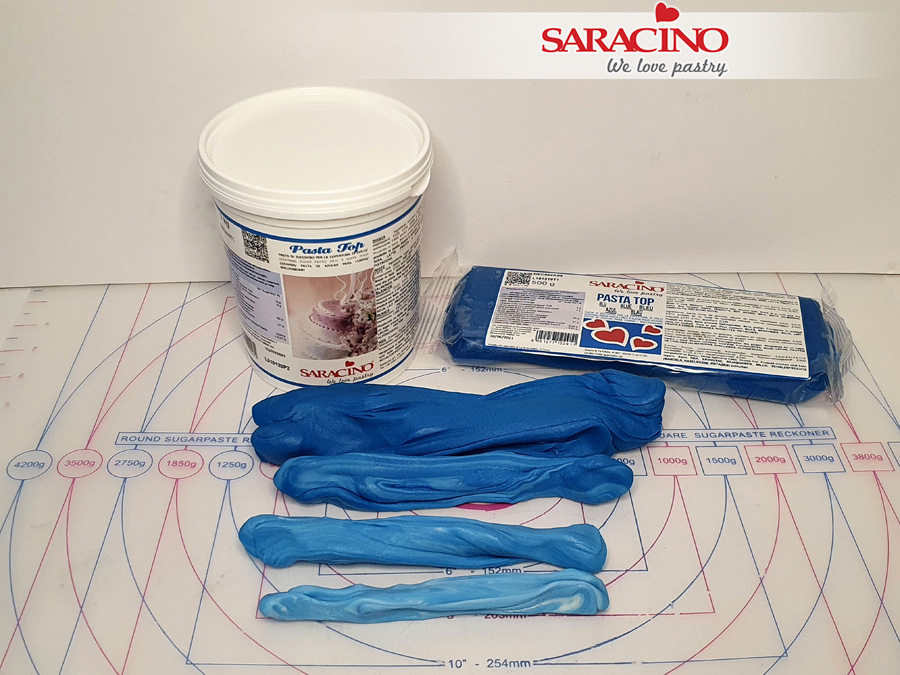
You will need:
- Saracino white Pasta Top 500g
- Saracino Pasta Model:
- white 100g
- light green 100g
- pink 100g
- orange 100g
- yellow 100g
- tiffany 100g
- fuschia 100g
- violet 100g
- black 10g
- light skin 15g
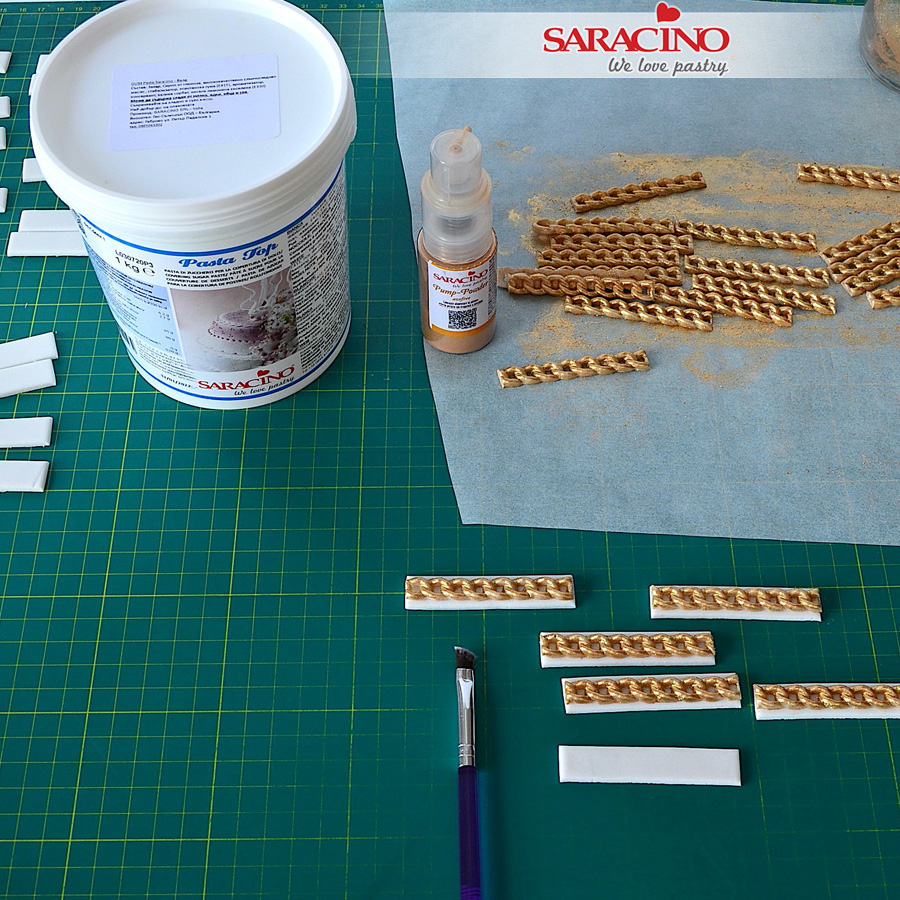
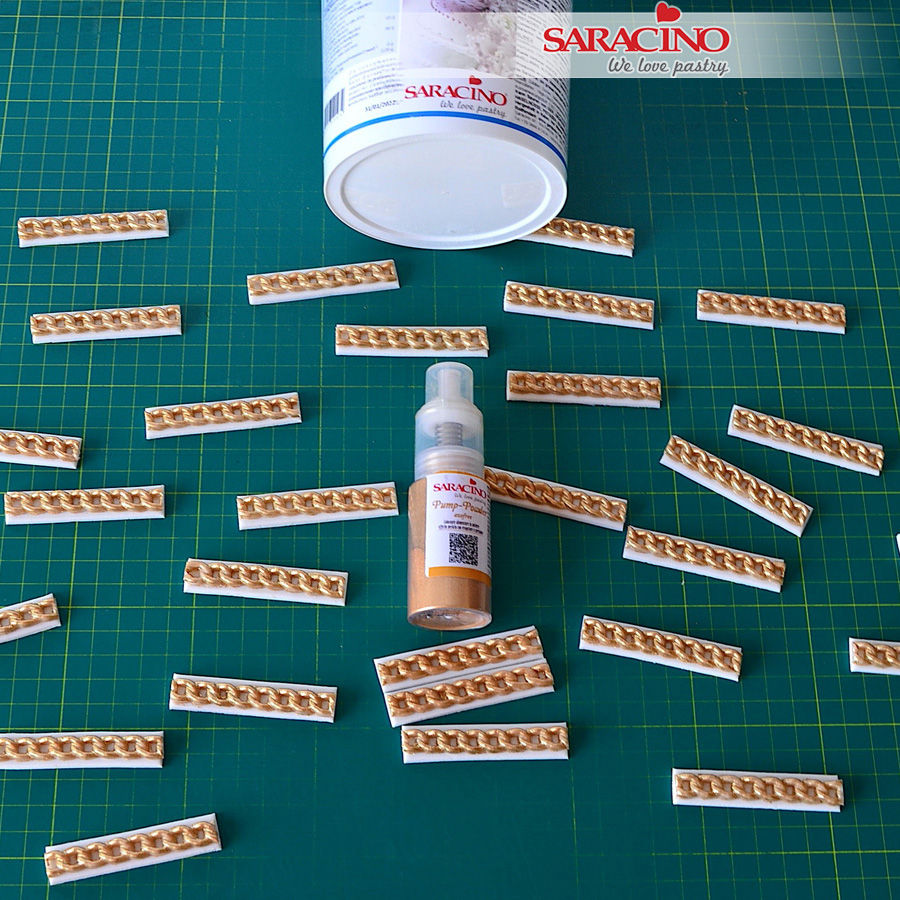
- Saracino gold powder
- Cake 15cm diameter x 13cm tall
- Cake board 20cm diameter x 2.5cm tall
- Saracino Cake Gel
- 3cm circle cutter
- Ball tool
- Modelling tools
- Rolling pin
- Brushes
- Clear alcohol
- Cloud cutter
- Foam mat
- Exacto knife and Dresden tool
- Silicone brush
- Piping nozzles #3 #2
- Saracino dust colours: light blue, brown and pink
- Small oval cutter
- DOWNLOAD THE PICTURE HERE

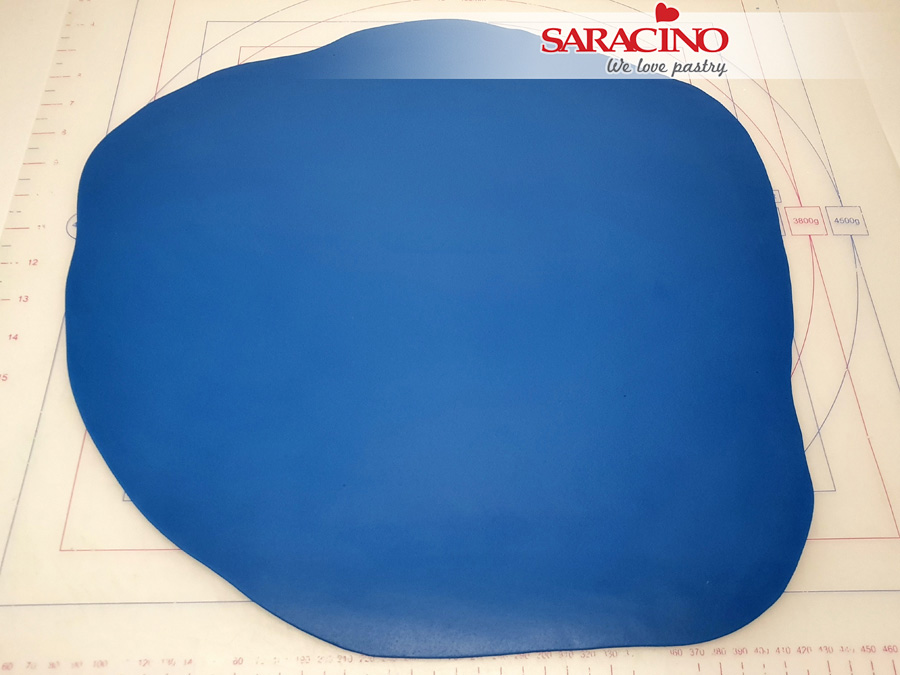
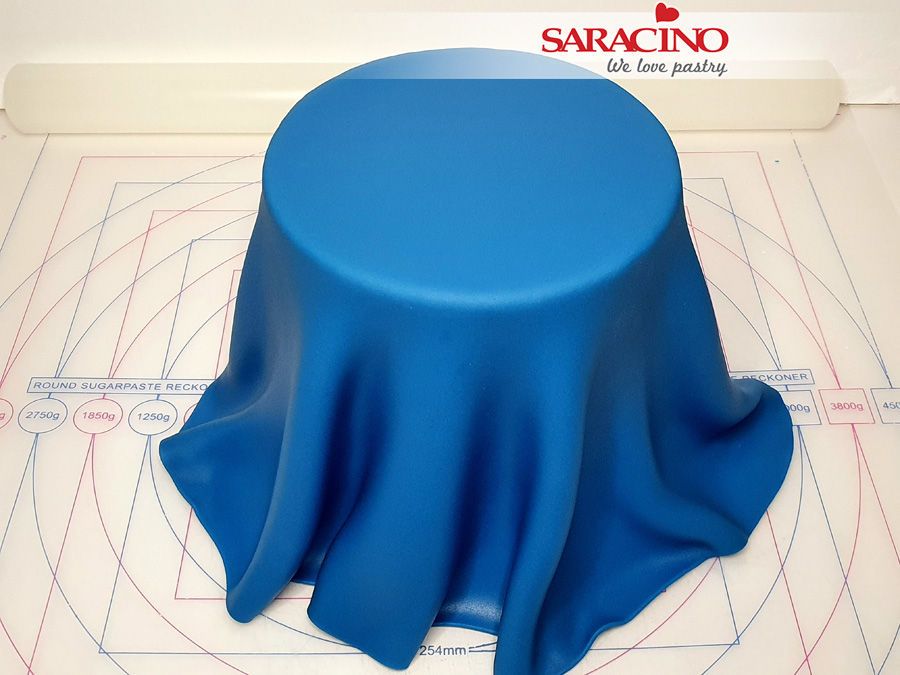
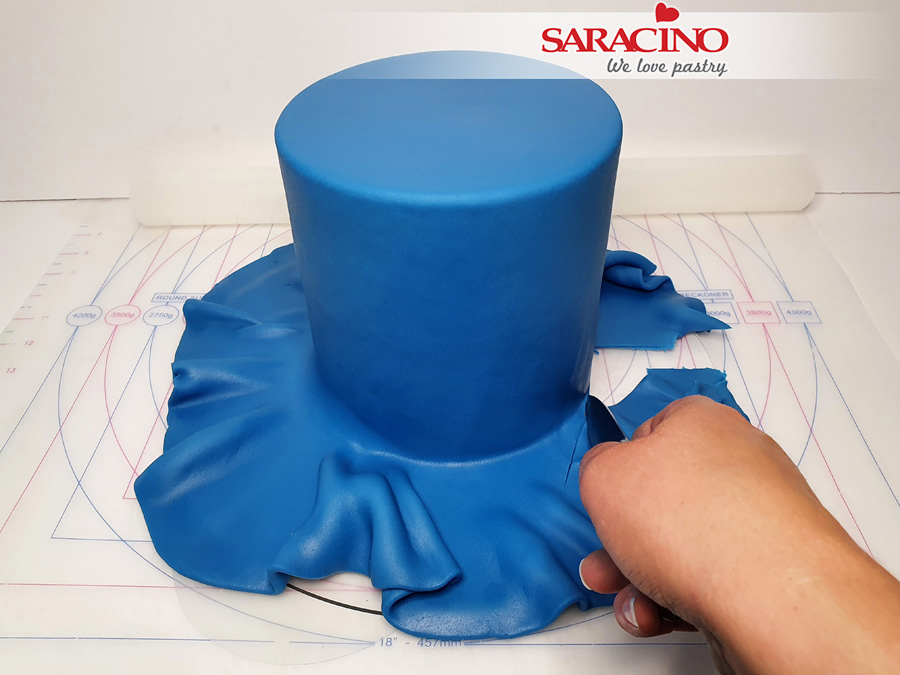
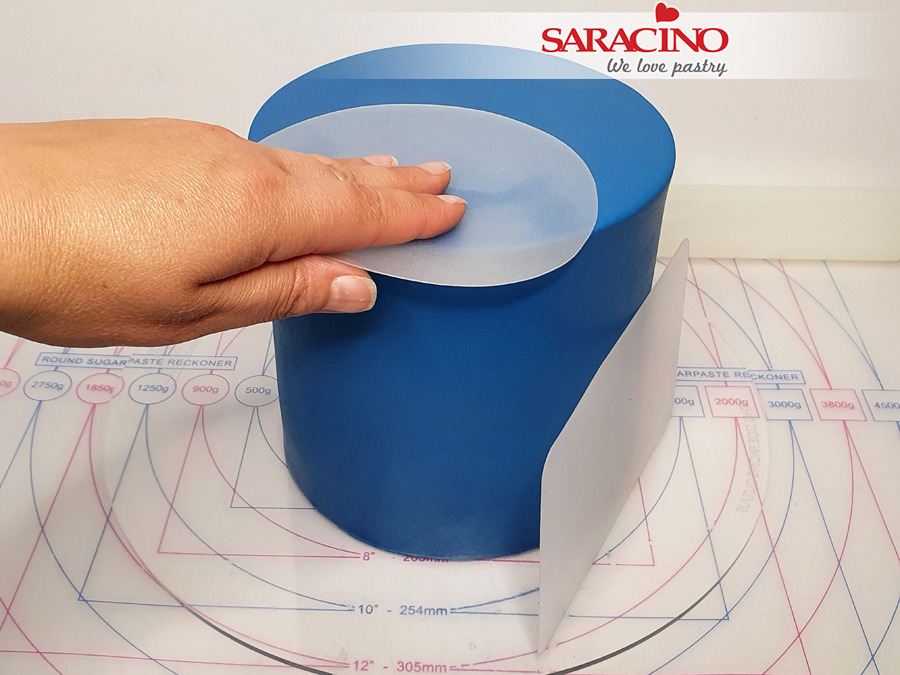
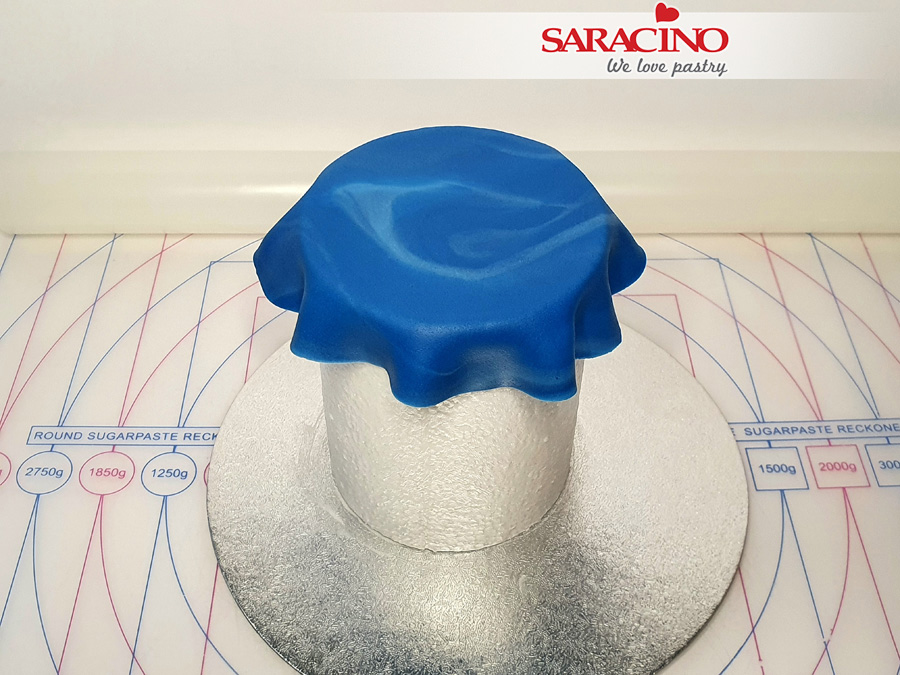
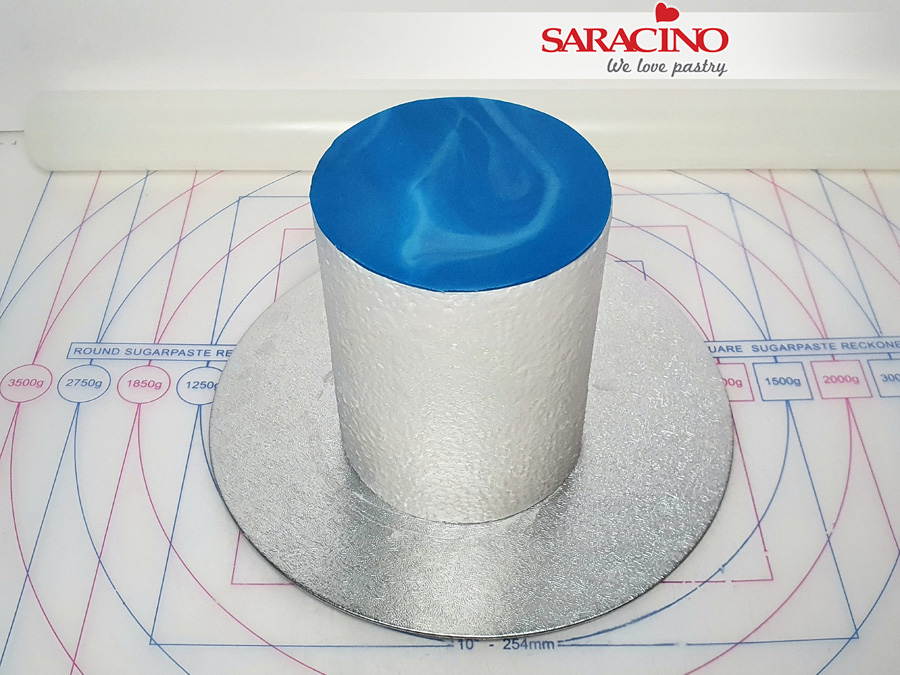
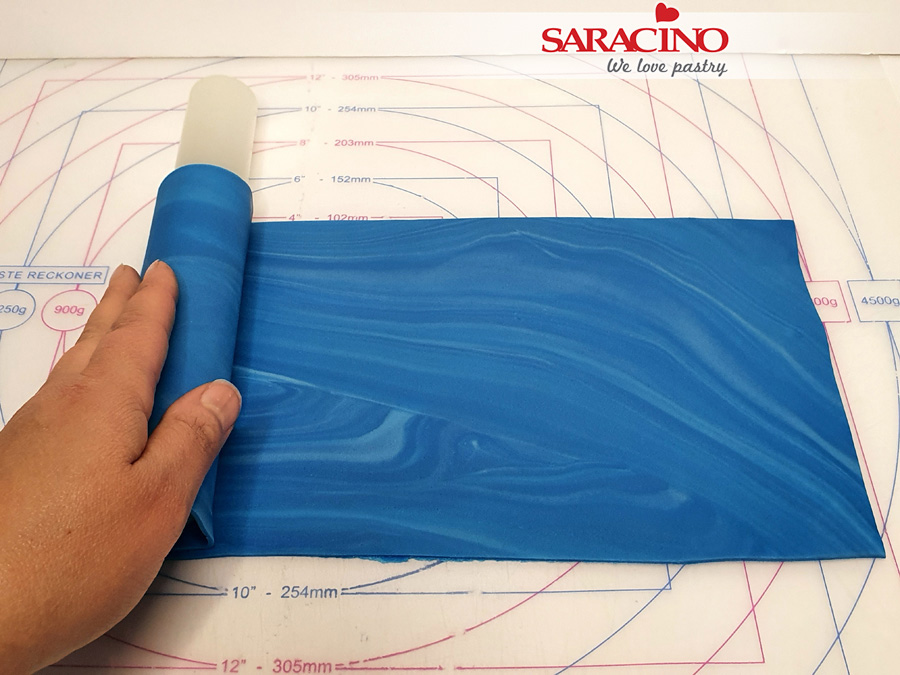
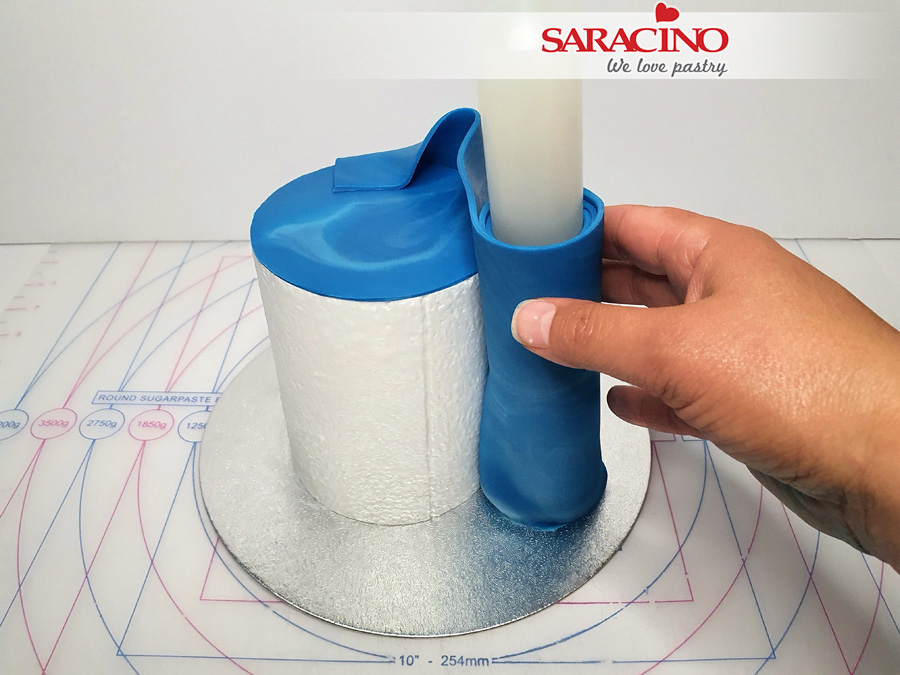
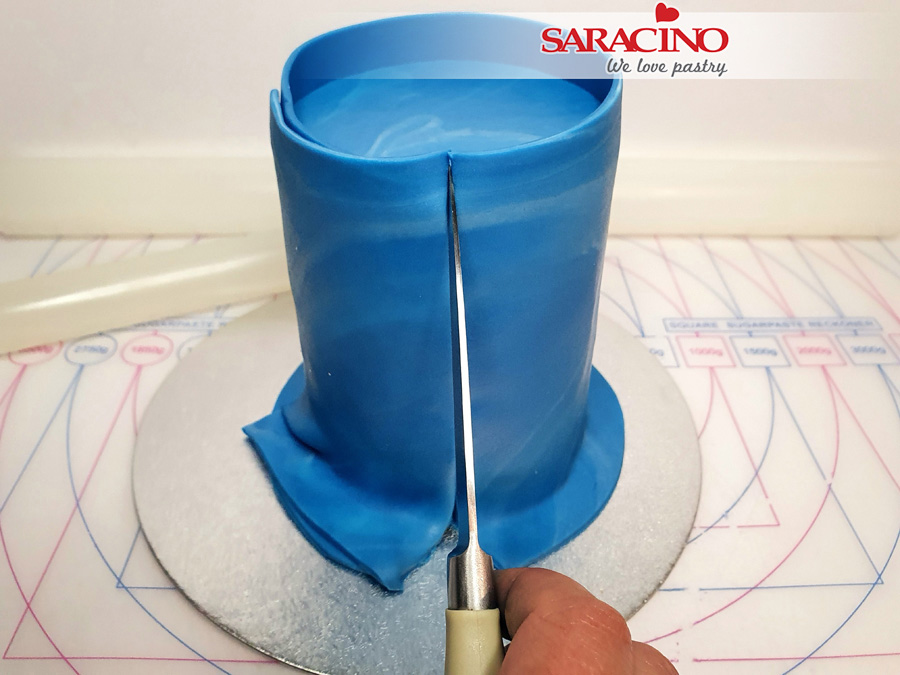
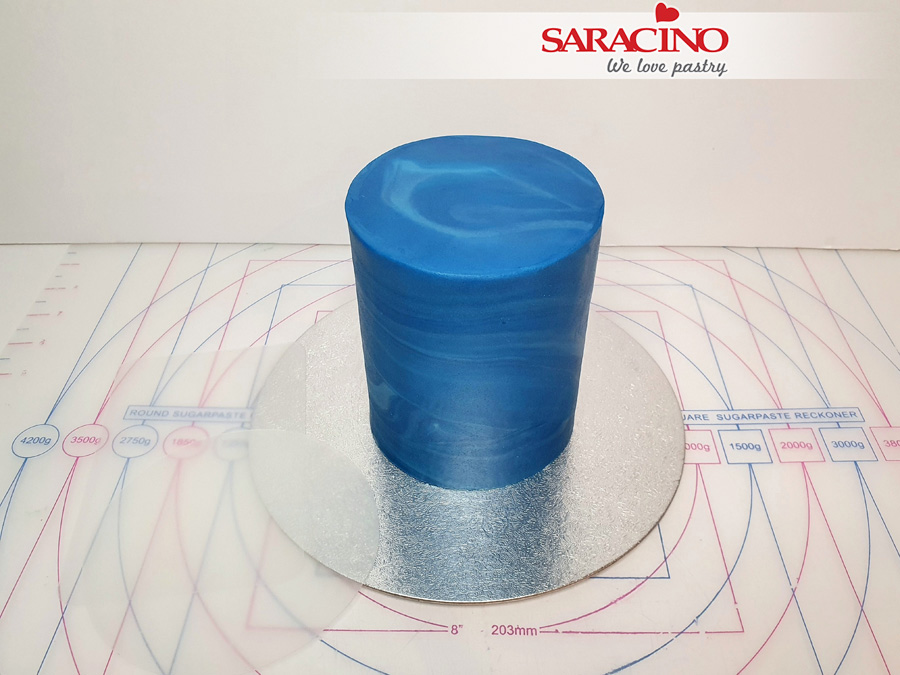
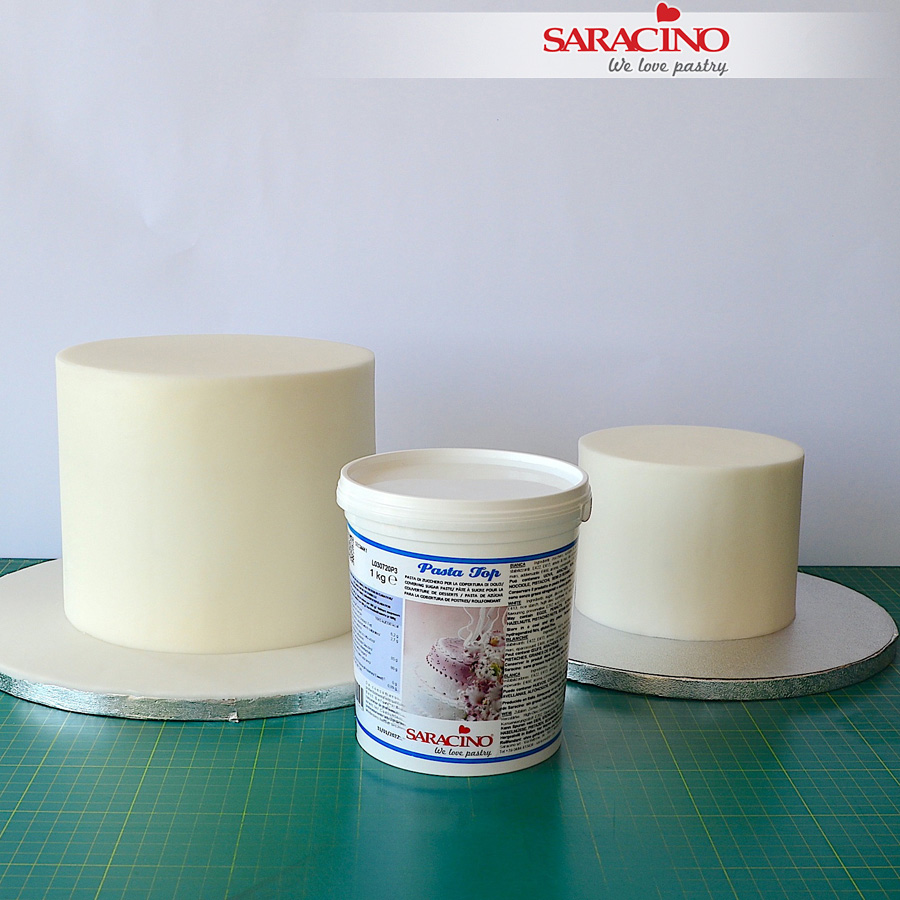
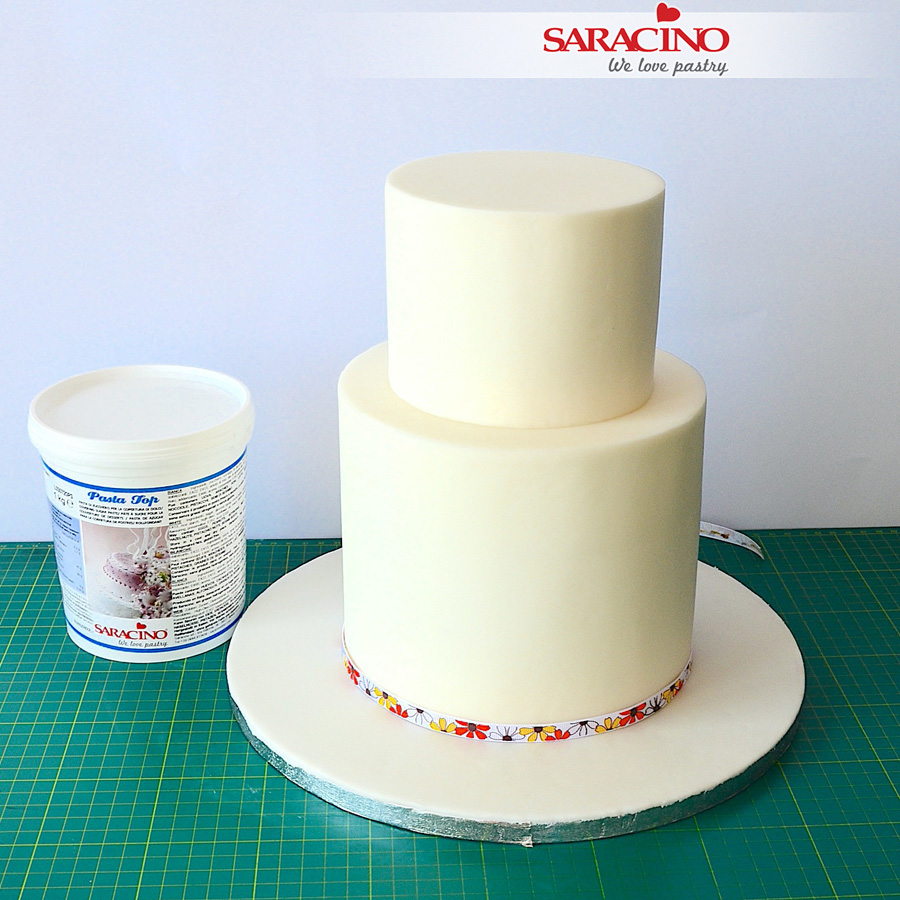
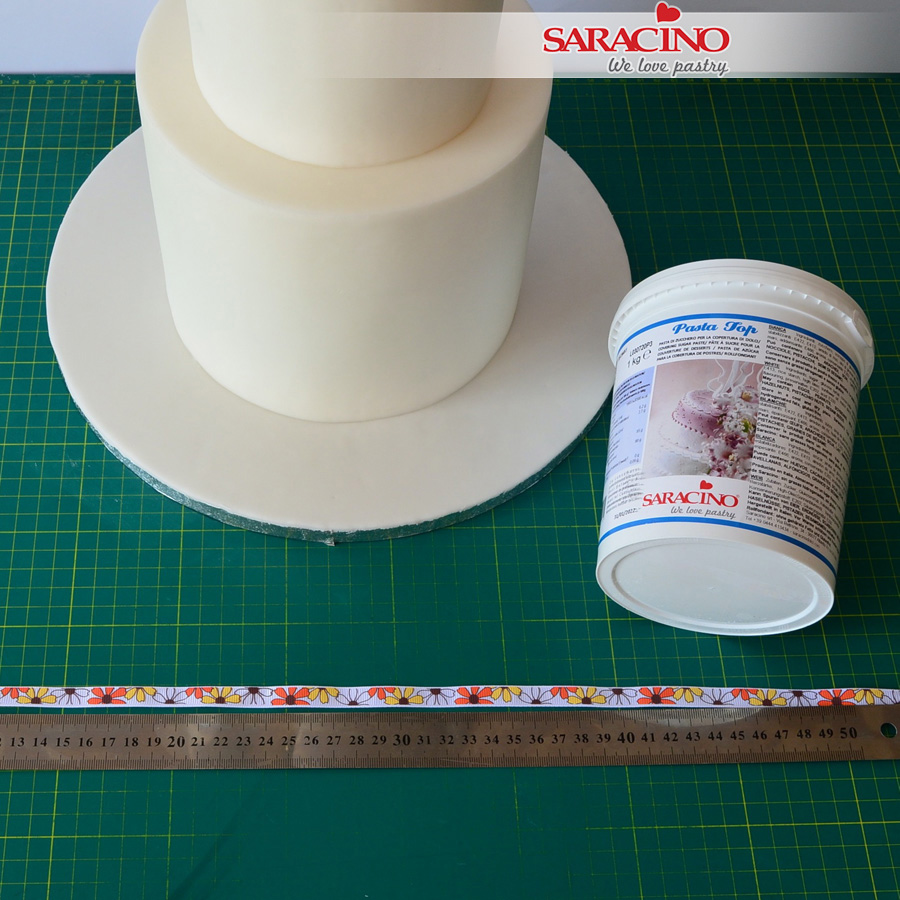
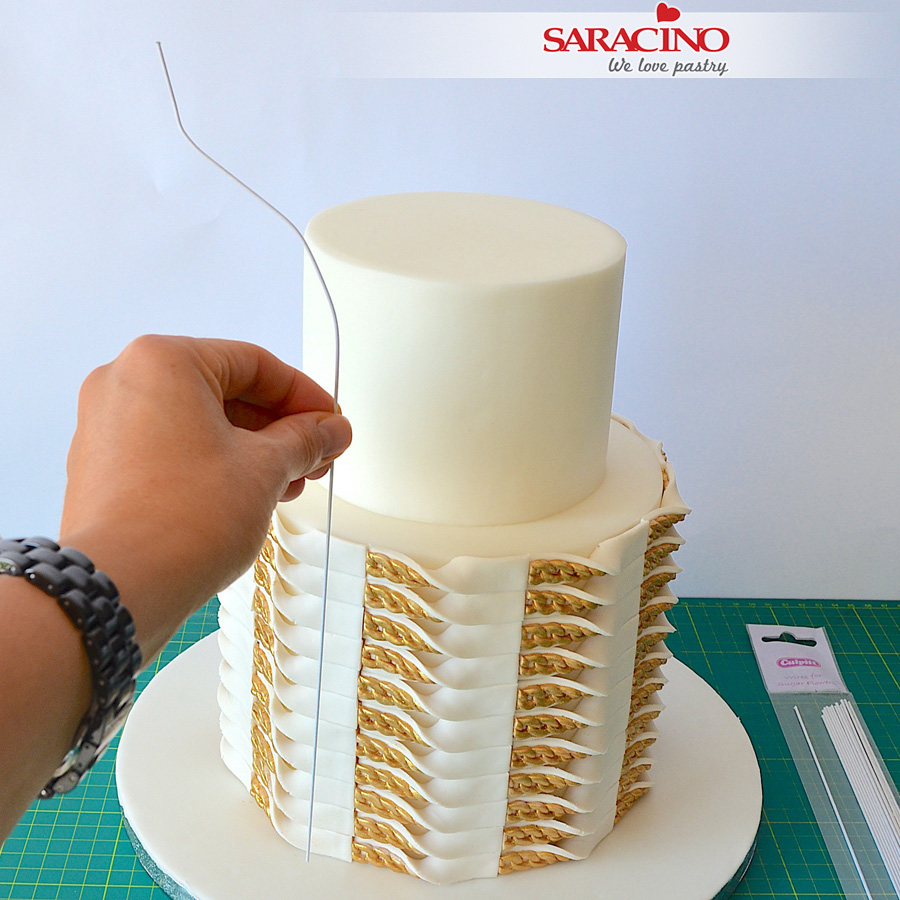
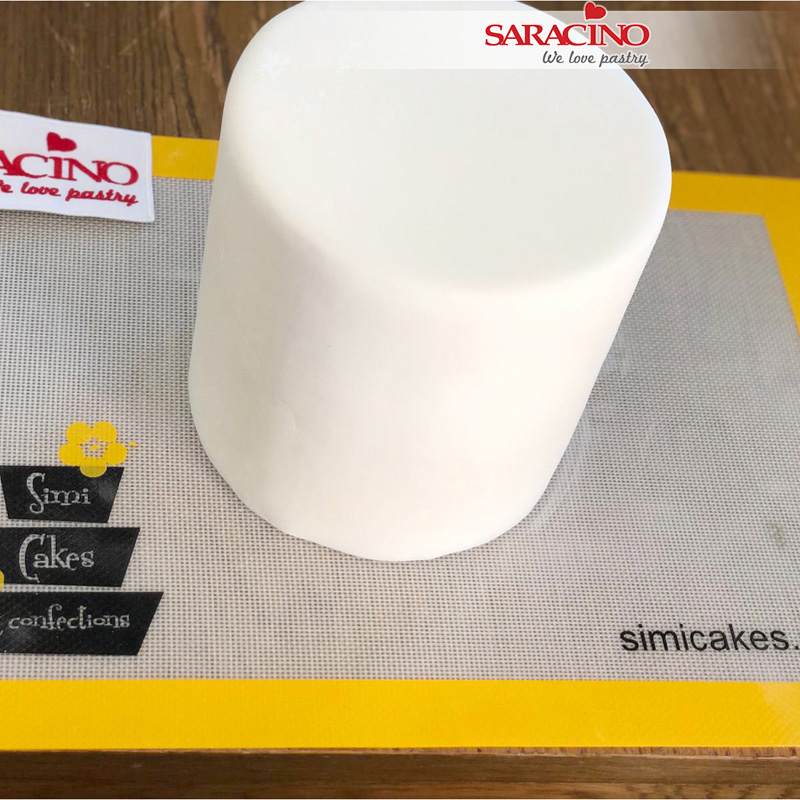
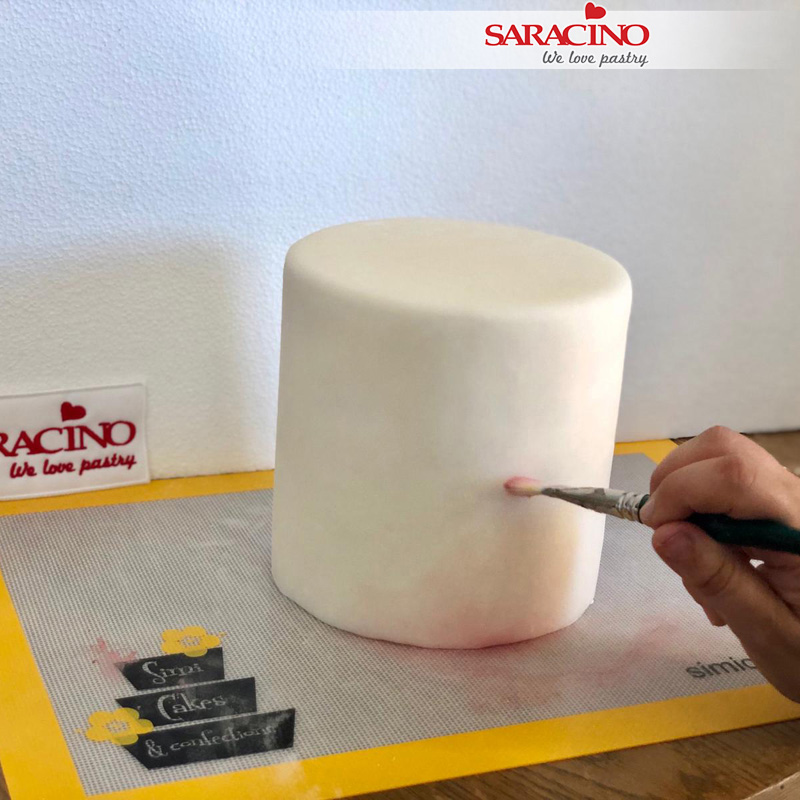
Step 1
Cover the cake and the board using white fondant Pasta Top.

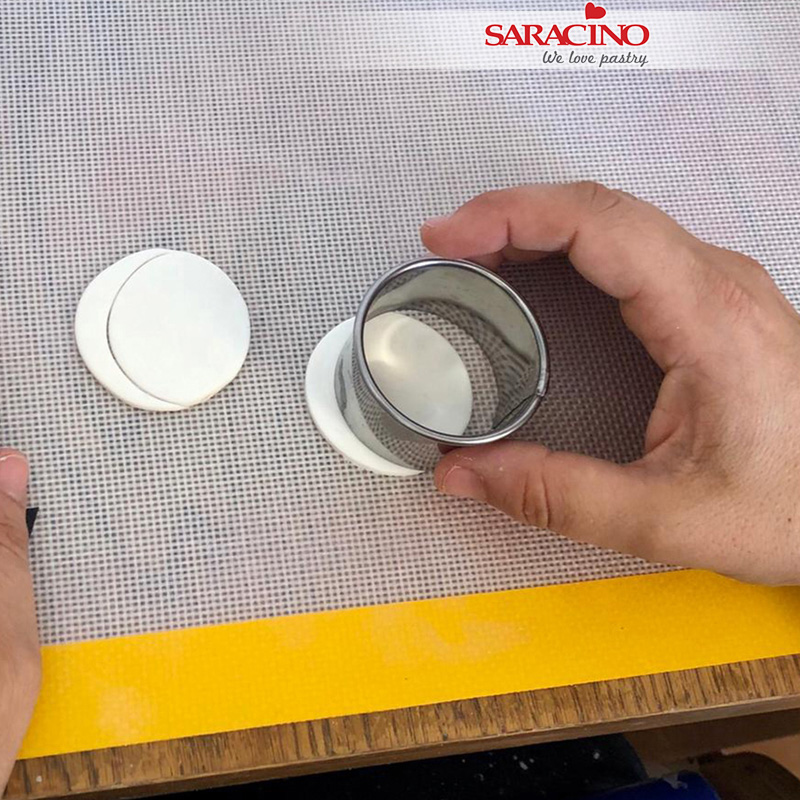
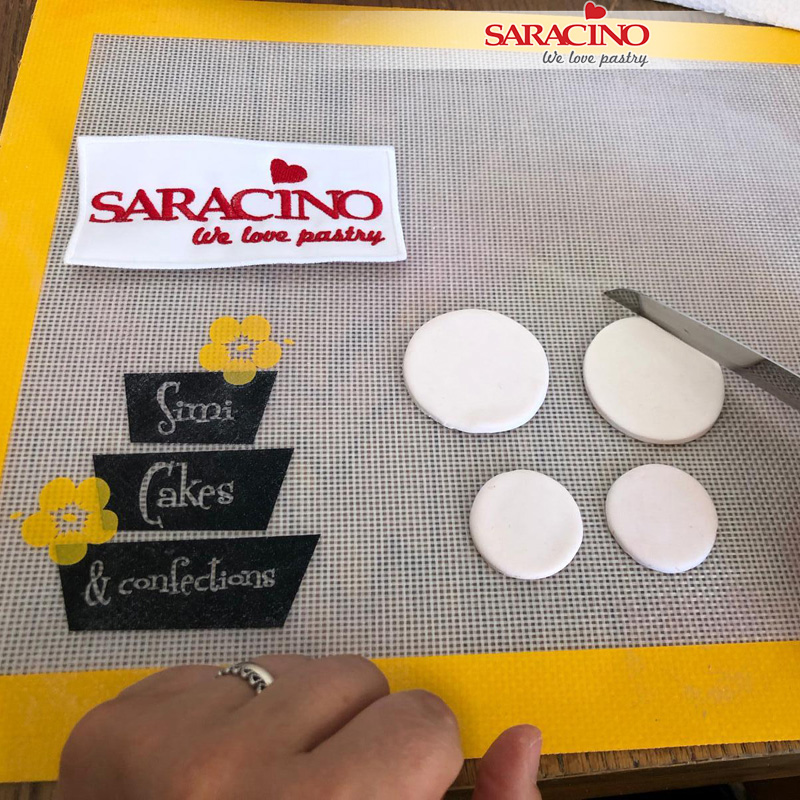
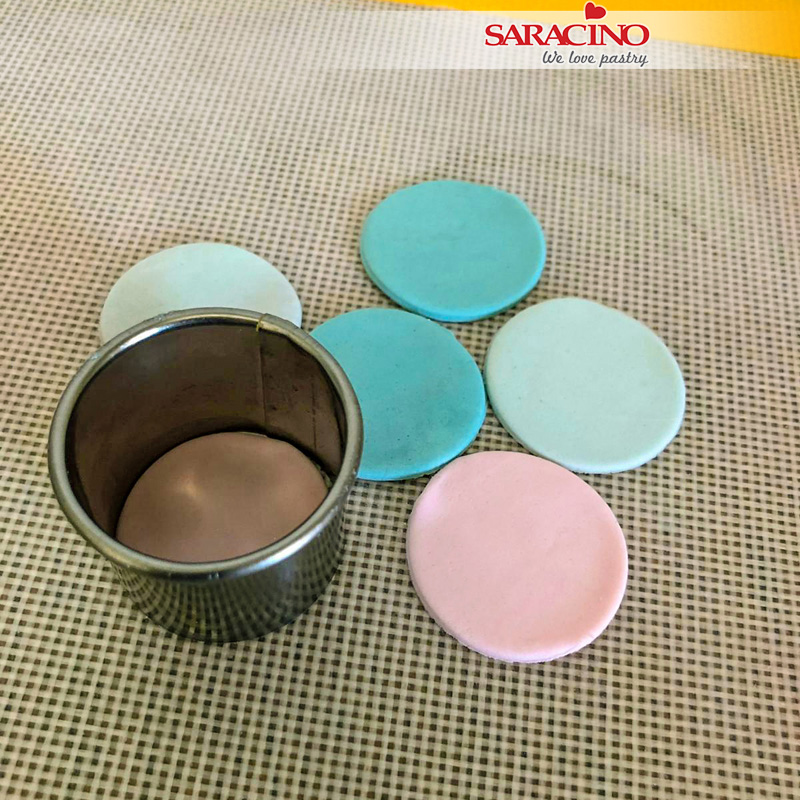
Step 2
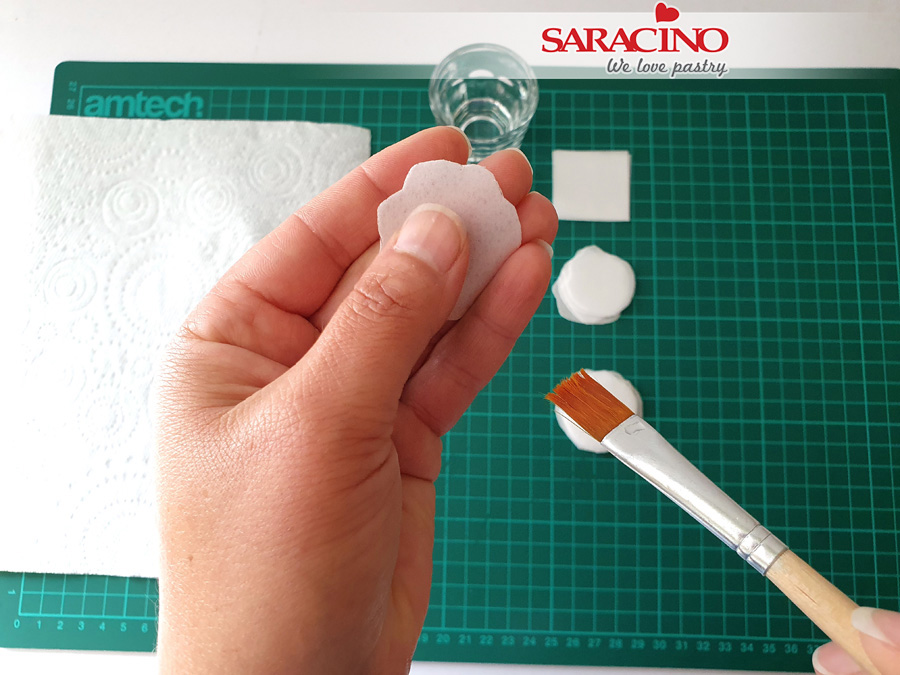
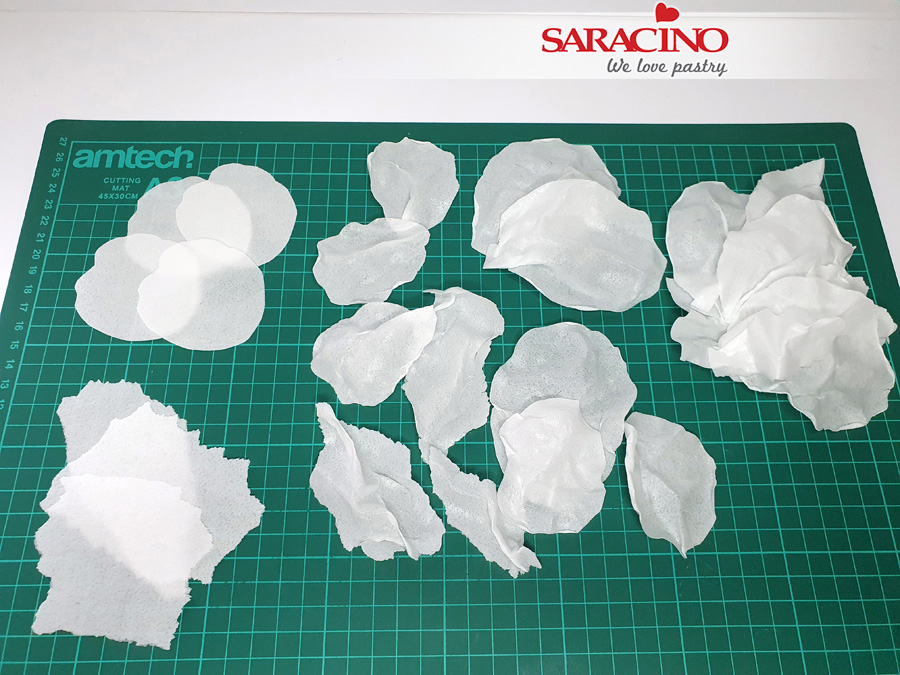
Roll out some pink modelling paste quite thin. Cut some circles using the circle cutter.

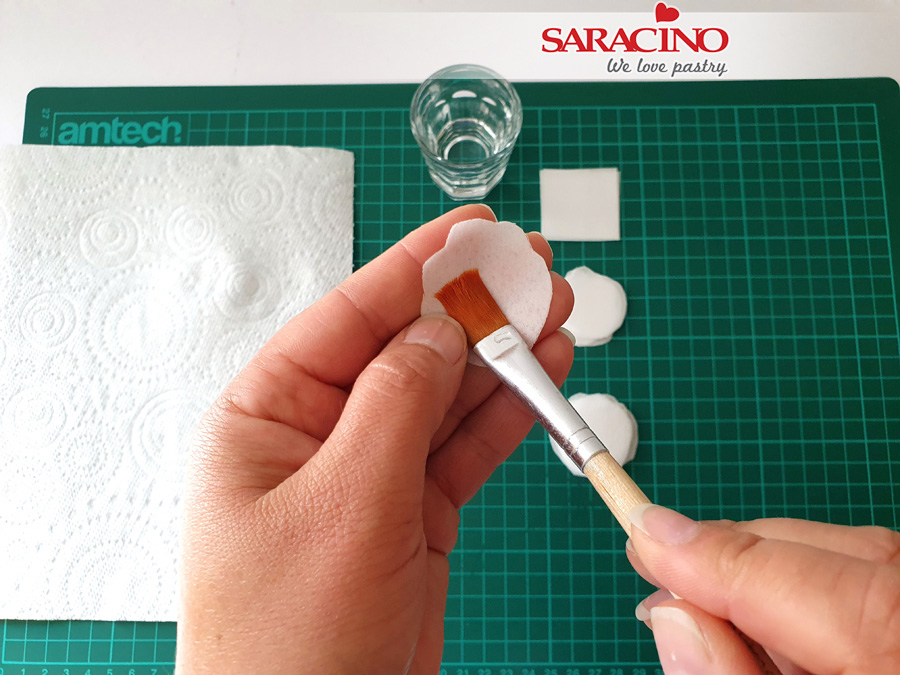
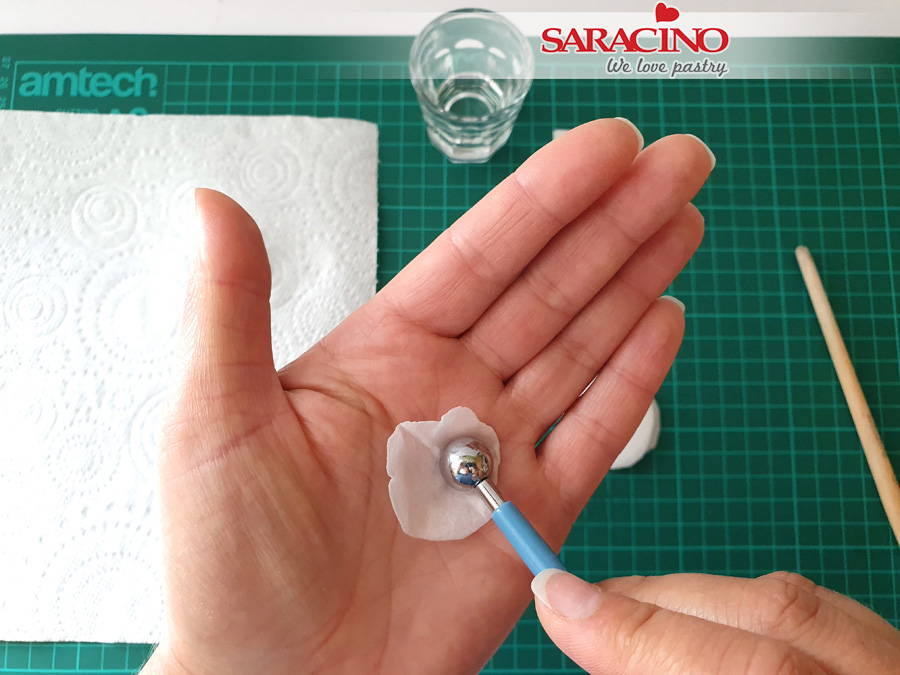
Step 3
Place the circles on a foam mat and thin the edges using the ball tool, pressing half on the edge of the circle and half on the mat.

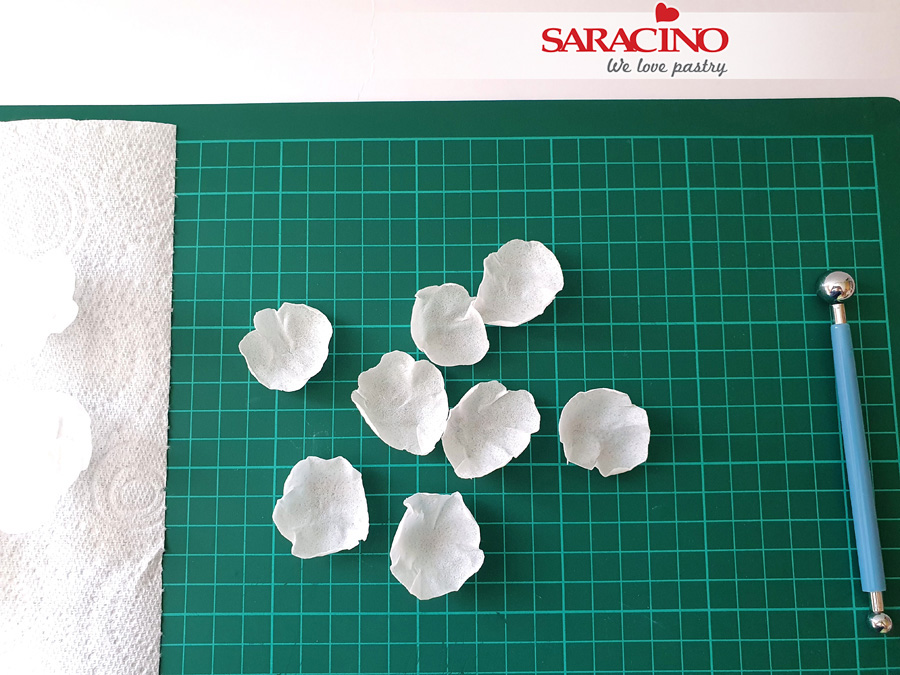
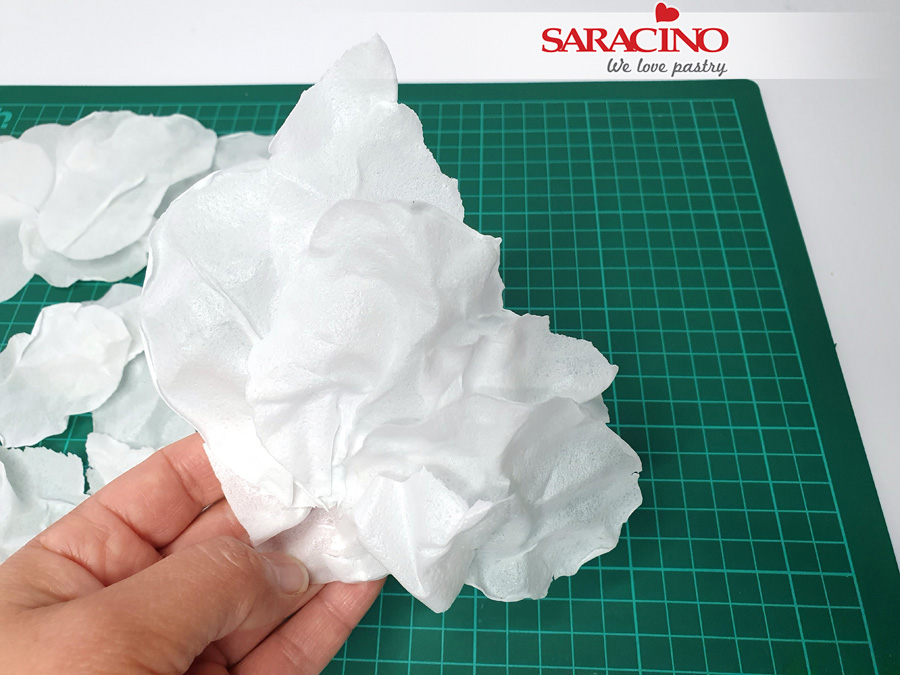
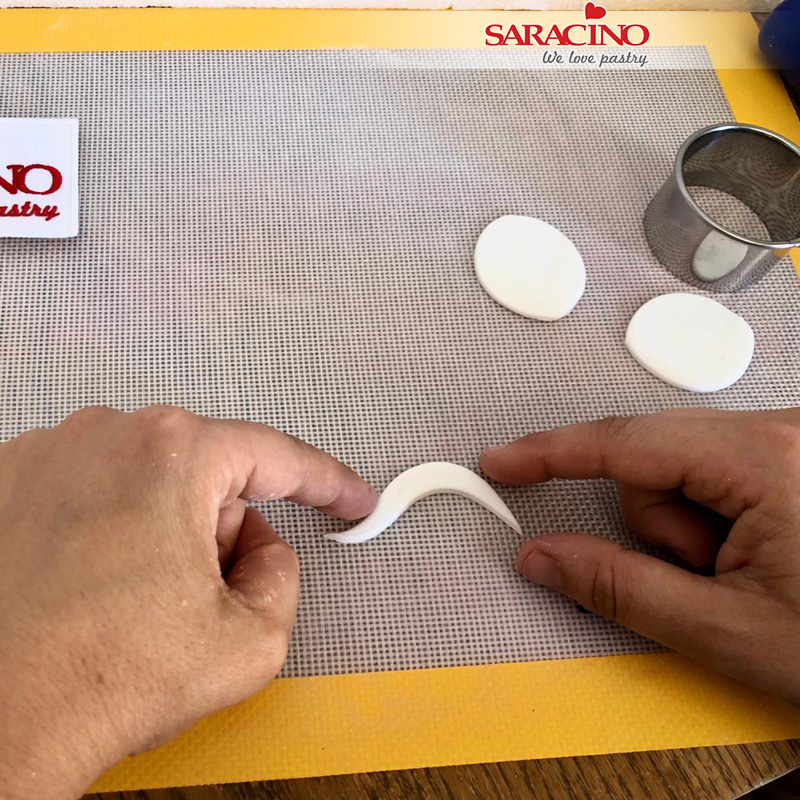
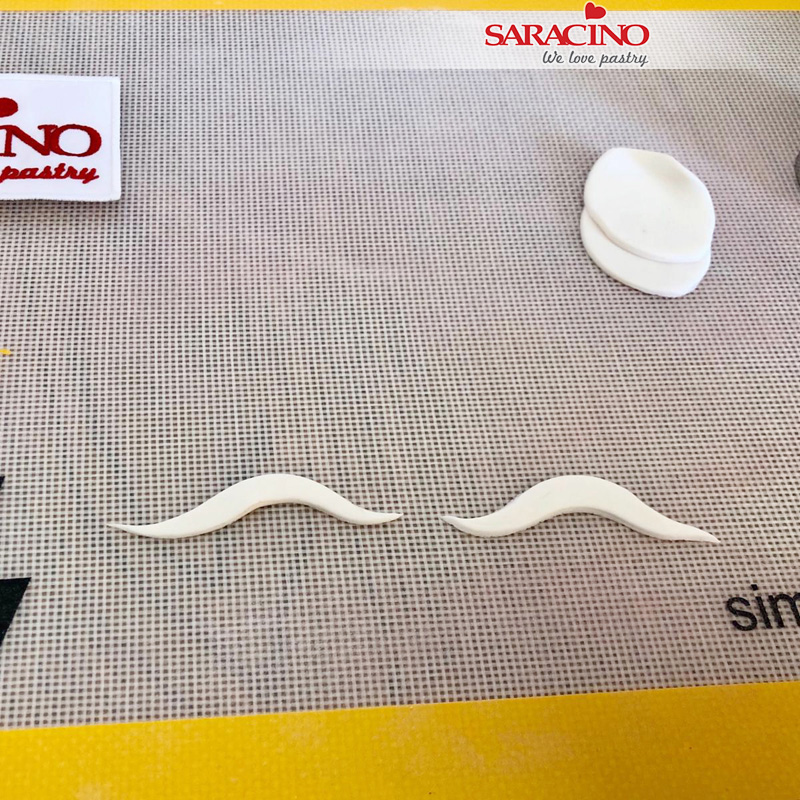
Step 4
Repeat for each circle and fold them like an “S” shape as in the picture. Leave them dry on the mat for few minutes before positioning them on the board.

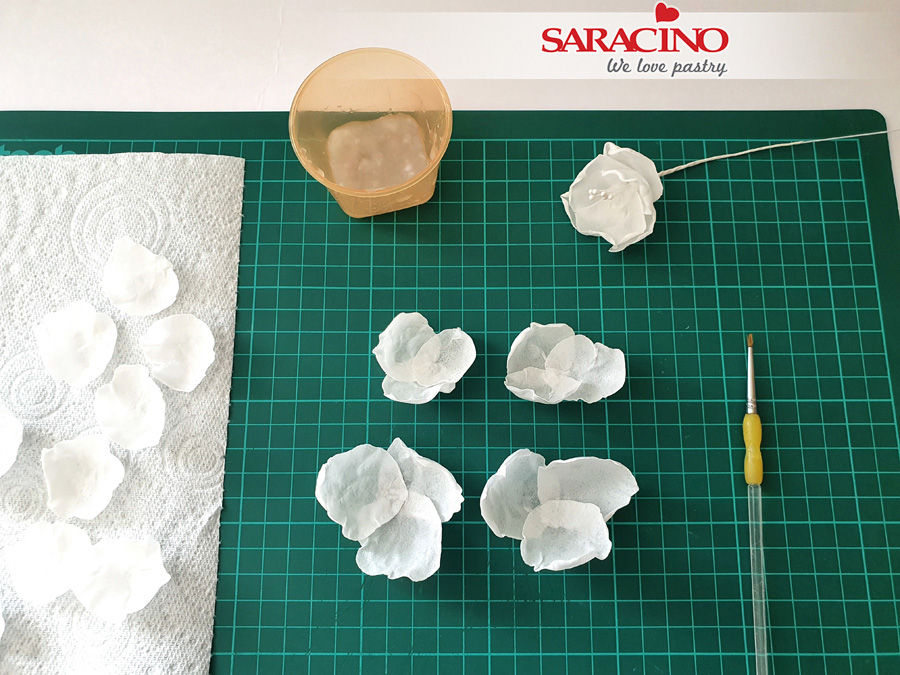
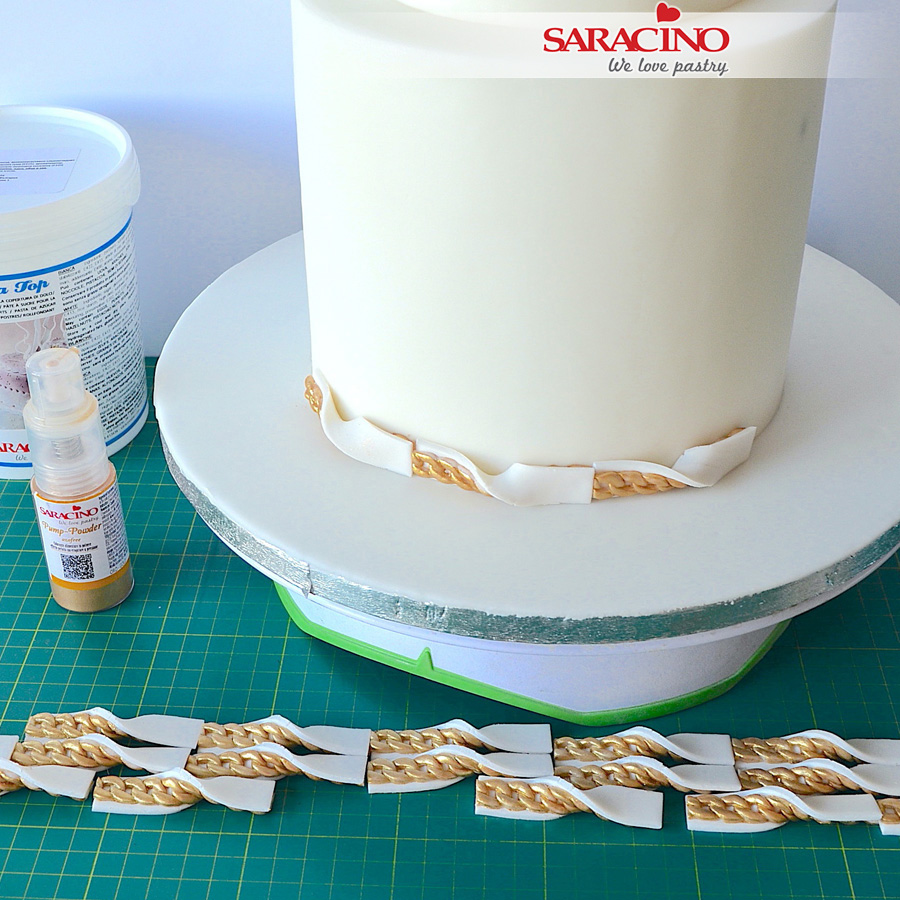
Step 5
Take one “petal” ruffle and stick to the side of the board, starting from the top, placing the other above slightly to the left. I used 4 petal ruffles of each colour. Use Saracino cake gel to help it stick.

Step 6
Prepare the other petal ruffles in different colours. Fix next to the one previosly fixed.

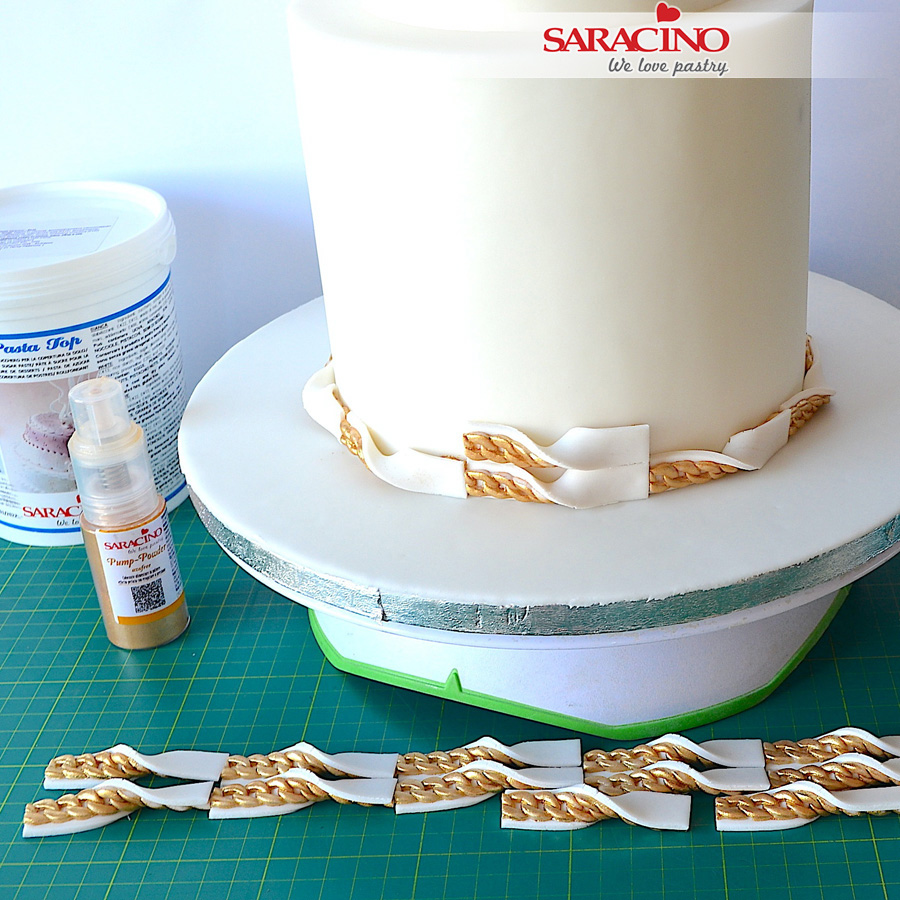
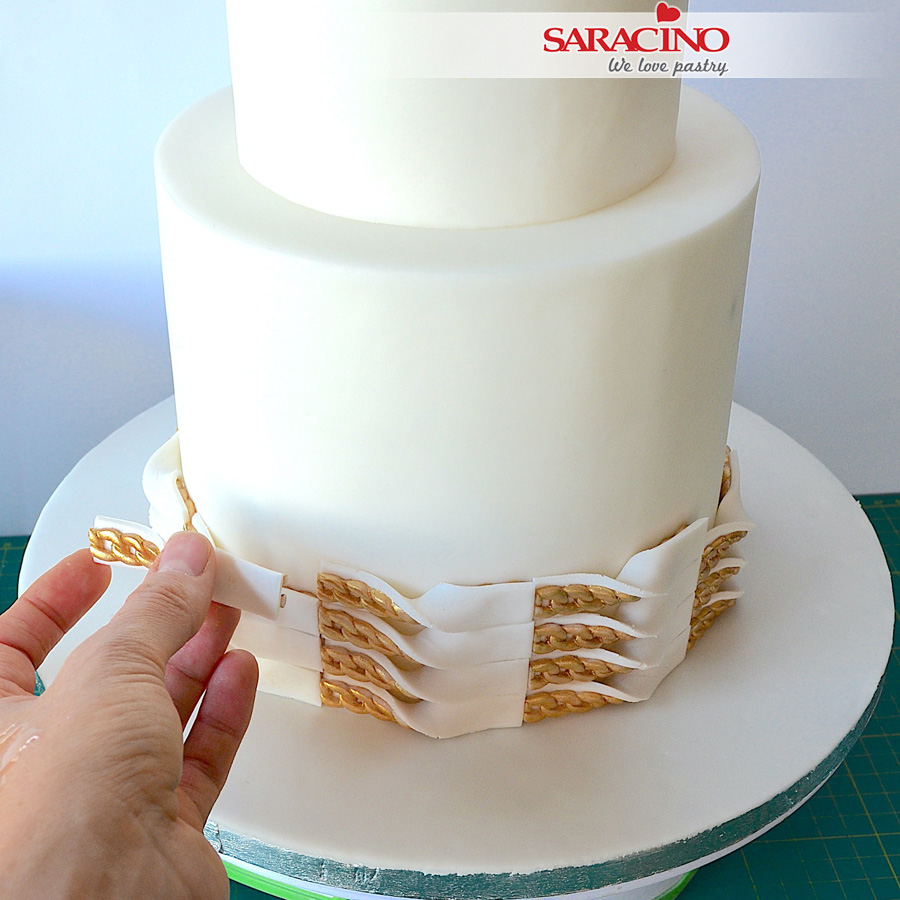
Step 7
Repeat with all the colours keeping to the same sequence as you work around the board.

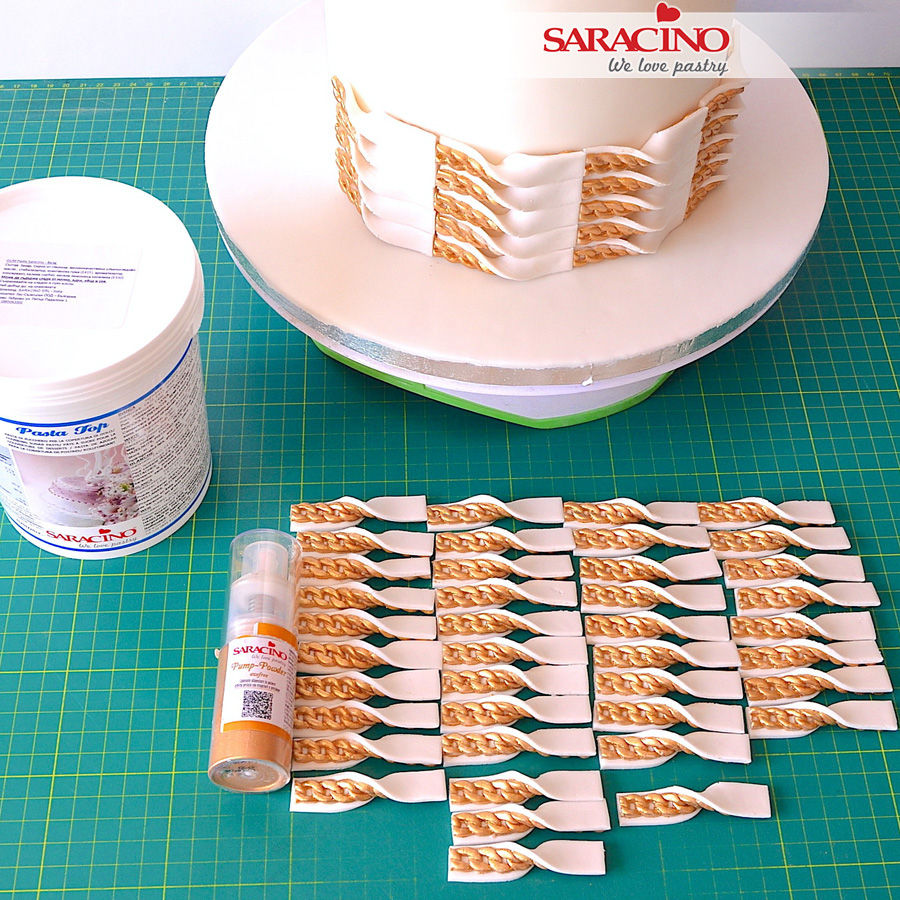
Step 8
Cover the entire side of the board as in the picture.

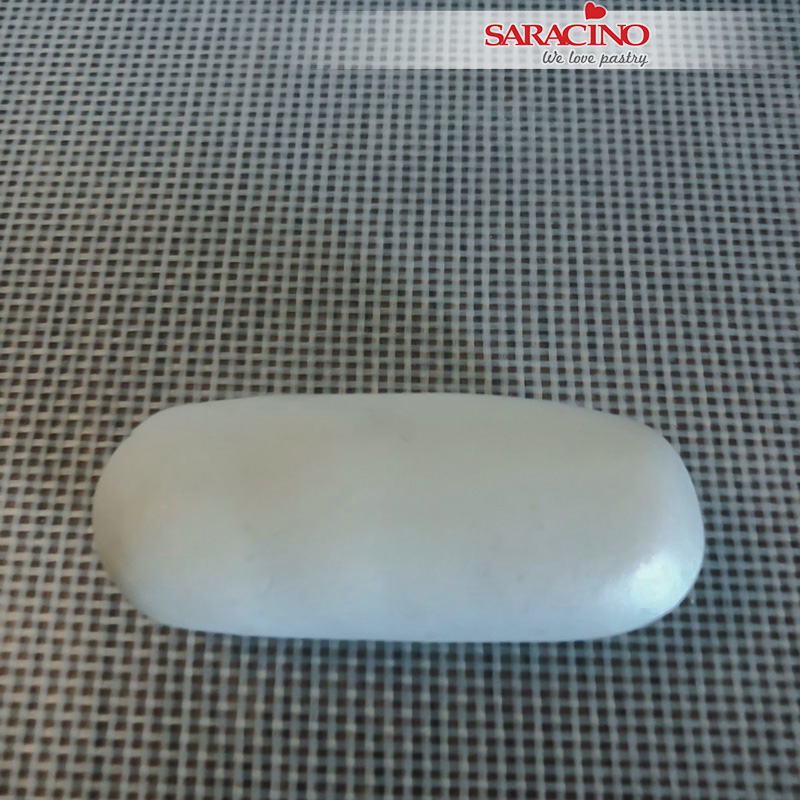
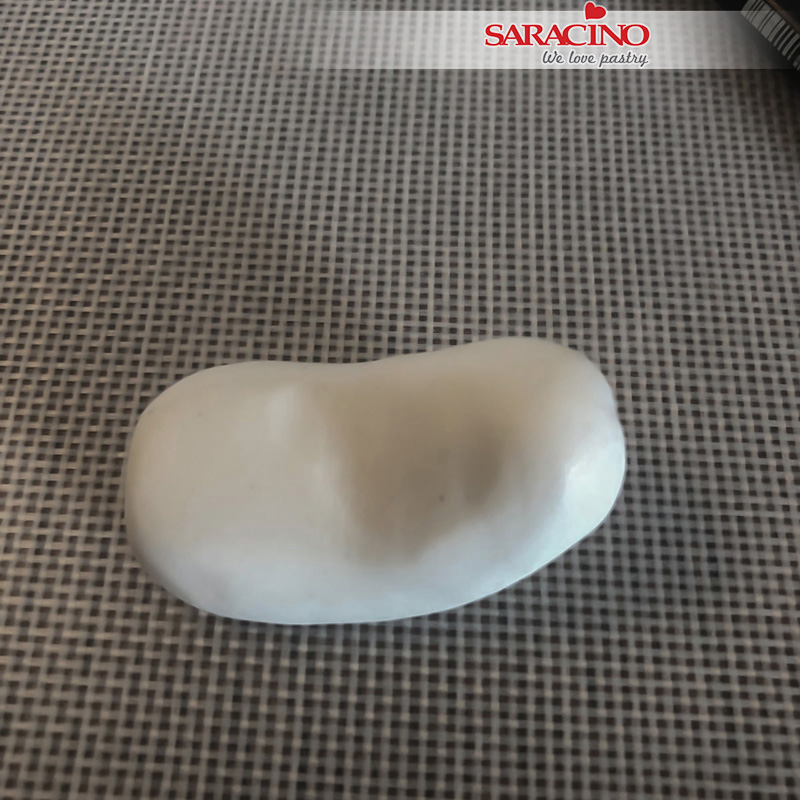
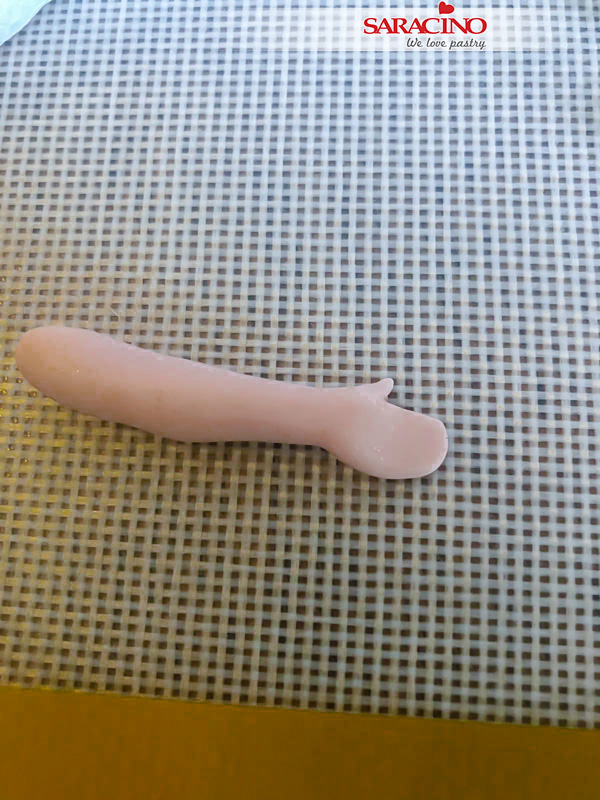
Step 9
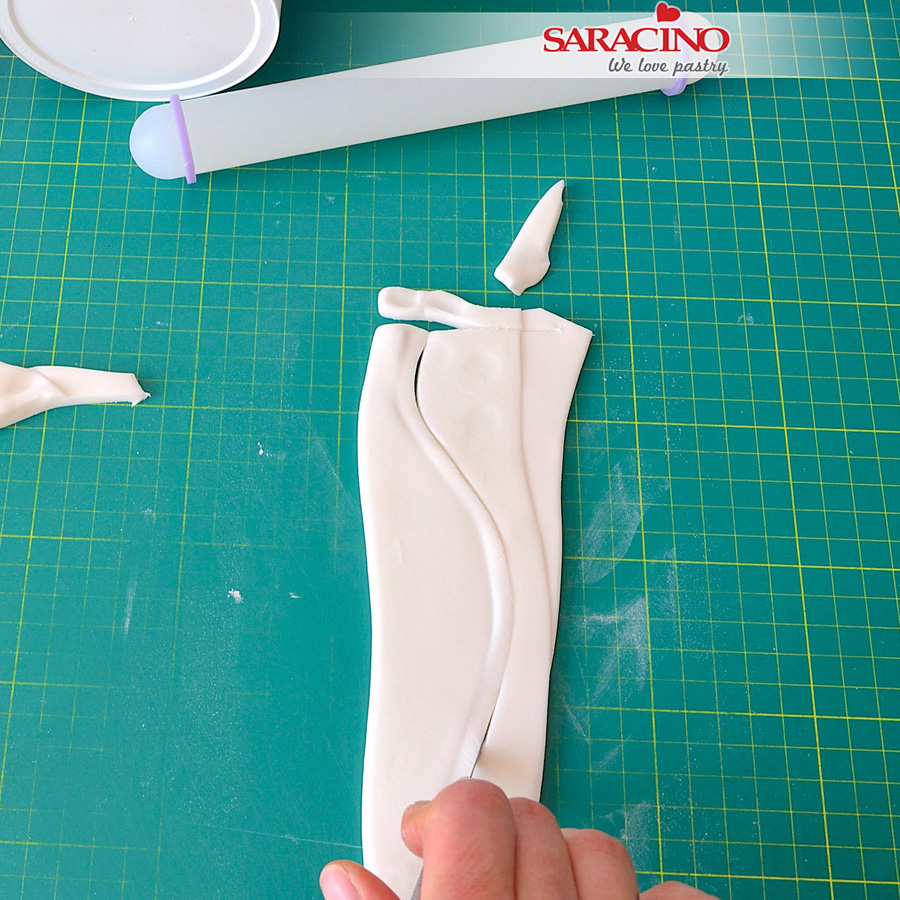
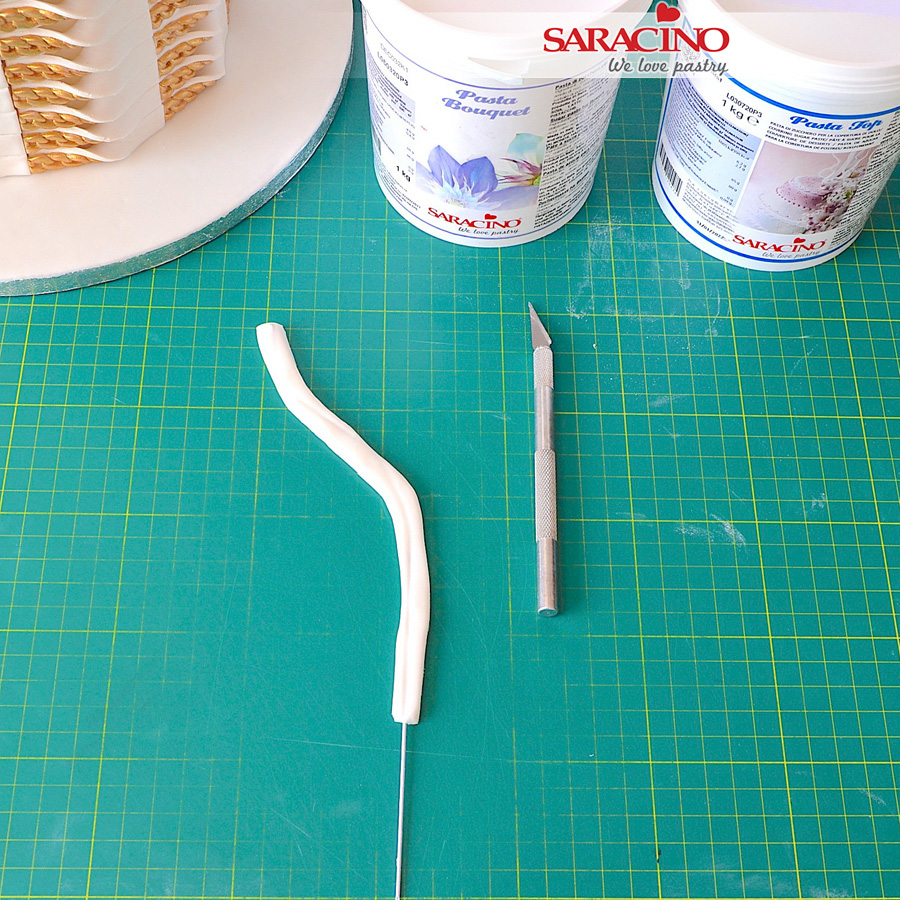
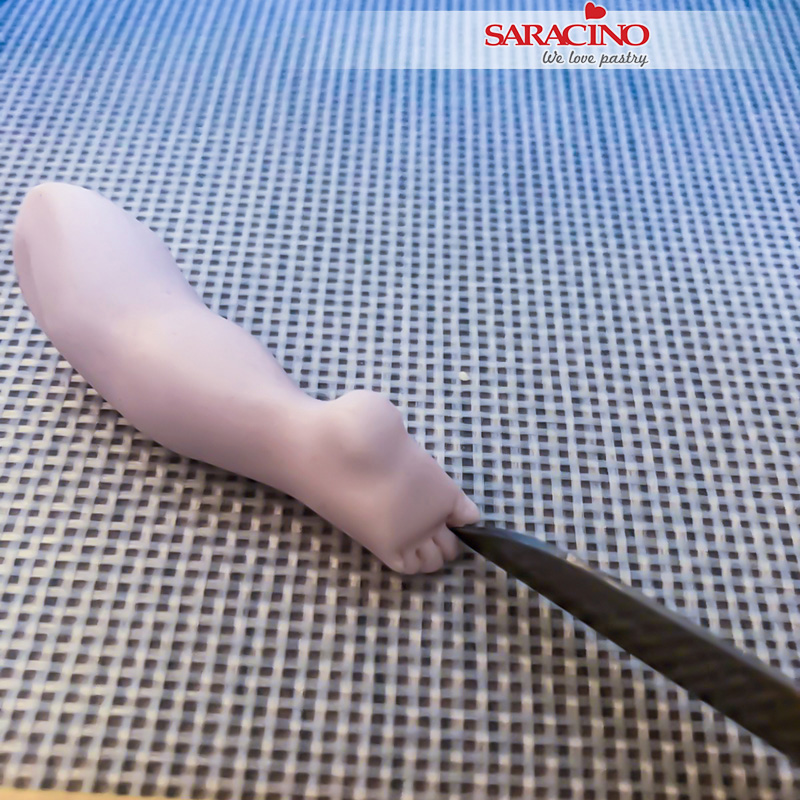
Roll a 5g sausage shape of white Pasta Model. Use your fingers to shape the ankle and flatten the end for the foot.

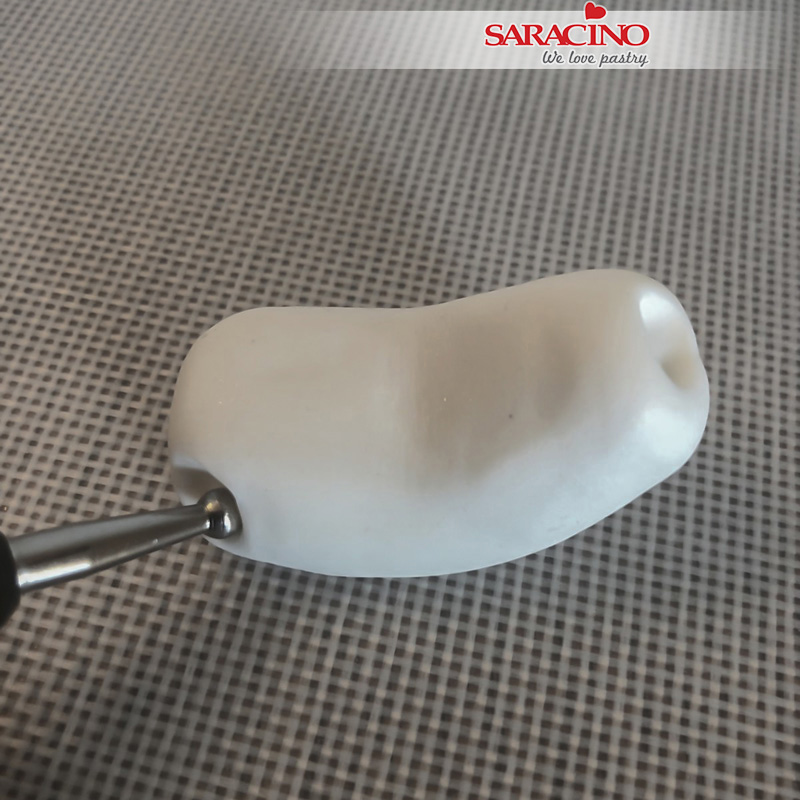
Step 10
Download the picture HERE. Position the leg on the template to check you have the correct size. Model the other leg using the template as a guide. Use a sharp tool to mark the slipper outline.

Step 11
Roll approximately 20g of white Pasta Model thickly and cut a cloud using the “cloud” cutter.

Step 12
Make another cloud and fix them on the bottom of the cake side. Use a little cake gel to help them stick.

Step 13
Position the legs we made previously on the clouds as shown.

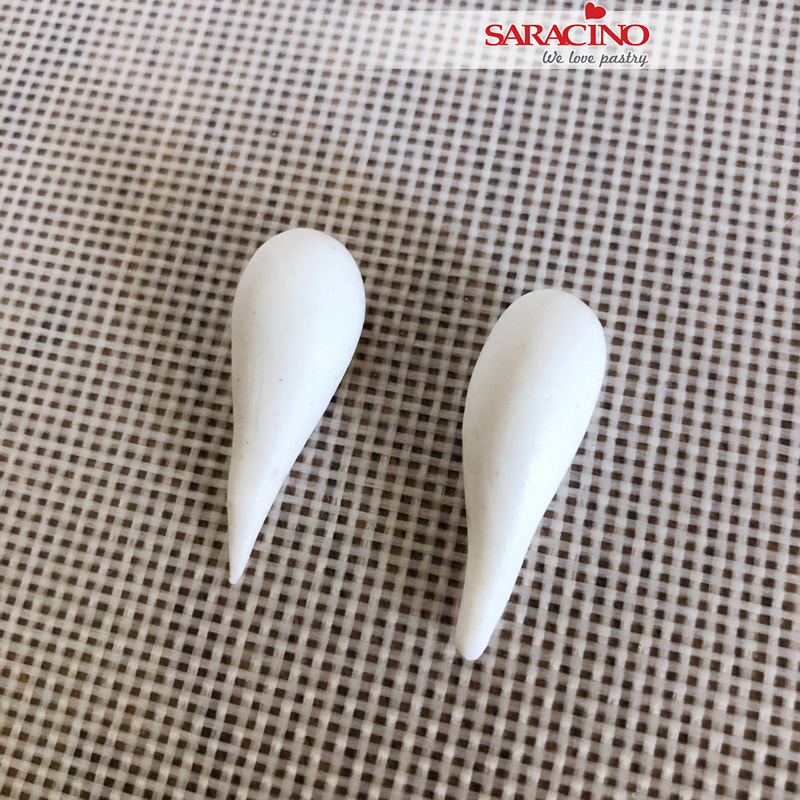
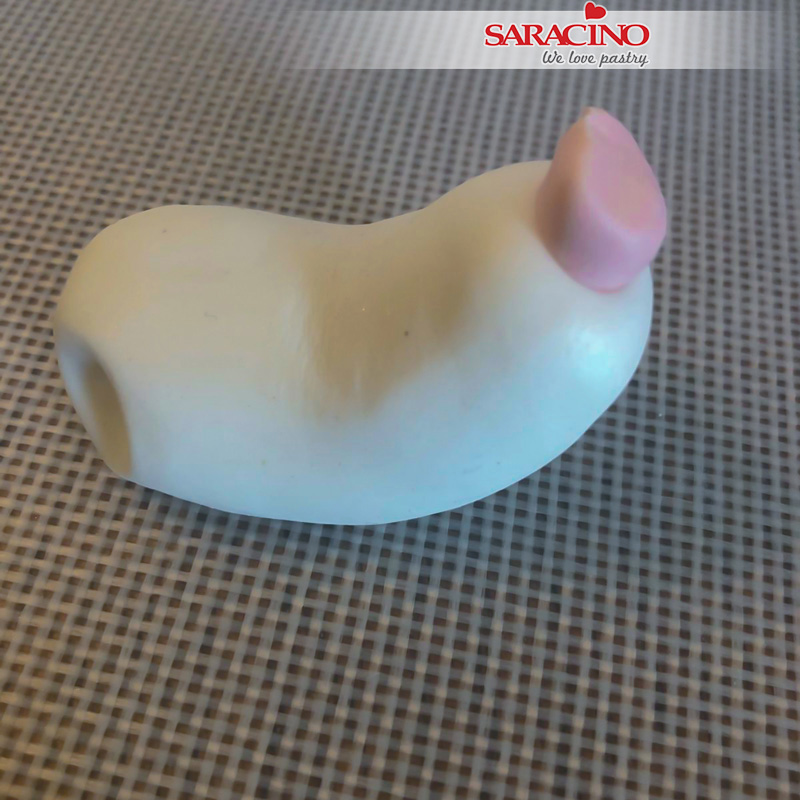
Step 14
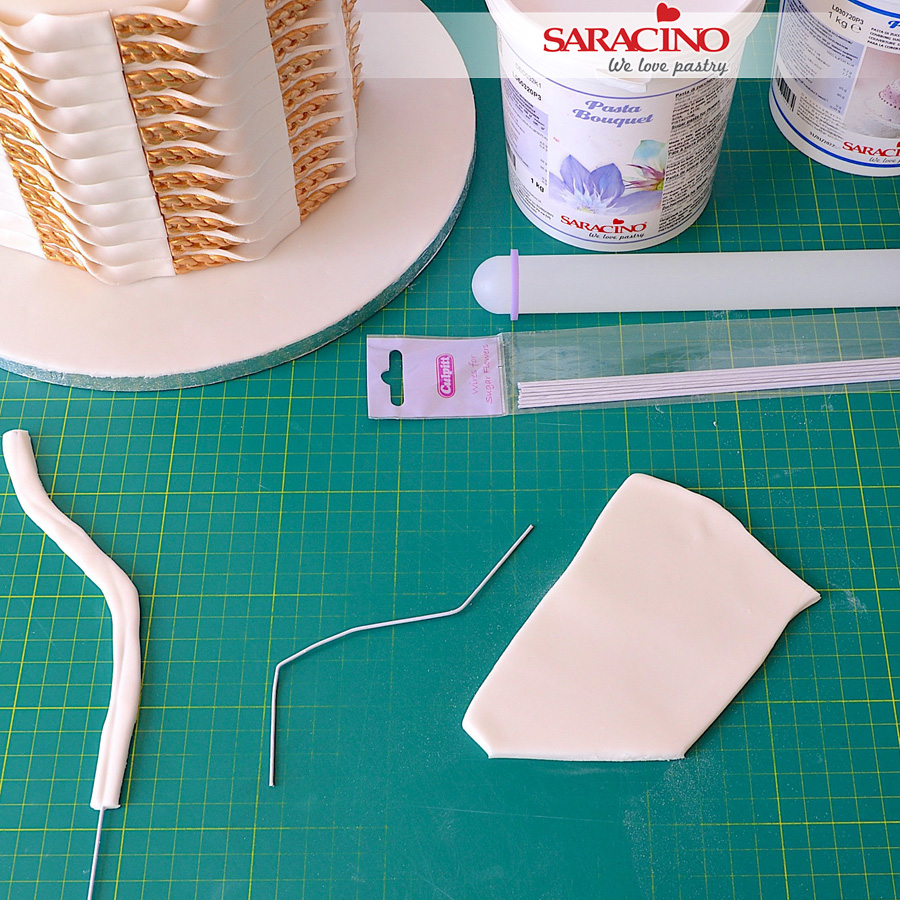
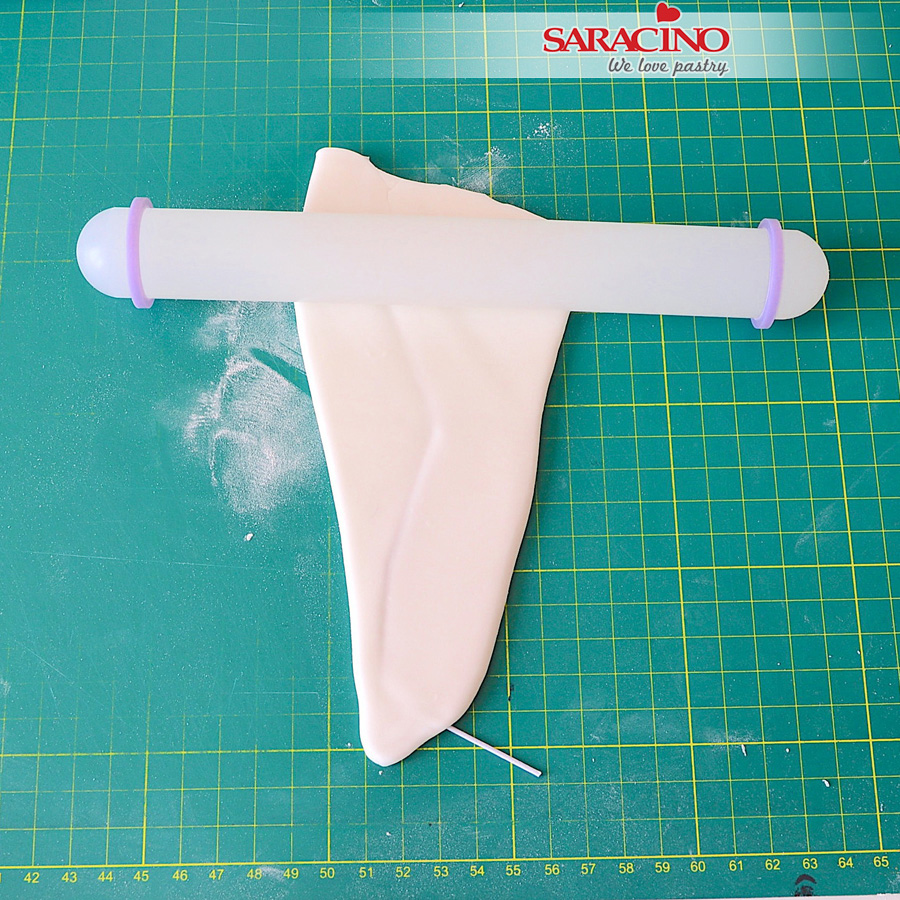
Roll approximately 7g of white Pasta Model into a teardrop shape. Use the template as a size guide.

Step 15
Position and fix the body onto the cake following the design of the template.

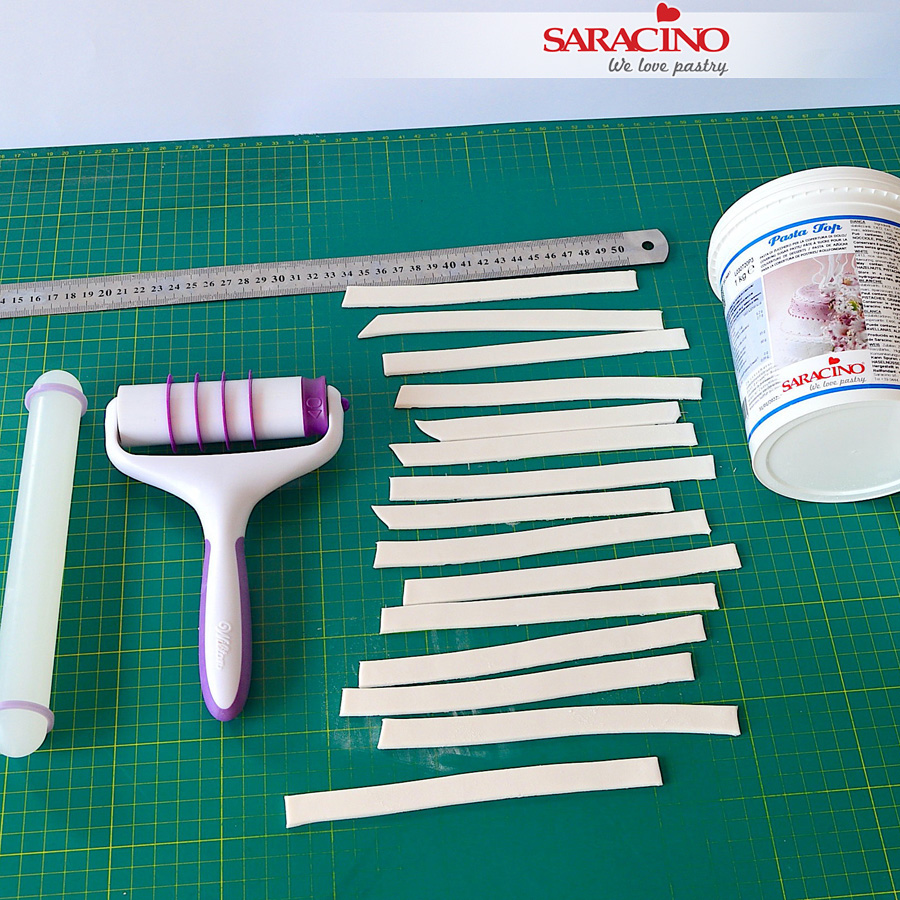
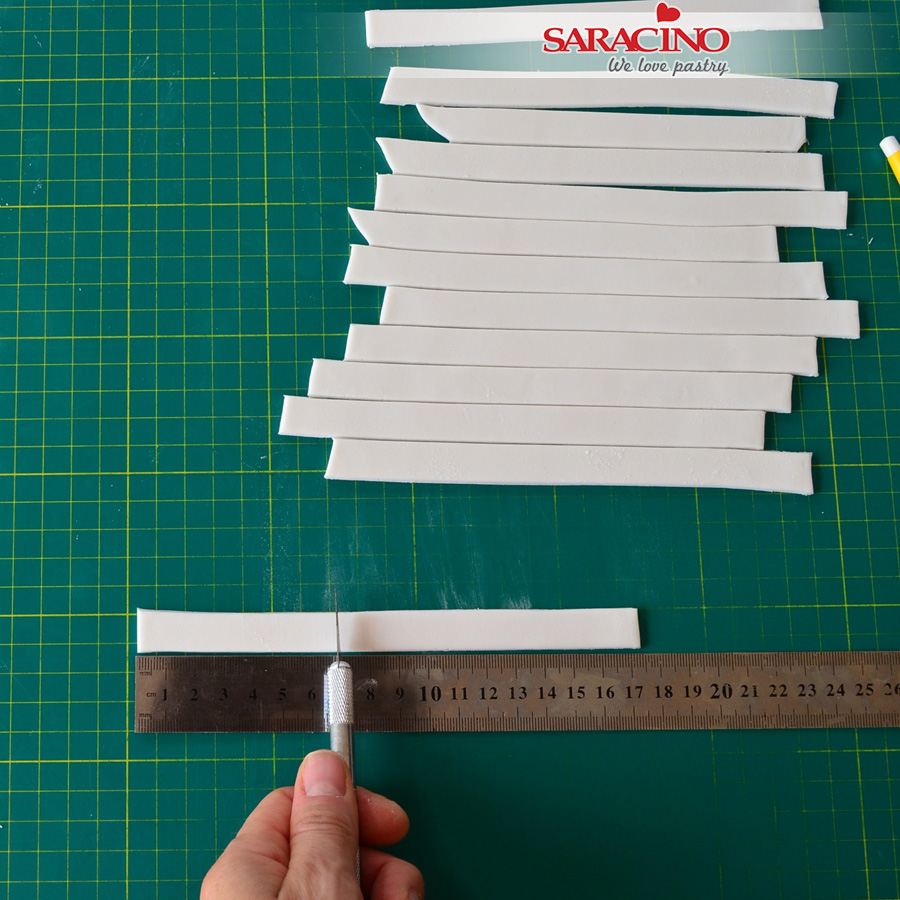
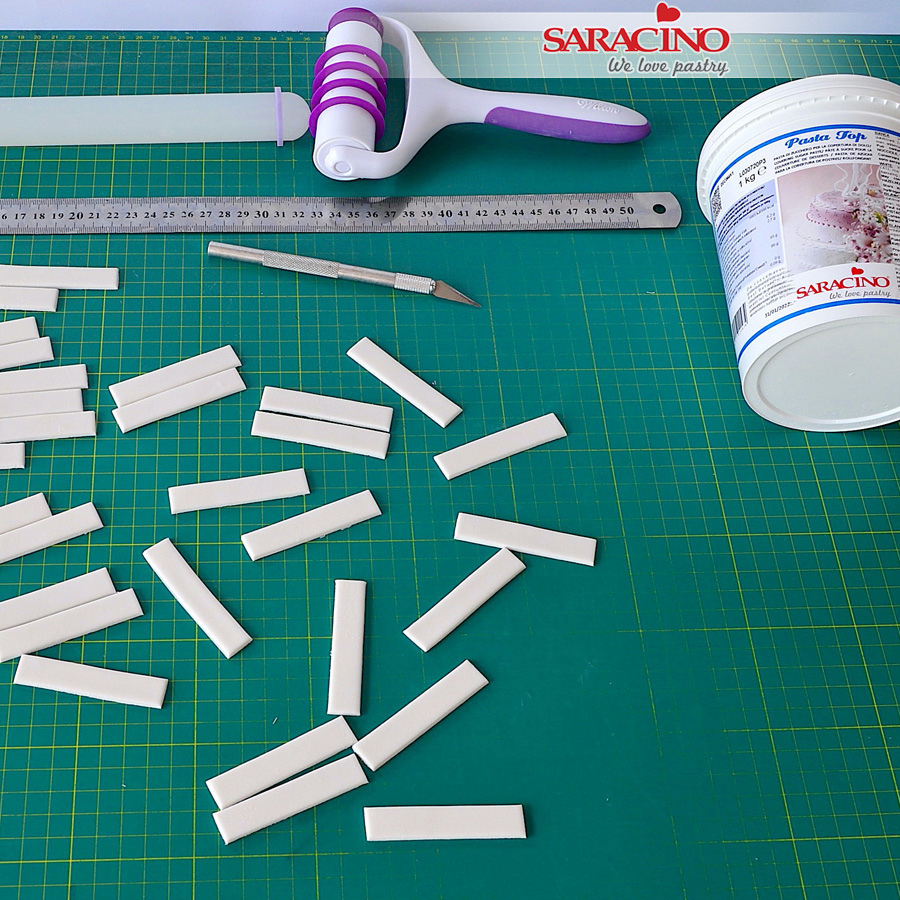
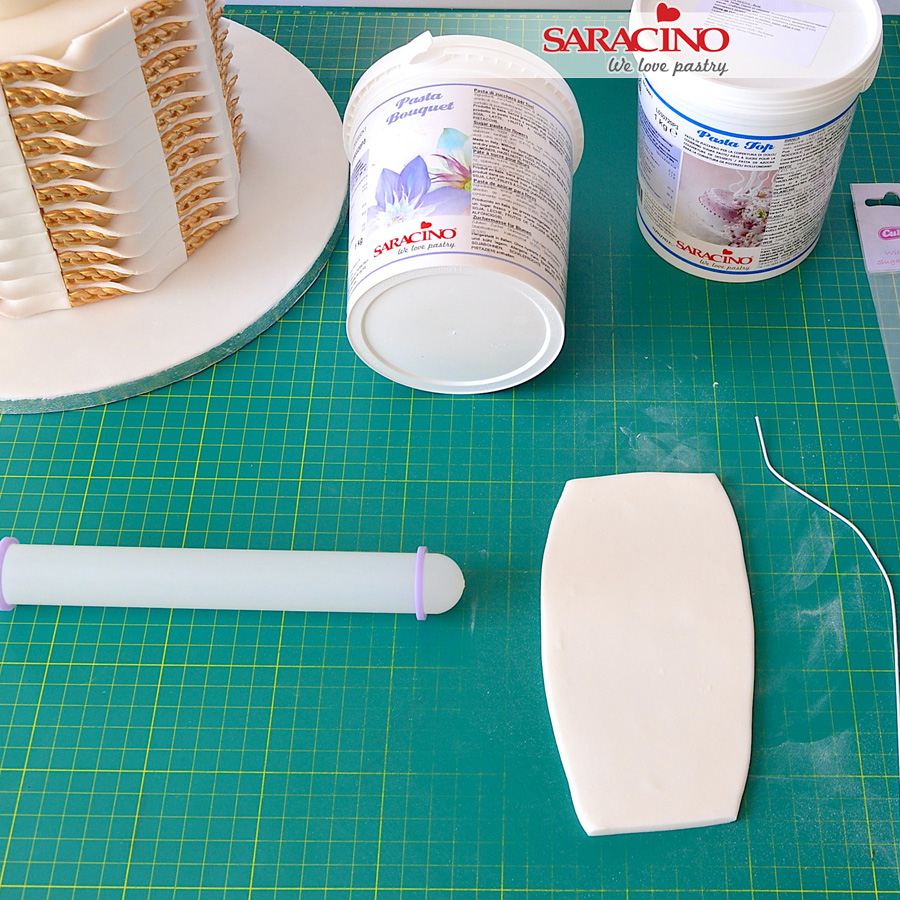
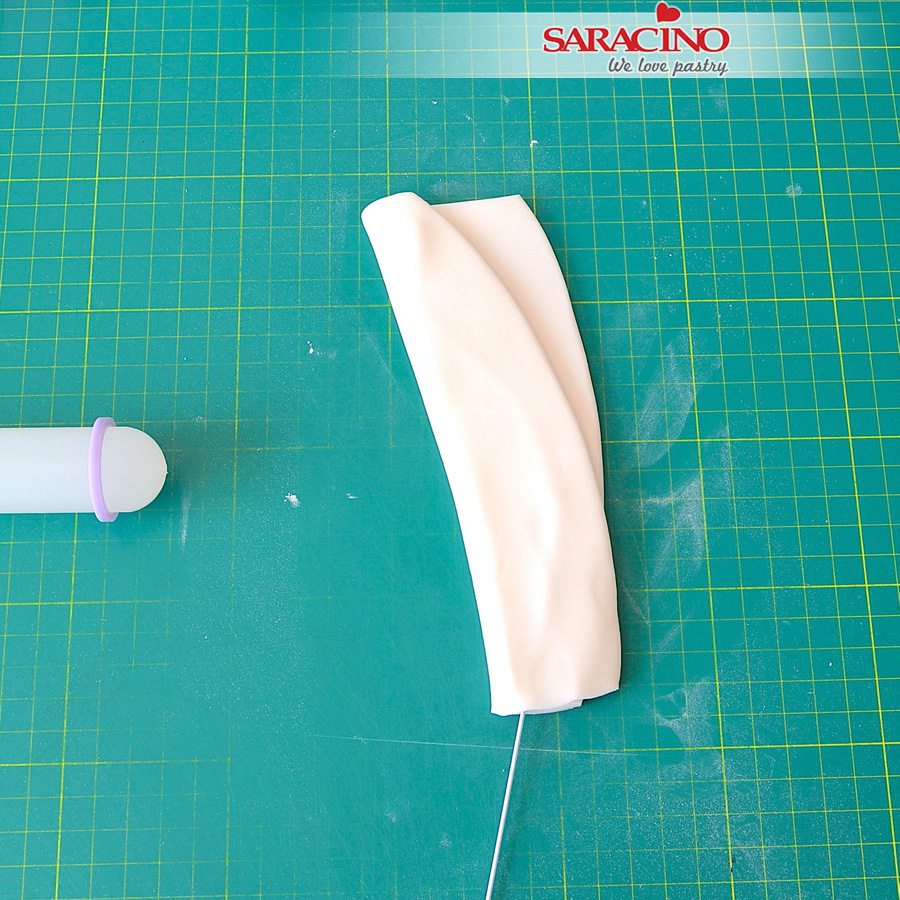
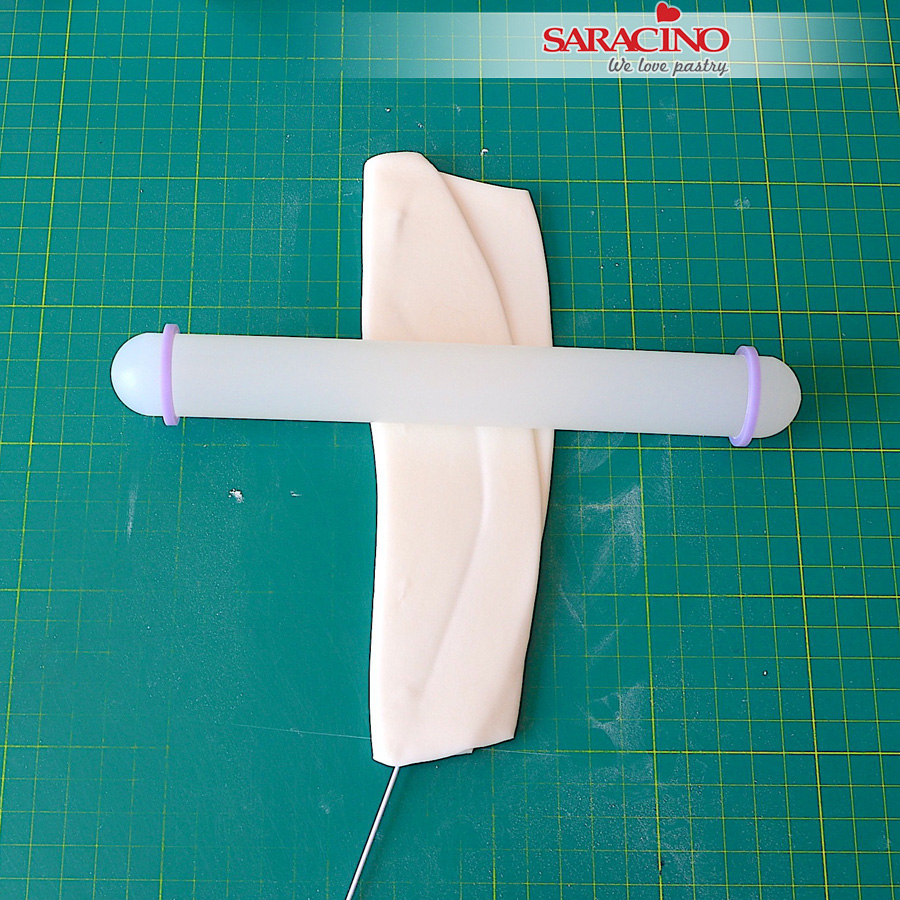
Step 16
For the skirt roll approximately 5g of white Pasta Model thinly and cut a strip. Fold it as shown in the picture to make the pleats.

Step 17
Position and attach the skirt to the body.

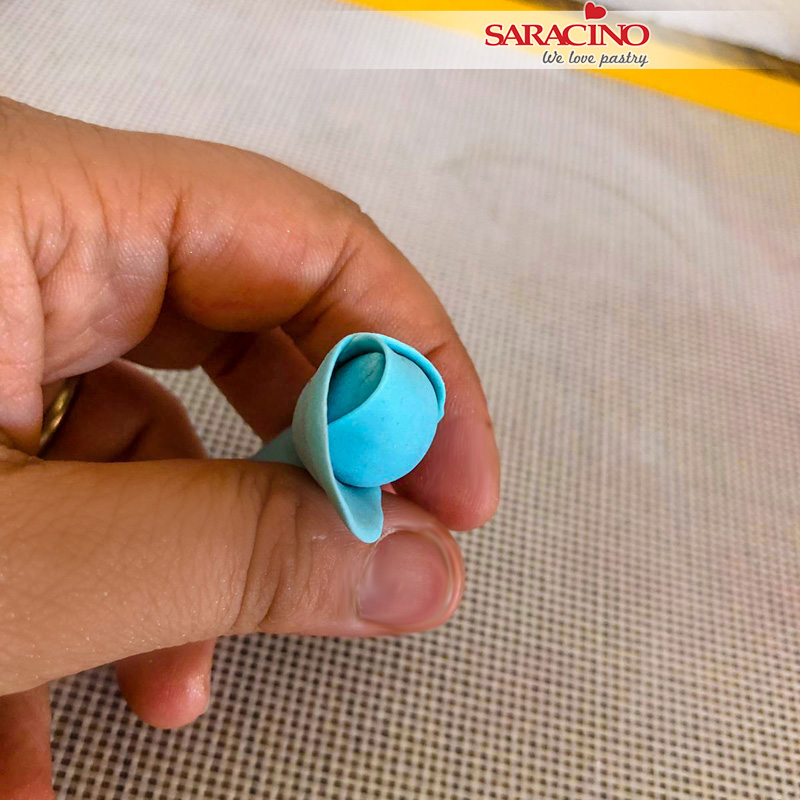
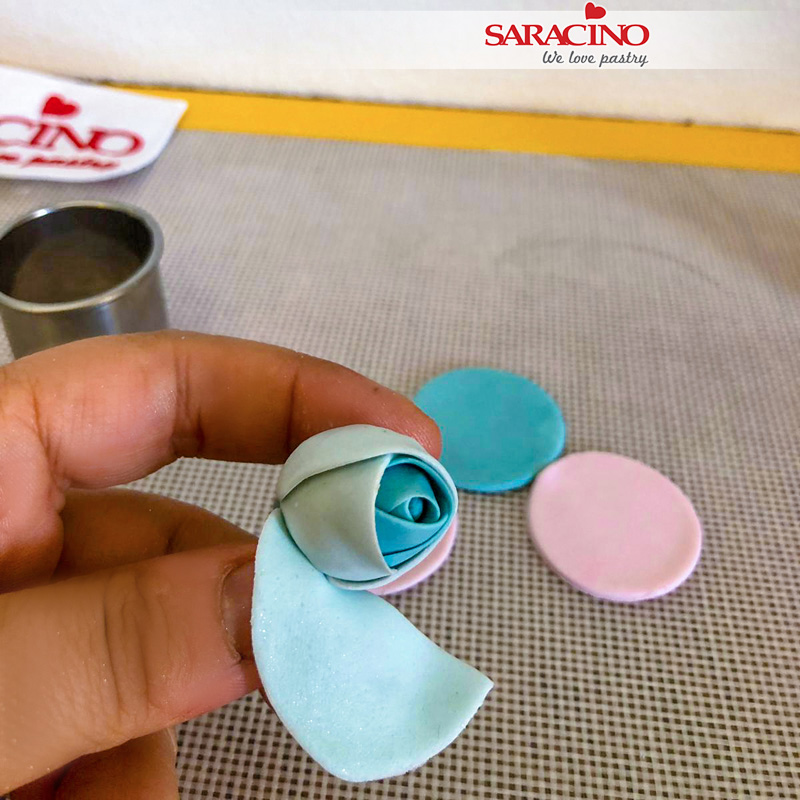
Step 18
For the flowers on the dress roll a small amount of tiffany Pasta Model and cut a small strip.

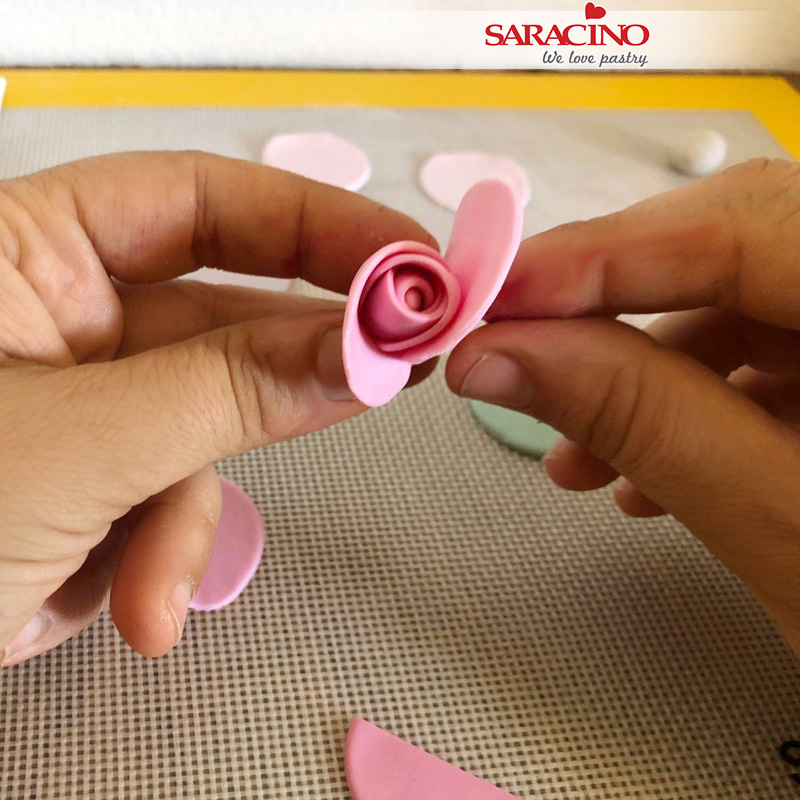
Step 19
Roll and fold the strip to make a small rose.

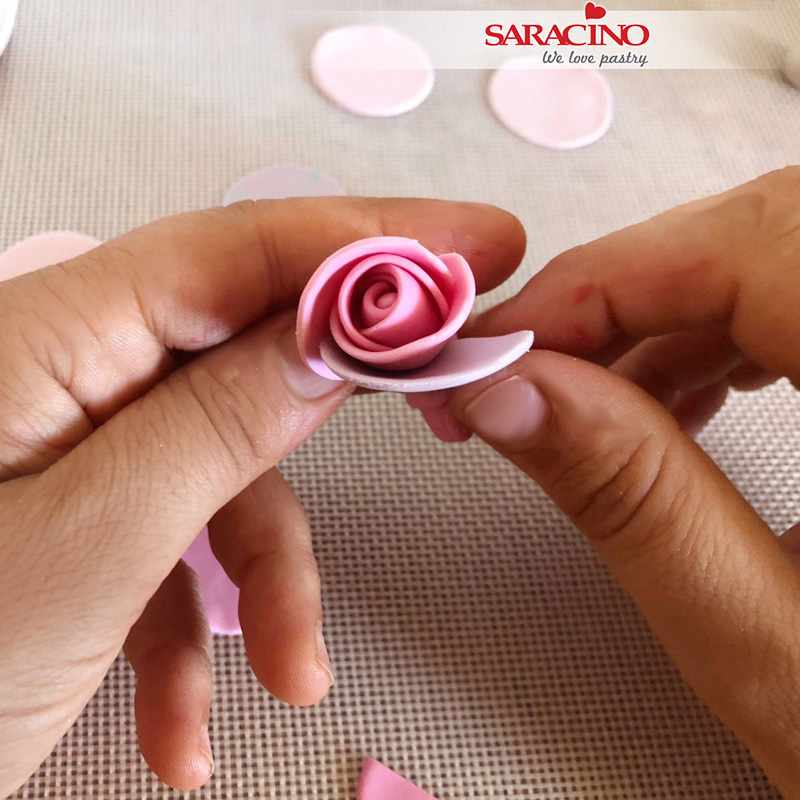
Step 20
Make 3 flowers and fix them at the bottom of the skirt.

Step 21
Repeat the same with different colours and continue until you decorate the entire bottom of the skirt.

Step 22
Roll 5g of white Pasta Model and cut another strip. Fold it as you did before to make pleats and position it as a “second layer” over the first one and above the roses.

Step 23
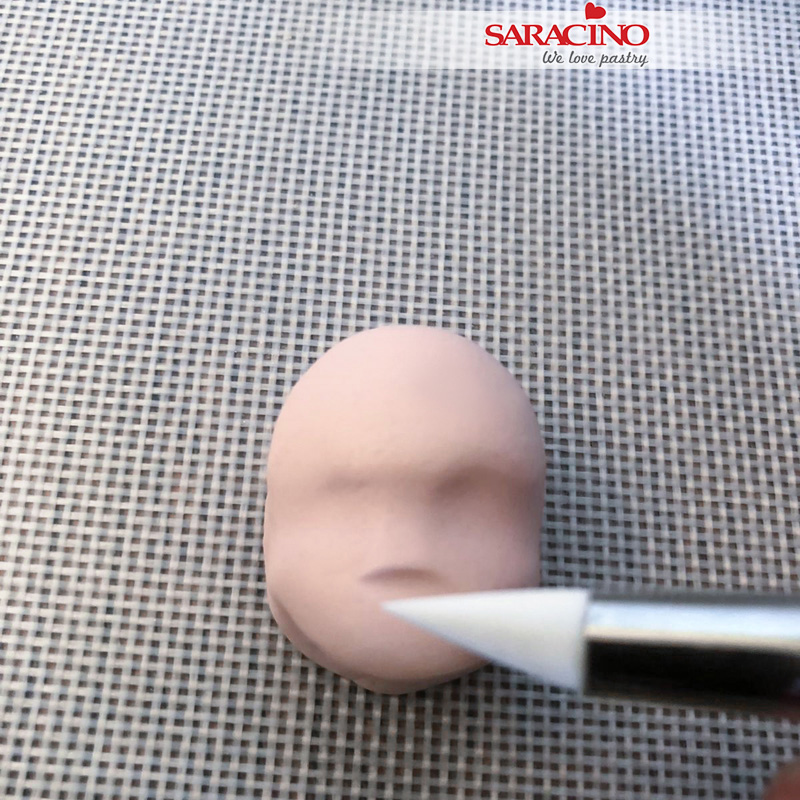
Roll a 6g ball of light skin Pasta Model using the template as a guide for the size needed.

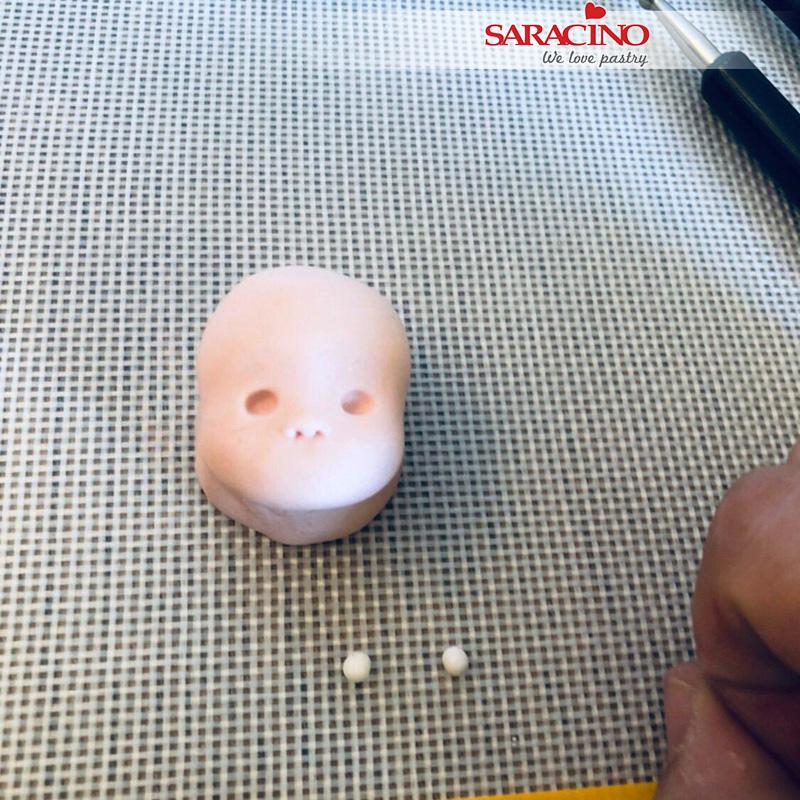
Step 24
Flatten the ball slightly and using your fingers start to shape the eye sockets and the nose.

Step 25
Use a silicone tool to mark the 2 points at the end of the mouth as shown.

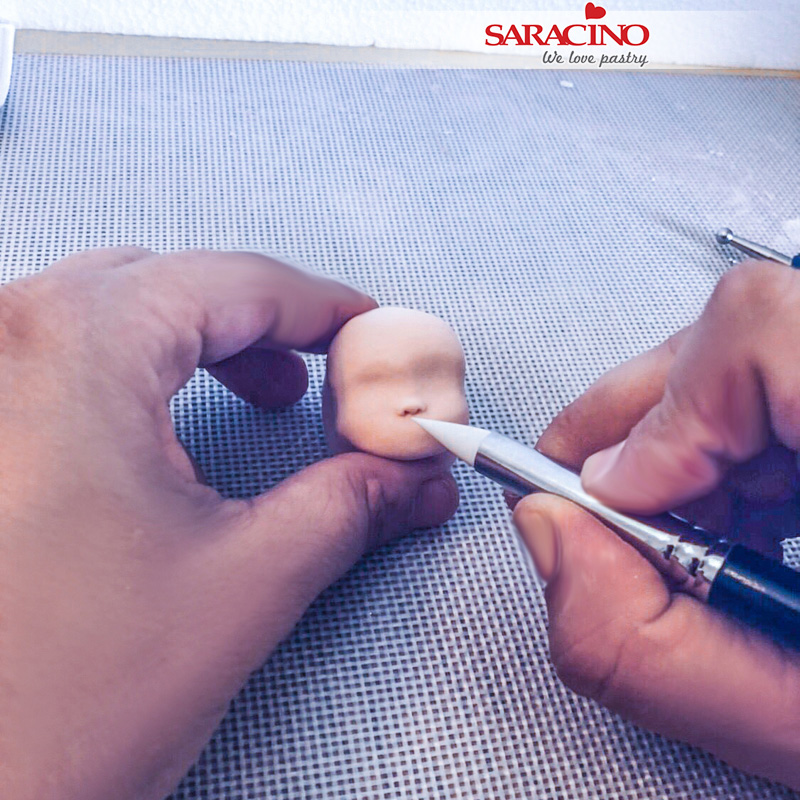
Step 26
Mark a line between the 2 points with the modelling tool and cut it using the craft knife.

Step 27
Mark the upper and the bottom lips using the Dresden tool. Push the paste towards the mouth for the upper lip and just mark the shape of the lower lip.

Step 28
Smooth around the lips using the silicone tool.

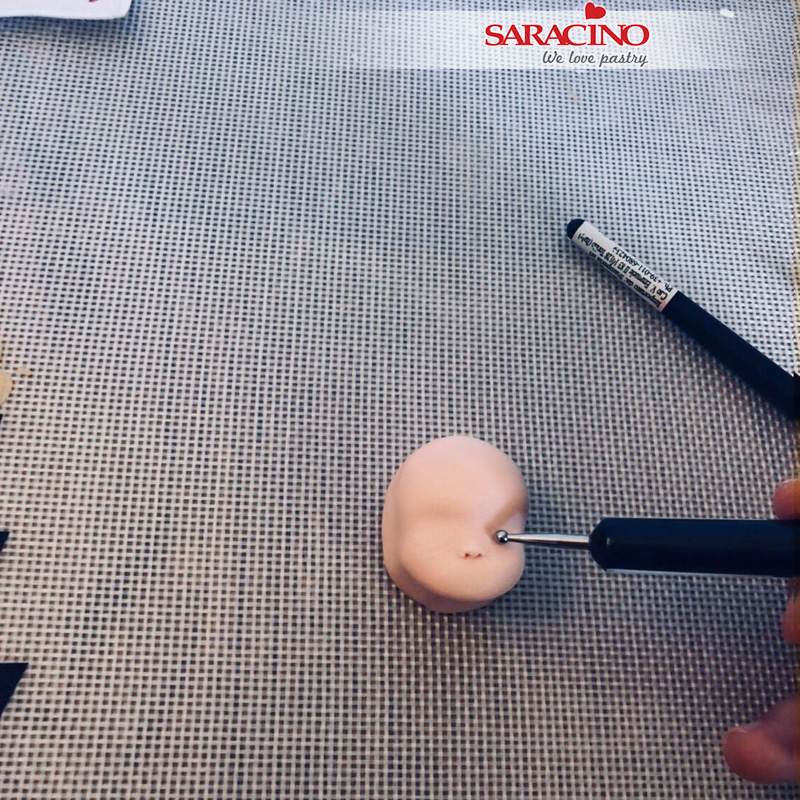
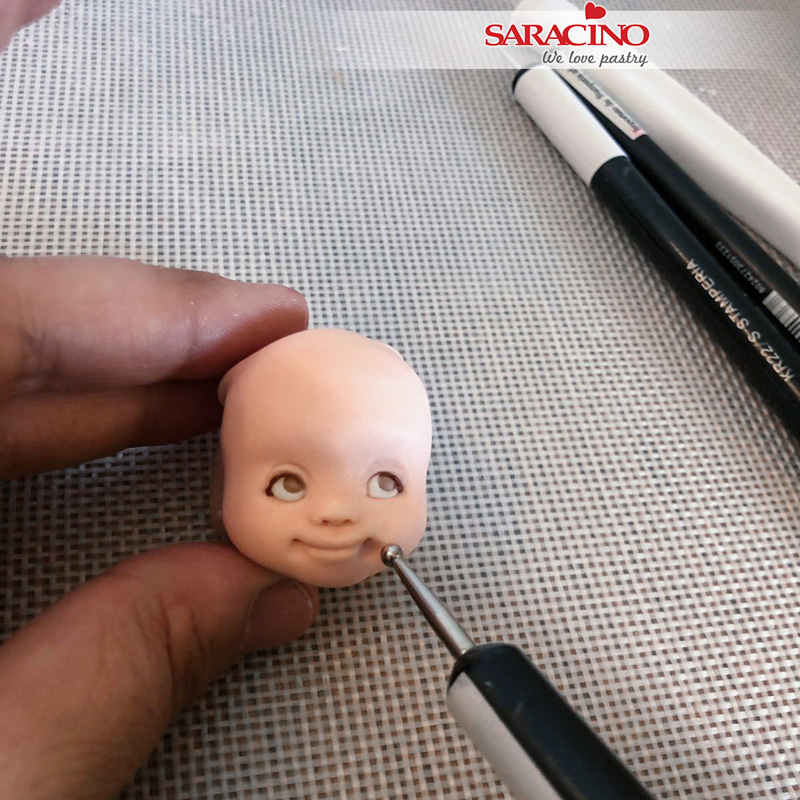
Step 29
Make the eye sockets using a small ball tool.

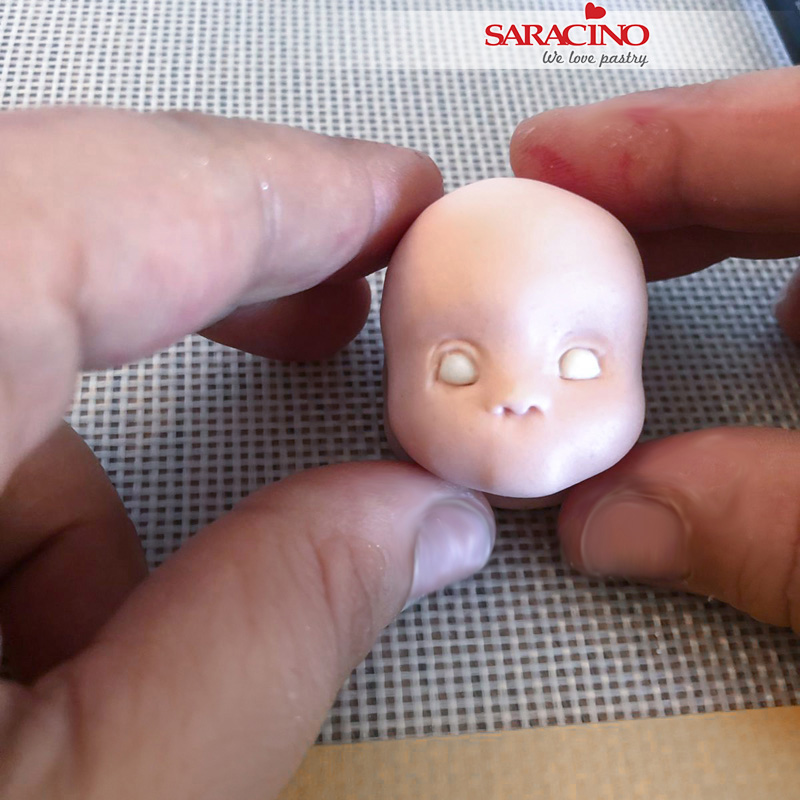
Step 30
Fill the eye sockets with 2 small balls of white Pasta Model.

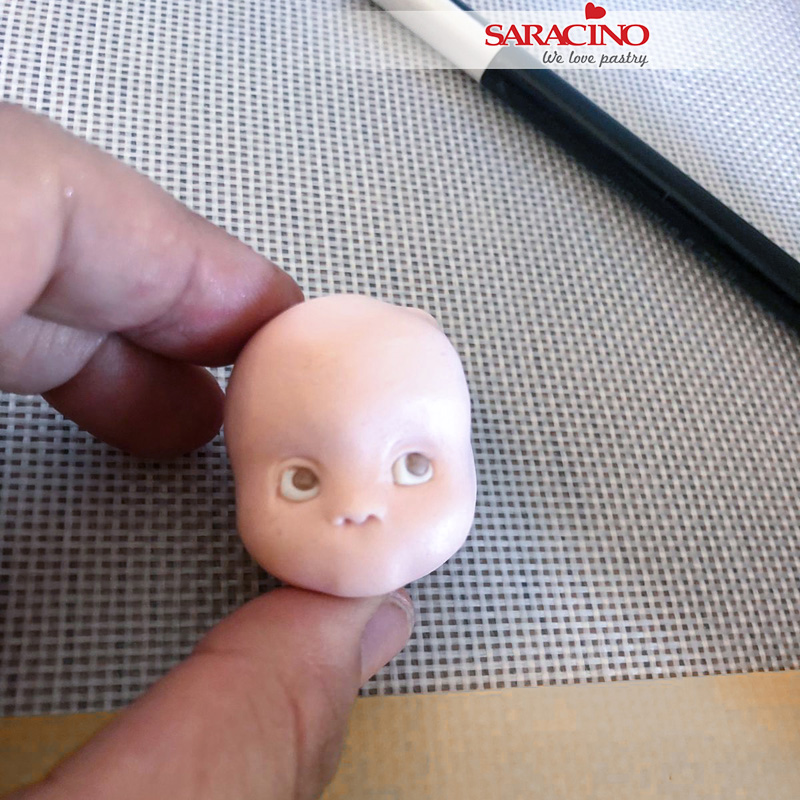
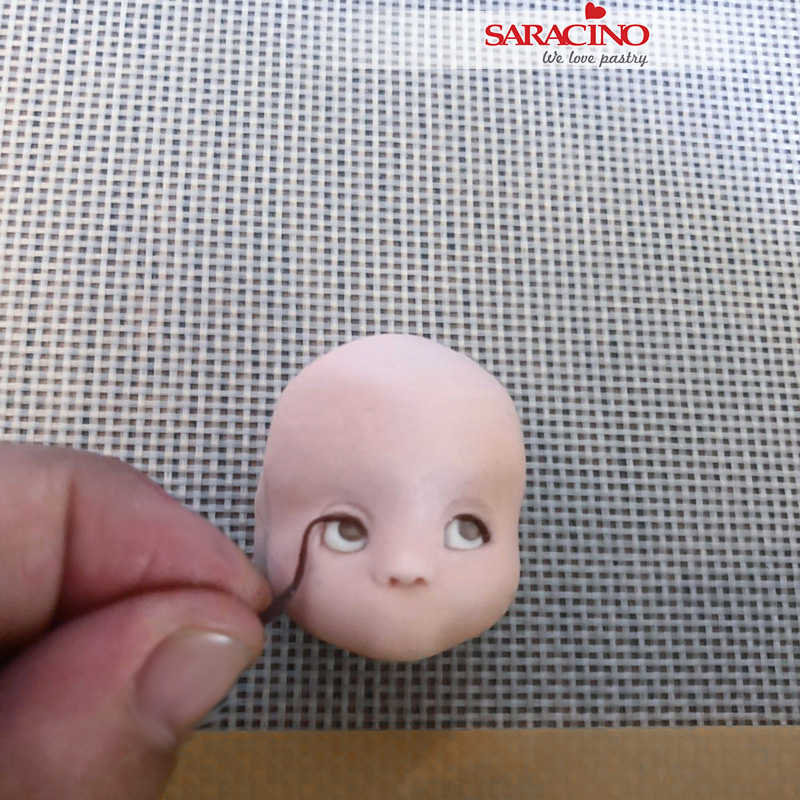
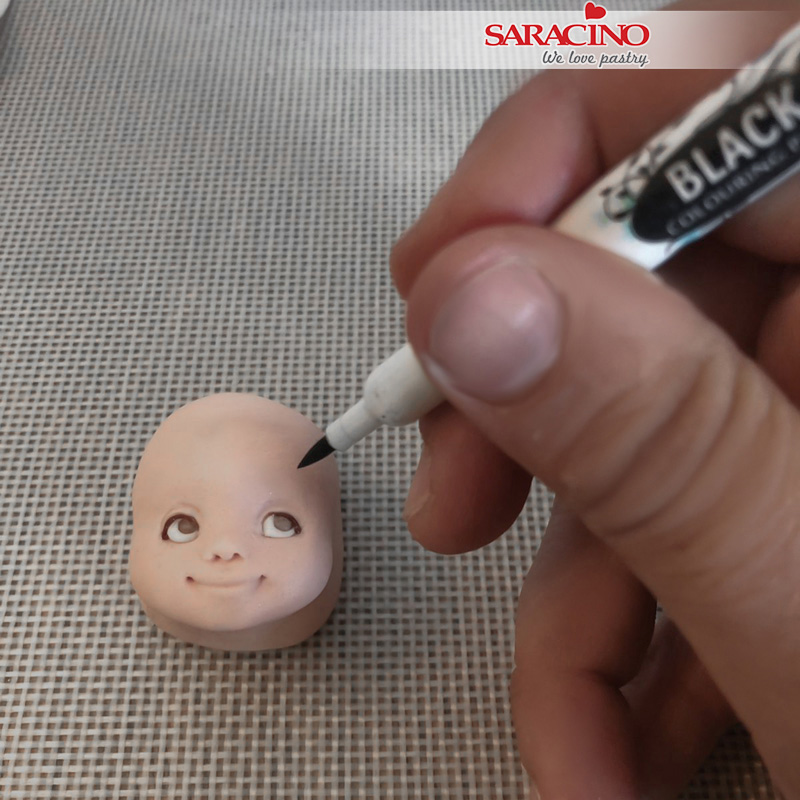
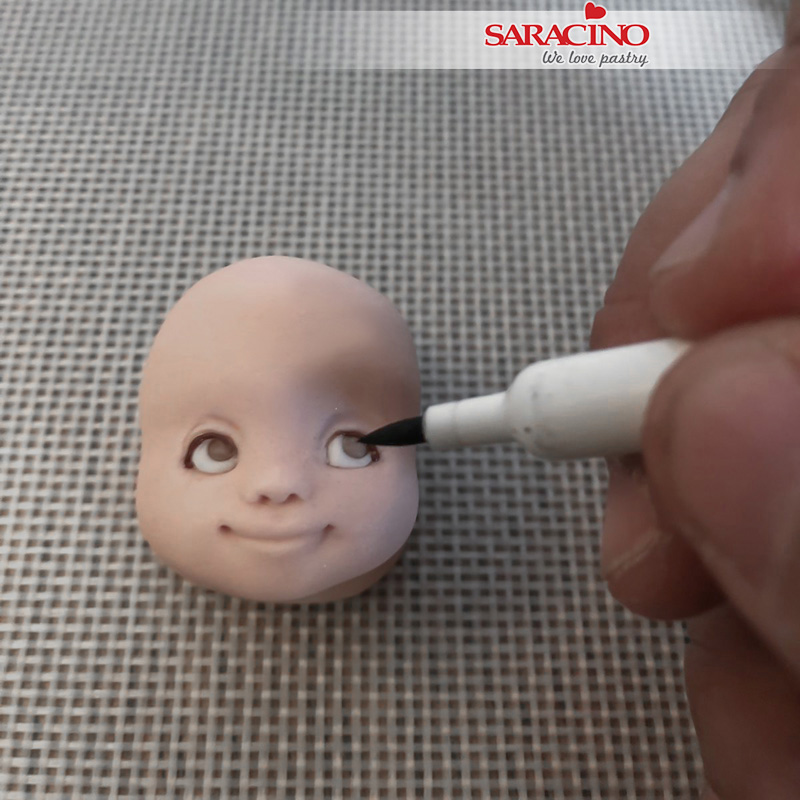
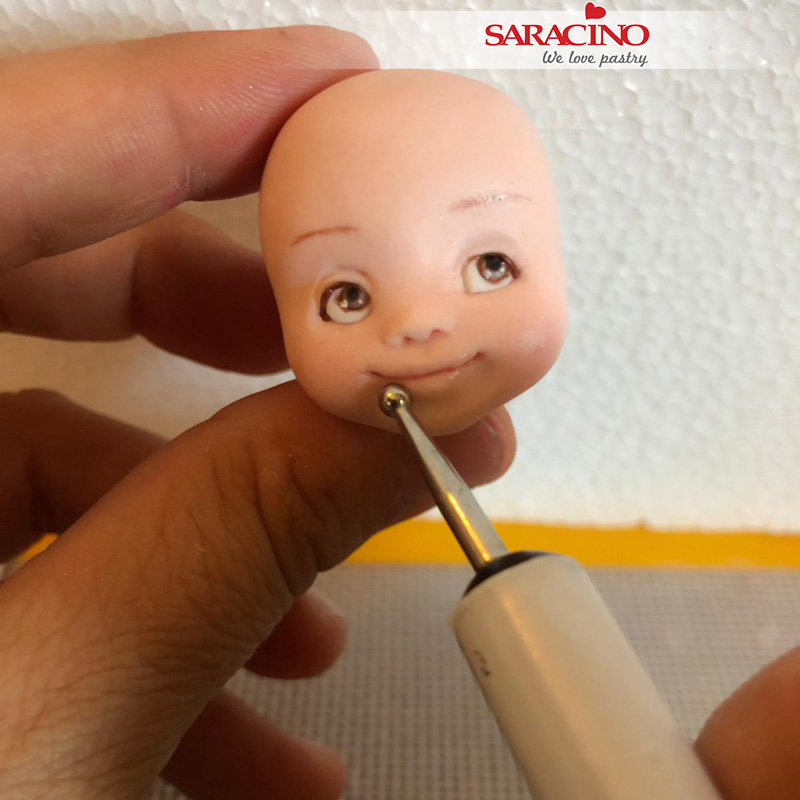
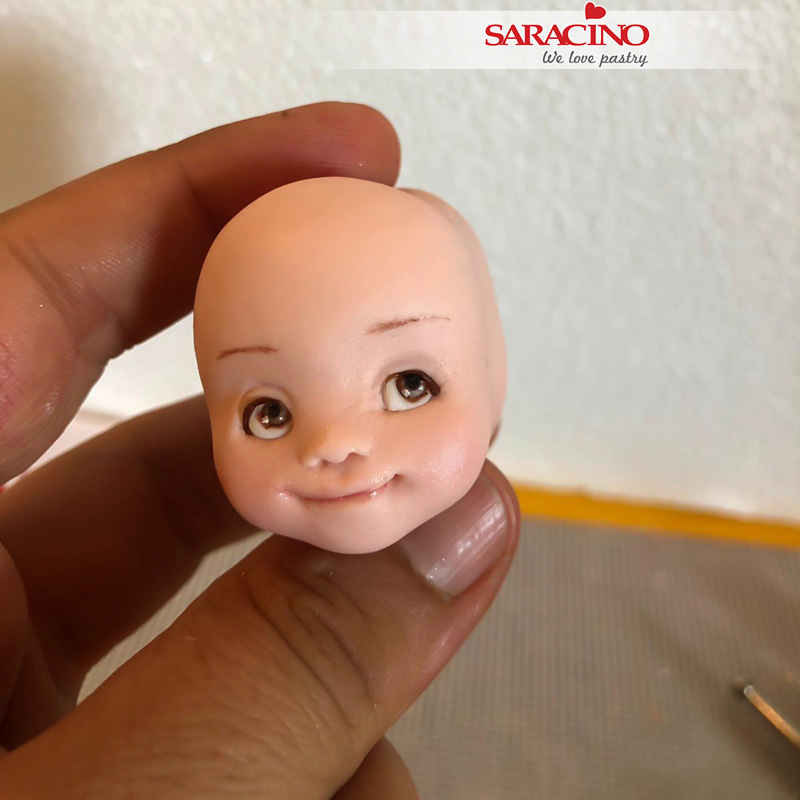
Step 31
Paint the eyes: use light blue colour for the iris. Using the end of the number 3 piping nozzle cut 2 small circles of black Pasta Model and fix them in the center. Add 2 small dots of white Pasta Model for the highlights. Roll 2 small lines of black paste for the eye liner and fix. Using brown colour paint the eyelashes and eyebrows. Dust the cheeks and lips using pink powder.

Step 32
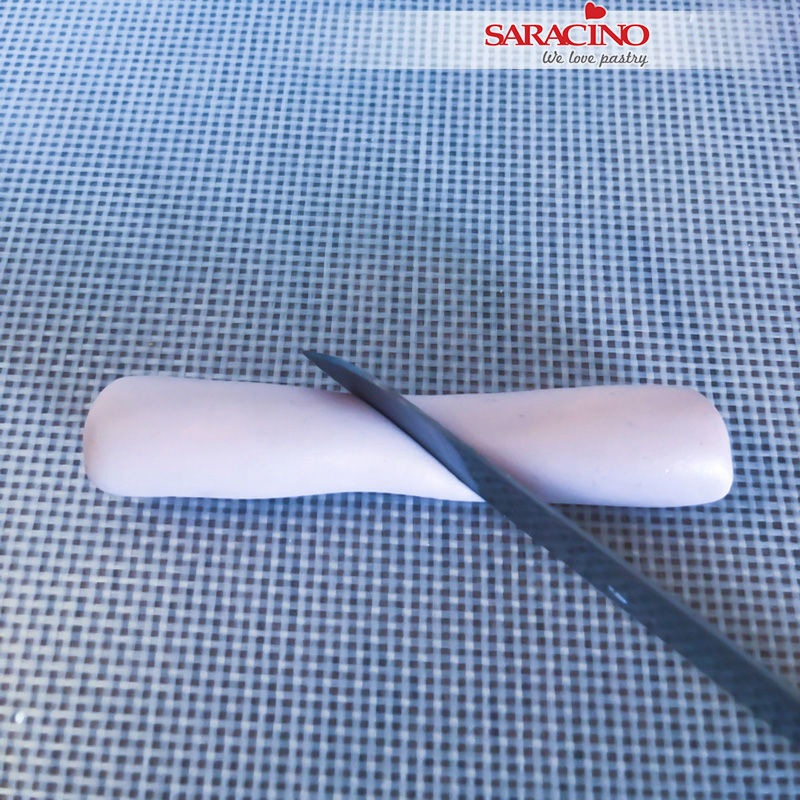
Roll a sausage of about 5g of light skin Pasta Model and pinch in the middle to shape the neck.

Step 33
Position the neck on the body and cut to the right shoulder width. Fix using cake gel. Use the silicone tool to shape the neck. Position the face using cake gel to help it stick.

Step 34
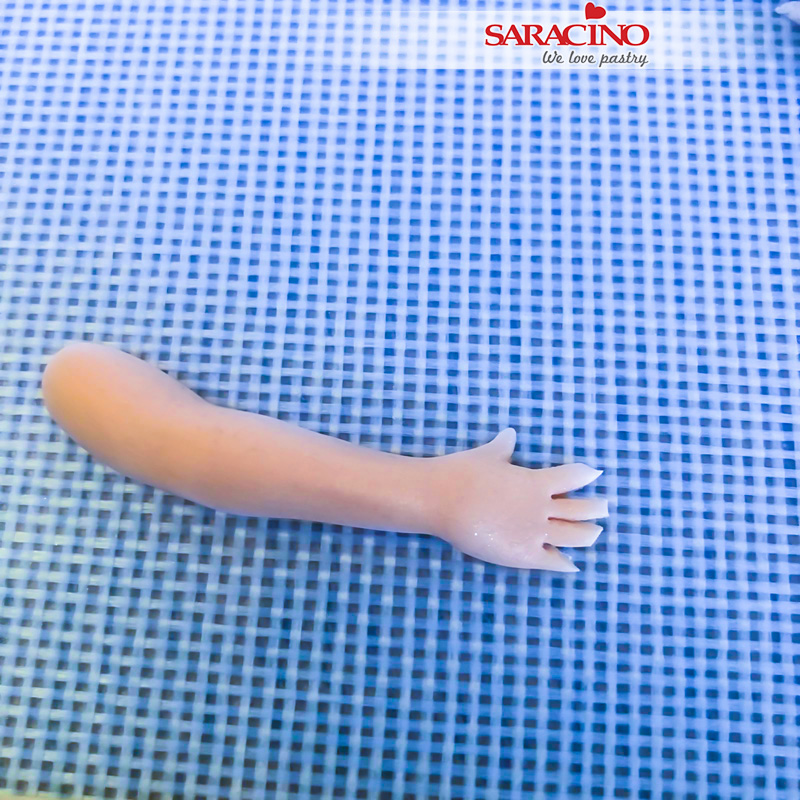
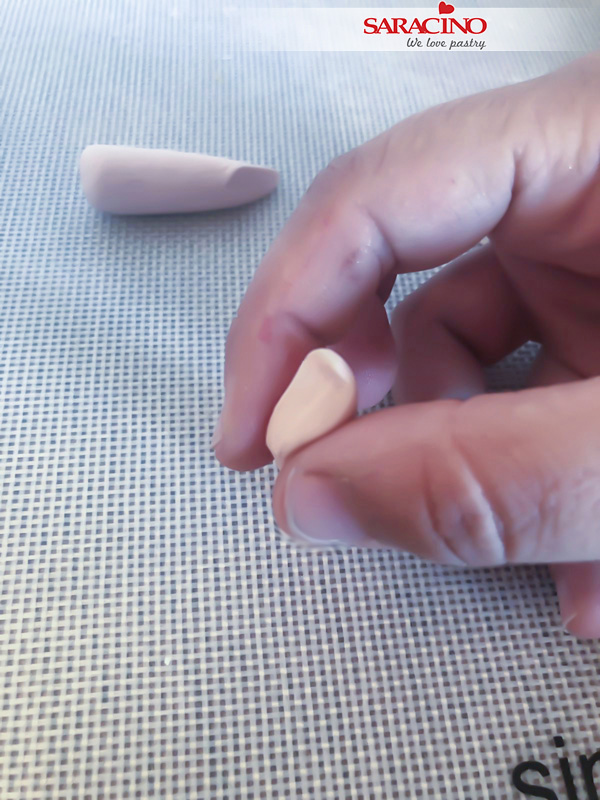
For the arms roll a small sausage of light skin Pasta Model (about 1g) and cut in half.

Step 35
Flatten the hand end and cut out the thumb shape.

Step 36
Bend the hands and fix them in place as shown.

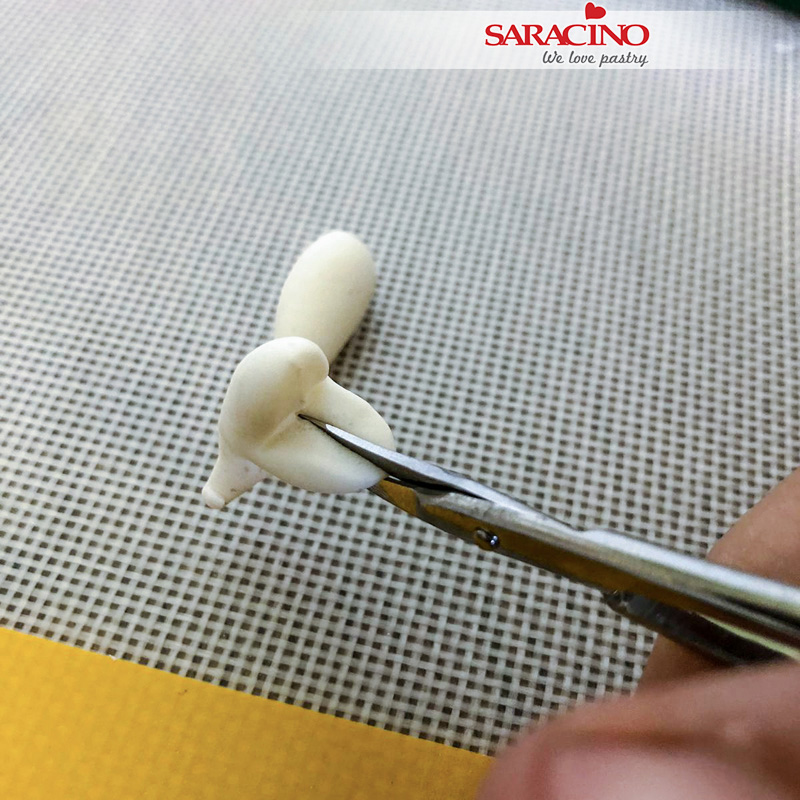
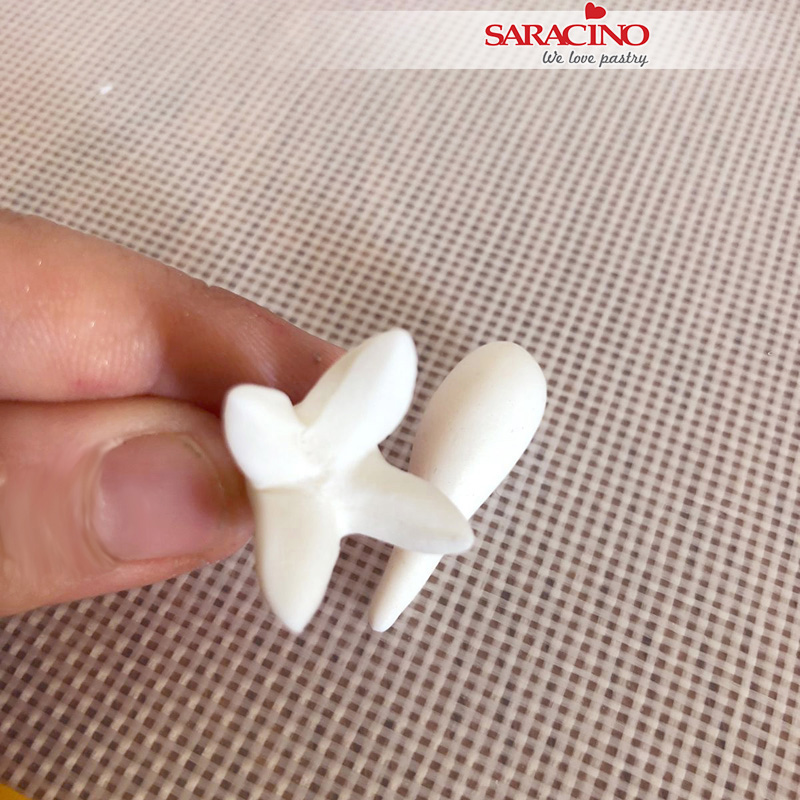
Step 37
For the bow roll a small amount of white Pasta Model and cut 2 oval shapes.

Step 38
Fold them joining the ends and position them on the dress. Add 2 strips of white paste for the ribbon.

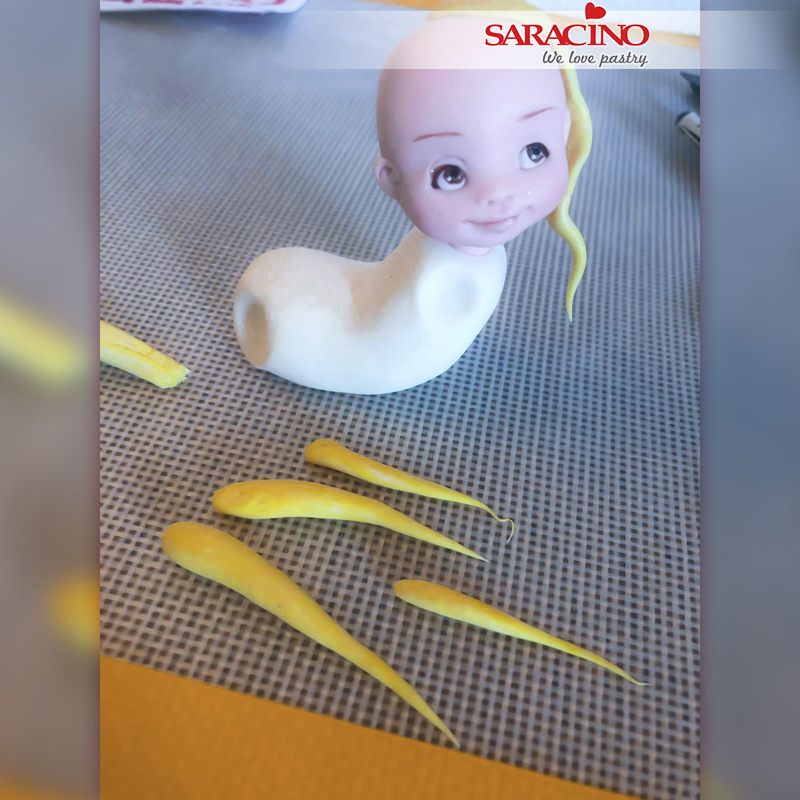
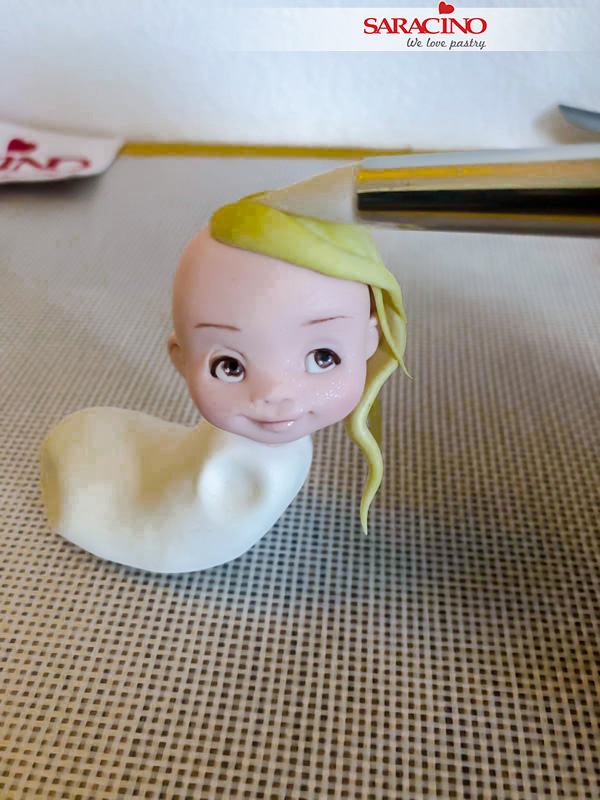
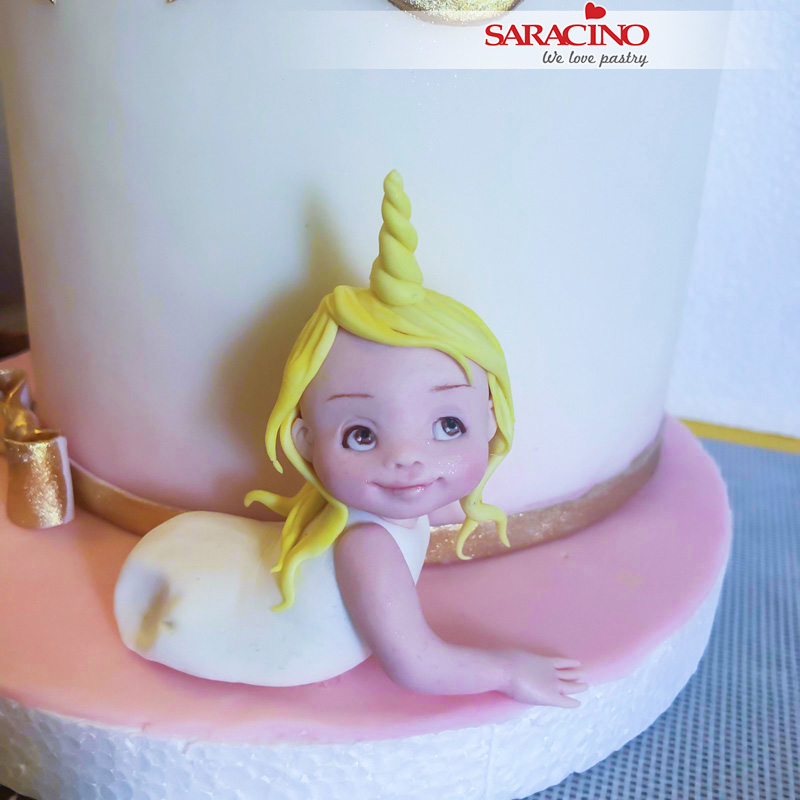
Step 39
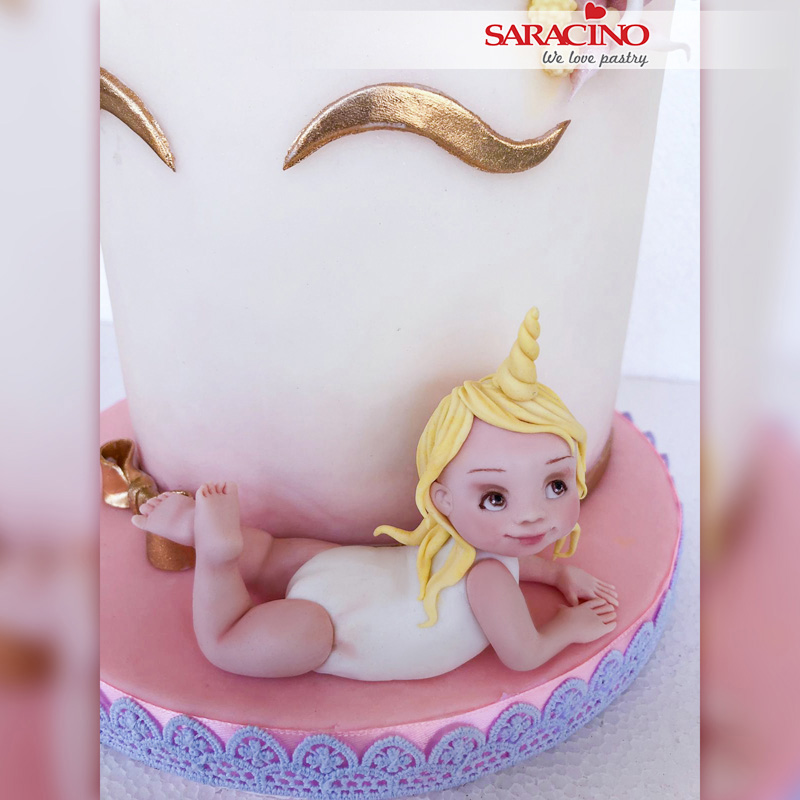
For the hair cut strips of yellow paste. They should be different sizes and different shapes. Fix them on the head.

Step 40
Continue until you cover the entire head. Use smaller strips for the fringe.

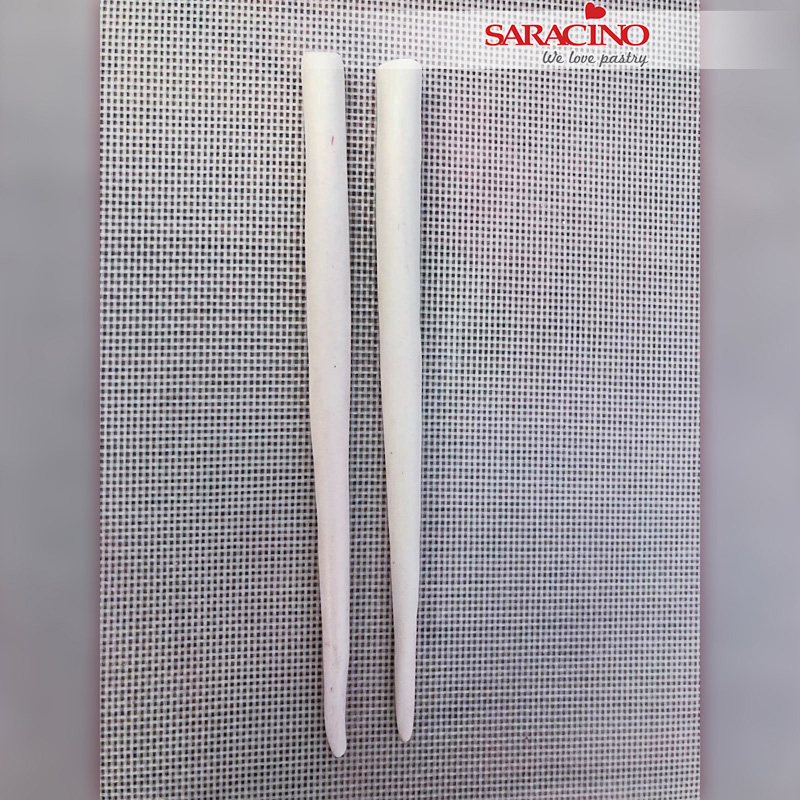
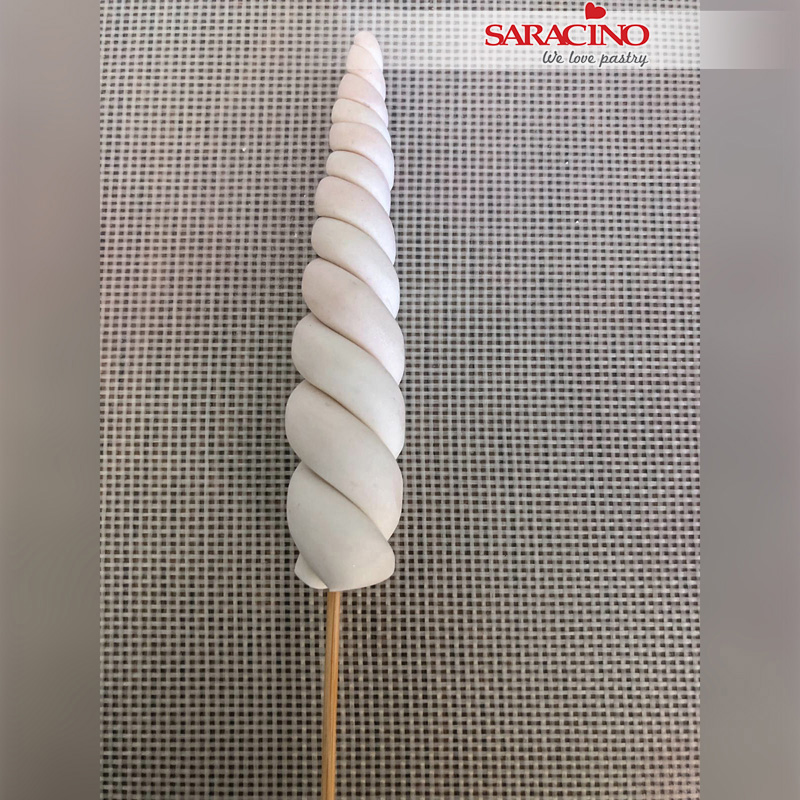
Step 41
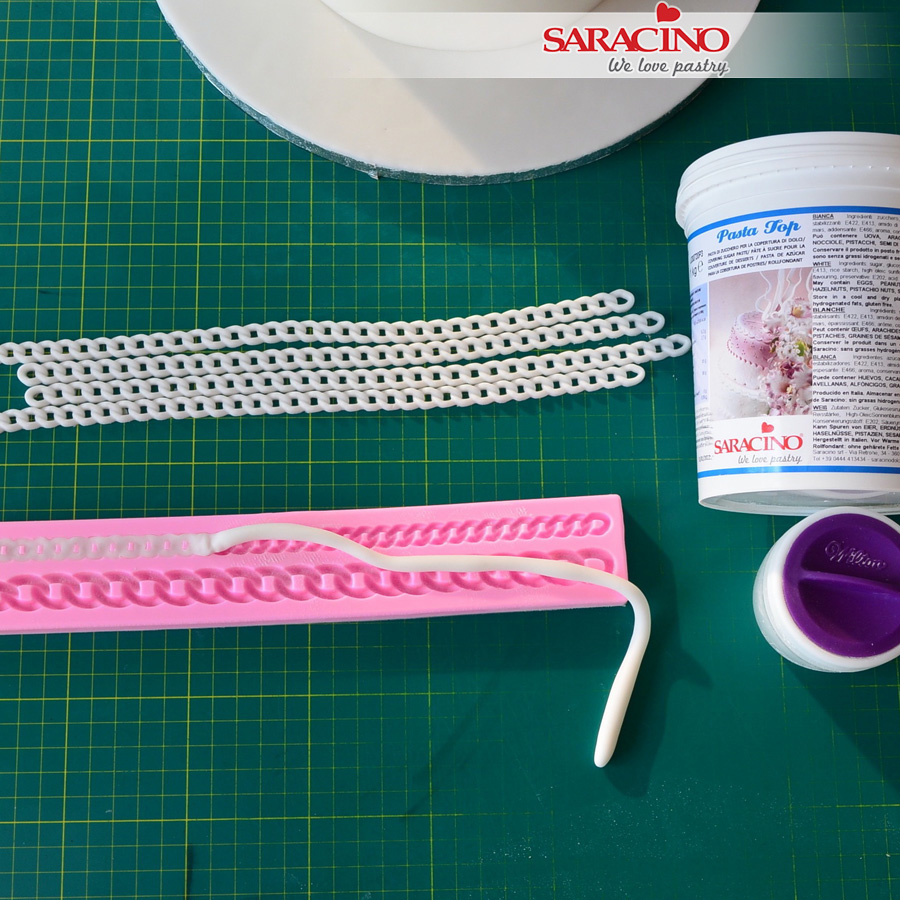
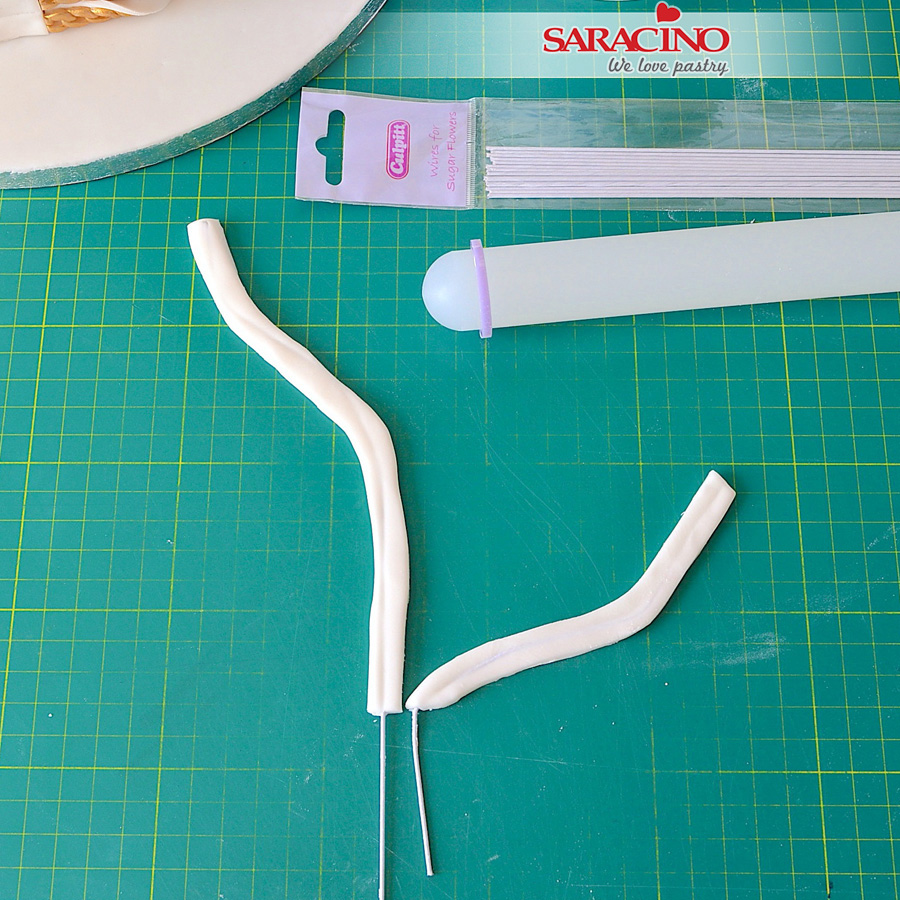
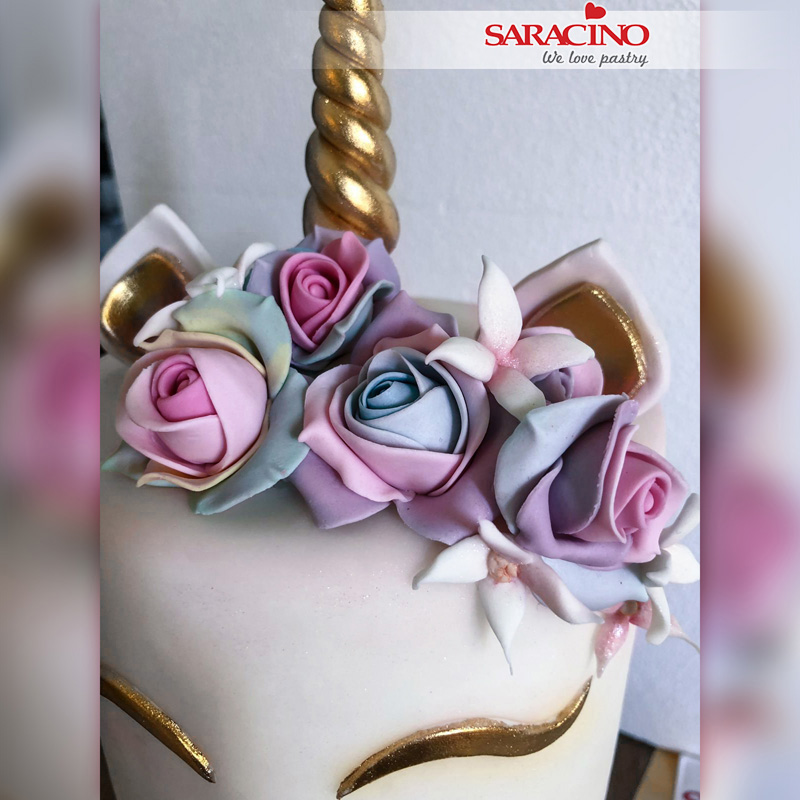
For the unicorn horn roll 2 small cylinders of white paste to a point at the end.

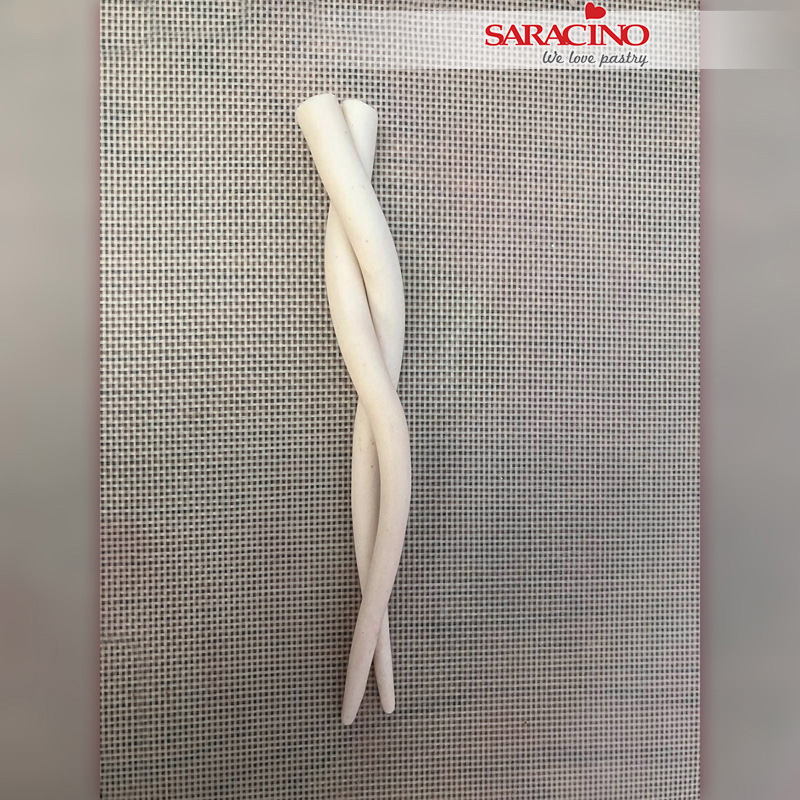
Step 42
Twist them together as shown.

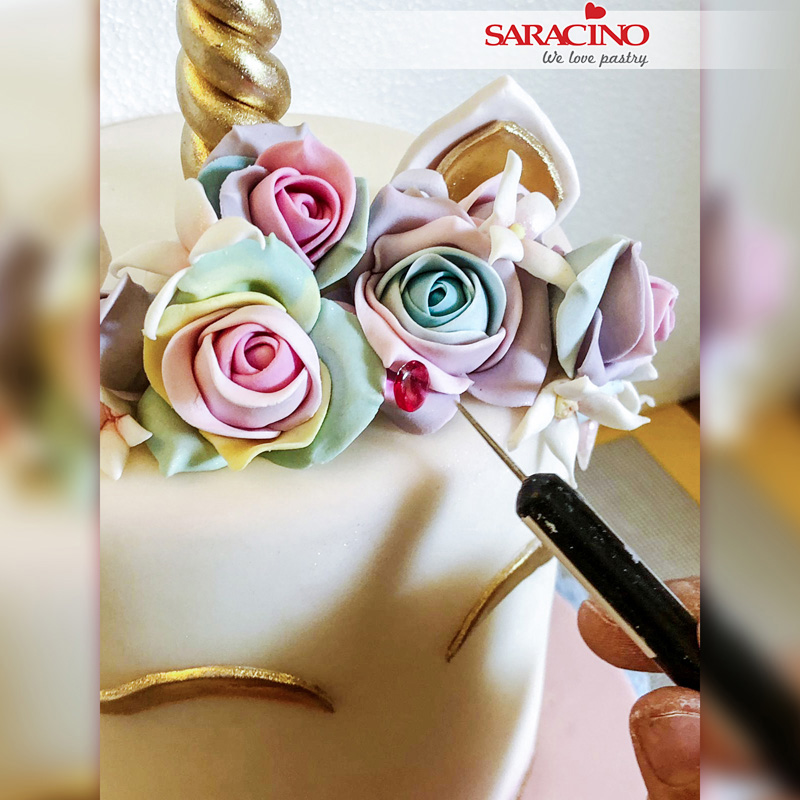
Step 43
Fix the unicorn horn on the head and add 3 small flowers (made the same as the flowers on the dress).

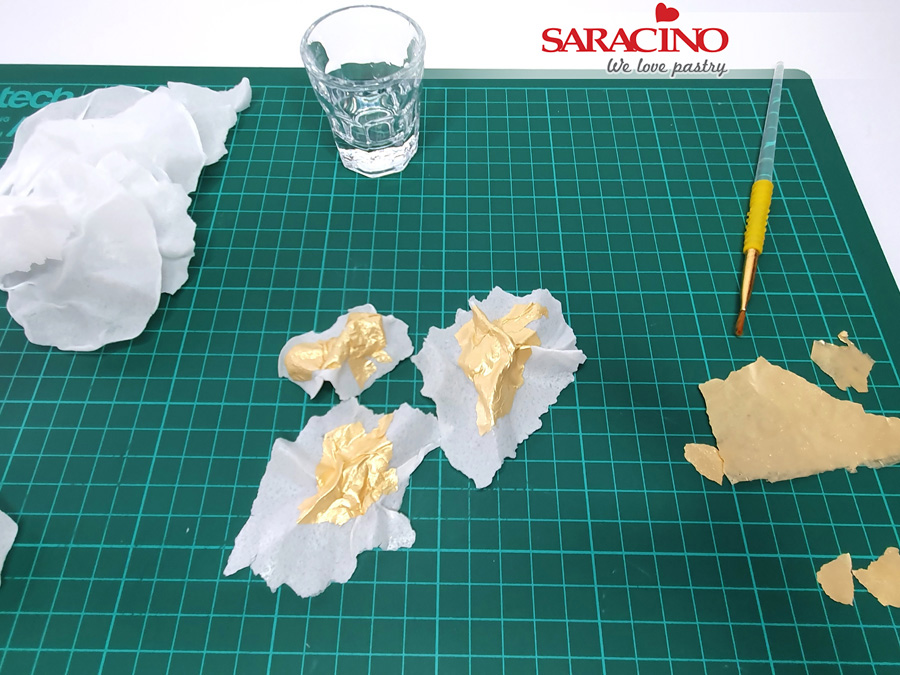
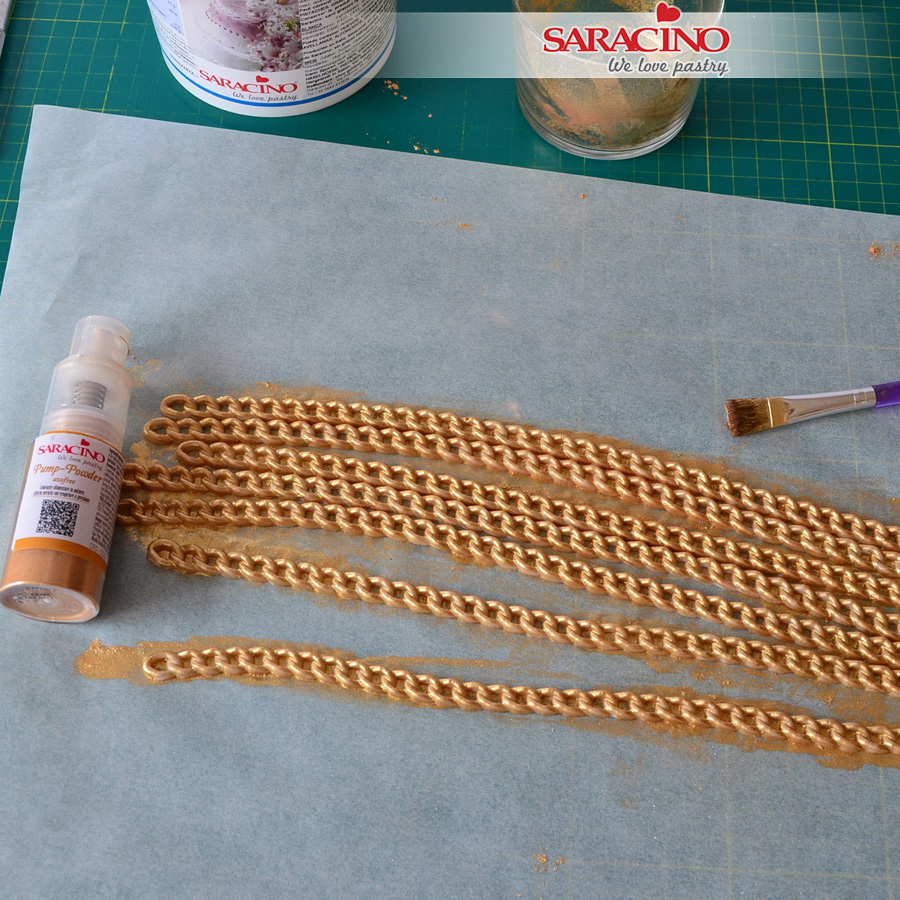
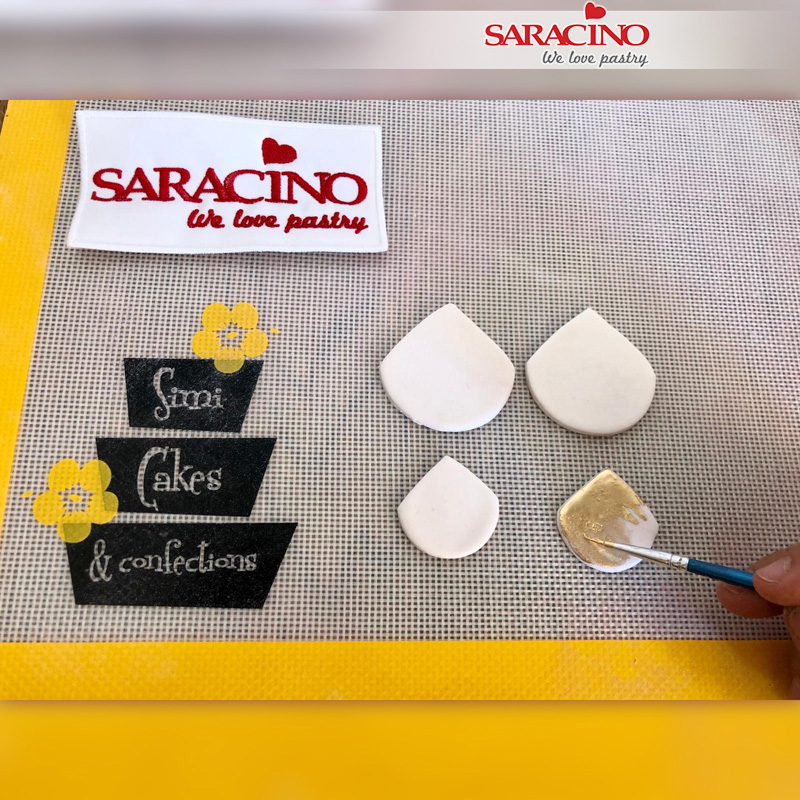
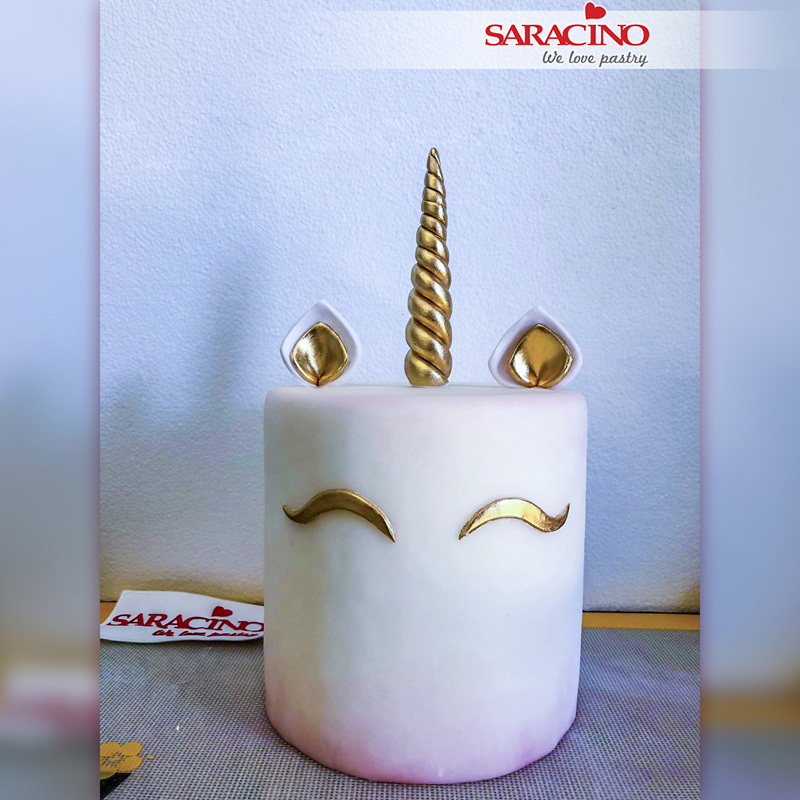
Step 44
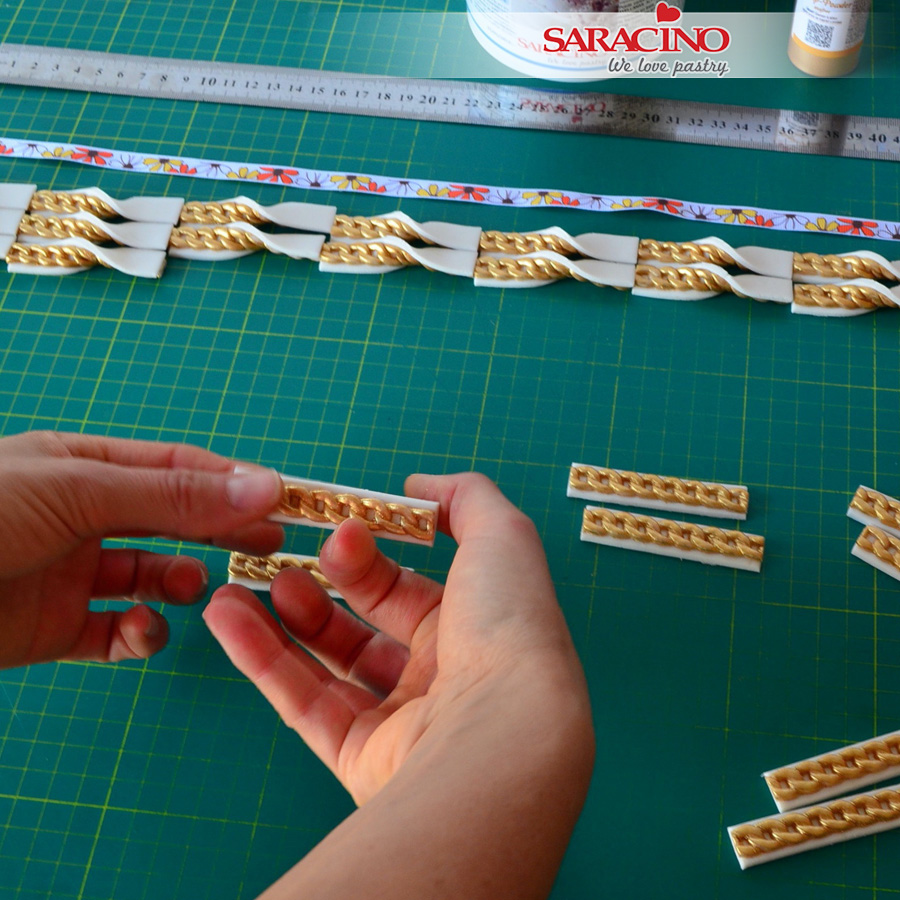
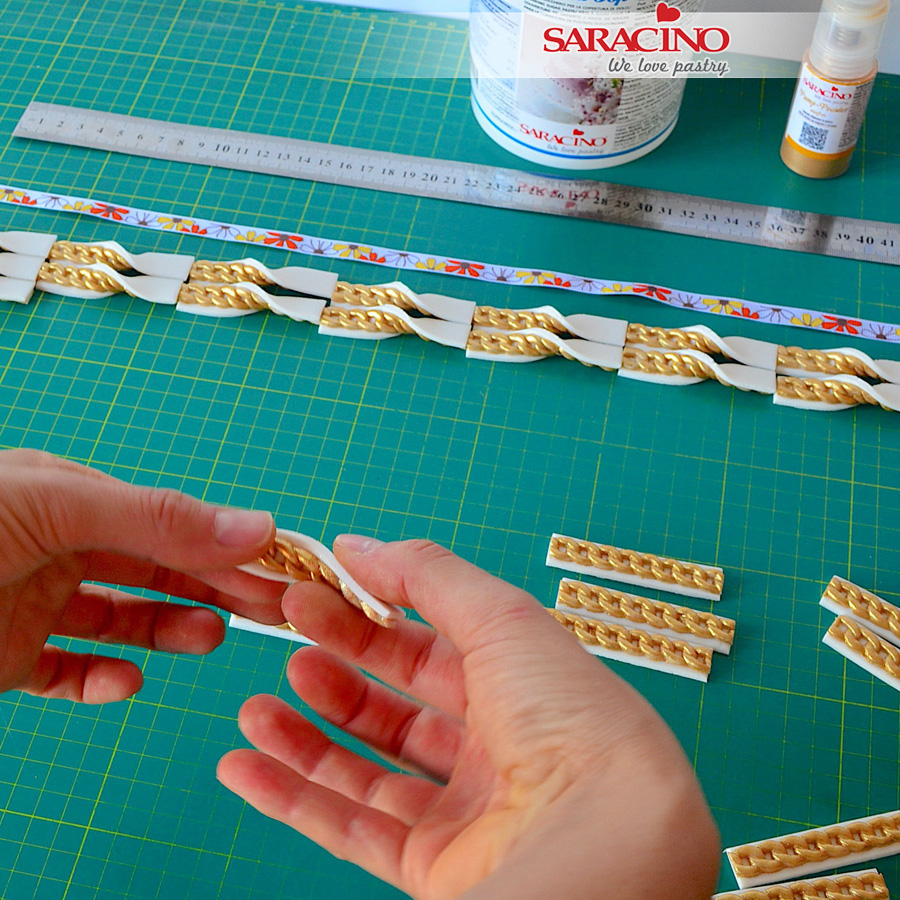
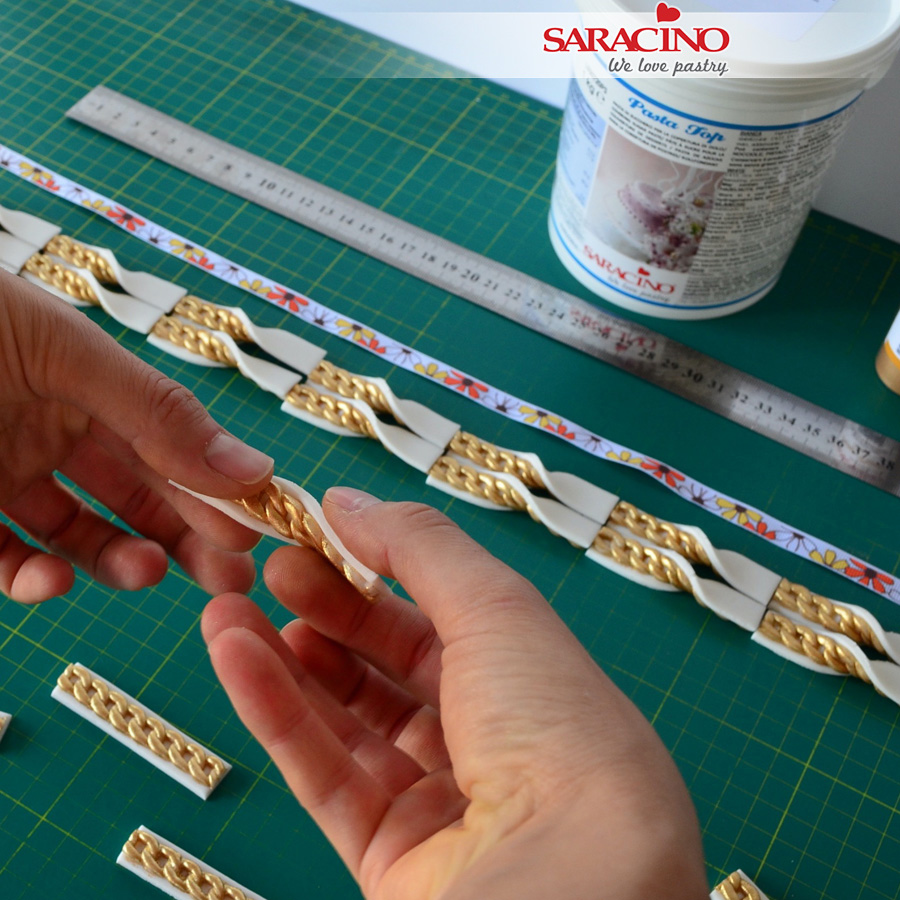
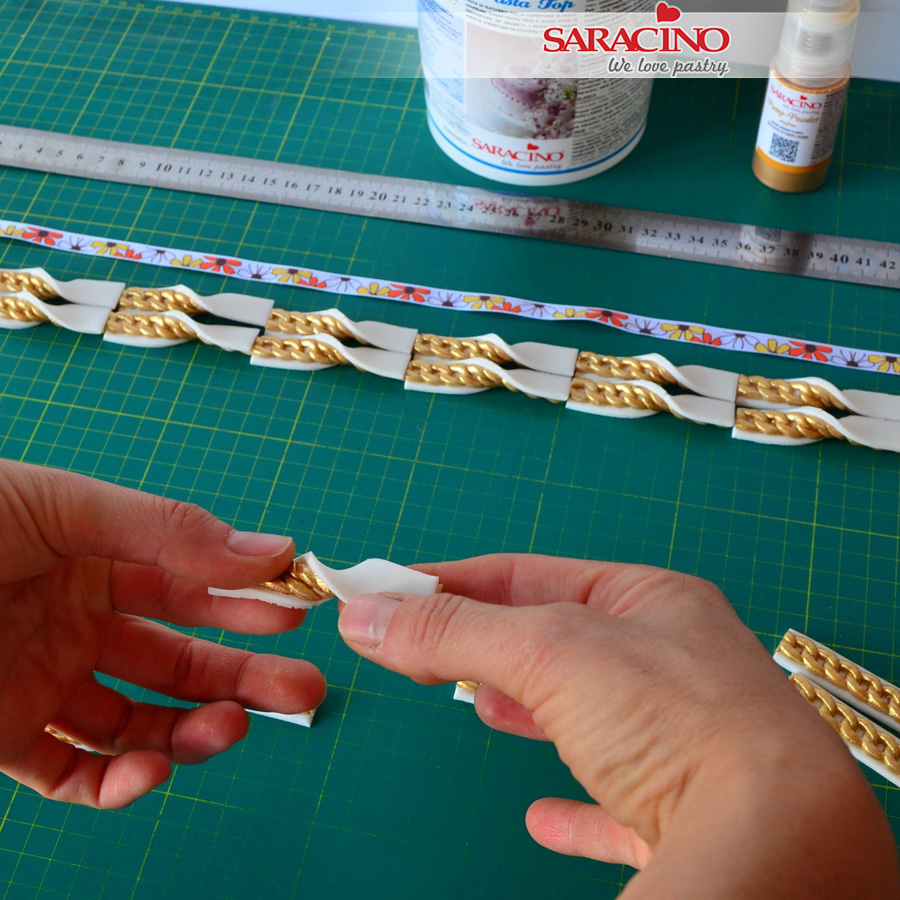
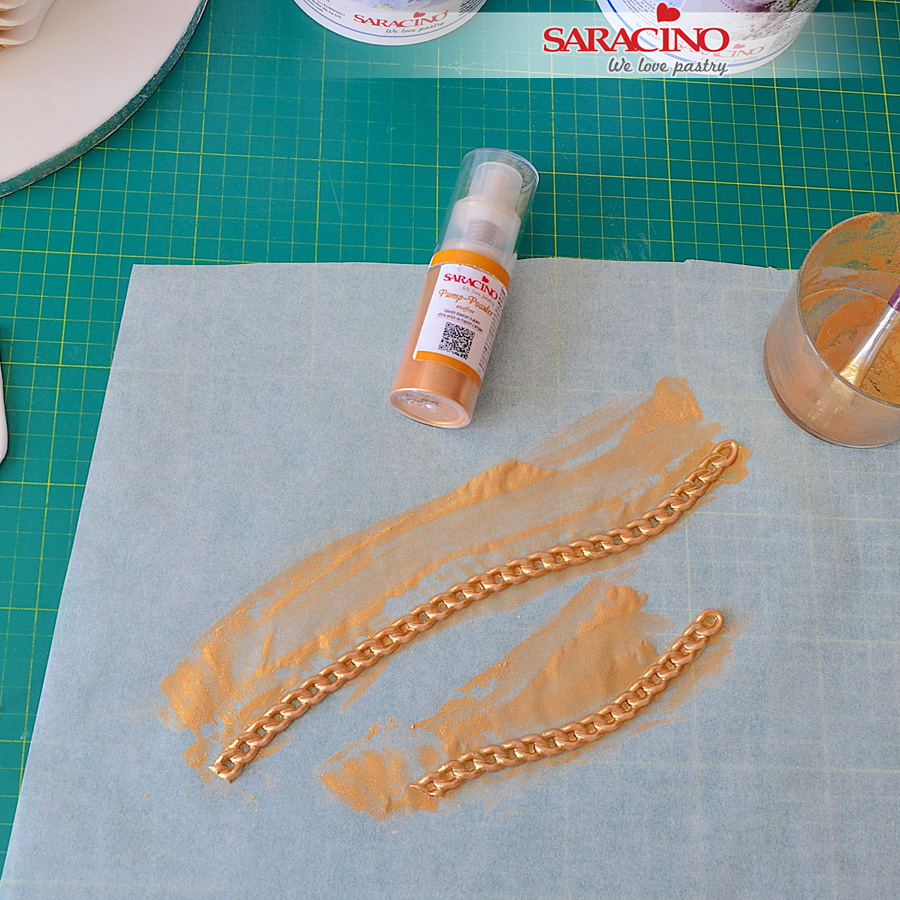
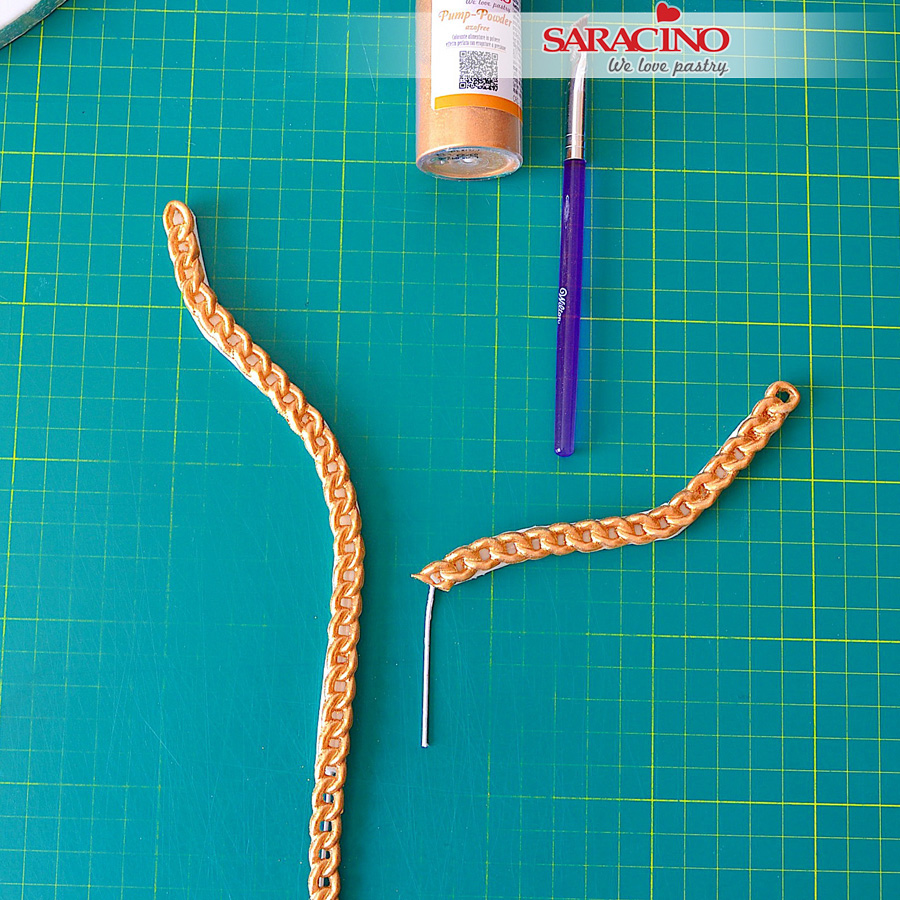
Dilute some Saracino gold powder with clear alcohol.

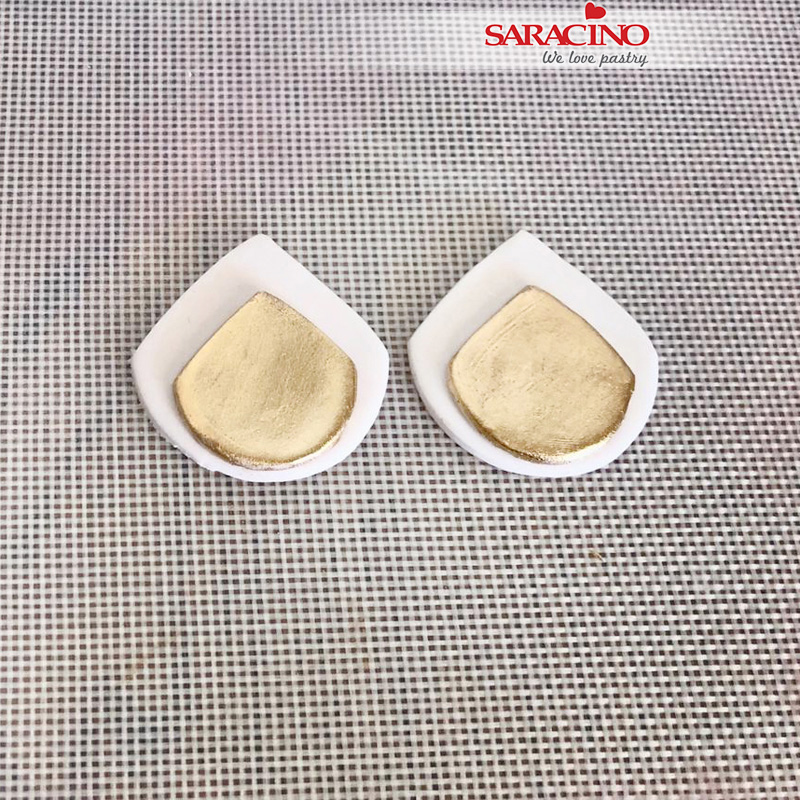
Step 45
Paint the bow, the unicorn horn and the slipper with the gold colour.

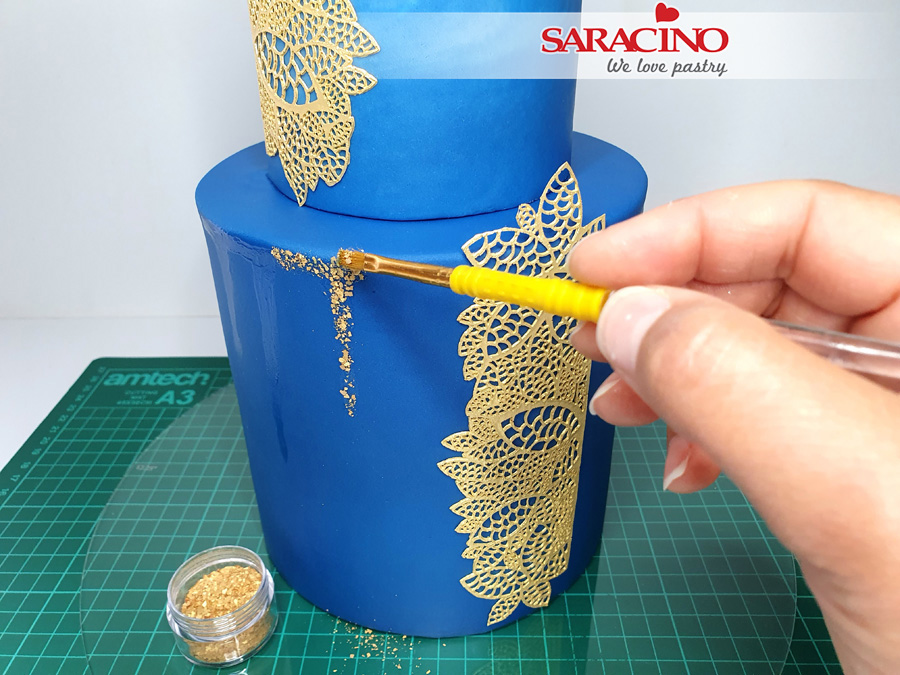
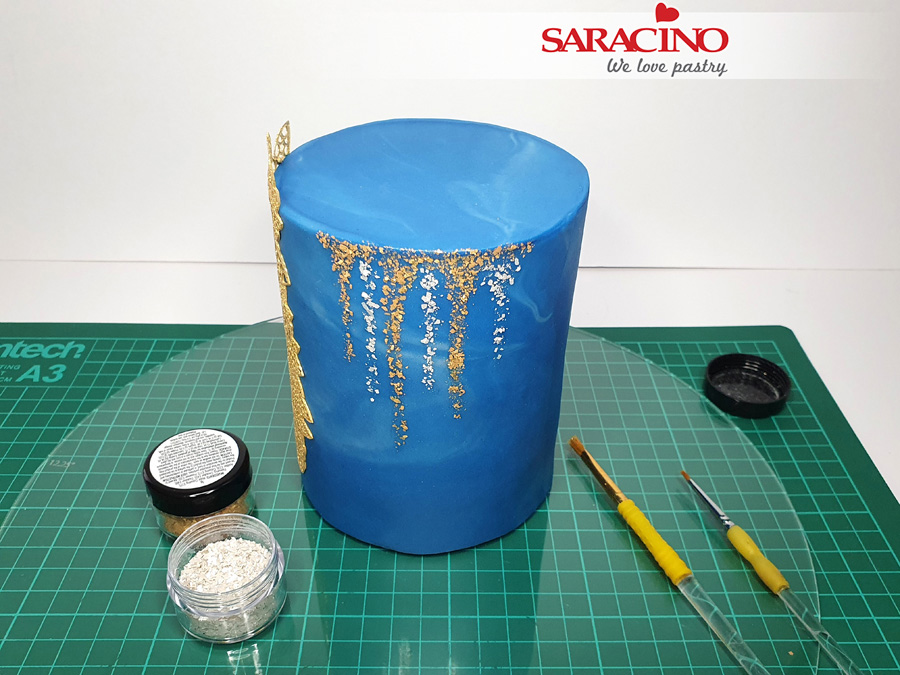
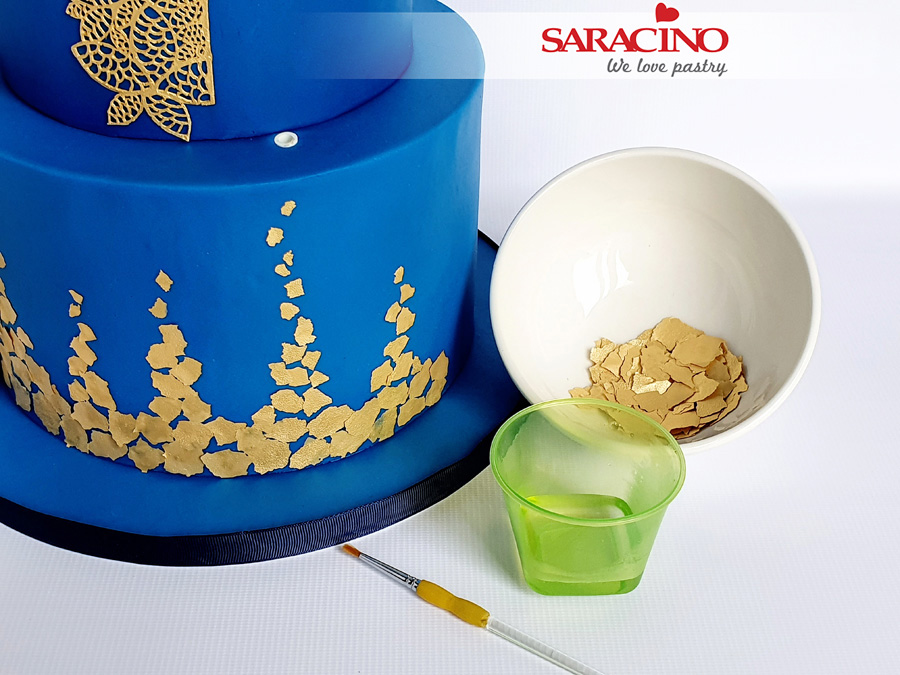
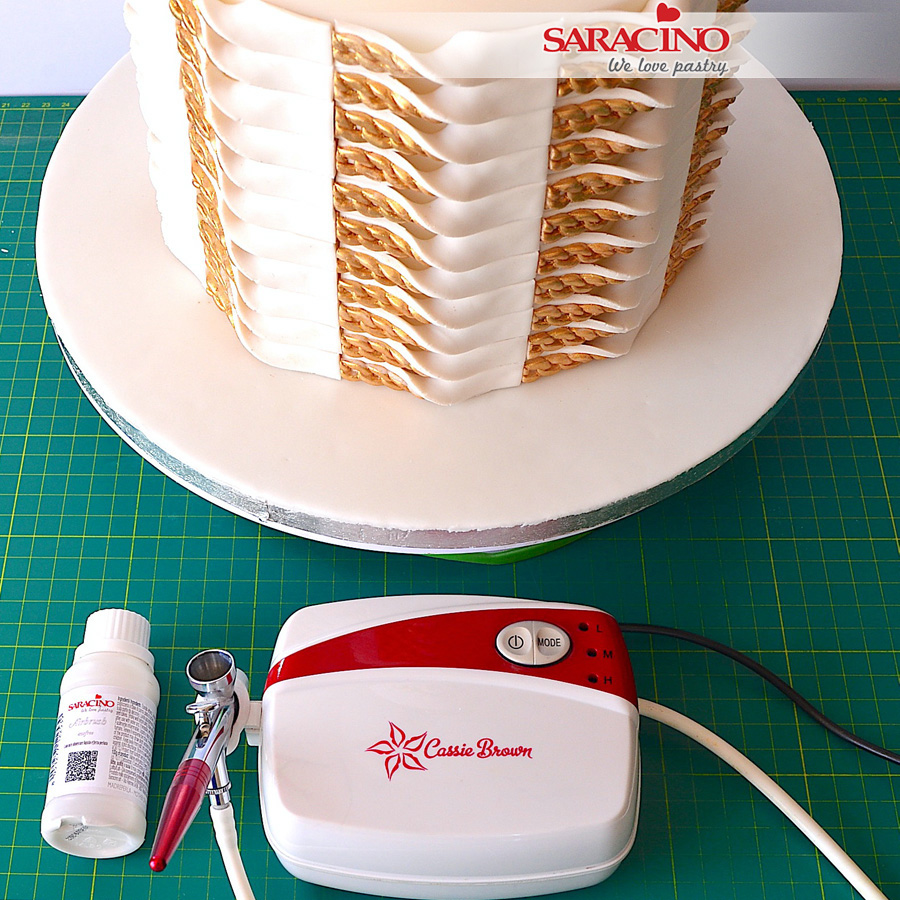
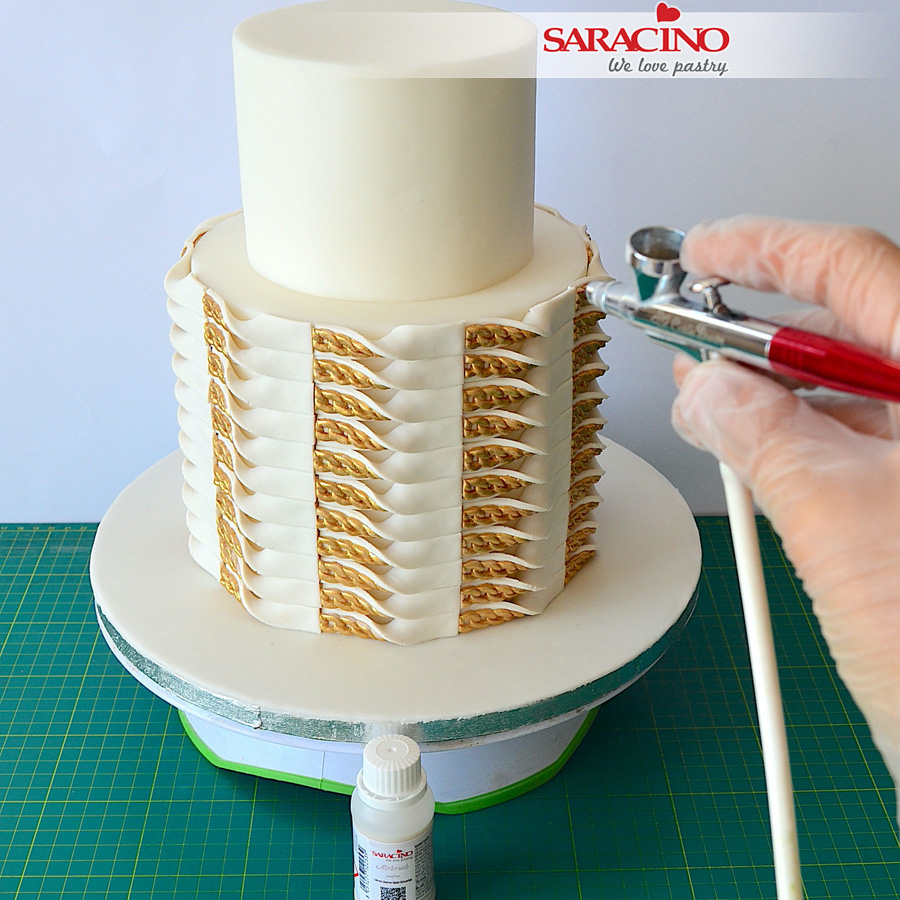
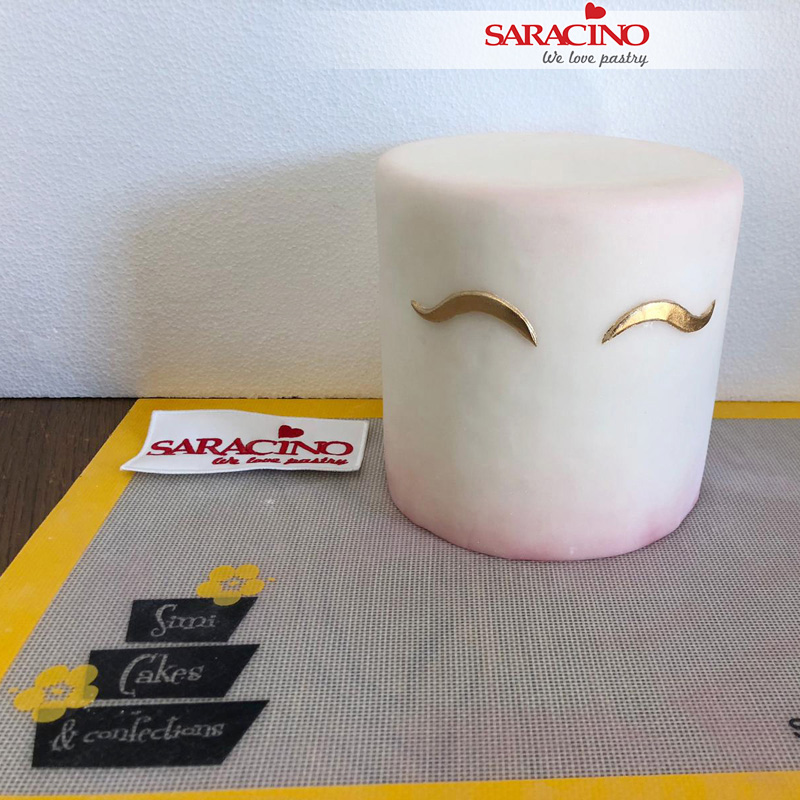
Step 46
Using a large flat brush paint the top edge and around the bottom of the cake with the gold colour.

Step 47
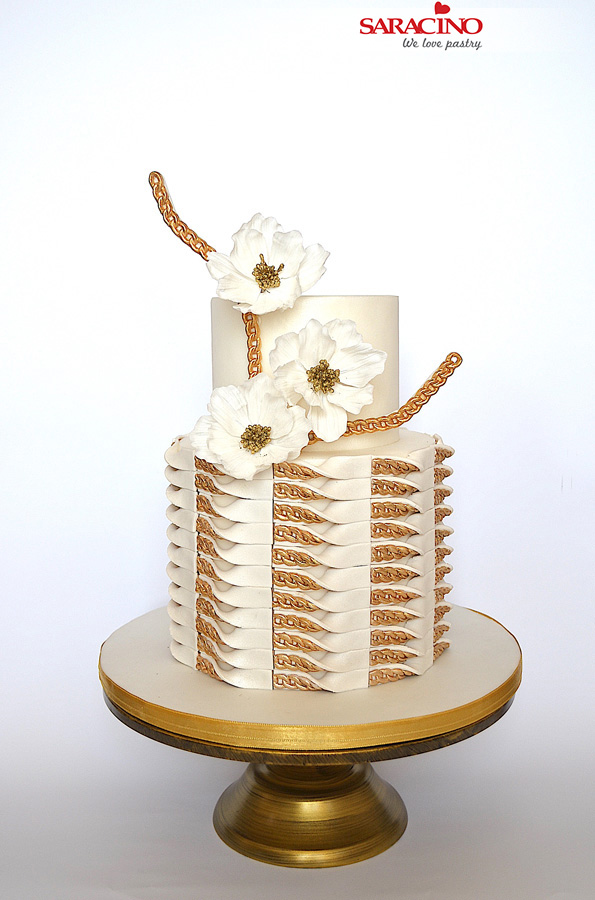
Make some coloured petal ruffles in the same way you made the ones for decorating the board.

Step 48
Make 2 decorations by fixing the petal ruffles together. Fix them to the top of the cake on the right hand side. Your cake is done!