BABY CUPID TUTORIAL

BABY CUPID TUTORIAL

Author: Mary Presicci

Skill level: BEGINNERS 

You will need:

  • Light blue Pasta Model (140g)
  • Skin tone Pasta Model (85g)
  • Green Pasta Model (120g)
  • Red Pasta Model (90g)
  • Blue Pasta Model (5g)
  • White Pasta Model (5g)
  • Flower wire
  • Saracino skin powder colour
  • Scalpel
  • Modelling tools
  • Brushes in various sizes
  • Wooden skewers
  • Wire cutter
  • Saracino edible glue

Step 1

These are all the tools you will need to create this playful cupid

Step 2

Use your light blue paste to create a ‘pillow’ shape with rounded edges.

Step 3

Using your fingers press each side to flatten the ends like shown

Step 4

Using your sharp knife cut each end in half.

Step 5

Now use your fingers to model the shape of the character you want. Remember to smooth all the sharp edges to create the legs and arms.

Step 6

Using a dummy as a base model the Cupid’s arm and leg into shape.

Step 7

Use your Dresden tool to mark out the shape of the nappy / pants.

Step 8

Use your ball tool to create dents in the wrists. Now use the Dresden tool to form detail and creases to the tummy, arms and legs.

Step 9

Using 80g of your skin tone paste roll an oval shape with your hands to create the head.

Step 10

Roll your finger across the centre to create the top of the head and the nose / mouth area.

Step 11

Using your fingers gently pinch the paste to create a nose.

Step 12

Use your small ball tool to create a dent either side of the mouth by pressing gently.

Step 13

Use your fingers to roll out a neck by rolling carefully. Then use your Dresden tool to mark the mouth.

Step 14

Use your Dresden tool to mark the left eye giving a cheeky wink! Mark a couple of lines to add character.

Step 15

Using the other end of your Dresden tool model the right eye.

Step 16

Use the blunt end of your Dresden tool to create the round eye pressing in at the sides.

Step 17

Use your scalpel to remove some of the paste from the eye.


Step 18

Roll a small ball of white modelling paste and insert into the eye socket.

Step 19

Using skin tone paste roll two small balls to create the ears and attach them to the head by pressing using a ball tool

Step 20

Use some black model paste to create the pupil, the eyebrow and some locks of hair

Step 21

Roll two small balls of skin tone paste for your hands. 

Step 22

Flatten each ball slightly. Use your knife to cut the thumbs. Round off and blend using your fingers and Dresden tool. 

Step 23

Roll your green modelling paste thinly. Cut out four 4cm x 4cm squares. 

Step 24

Roll out your blue paste thinly. Using letter cutters create the letters L O V E.

Step 25

Form a 4cm x 4cm cube from your green paste. With the squares you previously prepared press in the L O V E letter’s. 

Step 26

For the heart shape roll a small ball using red modelling paste.

Step 27

Use your fingers to roll it into a teardrop shape.

Step 28

Finish the heart using your Dresden tool. 


Step 29

Repeat this in different sizes to suit the amount of hearts you need for your piece.


Step 30

Using a little water fix the L O V to the side of your cake. Then position the E on the cube on your board so it reads L O V E. 


Step 31

Fix the cupid to the top of the cake. Use a little glue if required. You can start fixing the hearts where you would like them as well. 

Step 32

Fix the hands using a little water. Now insert a wooden skewer / cocktail stick into the neck ready for the head.

Step 33

Press the head onto the body at a cute angle. Use your Dresden tool to mark the lines on your cake. 


Step 34

Now for the wings of our cupid. Roll out some of your white paste.


Step 35

Use your heart shaped cutter to cut out the two wings. You can choose the size you need!


Step 36

Cut two short lengths of your florist wire. Insert them into each heart wing. 


Step 37

Insert the wings into Cupid’s back in the required position. 


Step 38

Make a small heart with a length of florist wire. Place into the left hand as shown. Now fix your love hearts wherever you like on the cake to give the look you would like. 


BRIDE IN PINK TUTORIAL

BRIDE IN PINK TUTORIAL

Skill level: BEGINNERS

TIP:

To achieve the light pink colour I add a drop of pink gel colour (actually half drop because it needs a really small quantity) to the skin tone modelling paste.
To achieve the brick colour I add a bit of white sugar paste to the brown, then I put a drop of red gel colour and a drop of orange (the proportion depends if you want a colour tending to the red or to the orange)

You will need:

  • Rolling pin

  • Scalpel or sharp knife

  • Dresden tool 

  • Small ball tool

  • Large ball tool

  • Pointed silicone tool

  • Number 5 Piping Tip

  • Wood skewer

  • Straw

  • Soft brushes (large and small)

  • Small paintbrushes (flat and pointed)

  • Easy Eyes – princess set

  • 82/85g light pink Saracino modelling paste

  • 35g skin tone Saracino modelling paste

  • 20g red Saracino modelling paste

  •  small amount of white, light blue and black Saracino modelling paste

  • Water or edible glue

Step 1

For the body roll 30g of pink paste into a shape with one end narrower than the other

Step 2

Flatten the smaller side

Step 3

To form the chest area make a groove using the Dresden tool

Step 4

Tapering the waist and the knee

Step 5

Thread the wooden skewer through the body into the dummy below and leave a length projecting from the top.                                                                            

Step 6

Make some straight marks on the bottom of the dress first using the Dresden tool then the back of the scalpel

Step 7

For more pleats on the dress roll 5 long cones (using about 9g of pink paste for each one) and bend them on the pointed side

Step 8

Stick all of them starting from the hips and finishing at the back

Step 9

Create both puffs and arm sleeves using 7g of pink paste in total

Step 10

Stick first the upper sleeves

Step 11

Then place the arms on the dress

Step 12

Cut out a diamond shape on the centre of the chest, remove the paste inside and flatten the inside using a small ball tool

Step 13

Place a piece of skin tone paste inside the hole, flatten it and mark a small cleavage. Smooth the edges to form a nice shape.

Step 14

To create a neck fix a small piece of skin tone paste around the wooden skewer

Step 15

Cut out a small strip for a collar and taper each end.

Step 16

Attack it around the neck

Step 17

For the hands roll a very small piece of skin tone paste into a sausage shape (0.5mm diameter). Cut in half diagonally, flatten the palm area, create the wrist by rolling gently, cut to form the thumbs 

Step 18

Place the hands to the arms on top of each other

Step 19

Roll an oval shape as smooth as possible using 35g of skin tone paste. Roll the little finger (or the handle of a tool if your fingers are too large) in the middle of the oval, from side to side

Step 20

Round-off the corner of the upper side to model the forehead

Step 21

Push your fingers either side of the nose area to form the nose.

Step 22

Use a big ball tool to define the eye socket.

Step 23

Go on shaping the point of the nose using the handle of a tool or the Dresden .

Step 24

Put the Easy Eyes tool right in the middle of the nose.

Step 25

Push it gently.

Step 26

Define the eyebrows using the Dresden tool

Step 27

Adjust all the borders

Step 28

Cut a smile

Step 29

Remove the paste from inside the mouth

Step 30

Replace with a small quantity of white paste

Step 31

Smooth the upper lip

Step 32

Define the lower lip

Step 33

Mark edges of the mouth

Step 34

Form the teeth with a sharp knife

Step 35

Cut the excess paste from the chin

Step 36

Shape the head with the fingers. Pay attention to round off and smooth all the straight sides and edges

Step 37

Put a piece of paste on the top of the head

Step 38

Paint the eyes first using the white gel color

Step 39

Paint the eyebrows

Step 40

Cut out two small light blue circles using a straw  and stick them on the eyes

Step 41

Cut out  two black pupils using a no. 5 piping nozzle

Step 42

Create the eyelashes using a very small roll of black paste, paint some more eyelashes just on the outside of the eyes. Paint with a light blue gel colour the outline of the iris

Step 43

Dust the lips and the face using a pink powder colour and a soft brush. Add definition / highlights

Step 44

Cut out several strips of different sizes, wavy on one edge and straight on the other.

Step 45

Cut the timber skewer to the correct length and push the head gently to the body. Stick the hair starting from the front to the back

Step 46

The aim is to form the hair so it looks like a rose on the back of her head.

Your bride is now ready

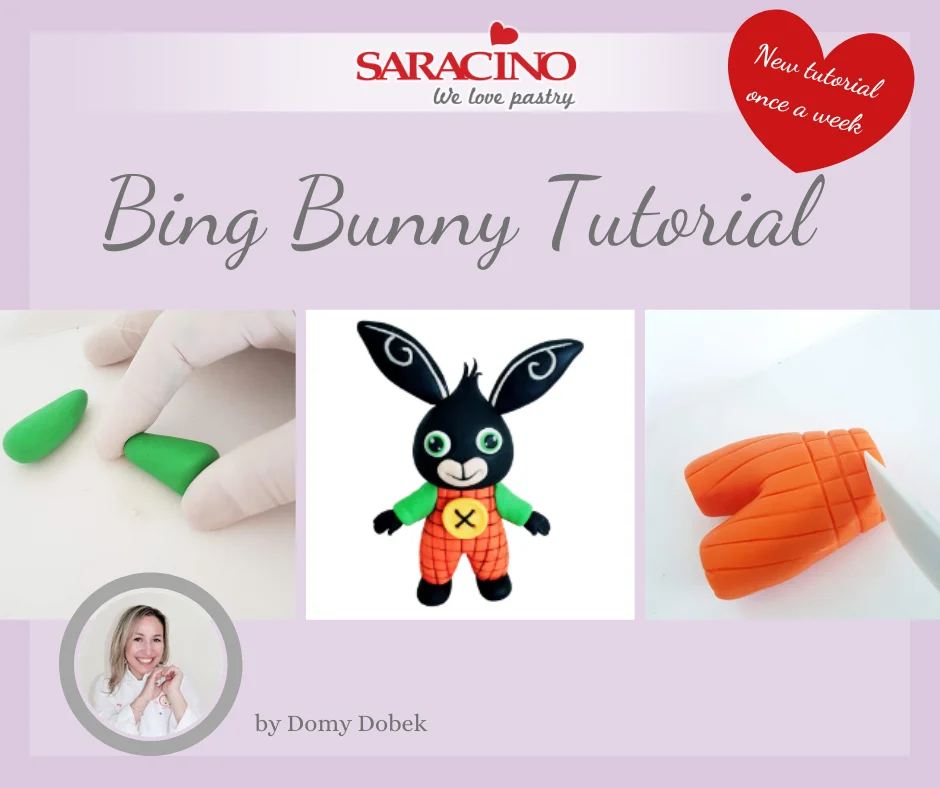
BING BUNNY TUTORIAL

BING BUNNY TUTORIAL

Skill level: BEGINNERS

You will need:

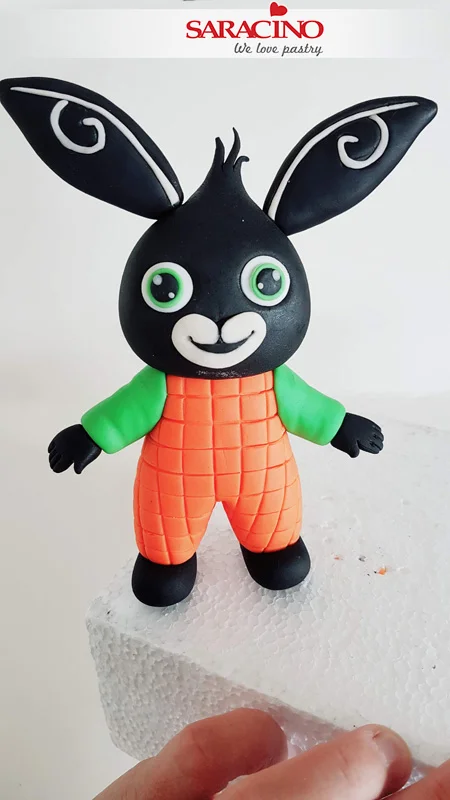
  • Black,Orange,Green,White,Yellow, Skin Tone Modelling Paste
  • Kitchen Knife
  • Plastic Craft Knife
  • 16 Gauge Florist Wire
  • Large Ball Tool
  • Small Ball Tool
  • Small Circle Cutters
  • Scalpel or Metal Craft Knife
  • Dusting Brush
  • Brush For Water
  • Baby Wipes

Step 1

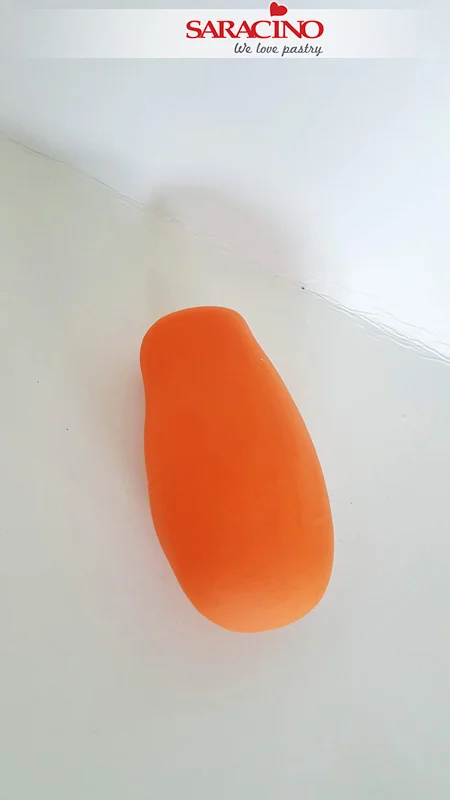
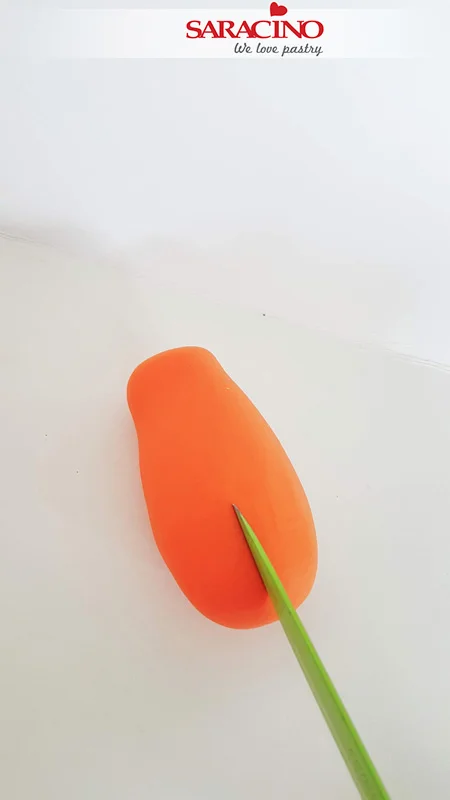
Roll a sausage shape out of the orange modelling paste and with your fingers shape the end to form a neck

Step 2

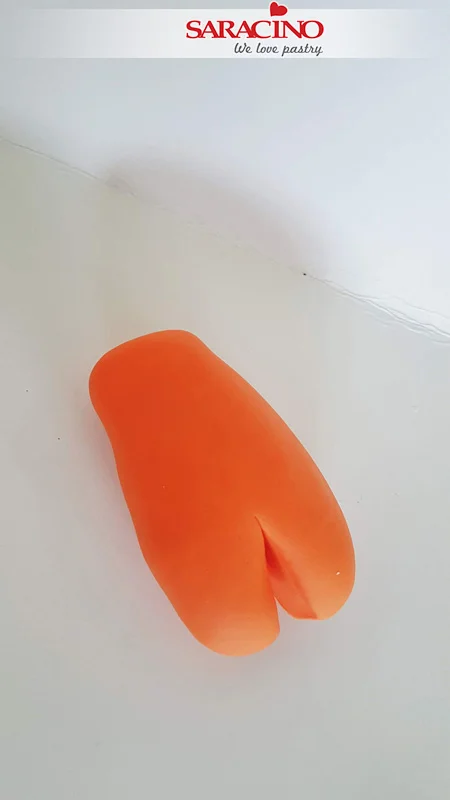
For the legs cut the bottom end centrally with a sharp knife as shown

Step 3

Your body should look like this. Now smooth the sharp cut edges with your fingers to model the shorts

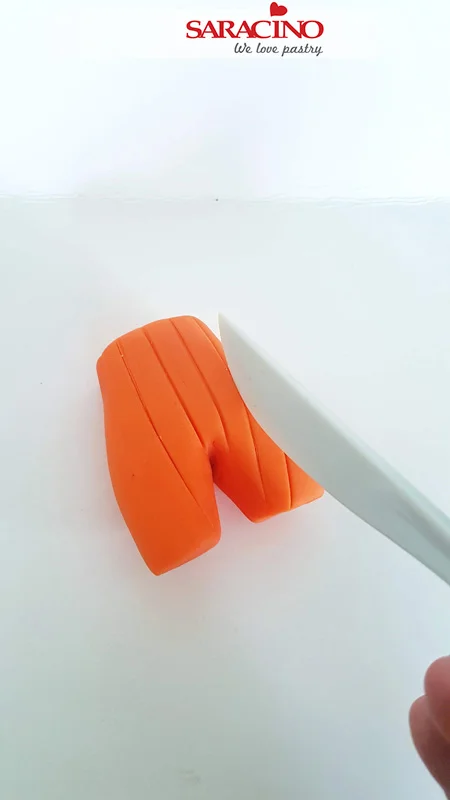
Step 4

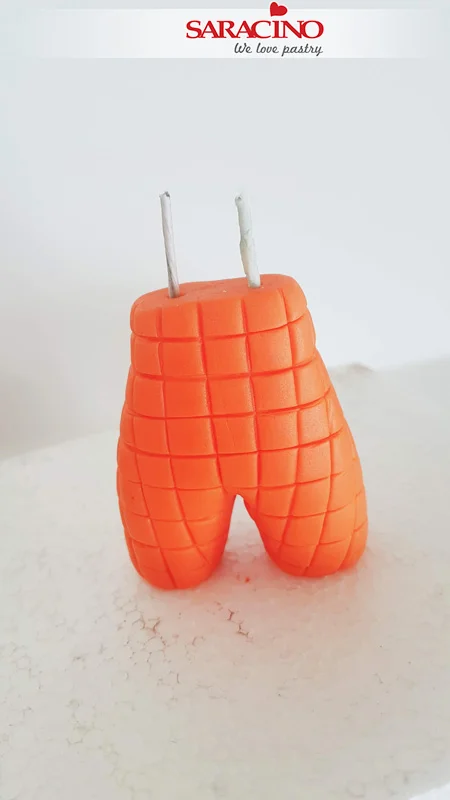
For the cheque pattern use your plastic knife and press long vertical lines

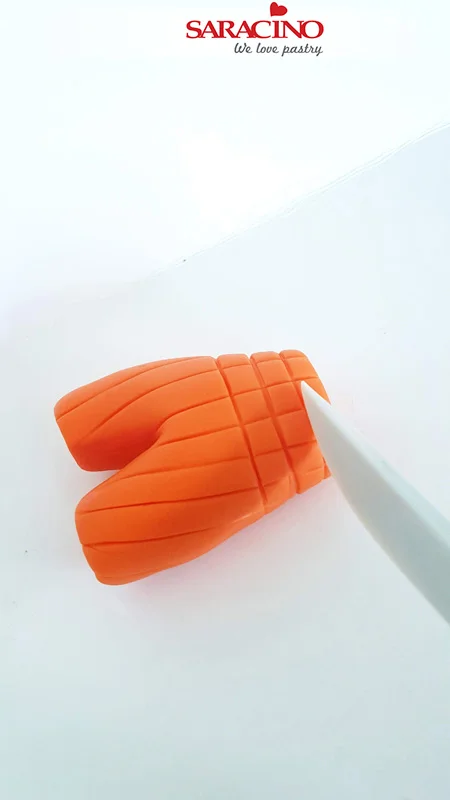
Step 5

Now using the same tool make similar lines in the opposite direction

Step 6

Cut two small lengths of your 16g flower wire. Insert one into each leg.

Step 7

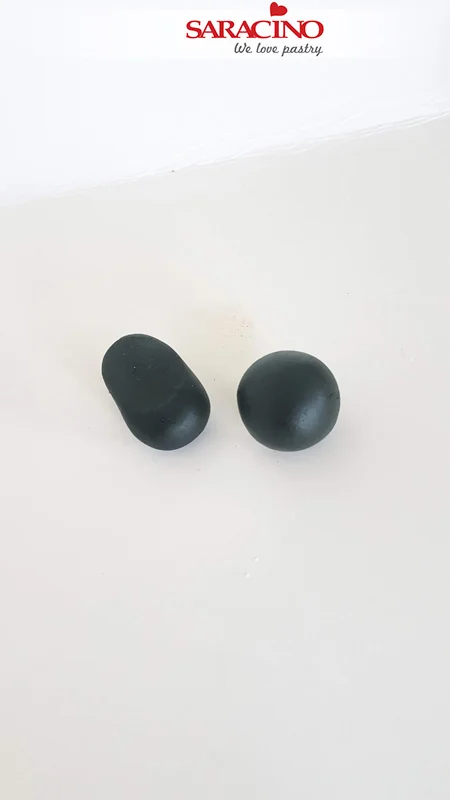
For the feet roll 2 small balls of black modelling paste.

Step 8

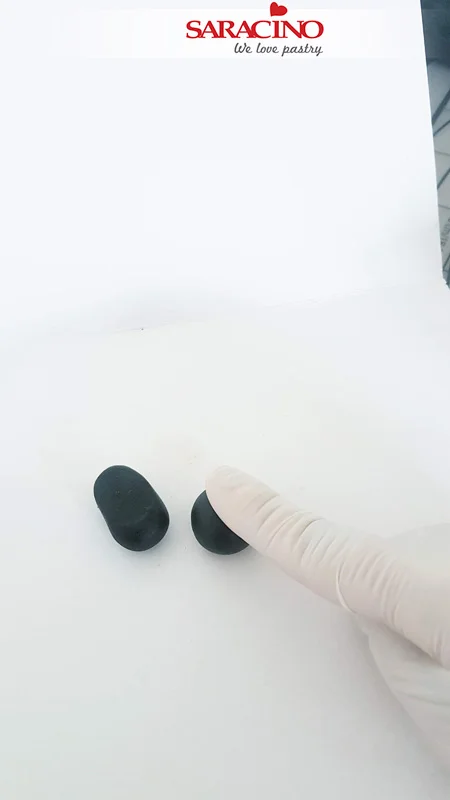
Using finger pressure form them to feet shape

Step 9

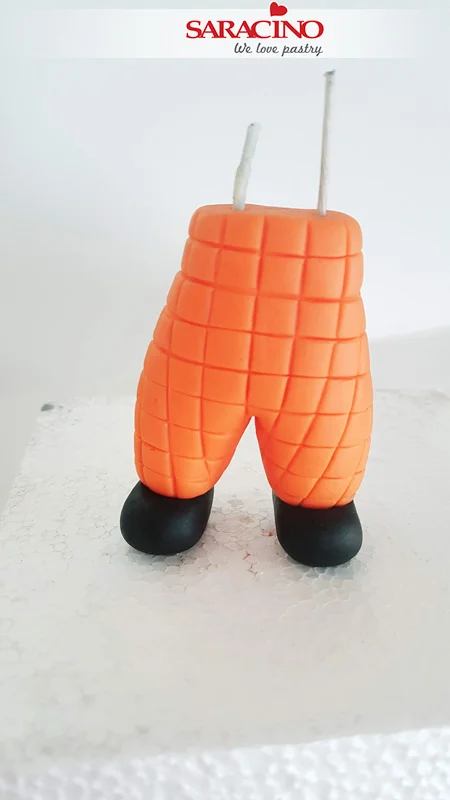
Attach them with some water to the bottom part of the legs

Step 10

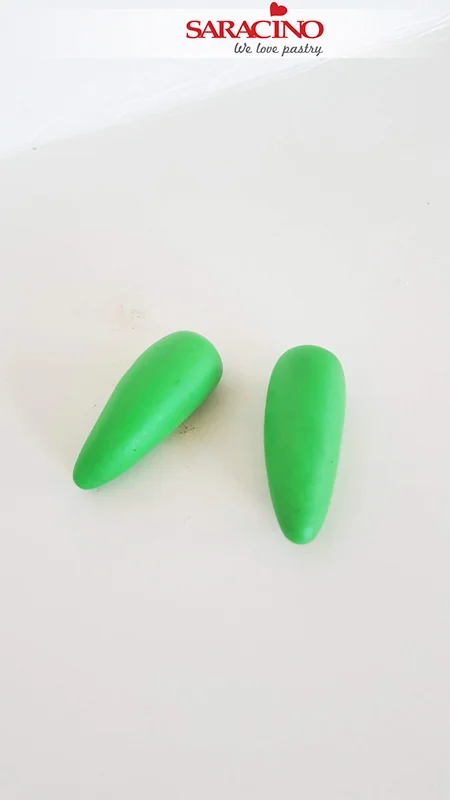
Roll 2 cylinder shapes from your green modelling paste

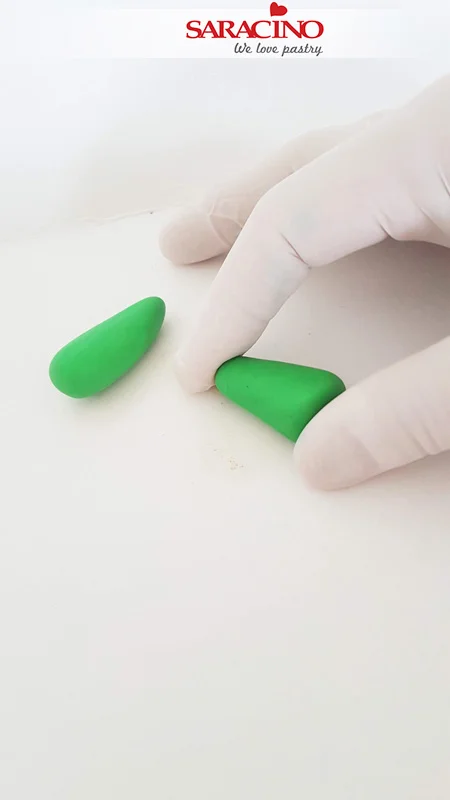
Step 11

Squeeze them gently on both sides with your fingers

Step 12

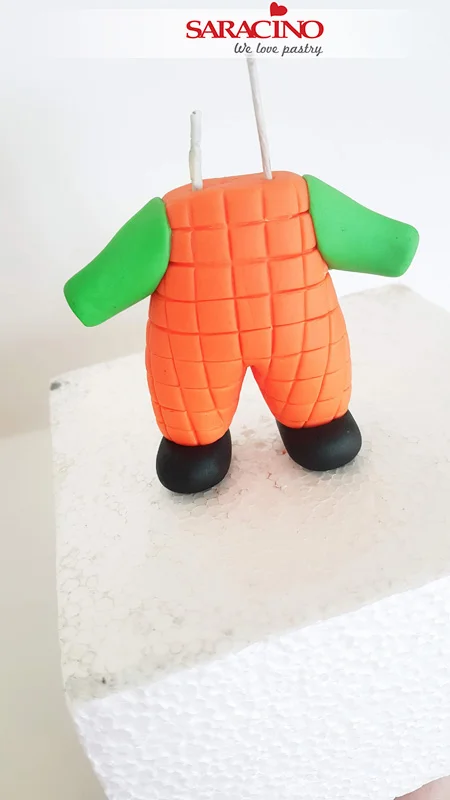
Attach the arms onto the shoulders. Use a little water as a glue if required.

Step 13

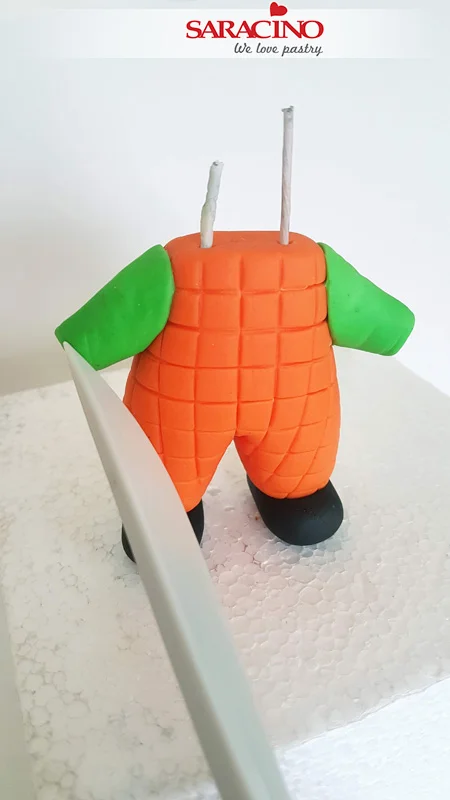
Create some creases on the sleeves with a plastic knife

Step 14

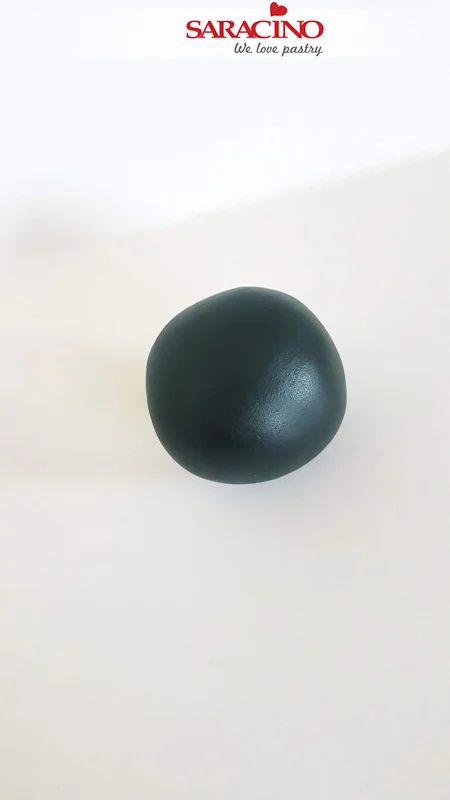
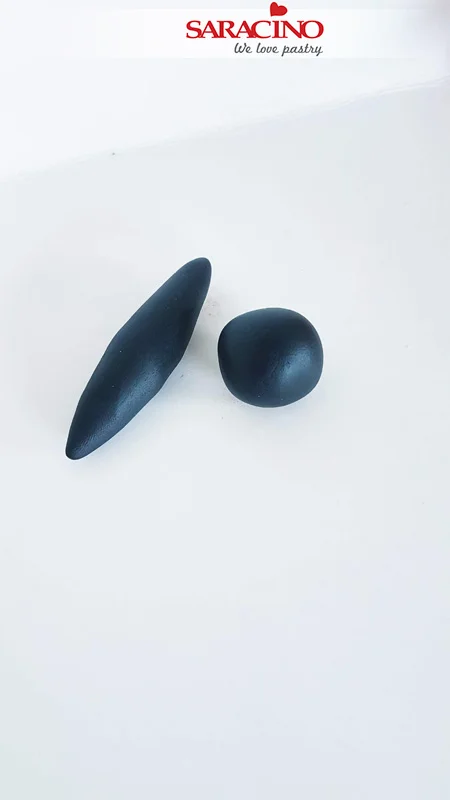
For the head make a large ball out of black modelling paste

Step 15

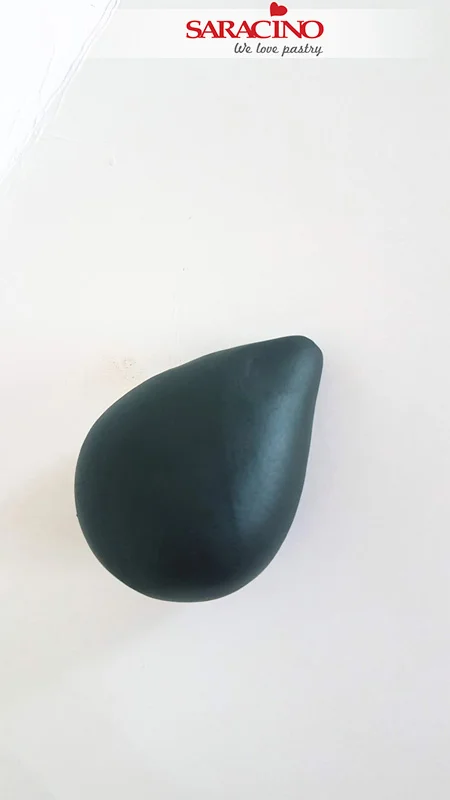
Using your fingers roll one end narrower to shape the ball into a teardrop.

Step 16

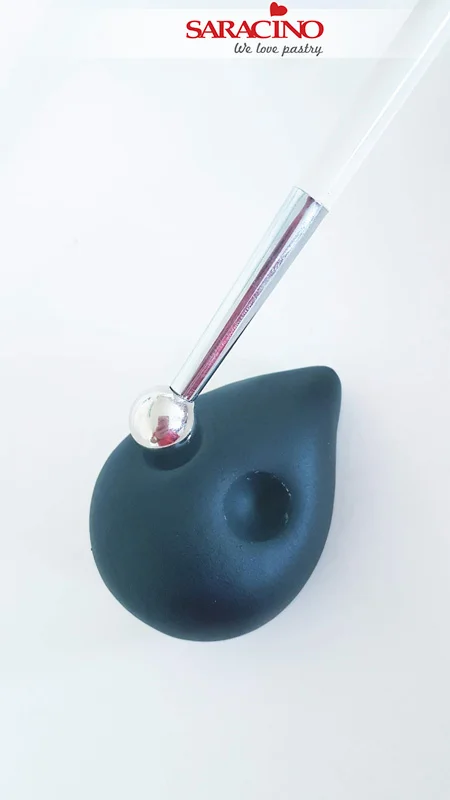
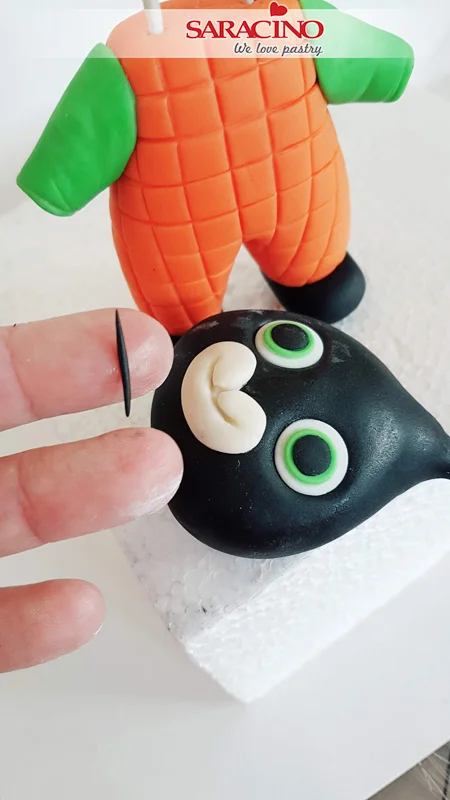
With your large ball tool press the two eye sockets.

Step 17

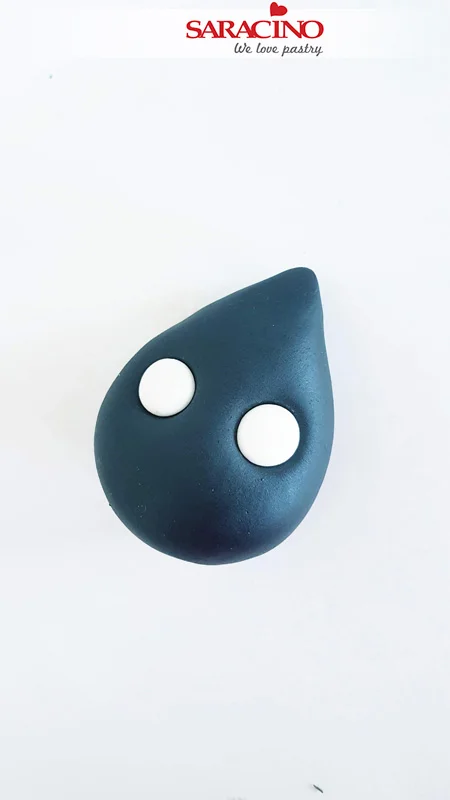
Roll out two small balls of your white paste. Place a ball into each eye socket and press down with your ball tool to create a circular white area of the eye.

Step 18

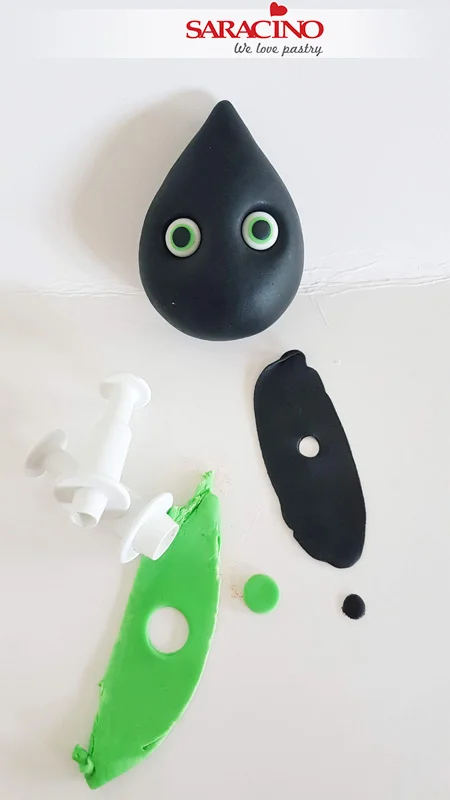
Roll out thinly some of your green and black paste. Use small and medium circle cutters to cut out the circles needed for the iris and the pupil. Using a small amount of water fix the circles to create the eyes.

Step 19

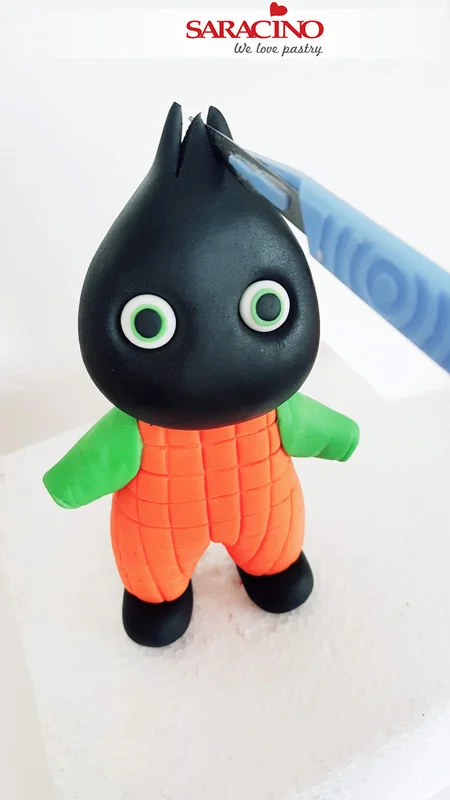
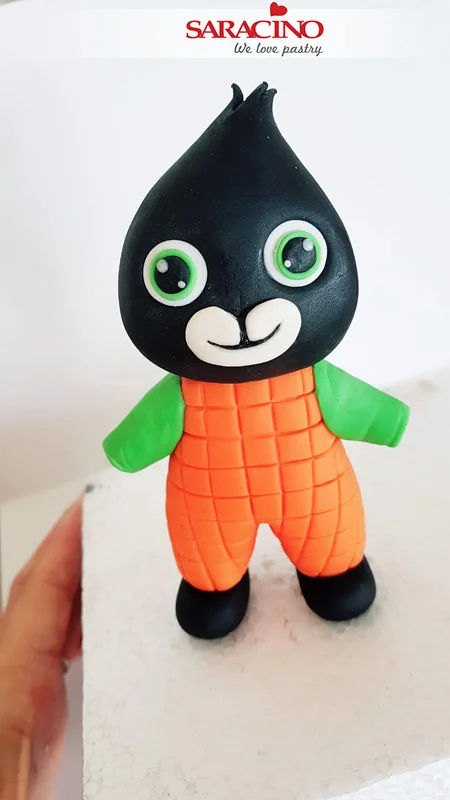
Using your scalpel make 2 cuts on the top of the head to create hair.

Step 20

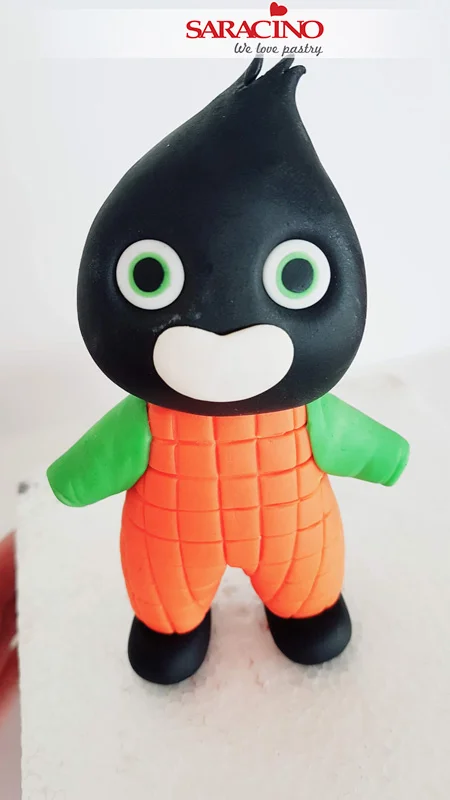
For the mouth attach a small round heart shape using the skin tone modelling paste

Step 21

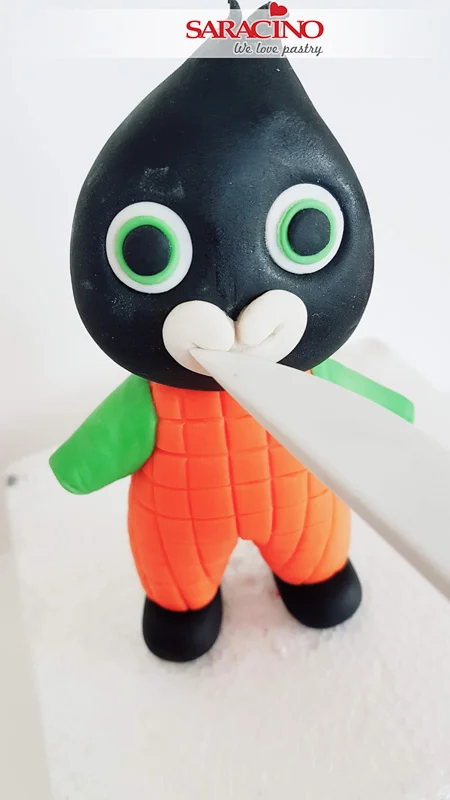
Make one small vertical line on the top of the heart shape and one curved in the centre to form a smile

Step 22

Roll a small amount of the black paste very thinly. Place into the lines you have made.

Step 23

Use a sharp modelling tool to blend the black to form the mouth. Add 2 tiny white dots to each eye

Step 24

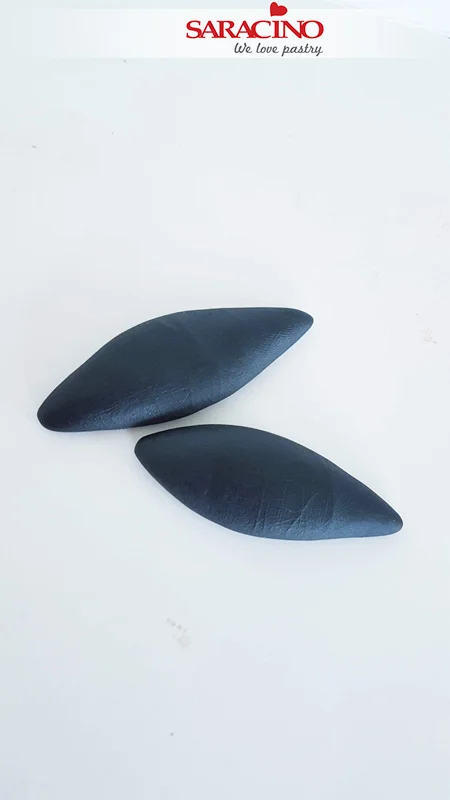
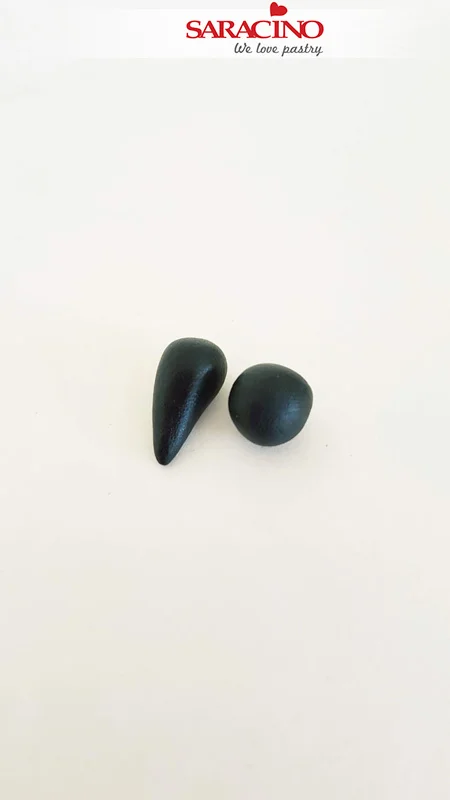
For the ears roll two small balls of black paste. Roll each end of them both gently with your fingers into a pointed shape.

Step 25

Use finger pressure to flatten them.

Step 26

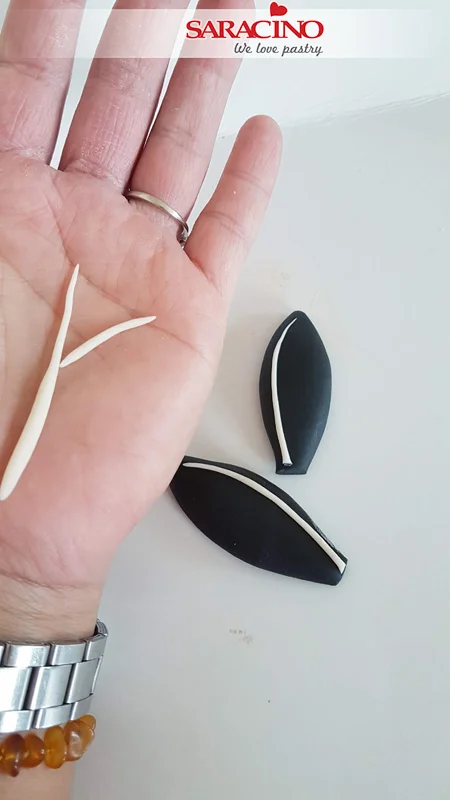
Cut a small piece off the end of each ear to form a flat end. Now to create the detail on the ears. Using your white paste roll two long and two small threads and attach them on the ears in the pattern shown. Finger pressure should make them stick to the ear but if required use a tiny amount of water.

Step 27

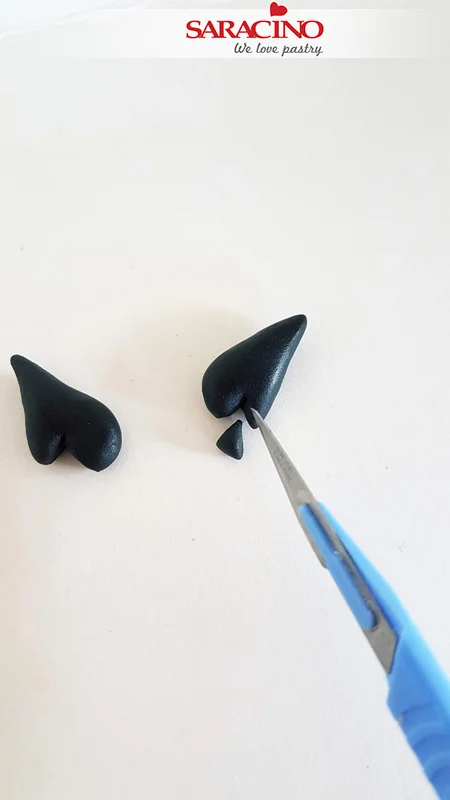
Now for the hands roll two small balls from your black paste. Use finger pressure and roll them into teardrop shape.

Step 28

Flatten them with your finger and cut out a small triangle on the side for each thumb.  

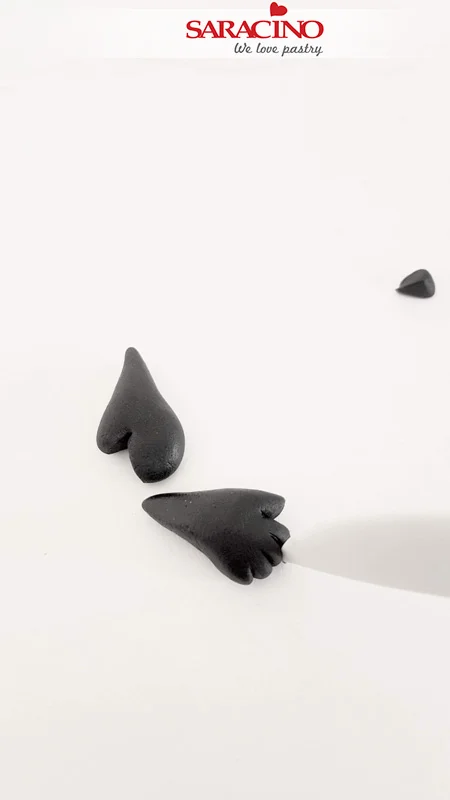
Step 29

Using your modelling tool form fingers into the end of each hand.

Step 30

Attach the hands to each arm. Use a little water if required.

Step 31

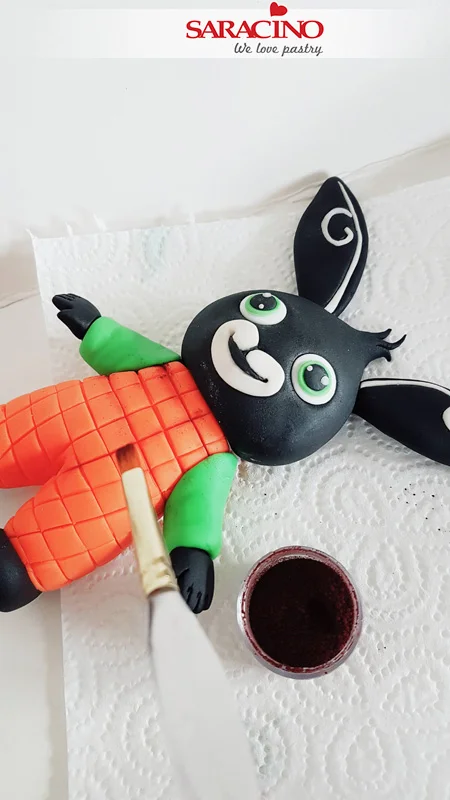
Using a soft brush and you brown powder colour dust the lines of the trousers.

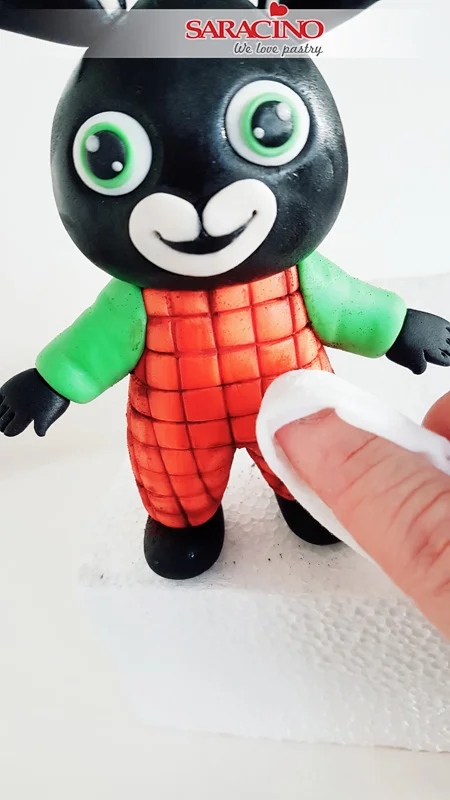
Step 32

Use your baby wipe clean the excess powder.

Step 33

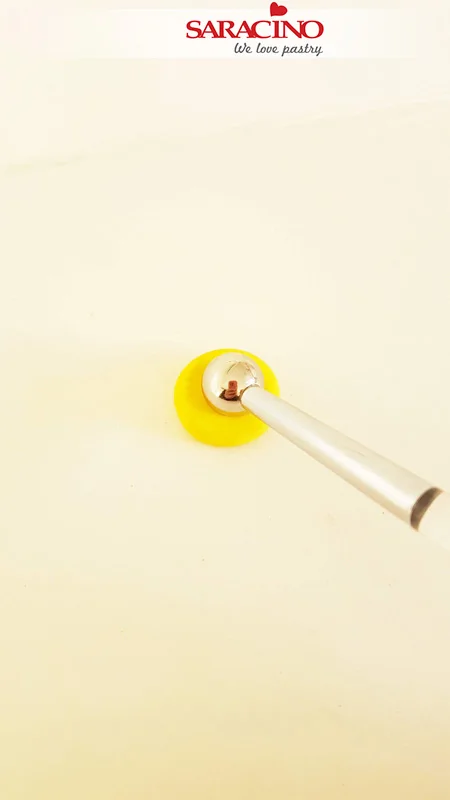
Now for the button. Roll a small ball out of the yellow paste. Flatten it in the centre with a large ball tool.

Step 34

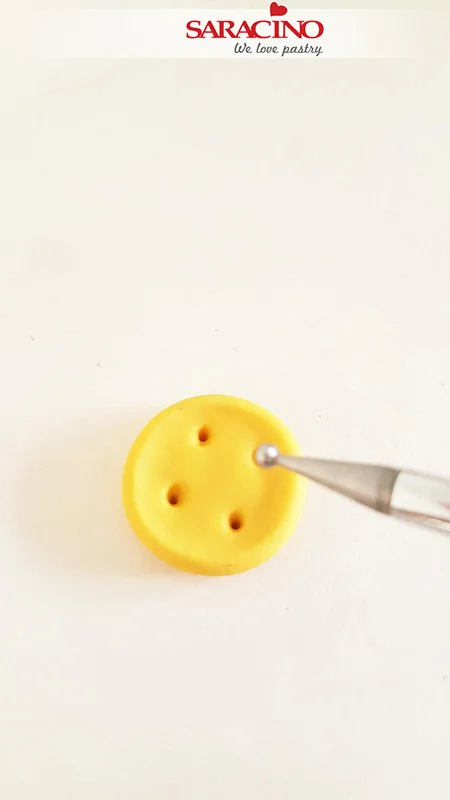
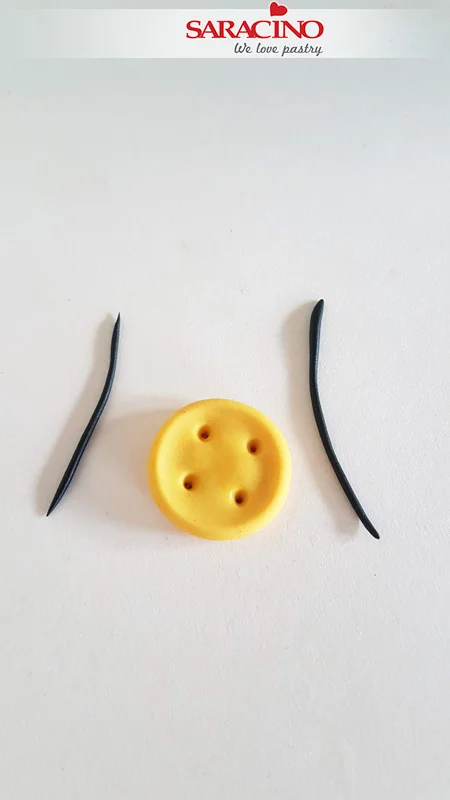
With your small ball tool make 4 little indents to create the button look.

Step 35

Roll your black paste very thinly for the cotton thread. Cut each to length required and insert into the indents made into the button to create the sewing effect.

Step 36

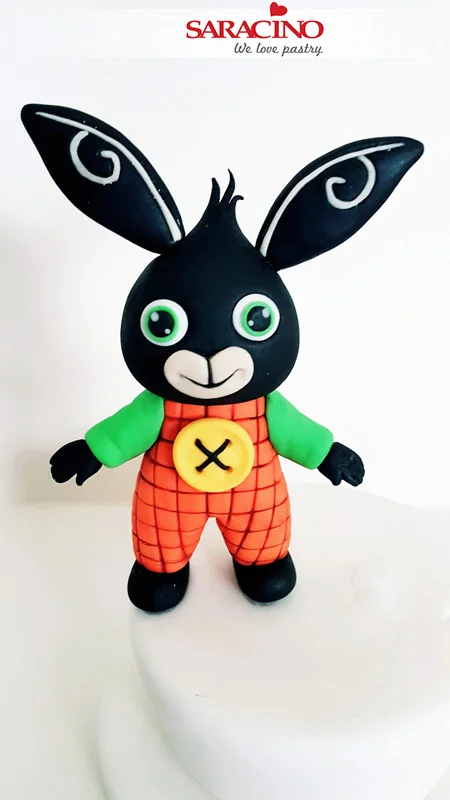
Attach your button to the body using a small amount of water if required.