


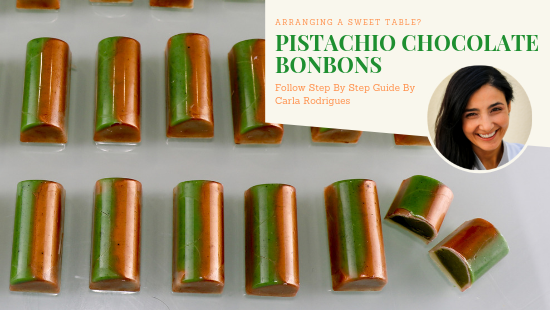
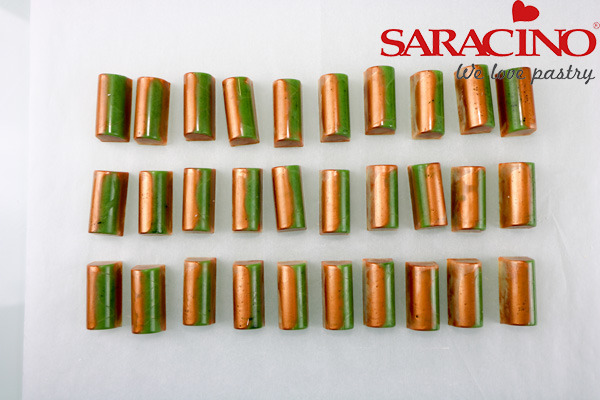
PISTACHIO CHOCOLATE BONBONS
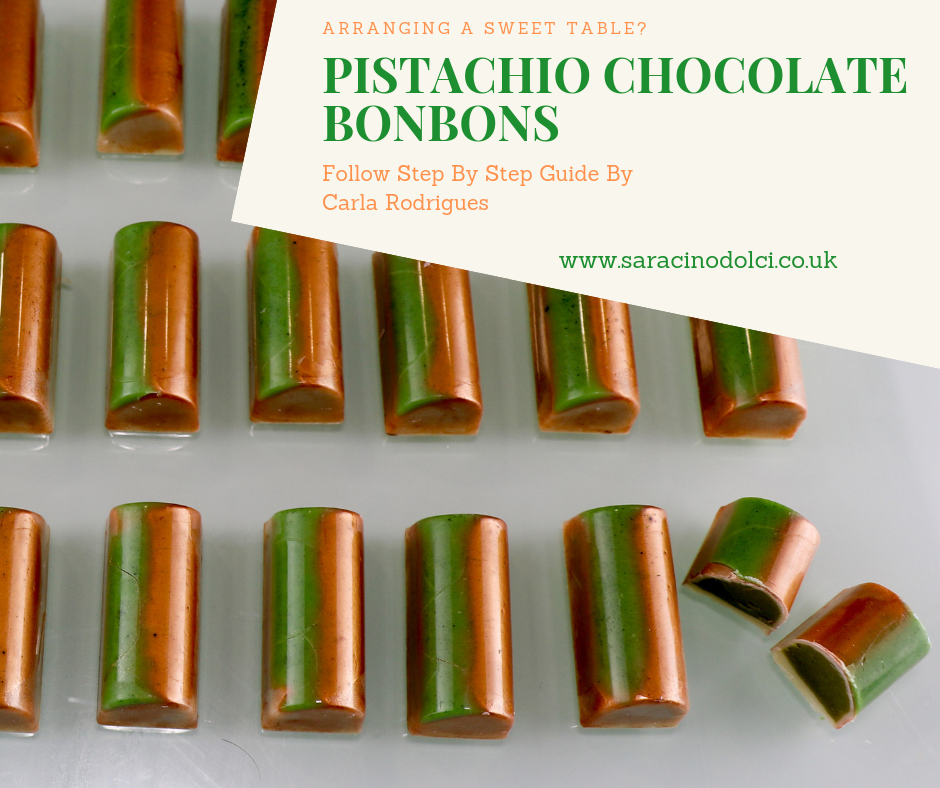
Author: Carla Rodrigues

Skill level: BEGINNERS
Pistachio Ganache
80 ml whipping cream (35% fat)
22 ml honey
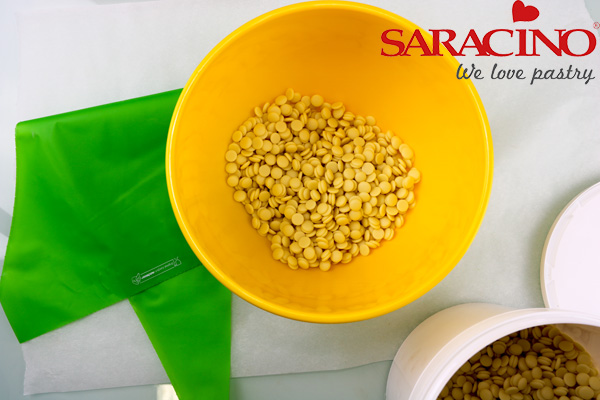
350 g white Saracino chocolate
120 g Saracino Le Supreme pistachio flavouring
38 g salted butter, chopped and softened
Note: This recipe yields for at least 3 moulds like the one used at this tutorial.
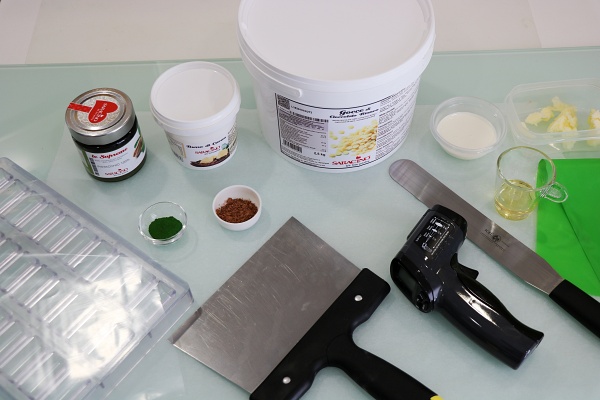
You will need:
- Saracino white Chocolate
- Saracino Le Supreme pistacchio flavouring
- Saracino cocoa butter
- Green colour dust
- Metallic bronze colour dust
- Guitar sheet
- Spatulas
- Digital thermometer
- Salted butter
- Double cream
- Honey
- Sponge to paint
- Brush
- Piping bags
- Polycarbonate chocolate bombons mould
- Blender
- Microwave
- Cling film
- Scraper
- Bowls
- Silicon paper

Step 1
Put the cream and the honey in a a saucepan over a medium heat and bring it to the boil.
Step 2
Put the chocolate in a bowl and heat it in the microwave for 30 seconds.
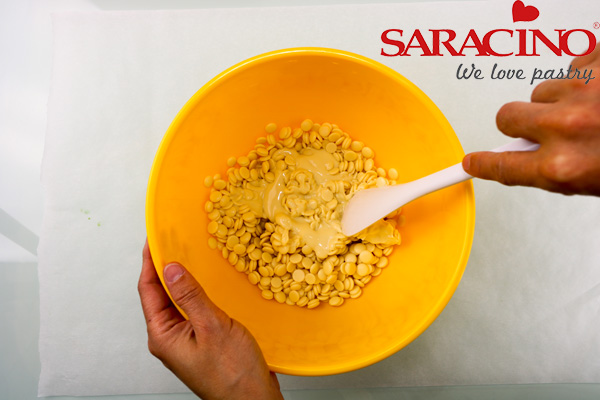
Step 3
Stir the chocolate then return it to the microwave for another 30 seconds. Repeat this as many times as required until the chocolate is melted.
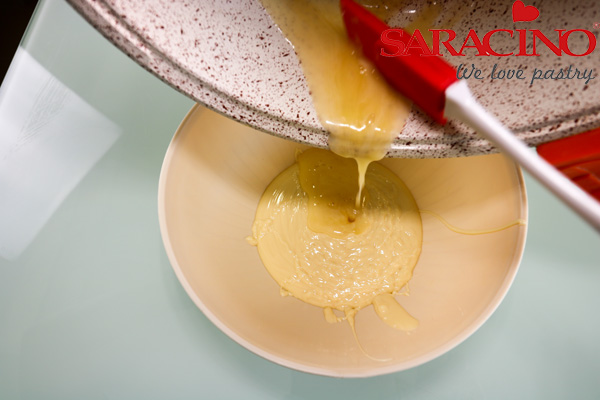
Step 4
Pour the cream mixture over the chocolate and stir.
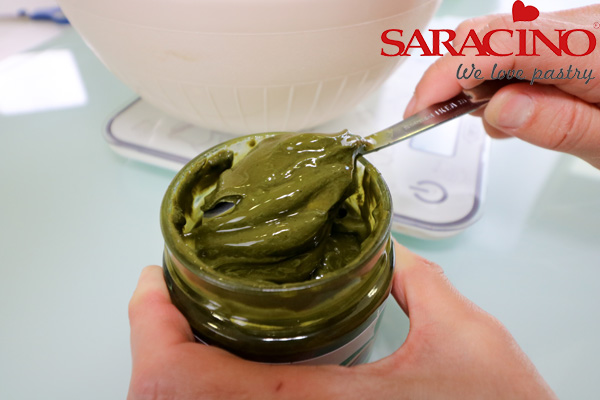
Step 5
Open the jar and stir food flavouring.
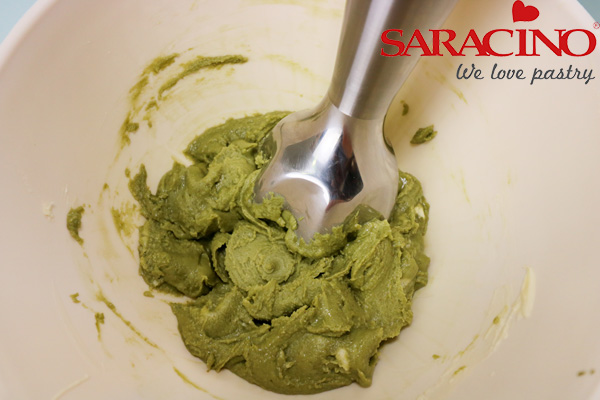
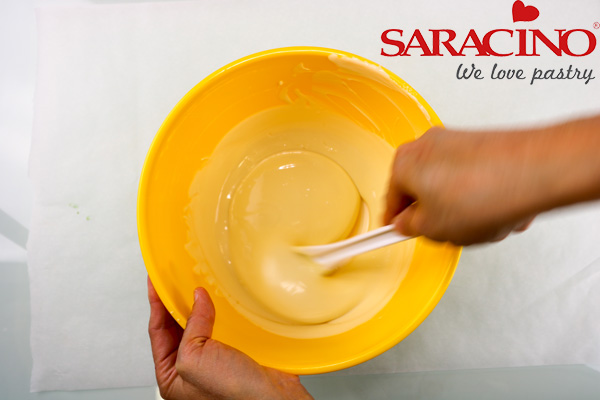
Step 6
Incorporate the pistachio flavouring and the butter with the help of a blender until you get a smooth ganache. Cover the bowl with cling film and set aside to cool until required.

Step 7
Melt enough quantity of cocoa butter in a bowl (in a microwave), add a small amount of green colour dust and stir.
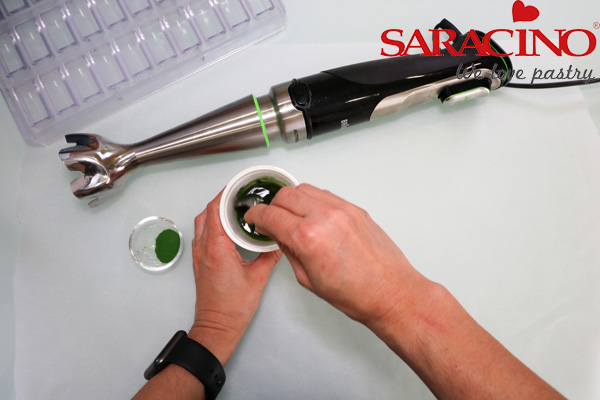
Step 8
Add colour until you get the tone of green you want and use a blender to get an even colour.
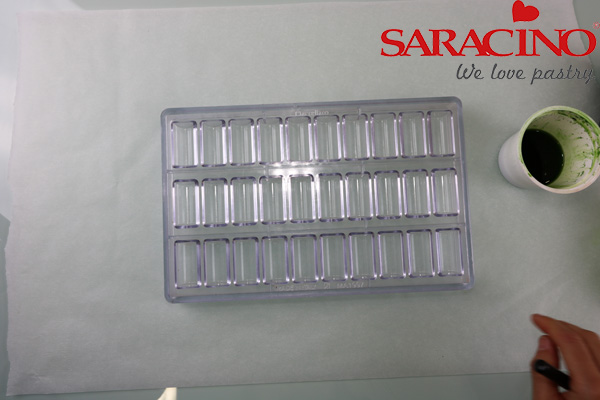
Step 9
Make sure the mould is clean and free from grease and water. Line your worktop with silicon paper to help protect it from the cocoa butter splatters and later from the chocolate.
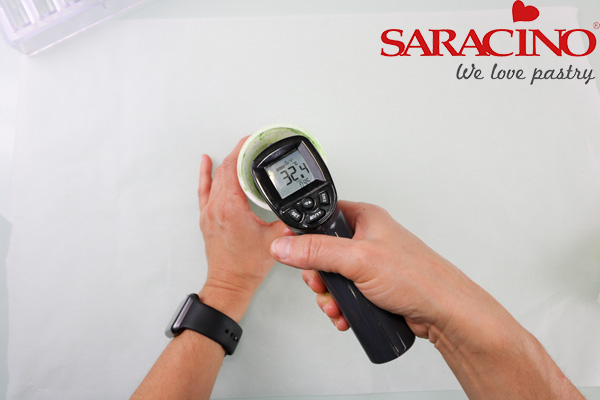
Step 10
Bring your coloured cocoa butter to a temperature around 32ºC.
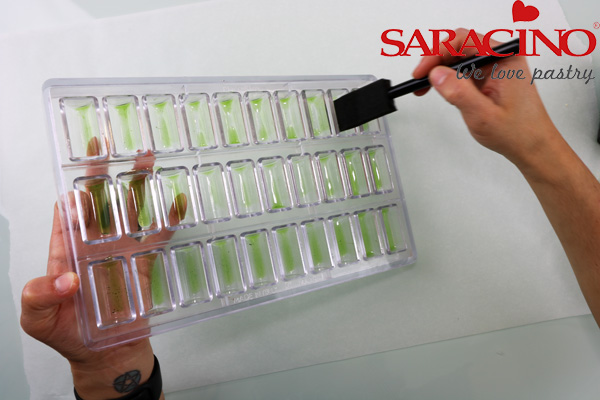
Step 11
Use a sponge to colour a green stripe at each cavity of the mould.
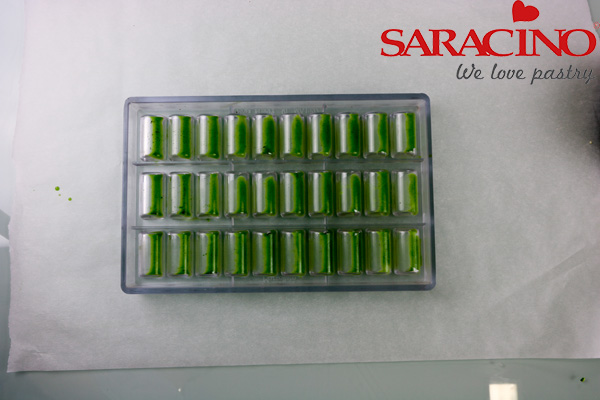
Step 12
Leave to dry and go matt.
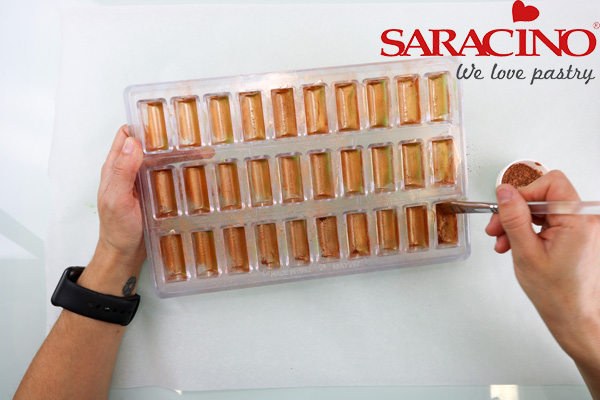
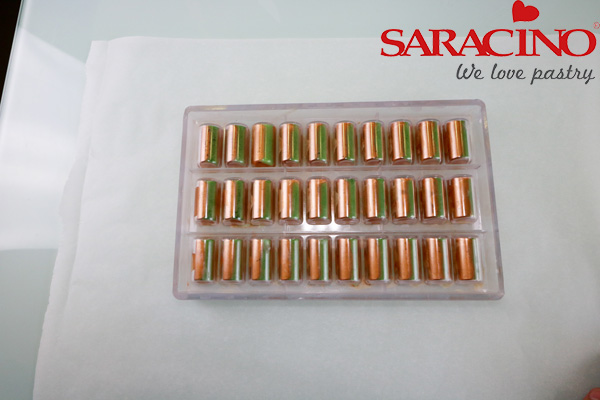
Step 13
Dust all the cavities with the metallic bronze colour.
Step 14
Temper 400g of white chocolate (27 – 28 ºC).
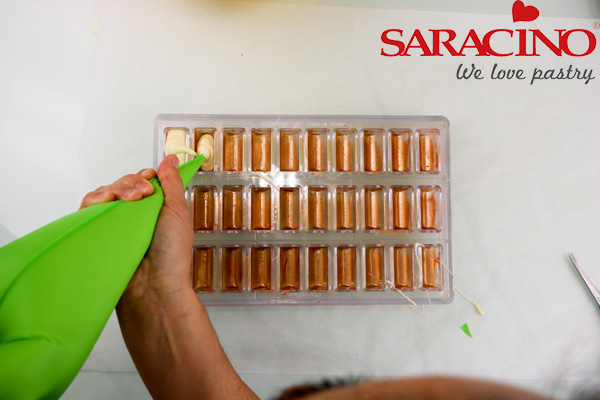
Step 15
Transfer to a large piping bag, snip off the end and pipe the chocolate into each cavity of the mould as quickly as you can.
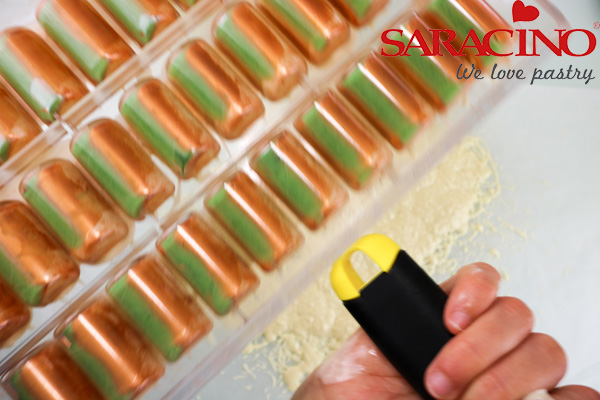
Step 16
Tap the mould on the worktop to release any air bubbles from the surface of the mould.
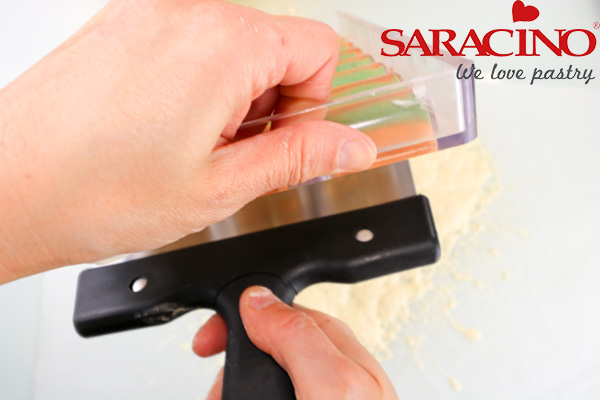
Step 17
Turn the mould upside down and tap the side of the mould with a scraper to pour out the excess of chocolate.
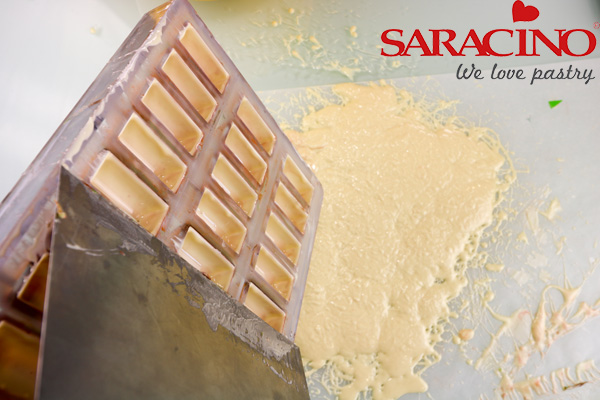
Step 18
Once the chocolate has stopped dripping, scrape the mould whilst the mould is upside down, so the excess chocolate falls out of the mould.
Step 19
Turn the mould upright and clean with scraper again.
Step 20
Place the mould upside down on a sheet of silicone paper until the chocolate is touch-dry, then place in the fridge to fully set for no more than 30 minutes.
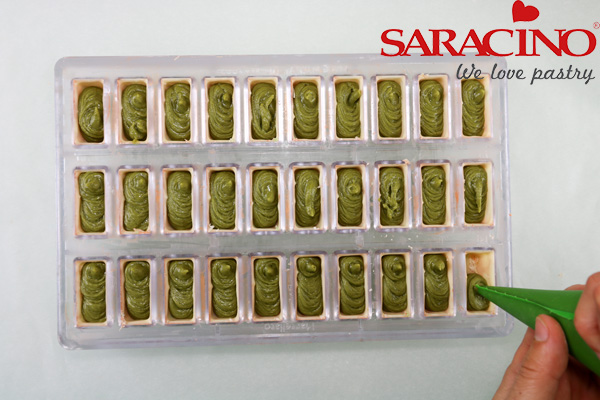
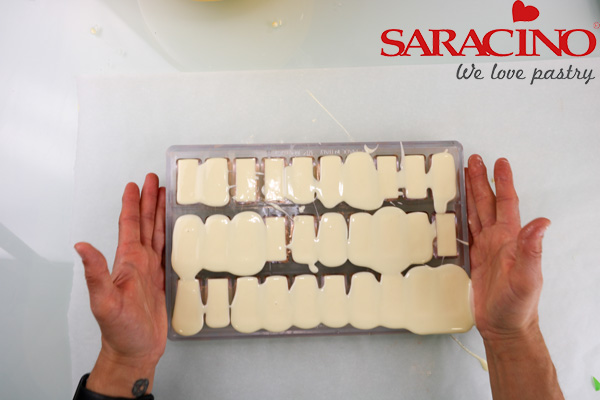
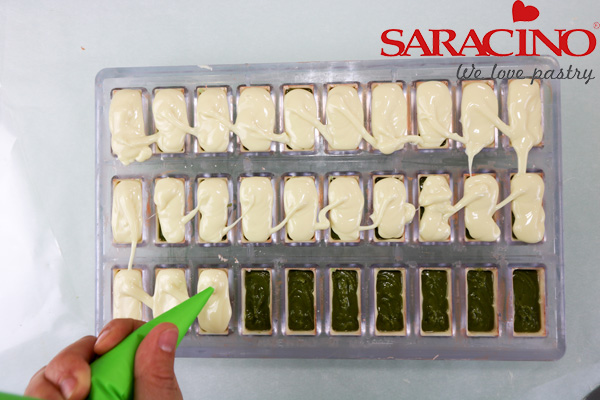
Step 21
Transfer the ganache to a large piping bag, snip off the end and pipe into the chocolate shells, filling them to 2 mm from the top.
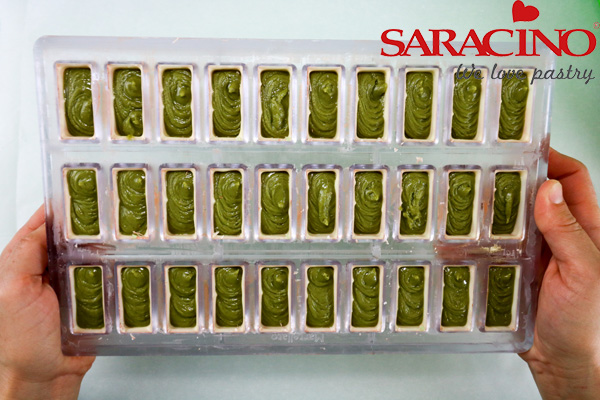
Step 22
Tap the mould gently on the worktop to release any air bubbles from the ganache and leave it evenly spread inside the shells. Let it set.
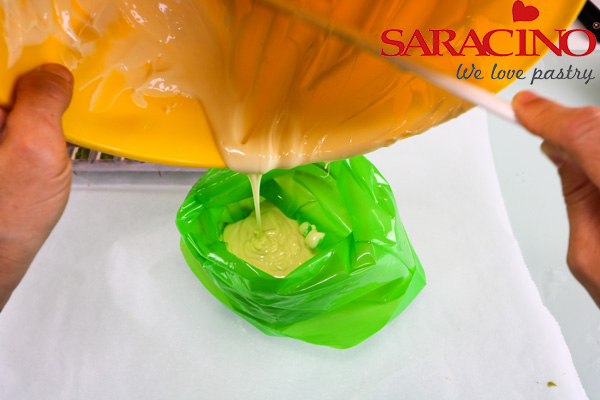
Step 23
Temper approximately 200g of the leftover white chocolate and transfer it to a large piping bag.
Step 24
Pipe the chocolate over all the chocolates as fast as you can.
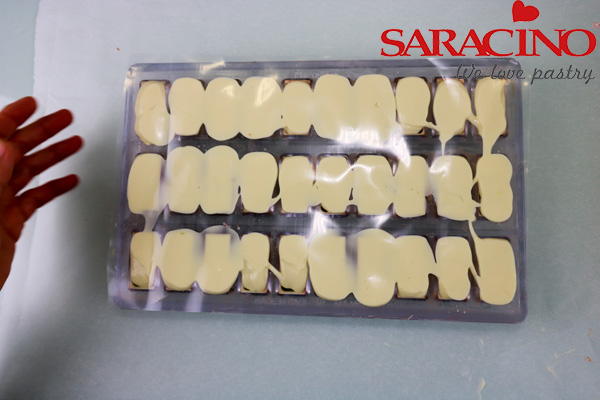
Step 25
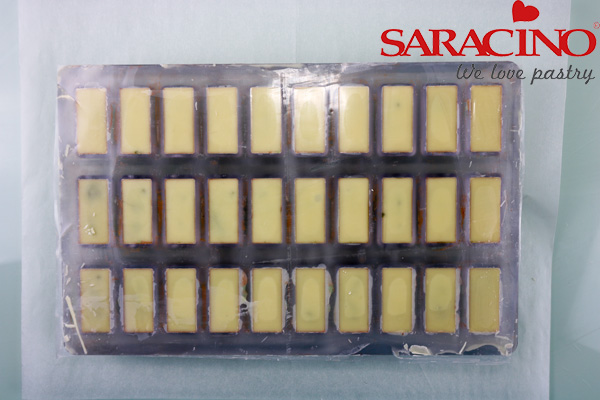
Place a guitar sheet over the top of the mould (previously cut to the size of the mould).
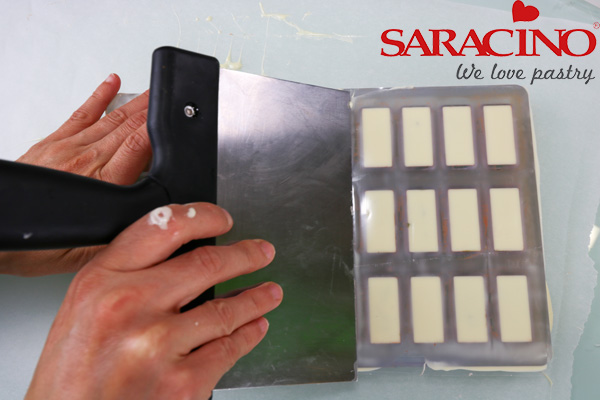
Step 26
Scrape downwards the excess of chocolate under the guitar sheet.
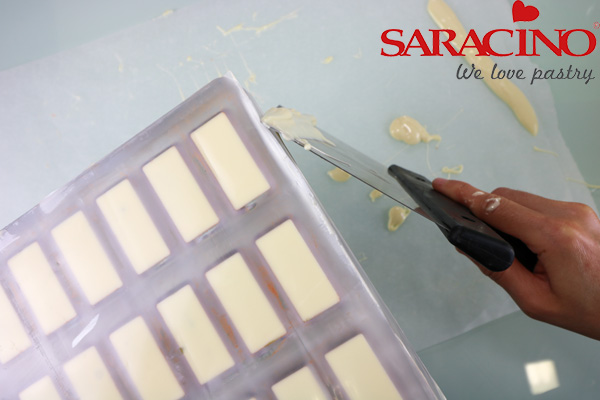
Step 27
Clean off the sides of the mould.
Step 28
Set aside at room temperature until the freshly piped chocolate is touch-dry, then place in the refrigerator for 20 minutes to set.
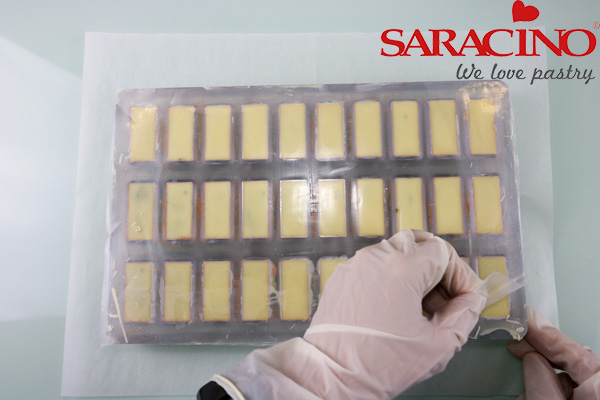
Step 29
Remove the mould from the refrigerator and peel off the guitar sheet.
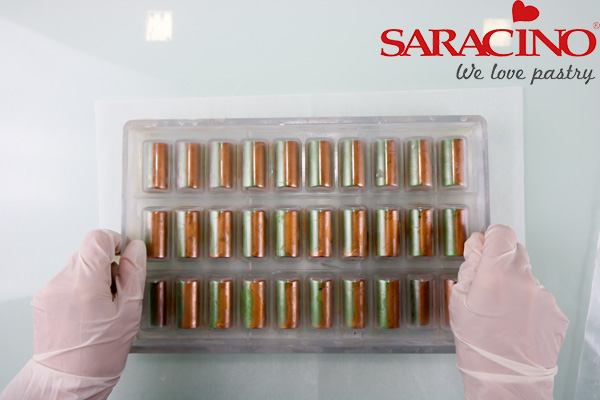
Step 30
Remove the chocolates by turning over the mould and tapping the edge furthest away from you on the work surface.
Step 31
Tap different edges until the mould is empty.


