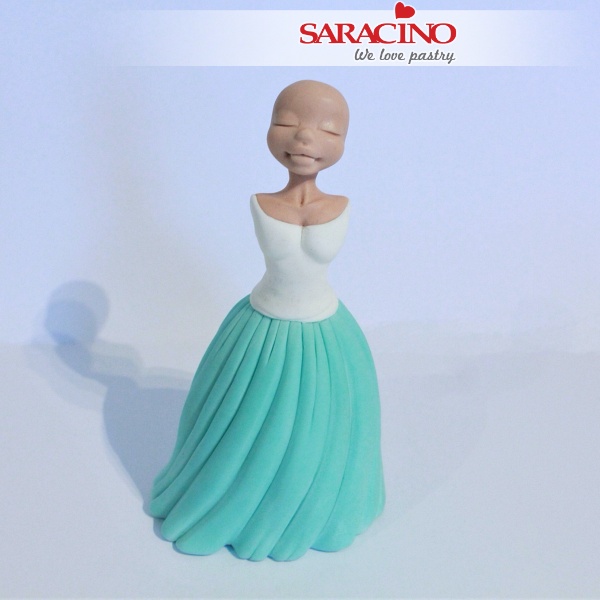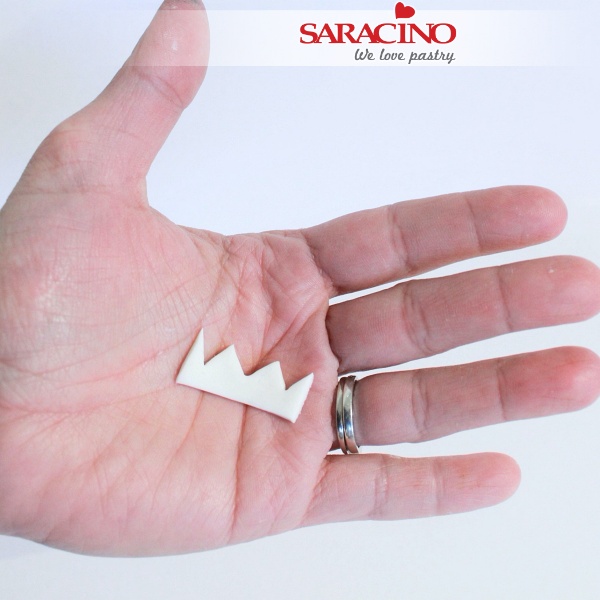
HAPPY FROG TUTORIAL

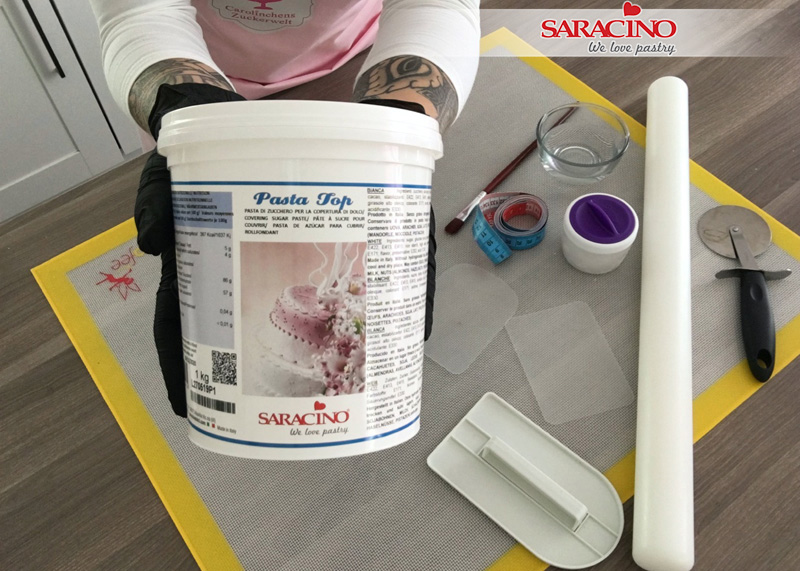
You will need:
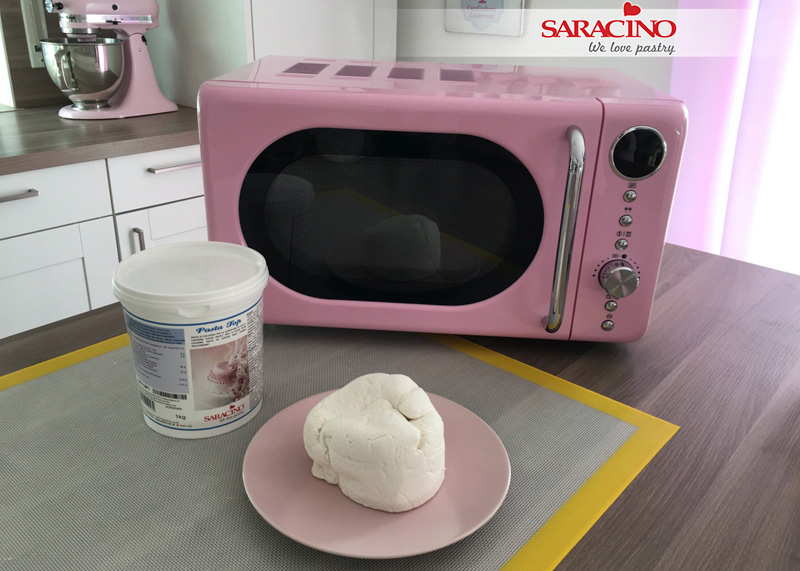
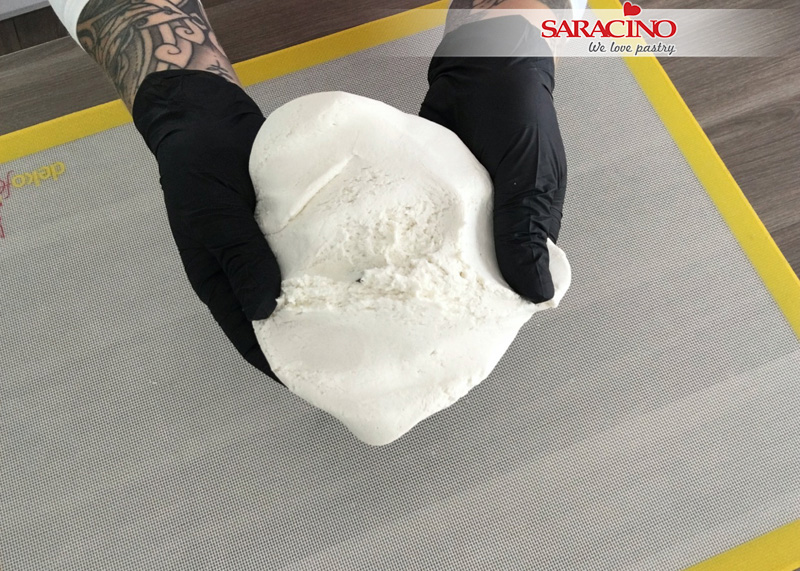
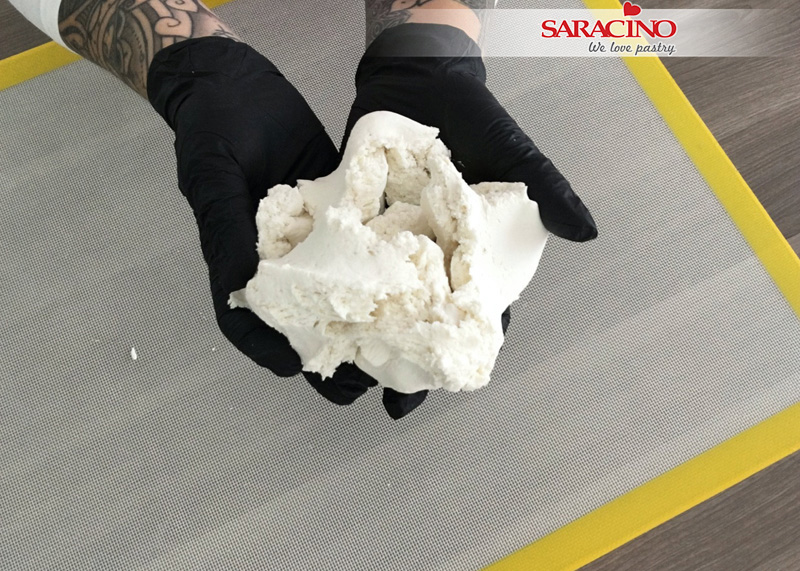
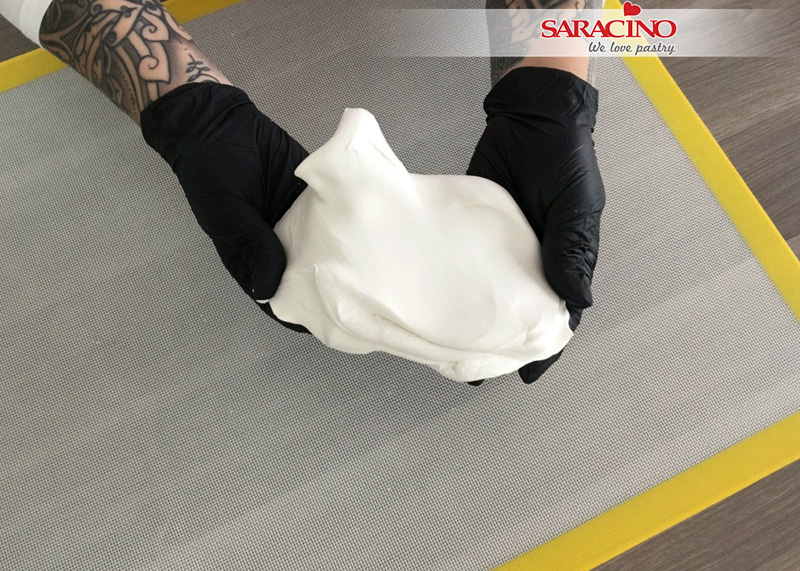
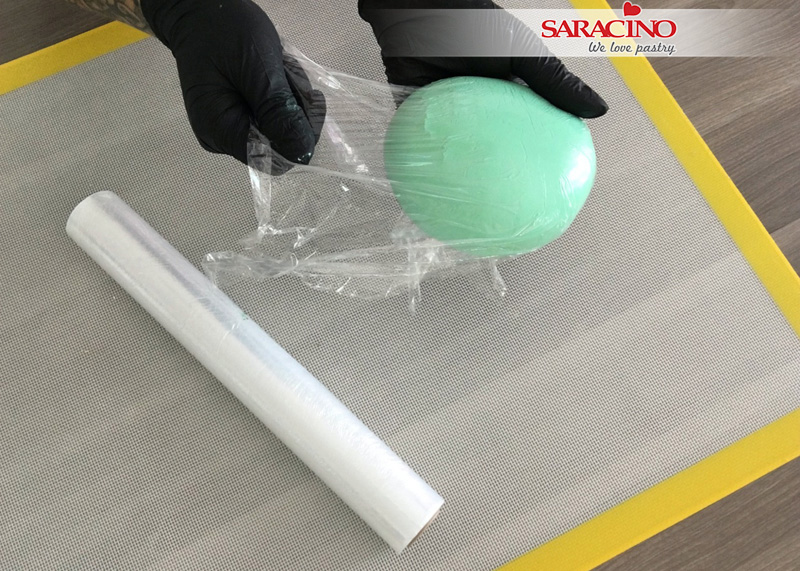
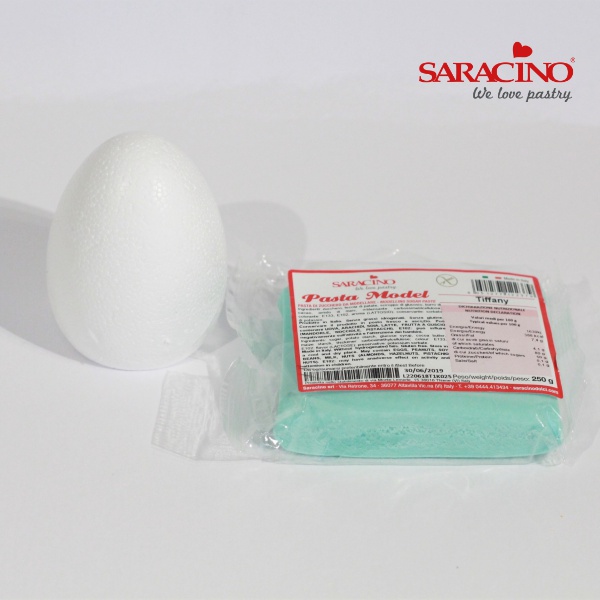
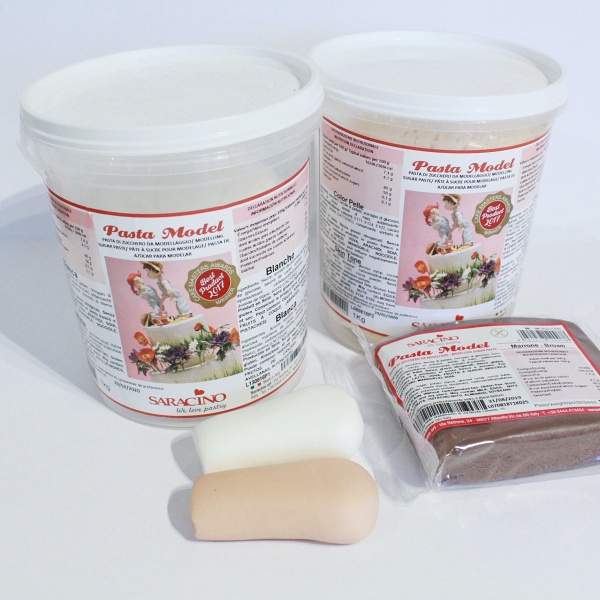
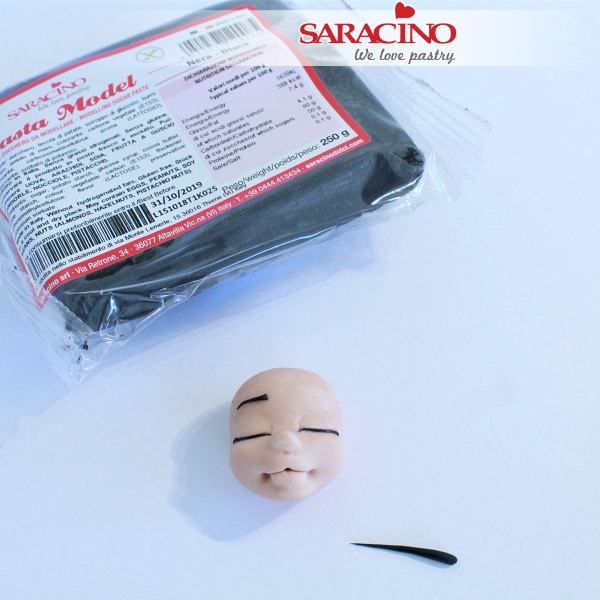
- Saracino model paste white and a little black
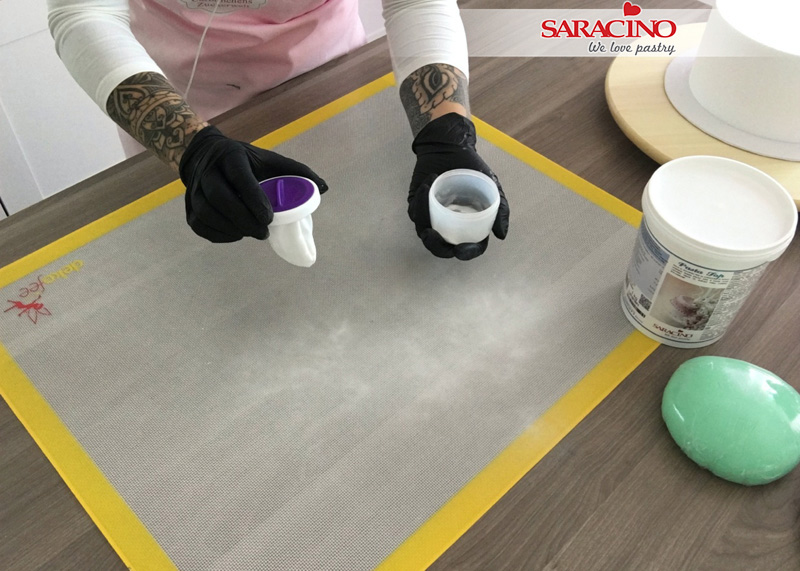
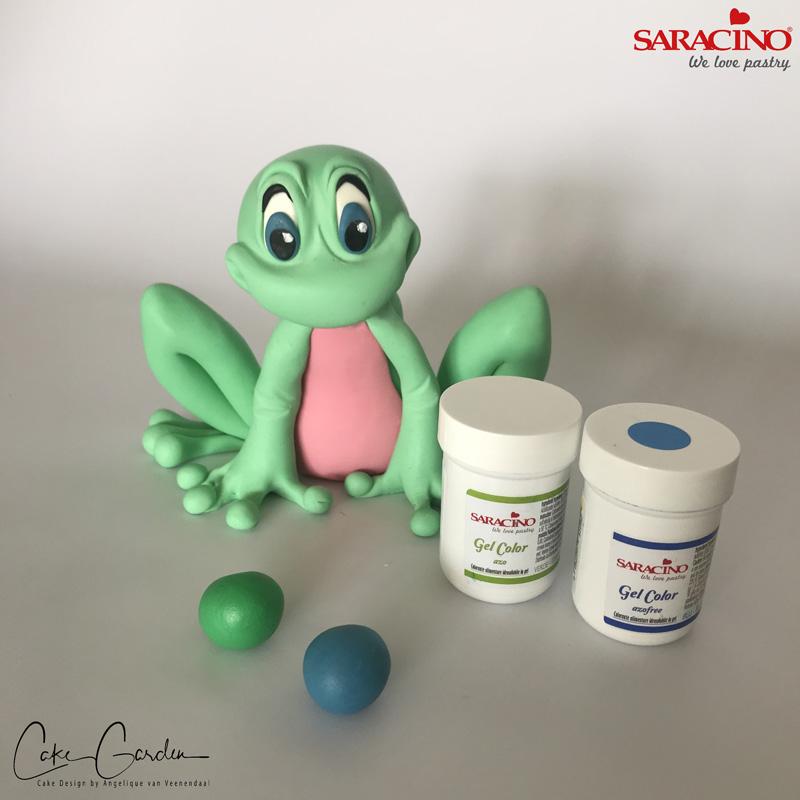
- Saracino gel colors blue, green, pink, purple, white
- Dust pink and green
- Edible glue
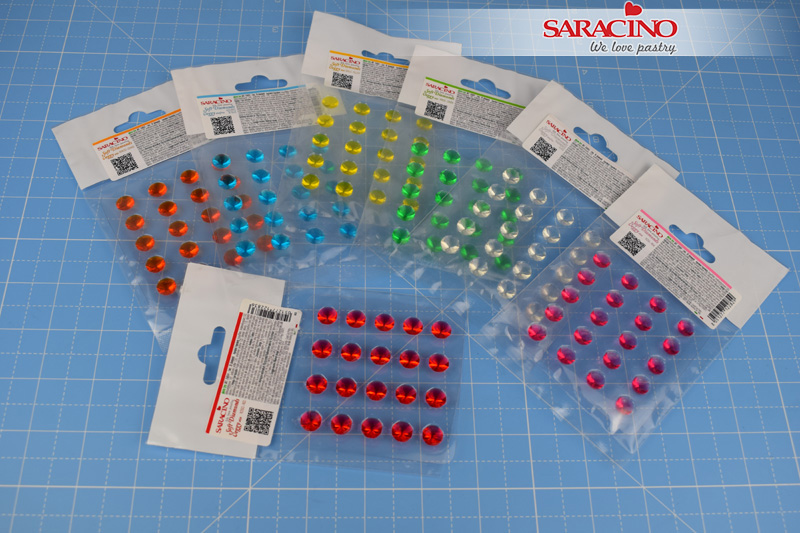
- Black pearls
- Rolling pin
- Glue brush
- Dusting brush
- Modelling tools
- Knife
- Cake board
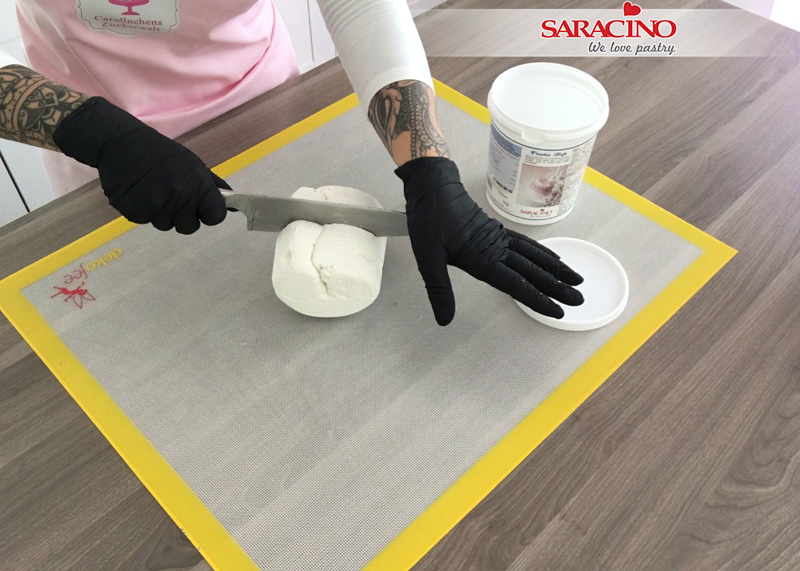
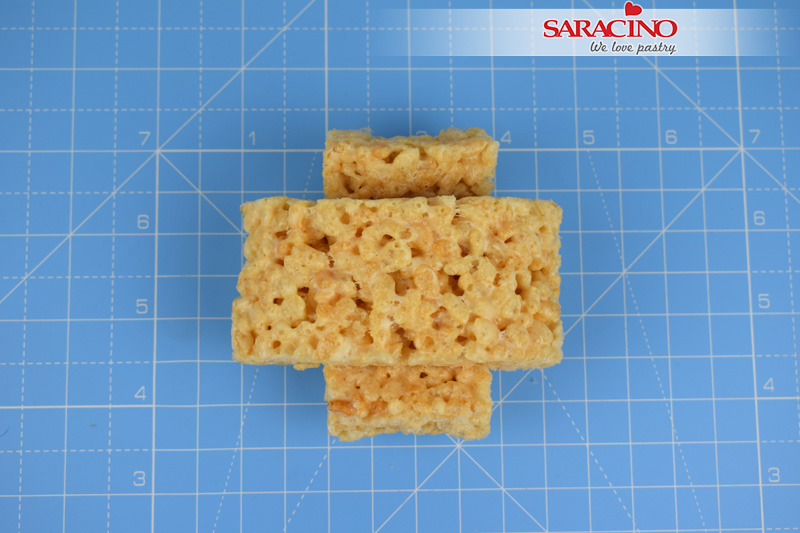
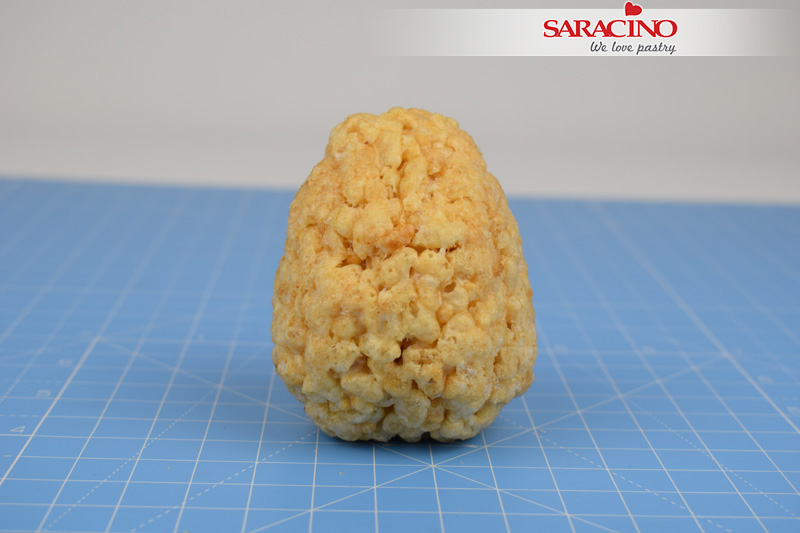
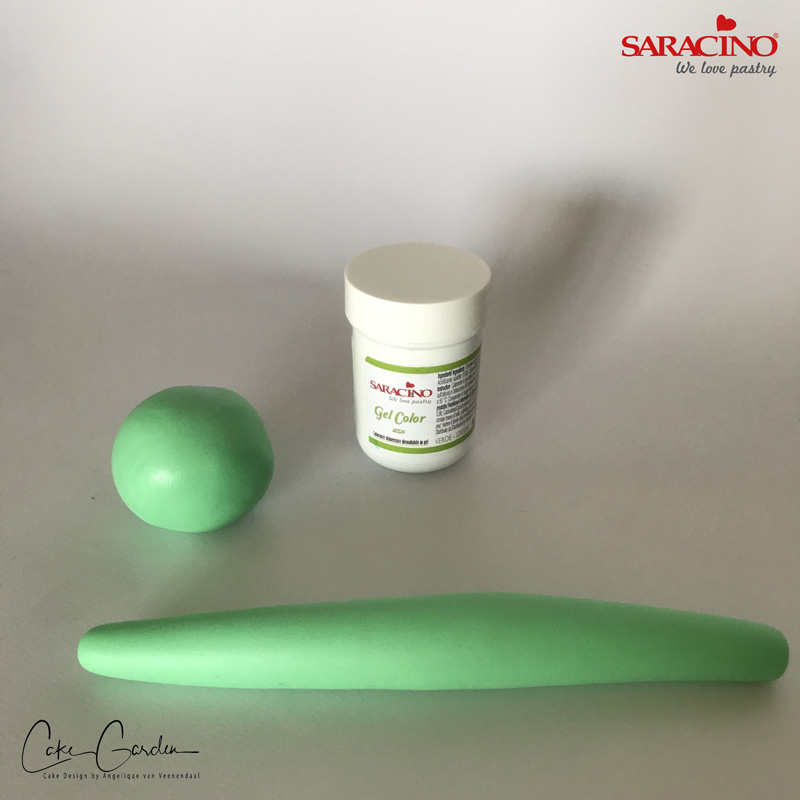
Step 1
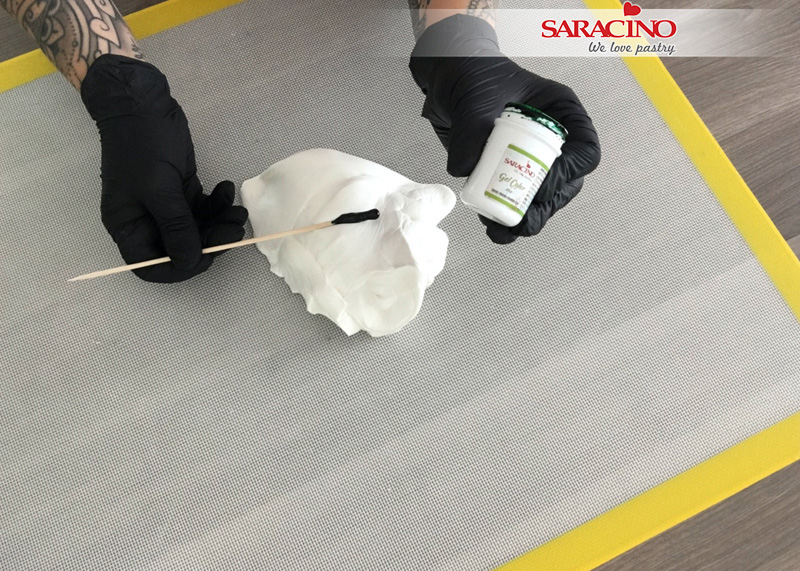
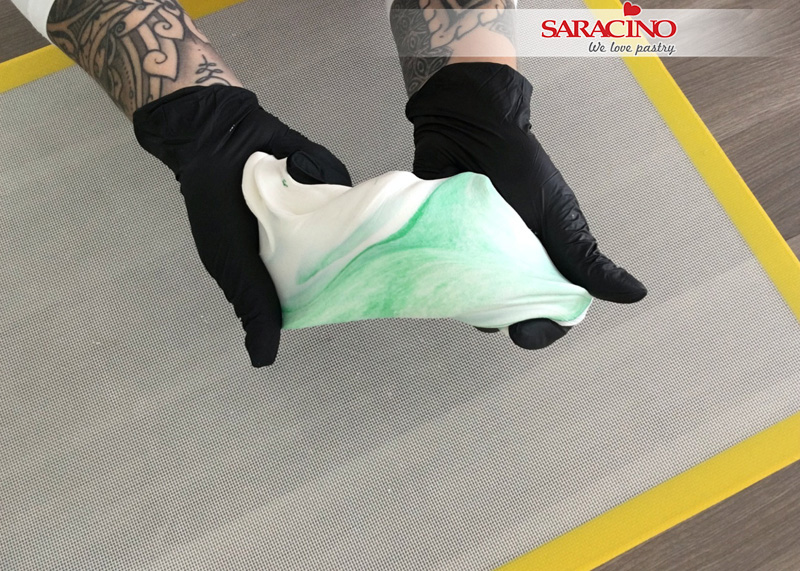
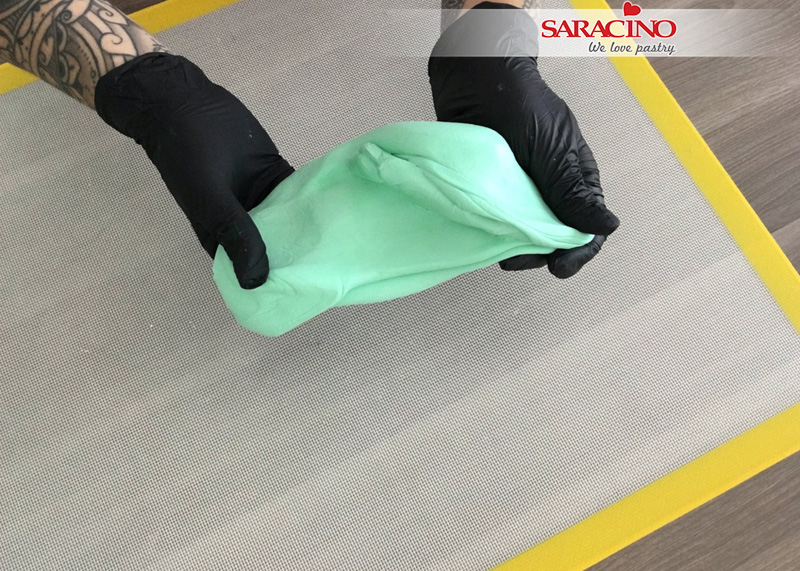
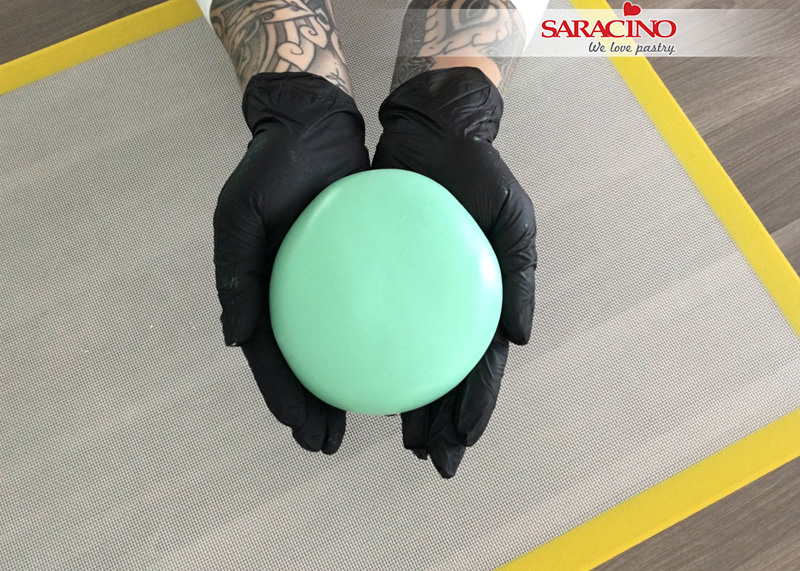
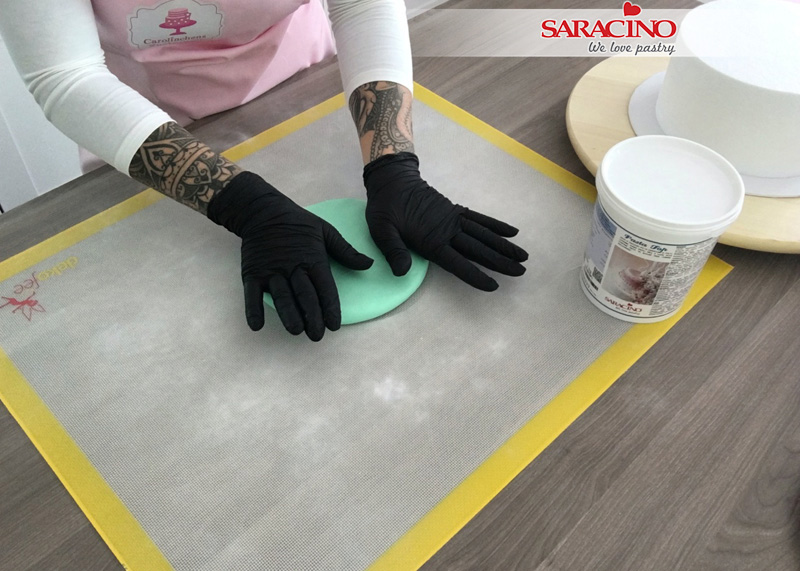
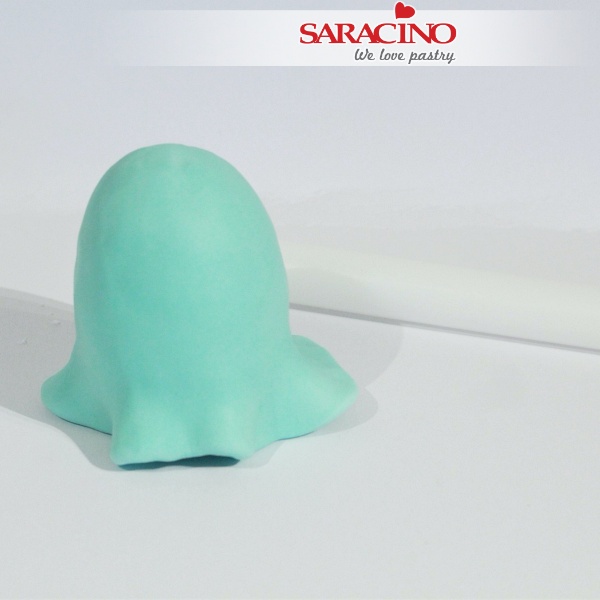
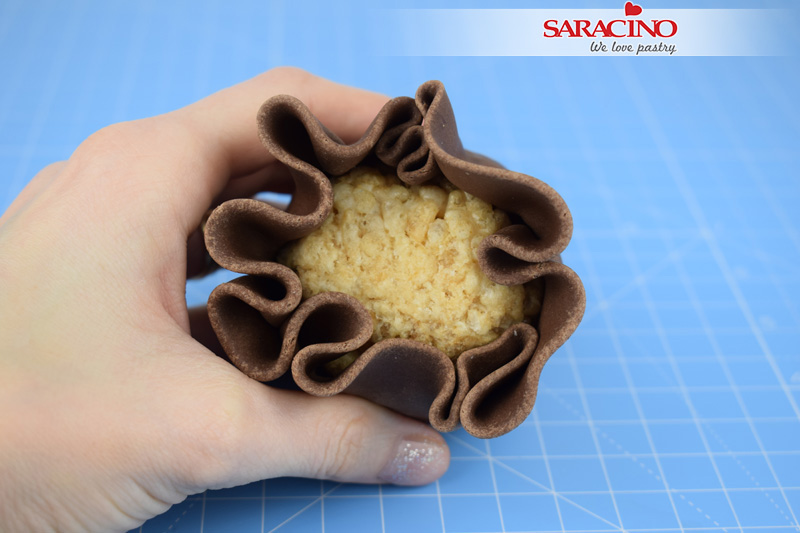
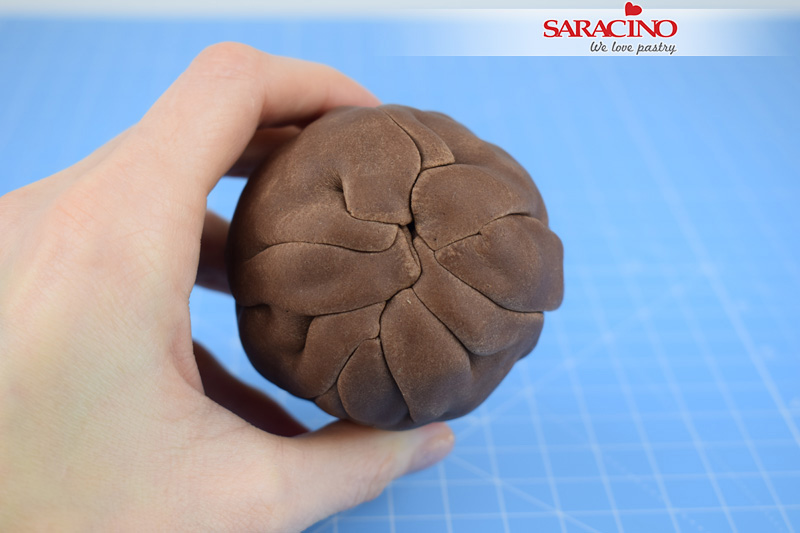
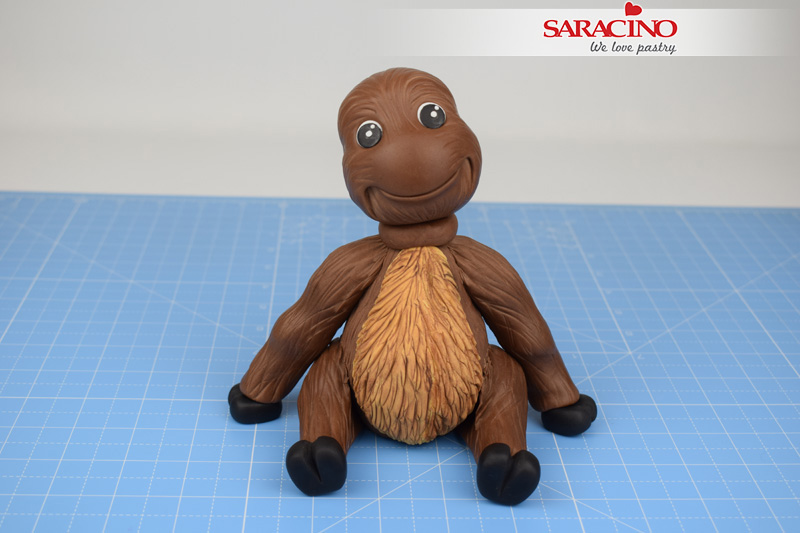
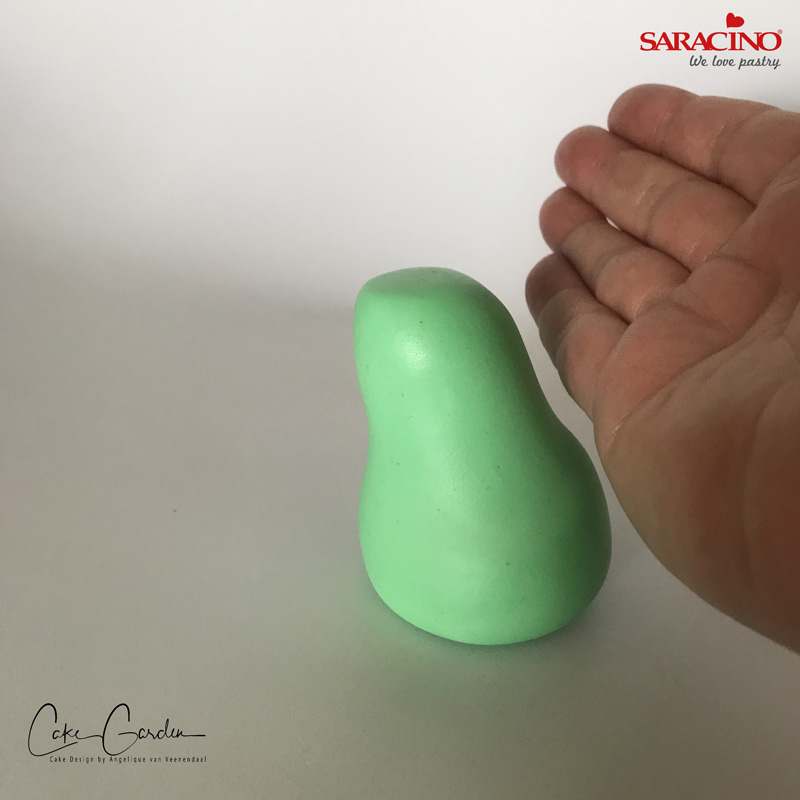
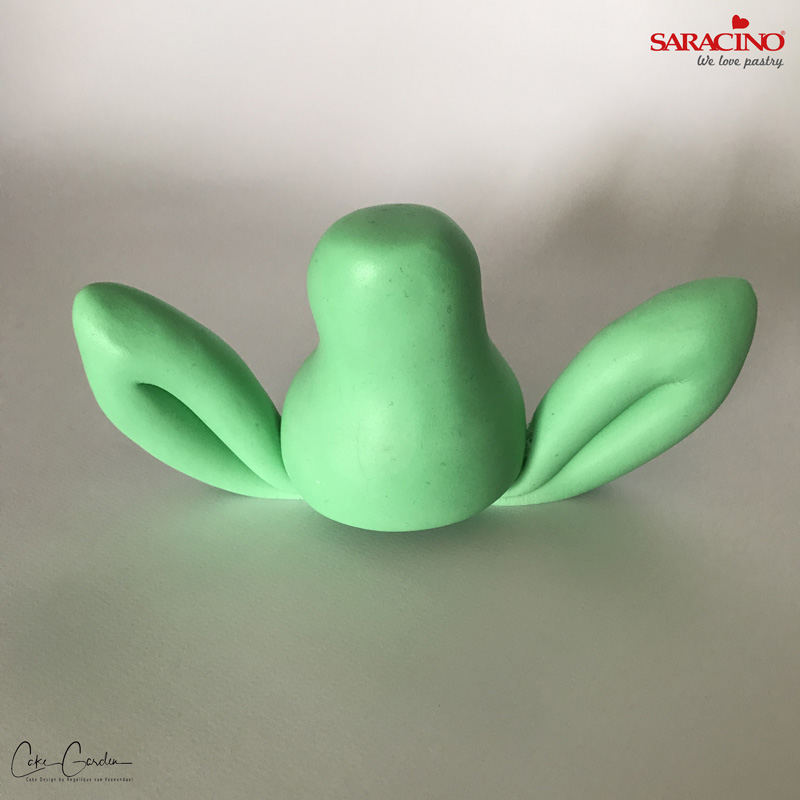
Prepare the Saracino Modelling Paste required for the frog. Mix the modelling paste with the green gel colour. Using your fingers form a pear shape. Make the top of the pear flat to put the head on later.
Step 2
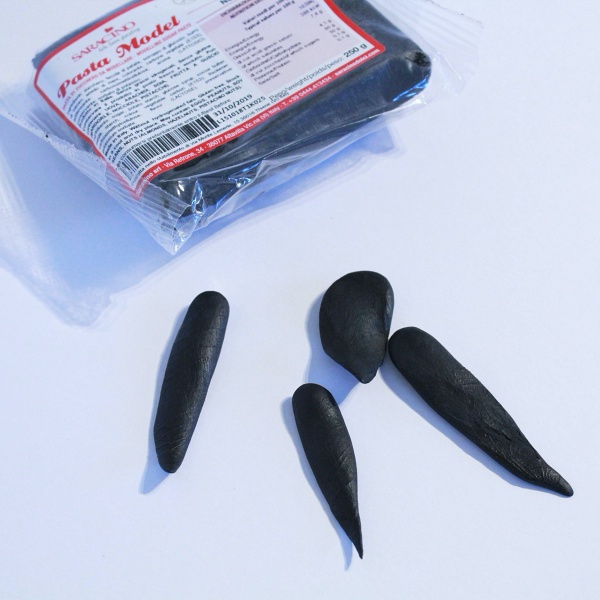
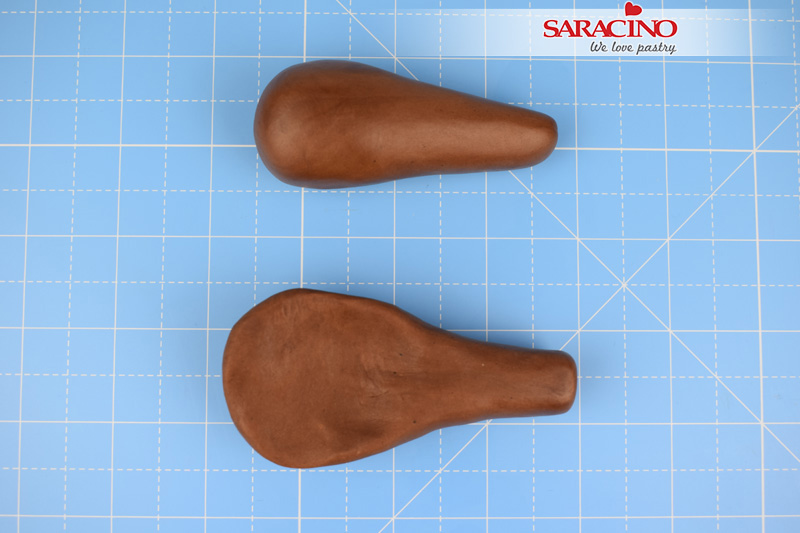
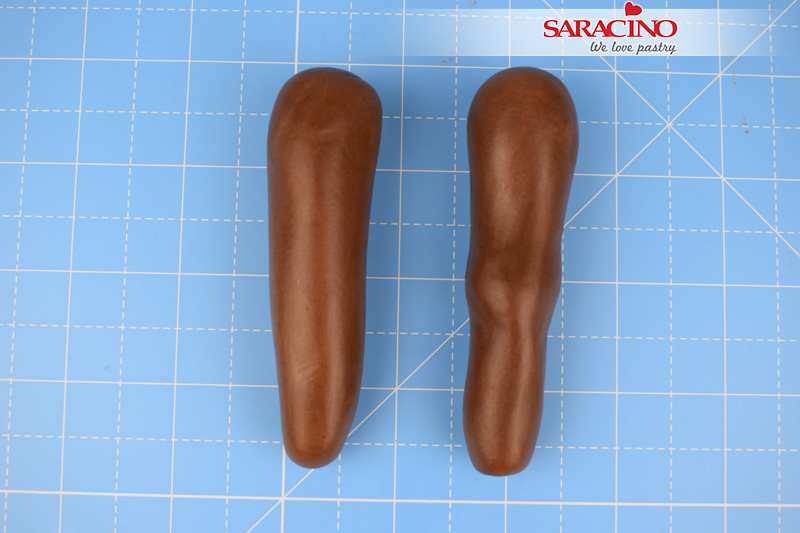
Make two long sausages of the green paste and leave the middle a bit thicker.
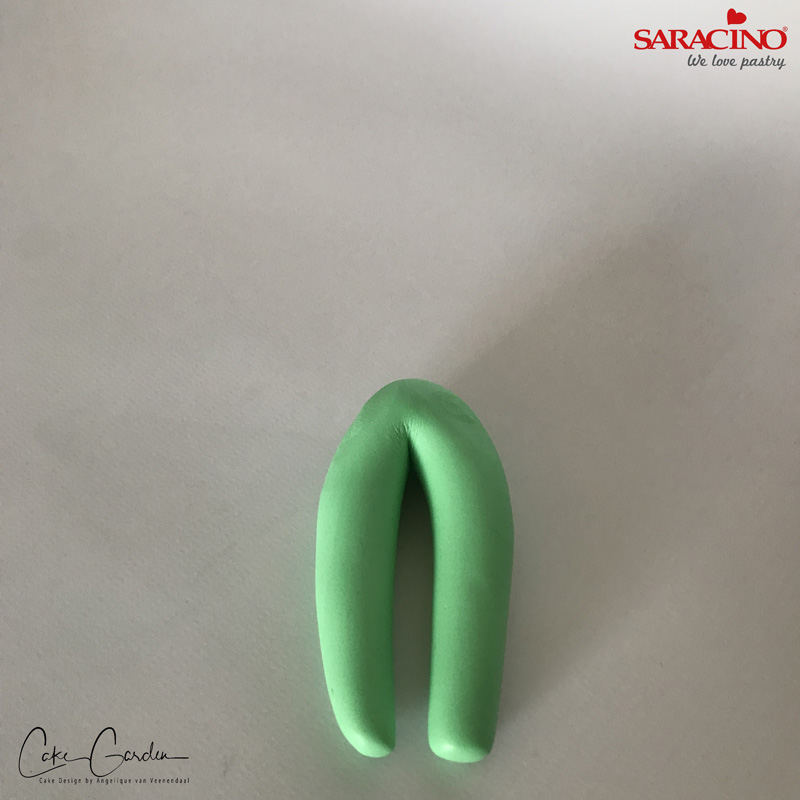
Step 3
Bend the sausages in the middle.
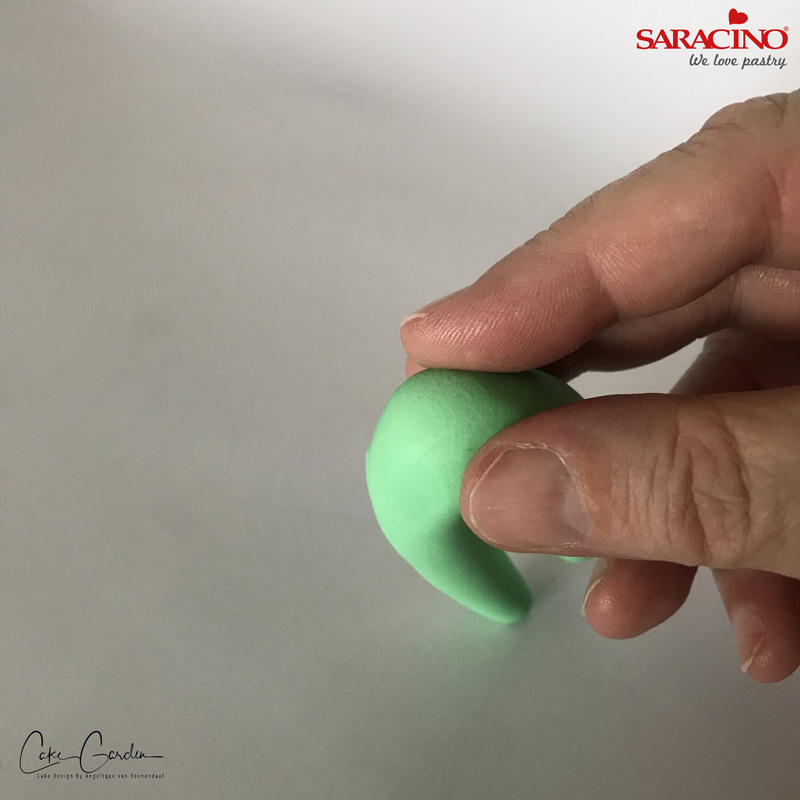
Step 4
Use your fingers to make a knee. Push your fingers towards each other with paste inbetween. Make a pointy knee.
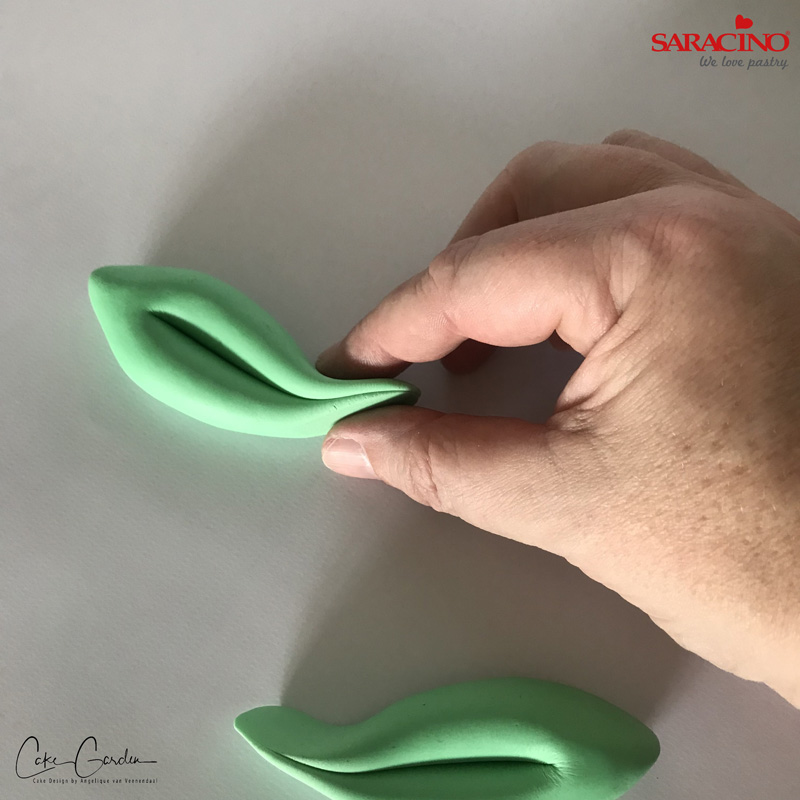
Step 5
Push the paste flat at the other end.
Step 6
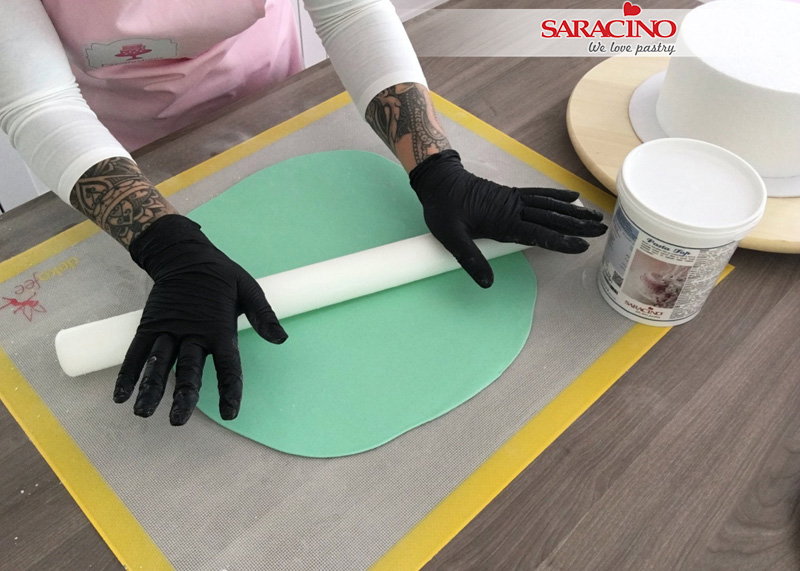
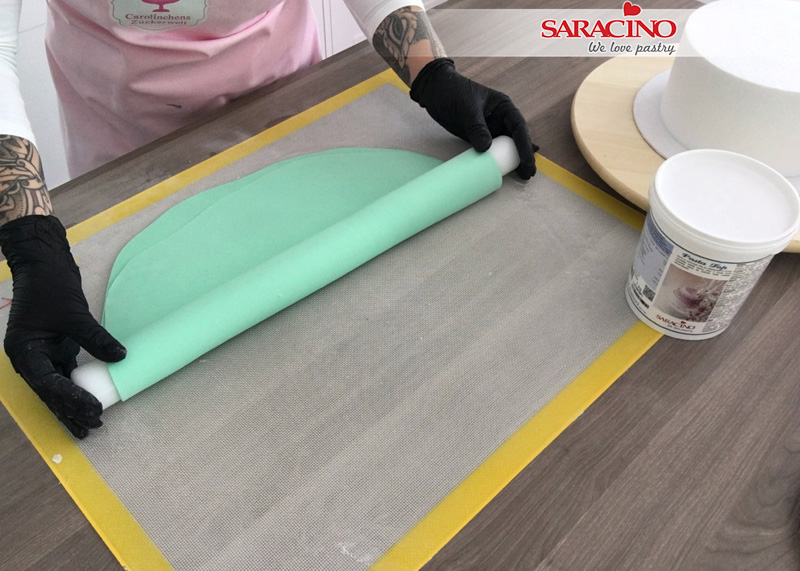
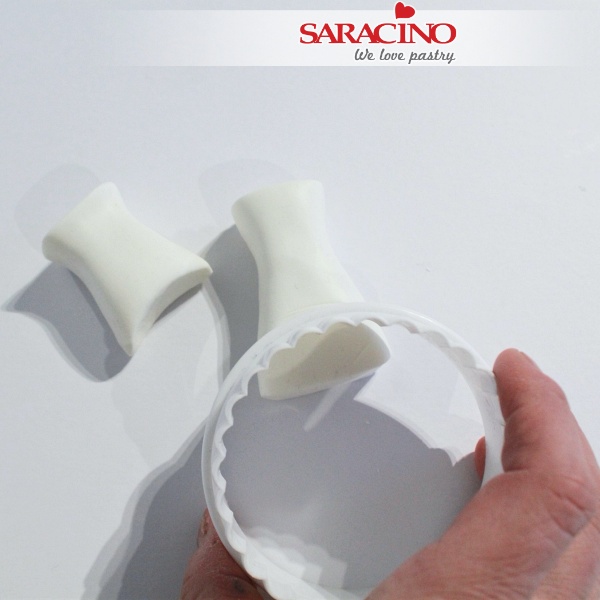
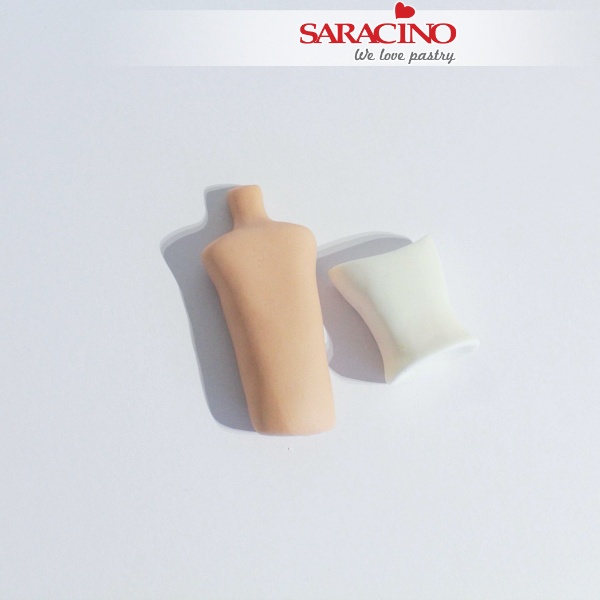
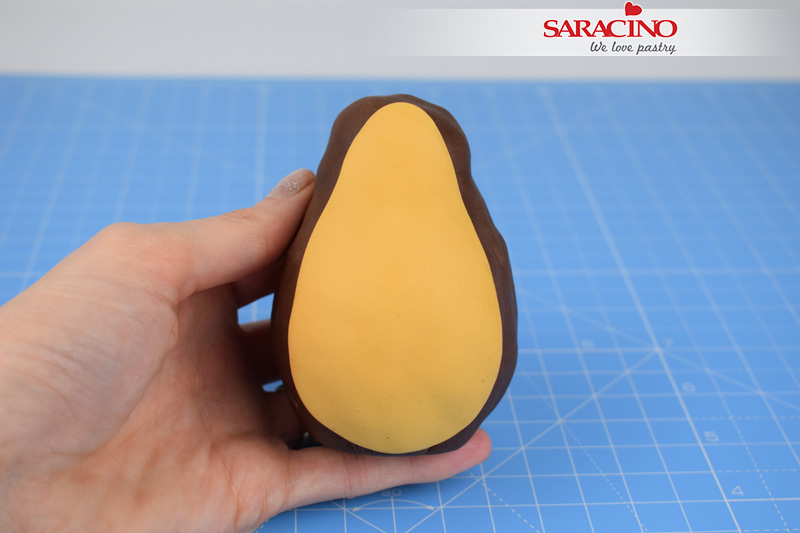
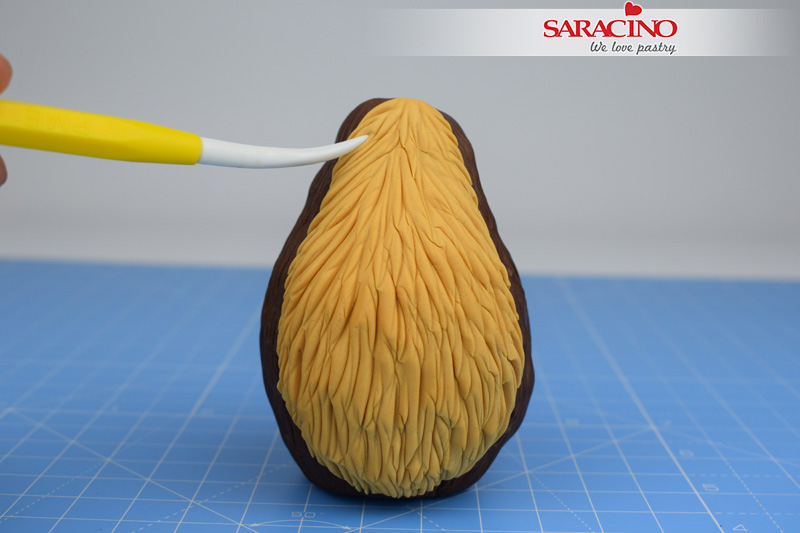
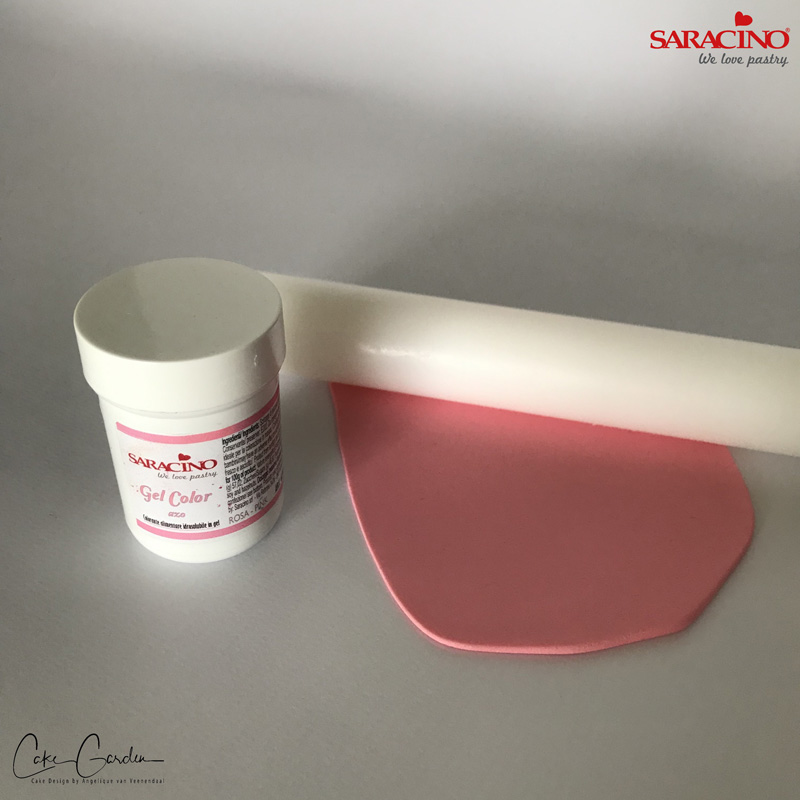
Prepare the Saracino Modelling Paste required for the belly. Mix white model paste together with the pink gel colour. Roll thinly.
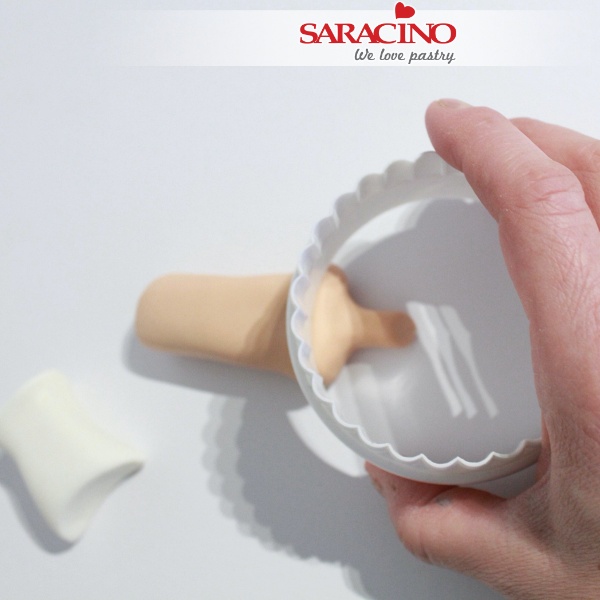
Step 7
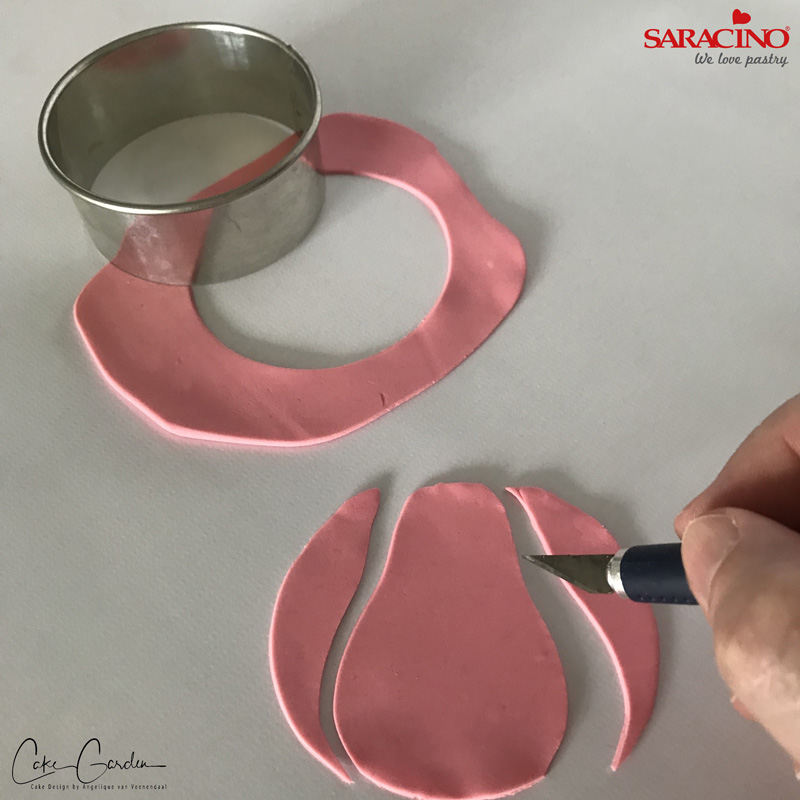
First cut a circle with a round cutter that fits the front of the frog’s belly. Then cut a pear shape out of the circle.
Step 8
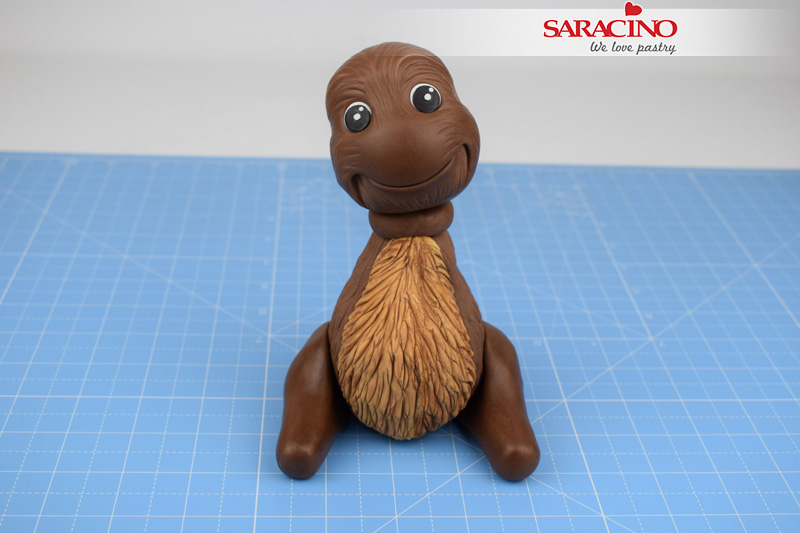
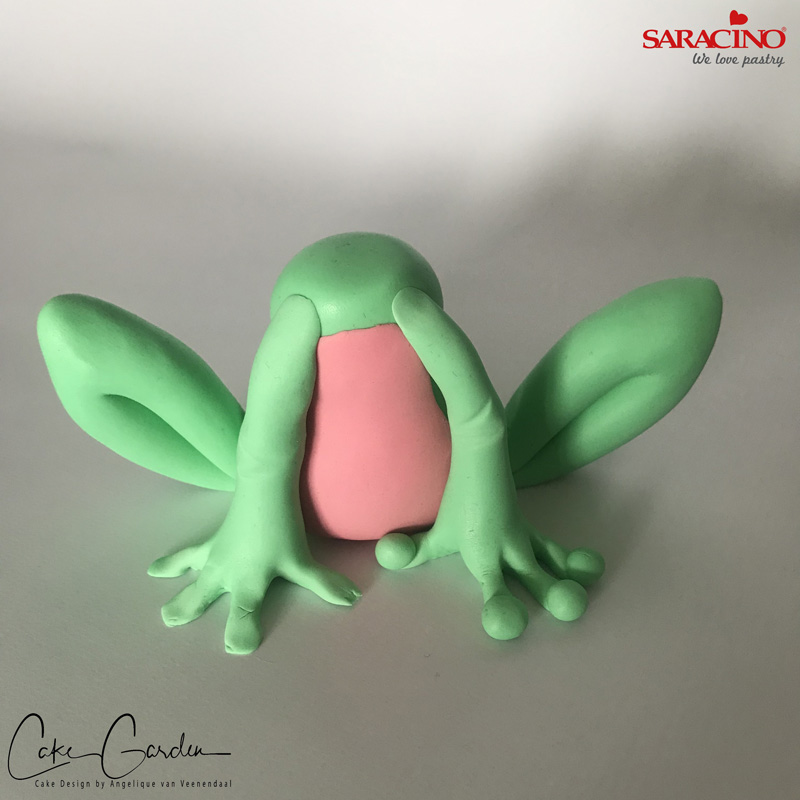
Glue the legs under the body of the frog.
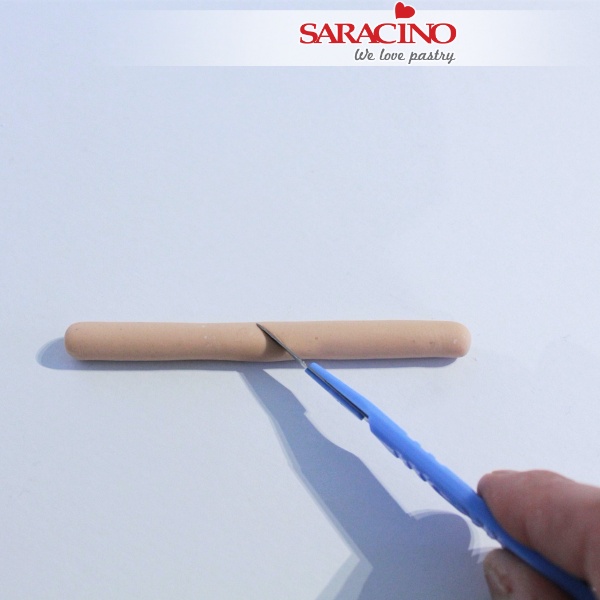
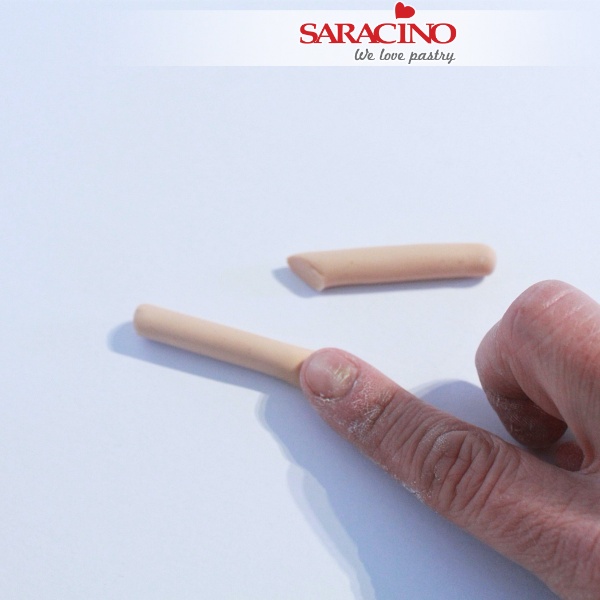
Step 9
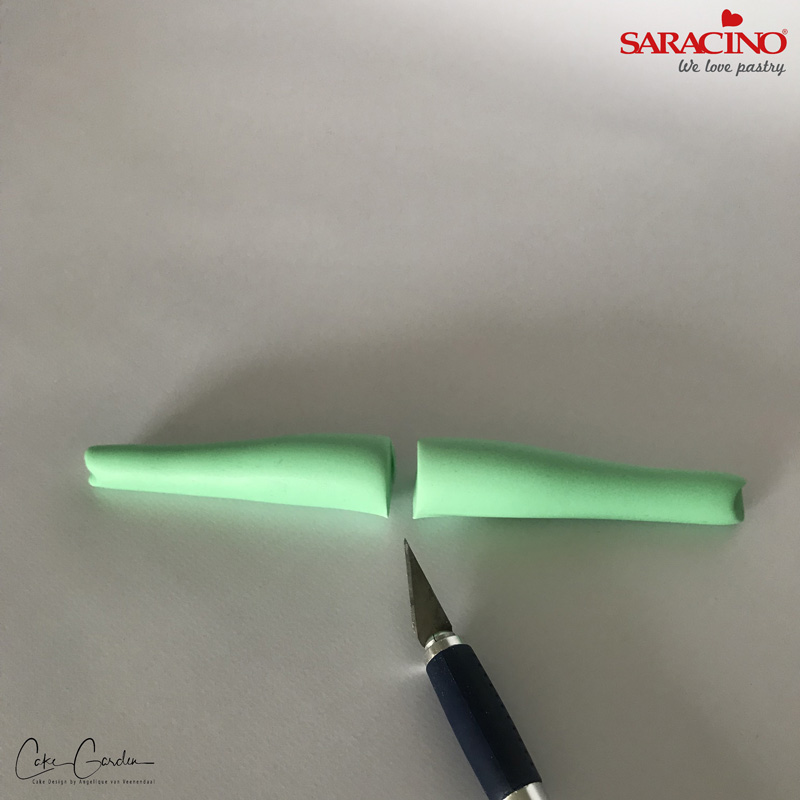
We are going to make the front legs. Make a long sausage of the green paste and leave the middle a bit thicker, and cut the sausage in the middle. The length of the leg has to be the same length of the frog’s body.

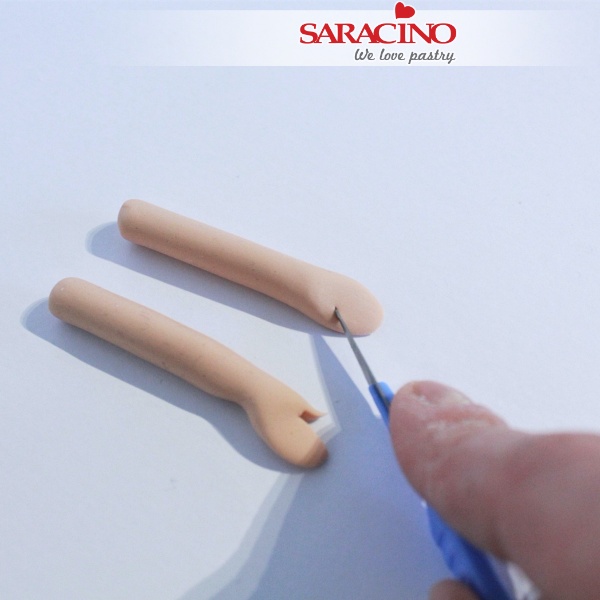
Step 10
Make the toes with your sharp blade then form using your modelling tool.
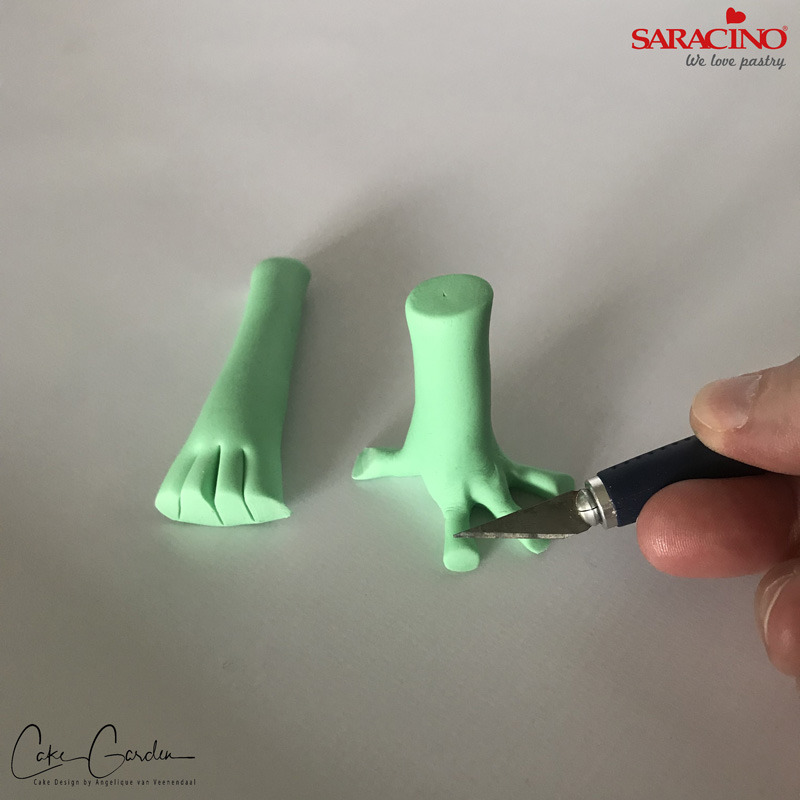
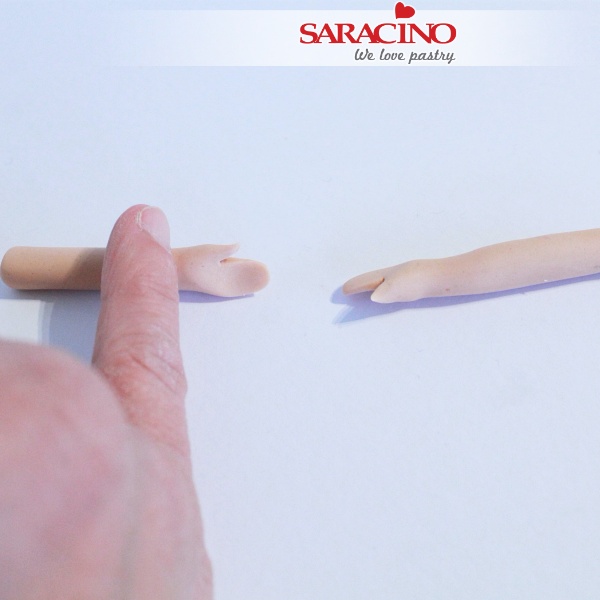
Step 11
Cut off the front of the toes and make them slightly flat.
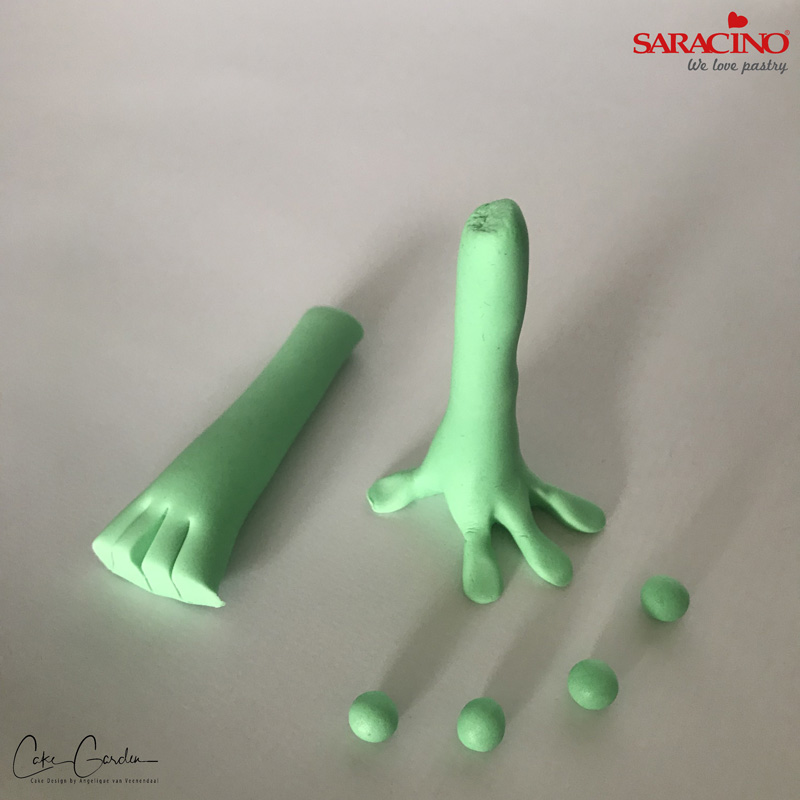
Step 12
Make little peas out of the green model paste.
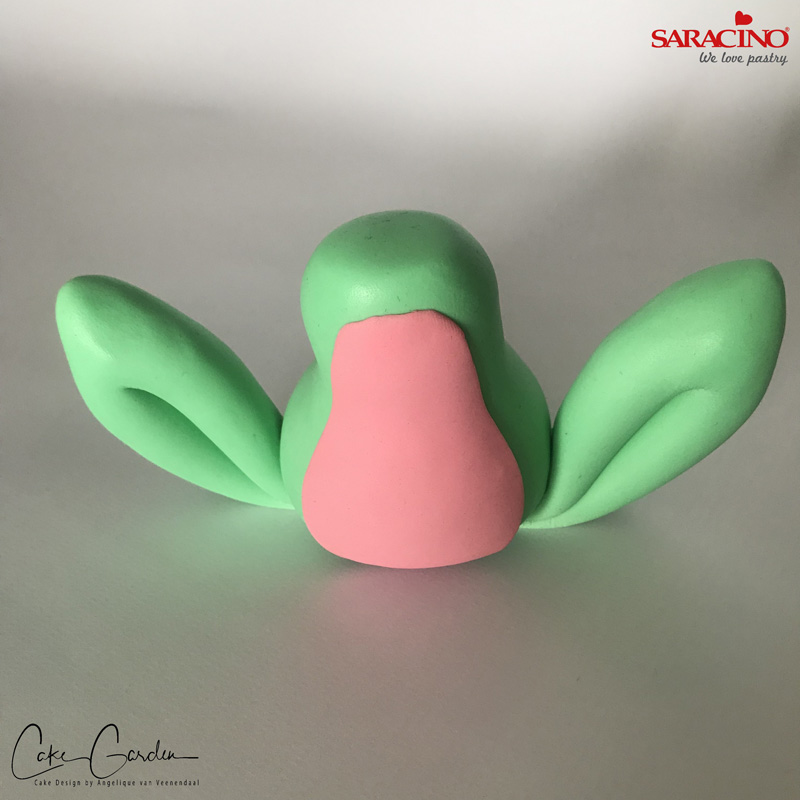
Step 13
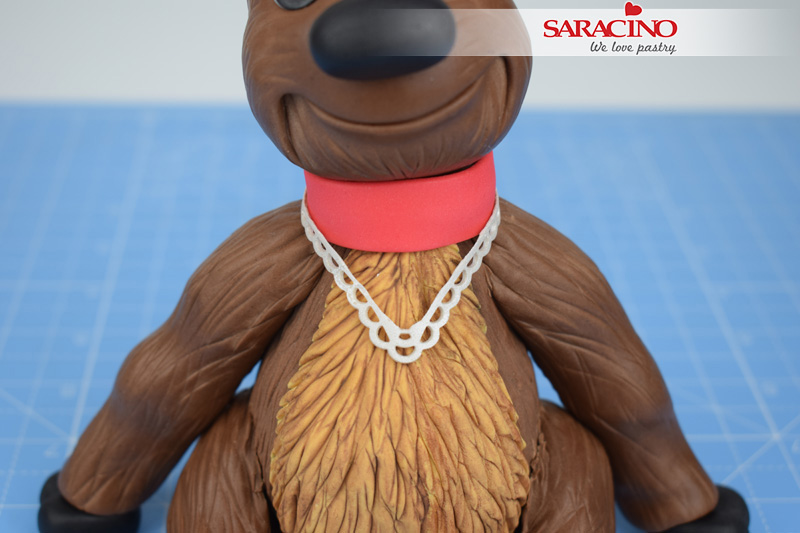
Attach the pink belly onto the body of the frog
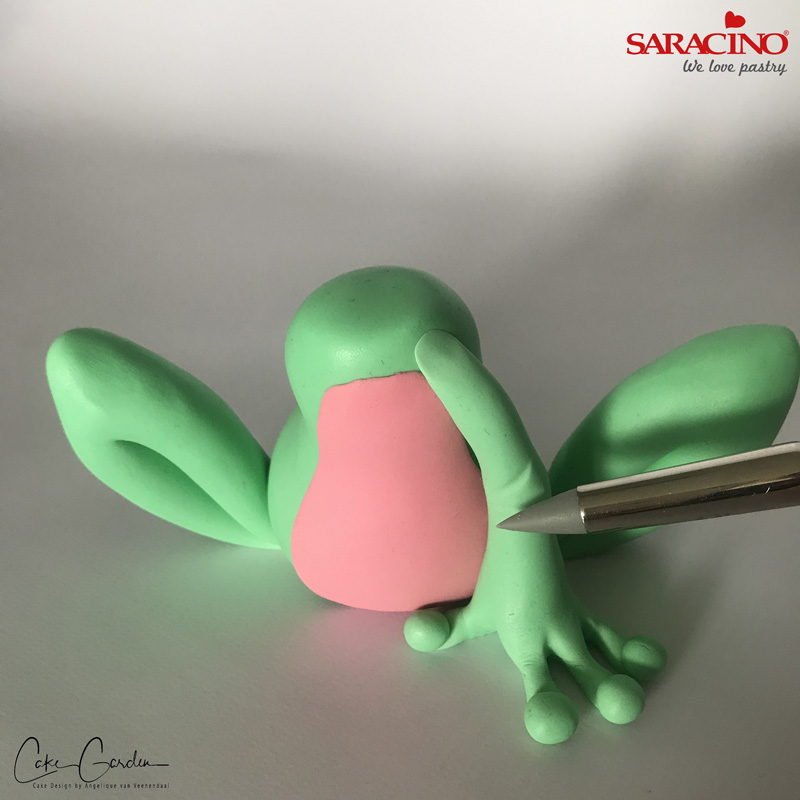
Step 14
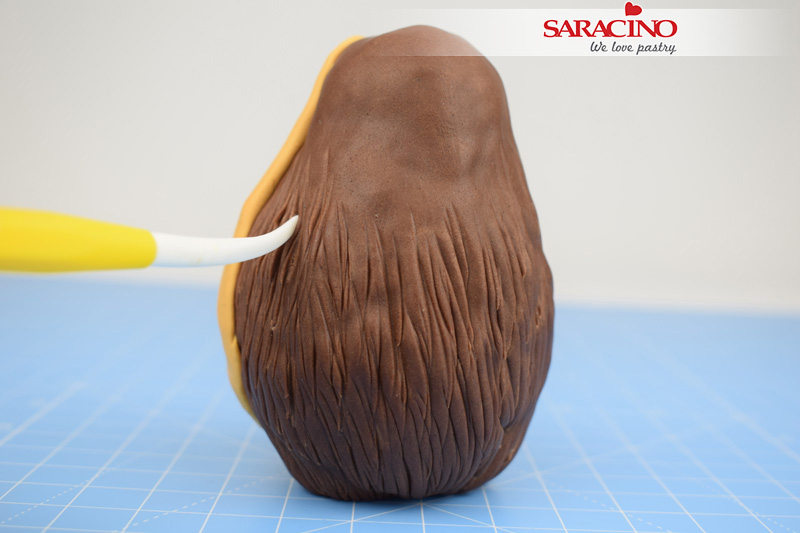
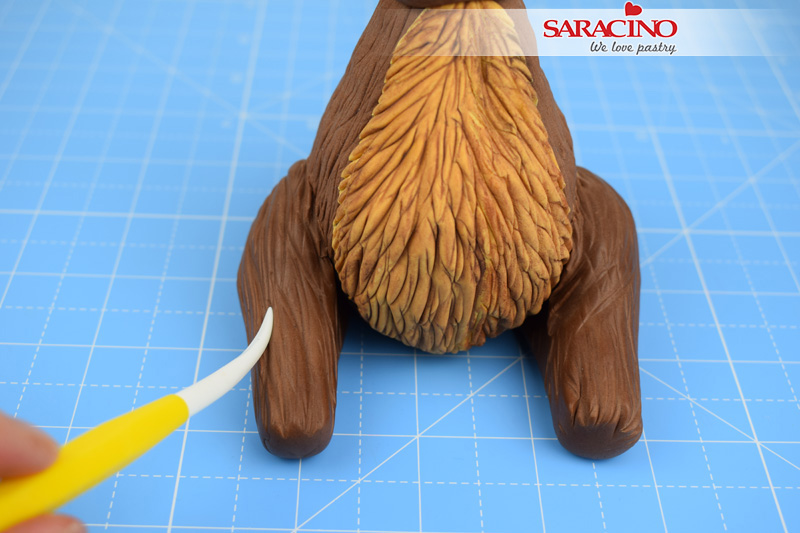
Glue the legs of the frog against the body and using your modelling tool form lines for the elbow joint.
Step 15
Glue the green peas on the front of the toes.
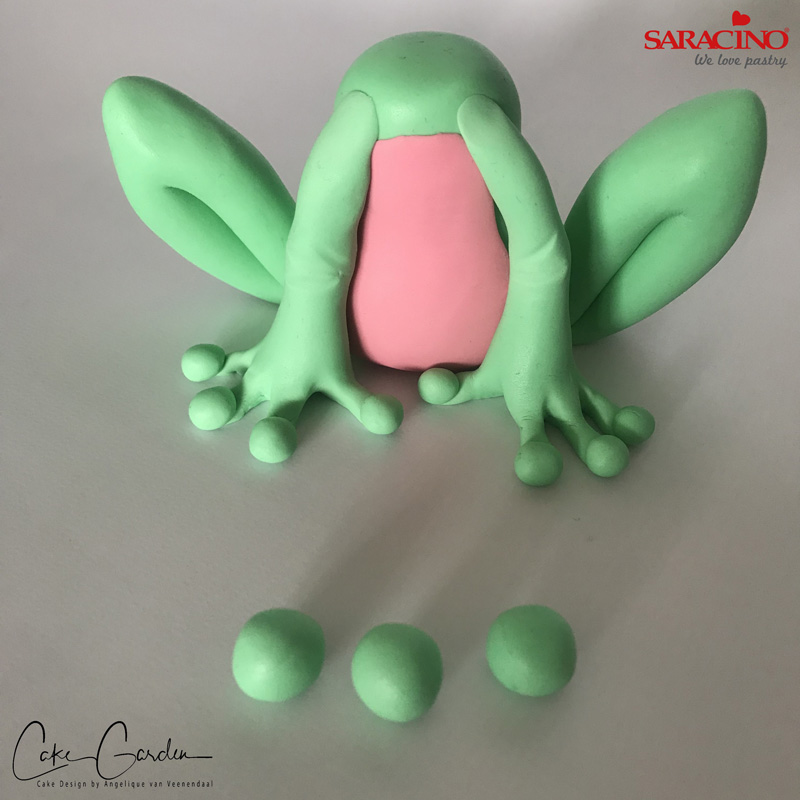
Step 16
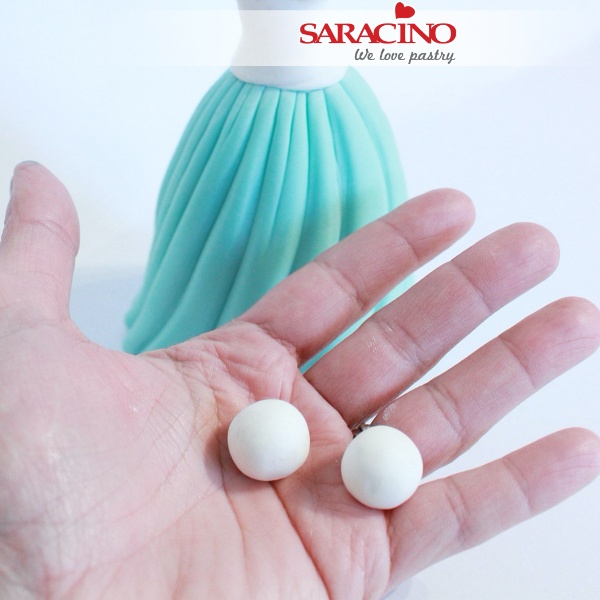
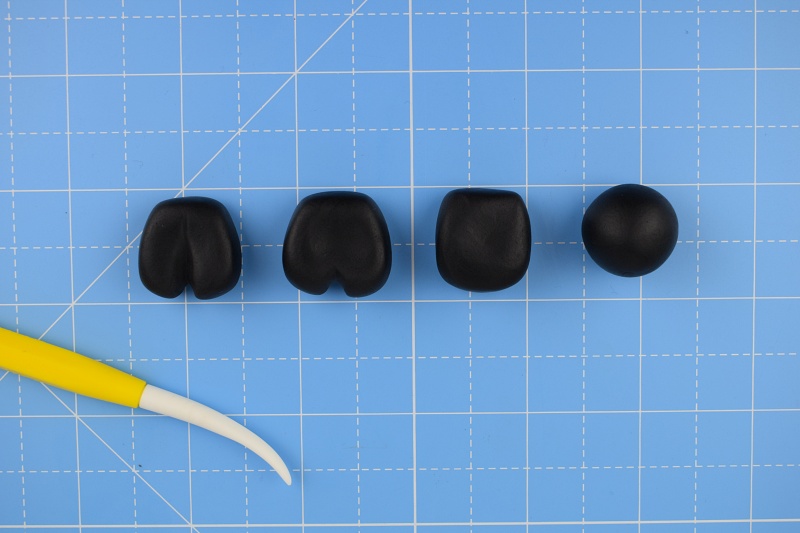
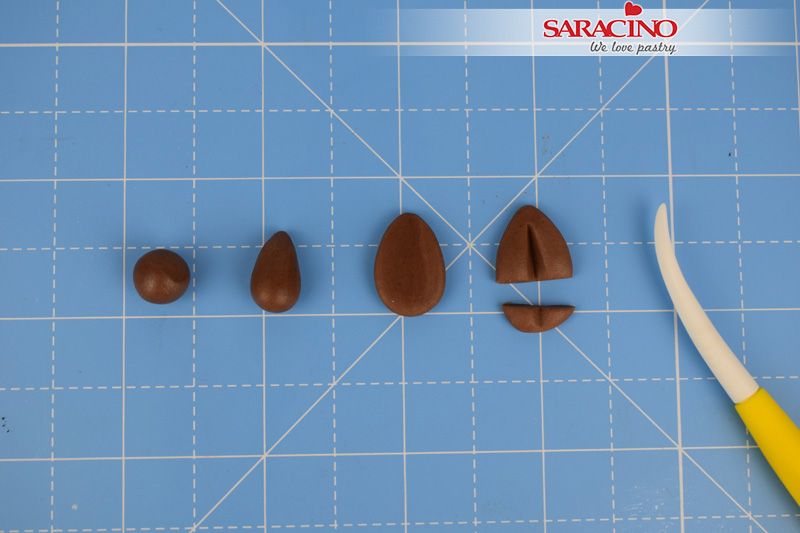
We are going to make the back feet. Make three small balls (slightly larger than the peas)
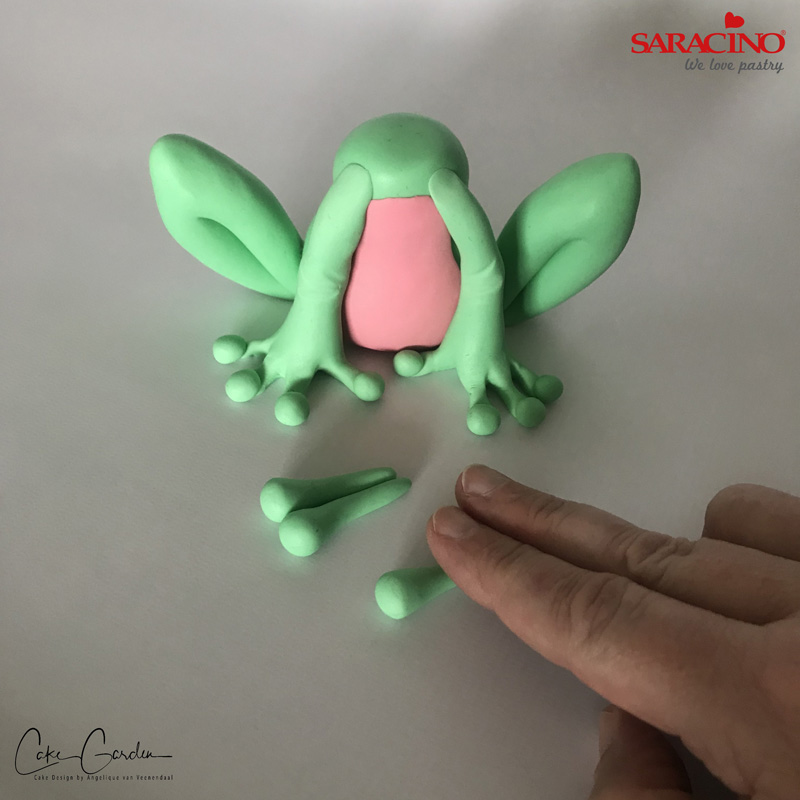
Step 17
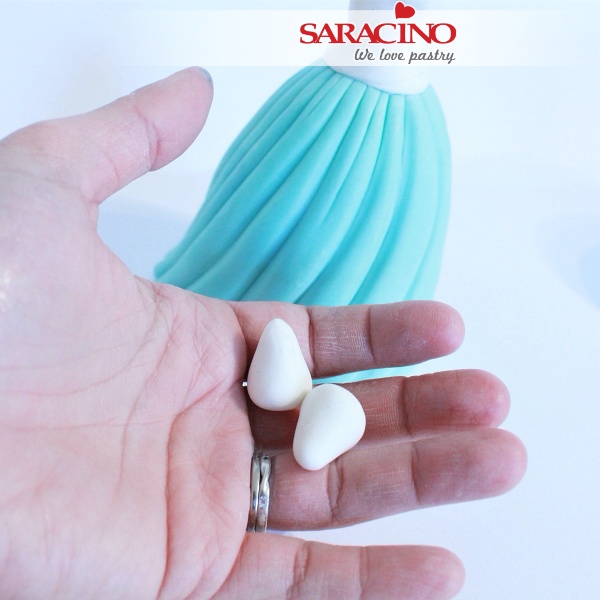
Roll out to make a long toe shape with the end a round ball. Glue three of the toes together to form the foot.

Step 18
Flatten the end as shown on the picture.
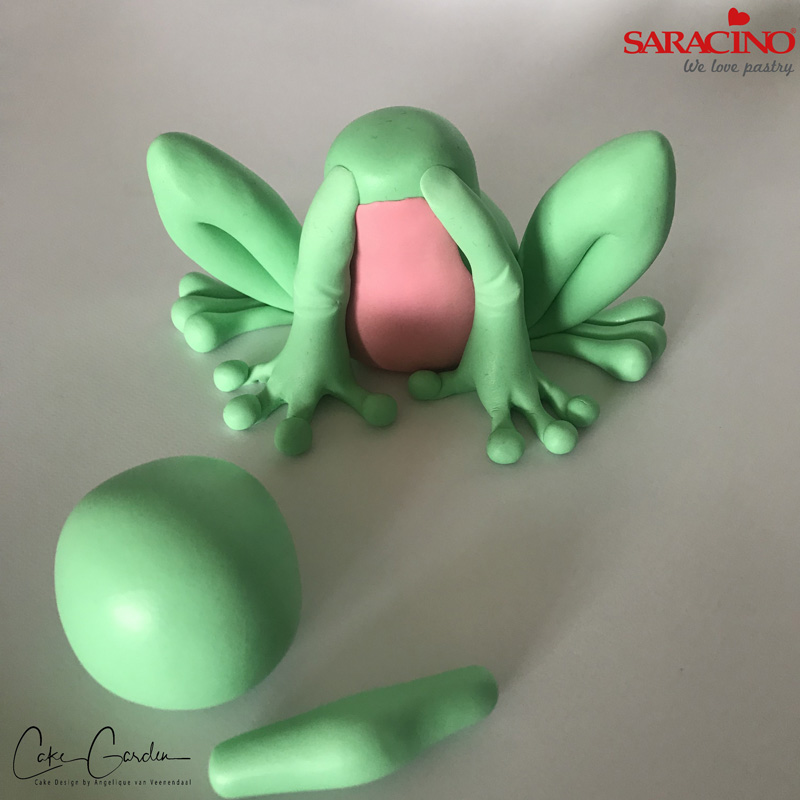
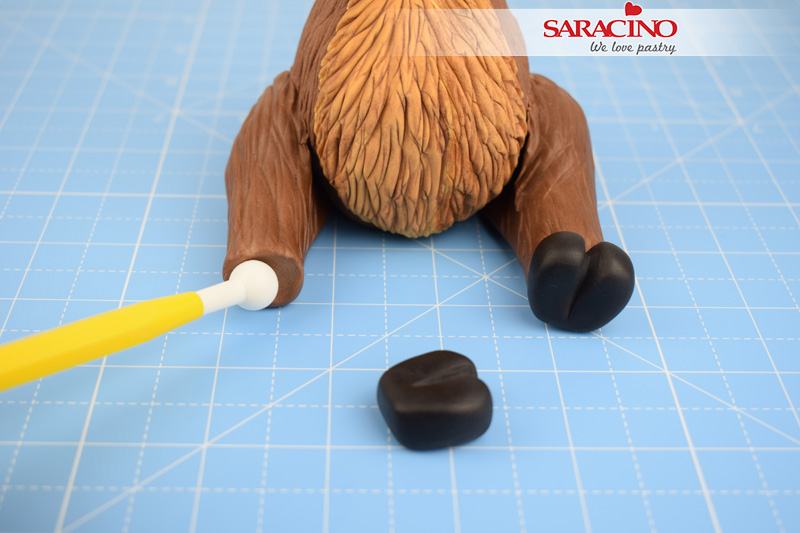
Step 19
Glue the feet under the back legs.
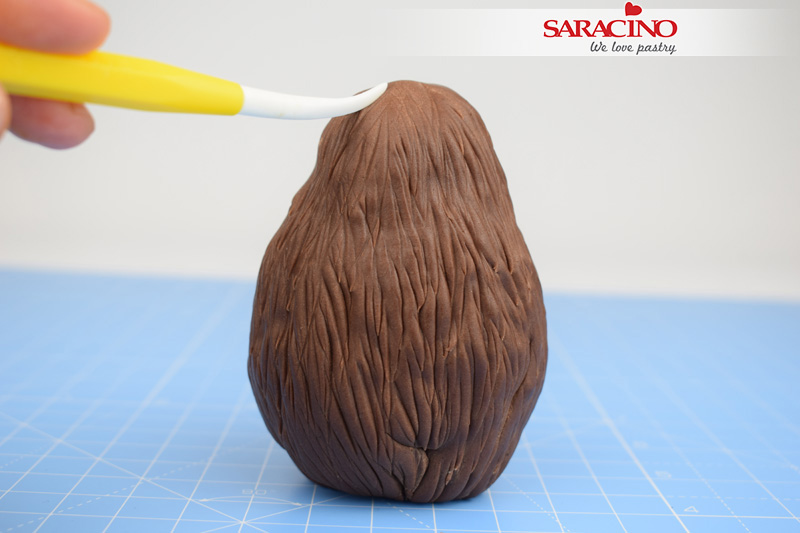
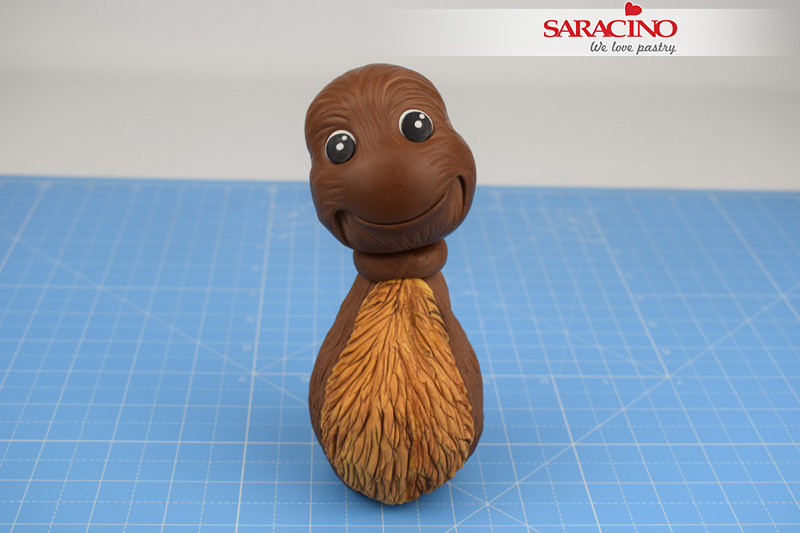
For the head roll a green ball. For the mouth area roll a little sausage that fits the face. Leave thicker in the middle so we can form the mouth.
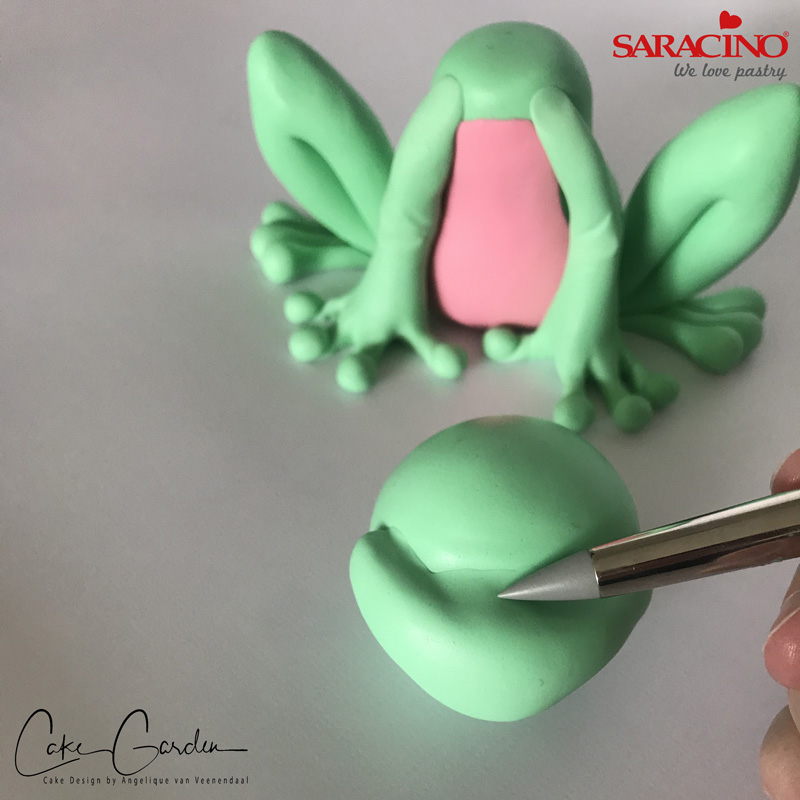
Step 20
Attach the rolled paste to the bottom half of the face. Use the modelling tool to blend the joints to the face. Make a rotatory movement with the colour shaper to do so.
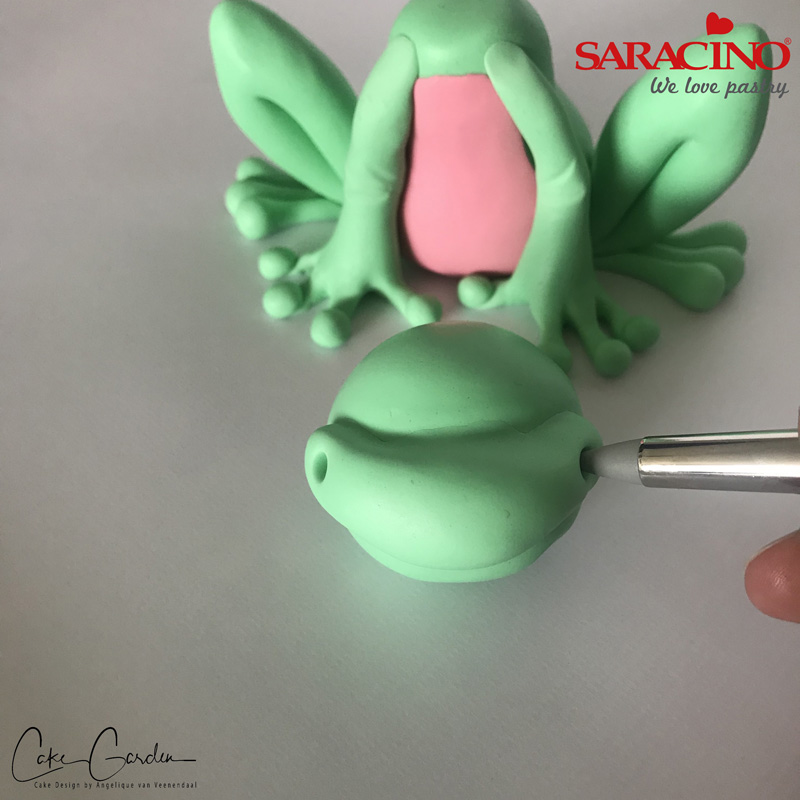
Step 21
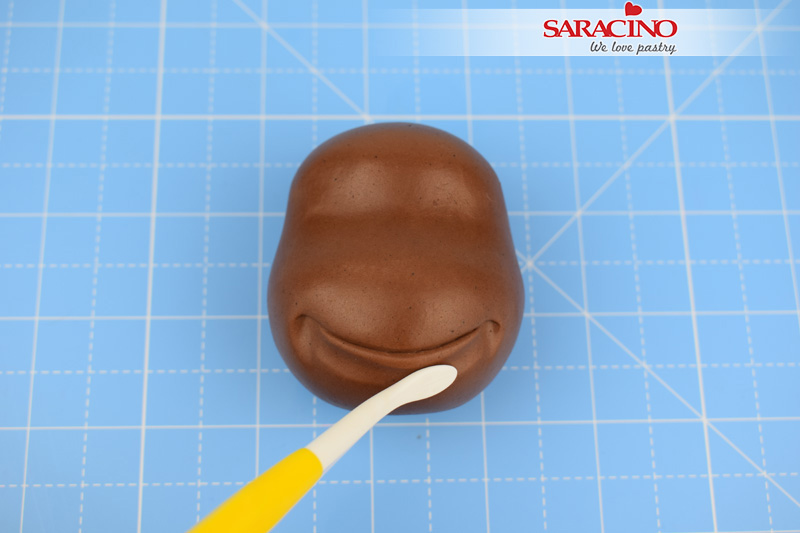
Use the modelling tool to make a little hole for the mouth ends.
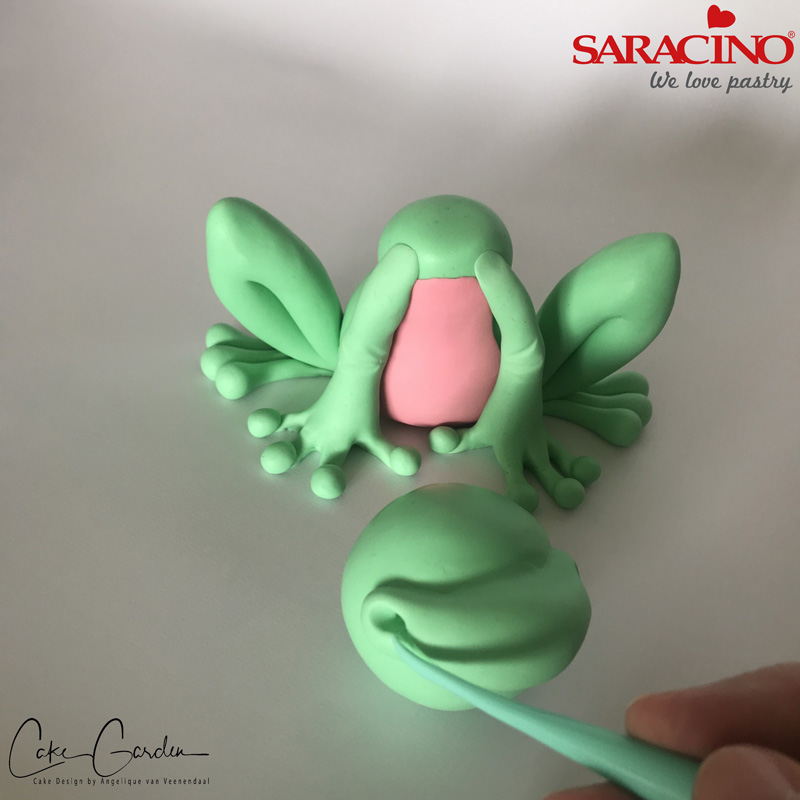
Step 22
Use your Dresden tool to create the lips and mouth
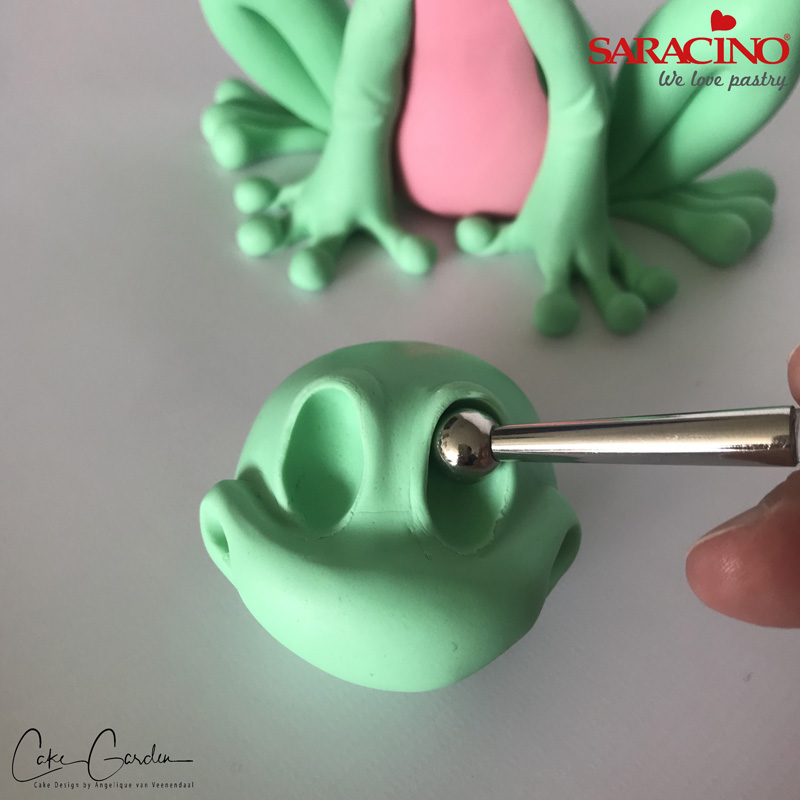
Step 23
Use a ball tool to form the eye sockets, make the eye socket larger by moving the ball tool up and down. This will also create an upper eyelid when doing this.
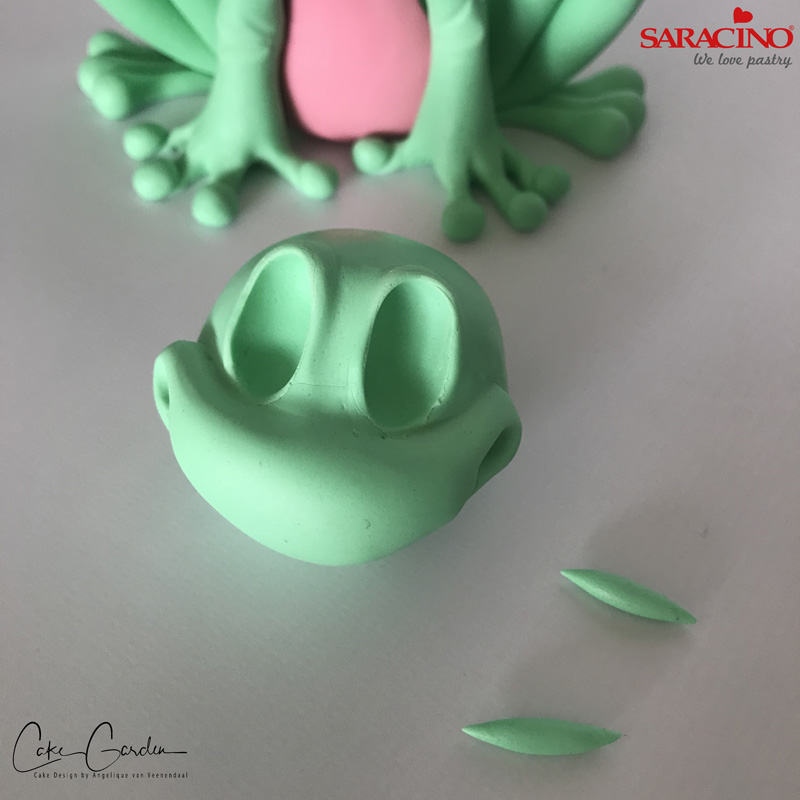
Step 24
Roll two little sausage shapes to place above the eyelid. The sausages are to be smaller at both ends.

Step 25
Fix them above each eye socket.
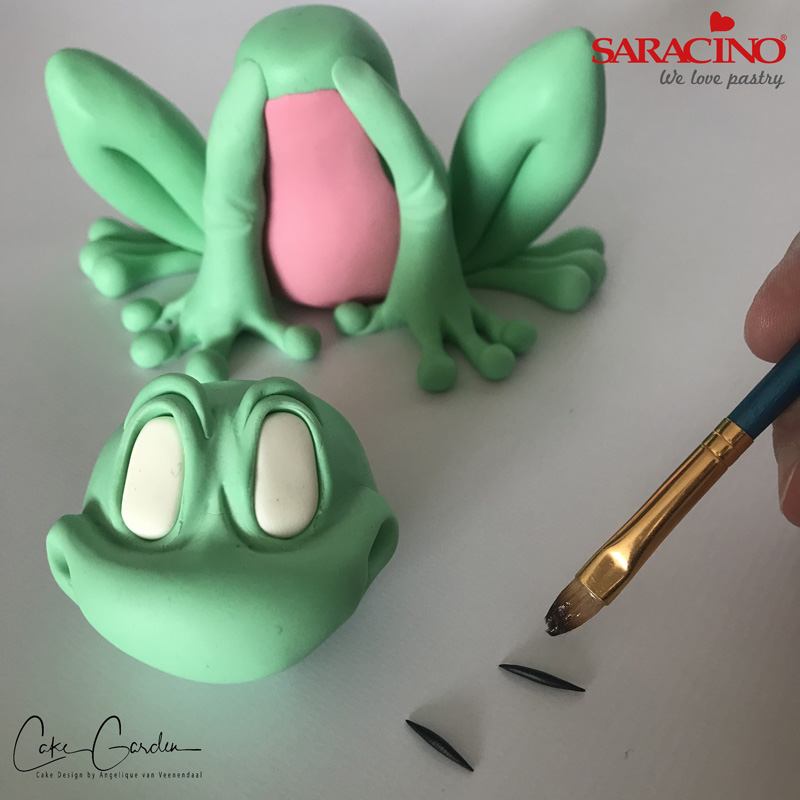
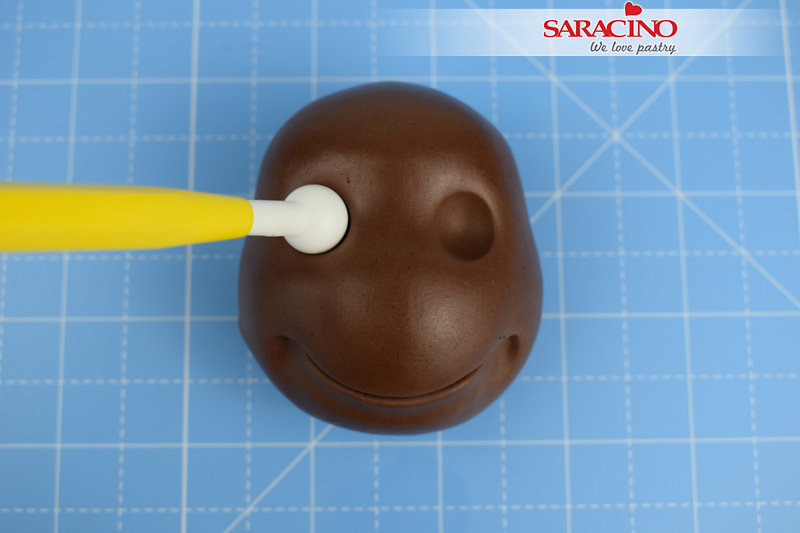
Step 26
Roll two small balls of white paste and press into the eye socket to form the eyes. Roll out two small black sausage shapes to form the eye lids.
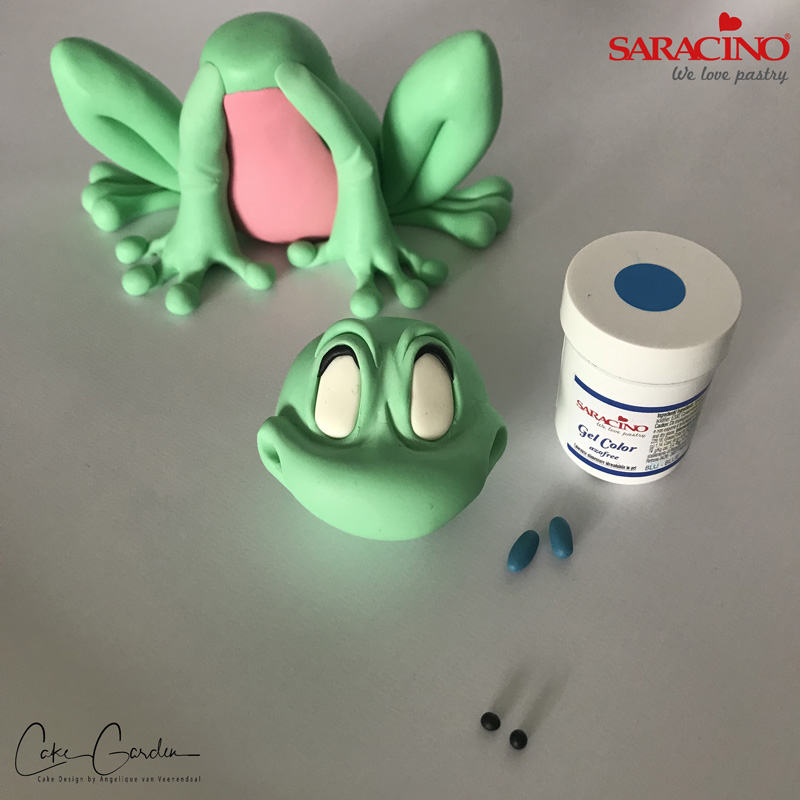
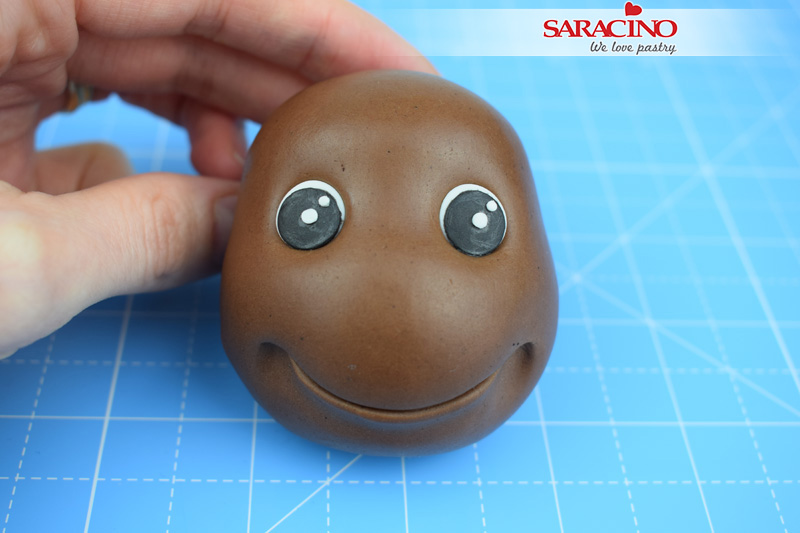
Step 27
For the pupil colour the Saracino Modelling Paste with blue gel colour. For the iris use a little black modelling paste. Flatten them with your finger.
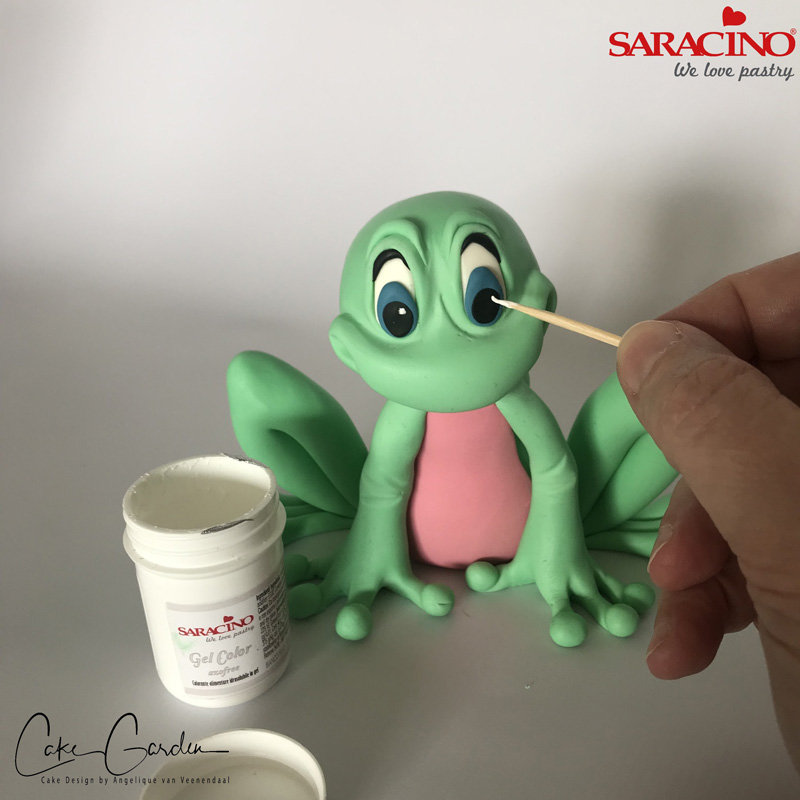
Step 28
Put a little dot of white gel colour onto the black. Make sure you put the dots at the same spot in the eyes.
Step 29
Colour your white modelling paste with green and blue gel colours ready for the dots on the frog. Make sure your green is darker than the frogs body.

Step 30
Using small balls of the coloured paste, flatten them and glue them to the frogs body randomly. Blend them into the body using your fingers.
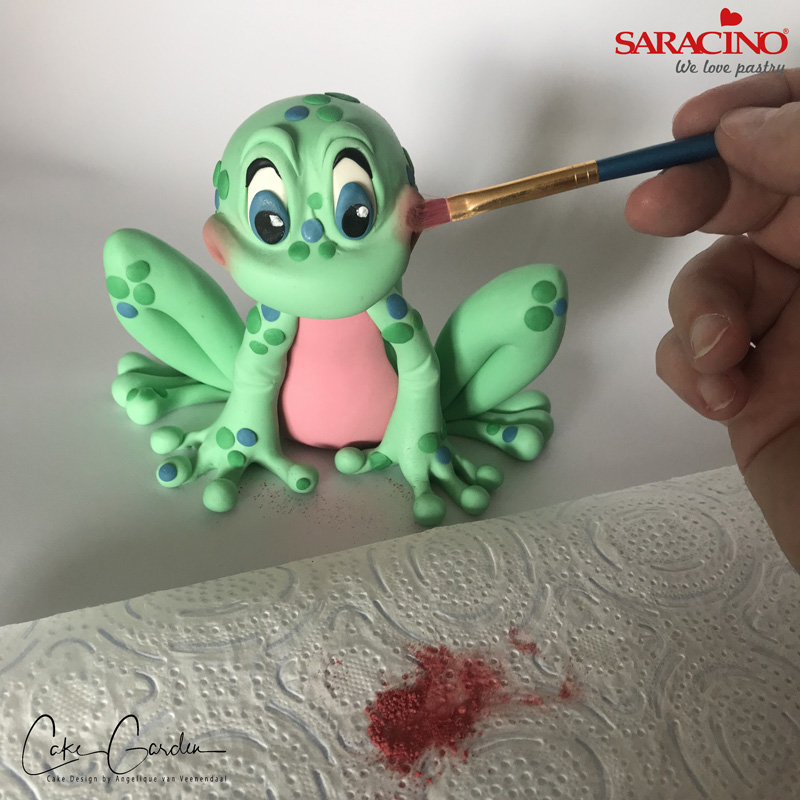
Step 31
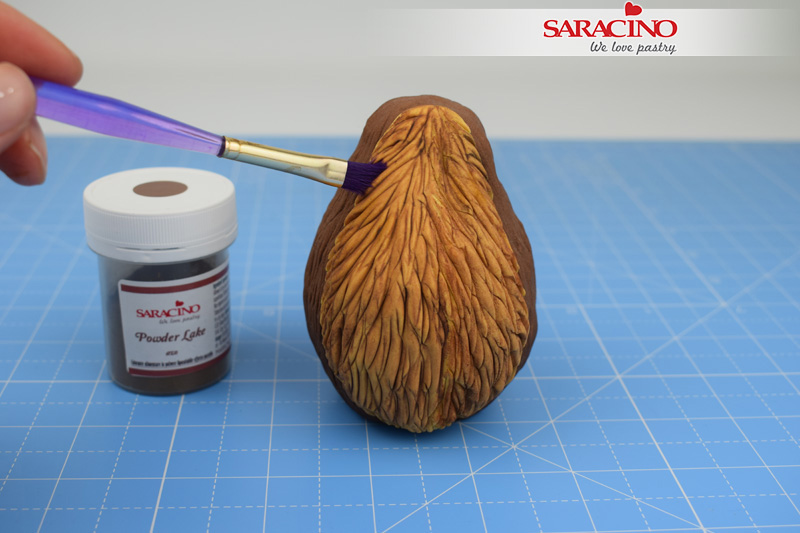
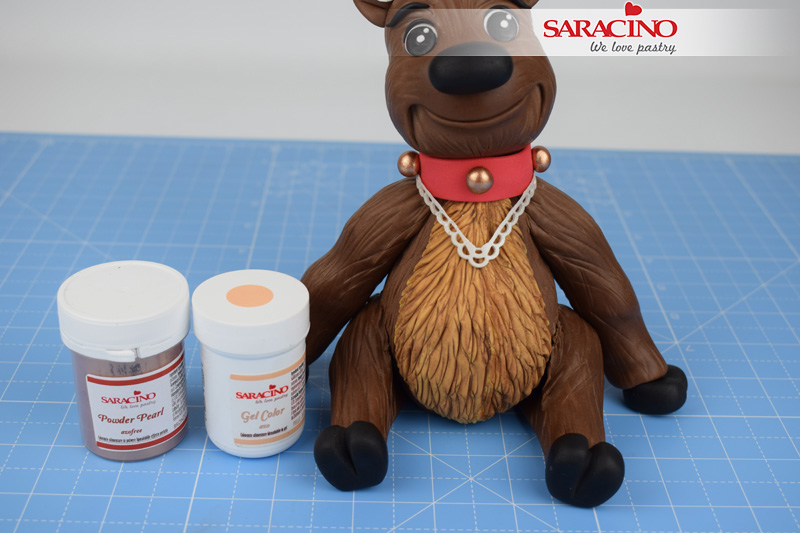
Use pink dust to give more expression to the frog. Highlight the end of the mouth and between the toes.
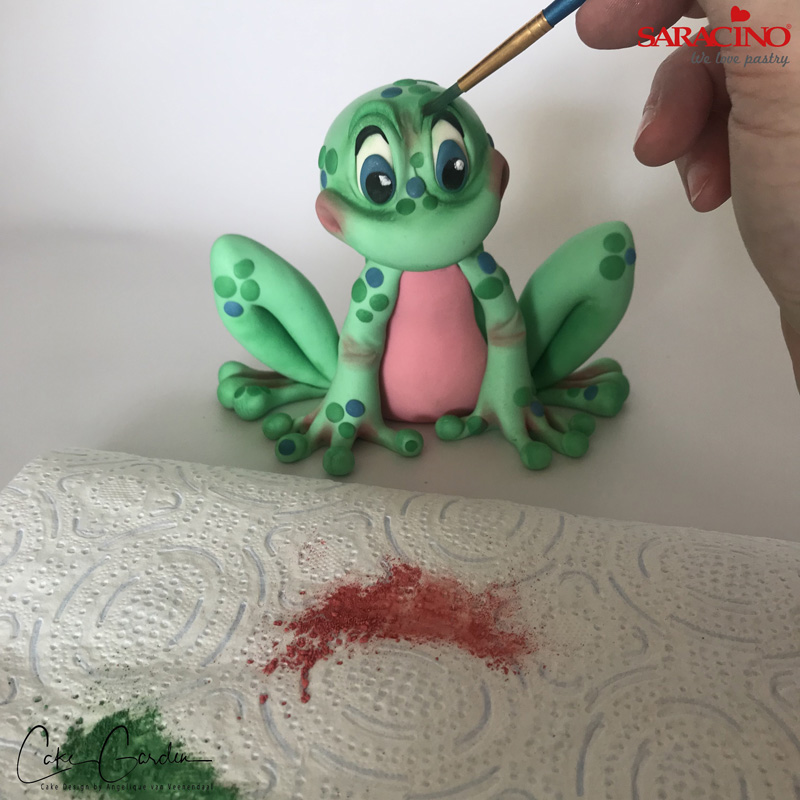
Step 32
Use green dust for the legs and the upper eyelid and above his mouth. Give more expression to the face.

Step 33
Prepare the Saracino Modelling Paste with pink, purple and blue gel color required for the snail and worm.
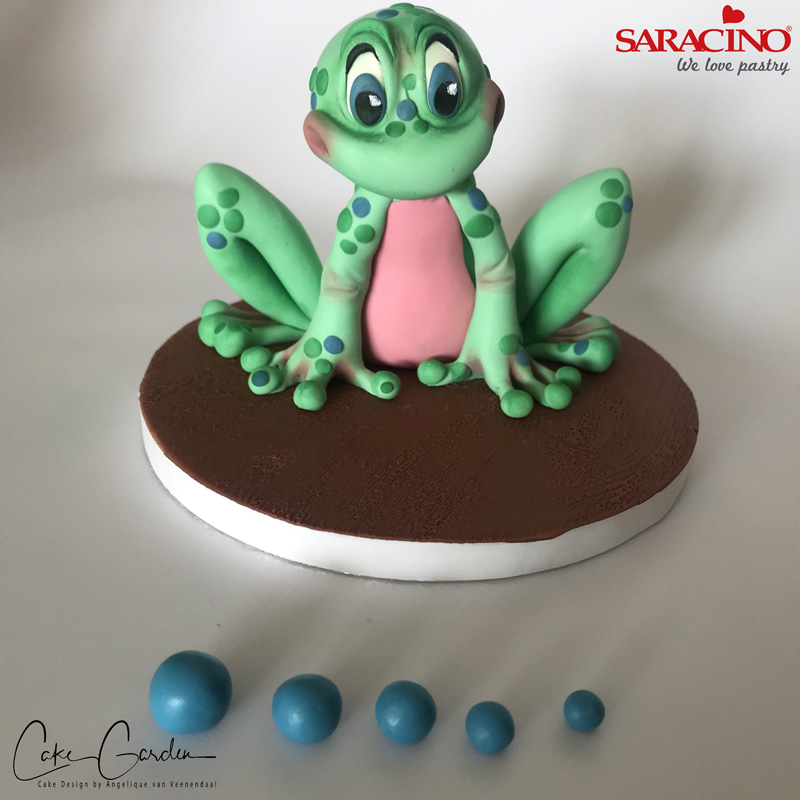
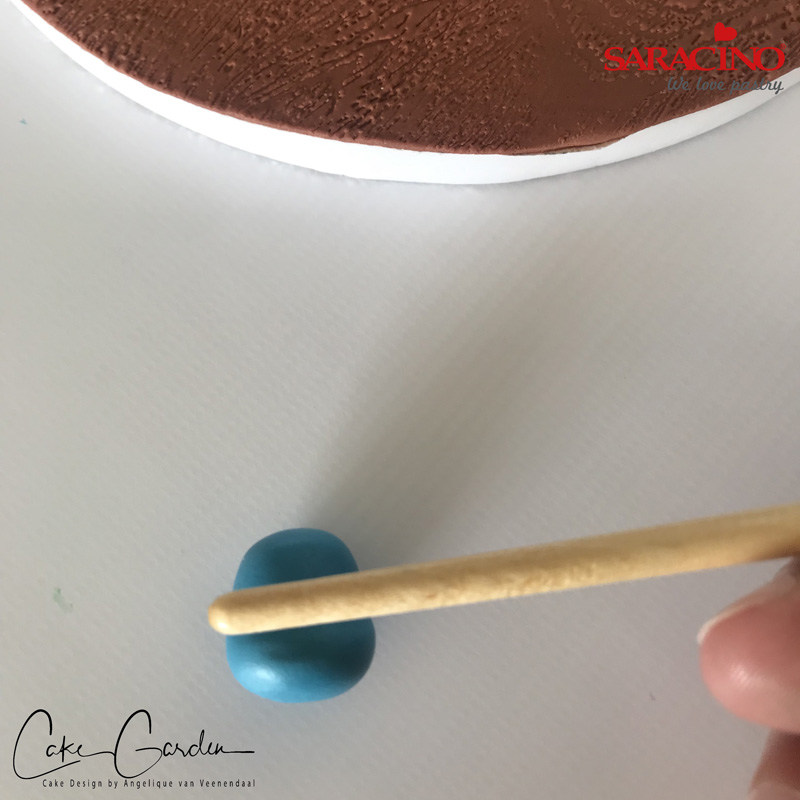
Step 34
For the worm make 5 little blue balls in 5 different sizes. The biggest ball will be used for the head.
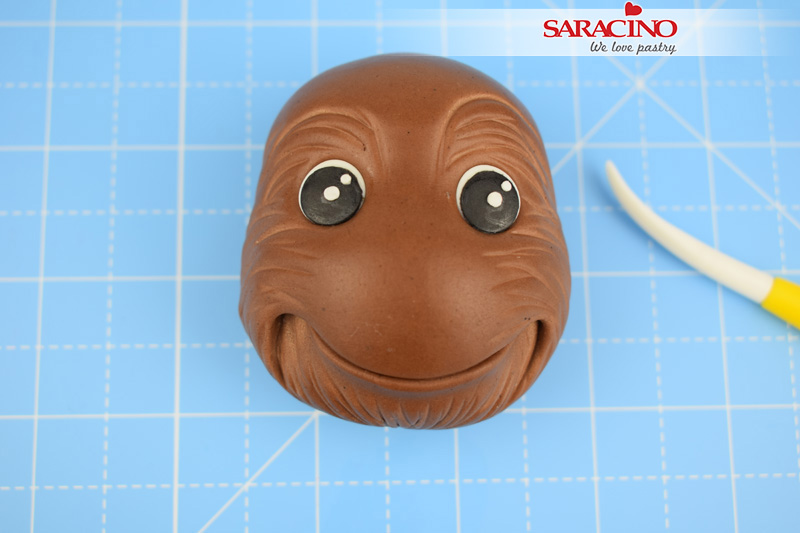
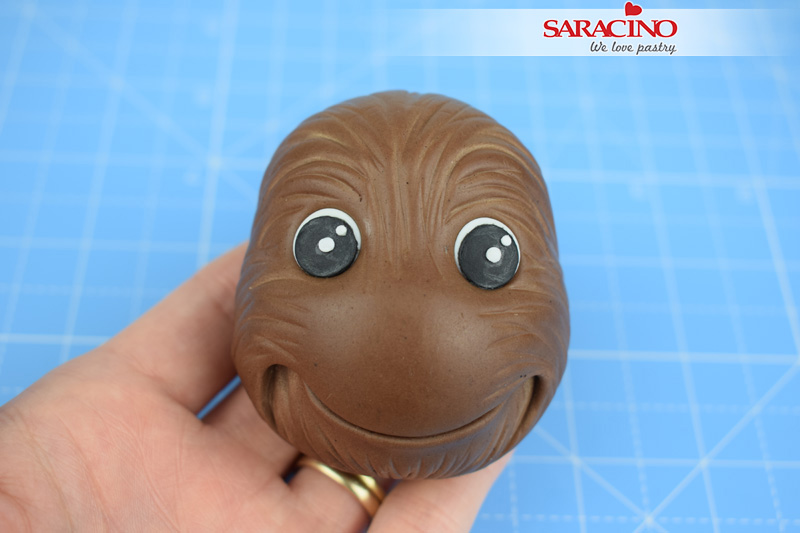
Step 35
Use the back of a brush to create more depth in the face. Smoothen the lines with your finger.
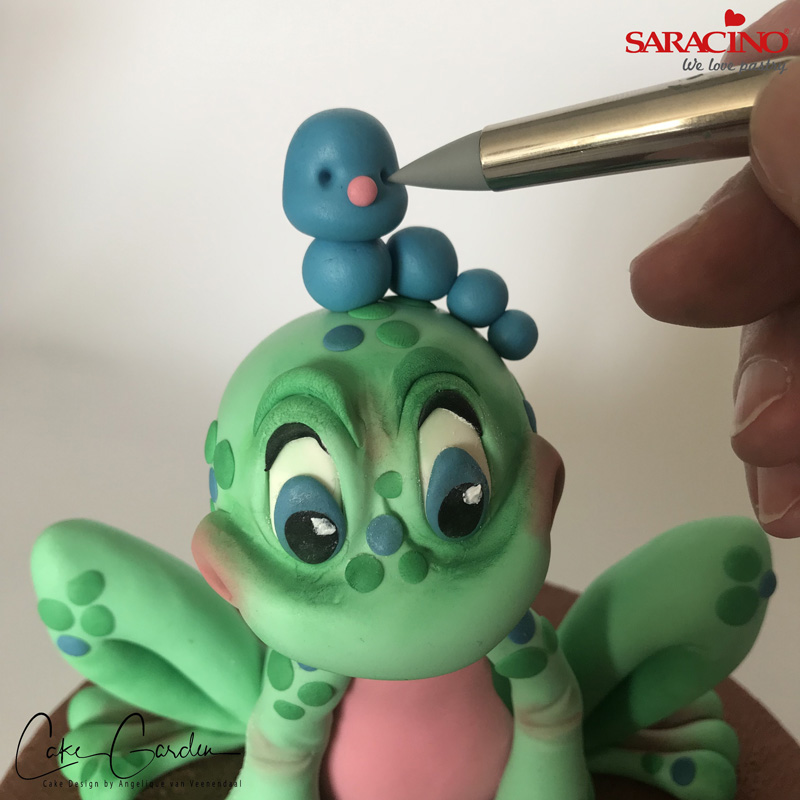
Step 36
Form two holes for the eyes and insert two black pearls. Make the nose with a small ball of pink paste. Fix the worm onto the frogs head as shown.
Step 37
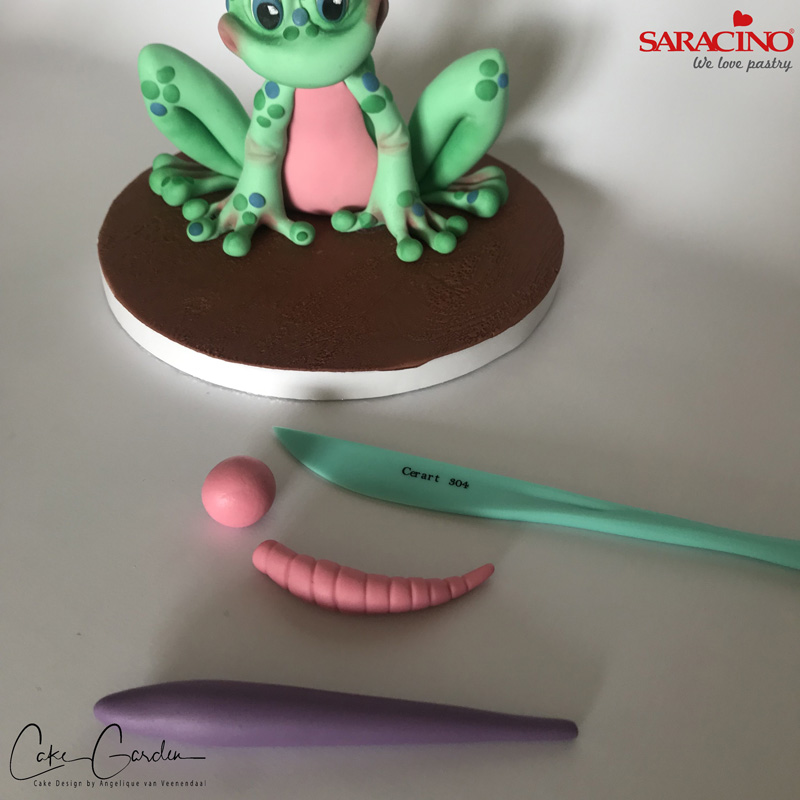
Now for the snail. Using pink paste form a ball and a sausage shape. Use a modelling tool to make lines in the pink sausage. This will be the snails body. Form a curve to the body. Make another sausage shape (this will need to be thinner to the end). We will coil this up for the snails shell.
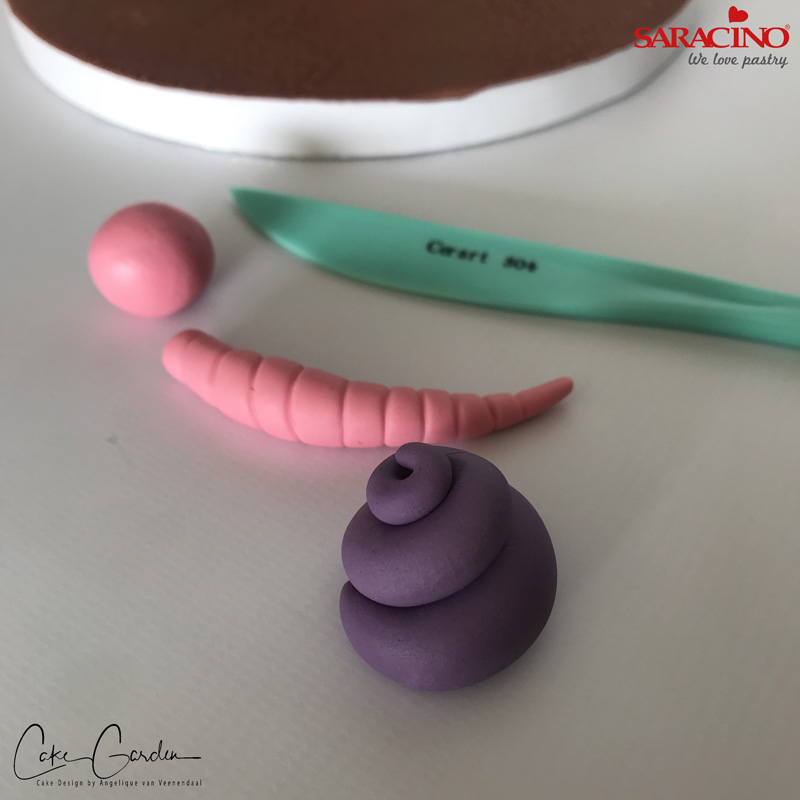
Step 38
The three pieces of your snail are to look like the picture.
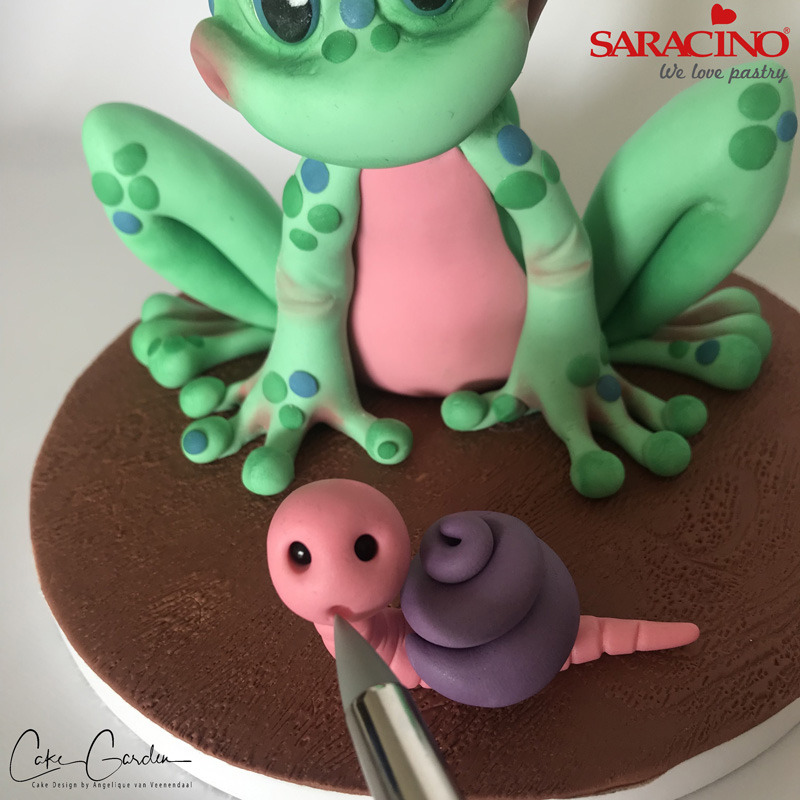
Step 39
Fix the head and the shell to the body. Form two eye sockets and a mouth in the face. Insert two black pearls for the eyes.
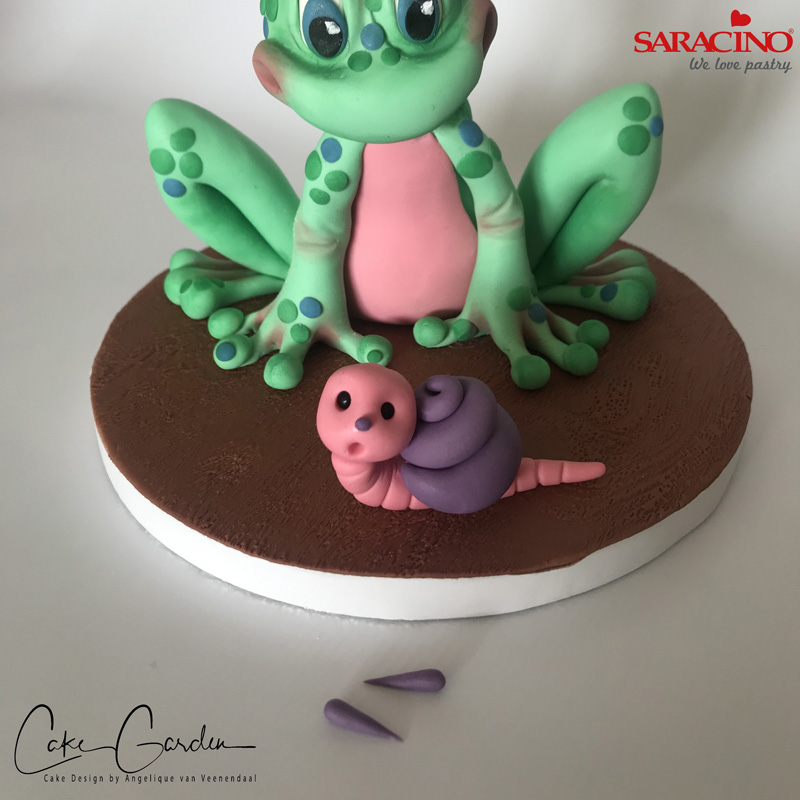
Step 40
Form a small ball for the nose and attach to the face. Make two small purple teardrop shapes for the antenna and fix them on top of the snail’s head.
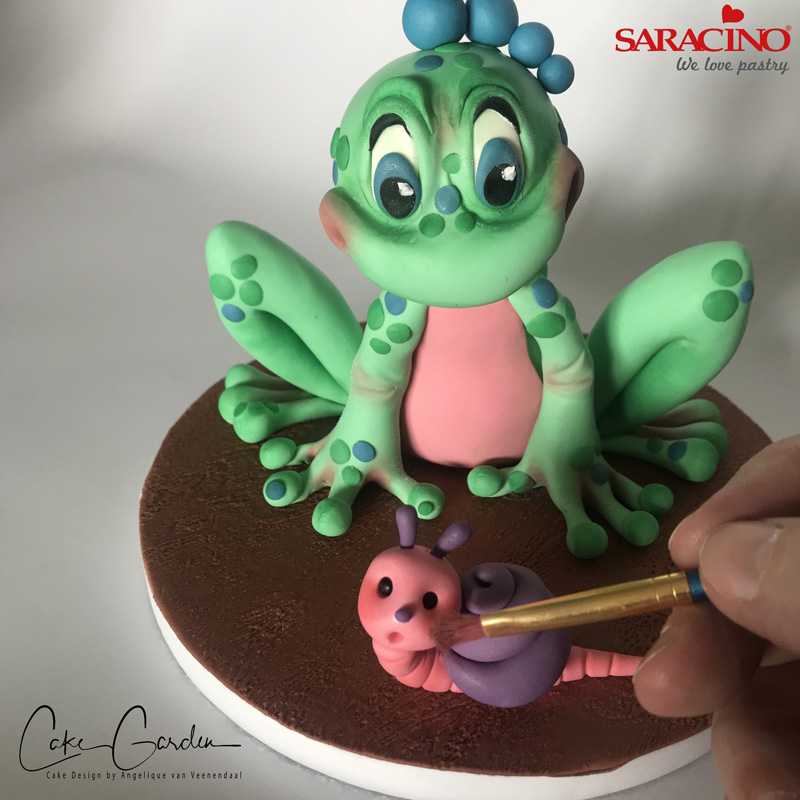
Step 41
Dust the cheeks of the worm and snail with pink powder colour. And you are finished!