Quiz winners – Favourite cake
QUIZ WINNERS
by Saracino
THANK YOU!!!
We would like to give a huge thank you to all of you who took part in our quiz. Huge congratulations to all the winners. As promised we will publish your creations with pleasure.
We have also chosen one lucky person that will receive a few goodies from Saracino.
The Prize goes to Sylwia Sidorkiewicz-Bęś.

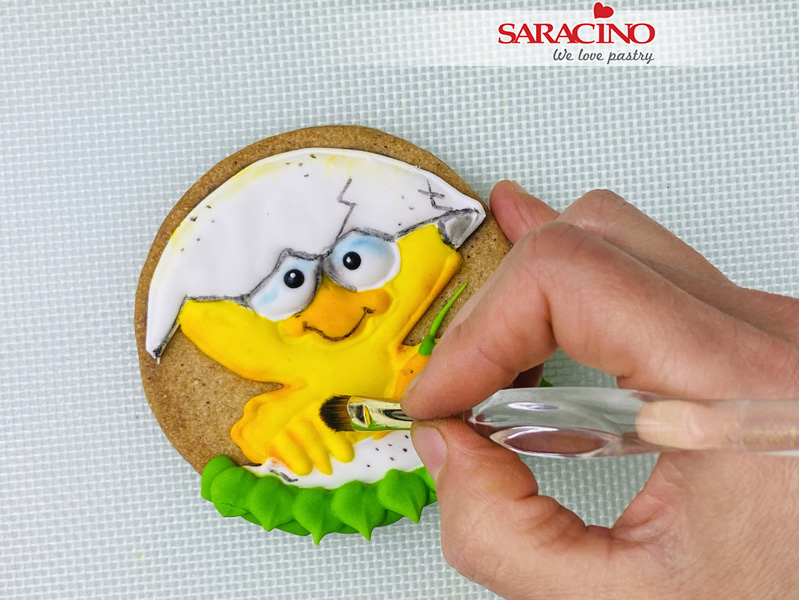
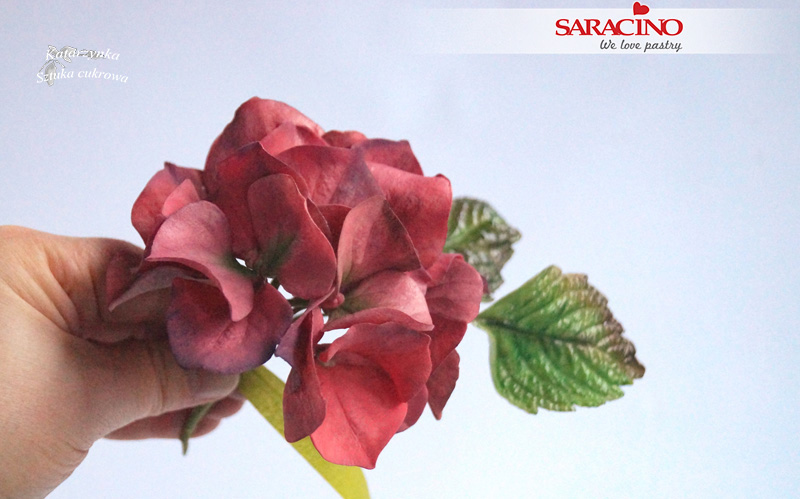
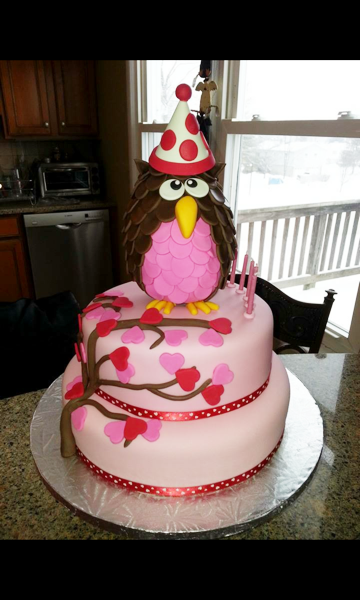
By Marisa Kemp aka
Cake Angel Page
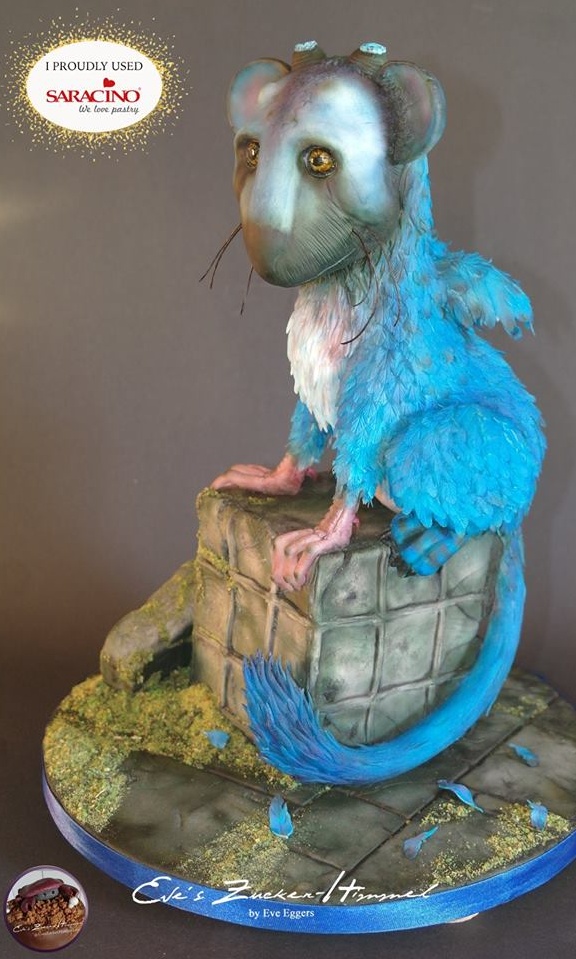
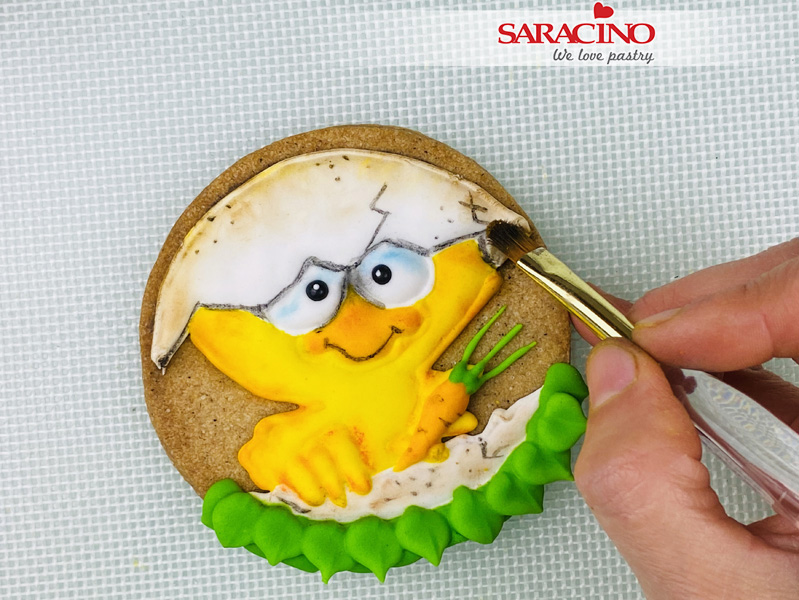
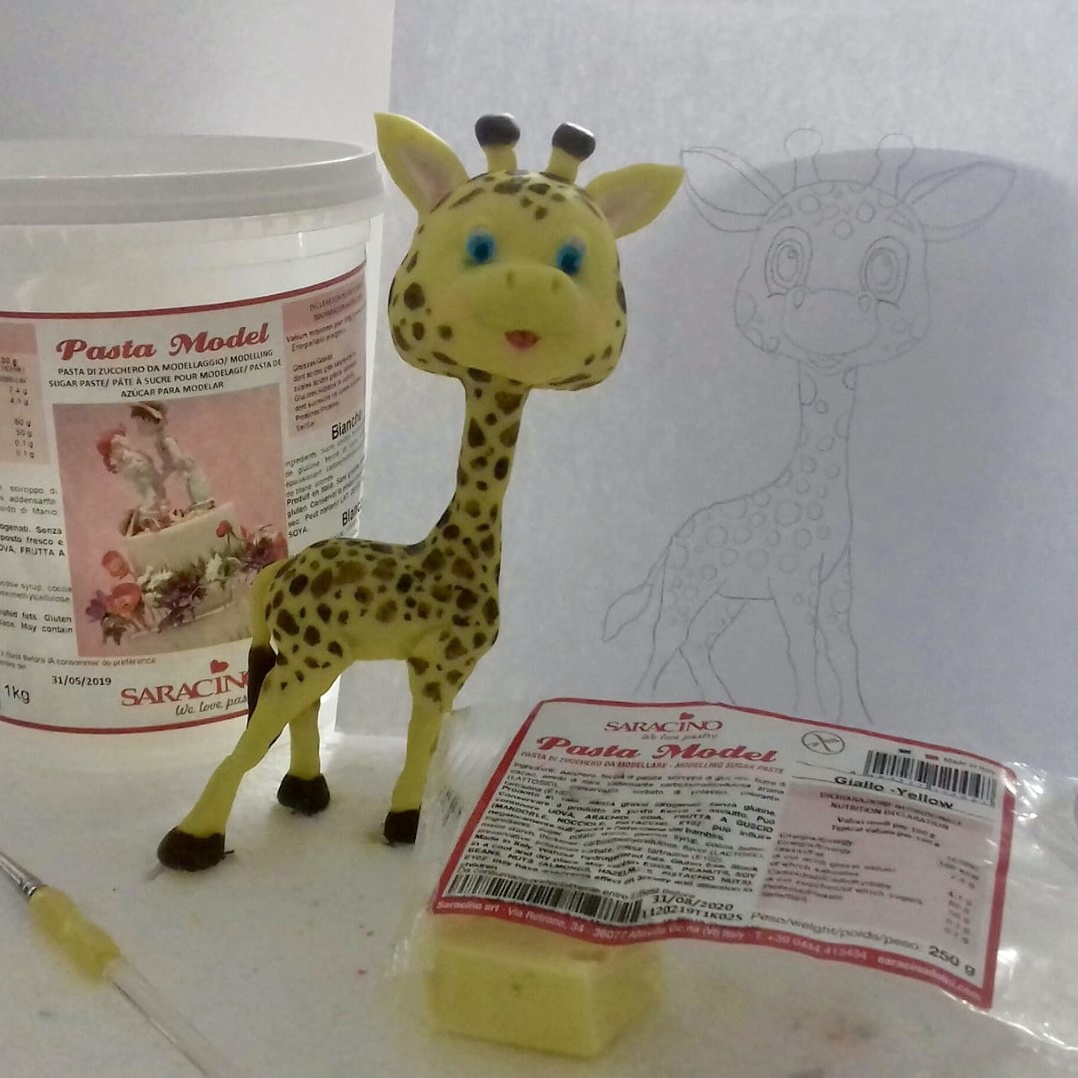
By Yvonne Eggers aka
Eve’s Zucker-Himmel
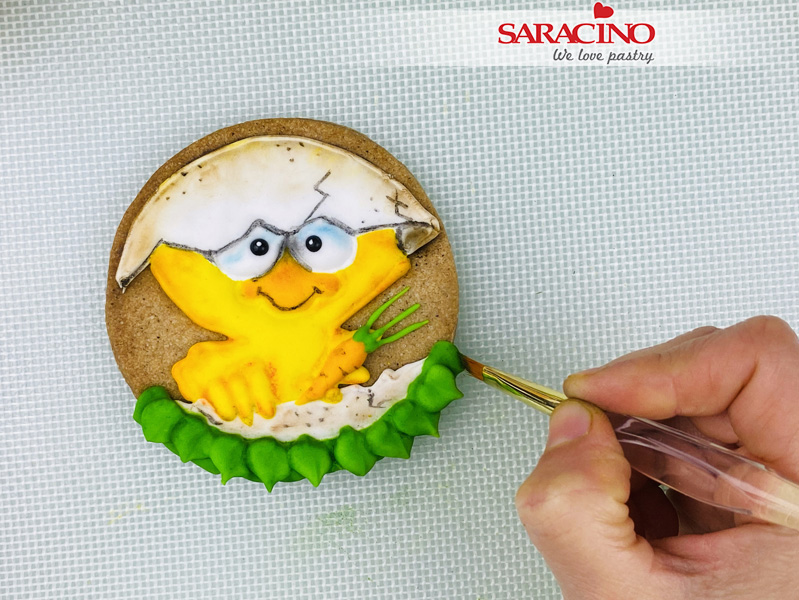
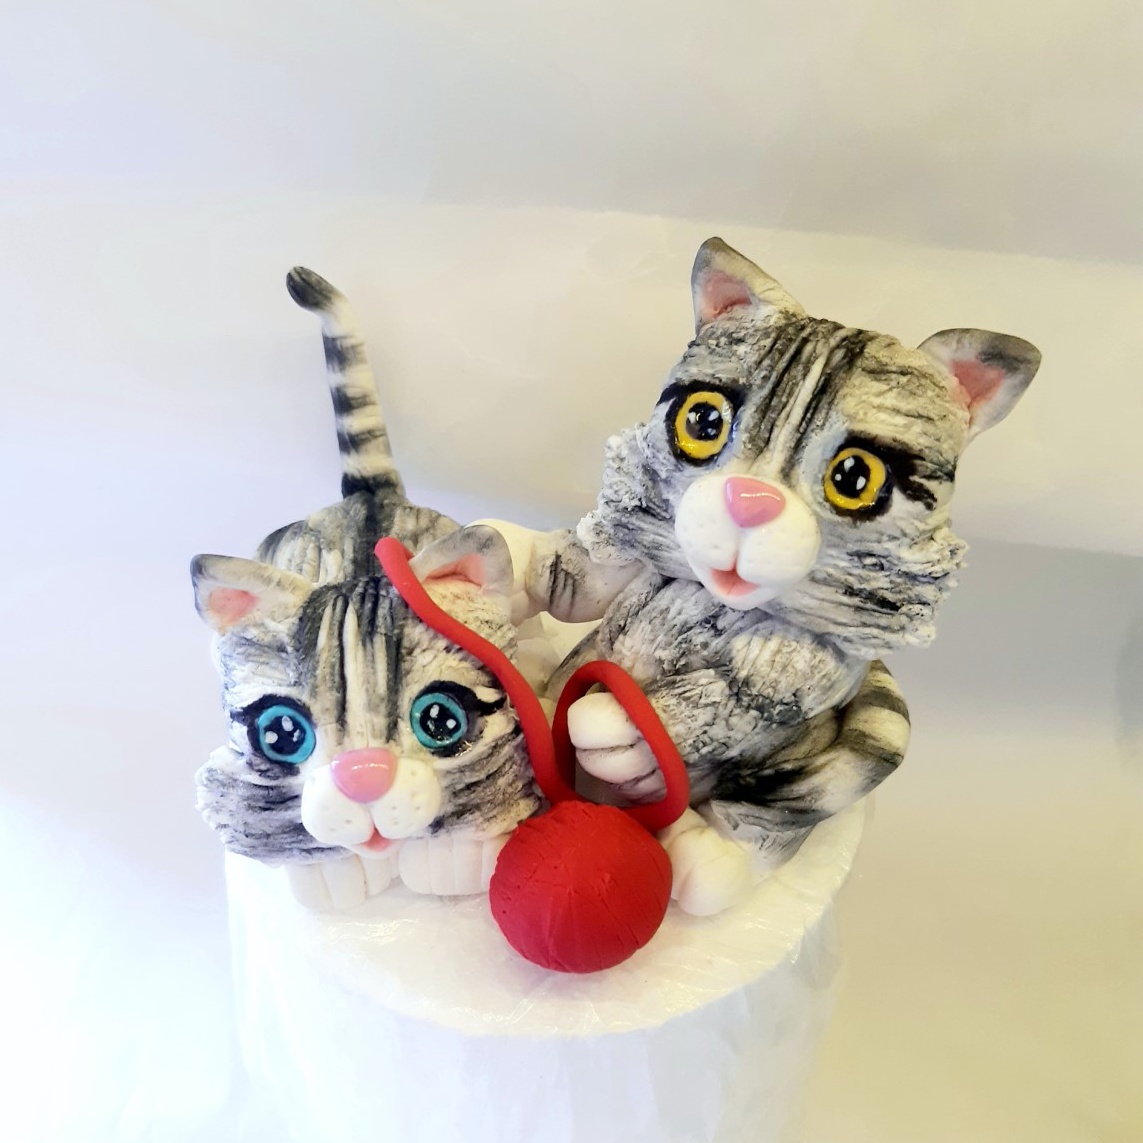
Paul Williams aka
Happy Occasions Cakes

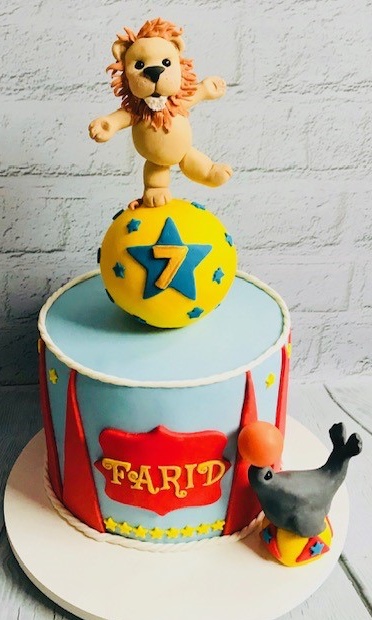
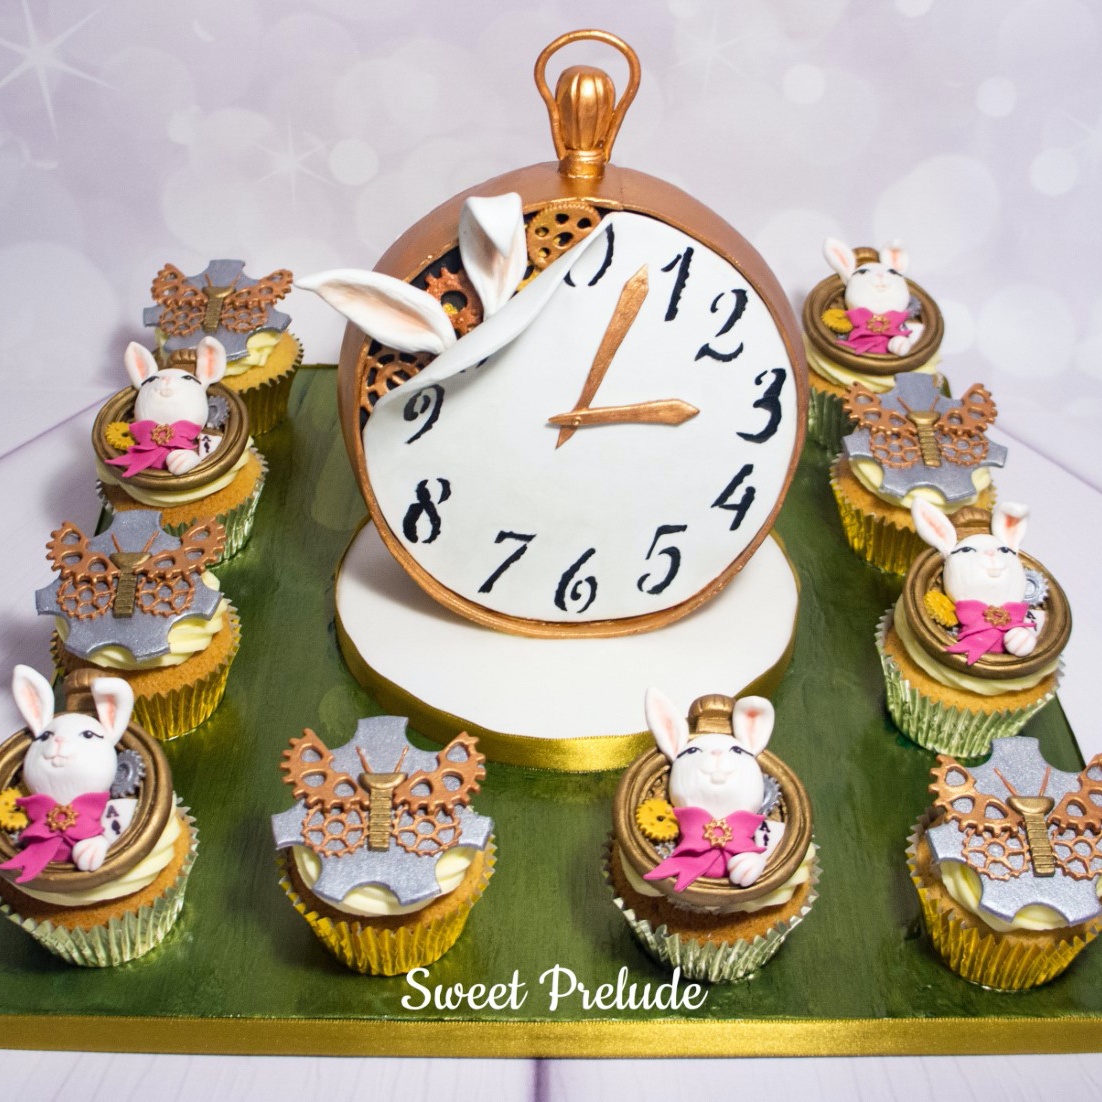
By Stefanie Genhofer aka
Miss Effi’s Cake Creations
Sylwia Sidorkiewicz-Bęś
Congratulations On Your Amazing Creations!
Join Our Newsletter
We’d love to send you the latest news, discounts & exclusive offers via email! By signing up below you are confirming you are happy for Saracino to send you marketing emails. We will always treat your personal details with the upmost respect & will never sell your details to other companies for marketing purposes.