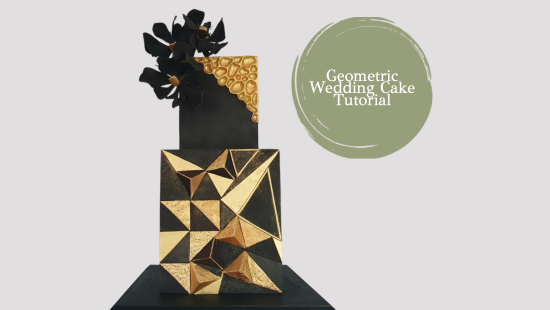
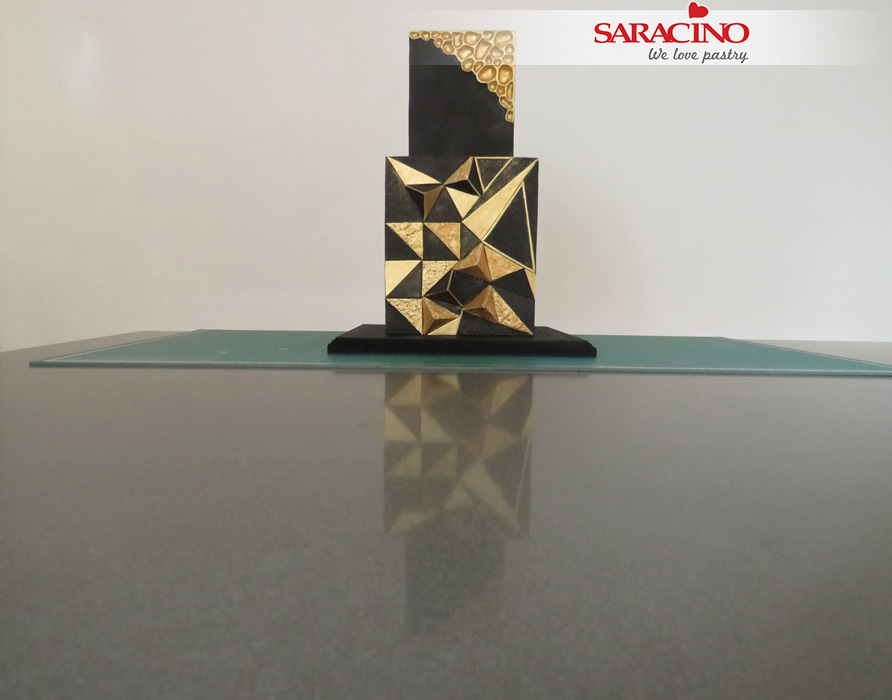
GEOMETRIC BLACK & GOLD WEDDING CAKE TUTORIAL


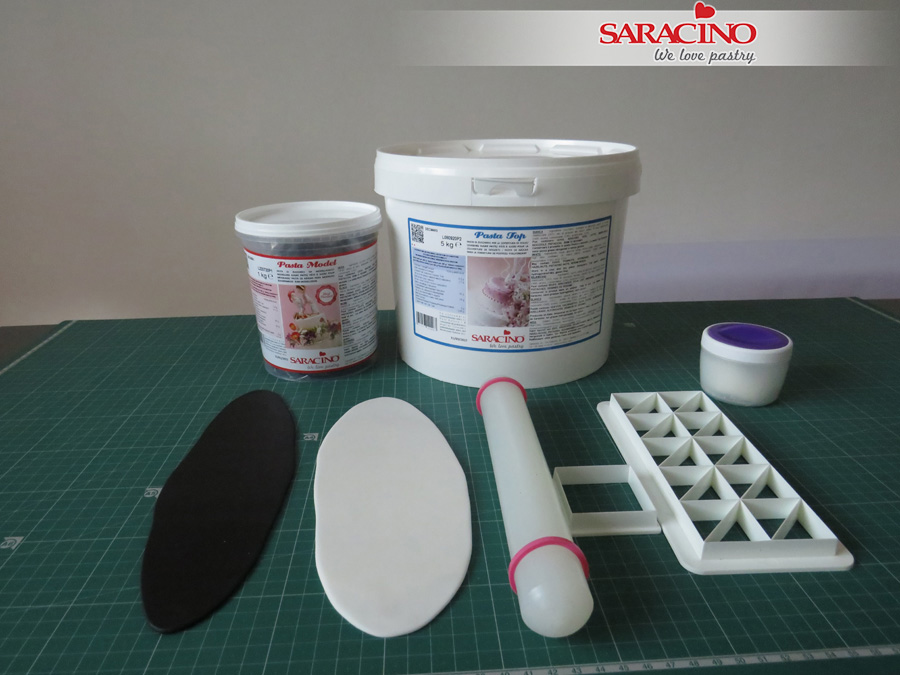
You will need:
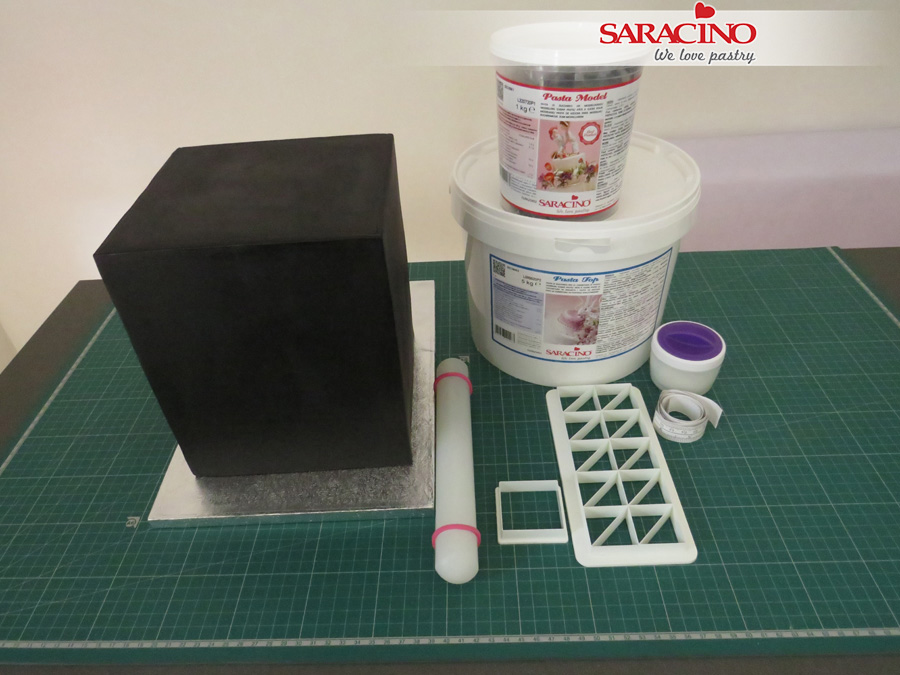
INGREDIENTS:
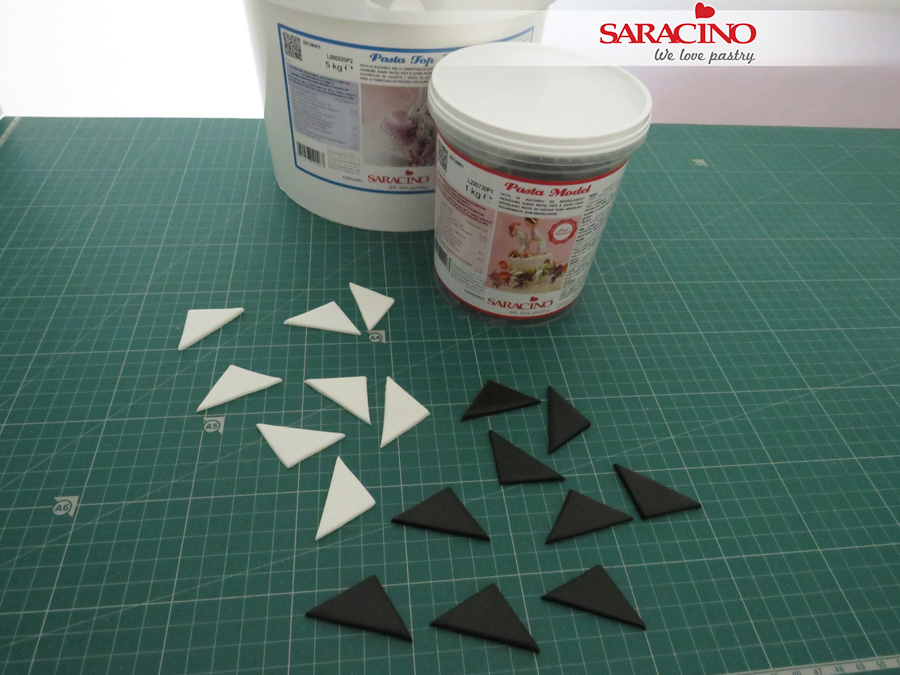
- Saracino Black Pasta Top
- Saracino White Pasta Top
- Saracino Black Pasta Model
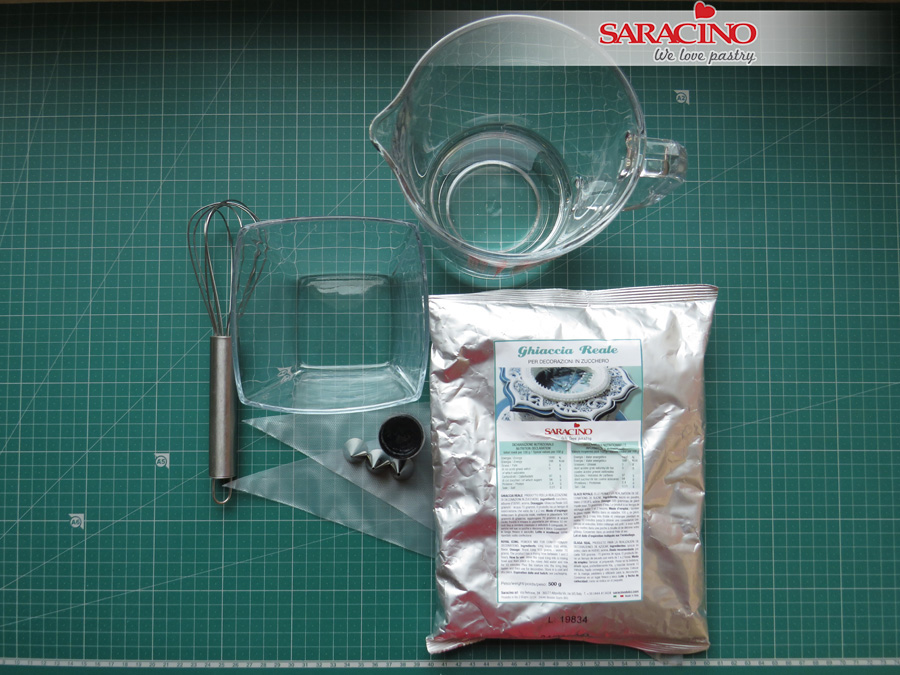
- Saracino Ready to Mix Royal Icing
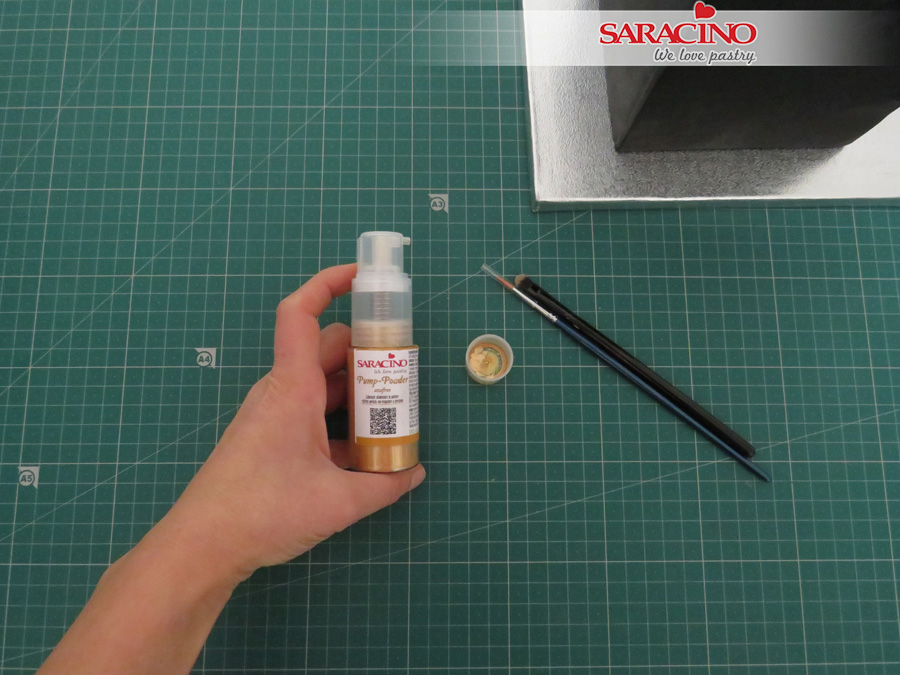
- Saracino Gold Spray Pump-Powder
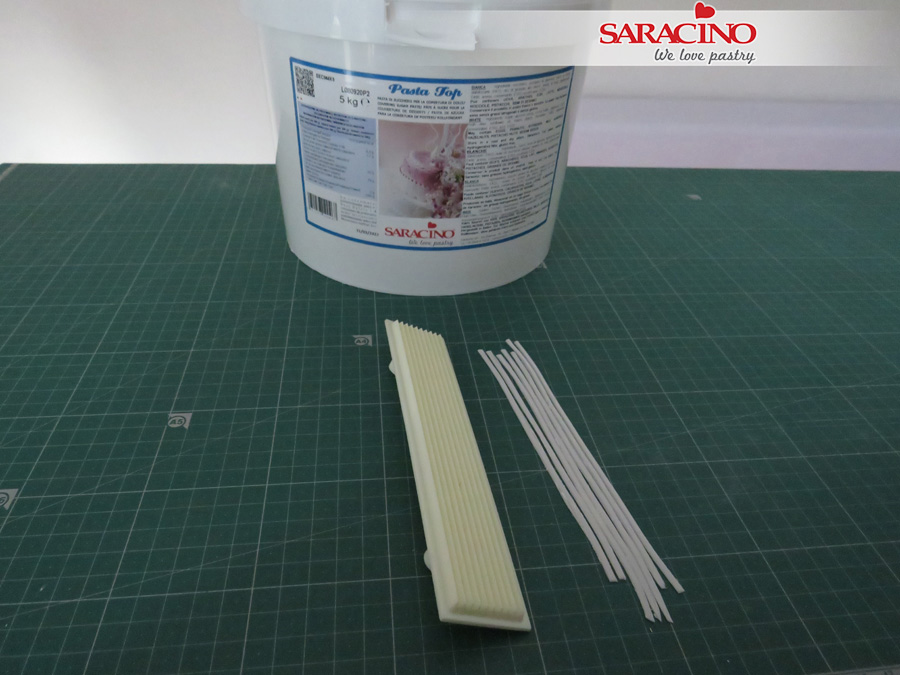
- Saracino Wafer Paper – 0.27 mm thick
EQUIPMENT:
- 2 square cake dummies – 5”, 7”/ top – 6” deep, bottom – 8” deep / or a square cake of two tiers
- Cake turn-table
- Rolling pin with spacers
- Fondant smoothers
- Exacto knife
- Food grade rejuvenator spirit or clear alcohol
- Ball modelling tool
- Dresden tool
- Piping bags
- Piping metal nozzles – No 2 and No 3
- PME multi-cutter or any rectangle cutter set
- Square cutter
- PME strip cutter No 1
- Square cake drum
- Edible glue
- Black edible gel colour
- Clean brushes
- Round sponge brushes
- Scratch wire brush/ Metal brush
- Posy flower picks
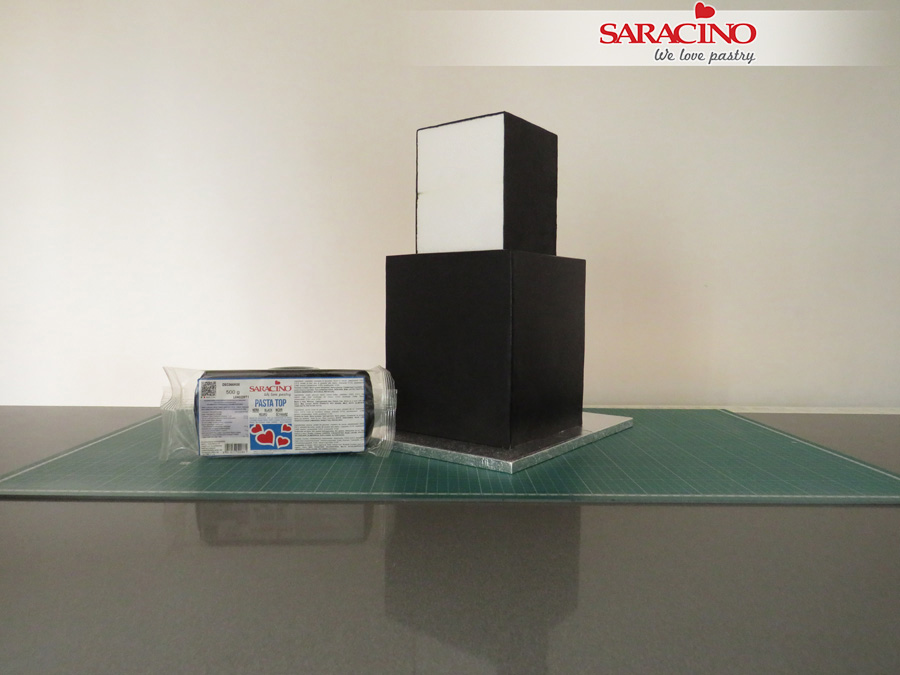
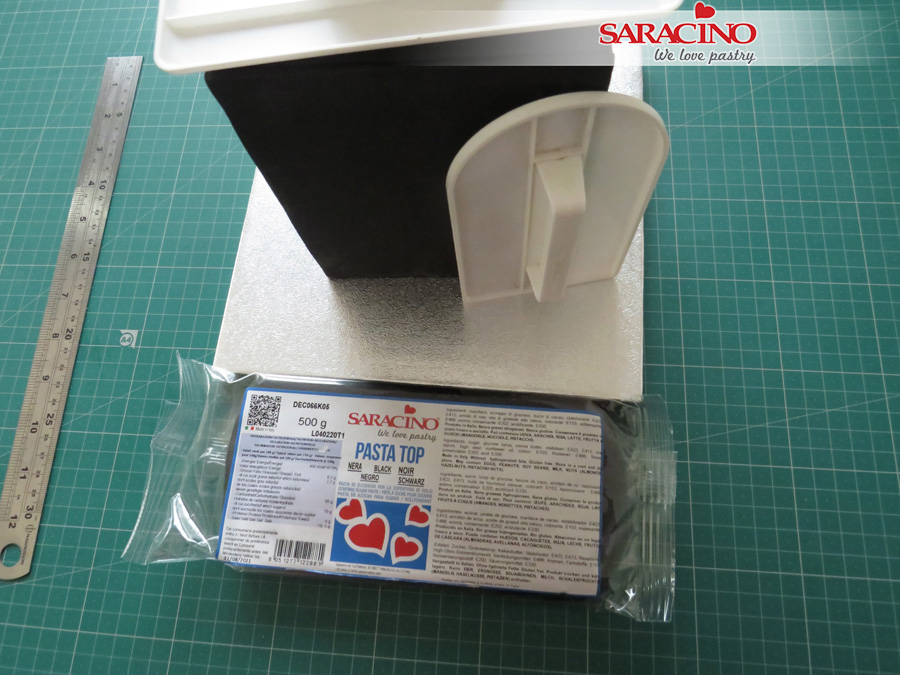
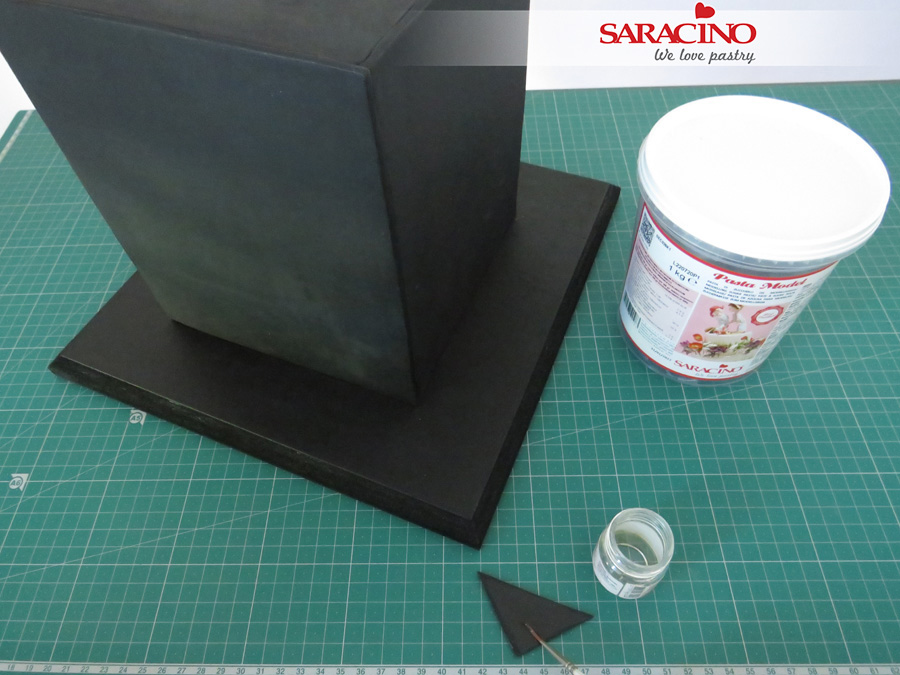
Step 1
Cover your cakes/dummies using the Black Pasta Top and leave the front side of the top tier uncovered. You can use panelling method to cover the dummies.
TIP 1: Pasta Top is Vegan, Gluten free and has NO hydrogenated fats. It’s very stretchy and can be rolled very thin.
TIP 2: Panelling square cakes is a bit more time-consuming than covering a square cakes in one piece of fondant, but it does result in super sharp and clean edges, so the extra time is worth it.
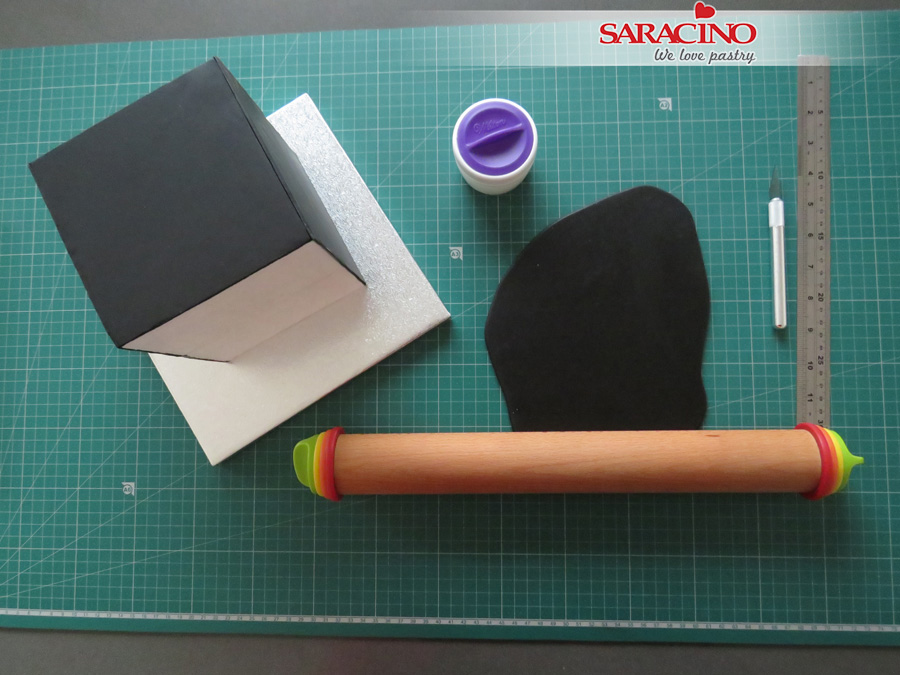
Step 2
Roll out the fondant to about ¼” (6 mm) thick.
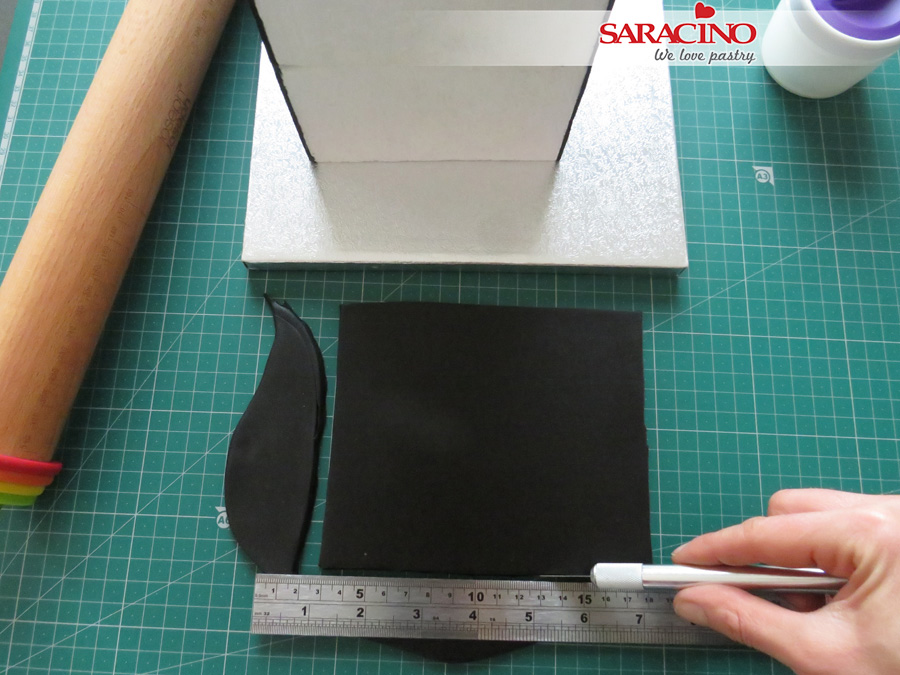
Step 3
Trim the fondant to your cake measurements and try to keep it as square as possible.
Step 4
Take the fondant panel and place it at the front side of the top tier. Use the fondant smoothers around the side and top of the cake. Keep smoothing until you get sharp edges.
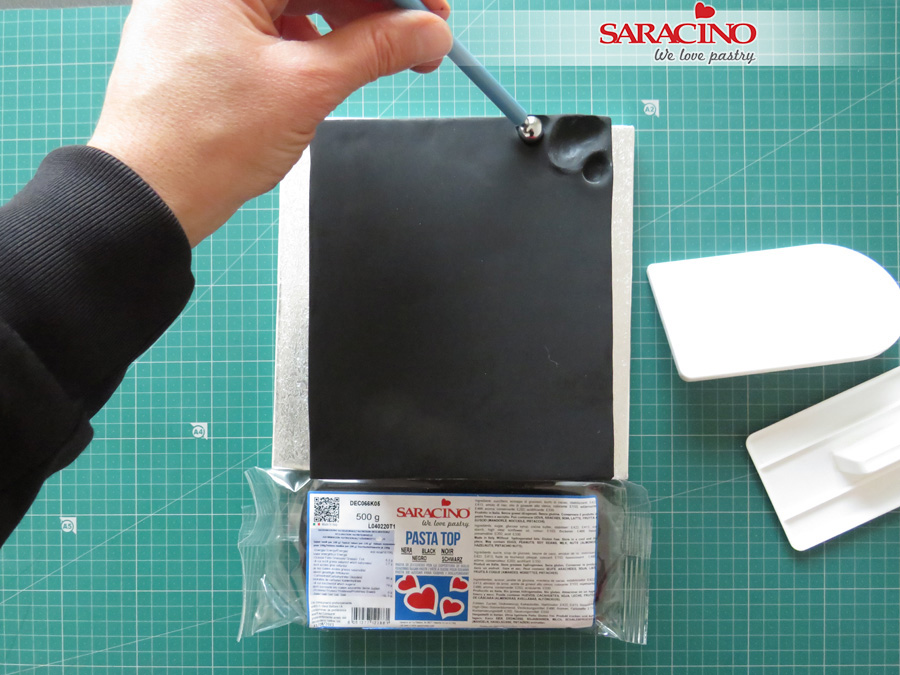
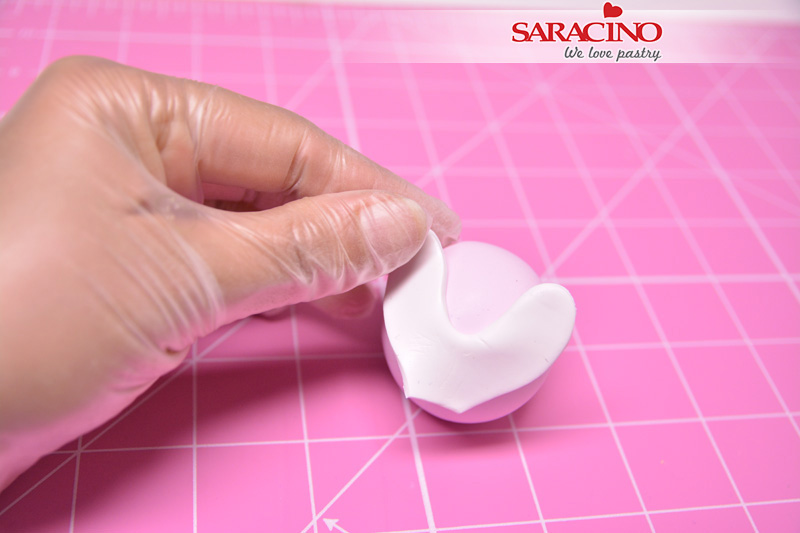
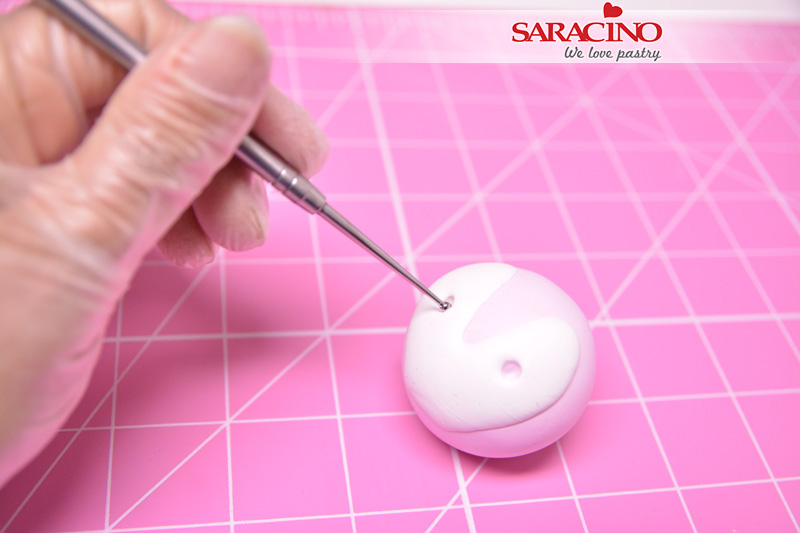
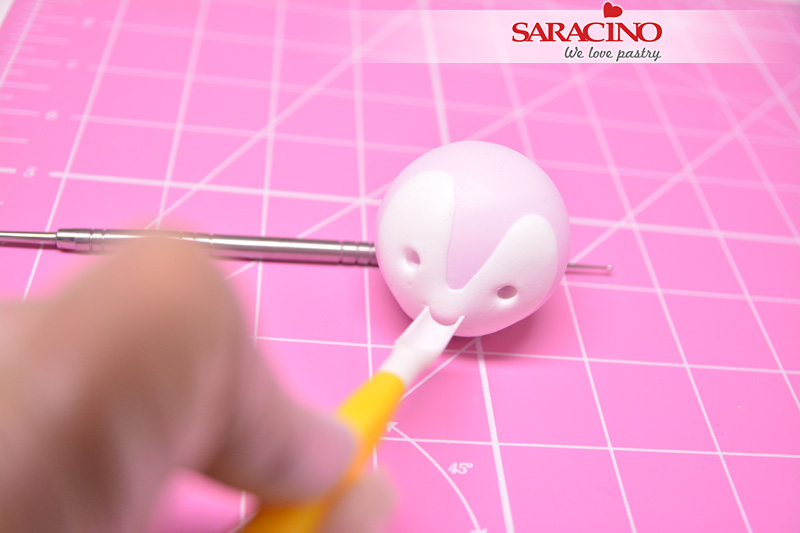
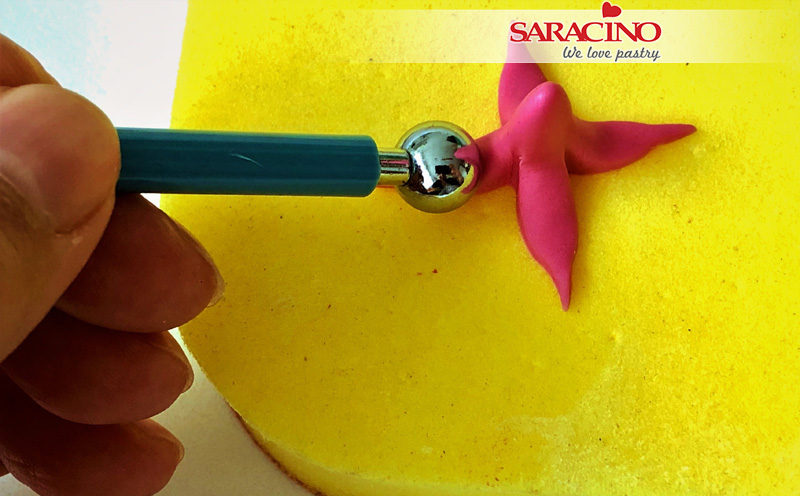
Step 5
Turn the cake front side up and start to press your ball tool into the fondant to form the moon crater pattern.
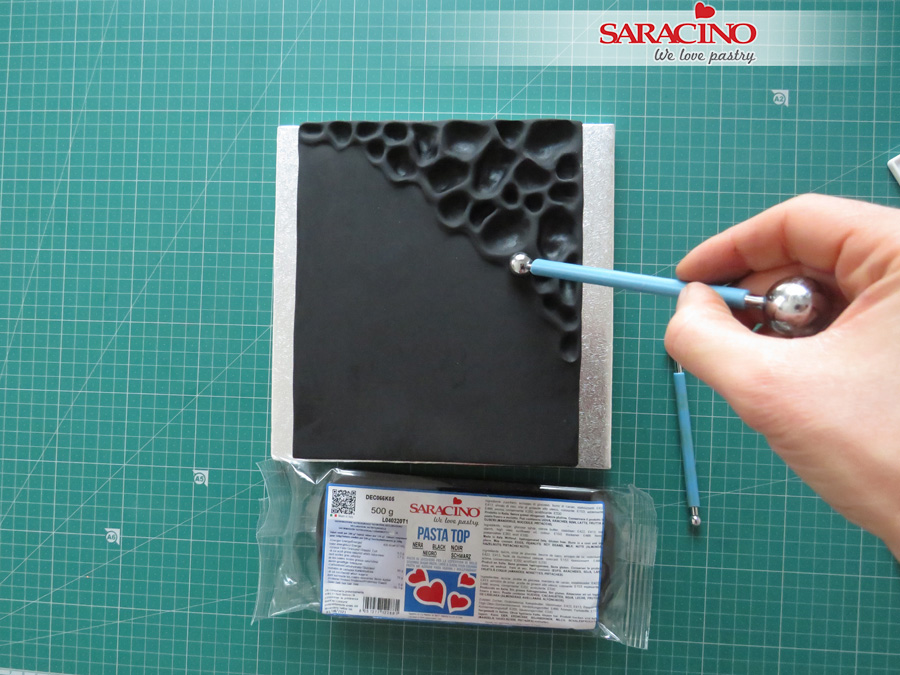
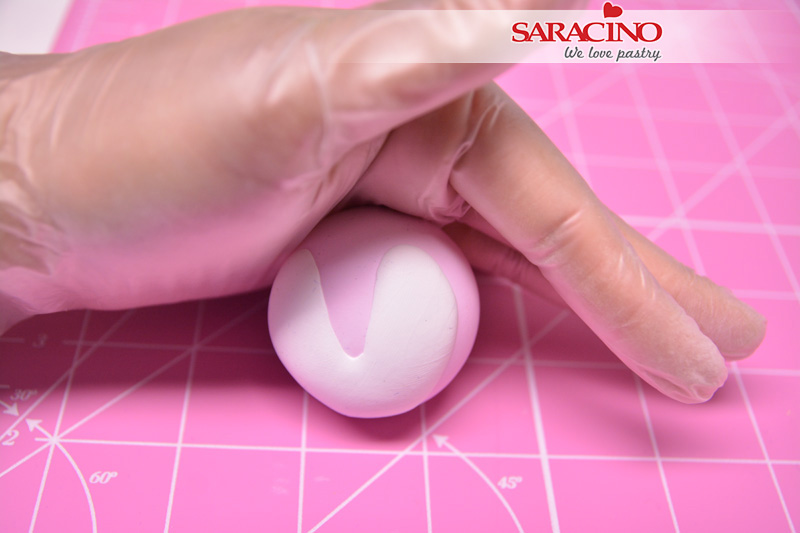
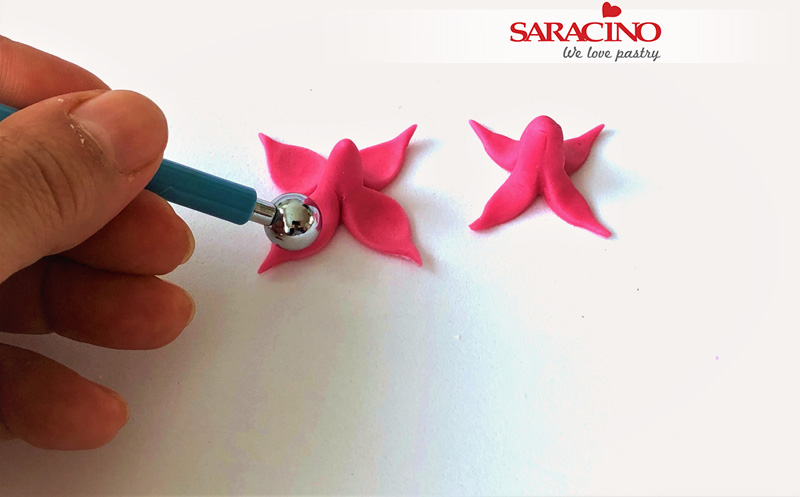
Step 6
Keep forming it until you get the desired effect.
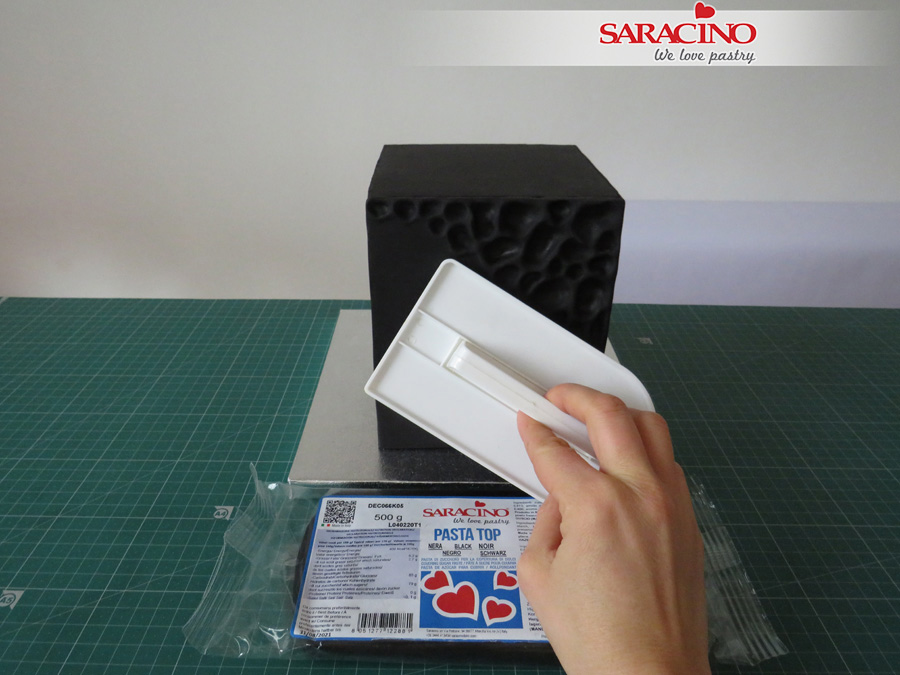
Step 7
Gently press the smoother onto the fondant to form an edge at the end of the pattern.
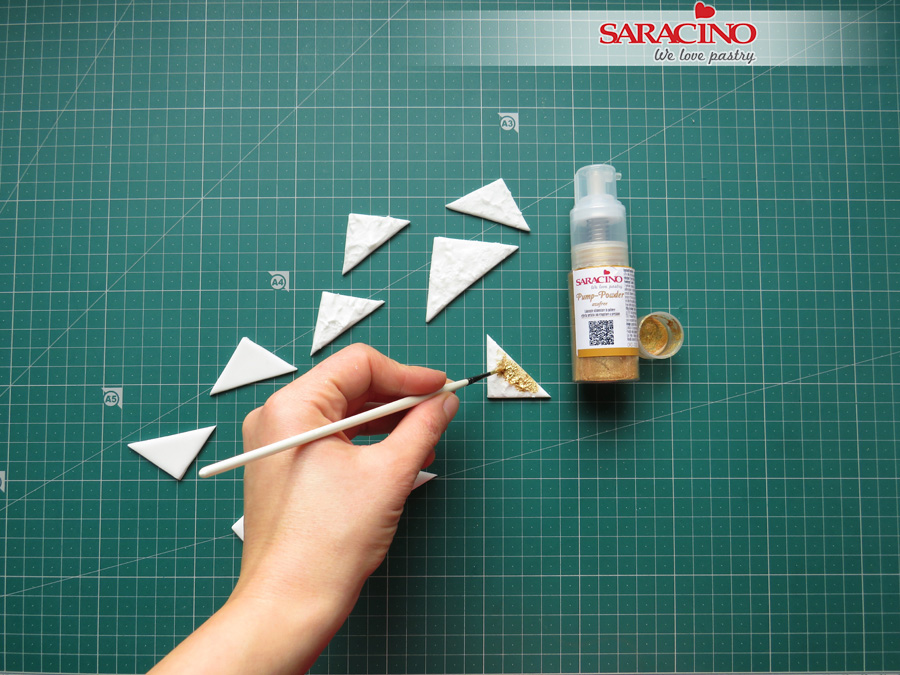
Step 8
Use Saracino Pump-powder Gold Dust and mix it with a few drops of food grade rejuvenator spirit or clear alcohol.
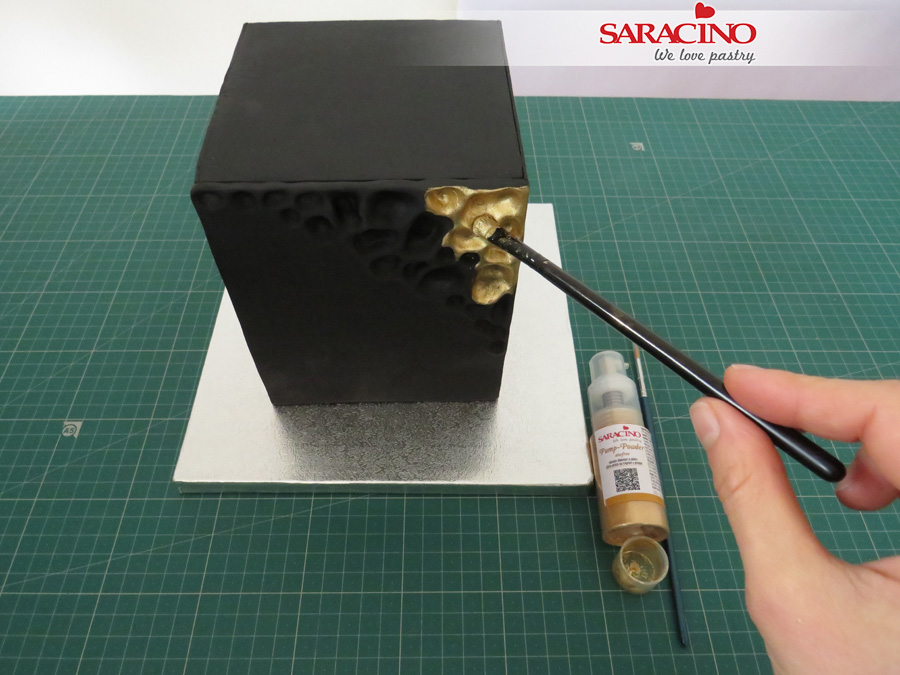
Step 9
Apply the gold mixture with a flat brush onto the pattern.
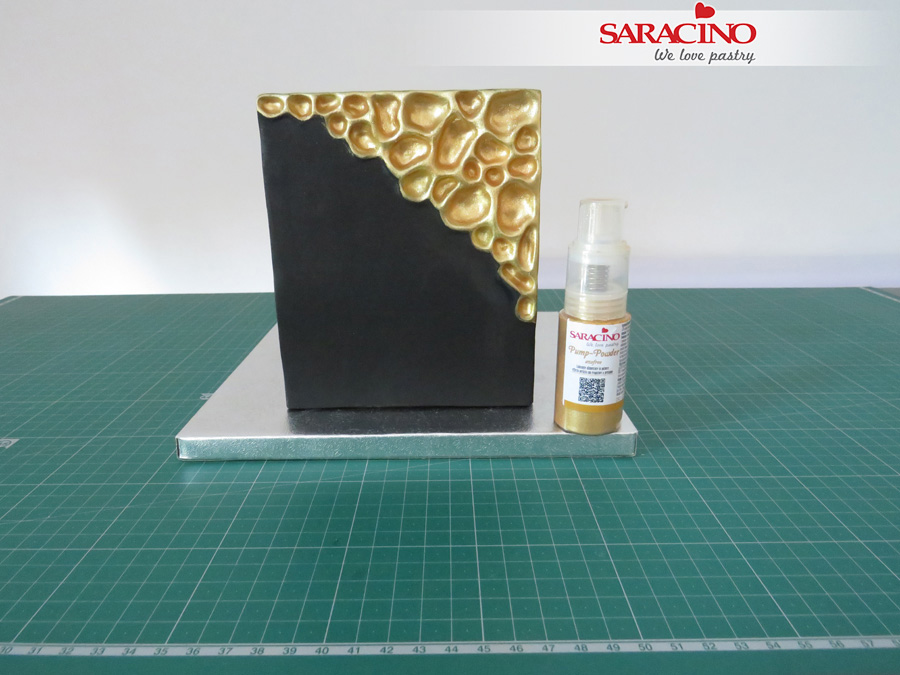
Step 10
Cover the whole pattern part and paint it again after the rejuvenator spirit evaporates.
TIP: You can apply a thin layer of piping gel to cover your pattern. Then use the pump-powder and spray over it to get different shades of metallic colour.
Step 11
Put the bottom tier on a cake drum and choose at least two sizes of triangle cutters.

Step 12
Measure your triangle cutter. Use the height of the small triangle and make sure it’s equal to the length of the side of the big triangle.
TIP: Use isosceles triangles for the main part of the design as it has 2 sides of equal lengths and helps you to finish it easier.
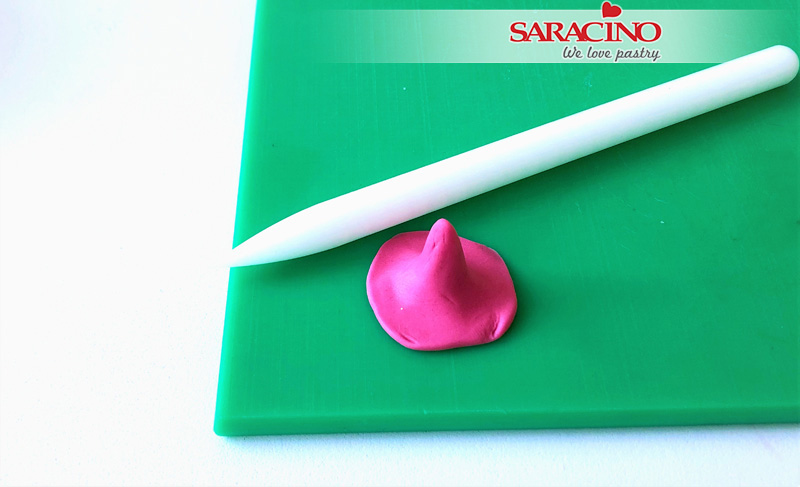
Step 13
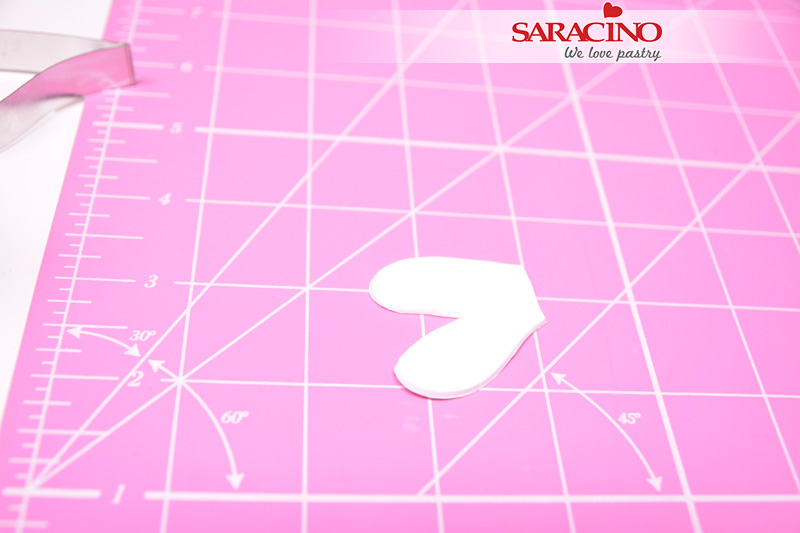
Roll out a piece of black Pasta Model and another piece of white Pasta Top.
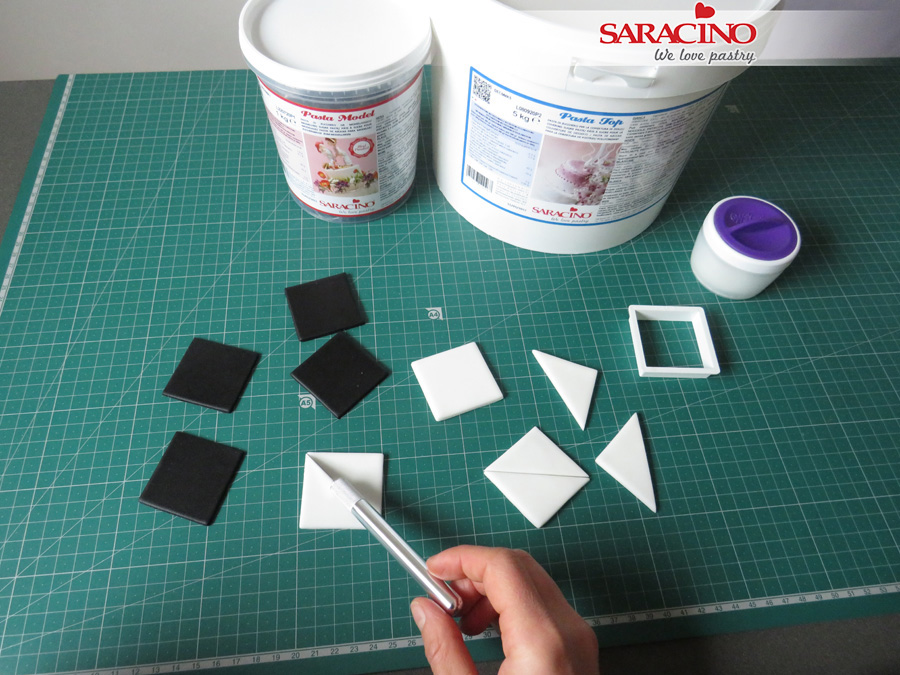
Step 14
Cut some squares of both colours. Use the exacto knife to cut each square from corner to corner to form two equal larger triangles.
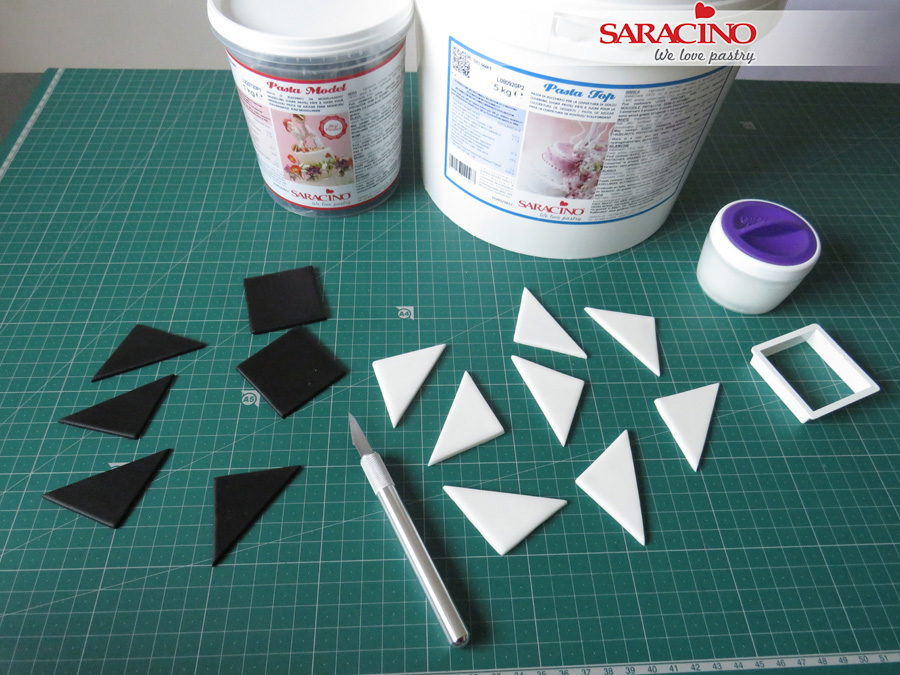
Step 15
Leave the shapes aside and let them dry out.

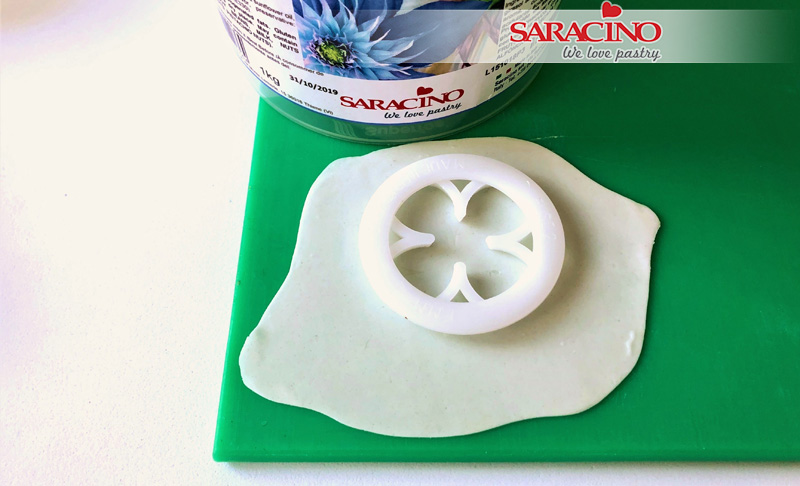
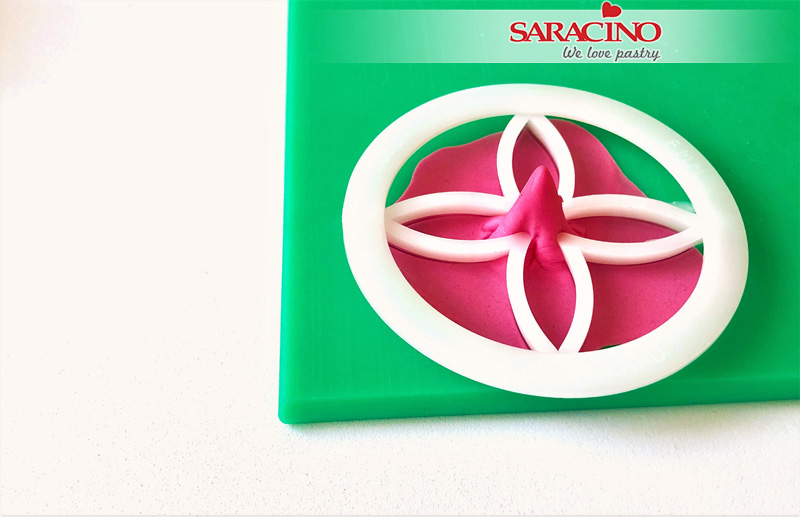
Step 16
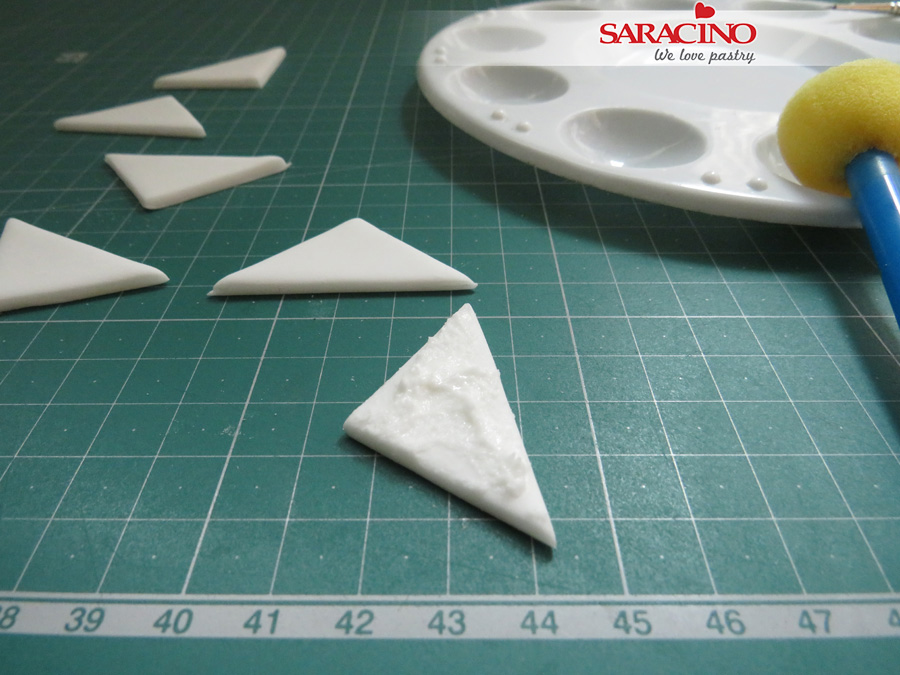
Roll out a piece of white Pasta Top for the small triangles.
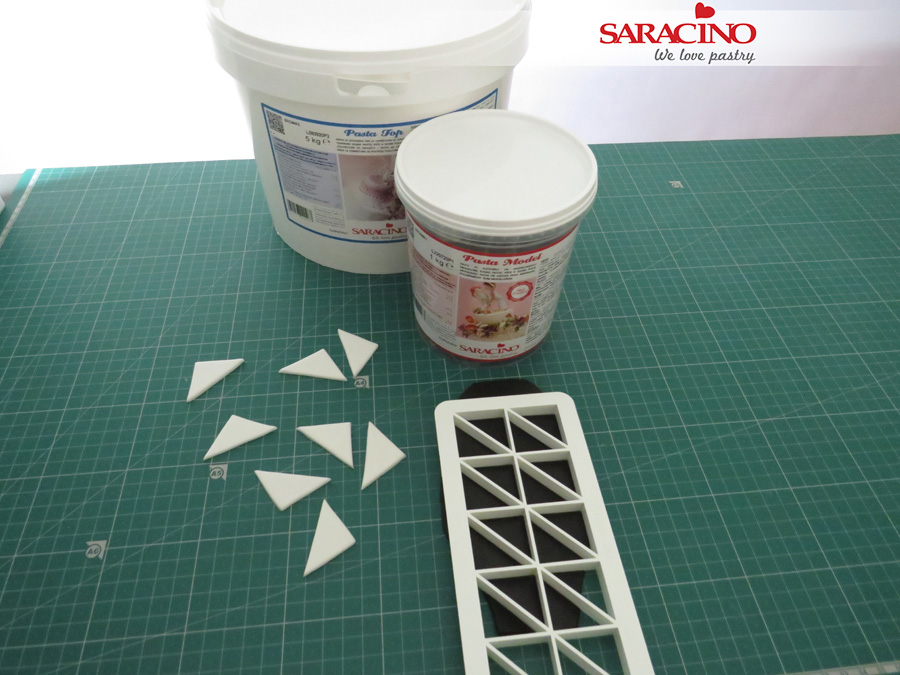
Step 17
Use the triangle cutter to cut them out. You’ll need at least 8 pieces of each colour.
Step 18
Put them aside and allow to dry out.
Step 19
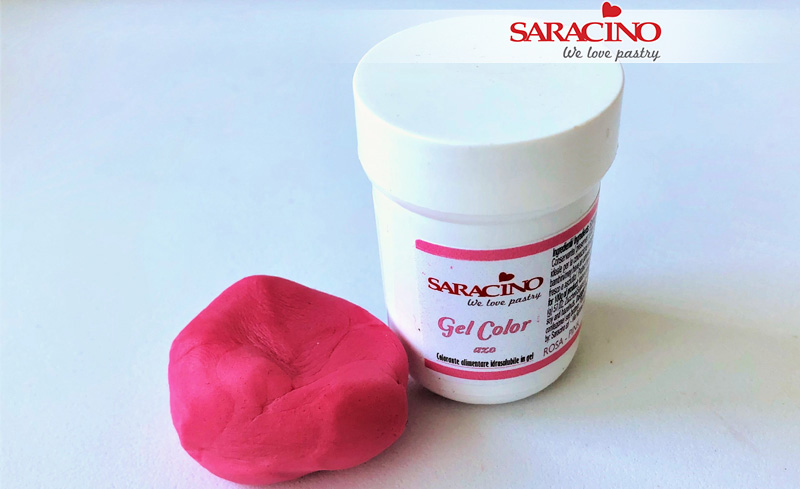
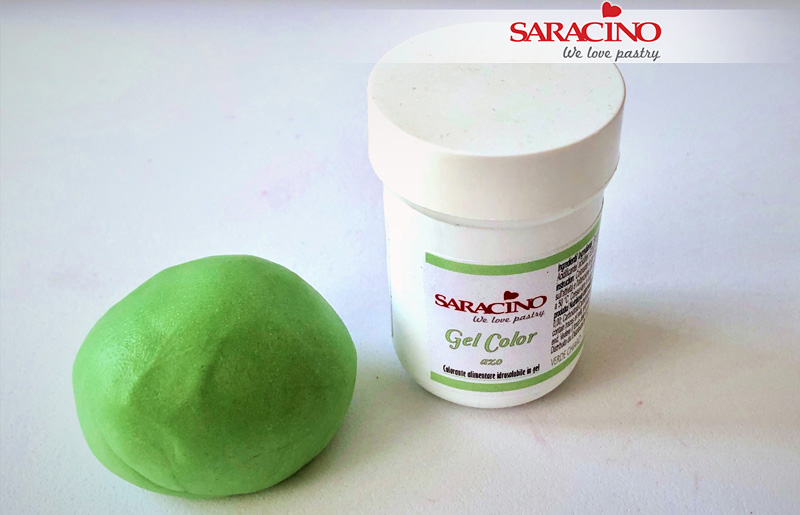
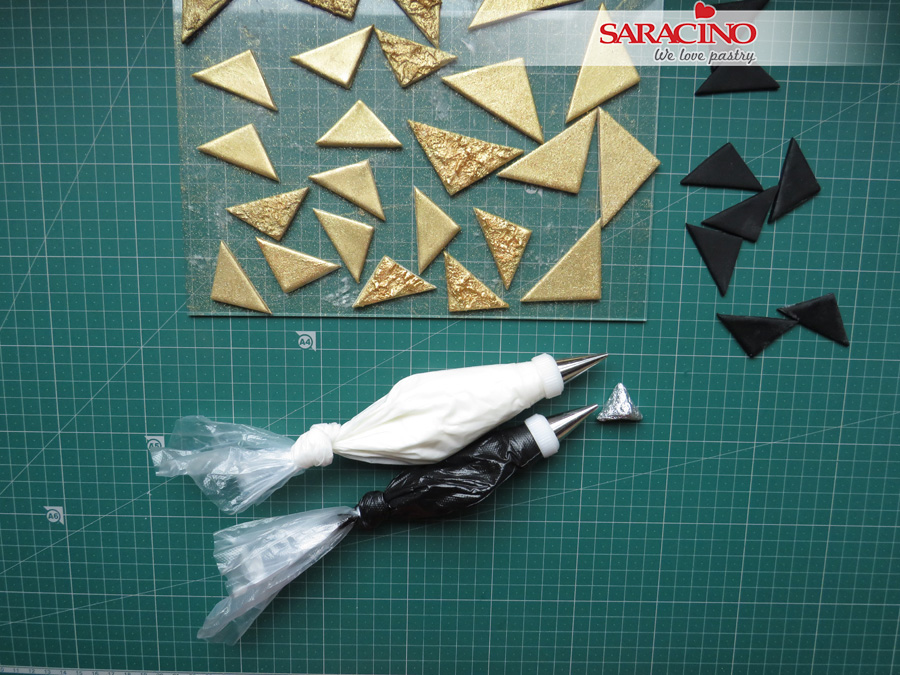
You’ll need two colours of Royal Icing – black and white. For the black one, use gel colour to achieve black Royal Icing.
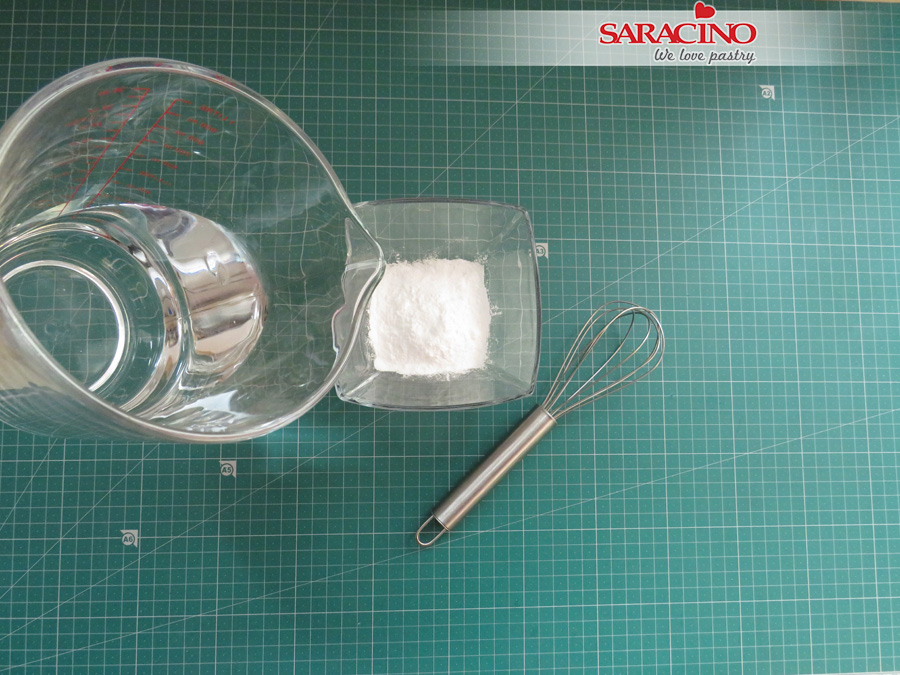
Step 20
Prepare the Royal Icing. Follow the instructions on the package.
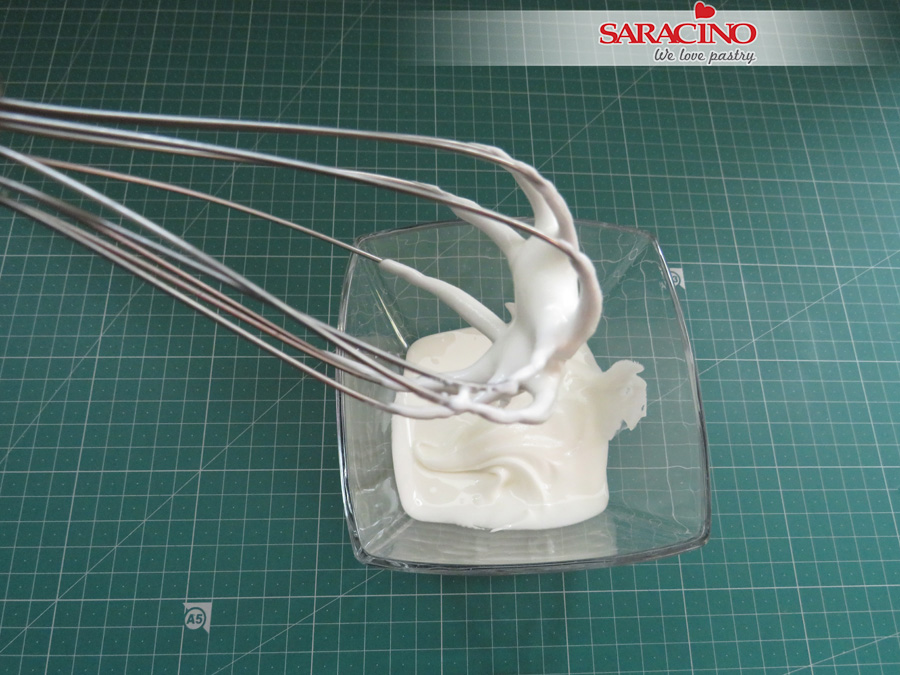
Step 21
You will need a toothpaste consistency (soft peaks).
Step 22
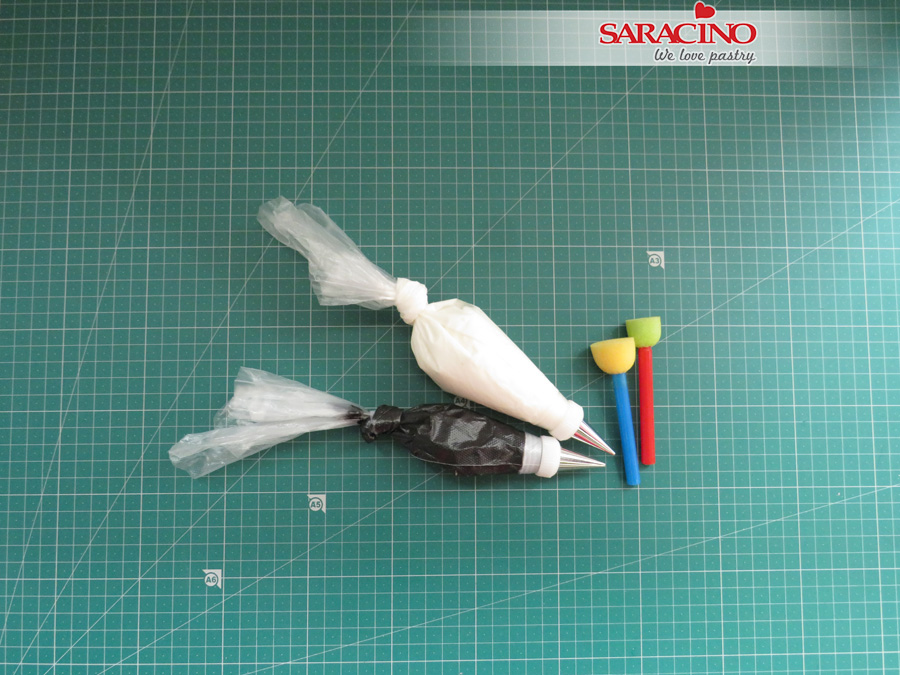
Put the Royal Icing in two piping bags with metal nozzles on – No 2 and No 3.
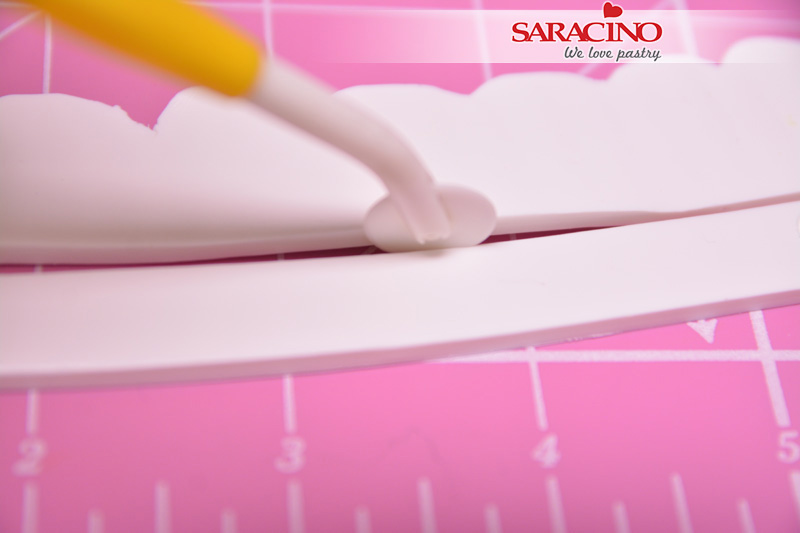
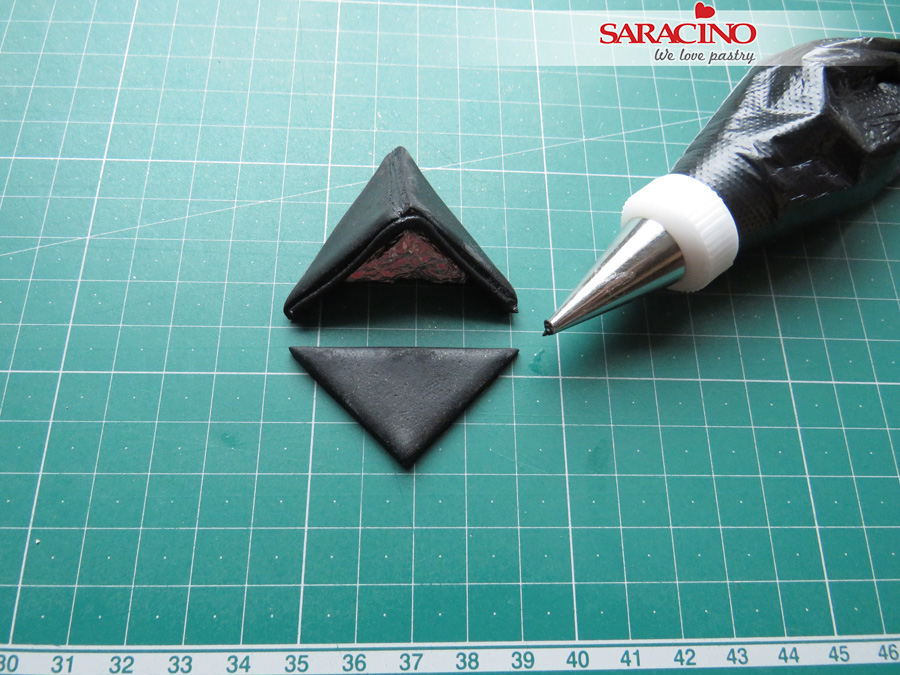
Step 23
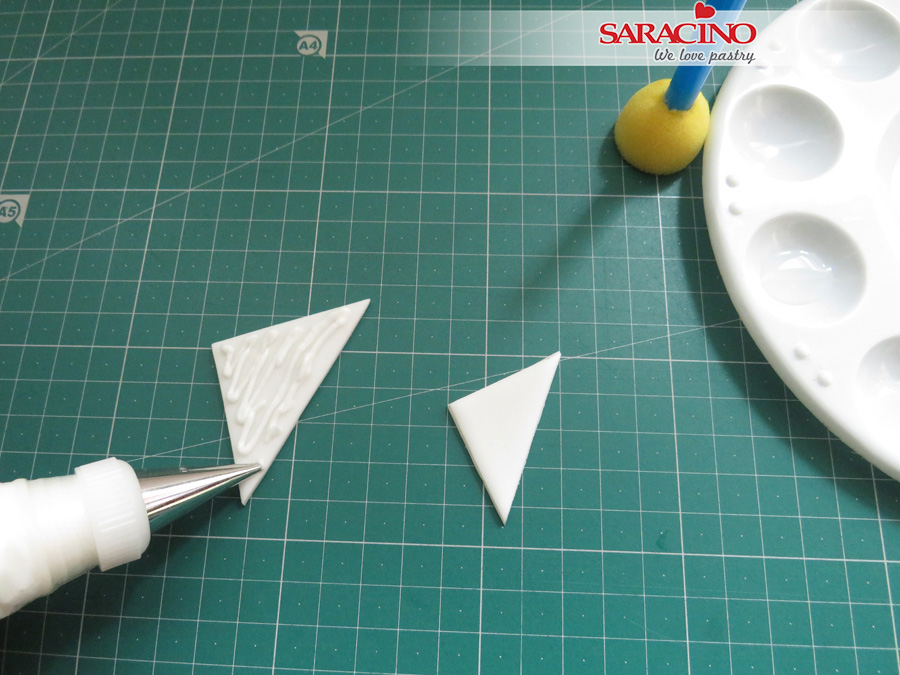
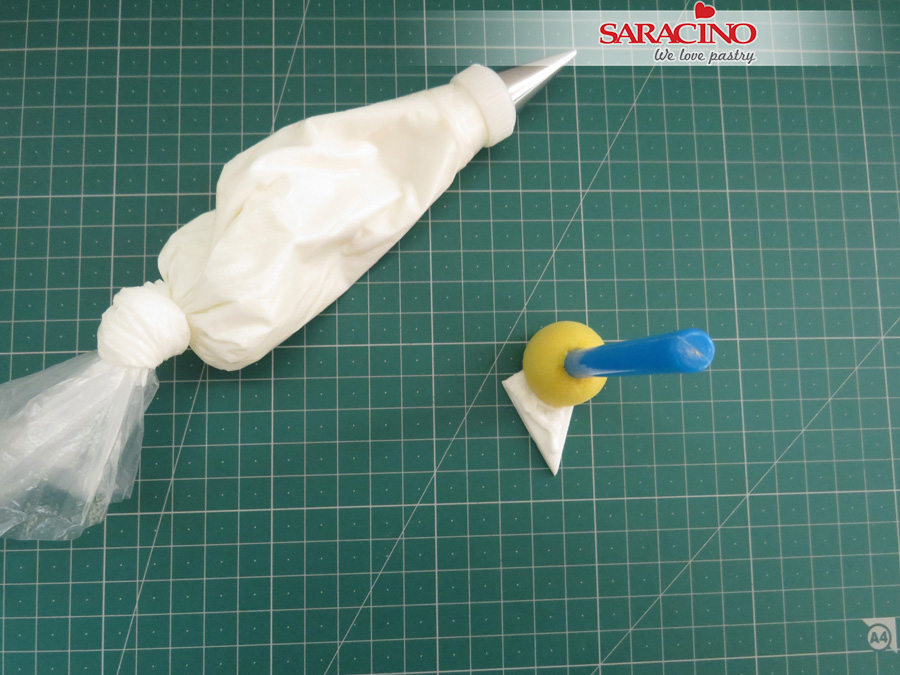
Pipe a few lines across the dried triangle
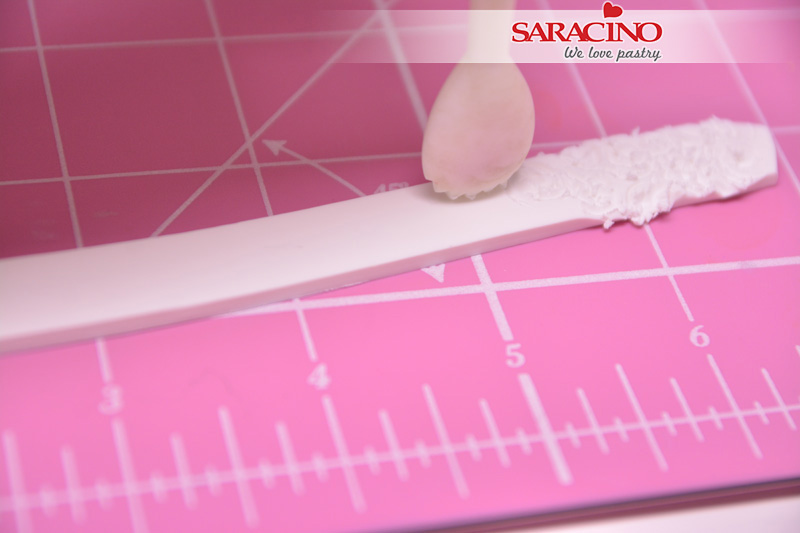
Step 24
Apply the sponge brush firmly onto the piped lines and pull it out gently to form the peaks pattern.
Step 25
Leave it aside to dry out and make a few of each size.
TIP: Use black Royal Icing for the black triangles if you want to achieve different shades of the gold colour.
Step 26
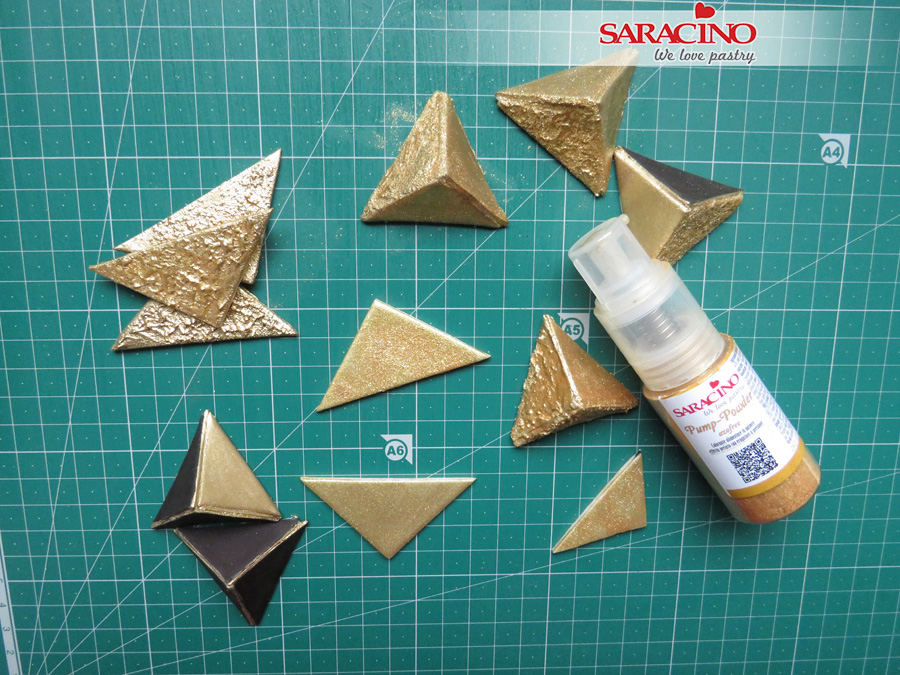
Apply the gold mixture onto the peaks pattern.
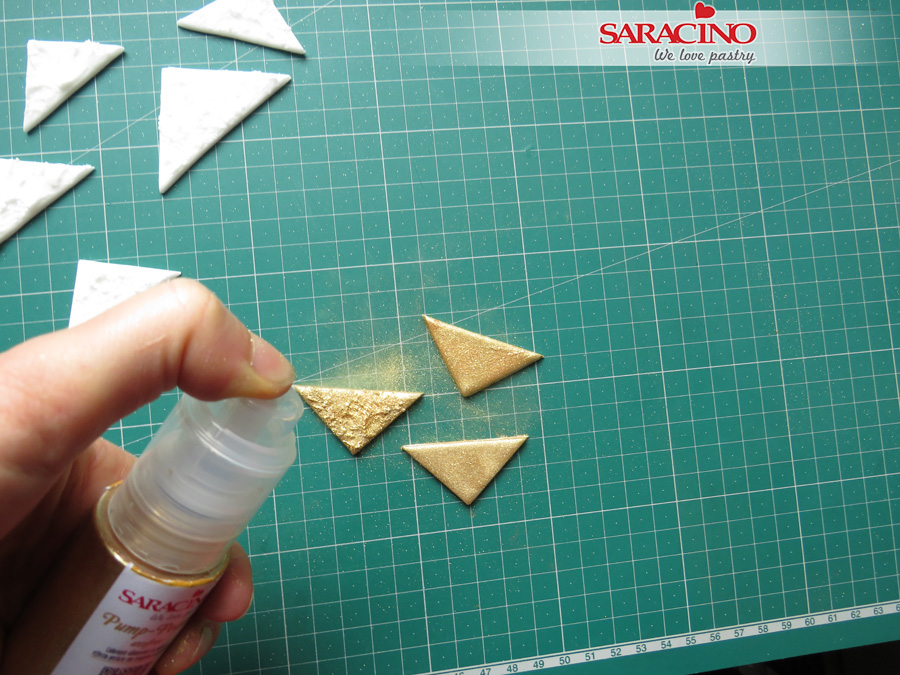
Step 27
You can use the Pump-powder Gold Spray directly onto the triangles, for the best results.
Step 28
Finish all the pieces you have prepared.
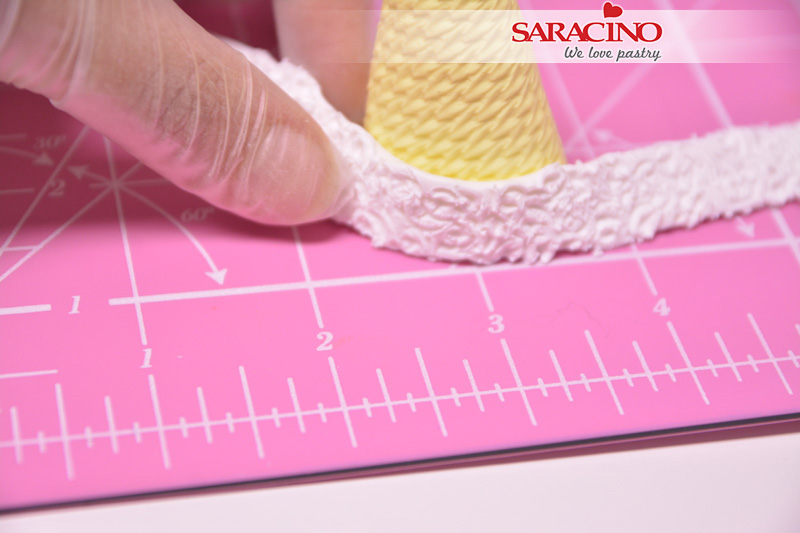
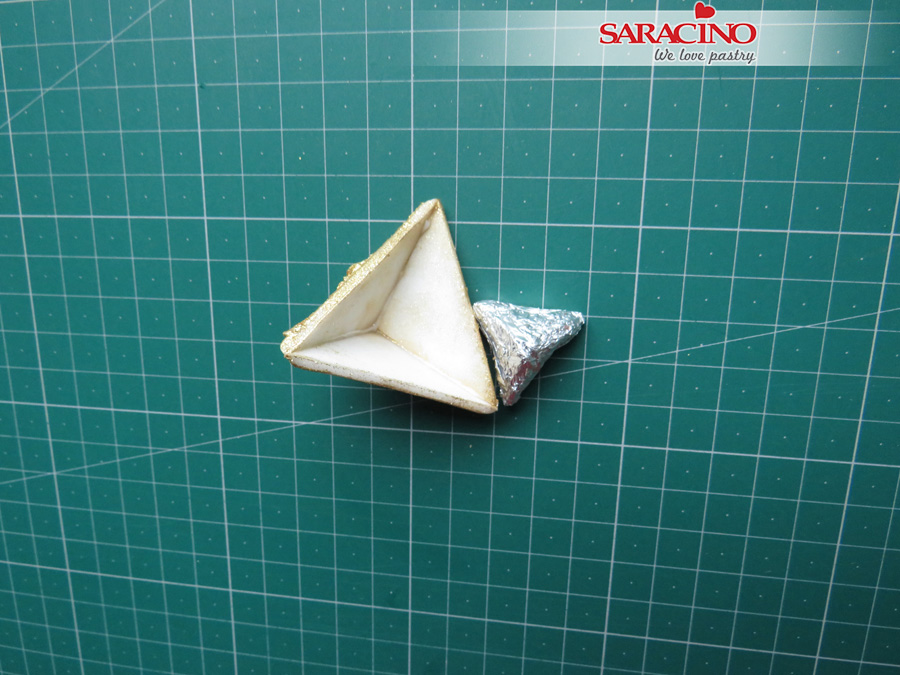
Step 29
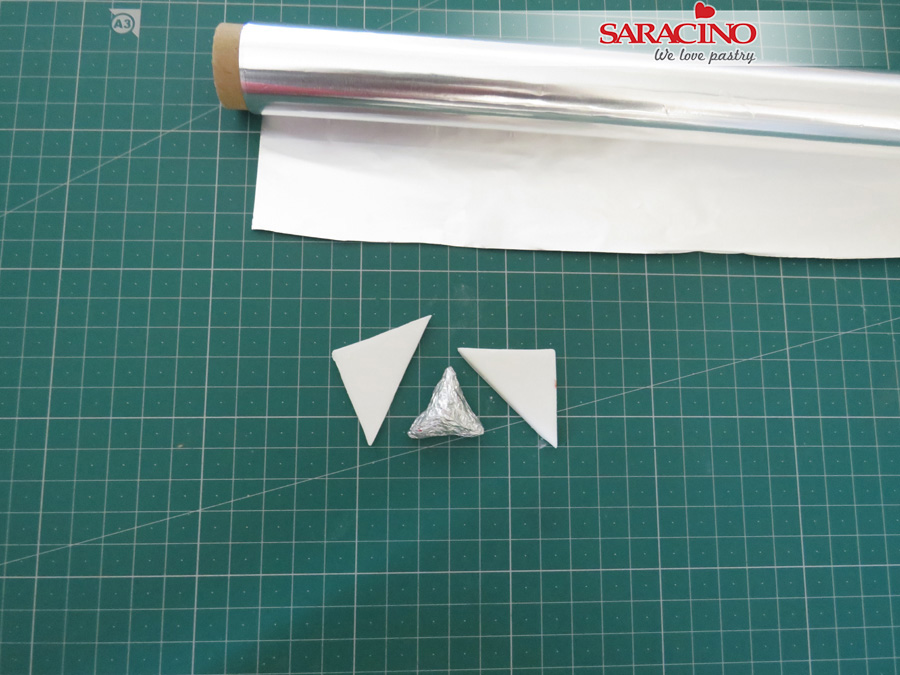
My little secret in order to be creative. I make a pyramid from kitchen foil to support the process of creating the fondant pyramids. You can use an alternative object.
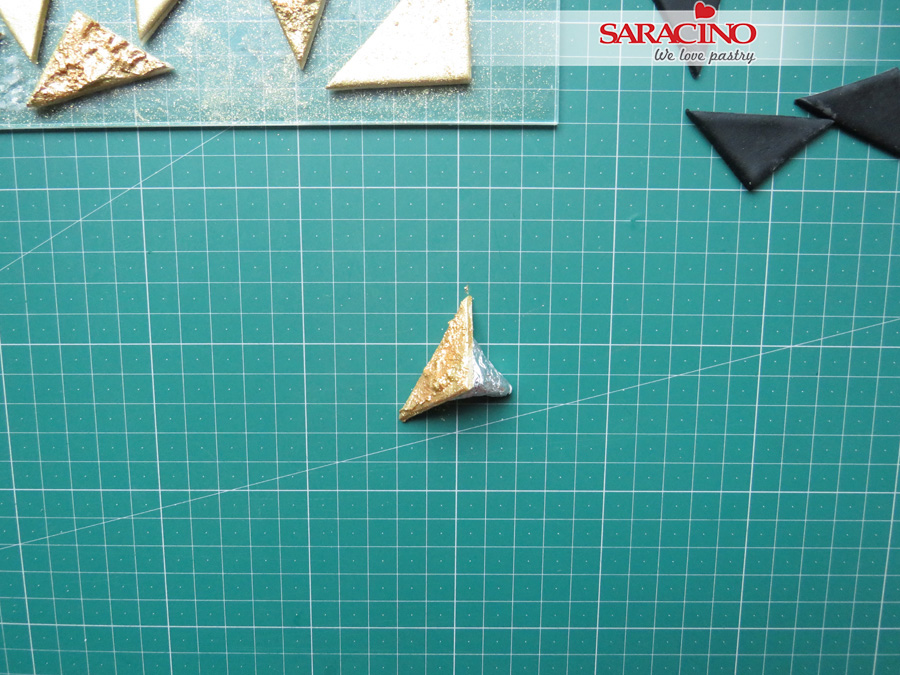
Step 30
Put a small triangle on one side of the foil pyramid.
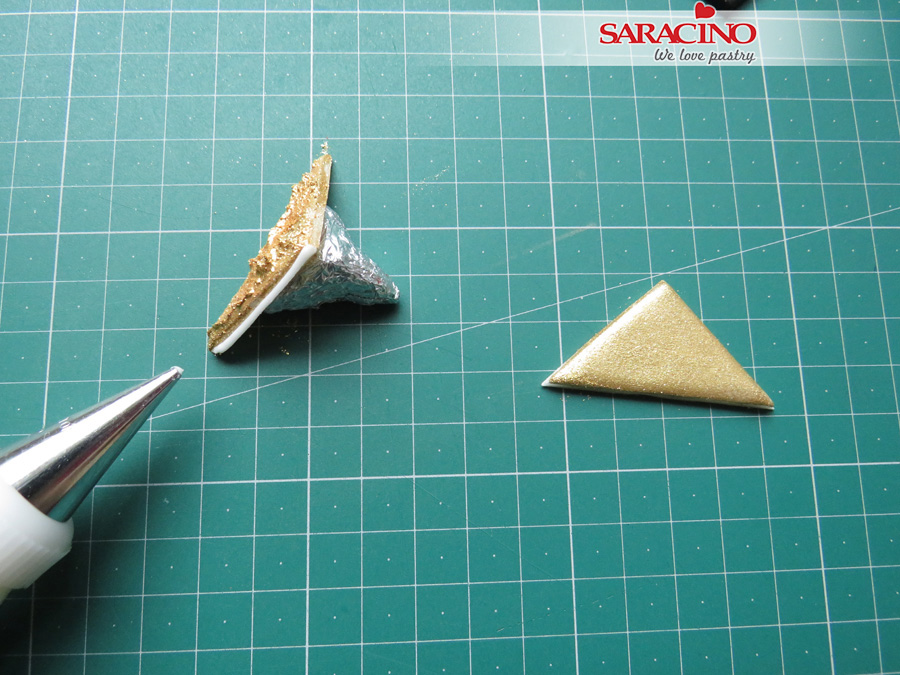
Step 31
Pipe a line of white Royal Icing on the triangle edge.
Step 32
Attach the second triangle to start forming a fondant pyramid.
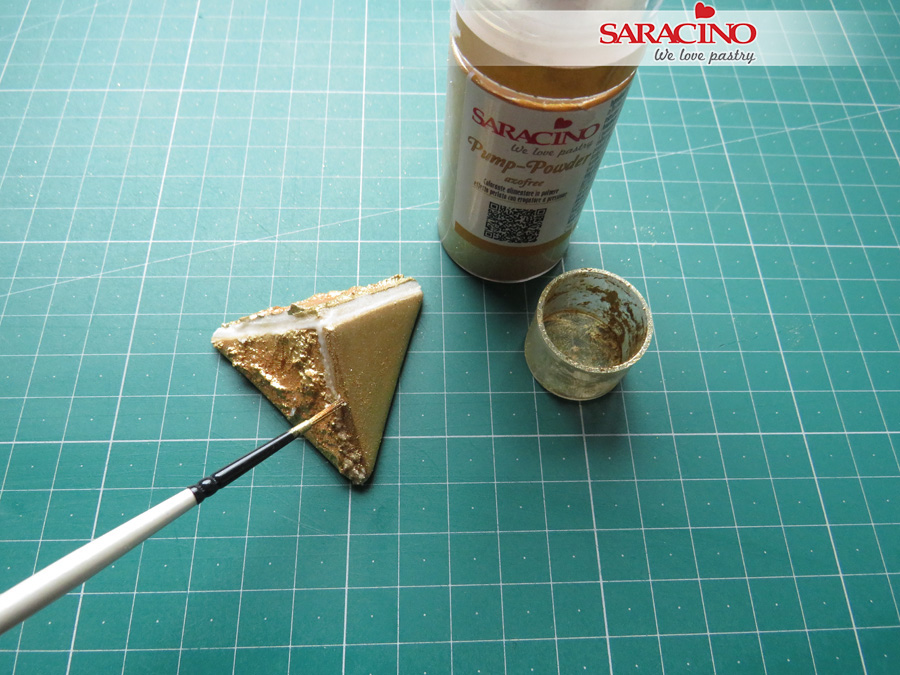
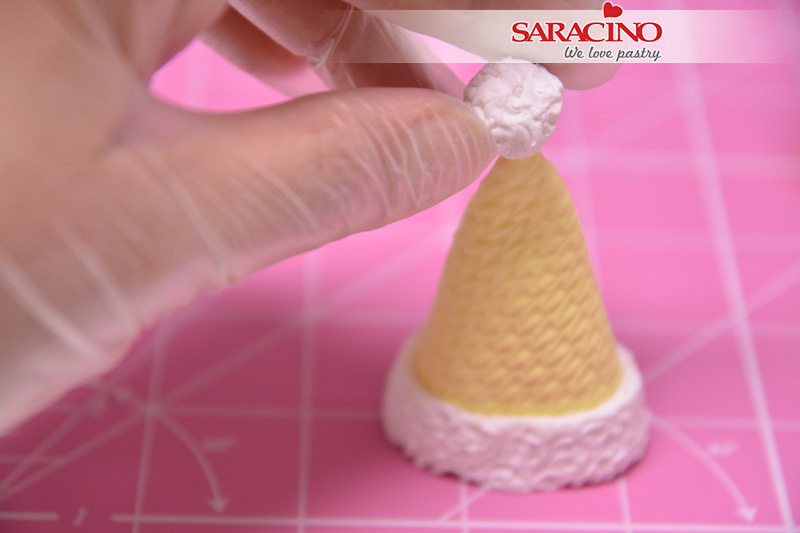
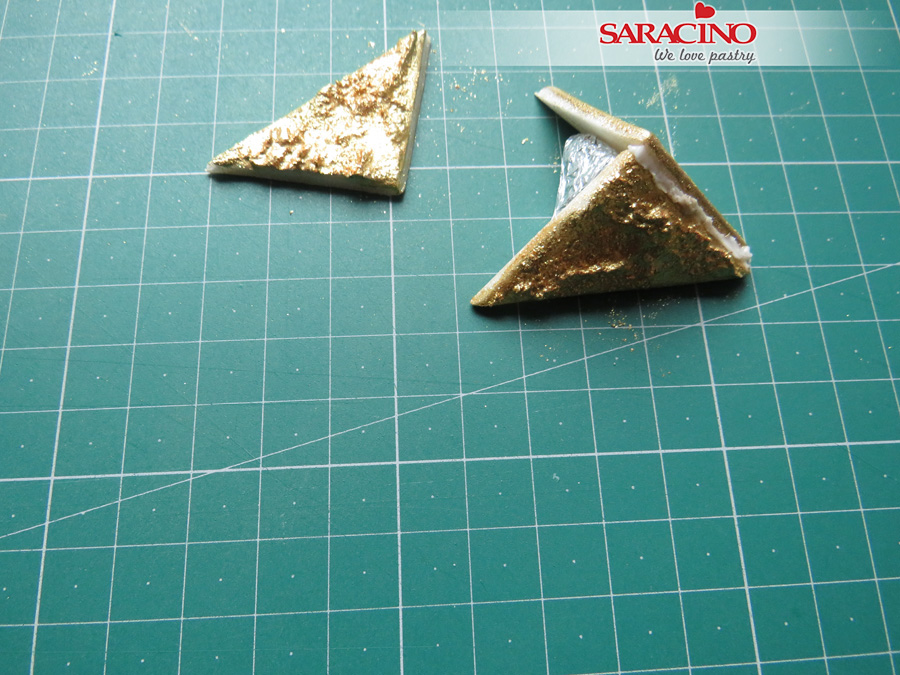
Step 33
Use the Royal Icing to attach the third part of the fondant pyramid and paint with gold to cover the joints.
Step 34
Once the Royal Icing is dry separate the fondant pyramid from the support.
Step 35
Repeat the process with the rest of the pyramids. You can use black Royal Icing for the black ones.
Step 36
Finish all the pyramids and triangles you’ve prepared. You can paint the edges of the black pyramids in gold.
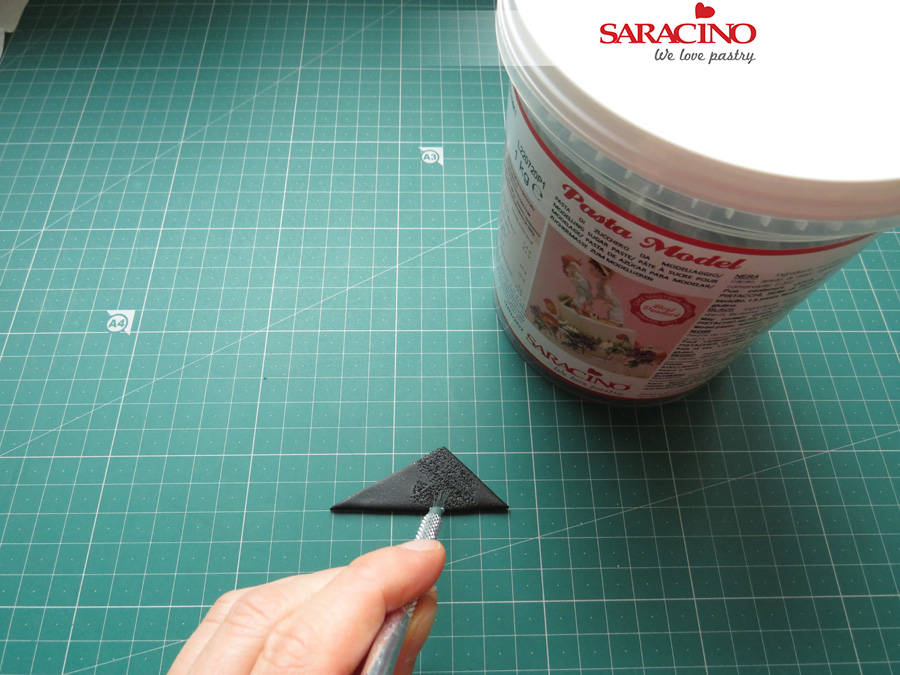
Step 37
Prepare some uneven sized triangles to fill the gaps between pyramids and the isosceles triangles. You can use a small metal brush to achieve the texture.
Step 38
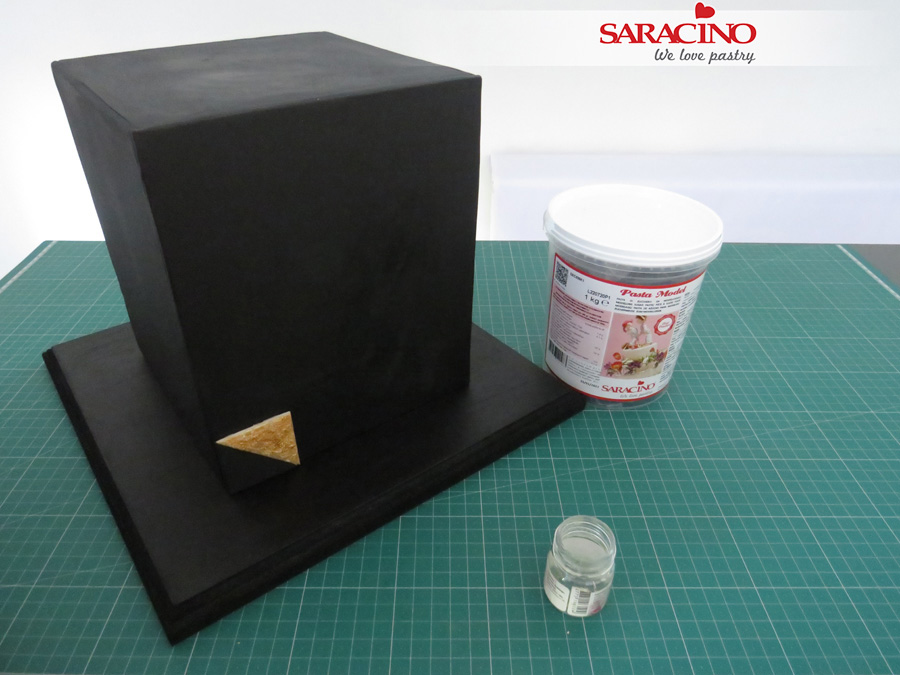
Starting from the bottom corner attach the pieces to the cake. Brush the back of one piece with edible glue and attach it to the cake.
Step 39
Repeat it with the second triangle of your choice.
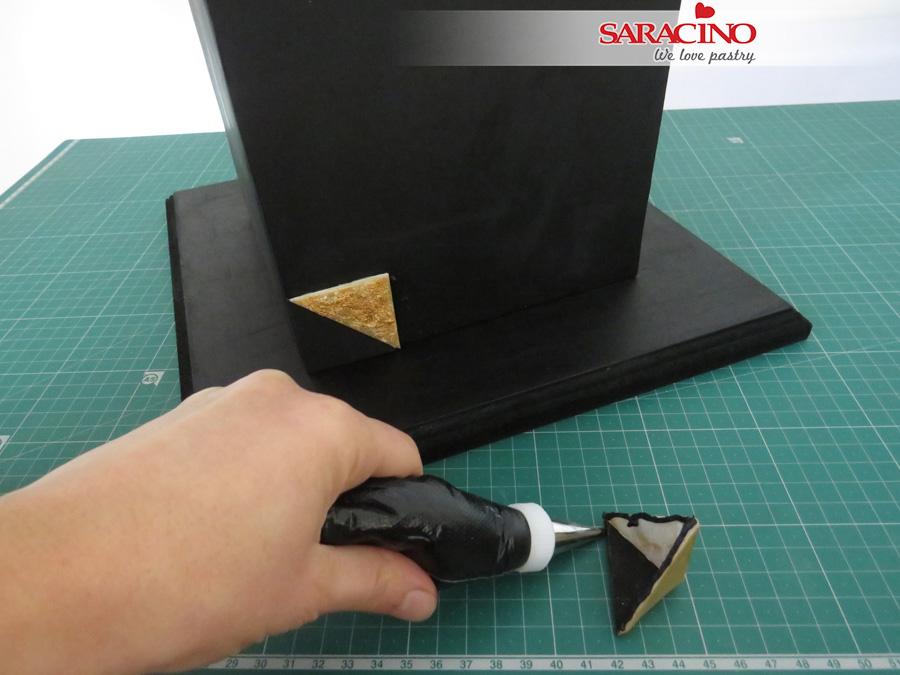
Step 40
To attach the pyramid pieces, you can use black Royal Icing.

Step 41
Continue to attach the pieces of your design to the cake.
TIP: You can plan a pattern of your choice that will help you calculate all triangles and pyramid pieces you will need.
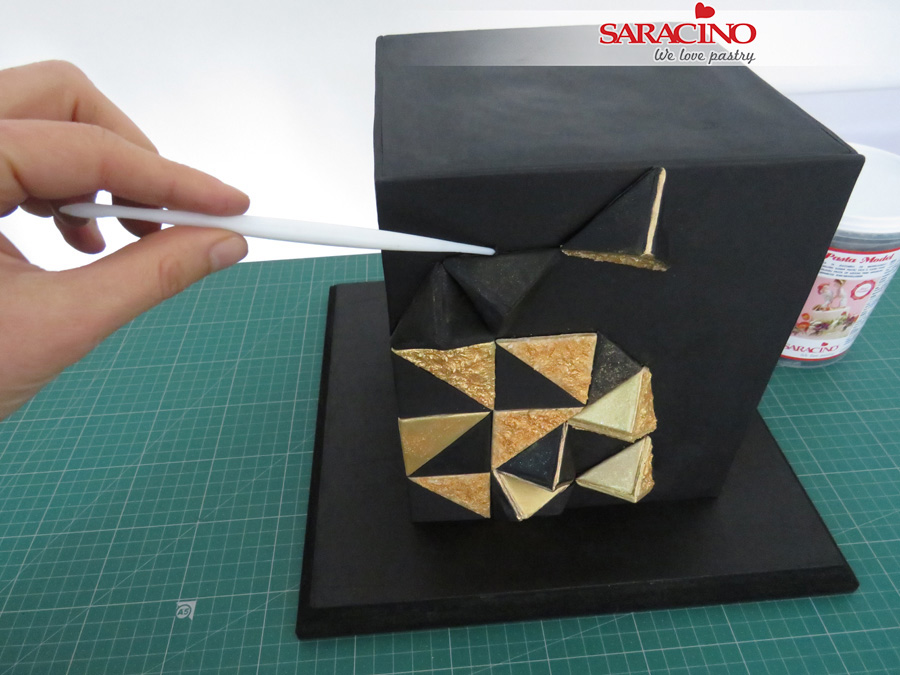
Step 42
Remove the excess Royal Icing using a Dresden tool.
Step 43
Roll out some white Saracino Pasta Top and cut out the strips using PME strip cutter No 1.
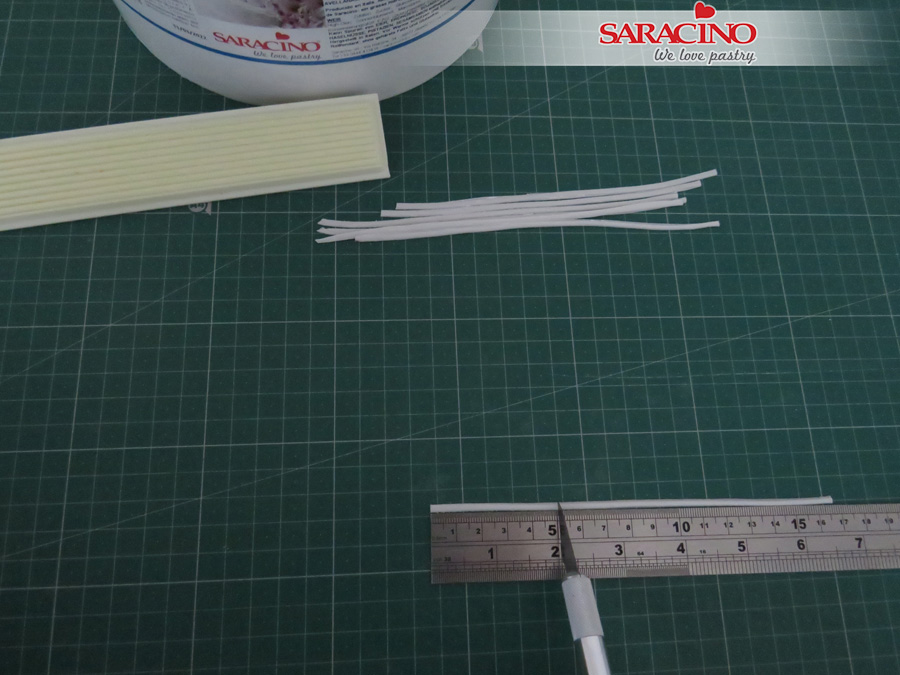
Step 44
You should cut your strips to the length you require
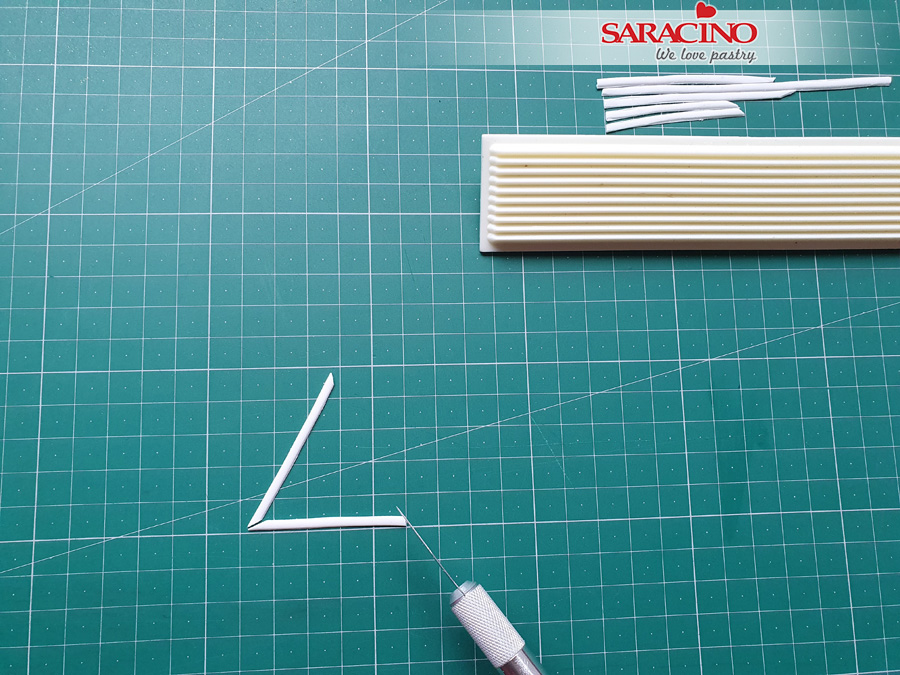
Step 45
Cut out the angles to form a triangle of the strips.
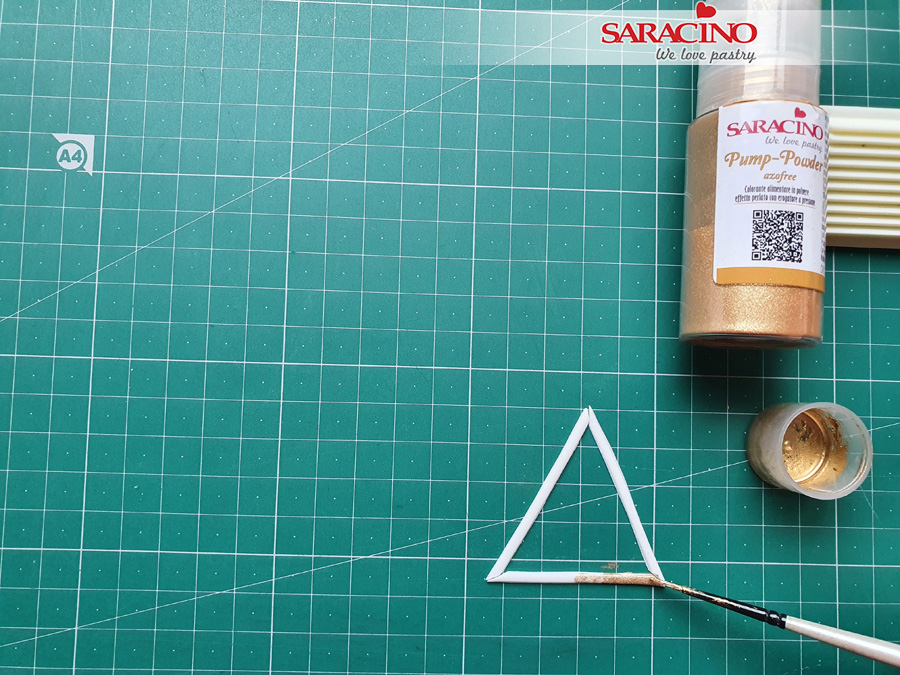
Step 46
Apply the gold mixture onto the strips and attach them over the black triangle of your choice.
TIP: You can apply a thin layer of piping gel and spray the Pump-powder directly onto the piece if you prefer. Leave them to dry out before using.
Step 47
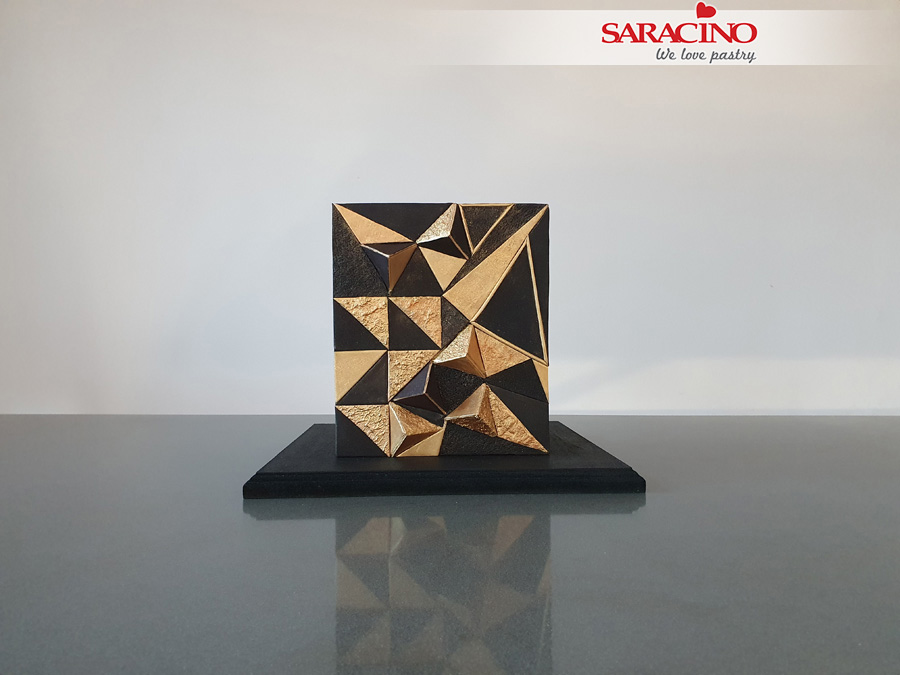
Your finished bottom tier should look similar to this, depends on your chosen design.
Step 48
Use Royal Icing to secure the top tier.
Step 49
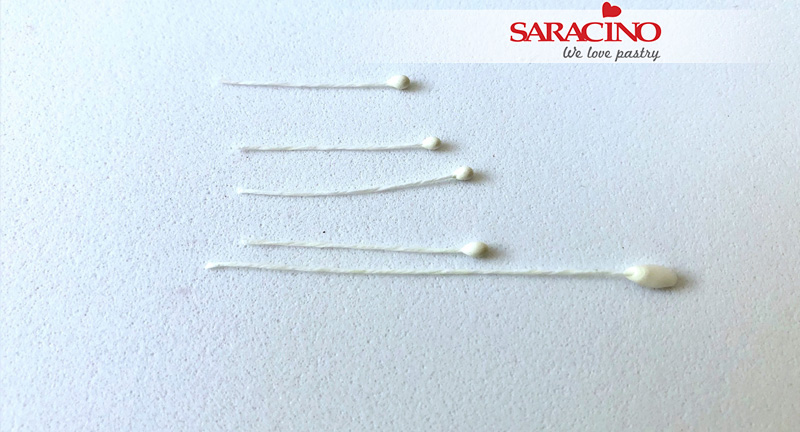
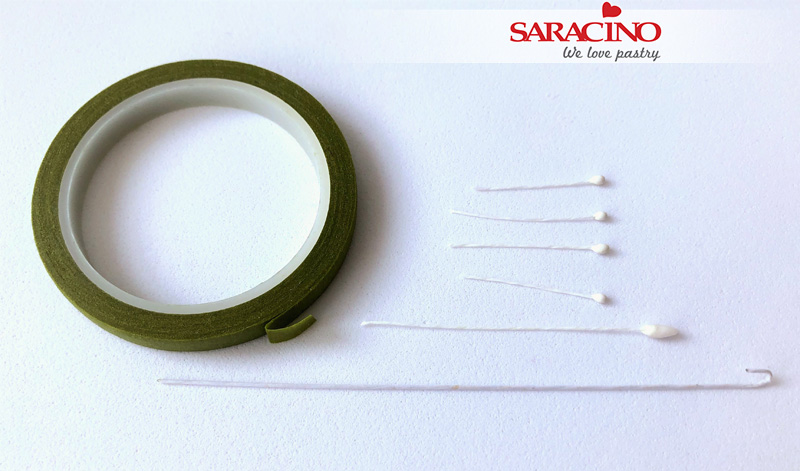
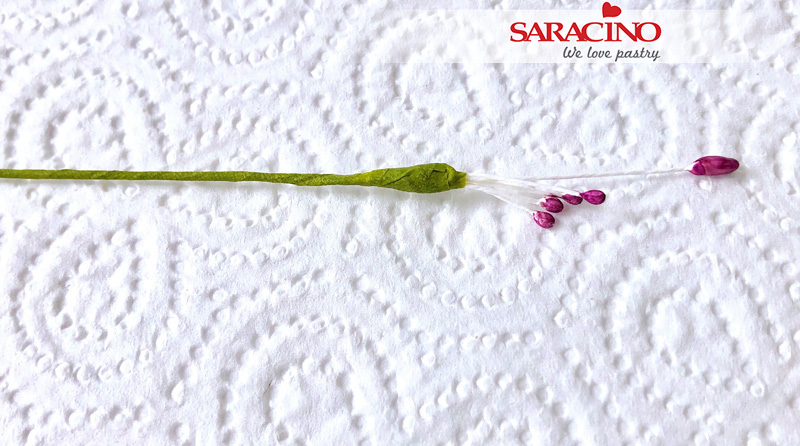
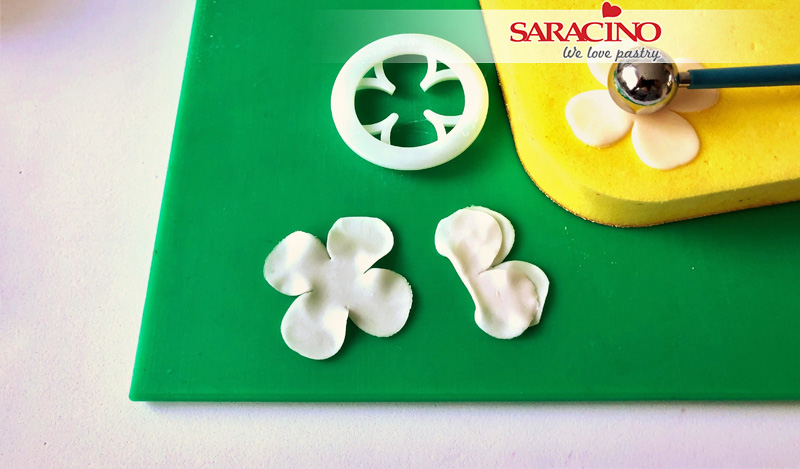
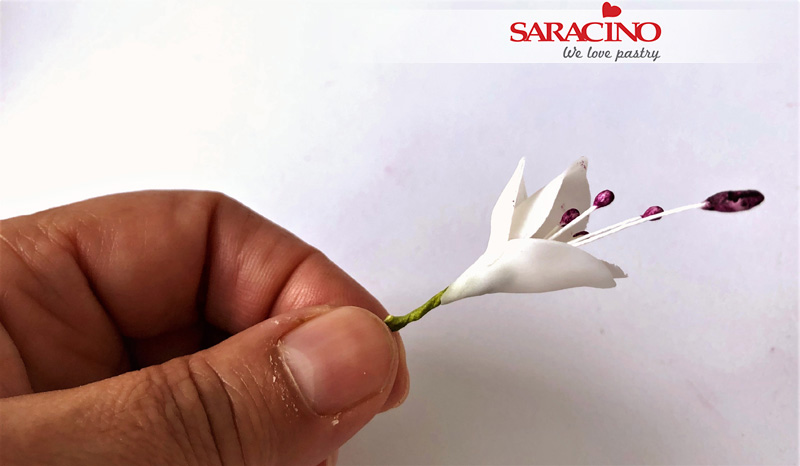
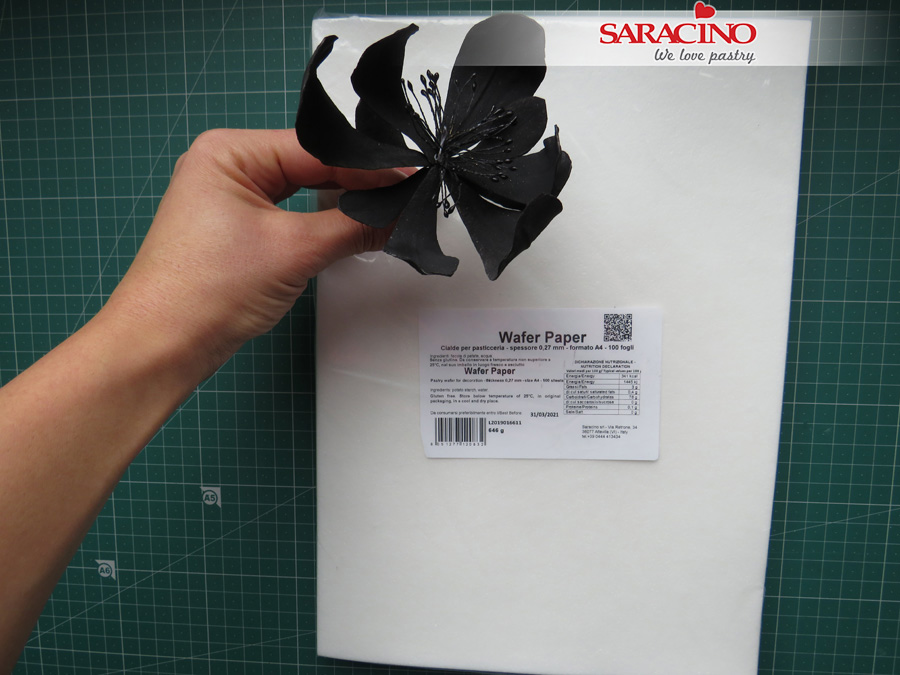
I made some Wafer paper flowers using a Saracino Wafer Paper (0.27 mm thick) and dust/colour them in black. You can use flowers of your choice.
Step 50
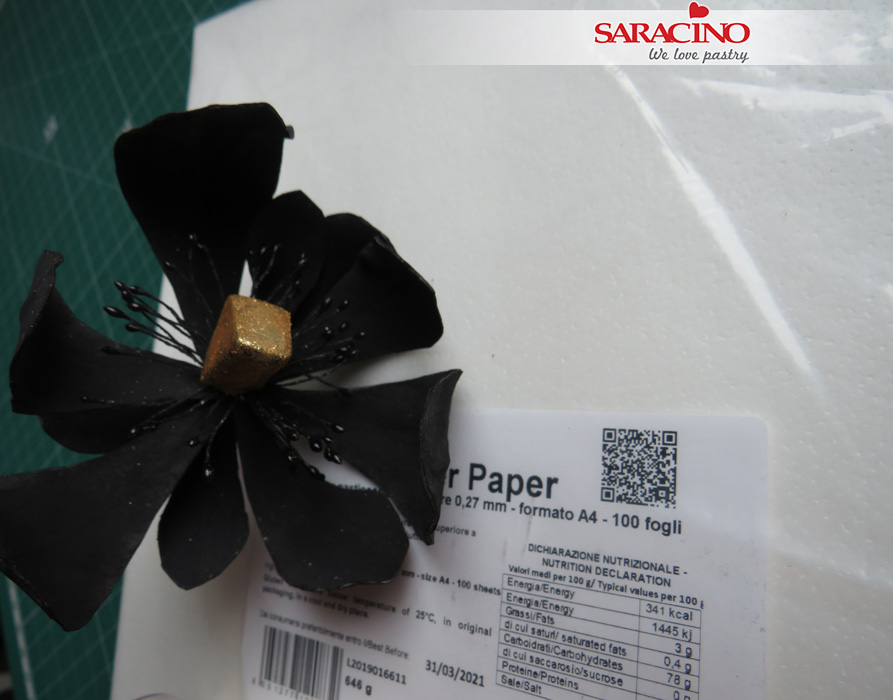
For the centre of the pre-made flowers you can use a small piece of black Saracino Pasta Model to create a triangle shape centre and paint it in gold or use piping gel and pump-powder spray method. I’ve used the second option.

Step 51
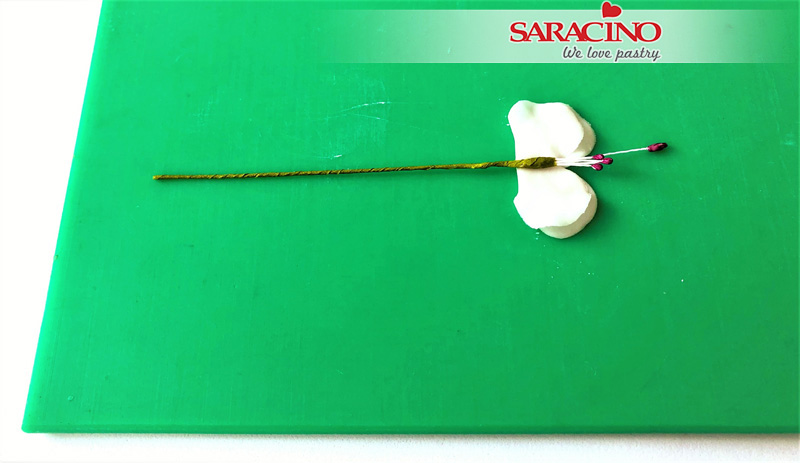
Arrange the flowers on the cake to finish the design.
TIP: Flower wires should never be inserted directly into a cake. Use a posy flower pick.