TAKE ME TO THE SKY 3D SCULPTED CAKE TUTORIAL



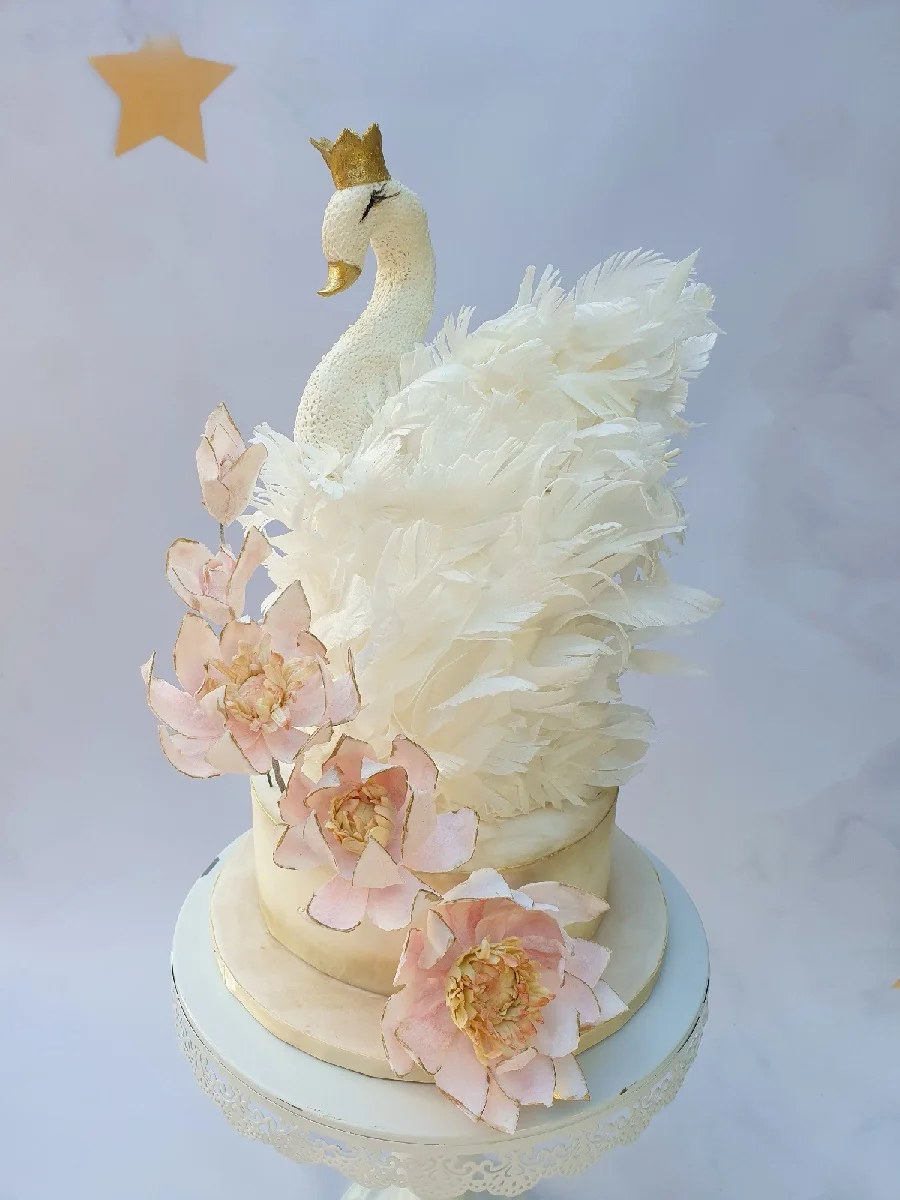
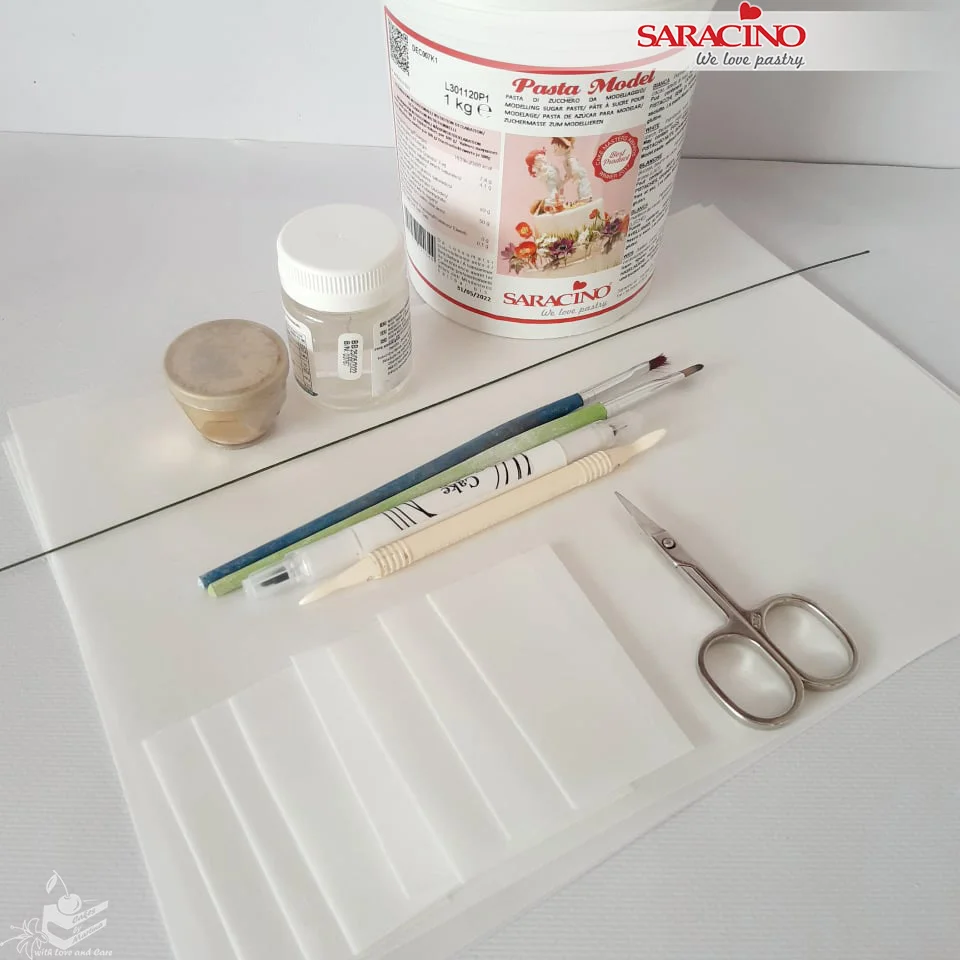
To make the swan you will need: 2 cake tiers, Saracino Pasta Top, Saracino Pasta Model, Saracino Wafer Paper, Florist Wire Nr.20, edible glue, edible marker (black), base, sculpting tool, small scissors, two brushes, clear alcohol, and gold powder colour.
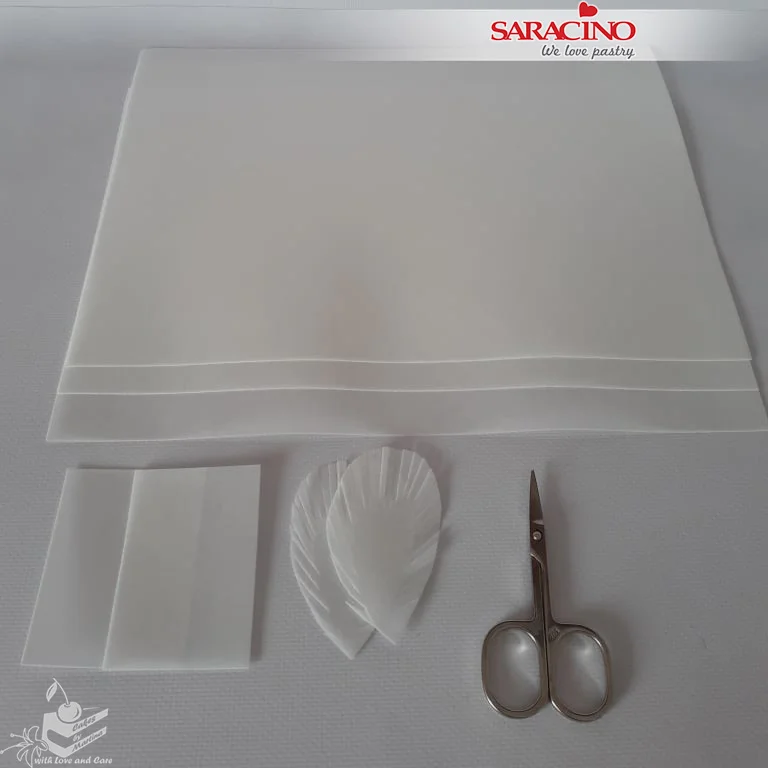
Prepare rectangles of the wafer paper and cut out various sized feathers. Make small cuts along the outer edges. You will need enough to cover the whole cake and the swan.
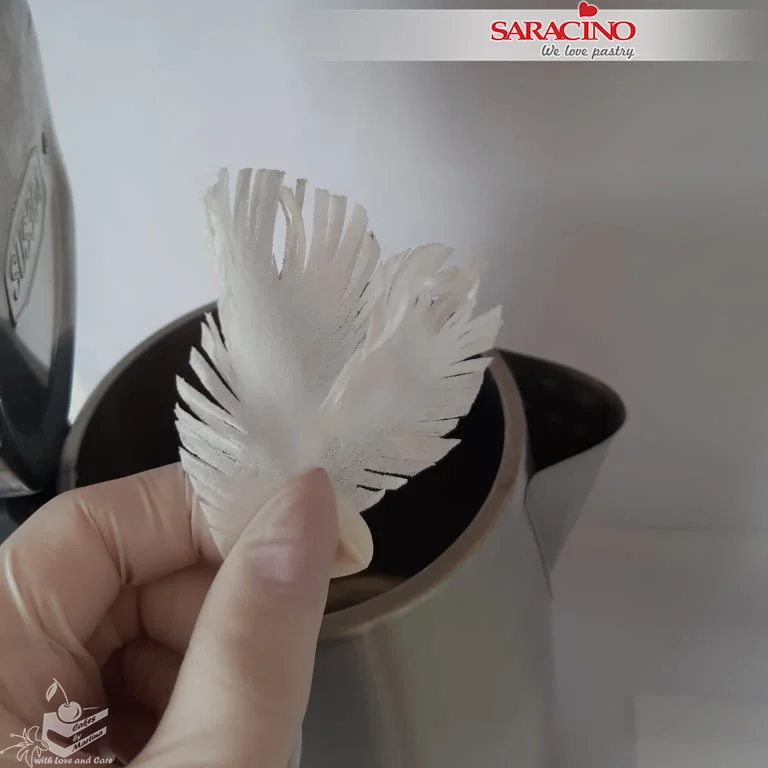
Carefully hold the prepared feathers over steam (e.g. from a kettle) to achieve a ruffled effect.
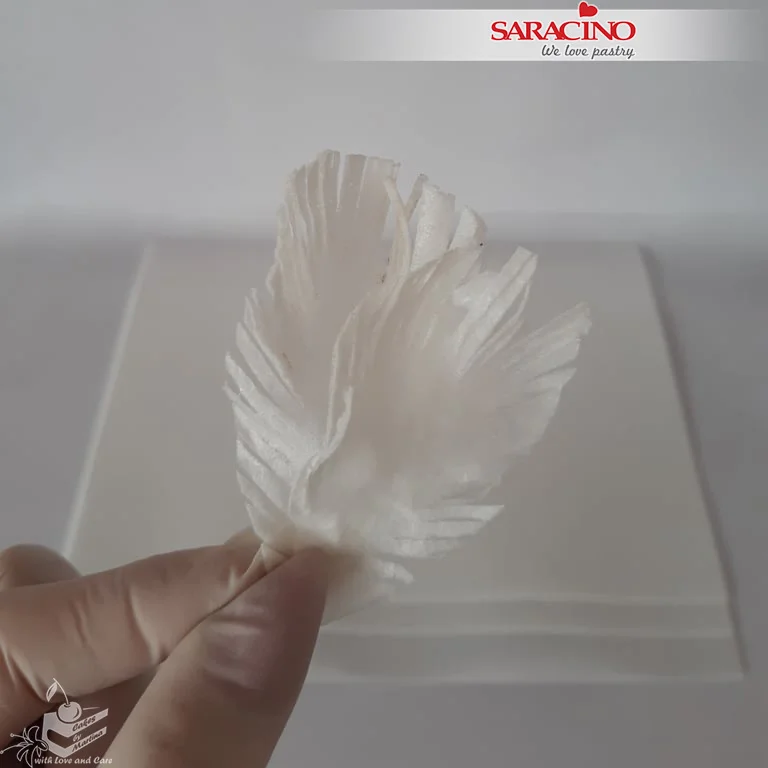
Continue to make feathers until you have enough to cover both wings and a cake tier.
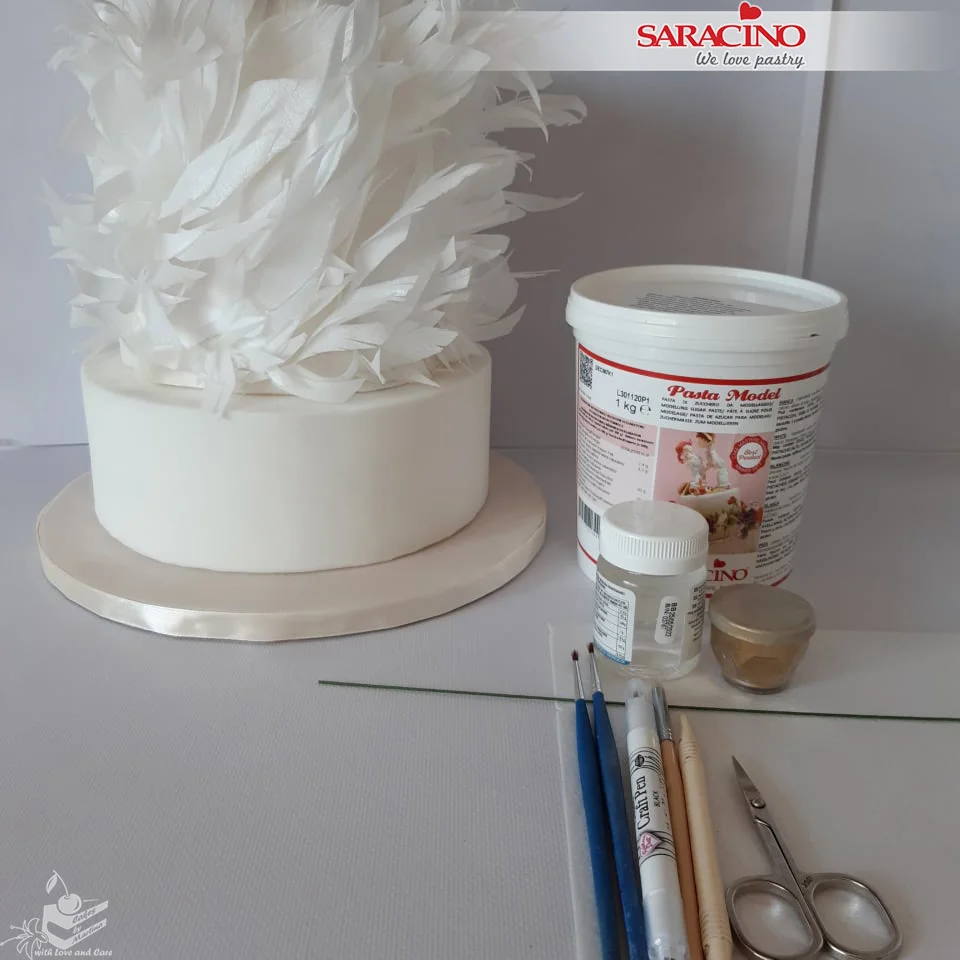
Cover the cakes using Saracino Pasta Top and place on the base. Using edible glue attach the feathers to the top tier of your cake giving it a random ruffled look.
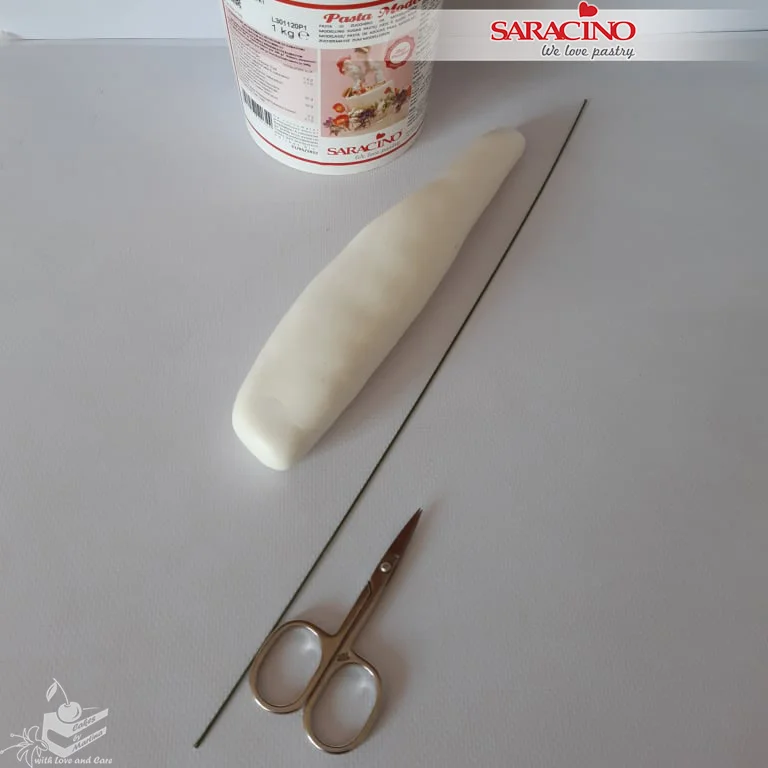
Use Pasta Model to roll the neck of the swan (approximately 23cm in length). Insert a flower wire into the centre of the neck.
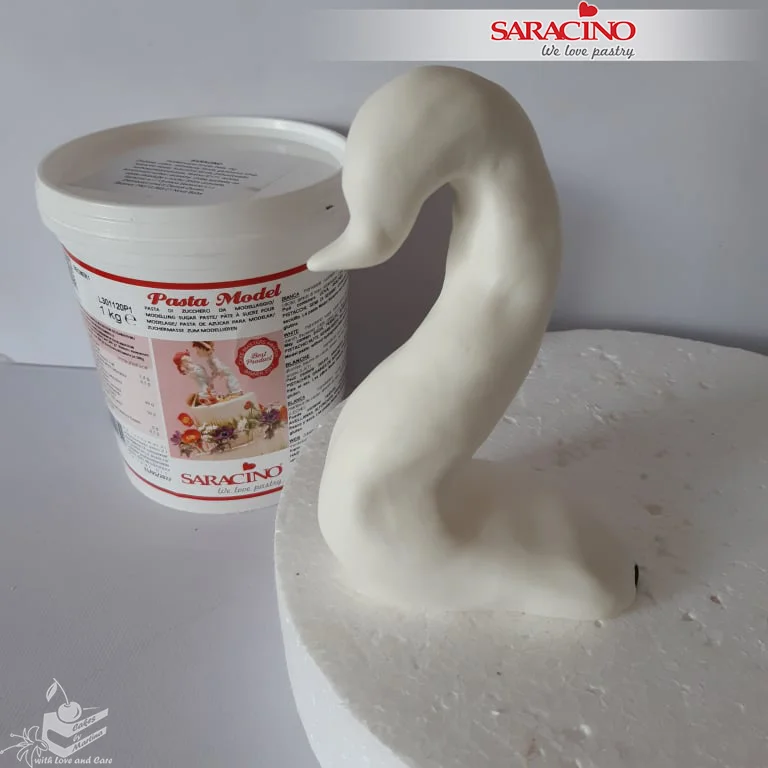
Model the neck and beak to match the shape in the picture. Smooth the surface.
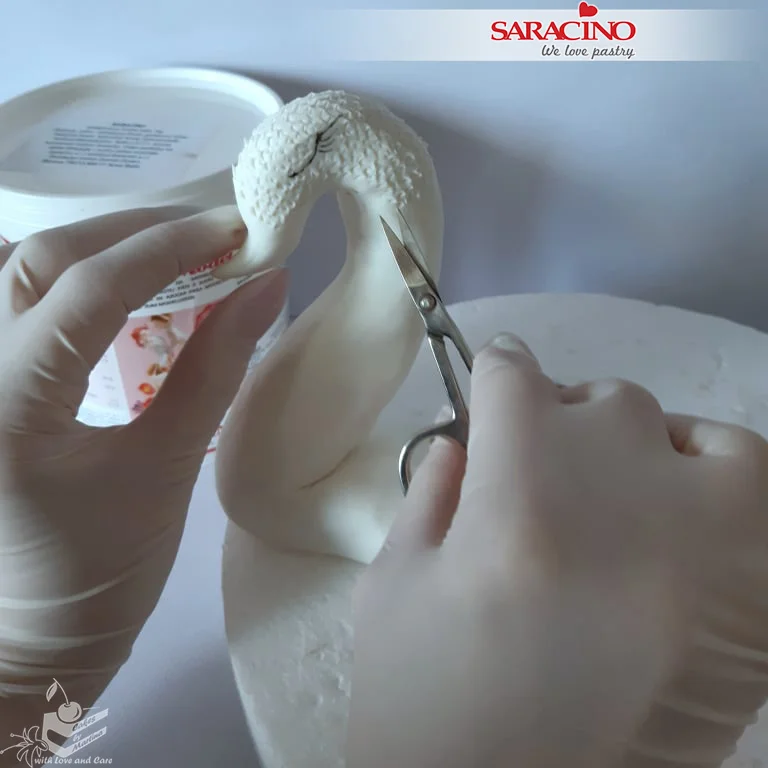
Using the edible marker draw the swan’s eyes. Use sharp scissors to give a feather texture.
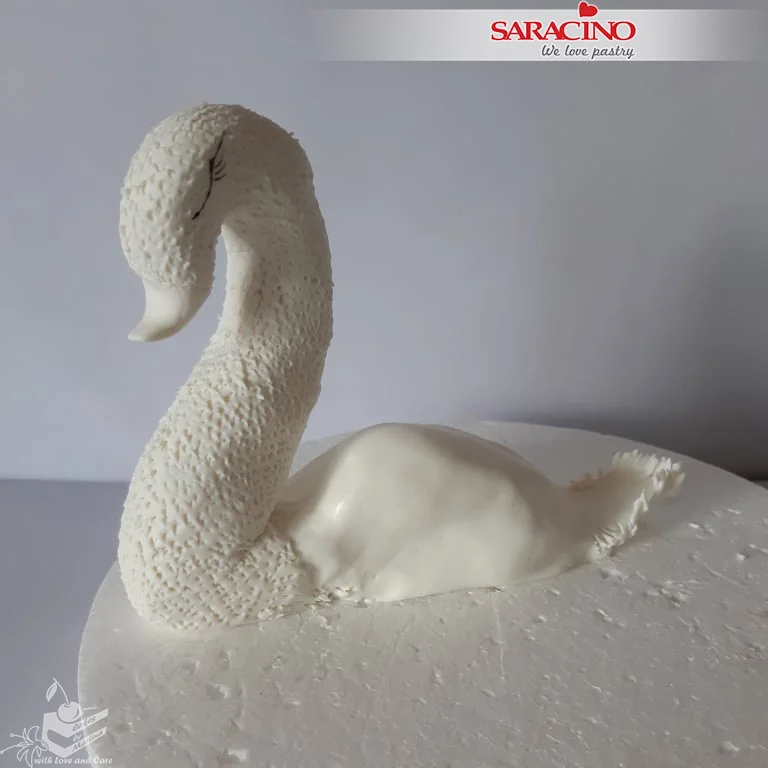
Model the swan’s body using Pasta Model. Use a sculpting or modelling tool to smooth the joints.
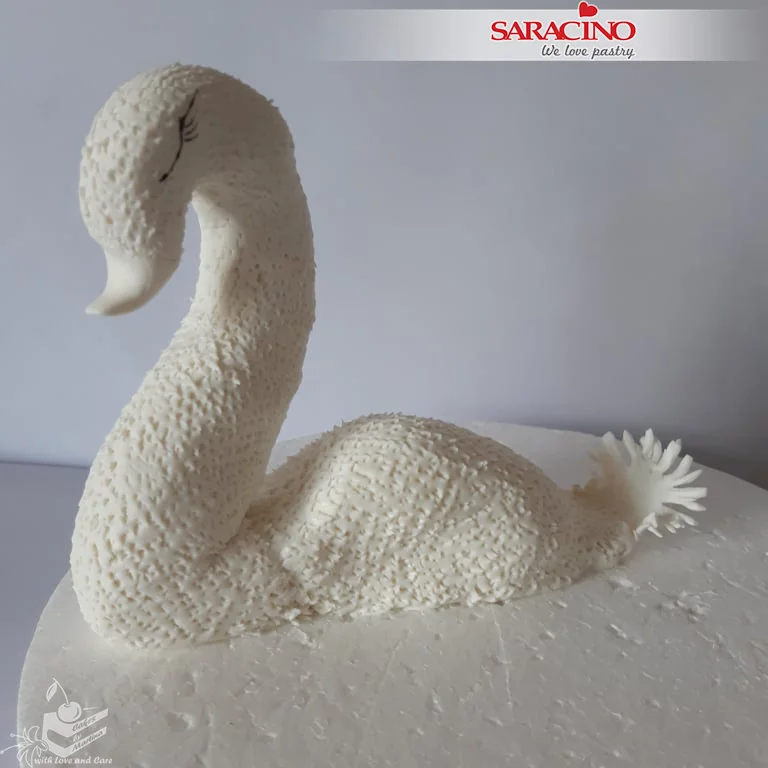
Use the scissors to achieve the feather texture on the body.
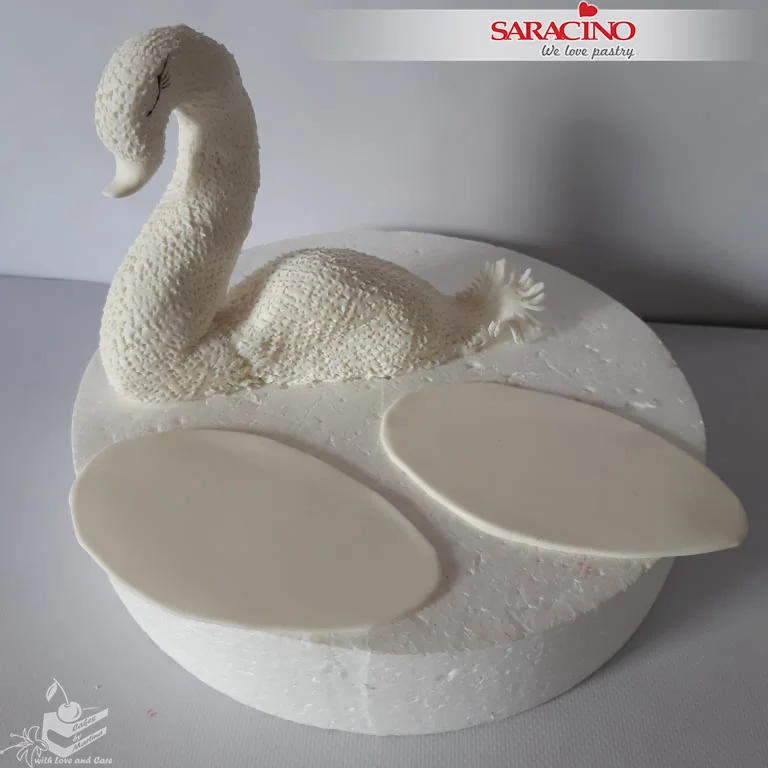
For the wings roll white Pasta Model and cut out two oval shapes.
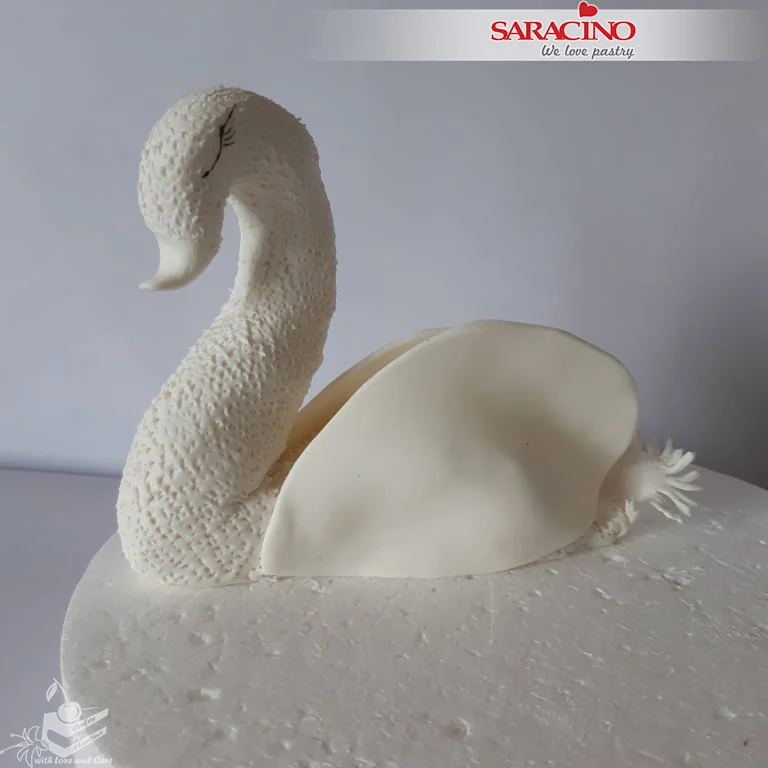
Use a little edible glue to attach the wings either side of the body.
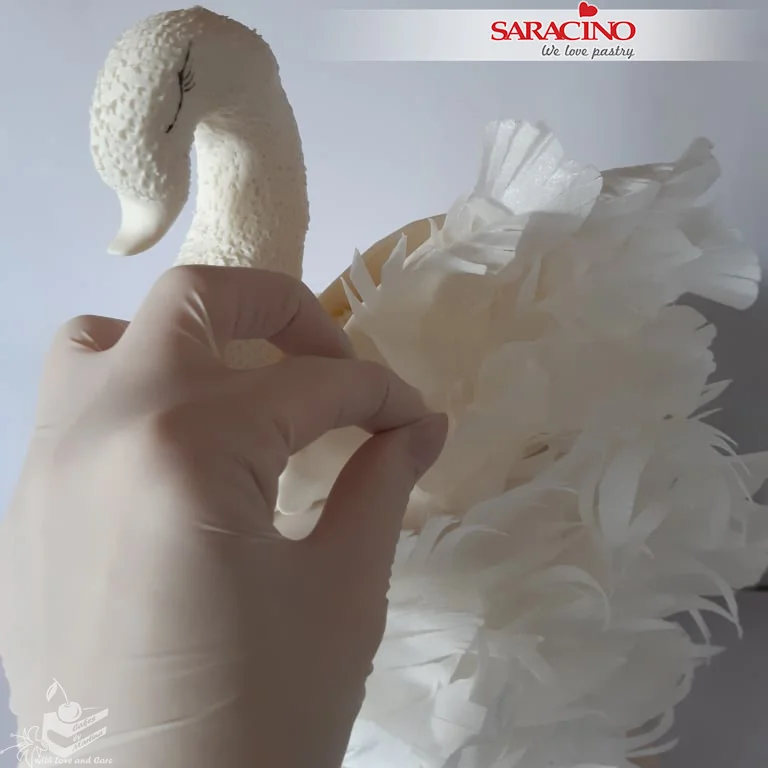
Attach the wafer paper feathers to both wings using a little edible glue.
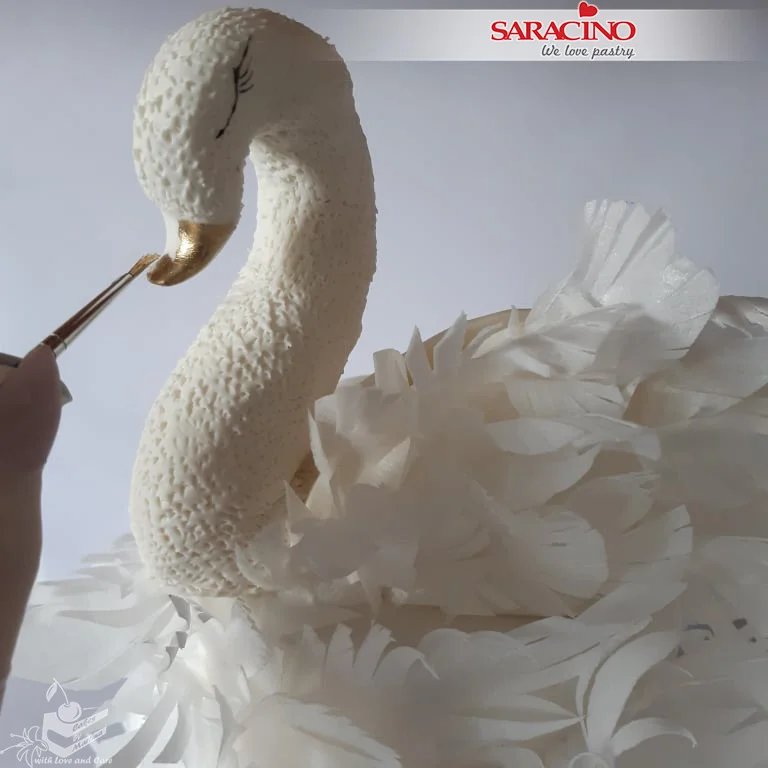
Mix gold powder colour with the clear alcohol and paint the swans beak.
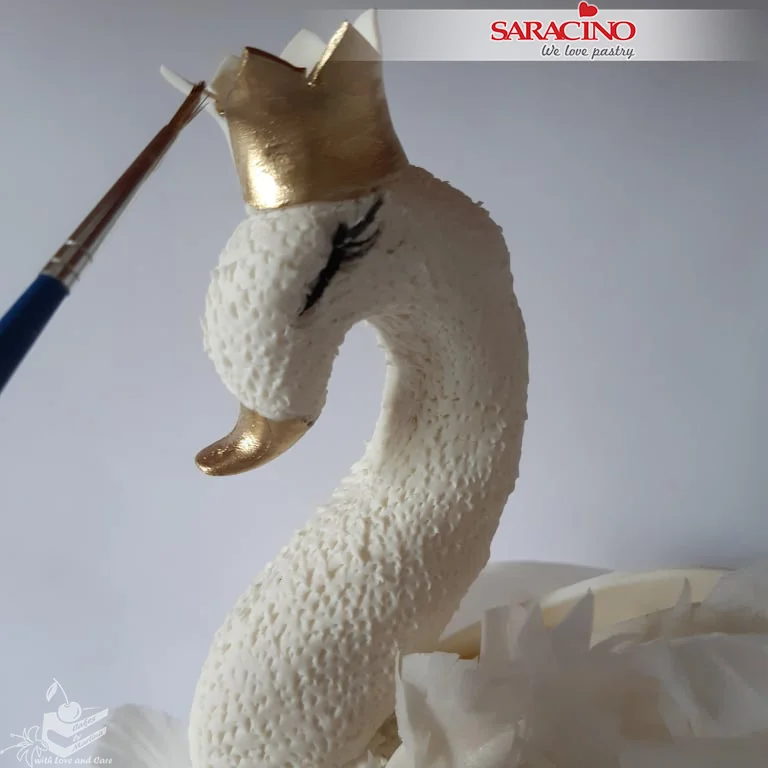
Model a small crown using Pasta Model and fix to the swans head. Paint gold.
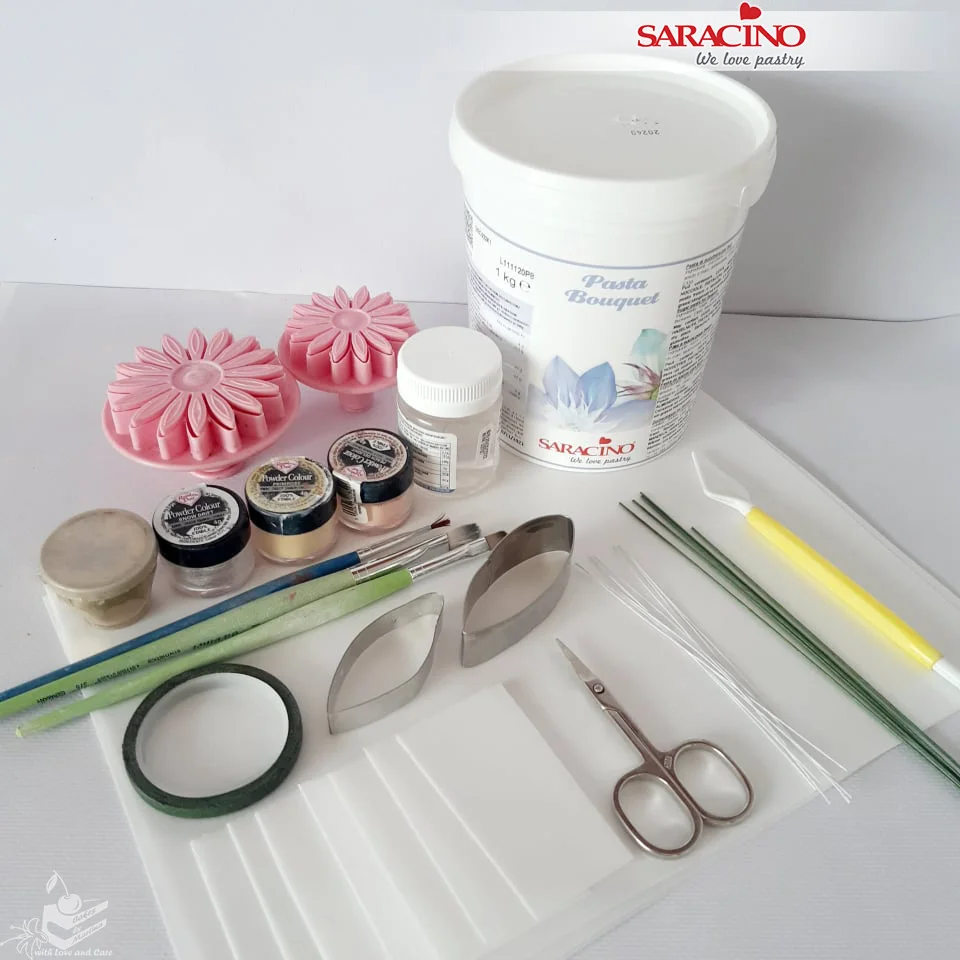
To make the flowers you will need: Saracino Pasta Bouquet, Saracino Wafer Paper, two daisy cutters of different sizes, petal-shaped cutter, edible glue, florist wire Nr.20 and Nr.28, small scissors, brushes, green florist tape, sculpting tool, powder colours (gold, white and 2 shades of apricot).
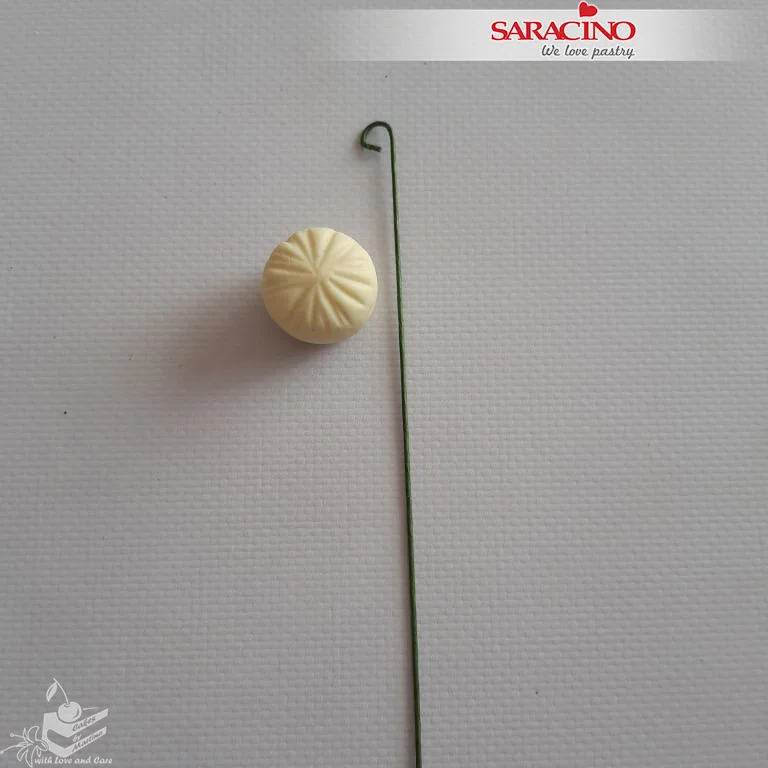
Mix a little Pasta Bouquet with yellow powder colour. Roll a small ball and use a modelling tool to form shallow grooves. Loop the end of a florist wire Nr.20, heat and insert into the ball.
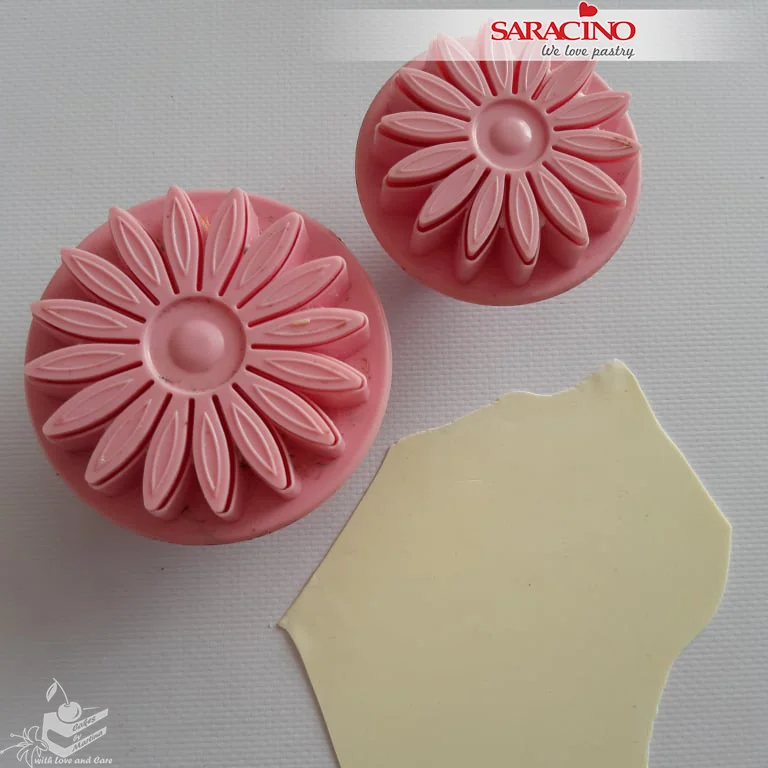
Roll out the yellow Pasta Bouquet and cut out 1 small and 2 large daisies.
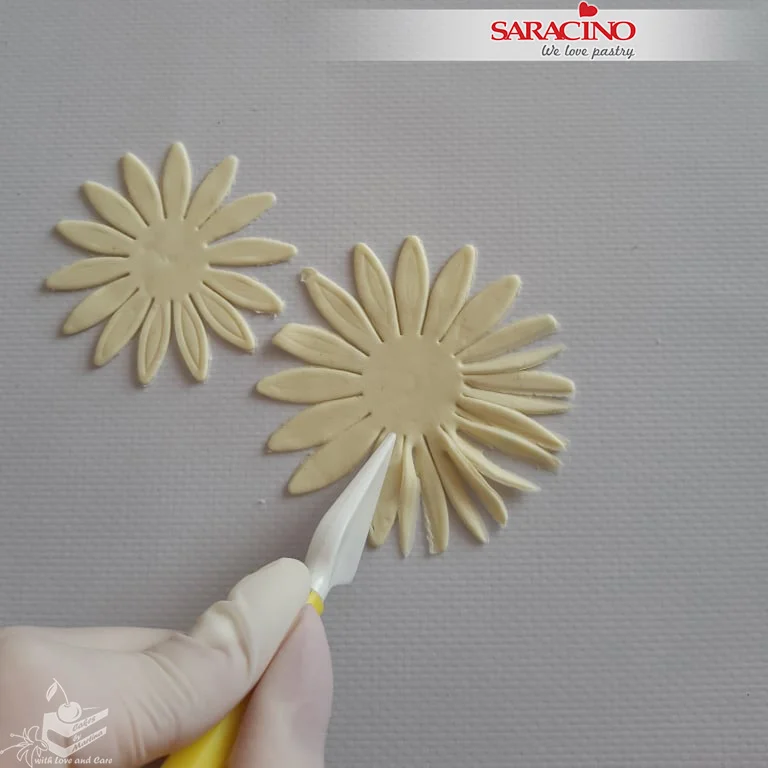
Use a knife or modelling tool to cut each of the daisy petals in half.
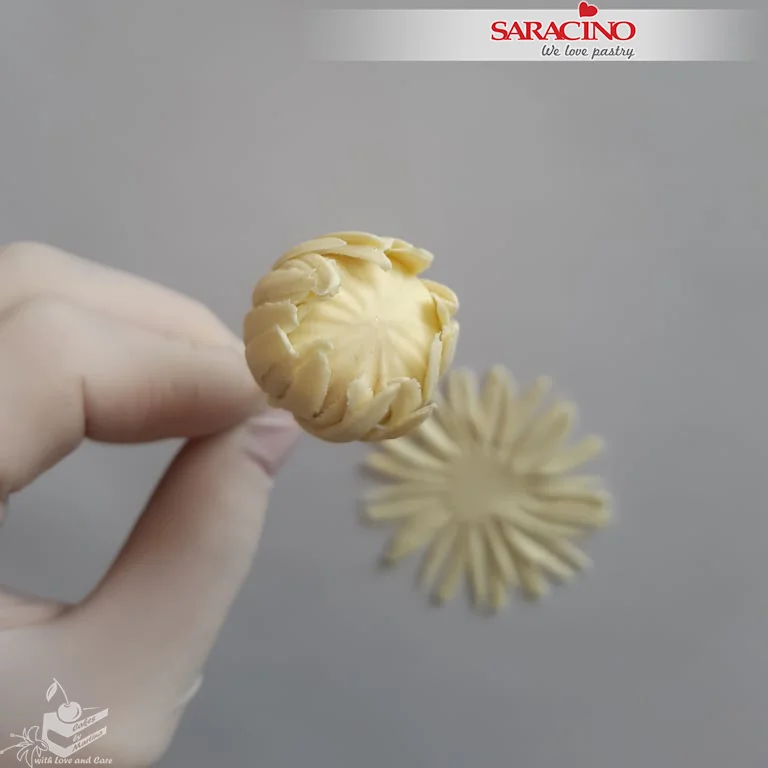
Use a little glue to attach the small daisy to the bottom of the centre ball.
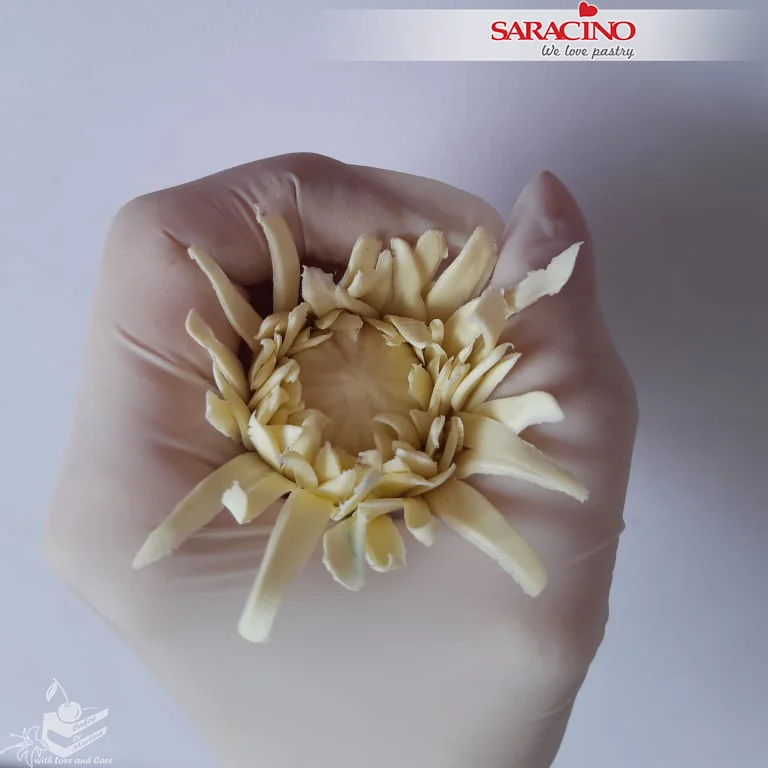
Repeat to fix the two larger daisies. Adjust the center of the flower to achieve a natural ruffled look.
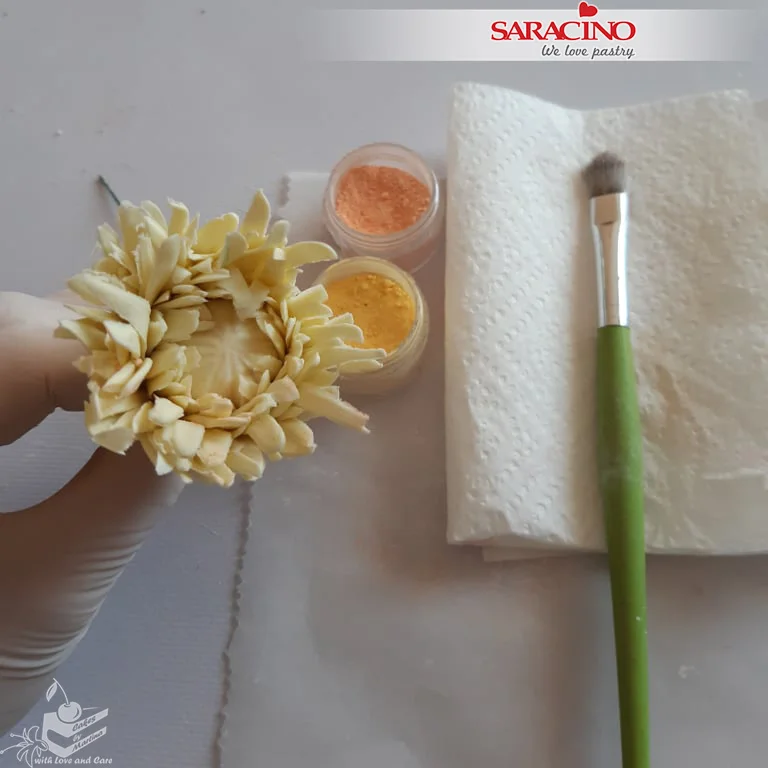
Using a soft brush and the apricot powder colour lightly dust the centre of the flower.
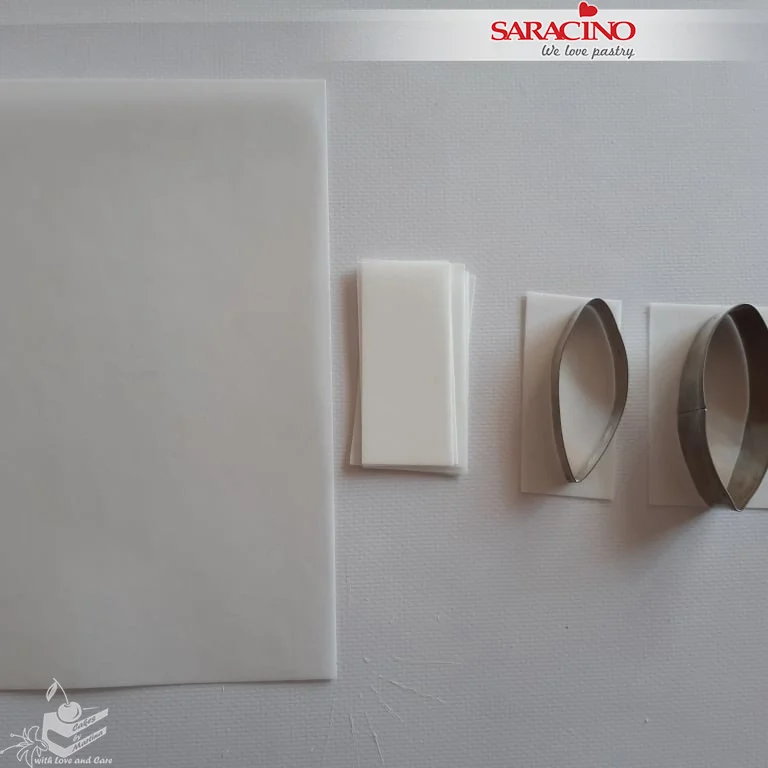
Cut the wafer paper into rectangles. Using half of them cut petals using the petal cutters. You will need approximately 5 small and 7 large, depending on how large you would like your flower.
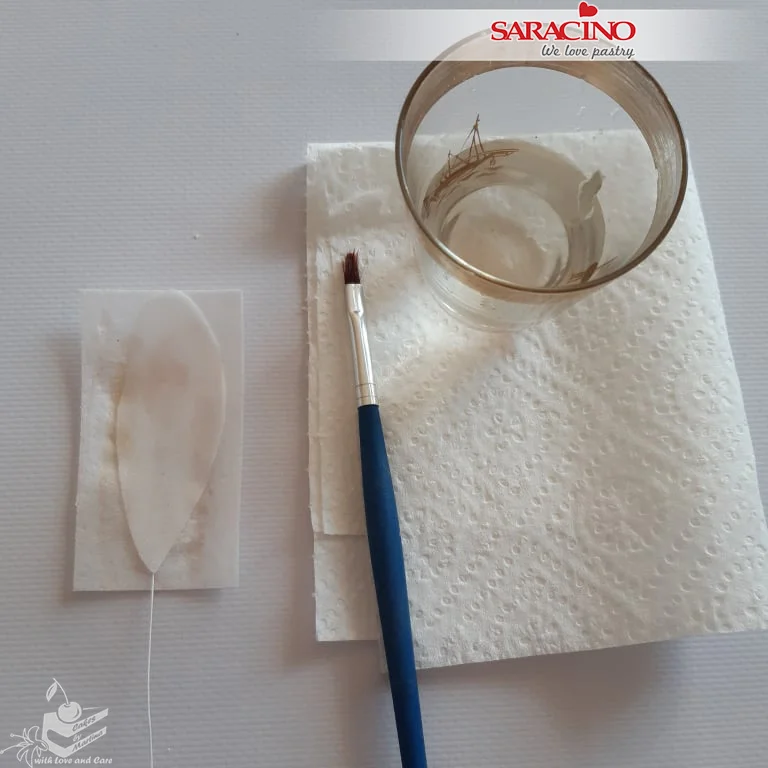
Use a brush to apply a little water to the rough side of the rectangle. Place a Nr.28 wire and cover it with a petal with the rough side facing down. Press together.
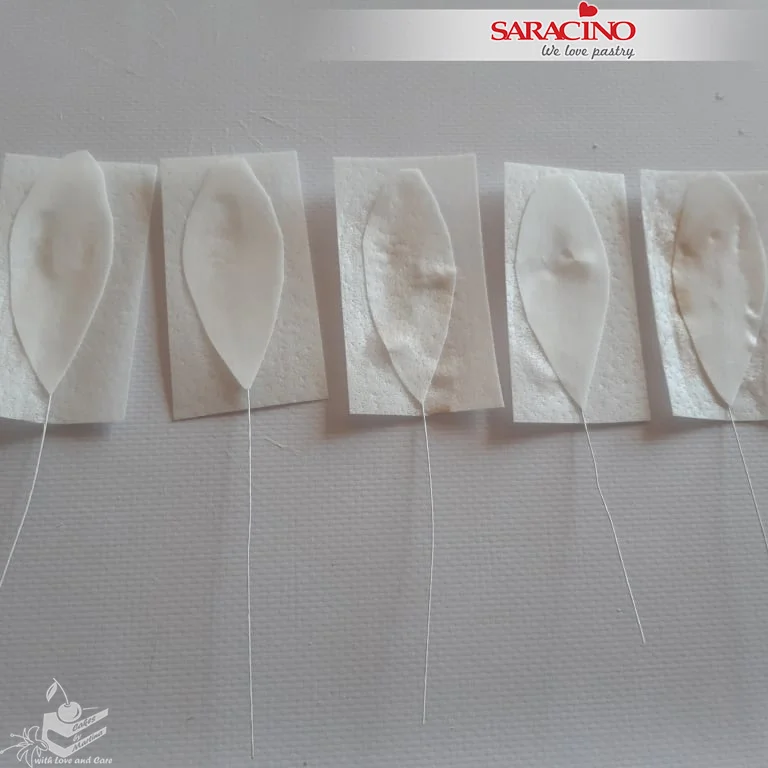
Prepare approximately 5 smaller petals this way then cut the rectangles to match the shape of the petals.
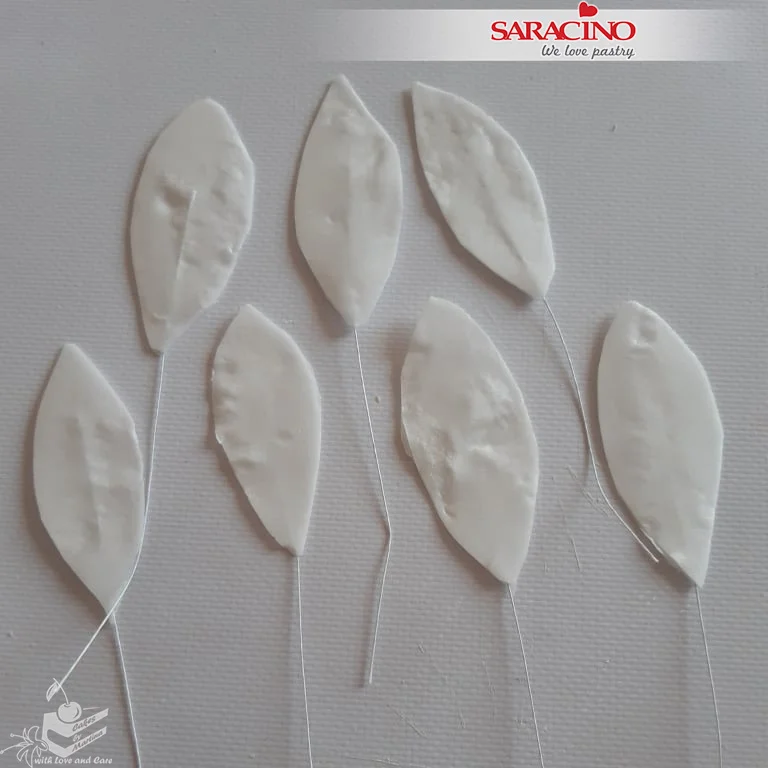
Repeat to make seven larger petals.
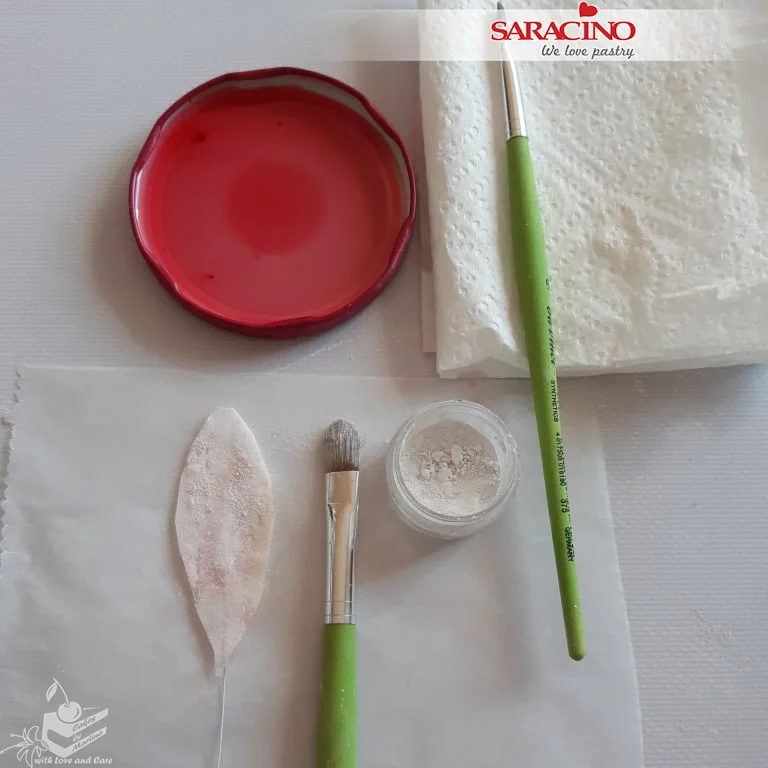
Mix a little apricot and white powder colour with clear alcohol. Gently paint each petal.
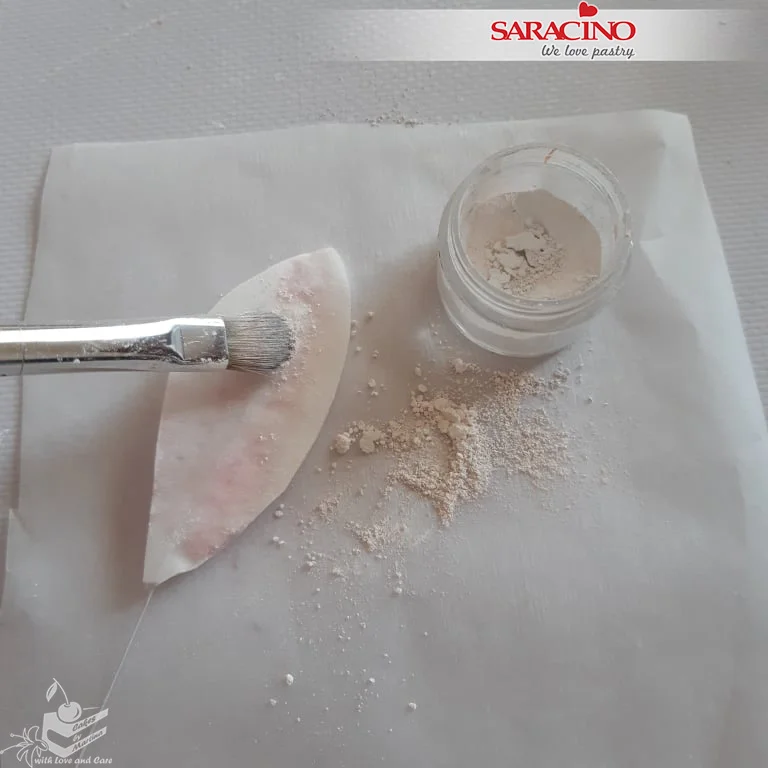
Use a soft brush and white powder colour to dust each petal.
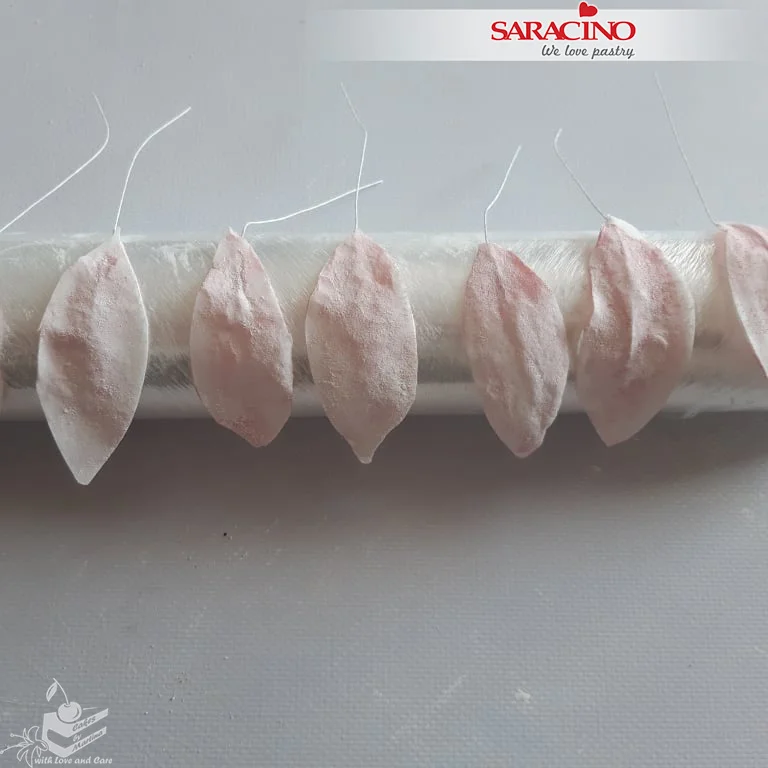
Allow the petals to dry. Ideally on a rolling pin or other cylindrical object so they dry in a curved shape.
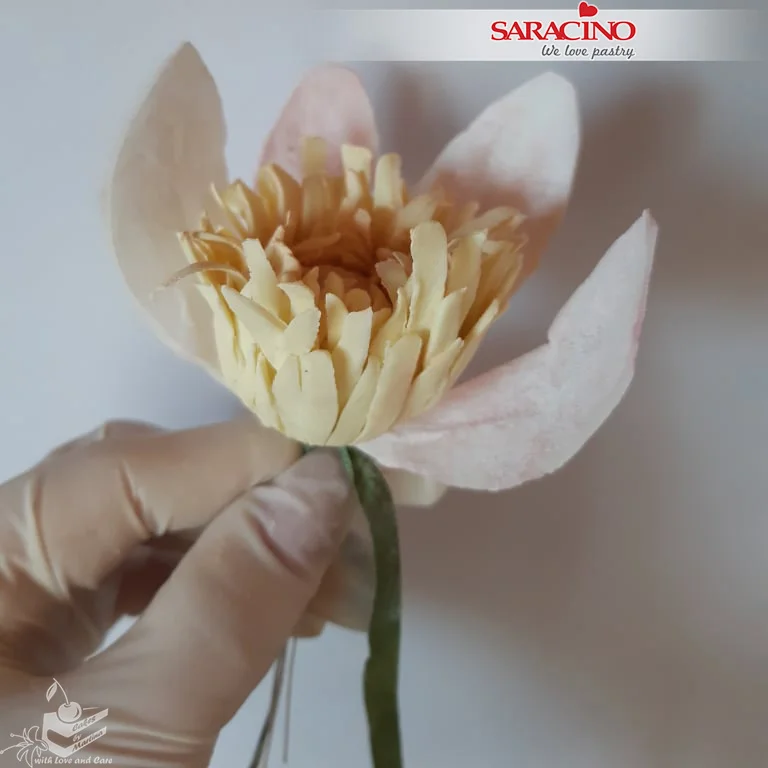
Using the smaller petals attach one by one using green florist tape.
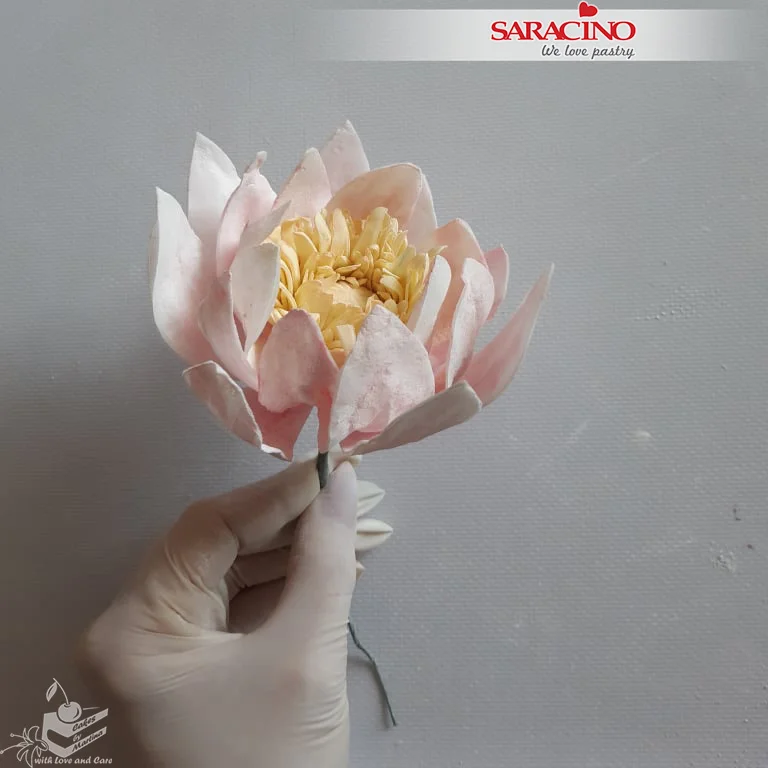
Keep adding the petals to finish a flower. Repeat for as many flowers you need. Prepare some smaller flowers and buds using smaller and less petals on each.
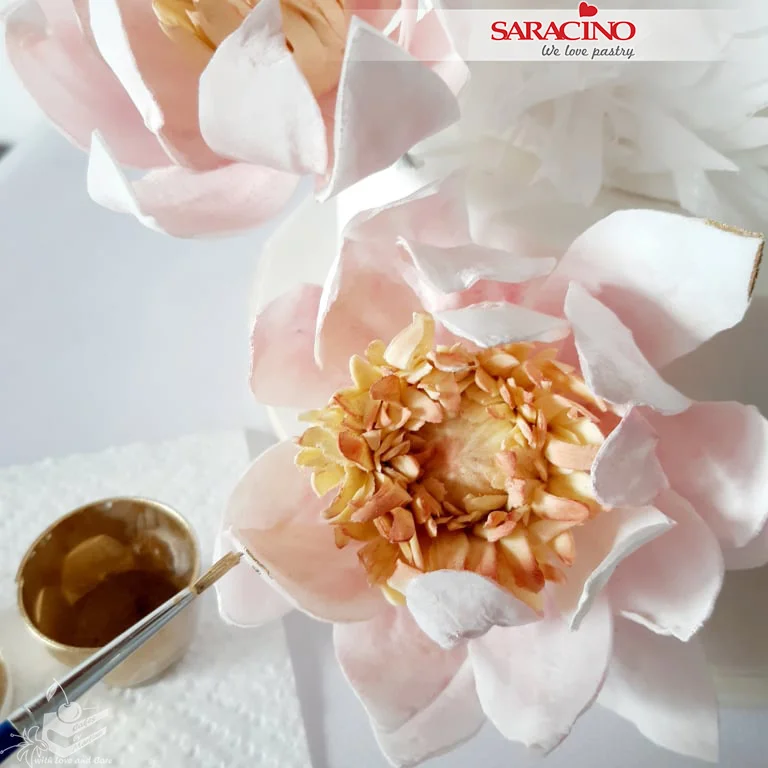
Using the gold paint carefully paint the edges of the petals.
Fix the flowers to the cake. Use posy picks if required.
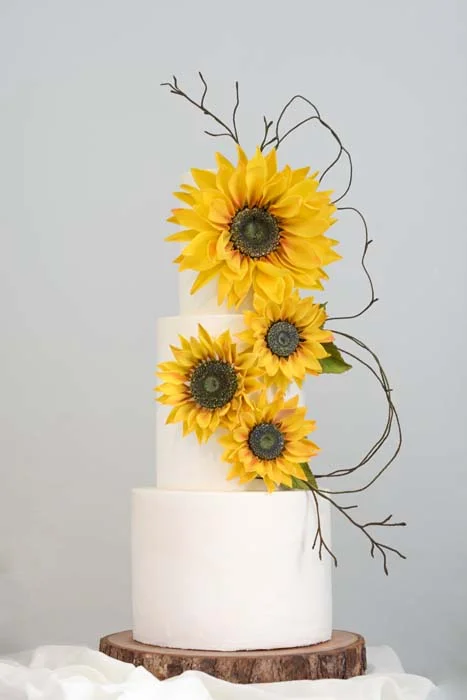
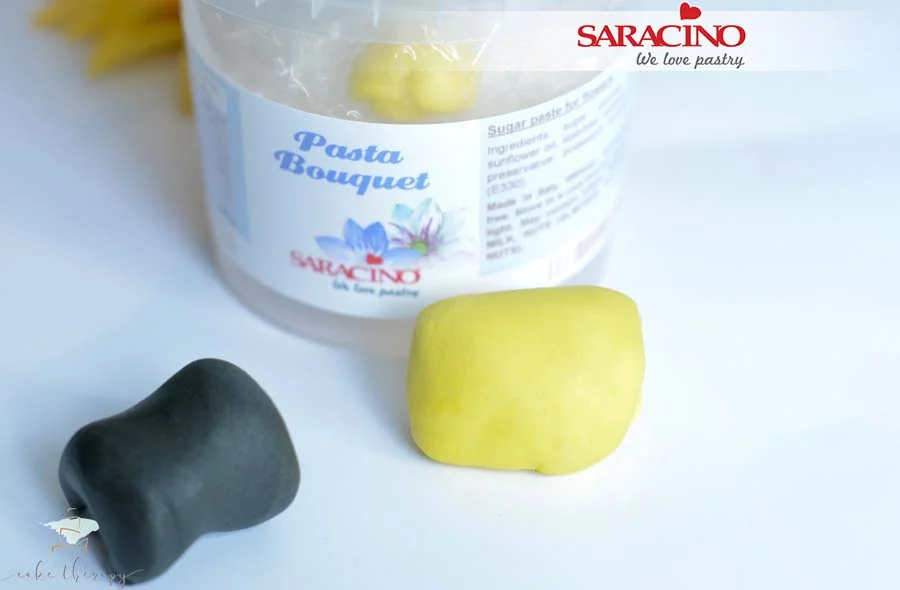
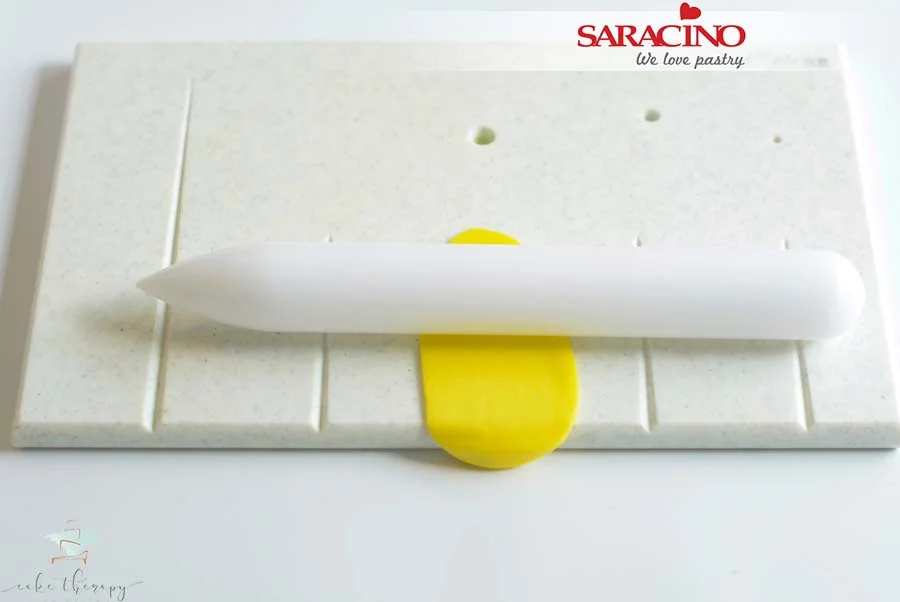
Take a small amount of the yellow Pasta Bouquet and roll it over a groove on your board until the paste is thin.
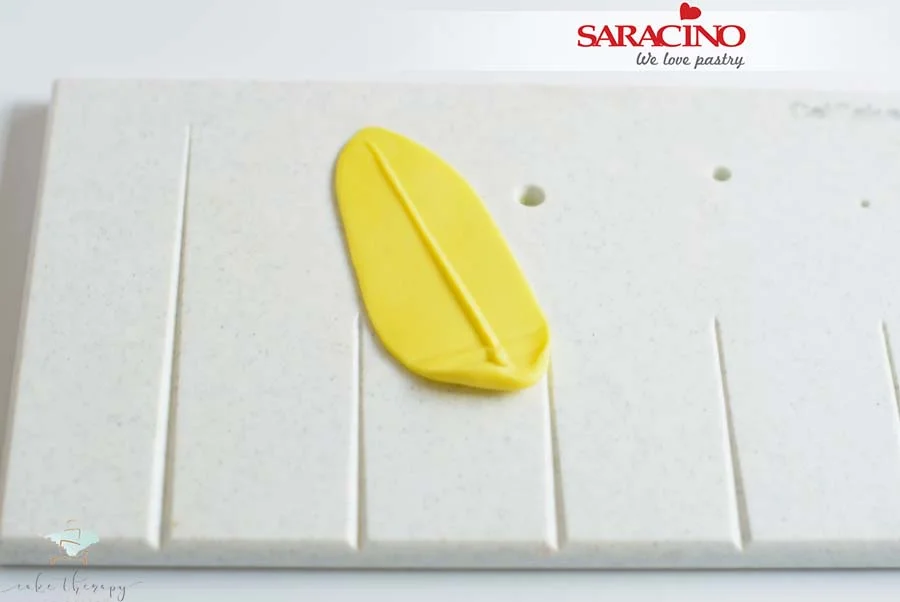
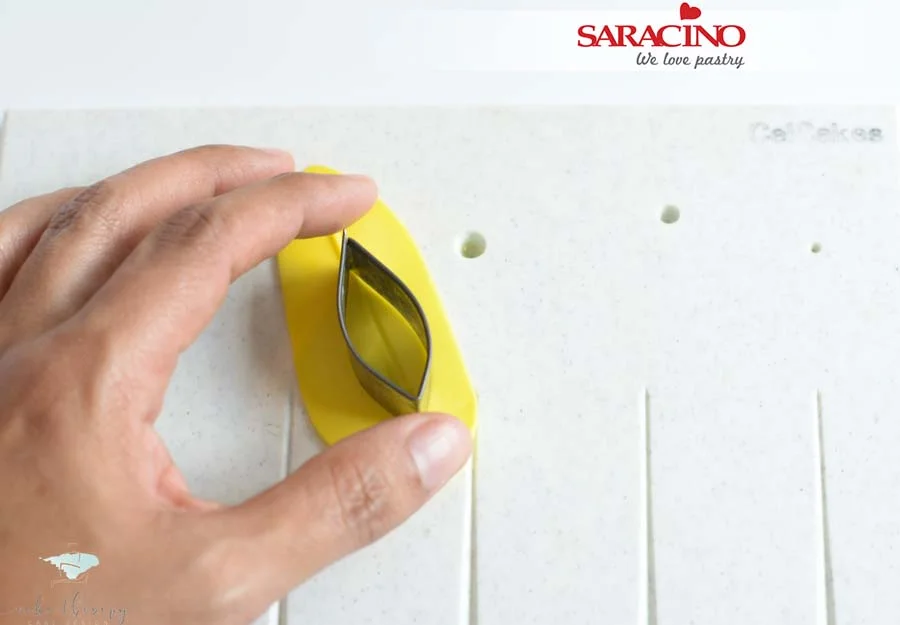
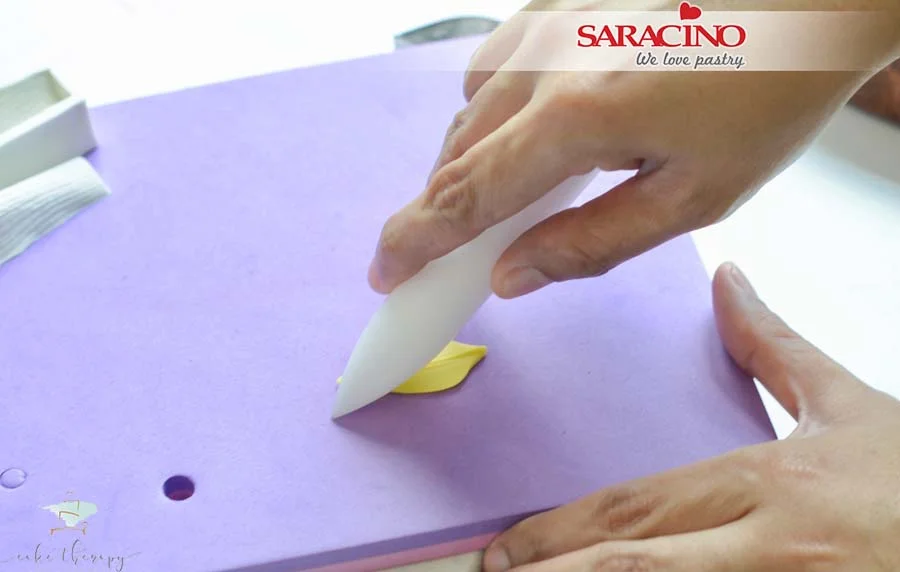
Place the petal on a foam mat and using the end of a rolling pin or ball tool gently press around the outside of the petal to thin the edge.
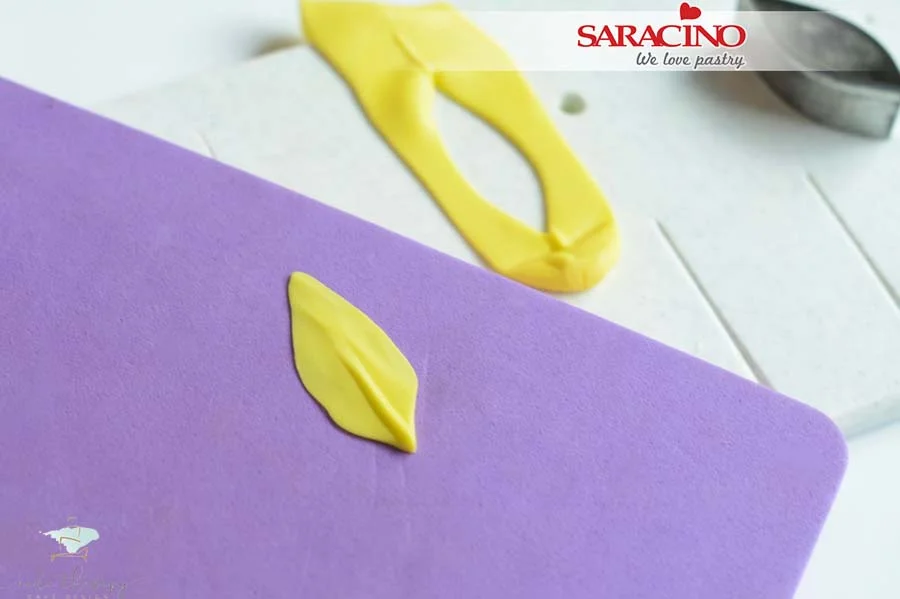
Do not thin around the bottom of the petal. If you press too firmly at the bottom you will lose the paste needed for wiring.
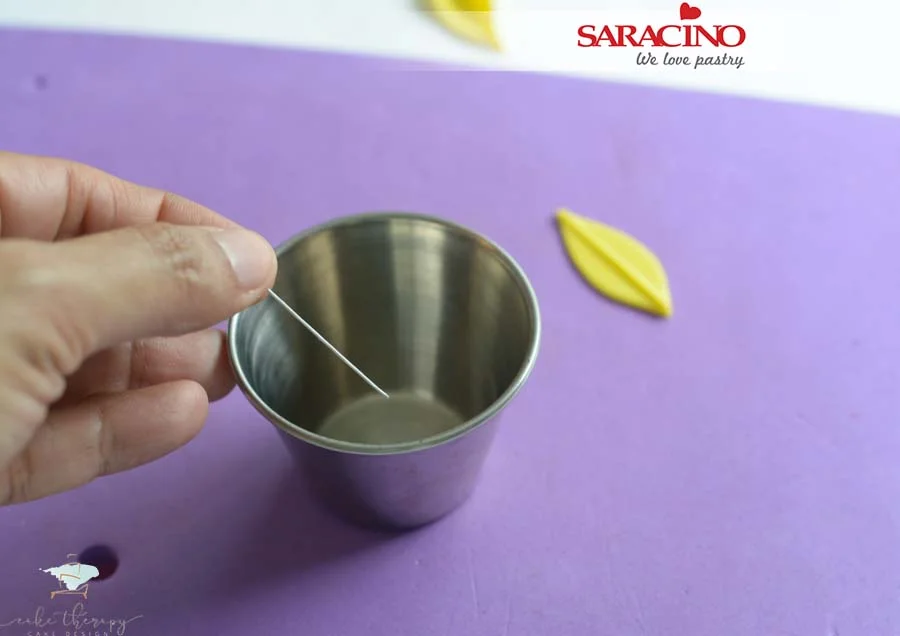
Use a small wire cutter to cut the 26 gauge wire into shorter lengths. Two inches (5cm) should be long enough. Moisten the tip of the wire with edible glue or a small amount of water. This will provide a secure attachment once dried.
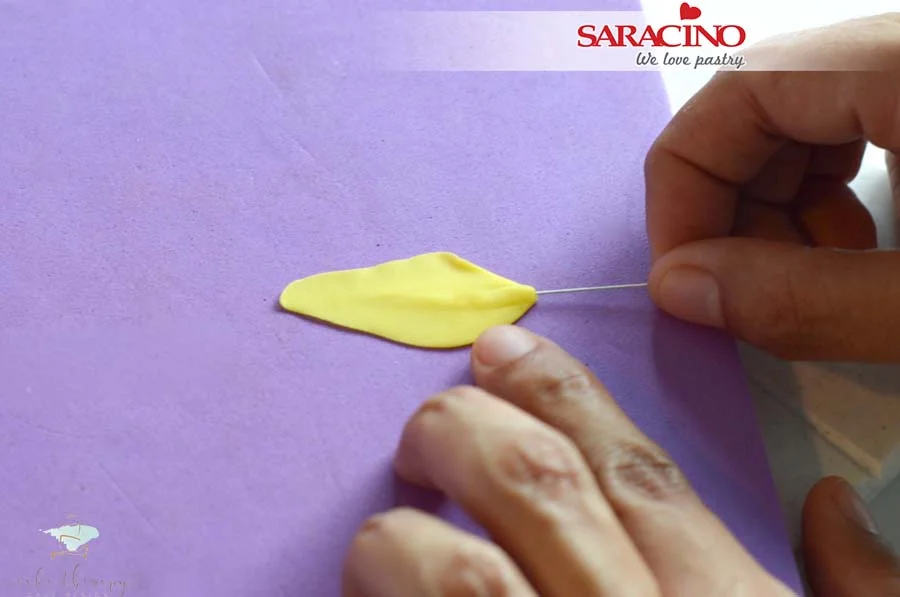
Gently insert the wire into the grooved, thicker area of the petal. Twist when inserting to make it easier.
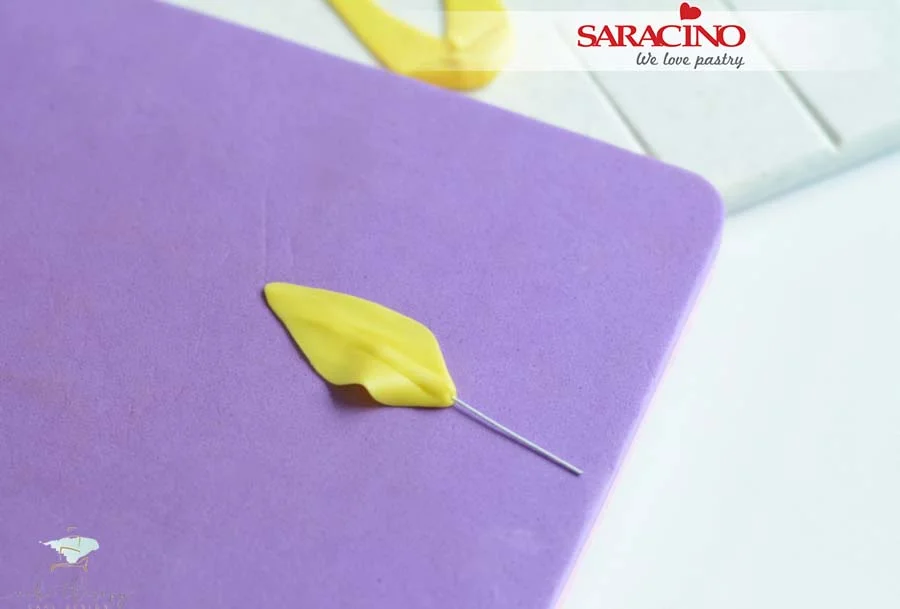
Make sure the wire is not visible through the petal.
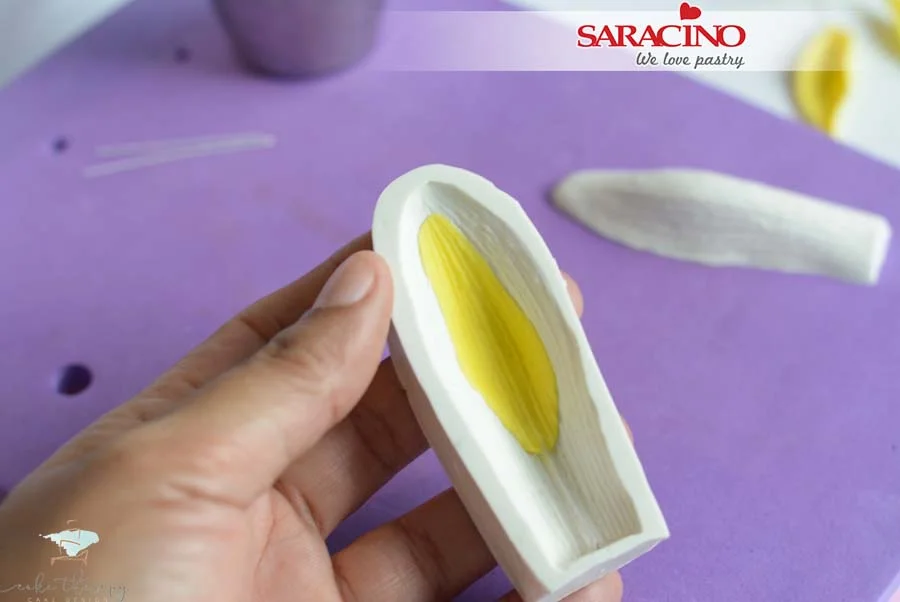
Place the wired petal into the petal veiner.
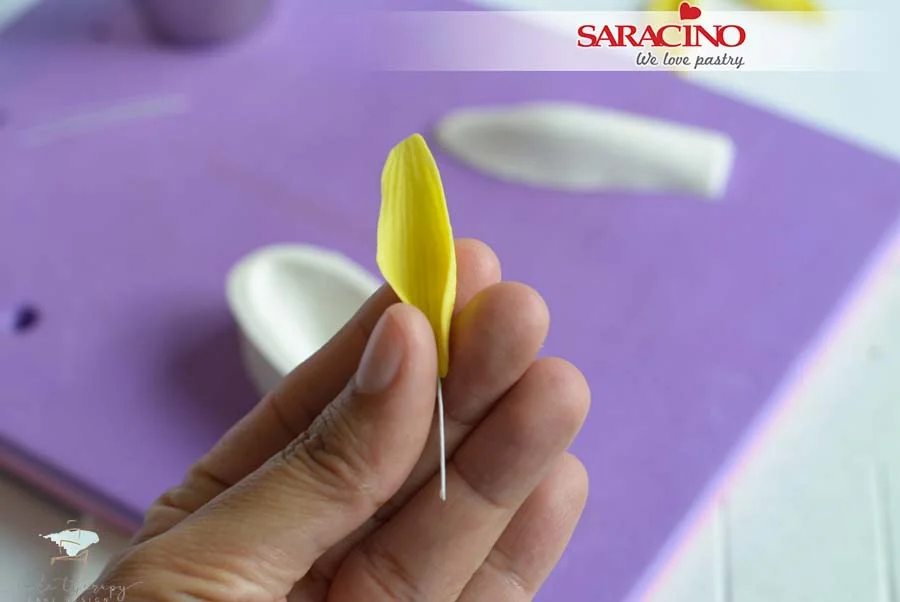
Carefully remove the petal and slightly press at the base.
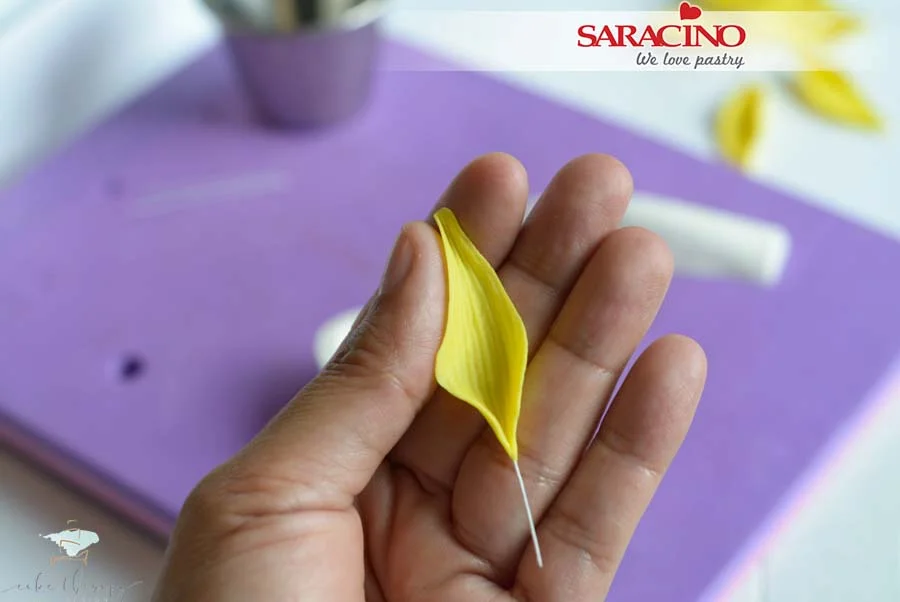
Bend the tip of the petal as well.
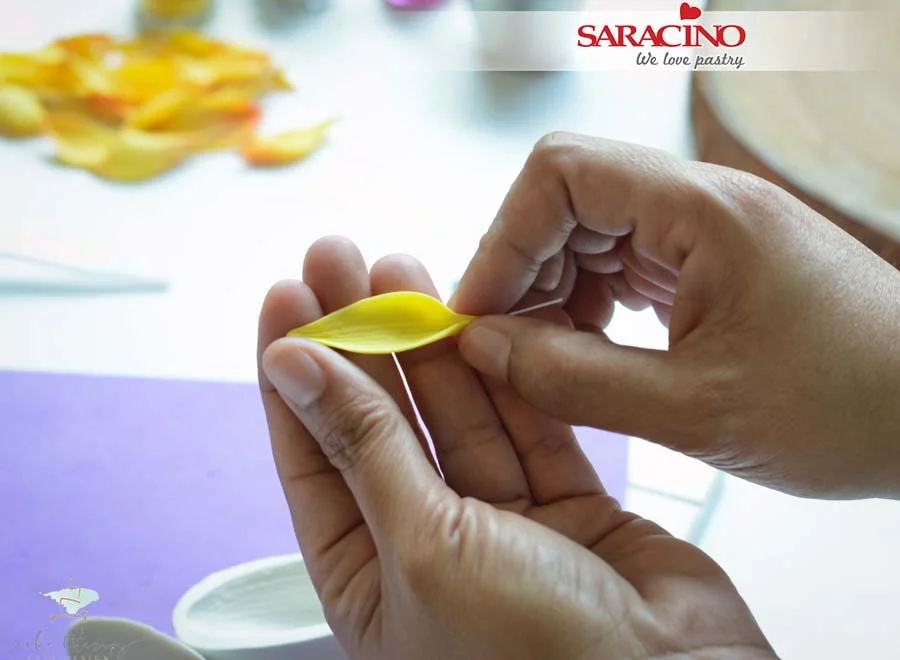
Use your fingers to delicately give form and movement to the petal.
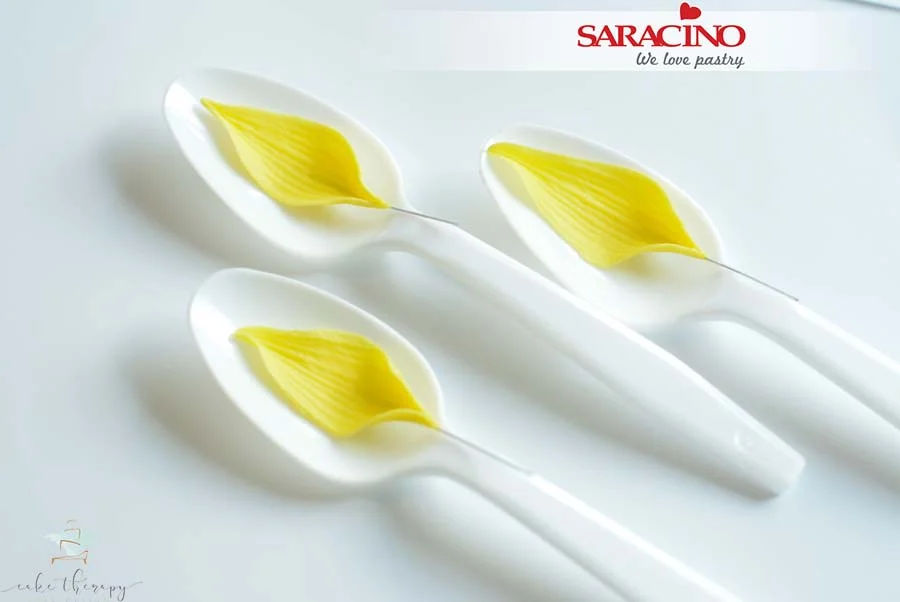
You can use spoons to aid with petal forming and allow to dry until the next day or at least a couple of hours.
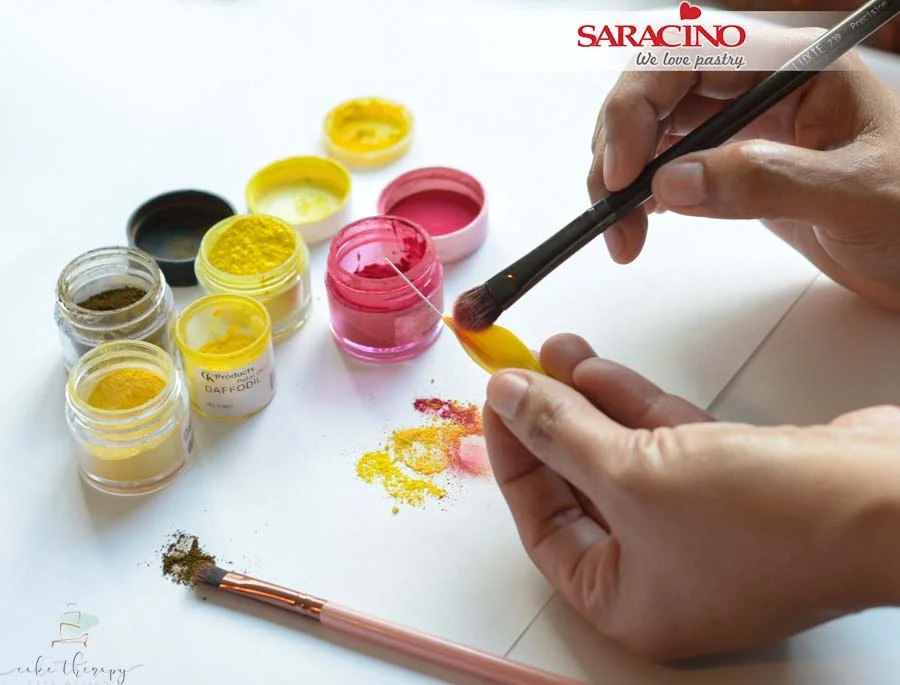
Once the petals are dry they are ready for dusting. Use a combination of yellow and red powder colour and mix to create the desired shade of orange. Starting applying the orange tone at the base of the petal and use lighter colours towards the tip of the petal to give a nice blend and transition of colour.
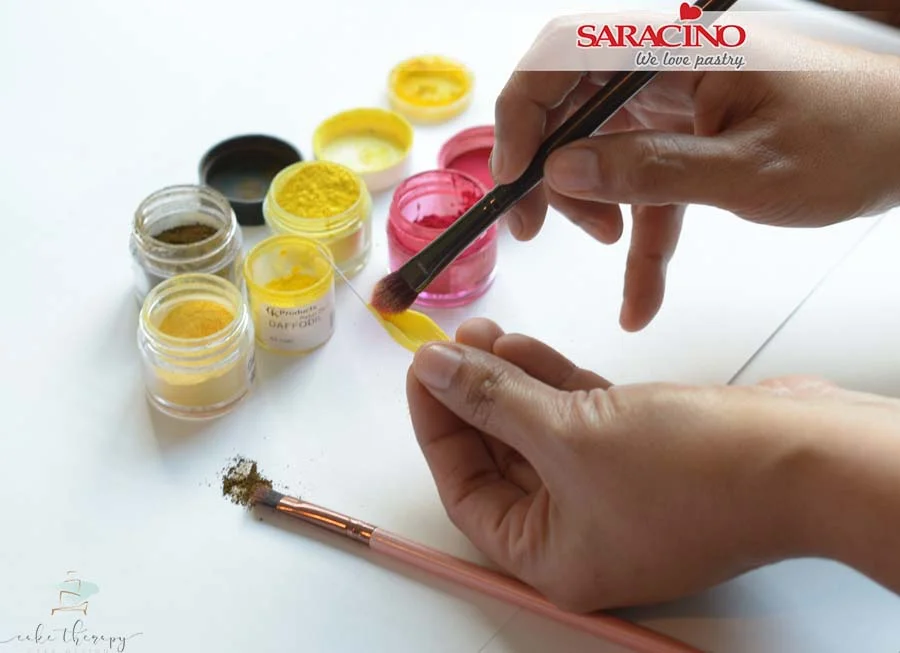
Don’t forget to colour the back and tip of the petal.
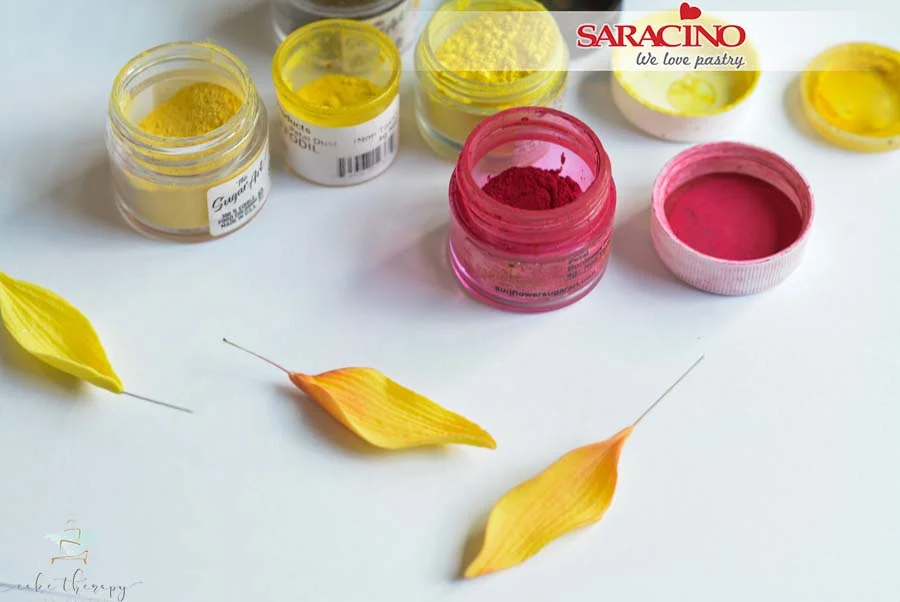
The petal should look darker at the bottom, lighter at the center and with just a slight shade of orange at the tip.
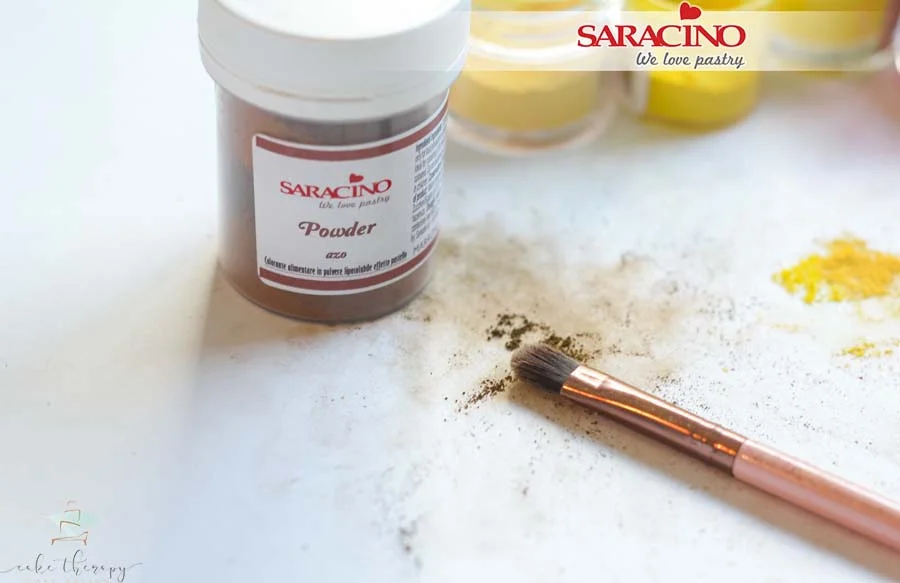
Prepare brown powder colour and a smaller soft brush.
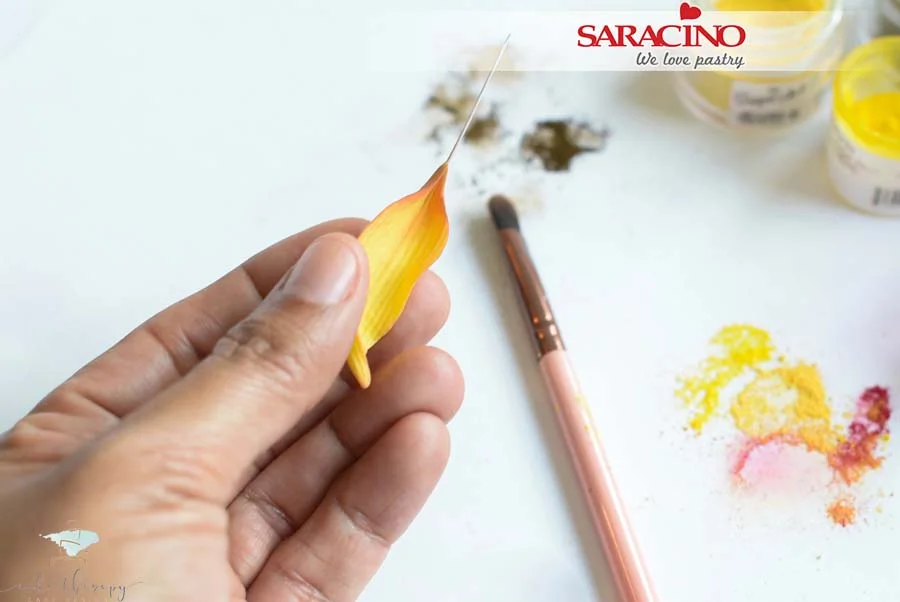
Dust the brown colour at the base of the petal next to the wire.
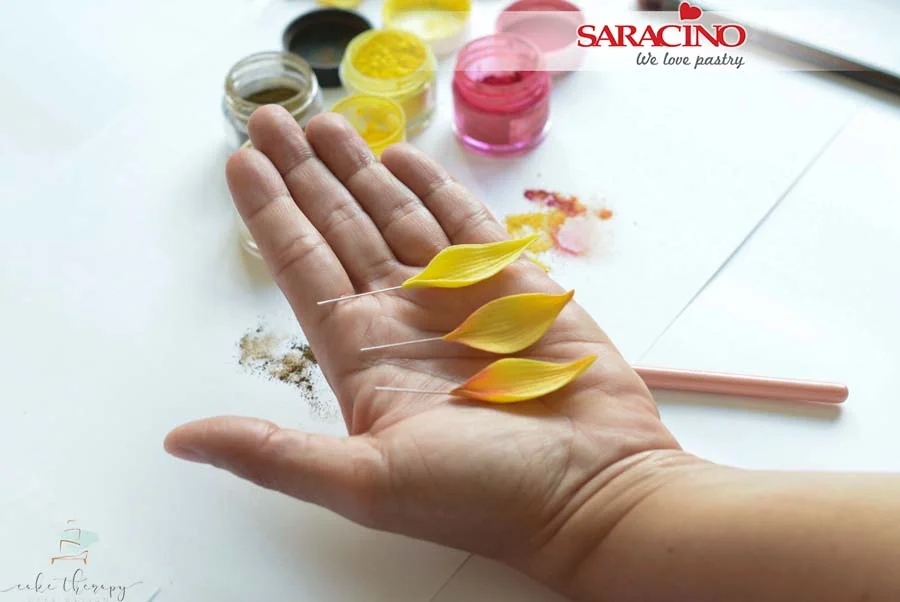
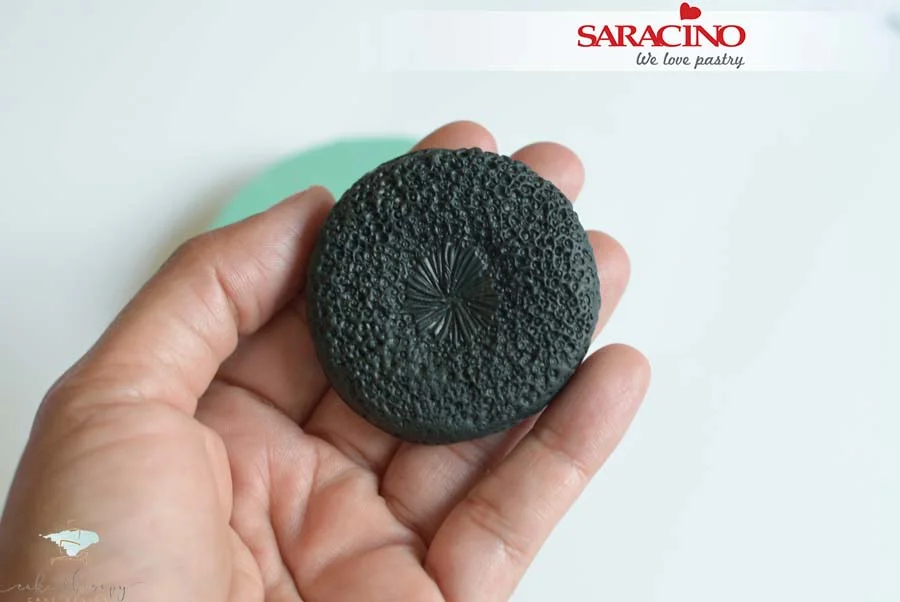
Using approximately 30g black coloured Pasta Bouquet, press into the sunflower center mould. Make sure to press evenly so the impression is uniform around the center.
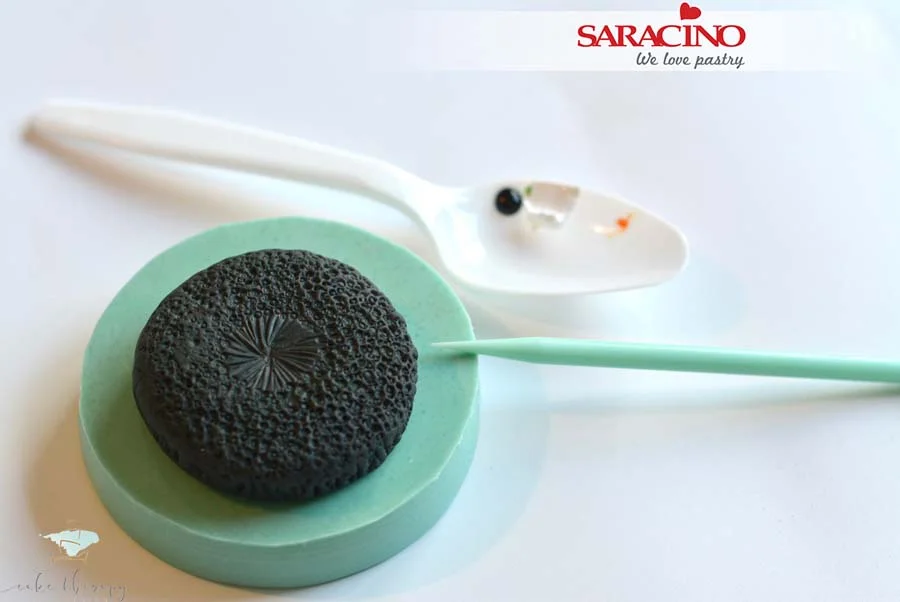
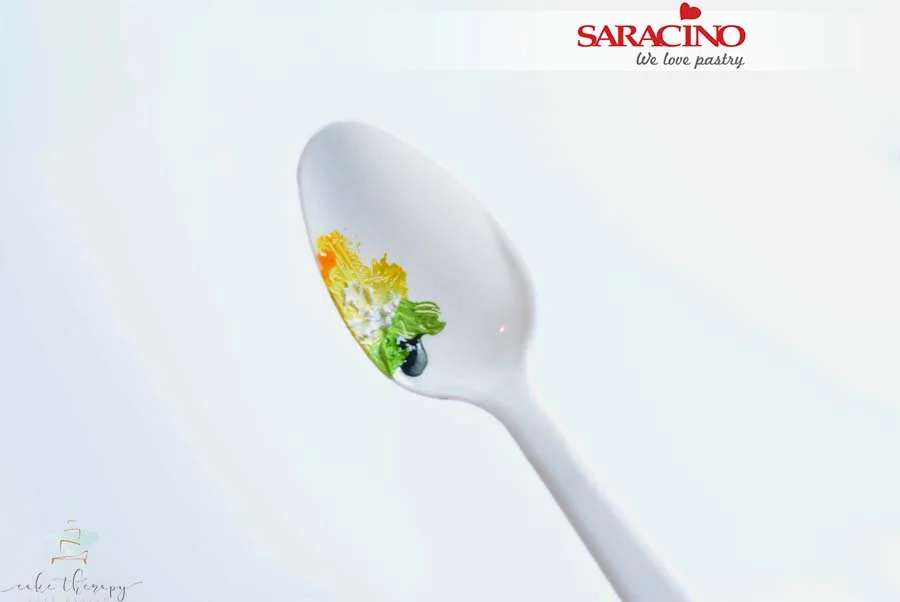
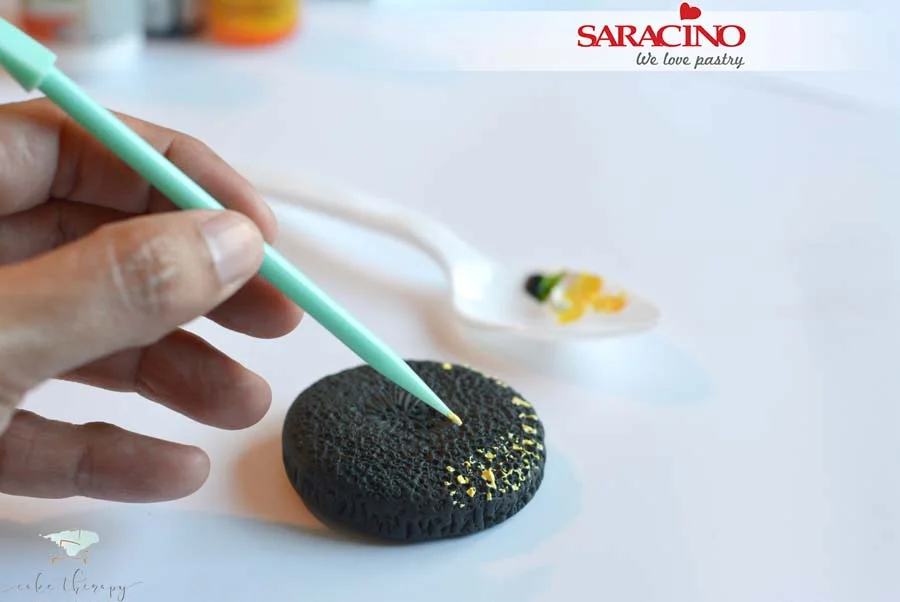
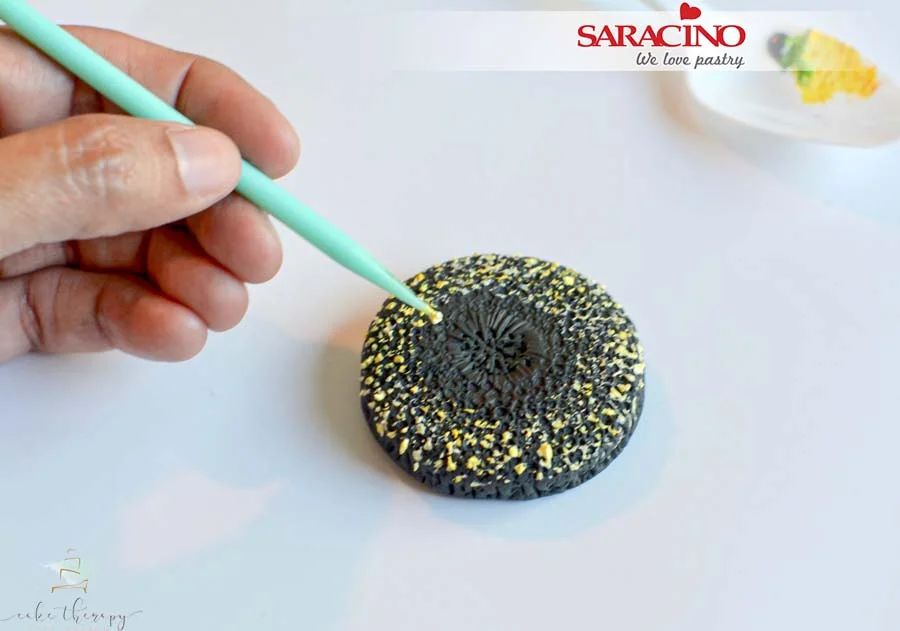
Move around the outer part of the center and inwards to the center making smaller spots as you move towards the inner center.
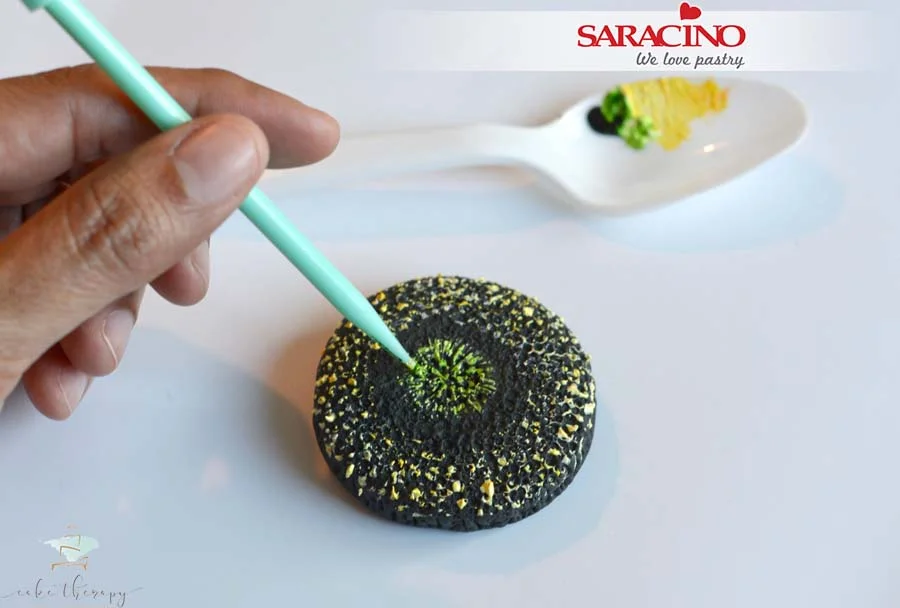
Then follow a similar procedure with the green colour to the inner center of the flower. Allow for drying time.
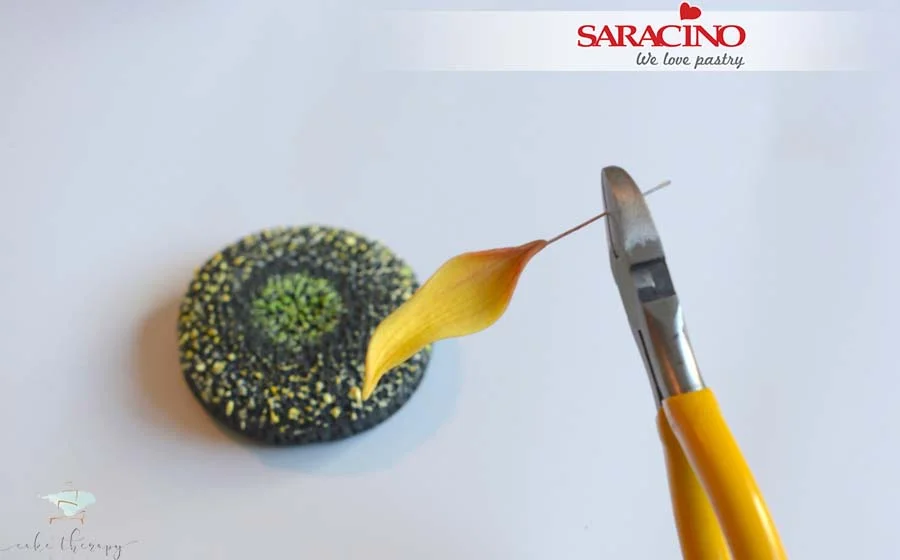
Trim the wire excess from each petal if needed.
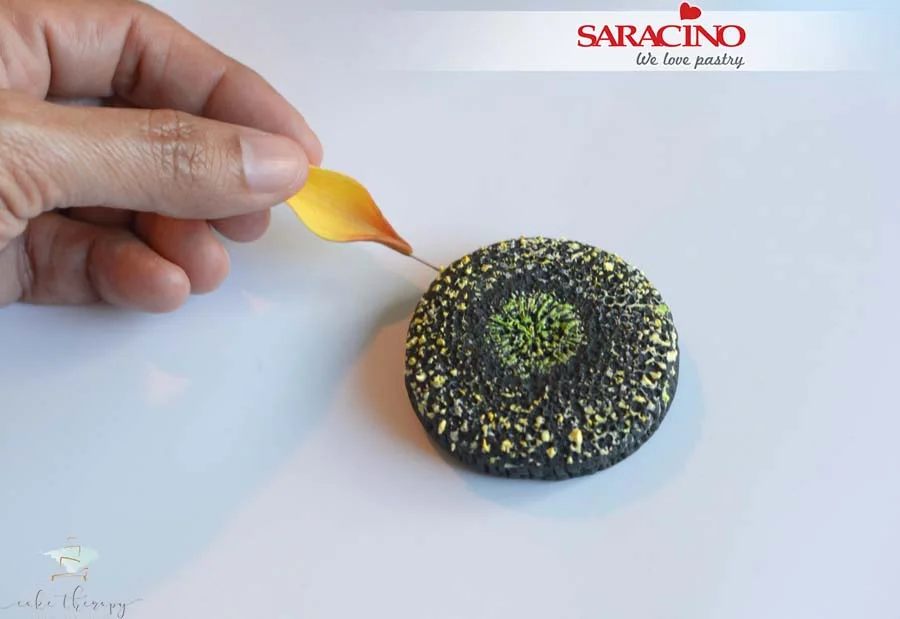
Dip the tip of the wire into edible glue and insert the petals into the flower center.
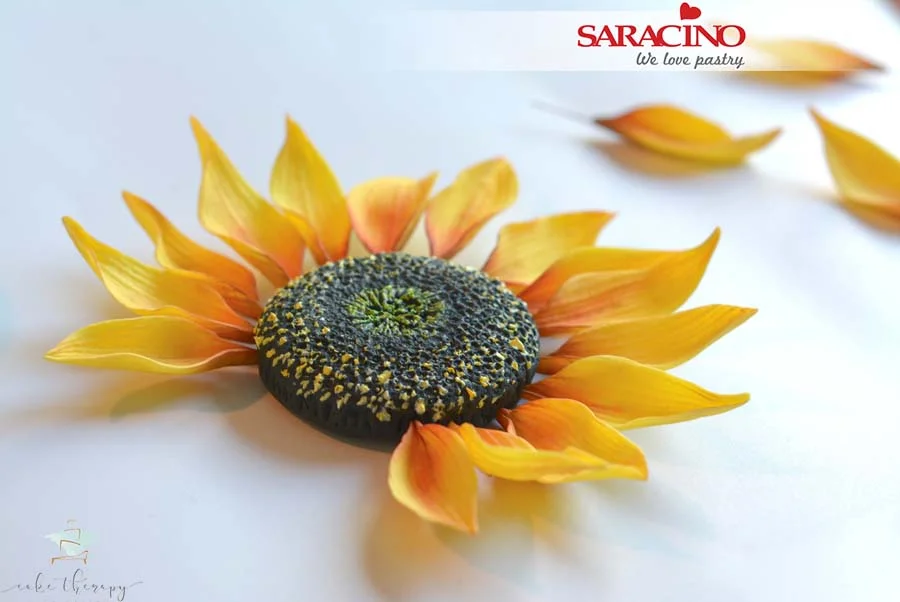
Continue around the side making sure you leave the same amount of space between each petal.
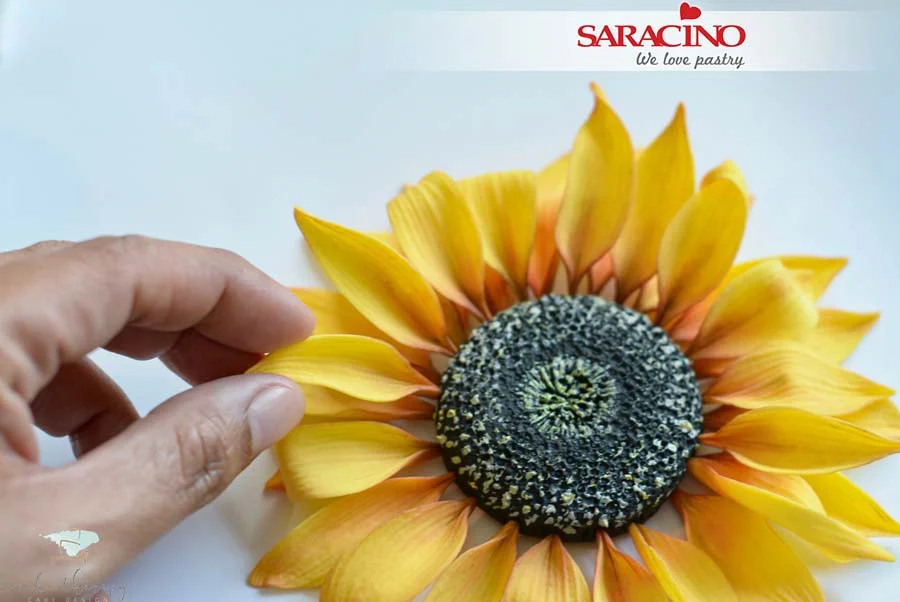
Once you have finished the bottom layer, start inserting a second layer of petals starting in the space between the petals of the first layer below.
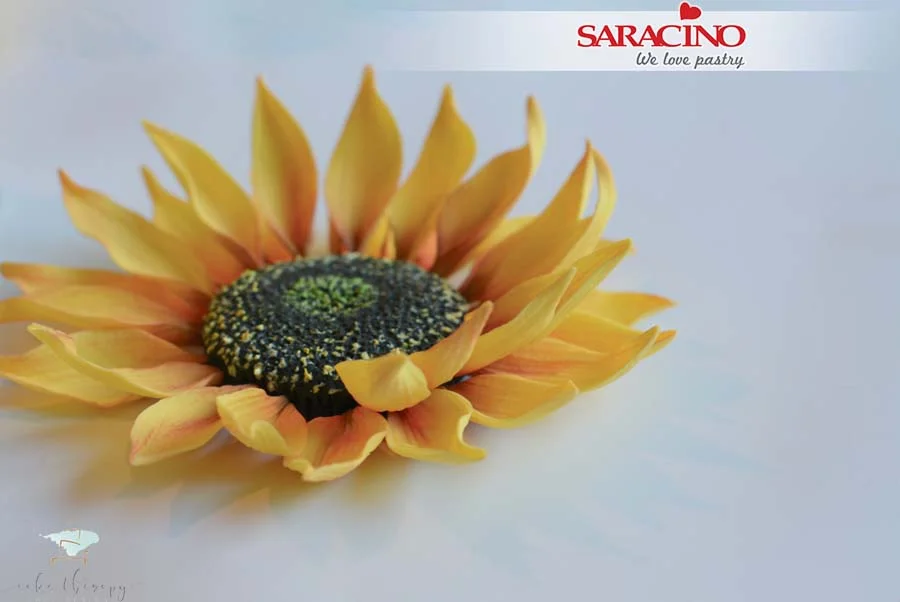
Continue around the centre leaving the same gap between each petal until you finish the upper layer. Your sunflower is now ready to add sunshine to your cake!
At home you can vary the colours to your preference. If the Modeling Paste is really sticky, add a little bit of corn flour.
Structure Materials
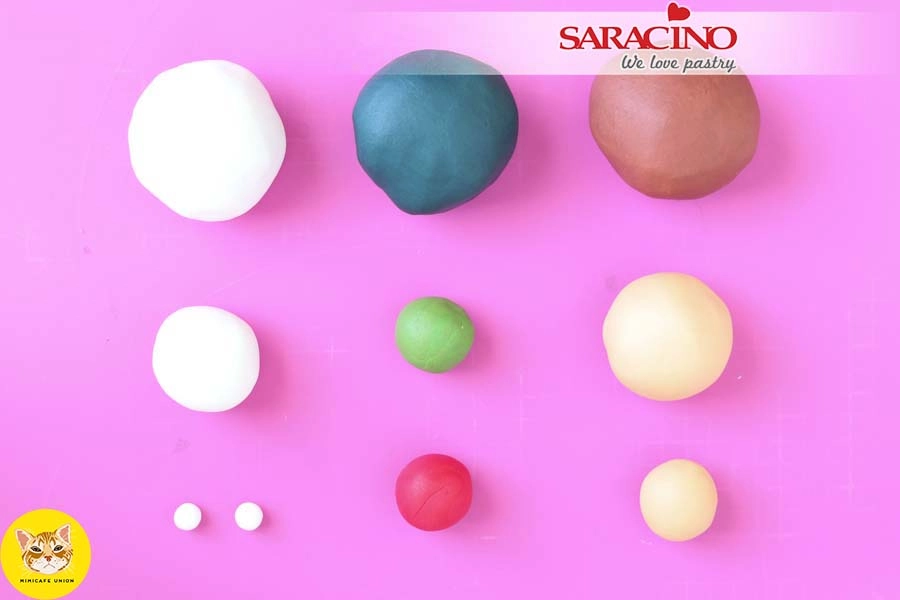
Prepare the Pasta Model as shown.
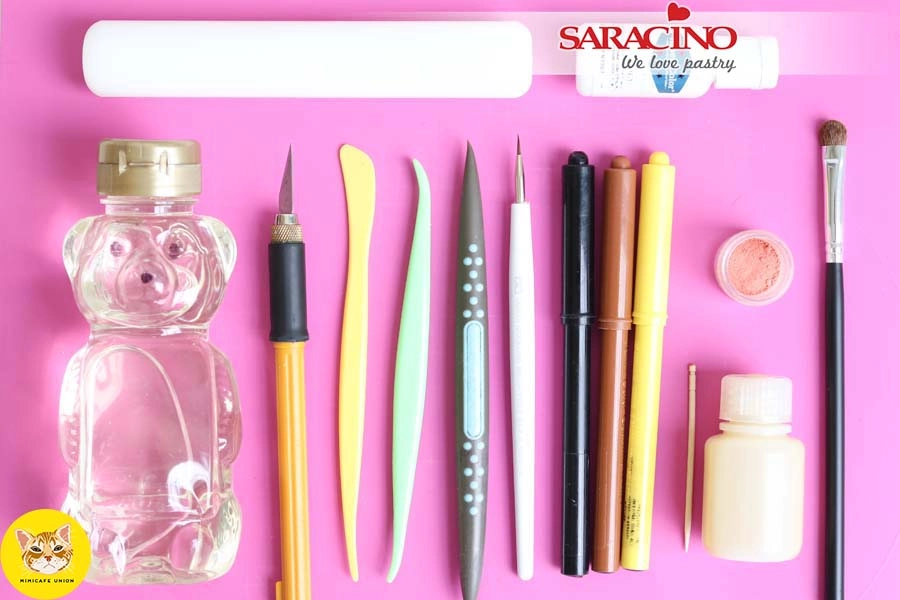
Prepare the tools we will need.
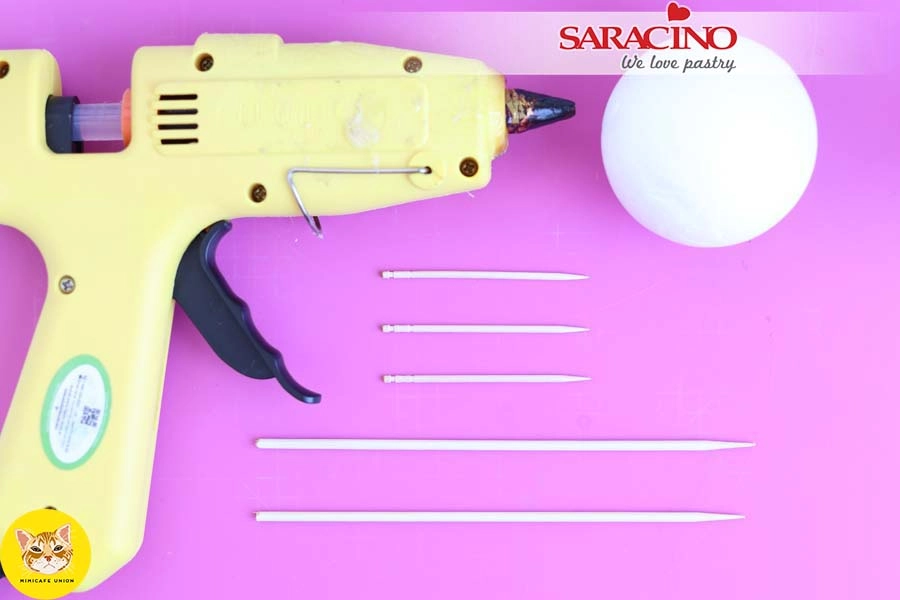
Prepare the glue gun, cocktail sticks, skewers and styrofoam ball.
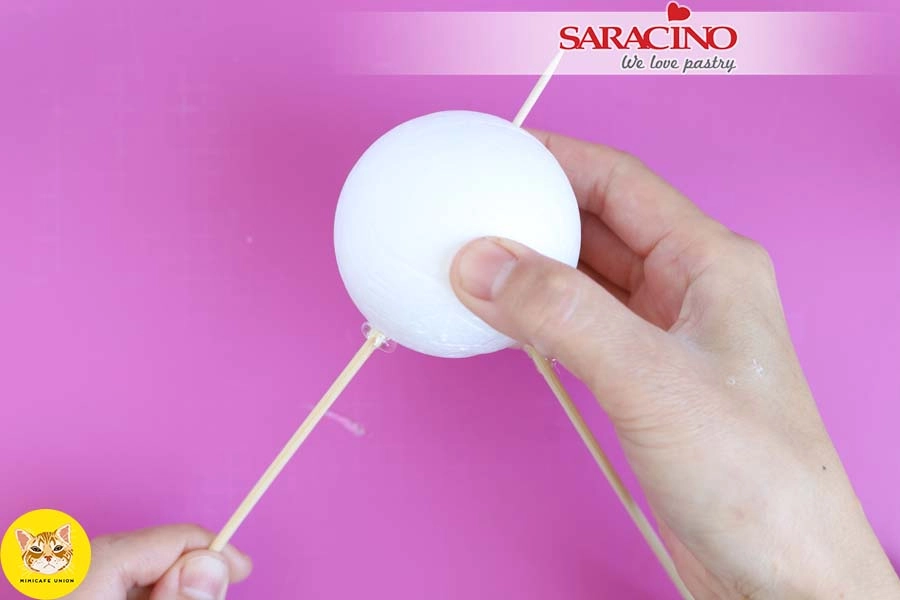
Using your eye to judge the positioning, place the two skewer pieces into the styrofoam for the legs. One of the leg skewers should go all the way through the styrofoam ball.
Before inserting the leg skewers, add some hot glue from the glue gun and carefully insert into styrofoam.
The hot glue may make the styrofoam melt slightly, but it will cool and dry quickly (Do not use the glue when inserting the arm toothpicks).
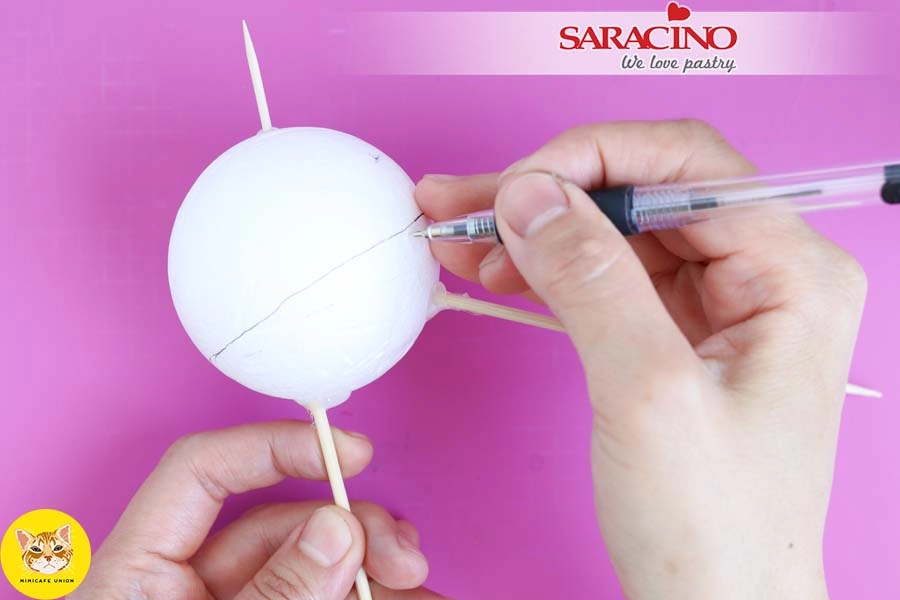
Draw a line marking where the blouse and the jeans will meet.
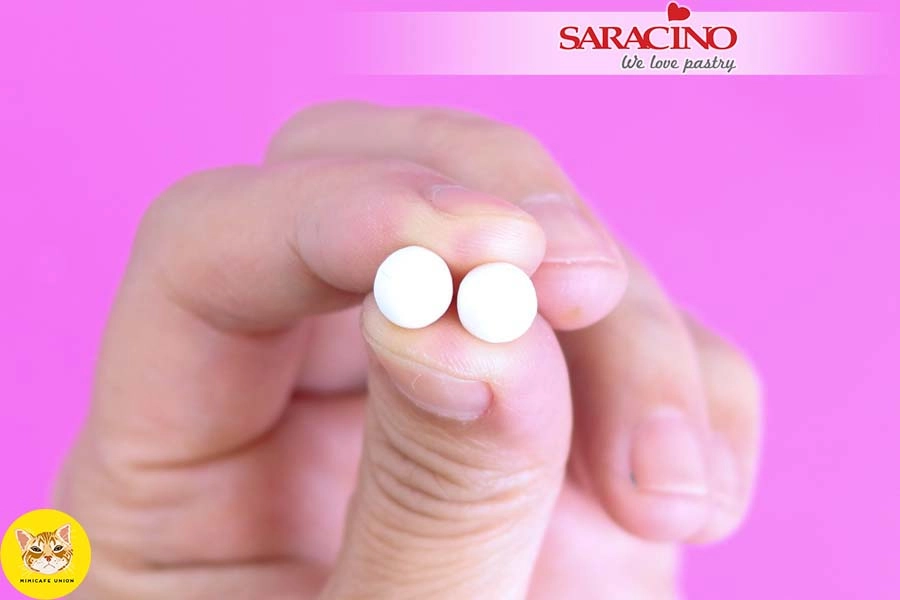
Painting eyeballs: Use the eyeballs made previously. Paint the eyes while holding them together in your fingers so that you can accurately compare them.
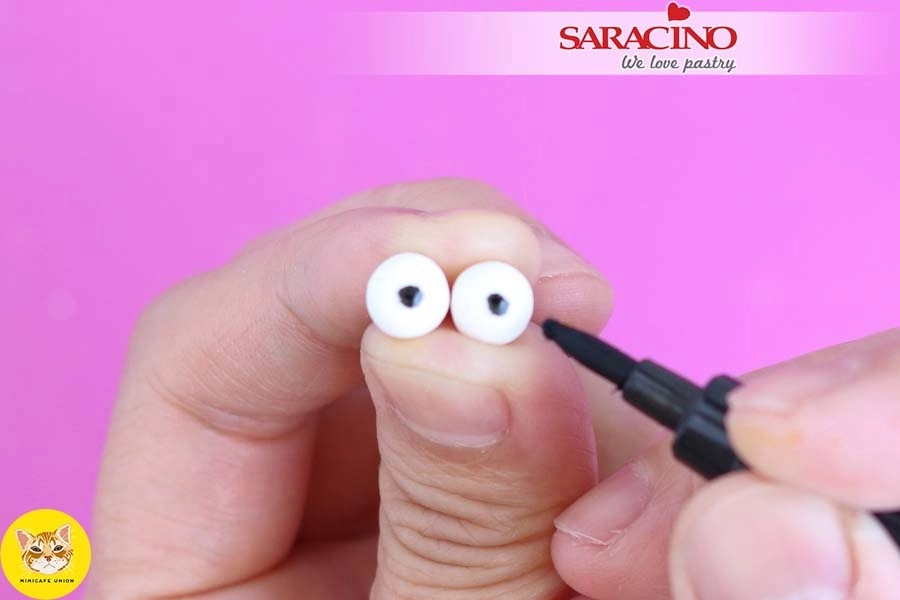
Draw dots on the eyeballs with the black edible marker.
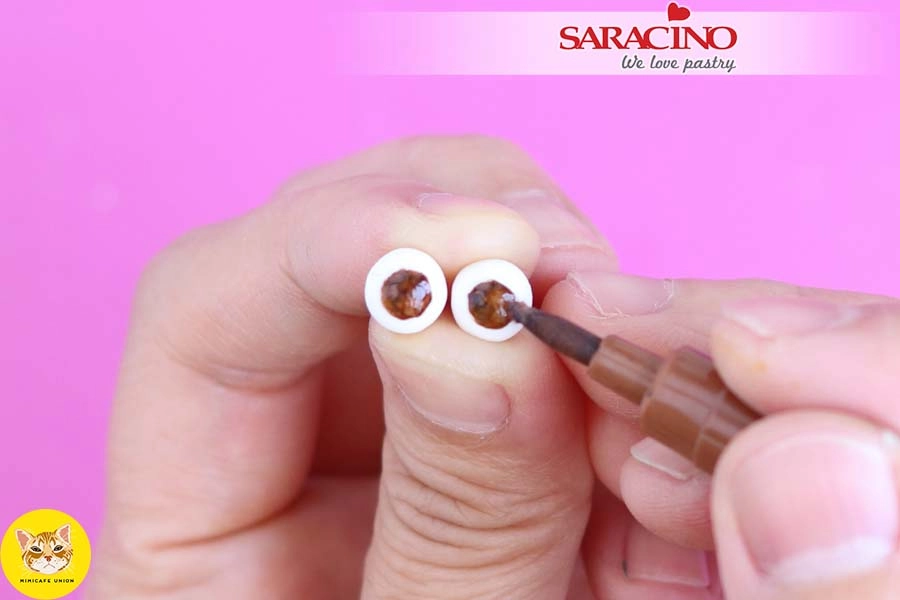
Use a brown edible pen to paint the eye colour over the black.
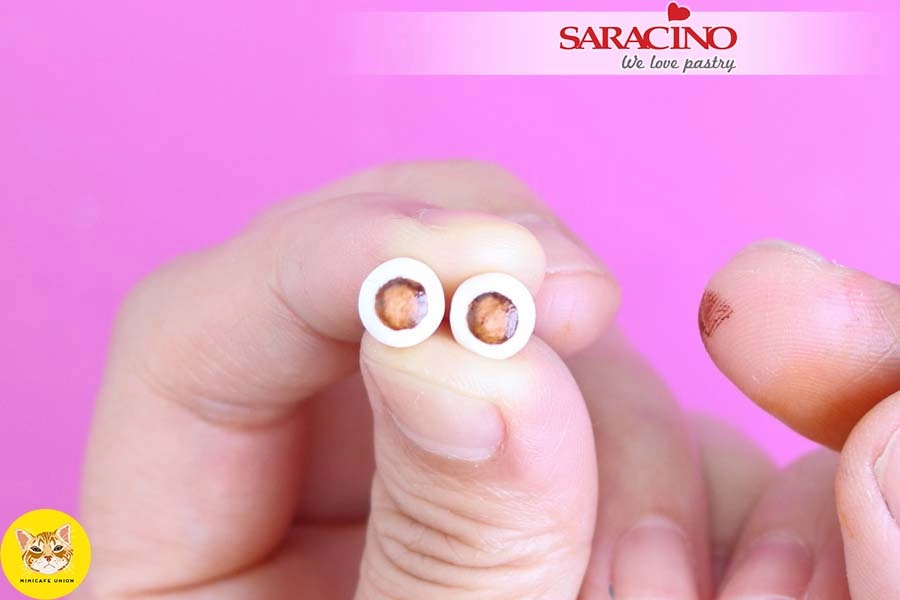
Remove excess colour using your finger or a little kitchen paper.
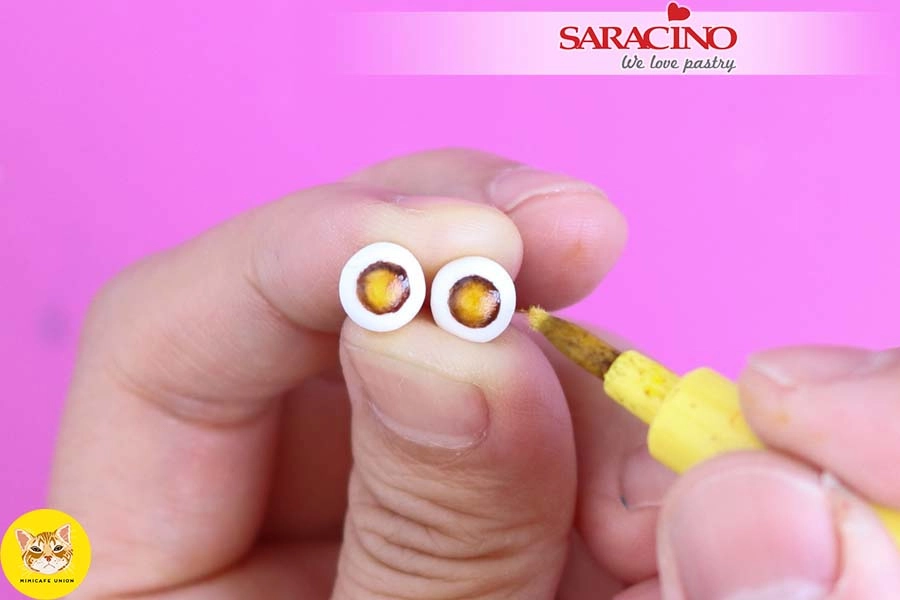
Paint over using a yellow edible pen colour.
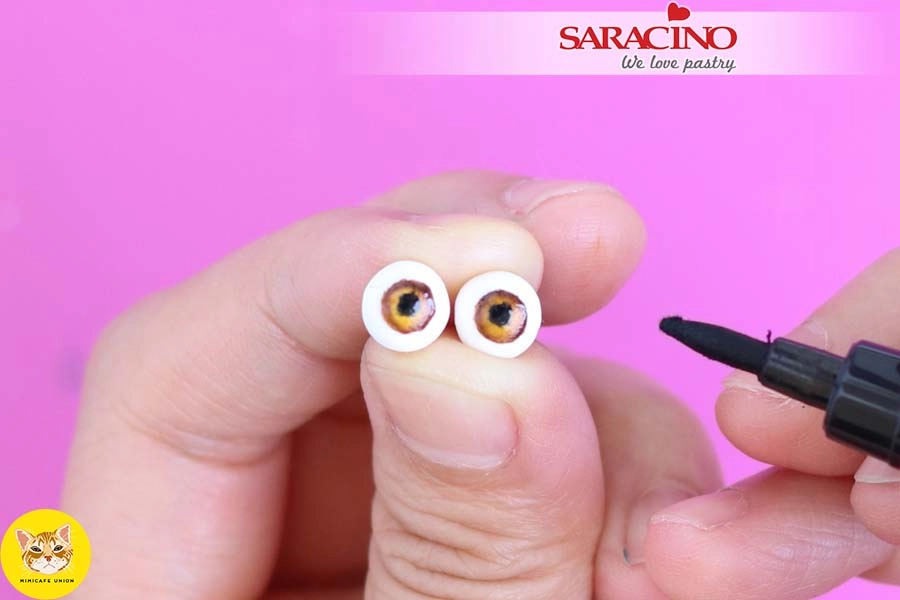
Use a black edible pen to add the pupils.
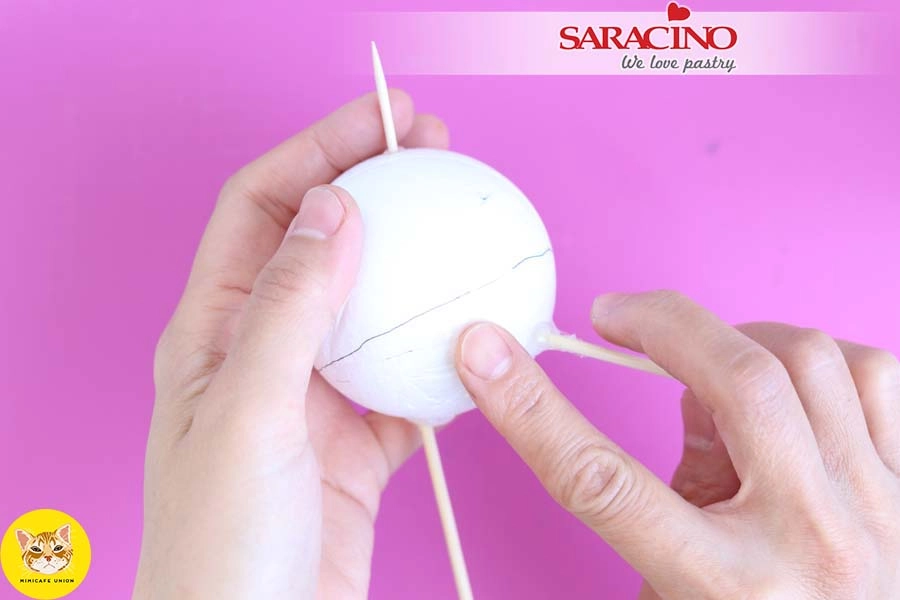
Paint the lower part of the styrofoam ball with cake gel or glucose/corn syrup. This is for fixing the jeans. Take care not to get any gel on the leg skewers.
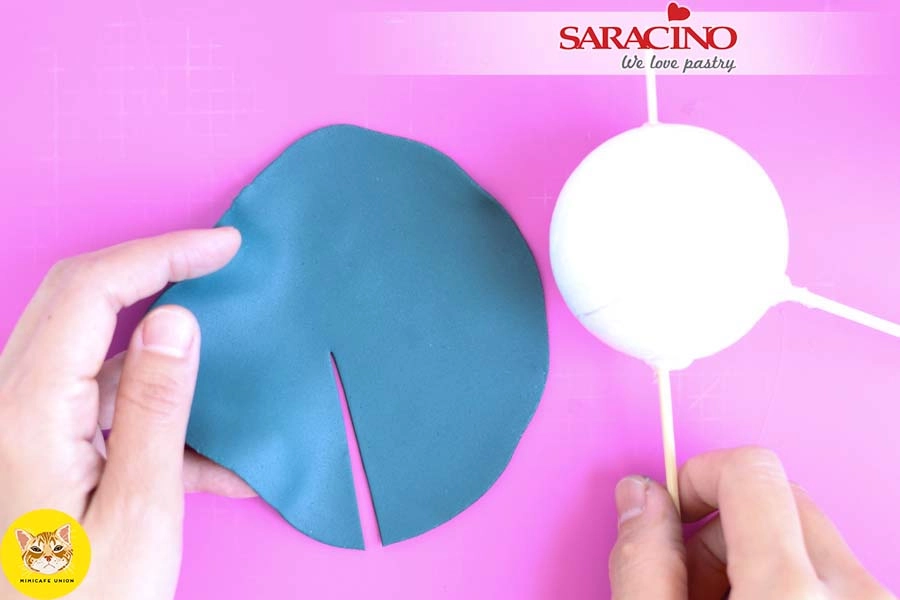
Roll out the larger portion of blue jean coloured fondant into a disk approximately 4” in diameter. Make a cut as shown.
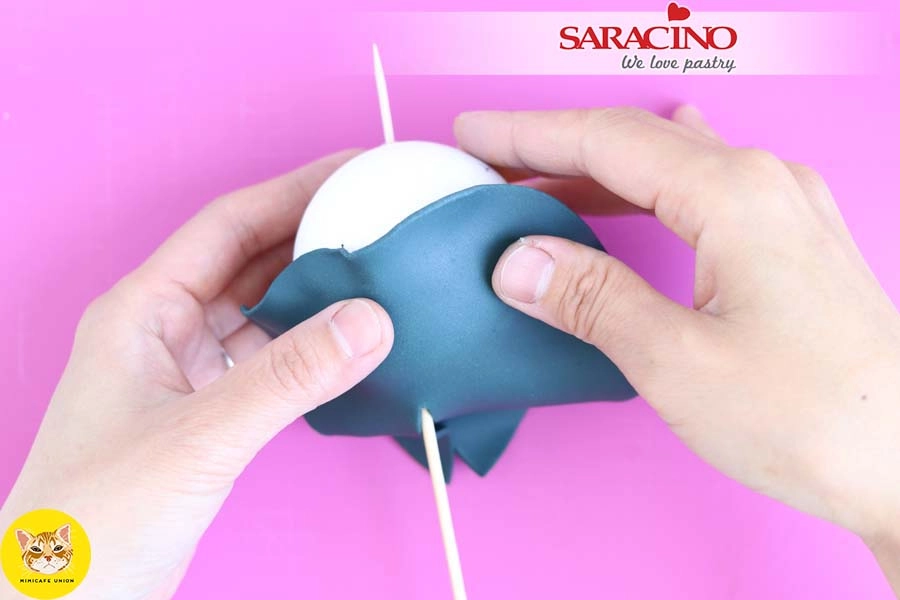
Place the rolled out Pasta Model on the corn syrup coated bottom half of the styrofoam ball with the cut placed around the skewer.
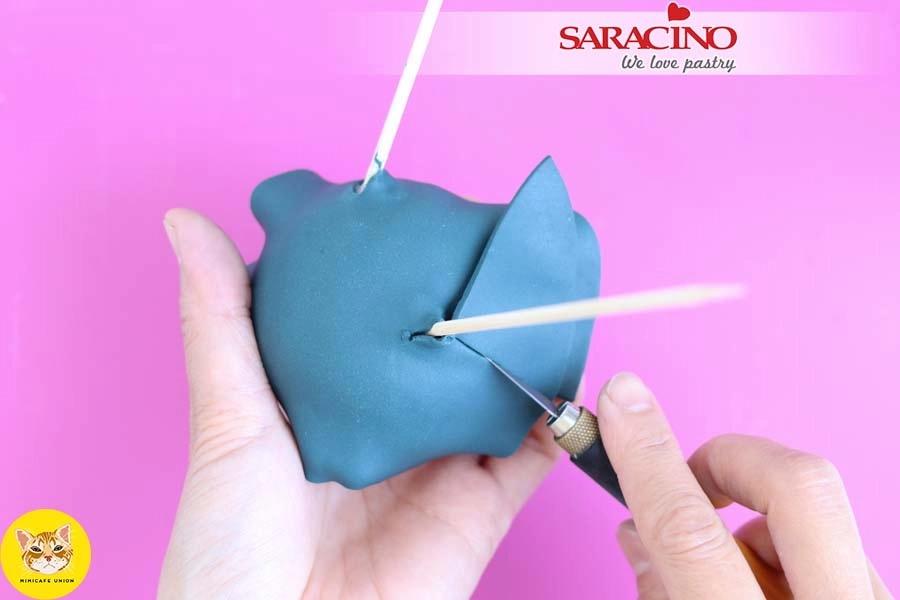
The cuts in the Pasta Model make it easier to apply the fondant around the skewer legs. Now smooth the fondant with your fingers.
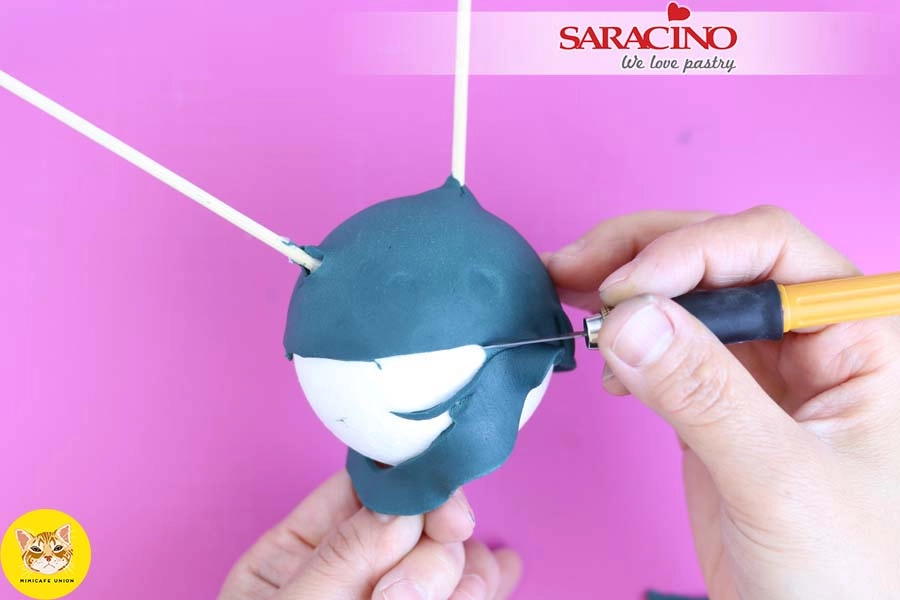
Use the craft knife to cut away the excess Pasta Model. This will also create a straight waistline fully around the styrofoam ball.
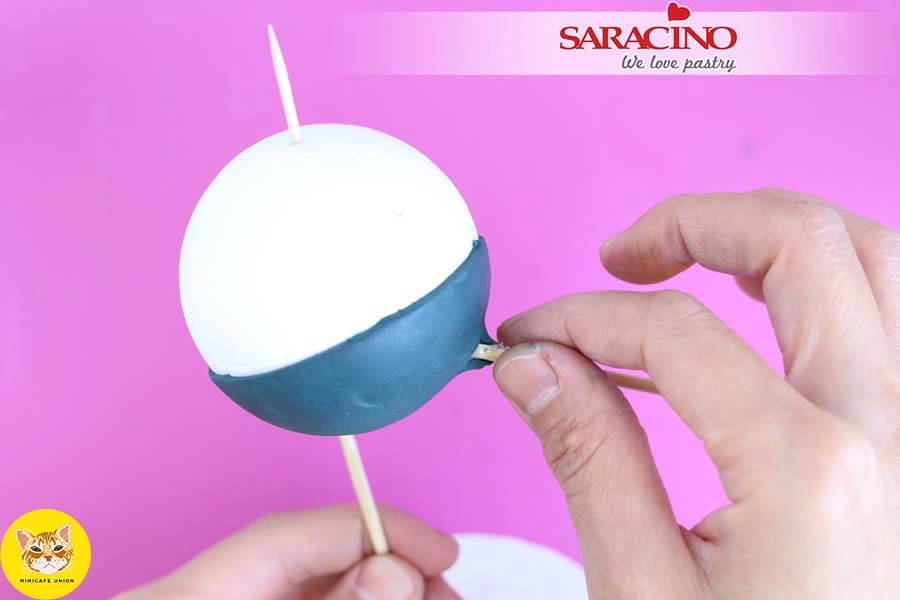
Use your fingers to apply a thin layer of cake gel or corn syrup to the leg skewers.
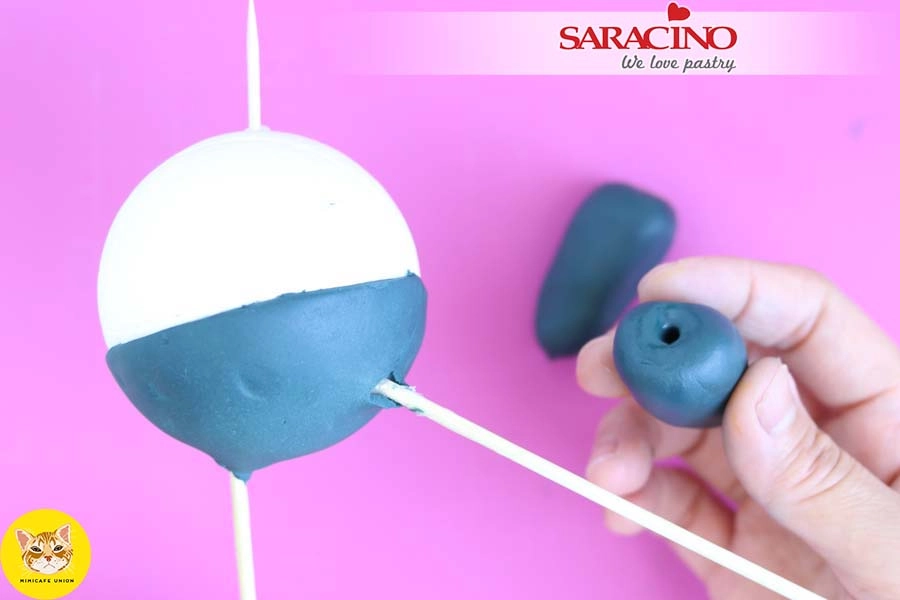
Shape the legs into a small sausage shape using the blue jean coloured Pasta Model. Use a toothpick to pierce a hole through each leg.
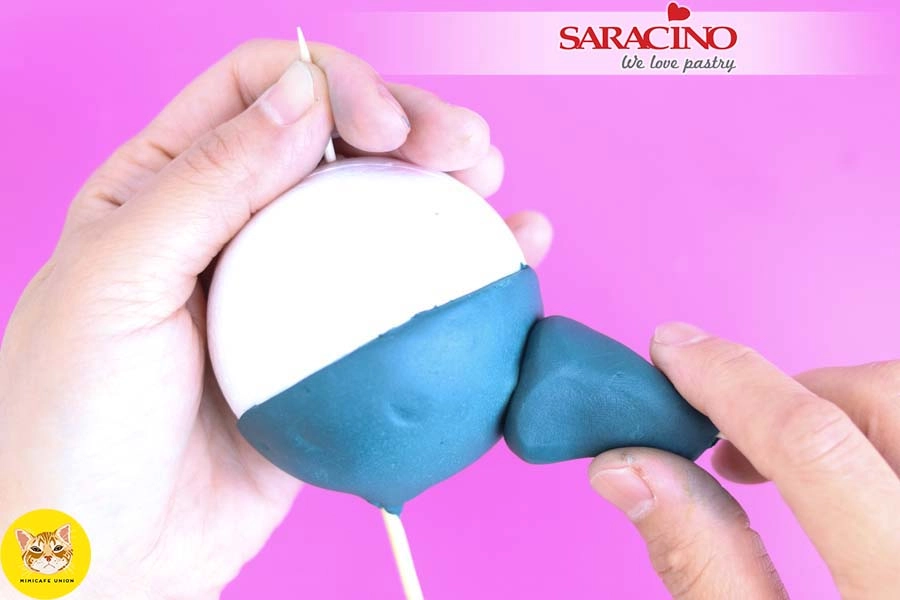
Slide the Pasta Model legs up the skewers until they meet the body.
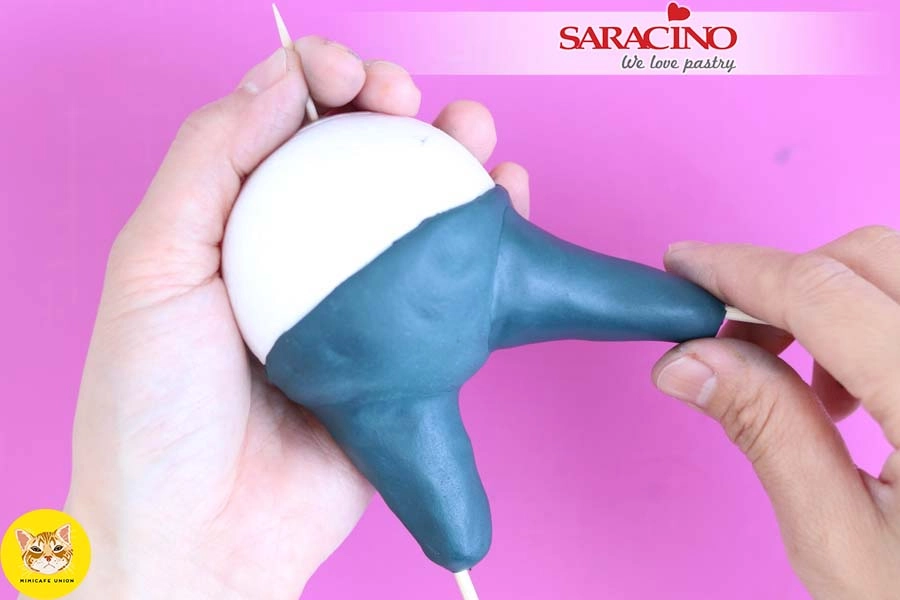
Blend the joint between the leg and the body using a modelling tool. Shape the legs with your fingers.
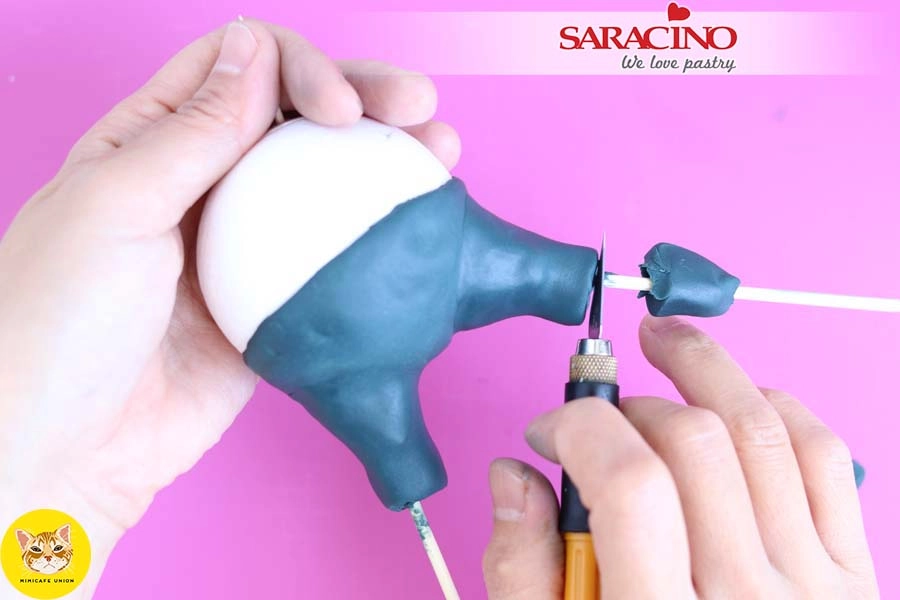
Cut off excess with a craft knife.
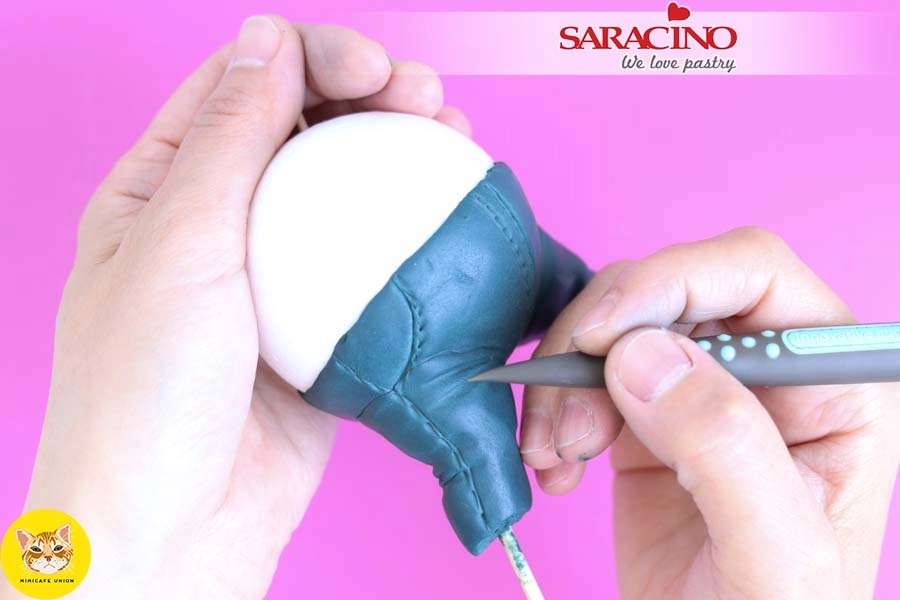
Use the tip of your tool to add detail to the jeans such as the belt line and zipper area.
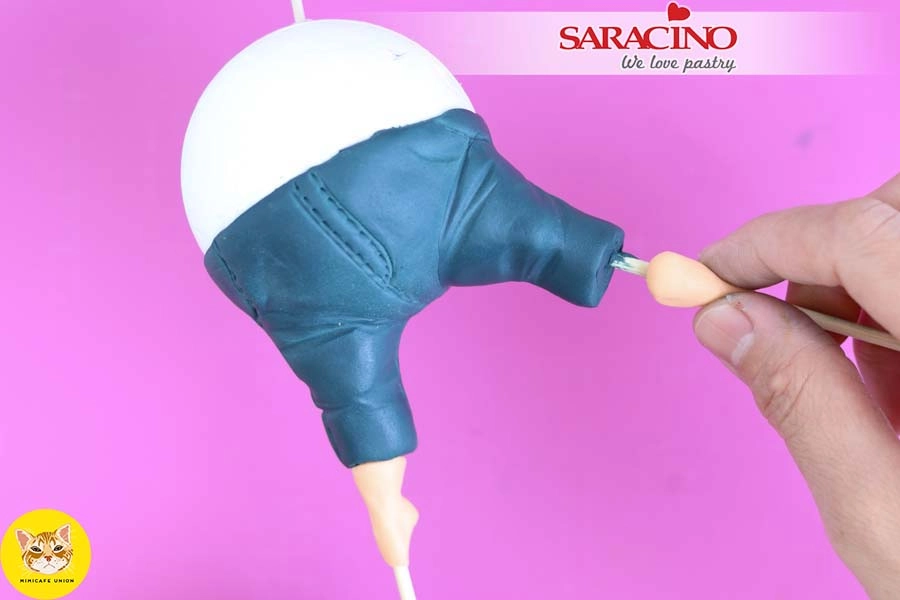
Feet: Add a small portion of light skin tone Pasta Model just below each jean leg and use your fingers to shape the feet.
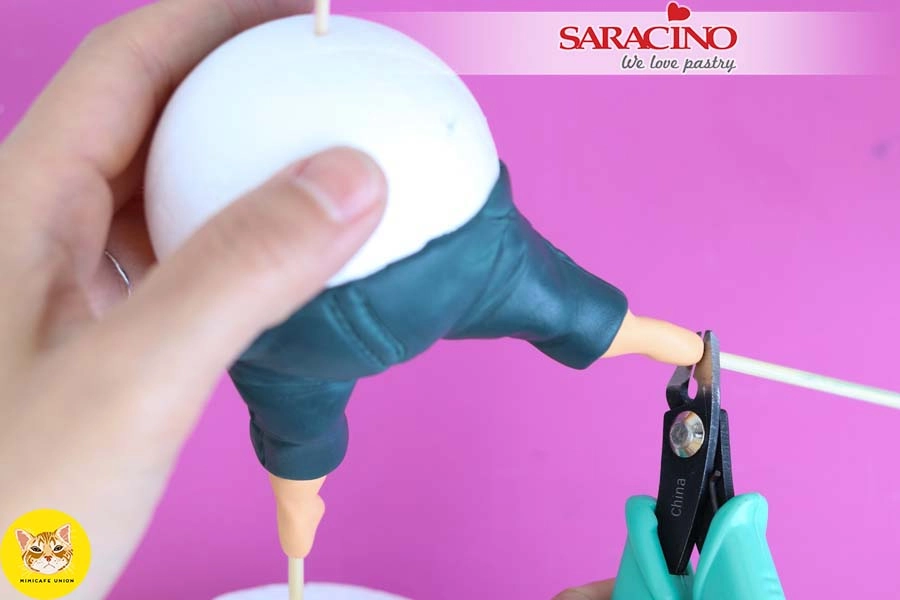
Use pliers or snips to cut away the end of the skewer of the kicked up leg.
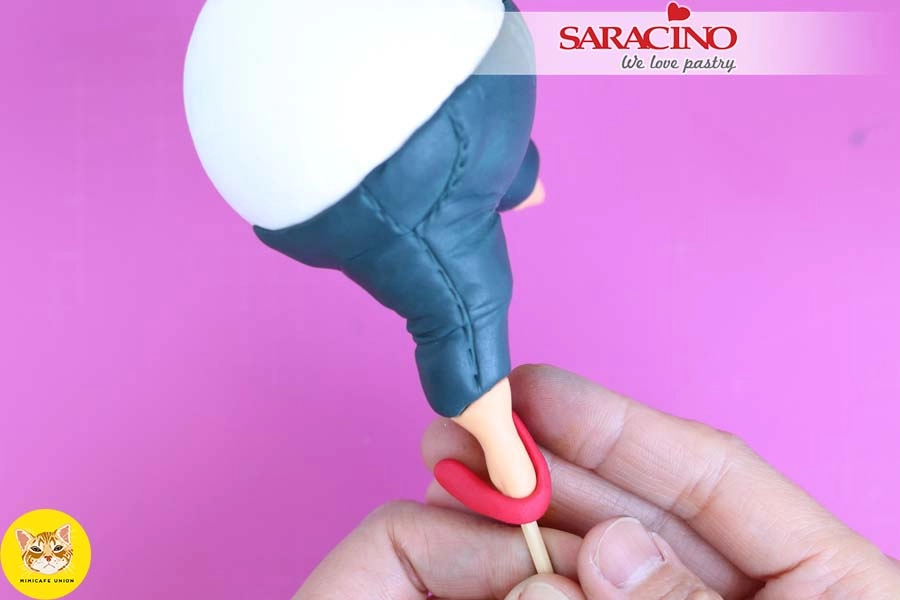
Roll a small ribbon of red Pasta Model for the shoes and attach to the feet as shown. Smooth with a modelling tool.
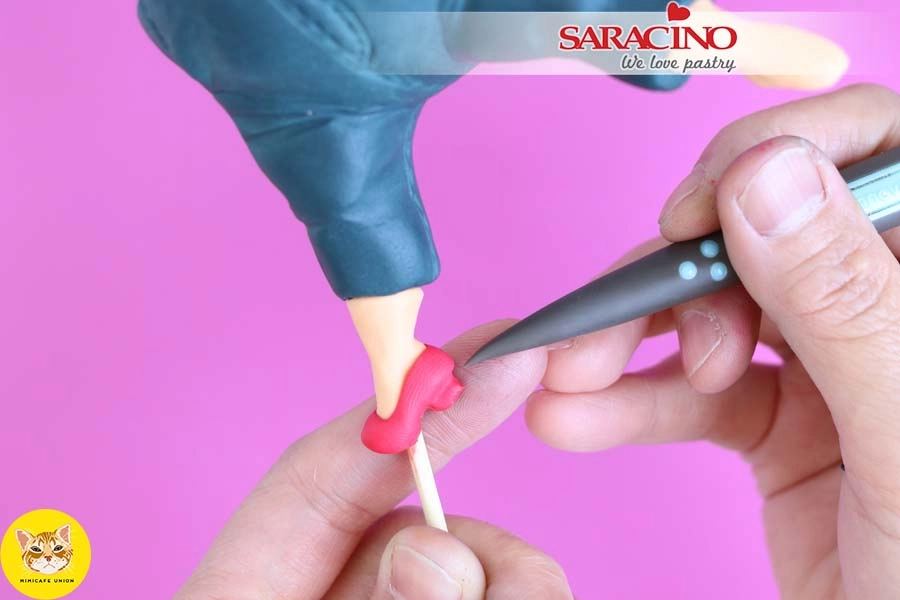
Use a modelling tool to shape the heel.
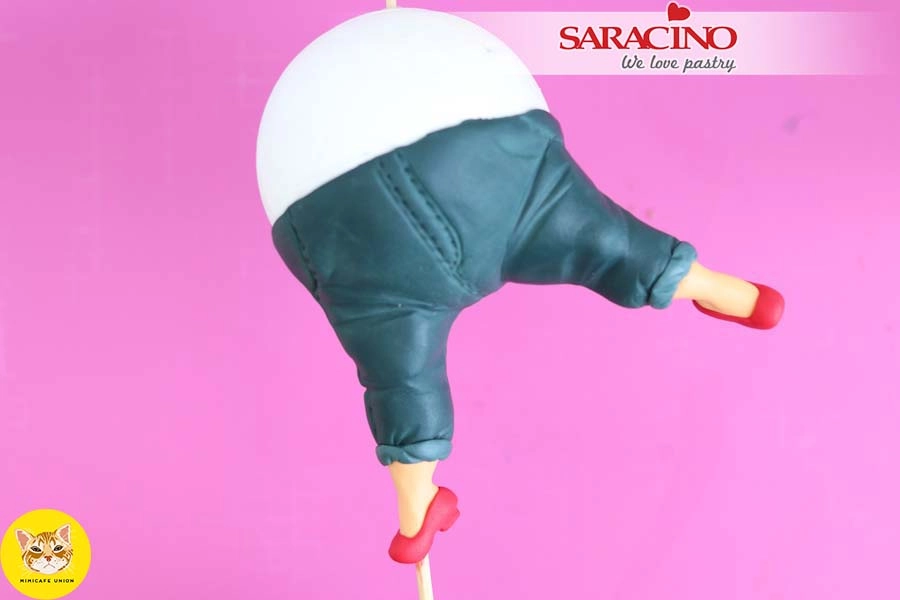
Roll a short ribbon of blue jean coloured Pasta Model and fix to the cuff / hem of the jeans.
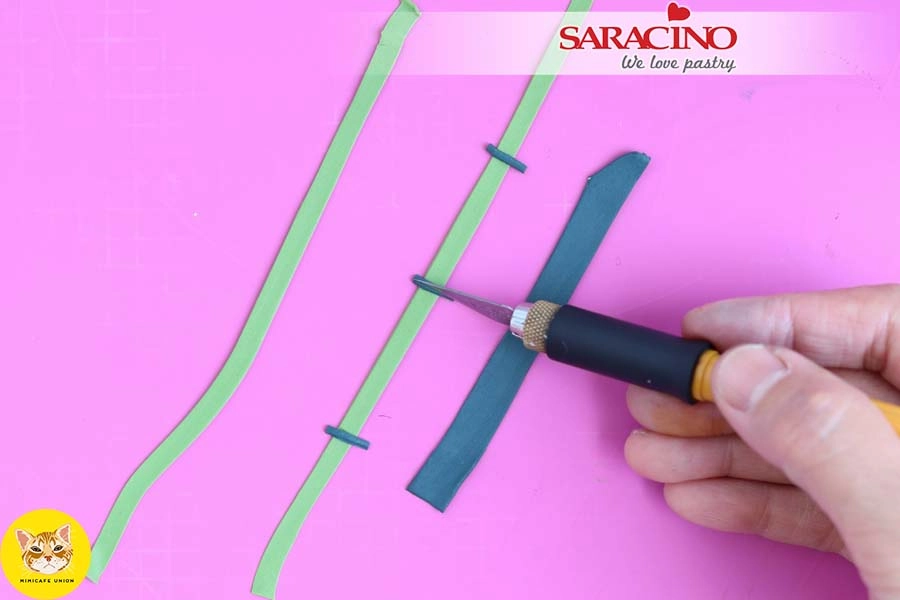
Roll a thin ribbon of green and blue jean Pasta Model. Use a sharp knife to cut the belt. Cut thin strips from the blue Pasta Model for the belt hoops and fix.
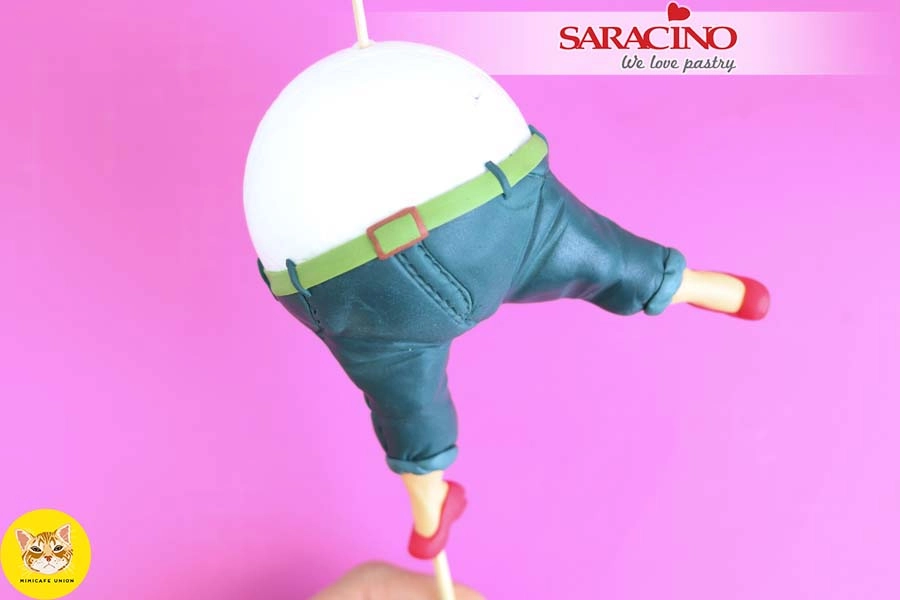
Add a buckle to the front. This is how you want the front to look.
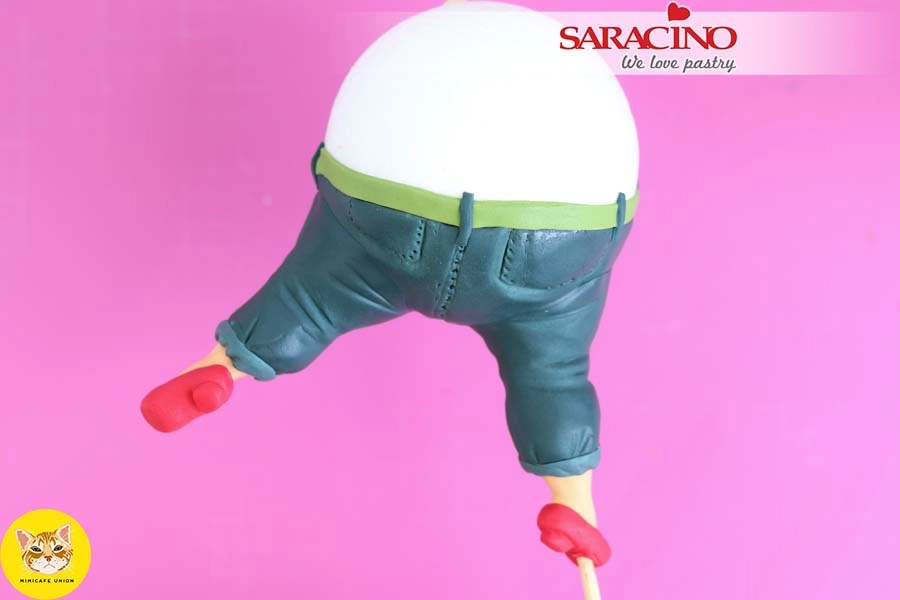
This is how the rear should look.
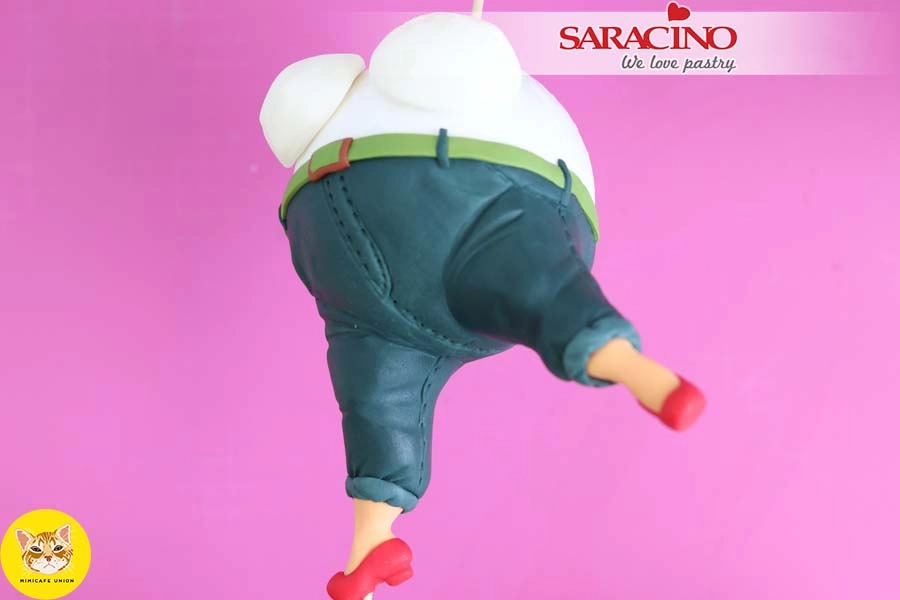
Coat the top of the styrofoam ball with cake gel or corn syrup. Cut a circle in half for the breasts and fix as shown to the ball.
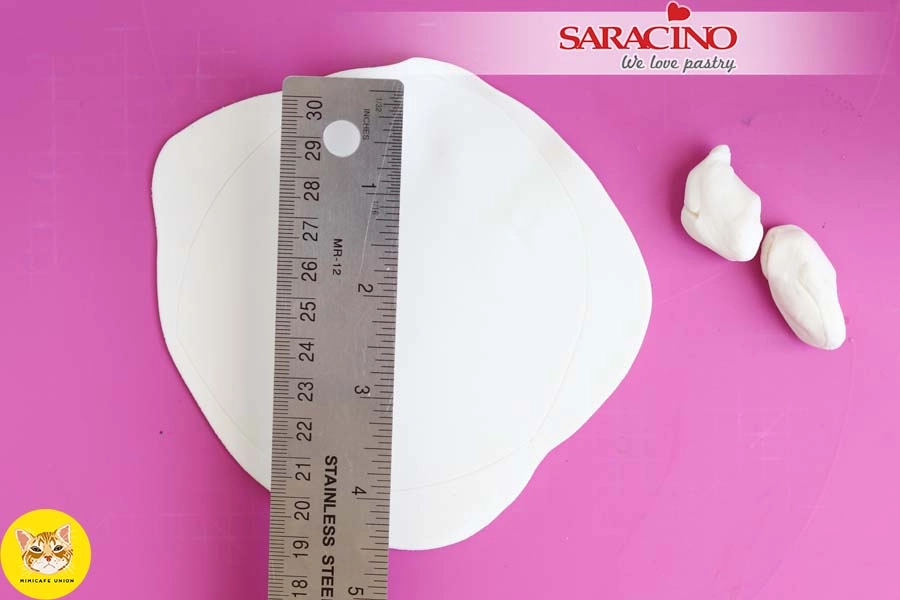
Separate 3 portions of white Pasta Model. One piece for the blouse body, one for the collar and one for the arms. Roll the larger portion into a disk about 4” (100mm) in diameter for the blouse body.
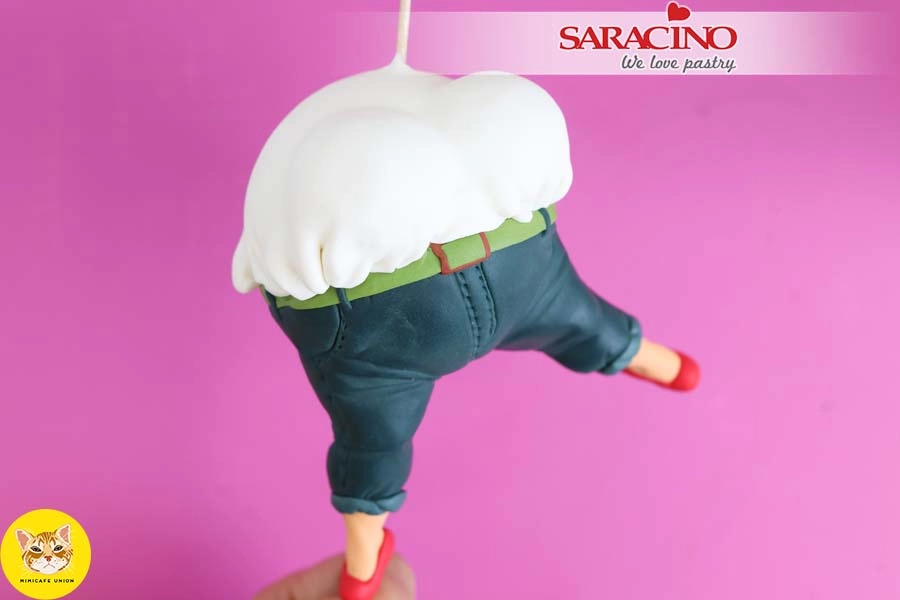
Place the blouse on top of the styrofoam and the breasts. Use your tool to gently add ruffles around the bottom of the blouse.
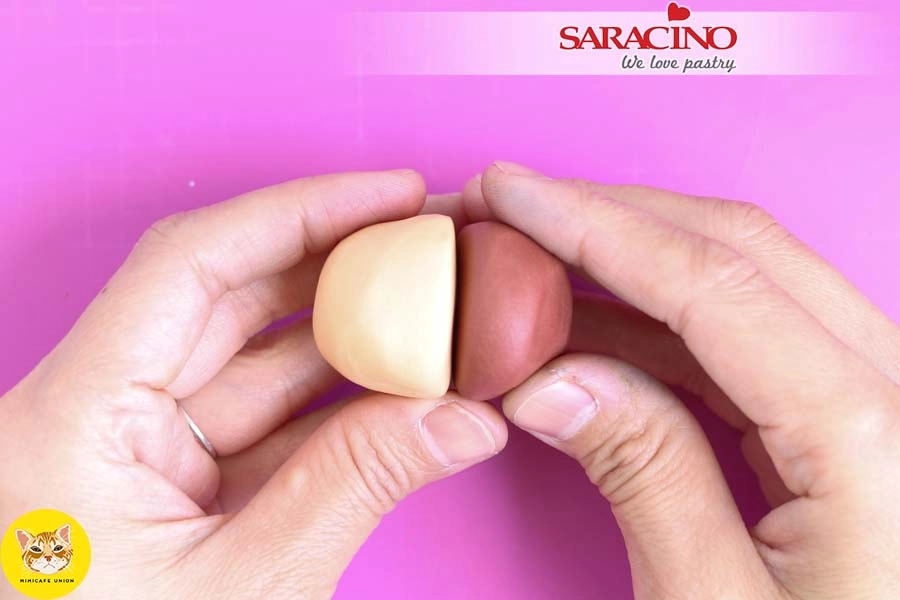
For the head – Using your brown hair coloured Pasta Model, separate a portion of approx 0.5 oz (14g). Shape this into a half ball shape. Repeat with the face light skin tone Pasta Model and fix together using a little water if required.
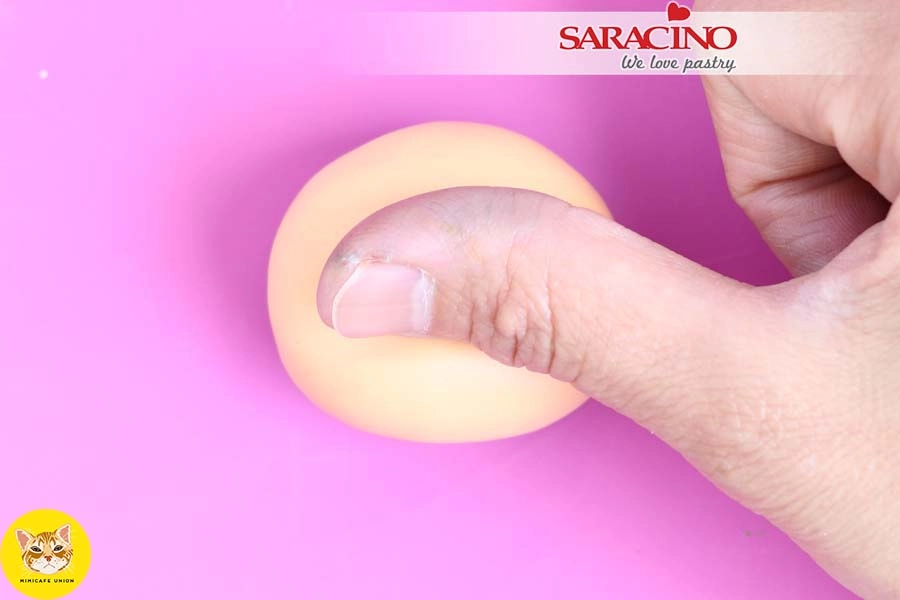
Use your thumb to create an indentation across the face.
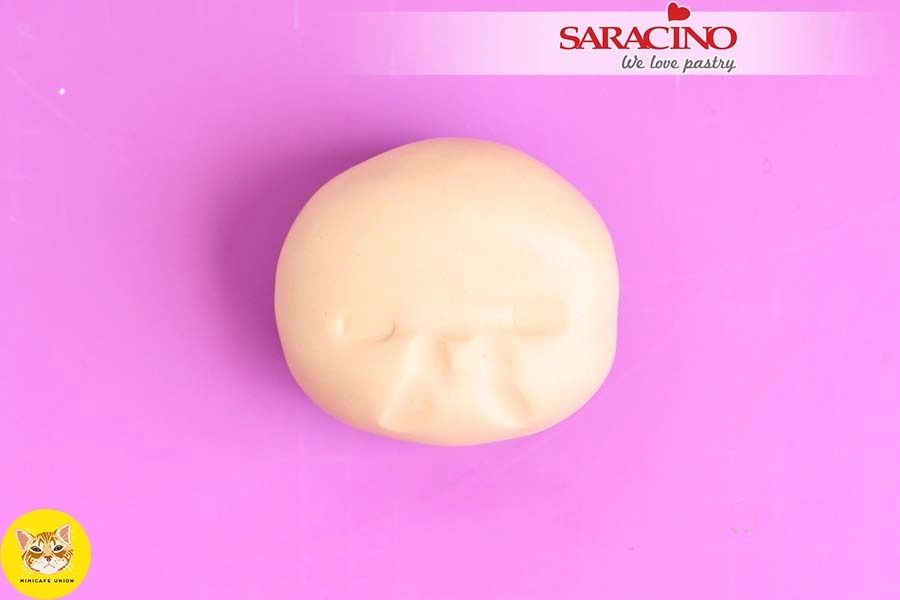
Use a modeling tool to mark facial features such as eyes and nose. Smooth the surface of the face with your fingers.
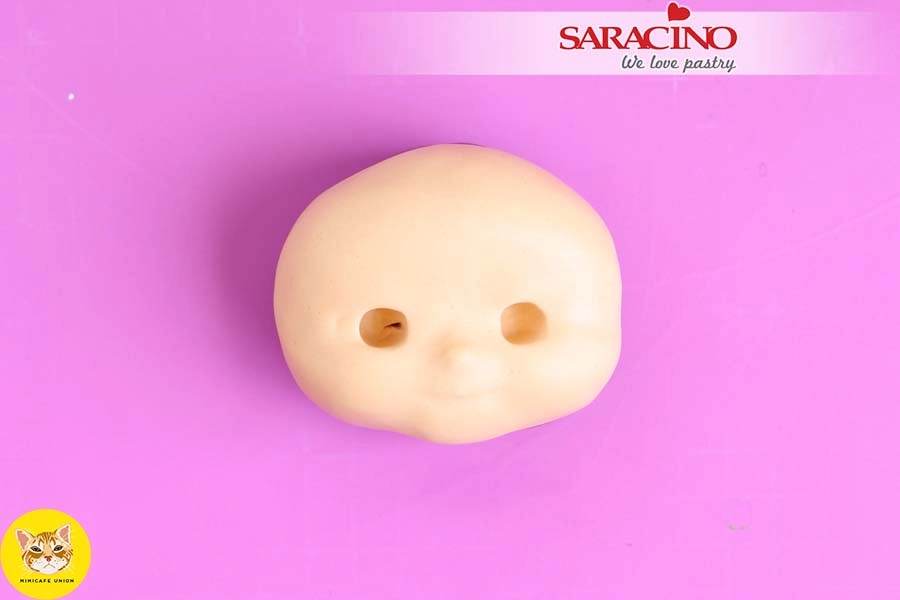
Use a ball tool to create the eye sockets. Use modelling tools to form the nose and smiling mouth.
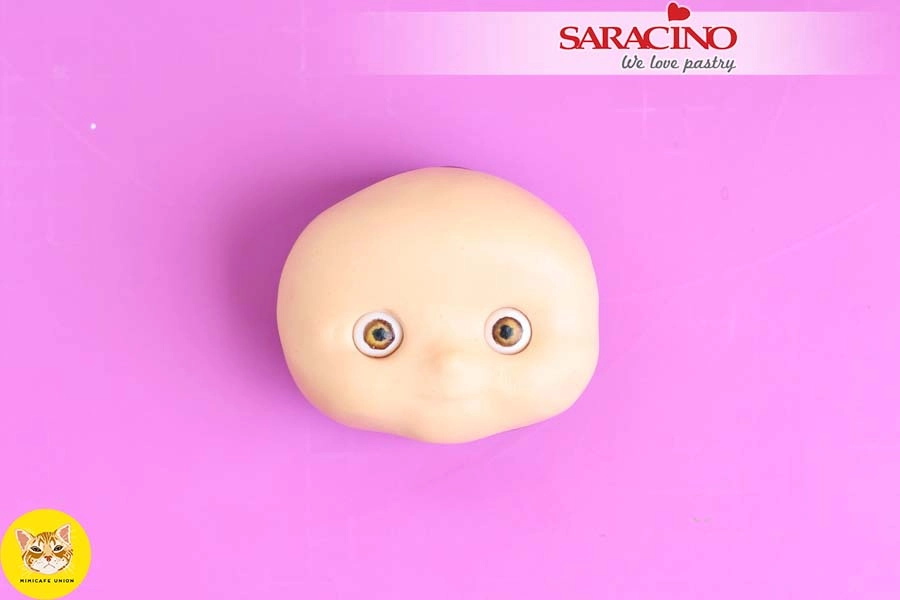
Position the eyeballs using a toothpick so they are looking in the same direction.
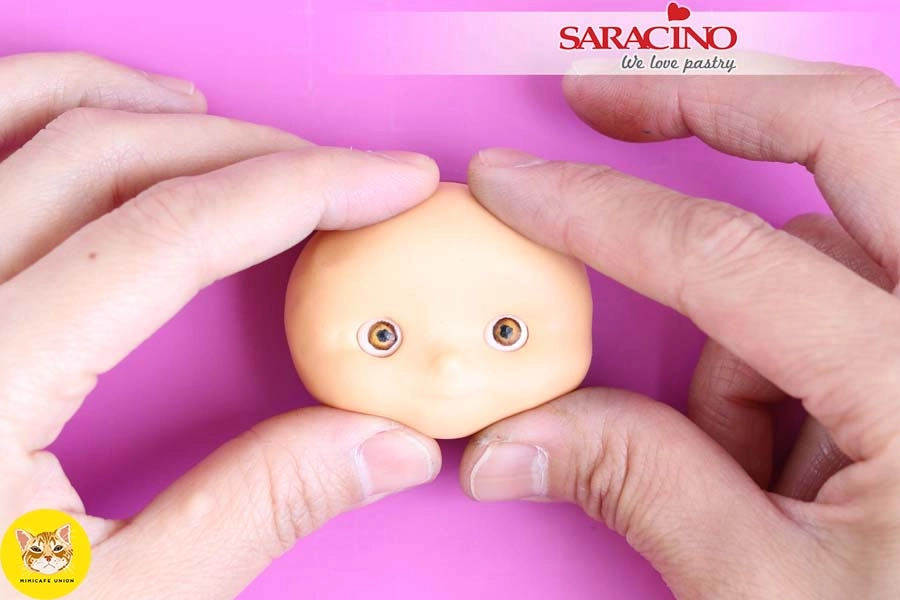
Use your fingers to push the cheeks up and the forehead area down to help define the face.
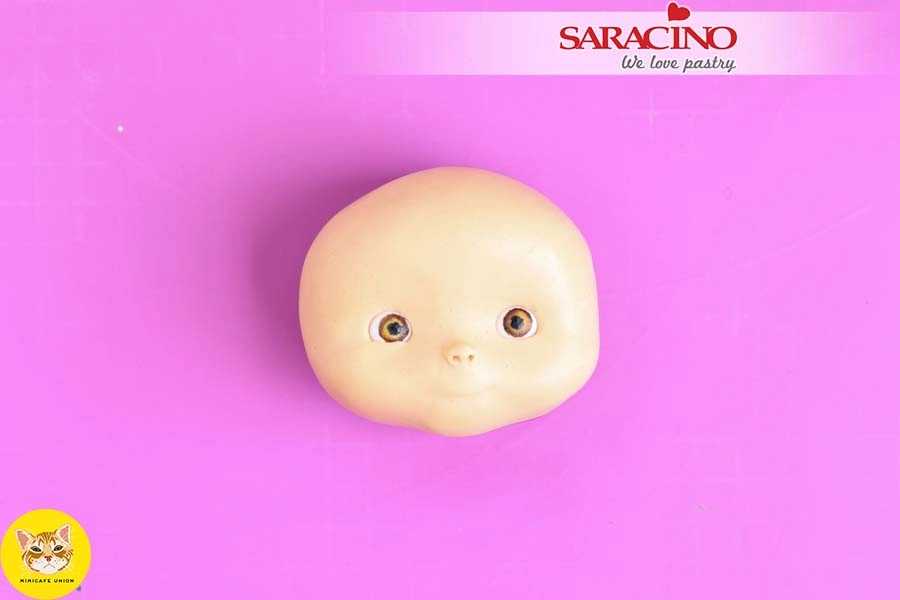
Smooth the surface with your fingers. Use a modelling tool to raise the nose and add nostrils with a toothpick.
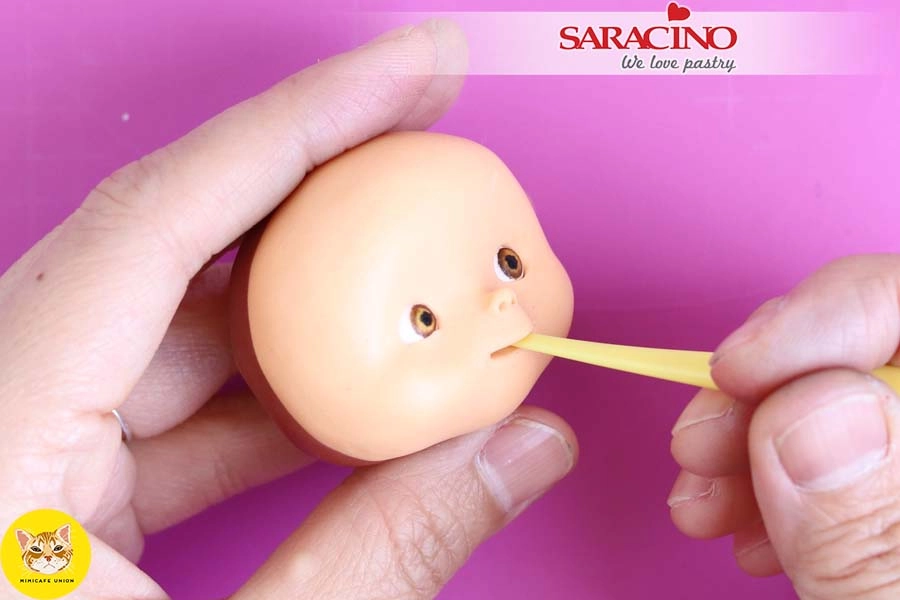
Use a sharp knife to cut the mouth and use a Dresden tool to open the mouth and shape the lips.
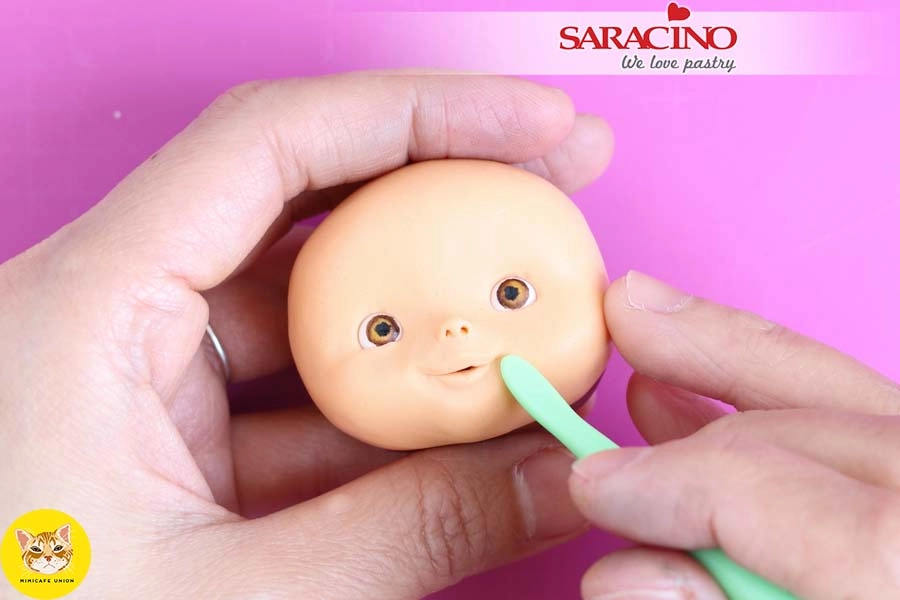
With the Dresden tool shape the mouth and full lip definition with clean, smooth, round edges.
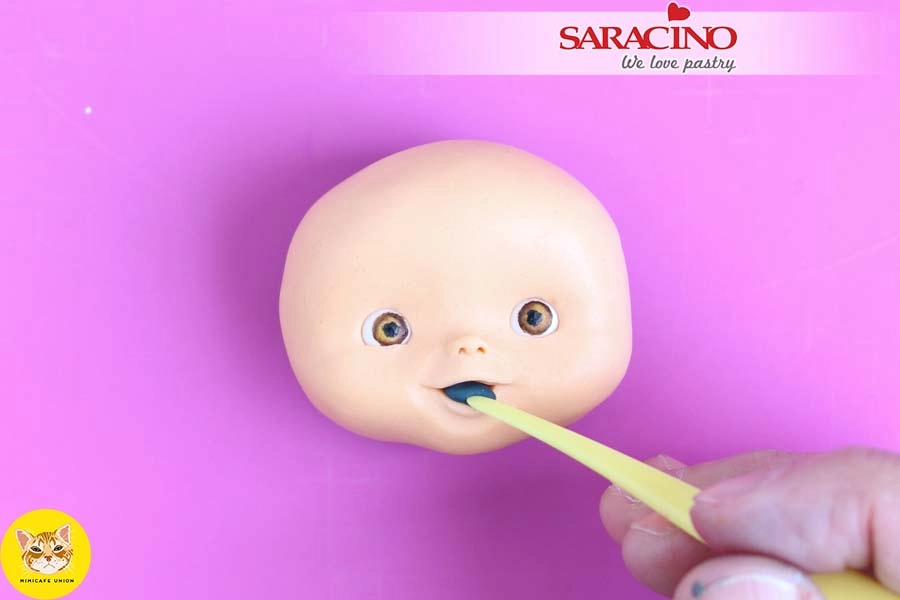
Insert a small amount of black Pasta Model into the mouth.
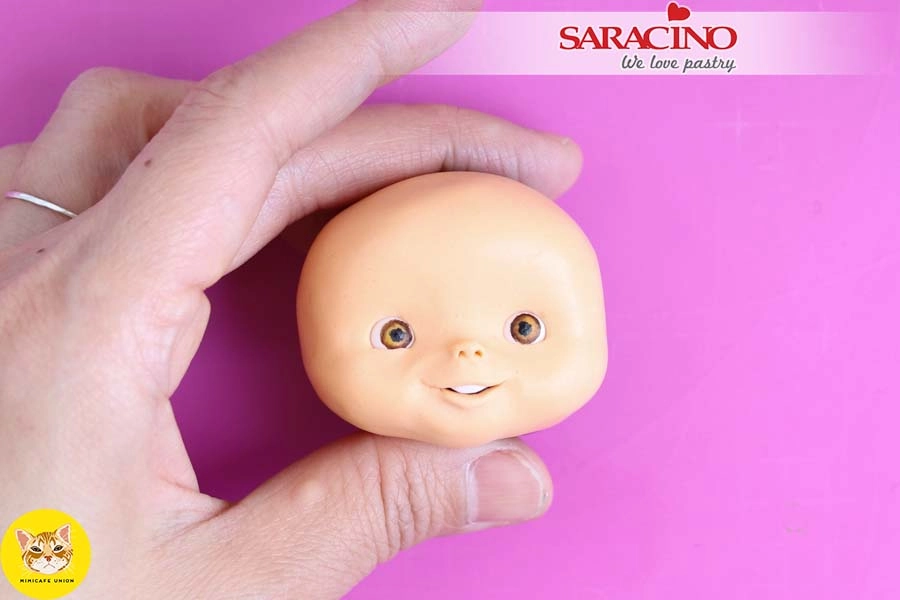
Add a small amount of white Pasta Model for the teeth.
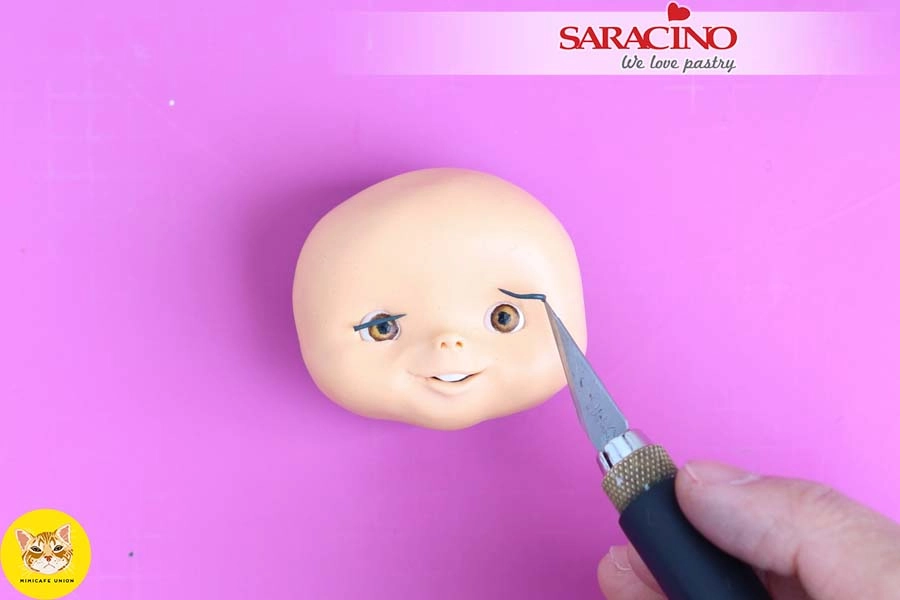
For the eye line roll two tiny pieces of black Pasta Model very thinly.
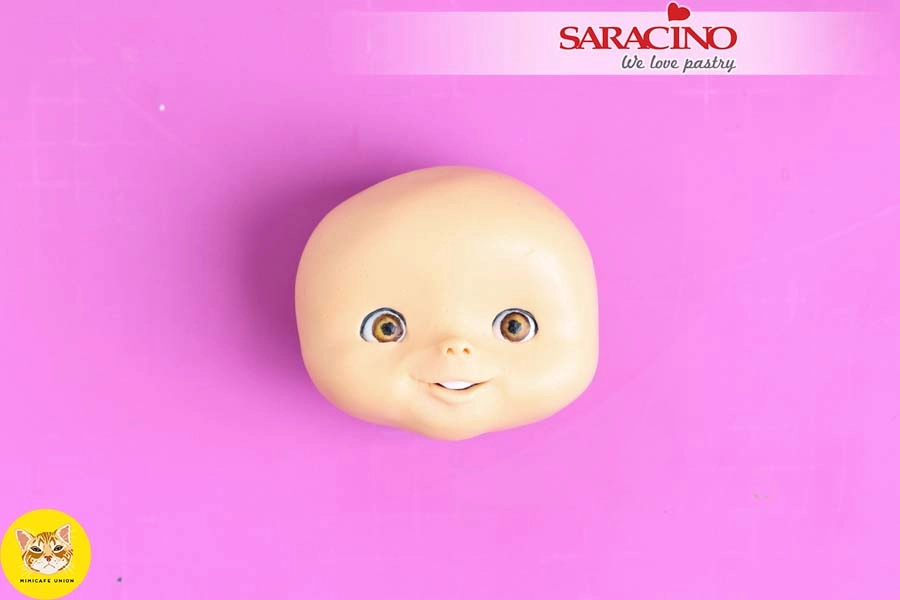
Use a modelling tool to position and fix at the mid point of the upper eyelids to create eye line definition.
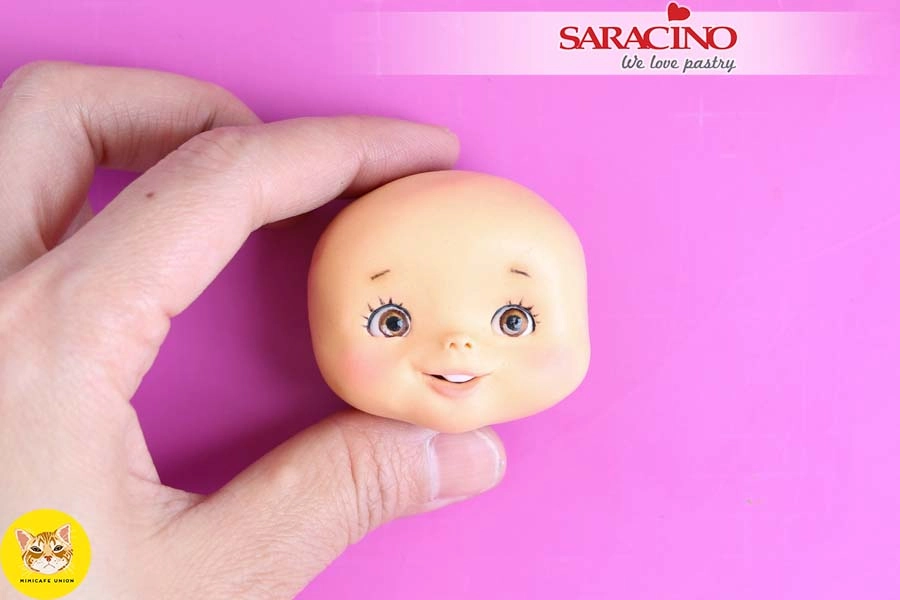
Use a sharp tipped paintbrush coated with edible marker pen ink to paint eyelashes and eyebrows. Use the pink powder dust and a soft brush to dust the cheeks. Take care not to over dust and test out the colour on your hand or paper before applying to the face.
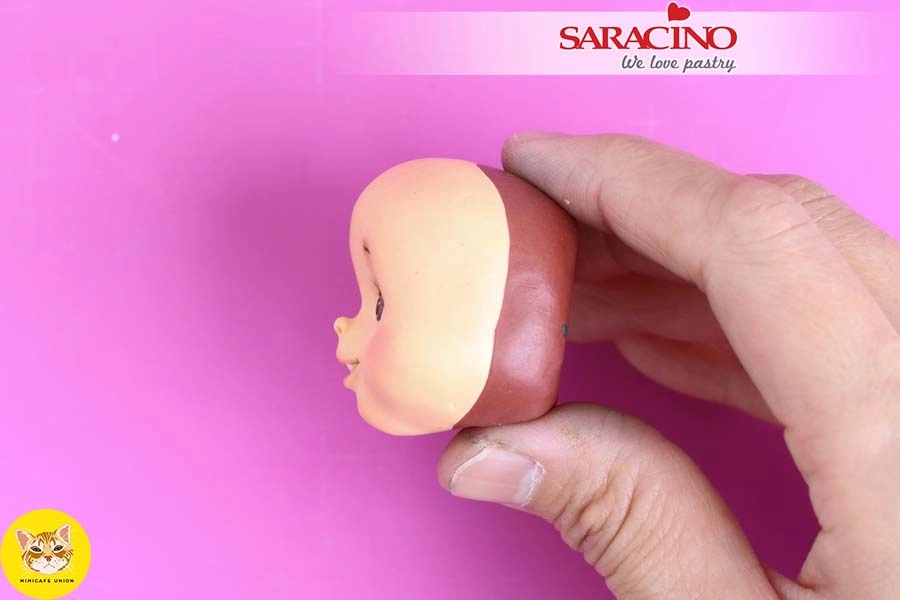
This is the view from the side.
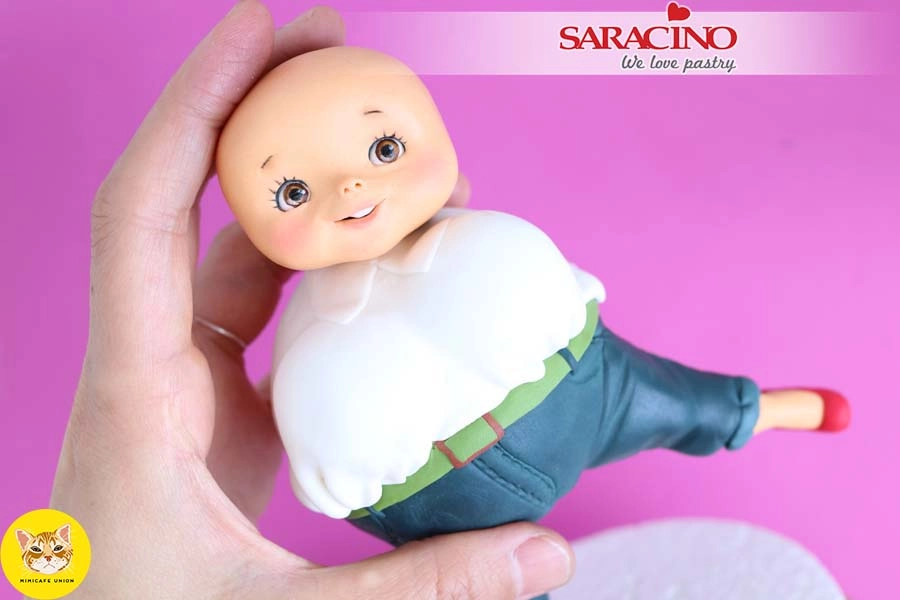
Fix a small piece of light skin tone Pasta Model on the skewer for the neck.
Roll white Pasta Model and cut out the collar. Fix around the neck line. Add the head fixing into place with a little cake gel.
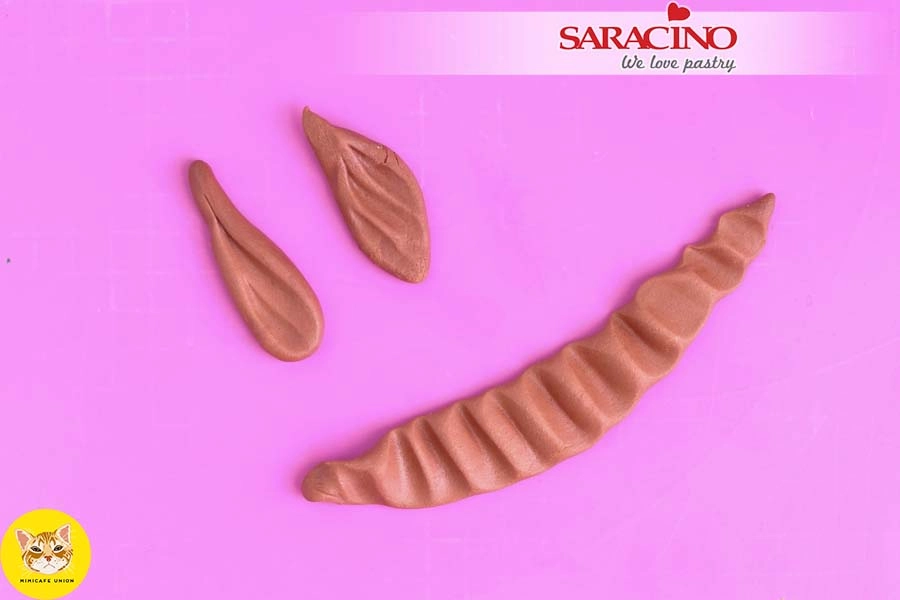
Start building up the hair using brown Pasta Model. Cover the back and sides of the head.
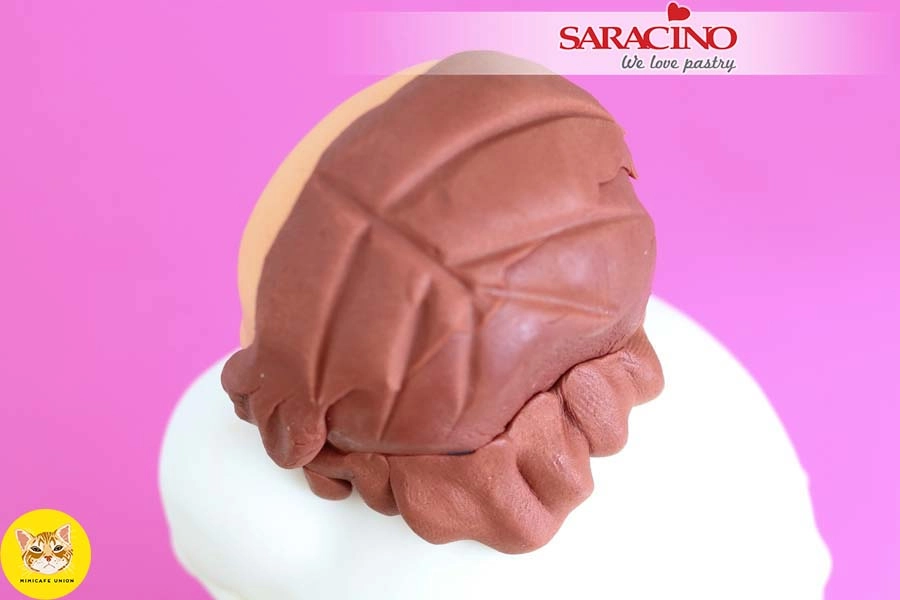
The hair base should look similar to this. It does not have to be too tidy as we will be covering.
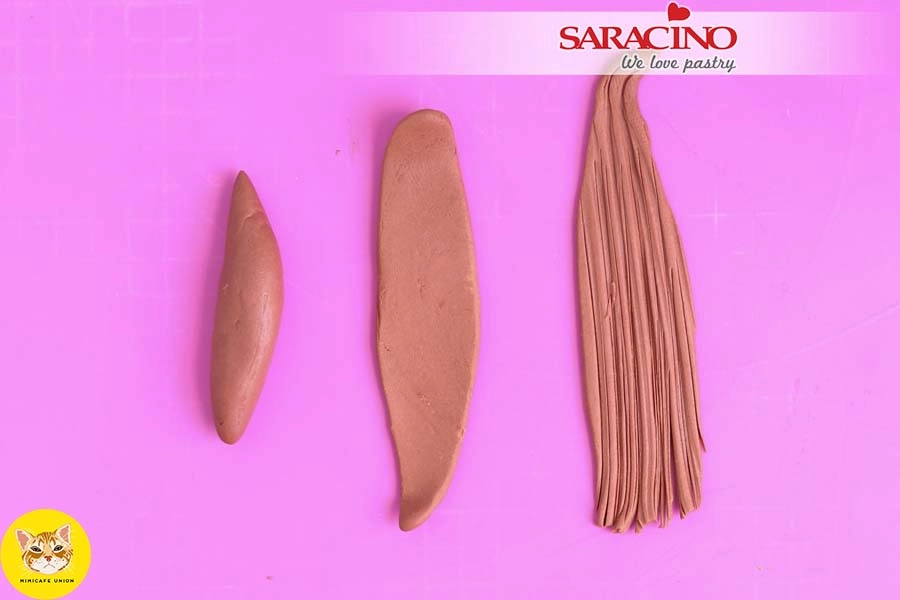
Roll brown Pasta Model into small sausage shapes. Flatten and use a modelling tool to add hair strands. Cut the bottom edges to give a rough effect.
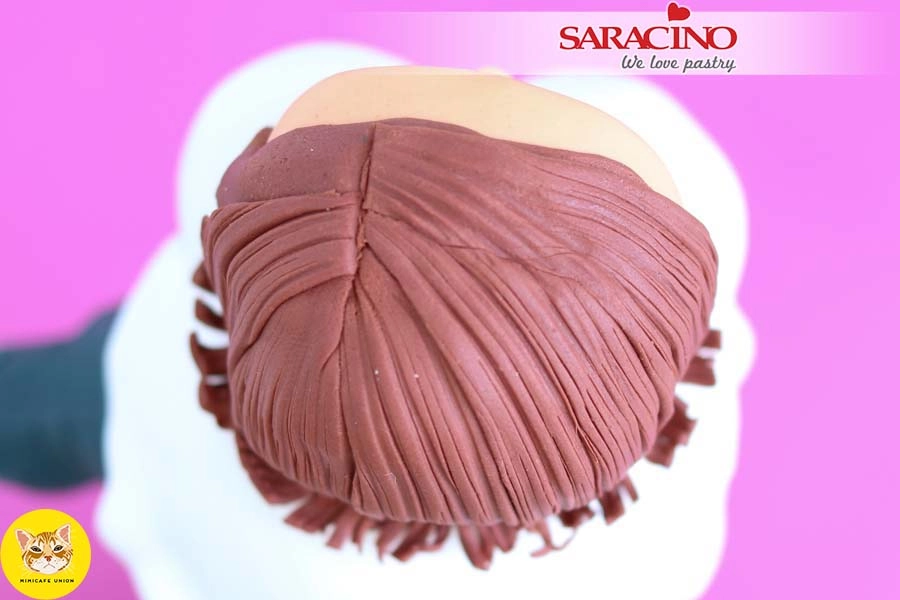
Add the Strands to the head, gradually working from back to front.
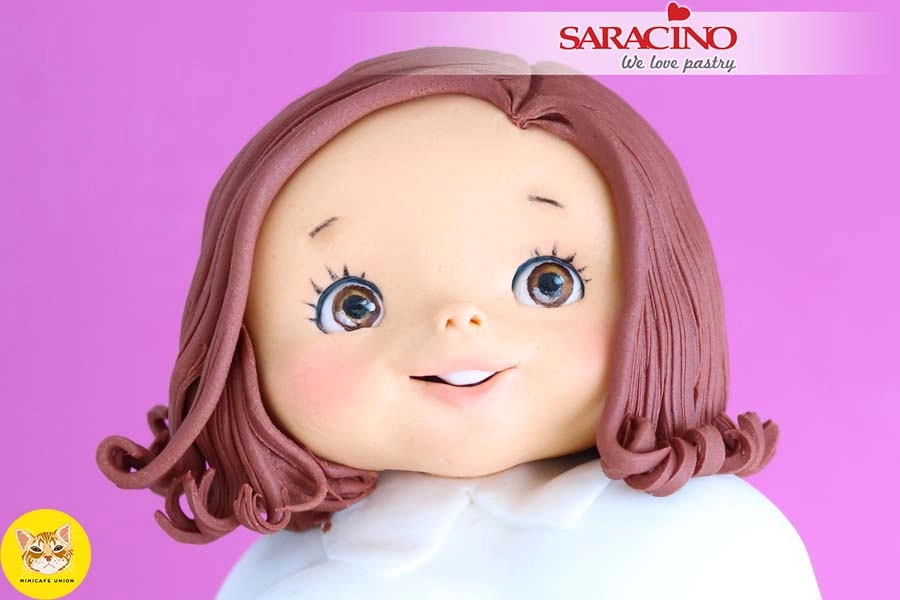
Add curls to the hair ends using a toothpick. Your face should look like this from the front.
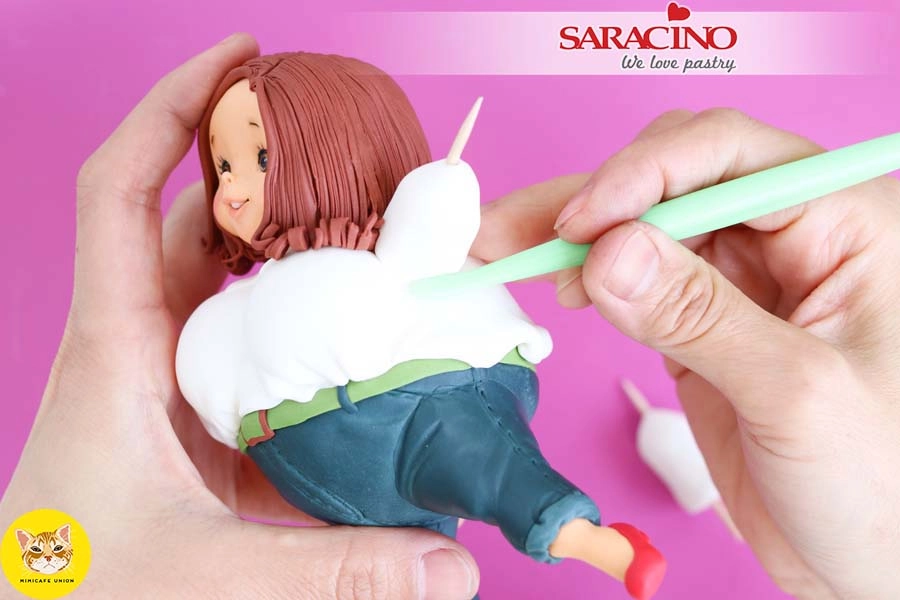
Insert cocktail sticks into the body at the required arm locations.
Using white Pasta Model roll out two arm shapes. Insert a cocktail stick through the centre to form a hole. Apply a little cake gel or corn syrup to the arm cocktail sticks and add the arms. Shape the sleeves with your fingers and blend the joint where the arms meet the body.
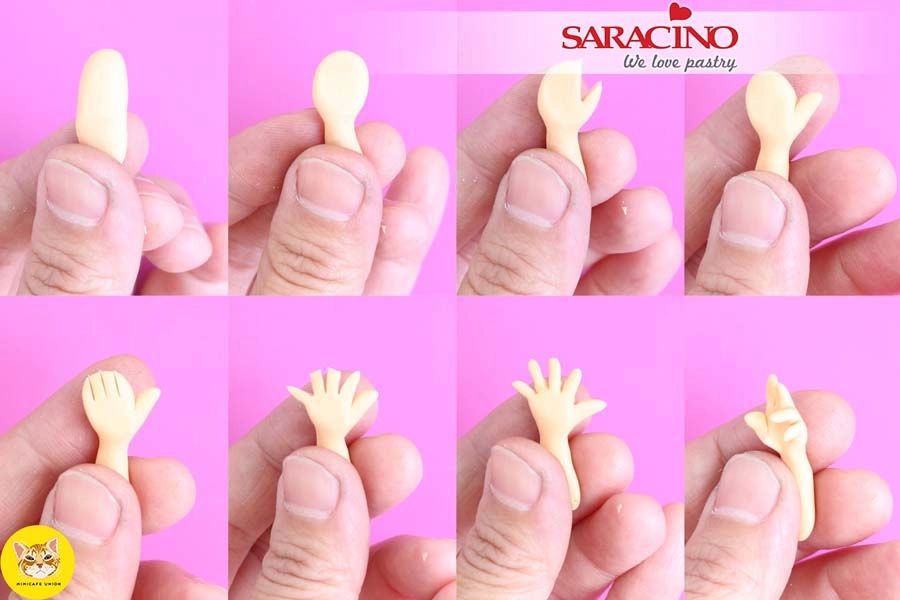
Hands: Begin by rolling a small sausage shape. Press down to make a palm shape. Using a craft knife cut out a small piece to create a thumb. Cut four fingers. Open the fingers and smooth them to remove sharp edges. Add shape to the fingers. Push the thumb forward.
Form a hole in the wrist for connection to the arm. Cut the arm cocktail sticks if they are too long. Apply a small amount of cake gel or corn syrup to the end of the sticks and place the hands at the end of each sleeve. Add white cuffs at the wrists.
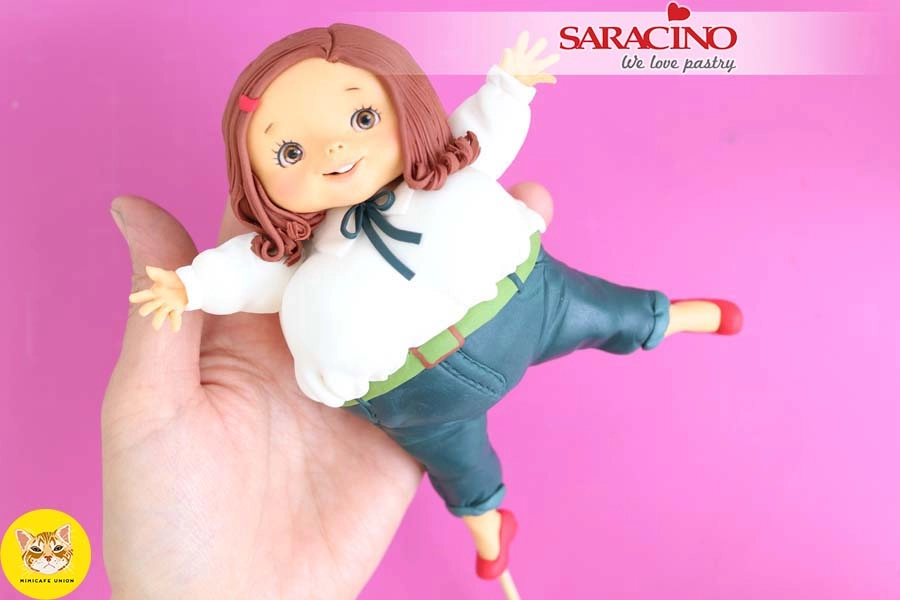
Add a ribbon around the neck and hair accessories. If you are feeling confident you can paint a pattern on the blouse.
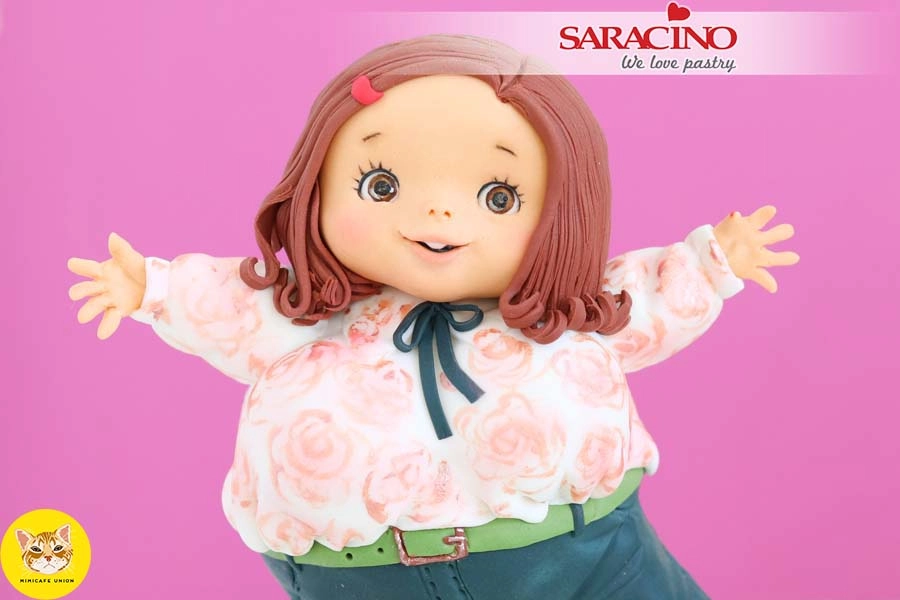
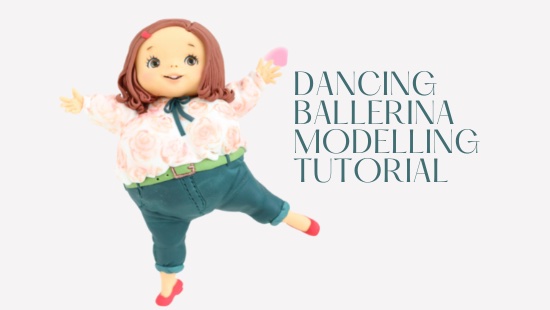
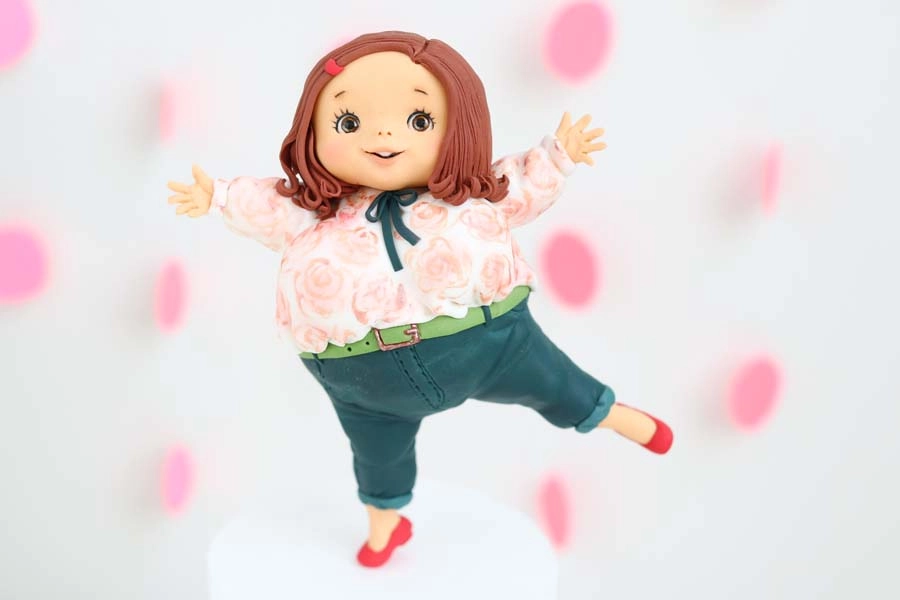
Your dancing figurine is ready for the cake!