Feb 9, 2019 | Cakes, Cupcakes, Modelling
You will need:
- Red sugarpaste treated with tylose powder
- Saracino modelling paste white
- Saracino modelling paste rose
- Saracino modelling paste fuchsia
- Small piece of brown modelling paste
- Small piece of black modelling paste
- Sugar glue
- Work-board
- 58mm round cutter
- Foam drying mat
- Rolling pin
- Paintbrush
- Edible glue
- Small dotting tool or small ball tool
- Sharp knife
- Craft knife
- Blade tool
- Stitching tool
- Large heart cutter (approx. 35mm in diameter)
- 10mm diamond plunger cutter
- 13mm diamond plunger cutter
- Heart plunger cutters (small 6mm, medium 10mm and large 13mm)
- RulerCling film
- Fine tipped edible black pen
- Pink edible dust and brush
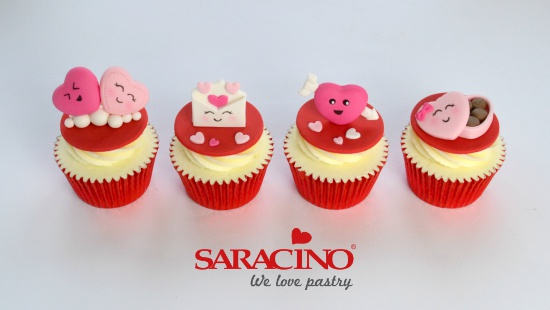
Toppers
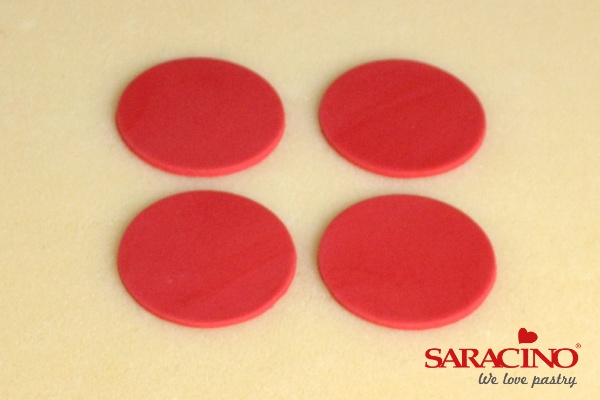
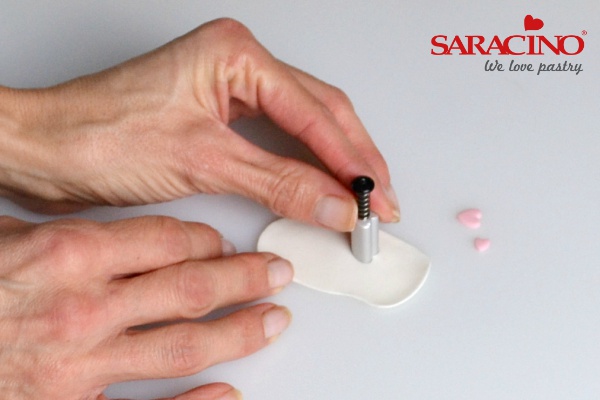
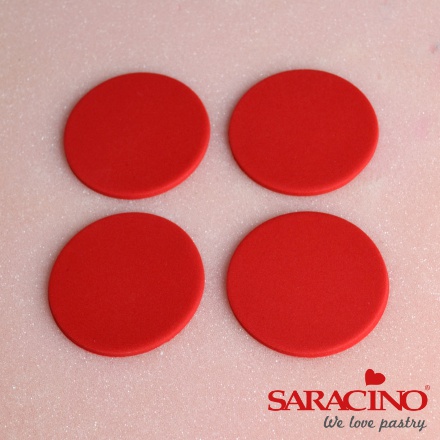
Roll out red sugarpaste (pretreated with tylose powder) and cut 4 x 58mm circles. Set aside to dry completely on foam mat.
Step 1 Hearts on a cloud
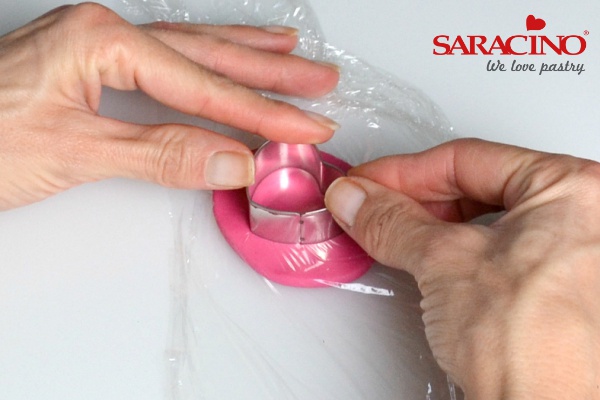
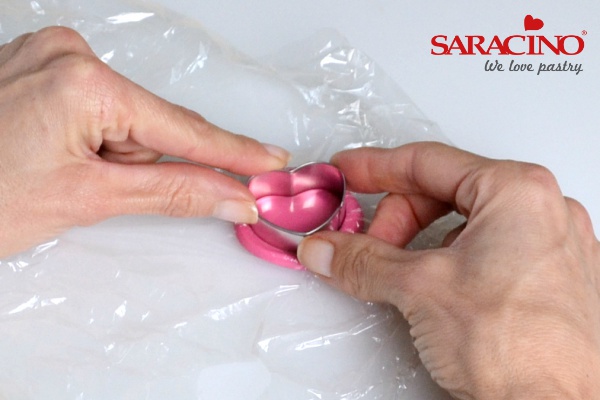
Roll out fuchsia pink paste to approx. 6mm in thickness and place a piece of cling film on top. Smooth over with fingers so there are no creases and push heart cutter down on top. Carefully remove cling film (making sure the cutter hasn’t left any on the top of the paste) and set aside to dry. Repeat with the rose paste.
Step 2
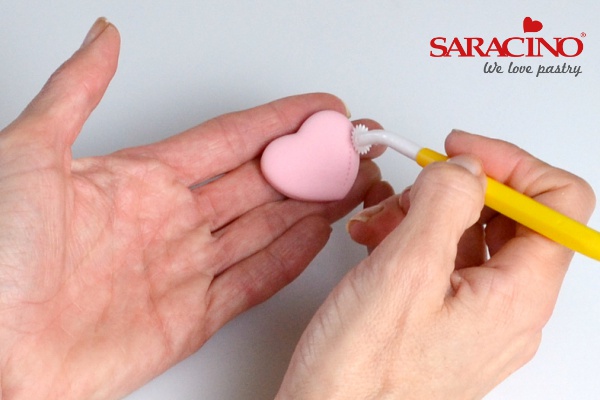
Use a stitching tool to add detail around the edge of the rose heart and leave to dry.
Step 3
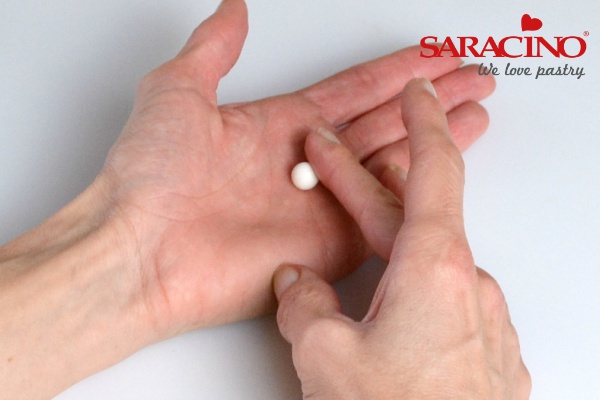
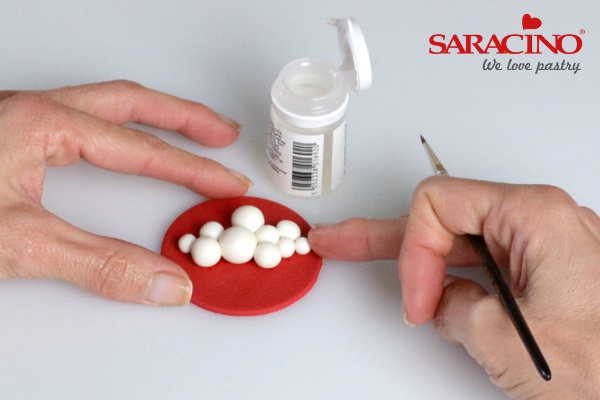
To make the cloud roll out a number of white paste balls in the palm of your hand. Try to have a variety of different sizes.
Step 4
Stick the balls onto the topper with the larger balls in the centre and getting smaller towards the two sides.
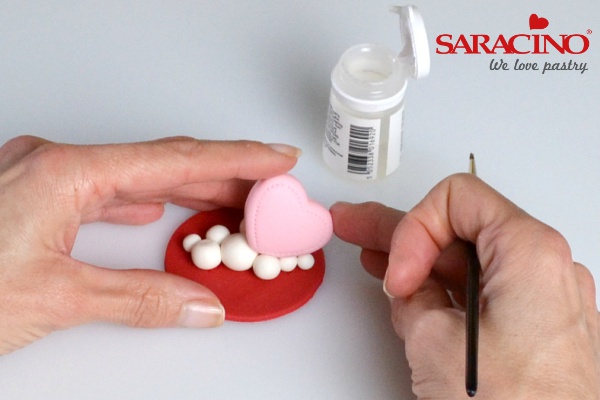
Step 5
Using sugar glue, stick the rose pink heart onto the right hand side of the cloud at an angle.
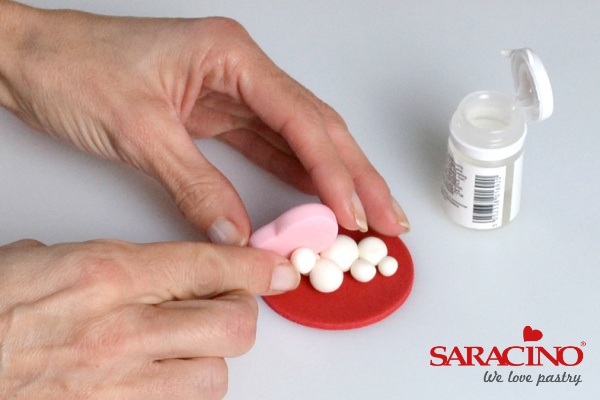
Step 6
If necessary turn the topper around and support the back with another small ball of white paste.
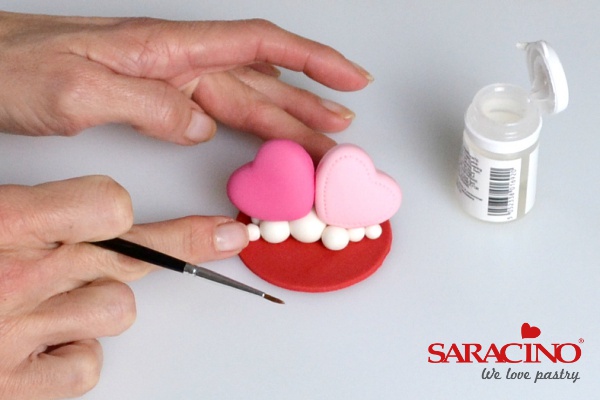
Step 7
Glue the second fuchsia pink heart onto the left hand side of the cloud, also add a spot of glue to join the two hearts together in the middle. Push together gently onto the cloud. Again, if necessary, add a white paste ball to the back to support the heart.
Step 8
You may now want to add in a small white paste ball or two just to finish off the cloud. Leave to dry completely.
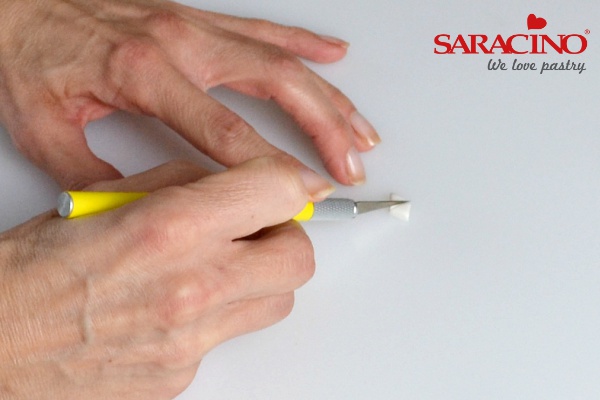
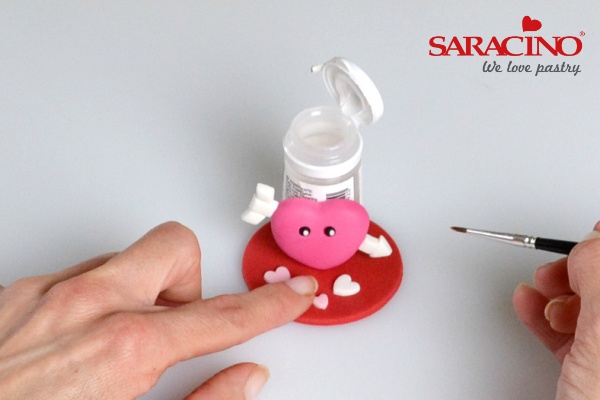
Step 1 Arrow through heart
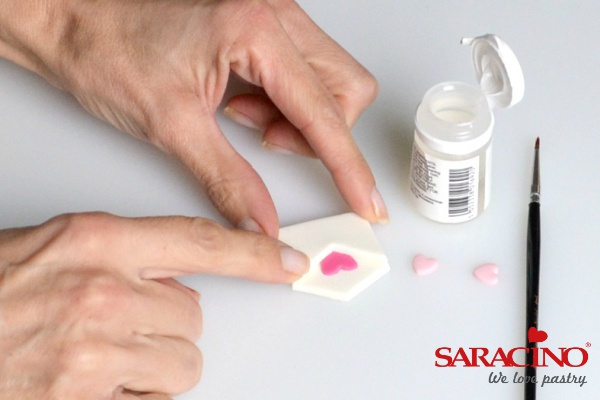
Roll out a piece of fuchsia paste about 6mm in thickness. Cover with cling film and smooth the top. Cut out a heart shape as before.
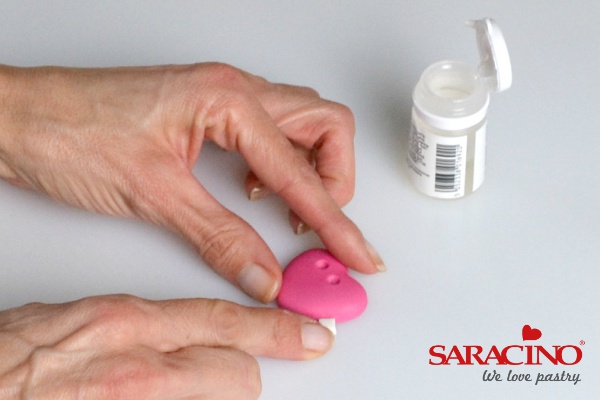
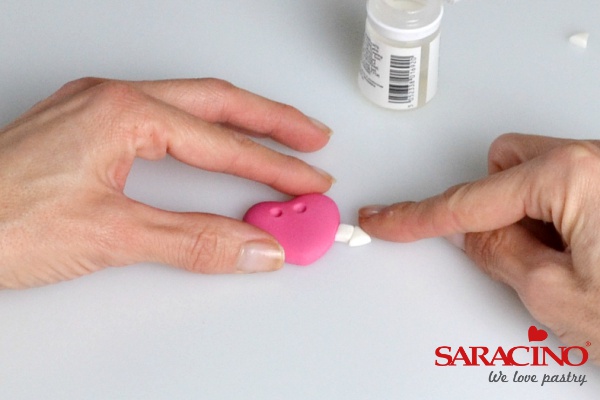
Step 2
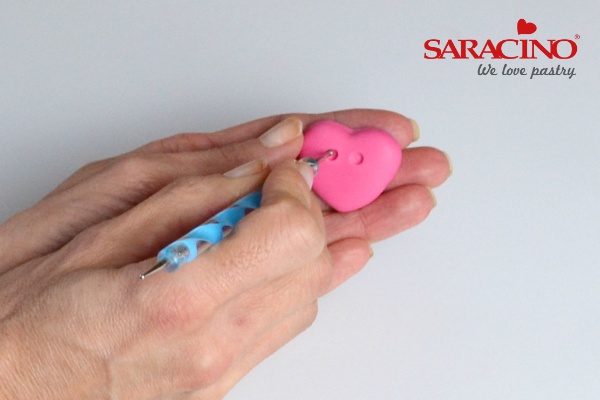
Use a small dotting tool to make two dents for eyes and set aside to dry.
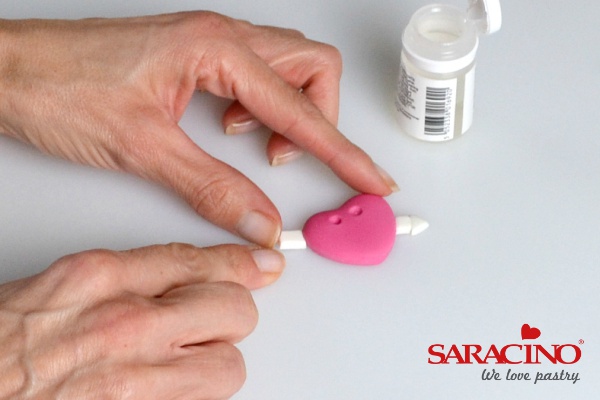
Step 3
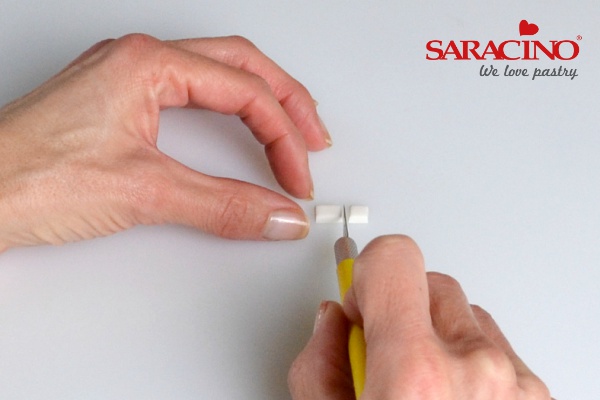
Roll out a piece of white paste approx. 3mm in thickness. Use a knife and ruler to cut a strip approx. 16mm long and 6mm wide. Cut this into two lengths, one 10mm and the other 6mm.
Step 4
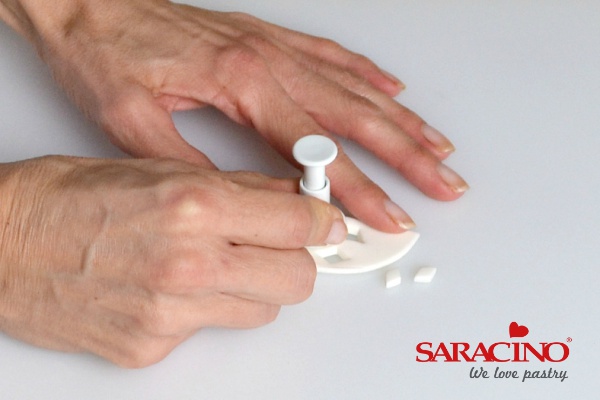
Using a piece of paste of the same thickness cut out 2 small diamonds using your diamond plunger cutter (1cm) Cut another diamond with a 13mm diamond plunger cutter.
Step 5
Cut the larger diamond into two triangles.
Step 6
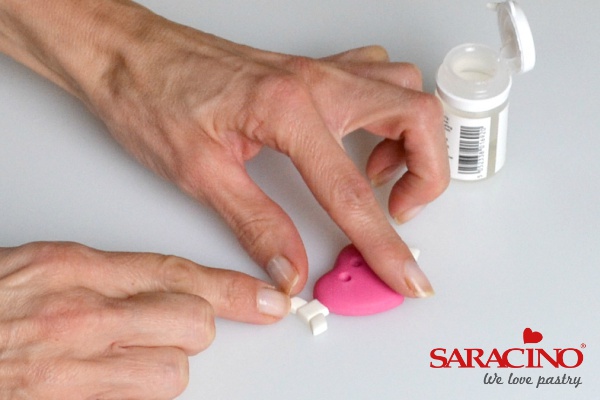
Using sugar glue attach the small rectangle to the heart approximately half way down on the right hand side.
Step 7
Glue one of the triangles to the end of this rectangle
Step 8
Attach the other larger rectangle to the left hand side of the heart opposite the previous piece.
Step 9
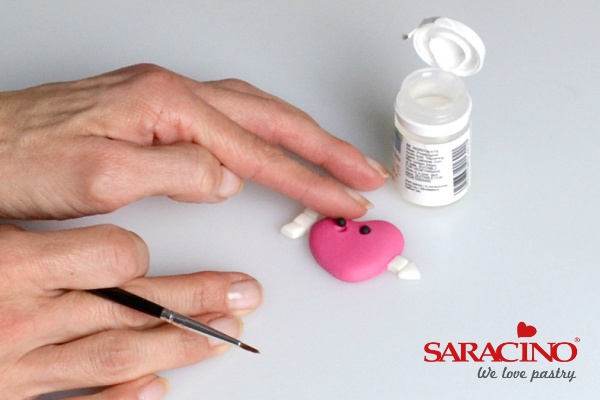
Use sugar glue to add the two small diamonds either side to complete the arrow. Set aside to dry completely
Step 10
Roll two small balls of black paste and glue into dents for eyes. Add small pieces of white paste for accents.
Step 11
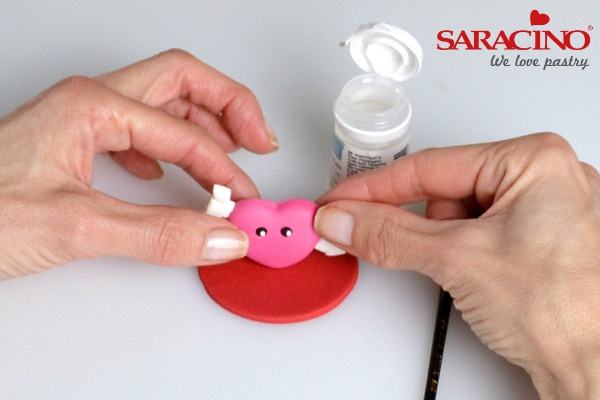
Using a small amount of sugar glue attach the large heart (with arrow) to the middle of one of the toppers and support from behind whilst drying.
Step 12
Using a small heart plunger cutter, cut out one small rose pink heart. Cut two hearts using a medium plunger cutter (one rose pink and one white)
Step 13
Use sugar glue to attach these hearts to the front of the topper
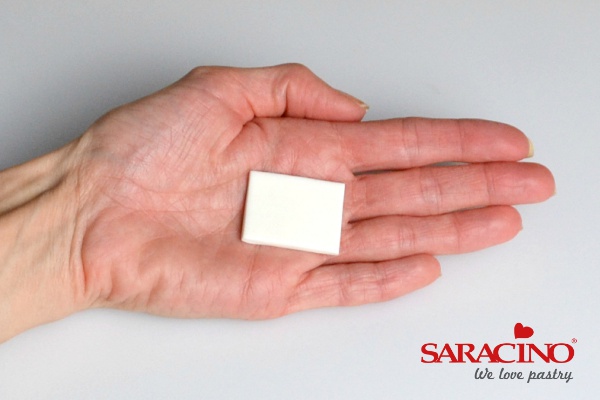
Step 1 Love letter
Roll out the white paste to approximately 3mm in thickness. Cut out a rectangle approximately 35mm by 28mm with a knife.
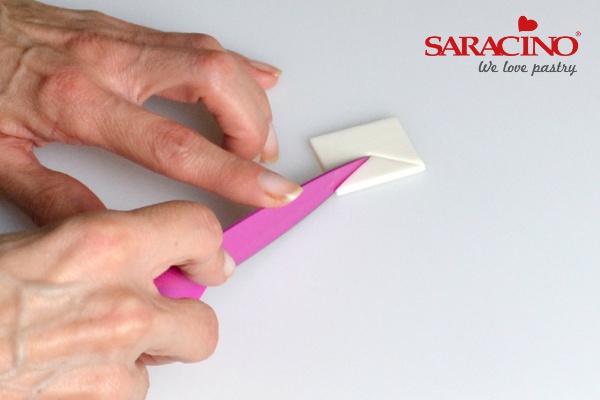
Step 2
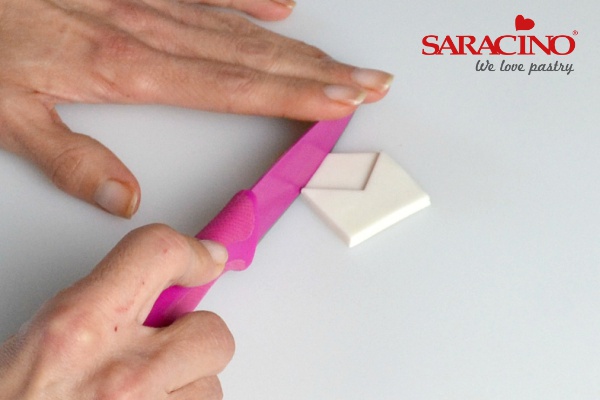
Remove a triangle from one of the long sides of the rectangle with a knife.
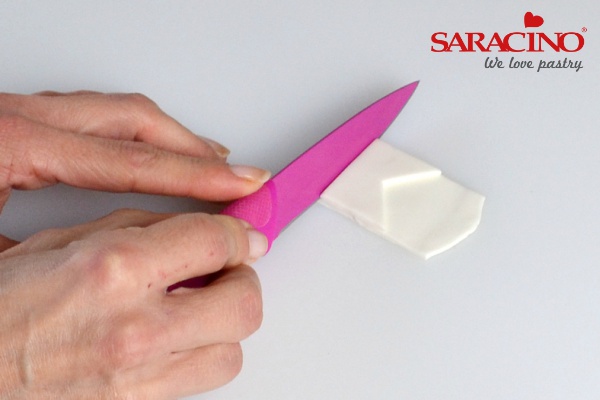
Step 3
Roll out another piece of white paste thinner to approximately 2mm in thickness. Lay the cut shape on top and using a knife cut around the three straight sides.
Step 4
Now cut the top of the envelope to make it look open
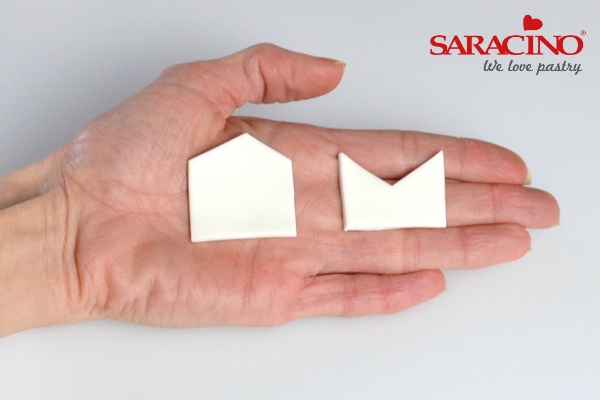
Step 5
You will have two shapes like this.
Step 6
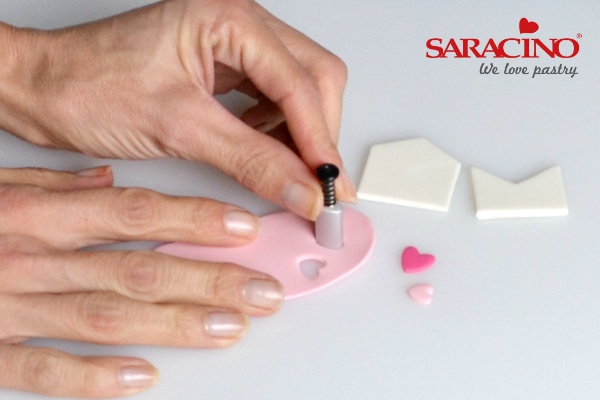
Roll out the fuchsia paste and rose paste fairly thinly. Using the large and medium heart plunger cutters, cut out one large fuchsia heart and two medium rose pink hearts.
Step 7
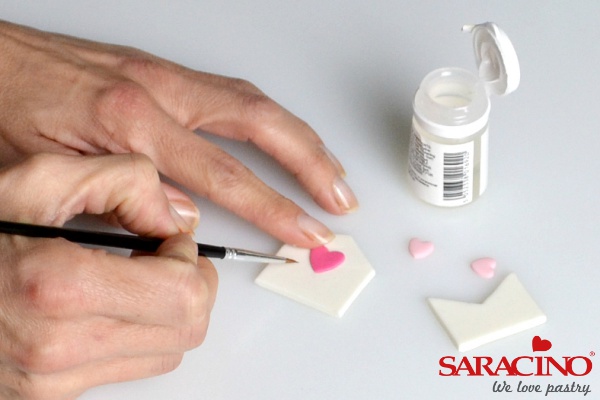
Attach the larger fuchsia heart to the envelope just slightly above the middle checking that when the other piece is overlaid it is poking out. Apply glue at the bottom of the letter and fix to the cupcake topper
Step 8
Use sugar glue to attach the other piece of the envelope on top.
Step 9
Add the two medium sized rose pink hearts to the top of the envelope with sugar glue.
Step 1 Chocolate box
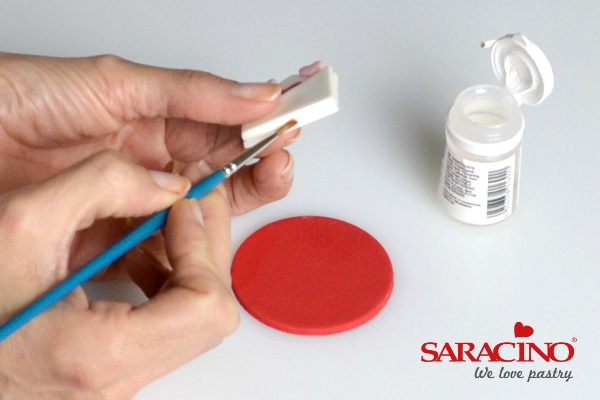
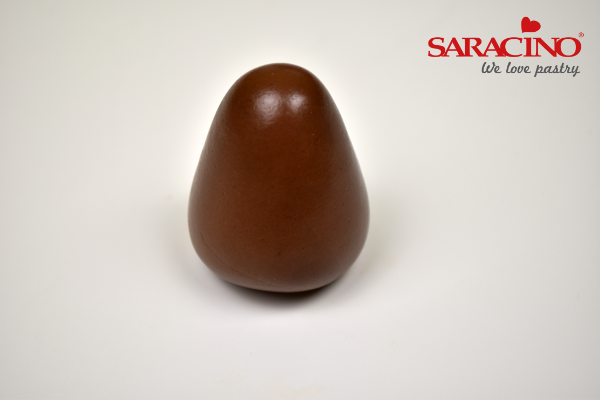
Roll out the rose pink paste to approximately 2mm in thickness and cut out a large heart.
Step 2
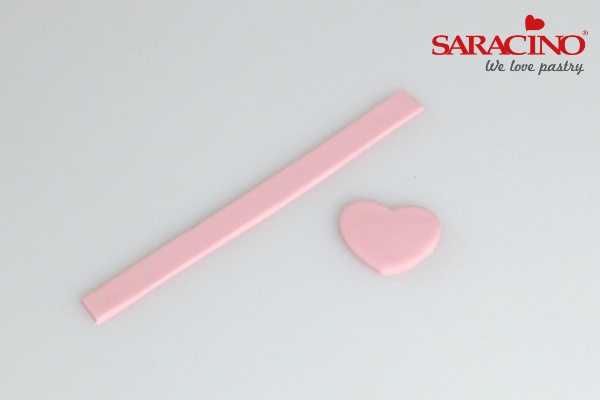
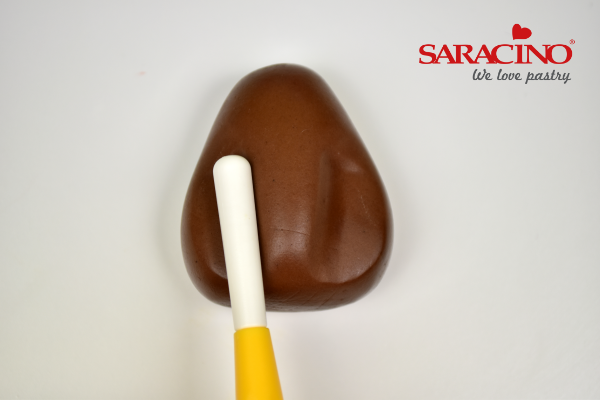
Roll a strip of rose pink paste and set aside for a minute to slightly harden (as this makes the next step easier) using a long bladed knife in a rocking motion cut a strip approximately 1cm in width.
Step 3
Brush a small amount of sugar glue around the side of the heart.
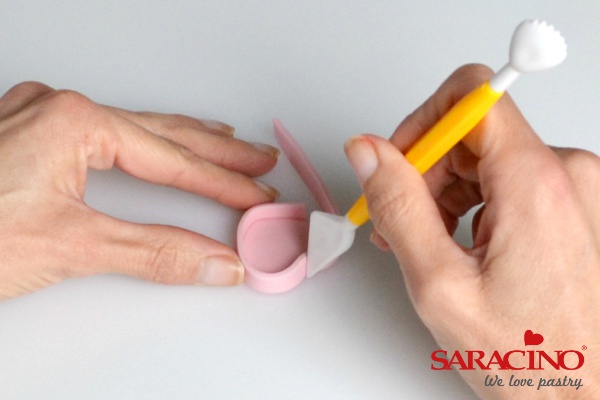
Step 4
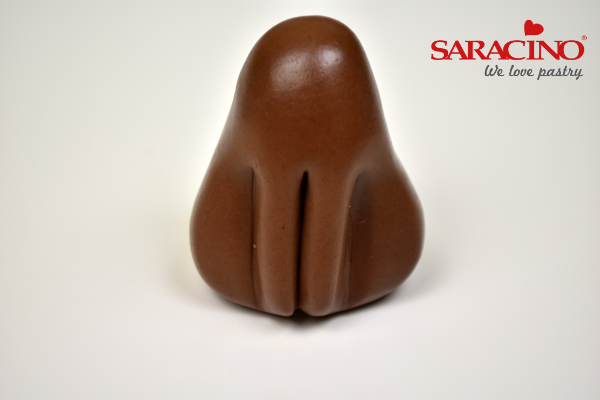
From the middle of the left hand side, start to wrap the strip around the edge of the heart to create the side of the chocolate box
Step 5
Use the blade tool to push the paste into the shape of the heart.
Step 6
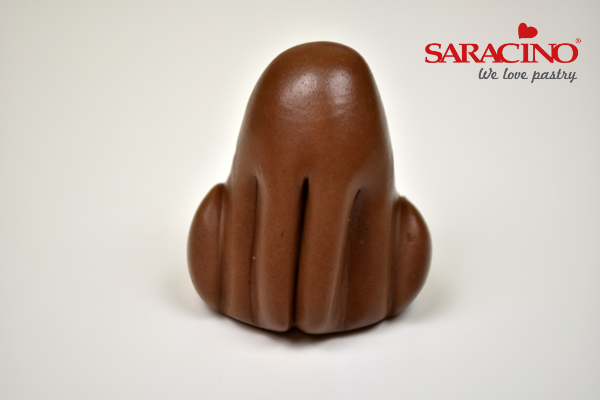
With a craft knife cut off the excess paste and use a small amount of sugar glue to stick the two ends together.
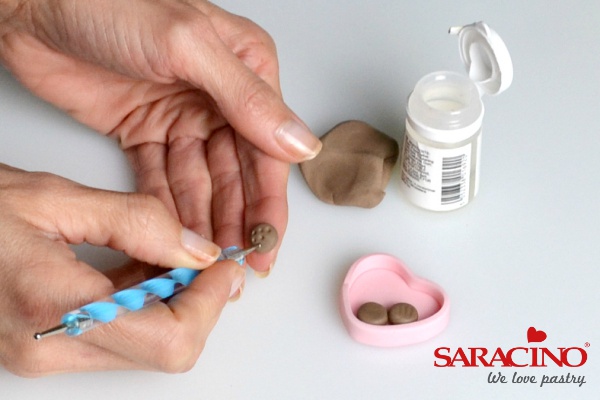
Step 7
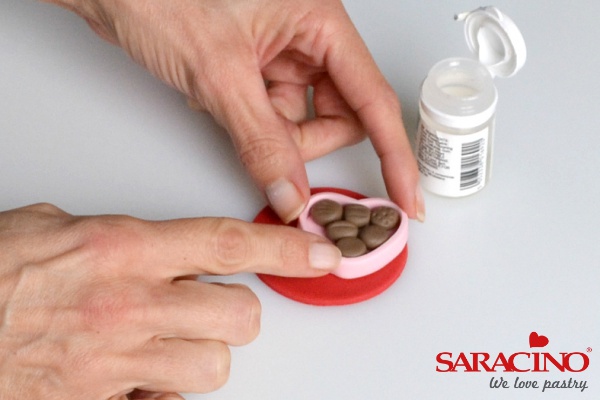
Using small balls of brown paste make chocolates for the inside of the box. Mark the tops of the chocolates with a small dotting tool, shell tool etc. Secure inside the box with sugar glue. Don’t worry if there is a gap on the left hand side as the box lid will cover this.
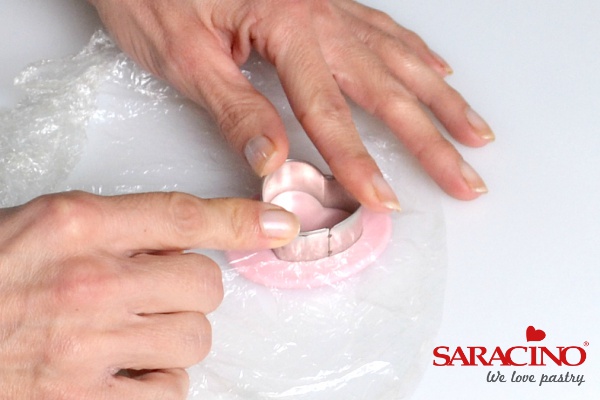
Step 8
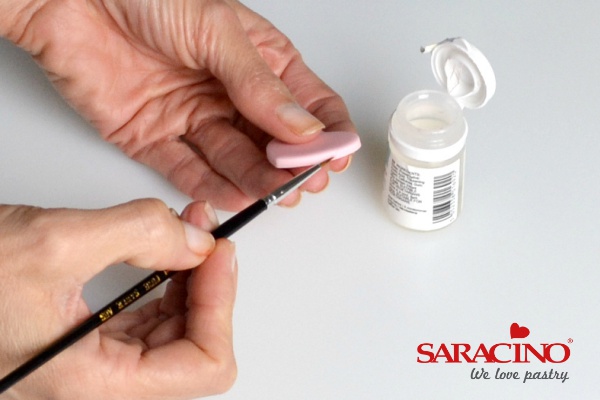
To make the lid roll a piece of rose pink paste approximately 4mm in thickness. Cover with cling film as before and cut out a heart.
Step 9
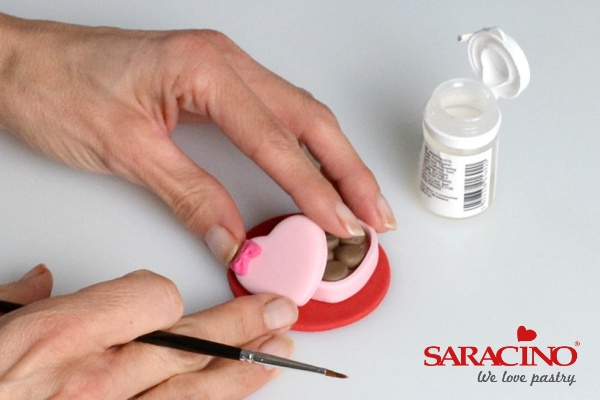
Take a small piece of fuchsia paste and use a small mould to make a bow. Glue this to the top left of the heart with sugar glue.
Step 10
Stick the chocolate box to the right hand side of the topper with sugar glue.
Step 11
Add the lid at an angle securing with sugar glue. Set this to dry.
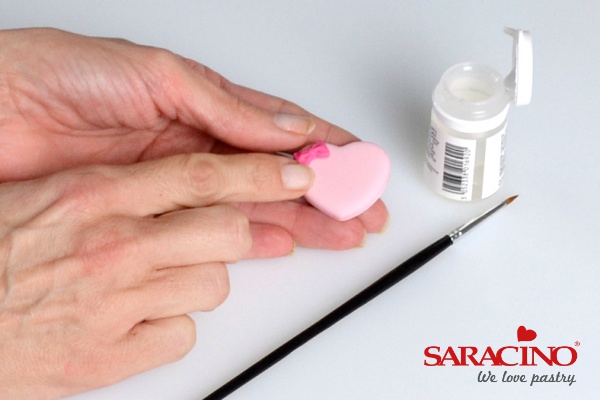
When completely dry use an edible black pen to mark on the faces and eyes of the hearts, envelope and chocolate box. Be very careful here as they are still quite fragile. Use some soft pink edible dust to add pink cheeks to the pale pink heart on the cloud, the pale pink chocolate box lid, and the envelope.
Dec 16, 2018 | Cakes, Cupcakes, Modelling
You will need:
- Red sugarpaste treated with tylose powder
- Saracino modelling paste white
- Saracino modelling paste green
- Saracino modelling paste light green
- Saracino modelling paste red
- Saracino modelling paste black
- Small piece of yellow modelling paste (I coloured saracino white with melon yellow food colouring)
- Small piece of blue modelling paste (I coloured saracino white with baby blue food colouring)
- Sugar glue
- Non edibles
- Workboard
- 58mm round cutter
- Foam drying mat
- Rolling pin
- Paintbrush
- Small ball tool/Large ball tool
- Smoother
- Sharp knife
- Craft knife
- PME blade tool
- 29mm circle cutter
- 10mm diamond plunger cutter
- 6mm circle cutter
- 11mm star plunger cutter
- Fine tipped edible black pen
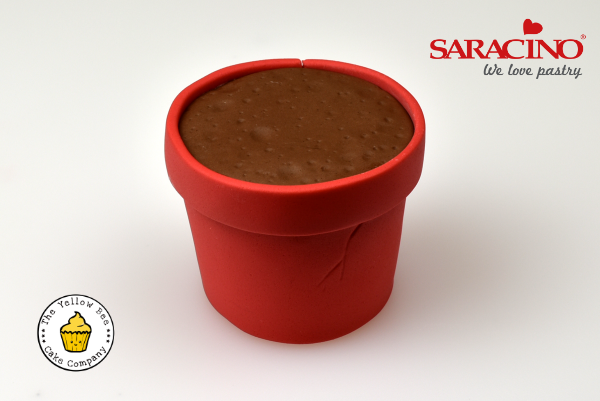
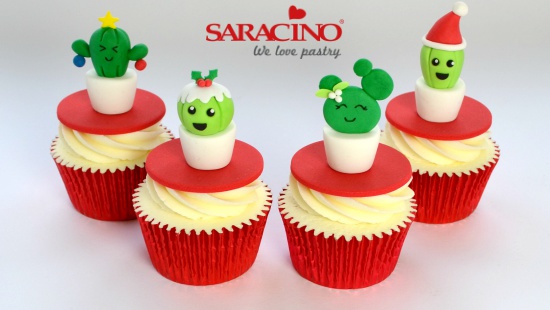
Step 1
Roll out the red sugarpaste and cut out four 58mm circles. Leave to dry on a foam mat
Step 2
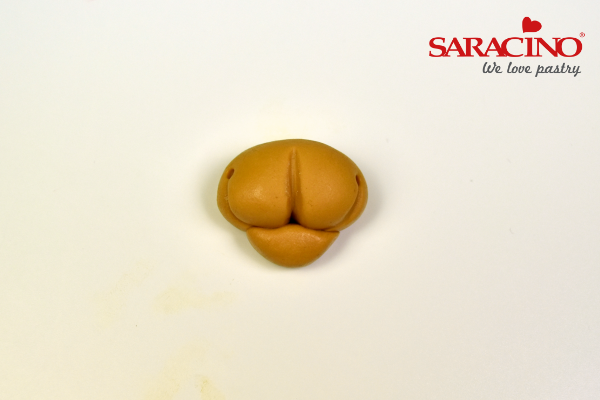
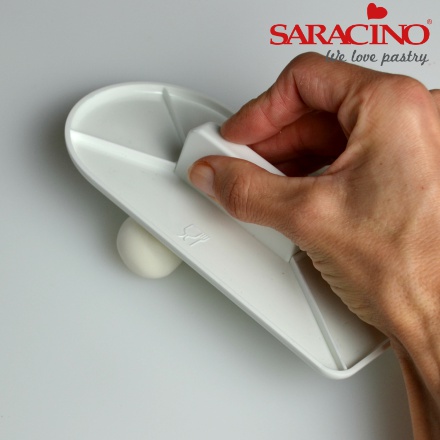
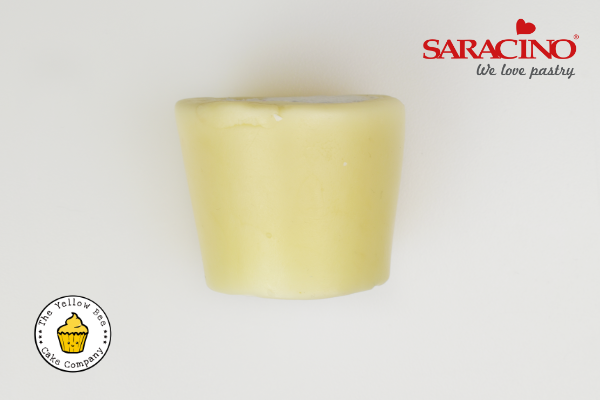
Take a piece of white paste about the size of a large cherry tomato. Holding a smoother at an angle, roll back and forth to create a large teardrop shape.
Step 3
Using a sharp knife, cut the excess off at either end to make the pot. Repeat this three times to make four pots and set aside.
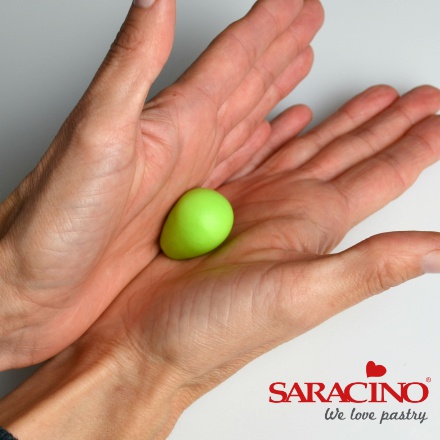
Step 4
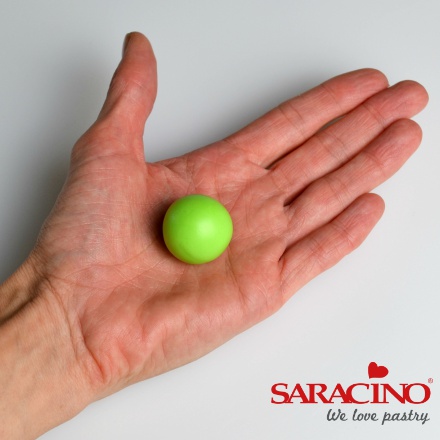
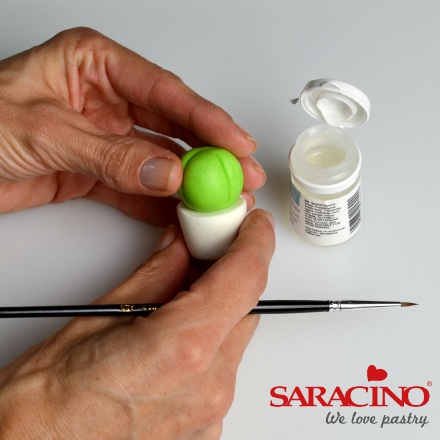
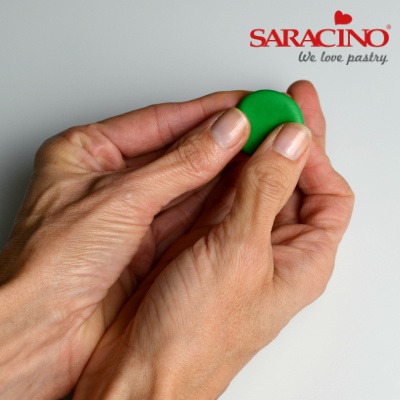
Roll a cherry tomato sized piece of light green paste into a ball in the palms of your hands.
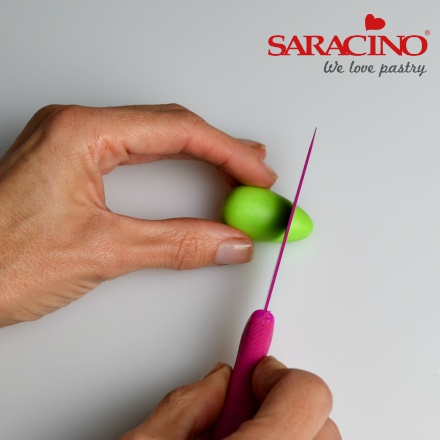
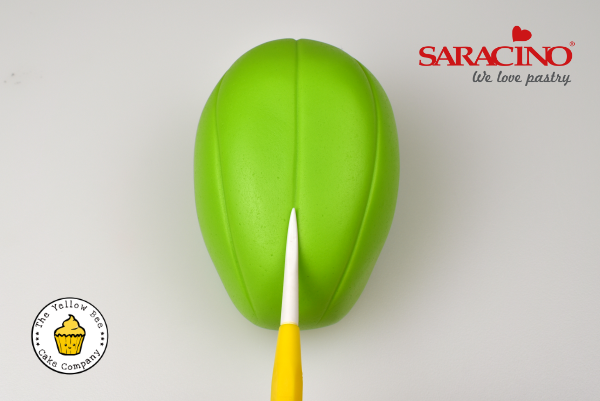
Step 5
Using a blade tool mark four deep creases into the cactus.
Step 6
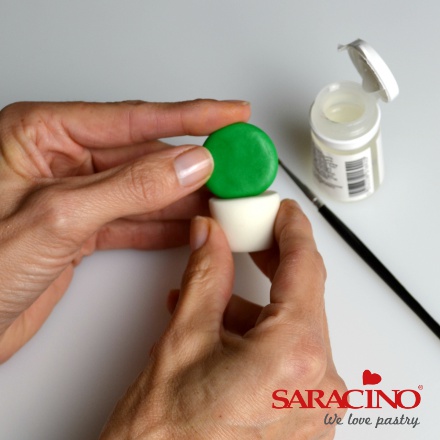
Using some sugar glue attach the cactus to one of the pots.
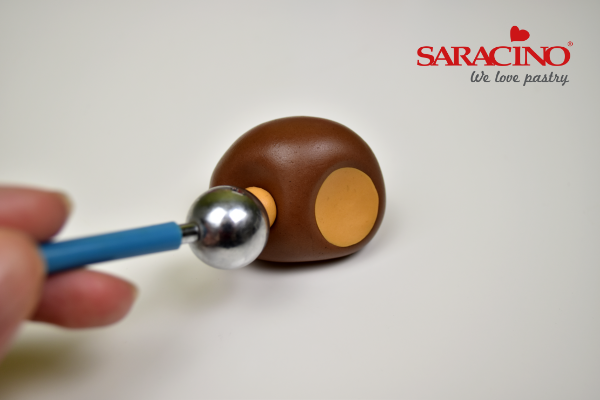
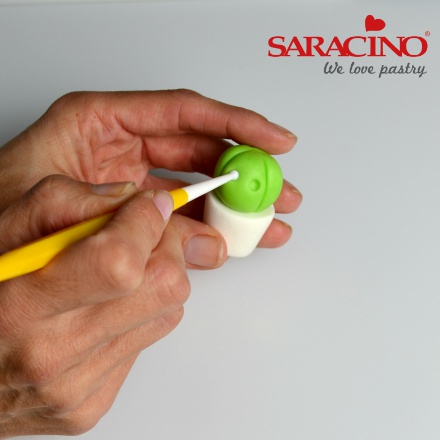
Step 7
In one of the spaces use a small ball tool to make dents for the eyes.
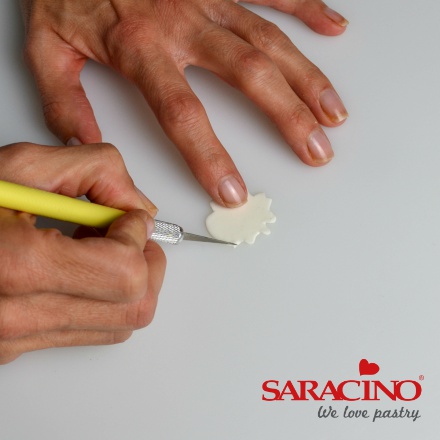
Step 8
Cut out a 29mm circle of thin white paste and leave it to harden for a minute. Use a craft knife to cut a wiggly line all the way round to make the cream for the top of the cactus Christmas pudding.
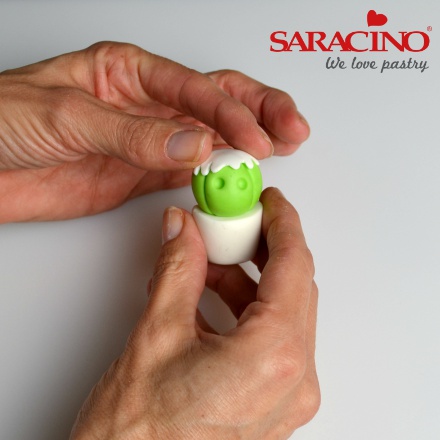
Step 9
With your fingers, press this onto the top of the pudding using a spot of edible glue if necessary.
Step 10
To make the holly cut out two diamonds using the 1cm plunger diamond cutter and use a straw to remove the corners off two of the opposite sides
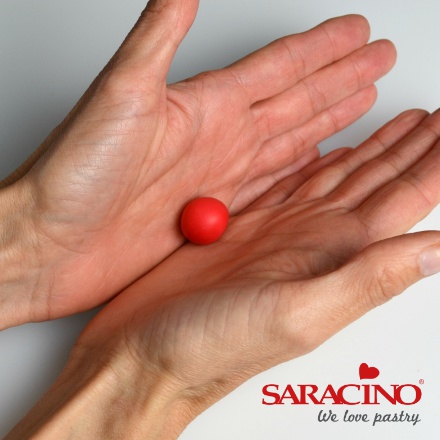
Step 11
Roll three tiny balls of red paste and attach the leaves and berries to the top of the pudding with sugar glue.
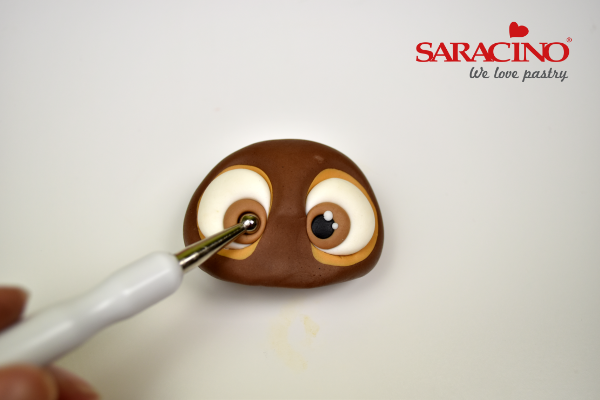
Step 12
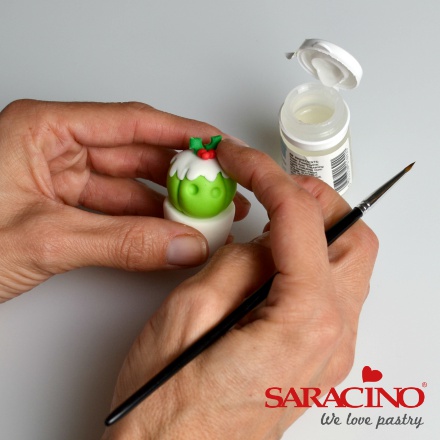
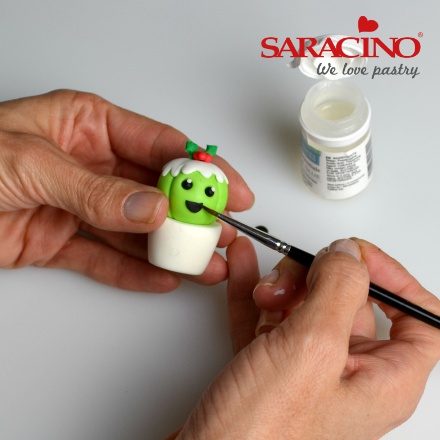
For the eyes roll two small balls of black paste and secure with sugar glue. Add tiny white balls of paste as highlights. Roll a piece of black paste thinly and cut out a 6mm circle. Cut in half with a craft knife and attach one half for the mouth. Attach this pot to one of the red toppers with sugar glue.
Step 13
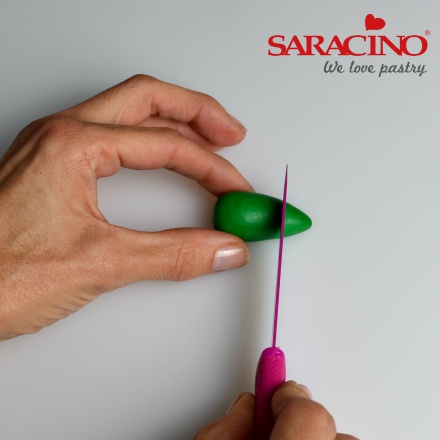
Roll a cherry tomato sized piece of light green paste into a ball and angle your hands to roll into a teardrop shape.
Step 14
Roll a cherry tomato sized piece of light green paste into a ball and angle your hands to roll into a teardrop shape.
Step 15
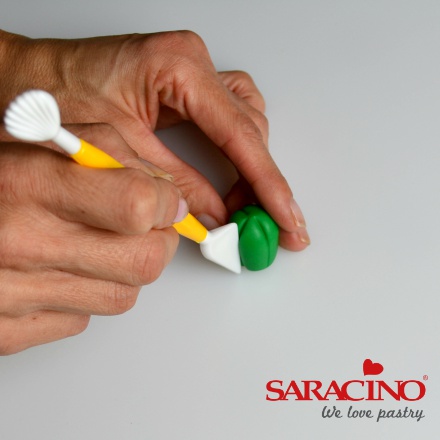
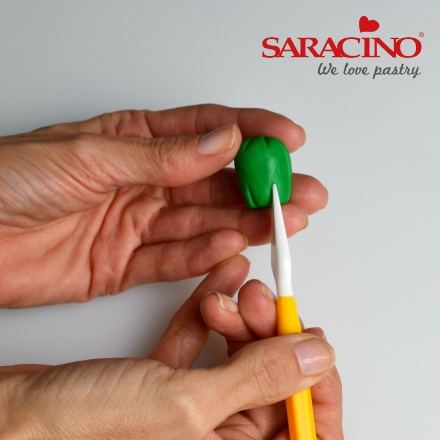
Mark 5 lines on the cactus with a blade tool as before and attach the cactus to the pot with sugar glue. Mark in two dents for the eyes with a small ball tool as before.
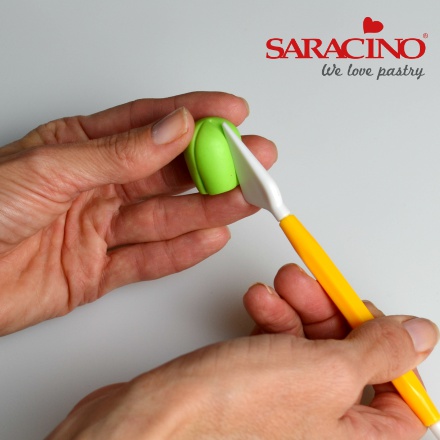
Step 16
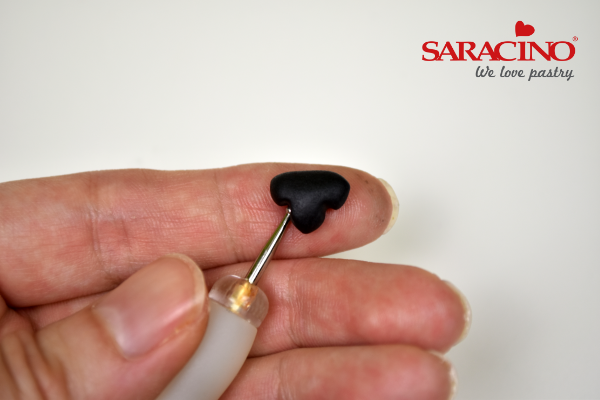
To make the Santa hat roll a large marble sized piece of red paste into a ball. Angle your hands and roll into a teardrop shape
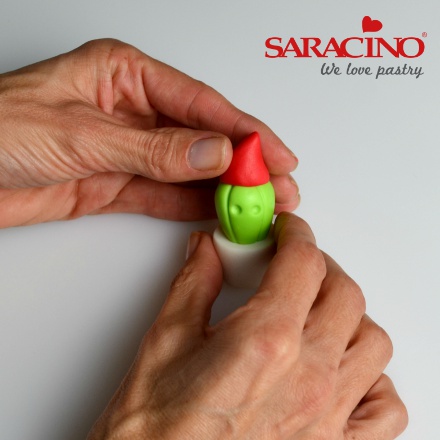
Step 17
Cut off the rounded end with a sharp knife to make the hat and stick onto the cactus’ head using sugar glue if needed. Bend the tip over slightly
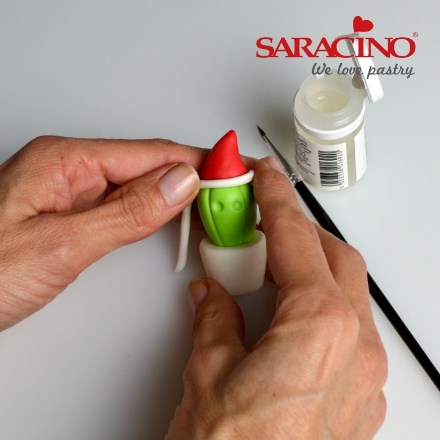
Step 18
Roll a long sausage of white paste (about 3mm thick) and flatten slightly. Wrap around the base of the hat and trim off excess at the back with craft knife. Use a spot of sugar glue to secure if needed. Roll a small pea sized piece of white paste into a ball and attach to the top of the hat with sugar glue
Step 19
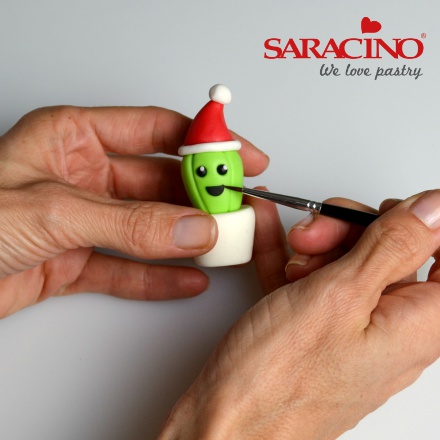
To finish off add two small balls of black paste for the eyes and add white accents as before. For his mouth roll a piece of black paste thinly and cut out a 6mm circle. Cut in half and attach one half. Glue the cactus pot to a red topper.
Step 20
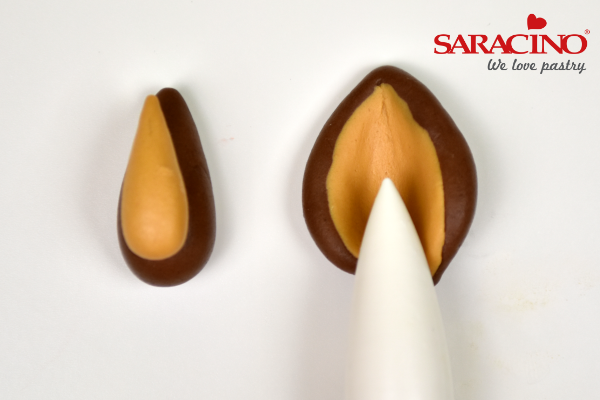
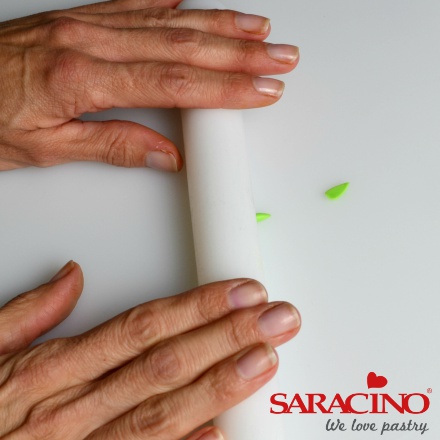
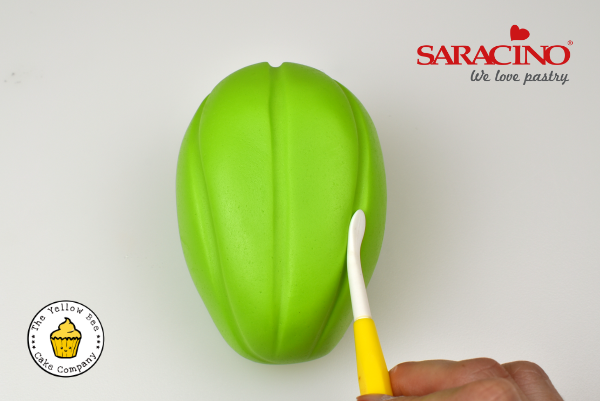
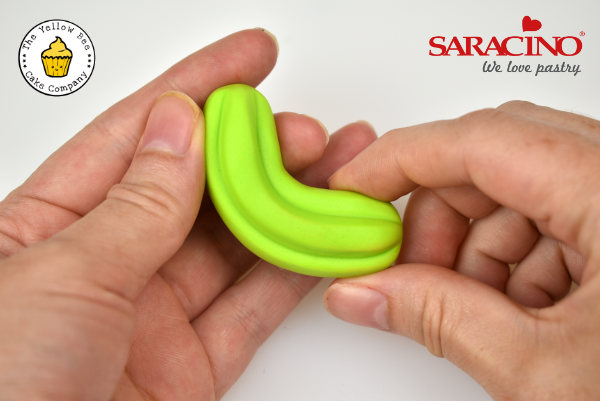
Roll a cherry tomato sized piece of green paste into a ball. Angle you hands and roll into a tear drop shape. Cut off the pointed end with a sharp knife.
Step 21
Place on board and in a rocking motion from bottom to top mark on three lines using a blade tool. These will be the back of the cactus
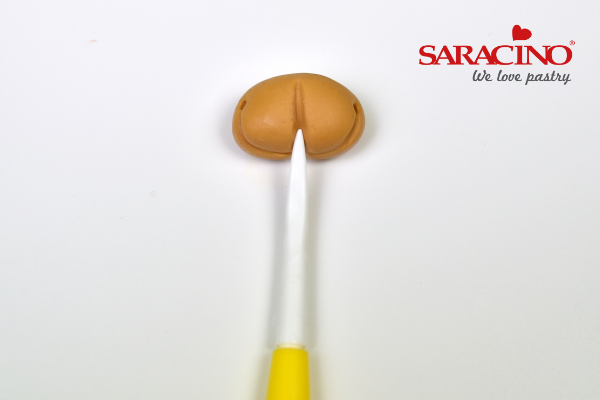
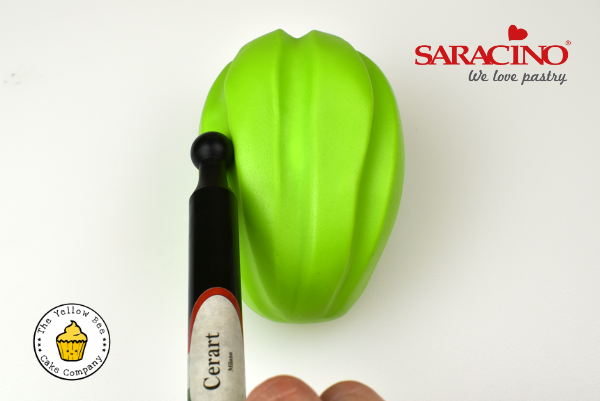
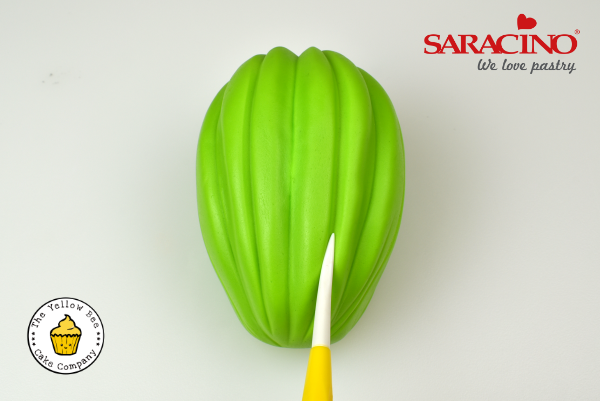
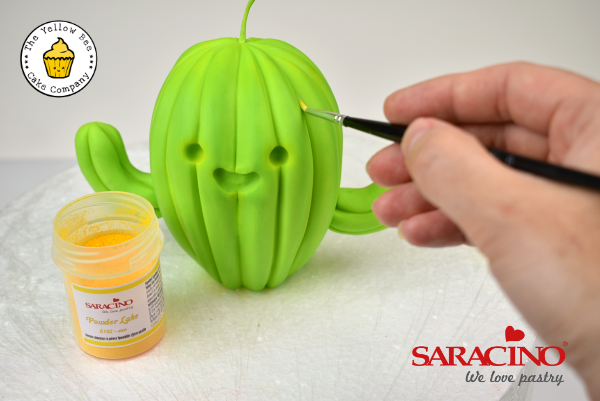
Step 22
For the front mark only a quarter of the way up from the bottom and repeat. Do this from the top a quarter of the way down and repeat. This will then leave a space for his face to drawn on later. Use sugar glue to attach the cactus to the pot.
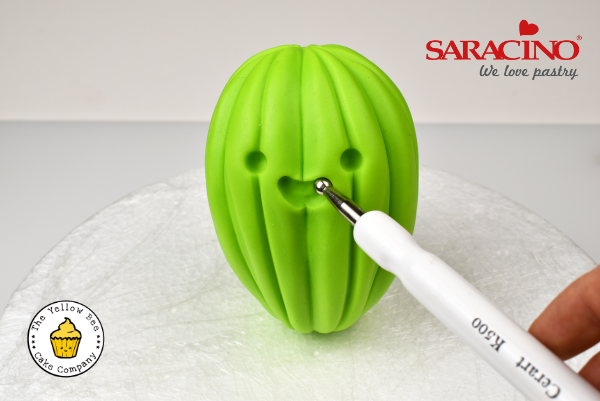
Step 23
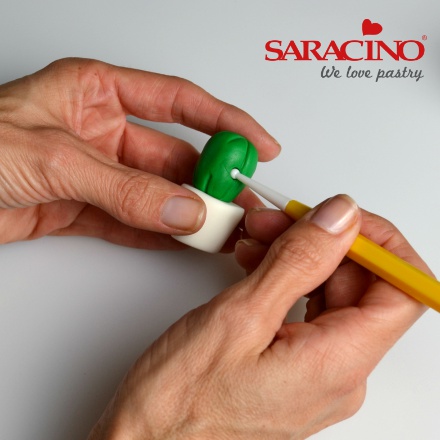
Use a small ball tool to mark a dent half way down on either side (this is where his arms will attach into)
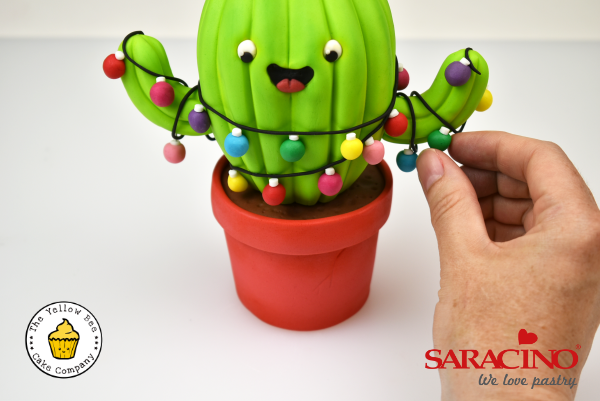
Step 24
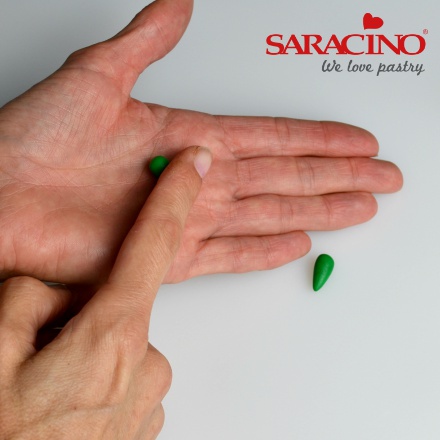
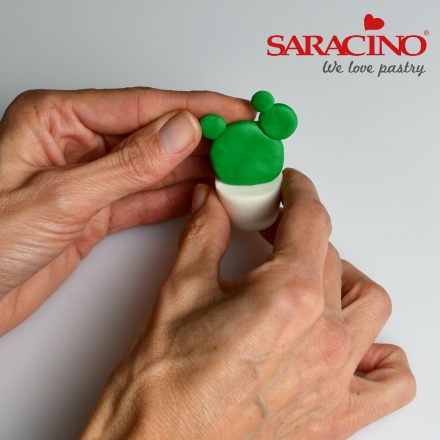
Roll 2 pea-sized pieces of green paste into balls. Roll into teardrops with the side of your finger.
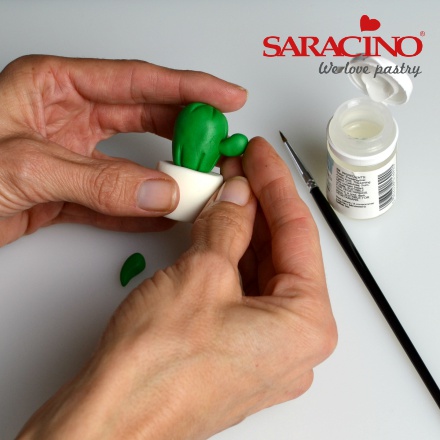
Step 25
Bend slightly and use sugar glue to stick these into the dent on either side. You may need to support these for a few seconds whilst they are drying. Set aside.
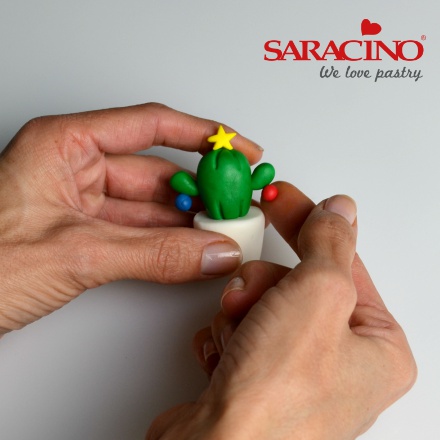
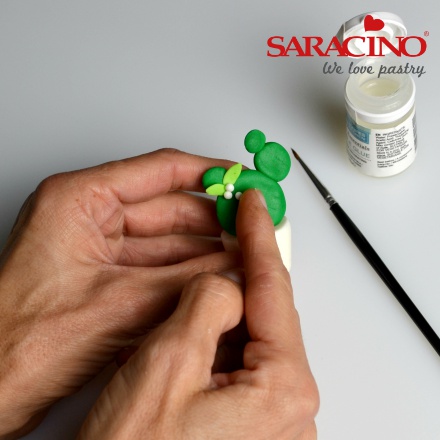
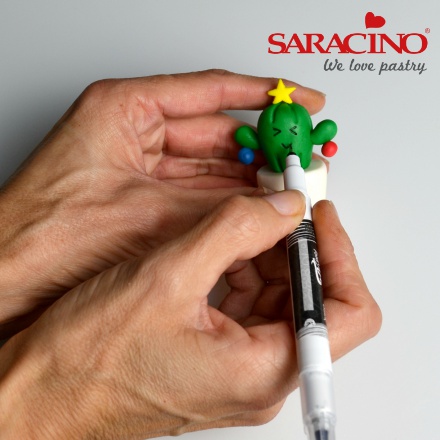
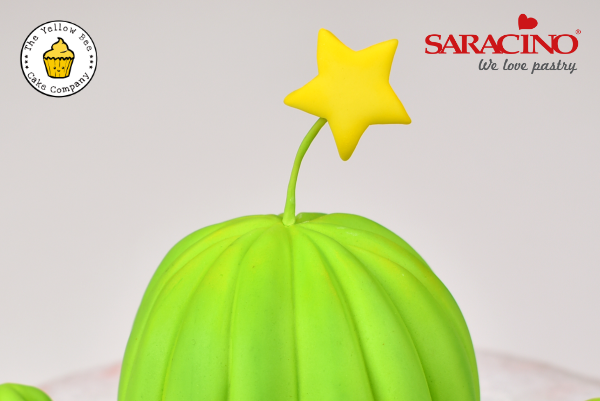
Step 26
To make the decorations cut out a star (10mm star plunger cutter) from yellow paste. Attach to the top of the cactus. Roll a small petit pois sized piece of blue and red paste for the baubles. Attach one bauble to each arm using a spot of sugar glue if necessary. Set aside to dry.
Step 27
Take a large marble sized piece of green paste and roll into a ball. Use your fingers and thumbs to flatten into a thick circle.
Step 28
Attach to one of the pots with sugar glue.
Step 29
Roll another piece of green paste into a pea sized ball and flatten in the same way. Attach to the top right hand side of the circle. Roll two more petit pois sized balls of green paste, flatten and stick one on the previous circle and the other on the left hand side
Step 30
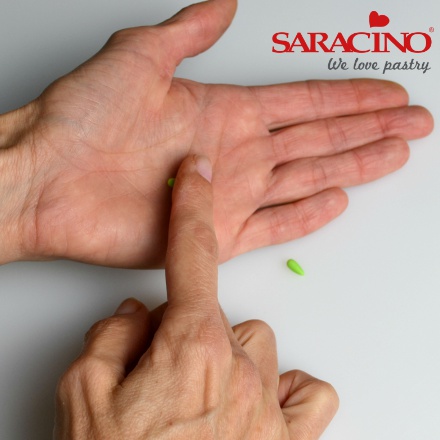
For the mistletoe make two tiny balls of light green paste and roll into teardrops using the side of your finger.
Step 31
Roll out from the rounded end first using a rolling pin to make two small leaves. Attach these two the left hand side of the cactus.
Step 32
Roll three tiny balls of white paste and secure these next to the leaves with sugar glue. Attach cactus pot to a red topper and leave to dry
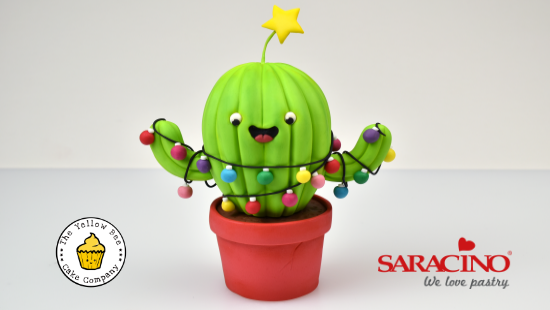
Step 33
When toppers are completely dry draw faces on to both dark green cacti using the fine end of an edible black pen. Stick on last cactus pot to remaining red topper.
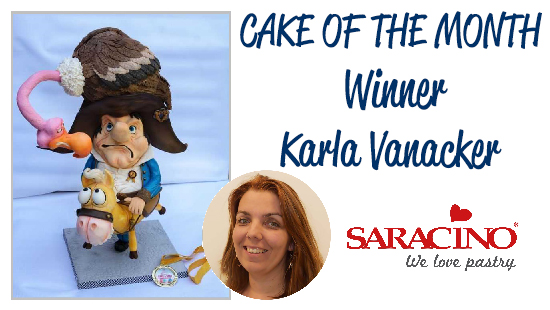
Jun 5, 2018 | Cake Of The Month
who wins our top spot for
SARACINO CAKE OF THE MONTH – MAY 2018.
Exclusive for Saracino, Karla answered few questions. Have a look below!
Q: What cake tool can’t you live without?
A: The big shaper cake tool (and the small from Cerart)
Q: What inspired you?
A: Carnival in Barcelona. I saw a car there with Napoleon.. and I found my idea.
Q: What’s your favourite Saracino product?
A:The modelling paste, I like the new blue colour (Tiffany) and also the Light Pink
Q: What movie title best describes your life?
A: Alice in Wonderland, she’s doesn’t know what happens and she’s a little ‘naive’ . I can understand her … and I love that fantasy world in which they ended up in.
Q: What’s your best advice in 5 words or less?
A:Just do it!
AND A FEW QUICK FIRE QUESTIONS:
1. Flavour – Chocolate or vanilla? – CHOCOLATE
2. Plan properly or wing it? – PLAN IT!
3. Whilst working – Listen to music or watch tv? – LISTEN TO MUSIC
4. Favourite product – Saracino pasta model or Saracino modelling chocolate? – SARACINO PASTA MODEL
5. Delivery – Down a long bumpy road or during a rain storm? – A LONG BUMPY ROAD
6. Buttercream or ganache? – GANACHE
7. Do you prefer – Baking the cake or decorating the cake? – DECORATING!
8. Mould or handmade? – HANDMADE
9. Airbrush or paint by hand? – AIRBRUSH
10. Apron or chef whites? – CHEF WHITES
11. Straight edge or round? STRAIGHT EDGE
12. Customer design or free reign? – FREE REIGN
13. Stay up all night to finish or get up early to finish? – STAY UP ALL NIGHT TO FINISH
14. Fruit cake – Yay or Nay? – YAY
15. Your own birthday cake – Make it yourself or have the week off? – HAVE A WEEK OFF

Saracino Team