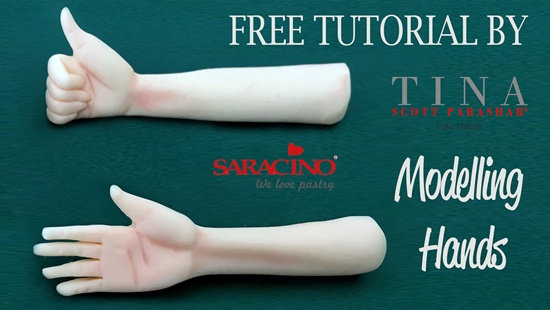
HAND MODELLING

HAND MODELLING

Skill level: BEGINNERS

You will need:

  • 3 gm Saracino modelling paste – Skin colour
  • Medium ball tool
  • Pointed tip sugar shaper
  • Exacto knife
  • Brush for dusting

Step 1

Make a sausage shape and cut one end. Using the back of your brush, mark the wrist and roll your paste along the brush. You can use your finger for this step or even a skewer.

Step 2

This is how it will look once done.

Step 3

Using your index finger, leave a little space between the wrist and your finger and push down on the paste to create the fleshy part of the palm.

Step 4

Using the exacto knife, cut a little ‘V’ to bring out the thumb.

Step 5

Using your fingers, work on the thumb to give it shape.

Step 6

Using the exacto knife cut out the other fingers.

Step 7

Give shape to the fingers and make them longer by rolling between your fingers.

Step 8

Using the ball tool, make a little upside-down triangle in the centre of the palm. Use your own hand for reference.

Step 9

Use the pointed sugar shaper to separate the fingers and smoothen the cuts between each finger.

Step 10

Use the pointed sugar shaper to mark the lines on the palm.

.

Step 11

Turn the hand around and use the sugar shaper to mark the bones.

Step 12

Use the ball tool to define the wrist.

Step 13

This is how it should look once done.

Step 14

Bend the fingers as desired.

CAKE OF THE MONTH JULY 2018

CAKE OF THE MONTH JULY 2018

Congratulations to Lorita Grgičević Klarić


who wins our top spot for


SARACINO CAKE OF THE MONTH – JULY 2018


Exclusive for Saracino, Lorita answered few questions. Have a look below!


Q: What cake tool can’t you live without?

A: Airbrush

Q: What inspired you?

A:  Creative people

Q: What’s your favourite Saracino product?

A: Modelling Chocolate

Q: What movie title best describes your life?

A: La vita e bella

Q: What’s your best advice in 5 words or less?

A: Never give up!


AND A FEW QUICK FIRE QUESTIONS:


1. Flavour – Chocolate or vanilla? – VANILLA  

2. Plan properly or wing it? – WING IT

3. Whilst working – Listen to music or watch tv? – LISTEN TO MUSIC

4. Favourite product – Saracino pasta model or Saracino modelling chocolate? – SARACINO MODELLING CHOCOLATE 

5. Delivery – Down a long bumpy road or during a rain storm? – DURING A RAIN STORM

6. Buttercream or ganache? – BUTTERCREAM

7. Do you prefer – Baking the cake or decorating the cake? – DECORATING THE CAKE

8. Mould or handmade? – HANDMADE 

9. Airbrush or paint by hand? – AIRBRUSH

10. Apron or chef whites? – CHEF WHITES

11. Straight edge or round? STRAIGHT EDGE

12. Customer design or free reign? – FREE REIGN  

13. Stay up all night to finish or get up early to finish? – STAY UP ALL NIGHT TO FINISH 

14. Fruit cake – Yay or Nay? – YAY

15. Your own birthday cake – Make it yourself or have the week off? – HAVE A WEEK OFF


To see more of Lorita’s work visit her page


Saracino Team 

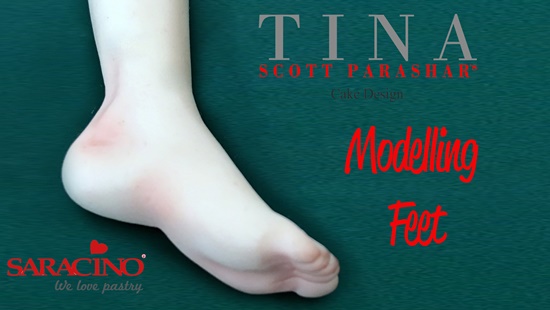
FEET MODELLING

FEET MODELLING

Skill level: BEGINNERS

You will need:

  • 5 gm Saracino modelling paste – Skin colour
  • Medium ball tool
  • Pointed tip sugar shaper
  • Exacto knife
  • Brush for dusting

Step 1

Make a sausage shape and using a craft knife cut off one end


Step 2

Using your little finger mark where your ankle would be and roll the paste along half the length of your finger.

Step 3

This is how it should look once you are done.

Step 4

Use your index finger and push down on the paste leaving some space for the heel of the foot.

Step 5

This is how it will look once you are done.

Step 6

Using two fingers, bring out the heel of the foot and create the arch.

Step 7

Press down on the paste to define the ankle area and to bring out the bone above the heel.

Step 8

Using your fingers, press down from the sides on the area where the arch would be and define the shape of the foot.

Step 9

Give an arch to the foot as the lady’s foot should have a nice curve on the top. This is how it should look once done.

Step 10

Using an exacto knife, cut out the toes.

Step 11

Using the pointed sugar shaper, define the toes and separate them. Also use the same to define the bones.

Step 12

Using the ball tool, make the ankle bone as shown in the picture. Do the same on both sides.

Step 13

Turn over to work on the base of the foot. Use the sugar shaper to mark the base of the toes. Define it well.

Step 14

Using a ball tool, bring down a line from the centre of the big toe and the toe next to it; and where the arch of the foot starts, divide this line into two, going to either side of the foot, like a little triangle.

Step 15

This is how the foot will look like once done. Use the brush to dust a light shade of pink to emphasise the curves and lines.

Ta-Dah

Sugar Flower Class With Nicky Lamprinou

Sugar Flower Class With Nicky Lamprinou

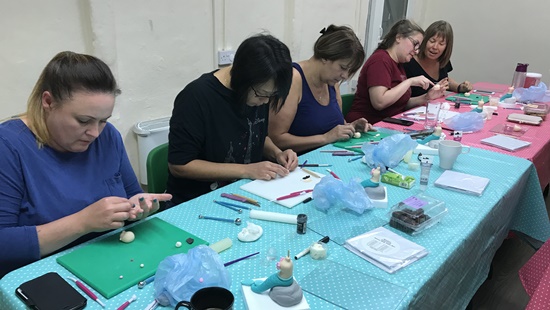
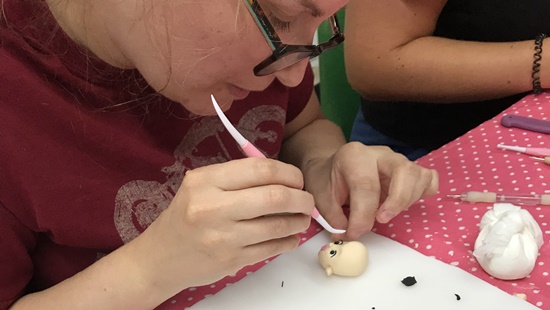
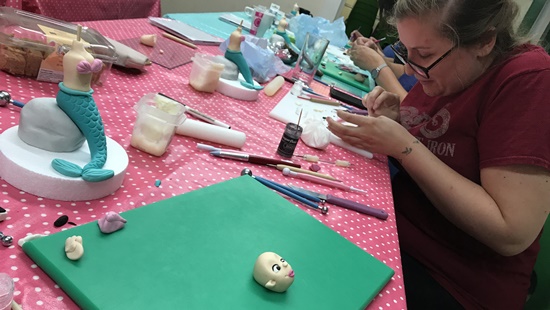
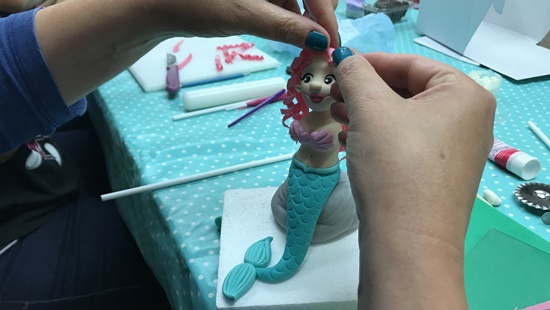
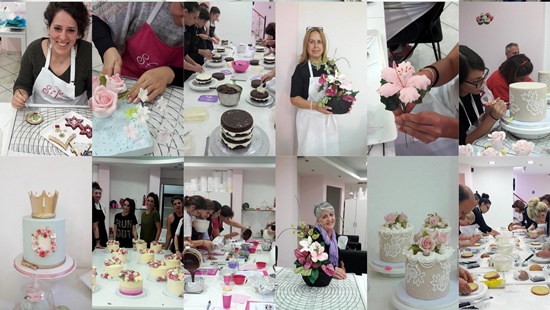
Photos from the last season’s classes at The Cake House in Athens, where I give seminars. 

I used several decorative materials like sugar paste, royal icing, wafer paper, all by Saracino. The themes and techniques I teach vary and are often renewed.

My seminar program can be found on the page: 


https://www.sugarflowerscreations.com/p/blog-page_26.html

Blog: https://www.sugarflowerscreations.com/

Facebook: https://www.facebook.com/lamprinounicky/