



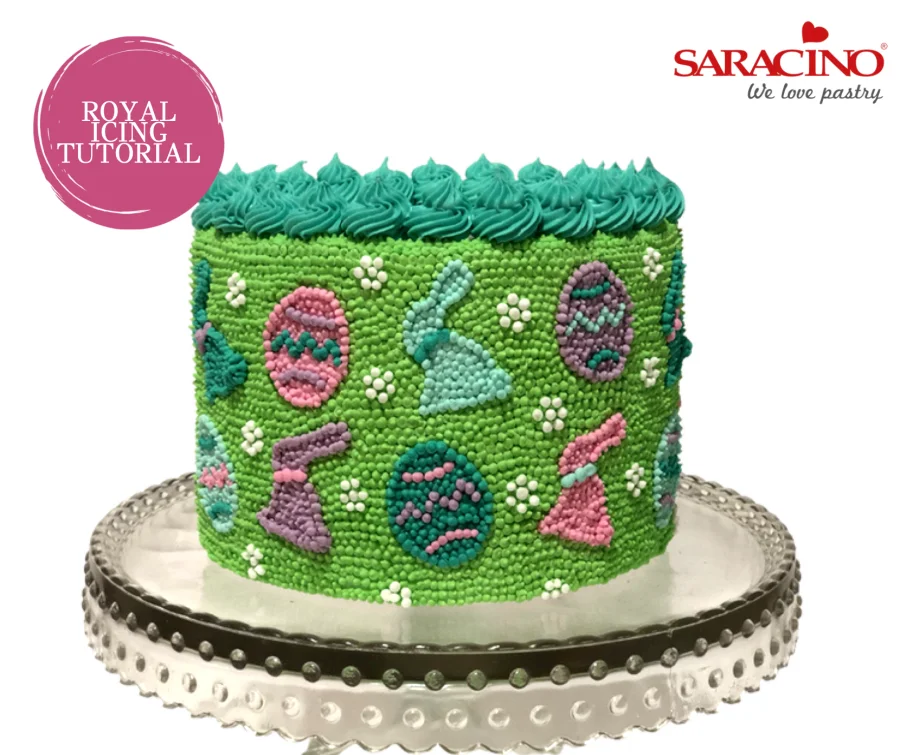

You will need:
- Dummy or a cake (size to your choice)
- Smoother
- Large rolling pin
- 500g Saracino Pasta Top white
- Saracino gel colours of your choice
- Easter themed mini cutters
- Piping bags
- Piping nozzle adapters (if required)
- Piping nozzle – number 1
- Star piping nozzle – number 18
- Royal icing – Saracino powder mix
- Knife
- Dresden tool
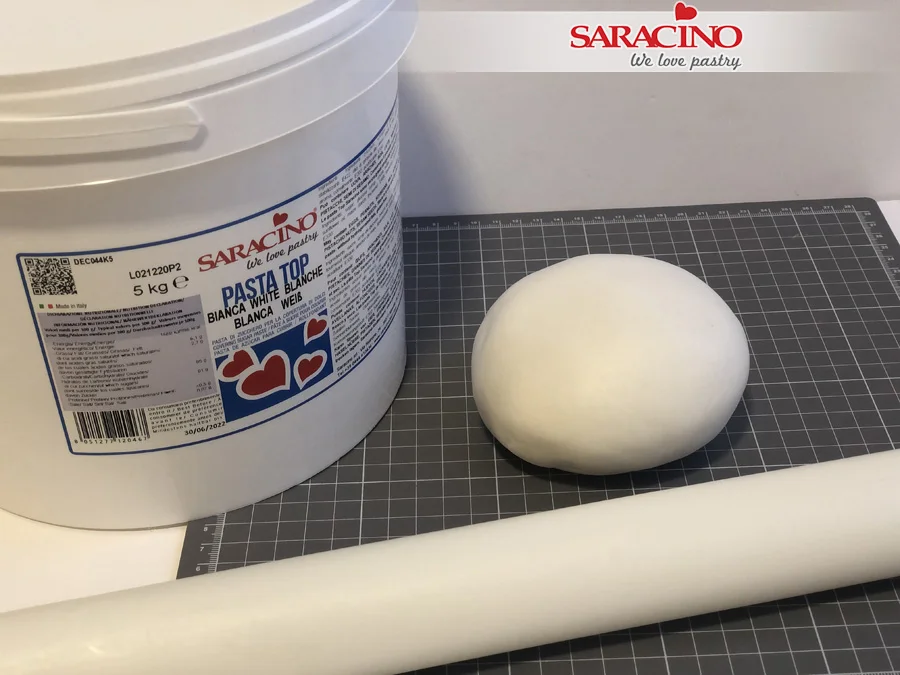
Step 1
Knead the Pasta Top fondant until it becomes softer and elastic. Shape it into a ball.
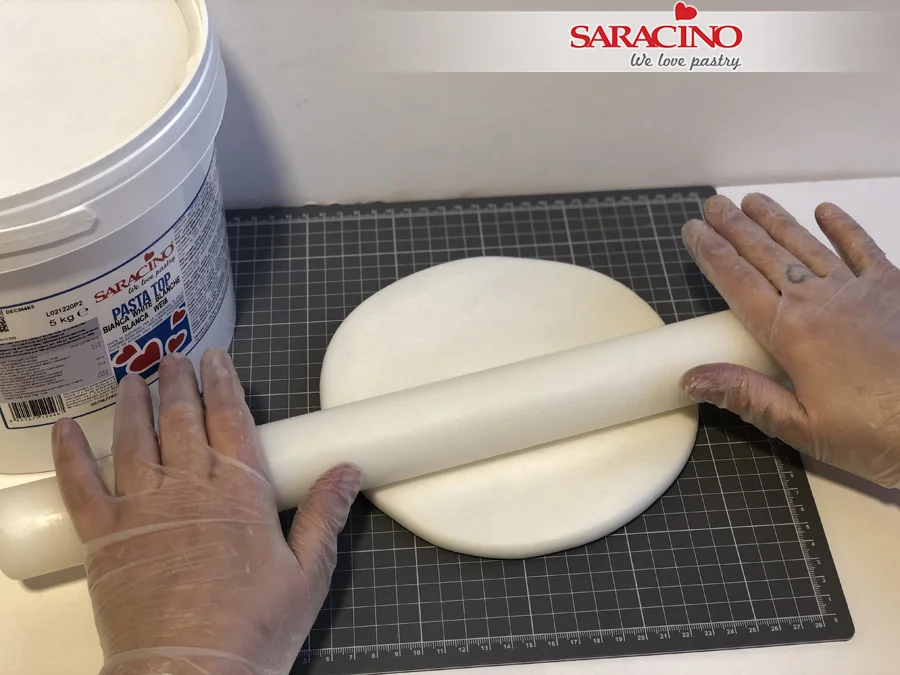
Step 2
Roll out the fondant evenly using a rolling pin.
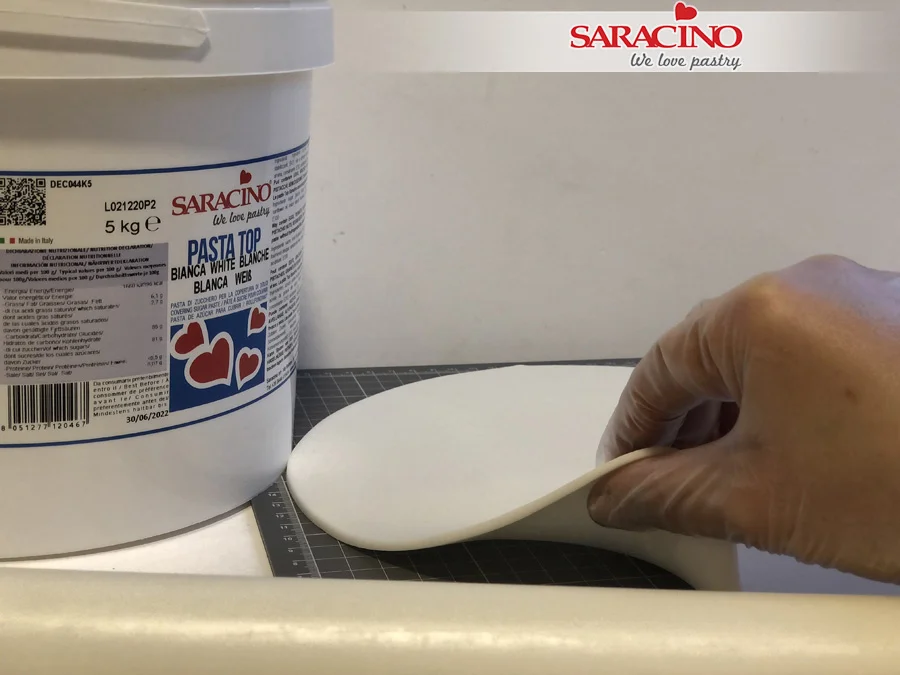
Step 3
Roll out the fondant to 3-4mm thick.
Step 4
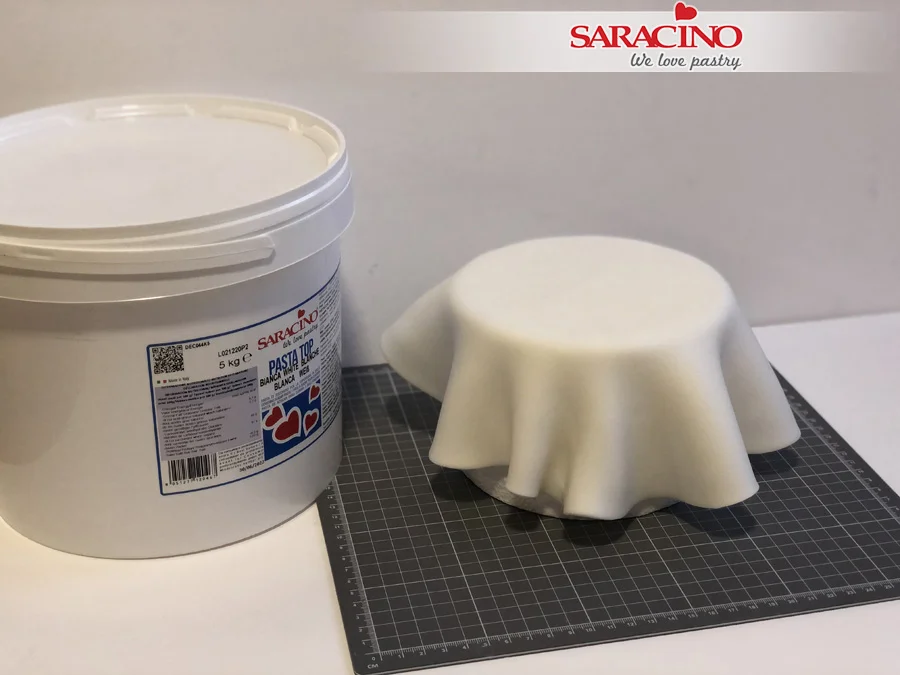
Moisten your dummy with a little water. Now lift the Pasta Top and place over the dummy.
Step 5
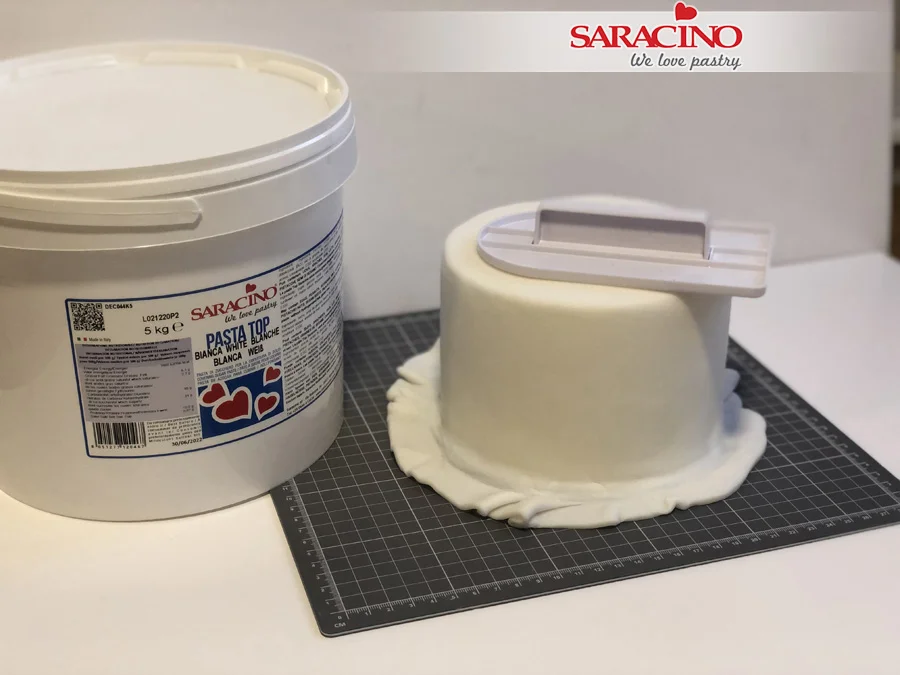
Using your hands shape the Pasta Top paste over the dummy. Use your cake smoother to give a smooth finish to the sides and top.
Step 6
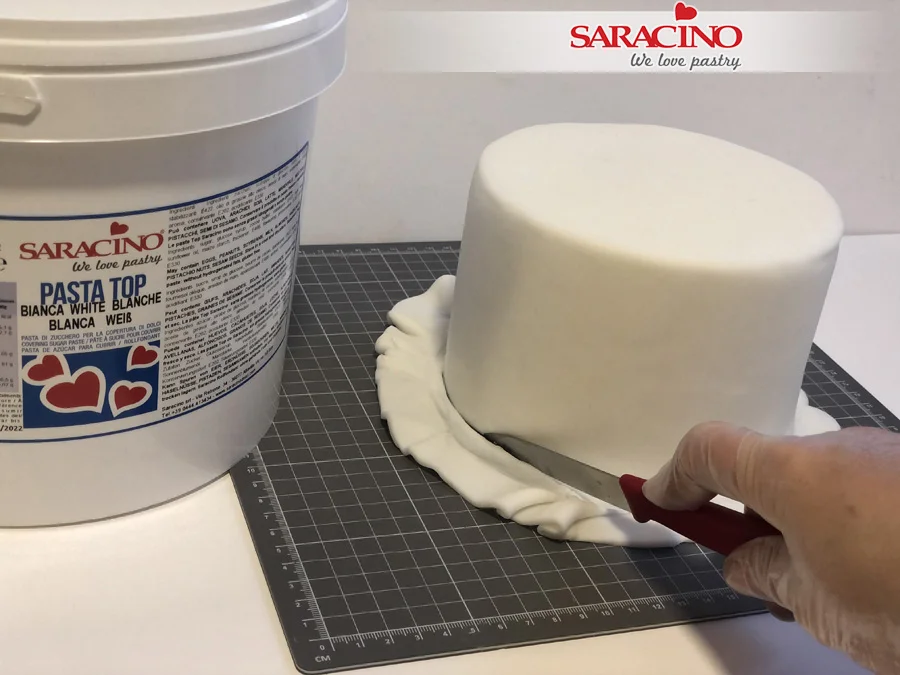
Remove the excess fondant with a sharp knife.
Step 7
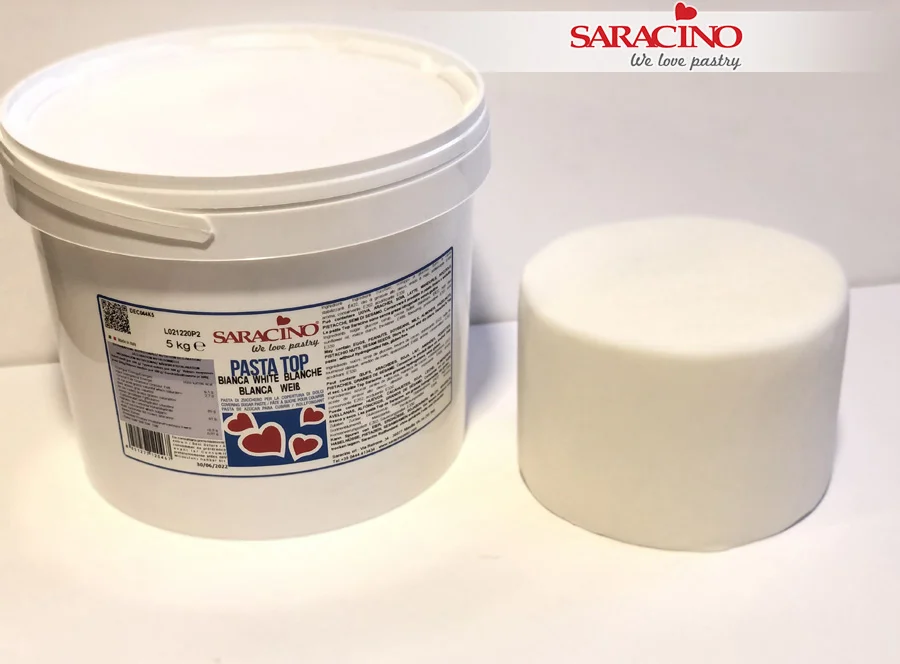
We don’t worry if the finish is not as perfect as we would like. This cake will have the decoration that will cover the surface.
Step 8
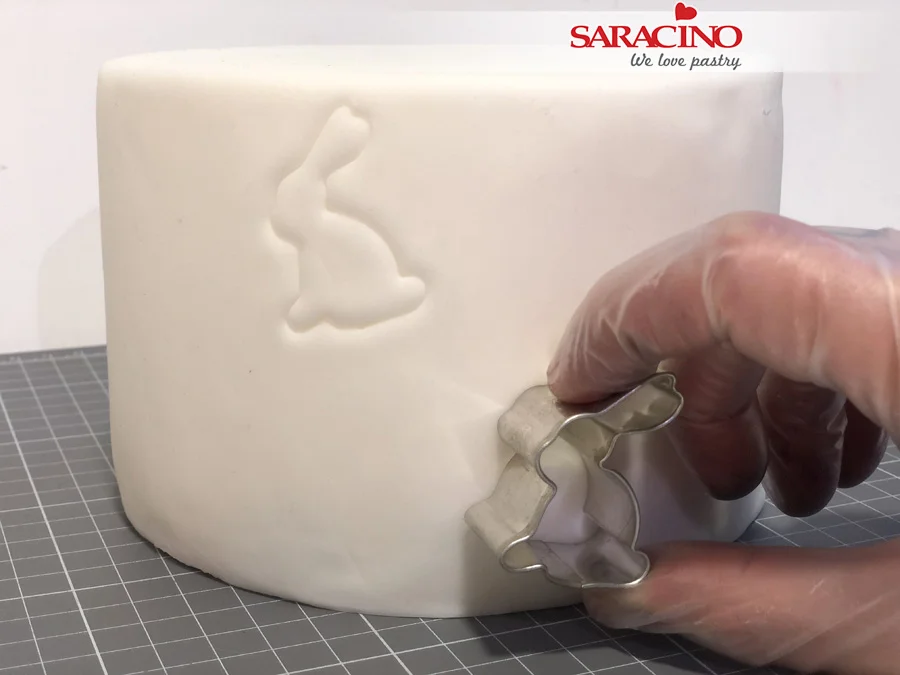
For my cake I am using two shapes (a bunny and an egg). Using the first cutter press into the surface of the Pasta Top leaving plenty of room for your other shapes.
TIP – Use as many shapes and patterns as you would like on your own design.
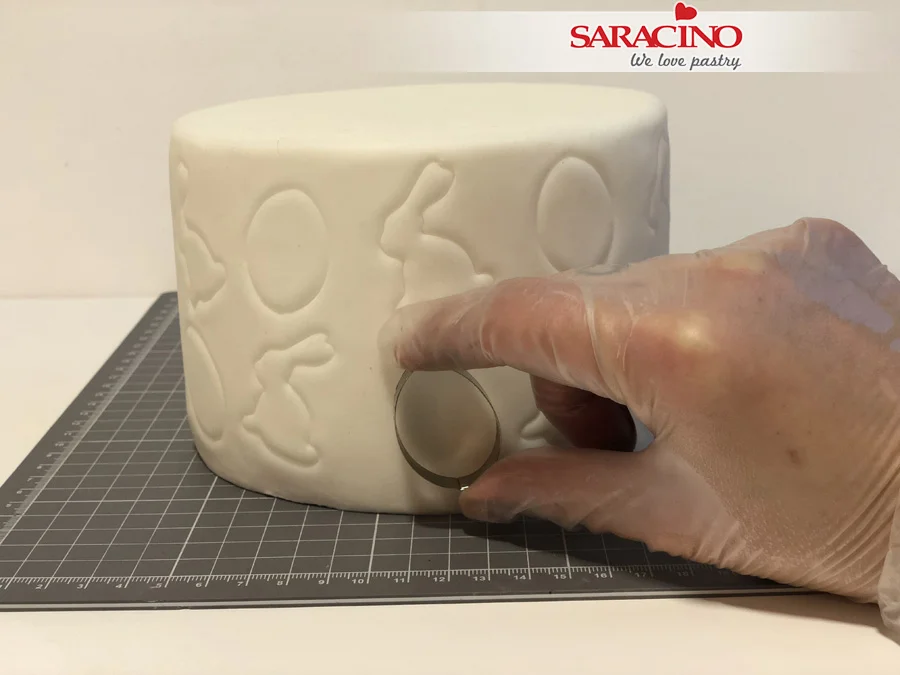
Step 9
I use my egg shape cutter to fill in the gaps between the bunny.
Step 10
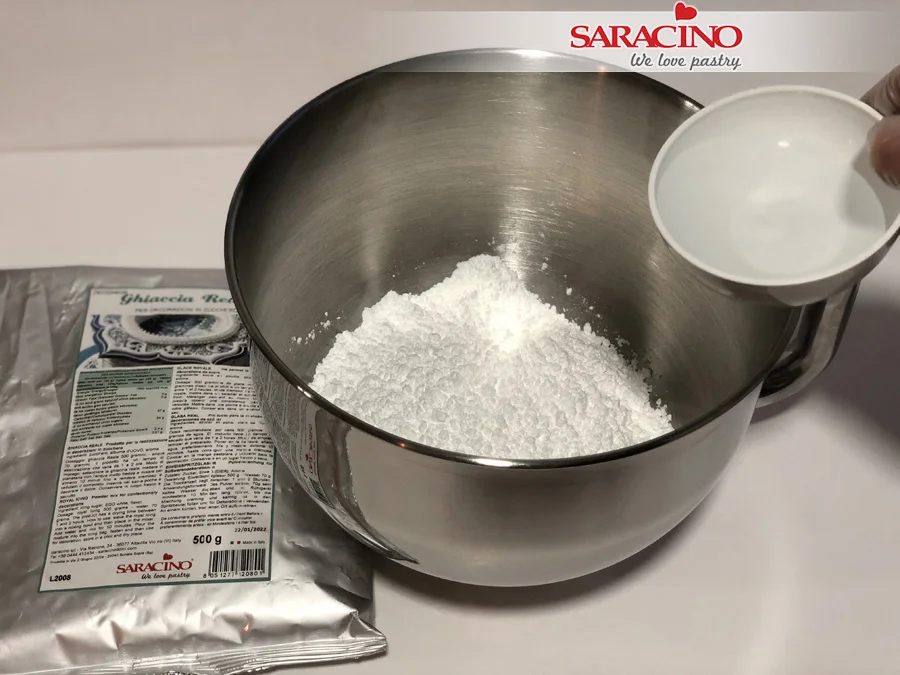
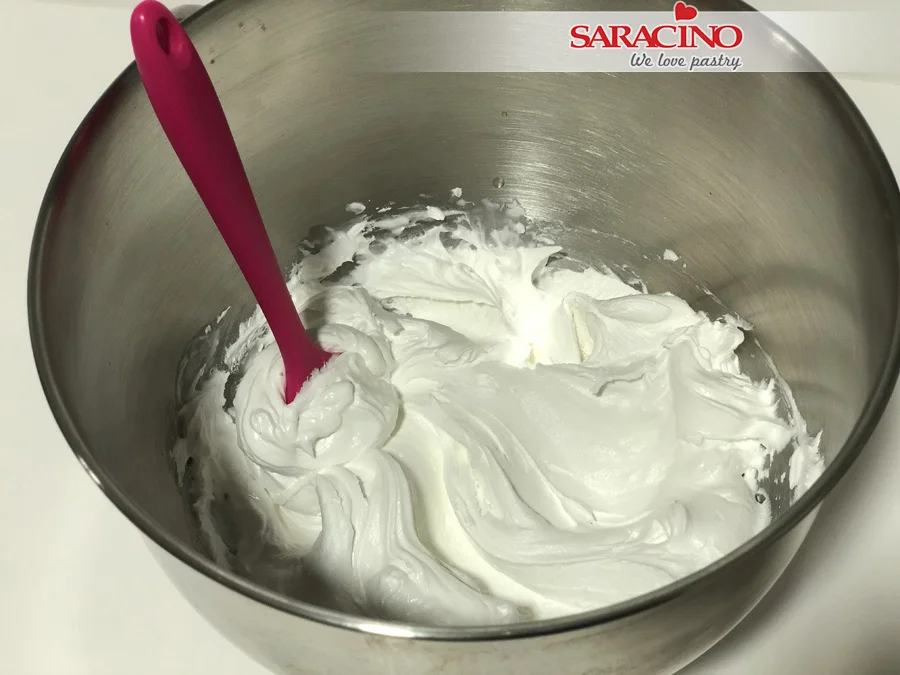
Now for the royal icing. Prepare following the instructions on the packaging and mix for the the indicated time.
TIP – Some people are scared to even consider making their own royal icing. Using Saracino Royal Icing Mix it is as easy as adding water and mixing. No need for fresh egg whites or egg white substitutes.
Step 11
We need our icing to have a firm consistency so that the dots keep their shape without merging with each other.
Step 12
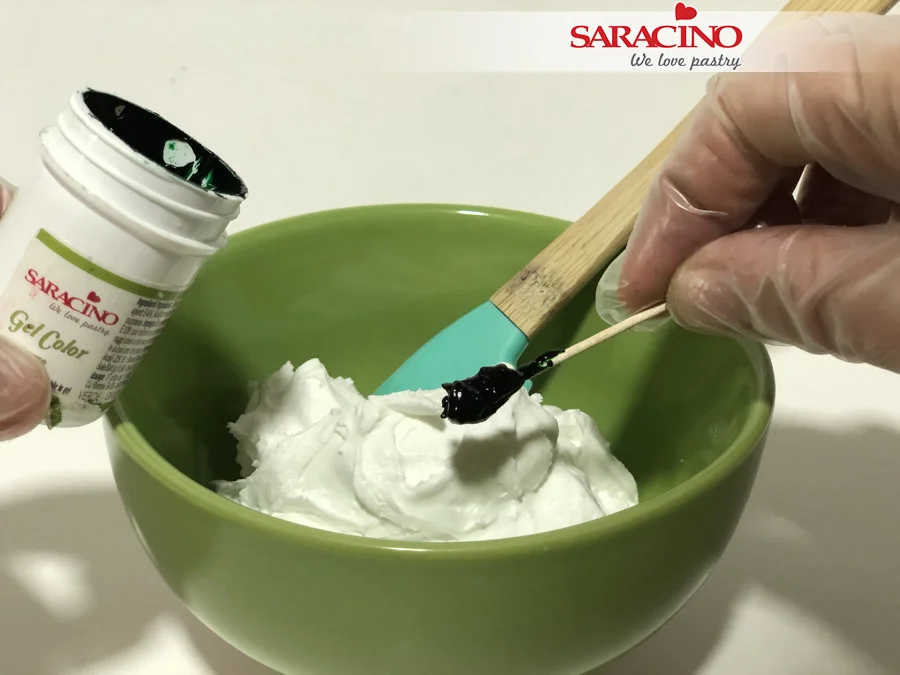
For the background piping take approximately half of your mix and colour it with green Saracino gel colour. If we do not have enough we can always mix more later.
Step 13
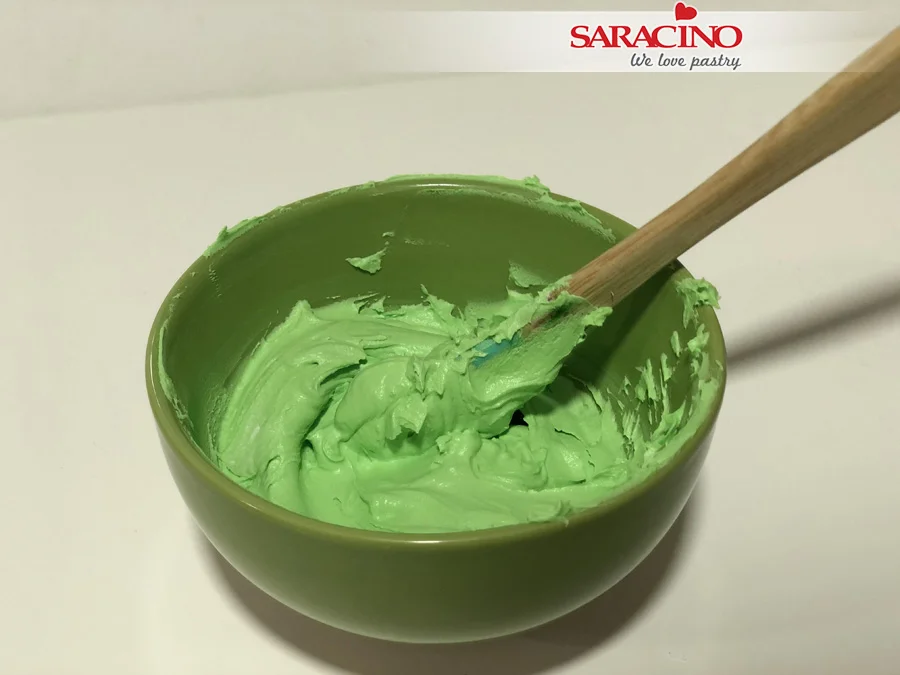
Mix well by hand until a uniform color is obtained.
Step 14
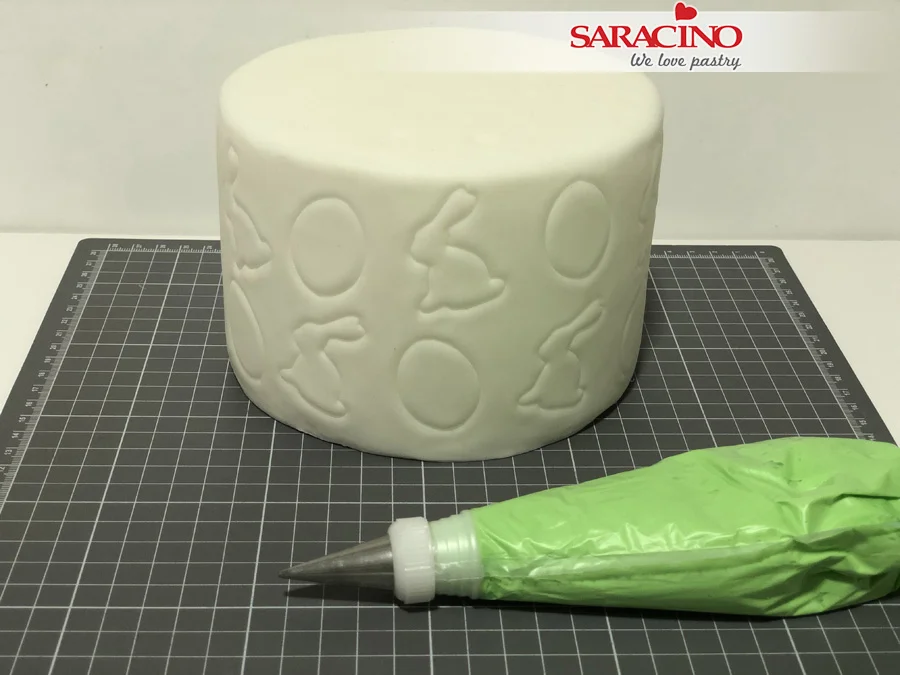
Using a number one piping nozzle in your piping bag add the green icing.
Step 15
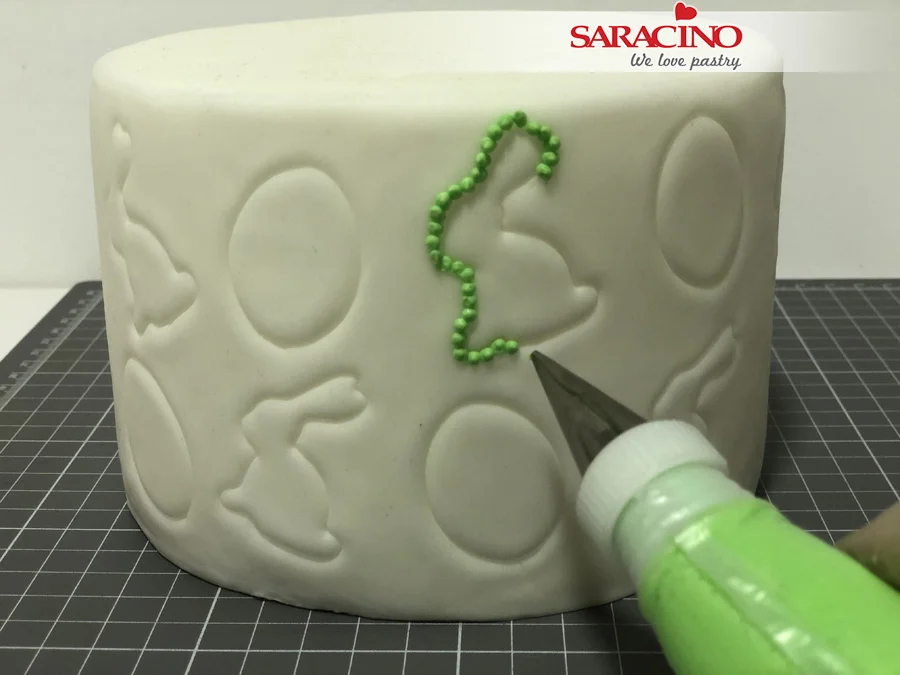
Now outline the shapes we have made on the cake. Each bead should touch gently so no gaps are left.
TIP – When we pipe dots we are sometimes left with a sharp point on the top. We can smooth this using a damp artists paint brush.
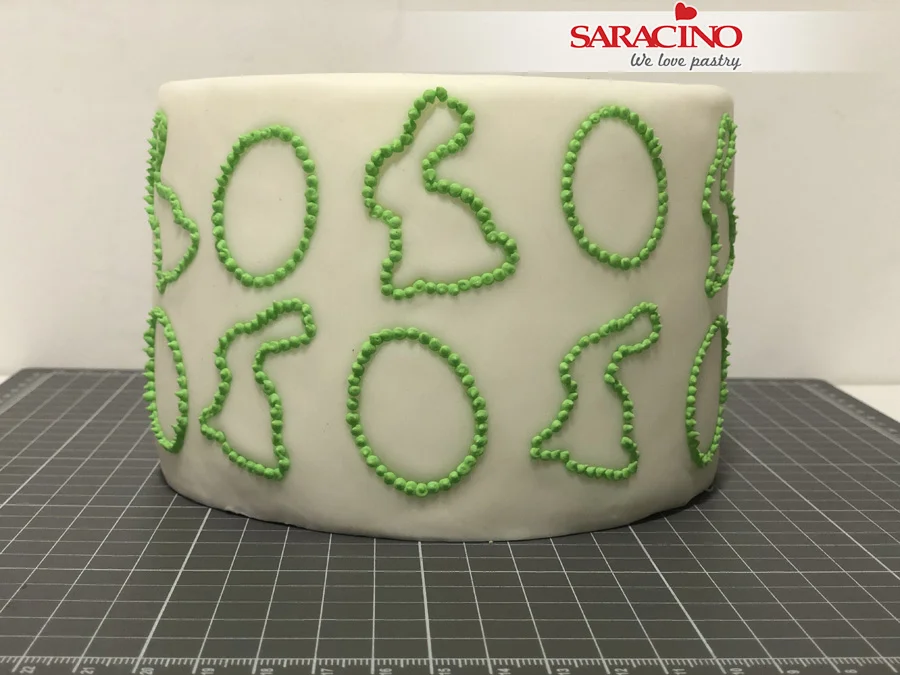
Step 16
Outline all of the shapes so it looks like this.
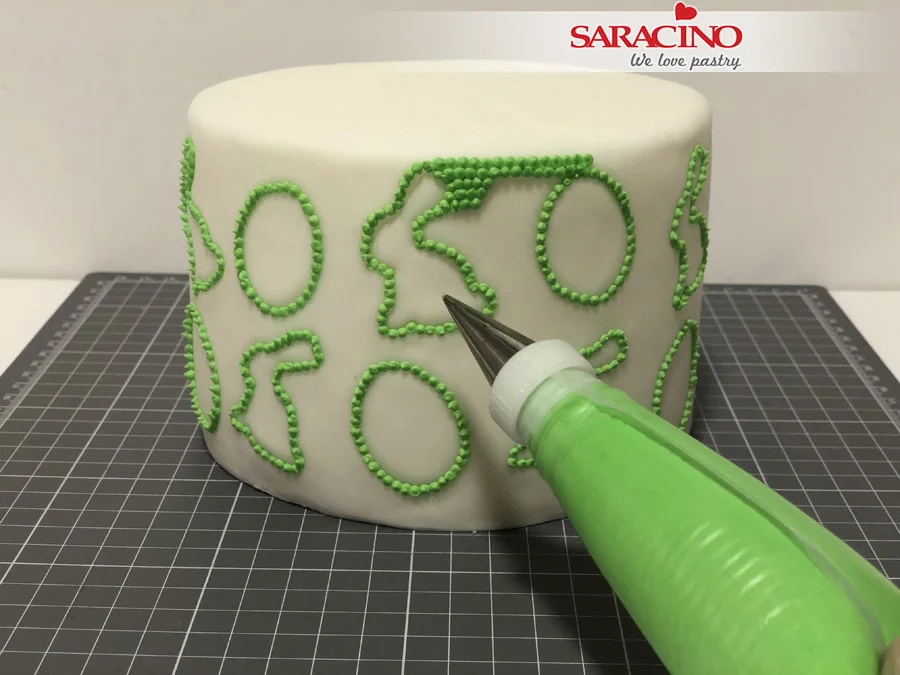
Step 17
Now we need to pipe the same sized dots to fill in all the gaps between our shapes.
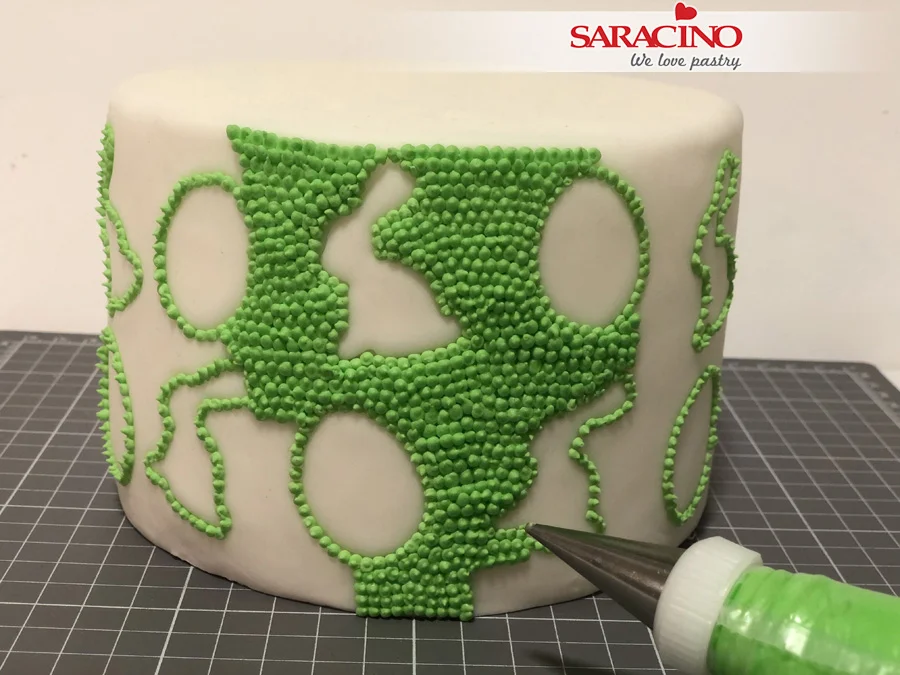
Step 18
Work around the cake to fill in all the gaps between shapes.
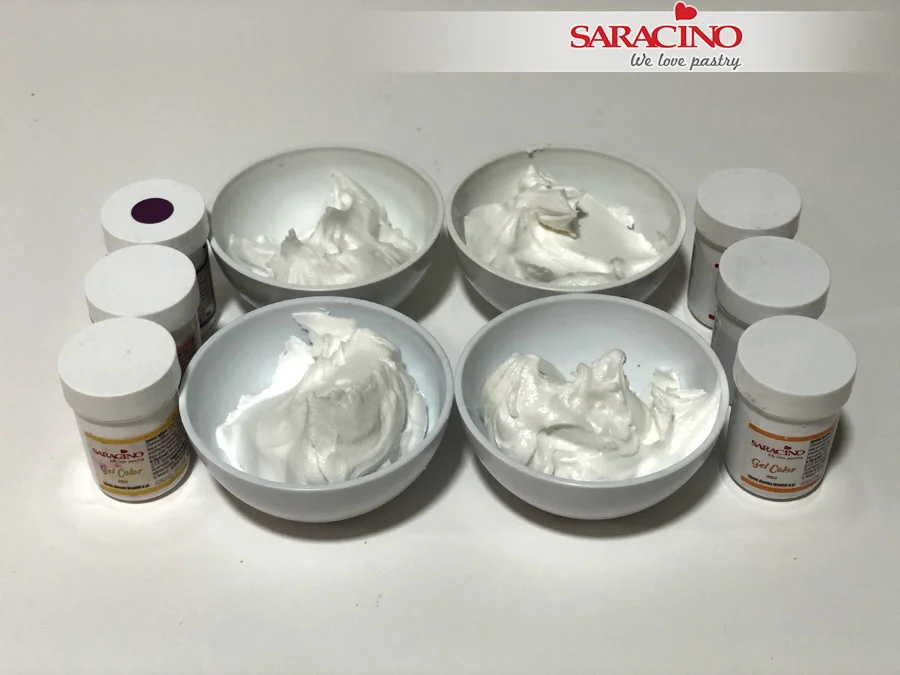
Step 19
Divide the remaining royal icing into seperate bowls ready to colour.
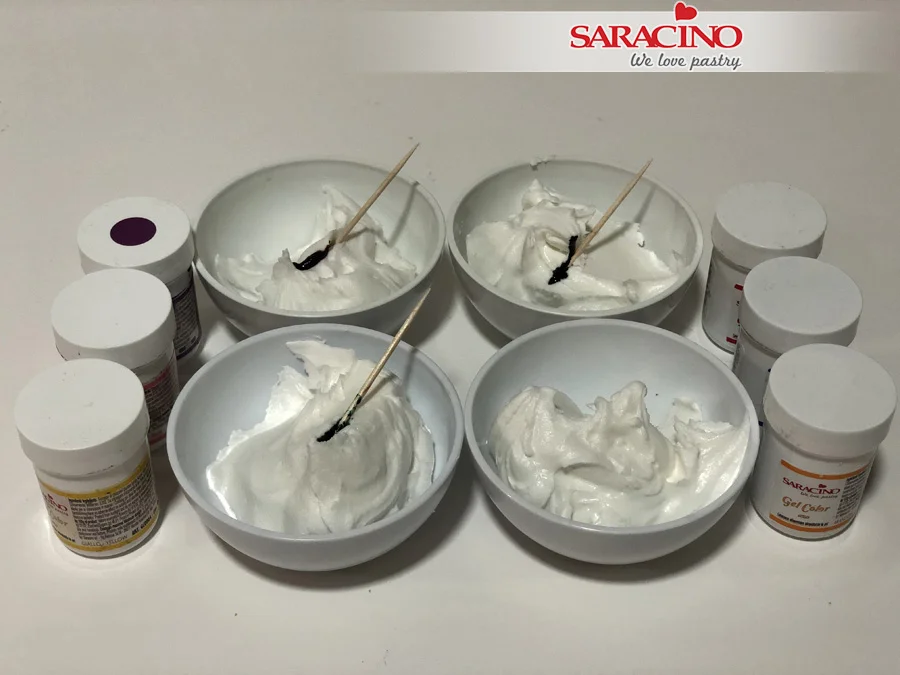
Step 20
Now you can use the colours of your choice. Play with colours to achieve what you want. Colour with the ready to use colours. We can also mix different colours to achieve unique looks! For example we can get turquoise by mixing green and blue together.
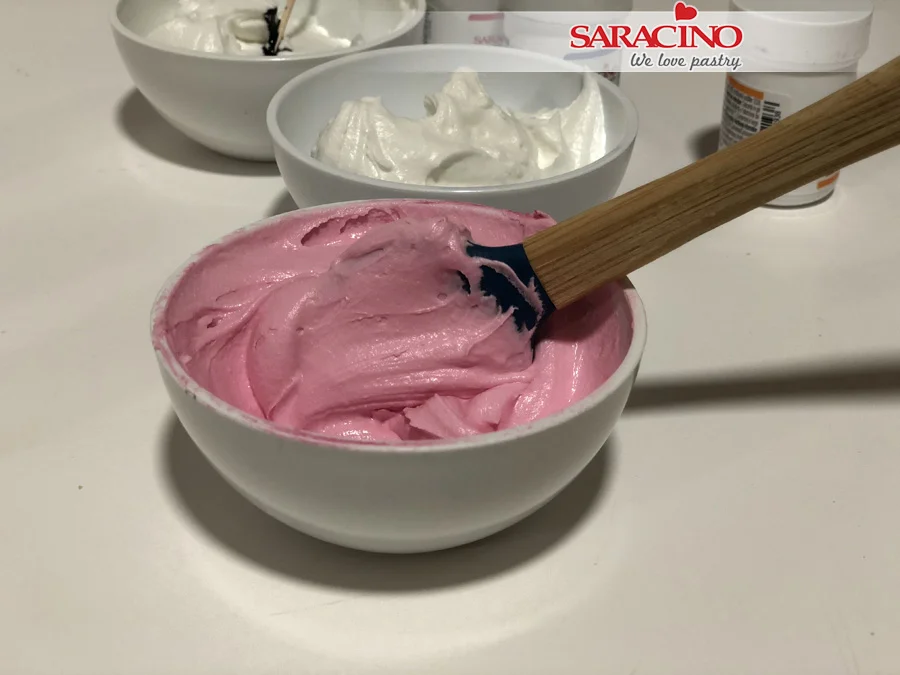
Step 21
Mix well until the gel has completely blended.
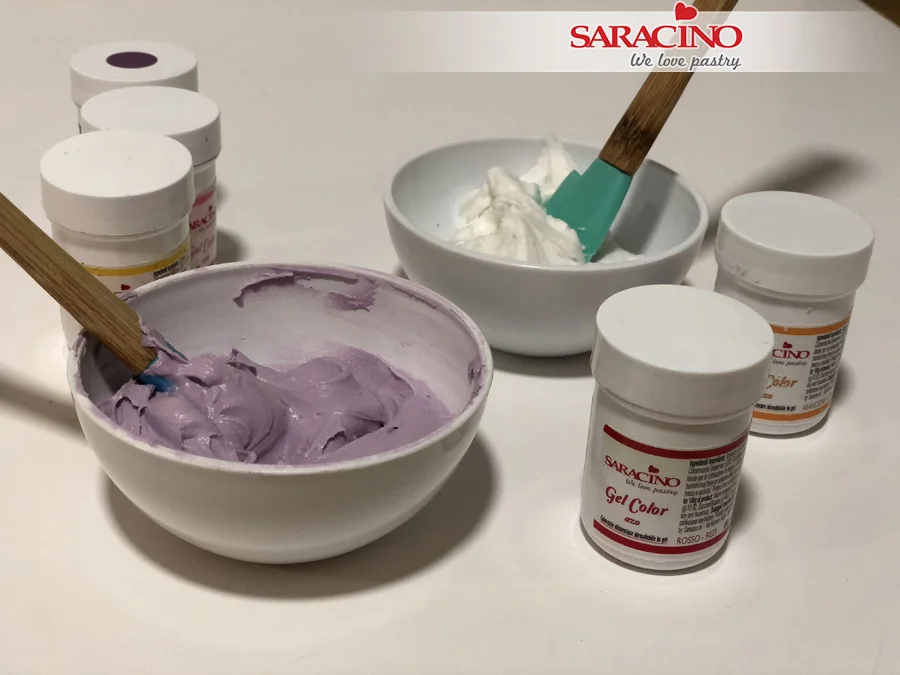
Step 22
Repeat for each colour.
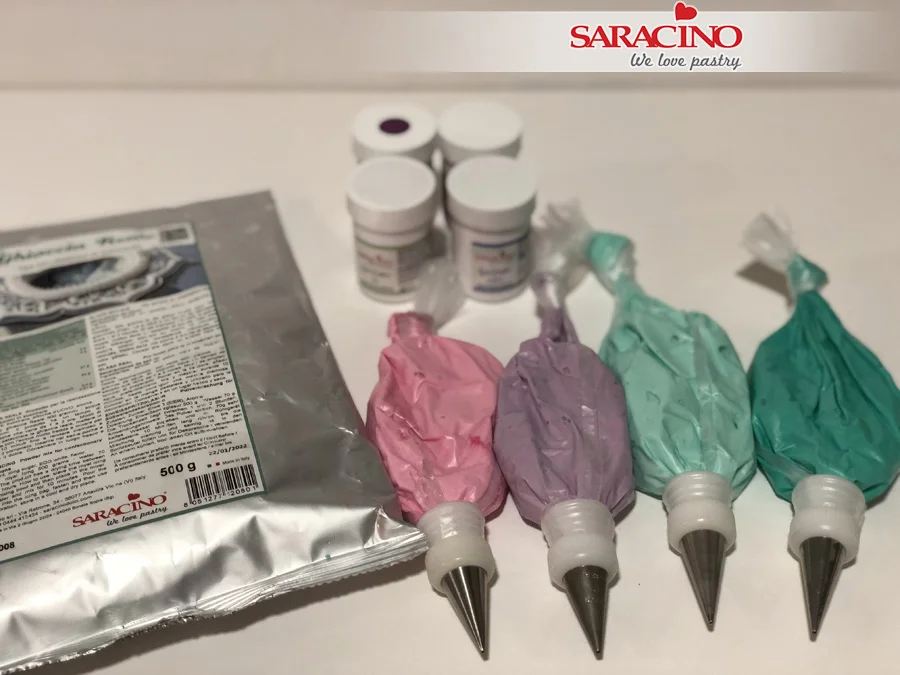
Step 23
Using nozzle number 1 fill the piping bags with the different colours.
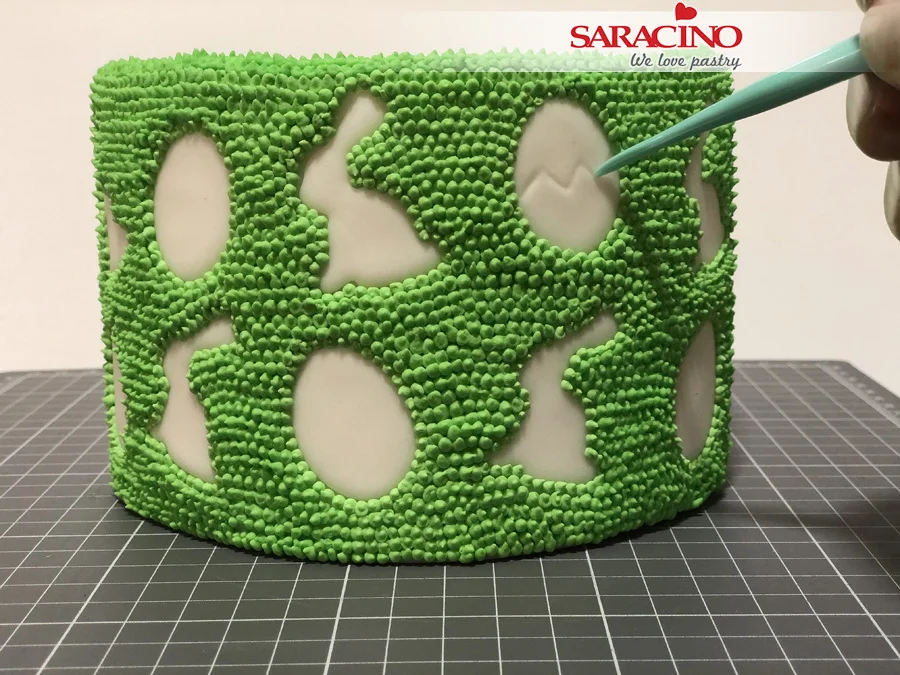
Step 24
Using your Dresden tool mark lines on your shapes for the patterns you will need on each shapes.
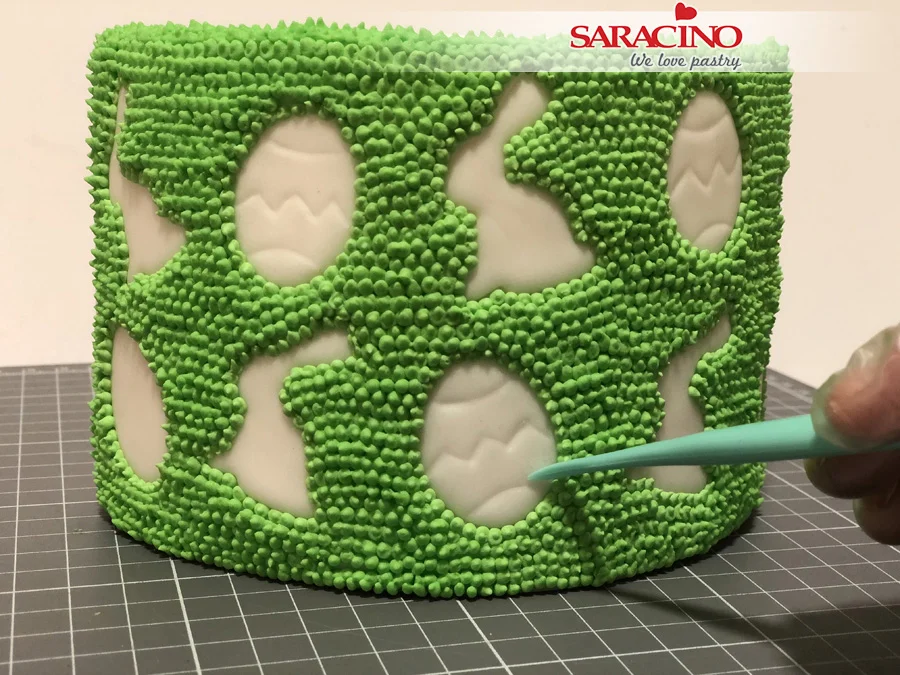
Step 25
These marks will be a guide to help us decorate later.
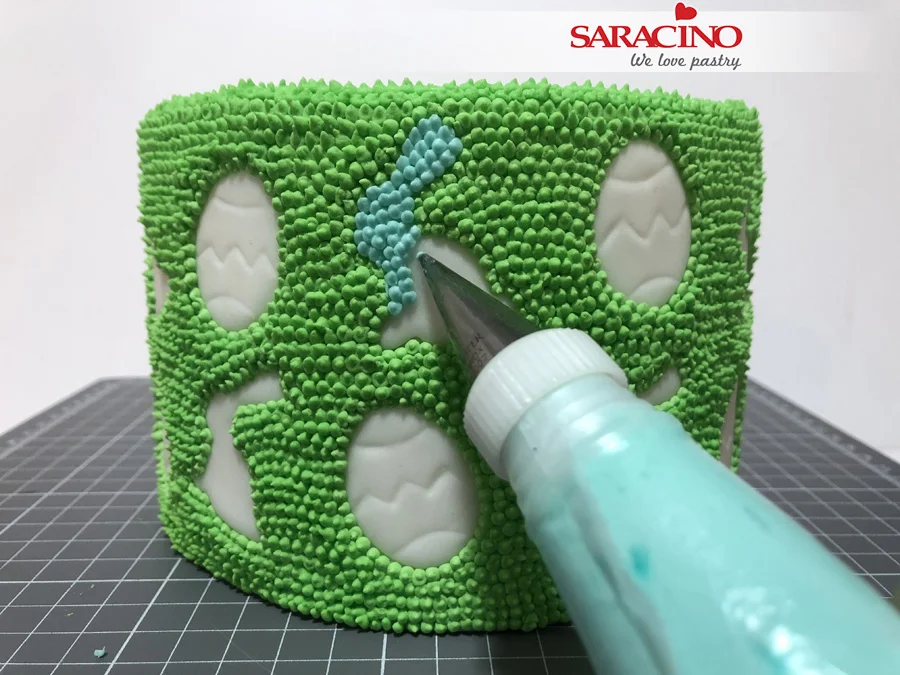
Step 26
Start filling in the shapes with royal icing dots.
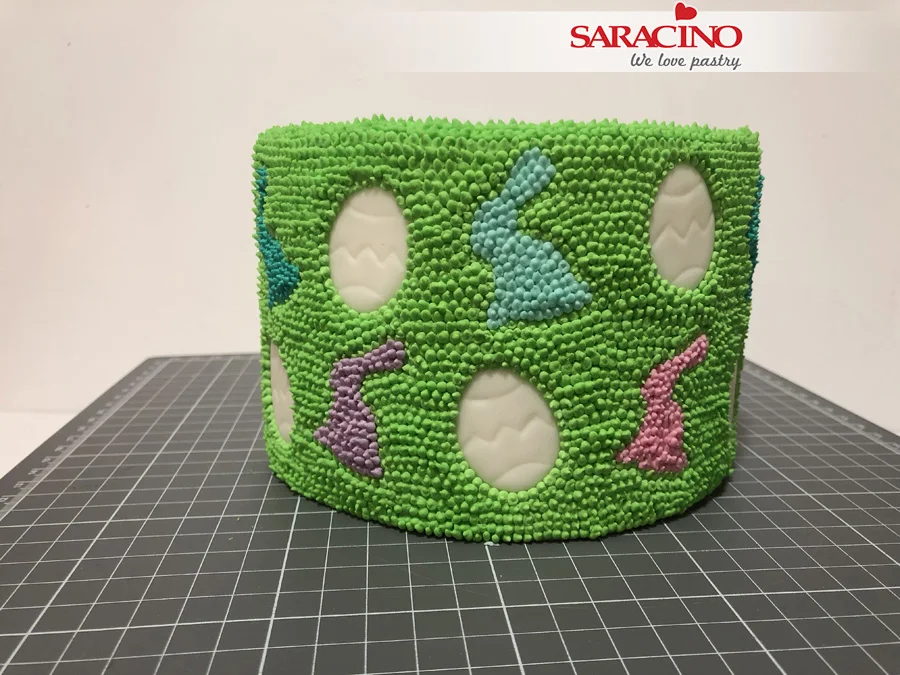
Step 27
Combine the colours we have to fill in the bunnies.
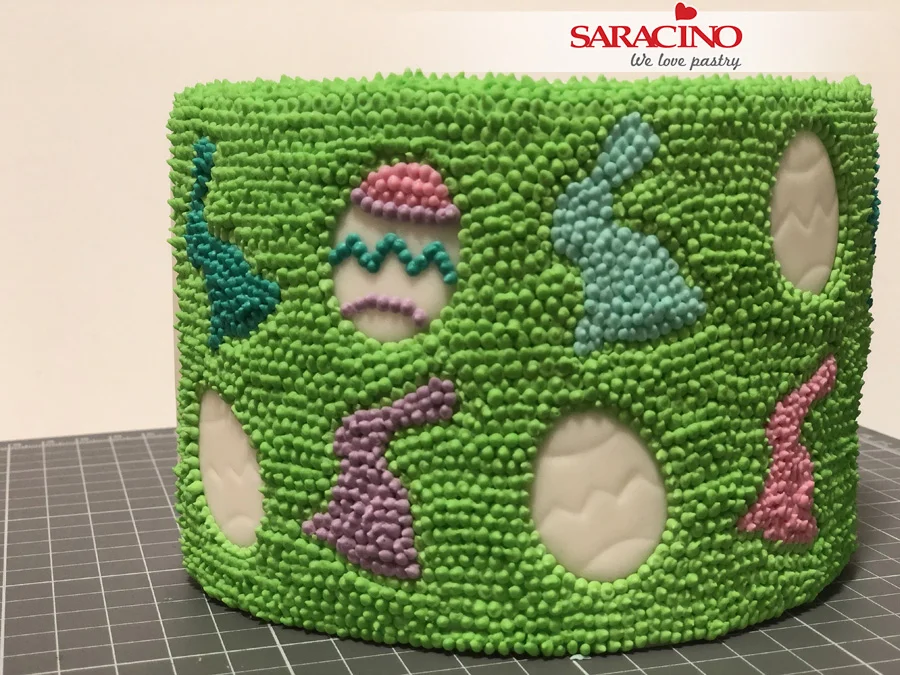
Step 28
Follow the lines of the Easter eggs combining colours.
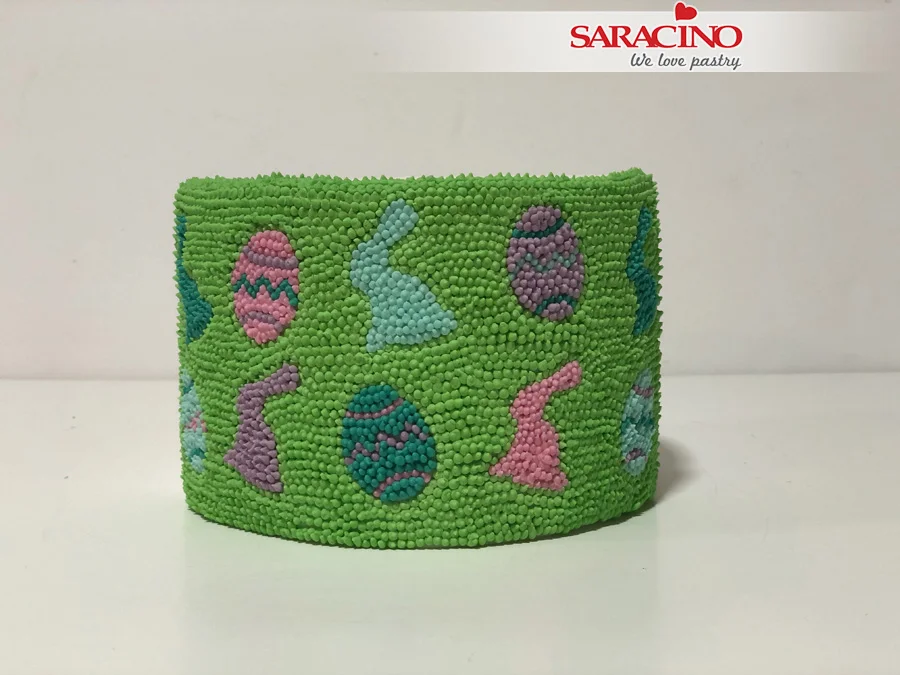
Step 29
Fill in all the empty spaces.
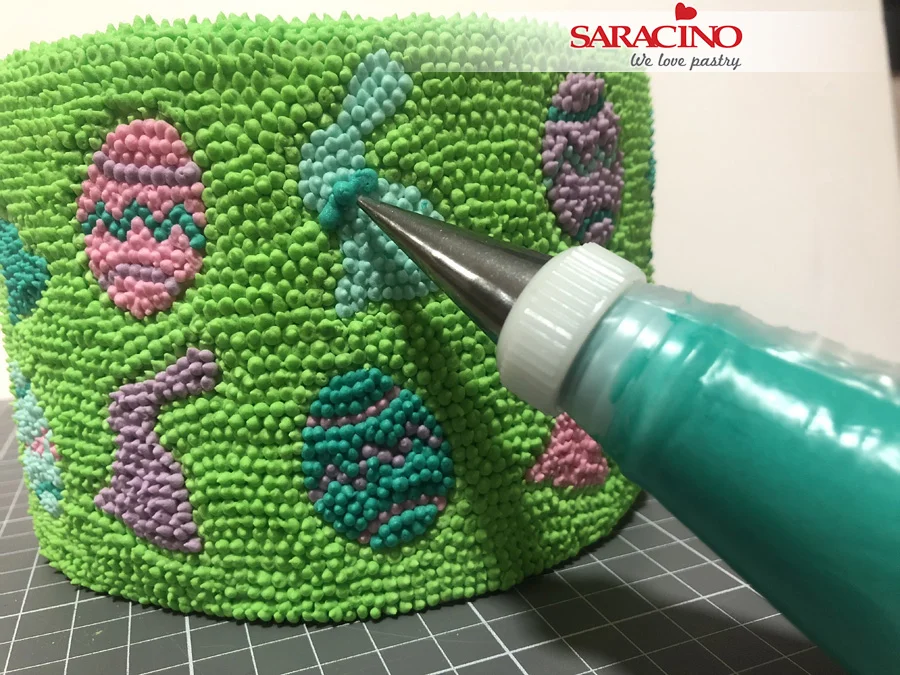
Step 30
Add small decorations that give added volume to the decorations. For example little ties for rabbits.
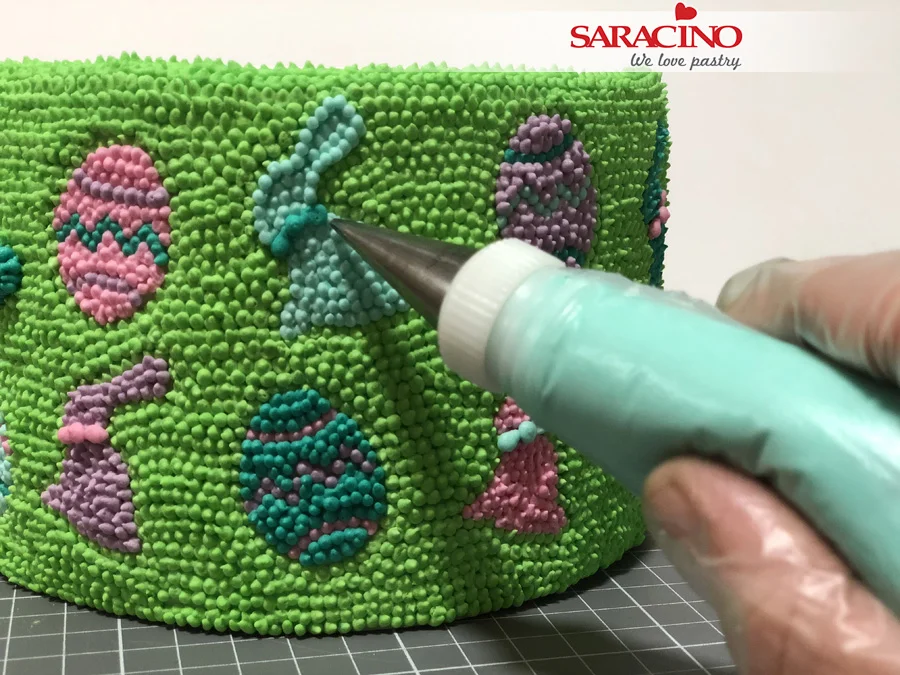
Step 31
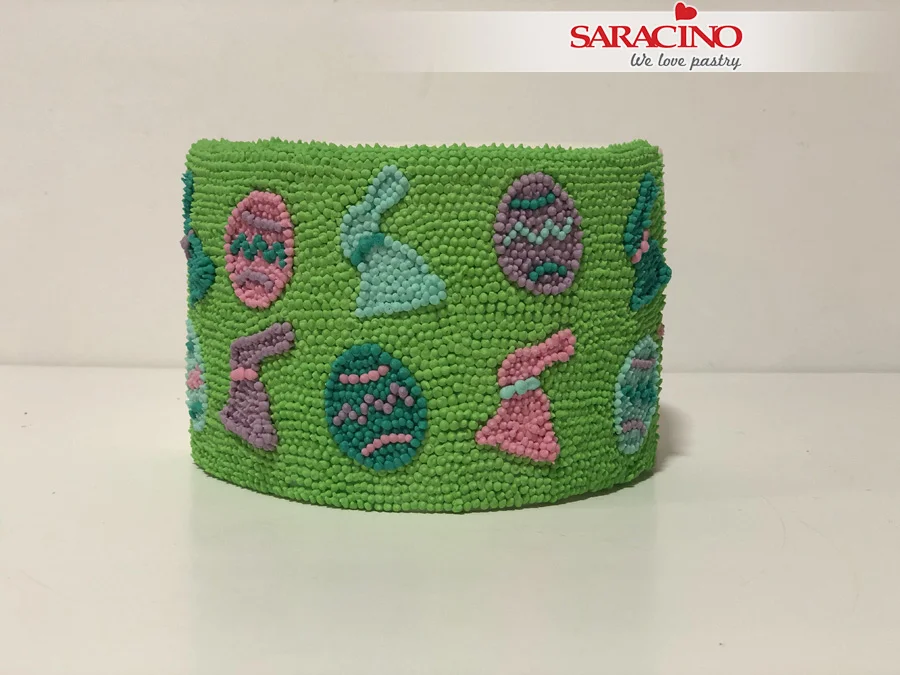
To give a slight 3D effect pipe around the outside of each shape.
Step 32
Also go over some details again. This will give definition and volume to our decoration
Step 33
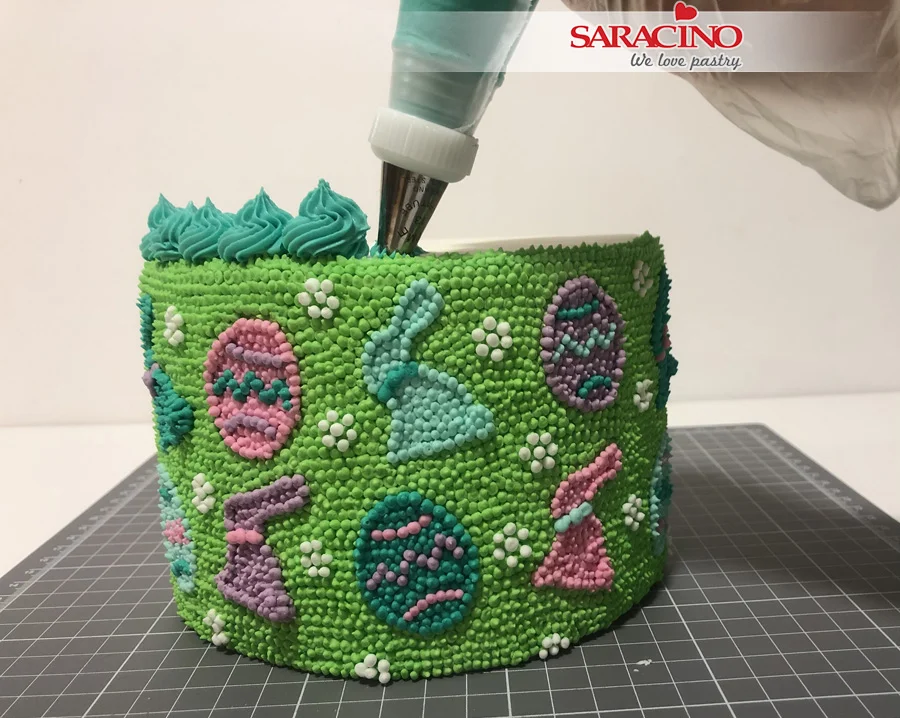
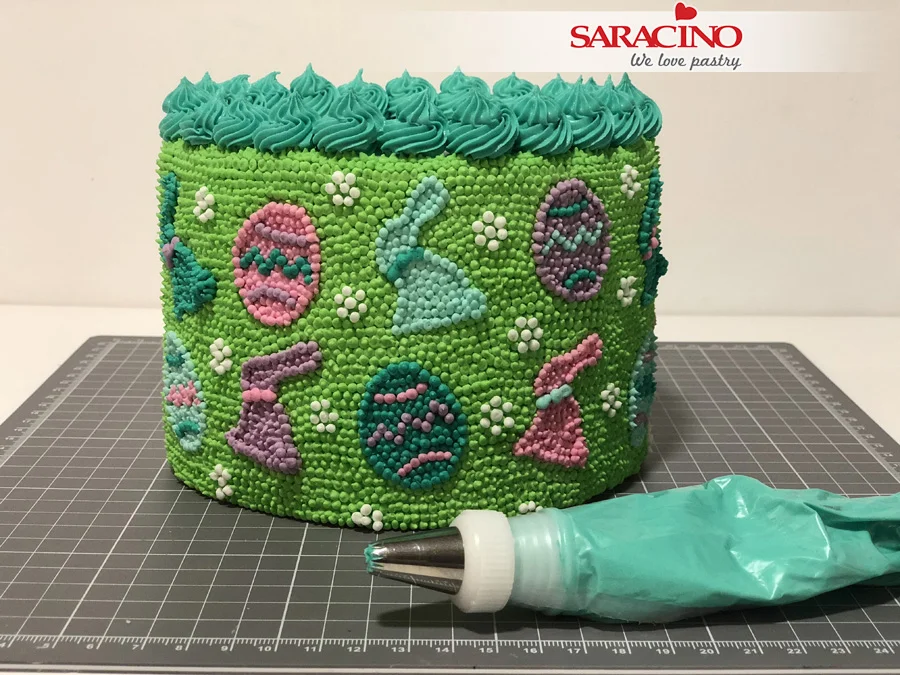
If you want you can add some small decoration to fill the spaces between your shapes, such as small flowers formed from white dots as shown. You can also pipe around the top of the cake using a No. 18 piping nozzle.
Step 34
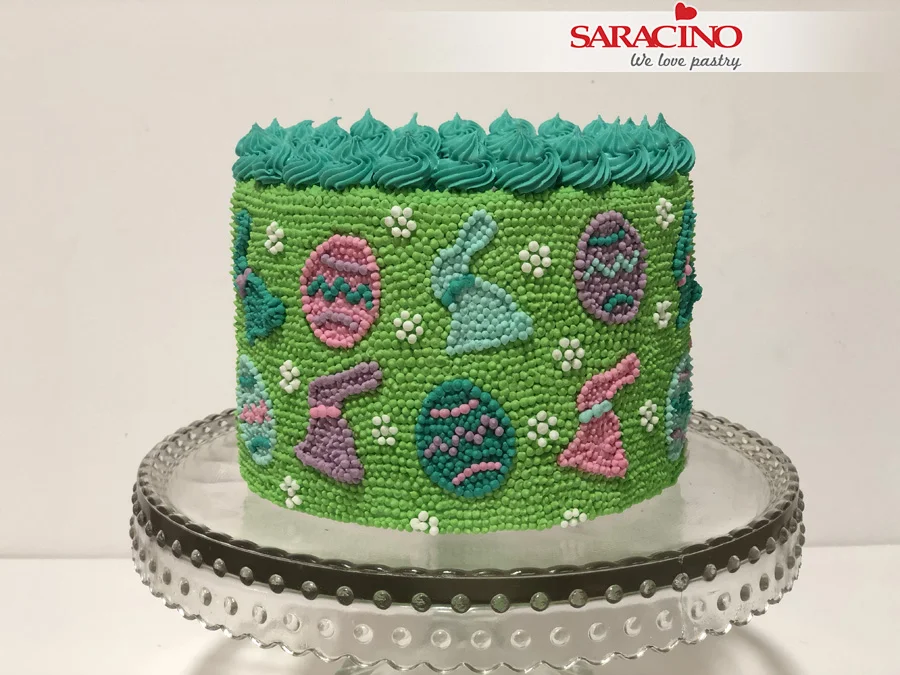
This decoration adds volume and combines the colours that have been used in the decoration of the cake.
Step 35
It is a fun and colourful decoration with a WOW factor! Dare to combine colours to achieve the look you want for your Easter celebration.