


Author: Carmen Montero

FB: De un bocado
Skill level: INTERMEDIATE
TIP – You can cover your two tiers with Saracino Pasta Top. To learn how to cover your cakes and create sharp edges follow the link
HERE – for picture tutorial
HERE – for video tutorial
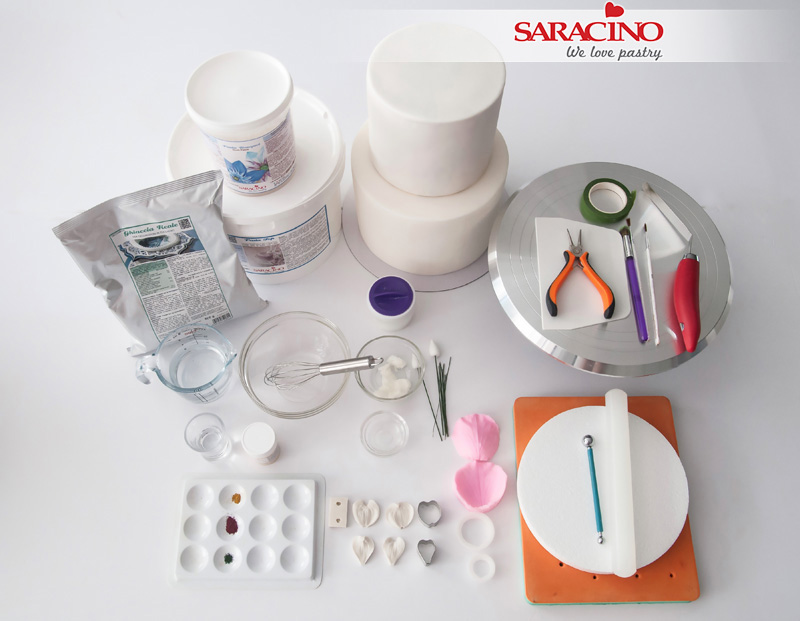
You will need:
-
Saracino Royal Icing
-
Saracino white flower paste – Pasta Bouquet
-
Saracino sugar paste/fondant – Pasta Top
-
2 dummies of 15 and 20cm or a cake of 2 tiers
-
Rotating base
-
Scraper
-
Floral ribbon
-
Pliers
-
Brushes
-
Spatula
-
Water
-
Bowl and whisk
-
Cornstarch
-
Vegetable fat
-
18 or 20 gauge floral wire
-
30 gauge floral wire
-
Edible glue
-
Clear alcohol
-
Powder colours: gold, yellow, green and dark pink
-
Dogwood cutters set
-
Set of dogwood veiners
-
Set of rose cutters
-
Rose texturizer
-
Foam pad
-
Porexpam to puncture the flowers
-
Ball tool
-
Rolling pin
- Cake stencil with a pattern of your choice
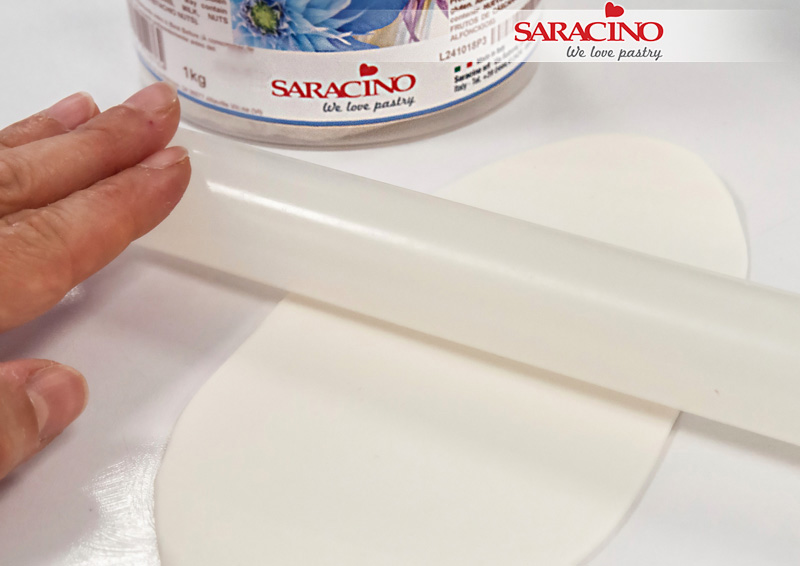
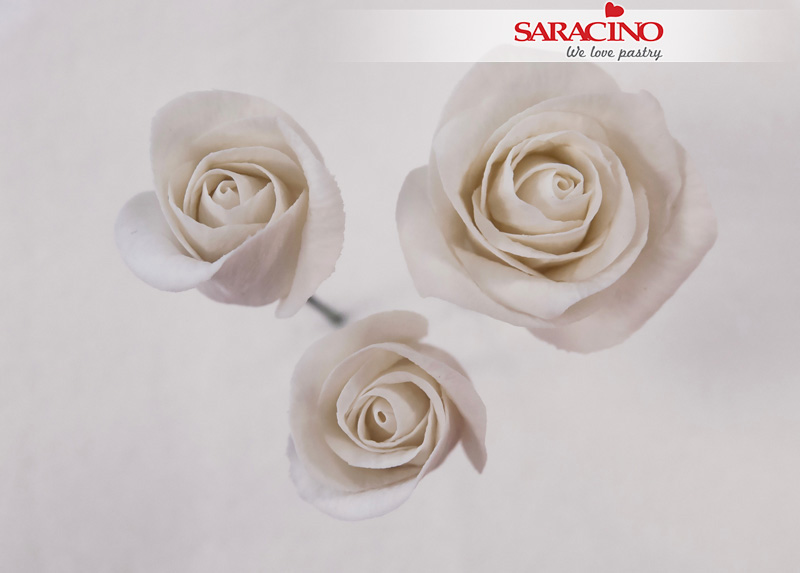
Step 1
To make the roses, start by rolling a piece of Pasta Bouquet to cover the center we are going to use. It does not need to be too thin.
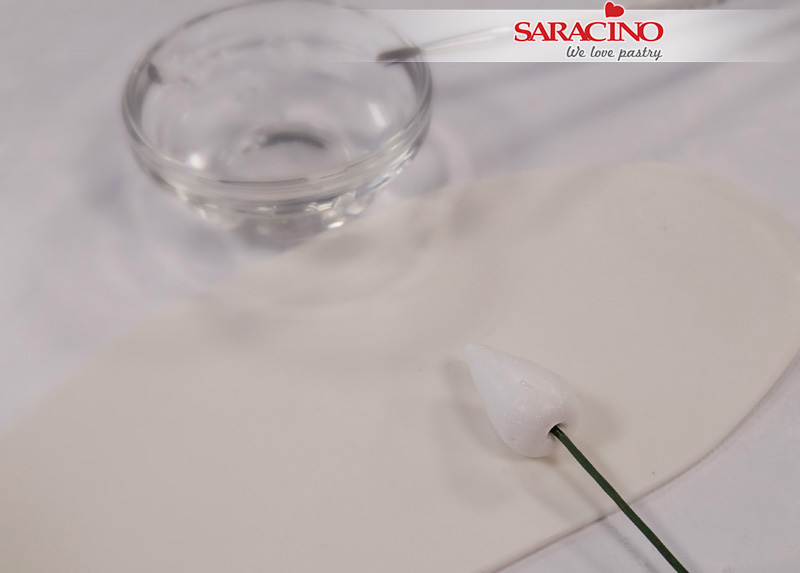
Step 2
Insert a 18 or 20 gauge floral wire into a center for roses (a porexpam cone can be used) and coat it with a little edible glue.
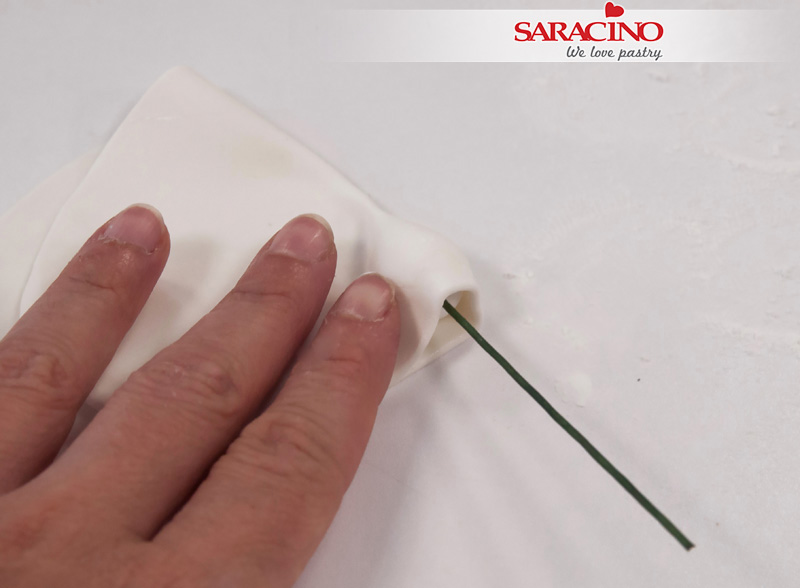
Step 3
Cover the rose centre with the rolled out Pasta Bouquet as shown
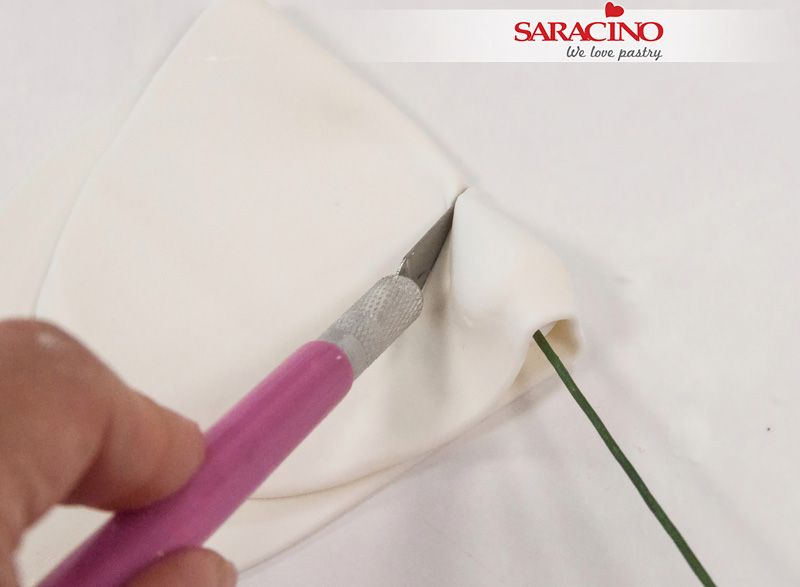
Step 4
Cut off the excess and adjust well.
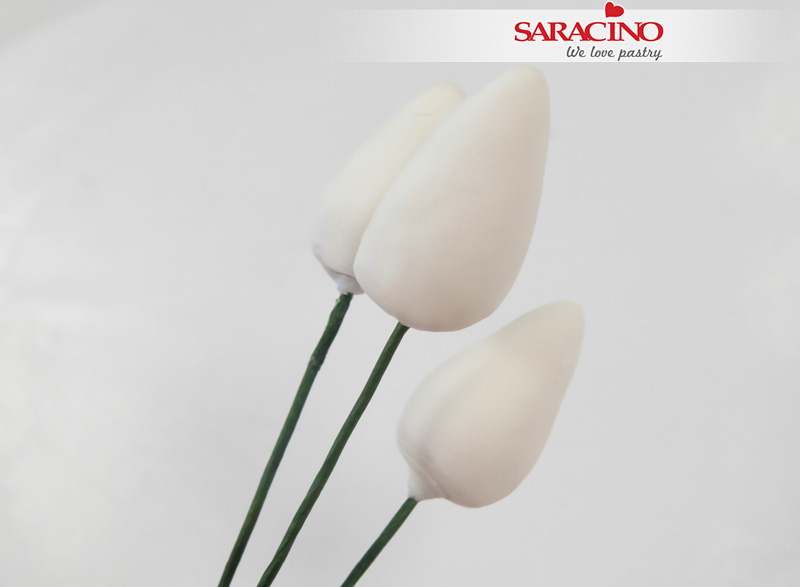
Step 5
We will need 3 centres.
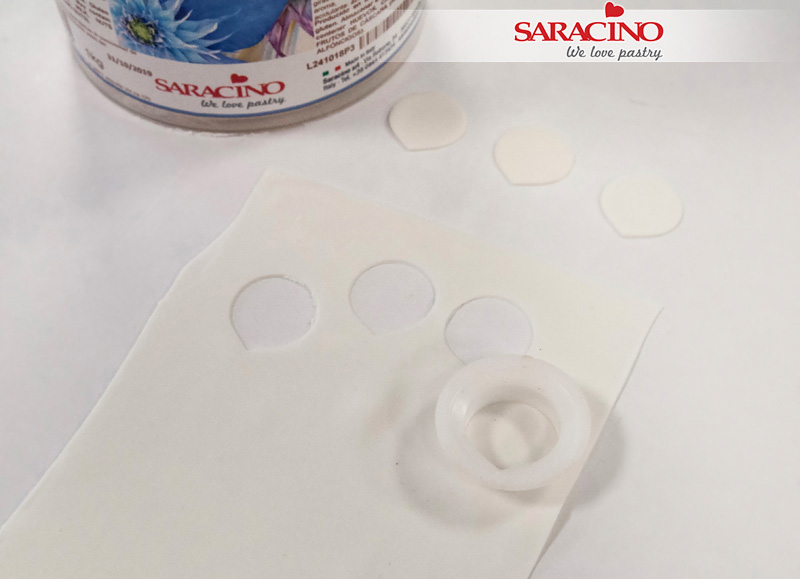
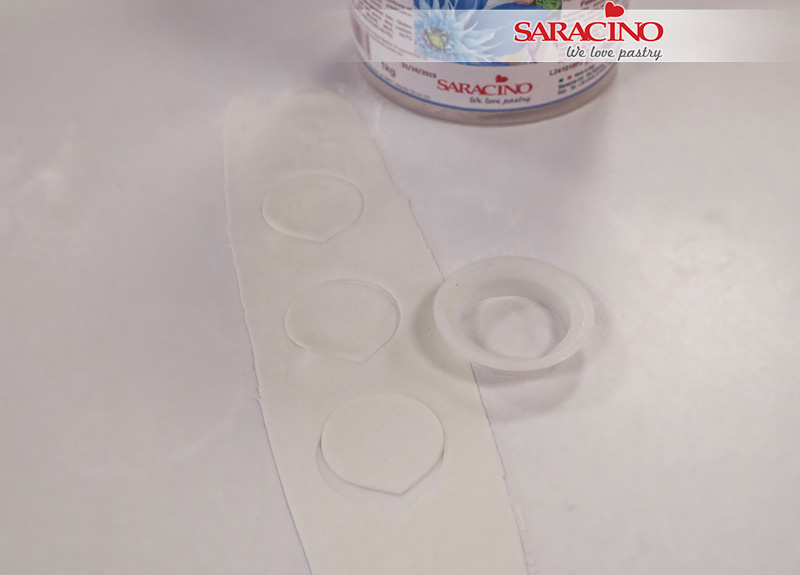
Step 6
Roll a little Pasta Bouquet with a rolling pin until it is very thin (it needs to be as thin as possible so that the petals turn out to be realistic). We will need to cut out 9 small petals.
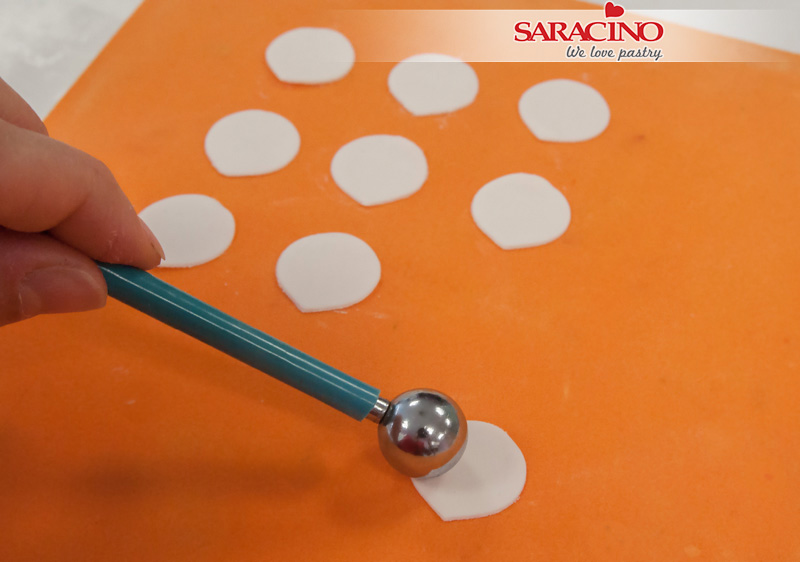
Step 7
Place the petals on your foam pad and using a ball tool thin the edges
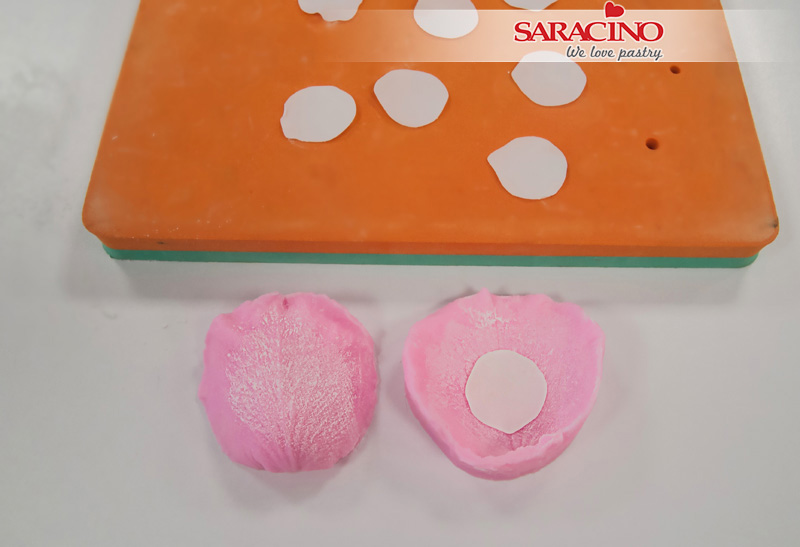
Step 8
Add texture to the petals using a veining mould. Sprinkle a little cornflour on the veiner’s before use to stop the petals sticking.
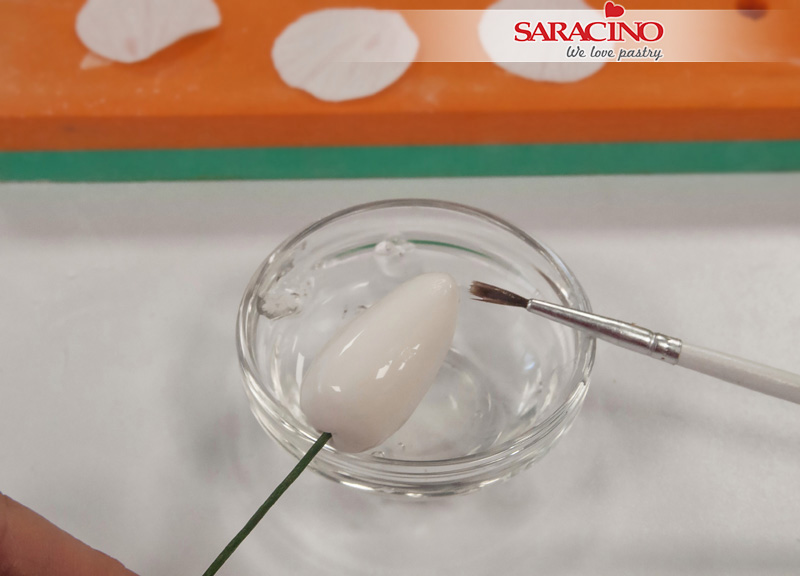
Step 9
Cover the rose bud with edible glue
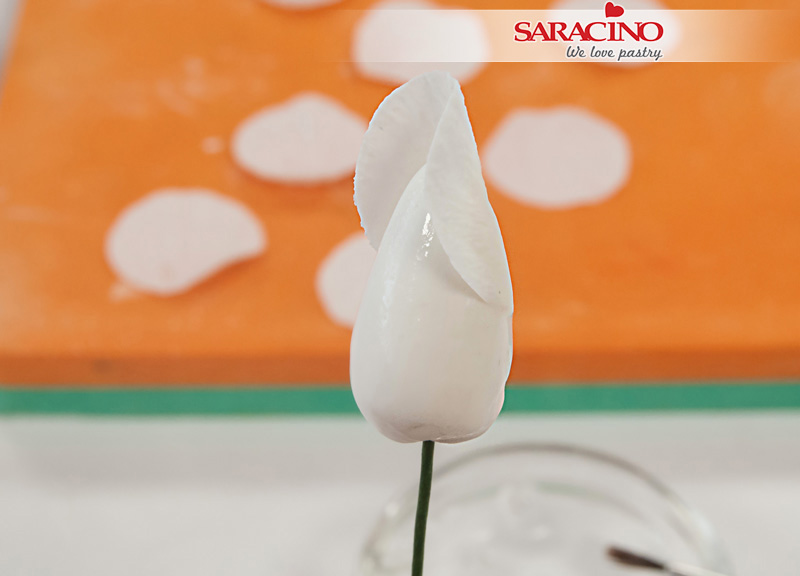
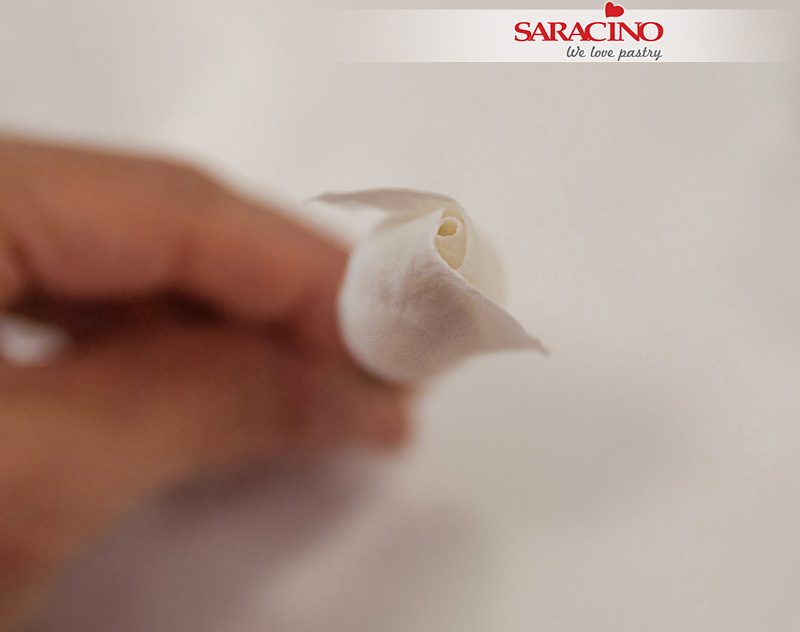
Step 10
Place the first petal, leaving a little height over the center.
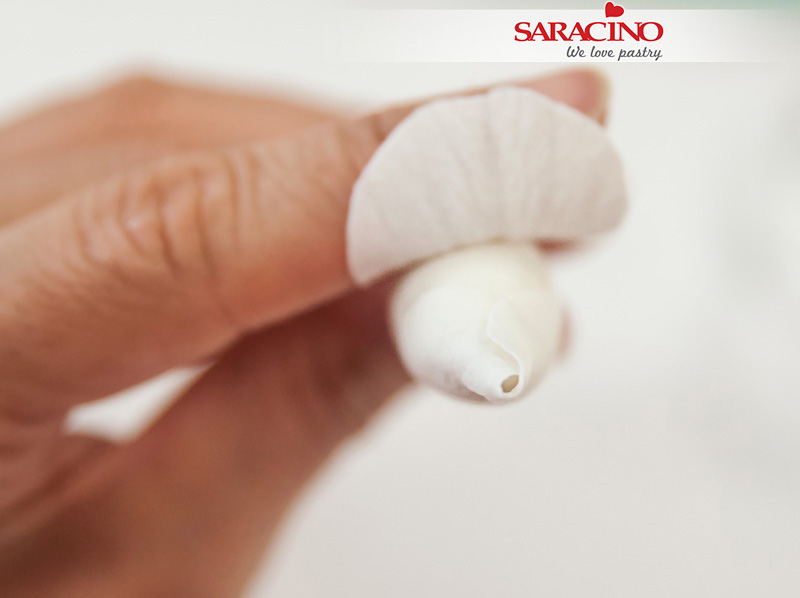
Step 11
Wrap the petal around the bud so it is tightly closed like the centre in the picture
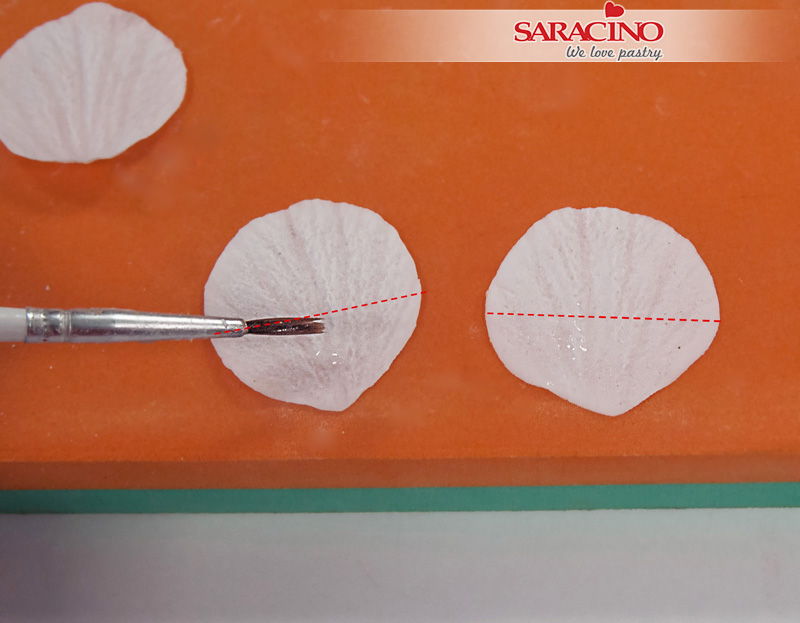
Step 12
Apply a little glue to the lower half of 2 petals.
Step 13
Place the first of those 2 petals over the fold of the centre petal and at the same height.
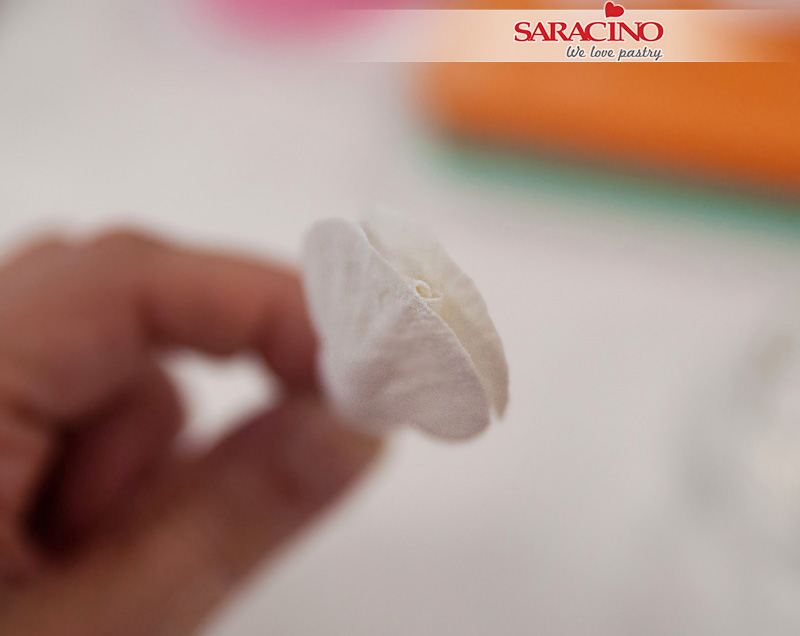
Step 14
Fix the second petal directly opposite
Step 15
Pull one edge away from the bud. Insert the opposite petal below and fix to the bud.
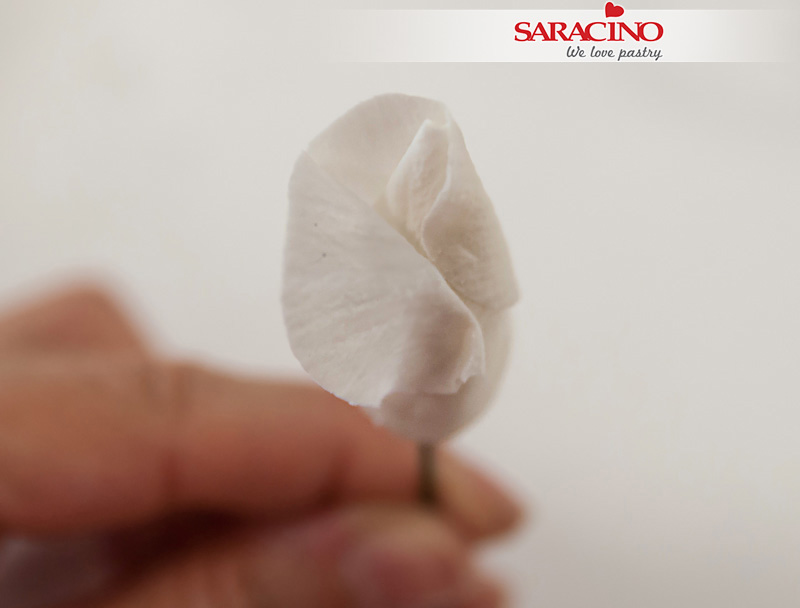
Step 16
Turn the flower around and repeat so the two petals are overlapping and look as shown
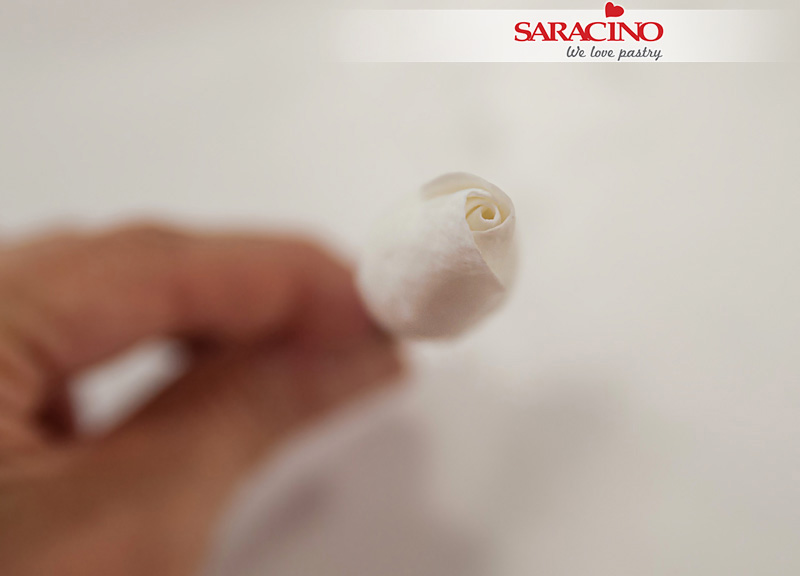
Step 17
Adjust the sides well so that it is closed.
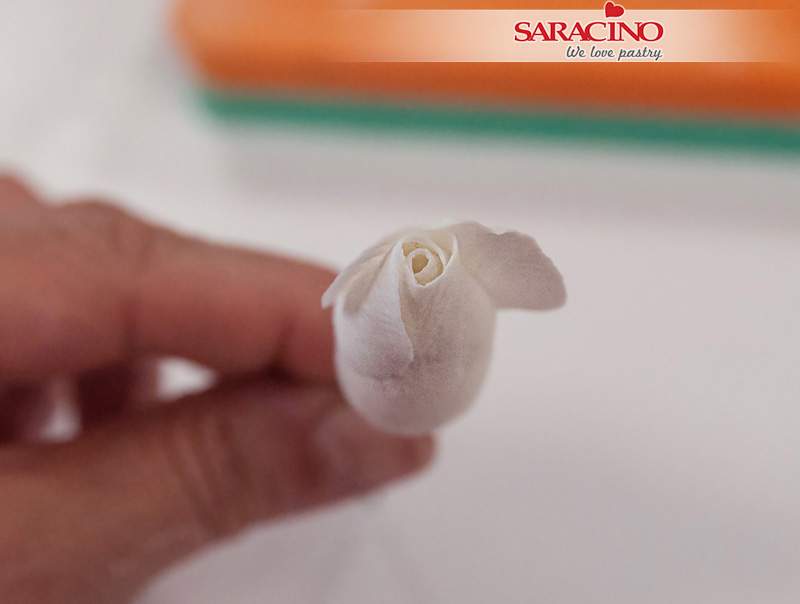
Step 18
Now we start fixing the next row of petals. We take the first one and place it over the joint of the previous 2 and at the same height as these.
Step 19
From the middle of the petal fix another petal perpendicular to it, then fix the third petal.
Step 20
Put a little edible glue on the side that remains free.

Step 21
Adjust to close over the center but without squeezing too much, so that it gets volume.
Step 22
Cut 3 petals of the largest size and perform the same operation as with the previous ones. We texture and thin the edges with a ball tool as previous petals.
Step 23
Fix this layer of petals as with the previous layer
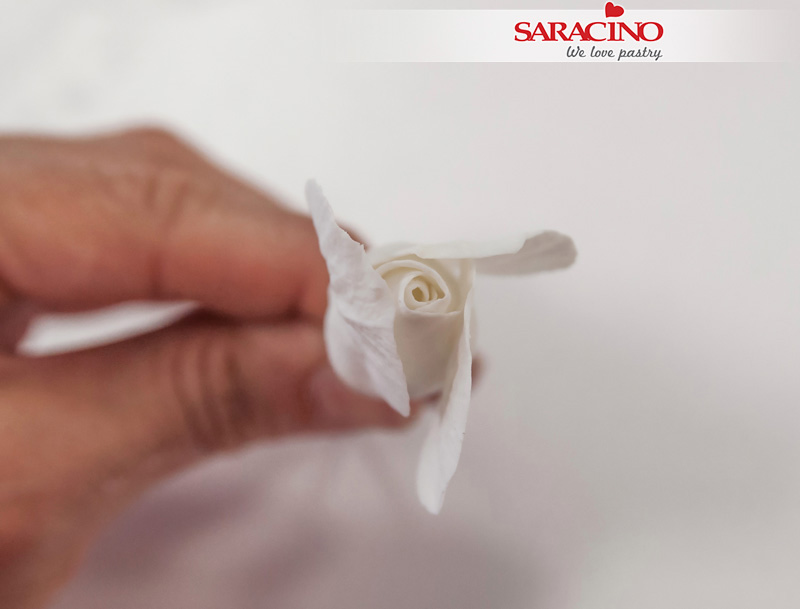
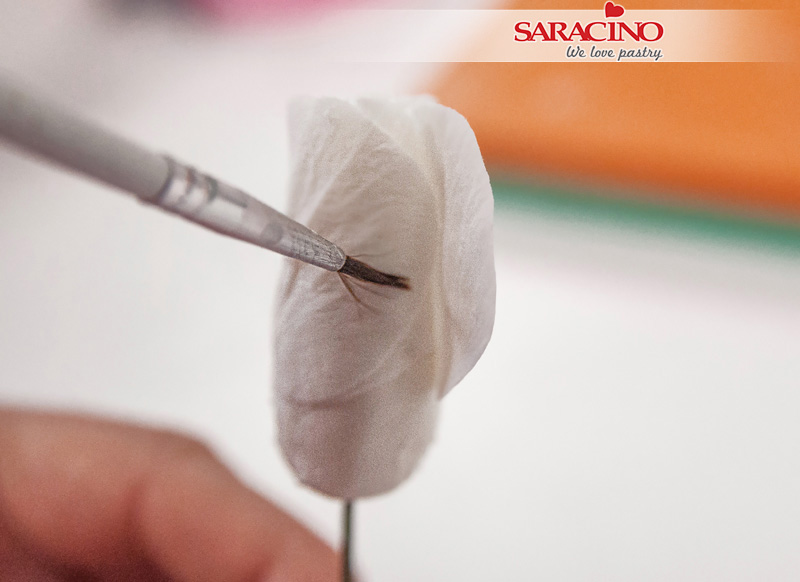
Step 24
Apply a little glue on the free side and tighten over the center, closing each petal less and less. Curl the top using the handle of a brush to give it movement.
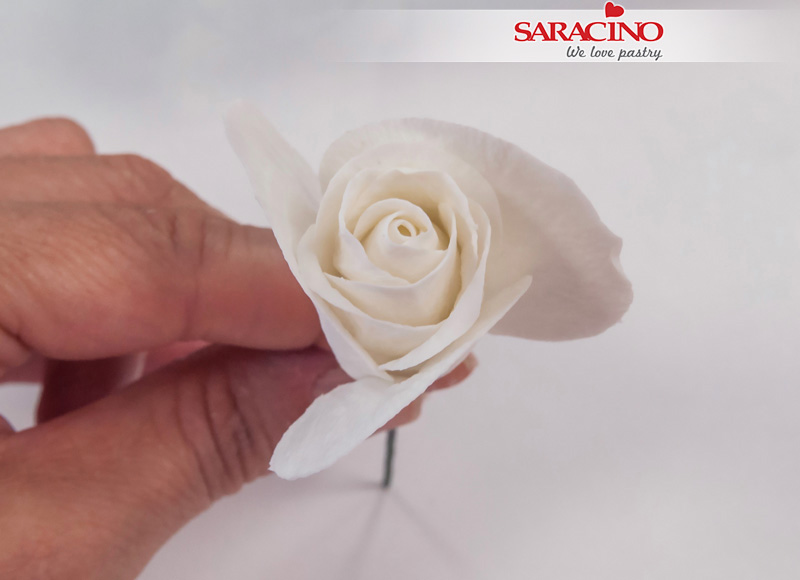
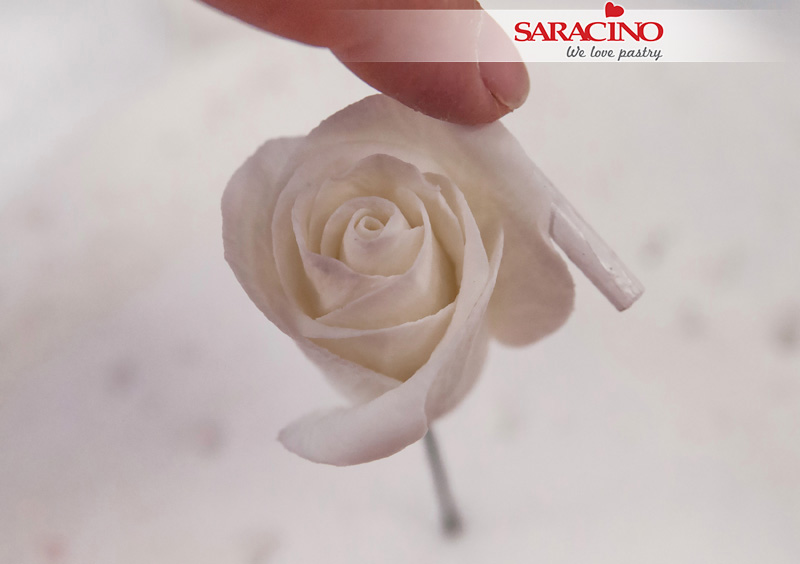
Step 25
Make as many rounds of petals as you want, depending on whether you want a more open or more closed flower.
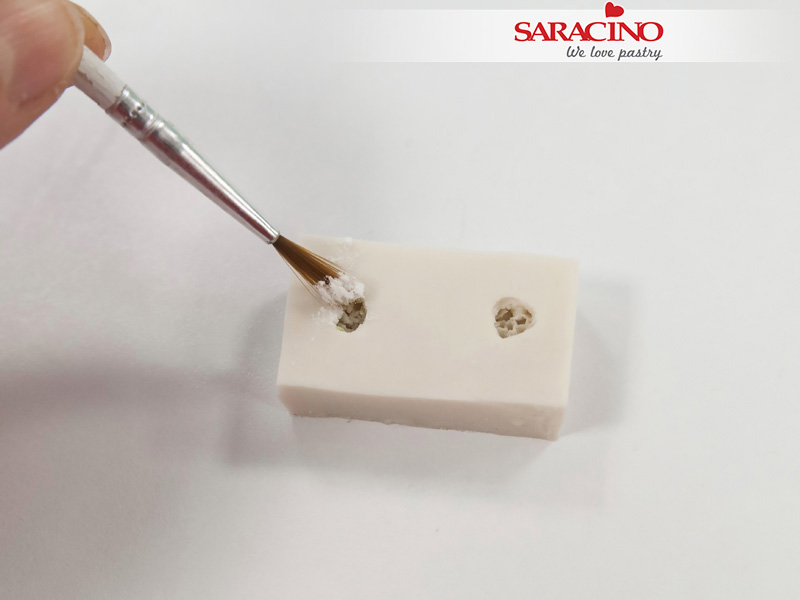
Step 26
Using a brush put a little cornflour in the dogwood mould so that the Pasta Bouquet does not stick and we can remove it easily.
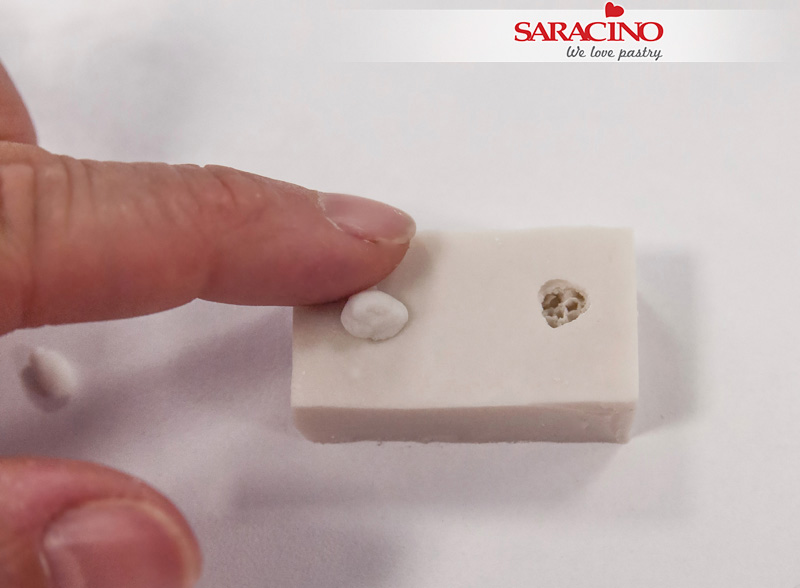
Step 27
Press a small ball of Pasta Bouquet into the moulds
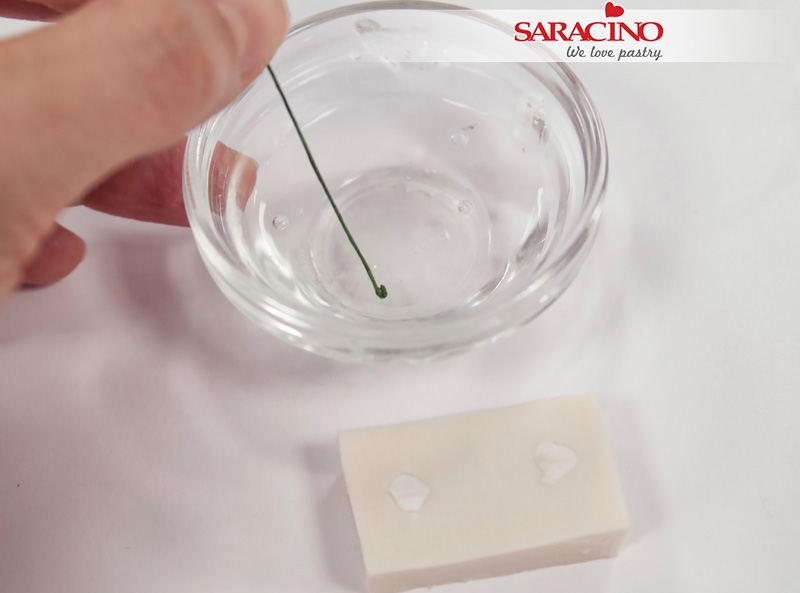
Step 28
Dip the end of a 26 gauge floral wire into edible glue.
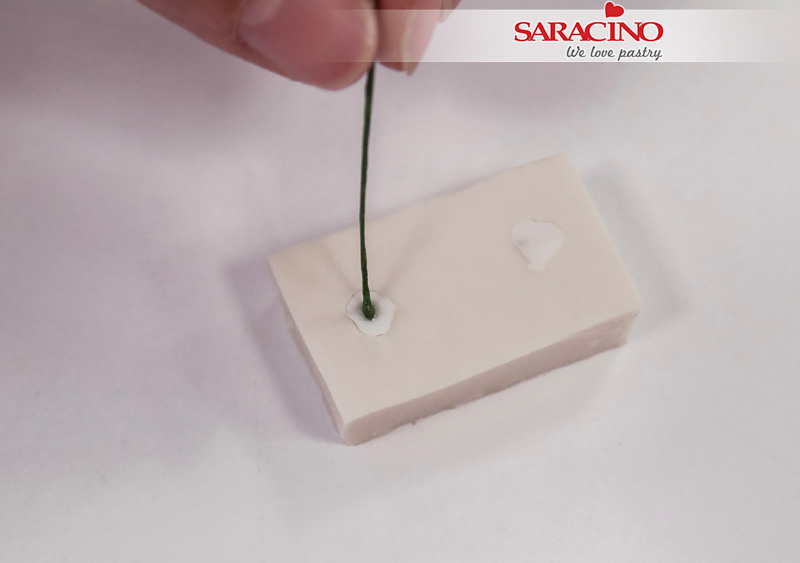
Step 29
Insert the wire into the center of the dogwood.
Step 30
Press the base of the wire so that the center is well attached before removing it from the mould.

Step 31
Carefully, we extract the center. Let’s do about 10 centers to have 10 flowers.
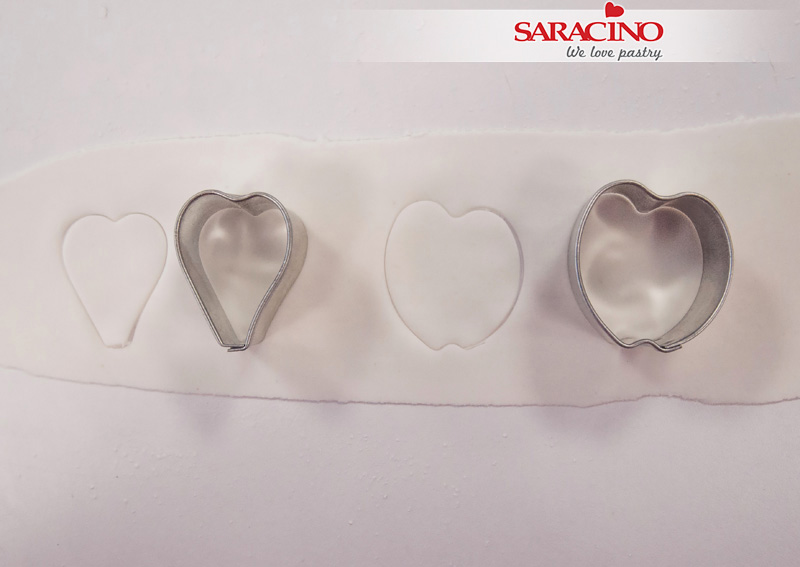
Step 32
Roll out some Pasta Bouquet and cut 2 wide and 2 narrow petals for our dogwood flower.
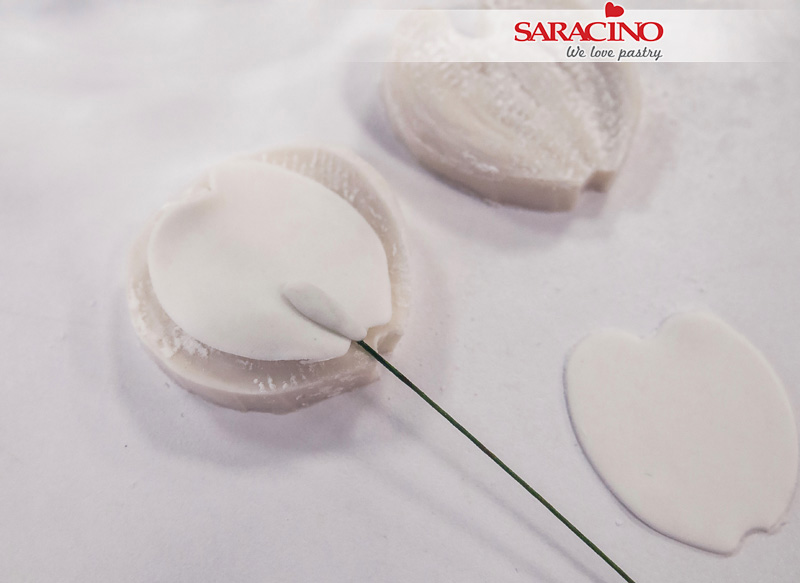
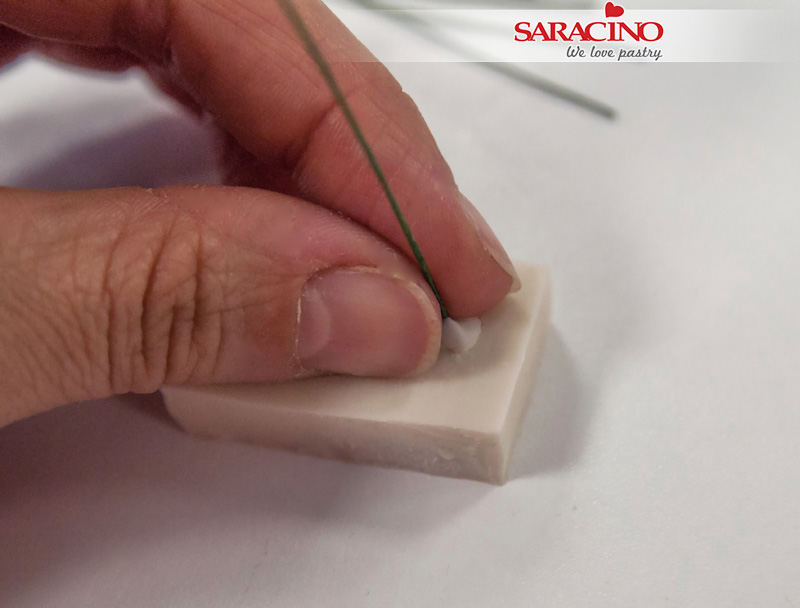
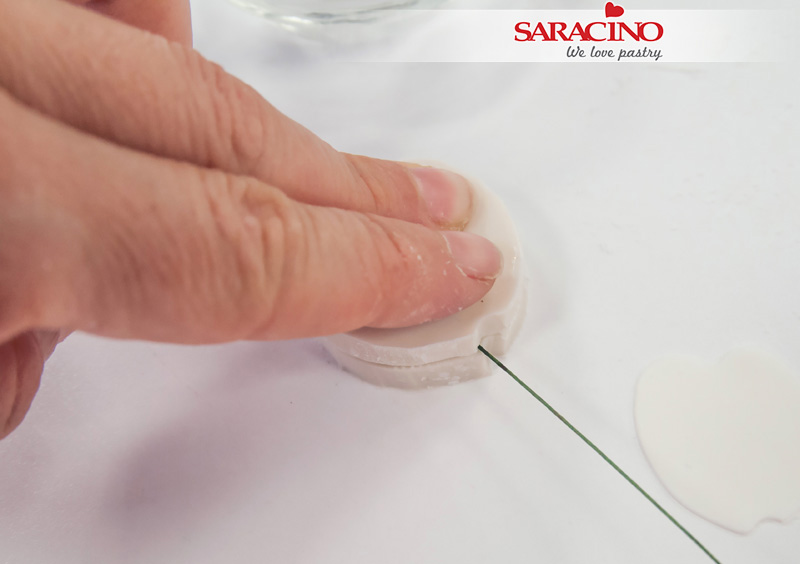
Step 33
We now need to wire the petals. Place a petal in the veiner, dip the end of a 30 gauge floral wire in edible glue and cover it with a small piece of pasta bouquet to fix it to the petal.
Step 34
Press with the other side of the veiner
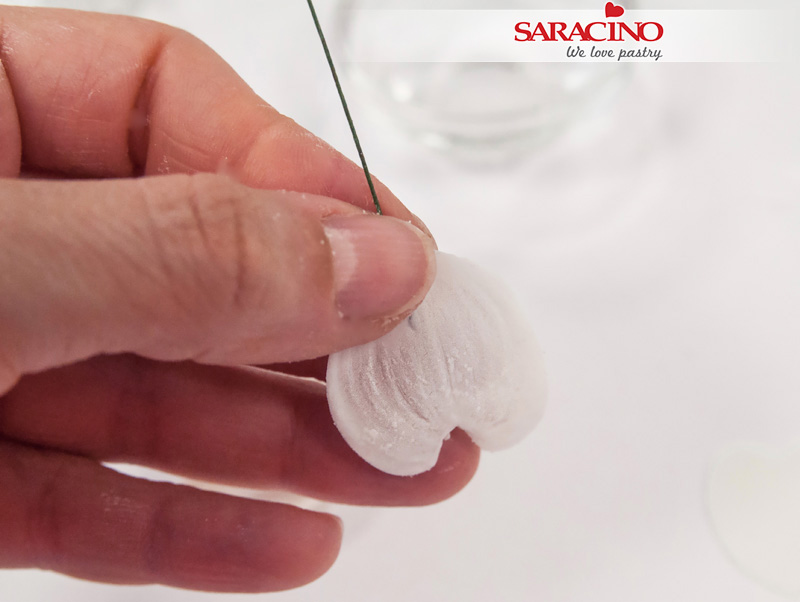
Step 35
Press well on the base to fix the petal to the wire and secure it well.
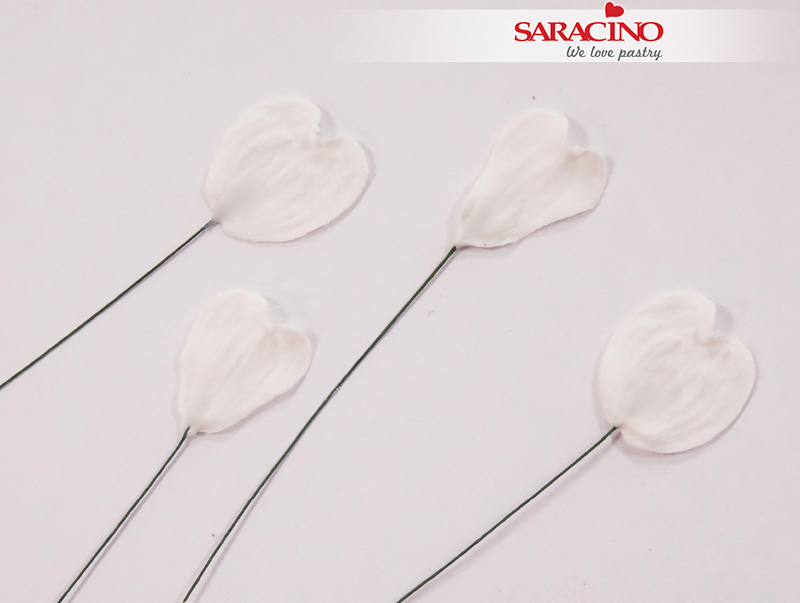
Step 36
Perform the same operation with all the petals.
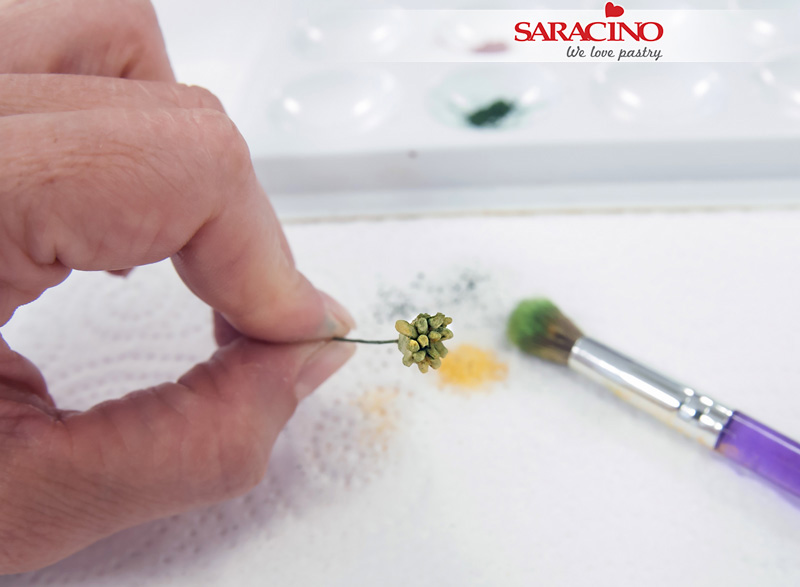
Step 37
Using a soft brush dust the flower centre with yellow powder. Then using the same brush dust with green powder
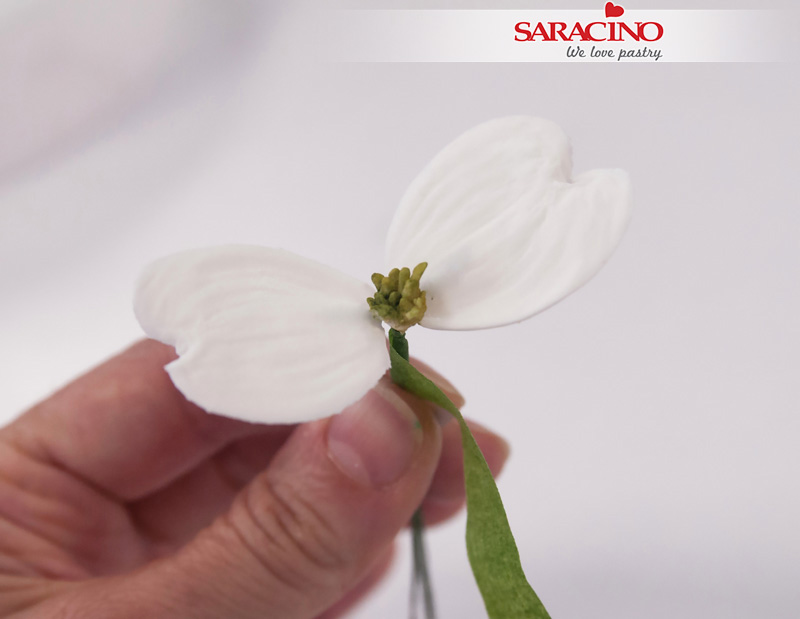
Step 38
Attach the first 2 petals of the same size to the centre using floral tape. The petals should be directly opposite each other.
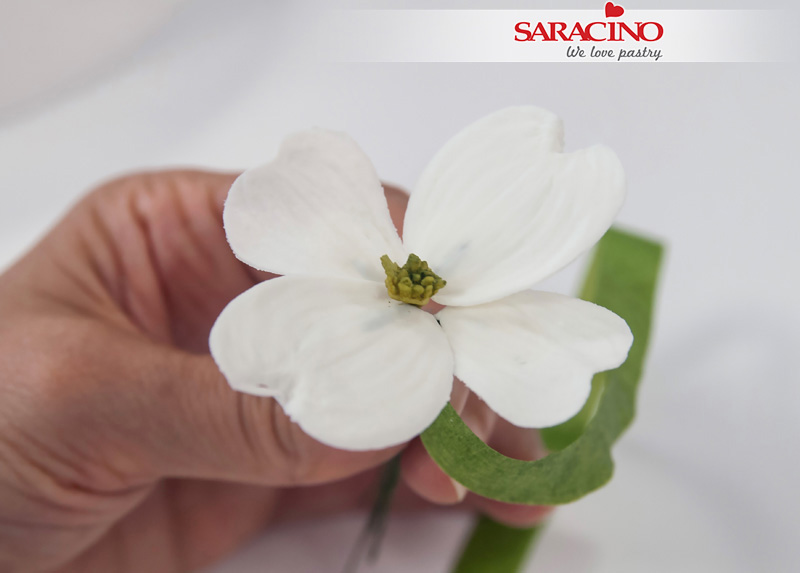
Step 39
Attach the other 2 petals so they are directly opposite each other.

Step 40
Dust the upper end of each petal with dark pink powder colour and then with a little green.
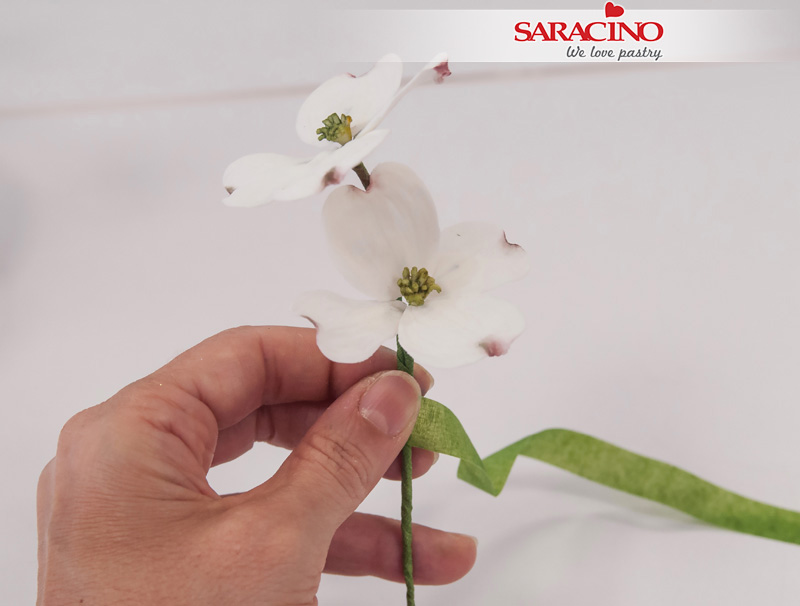
Step 41
Fix the flowers to each other using florist tape
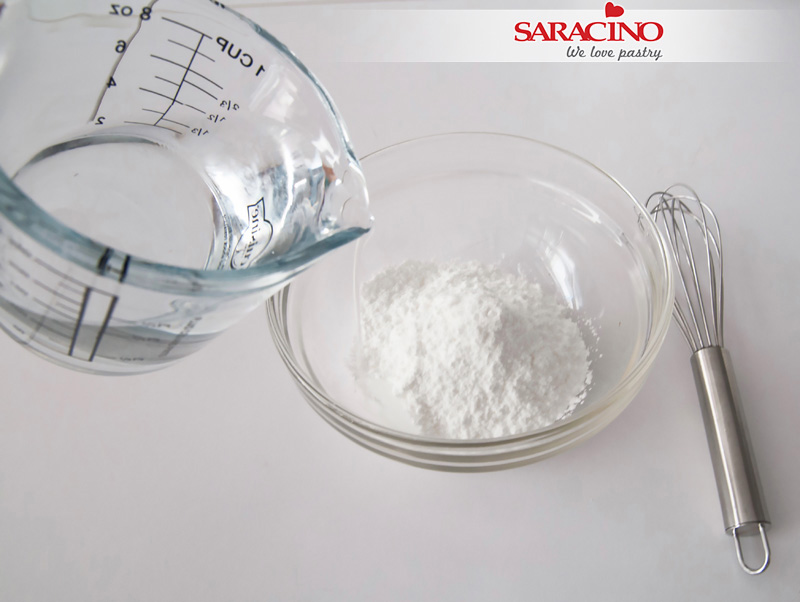
Step 42
Prepare the royal icing (follow the instructions on the package)
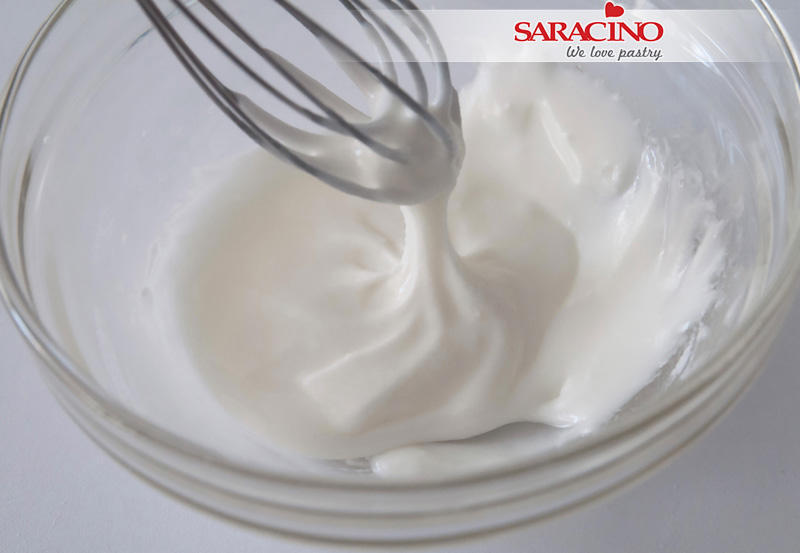
Step 43
You will need a consistency that is slightly runnier than the texture of toothpaste.
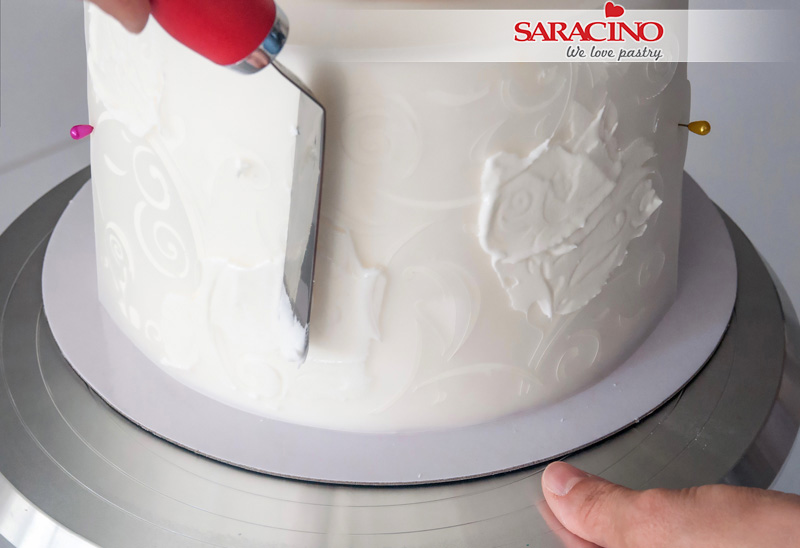
Step 44
Fix the chosen stencil on the cake and spread the royal icing with a spatula
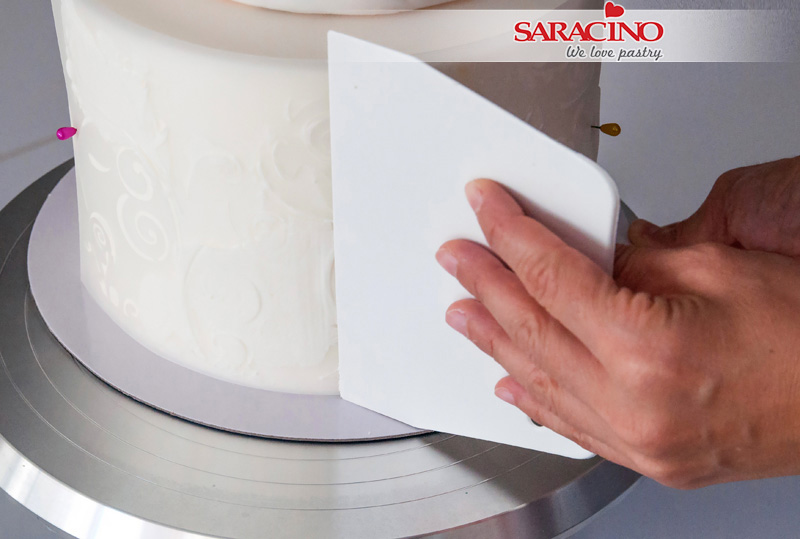
Step 45
Remove the excess with a scraper.
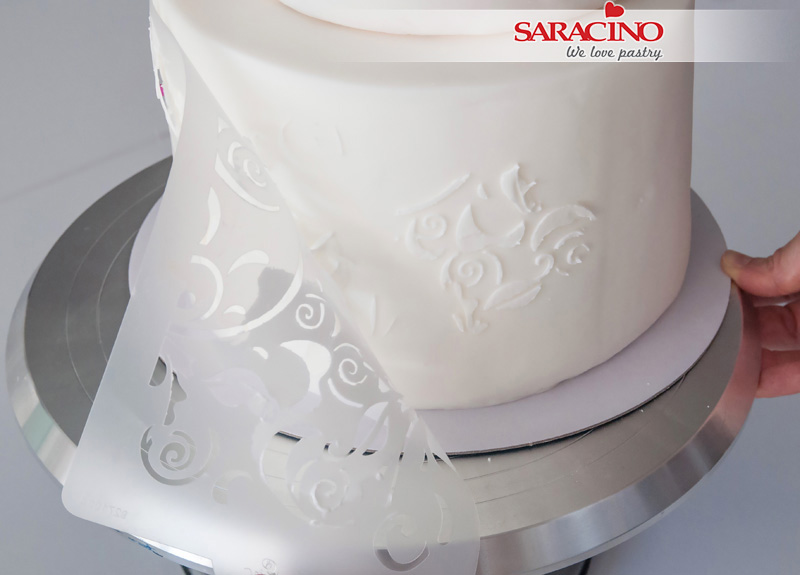
Step 46
Carefully remove the stencil. Let the royal icing dry
Step 47
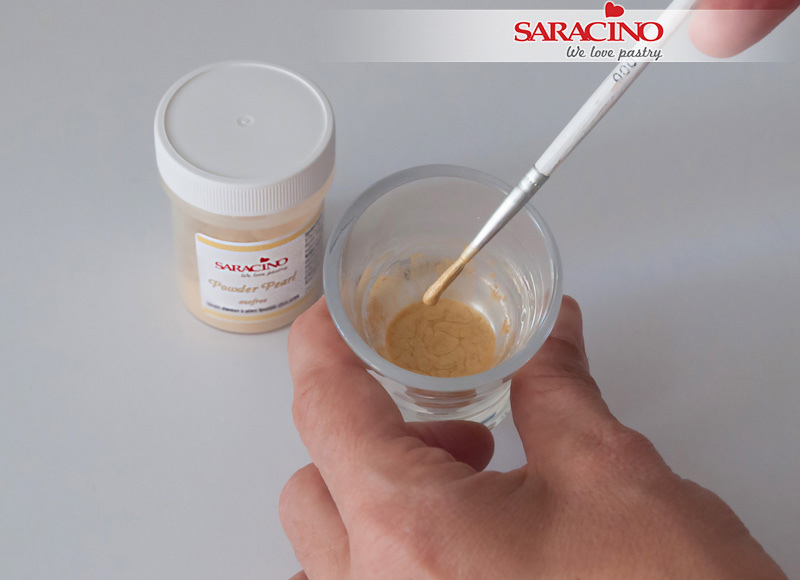
Prepare a small amount of gold paint by mixing the gold powder colour with a few drops of clear alcohol.
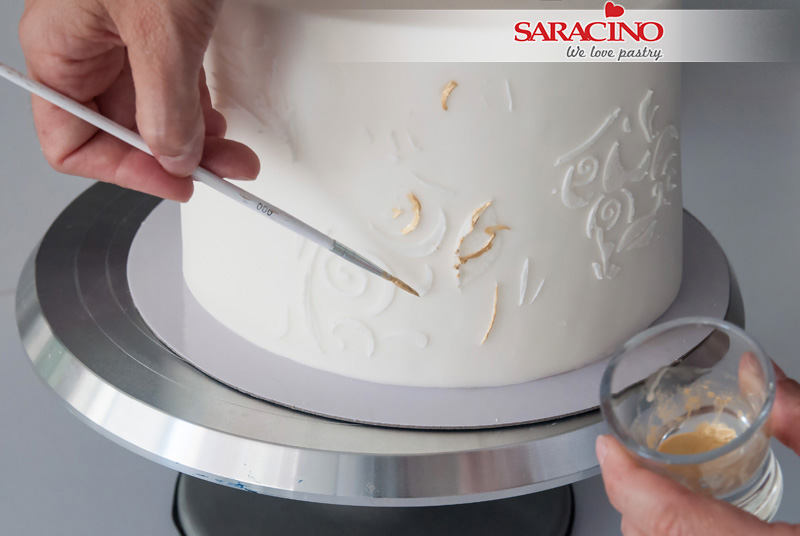
Step 48
Paint only a few parts to give a worn effect.
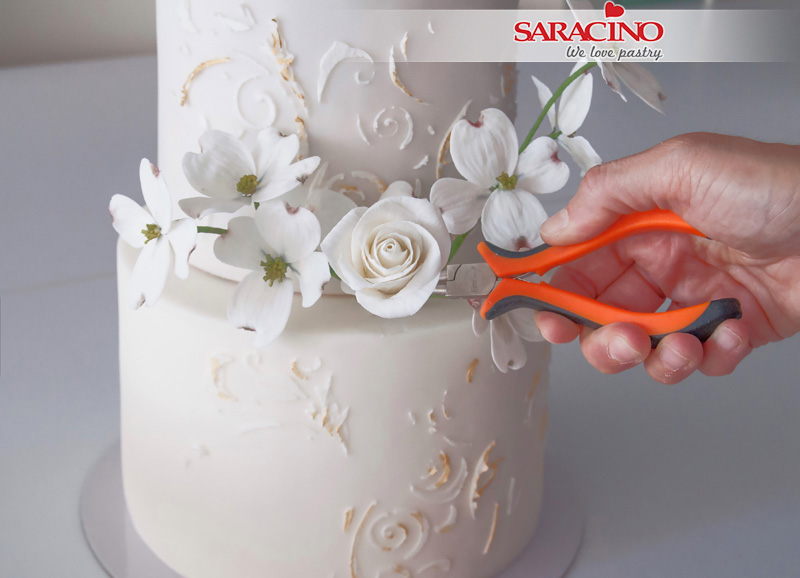
Step 49
Put the flowers on the cake. Use your pliers to bend the wires so they curve around the cake without the need to insert a flower pick.
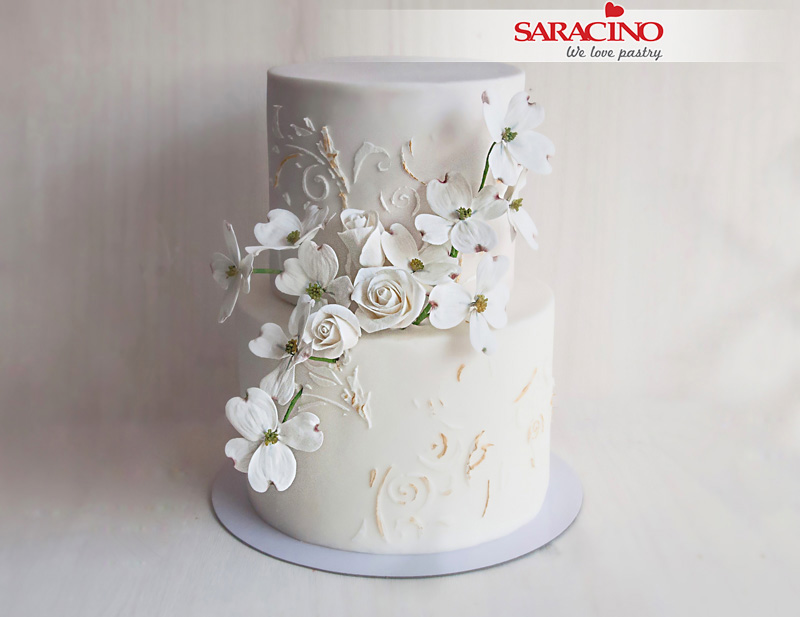
Step 50
Your cake is ready
