SWAN CAKE


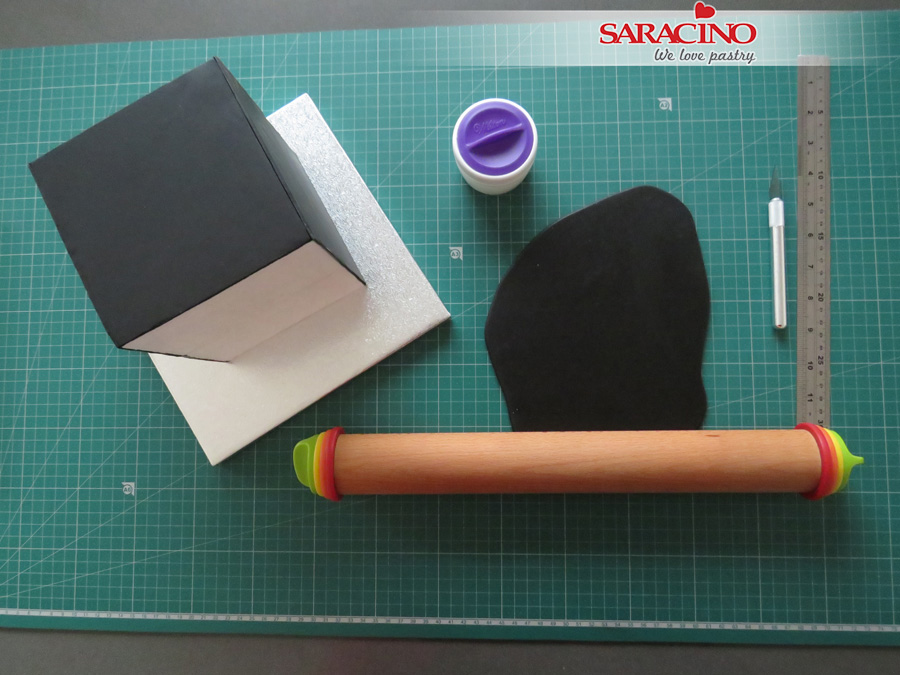
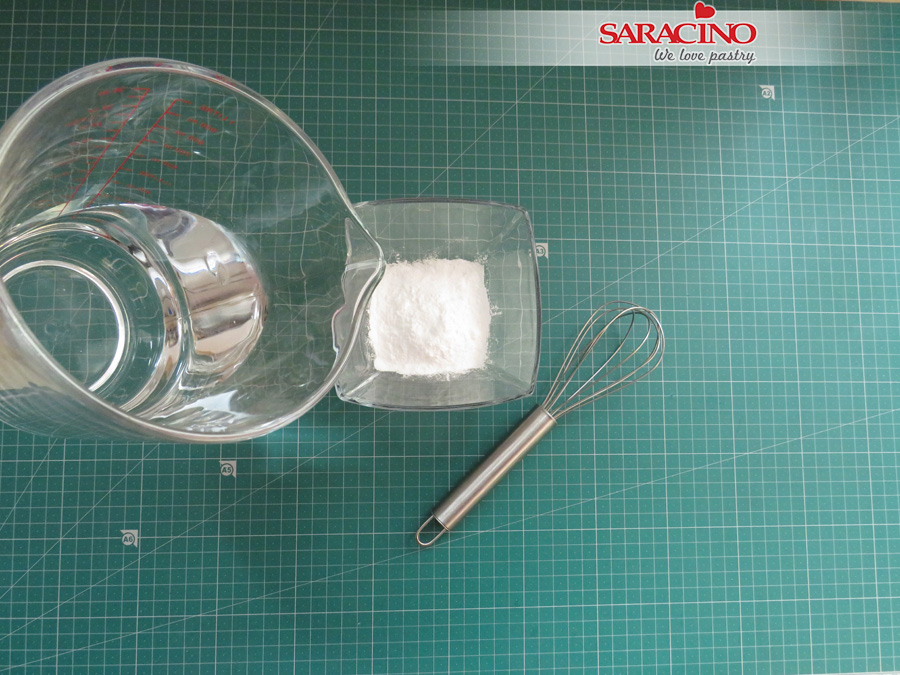
You will need:
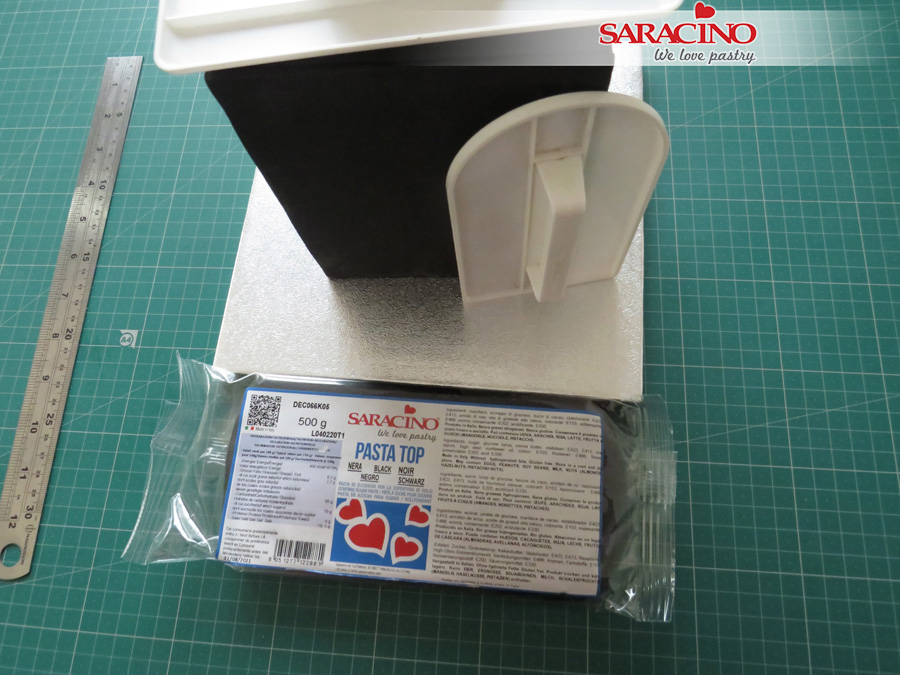
- 2 tier cake
- Saracino white Pasta Top
- Saracino white Pasta Model
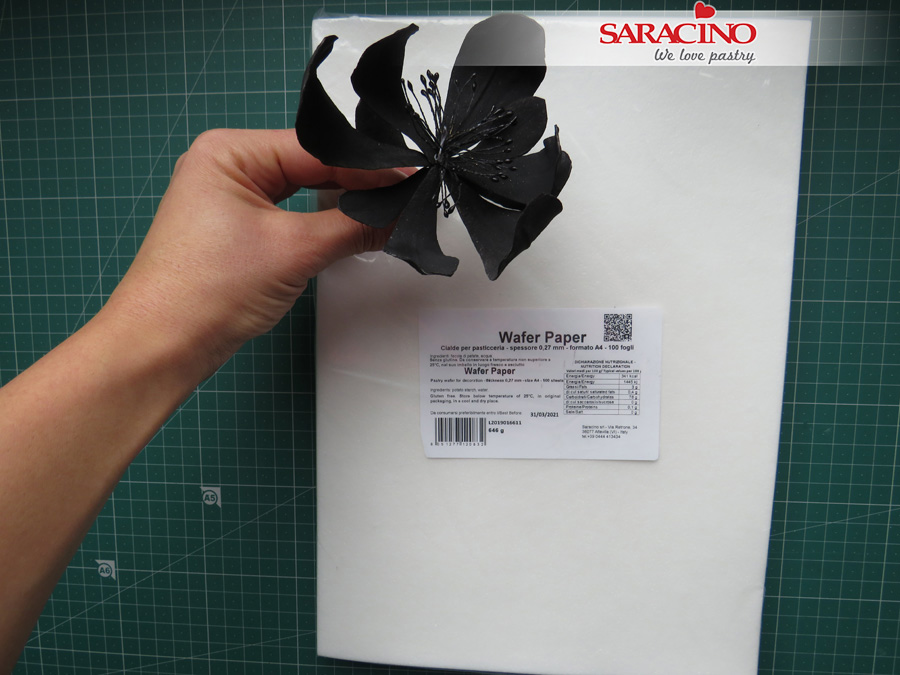
- Saracino Wafer Paper 0.27
- Florist Wire Nr.20 and Nr.28
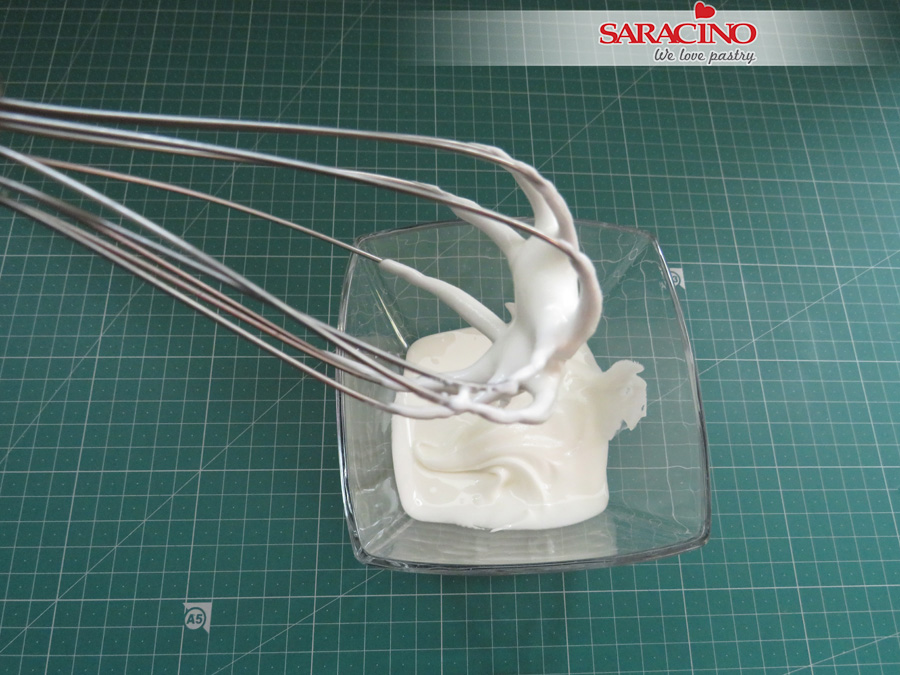
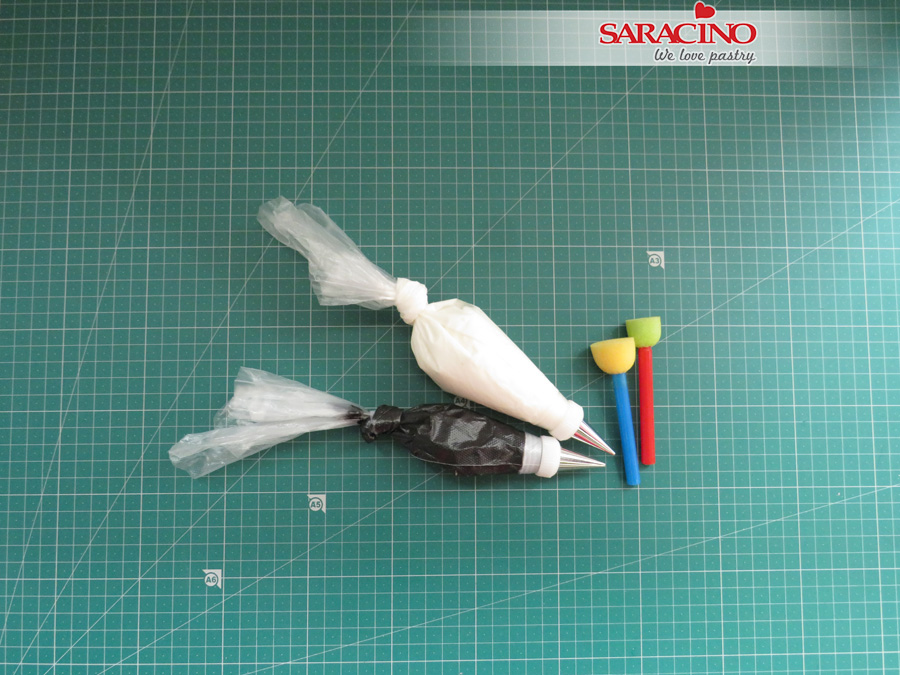
- Edible glue
- Black edible marker
- Cake drum
- Sculpting tools
- Small scissors
- Two brushes
- Clear alcohol
- Powder colours: gold, white, yellow and 2 shades of apricot
- Saracino Pasta Bouquet
- Two daisy-shaped cutters of different sizes
- Green florist tape

Step 1
To make the swan you will need: 2 cake tiers, Saracino Pasta Top, Saracino Pasta Model, Saracino Wafer Paper, Florist Wire Nr.20, edible glue, edible marker (black), base, sculpting tool, small scissors, two brushes, clear alcohol, and gold powder colour.

Step 2
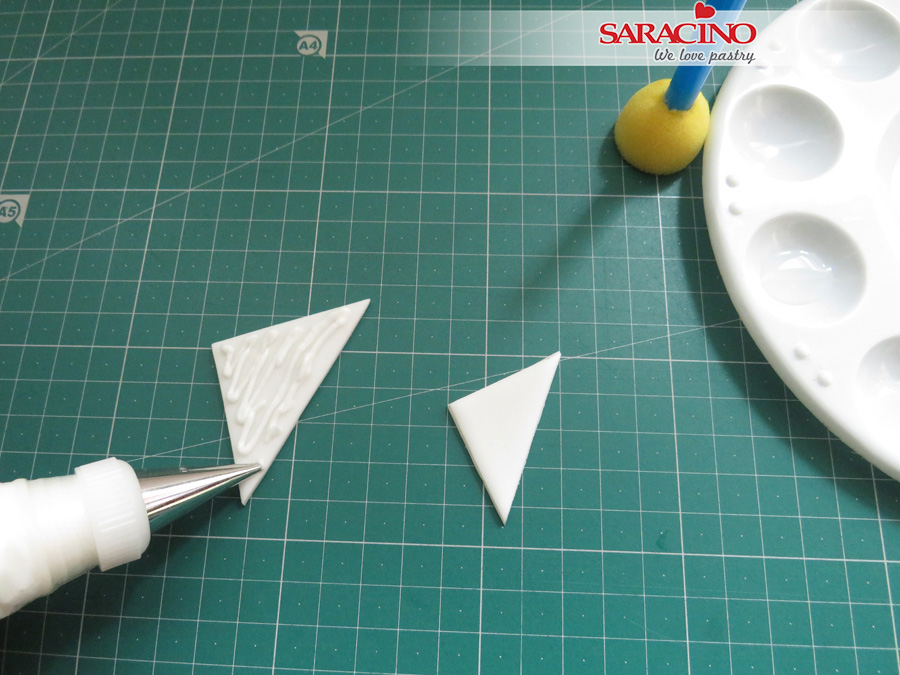
Prepare rectangles of the wafer paper and cut out various sized feathers. Make small cuts along the outer edges. You will need enough to cover the whole cake and the swan.

Step 3
Carefully hold the prepared feathers over steam (e.g. from a kettle) to achieve a ruffled effect.

Step 4
Continue to make feathers until you have enough to cover both wings and a cake tier.

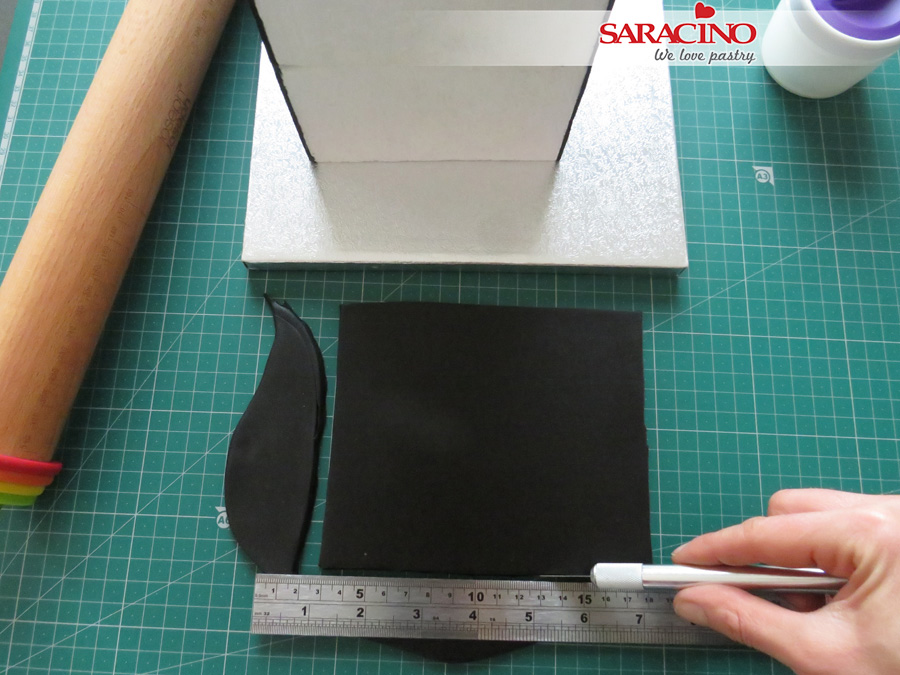
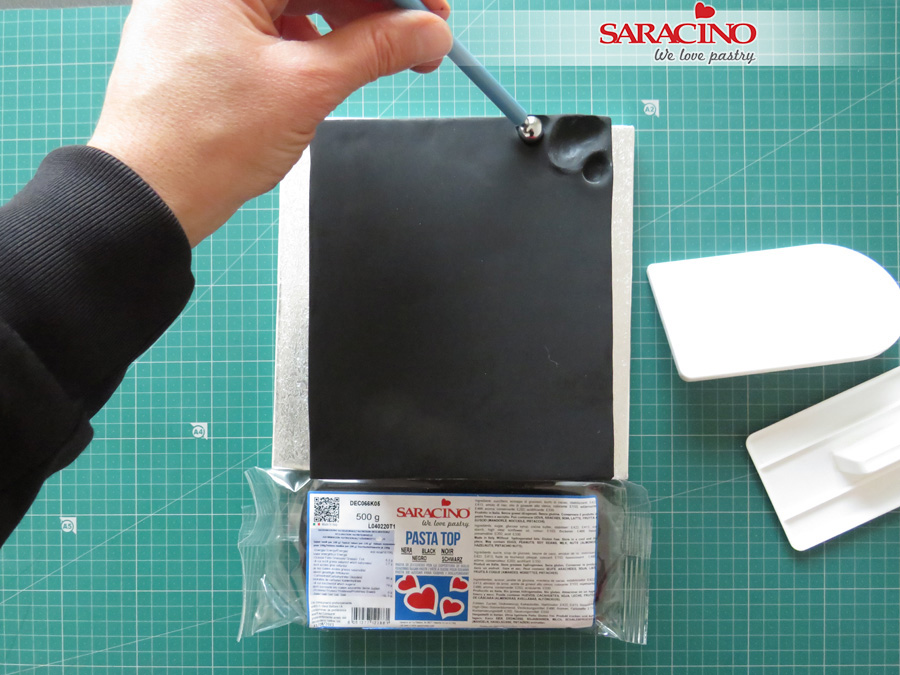
Step 5
Cover the cakes using Saracino Pasta Top and place on the base. Using edible glue attach the feathers to the top tier of your cake giving it a random ruffled look.

Step 6
Use Pasta Model to roll the neck of the swan (approximately 23cm in length). Insert a flower wire into the centre of the neck.

Step 7
Model the neck and beak to match the shape in the picture. Smooth the surface.

Step 8
Using the edible marker draw the swan’s eyes. Use sharp scissors to give a feather texture.

Step 9
Model the swan’s body using Pasta Model. Use a sculpting or modelling tool to smooth the joints.

Step 10
Use the scissors to achieve the feather texture on the body.

Step 11
For the wings roll white Pasta Model and cut out two oval shapes.

Step 12
Use a little edible glue to attach the wings either side of the body.

Step 13
Attach the wafer paper feathers to both wings using a little edible glue.

Step 14
Mix gold powder colour with the clear alcohol and paint the swans beak.

Step 15
Model a small crown using Pasta Model and fix to the swans head. Paint gold.

Step 16
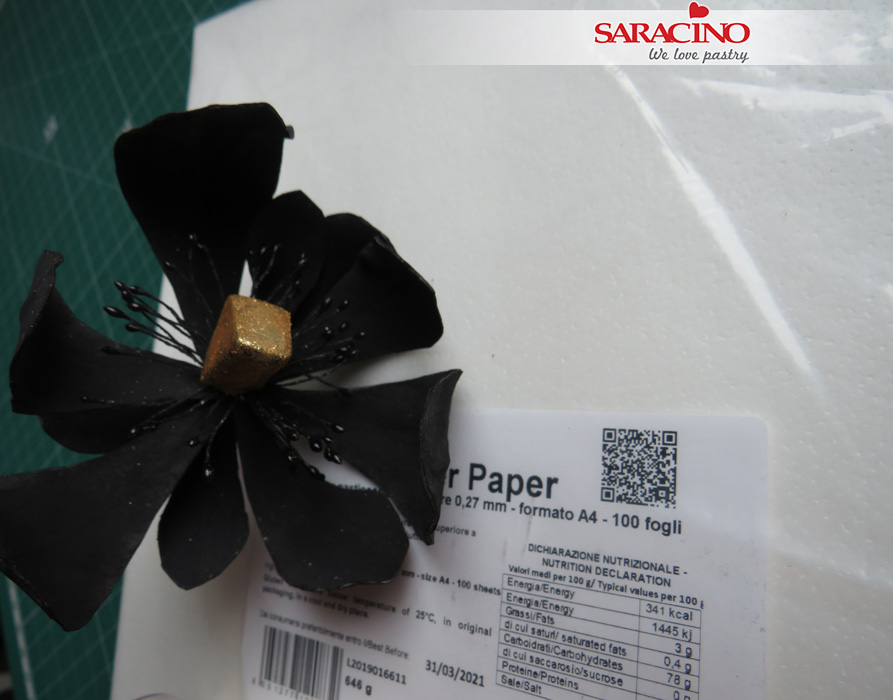
To make the flowers you will need: Saracino Pasta Bouquet, Saracino Wafer Paper, two daisy cutters of different sizes, petal-shaped cutter, edible glue, florist wire Nr.20 and Nr.28, small scissors, brushes, green florist tape, sculpting tool, powder colours (gold, white and 2 shades of apricot).

Step 17
Mix a little Pasta Bouquet with yellow powder colour. Roll a small ball and use a modelling tool to form shallow grooves. Loop the end of a florist wire Nr.20, heat and insert into the ball.

Step 18
Roll out the yellow Pasta Bouquet and cut out 1 small and 2 large daisies.

Step 19
Use a knife or modelling tool to cut each of the daisy petals in half.

Step 20
Use a little glue to attach the small daisy to the bottom of the centre ball.

Step 21
Repeat to fix the two larger daisies. Adjust the center of the flower to achieve a natural ruffled look.

Step 22
Using a soft brush and the apricot powder colour lightly dust the centre of the flower.

Step 23
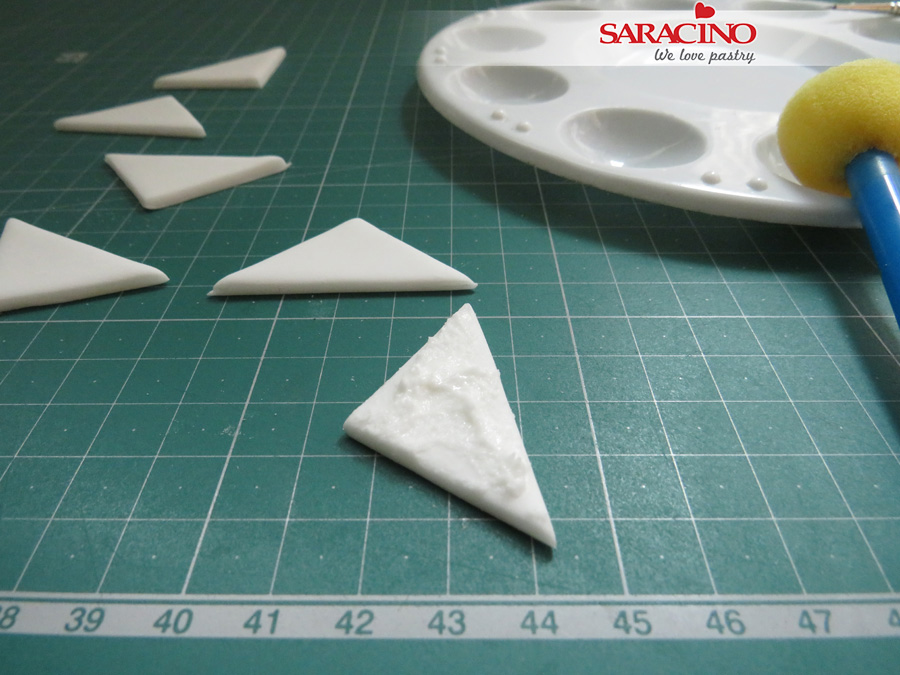
Cut the wafer paper into rectangles. Using half of them cut petals using the petal cutters. You will need approximately 5 small and 7 large, depending on how large you would like your flower.

Step 24
Use a brush to apply a little water to the rough side of the rectangle. Place a Nr.28 wire and cover it with a petal with the rough side facing down. Press together.

Step 25
Prepare approximately 5 smaller petals this way then cut the rectangles to match the shape of the petals.

Step 26
Repeat to make seven larger petals.

Step 27
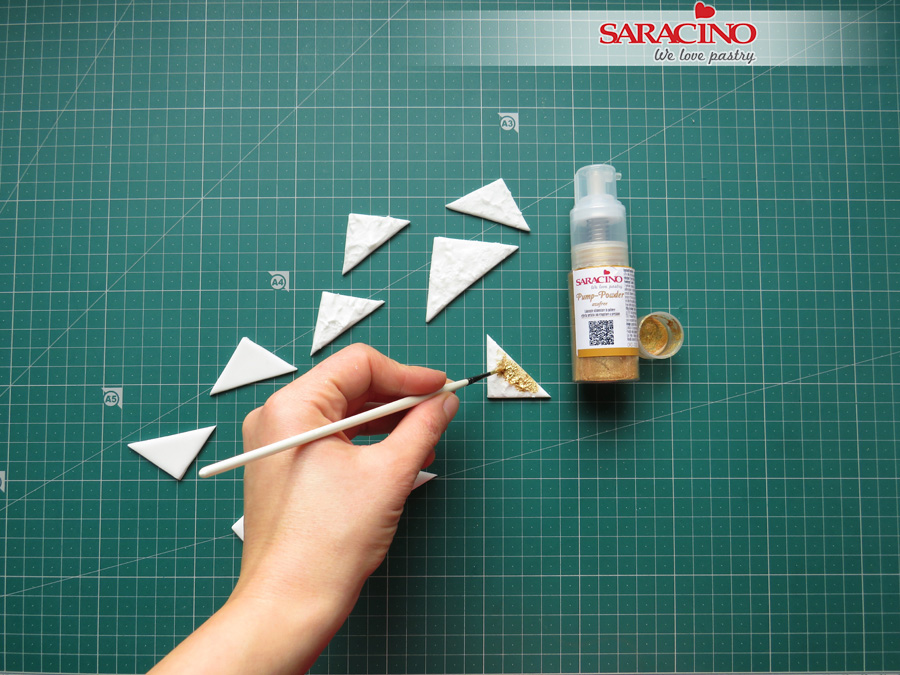
Mix a little apricot and white powder colour with clear alcohol. Gently paint each petal.

Step 28
Use a soft brush and white powder colour to dust each petal.

Step 29
Allow the petals to dry. Ideally on a rolling pin or other cylindrical object so they dry in a curved shape.

Step 30
Using the smaller petals attach one by one using green florist tape.

Step 31
Keep adding the petals to finish a flower. Repeat for as many flowers you need. Prepare some smaller flowers and buds using smaller and less petals on each.

Step 32
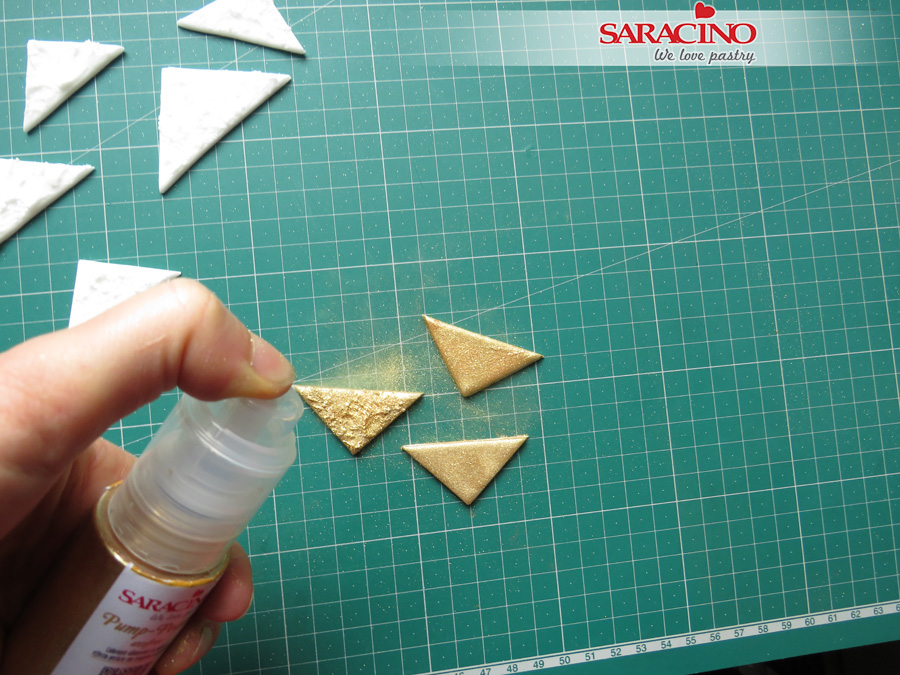
Using the gold paint carefully paint the edges of the petals.
Step 35
Fix the flowers to the cake. Use posy picks if required.