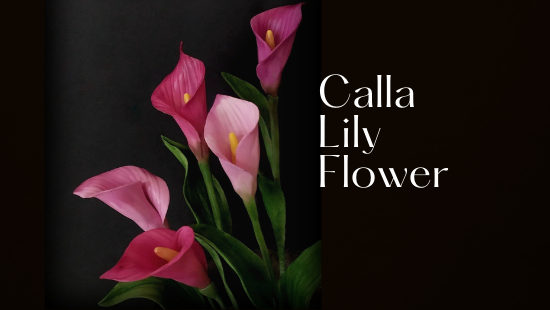
CALLA LILY FLOWER TUTORIAL


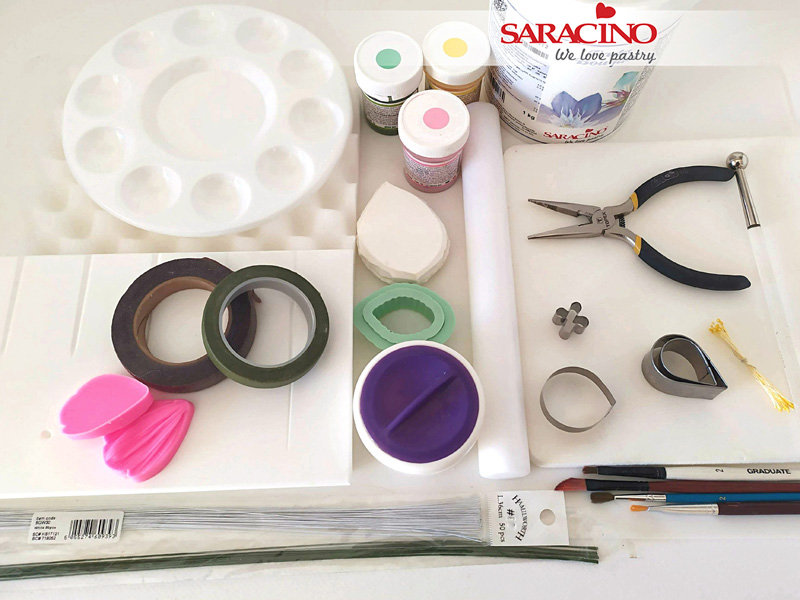
You will need:
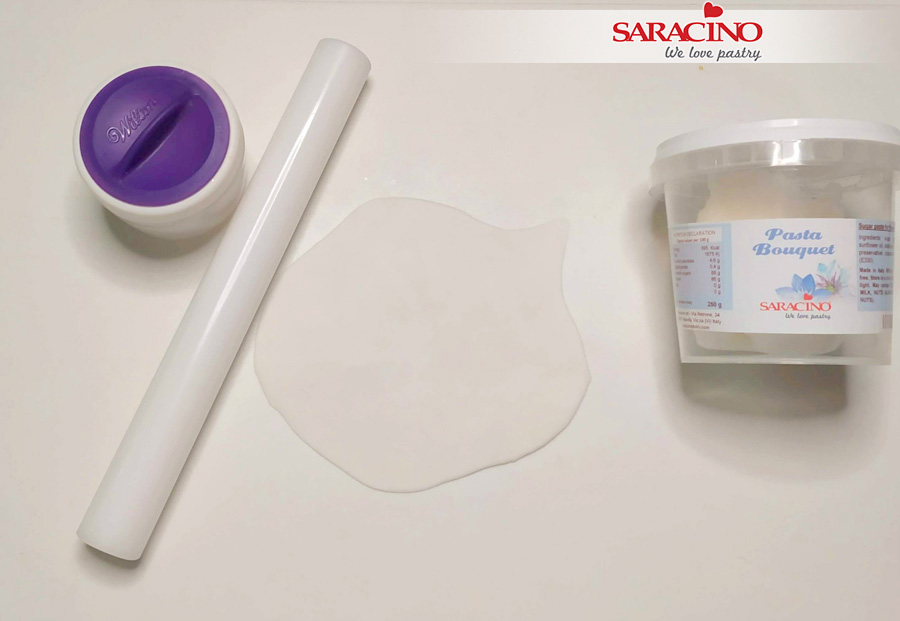
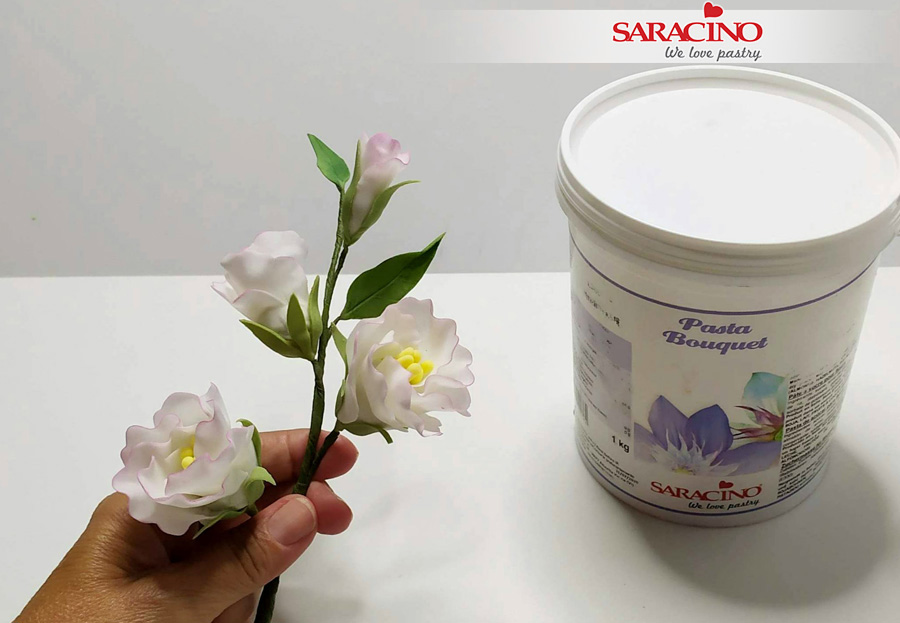
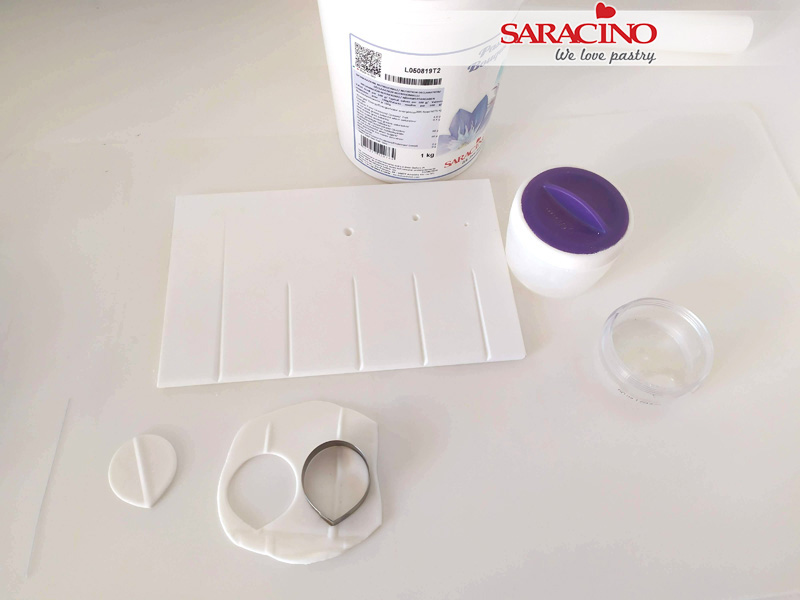
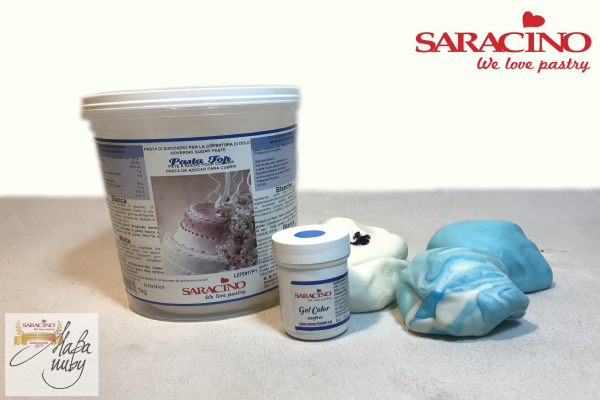
- Saracino Pasta Bouquet flower paste
- Saracino gel colours: pink and violet
- Florist wires white (18 and 20 gauge)
- Florist tape green
- Edible Saracino colour powder dusts: yellow, pink, fuchsia violet, white, black, green
- Edible glue
- Cornflour for dusting
- Ball tool
- Dresden tool
- Non-stick rolling pin
- Groove board
- Foam Pad
- Calla lily cutter large
- Leaf cutters large
- Paint brushes (flat for dusting)
- Wire cutter
- Drying shapers or sponge
- Kitchen paper

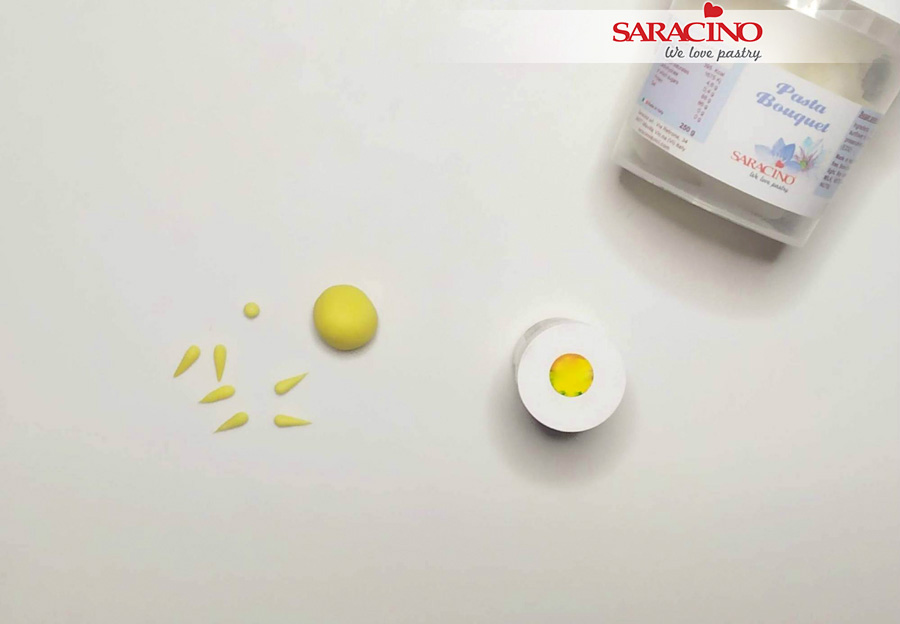
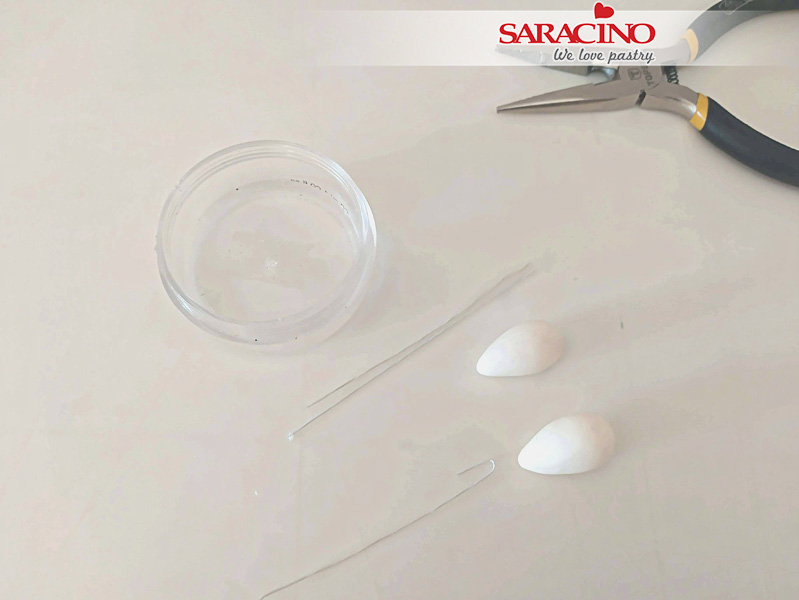
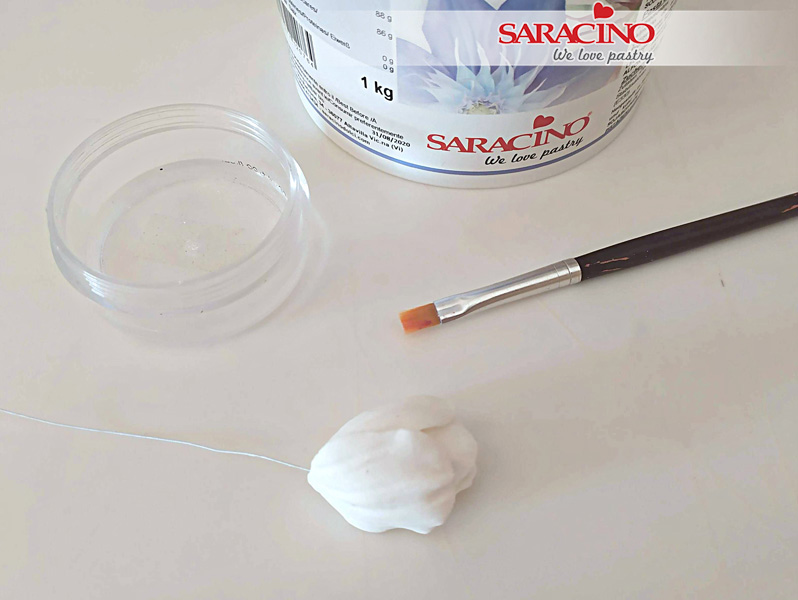
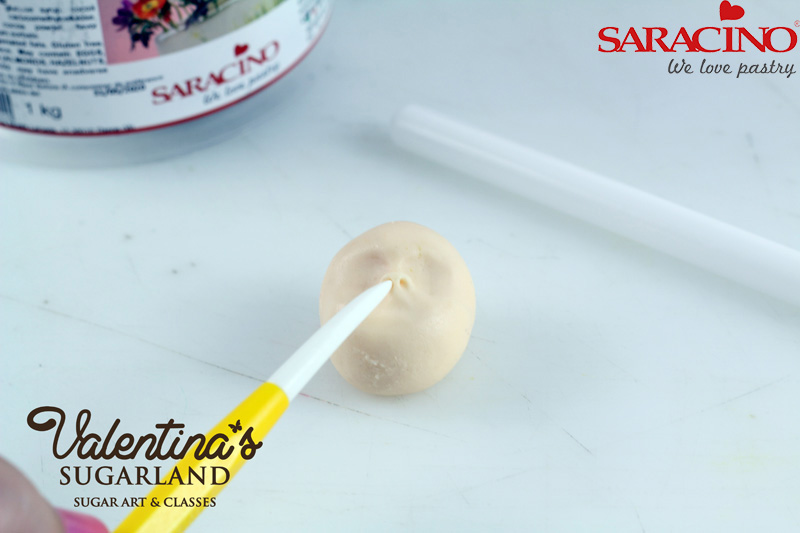
Step 1
To make the spadix of the flower, knead some flower paste with a small amount of Saracino yellow powder colour.

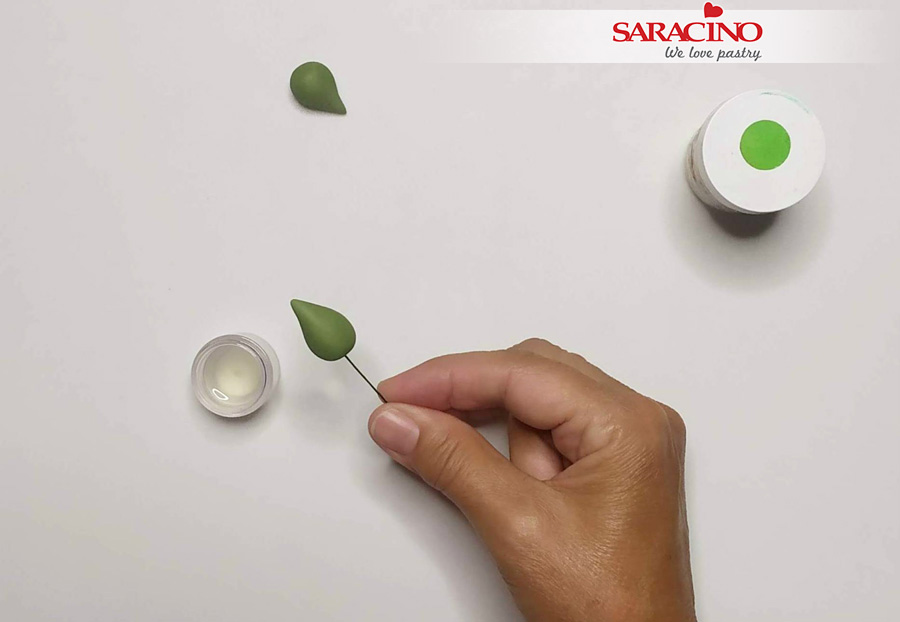
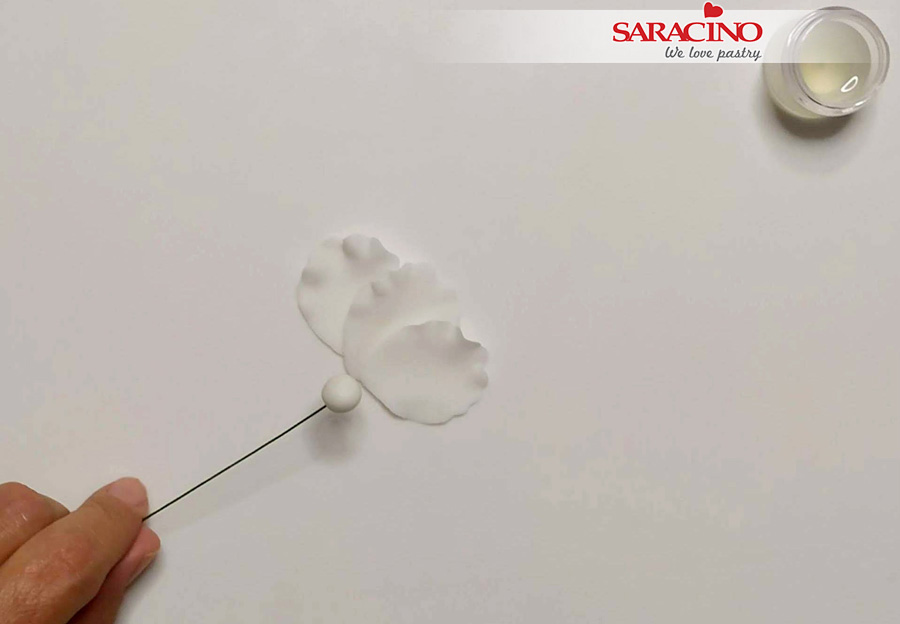
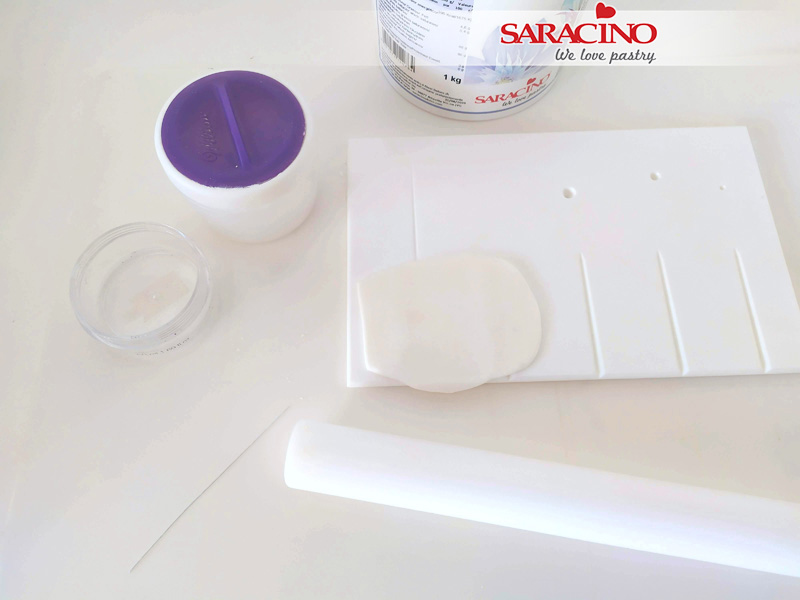
Step 2
Roll out a small piece of yellow paste into a sausage. It’s size should be around ⅔ of the cutter.

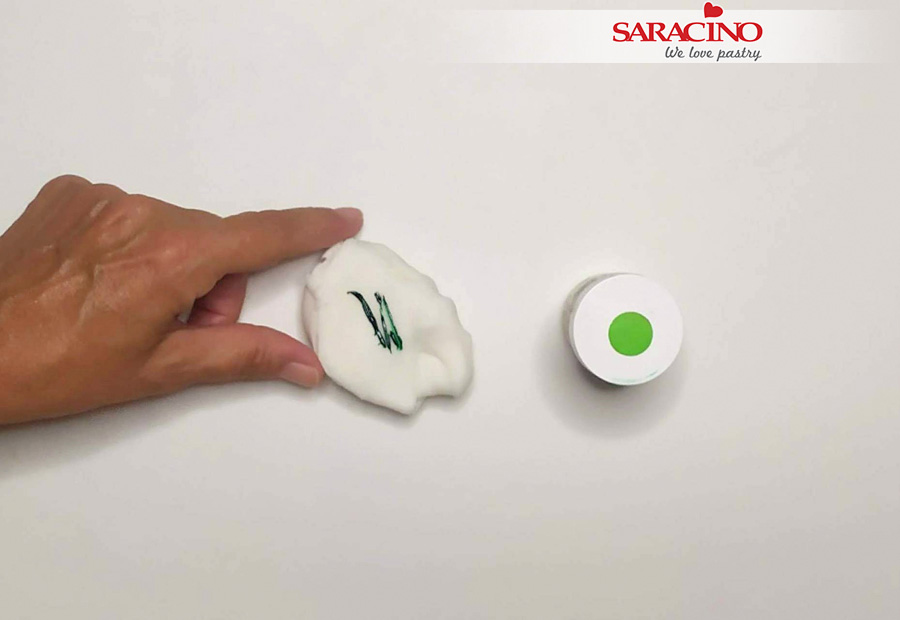
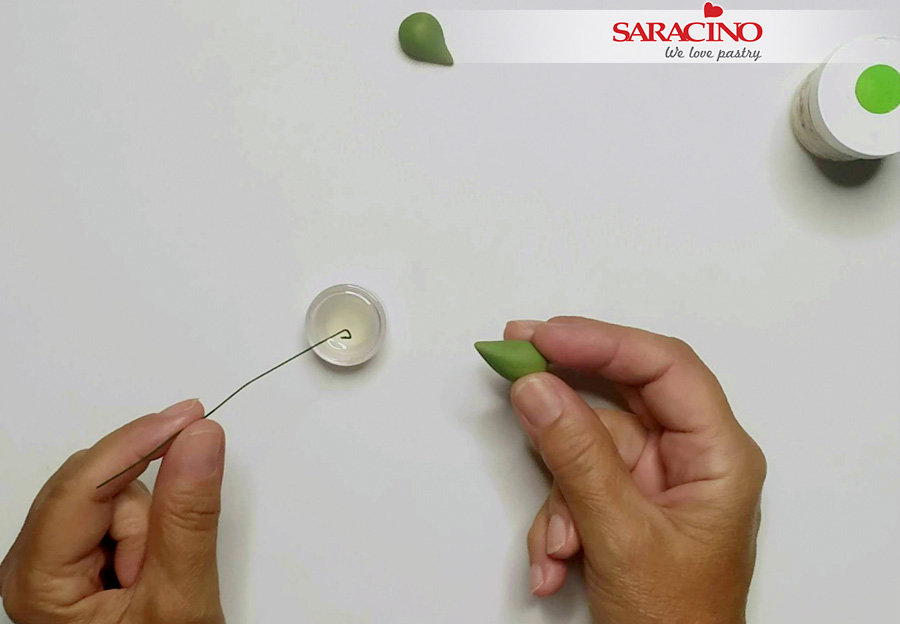
Step 3
Τake a wire gauge 18 put some glue at the end of the wire and insert into the spadix, place it firmly on the base and let it dry overnight.

Step 4
To make the spath, using pink and violet cake gel colour create 4 different shades of flower paste.

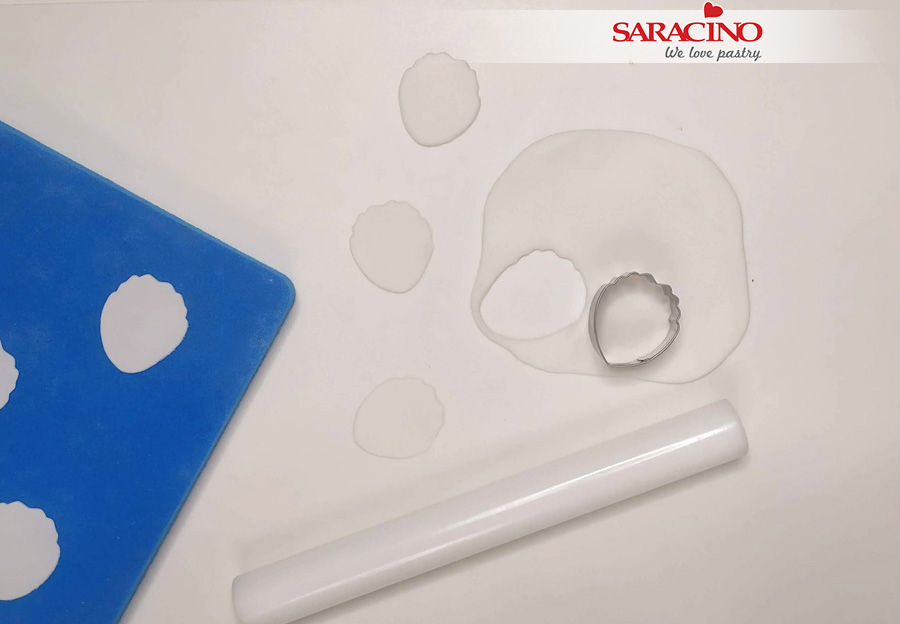
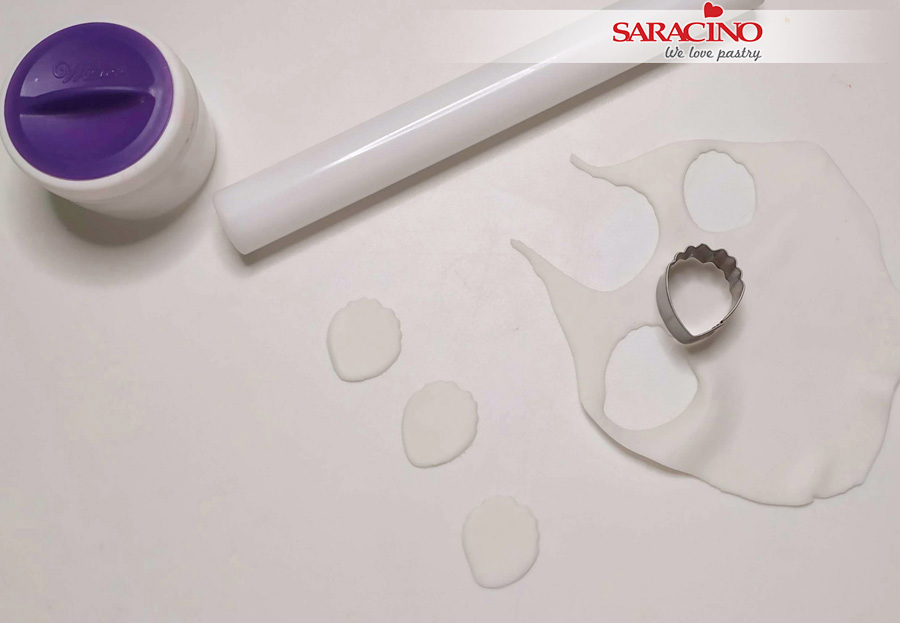
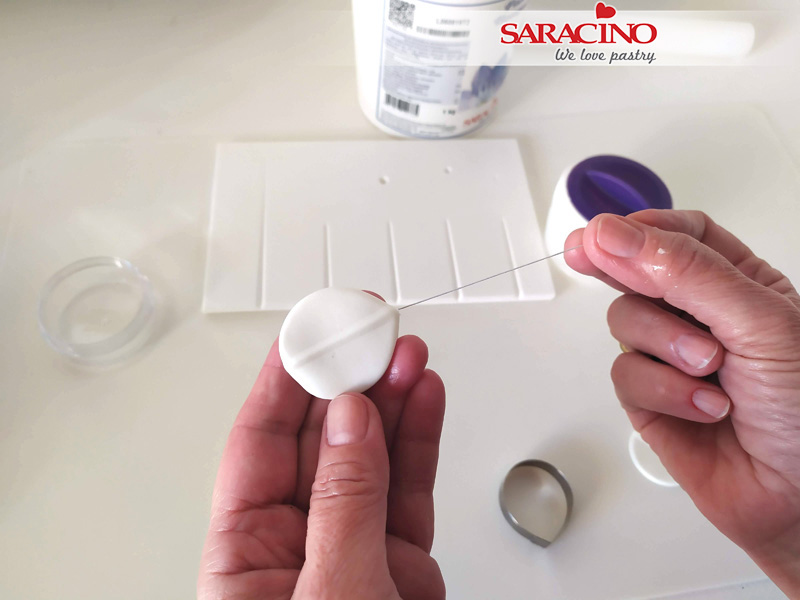
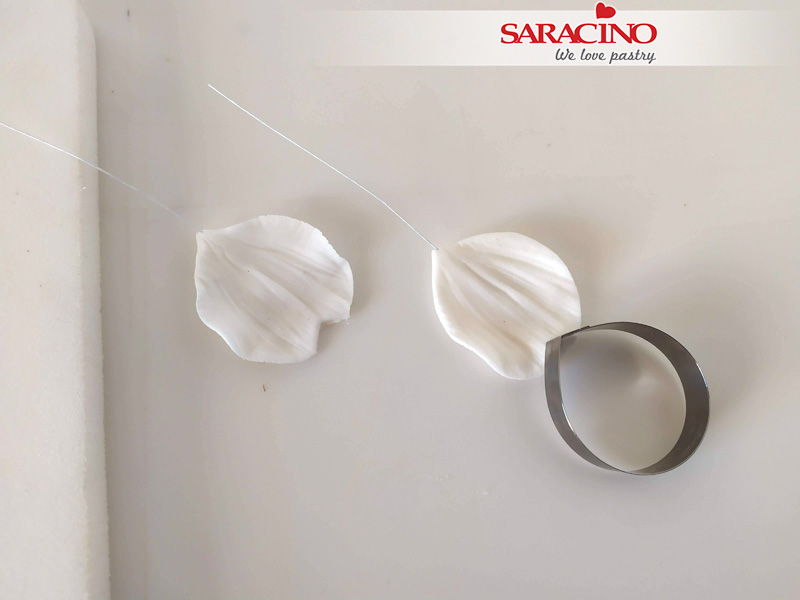
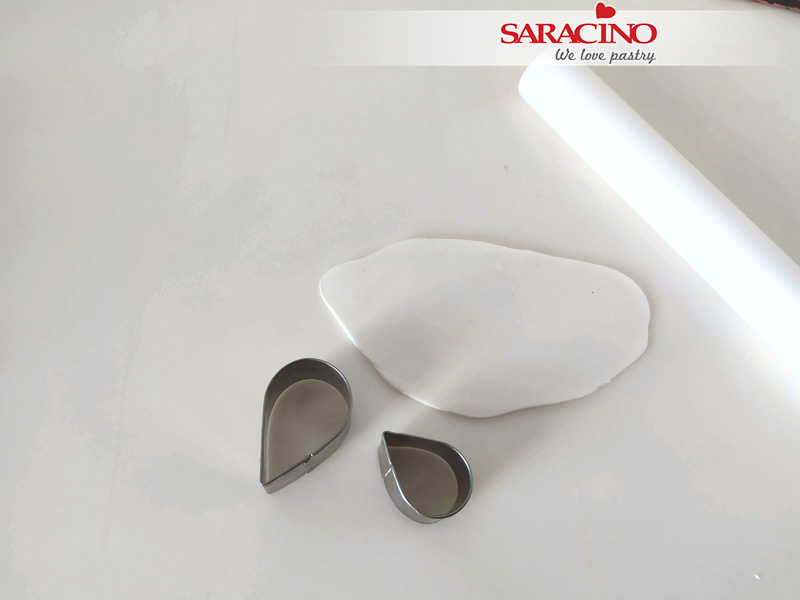
Step 5
Dust the board with a small amount of corn flour and roll out the paste. Using your cutter cut out petals.

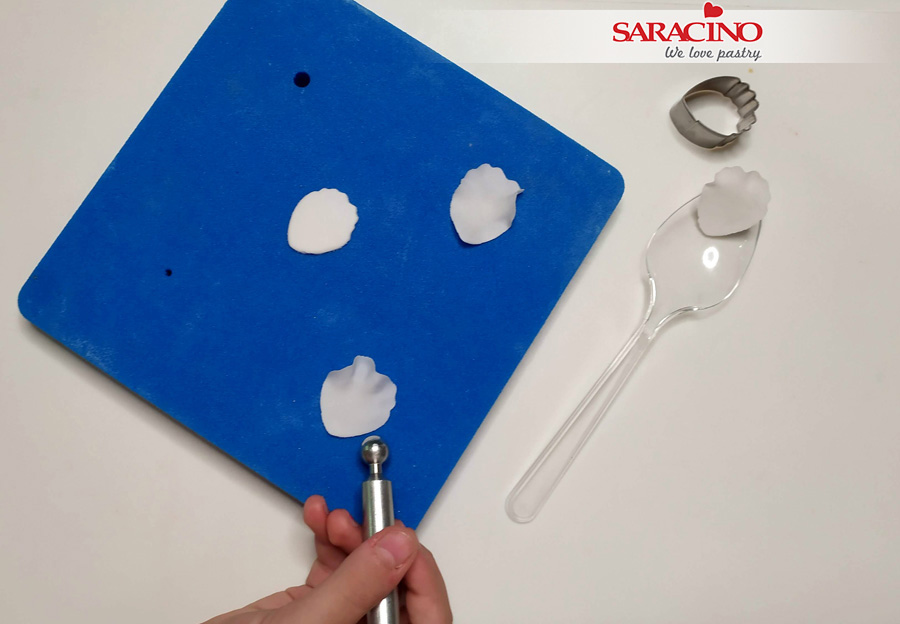
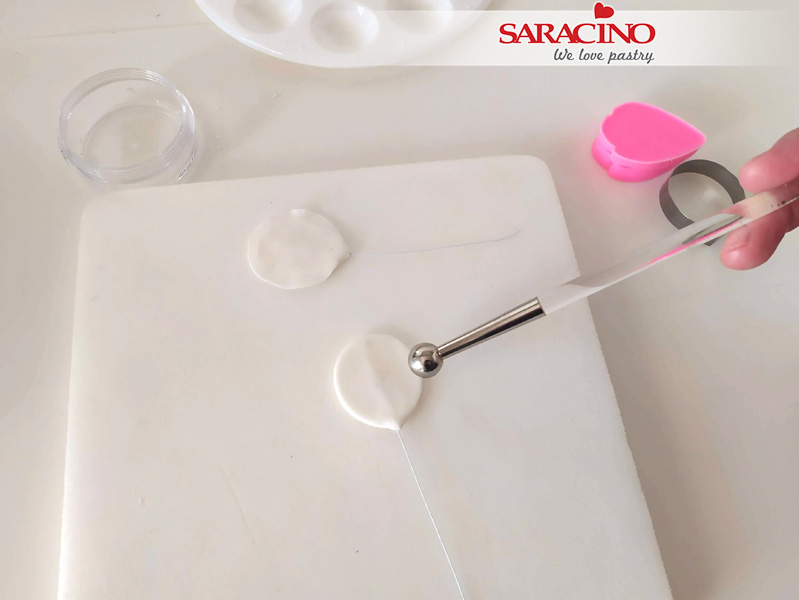
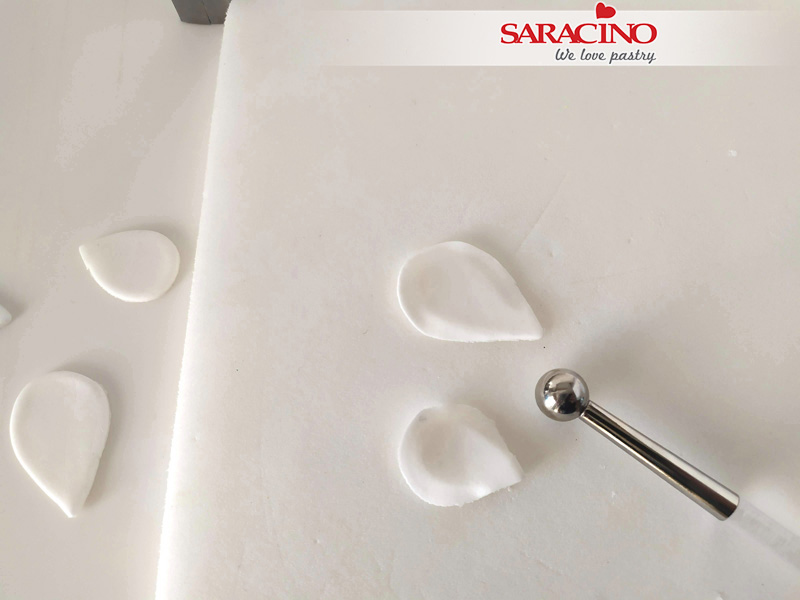
Step 6
Move the spath onto the foam pad and thin the edges with a balling tool. Gently roll the ball tool over the edge of the spath (half on the foam mat half on the spath) and thin the edges.

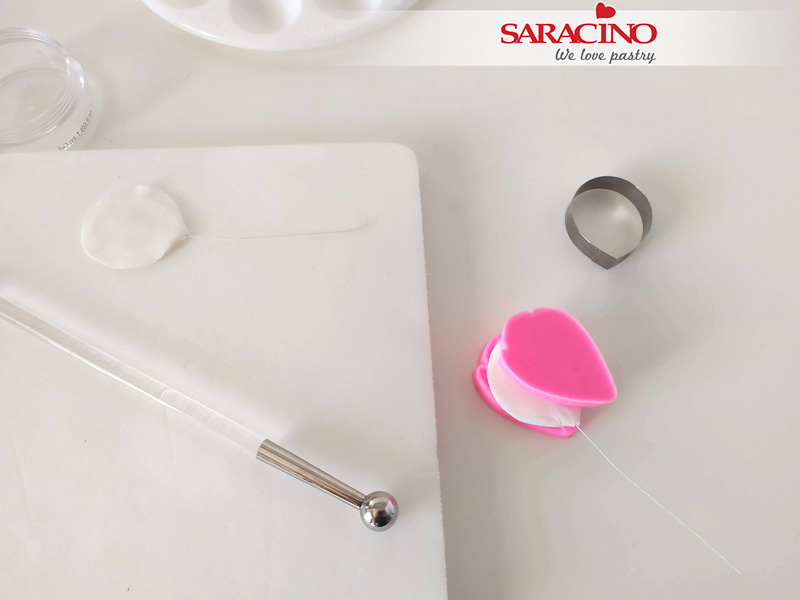
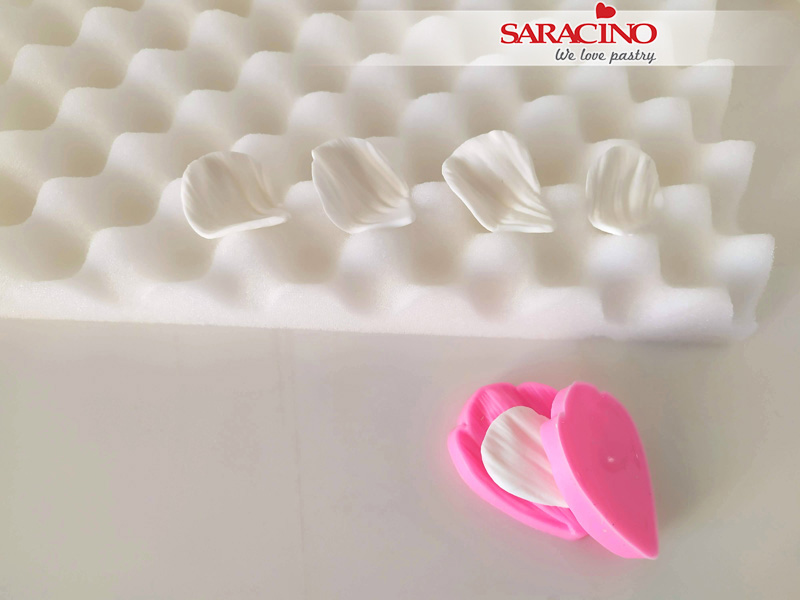
Step 7
Using Dresden tool make gentle strokes on the inner side of the petal.

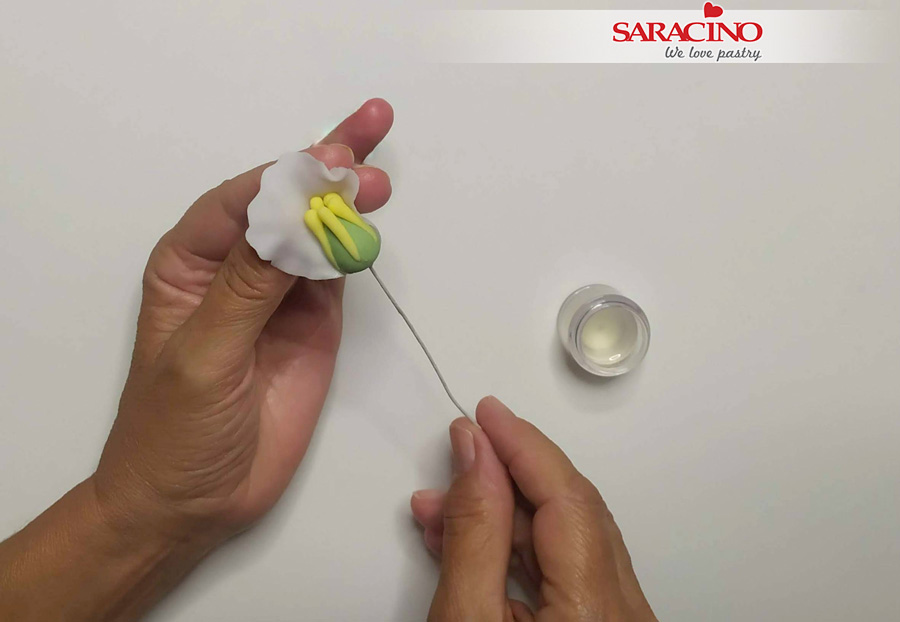
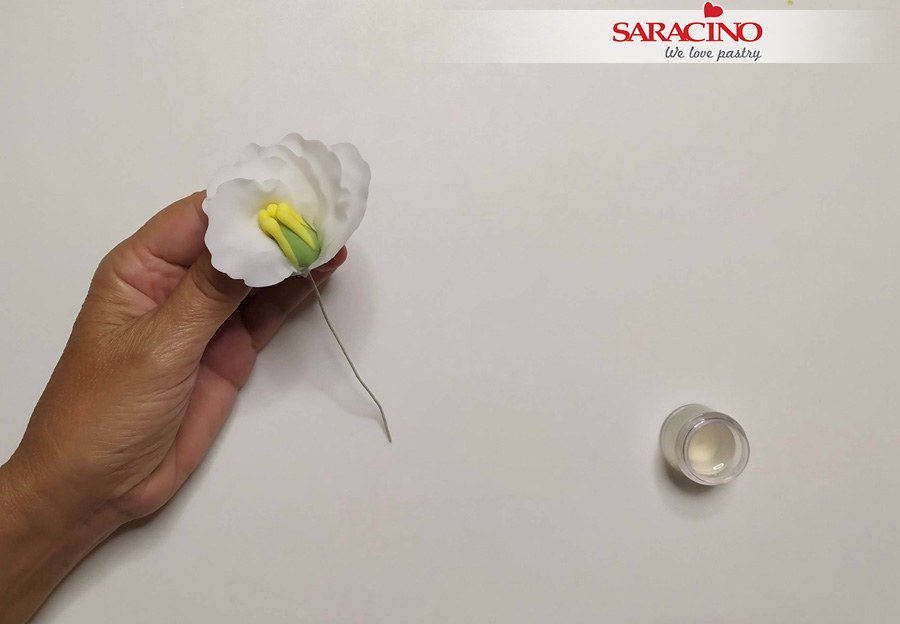
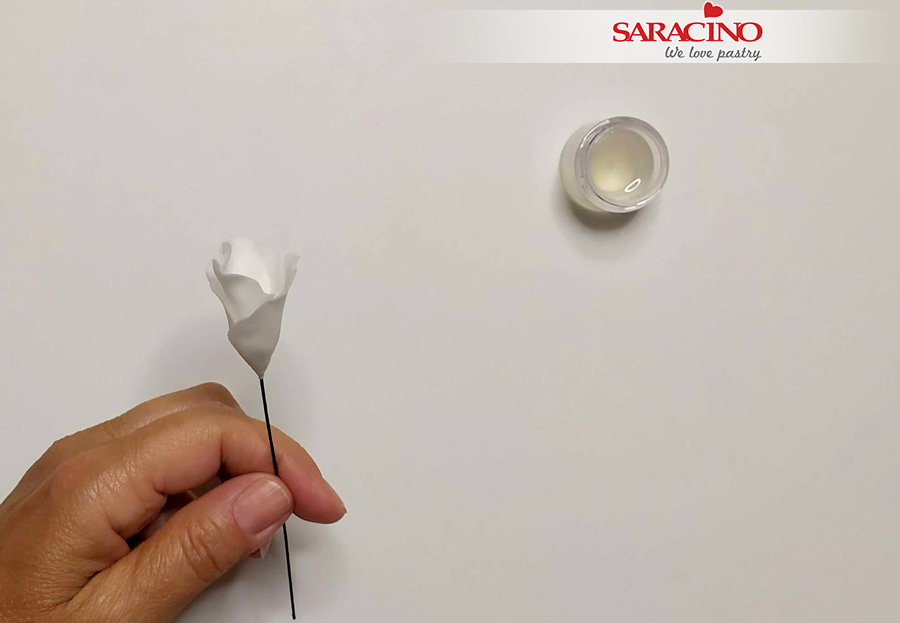
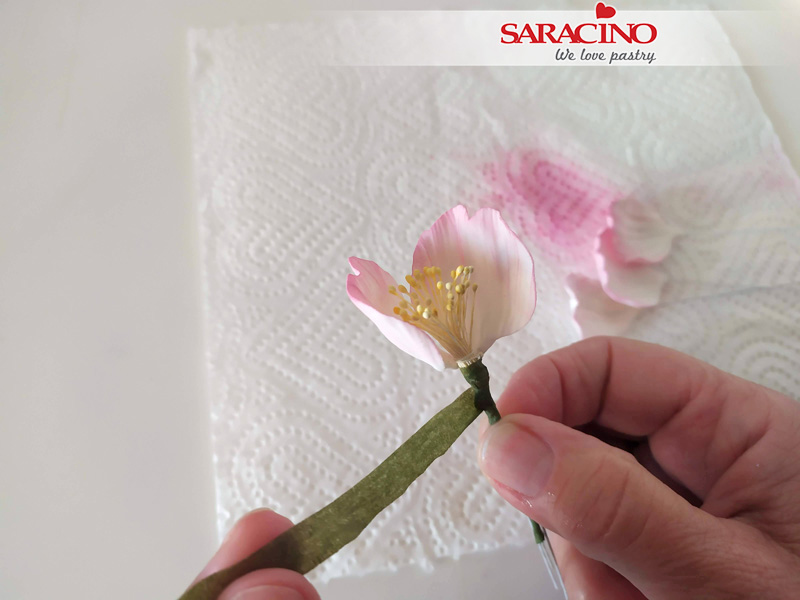
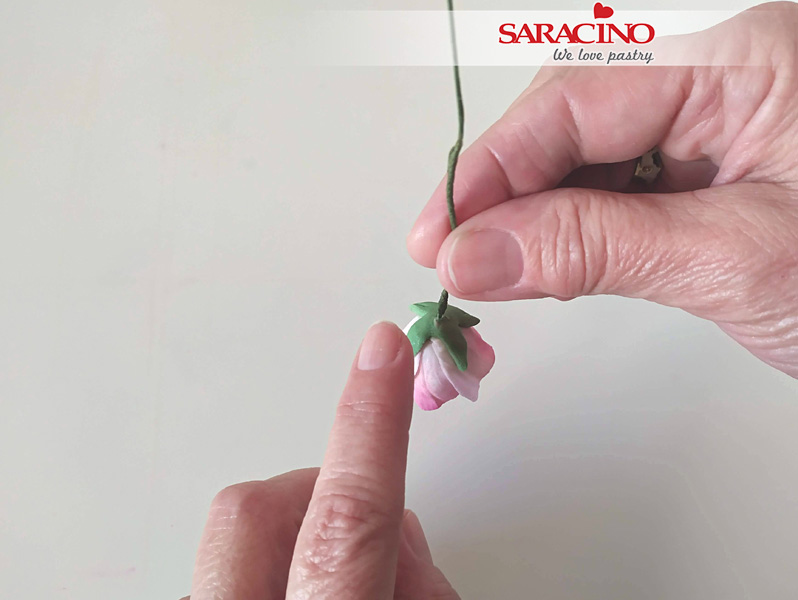
Step 8
Apply some glue and wrap the spath around the spadix.

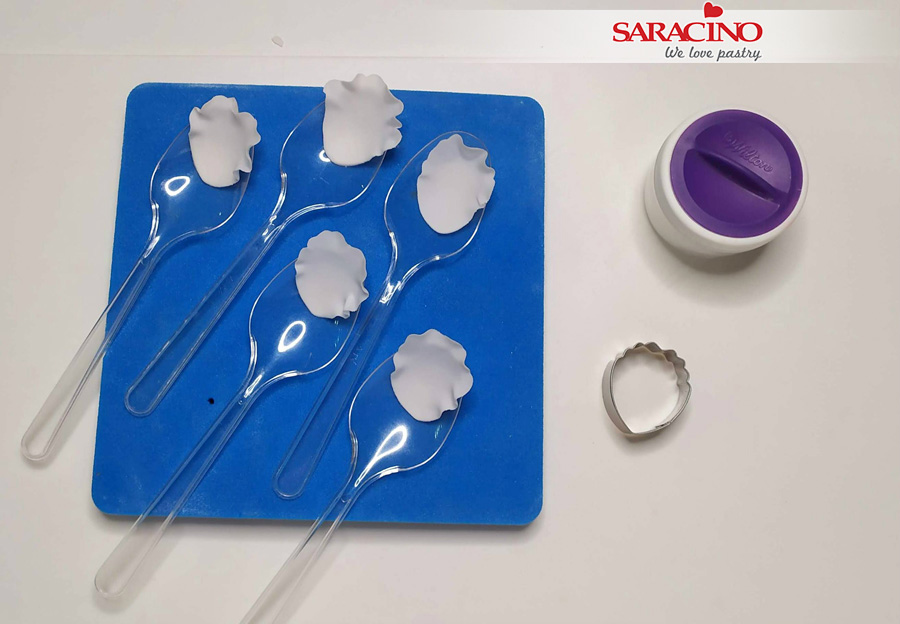
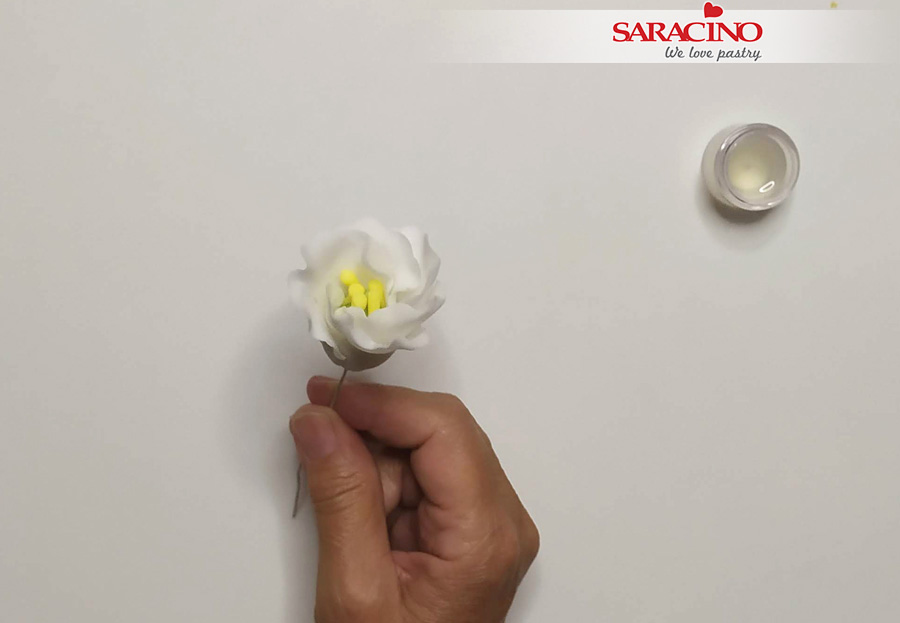
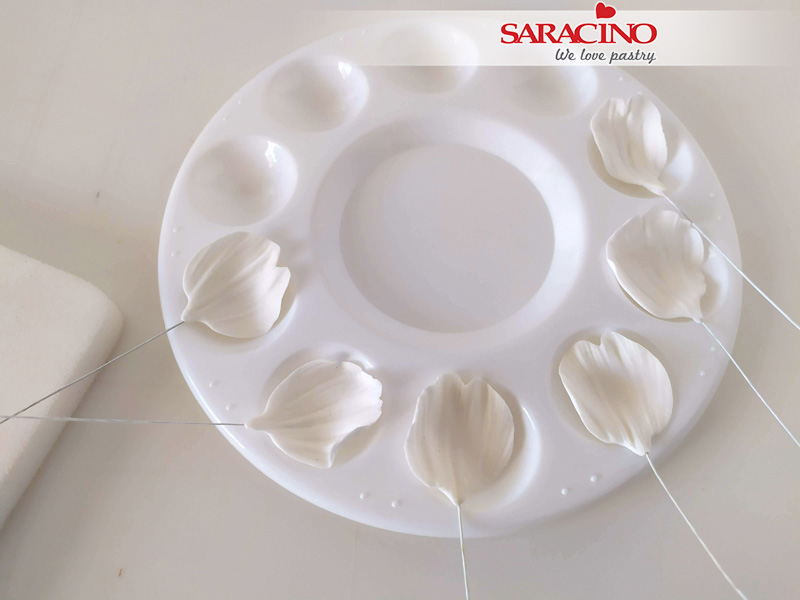
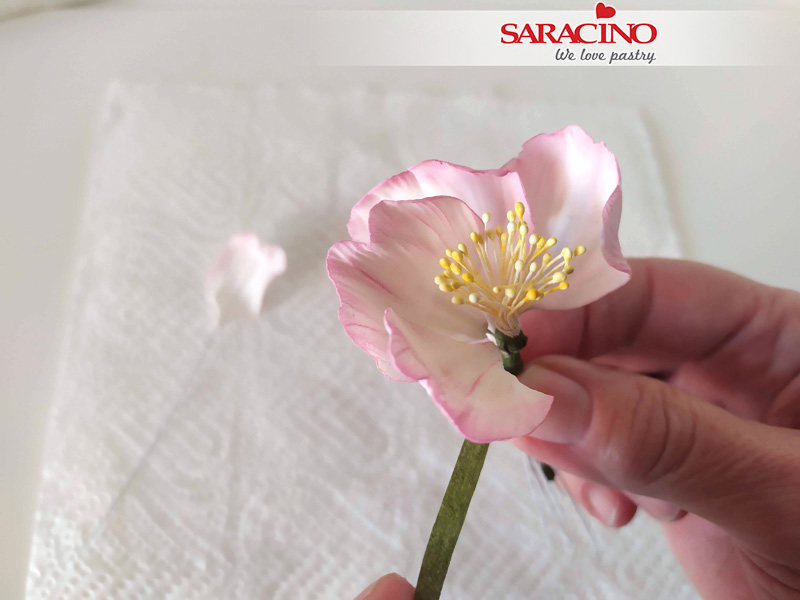
Step 9
Shape it by folding the edges, let it dry until it is firm. Place on a foam mat or hang upside down.

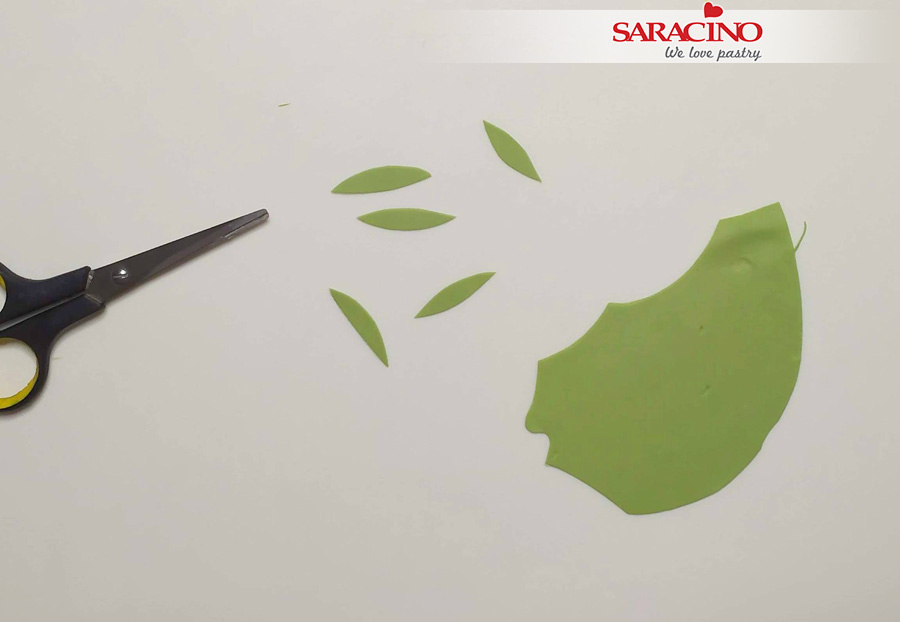
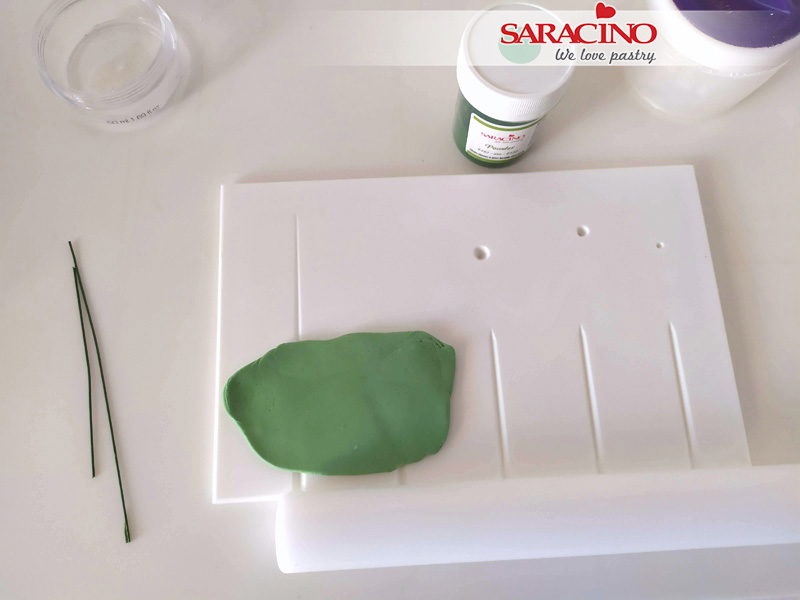
Step 10
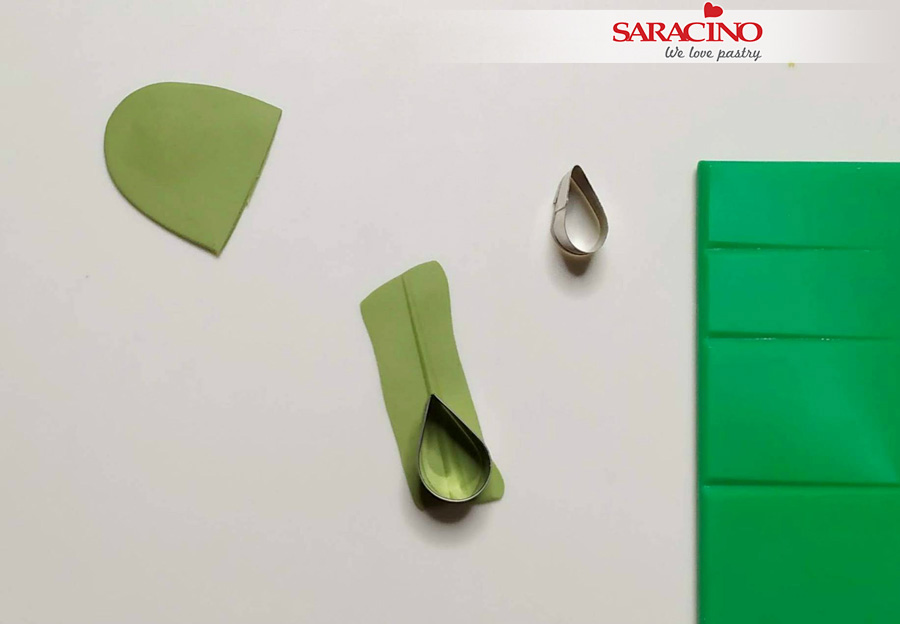
To make the leaves roll out a piece of flower paste with a small rolling pin on the groove board.

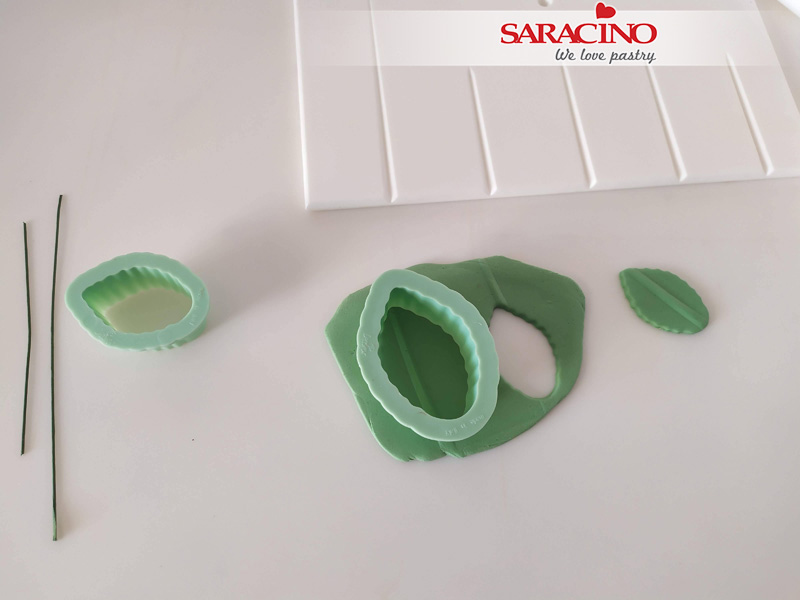
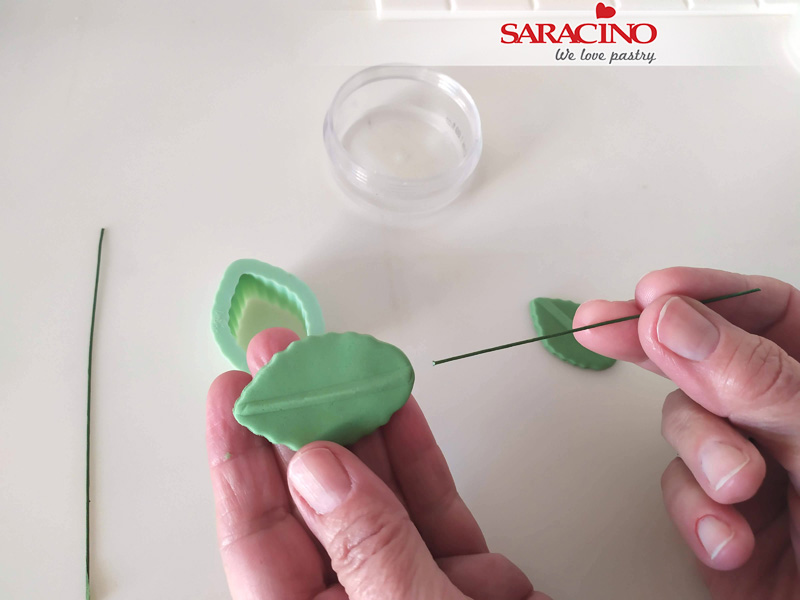
Step 11
Cut out with a leaf cutter in 2-3 different sizes. Make sure that the ridge is in the centre of the leaf.

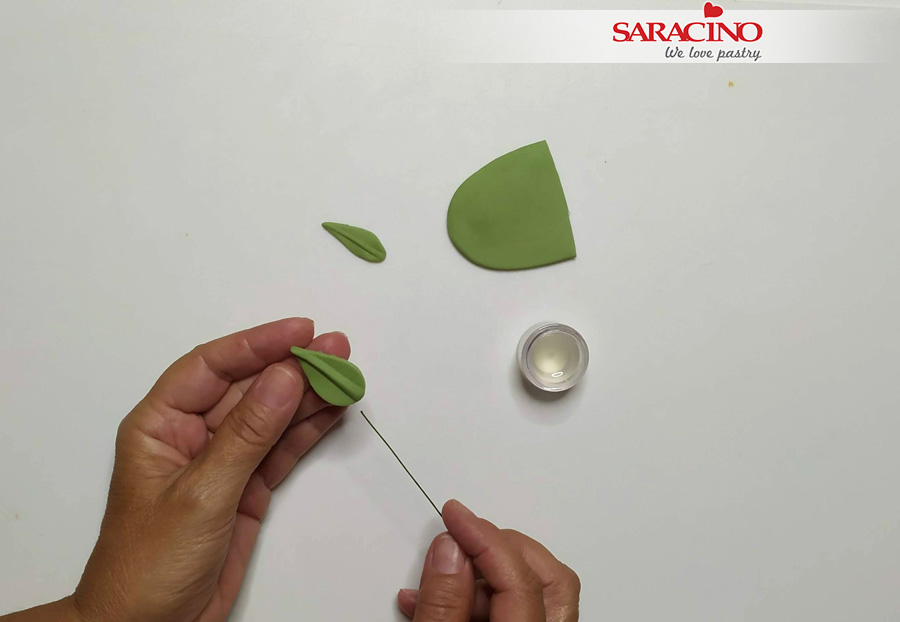
Step 12
Add some glue at the end of a 20 gauge wire and insert into the ridge of the leaf. Insert the wire half way into the leaf. A slow twisting motion helps to insert the wire.

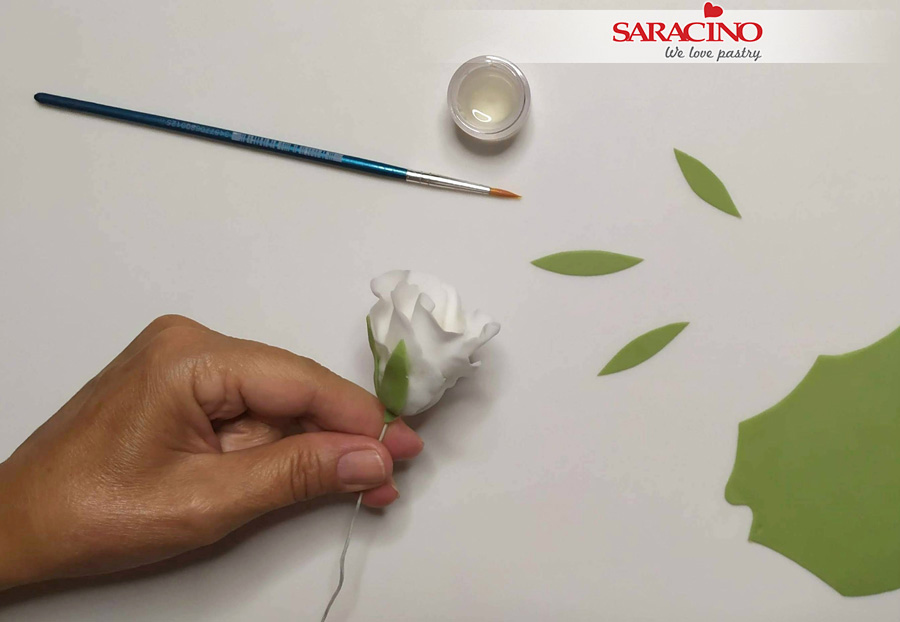
Step 13
Pinch the end of the leaf gently to secure it to the wire.

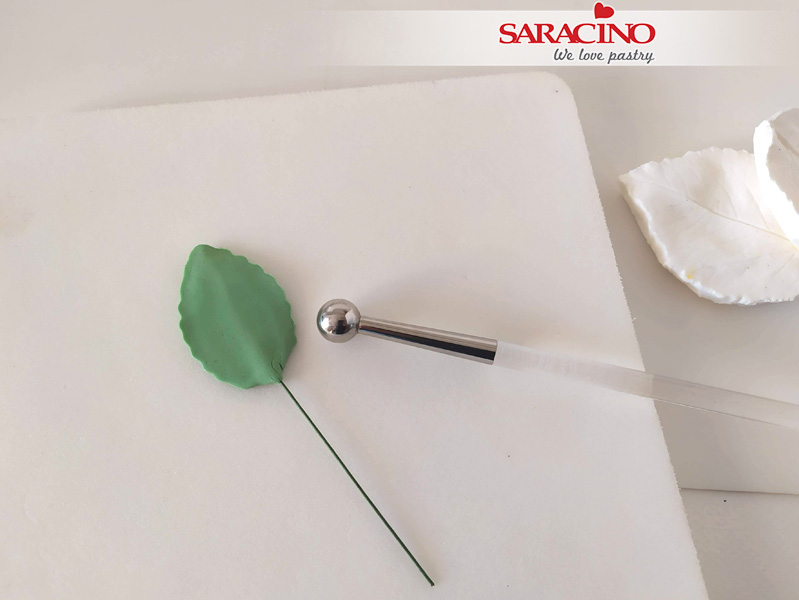
Step 14
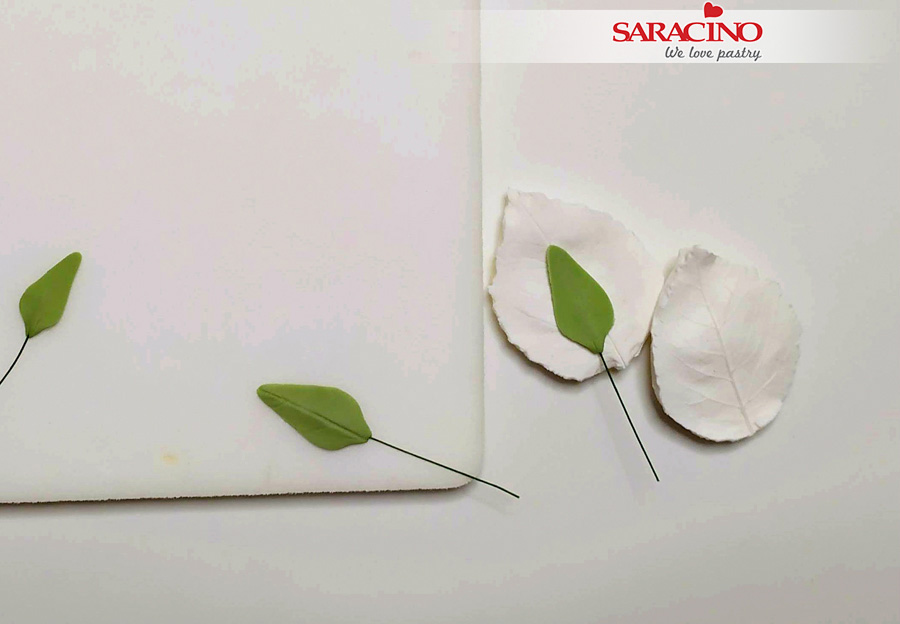
Move the leaves onto a foam pad and thin the edges with the ball tool.

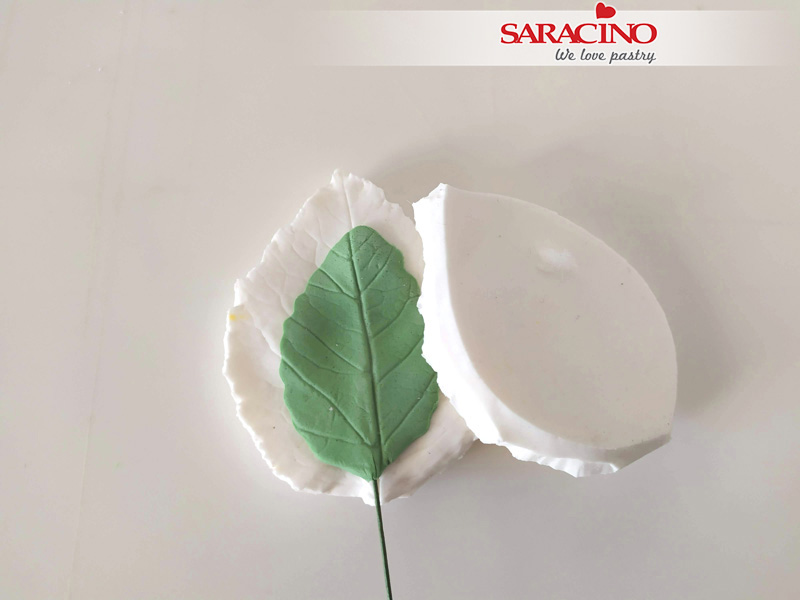
Step 15
Make gentle strokes on the leaf with the Dresden tool.

Step 16
Try to give the leaf a realistic shape with natural movement and let it dry on a foam mat.

Step 17
For the stem roll a small amount of Pasta Bouquet coloured with green powder colour.

Step 18
Insert it onto the flower wire.

Step 19
Starting from the base of the flower move gently downwards to cover the wire using a rolling motion working down.

Step 20
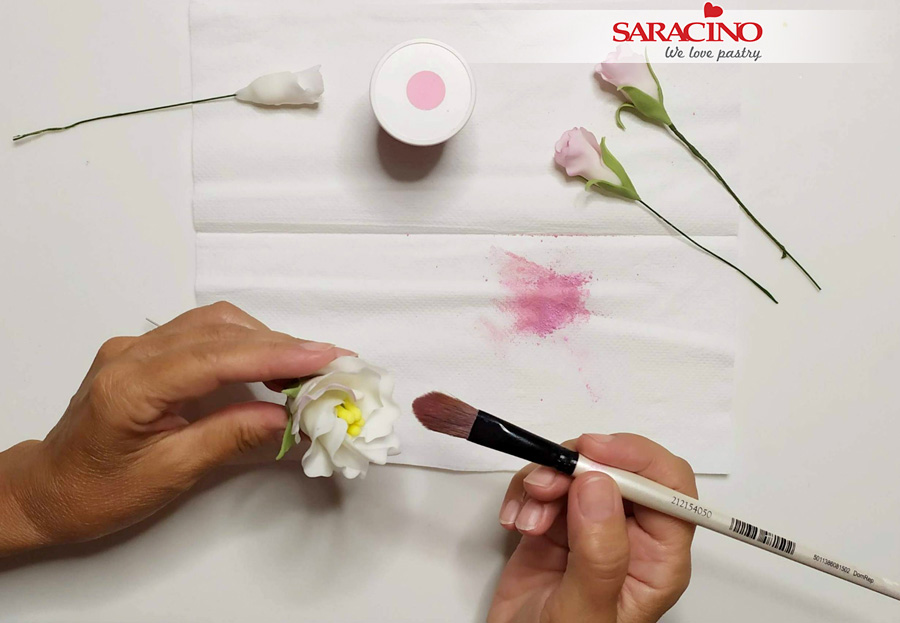
Τo colour the flowers start with the spath. Use pink, violet, white and fuchsia powder colours. Mix them to make different combinations.

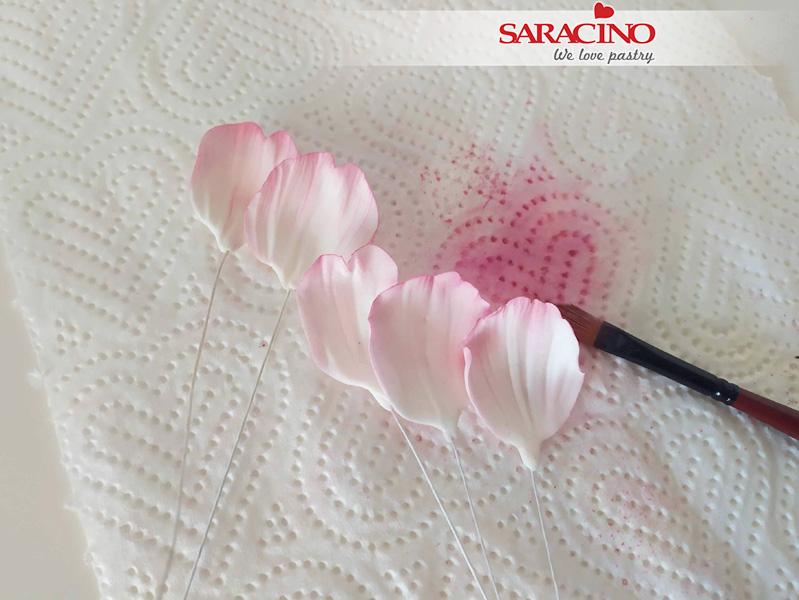
Step 21
Use a soft, wide brush to start dusting shade with light colours.

Step 22
Continue dusting shade with darker colours.

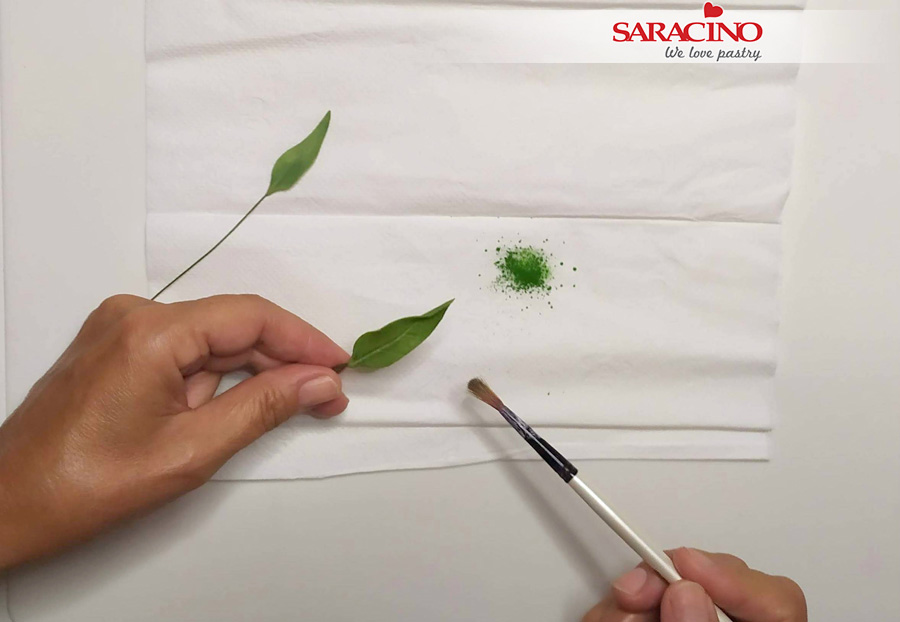
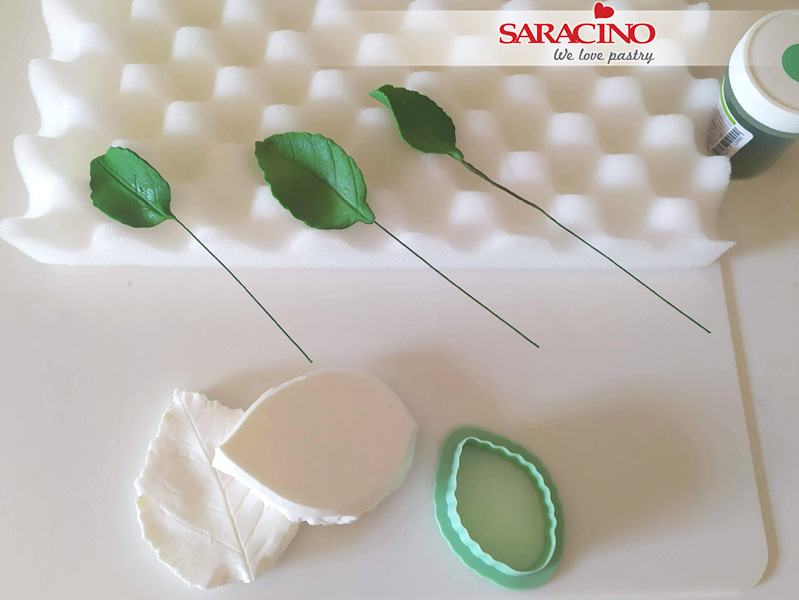
Step 23
To dust the leaves use green powder colour to make shade.

Step 24
Use the same colour to dust the stem.

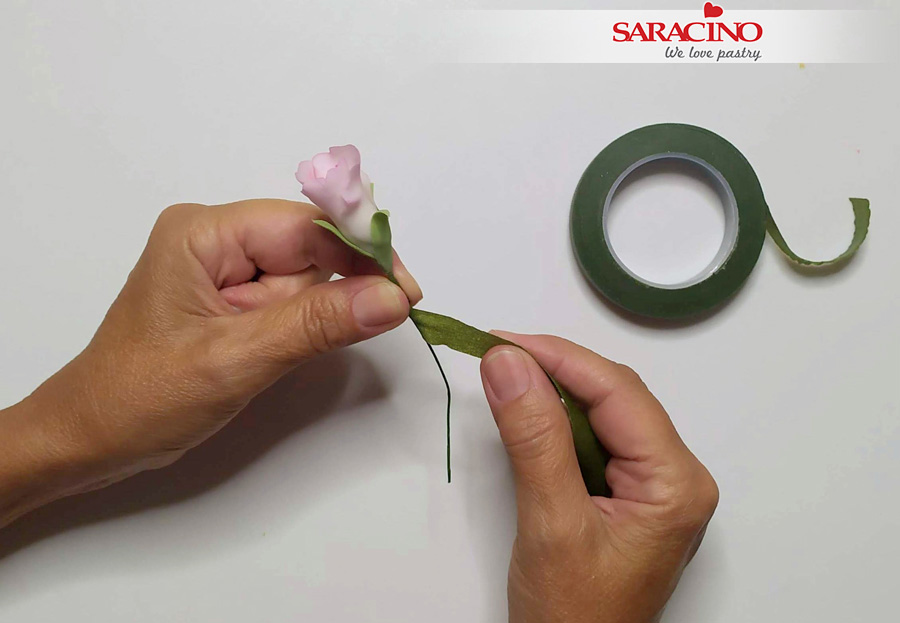
Step 25
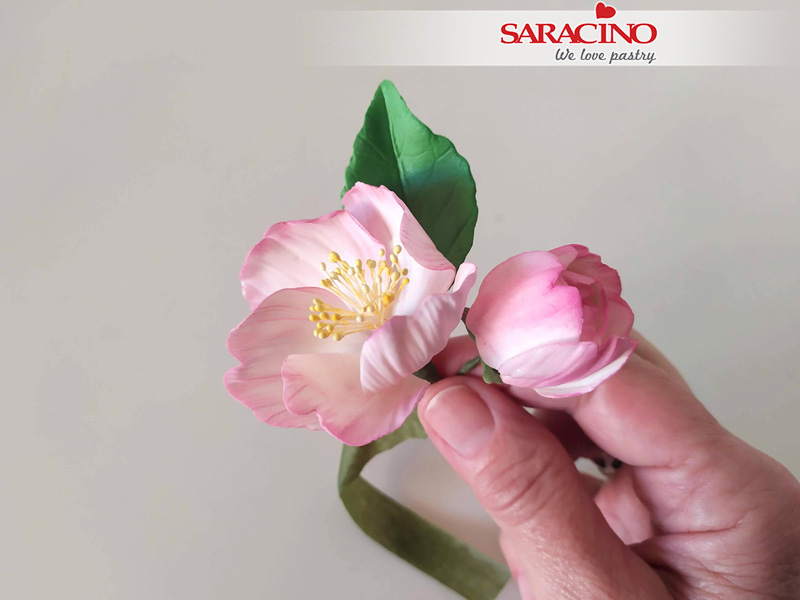
Tape the leaves and the flowers together using green florist tape.

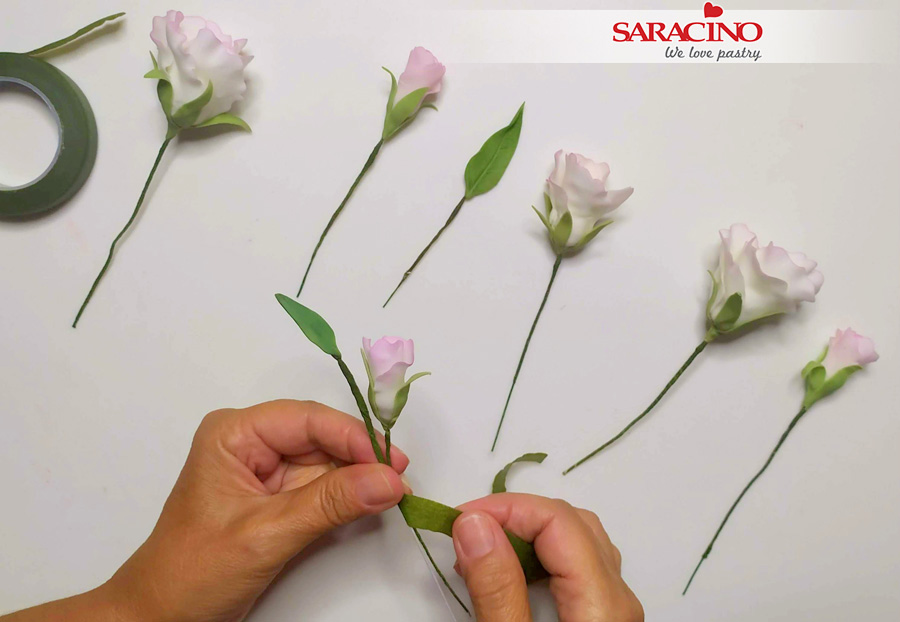
Step 26
Continue with the rest of the flowers, adding one or two leaves for each flower.

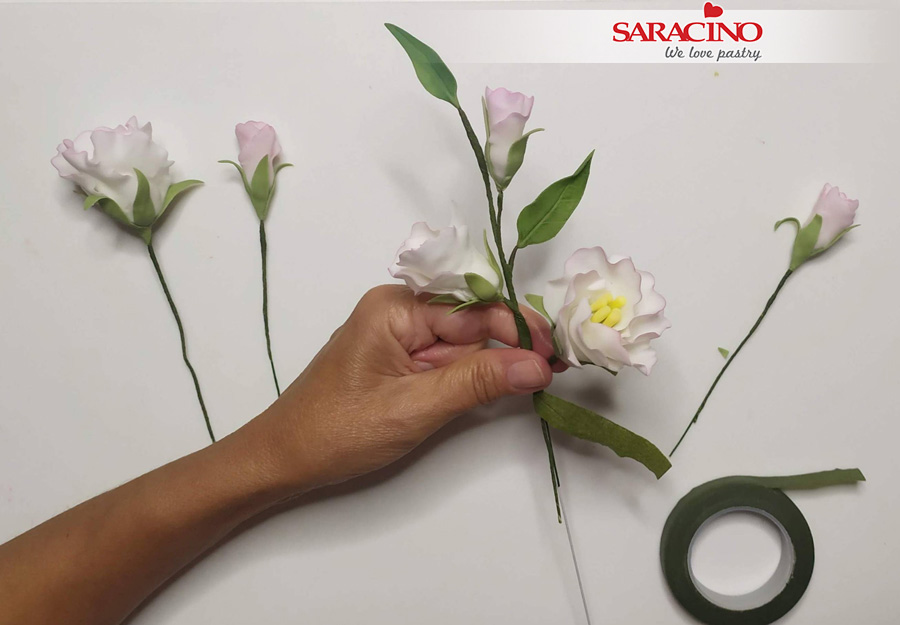
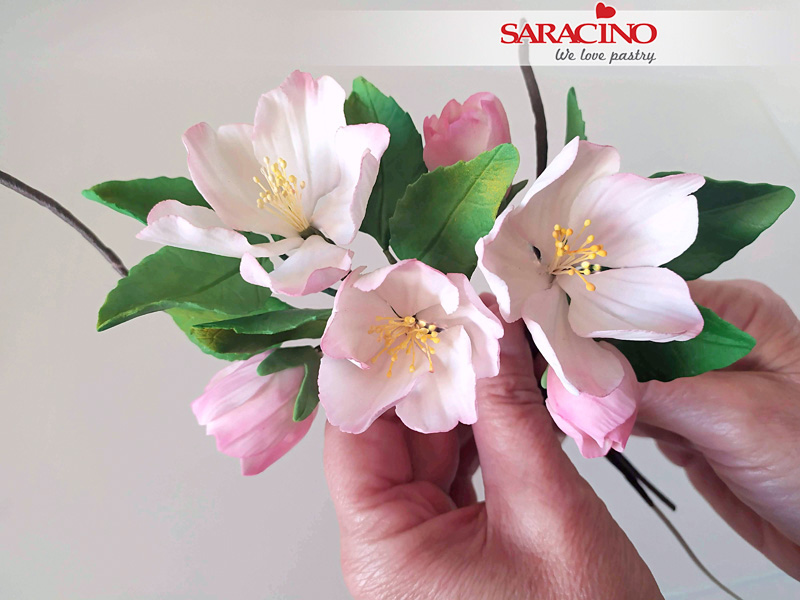
Step 27
Assemble the flowers to make a bouquet.

Step 28
Feel free to be creative with your composition. Good luck!