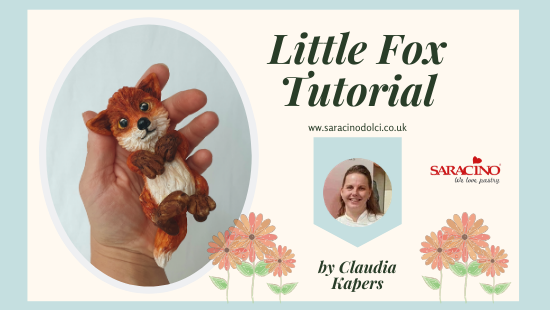
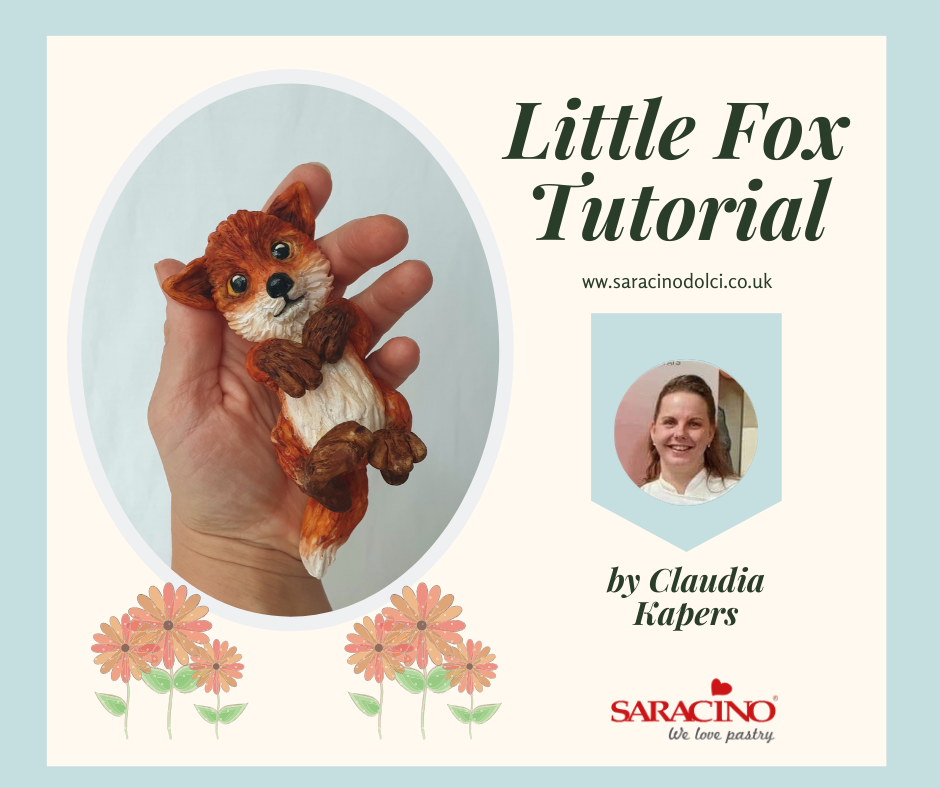
LITTLE FOX TUTORIAL

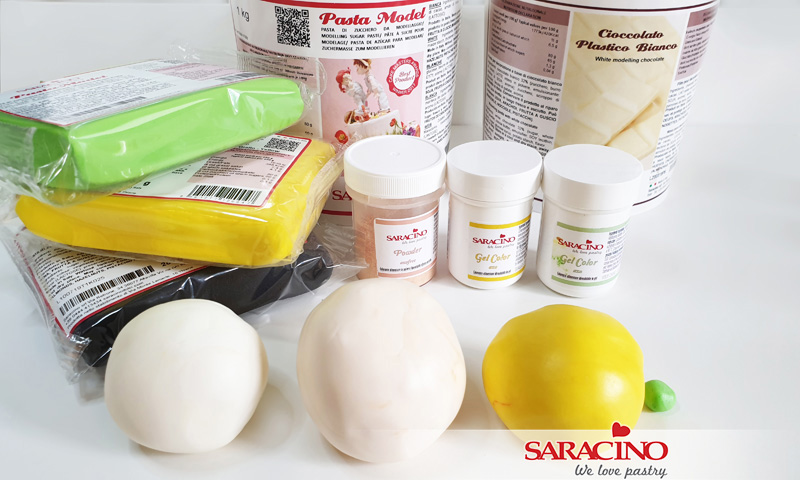
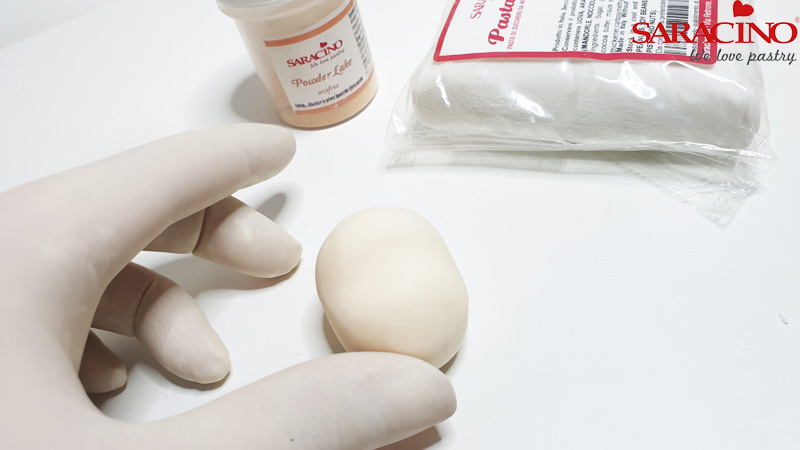
You will need:
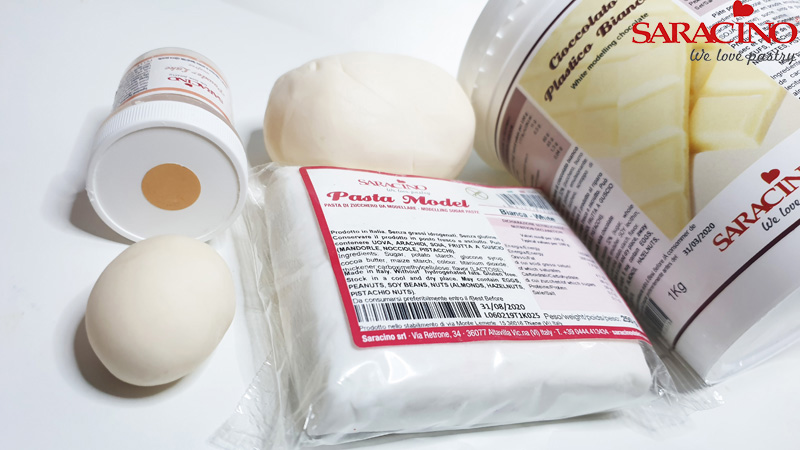
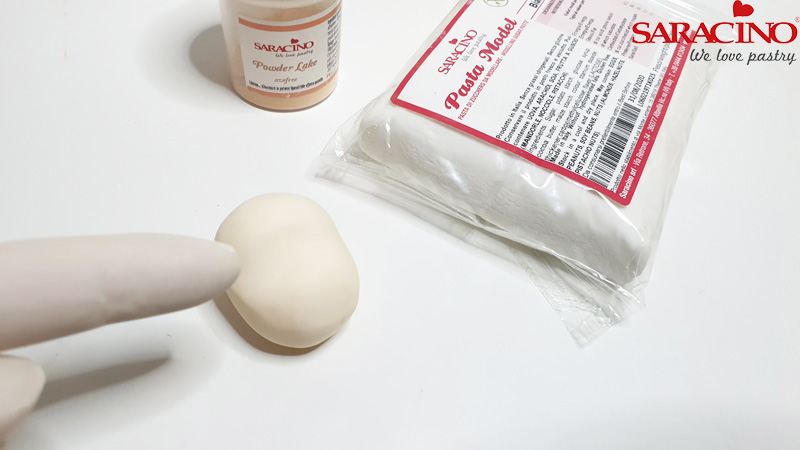
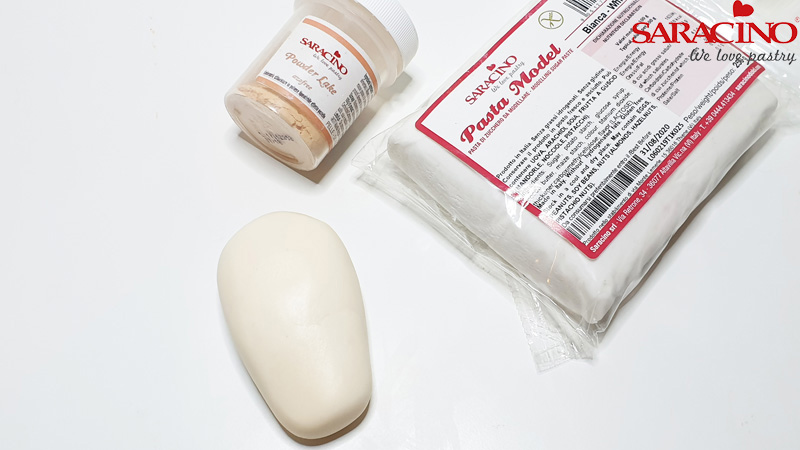
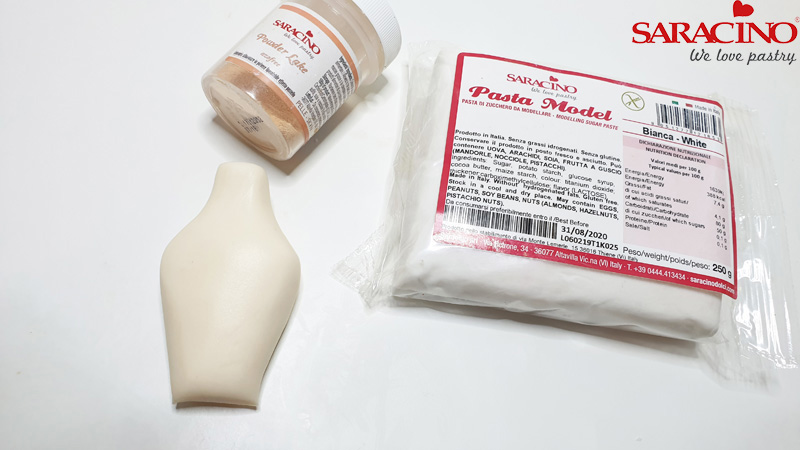
- Saracino Model Paste white
- Saracino Pasta Scultura
- Saracino powder colors Brown, Yellow, Orange, White and Black
- Saracino Liquid Shiny
- Ball tool
- Dresden tool
- Modelling tool
- Paintbrush
- Exacto knife
- Clear alcohol
- Cocktail sticks or spaghetti
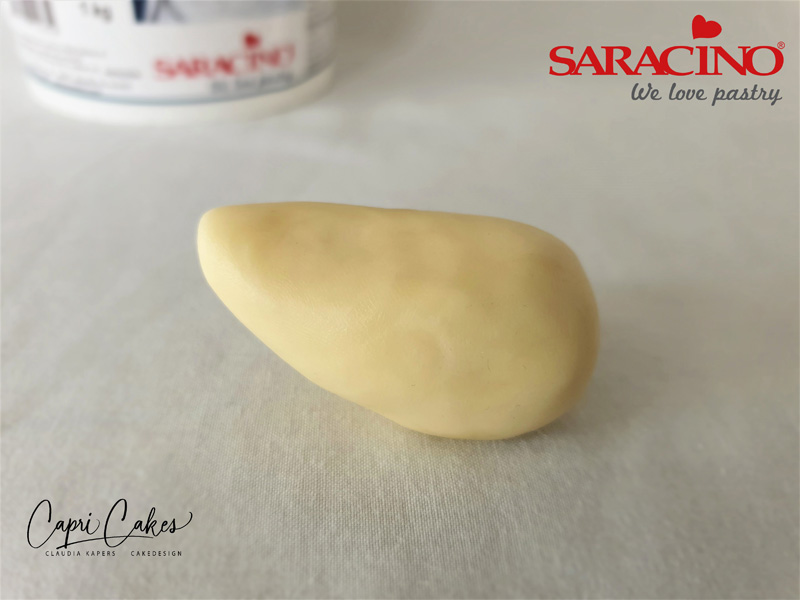
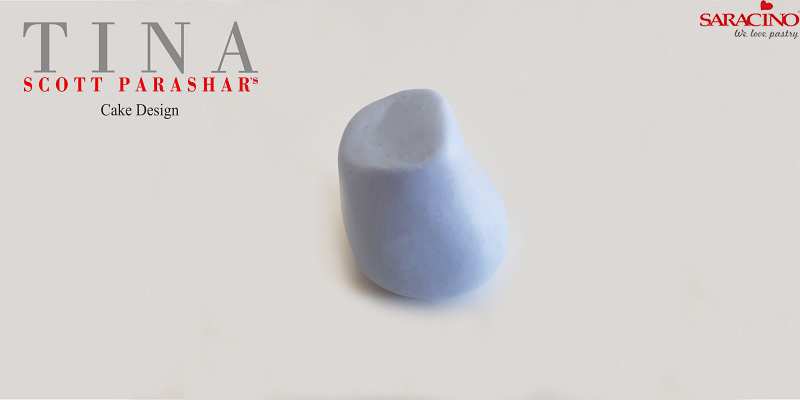
Step 1
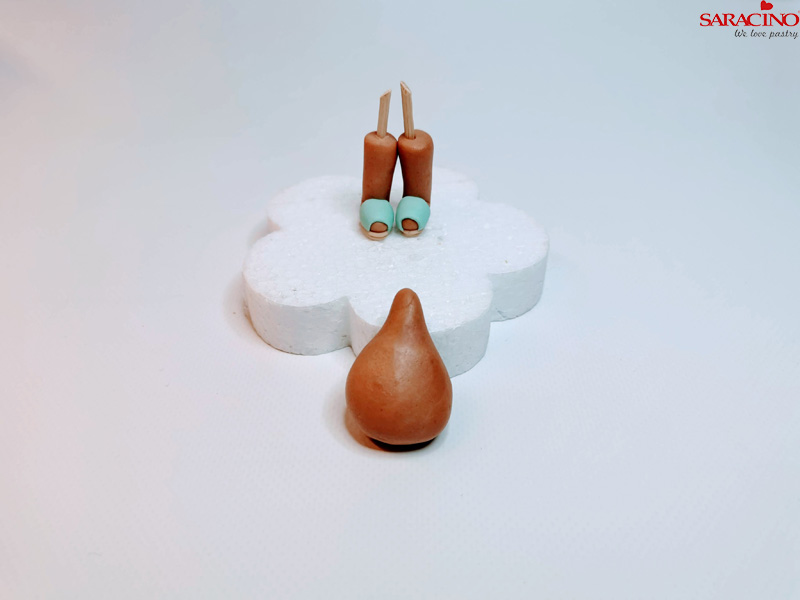
Take a ball of Pasta Scultura and form into the shape of the body
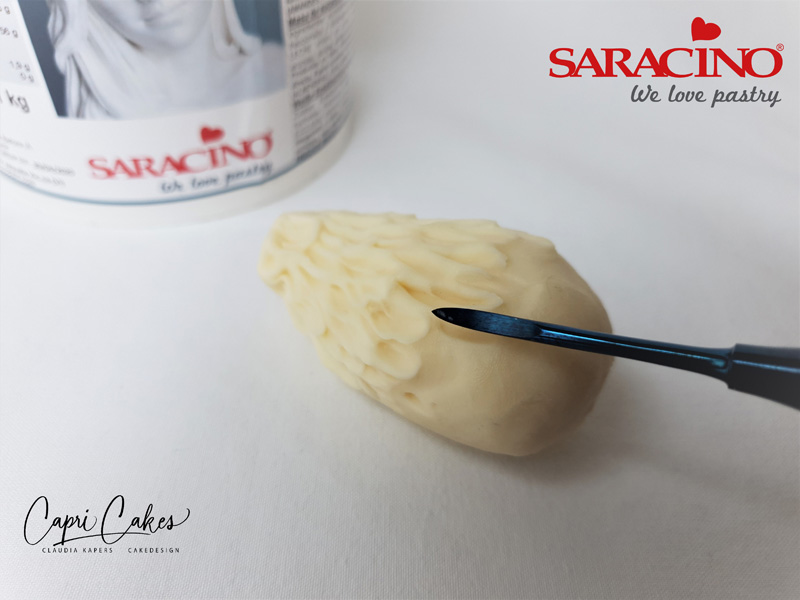
Step 2
Make a hair texture to the body with the Dresden tool. Work from the neck down to the bottom
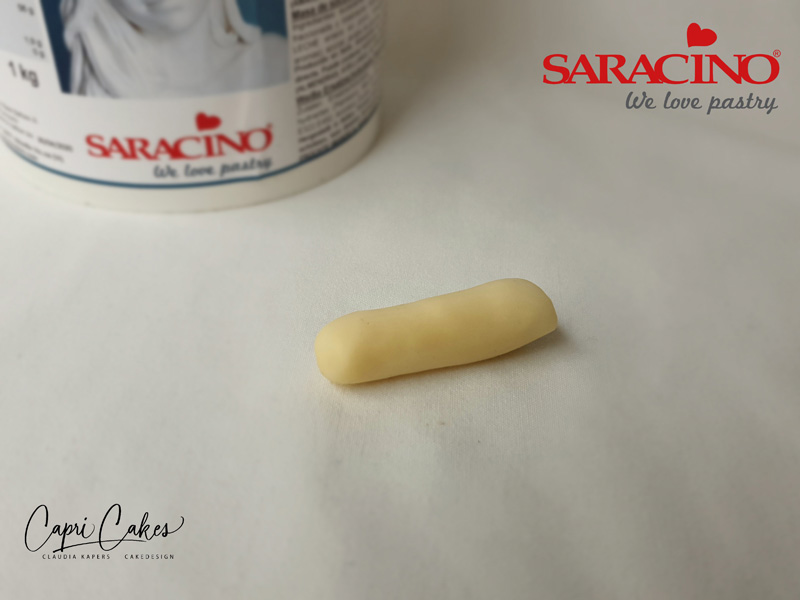
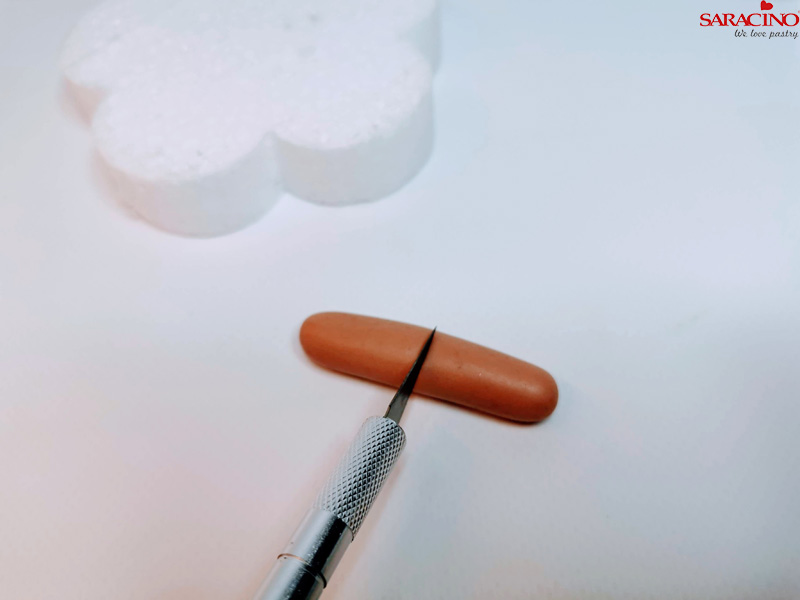
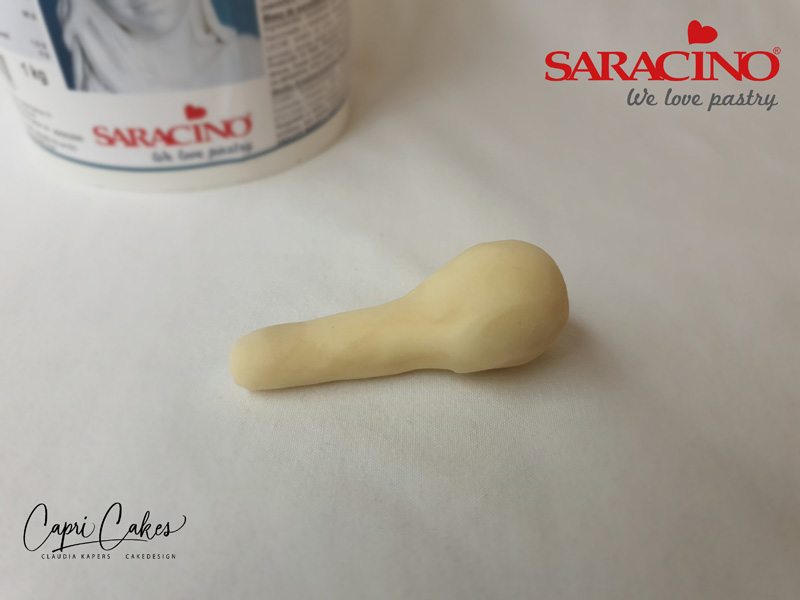
Step 3
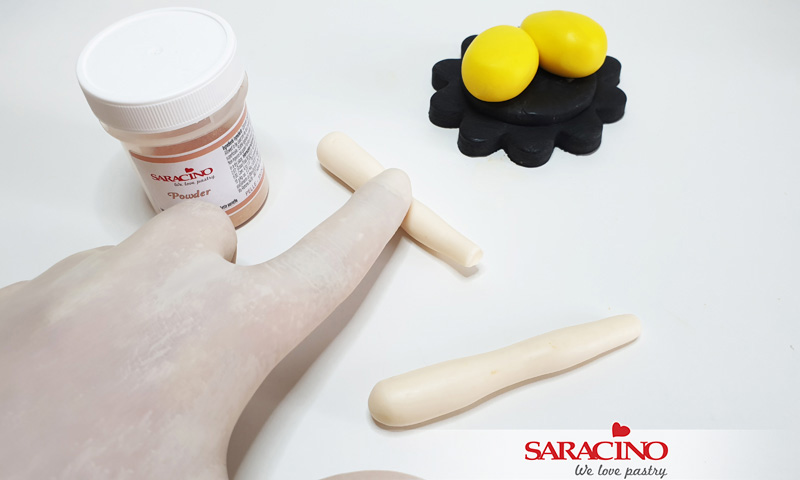
Roll a piece of Pasta Scultura into a length of 4 cm
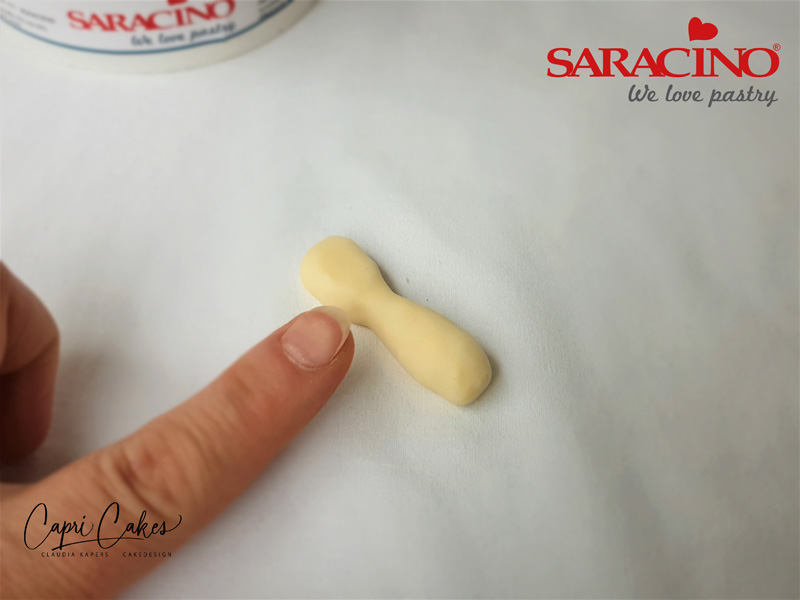
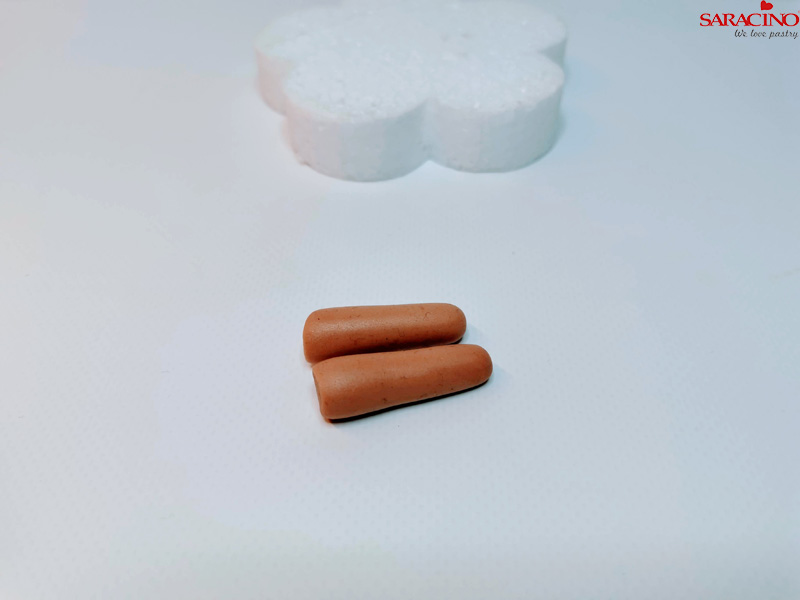
Step 4
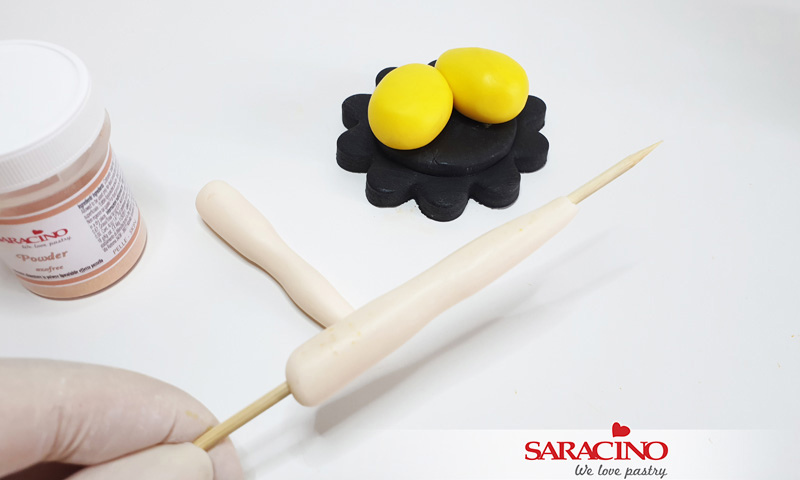
With your finger form a narrower section to the front leg.
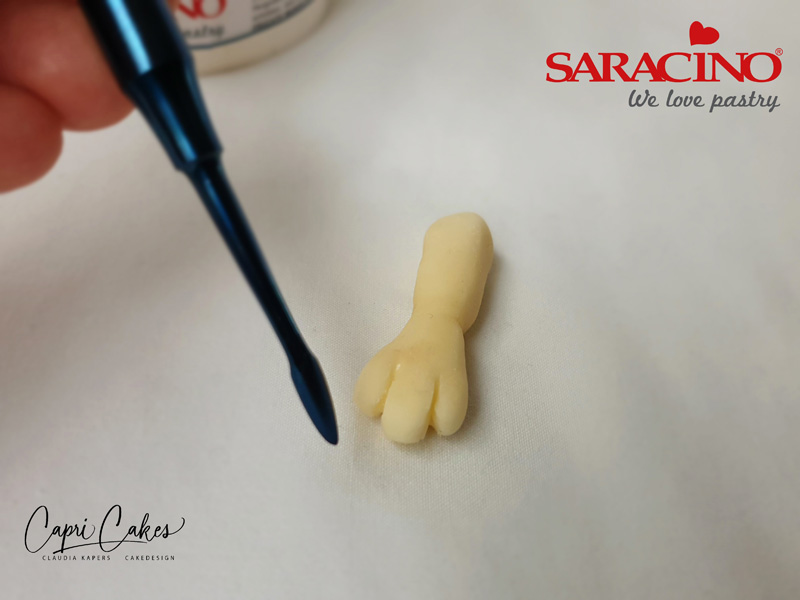
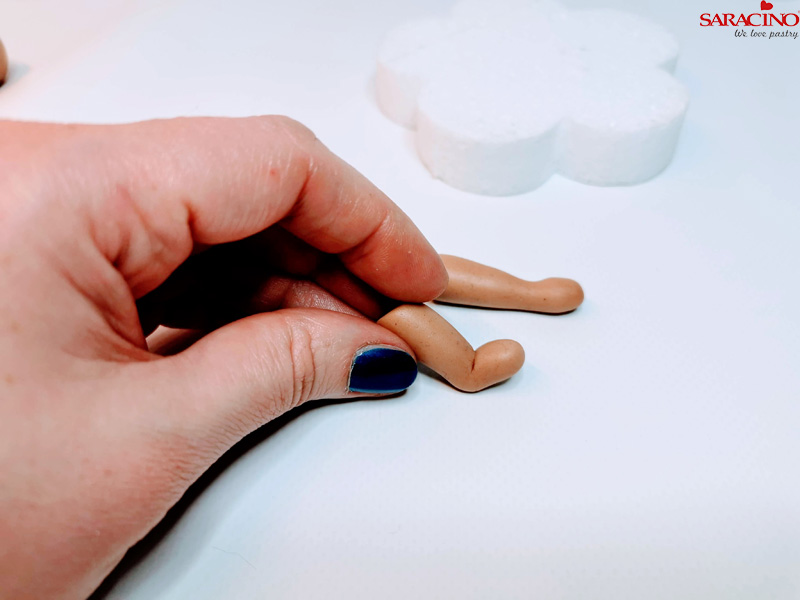
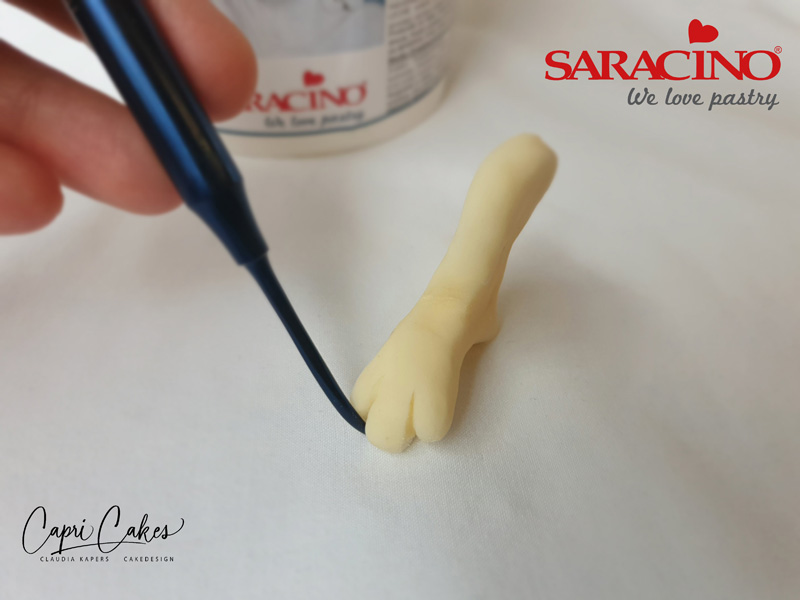
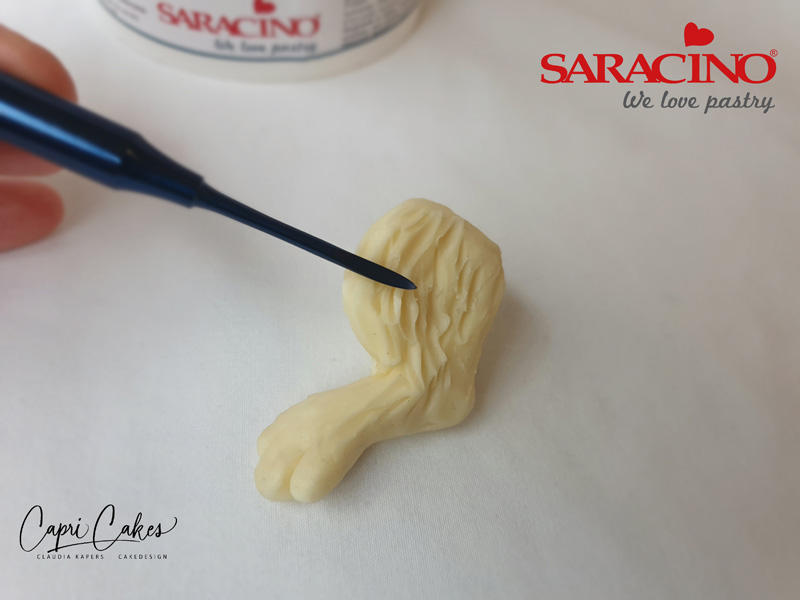
Step 5
Make two notches on the foot with the Dresden tool.
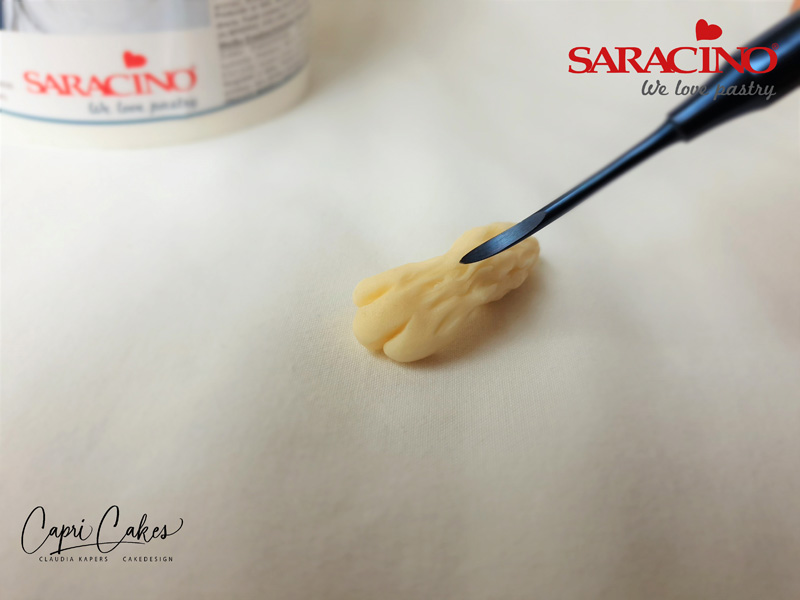
Step 6
Using the Dresden tool form the hair texture on the leg.
Step 7
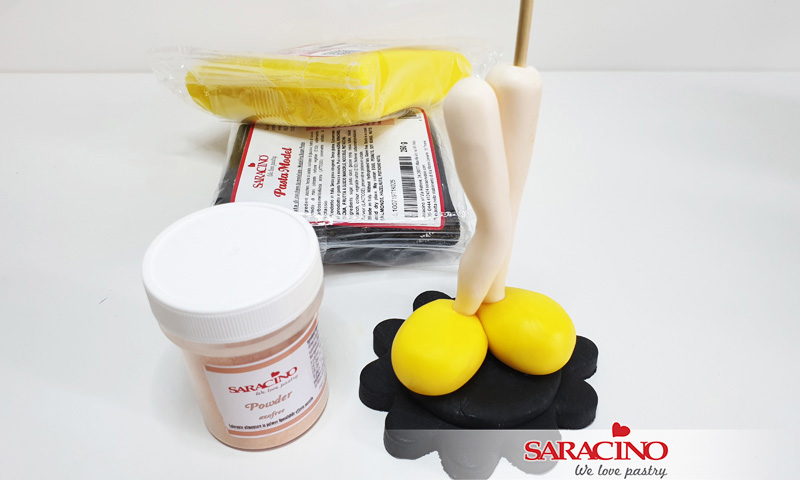
Attach the legs to the body
Step 8
Form a hind leg from a ball of Pasta Scultura
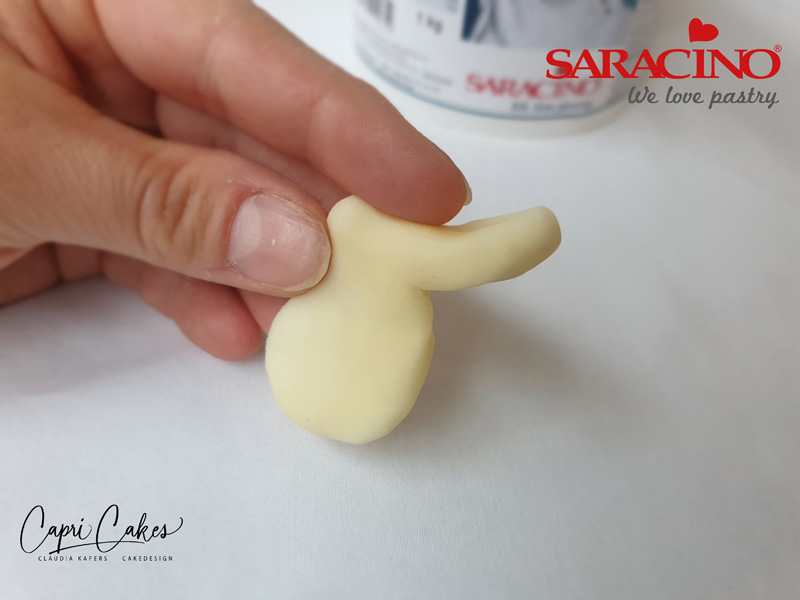
Step 9
Shape the hind leg with the finger and make a heel
Step 10
Make the notches for the toes with the dresden tool
Step 11
Use your Dresden tool to form a fur texture to the rear legs.
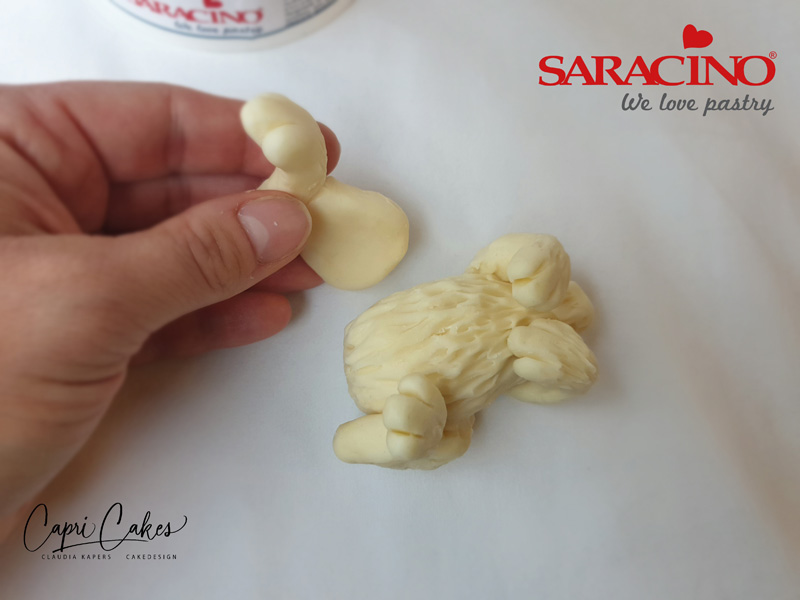
Step 12
Attach the hind legs to the body
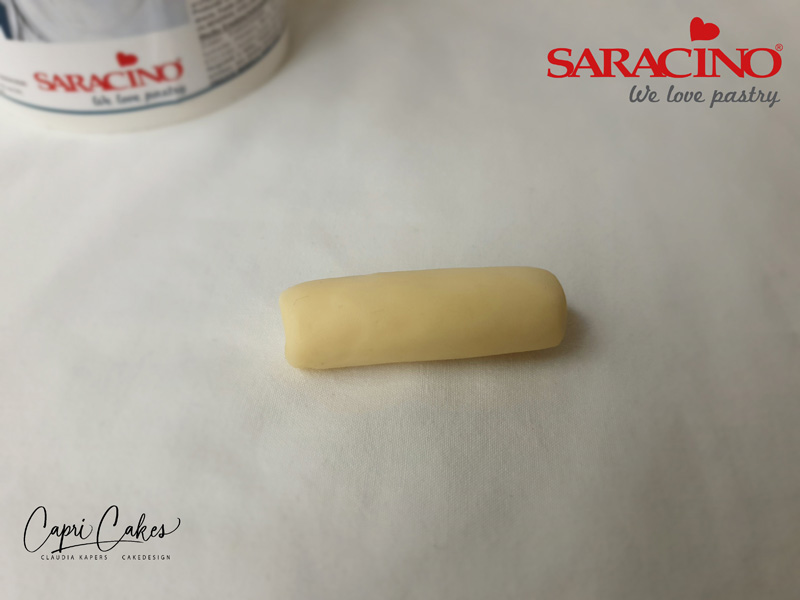
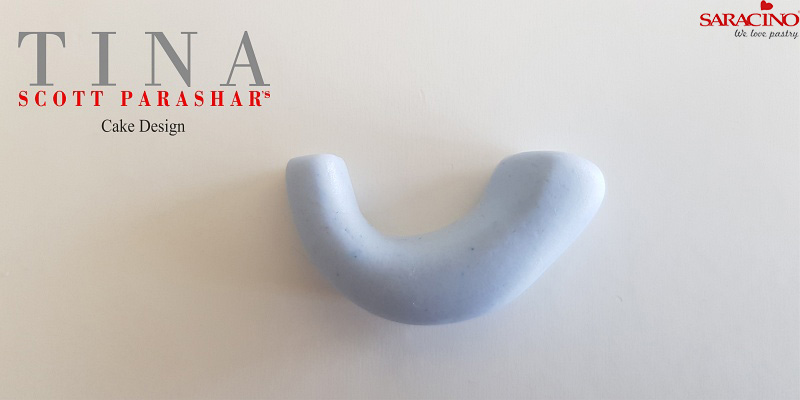
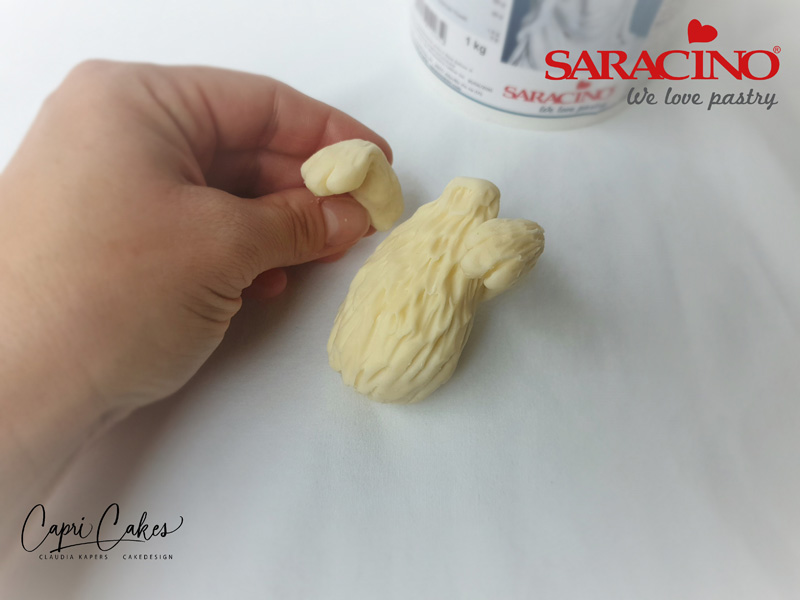
Step 13
Form a roll of Pasta Scultura 5cm long and 1.5cm thick. This is for the tail.
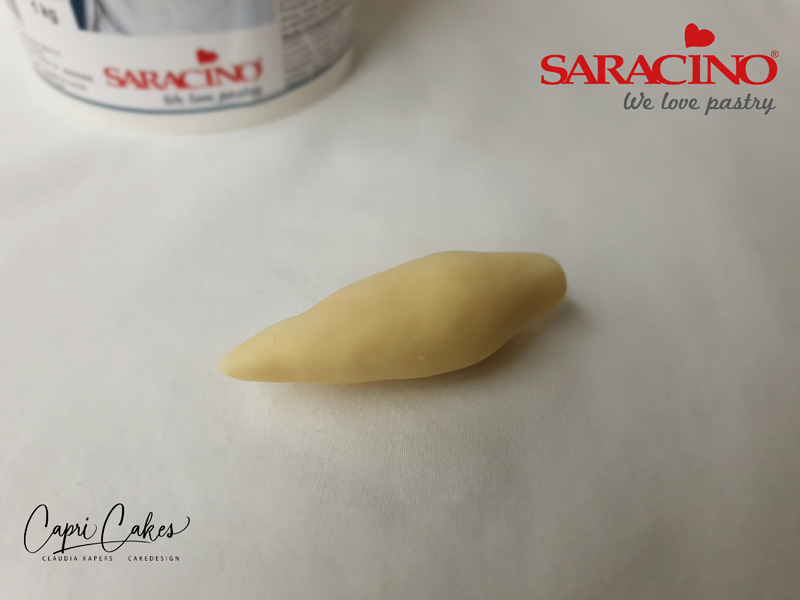
Step 14
Model the roll into an elongated drop
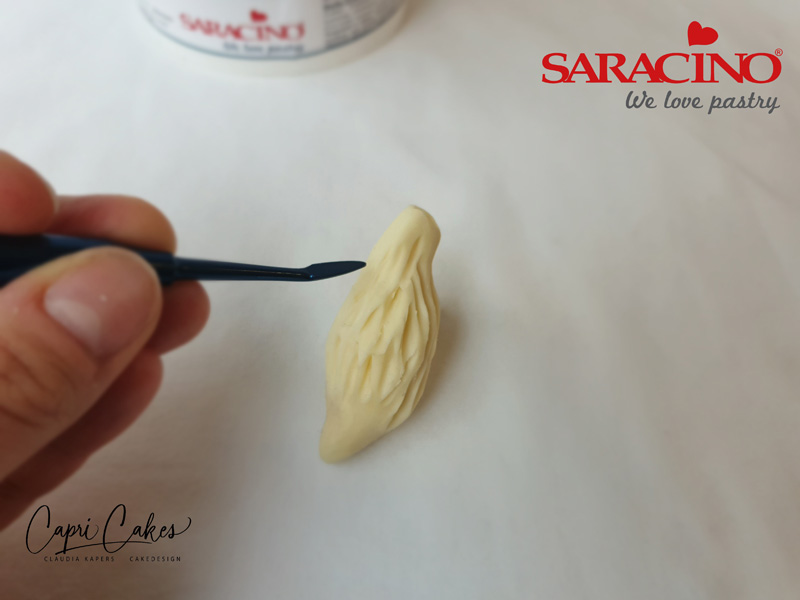
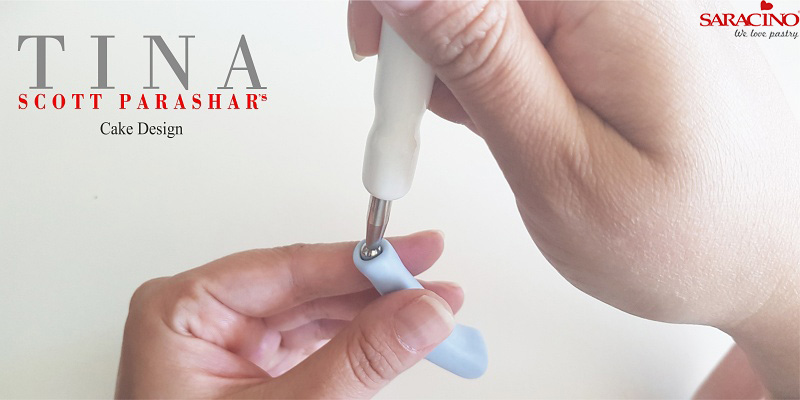
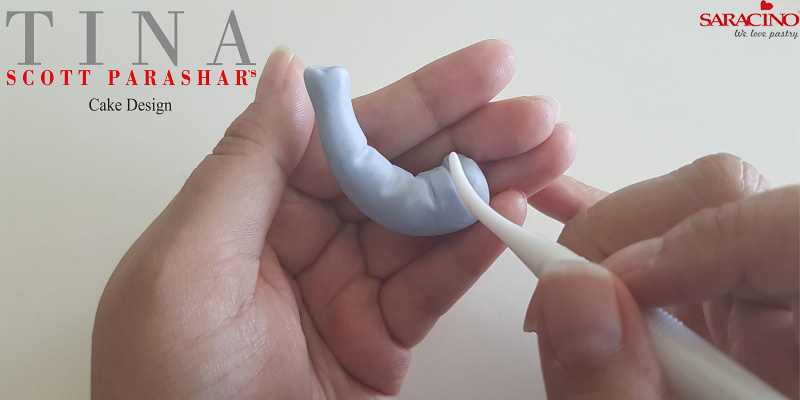
Step 15
Apply fur texture to the tail using your Dresden tool.
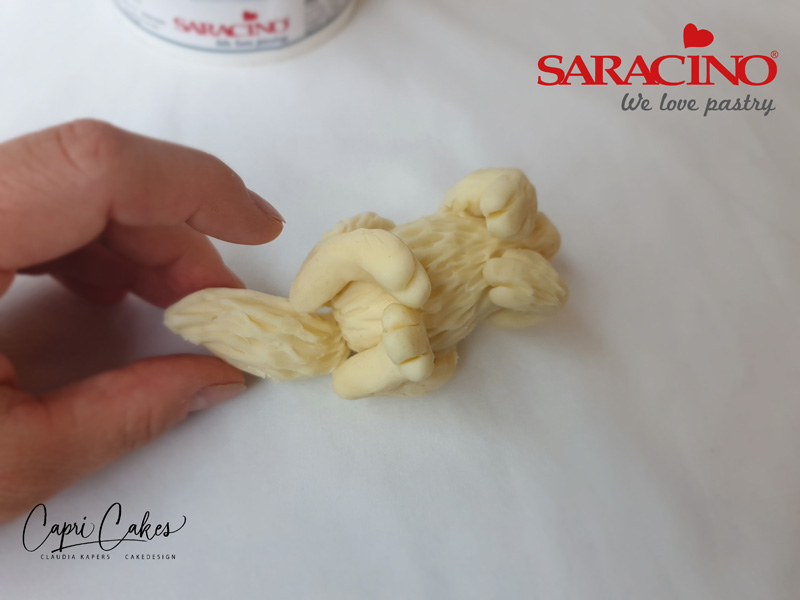
Step 16
Attach the tail to the body

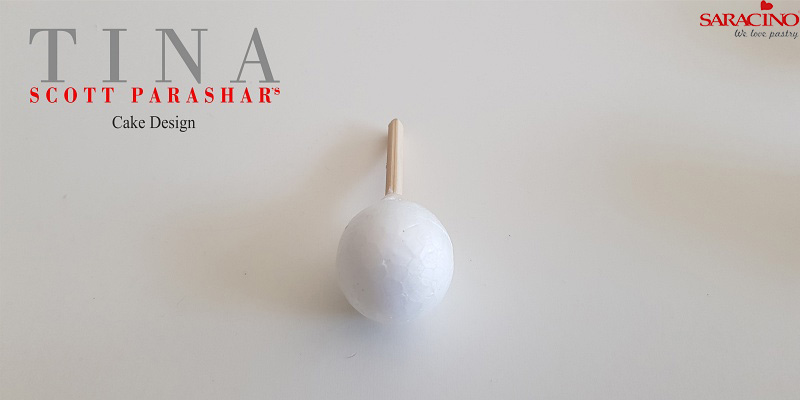
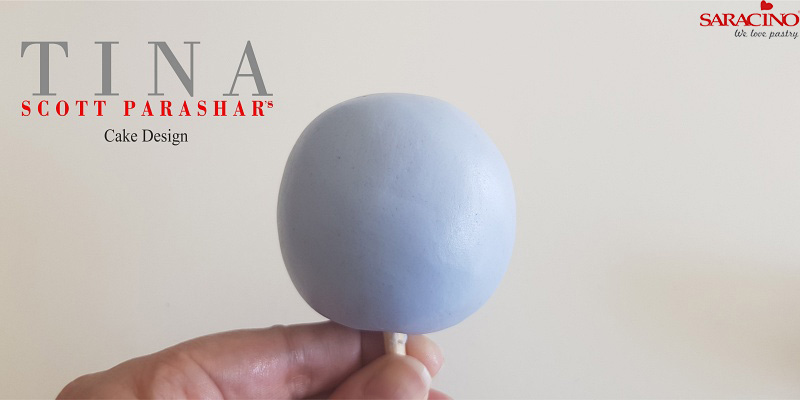
Step 17
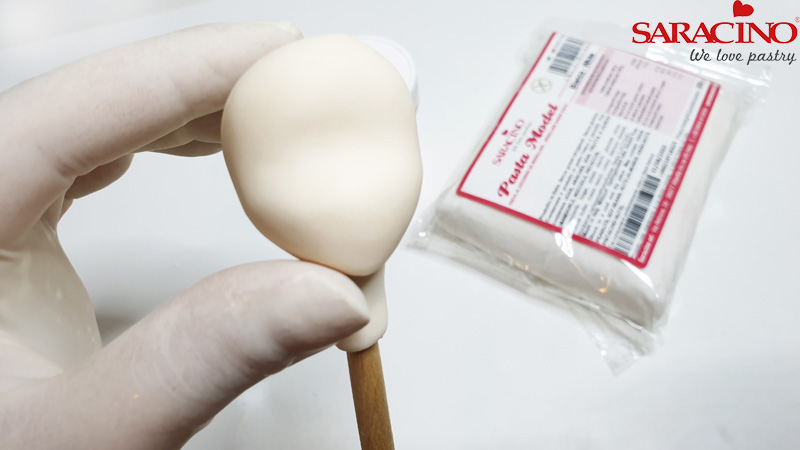
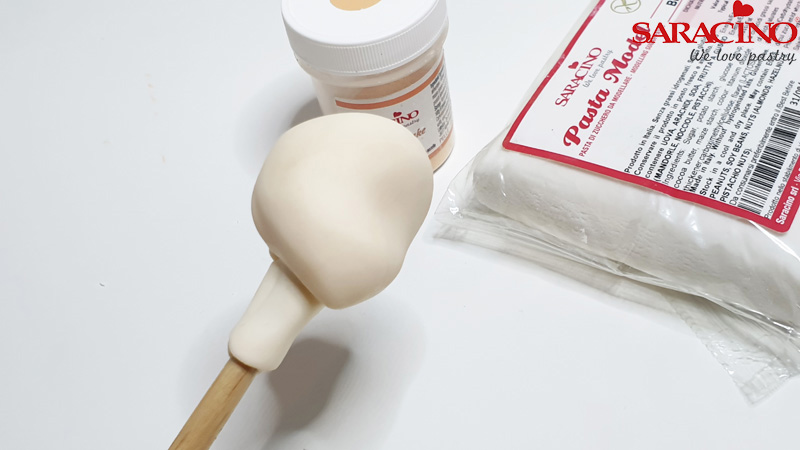
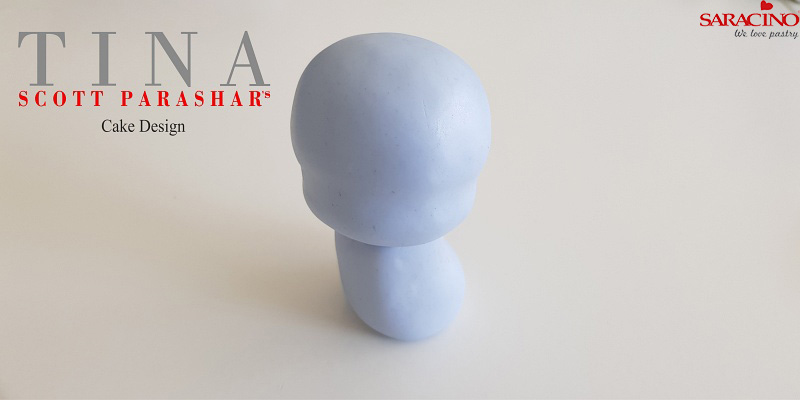
Shape a ball of Pasta Scultura for the head.
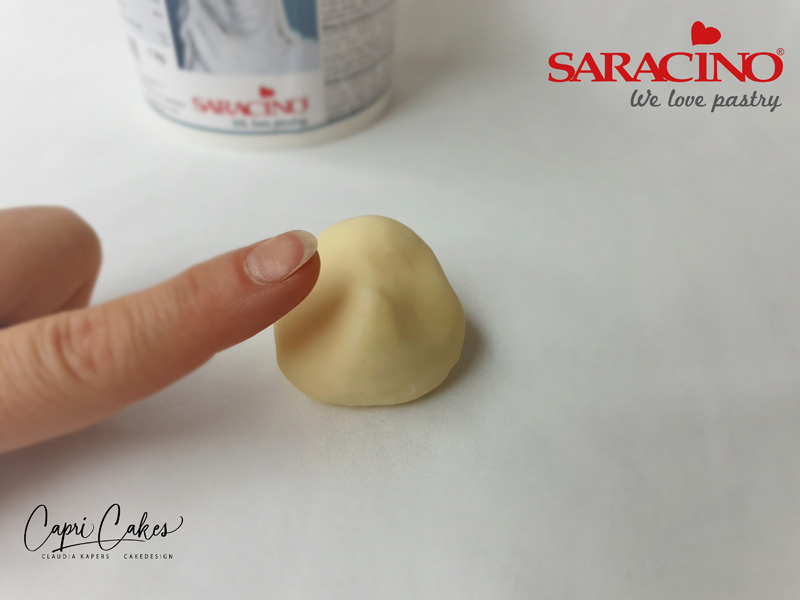
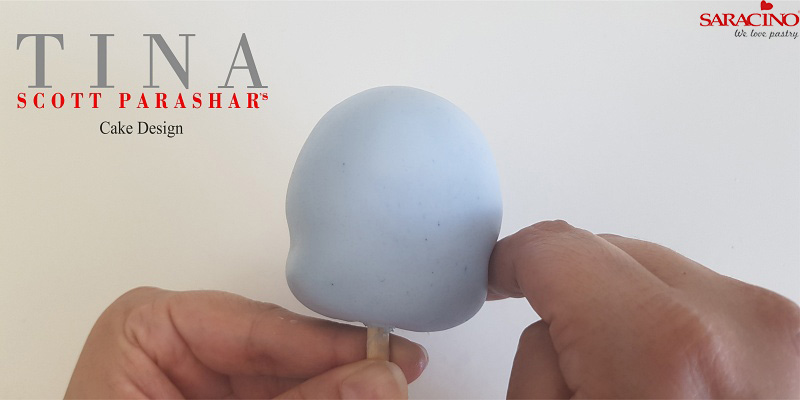
Step 18
Using your finger press the ball slightly flatter on both sides and form a small snout.
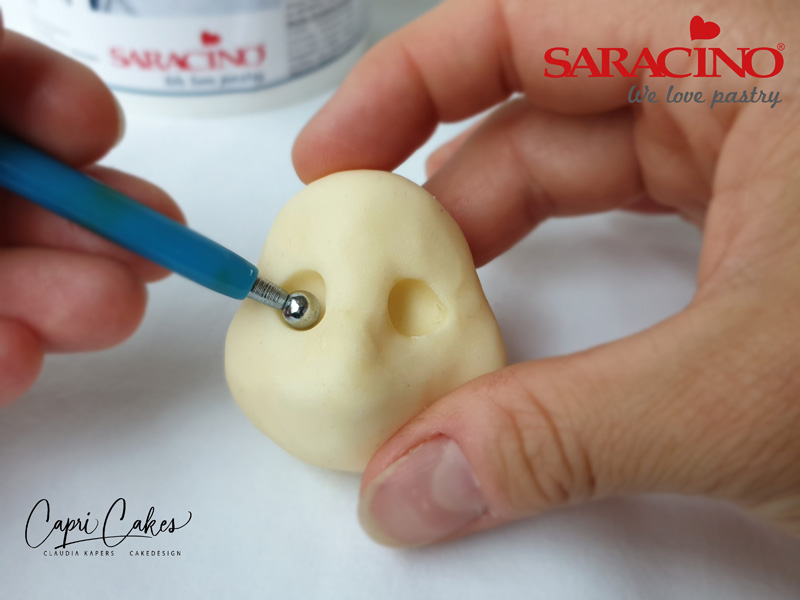
Step 19
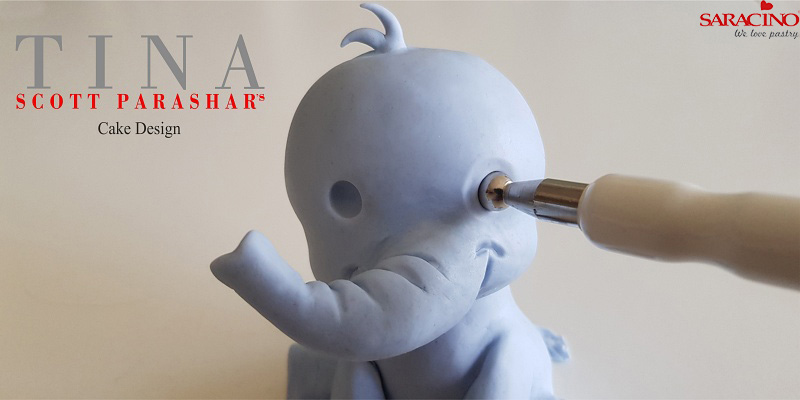
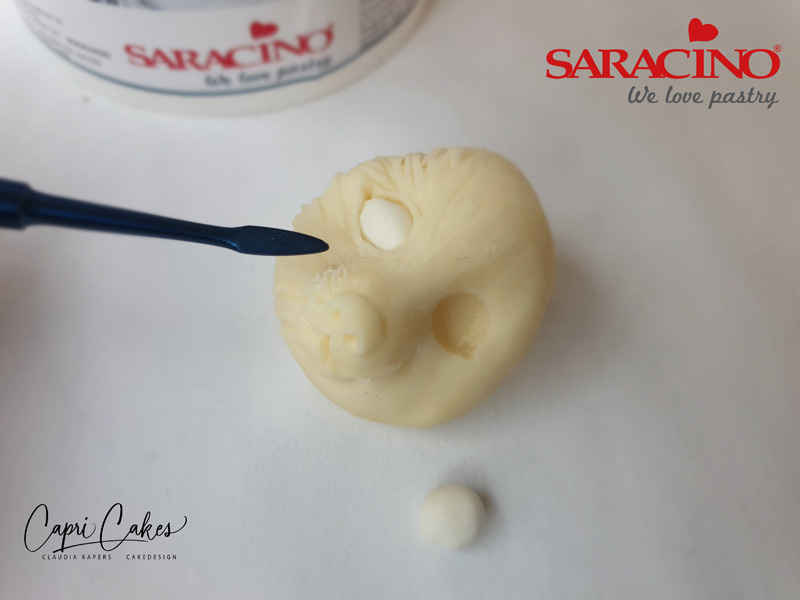
Using your ball tool form two holes for the eyes.
Step 20
Shape the mouth with the Dresden tool
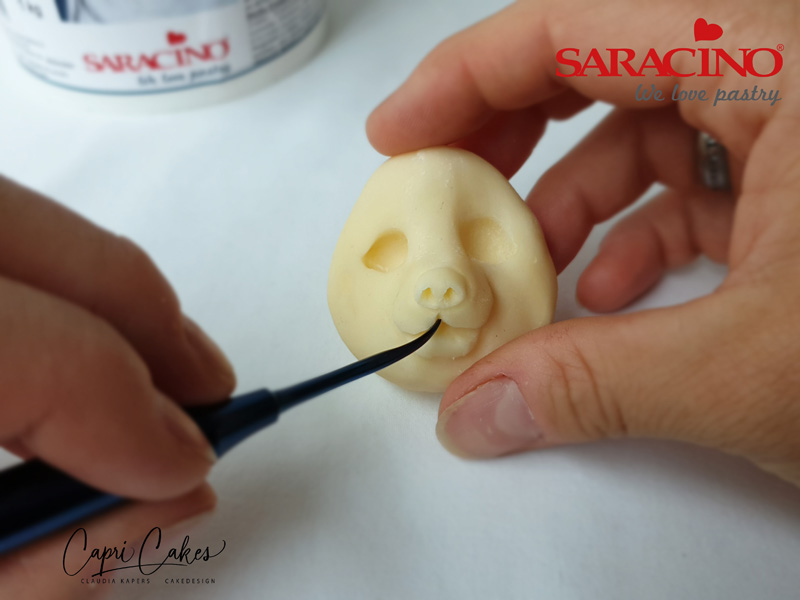
Step 21
Make the nostrils with the tip of the dresden tool
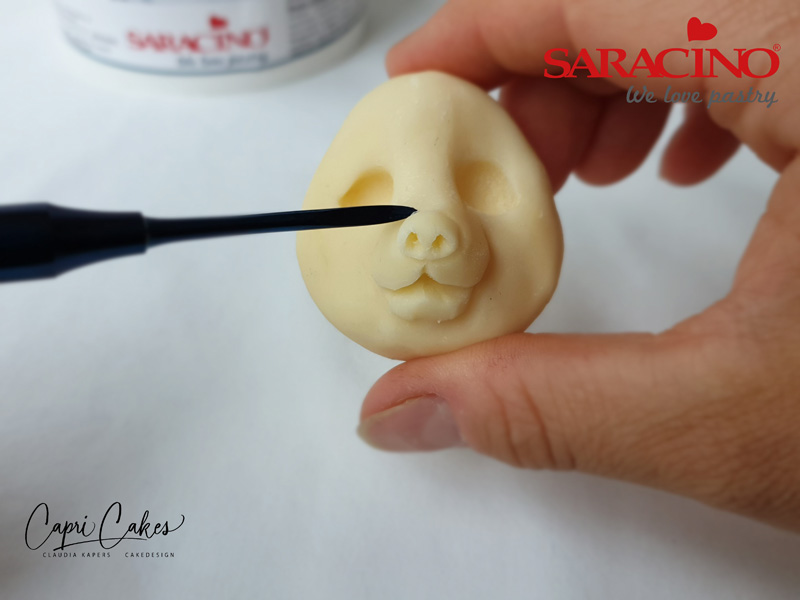
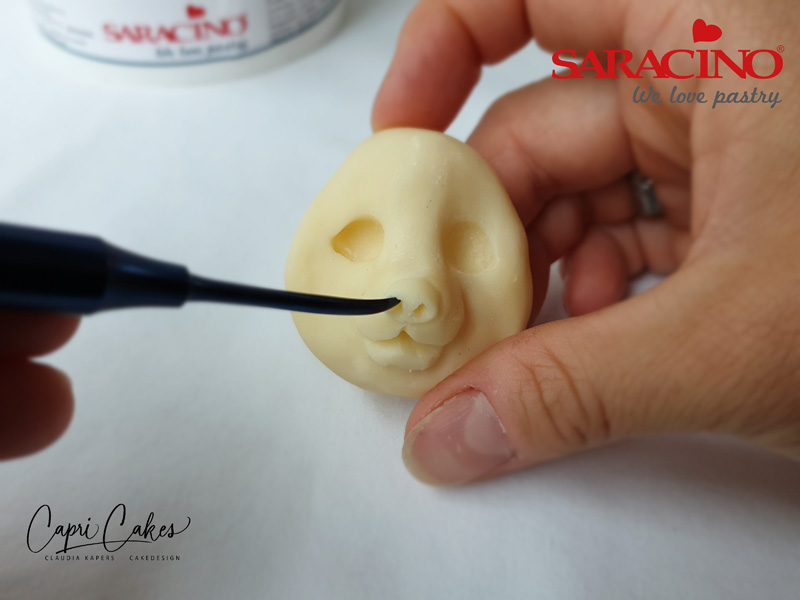
Step 22
Make a border around the nose
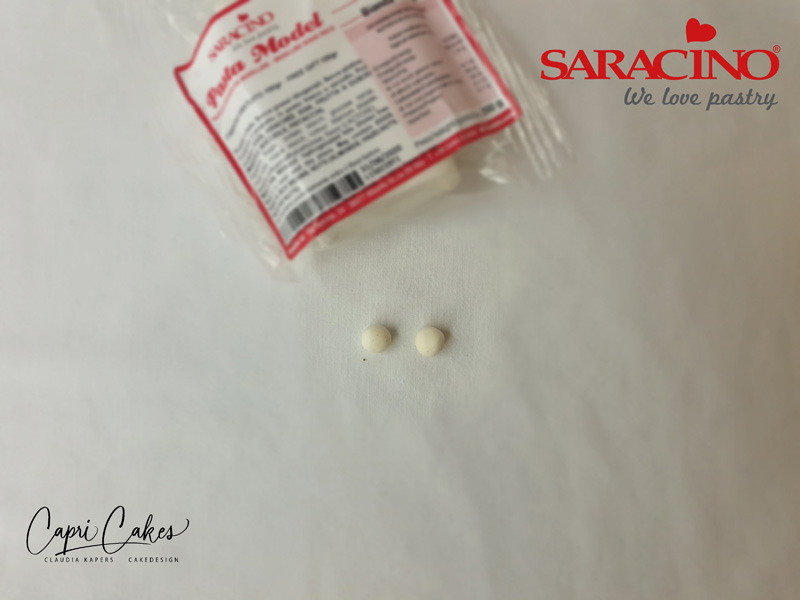
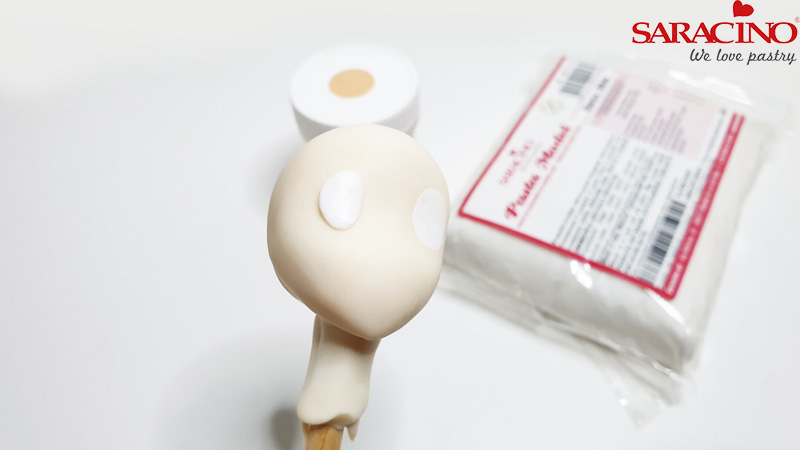
Step 23
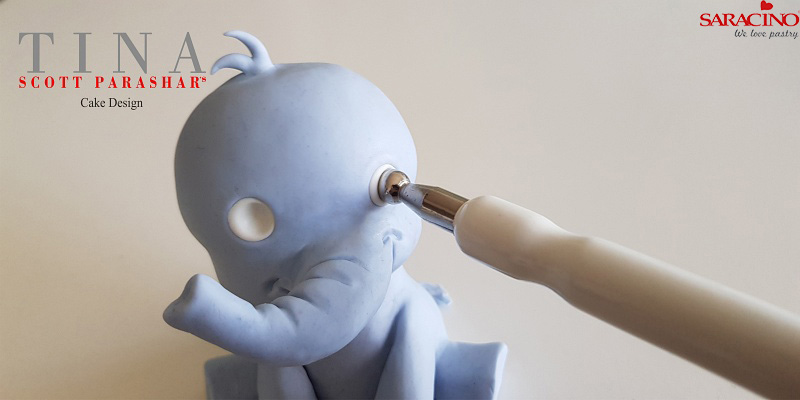
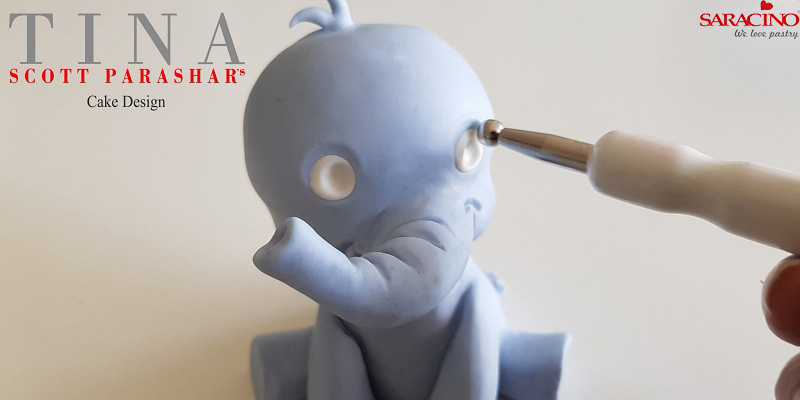
Using Pasta Model make two small balls of about 8mm diameter. These are for the eyes
Step 24
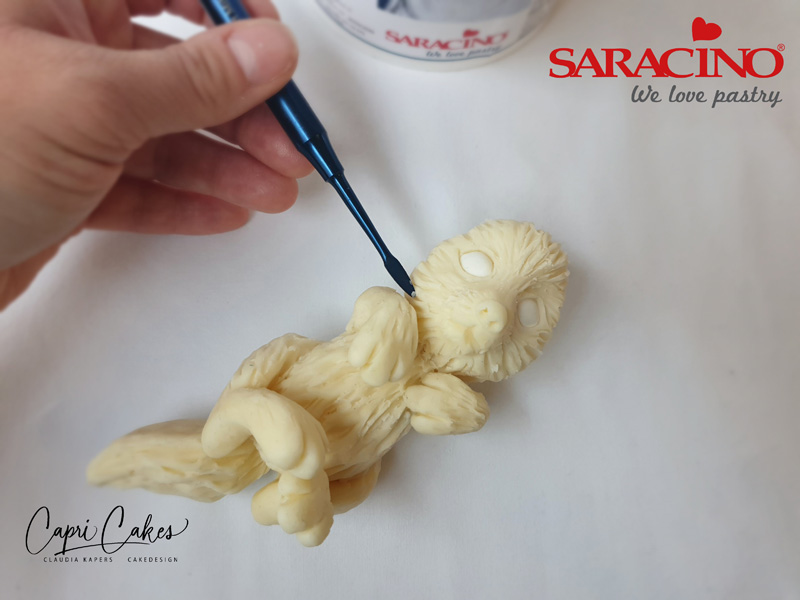
Fix the eyes into the eye sockets and apply fur texture to the face.
Step 25
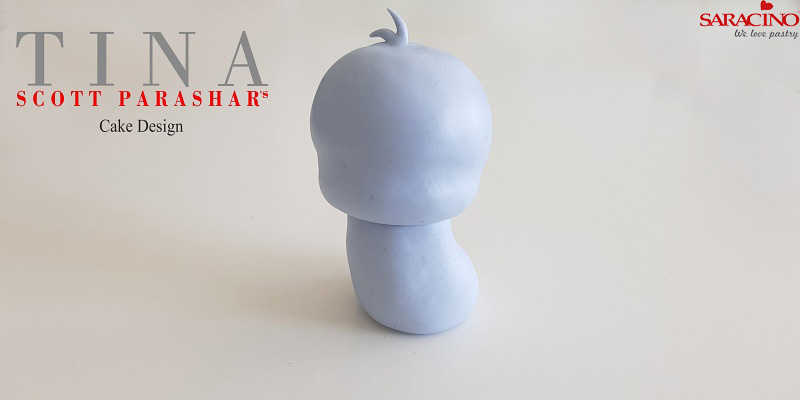
Attach the head to the body
Step 26
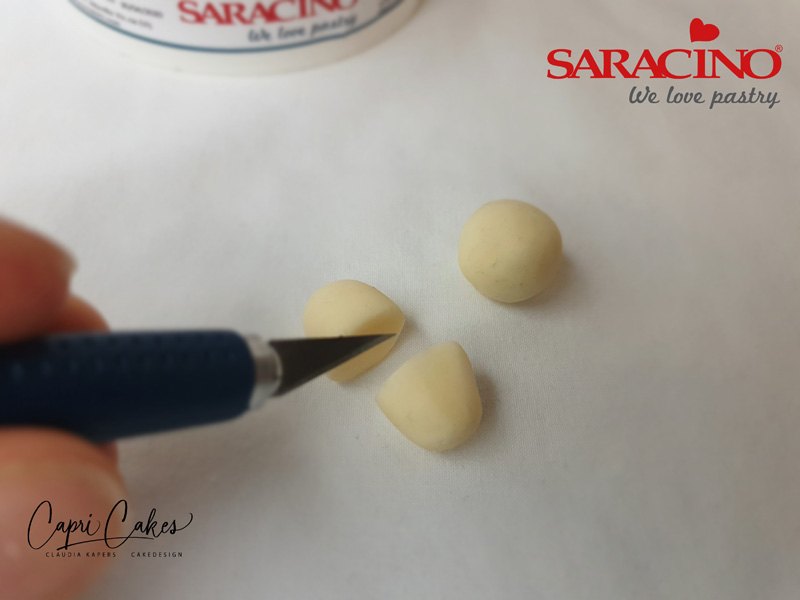
Cut a ball of pasta scultura in half for the ears
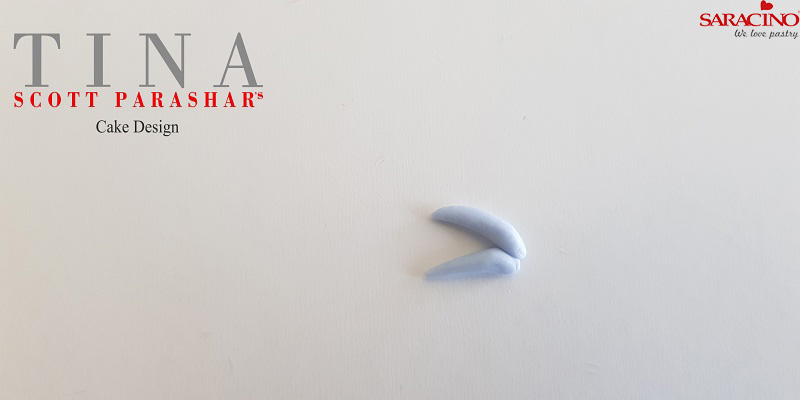
Step 27
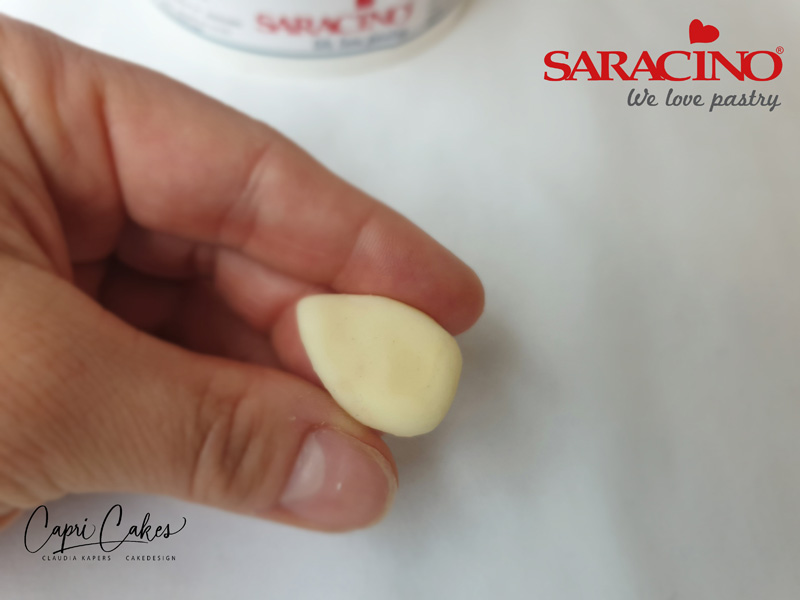
Form two triangles for the ears.
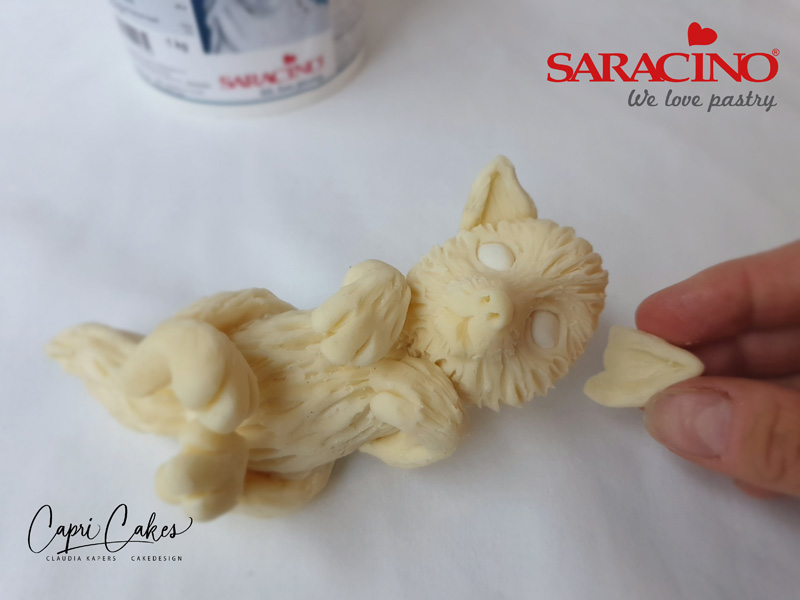
Step 28
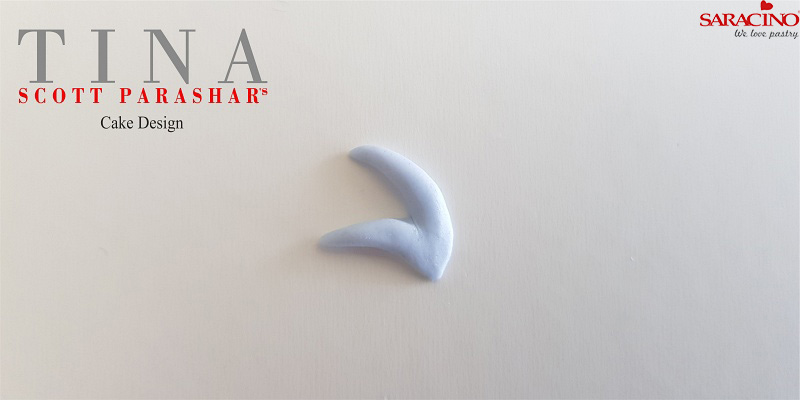
Shape a rim to the ear and form fur structure to the ear with the Dresden tool. Attach the ears to the head.
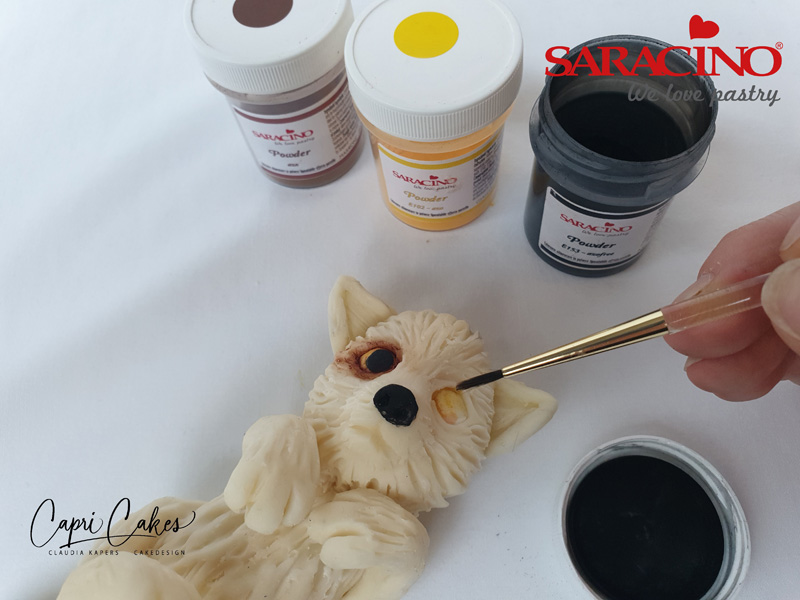
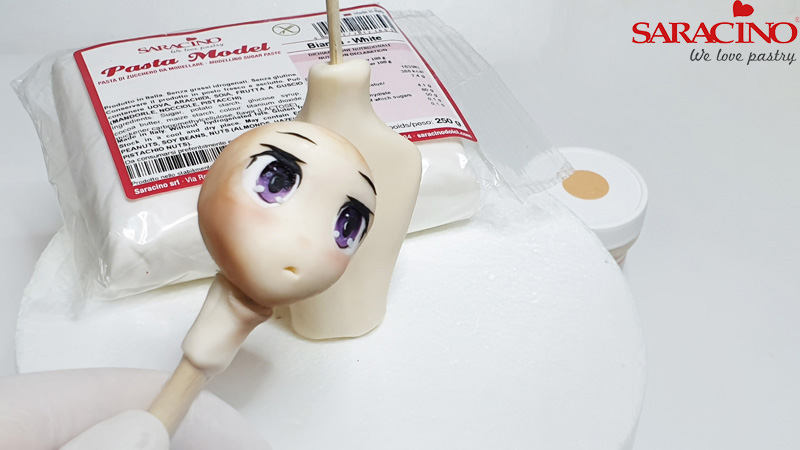
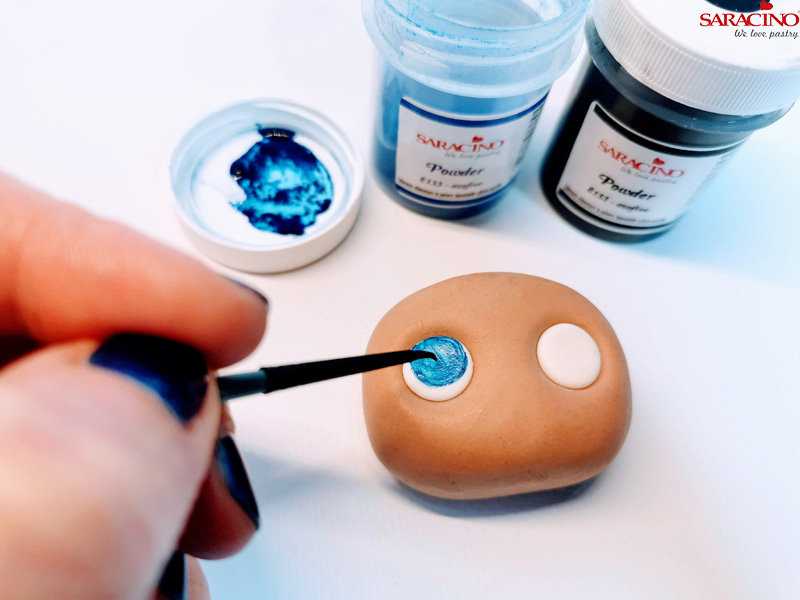
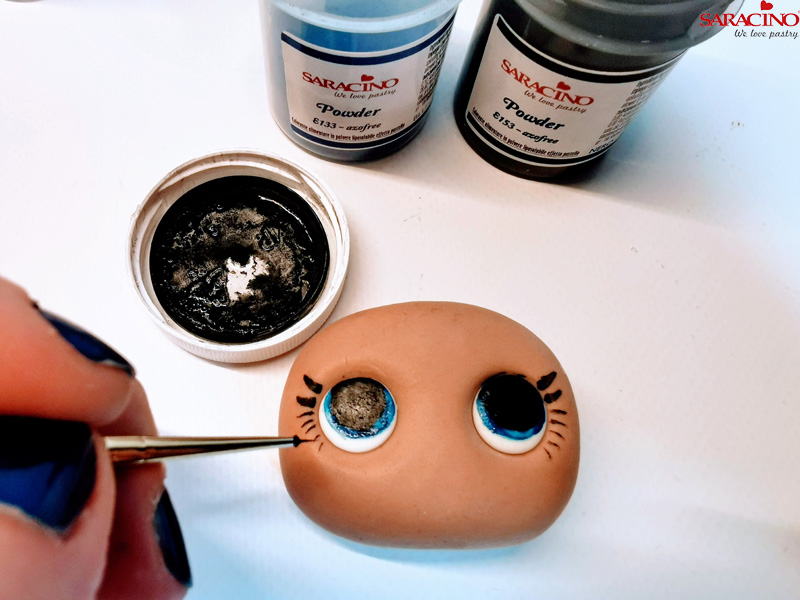
Step 29
Mix yellow Saracino powder with alcohol and paint the eye very light yellow. Mix brown saracino powder with alcohol and make a brown edge around the eyes. Finally make the pupil with black Saracino powder
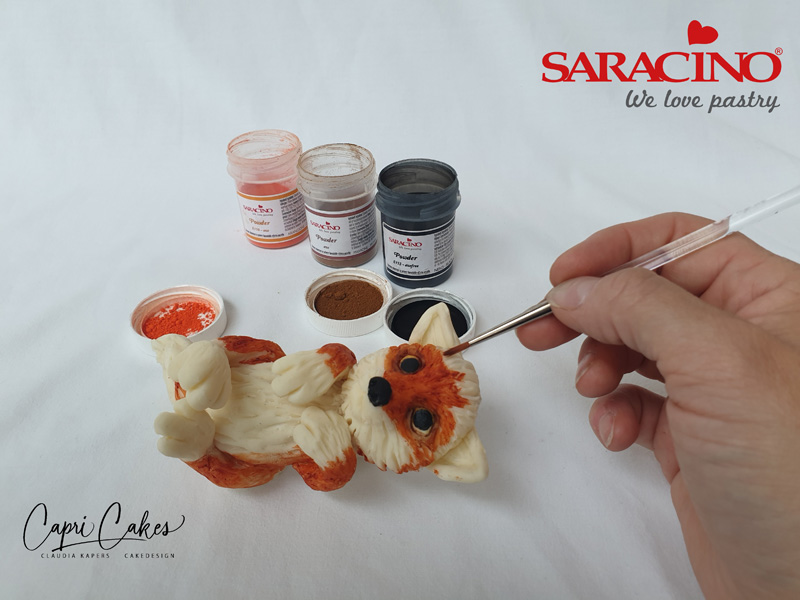
Step 30
Mix orange and brown Saracino powder with alcohol and paint the body. Avoid the belly, ends of the legs and the chin.
Step 31
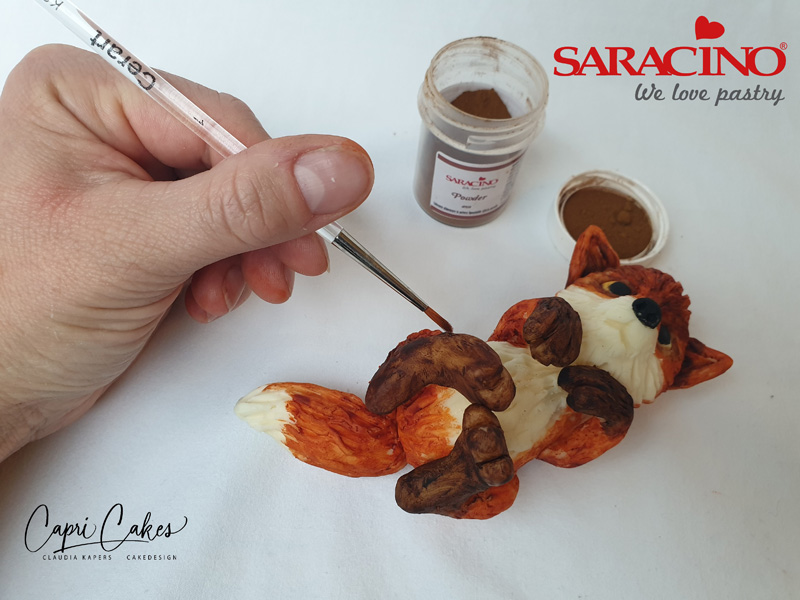
Mix brown and black Saracino powder with alcohol and paint the ends of the legs dark brown
Step 32
Mix white Saracino powder with alcohol and paint the belly and the end of the tail white.
Tip: Let the edges of the colors merge slightly

Step 33
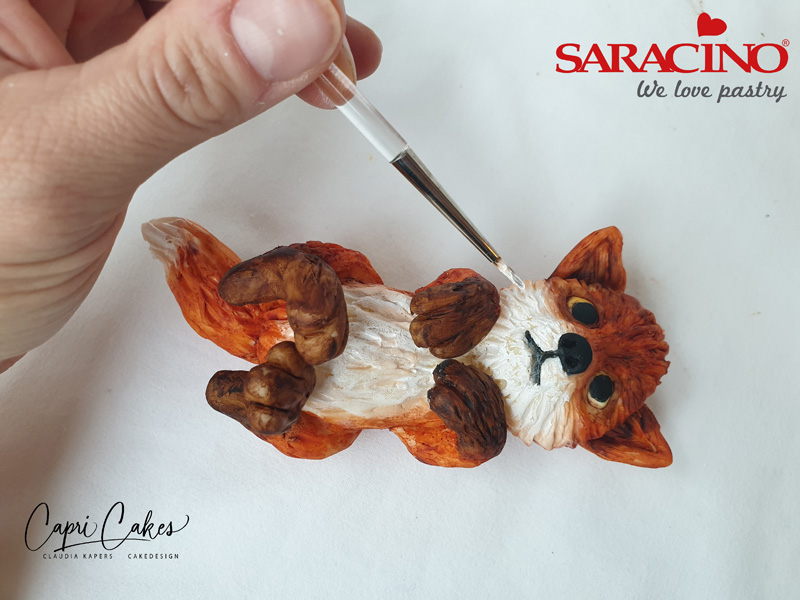
Using a small piece of Pasta Model place a white dot on both eyes
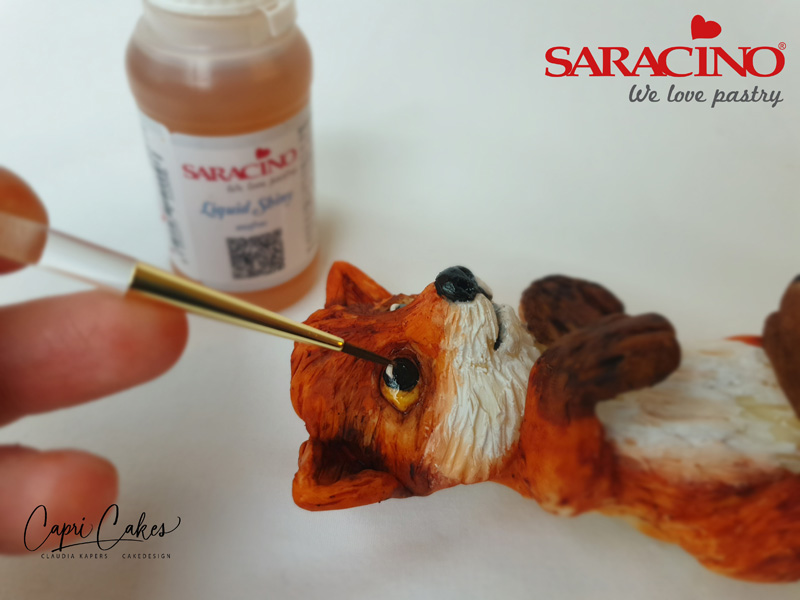
Step 34
Finish the eyes and nose with Saracino Liquid Shiny to give a glazed effect.
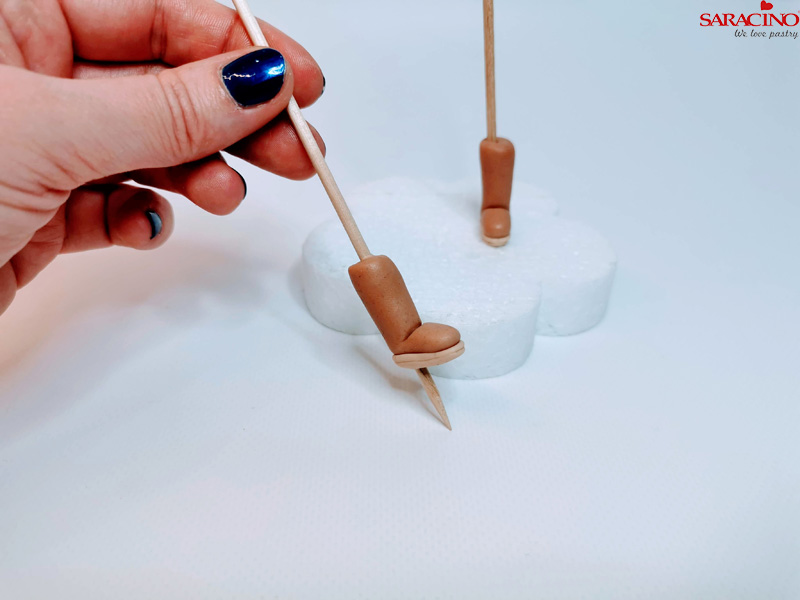
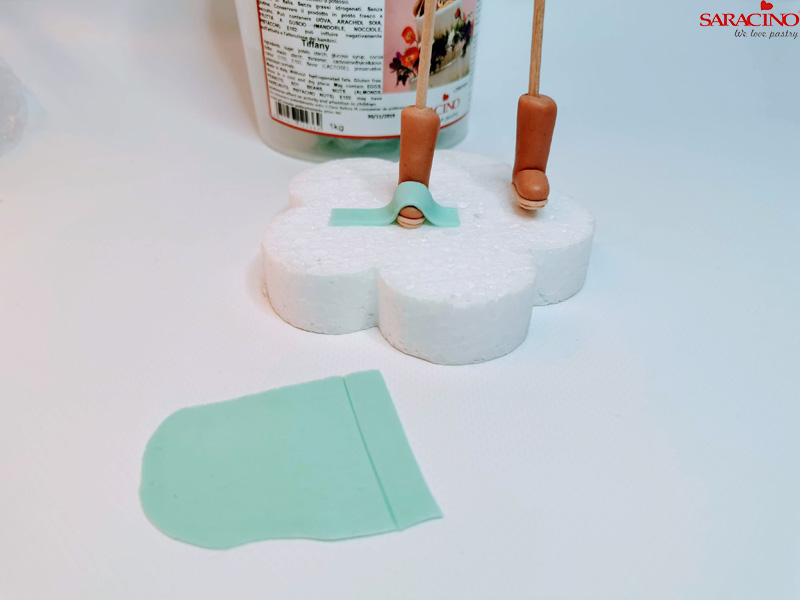
Tip: For extra strength in the attachment of the head, legs and tail, you can use cocktail sticks or spaghetti.