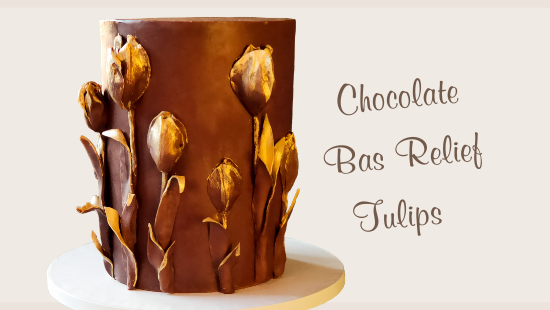
CHOCOLATE BAS RELIEF TULIPS

CHOCOLATE BAS RELIEF TULIPS
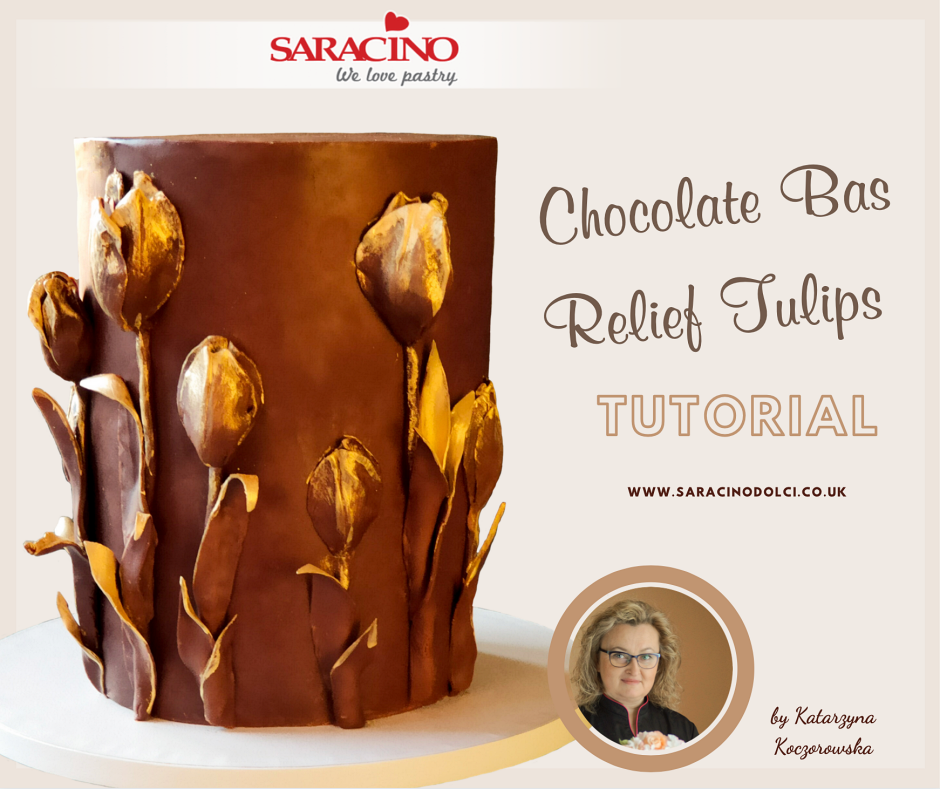
Skill level: BEGINNERS

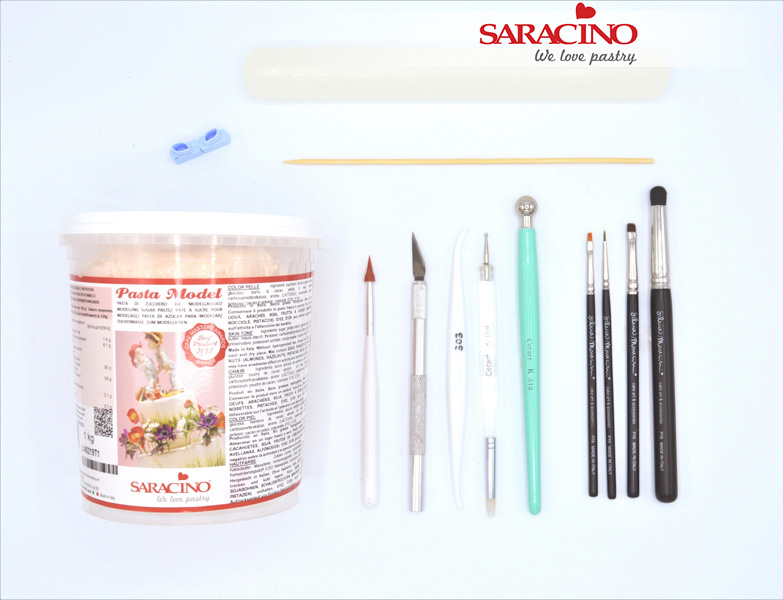
You will need:

Step 1

Modelling chocolate is firm to use so you need to heat it up first to make it possible for rolling. In warm weather your hands should be enough, but if required it can be put in the microwave for a few seconds to soften.

Step 2

Roll the chocolate to about 2mm thickness and cut out two sizes of petals

Step 3

Squeeze the petal into the mould. Pattern well with the veiner section of the mould.

Step 4

Make two sizes of petals for variety. Make as many as you want for your cake.

Step 5

Roll an egg shape for the center of the tulips.

Step 6

Match the petals you have made with the centre oval shape.

Step 7

Use two sizes of petals for variety around your tulip.

Step 8

To fix your petals you can use a little watered down Saracino CMC.

Step 9

Glue the flowers on at different heights

Step 10

Roll the stalks using a side smoother on your non stick mat.

Step 11

Glue stalks to the sides of the cake below each flower and cut off the excess chocolate

Step 12

Roll more of your chocolate and cut out leaves of different sizes.

Step 13

Apply the watered down CMC glue

Step 14

Stick one or two leaves to each stalk.

Step 15

Bend the leaves to achieve more natural look

Step 16

Tulips glued on at different heights to achieve the look you would like.

Step 17

Finally, mix Powder Pearl Light Gold with the clear alcohol. Now paint the edges of the leaves and petals as required.

Step 18

Your cake is ready

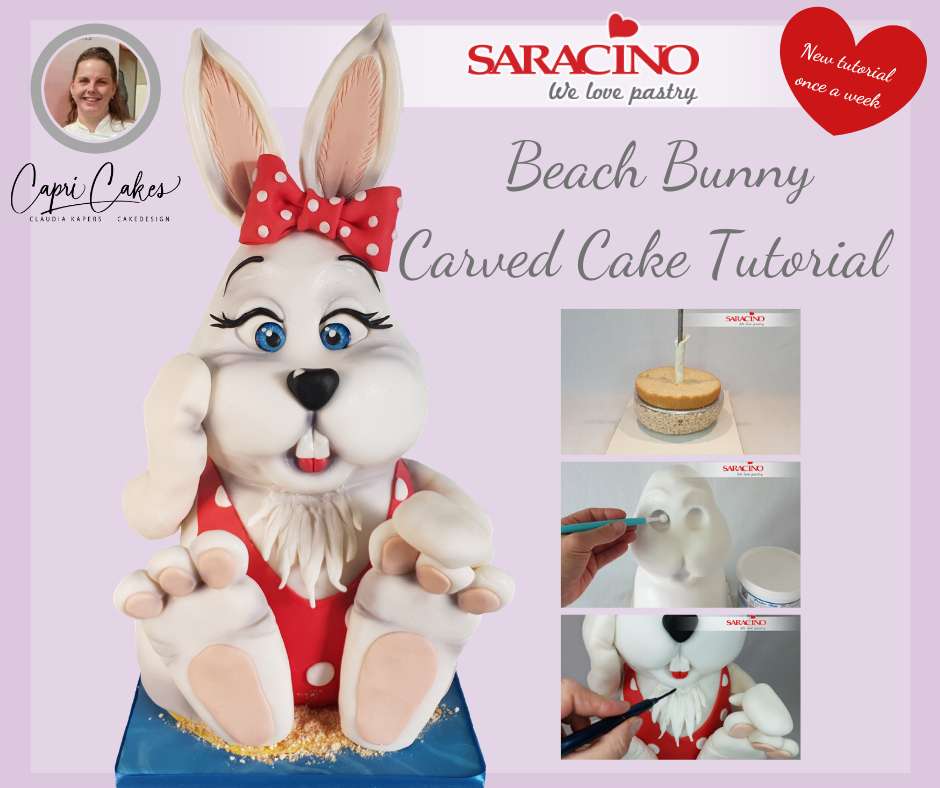
BEACH BUNNY CARVED CAKE TUTORIAL

BEACH BUNNY CARVED CAKE TUTORIAL

Skill level: INTERMEDIATE

How to make a perfect ganache:

Place 750g Saracino chocodrops and 250ml whipping cream. Bring whipping cream to a boil. Pour on the chocolate drops and let stand for a minute. Stir well until all drops are dissolved. Pour into a sealable container and let stand for 24 hours. Heat the required amount in the microwave. Be careful not to make it too thin. Chocolate spread is the ideal consistency. 

You will need:

For Stainless Steel armature construction

  • 8mm threaded rod 20cm long.
  • 5 x 8mm stainless steel washers
  • 5 x M8 stainless steel nuts
  • 2 x spanner size 13
  • MDF or Wooden Board 25 x 20cm
  • Cake boards diameter 15cm and 10cm and 3mm thick
  • 2 x cake diameter 15cm and height 10cm
  • Ganache 1kg
  • Sturdy filling as desired

For the Cake you will need 

  • Pasta Top white 1400g
  • Model chocolate white 1050g
  • Pasta Model white 35g
  • Pasta Model red 250g
  • Pasta Model black 10g
  • Gel colours: yellow, blue and skin
  • Dust powder colours: white, black and blue
  • Airbrush colours white and black
  • Saracino Cakegel
  • Rice krispies 150g
  • Marshmallows 150g
  • Butter 30g
  • 2 x tea biscuit
  • Uncooked spaghetti
  • Modelling tools Cerart
  • Precision knife
  • Rolling pin
  • Ball tool
  • Brushes
  • Pallet knife
  • Two wooden skewers
    •  

Step 1

Take a 20 x 25 centimetre wooden board or MDF board. Ideally use a stainless steel baseplate in the middle of the board. This will alleviate the need to drill etc. 

If you are unable to purchase a baseplate type fixing you can drill a 9mm hole in the middle of the board. Attach an 8mm stainless steel threaded rod. Make a recess on the bottom of the board so the nut is not proud of the underside of the board. Use stainless steel washers under the nuts. Tighten everything firmly.

Place a piece of felt at the bottom of the board at each corner.

Step 2

Using your 15cm cake board drill a 8mm hole in the centre.

Heat 150g of marshmallows and 30g of butter in the microwave or pan, add 150g of rice Krispies and make a dish shape 5cm high. Make a hole in the center through which the threaded rod will pass.

Now place a nut on the threaded rod at a height of 5cm.

Step 3

Slide the rice krispies down over the threaded rod. If necessary, trim the rice krispies around with a sharp knife. Now place a stainless steel washer on the nut and on top of the cake board. As we have a rice krispie base, the cake board does not need to be secured.

Step 4

Line the threaded rod with a small amount of modelling chocolate to about 10cm height.

Cut a hole of 1 cm diameter in the middle of each cake layer. Stack the cake layers over the threaded rod and put a nice filling of your choice between the layers.

TIP: Use a firm filling otherwise you may get settlement and bulges in your bunny. Swiss meringue buttercream, ganache, jam or normal buttercream are ideal.

Step 5

Take a cake board with a diameter of 10cm and make a 8mm hole in the middle. Place a stainless steel washer and then nut on the threaded rod from the top. Tighten well and coat the exposed portion of the threaded rod and nut with a small amount of modelling chocolate.

Step 6

Place the next cake layers over the board with your chosen filling. Chill the cake in the refrigerator for at least an hour. Cut the cake into the desired shape as shown.

Step 7

Using the carved leftovers raise the cake as shown. Then cover with ganache.

Step 8

Also cover the rice krispies with the ganache.

Step 9

Make sure to form the eye sockets and the snout into the desired shape. Put the cake into the refrigerator and let it stand for at least three hours to go firm ready for the next step.

Step 10

Take 750g of white Pasta Top and knead it until pliable and ready to work. Roll out thinly and cover the rabbit. Start at the front of the rabbit and finish at the back. Smooth seams neatly away with your cake smoothers or fingers.

TIP: Due to the great elasticity of the paste, you can stretch and blend the paste at the back until it closes so you see no joint. All excess paste can easily be cut away with scissors.

Step 11

Use a ball tool to form the eyebrows. Use your Dresden tool to shape the lines of the snout. Using your ball tool shape the mouth.

Step 12

Smooth the eye sockets with the ball tool.

Step 13

Before we start dressing your rabbit it should look like this.

Step 14

Take 150g of red Pasta Model and roll out thinly. Cut a half oval at the top. This is the neck of the swimsuit. Cut out the shapes for the arms on the sides.

Step 15

Place the paste on the front of the rabbit to cover the whole of the front to make the swimsuit. Cut away excess paste at the base with a sharp knife.

Step 16

Now for the back cut out a rectangular piece of red Pasta Model about 16cm wide and 8cm high. Cut the top slightly into a curve.

Step 17

Attach to the back of the rabbit and cut away excess Paste.

Step 18

Cut two strips of red Pasta Model about 12cm long and 1.5cm wide.

Step 19

Attach the straps to the back of your bunny. Connect it to the swimsuit at the front.

TIP: You can use a little water to attach them if needed. 

Step 20

Finish neatly with a knife.

Step 21

Now for the tongue. Take 7g of red Pasta Model and model a teardrop shape. Using your knife make a line on the center. Place the tongue in the mouth again using a little water if needed. 

Step 22

For your polka dots roll out white Pasta Top thinly and cut out your desired amount of round shapes of 1cm diameter.

Step 23

Place the white circles randomly on the bathing suit.

Step 24

For the board covering. Colour 100g white Pasta Top with blue gel colour, colour 90g white Pasta Top with yellow gel colour and take 60g white Pasta Top.

Step 25

Roll the blue and white into sausage shapes. Lay side by side.

Step 26

Twist the white and blue strands together to create a marble effect. Don’t twist too much! A few twists is sufficient.

TIP: If you twist too much you will lose the marble effect you are looking for.

Step 27

Roll out your marble paste and yellow paste into rectangular shapes. The marble needs to be big enough to cover your board. Cut out circles from the side so they can wrap around your bunny.

Step 28

Cover the board with the blue paste applying a little water to the board first to help it stick.Then fix the yellow paste. Make sure it fits well around the base of the rabbit. Finish neatly by blending and smoothing the paste so you see no joints.

Step 29

For the rabbit’s legs. Take two pieces of 150g of modelling chocolate. Form two flat oval shapes. Cover each leg with 20g thinly rolled white Pasta Top.

Step 30

Attach to the sides of the rabbit and press down firmly. Now using white Pasta Model fill the eye sockets. Using your Dresden tool form lines around the eyes to give character.

Step 31

For the feet take two 150g pieces of white modelling chocolate. Make two blunted triangles and cover each foot with 30g of thinly rolled white Pasta Top.

Step 32

For the toes of one foot. Use 40g of Pasta Top and divide it into two pieces of 12g (smaller toes) and one of 16g (big toe). Make round balls and press a little flat. Insert a piece of uncooked spaghetti into each toe. Repeat this step for the toes on the other foot.


Step 33

Colour 20g of your white Pasta Top with skin gel colour. Cut in two halves. You will need 1.5g for each toe and 5.5g for each sole. Roll out thinly and attach to the toes and foot using water or cake gel.

Step 34

Attach the feet to the rabbit’s legs using a little cake gel. Using your Dresden tool form some detail as required.

Step 35

For the arms take 300g of white modelling chocolate and divide into two equal pieces of 150g. Roll each into sausage shape approximately 16cm long. Press down to make slightly flat and then using your fingers roll the wrist shape.

Step 36

Cover each arm with 40g of white Pasta Top. For the thumbs take 5g each and roll to a thumb shape with your fingers. Attach to the hand using cake gel or water. 

TIP: Remember there is a left and right hand when fixing the thumbs.

Step 37

Shape the hands with finger pressure. Using your Dresden tool form the finger lines. Use a sharp knife to cut the top of the arms diagonally for attaching to the shoulder. Be careful with your cutting as it effects how the arms look on your bunny. Attach them as required using cake gel or water.

Step 38

For the teeth take 5g white Pasta Model and cut into a small rectangle. Cut both sides diagonally to form a point. Make a line in the middle with a knife. Fix the teeth in the mouth. 

Step 39

Roll 3g Pasta Top into a small sausage and attach to the top of the eye. Repeat for the other eye.

Take 5g black Pasta Model and using your fingers form a triangular nose. Fix with a little cake gel.

Step 40

For the hair on the chest take 20g white Pasta Top. Roll elongated strands and press down on one side. Attach under the chin with cake gel and using your Dresden tool shape and give texture.

Step 41

Roll out thinly black Pasta Model. Using a sharp knife cut out the eye brows and eye lashes. Fix to the face using a little cake gel.  

Step 42

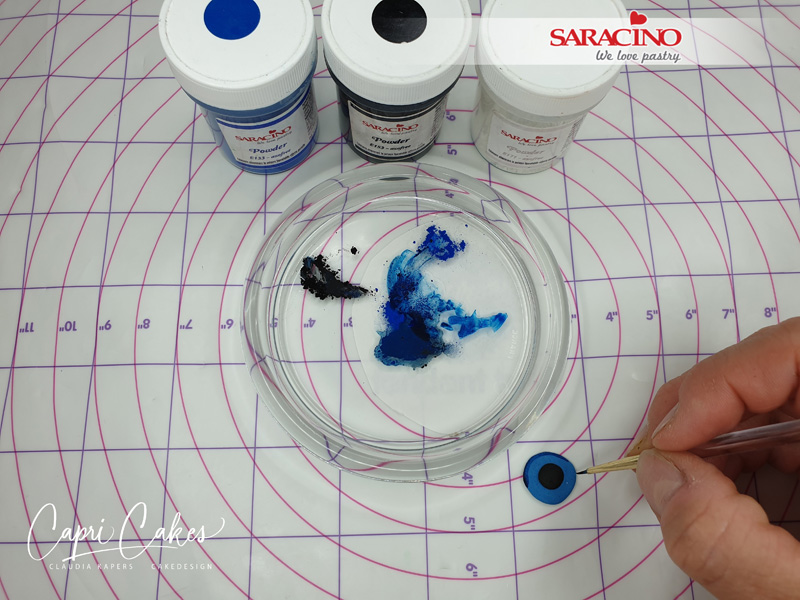
Now for te eyes use two small balls of blue Pasta Top. Mix your black powder colour with the clear alcohol. Paint a black pupil using a small paint brush. Now mix your blue powder with clear alcohol and paint the remainder of the eyes. 

Step 43

Fix them to the eye balls in the position required. Add detail and highlights using white powder and a fine brush.

TIP: How you position the eyes effects how the rabbit’s mood is! Happy, serious, confused, moody, crazy! You choose.

Step 44

For the ears, take two pieces of 70g white modelling chocolate. Roll two sausage shapes of approximately 10 cm long and press flat. Colour 5g Pasta Top with skin gel colour for the inside of the ears. Insert a wooden skewer into each ear.

Step 45

Place the pink insert on the ear. Smooth the edges of the ear insert using a ball tool. Add detail and texture using a Dresden tool or Cerart silicone modelling tool. 

Step 46

For the bow. Take 70g of Red Pasta Model and roll thinly to a rectangle shape of approximately 16cm x 4cm. Fold the ends into the middle and pinch to form the ruffled effect at the centre. Use a little cake gel to fix in place as required. Now roll a rectangle 5cm x 2cm and wrap around the centre of the bow. Cut out some small white dots and decorate as you wish.

Step 47

Insert the ears to the head and attach the bow directly in front of it. Use a little cake gel if required. 

Step 48

To give shade and character you can use an airbrush or dust lightly with Saracino dust colours. 

TIP: If using an airbrush mix Saracino white and black to give a grey colour. If dusting use a soft fine brush. Remember to be subtle with your colouring. 

Step 48

For the sand, crumble two tea biscuits and sprinkle them around the base of the rabbit. Finish the board with a matching ribbon.

FAIRY HOUSE CAKE TUTORIAL

FAIRY HOUSE CAKE TUTORIAL

Skill level: BEGINNERS

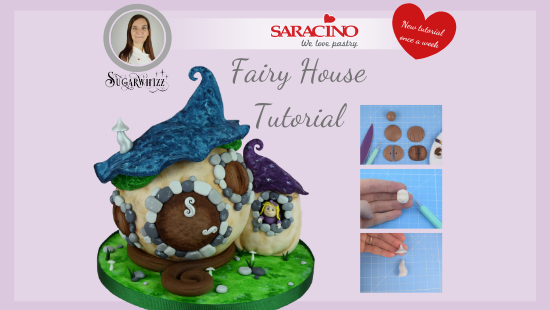
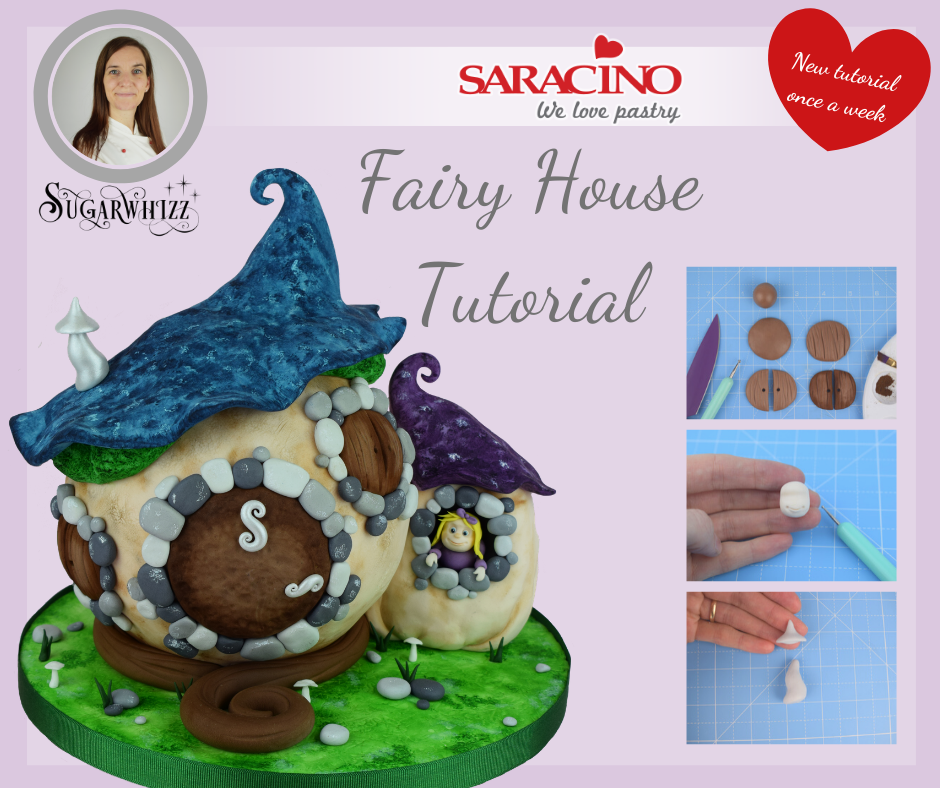
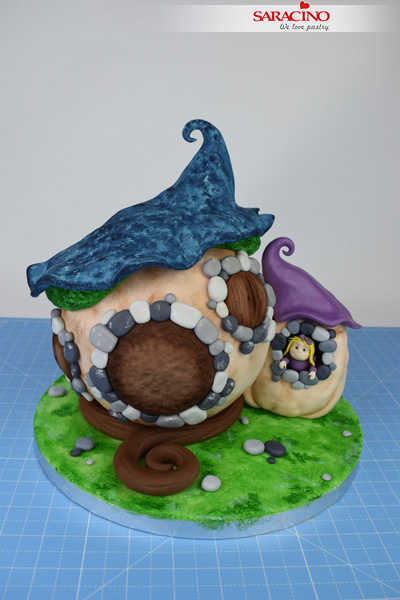
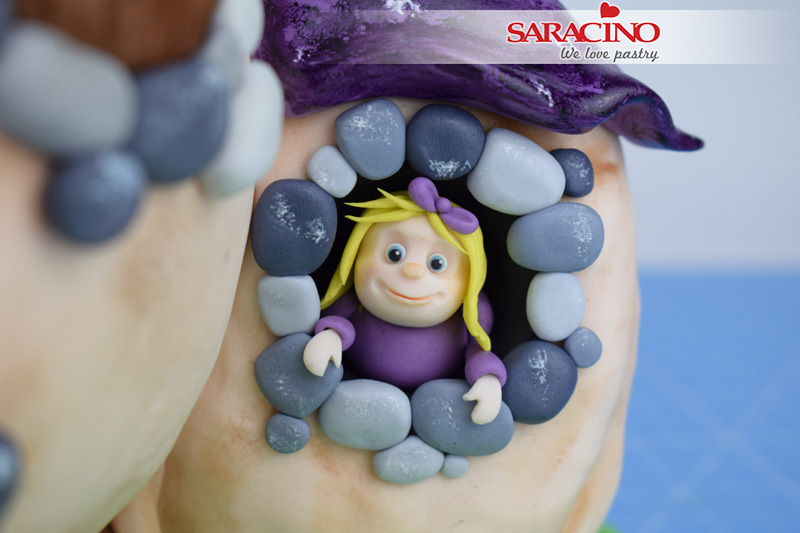
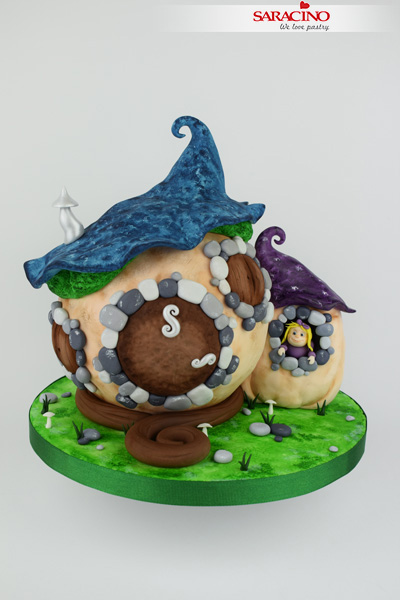
We do believe in fairies! And now you can too. Join our ambassador Lynsey from Sugarwhizz as she shows you step by step how to make this adorable magical fairy and her little house! Perfect for believers of all ages!


You will need:

  • 400g – Cream coloured Saracino top paste (Sugarpaste) To get cream add a tiny amount of Saracino skin tone gel colour to white paste.

  • 200g – Green Saracino top paste (Sugarpaste)

  • 711g – White Saracino Pasta Model (modelling paste) coloured and divided as follows

  • Saracino Colours Gel paste: Brown, Violet, Blue, Black, Green, Skin tone, Yellow. Colour and divide your paste as follows –

Brown Gel Colour – 120g – Branch around base, 25g – Door, 24g – Windows

Black Gel colour – 25g Dark grey – Stones, 25g Medium grey – Stones, 32g Light grey – Stones, chimney and door fixings, 7g Black – Window and eyes

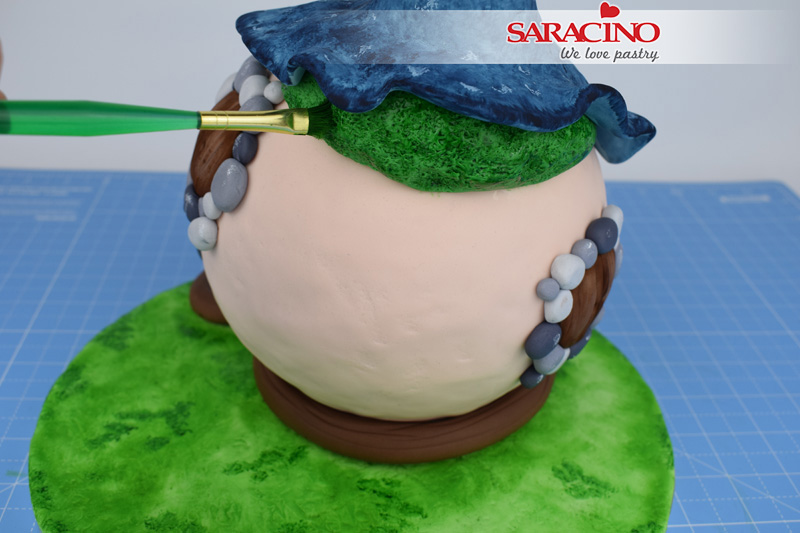
Green Gel colour – 115g green – Moss under roof, 2g Dark green – Grass (add a touch of violet gel colour to the green paste to darken)

Blue Gel colour – 250g Pale blue for roof. (add a small amount of black to blue paste to create a pale navy colour), 1g Blue – Eyes

Violet Gel colour – 70g light purple – Small Roof, 5g dark purple – Body and arms

Yellow Gel colour – 2g Hair

Skin tone Gel colour – 5g – Girl

  • White modelling paste – 3g
  • Saracino powder – White, Brown, Green, Pearl and Silver Lustre
  • A six-inch sphere cake
  • 10in round cake drum
  • Baking parchment
  • Knife
  • Rolling pin
  • Balling tool (Cerart, K500, K501 & K502)
  • Dresden tool (Cerart 301)
  • Small Star tipped piping nozzle
  • Cool boiled water/ edible glue
  • Small paintbrush for gluing
  • Small paintbrush for painting
  • Small flat paintbrushes for dusting and painting
  • Small stiff bristled paintbrush.
  • Small amount of royal icing.
  • 60g of rice crispy treats
  • Green ribbon


Step 1

To cover cake – Roll out 250g of Cream Saracino top paste to a thickness of around 5mm. Carefully lift the paste and place it on top of your cake.

Step 2

Smooth the paste down the sides, across the top and round underneath the sphere. Trim the excess paste away with a sharp knife. Don’t worry it doesn’t have to be perfectly smooth

Step 3

Press gently with your fingertips all over the sphere to create a slightly uneven surface. Use a stiff bristled paintbrush to gently press in and texture the whole surface of the sphere. TIP: Stiff bristled paintbrush – Trim the bristles of a pastry brush to make a stiff bristled brush perfect for texturing paste.

Step 4

To cover board – Take 200g of white Saracino top paste and add a small amount of yellow Saracino gel colour along with a tiny amount of green Saracino gel colour. Knead together until the paste is evenly coloured.

Step 5

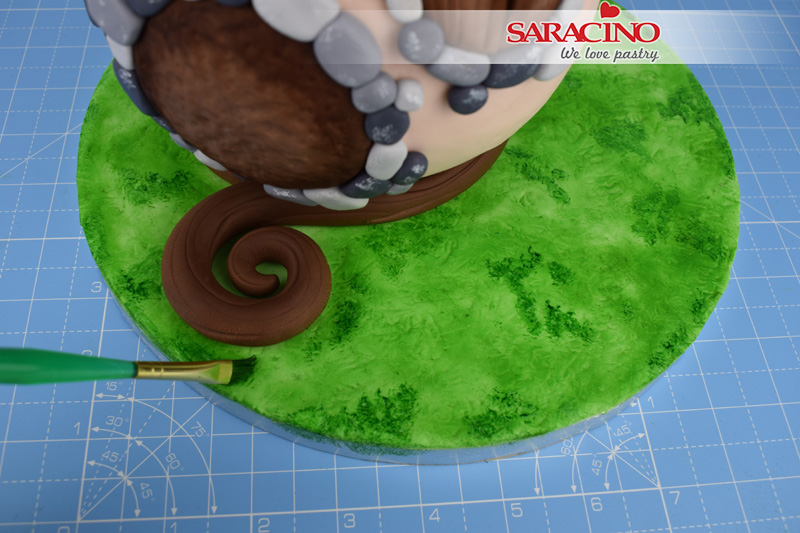
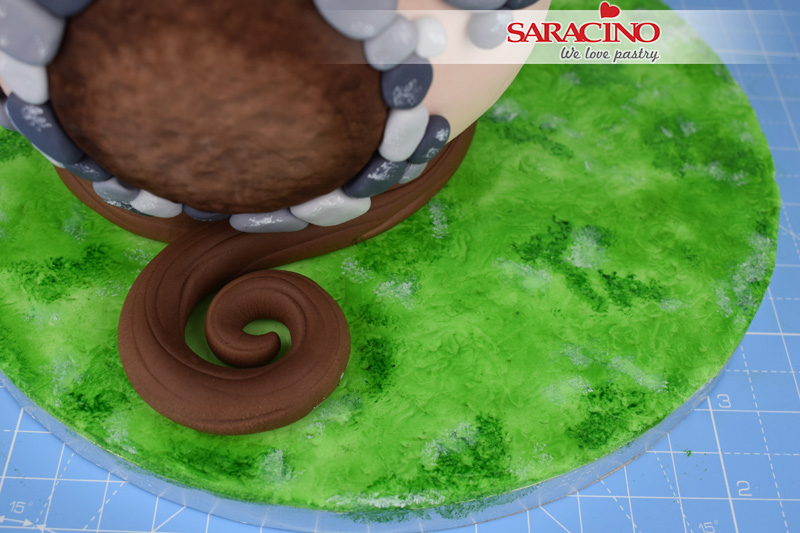
Roll out the green paste and cover the board. Trim any excess from around the edge with a sharp knife. Take a small piece of baking parchment and screw into a ball. Dab the ball gently across the board to texture the paste.

Step 6

To make the branch – Take 120g of brown modelling paste, roll into a long thin sausage, tapered to a point at one end (approximately 20inches long). Use the veining end of the Dresden tool (Cerart 301) to gently score lines along the length of the paste. Gently curl the tapered end into a spiral.

Step 7

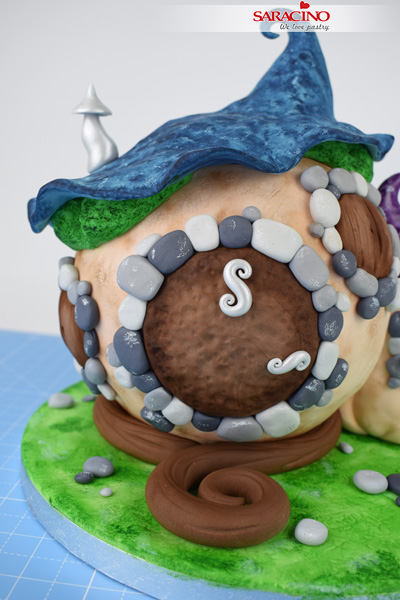
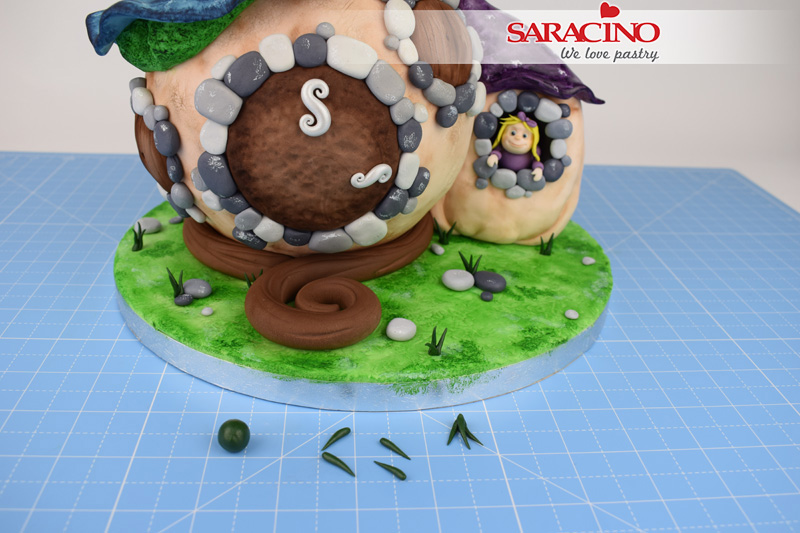
Stick the cake into place on the left side of the board with a small amount of royal icing. Wrap the branch around the base of the cake. Start at the front with the thickest end and continue around until the spiral end overlaps and is front and central to the cake. Stick into place with a small amount of cool boiled water.

Step 8

Door – Take 25g of brown modelling paste, roll into a ball and then flatten gently with the palm of your hand. Rub around the edge with your fingertips to thin the paste slightly. Use the balling tool (Cerart 500) to texture the surface of the door. Apply a small amount of Saracino Brown powder around the edge of the door to shade as shown.

Step 9

Windows – Divide 24g of brown modelling paste equally into three pieces. Roll each piece into a ball, flatten with the palm of your hand and thin the edges with your fingertip as before. Use the veining end of the Dresden tool (Cerart 301) to mark vertical lines and grooves across each piece. Using a sharp knife cut each piece equally in half. Use the small end of the balling tool (Cerart 501) to create a hole in each window shutter as shown. Lastly shade around the edge of each window shutter with brown Saracino dust as before.

Step 10

Apply a small amount of water to the back of the door and each window shutter. Stick the door into place above the spiral of the branch. Stick two windows into place on the front of the cake as shown.

Step 11

Stick the final third window into place on the back of the cake as shown.

Step 12

Apply a small amount of Saracino black gel colour to 32g of white paste to create a light grey colour. Increase the black gel colour added to 25g of white paste to create a medium grey colour, and a further 25g of white paste to create a dark grey colour as shown.

Step 13

Take 20g of each of the light, medium and dark grey pastes. Roll various sizes and shapes of stones and stick around the outside of the door and all three windows to frame as shown.

Step 14

Mix a small amount of Saracino white powder with a couple of drops of water to create a paste. Dip a paintbrush into the paste and wipe off the excess, so that the paintbrush is almost dry. Dab the stones with the paintbrush to transfer a small amount of colour as shown.

Step 15

Moss – Divide the 115g of green modelling paste into two pieces. One 80g and the other 35g. Roll the 80g piece into a sausage tapered at each end, and roughly 5.5 inches long. Roll the 35g piece into the same shape roughly 3.5 inches long. Use the small star tip piping nozzle to gently press in and texture each piece to look like moss as shown.

Step 16

Gently bend each piece into a curve. Stick the largest piece to the top right of the cake, and the smallest piece lower down on the left-hand side of the cake as shown. Smooth the top of the paste level with the cake using your fingertips. Retexture the paste with the star tip if needed once attached.

Step 17

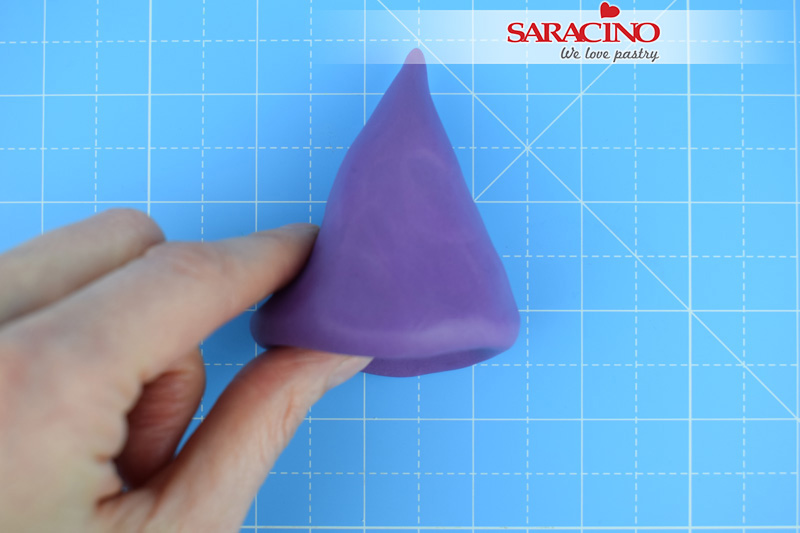
Roof – Roll 250g of light blue modelling paste into a teardrop shape as shown.

Step 18

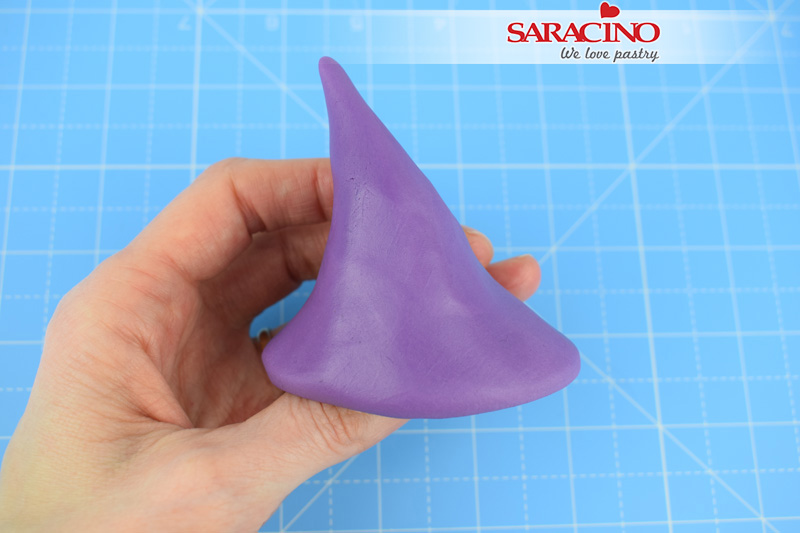
Use your thumb and fingers to pinch out the paste at the fattest end of the teardrop.

Step 19

Keep pinching and thinning the paste until it is large enough to cover the top of the cake. Pinch around the edge of the roof to thin and smooth the paste to a point.


Step 20

Stick the roof into place with a small amount of water. Gently curl over the top of the roof as shown. Use your fingertips to gently pinch and shape around the edge of the roof as shown.

Step 21

Mix 3 drops of blue Saracino gel colour, 1 drop of black Saracino gel colour with a teaspoon of clear alcohol. Use a flat paintbrush to dab the colour unevenly across the surface of the roof as shown.

Step 22

Once the whole roof is painted unevenly (including where the roof is visible underneath) Shade around the edge of the roof with more paint to darken.

Step 23

Paint white highlights in the same way you painted the stones earlier on.

Step 24

Take a small amount of Saracino green powder and using a small flat paintbrush, carefully rub a little dust at a time around the surface of the board, creating an uneven pattern

Step 25

Repeat the process on the board, only this time add a couple of drops of water to the green dust to darken and create a paint.

Step 26

Use the dark green paint to shade each section of moss under the roof.

Step 27

Add white highlights to the grass using the paint from earlier

Step 28

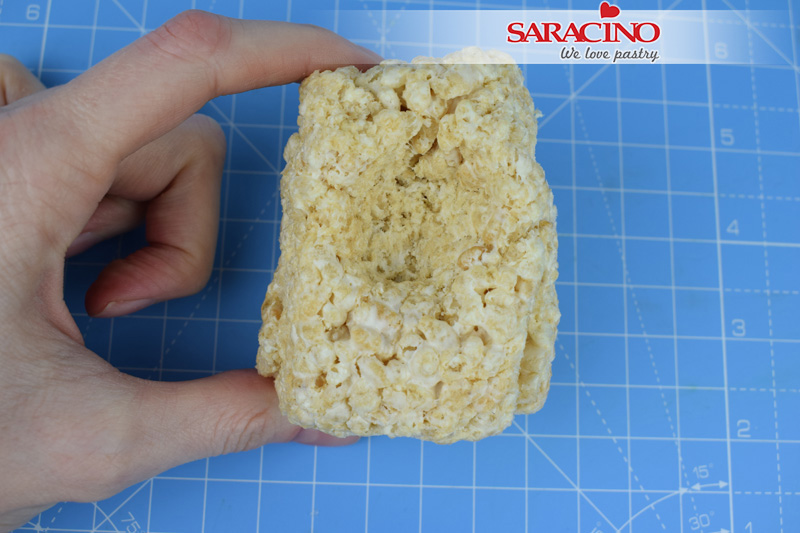
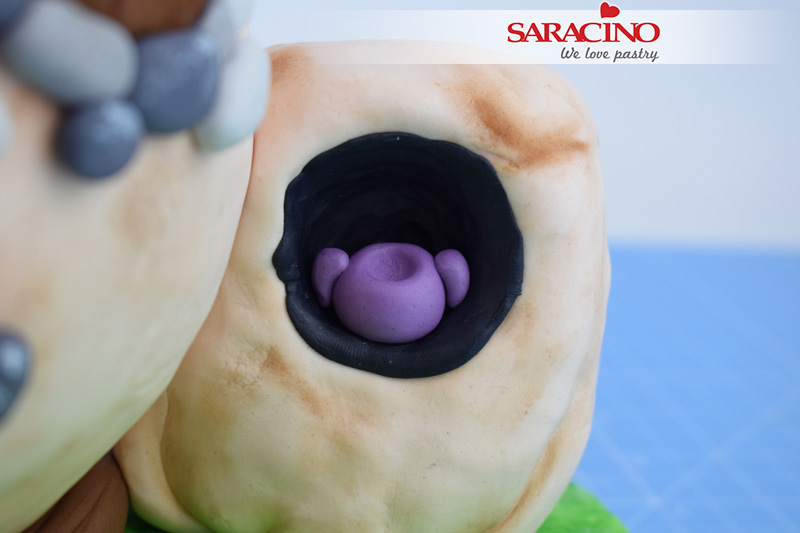
Small house – Roll 60g of rice crispy treats into a rough cylinder shape. Use your thumb and fingers to gently push in and shape the window, (where the fairy will sit later) as shown.

Step 29

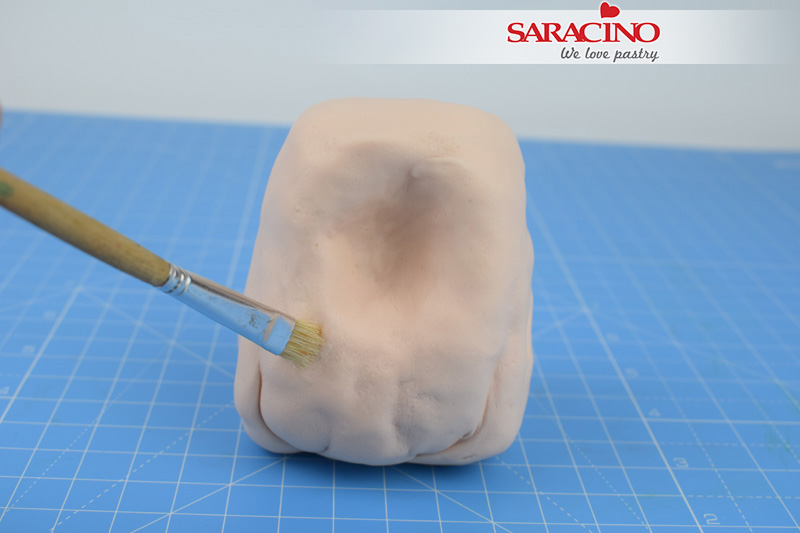
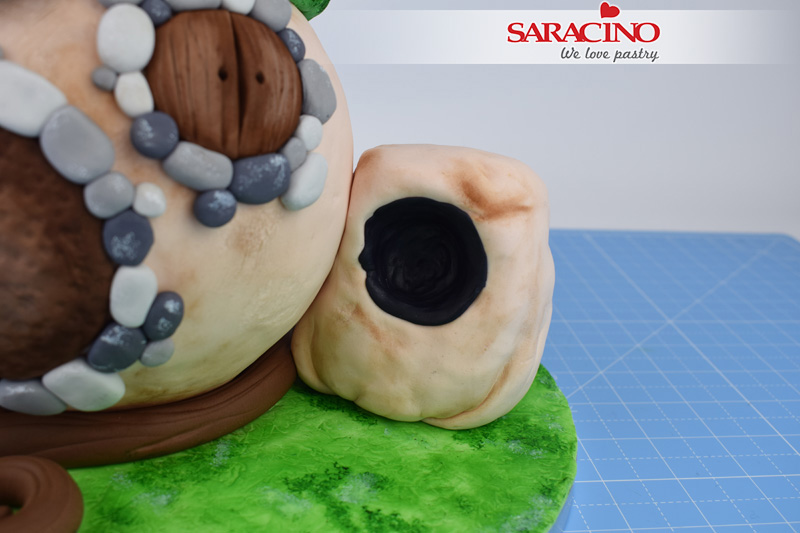
Roll out 150g of cream Saracino top paste to a thickness of around 5mm. Carefully lift the paste and cover the rice crispy house. Gather any excess paste underneath and trim off with a sharp knife. It doesn’t need to be perfect or smooth, lumps and bumps will add to the character of the house. Texture the surface in the same way you did for the first house in step 3.

Step 30

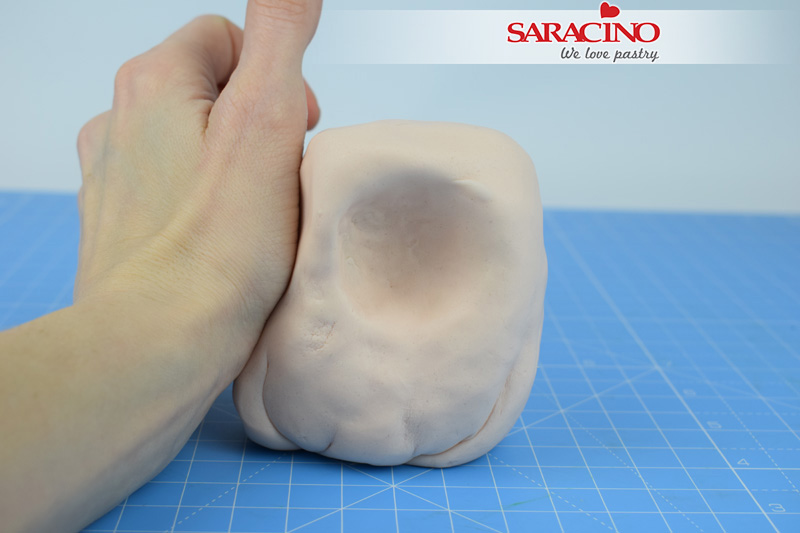
Use the side of your hand to gently press the left side of the house and shape to a curve. This will ensure it fits snuggly to the main house.

Step 31

Stick the small house onto the larger house and board with a small amount of water. Shade and colour both houses using a flat paintbrush and a small amount of Saracino brown dust.

Step 32

Roll out 5g of black modelling paste into a circle. Stick into place on the back of the open window on the small house as shown

Step 33

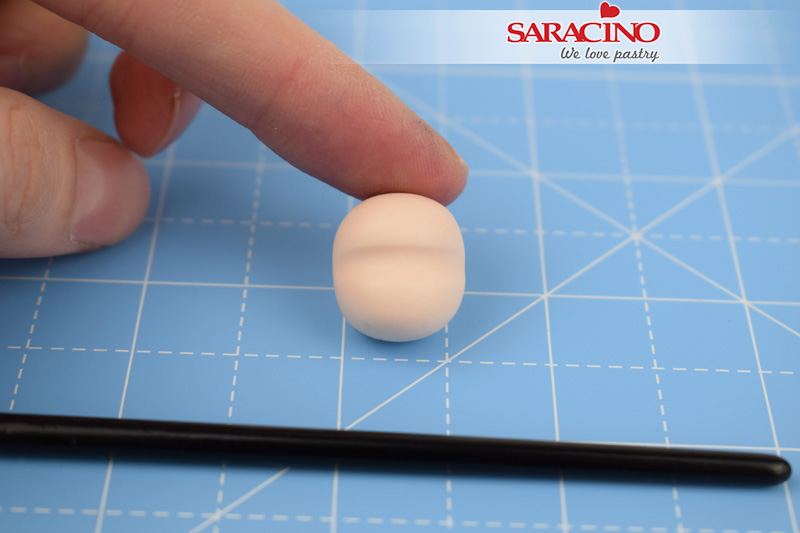
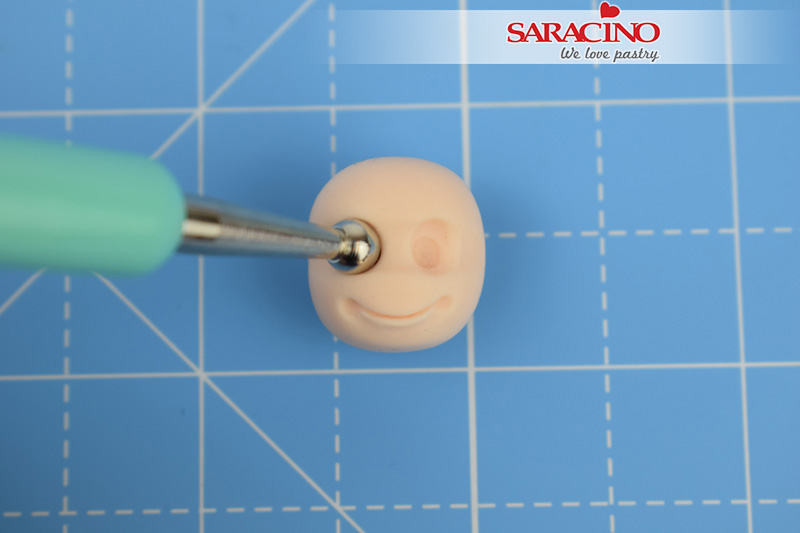
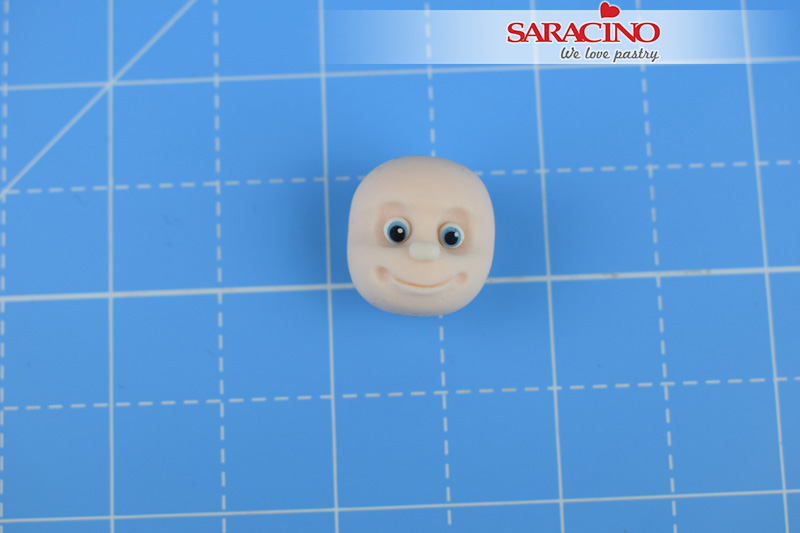
Fairy head – Take 3g of flesh coloured modelling paste, roll into a small ball. Gently press the handle of a paintbrush into the paste to create a shallow groove just above the middle of the face as shown.

Step 34

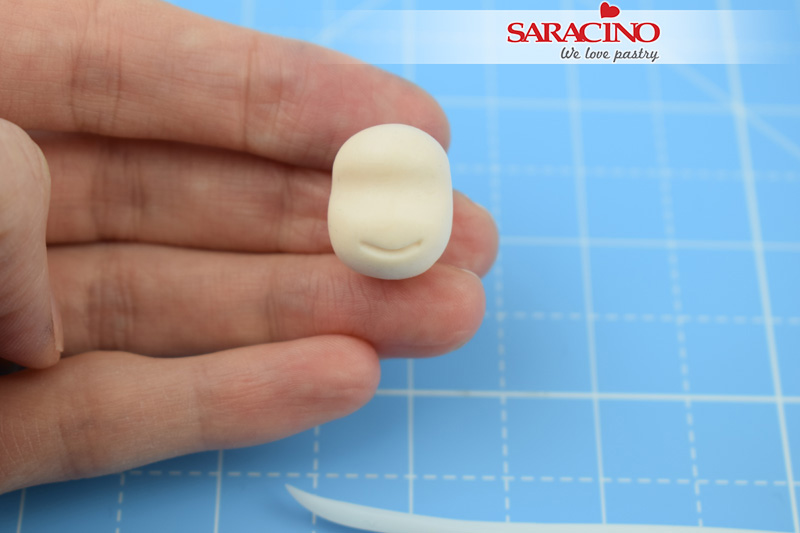
Use the veining end of the Dresden tool to carefully mark the mouth.

Step 35

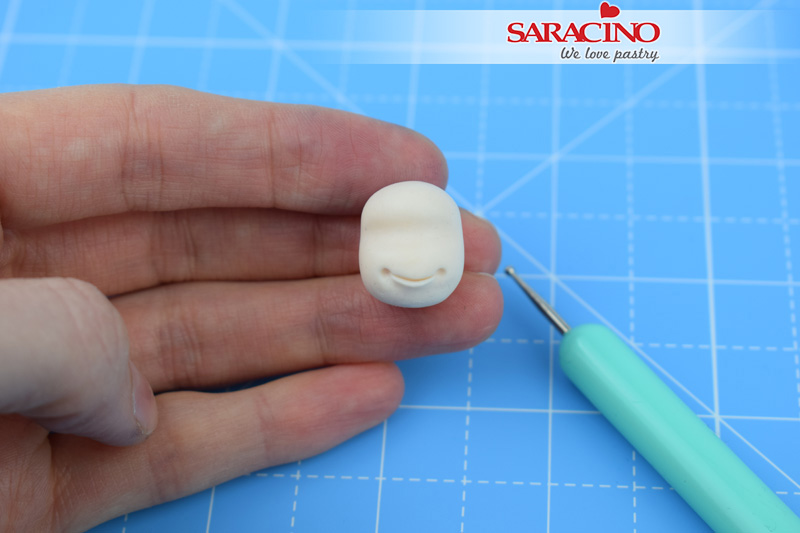
Rub the smoothing end of the Dresden tool (Cerart 301) under the mouth to shape the bottom lip. Use the small end of the balling tool (Cerart 502) to indent each corner of the mouth as shown.

Step 36

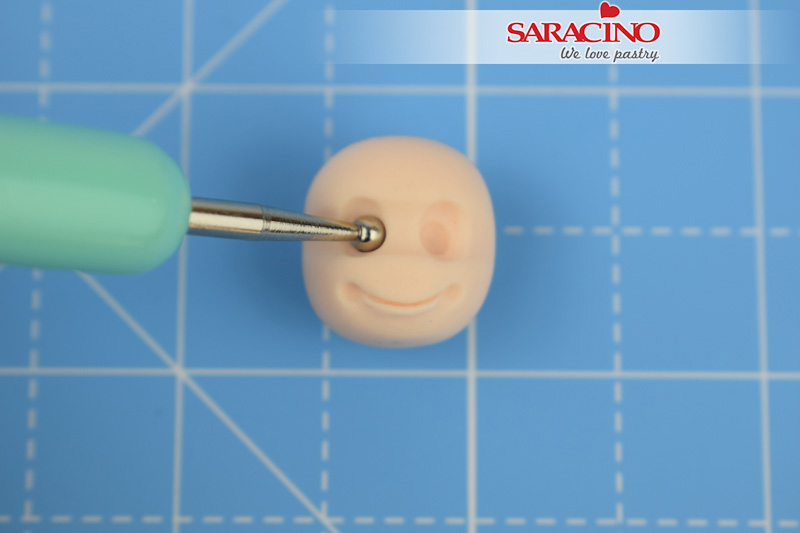
To shape the eyes – First use the largest end of the balling tool (Cerart 501) to indent the paste.

Step 37

Then using the smallest end of the balling tool (Cerart 501) create a smaller indent within the larger one you made previously. Repeat for each eye. TIP: Use a small paintbrush to make lifting and positioning small elements such as the iris and pupil into place easier.

Step 38

Eyes – Roll two tiny balls of white paste and stick them into place using a tiny amount of water. Roll two tiny balls of blue paste, two smaller balls of black paste and two even smaller balls of white paste. Flatten each one gently with your fingertip. Stick them into place on the whites of the eyes, blue first, followed by black and finally the white. Roll a tiny ball of flesh coloured paste for the nose and stick into place as shown.

Step 39

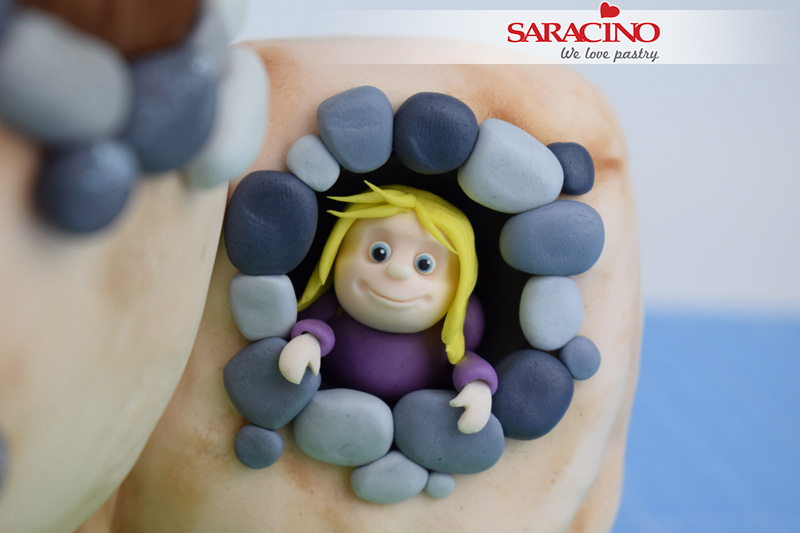
Body – Roll 2g of purple paste into a ball and stick into the open window. Use the large end of the balling tool (Cerart K500) to gently indent the top of the paste ready for the head. Take 1g of purple modelling paste and divide equally in half. Role each piece into a small teardrop and stick into place each side of the body (widest end at the top)

Step 40

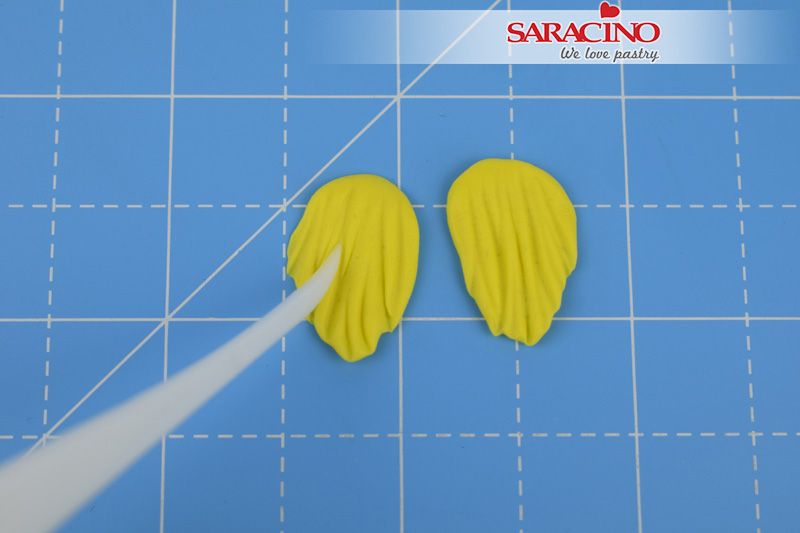
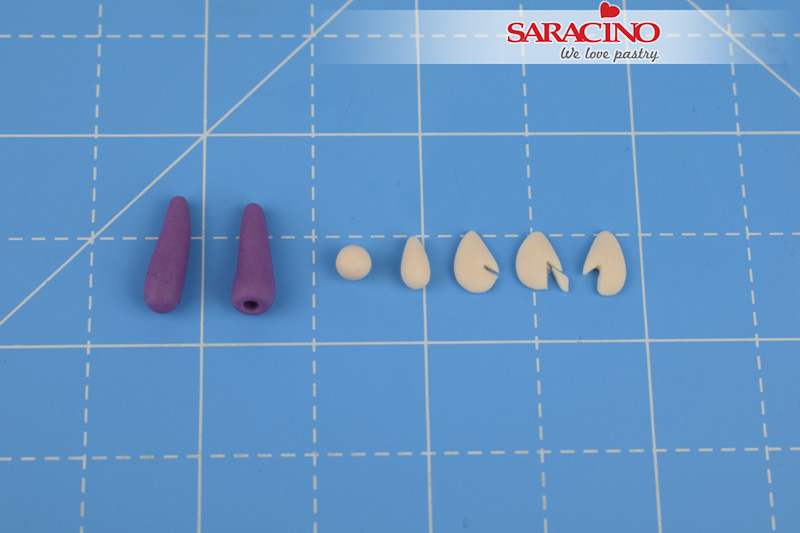
Hair – Take 1g of yellow modelling paste, divide equally in half. Roll each piece into a teardrop and flatten with your fingertip. Use the veining end of the Dresden tool (Cerart 301) to gently mark grooves and texture the hair as shown.

Step 41

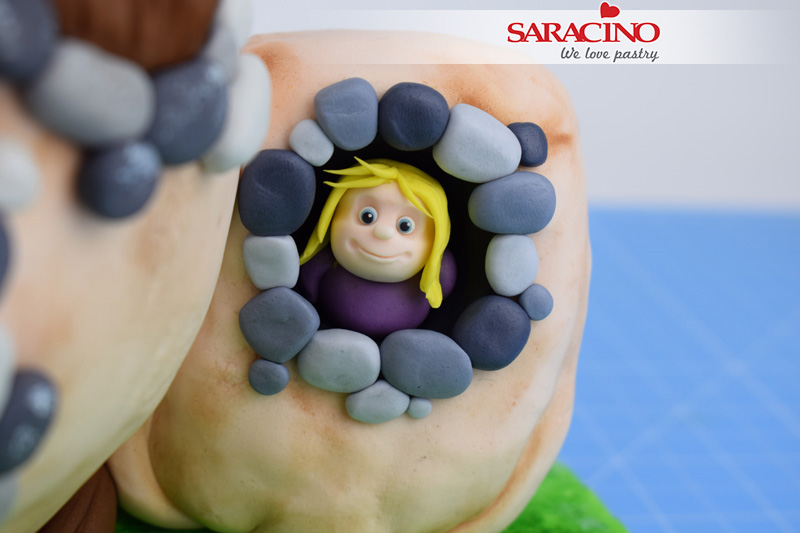
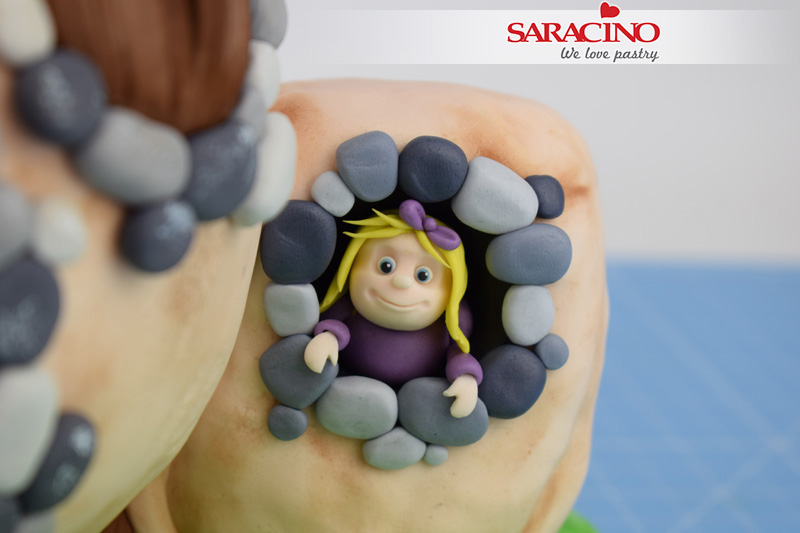
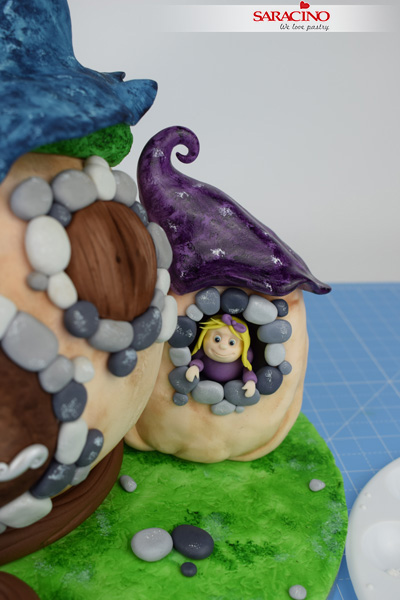
Stick the head and hair into place as shown. Roll 4 tiny strands of yellow paste for the fringe and stick into place also. Make and stick into place stones around the outside edge of the window with some of the remaining grey paste. (remember to save 9g of light grey paste for later) 

Step 42

Arms – Take 2g of purple modelling paste and divide equally into two. Roll each piece into an elongated teardrop. Use the small balling tool (Cerart K502) to gently indent a hole into the widest end of each arm. Hands – Roll two tiny balls of flesh modelling paste into teardrops. Flatten each gently with your fingertip. Use a sharp knife to cut out the thumb on each hand. Smooth any knife marks with your fingertip. TIP: Remember when cutting the hands to cut thumbs on the opposite sides to ensure you end up with a left and right hand.

Step 43

Attach the arms to the side of the body. Apply a tiny amount of water to the hole at the end of each arm and attach the hands. Curl the hands over gently to ‘hold’ the window frame.

Step 44

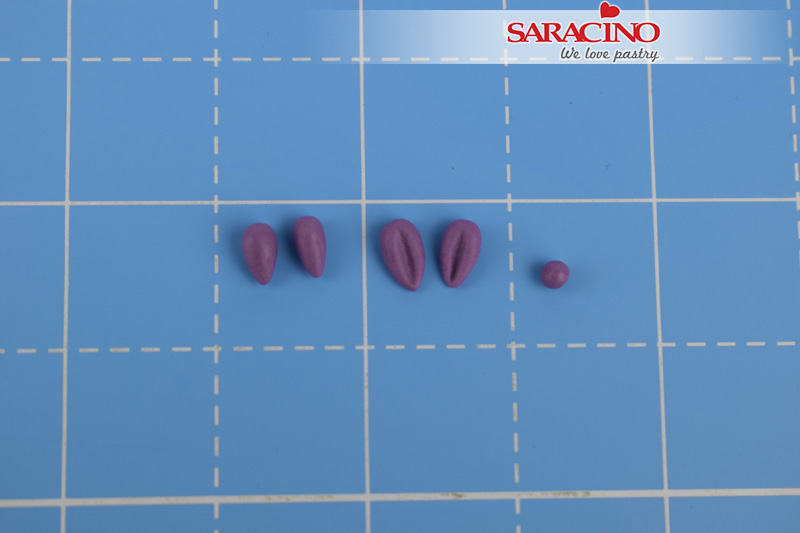
Bow – Roll two tiny teardrops of purple modelling paste and one tiny ball. Use the veining end of the Dresden tool (Cerart 301) to mark a grove in each teardrop.

Step 45

Stick two teardrops to the top of the head (pointed ends touching each other) and then stick the tiny ball in the centre to create and finish the bow.

Step 46

Small roof – Roll 70g of purple modelling paste into a teardrop shape and pinch around the base to widen and thin the paste.

Step 47

Continue to pinch and smooth until the paste is big enough to cover the roof.

Step 48

Curl the top of the roof over and stick into place. Shape and thin around the edge of the roof. Decorate the board with any additional stones.

Step 49

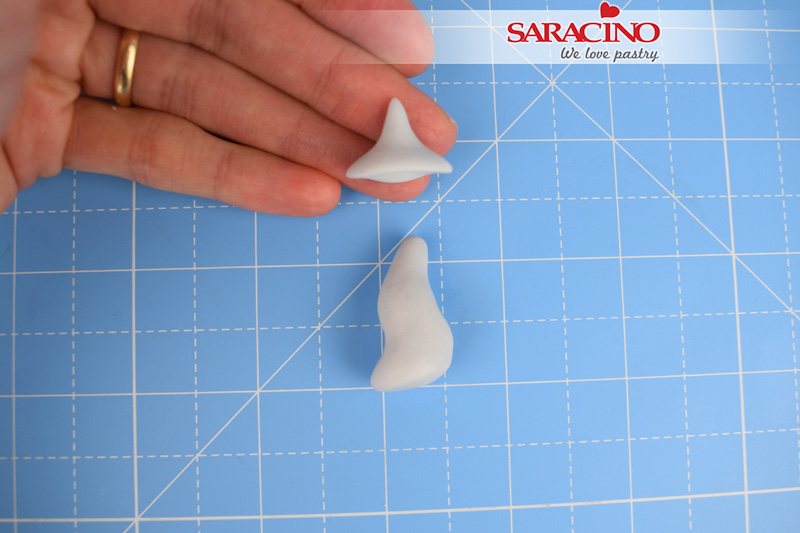
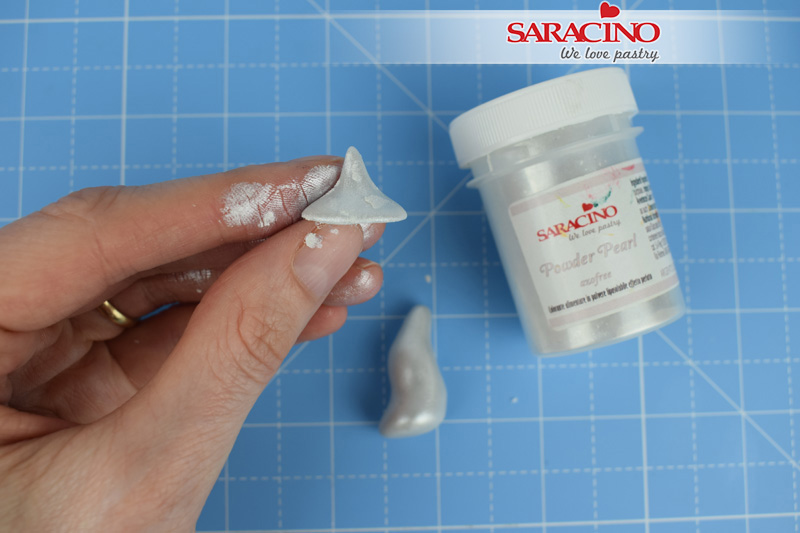
Chimney – Roll 5g of light grey modelling paste into a sausage tapered at one end, bend the paste gently into the shape shown. Roll 1g of light grey modelling paste into a teardrop. Pinch and thin the bottom of the paste, like you did for the roof to create the chimney top.

Step 50

Dust the chimney pieces by rubbing a small amount of the Saracino Powder Pearl, sliver lustre, onto each piece with your fingertips.

Step 51

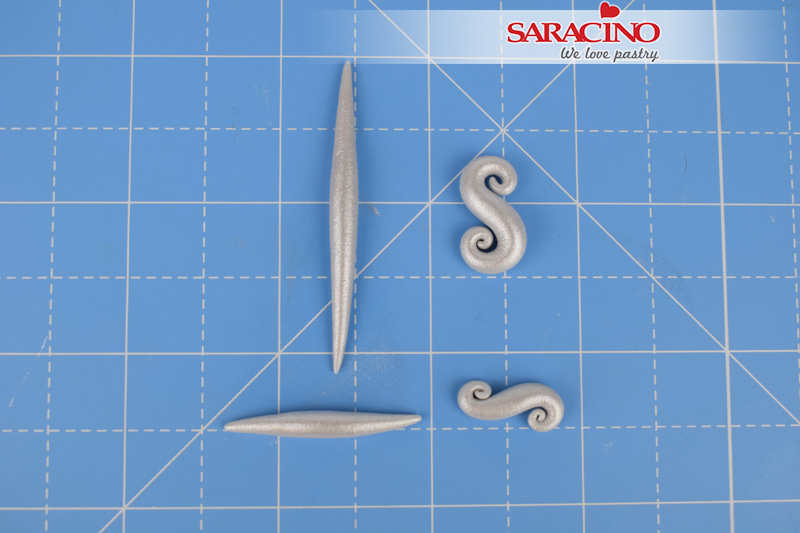
Door fixtures – Take 2g of light grey modelling paste and roll into a long sausage tapered at each end, dust with sliver lustre and curl over each end to create the large S shape. Repeat with 1g of grey modelling paste to create the smaller S shape

Step 52

Stick the chimney onto the roof as shown. Stick the large S to the top of the door and the smaller S as a handle on the right-hand edge of the door as shown.

Step 53

Mix 2 drops of Saracino purple gel colour with a small amount of clear alcohol and paint the smaller roof the same as you did in steps 21 and 22 for the larger roof. Highlight the roof and stones on the board again with white paint as before.

Step 54

Face – Mix one drop of Saracino skin gel colour with two drops of clear alcohol. Use a small paintbrush to paint the nose, bottom lip and cheeks of the fairy.

Step 55

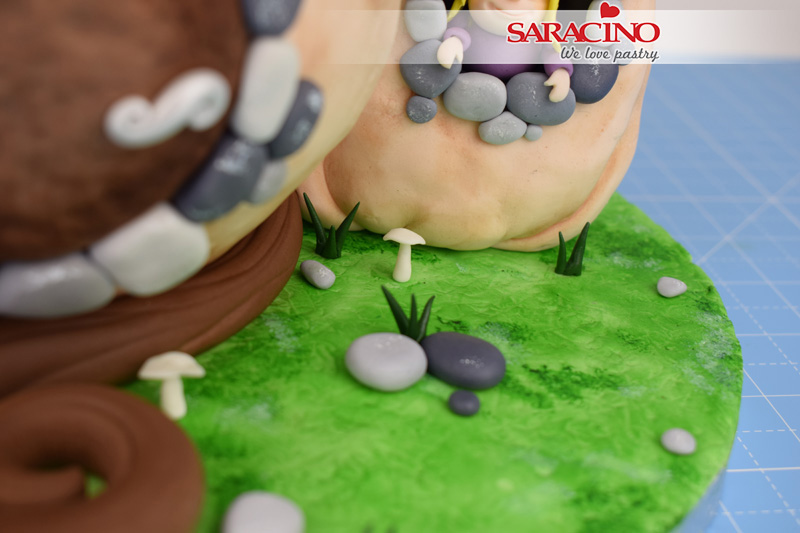
Grass – Take 2g of dark green modelling paste and roll several tiny strands of paste. Group them together and stick randomly across the board as shown.

Step 56

Mushrooms – Use 1g of white modelling paste to create several mushrooms and stick randomly across the board as shown. The stem of each mushroom is made from a teardrop and the top of each mushroom is made from a tiny ball flattened with your fingertip.

Step 57

Finish by covering the edge of the board with a length of green ribbon.

COUTURE CAKERS INTERNATIONAL 2020

COUTURE CAKERS INTERNATIONAL 2020


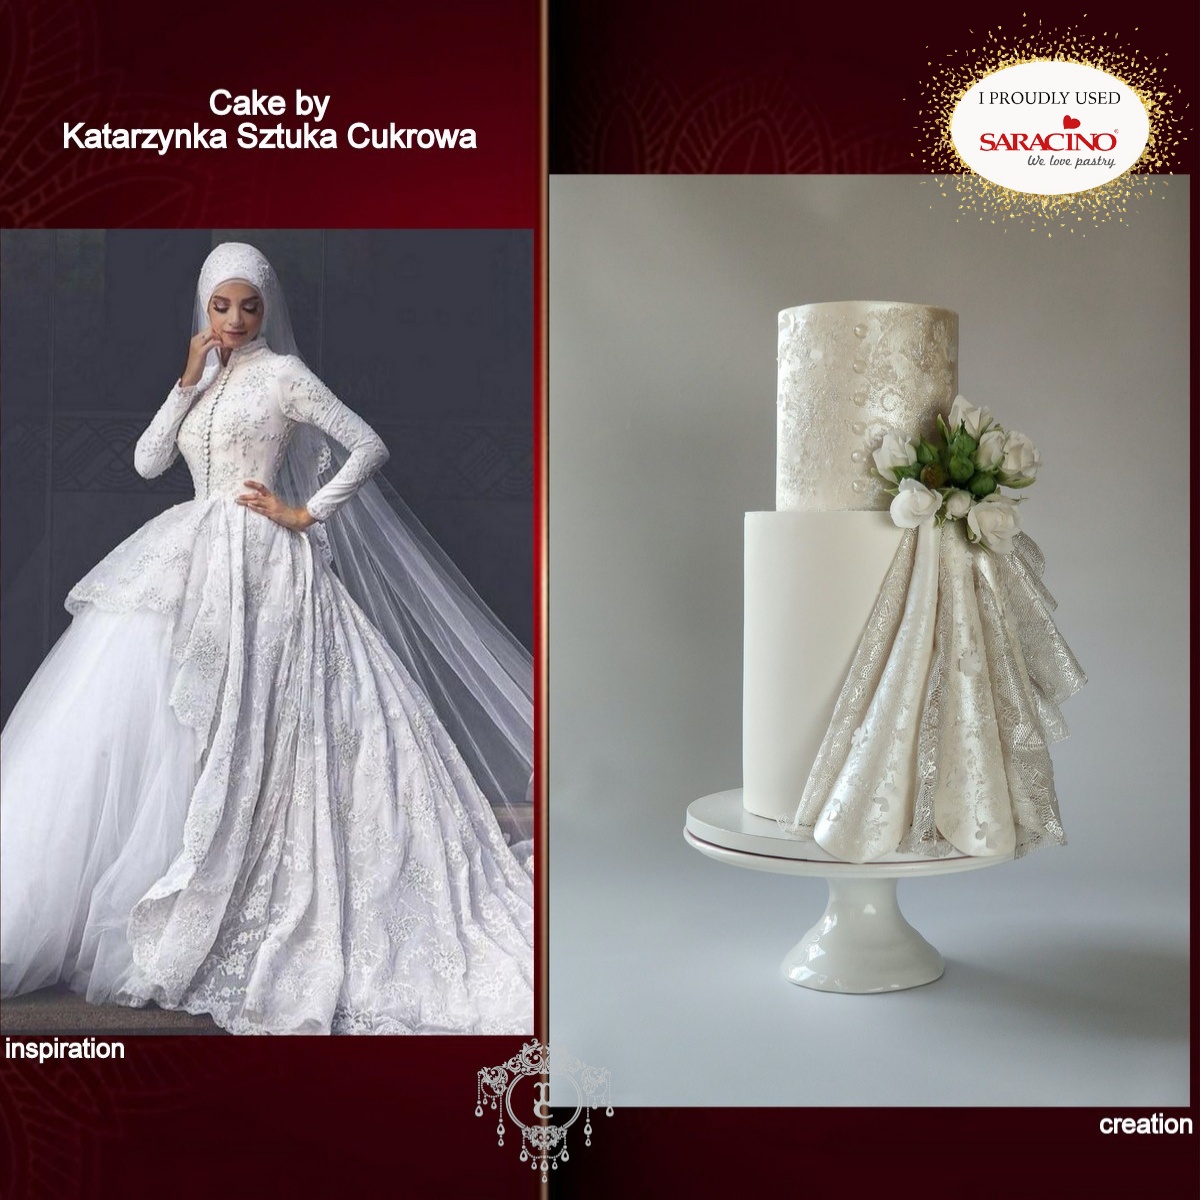
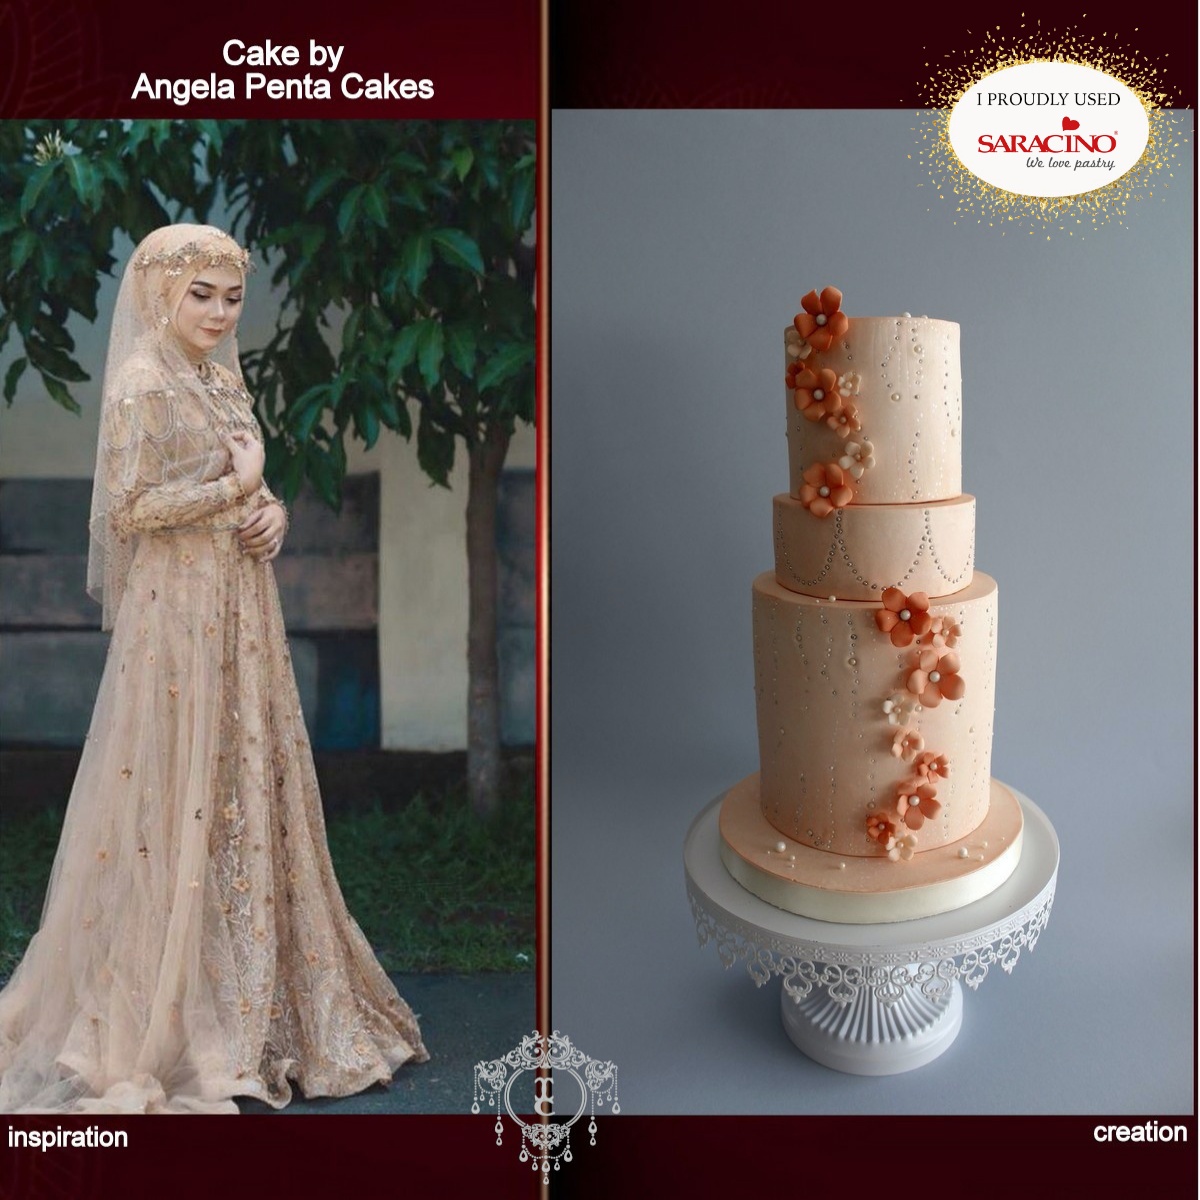
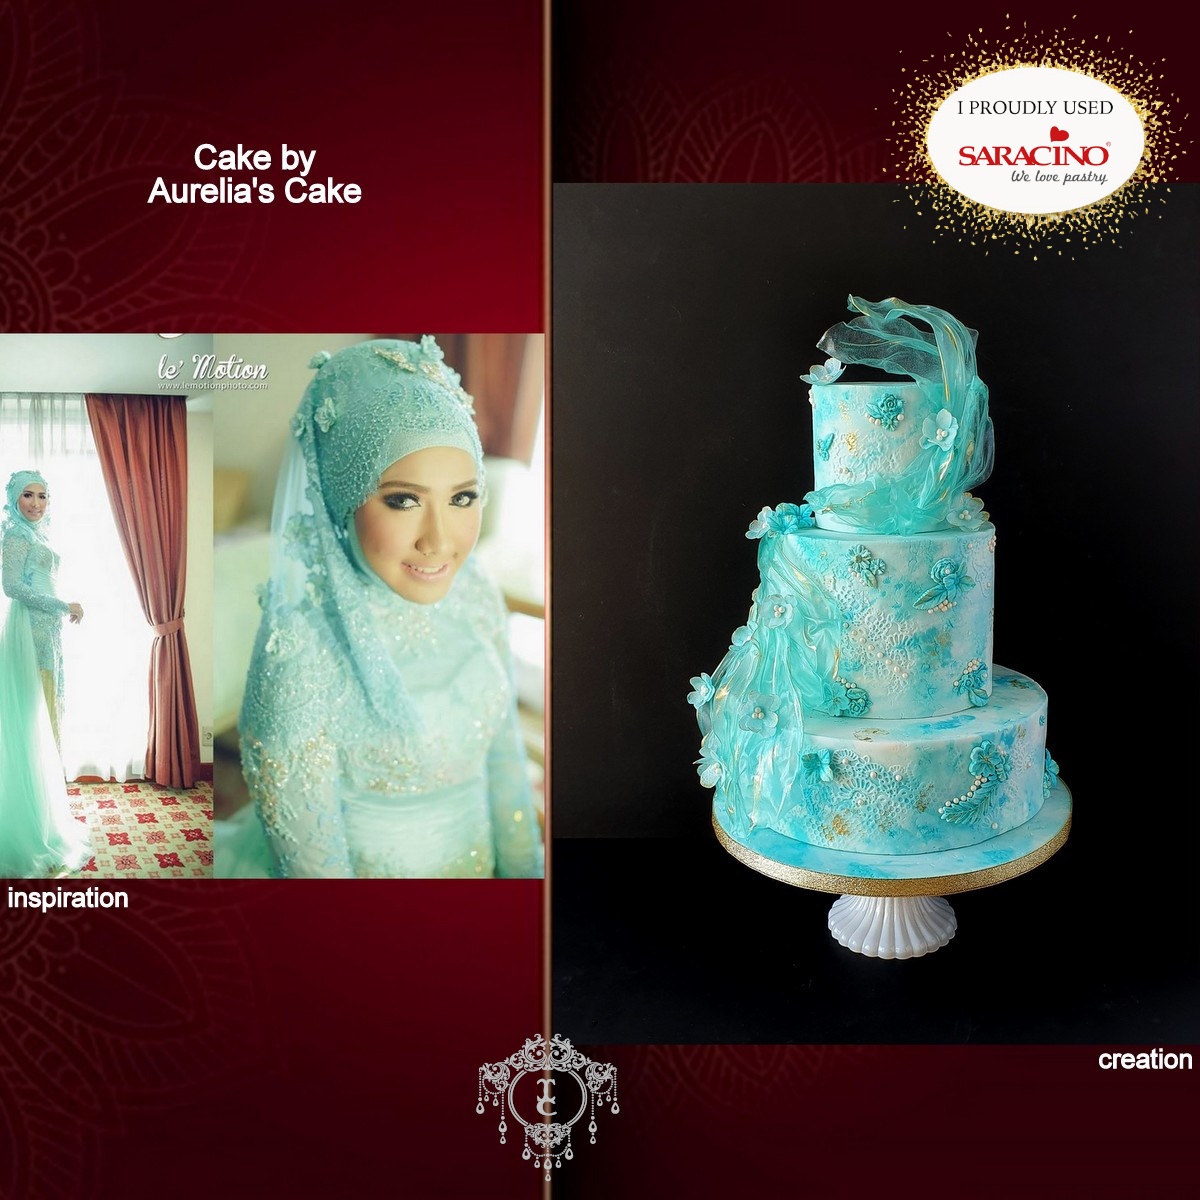
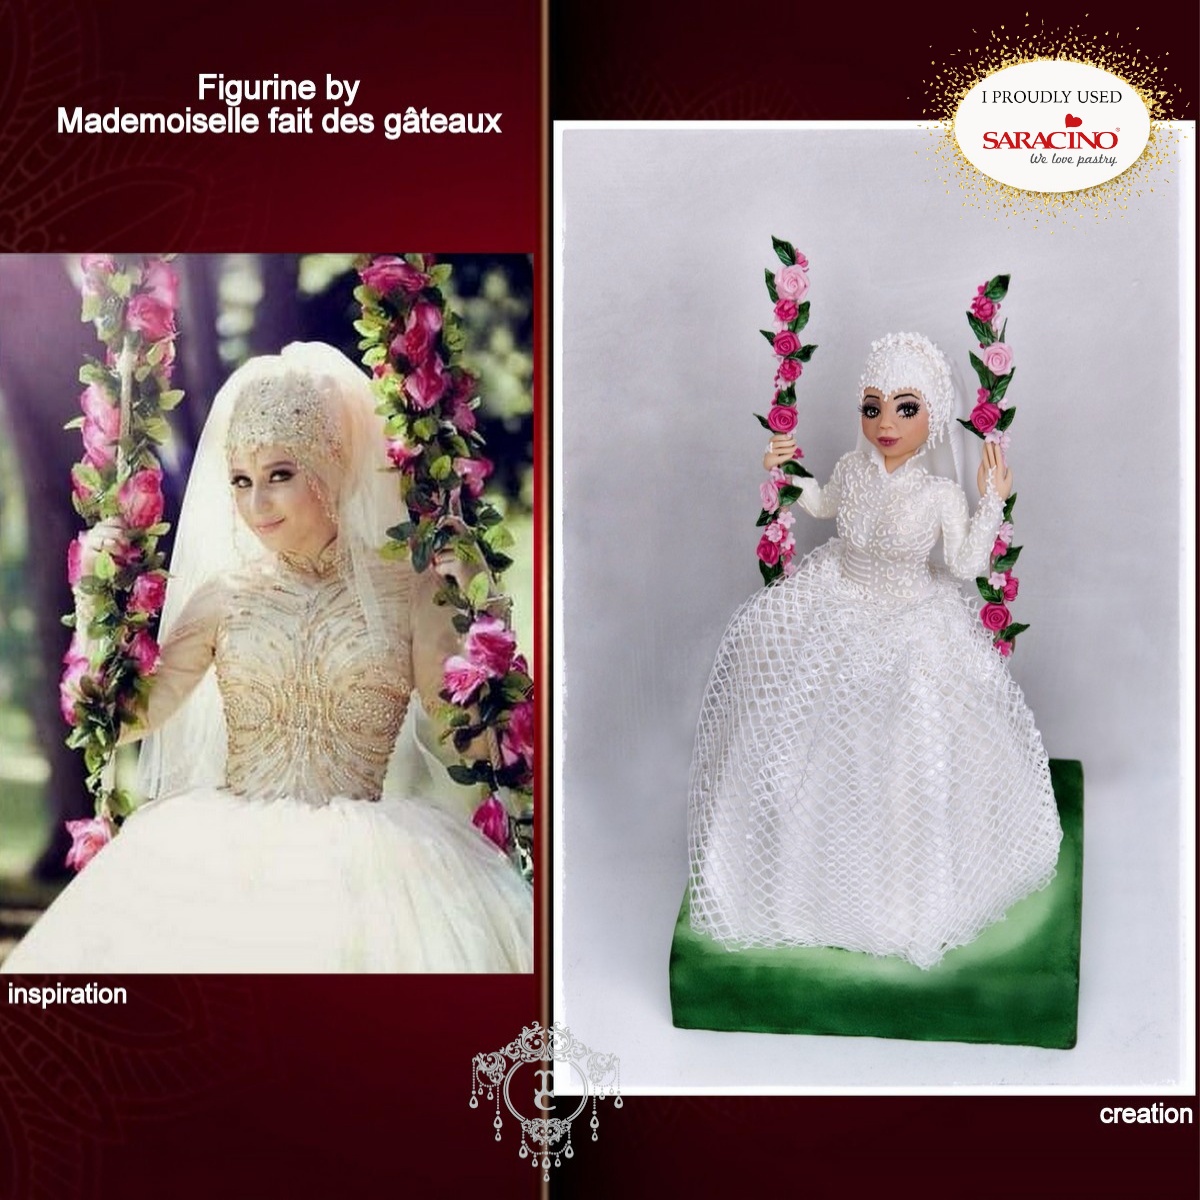
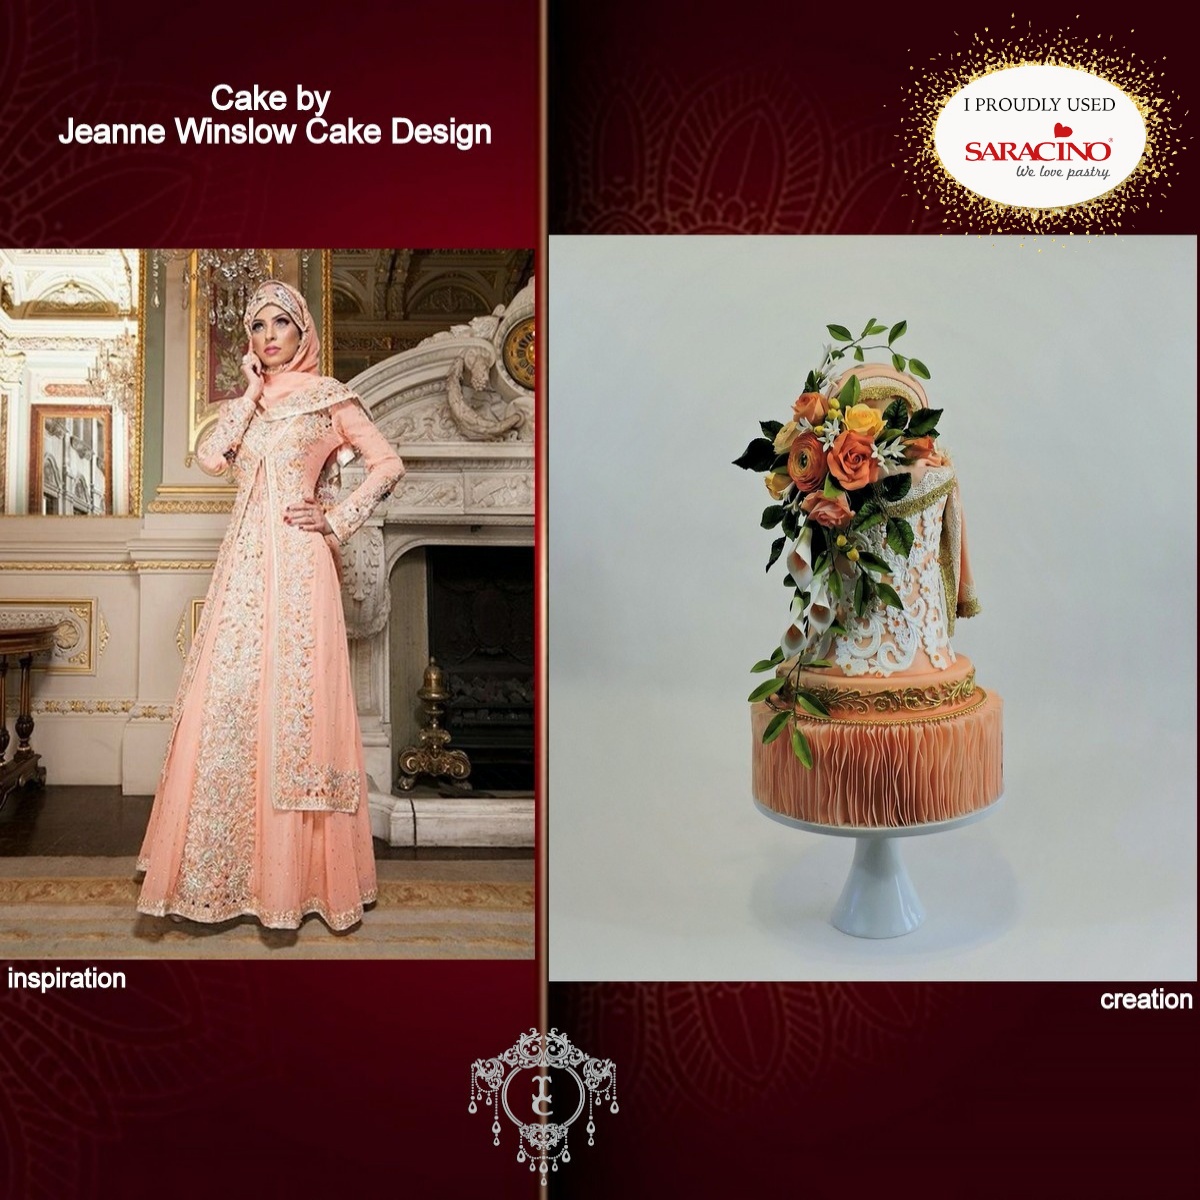
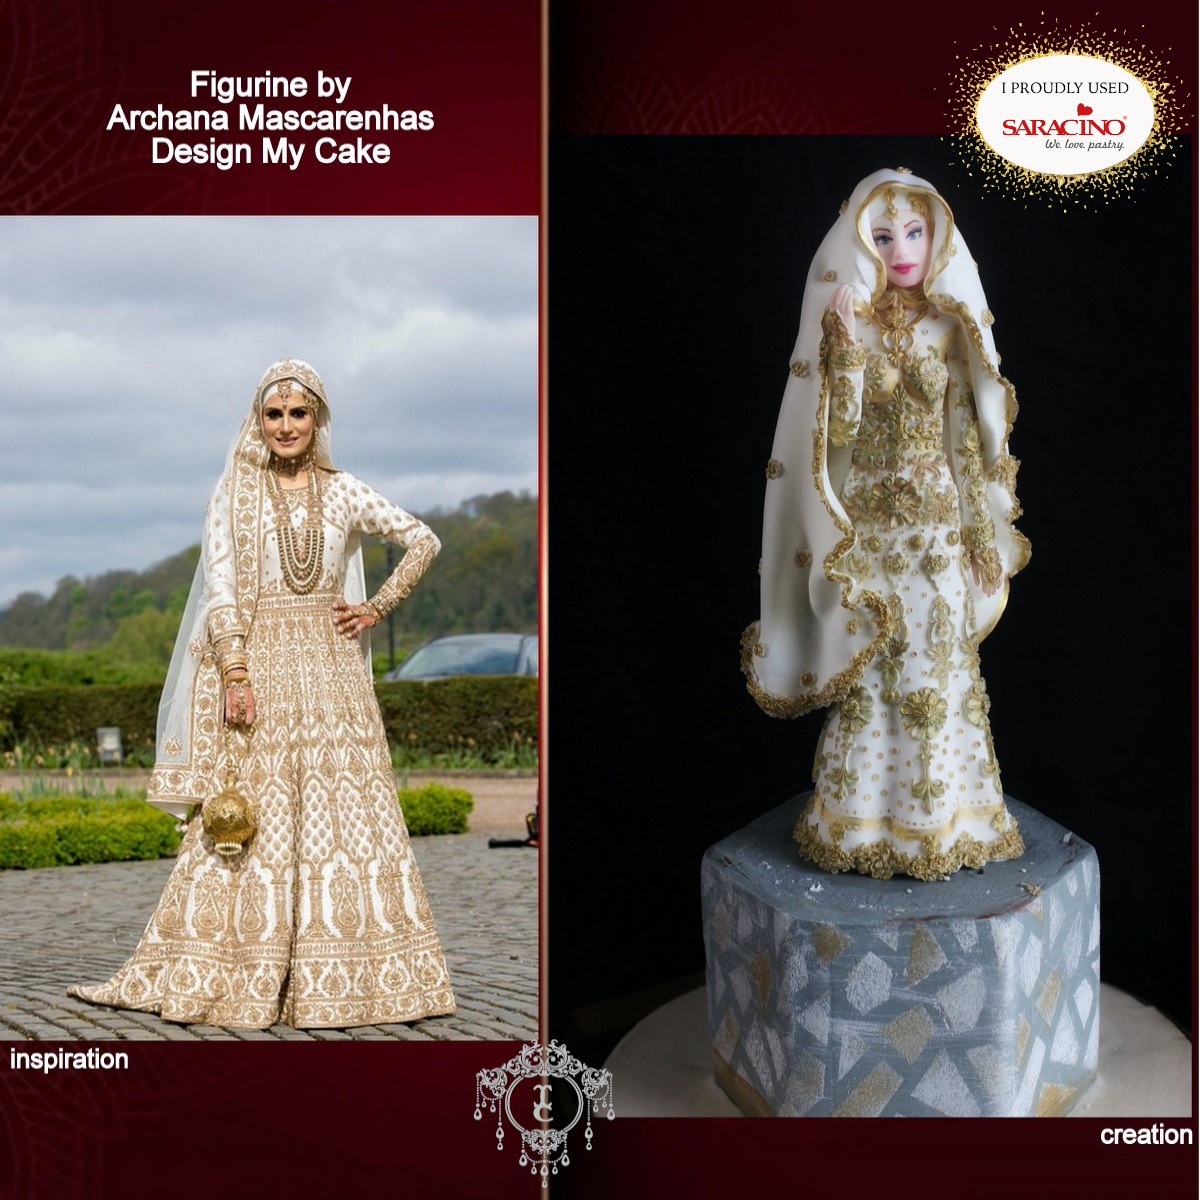
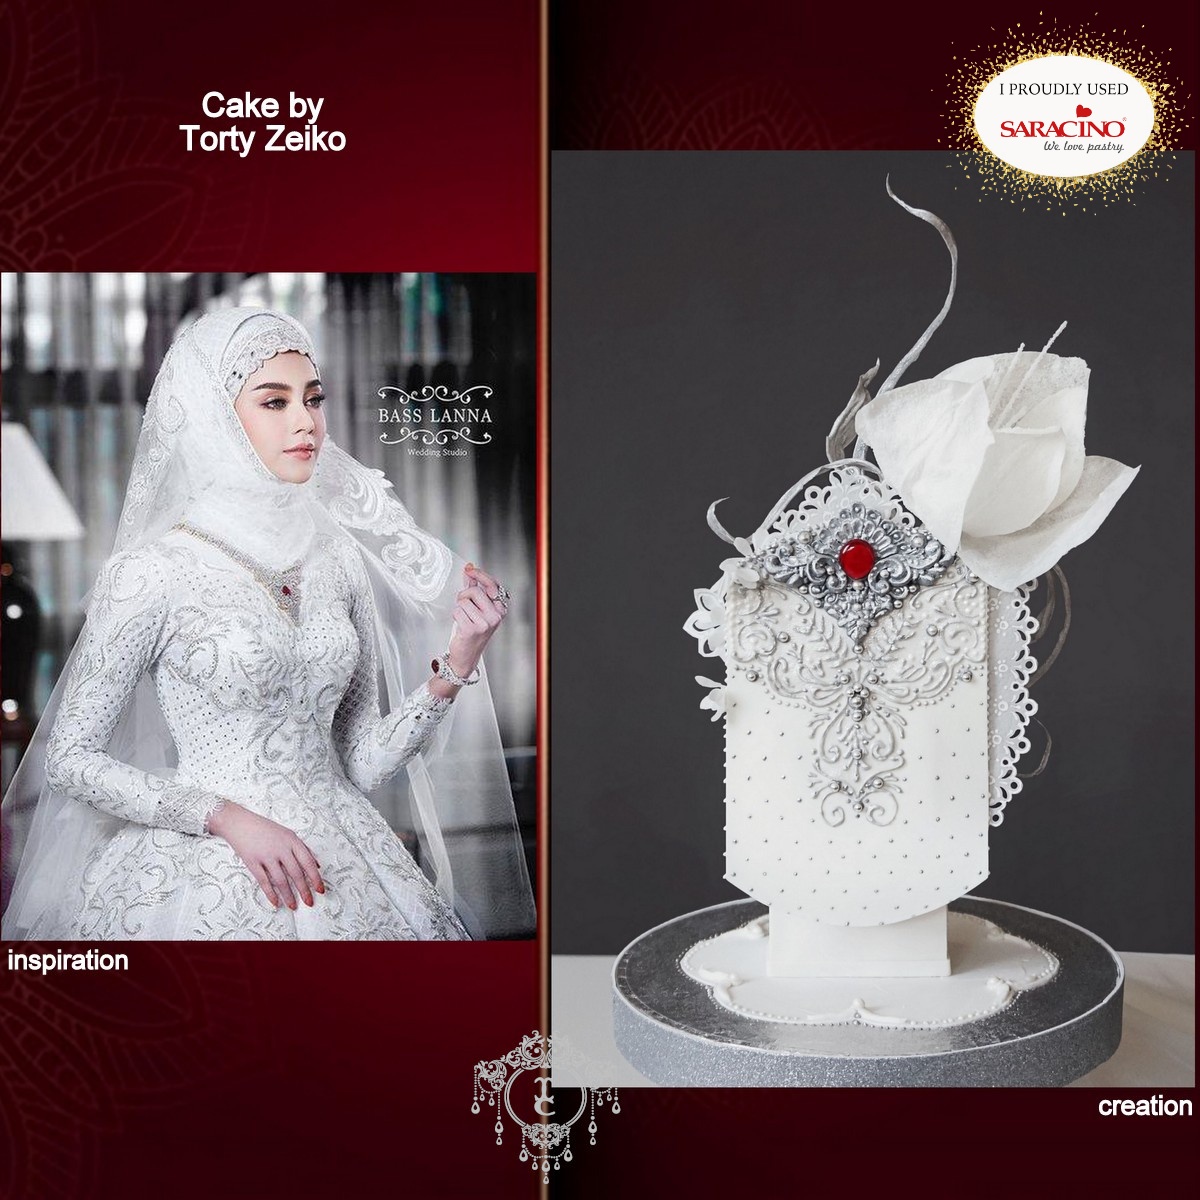
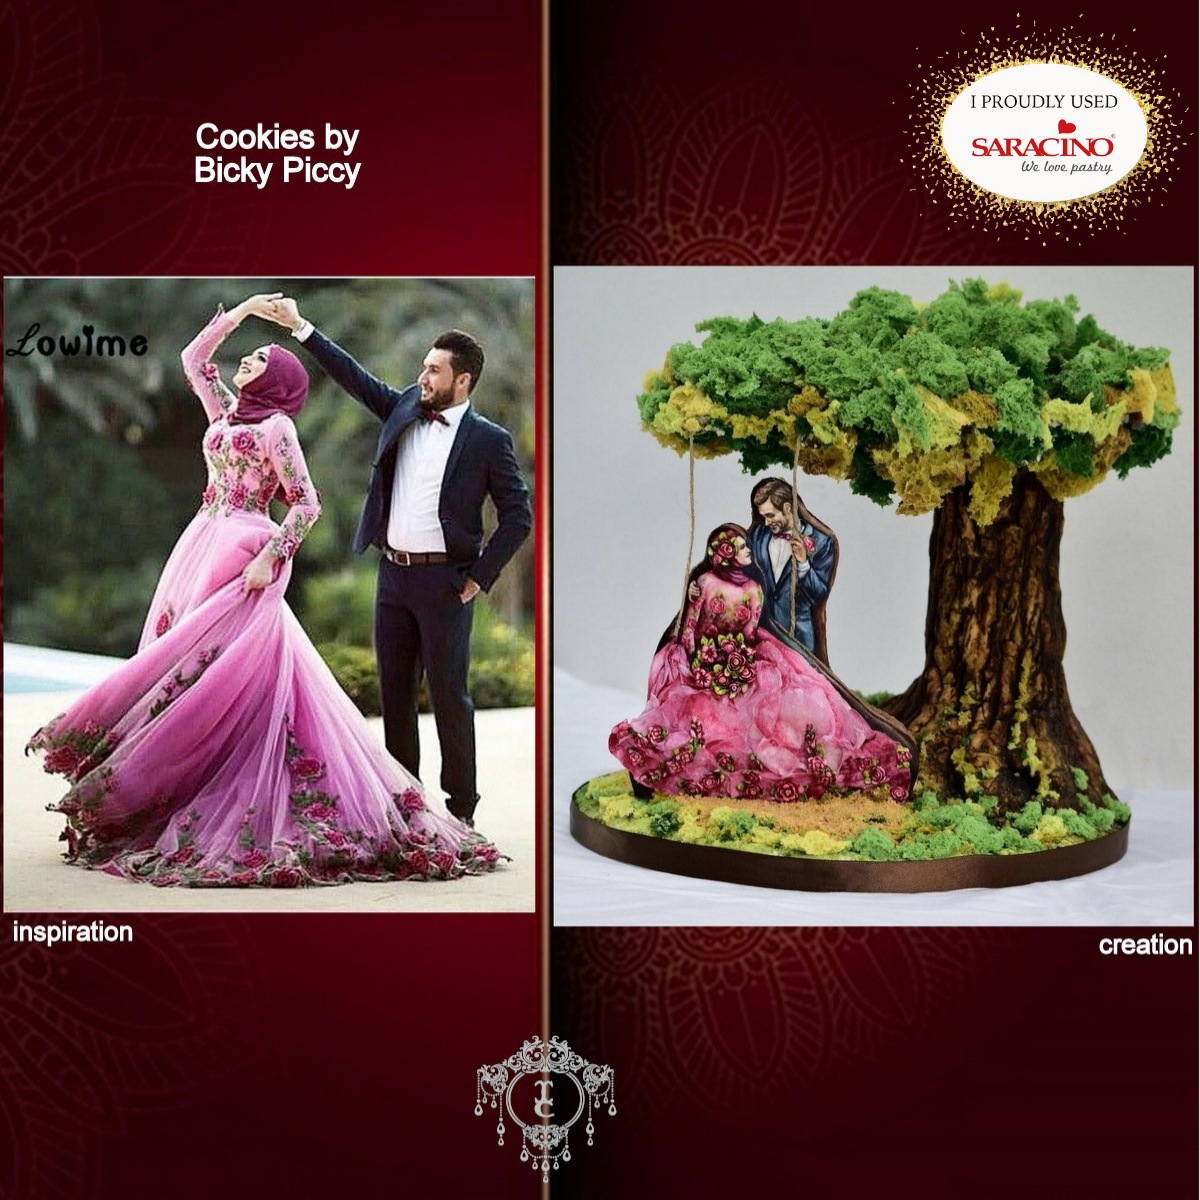
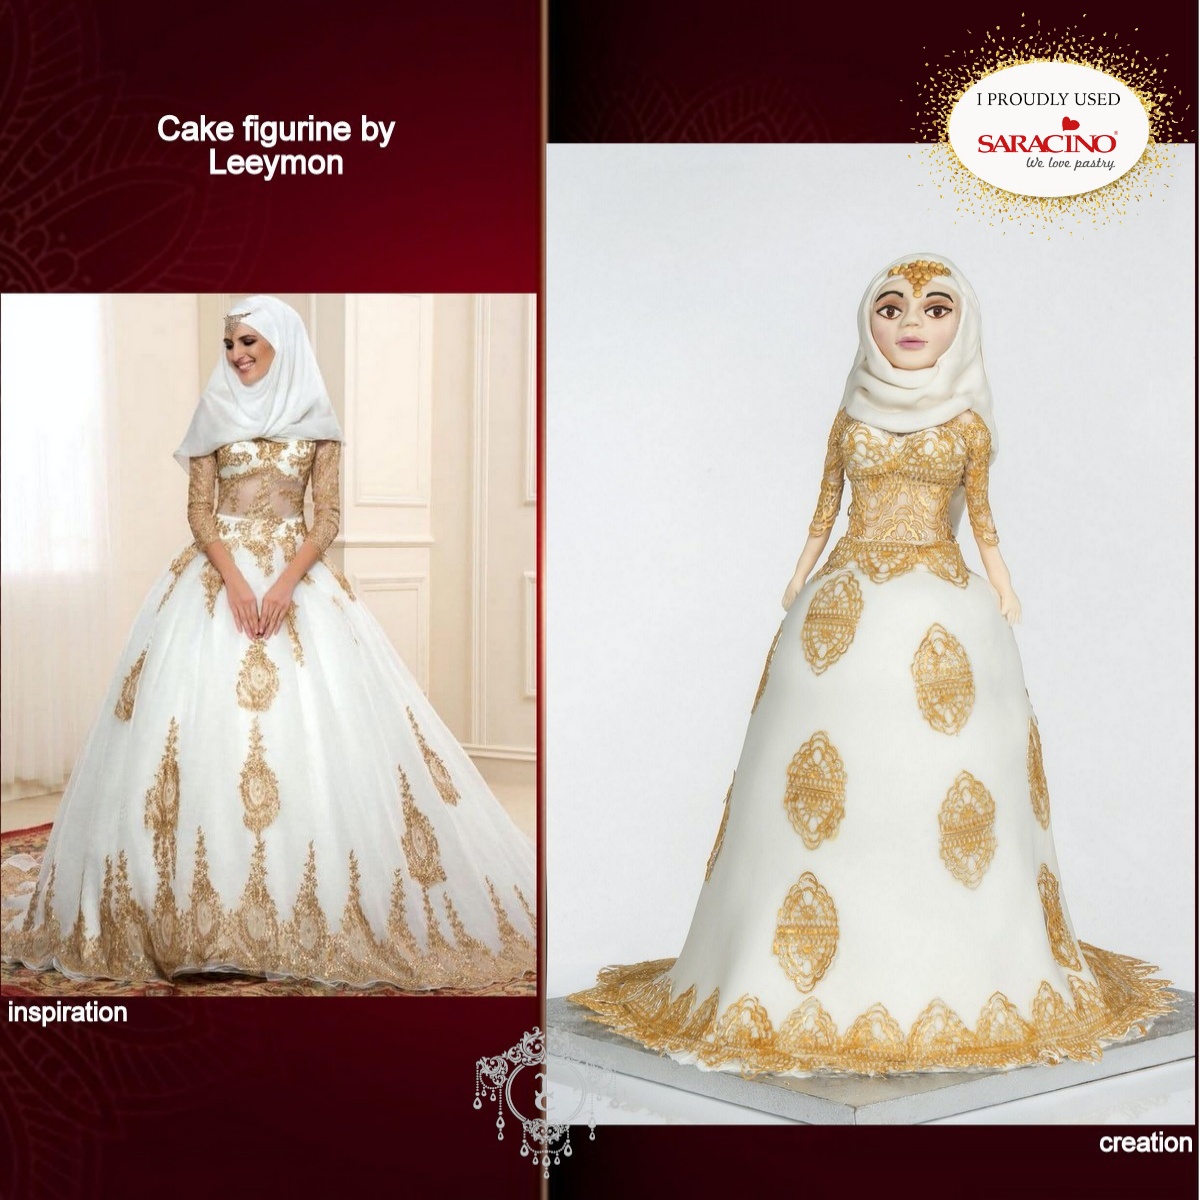
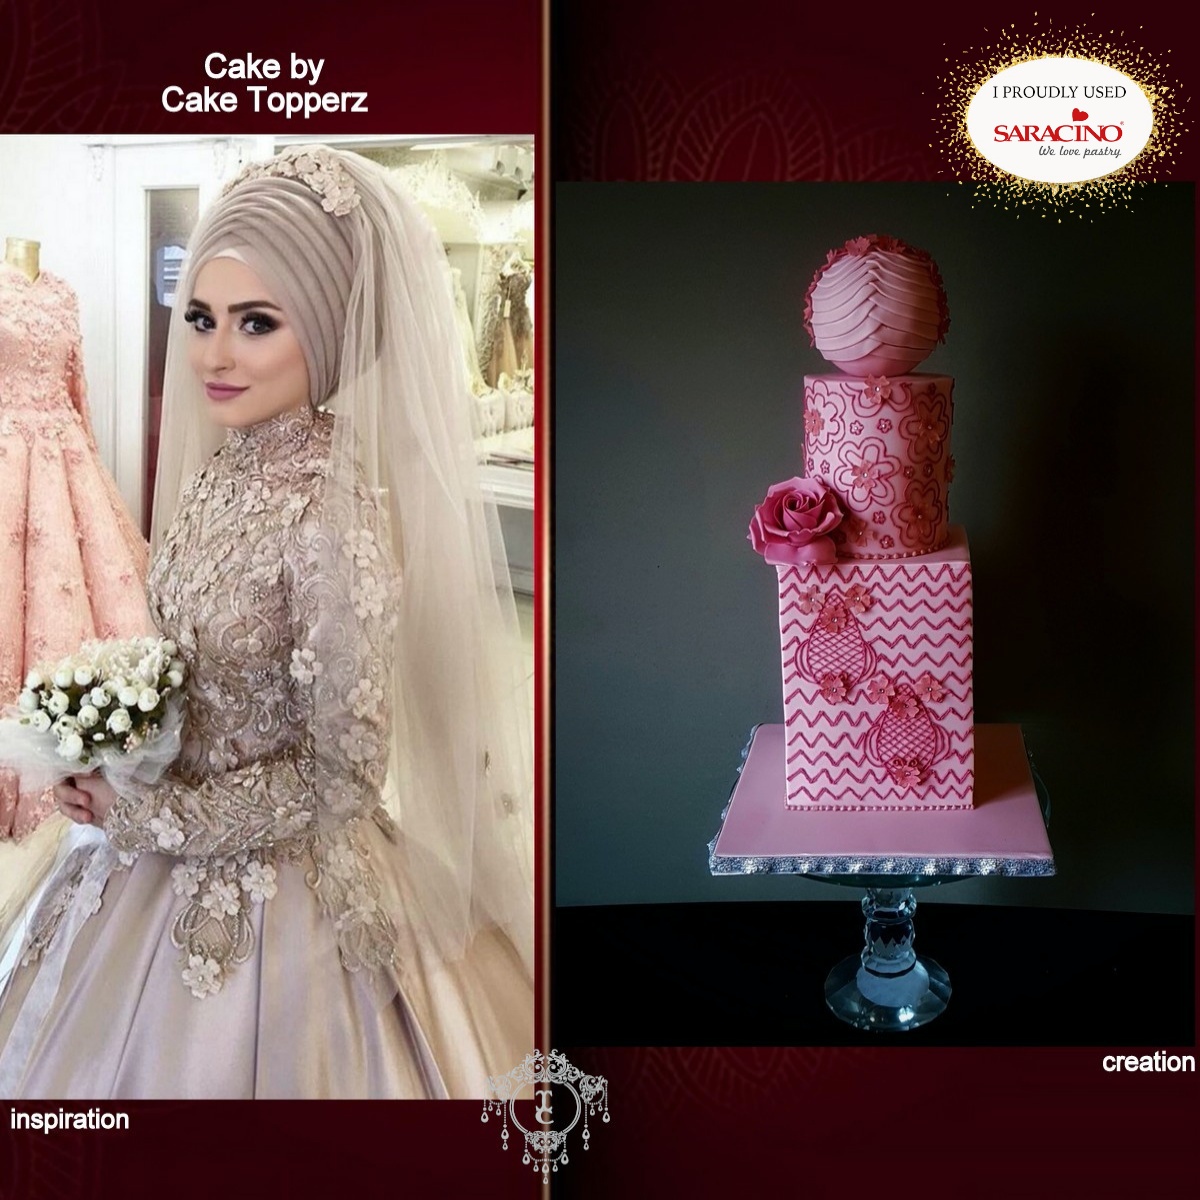
Couture Cakers International was created by Heba M Elalfy in 2017 for sugar artists who love creating edible masterpieces inspired by couture fashion. Currently in its fourth year, the Couture Cakers International collaboration challenges its members to get out of their comfort zone and dive into awe-inspiring themes using a huge array of edible products. This year, the Couture Cakers, as we like to call ourselves, bring to life Islamic bridal dresses, as cakes, cupcakes, figurines, cookies and more! Islamic bridal dresses are some of the most stunning couture in the world. Not only because I’m a Muslim woman who loves Islamic fashion, but this theme has been in the works since last year as a way to show my pride and love of Islamic bridal couture as well as introducing this line of fashion to cake artists who otherwise wouldn’t have considered creating beautiful pieces inspired by Islamic bridal dresses. I wanted the 54 Couture Cakers to interpret the hijab (head covering) and the dresses in a respectable way since it had never been done before in the sugar world as a collaboration. I’m happy to say that we’ve all accomplished this and the Couture Cakers have made me proud! One of the best outcomes of this year’s theme is that my members have created gorgeous cakes, beautiful cookie artwork, stunning figurine brides and cake busts, as well as life-like hand-painting and adorable cupcakes! Every single member has used the inspiration photos they chose to bring out the best work this collaboration has seen to date. We give all the credit for the photos which we used to their original photographers, fashion designers,fashion houses, and models.  


Katarzyna Koczorowska aka KATARZYNKA SZTUKA CUKROWA

Angela Penta aka ANGELA PENTA CAKES

Aurelia Czarnecka aka AURELIA’S CAKE

Joane Chopard aka MADEMOISELLE FAIT DES GâTEAUX


Jeanne Winslow aka JEANNE WINSLOW CAKE DESIGN

Archana Mascarenhas aka DESIGN MY CAKE


Iveta Košíková aka TORTY ZAIKO

Silviya Jankowski aka BICKY PICCY


Evangelia Korontini aka SWEET MADNESS 

Tasnuta Alam aka CAKE TOPPERZ

 
Congratulations On Your Amazing Creations!

Take Your Time And Visit Couture Cakers Facebook Page COUTURE CAKERS INTERNATIONAL To View All The Amazing Creations!


Join Our Newsletter

We’d love to send you the latest news, discounts & exclusive offers via email! By signing up below you are confirming you are happy for Saracino to send you marketing emails. We will always treat your personal details with the upmost respect & will never sell your details to other companies for marketing purposes.

• All the latest industry news   • FREE video tutorials   • Exclusive product offers

Products         Tutorials          Ambassadors           Events           Blog           Showcase         Contact

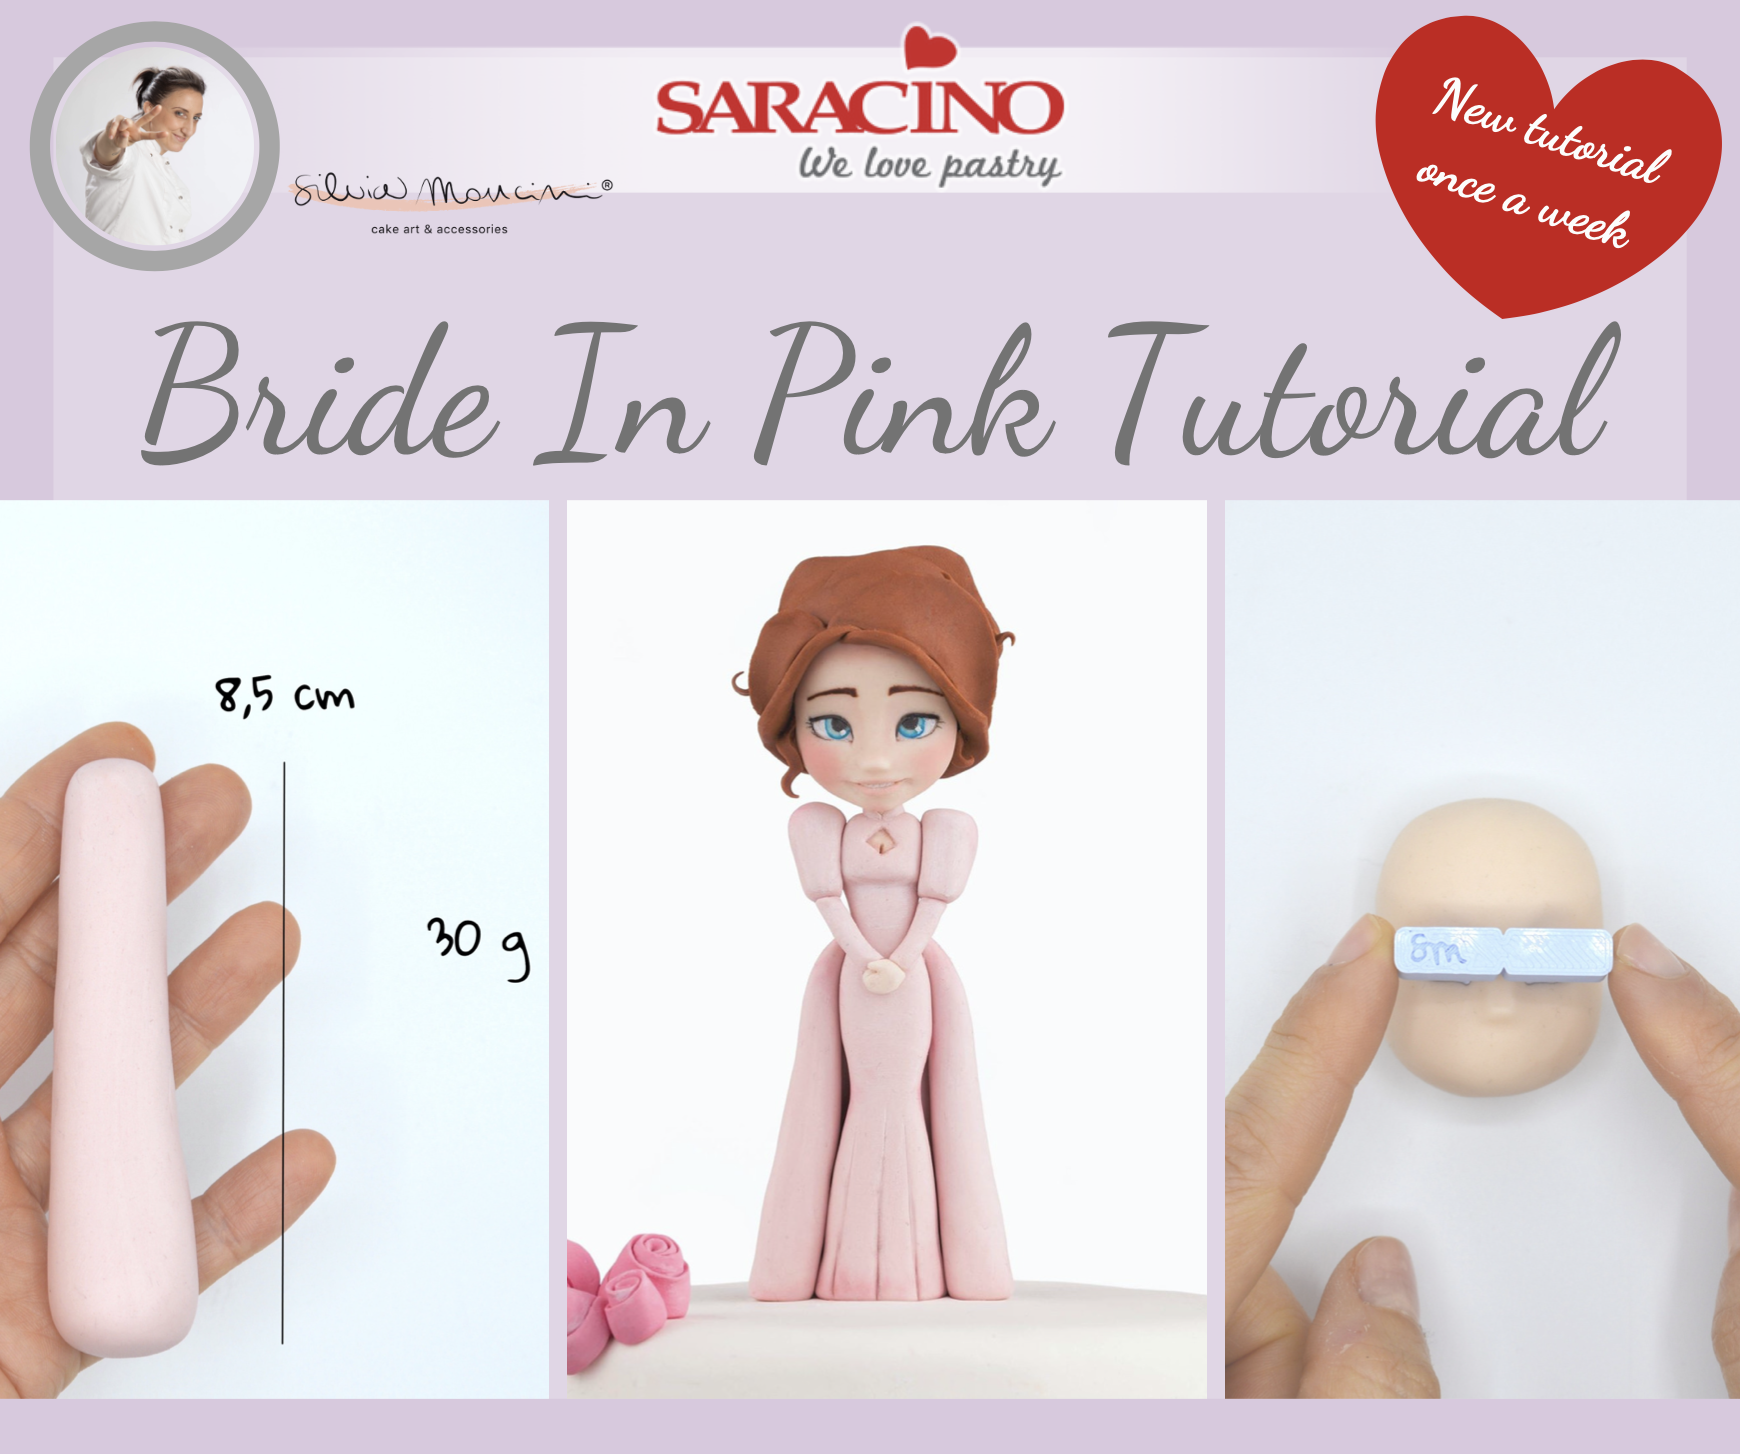
BRIDE IN PINK TUTORIAL

BRIDE IN PINK TUTORIAL

Skill level: BEGINNERS

TIP:

To achieve the light pink colour I add a drop of pink gel colour (actually half drop because it needs a really small quantity) to the skin tone modelling paste.
To achieve the brick colour I add a bit of white sugar paste to the brown, then I put a drop of red gel colour and a drop of orange (the proportion depends if you want a colour tending to the red or to the orange)

You will need:

  • Rolling pin

  • Scalpel or sharp knife

  • Dresden tool 

  • Small ball tool

  • Large ball tool

  • Pointed silicone tool

  • Number 5 Piping Tip

  • Wood skewer

  • Straw

  • Soft brushes (large and small)

  • Small paintbrushes (flat and pointed)

  • Easy Eyes – princess set

  • 82/85g light pink Saracino modelling paste

  • 35g skin tone Saracino modelling paste

  • 20g red Saracino modelling paste

  •  small amount of white, light blue and black Saracino modelling paste

  • Water or edible glue

Step 1

For the body roll 30g of pink paste into a shape with one end narrower than the other
Step 2

Flatten the smaller side

Step 3

To form the chest area make a groove using the Dresden tool

Step 4

Tapering the waist and the knee

Step 5

Thread the wooden skewer through the body into the dummy below and leave a length projecting from the top.                                                                            
Step 6

Make some straight marks on the bottom of the dress first using the Dresden tool then the back of the scalpel

Step 7

For more pleats on the dress roll 5 long cones (using about 9g of pink paste for each one) and bend them on the pointed side

Step 8

Stick all of them starting from the hips and finishing at the back

Step 9

Create both puffs and arm sleeves using 7g of pink paste in total

Step 10

Stick first the upper sleeves

Step 11

Then place the arms on the dress

Step 12

Cut out a diamond shape on the centre of the chest, remove the paste inside and flatten the inside using a small ball tool

Step 13

Place a piece of skin tone paste inside the hole, flatten it and mark a small cleavage. Smooth the edges to form a nice shape.

Step 14

To create a neck fix a small piece of skin tone paste around the wooden skewer

Step 15

Cut out a small strip for a collar and taper each end.

Step 16

Attack it around the neck

Step 17

For the hands roll a very small piece of skin tone paste into a sausage shape (0.5mm diameter). Cut in half diagonally, flatten the palm area, create the wrist by rolling gently, cut to form the thumbs 

Step 18

Place the hands to the arms on top of each other

Step 19

Roll an oval shape as smooth as possible using 35g of skin tone paste. Roll the little finger (or the handle of a tool if your fingers are too large) in the middle of the oval, from side to side

Step 20

Round-off the corner of the upper side to model the forehead

Step 21

Push your fingers either side of the nose area to form the nose.

Step 22

Use a big ball tool to define the eye socket.

Step 23

Go on shaping the point of the nose using the handle of a tool or the Dresden .

Step 24

Put the Easy Eyes tool right in the middle of the nose.

Step 25

Push it gently.

Step 26

Define the eyebrows using the Dresden tool

Step 27

Adjust all the borders

Step 28

Cut a smile

Step 29

Remove the paste from inside the mouth

Step 30

Replace with a small quantity of white paste

Step 31

Smooth the upper lip

Step 32

Define the lower lip

Step 33

Mark edges of the mouth

Step 34

Form the teeth with a sharp knife

Step 35

Cut the excess paste from the chin

Step 36

Shape the head with the fingers. Pay attention to round off and smooth all the straight sides and edges

Step 37

Put a piece of paste on the top of the head

Step 38

Paint the eyes first using the white gel color

Step 39

Paint the eyebrows

Step 40

Cut out two small light blue circles using a straw  and stick them on the eyes

Step 41

Cut out  two black pupils using a no. 5 piping nozzle

Step 42

Create the eyelashes using a very small roll of black paste, paint some more eyelashes just on the outside of the eyes. Paint with a light blue gel colour the outline of the iris

Step 43

Dust the lips and the face using a pink powder colour and a soft brush. Add definition / highlights

Step 44

Cut out several strips of different sizes, wavy on one edge and straight on the other.

Step 45

Cut the timber skewer to the correct length and push the head gently to the body. Stick the hair starting from the front to the back

Step 46

The aim is to form the hair so it looks like a rose on the back of her head.

Your bride is now ready