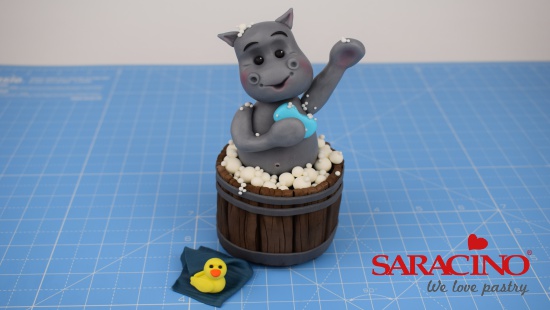
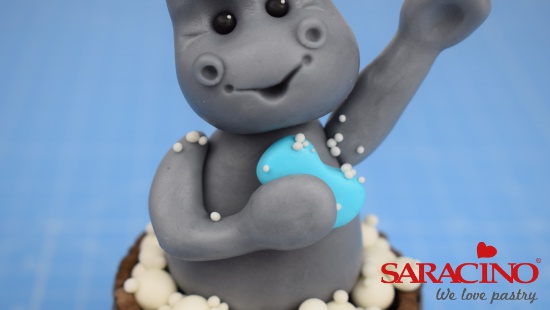
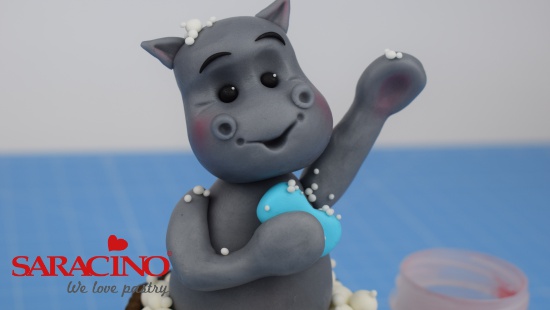
CUTE HIPPO TAKING BATH
Author: Lynsey Wilton-Eddleston

FB: SUGARWHIZZ
Skill level: BEGINNERS
FROM LYNSEY:
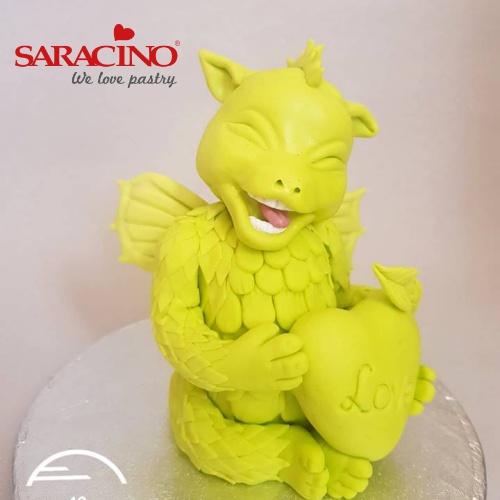
Here Sugarwhizz shows you how to model this cute hippo taking a bath! Little hippo and his adorable duck would be perfect for that special baby shower cake or little one’s birthday!
You will need:
- 2 x 28g Rice crispy treat bar
- Grease Proof paper / Parchment paper and scissors
- Dresden tool
- Large and small balling tools
- Small Rolling Pin
- Sharp knife
- Small Paintbrush (for gluing together)
- Small soft paintbrush (for dusting details).
- Cool boiled water
- Cocktail sticks
- Food safe skewer
- For this tutorial I used the following Cerart tools Cerart Large balling tool (K500) Cerart Small balling tool K501 & K502
- 30g Black Saracino modelling paste
- 50g Brown Saracino modelling paste
- 7g Grey Saracino modelling paste – Add a small amount of Saracino black gel to white paste.
- 88g of grey Saracino modelling chocolate
- 10g White Saracino modelling paste
- 3g Light blue modelling paste
- 1g Black Saracino modelling paste
- 5g Navy Saracino modelling paste (add a small amount of blue colour with a tiny amount of black to the paste to create navy)
- 3g Yellow Saracino modelling paste
- 1g Black Saracino modelling paste
- 1g Orange modelling pastE
- Saracino gel Black, Light Blue, Yellow, Orange, Brown
- Saracino Powder lake – Pink and brown
- Cool boiled water for gluing
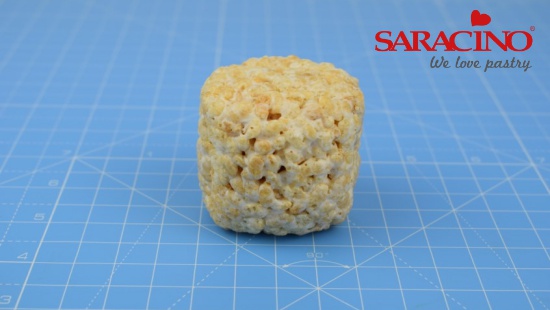
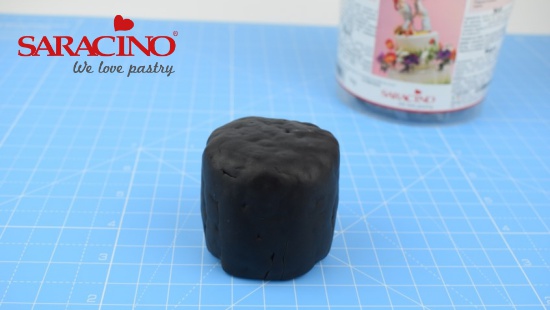
Step 1
Take two 28g bars of RKT and roll into a short fat cylinder shape, gently pressing and squeezing the RKT together as you go. Flatten the top and bottom.
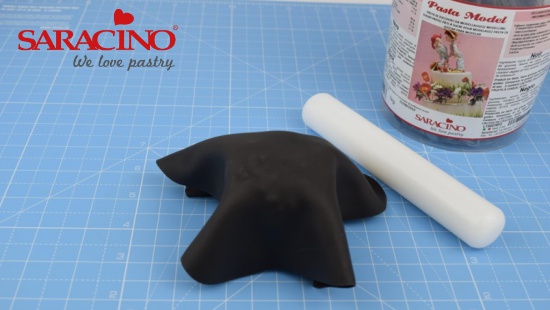
Step 2
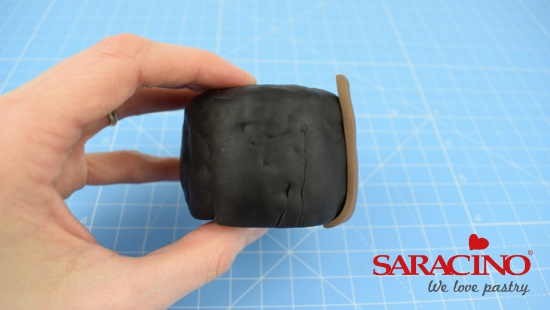
Take 30g of black modelling paste, knead and soften to warm up. Using a small rolling pin roll out the paste to a thickness of around 1-2mm, the paste should be big enough that when you drape it over the RKT the whole barrel is covered.
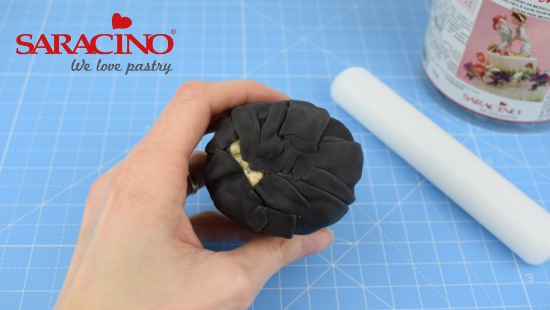
Step 3
Smooth the paste across the top of the barrel, then using your fingertips gently smooth the paste down around the sides. Don’t worry if there are creases it doesn’t have to be perfect. Turn the barrel upside down and gently but firmly squeeze the paste around the sides to ensure the paste is stuck to the RKT. There should be no need for water the RKT should be sticky enough to hold the paste.
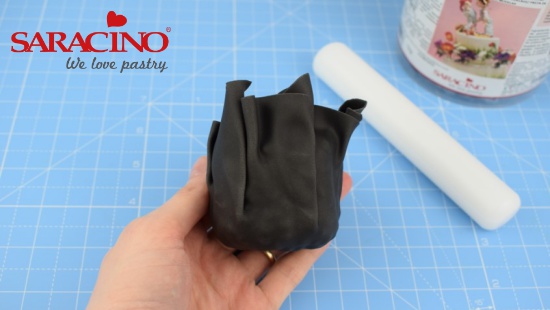
Step 4
Gather the excess paste around the bottom of the barrel.
Step 5
Fold the excess paste down onto the bottom of the barrel. Gently but firmly push and smooth the paste together to completely cover the bottom of the barrel.
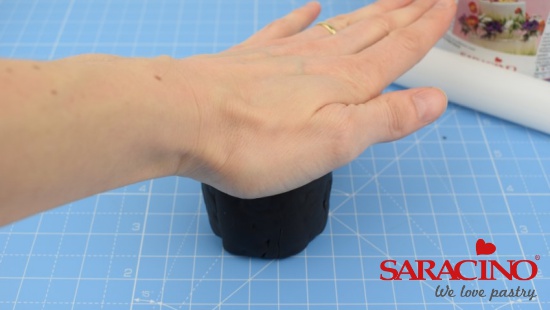
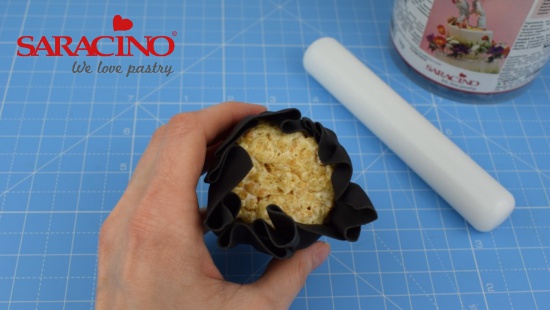
Step 6
Turn the barrel the right way up and place on the work surface. Gently press down on the top with the palm of your hand to ensure the paste is well stuck to the RKT.
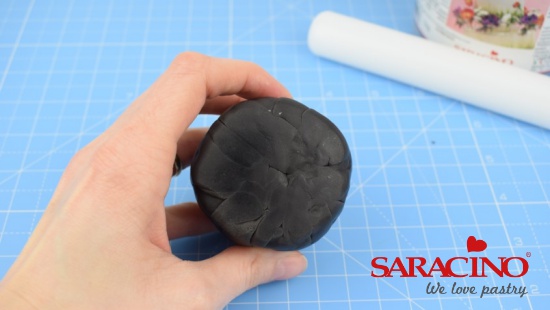
Step 7
Rub the paste on the bottom with your fingertips in small circular motions to blend and smooth together.
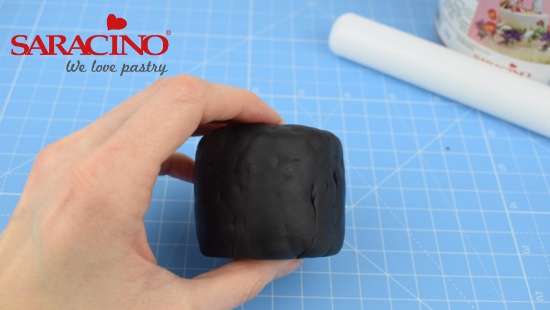
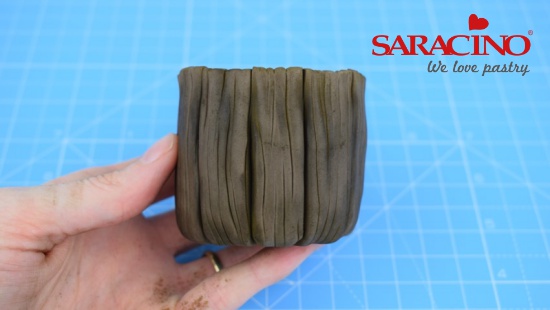
Step 8
Smooth any prominent lumps and bumps around the sides again by rubbing the paste in small circular motions with your fingertips.
Step 9
Finish off by smoothing the top of the barrel and ensuring its relatively level.
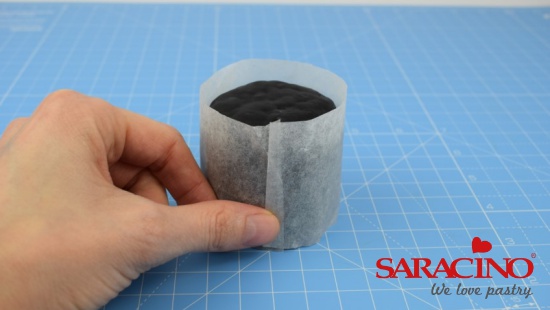
Step 10
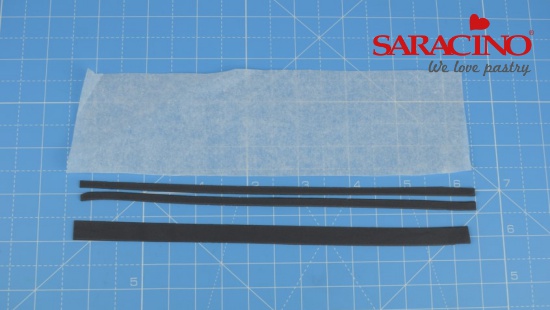
Cut a piece of greaseproof paper so that it’s slightly longer than the circumference of the barrel and approximately 5mm taller than the top of the barrel.

Step 11
Take 50g of brown modelling paste, knead and soften to warm up then roll out to a thickness approx. 3-4mm. Lay the paper template you made in the previous step on top of the paste and using a sharp knife trim the paste to size.
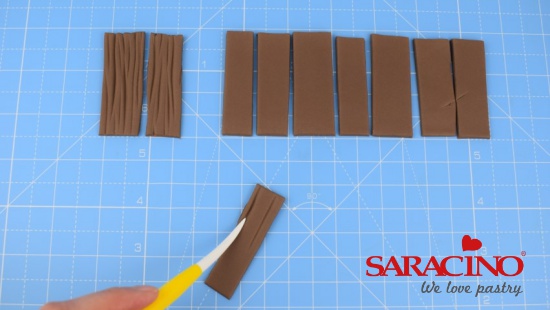
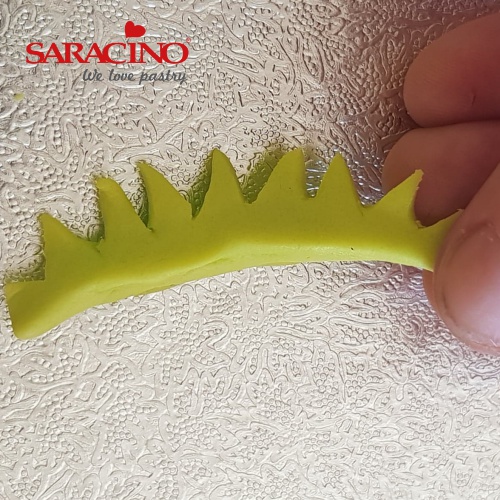
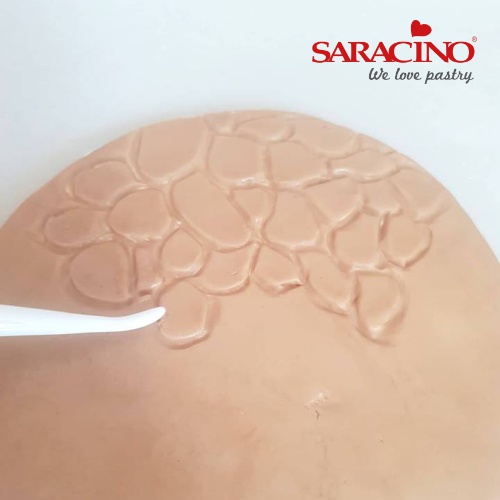
Step 12
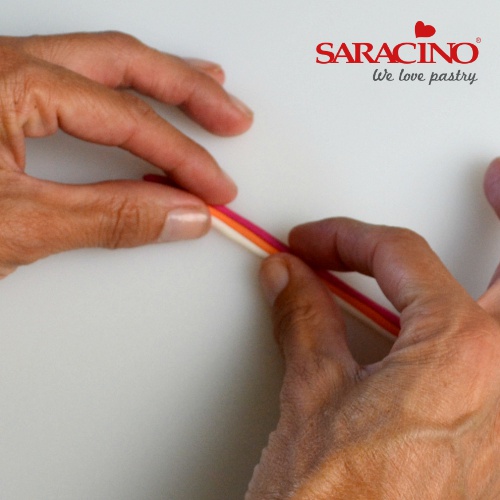
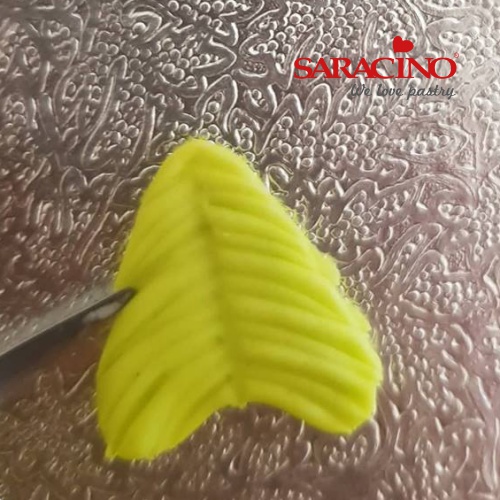
Use the sharp knife to cut the paste into 10 strips. They don’t have to be precise or even the same width. Use the veining end of the Dresden tool to score lines and grooves from top to bottom on each plank.
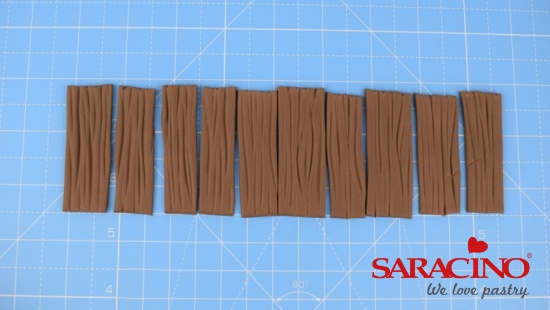
Step 13
Continue until all the planks are textured. Try to keep the planks in order, to ensure they fit together when you stick them to the barrel.
Step 14
Apply a small amount of water to the back of the first plank and stick into place. Leave approximately 5mm of the plank sticking up above the barrel. Ensure that the plank is straight and stick down bending the end of the plank underneath as shown.
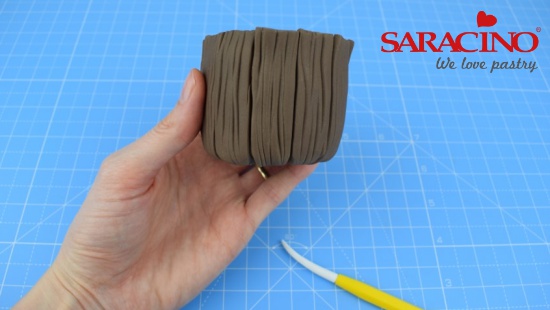
Step 15
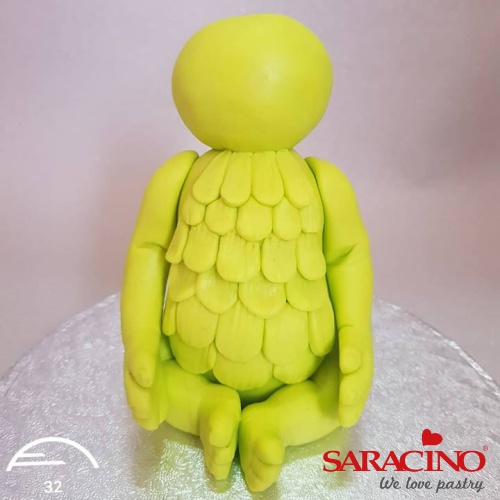
Continue around until all the planks are stuck into place. It may be necessary to trim the last plank with a sharp knife to fit. Don’t worry if you have small gaps. That’s why we covered the barrel with black paste first!
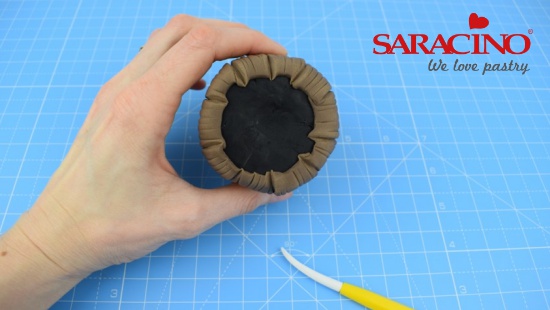
Step 16
Use the veining end of the Dresden tool to gently redefine the edges of the planks. Start at the top and run the tool gently down and around onto the base of the barrel.
Step 17
Mark the inside of each plank with the veining end of the Dresden tool to add texture.

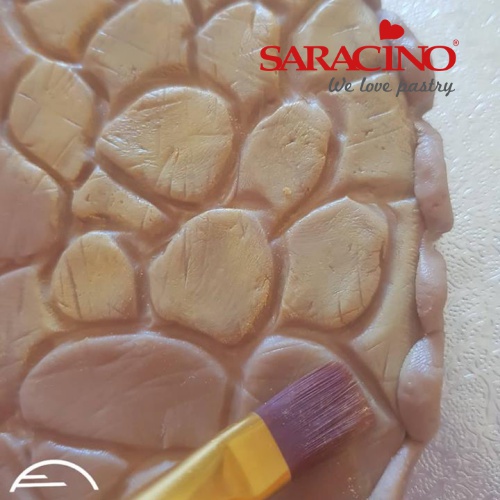
Step 18
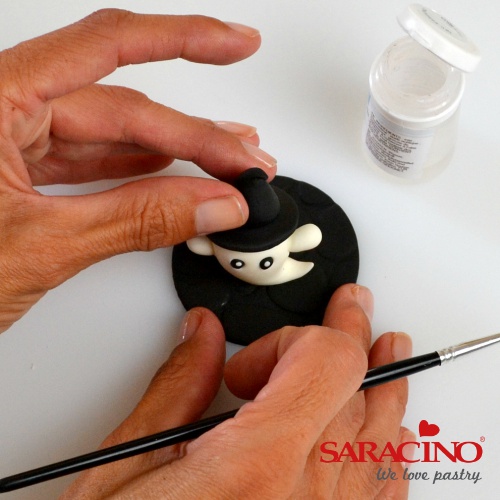
Using a small dry paintbrush apply a small amount of the brown edible tint down the edges of each plank to shade and add contrast.
Step 19
Dust the top inside edges of the planks. Continue to add a small amount of shading randomly to the planks around the outside as shown.
Step 20
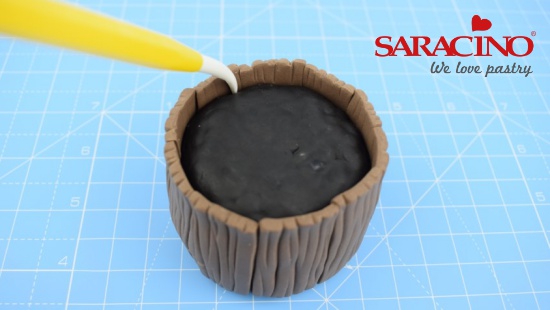
Take 7g of grey modelling paste, knead and soften to warm up. Roll out to a thickness of around 1-2mm. Use the paper template as a guide and cut 2 strips of paste approximately 1cm wide. Carefully cut one of the strips lengthways in half so that you have 2 thinner strips and one thicker strip of paste as shown.
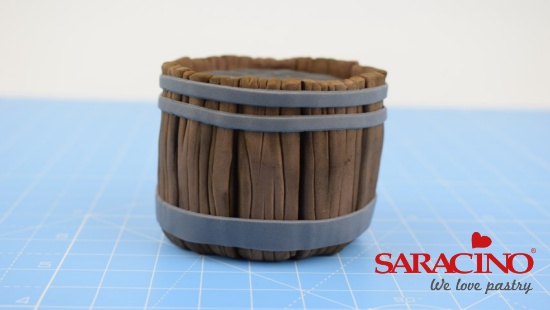
Step 21
Add a small amount of water to the back of each strip. Attach the top strip first. Start at the back of the barrel, attach one end of the strip and wrap the paste gently around the barrel whilst sticking it in place. Trim off any excess paste. Repeat for the second strip and finish with the widest strip at the bottom.
Step 22
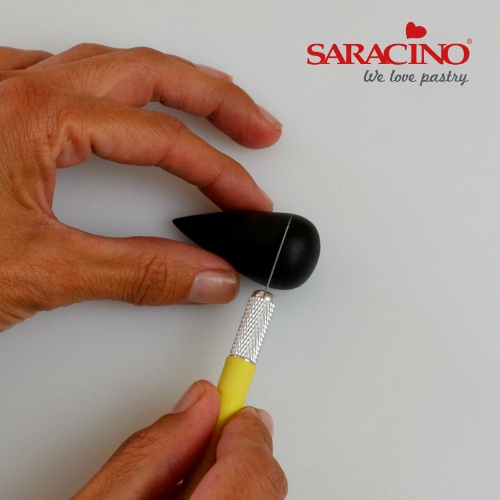
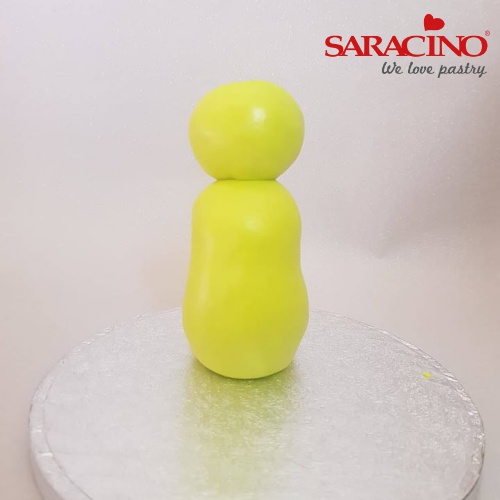
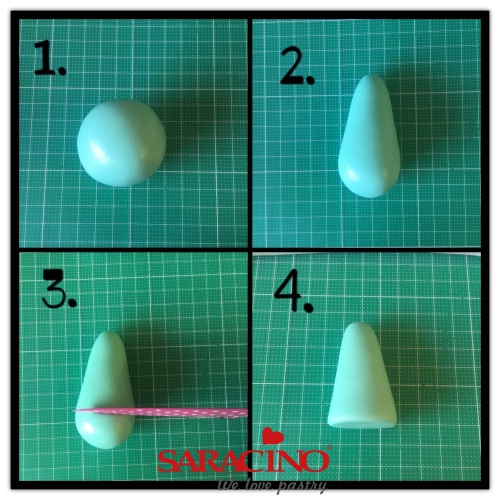
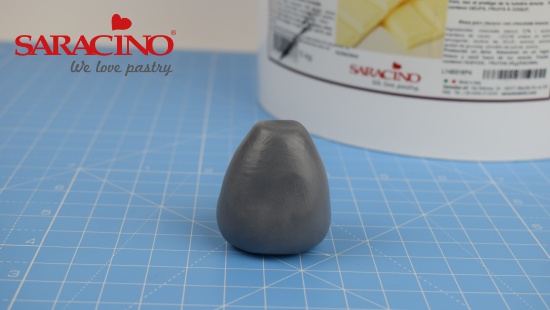
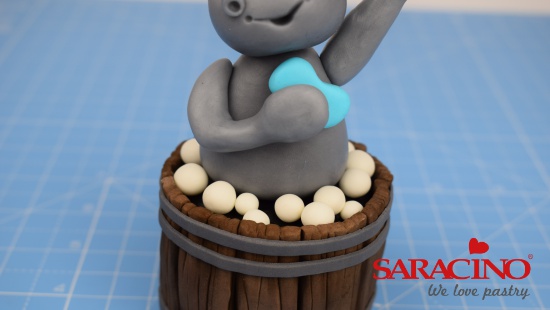
Take 45g of grey modelling chocolate, roll into a tear drop shape. Sit on the work surface and gently flatten the top with your finger tip.
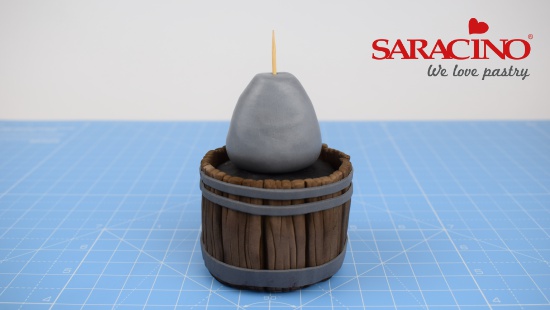
Step 23
Apply a small amount of water to the base of the body and stick into place on the top of the barrel. Gently push a food safe skewer down through the middle of the body and into the barrel, leaving a small amount of skewer protruding from the top ready for the head later.
Step 24
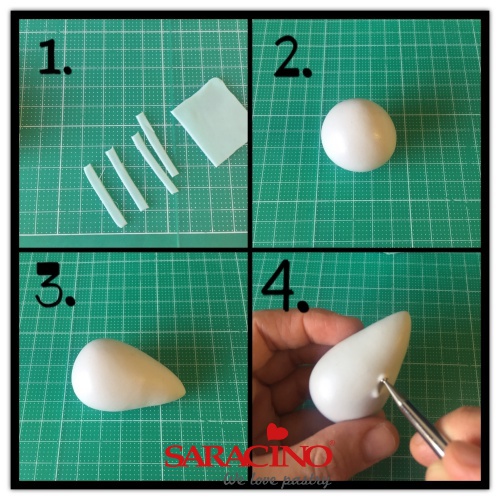
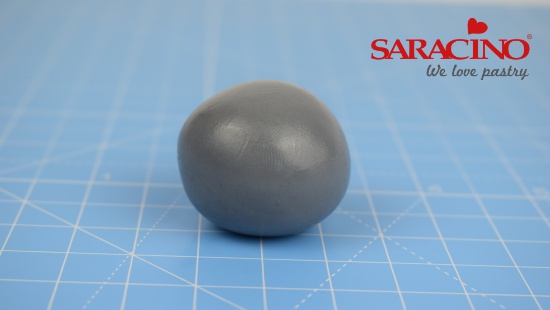
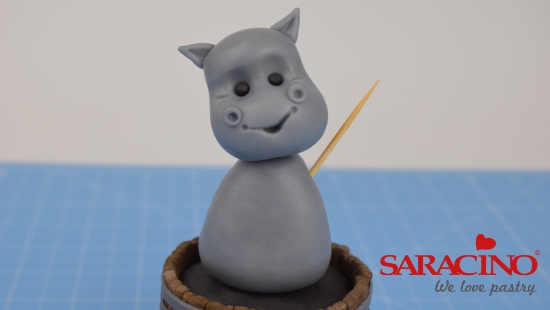
Take 30g of grey modelling chocolate knead and soften to warm up and roll into a ball.
Step 25
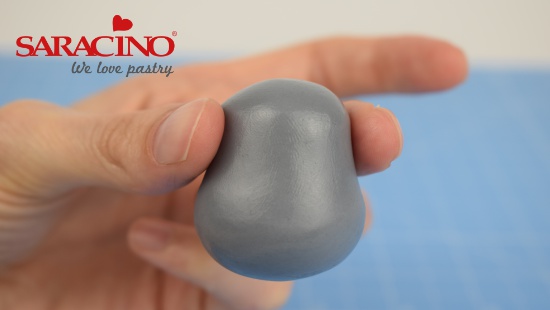
Roll the top of the ball between your thumb and forefinger to narrow the head slightly as shown.
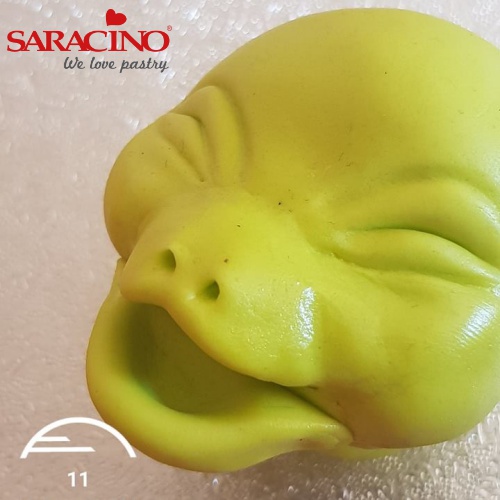
Step 26
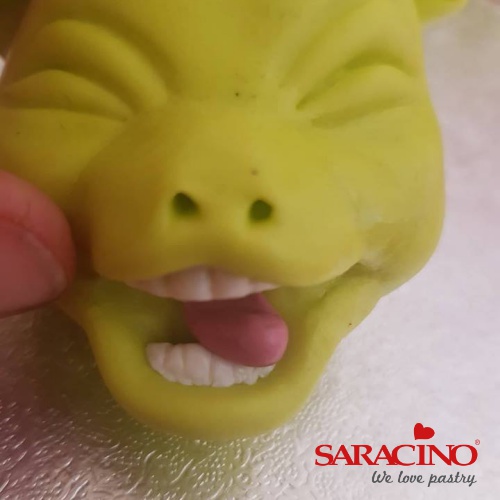
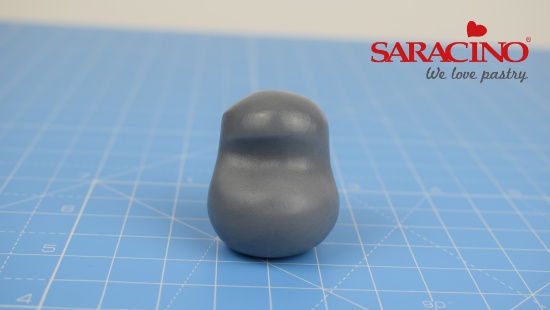
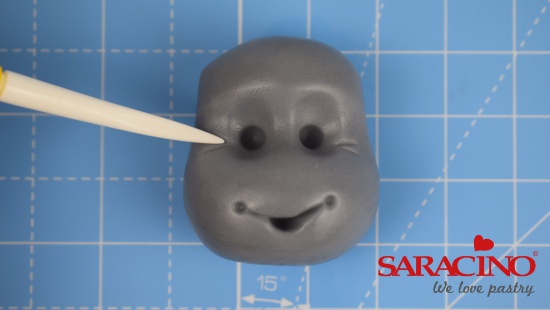
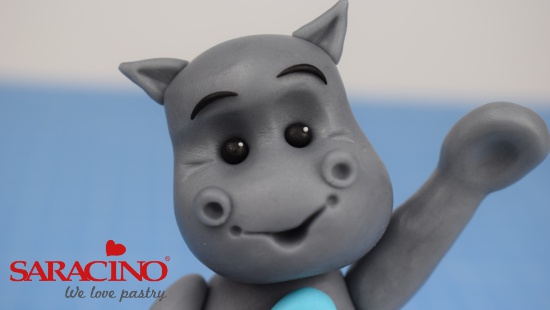
Gently press your finger across the face to create a shallow indent.
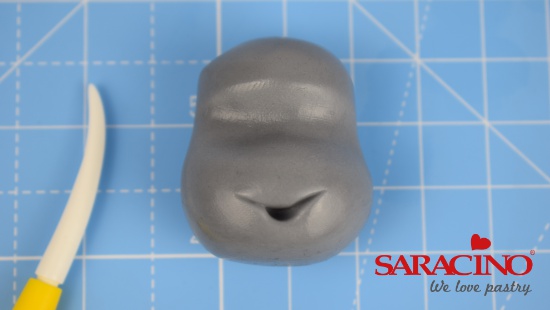
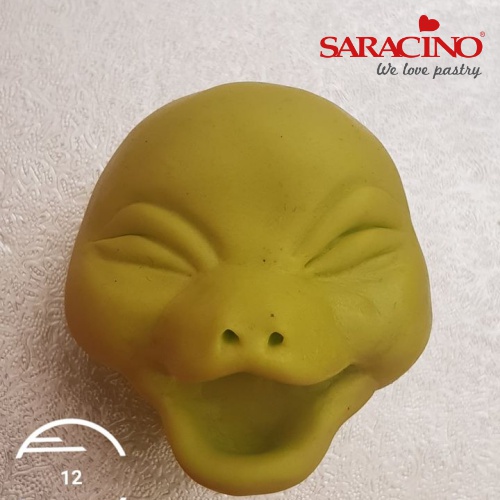
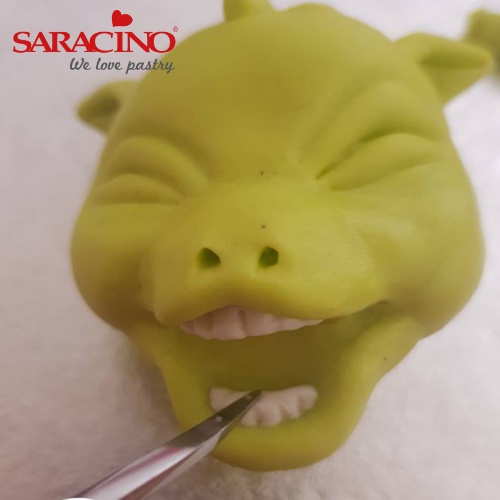
Step 27
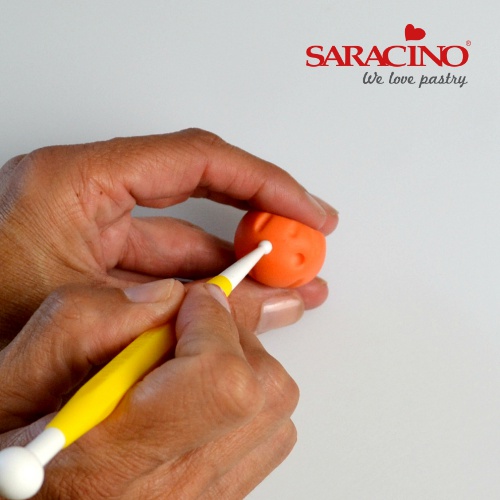
To make the mouth first take the smoothing end of the Dresden tool and push in gently to open the mouth. Use the veining end of the Dresden tool to mark each side of the mouth.
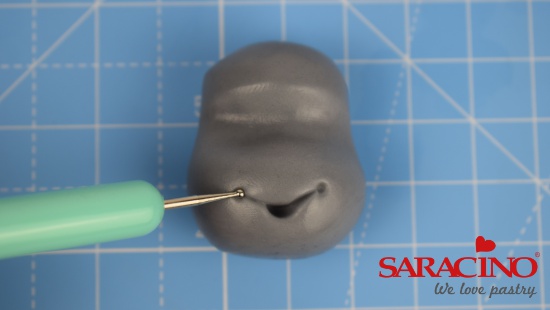
Step 28
Use the small end of the small balling tool to gently indent each corner of the mouth as shown.
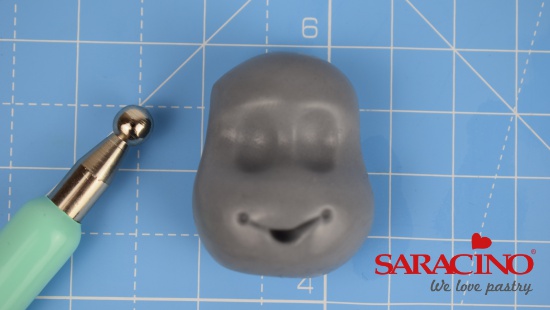
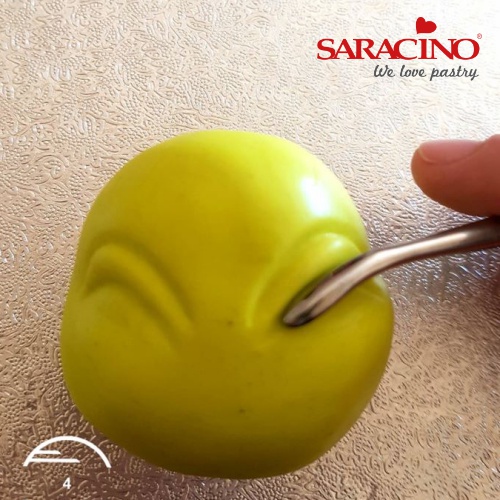
Step 29
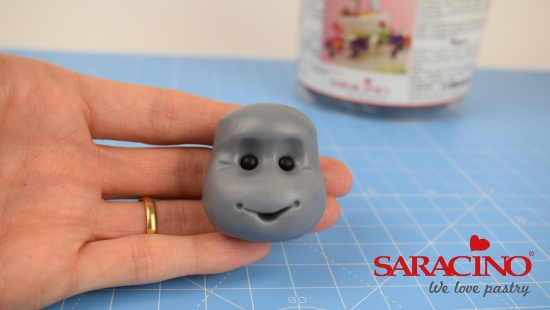
Use the large end of the balling tool to indent two eye sockets as shown.
Step 30
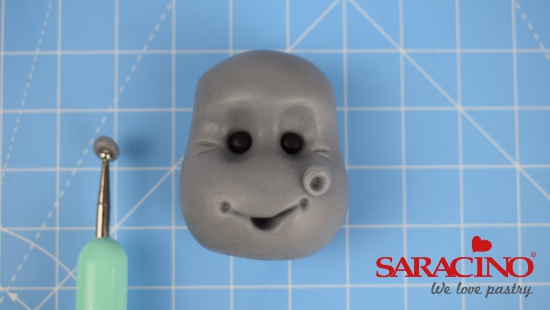
Use the small end of the balling tool gently press in to make two small eye sockets as shown.
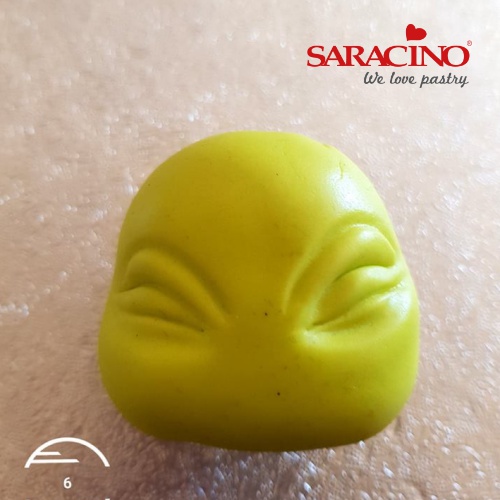
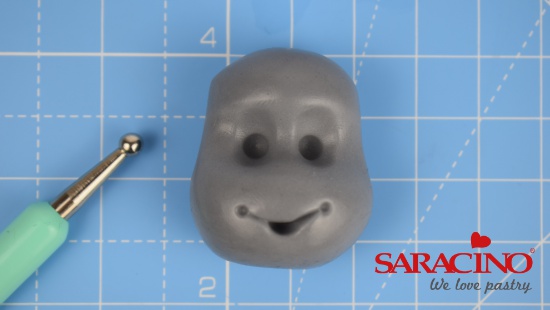
Step 31
Use the veining end of the Dresden tool to mark two small creases at the base of each eye socket as shown.
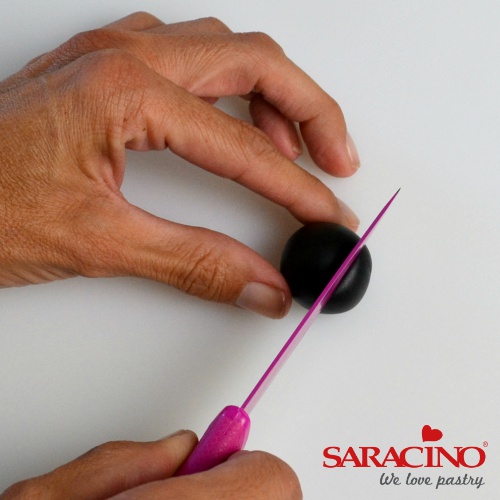
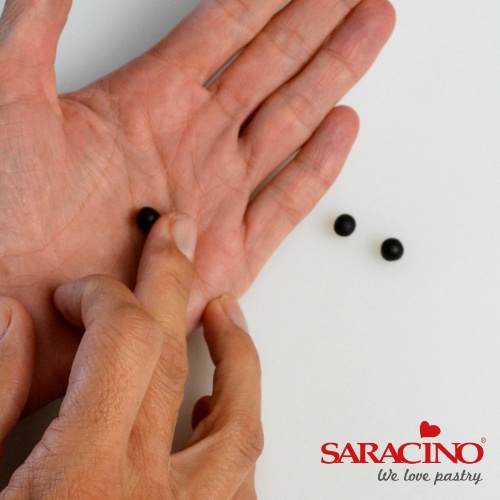
Step 32
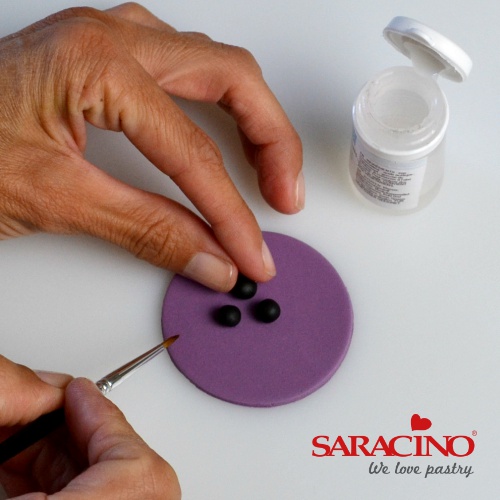
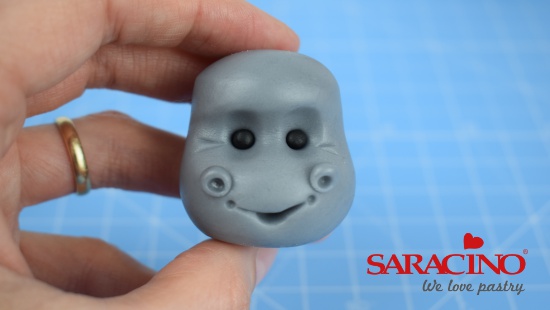
Take 2g of black modelling paste, divide equally into two and roll each piece into a small ball. Apply a small amount of water into each eye socket and stick the paste into place.
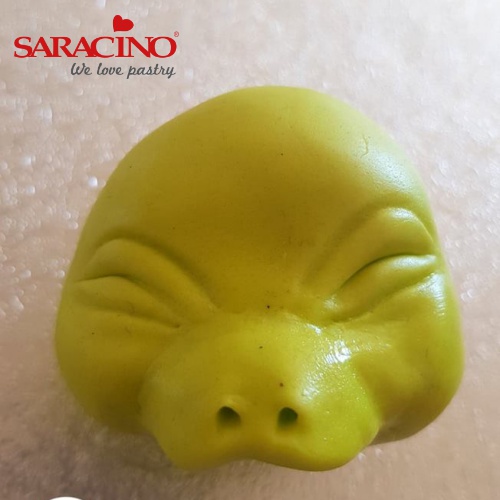
Step 33
Take 1g of grey modelling chocolate and roll two small balls. Stick them into place as shown. Use the small balling tool to gently create the nostrils.
Step 34
The nostrils should be positioned just above each side of the mouth as shown.
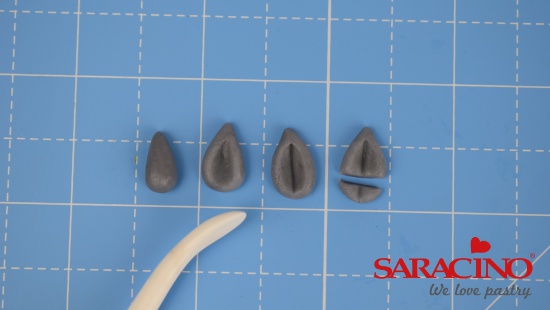
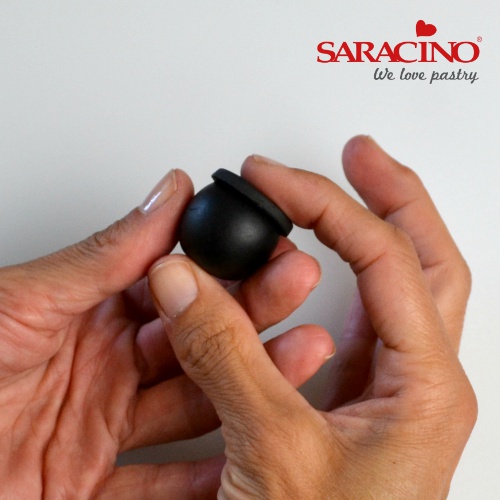
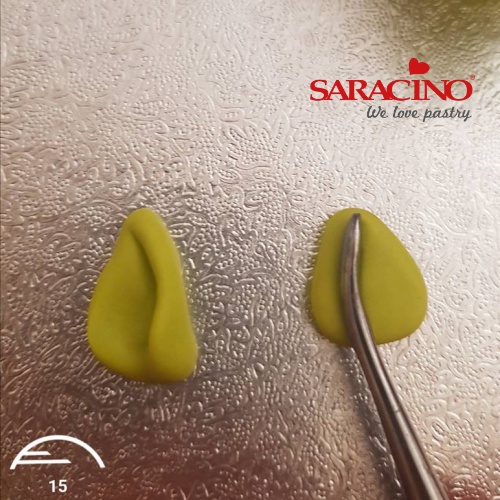
Step 35
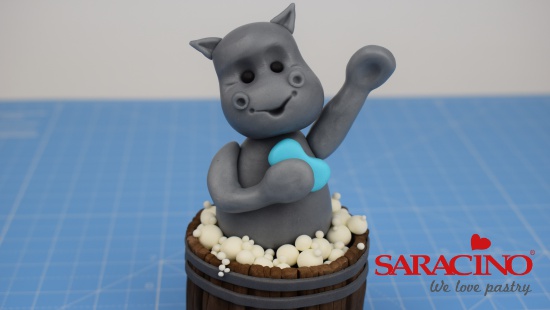
Take two tiny balls of grey modelling chocolate, roll each one into a teardrop and flatten with your fingertip. Use the smoothing end of the Dresden tool to indent the centre of each ear. Use the tip of the veining end of the Dresden tool to mark a line in the centre of each ear as shown. Cut the bottom of each ear off with a sharp knife as shown.
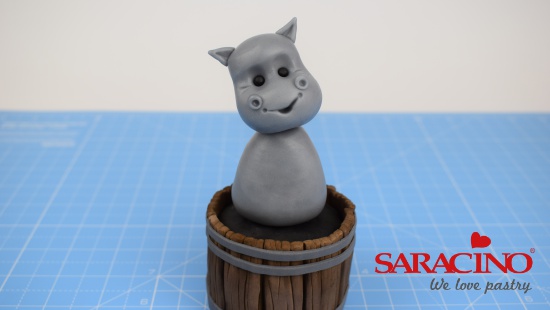
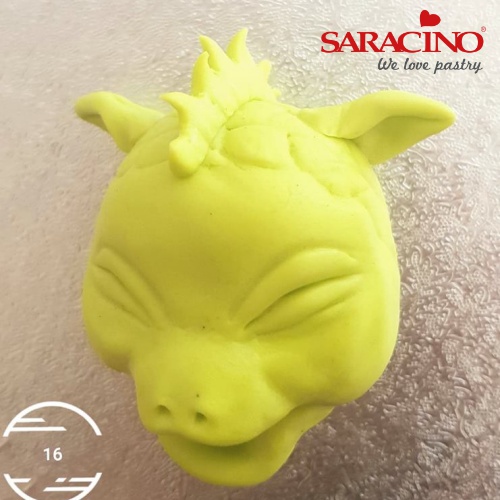
Step 36
Apply a small amount of water to the top of the body, gently slide the head down the skewer until it comes to rest on the body. Stick the ears into place on the top of the head.
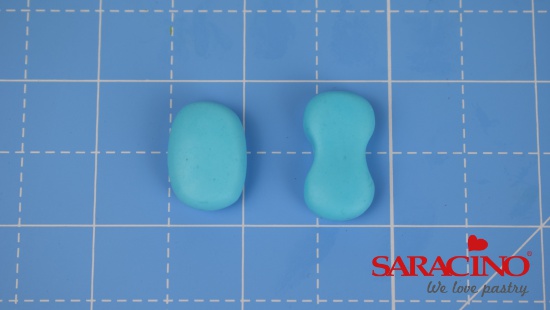
Step 37
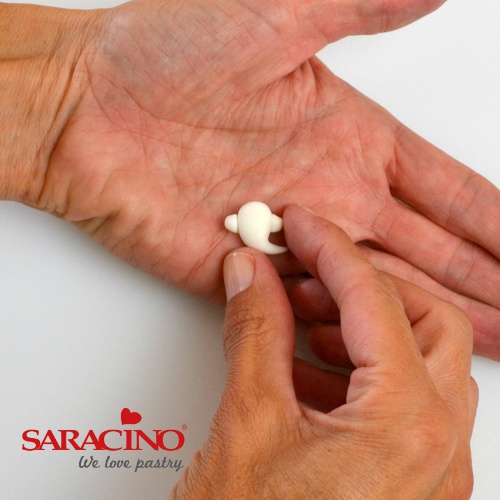
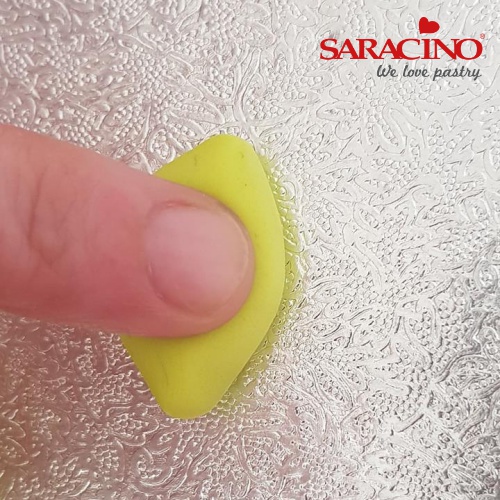
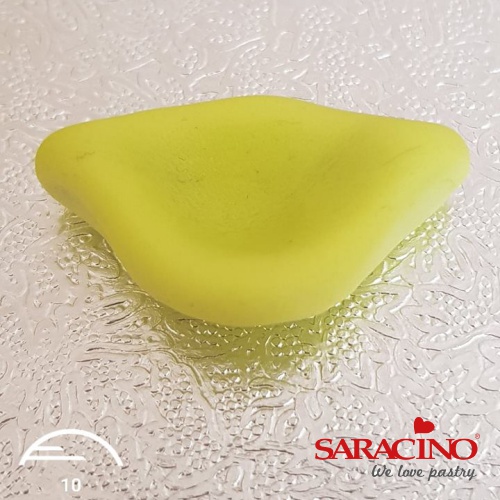
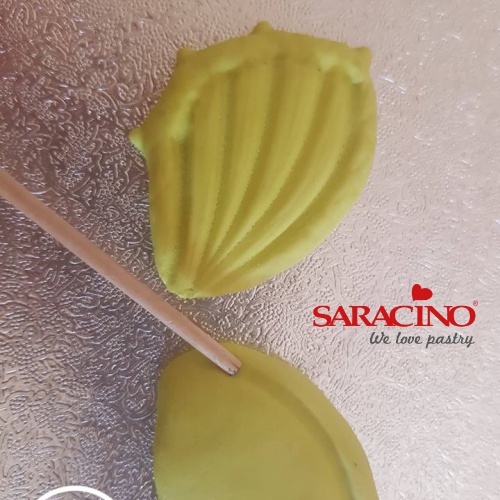
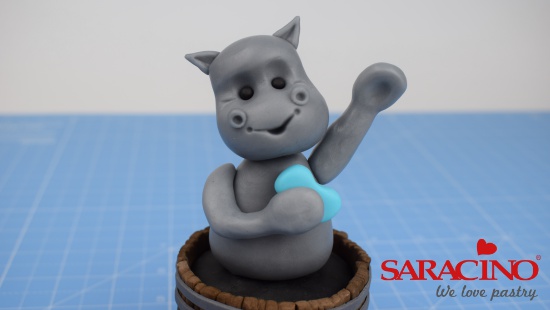
Take 3g of light blue modelling chocolate roll into a short fat cylinder. Flatten the paste slightly with your fingertips and gently squeeze the middle to indent the paste as shown.
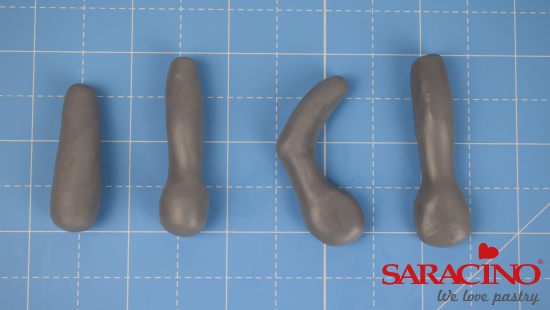
Step 38
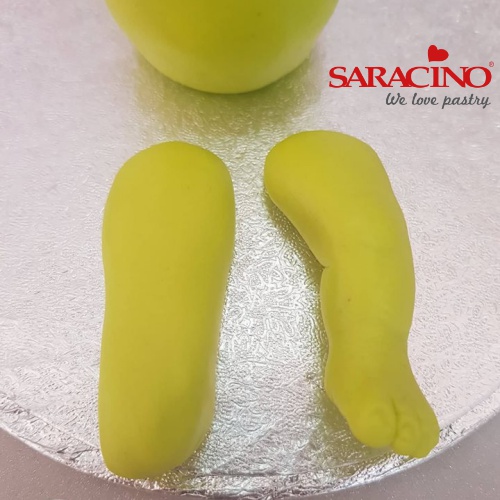
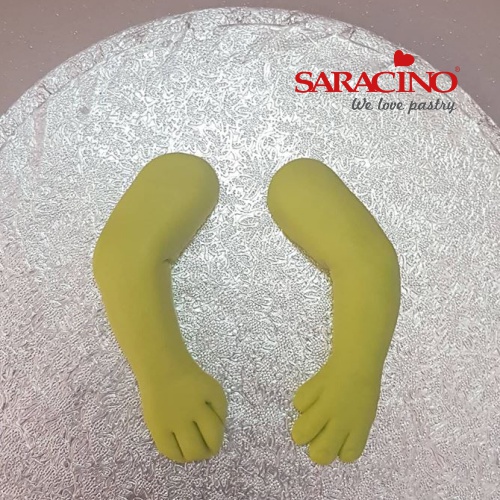
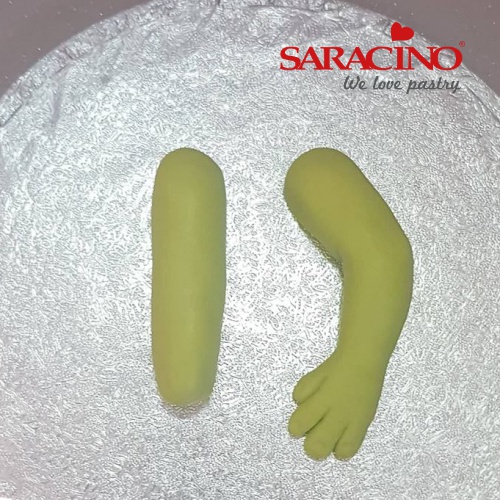
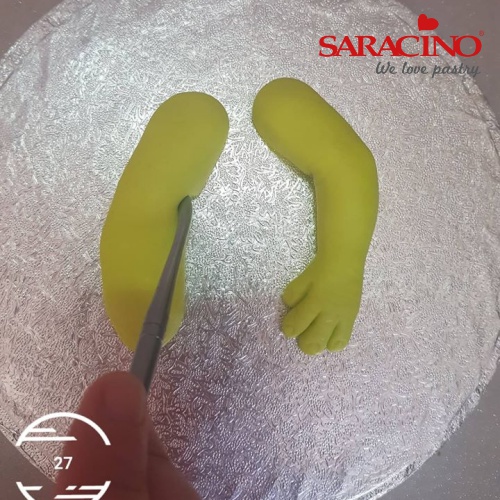
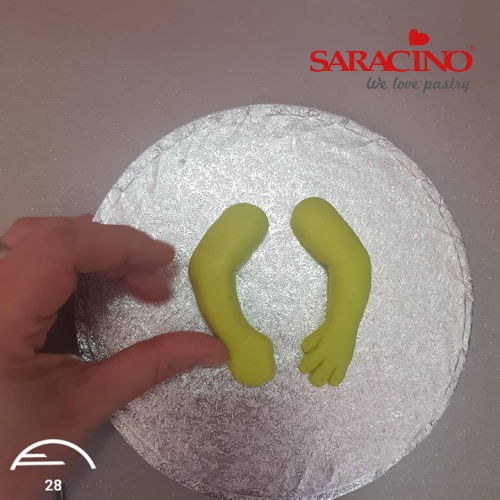
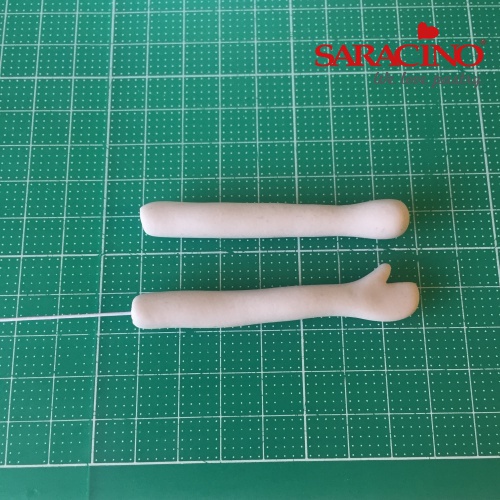
Take 10g of grey modelling chocolate and divide equally into two. Roll each piece into a short teardrop. Narrow slightly at one end by rolling the paste between your thumb and finger to create the hand. Gently flatten and smooth the hand with your fingertips. Again, roll the paste between your thumb and finger to narrow the wrist and lengthen the arm as shown. Bend the right arm in the middle and gently pinch out the elbow. Leave the left arm straight.
Step 39
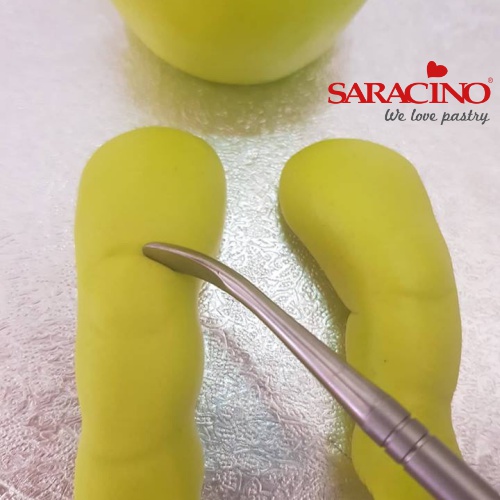
Gently press a food safe skewer into the paste as shown.
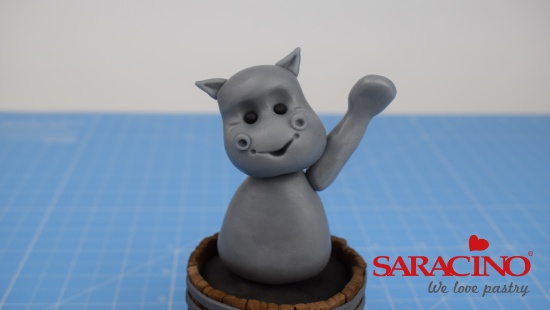
Step 40
Carefully slide the arm down the skewer and stick into place with a small amount of water.
Step 41
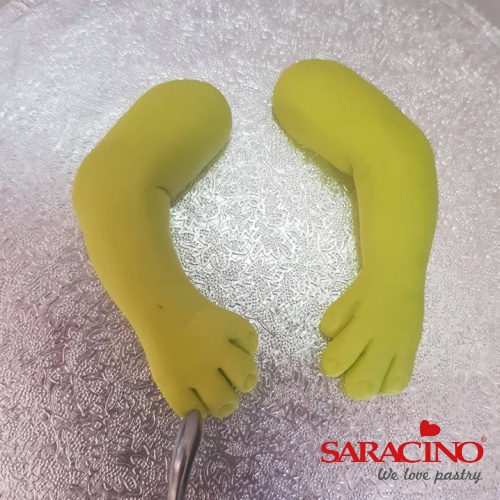
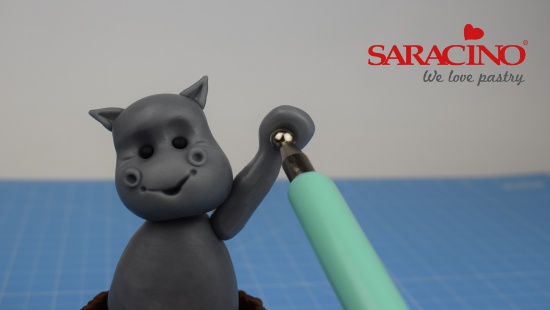
Use the large end of the balling tool to gently indent the palm of the hand.
Step 42
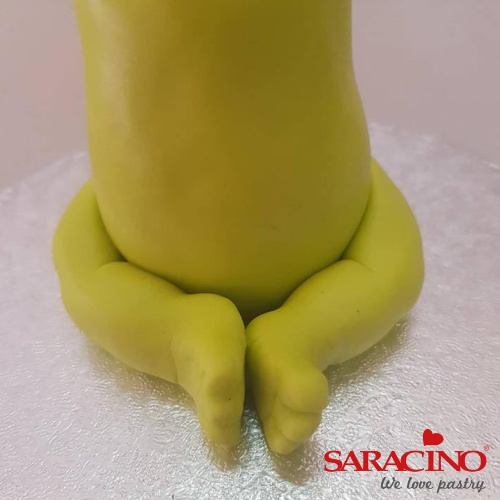
Stick the sponge into place at the bottom of the left arm. Stick the right arm into place resting the hand on the sponge.

Step 43
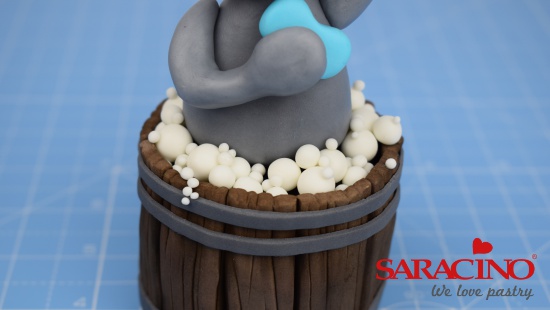
Take 7g of white modelling paste and roll multiple balls of varying sizes.
Step 44
Take 2g of white modelling paste and roll lots of tiny balls of various sizes. Stick them randomly into place around the top of the barrel.
Step 45
Take 2g of white modelling paste and roll lots of tiny balls of various sizes. Stick them randomly into place around the top of the barrel.
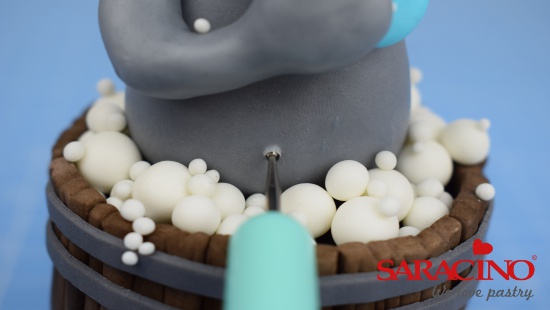
Step 46
Position some of the tiny balls so that they are ‘spilling’ down the side of the barrel.
Step 47
Roll two tiny white balls and stick them into place on each eye as shown.
Step 48
Stick some tiny balls around the base of the left arm and across the sponge. Add a few to the top of the right shoulder.
Step 49
Add a few tiny white balls to the top of the head and left hand.
Step 50
Use the small end of the balling tool to gently indent a belly button.
Step 51
Place the hippo to one side to dry a little.
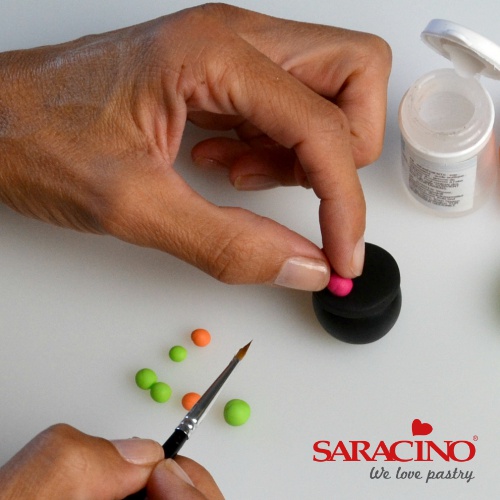
Step 52
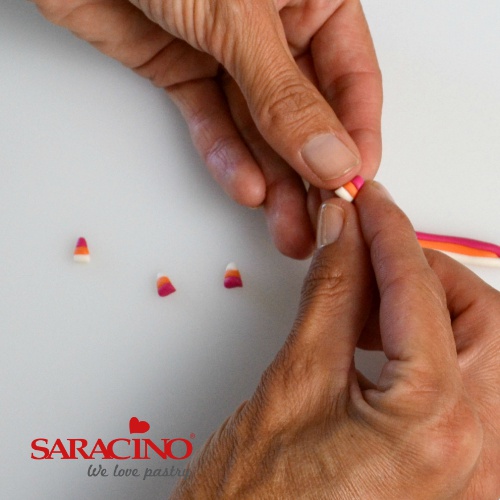
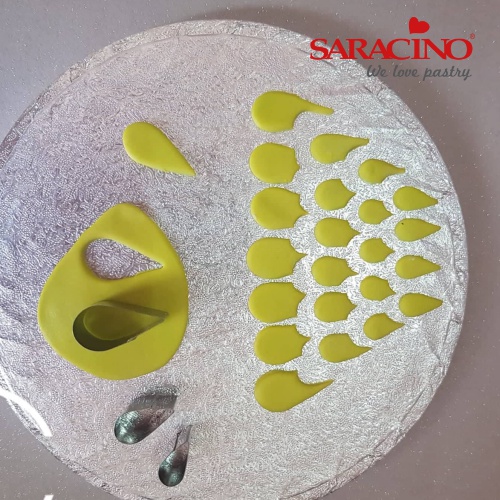
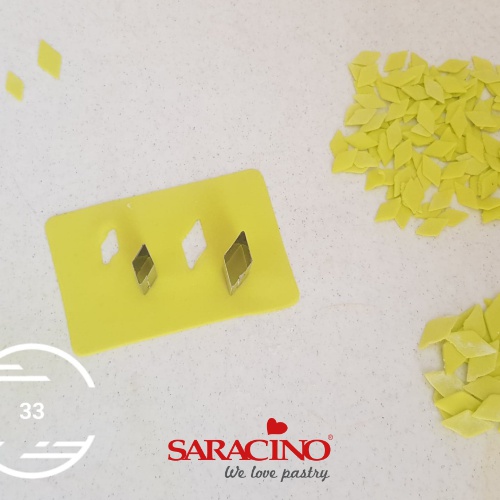
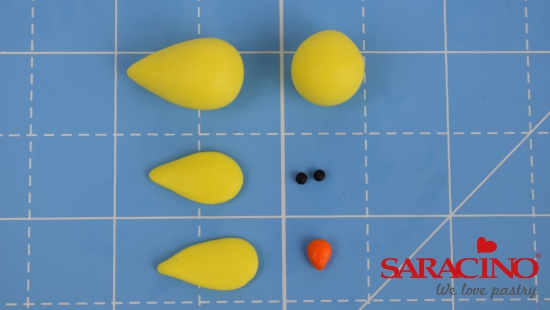
Take 3g of yellow modelling paste. Roll 1g into a teardrop shape, 1g into a small ball and divide the last 1g into two, roll each piece into a teardrop shape and flatten gently with your fingertip. Roll two tiny balls of black modelling paste, and finally roll a tiny ball of orange modelling paste into a teardrop shape.
Step 53
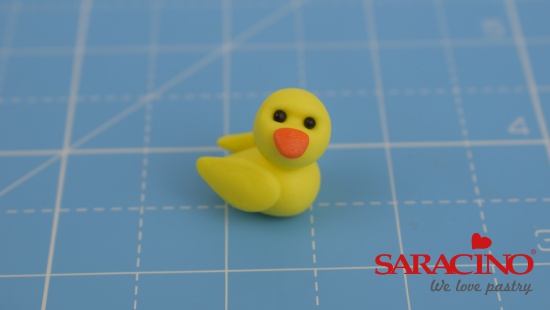
Stick the two wings either side of the body. Use the small balling tool to indent two holes and stick the eyes into place. Stick the head onto the body ad finally add the beak.
Step 54
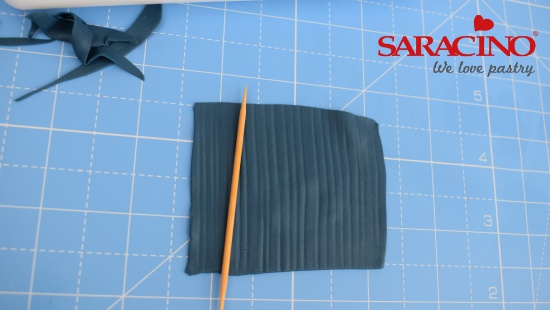
Thinly roll 4g of navy modelling paste, and using a sharp knife trim the edges to make a rough rectangle shape. Gently roll and press a cocktail stick along the paste to texture.
Step 55
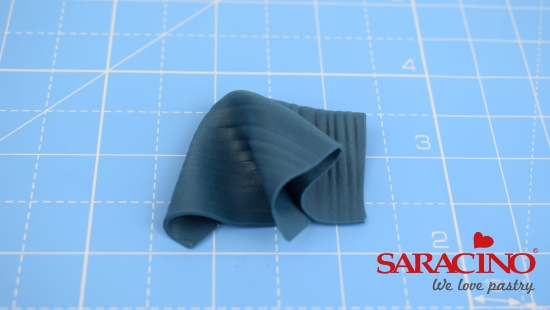
Fold the paste together to look like a crumpled towel.

Step 56
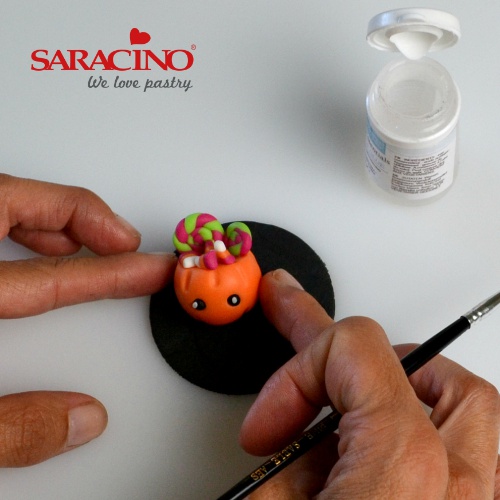
To finish use a soft paintbrush to apply a small amount of Saracino pink dust to the cheeks and palm of the hippo.
Step 57
Add a small amount of dust to the inside of the ears.