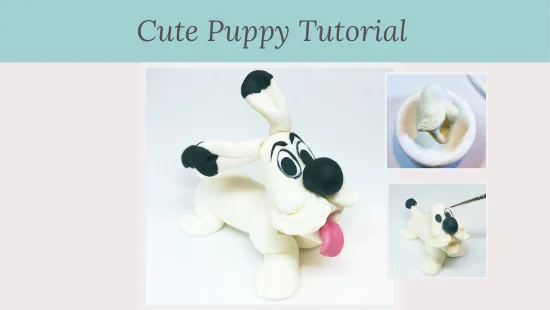
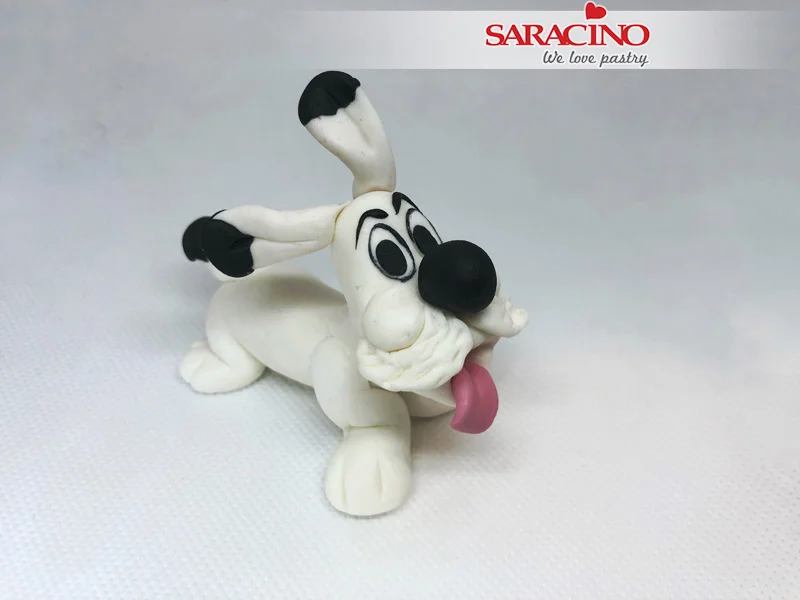
CUTE PUPPY TUTORIAL
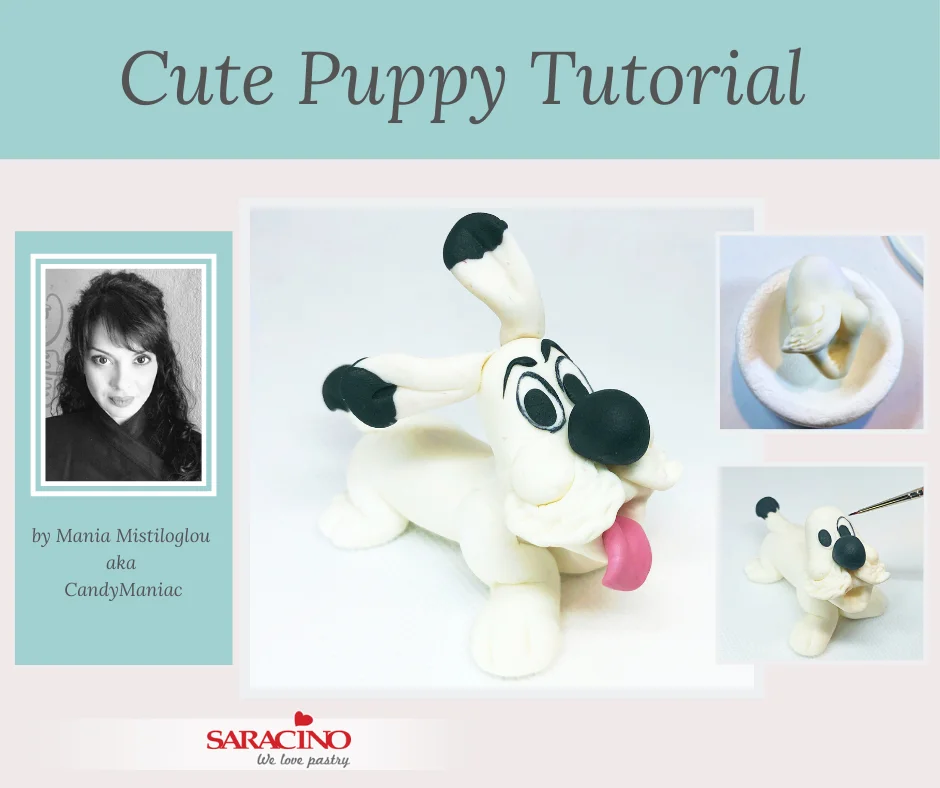
Author: Mania Mistiloglou

FB: Candy Maniac
Skill level: INTERMEDIATE
TIP:
“it’s almost impossible to keep white paste dust-free as you work with it and even the smallest piece of dust is very annoying. With a cotton swab soaked in vodka you can gently clean the dust off your model. Otherwise use a baby wipe towel to clean your finished model for larger areas.”
You will need:
- Saracino modeling paste (white, black, pink)
- Non stick board
- Edible glue
- Knife
- Dresden tool
- Point tool
- Small flower former mould
- Fine brush
- Saracino gel colour black
- Clear alcohol
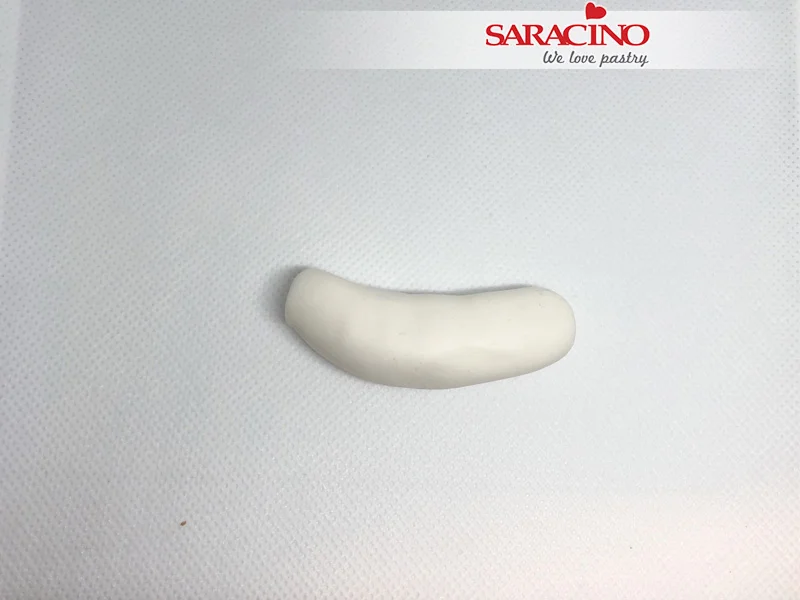
Step 1
Take a piece of white paste (19g) and roll it into a sausage shape.
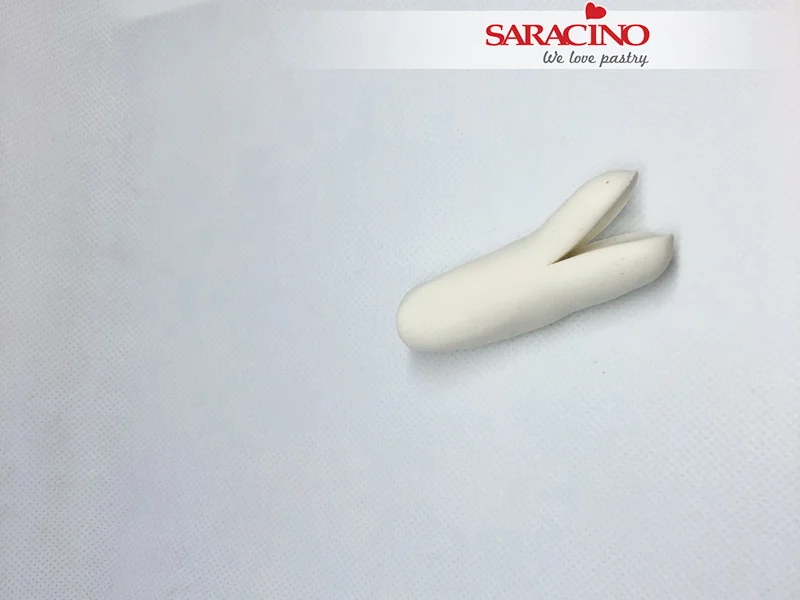
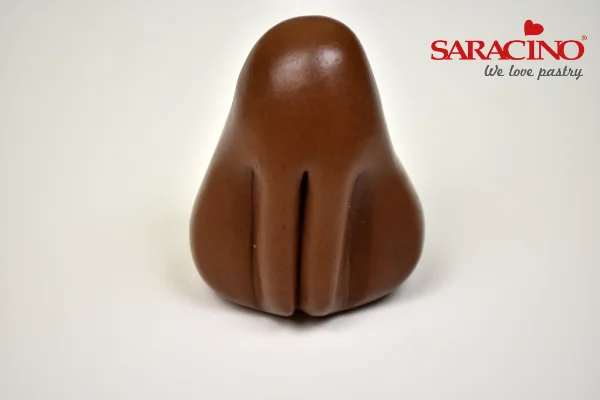
Step 2
With the knife cut one end of it in half to split the two back legs
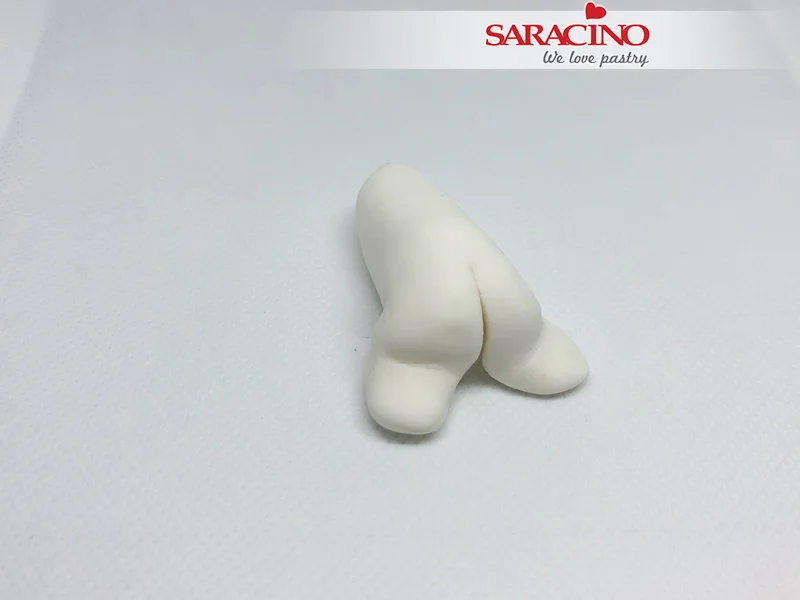
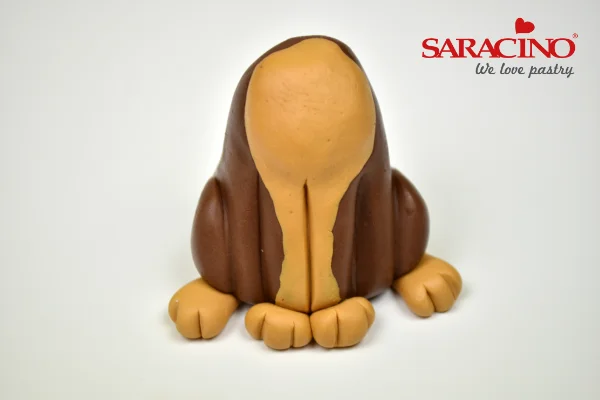
Step 3
Bend each leg and form the back.
Step 4
In this photo you can see how they should be shaped.
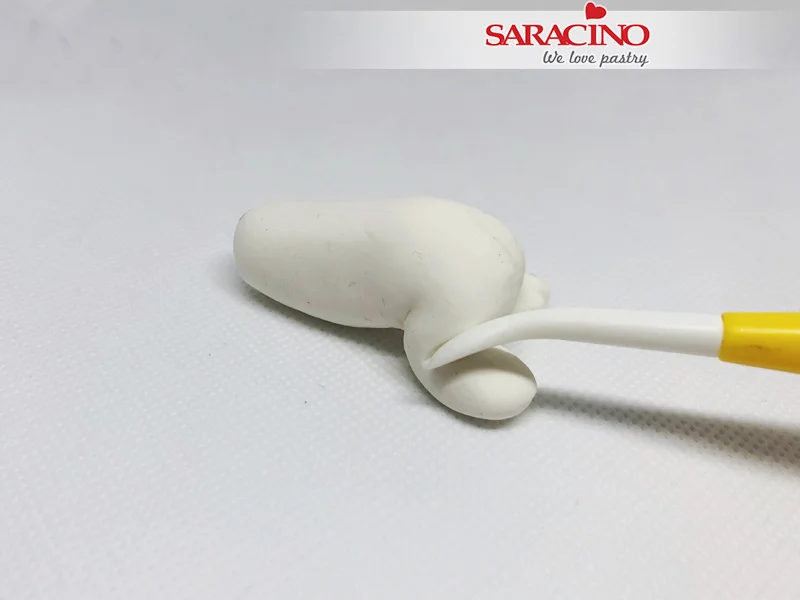
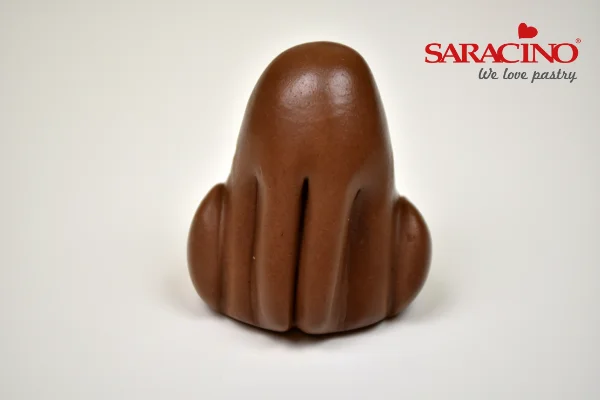
Step 5
Use the Dresden tool to make some details.
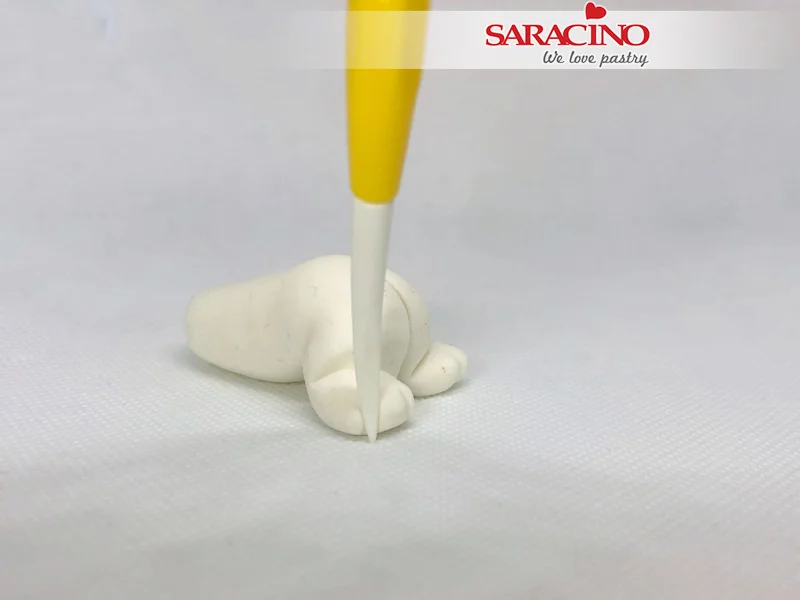
Step 6
Use the other side of the same tool to form the paws.
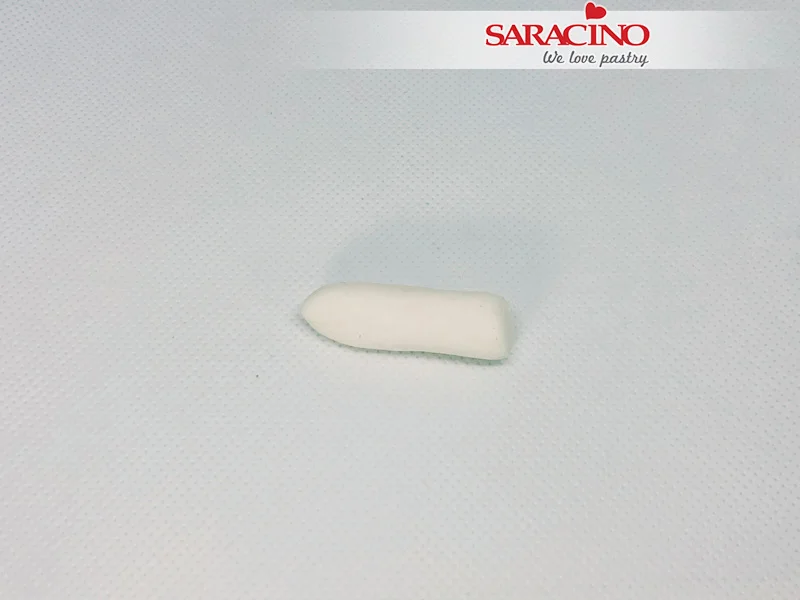
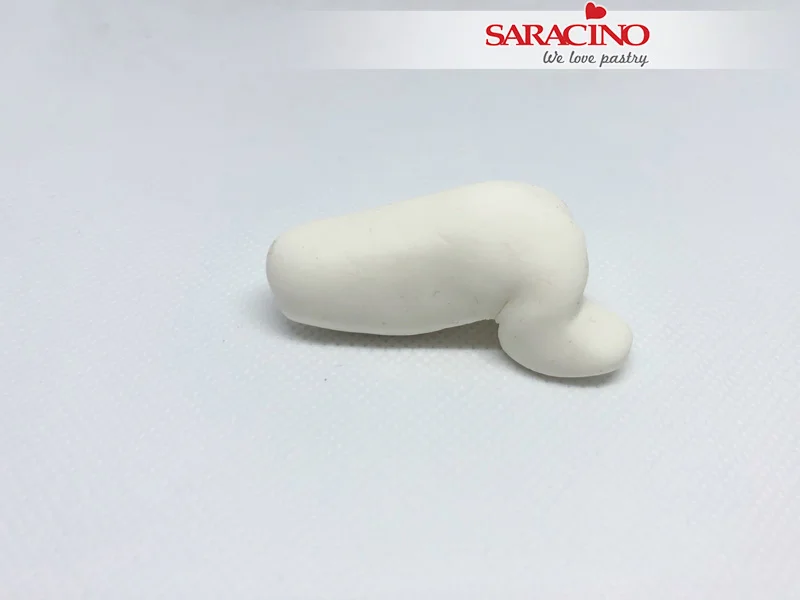
Step 7
Take 3g of white paste and roll it into sausage shape
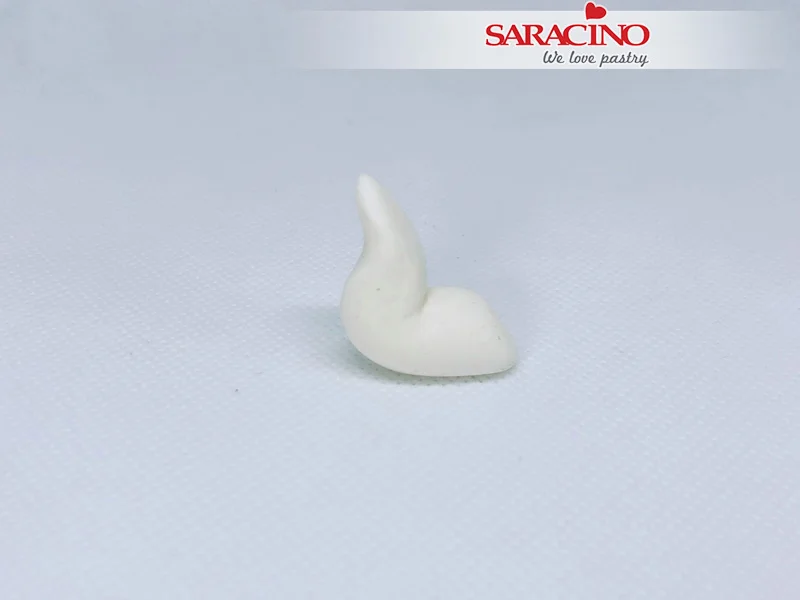
Step 8
Bend it in an angle and flatten the upper end. This will be one front leg.

Step 9
Do the same thing with the other leg and attach them to the body. With the Dresden tool form the details of the paws.
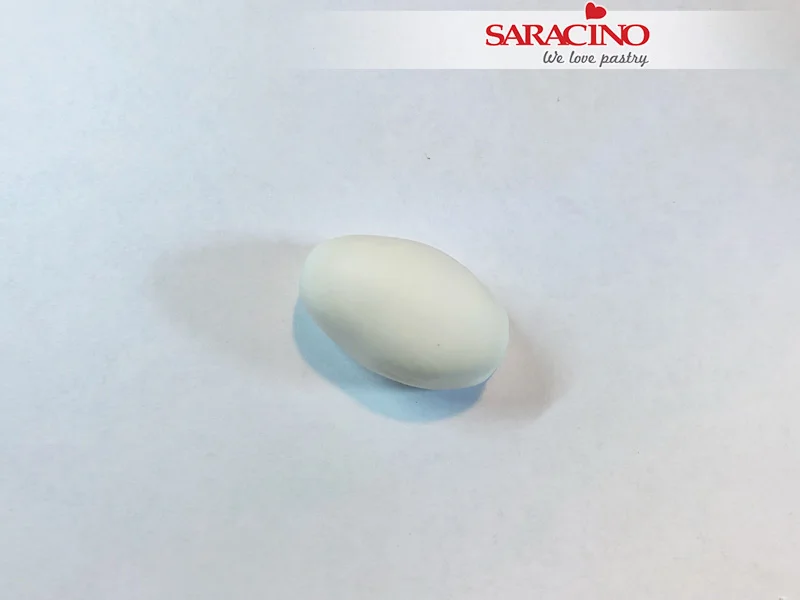
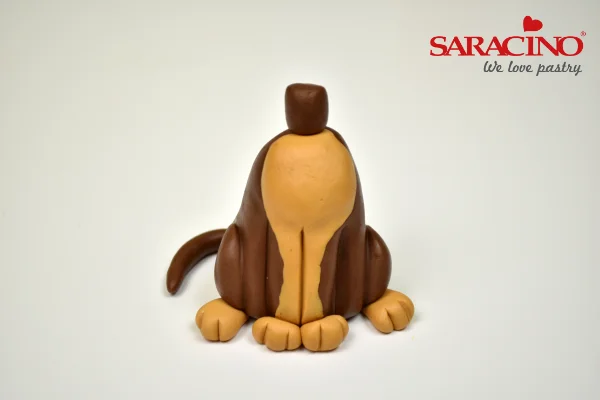
Step 10
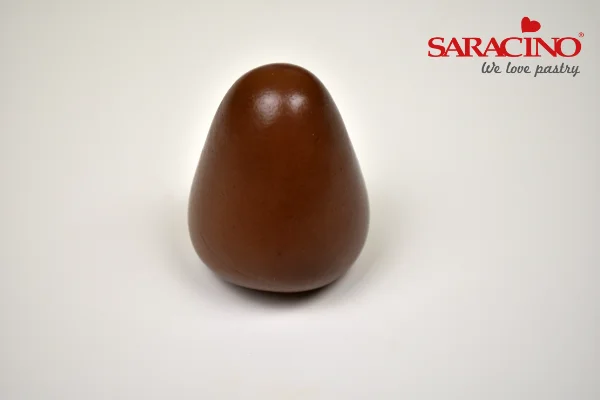
Take a piece of white paste (13g) and make an oval shape
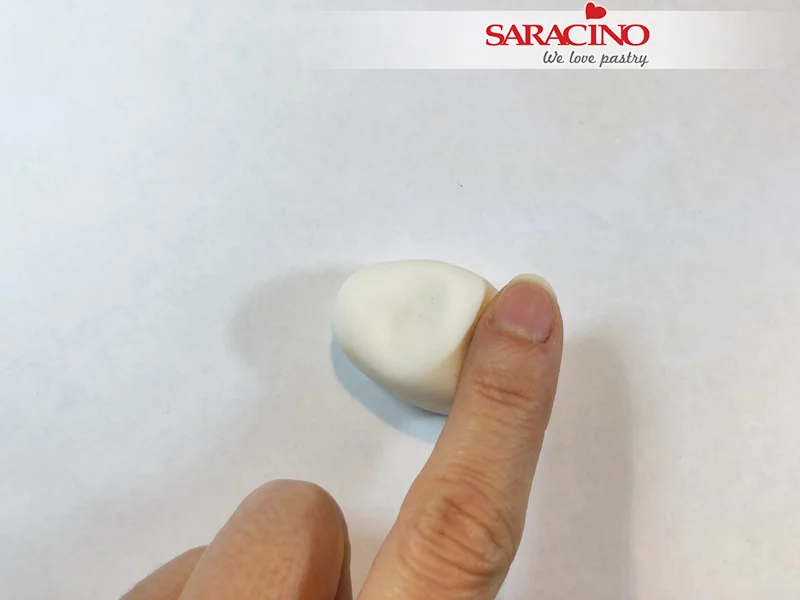
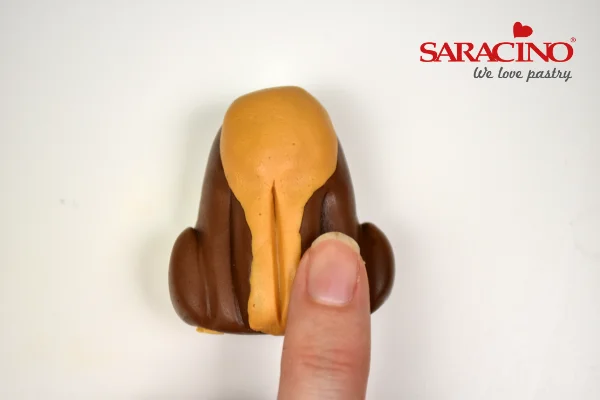
Step 11
Using your finger push one end lightly
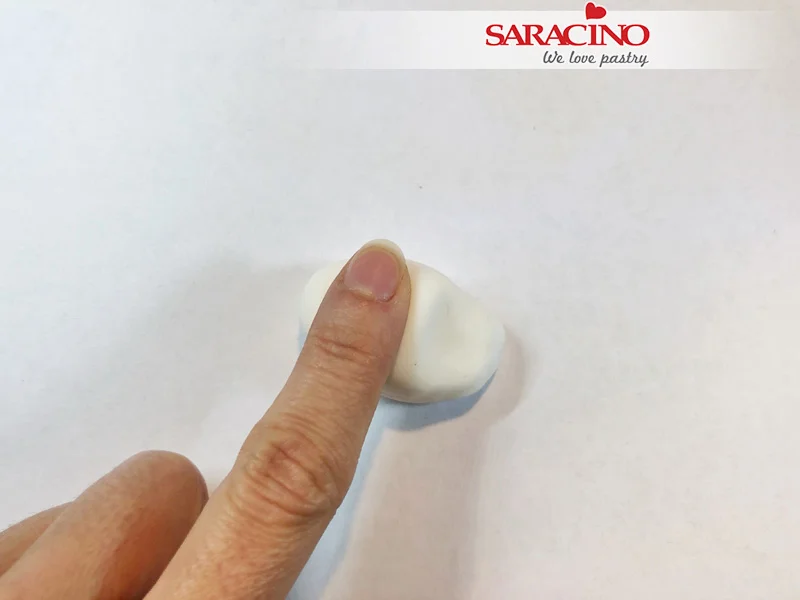
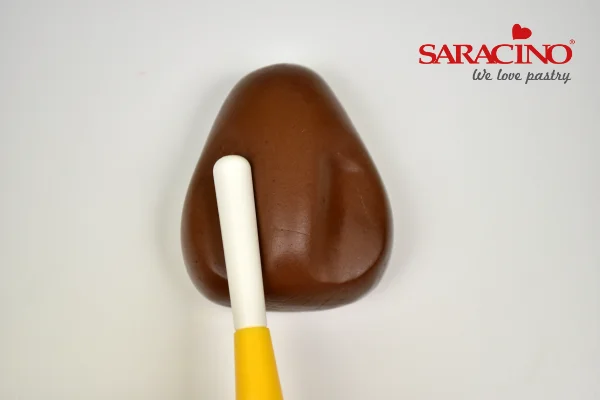
Step 12
With your finger push the other end too, leaving some space in the middle
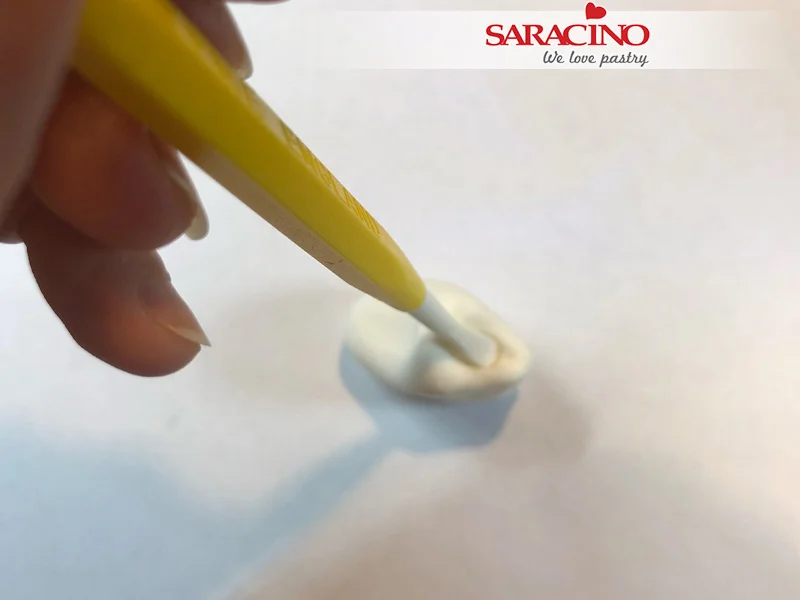
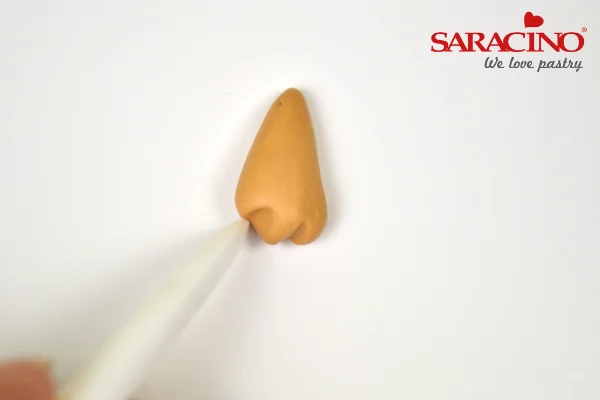
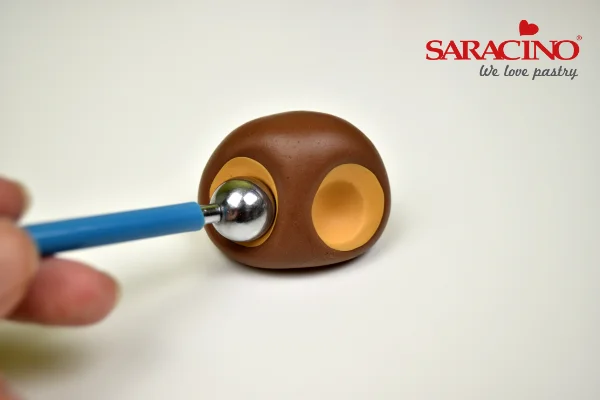
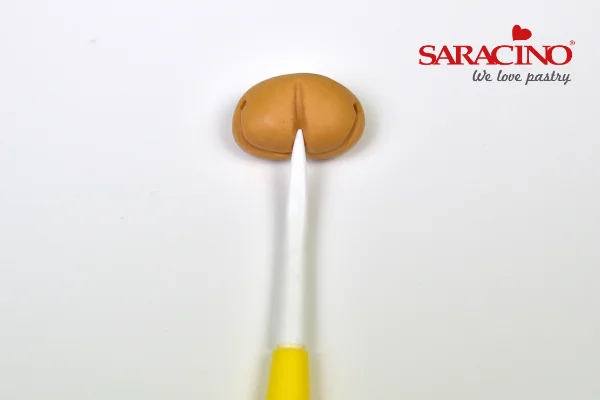
Step 13
With your Dresden tool push one end to make a dimple where the mouth is
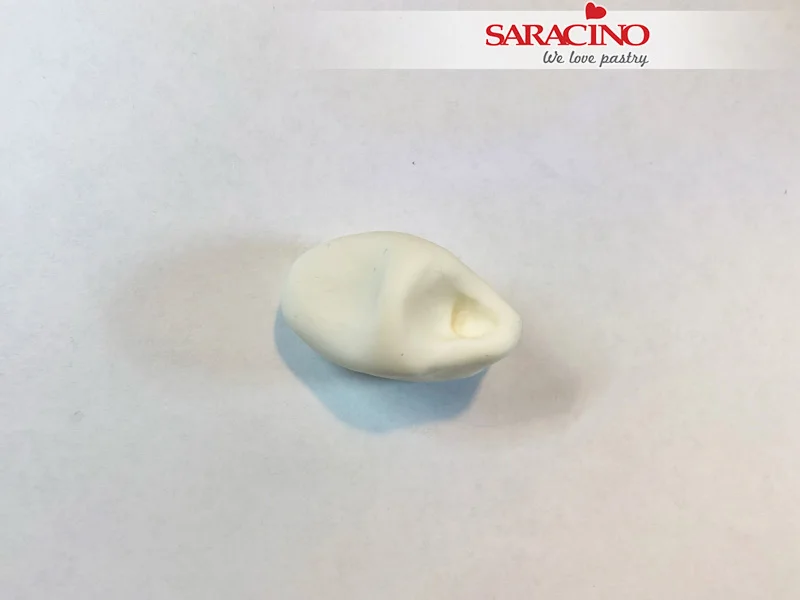
Step 14
Use your fingers to smooth and form the shape if needed.
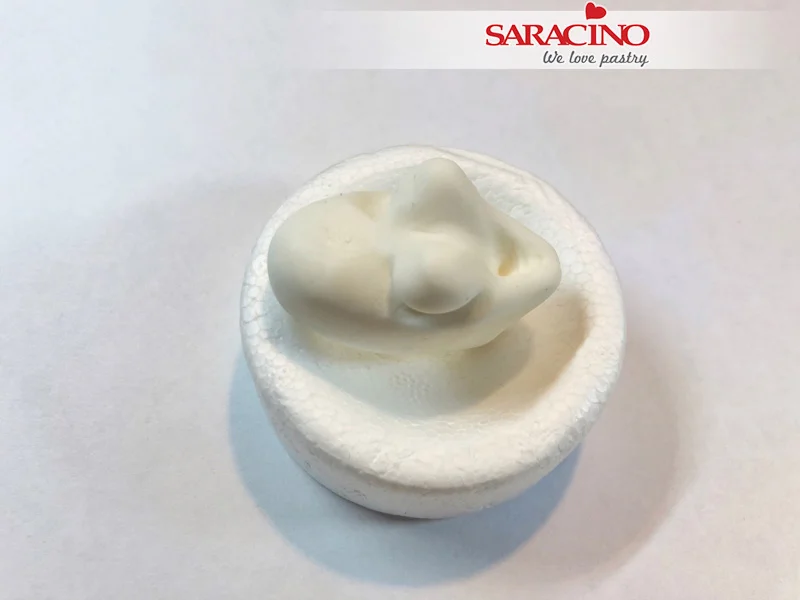
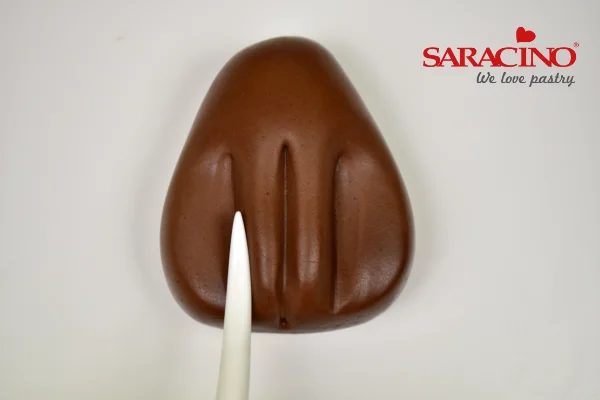
Step 15
Use your Dresden tool to apply pressure down the middle of the remaining high part to form two cheeks
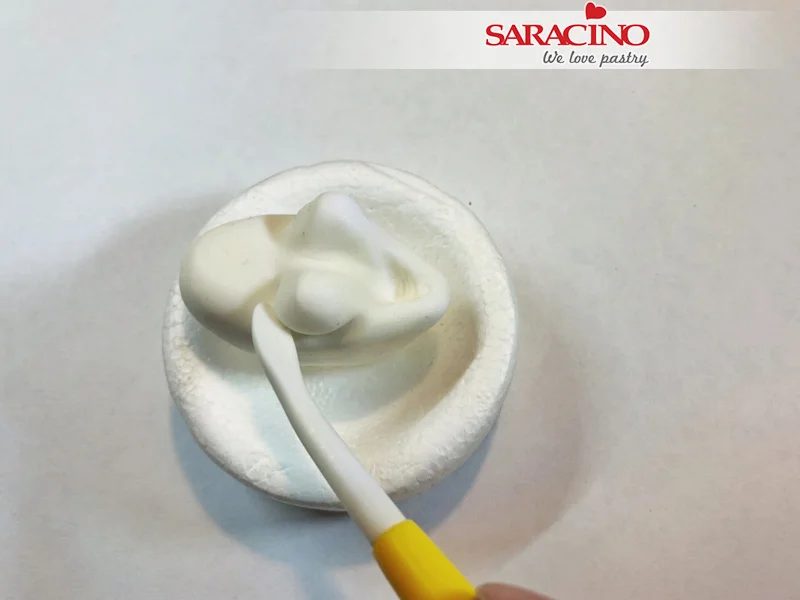
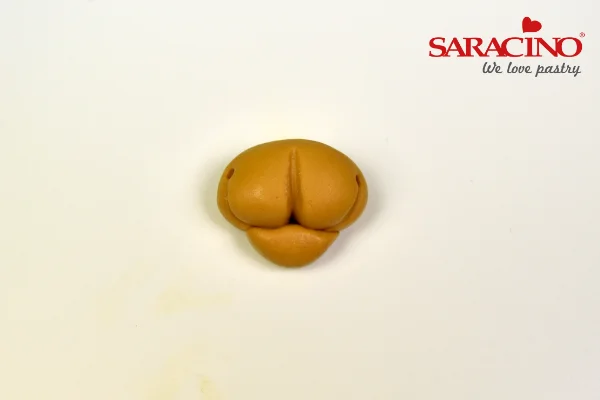
Step 16
Model and form the shape with your Dresden tool and fingers to make the cheeks round and stand out.
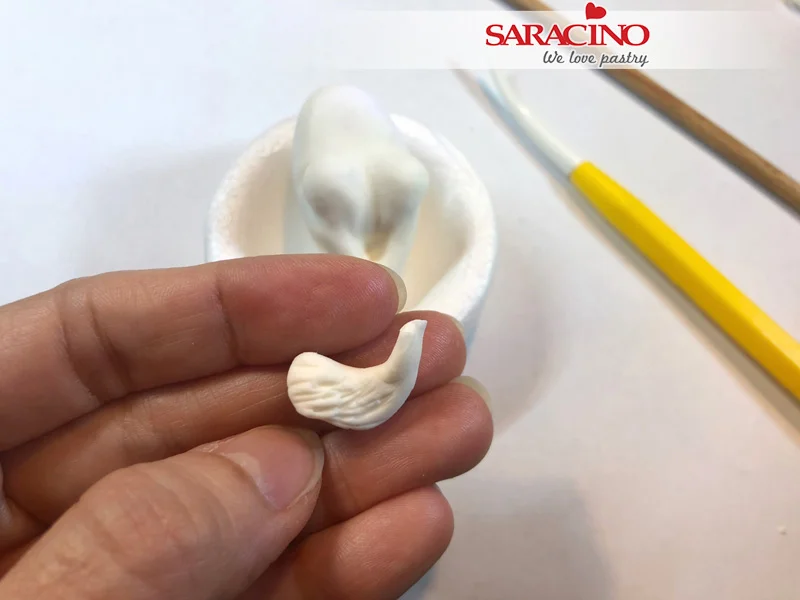
Step 17
Now for the whiskers. Take a small piece of paste and shape it into a teardrop, flatten it with your fingers and make some definition / whiskers with the point tool.

Step 18
Attach it as shown on one side of the face and make another for the other side
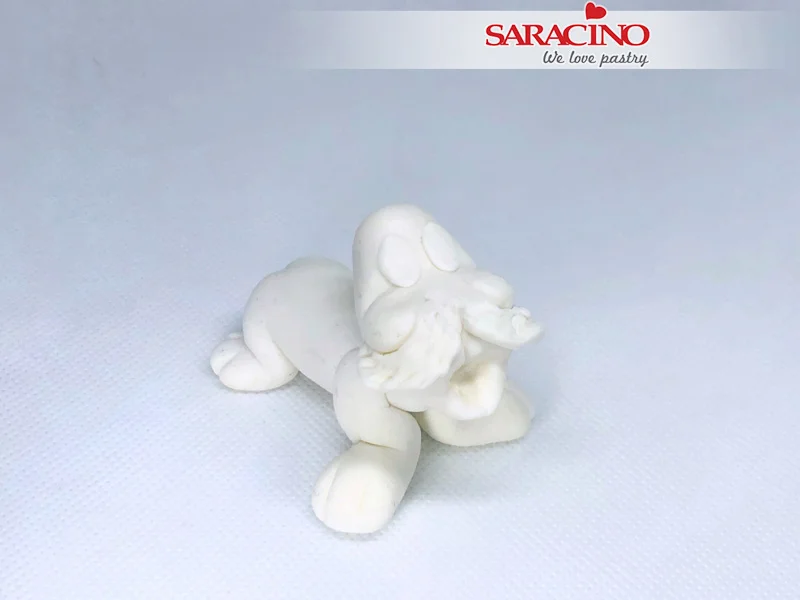
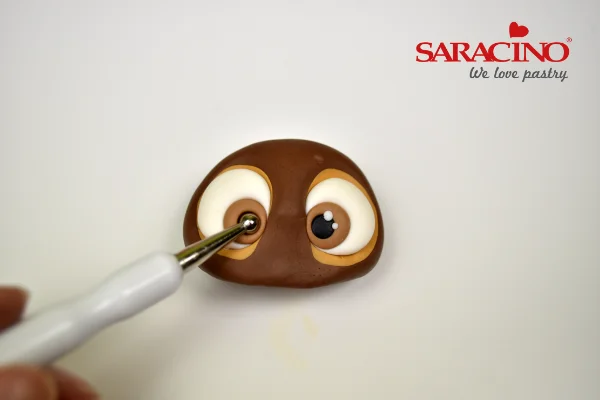
Step 19
Using a little edible glue fix the head to the body. Now roll two small balls of paste and using your fingers form them into oval shapes. Fix them above cheeks to start making the eyes.
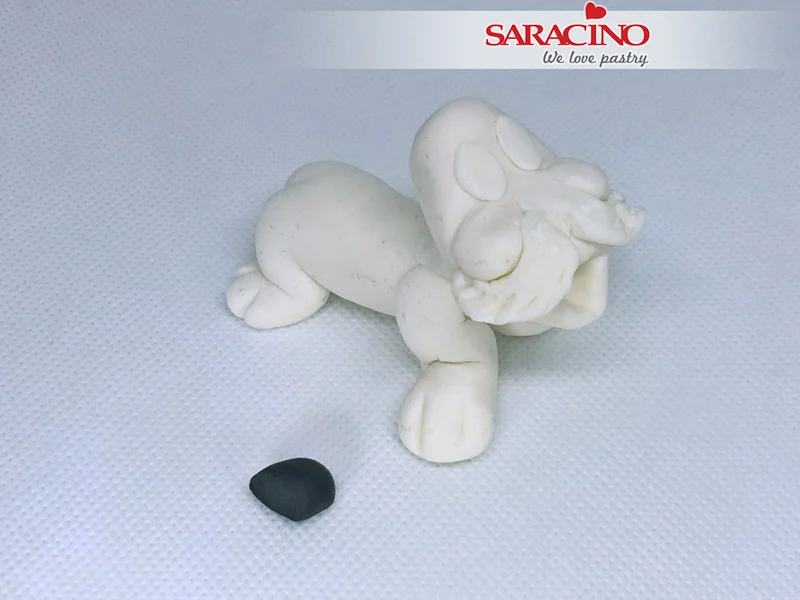
Step 20
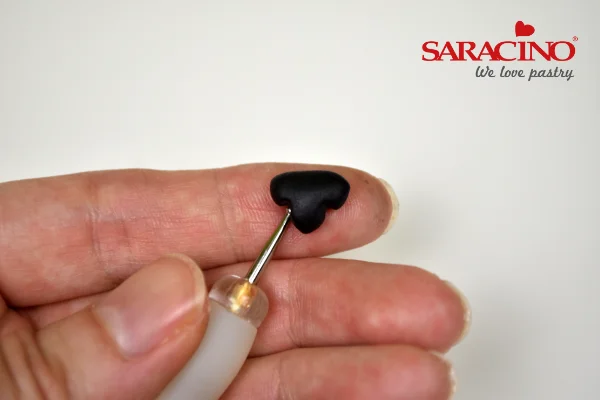
Roll a small piece of black paste for the nose.
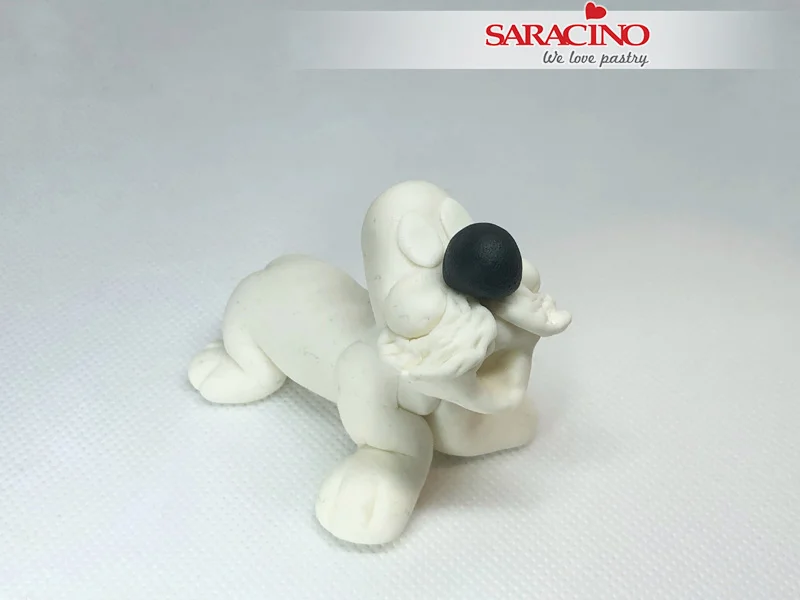
Step 21
Place it on the center of the face
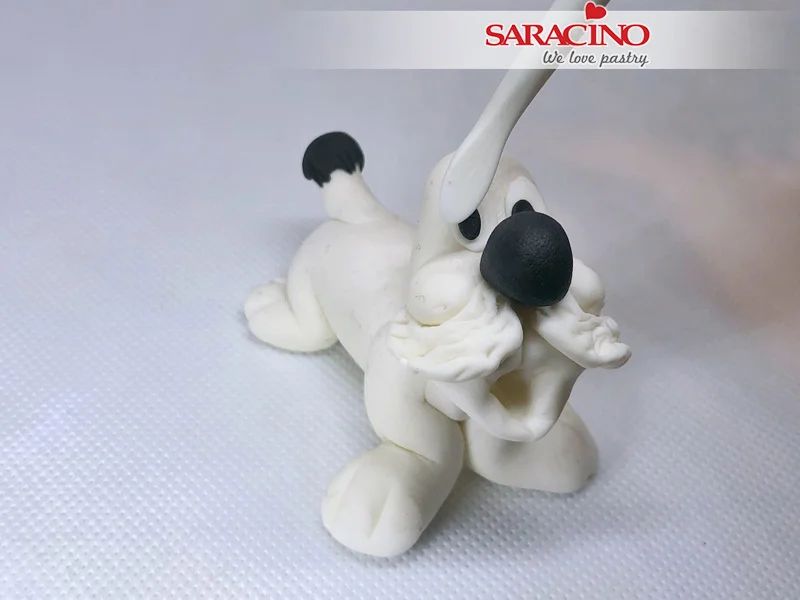
Step 22
Now for the tail and eyes. Roll a small piece of white paste into a tapered sausage shape for the tail, use a little black at the end. Then roll two small balls of black paste and fix for the eyes.

Step 23
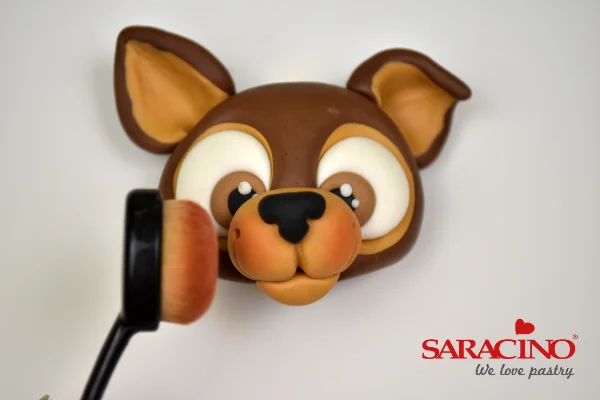
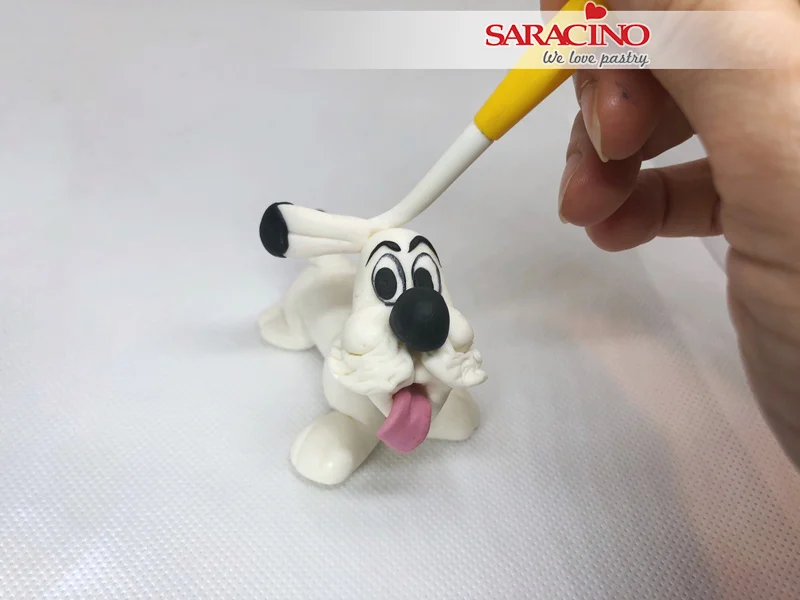
Dilute some of your black Saracino powder colour with clear alcohol. Using a fine brush paint the eyelids
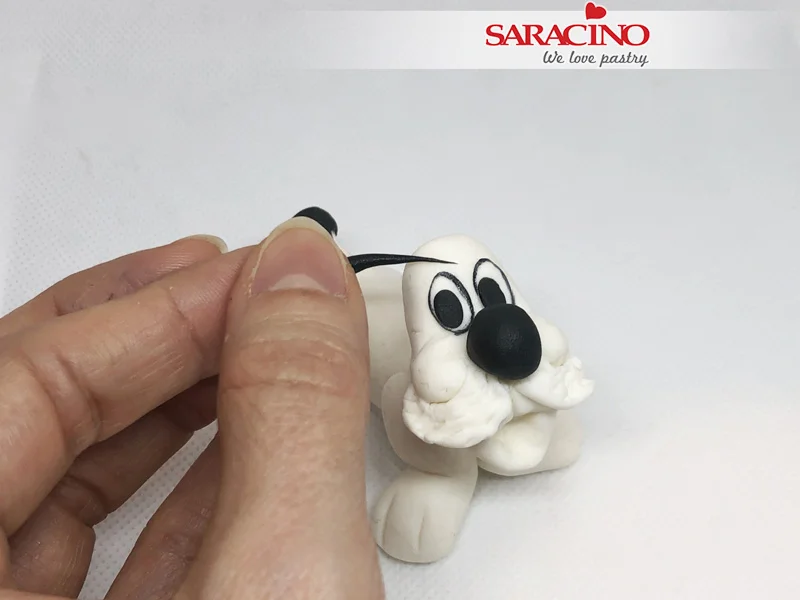
Step 24
Using black paste roll a very thin sausage for the eyebrows (narrower at each end).
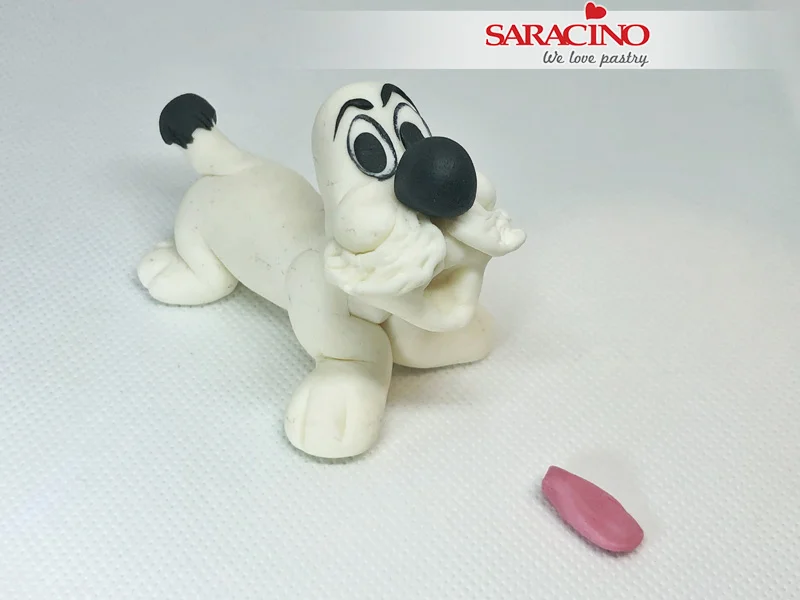
Step 25
Roll a small piece of pink paste for the tongue
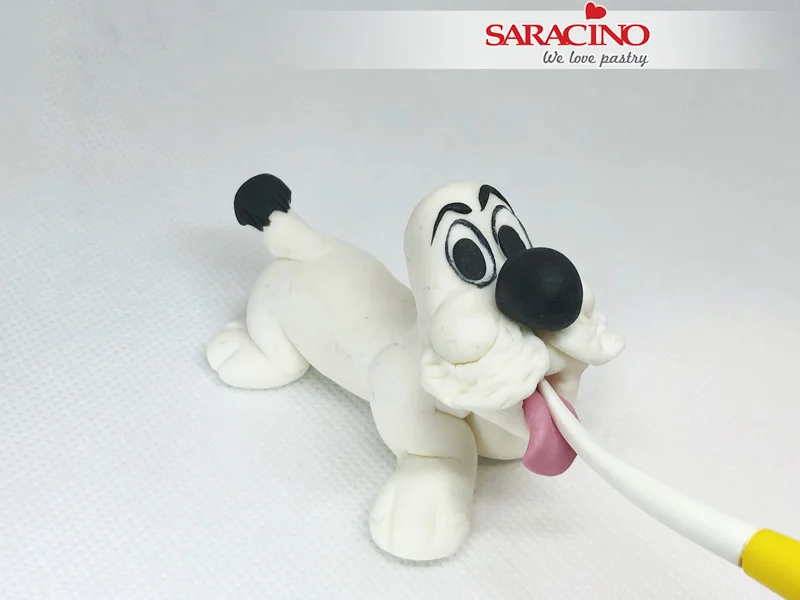
Step 26
Place it into the mouth. Use a small amount of Saracino edible glue if required. Form the groove in the tongue with your Dresden tool.
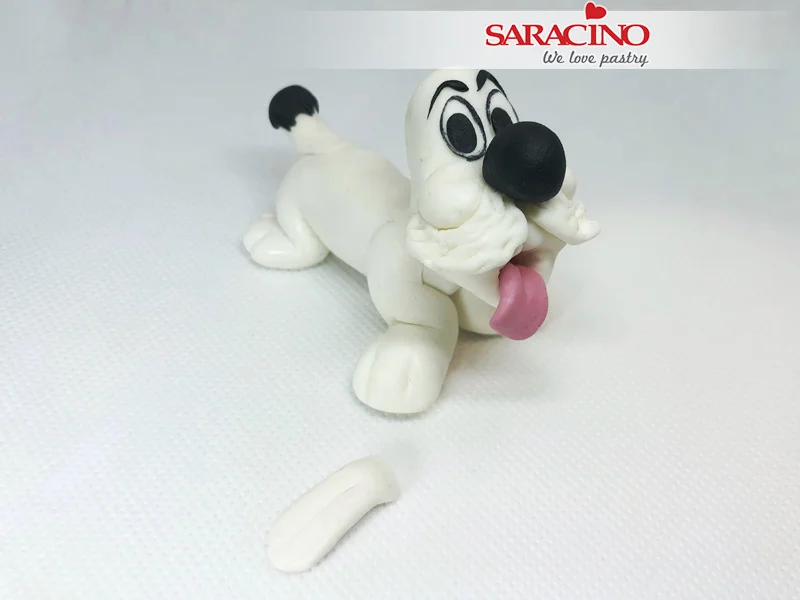
Step 27
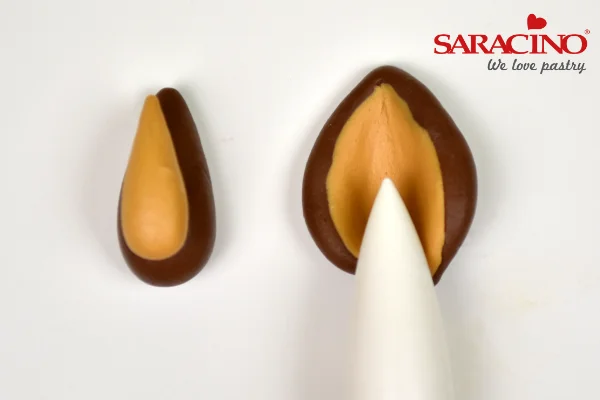
For the ears roll two small piece of white paste to the same size. Flatten one of them with your finger. Use your Dresden tool to form the groove down the centre.
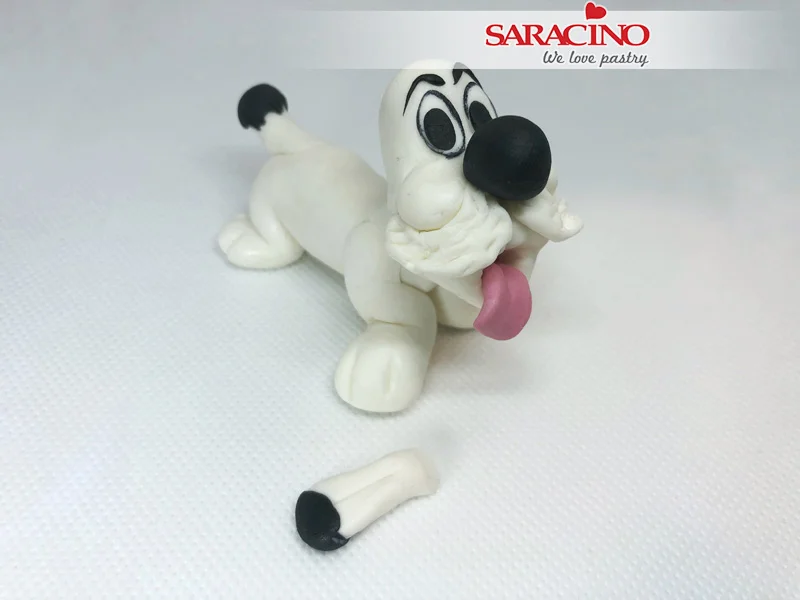
Step 28
Add a little black paste to the top of the ear.
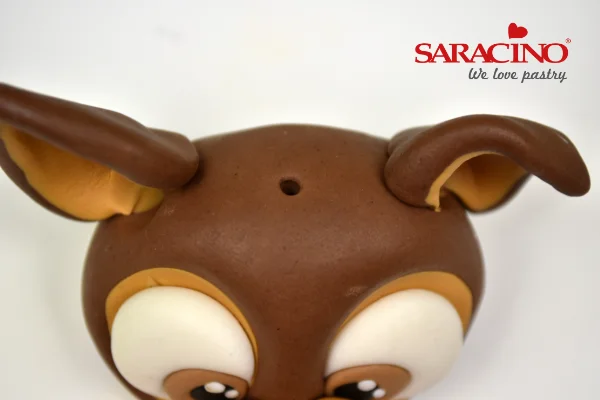
Step 29
Attach to the top of the head where you would like the ears to be.
TIP: You can give your little puppy different characters with how you place the ears.
Step 30
Now repeat with the other ear.
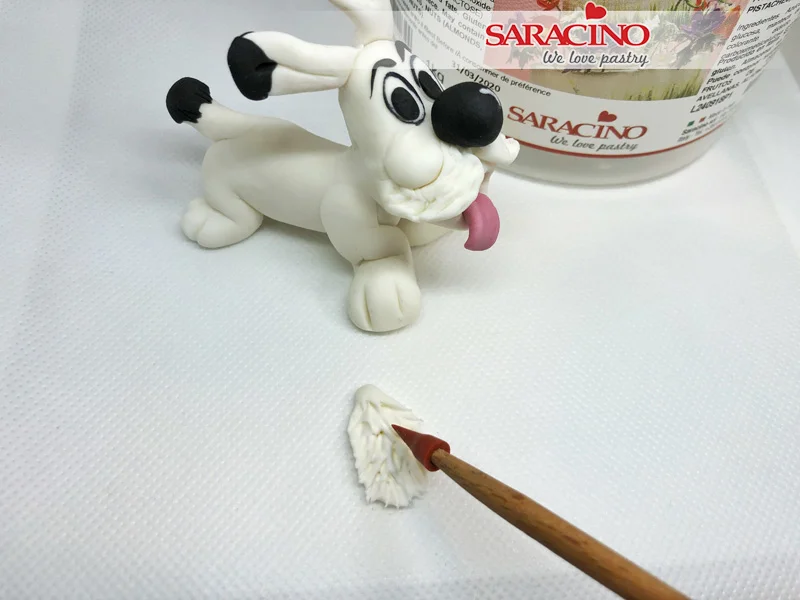
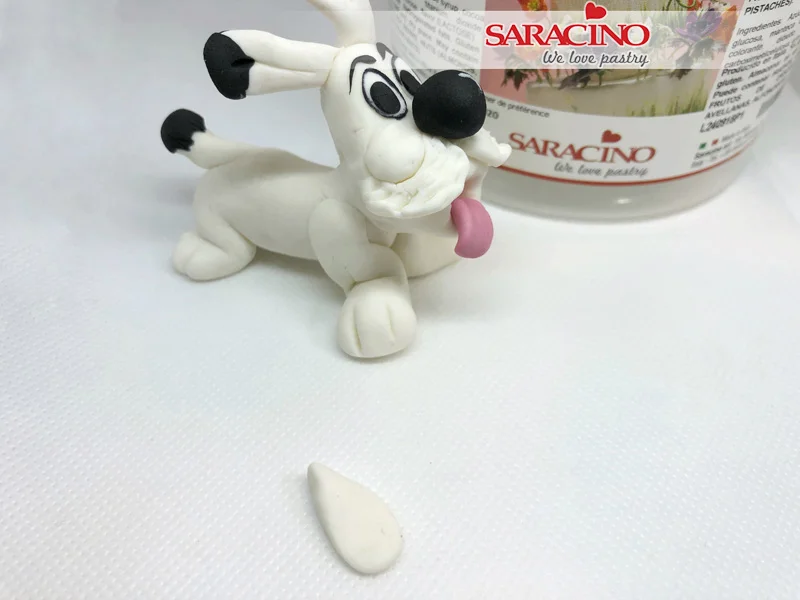
Step 31
For his chest roll a small teardrop shape of white paste, press down using your finger and then using your Dresden tool give definition for the hair.
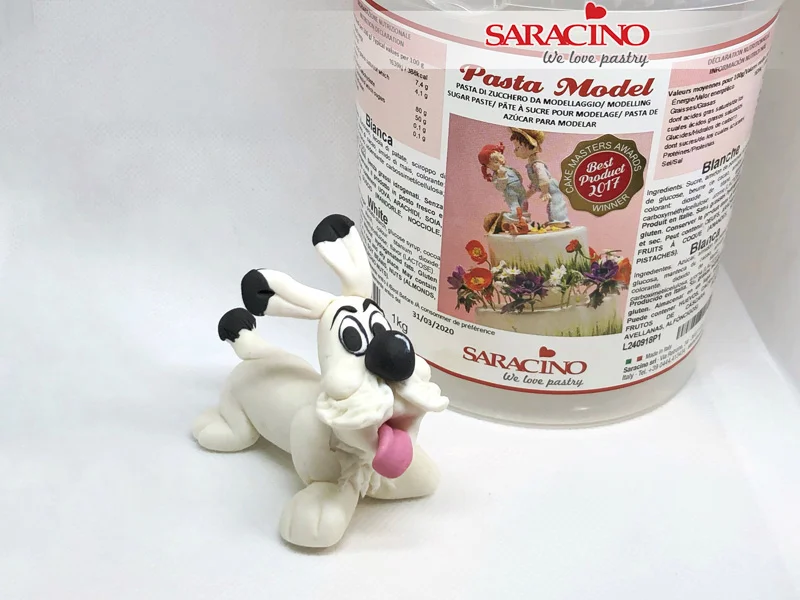
Step 32
Using a small amount of edible glue fix the chest to the model.
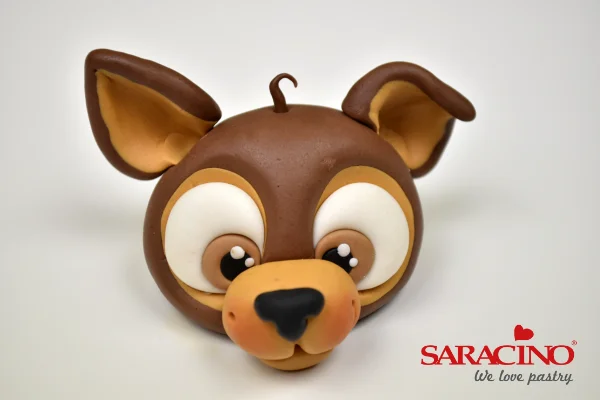
Step 33
Your puppy is now ready! Woof Woof