VALENTINE’S GIFT CAKE TUTORIAL
Raspberry Ganache
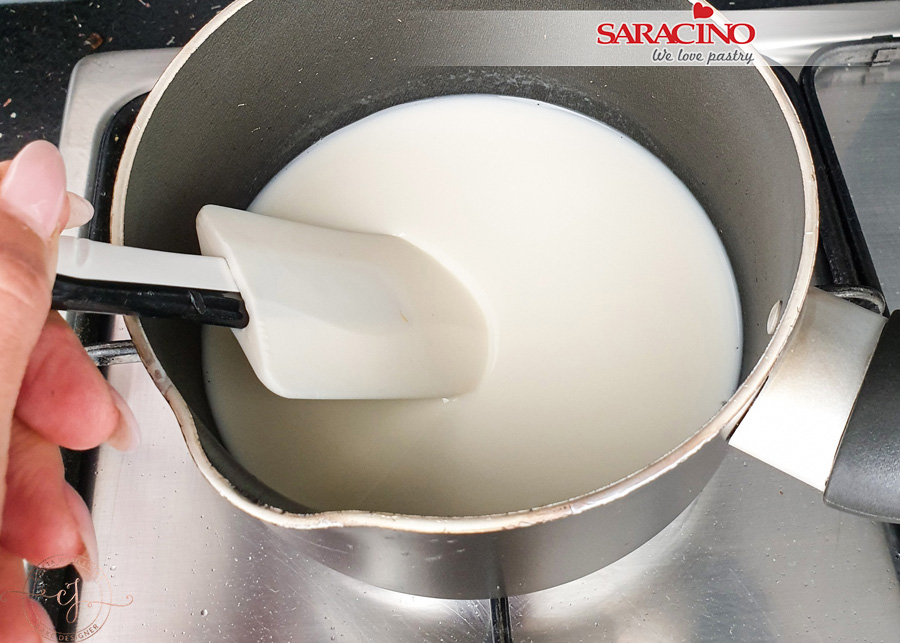
Pour the cream into a saucepan and heat it to about 40-50 ° C. Remove from the heat
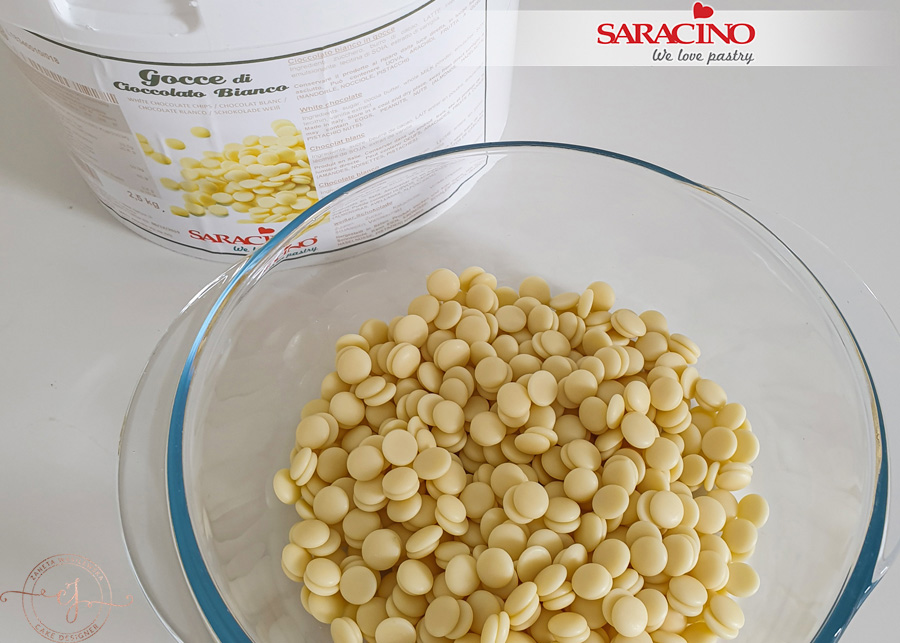
For the ganache put your white chocolate drops into a bowl. This amount will made approximately 24 pralines.
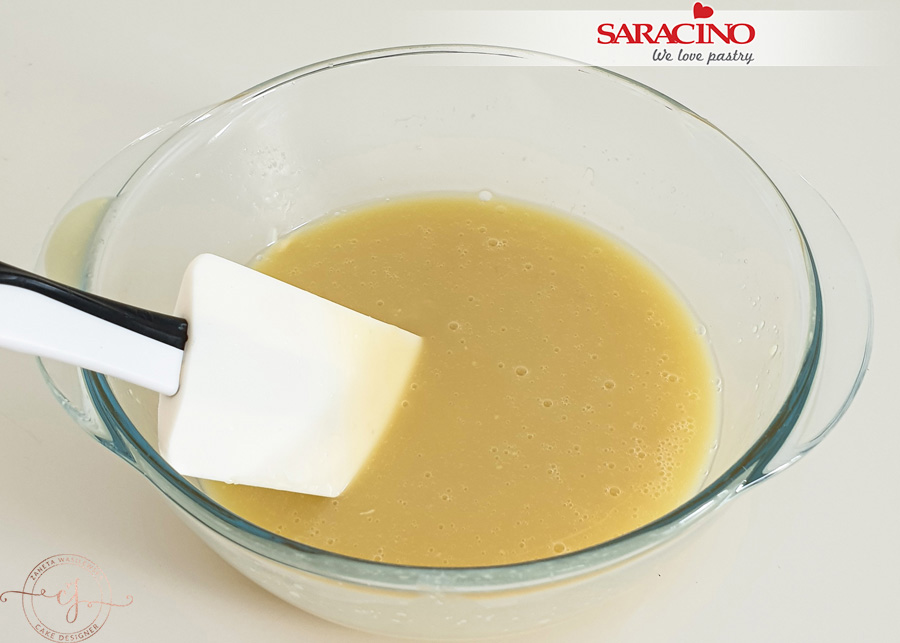
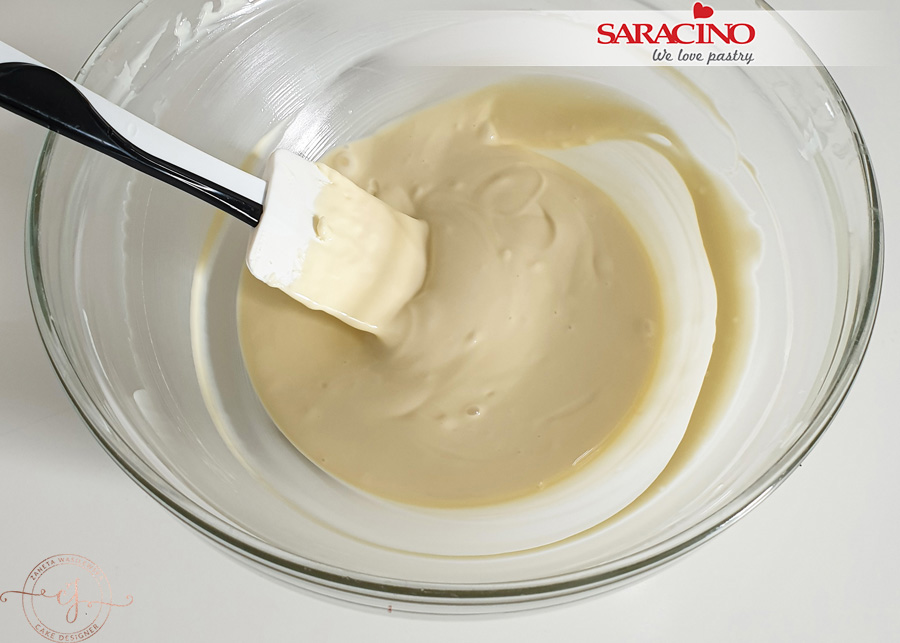
Pour warm cream onto the chocolate and combine until a smooth consistency is achieved.
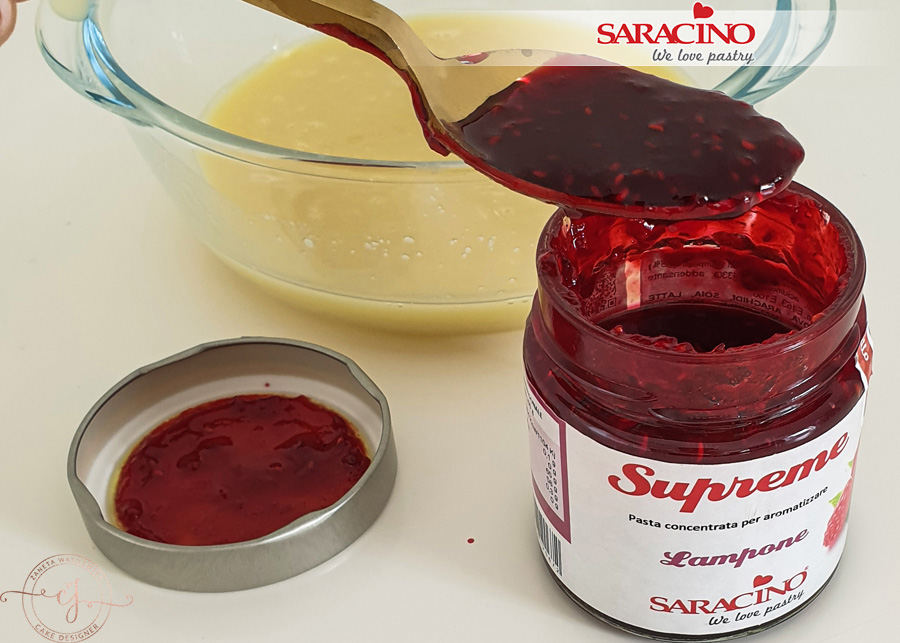
Add your Saracino raspberry flavour paste to the chocolate mix.
TIP: If you want the flavour to be stronger use more food flavouring.
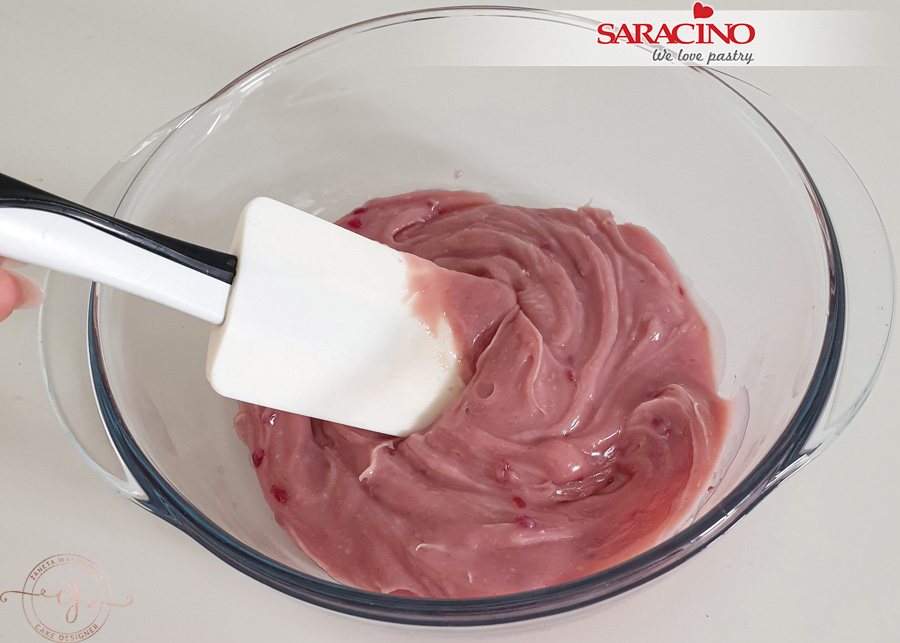
Mix until smooth
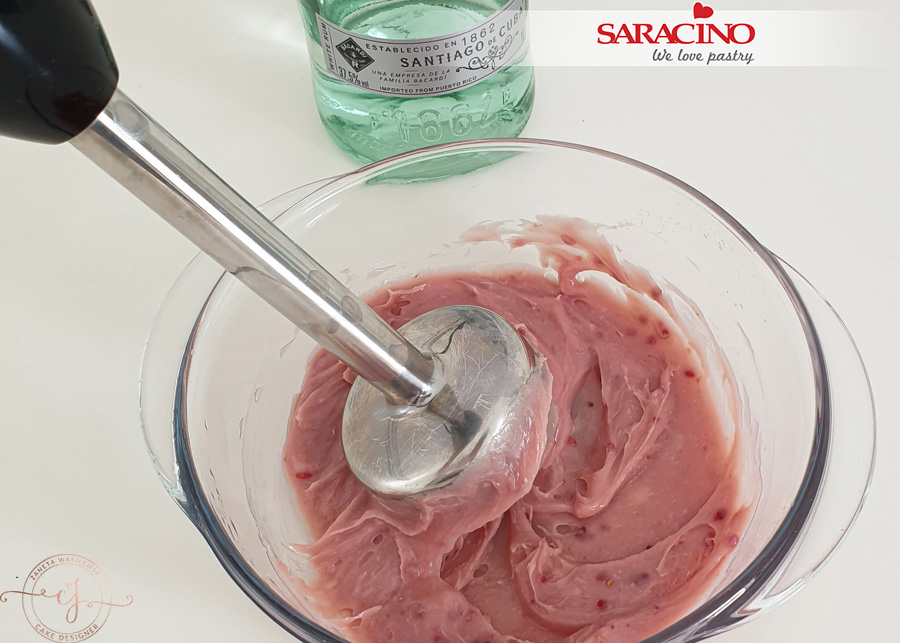
Optional to add white rum at this stage and mix to combine
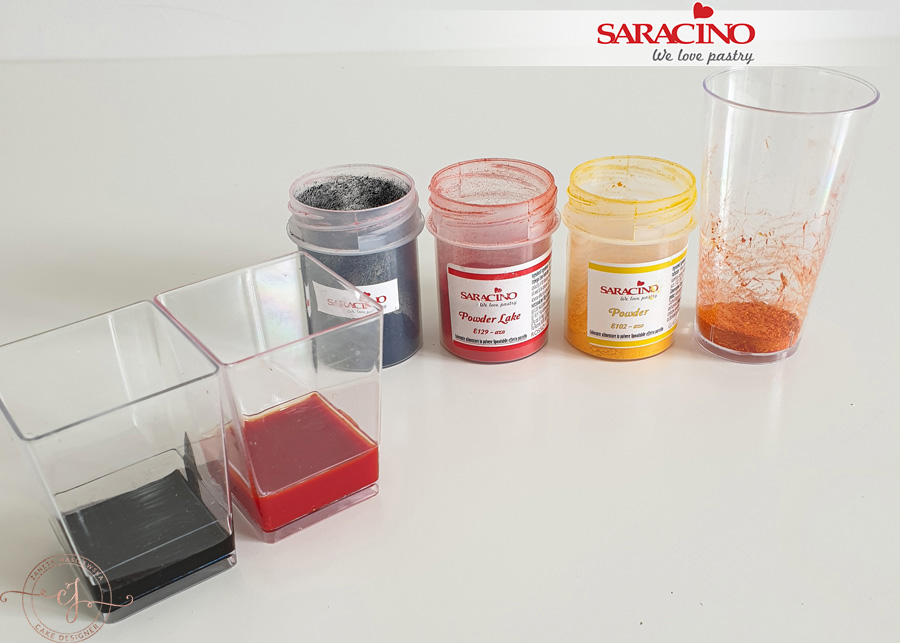
Melt Saracino cocoa butter in a microwave and mix with powder colours. The orange colour can be obtained by mixing the red and yellow powders.
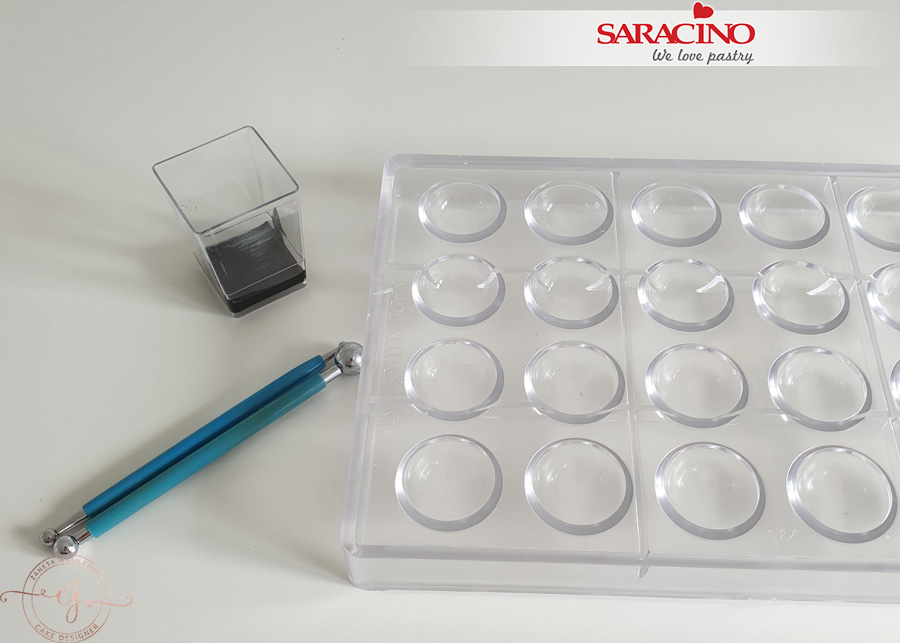
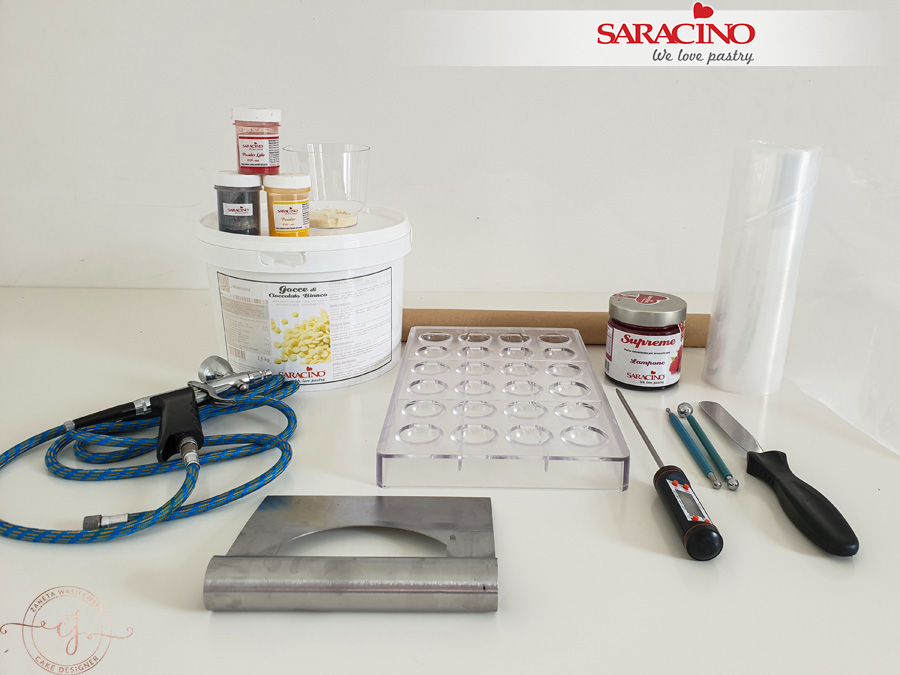
Prepare a polycarbonate mould (make sure that it does not contain any traces of fat), metal ball tool and ready-made cocoa butter mixed with black powder
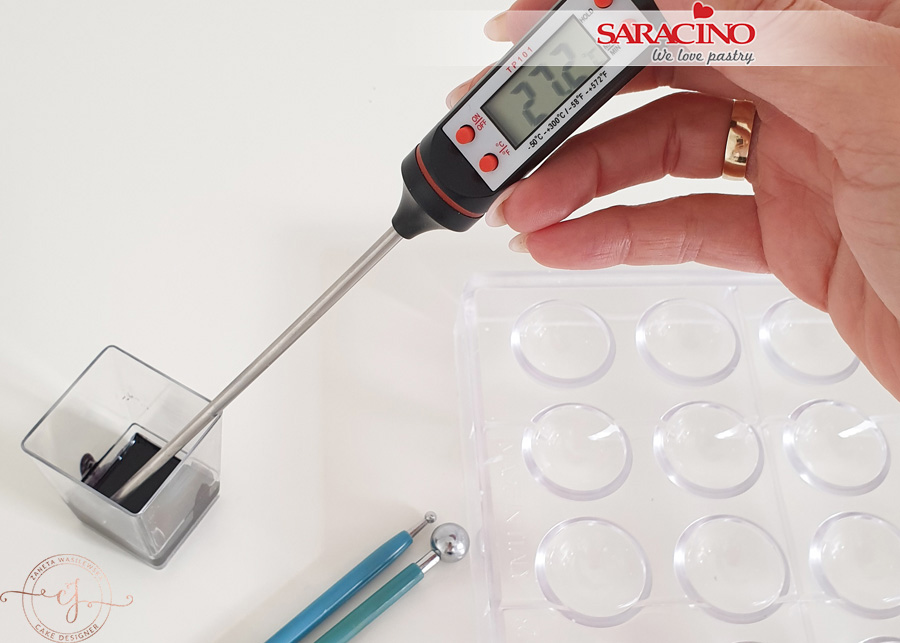
Temper the coloured cocoa butter (around 27-28°C)
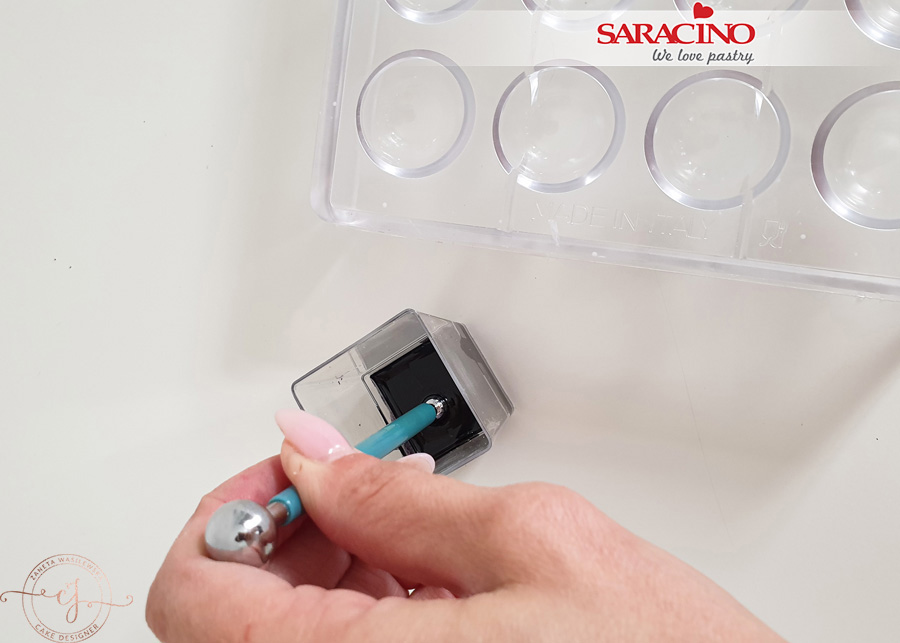
Dip the metal ball into the black cocoa butter and gently press it into the mould.
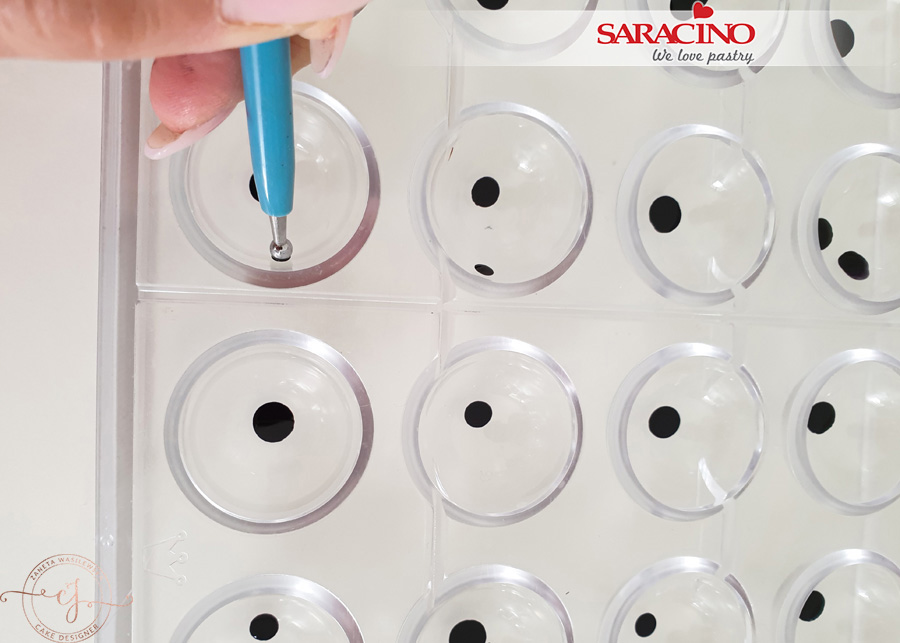
We repeat this activity many times and use different sizes of balls to get different sized dots.
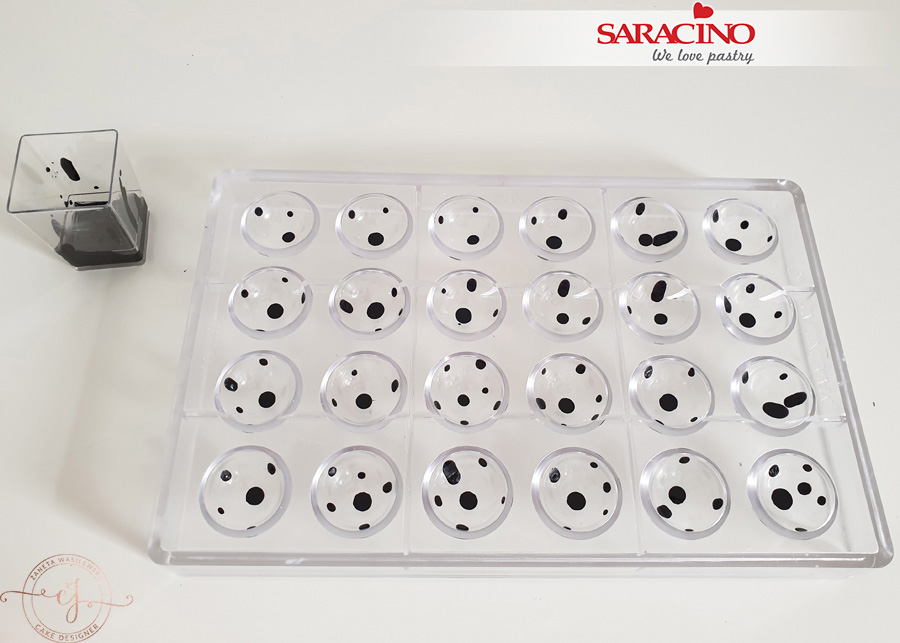
Place aside to allow to set.
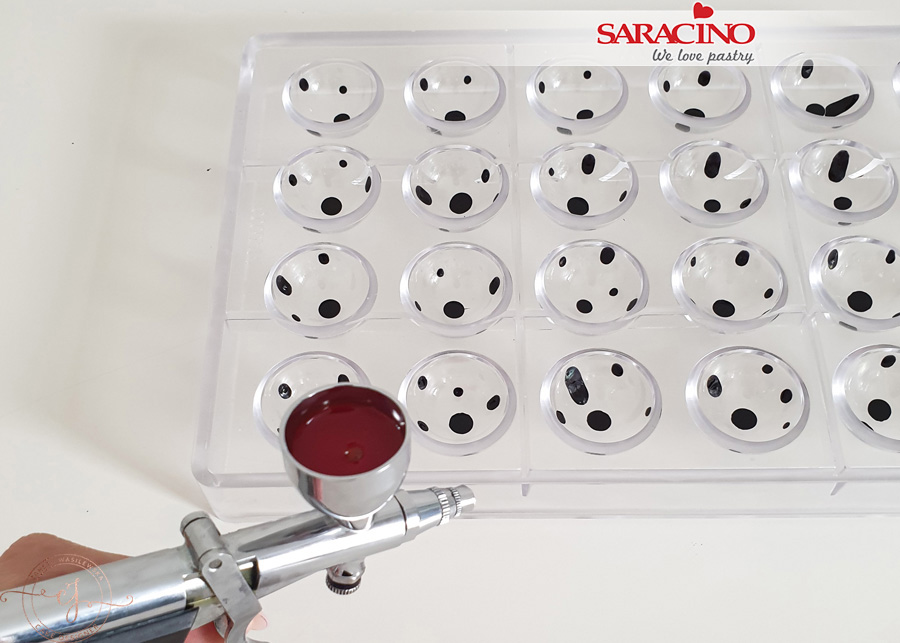
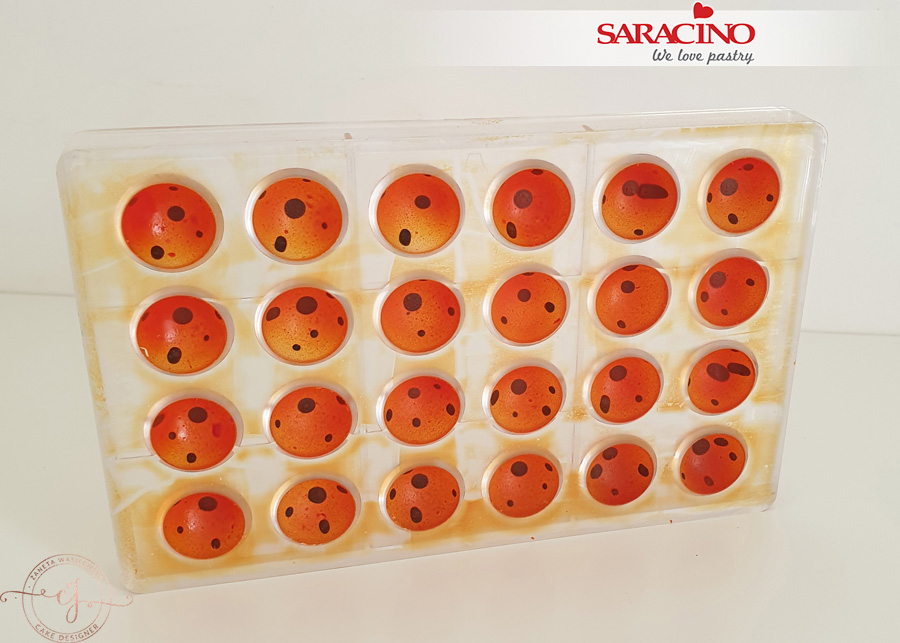
Prepare an airbrush and pour in tempered orange-coloured cocoa butter.
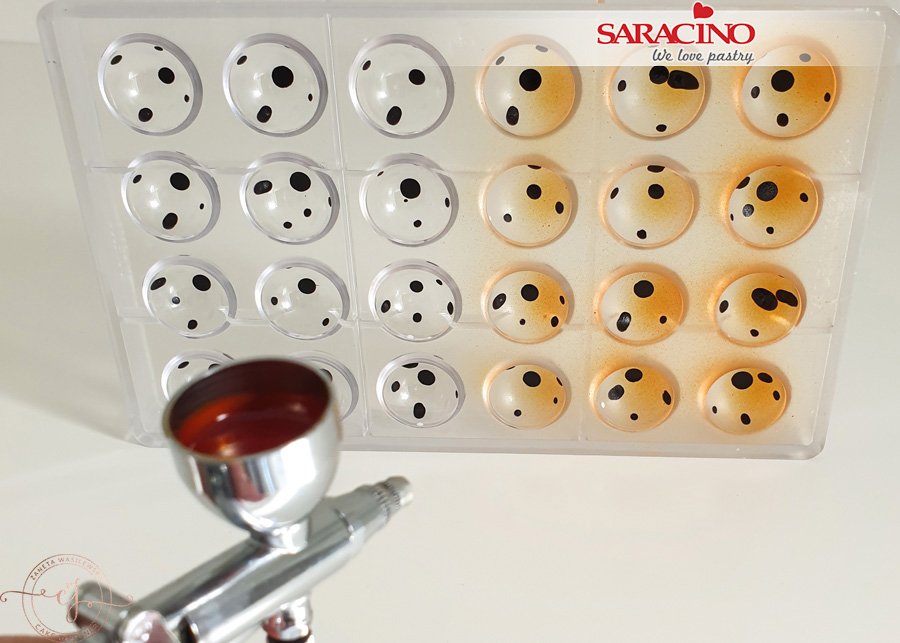
Spray the mould.
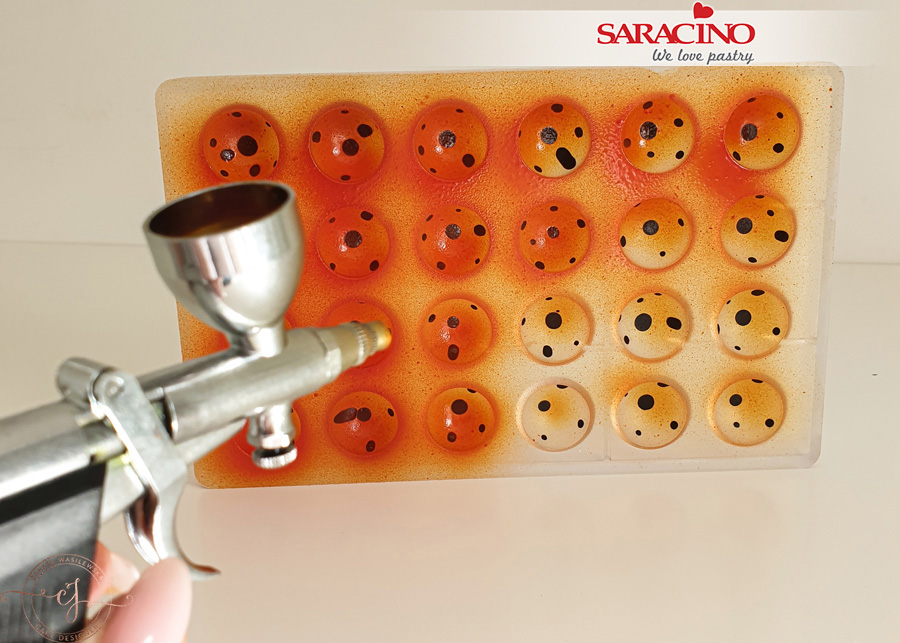
Spray over again to achieve darker colour
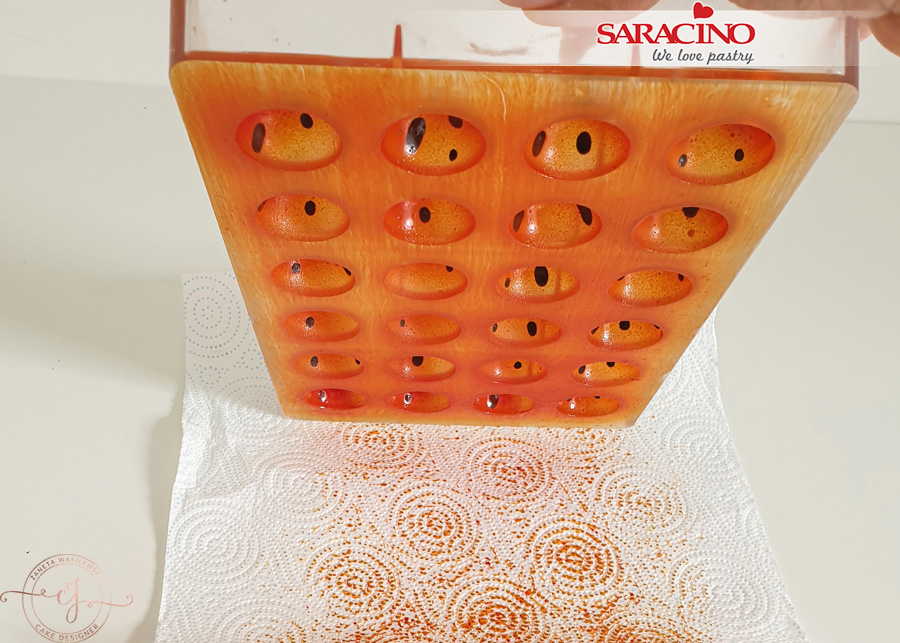
Turn the mould over and tap over a paper towel to remove the excess colour.
Wipe the mould clean and put aside until the butter sets.
Meanwhile, melt approximately 250-300g of white chocolate drops in a microwave to temper it. You will need a temperature of 27-28°C
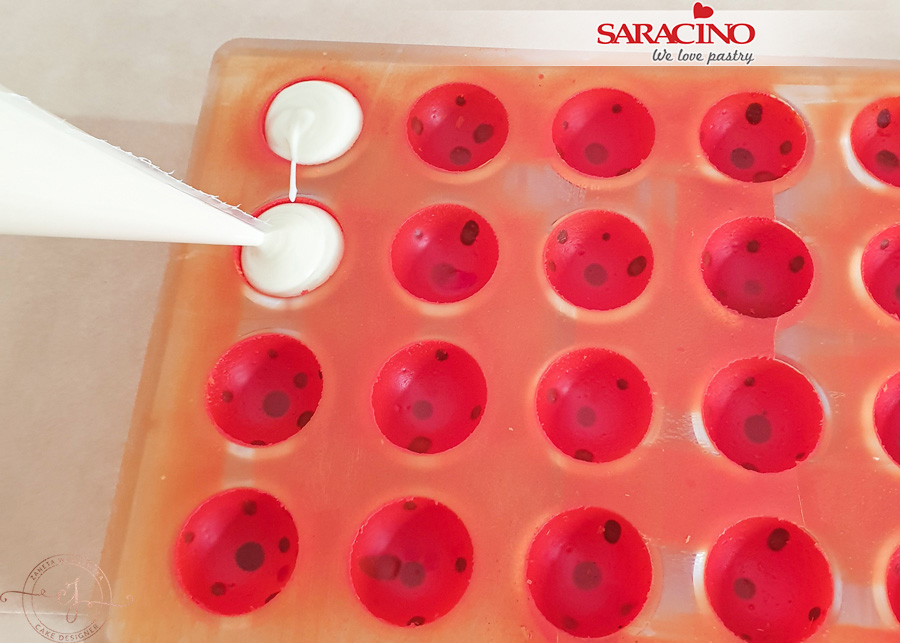
Pour the ready chocolate into the piping bag and fill the mould.
Gently tap the mould against the table to get rid of air bubbles
Place your sheet of baking paper on the table and turn the mould upside down over it to remove the excess chocolate. Gently tap the mould. Don’t throw the remaining chocolate away as we will be reusing it.
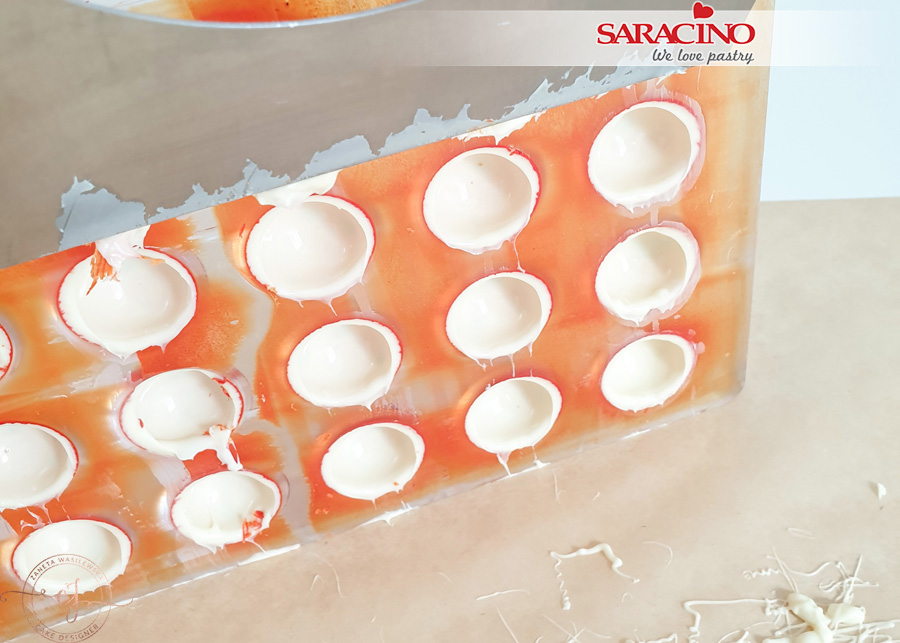
Use a scraper to remove the excess

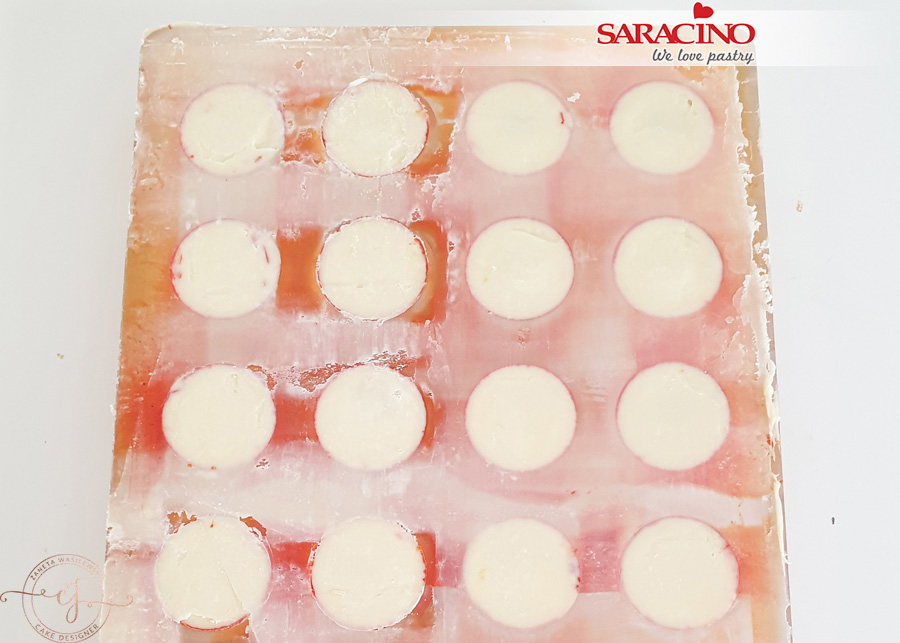
Fill each with the raspberry ganache we prepared earlier. Do not fill to the top as you will need to leave room to add chocolate over.
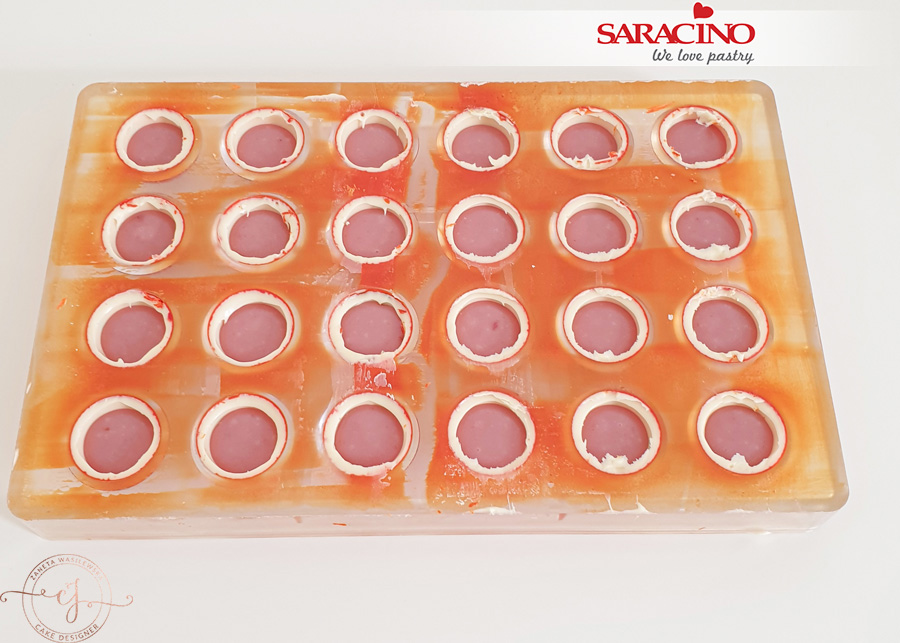
Once all are filled put the mould into the fridge for 10-15 minutes.
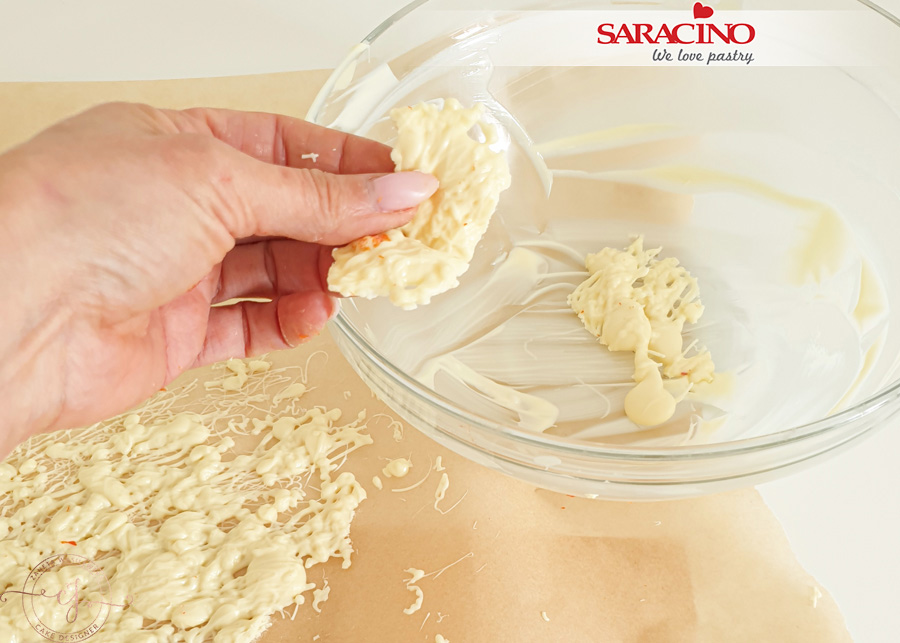
Meanwhile, remove the remaining chocolate from the paper and put it into a bowl.
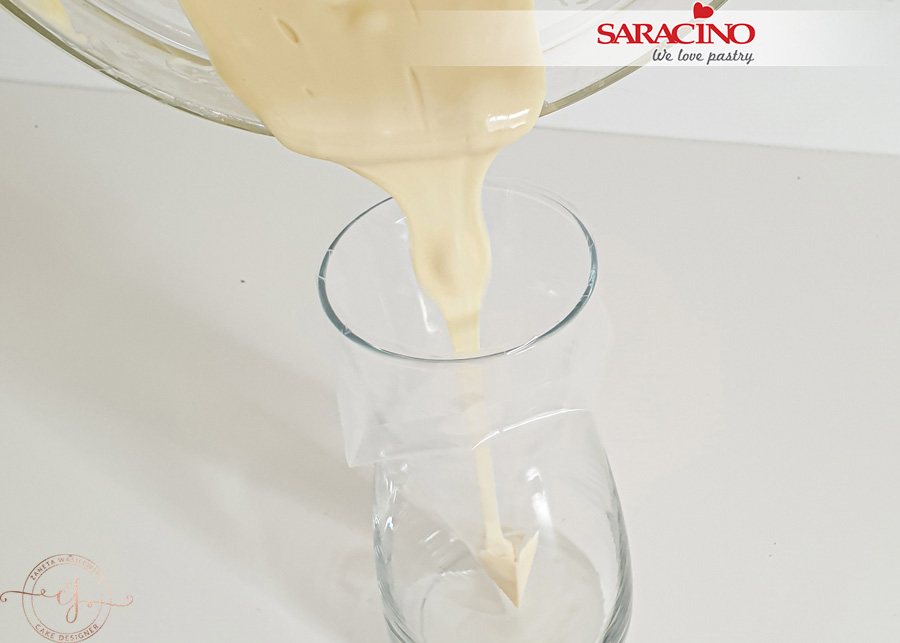
Temper the chocolate and pour into a piping bag.
TIP: I place my piping bag in a glass to hold it open.

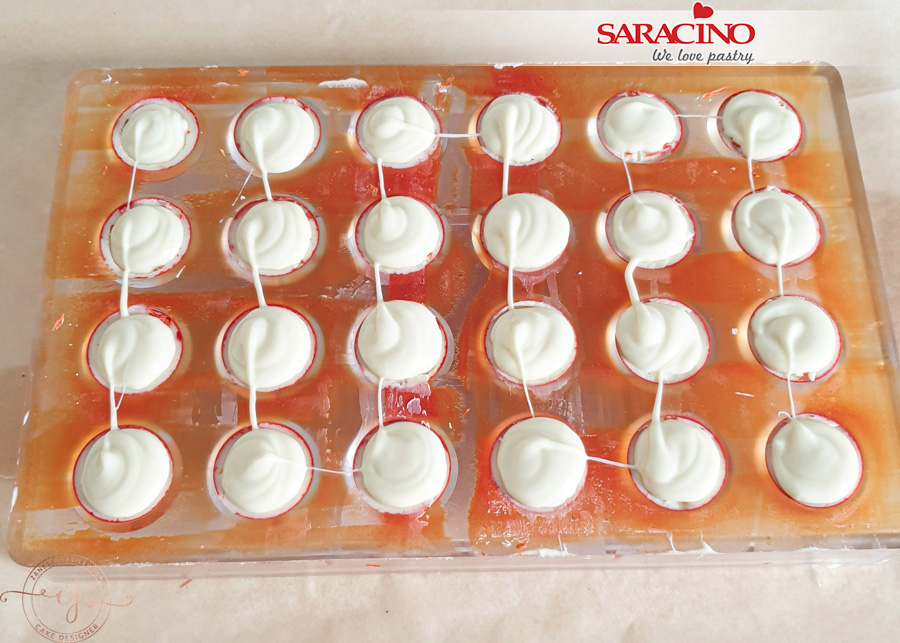
Remove your pralines from the fridge and pipe chocolate on the top
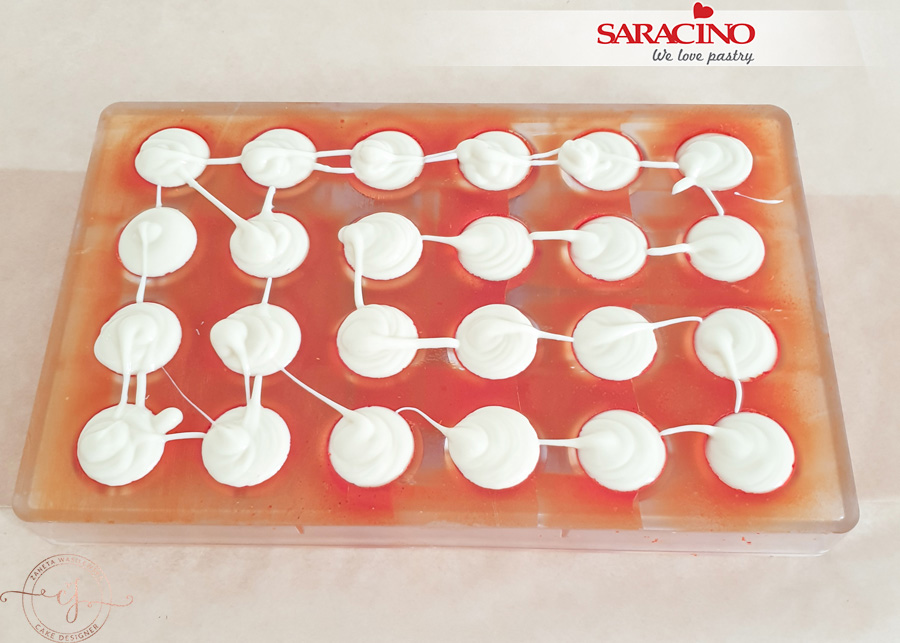
Tap the mould over the table to remove any air bubbles
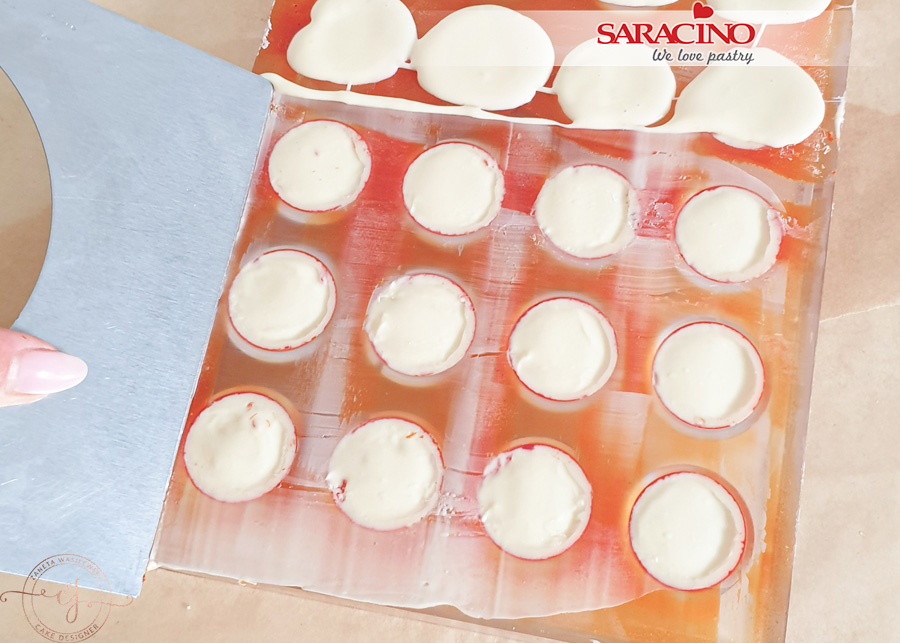
Use your scraper to remove the excess
When ready, place your mould into the fridge for 15-20 minutes
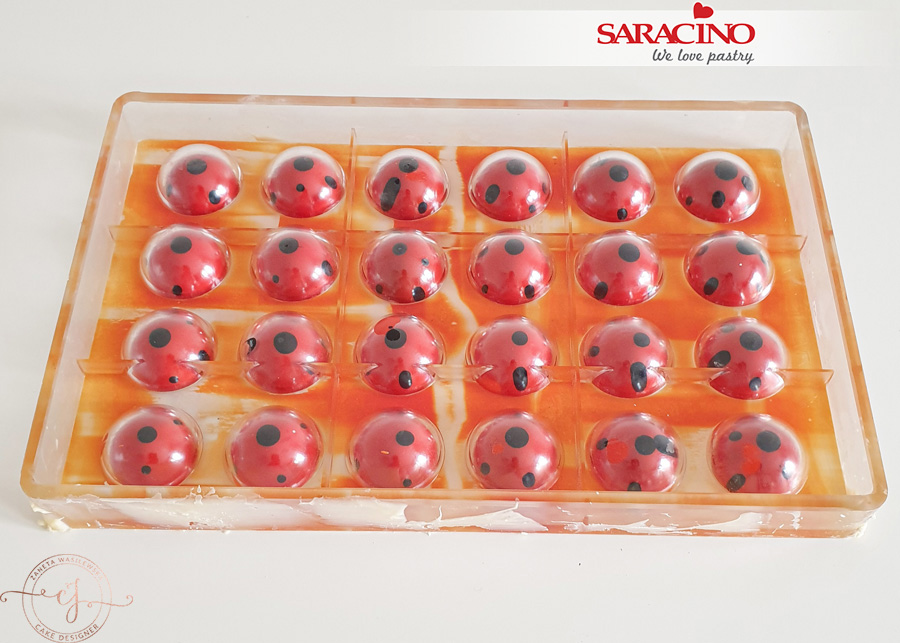
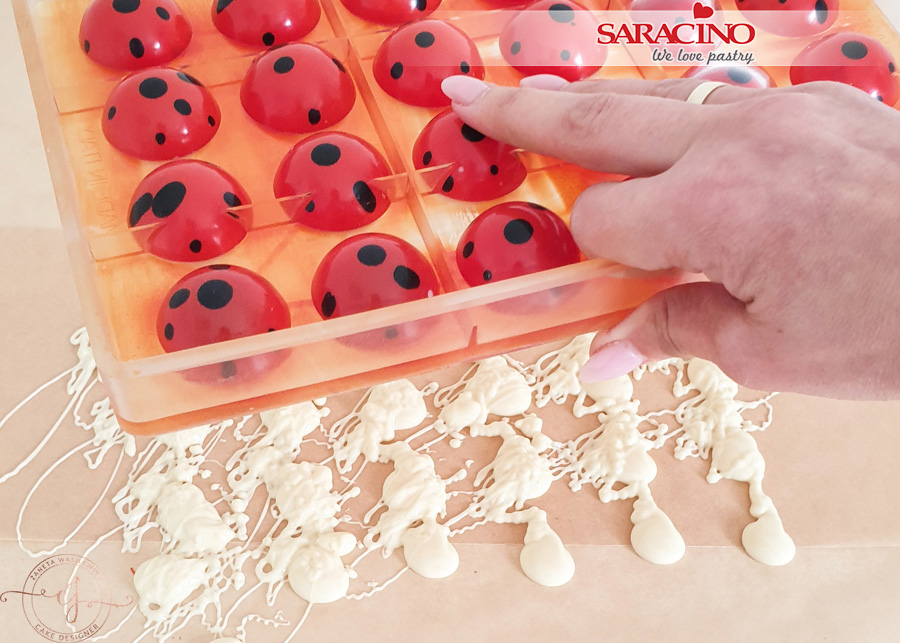
Turn the mould upside down and tap over the table to realise the pralines from the mould
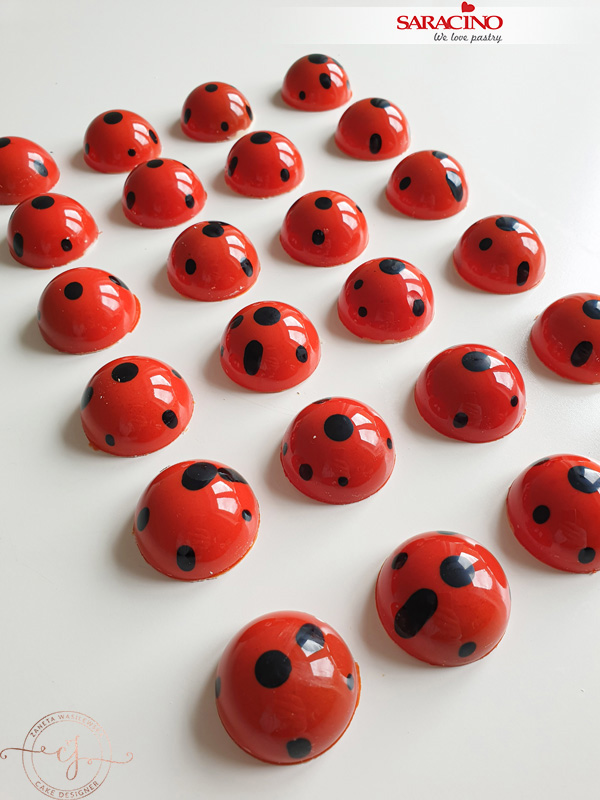
Your pralines are ready! Bon appetite
800ml warm milk
300ml cream (30-36%)
230g sugar
150g Saracino Base Gelato ice cream base
Saracino Le Supreme flavouring – vanilla, raspberry and strawberry
200g fresh strawberries
100g fresh lychee (can be tinned)
160g fresh blueberries
150g fresh blackberries
2 tablespoons of lemon juice
1 heaped tablespoon cornflour dissolved in 4 tablespoons of cold water
1 tablespoon sugar

Prepare all your ingredients.

Prepare the ingredients for the ice cream mixture – warm milk, Base Gelato, cream, sugar and Le Supreme vanilla flavouring.

Put the warm milk, cream, sugar and Base Gelato in a frozen ice cream making bowl (alternatively use a plain metal or glass bowl).

Add 2 tablespoons of Le Supreme vanilla flavouring.

Using a whisk, mix the ingredients thoroughly until the sugar is fully dissolved. If you are using a bowl from an ice cream maker – place it in the machine and mix until it freezes to the desired creamy consistency. When ready put it in the freezer. If you are not using an ice cream maker, after mixing thoroughly, put the mixture in the freezer. After 20 minutes take it out and mix it with a fork to break down the ice crystals that are forming and make the mixture a creamy consistency. Continue mixing every 20 minutes until you get the consistency of ice cream. Place in the freezer.

Prepare the ingredients for the lychee sauce – you will need the lychees, strawberries, 1 tablespoon of lemon juice and the strawberry and raspberry Le Supreme flavouring.

Place the fruit in the blender.

Add the lemon juice and one teaspoon of each flavouring.

Blend thoroughly.

Using a metal sieve and a spoon, push the blended fruit through the sieve into a bowl to give a smooth puree.

Put the puree into a ceramic bowl and place in the refrigerator.

Prepare the ingredients for the forest fruit sauce – blackberries, blueberries, 1 tablespoon of lemon juice, cornflour dissolved in water, raspberry Le Supreme flavouring and a tablespoon of sugar.

Put fruit, lemon juice and sugar in a pan and mix.

Add 1 teaspoon of raspberry Le Supreme food flavouring, mix and bring to the boil. The fruit should not fall apart completely.

Remove the pan from the heat and pour in the cornflour mixed with water. Bring to the boil.

Transfer to a ceramic bowl, allow to cool and place in the refrigerator.

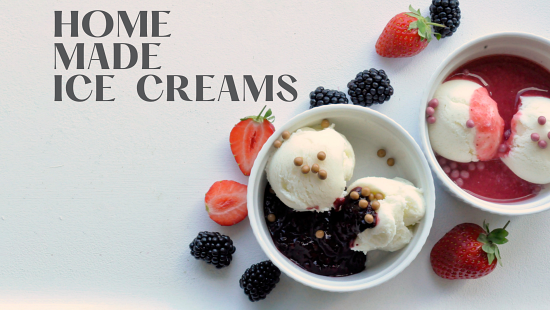
Prepare serving bowls for ice cream or waffles, a scoop for ice cream and boiling water.

Take the ice cream from the freezer, take out the sauces from the fridge, prepare side dishes such as fresh fruit, sprinkles, meringues, chocolate. Use a hot spoon to scoop ice cream into bowls or wafer cones.

Serve the ice cream in a bowl with the toppings and sauce of your choice.

Or alternatively serve in the cone.


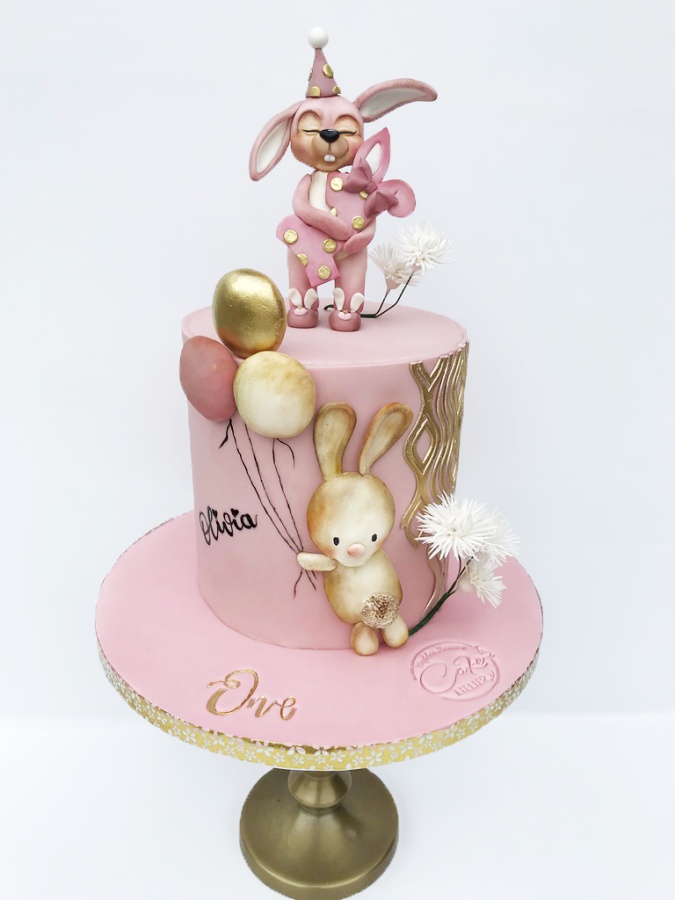
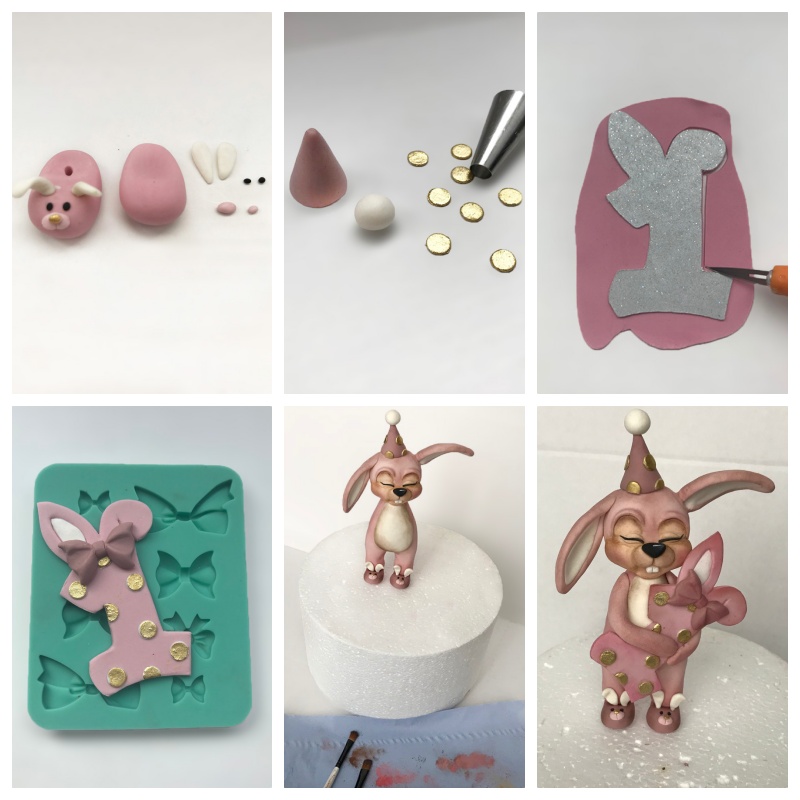
Add 3 drops of Pink Gel Color and one drop of Brown to Saracino Pasta Top. The colour can be deepened and modified by adding more colour. Cover the Cake Dummy and Cake Board. Add a name if you wish. Attach the Washi Tape around the Cake Drum. Set aside to dry
Prepare the paste: To the white Modelling Paste, add a small amount of the pink gel colour and a little brown colour (this way you will get Dusty pink). You will also need Skin tone, black and white paste.
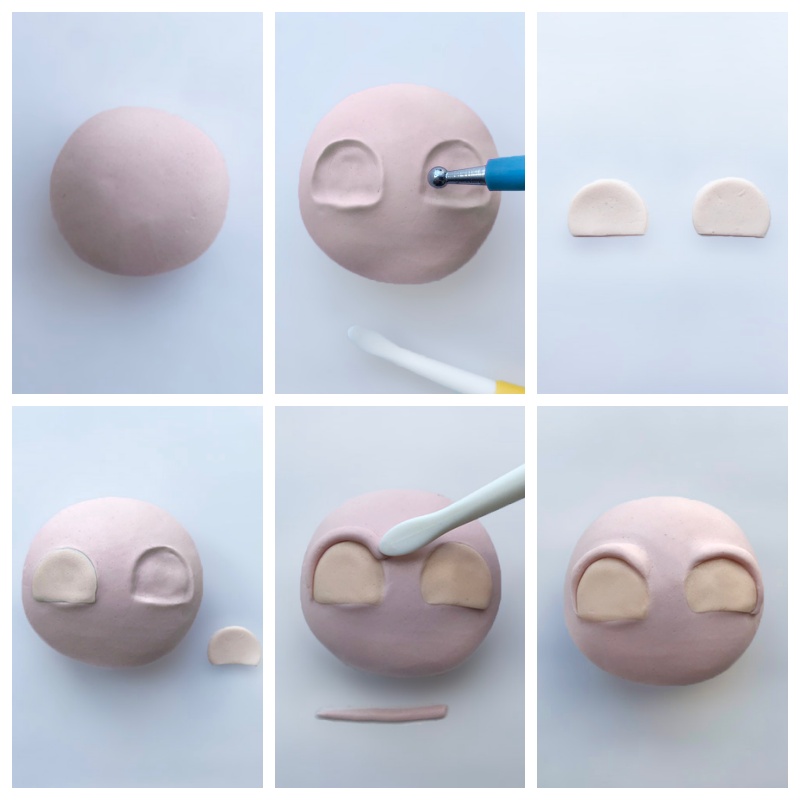
For the head knead a ball and roll it with your hand.
For the eyes:
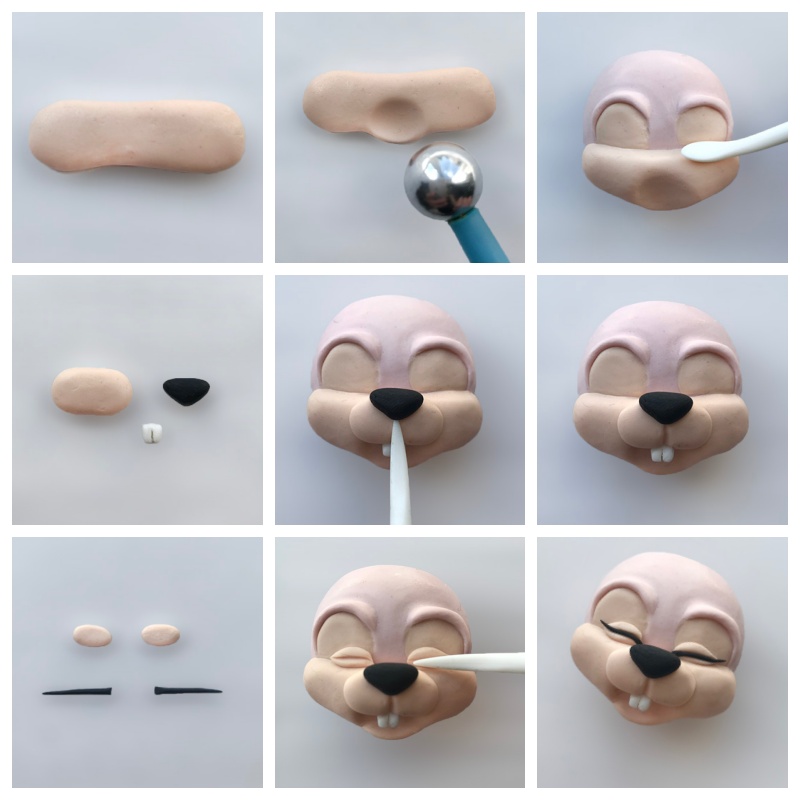
To create the face:
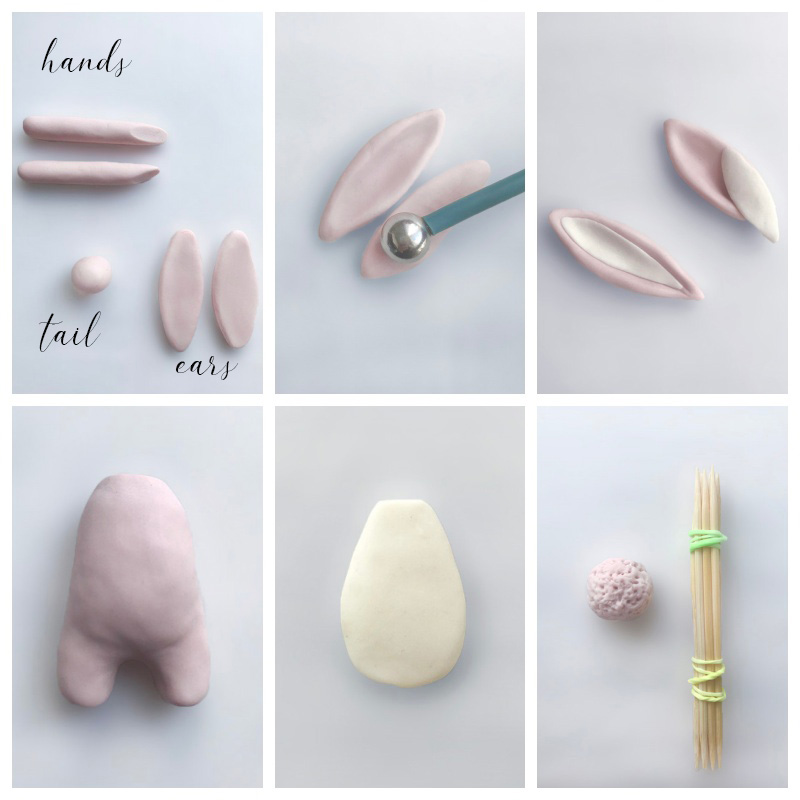
To create the ears, arms, tail and body:
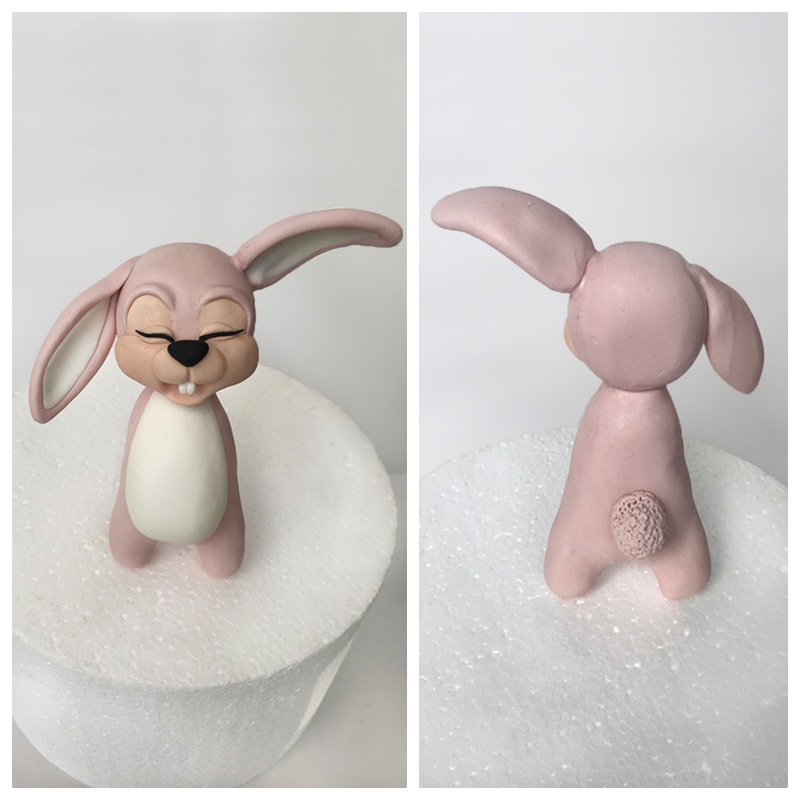
Connect the head to the body using a cocktail stick, fix the ears to the required position, fix the white part of the tummy and the tail.
To create details:
FOR THE SIDE BUNNY DECORATION: Prepare the paste: Add a small amount of Skin tone to the white Modelling Paste. You will also need Black paste and a small amount of pink for the nose
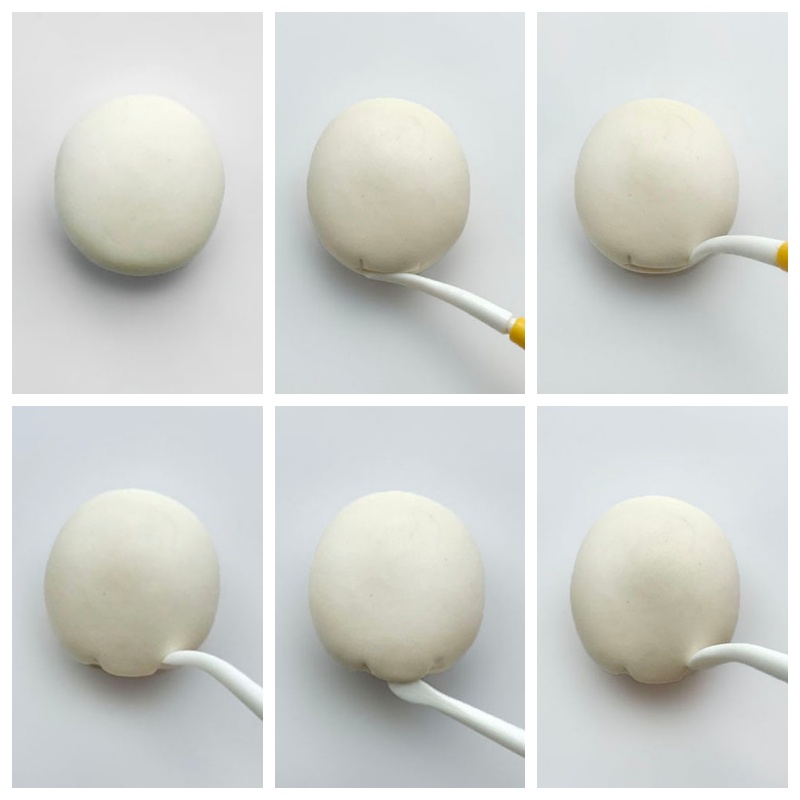
For the head:
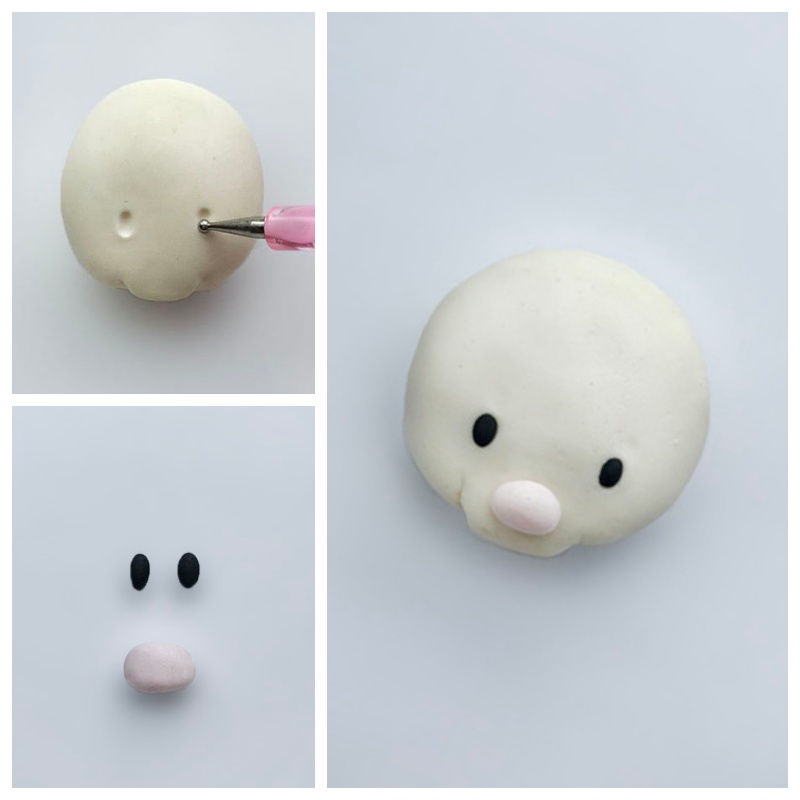
Eyes and nose:
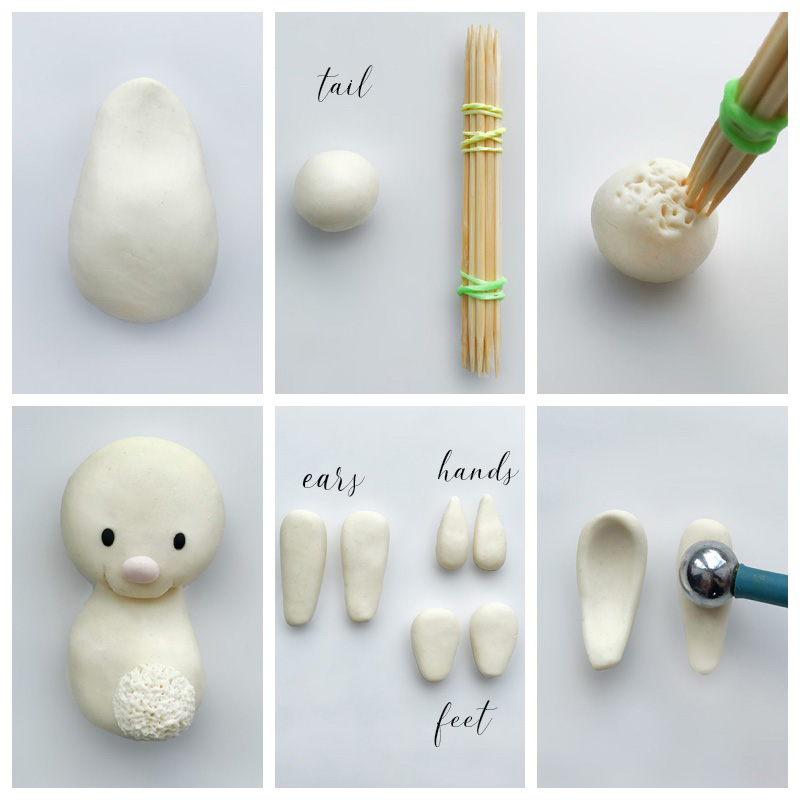
For the body:
Form a cone shape and round it at the top, then smooth it with your hand.
For the tail roll a ball. Add texture using the cocktail sticks.
Attach the head to the body and fix the tail
Prepare the rabbit’s ears, hands and feet as shown
Make a dent in the ears using a medium-sized ball tool
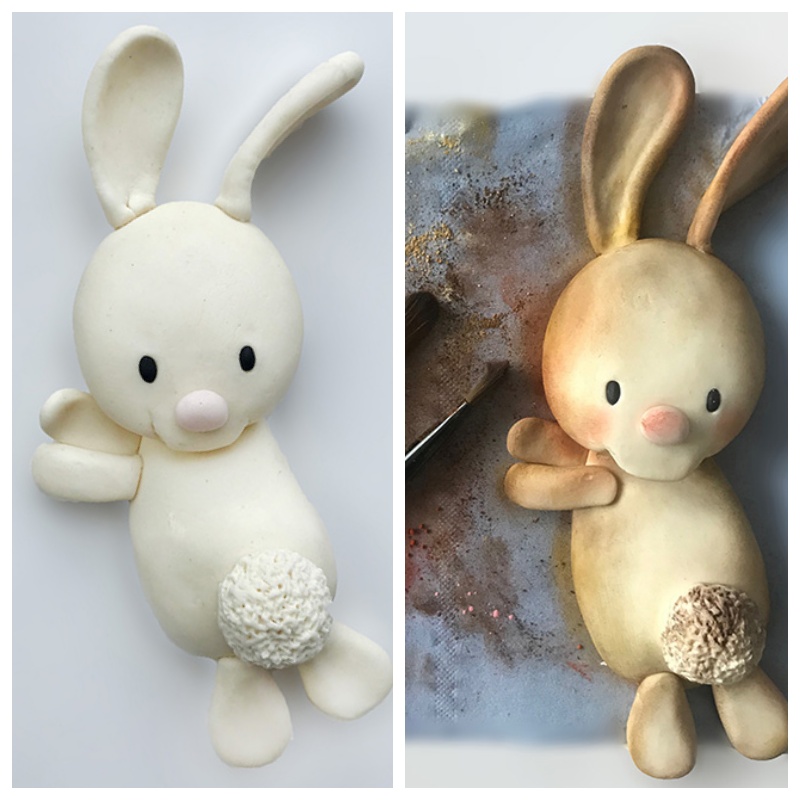
Fix the hands and feet. Using a soft brush and powder colours, shade the rabbit (I used brown, skin tone and pink). Use edible glue to attach the rabbit to the cake.
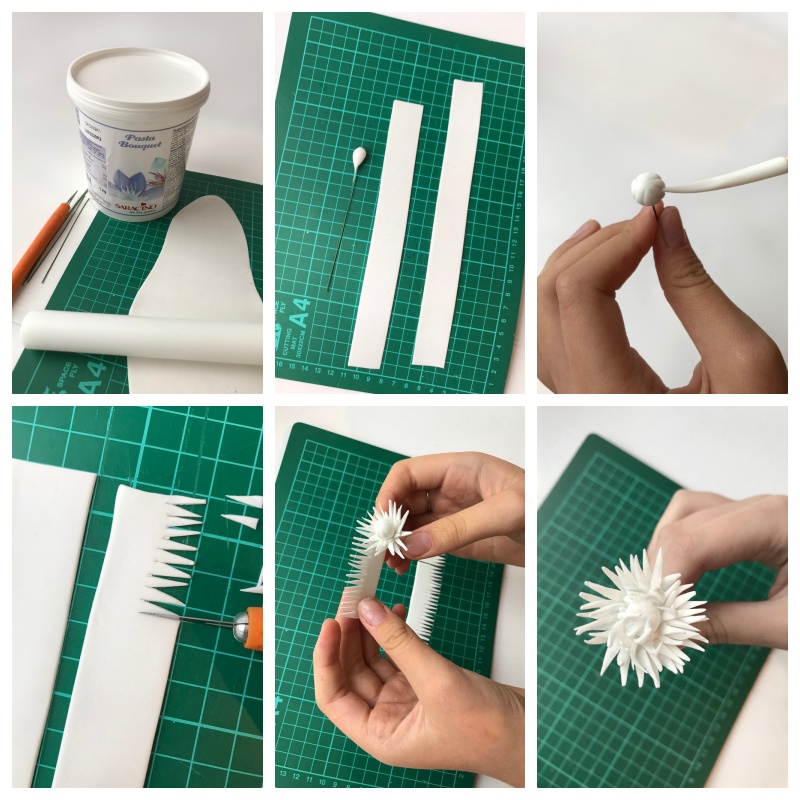
Sugar Flowers:
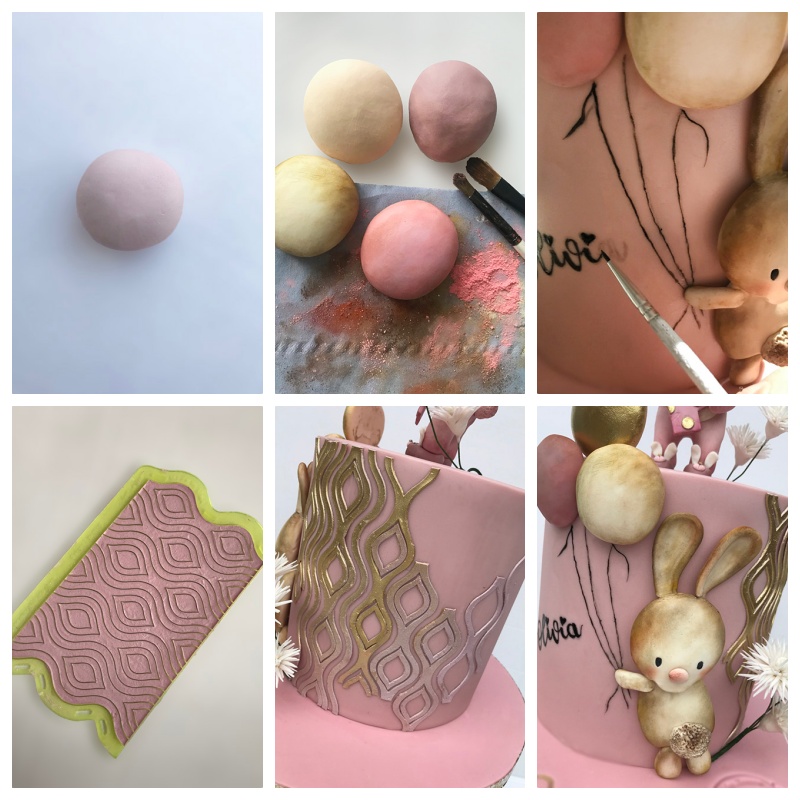
Balloons:
Pattern:
Painting the name and the balloon string: