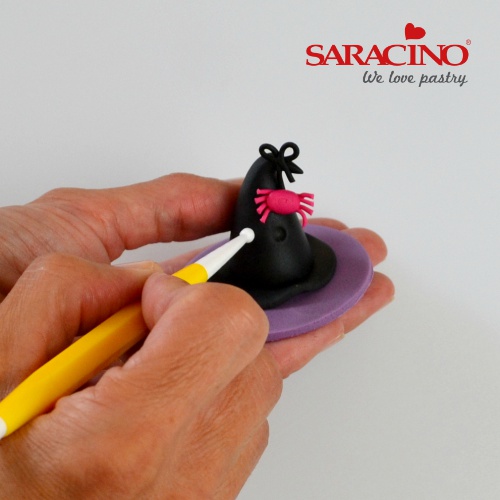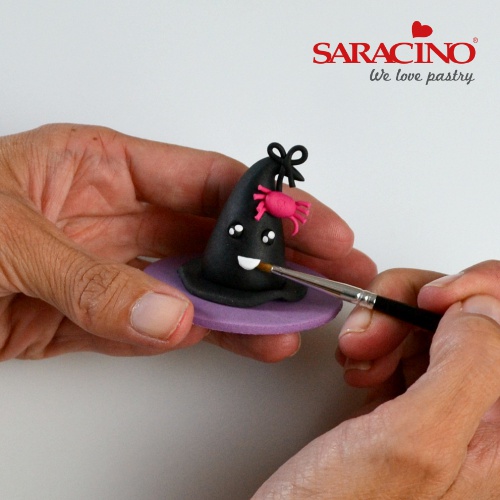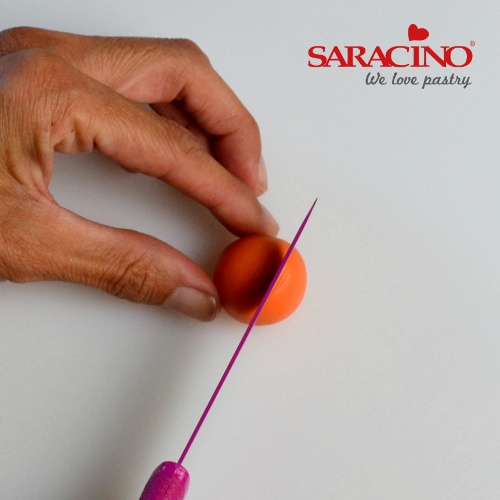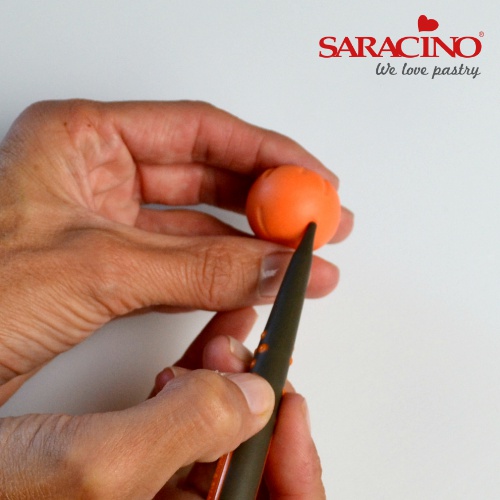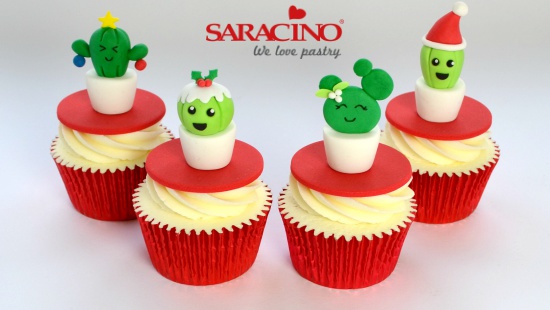
CHRISTMAS CACTUS CUPCAKE TOPPERS

You will need:
- Red sugarpaste treated with tylose powder
- Saracino modelling paste white
- Saracino modelling paste green
- Saracino modelling paste light green
- Saracino modelling paste red
- Saracino modelling paste black
- Small piece of yellow modelling paste (I coloured saracino white with melon yellow food colouring)
- Small piece of blue modelling paste (I coloured saracino white with baby blue food colouring)
- Sugar glue
- Non edibles
- Workboard
- 58mm round cutter
- Foam drying mat
- Rolling pin
- Paintbrush
- Small ball tool/Large ball tool
- Smoother
- Sharp knife
- Craft knife
- PME blade tool
- 29mm circle cutter
- 10mm diamond plunger cutter
- 6mm circle cutter
- 11mm star plunger cutter
- Fine tipped edible black pen
Step 1
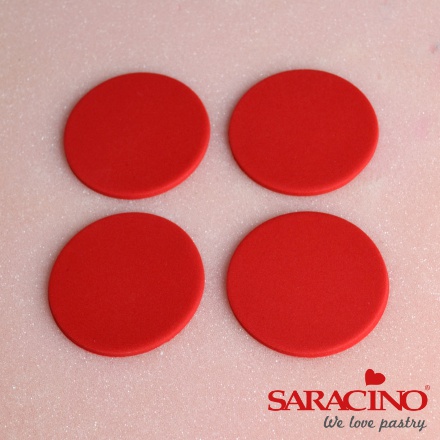
Roll out the red sugarpaste and cut out four 58mm circles. Leave to dry on a foam mat
Step 2
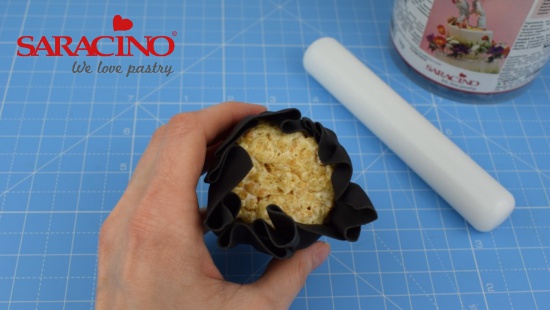
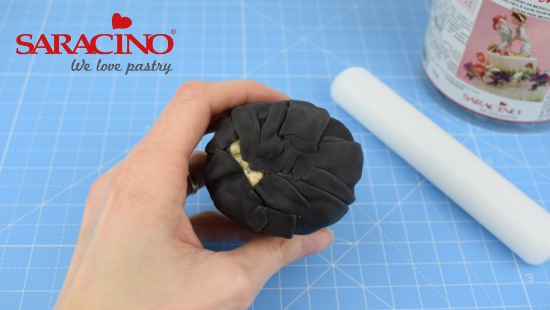
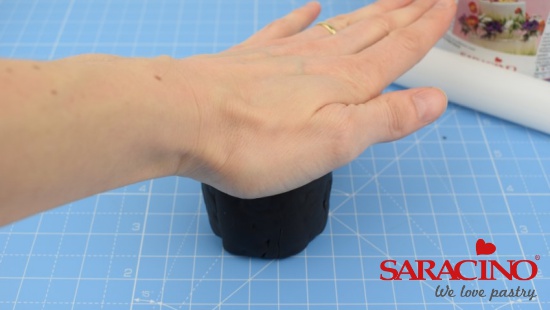
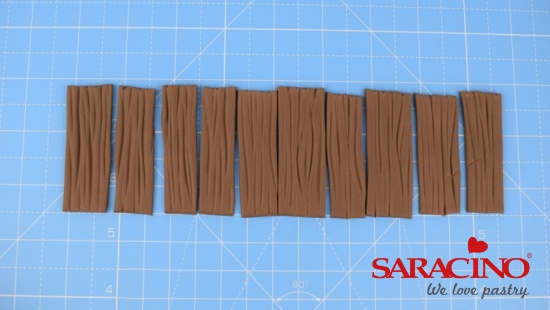
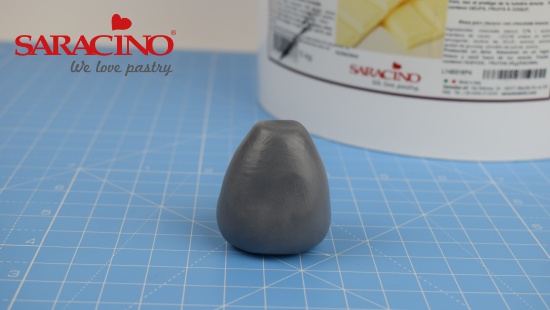
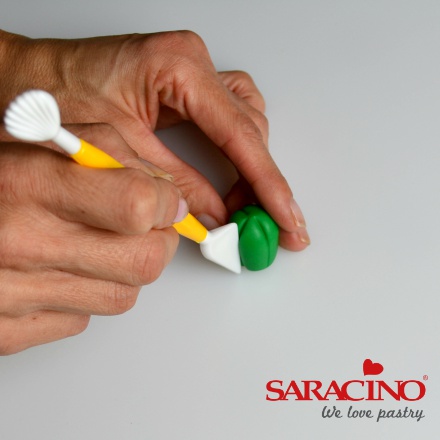
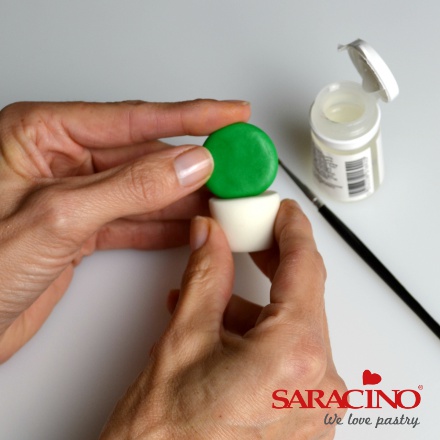
Take a piece of white paste about the size of a large cherry tomato. Holding a smoother at an angle, roll back and forth to create a large teardrop shape.

Step 3
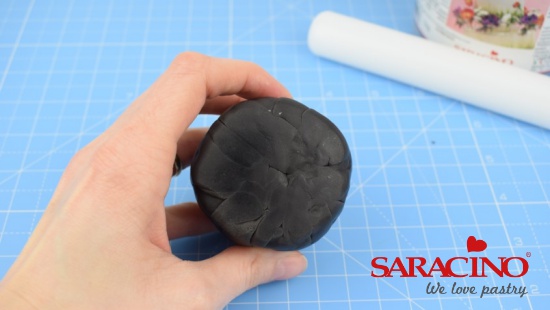
Using a sharp knife, cut the excess off at either end to make the pot. Repeat this three times to make four pots and set aside.
Step 4
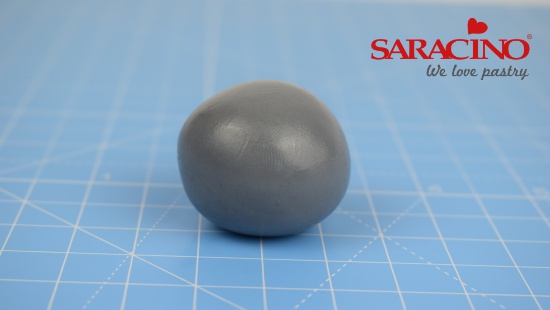
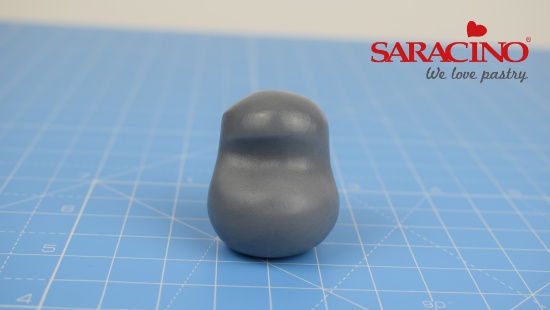
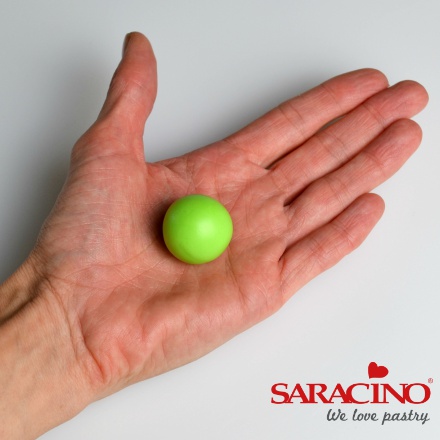
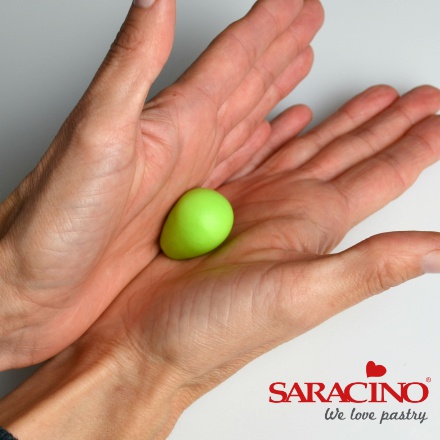
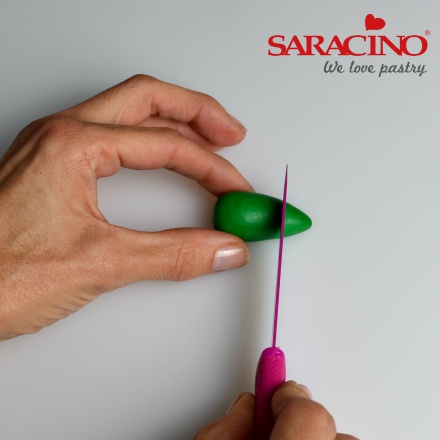
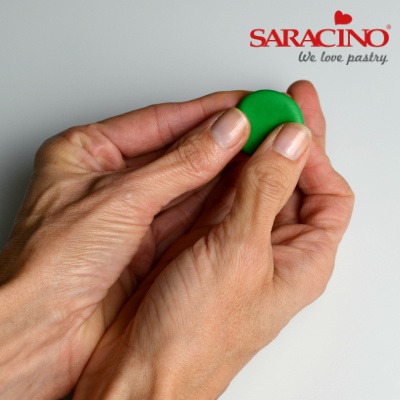
Roll a cherry tomato sized piece of light green paste into a ball in the palms of your hands.

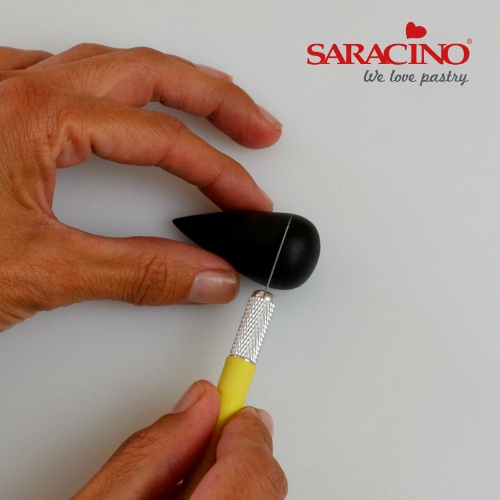
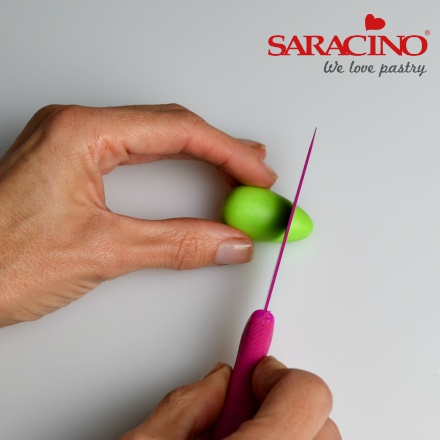
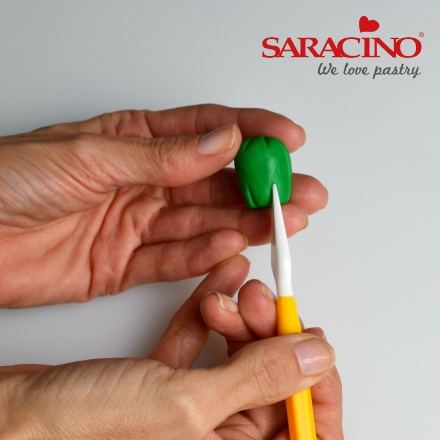
Step 5
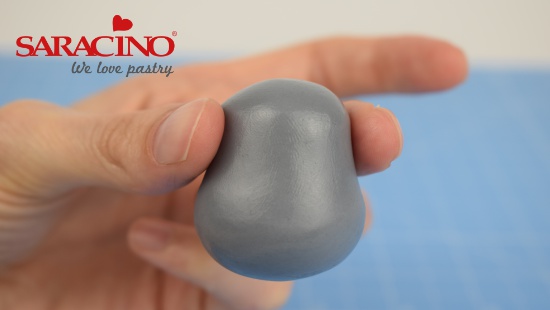
Using a blade tool mark four deep creases into the cactus.
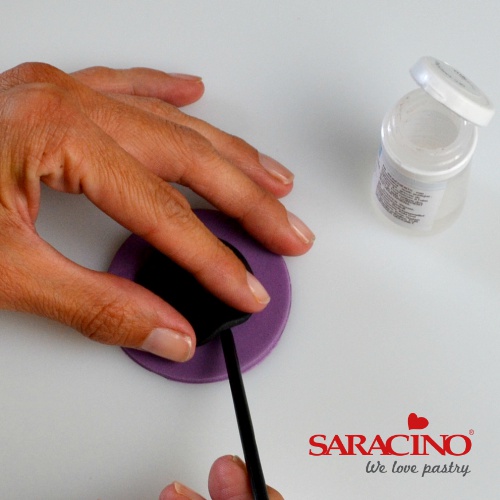
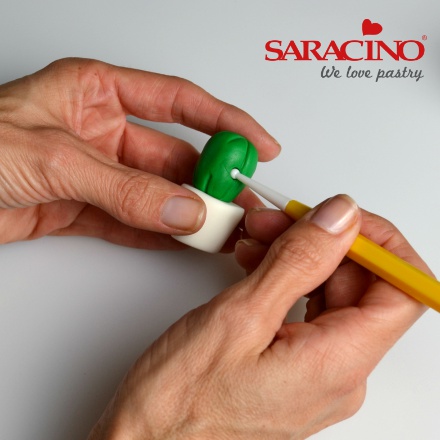
Step 6
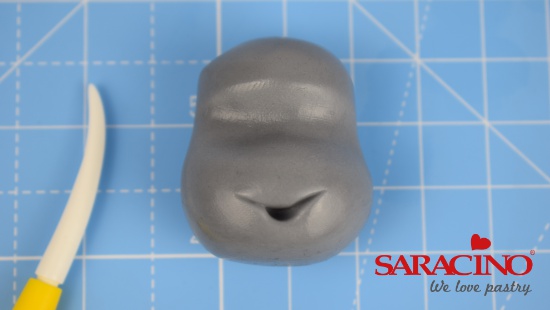
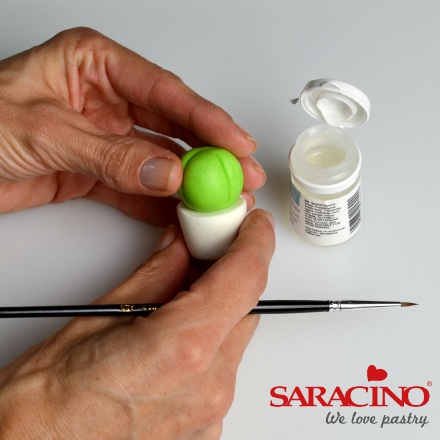
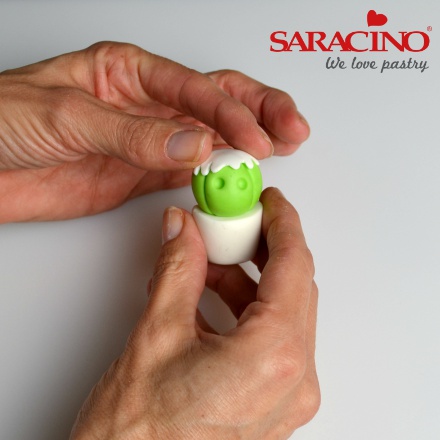
Using some sugar glue attach the cactus to one of the pots.
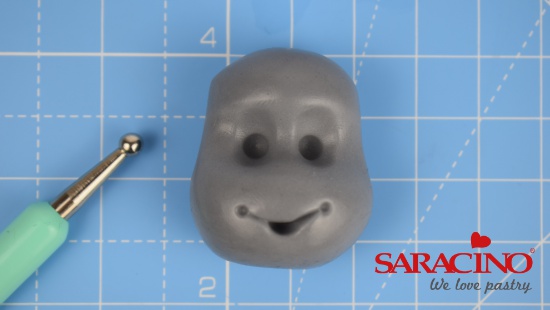
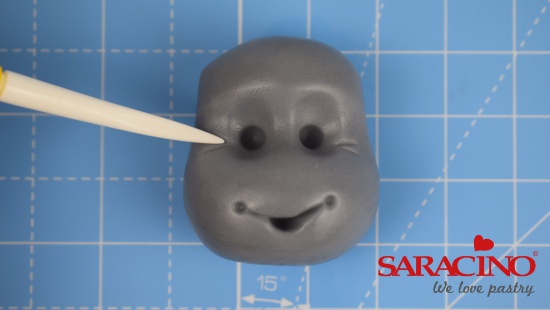
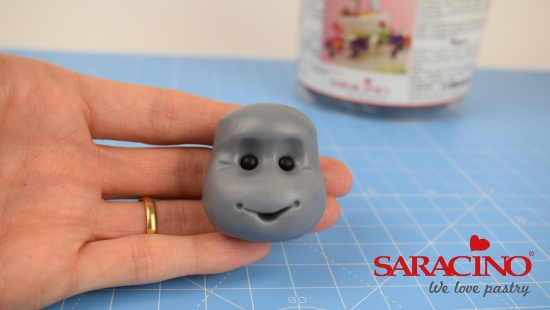
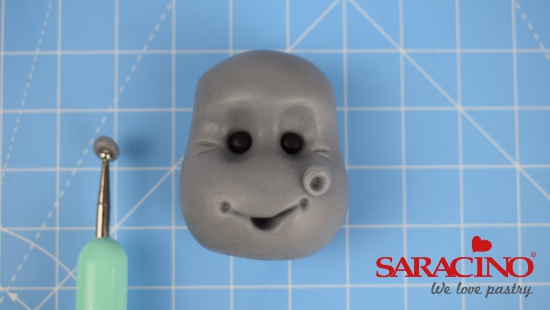
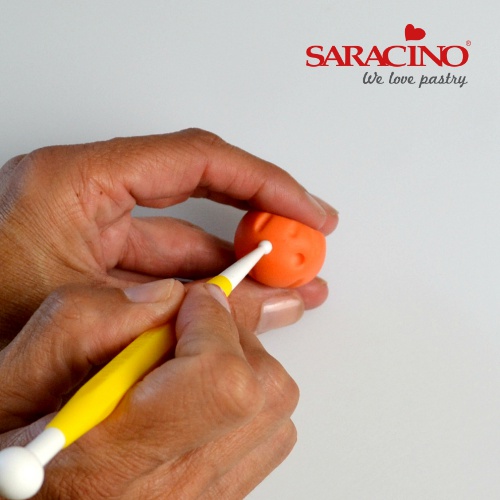
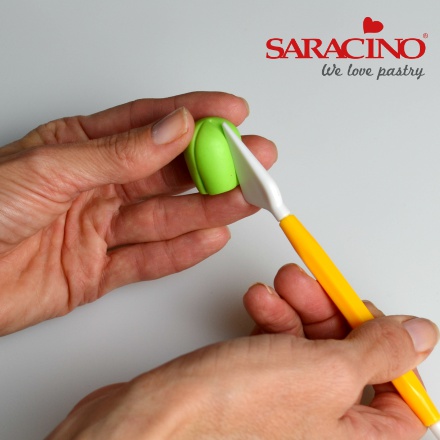
Step 7
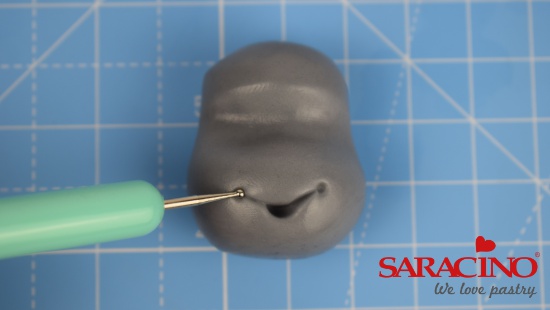
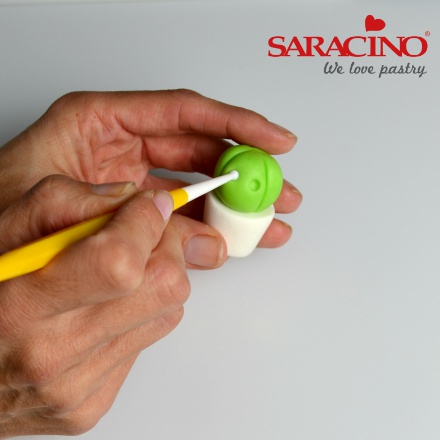
In one of the spaces use a small ball tool to make dents for the eyes.
Step 8
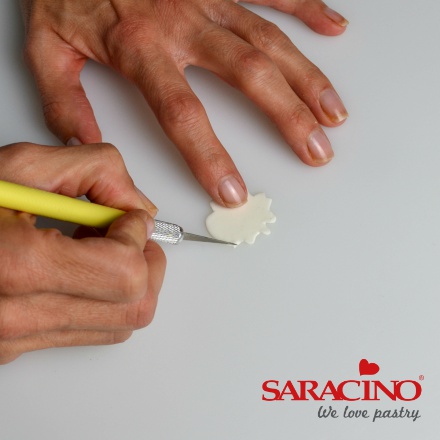
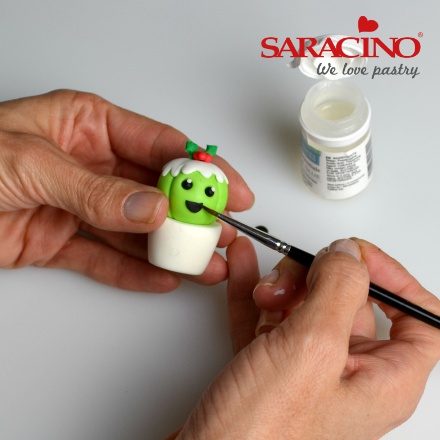
Cut out a 29mm circle of thin white paste and leave it to harden for a minute. Use a craft knife to cut a wiggly line all the way round to make the cream for the top of the cactus Christmas pudding.
Step 9
With your fingers, press this onto the top of the pudding using a spot of edible glue if necessary.

Step 10
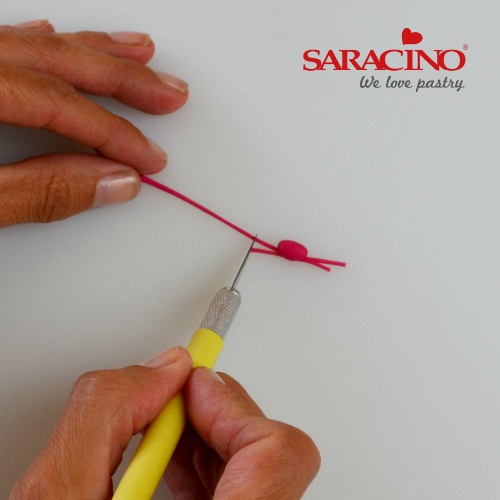
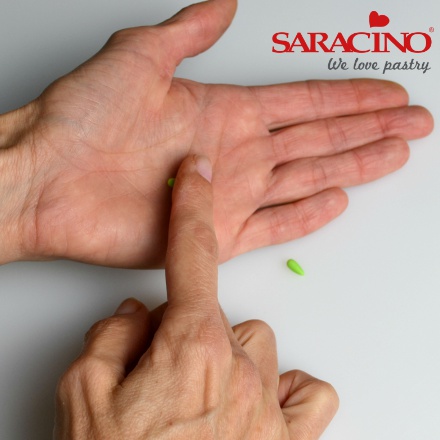
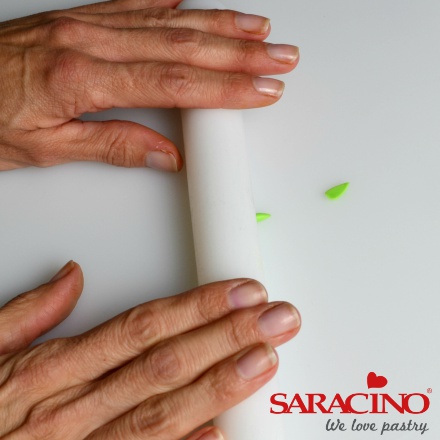
To make the holly cut out two diamonds using the 1cm plunger diamond cutter and use a straw to remove the corners off two of the opposite sides
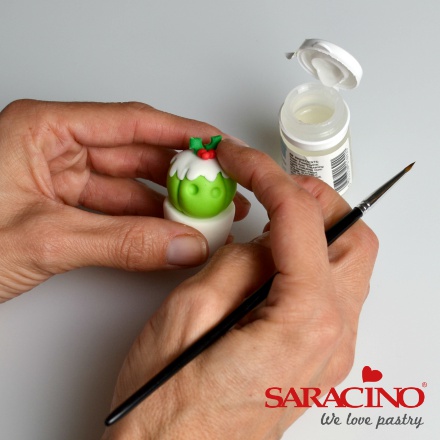
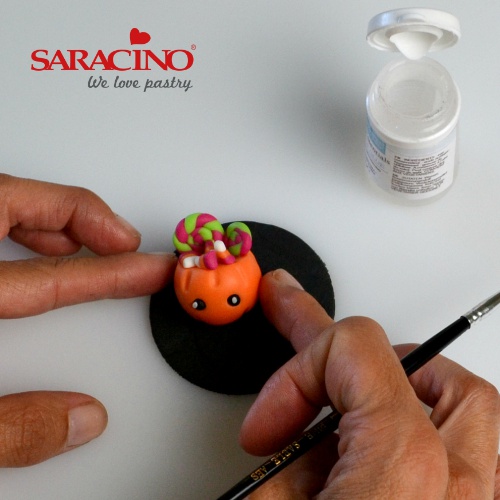
Step 11
Roll three tiny balls of red paste and attach the leaves and berries to the top of the pudding with sugar glue.
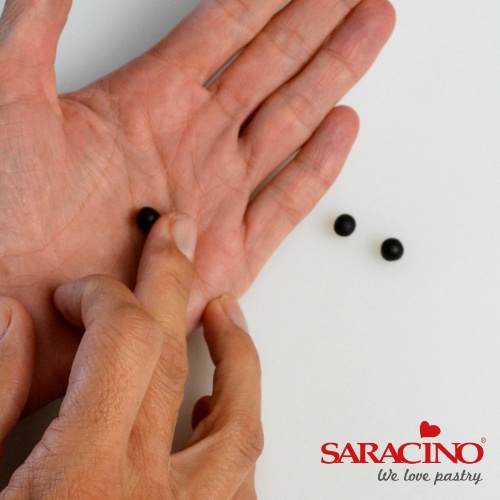
Step 12
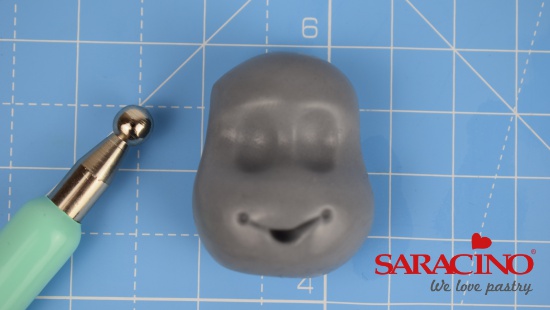
For the eyes roll two small balls of black paste and secure with sugar glue. Add tiny white balls of paste as highlights. Roll a piece of black paste thinly and cut out a 6mm circle. Cut in half with a craft knife and attach one half for the mouth. Attach this pot to one of the red toppers with sugar glue.
Step 13
Roll a cherry tomato sized piece of light green paste into a ball and angle your hands to roll into a teardrop shape.
Step 14
Roll a cherry tomato sized piece of light green paste into a ball and angle your hands to roll into a teardrop shape.
Step 15
Mark 5 lines on the cactus with a blade tool as before and attach the cactus to the pot with sugar glue. Mark in two dents for the eyes with a small ball tool as before.
Step 16
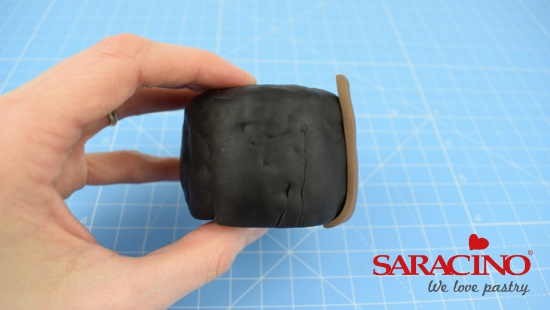
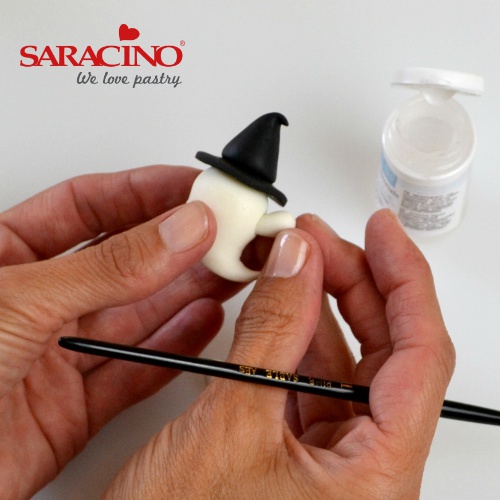
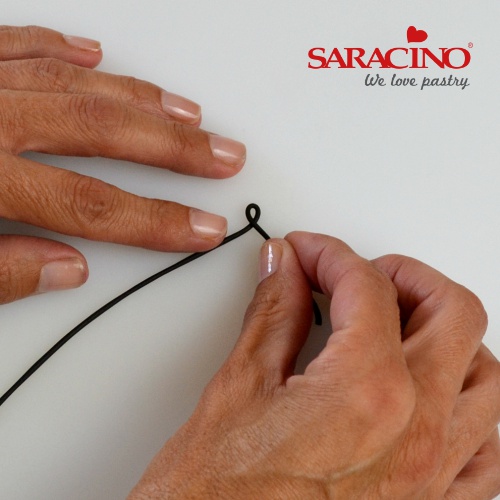
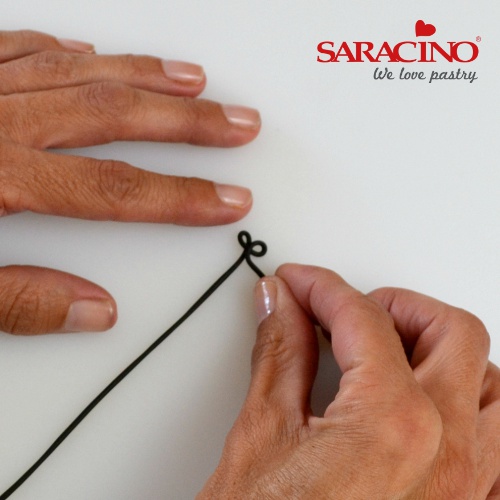
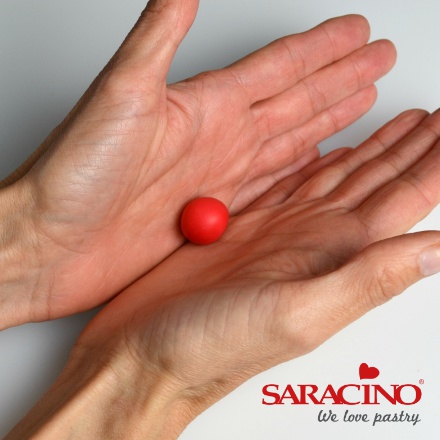
To make the Santa hat roll a large marble sized piece of red paste into a ball. Angle your hands and roll into a teardrop shape
Step 17
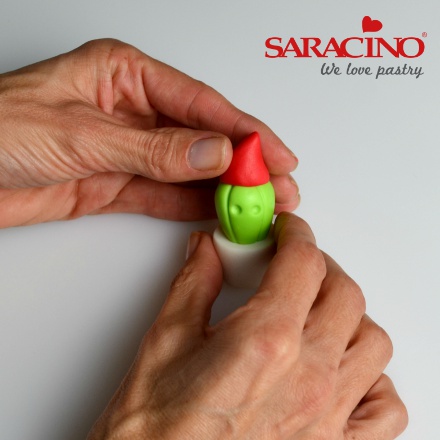
Cut off the rounded end with a sharp knife to make the hat and stick onto the cactus’ head using sugar glue if needed. Bend the tip over slightly
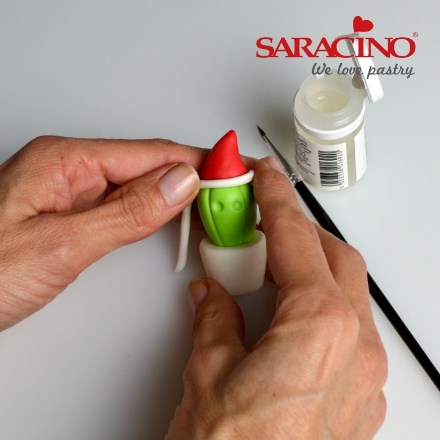
Step 18
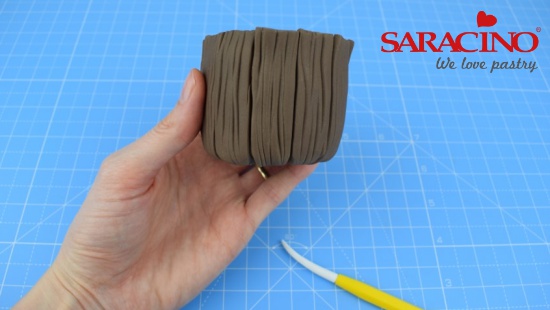
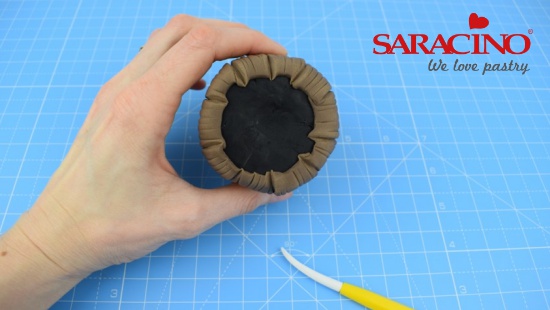
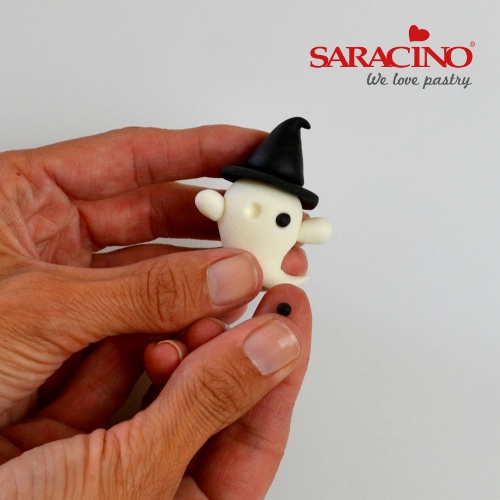
Roll a long sausage of white paste (about 3mm thick) and flatten slightly. Wrap around the base of the hat and trim off excess at the back with craft knife. Use a spot of sugar glue to secure if needed. Roll a small pea sized piece of white paste into a ball and attach to the top of the hat with sugar glue
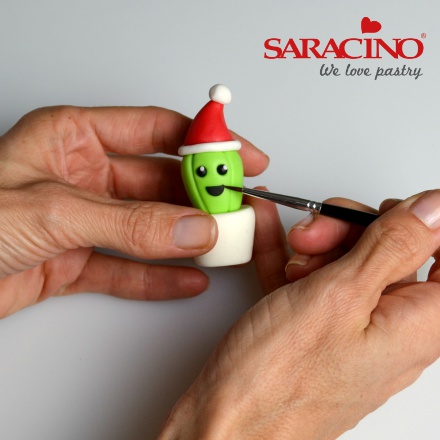
Step 19
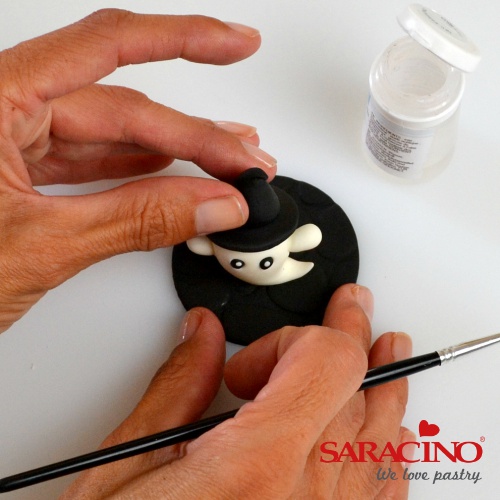
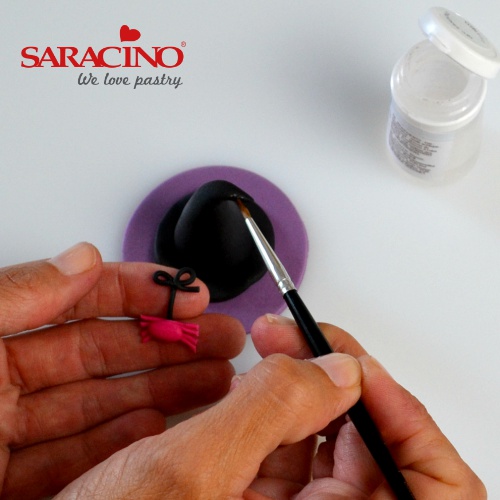
To finish off add two small balls of black paste for the eyes and add white accents as before. For his mouth roll a piece of black paste thinly and cut out a 6mm circle. Cut in half and attach one half. Glue the cactus pot to a red topper.
Step 20
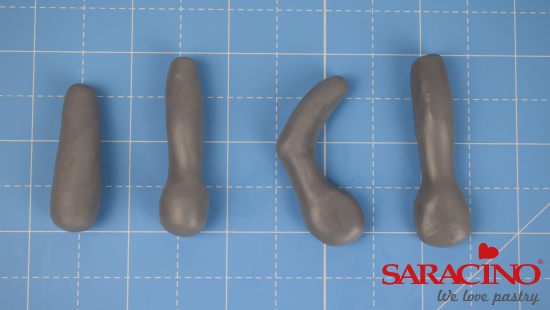
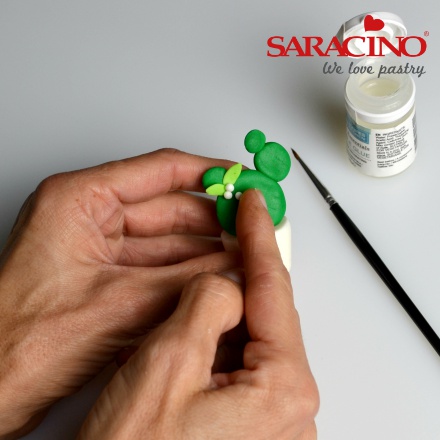
Roll a cherry tomato sized piece of green paste into a ball. Angle you hands and roll into a tear drop shape. Cut off the pointed end with a sharp knife.
Step 21
Place on board and in a rocking motion from bottom to top mark on three lines using a blade tool. These will be the back of the cactus
Step 22
For the front mark only a quarter of the way up from the bottom and repeat. Do this from the top a quarter of the way down and repeat. This will then leave a space for his face to drawn on later. Use sugar glue to attach the cactus to the pot.
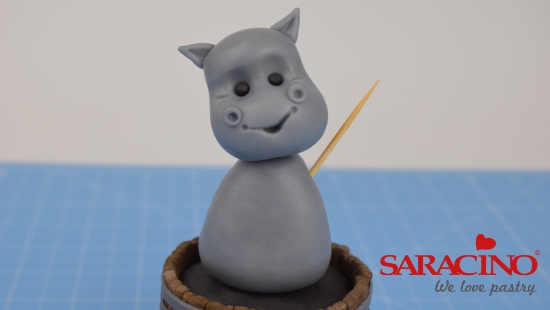
Step 23
Use a small ball tool to mark a dent half way down on either side (this is where his arms will attach into)
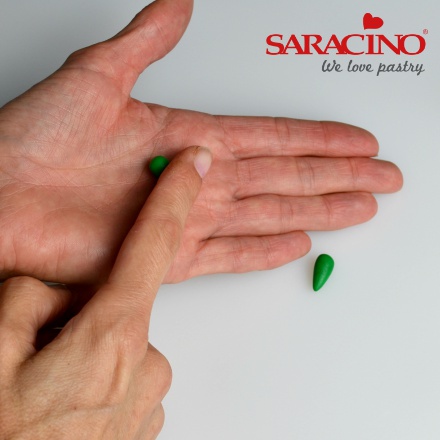
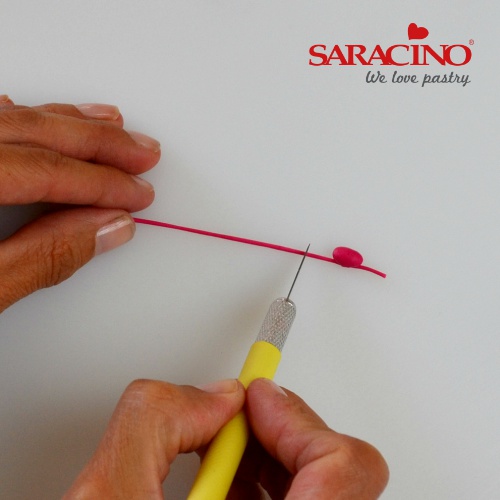
Step 24
Roll 2 pea-sized pieces of green paste into balls. Roll into teardrops with the side of your finger.
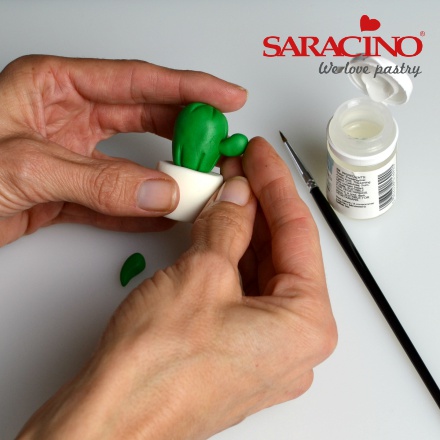
Step 25
Bend slightly and use sugar glue to stick these into the dent on either side. You may need to support these for a few seconds whilst they are drying. Set aside.
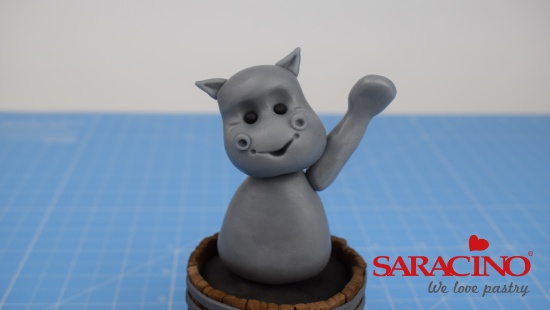
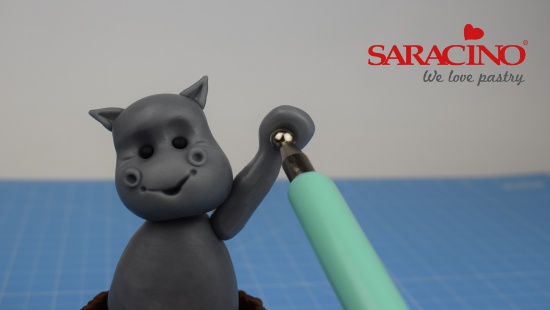
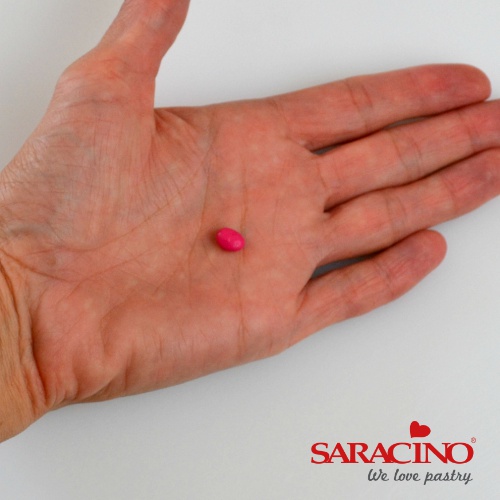
Step 26
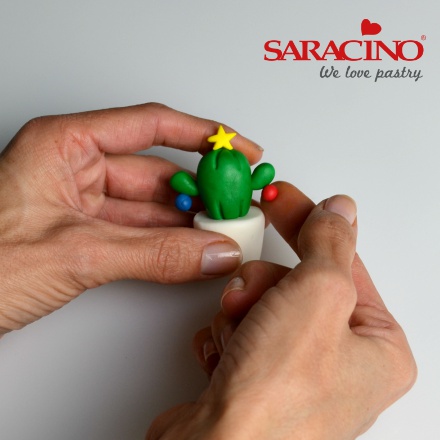
To make the decorations cut out a star (10mm star plunger cutter) from yellow paste. Attach to the top of the cactus. Roll a small petit pois sized piece of blue and red paste for the baubles. Attach one bauble to each arm using a spot of sugar glue if necessary. Set aside to dry.
Step 27
Take a large marble sized piece of green paste and roll into a ball. Use your fingers and thumbs to flatten into a thick circle.
Step 28
Attach to one of the pots with sugar glue.
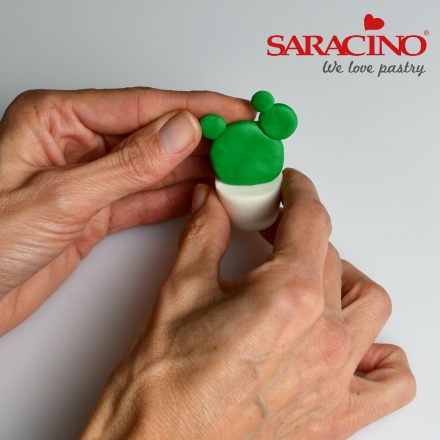
Step 29
Roll another piece of green paste into a pea sized ball and flatten in the same way. Attach to the top right hand side of the circle. Roll two more petit pois sized balls of green paste, flatten and stick one on the previous circle and the other on the left hand side
Step 30
For the mistletoe make two tiny balls of light green paste and roll into teardrops using the side of your finger.
Step 31
Roll out from the rounded end first using a rolling pin to make two small leaves. Attach these two the left hand side of the cactus.
Step 32
Roll three tiny balls of white paste and secure these next to the leaves with sugar glue. Attach cactus pot to a red topper and leave to dry
Step 33
When toppers are completely dry draw faces on to both dark green cacti using the fine end of an edible black pen. Stick on last cactus pot to remaining red topper.