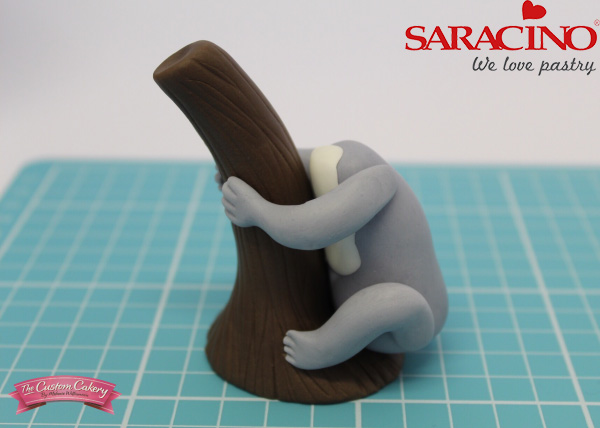
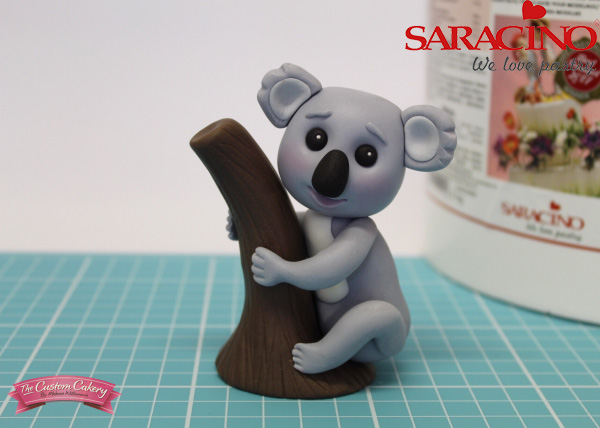
CREATE THIS LITTLE KOALA


You will need:
-
- 60g Saracino modelling paste coloured grey
- 40g Saracino modelling paste coloured browN
- 2g black Saracino modelling paste
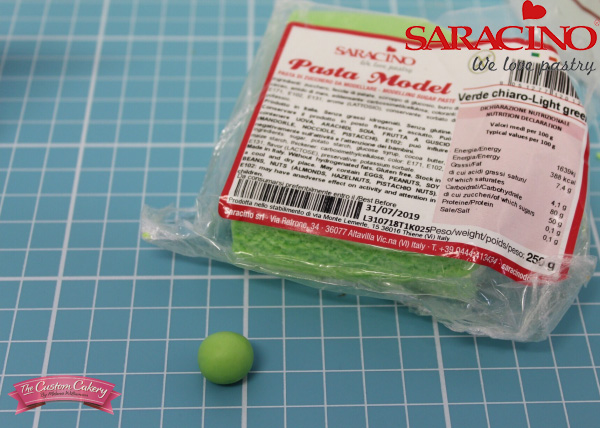
- 2g light green Saracino modelling paste
- 1g white Saracino modelling paste
- Black colouring
- Brown colouring
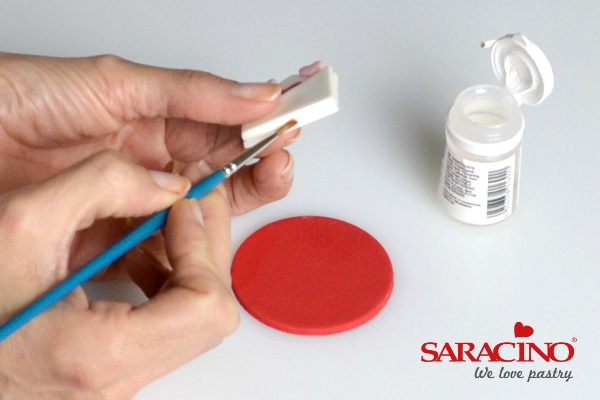
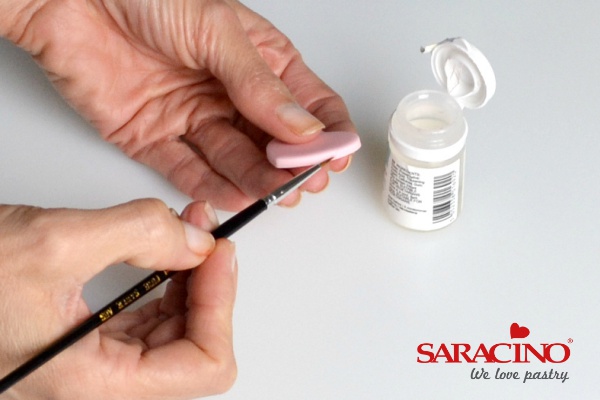
- Cake gel or other edible glue
- Pink edible dust
- Dresden tool
- Veiner tool
- Paintbrush for gluing
- Small soft brush for dusting
- Craft knife
- Large, medium, small and extra small ball tool
Step 1
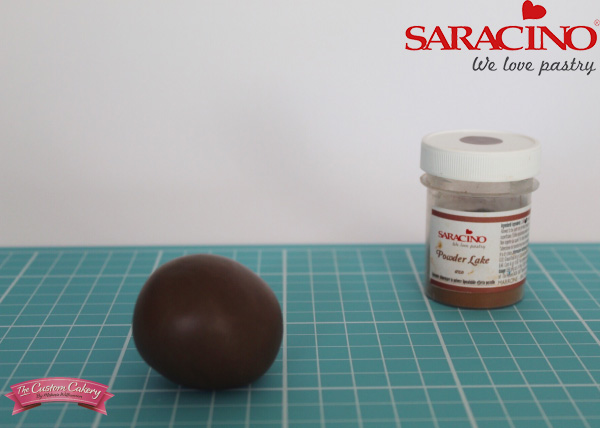
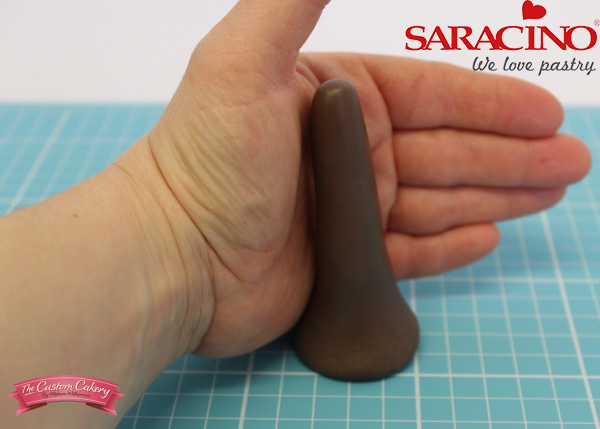
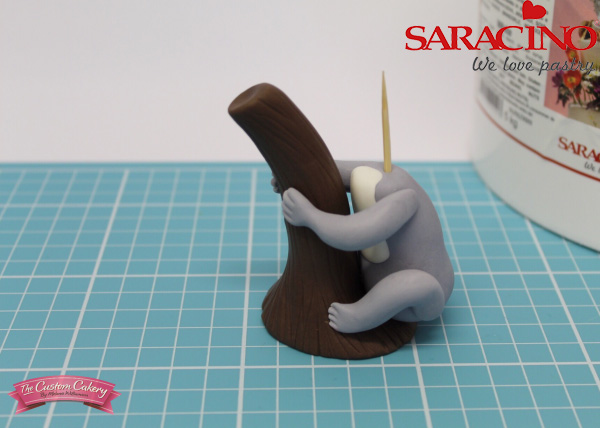
Colour 40g of modelling paste brown
Step 2
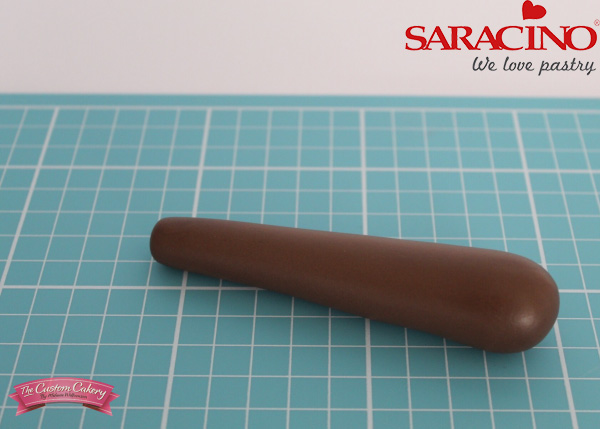
Roll into a cone shape
Step 3
Flatten and widen the base, smoothing with your hand, and create a slight bend in the trunk
Step 4
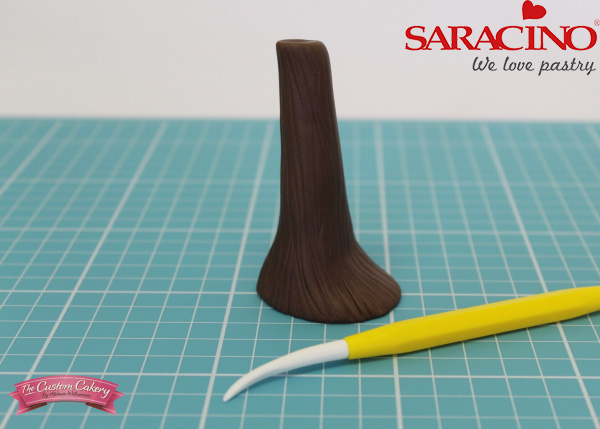
Score the trunk with the veiner tool to create a bark effect. Set to one side
Step 5
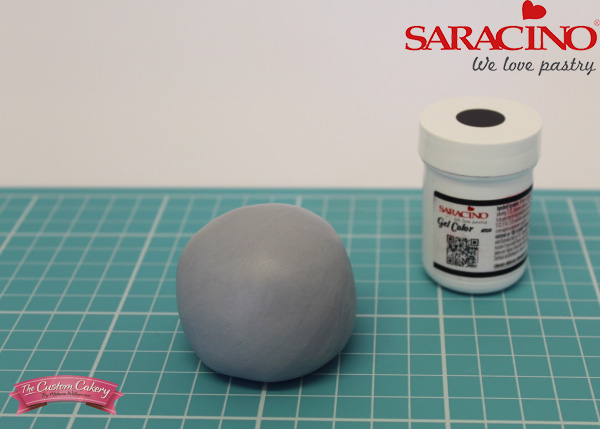
Colour 60g of modelling paste grey. You’ll only need a little black gel. Remember you can always add more!
Step 6
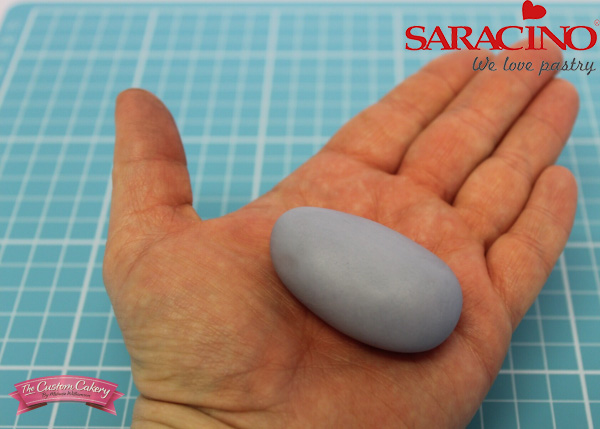
Roll 25g of the grey paste into an ovoid
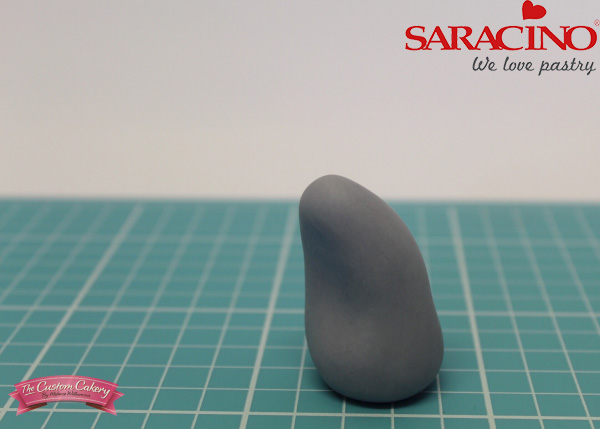
Step 7
Place down, slightly flattening the bottom and arching to create the koala’s body
Step 8
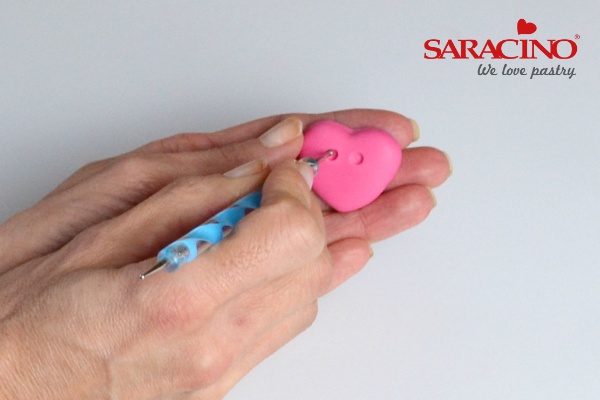
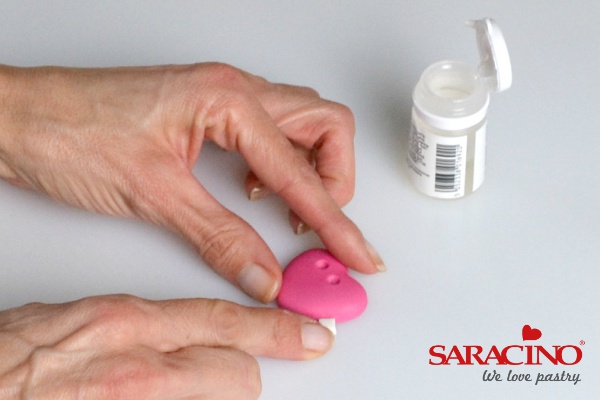
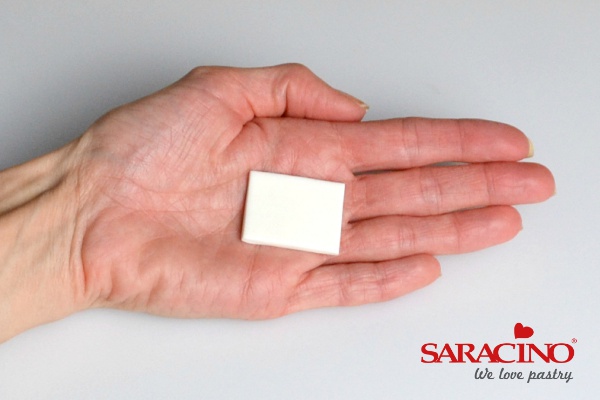
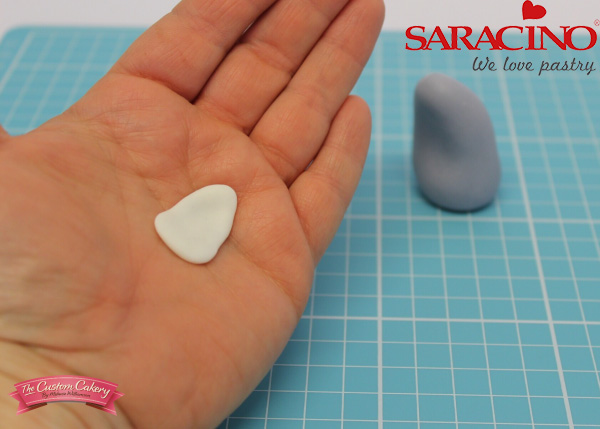
Take a very small ball of white modelling paste, flatten and shape in your hand to create a rough triangle
Step 9
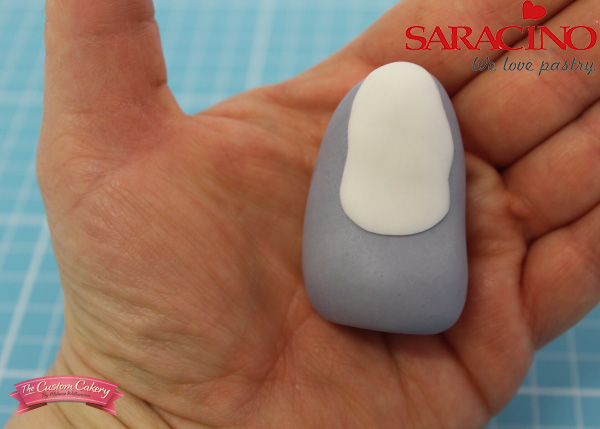
Place this onto the koala’s body as shown (when attaching small pieces of Saracino paste together you don’t need to use any glue)
Step 10
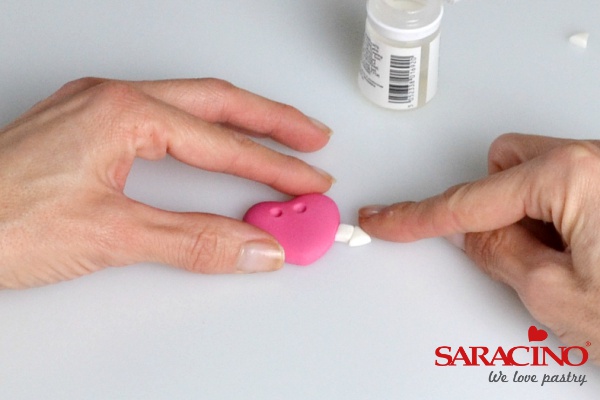
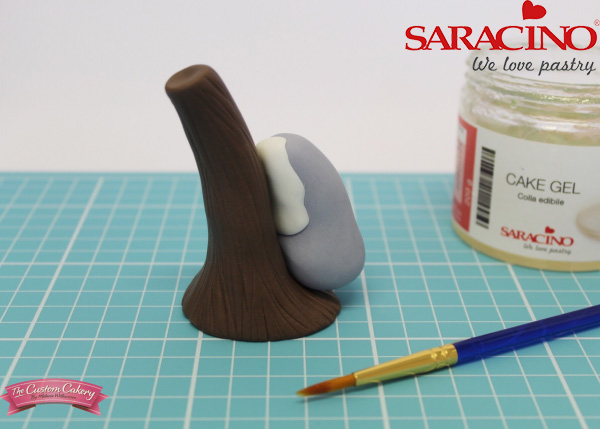
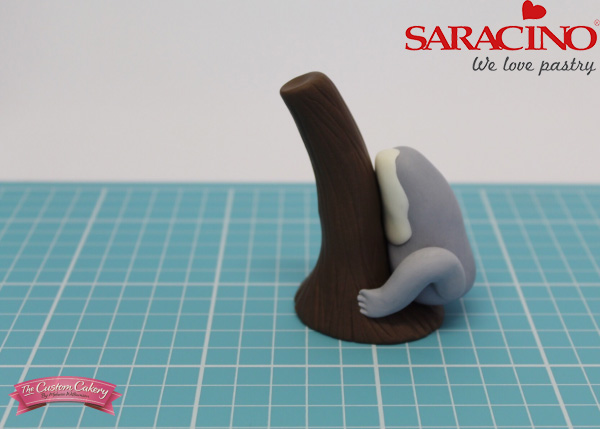
Use a little cake gel as glue, or cool boiled water, and position the koala onto the base of
Step 11
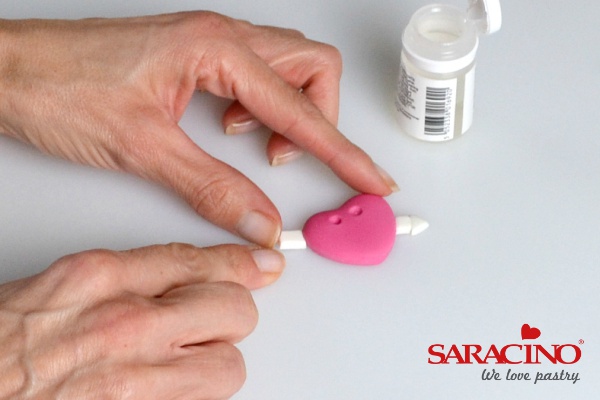
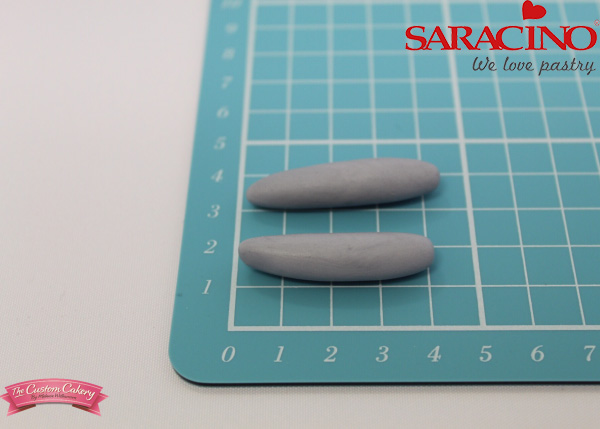
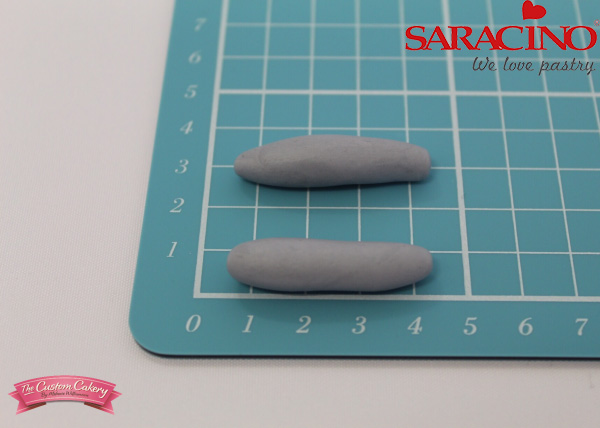
To make the legs roll 4g of grey modelling paste into two sausages (2g each)
Step 12
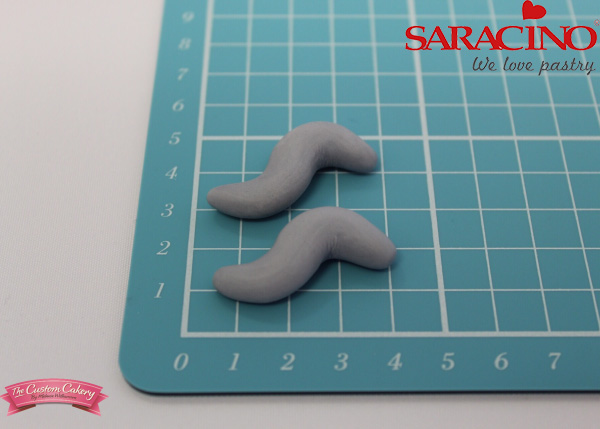
Shape these into a loose ‘S’ shape
Step 13
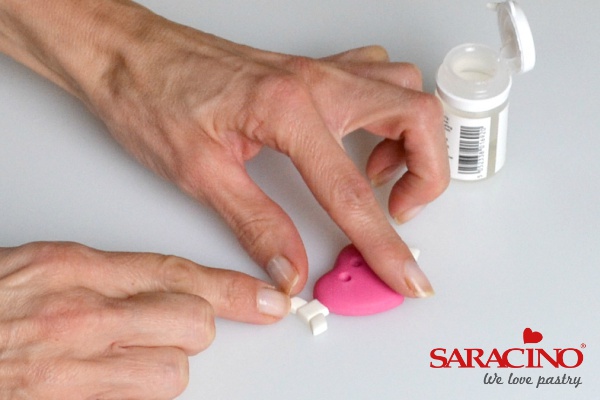
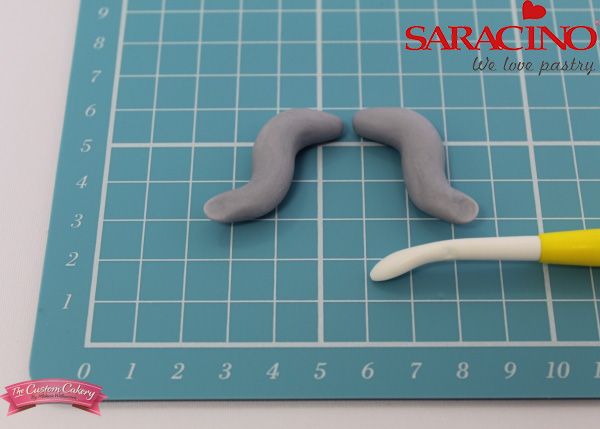
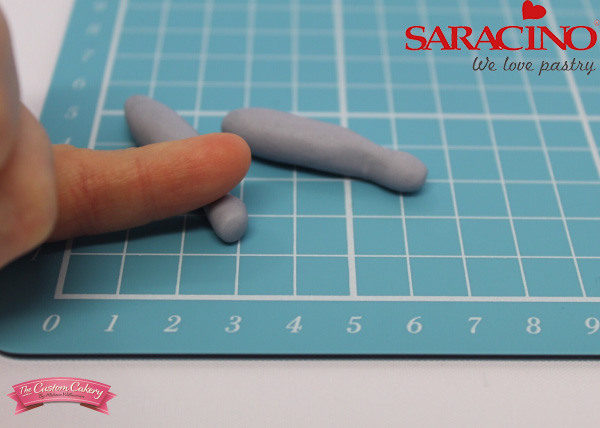
Flatten the end of each leg with the dresden tool or your finger to create paws

Step 14
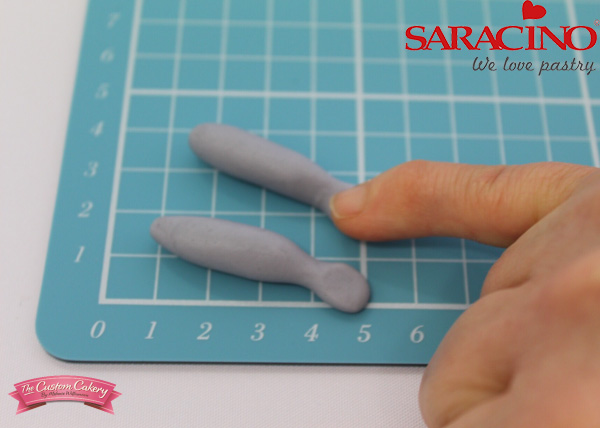
Use the veiner tool to mark claws
Step 15
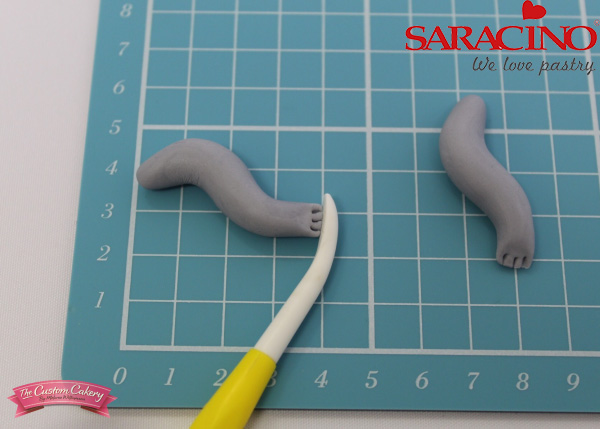
Soften the edges with your finger or the dresden tool
Step 16
Add the legs to the koala’s body, placing some glue on both the trunk and the koala
Step 17
To make the arms again roll 2 sausages using 4g of grey modelling paste (2g each).
Step 18
Use your little finger to gently roll and define a paw at the end of each arm
Step 19
Flatten each paw
Step 20
Slightly bend each arm and glue into position so the koala can hug the tree!

Step 21
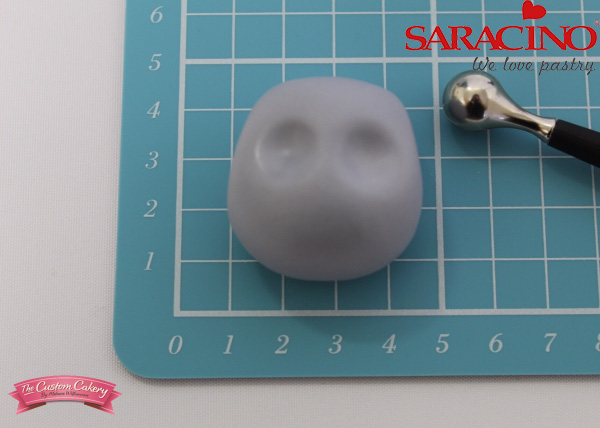
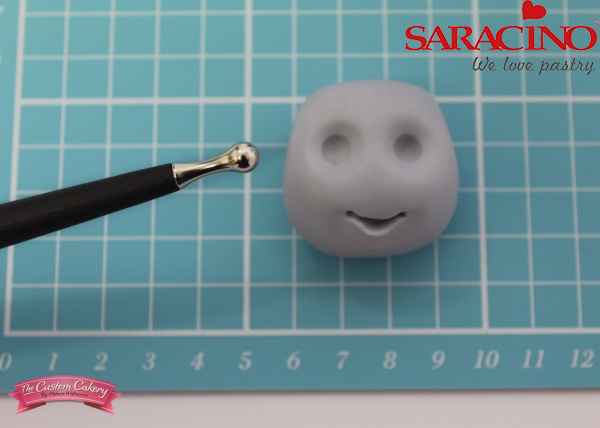
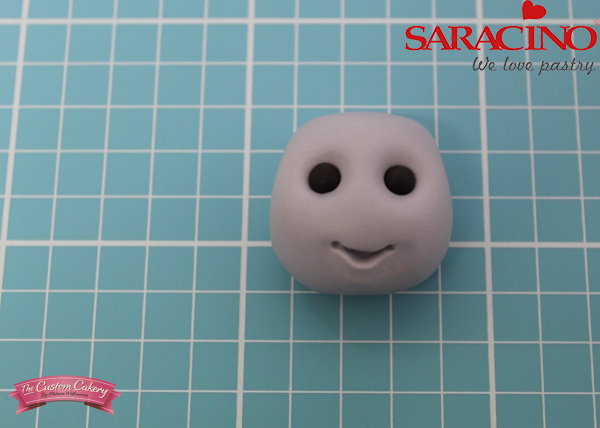
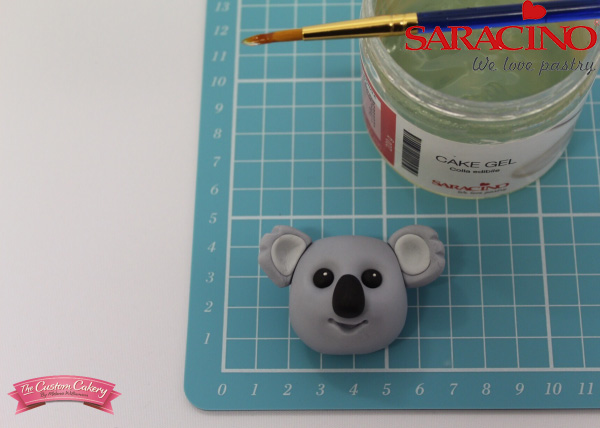
Roll 25g of grey modelling paste into a ball and slightly square off the top and sides to create the head shape
Step 22
Use the large ball tool to indent eyes midway up the face
Step 23
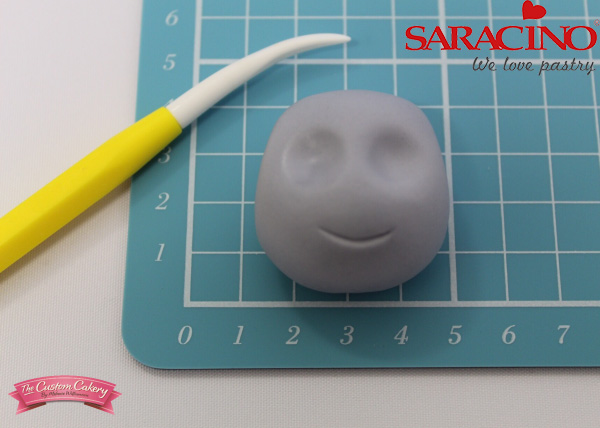
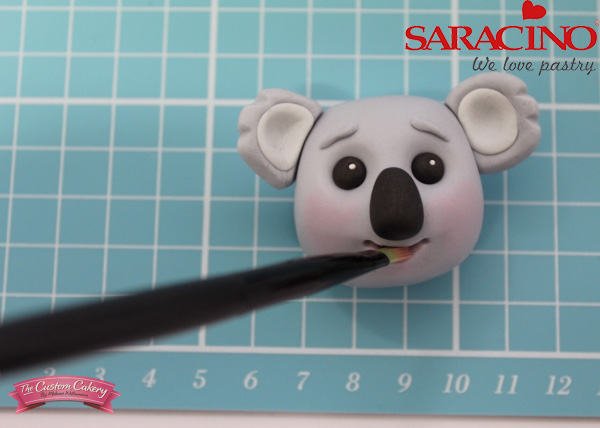
Mark a line for the mouth with the veiner tool
Step 24
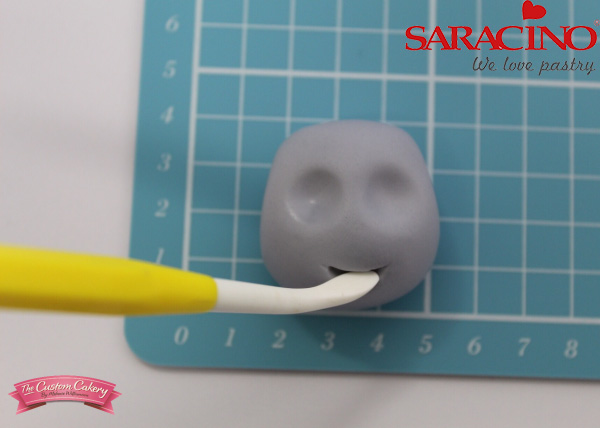
Use the dresden tool to open up the mouth
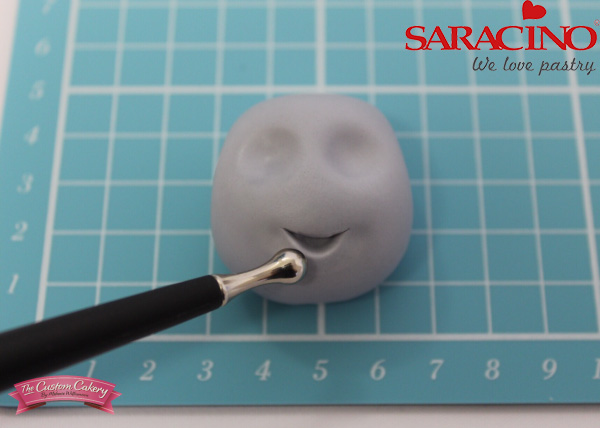
Step 25
Run the medium ball tool just below the bottom of the mouth opening to create the bottom lip
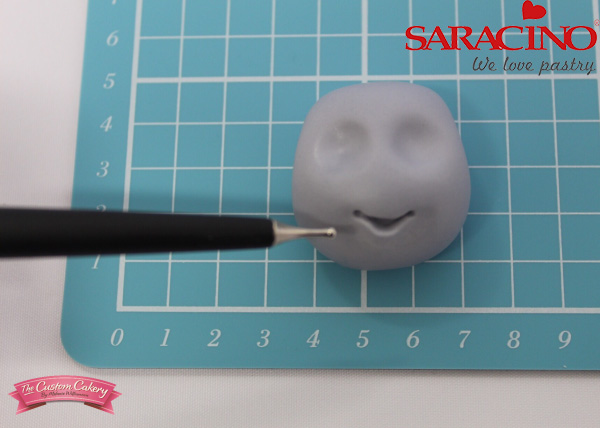
Step 26
Use the small ball tool to mark the outer edges of the mouth
Step 27
Create deeper eye sockets using the medium ball tool
Step 28
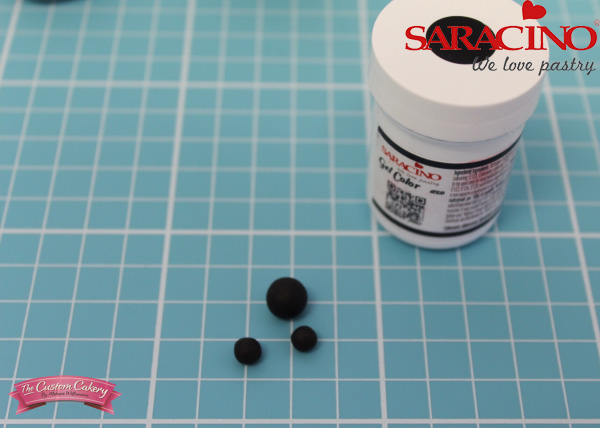
Roll 3 balls of black modelling paste as shown. Put the larger to one side for the nose. The smaller two are the for the eyes. These are too small to weigh but should be about the size of petit pois!
Step 29
Drop the eyes into the sockets. If they’re too large or small simply remove and try again
Step 30
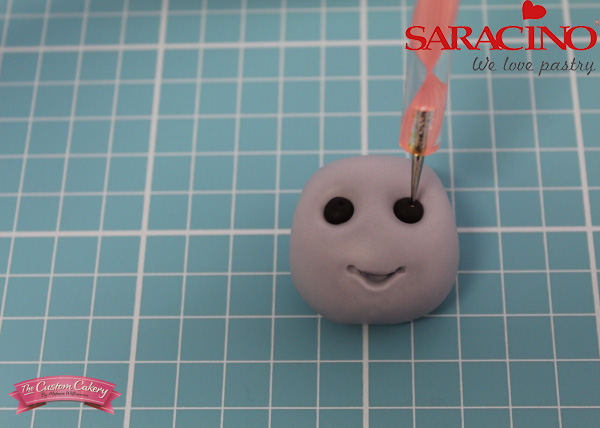
Use the very small ball tool to make tiny holes in the top right of each eye for highlights
Step 31
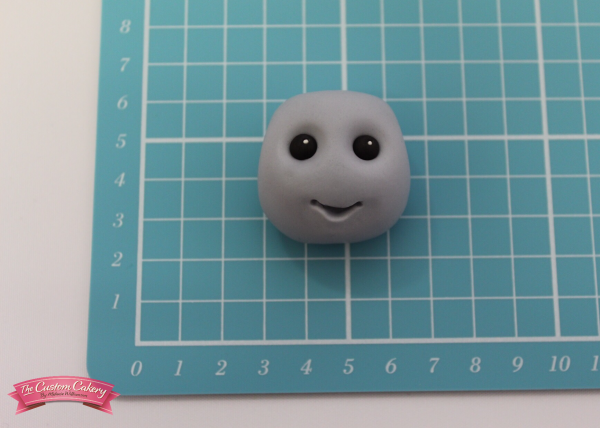
Roll tiny white balls and drop these into those holes, very gently smooth into position.
Step 32
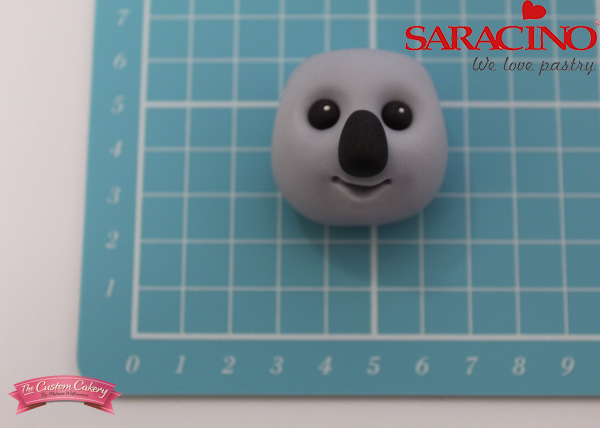
Now roll the reserved black paste into an ovoid for the nose and glue into position
Step 33
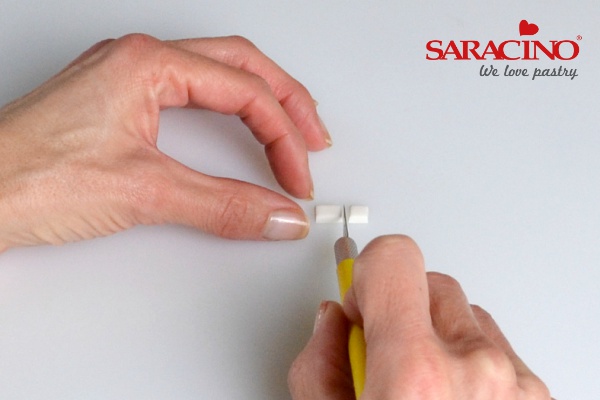
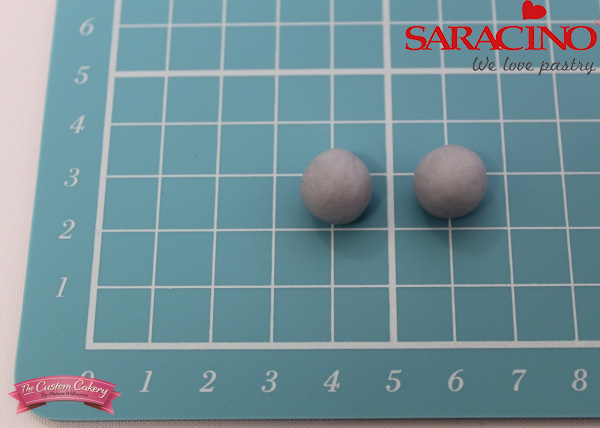
For the ears use the remaining 2g of grey modelling paste to make two balls (1g each)
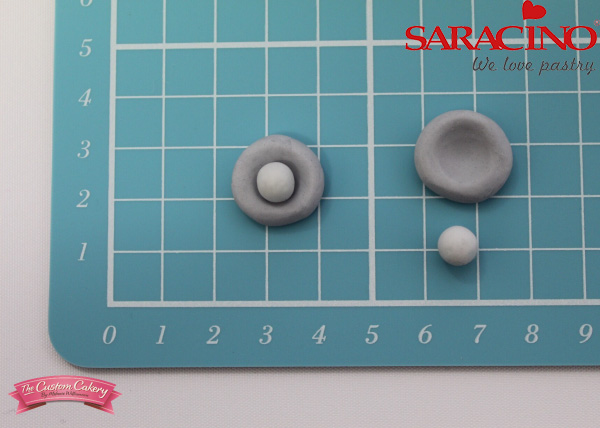
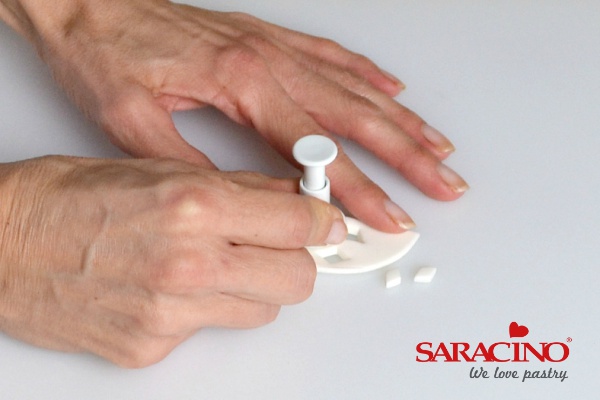
Step 34
Indent these with the large ball tool and roll two small balls of light grey paste, place into the ears
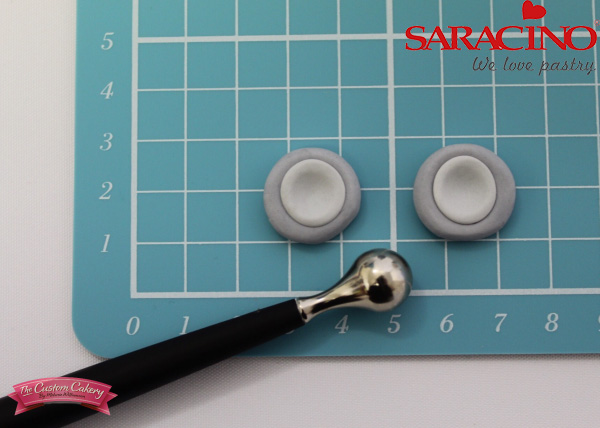
Step 35
Smooth and flatten them with your finger and then indent with the large ball tool
Step 36
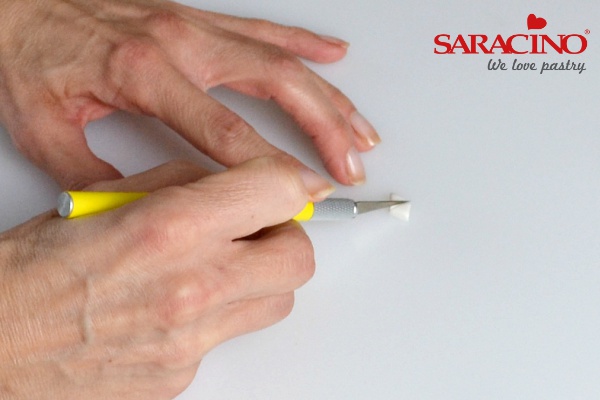
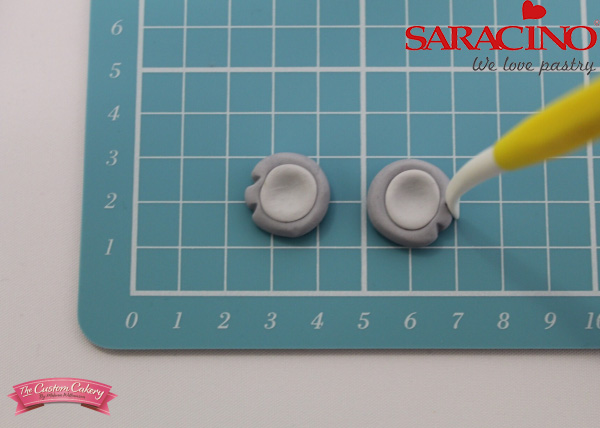
Use the veiner tool to mark the sides of each ear as shown
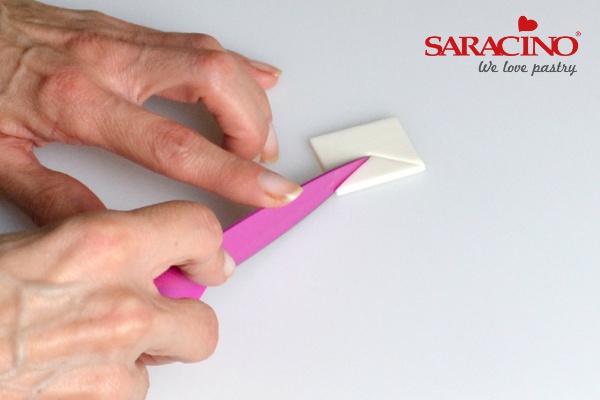
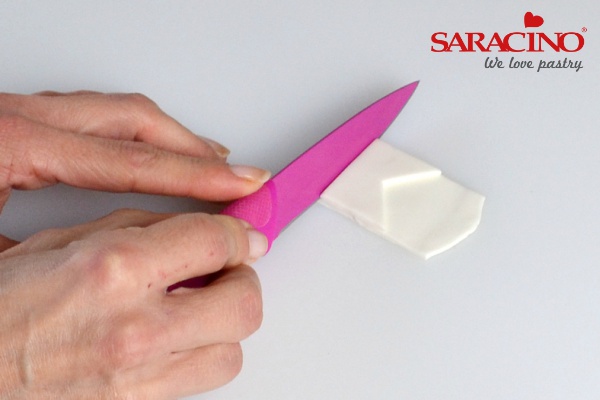
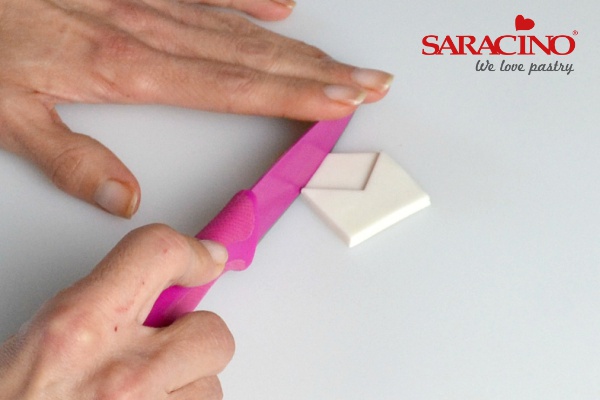
Step 37
Trim each ear with the craft knife to create a flat edge and glue into position on the koala
Step 38
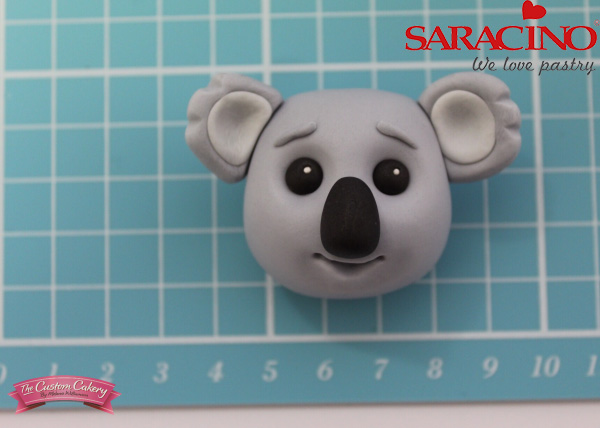
Roll two tiny sausages of grey, from the ear cut off, and place into position as eyebrows
Step 39
Use a soft brush to add a little pink dust to the koala’s cheeks and mouth
Step 40
Push a cocktail stick into the koala’s body (if for a customer be sure to tell them it’s there)
Step 41
Position the head onto the stick – looking cute isn’t he?!
Step 42
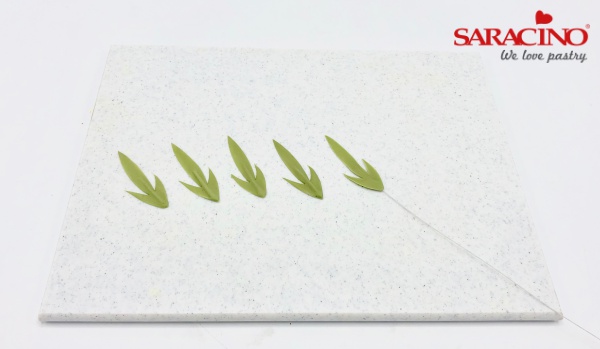
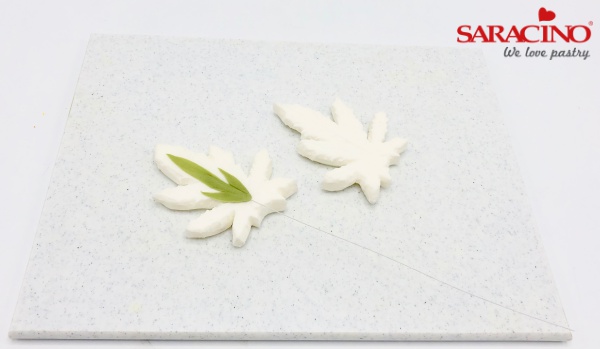
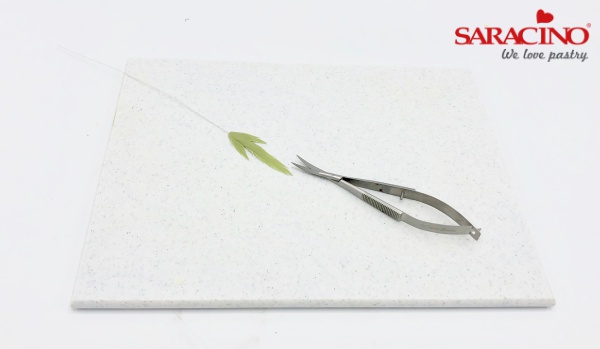
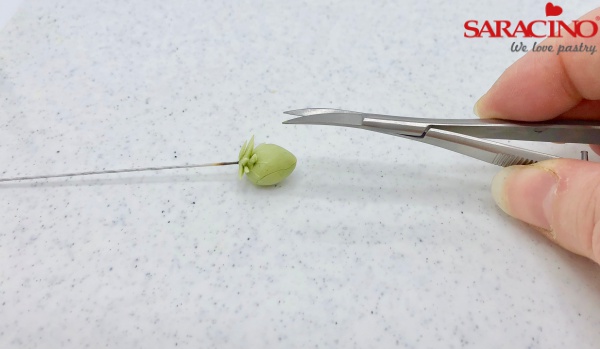
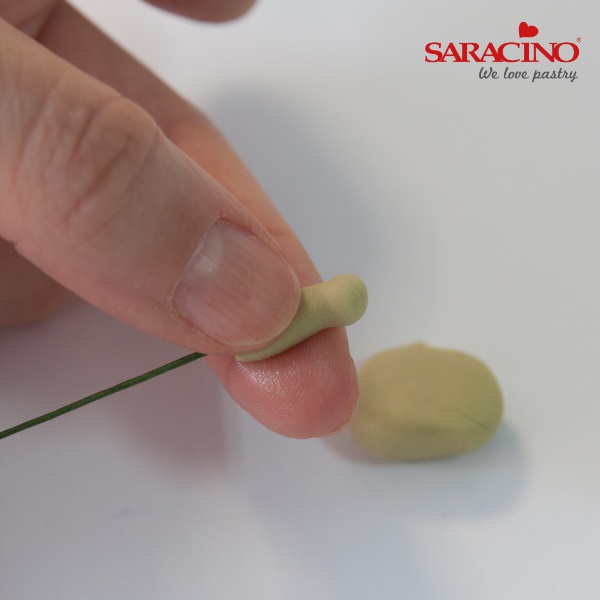
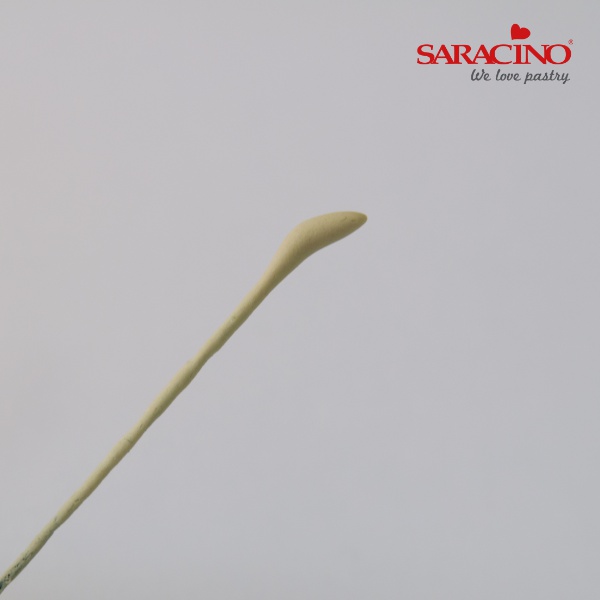
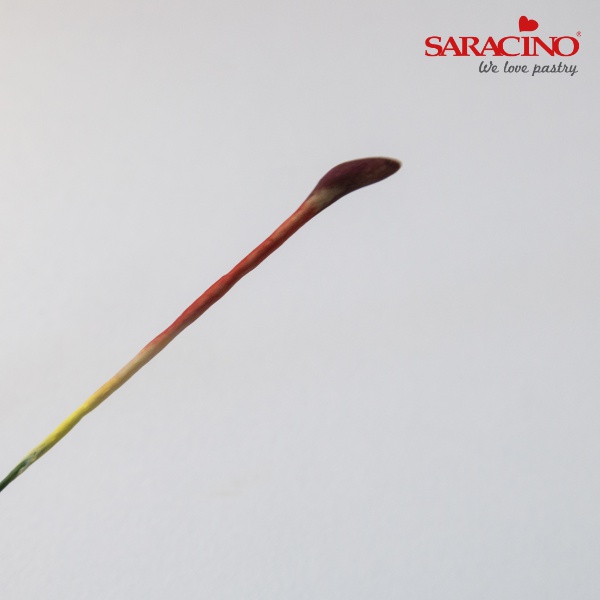
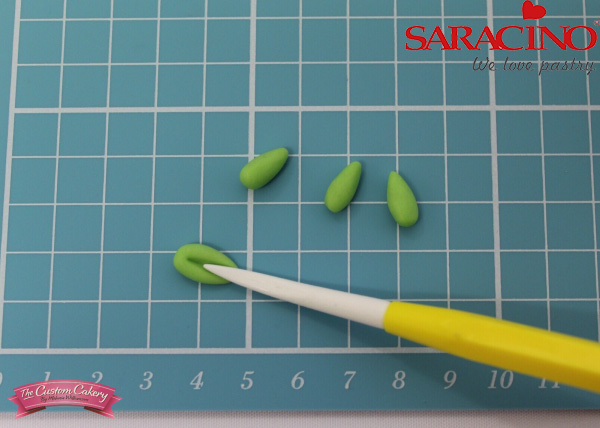
To make the leaves use 2g of Light Green modelling paste
Step 43
Roll into small cones and mark the centre line with the veiner tool
Step 44
Glue into position on the tree and your cute little koala is finished!