ComicStrip Cakers Collaboration
MARVELOUS CAKERS PRESENTS – COMICSTRIP CAKERS COLLABORATION
Collaboration Facebook Page – https://www.facebook.com/ComicStripCakers
The Comicstrip Cakers Collaboration came about as an idea for Marvel comic fans within the cake community to pay tribute in celebration of Marvel Comics 80th birthday this year.
It was put together by Fee Kakes (of sCrumbtious Kakes) and Kathy Cooper (of Kathy Cooper A Slice of Art) as part of The Cake Collective (a collective cake group set up by Vicki Du Plessis that encourages cake artists of at all levels to challenge themselves by participating in various collaborations).
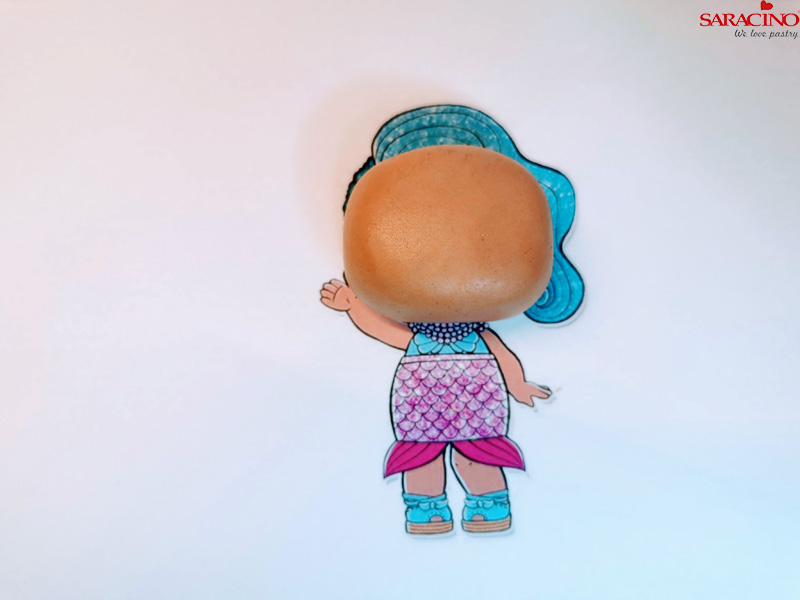
The idea was to do our own interpretation of our own favourite Marvel comic characters and to have fun with it.
We were inspired to celebrate Marvel Comics 80th birthday because Fee and a number of other Cake Collective artists are HUGE Marvel comic fans and Kathy is a SUPER Deadpool fan and there was a huge response from the Cake Collective members to take part. It seemed feasible that we could create a brilliant tribute as we initially had 80 plus cake artists wanting to take part. It also followed on from our Cameod Stan Lee collaboration that featured at London’s Cake International on Tour Group competition achieving a Gold award earlier this year.
The Cake Collective already has a number of collaborations that they are currently working on and also developing ideas for future themes. The Cake Collective welcomes all cake artists of all skill levels and currently has 1.6K members from all over the world. If anyone wishes to join the Facebook group they can by going tohttps://www.facebook.com/groups/thecakecollective/

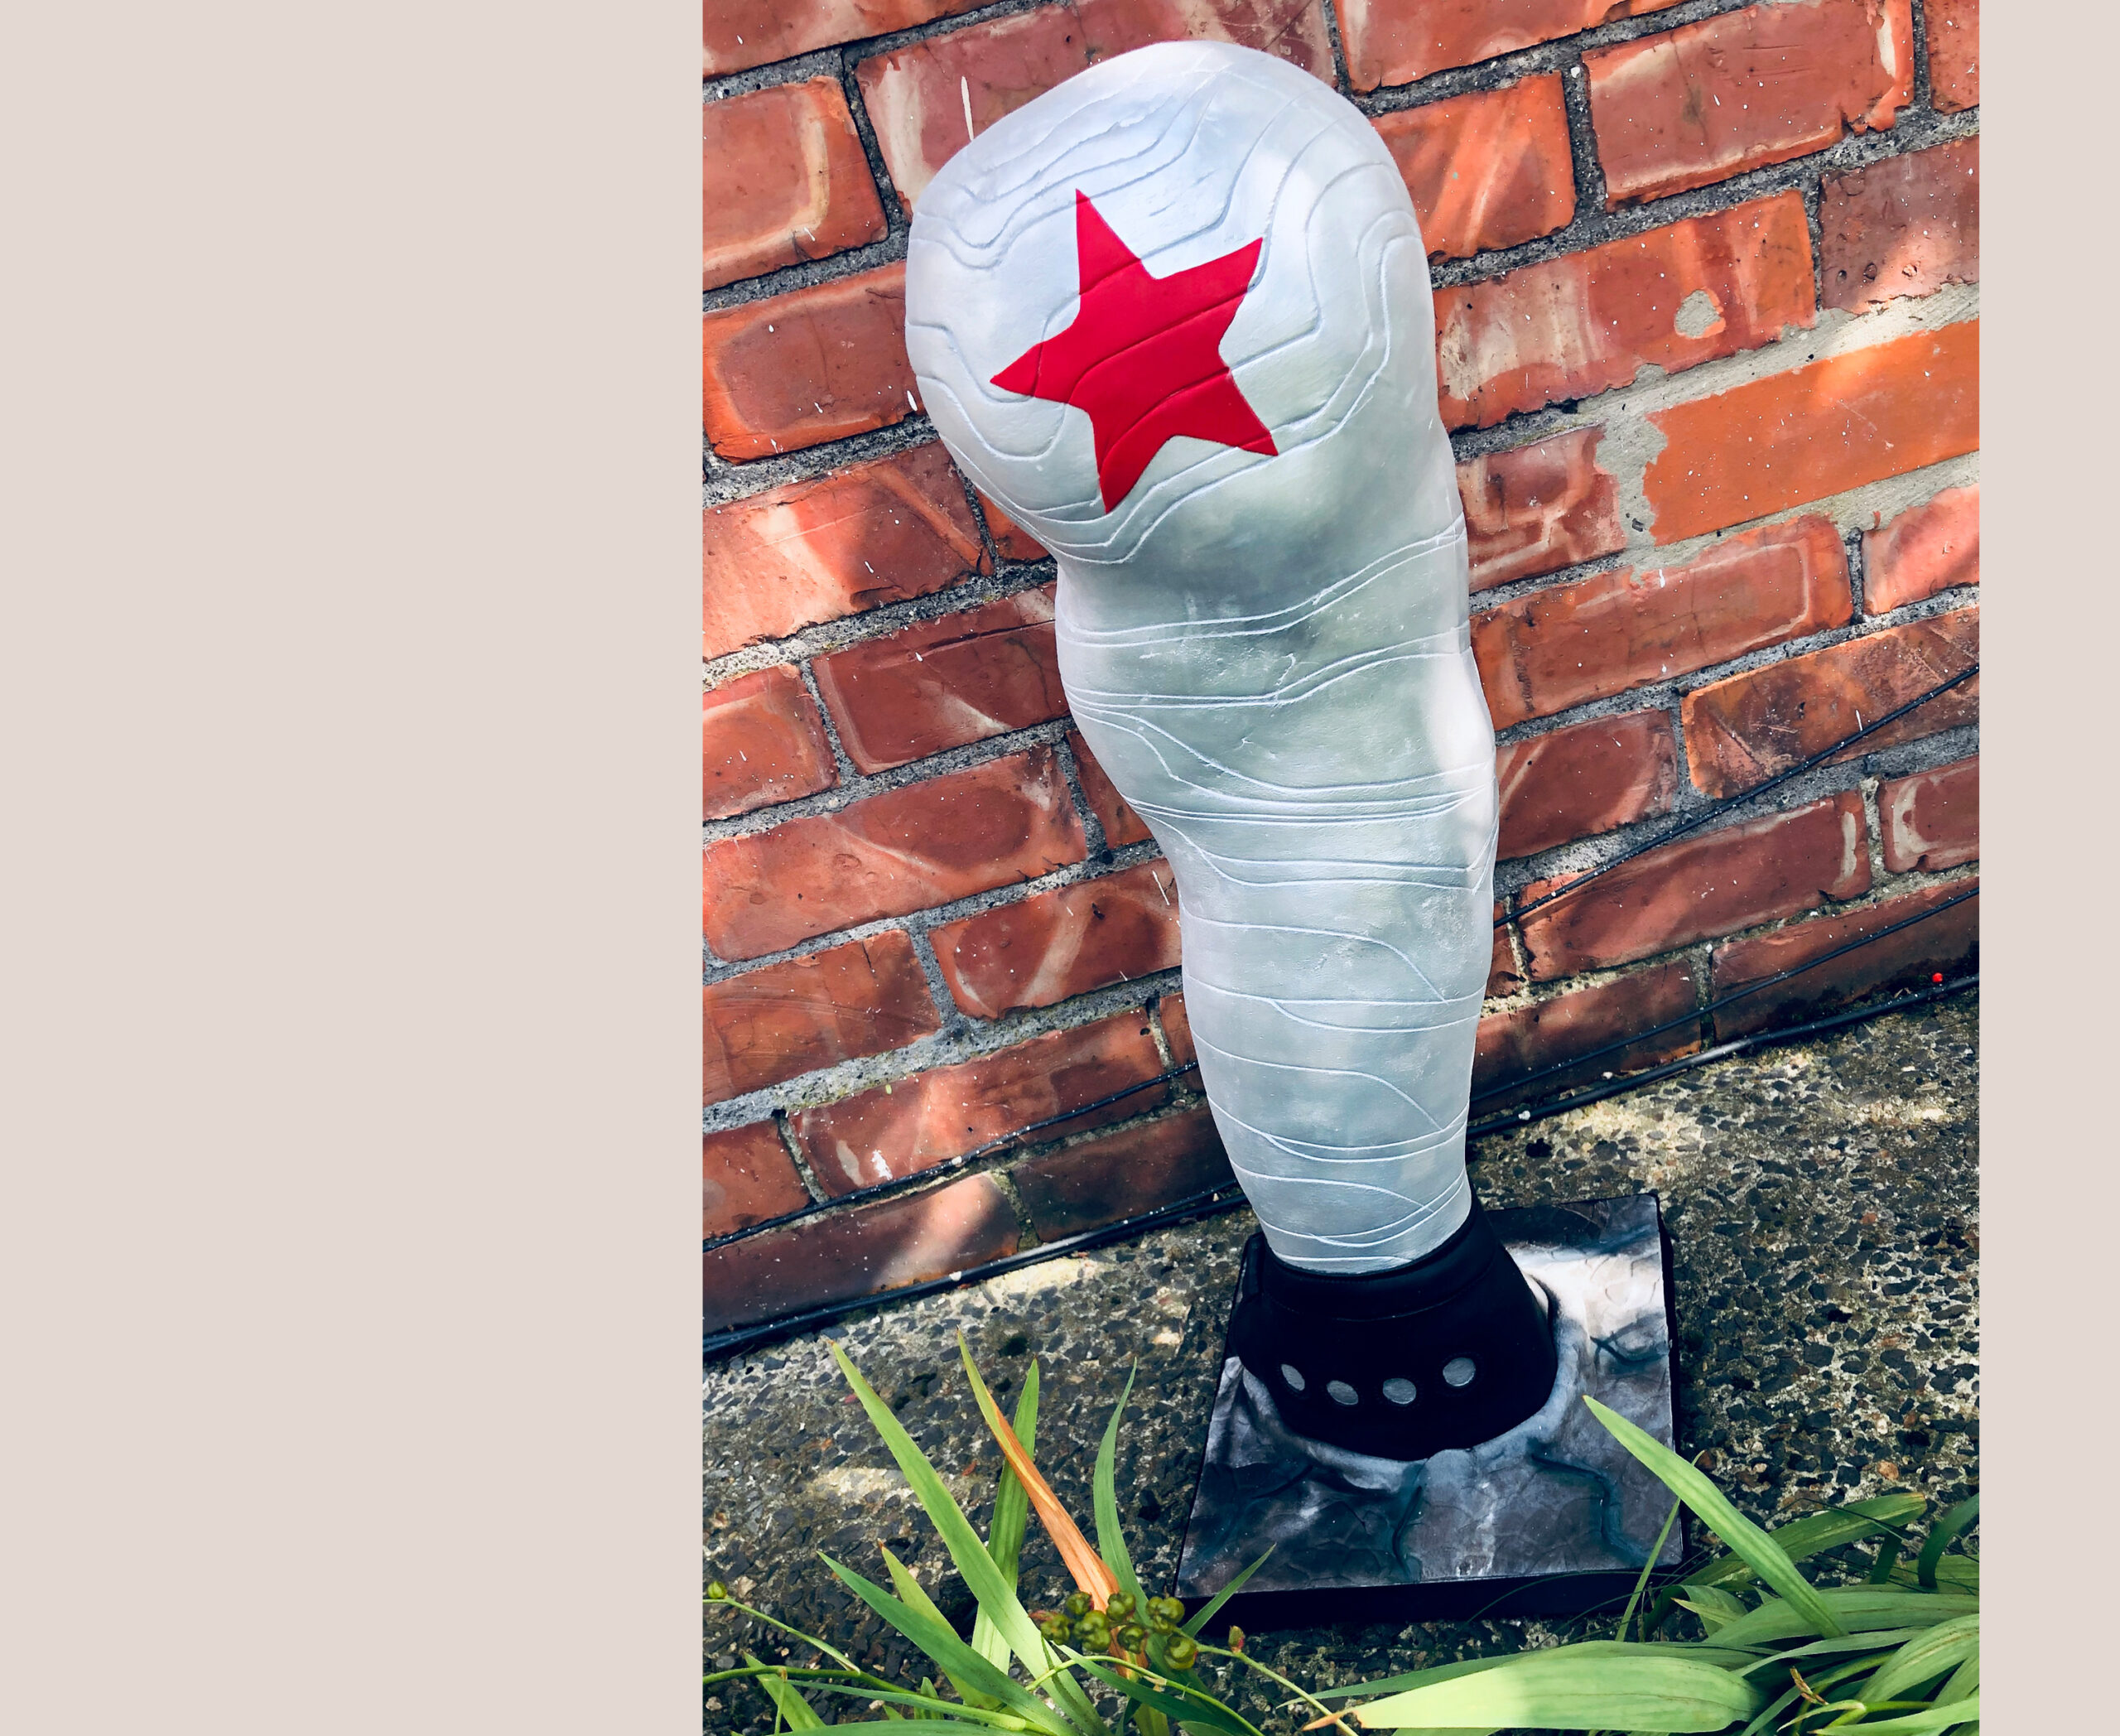

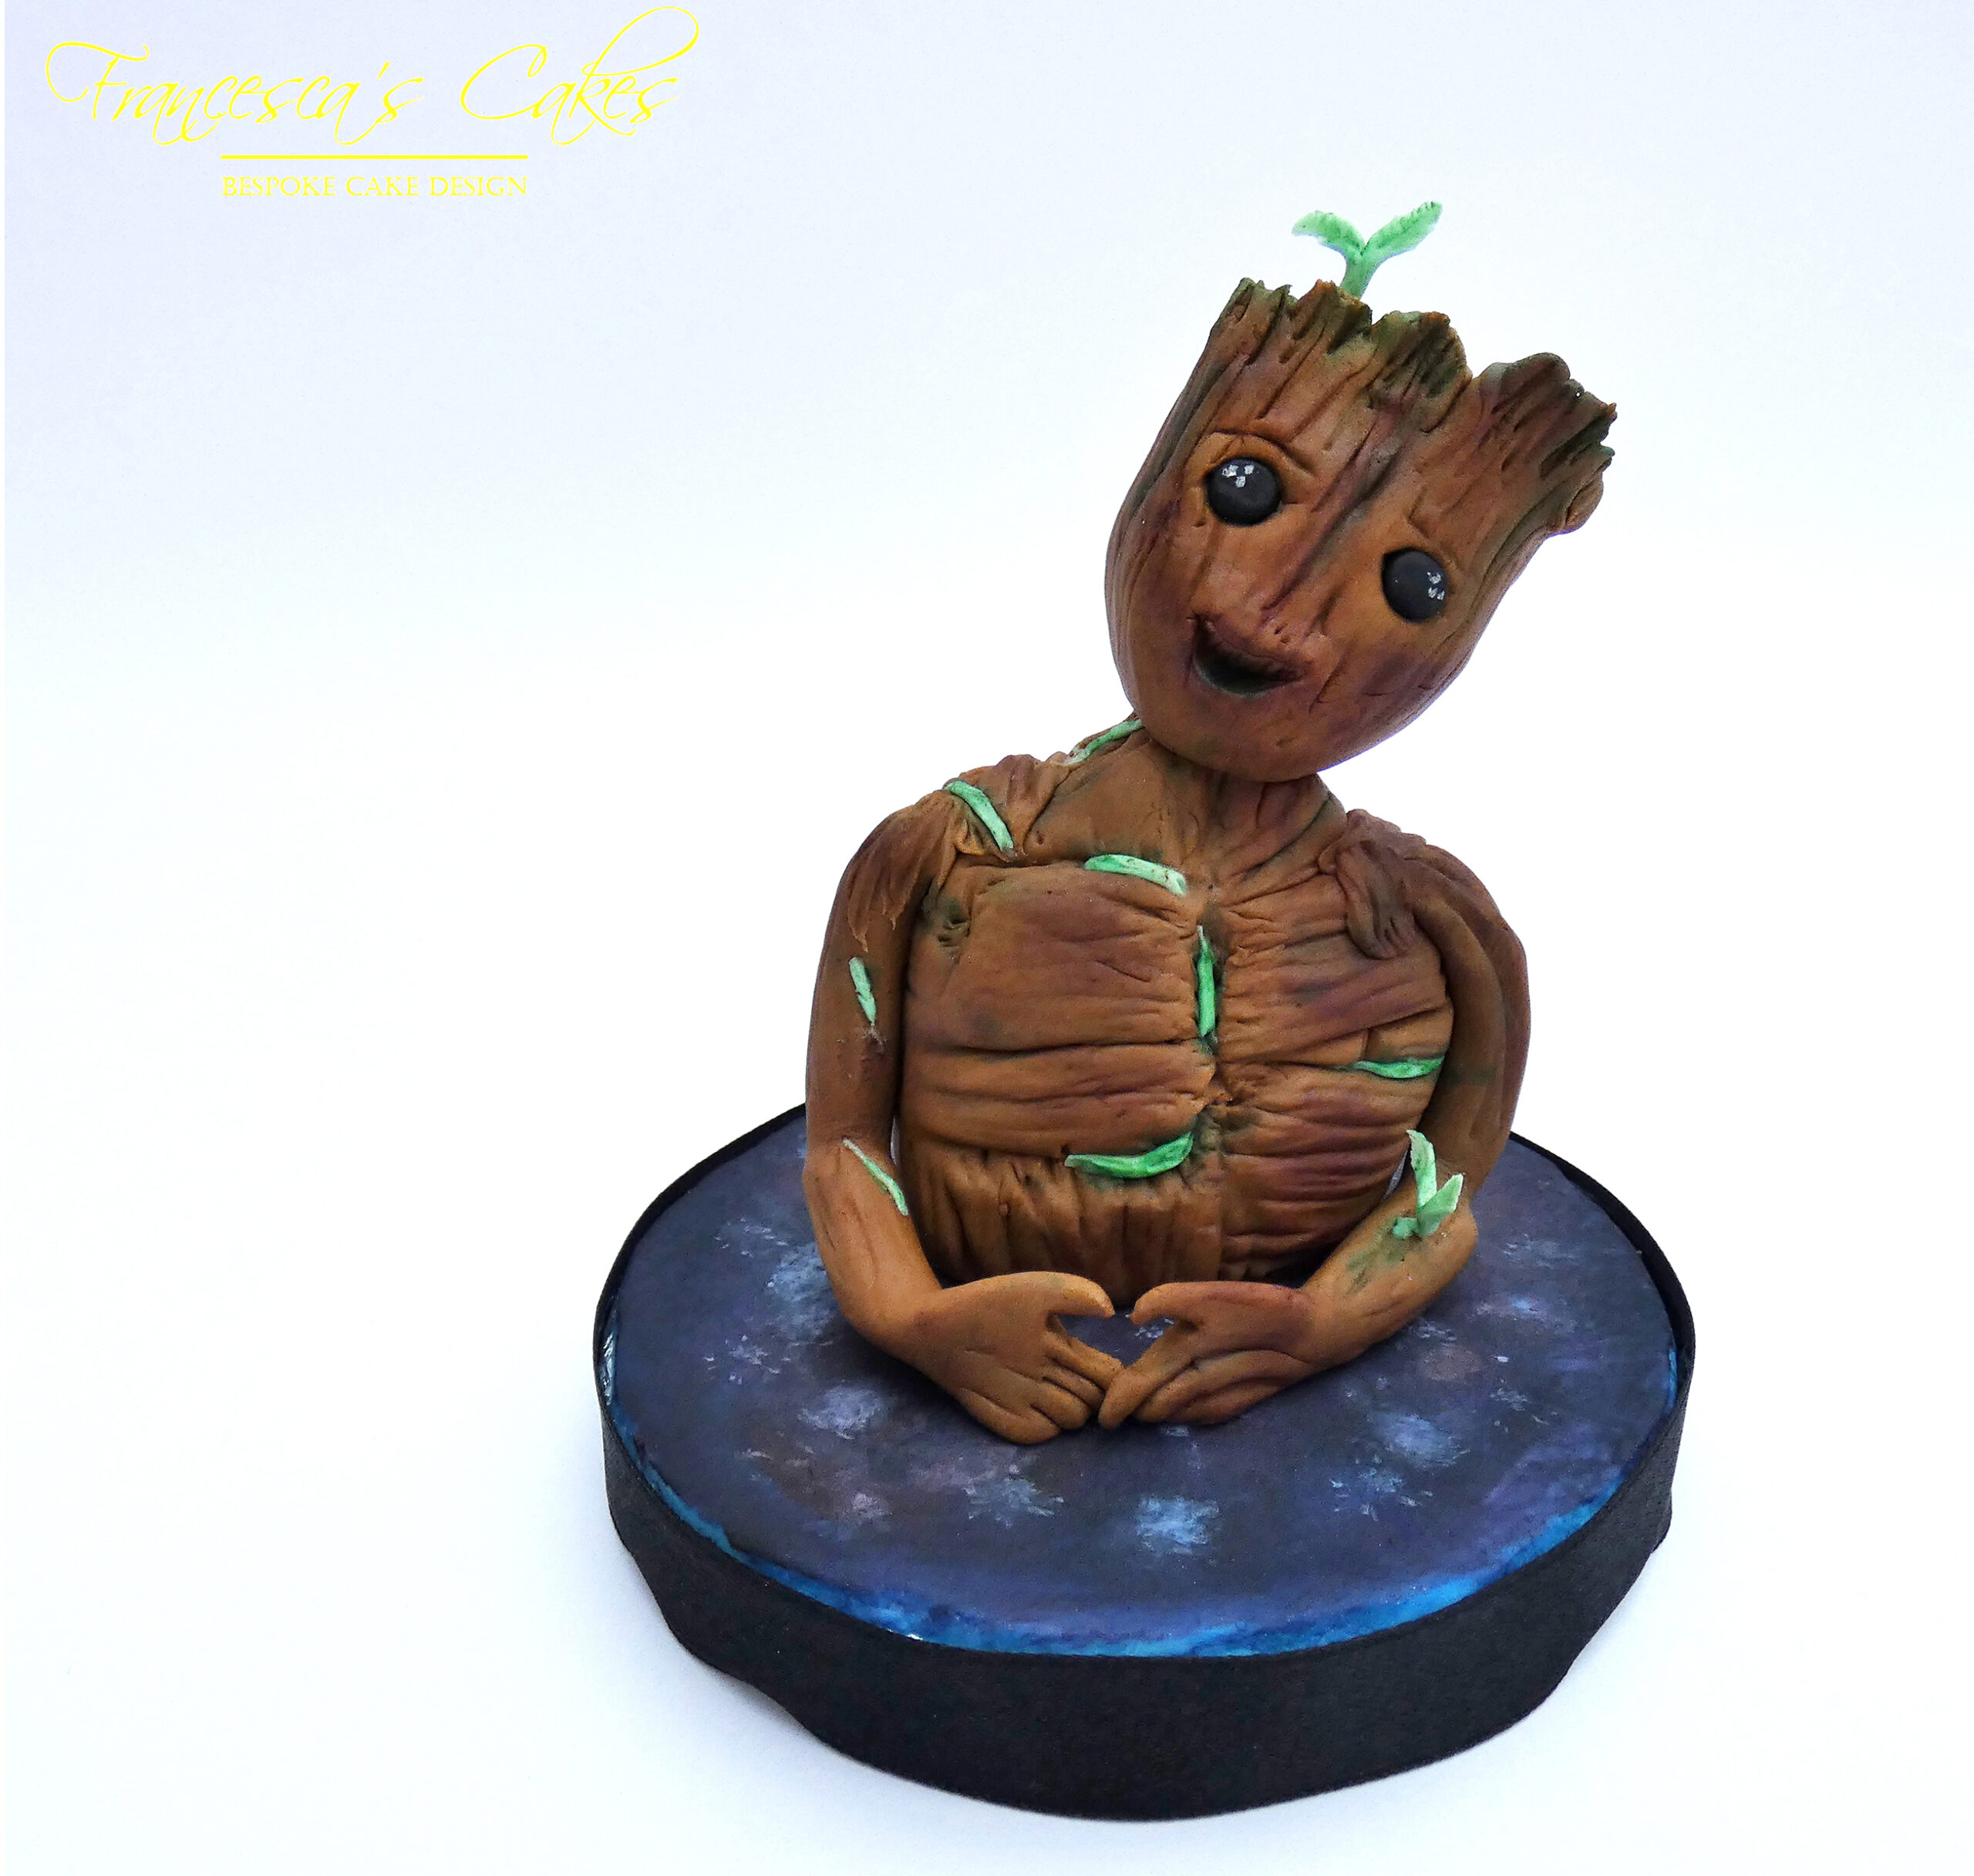

Sarah Carr

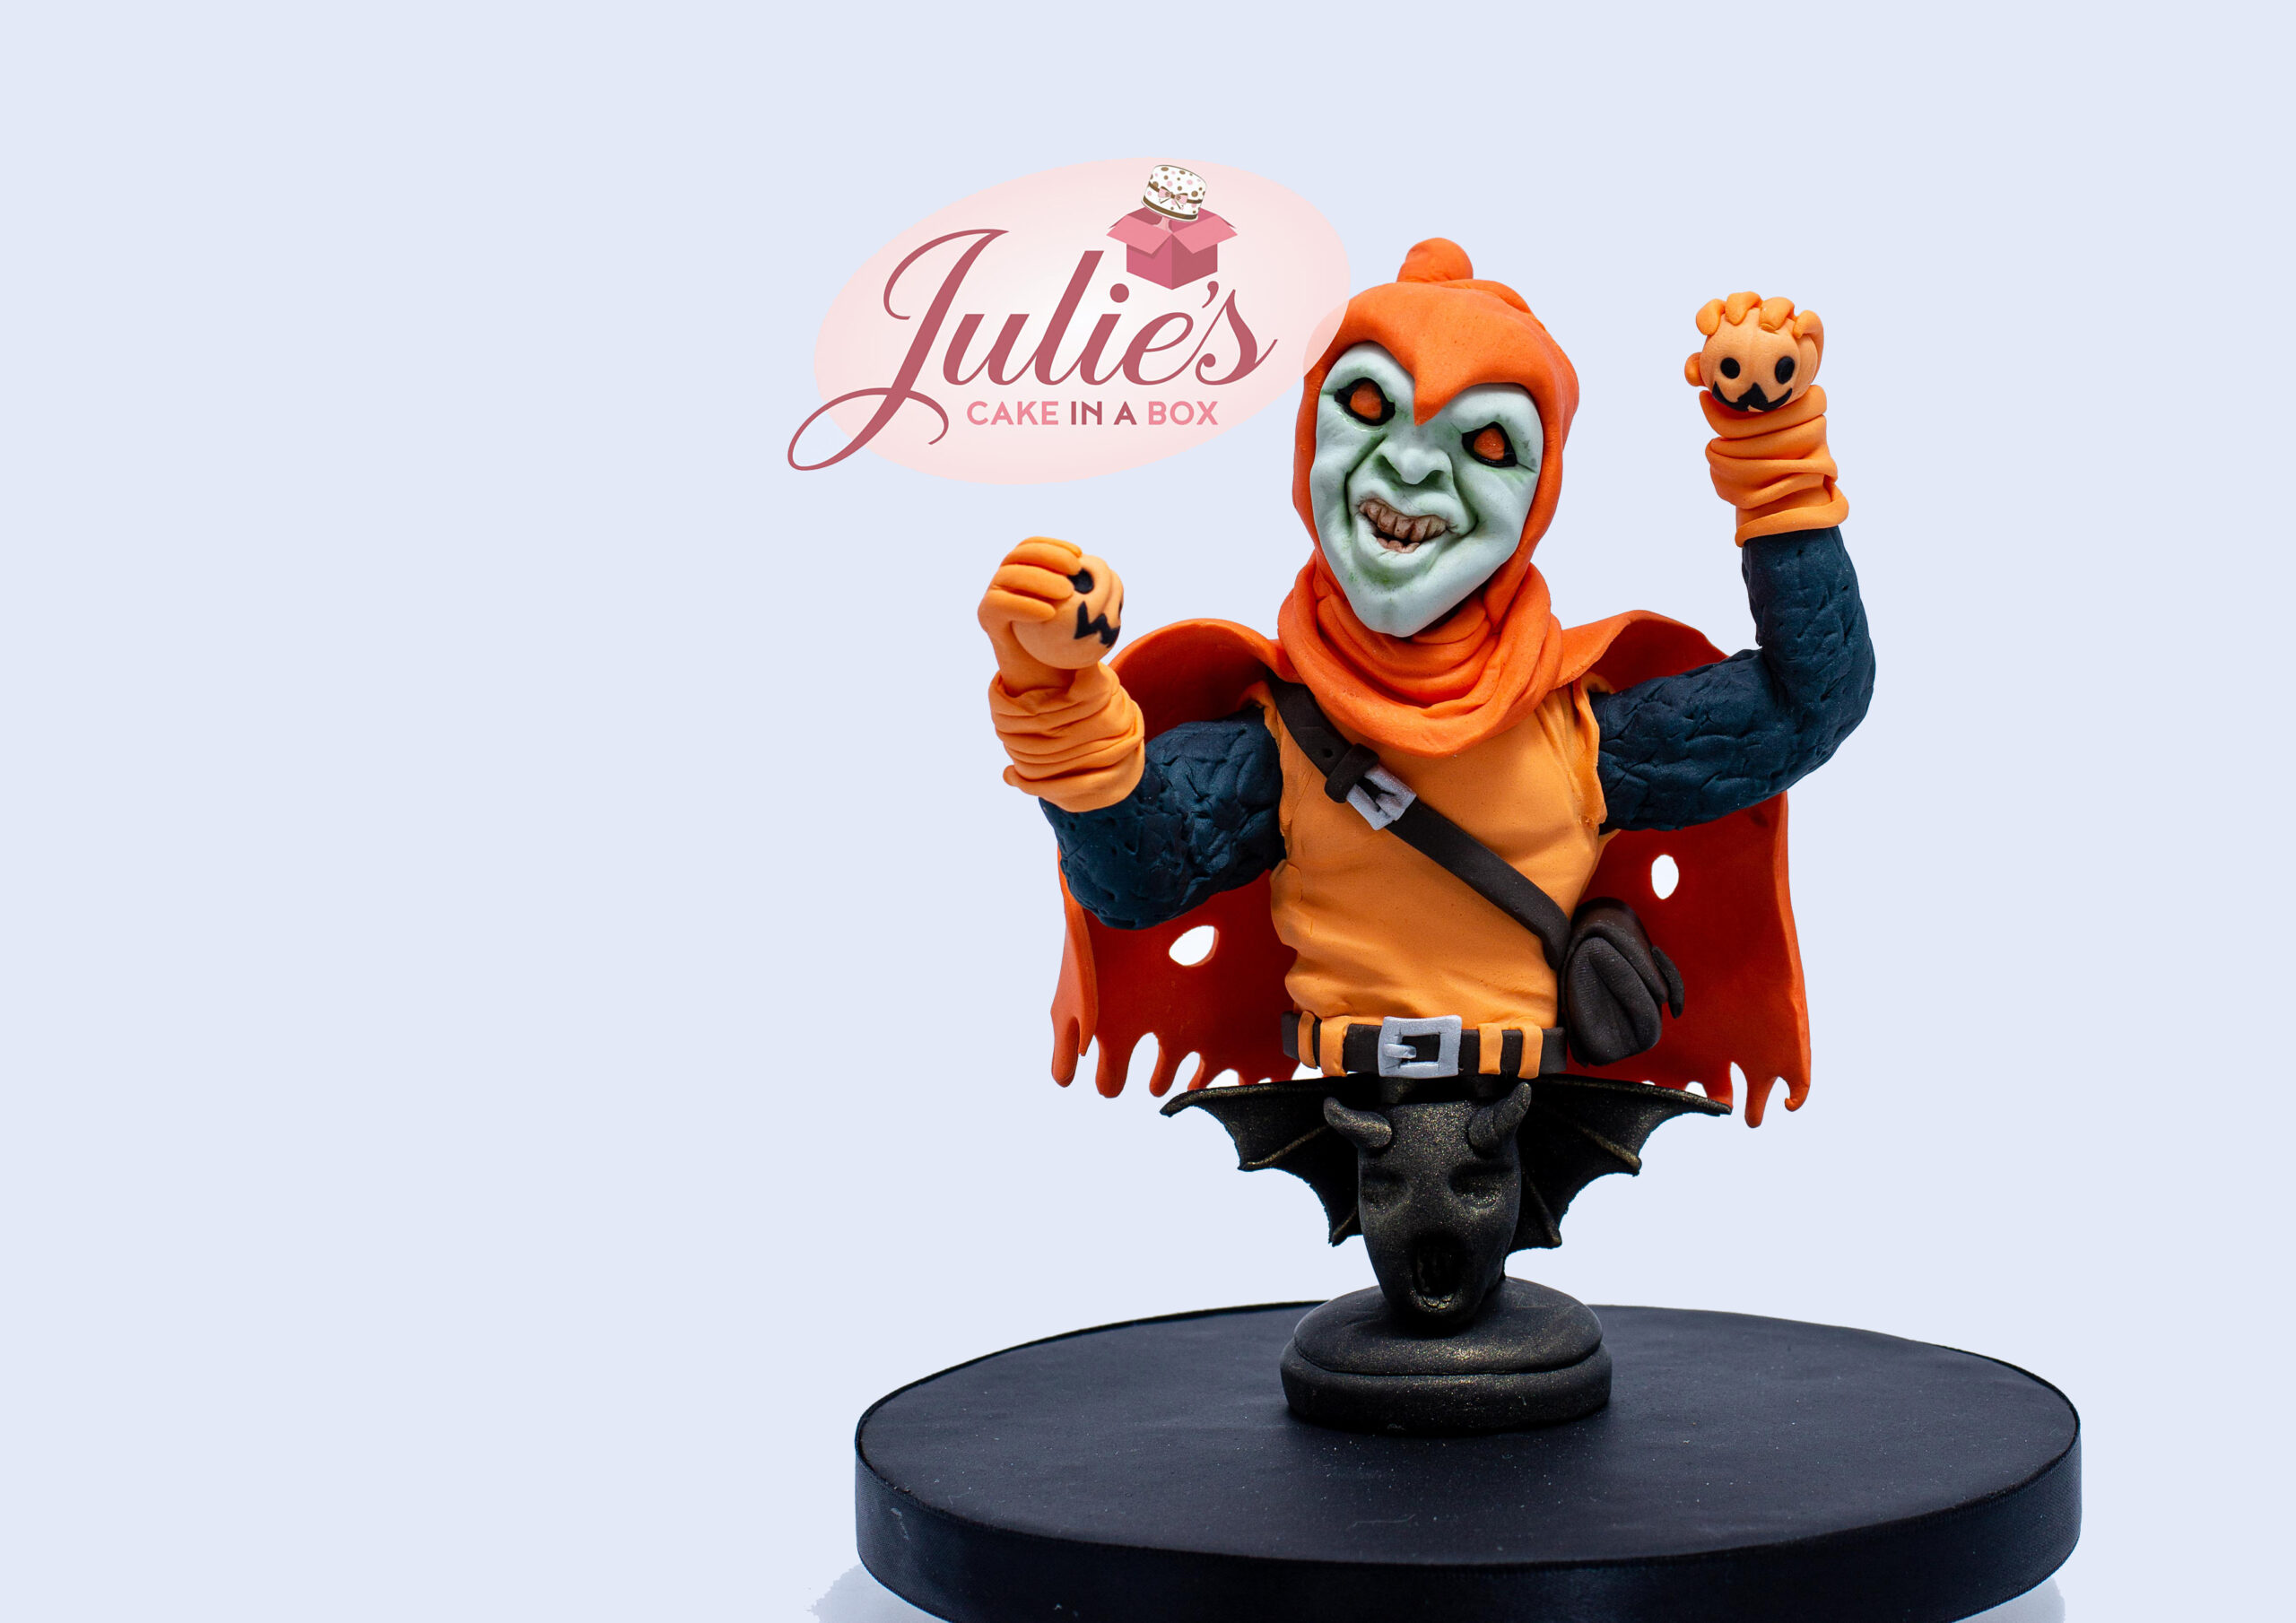
Paul Williams

Congratulations On Your Amazing Creations!
Join Our Newsletter
We’d love to send you the latest news, discounts & exclusive offers via email! By signing up below you are confirming you are happy for Saracino to send you marketing emails. We will always treat your personal details with the upmost respect & will never sell your details to other companies for marketing purposes.