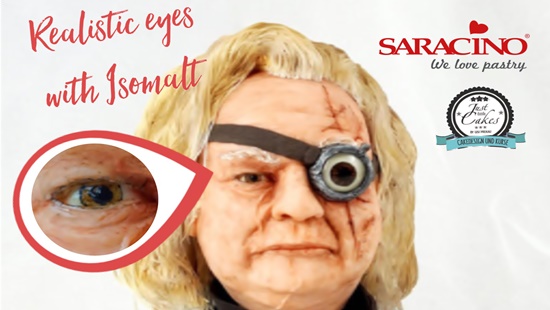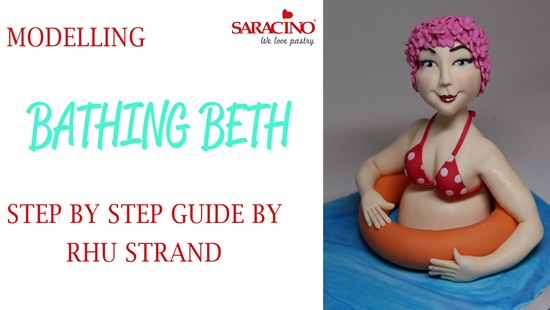
BATHING BETH TUTORIAL
Author: Rhu Strand
Skill level: BEGINNERS
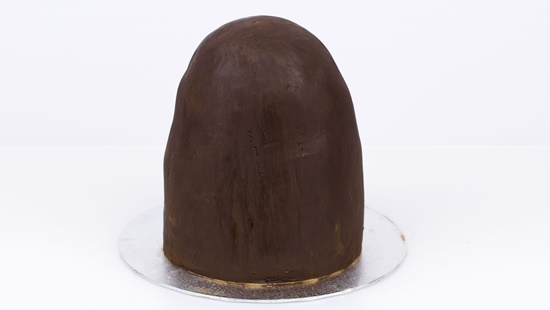
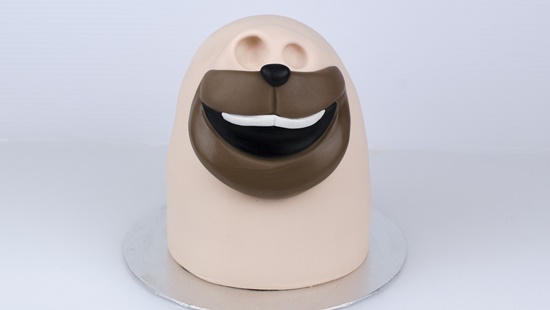
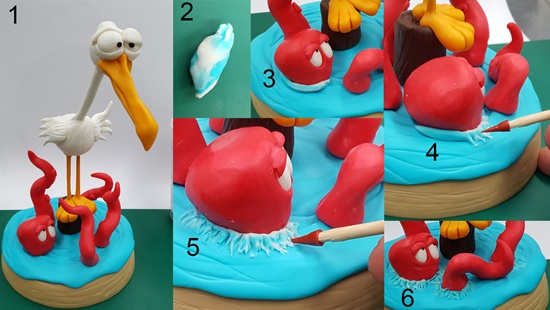
Bathing Beth is a girl who’s not so sure about swimming but with a little attitude and determination she’s happy to jump right in …. Providing she has her rubber ring that is!! With a hand crafted face and floral swim hat she’s all set to go
You will need:
- Saracino Top Paste White to cover the board
- 200g Saracino skin tone
- Small amount of Saracino Modelling Paste in red, white, pink
- 80g orange Saracino Modelling Paste
- Blue colouring
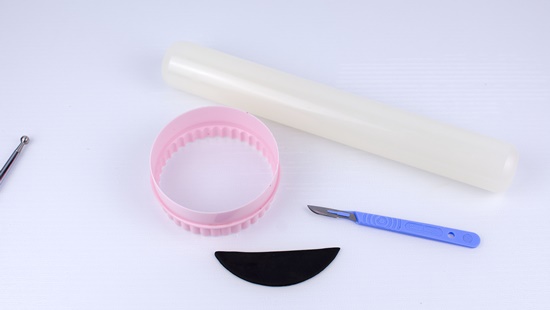
- Scalpel
- Dresden tool
- Boning tool
- Embossing tools
- FMM scriber tool or similar pointed tool
- Piping nozzles with round openings or small circle cutters
- Paint brushes
- Rose / pink Saracino dusting powder for cheeks
- Dust red and blue metallic paint – lips and eyes
- Small blossom cutter
- Edible glue
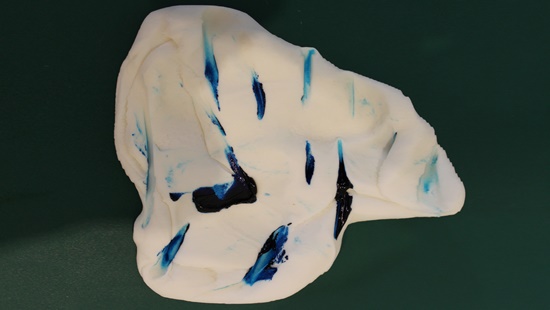
Step 1
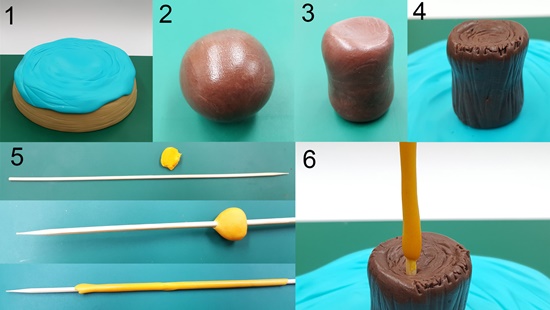
Colour the white paste to cover the board, by adding in streaks of the blue, mix gently to create a marble effect in the paste
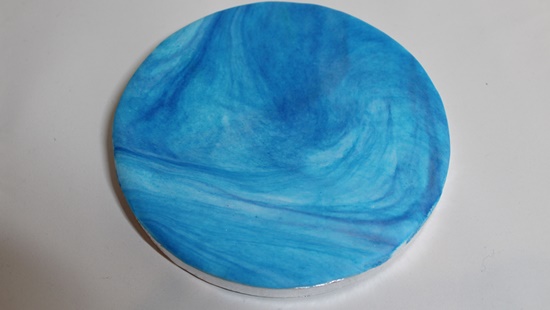
Step 2
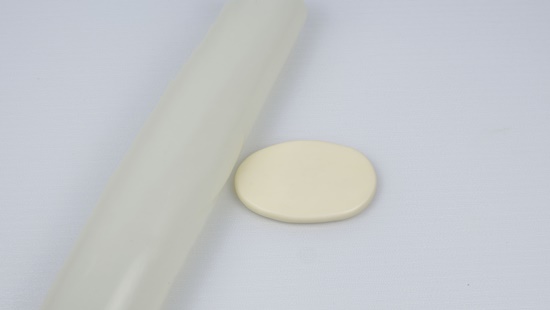
Roll the paste out and cover the board

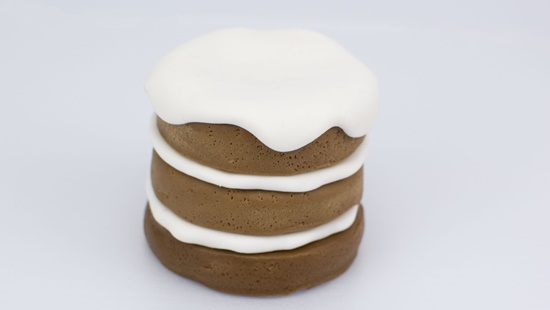
Step 3
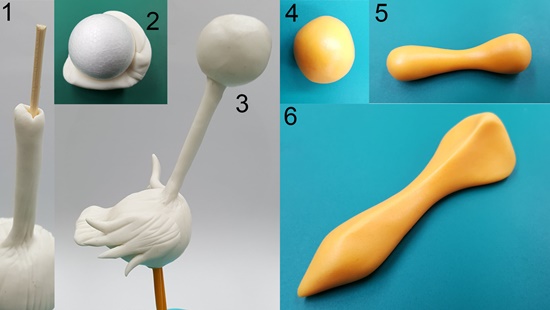
Roll and flatten slightly 55g of skin tone to make the tummy part of the figure
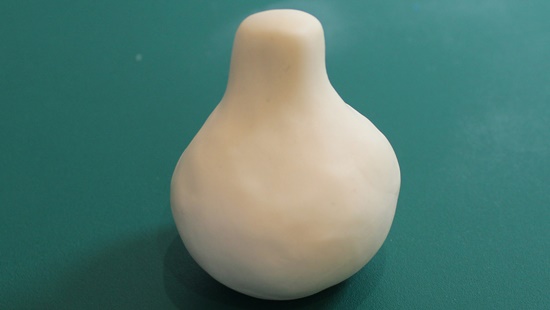
Step 4
Roll another 55g of skin tone into a ball and tease a neck from one side
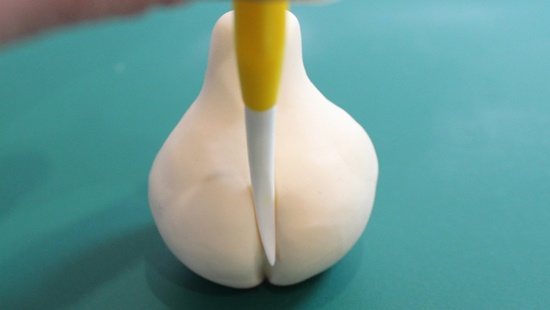
Step 5
Use the Dresden tool to divide the bust.
Step 6
Pinch the bust shape in with your fingers.
.
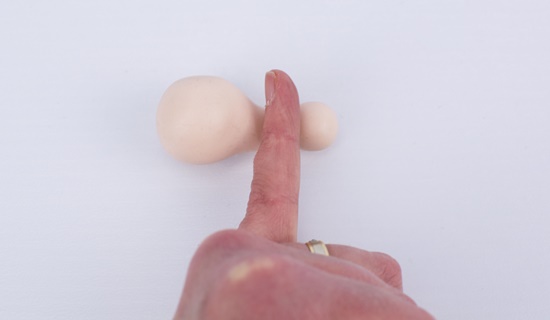
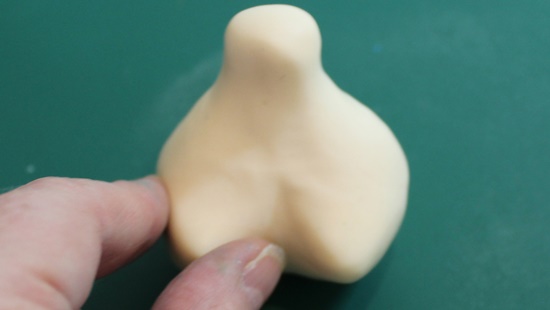
Step 7
Use your index finger to shape in the neck and shoulders
.
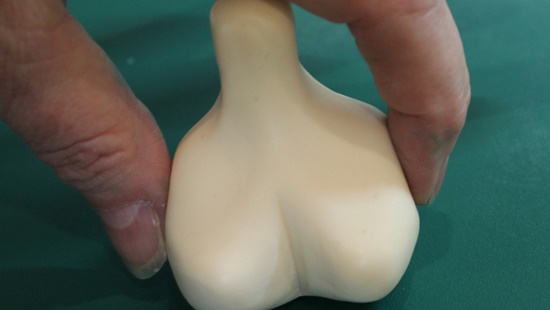
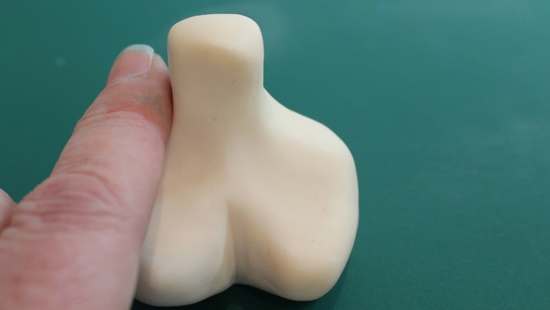
Step 8
Press in to each side to make the arm joining area – think of a tailors dummy and the shape they have with no arms
.
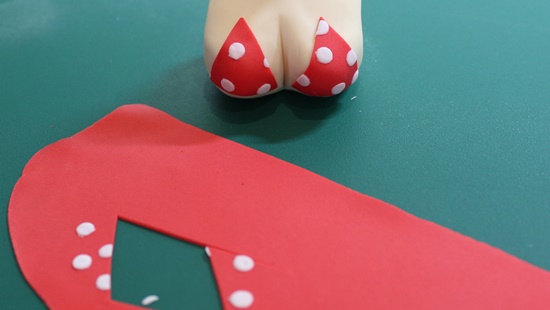
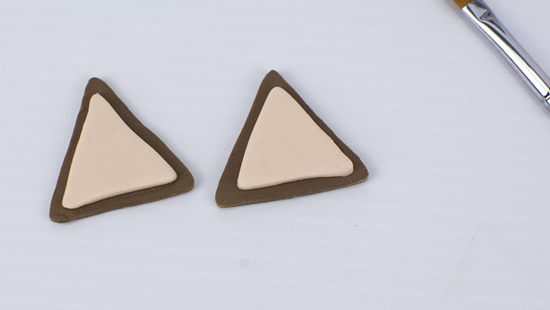
Step 9
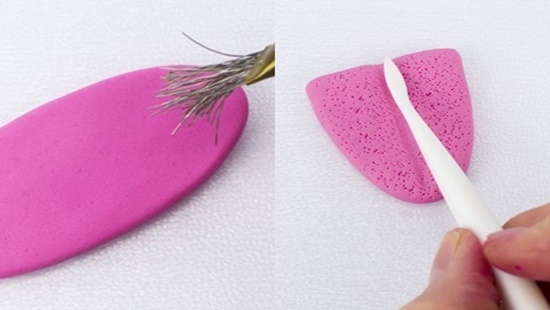
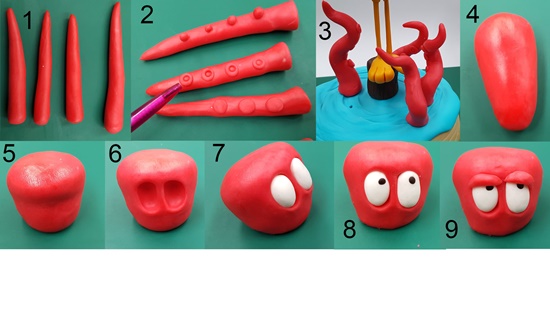
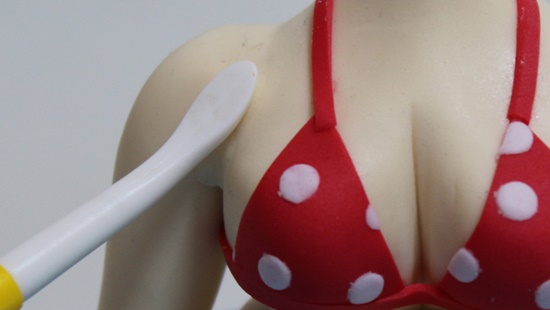
Roll out the red paste and add small white dots, carefully roll the dots into the paste, cut two small triangle to cover the bust. Cut a strip to go under the triangles and across the lower bust.
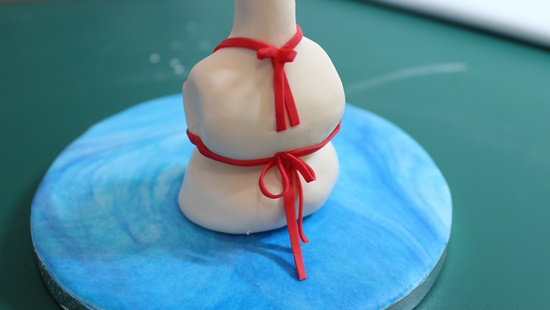
Step 10
Add the bust onto the tummy and add some ties to the bikini
.
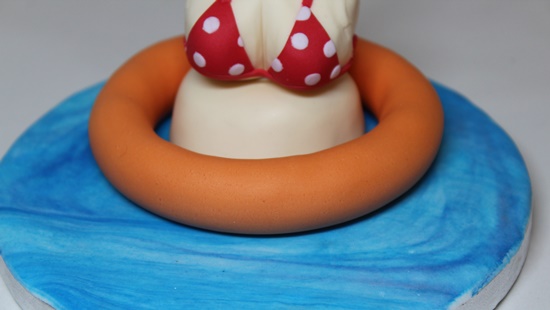
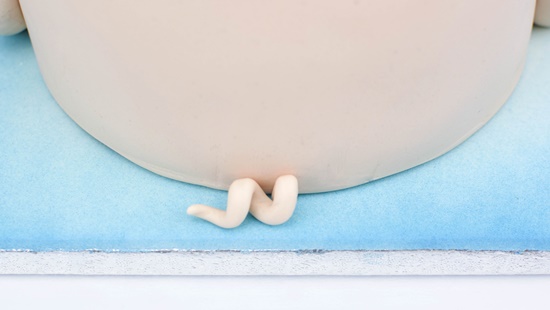
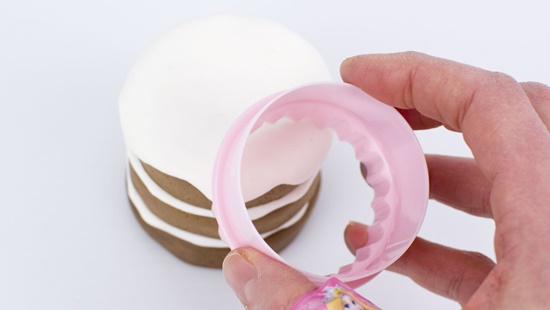
Step 11
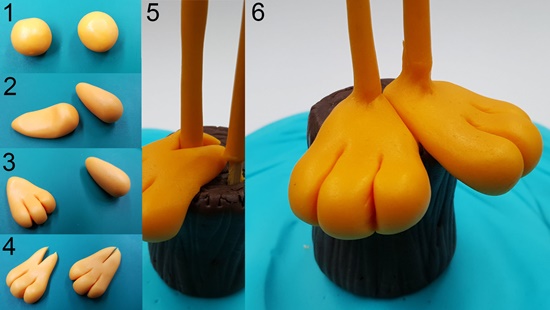
Roll 80g of orange paste and place around her tummy for the rubber ring, join at the back
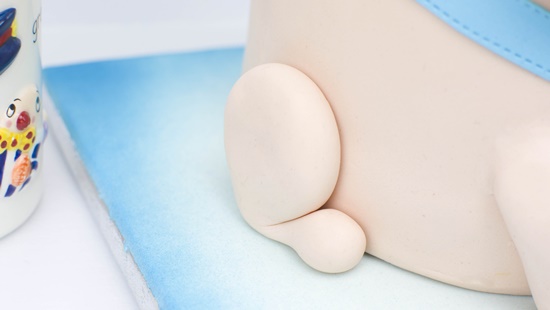
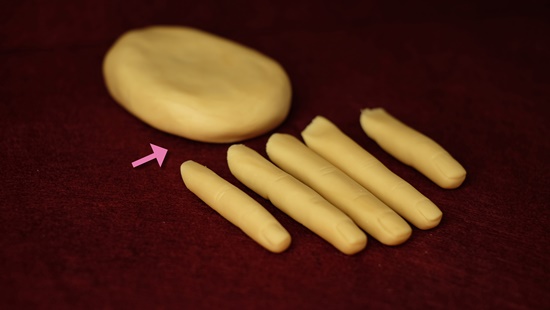
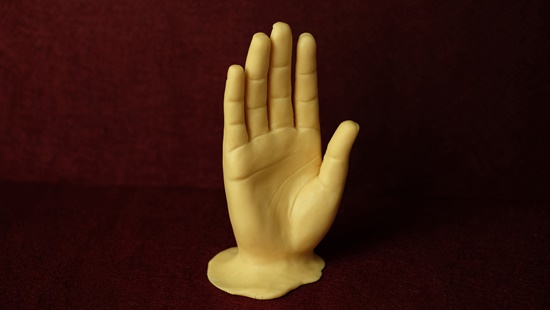
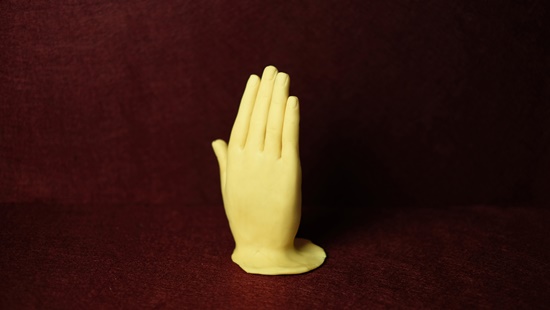
Step 12
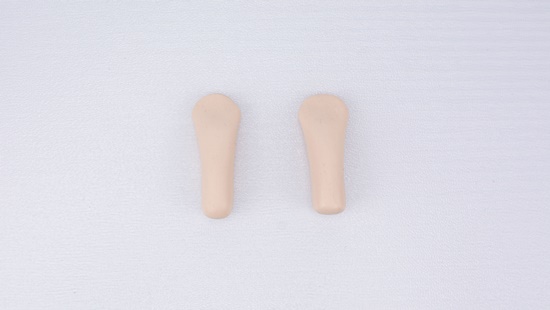
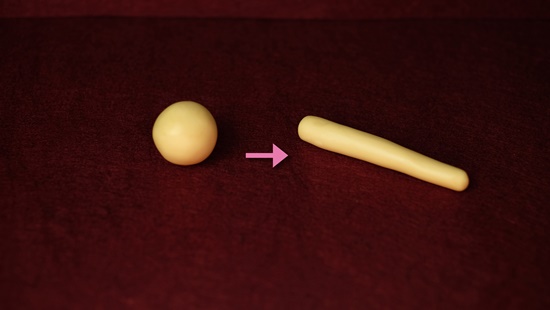
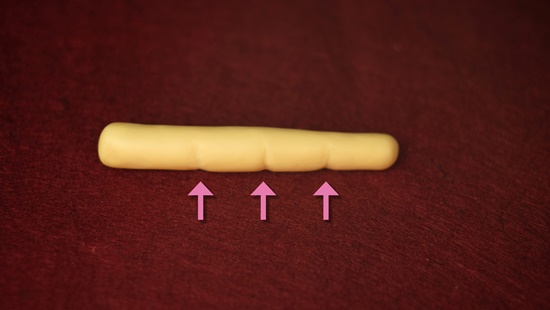
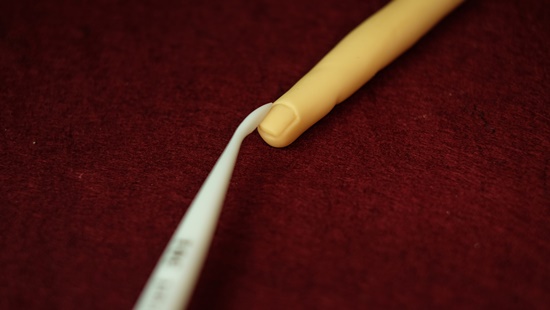
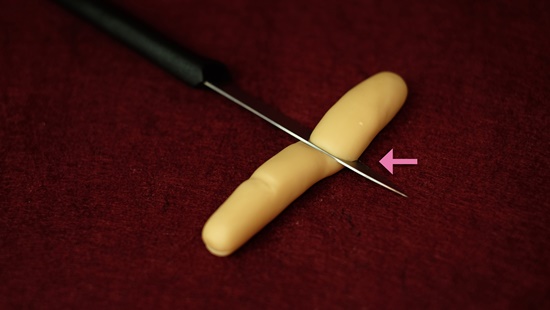
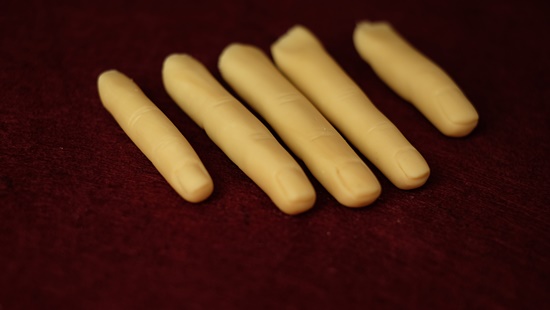
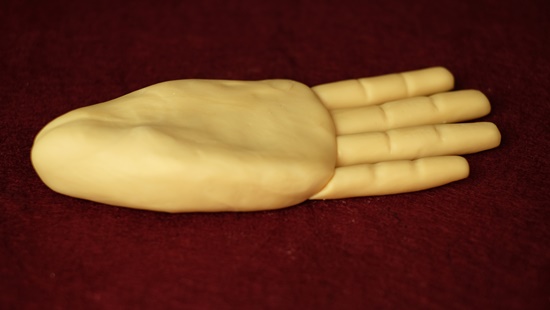
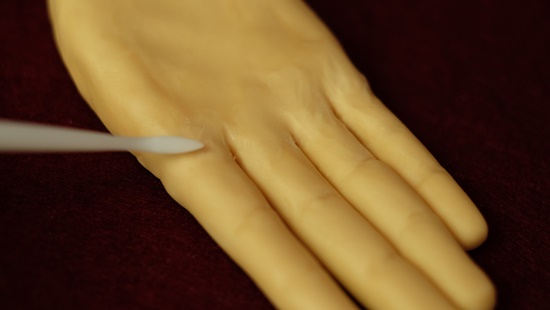
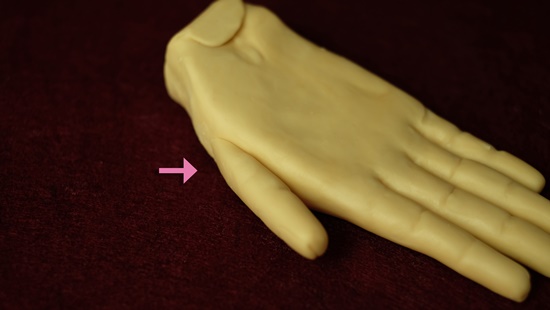
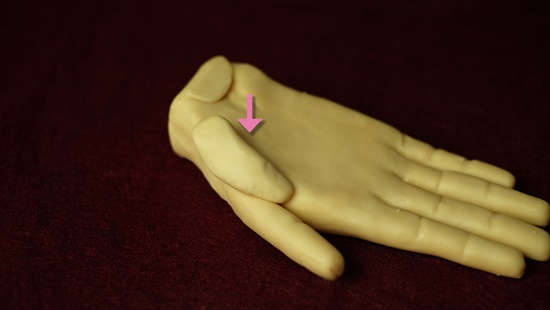
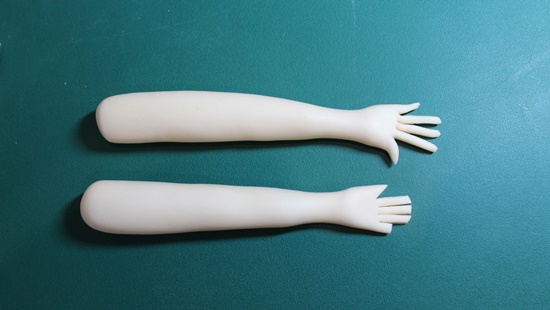
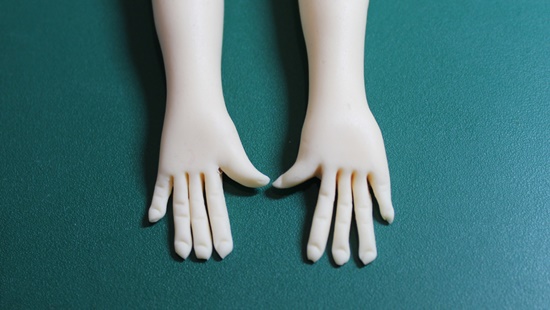
Roll two 16g pieces of paste into tapered 10cm sausages, flattened down the thinner end to make hand. Cut ‘V’ shape for thumb. Divide fingers, in half and half again.
.
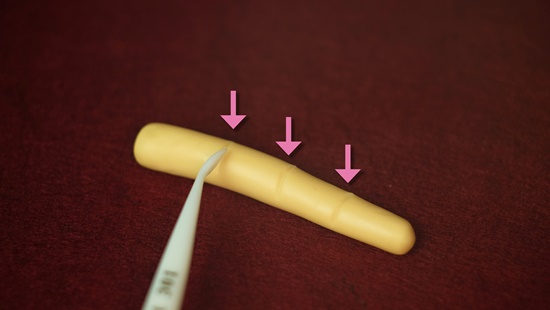
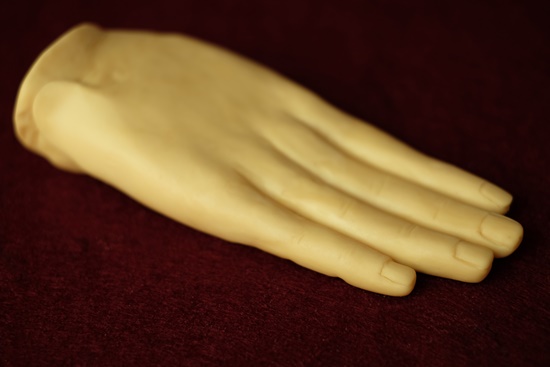
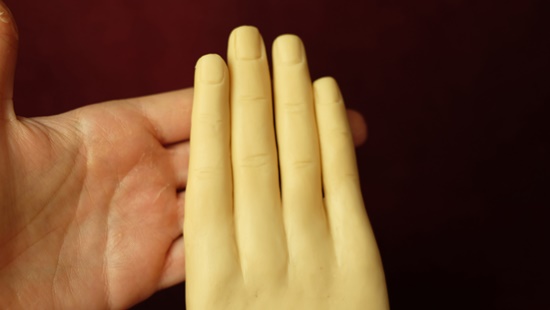
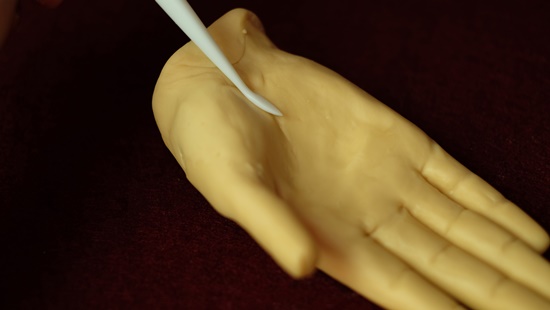
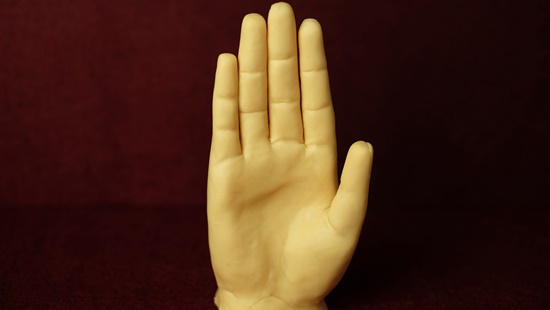
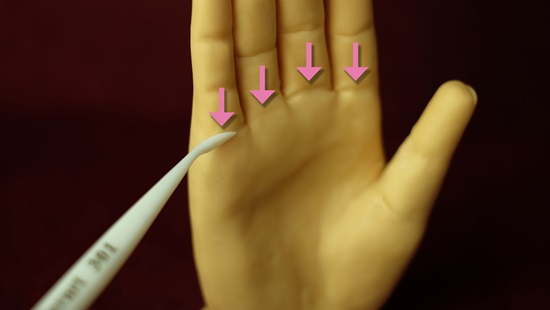
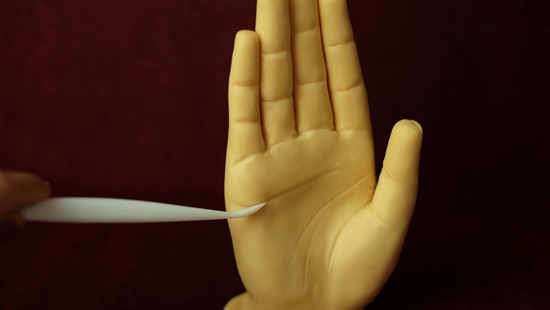
Step 13
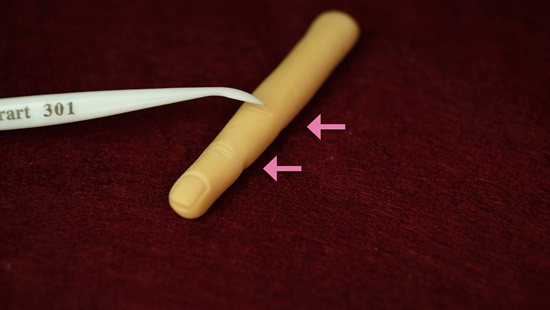
Use fmm scribber tool to divide ends of fingers, mark in nail bed and knuckles, Roll between thumb and finger to create wrist
Step 14
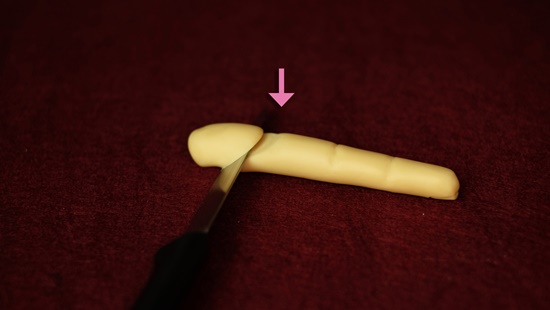
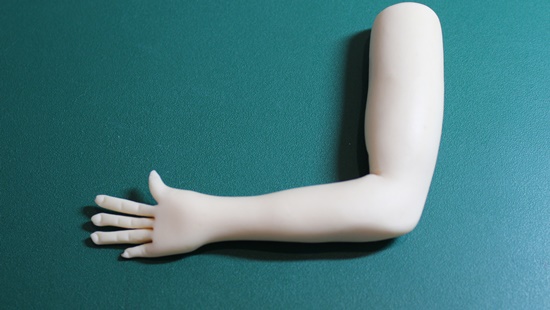
Bend at the elbow, half way along from the shoulder to the wrist. Pinch in to make the elbow
.
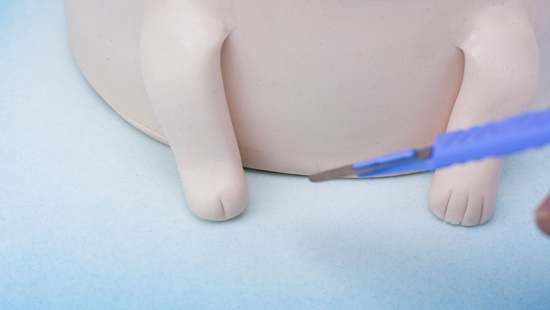
Step 15
Attach to the body and smooth in joins with a damp brush and dresden tool
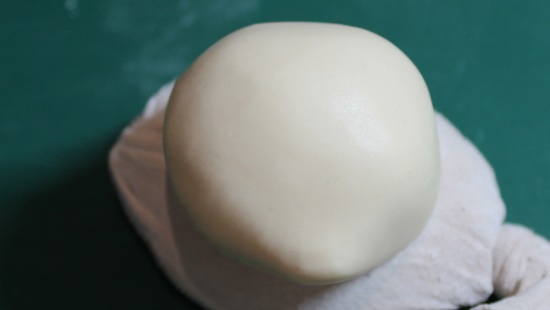
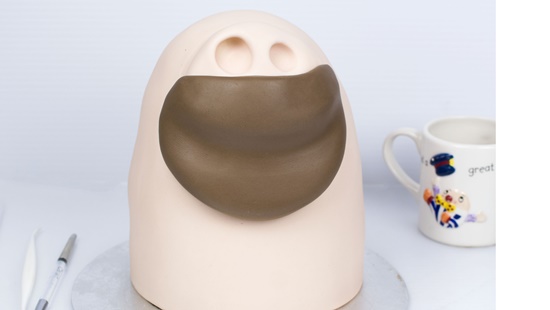
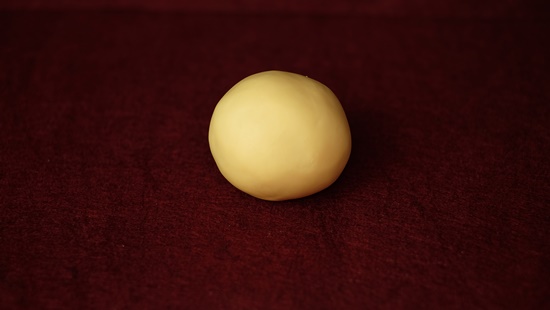
Step 16
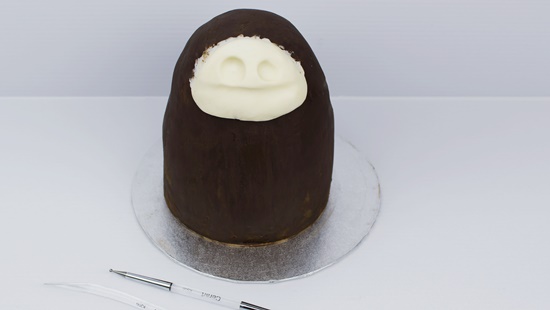
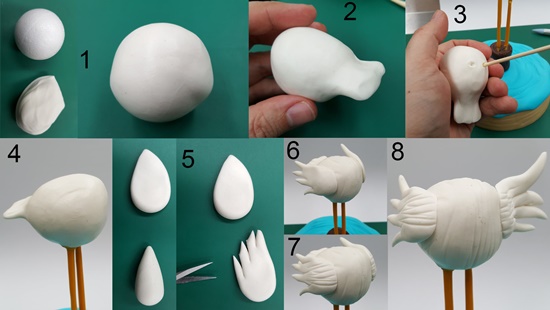
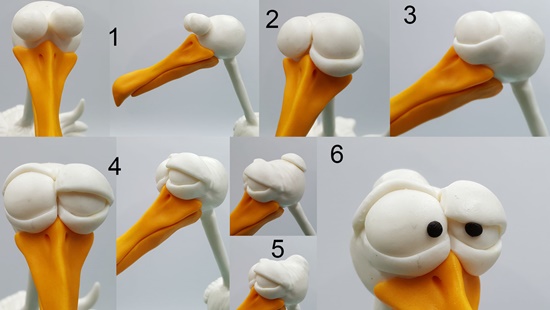
Head – Roll 40g of paste into an egg shape, tease thinner end forward to create chin area.
.
.
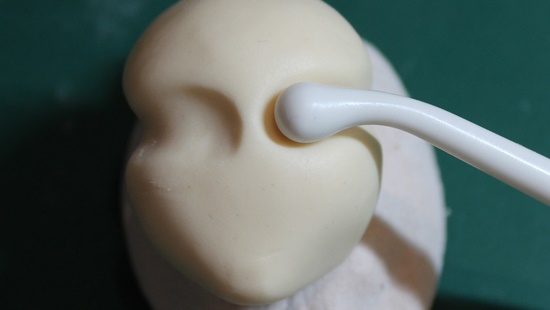
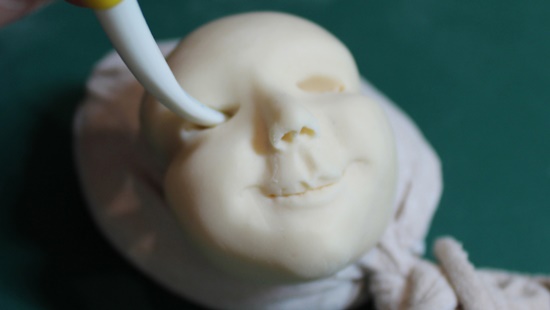
Step 17
Use smaller end of boning tool, press into head to about half the depth of the tool, making eye sockets – these are placed half-way down the face, continue the eye socket gently down the sides of the face with the boning tool to make temples
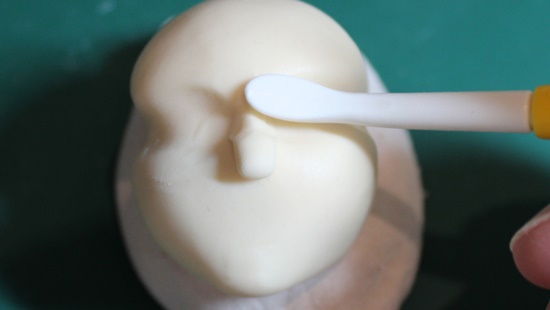
Step 18
Roll very small tear-drop in flesh, place on bridge of nose and smooth sides into eye sockets
.
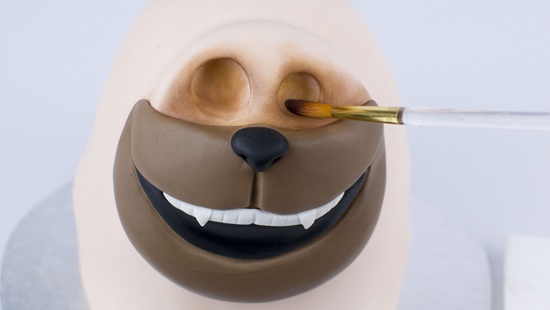
Step 19
Use the side of the dresden tool to mark in the cheeks from the sides of the nose
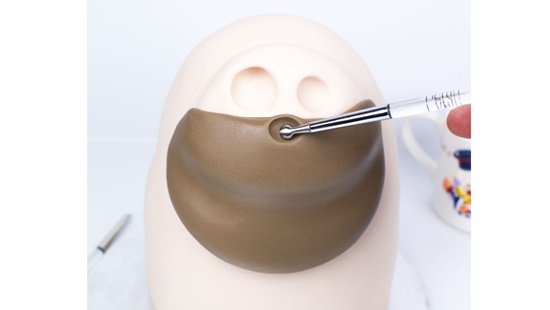
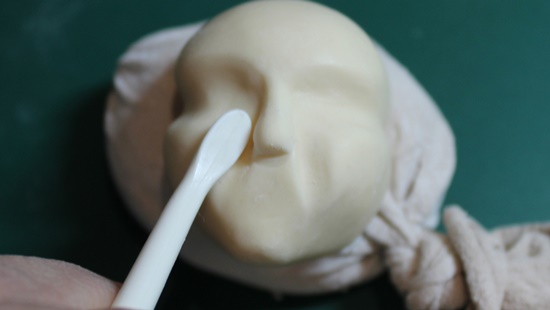
Step 20
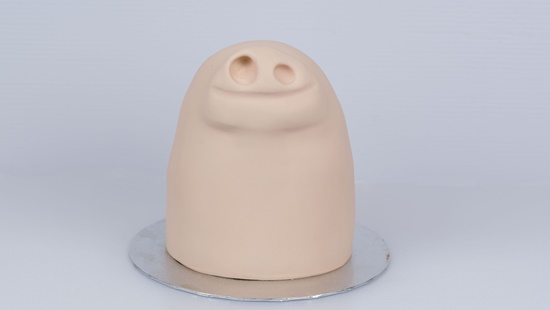
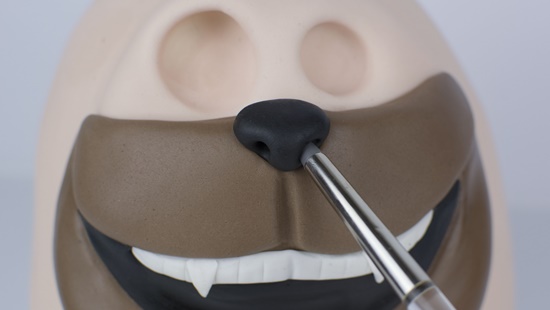
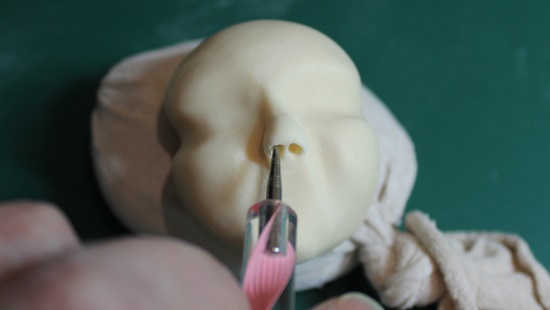
Use pointed tool to make the nostrils – try flaring the nostrils by gently moving the tool around
.

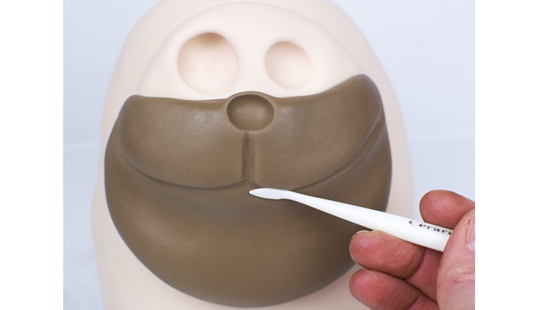
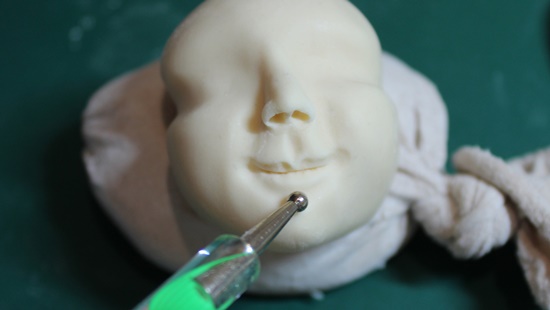
Step 21
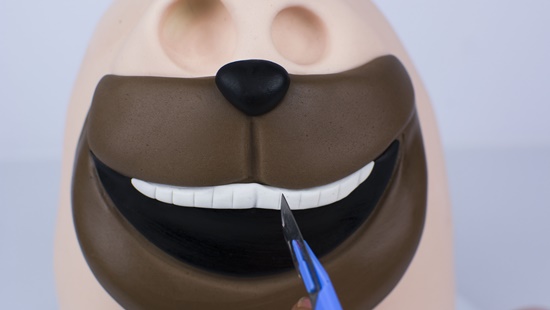
Cut a slit into the paste for the mouth – be careful not to go too wide, use the cuticle stick to tease the upper lip forward slightly
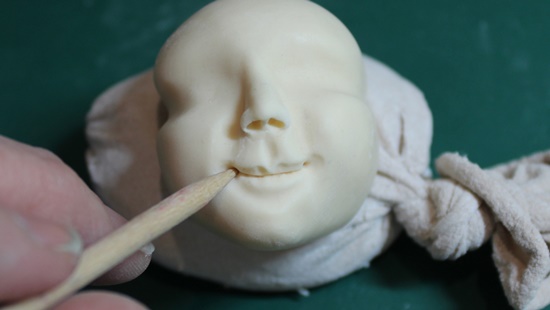
Step 22
Use a card embossing tool tool to draw in the line from nose to mouth
.
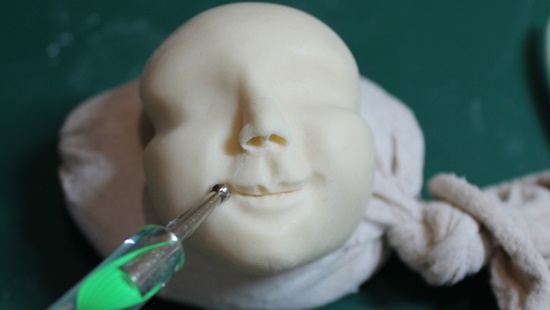
Step 23
Use the same tool to draw in the upper lip in an ‘m’ shape, use a small ball tool to ‘draw’ under the lower lip, almost making another mouth shape, smooth this ‘trough’ out – leaving the lower lip.Create dimples at each side of the mouth
Step 24
Add to small dots to the outside edge of the mouth
.
Step 25
Use the tip of the veiner tool to create the eye sockets, turn head around and do the other end of the eye
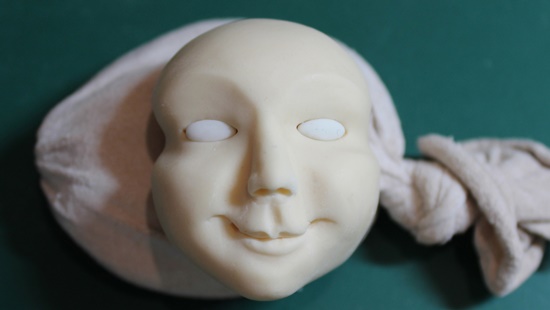
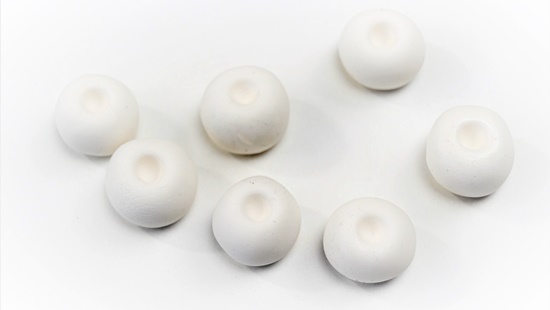
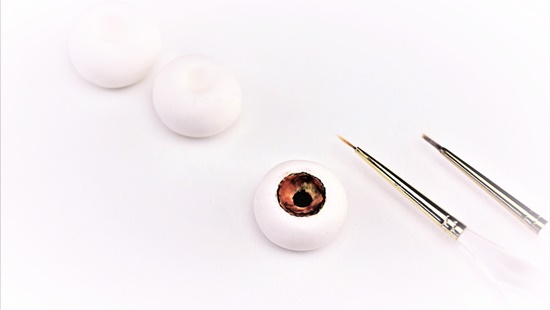
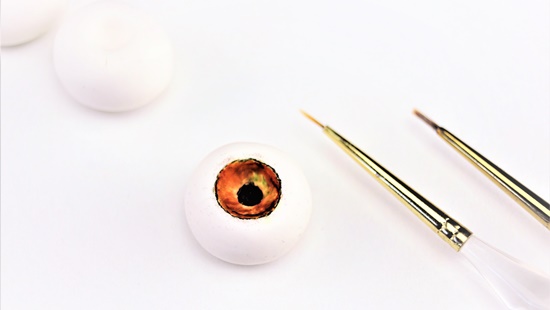
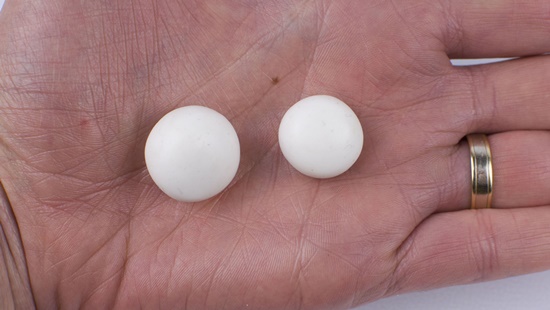
Step 26
Roll two rice sized pieces of white sugarpaste and insert into eye sockets
.
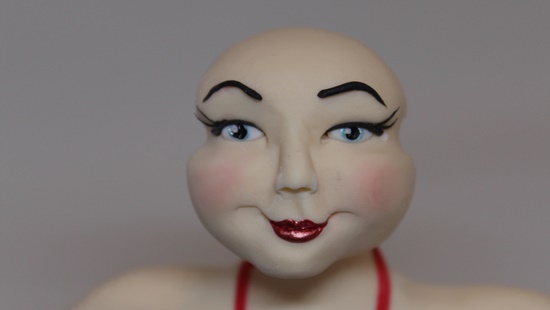
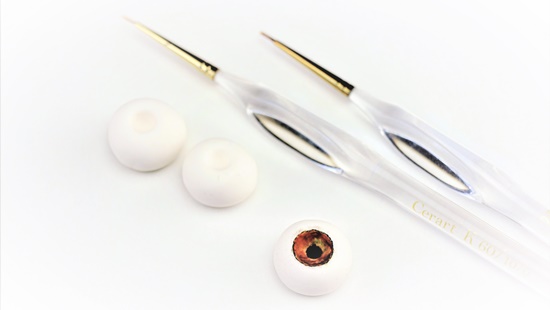
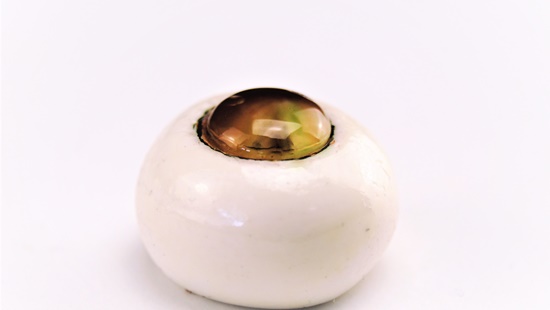
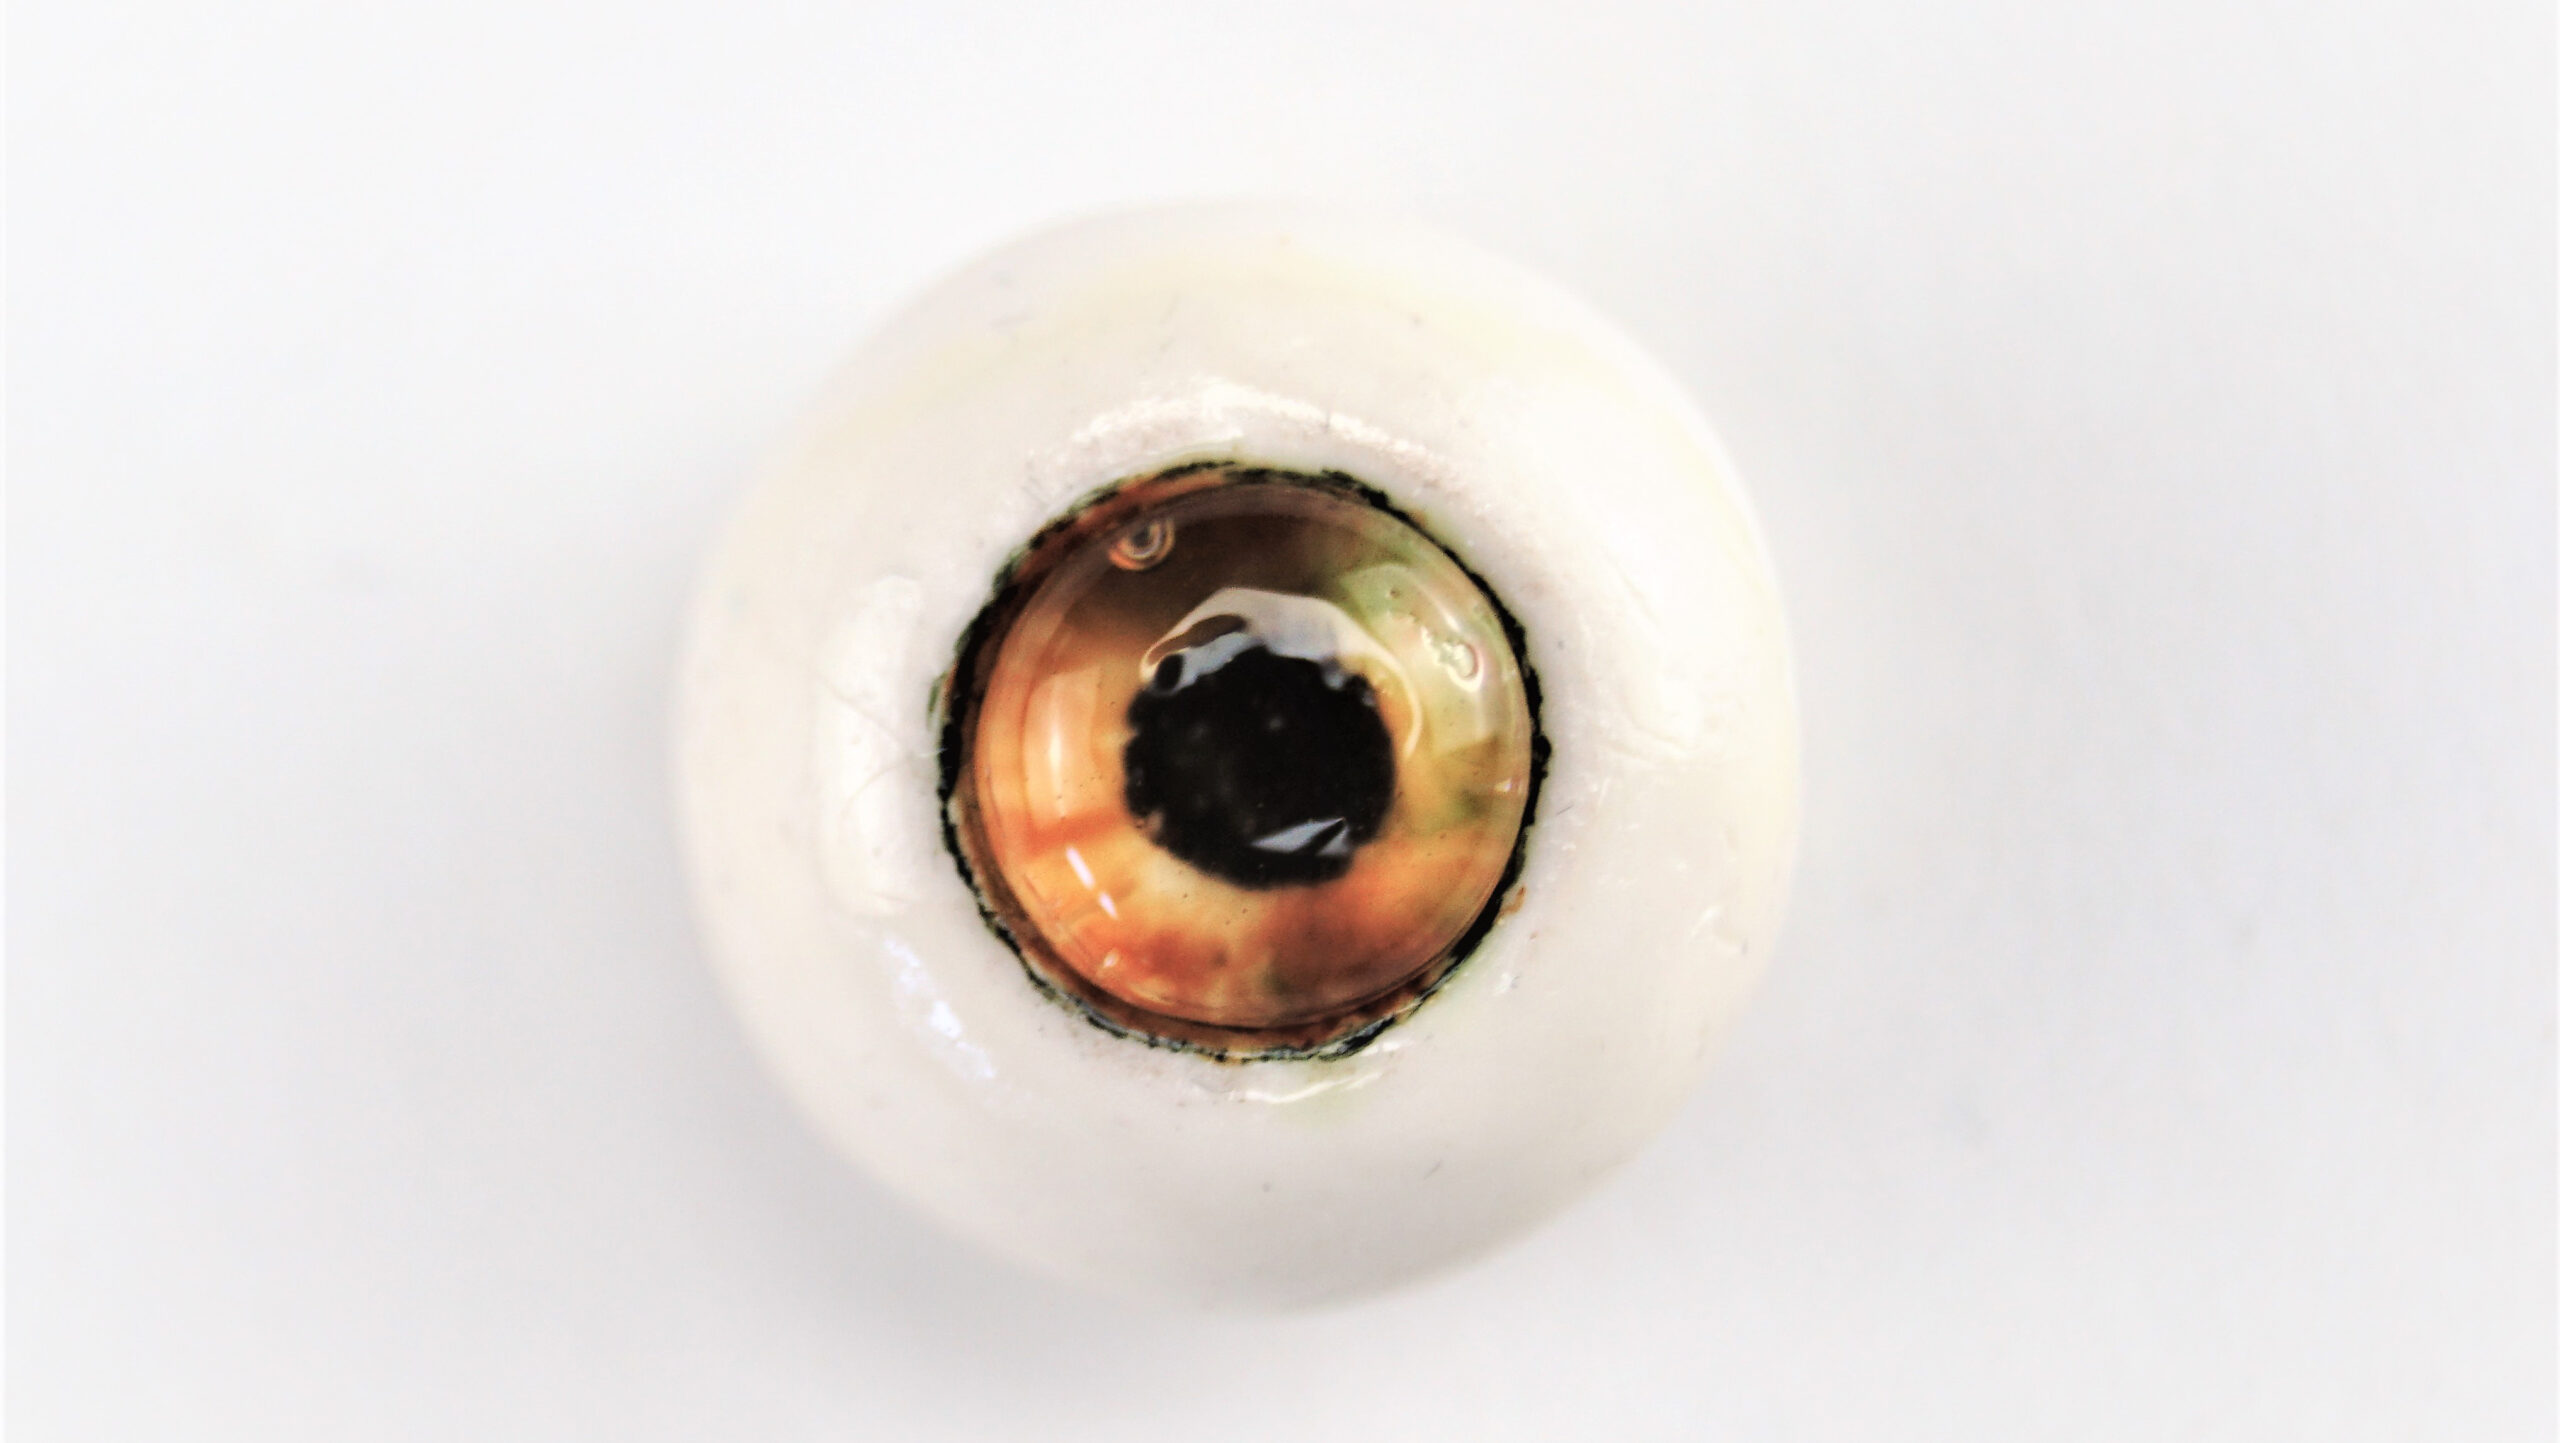
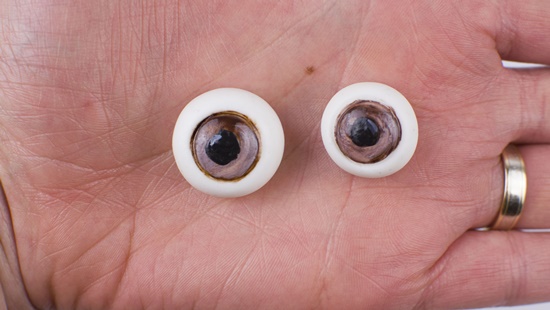
Step 27
Dip the bigger embossing tool into dust metallic paint and dot into each eye and leave to dry – use small end of the embossing tool, dip into some black food colouring and dot each eye for the pupil. Roll thin piece of black paste for eyelashes and eyebrows, use dust metallic red for lips, dust cheeks with dusky pink
.
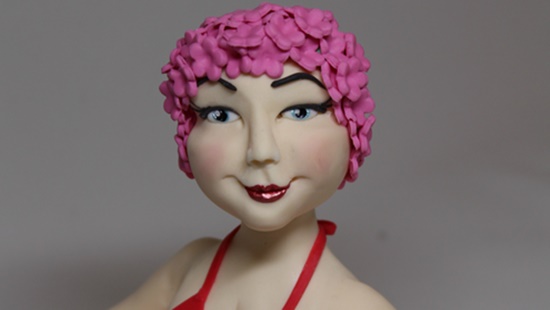
Step 29
Insert a cocktail stick into the neck and using the blossom cutter cover the head with small flowers for the swimming cap.